MineColonies Complete Beginners Guide
MineColonies Complete Beginners Guide
Welcome to the ultimate beginner’s guide to MineColonies! This comprehensive tutorial will help you build a beautiful, thriving colony from scratch. While MineColonies is a complex mod with sophisticated AI, this guide covers all the essential tips and tricks you need to get started and have the most fun possible with your new colony.
Getting Started: Creating Your First Colony
Building a Supply Camp
The first step to starting your colony is crafting either a supply ship or a supply camp. These structures are made with basic materials like chests and boats. Once crafted, you’ll need to place it down in a suitable location.
For your colony location, you’ll need a large, flat area of approximately 8 by 8 chunks. To view chunk boundaries, press F3 and G on your keyboard to display the chunk grid. While this seems like a lot of space, you can always terraform the landscape later if needed.
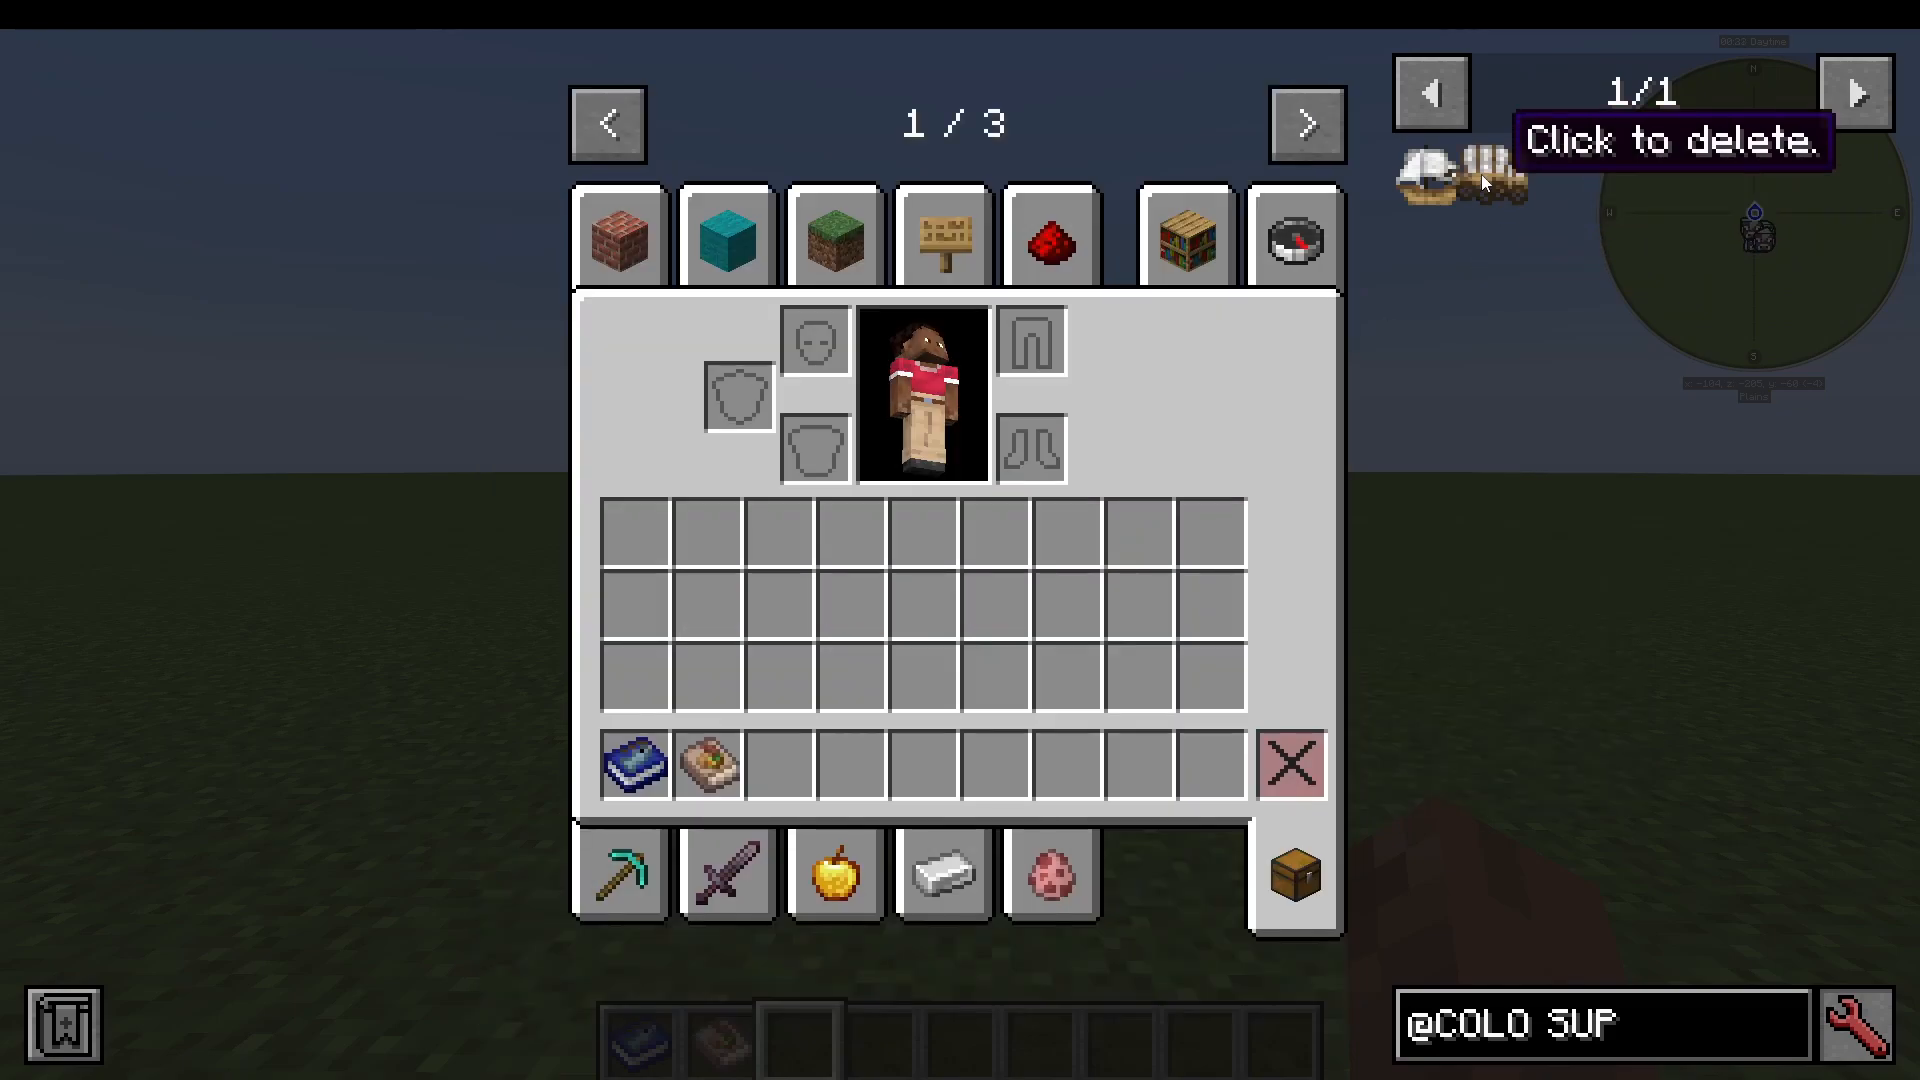
Selecting Your Colony Style
Right-click on your supply camp to access the style selection menu. MineColonies offers numerous architectural styles to choose from, including:
Desert Awning
Urban Savannah
Cavern
Medieval Dark Oak
Shale Canyon
And many more
This guide is being created for version 1.21, which contains the most recent content. While older versions function similarly, there may be slight variations.
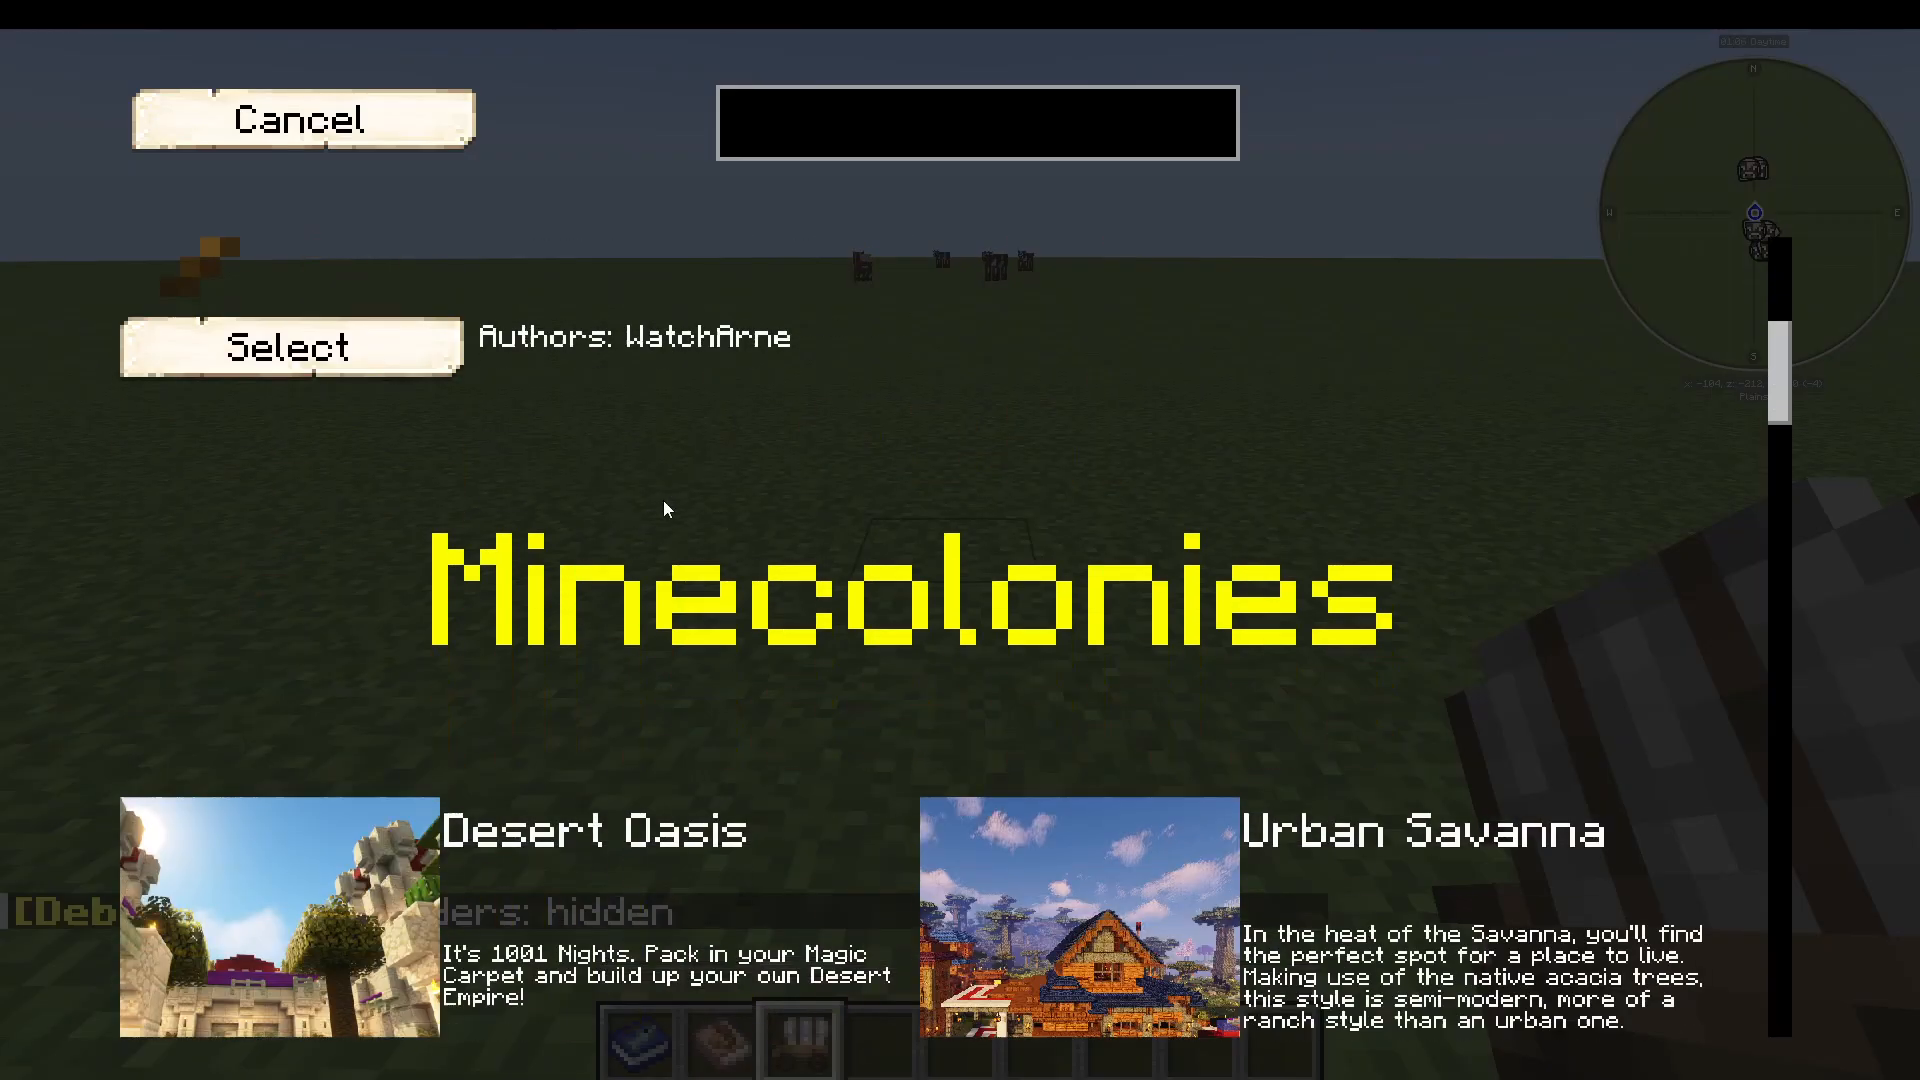
Positioning Your Supply Camp
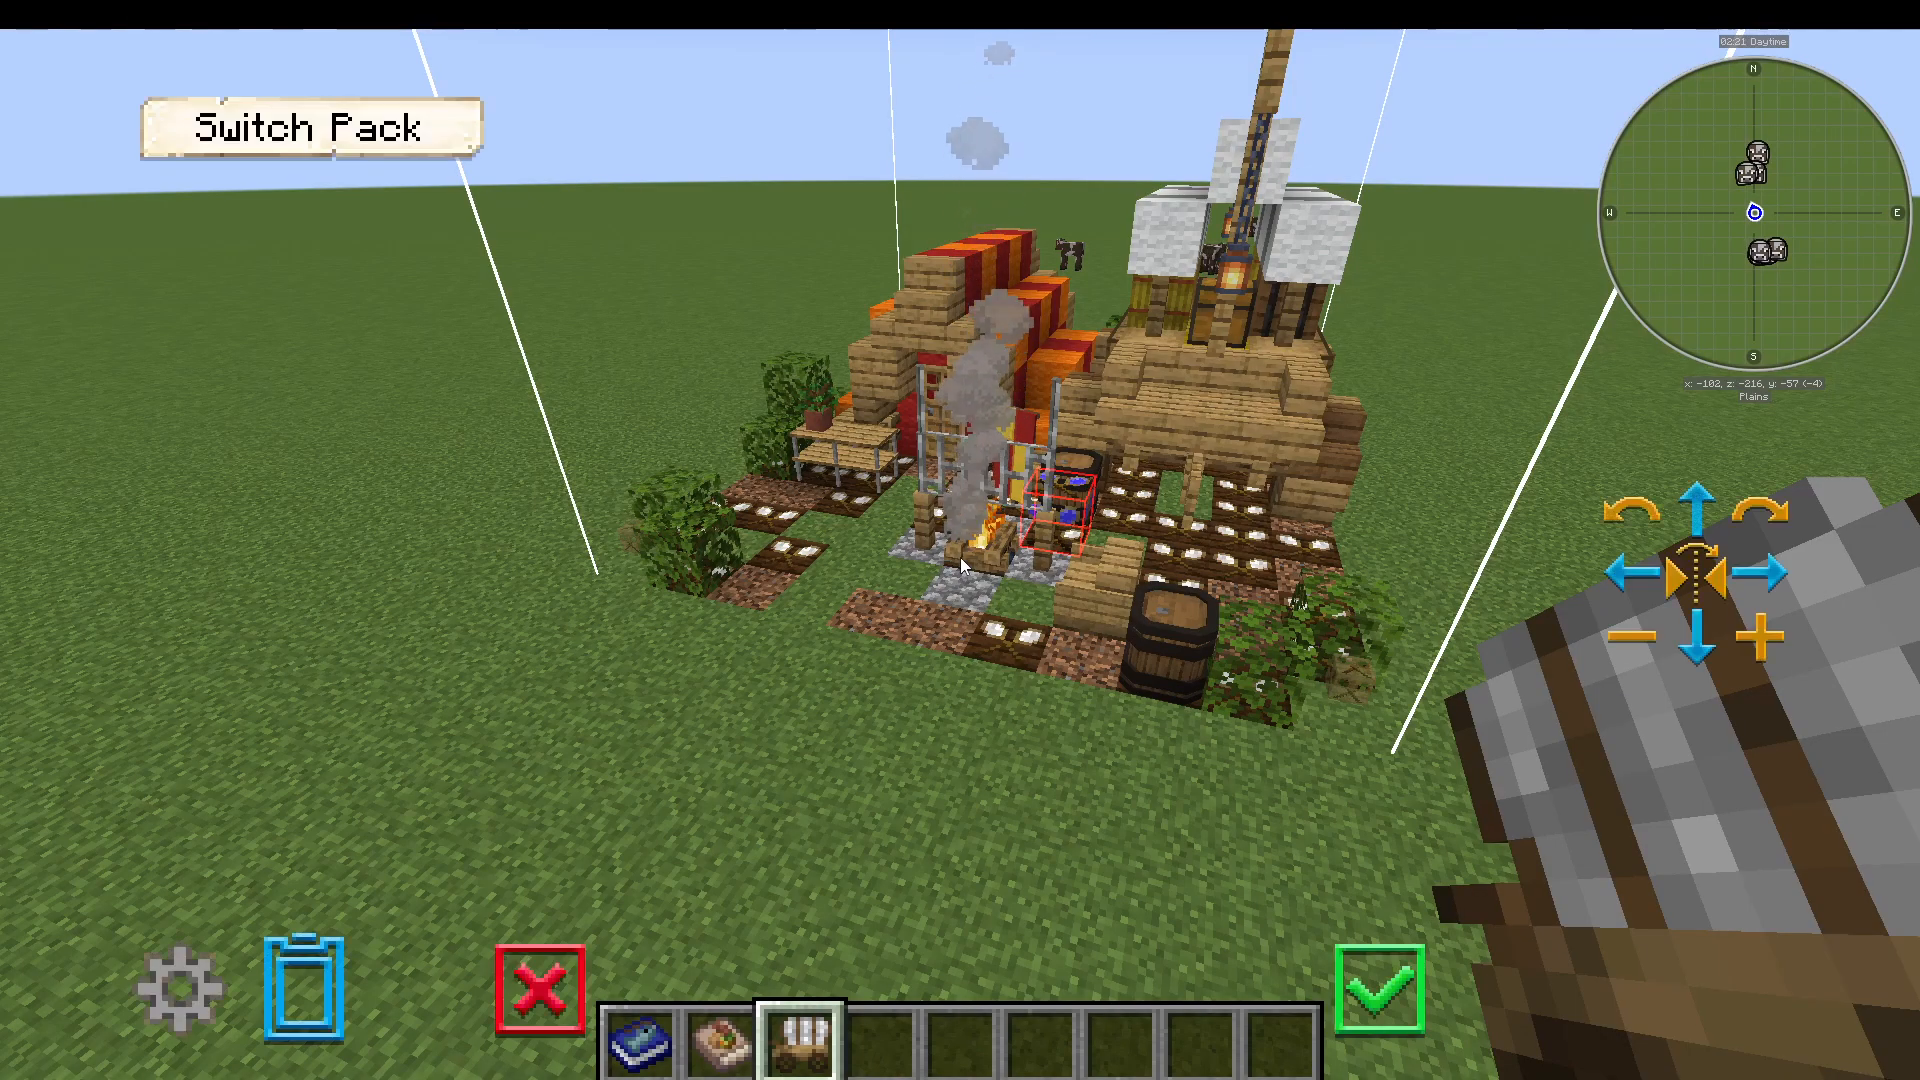
After selecting your preferred style and pressing “Select,” you can position your supply camp using the intuitive placement tools:
Blue arrows: Move the camp forward, backward, left, and right
Middle button: Flip the camp around
Rotation arrows: Turn the camp 90 degrees
Up/Down arrows: Adjust the vertical position
Tennis racket icons: Show where the ground should be
Press the down arrow to align the camp flush with the ground, ensuring proper placement. Once you’re satisfied with the position, click the tick to confirm placement and welcome to MineColonies!
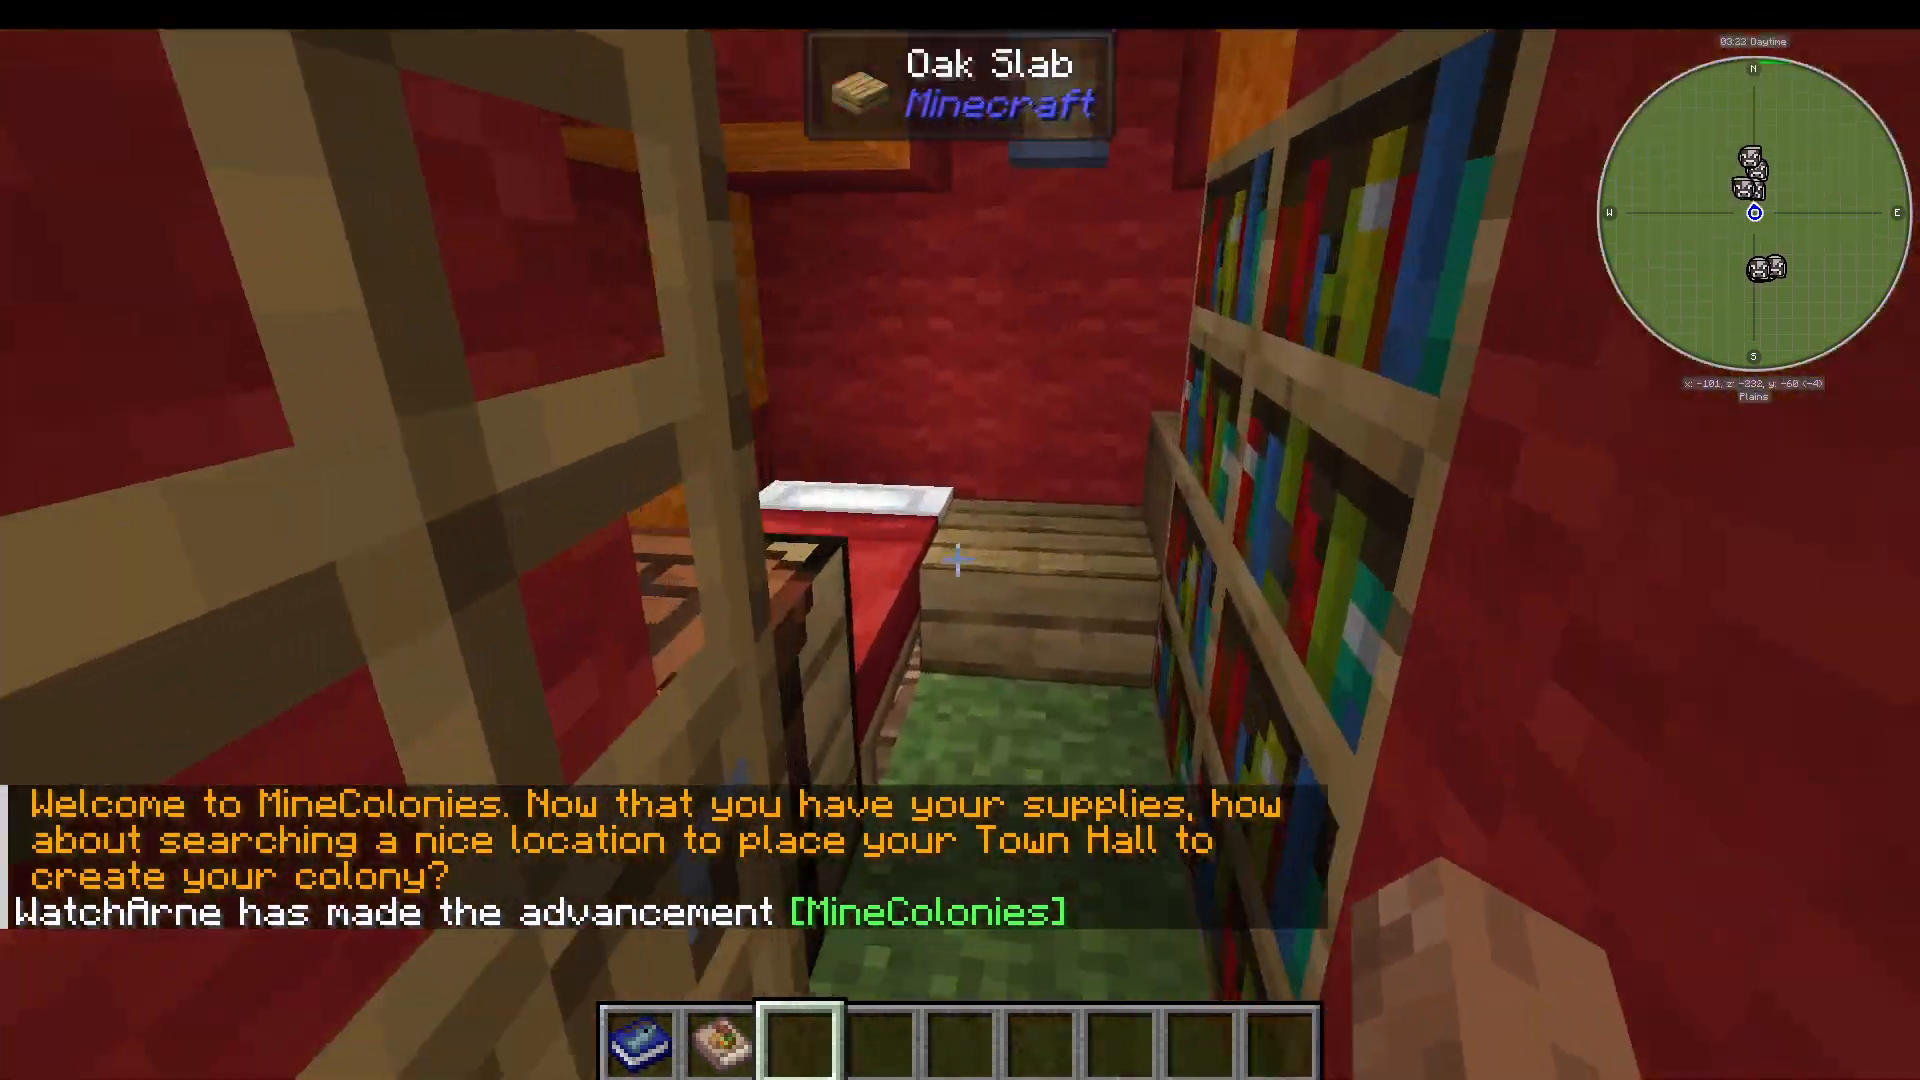
Building Your Town Hall
Getting the Town Hall from Your Supply Camp
Inside your supply camp, you’ll find a barrel containing three essential items:
Build Tool
Town Hall schematic
Paper (not needed for basic setup)
The Town Hall is your primary administrative building and serves as the central hub for colony management. While you can recreate it later using the build tool and birch planks, starting with the one from your supply camp is recommended.
Using the Build Tool to Place Your Town Hall
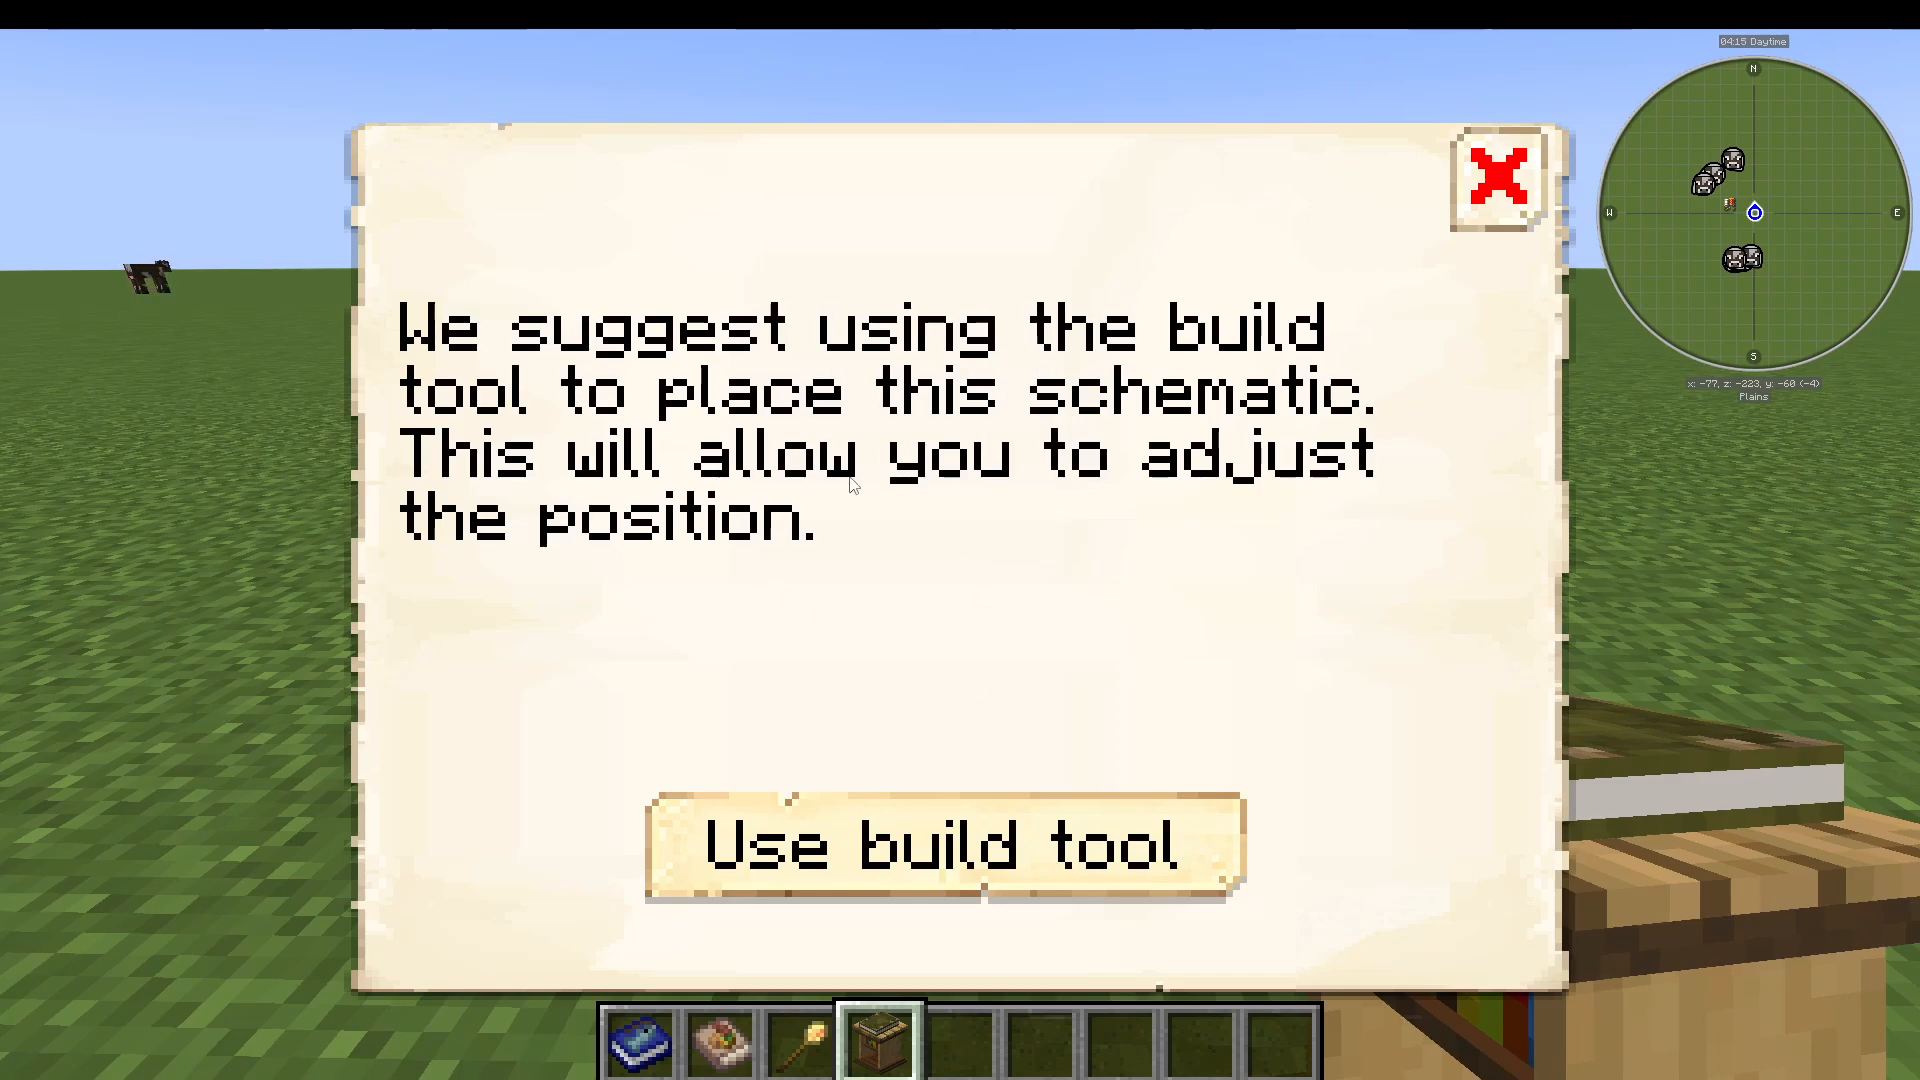
Right-click your Town Hall schematic to receive a prompt suggesting you use the build tool. This tool allows you to precisely adjust placement and preview how your building will look. To use it:
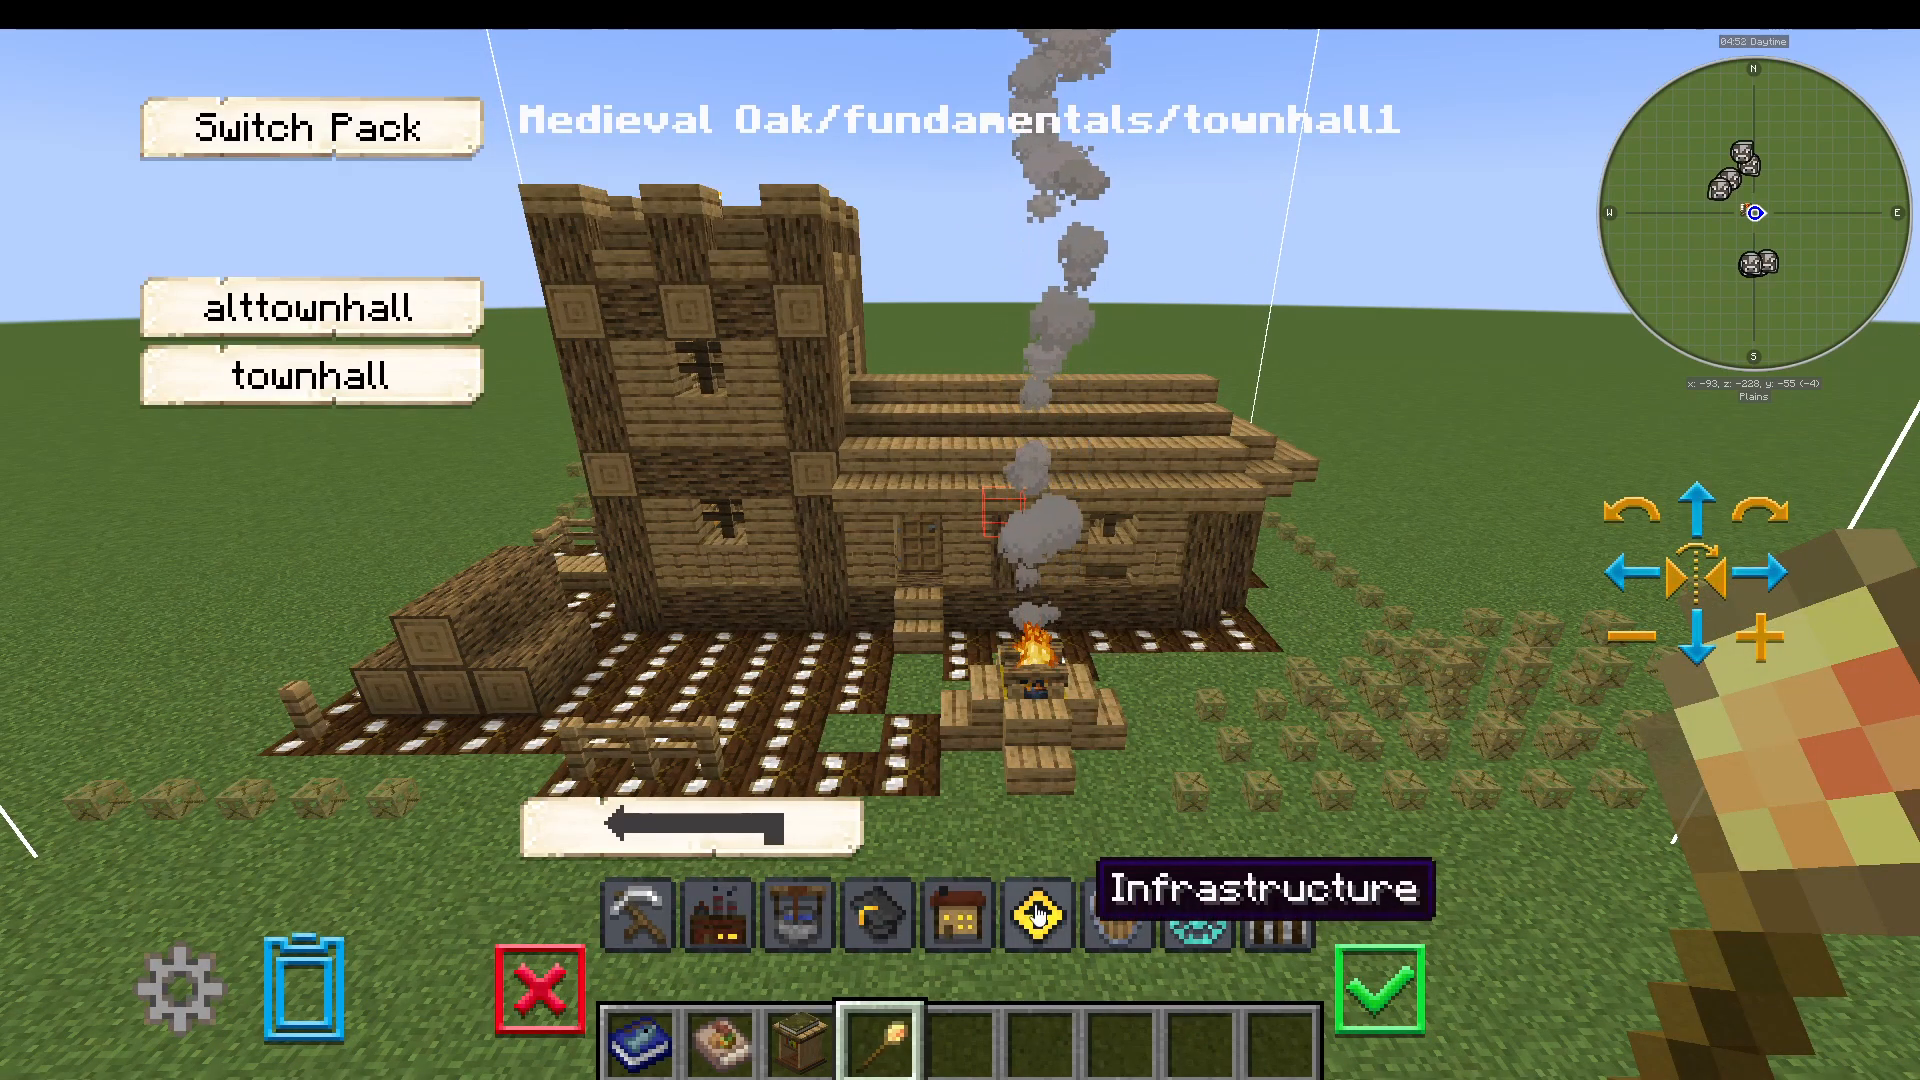
Right-click the build tool on your chosen location
Select the category: Agriculture, Craftmanship, Decorations, Education, or Fundamentals
Choose “Town Hall” from the Fundamentals category
Press Escape and walk backward to view the preview
Rotate and position the building as needed
Previewing Building Levels
Buildings in MineColonies have multiple levels, from Level 1 to Level 5. Each level changes the building’s appearance and functionality. You can click on the Town Hall preview to see what it will look like at different upgrade levels:
Level 1: Your starting point
Level 5: The fully upgraded, grand version
Consider the Level 5 appearance when deciding placement, as you’ll want your buildings oriented correctly for their final form.
Assigning a Builder and Founding Your Colony
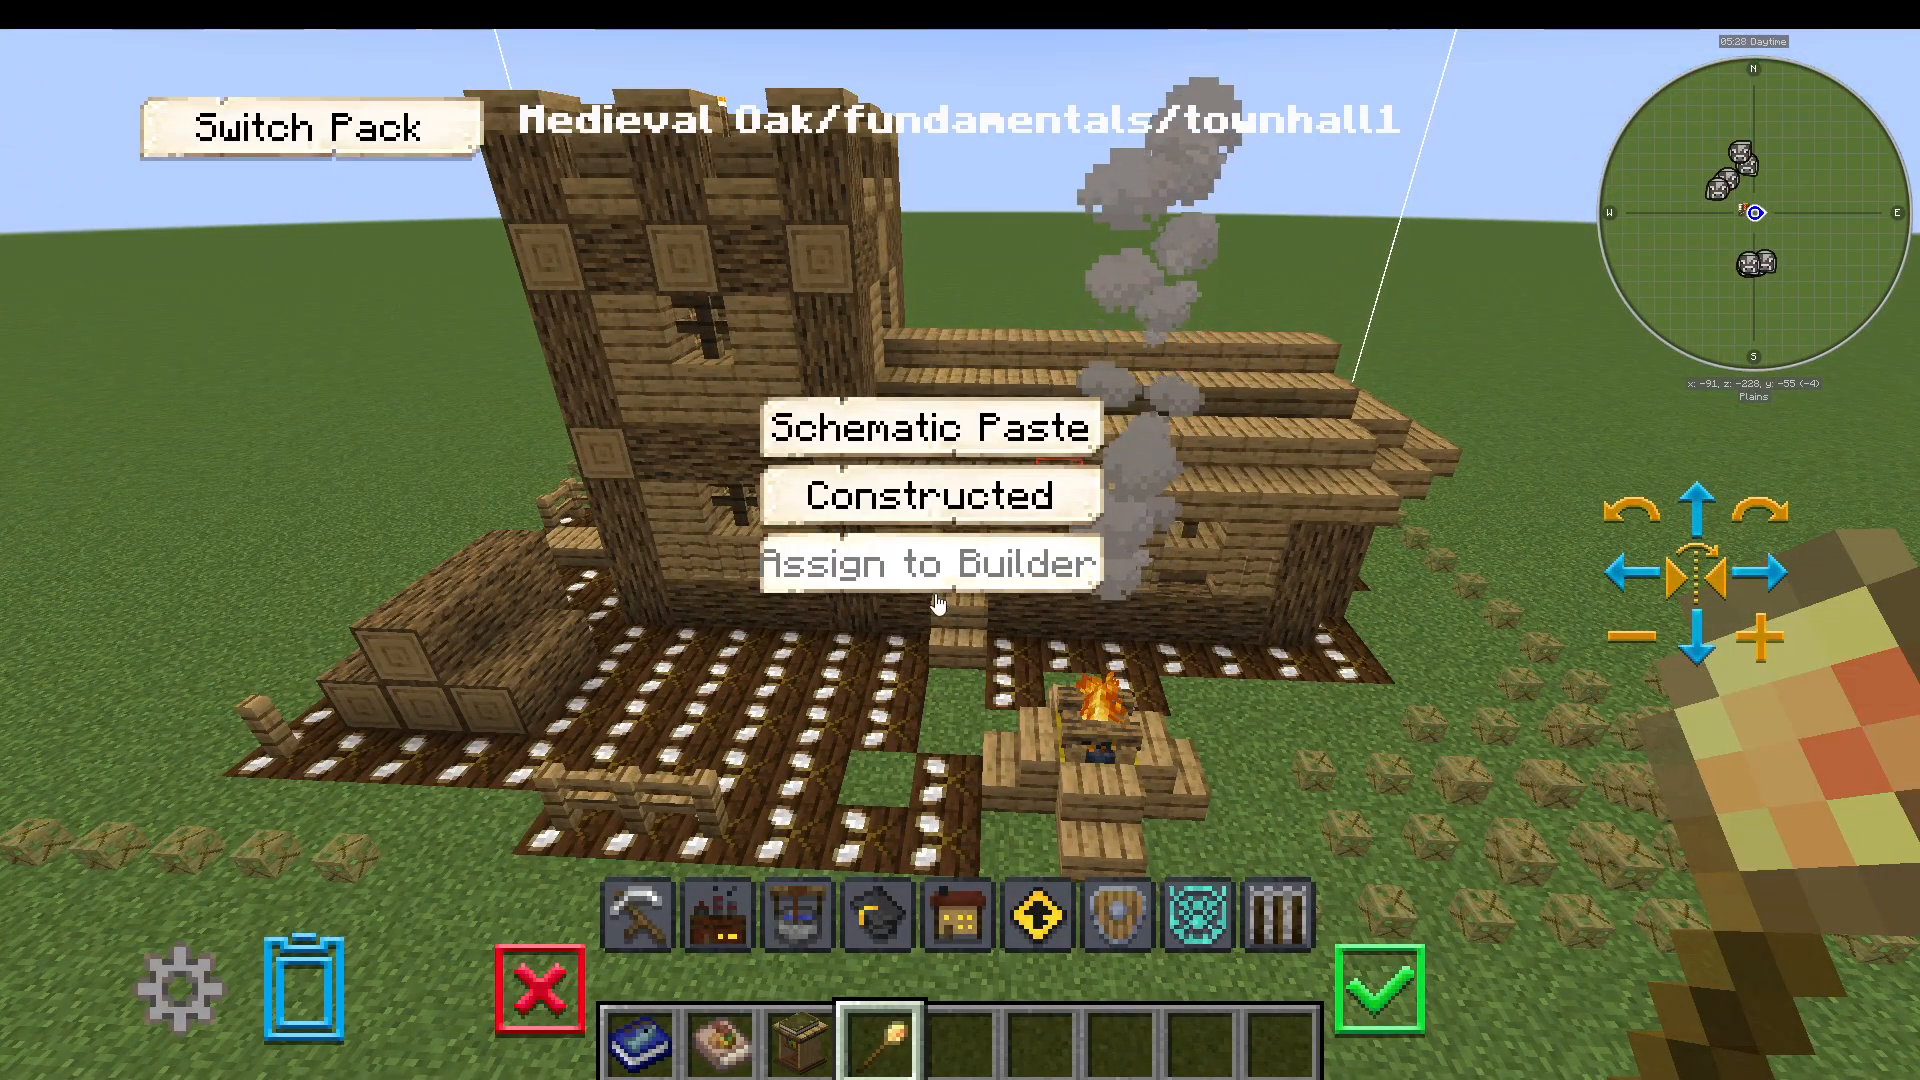
Once positioned correctly, click the tick to confirm. In Survival mode, you’ll be prompted to “Assign to Builder.” In Creative mode, you can immediately construct the building.
After assignment, click on the Town Hall and give your colony a name. Then sign the covenant and found your colony. This will place construction tape around the building area and prepare it for your builder to construct.
Creating Your Builder’s Hut
Why You Need a Builder
Your Town Hall cannot be constructed until you have a Builder. A Builder is a specialized colonist who works in the Builder’s Hut (also called a Builder’s Heart). This is essential infrastructure for constructing and upgrading all buildings in your colony.
Crafting and Placing the Builder’s Hut
Using your build tool again:
Right-click the build tool
Navigate to Fundamentals
Select “Builder’s Heart”
Walk backward and choose your placement location
Confirm with the tick and assign to your first available colonist
Assigning Your First Builder
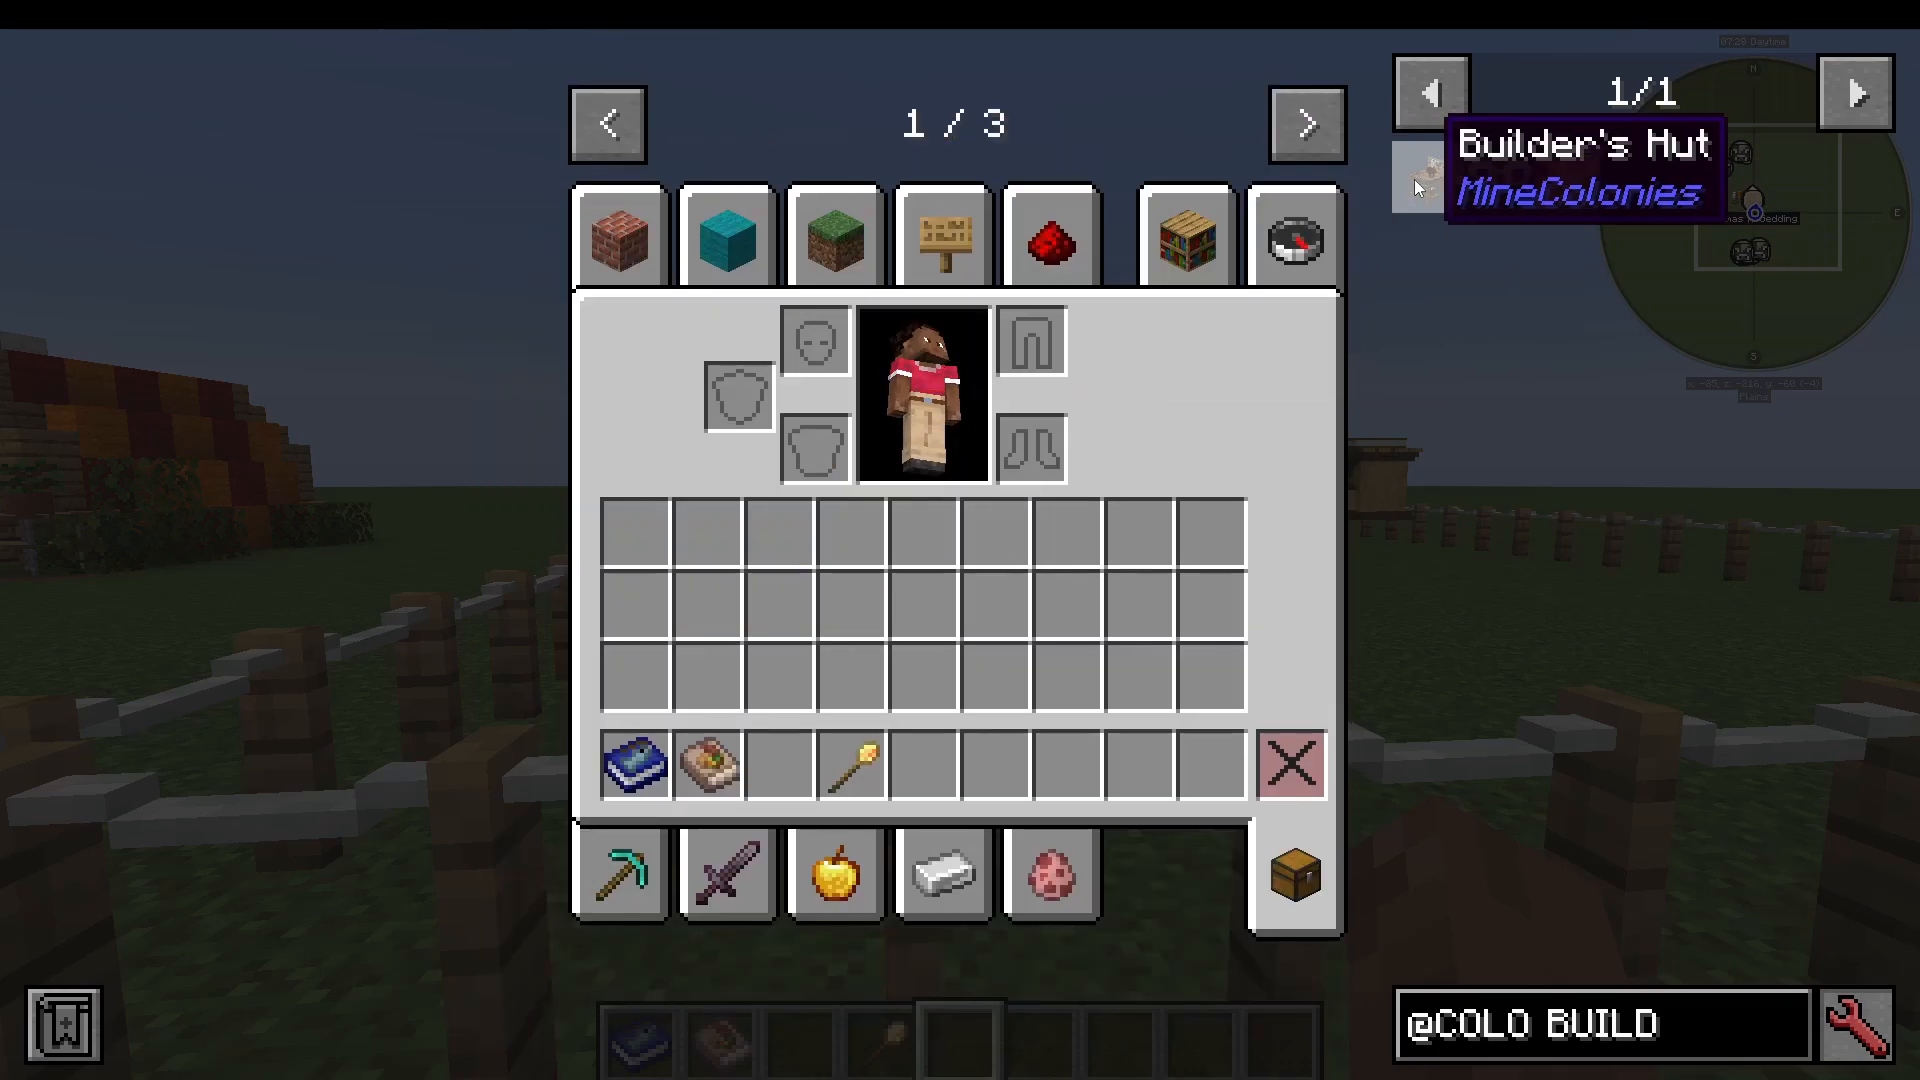
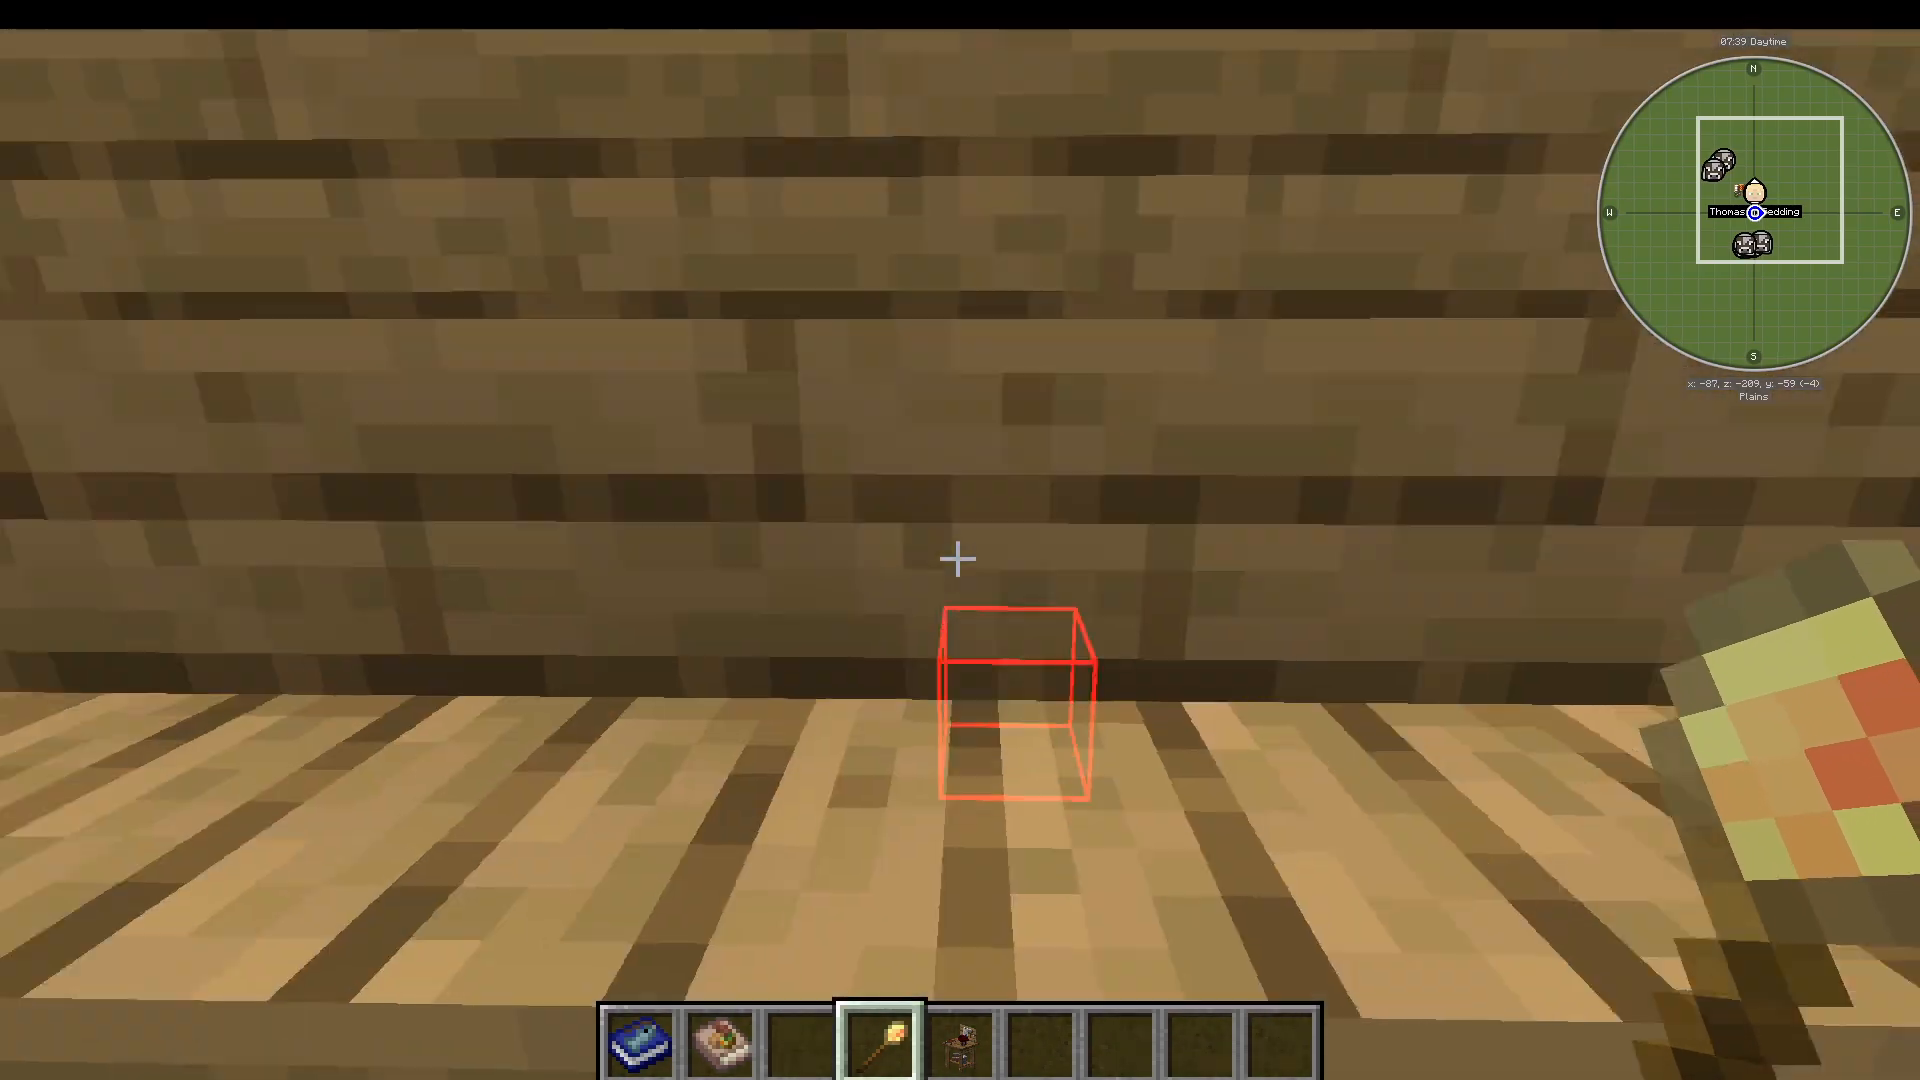
When you place the Builder’s Hut, a colonist will automatically be assigned to it. You’ll notice their clothing changes to indicate their new role. Right-clicking on them may trigger a tutorial, which you can dismiss if desired.
Supplying Your Builder with Resources
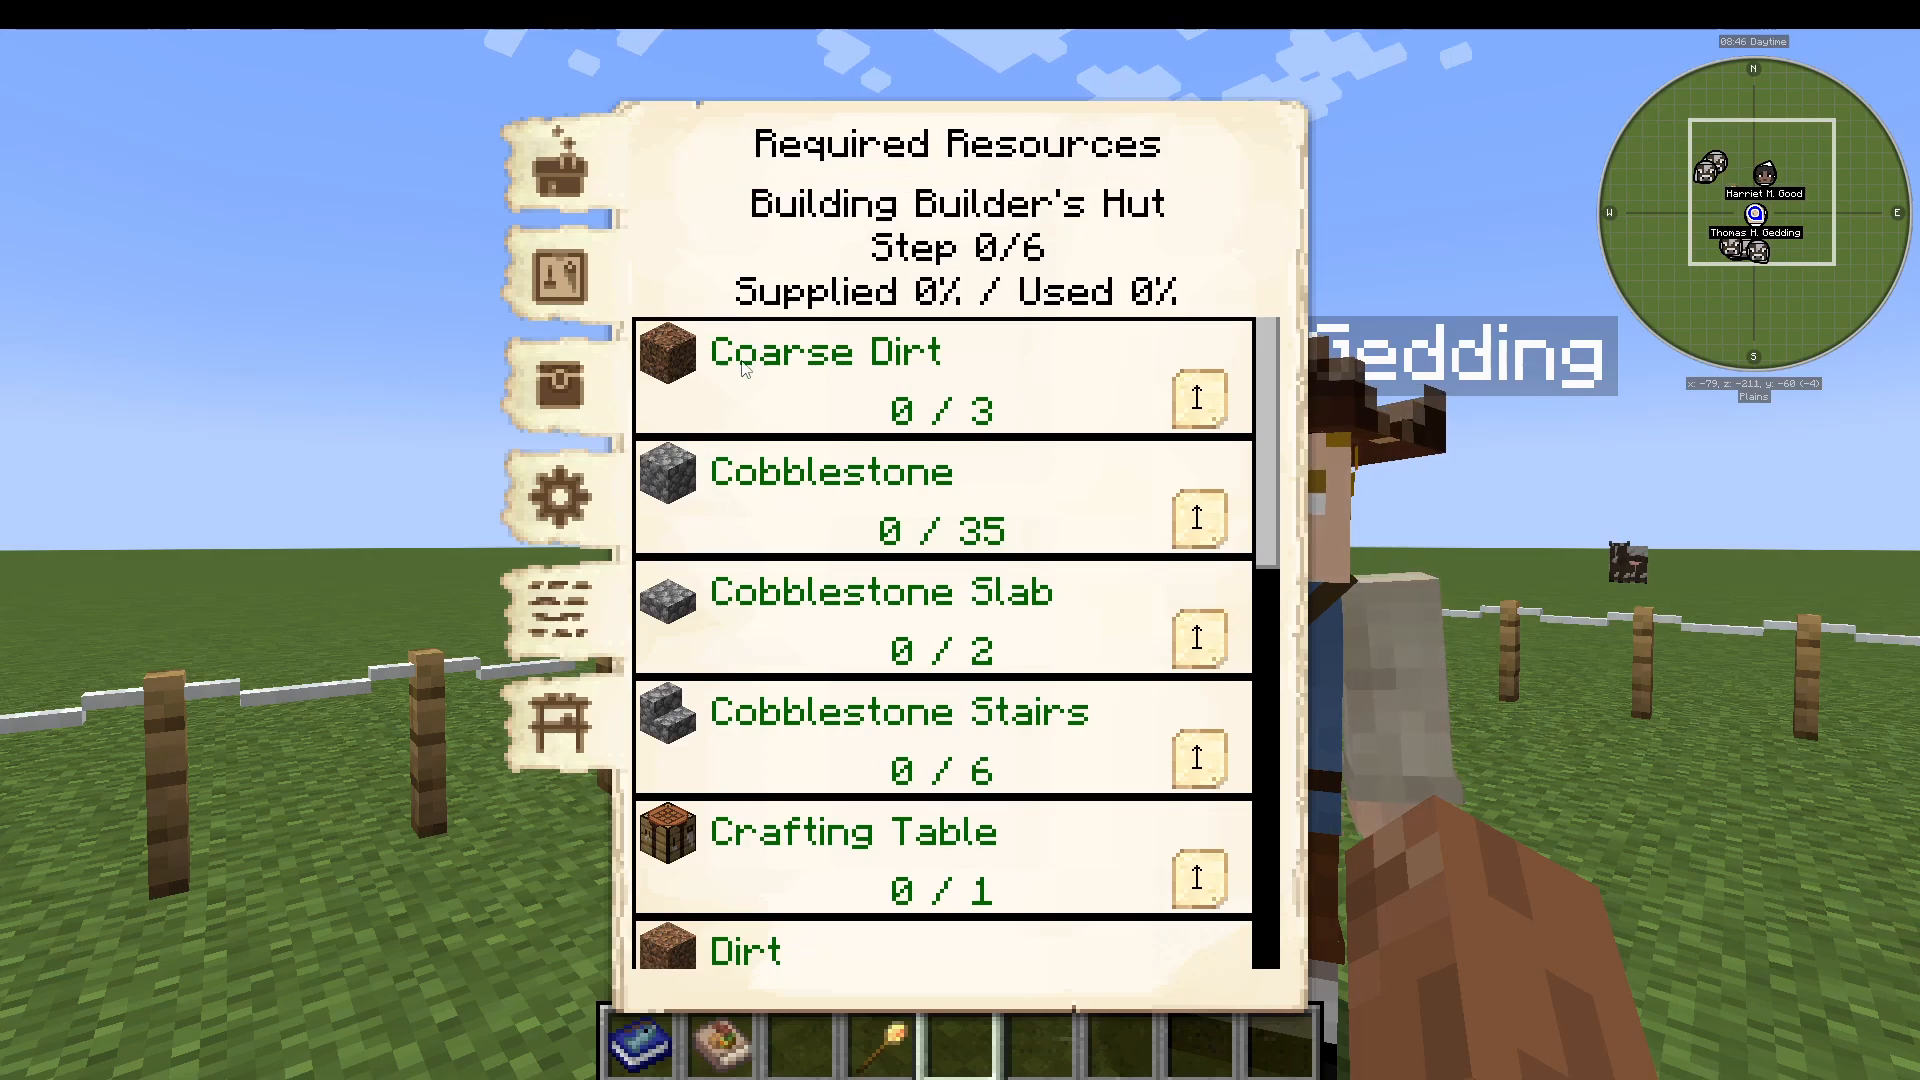
Your Builder cannot begin work until they have the necessary resources. To supply them:
Right-click on the Builder’s Hut
Navigate to “Required Resources”
Gather all listed materials (such as oak logs, cobblestone, etc.)
Click the arrow to place materials into the Builder’s Hut inventory
In Creative mode, you can instantly add these materials. In Survival mode, you’ll need to collect them manually.
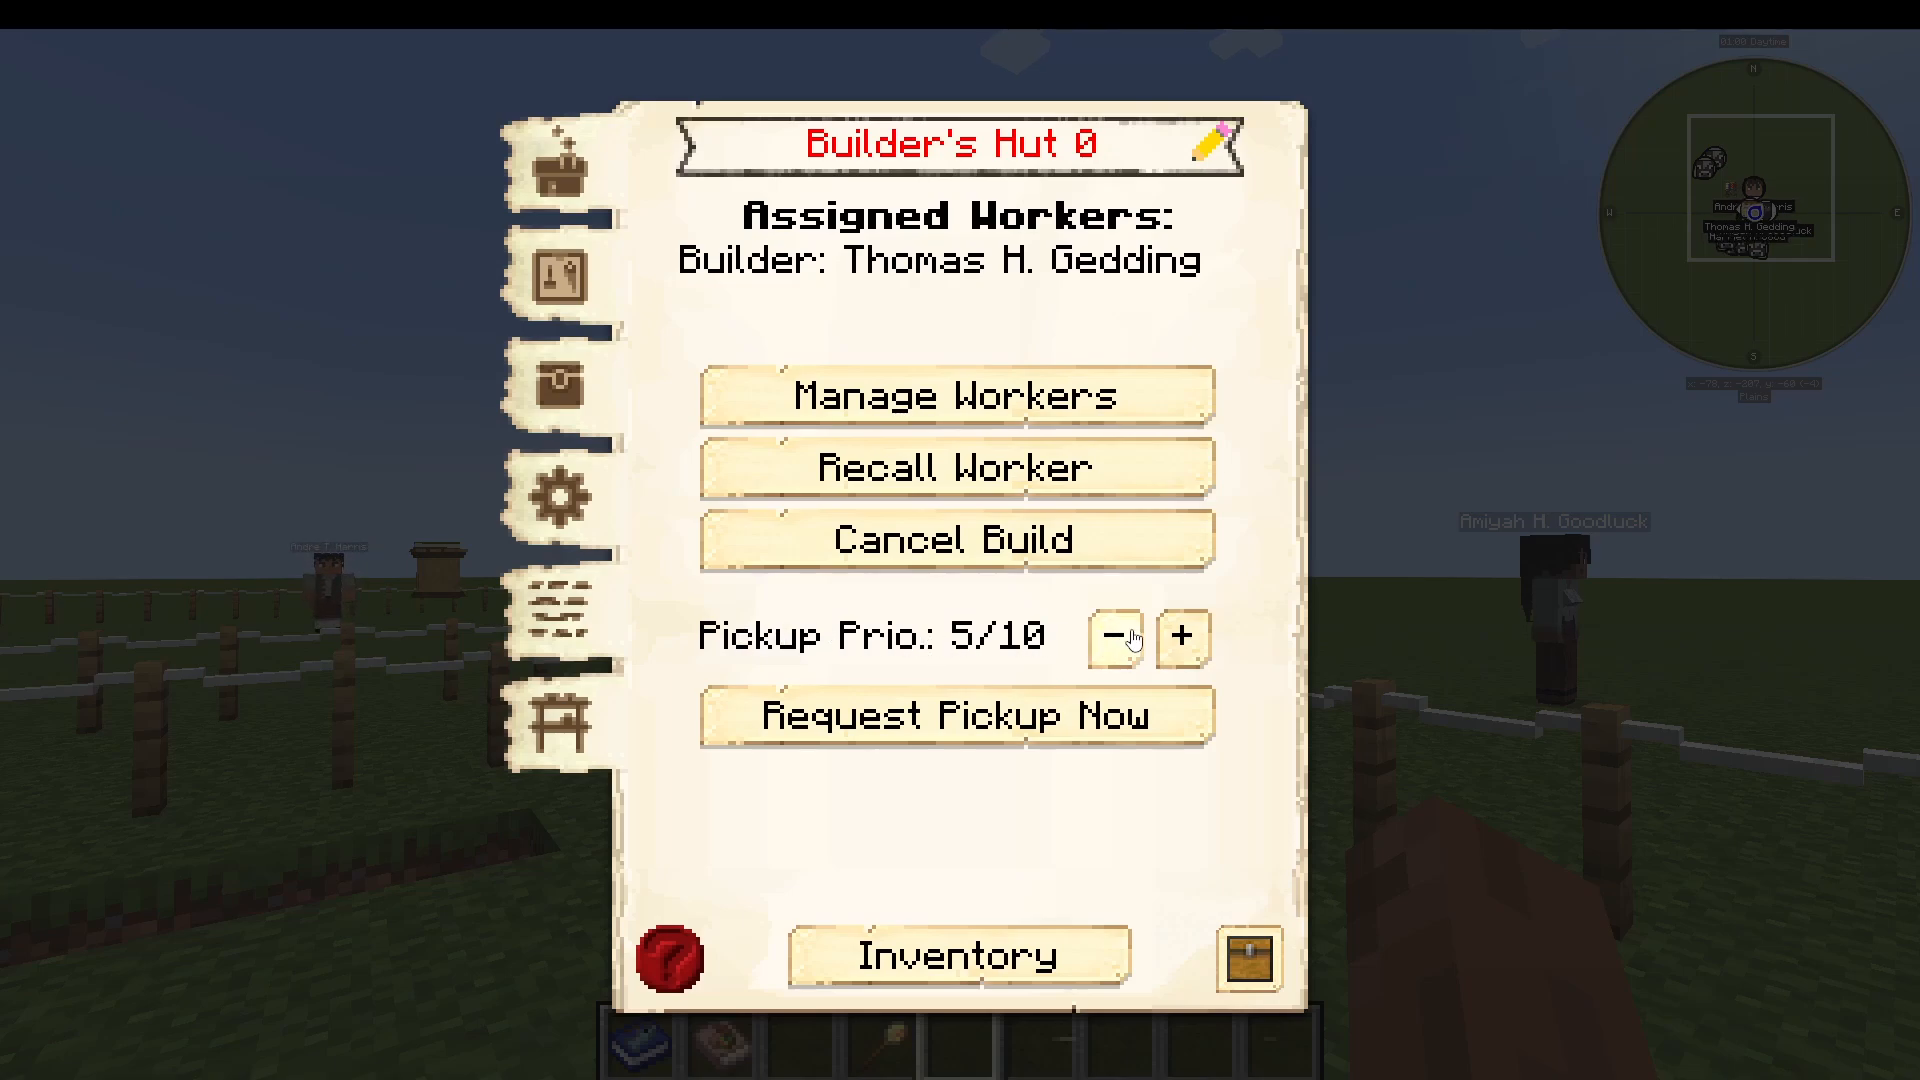
Builder’s Hut Management Options
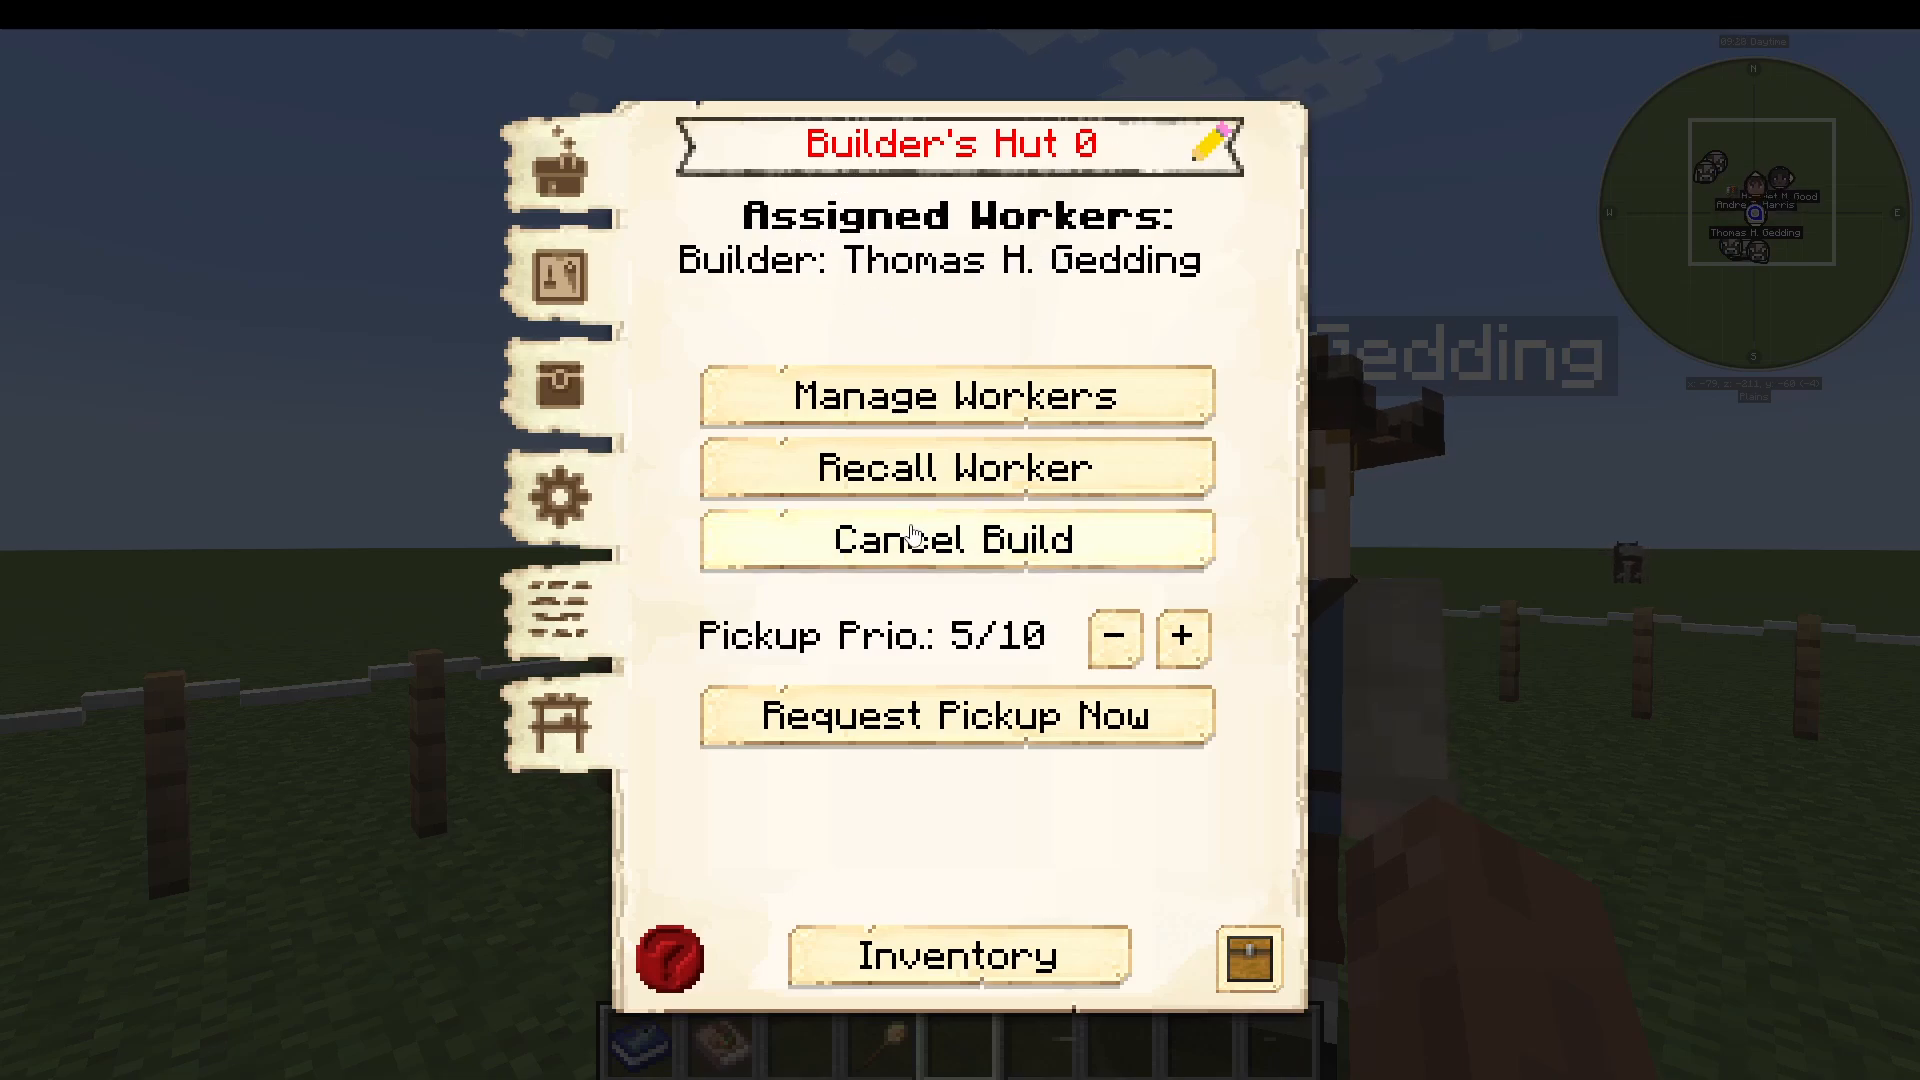
Within the Builder’s Hut interface, you have several management options:
Rename: Change the Builder’s Hut name
Assigned Worker: View and manage the assigned builder
Hiring Mode: Choose between Automatic, Manual, or Default (Automatic)
Show Employed: Toggle whether to display currently employed workers when hiring
Manage Workers: Fire or pause workers as needed
Recall Worker: Useful if a builder gets stuck during construction
Providing Your Builder with Tools
Builders require tools to work effectively. Tool requirements depend on the Builder’s Hut level:
Level 1 Builder’s Hut: Stone shovels
Level 2: Iron tools
Levels 3-4: Iron to Diamond tools
Level 5: Diamond tools
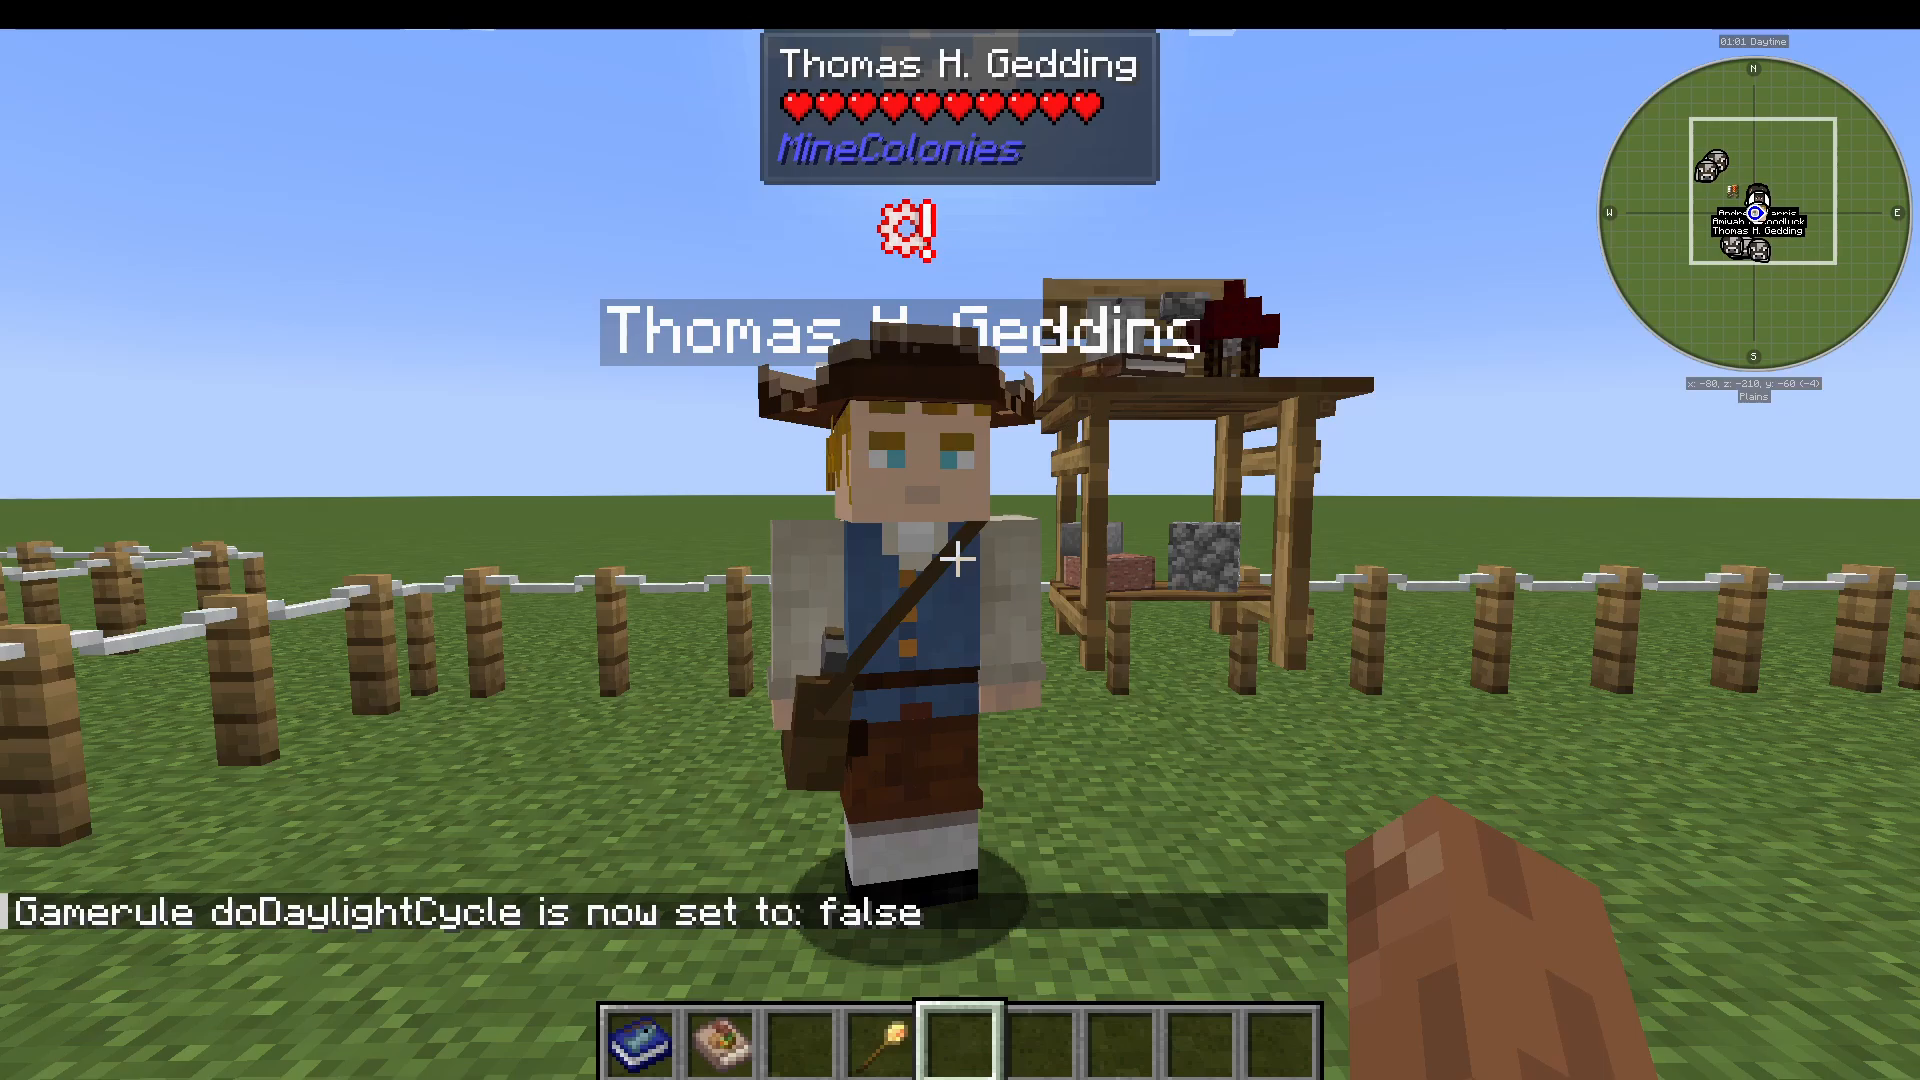
If your builder displays a warning icon (cog) above their head, right-click them to see what they need. Provide the requested tools to allow them to continue working.
Builder’s Hut Tabs and Settings
The Builder’s Hut interface contains several important tabs:
Main Tab: Overview of the current building project
Crafting Recipes: Add custom recipes for the builder to craft
Required Resources: View and supply materials needed
Settings: Configure task assignment and fill/demolish preferences
Work Orders: View the current building project
Minimum Stock: Set minimum quantities of materials to keep in inventory
Understanding Your Colonists
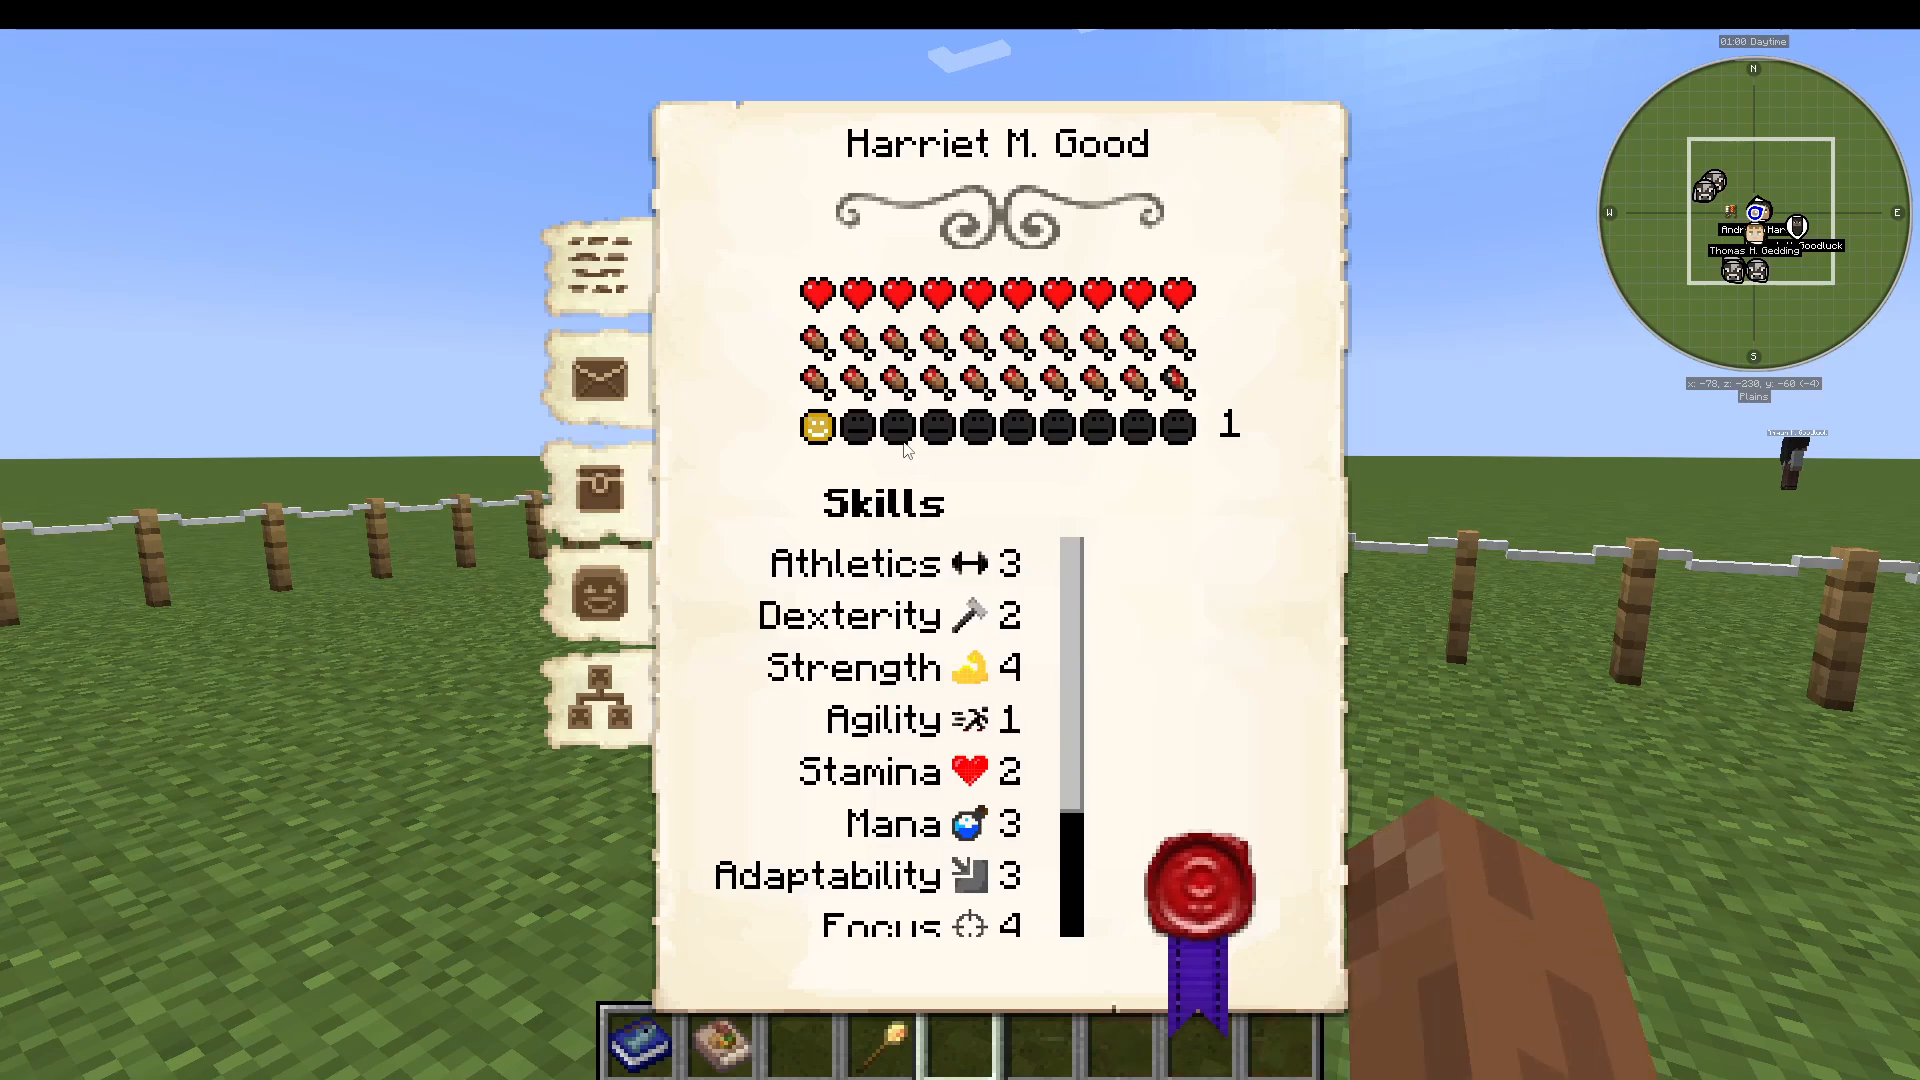
Colonist Health and Status
Each colonist has several status metrics you should monitor:
Health: Decreases if attacked or injured
Hunger: Affected by their residence level. Higher-level homes require more complex food
Happiness: Influenced by housing, employment, guards, and social factors
Keeping Your Colonists Healthy
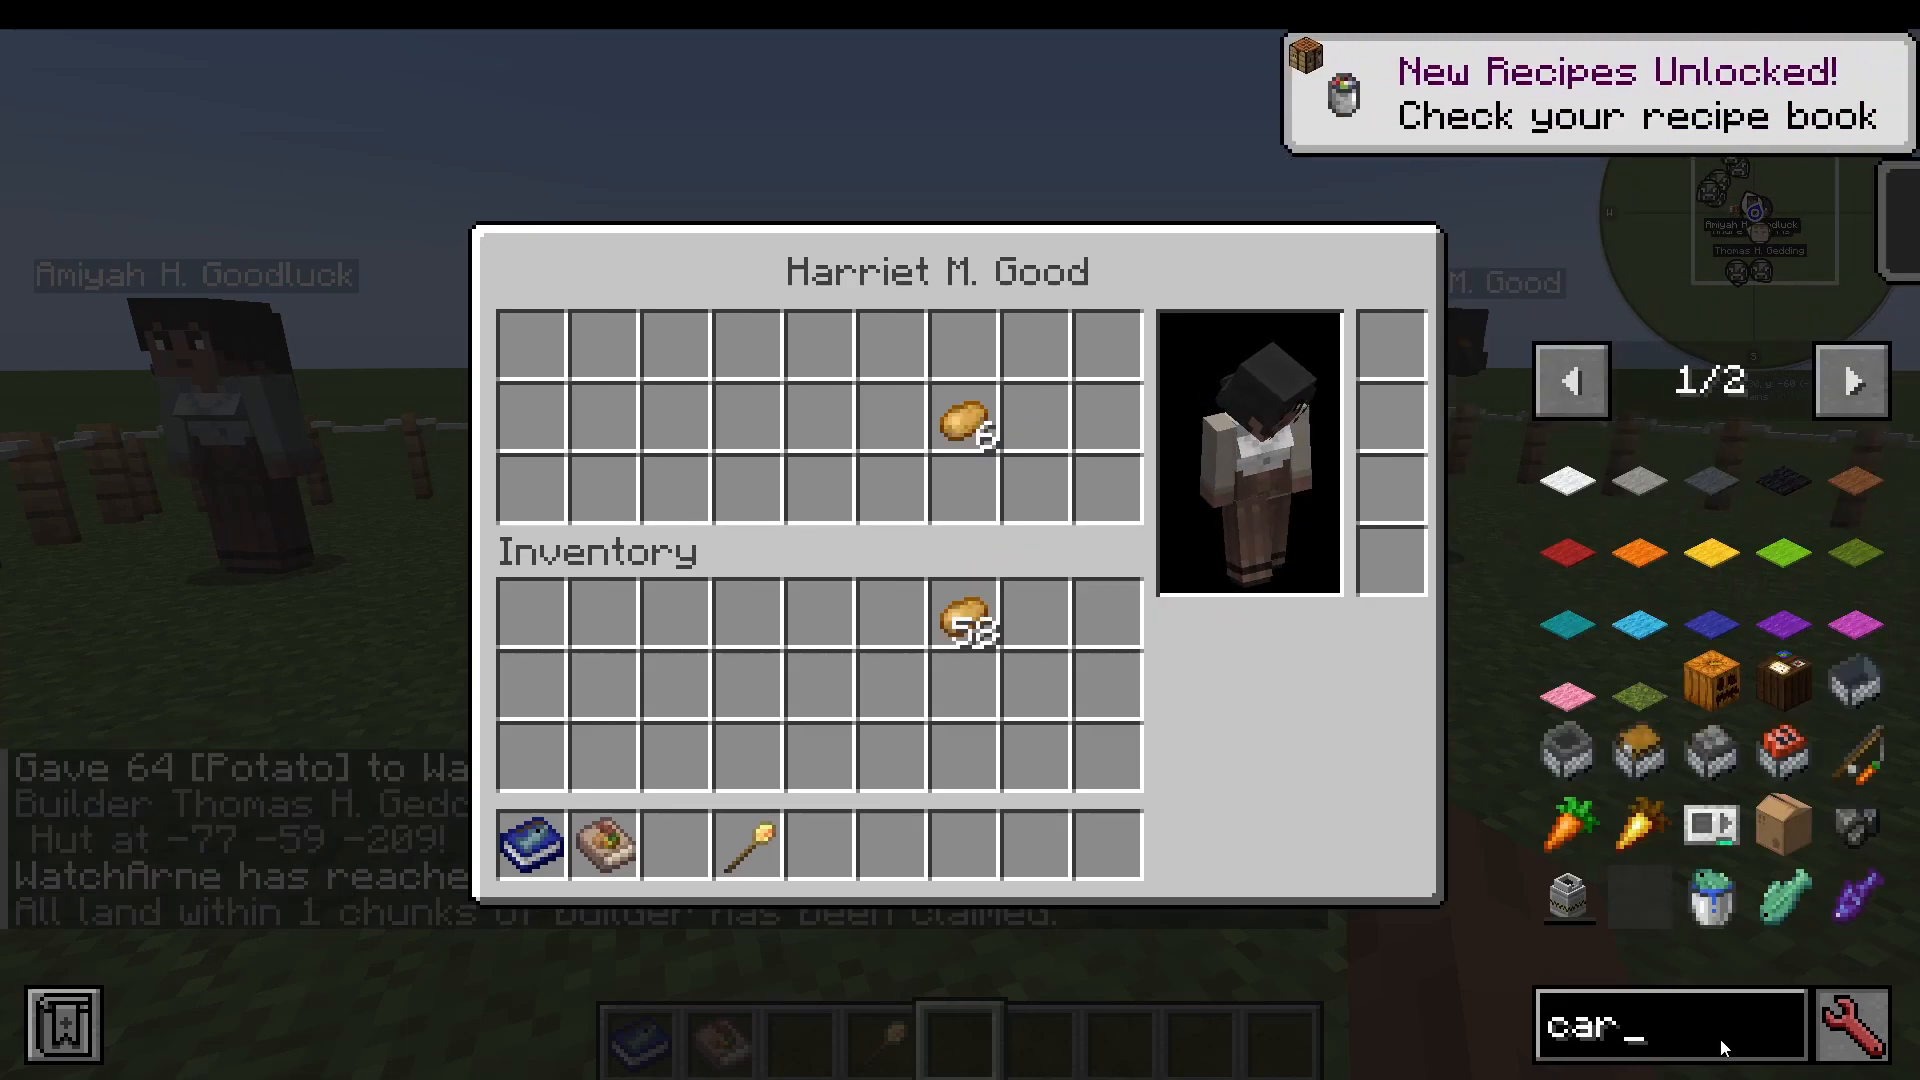
A simple but crucial tip: add a carrot and potato to every colonist’s inventory. When colonists catch a cold (which happens frequently), they can self-heal using these items. This preventative measure eliminates the need for constant manual intervention and keeps your workforce healthy and productive.
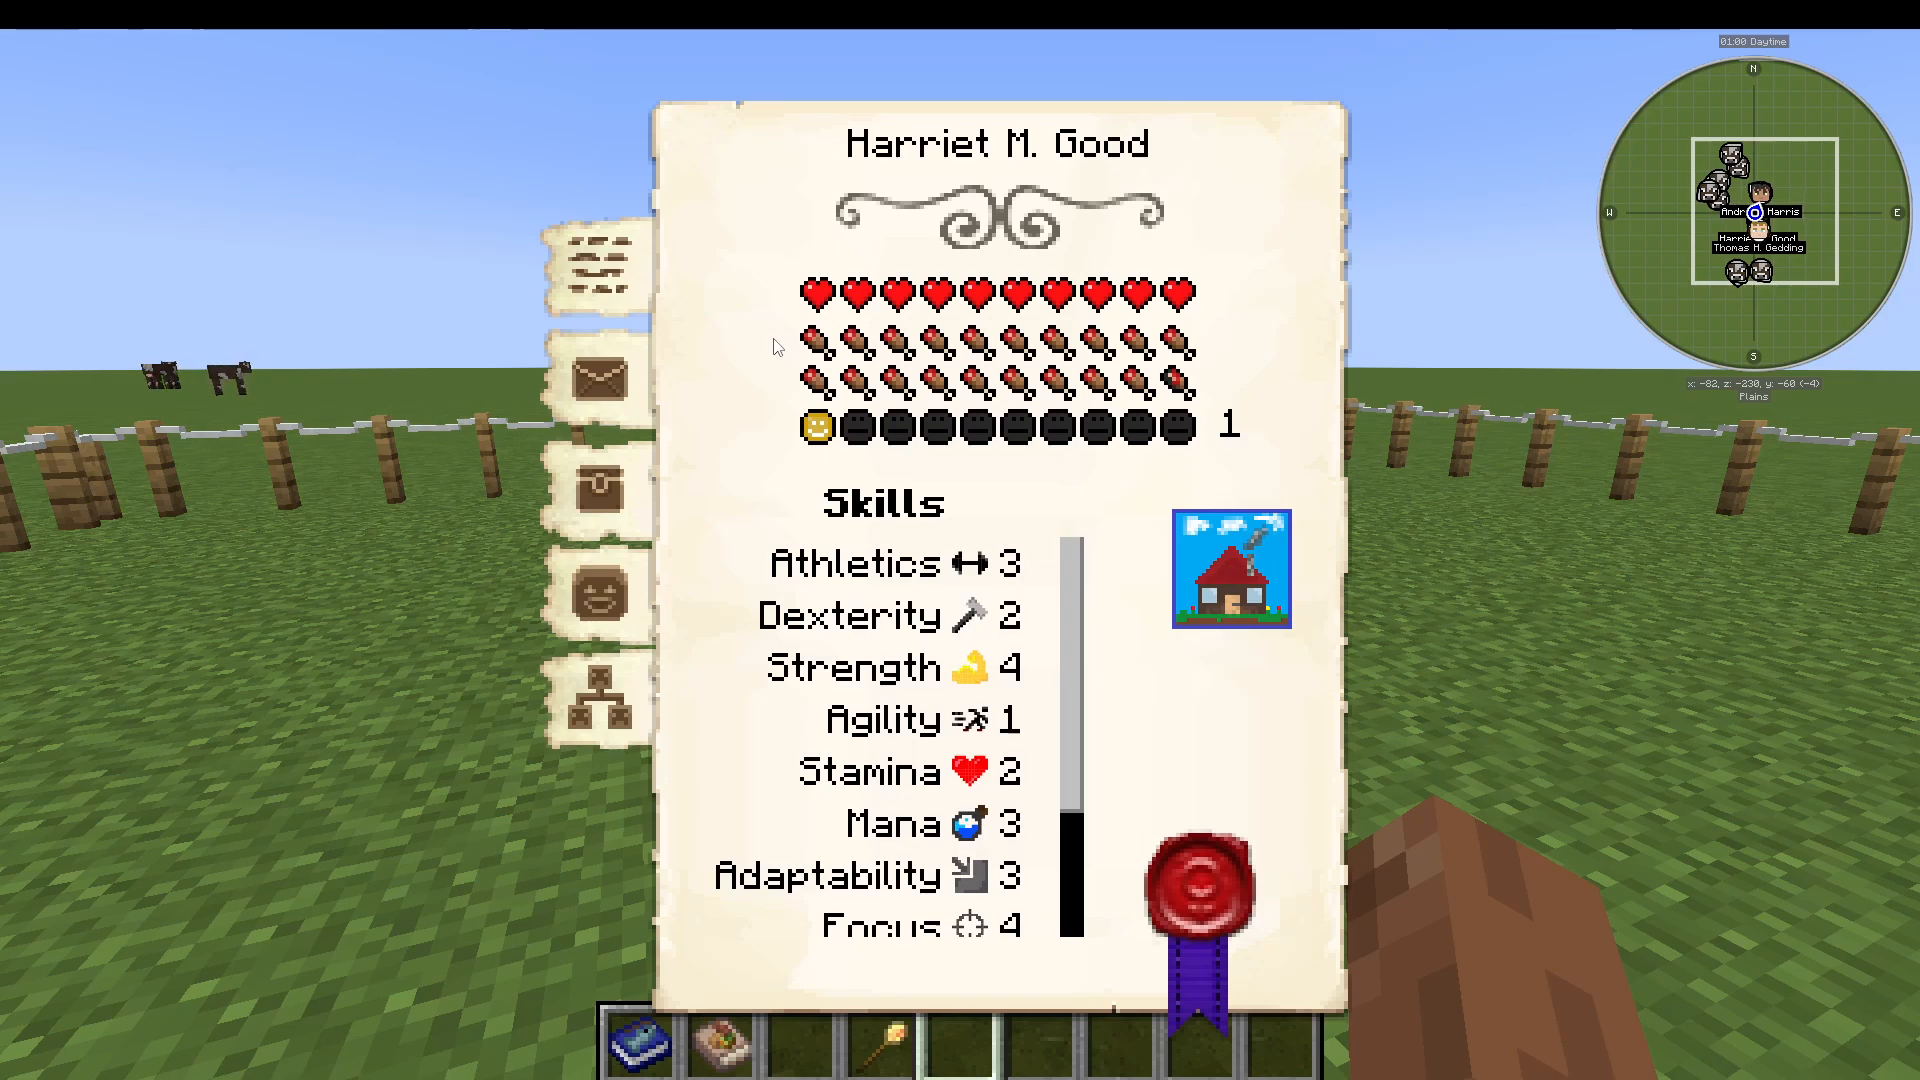
Colonist Skills
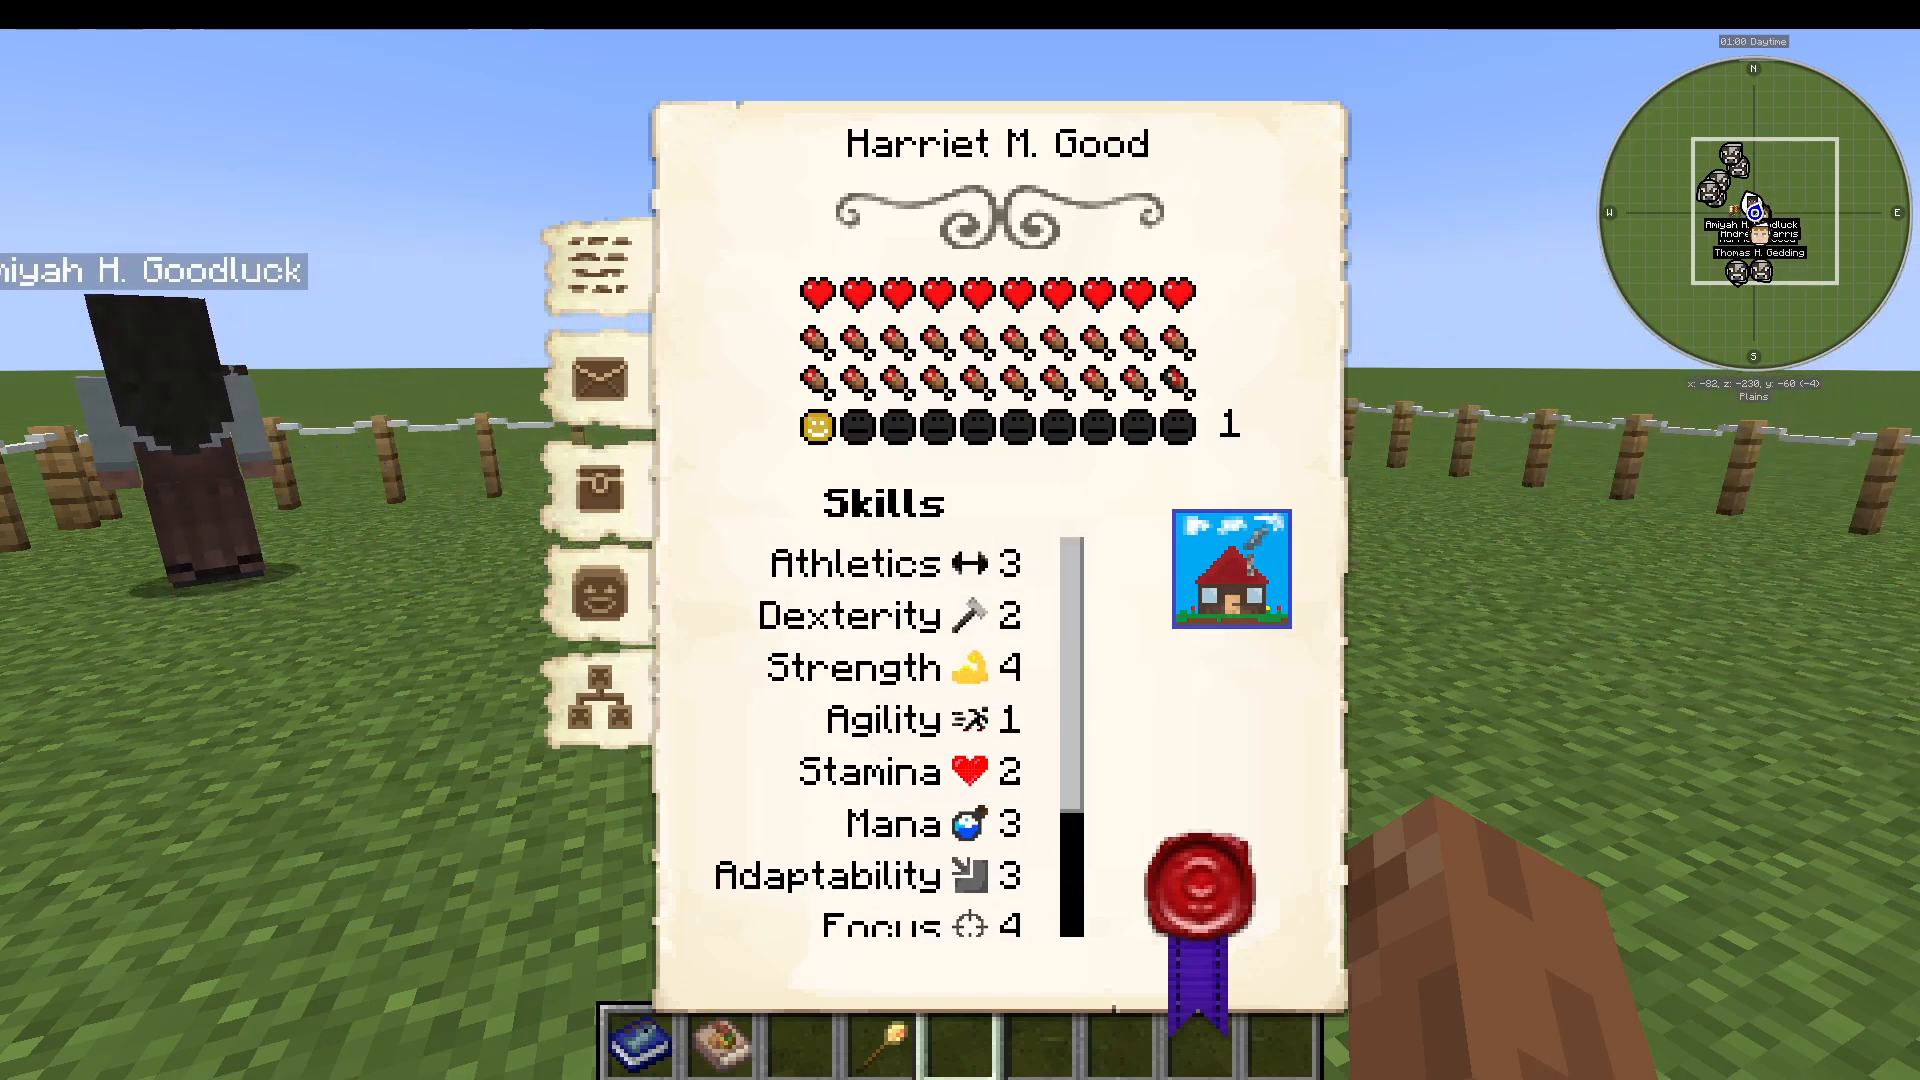
Each colonist possesses various skills that improve passively as they work:
Intelligence
Knowledge
Creativity
Focus
Adaptability
Mana
Stamina
Agility
Strength
Ferocity
Athletics
Different jobs require different skills. For example, Builders benefit from high Adaptability (faster block placement) and Athletics (faster block breaking). You don’t need to manually level skills—they improve naturally through work—but matching colonists to appropriate jobs based on their current skills can optimize your colony.
Colonist Happiness Factors
Colonist happiness is affected by several factors:
Housing: Having a home increases happiness
Employment: Having a job is important
Guards: Colony security improves morale
Mourning: They mourn for 3 days after a death
Illness/Injury: Sick or injured colonists are less happy
Unemployment: Idle colonists become unhappy over time
Homelessness: Colonists without housing become increasingly unhappy
Expanding Your Colony: Essential Buildings
Colony Borders and Expansion
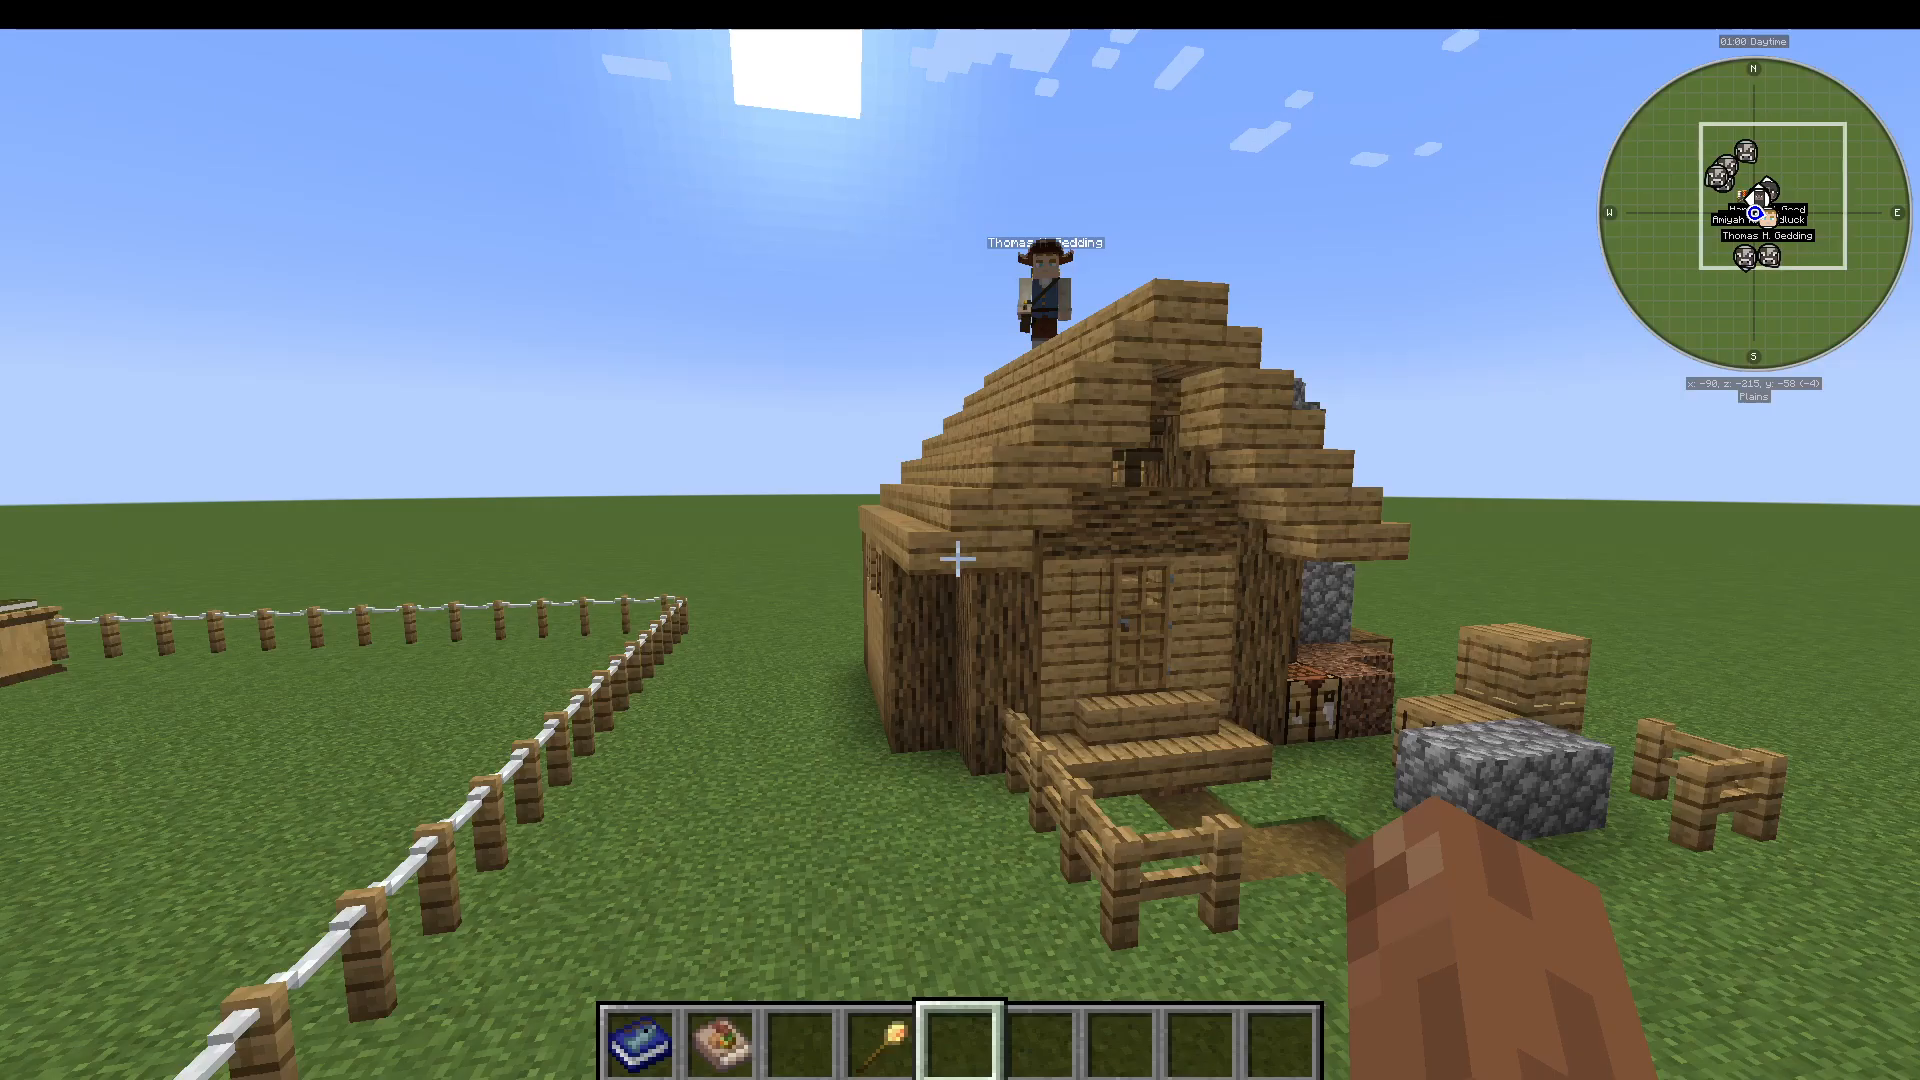
Your colony is contained within a specific grid area marked by a white border visible when holding the build tool near it. As you place buildings near the colony border, it automatically extends outward. This organic expansion system means you’re never trapped within the initial grid.
Building Priority: Six Essential Structures
After establishing your Town Hall and Builder’s Hut, prioritize building these six structures to create a self-sustaining colony:
1. Tavern
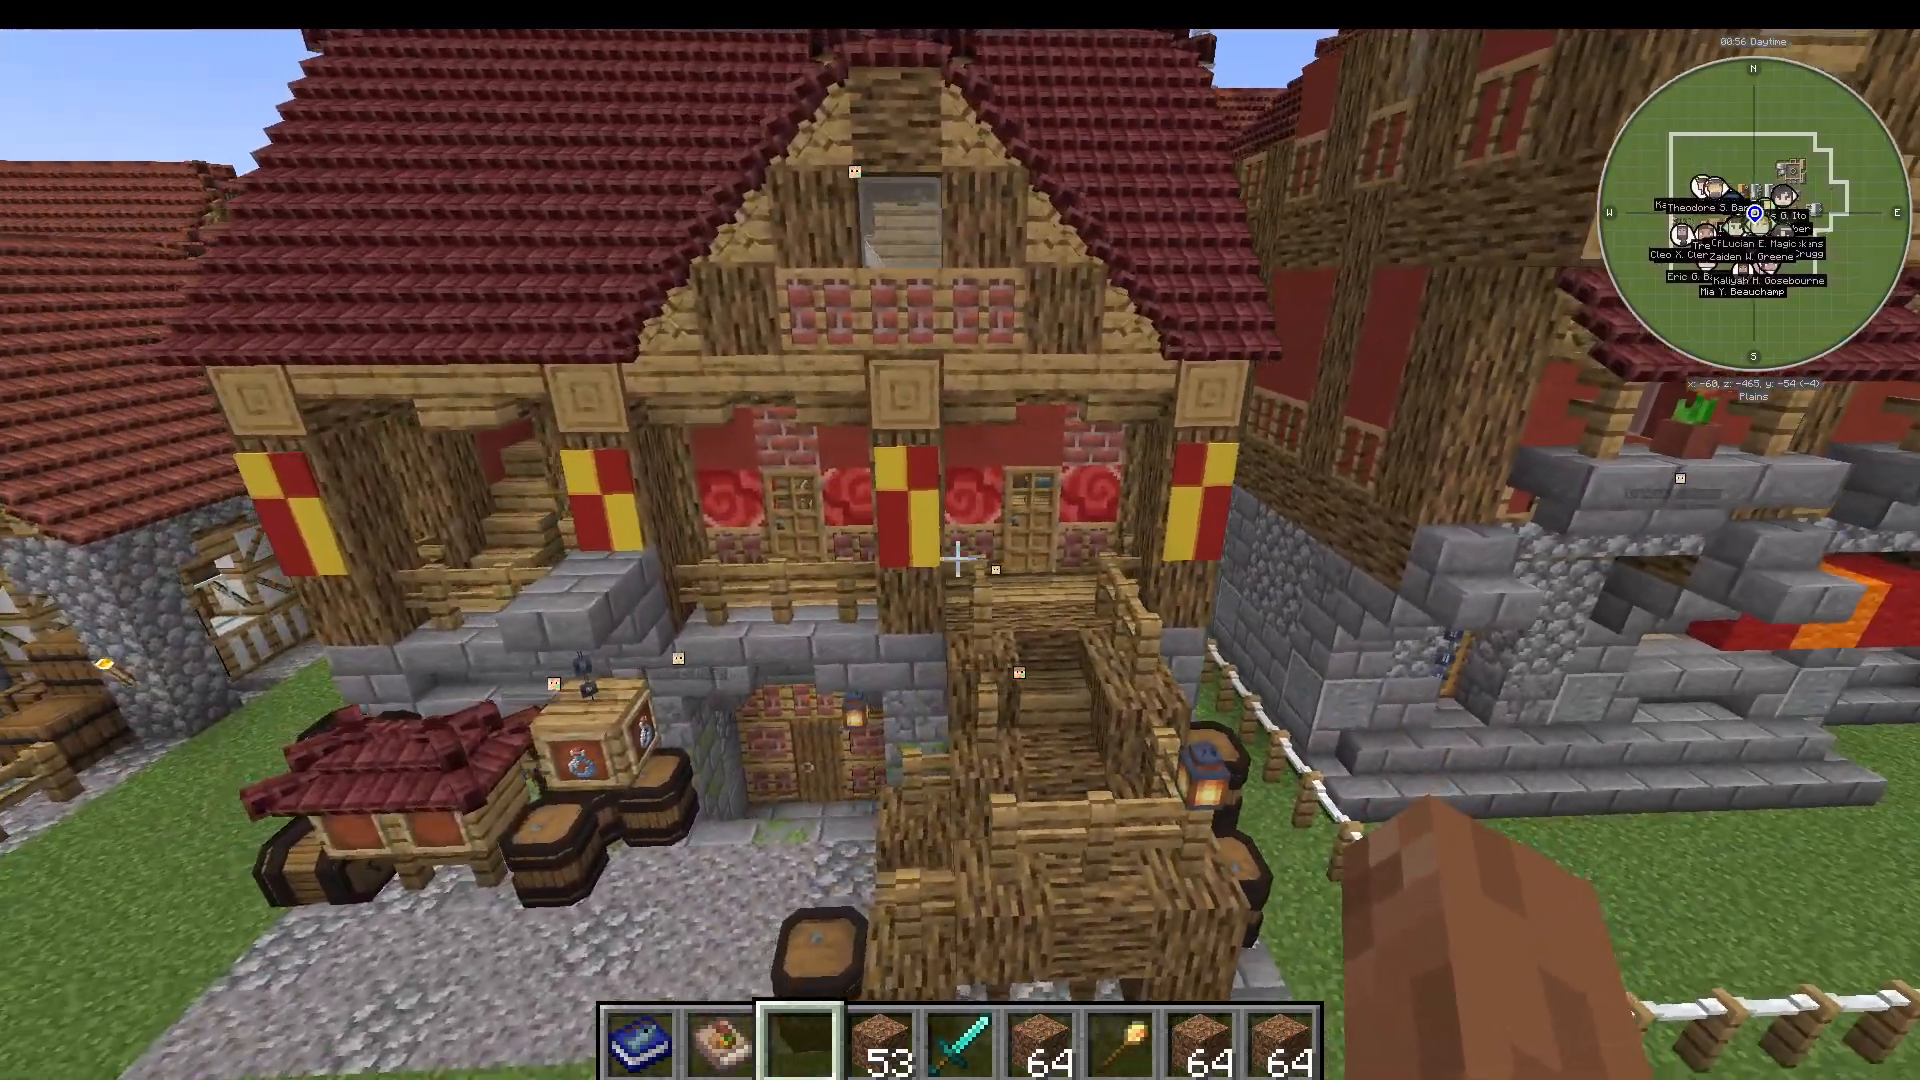
The Tavern is where new colonists spawn and join your colony. Key features:
Can only have one Tavern per colony
New colonists will negotiate joining for a fee (typically 45 books)
Level 1: 3 beds for 3 citizens
Level 2: 4 beds for 4 citizens
Level 3: 5 beds for 5 citizens
Build your Tavern first to provide housing and recruit additional citizens.
2. Farm
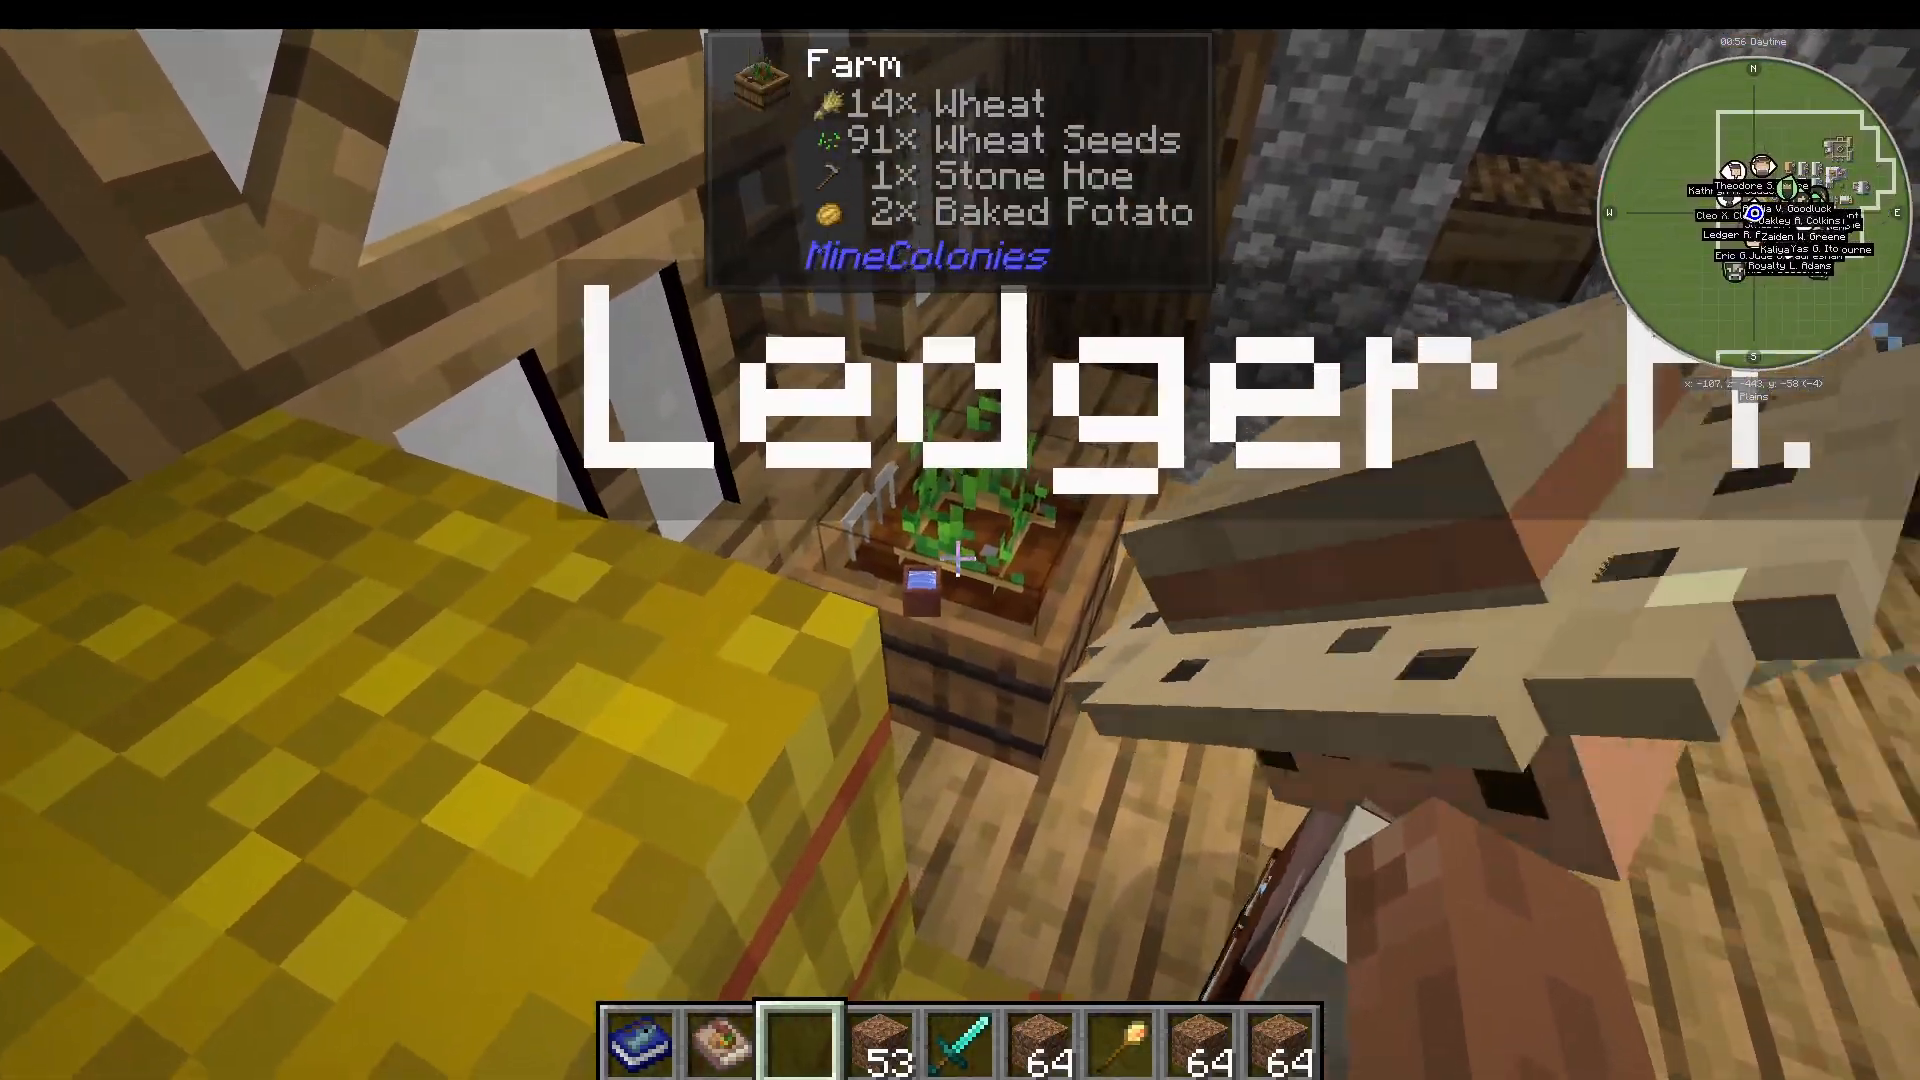
Farms produce crops essential for feeding your colonists. Features:
Use the Scarecrow to access farm settings
Right-click the Scarecrow to select seeds (wheat, carrots, etc.)
Can have up to two fields
Add seeds to the farm’s inventory and the farmer will handle planting and harvesting
Optional fertilizer requests for increased yield
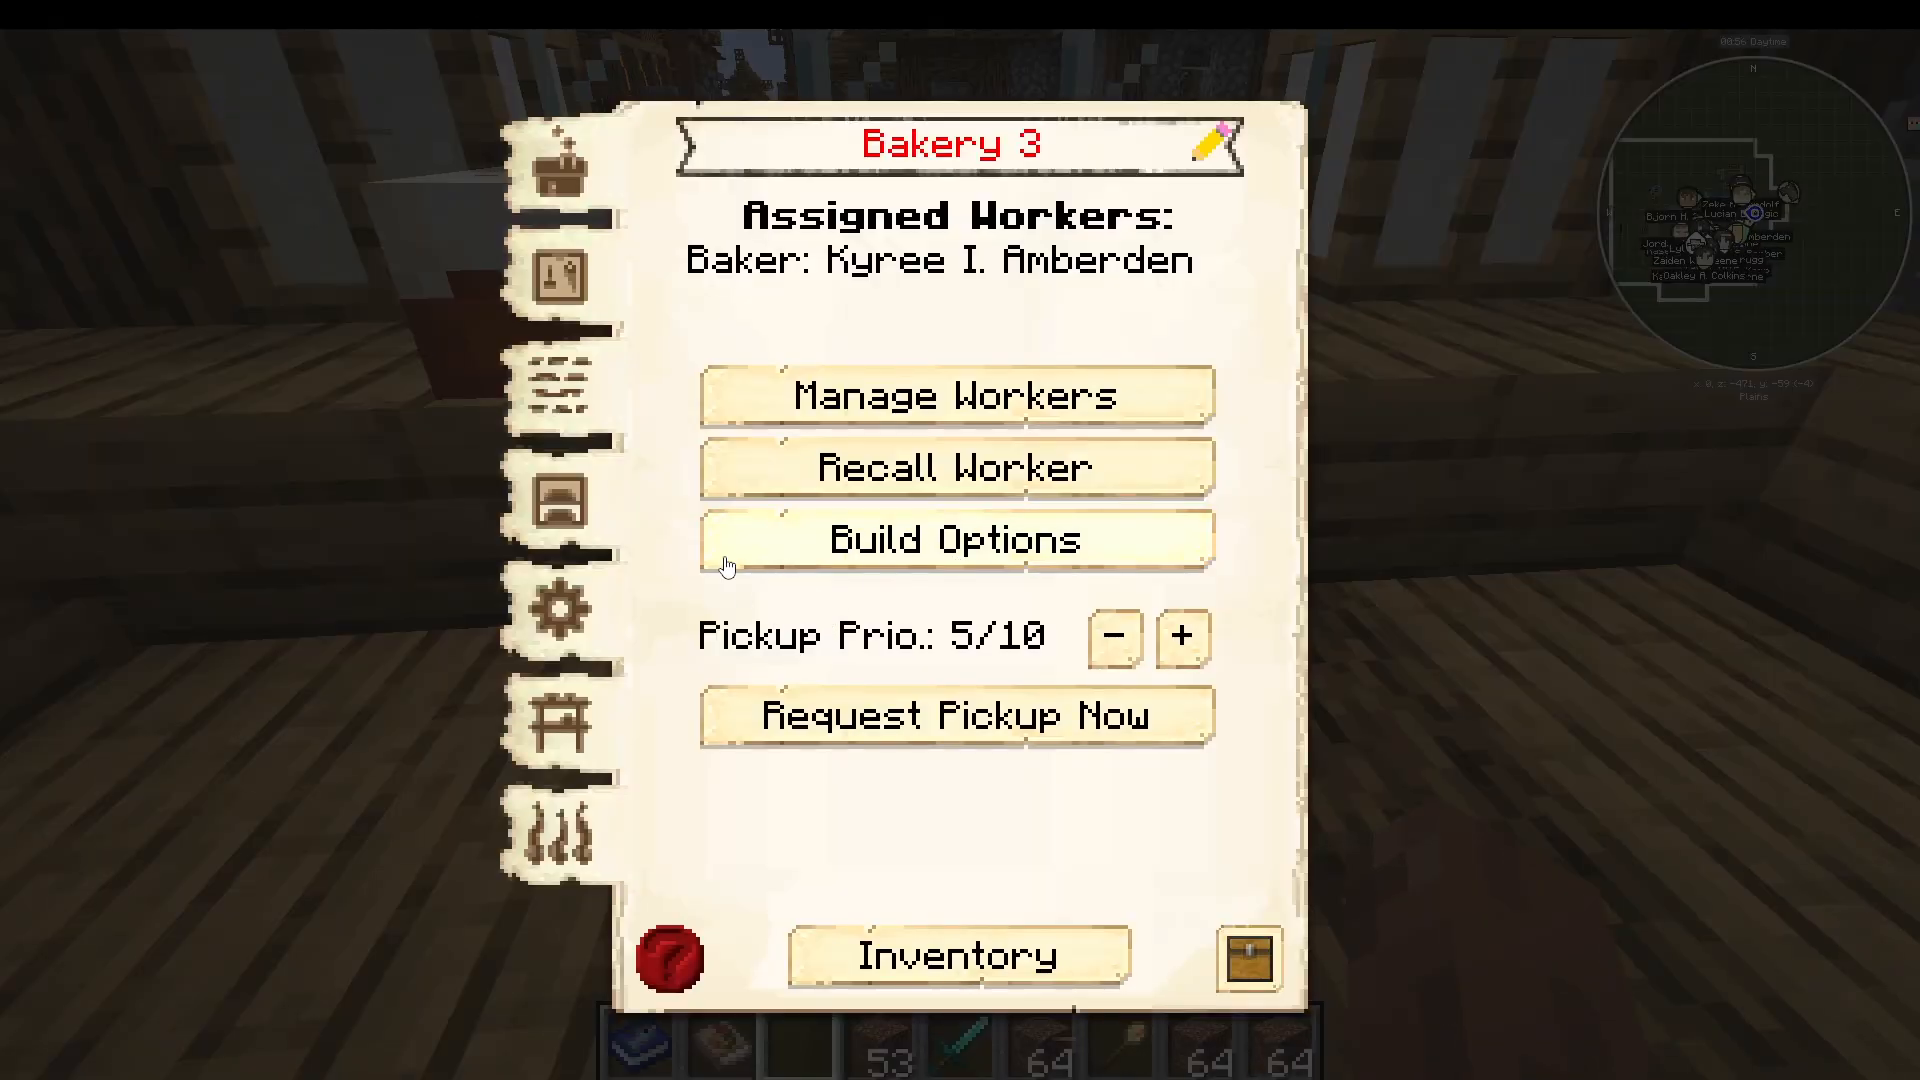
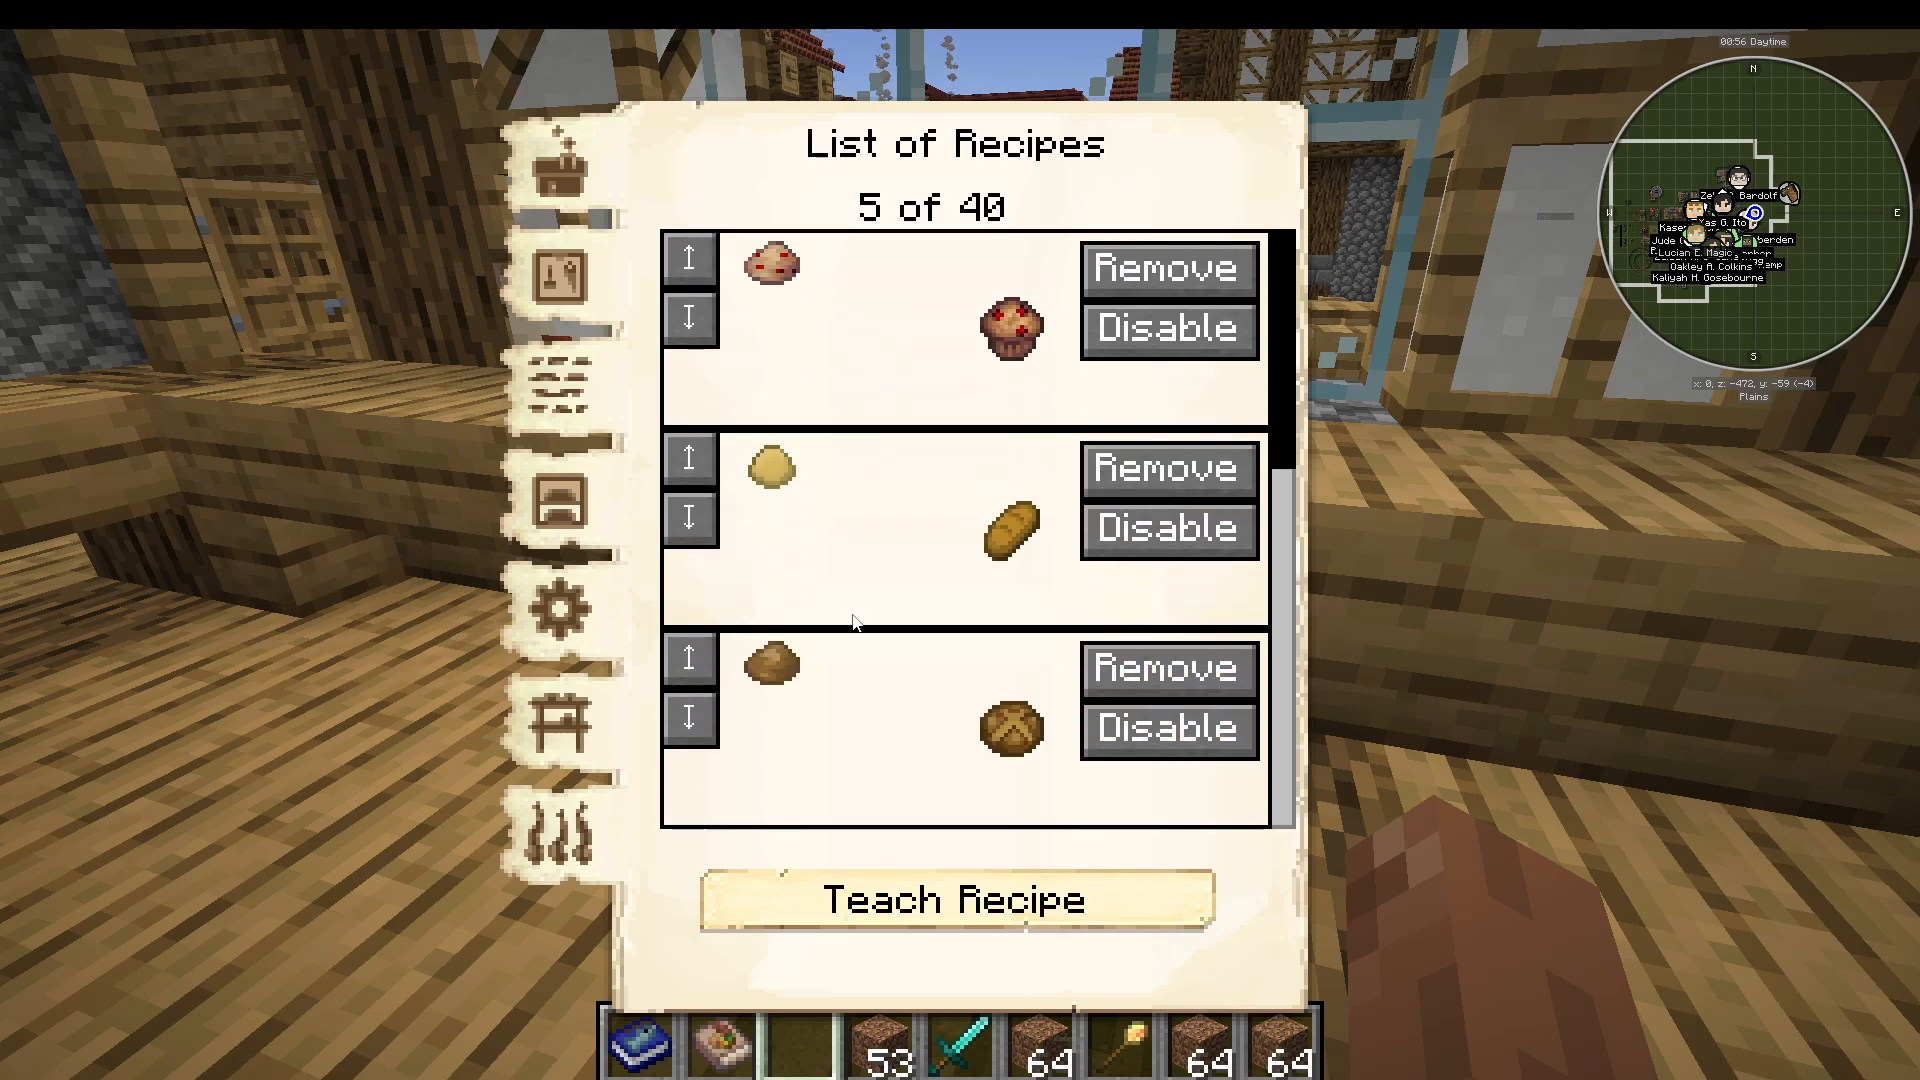
3. Bakery
The Bakery processes raw crops into bread and other food items. Key elements:
Smelting Recipes: Automatically convert bread dough to bread
Crafting Recipes: Combine wheat and large water bottles to make bread dough
Large water bottles must be created beforehand (glass bottles + water)
Place large bottles in the Bakery’s inventory
Requires fuel (charcoal or coal) to operate
4. Restaurant
The Restaurant serves prepared food to your colonists. Setup includes:
Customize the menu with available food items (bread, cheese, pizza, etc.)
You must craft or source the menu items first
Requires fuel (charcoal or coal)
Colonists will eat at the Restaurant to maintain hunger levels
5. Warehouse
The Warehouse serves as a central storage hub. Benefits:
Stores food and materials for distribution throughout the colony
Works in conjunction with Couriers to transport items
Reduces manual item management
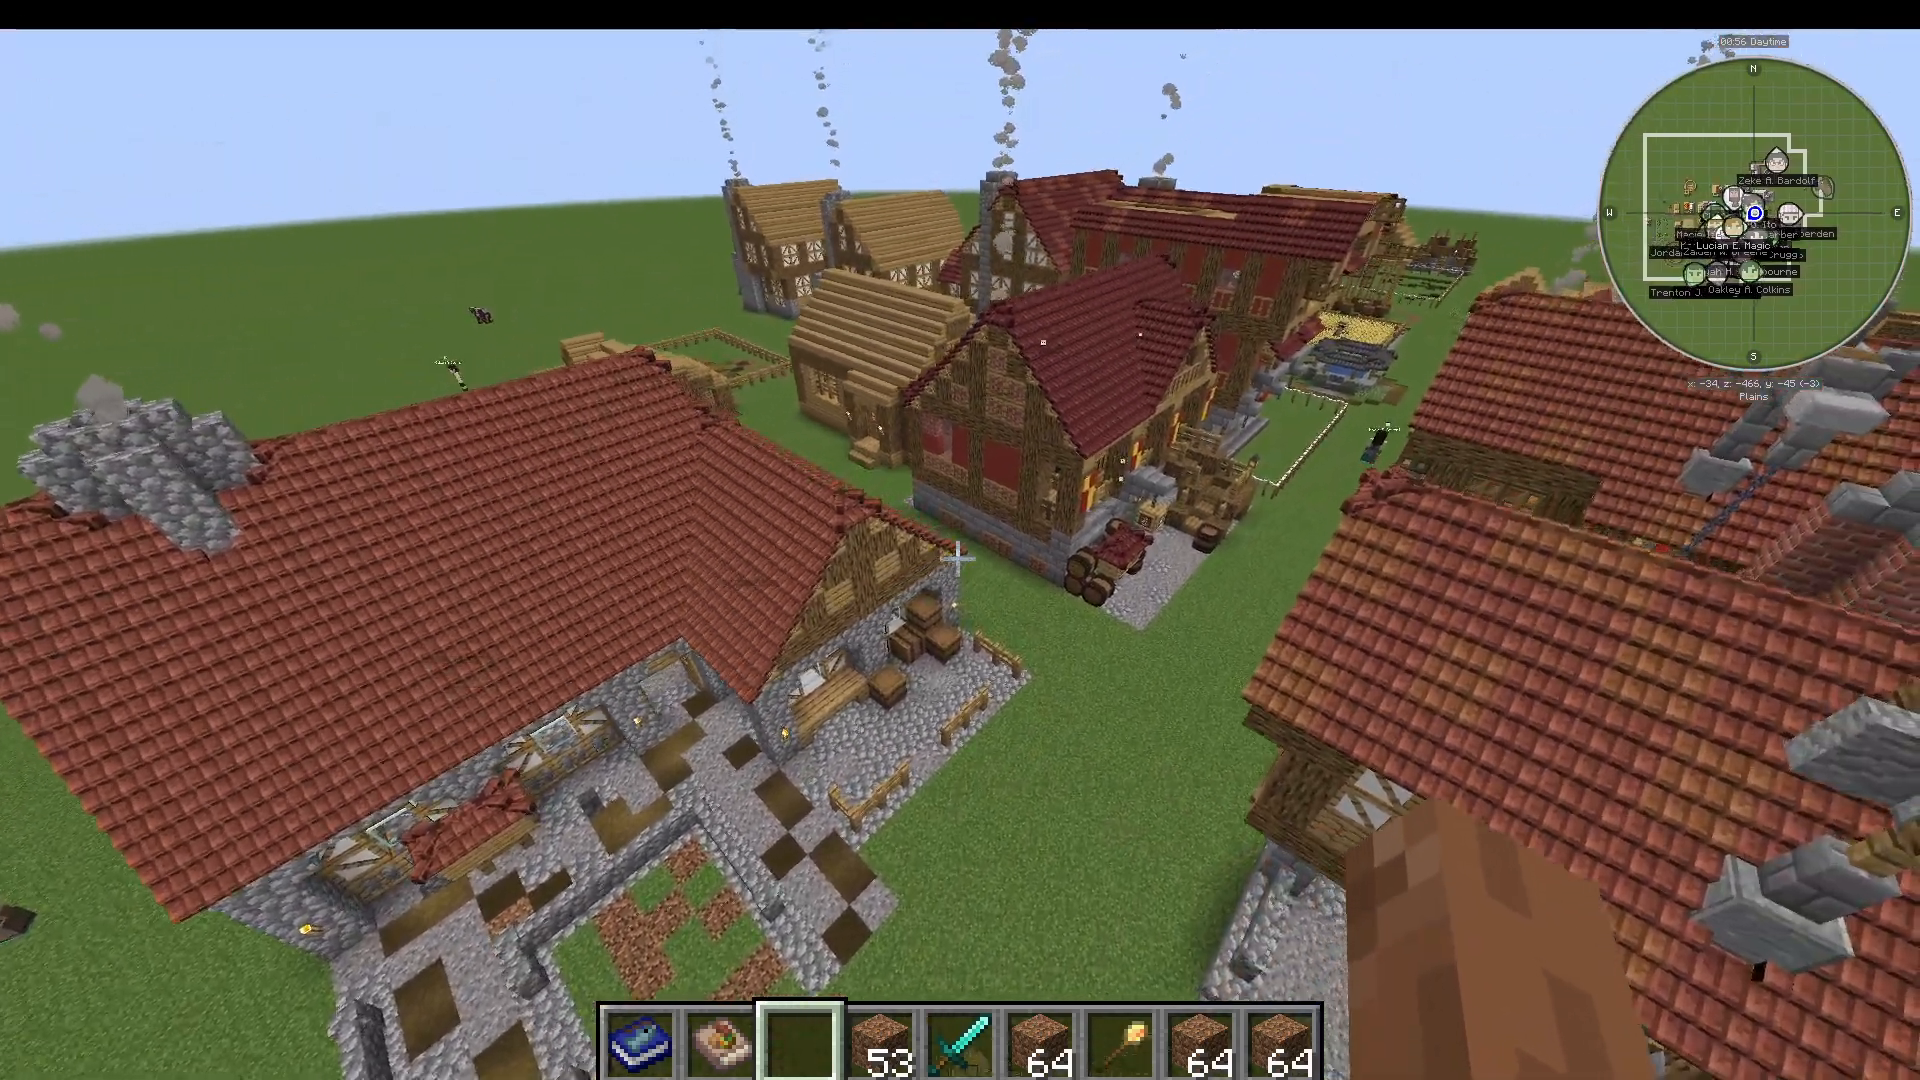
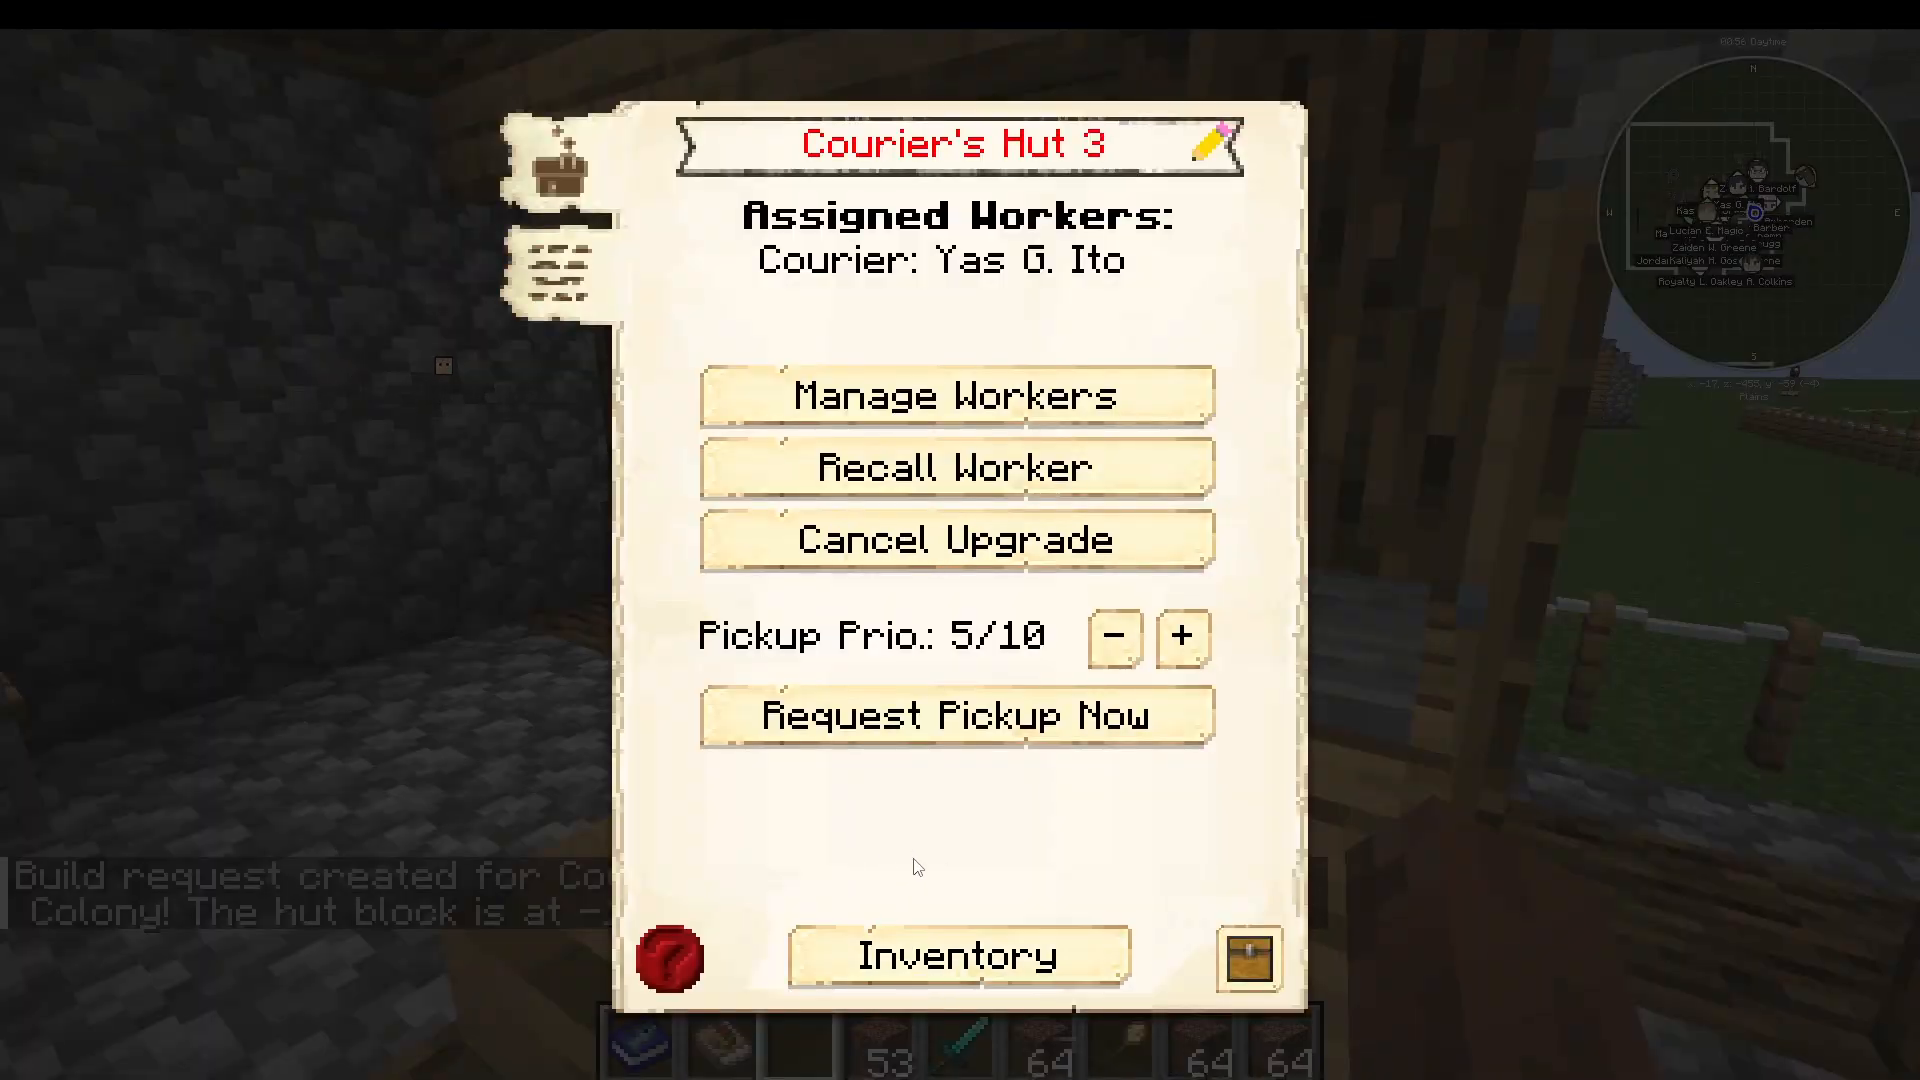
6. Courier’s Hut
Couriers automatically transport items between buildings. This is crucial for automation:
Couriers pick up wheat from the Farm
Deliver wheat to the Bakery
Transport bread from the Bakery to the Restaurant
Eliminates the need for manual item transfers
Additional Recommendations
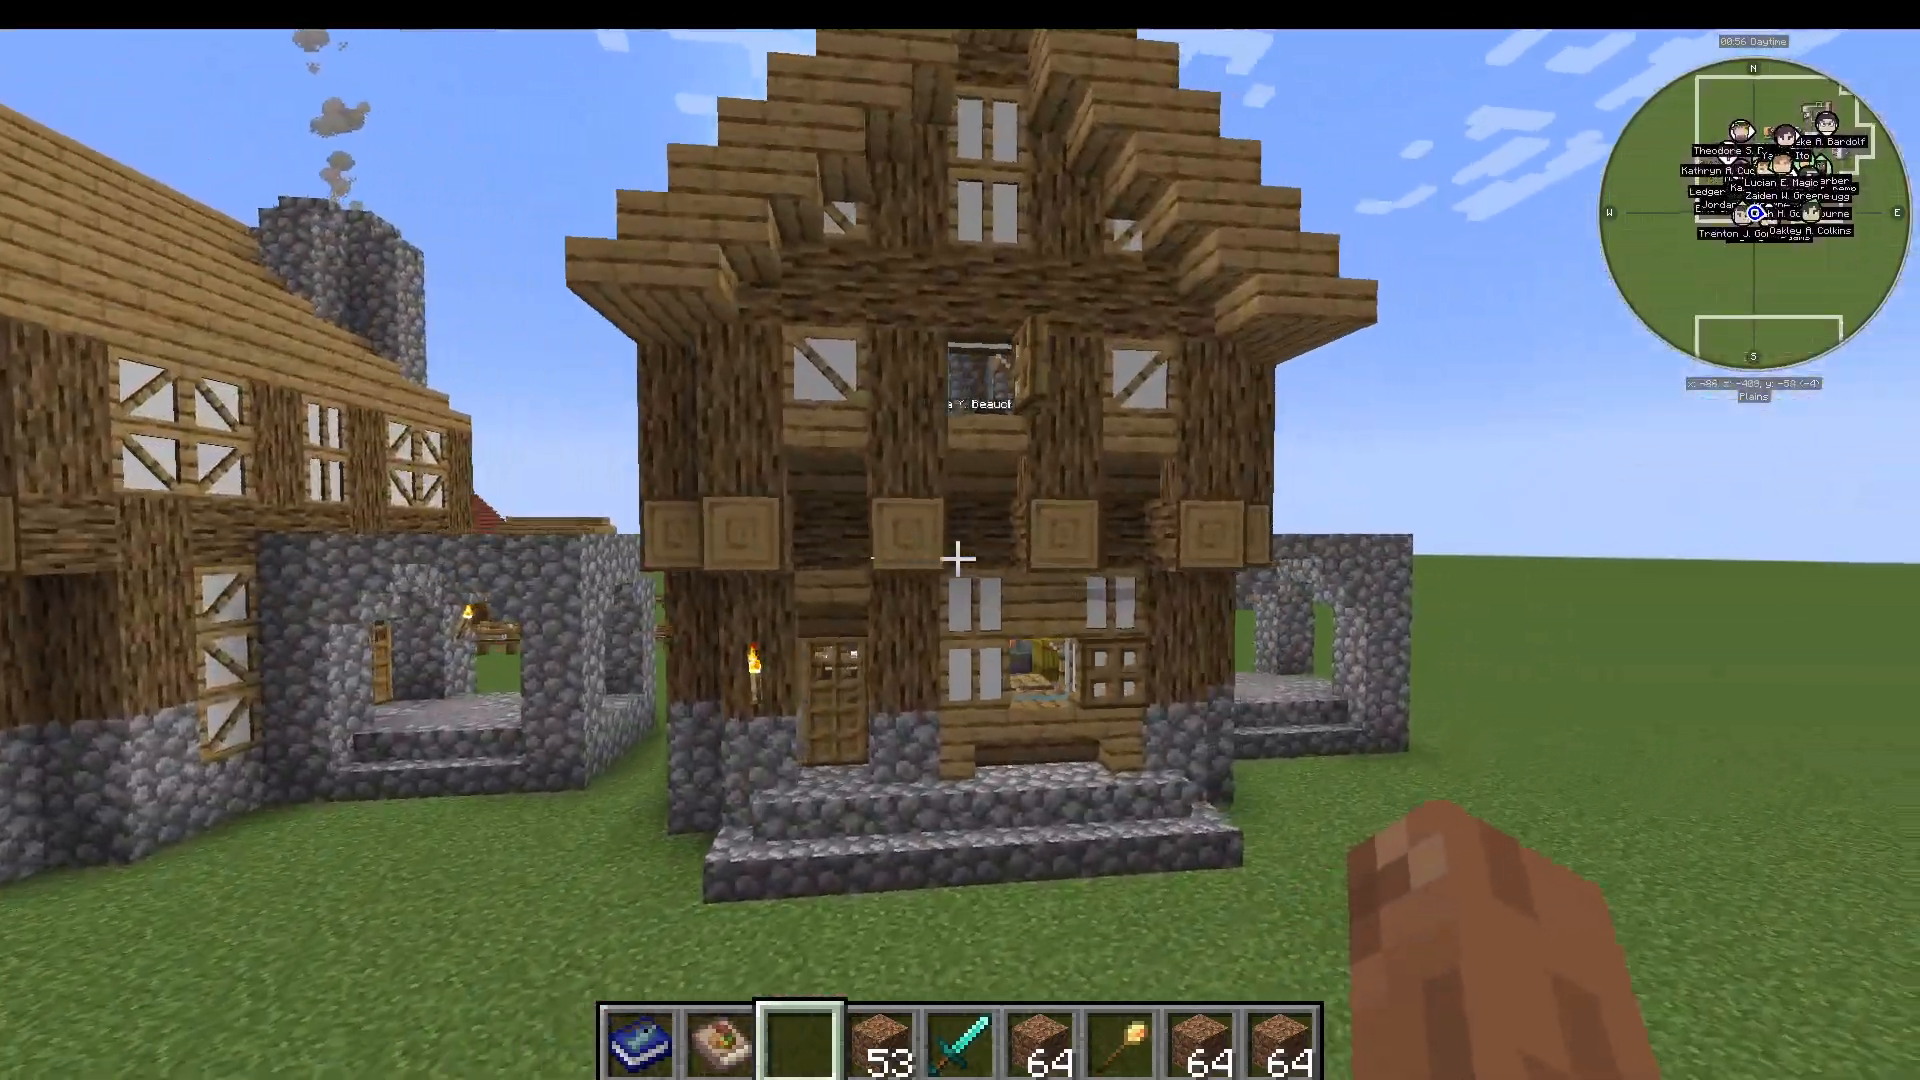
Residences
Beyond the Tavern’s limited beds, build Residences to house additional colonists. Residences come in multiple levels:
Level 2 Residence: Basic housing
Level 3 Residence: Improved living conditions
Level 5 Residence: Grand, luxurious homes
Warning: Higher-level residences require colonists to eat more complex food items, so plan accordingly.
Compost Heap
A Compost Heap provides fertilizer for your farms, increasing crop yield naturally.
Upgrading Buildings
How to Upgrade
Upgrading buildings to higher levels is straightforward:
Enter the building and access the workstation
Select “Build Options”
Click “Build Up” or “Upgrade”
Gather and place required materials in the Builder’s Hut inventory
An available builder will begin the upgrade process
Builder’s Hut Level Restrictions
Your Builder’s Hut level determines the maximum level you can upgrade other buildings:
Level 1 Builder’s Hut: Can upgrade buildings to Level 1 only
Level 2 Builder’s Hut: Can upgrade buildings to Level 2
Level 3 Builder’s Hut: Can upgrade buildings to Level 3
Level 4 Builder’s Hut: Can upgrade buildings to Level 4
Level 5 Builder’s Hut: Can upgrade buildings to Level 5
To upgrade your Builder’s Hut itself, follow the same process with another Builder’s Hut or use the upgrade function on your existing one once it reaches a higher level.
Accessing Individual Building Guides
This comprehensive beginner guide covers the fundamentals, but MineColonies has far more depth. Individual guides for each building type are available, along with an ultimate guide for advanced strategies. These resources provide in-depth information about specialized buildings and optimization techniques beyond this introductory scope.
Conclusion
You now have everything needed to start your MineColonies journey! Begin by creating your supply camp and Town Hall, then build your Builder’s Hut. From there, construct the six essential buildings—Tavern, Farm, Bakery, Restaurant, Warehouse, and Courier’s Hut—to create a thriving, self-sustaining colony. Remember to keep your colonists healthy with carrots and potatoes, and don’t hesitate to reference this guide as you progress. Most importantly, have fun building your dream colony!
— Want to Support? —
If you would like to help us continue making these guides – please consider joining our patreon here – https://www.patreon.com/c/JaviHeals
Alternatively – we host a group of MC Servers you can join here – https://discord.gg/zD7Gjt6MHF