Flux Networks Mod Tutorial
Flux Networks Mod Tutorial: Complete Beginner’s Guide
The Flux Networks mod is one of the most useful energy management mods available for Minecraft. It lets you transfer, store, and wirelessly distribute energy across your entire base — all through a clean, network-based system. In this guide, you’ll learn exactly how to craft the key items, set up your first network, configure flux plugs and points, enable wireless charging, and manage your energy storage blocks from scratch.
Key Items in Flux Networks
The mod adds a small but powerful set of items. The two most important are the Flux Plug and the Flux Point, and it’s essential to understand the difference between them:
Flux Point — provides (outputs) energy to a machine or storage device.
Flux Plug — receives (inputs) energy into the network, typically from a generator.
Think of the Flux Plug like plugging your hair dryer into the wall — it’s the connection that feeds power into the network. The Flux Point is the outlet that delivers that power to whatever needs it.
The mod also includes a Flux Controller for wireless charging of items in your inventory, Flux Storage blocks in multiple tiers, and a Flux Configurator for managing networks on the go.
How to Craft Flux Dust
The only unique material you need to craft from scratch in this mod is Flux Dust. Everything else — Flux Cores, Flux Blocks, and the mod’s items — builds from that. Here’s how to make it:
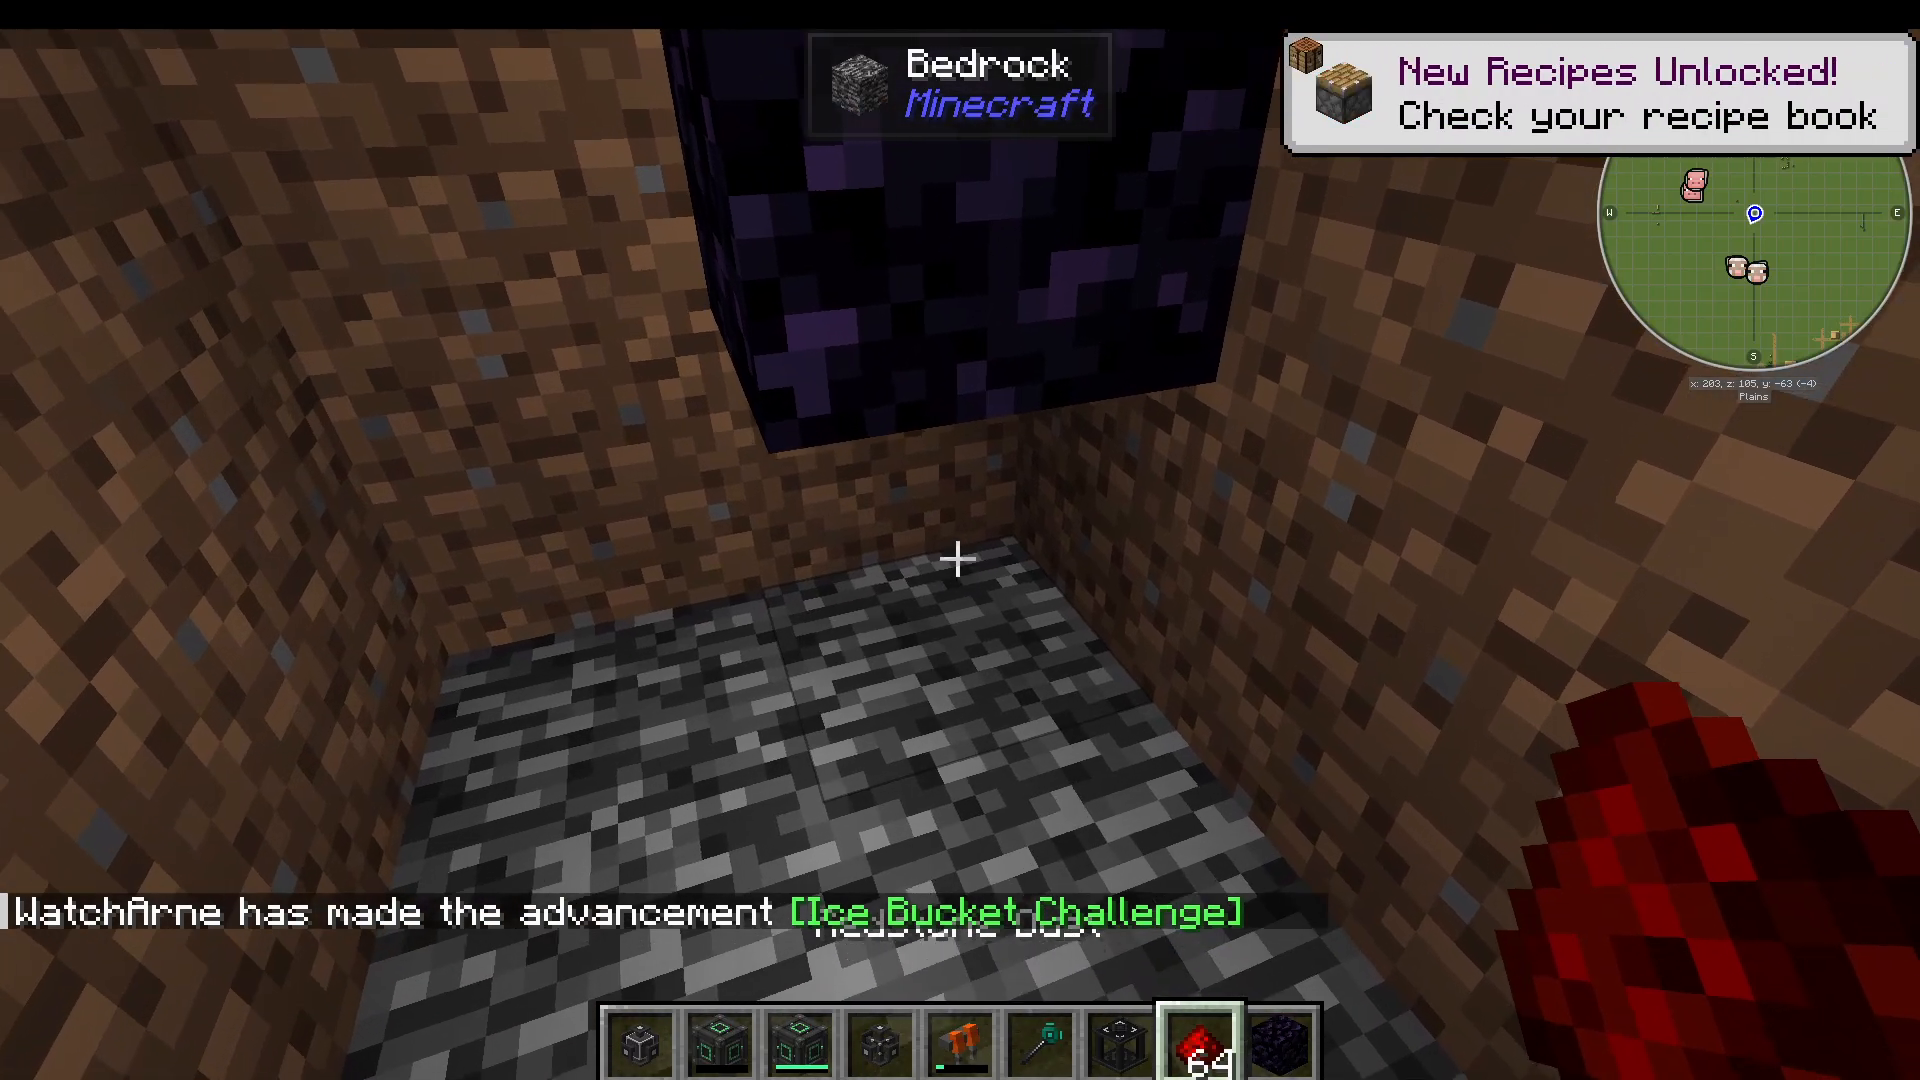
Get a stack of Redstone and a piece of Obsidian.
Head down to Bedrock level (playing on Superflat makes this very easy).
Place the Obsidian on top of the Bedrock.
Drop your stack of Redstone underneath the Obsidian.
Left-click the Obsidian — it will smash down into the Bedrock and convert the Redstone into Flux Dust.
Once you have Flux Dust, you can craft Flux Cores using Flux Dust, Irons, and Obsidian, and then Flux Blocks from those cores. All other mod items follow from there.
Setting Up Your First Flux Network
Opening the Flux Plug Interface
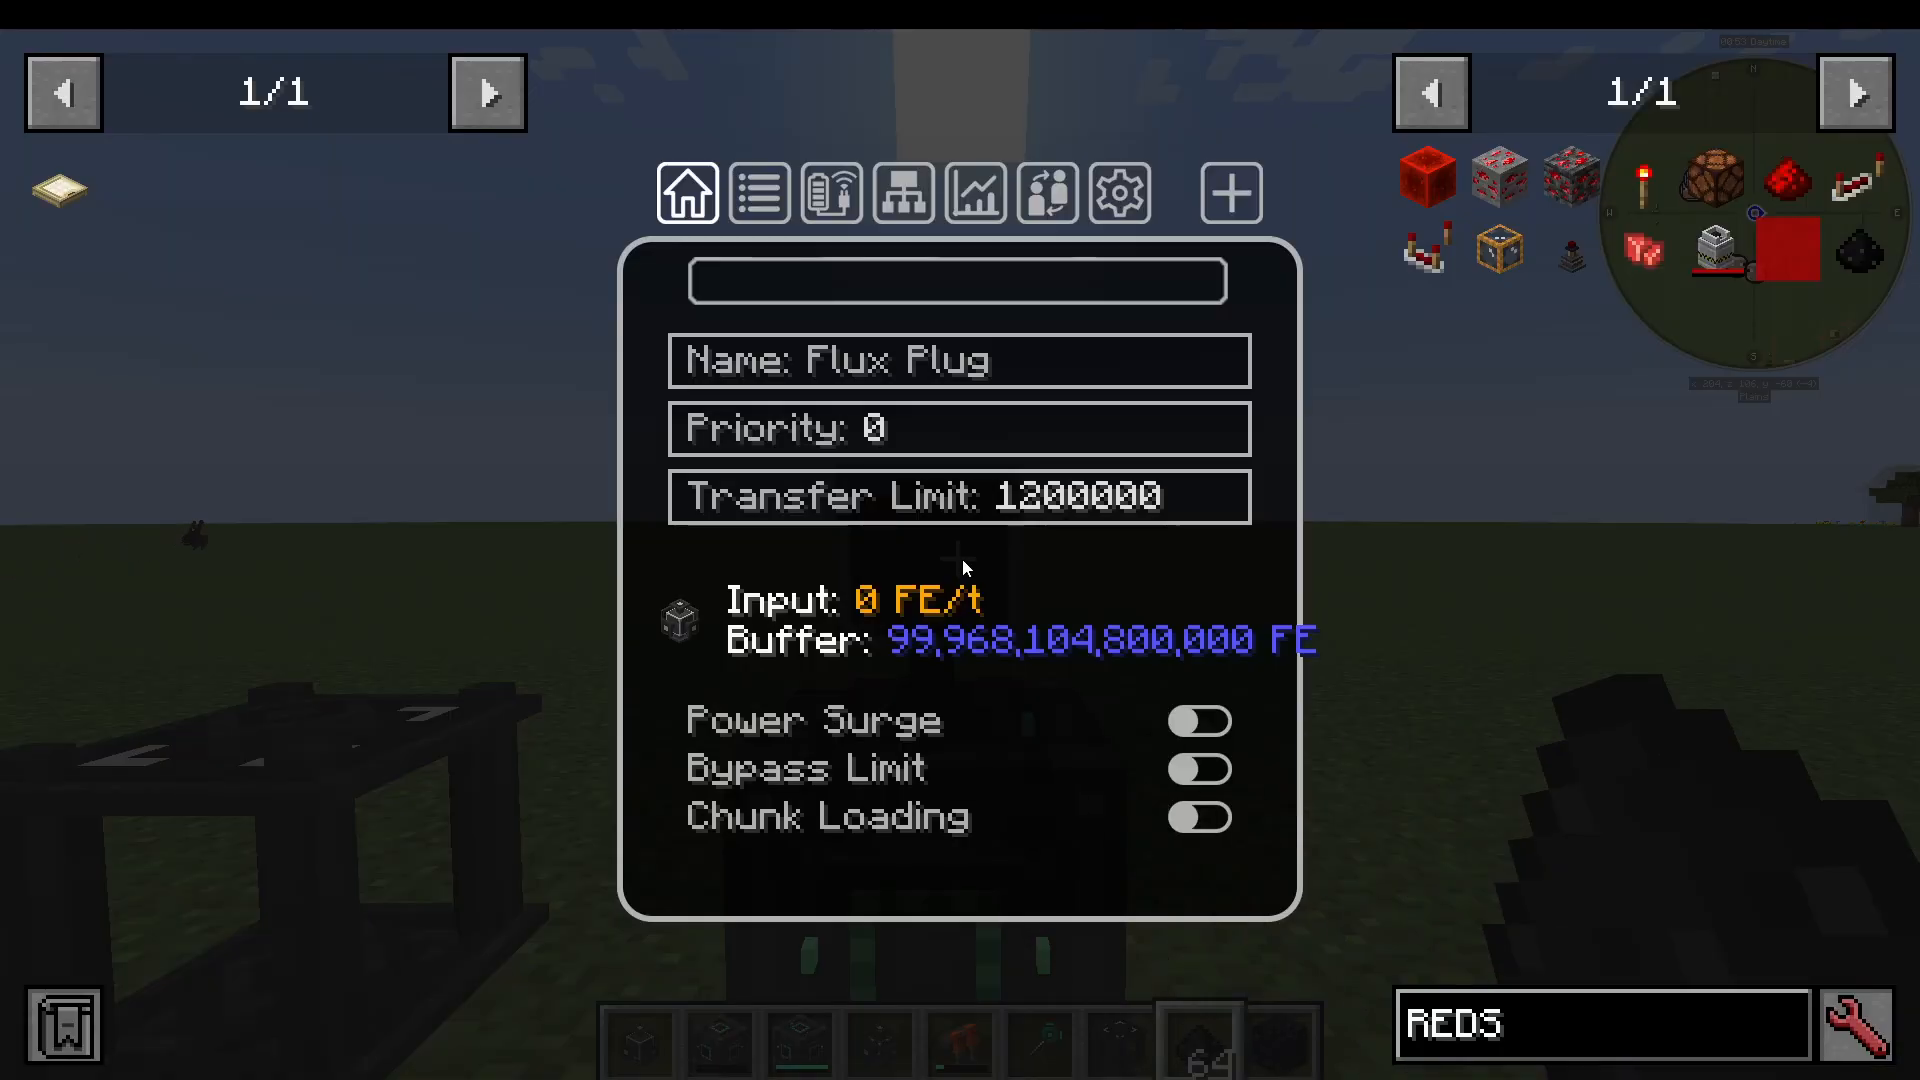
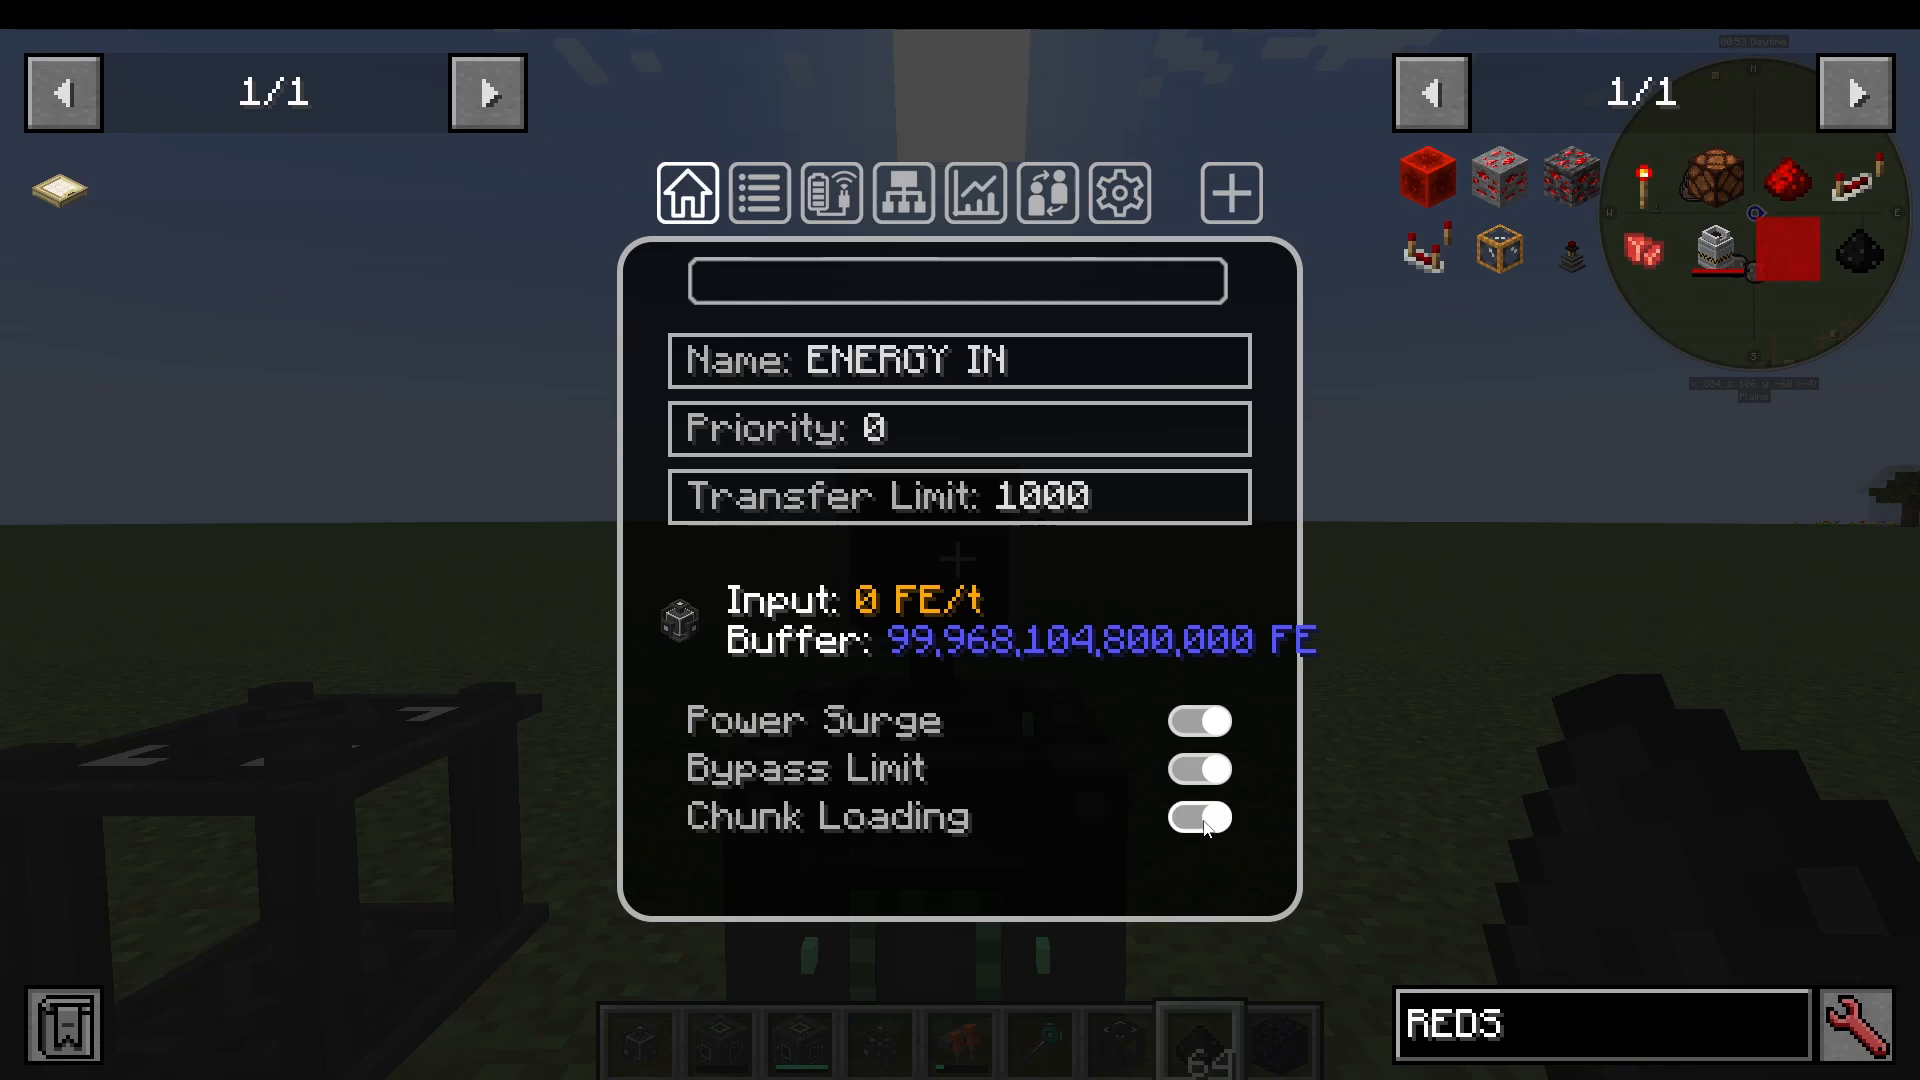
Place your Flux Plug adjacent to your energy generator and right-click it to open its interface. You’ll see several tabs with a range of settings. On the Home tab, you can give this plug a custom name — for example, “Energy In” — which is helpful when managing multiple plugs across a large base.
Configuring Transfer Limits and Priority
The Transfer Limit controls how much energy (in FE/t) is allowed through this plug. You might set this to 1,000, for example. You can also assign a Priority to each plug or point on your network — higher priority connections are served first when energy is limited.
Two additional options give you override control:
Power Surge — bypasses the priority setting, pushing this connection to the front of the queue temporarily.
Bypass Limit — overrides the transfer limit, allowing unlimited energy flow through this connection.
There is also a Chunk Loading option, which keeps the chunk containing the plug or point loaded. Note that server administrators may disable this in the mod’s config file.
Creating a New Network
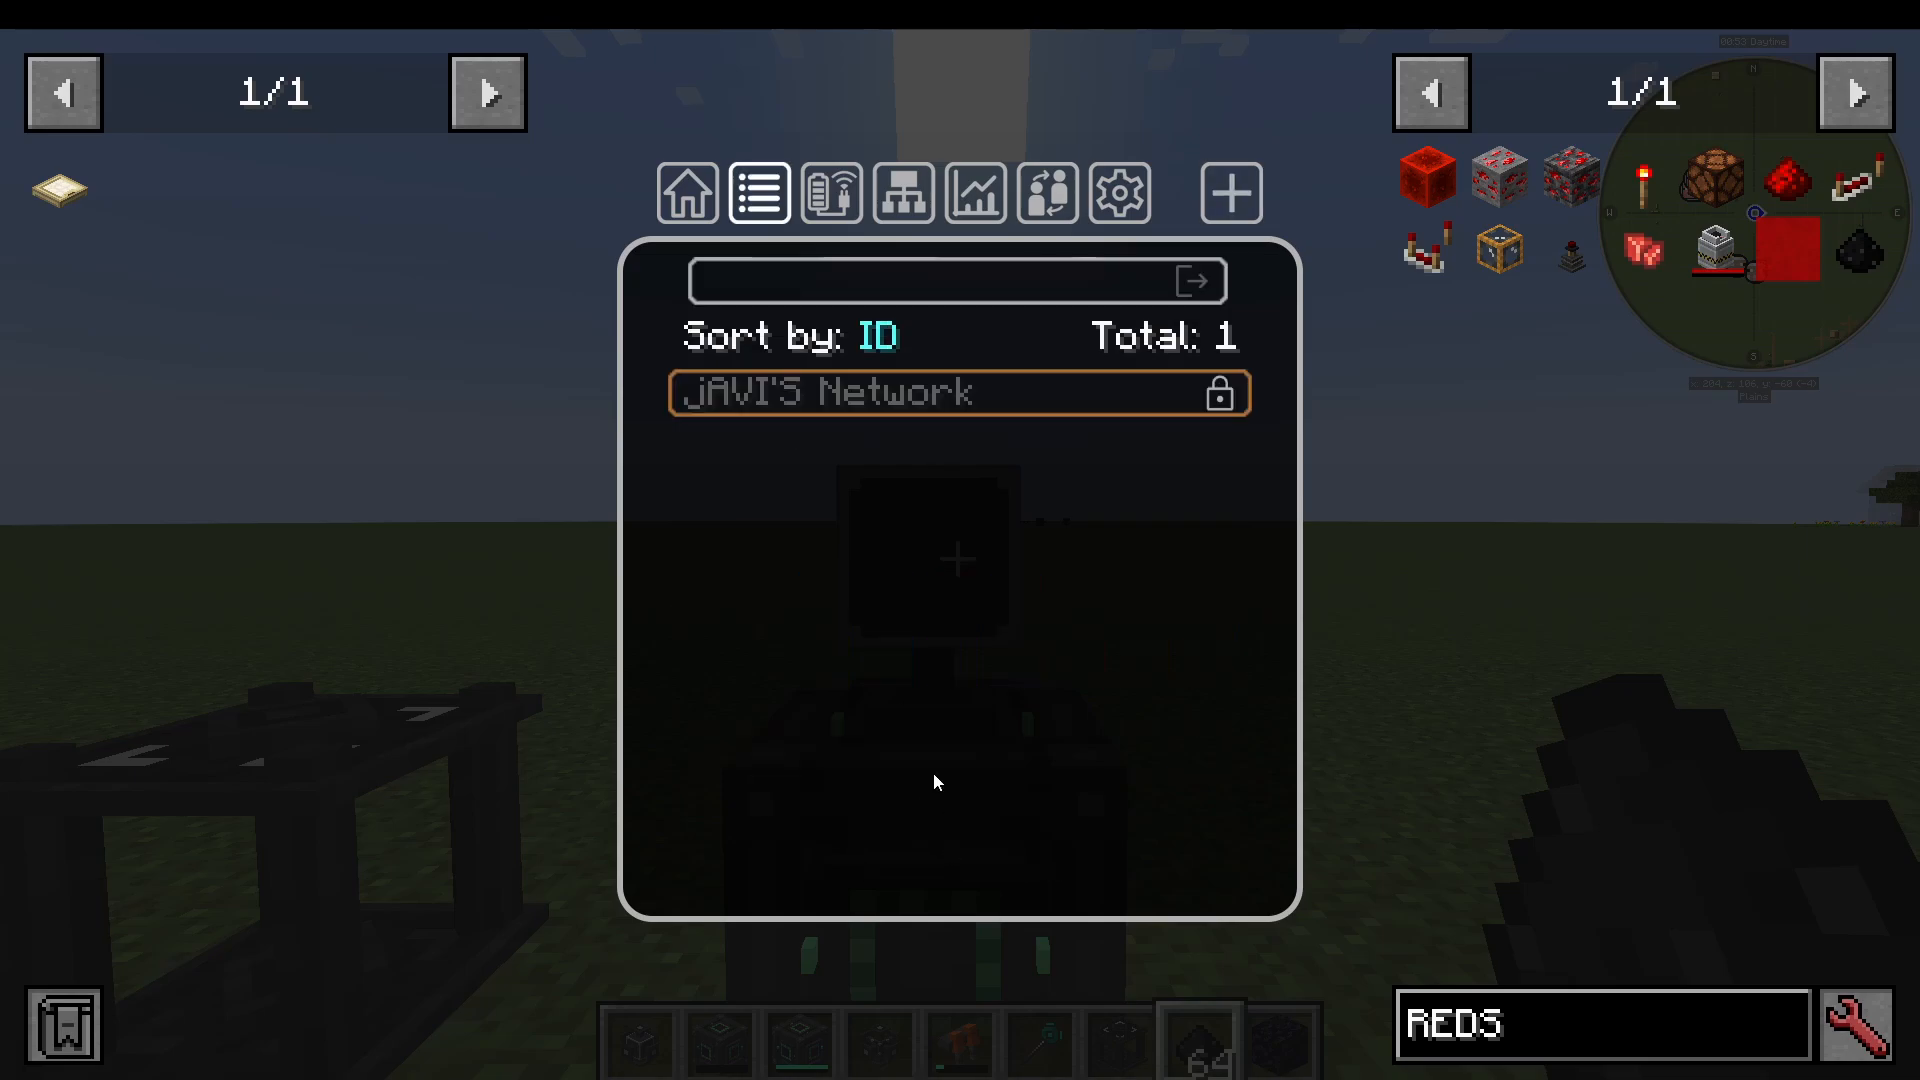
Navigate to the Network Selection tab inside the Flux Plug interface. Click the + button to create a new network. Give it a name — for example, “Havys Network” — and choose a visibility setting:
Private — only you can use this network.
Public — any player on the server can connect their plugs to it.
Encrypted — requires a password to join.
You can also assign a colour to your network for easy visual identification. Once created, click your new network in the list to connect this plug. The plug’s colour will update to match your chosen network colour, confirming the connection.
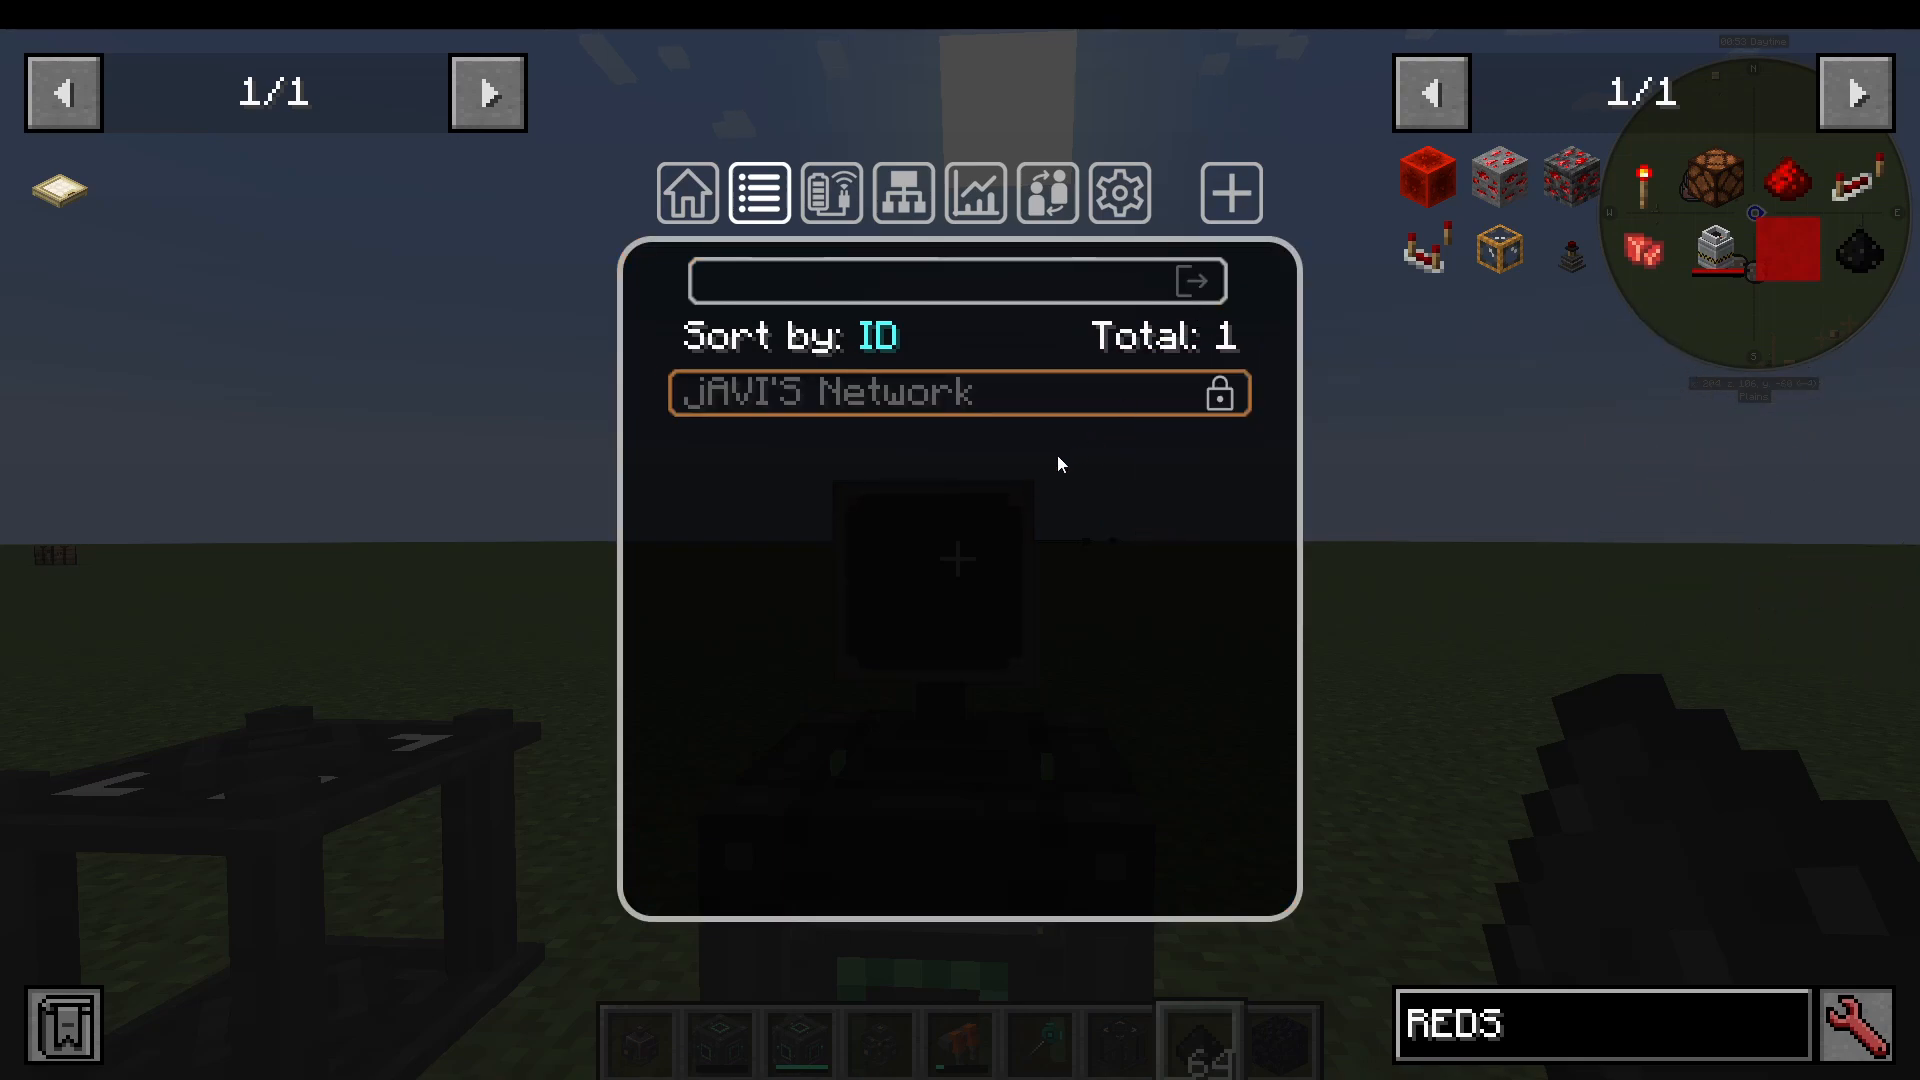
To disconnect a plug from its network at any time, click the small door icon inside the interface. The plug will return to grey, indicating it is no longer on any network.
Connecting a Flux Point
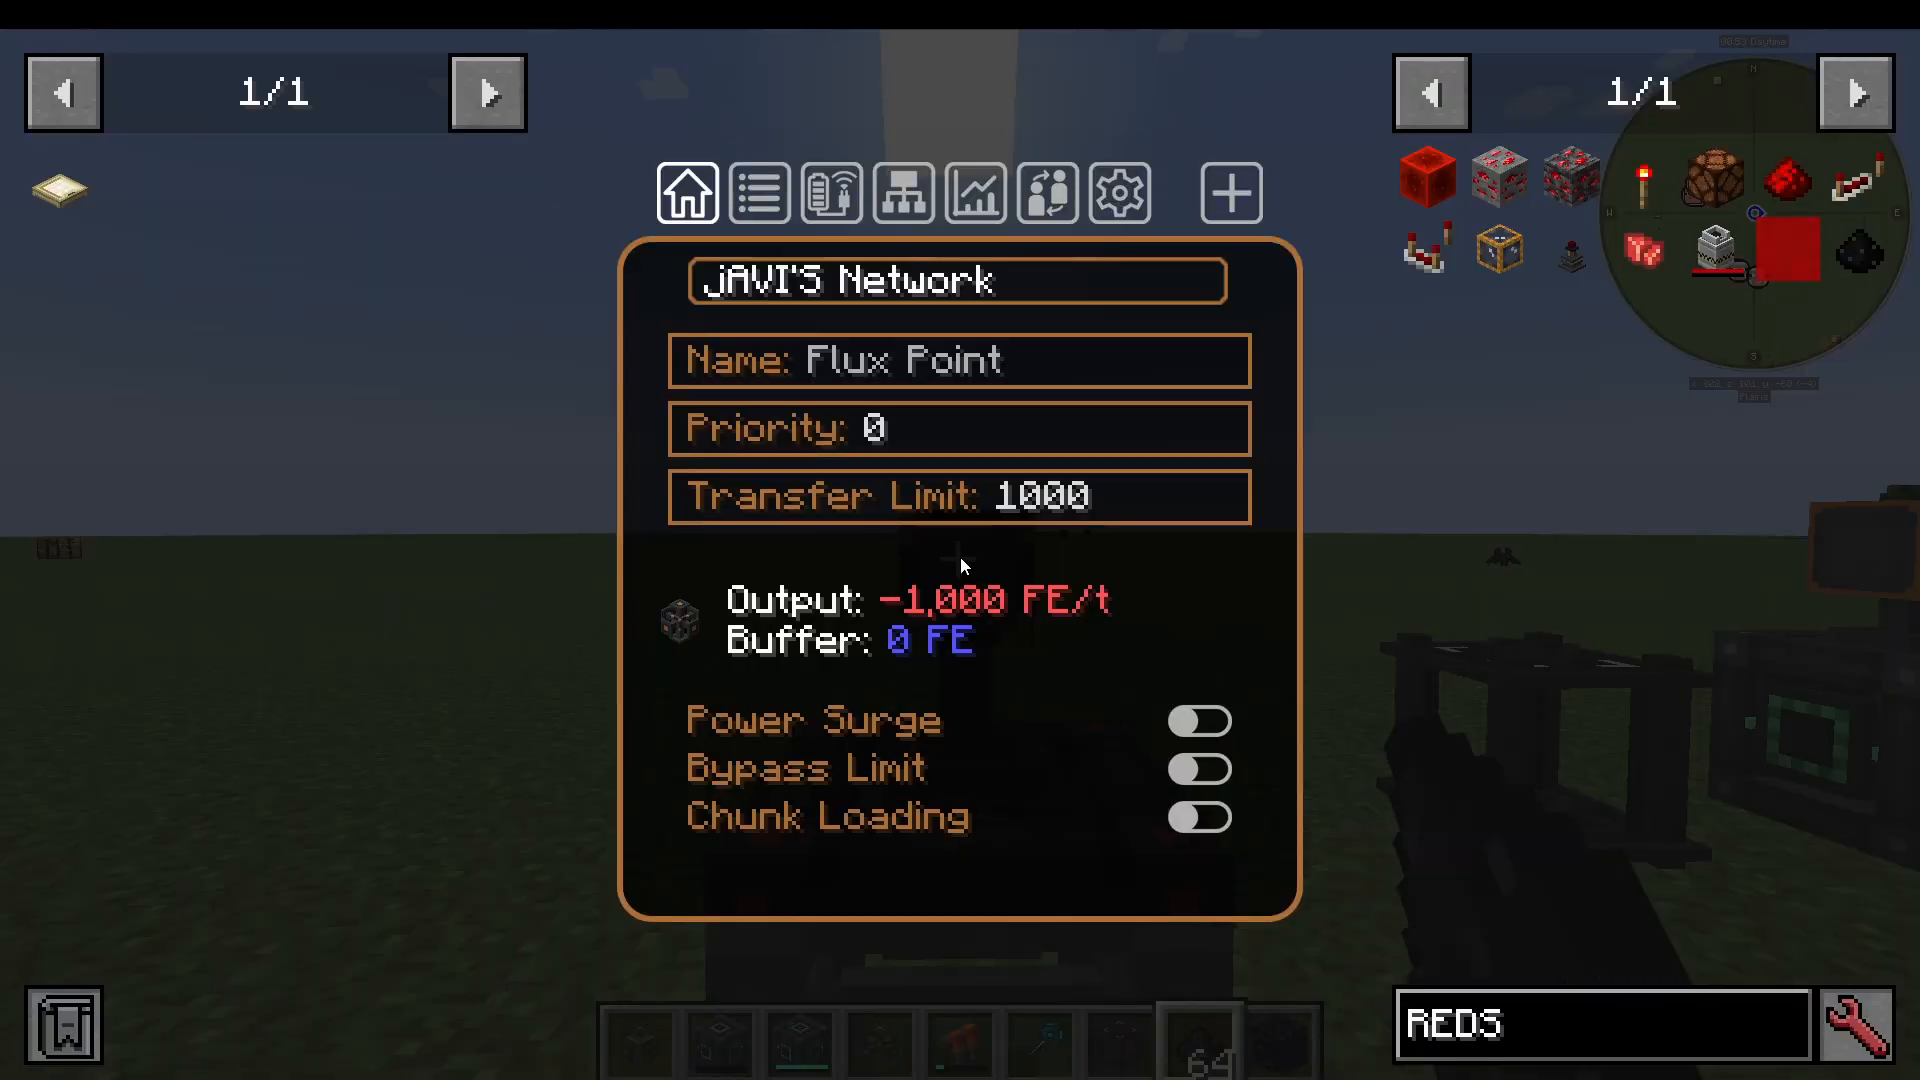
Place a Flux Point adjacent to the machine or storage device you want to power. Right-click it to open its interface, navigate to Network Selection, and choose the same network — in this example, “Havys Network.” Set its Transfer Limit to your desired value, such as 1,000 FE/t.
Once connected, the Flux Point will begin outputting energy into the adjacent machine immediately. If you disconnect the Flux Point from the network, energy transfer stops right away.
Wireless Charging with the Flux Controller
For wireless charging — that is, charging items held in your inventory or equipment slots — you need a Flux Controller. Think of it as the Wi-Fi hub of your energy network. Without one, wireless charging will not function even if it appears enabled in the interface.
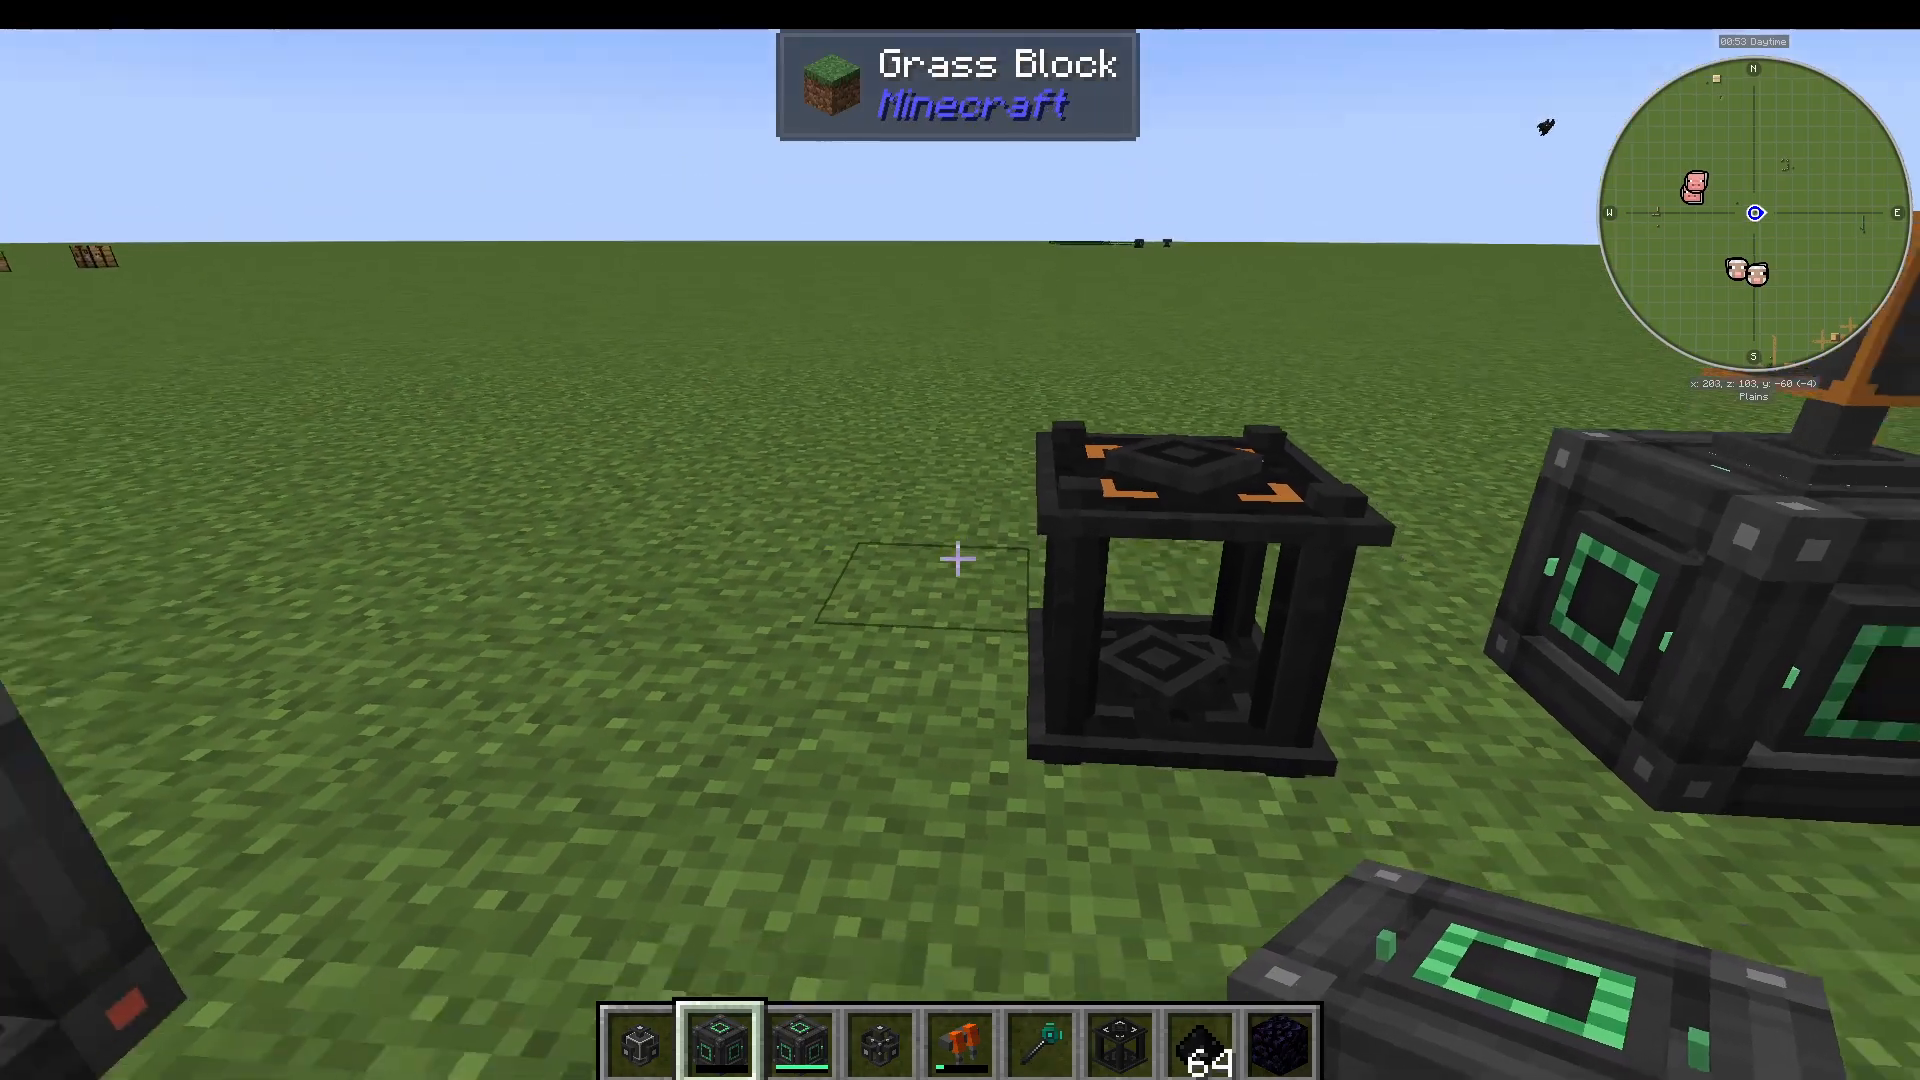
Place the Flux Controller in your base and connect it to your network via its Network Selection tab. Then, inside any Flux Plug or Point on the same network, navigate to the Wireless Charging tab. The main inventory slot is disabled by the mod, but you can enable charging for:
Offhand slot
Main hand slot
Curios slots
Arm slots
Toggle the slots you want, enable wireless charging for the network, and click Apply. Items placed in those slots — such as Mekanism Free Runners in your offhand — will now charge wirelessly via the Flux Controller.
Monitoring Your Network
Network Connections
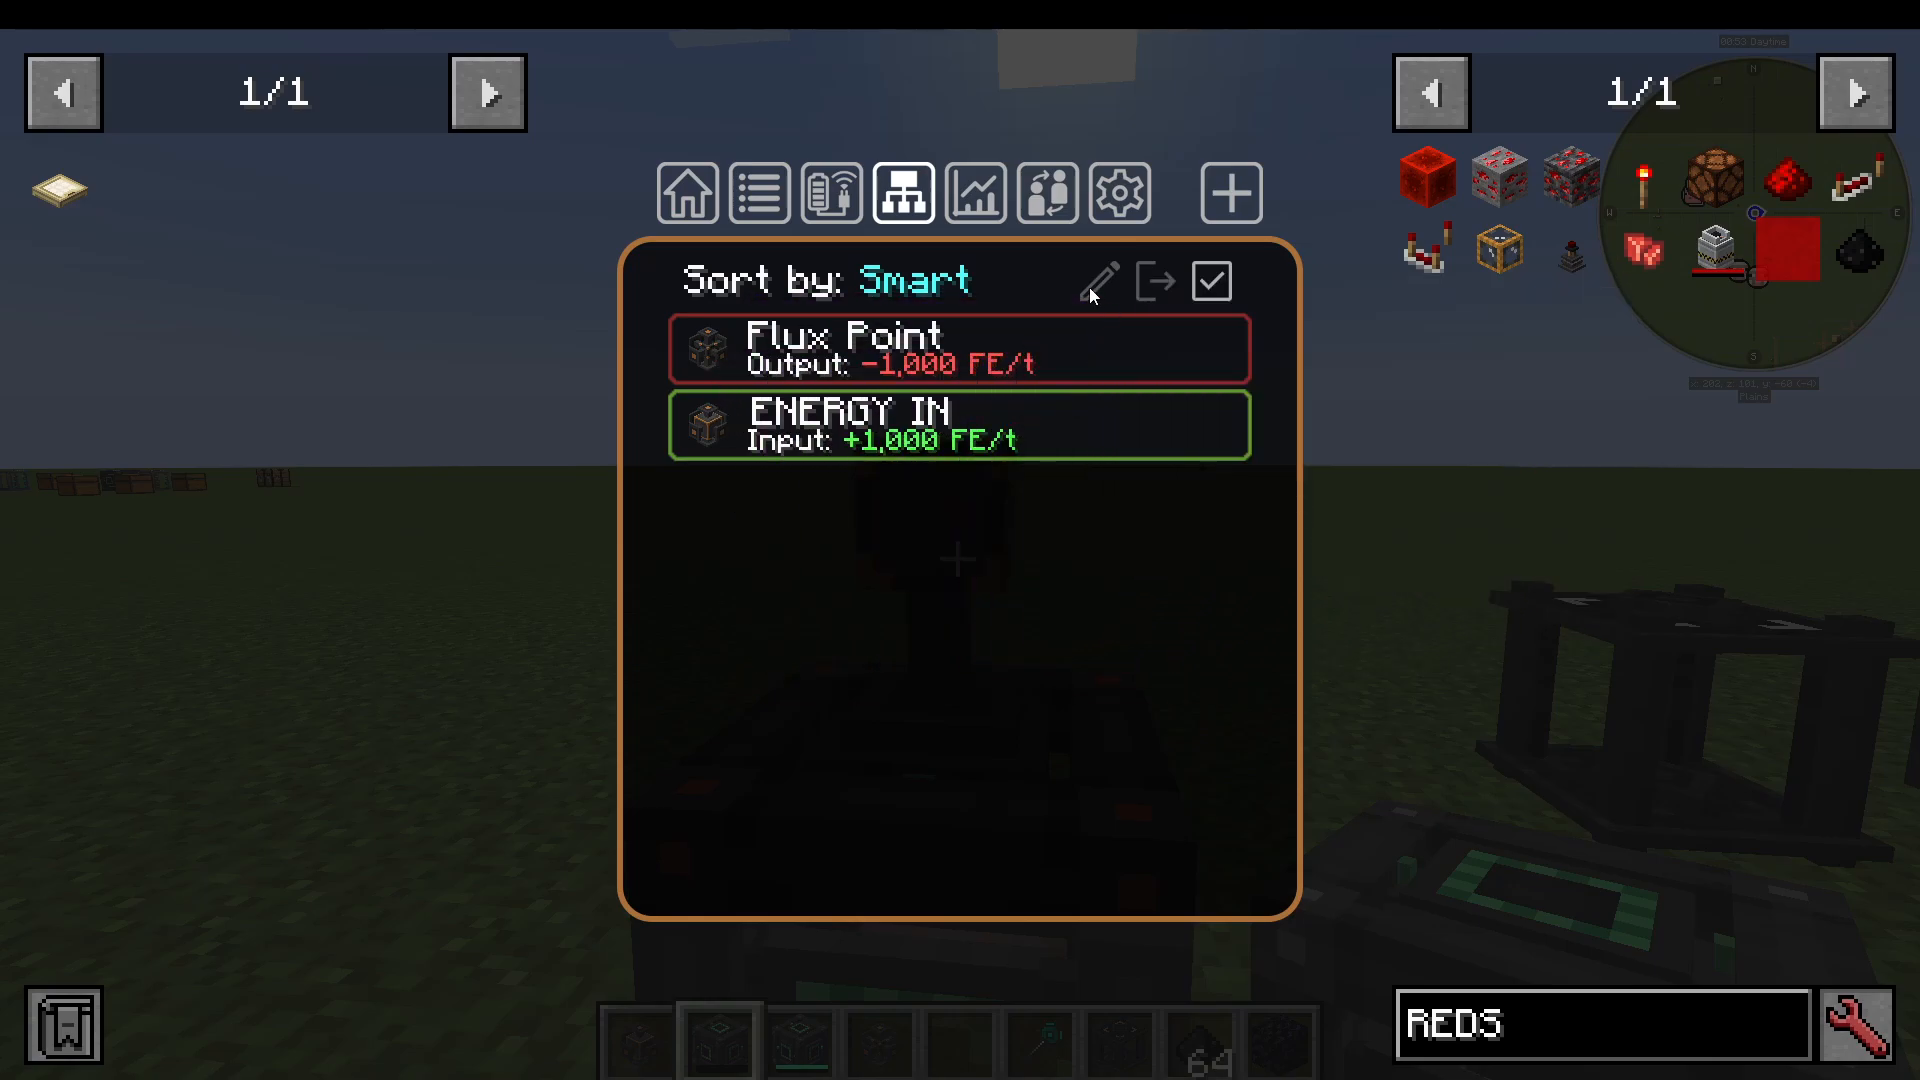
The Network Connections tab gives you a full list of every plug and point on your current network, along with how much energy each one is inputting or outputting. This is a great overview of your base’s total energy consumption.
Crucially, you can click on any individual connection in this list and choose to edit or disconnect it — even if you are physically far away from it in your world. This makes it easy to cut off a distant, energy-hungry machine without having to travel to it.
Network Statistics
The Network Statistics tab shows the overall energy flowing in and out of your network, plus a count of all plugs, points, storages, and controllers connected. You’ll also see a Buffer value here. The buffer can hold up to one tick of energy and exists mainly to reduce server load — in normal operation it will read zero, so there’s no need to worry about it.
Network Members
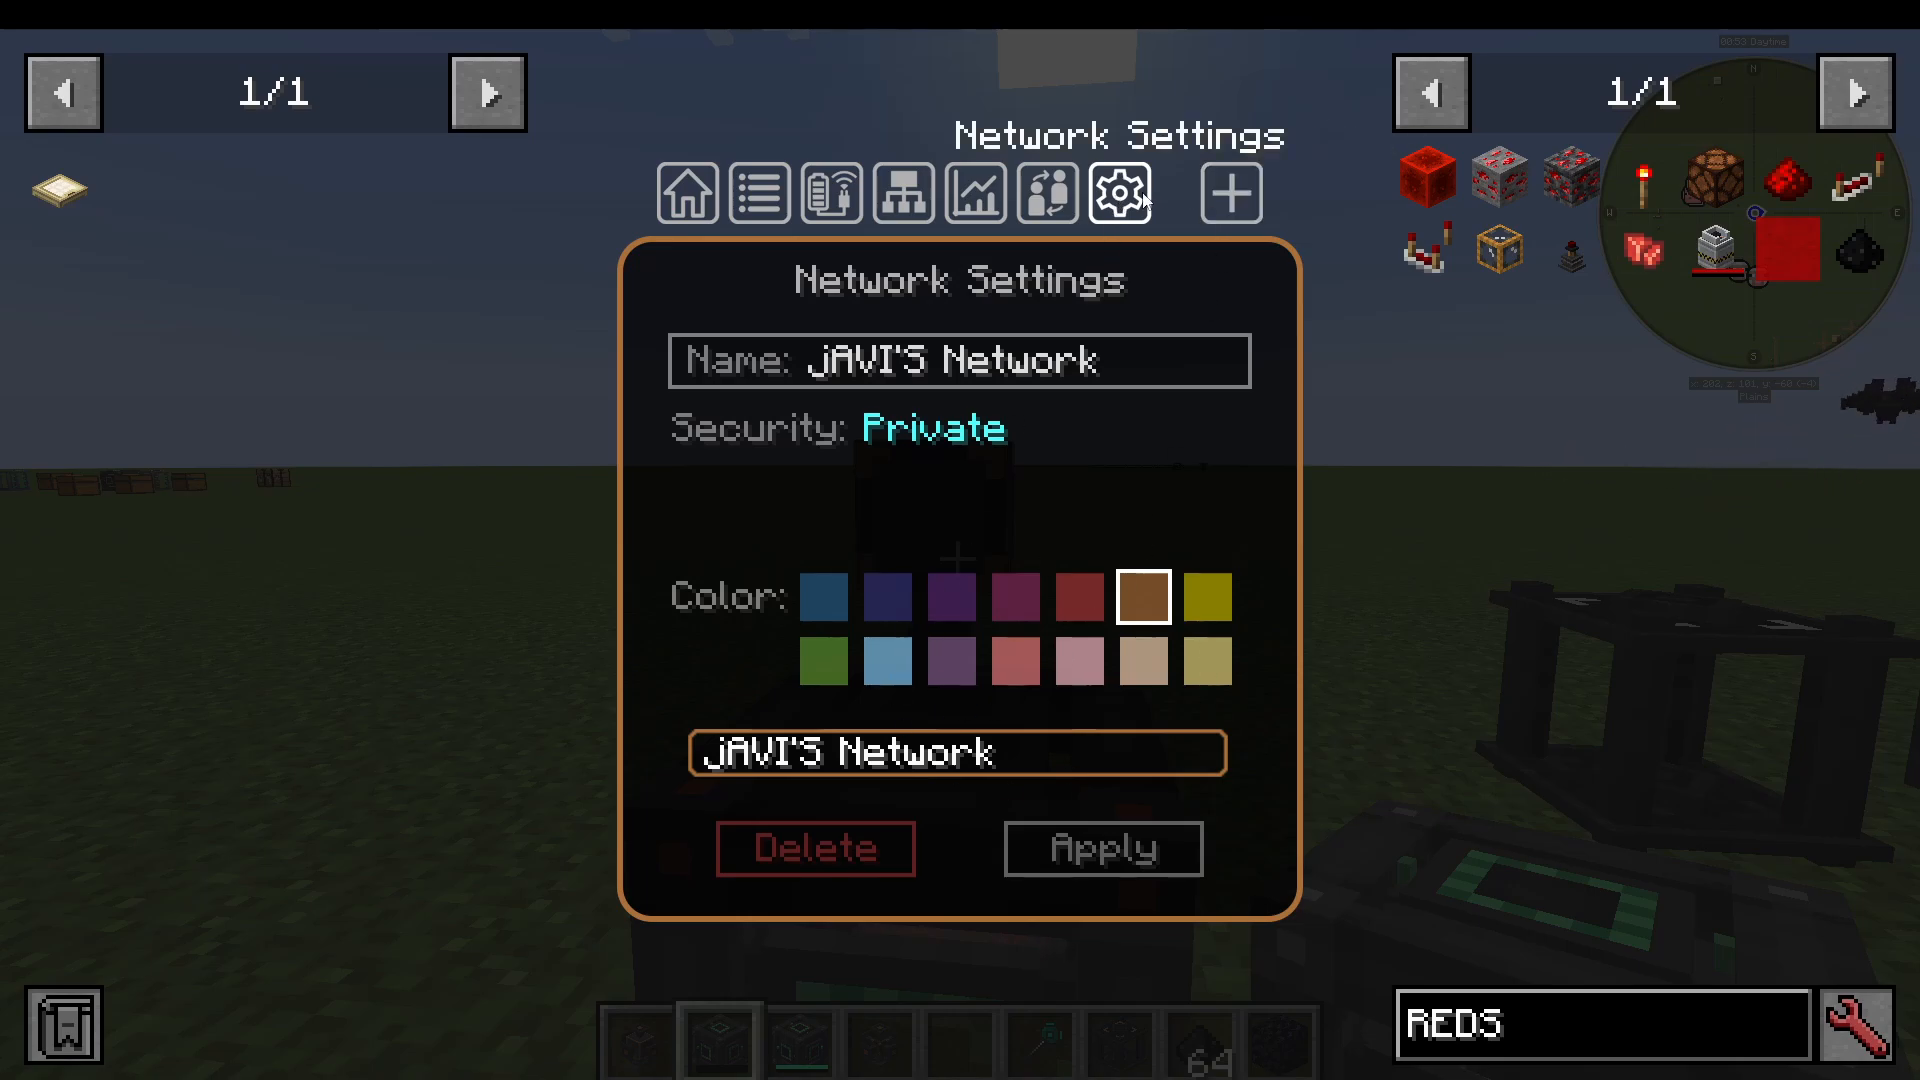
The Network Members tab lists all players associated with the network, their Minecraft UUID, and their role (e.g. Owner). From the Network Settings tab you can change the network colour and, if needed, delete the network entirely. Deleting requires a double Shift-click as a failsafe to prevent accidental deletion.
Flux Storage Blocks
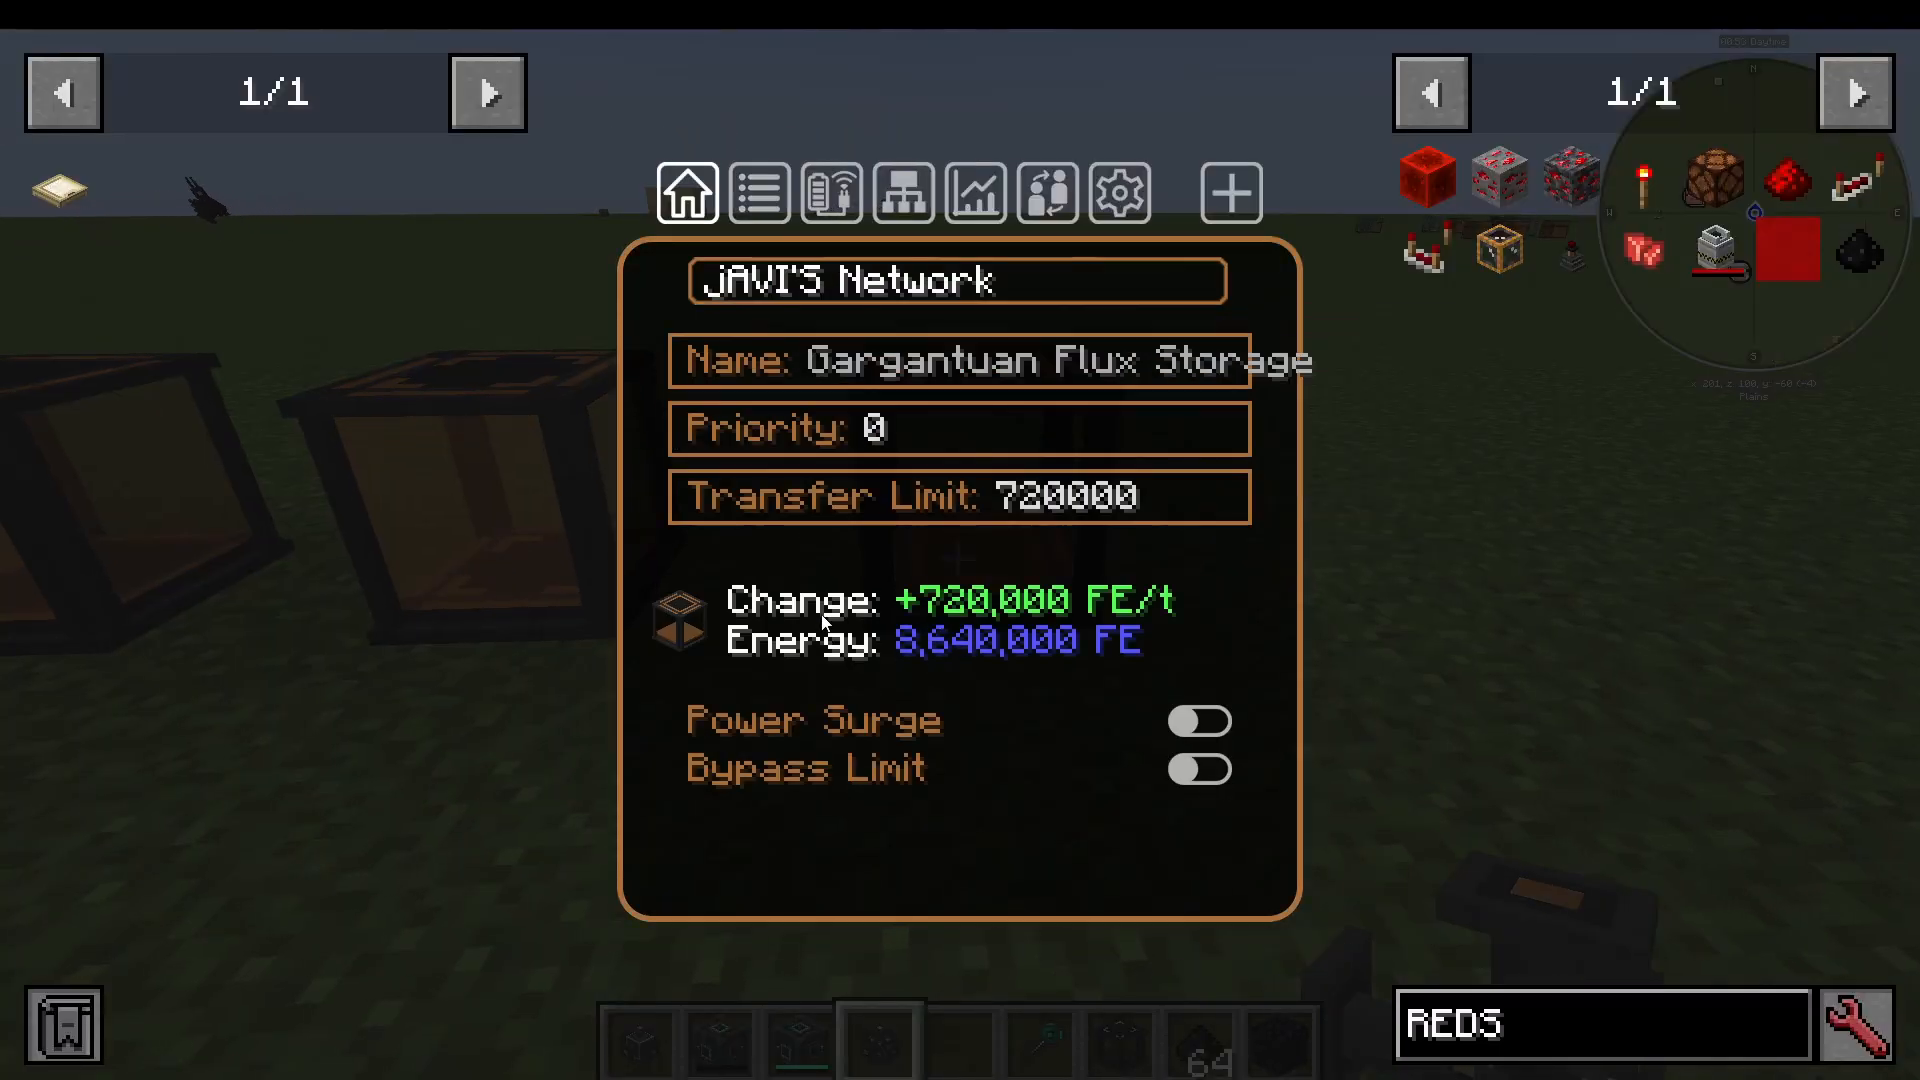
Flux Storage blocks connect directly to your network without needing a separate Flux Point placed on them — simply connect them to a network via their interface and they will automatically begin drawing energy. Their colour matches the network they are assigned to.
There are three tiers of Flux Storage, each crafted from the previous tier:
Basic Flux Storage — entry-level storage capacity.
Next tier — crafted from six Flux Blocks and some Glass; holds up to 16 million FE.
Gargantuan Flux Storage — crafted from six of the previous tier; holds up to 128 million FE.
The Flux Configurator and Admin Configurator
Flux Configurator
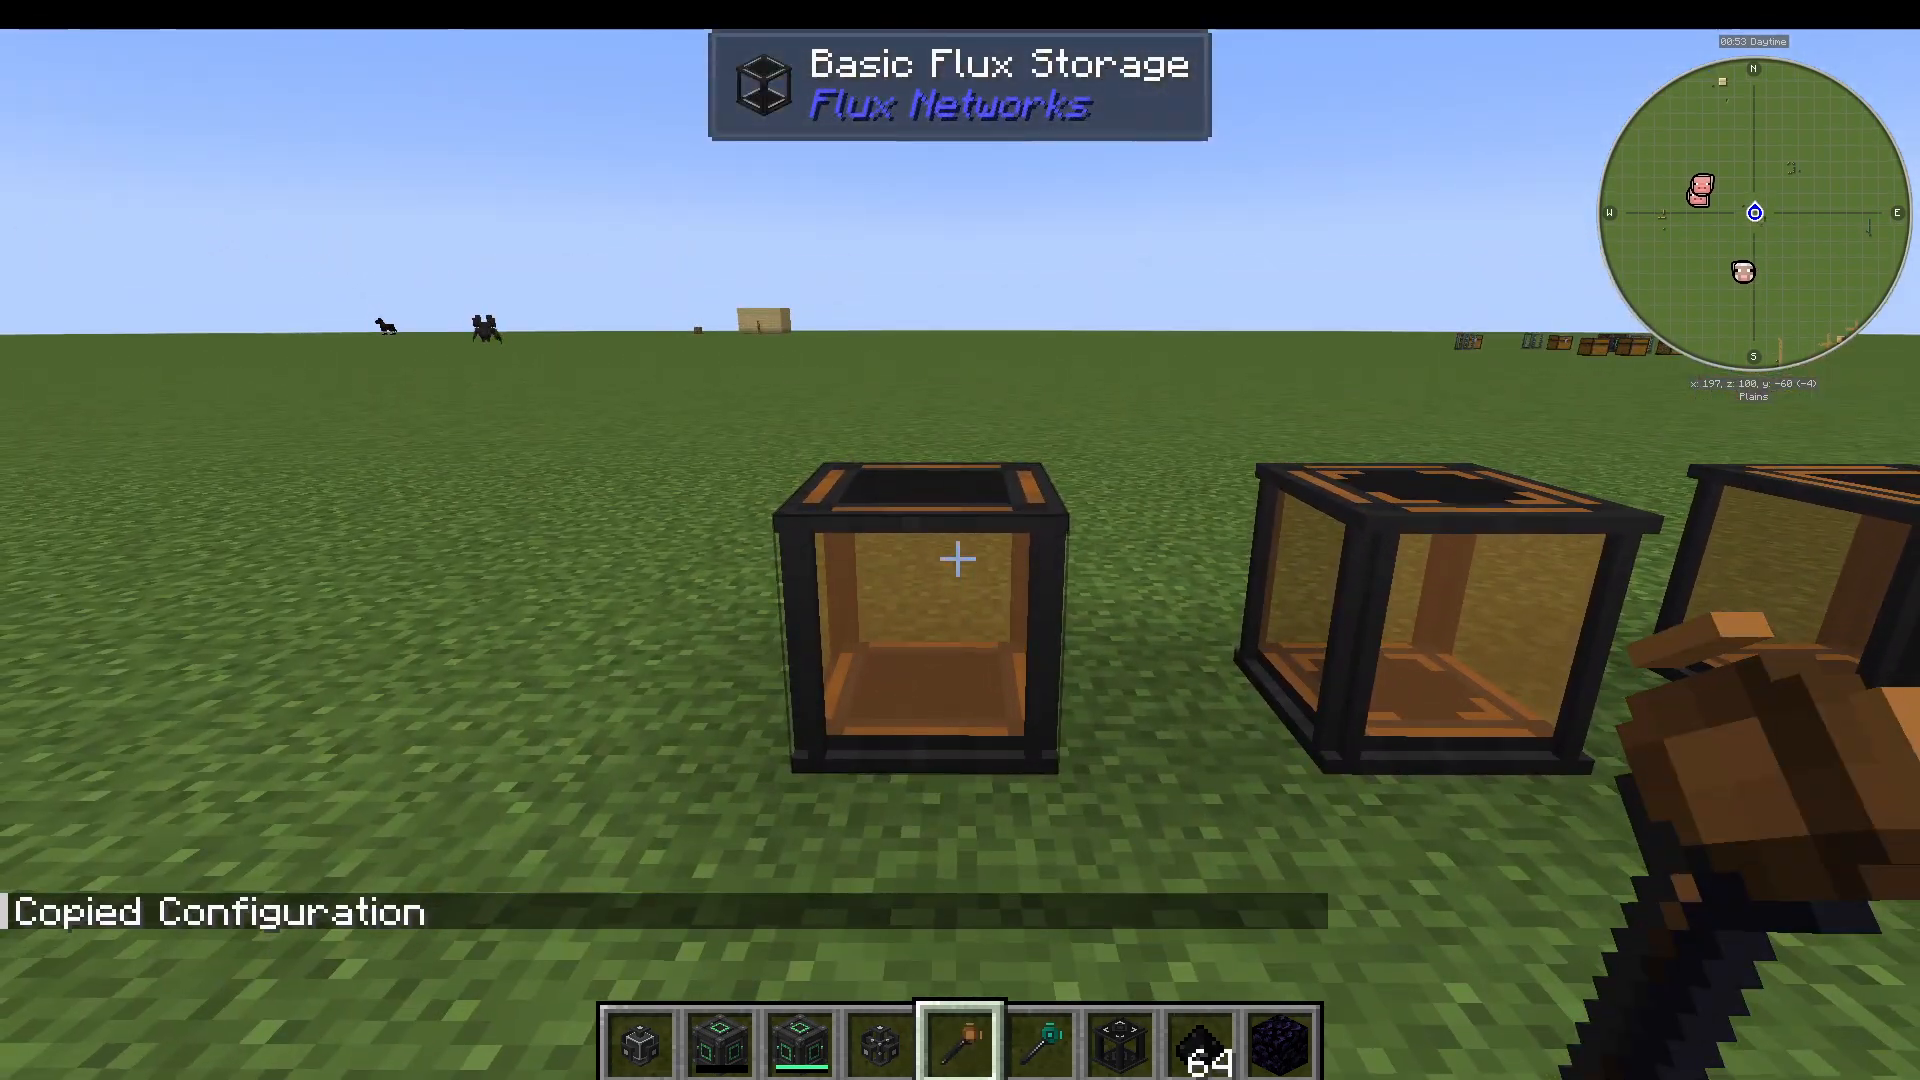
The Flux Configurator is a handheld tool that lets you manage your networks without being physically next to a plug or point. Right-click with it to view your networks on the move.
It also lets you copy and paste settings between devices:
Shift + Right-click on a configured plug or point to copy its settings.
Right-click on a different plug or point to paste those settings onto it.
The target device will immediately update to match the copied configuration, including switching to the copied network.
Admin Configurator
The Admin Configurator is a creative-mode-only item intended for server administrators. Unlike the standard Flux Configurator, it can override private network restrictions, giving admins full access to any network on the server regardless of its privacy setting.
Summary
The Flux Networks mod is a straightforward but powerful solution for managing energy across your Minecraft base. To recap the essentials: craft Flux Dust by smashing Redstone between Obsidian and Bedrock, use Flux Plugs to feed energy into your network and Flux Points to distribute it to machines, add a Flux Controller for wireless inventory charging, and use Flux Storage blocks to buffer energy directly on the network. The Flux Configurator makes managing it all on the go quick and easy. Once it’s set up, you’ll wonder how you ever managed your energy without it.
“`