







How to use the Pressure Chamber in PneumaticCraft
How to Use the Pressure Chamber in PneumaticCraft
The Pressure Chamber is one of the most essential multiblock structures in PneumaticCraft. Once you’ve gathered some compressed air and compressed ingots, building and configuring a Pressure Chamber opens up a whole new range of crafting possibilities. This guide walks you through construction, setup, and operation of this powerful machine.
Building Your Pressure Chamber
Chamber Size Options
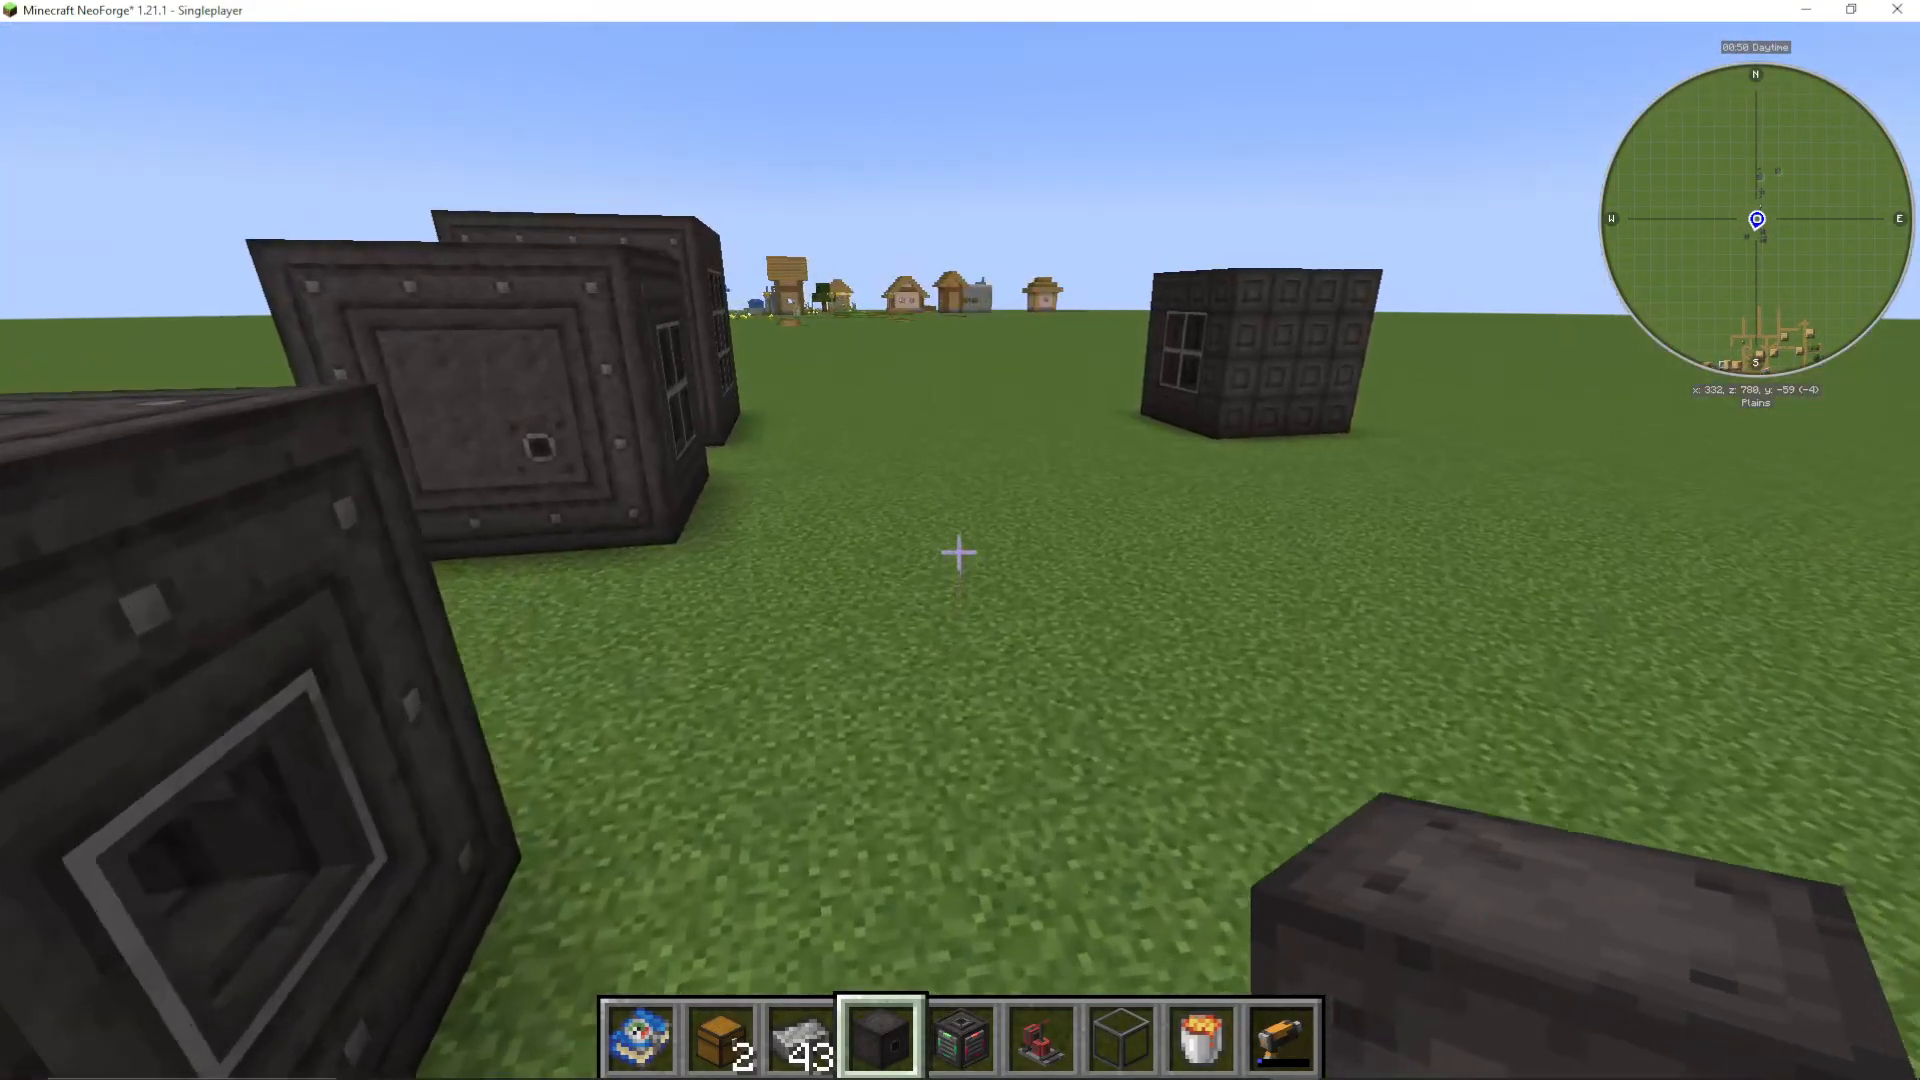
You can construct a Pressure Chamber in three different sizes: 3×3, 4×4, or 5×5. The structure is primarily made with Pressure Chamber Walls. For this guide, we’ll build a 4×4 chamber as an example, counting 1, 2, 3, 4 on each side.
Adding Glass Panels
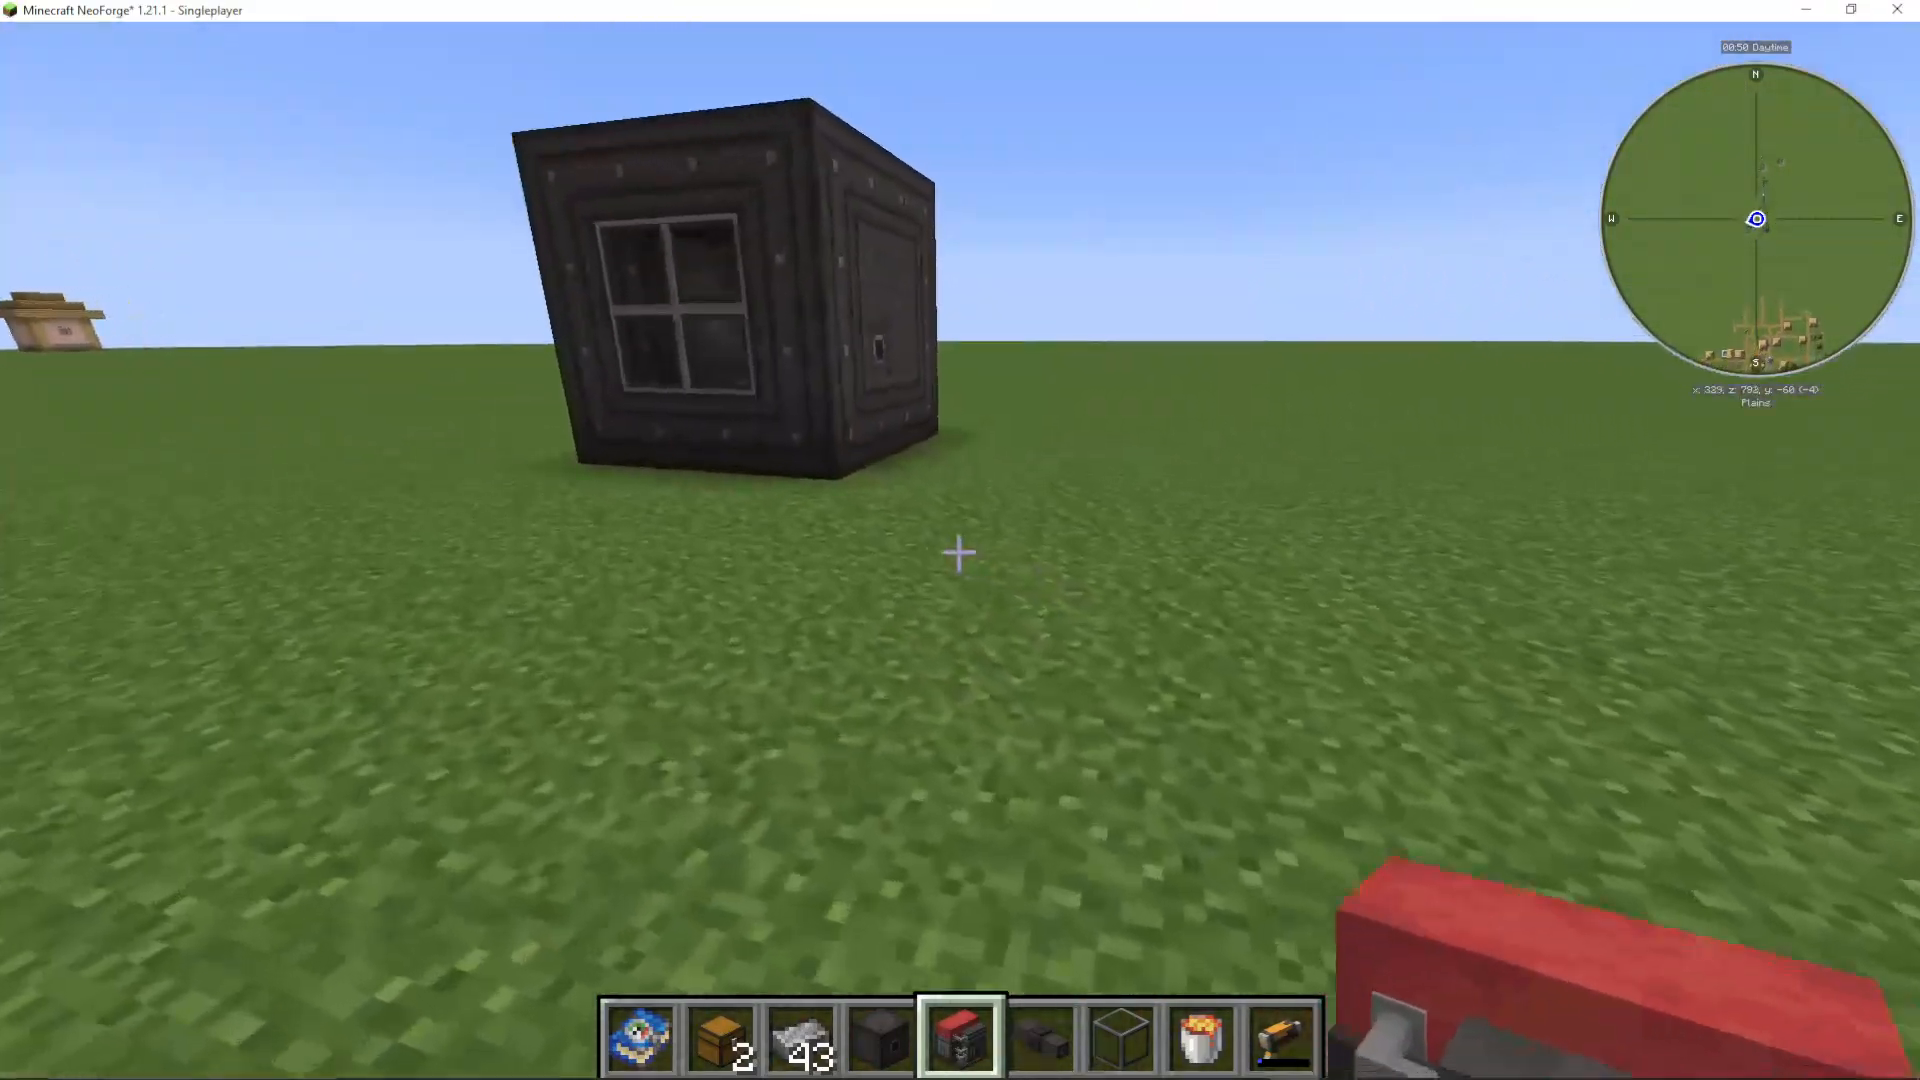
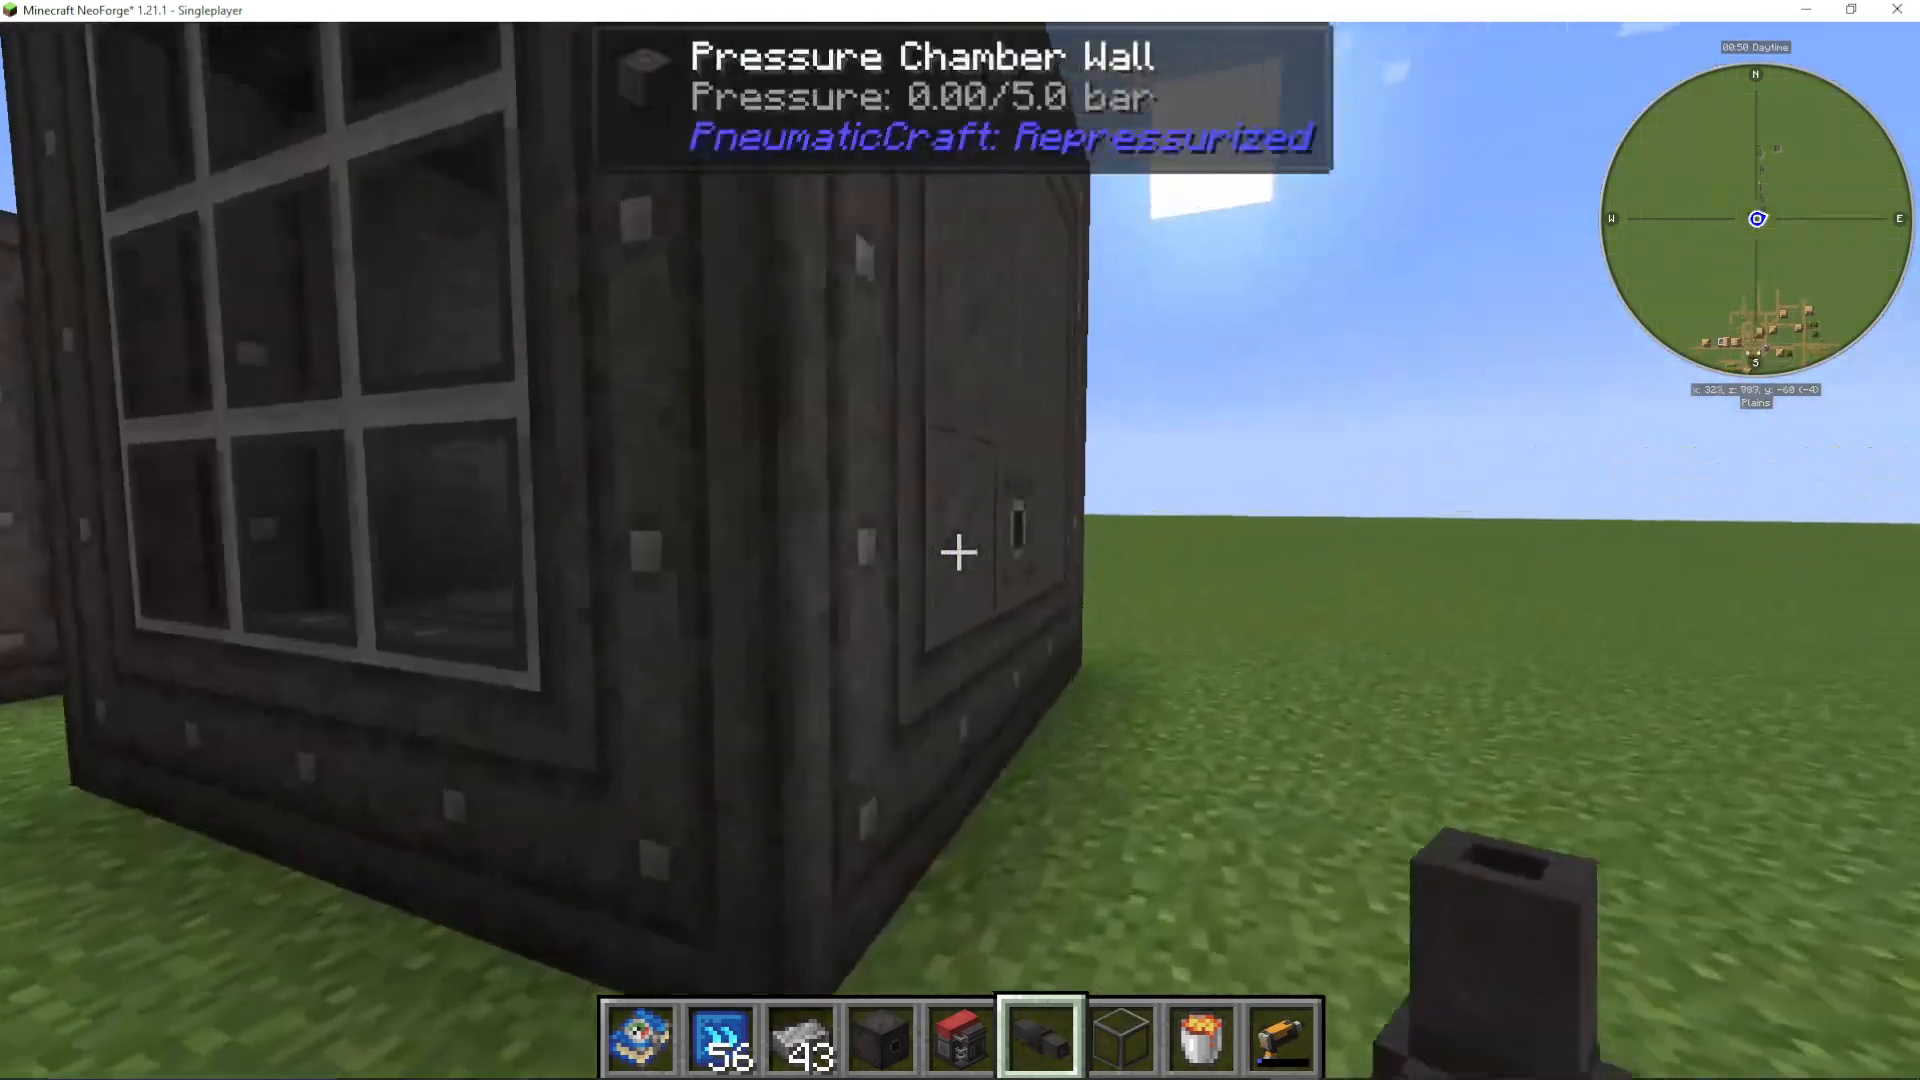
You can place glass anywhere that isn’t on the edge of the chamber. Glass panels can be installed on all interior faces if desired, or you can use Pressure Chamber Glass just on the front face for visibility, which is the recommended approach.
Installing the Pressure Chamber Valve
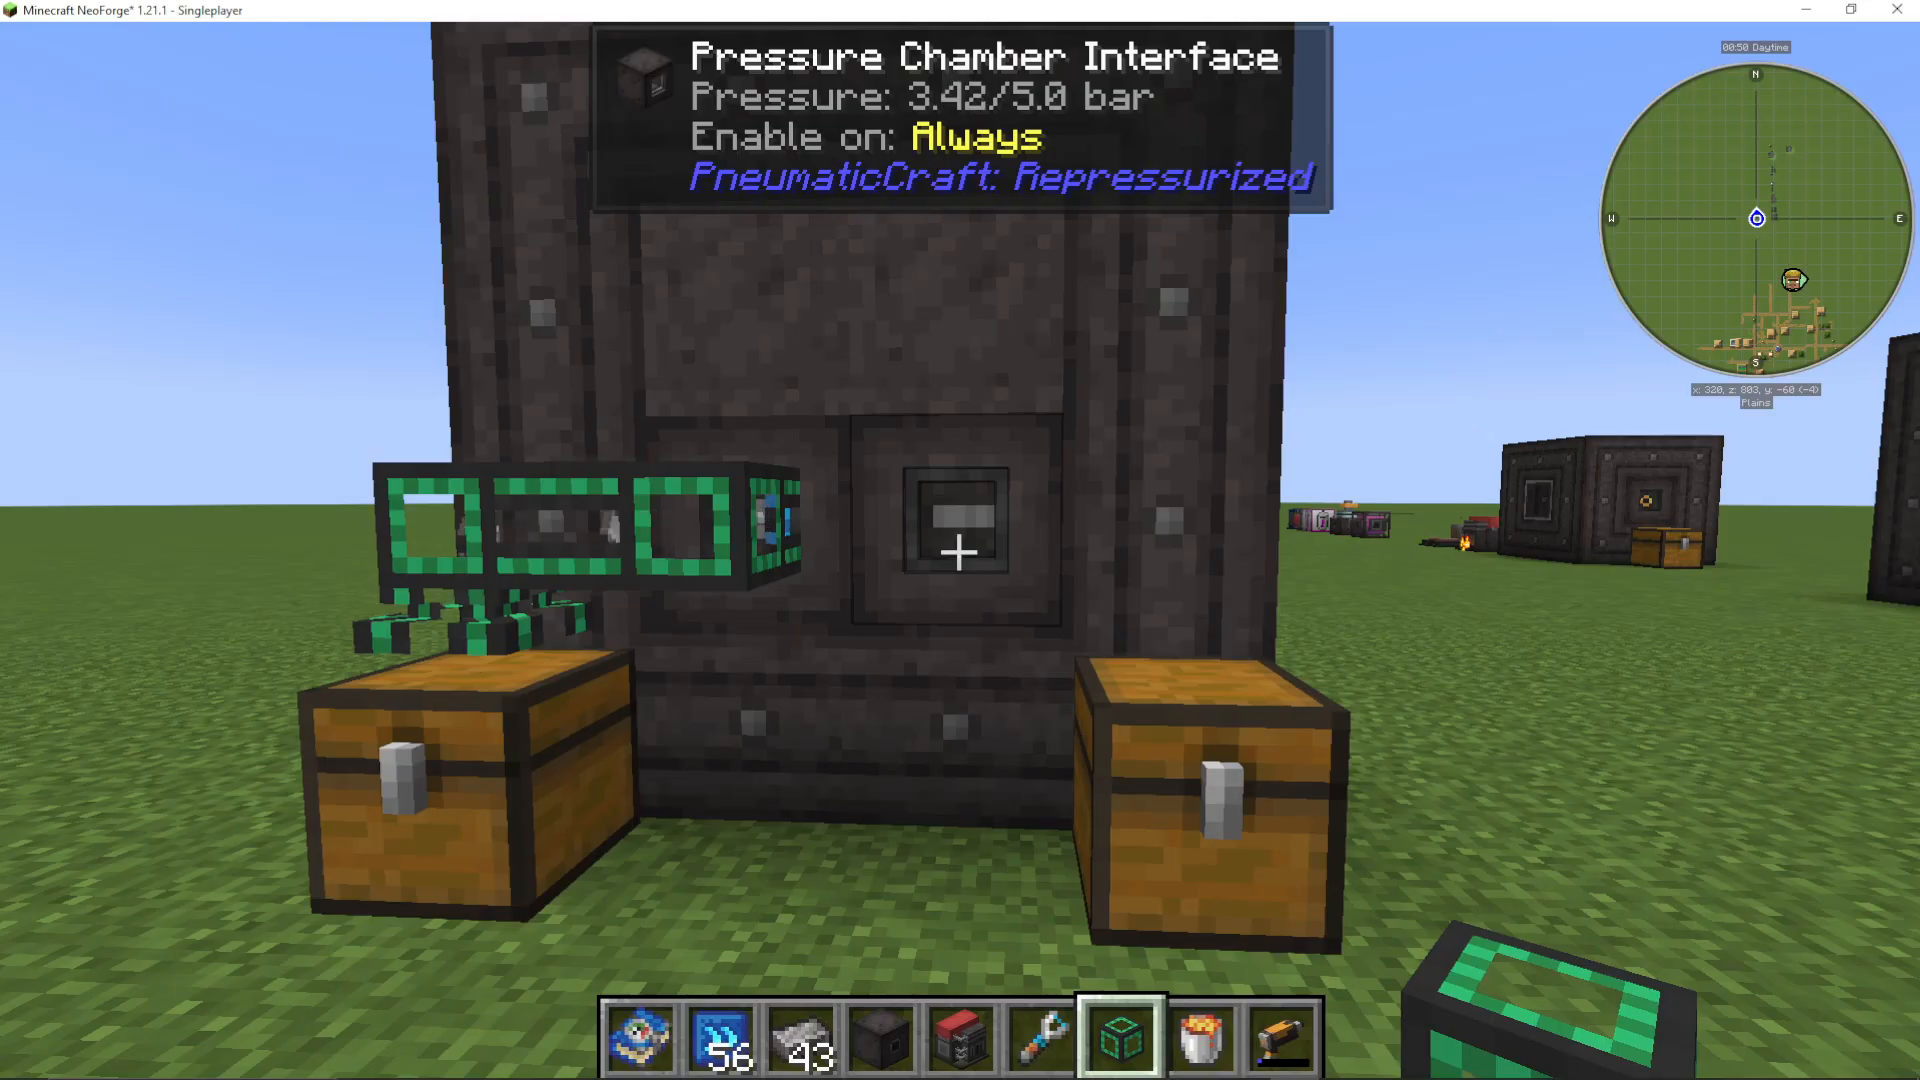
Every Pressure Chamber requires a Pressure Chamber Valve. This component is where you connect your compressed air input. Once the valve is placed, the structure will form into a functional multiblock. The valve displays your current pressure level (for example, “2 out of 5 bars”).
Setting Up Air Pressure Supply
Connecting an Air Compressor
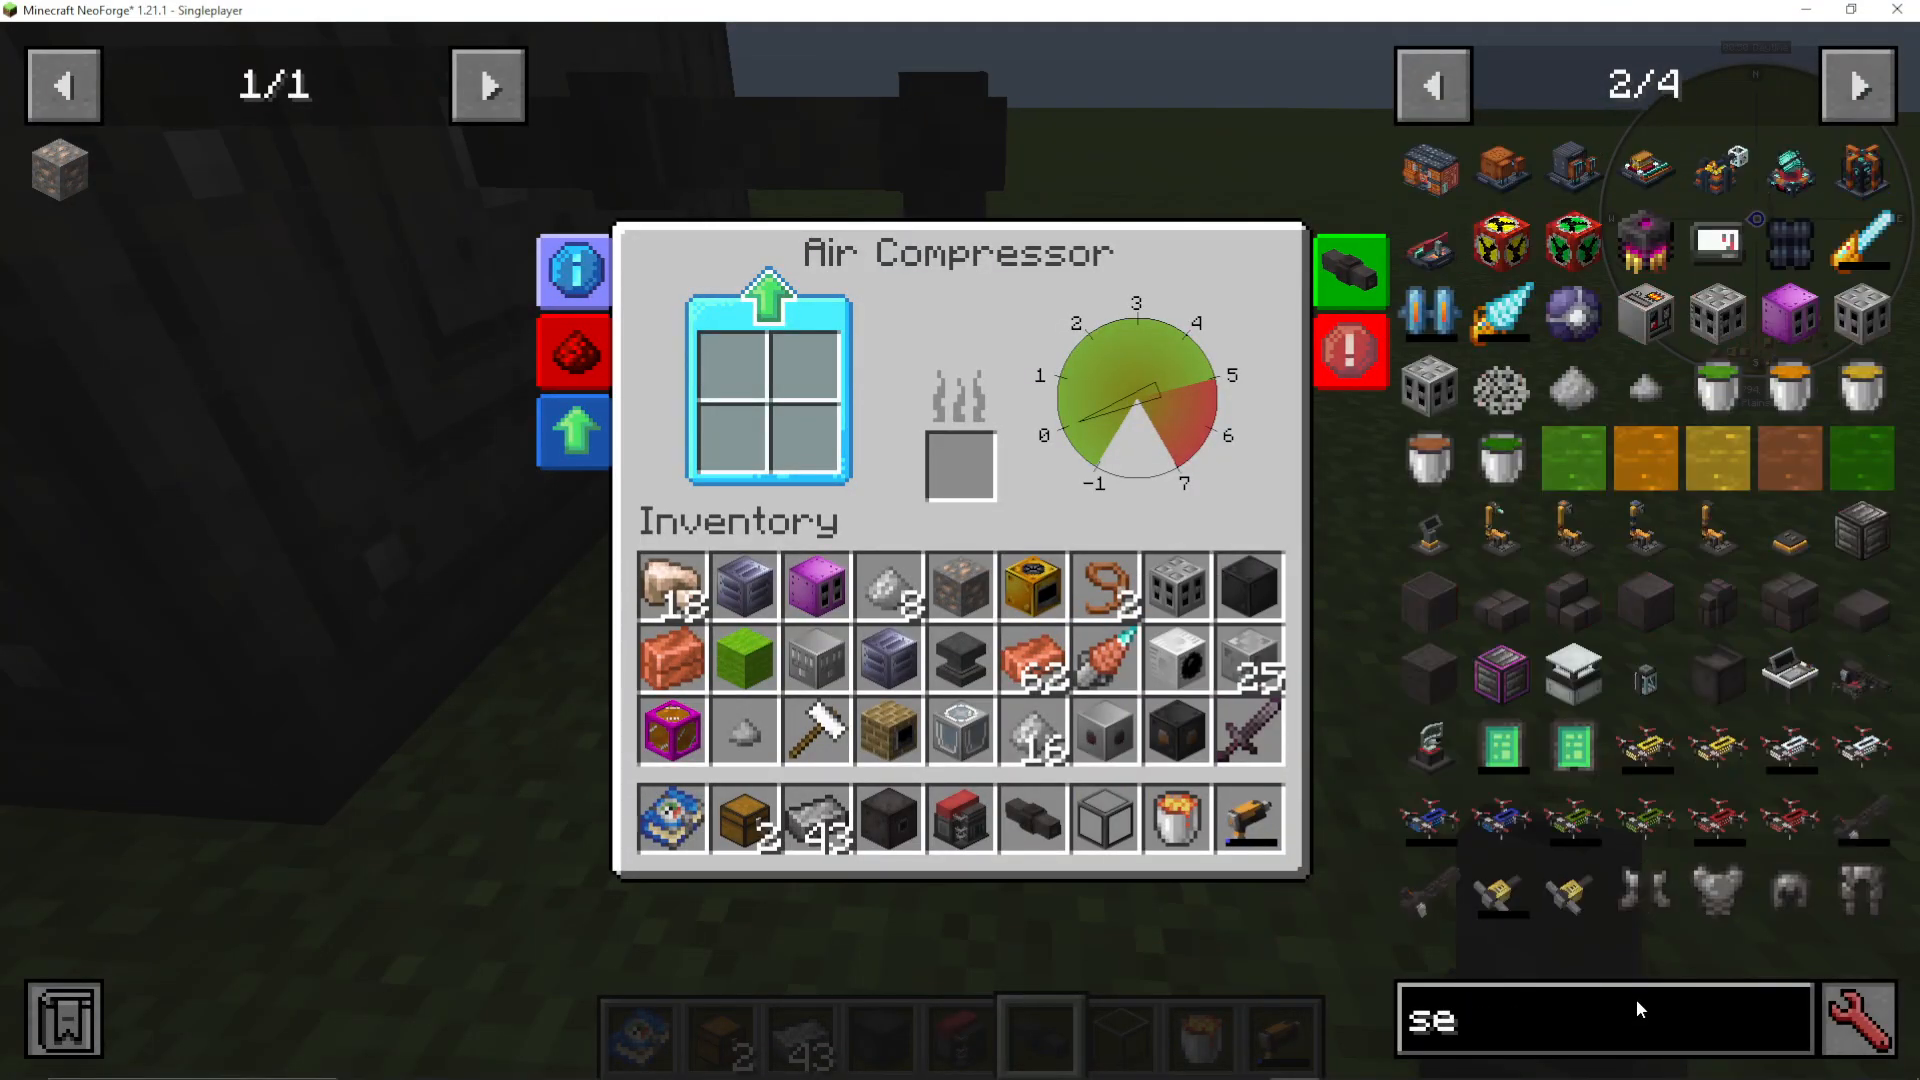
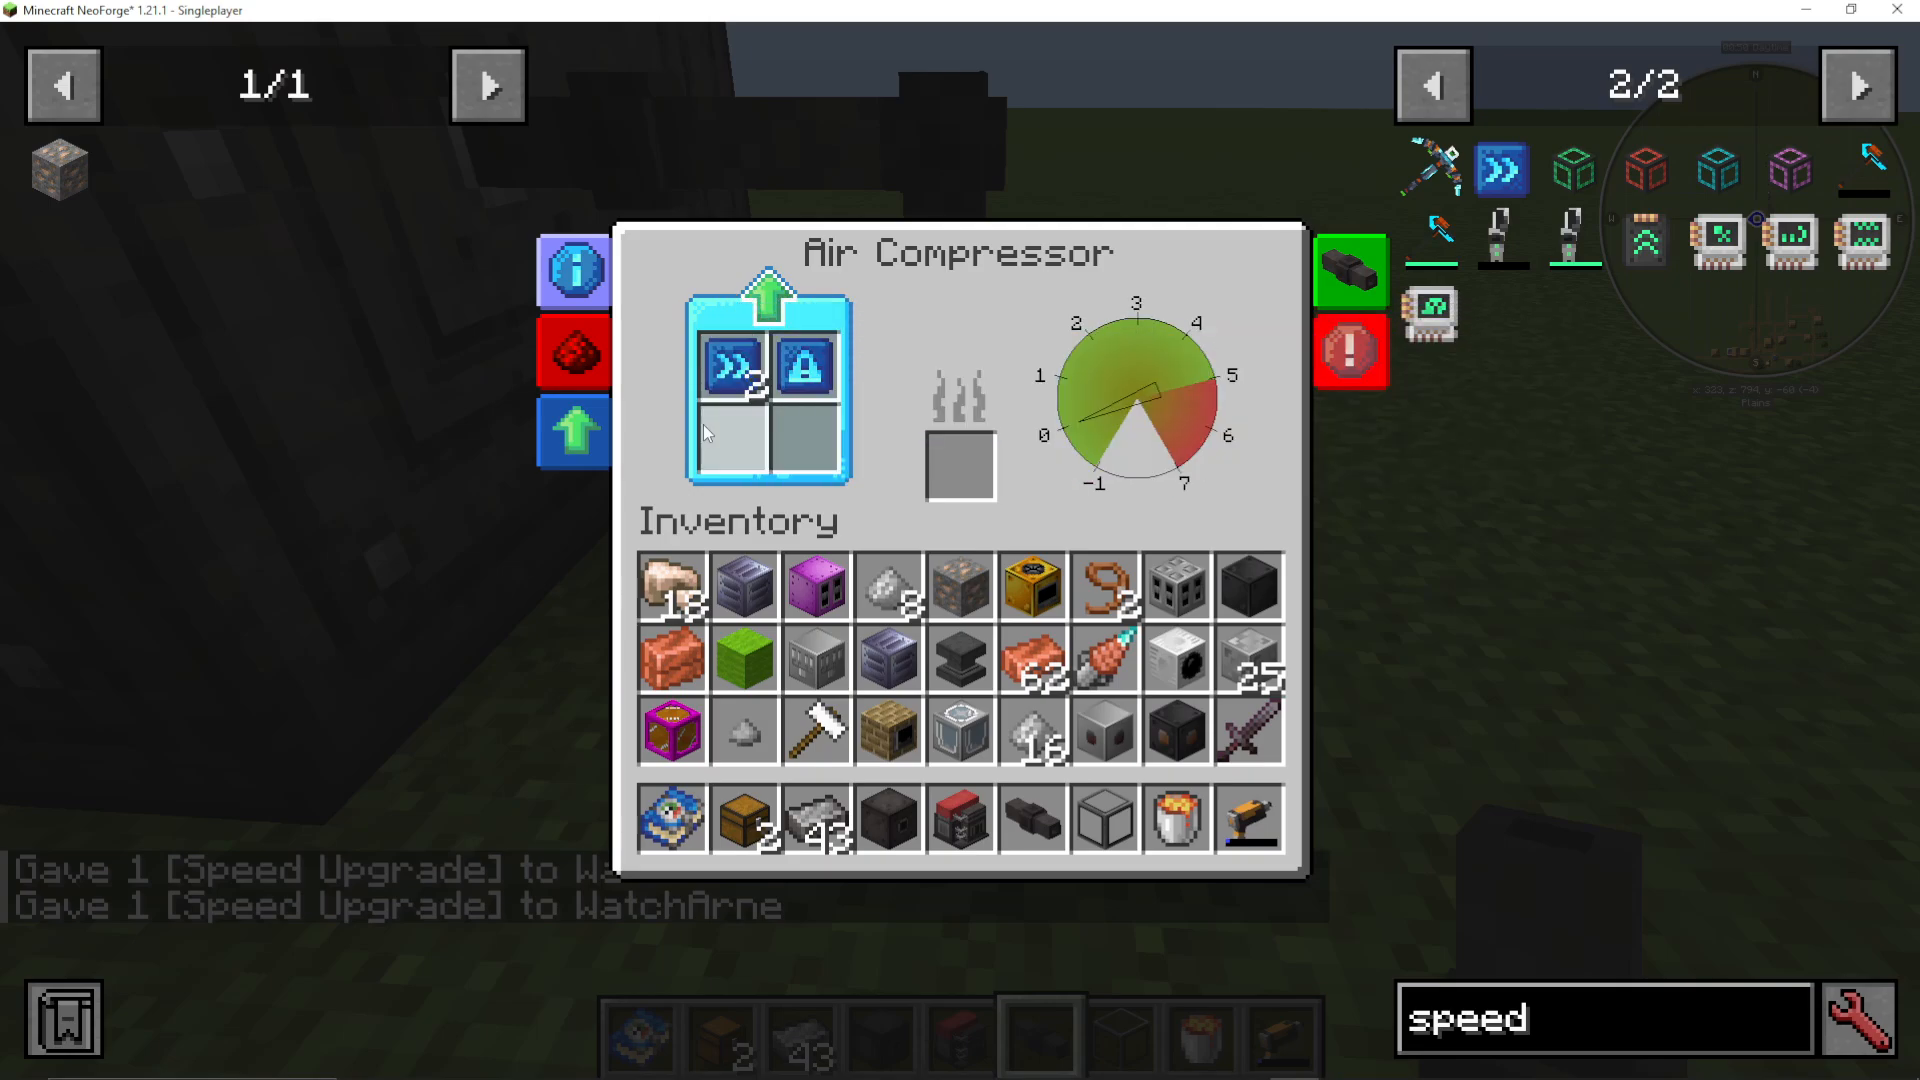
To generate pressure, connect an Air Compressor to your Pressure Chamber Valve using Pressure Tubes. The Air Compressor burns fuel like coal to generate compressed air. Attach a Pressure Tube from the back of the compressor directly to the valve.
Adding a Security Upgrade
Install a Security Upgrade into your Air Compressor. This critical component prevents your system from over-pressurizing and exploding. When pressure reaches the red zone (maximum safe level), the Security Upgrade automatically releases excess air to maintain stability.
Using Speed Upgrades Carefully
Speed Upgrades will increase the compressor’s fuel consumption rate. However, do not install too many speed upgrades at once. Adding excessive speed upgrades (such as 7 or 10) will cause the compressor to burn through fuel extremely rapidly and generate pressure faster than the Security Upgrade can regulate, potentially causing dangerous pressure spikes. Use speed upgrades sparingly and test incrementally.
Item Input and Output Systems
Installing Pressure Chamber Interfaces
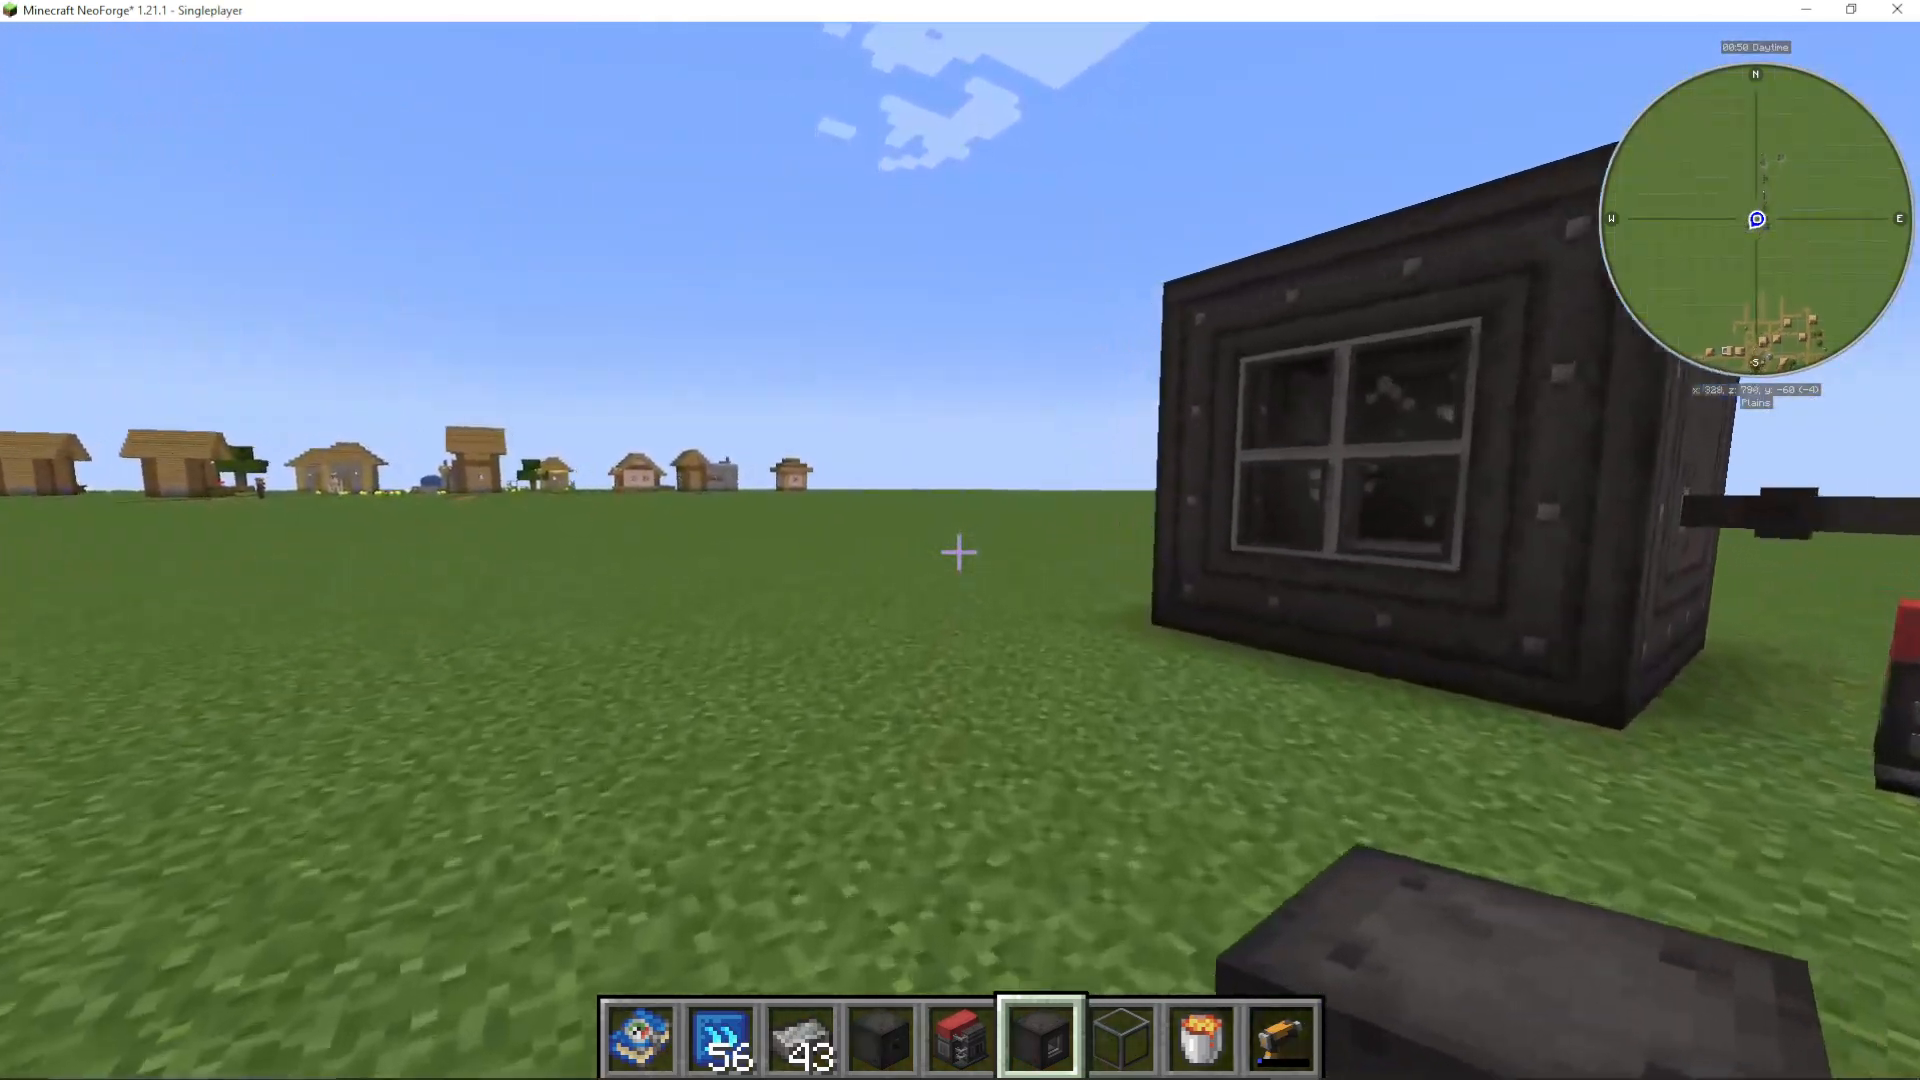
To input raw materials and extract finished products, you need Pressure Chamber Interfaces. These components allow items to move in and out of your chamber. Install one interface on each side where you want to handle items—typically one for input and one for output.
Connecting External Storage
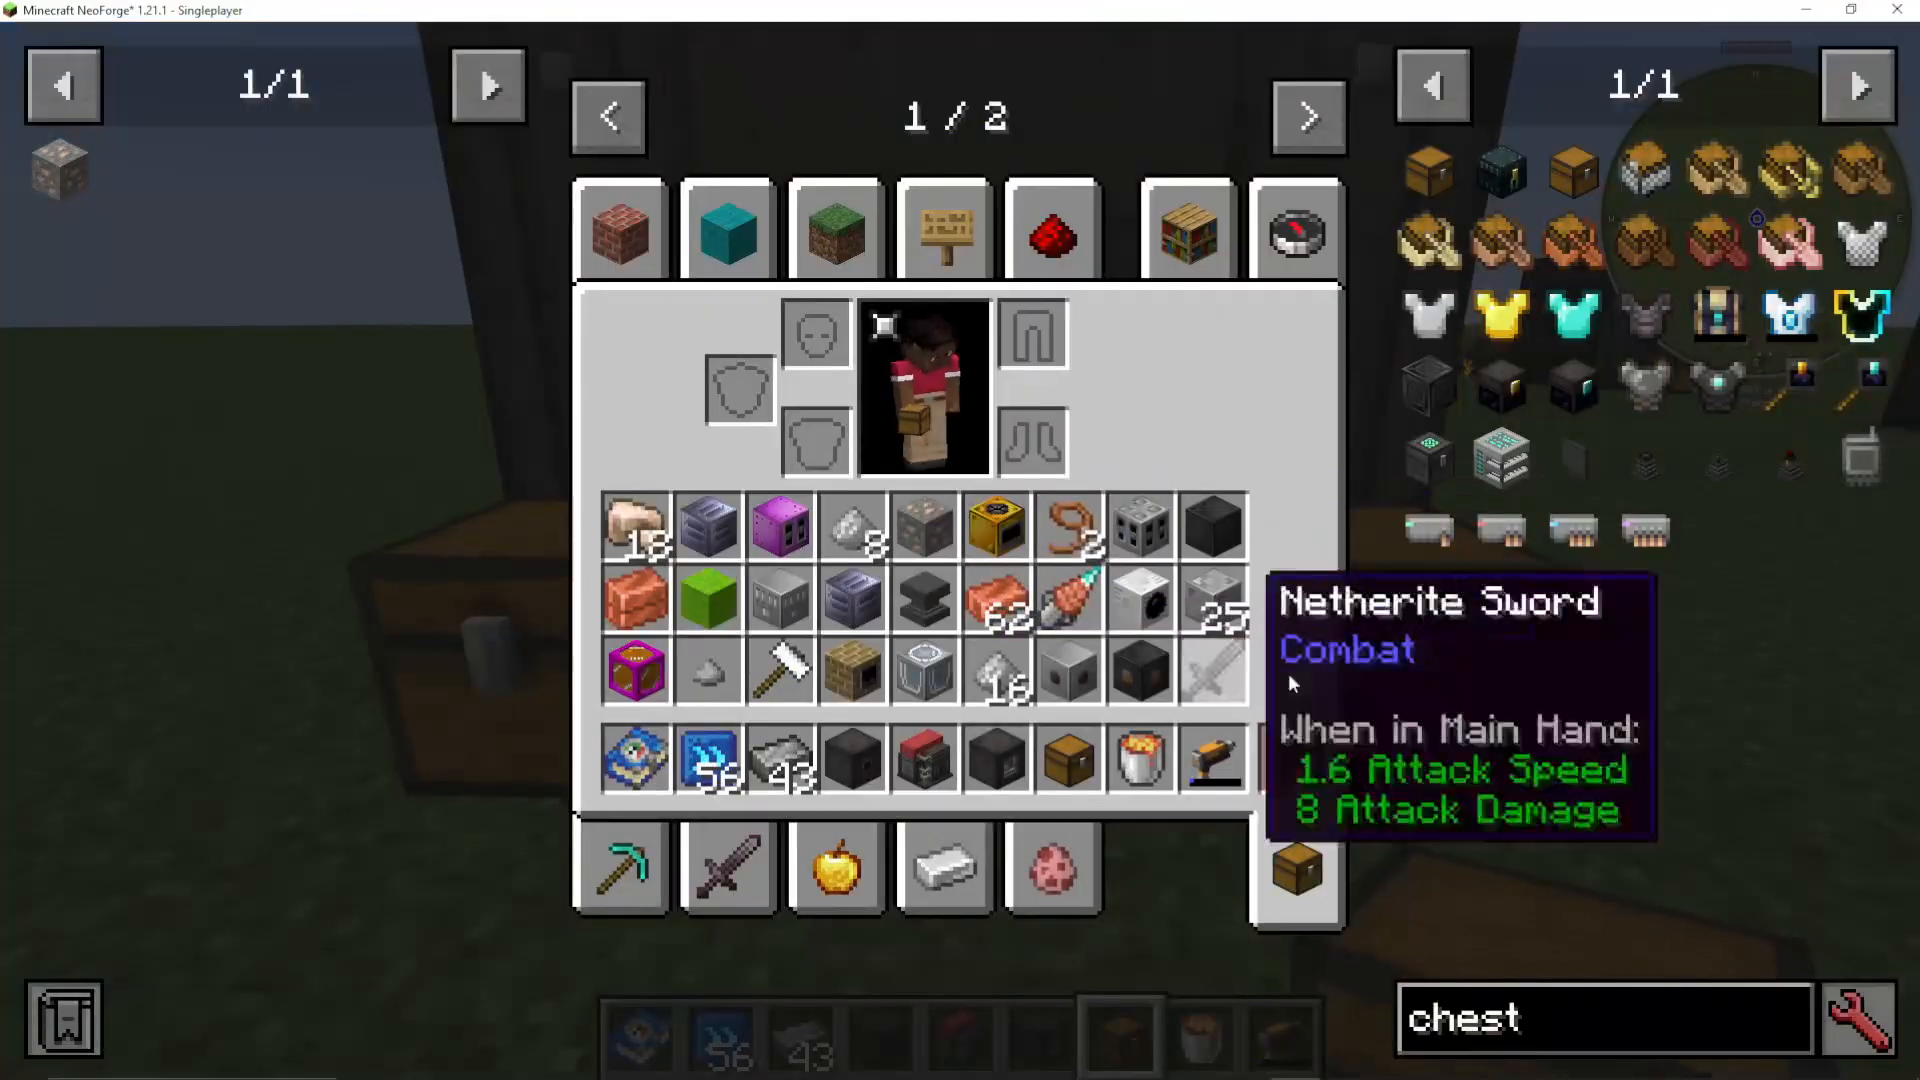
Pressure Chamber Interfaces require external cabling to function. Place chests or other storage blocks adjacent to each interface. Use logistics cables (such as Mekanism’s logistical cables) or cabling from other mods to connect your storage to the interfaces. This allows items to flow between your storage and the pressure chamber automatically.
Configuring Interface Direction
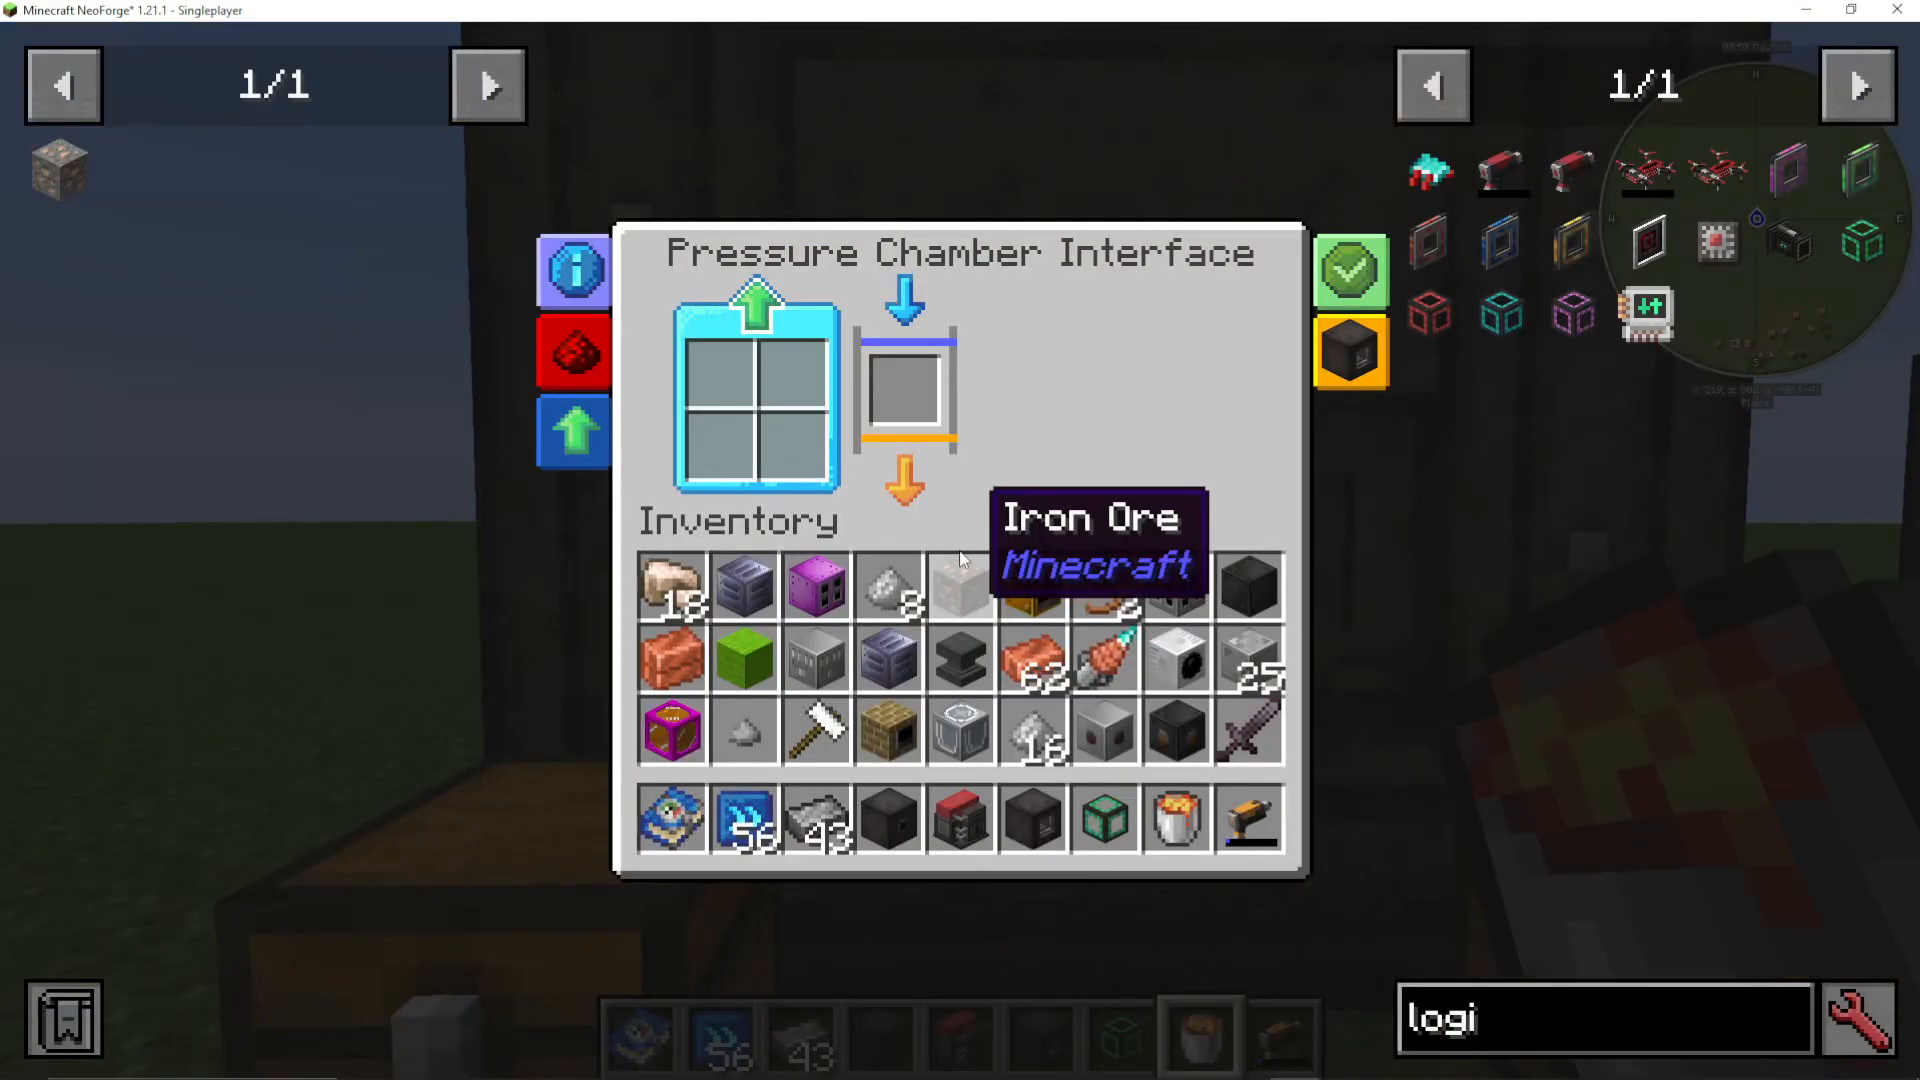
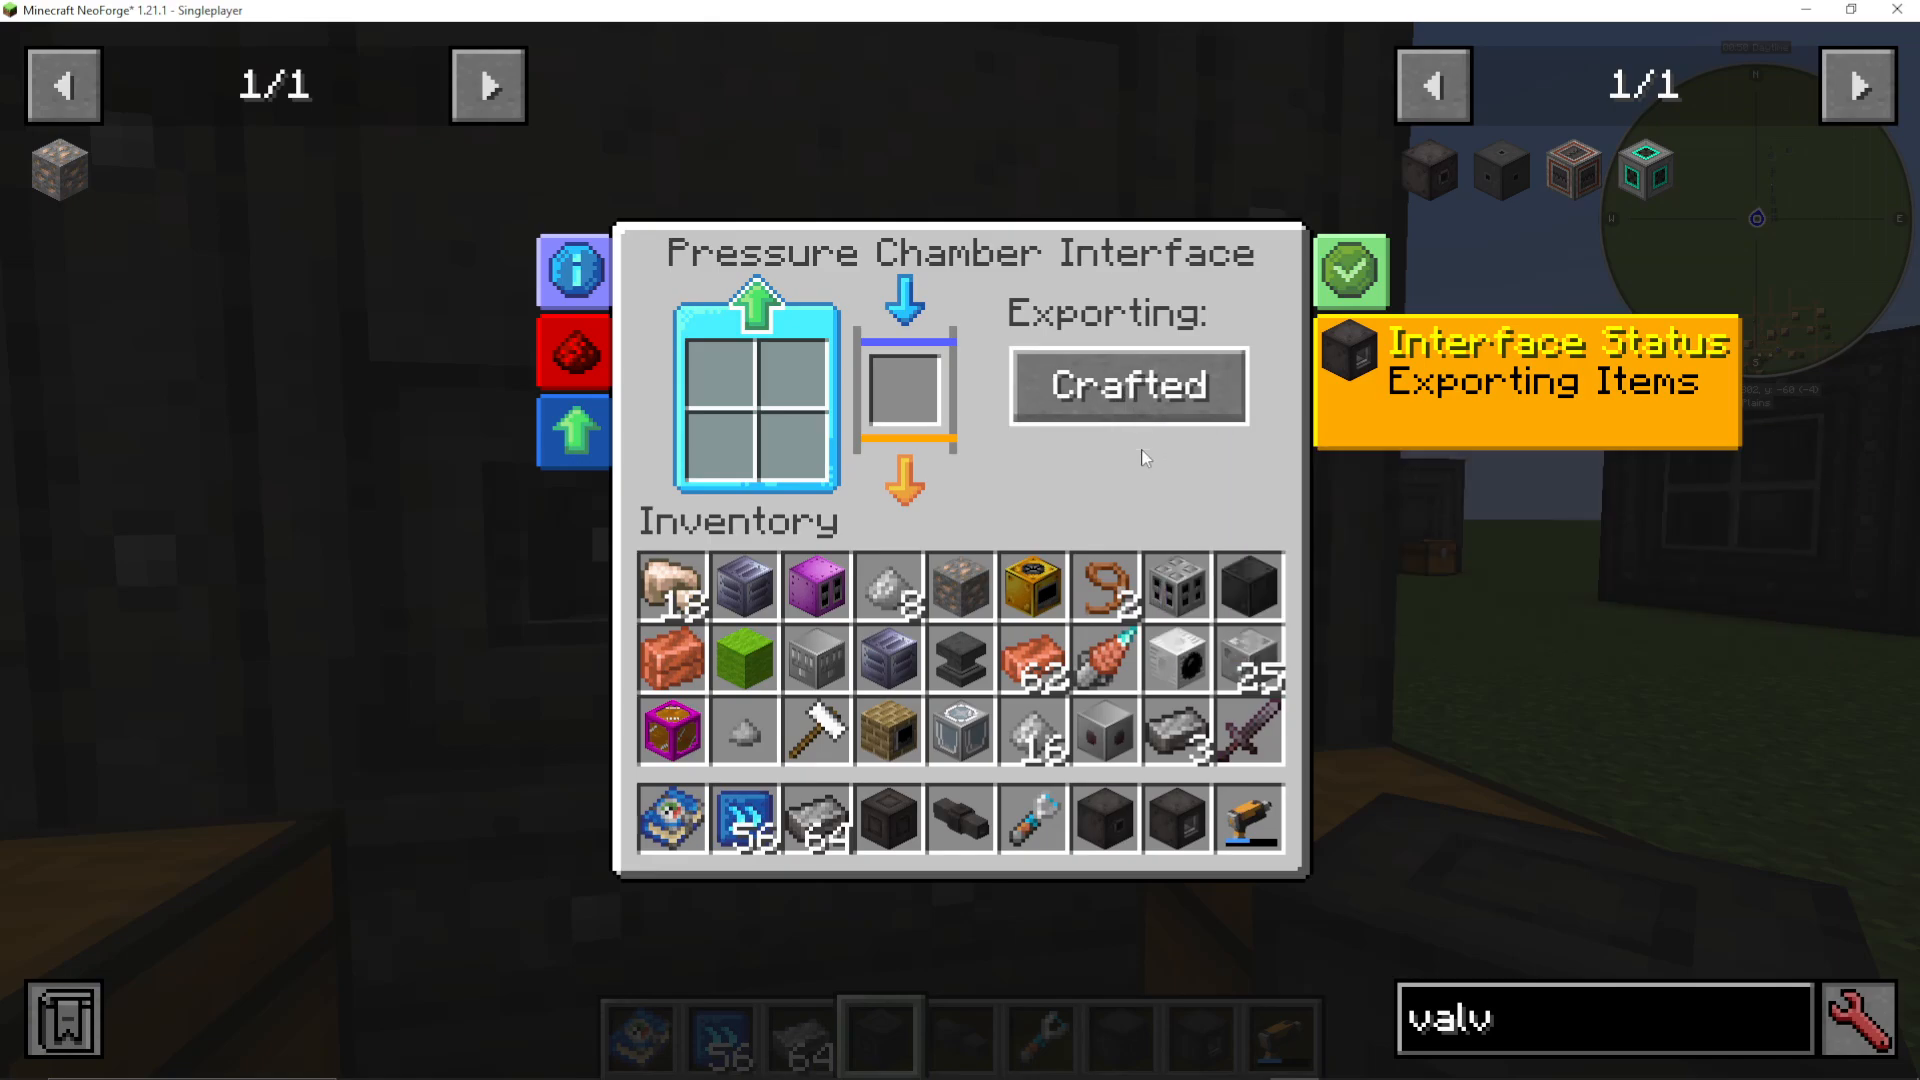
When you right-click a Pressure Chamber Interface, the Interface Status menu shows its current mode: either “Importing items” or “Exporting items.” You can use a Configurator from Mekanism (shift right-click) to change the interface direction. If you have difficulty rotating an interface due to adjacent blocks, temporarily remove a neighboring wall block, rotate the interface, and then replace the wall.
Setting Export Filters
On your output interface, configure it to export only crafted items. This prevents uncrafted raw materials from being prematurely ejected from the chamber and ensures only finished products leave the system.
The Pneumatic Wrench and Charging Station
Crafting a Pneumatic Wrench
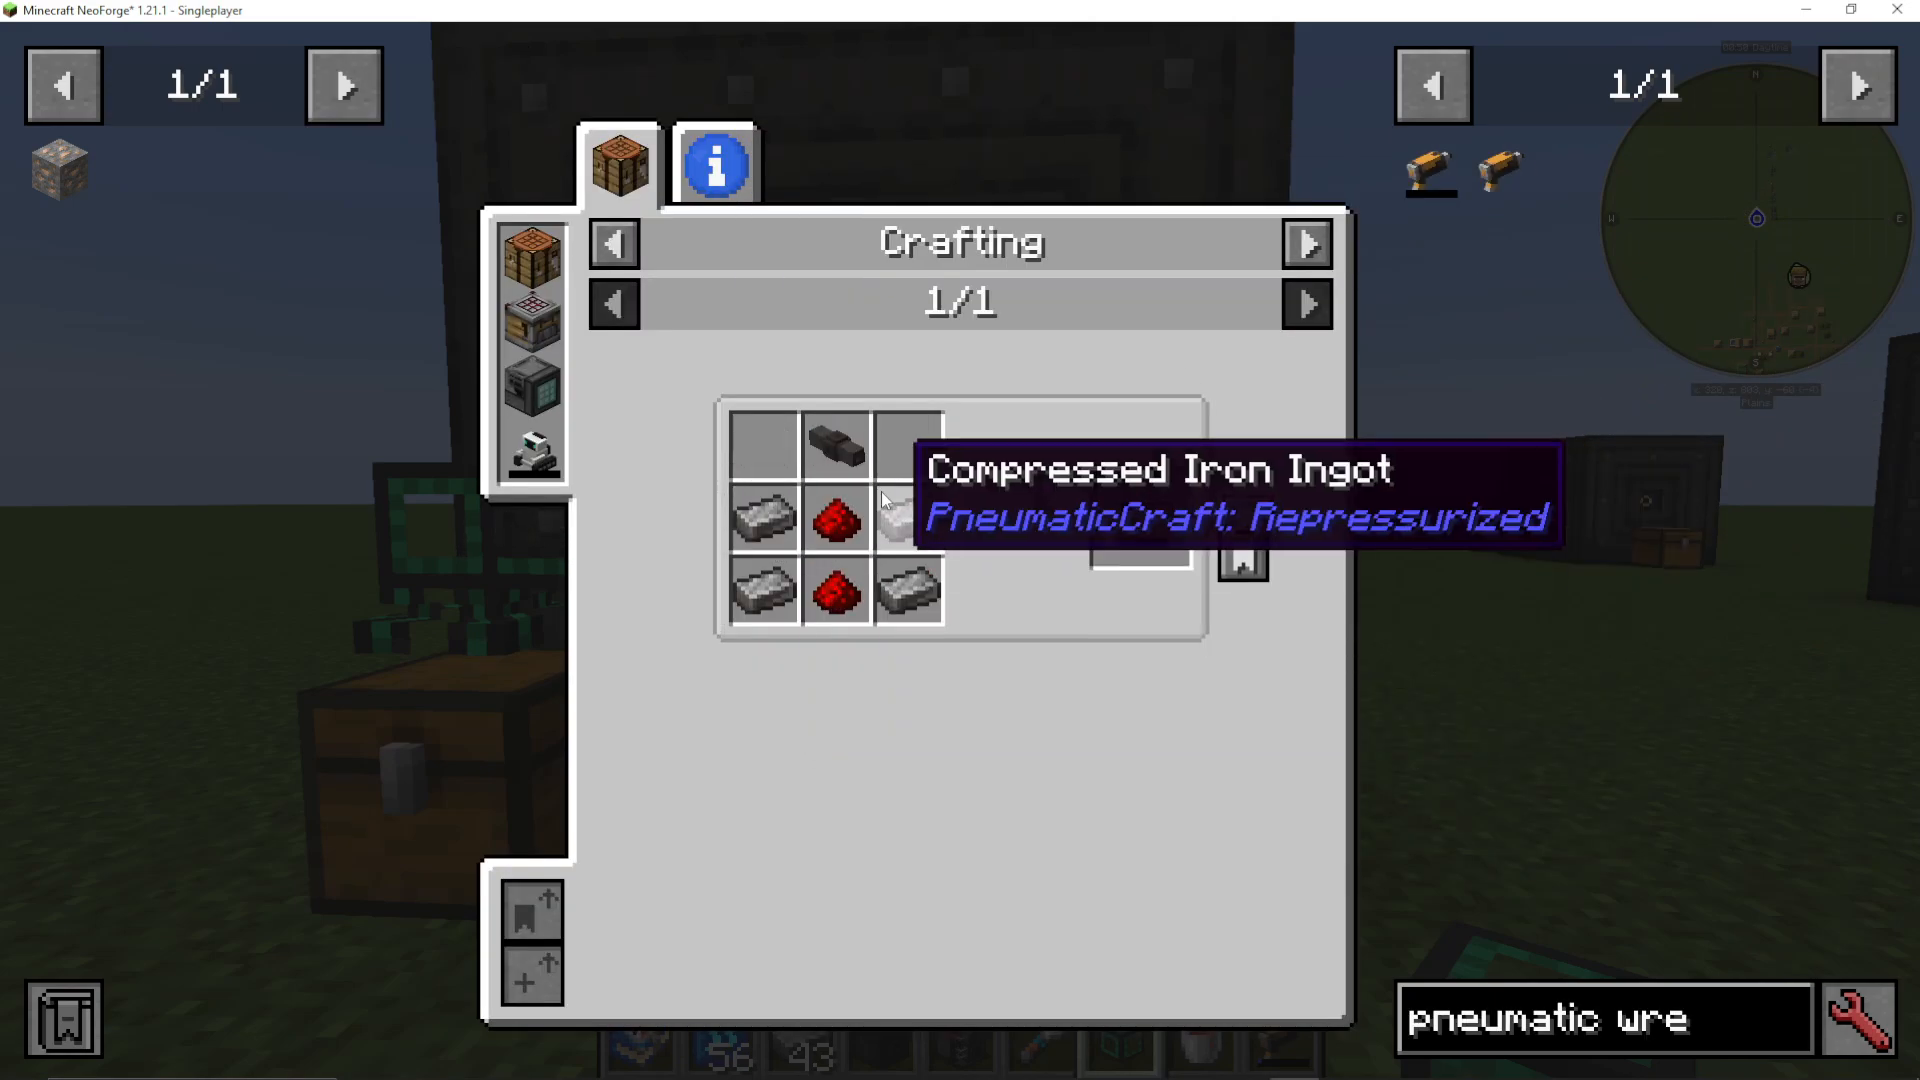
A Pneumatic Wrench is required to properly configure your Pressure Chamber Interfaces. To craft one, you’ll need an Air Canister, a Pressure Tube, and Compressed Iron Ingots (which themselves require more Compressed Iron). This tool allows you to fine-tune interface orientation when other methods fail.
Building a Charging Station
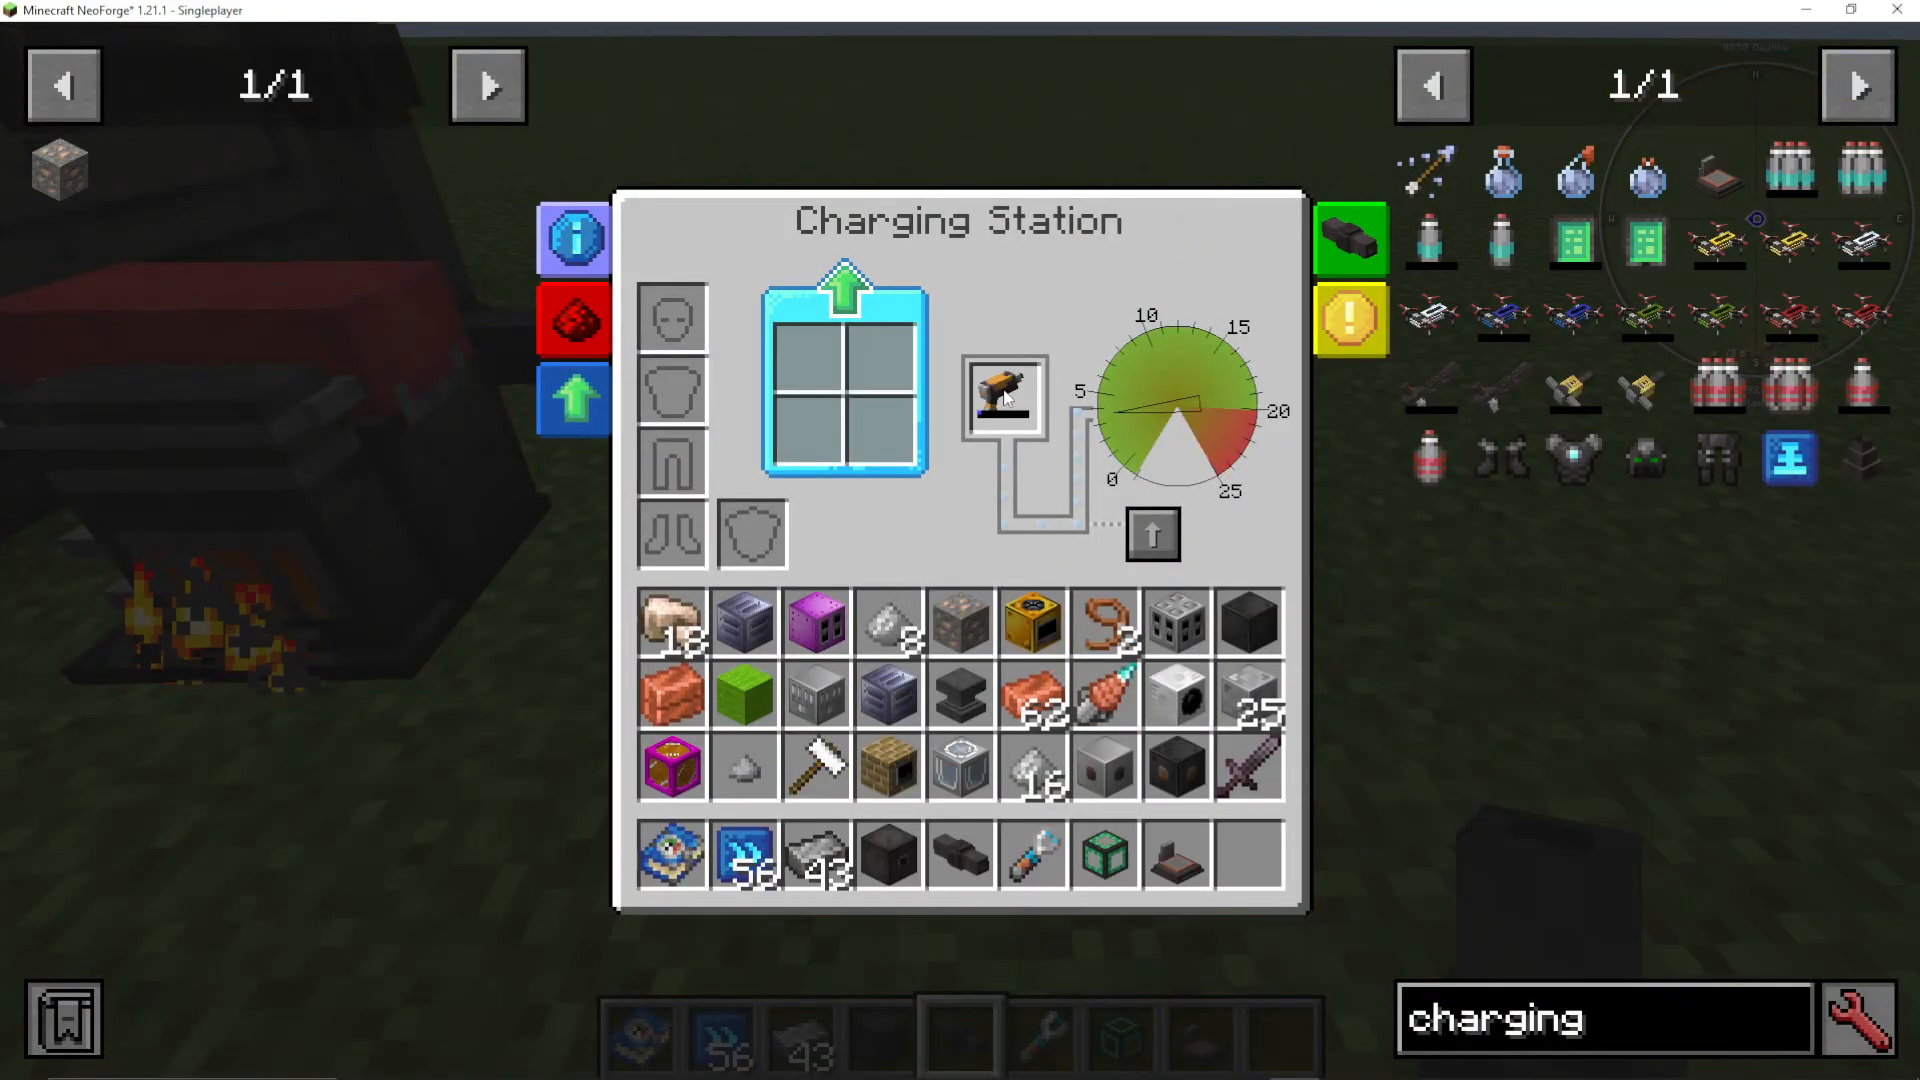
Create a Charging Station by connecting Pressure Tubes to charge your Pneumatic Wrench and other pressurized items. Simply attach additional Pressure Tubes from your air supply system to the Charging Station. Place your Pneumatic Wrench into the item slot on the station.
Charging Your Equipment
Once your Pneumatic Wrench is in the Charging Station, you can control air flow using the directional arrow button—click it to allow pressure to flow into the wrench or block it. You’ll see globules of air entering the wrench as its pressure gauge increases. Once sufficiently charged, your pneumatic tools will be ready for use.
Operating the Pressure Chamber
How Pressure Chamber Crafting Works
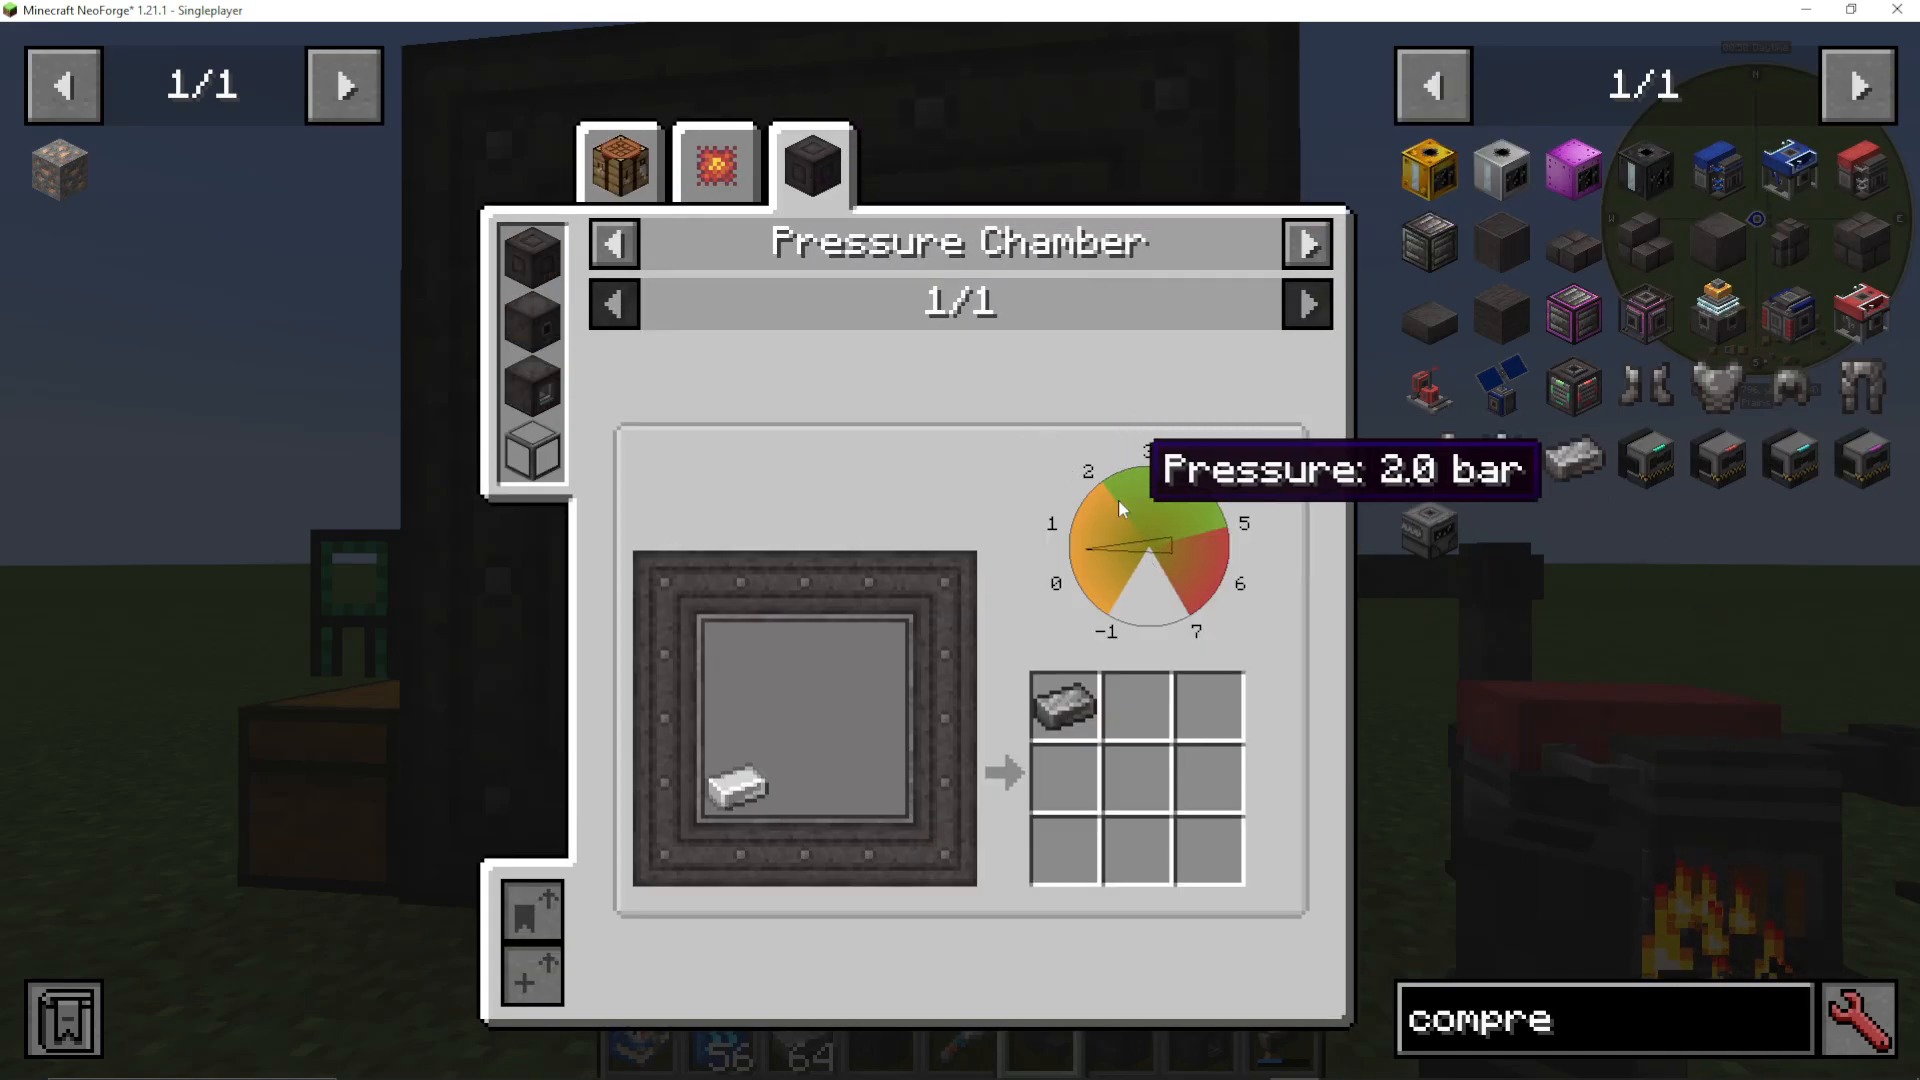
The Pressure Chamber crafts items when internal pressure reaches the required threshold. For example, converting Iron Ingots into Compressed Iron Ingots requires just 1 bar of pressure. Different recipes have different pressure requirements. As raw materials enter through the input interface, they automatically convert once sufficient pressure builds up, then exit through the output interface.
Checking Recipe Requirements in JEI
To learn the pressure requirement for any recipe, click on a Pressure Chamber Wall in your world and press “U” (for Uses) in JEI. Select “Pressure Chamber” from the list. This displays all available recipes and their required pressure levels in bars. For example, Compressed Iron Ingots need 1 bar, while creating a Diamond from 8 Coal blocks requires 4 bars of pressure. A Diamond Pickaxe enchanted with a Fortune I and Efficiency I book requires 5 bars.
Maintaining Optimal Pressure
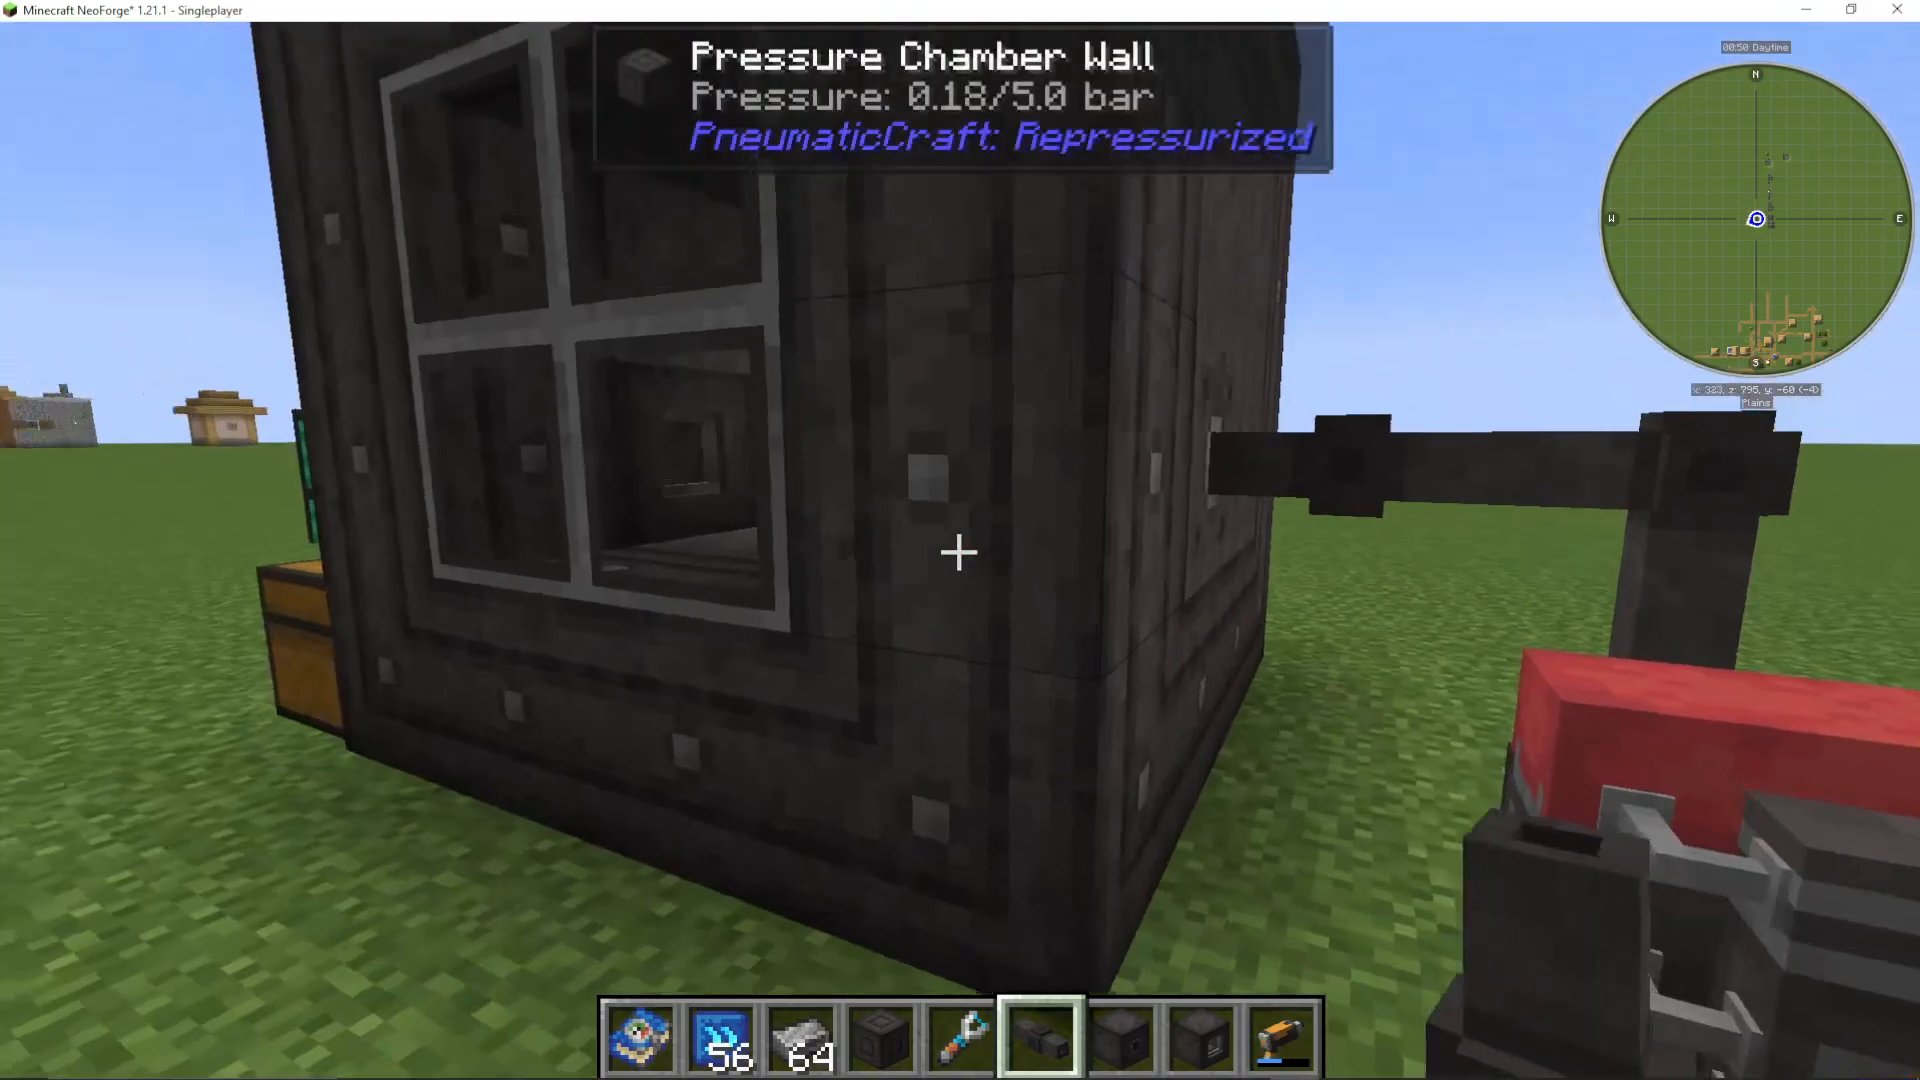
Your Air Compressor will gradually build pressure as it burns fuel. With a Security Upgrade installed, pressure will stabilize around 5 bars once sufficient fuel is supplied, which is adequate for most recipes. You can monitor pressure using the One Probe mod or by reading the Pressure Chamber Valve directly. Once pressure reaches the required level, crafting begins automatically.
Summary and Best Practices
Here’s a quick recap of Pressure Chamber setup:
Build your chamber in 3×3, 4×4, or 5×5 configurations using Pressure Chamber Walls
Install a Pressure Chamber Valve to receive compressed air input
Connect an Air Compressor via Pressure Tubes as your pressure source
Add a Security Upgrade to prevent over-pressurization
Use Speed Upgrades sparingly to avoid excessive fuel consumption
Install Pressure Chamber Interfaces on at least two sides for item flow
Connect external storage (chests) and logistics cables to interfaces
Use a Pneumatic Wrench to adjust interface orientation if needed
Check JEI for recipe pressure requirements before crafting
Allow pressure to stabilize before expecting optimal crafting speed
With these steps complete, your Pressure Chamber will efficiently convert raw materials into compressed variants and handle complex recipes, providing a significant productivity boost to your PneumaticCraft operation.
Want to Support?
If you would like to help us continue making these guides – please consider joining our patreon here – https://www.patreon.com/c/JaviHeals
Alternatively – we host a group of MC Servers you can join here – https://discord.gg/zD7Gjt6MHF



