







How to use Conveyors & Routers – Immersive Engineering
How to Use Conveyors & Routers in Immersive Engineering
Conveyor belts and routers are the backbone of item and liquid transportation in Immersive Engineering. While they may seem intimidating at first glance, they’re actually straightforward to use and incredibly fun to work with. This guide will walk you through all the conveyor types and routing systems you need to build efficient production lines.
Basic Conveyors
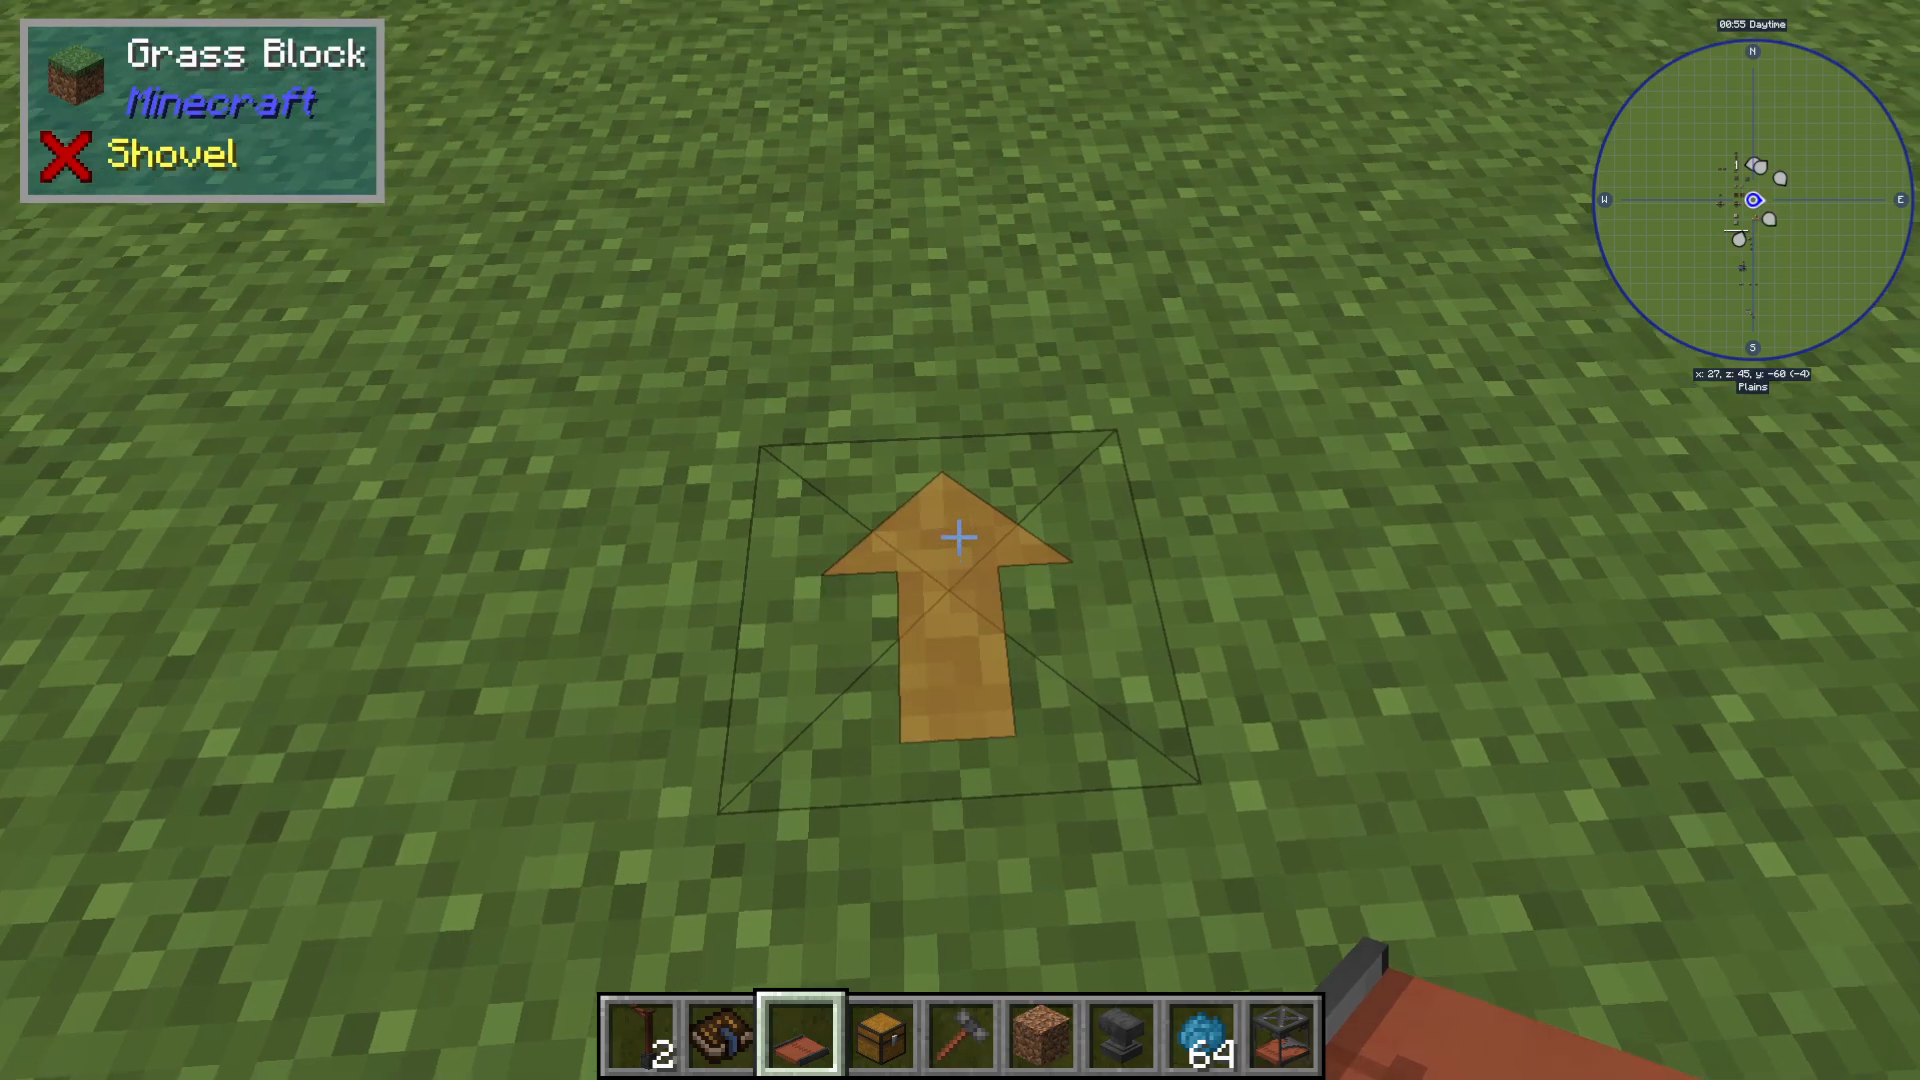
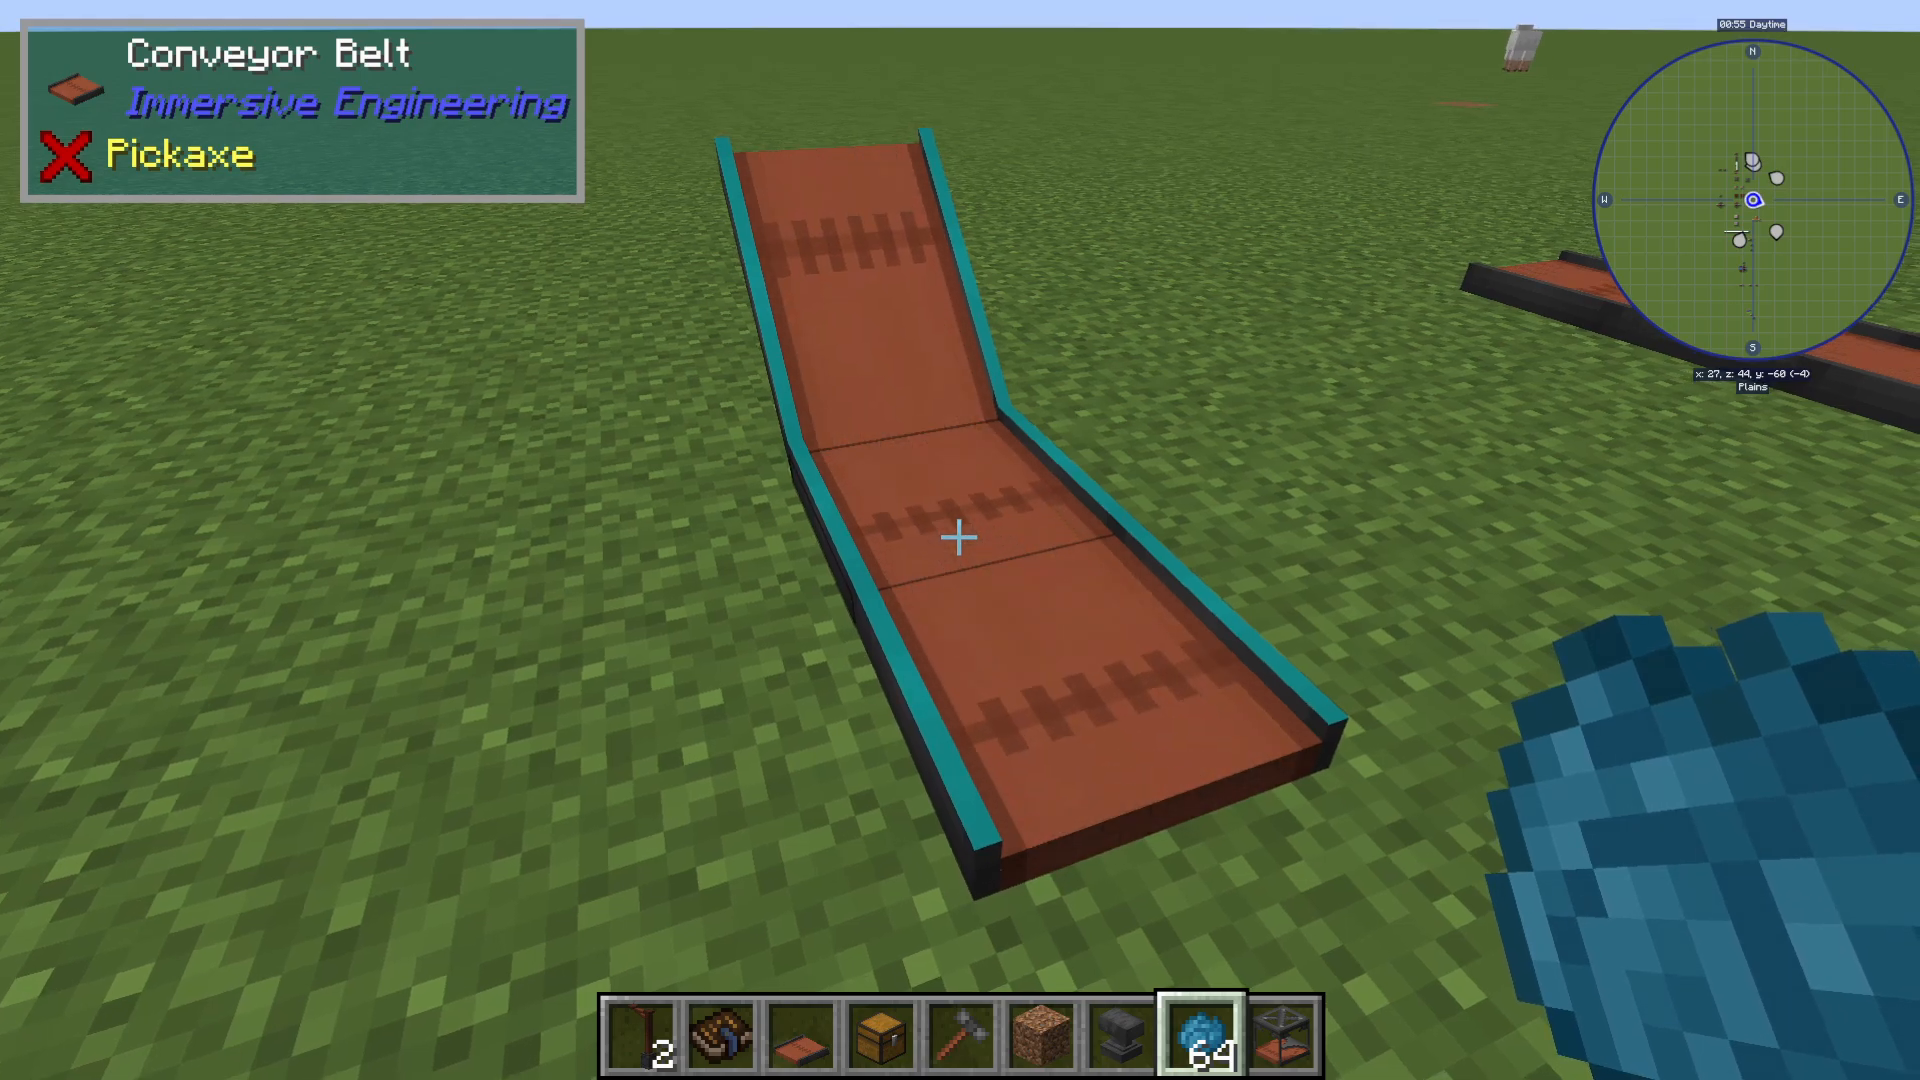
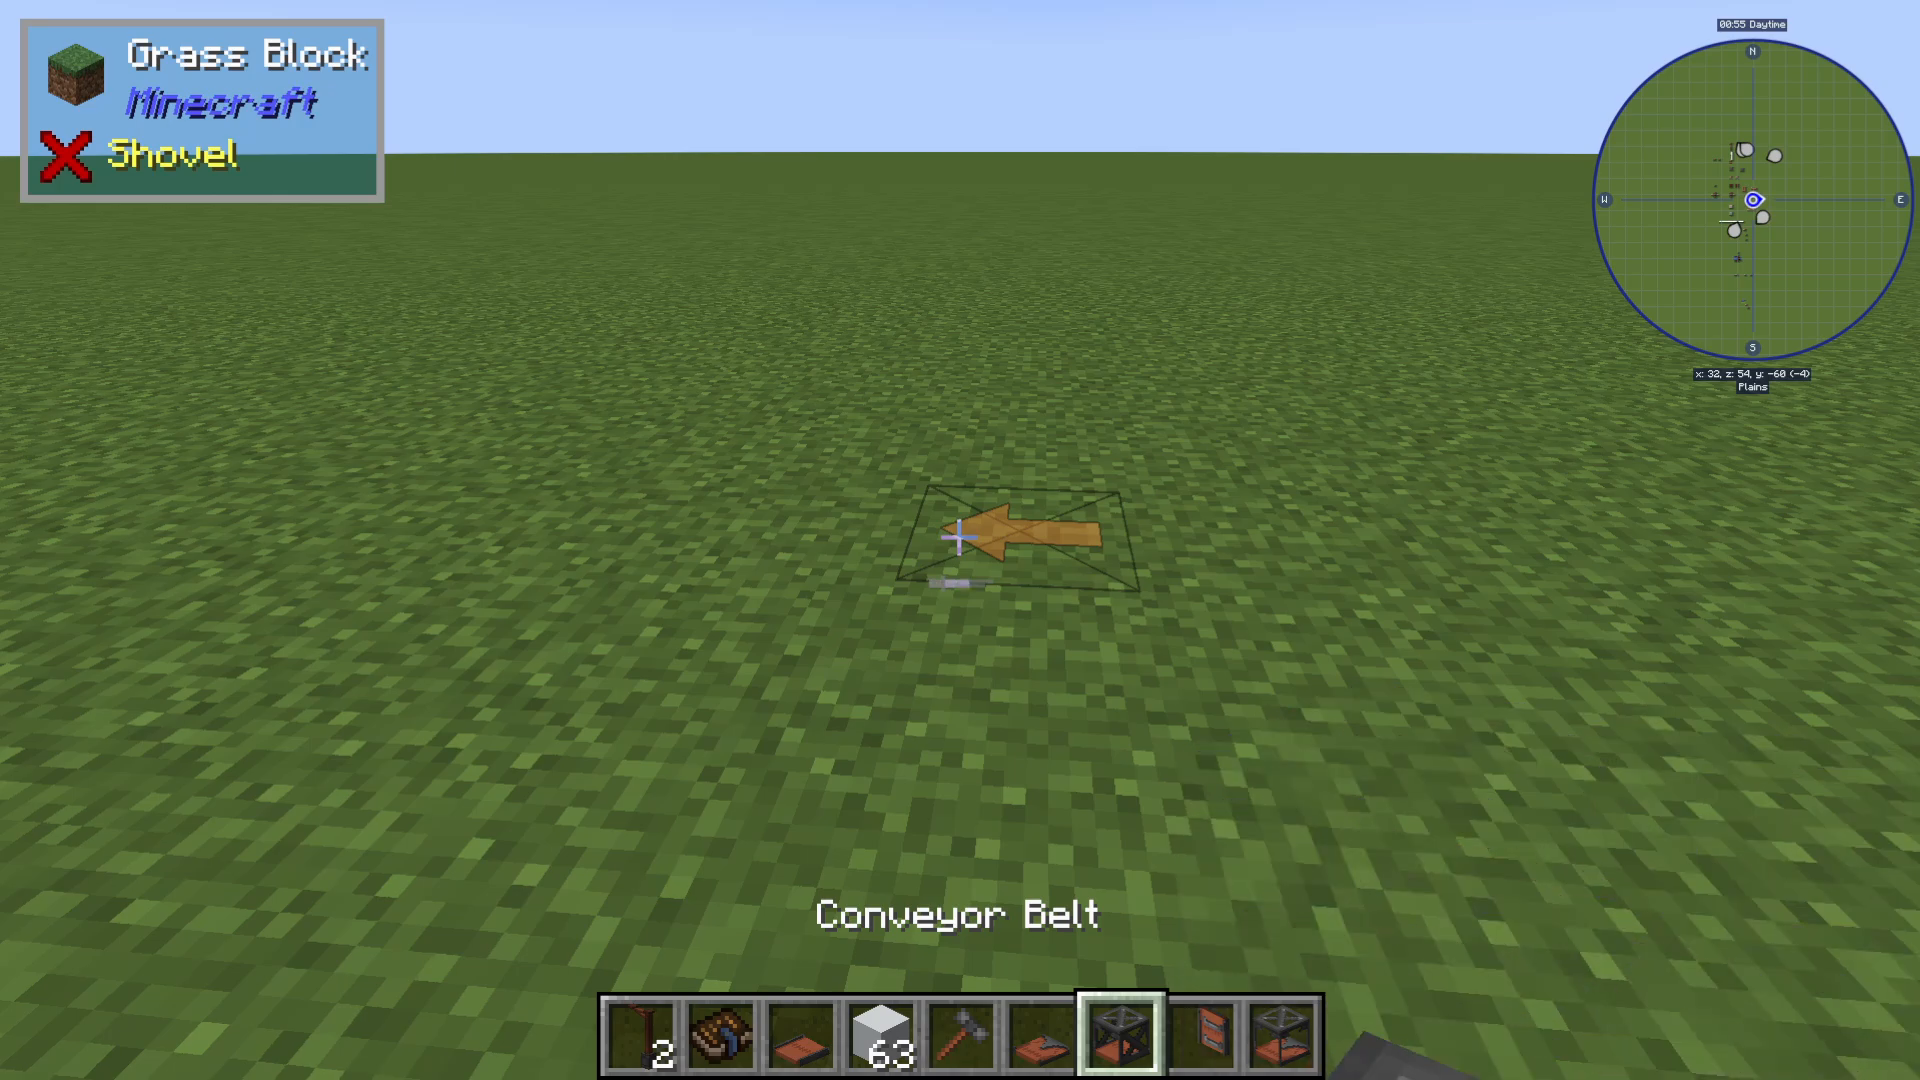
The most fundamental tool in Immersive Engineering logistics is the basic conveyor belt. These belts are simple to craft, requiring mostly leather, iron, and redstone. When you hold them in your hand, you’ll notice an X marking on the block that indicates the direction the conveyor will face.
To set the direction, hover your mouse over the quadrant you want the conveyor to face. This allows you to quickly orient conveyors in any of the four cardinal directions. If you’ve already placed a conveyor and need to change its direction, simply right-click it with your Engineer’s Hammer.
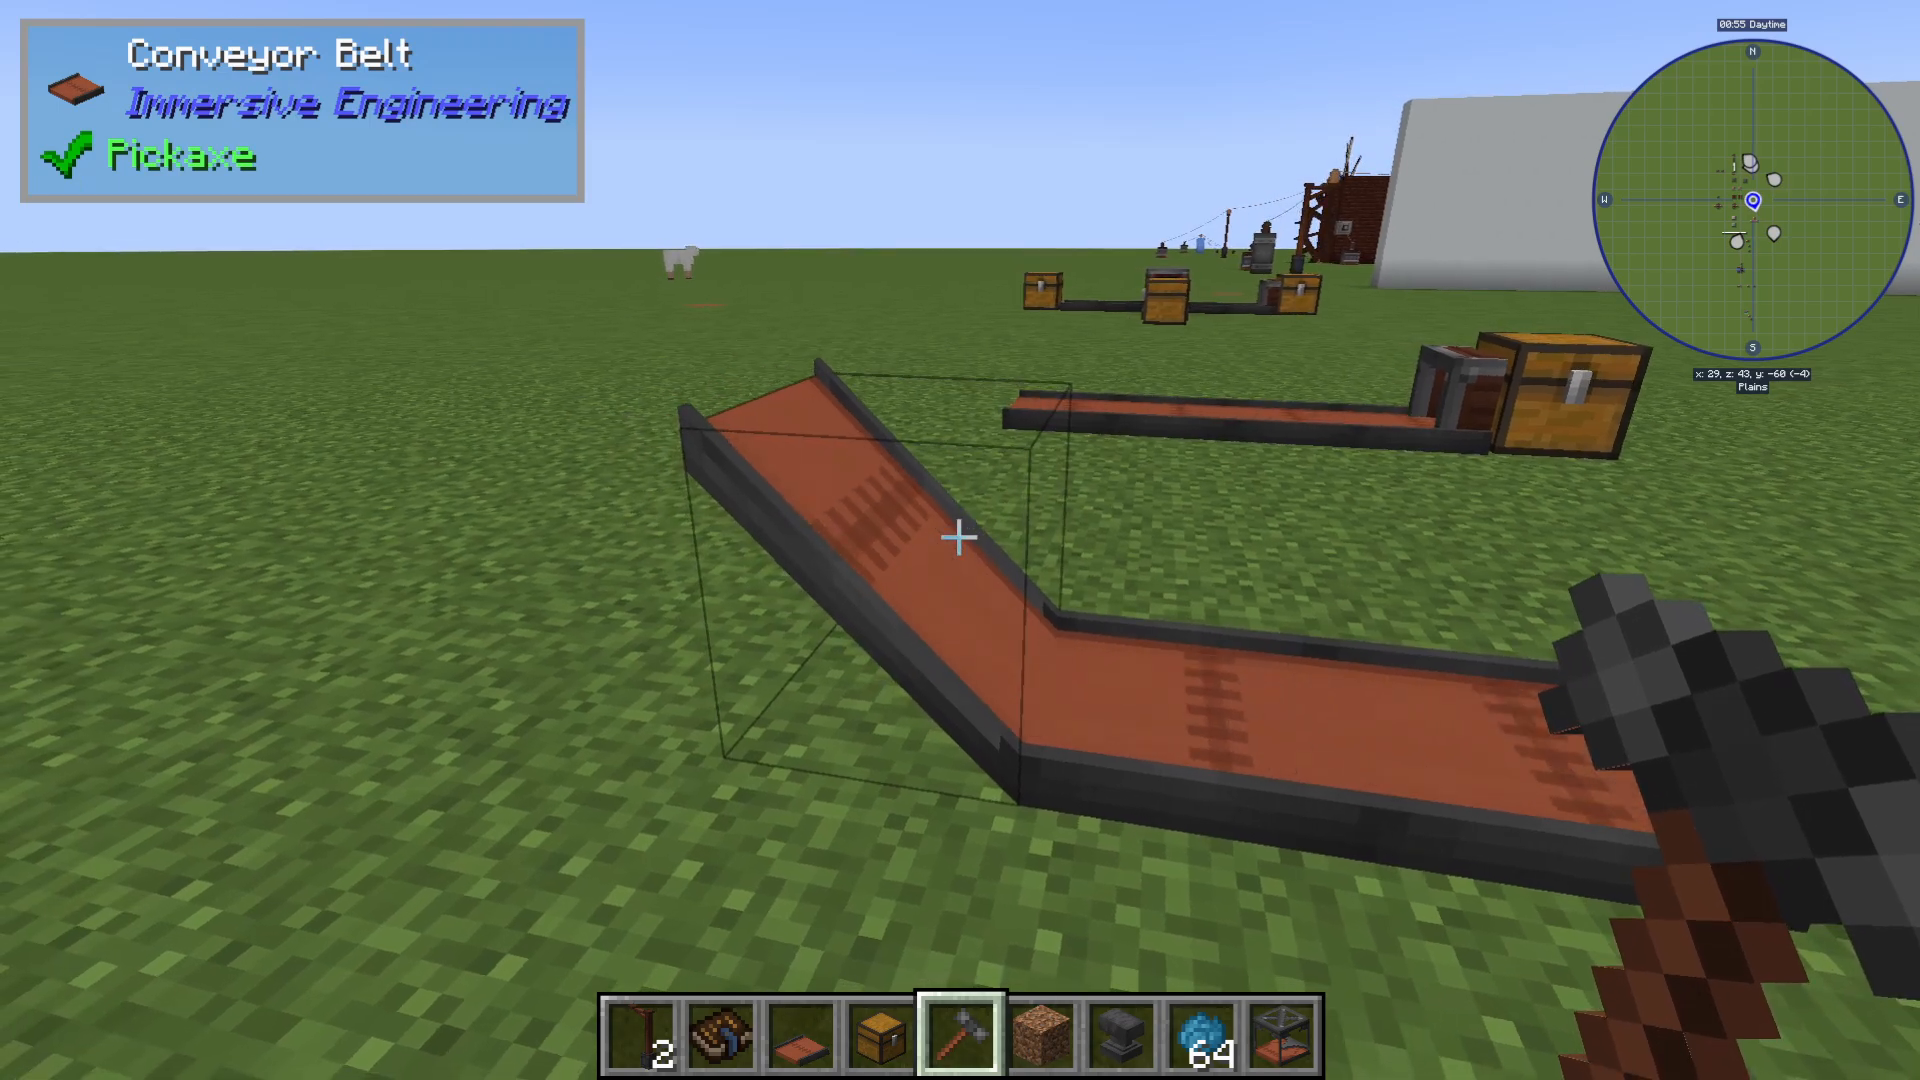
For vertical movement, sneak-click the conveyor to change whether it goes up or down. This is a convenient way to build multi-level production lines without placing separate vertical conveyor blocks in between.
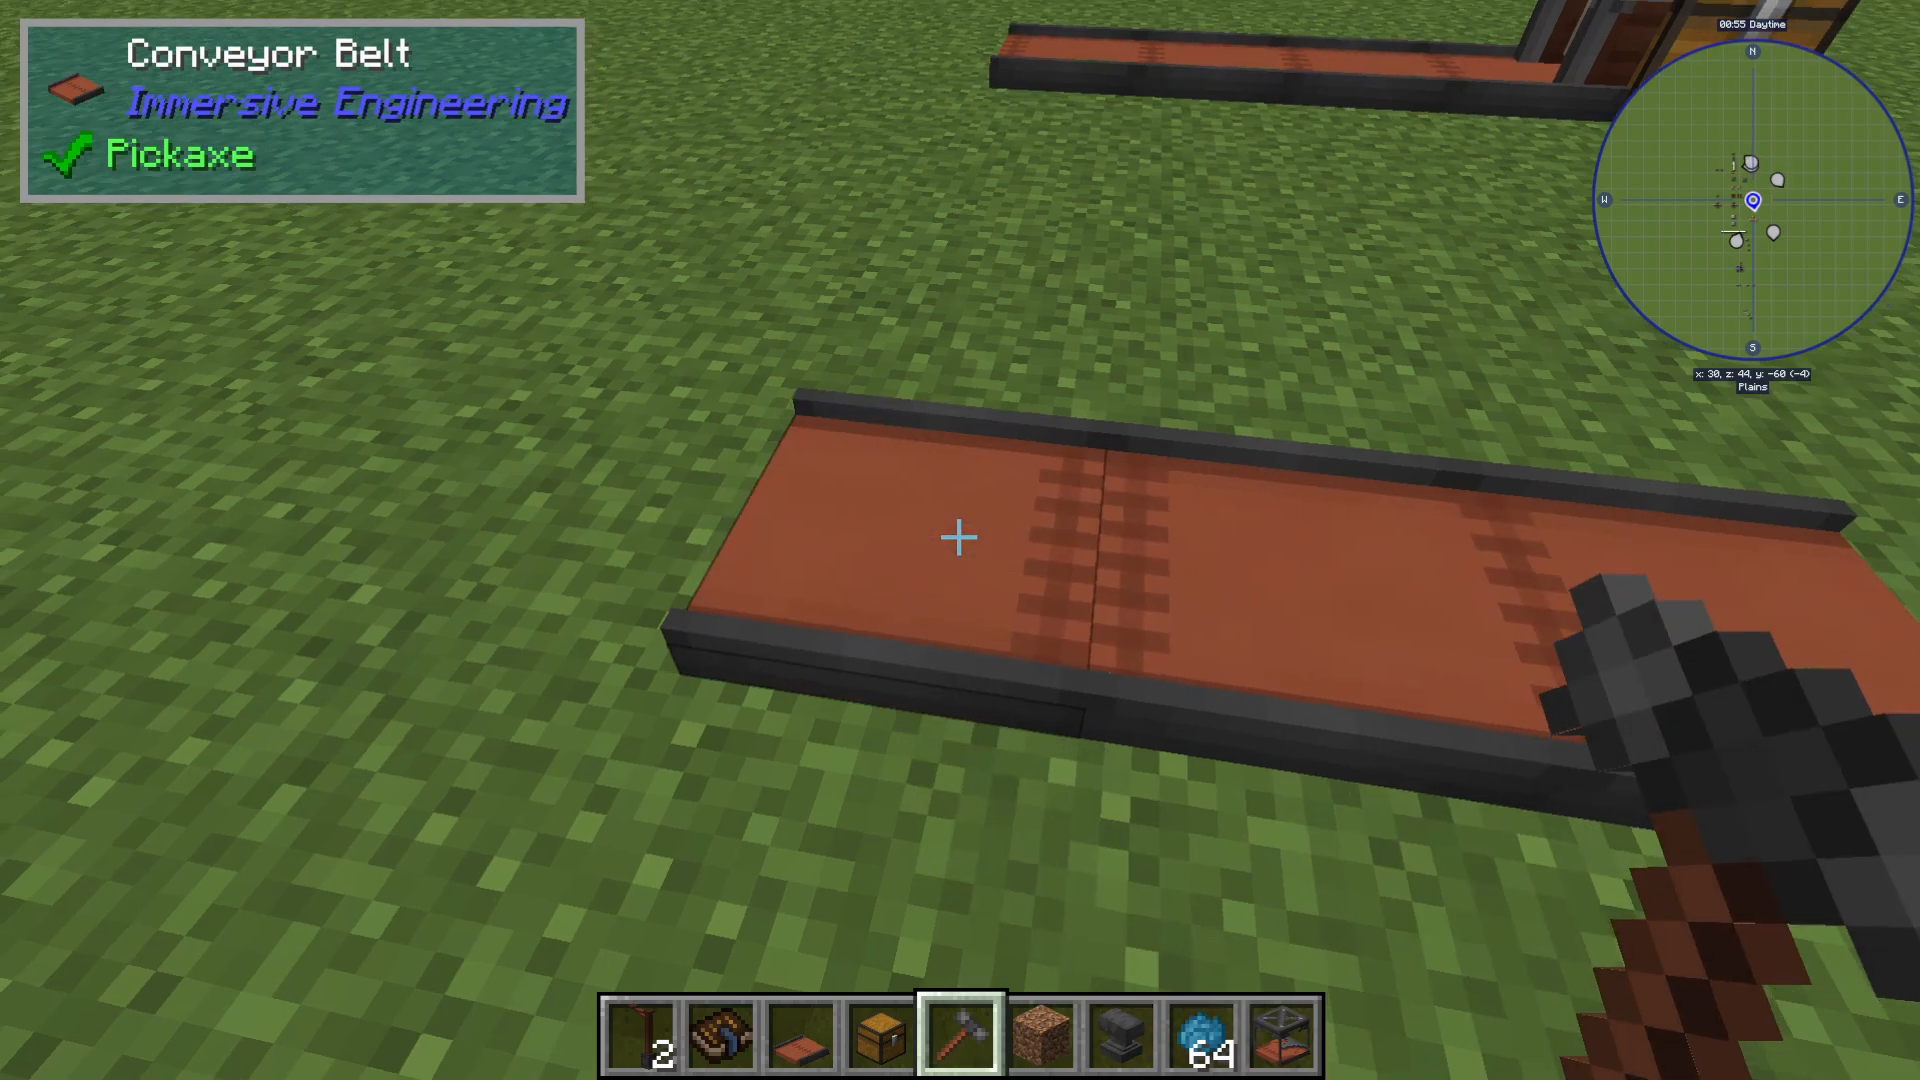
You can also dye the outside of conveyors to color-code your production lines for better visual organization. Simply use a dye on the conveyor to change its color.
Dropping Items on Conveyors
Items can be dropped directly onto conveyor belts and will be transported along them. Conveyors will also move any entities that touch them, including players and animals. If you walk onto a conveyor, it will push you along with the items.
Covered Conveyor Belts
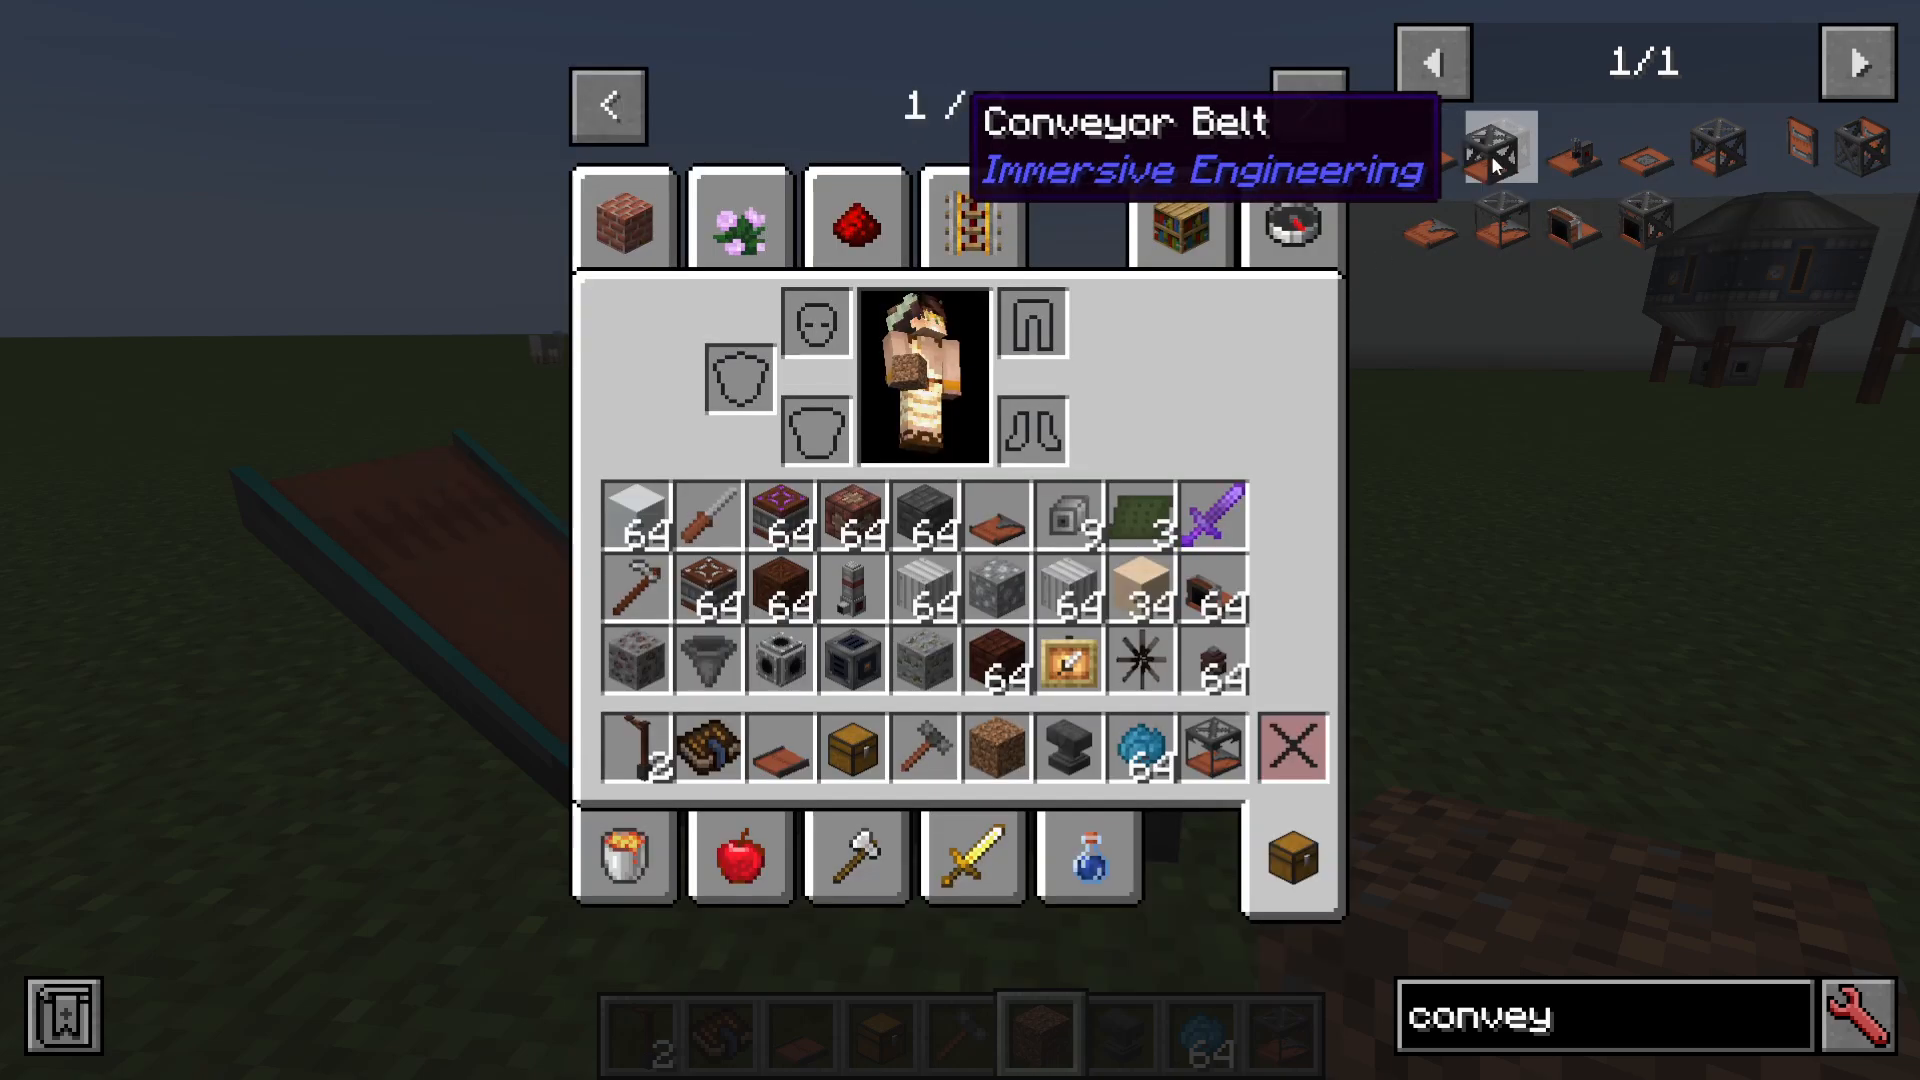
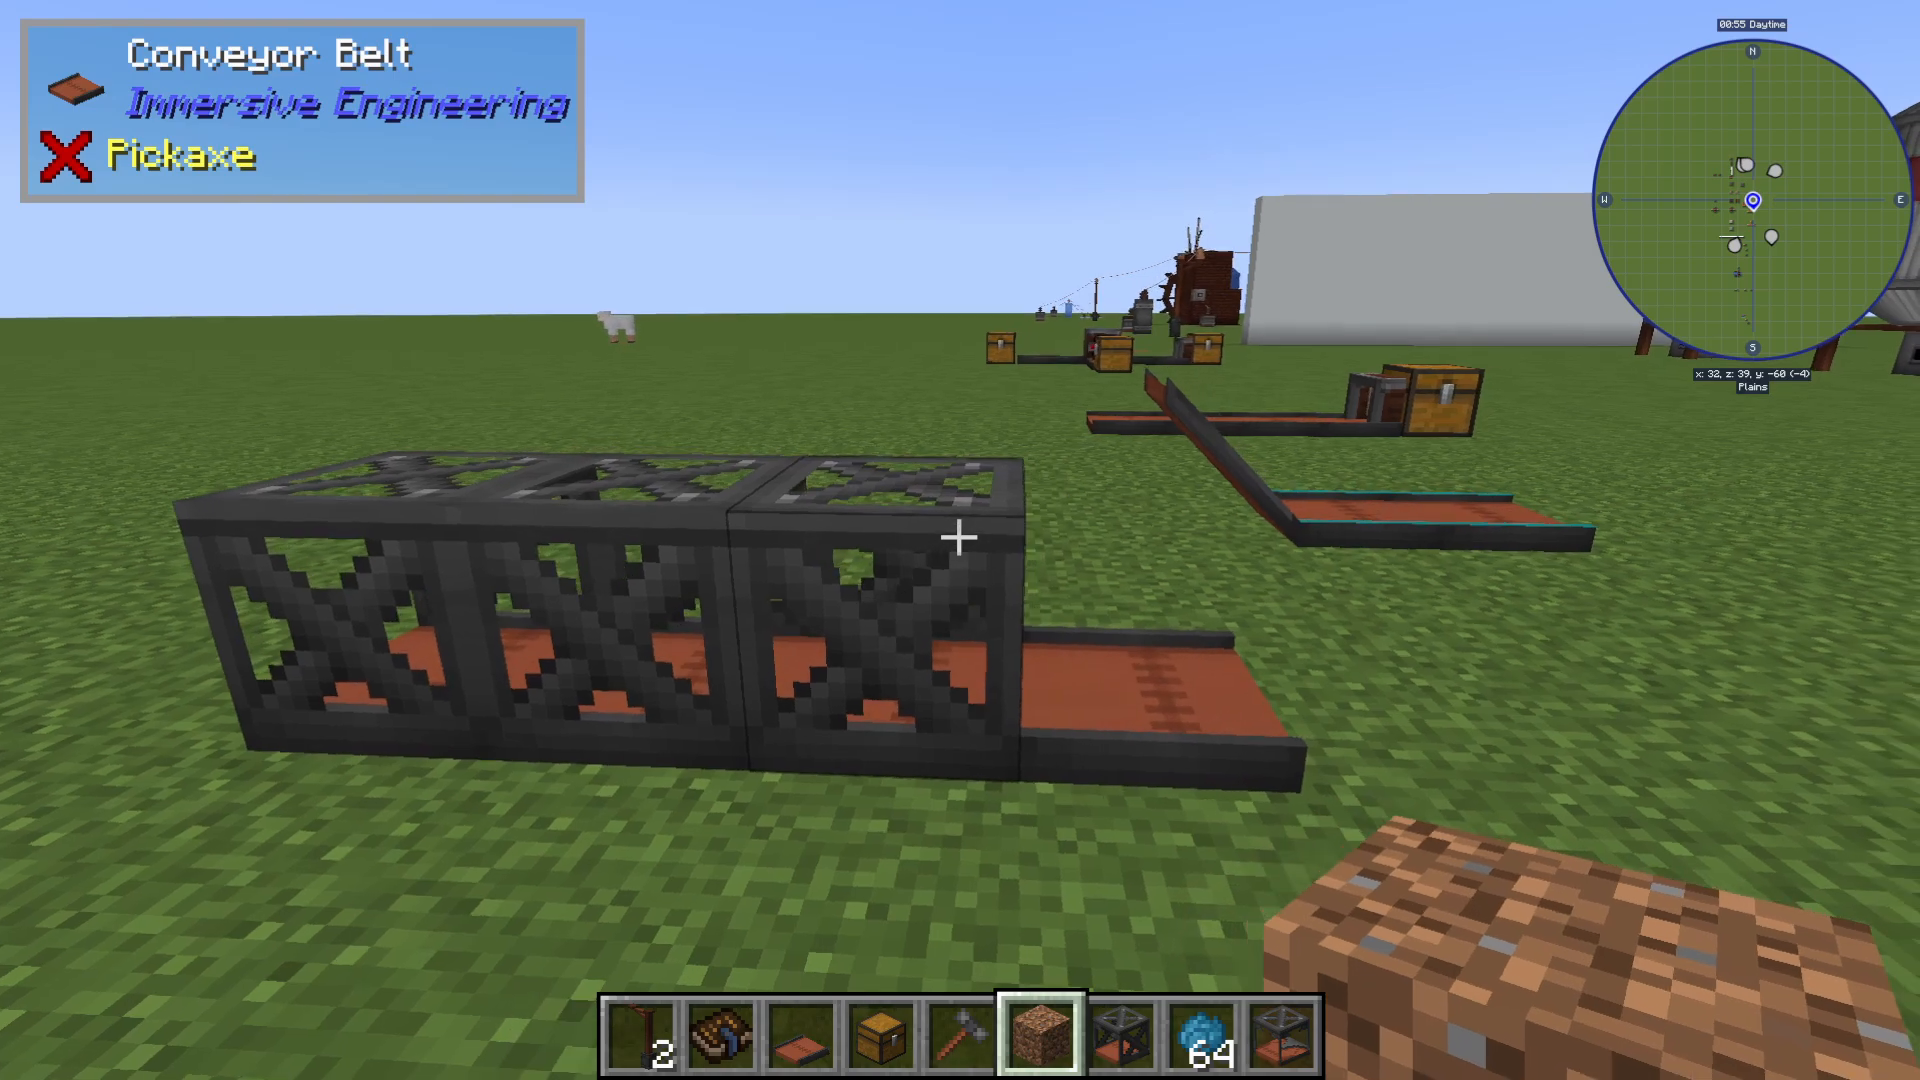
If you want to prevent accidental interaction with your conveyor lines, you can cover them with steel scaffolding. Simply place steel scaffolding on top of a conveyor belt to create a covered version.
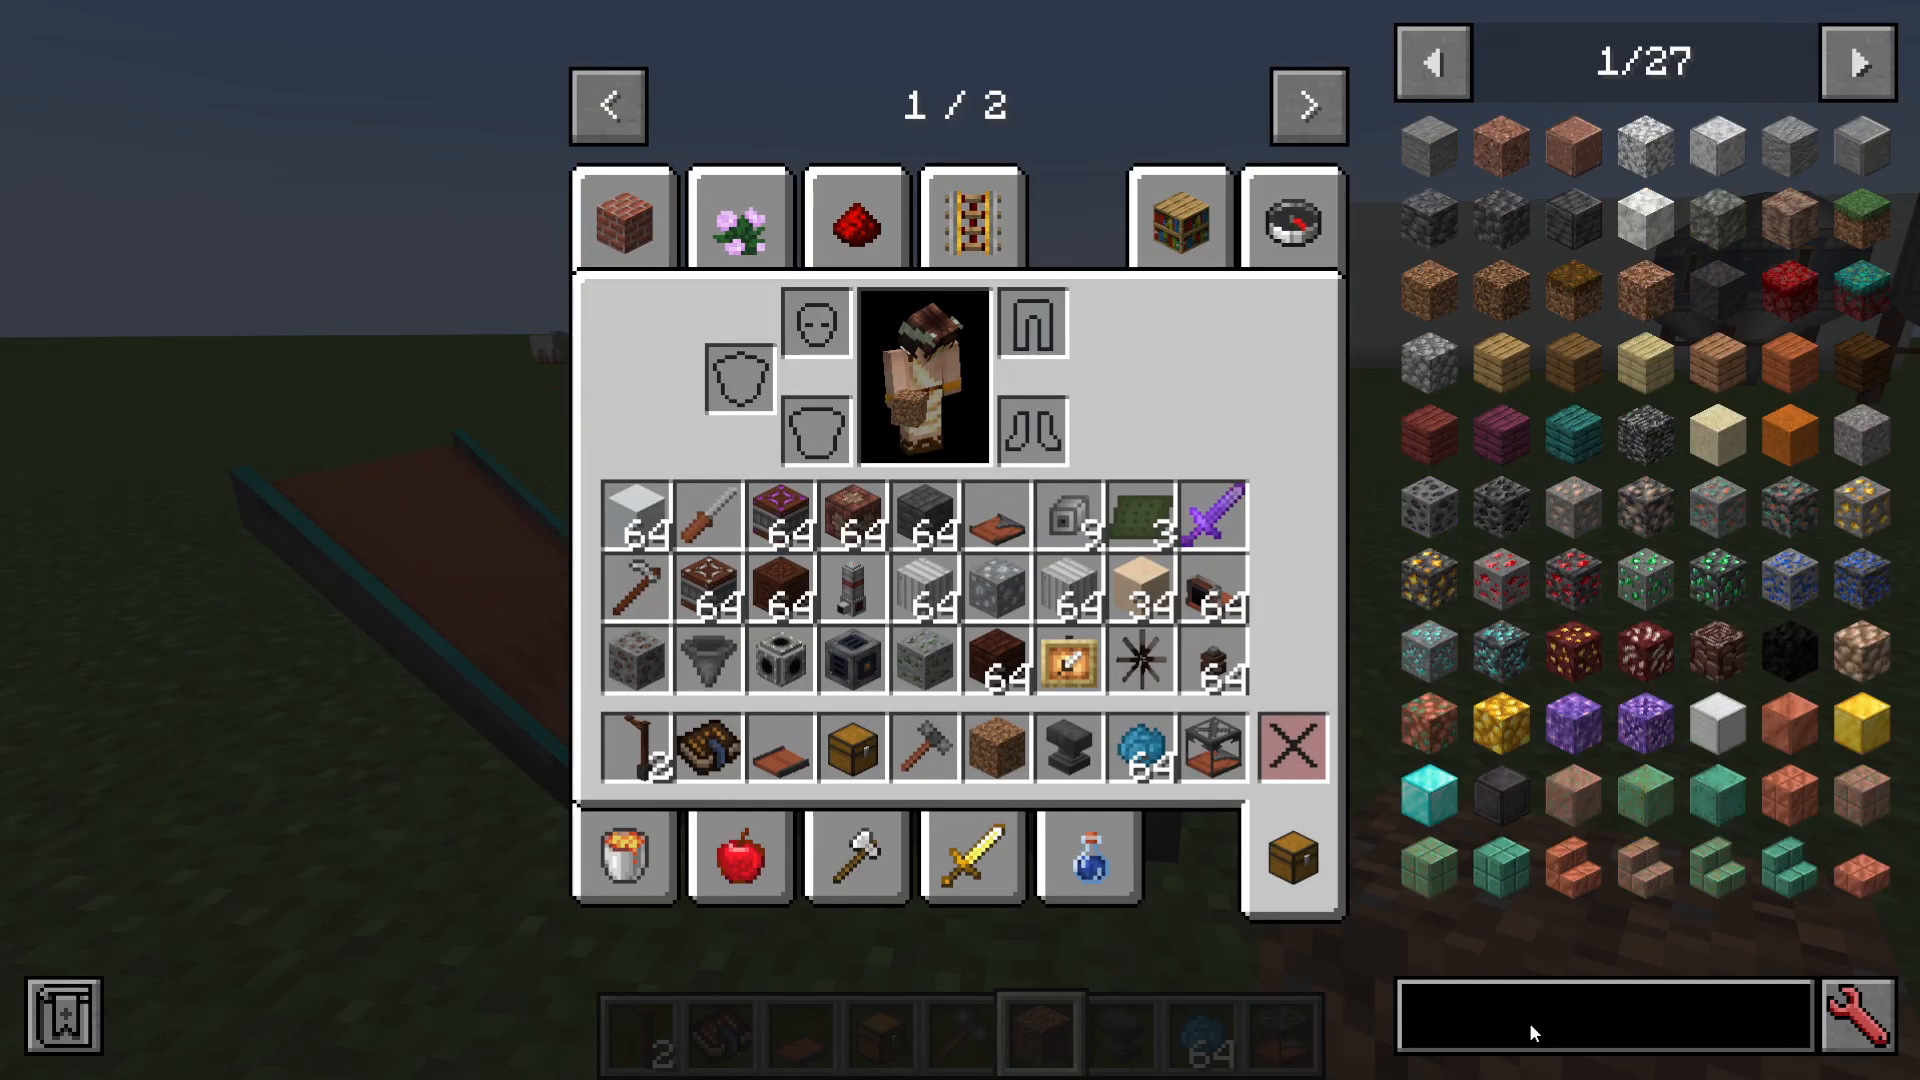
Covered conveyors prevent you from accidentally picking up items while walking nearby. They also stop entities from walking onto the conveyor belt and prevent you from accidentally stepping on the line. While these require more resources (steel), they’re worth the investment for cleaner, more organized production lines.
Redstone Control Conveyor Belt
The redstone control conveyor belt allows you to toggle item flow using redstone signals. When the belt receives a redstone signal, it will activate or deactivate based on the signal state.
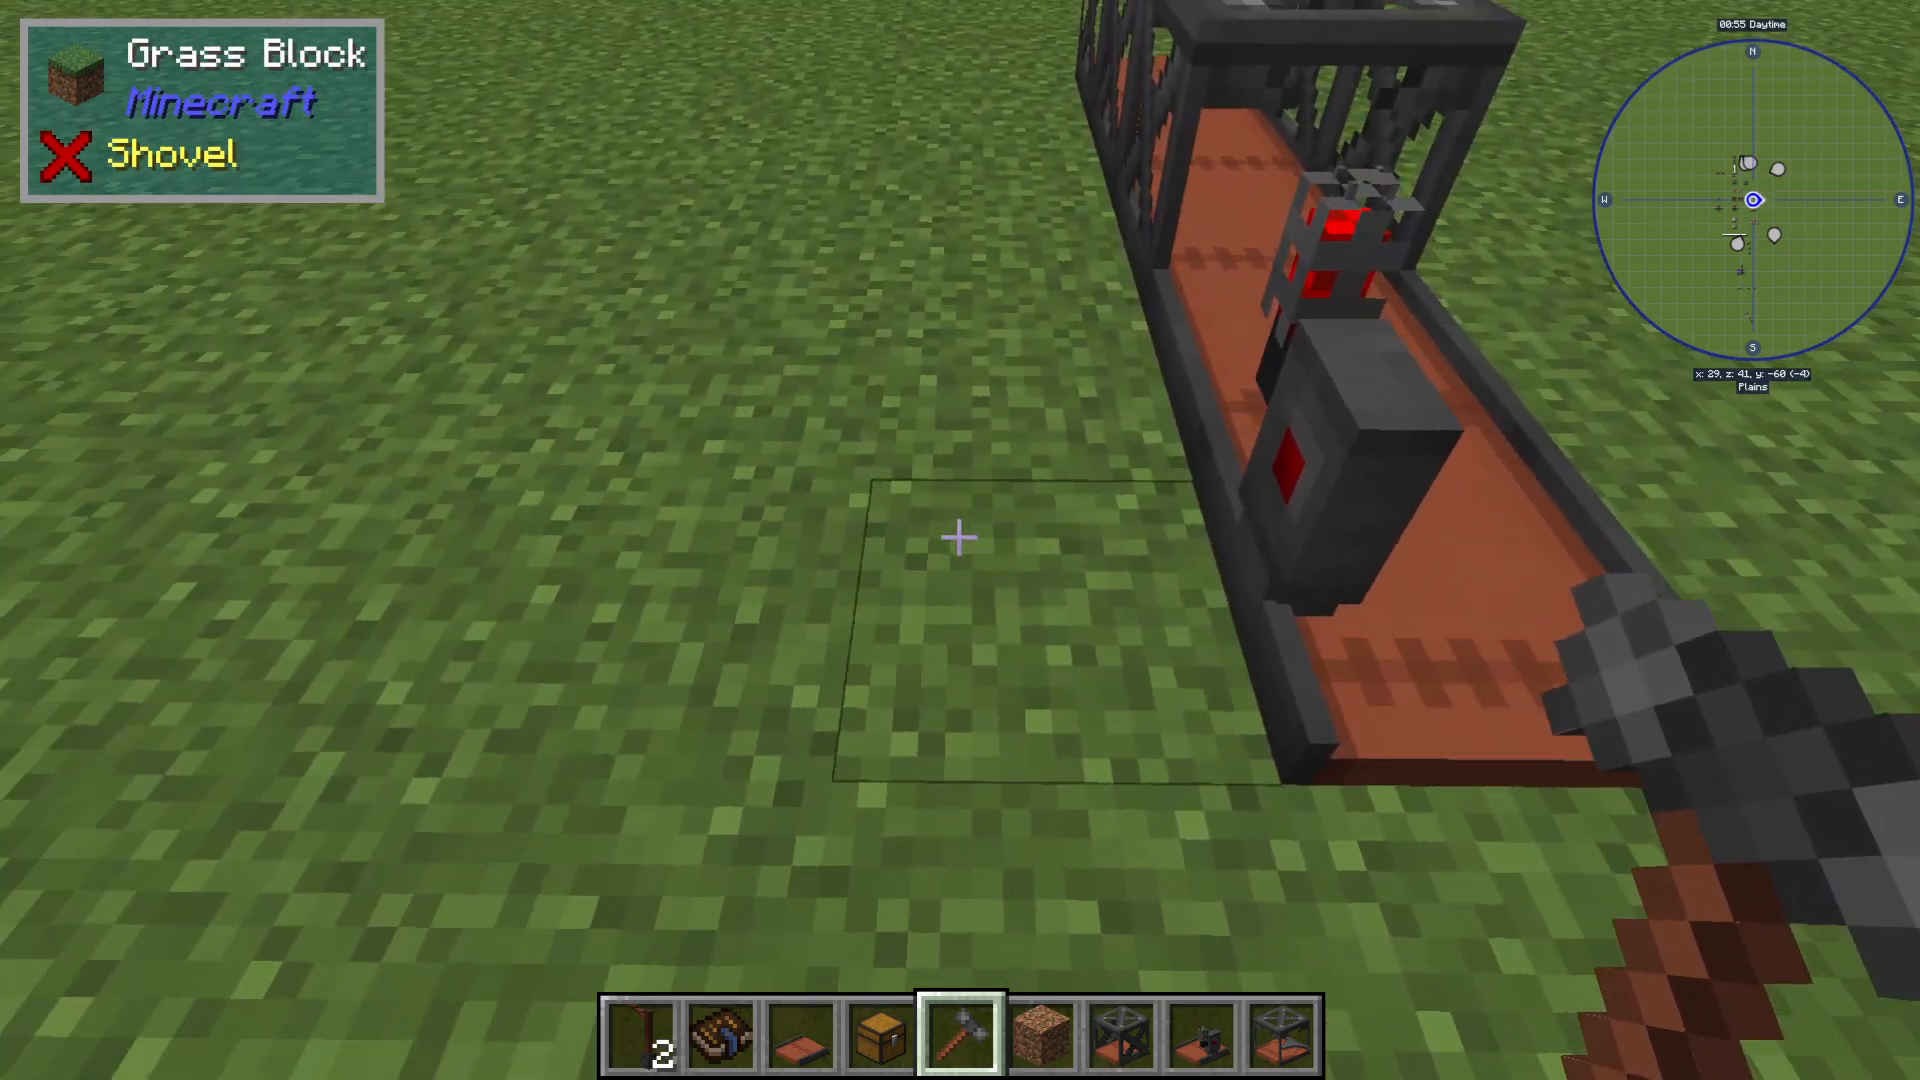
By default, the redstone control is activated from one side of the conveyor. If you need to change which side activates the redstone control, shift-right-click the conveyor with your Engineer’s Hammer to rotate the activation point.
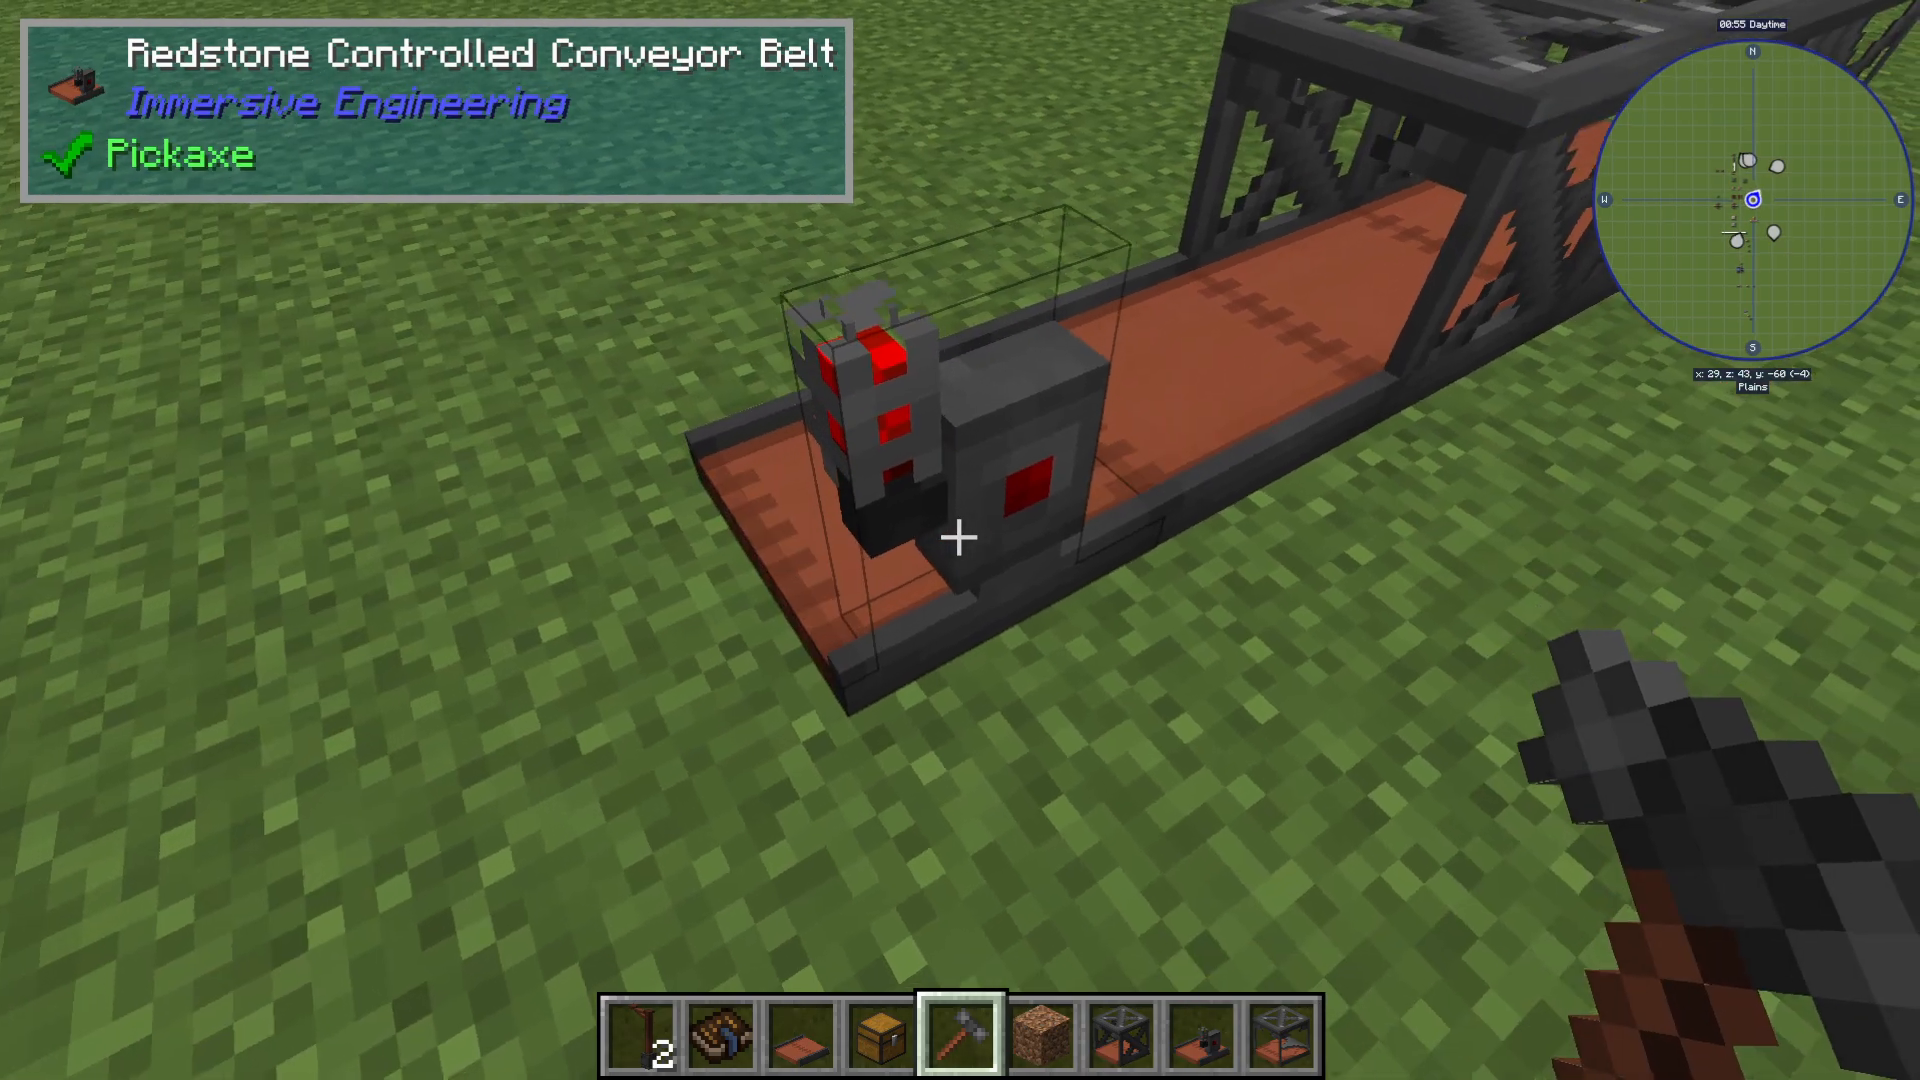
When activated (receiving a redstone signal), the conveyor will light up red and stop moving items. When deactivated, it returns to blue and resumes normal operation.
Dropping Conveyor Belt
The dropping conveyor belt features a hatch in the middle that automatically drops items downward. Place an inventory (like a chest) directly beneath the dropping conveyor, and items will automatically fall into it.
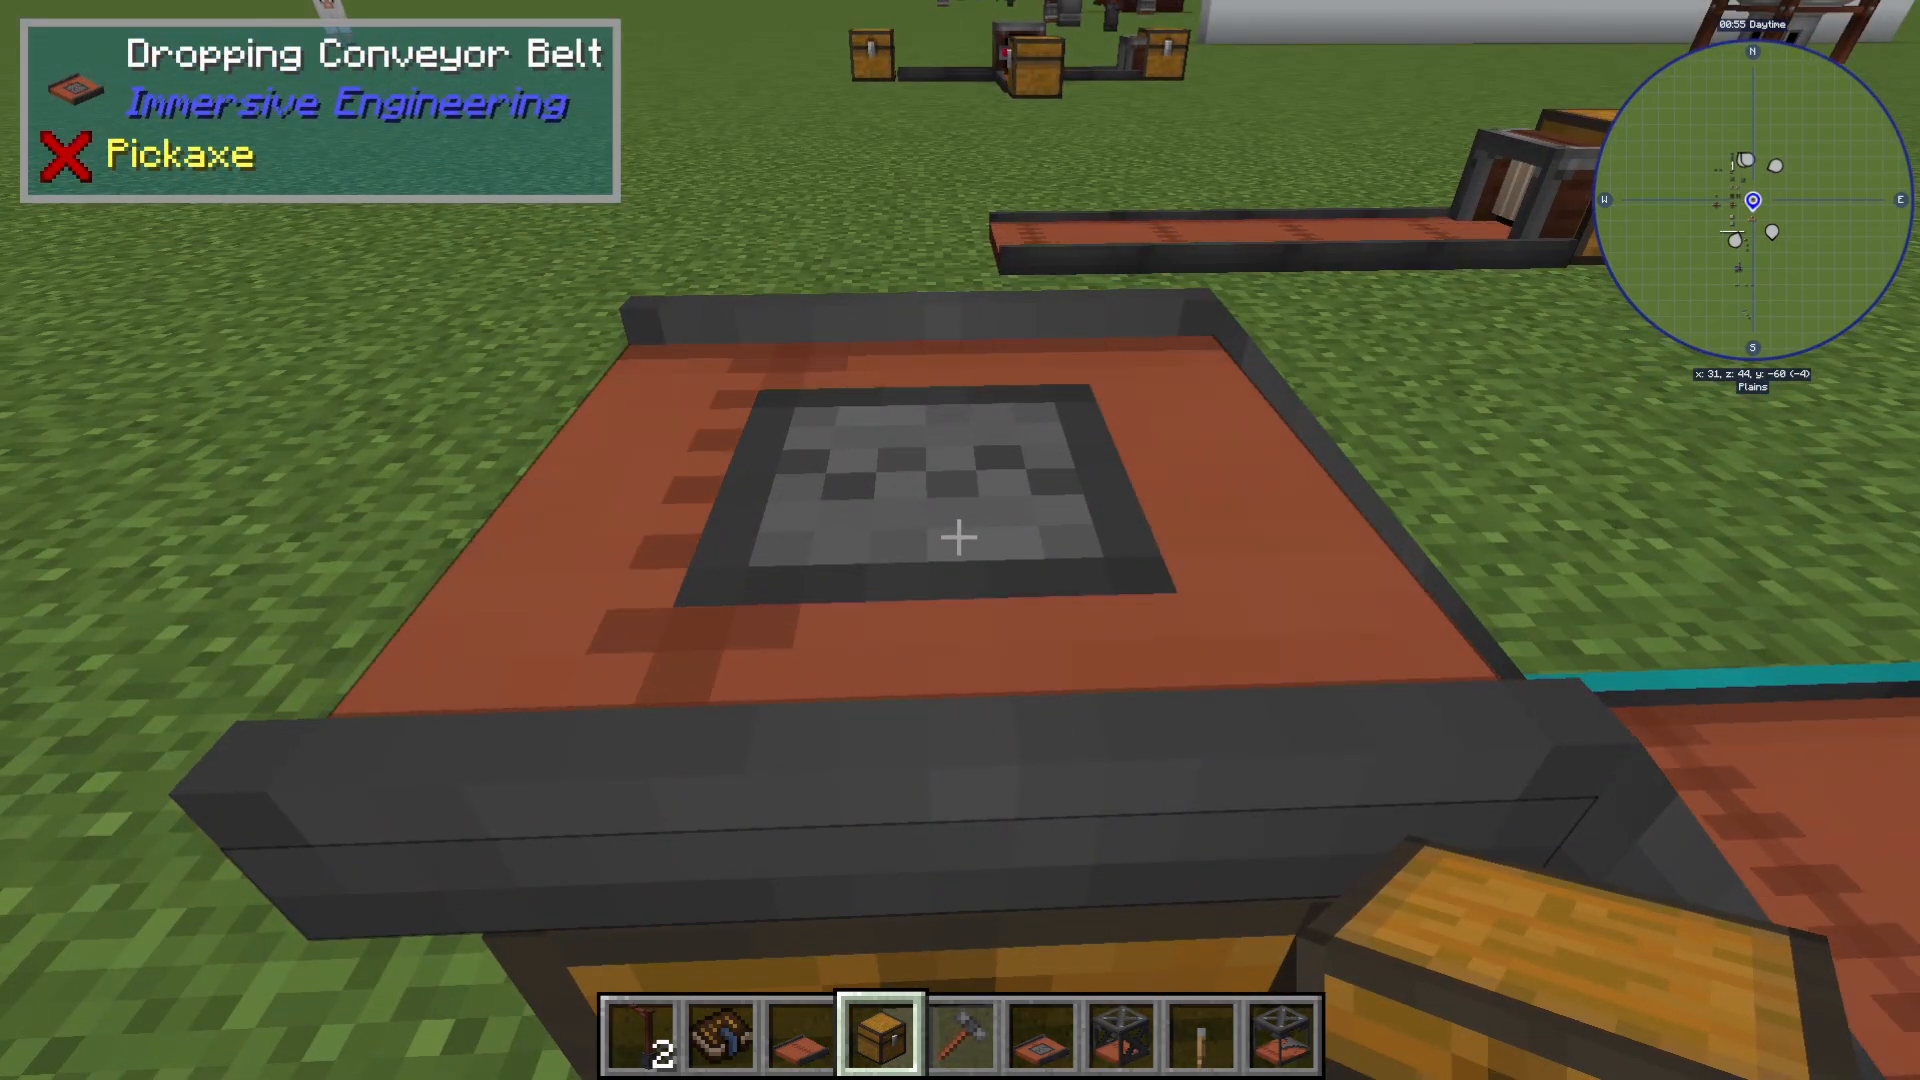
This is useful for creating compact vertical sorting systems where items are routed downward into storage.
Vertical Conveyor Belt
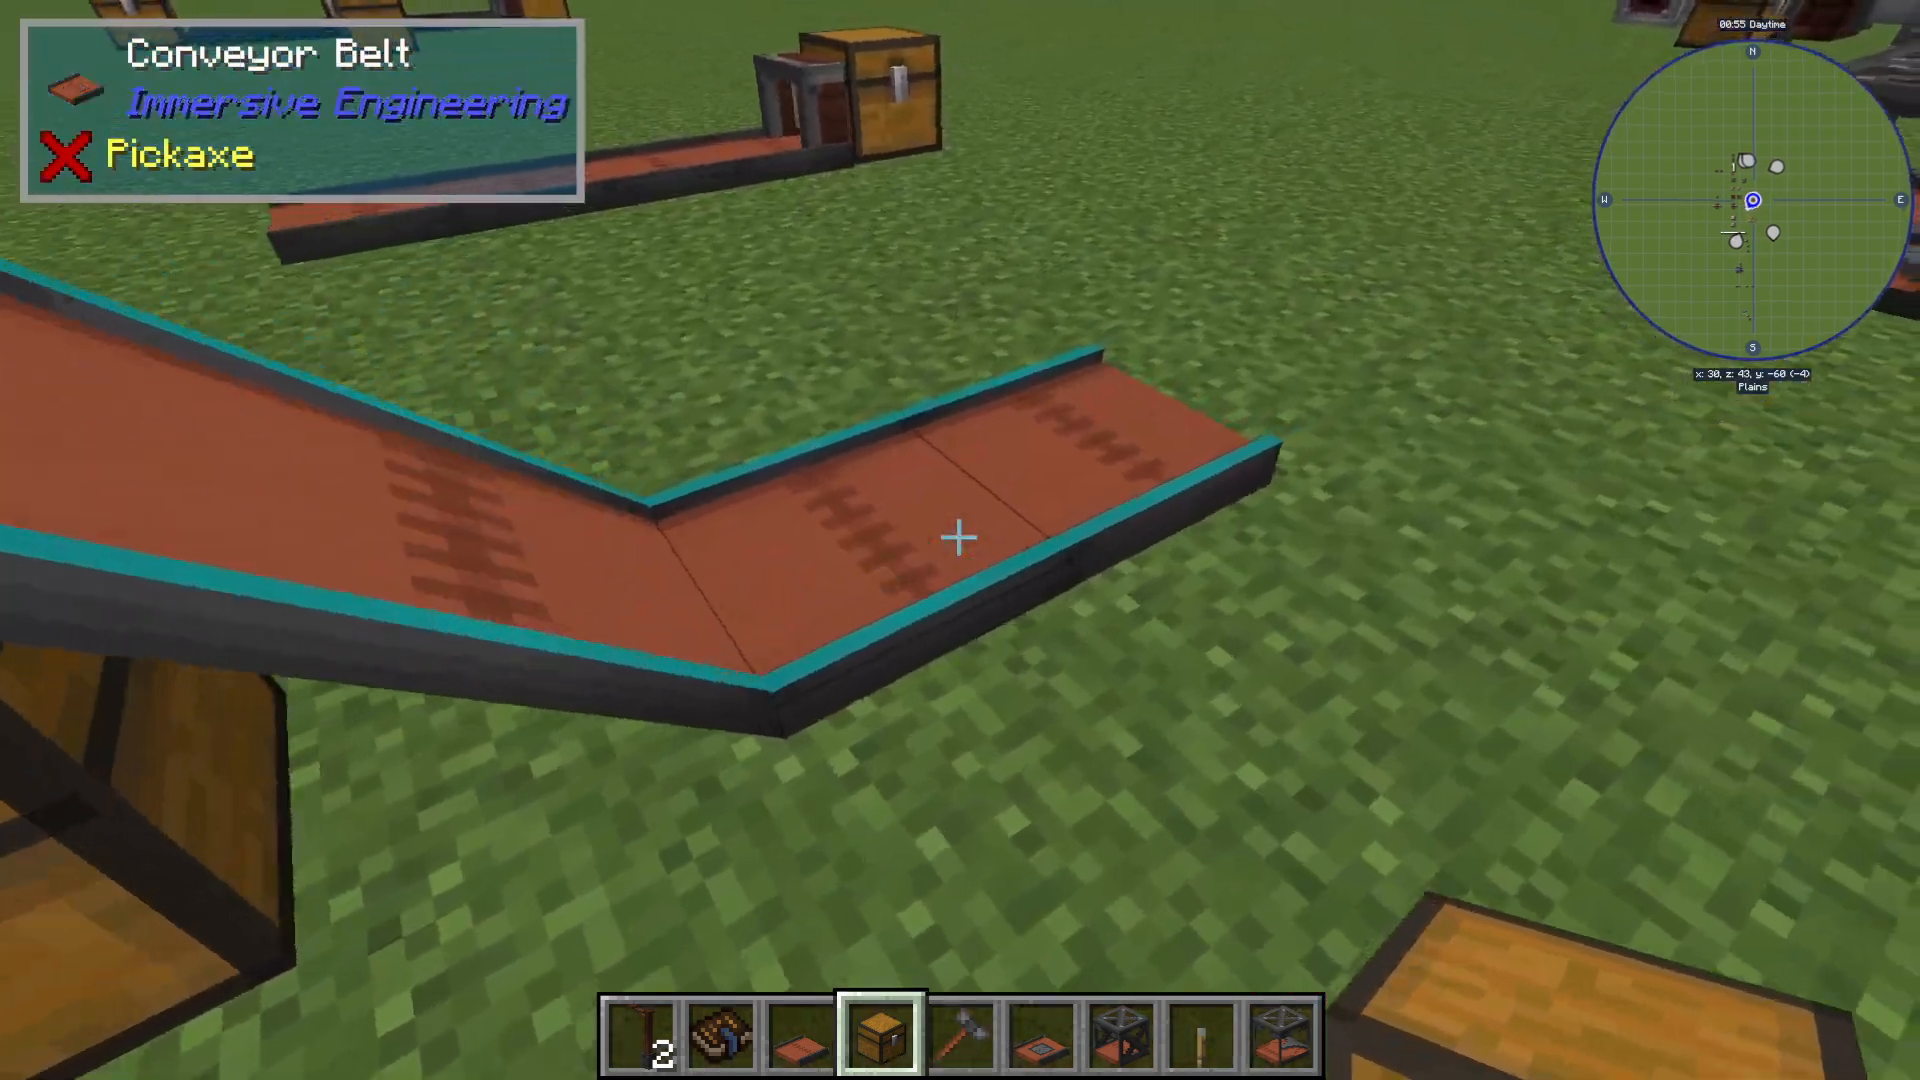
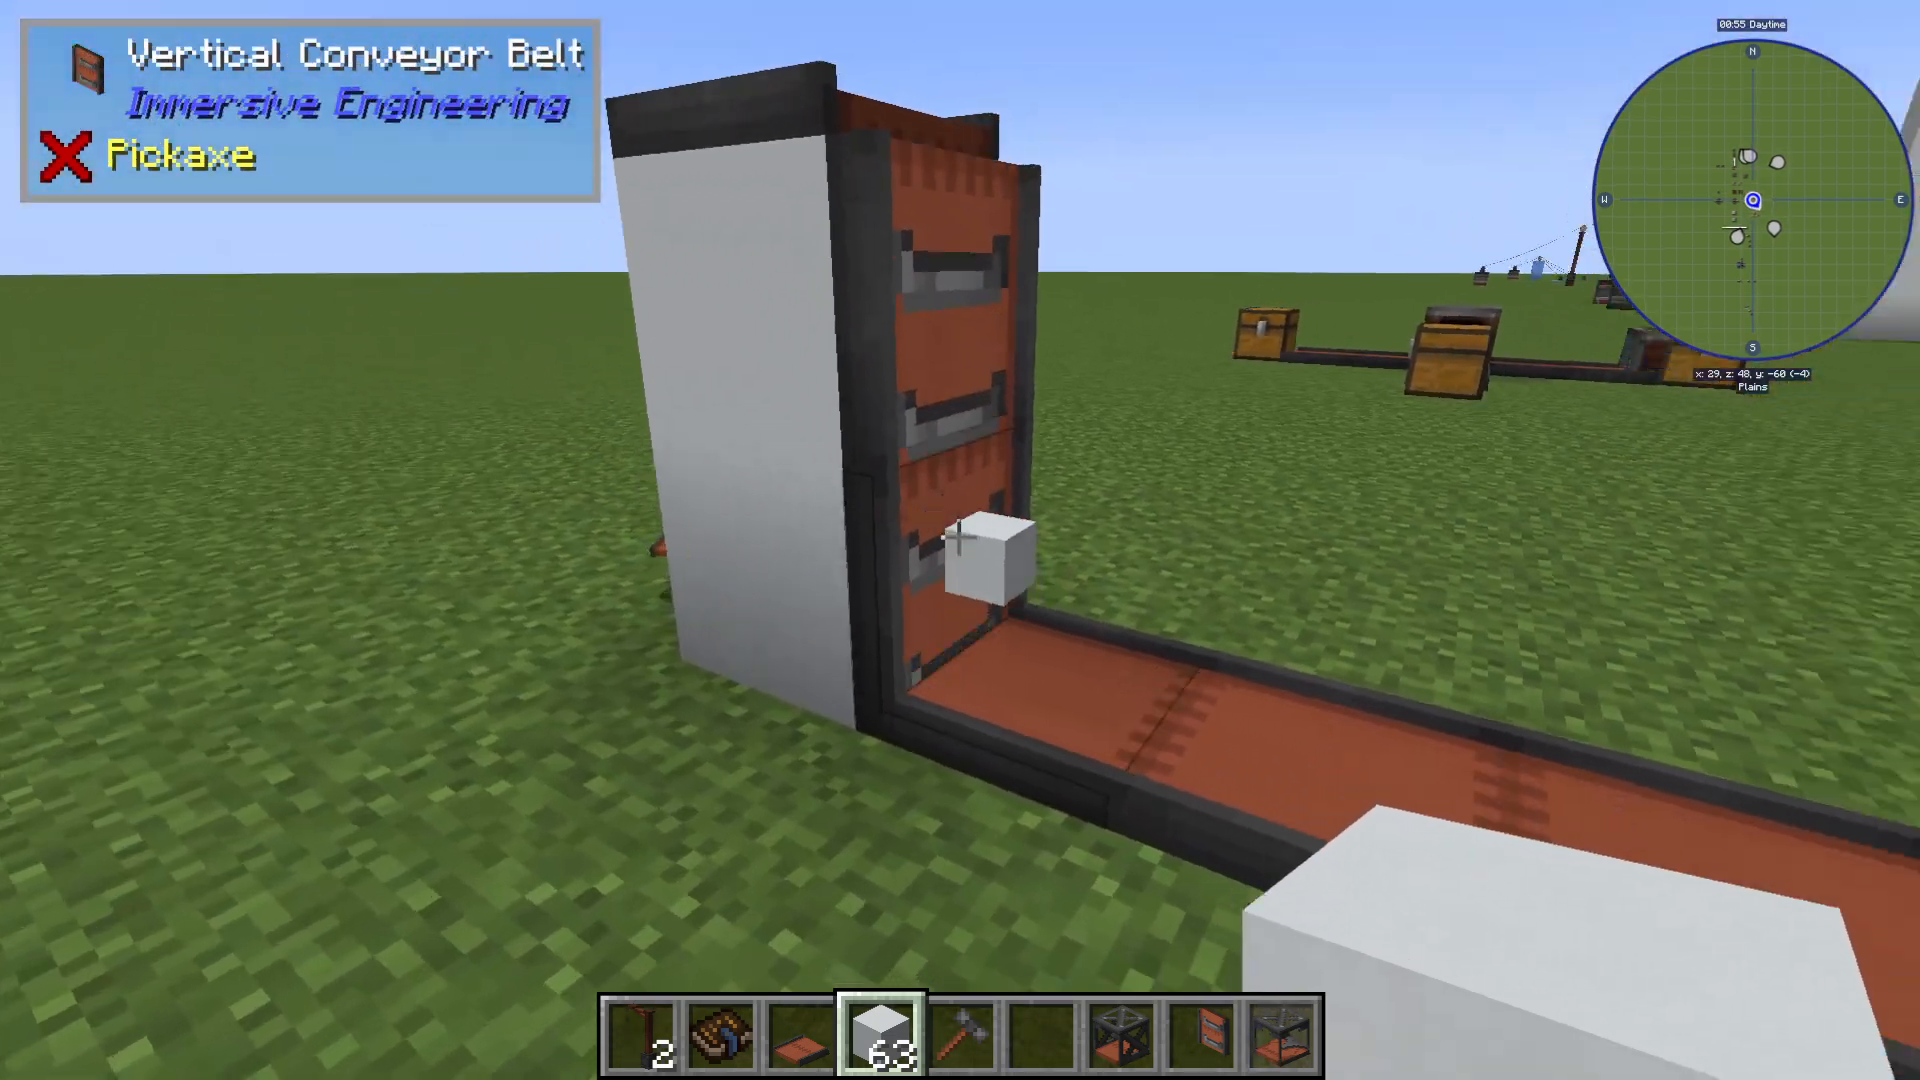
To move items vertically up walls, use the vertical conveyor belt. Unlike what you might expect, you don’t need to transition from a horizontal conveyor to a vertical one—simply place the vertical conveyor directly on the block where you want vertical transport to occur.
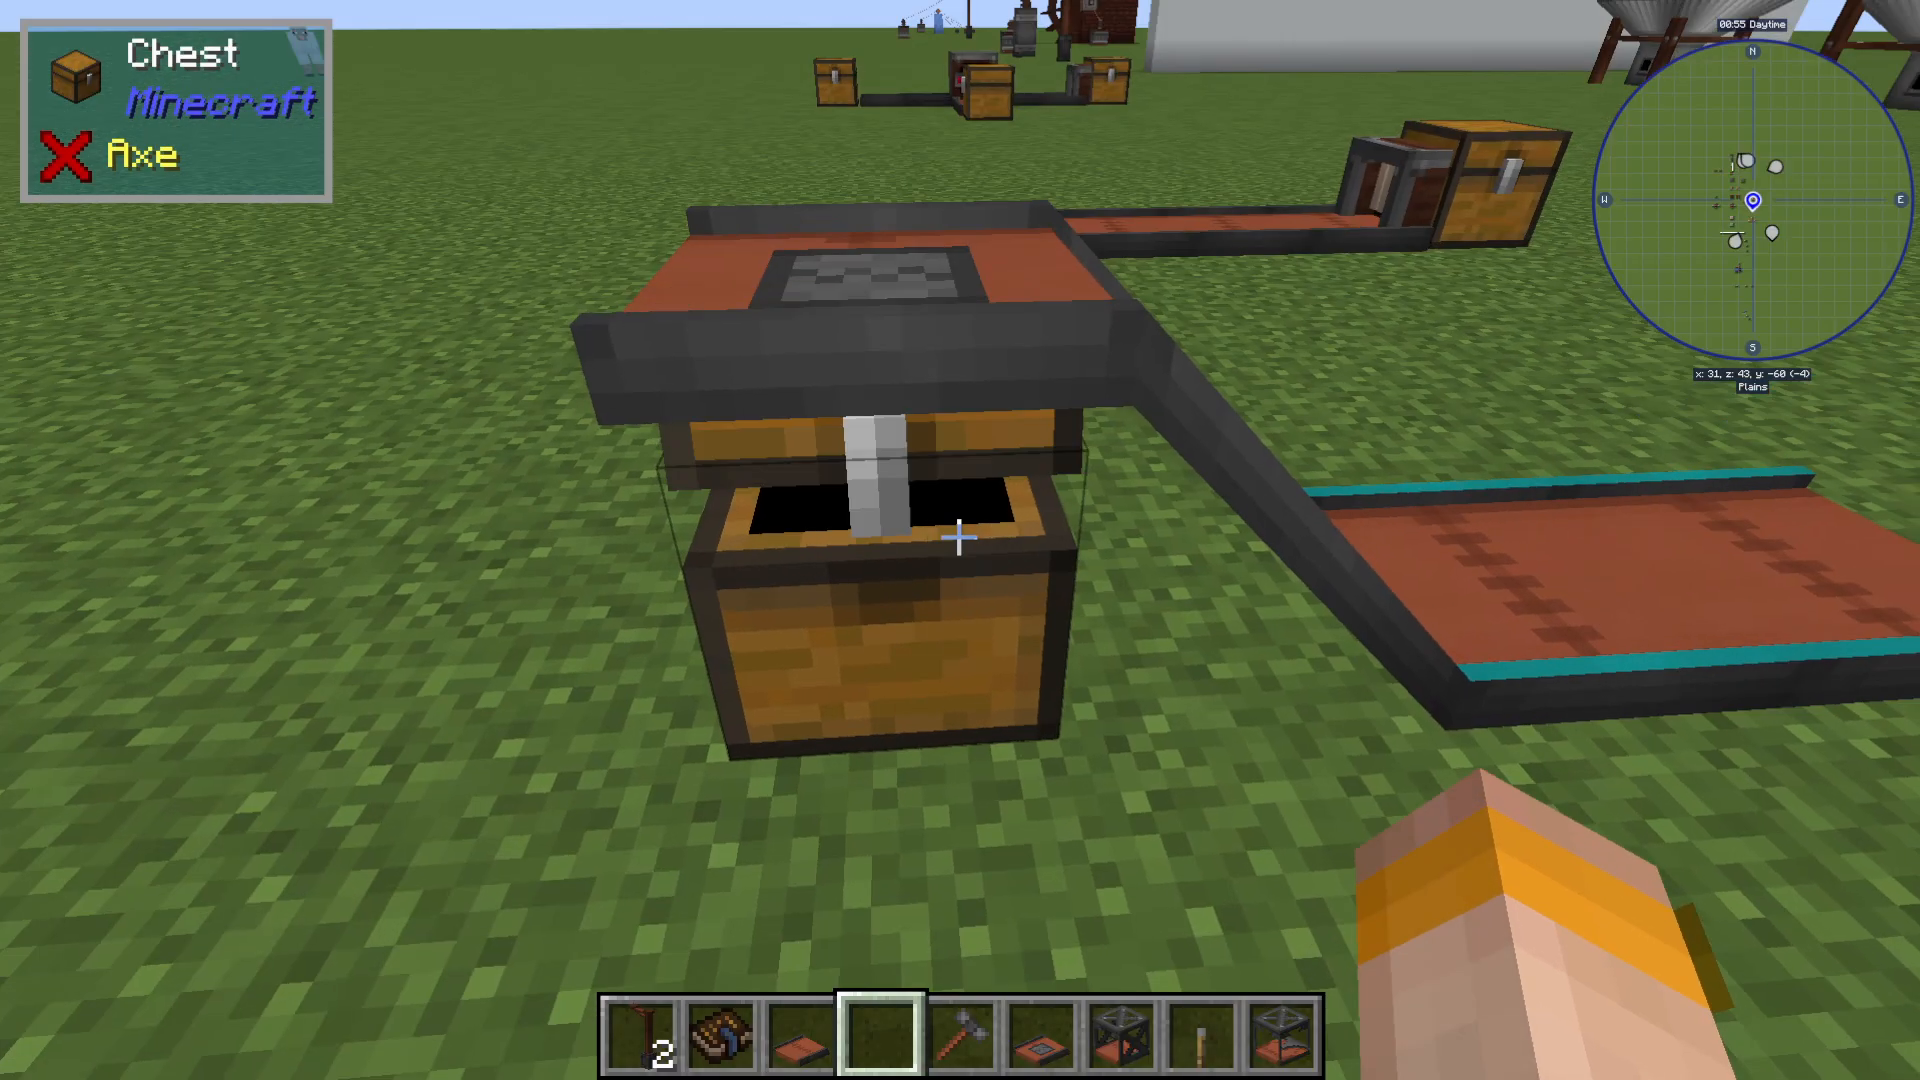
The vertical conveyor will connect seamlessly and transport items upward. You can then place a horizontal conveyor at the top to continue moving items along.
Splitting Conveyor Belt
The splitting conveyor belt divides incoming items into multiple output directions, allowing you to implement round-robin distribution systems. This is perfect for balancing item flow across multiple production lines.
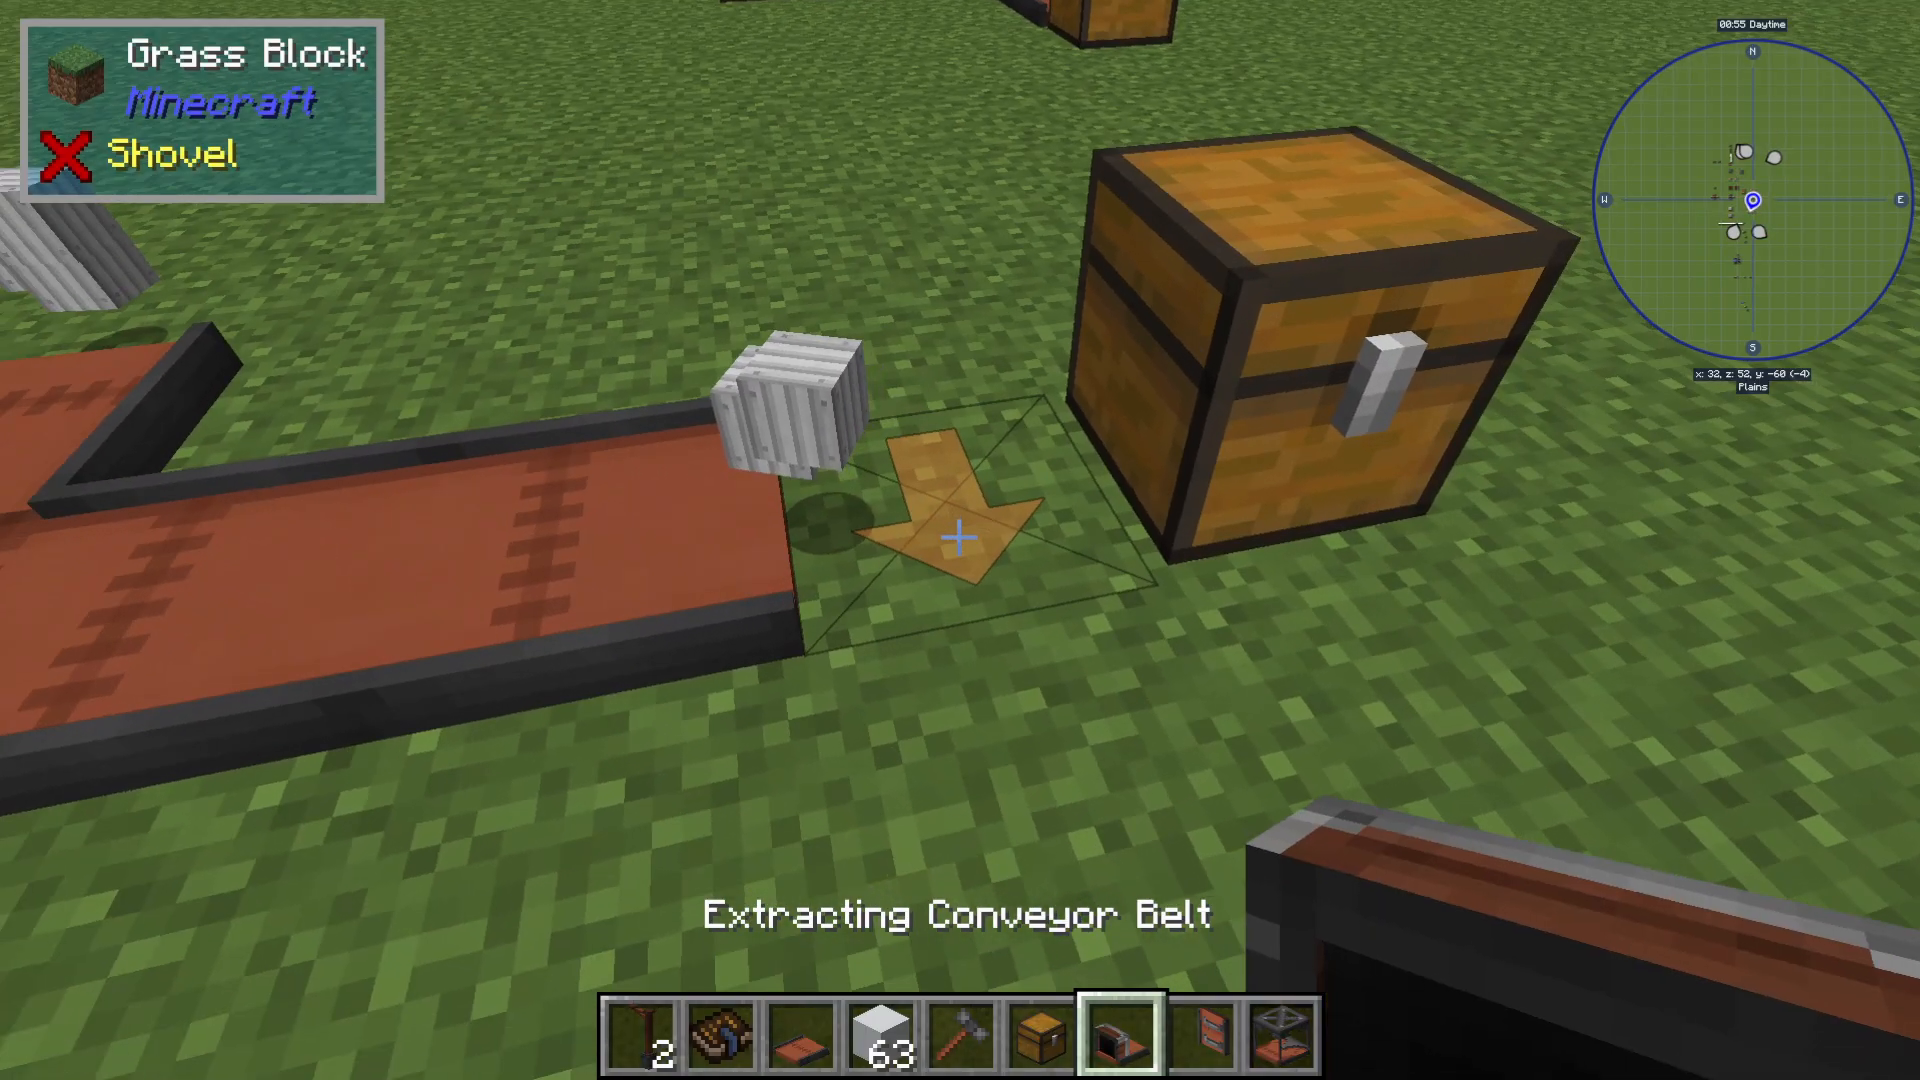
Extracting Conveyor Belt
The extracting conveyor belt pulls items out of attached inventories. To use it, place the extraction conveyor against the side of an inventory (such as a chest). The direction the conveyor faces determines where items will be extracted toward.
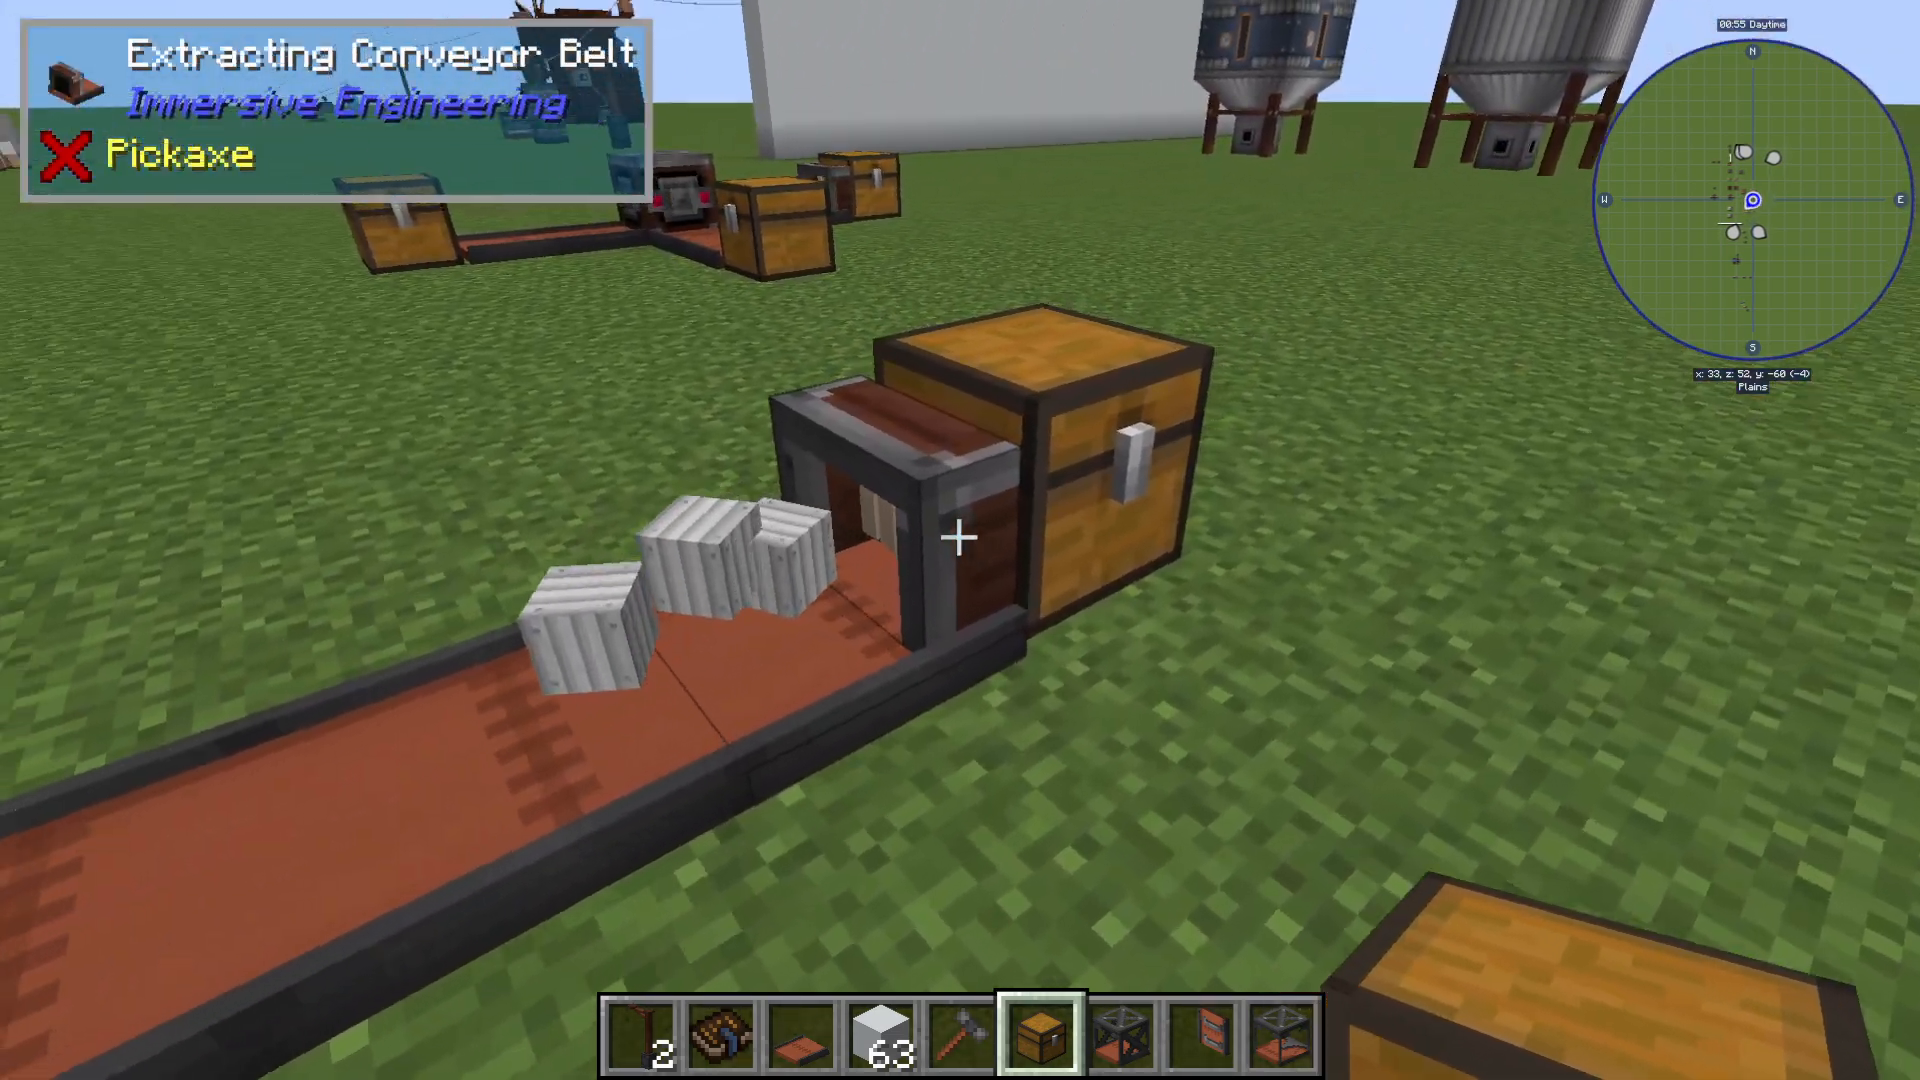
Important: The extraction point is on the opposite side from the direction the conveyor faces. If you want items to move east, place the extracting conveyor on the west side of your inventory.
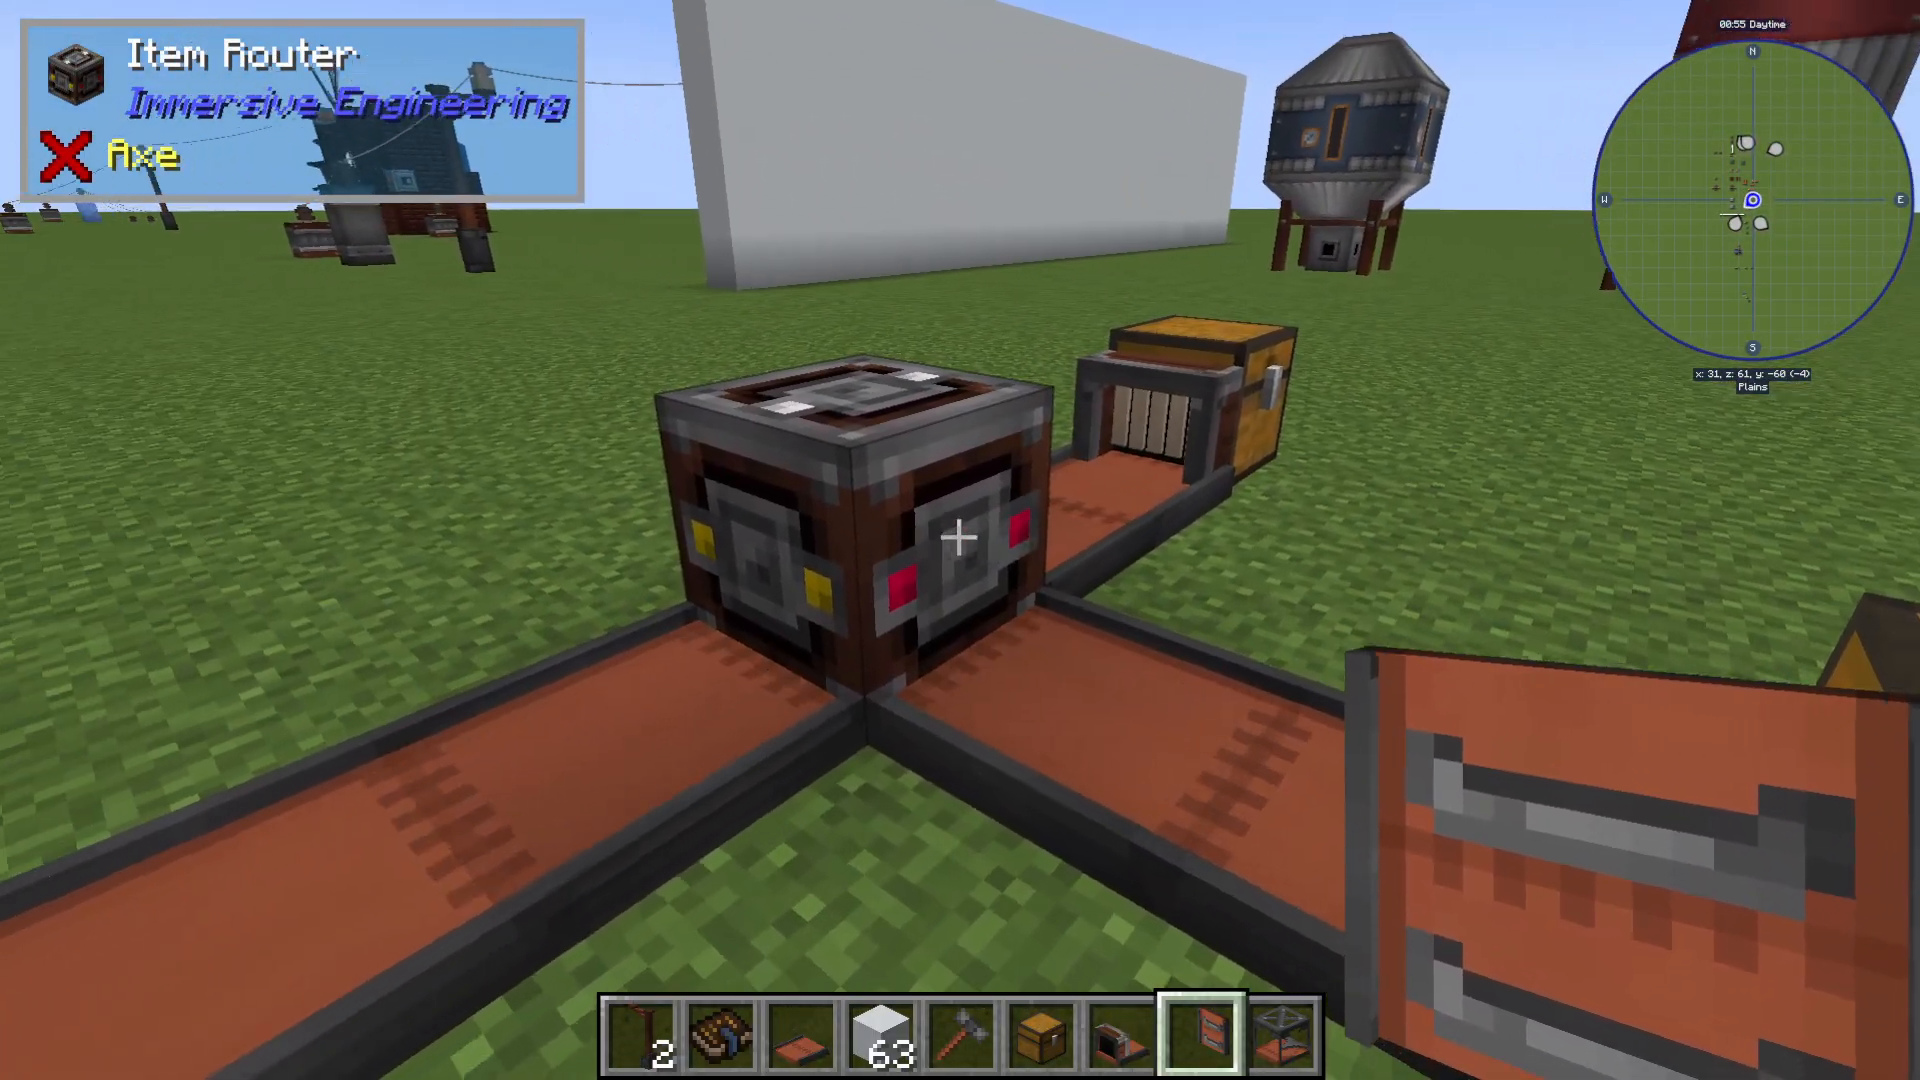
Item Router
While technically not a conveyor belt, the item router is an essential tool for filtering and directing items to different destinations. It allows you to sort items based on various criteria and send them to separate inventories.
Router Interface and Filtering
The item router’s interface can appear confusing at first, but it’s quite powerful. The router supports multiple filtering methods:
Tag filters (filtering items based on forge tags like ore tags)
NBT data filters
Damage value filters (useful for ignoring weapon and armor durability)
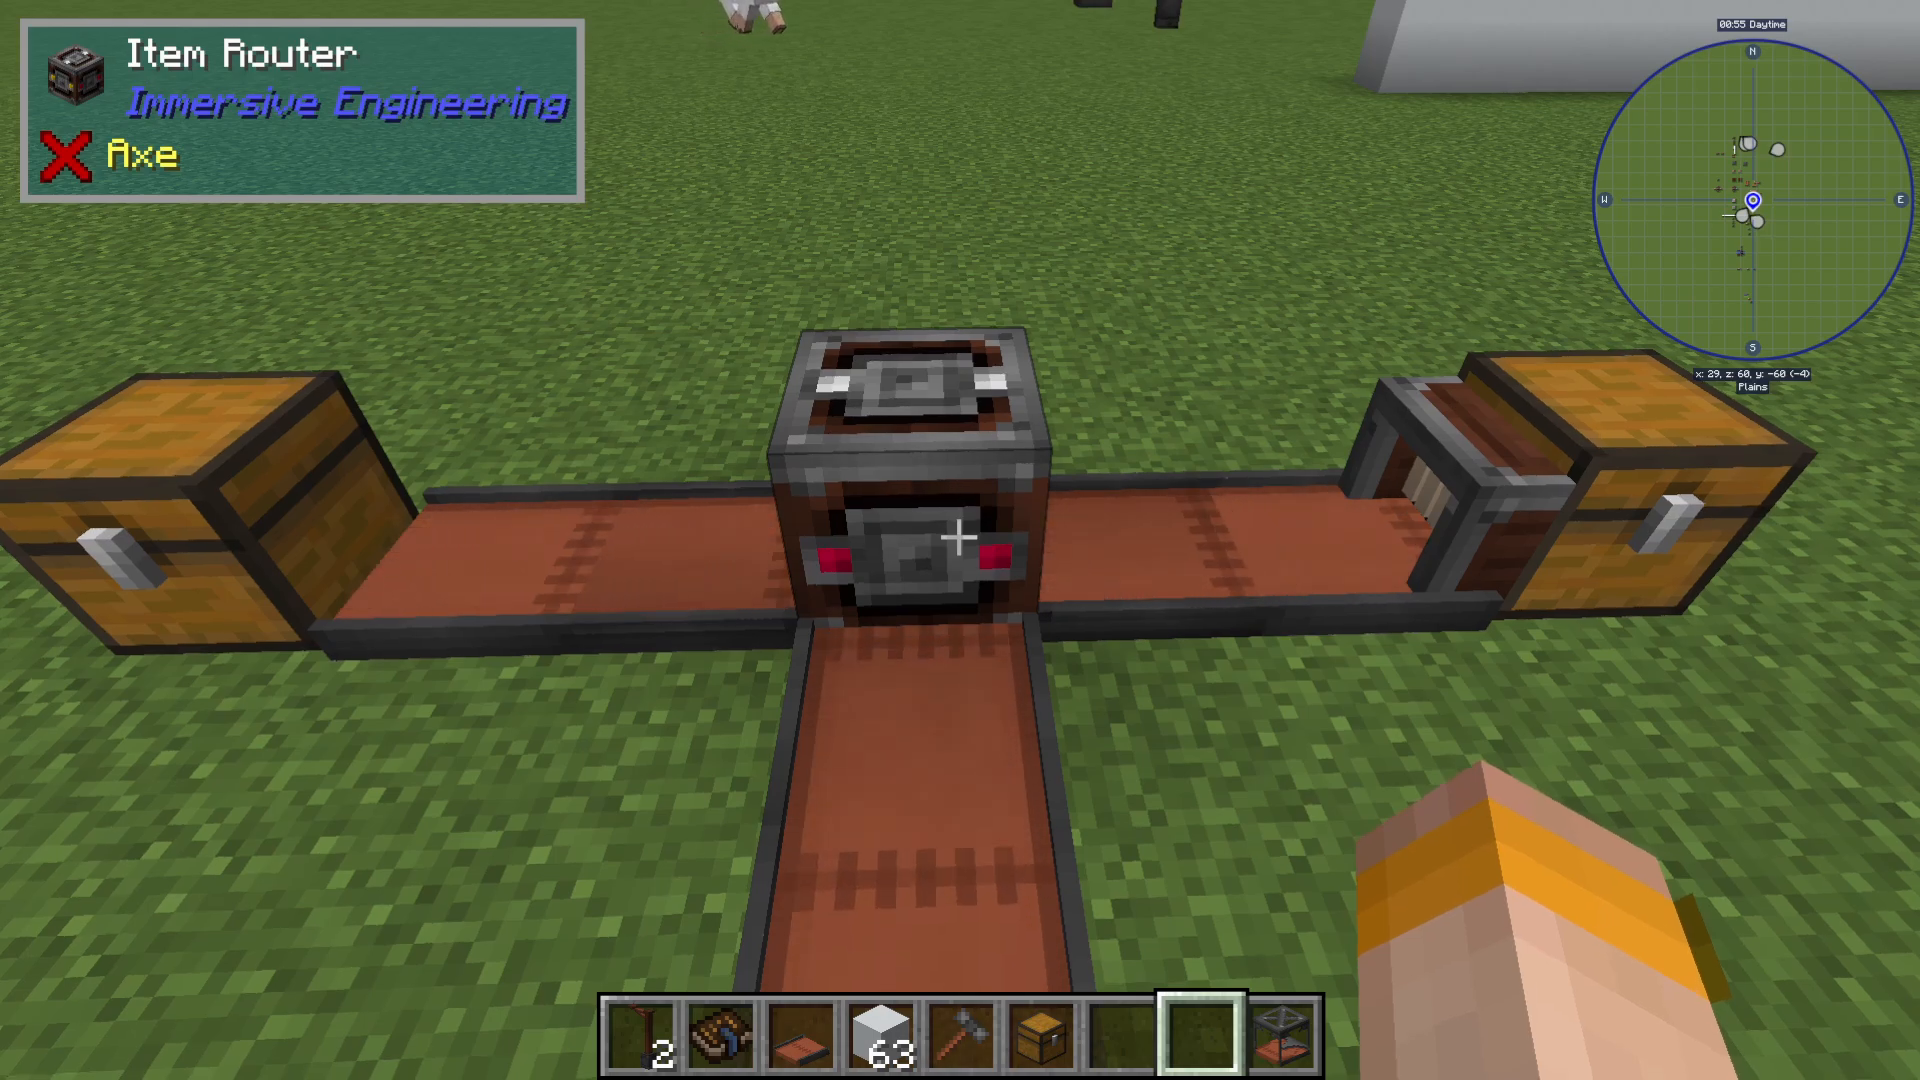
Understanding Router Directions
The letters on the router interface represent different sides: Bottom, Top, North, South, East, and West. If you’re unsure which direction is which, look at the router block itself—it uses color coding to help you identify directions. The north side shows red, and yellow indicates east.
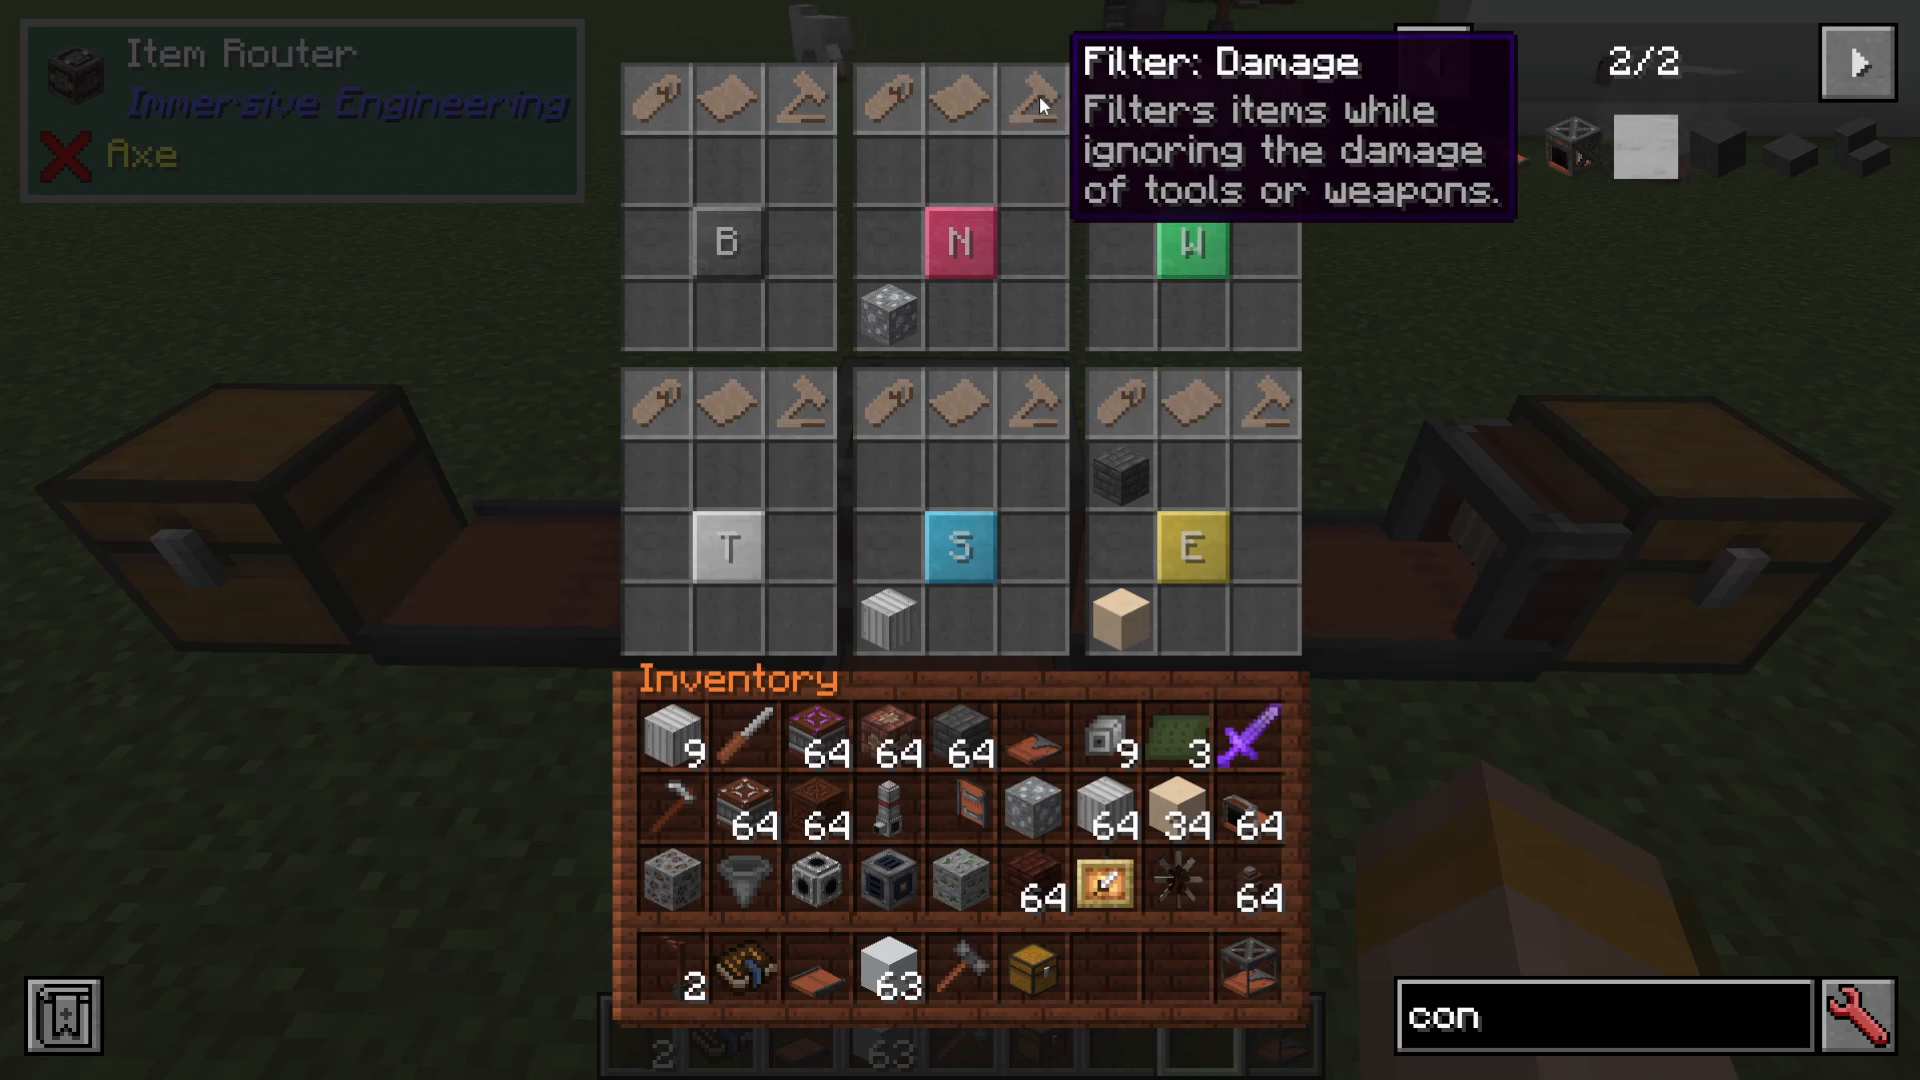
For example, if you set the red route to accept silver ore, all silver ore will exit through the red (north) side of the router.
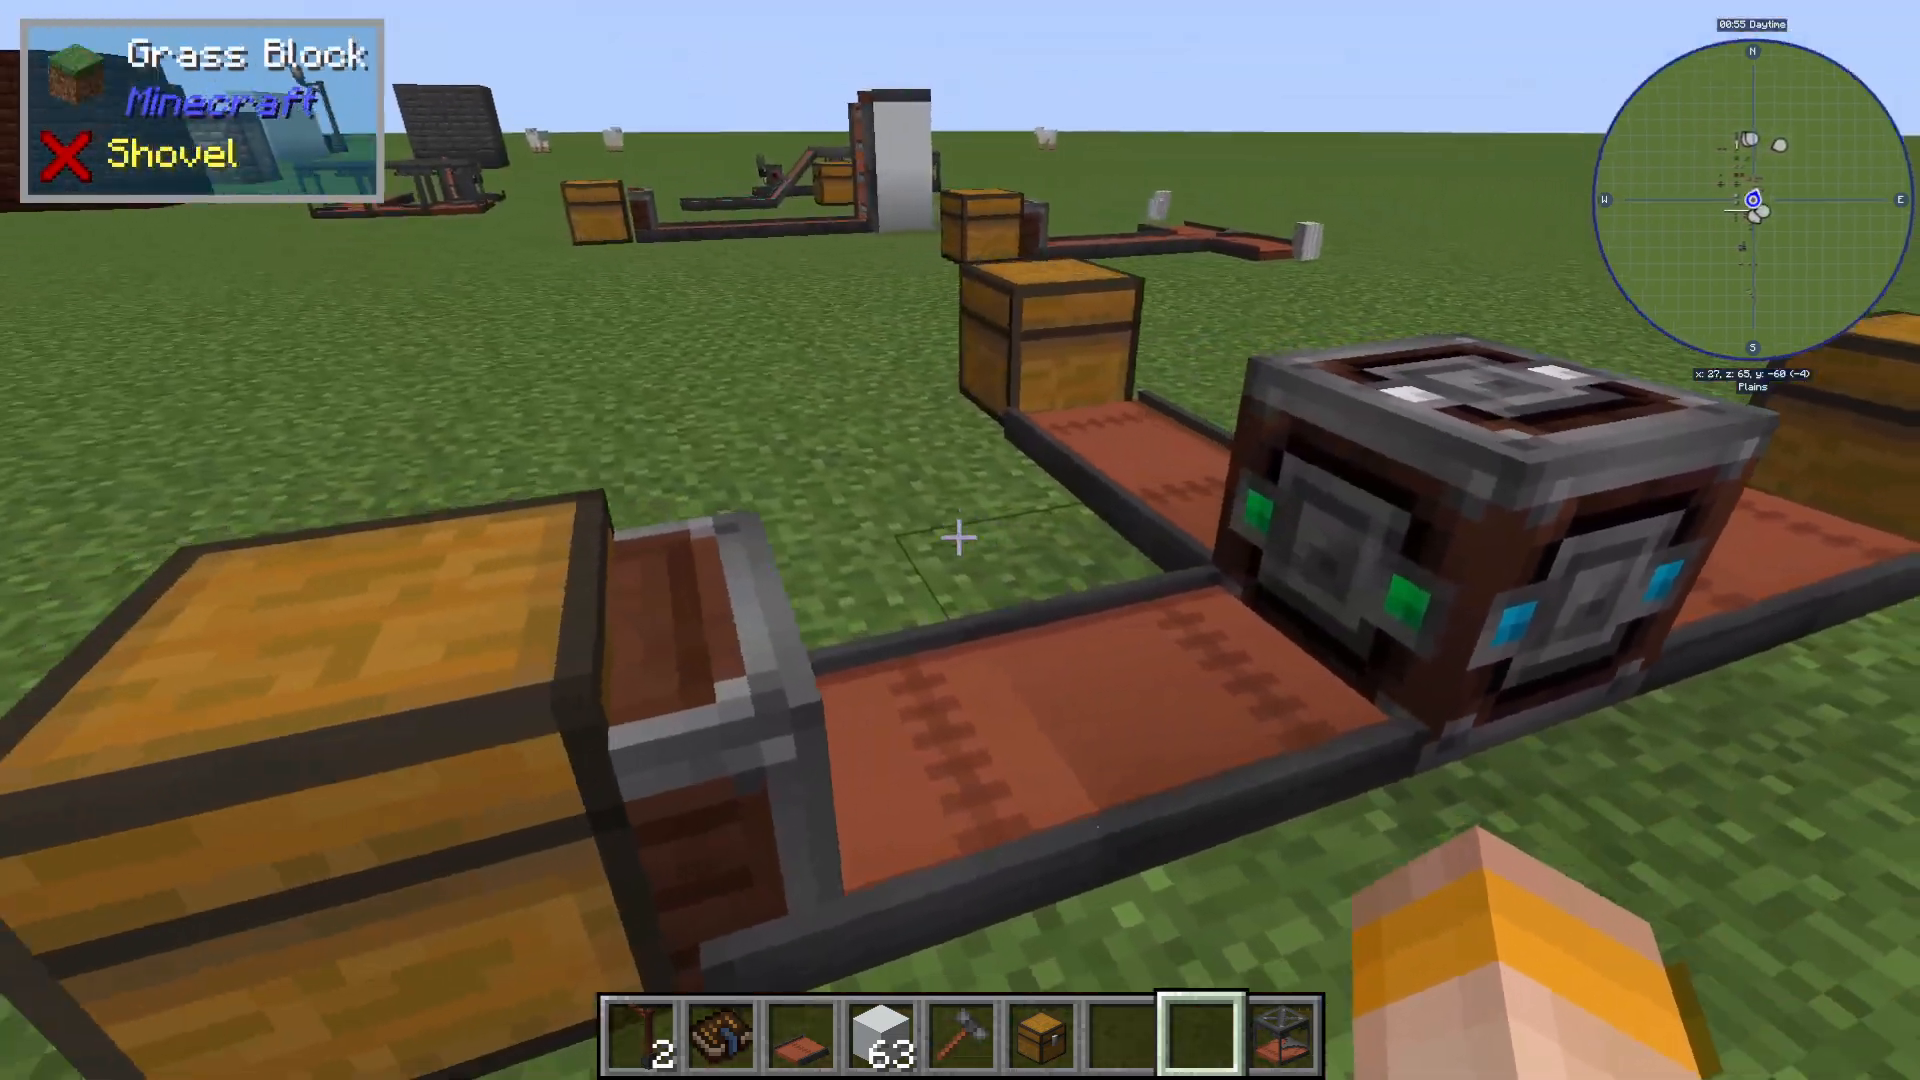
Adjusting Extraction Speed
By default, item extraction from inventories can be slow. To speed up extraction, use your Engineer’s Screwdriver. Shift-click the extraction point with the screwdriver to cycle through extraction speeds: every 4 ticks, 8 ticks, 16 ticks, 20 ticks, and beyond.
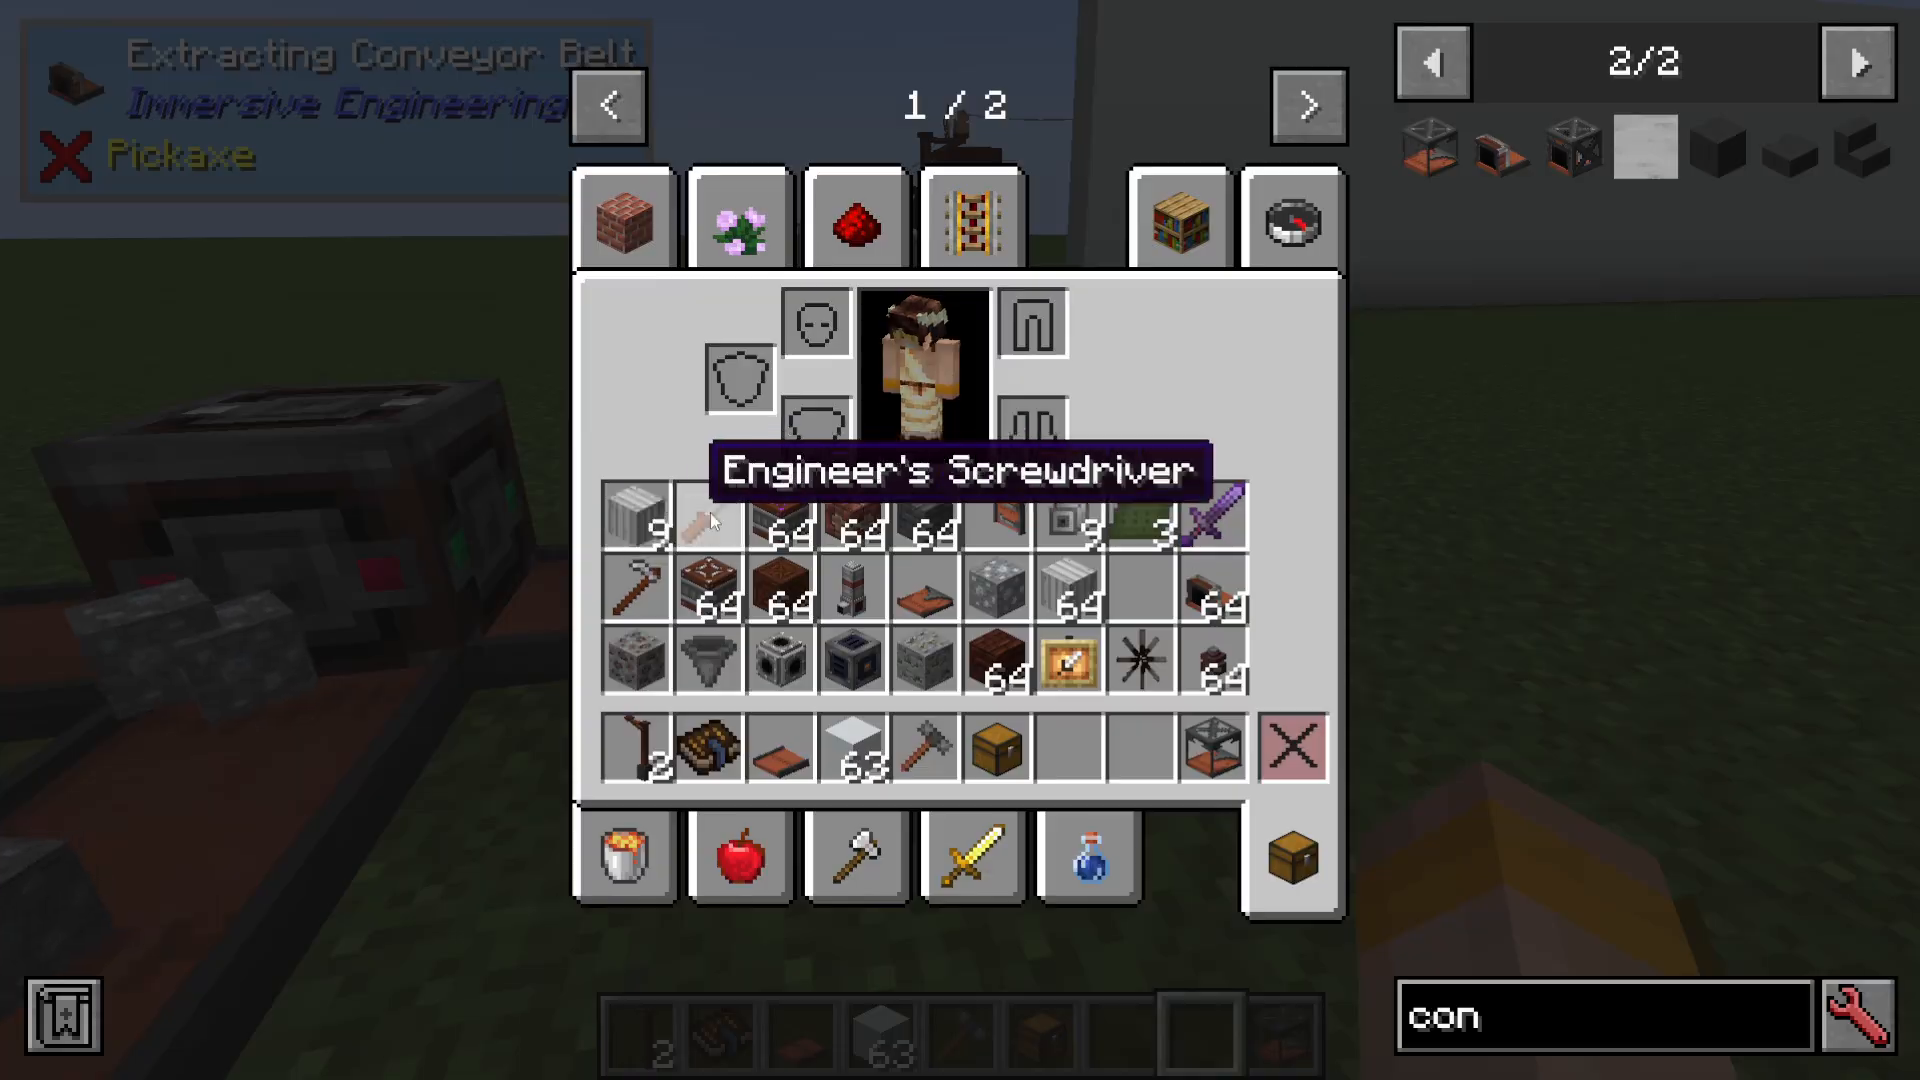
Faster extraction speeds allow items to move through your routing system more quickly, improving overall production efficiency.
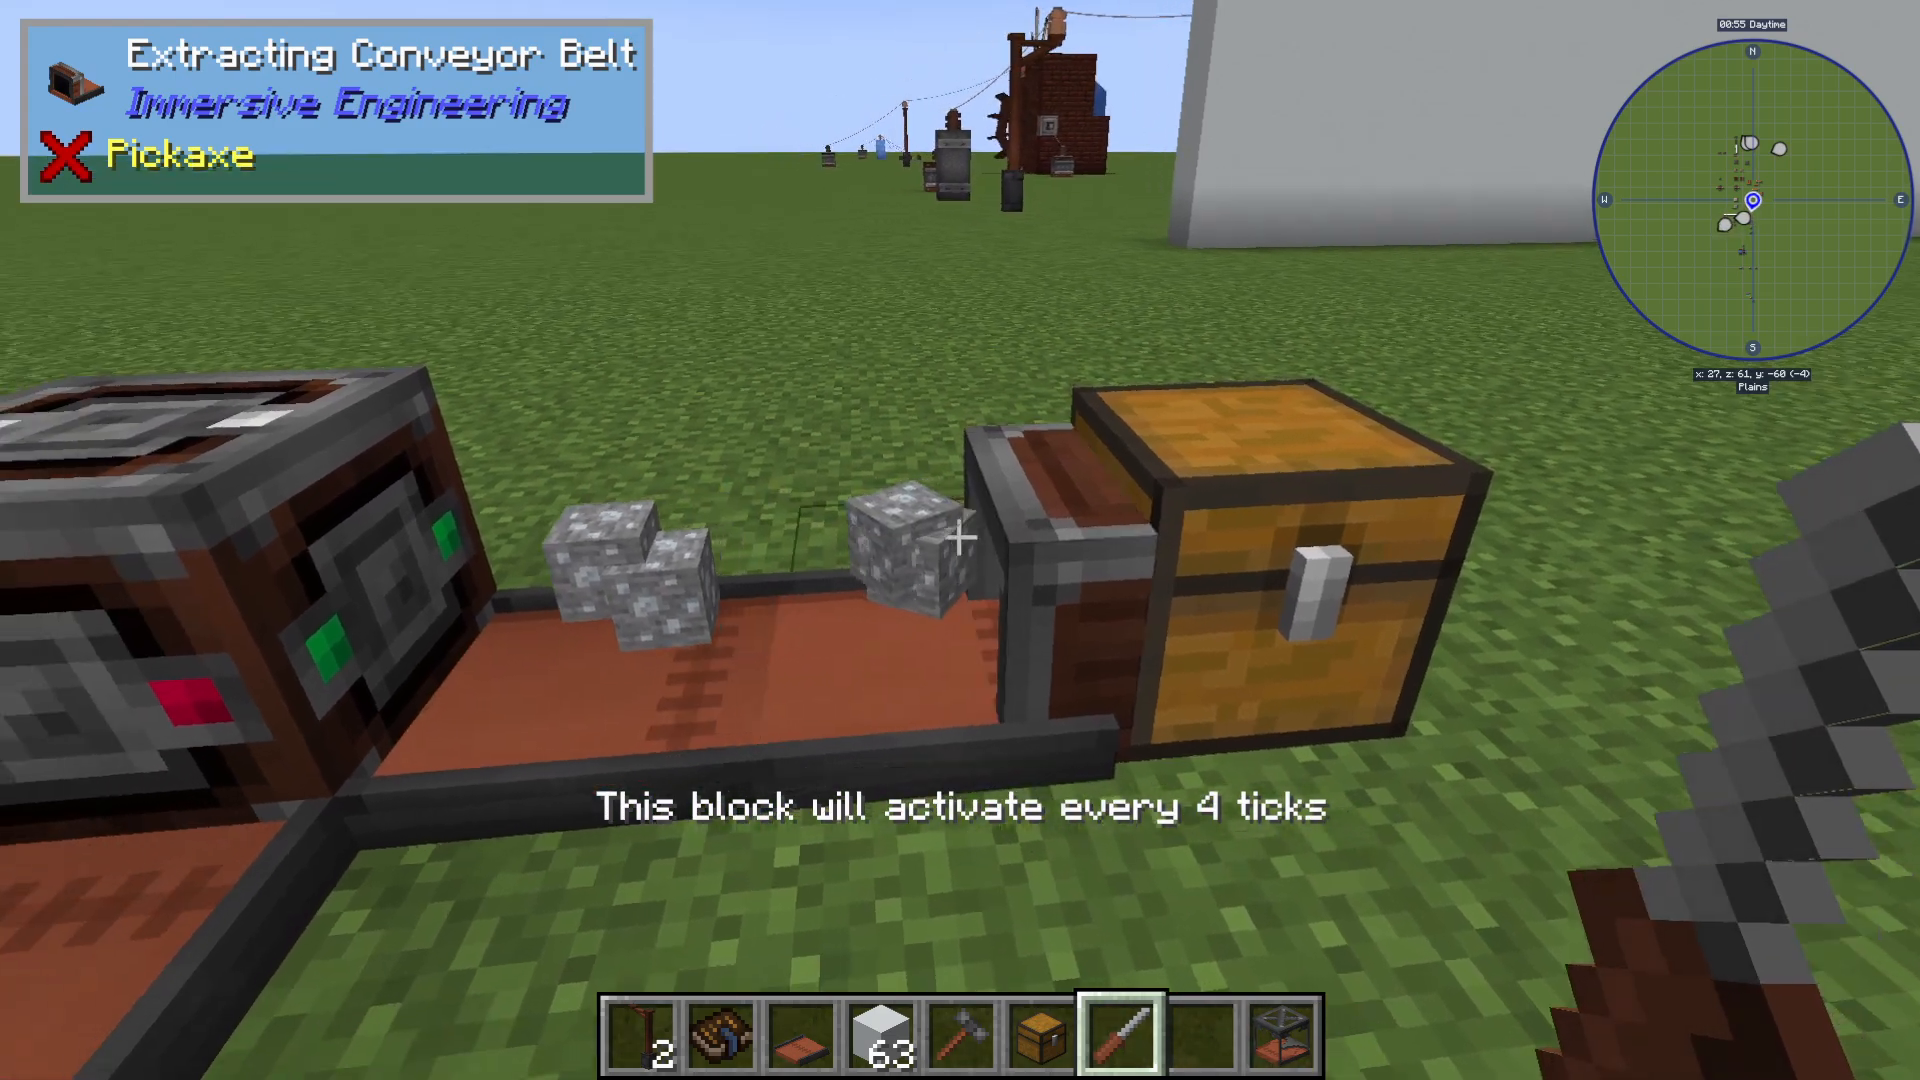
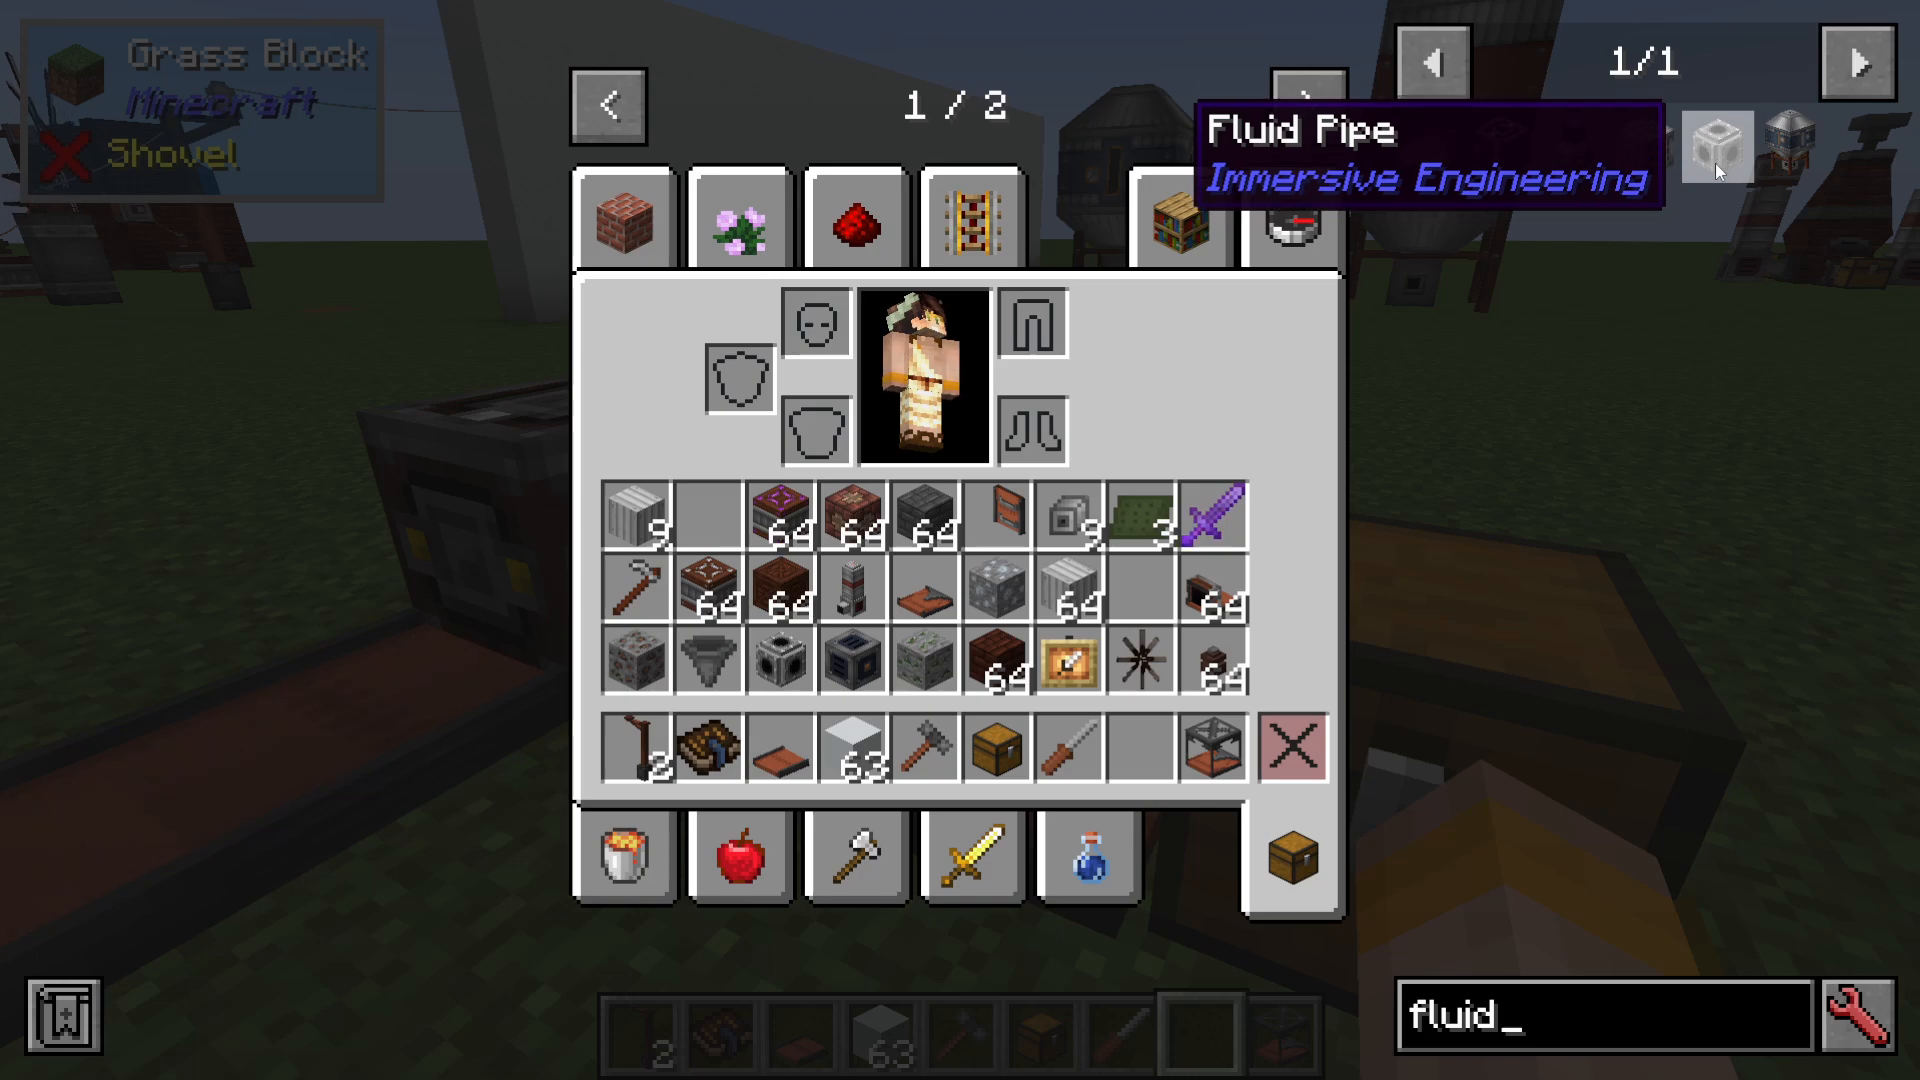
Fluid Transport Systems
Immersive Engineering also provides tools for transporting liquids. These include:
Fluid Router (for filtering fluids by type)
Fluid Outlet
Fluid Pump (equivalent to item extractors)
Fluid Pipes (equivalent to conveyor belts)
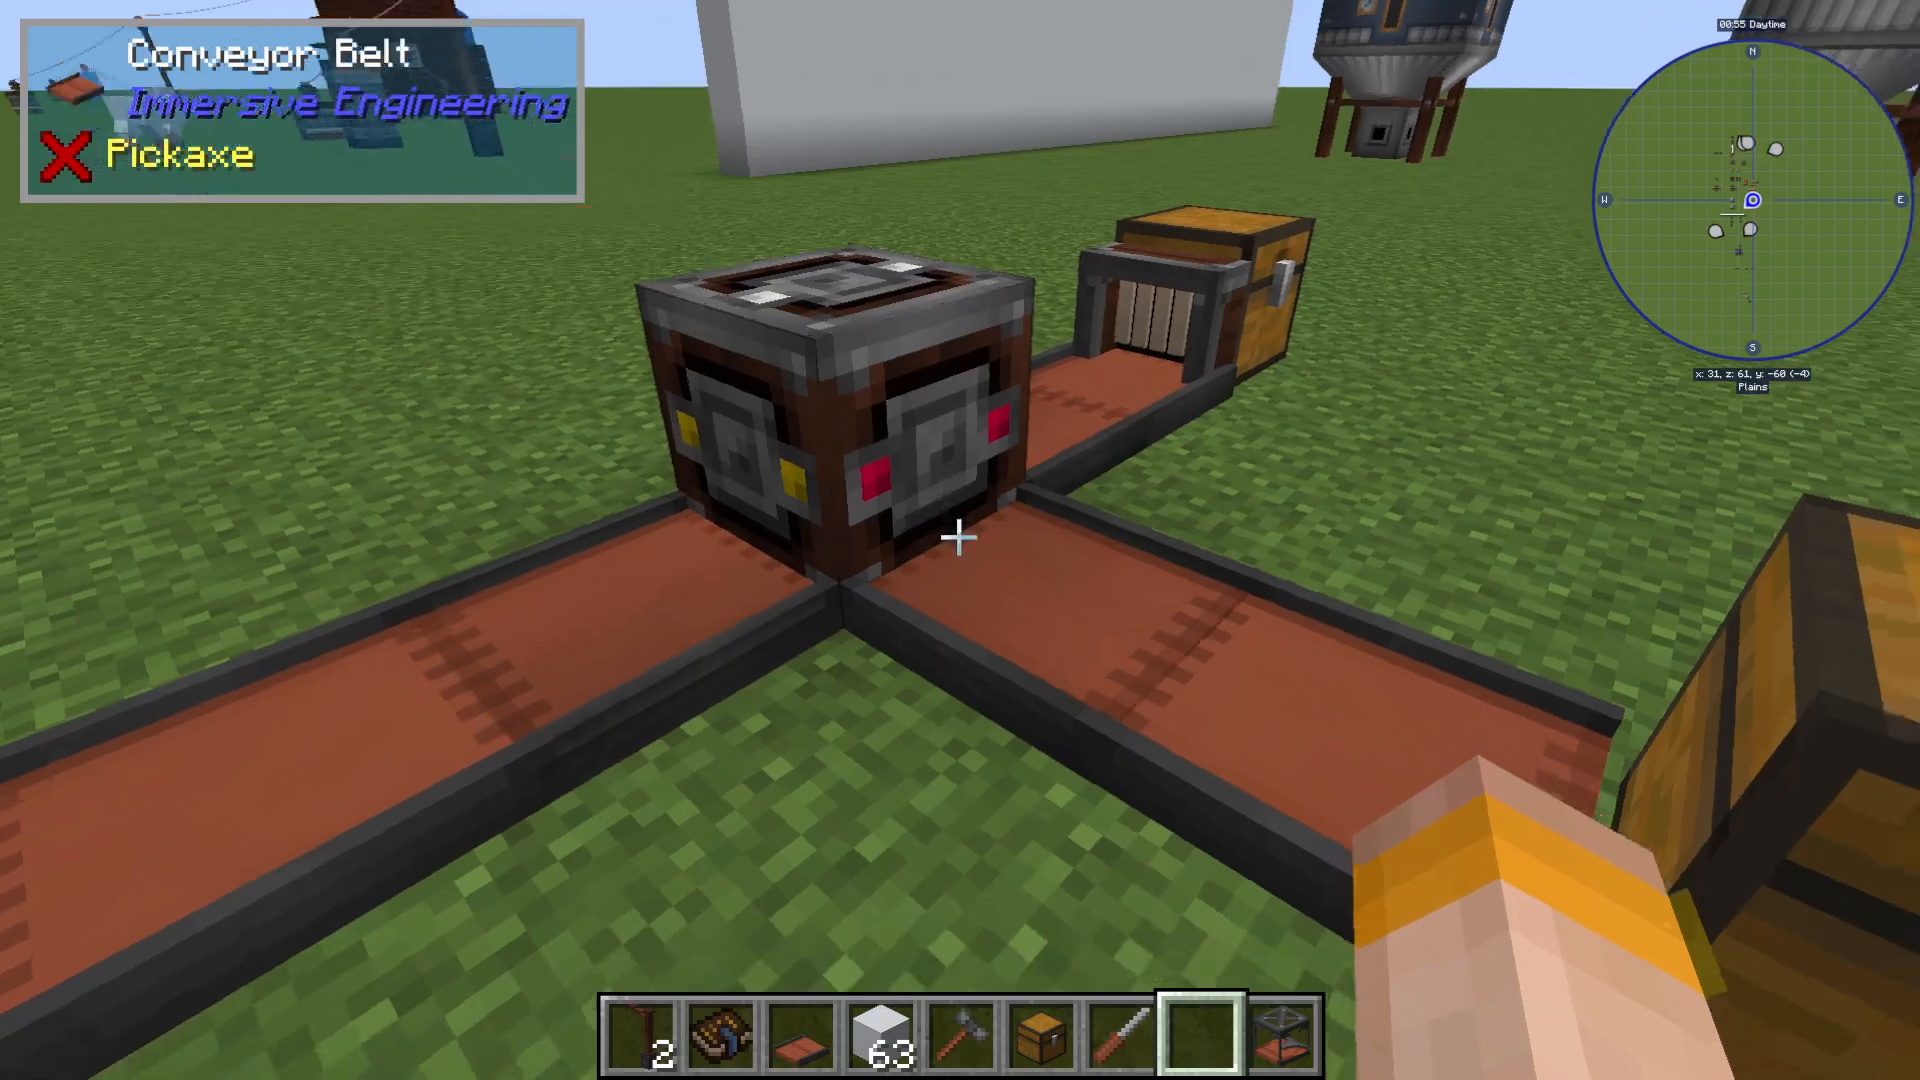
Fluid systems work similarly to item conveyors, allowing you to transport and sort liquids throughout your production facility.
Summary
Conveyors and routers form the foundation of Immersive Engineering logistics. By combining basic conveyors, vertical conveyors, dropping conveyors, and item routers, you can create complex production lines that automatically sort, move, and distribute items across your facility. Master these tools, and you’ll be able to build efficient, organized, and visually impressive automation systems.
— Want to Support? —
If you would like to help us continue making these guides – please consider joining our patreon here – https://www.patreon.com/c/JaviHeals
Alternatively – we host a group of MC Servers you can join here – https://discord.gg/zD7Gjt6MHF



