







How to Make a Basic Reactor in Extreme Reactors
How to Make a Basic Reactor in Extreme Reactors
In this guide, we’ll walk you through building your first basic reactor using the Extreme Reactors mod. A basic reactor is the perfect starting point for generating power in modded Minecraft, and despite having a maximum size limitation of 5x5x5, it’s surprisingly powerful and fully customizable to your needs.
Gathering Your Materials
Before you can build your reactor, you’ll need to collect the essential crafting materials. The foundation of any reactor is yellowium ore, which can be found in all dimensions and is relatively easy to locate. Once you’ve mined it, simply smelt the ore in a furnace to create yellowium ingots. Note that some modpacks may rename these to uranium ingots, but the tooltip confirms they’re interchangeable—it says “yellowium ingots accepts tag uranium ingots.”
You’ll also need to craft graphite bars, which are made by smelting coal in a furnace. This is a straightforward process and shouldn’t pose any difficulty.
For future reactor upgrades, you should be aware of two additional ores you can gather later:
Anglesite – found in the End dimension
Bedrock – found in the Nether
However, you won’t need these materials for your first basic reactor.
Understanding Reactor Tiers and Size Limits
Extreme Reactors features multiple reactor tiers, each with different size constraints and material costs:
Basic Reactors
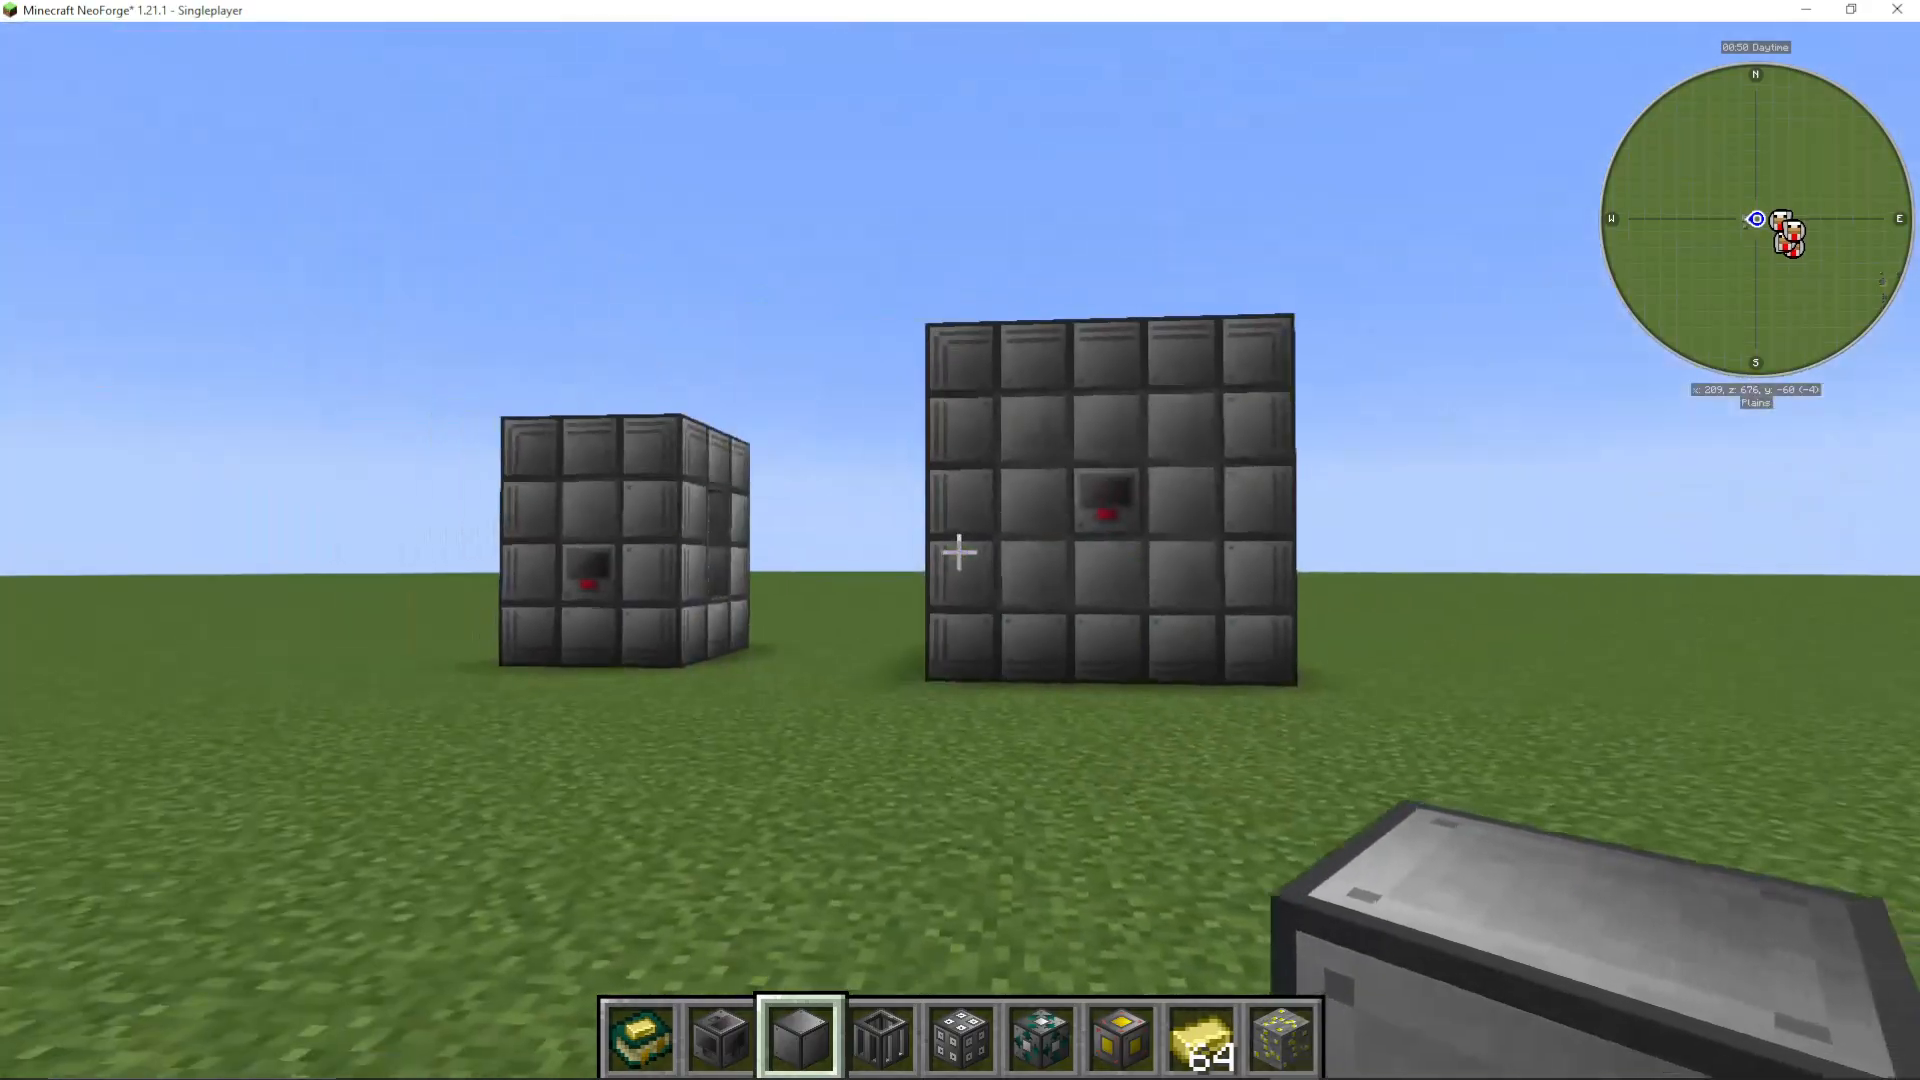
Basic reactors have a maximum size of 5x5x5 blocks. These are your entry-level reactors and use reactor casing as their primary building material. They’re affordable to construct even at maximum size, so if you have enough yellowium, building a 5x5x5 basic reactor is recommended over smaller alternatives. The larger size gives you more design flexibility and room to experiment with fuel rod placement.
Reinforced Reactors
Advanced reactors use reinforced components, which require significantly more resources including steel and blocks of iron. Some modpacks may even require blocks of diamond. These reactors can reach sizes of approximately 48×48 in width and 32 blocks tall—though config files in your modpack may allow even larger “gargantuan reactors.”
For your first reactor, stick with the basic tier. You can always upgrade later if needed.
Building Your 5x5x5 Basic Reactor
Now let’s construct your first reactor. A 5x5x5 reactor is the ideal size to start with, but you can make smaller variants (such as 3x3x4) if you prefer.
Essential Components
Your basic reactor requires the following components:
Reactor Casing and Glass
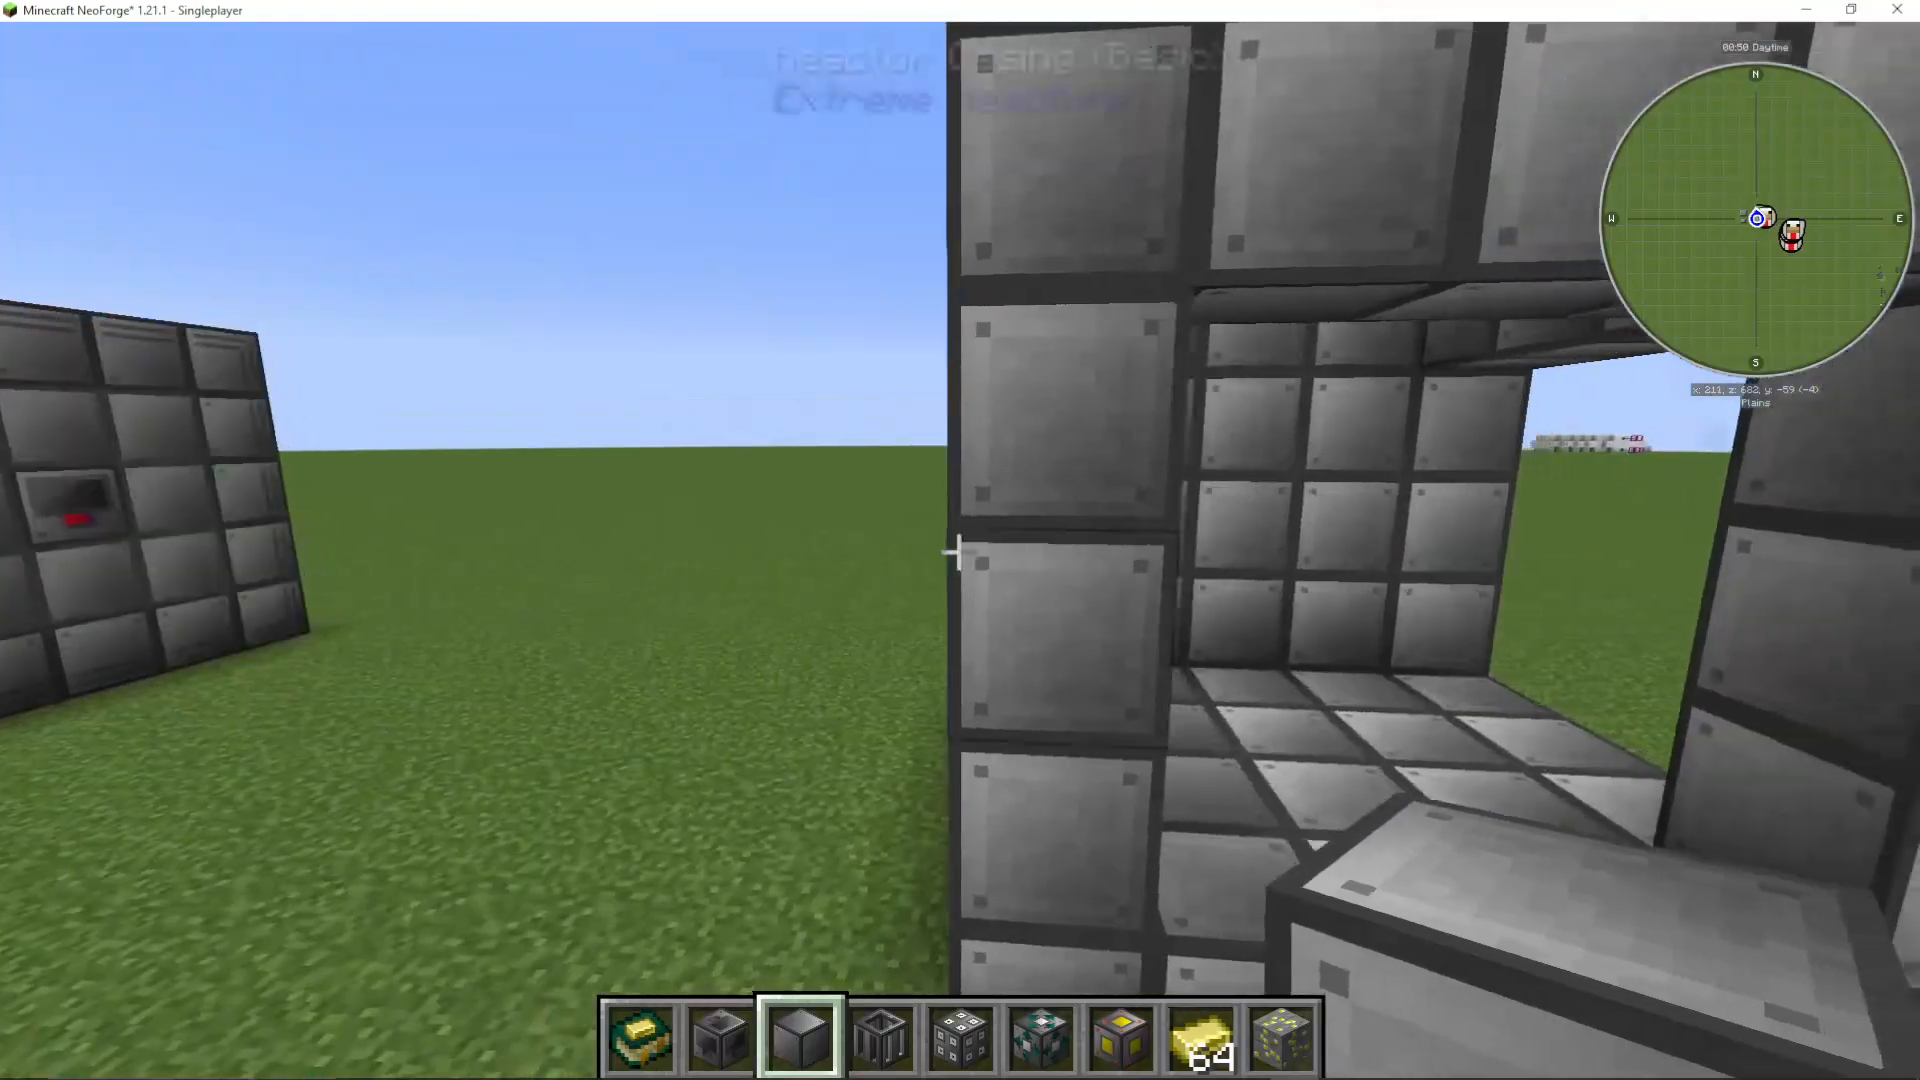
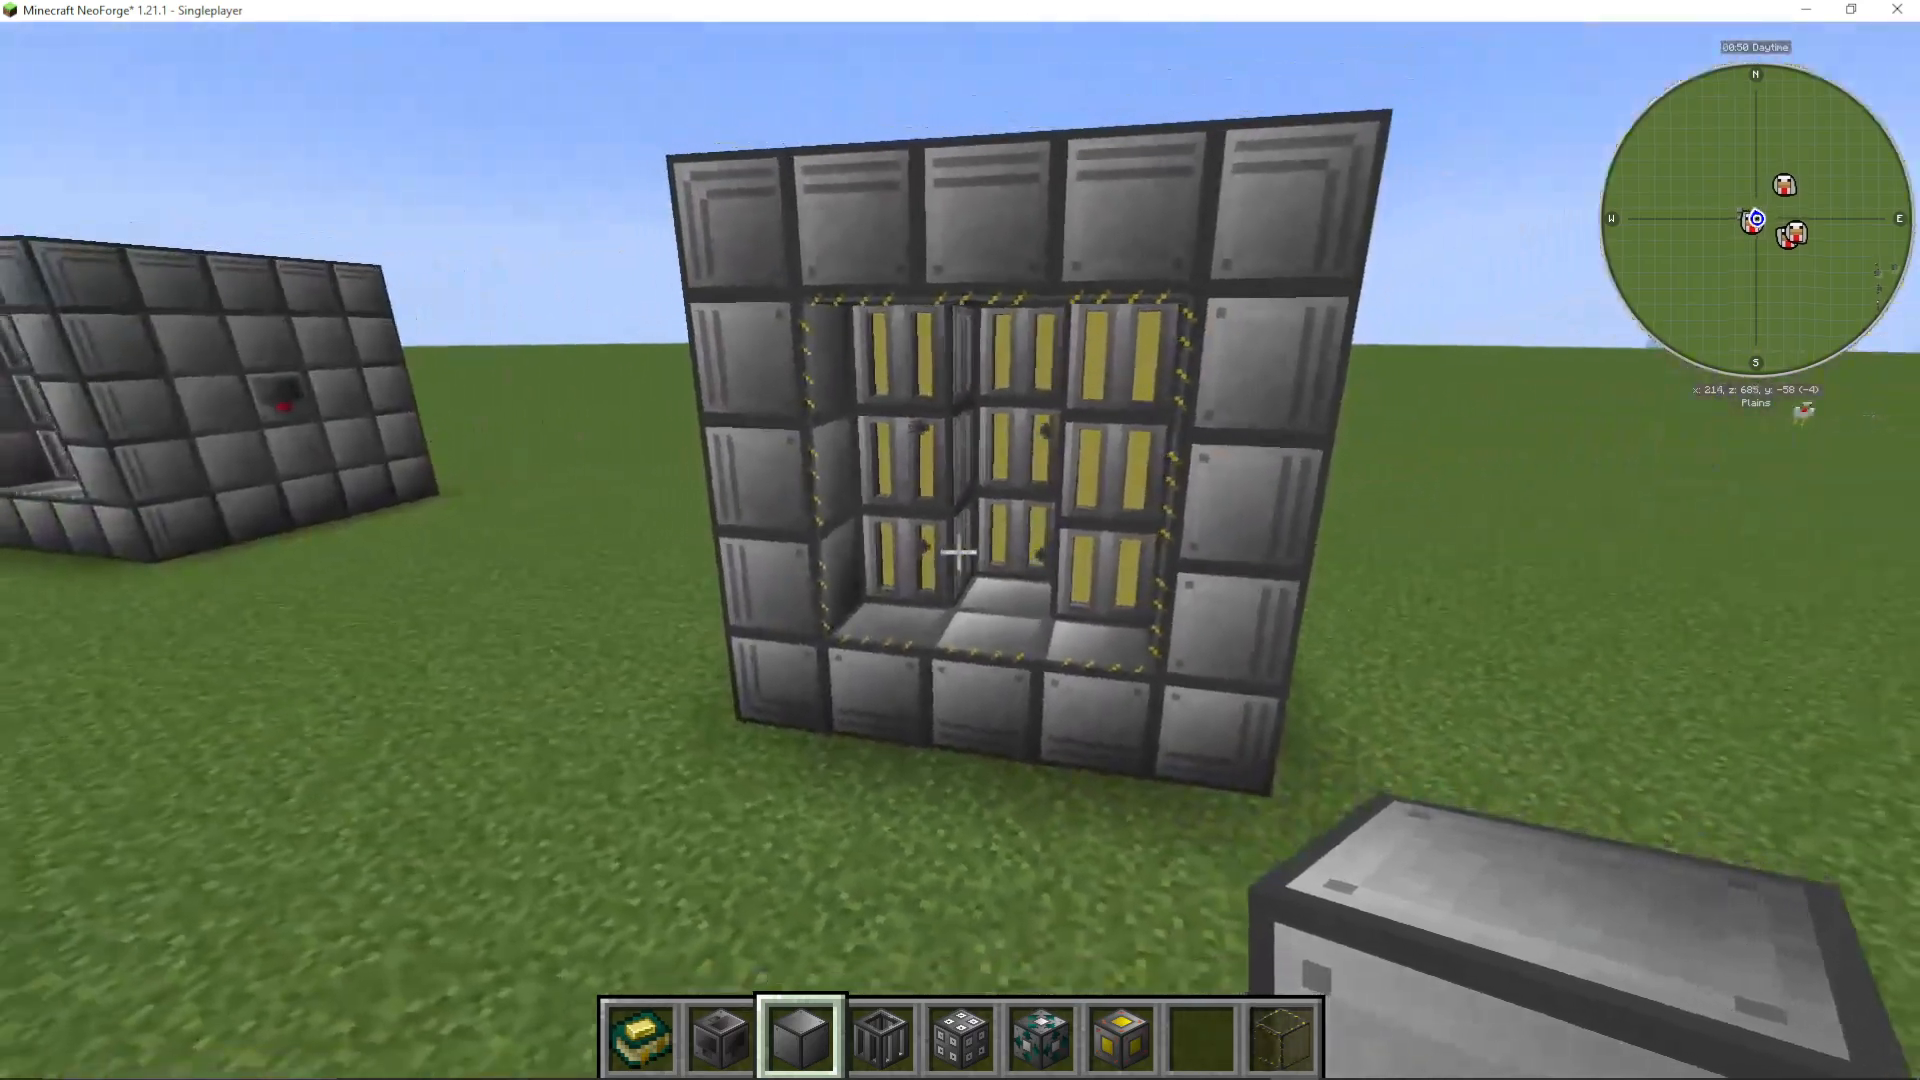
Build the exterior walls primarily with reactor casing. To view the interior of your reactor, incorporate reactor glass on at least one wall. This allows you to observe the fuel rods and overall reactor status without opening the interface.
Reactor Controller (Basic)
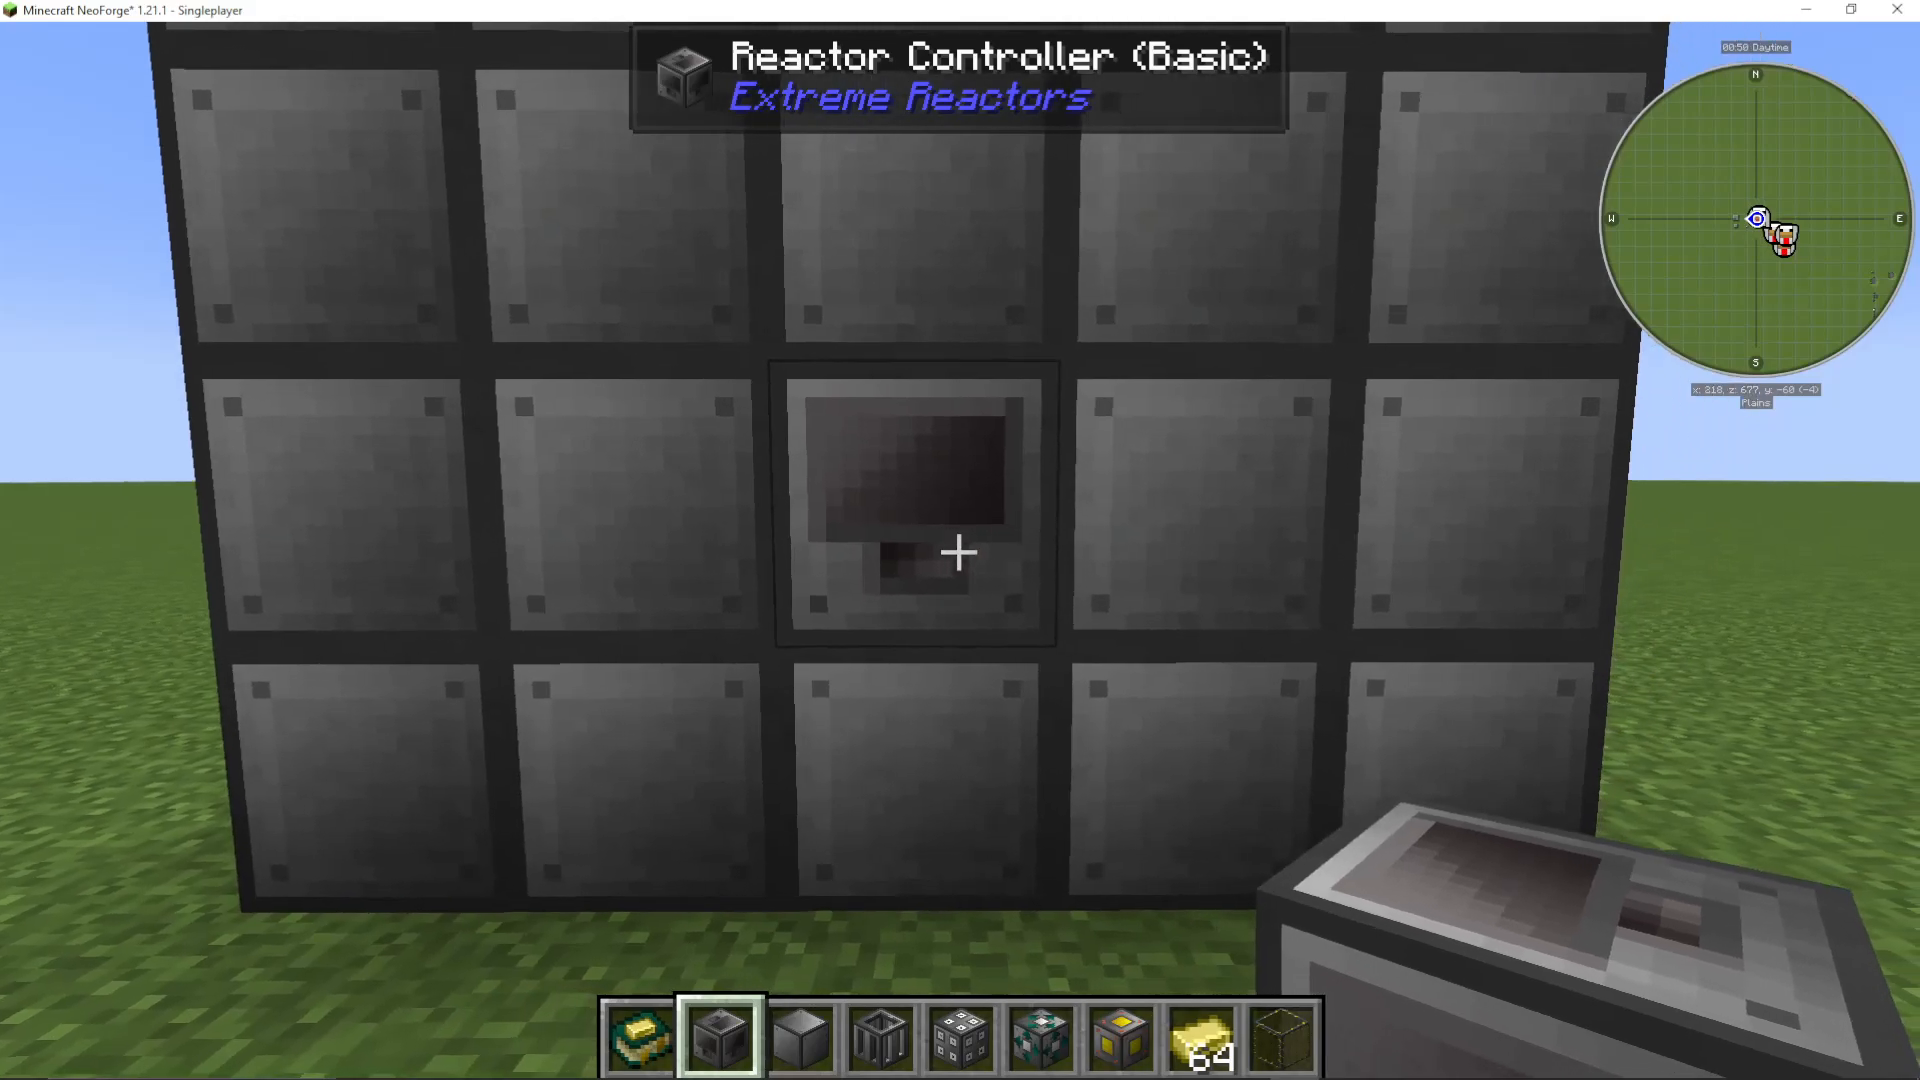
Place a basic reactor controller on your reactor. This is your primary interface for controlling and monitoring your reactor’s performance. You’ll click this block to access all reactor information and settings.
Fuel Ports (Reactor Solid Access Ports)
Install at least two reactor solid access ports (basic). These ports serve dual purposes:
Inlet mode (default) – Where yellowium ingots are inserted into the reactor. You can manually place ingots here or pipe them in using mods like Mekanism pipes or Applied Energistics.
Outlet mode – Where waste is ejected from the reactor.
To switch a port to outlet mode, right-click it and select “Outlet Mode.” You’ll see it turn green to indicate the change.
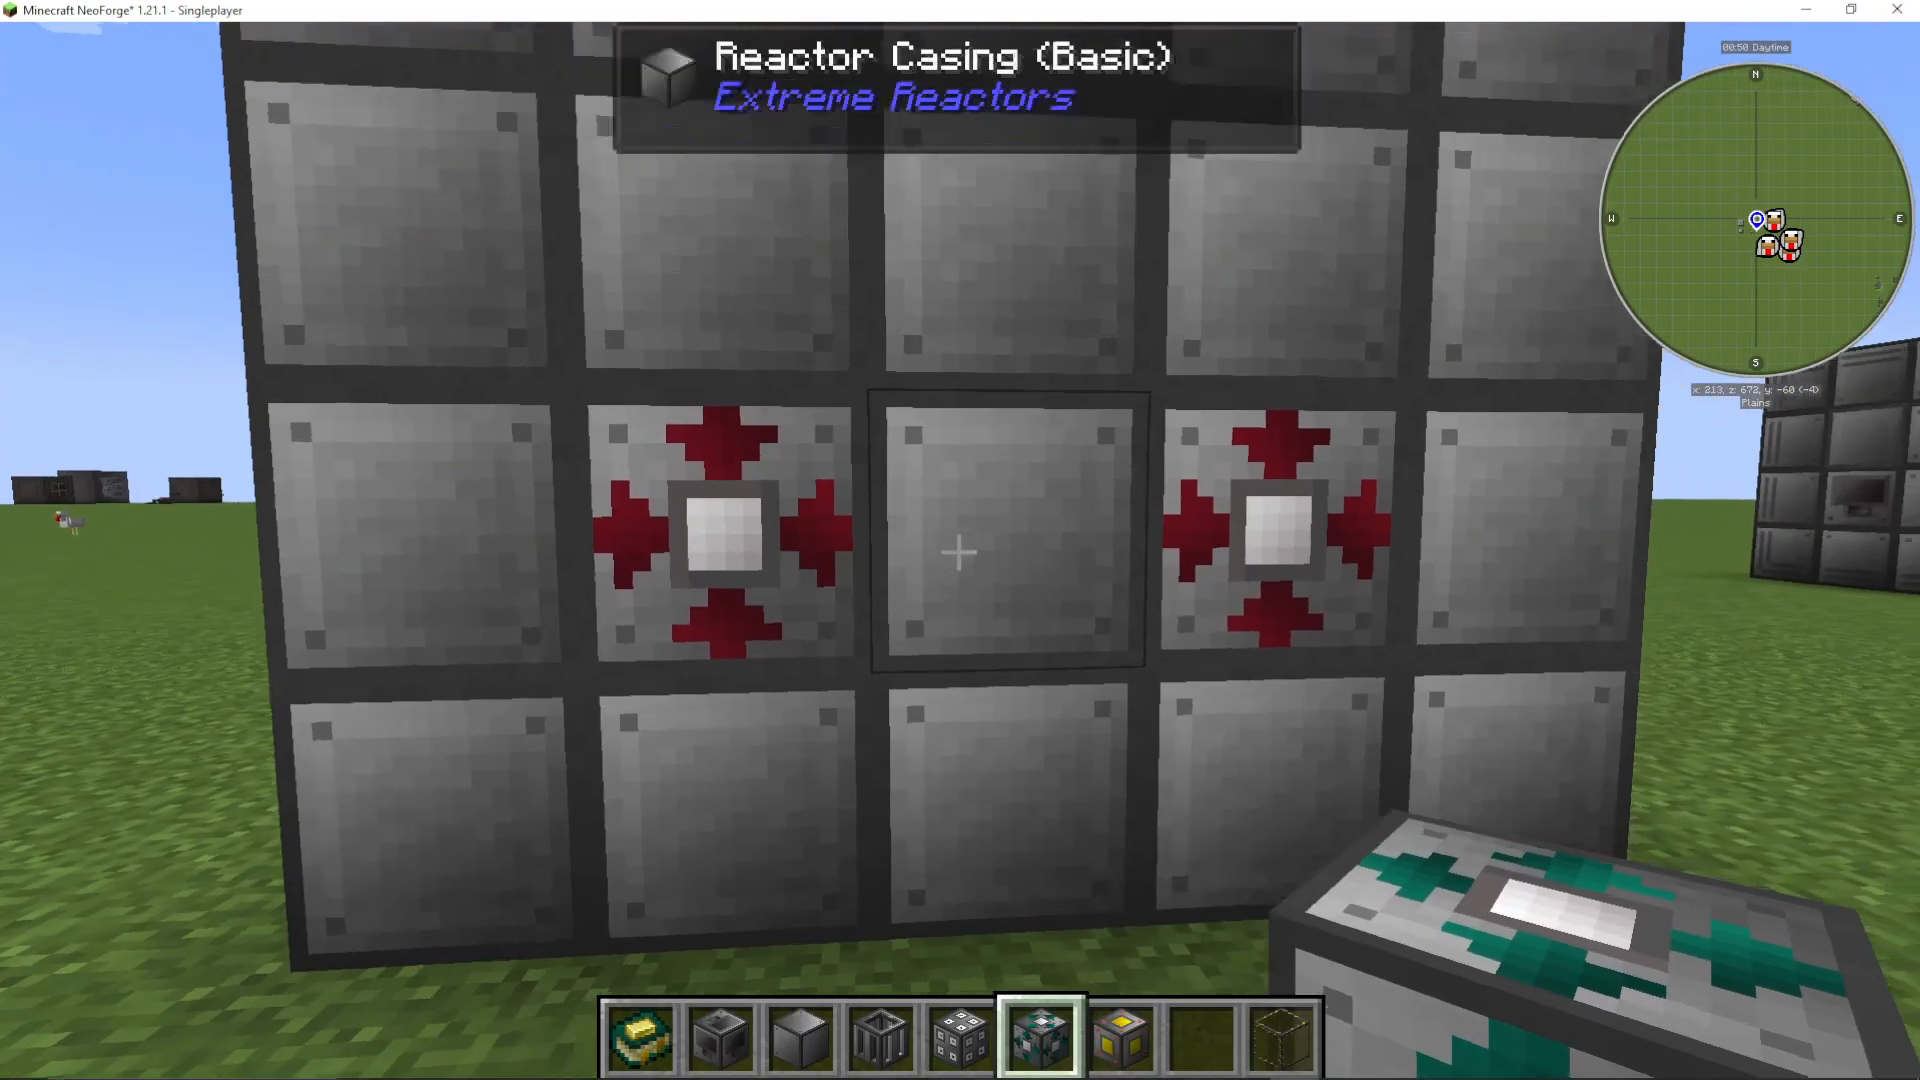
The waste product from your reactor is called cyanite, which you’ll store for later use in turbines or reprocessors. You can pipe this waste to a storage container for safekeeping.
📸 [ASSISTANT: TAKE SCREENSHOT AT SCREENSHOT AT TIMESTAMP 03:52]
Power Tap (Reactor Active Forge Energy Power Tap)
Add a reactor active forge energy power tap to your reactor. This is where your power cables connect to extract the energy generated by the reactor and send it to your power storage or machines.
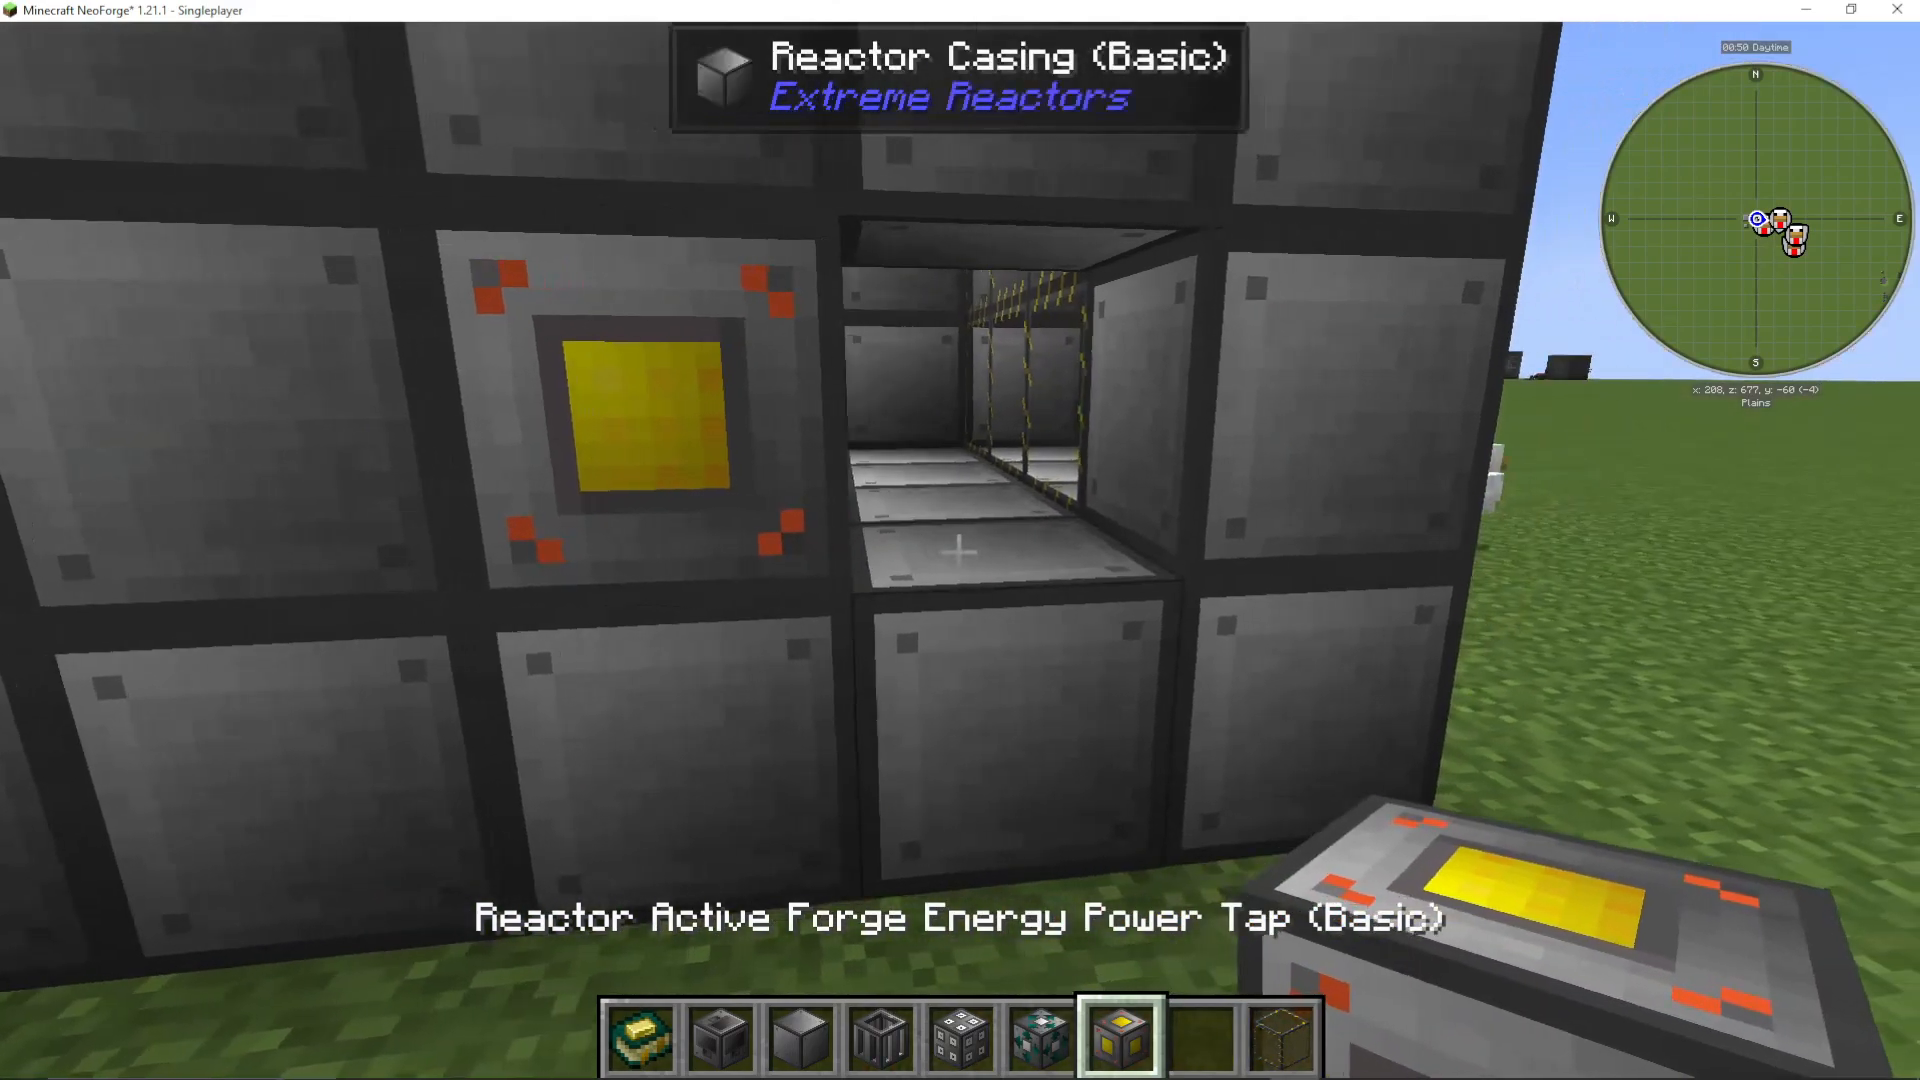
Fuel Rods (Reactor Fuel Rods – Basic)
Install your fuel rods inside the reactor. For a 5x5x5 reactor, a typical configuration might include five fuel rods in one row and two in another (or adjust as needed). These are the blocks where the yellowium ingots will be consumed to generate power.
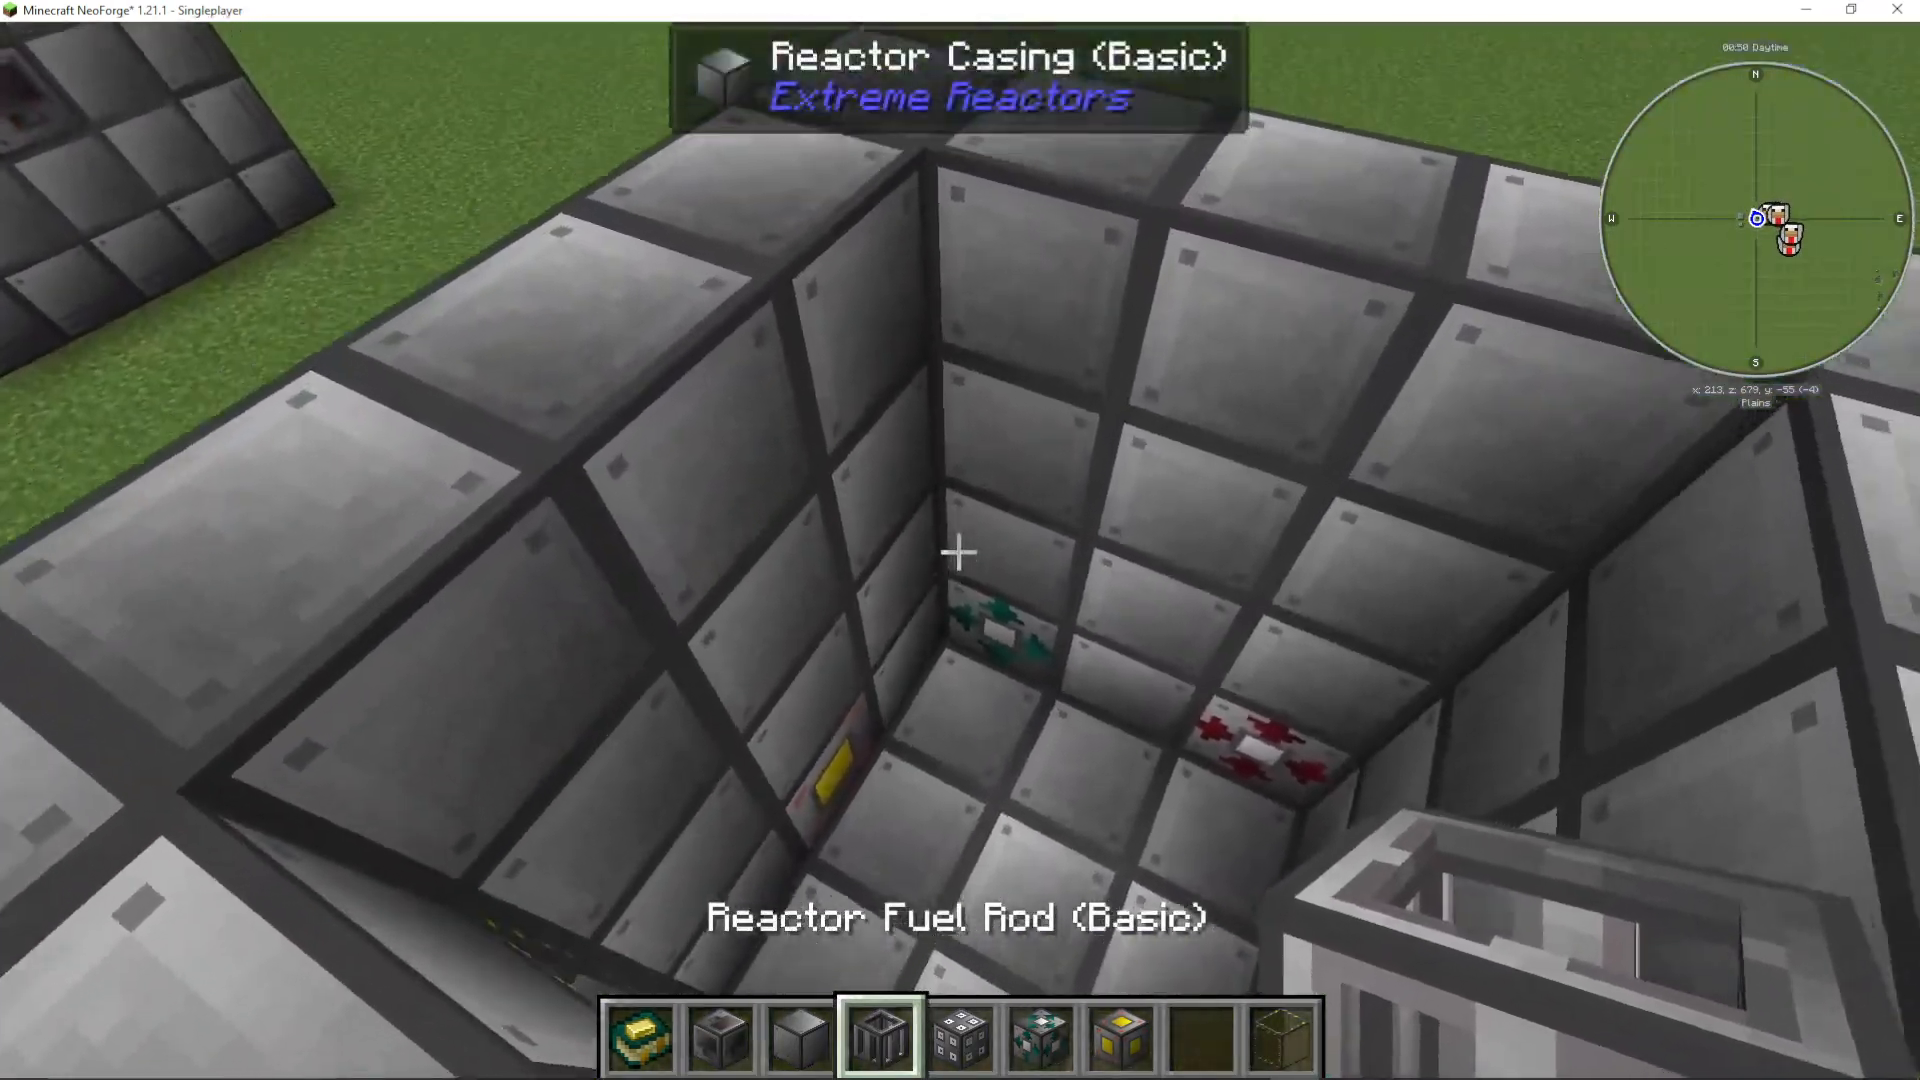
Control Rods
On top of each fuel rod, place a reactor control rod. Control rods regulate fuel burn rate by adjusting how deep they insert into the fuel rods—higher control rod insertion reduces fuel consumption.
Completing the Multiblock Structure
Once all internal components are placed, finish filling the remaining space with reactor casing. When the structure is complete, the game will recognize it as a valid multiblock reactor, and your fuel rods will automatically fill with yellowium from your access ports.
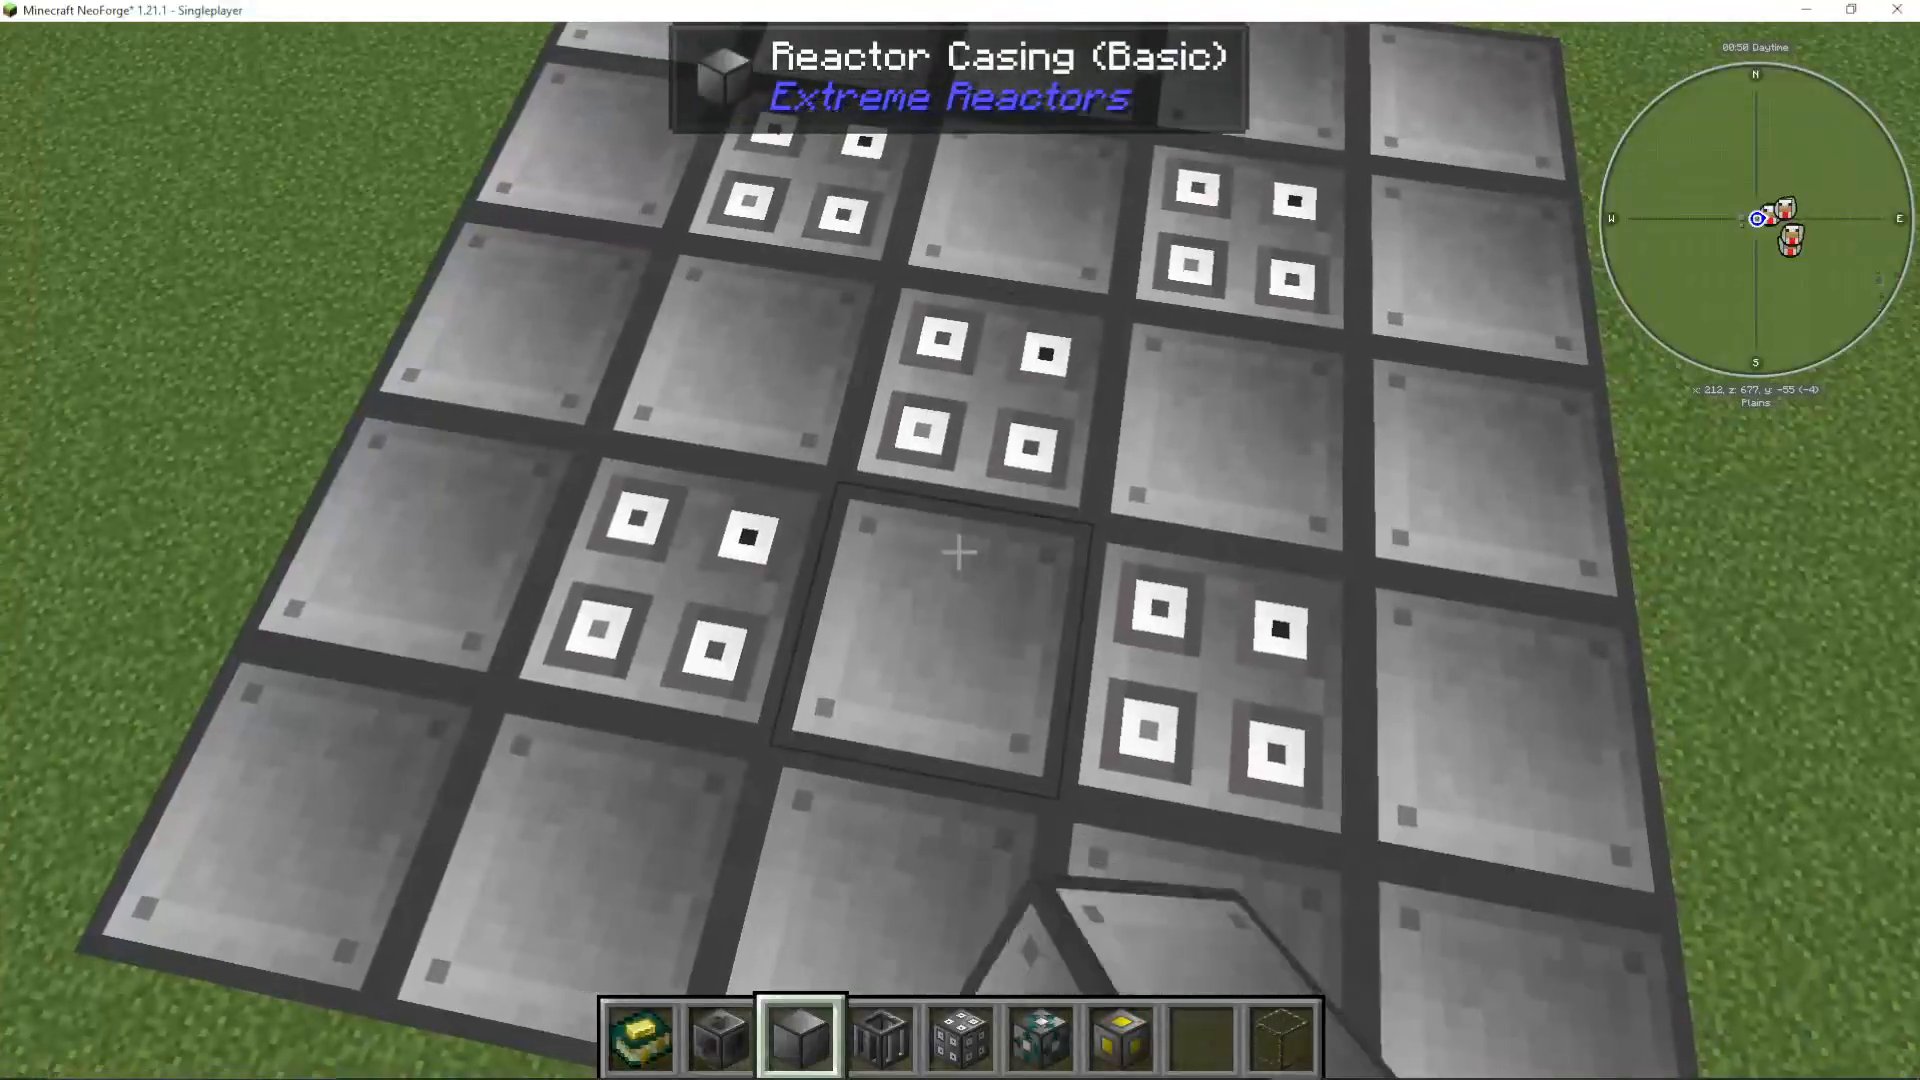
Fueling Your Reactor
When you first activate your reactor, the fuel rods will fill with yellowium ingots from your access port. For a 5x5x5 basic reactor, you may see a capacity of around 60 buckets (or 60 ingots if using stack-based insertion). While this seems like a lot, the fuel burns slowly depending on your control rod settings and core heat, so you won’t deplete it instantly.
Understanding Reactor Controls and Monitoring
Turning On and Off Your Reactor
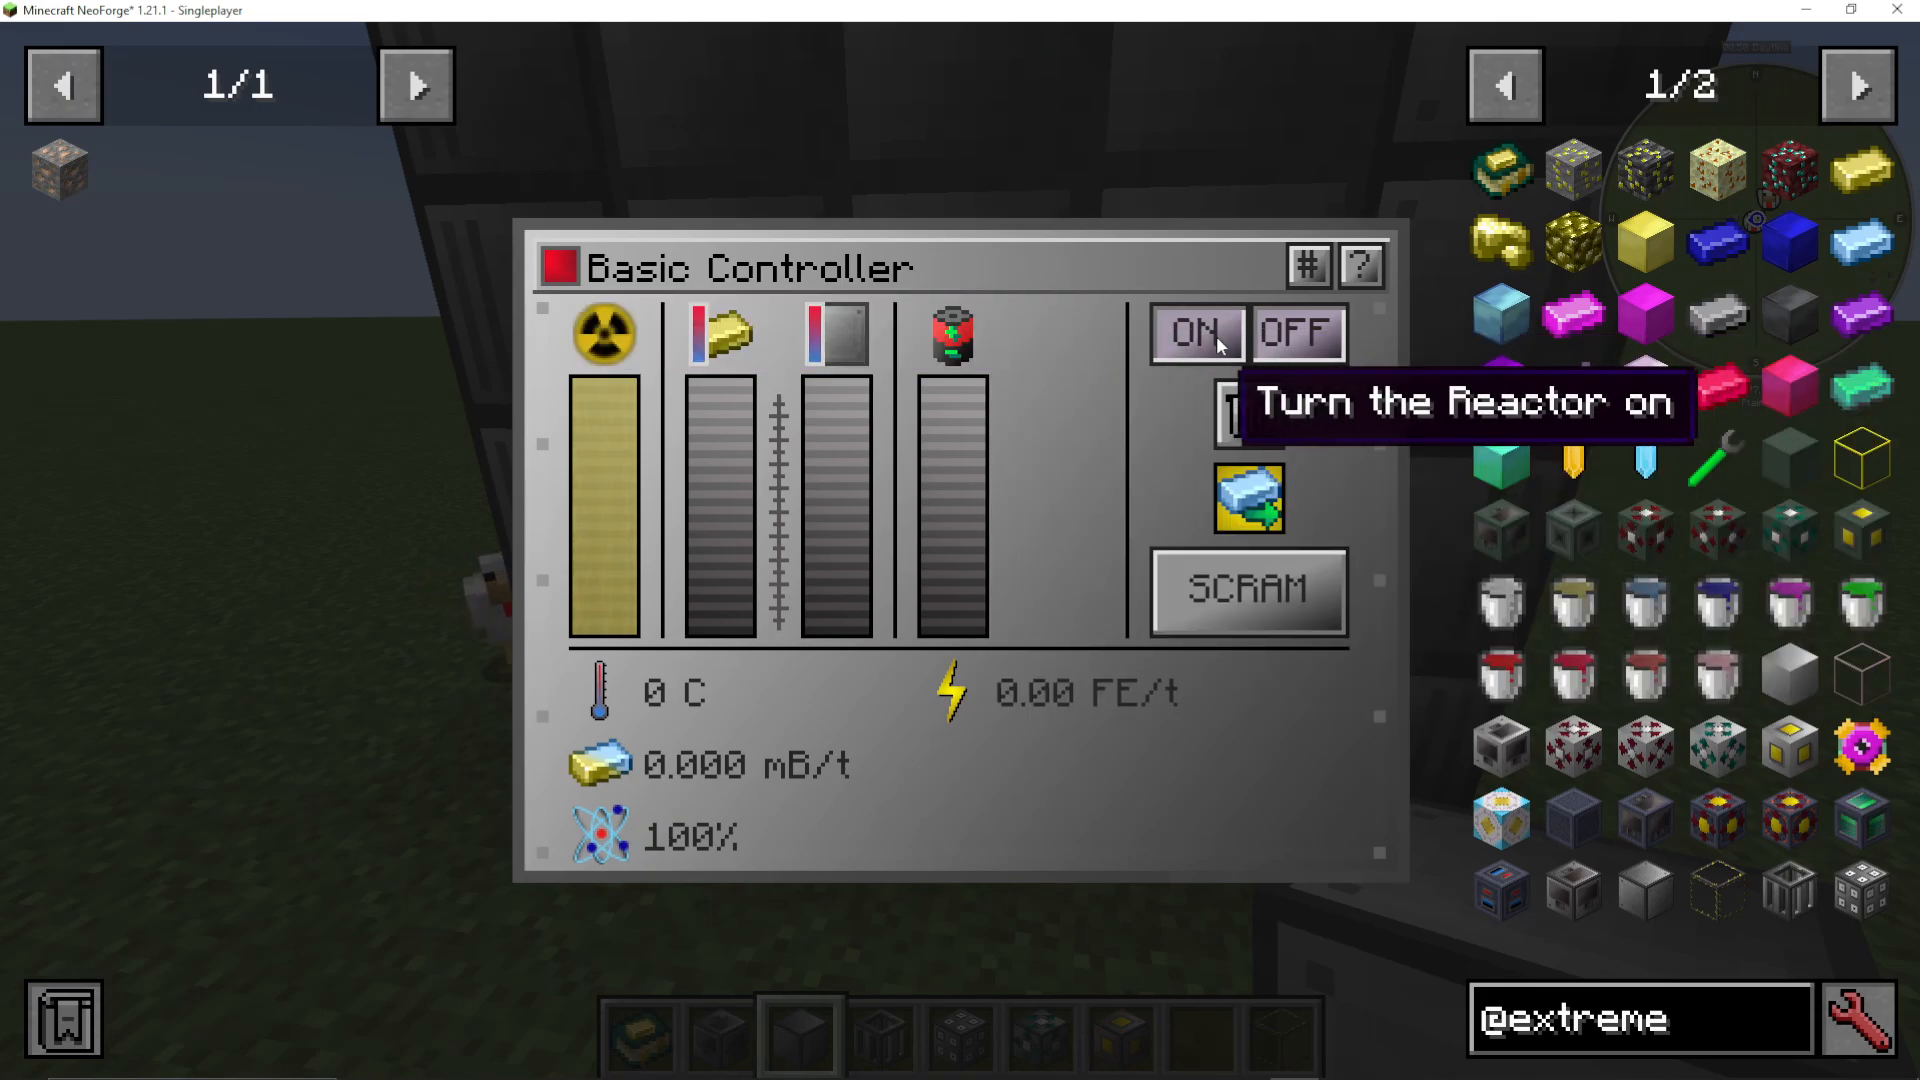
Open your reactor controller to access the main interface. Here you’ll find an on/off toggle to activate or deactivate your reactor. You can also activate an emergency shutdown, which pushes all control rods fully into the fuel rods to halt all reactions.
Waste Ejection Settings
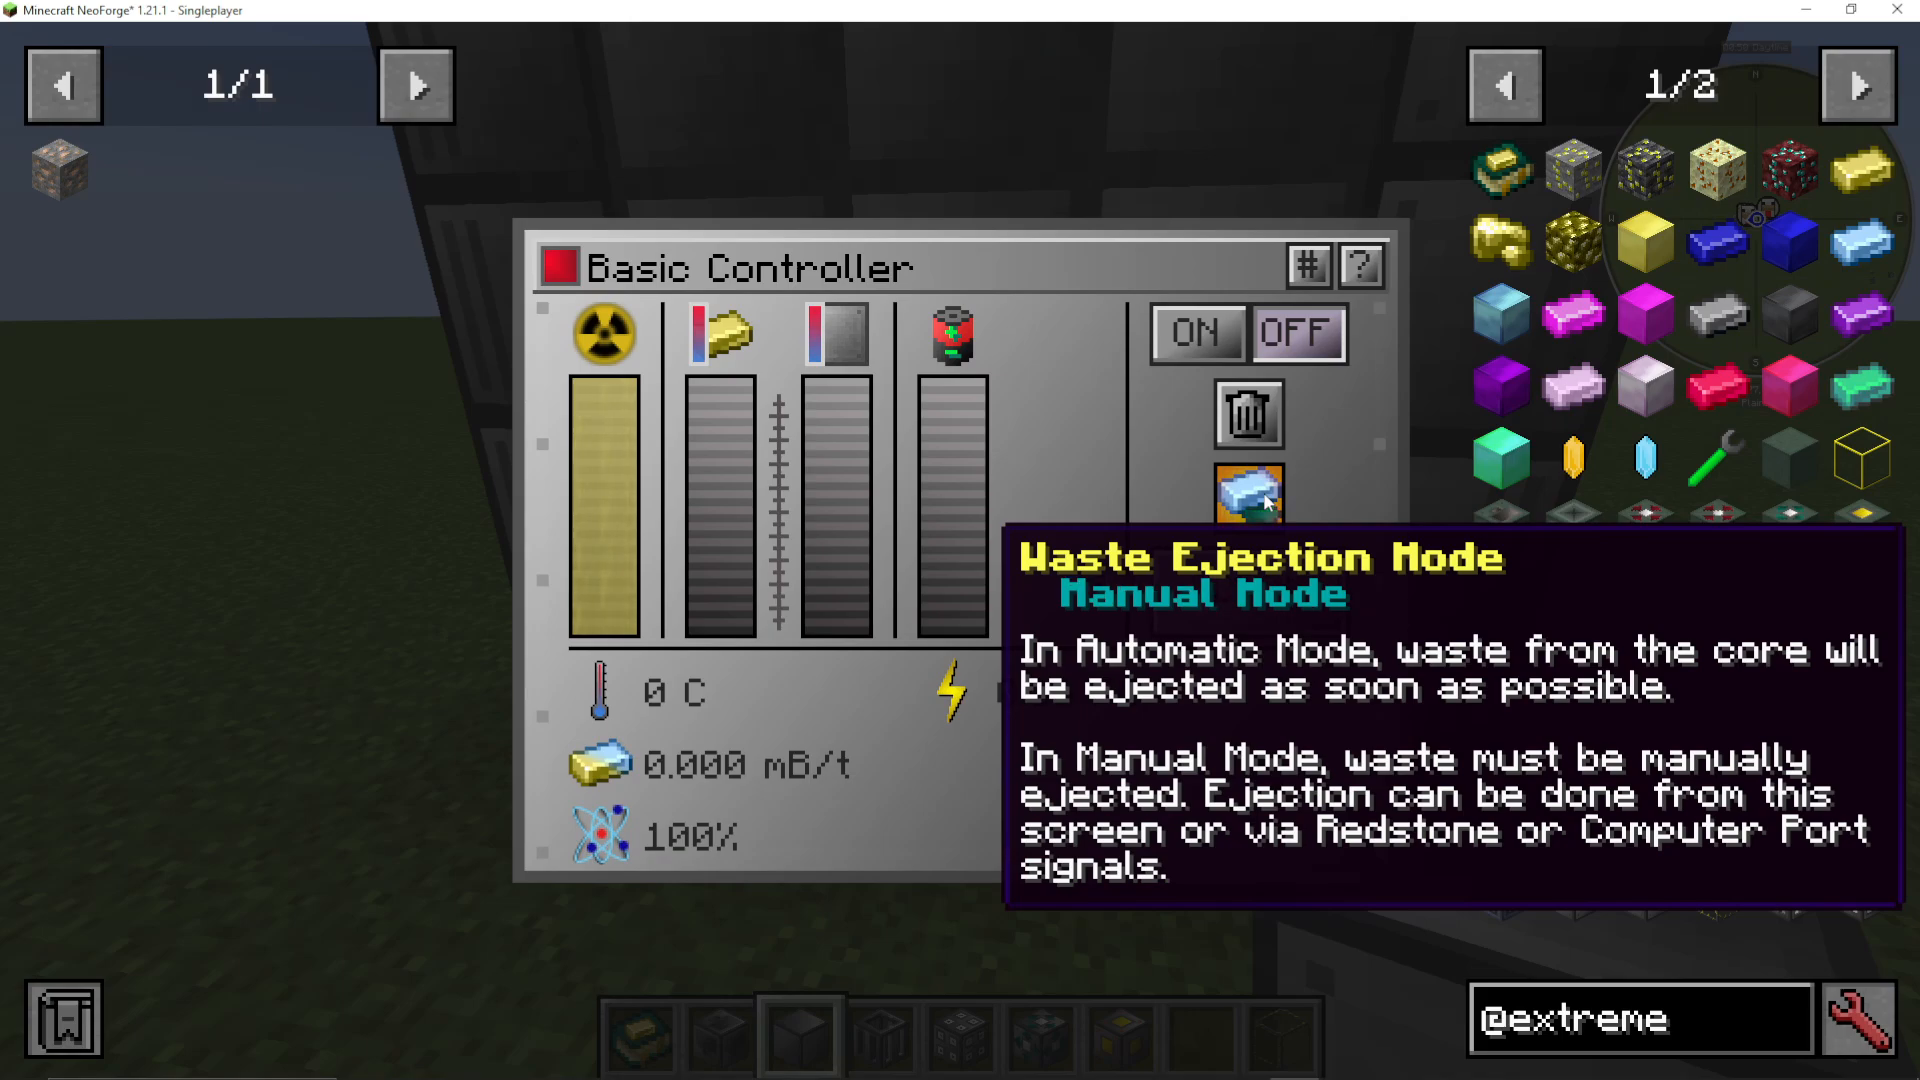
In the controller interface, you can set waste ejection to either manual or automatic:
Manual – The connected pipe must request the waste; the reactor won’t push it out automatically. This works well if your pipes are set to pull mode.
Automatic – The reactor actively pushes waste out through connected pipes without waiting for a pull request.
Either setting works fine depending on your piping system and modpack configuration.
Key Monitoring Metrics
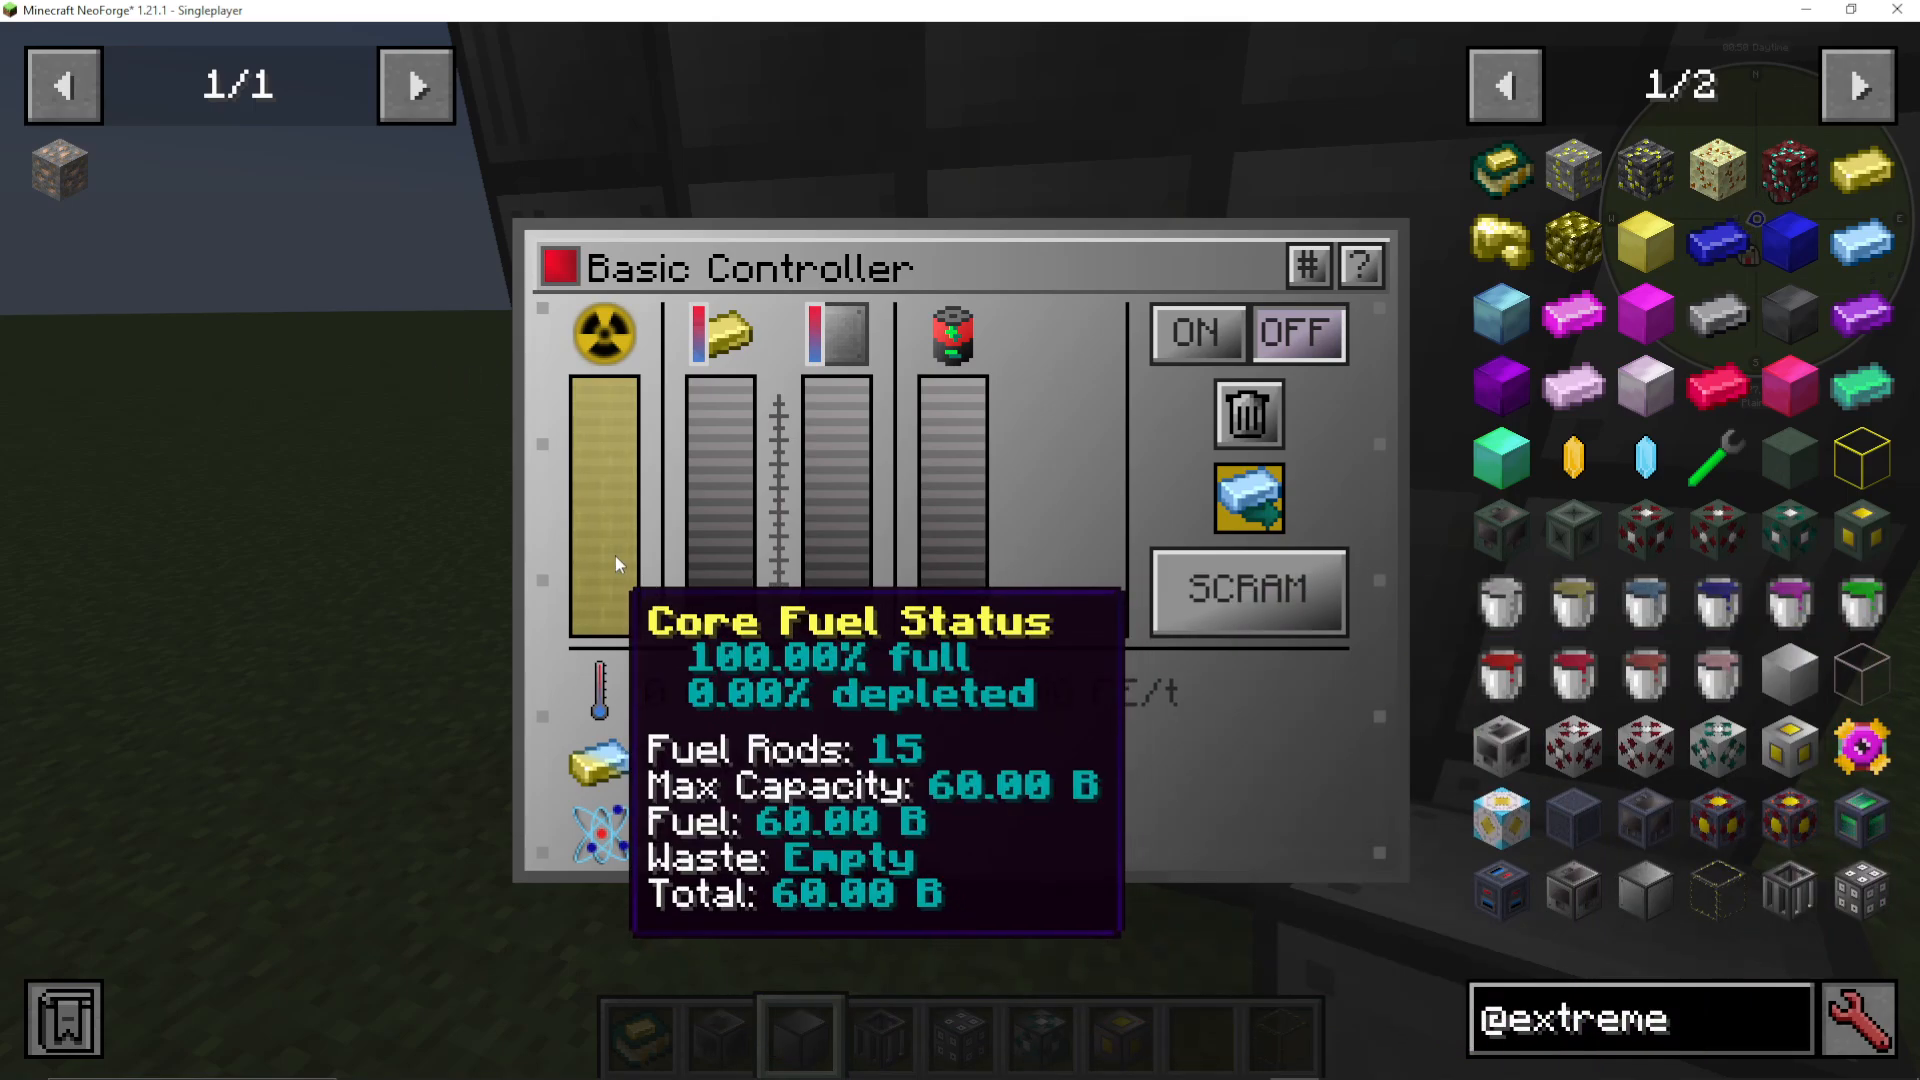
Core Fuel Status
The reactor displays your current fuel inventory as a percentage (e.g., 100% fuel, 0% depleted). This shows you how much yellowium remains in your fuel rods.
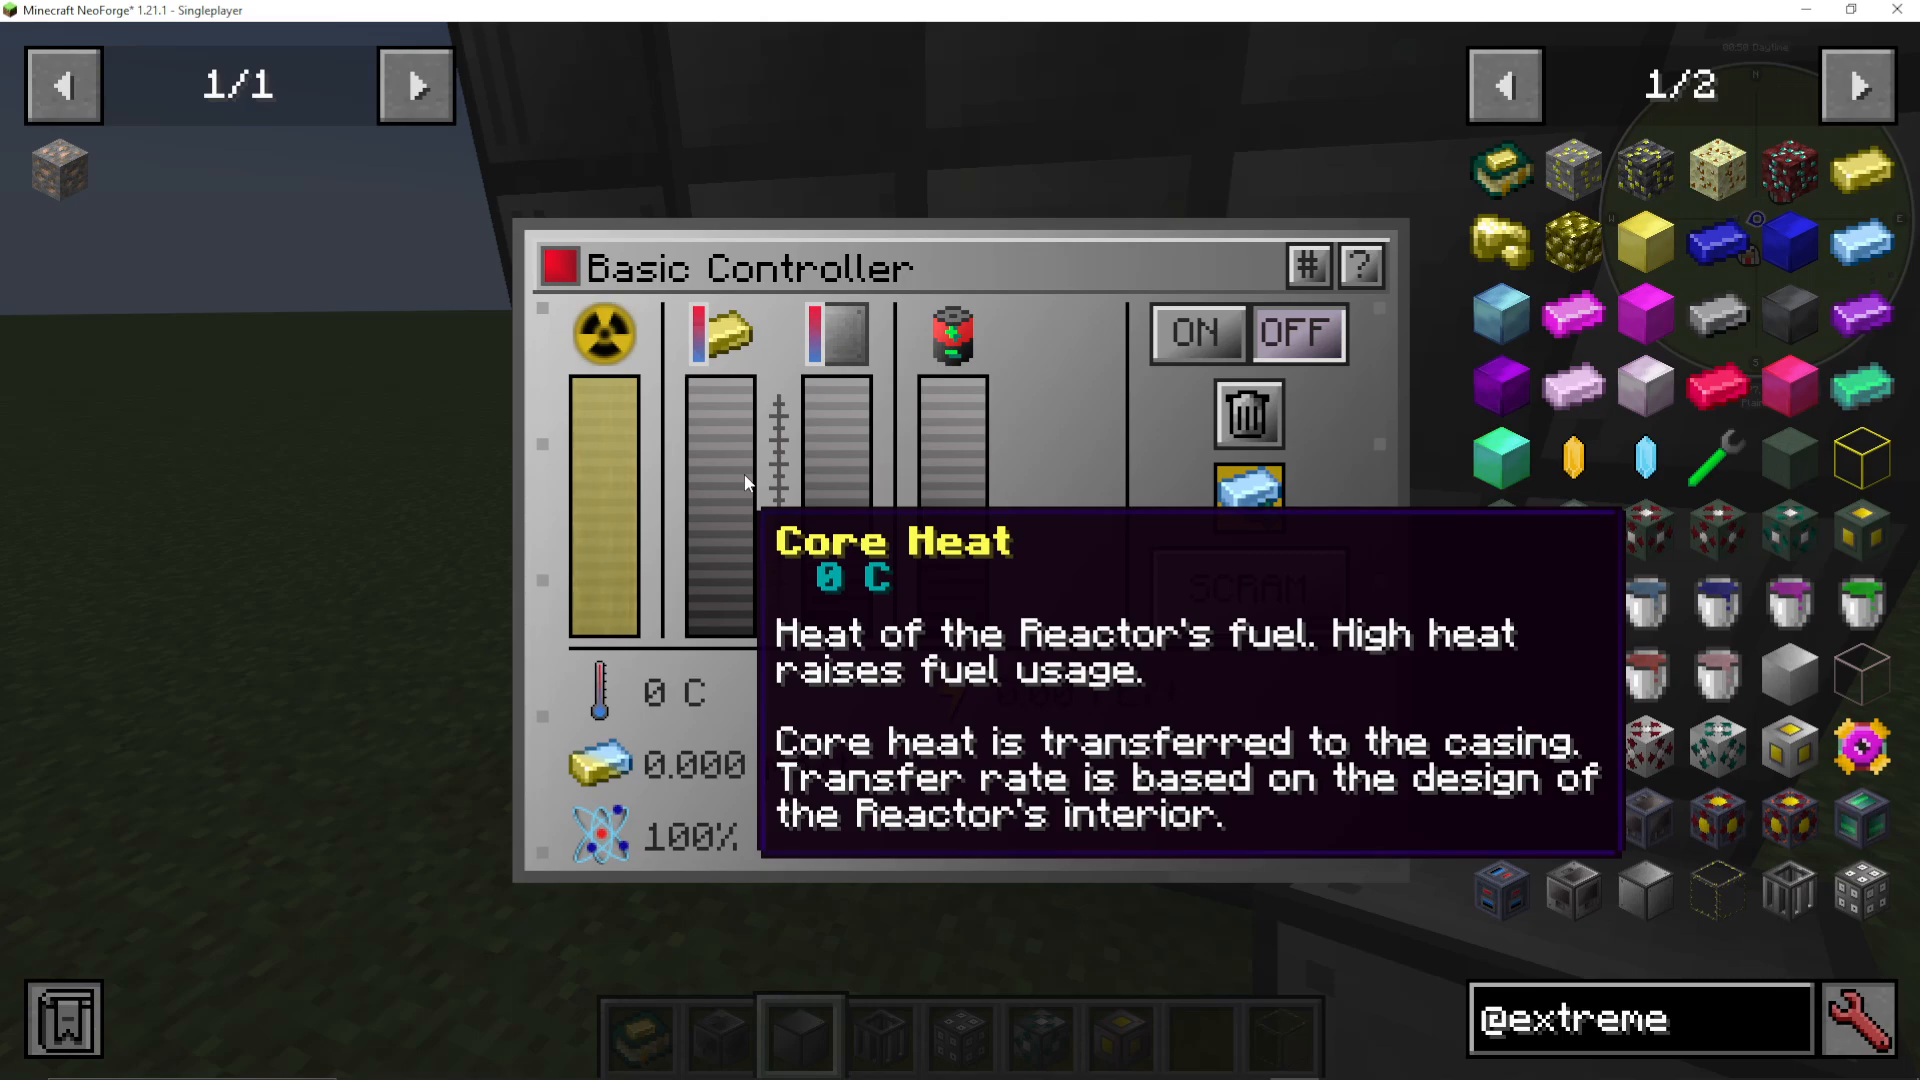
Core Heat
This indicates the temperature of your fuel rods. Higher core heat increases fuel burn rate—meaning your yellowium will deplete faster. Core heat transfers to the reactor casing based on your reactor’s internal design.
Casing Heat
This is the temperature of your reactor’s exterior shell. Higher casing heat increases energy output and coolant conversion rates. In a passively cooled reactor (like the basic reactor), you want your casing to be hot to maximize power generation while keeping your core cooler to preserve fuel.
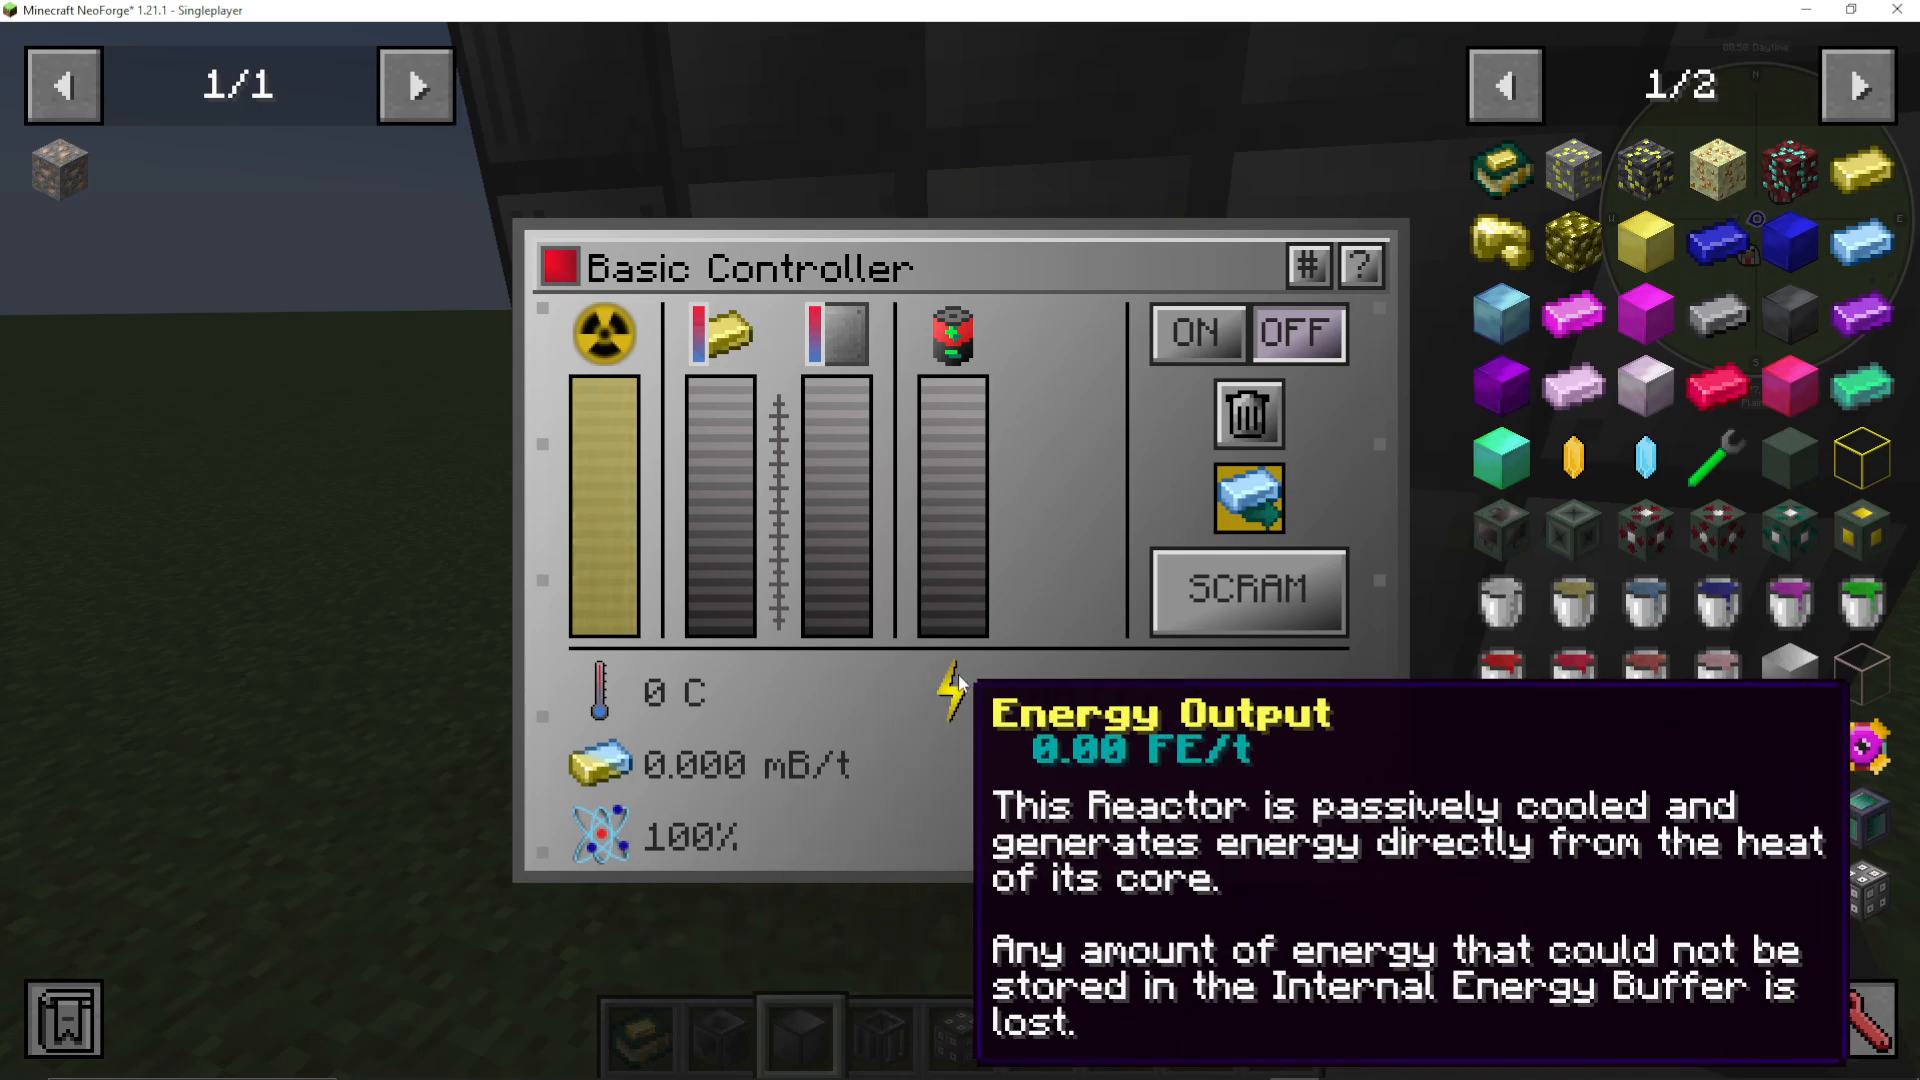
Internal Energy Buffer
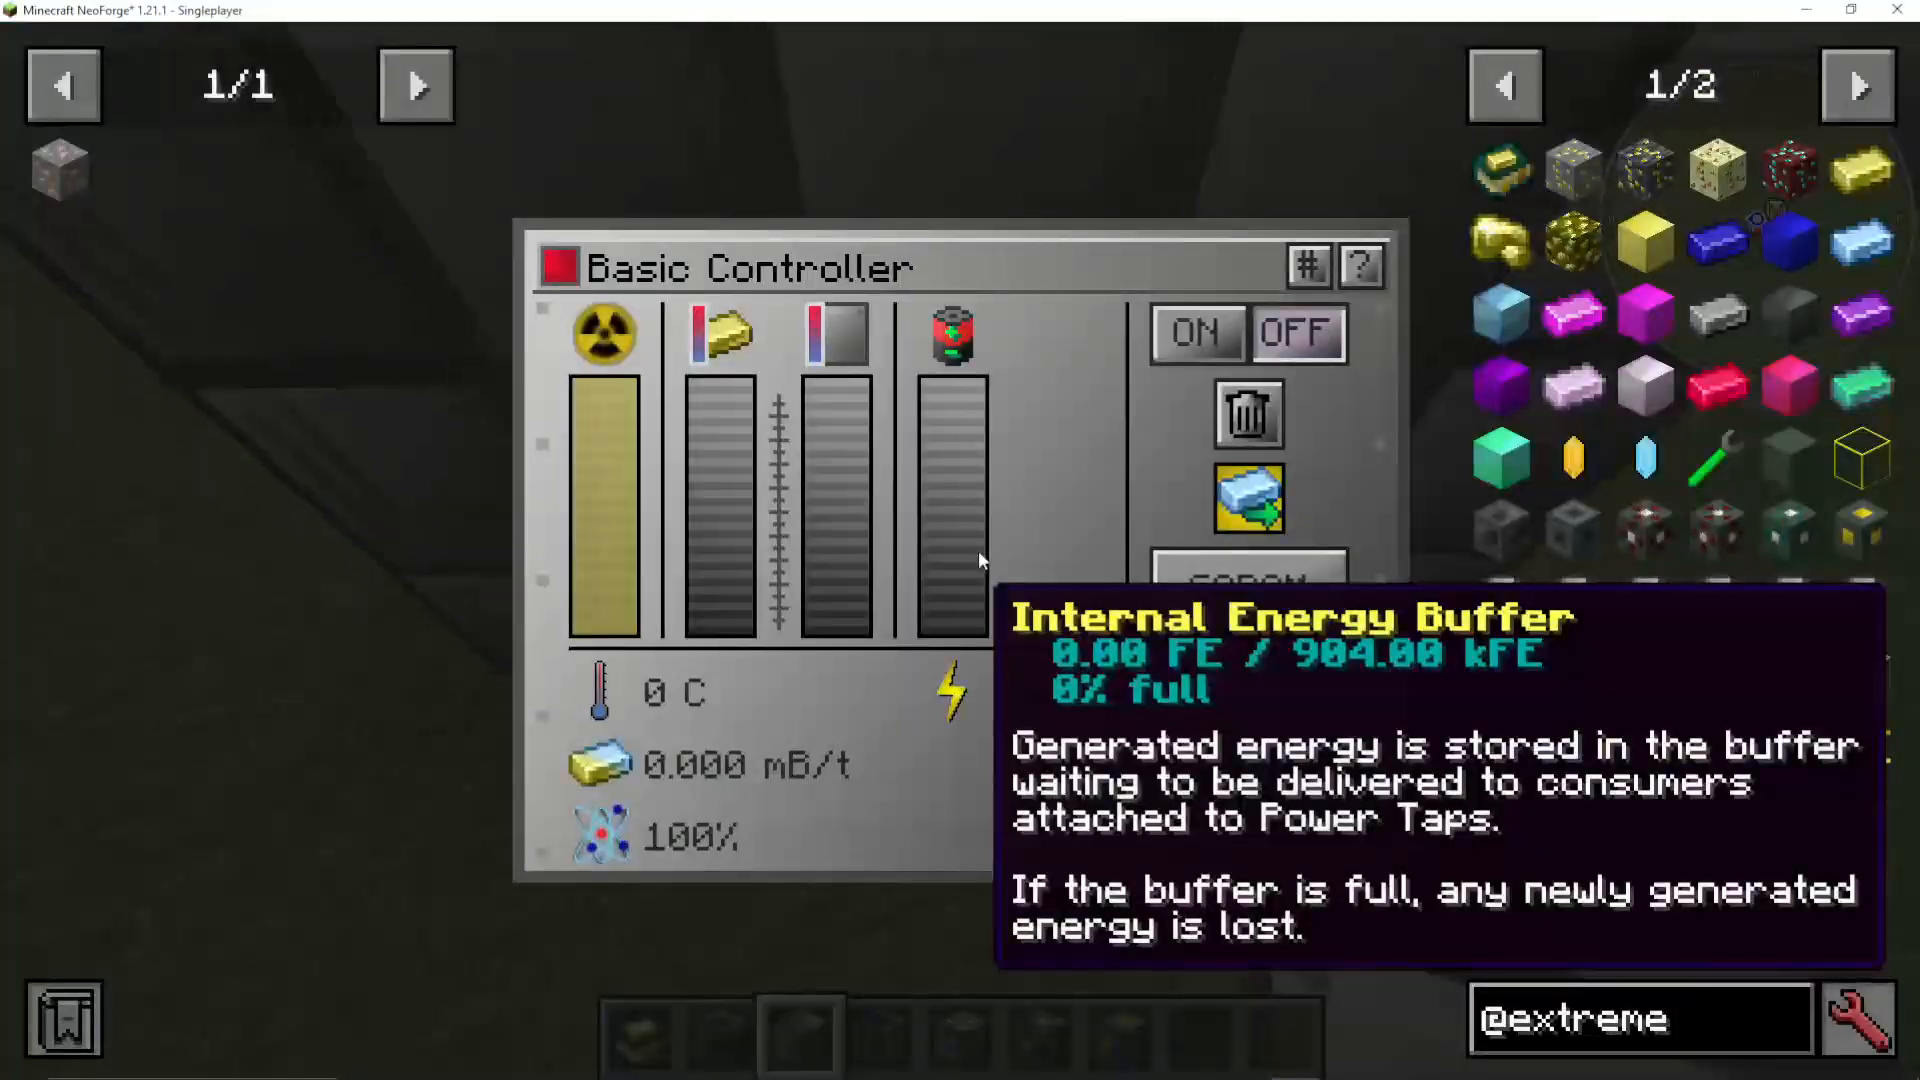
This tracks how much energy your reactor has generated and stored internally. If the buffer becomes full, any newly generated energy is lost. Make sure to connect power cables to your power tap to extract this energy before it’s wasted.
Temperature Section
Additional detailed metrics include:
Fuel Burn Rate – How quickly your yellowium is being converted to waste (measured in buckets or ingots per tick). This depends on control rod settings and core temperature.
Fuel Reactivity – How heavily irradiated the fuel is. Higher reactivity reduces fuel burn-up rate, extending your fuel’s lifespan.
Energy Production – The amount of RF/FE per tick your reactor is currently generating.
Adjusting Control Rods to Manage Fuel Consumption
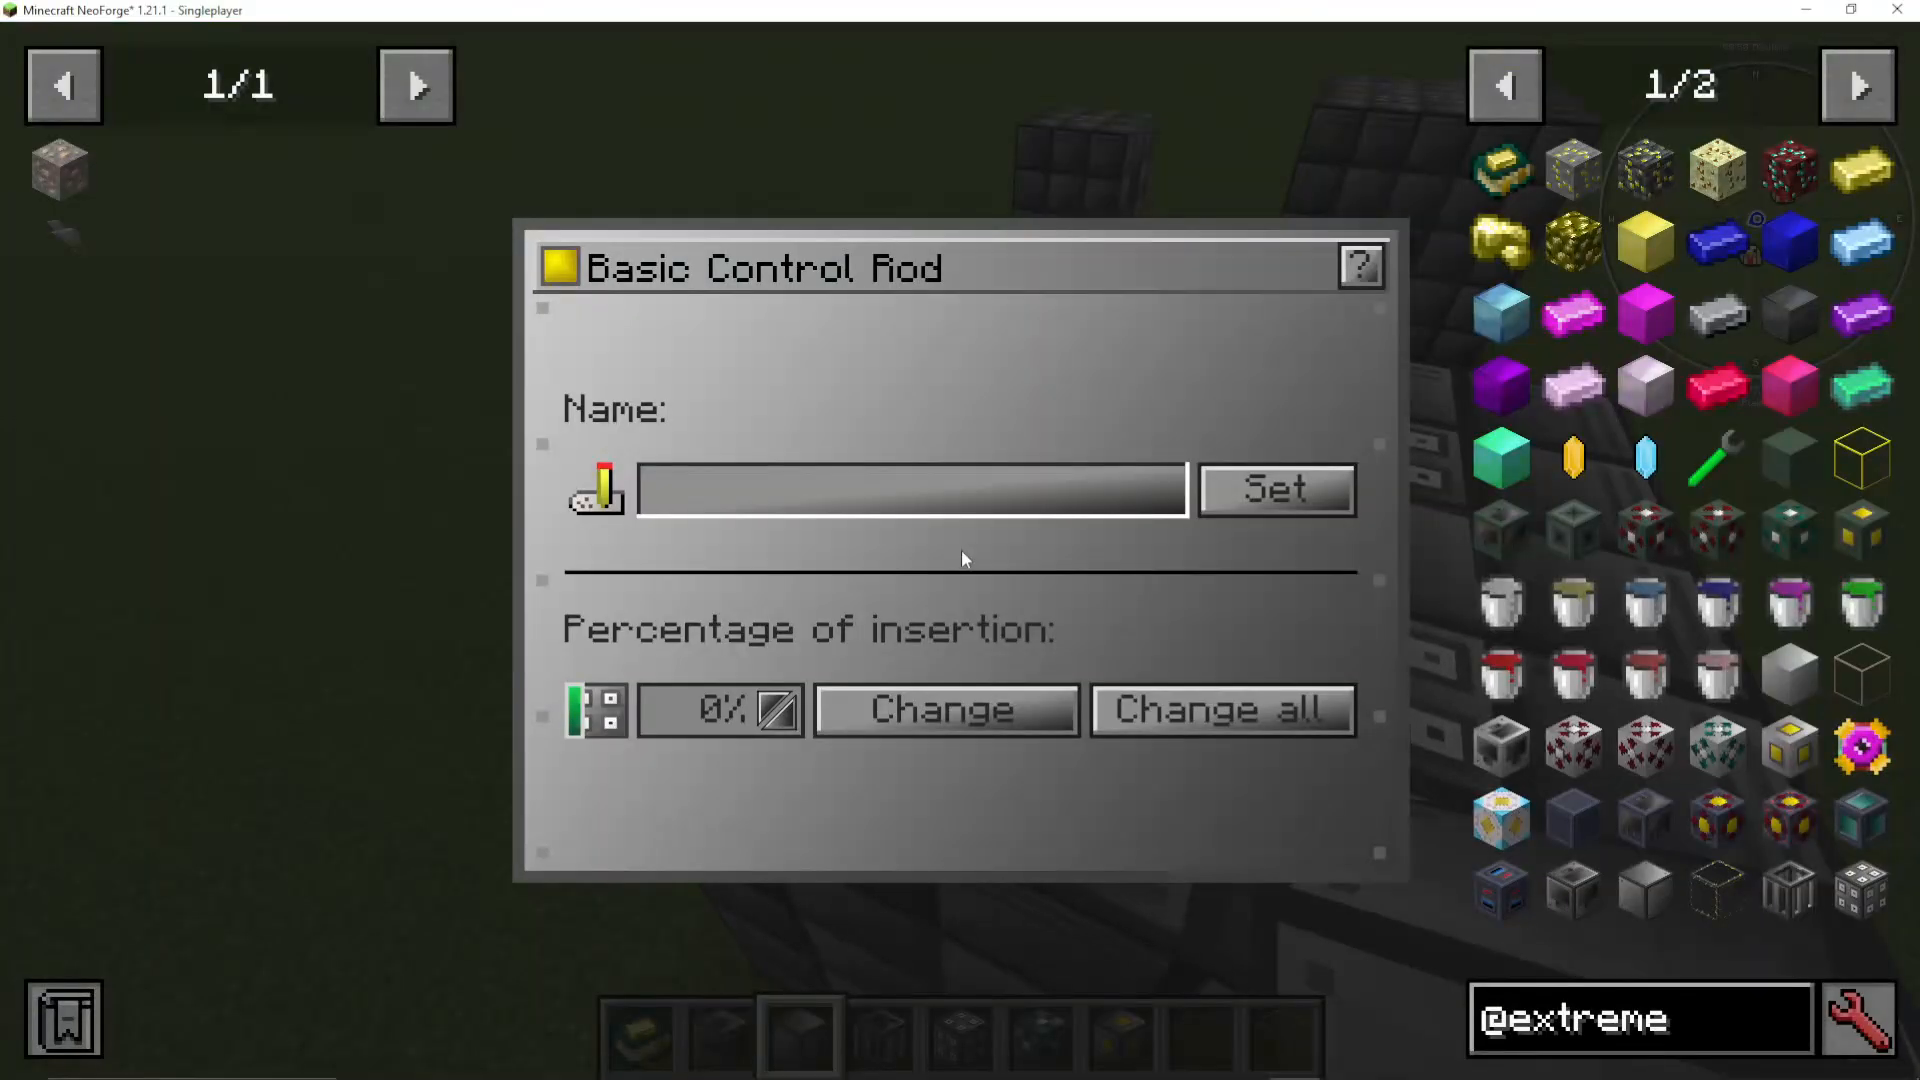
The real power of a basic reactor lies in its control rods. By adjusting control rod insertion depth, you can fine-tune fuel consumption and reactor output.
How Control Rods Work
Control rods function inversely to intuition: a control rod set to 0% is fully extracted, allowing maximum fuel burn. A control rod set to 100% is fully inserted, effectively disabling that fuel rod. The percentage represents how much of the control rod is inserted into the fuel rod.
Adjusting Individual Control Rods
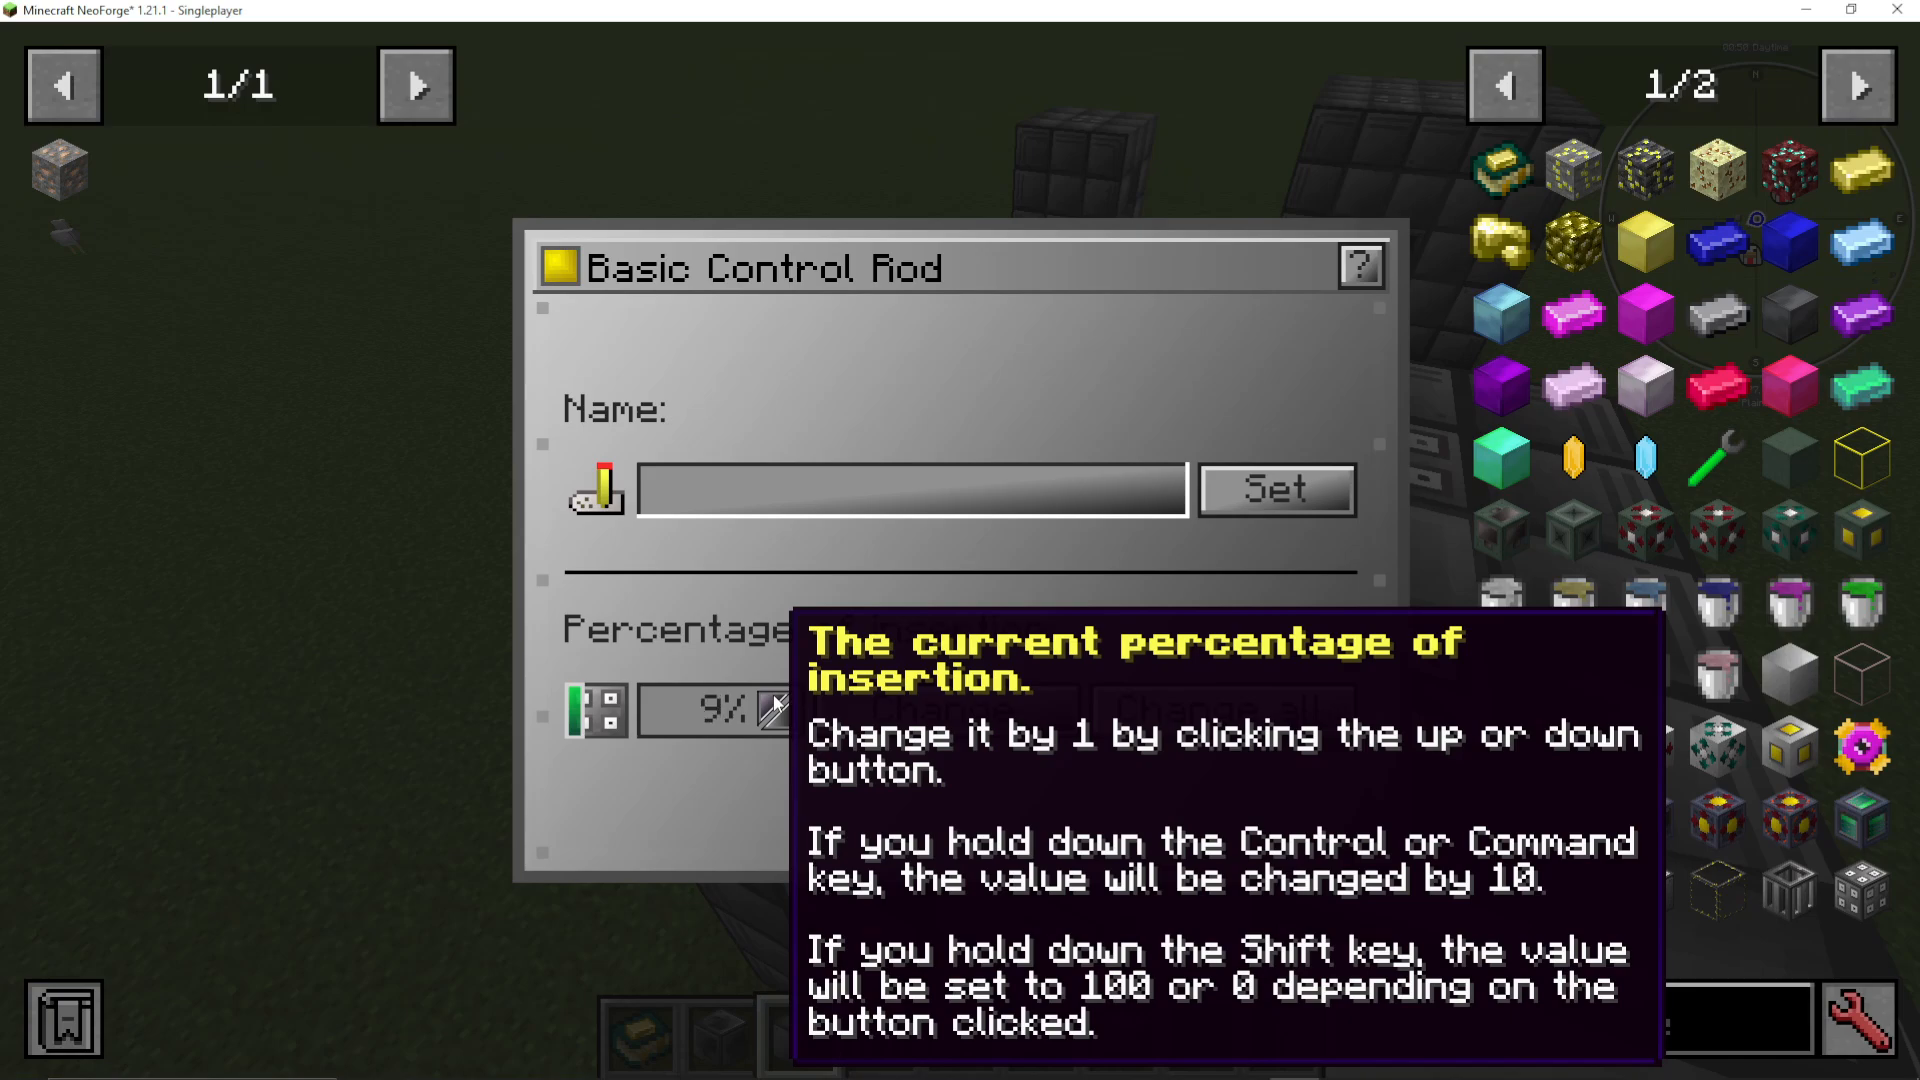
Click on a control rod in the interface to adjust it. You can:
Left-click to increase insertion by 1%
Hold Ctrl and left-click to increase by 10% intervals
Hold Shift and left-click to jump to 100% (fully inserted/disabled)
Changing All Control Rods at Once
Use the “Change All” button to adjust every control rod in your reactor simultaneously. For example:
Set all to 0% for maximum power output (all fuel rods fully active)
Set all to 100% to completely shut down the reactor (all fuel rods disabled)
Set to 30%, 50%, or any percentage to find your ideal balance between power and fuel efficiency
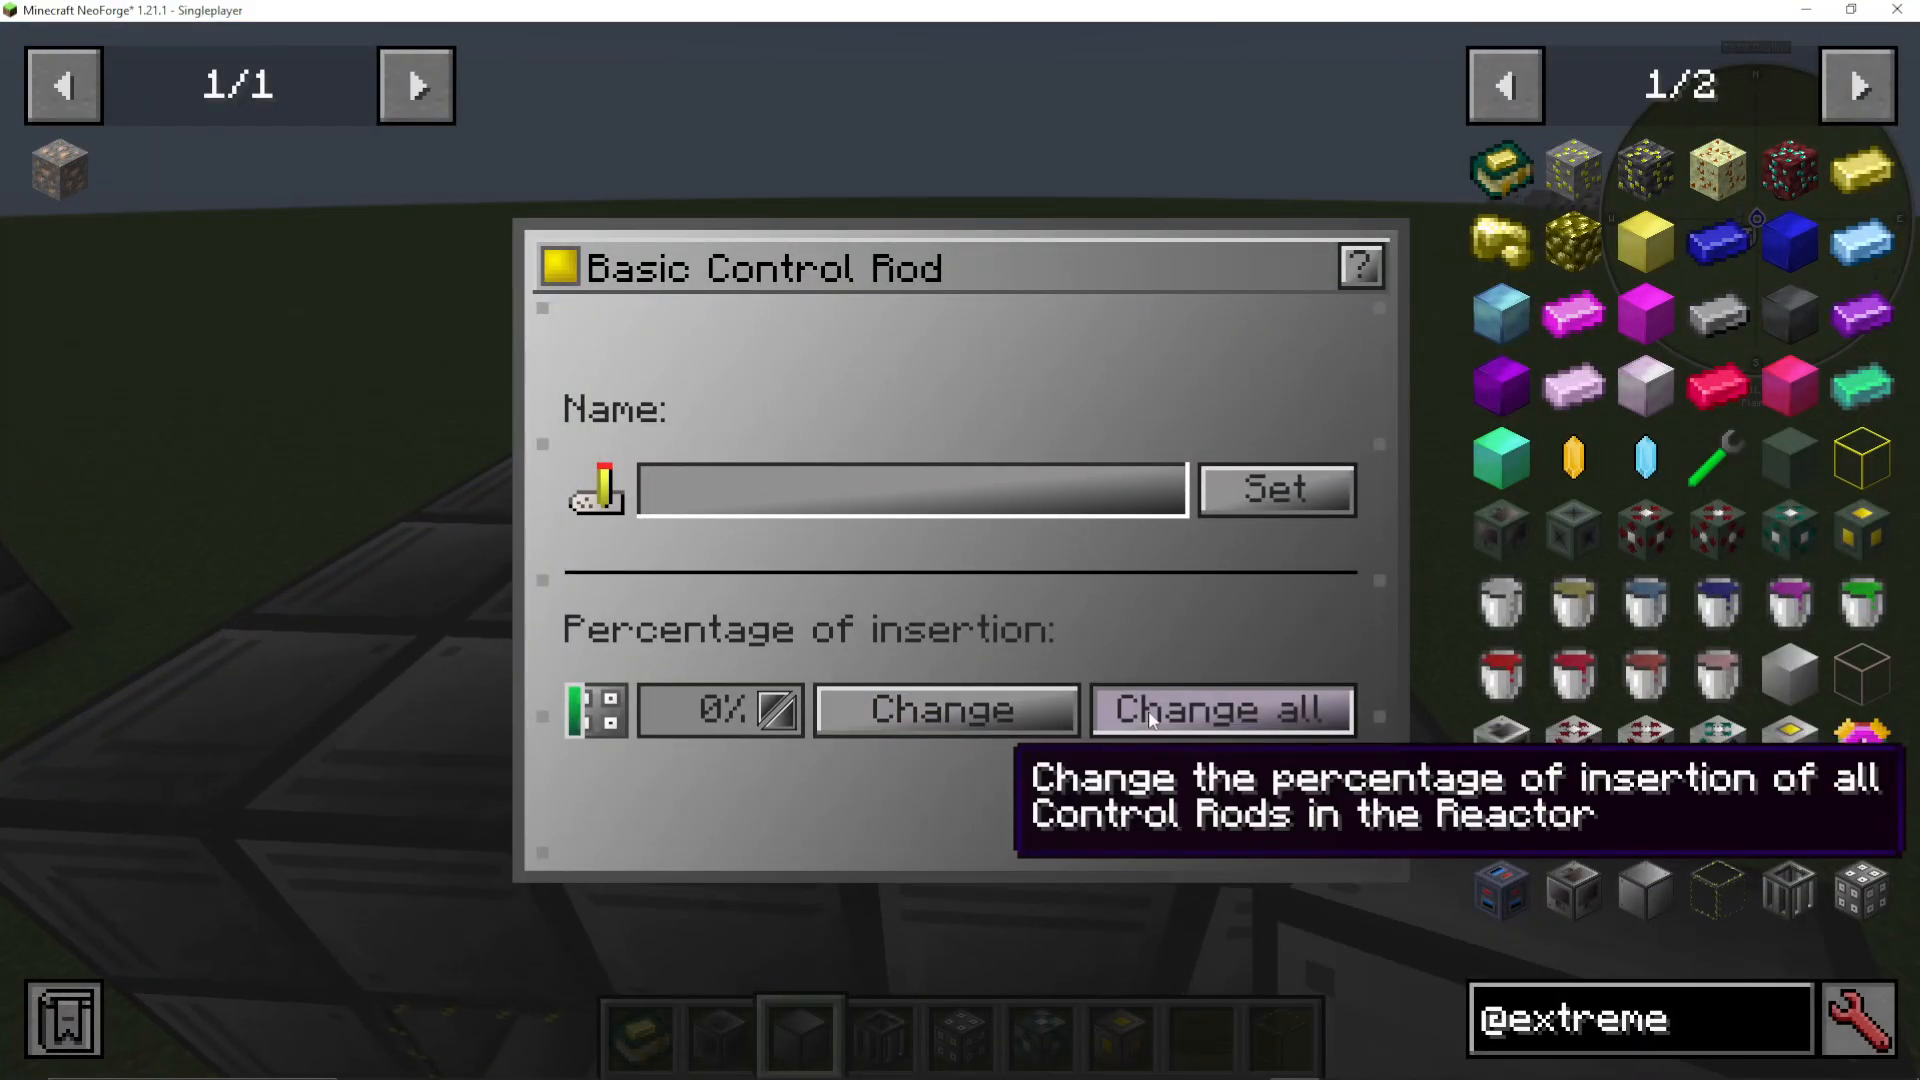
As you adjust the control rods, you’ll see the core heat, casing heat, and fuel burn rate change in real-time. This is why building a 5x5x5 basic reactor is worthwhile—even at maximum size, you have complete control over its output.
Reactor Efficiency and Design Considerations
Your reactor’s width and height affect its overall efficiency:
Width and Cooling
The wider your reactor, the more surface area exists for cooling. A wider reactor is inherently more efficient, especially when using active cooling systems (not covered in this basic guide). If you want maximum fuel efficiency, design your reactor to be wider rather than taller.
Height and Power Output
The taller your reactor, the more fuel rods you can fit inside it. More fuel rods mean higher fuel burn rate but also significantly higher energy output. If you need more power, build taller.
Finding Your Balance
A 5x5x5 basic reactor with a typical fuel rod arrangement (such as five in one row and two in another) generates approximately 3,000–4,000 RF/FE per tick. This is a solid starting point for most modpacks. You can further optimize by:
Reducing the number of fuel rods if you don’t need maximum output
Adjusting control rod insertion to balance fuel efficiency and power generation
Planning for later upgrades to reinforced reactors once you’ve accumulated more resources
Summary
Congratulations! You’ve successfully built your first basic reactor in Extreme Reactors. Your reactor is now generating power by converting yellowium ingots into energy, with cyanite waste as a byproduct. The cyanite you collect will be essential later for crafting turbines or reprocessors, so store it safely.
Remember: basic reactors are limited to 5x5x5, but they’re fully functional and tunable through control rod adjustment. As your modpack progresses and you accumulate more resources, you can upgrade to reinforced reactors for even greater power generation and design flexibility.
Now that your reactor is operational, connect power cables to your power tap to transport the generated energy to your machines, storage devices, or other systems. Happy generating!
Want to Support?
If you would like to help us continue making these guides – please consider joining our patreon here – https://www.patreon.com/c/JaviHeals
Alternatively – we host a group of MC Servers you can join here – https://discord.gg/zD7Gjt6MHF



