







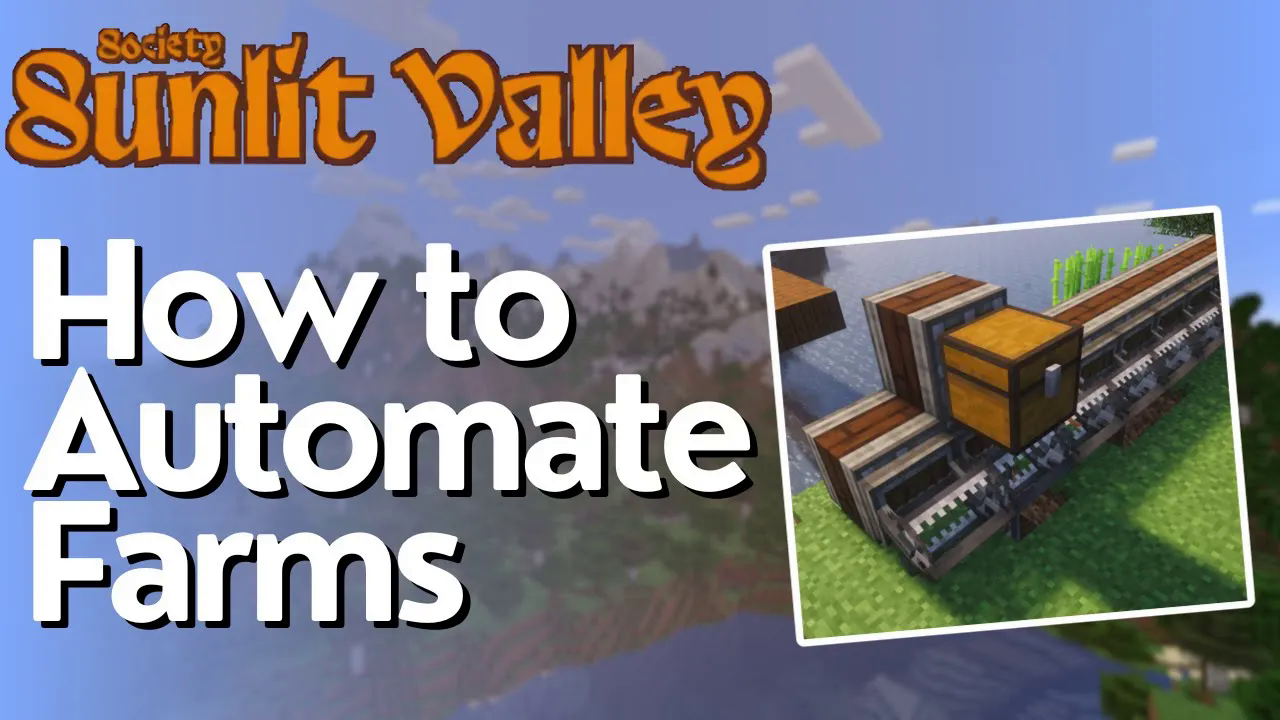
Complete Create Crop Harvesting Guide – Society Sunlit Valley
Complete Create Crop Harvesting Guide – Society Sunlit Valley
Automating your crop harvesting in Society Sunlit Valley may seem complex at first, but this comprehensive guide will walk you through every step to create a fully functional automated harvester. Whether you’re new to Create mod contraptions or looking to optimize your farming setup, this tutorial breaks down the process into manageable, easy-to-follow instructions.
Understanding the Harvester System
The automated crop harvesting system uses a mechanical harvester that travels along rails across your entire farm. Here’s how it works:
The mechanical harvester moves forward to the end of your farm, then travels across and moves down. It continues up and comes back again, harvesting everything in its path. Once complete, all harvested items are automatically stored in a moving chest. When the contraption returns to its starting point, it connects to a storage interface, which shoots the items down into a chest and imports them into your storage system. The entire operation runs on a rail system for smooth, continuous operation.
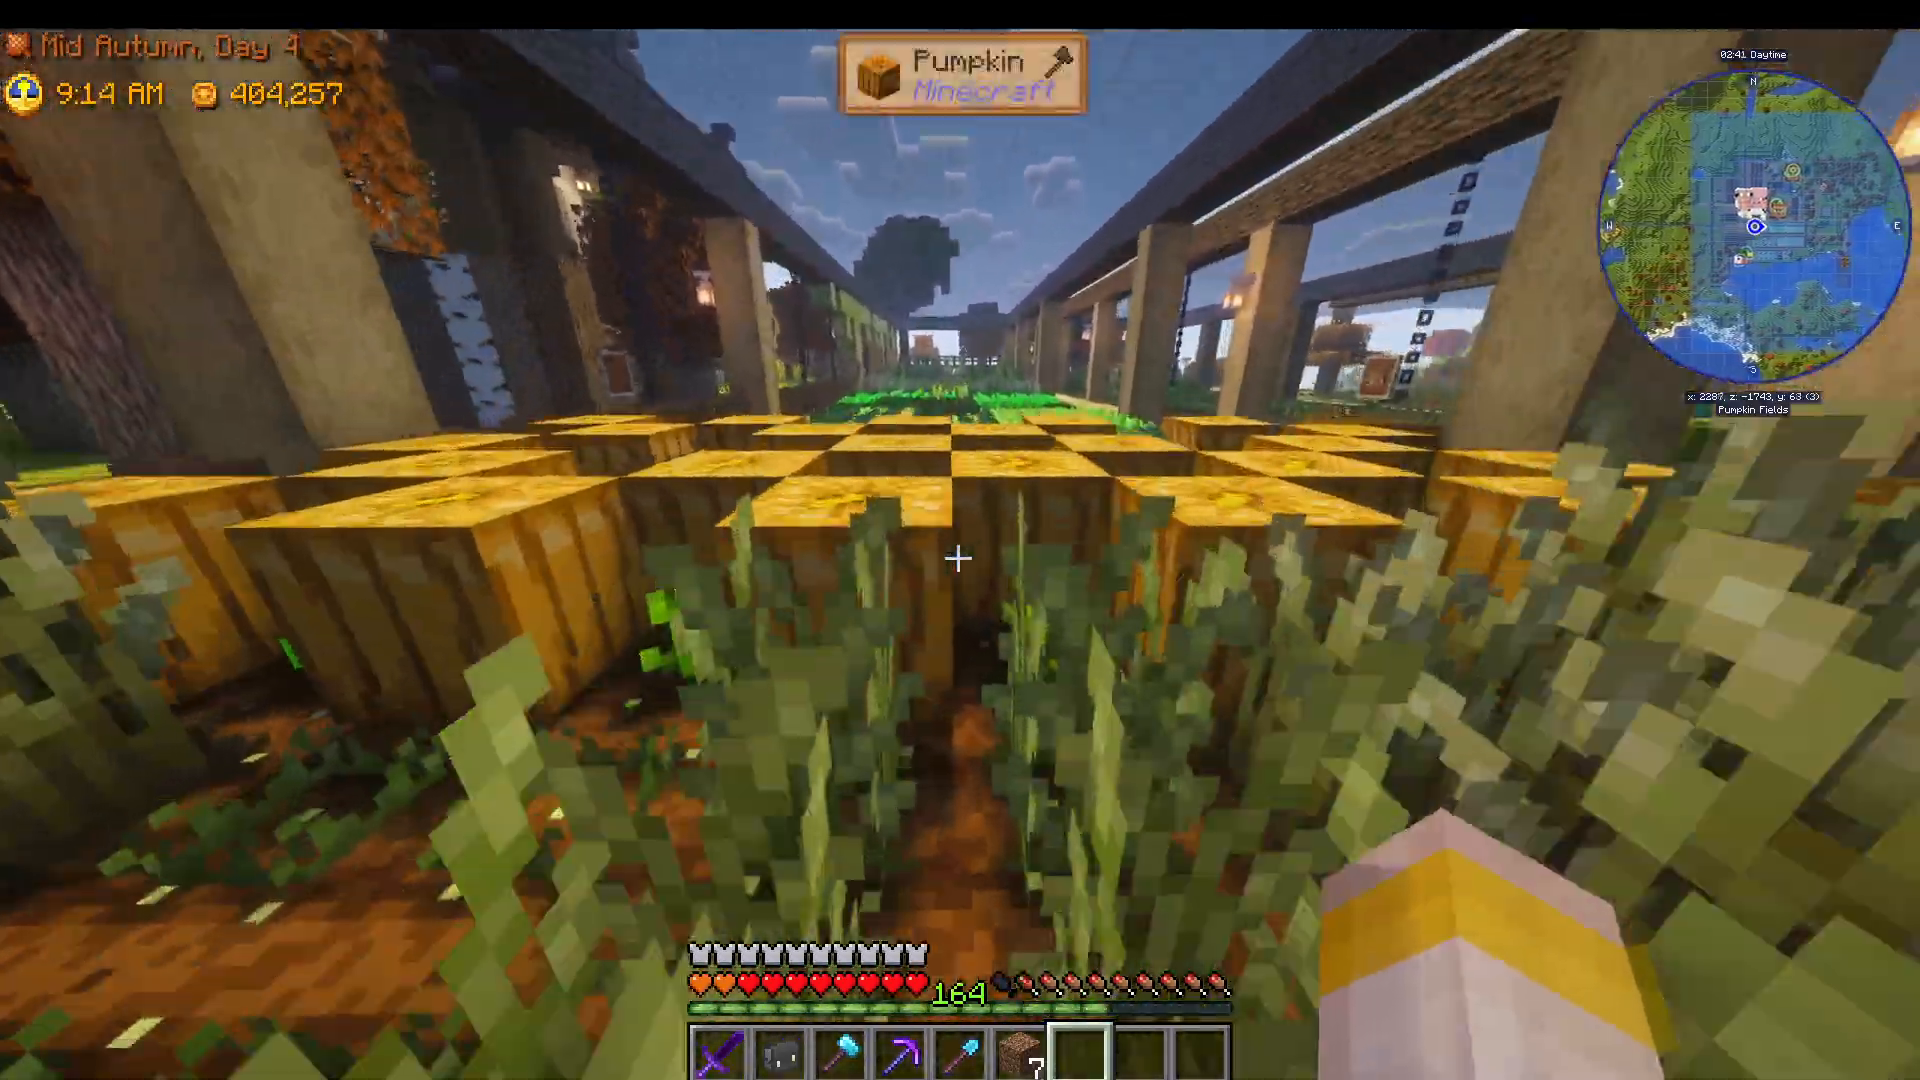
When activated via lever, you can watch the contraption in action as it completes its harvesting cycle and returns to its home position. If there’s a large amount of food to deposit, it will stay at the storage interface for a few seconds before returning. Pulling the lever again will disable the system, keeping the contraption stationary on the powered rail.
Setting Up Your Building Environment
Before you begin construction, you’ll want to work in a creative world or a server where you can freely experiment. The Create Mod Crop Harvester Guide is available on servers you can join through Discord, where you can ask for help and collaborate with other players. During peak hours, these servers have around 10 players with minimal lag.

Preparing Your Crops and Ground
Start by examining your crop layout. You can place a sprinkler down, though it won’t affect the contraption’s operation. The contraption won’t get stuck on sprinklers, so don’t worry about removing them.
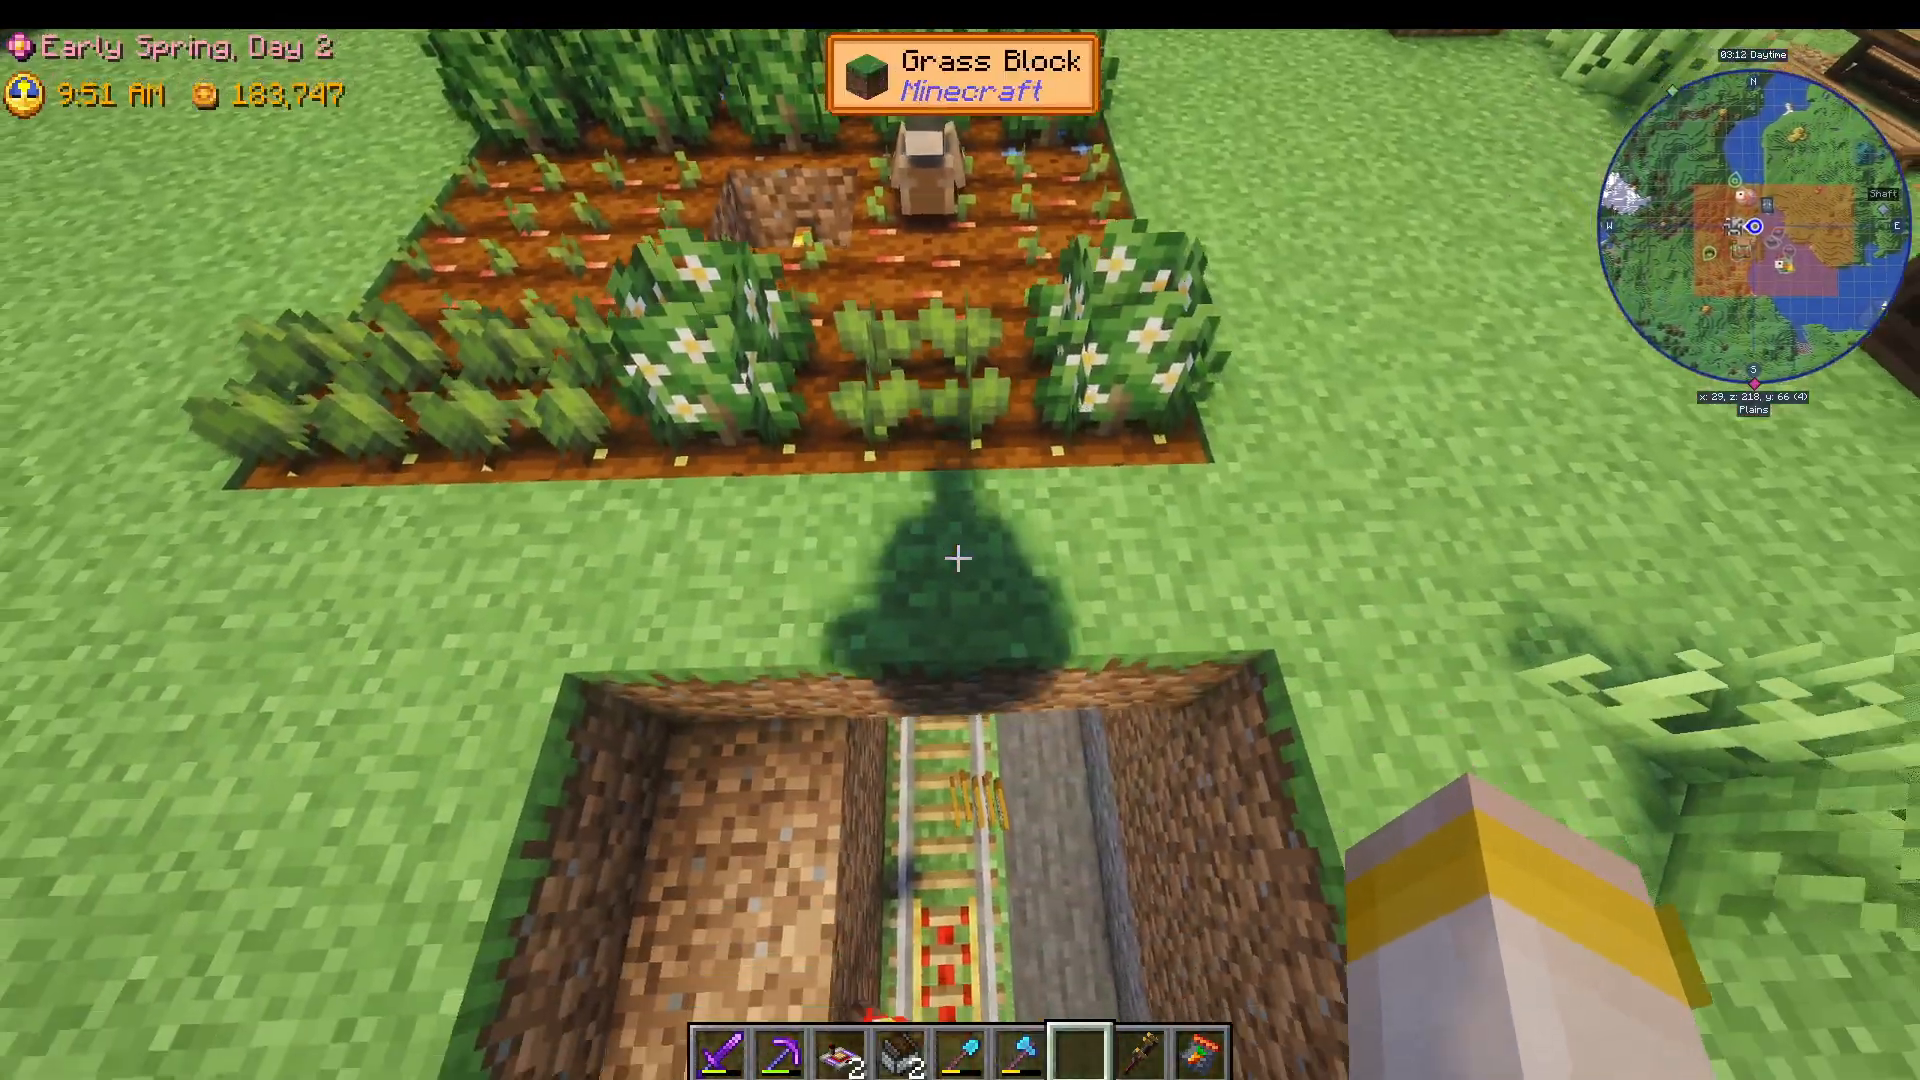
Create a hole with specific dimensions: one, two, three blocks high at the edge of your crops. At ground level, dig down to create a three-block-deep hole. On the left side, create a hole that is one, two blocks high, and extend your rail from this location.
Building the Rail System
Basic Rail Configuration
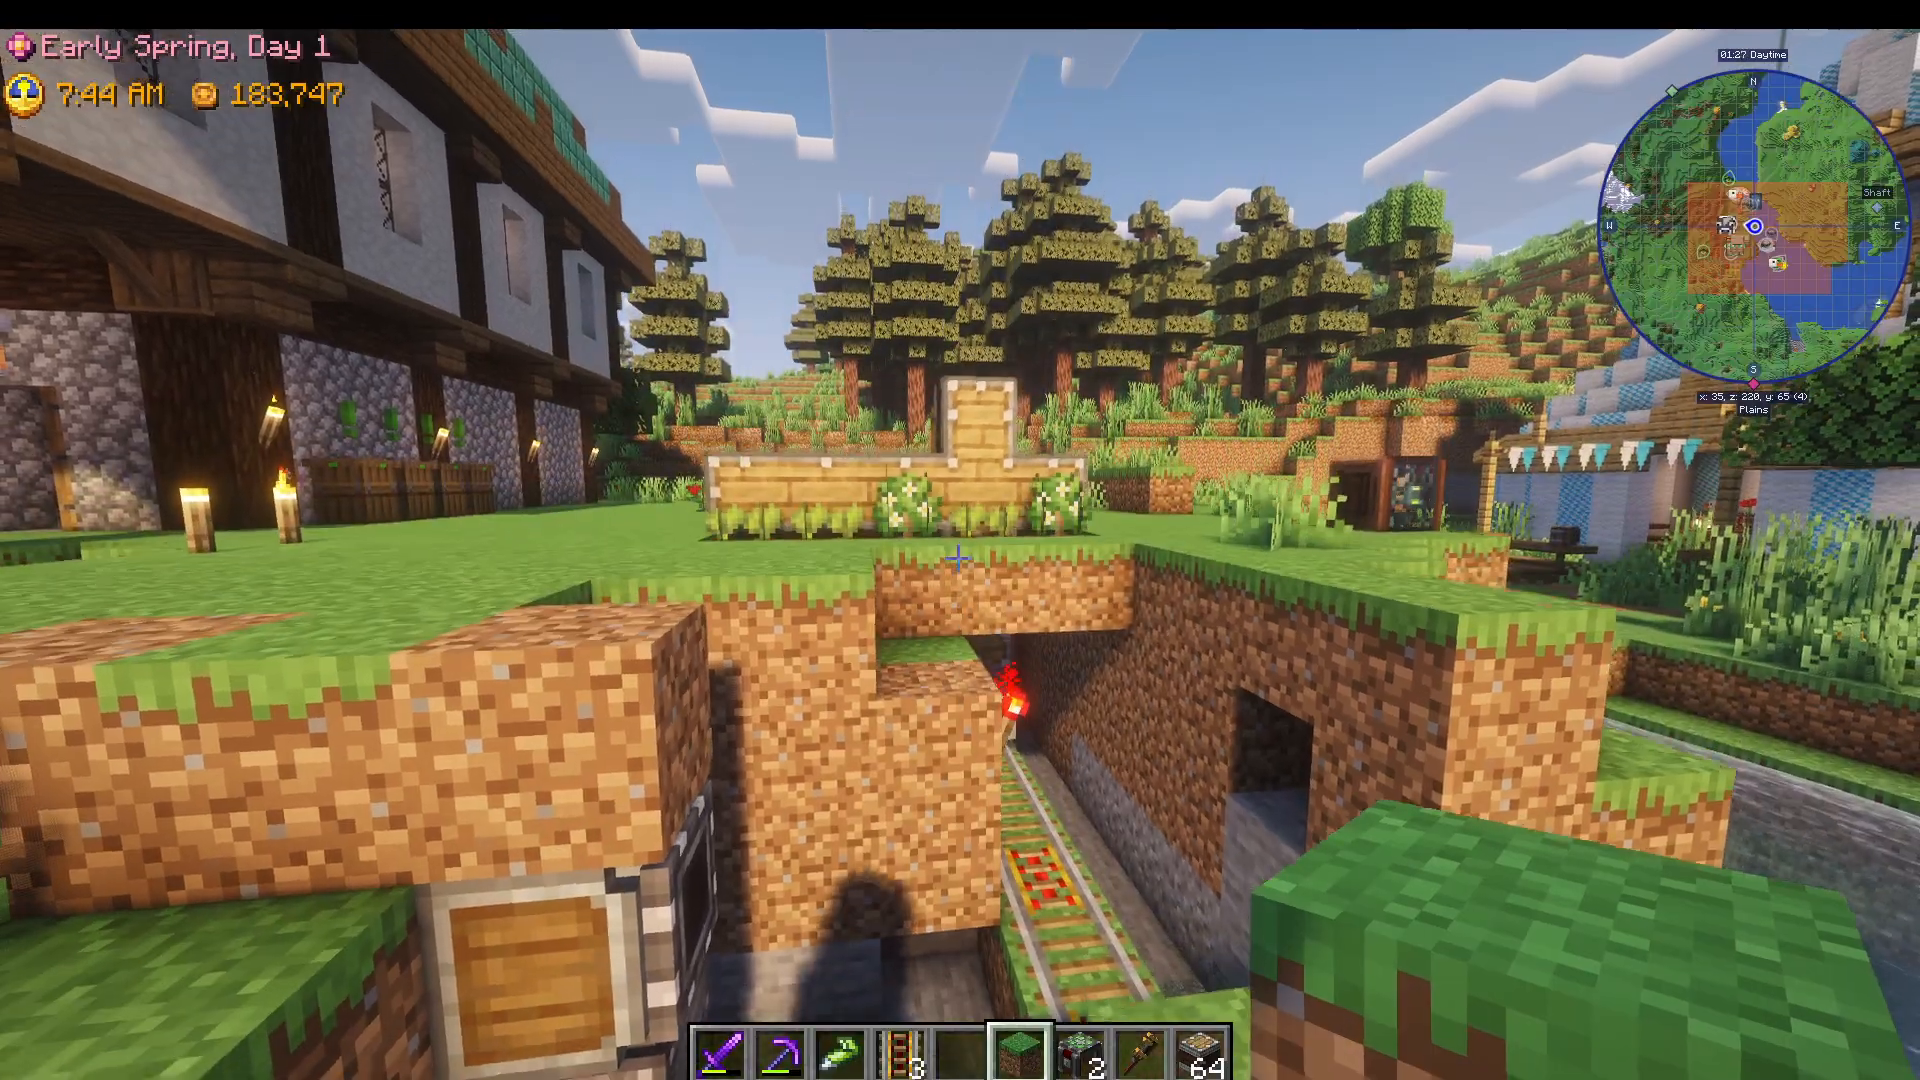
Under your farm, run a rail with powered rails placed every 16 blocks or more. Important: if powered rails are more than 16 blocks apart, the contraption will get stuck. Place a redstone torch above each powered rail section.
On your last rail segment (where you want the harvester to reach the end), place your final powered rail and add a wall directly against it. This wall is essential—it allows the contraption to hit it and bounce back. Without this wall, the contraption will derail and fall off.
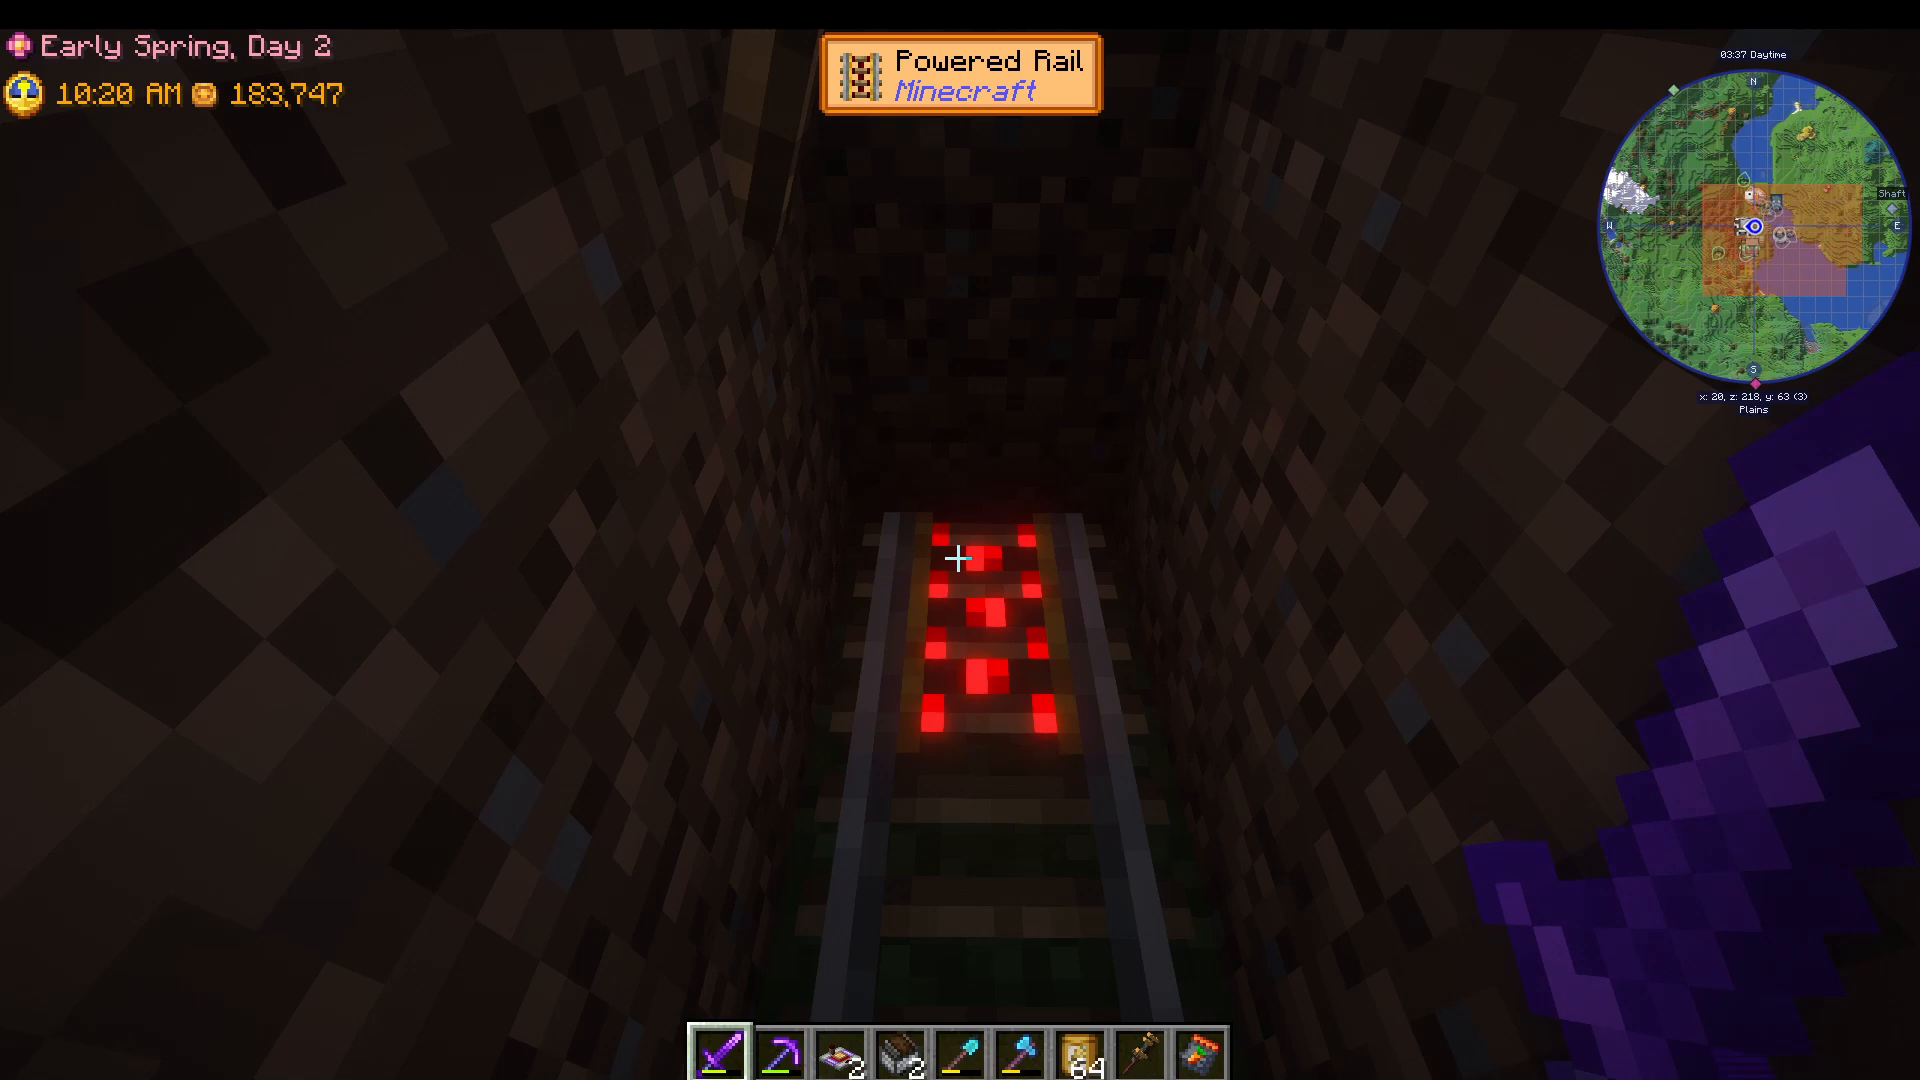
Rail Starting Point
At the very start of your rail system, place an unpowered rail (no redstone torch). You can place a powered rail here, but the first rail must be unpowered.
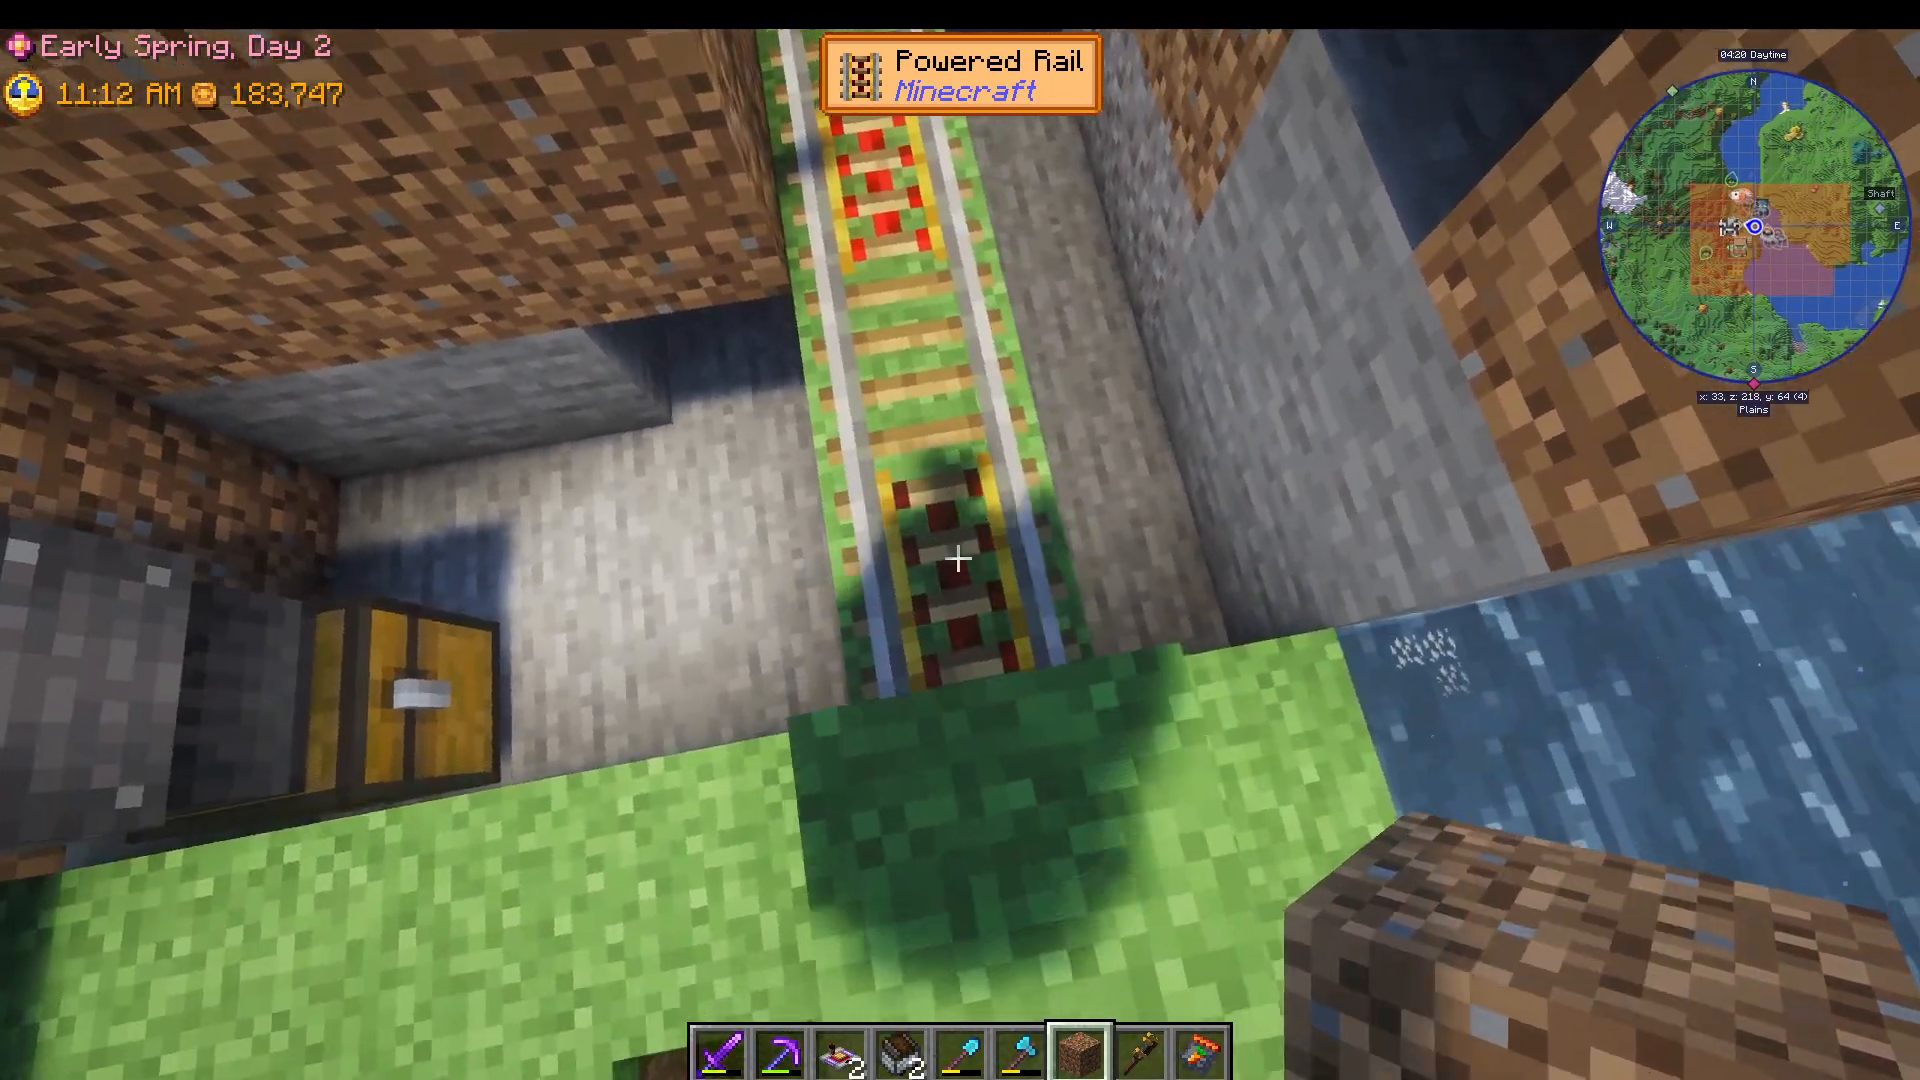
Redstone Control Setup
Behind the powered rail, place a redstone repeater positioned to run backward along the rail. The first redstone torch should be directly against the rail, then extend it backward from there.
Behind the repeater, place a pulse timer in the shown orientation (leave the default settings as they are). Finally, place a lever behind the pulse timer. This entire setup controls the on/off cycling of your powered rail.
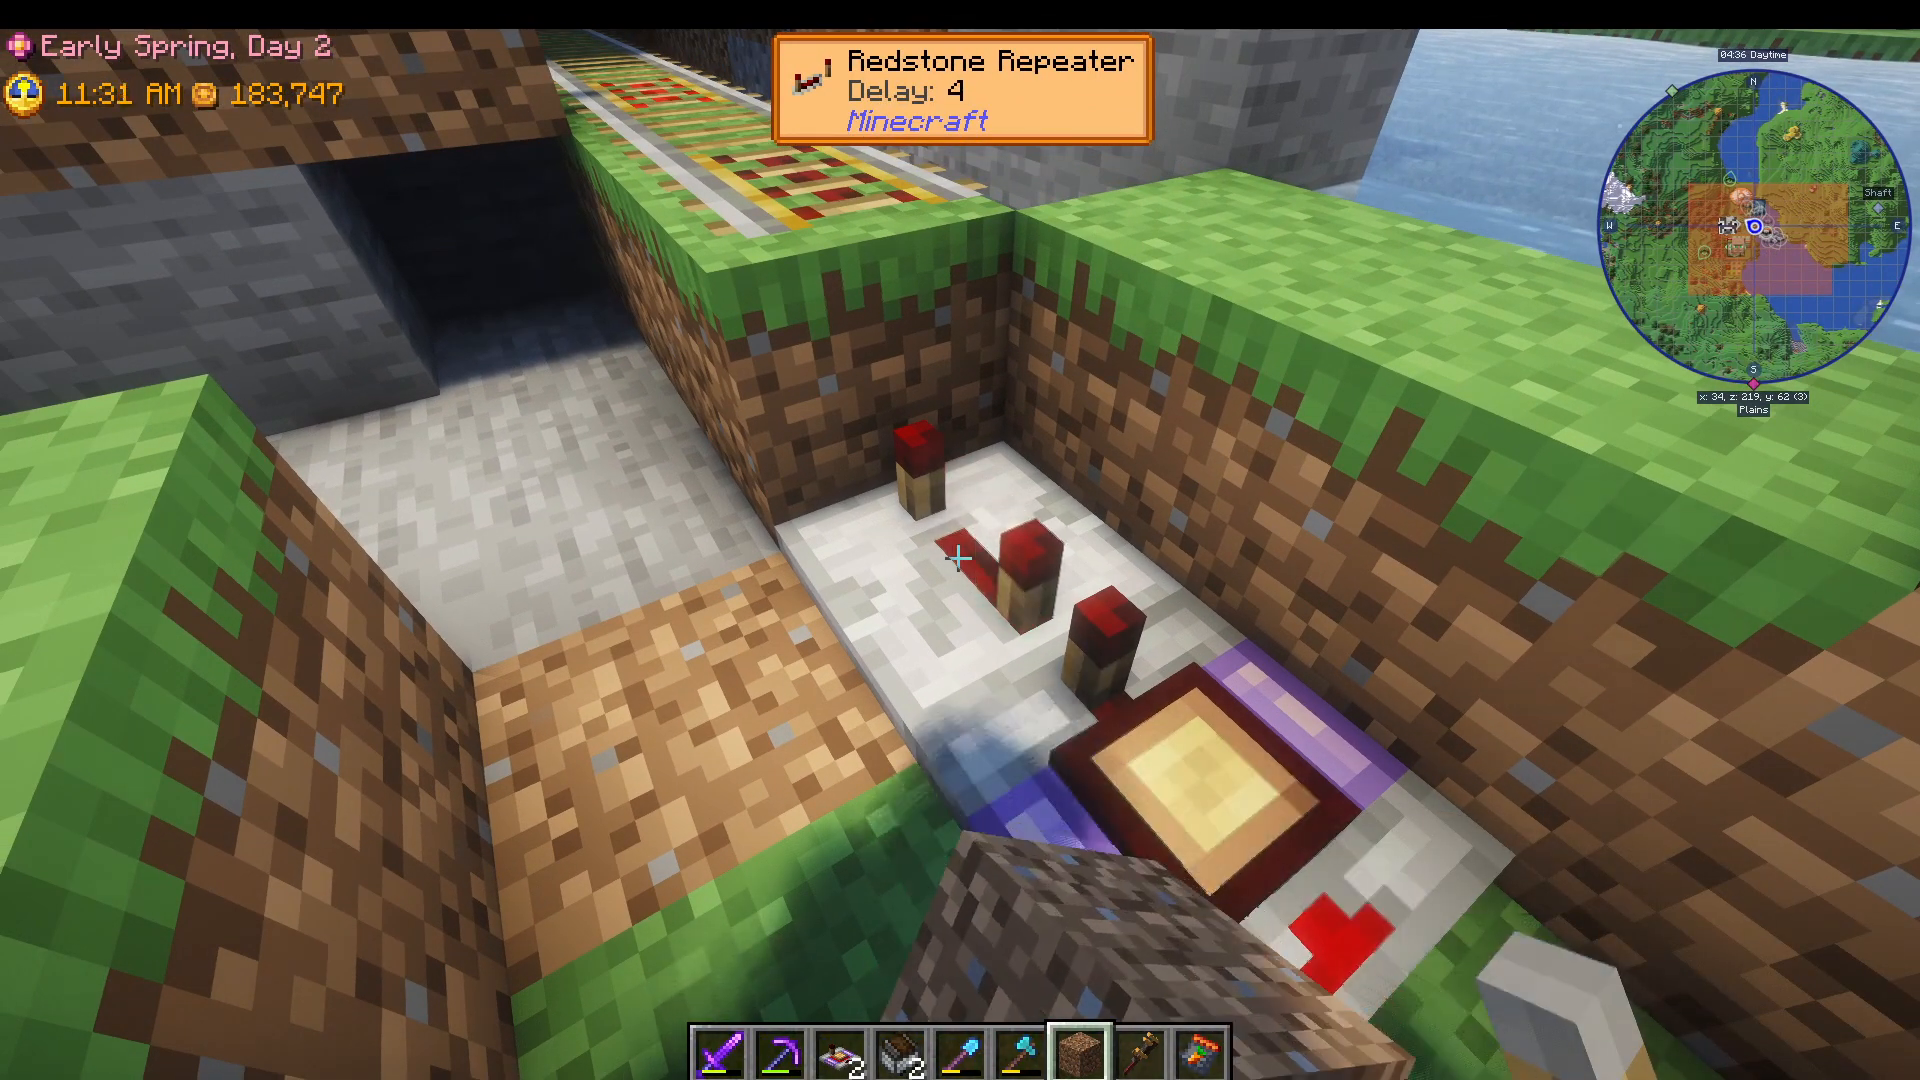
Building the Storage System
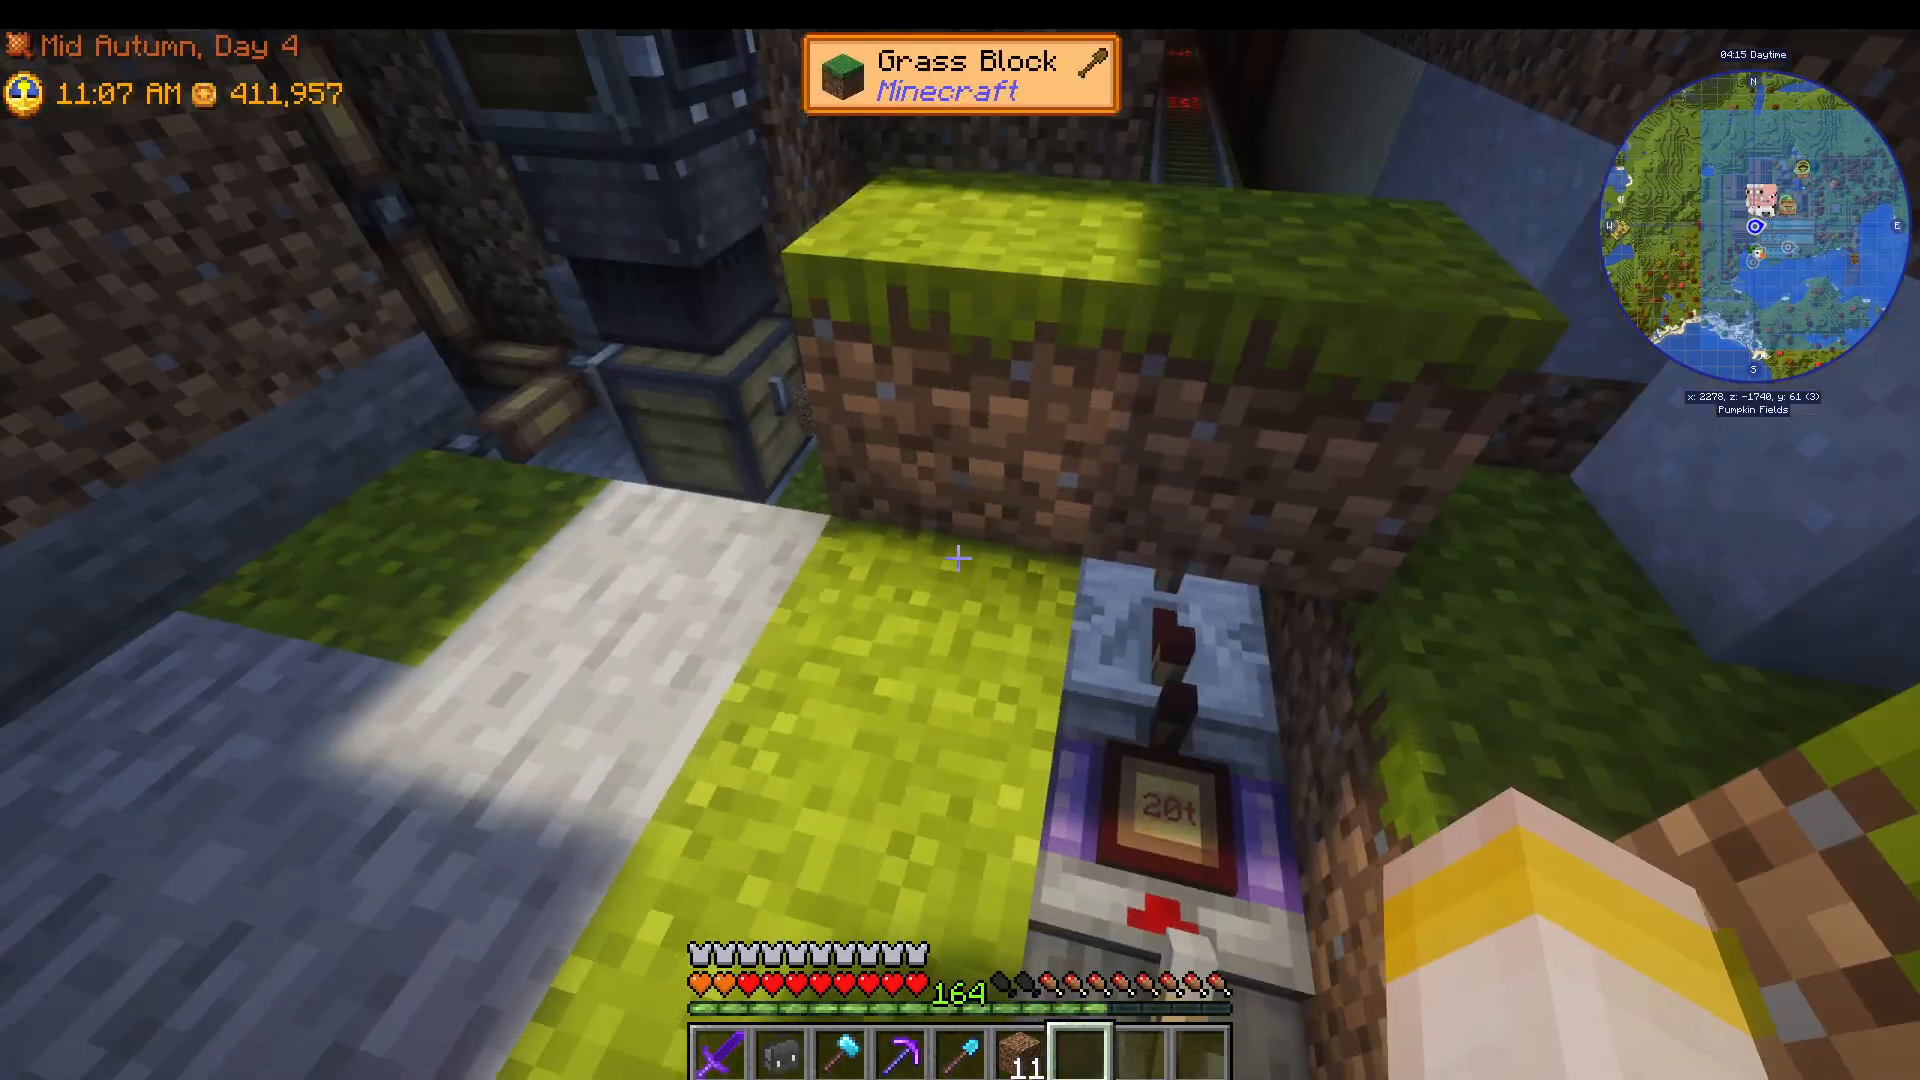
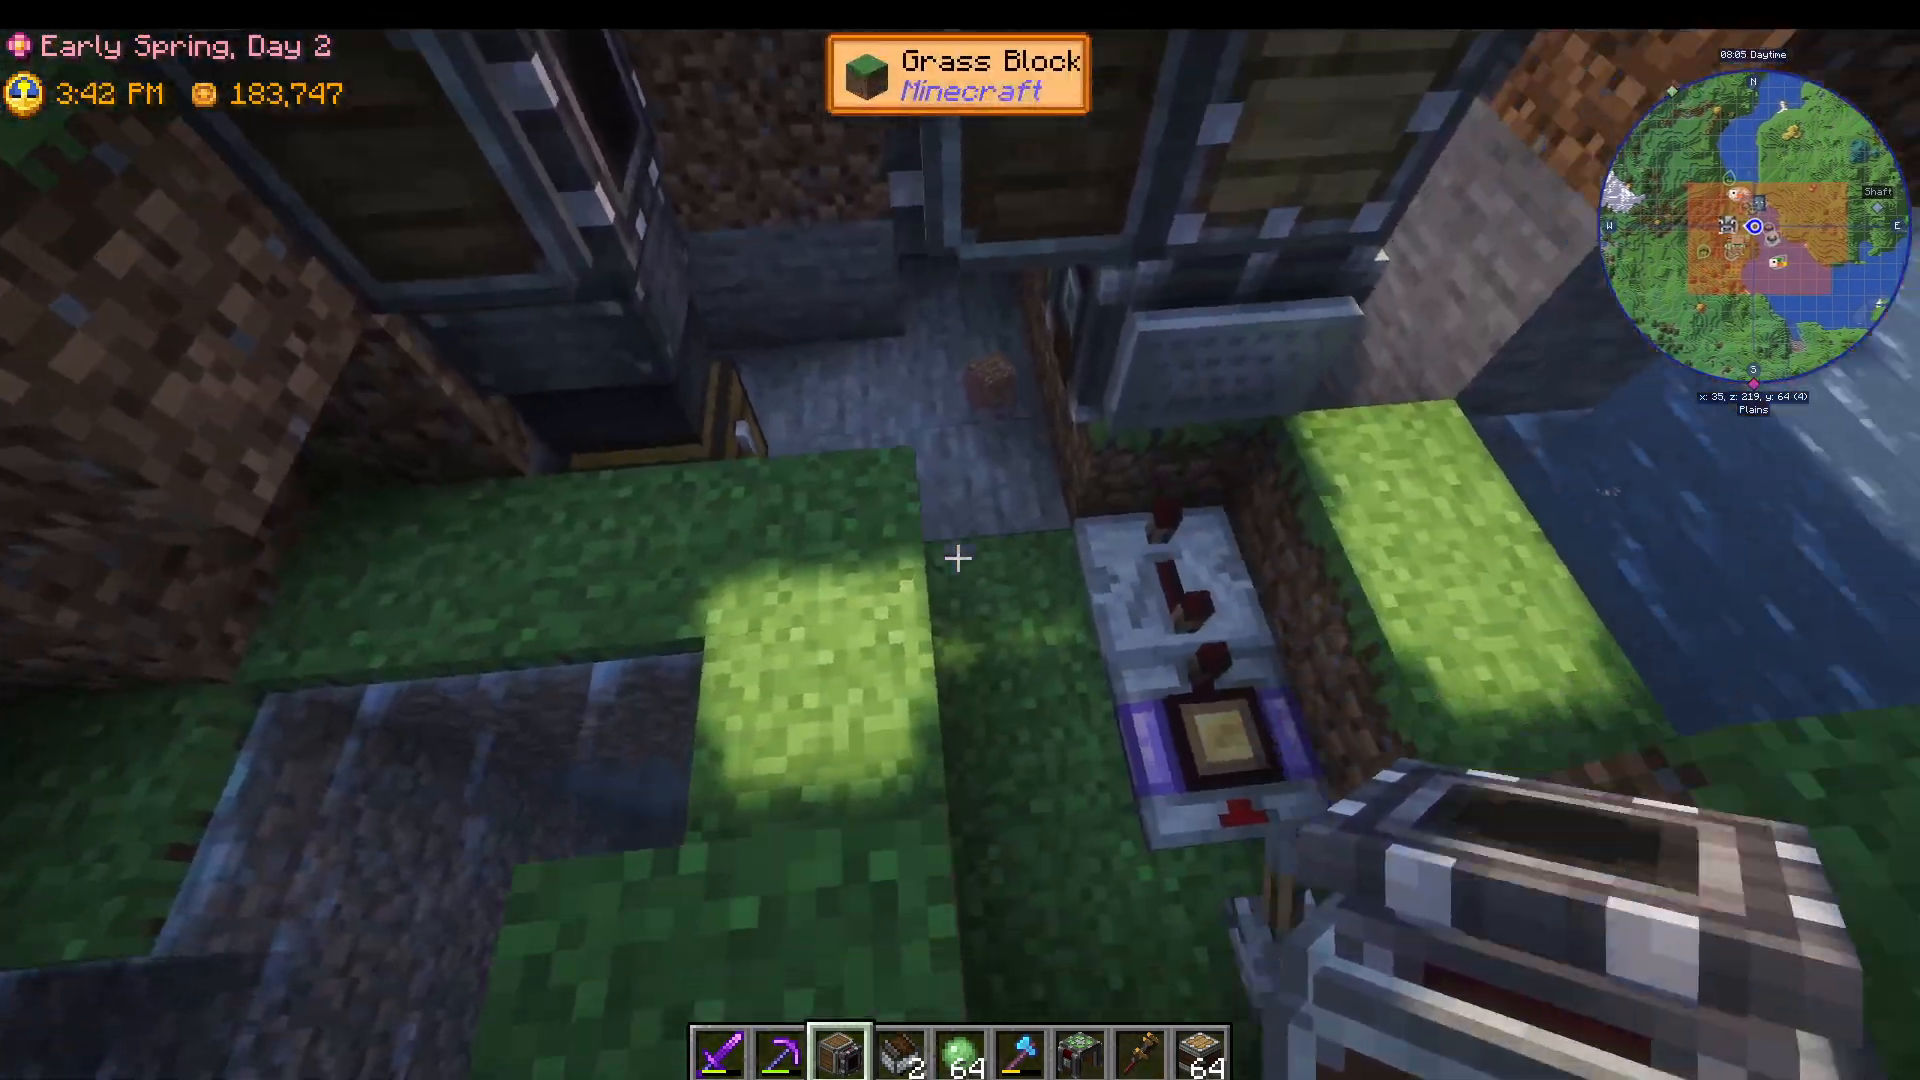
On the left side of your powered rail, count: one block, two blocks, then place a chest on the third block. Above the chest, place a shoot. Then place a portable storage interface facing toward the rail as shown in the guide.
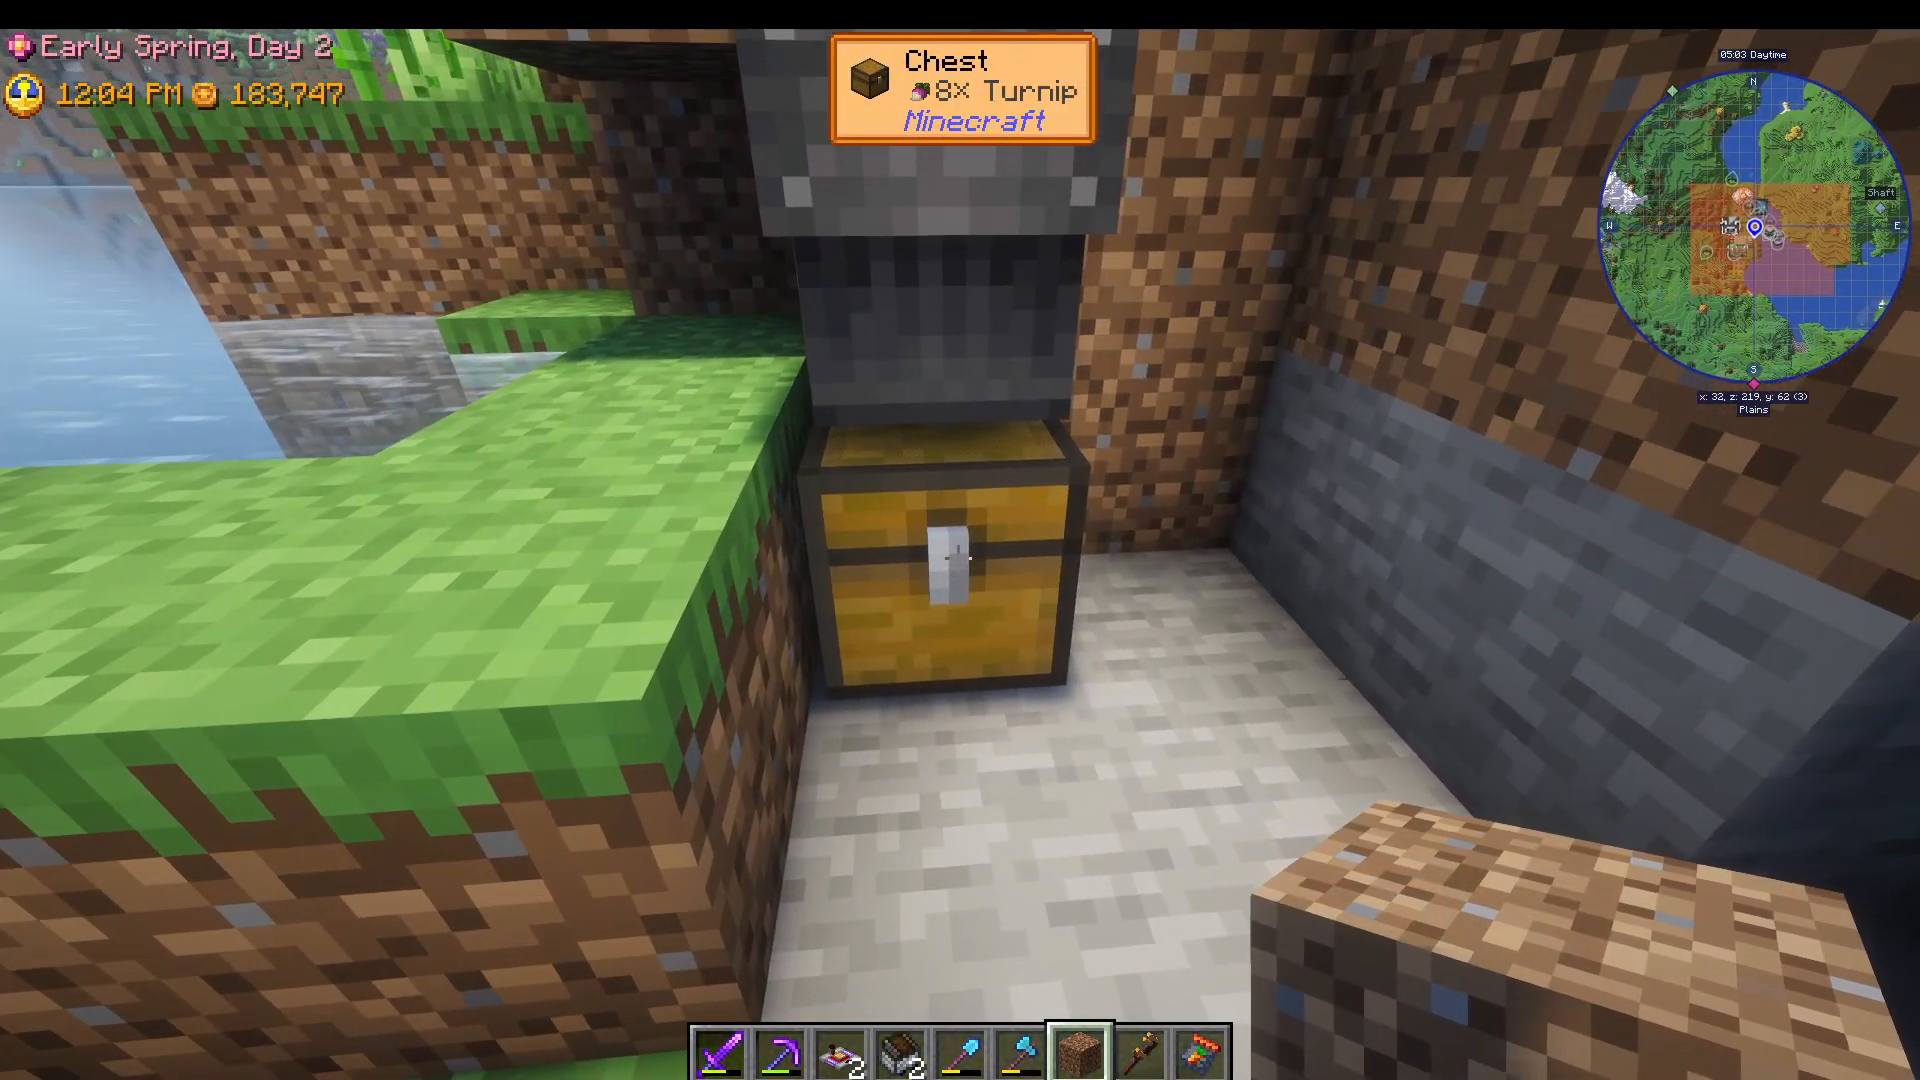
Constructing the Contraption
Cart Assembler Placement
Place a cart assembler on your unpowered rail with the arrow facing toward all of your rail lines. The orientation is critical—get it right the first time.
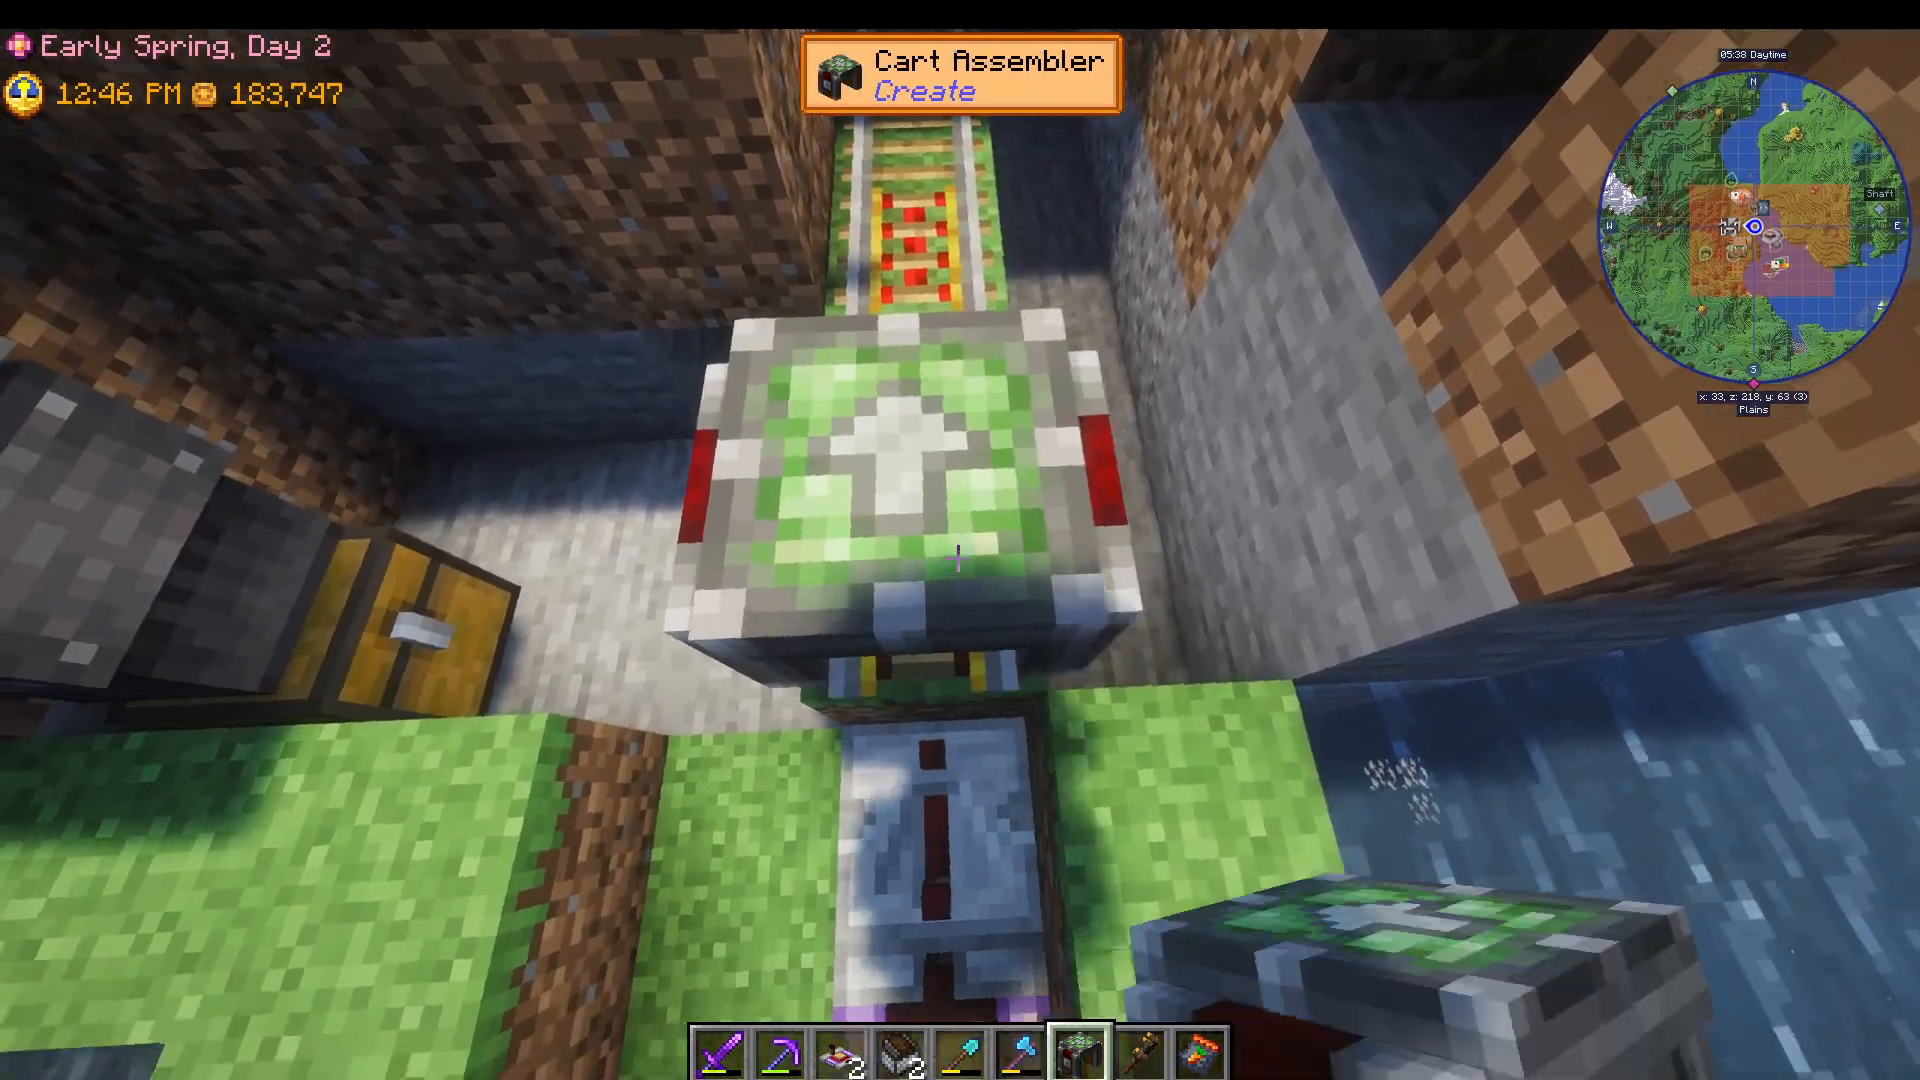
Chassis and Minecart Setup
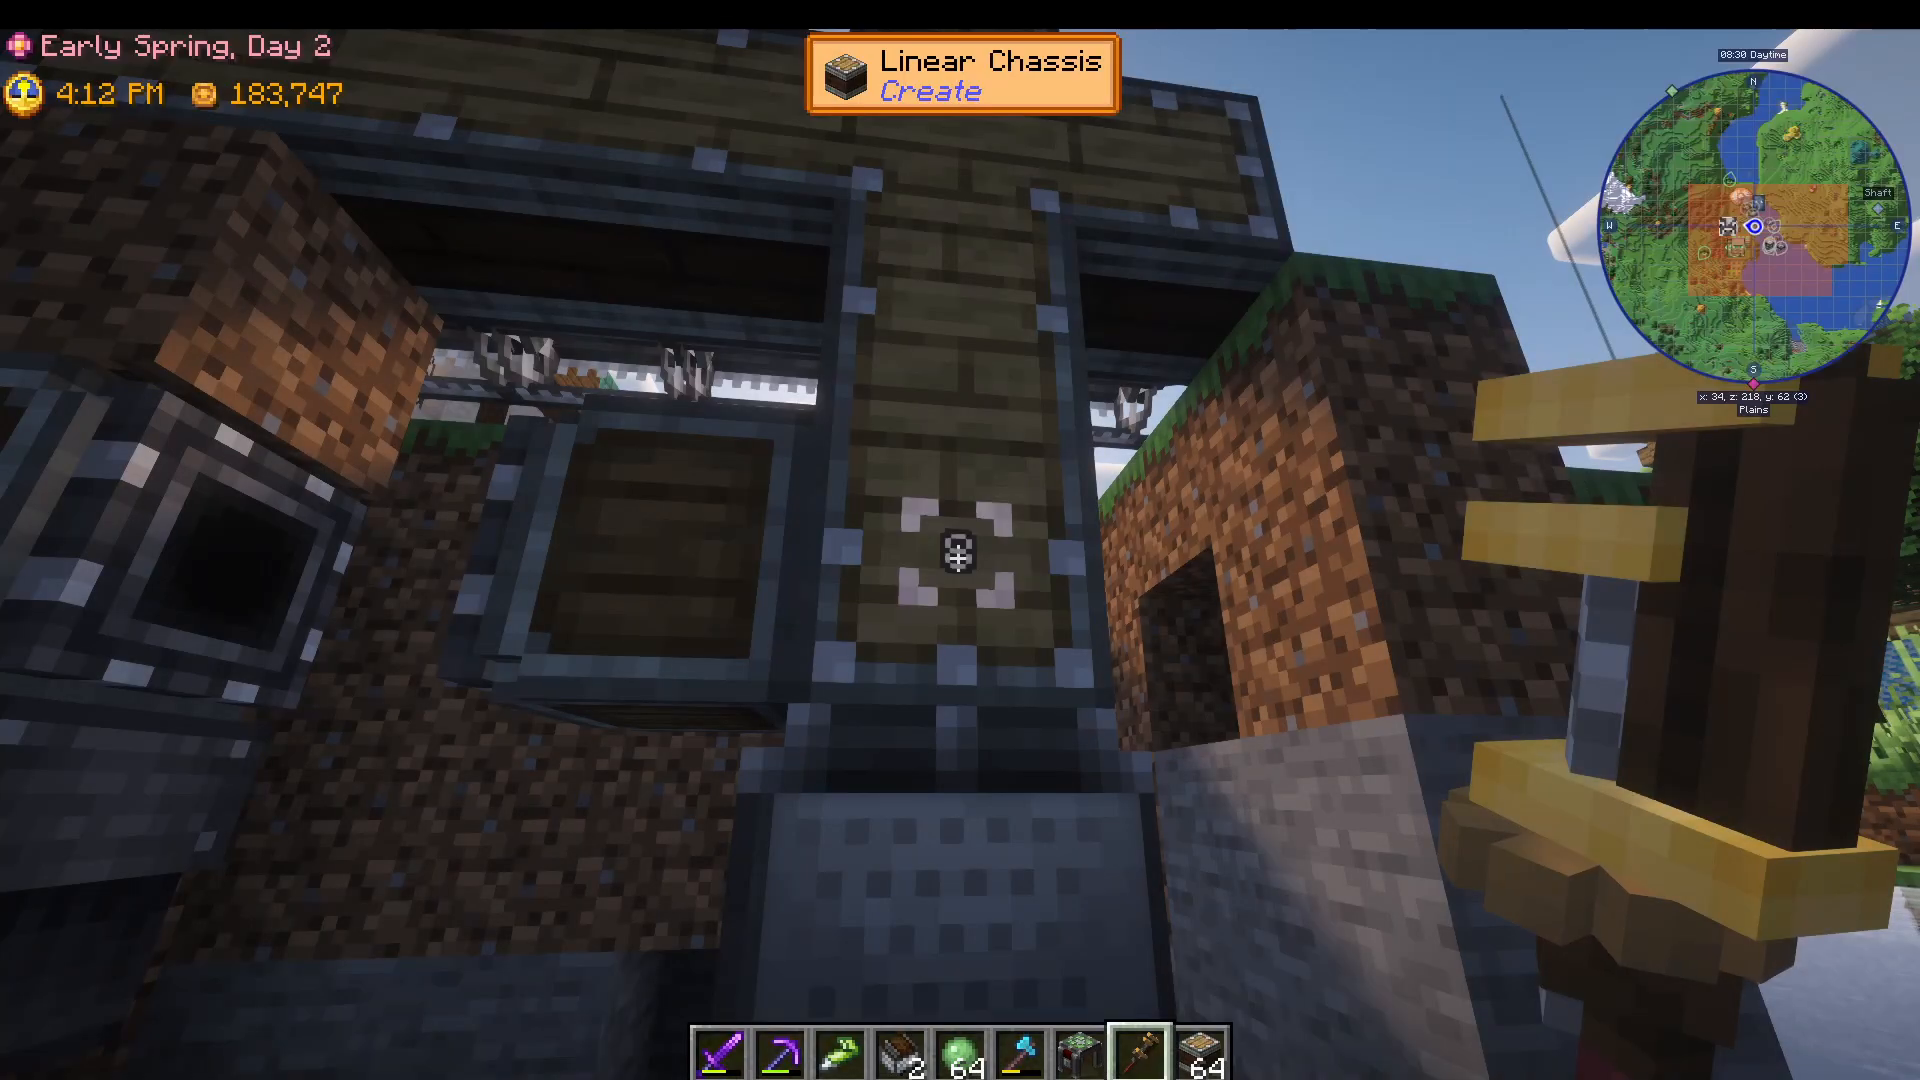
Place a minecart on the cart assembler. Now you’ll add linear chassis pieces arranged to face you: one, two, three chassis stacked vertically. The third chassis from the bottom is where your mechanical harvesters will be mounted.
Move one chassis to the right to align with your crops, then extend as many chassis to the left as you need to cover your crop area. Mechanical harvesters are expensive at 200k each, so build the contraption to match your current farm size.
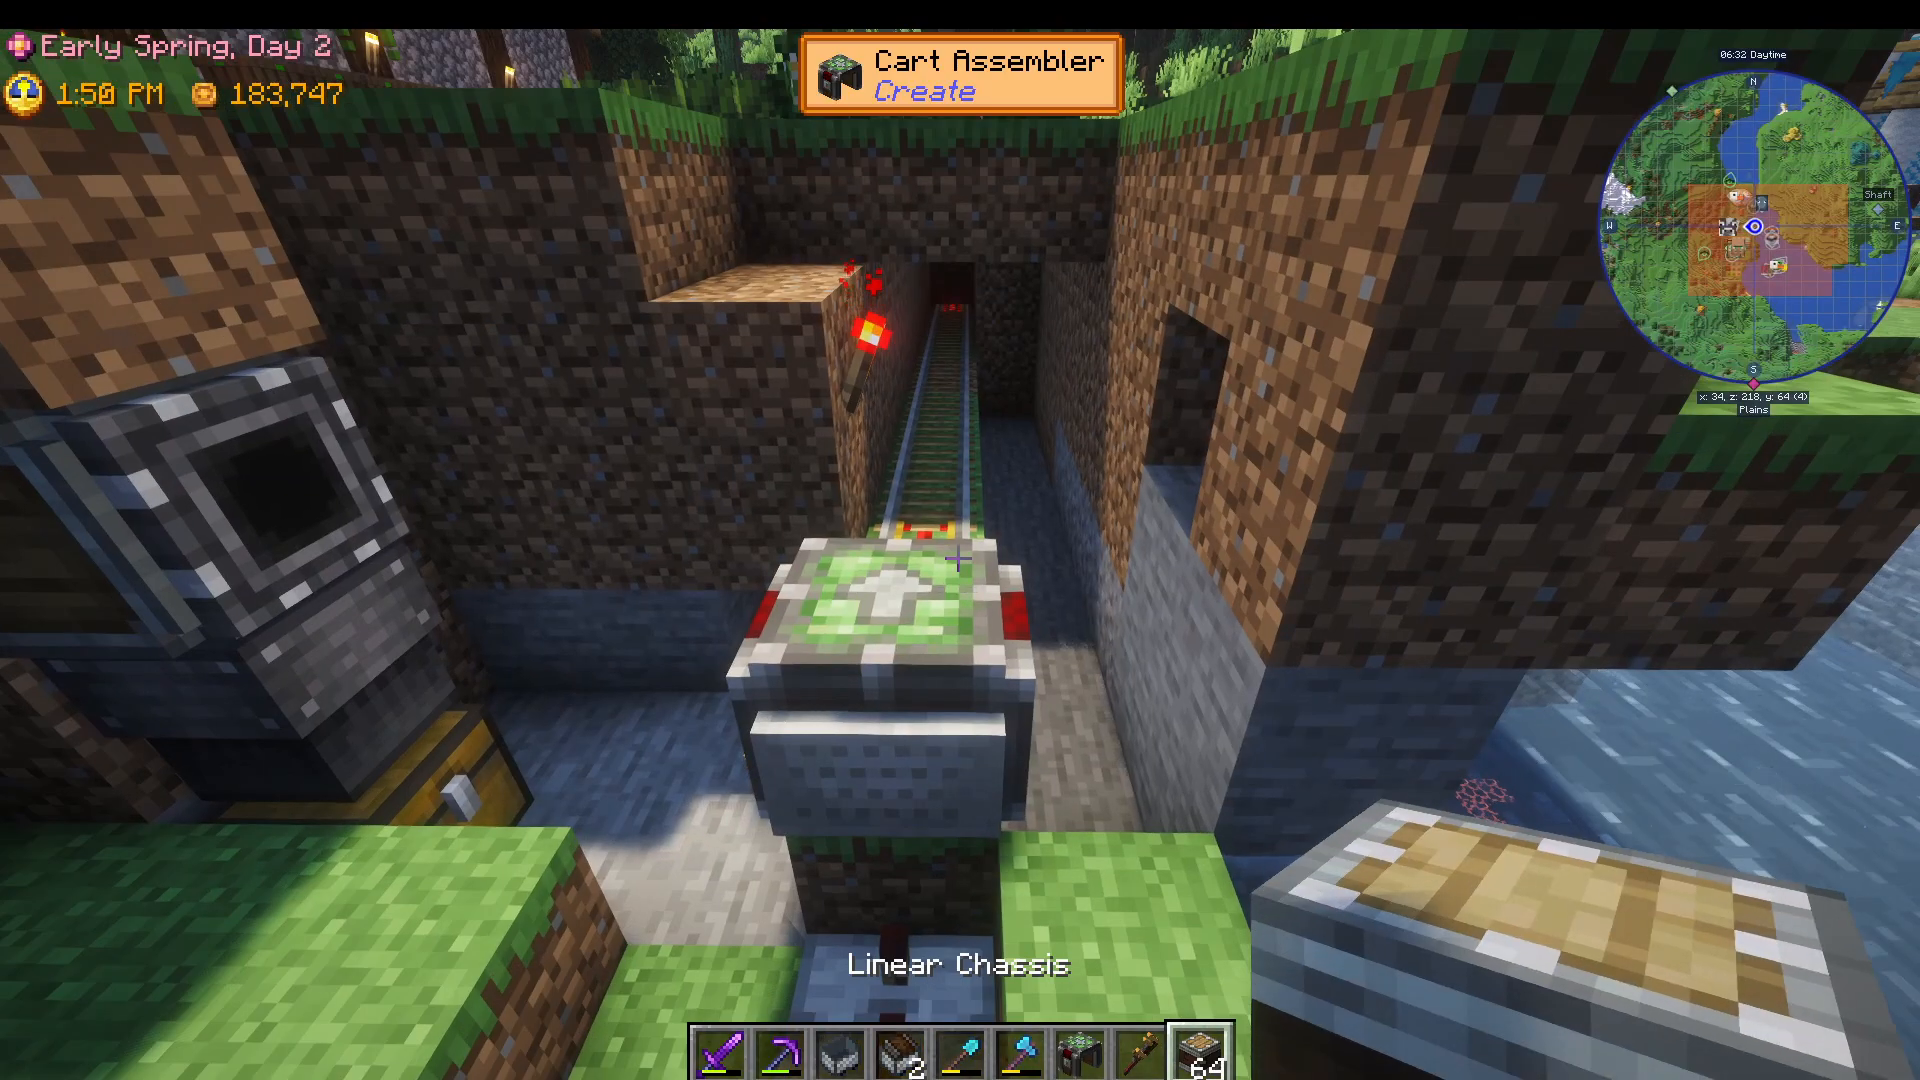
Slime Balls and Collection Chest
On the front of the contraption, glue slime balls in place. Add another linear chassis where you’ll attach the collection chest. Use a vanilla Minecraft chest only—modded chests will not work with this system. Attempting to use modded chests will cause the contraption to malfunction.
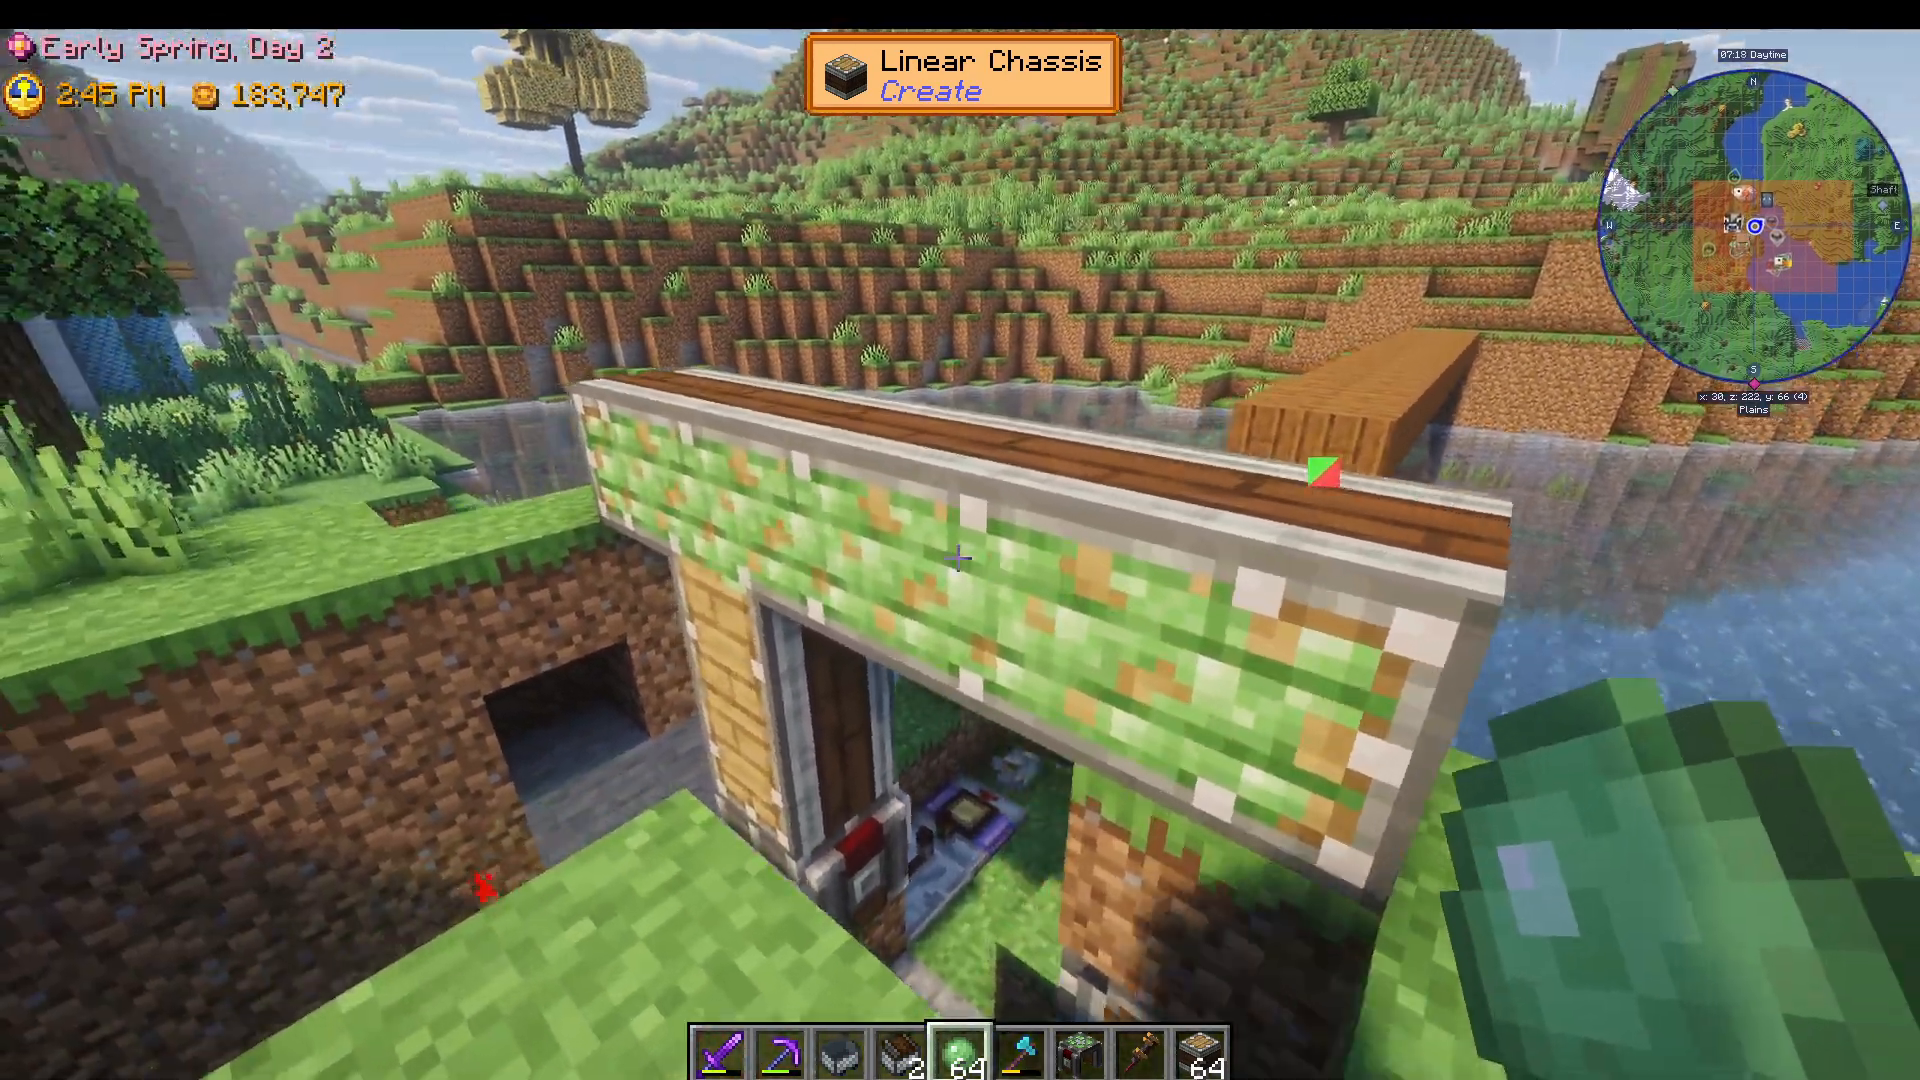
Installing Mechanical Harvesters
Place your mechanical harvesters on the designated chassis. These are the expensive components that actually harvest your crops. Place them carefully to ensure proper alignment.
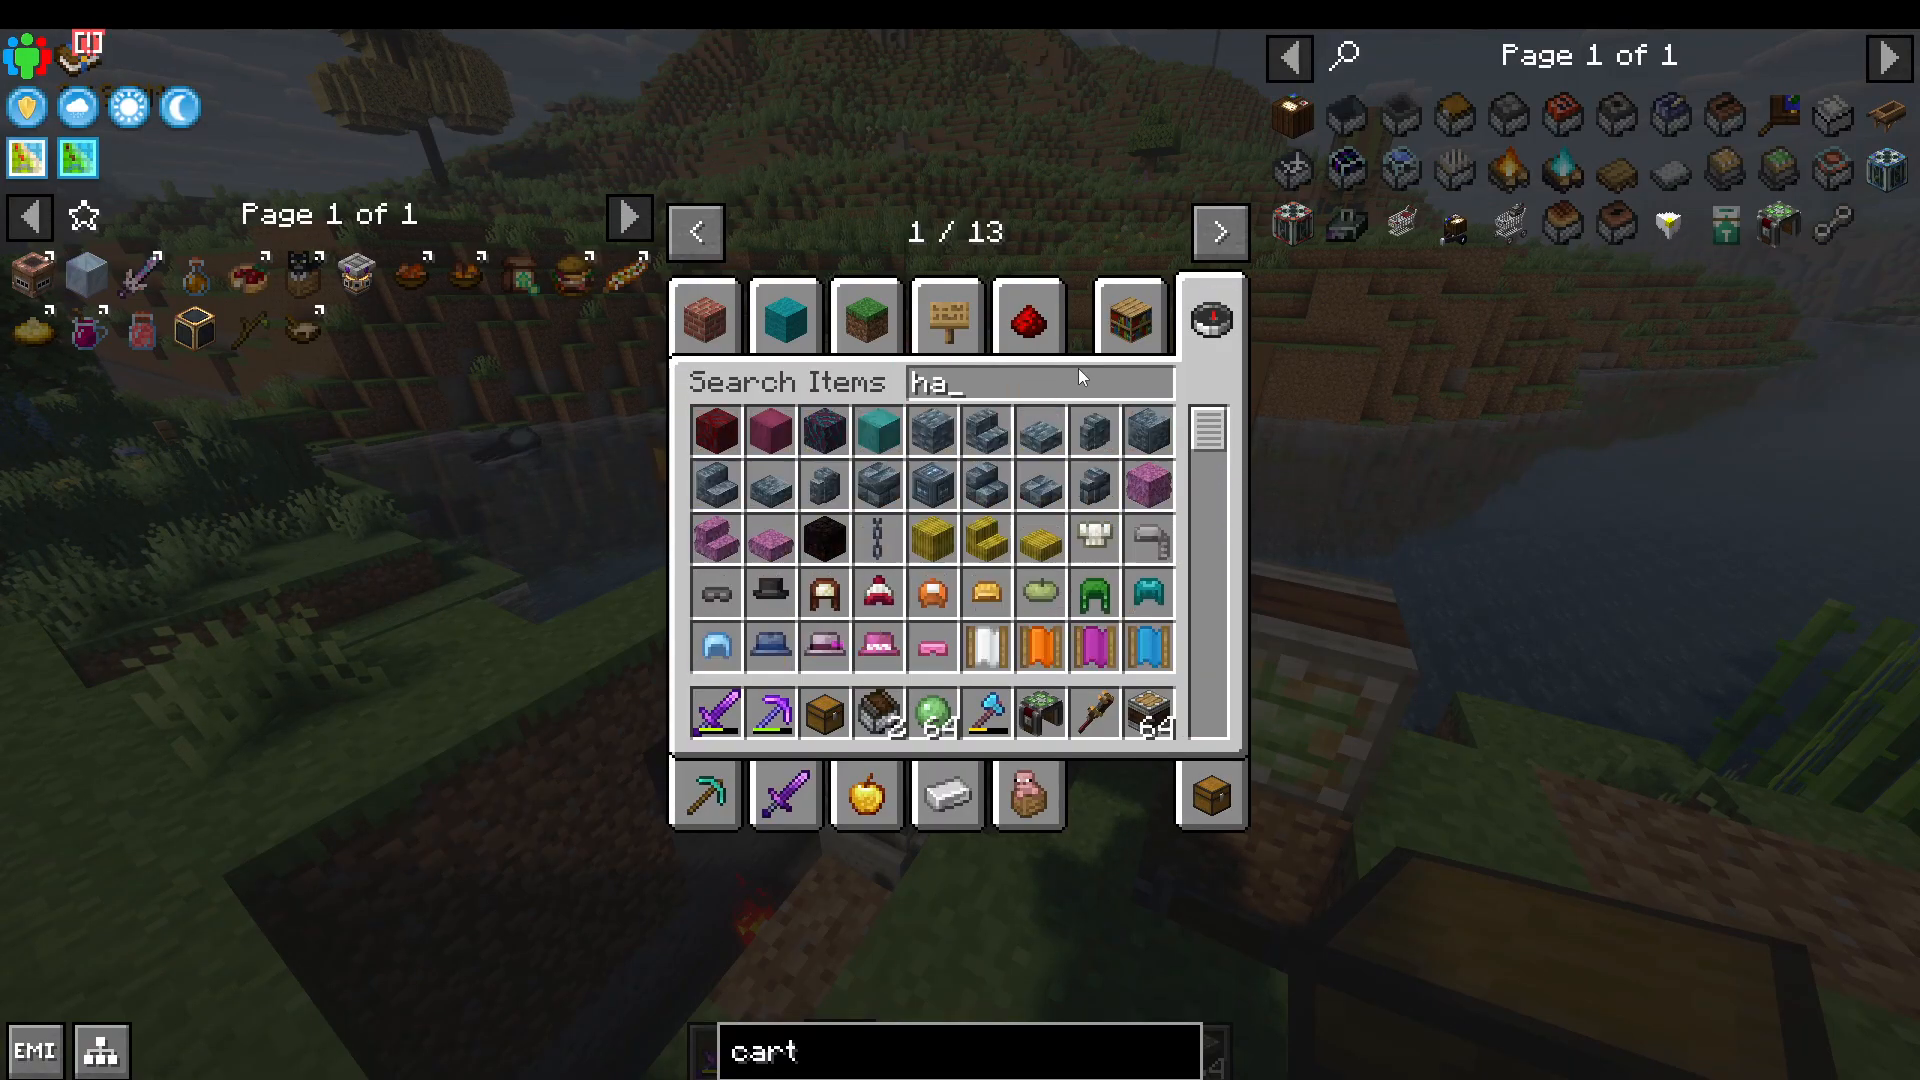
Storage Interfaces and Glue
Place another portable storage interface on the contraption. When the contraption returns home, this interface will attach to the first storage interface automatically and transfer items.
Use glue to secure components: right-click the portable storage interface with glue in hand, then shift right-click to apply glue to the designated areas.
Finalizing Your Contraption
Adjusting Sticky Sides
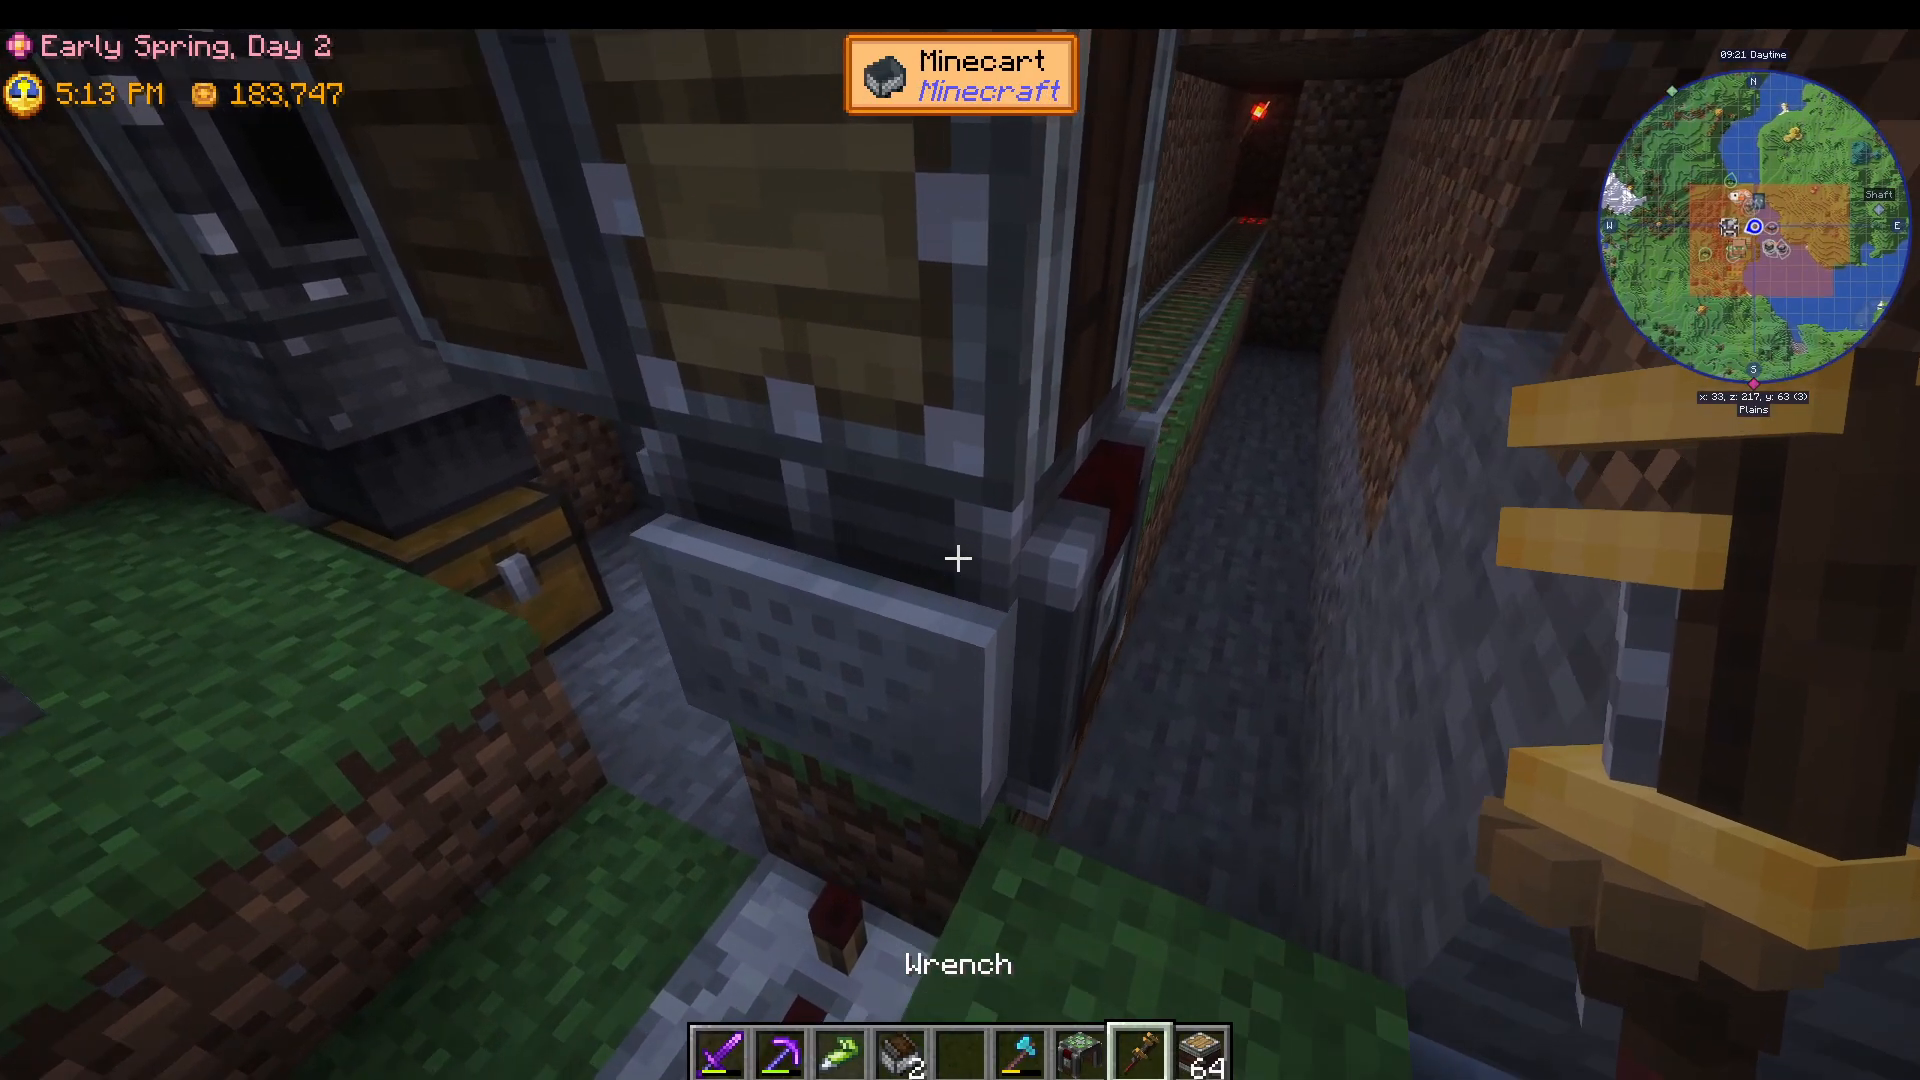
Equip your wrench and right-click a linear chassis. Set the range of sticky sides to one. To apply this to all chassis at once, control-click while holding the wrench. This will set all sticky sides to one.
Adding Control Lever
Place a lever and shift-click it onto the cart assembler. When you pull this lever, the entire contraption should move up and down awkwardly—this confirms that all components are properly connected.
Locking Rotation
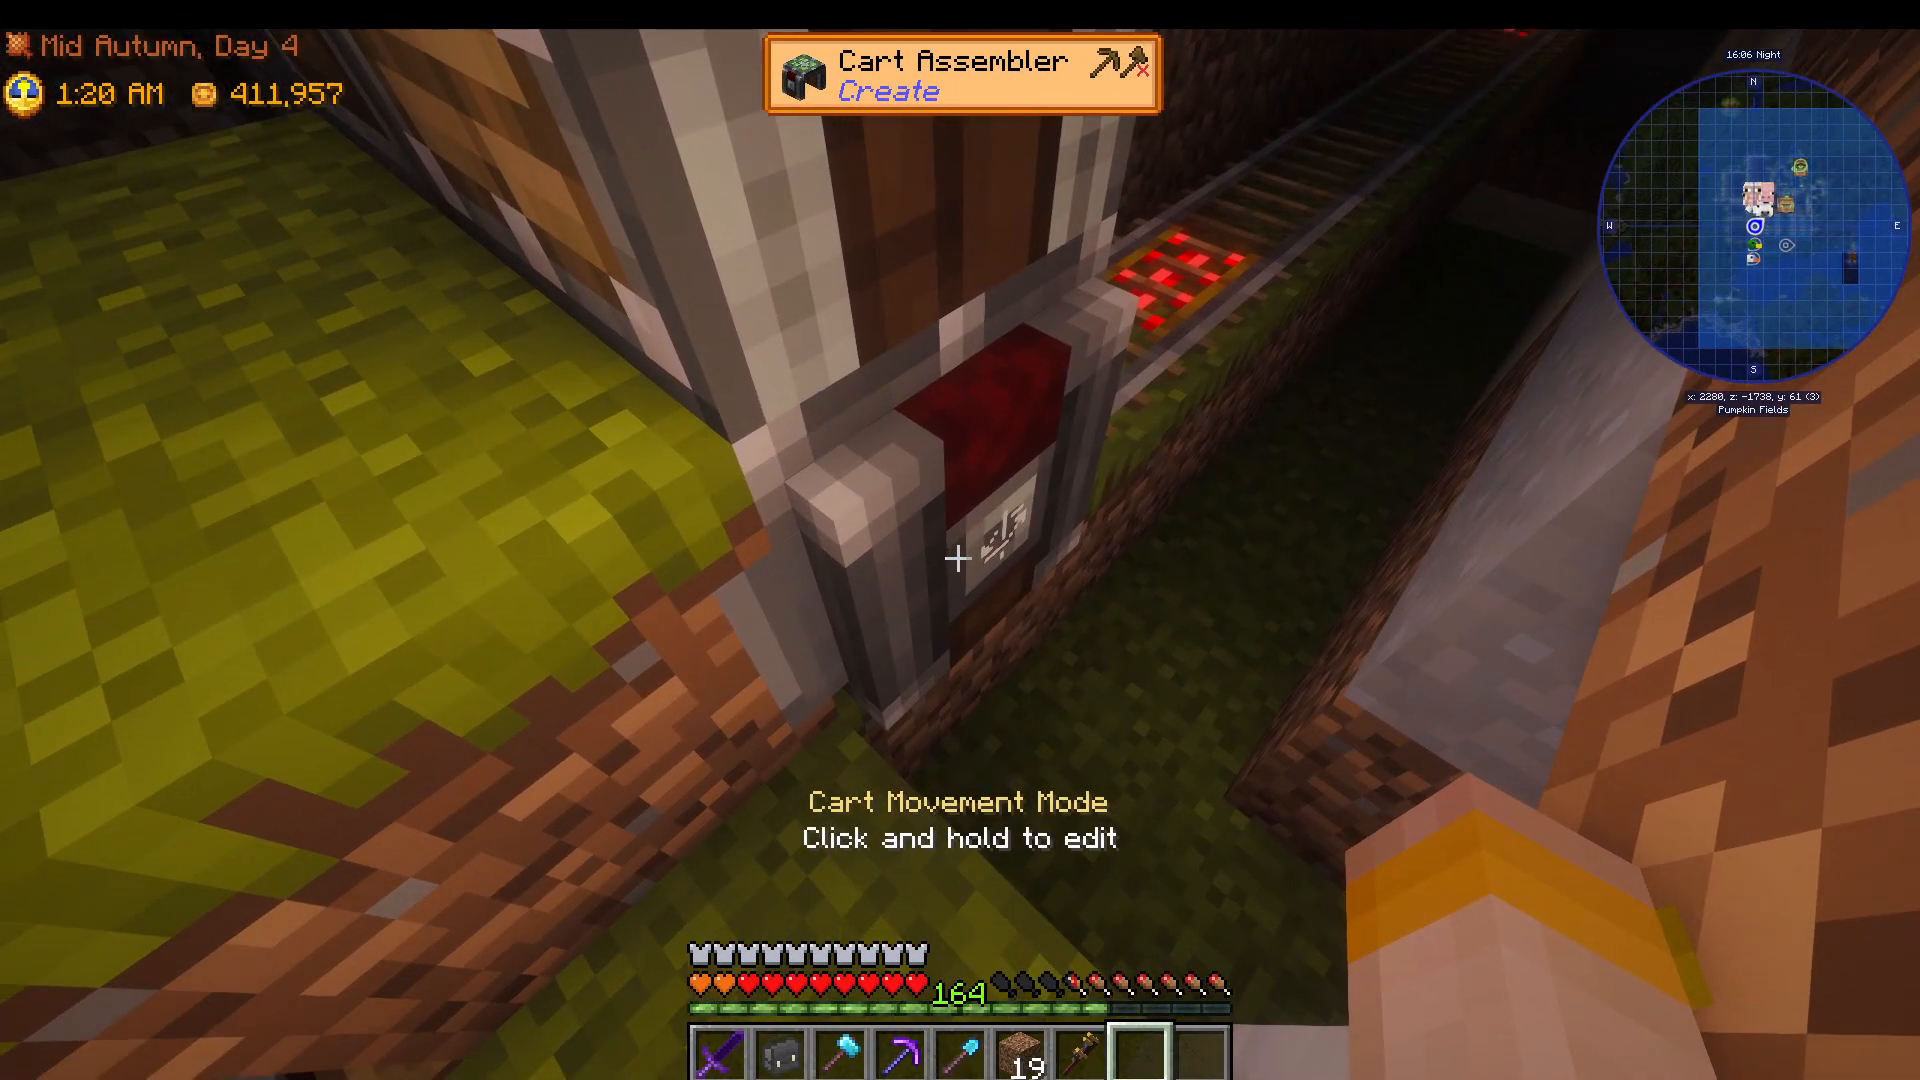
With an empty hand, right-click the cart assembler and select “lock rotation.” This is an essential step that prevents the contraption from rotating incorrectly during operation.
Collecting the Contraption
Now comes the fiddly part: you need to remove the minecart from the cart assembler using your wrench. Right-click the minecart with the wrench to pick it up into your inventory. Note: mounting the minecart by accident is common. If this happens, try right-clicking from different angles or use the lever to help target the correct component. The goal is to see the minecart go into your inventory.
Deploying Your Harvester
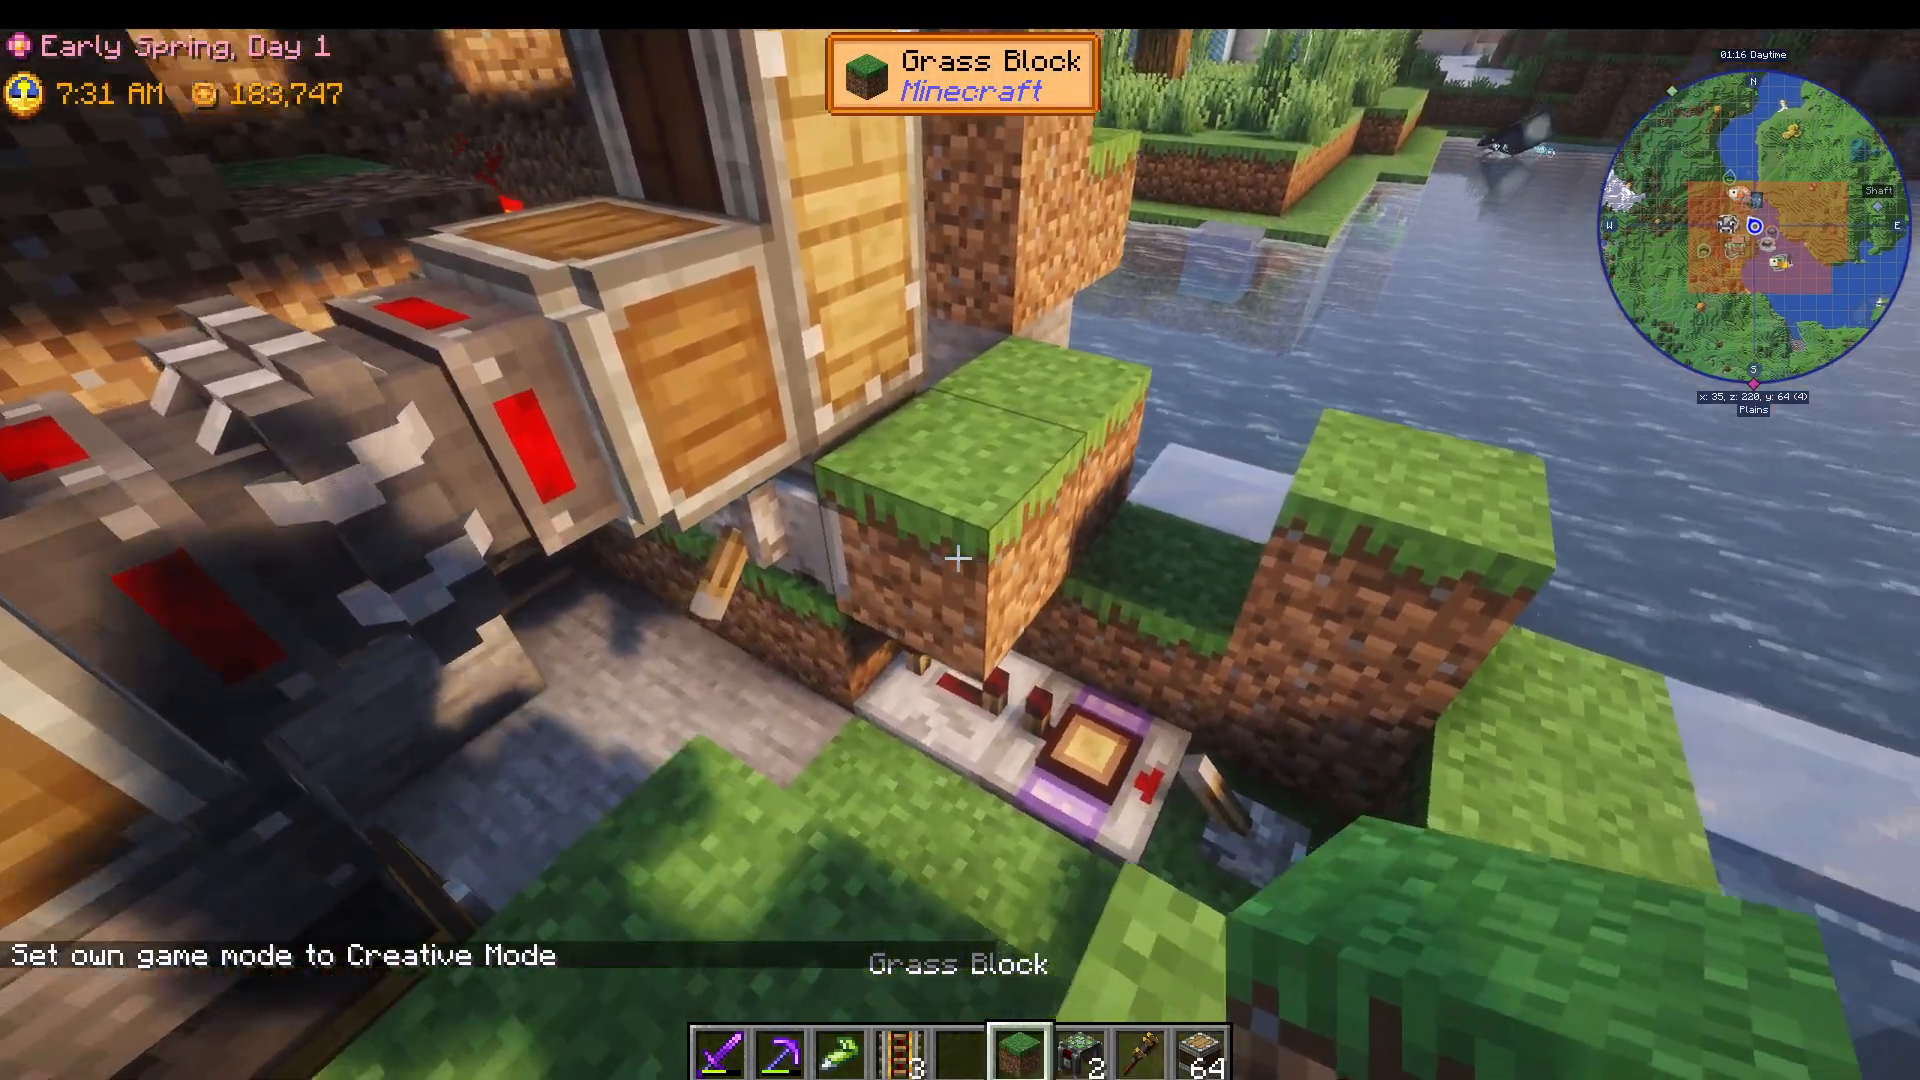
Once the minecart is in your inventory, break the cart assembler (the powered rail will remain). Place the powered rail back if it was removed. Right-click your minecart contraption directly onto the powered rail to place it in the world.
Place a solid block behind the contraption to act as a bumper. This ensures the contraption bounces back properly when it reaches the end of the rail.
Operating Your Harvester
Flip the lever to activate your harvester. The contraption will travel to the end of the rail, harvest your crops, and return to its starting position where it will automatically connect to your storage interface and deposit all collected items.
Scaling Your System: Making It Bigger or Smaller
Extending the Rails
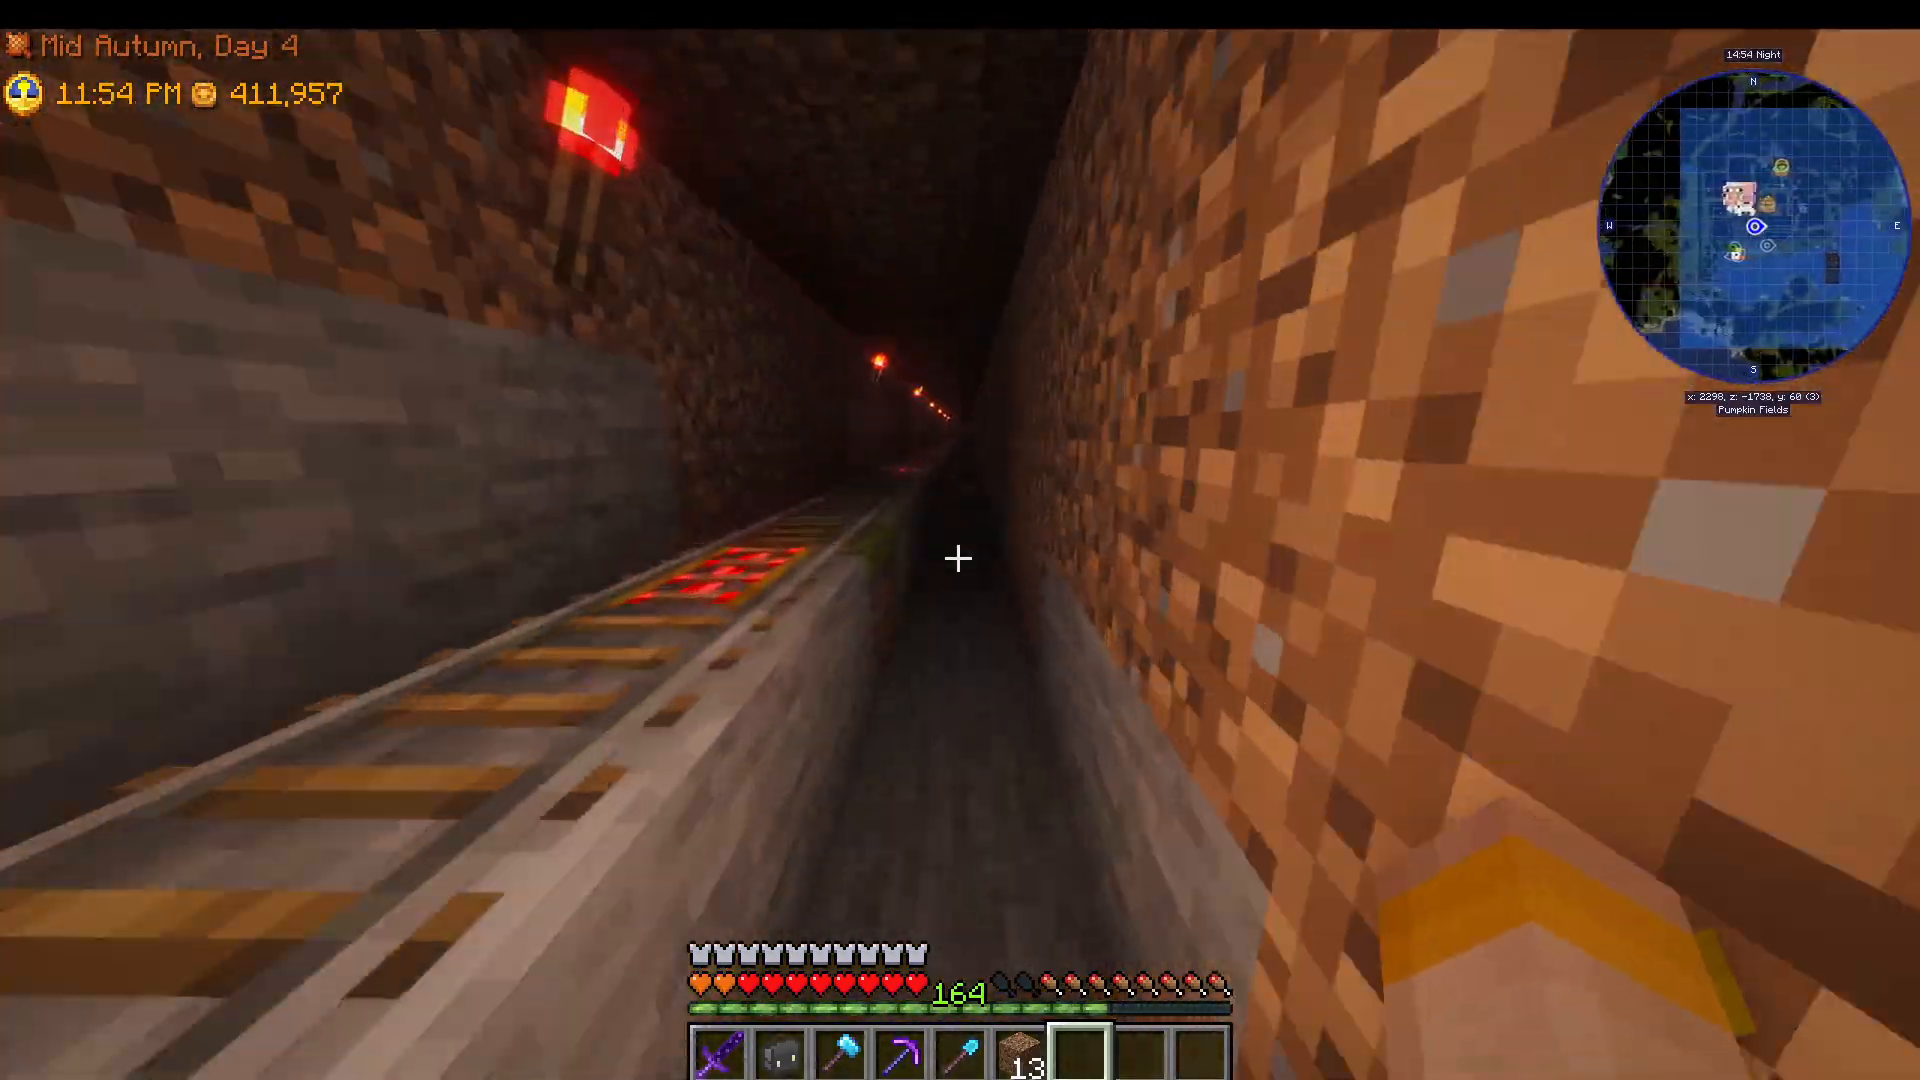
To harvest additional crop fields, turn off your lever and wait for the contraption to return to its starting position. Continue your rails around corners and toward your next crop area. The contraption can handle any rail configuration as long as powered rails are spaced no more than 16 blocks apart.
Expanding the Harvester Head
If your crop field expands beyond your current contraption size, you can upgrade it:
Turn the lever off and wait for the contraption to return
Right-click the minecart with your wrench to pick it up
Place the cart assembler back on the powered rail
Right-click the minecart back into the cart assembler
Pull the lever to activate it temporarily so you can access the components
Remove the existing mechanical harvesters
Craft additional linear chassis and mechanical harvesters (use crafting templates to create harvesters)
Attach new chassis and harvesters to expand your harvester head
Lock rotation again on the cart assembler
Pick up the minecart, remove the cart assembler, and redeploy as before
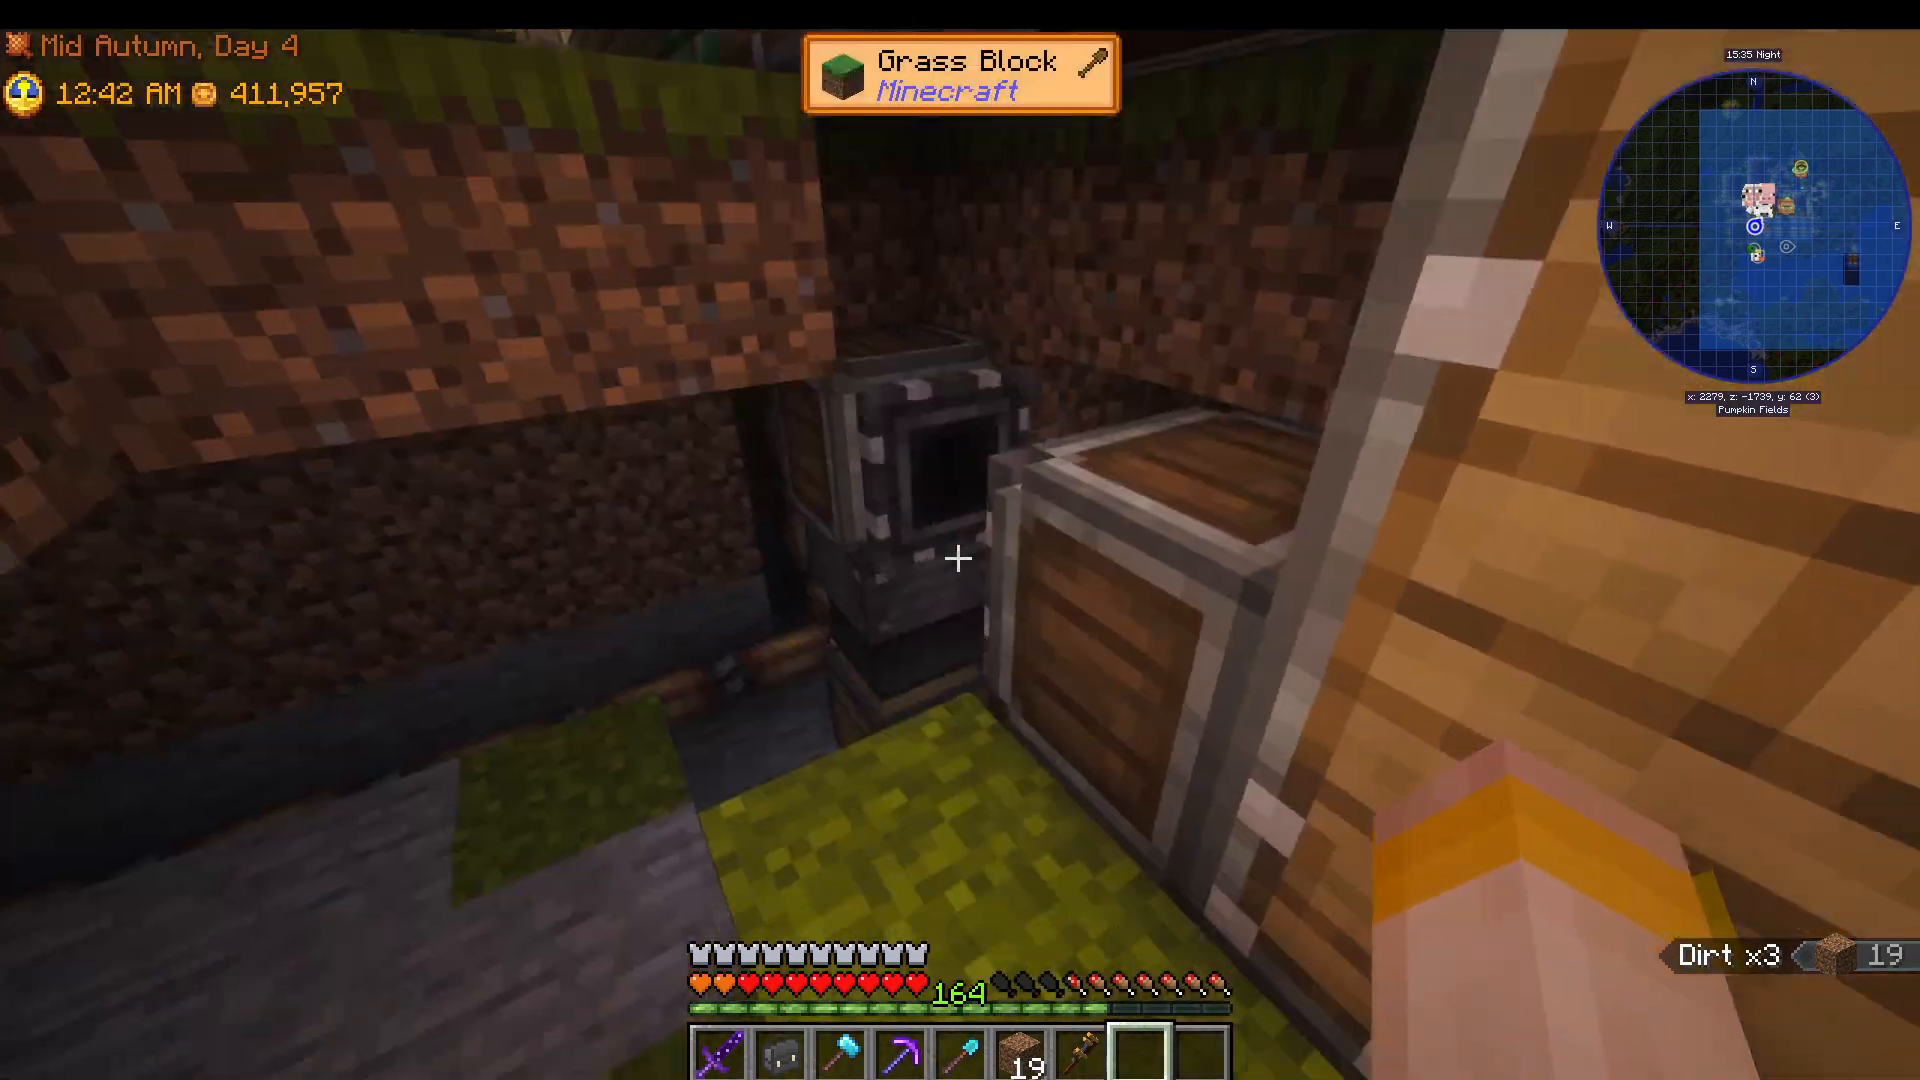
Remember: each time you place the cart assembler back down during upgrades, you must right-click it and select “lock rotation” again. This is a critical step that many builders miss.
Relocation Tips
If you need to move your harvester to a different location, follow the same process: remove the minecart, reposition your rails, lock rotation on the cart assembler, redeploy the minecart, and add a solid block bumper at the new end position.
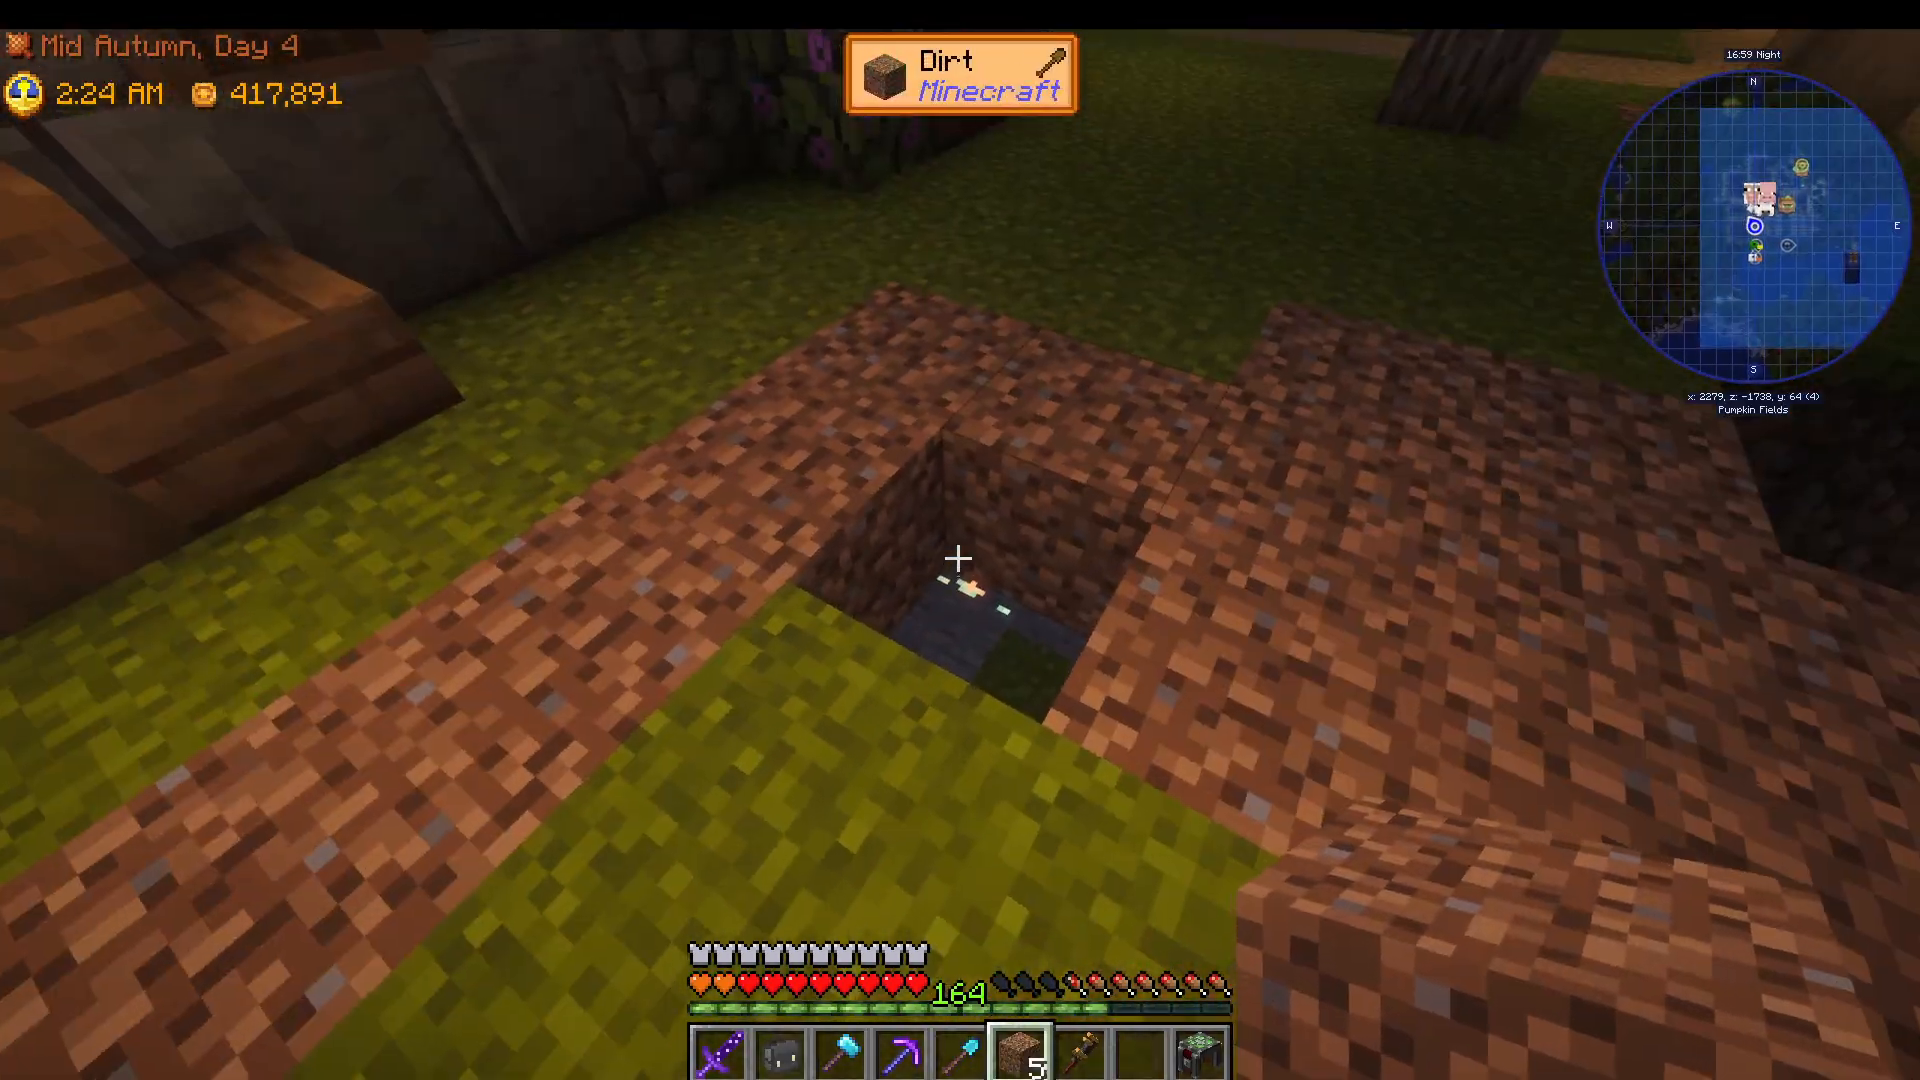
You can safely fill in the hole beneath the contraption with dirt or any other blocks—the contraption travels smoothly through the ground and doesn’t need a clear path underneath.
Summary and Next Steps
You’ve now successfully built a complete automated crop harvesting system for Society Sunlit Valley using the Create mod. The contraption will continuously harvest your crops, collect them in a moving chest, and deposit them into your storage system with minimal effort on your part.
This system is scalable—you can extend the rails to cover multiple fields, expand the harvester head to handle larger crop areas, and even relocate the entire setup if needed. Once you’ve built this contraption a few times, the process becomes intuitive and quick.
For additional guidance, check out the complete Society Sunlit Valley playlist available on screen. If you have questions or want to see the harvester in action on an active server, join the Discord community where you can interact with other players and get real-time help.
— Want to Support? —
If you would like to help us continue making these guides – please consider joining our patreon here – https://www.patreon.com/c/JaviHeals
Alternatively – we host a group of MC Servers you can join here – https://discord.gg/zD7Gjt6MHF