




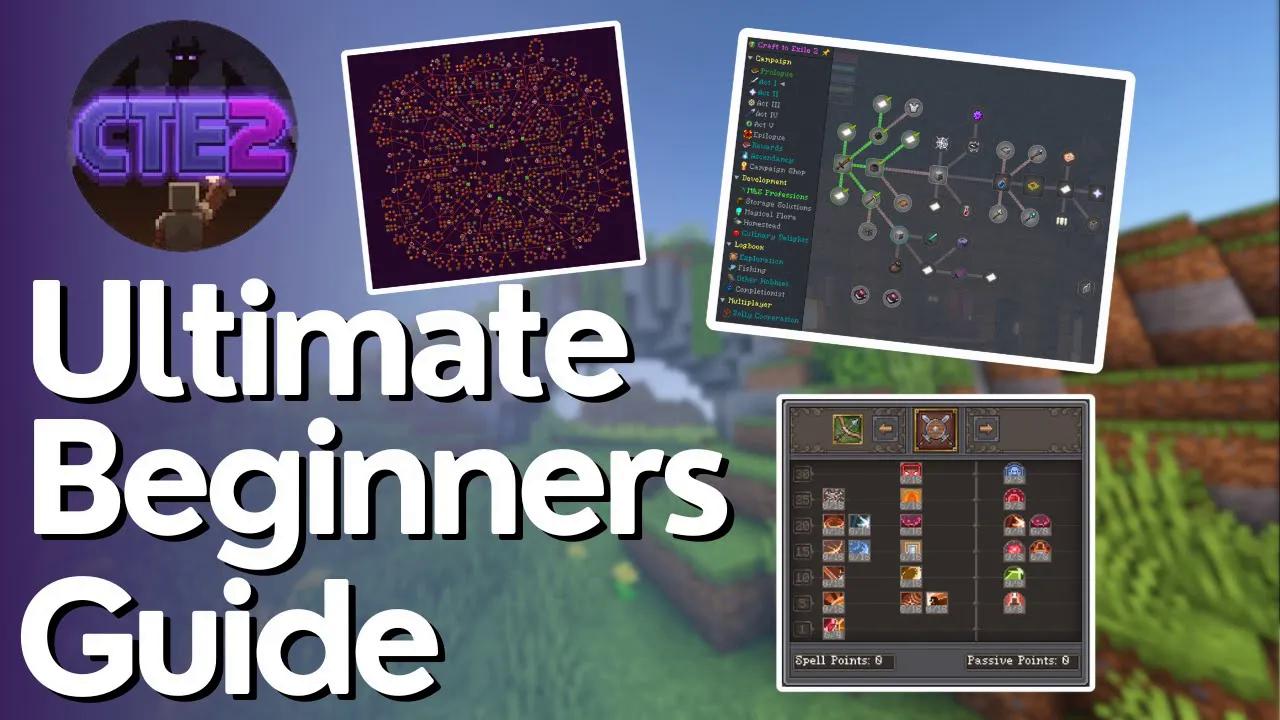
Craft to Exile 2 Ultimate Beginner Guide
Craft to Exile 2 Ultimate Beginner Guide
Craft to Exile 2 is a complex modpack that can seem overwhelming at first glance. However, with this comprehensive guide, you’ll learn everything you need to know to get started, from understanding your inventory and stats to mastering gear crafting and professions. Whether you have questions along the way, feel free to join our Discord community where knowledgeable players can help you out.
Getting Started with Your Inventory
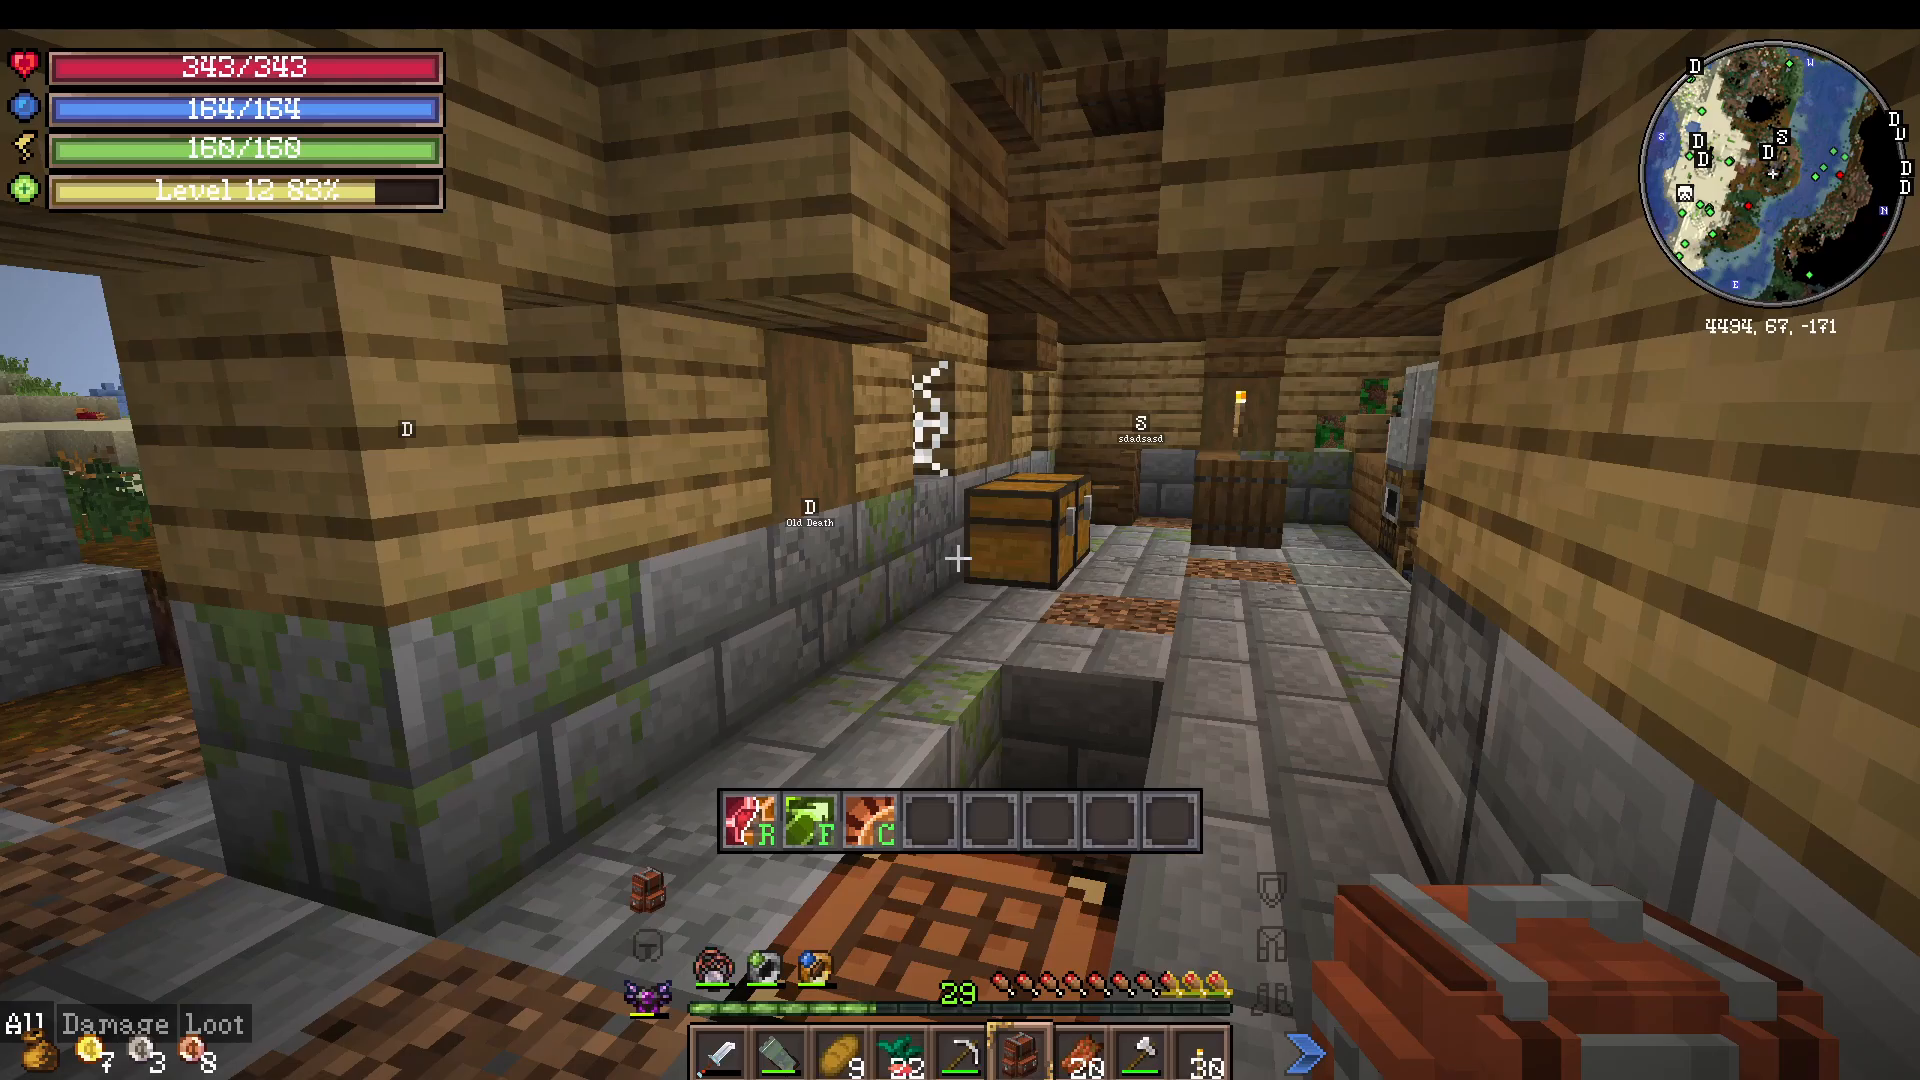
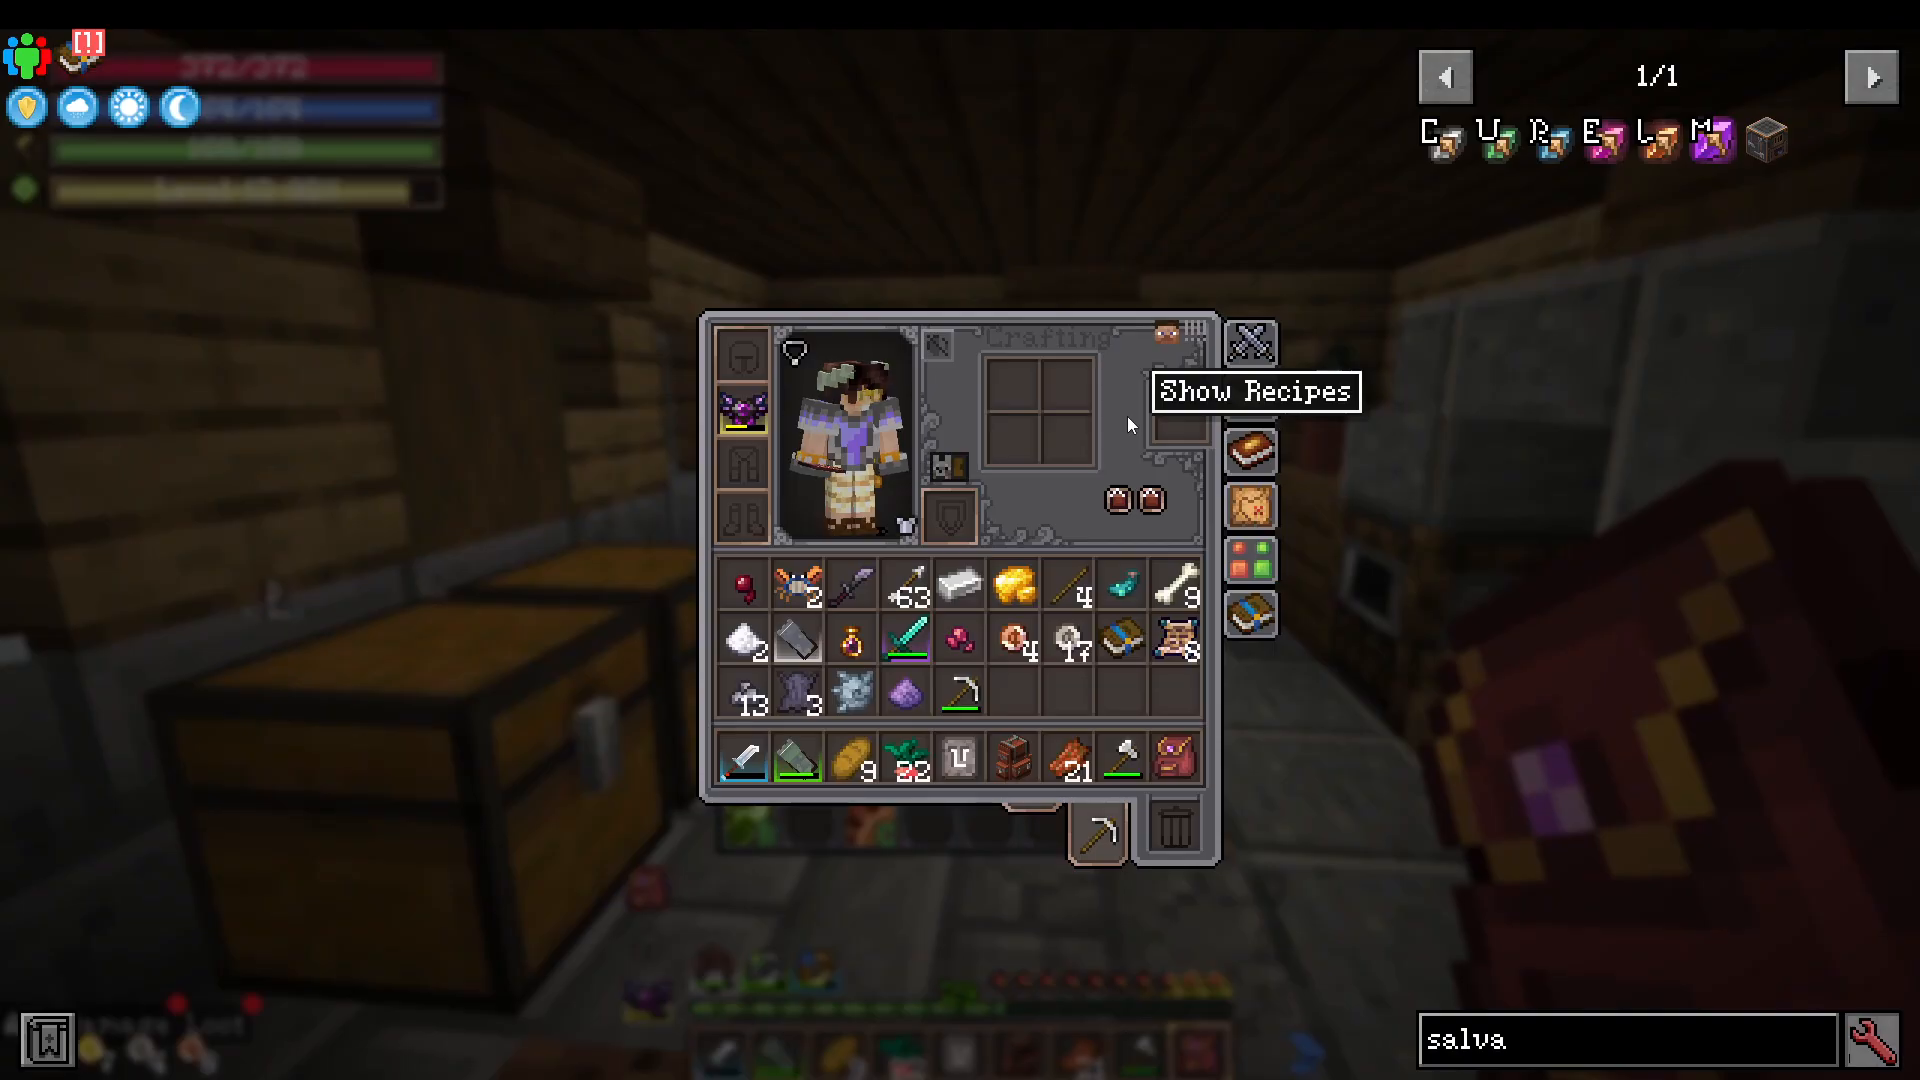
When you first enter the game, you’ll see your inventory with multiple tabs on the right-hand side. At the bottom, you’ll find your normal hotbar, while the top left displays your health, mana, energy, and experience level. The experience level shown in the top left is your primary character progression mechanic—not the standard Minecraft XP bar. This level increases by dealing damage to mobs and gaining experience, and importantly, you don’t lose these levels when you die.
To access quests and learn how the modpack works, click the quests button in your inventory. You can also find a quest book in your inventory or access quests from the top left. On the left-hand side, you’ll see tabs for Campaign, Development, Logbook, and Multiplayer. The Campaign tab contains the main quest line that explains how the modpack functions.
Your First Quest: The Backpack
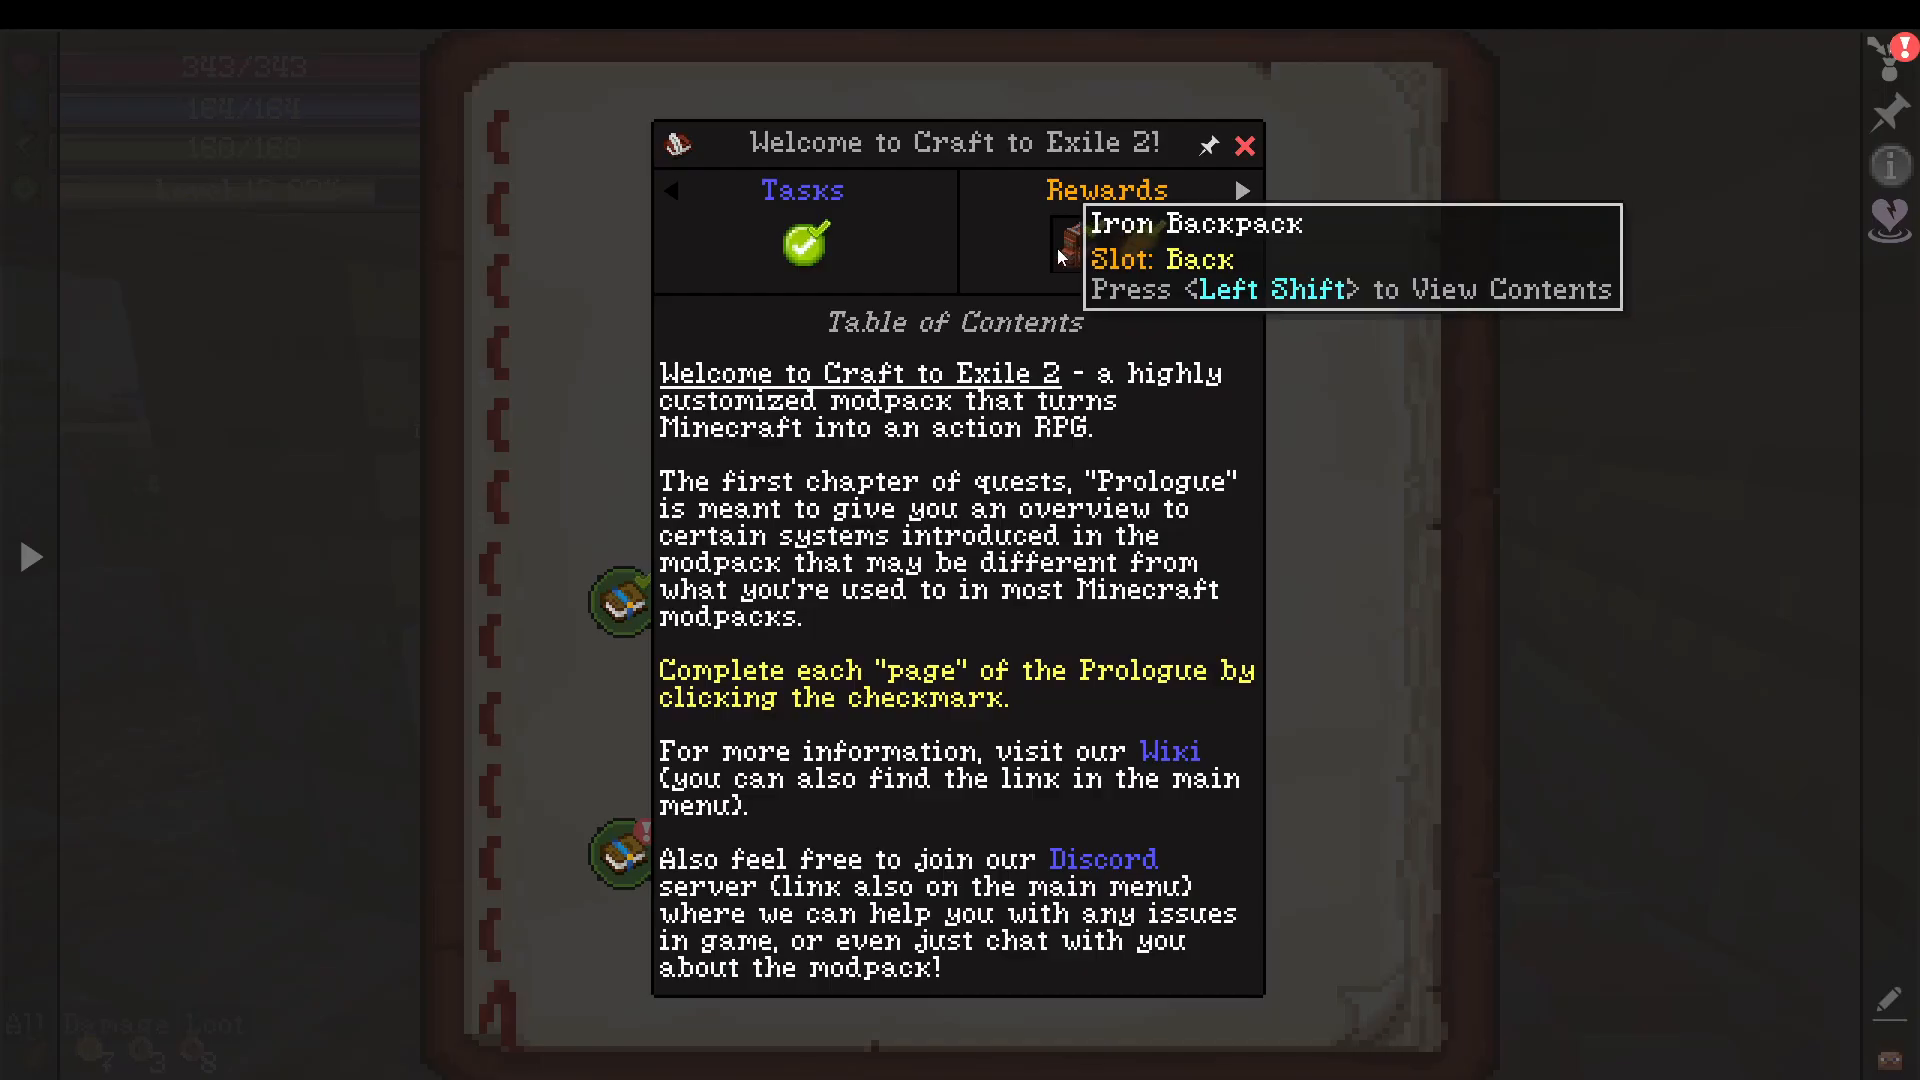
The first quest, “Welcome to Craft to Exile 2,” grants you a backpack. You can open it by pressing B on your keyboard—this is from the Sophisticated Backpacks mod. Alternatively, if you have the backpack in your hotbar, you can right-click it to open it.
Understanding Money and Coins
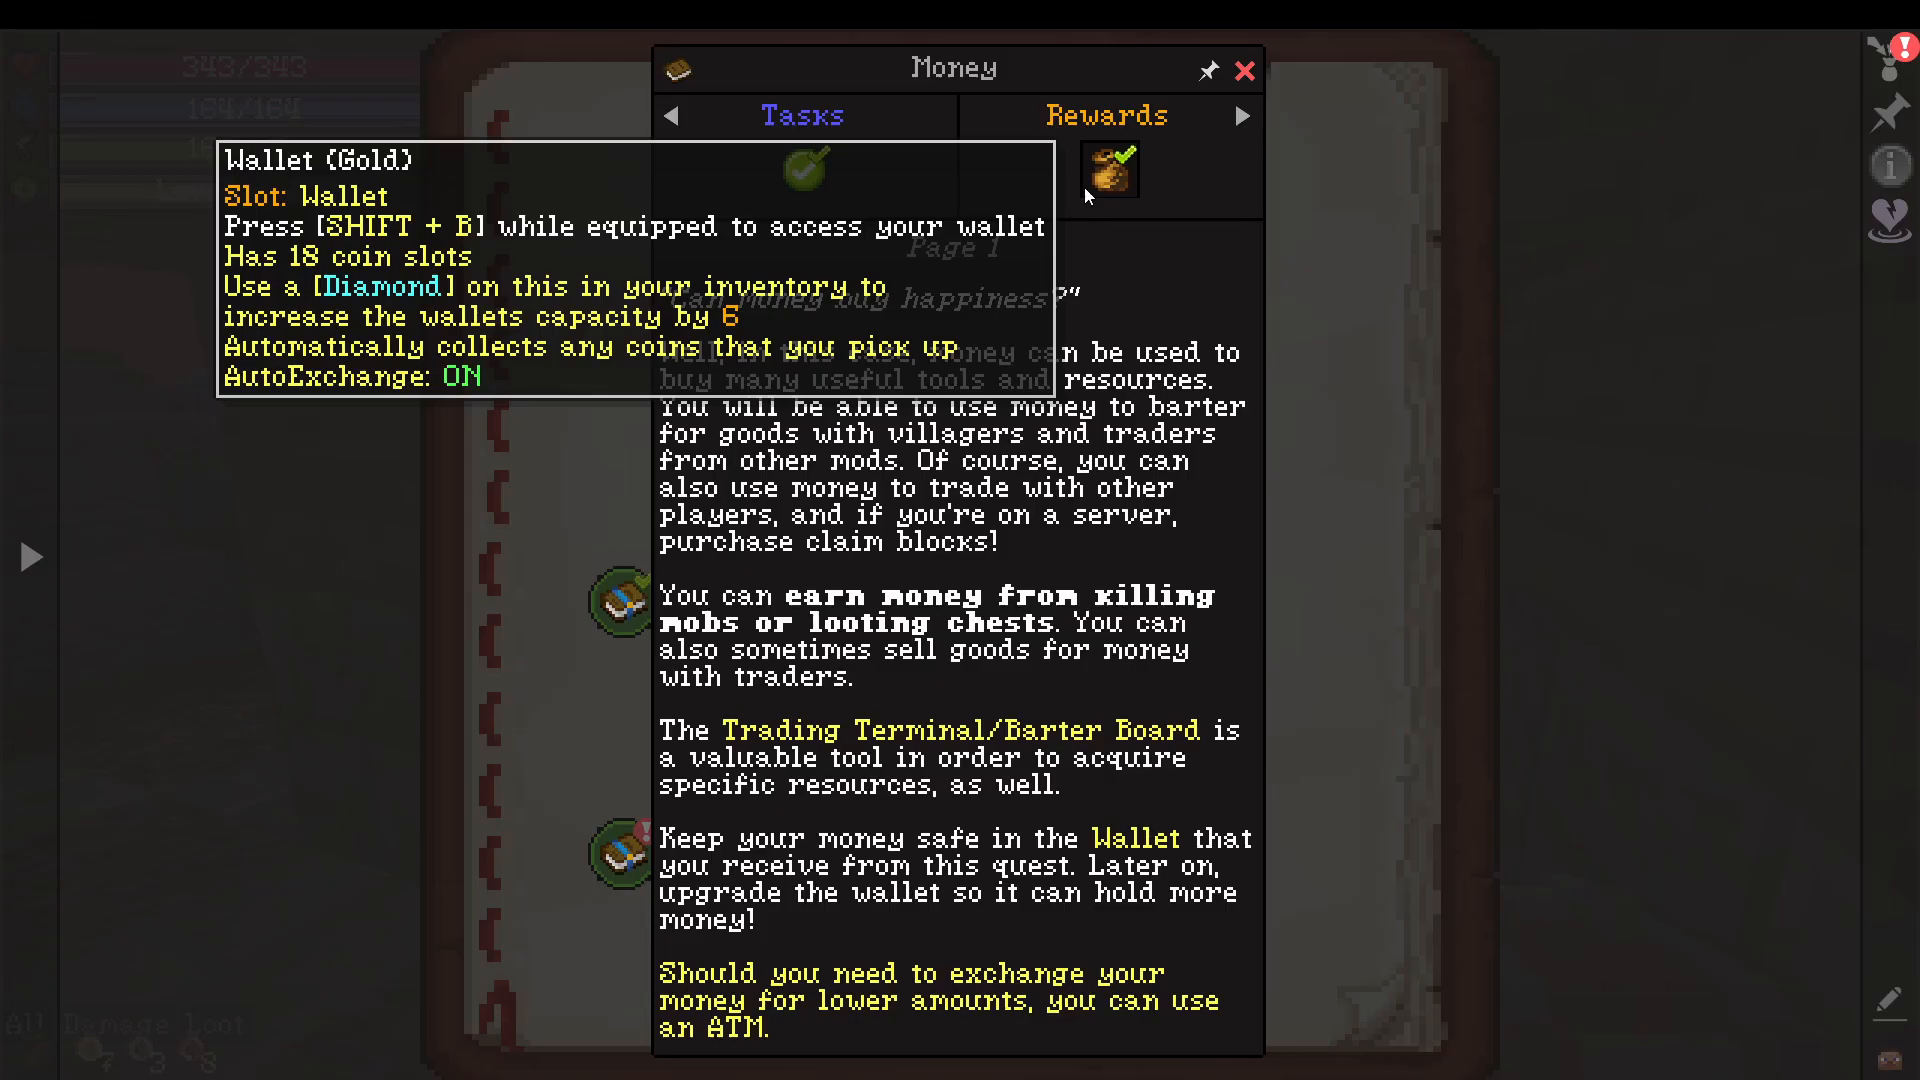
You can obtain money by trading with traders or other players if you’re on a multiplayer server. To access your coins, press Shift+B. You’ll see three types of coins: gold coins, iron coins, and copper coins. The conversion rates are as follows: 10 copper coins equal 1 iron coin, 10 iron coins equal 1 gold coin, and 10 gold coins equal 1 emerald.
To compress all your coins into the highest value denomination, you can press the compression button. Coins are essential for upgrading gear later and can be obtained from defeating mobs. You’ll also use coins in gear crafting and cooking.
Understanding Your Character Stats
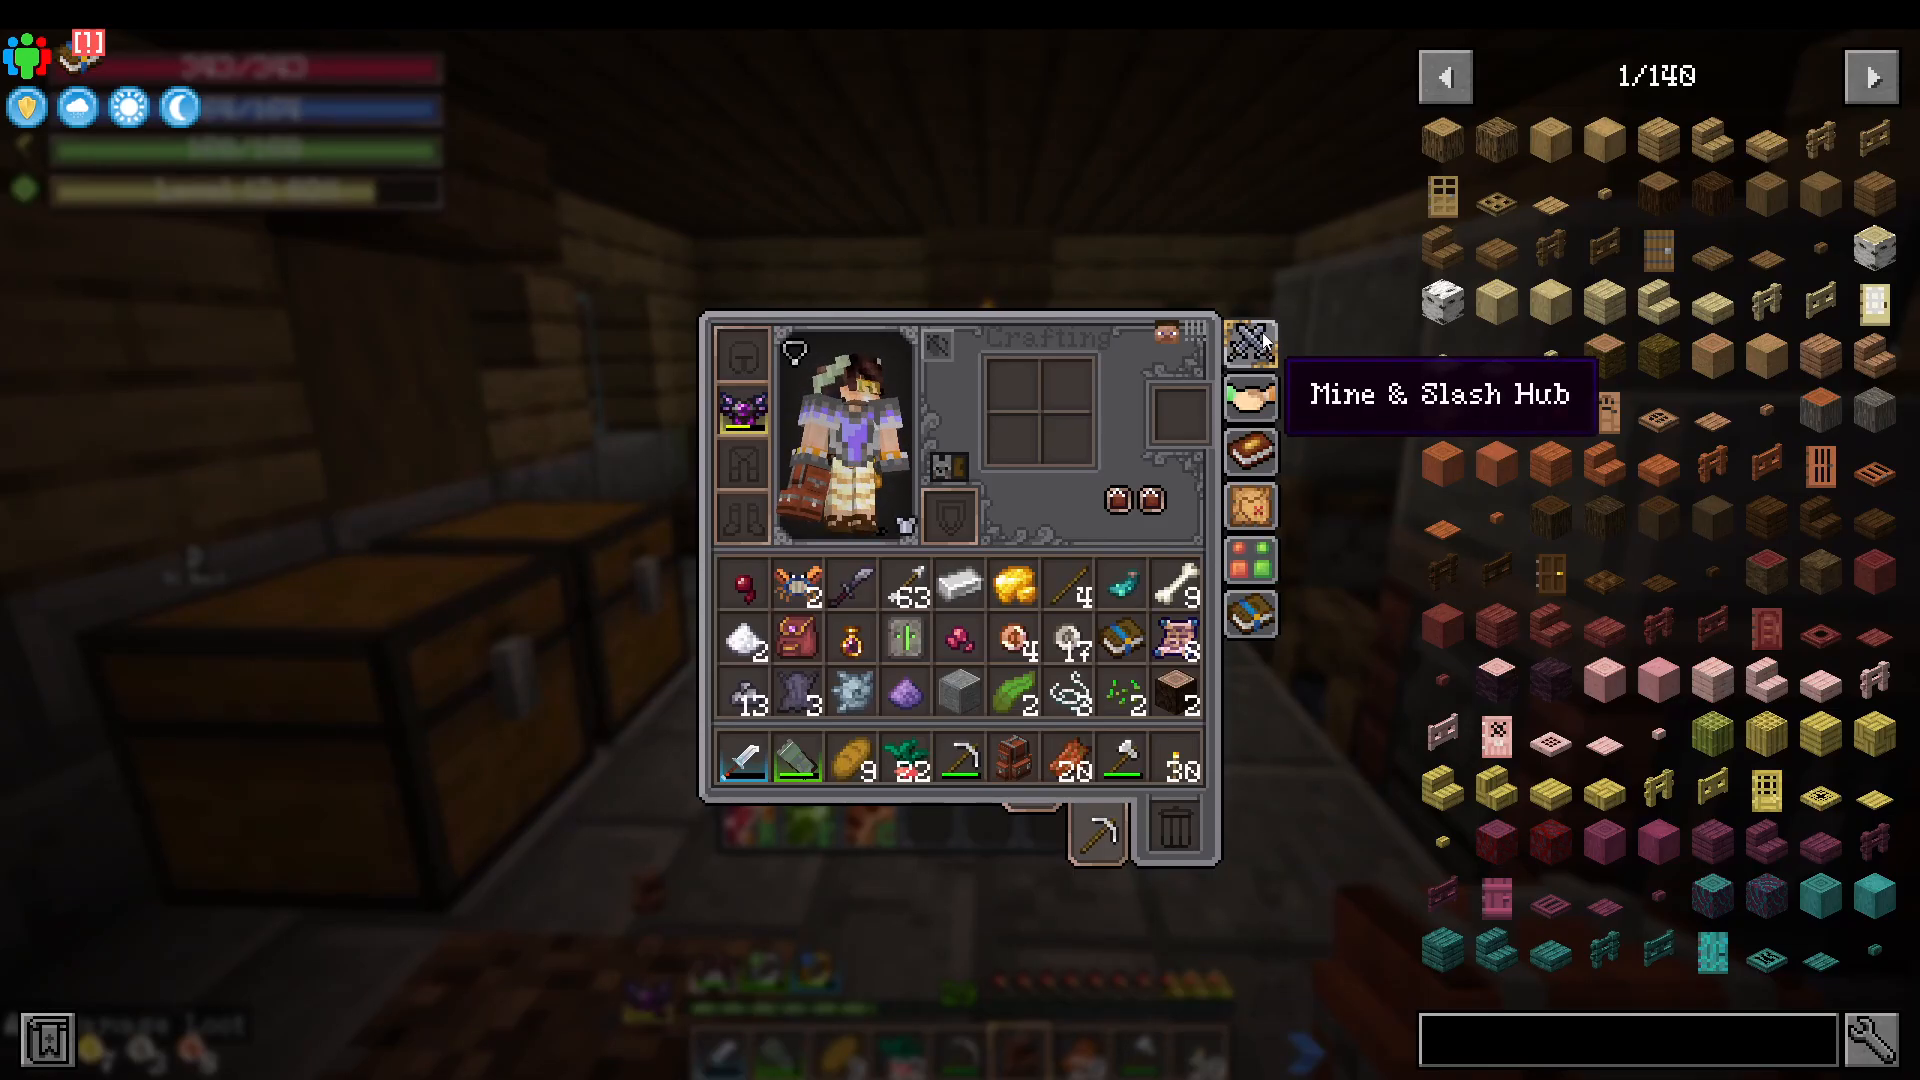
To view your detailed stats, open your inventory and click on the stats/hub option. At the top left, you’ll see your current level and area level. The monsters in your current area will be scaled to match this level.
Stat Points and Core Attributes
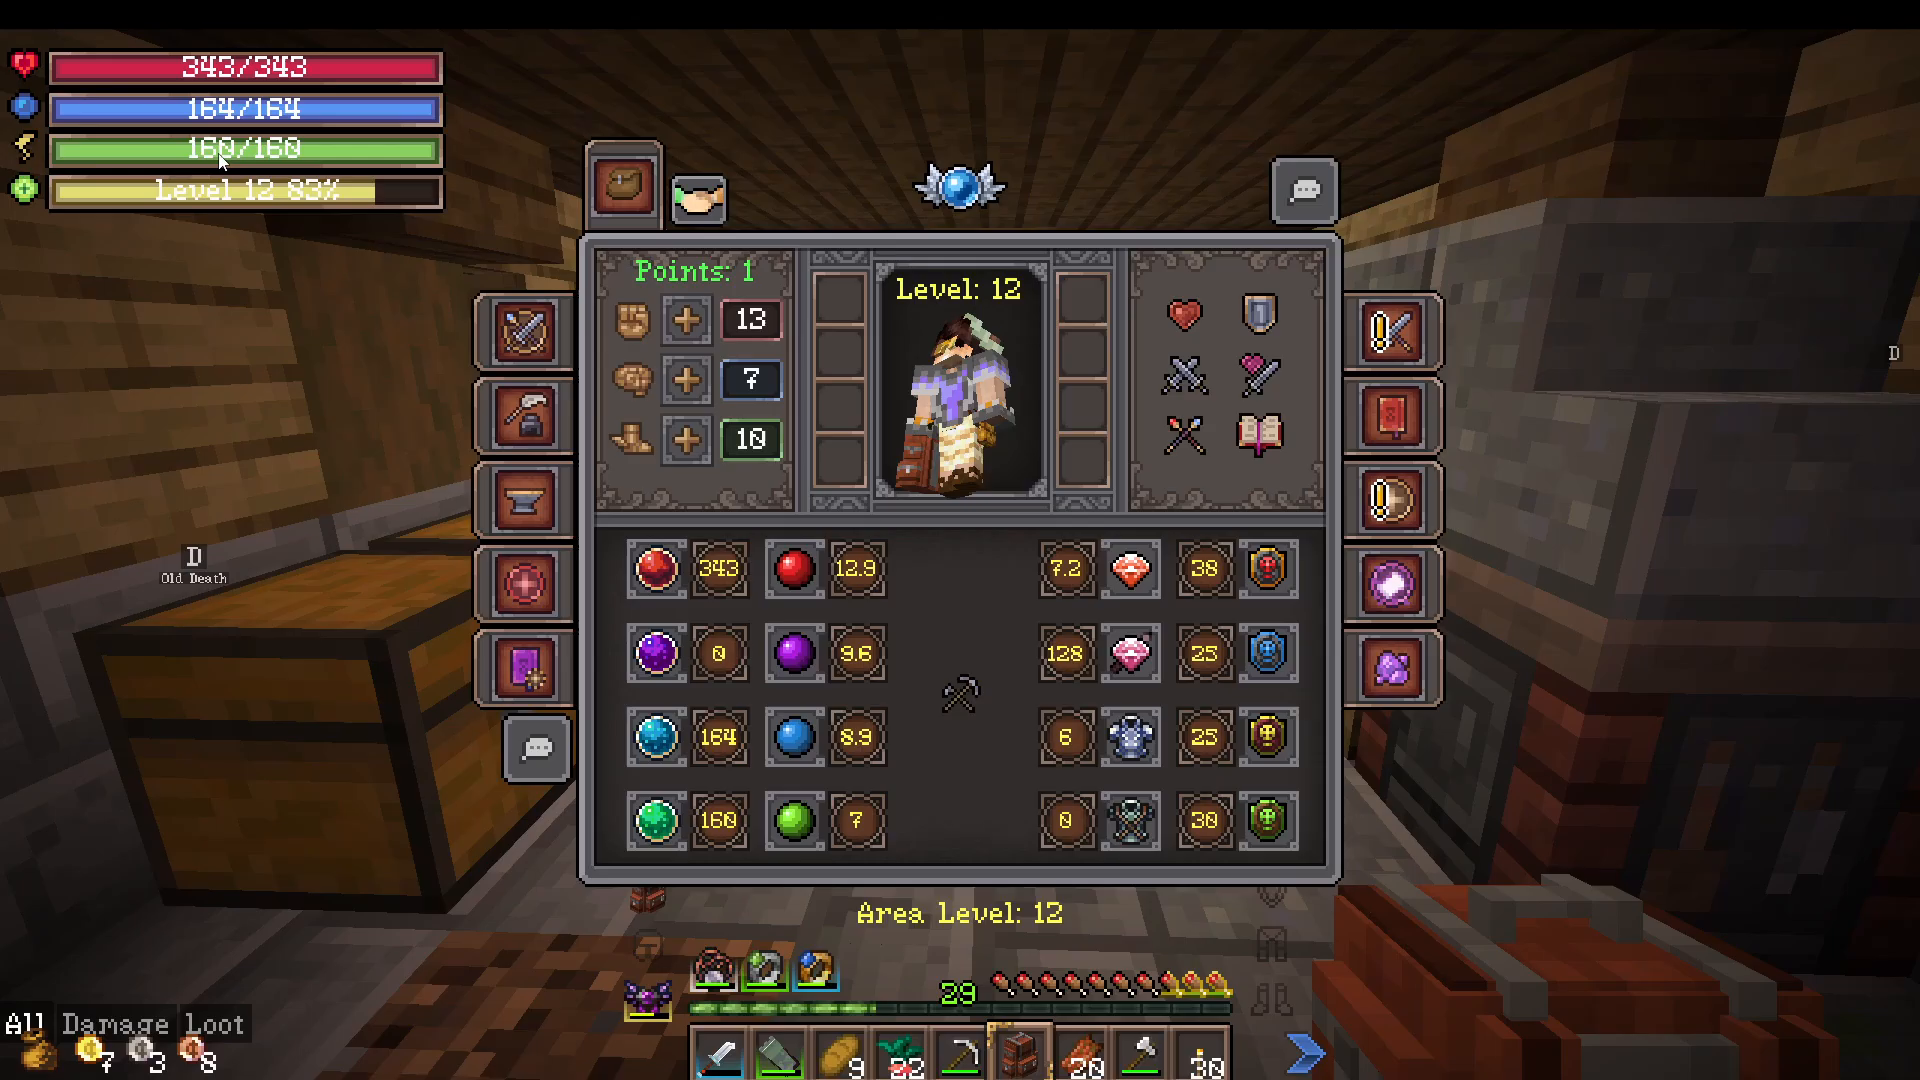
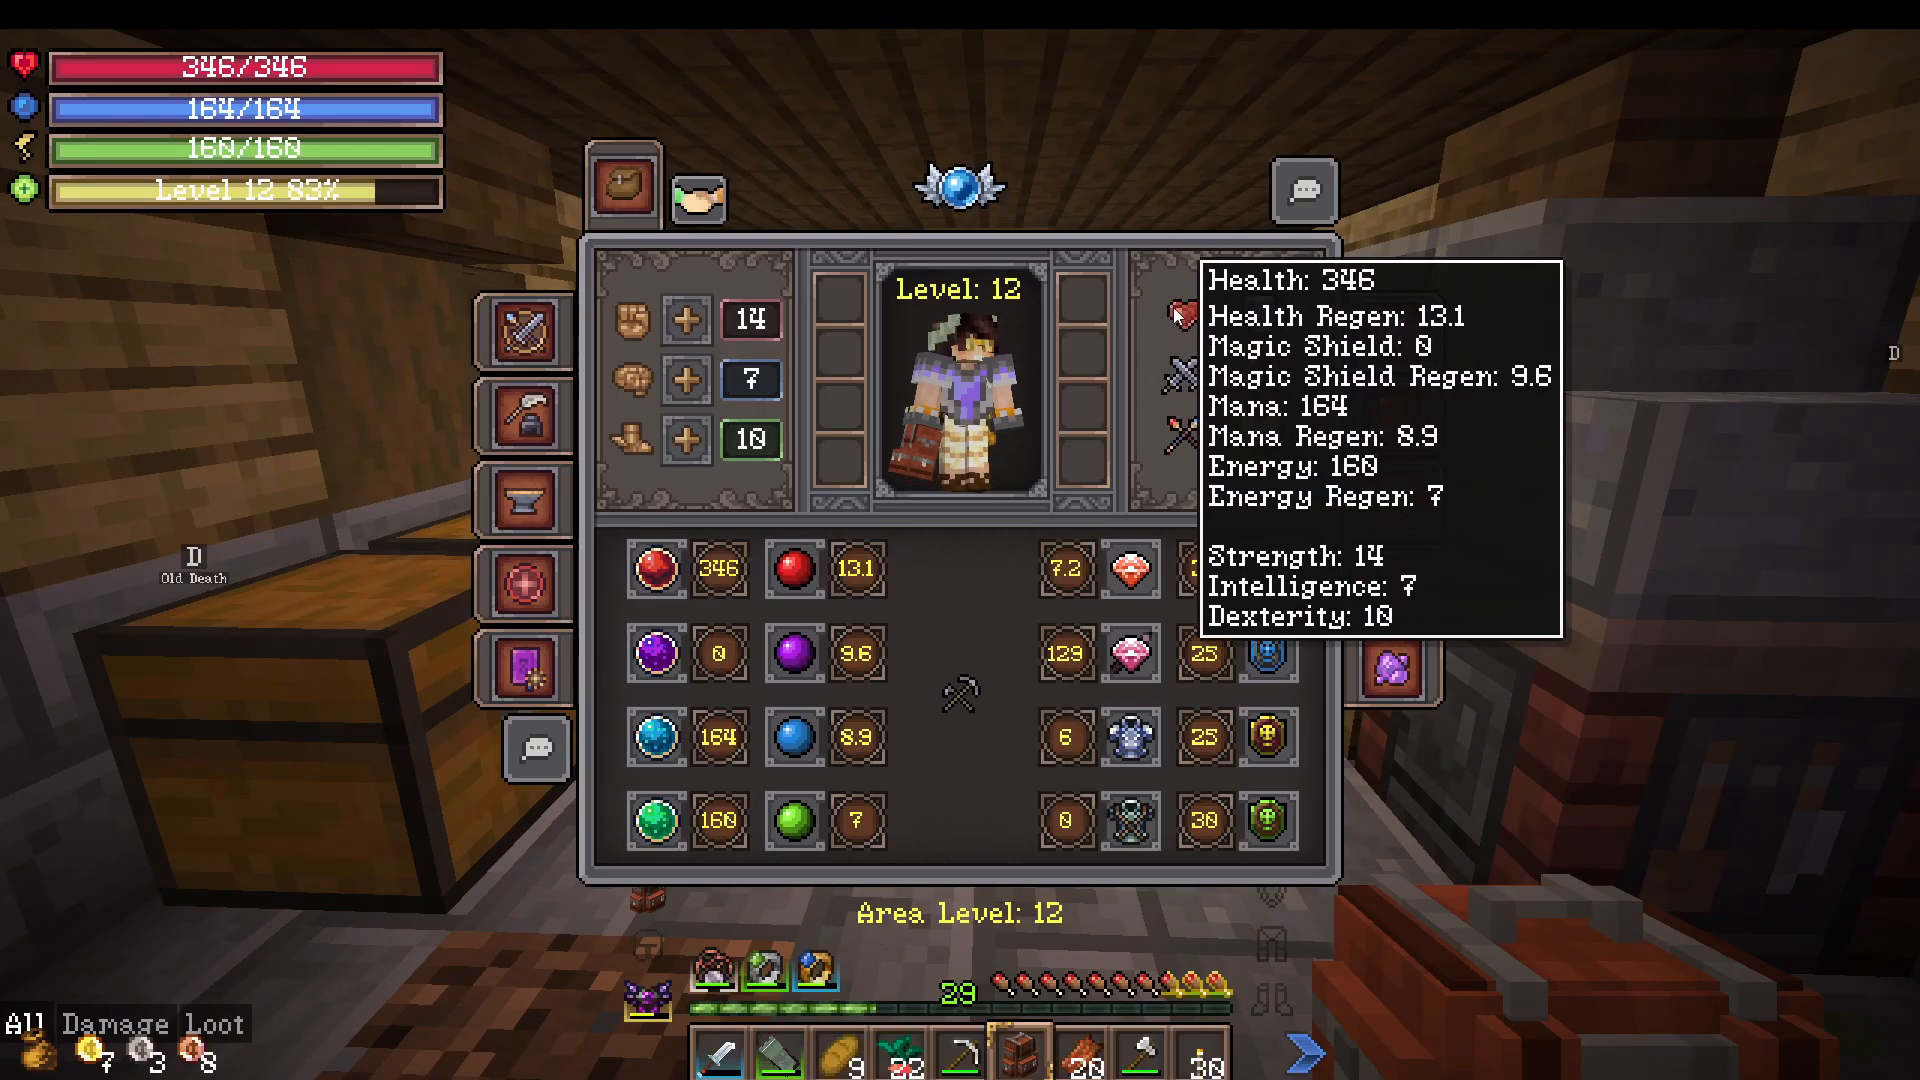
Every time you level up, you receive one stat point that you can allocate to Strength, Intelligence, or Dexterity. Here’s how each attribute benefits your character:
Strength: Increases armor and health regeneration. Best for melee characters.
Intelligence: Boosts mana and spell damage. Ideal for mage characters.
Dexterity: Enhances dodge chance and attack speed. Perfect for archer characters.
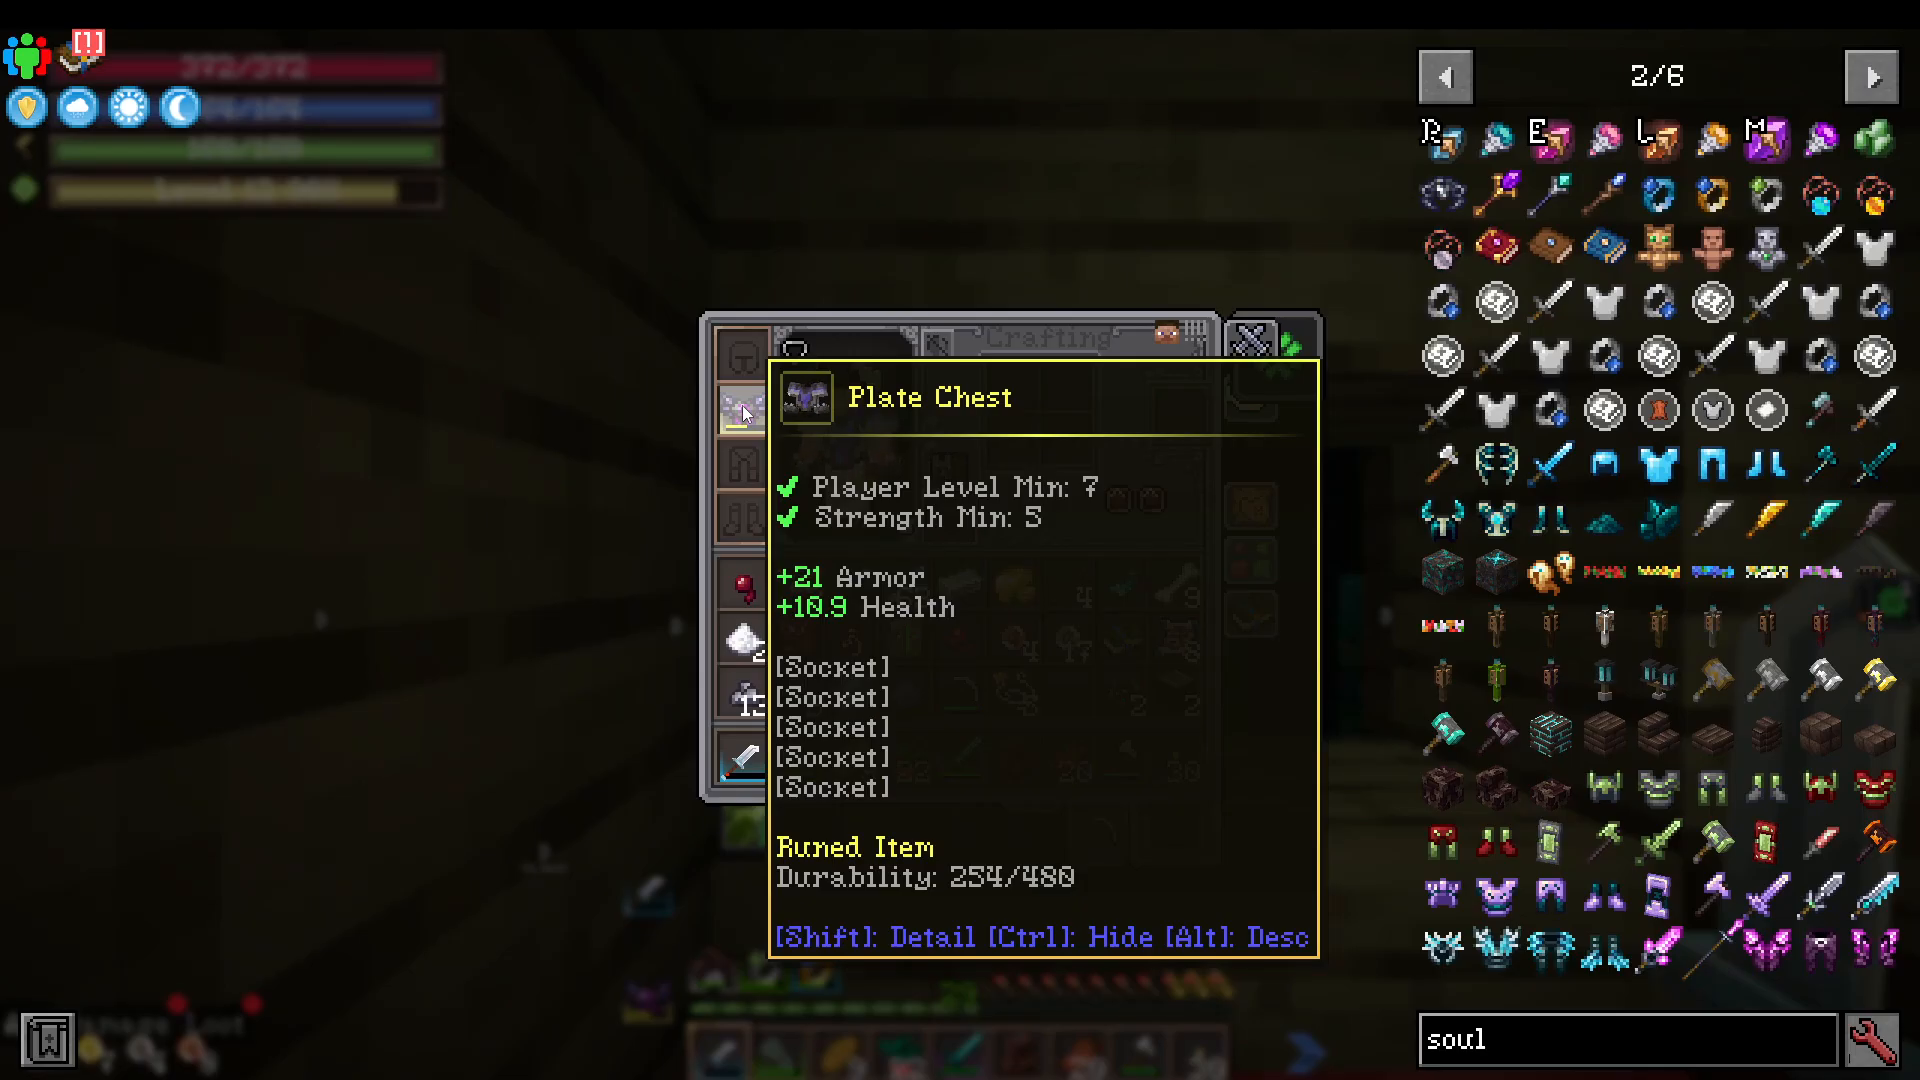
Your gear may have minimum stat requirements. For example, a chest plate might require a minimum of 5 Strength to equip. You can see your total stats displayed at the bottom of the stats screen.
Health and Defense Stats
On the right side of your stats screen, you’ll see several important defensive metrics:
Health: Your hit points; your health regeneration rate is shown separately.
Magic Shield: An additional health bar that depletes before your actual health. Both your magic shield and health can regenerate independently.
Mana and Energy: Resources used for abilities and skills.
Armor: Reduces incoming physical damage.
Dodge: A chance to completely avoid incoming attacks.
Additional stats include healing strength, leech (stealing health from enemies), weapon damage, skill damage, accuracy, crit chance, crit damage, and resistances to different damage types: fire, cold, lightning, chaos, and physical.
Talents and Ascendancy System
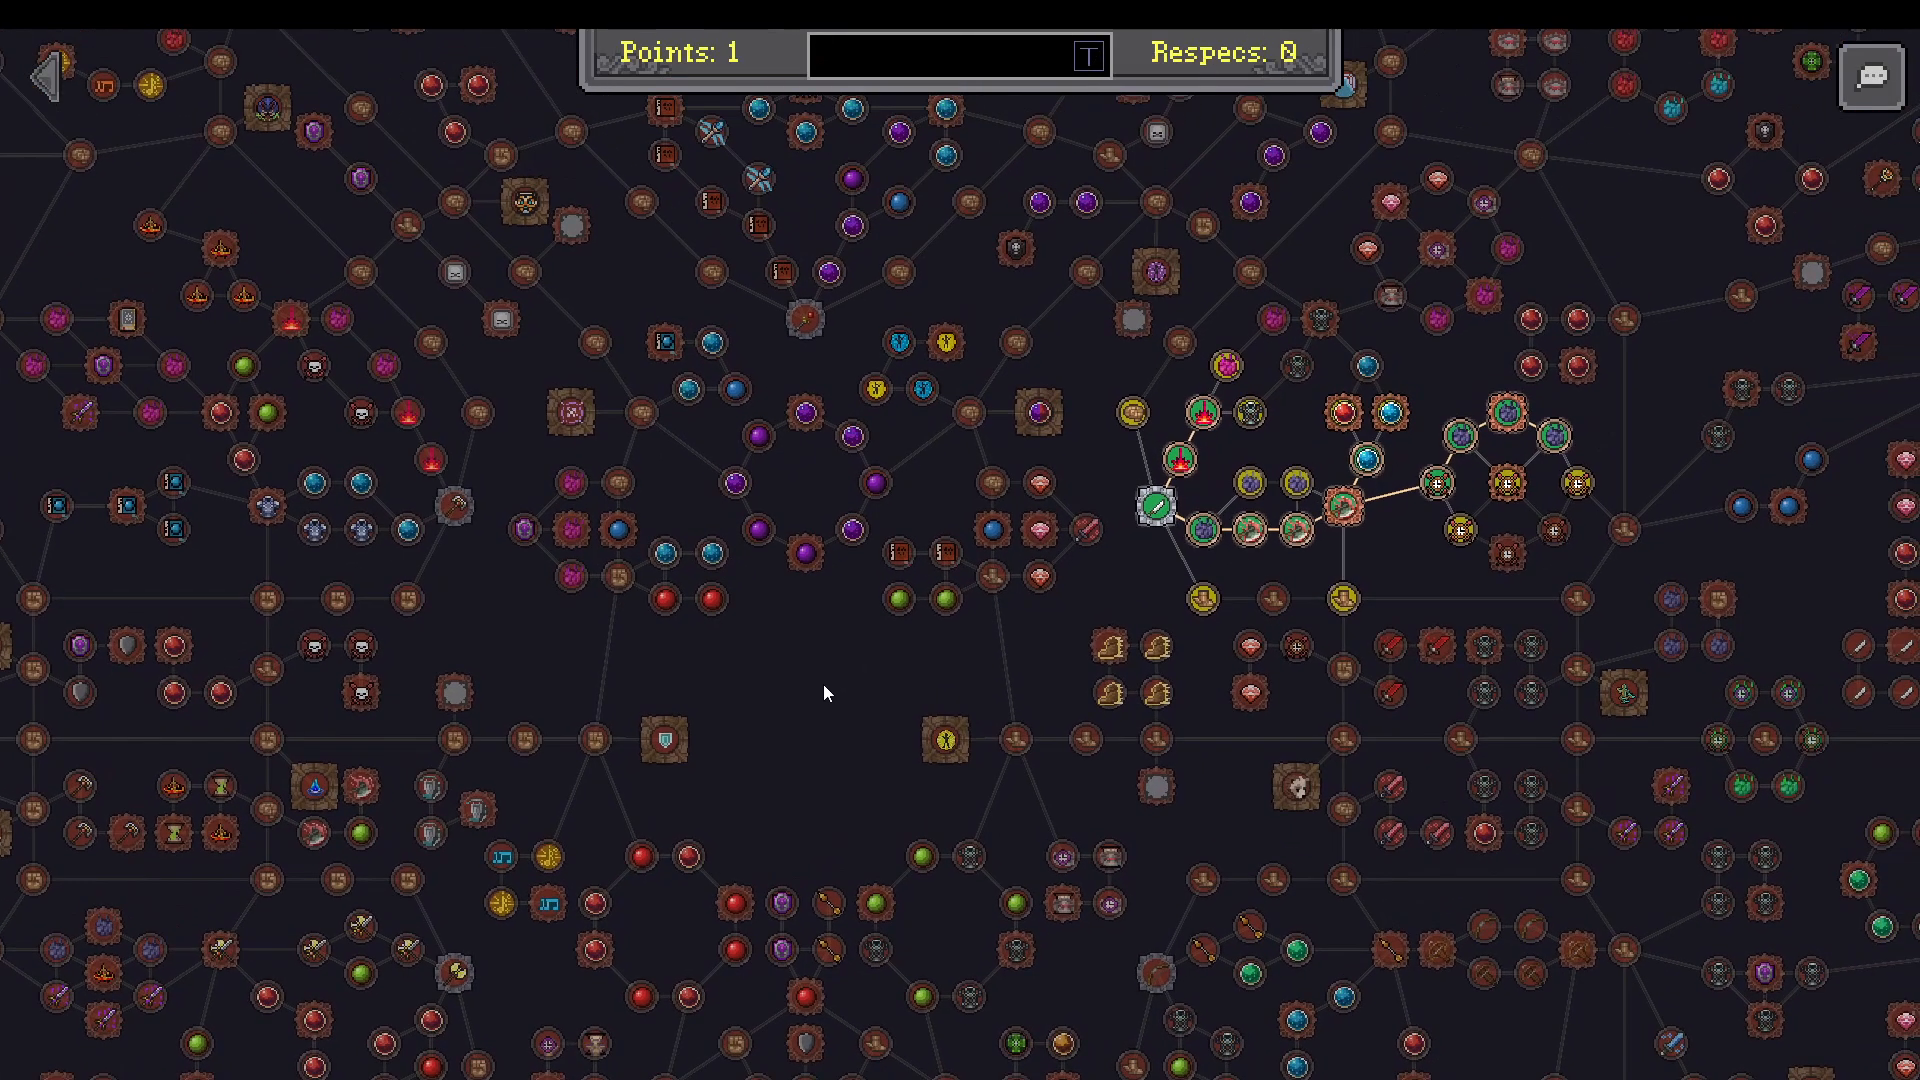
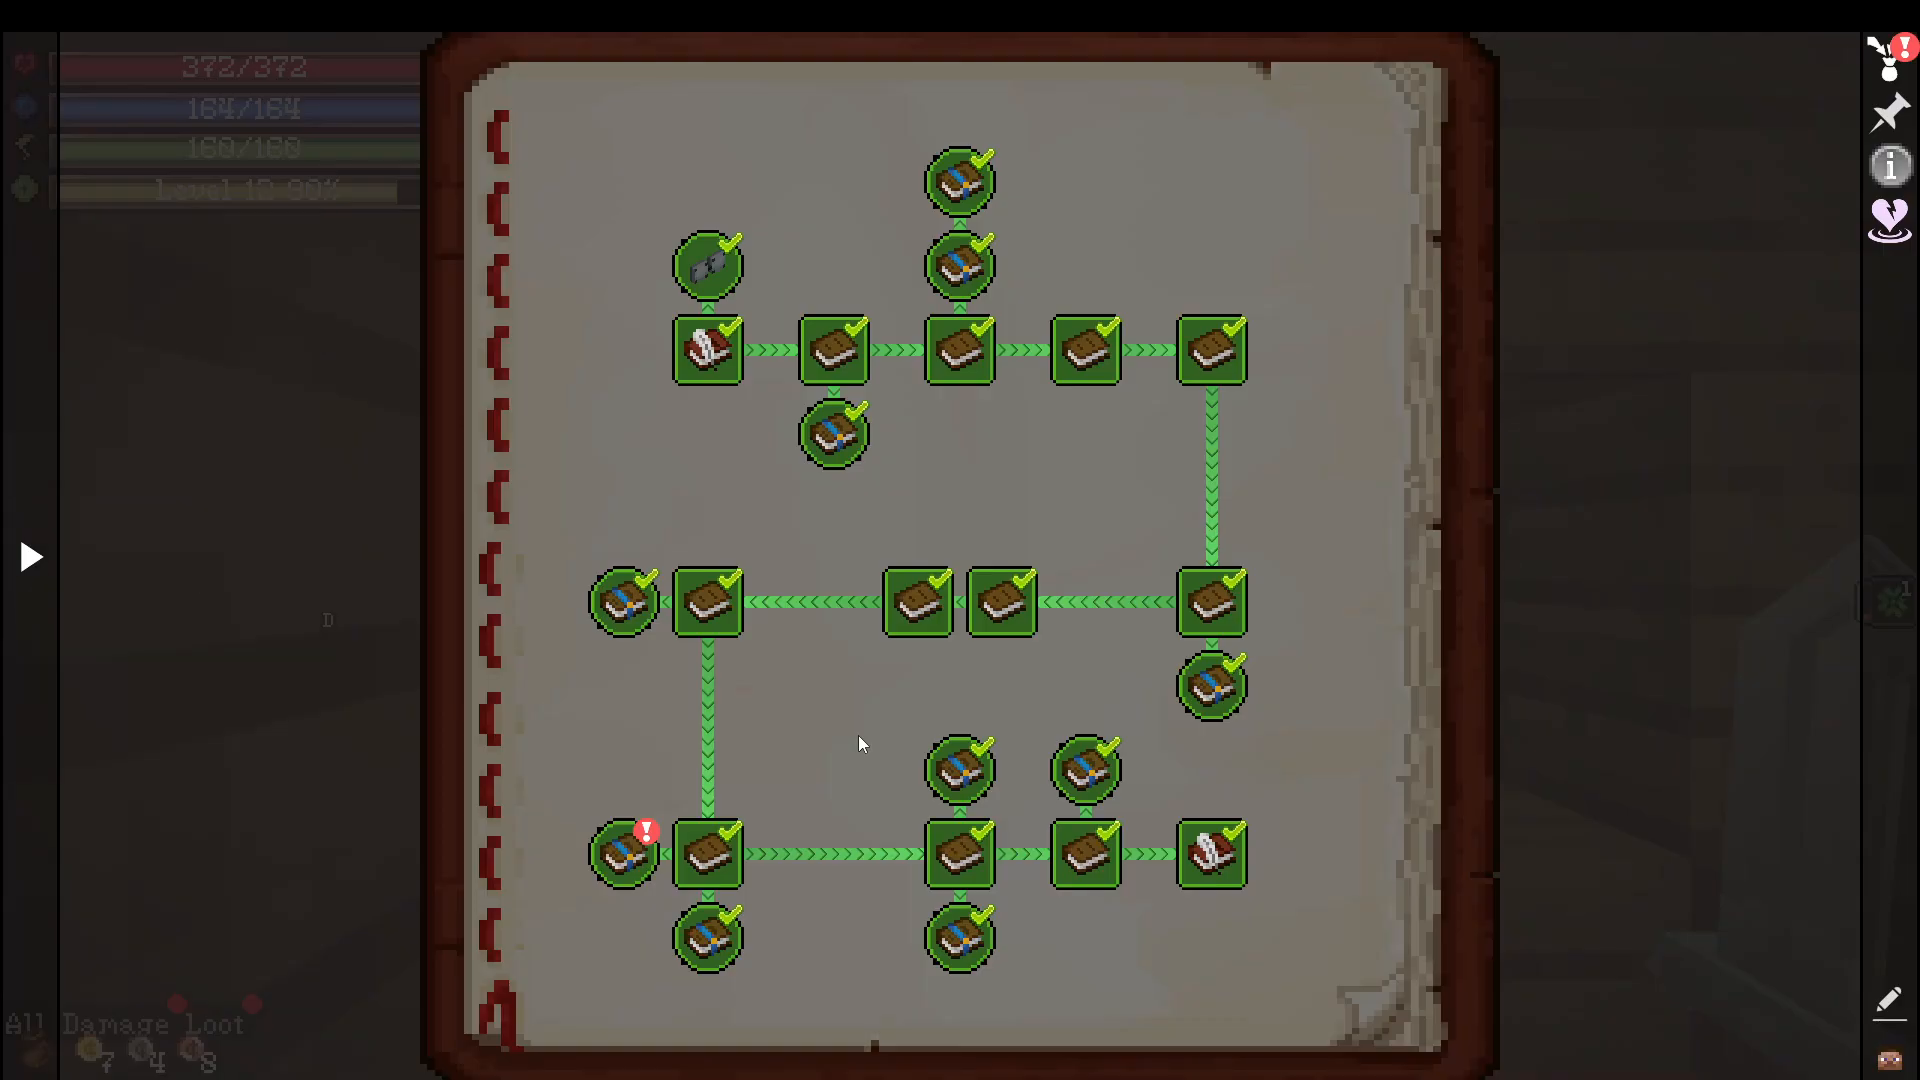
The talent tree is a massive system for character customization. When you first start, you choose a starting node—such as the dagger or staff—which provides bonuses to your core attributes. You can only have one starting perk of each type. Following a build guide is highly recommended, as the talent tree is extremely complex.
As you progress, you’ll unlock larger nodes that provide significant bonuses to your build. These nodes often grant bonuses like attack speed, physical damage, and other powerful effects. You also unlock jewel sockets in the talent tree, which allow you to slot jewels for additional bonuses.
Obtaining Ascendancy Points
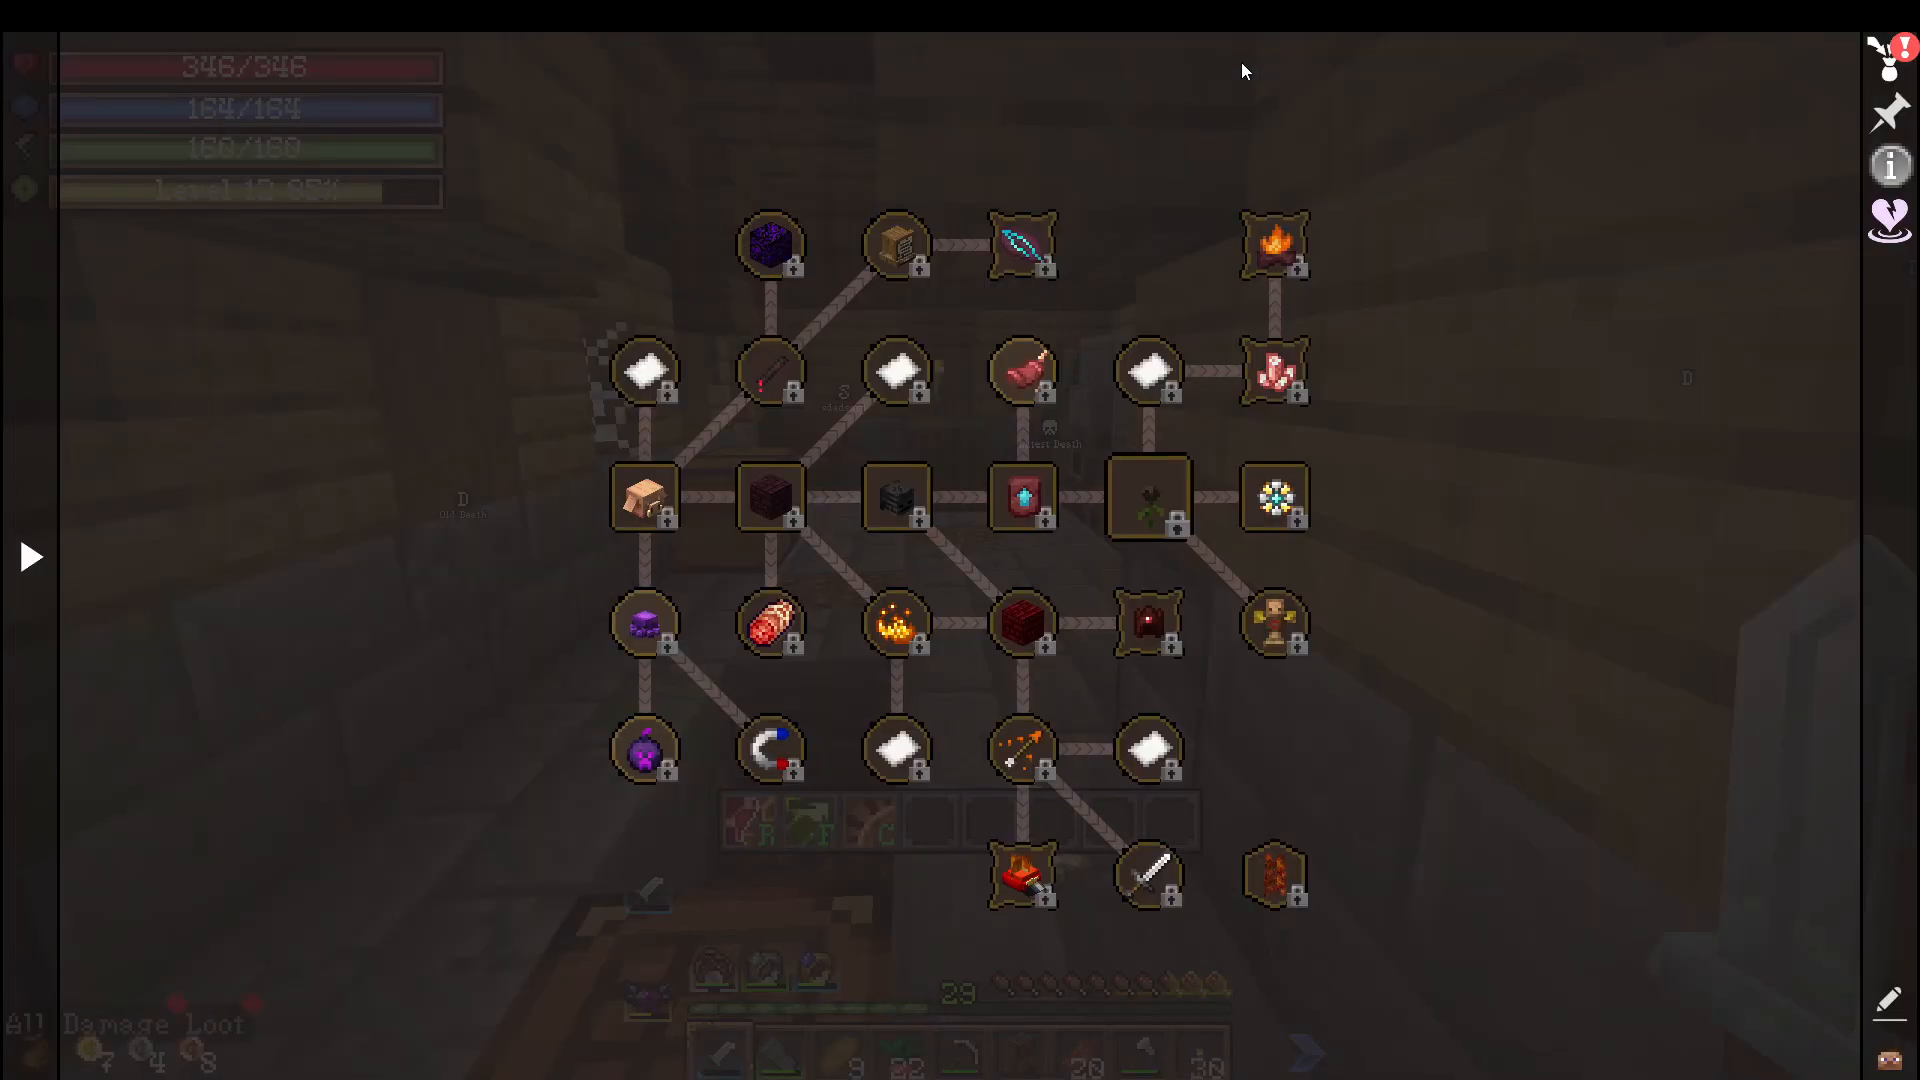
Ascendancy is a secondary talent tree that provides additional character customization. To unlock ascendancy points, you must complete specific quests from the Campaign tab. The quests include:
Complete Defenders of the Nether
Complete Slippery Swimmer
Complete They Knew You Were Coming
Complete Epileg Elemental Bosses
For example, to unlock your first ascendancy point, you must complete the “Defenders of the Nether” quest. Click the underlined text in the quest book to navigate to the relevant challenge. The Nether Keep, a powerful boss found in the Nether Waste and Crimson Forests, can be summoned by placing a Nether Star in an altar. Defeat this boss to unlock your ascendancy point.
Classes, Skills, and Hotbar Setup
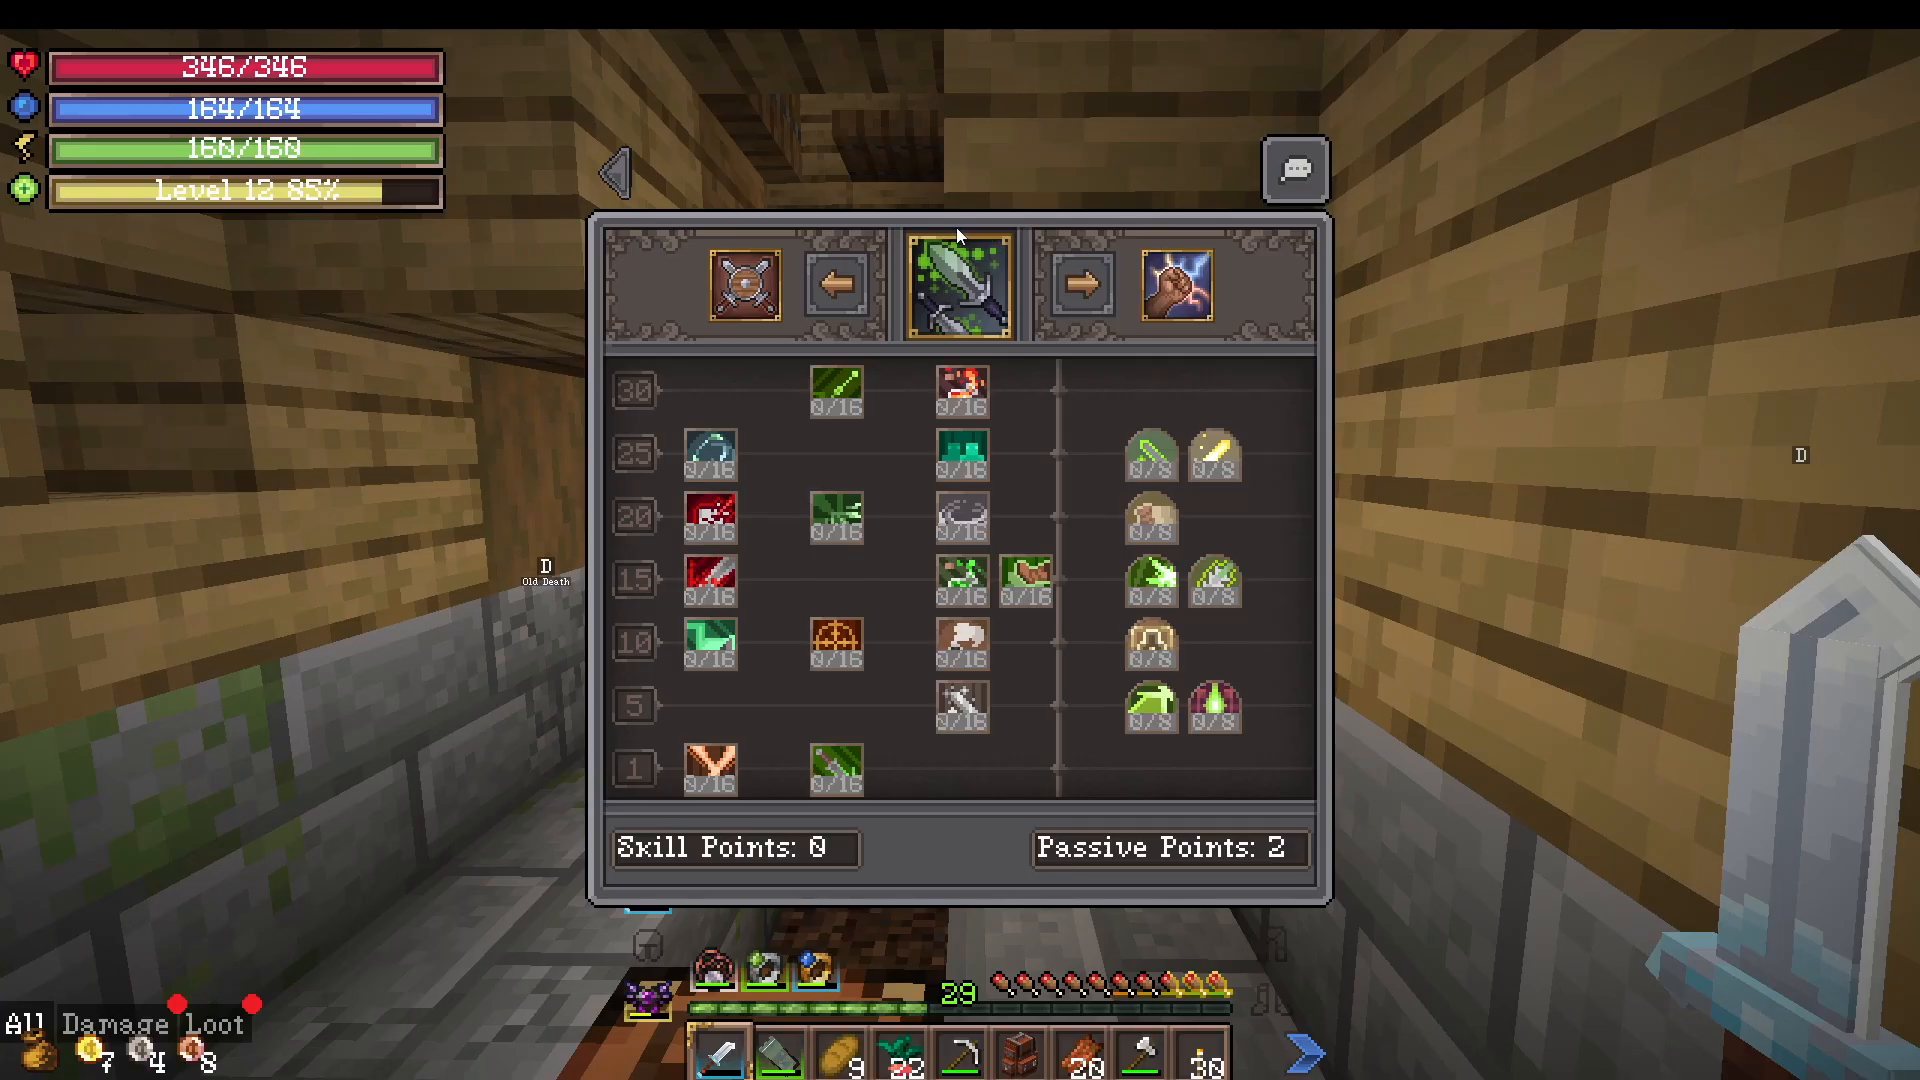
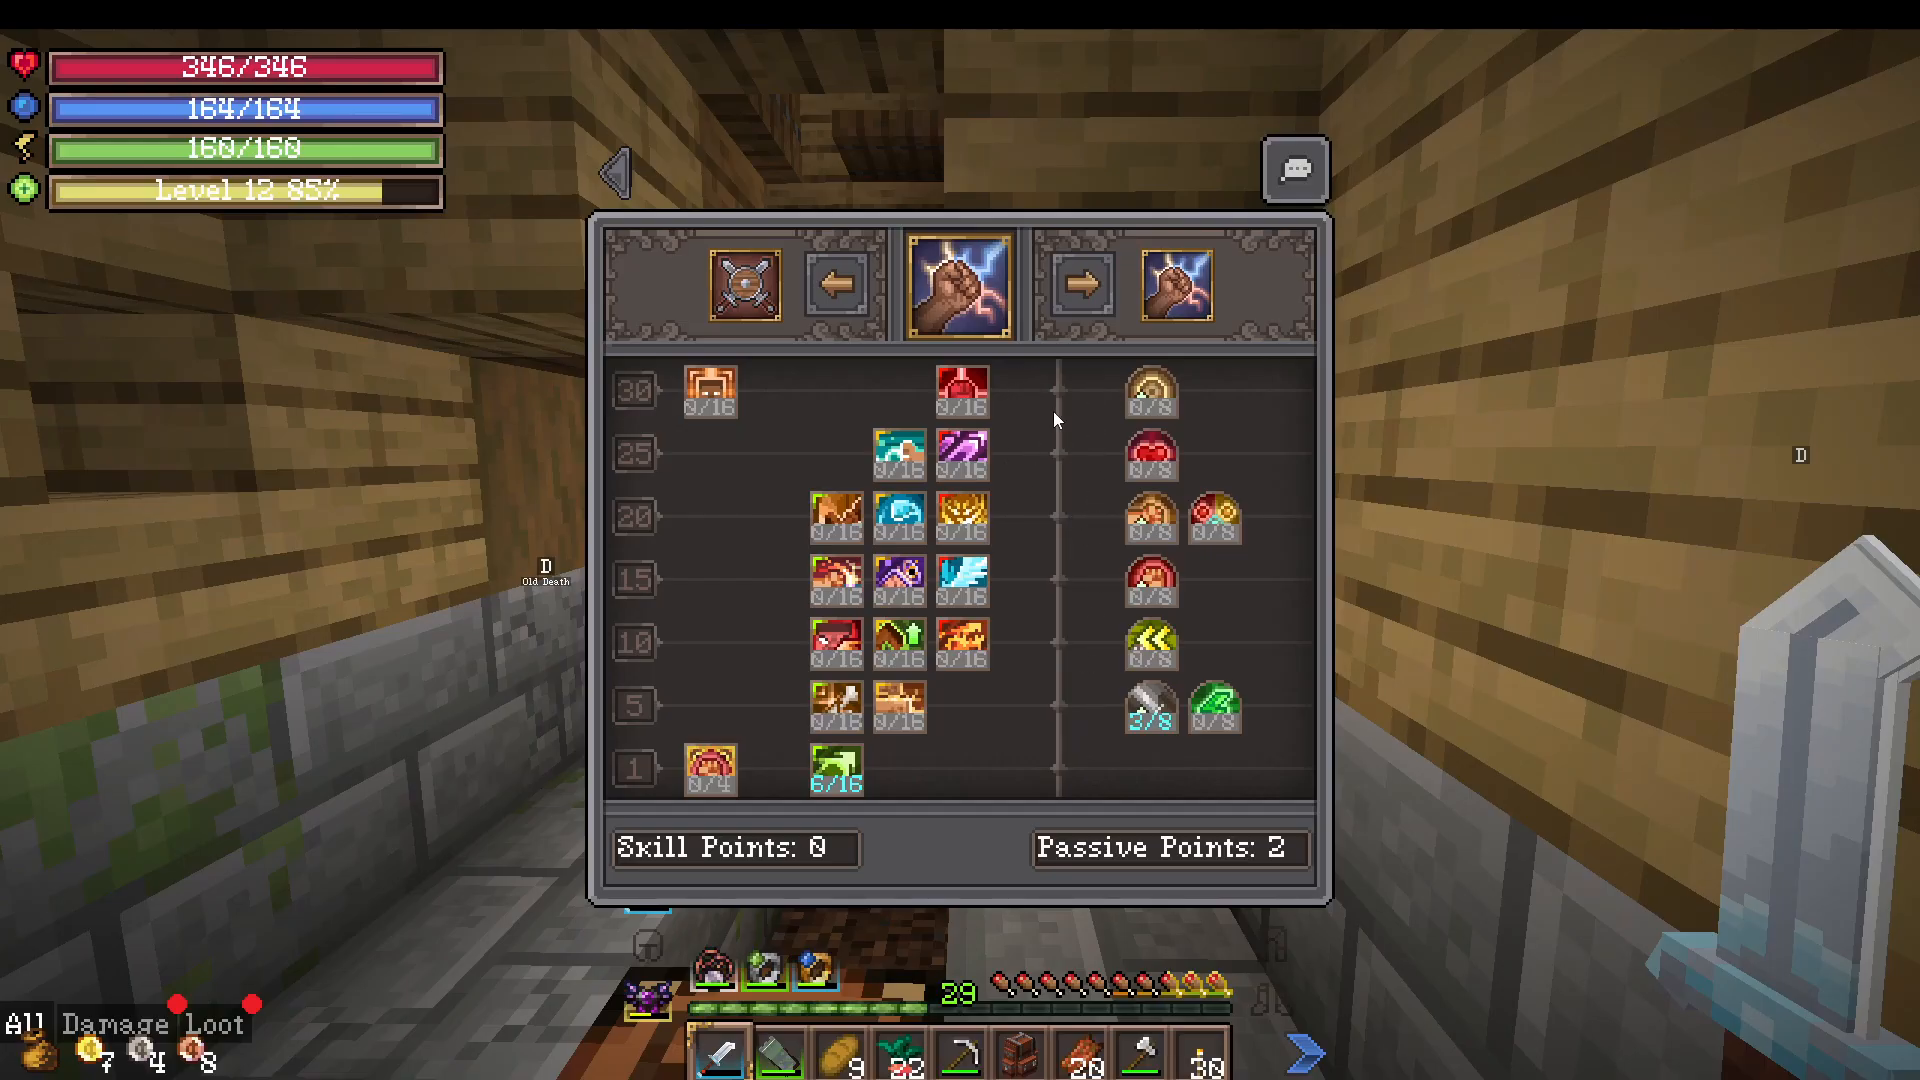
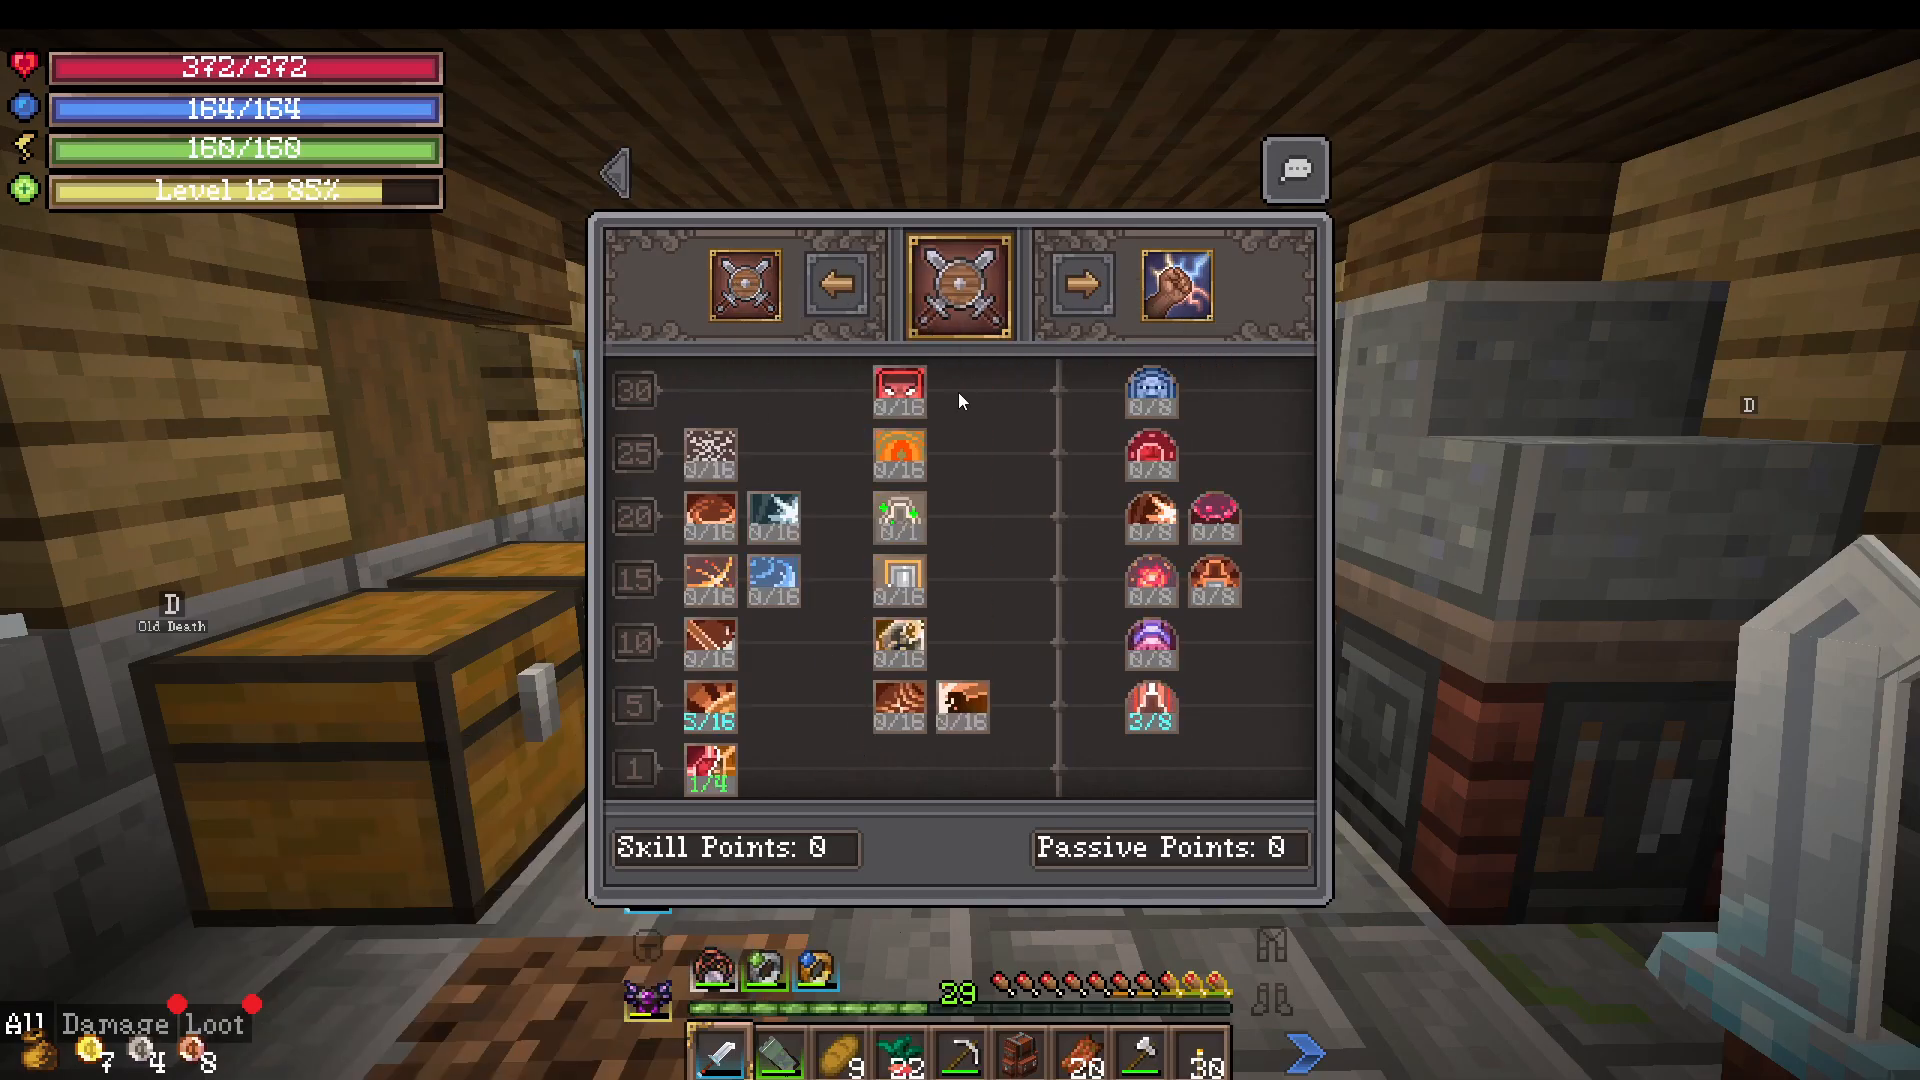
Every time you level up, you also receive skill points to spend on classes. You can choose up to two classes simultaneously. Each class offers both active abilities (skills you can use in combat) and passive bonuses.
Active and Passive Skills
Active skills are mapped to your hotbar. By default, you can use them by pressing C, R, or F on your keyboard. Each time you level up a class, new active abilities unlock at certain level thresholds. For example, you might unlock a new ability at level 5, another at level 10, and so on.
Passive skills provide stat bonuses and don’t require activation. You have separate skill points and passive points to spend. Choose your passives carefully to complement your build.
Support Gems and Augmentation
You can augment your active skills with support gems. As you level up a skill, you unlock more gem slots for that ability. Support gems add additional effects or bonuses to your skills. These gems can be looted from enemies throughout the world and slotted into your abilities in the skill hotbar menu.
Combat and Gear Fundamentals
Craft to Exile 2 offers three main fighting styles: melee (close-range), archery (long-range), and magic (spellcasting). Your choice determines which stats are most important for your character.
Weapon Souls and Gear Enhancement
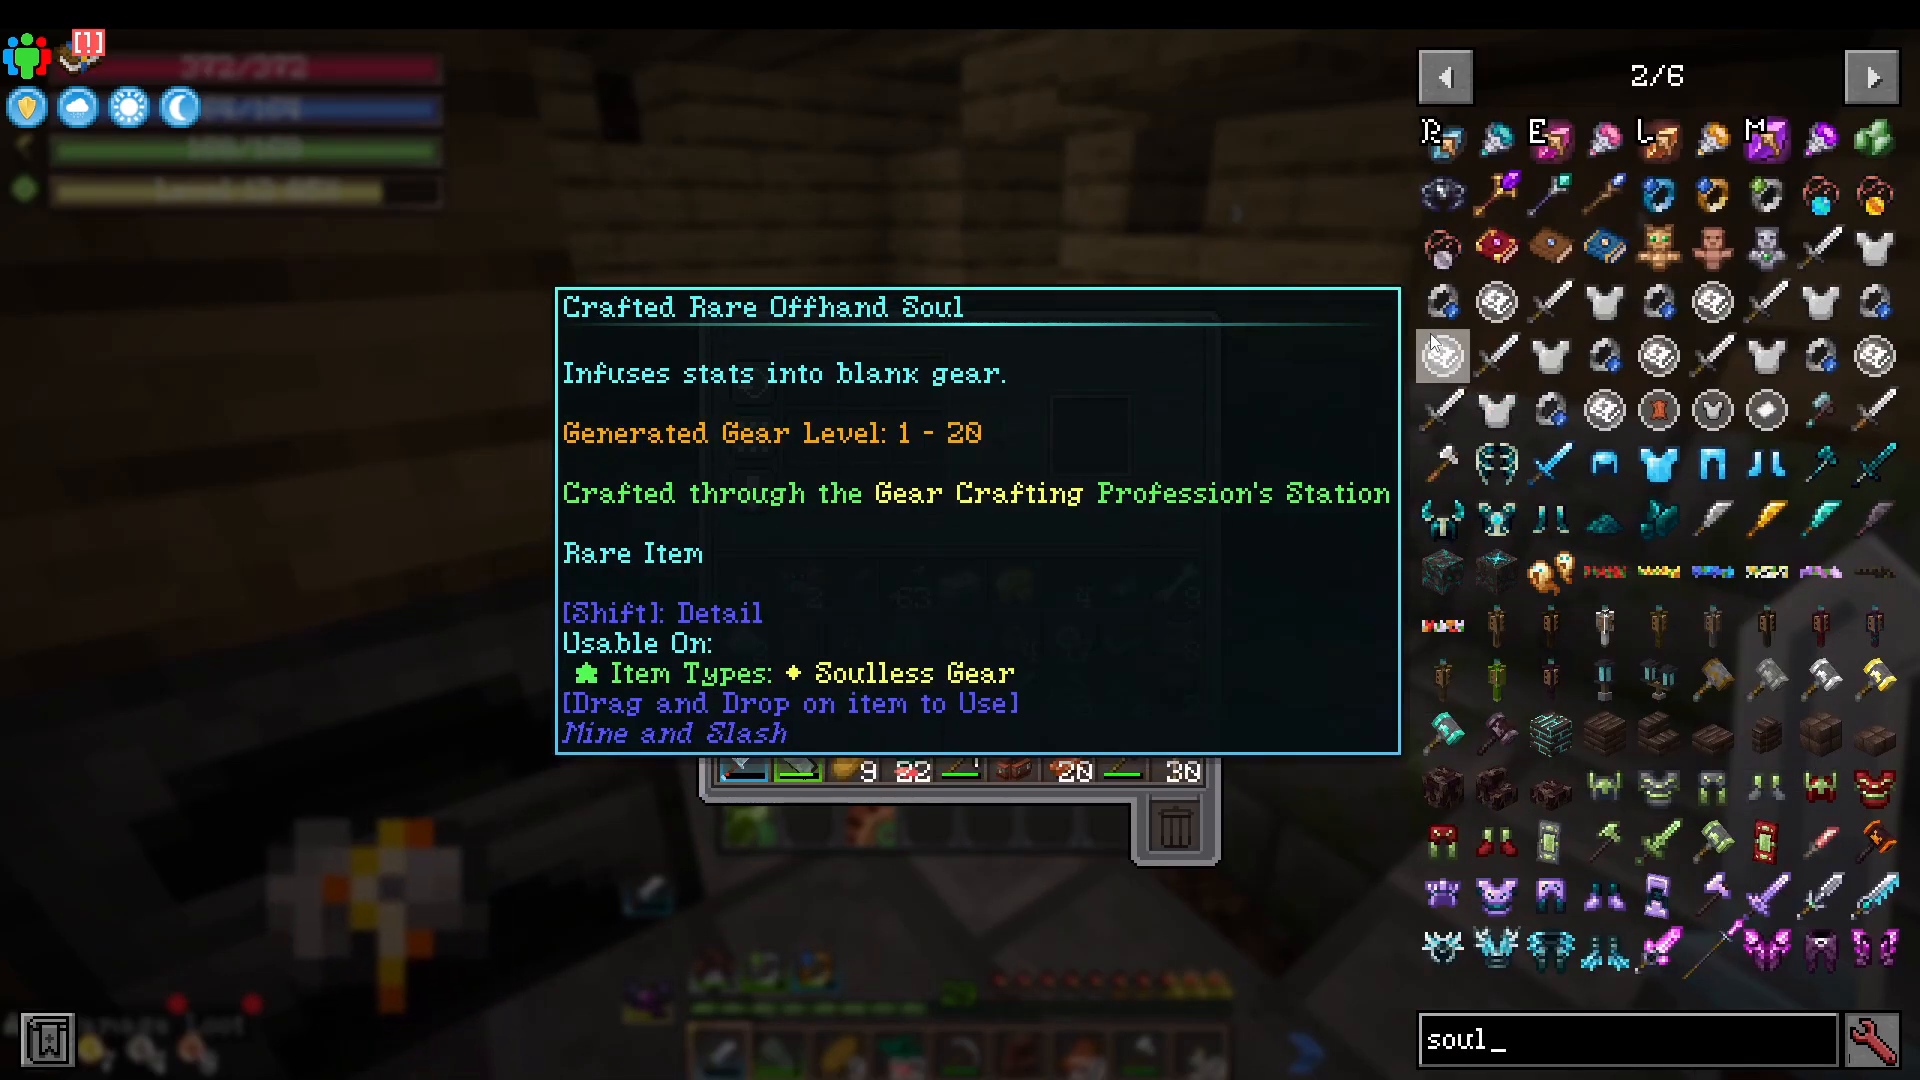
When you find a basic weapon like an iron sword or diamond sword, it initially lacks a soul and has no stats. To transform it into a proper weapon with stats, you must craft and apply a weapon soul using the gear crafting station.
Weapon souls come in different rarities: common, uncommon, rare, epic, legendary, and mythic. For example, a “Crafted Rare Weapon Soul” will create a rare-quality weapon when applied. Simply click the soul onto your weapon to apply it.
Combat Mechanics
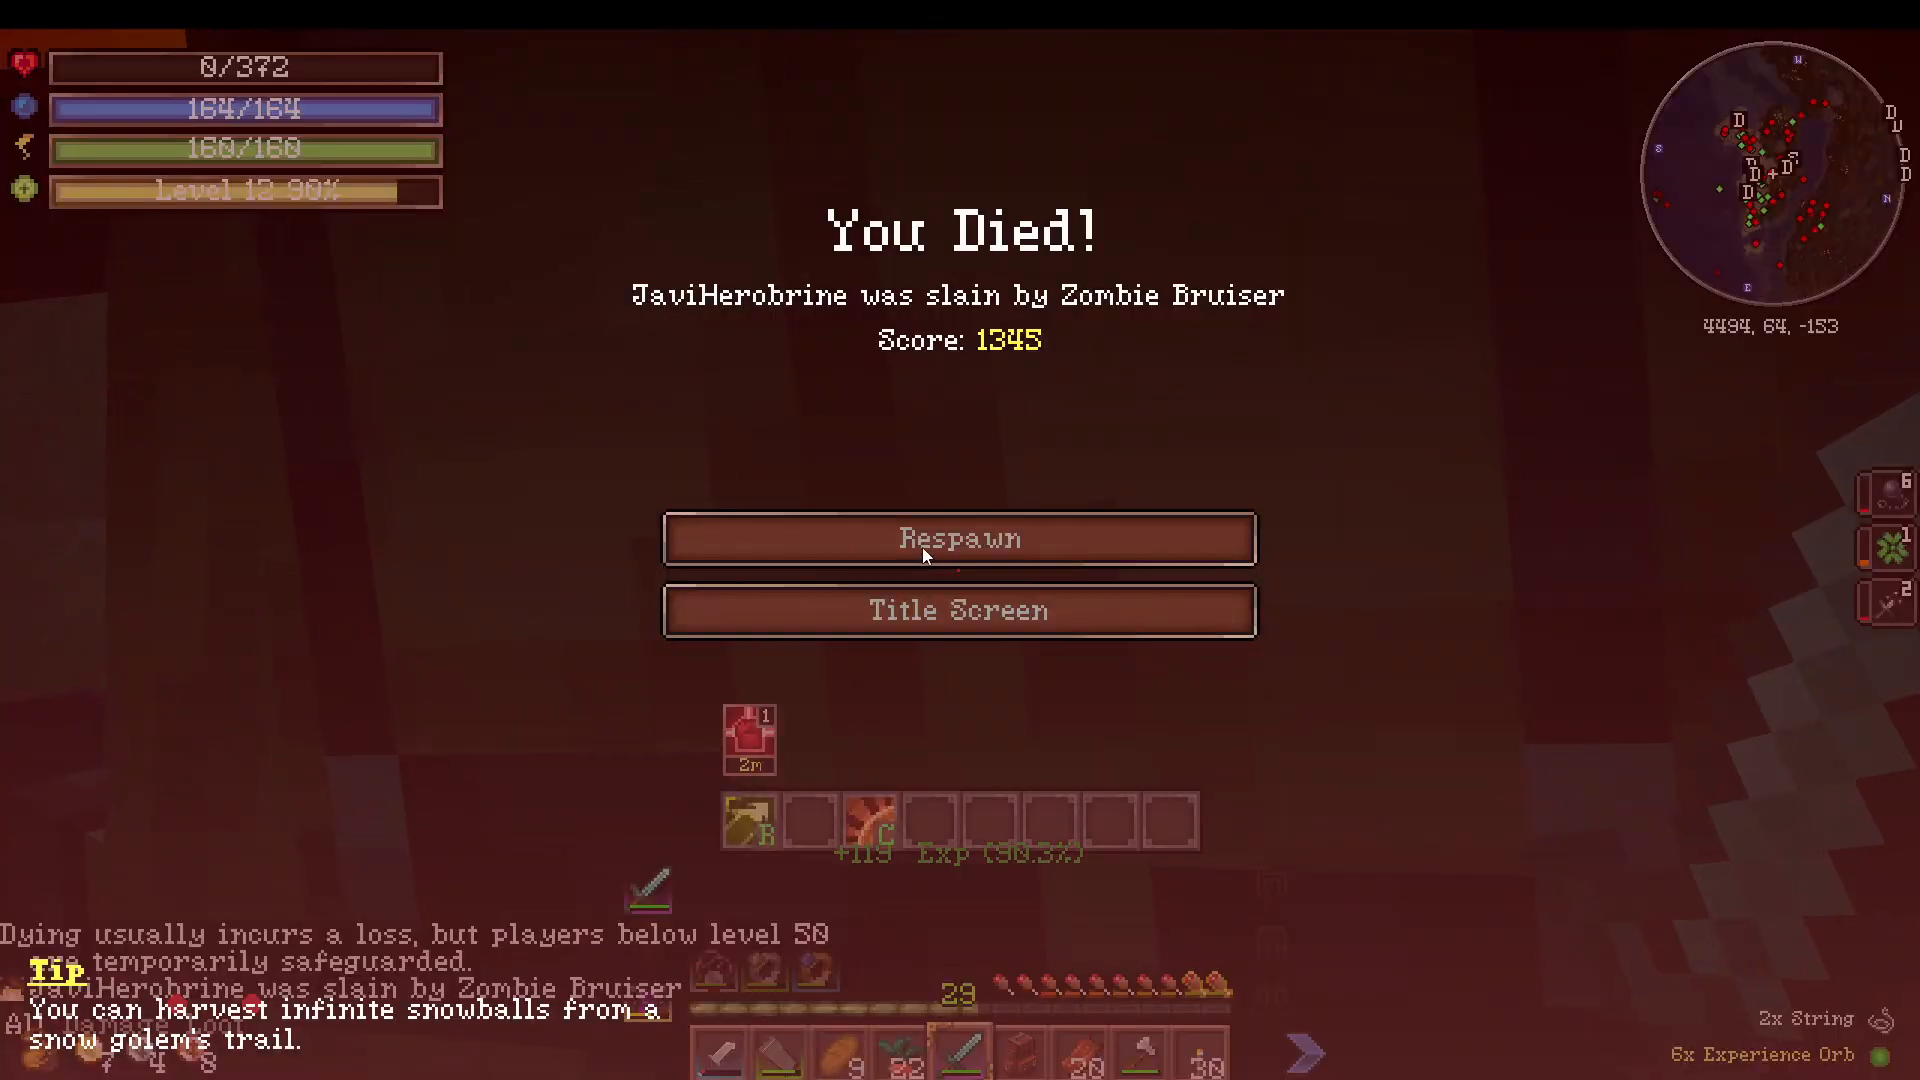
Basic attacks are performed with left-click. To dodge incoming attacks, use the Alt key to perform a dodge roll. You can perform combos with consecutive clicks, but dodging is your primary defense mechanism. If you die, you keep your entire inventory, so don’t fear losing your gear.
Armor Types and Defense
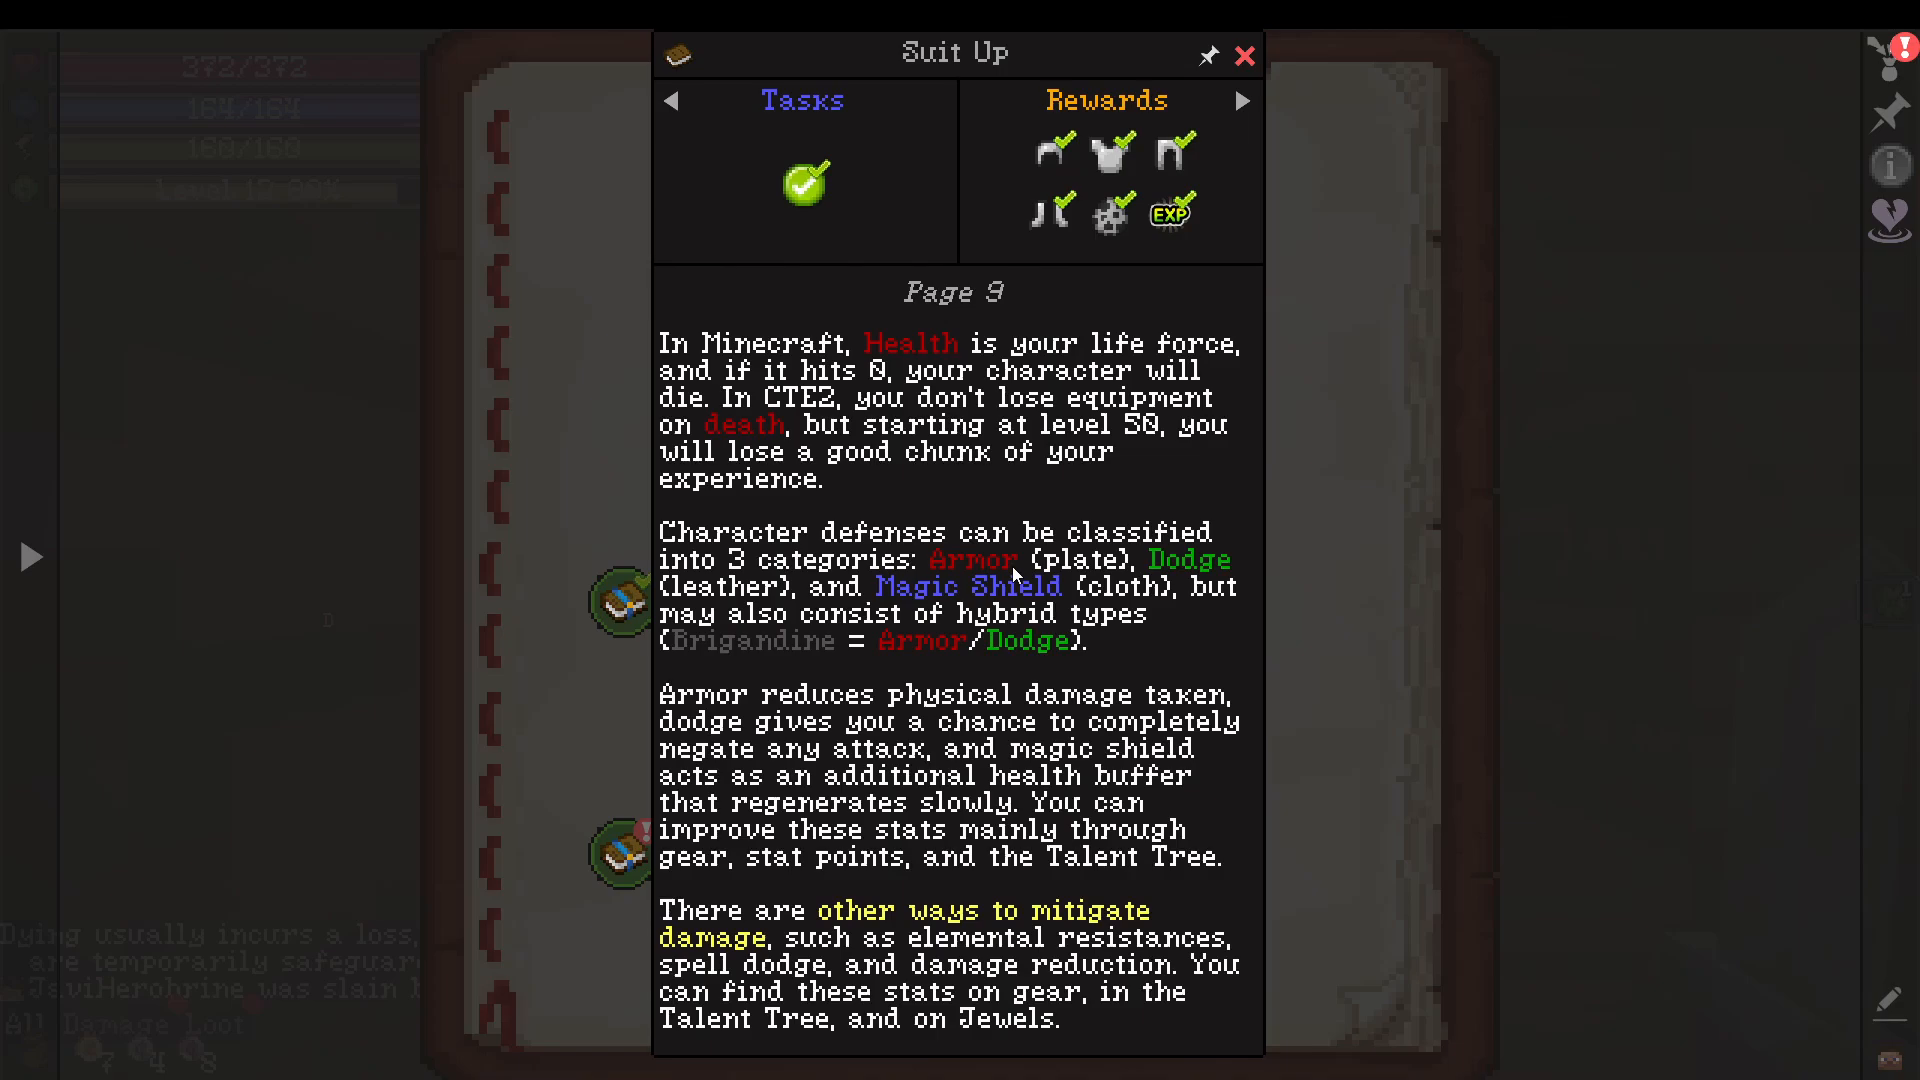
Armor falls into three main categories:
Plate Armor: Provides high armor values but low dodge. Best for melee characters.
Leather Armor: Provides dodge but lower armor. Ideal for archers and dexterous characters.
Cloth Armor: Provides high magic shield. Perfect for mages and intelligence-based characters.
Hybrid armor types like Brigandine exist, offering bonuses from multiple categories. Mix and match armor based on your stats and playstyle. Note that “leather armor” refers to any armor classified as leather armor, not just leather from cows.
Mob Farm Limitations and Exploration
There is a limit to how many mobs can be killed within a chunk before they stop yielding drops or experience. Therefore, mob farms are ineffective, and you should rely on exploration and natural mob encounters instead.
Heart Containers and Teleportation
Throughout your exploration, you may find spirit orbs. These can be exchanged at goddess statues for heart containers, which increase your base health by 2 points each, up to a maximum of 200 additional health. Waystones can be found and used for teleportation to different locations, making exploration more convenient.
Gear Sockets, Gems, and Runes
Most gear pieces contain sockets where you can place gems and runes to enhance your equipment. Gems are used for basic stat enhancements, while runes are used for more complex combinations.
Gems and Gem Grades
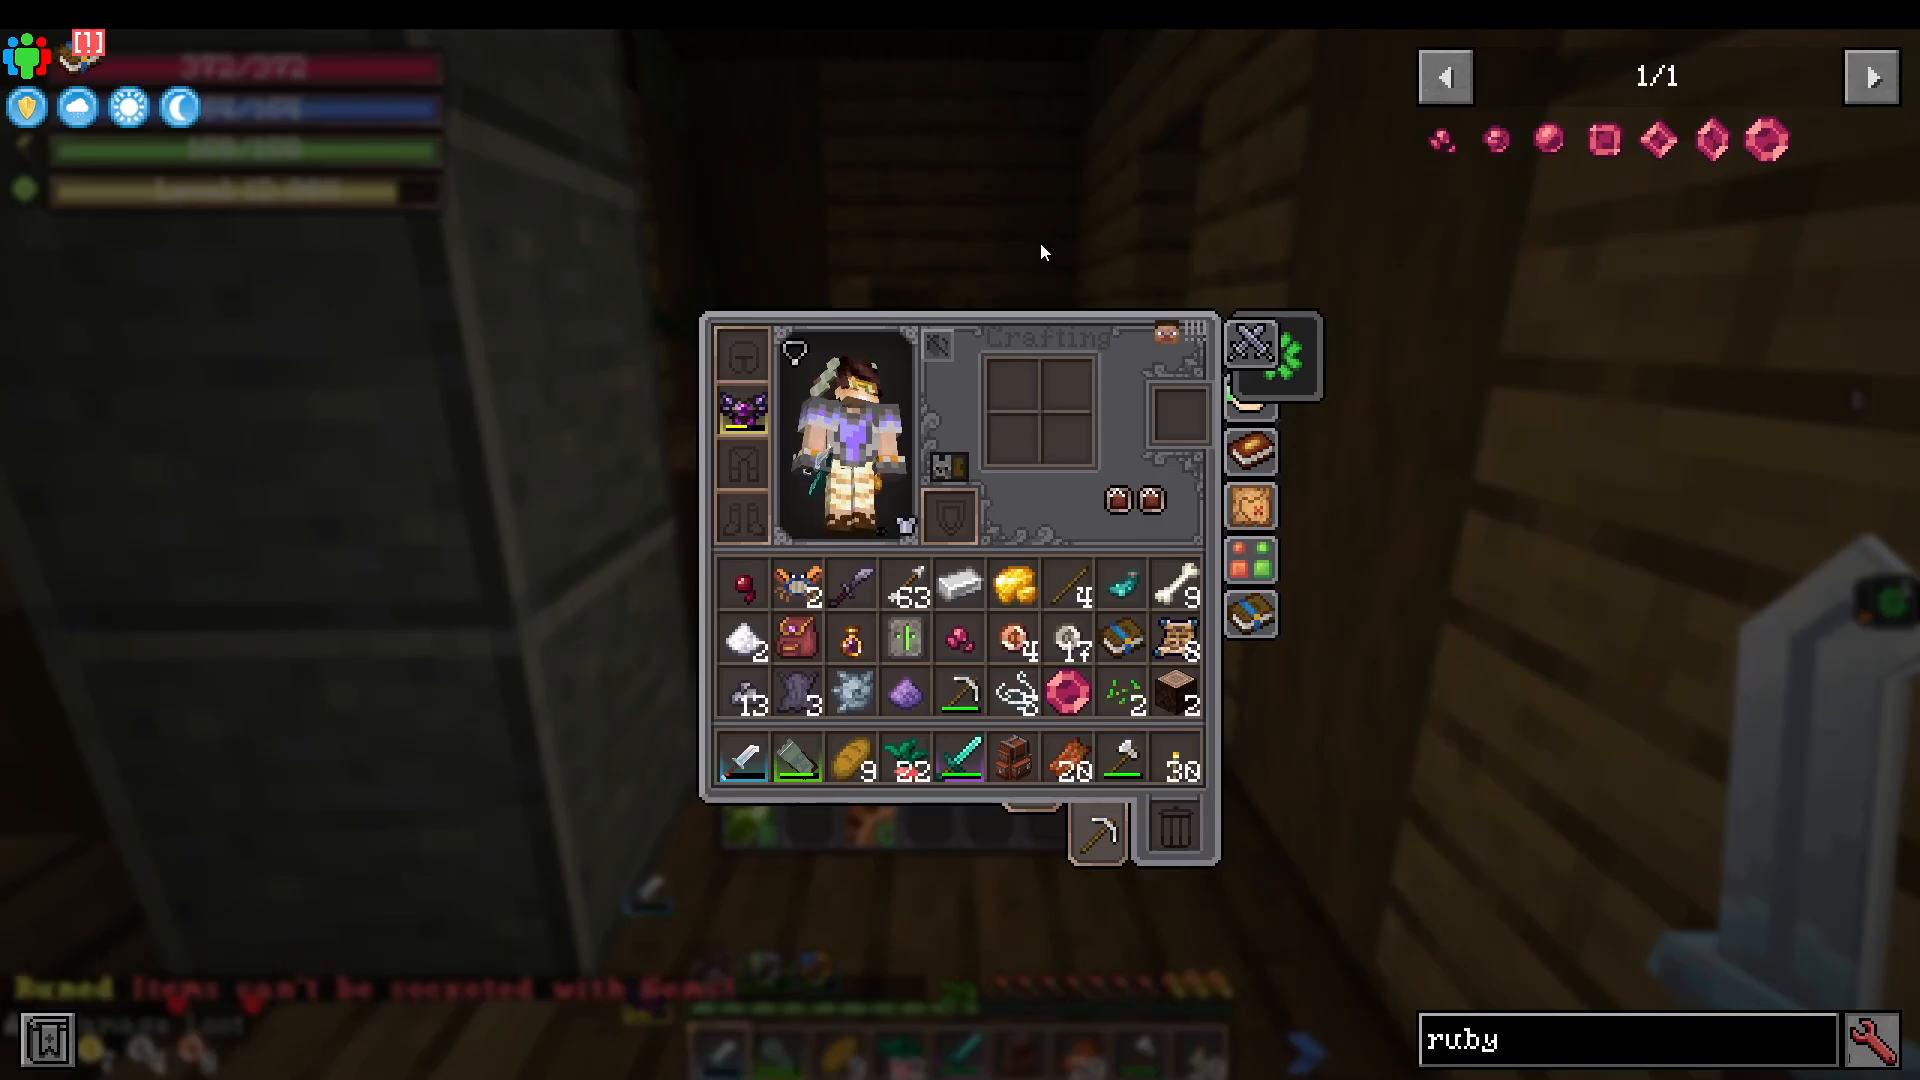
Gems come in various grades that increase their effectiveness. For example, a Cracked Ruby provides 12% fire resistance on armor. You can upgrade gems by combining three of the same grade into the next tier:
Cracked → Chipped (14% fire resistance)
Chipped → Flawed (16% fire resistance)
Flawed → Regular (18% fire resistance)
Regular → up to Divine (24% fire resistance)
To socket a gem, simply click the gem and click it onto your gear piece. The bonus will be applied immediately.
Runes and Runewords
Runes are special items that slot into runed gear. Unlike gems, runes can be combined to create “runewords”—powerful bonuses formed by placing specific runes together on a piece of gear. To combine runes, hold them in your hand and right-click to open the rune library. This shows you available runeword combinations. For instance, combining certain runes creates a “Strength” runeword that grants additional strength stats.
Gear Crafting and Salvaging
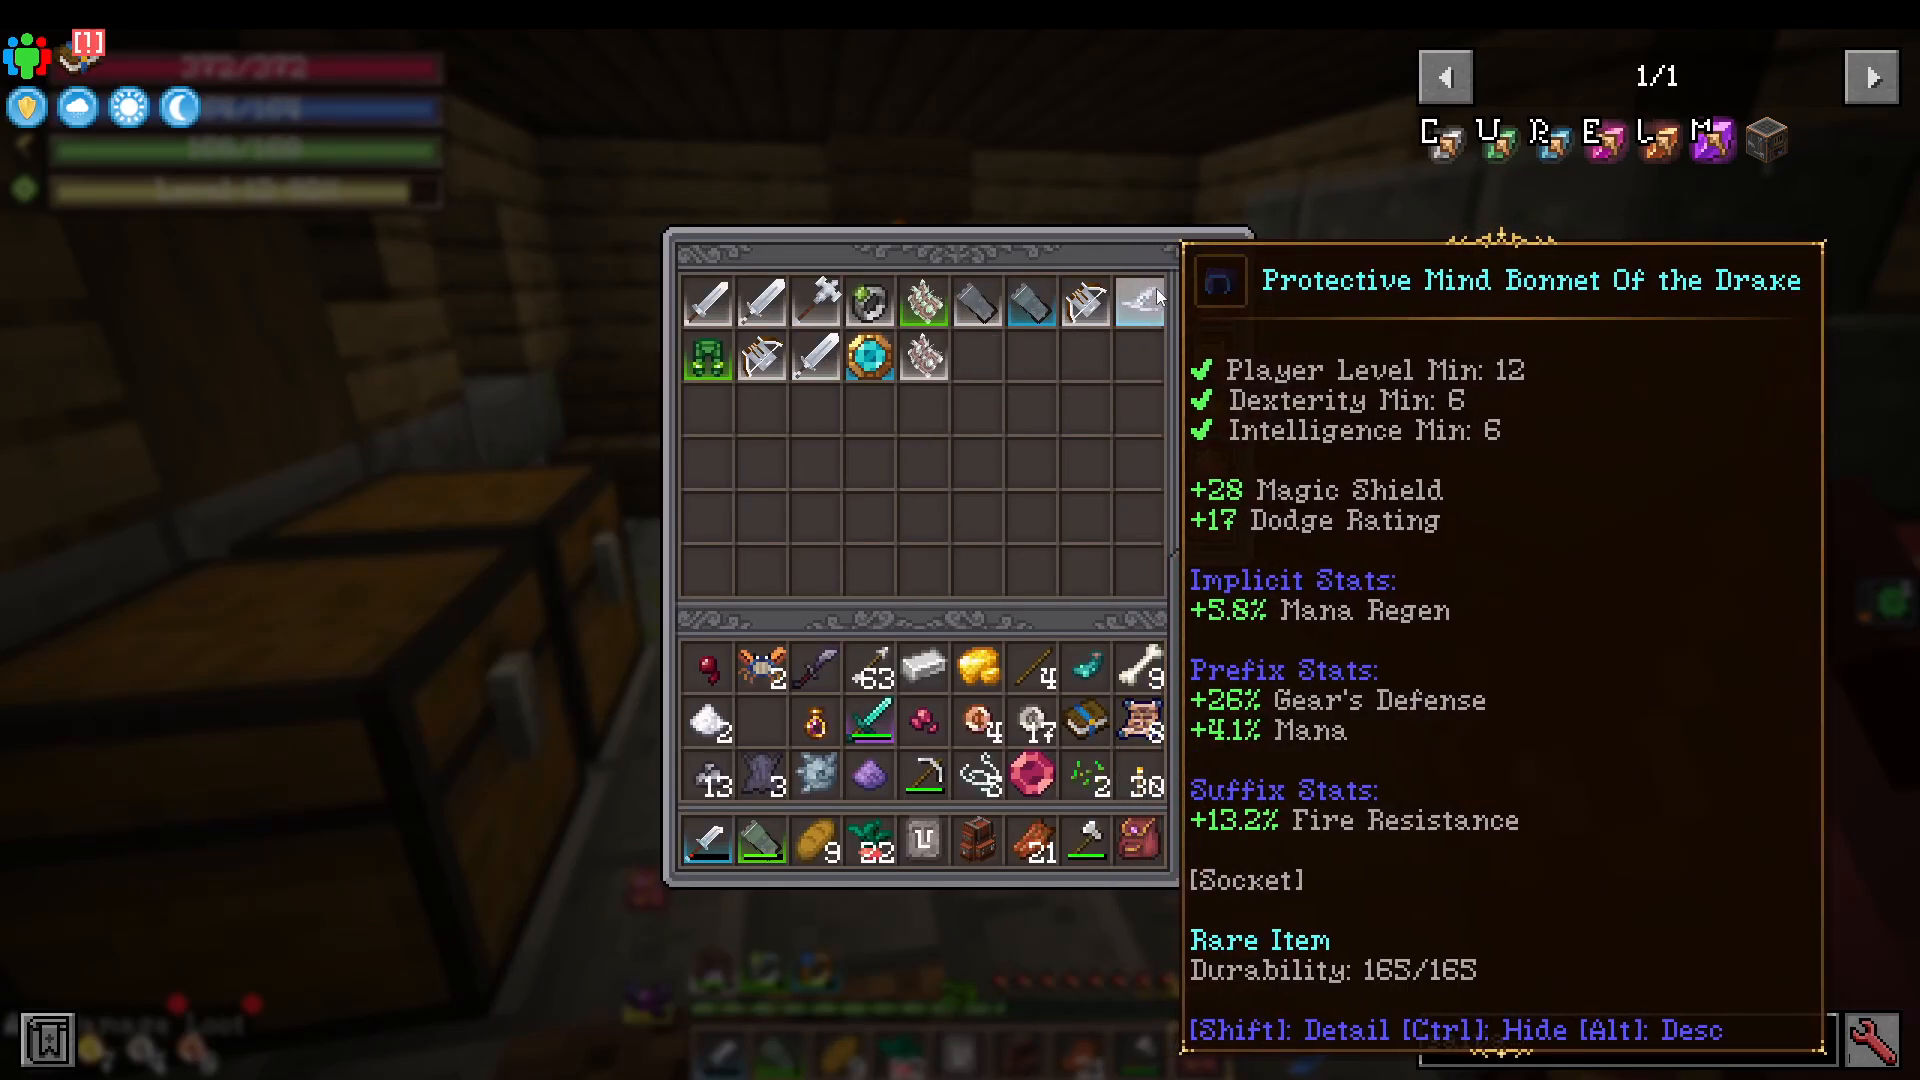
As you progress through the game, you’ll acquire massive amounts of gear. To manage this, use the Gear Crafting and Salvaging stations. You’ll also receive a Master Backpack that automatically collects excess gear for you.
Salvaging Gear
Place unwanted gear into the Salvaging Station and press the salvage button. This breaks down your gear into component materials: common stones, uncommon stones, rare stones, and other resources. You can enable auto-salvaging to automatically break down certain item rarities as they enter your inventory. However, manually salvaging gear in the station yields more materials than auto-salvaging.
Crafting Armor and Weapon Souls
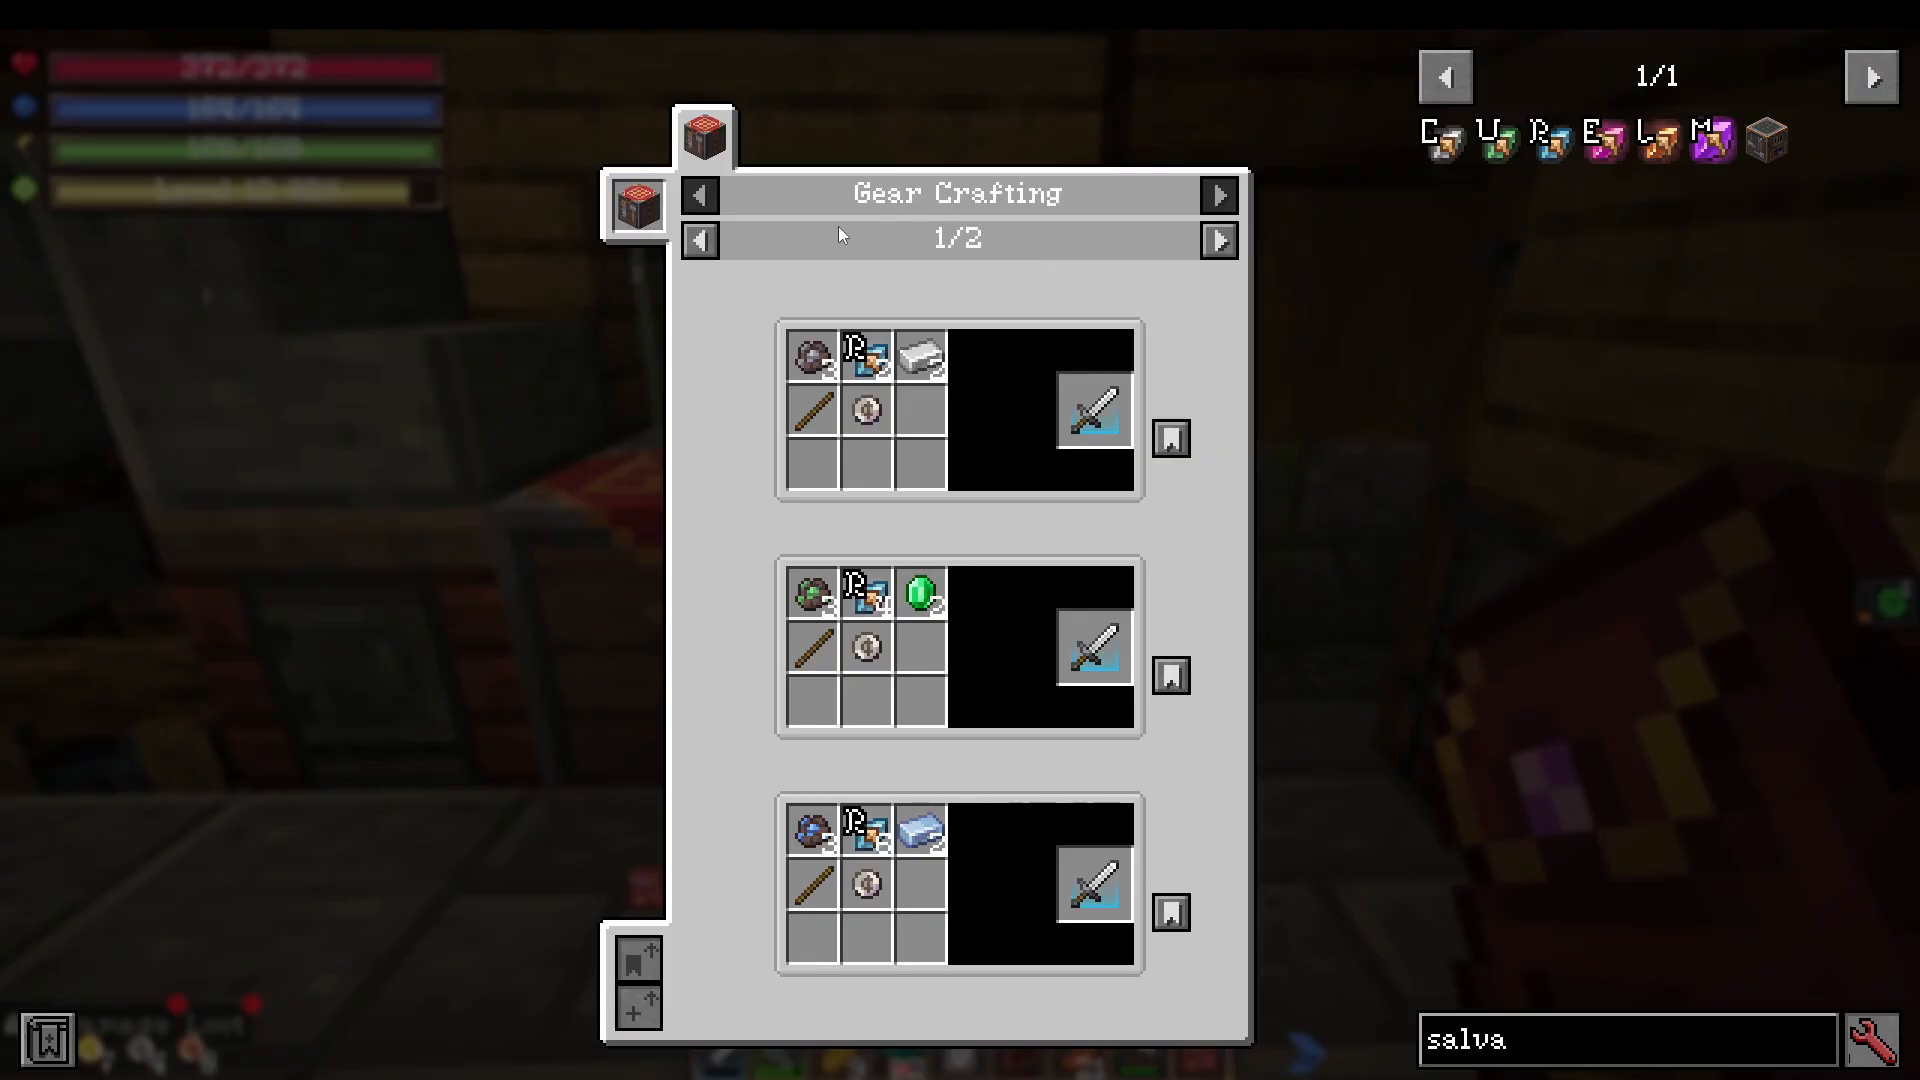
In the Gear Crafting station, you can craft armor souls, weapon souls, and jewelry. To craft a “Crafted Rare Armor Soul,” you typically need:
A piece of leather
Iron ingots
Spiritual ore
Rare stones
Coins
Once crafted, you can right-click the soul onto bare armor or weapons to create a fully-statted piece of gear.
Gear Level Requirements
Different crafting recipes produce gear at different level ranges. For example:
Level 1-20 gear requires basic materials
Level 20-40 gear requires Emeralds and Celestial materials (requires level 20-40 Mining)
Level 40-60 gear requires Cross Steel and higher-tier materials
Level 100 gear requires materials like Charite and requires level 100 Mining
The materials you use determine the gear level range produced. Use the appropriate materials to craft gear suited for your current progression.
Professions System
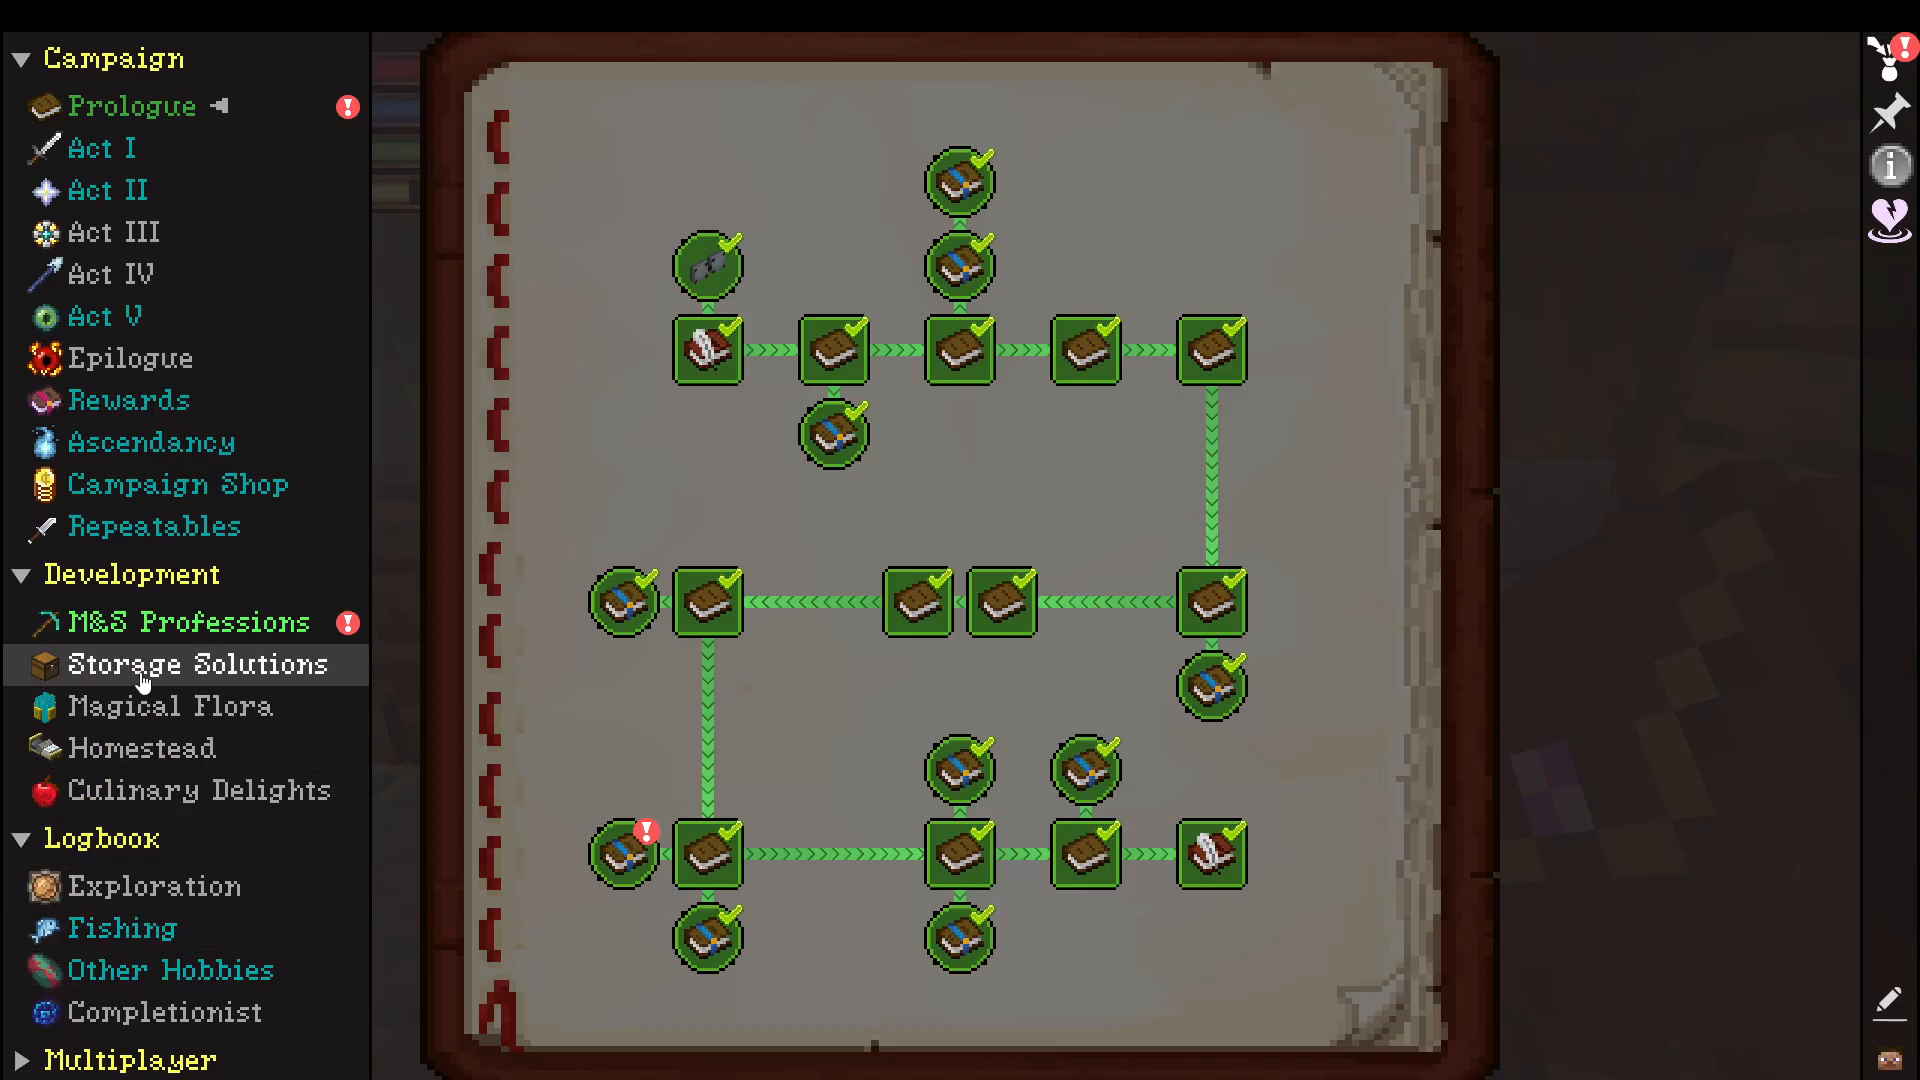
Professions are a core progression mechanic in Craft to Exile 2. All professions function similarly, though they serve different purposes. Access professions through the Development tab in your quests.
Profession Categories
Professions are divided into three categories:
Gathering Professions: Mining, Farming, Fishing, Bounty Hunting
Crafting Professions: Gear Crafting, Enchanting, Alchemy
Other: Salvaging
Mining Profession
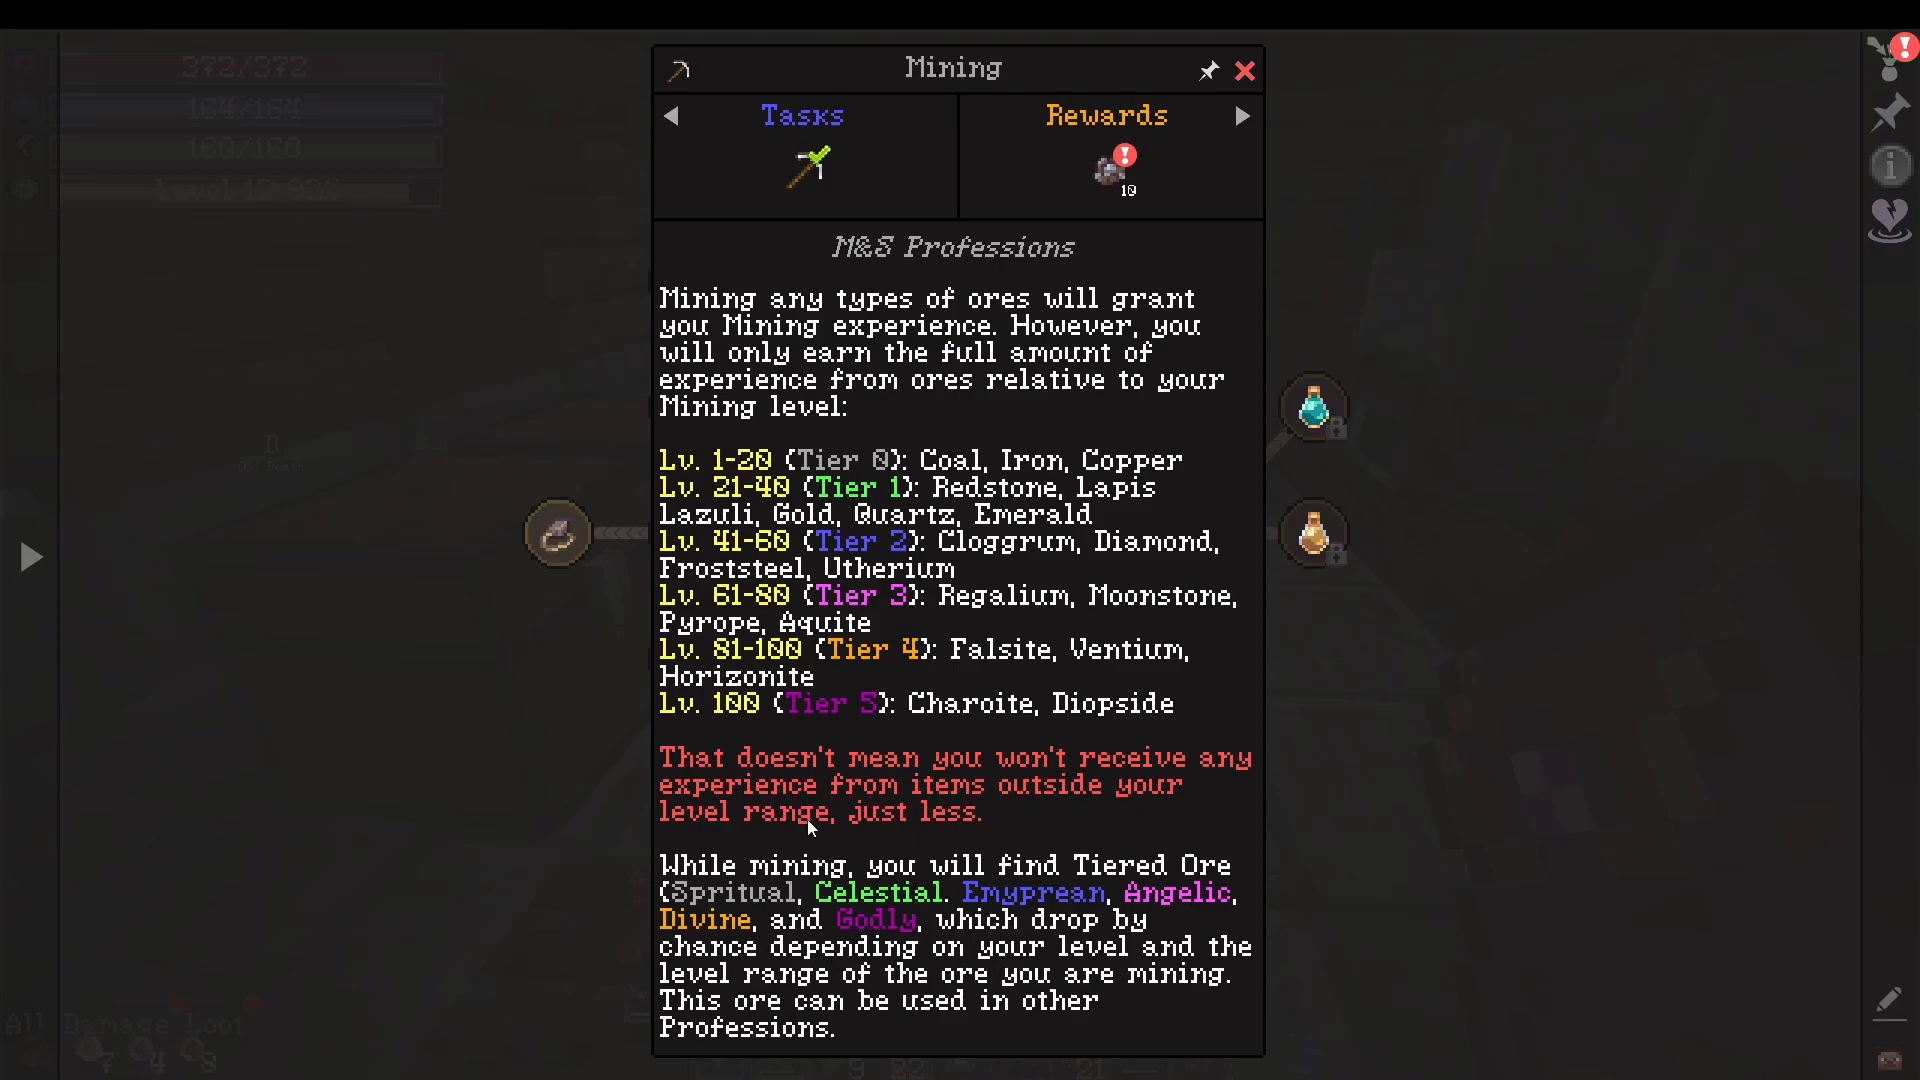
Mining is a gathering profession that levels from 1 to 20 with basic materials like coal, iron, and copper (Tier 0). Higher levels unlock access to more advanced ores like redstone and lapis (Tier 1). While mining, you may find tiered ores at a small chance, which progressively improve as your level increases:
Level 1-20: Spiritual ore drops
Higher levels: Celestial ore, Imperium ore, and other advanced tiers
These tiered ores are essential for crafting higher-level gear. You can check your Mining level by hovering over the pickaxe icon on your stats screen.
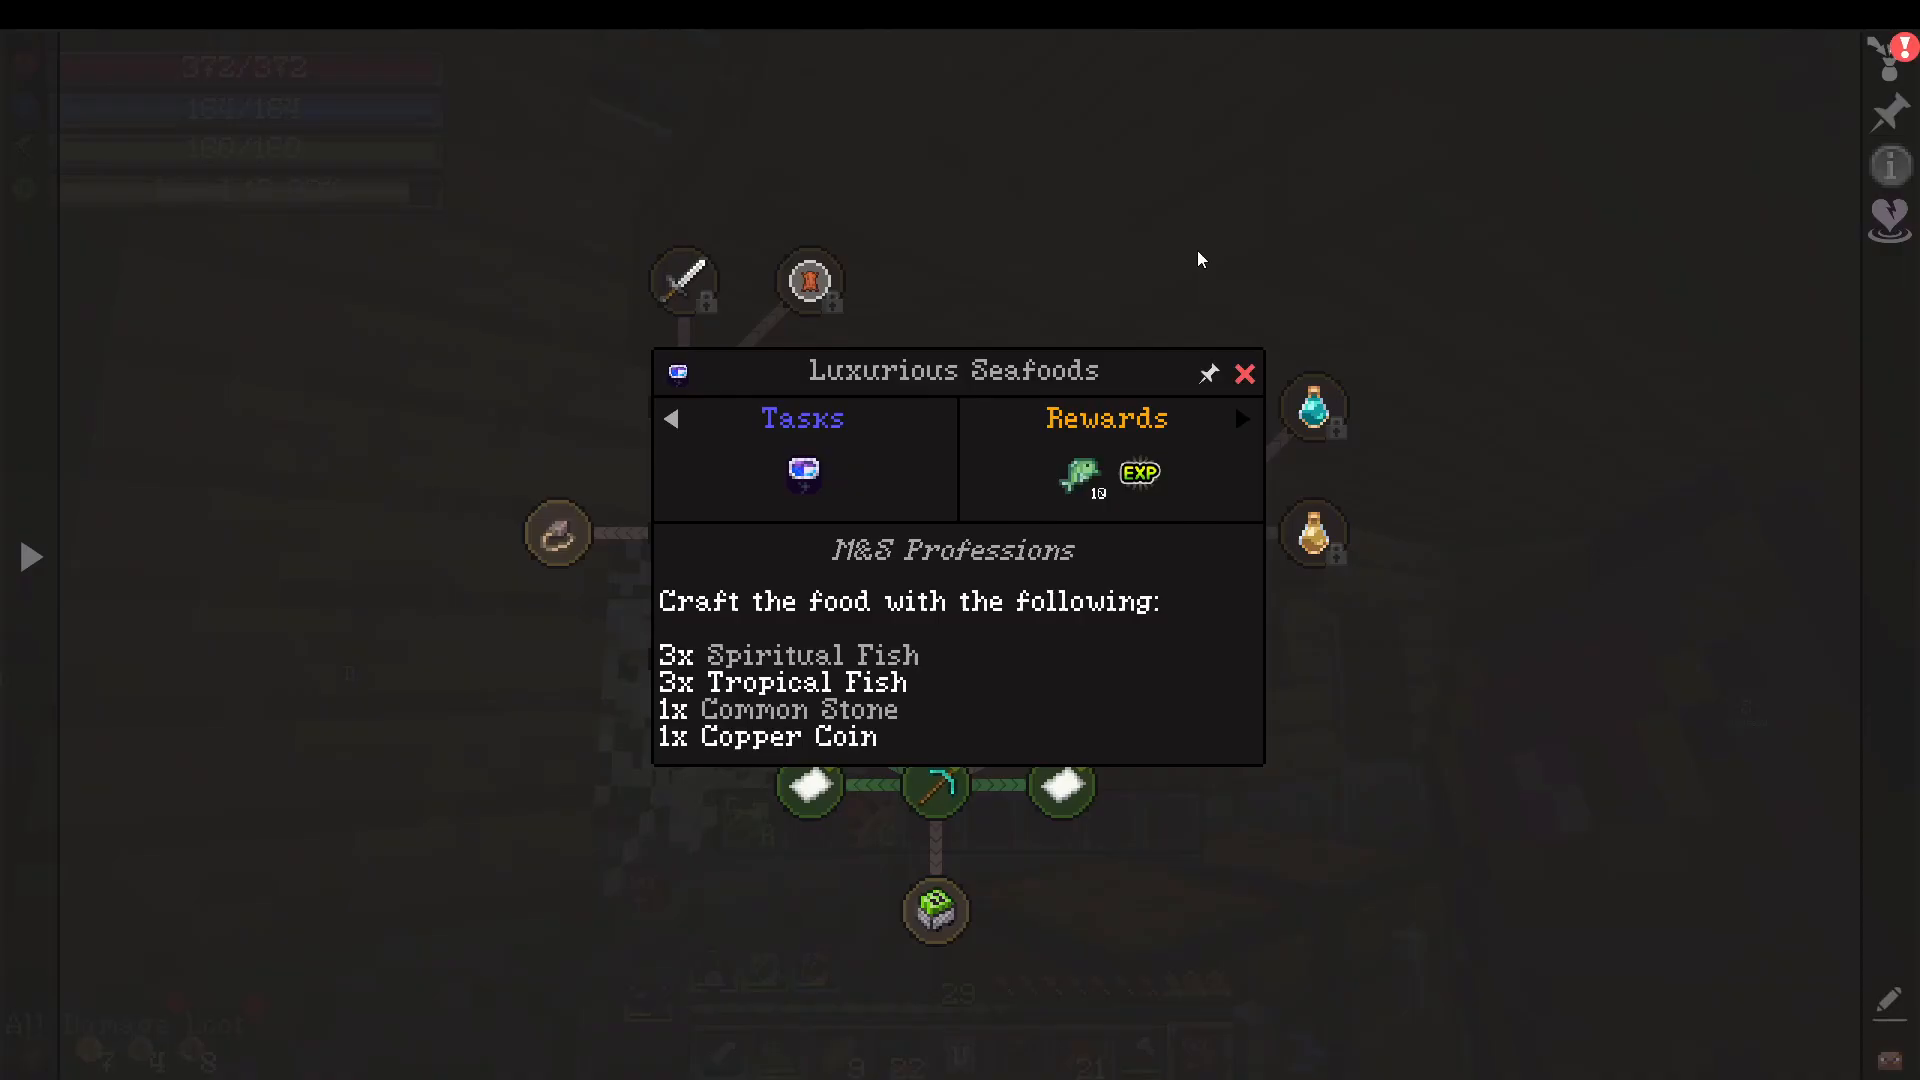
Cooking and Food Buffs
Cooking is a crafting profession where you create food and potions. There are three types of consumables you should maintain at all times:
Potions: Health potions that restore health and can be used every 30 seconds
Ale/Alchemy: Buff potions that last 30 minutes (e.g., Common Strength Ale)
Meals and Seafood: Food items that provide buffs lasting 30 minutes
Ideally, you should have one Ale, one Meal, and one Seafood buff active at all times, along with health potions for emergencies. Recipes for various foods and potions are found in the Cooking station.
Sharpening Stones and Weapon Enhancement
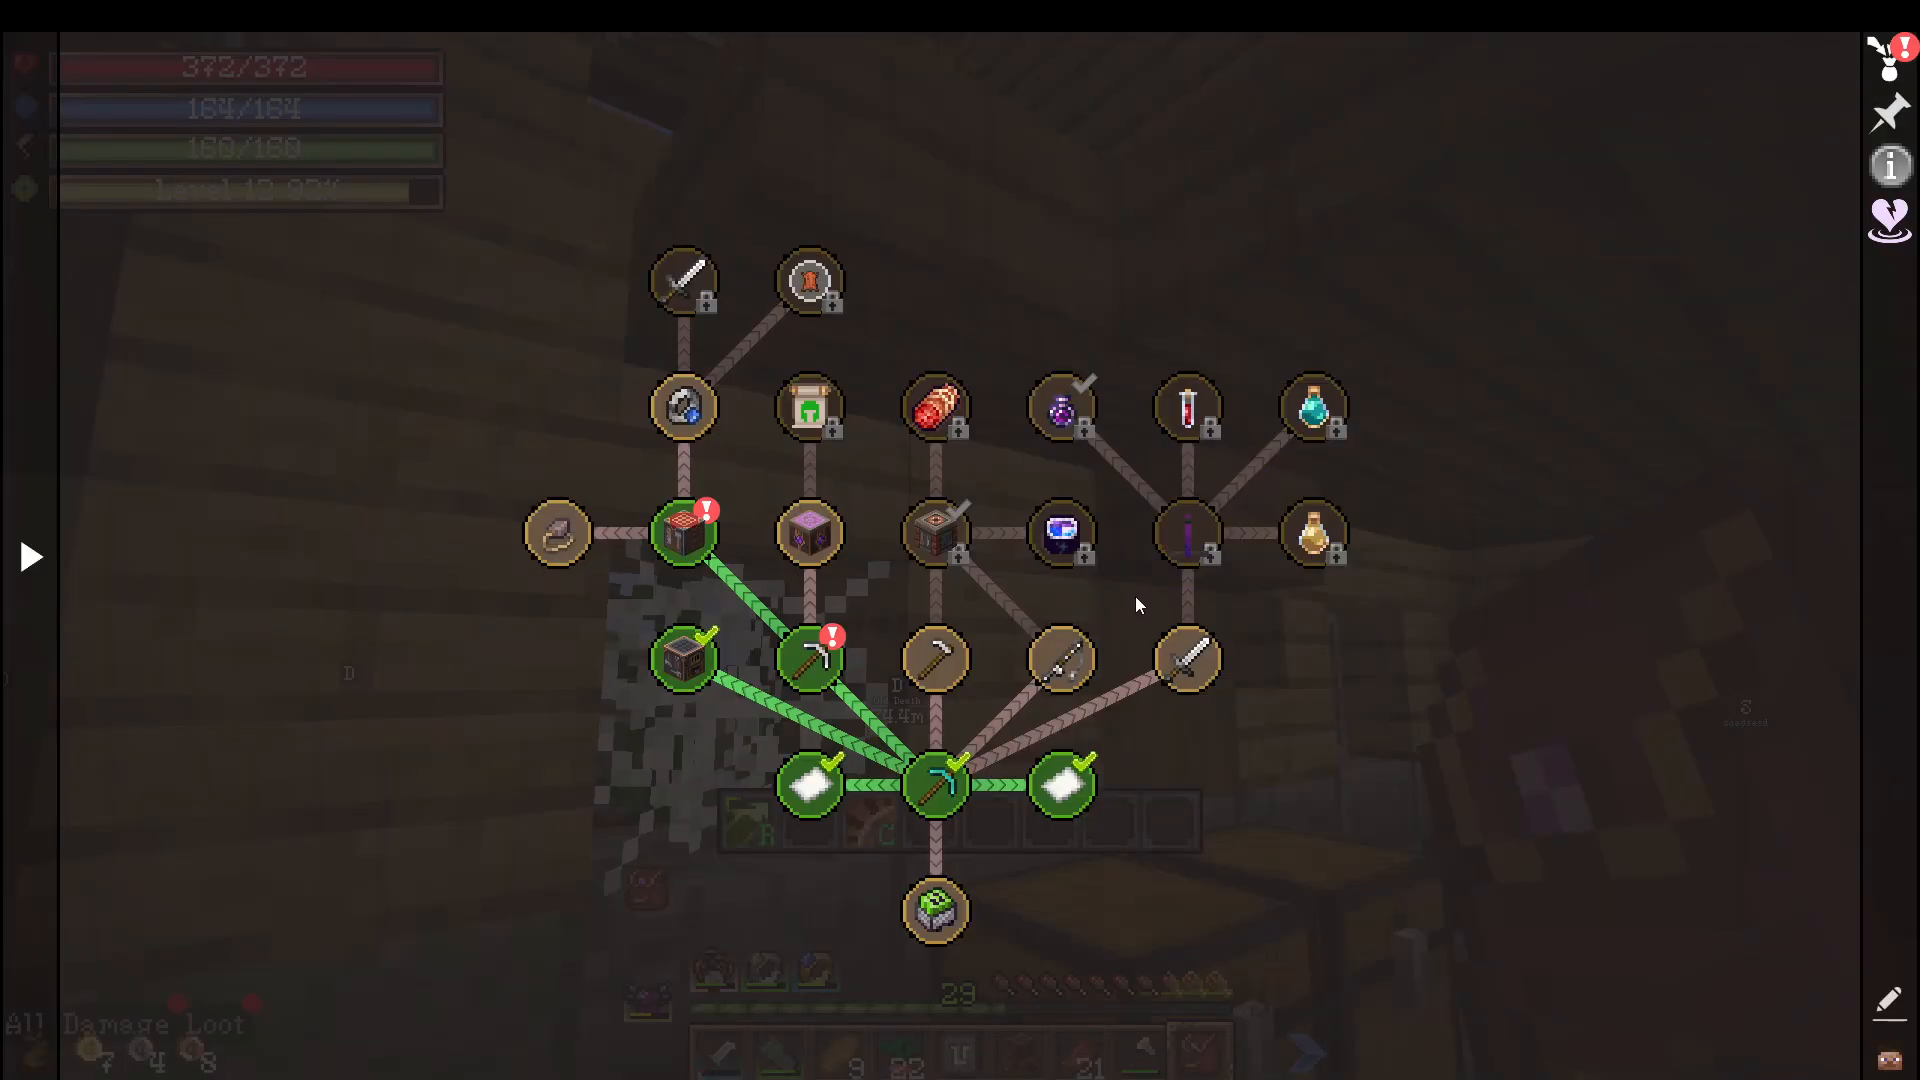
Sharpening stones can be crafted in the Mining profession at different levels. These stones are used to enhance your weapons and increase their stats. Higher-level Mining professions yield more potent sharpening stones like Spiritual Sharpening Stones.
Infusing and Enchanting
Infusing is similar to enchanting and uses the Infusion station. This profession allows you to further customize your gear with magical properties.
How All Profession Stations Work
All profession stations (Cooking, Alchemy, Infusion, etc.) operate with the same user interface. Once you understand how one station works, you can easily use the others. The recipes displayed show you the required materials and the outcome of your crafting.
Bounty Hunting
Bounty Hunting levels up by completing “Bountiful Bounties” found on bounty boards scattered throughout the world. These boards generate bounties for you to complete, providing experience and rewards.
Other Mods and Features
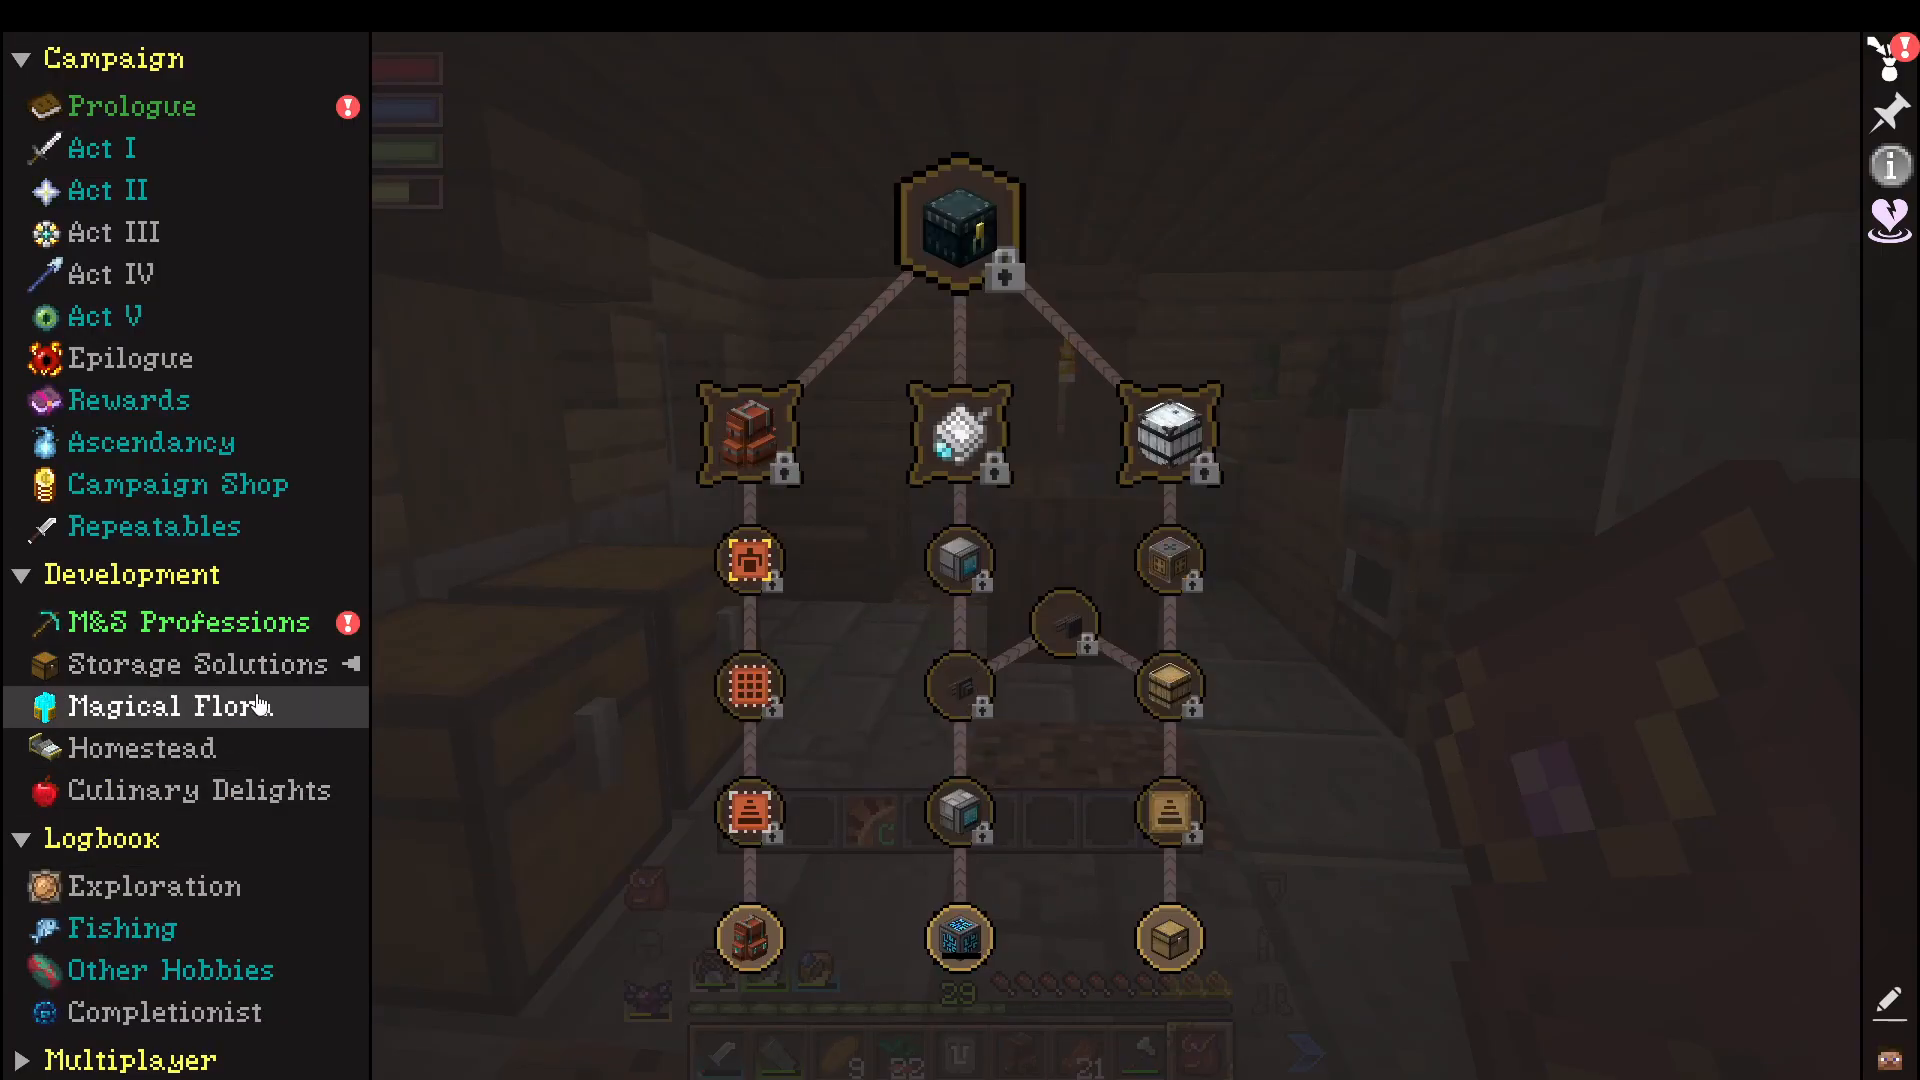
Craft to Exile 2 includes several other popular mods integrated into the pack. The Development quest tab provides information on these, including:
Farmer’s Delight: Provides various food and farming buffs
Botania: A magic mod focused on nature-based magic (check out our separate Botania beginner guide)
Refined Storage: Advanced inventory management (see our Refined Storage guide)
Sophisticated Storage: Additional storage solutions (check our Sophisticated Storage guide)
For detailed information on these mods, we recommend watching our dedicated guides on the channel.
Progression and Next Steps
Now that you understand the core mechanics, your main goal is to progress through the game’s acts. Work through Act 1, then Act 2, Act 3, and finally the Epilogue. This natural progression will teach you the game through practical experience.
If you want specialized guidance, watch one of our build guides specific to your chosen playstyle—whether you prefer Mage, Rogue, or Warrior builds. These guides will walk you through character development from level 1 to endgame. The complexity of Craft to Exile 2 is best managed by following a build guide and learning through gameplay rather than memorizing every detail upfront.
Conclusion
Craft to Exile 2 is undeniably complex, but it’s also one of the best adventure modpacks ever created for Minecraft. The key to success is not to get overwhelmed by the system’s intricacy. Instead, understand the basics covered in this guide and follow a build guide for your chosen class. Don’t forget to subscribe to our channel—we have hundreds of mod guides covering everything from tech mods to magic mods and utility mods. Our goal is to eventually create guides for every mod in Minecraft!
Thank you for watching this guide. We hope you enjoy your journey through Craft to Exile 2!
Want to Support?
If you would like to help us continue making these guides – please consider joining our patreon here – https://www.patreon.com/c/JaviHeals
Alternatively – we host a group of MC Servers you can join here – https://discord.gg/zD7Gjt6MHF