Beyond Depth Modpack – Ultimate Beginner Guide
Beyond Depth Modpack – Ultimate Beginner Guide
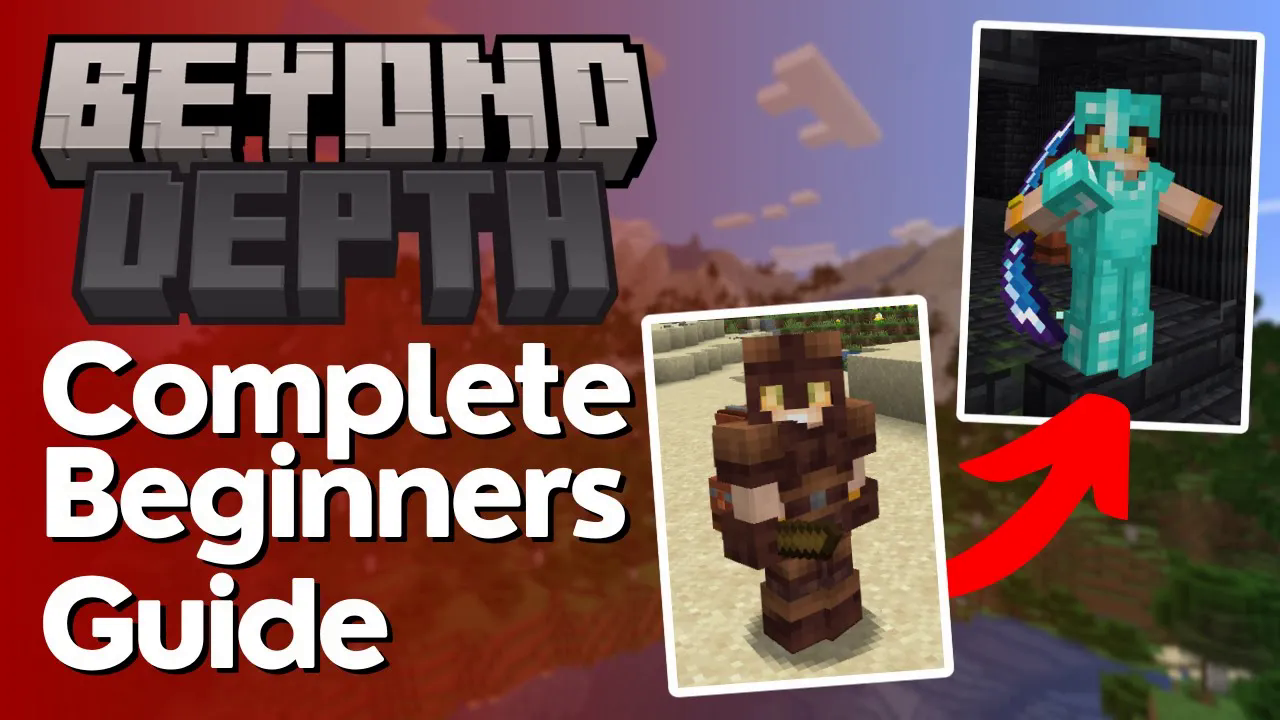
Welcome to the ultimate beginner’s guide for the Beyond Depth Modpack! Whether you’re just spawning in for the first time or struggling to figure out the progression system, this guide will walk you through everything — from chopping your first tree all the way up to crafting Diamond gear. We’ll also cover combat tips, enchanting, backpacks, and some handy quality-of-life tricks to make your early game as smooth as possible.
Step 1: Chopping Your First Tree
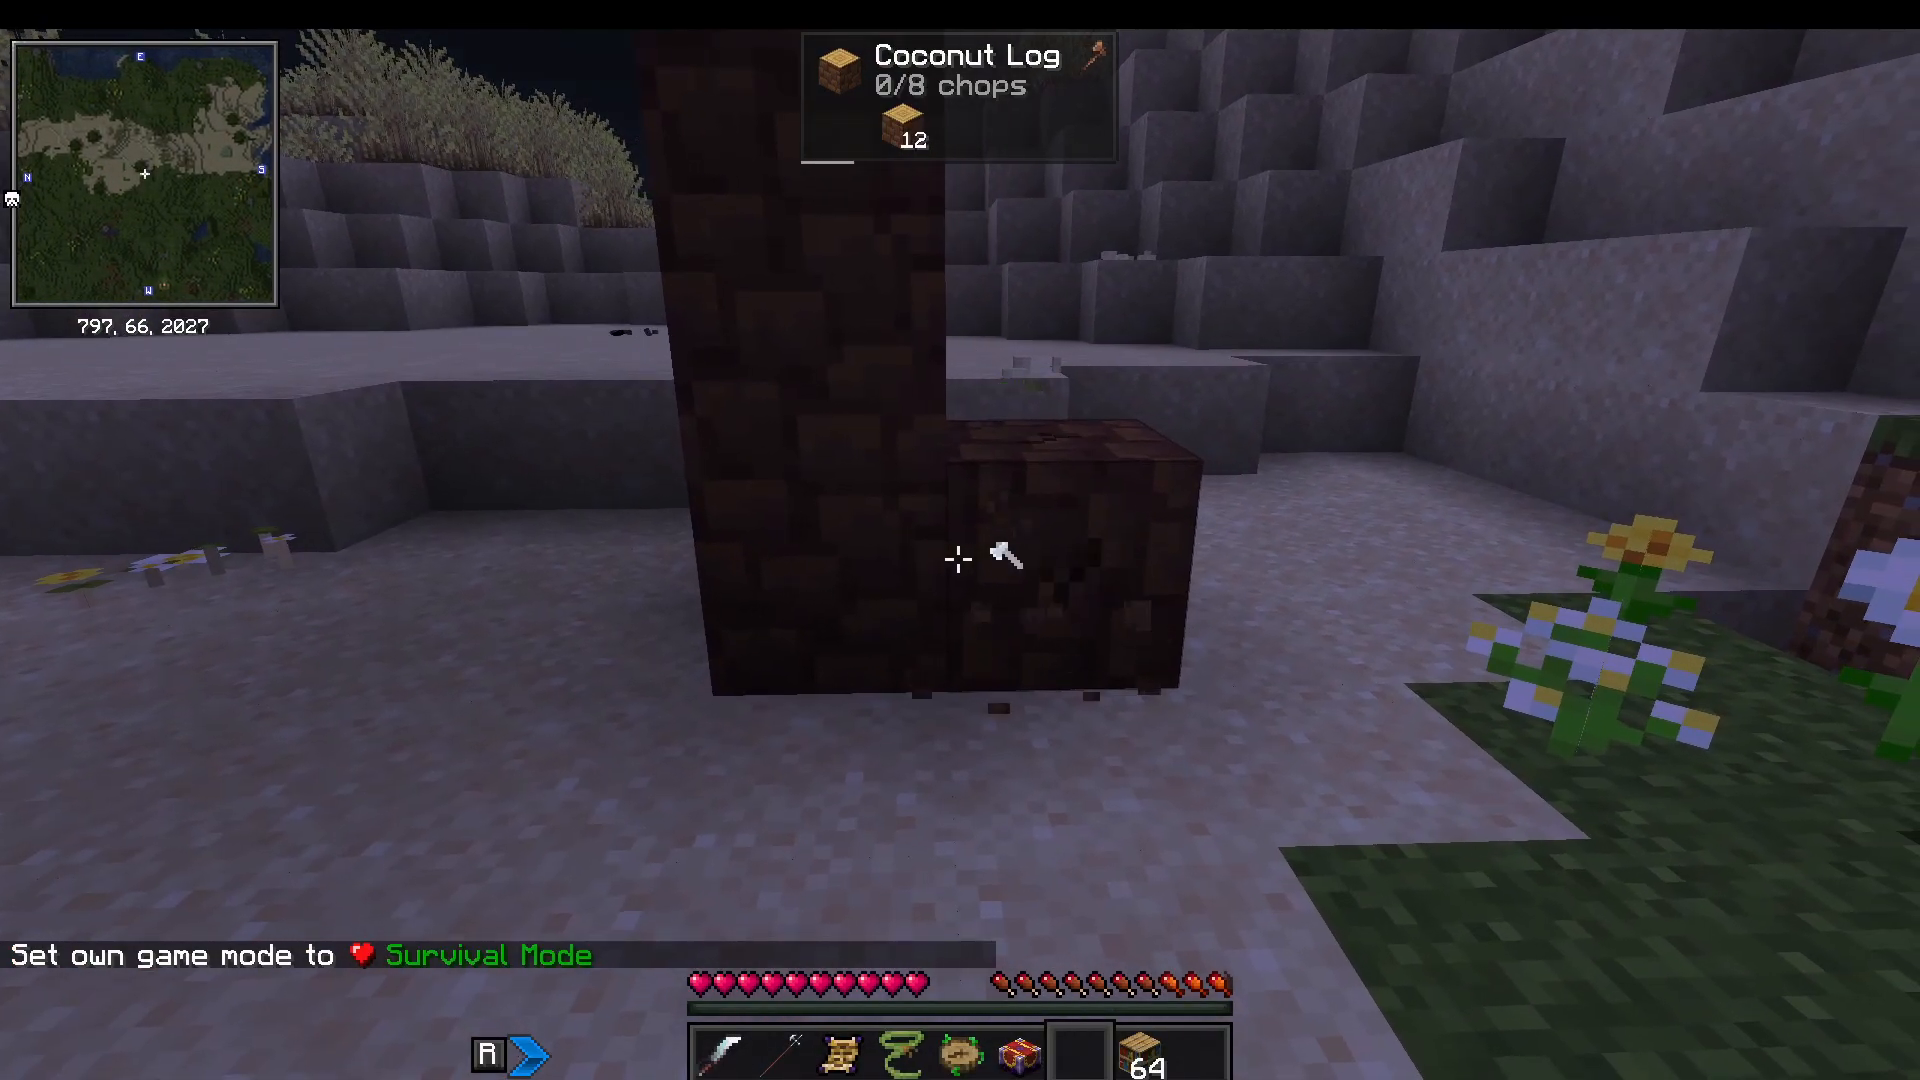
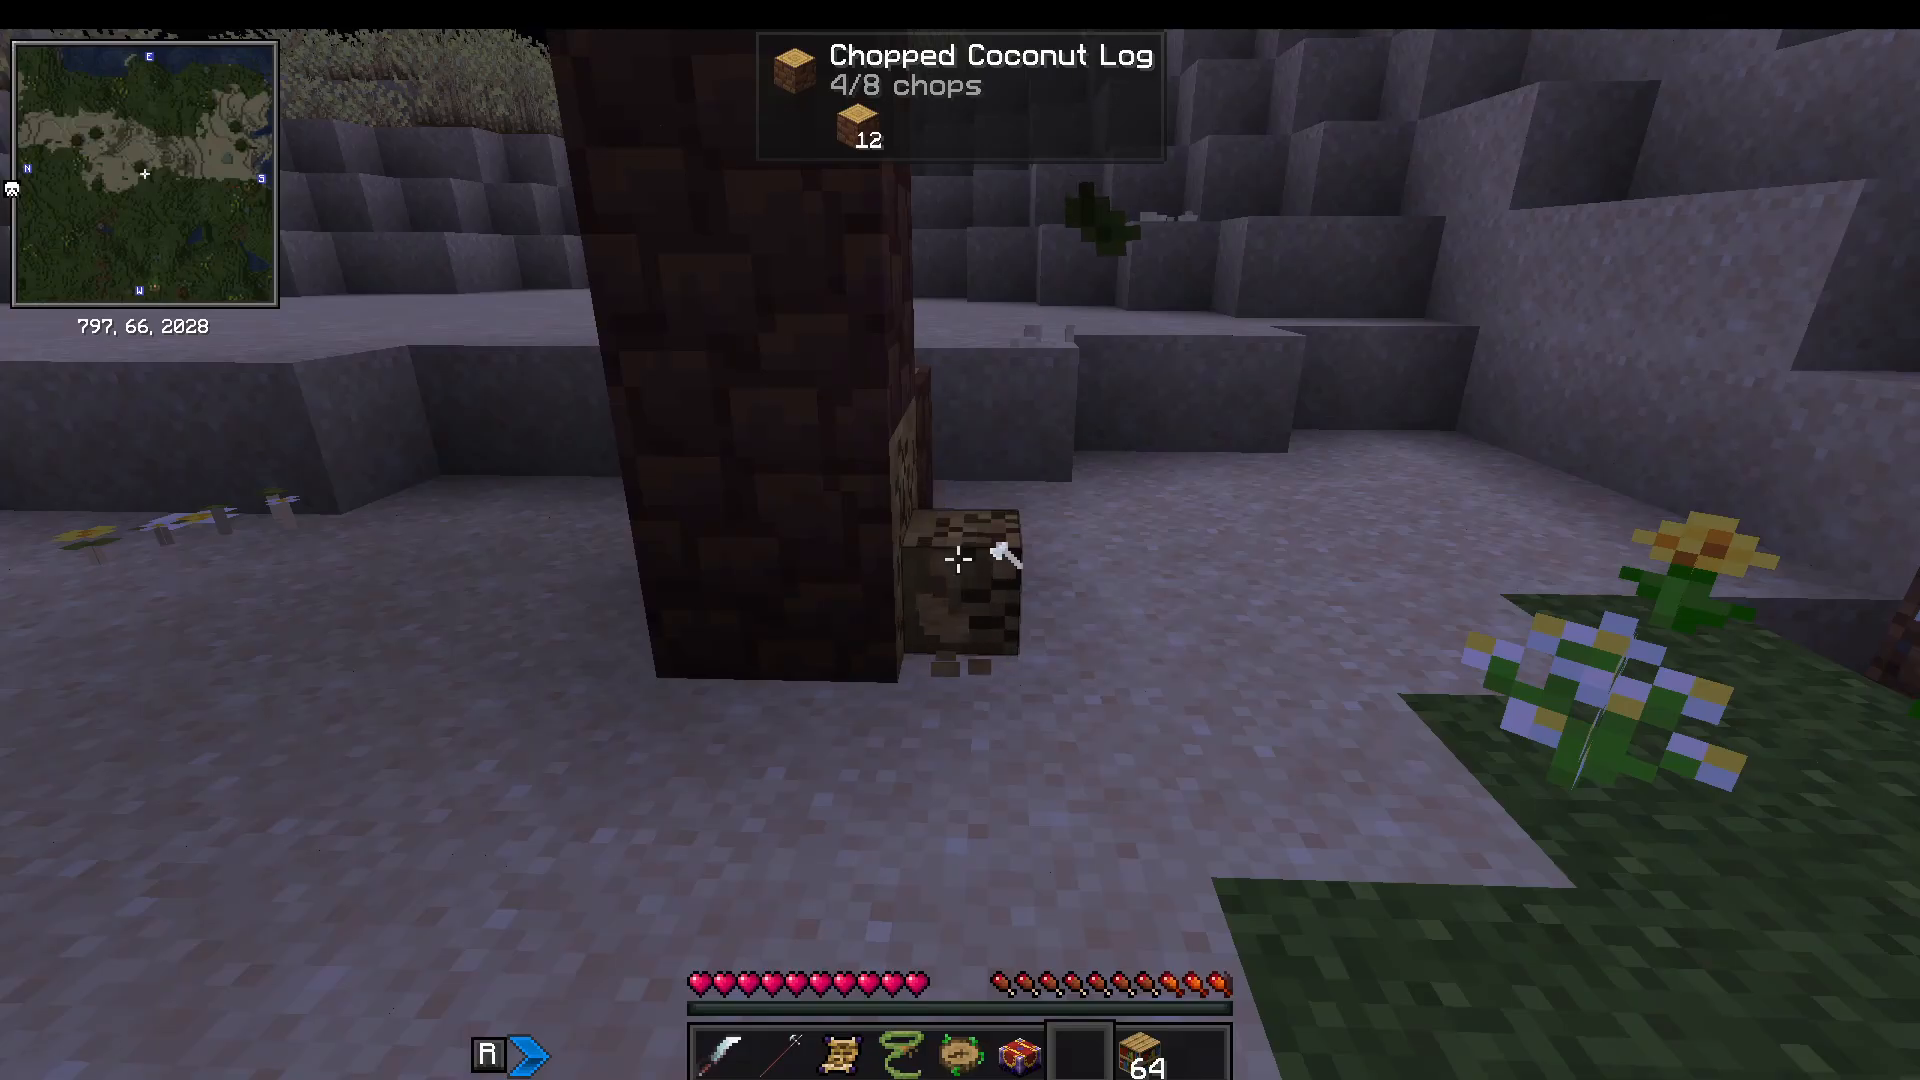
Just like any Minecraft playthrough, you’ll start by cutting down a tree — but Beyond Depth does things a little differently. At the top of your screen, you’ll notice a counter that reads “0 out of 8 chops.” You need to hit the same block of the tree (the bottom block is recommended) eight times in a row. Once you land that eighth chop, the entire tree will fall at once.
Once the tree is down, collect your logs and follow the usual process: craft them into planks, build a crafting table, then make sticks and a wooden pickaxe.
Step 2: Mining Coal and Copper
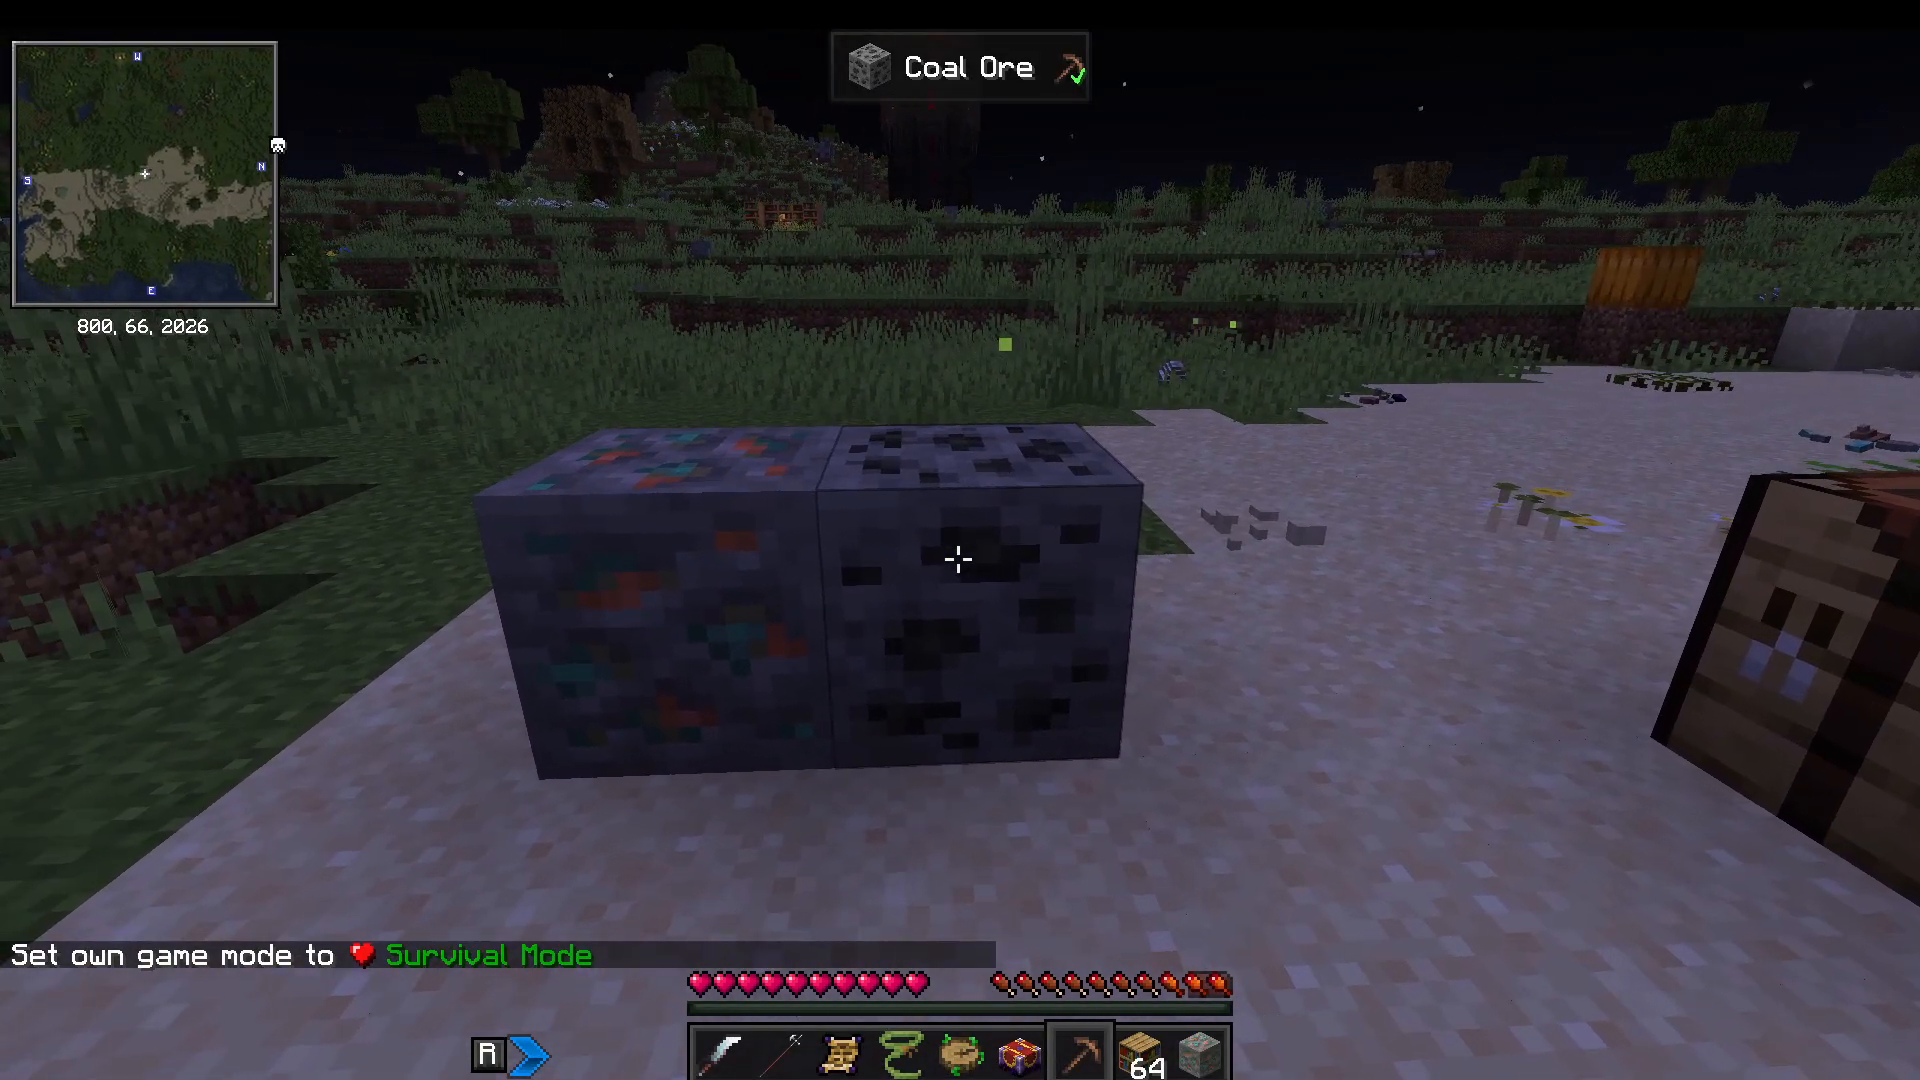
With your wooden pickaxe in hand, your first mining targets should be coal and copper. Beyond Depth includes a handy tool-compatibility indicator — look for a small tick at the top of your screen when you’re hovering near a block. If the tick appears, your current pickaxe can mine that block. You’ll also see a progress bar as you mine.
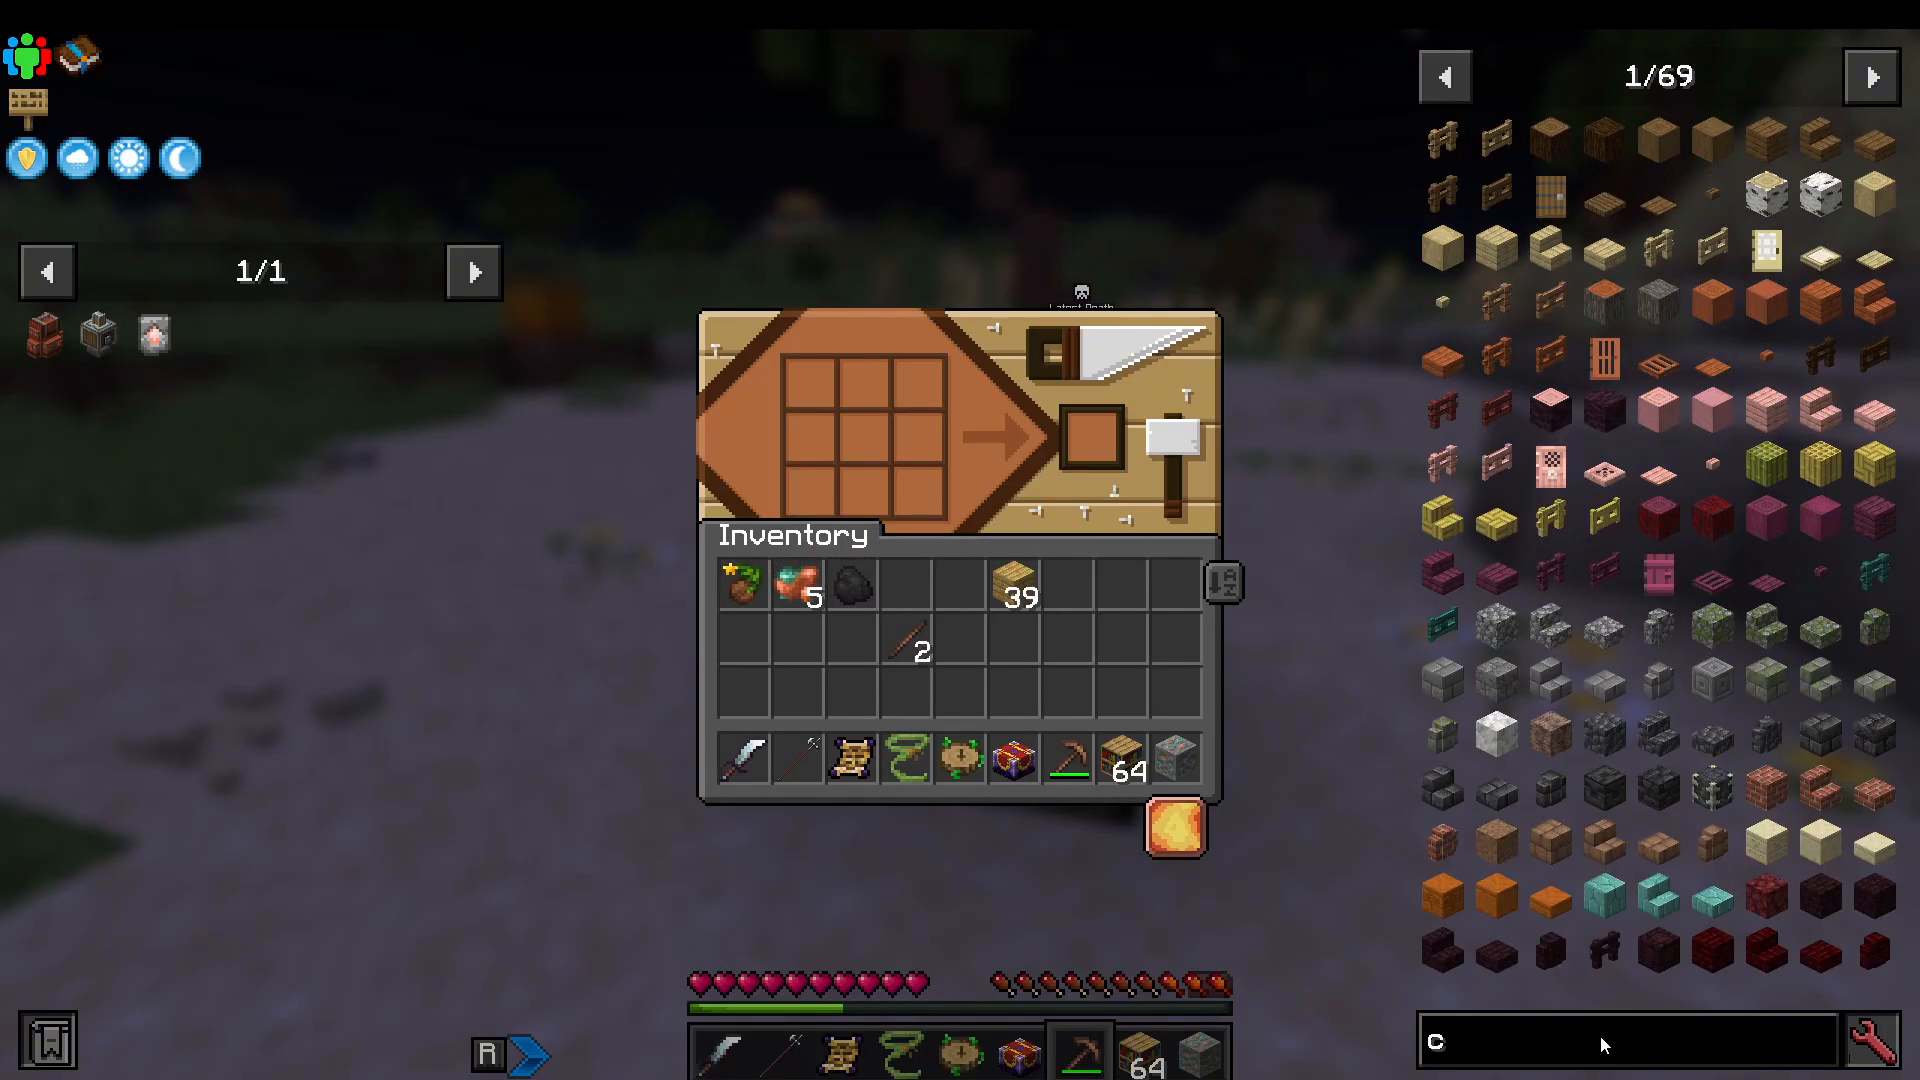
Once you’ve gathered coal and copper, it’s time to build a furnace. Note that in this modpack, the furnace recipe is different — you’ll need a piece of coal placed in the middle of the crafting grid. Smelt your copper ore into copper ingots and you’re ready to craft your first proper set of tools and armor.
Copper Gear
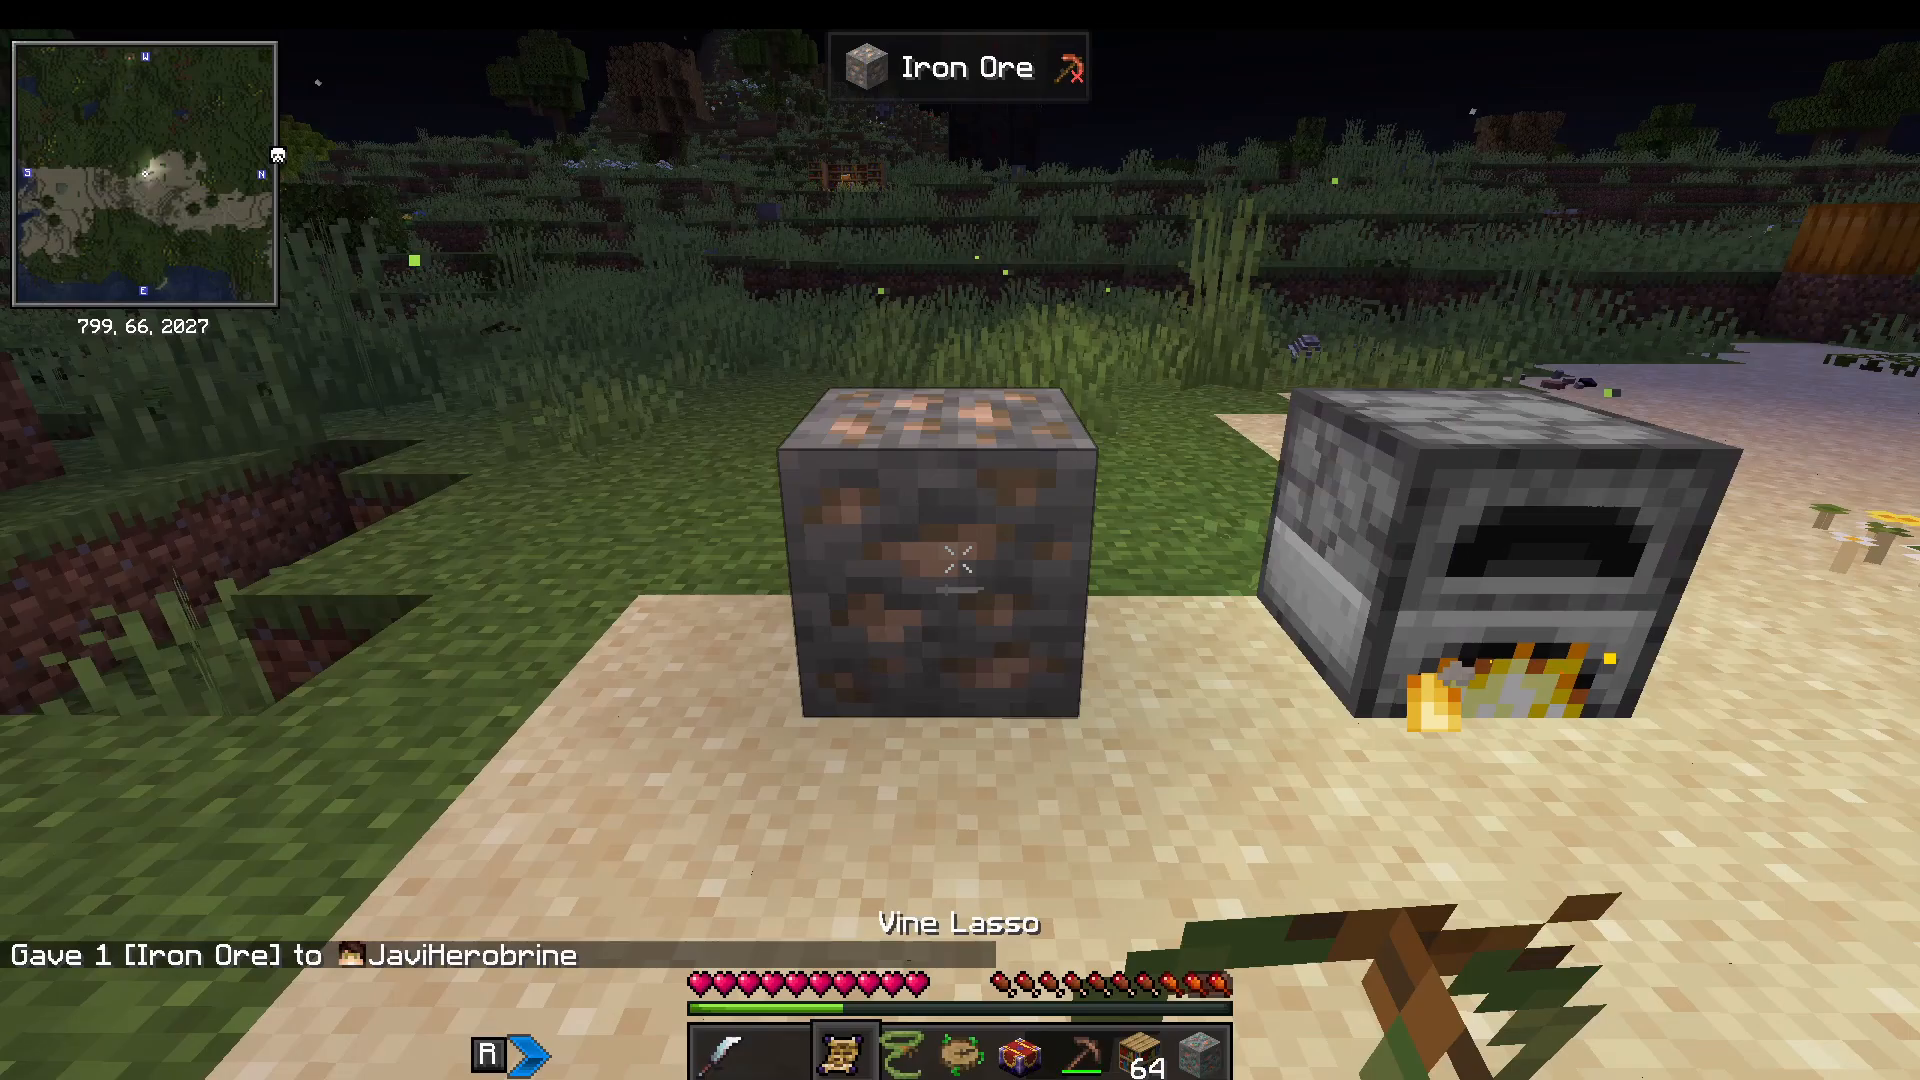
Copper tools and armor are crafted just like their vanilla counterparts, using copper ingots. You can make a copper pickaxe, copper helmet, and more. Importantly, there are no stone pickaxes in this modpack — so a copper pickaxe is required to mine iron ore.
Step 3: Getting Iron and Chainmail Gear
Once you’ve mined iron ore with your copper pickaxe, smelt it into iron ingots as usual. You can craft iron tools from these ingots. However, crafting iron armor requires iron sheets, which need additional processing — so you won’t be wearing iron armor straight away.
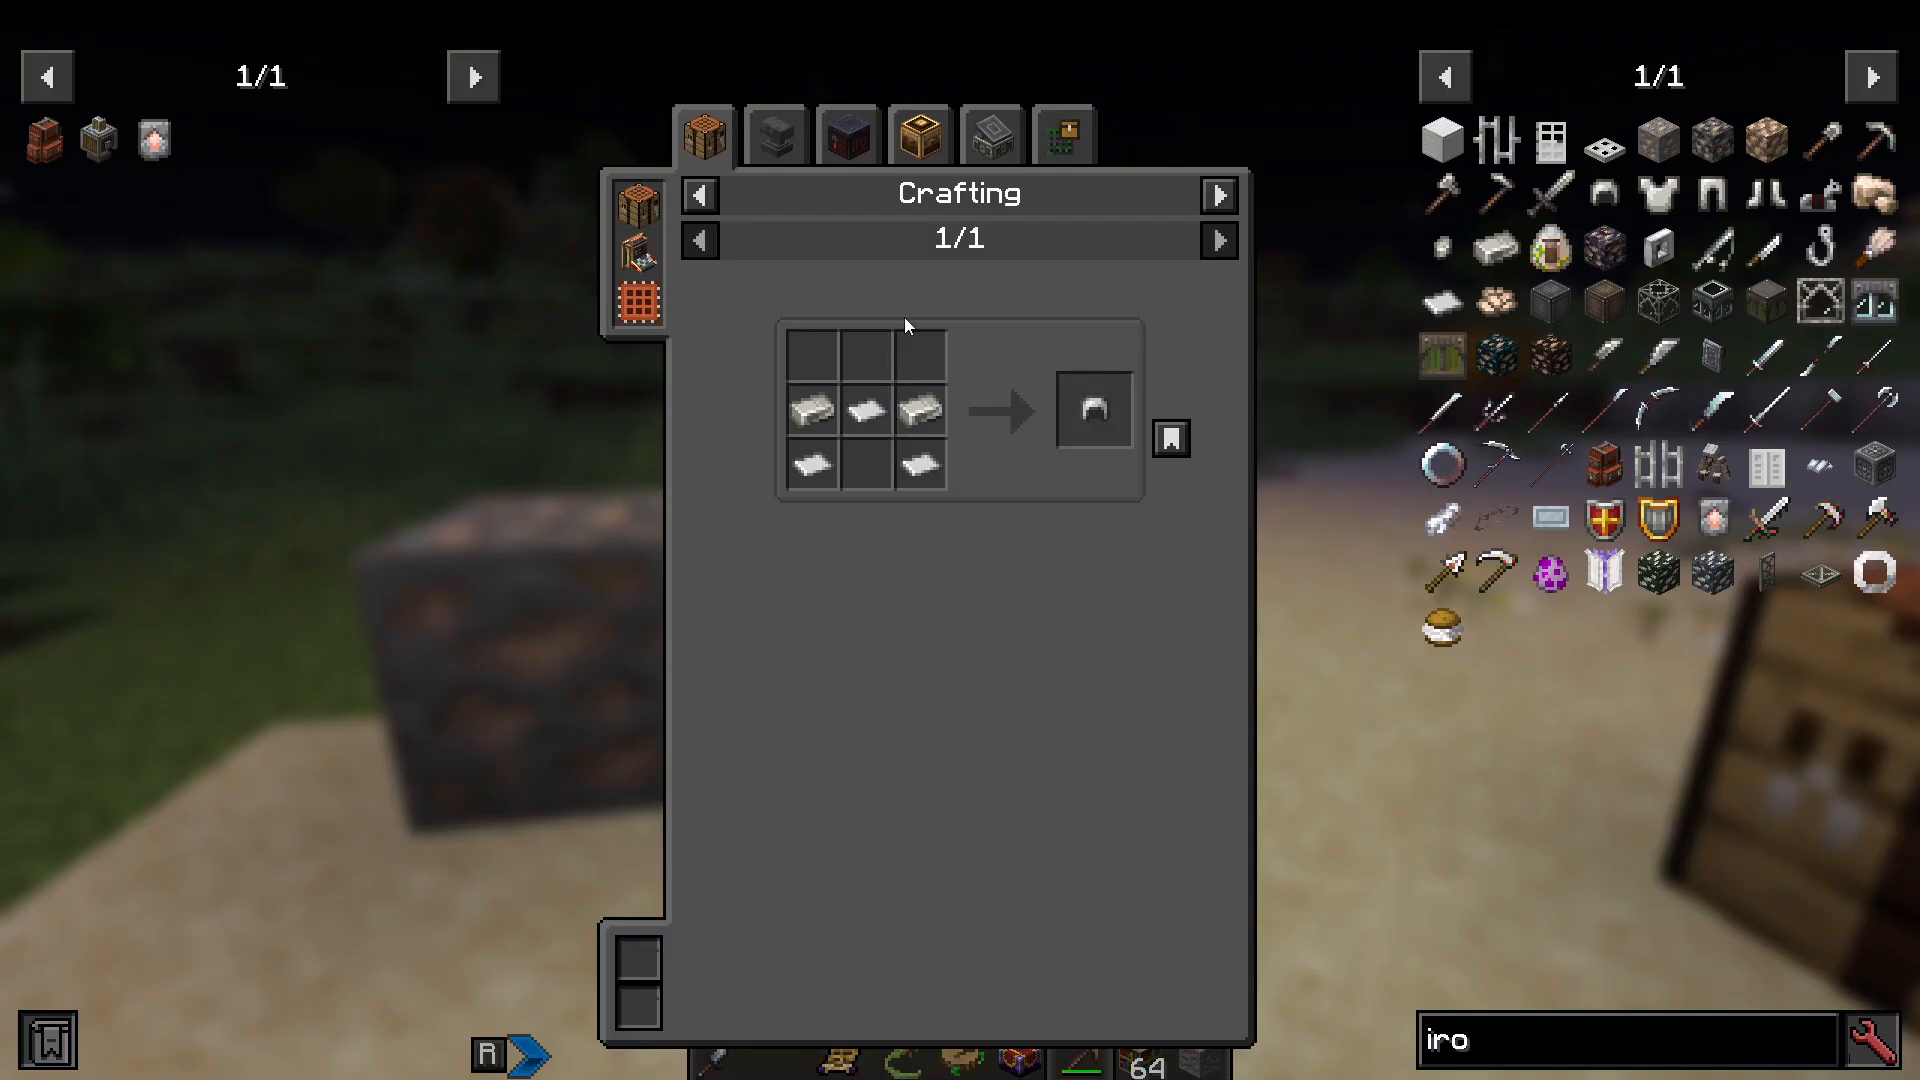
Instead, craft chainmail armor as your interim upgrade. Chainmail is made from iron ingots and iron nuggets (which you can create by converting ingots in the crafting grid), and it offers better protection than copper.
Step 4: Getting Leather – The Tanning Rack
To progress further, you’ll need leather. Start by crafting an iron knife — specifically the one from the Farmer’s Delight mod (you can also craft a flint knife earlier on). Head out and find some cows to hunt.
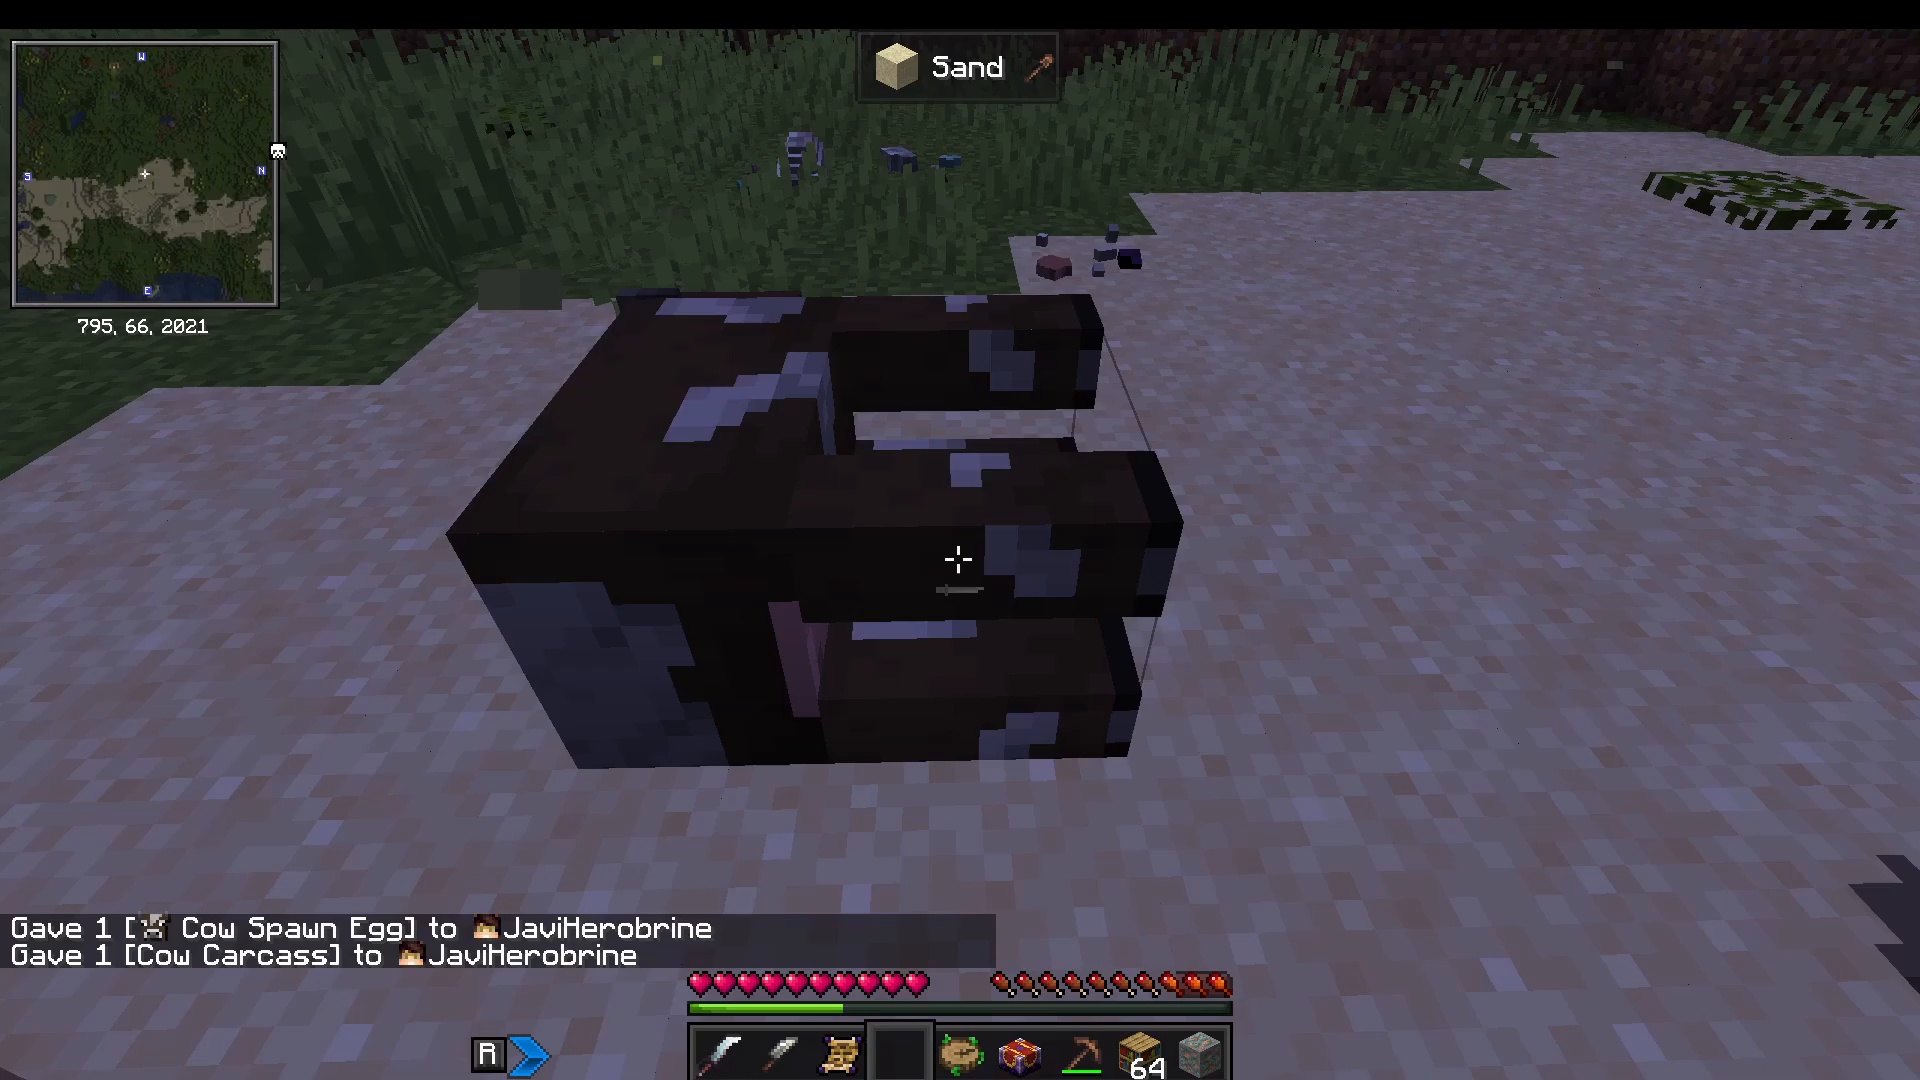
When you kill a cow in Beyond Depth, it drops a cow carcass rather than items directly. Equip your iron knife, walk up to the carcass, and right-click it. This will cause it to split apart, yielding raw meat and cow hide.
Crafting and Using the Leather Tanner
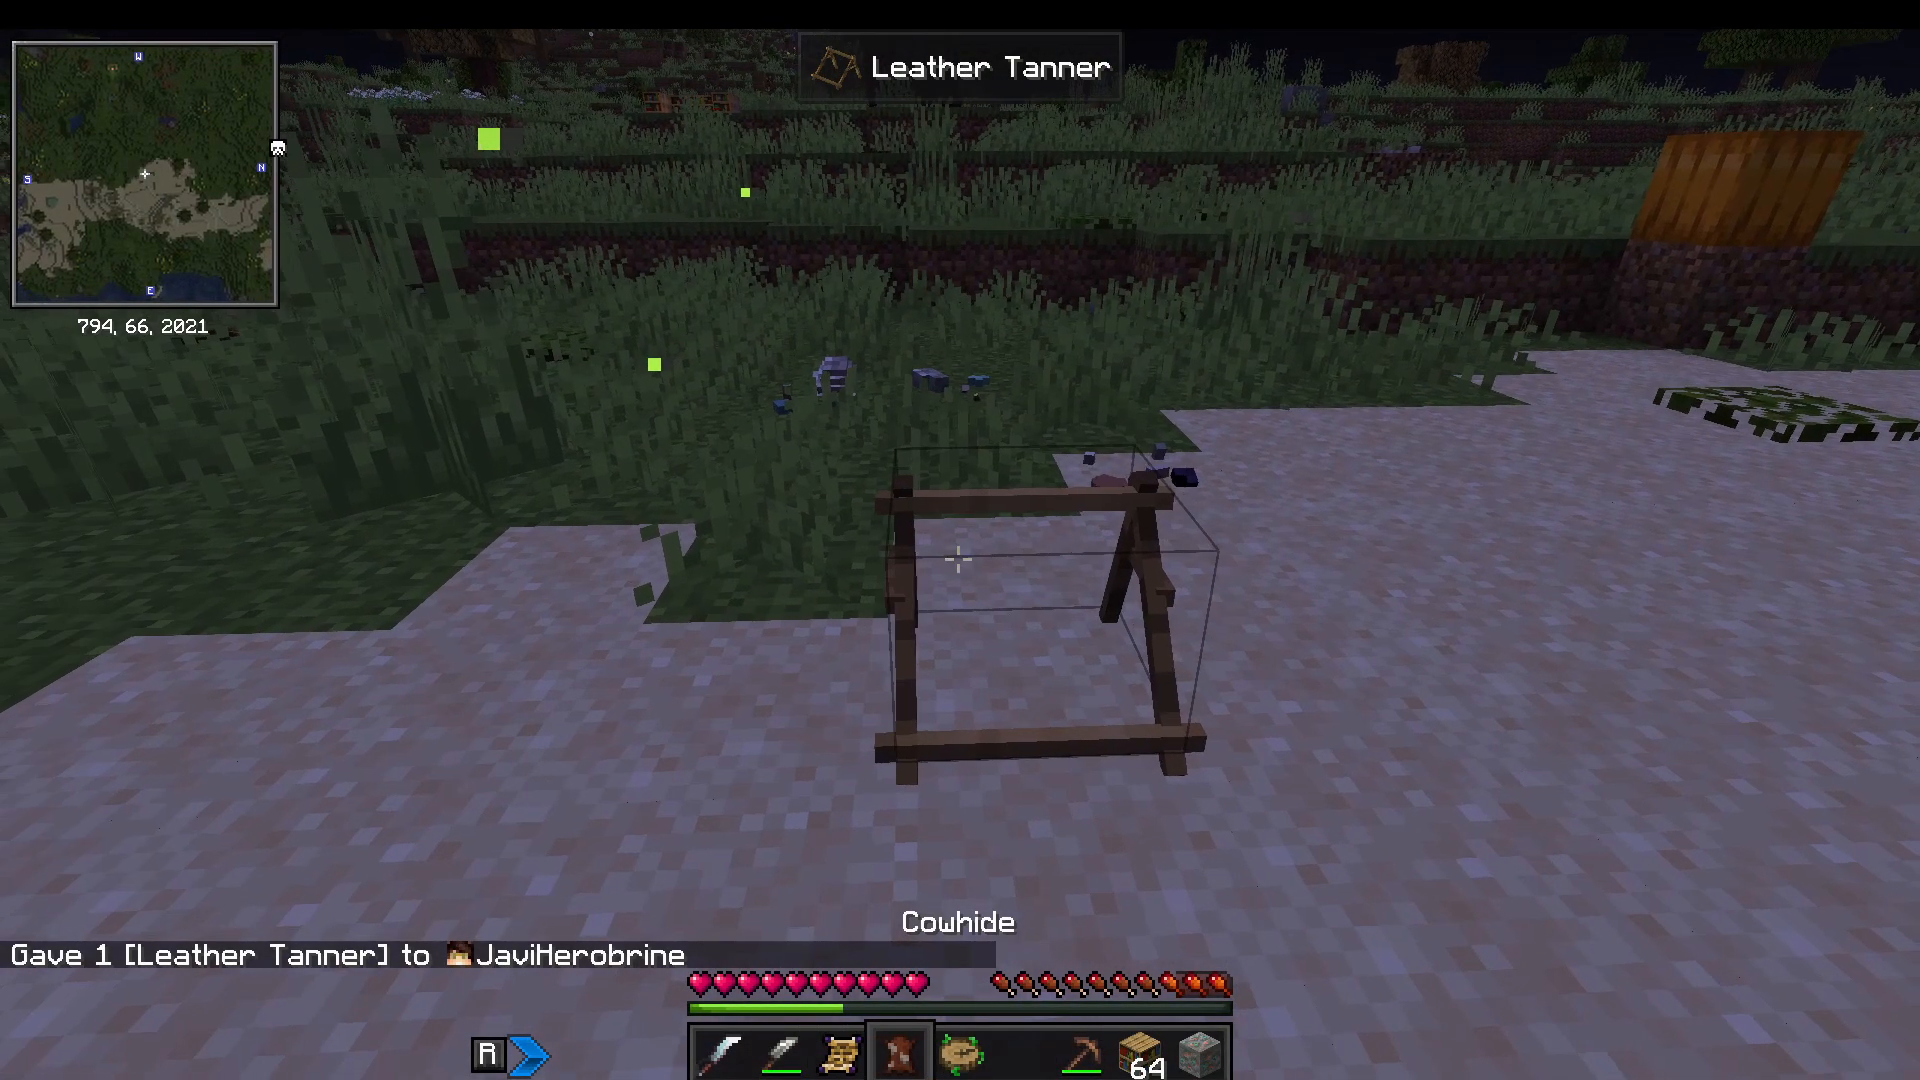
To turn cow hide into leather, you need to build a Leather Tanner. It’s crafted using planks and sticks. Place it down, then right-click your cow hide onto the tanner. Next, craft some shears and right-click those onto the tanner as well. Keep right-clicking and leather will pop off the tanner for you to collect.
Crafting a Backpack (Sophisticated Backpacks)
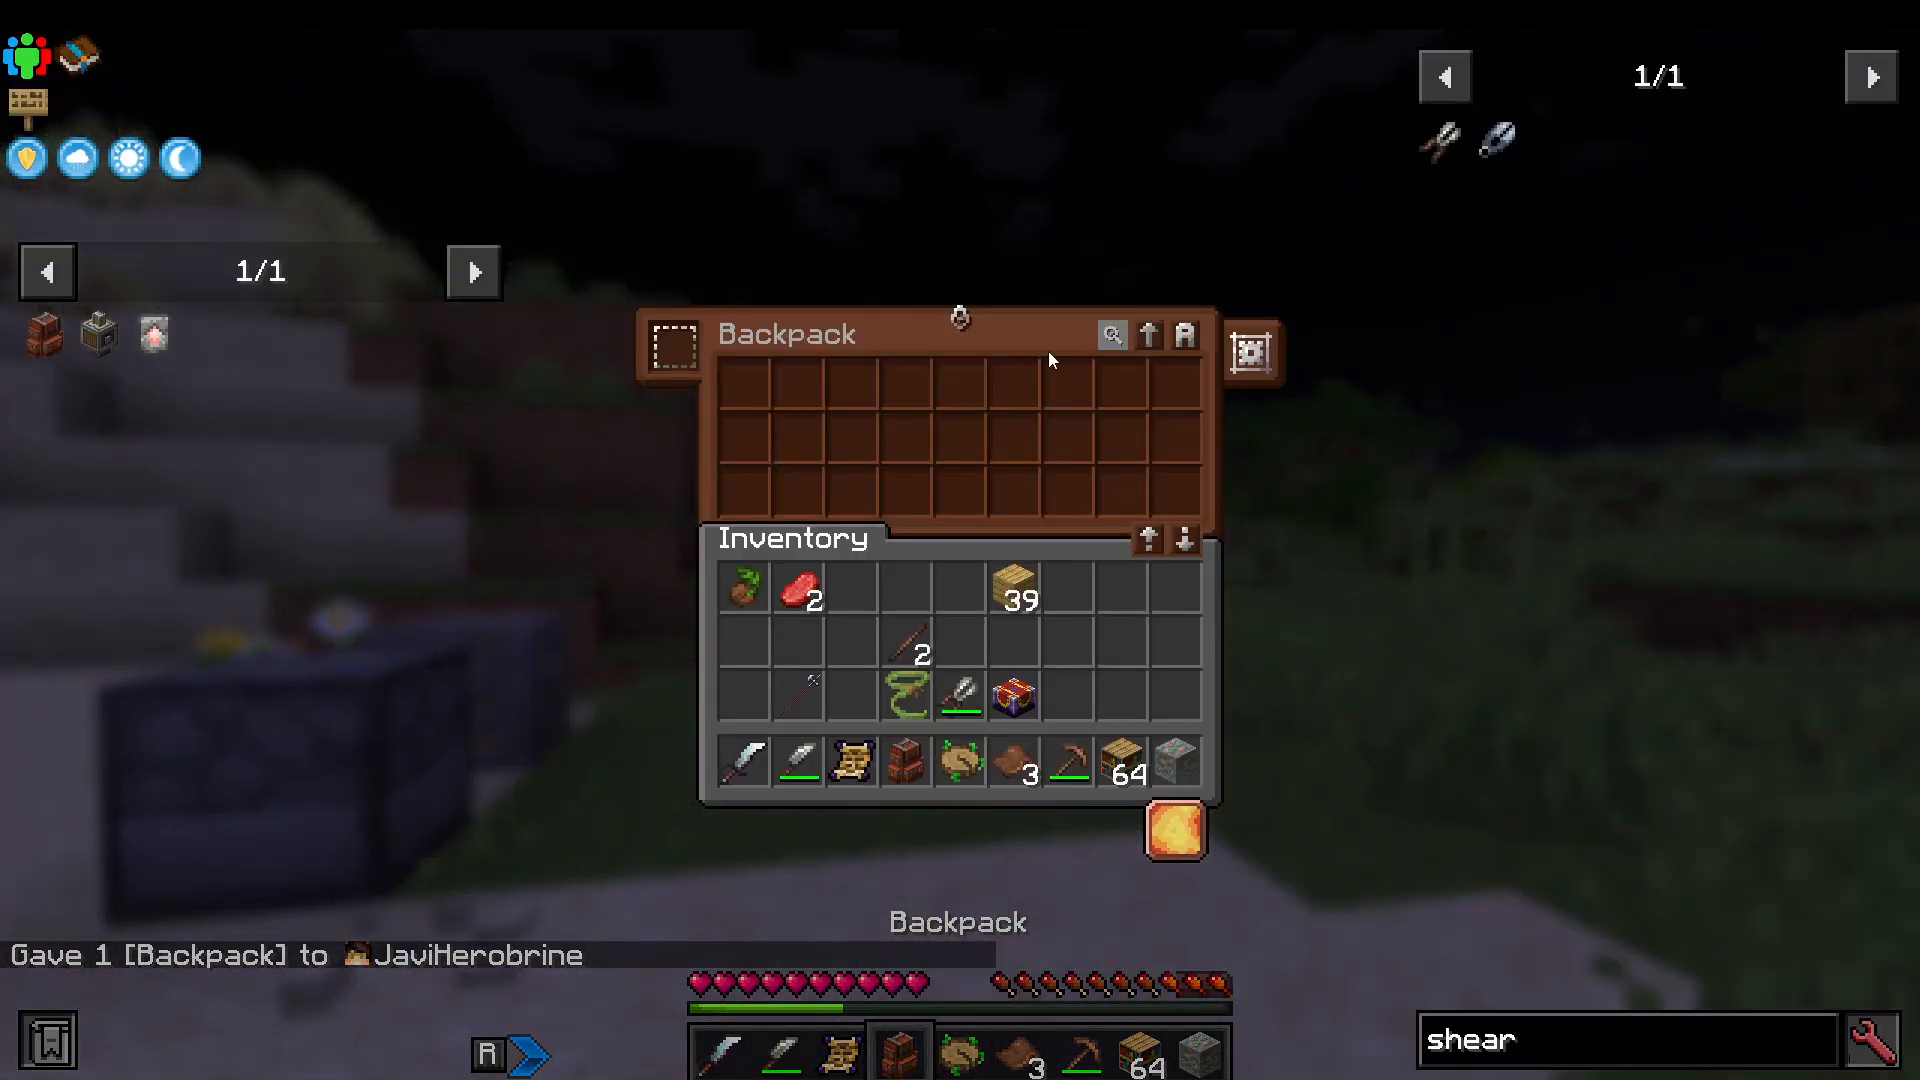
With leather in hand, one of the first things you should craft is a backpack. The recipe requires leather, a chest, and string (obtained from spiders). This backpack comes from the Sophisticated Backpacks mod.
Press B to open your backpack. You can also right-click it to open it directly from your hand, and you can upgrade it — for example, surrounding it with iron ingots will upgrade it to an iron backpack, which doubles its storage capacity. To equip it to your back slot, click the dedicated button in your inventory screen and slot the backpack in there, then press B any time to open it quickly.
Step 5: Crafting Iron Gear – The Mechanical Press
To craft iron armor, you’ll need iron sheets, and those require a Mechanical Press from the Create mod. Here’s how to build one:
Craft an Andesite Casing by right-clicking an Andesite Alloy onto a stripped log.
Craft a Shaft using two Andesite Alloys.
Combine the shaft, Andesite Casing, and a block of iron to make the Mechanical Press.
Place the press down at head height.
Craft a Hand Crank and right-click it onto the small joint section of the press.
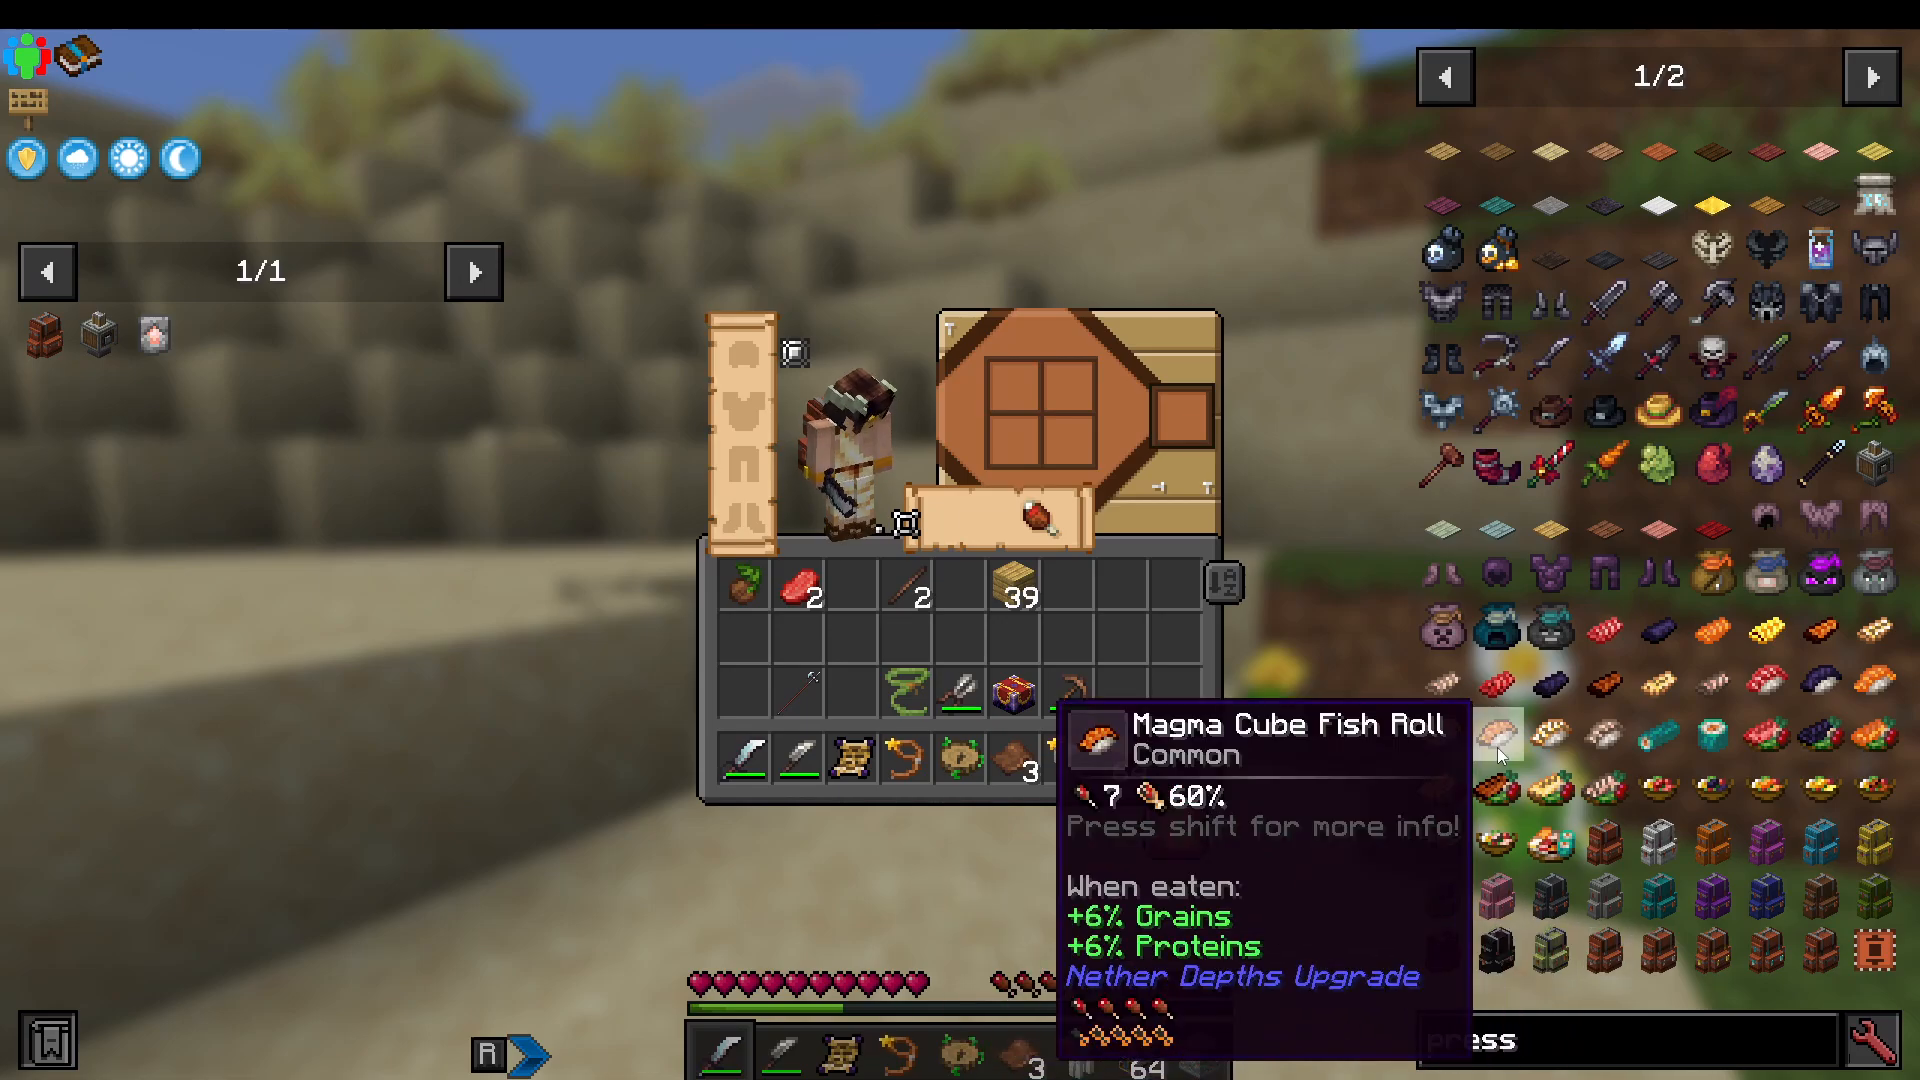
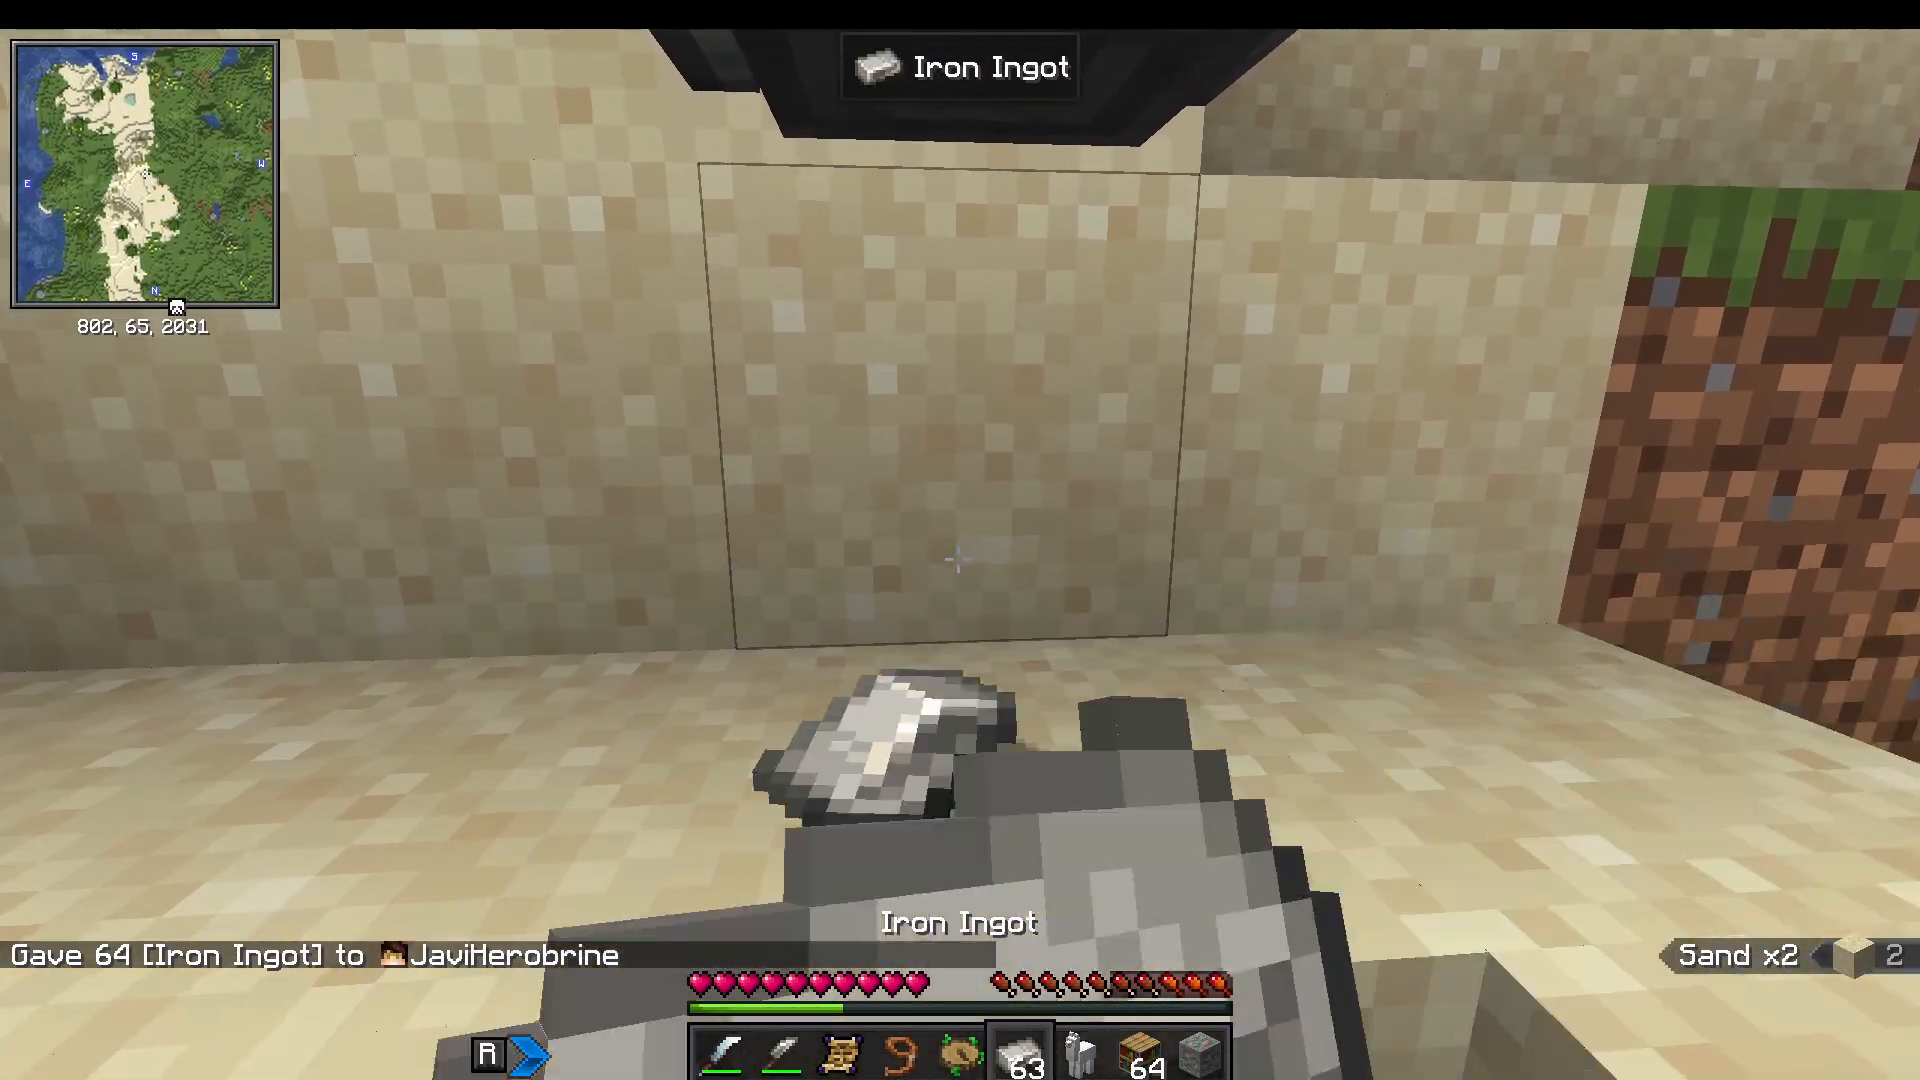
With the press set up, throw iron ingots underneath it, then right-click the Hand Crank to operate it. The press will flatten the ingots into iron sheets. You can now craft iron helmets, chestplates, and the rest of your iron armor set.
Iron Weapons – What to Use
At this stage, you’ll want a solid weapon. Here are your best early options:
Iron Sword — has a chance to inflict bleeding on enemies.
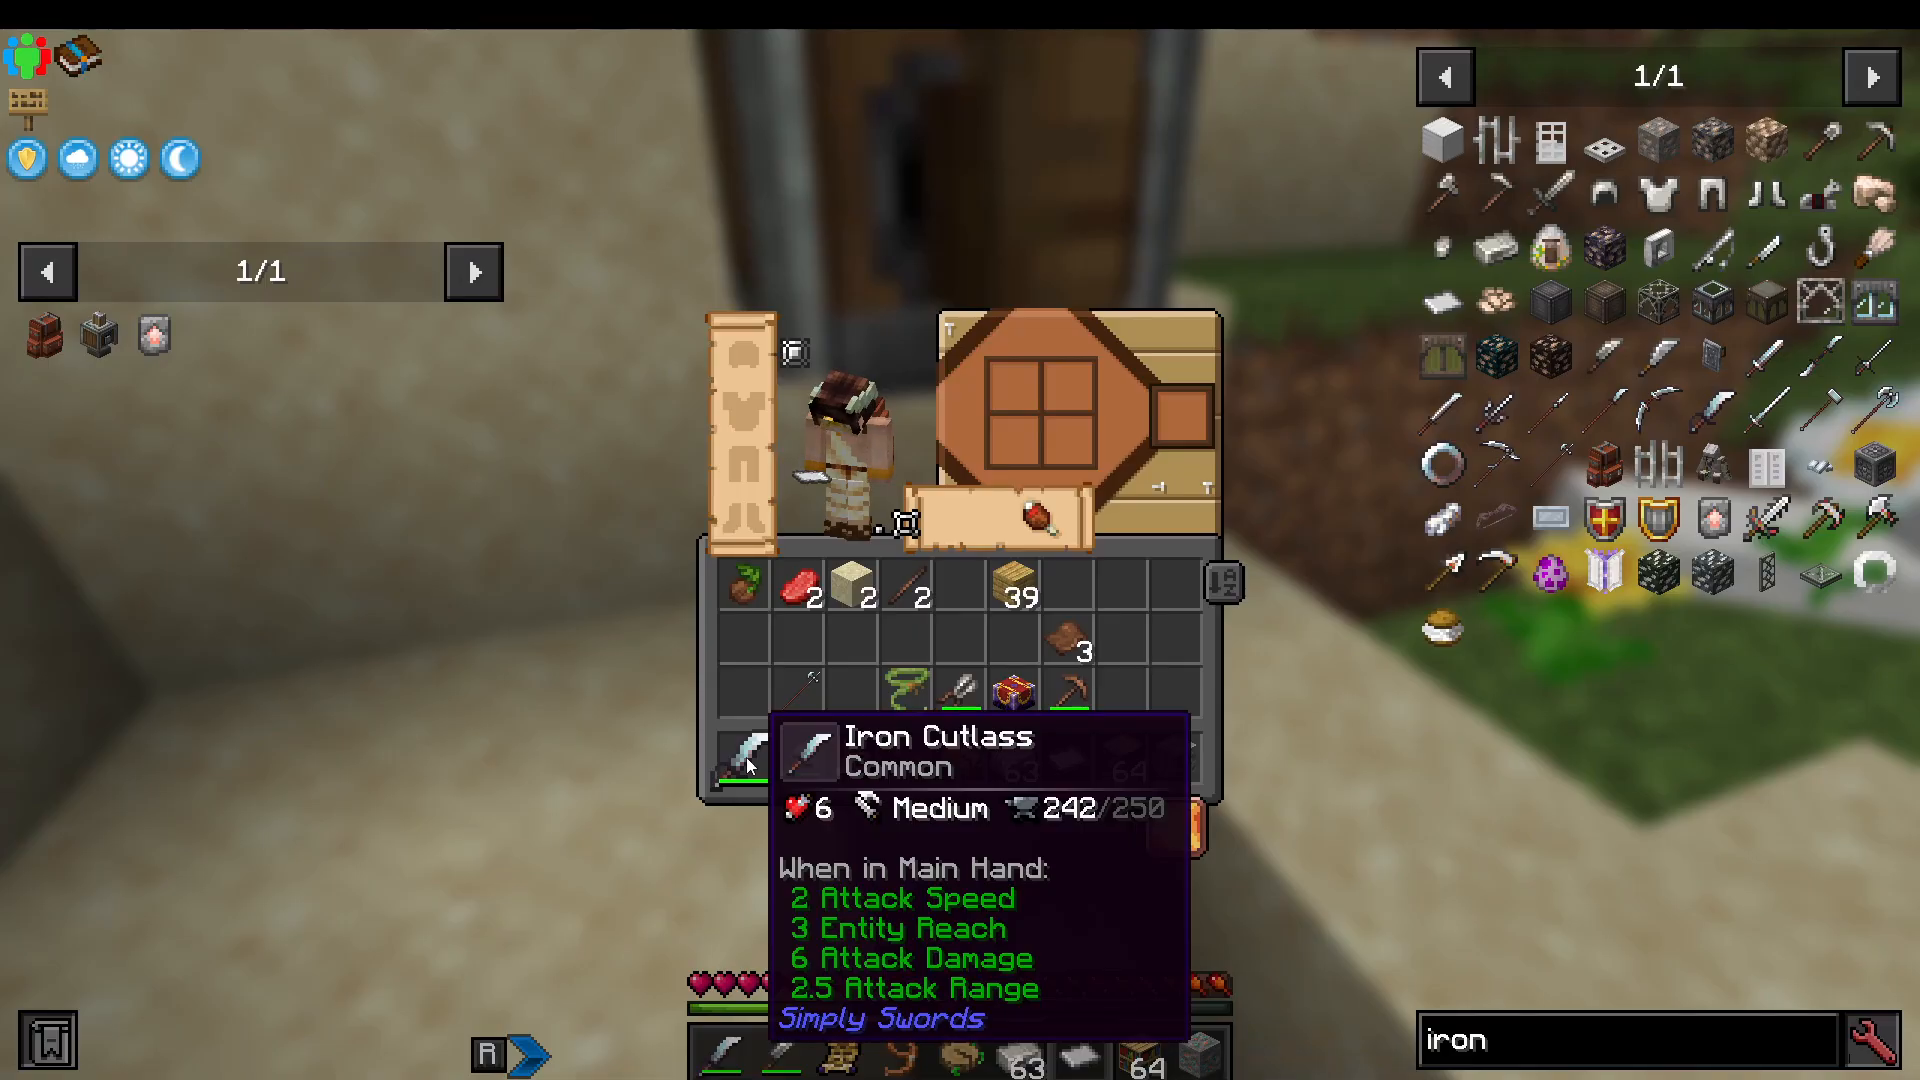
Iron Cutlass — better attack range than a sword.
Iron Halberd — boasts a 4-block attack range, making it excellent for keeping enemies at bay. It’s slower but highly recommended for early game.
A useful tip: instead of clicking to attack individually, you can hold down left-click and your character will automatically attack as soon as the attack cooldown bar fills. This makes combat much more fluid.
Step 6: Upgrading to Rose Gold Gear – The Mechanical Mixer
The next tier after iron is Rose Gold. Note that currently only a Rose Gold sword appears to be available, not the full weapon set. To get there, you’ll need to craft a Mechanical Mixer.
Building the Mechanical Mixer
Craft a Whisk for the top of the mixer.
Place a Basin directly below the mixer (craft it using Andesite Alloy).
Attach a Cogwheel to the side of the mixer — place it on a block so the cogs interlock correctly.
Attach a Hand Crank on top of the cogwheel.
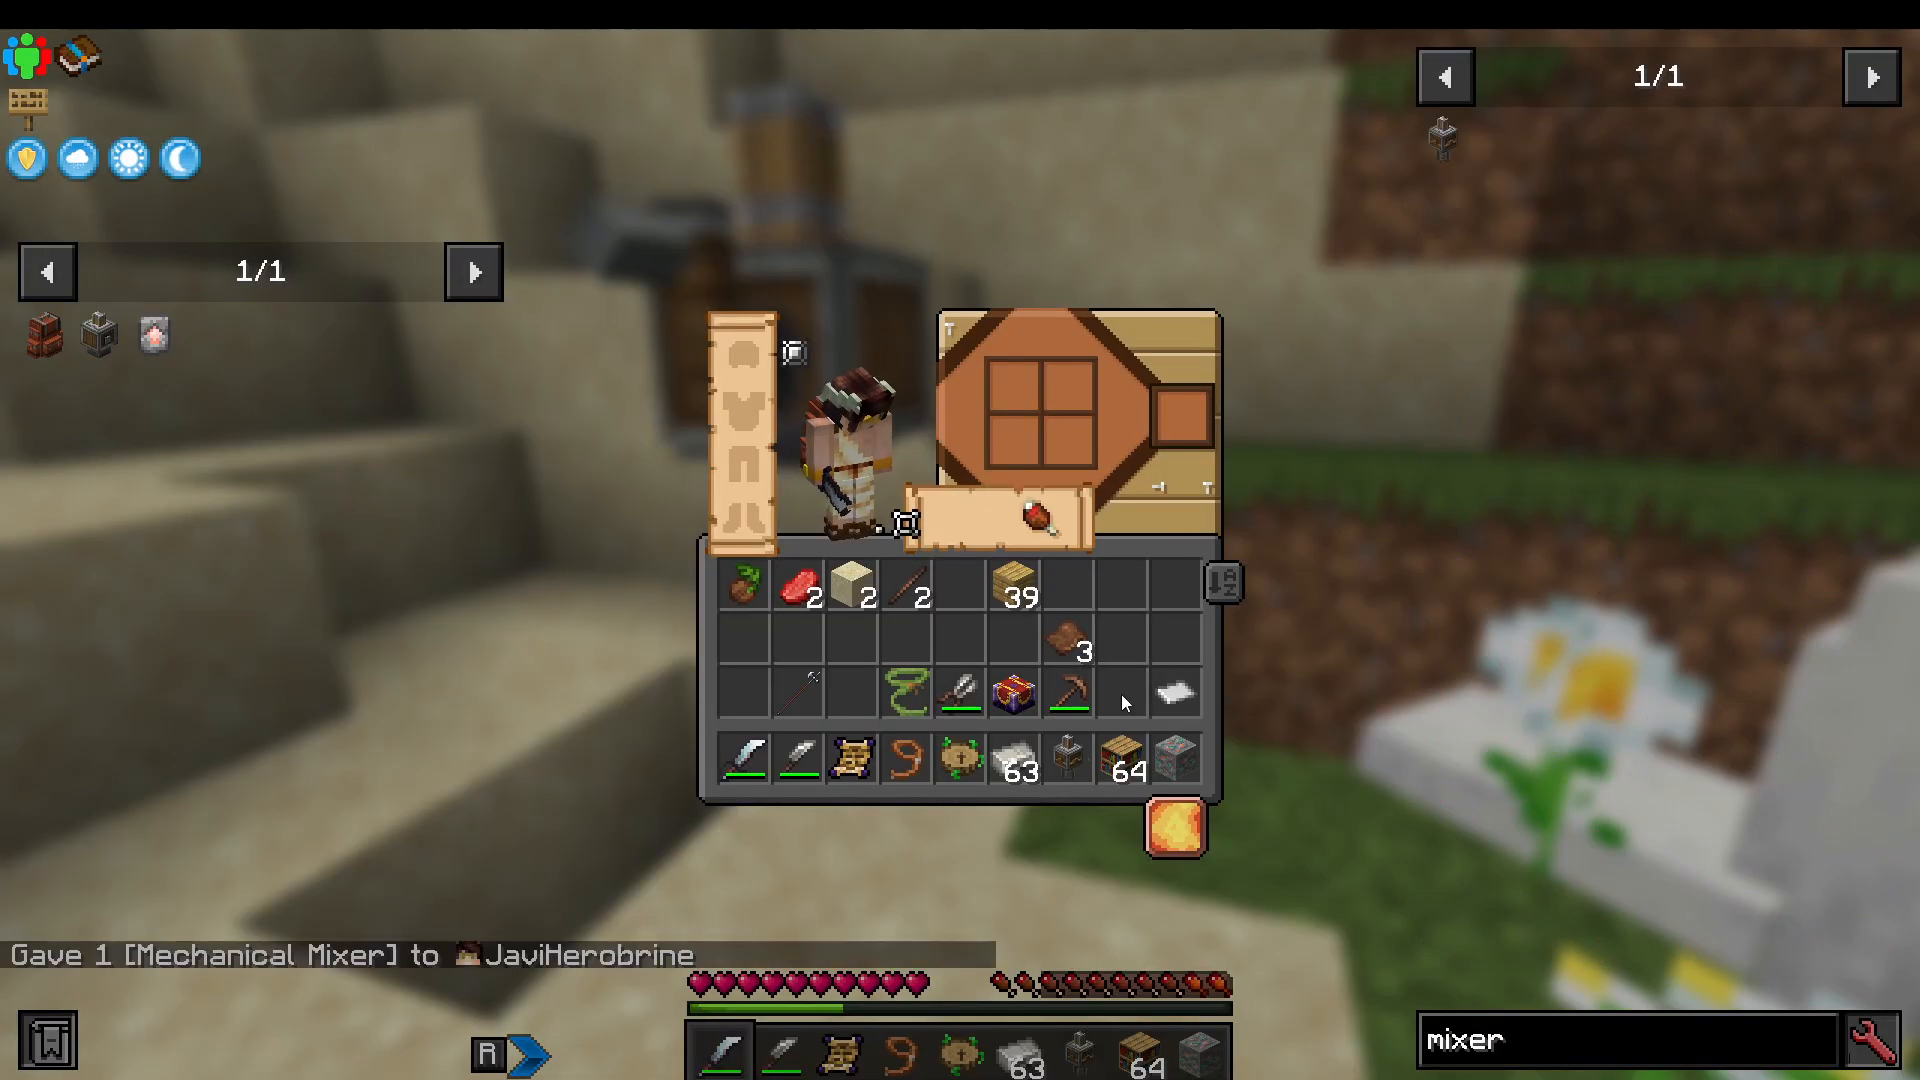
Once the mixer is assembled, place 3 copper ingots and 3 gold ingots into the basin. Right-click the Hand Crank to start mixing. The machine will combine them into Rose Gold Alloy.
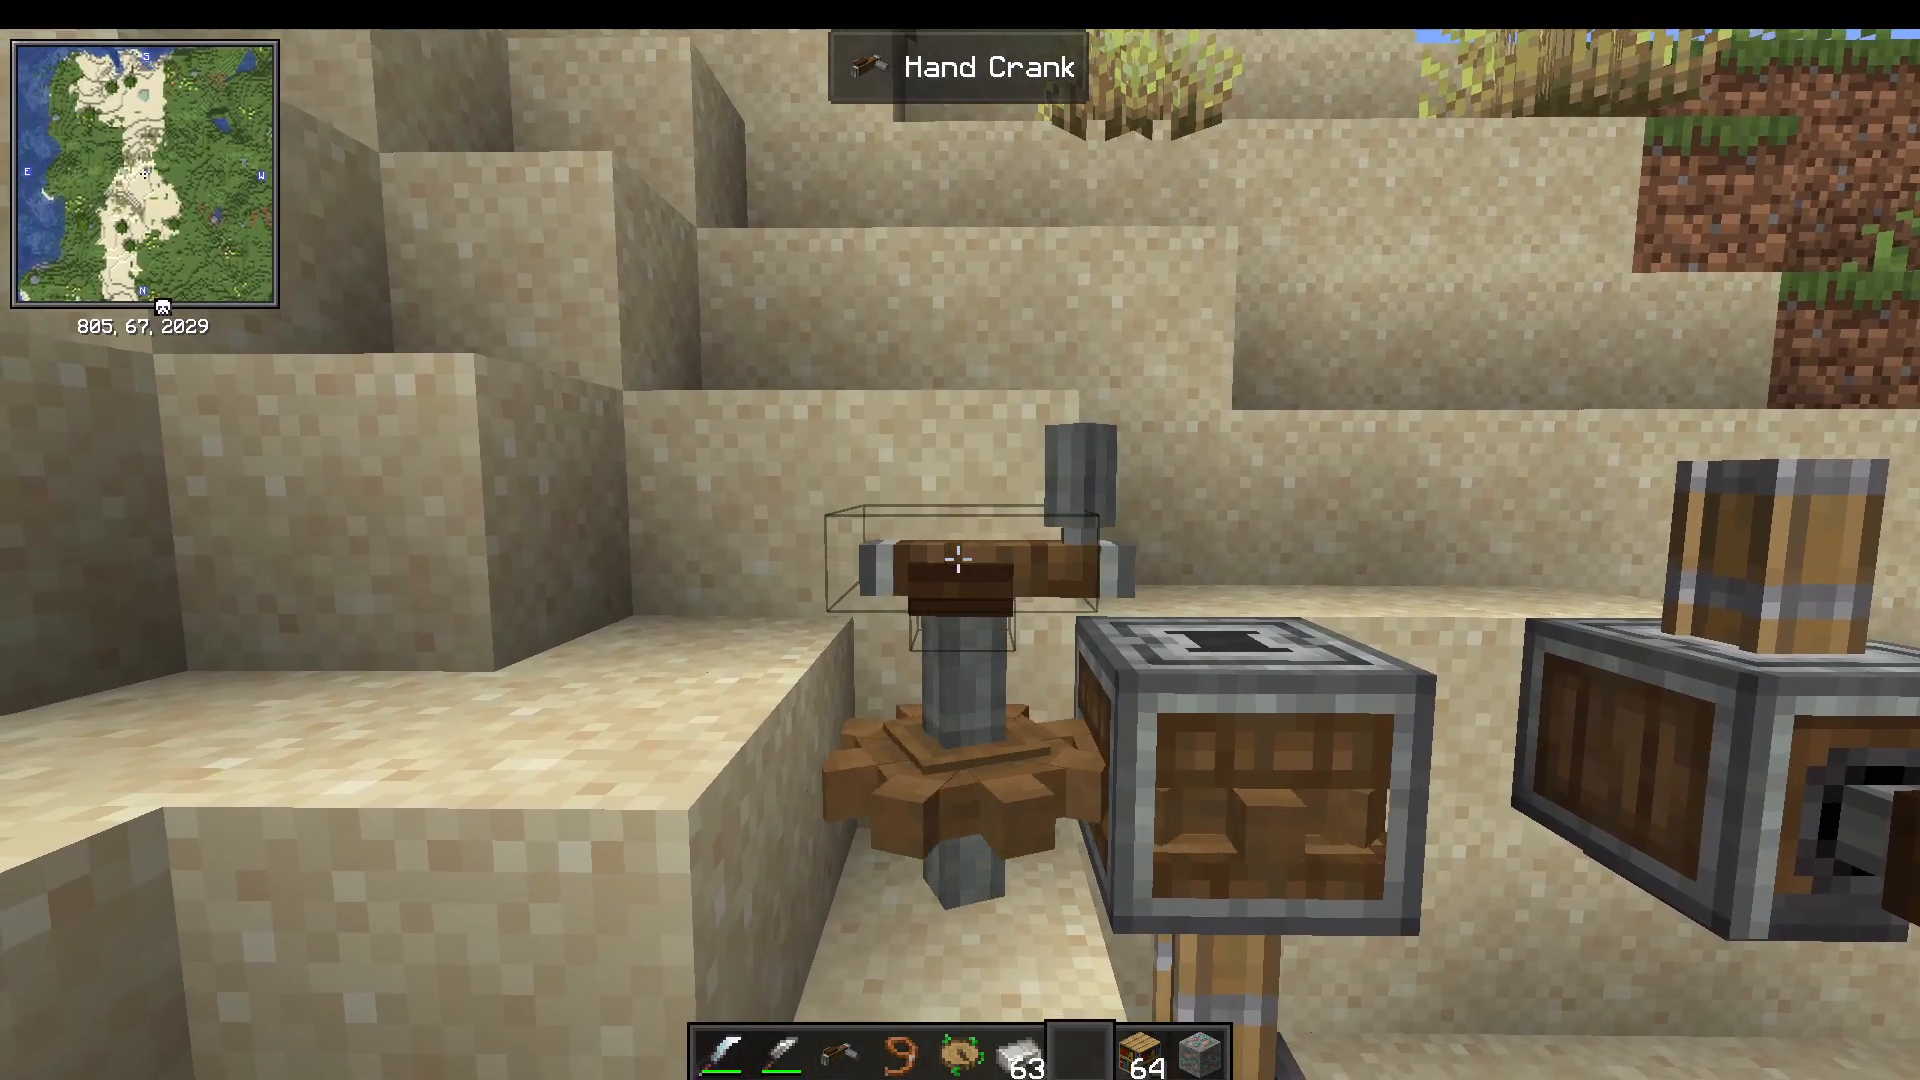
Crafting Rose Gold Armor
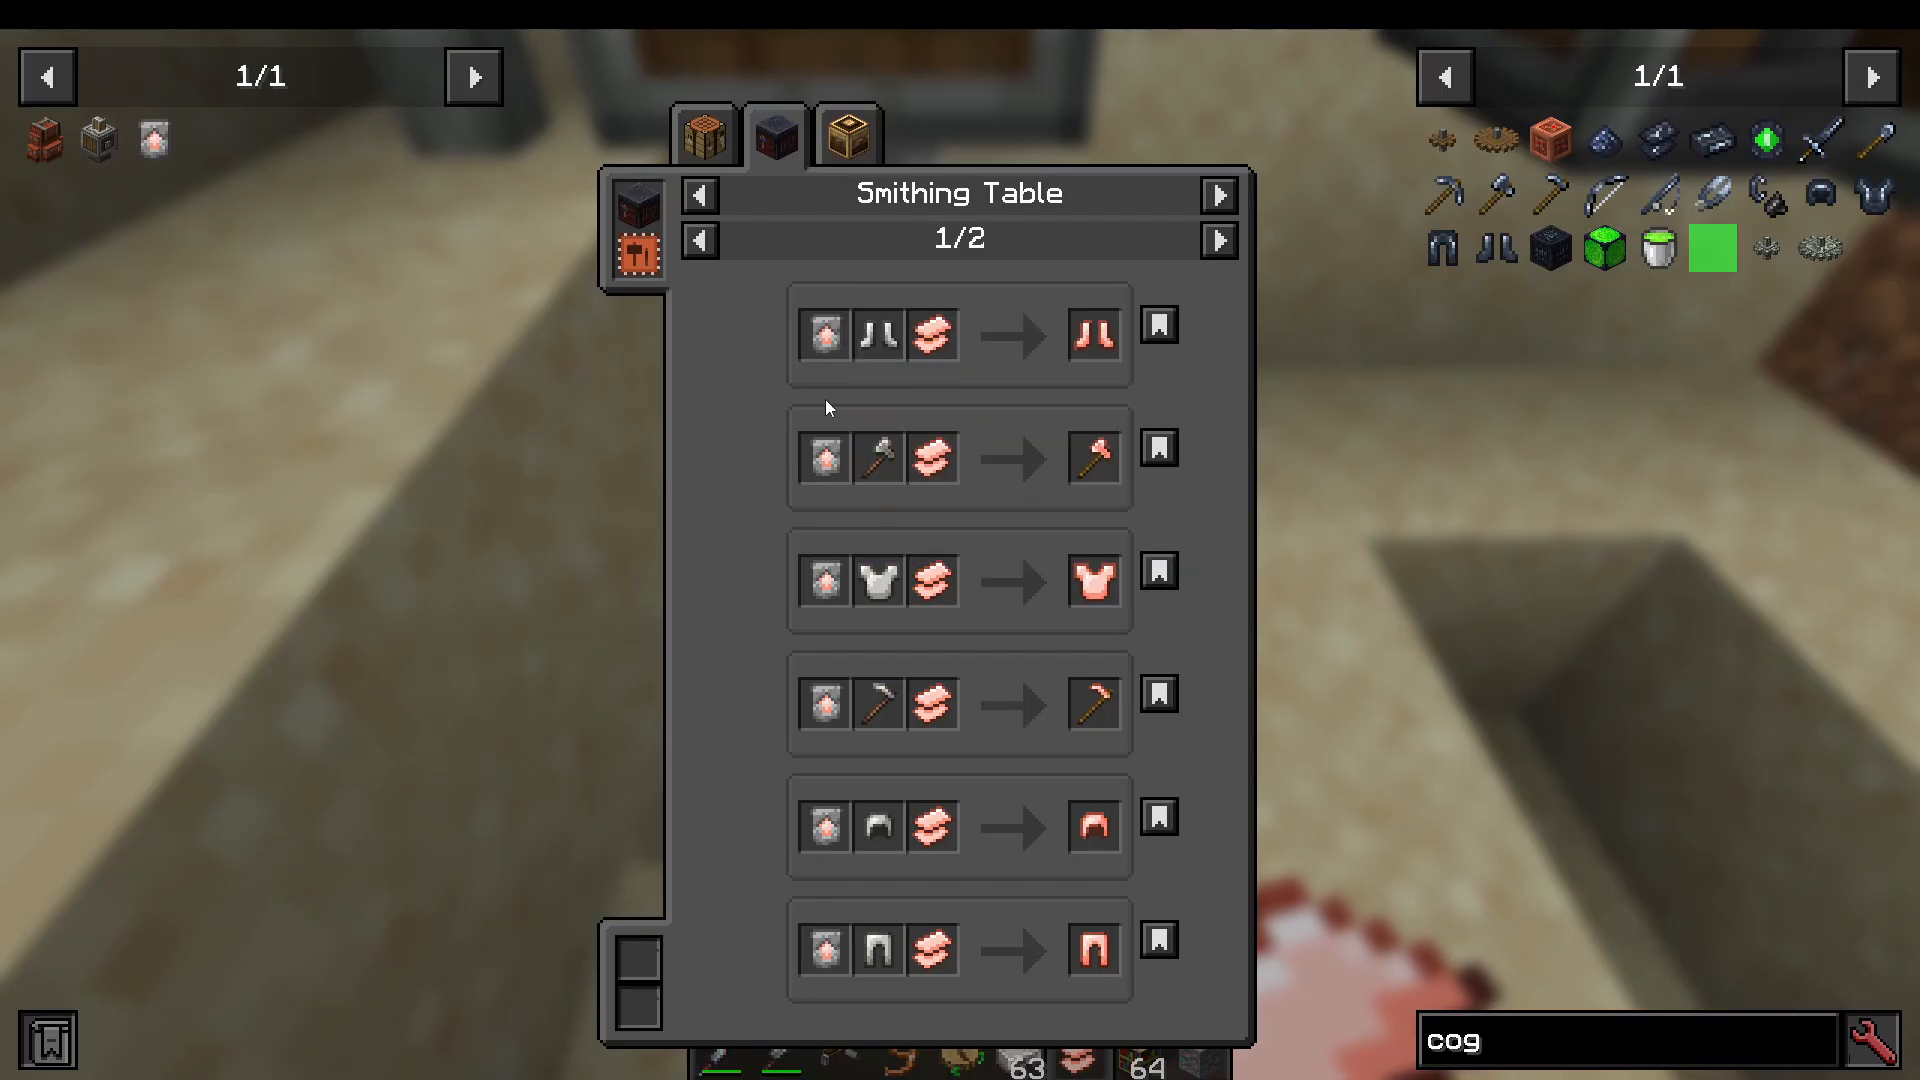
With Rose Gold Alloy, you can craft a Smithing Template. Smithing templates can be duplicated in a Smithing Table. Use the template along with your existing iron tools and armor at a Smithing Table to upgrade them into Rose Gold armor and gear.
Step 7: Reaching Diamond Gear
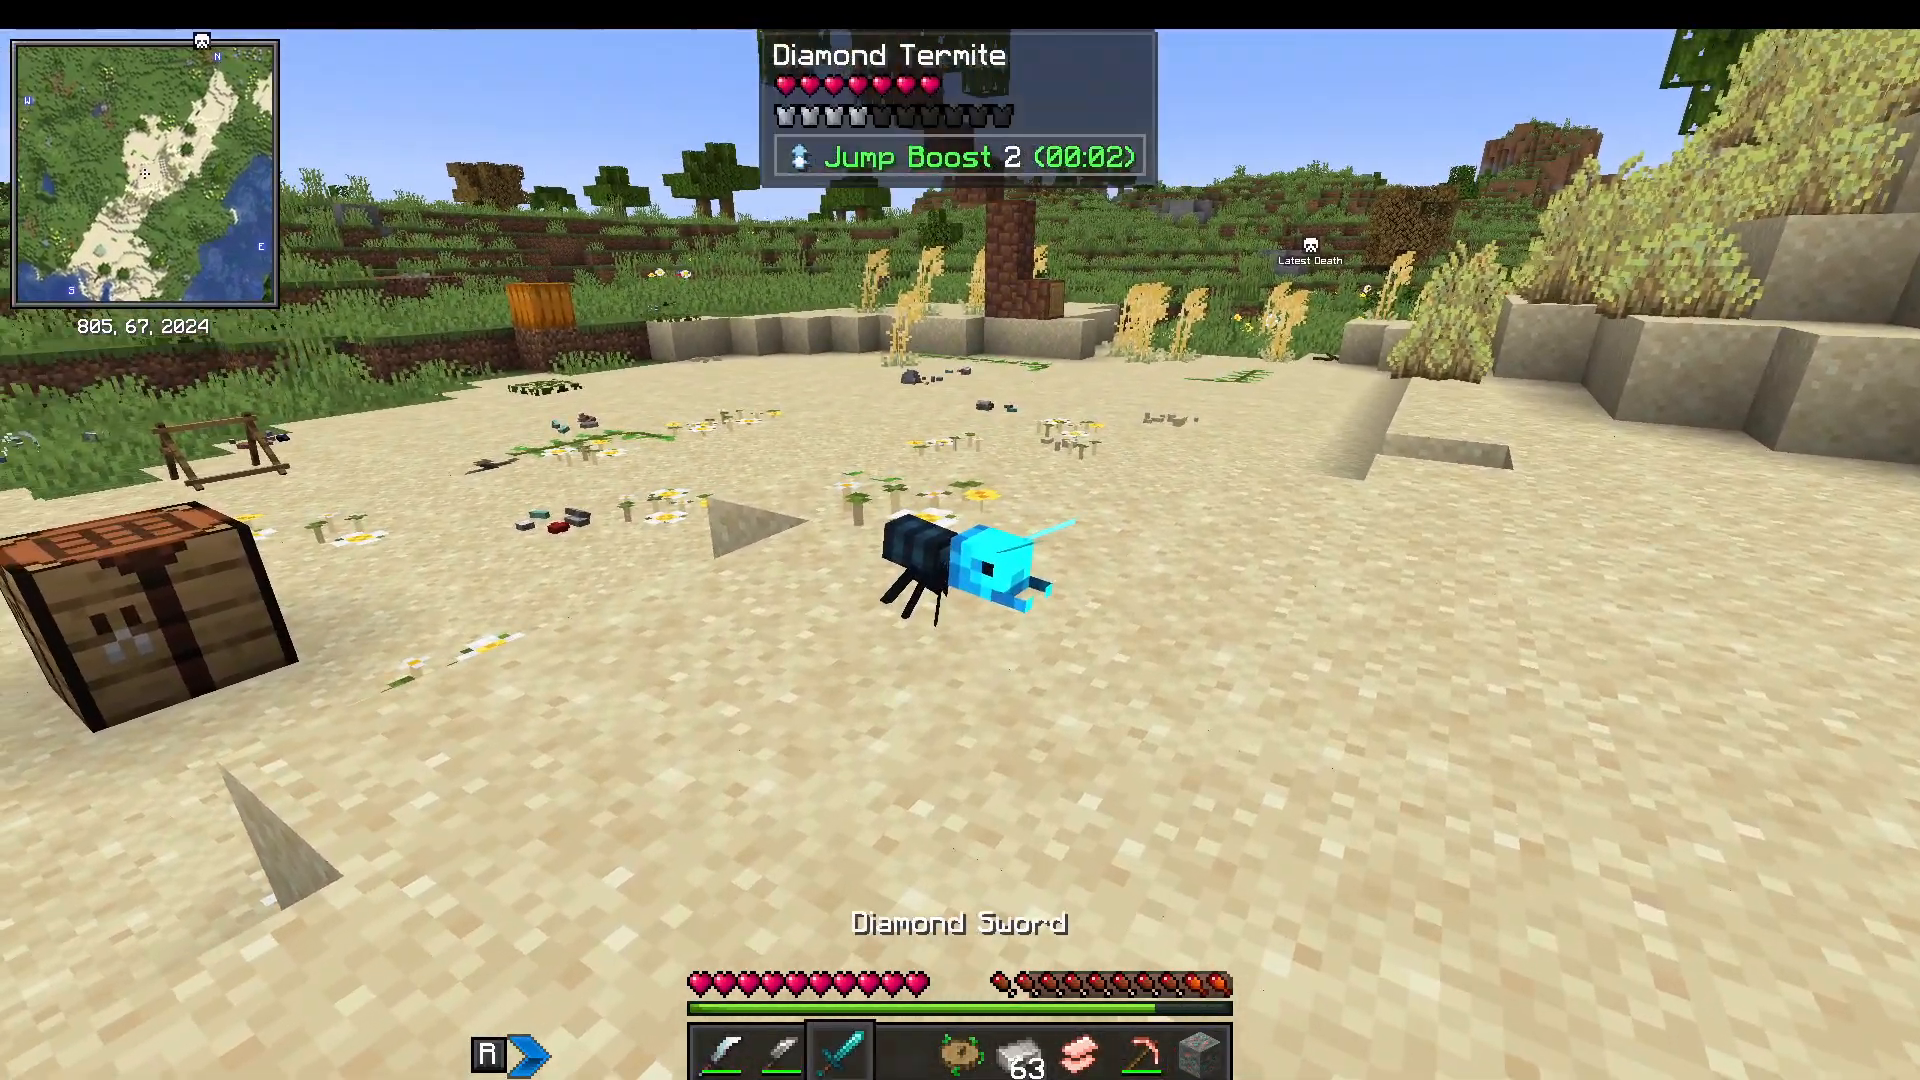
Diamond ore generates in Beyond Depth just as it does in vanilla Minecraft — both regular diamond ore and deepslate diamond ore. However, you’ll also encounter Infested Diamond Ore. When you mine infested diamond ore (you’ll likely be using a Rose Gold pickaxe at this point), a Diamond Termite will spawn and attack you.
Defeat the Diamond Termite and it will drop a Diamond Termite Shard. You’ll need these shards alongside regular diamonds to craft Diamond armor. Nine Diamond Termite Shards can also be combined to craft a full diamond. Don’t worry — both normal and infested diamond ore appear regularly as you explore caves, so you’ll gather the resources you need with time.
General Tips and Tricks for Early Game
Diet and Hunger Buffs
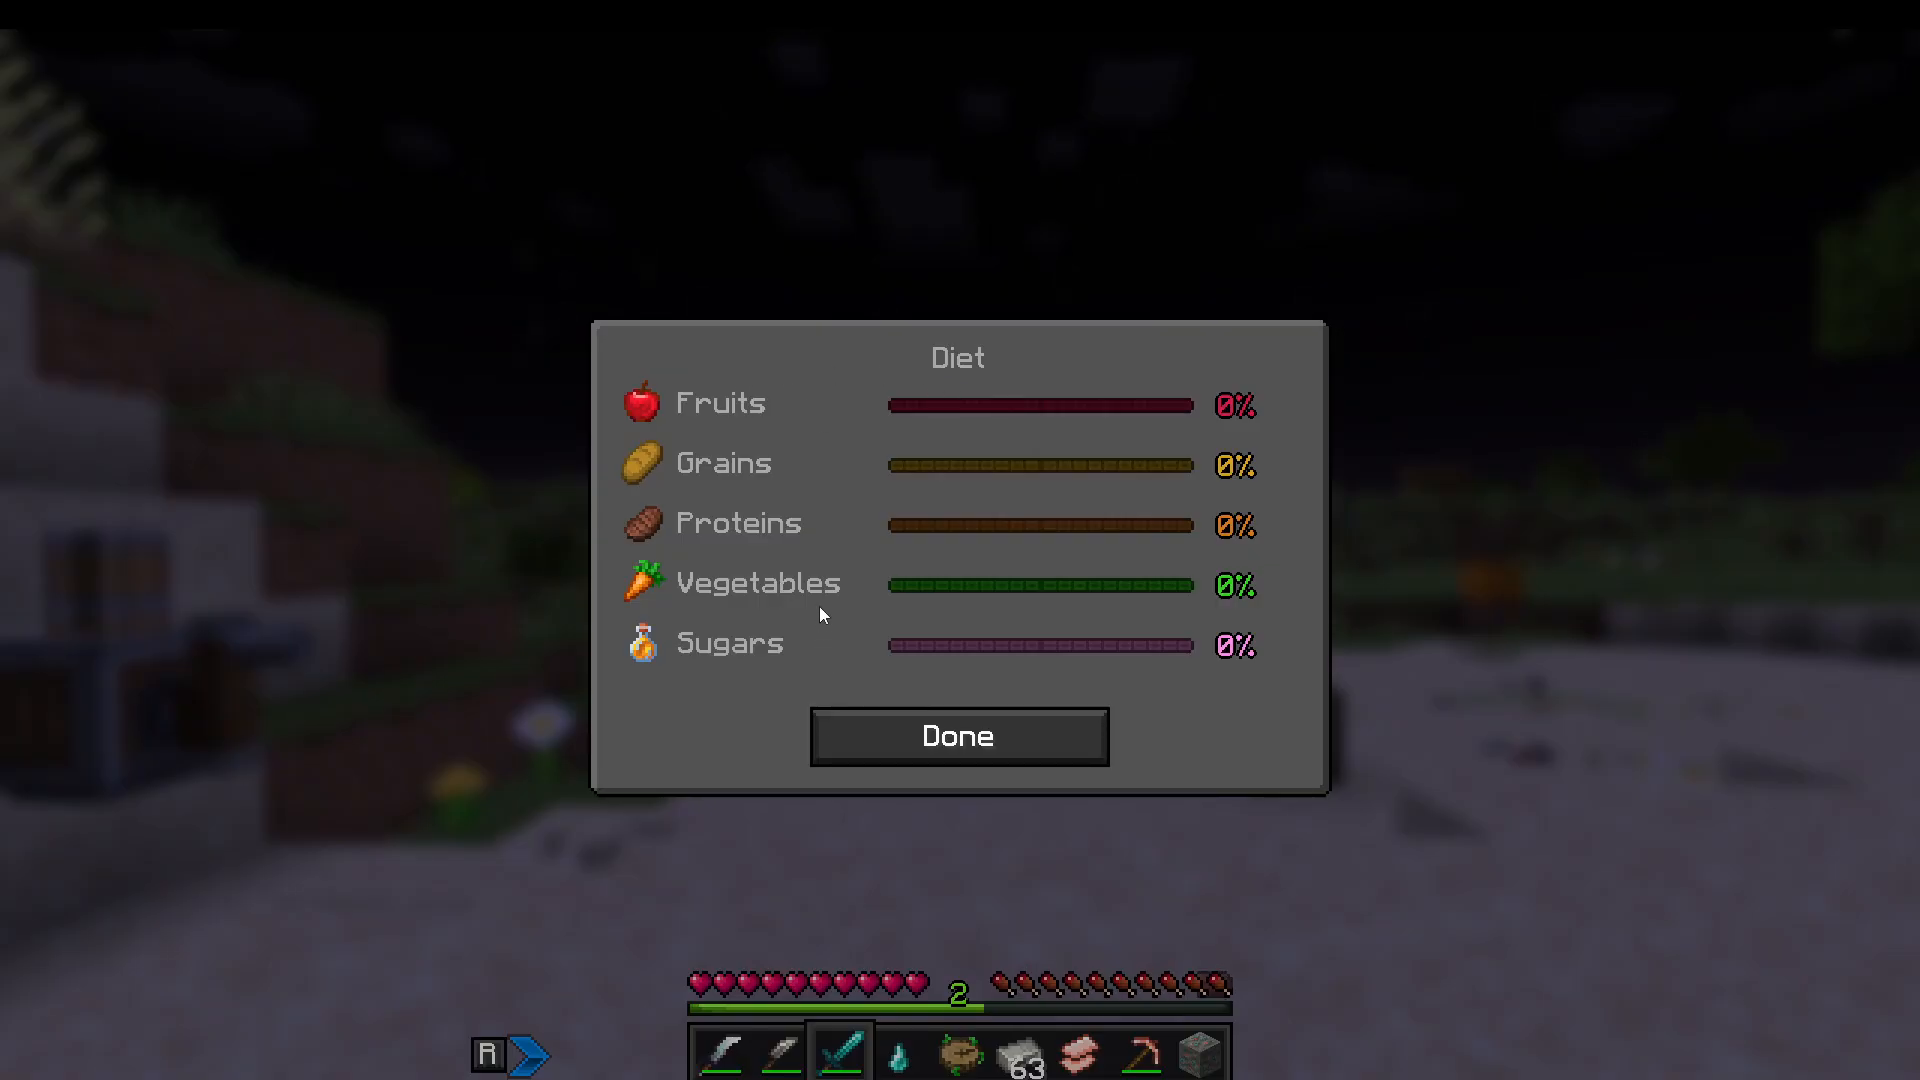
Beyond Depth includes a diet system. Eating a variety of food types — fruits, grains, vegetables, sugars, and more — will grant you passive buffs and bonuses. You can view your current diet progress by opening the Diet Screen. If no keybind is set for it, go to Controls → Key Binds and search for “Open Diet Screen” to assign one manually.
Sleeping Bags
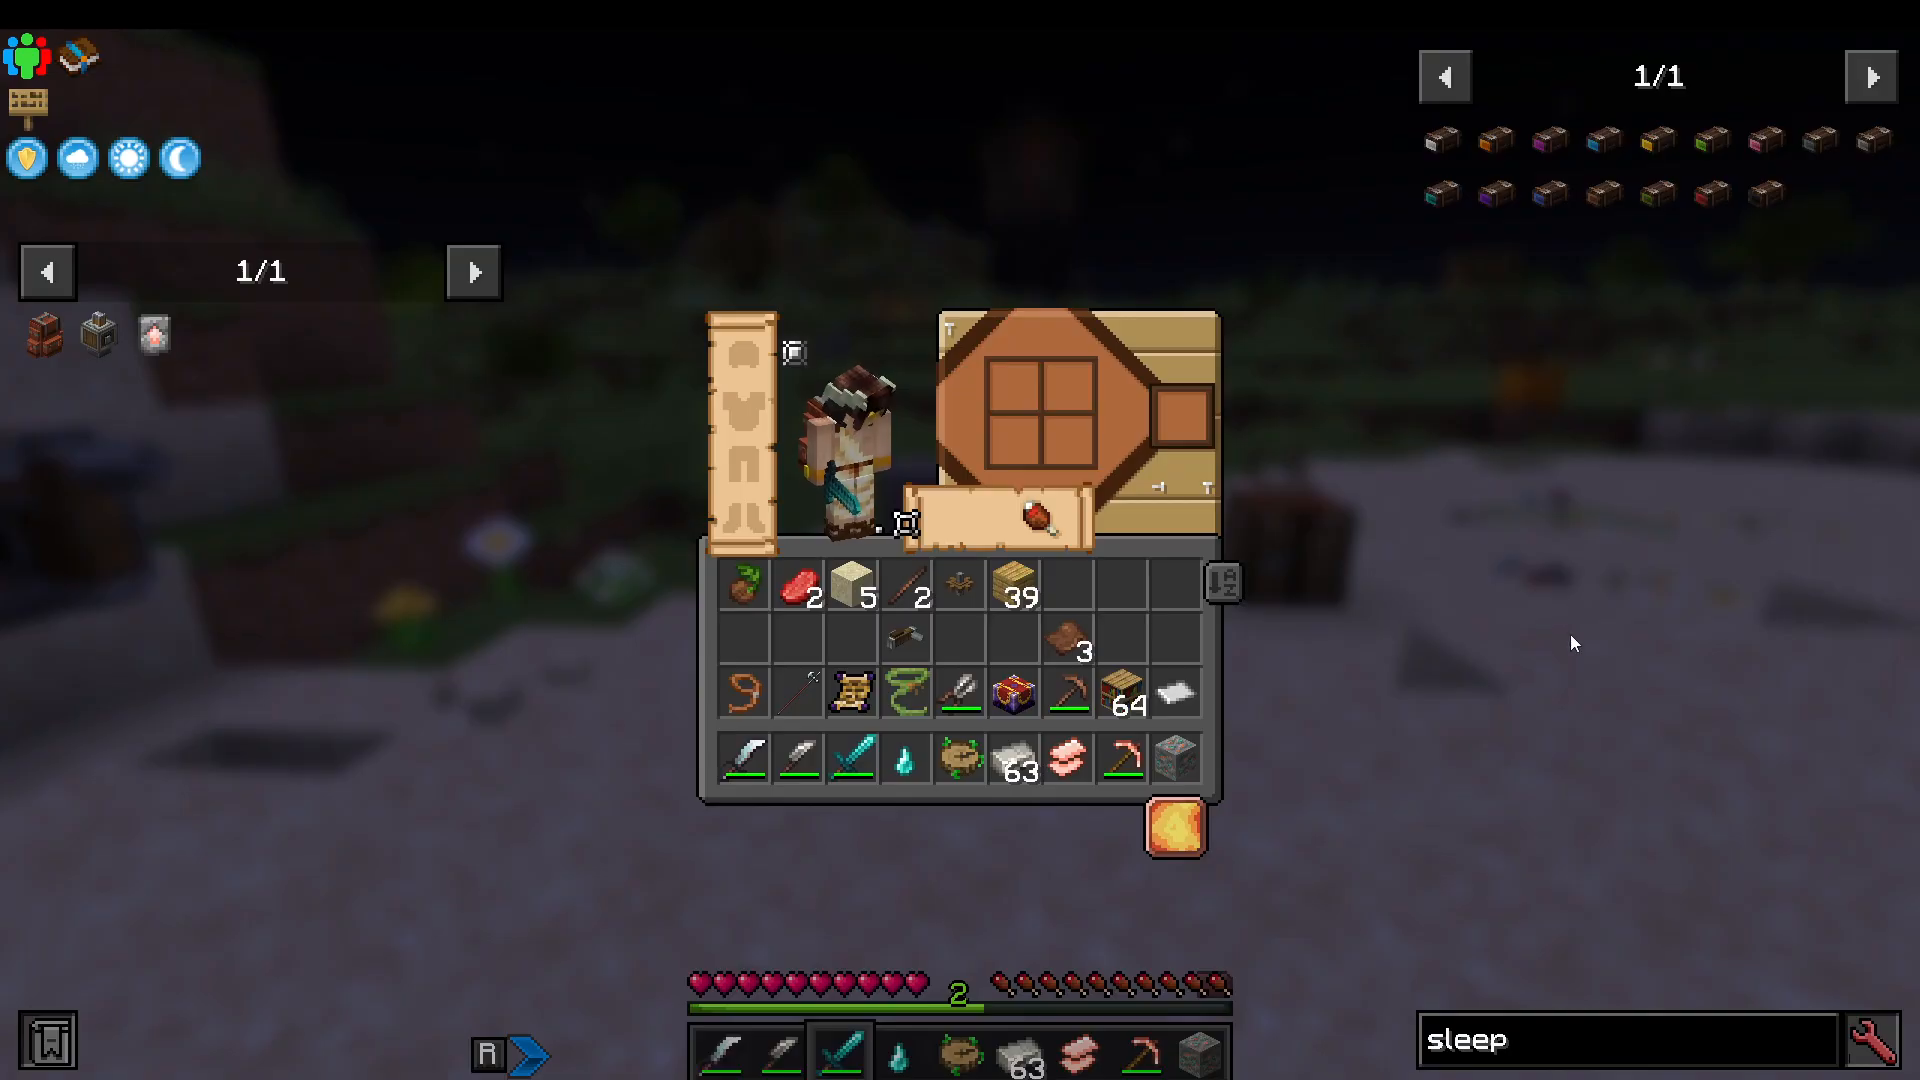
Nights in Beyond Depth are very dangerous. Craft a Sleeping Bag using 3 wool (or string from spiders as an alternative source). Place it anywhere, sleep to skip to morning, then pick it back up and take it with you. Note that sleeping takes a noticeable amount of time in this modpack, so make sure you’re in a safe location before using it.
Nature’s Compass – Finding Biomes
To navigate the world efficiently, craft a Nature’s Compass. It requires a zinc ingot (found commonly near copper deposits), a gold sheet, an iron sheet, and a regular compass. Right-click the compass to open its UI, search for any biome by name, and it will point you directly toward the nearest one.
Waystones and Scrolls – Fast Travel
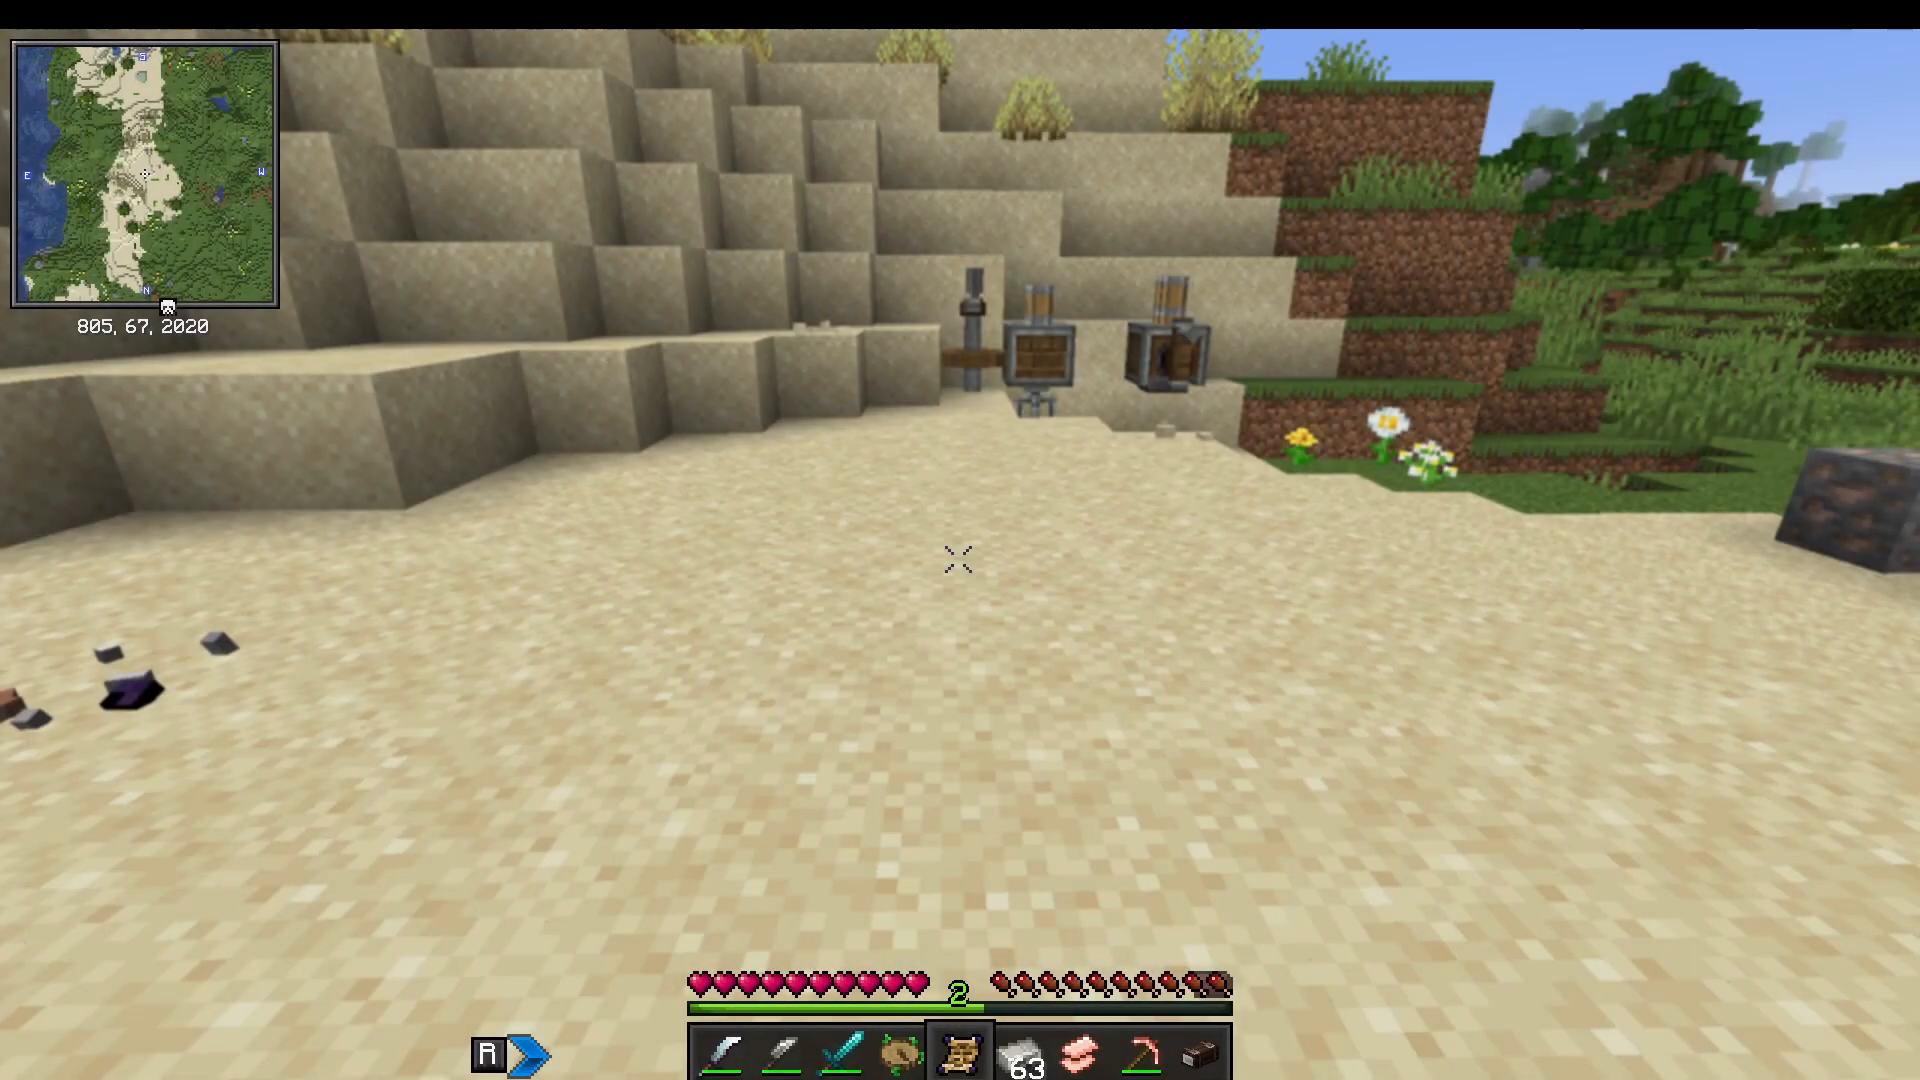
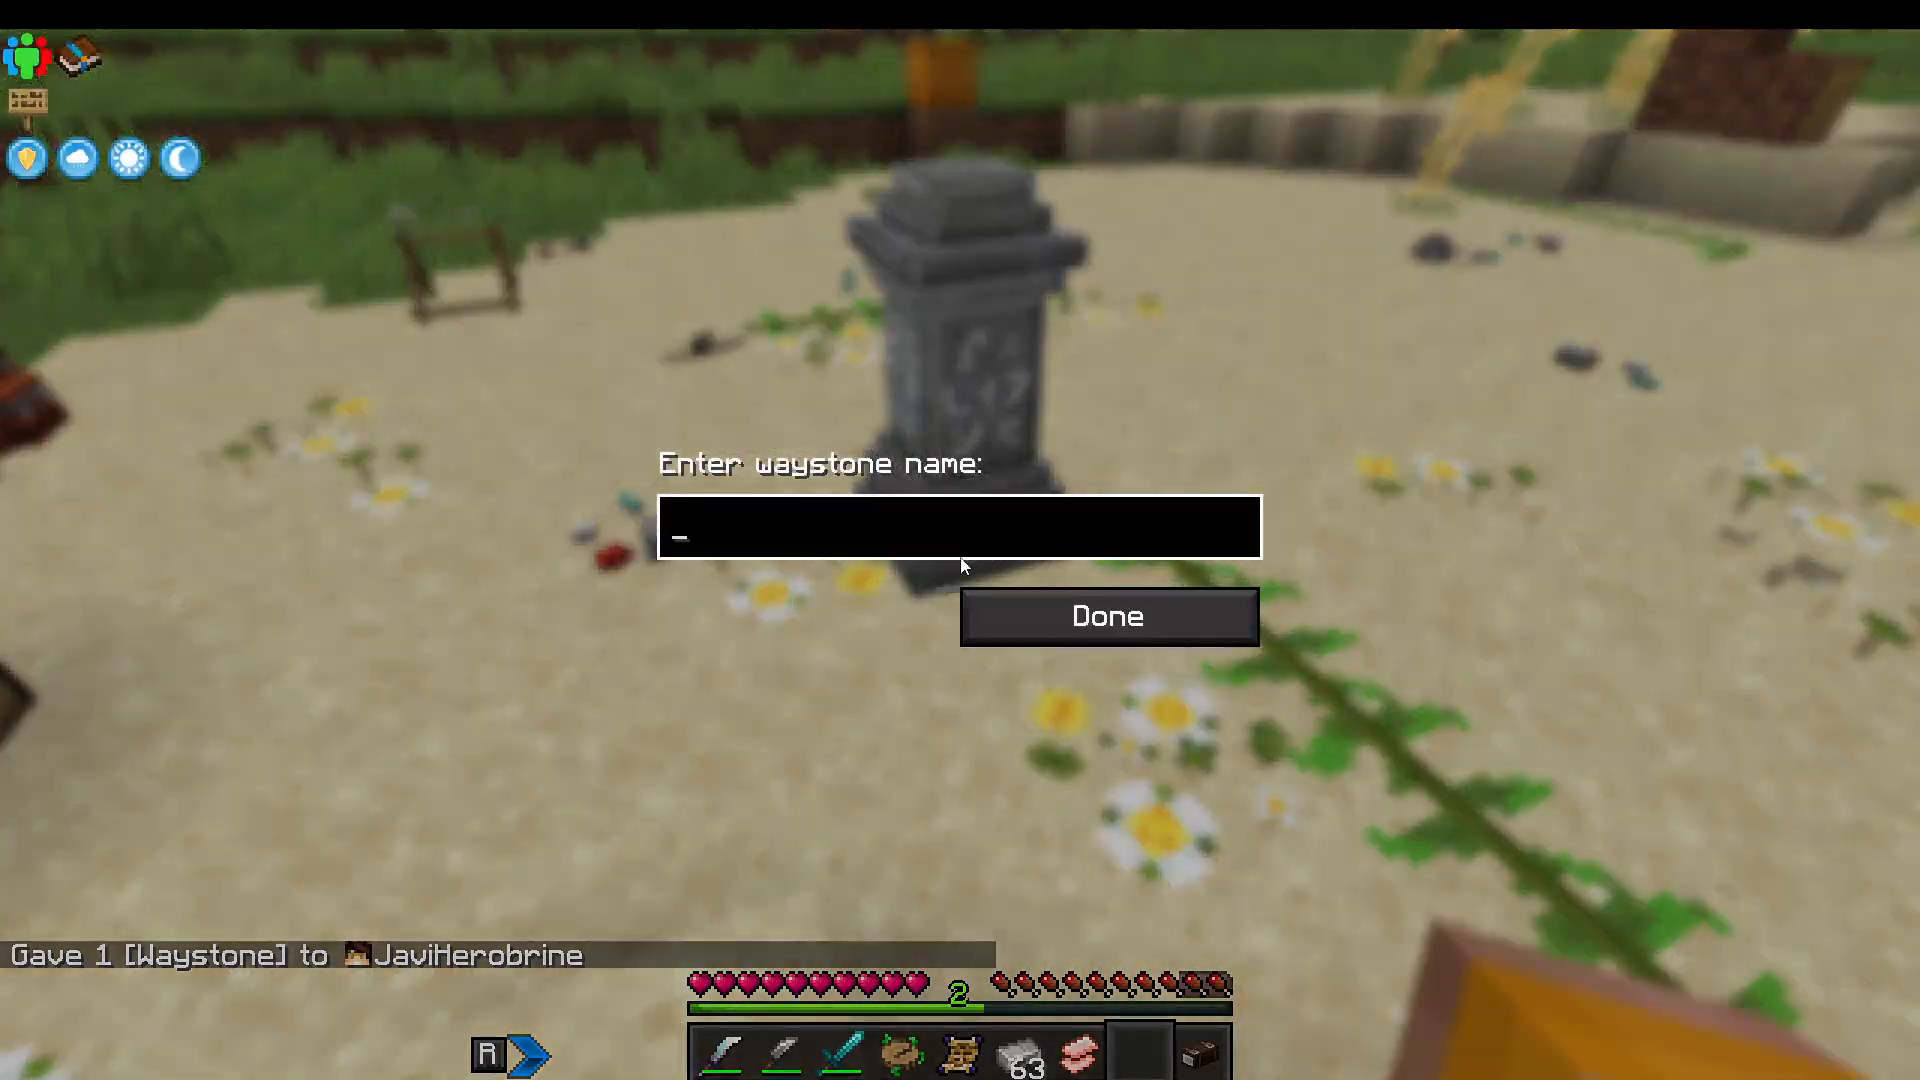
Waystones can be found in villages or crafted later using mechanical crafting. Interact with a waystone to register it, then use another waystone’s menu to teleport between them for a cost in experience points. You can also craft scrolls to make travel even easier:
Bound Scroll — shift right-click on a waystone to bind the scroll to it, then right-click the scroll to teleport there at will.
Return Scroll — automatically teleports you back to the last waystone you used.
Vine Lasso – Moving Mobs and Villagers
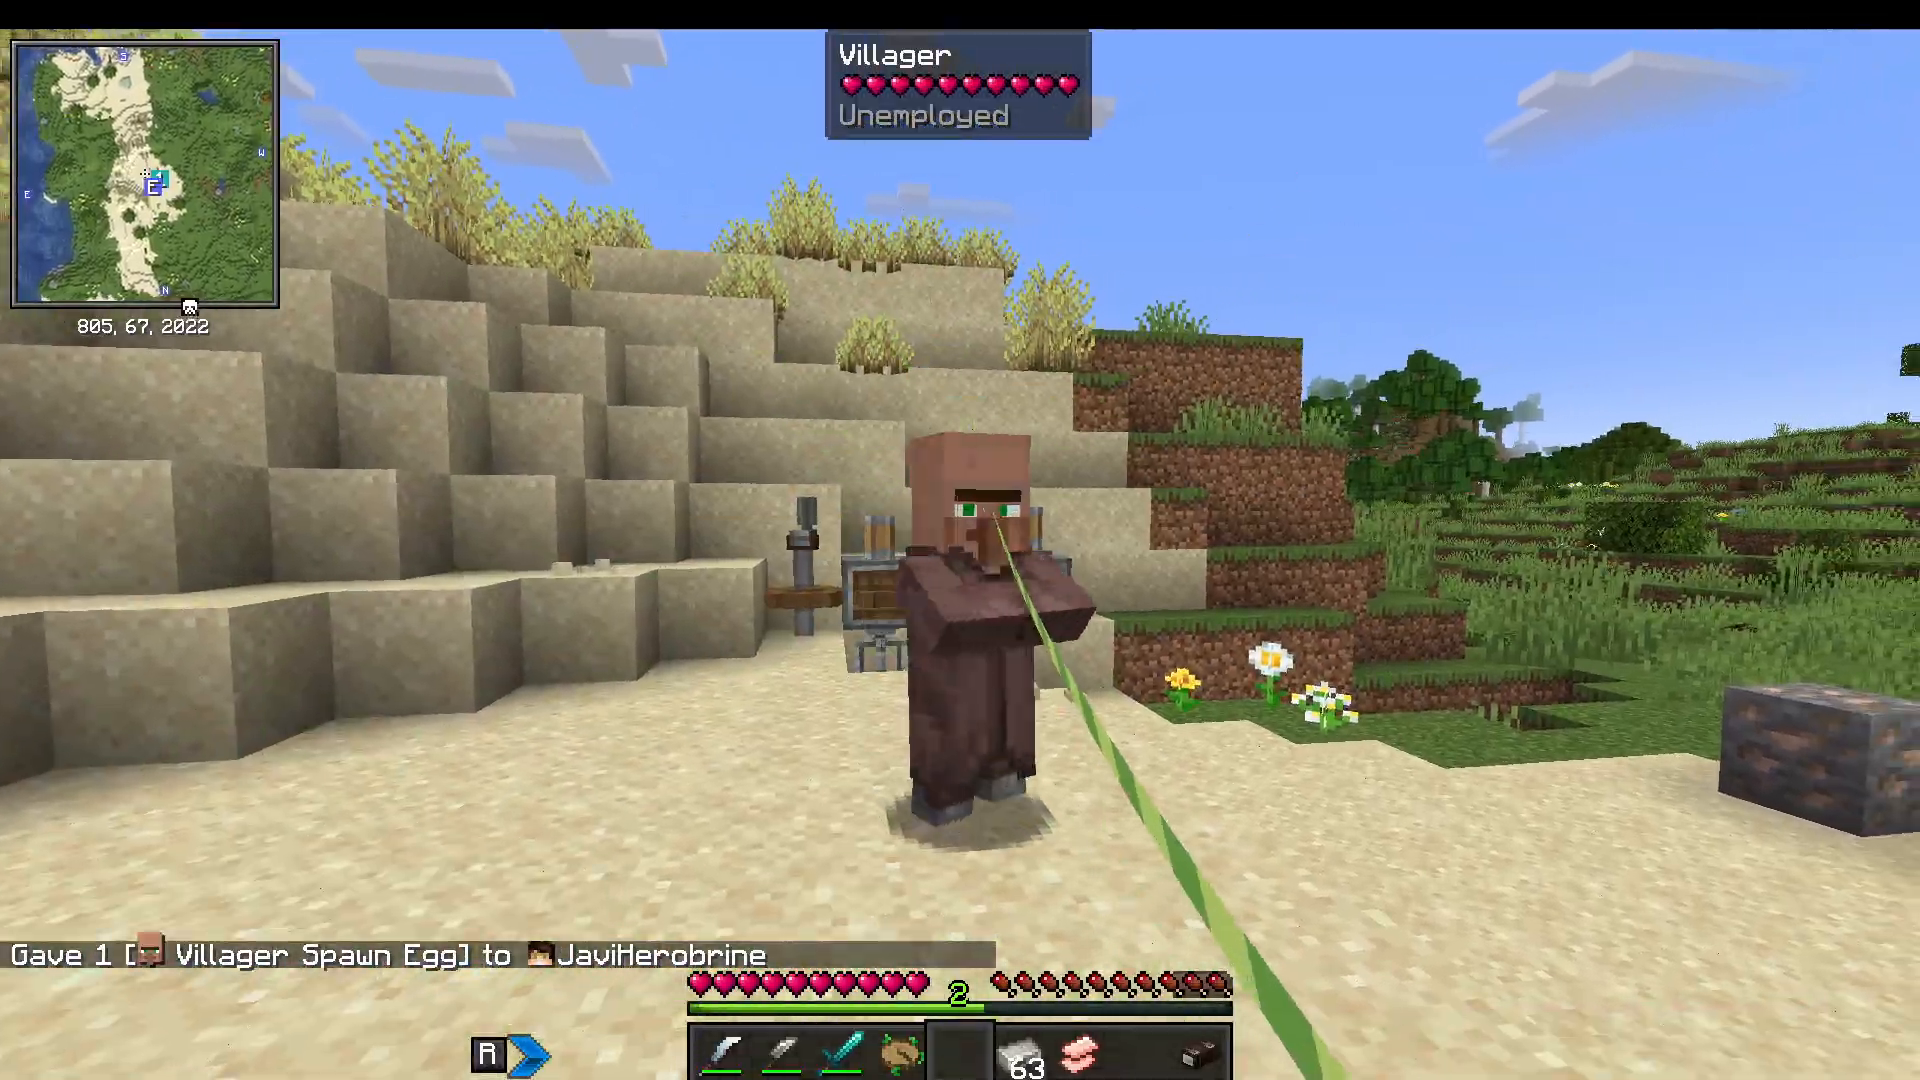
Instead of wrestling mobs into minecarts, use a Vine Lasso (from Alex’s Mobs). Hold down right-click on a mob or villager to lasso them, drag them wherever you need, then release right-click to drop them. It works on farm animals and villagers alike — a really convenient early-game tool.
Enchanting – The Enchantment Infuser
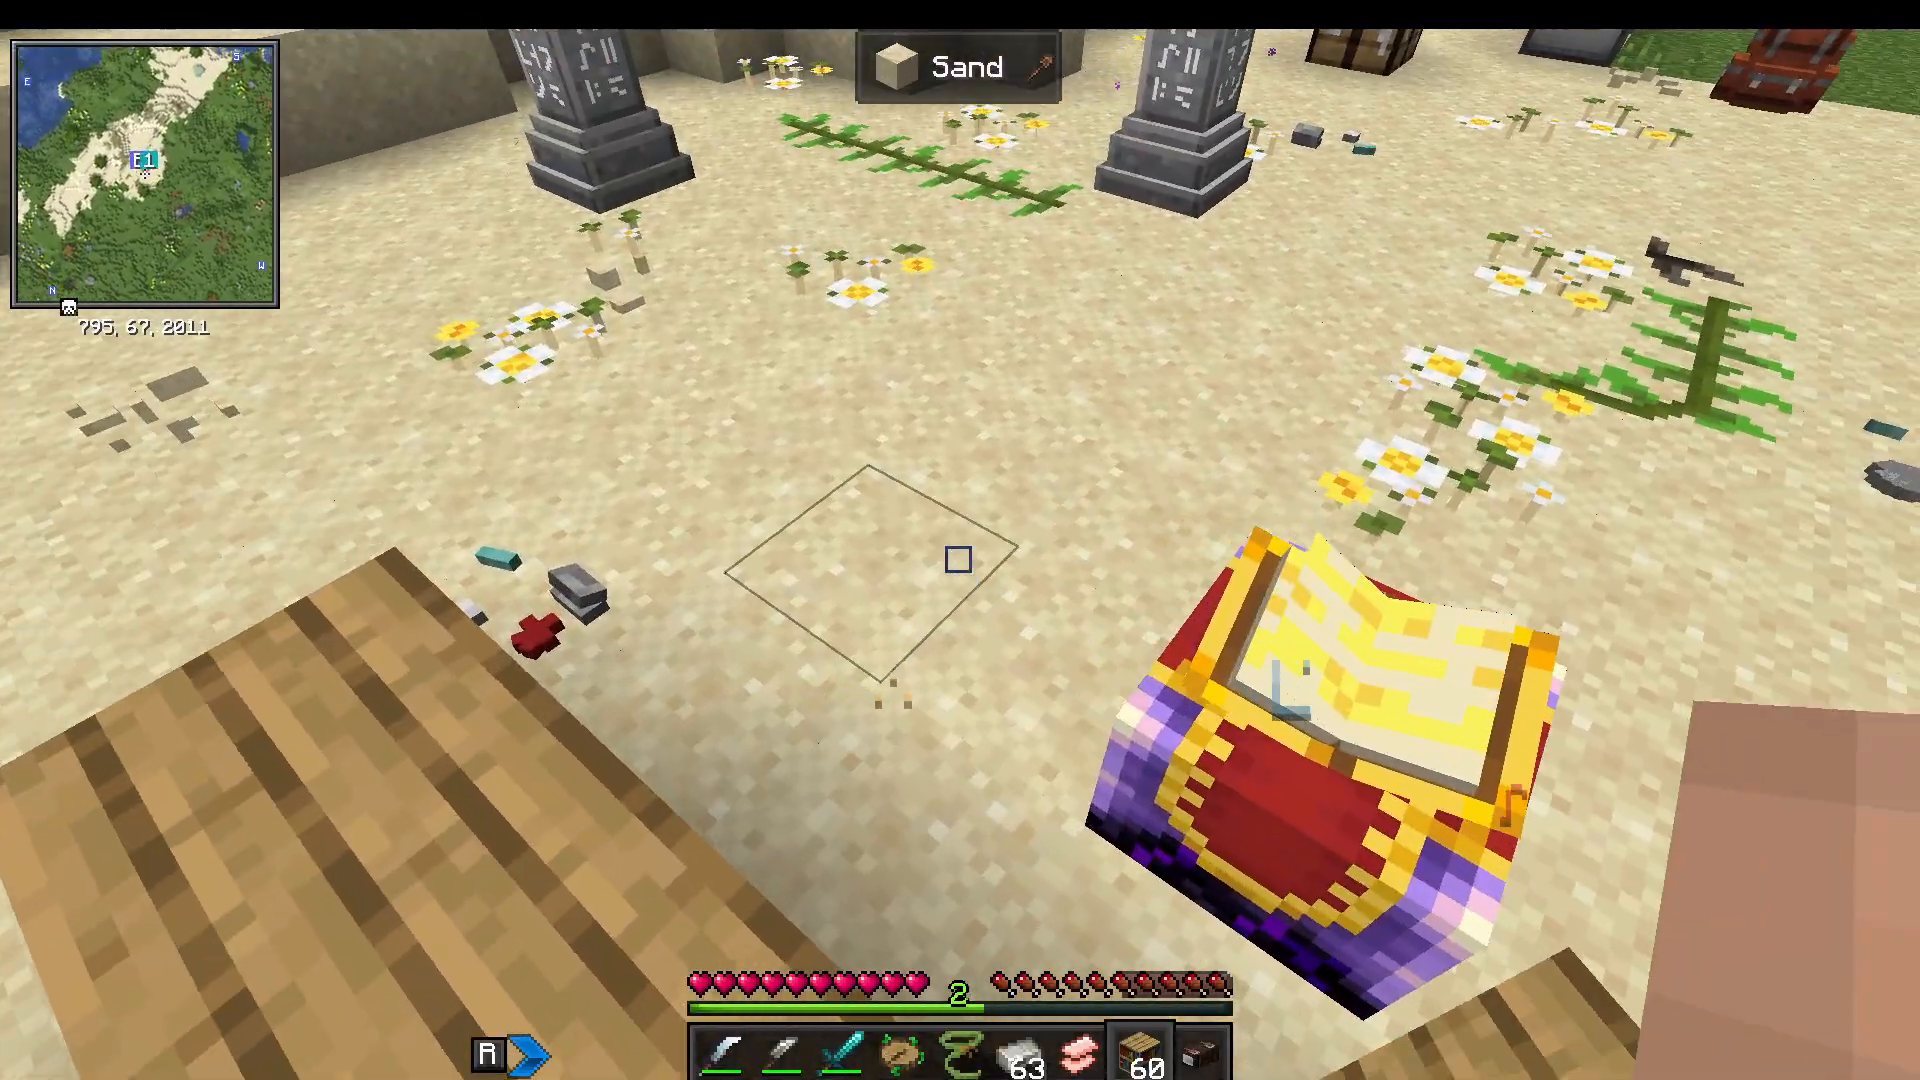
Rather than the standard enchanting table system, Beyond Depth uses an Enchantment Infuser. Craft it using Crying Obsidian (found in random structures around the world) and a regular Enchanting Table. Surround it with bookshelves to unlock higher-level enchantments.
Place your item in the Infuser, browse the available enchantments, click the arrow next to the one you want, and use the up arrow to select your desired enchantment level. The UI will show you how many XP levels are required. This system gives you direct, predictable control over your enchants — a significant improvement over vanilla RNG.
Using Just Enough Items (JEI) Effectively
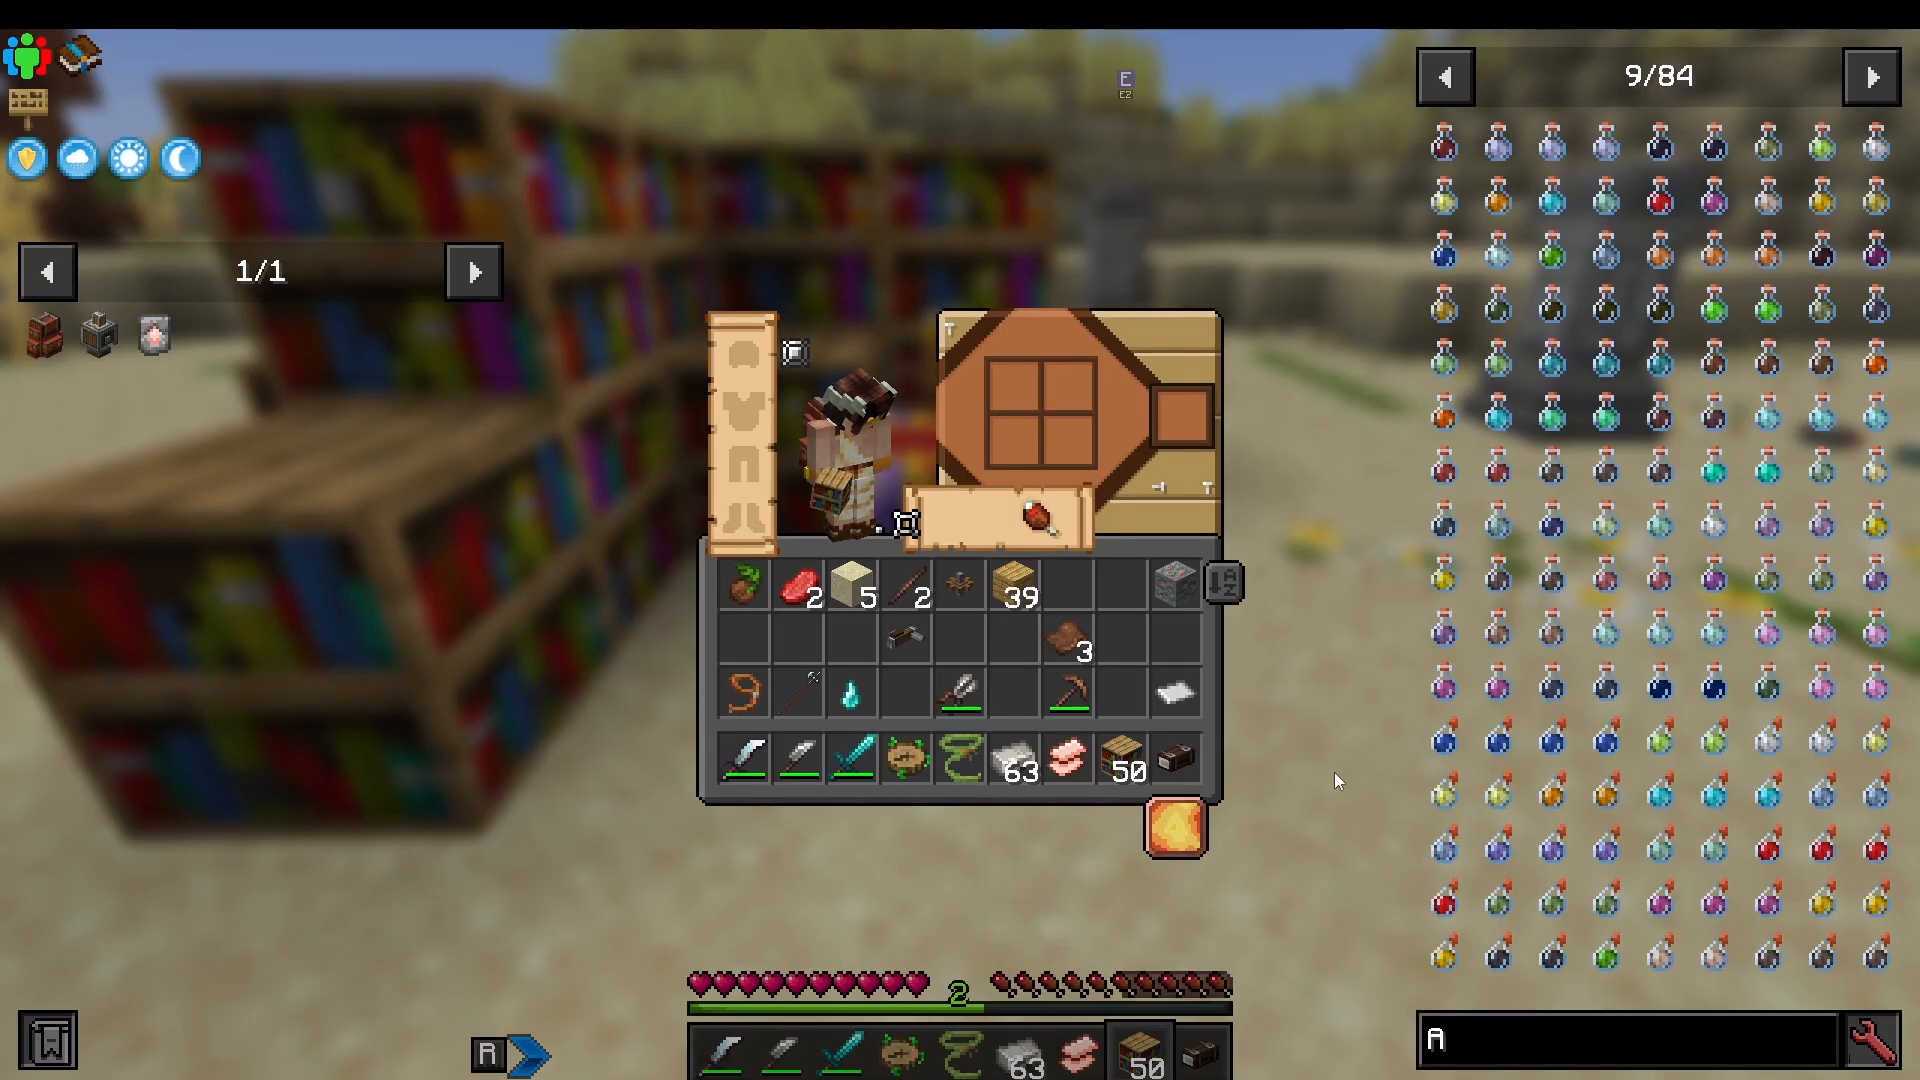
JEI is your best friend for exploring the modpack. Here are some quick shortcuts:
Press A on any item to add it to your favourites list on the left.
Click an item and press R to view its crafting recipes.
Hover over an item and press U to see all the ways that item can be used — great for discovering new foods and recipes.
Structures and Spawners
Always explore the world around you and look out for structures. They often contain great loot and, importantly, mob spawners. In Beyond Depth, you can shift right-click a spawner to pick it up and carry it with you. Place it wherever you like to set up an early-game mob farm. Keep in mind that spawners do not last forever, so use them wisely.
Full Progression Recap
Here’s a quick summary of the full early-game gear progression path in Beyond Depth:
Cut down a tree (8 chops on the same block).
Mine coal and copper → build a furnace (coal in the middle) → smelt copper.
Craft copper tools and armor.
Mine iron with your copper pickaxe → smelt iron → craft a chainmail armor set and iron tools.
Get an iron knife → hunt cows → use the Leather Tanner → craft a backpack.
Build a Mechanical Press → create iron sheets → craft iron armor.
Build a Mechanical Mixer → mix 3 copper + 3 gold → craft Rose Gold Alloy → upgrade to Rose Gold armor.
Mine diamond ore and infested diamond ore → collect Diamond Termite Shards + diamonds → craft Diamond gear.
For weapons, a Cutlass or Halberd are the top recommendations for early game — but experiment with different options to suit your playstyle. There are quite a few to choose from!
Conclusion
That wraps up the ultimate beginner’s guide to the Beyond Depth Modpack! You’re now equipped with the knowledge to progress from a bare-handed survivor all the way to Diamond gear, with plenty of tips and tricks to keep you alive along the way. More in-depth guides covering late-game content and specific systems are on the way, so keep an eye on the playlist for future updates. Good luck out there, and enjoy the modpack!
Want to Support?
If you would like to help us continue making these guides – please consider joining our patreon here – https://www.patreon.com/c/JaviHeals
Alternatively – we host a group of MC Servers you can join here – https://discord.gg/zD7Gjt6MHF