Building Gadgets Full Tutorial – MC 1.12 – 1.21
Building Gadgets Mod Full Tutorial – Minecraft 1.12 to 1.21
The Building Gadgets mod is one of the most powerful building tools available for Minecraft, letting you place, replace, copy, and destroy blocks at massive scale in just a few clicks. This guide covers every single gadget in the mod — the Building Gadget, Exchanging Gadget, Destruction Gadget, Copy Paste Gadget, Cut and Paste Gadget, Blueprints, and the Template Manager — so you can get up and running without any confusion.
The Building Gadget
Powering the Building Gadget
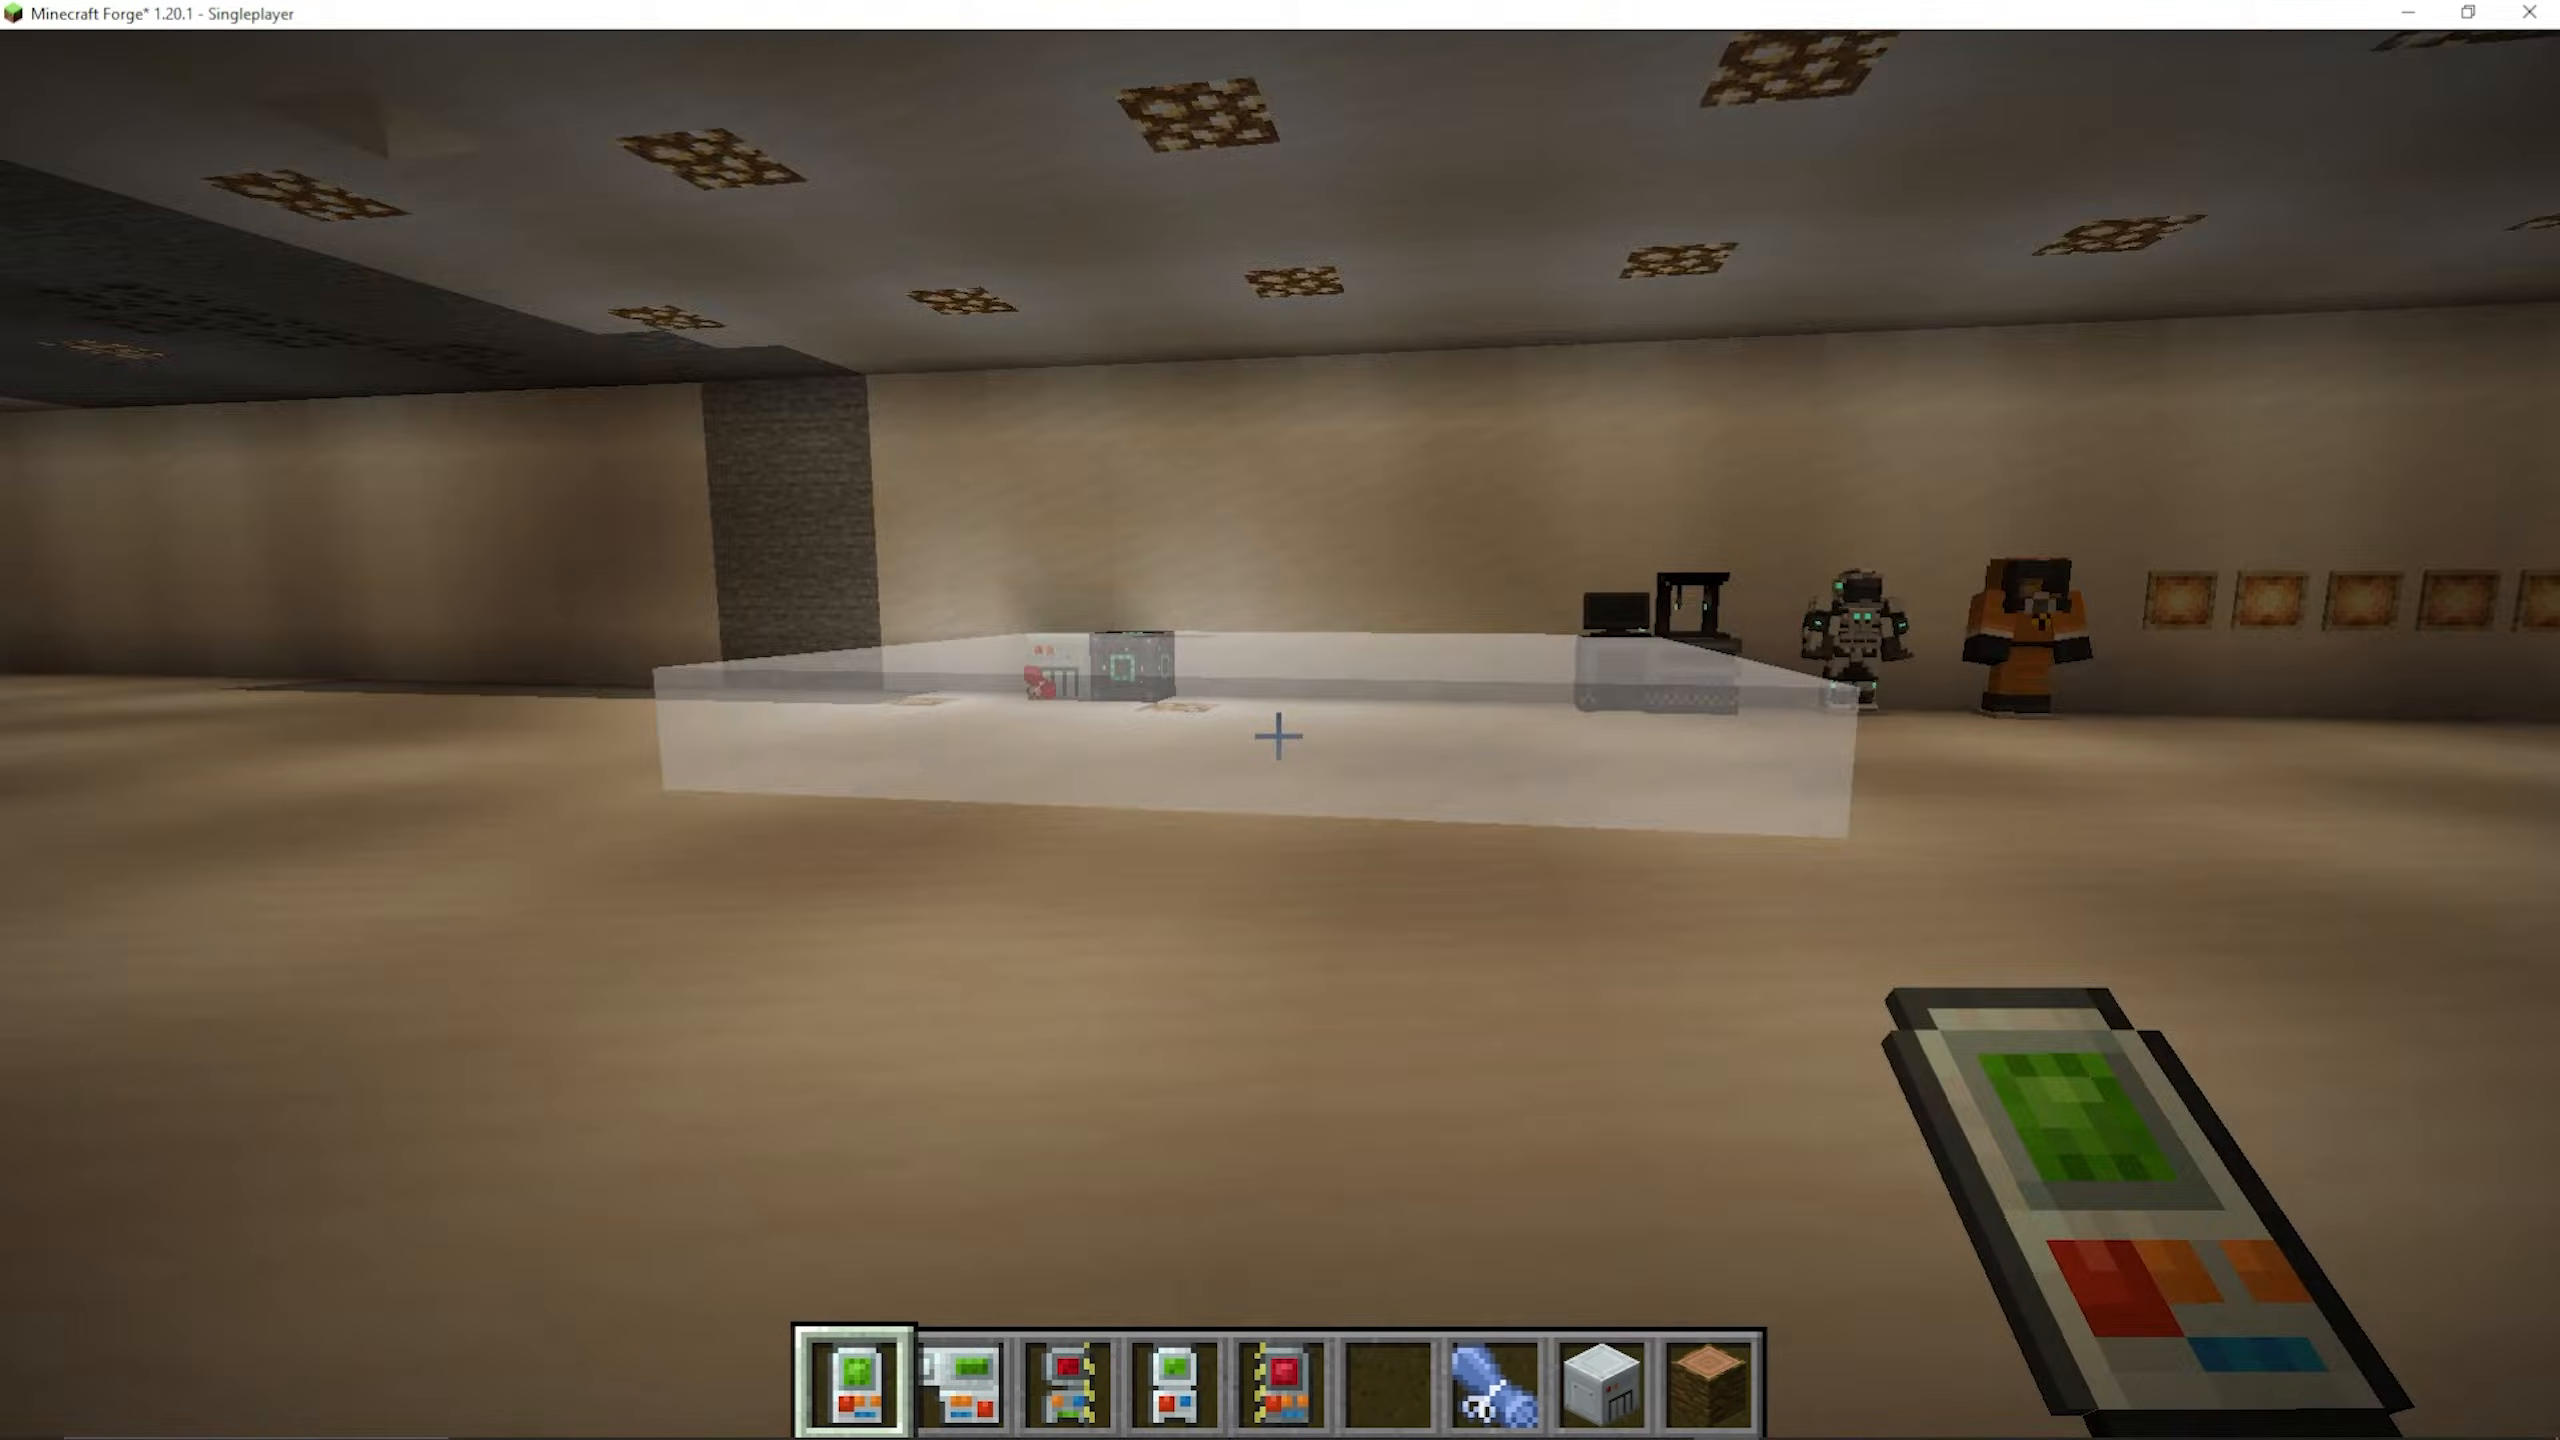
The Building Gadget requires power to function. You can supply it using any compatible energy source — for example, an Energy Cube works perfectly. Simply charge the gadget before use.
Opening the Gadget Menu
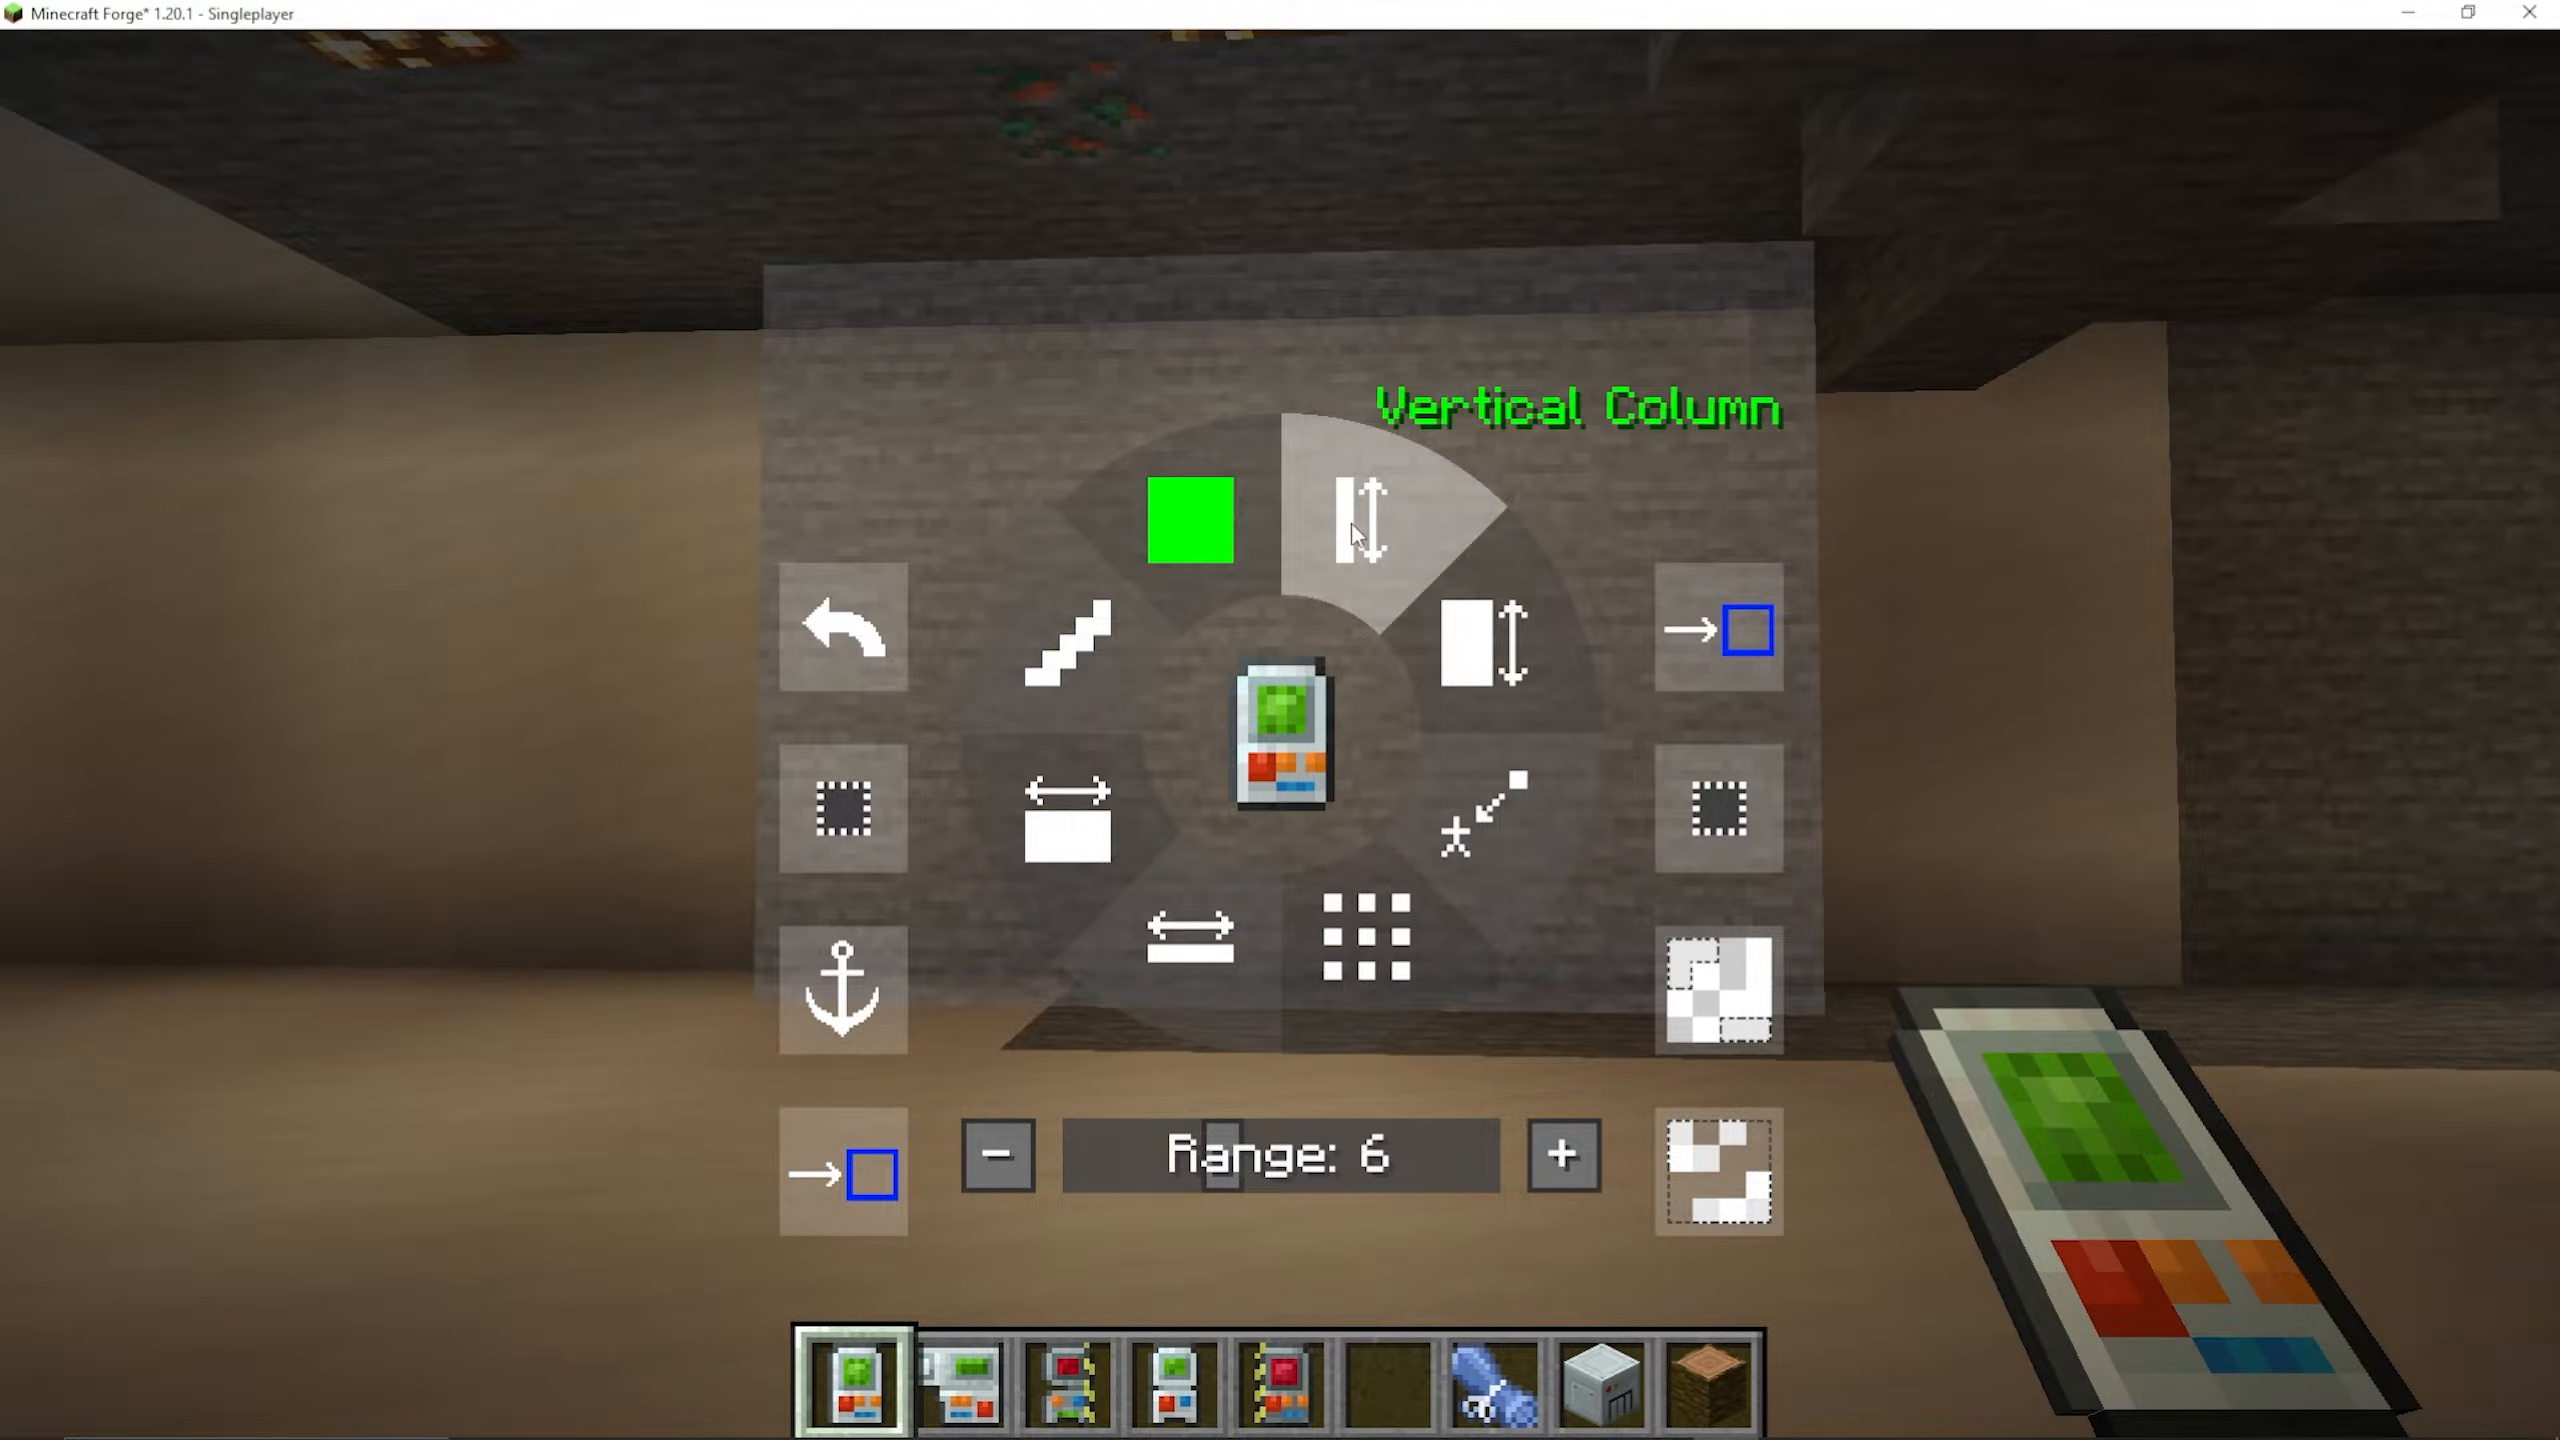
The key bind you’ll use most is G on your keyboard, which is also the default binding. While holding the Building Gadget, press G to open its settings menu. This brings up a wide array of options including mode selection, range, and placement settings.
Selecting Your Material
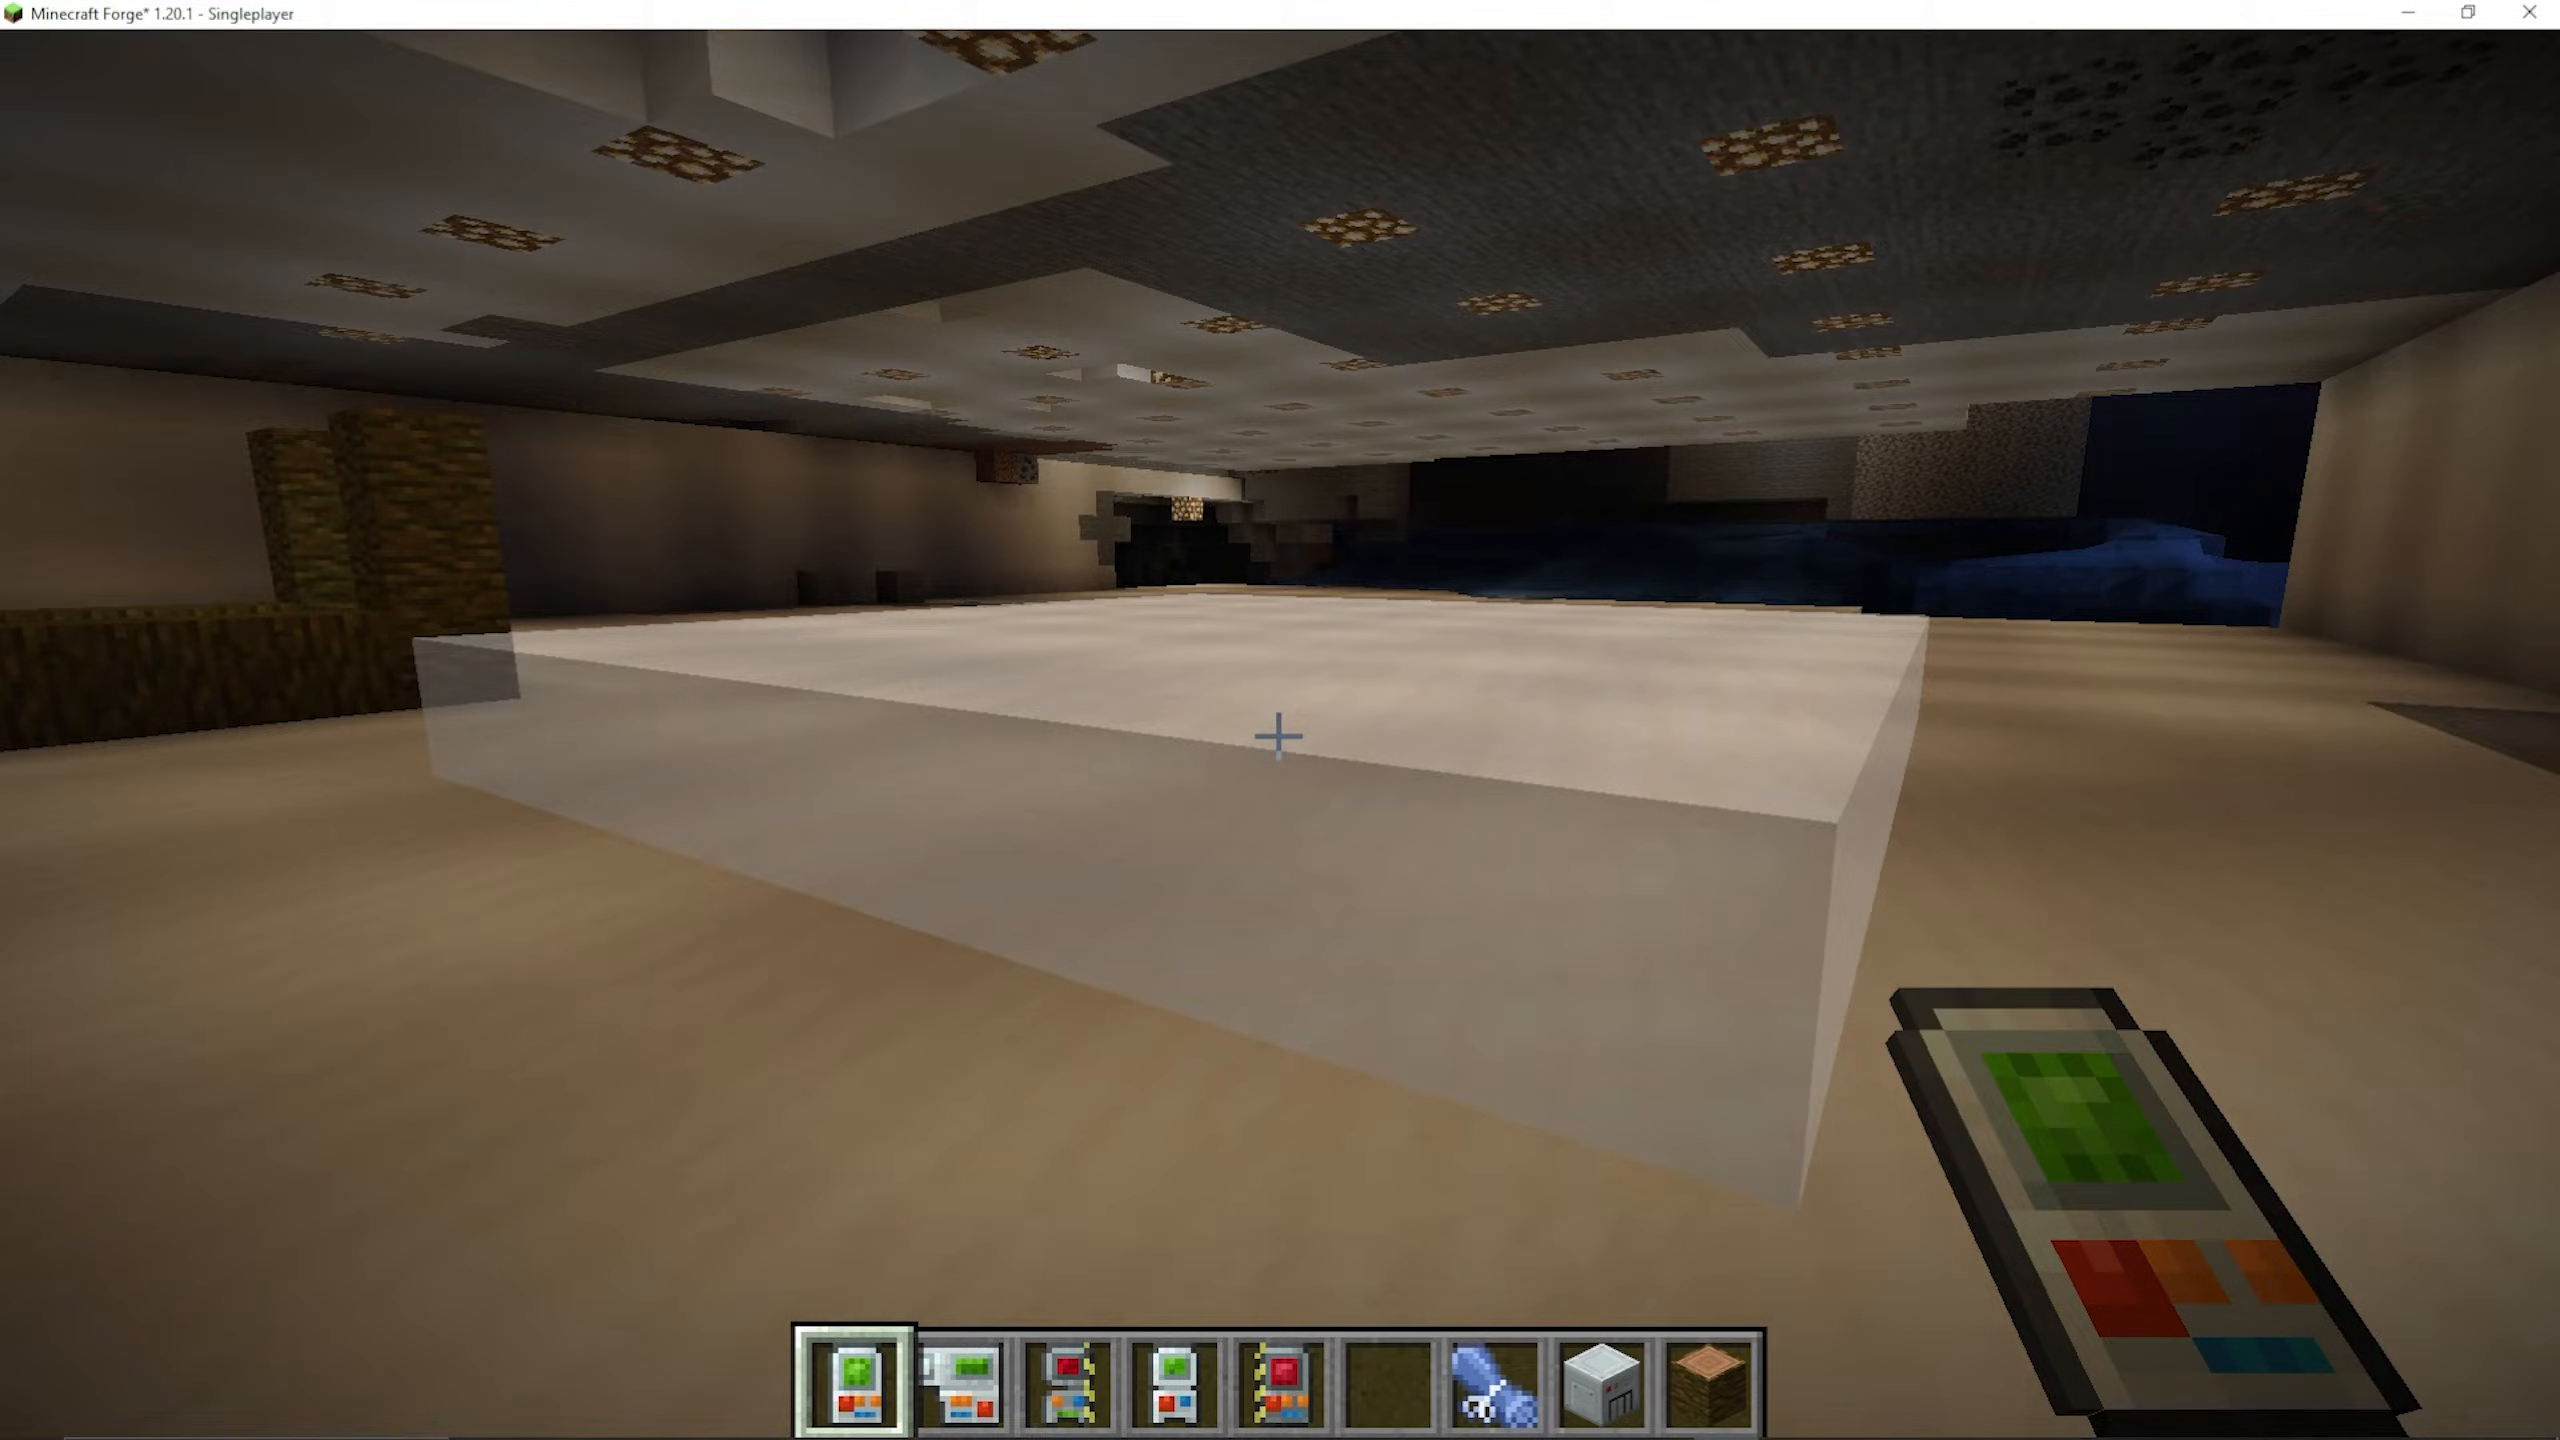
To choose a block material, Shift + Right-Click the block you want to build with. For example, Shift + Right-Clicking stone sets stone as your active material. The range can be set anywhere from 1 to 15. A range of 6 is a solid starting point for most builds.
Build Modes (Dial Options)
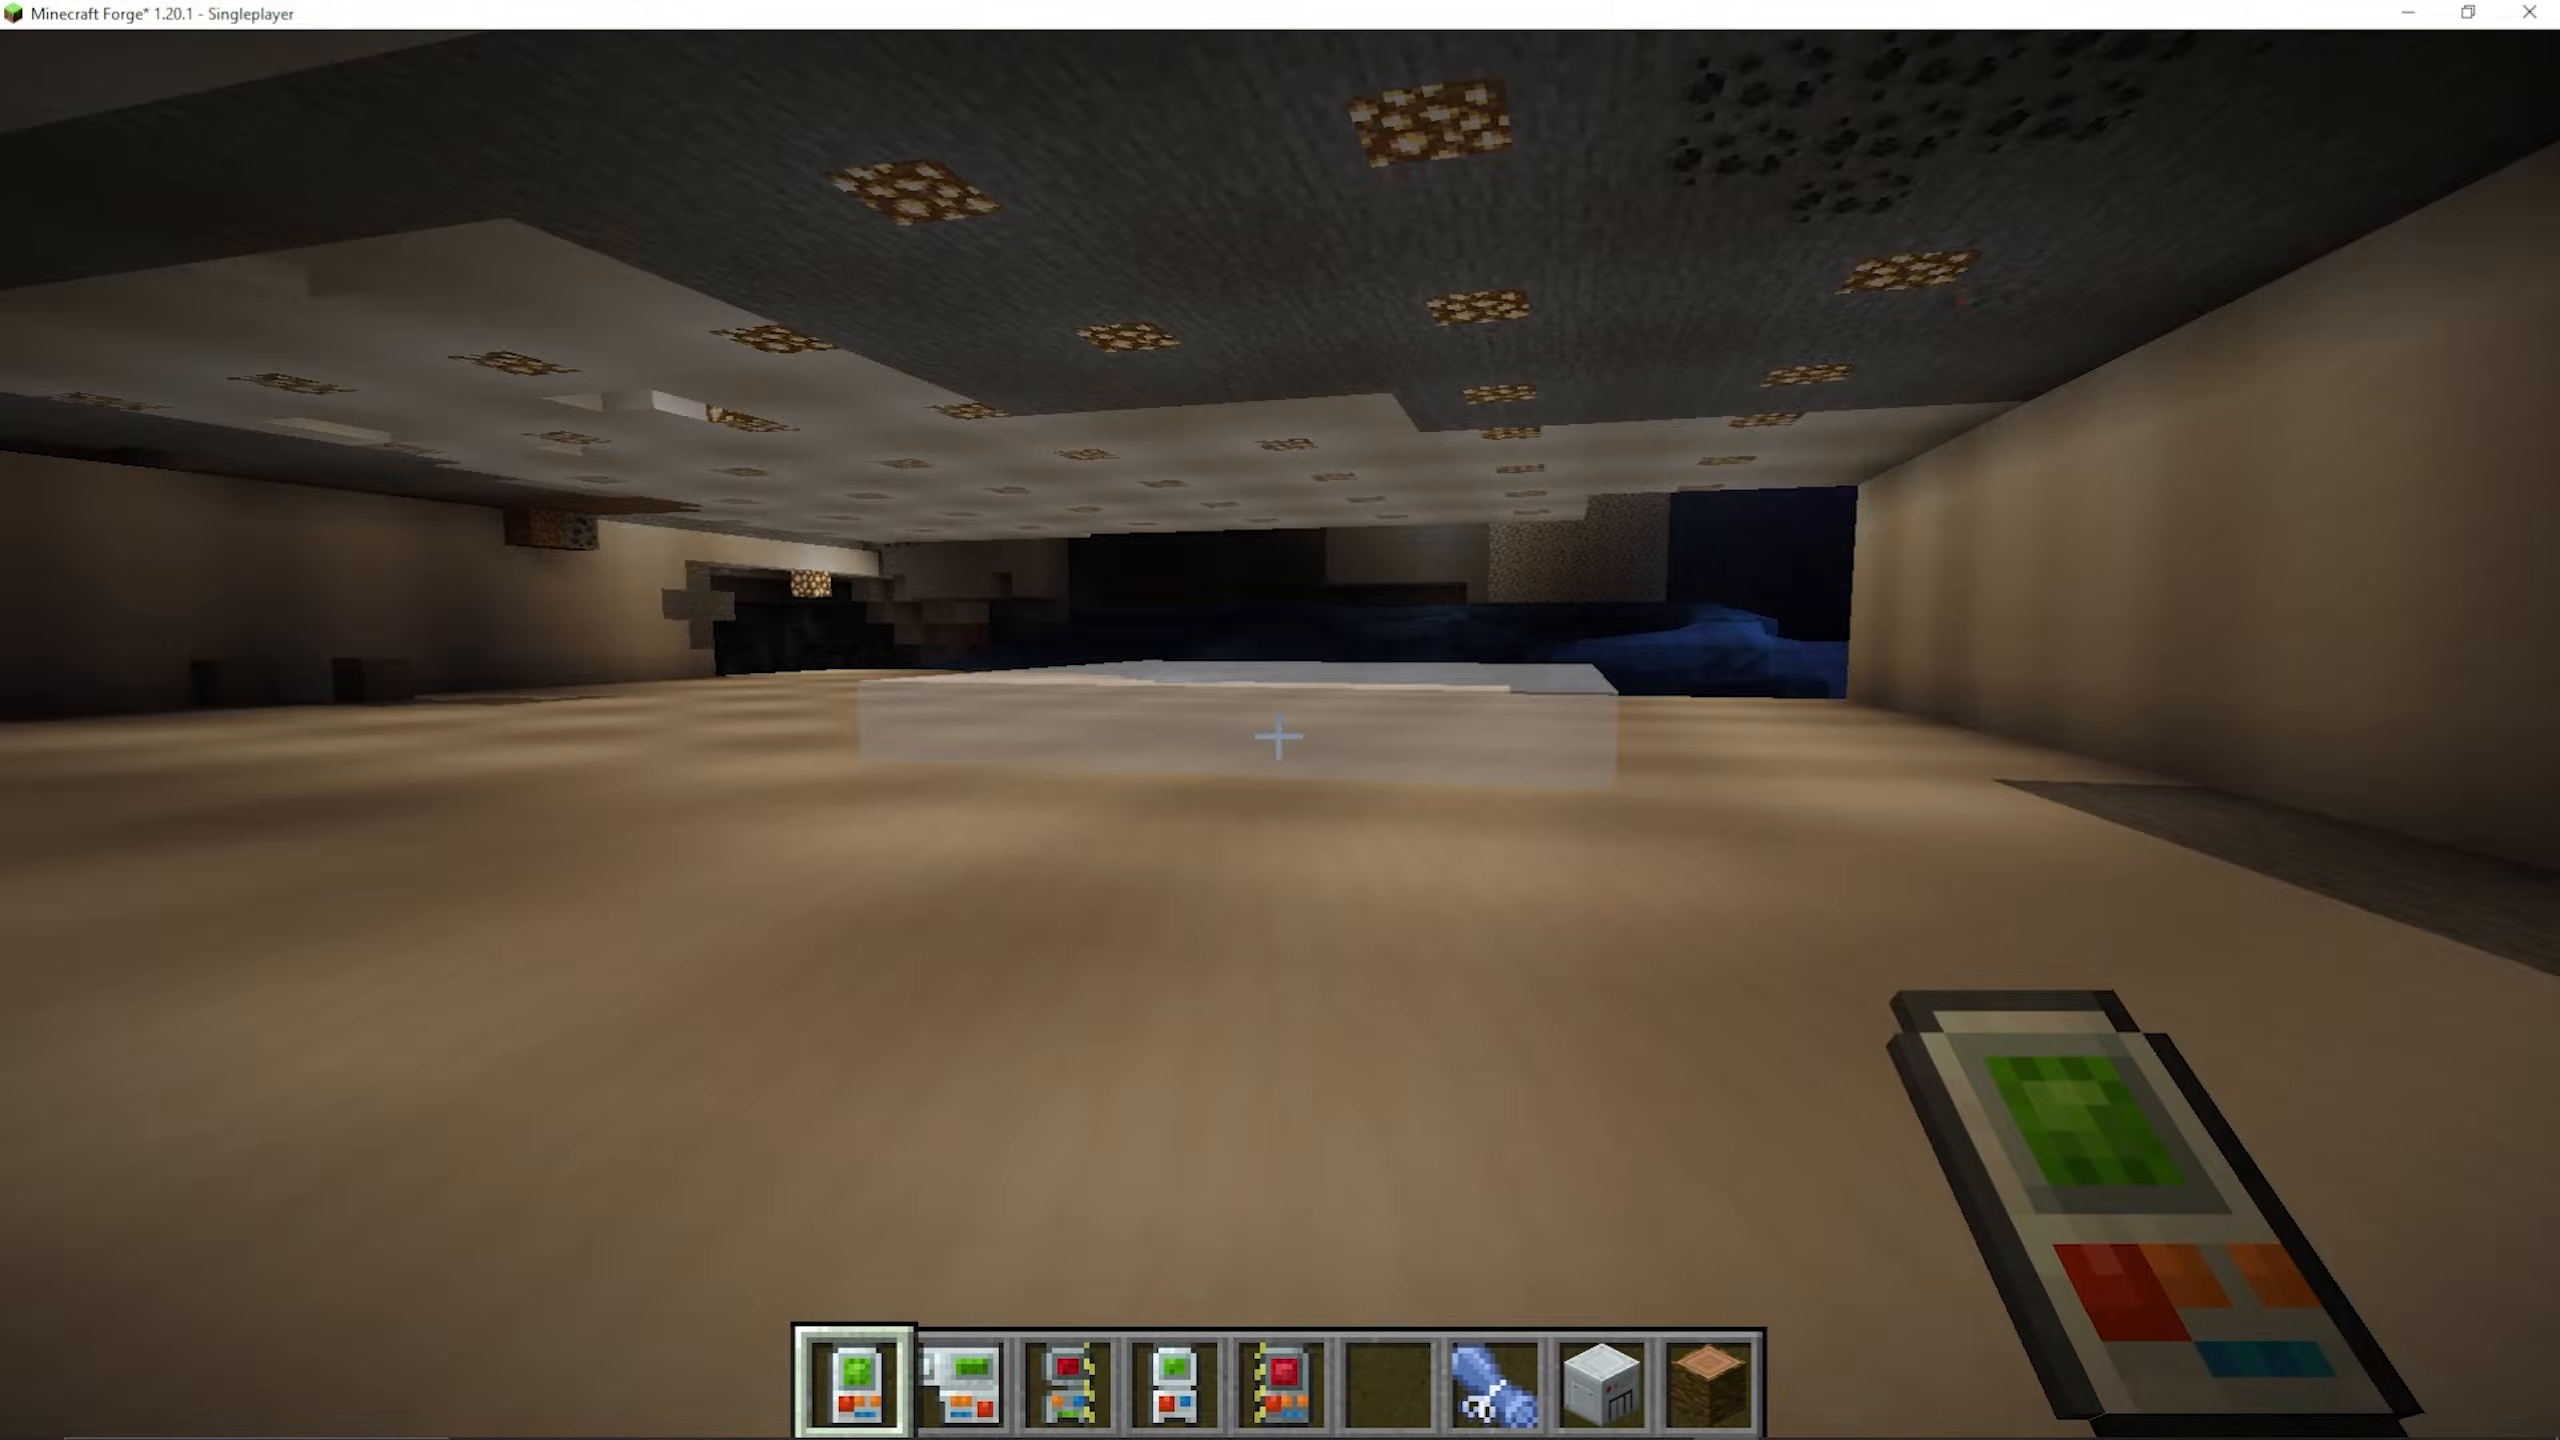
The Building Gadget offers several build modes accessible from the dial in the menu. Here is what each one does:
Surface
Surface mode covers an entire surface face with your chosen block. If you target a single block, it covers just that face. If you target a full wall, it covers the entire wall surface. Because this is the Building Gadget, blocks are placed on top of the existing surface. Blocks are taken from your inventory — in Creative mode, this is not required.
Vertical Column
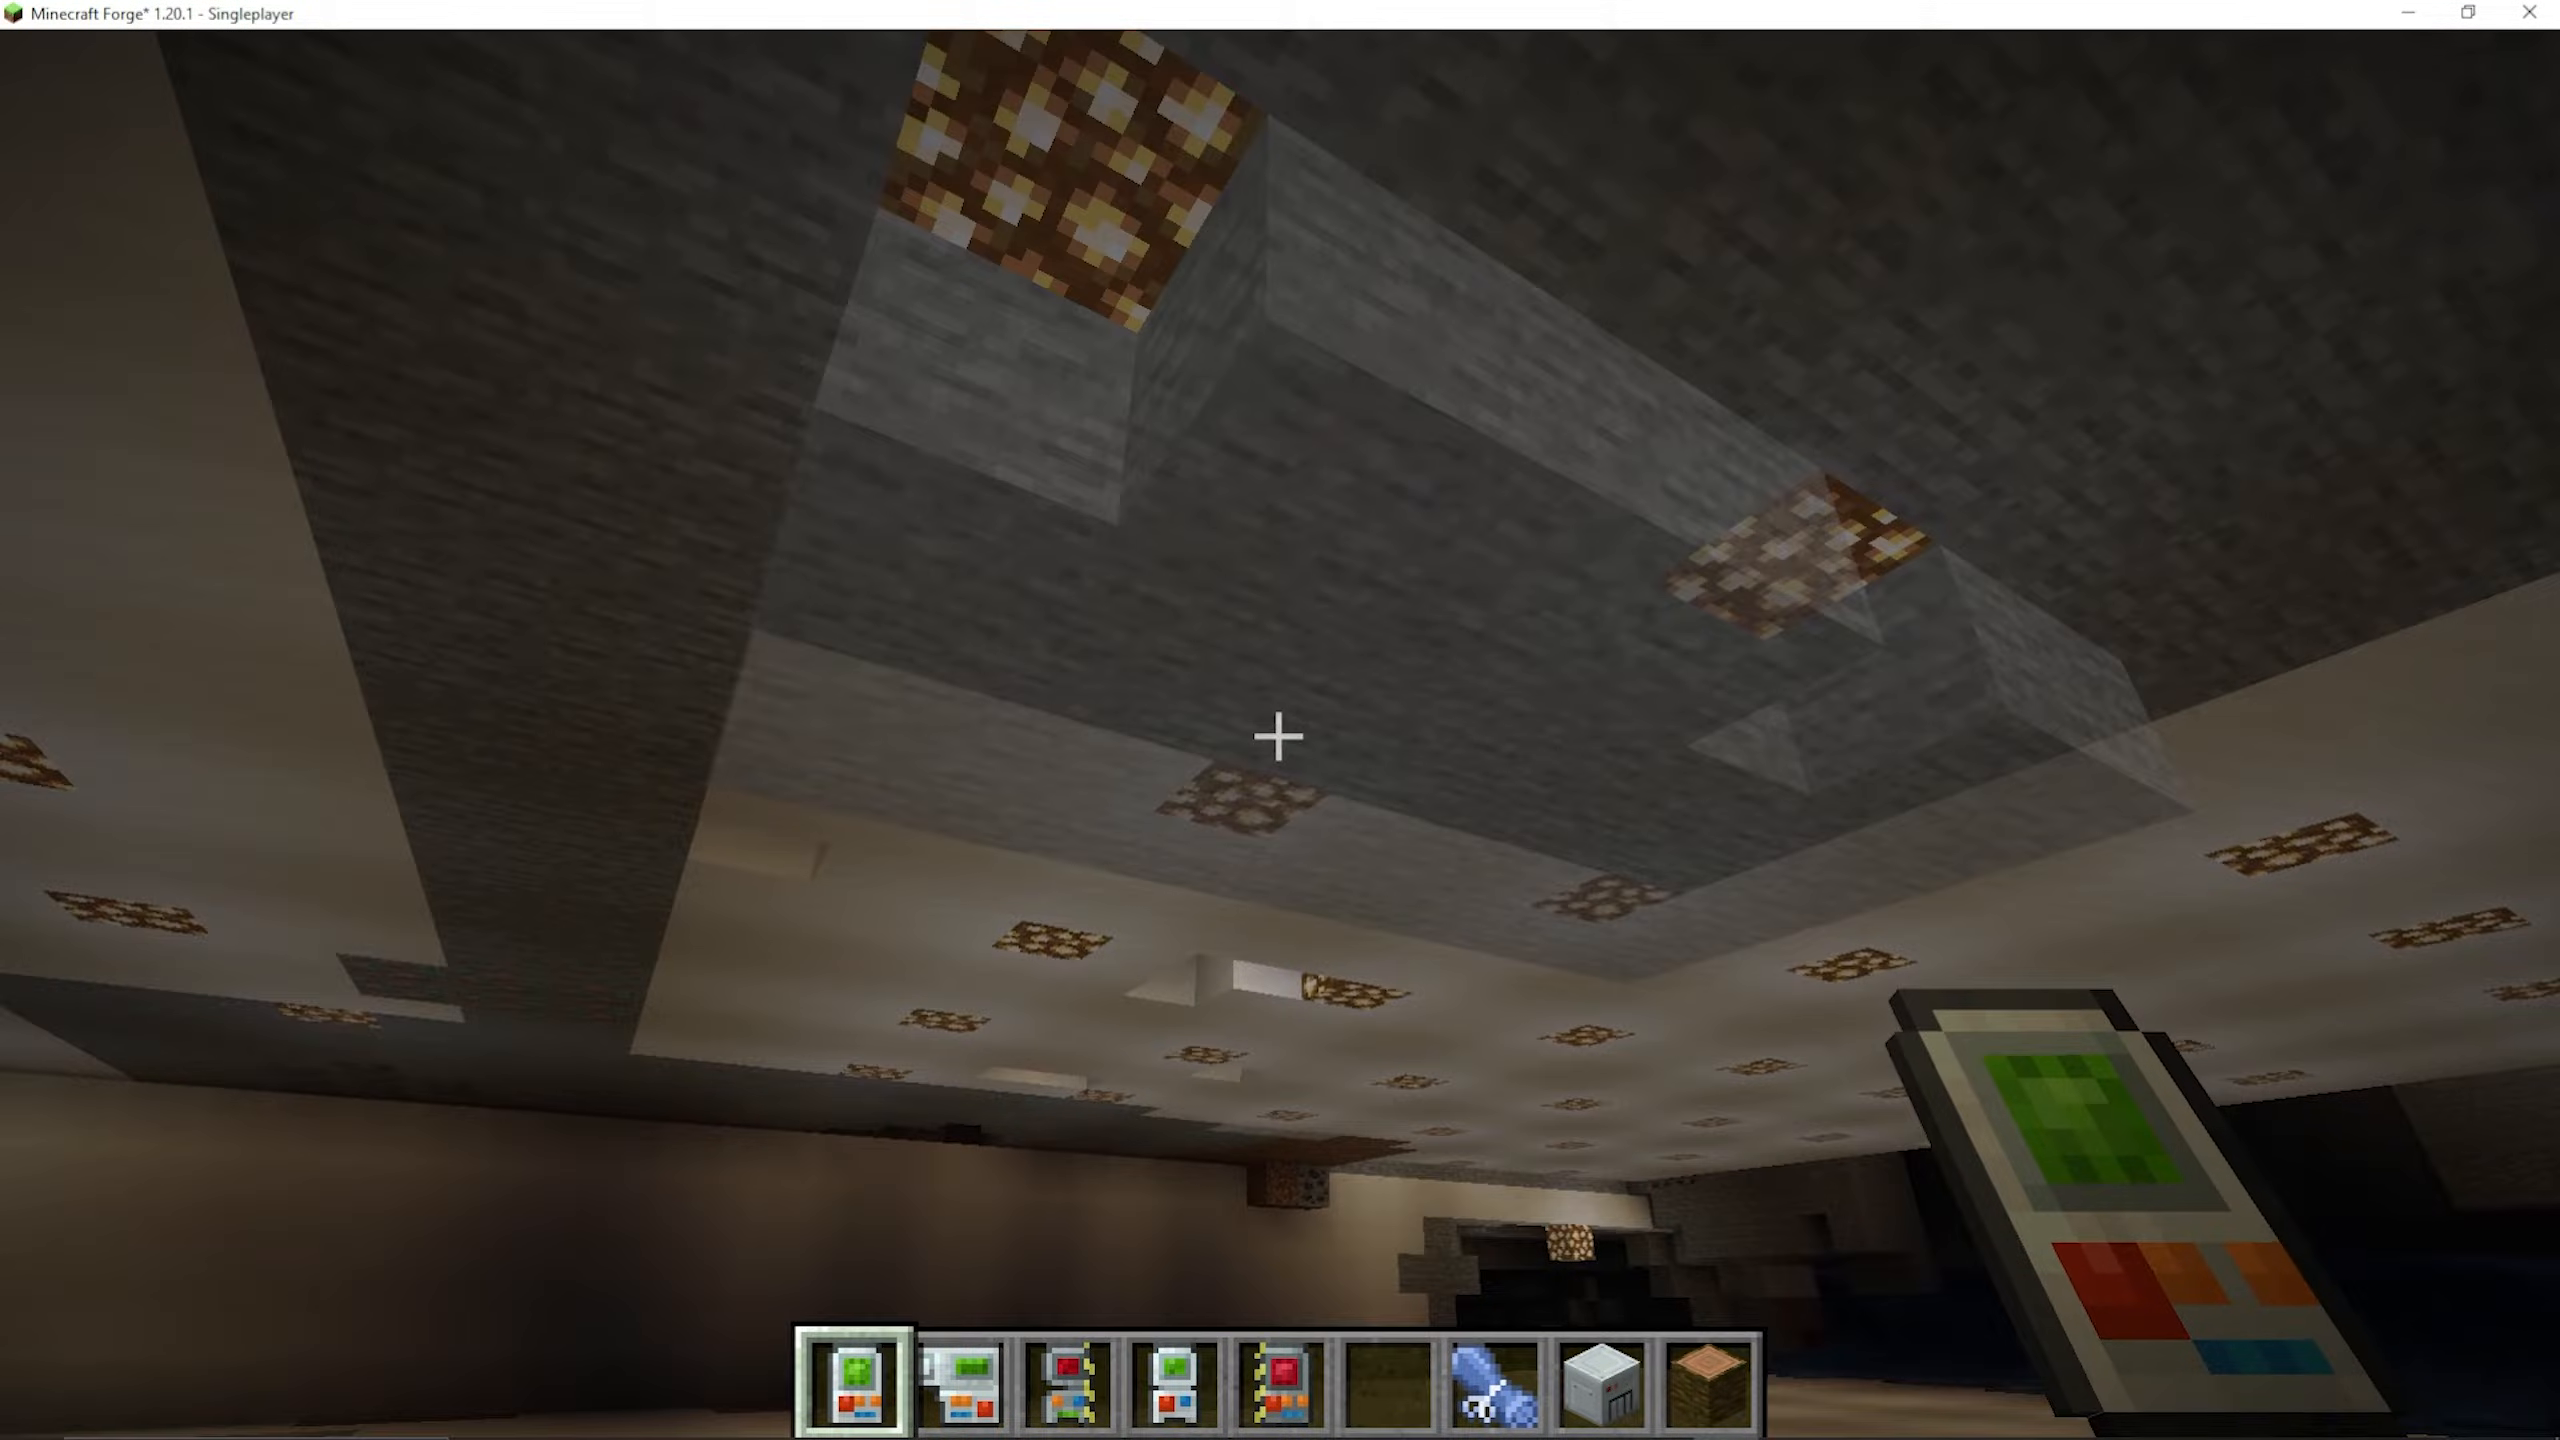
This mode builds a vertical column of blocks. The range setting controls how tall the column grows.
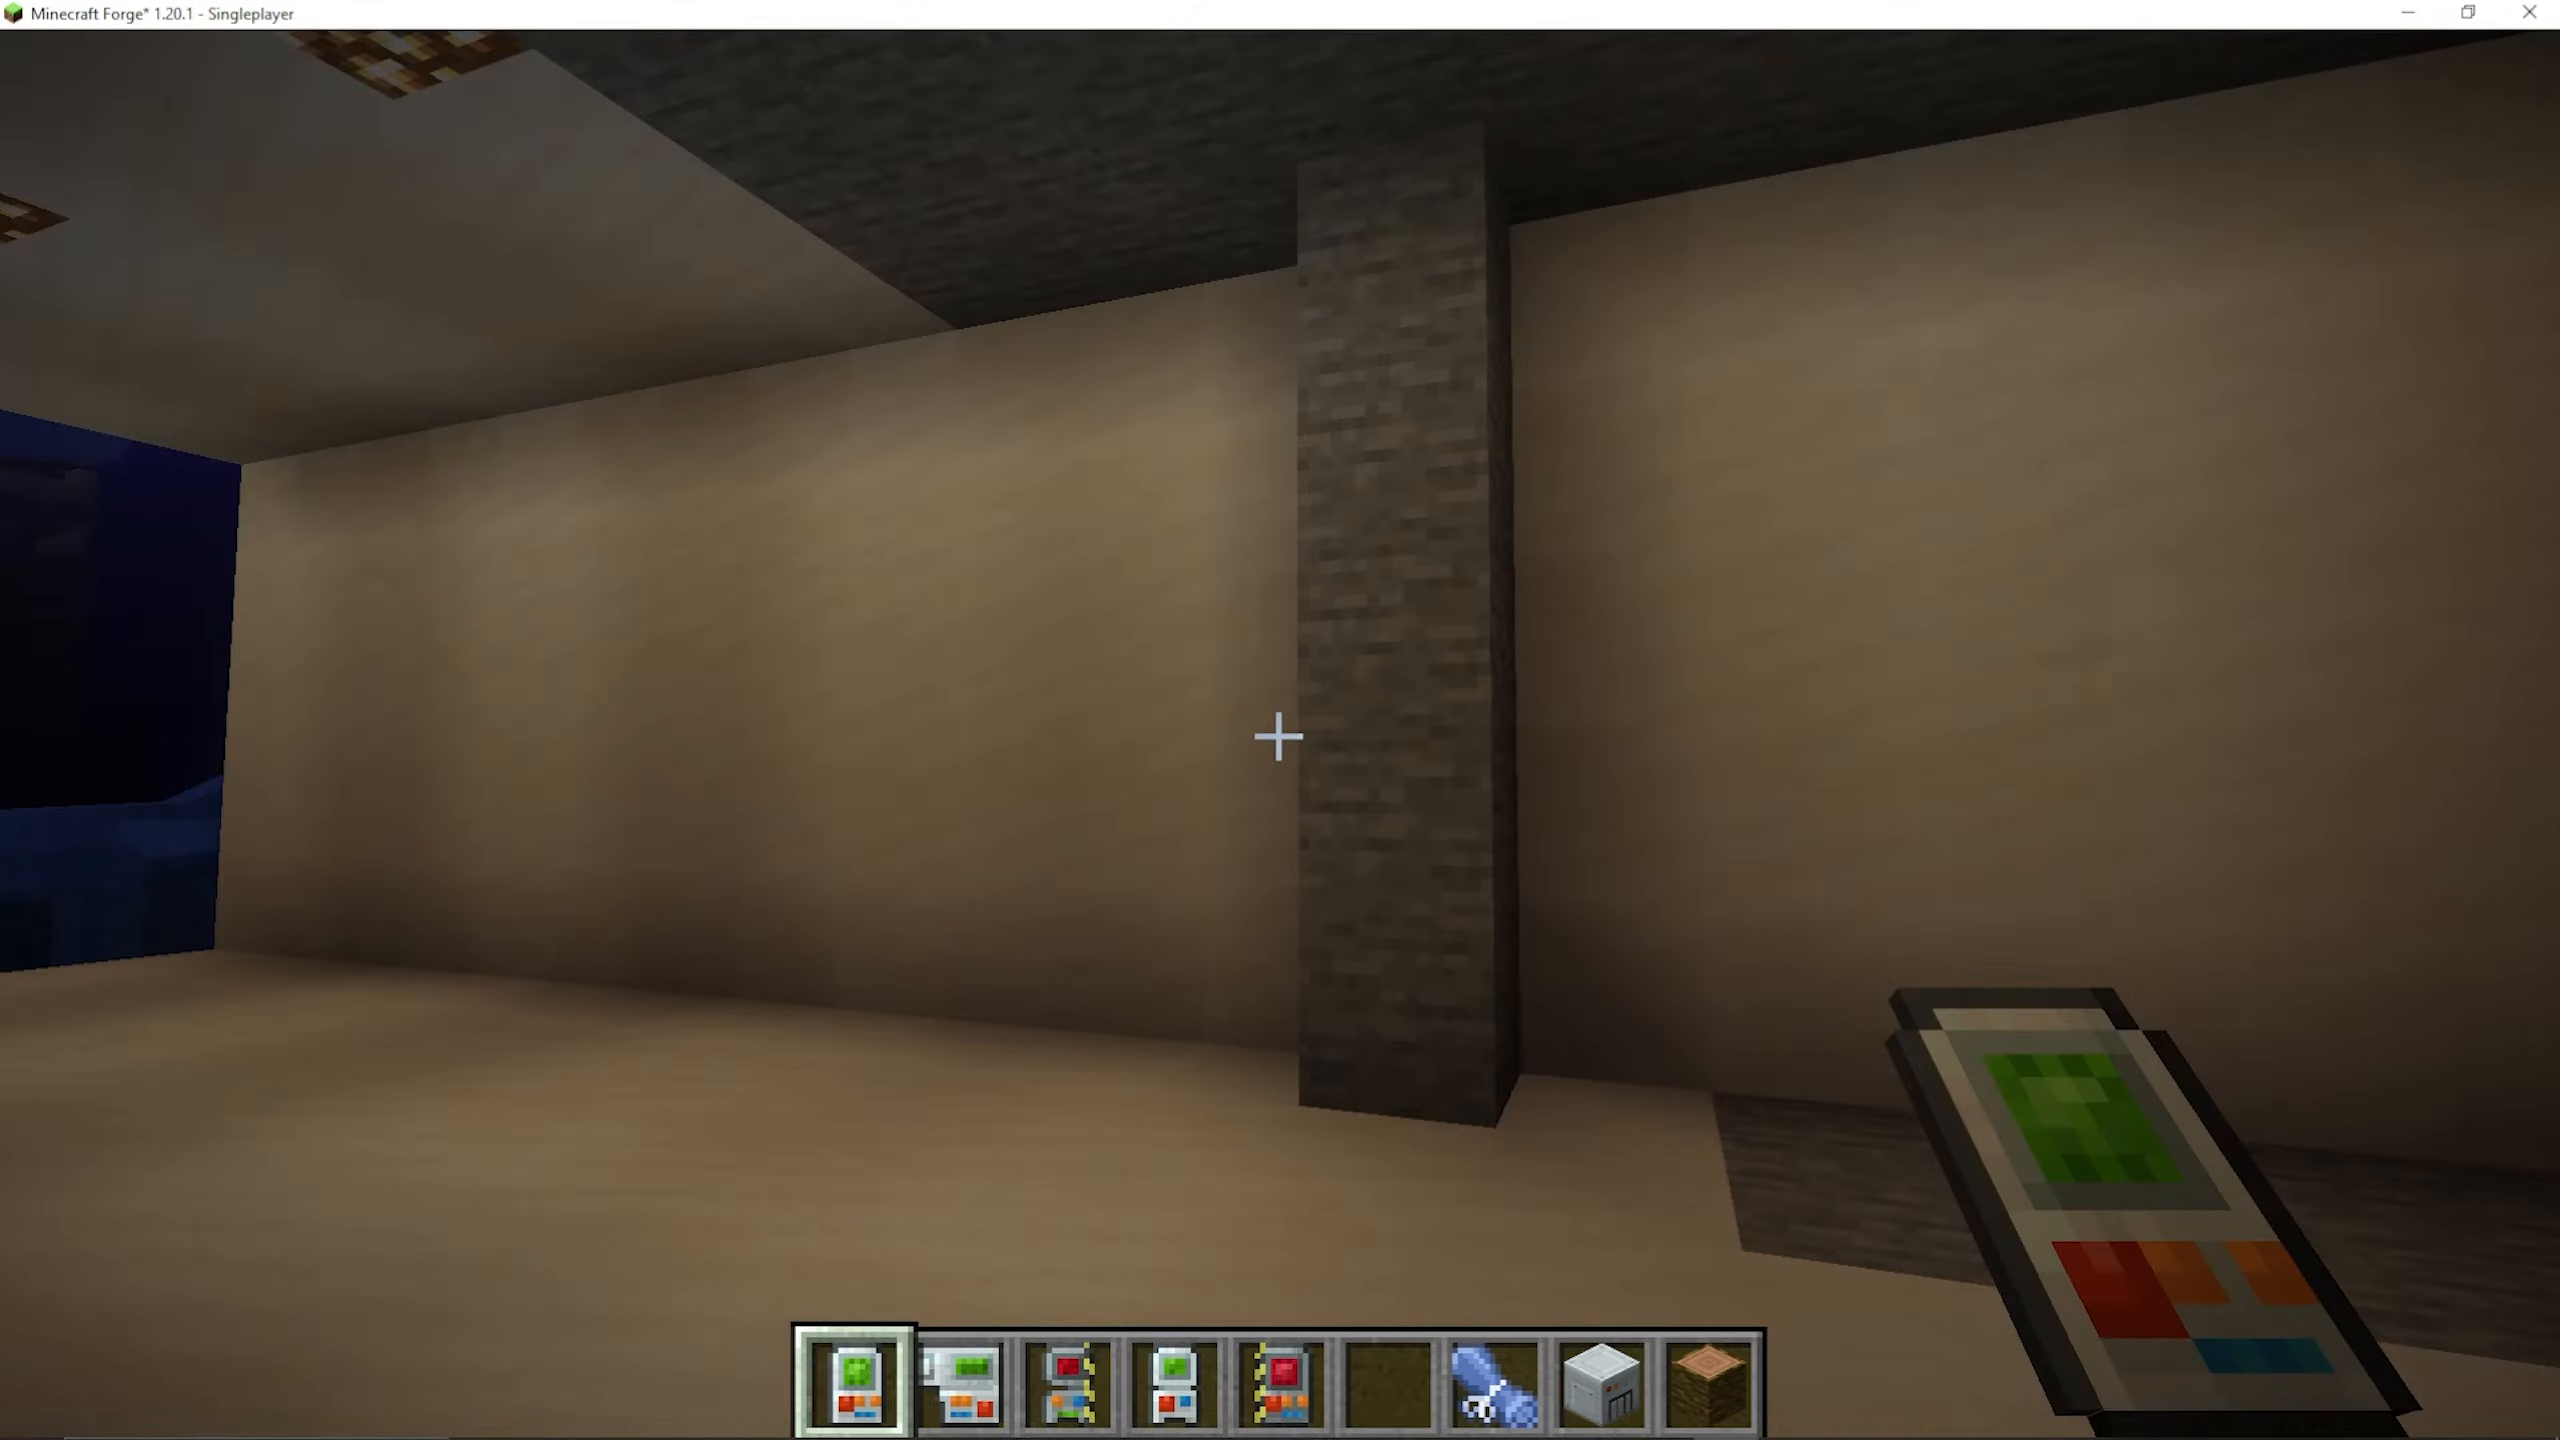
Vertical Wall
Vertical Wall mode places a standing wall wherever you aim. Unlike Surface mode, the wall is not constrained to an existing surface — you can position it freely.
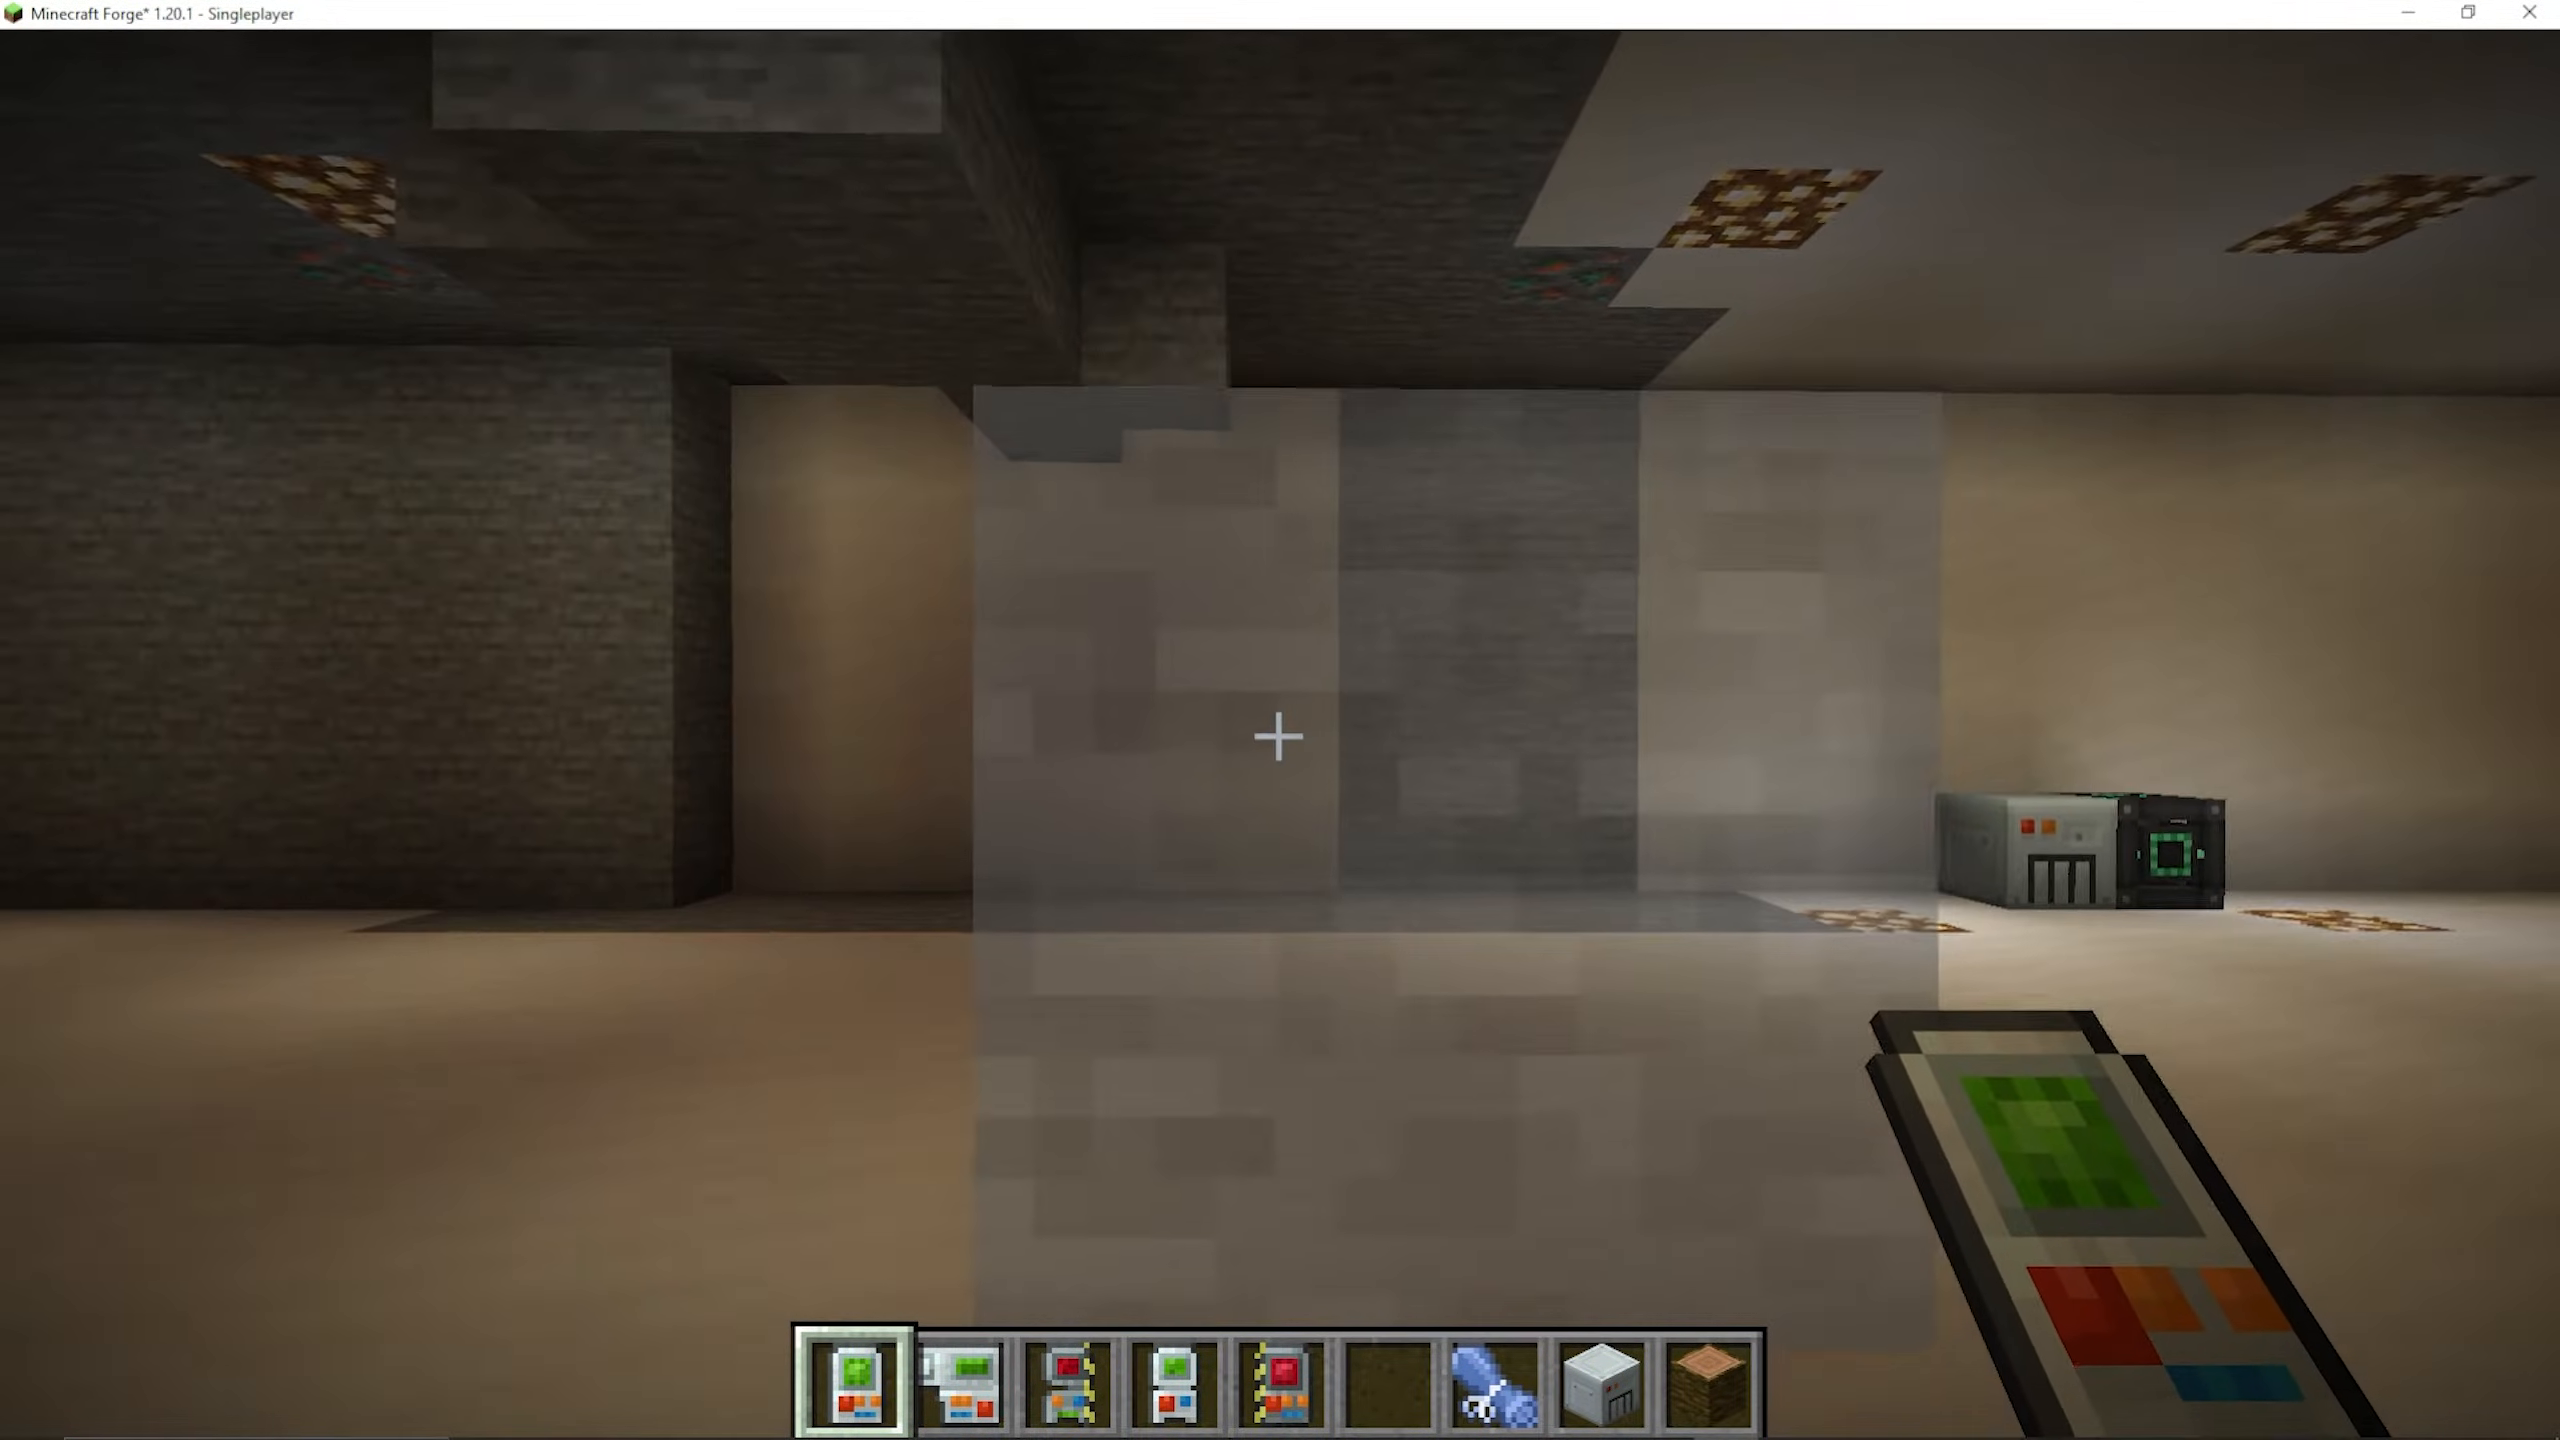
Build to Me
This mode builds a vertical line of blocks directly toward your character. It’s useful for quickly filling gaps or building pillars up to your current position.
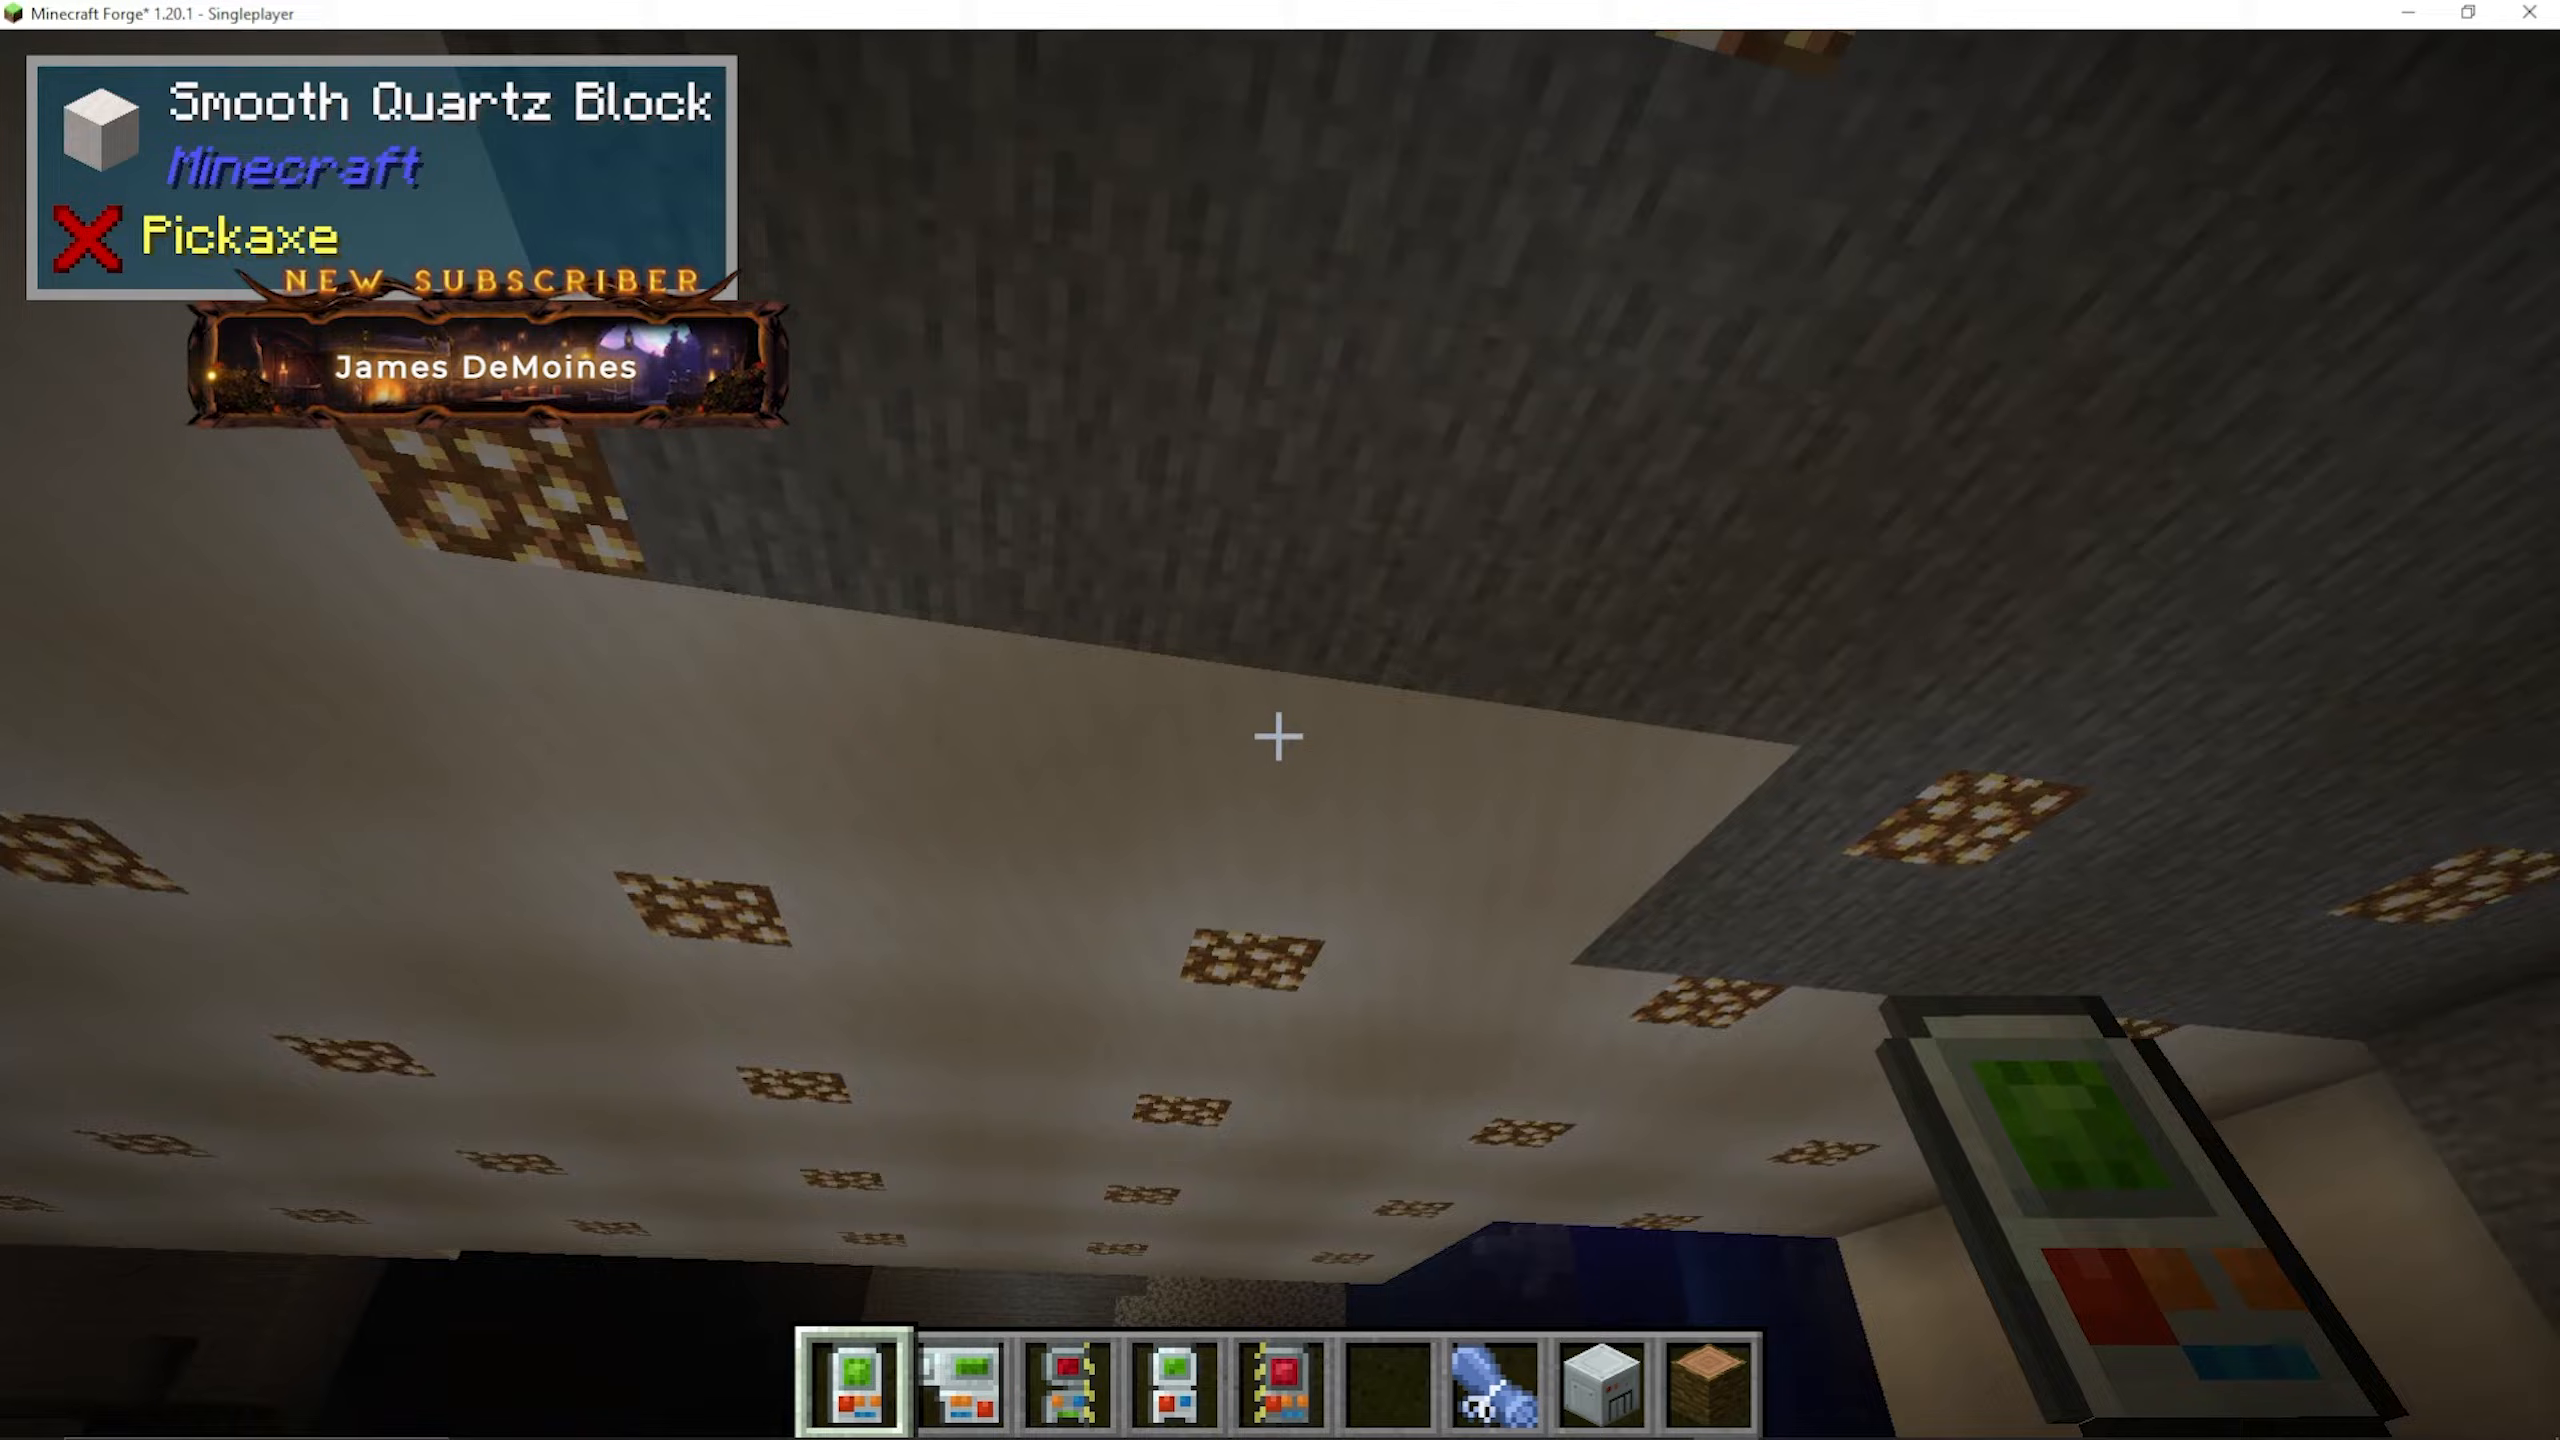
Grid
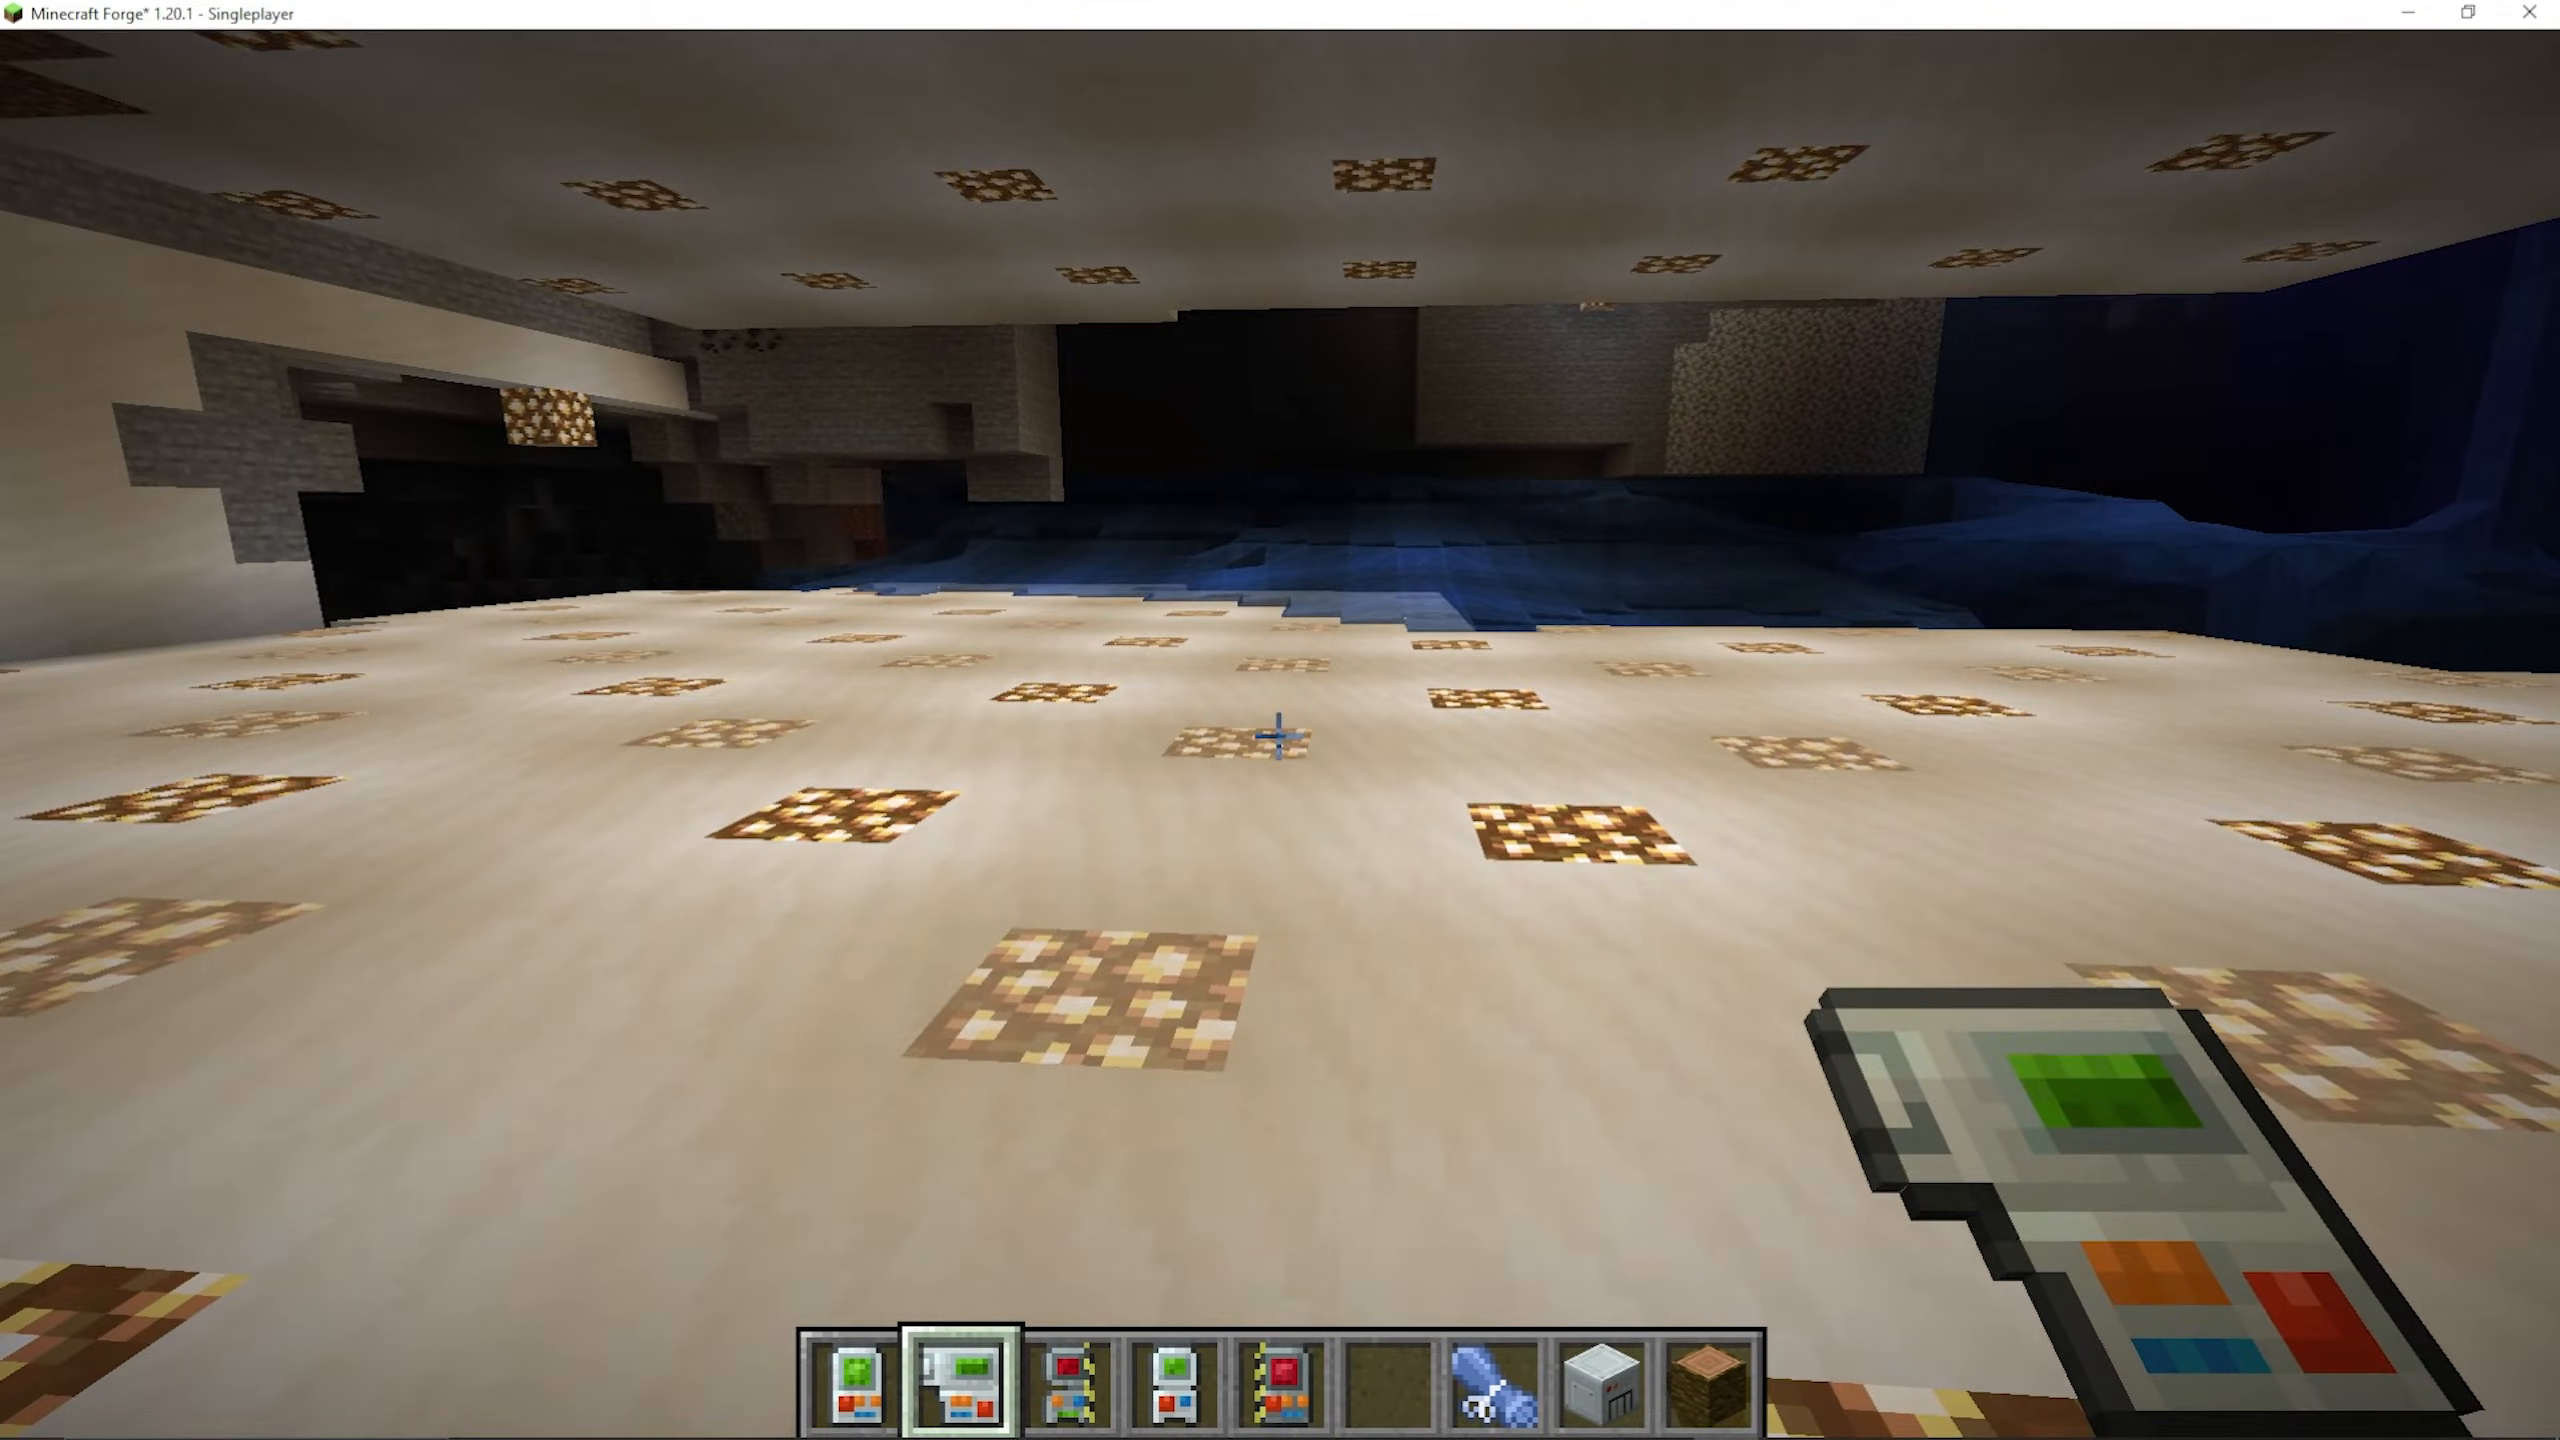
Grid mode places blocks in an evenly spaced grid pattern. This is especially powerful for lighting — for example, Shift + Right-Click a Glowstone block and enable Place on Top, then use Grid mode to instantly light up a large area with Glowstone in a single click. Increasing the range expands the grid coverage.
Horizontal Row and Horizontal Wall
Horizontal Row places blocks in a flat horizontal line, while Horizontal Wall builds a flat horizontal plane — similar to how Vertical Column and Vertical Wall differ from each other.
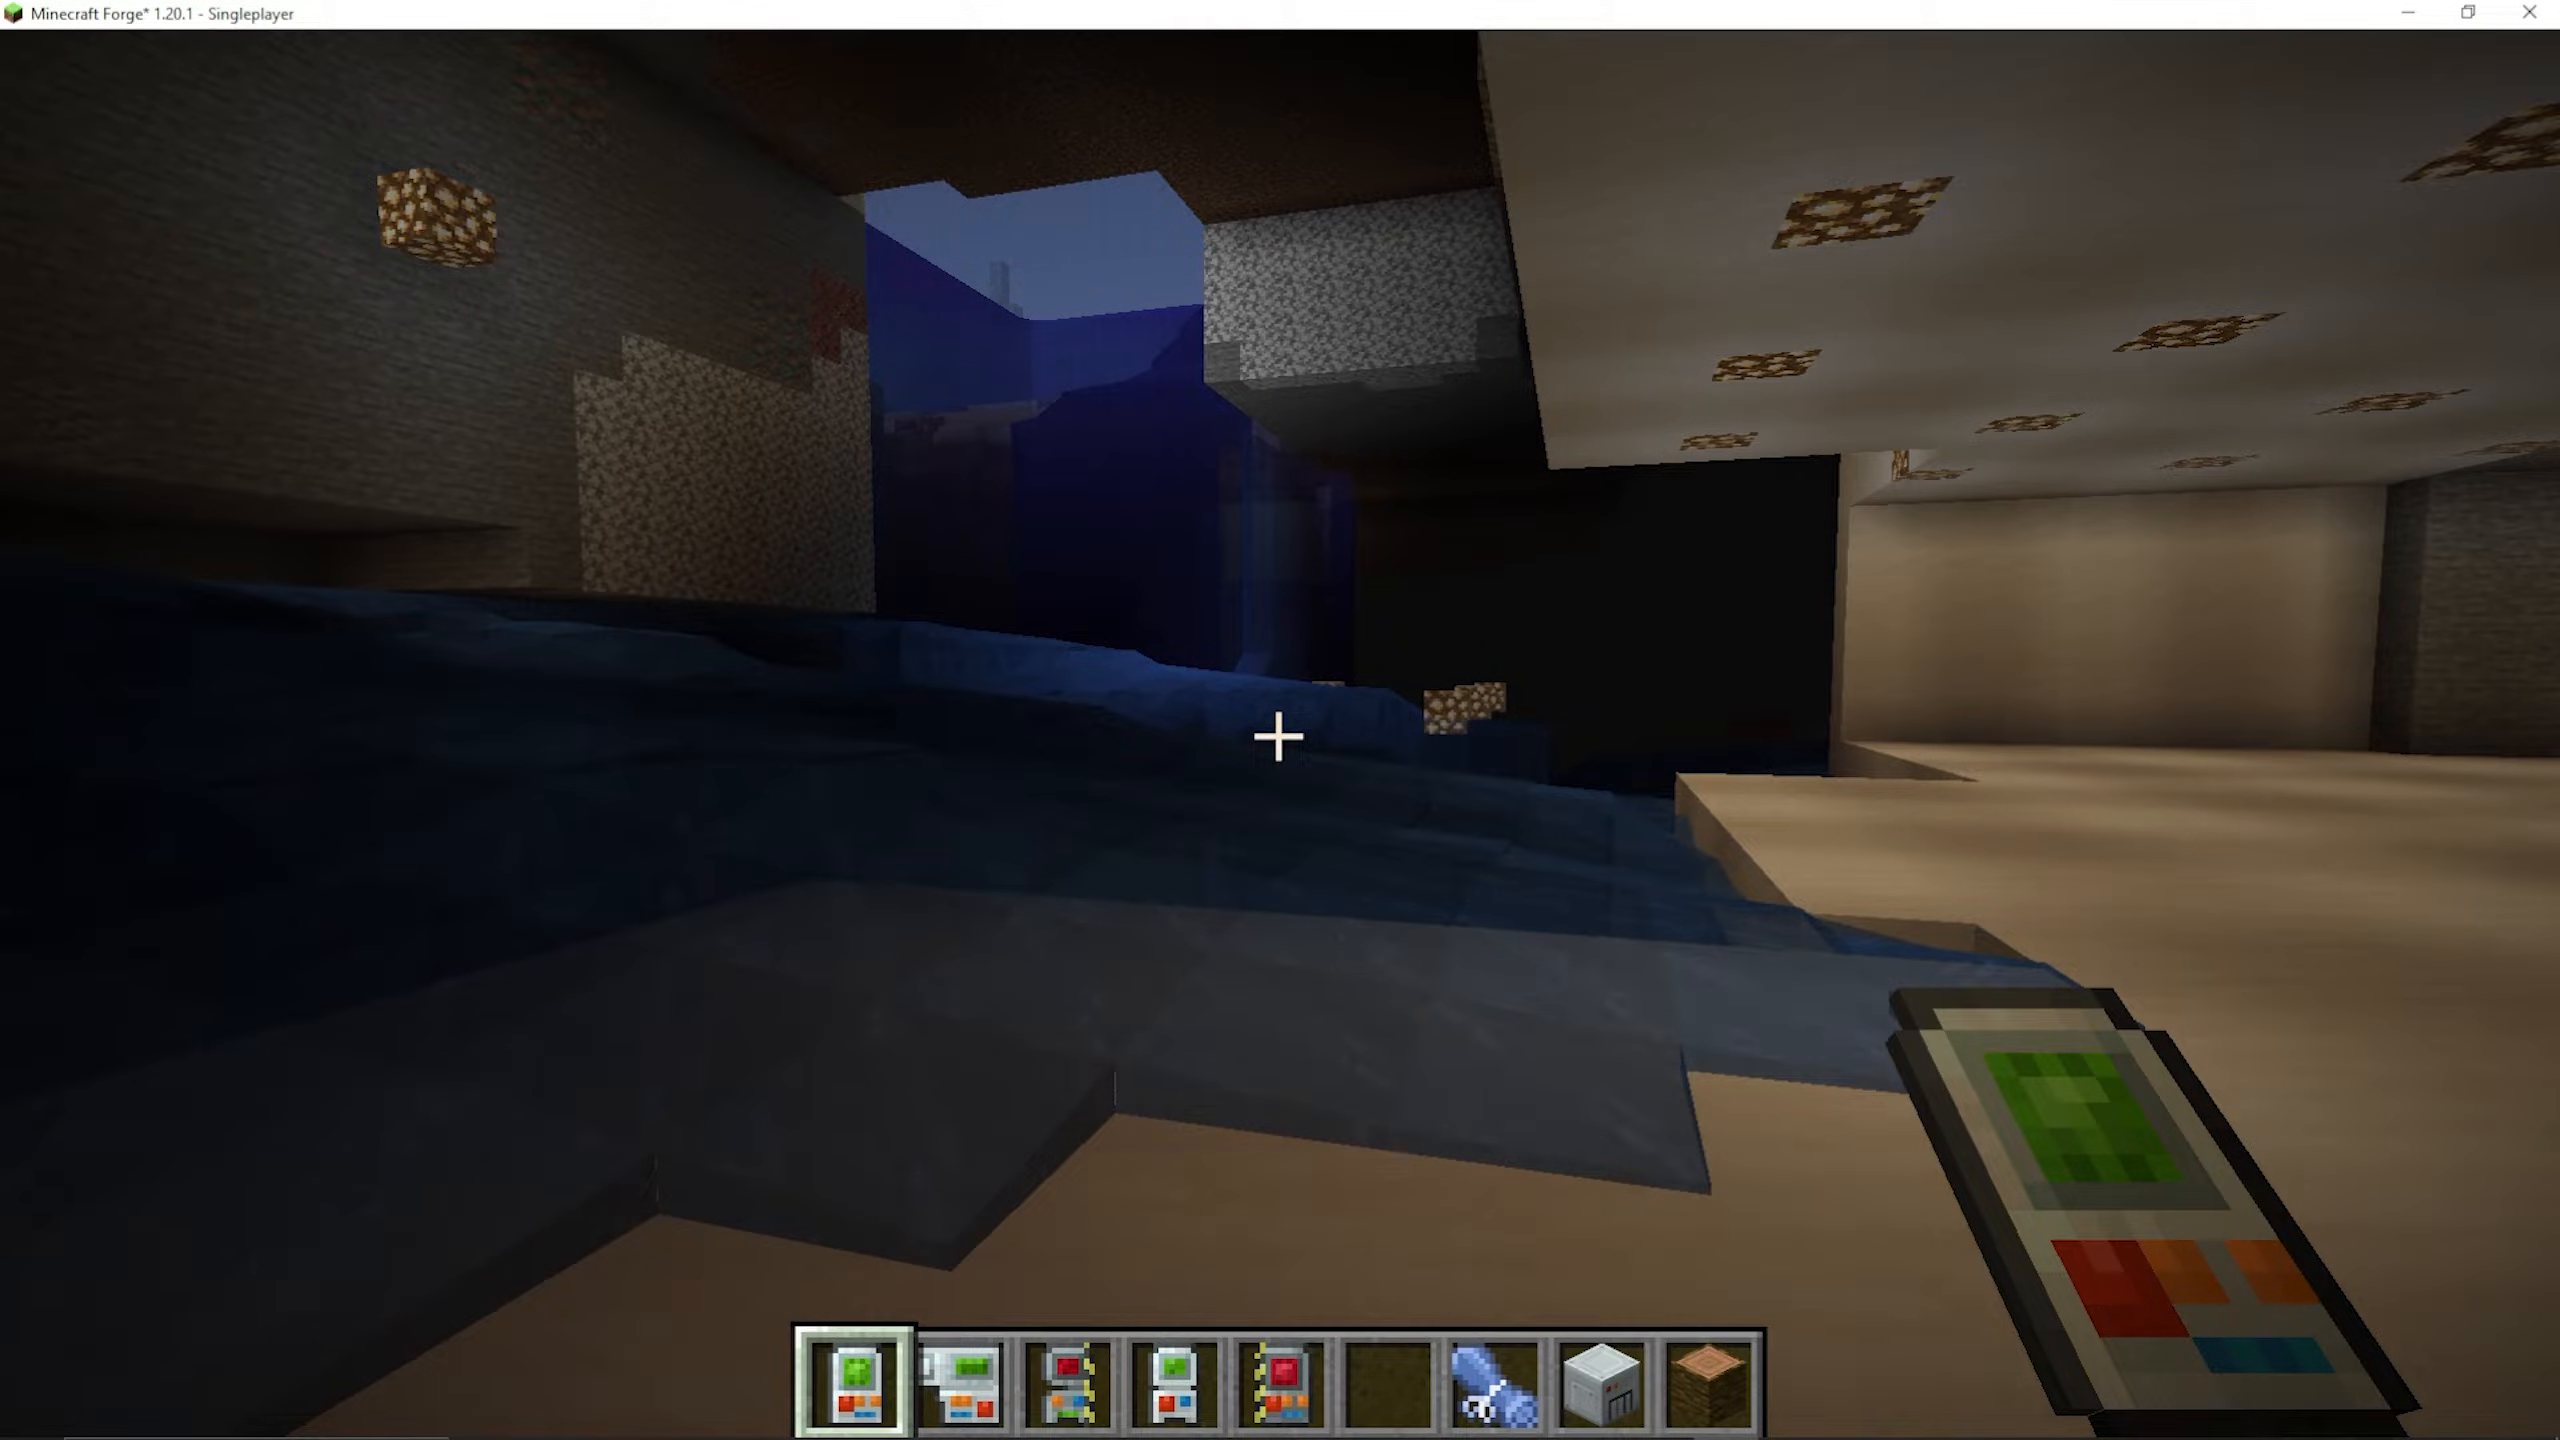
Stairs
Stairs mode automatically builds a staircase. The range value controls the number of stairs generated. Use this with actual Minecraft stair blocks and you can construct an entire staircase in one action.
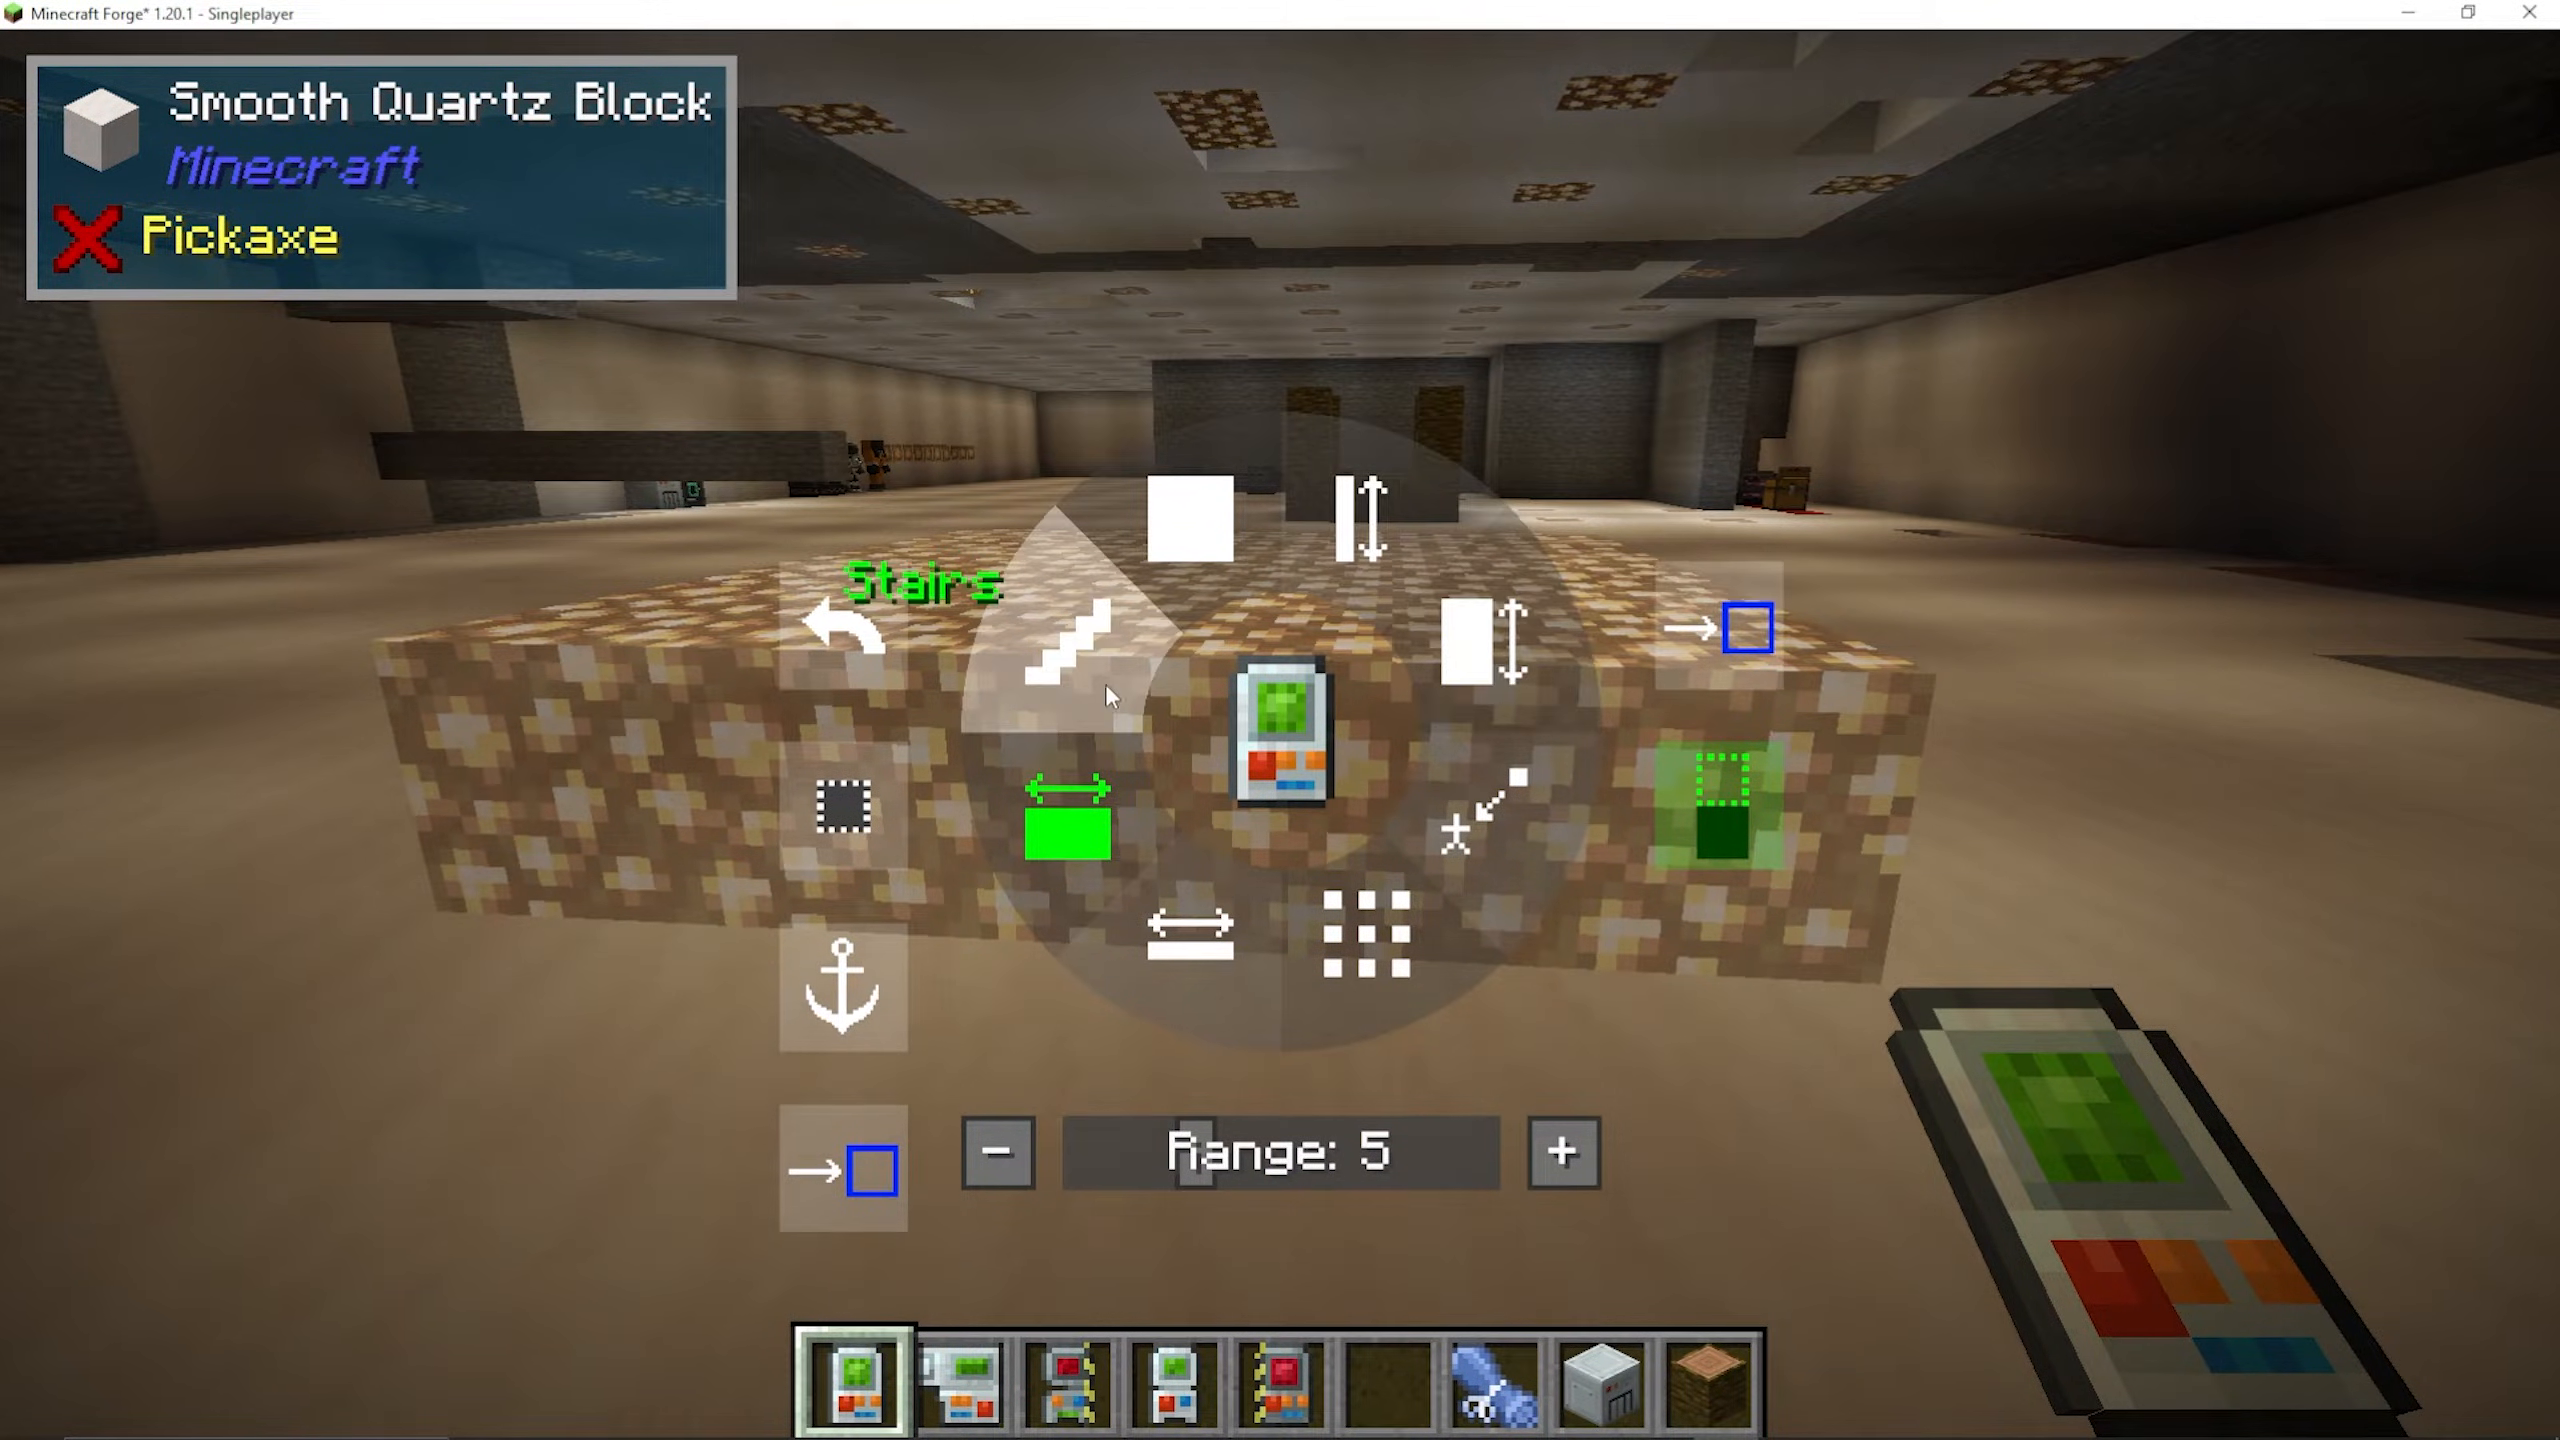
Additional Settings
Place on Top
When enabled, blocks are placed on top of the surface you are targeting. This is required for modes like Grid to function correctly when placing on flat ground.
Ray Trace Fluids
Enabling Ray Trace Fluids causes the gadget to interact with fluid blocks such as water and lava. This setting is particularly relevant when using the Destruction Gadget (covered below).
Anchor
Pressing Anchor locks the placement area to your current target position. This lets you move around and inspect the highlighted area before committing to the placement.
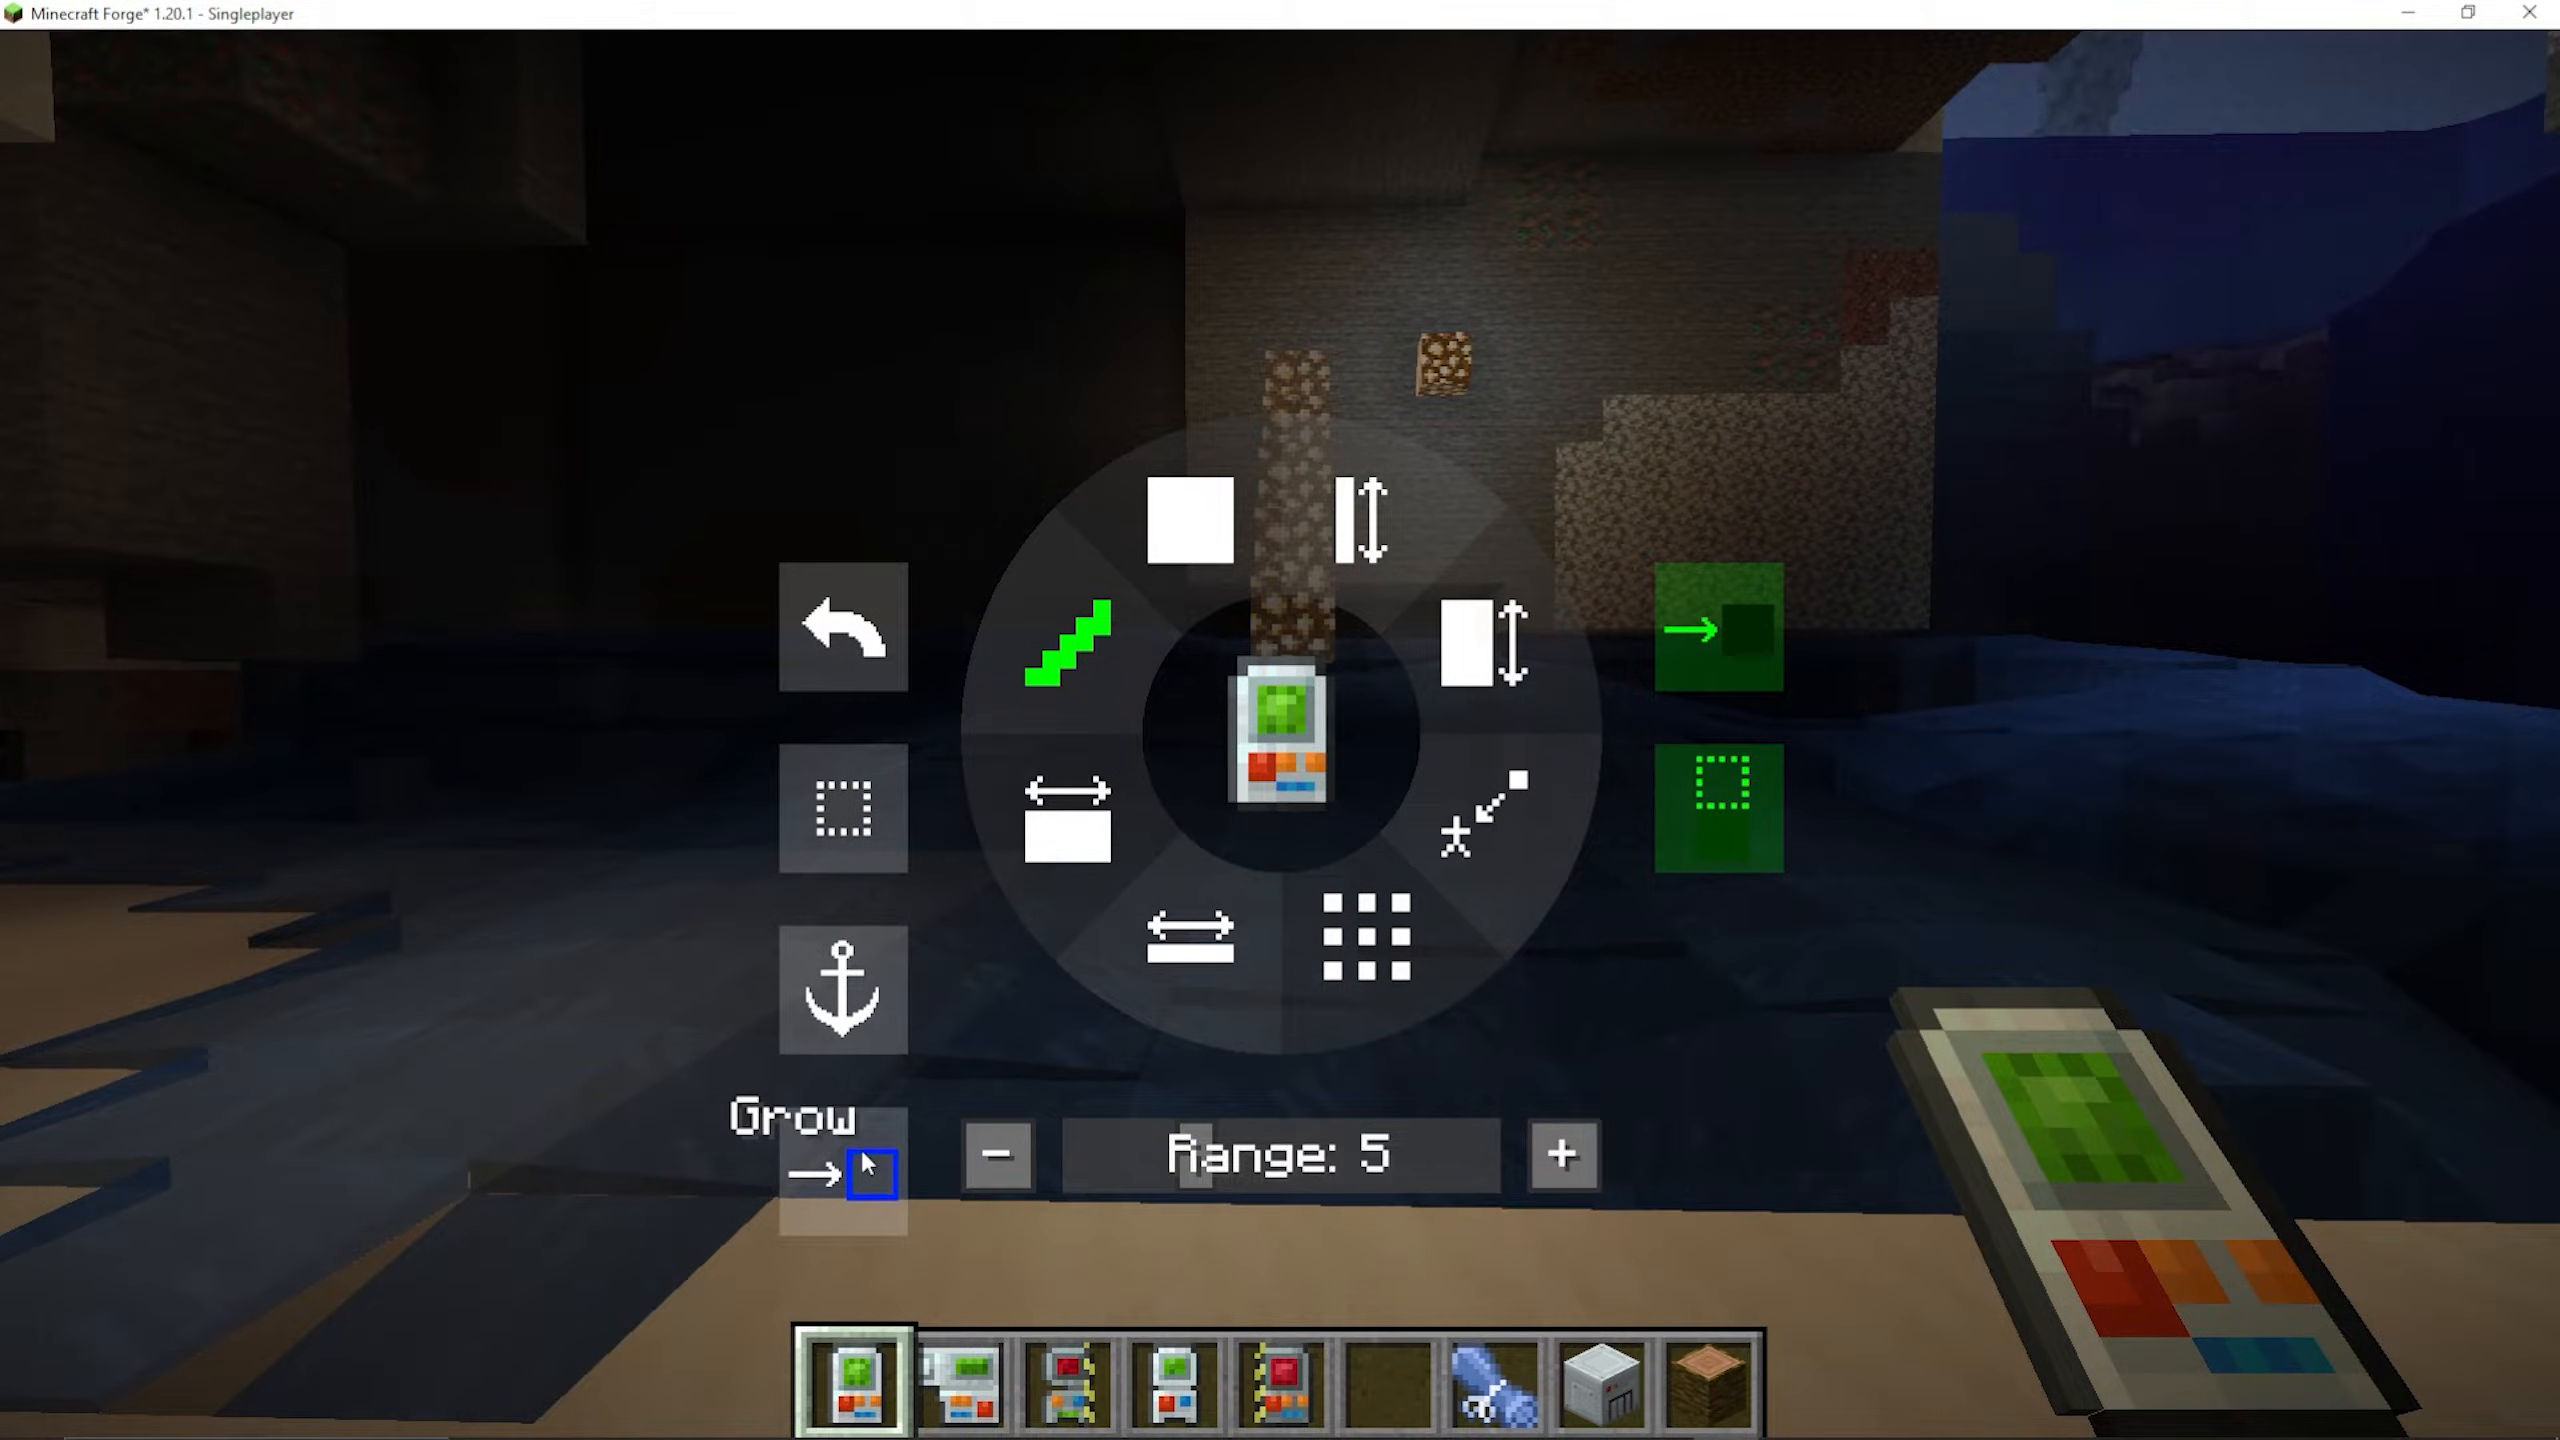
Fade and Squish Animations
These settings control how placed blocks are rendered visually. Fade makes blocks appear with a fade-in effect, while Squish makes them squish into place. These are purely cosmetic and do not affect gameplay.
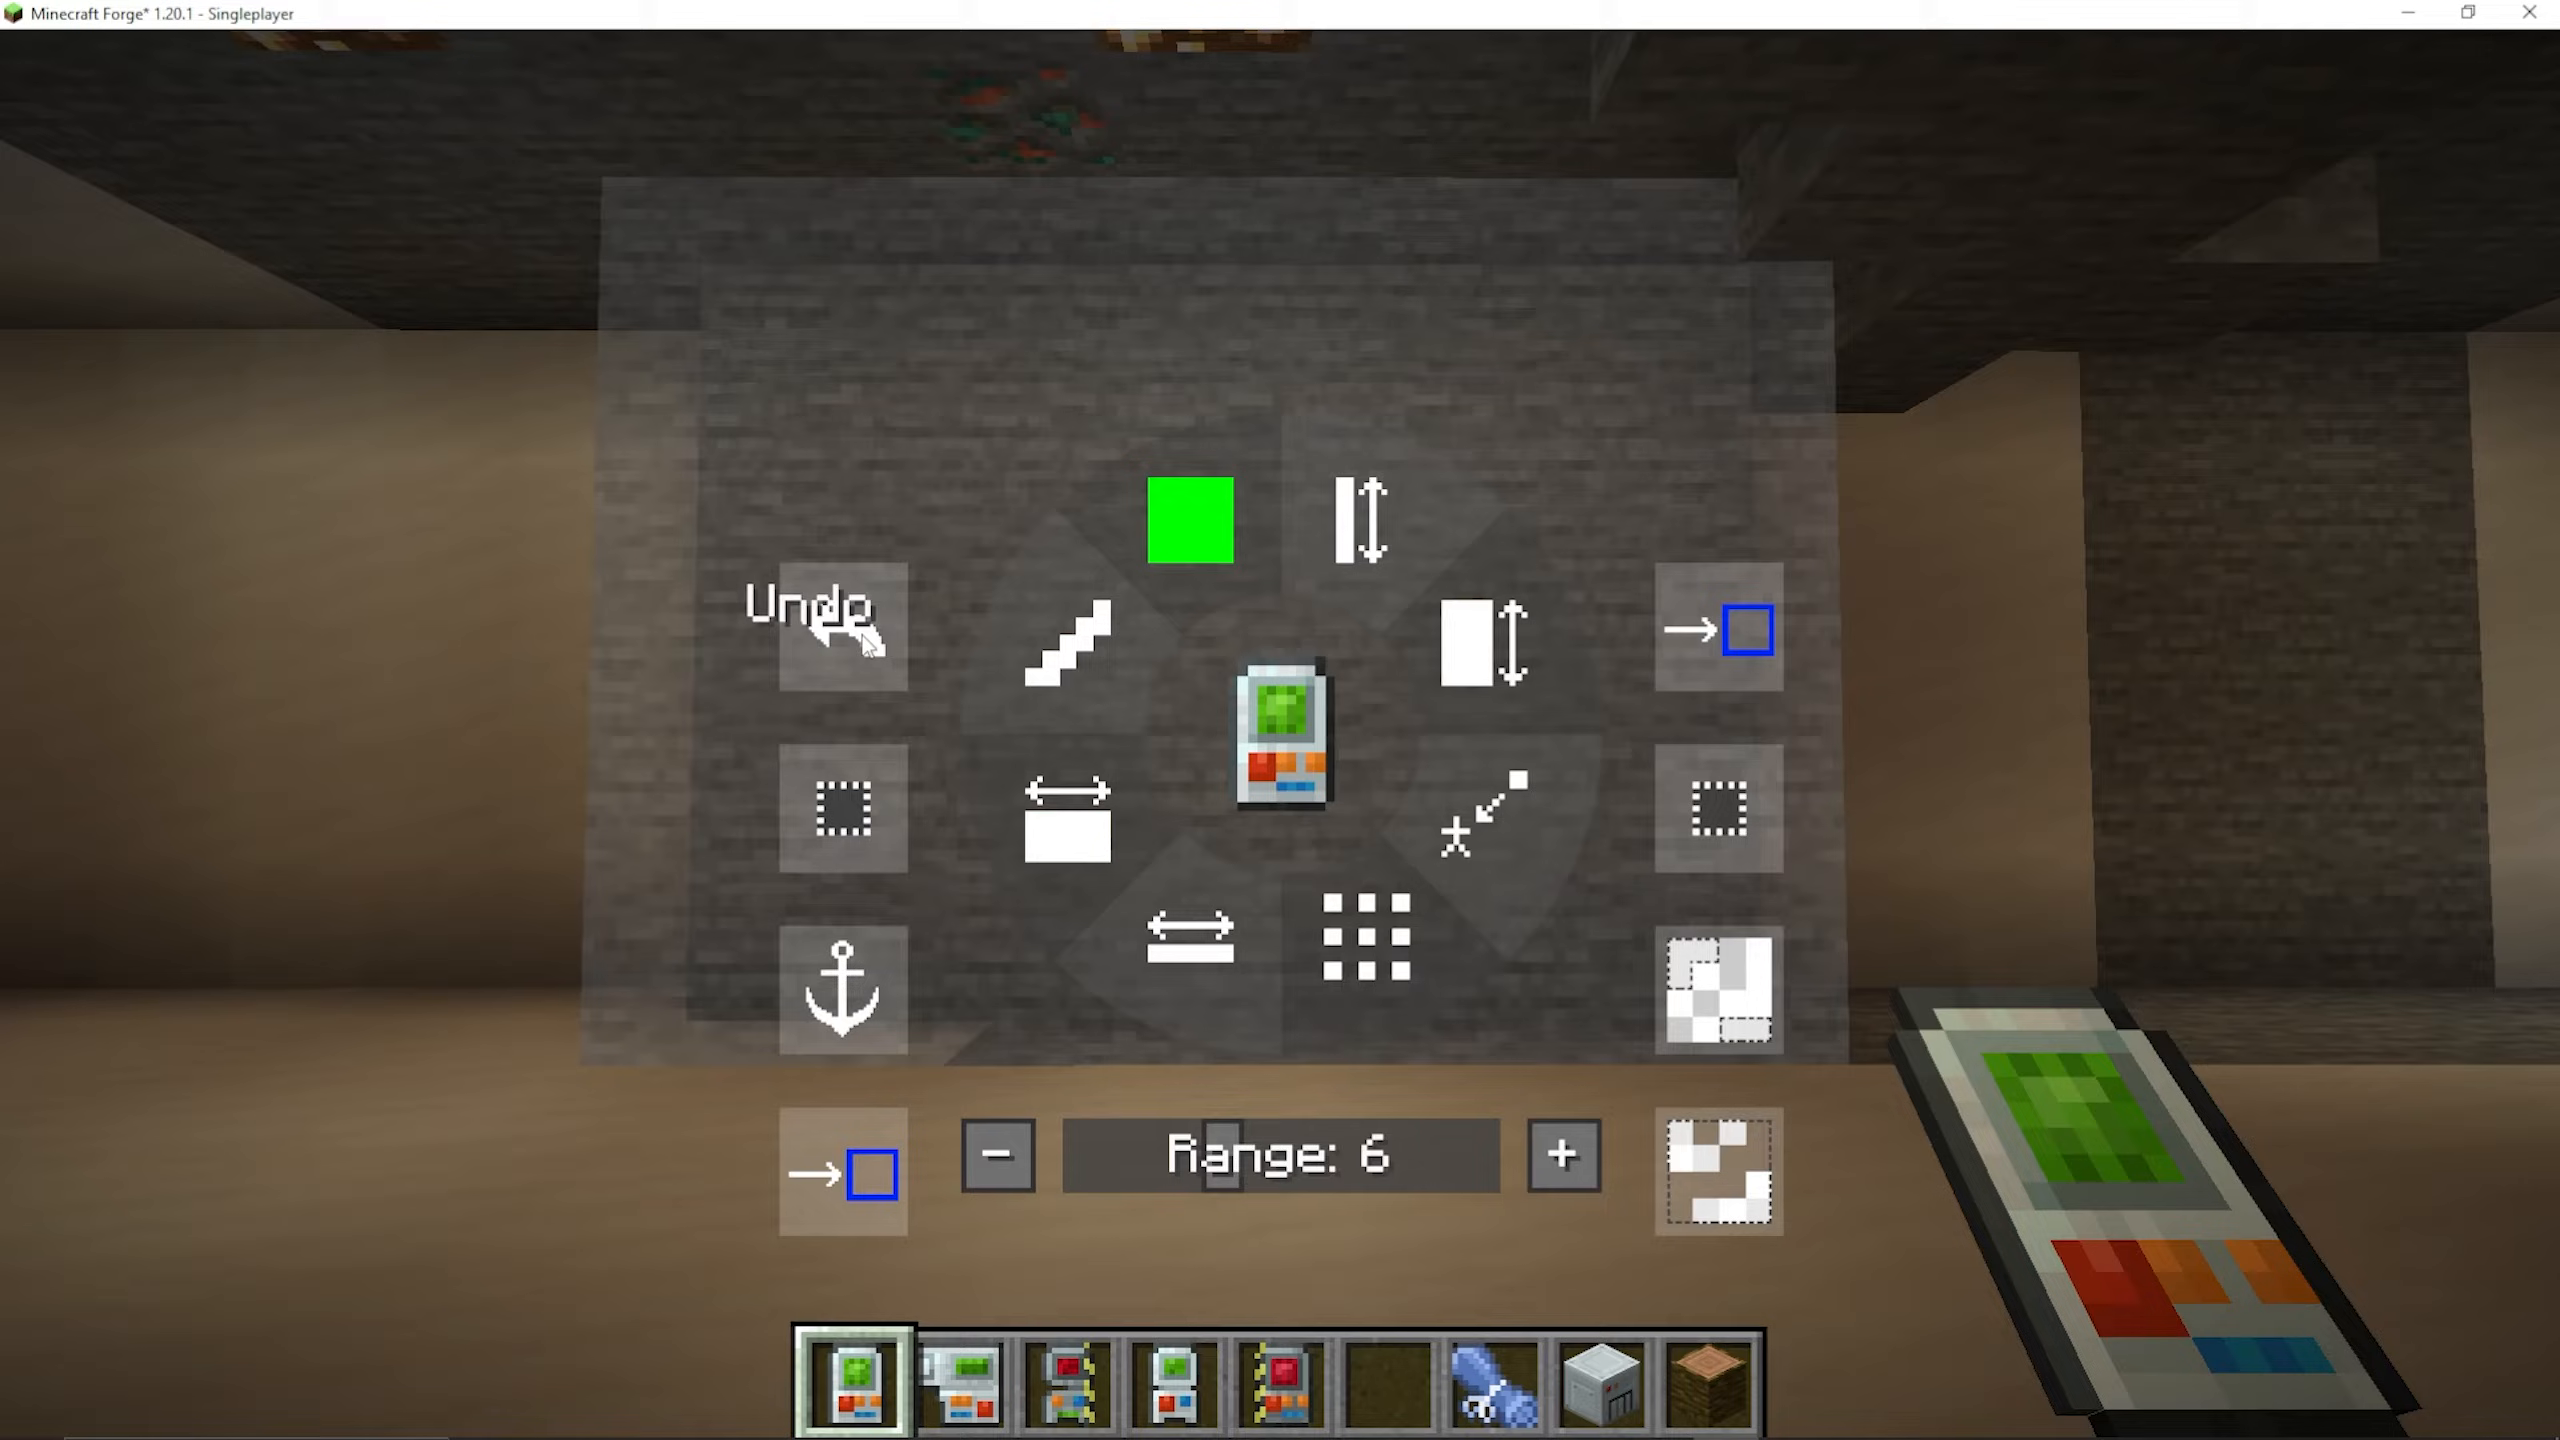
Undoing Placements
If you place blocks by mistake, you can undo the action using the Undo button in the gadget menu. Multiple consecutive undoes are supported.
The Exchanging Gadget
The Exchanging Gadget works similarly to the Building Gadget, but instead of placing blocks on top of existing surfaces, it replaces blocks that are already in the world with your chosen material. For example, you can swap out an entire stone floor and replace it with Glowstone in one action.
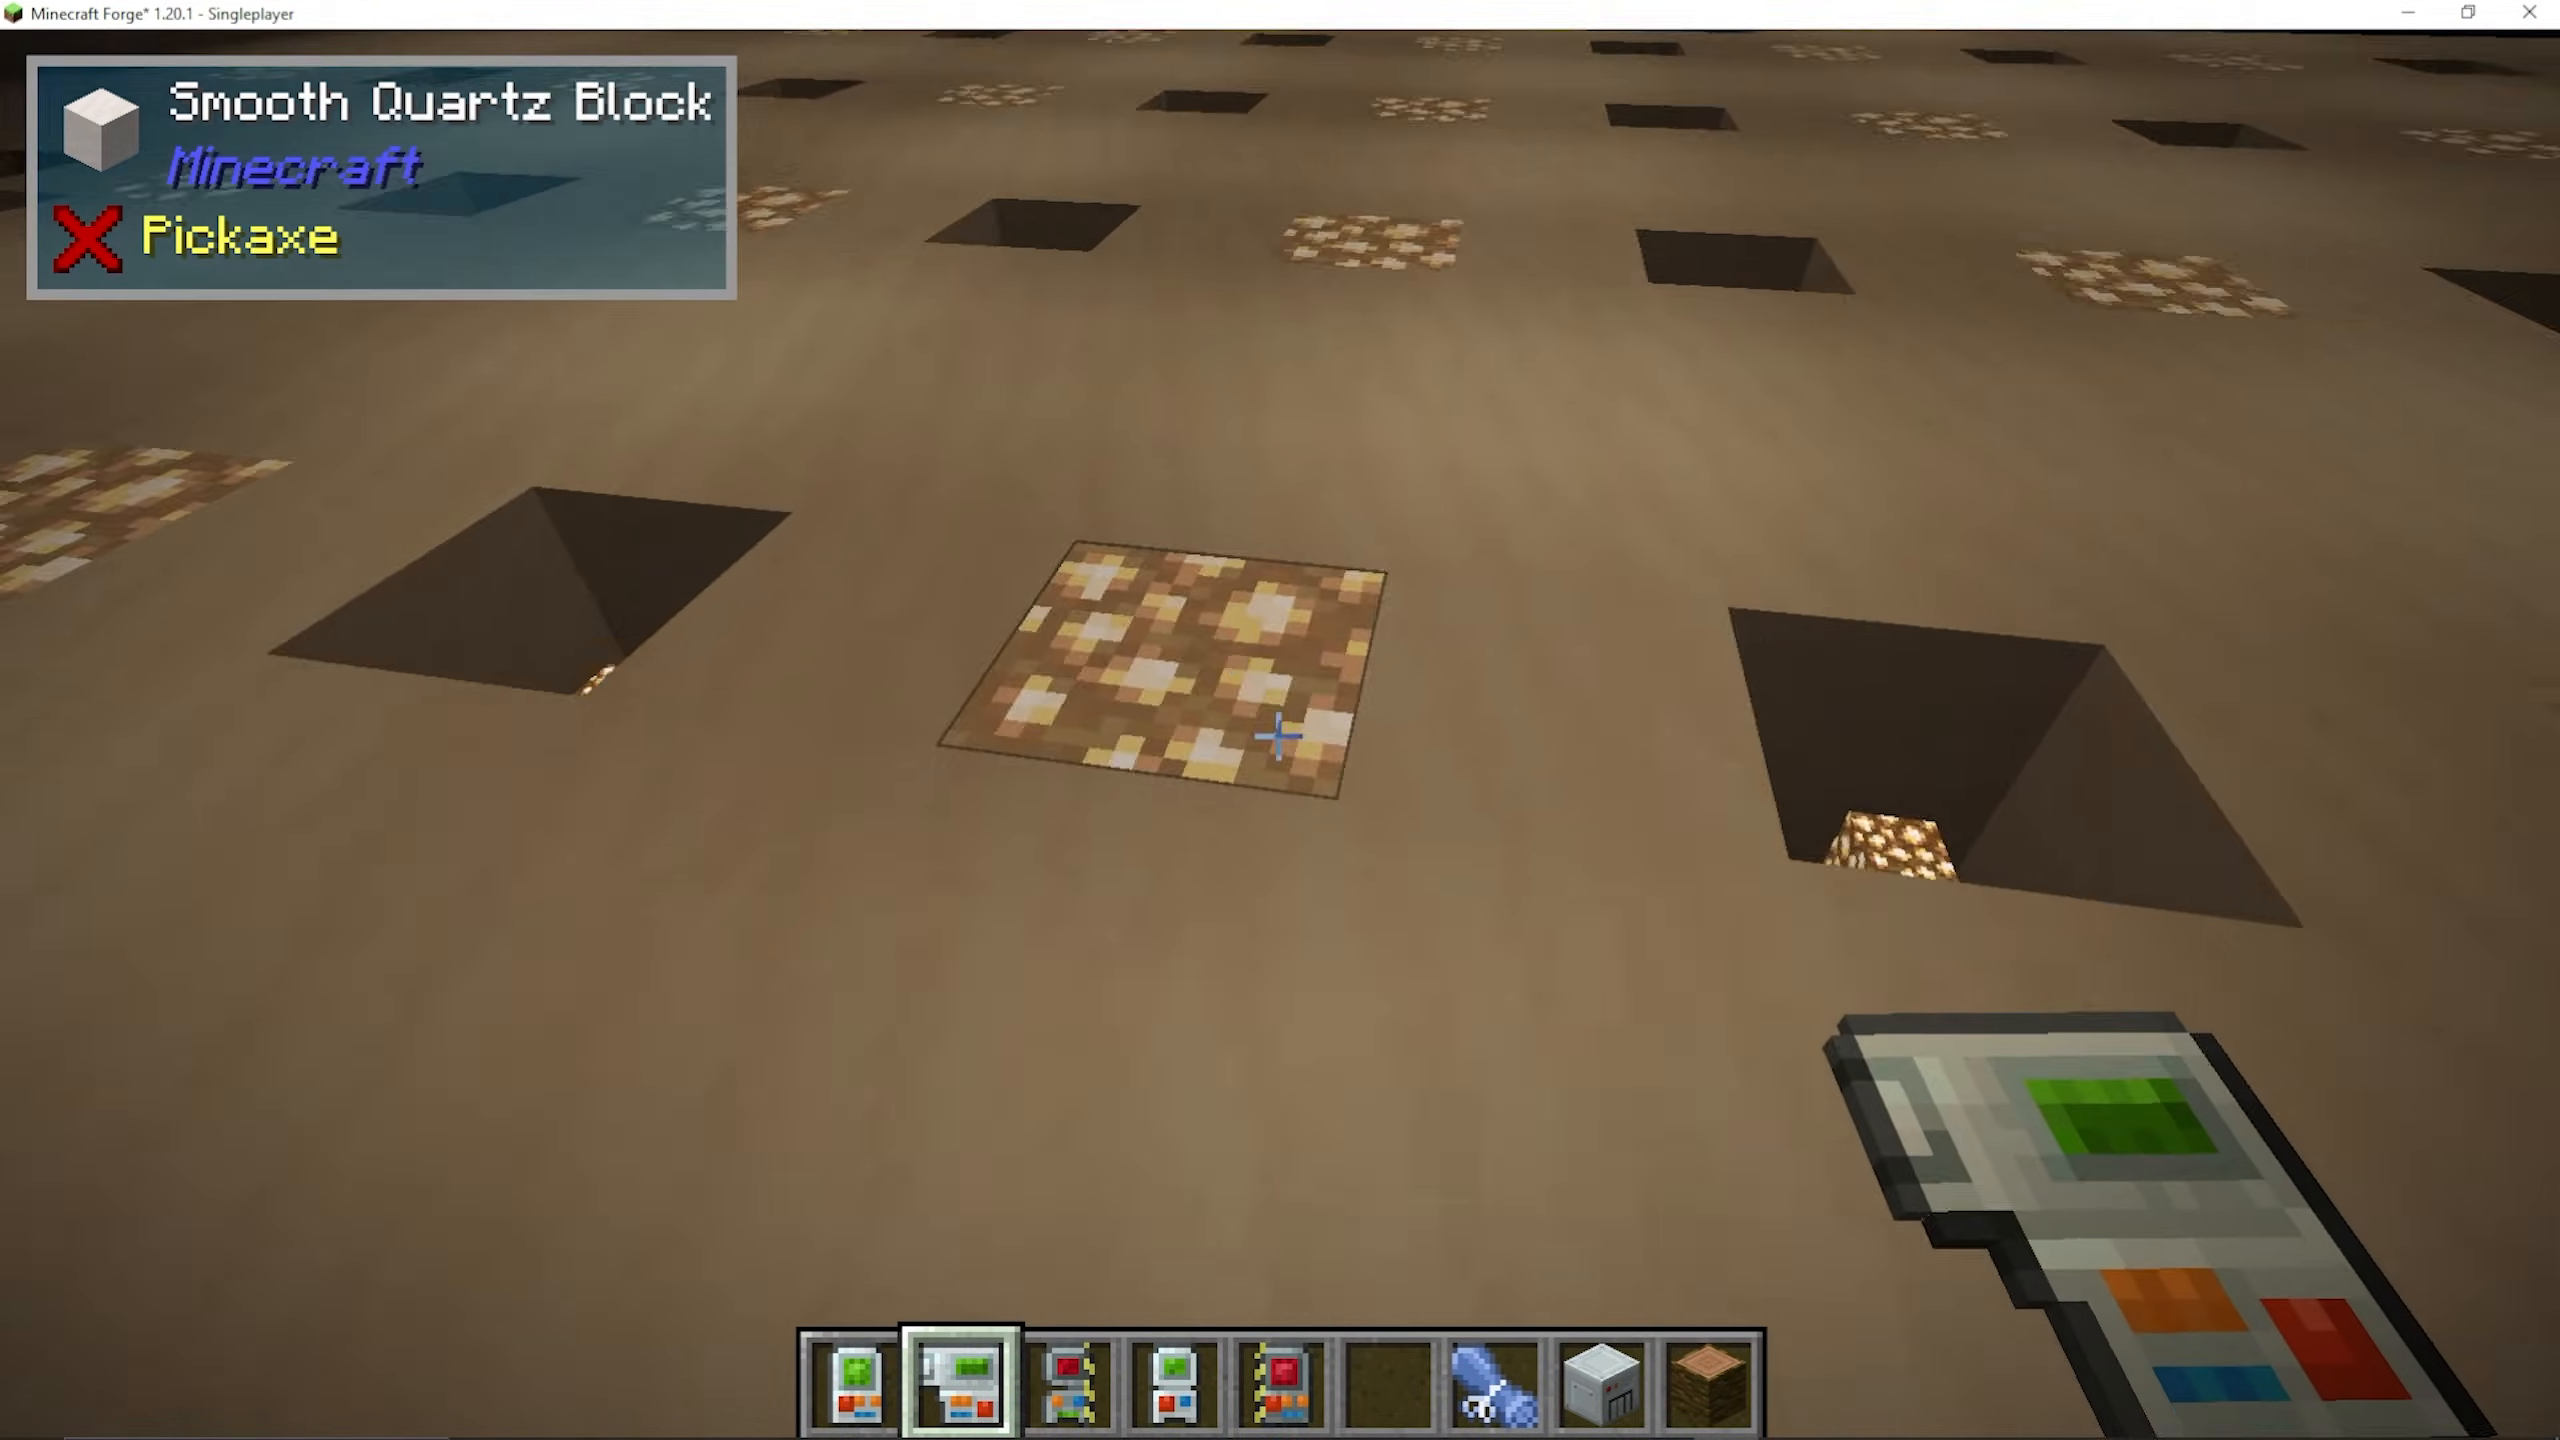
The Exchanging Gadget supports the following modes: Grid, Vertical Column, Surface, and Horizontal Row. It also includes these additional toggle options:
Affect Block Entities — includes block entities (such as chests or furnaces) in the exchange.
Ray Trace Fluids — allows the gadget to target fluid blocks.
Fuzzy — when enabled, the gadget includes blocks of similar types beyond an exact match.
Connected Areas — restricts the exchange to blocks that are physically connected to your target.
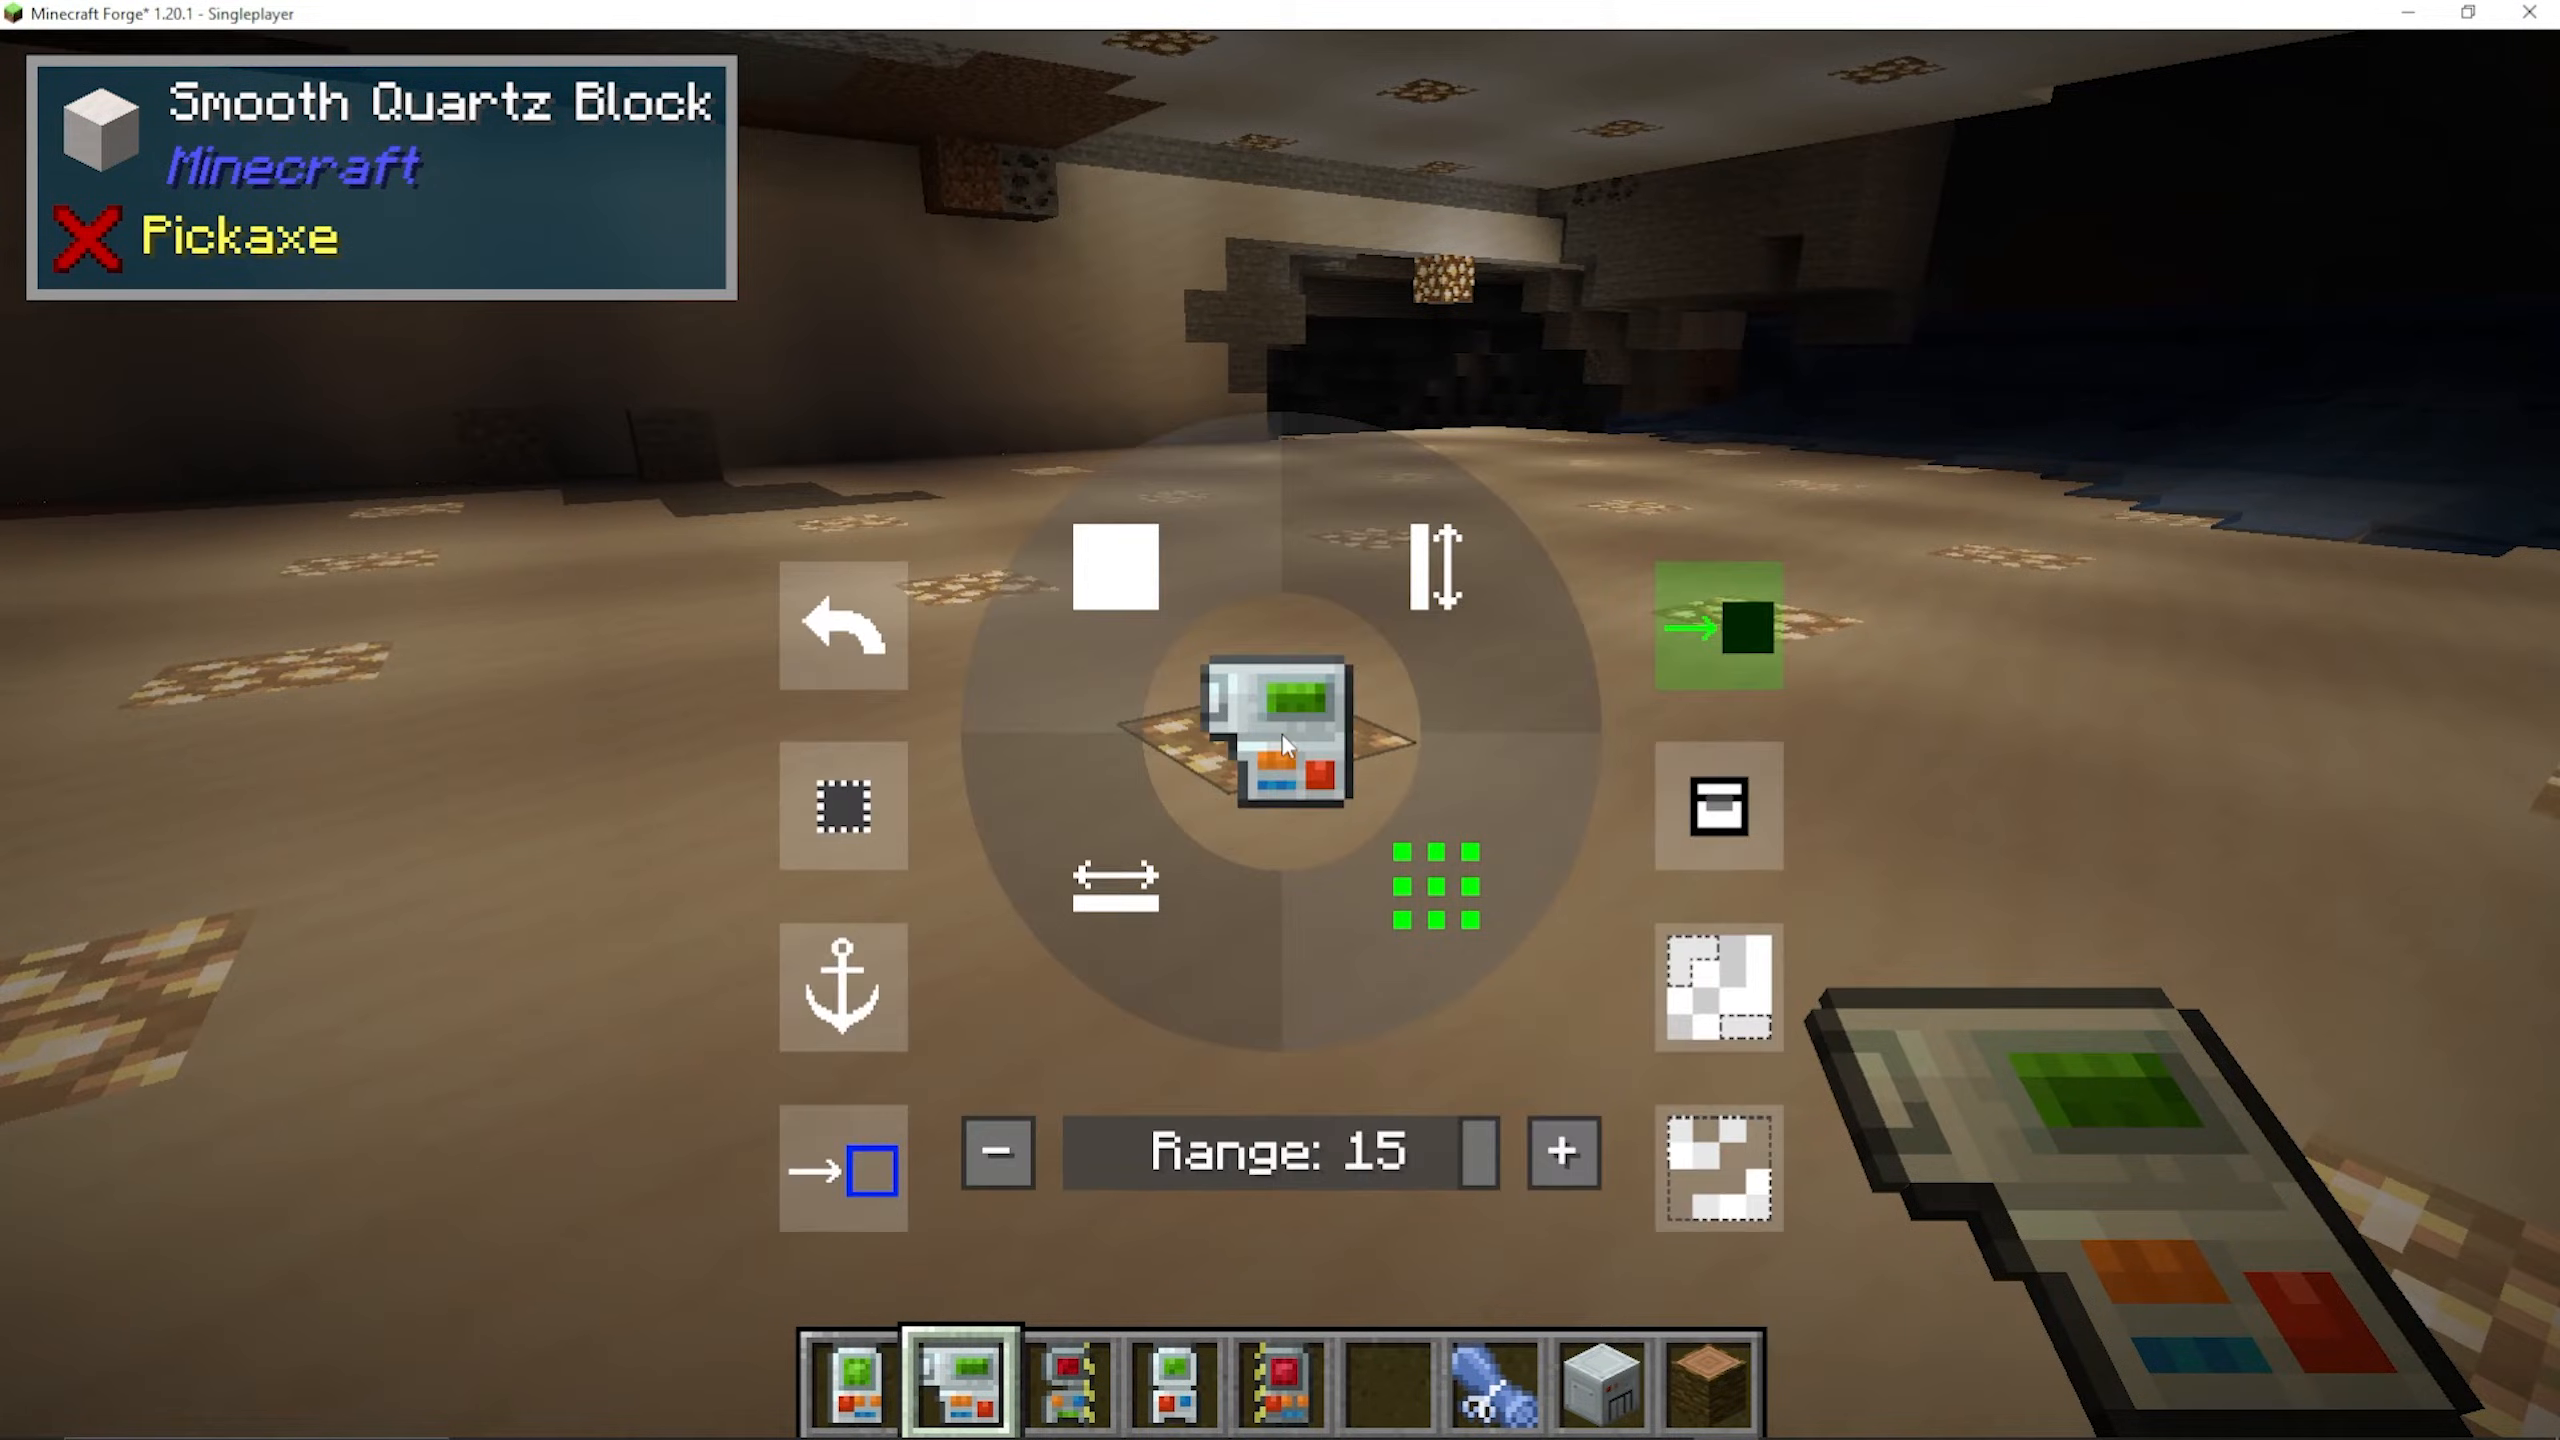
Just like the Building Gadget, you can undo exchanges to revert blocks back to their original state.
The Destruction Gadget
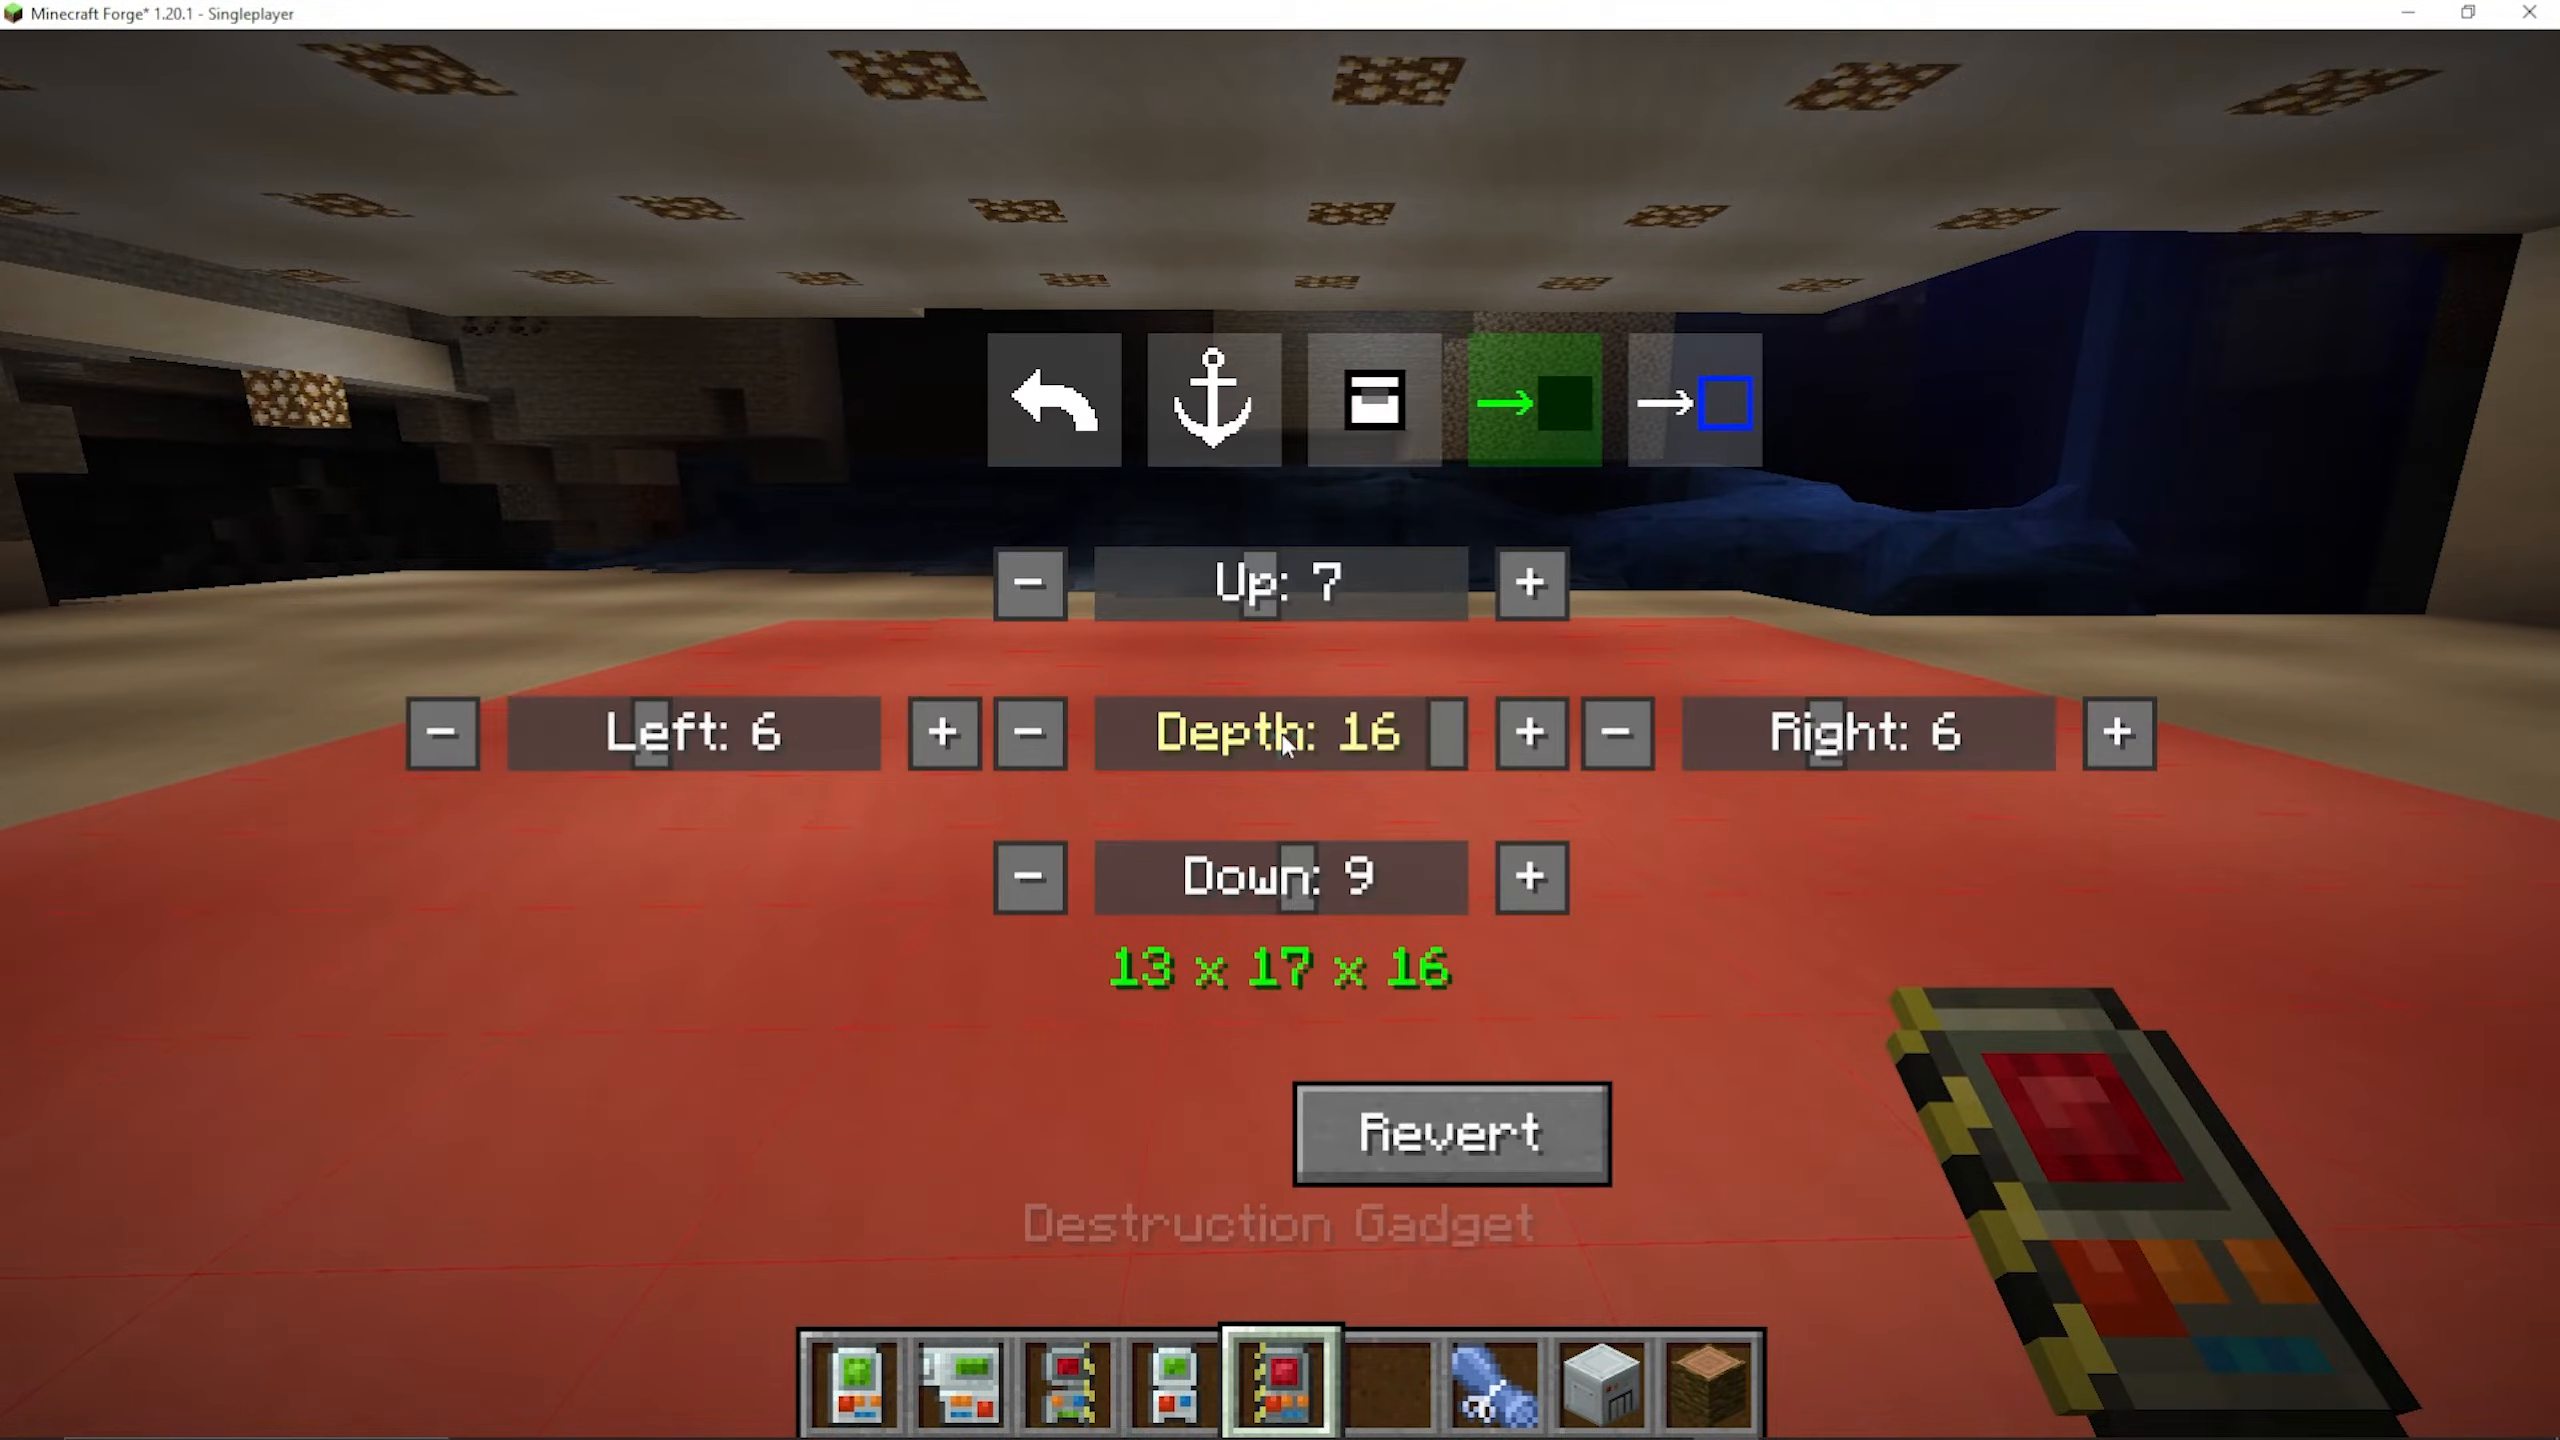
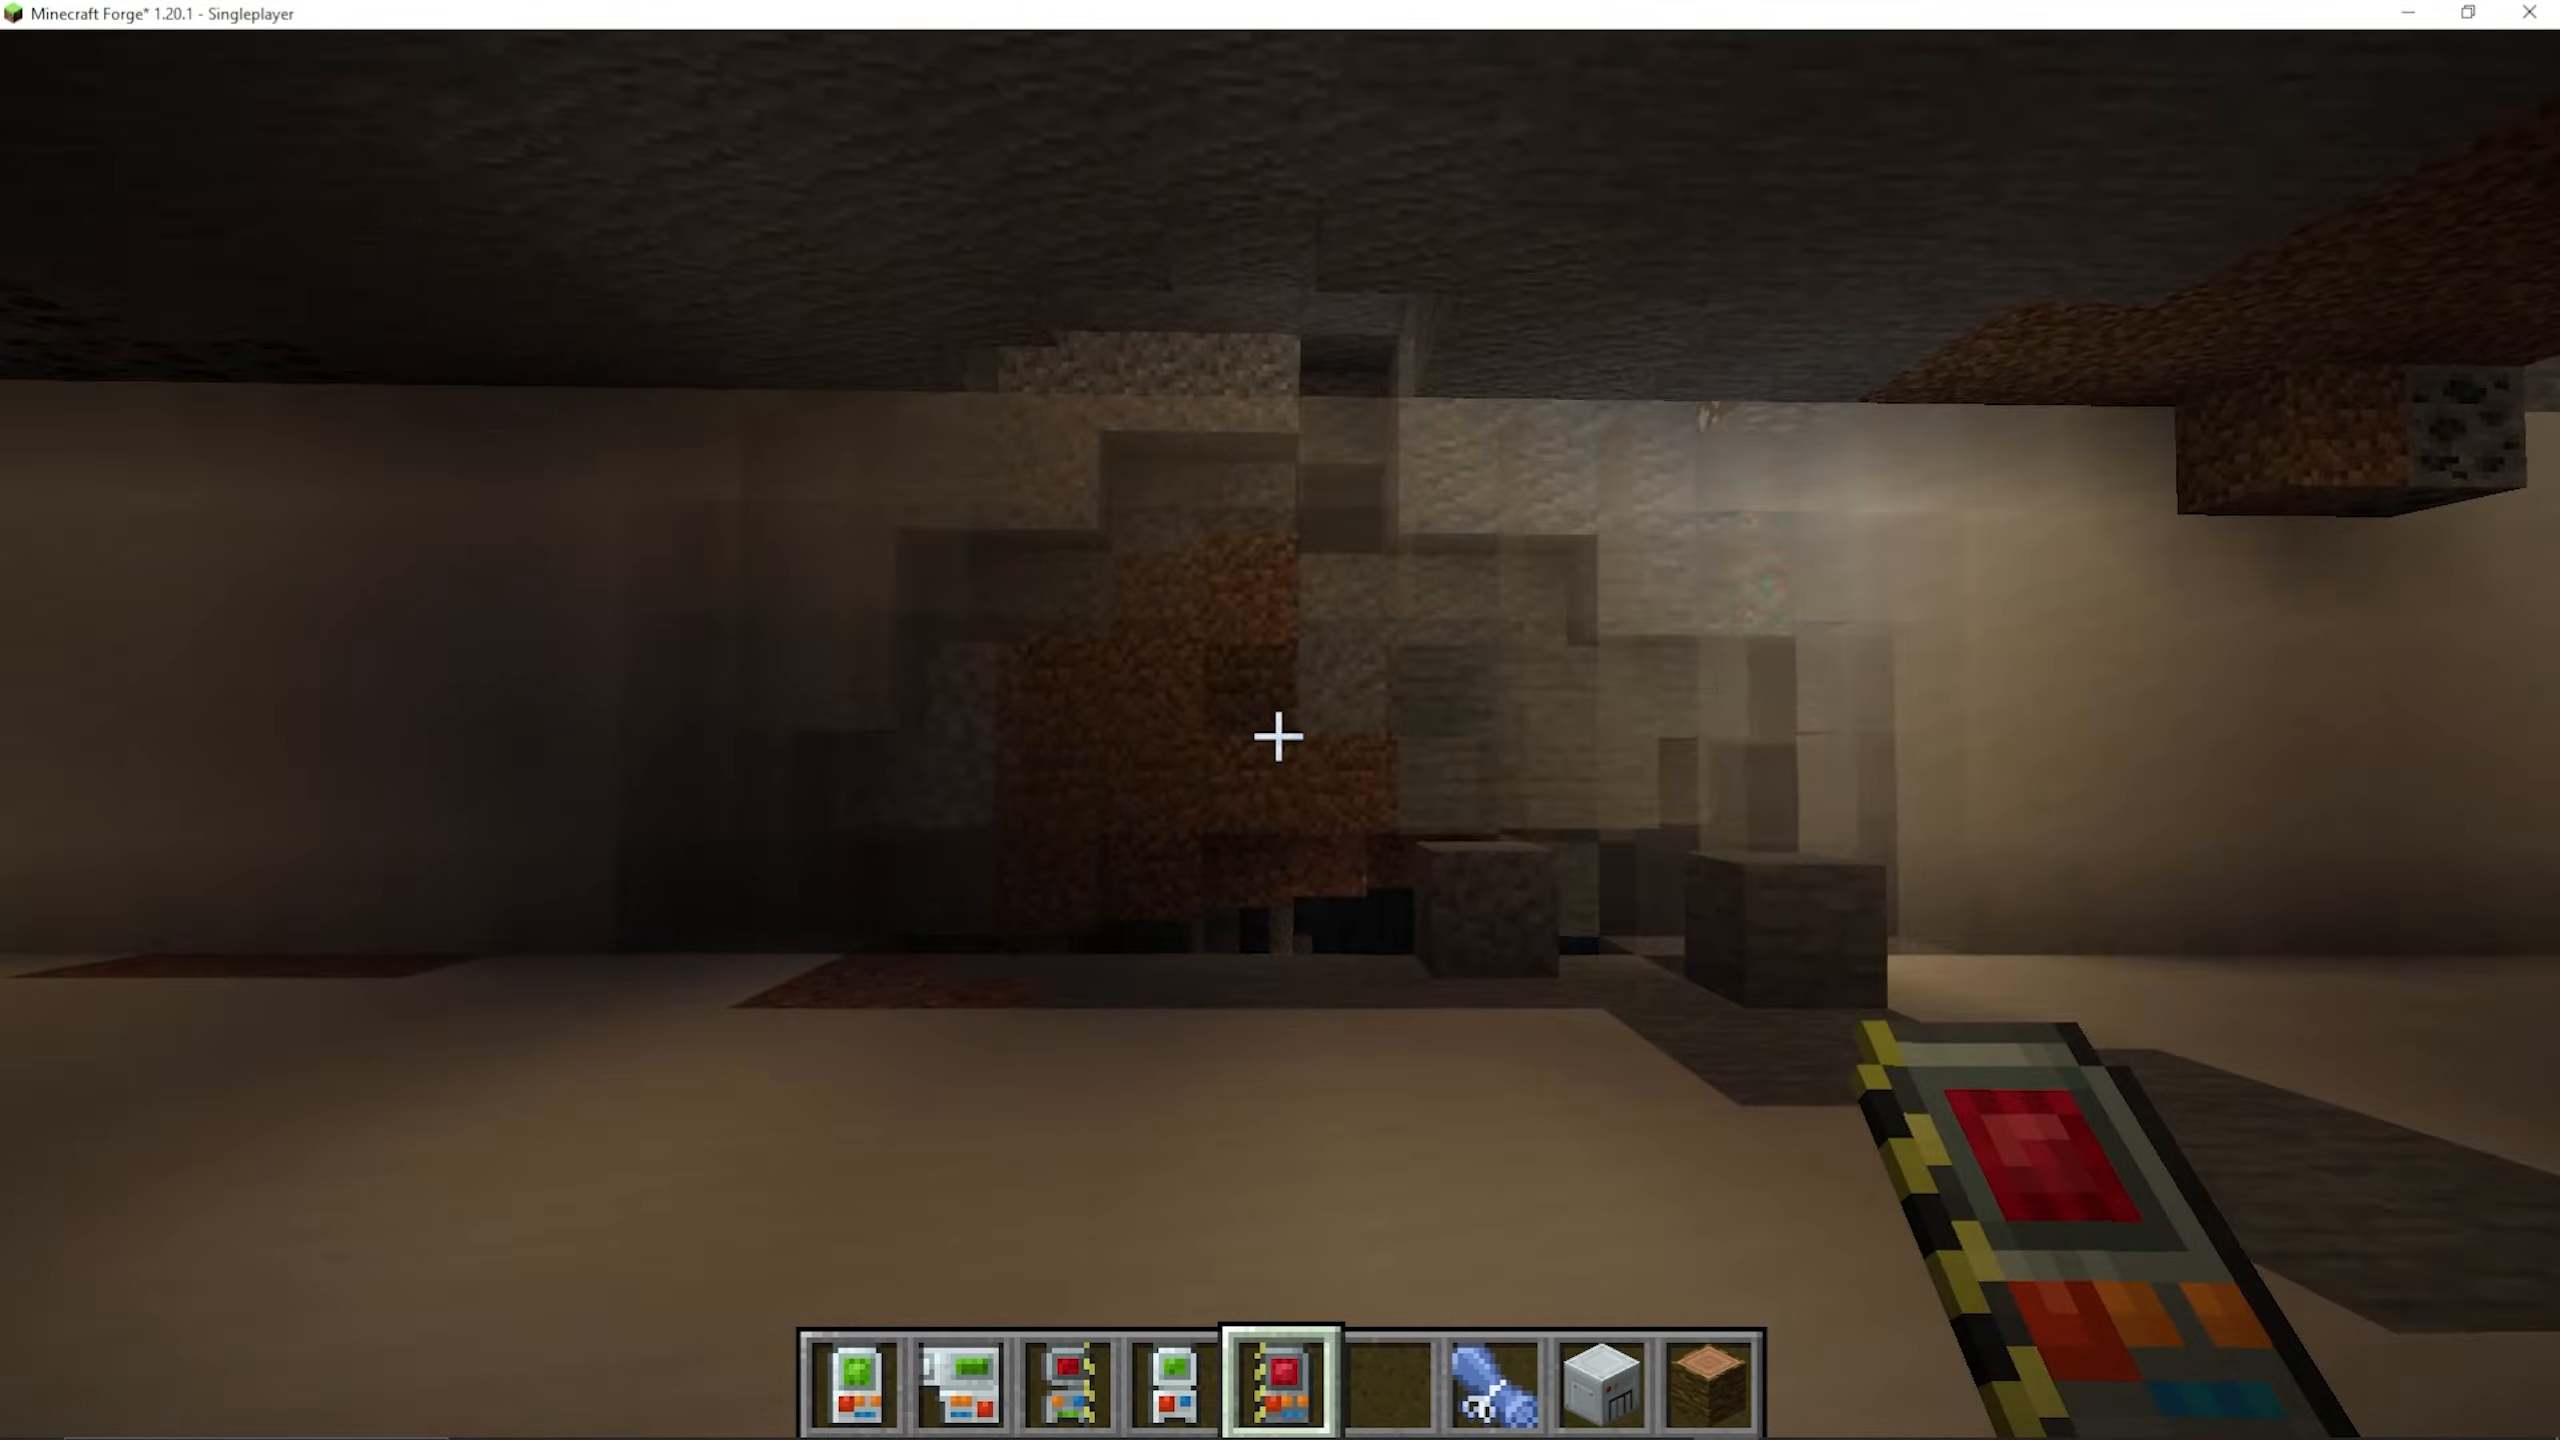
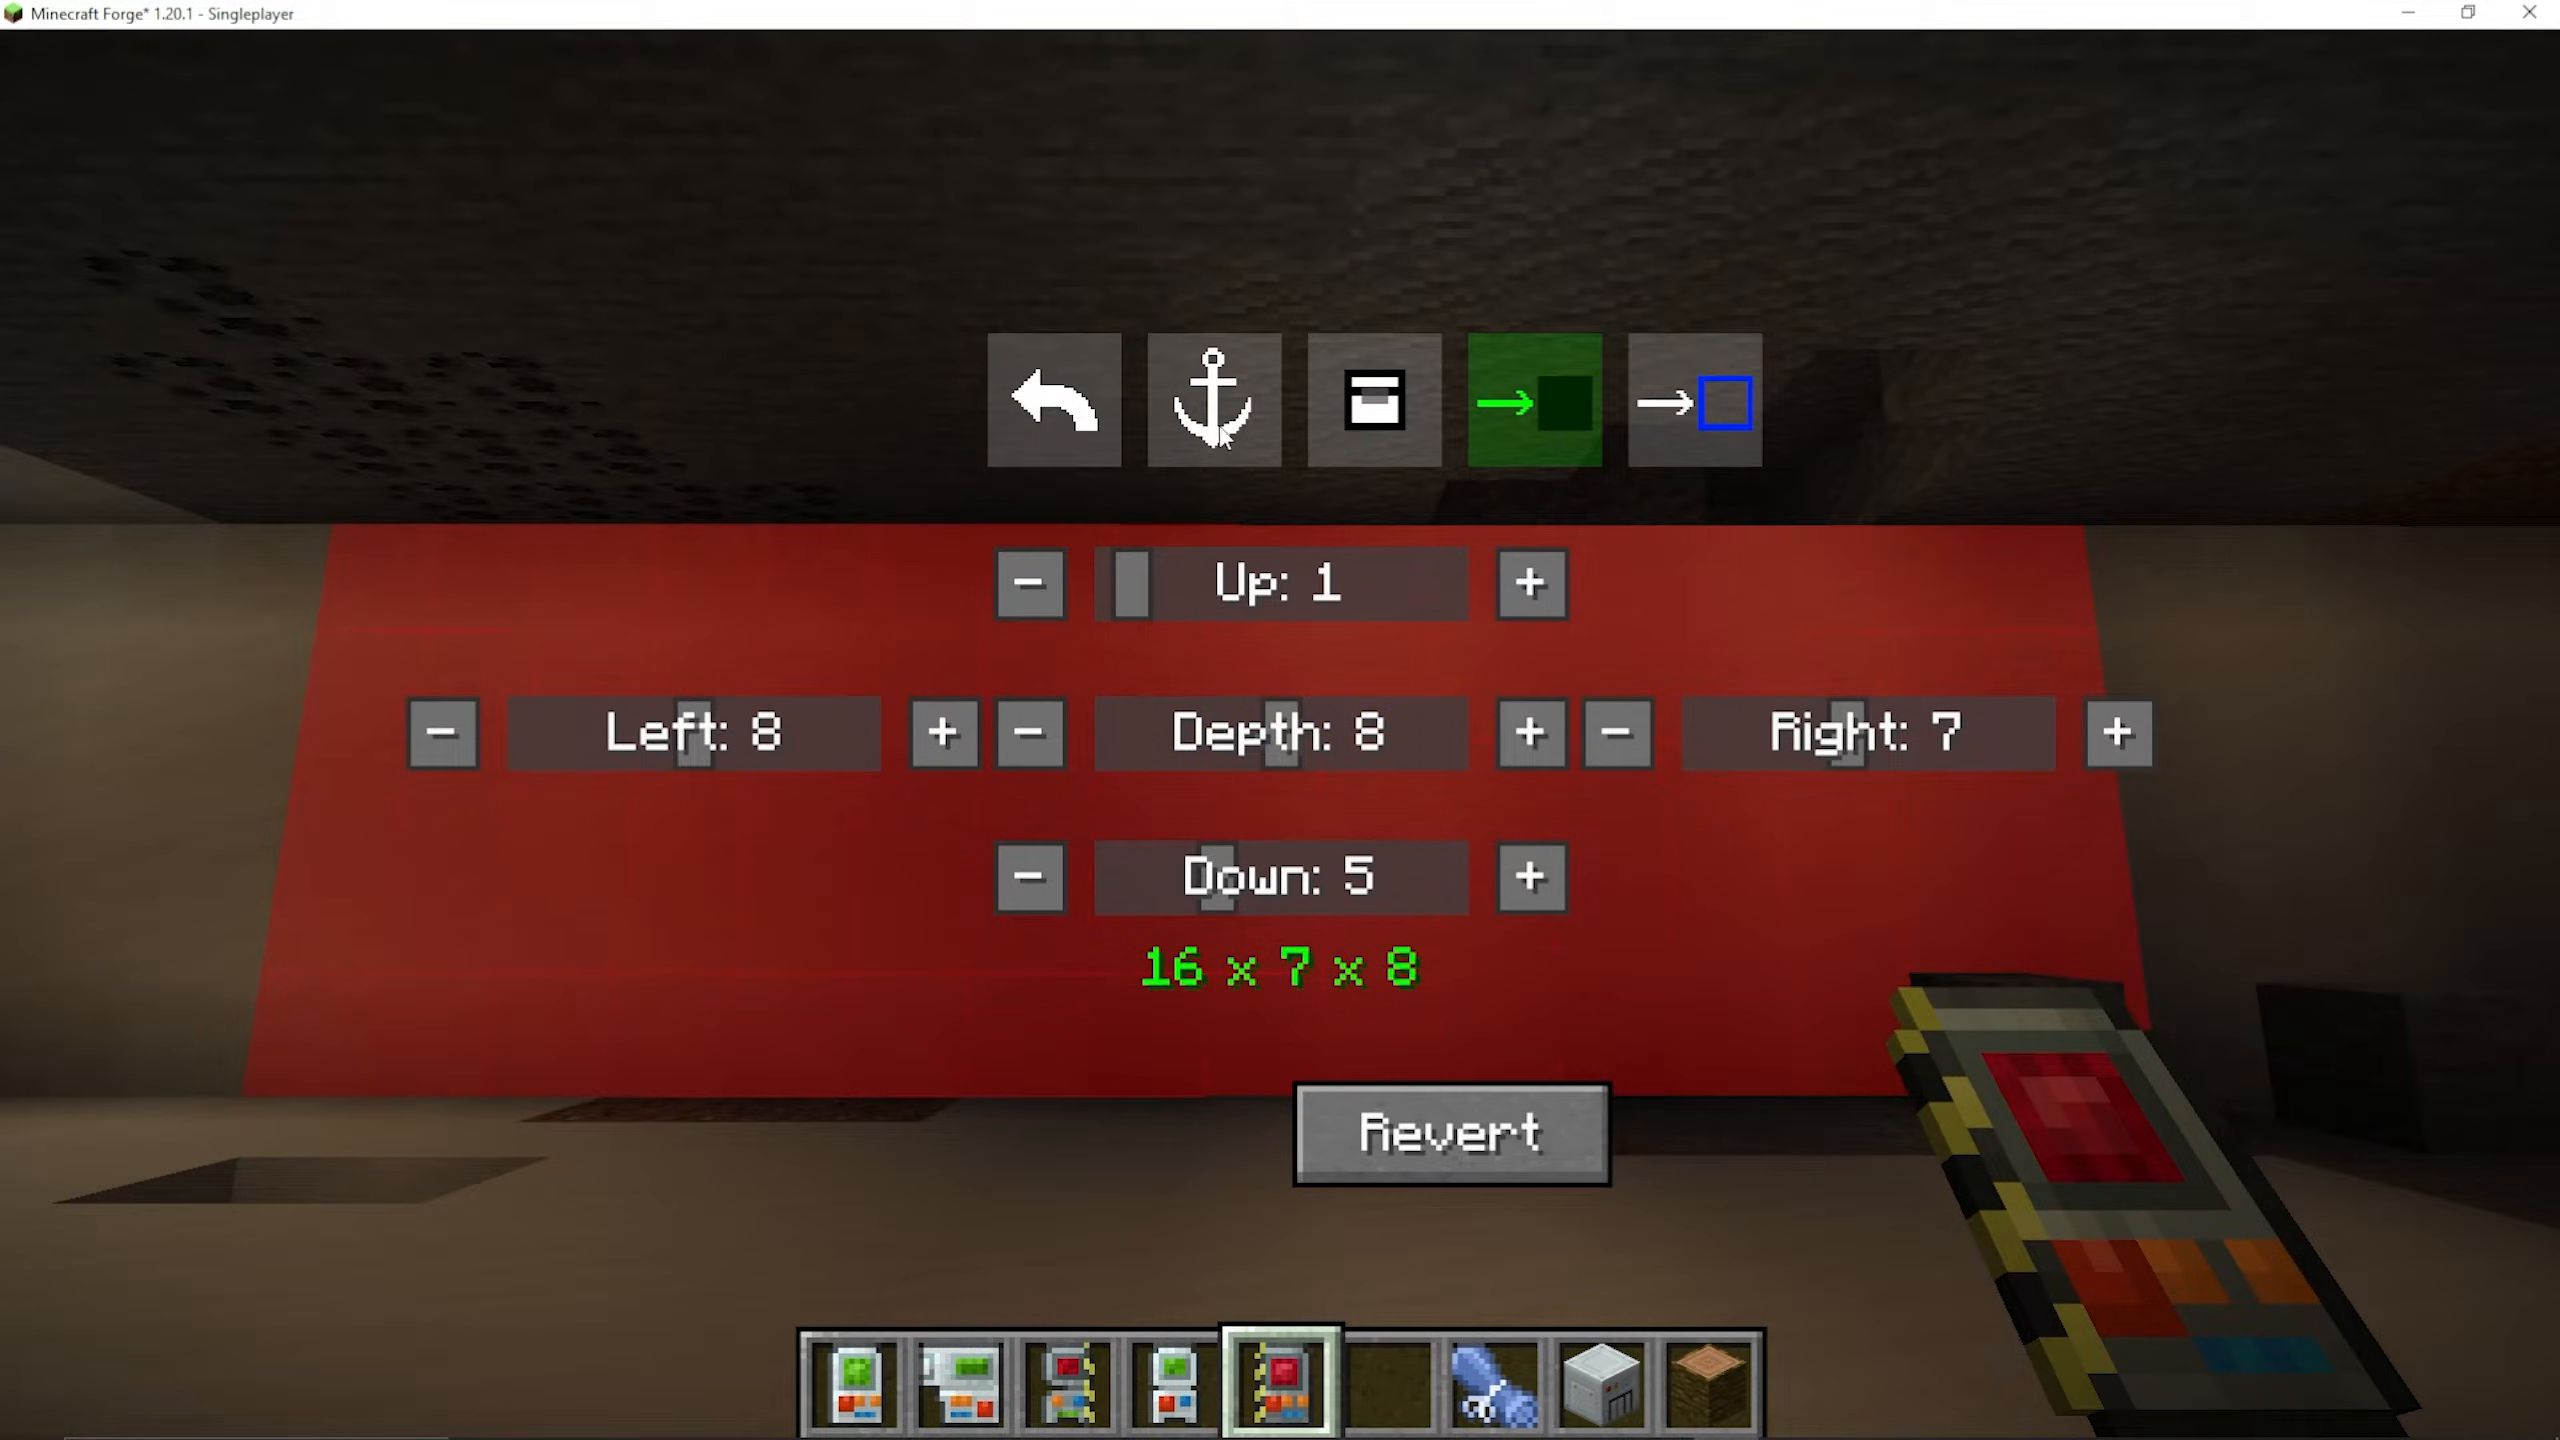
The Destruction Gadget removes large volumes of blocks at once. Its key settings are Depth and directional controls for Up, Down, Left, and Right, which together define the exact volume of blocks to be destroyed.
Using Depth and Directional Controls
The Depth setting controls how far inward the gadget destroys. For example, setting a depth of 8 on a wall will destroy 8 blocks deep into that wall. The Up, Down, Left, and Right controls expand the selection area in those respective directions, giving you precise control over the shape of the volume being removed.
Anchor with the Destruction Gadget
Use the Anchor setting to lock your target area in place. This allows you to look around and confirm that the highlighted zone is exactly what you want to delete before committing.
Removing Water and Fluids
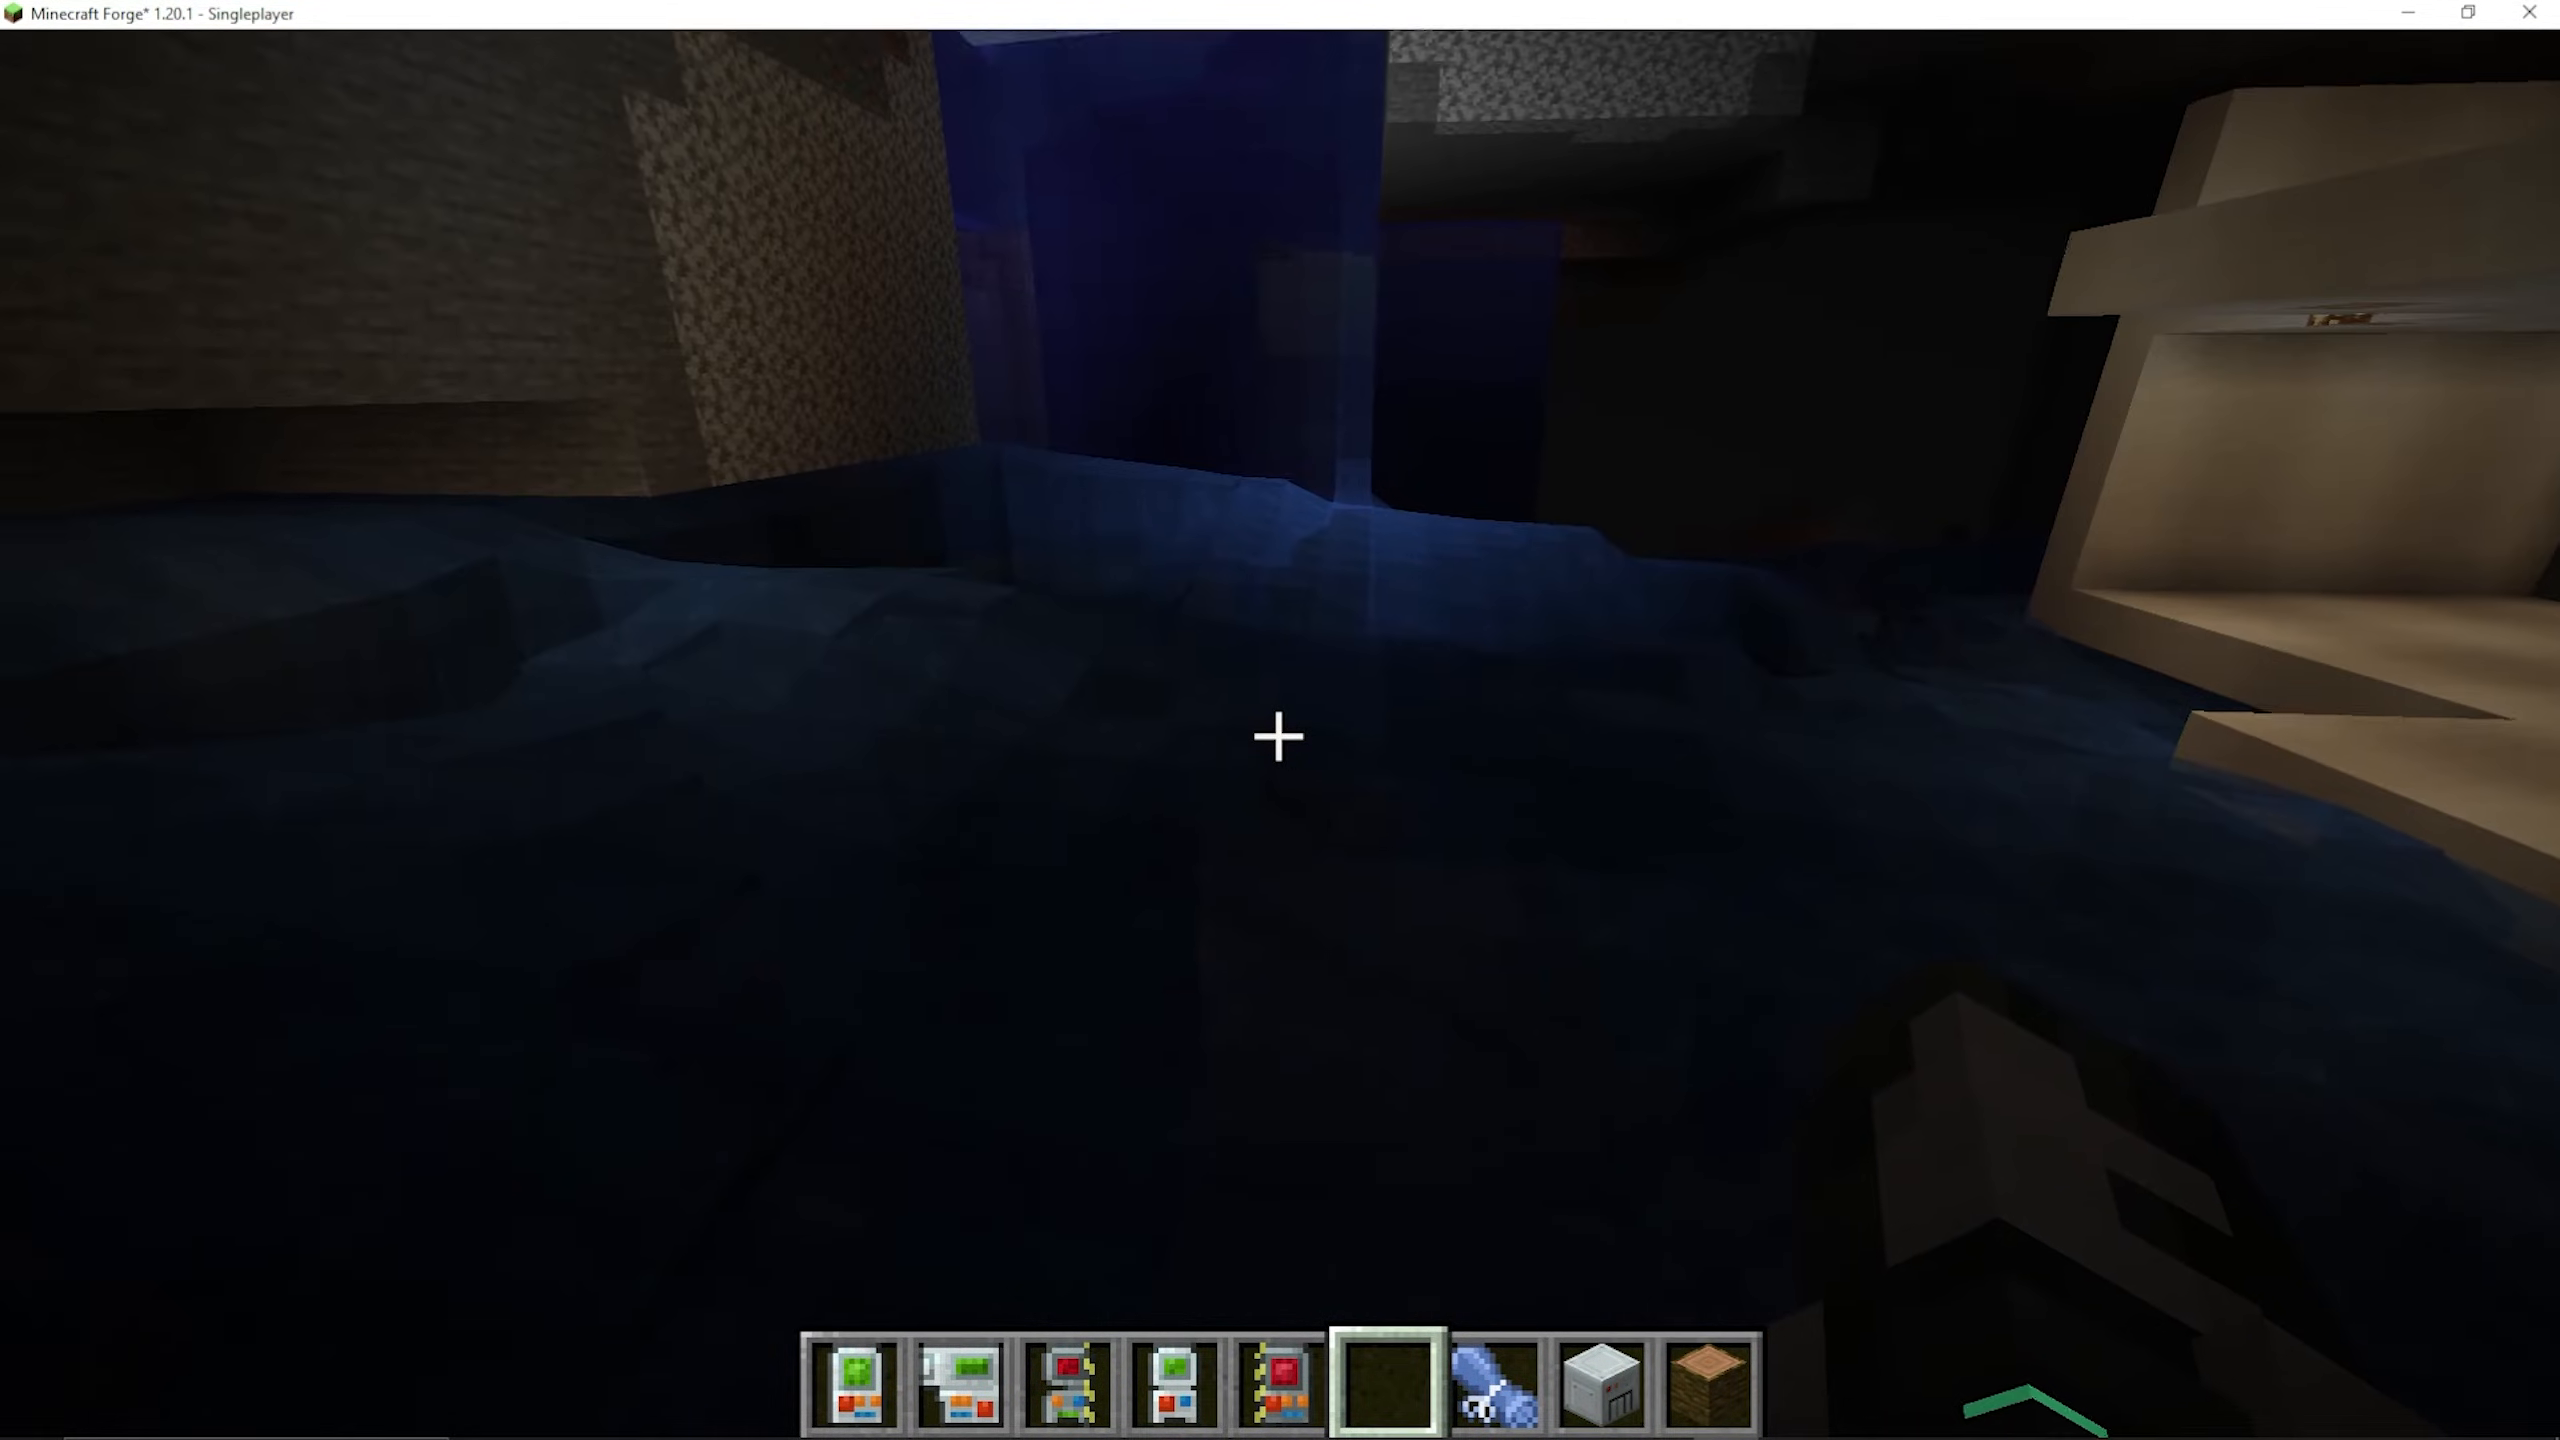
The Destruction Gadget is an excellent tool for clearing large bodies of water. Enable Ray Trace Fluids in the menu to target water blocks directly. Without this setting enabled, the gadget will only destroy solid blocks and will leave fluid blocks untouched.
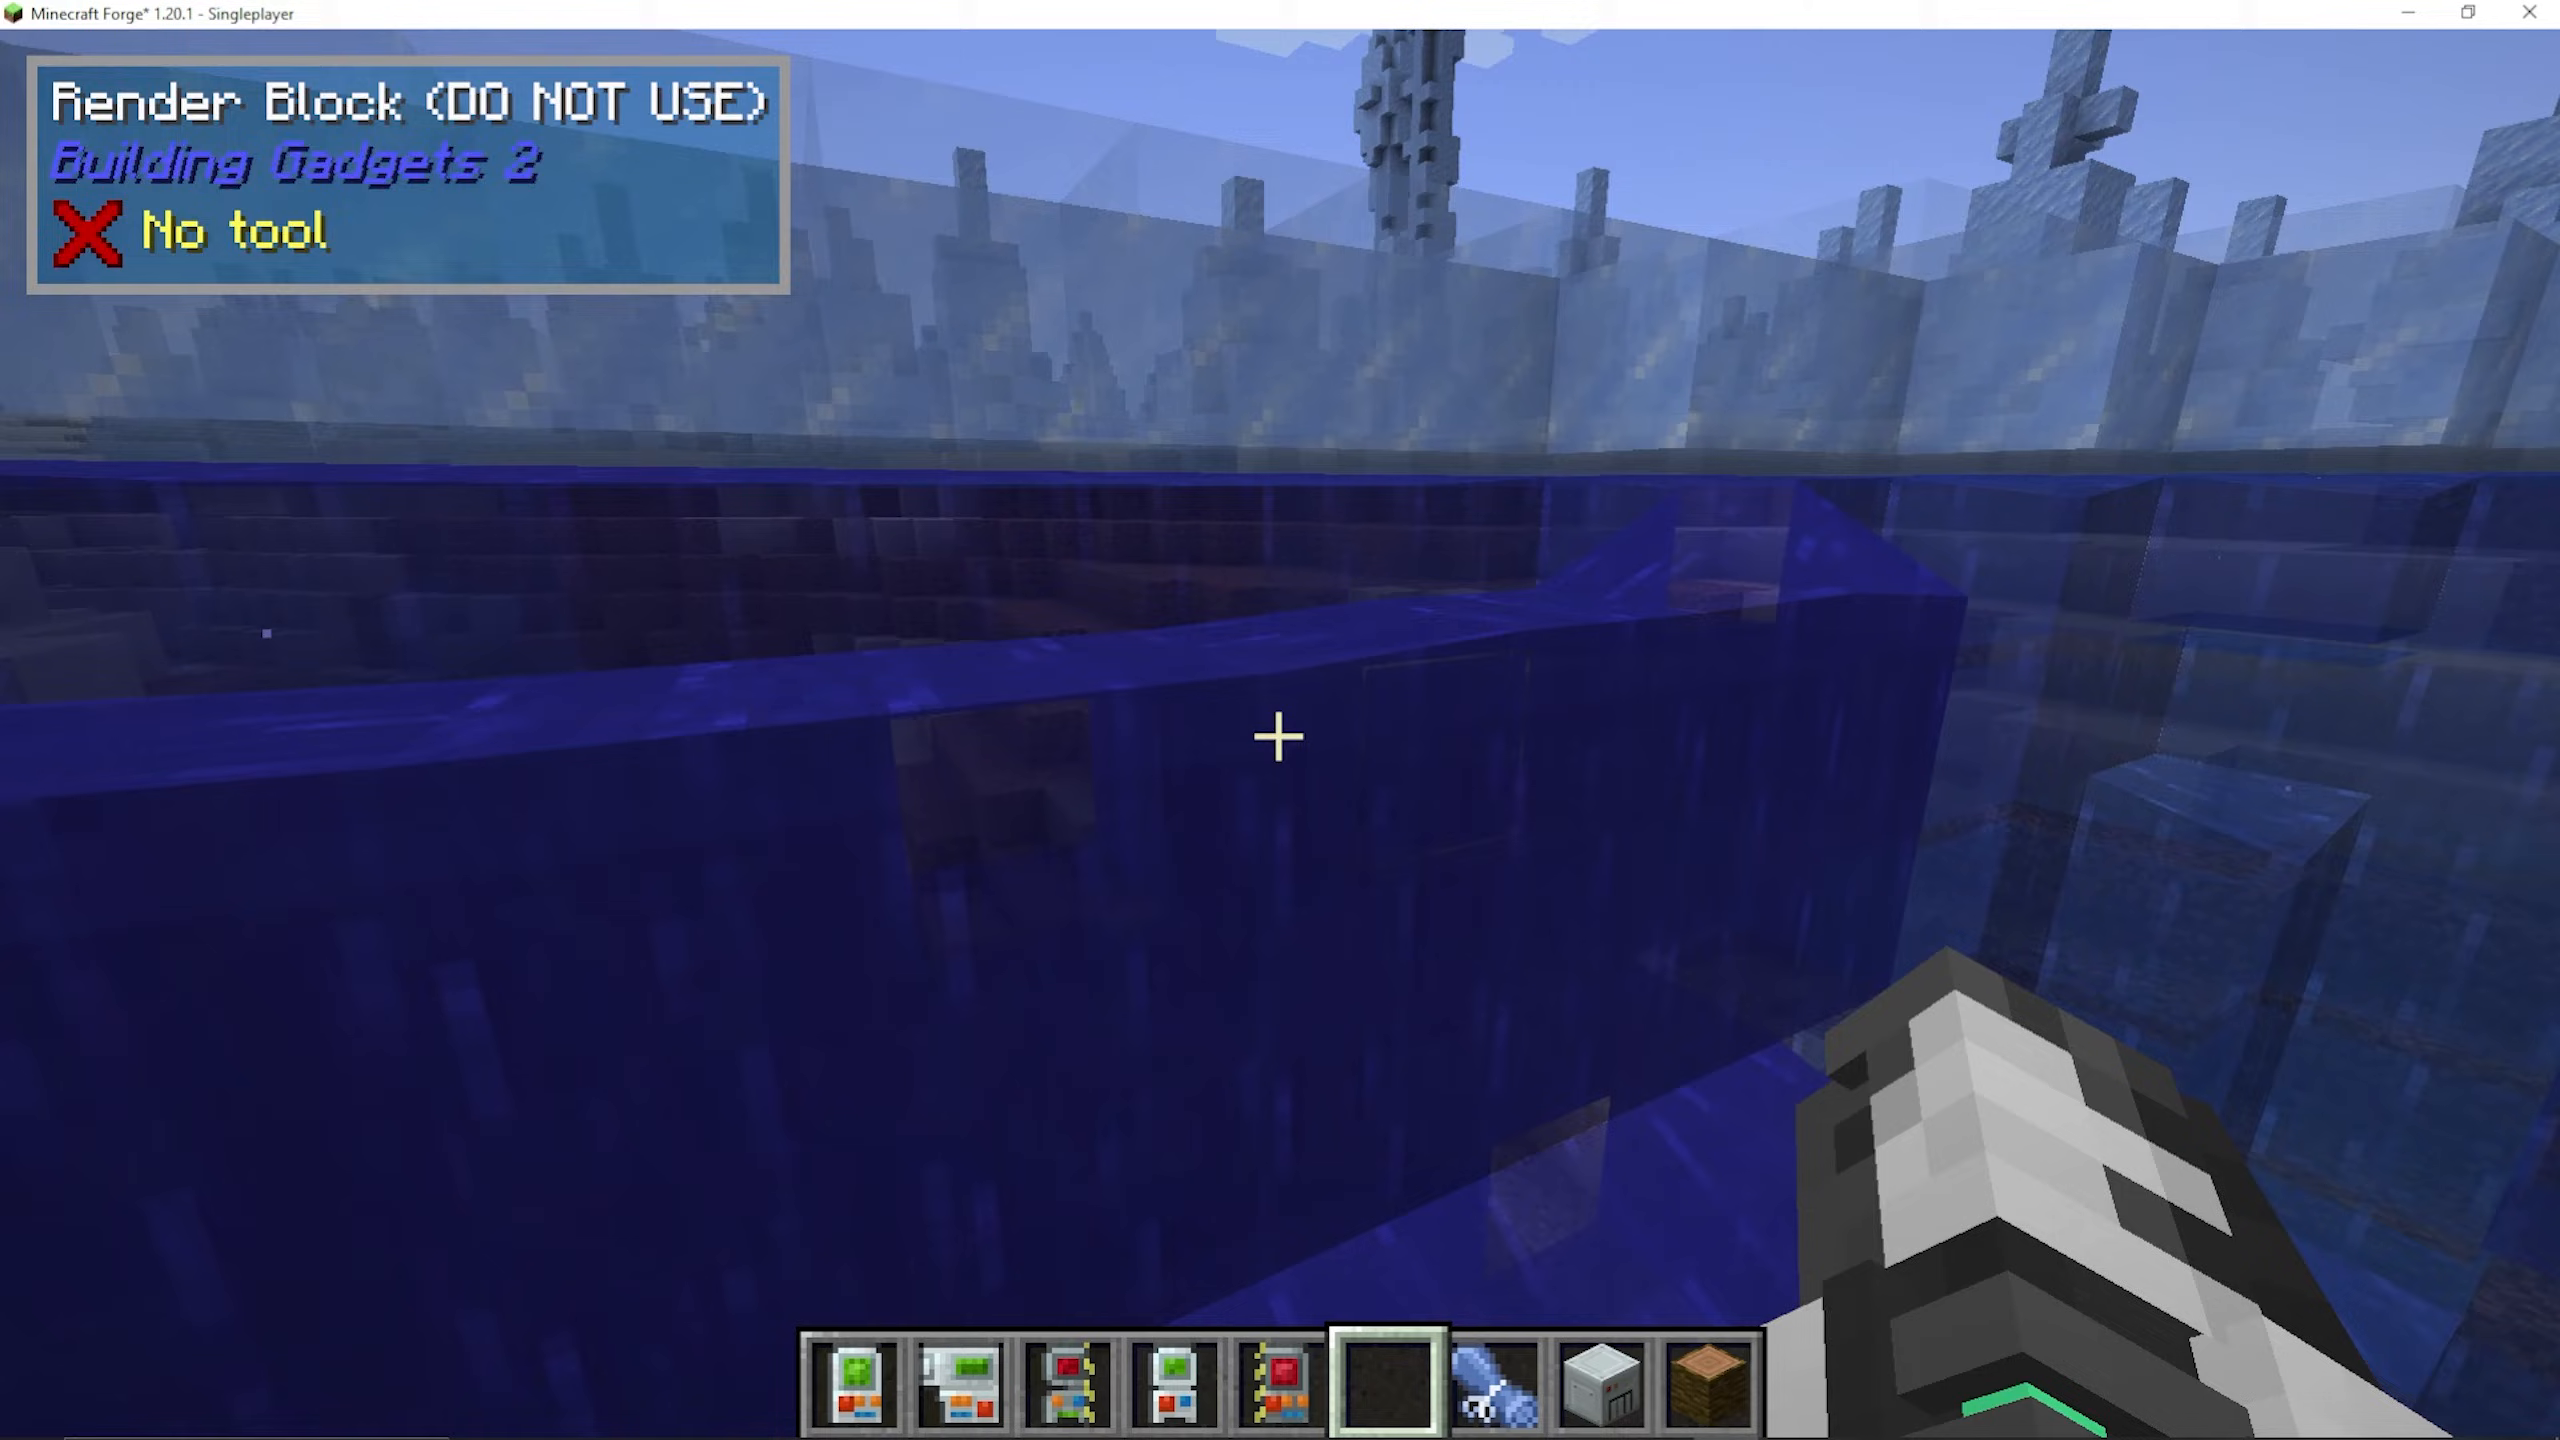
Important: The Destruction Gadget can only remove source blocks. Flowing water blocks — the ones that spread out from a source — are not source blocks and cannot be directly targeted. To drain a flowing water area, locate and remove the original source blocks first. Once those are gone, the flowing water will disappear on its own.
The Copy Paste Gadget
The Copy Paste Gadget lets you copy a region of blocks and paste it elsewhere in the world — perfect for duplicating structures or repeating build patterns quickly.
Copying a Region
To define your copy region, Right-Click one corner block of the area you want to copy, then Right-Click the opposite corner block. The gadget will highlight the entire shape between those two points.
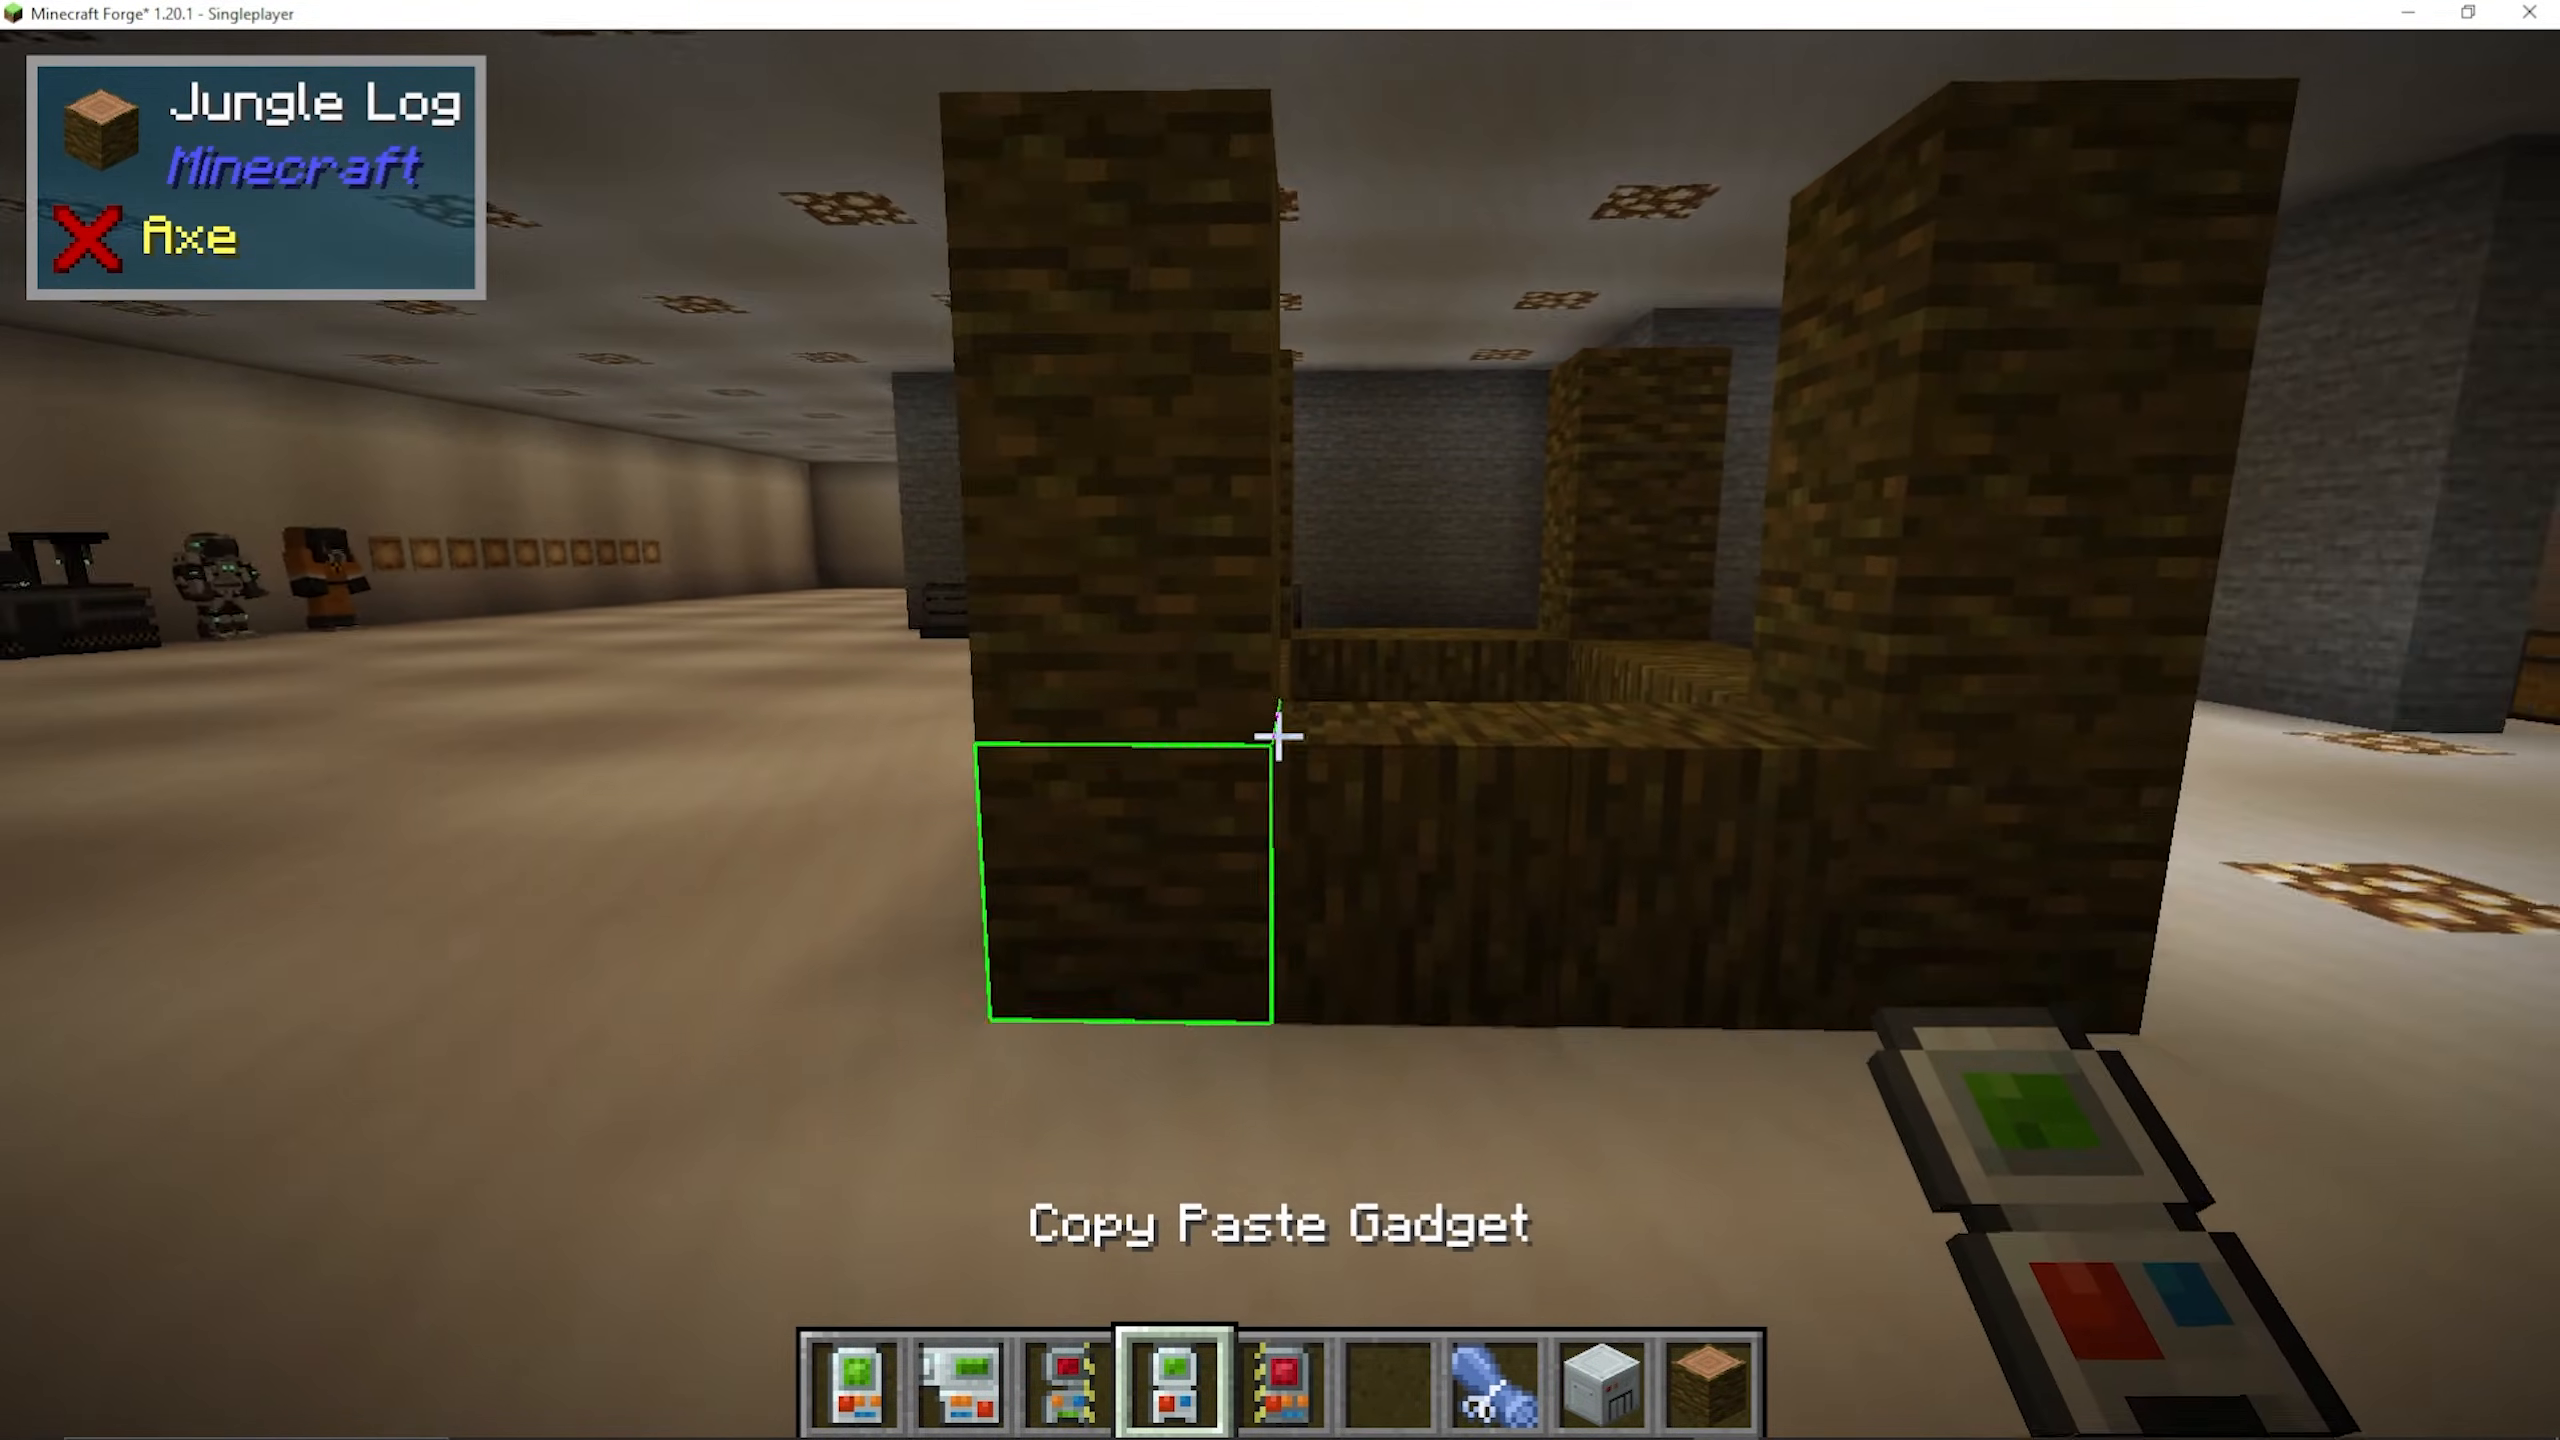
Pasting the Region
Switch to Paste Mode in the gadget menu. You will see a preview of the copied structure follow your cursor. Use the Settings menu to make fine adjustments — such as moving the paste position up or down along the Y axis — before confirming placement.
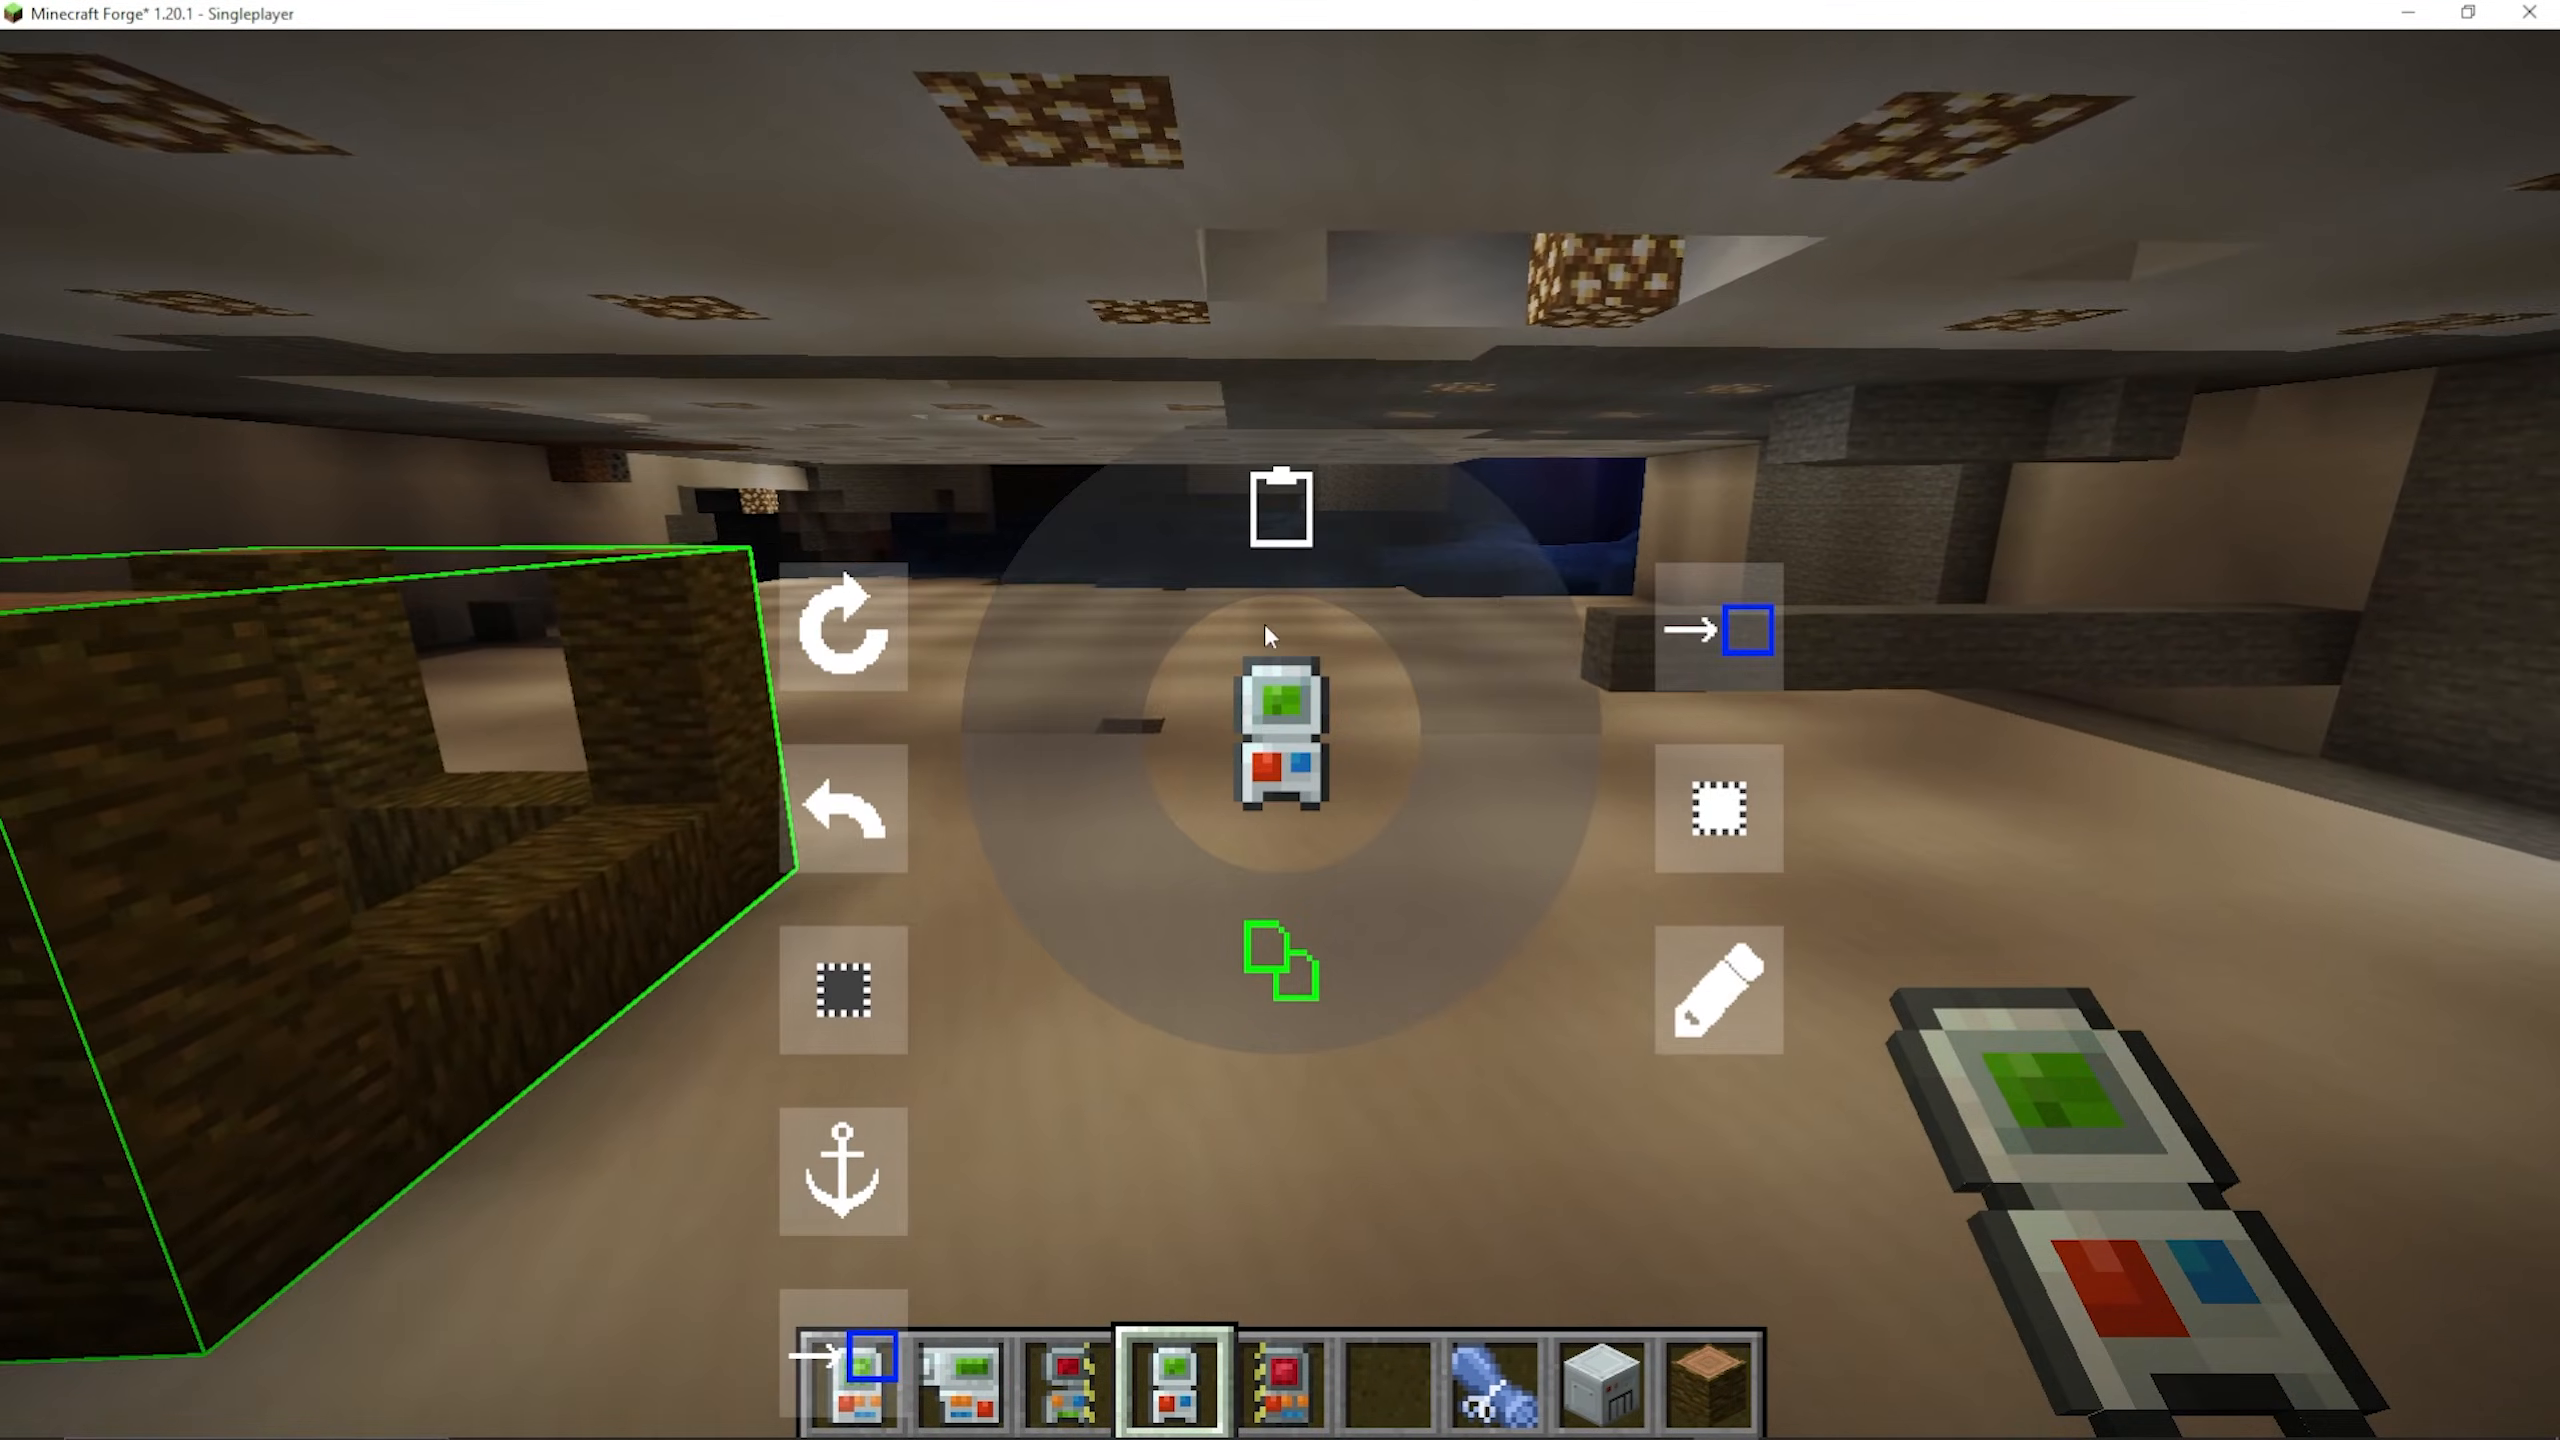
Additional paste options include:
Anchor — locks the paste preview to a fixed position.
Materials List — shows exactly which blocks and how many you will need, useful for Survival mode.
Ray Trace Fluids — includes fluid blocks in the paste operation.
Replace Blocks — overwrites any blocks already present in the paste target area.
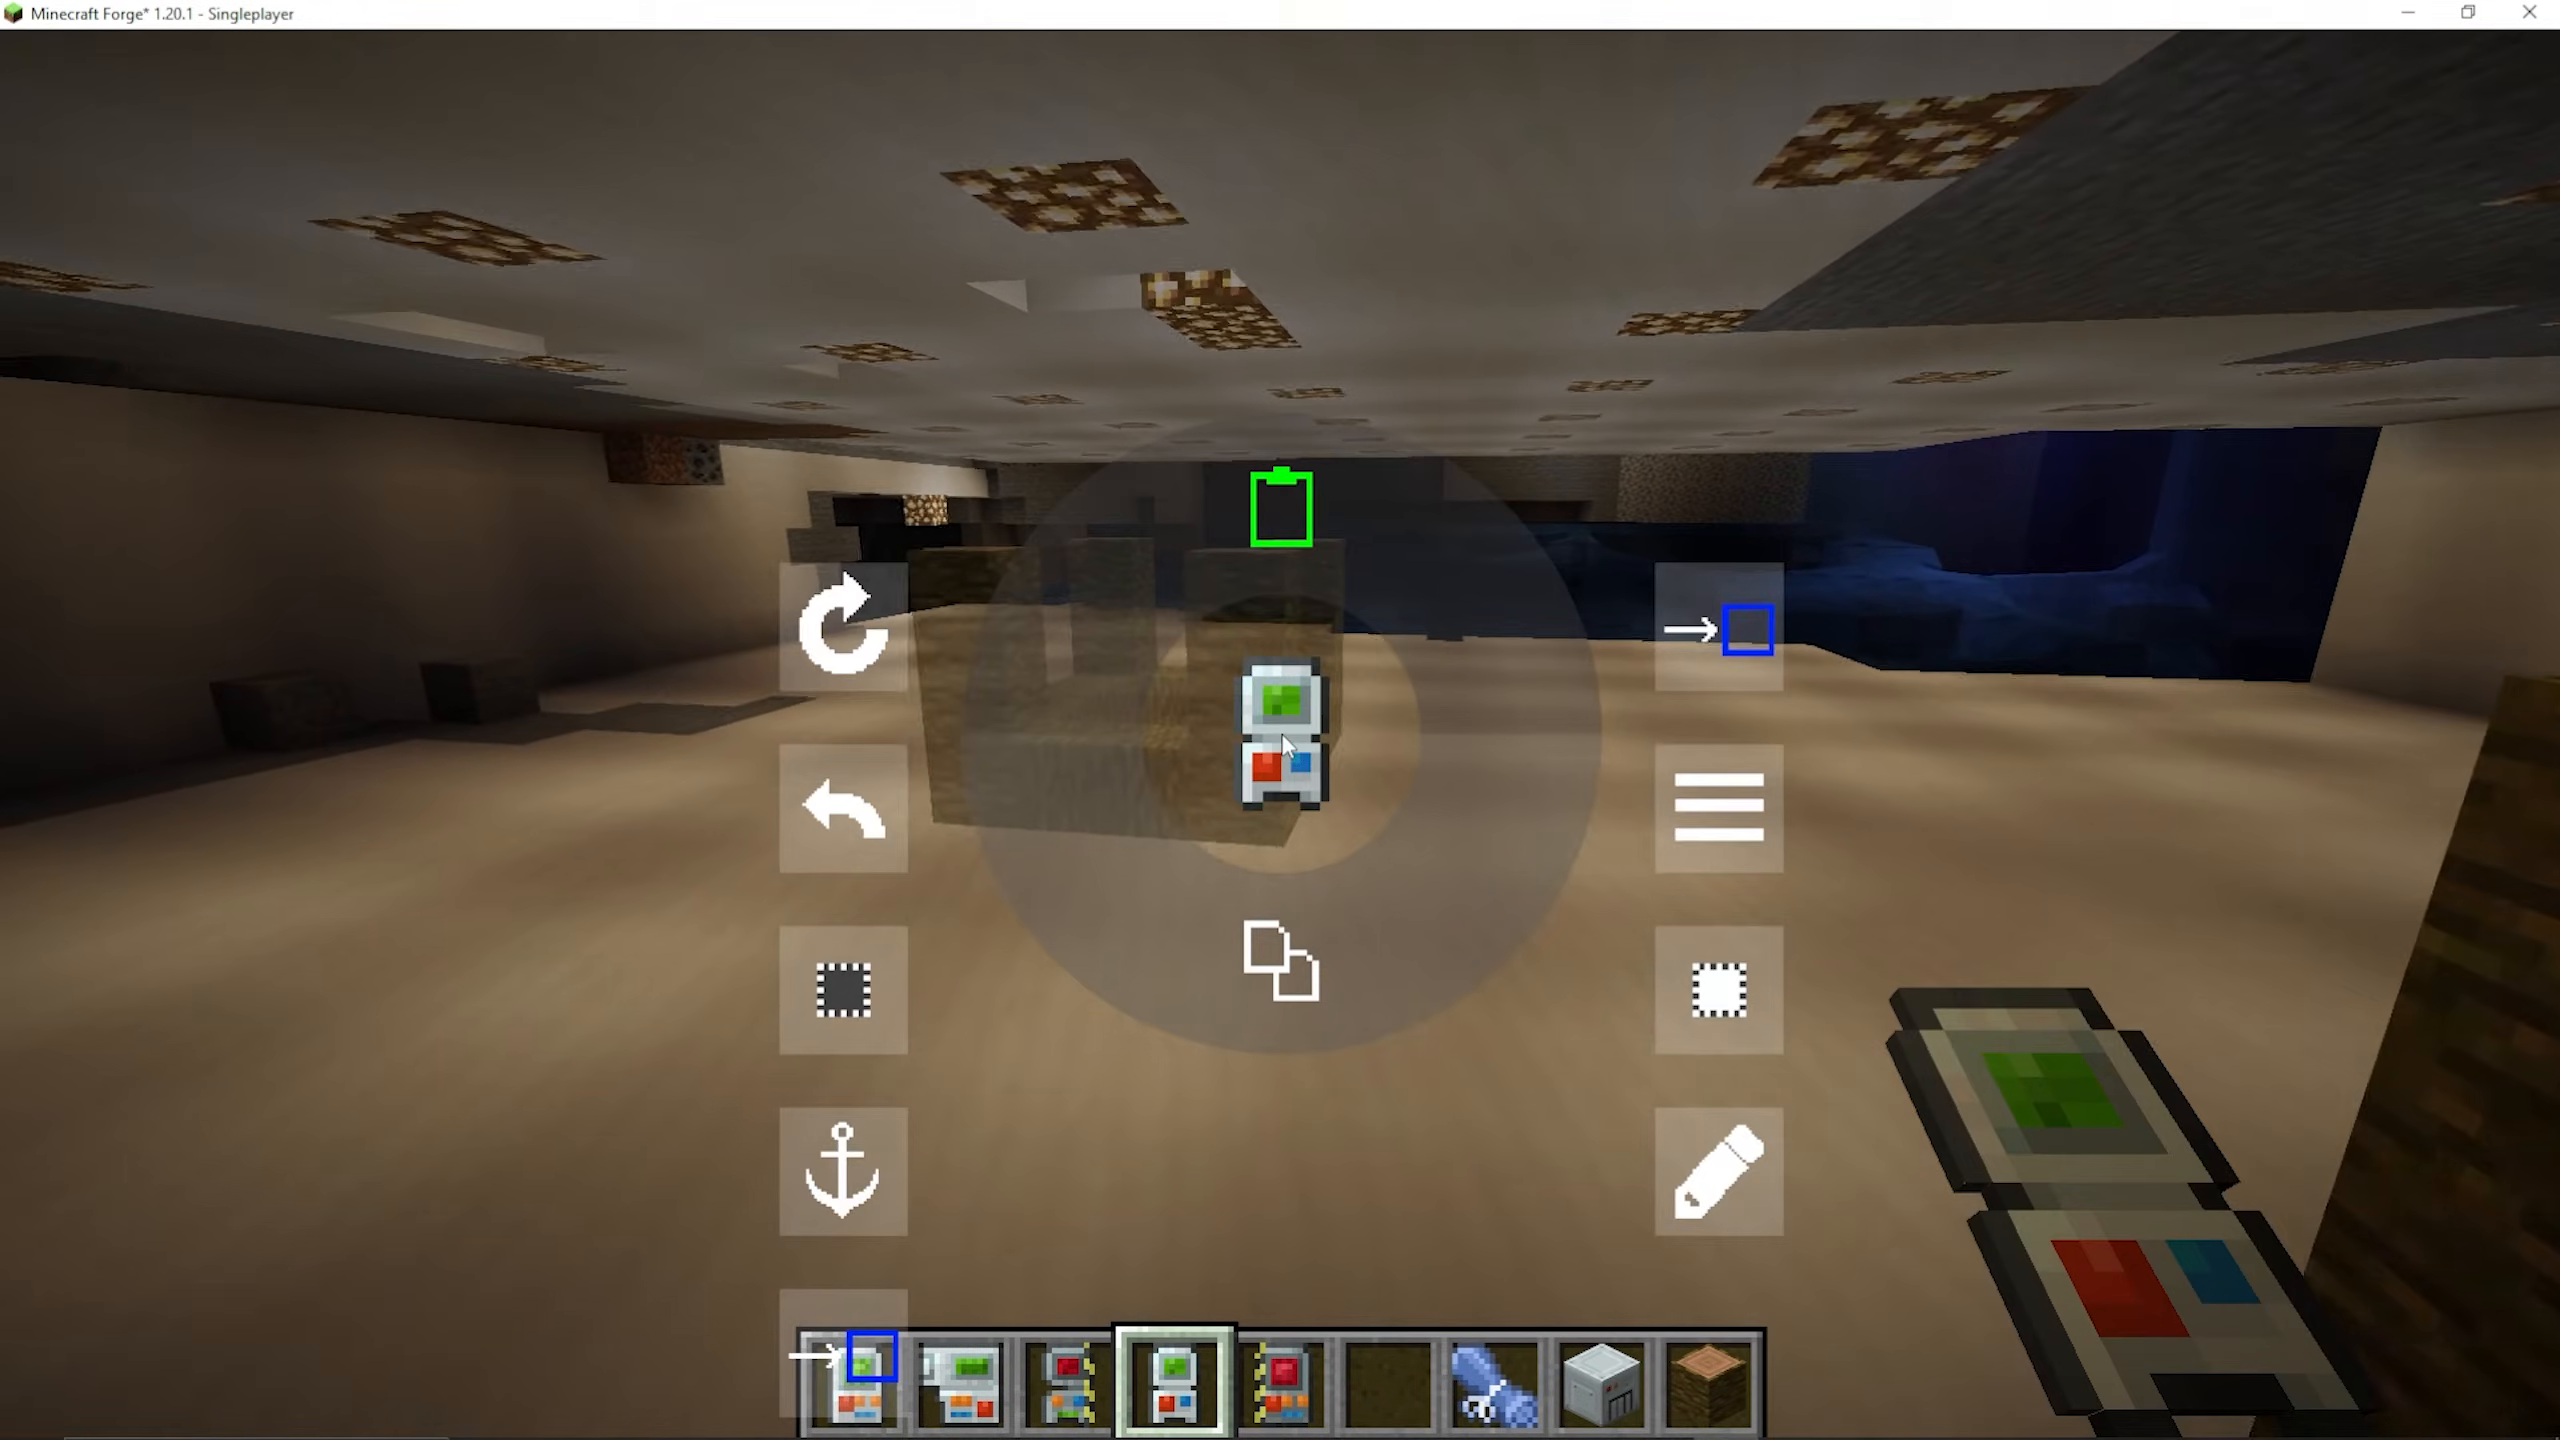
The Cut and Paste Gadget
The Cut and Paste Gadget functions identically to the Copy Paste Gadget, with one key difference: it removes the original blocks from their location when you cut, rather than leaving them in place.
How to Cut and Paste
While in Cut Mode, Shift + Right-Click one corner of your selection, then Shift + Right-Click the opposite corner. Once your area is highlighted, press the Cut button in the menu. The blocks are removed from the world and stored in the gadget. The gadget then automatically switches you into Paste Mode.
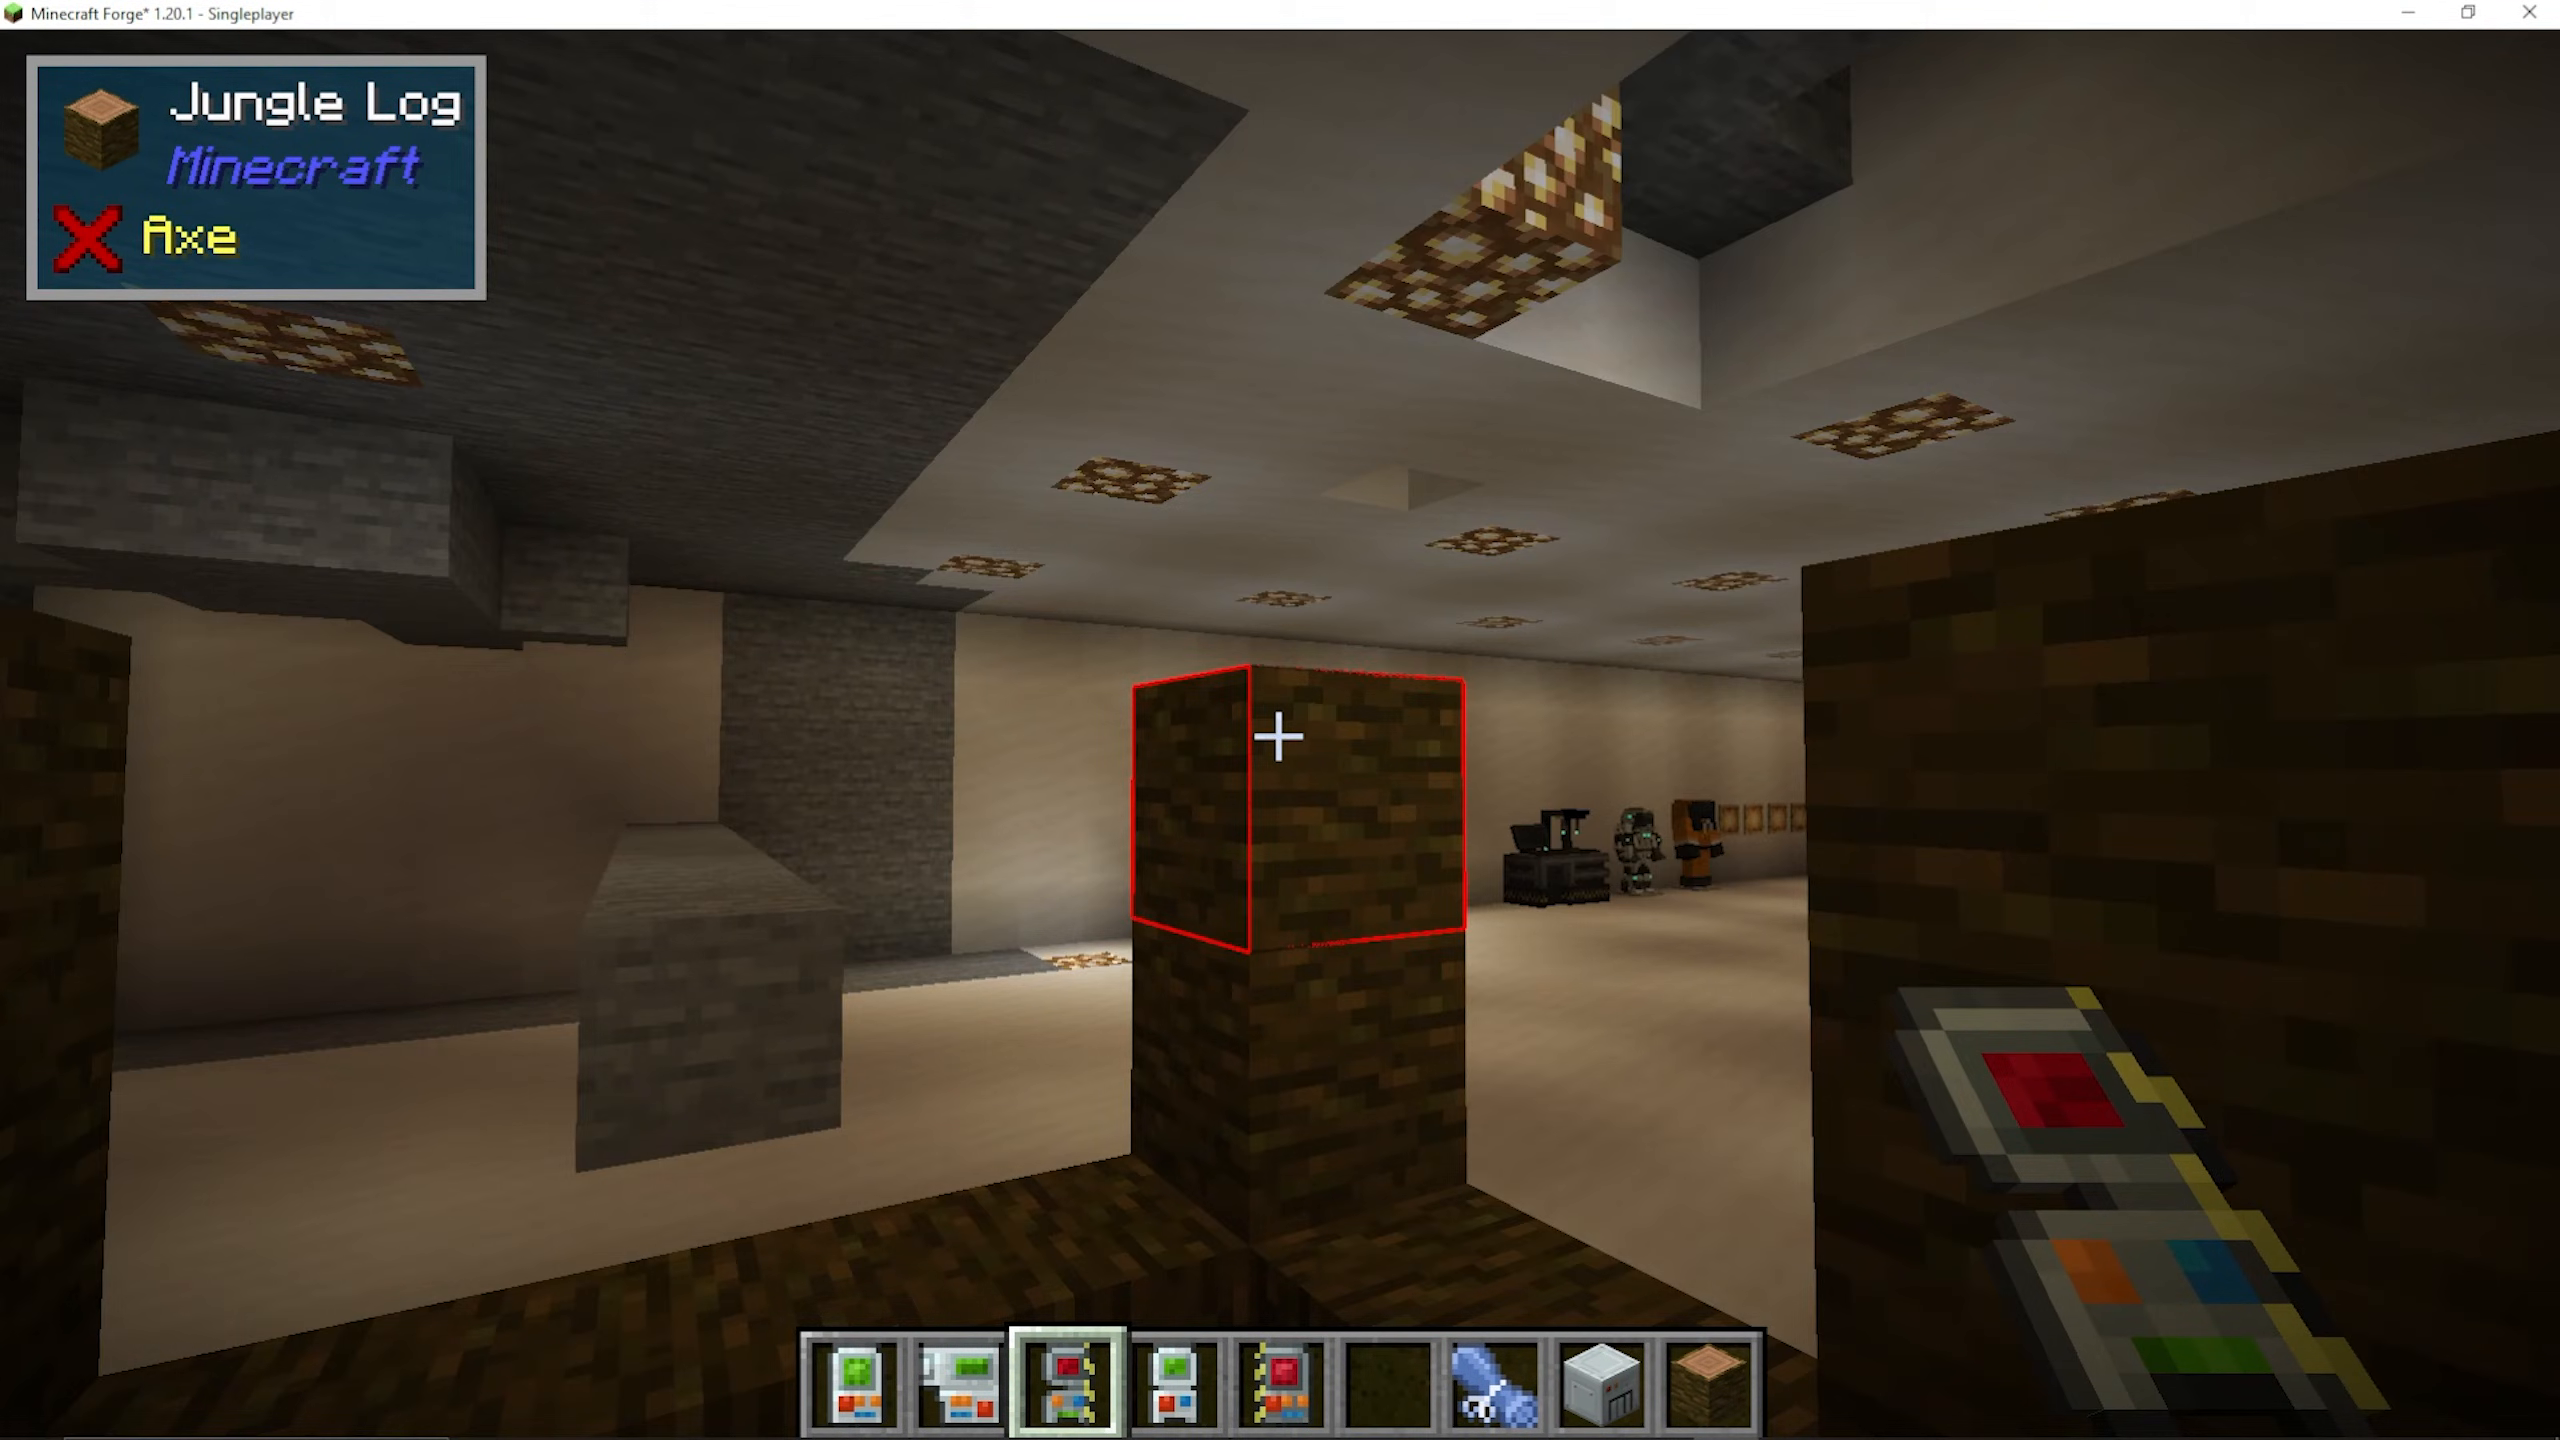
Open the Settings menu, adjust the Y value to position the paste correctly, and confirm to place the cut structure in its new location.
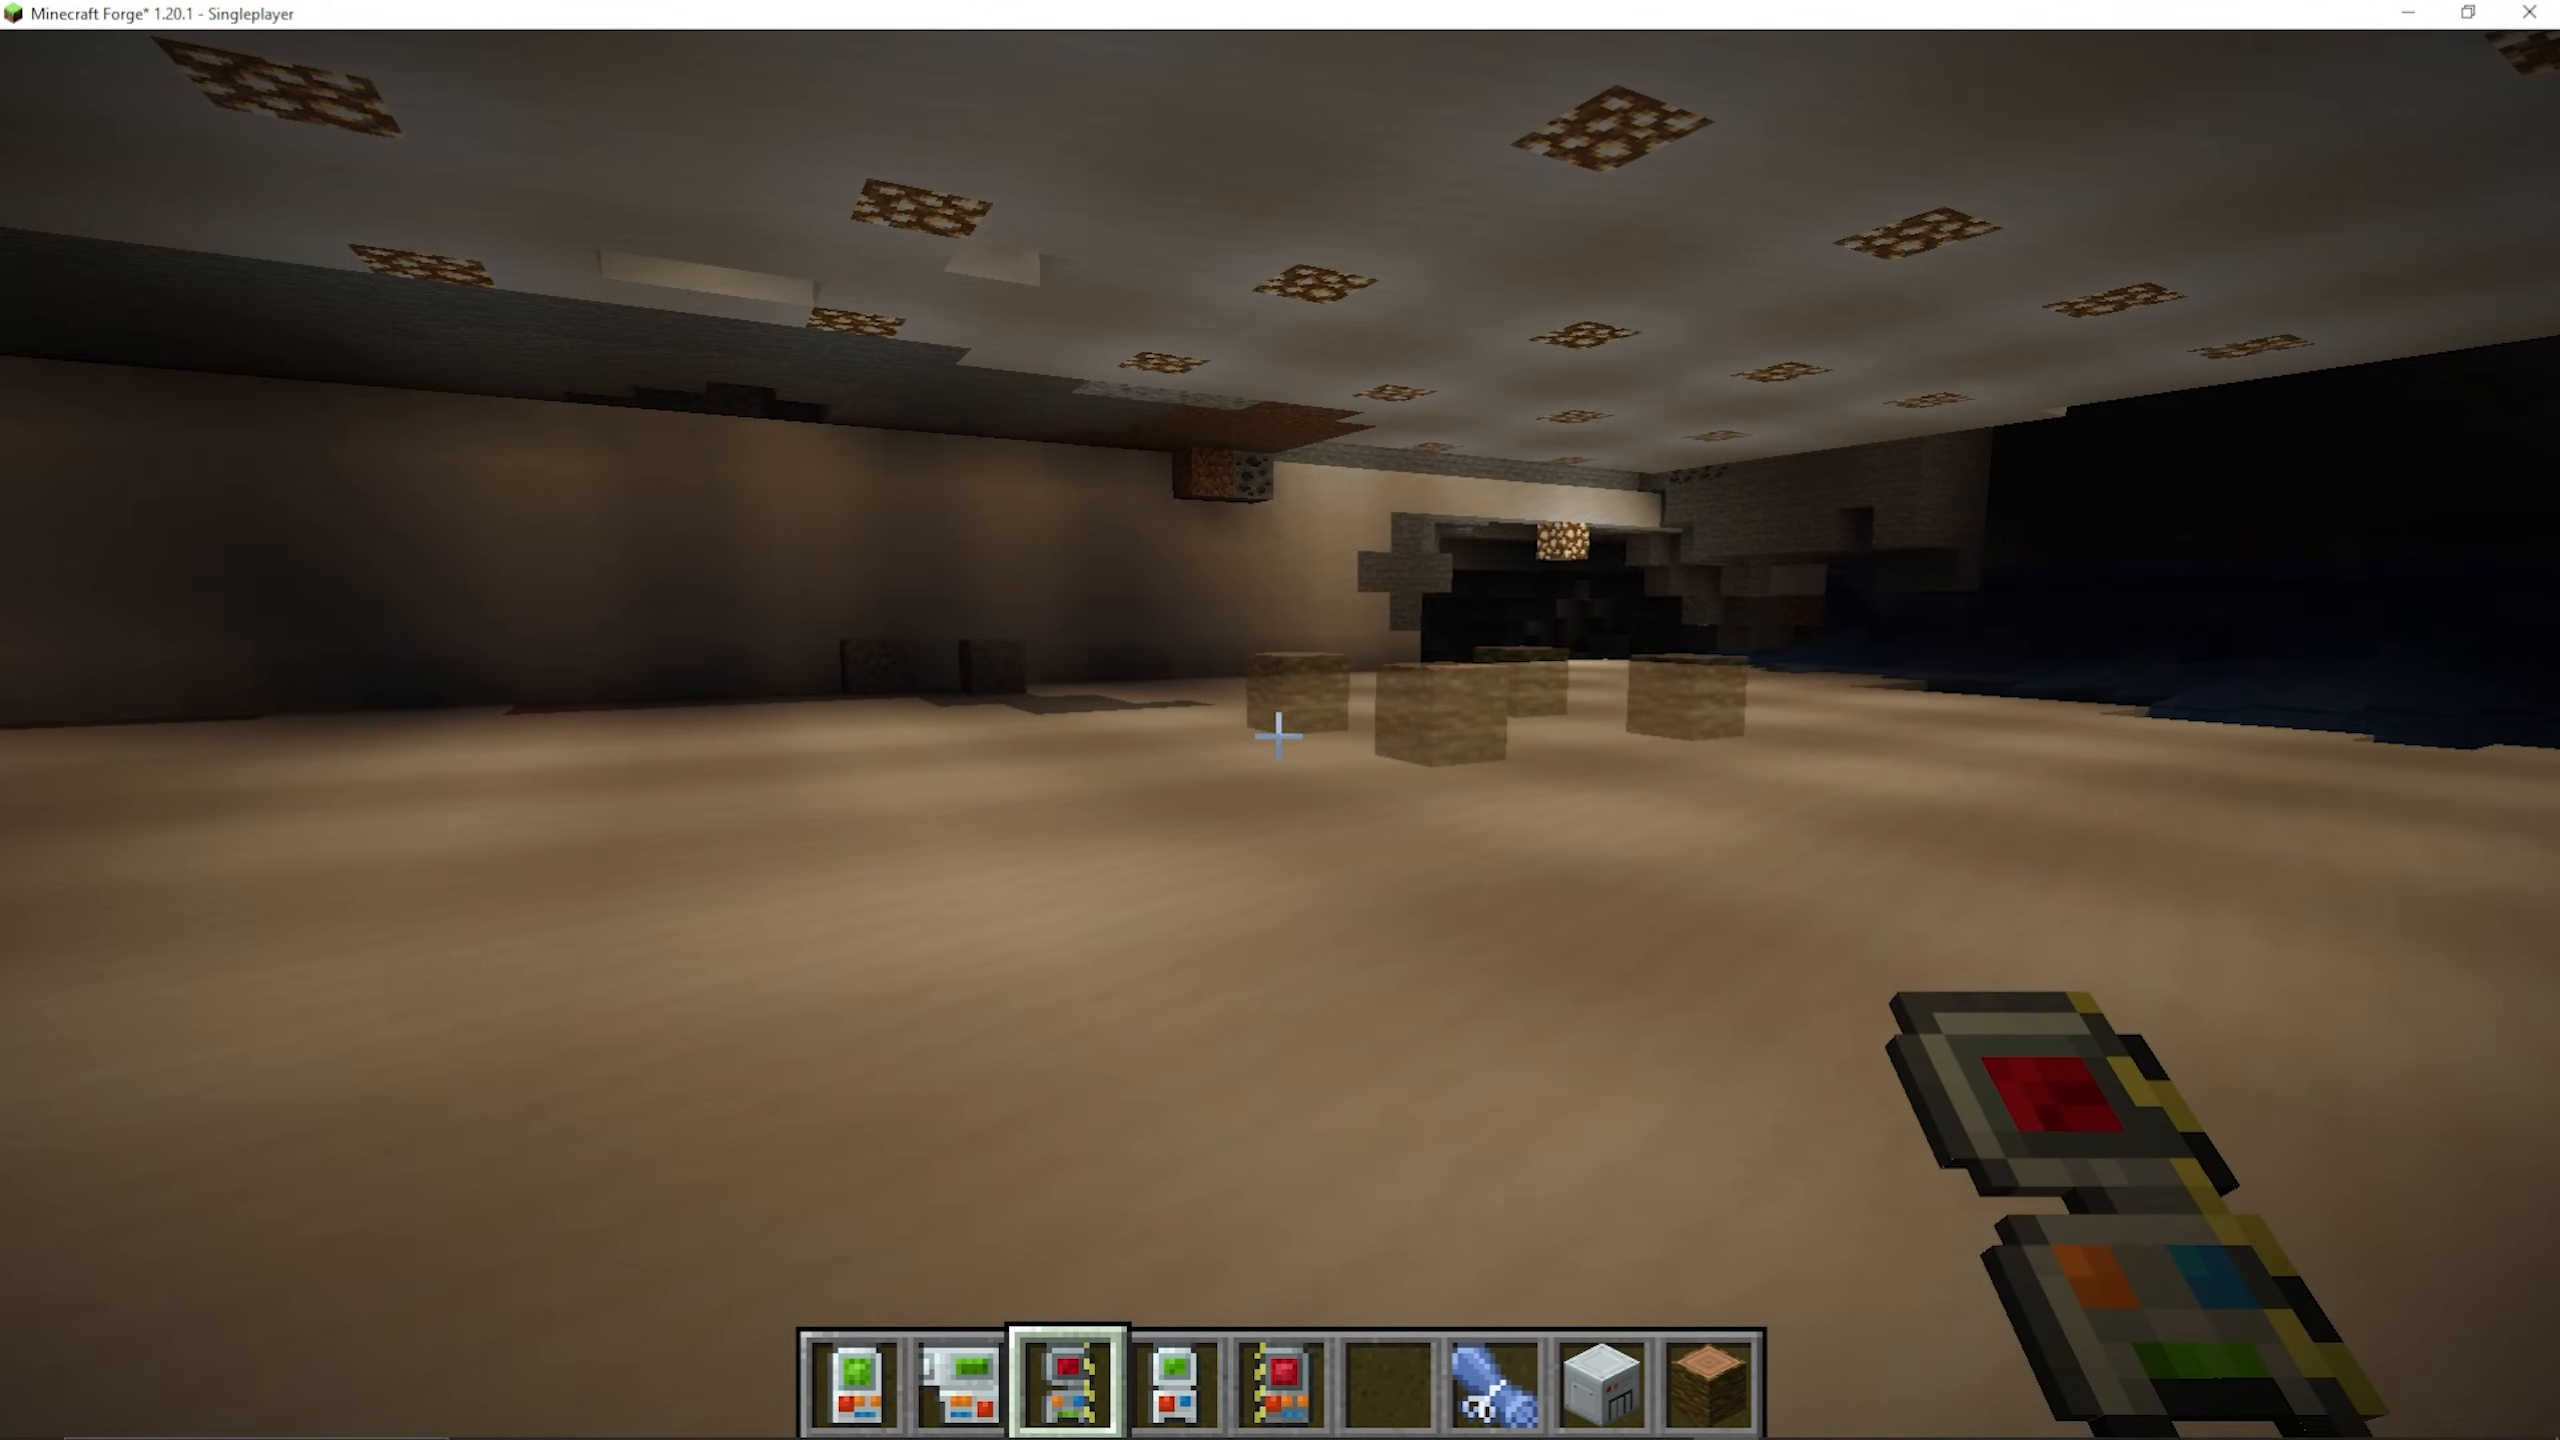
Blueprints and the Template Manager
The Template Manager allows you to save and load structure data using Blueprints, so you can preserve your copied or cut regions and reuse them across different worlds or sessions.
Saving to a Blueprint
Place the Template Manager block in the world. Insert your Cut Paste Gadget (with a copied or cut region loaded) into the Template Manager, along with a blank Blueprint item. The gadget’s region data will be displayed, and you can press Save to Blueprint to write the structure data onto the Blueprint item.
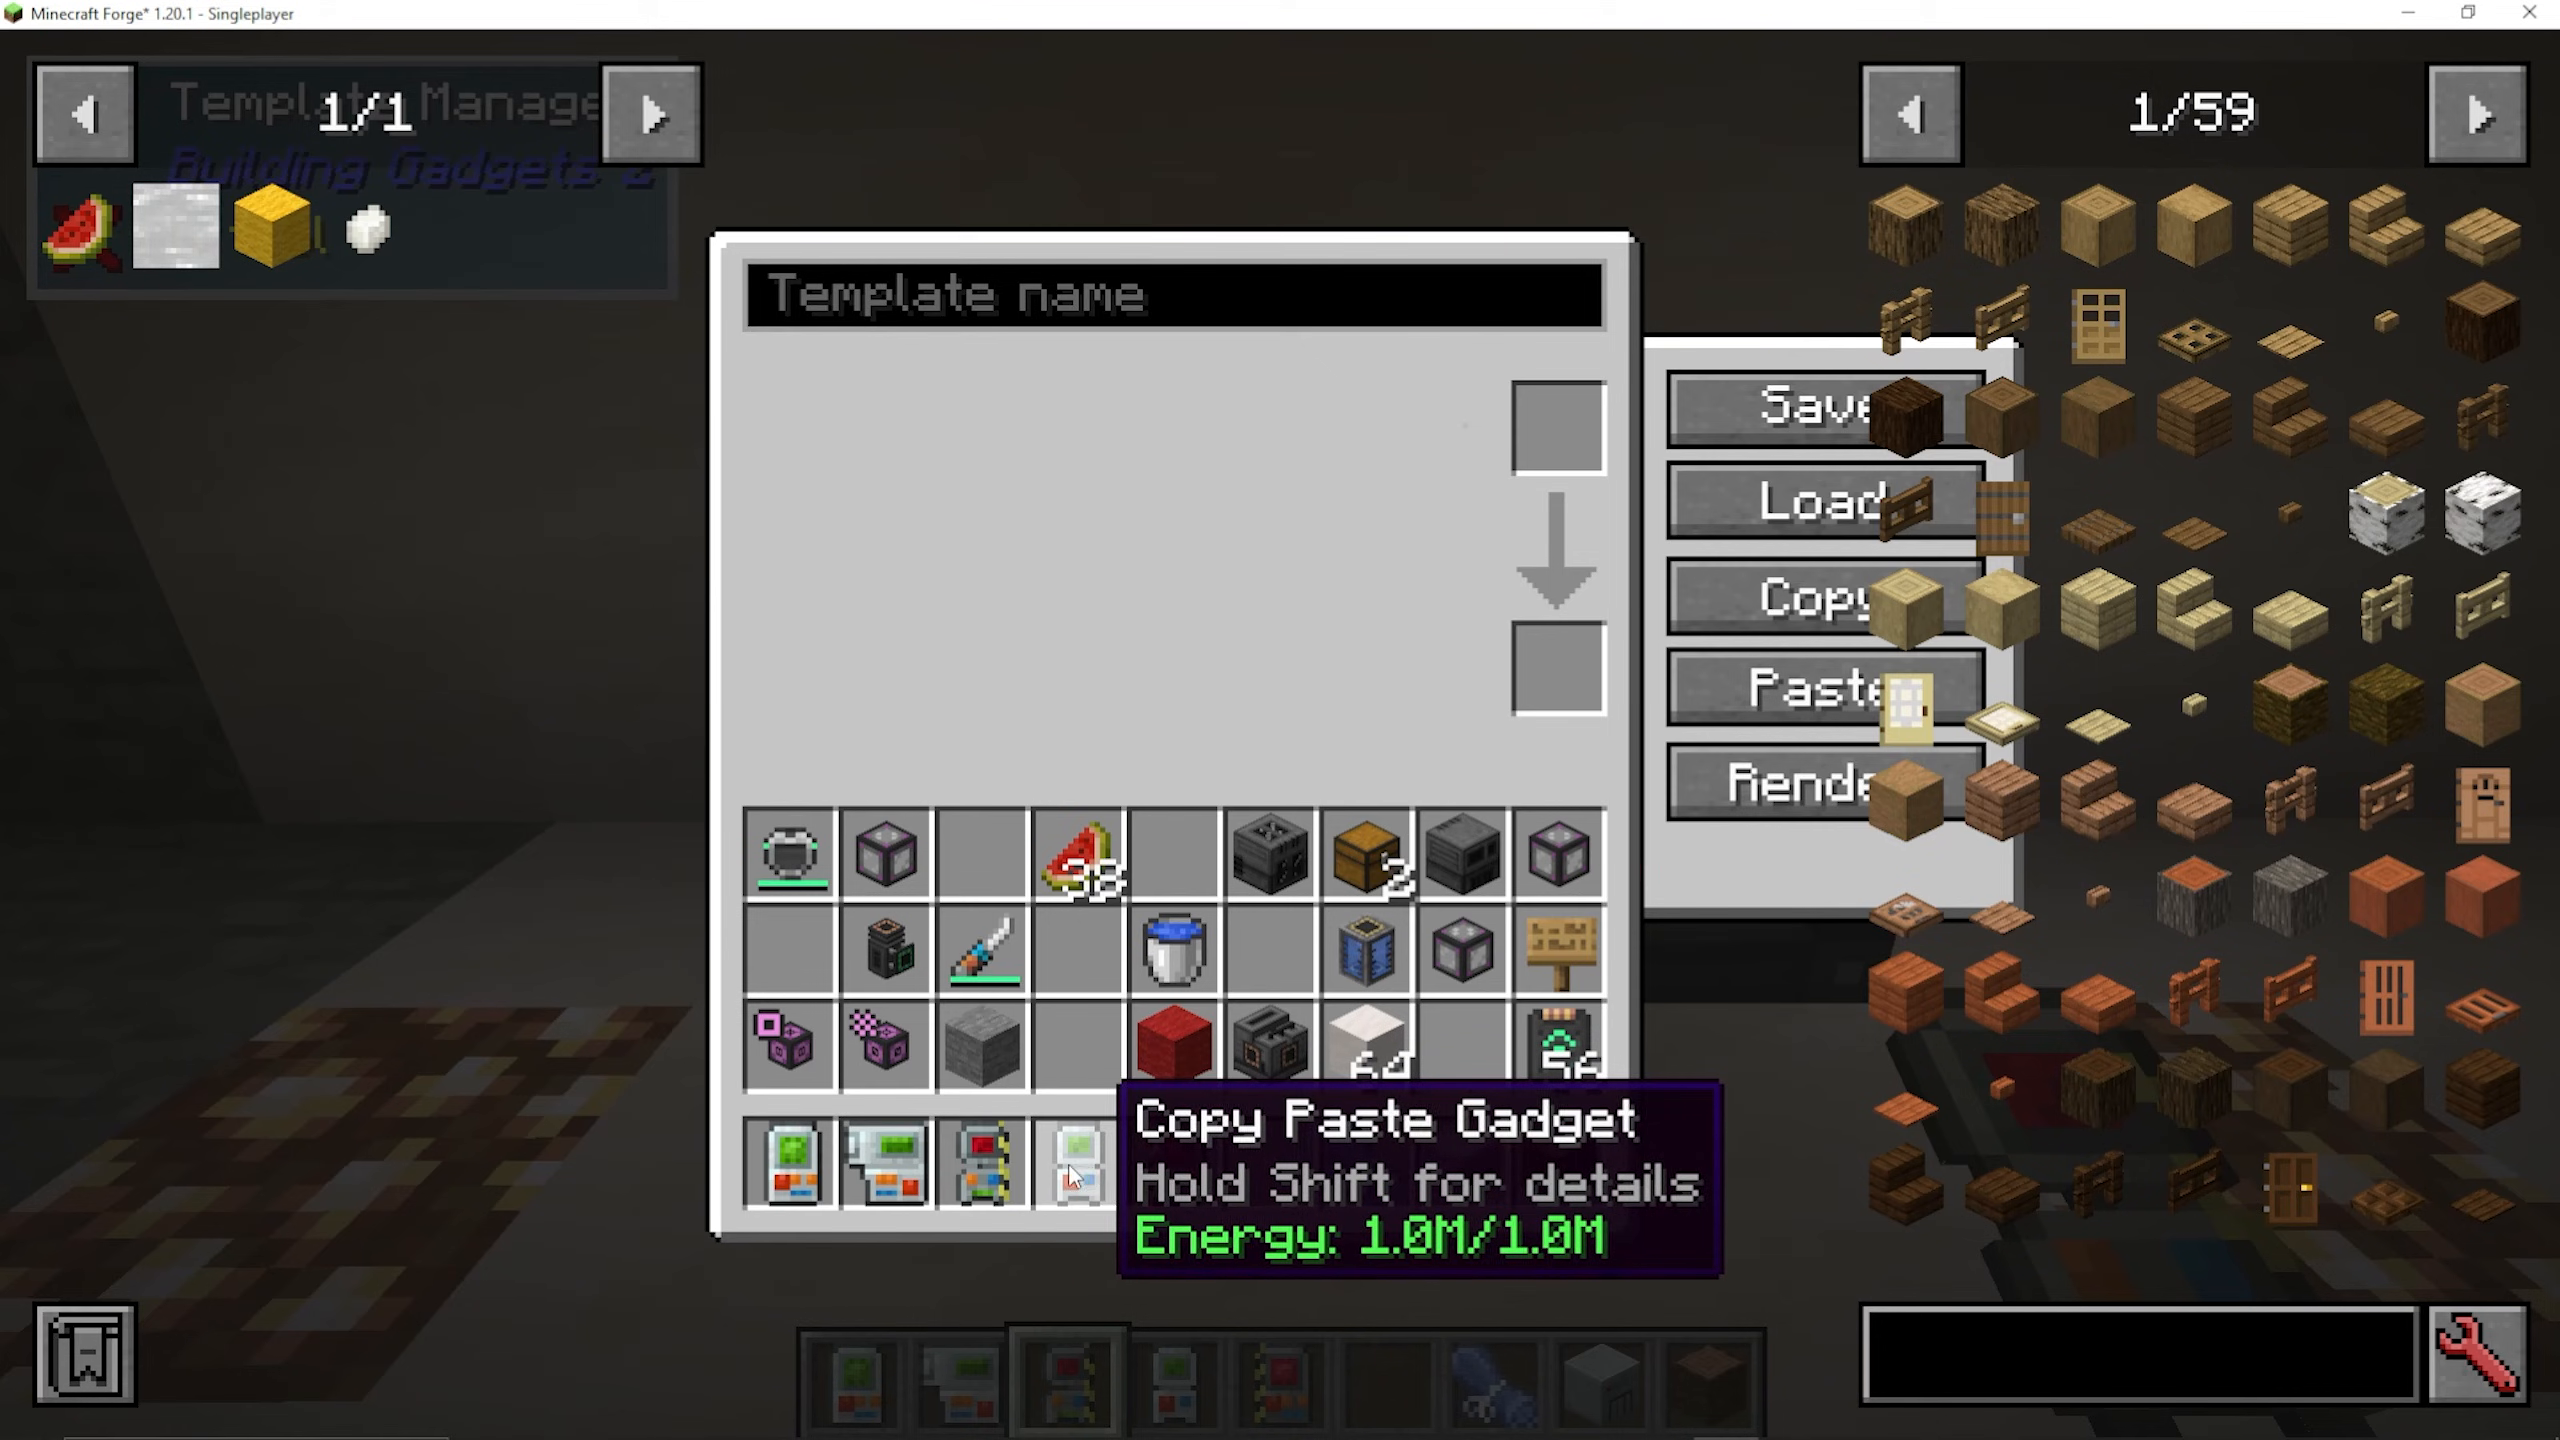
Loading from a Blueprint
To load a saved structure, insert a Blueprint that already contains data into the Template Manager alongside your gadget, and press Load from Blueprint. You can then preview the structure using the Render option, check the Materials List to see what blocks you need, and paste the structure into the world as normal.
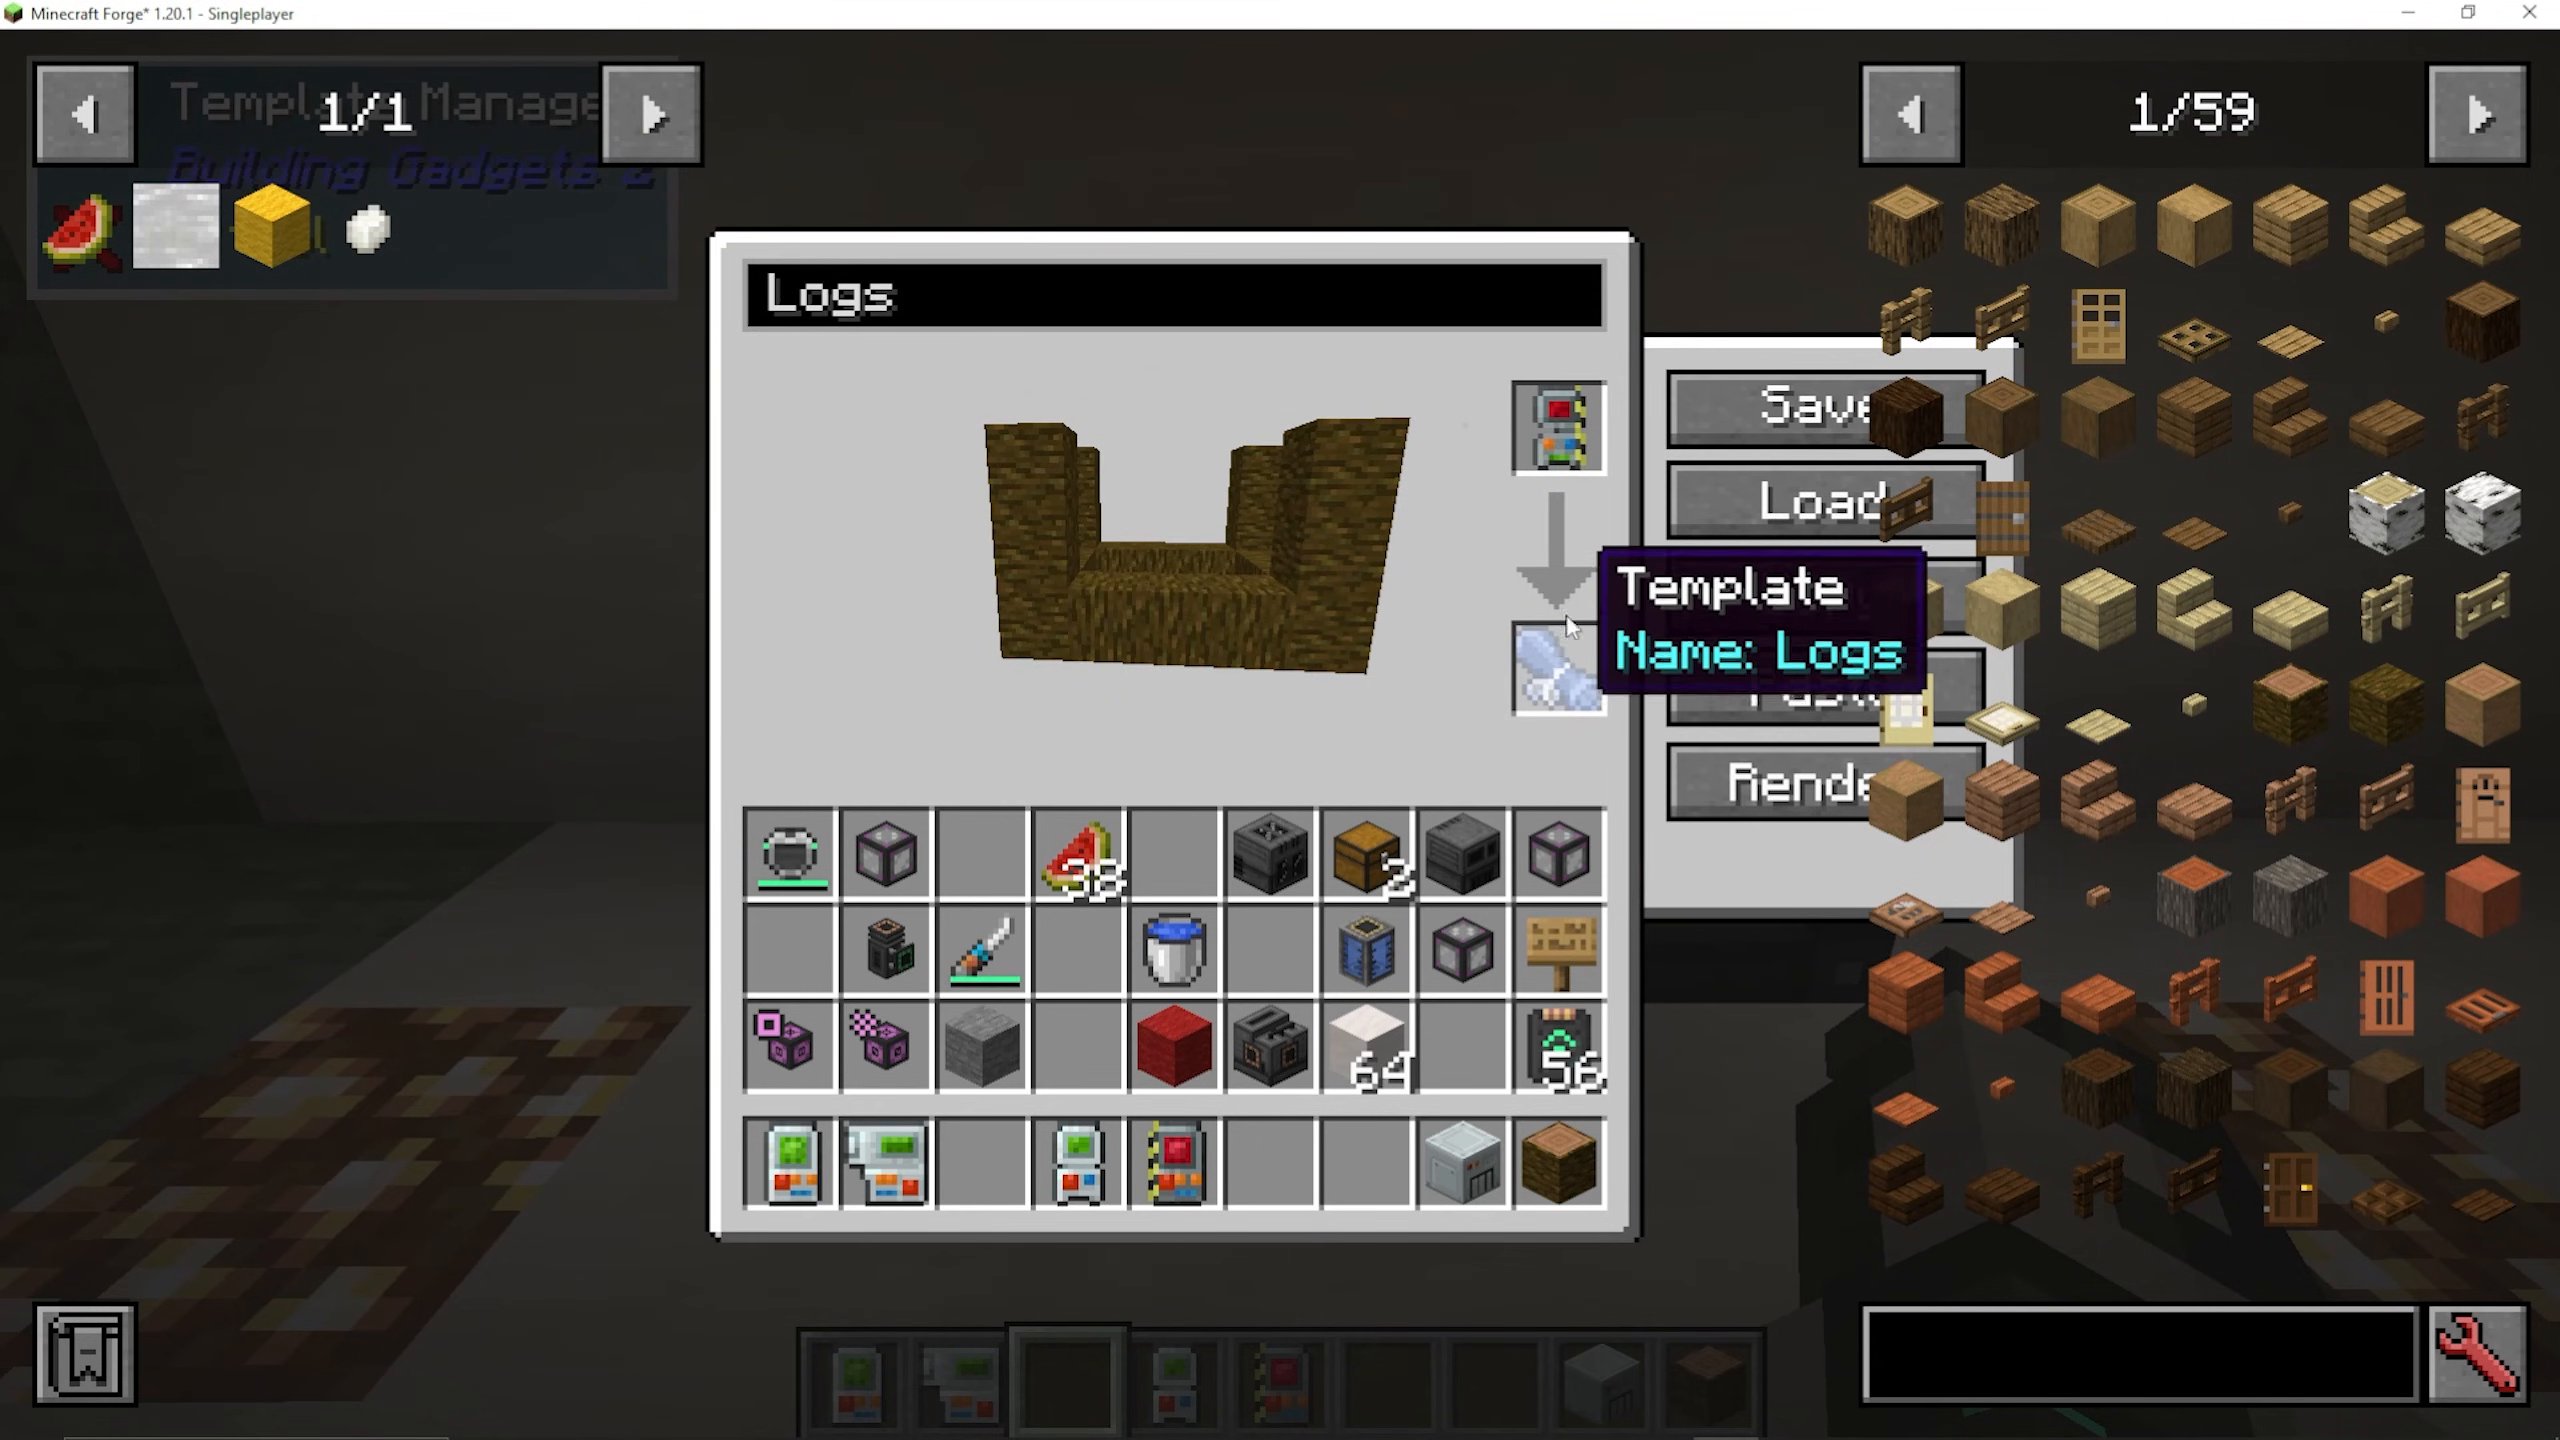
Summary
The Building Gadgets mod gives you a full suite of tools to transform how you build in Minecraft. Here’s a quick recap of each gadget and what it’s best used for:
Building Gadget — Place large amounts of blocks quickly using surface, wall, column, grid, stair, and other modes.
Exchanging Gadget — Swap existing blocks in the world for a different block type without removing them first.
Destruction Gadget — Remove large volumes of blocks or clear water bodies by targeting source blocks with Ray Trace Fluids enabled.
Copy Paste Gadget — Copy a region of blocks and paste it anywhere in your world, with fine-tuned positioning controls.
Cut and Paste Gadget — Move a region of blocks from one location to another by cutting and pasting.
Blueprints & Template Manager — Save and reload structure data onto Blueprint items for long-term reuse.
Whether you’re building massive structures in Creative mode or optimizing your workflow in Survival, Building Gadgets is an essential mod that saves enormous amounts of time. Start with the Building Gadget to get comfortable with the key bind and menu system, then work your way through the other tools as your builds grow in ambition.
“`