







Water Wheel Tutorial – Immersive Engineering
Water Wheel Tutorial – Immersive Engineering
The water wheel is one of the earliest and most straightforward power generation methods in Immersive Engineering. This tutorial will walk you through setting up and automating a water wheel system to generate power for your Minecraft modded world. Whether you’re just starting out or looking to expand your power infrastructure, this guide covers everything you need to know.
What You’ll Need
To set up a functional water wheel system, you’ll need the following components:
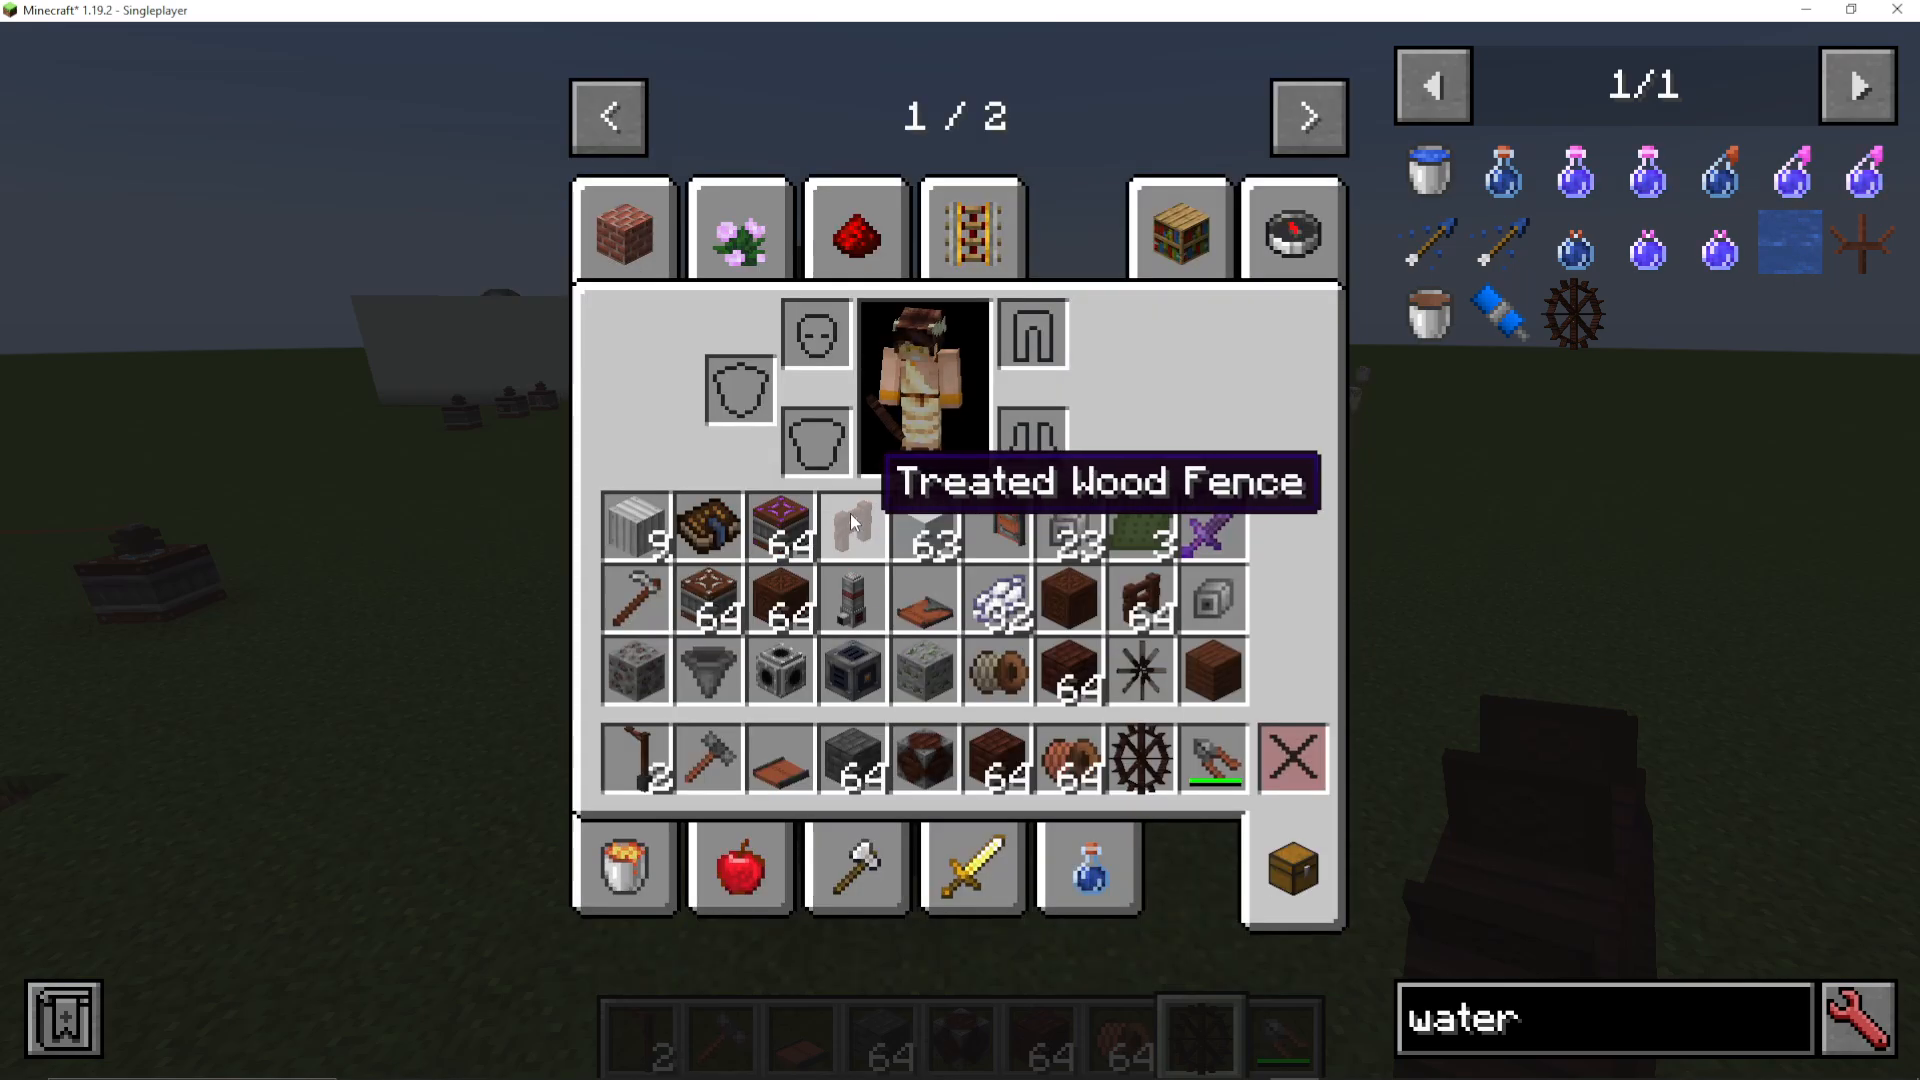
Up to three water wheels (though one will work, three is recommended for optimal power generation)
Water wheel segments (crafted from treated wood and steel)
An engineer’s hammer
A kinetic dynamo
LV (Low Voltage) wire connectors
Low voltage wire
An accumulator (energy storage cell)
For instructions on crafting water wheel segments, check the Immersive Engineering playlist in the description of the original guide.
Setting Up Your Water Wheels
Placing the Water Wheels
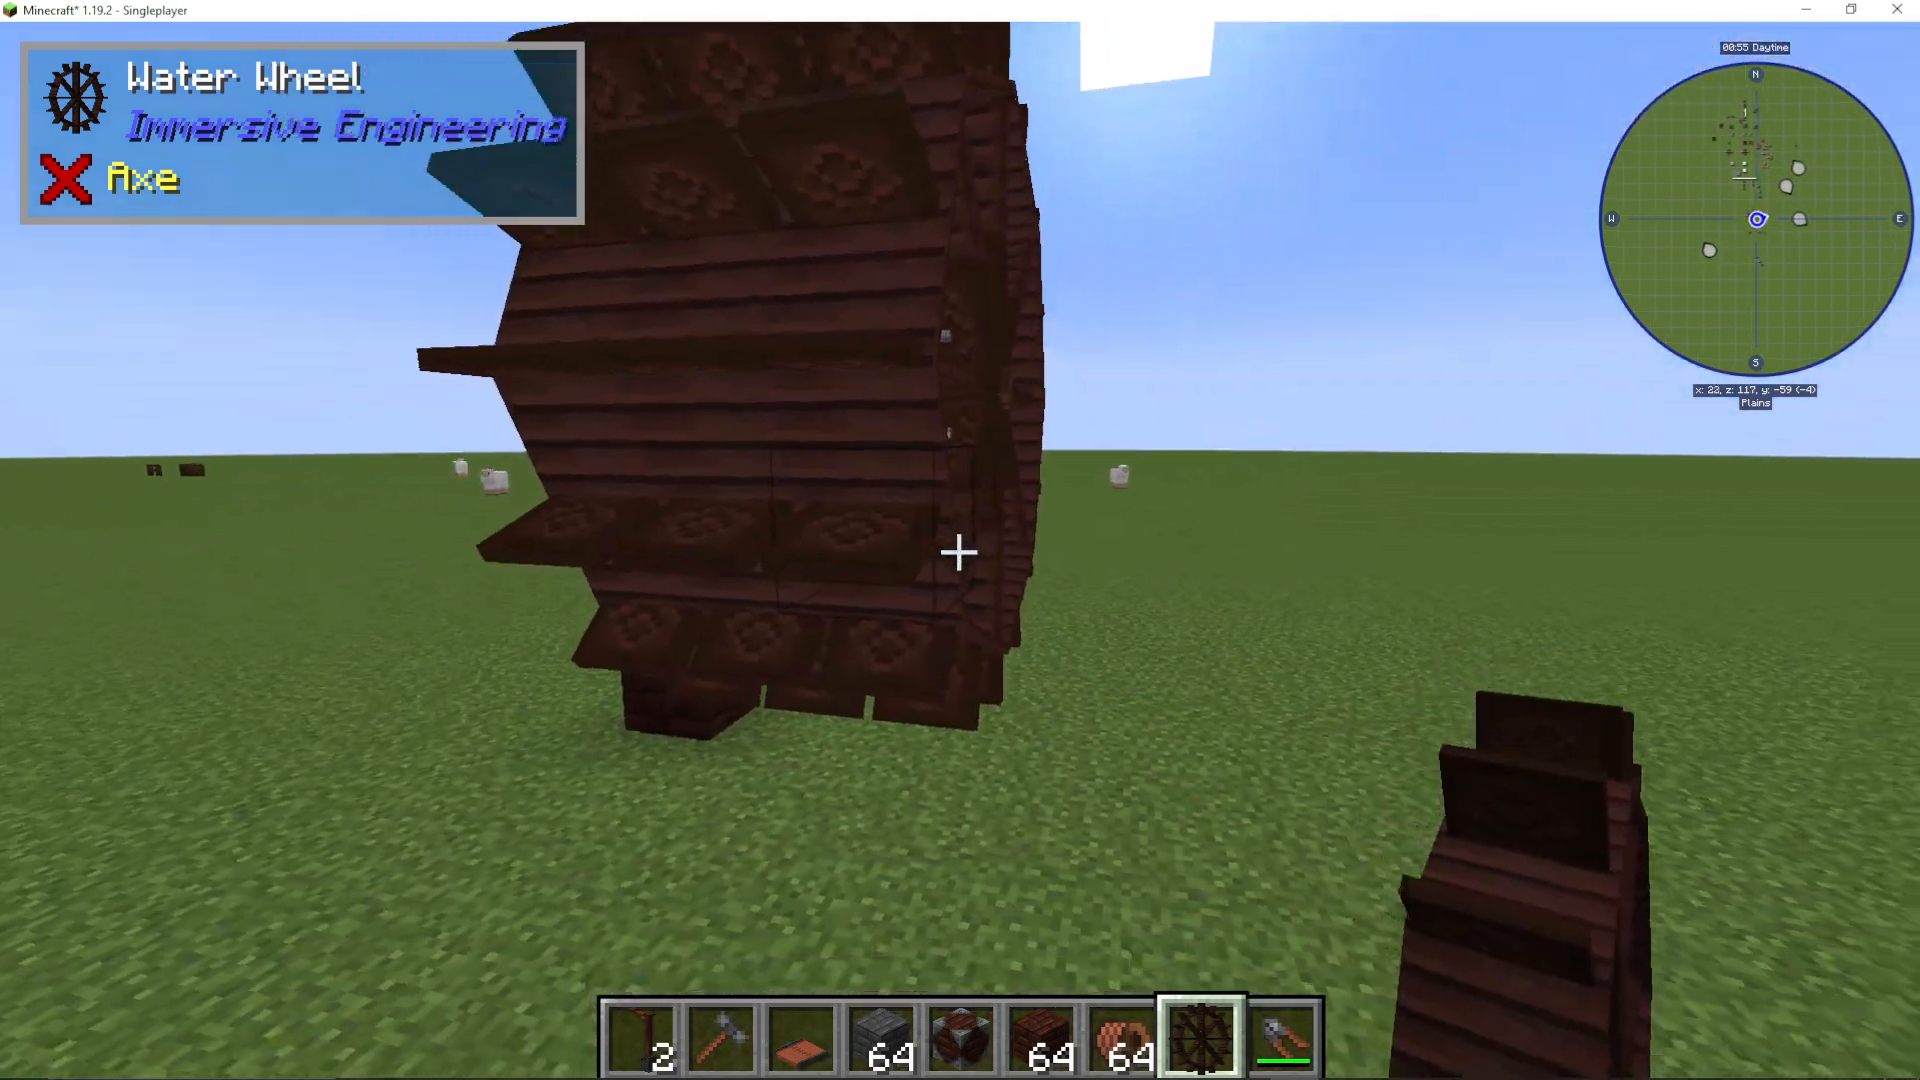
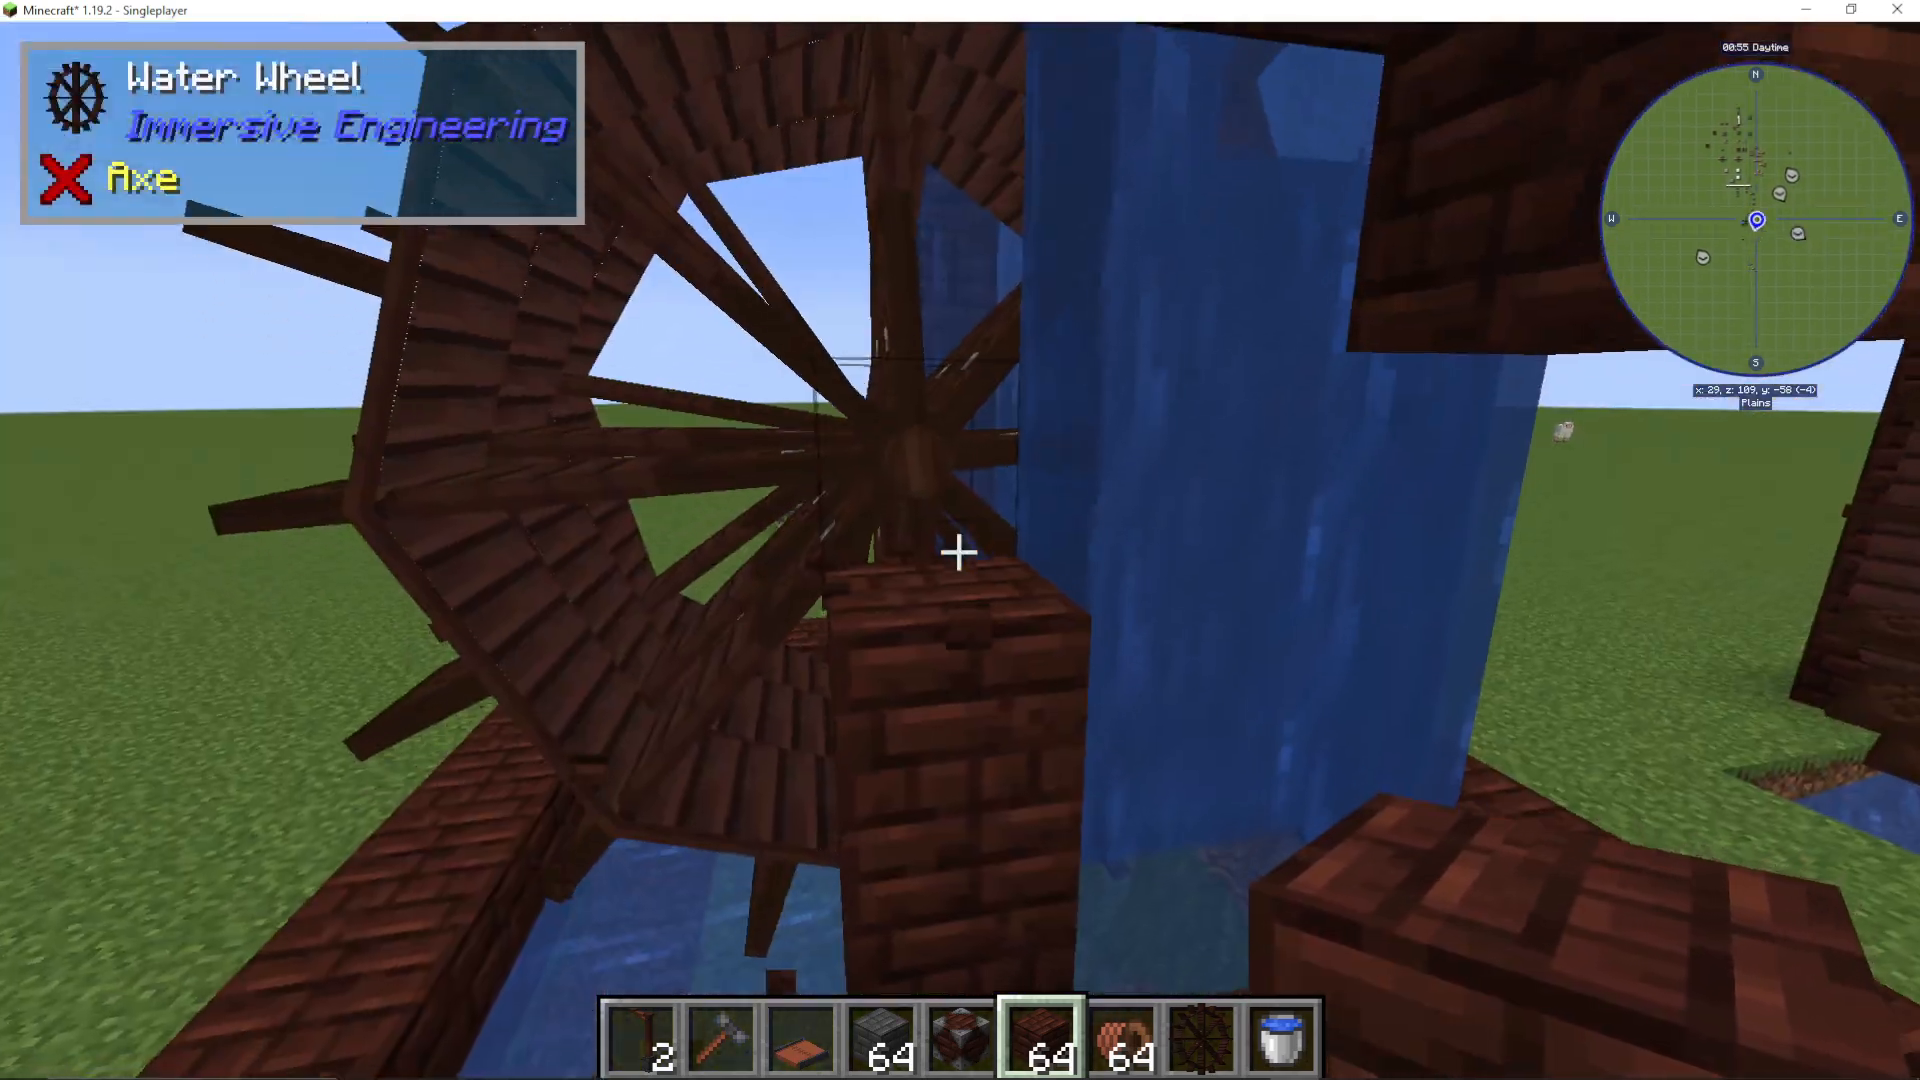
Once you’ve crafted your water wheels, you can right-click them onto any block to install them. You can place up to three water wheels in your setup for increased power output.
Adding Water Flow
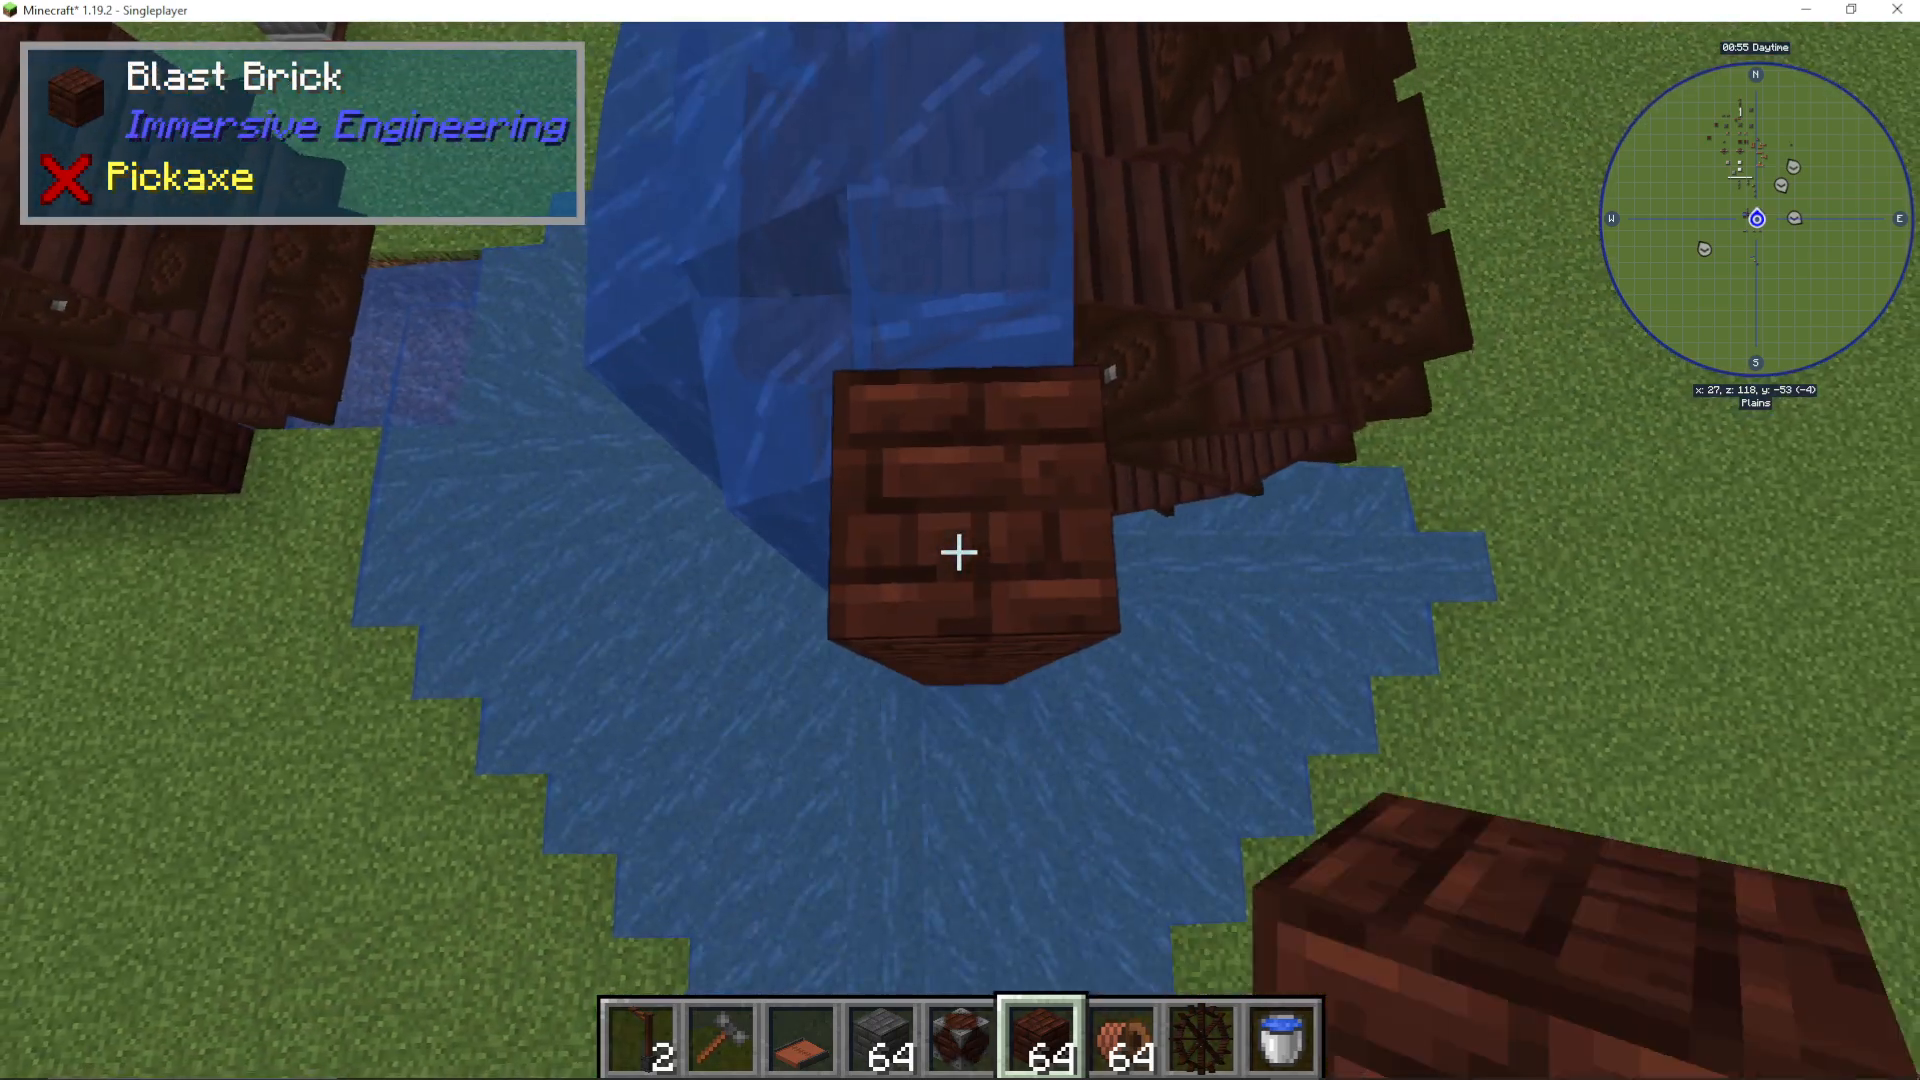
After placing your water wheels, pour water onto the system. Rather than pouring water directly on top of the wheel, pour it from the side to encourage the wheel to rotate properly. The flowing water will cause the water wheel to spin, generating kinetic energy.
Enclosing Your Setup
To prevent water from spilling everywhere, enclose the bottom of your water wheel system with walls. The simplest approach is to form a wall around the base. While you can make this look aesthetically pleasing with decorative blocks, the main goal is to keep flowing water moving smoothly over the water wheel.
Converting Kinetic Energy to Power
Installing the Kinetic Dynamo
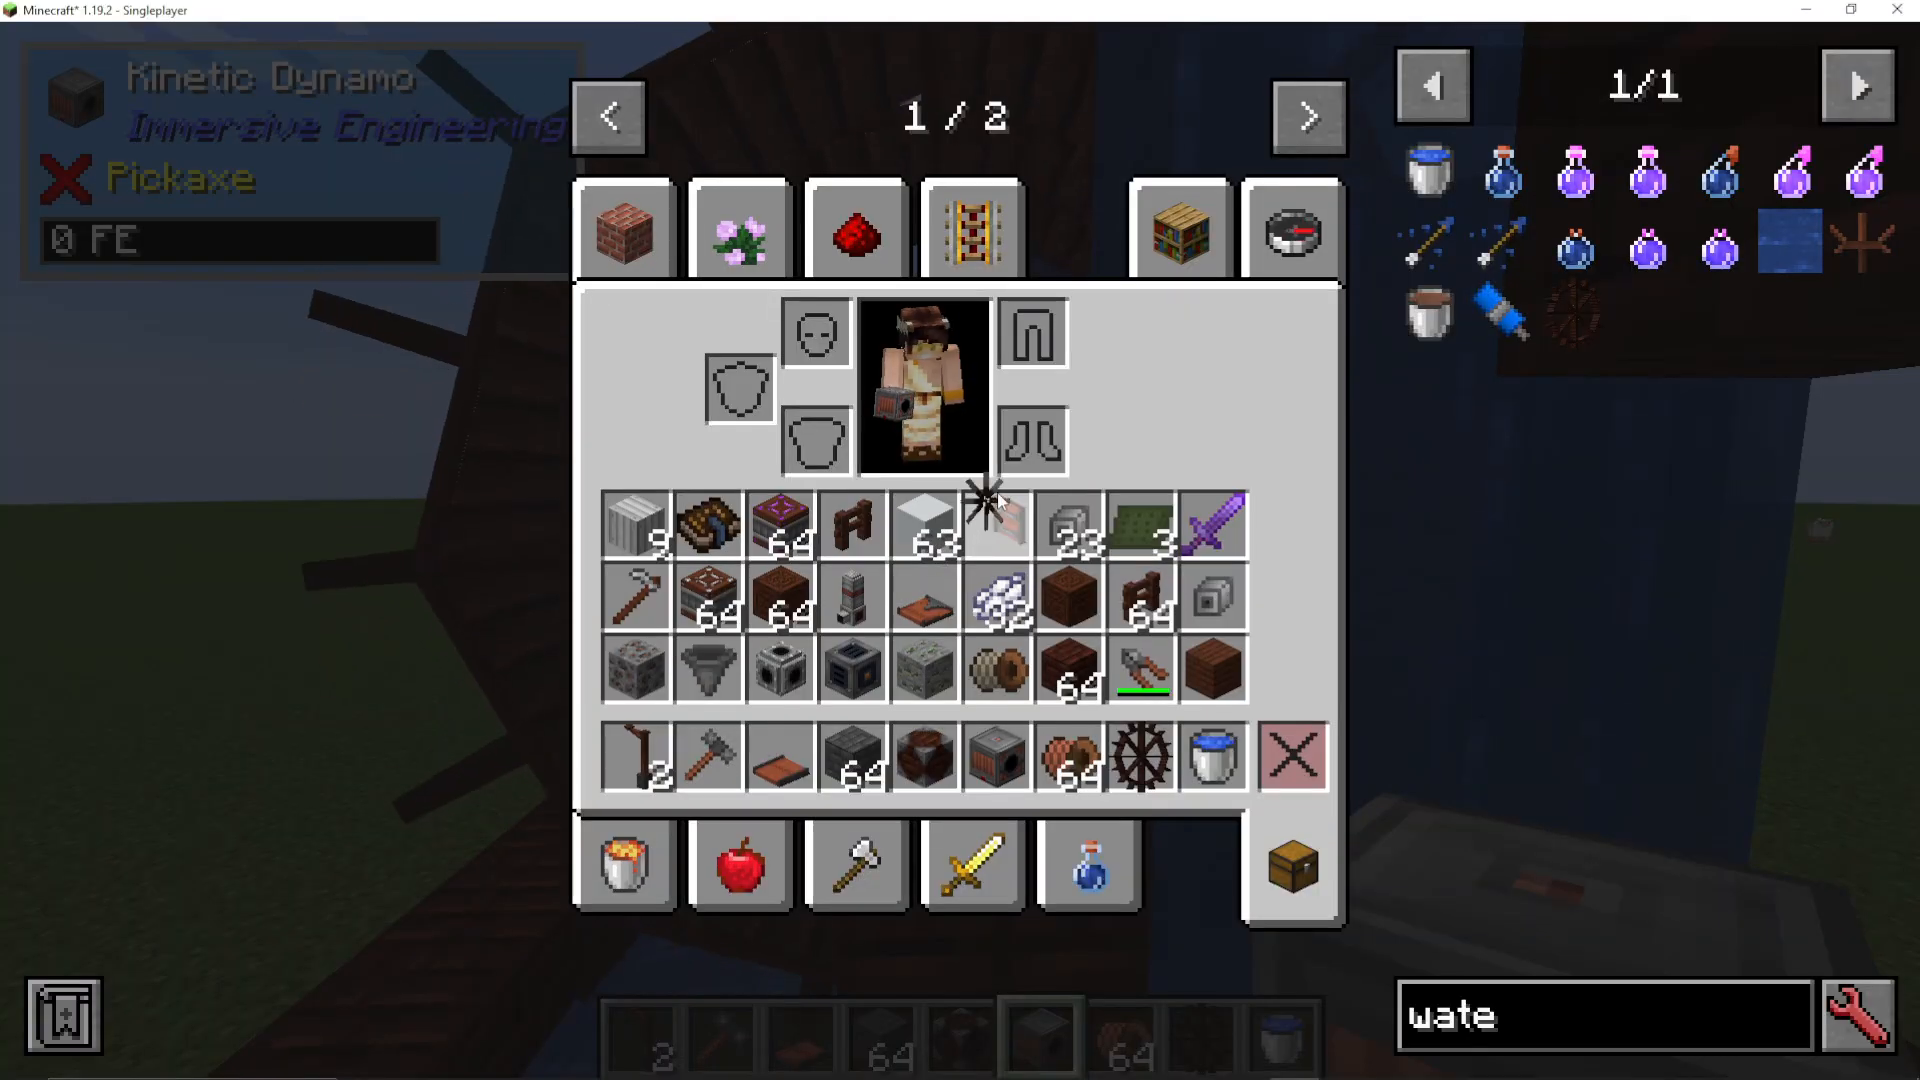
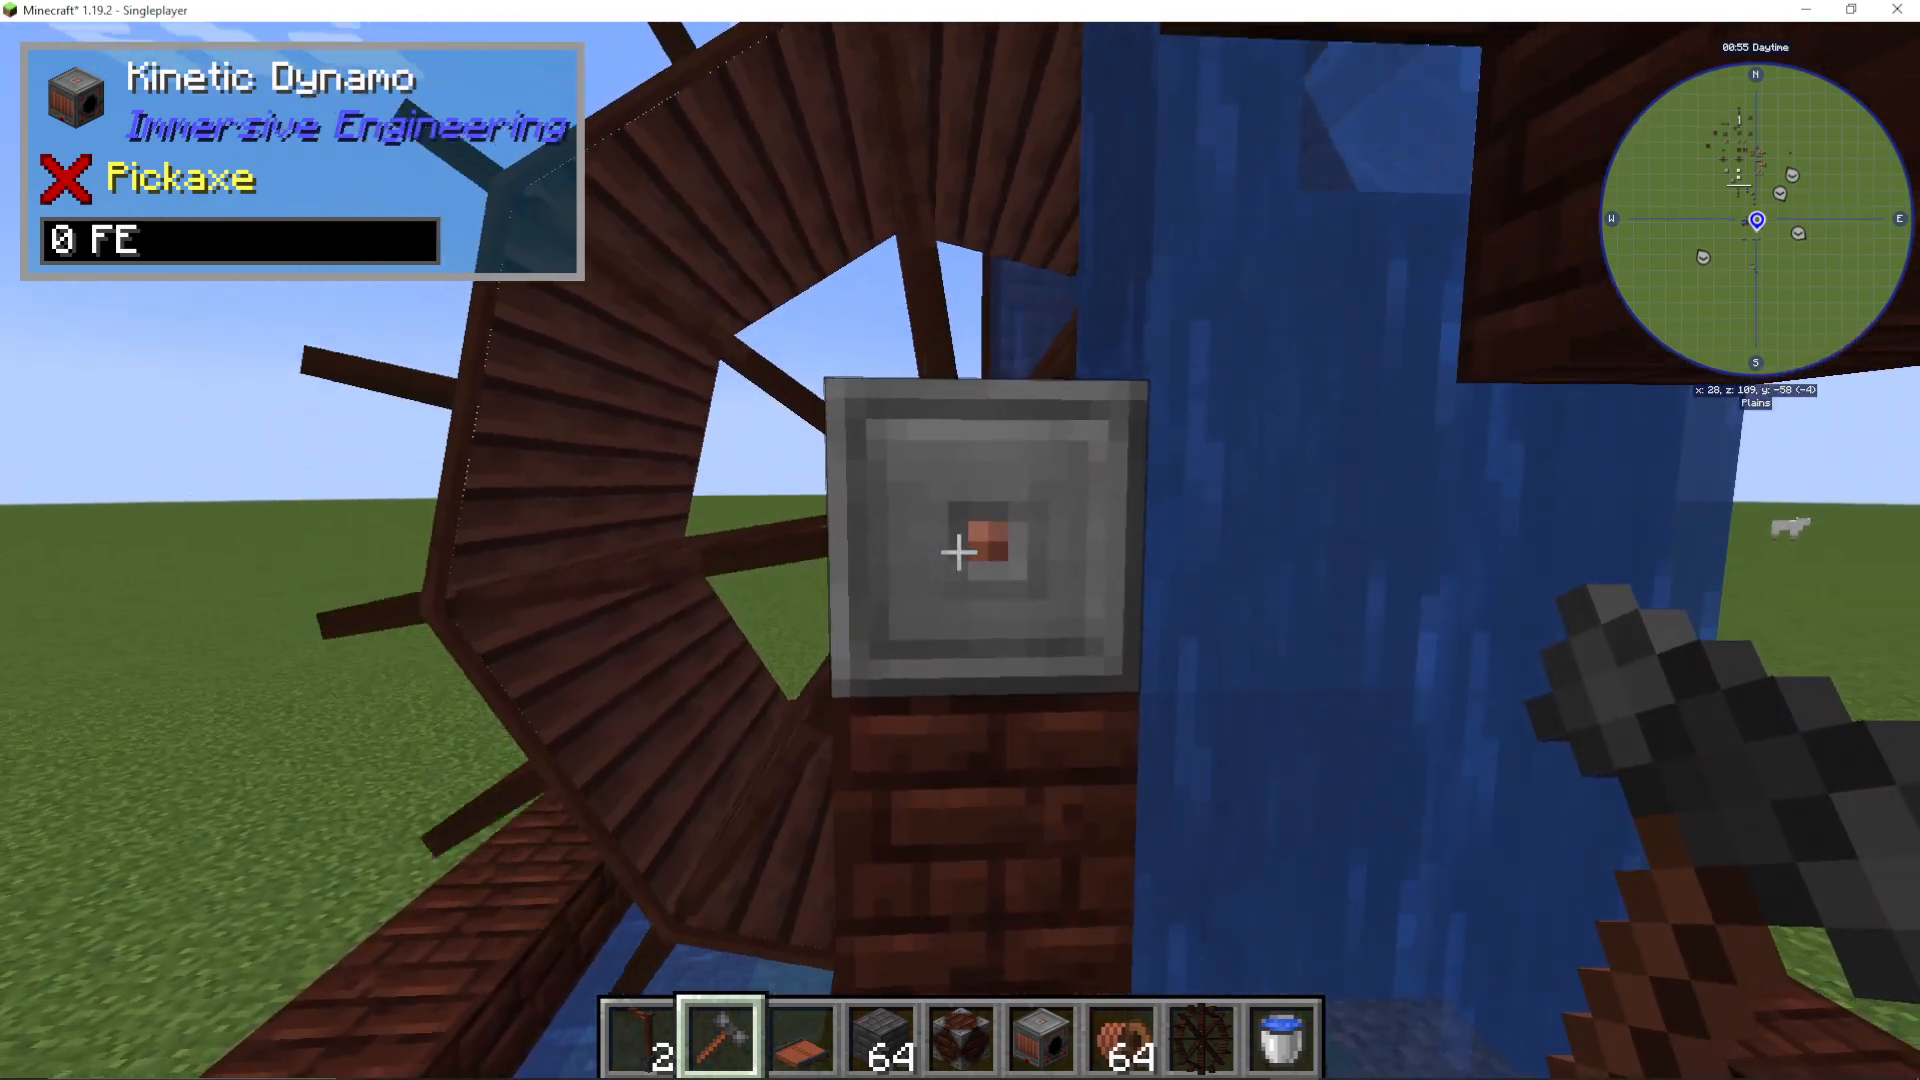
At the center of each water wheel (where the bolt is located), you’ll install a kinetic dynamo. This component converts the kinetic energy generated by the rotating water wheel into usable electrical power.
Orienting the Dynamo
When you first place the kinetic dynamo, it may be facing the wrong direction. Use an engineer’s hammer to right-click the dynamo and rotate it until you see the correct side facing you. This ensures proper energy transfer from the water wheel.
Connecting to Your Power Network
Setting Up Wire Connectors
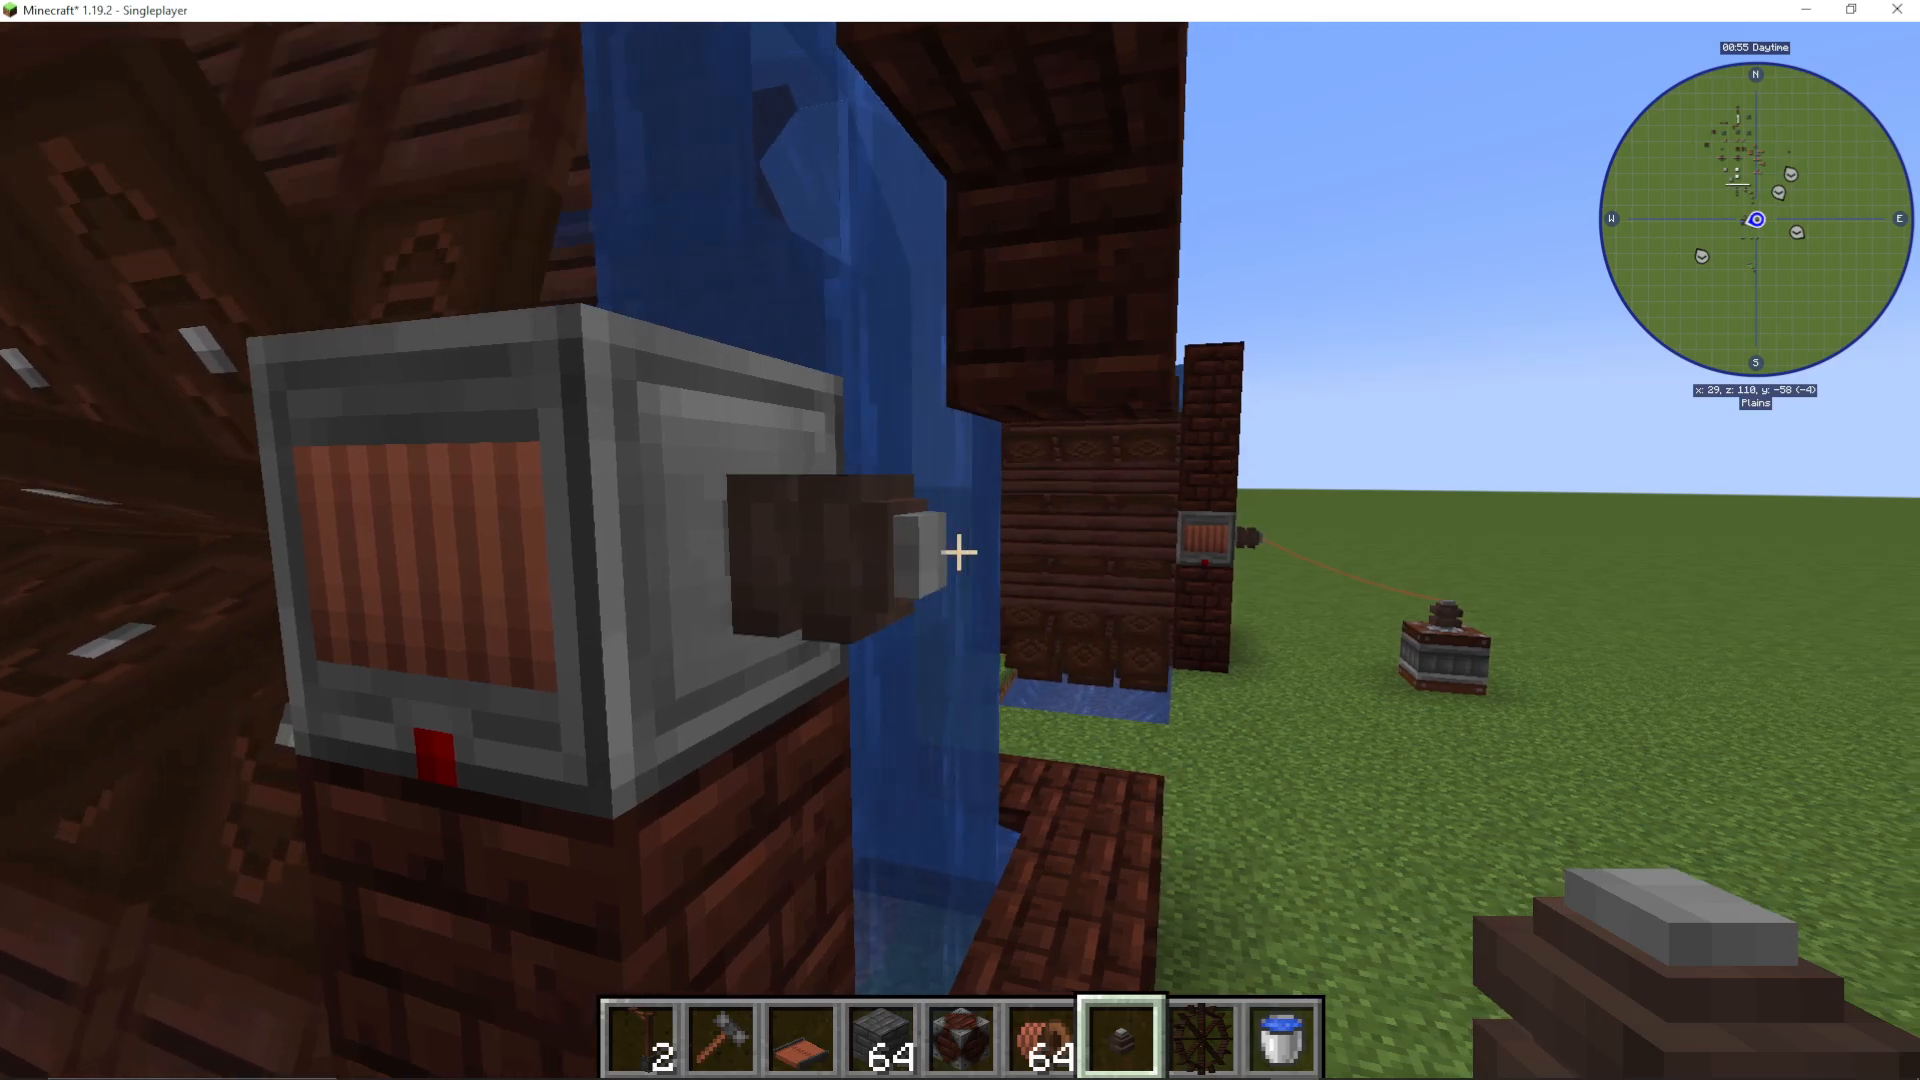
With the kinetic dynamo correctly oriented, you can now hook up LV (Low Voltage) wire connectors. These connectors allow you to transmit the electrical power generated by your water wheel system throughout your base.
Adding Energy Storage
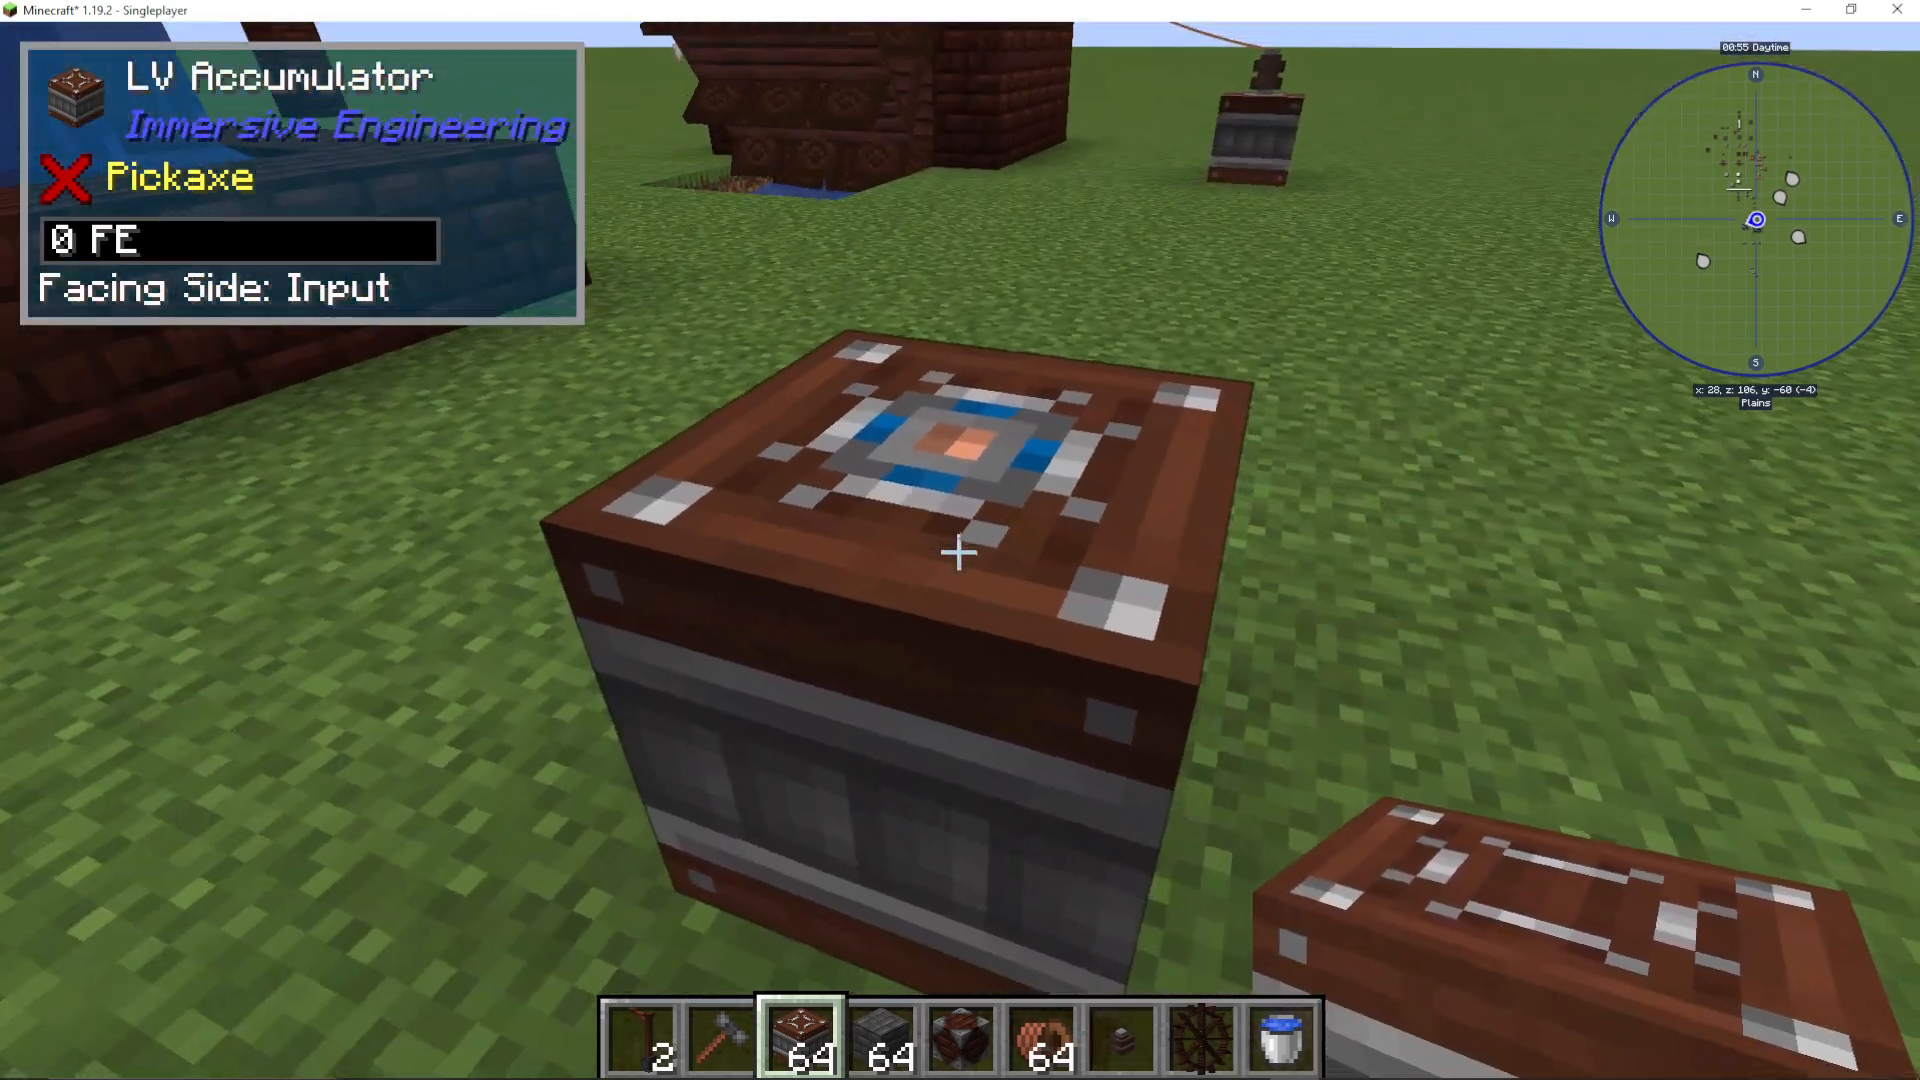
Place an accumulator (energy storage cell) below your setup to store the power being generated. The blue side of the accumulator should face upward, indicating it’s set to input mode. This allows power to flow from your water wheel system into the energy cell.
Final Connections
Add another LV wire connector to your accumulator and connect it with low voltage wire to the connector on your kinetic dynamo. Right-click both connectors to complete the connection. You should now see power being produced by the water wheel and flowing into your energy storage cell.
Summary
Setting up an Immersive Engineering water wheel power system is straightforward and requires minimal resources. By following these steps—placing water wheels, adding water flow, installing a kinetic dynamo, and connecting your power network—you’ll have a functional early-game power generation system. The water wheel is an excellent starting point for powering your Minecraft modded base with renewable energy.
— Want to Support? —
If you would like to help us continue making these guides – please consider joining our patreon here – https://www.patreon.com/c/JaviHeals
Alternatively – we host a group of MC Servers you can join here – https://discord.gg/zD7Gjt6MHF



