







Tinkers Construct Getting Started Guide (1.16 & Newer)
Tinkers Construct Getting Started Guide (1.16 & Newer)
Tinkers Construct is a fantastic and highly customizable mod that allows you to craft gear and tools from a myriad of materials. This getting started guide will walk you through the essentials: setting up your workstations, crafting your first tools, creating a smeltery, and unlocking tier 2 materials. Whether you’re new to the mod or returning after time away, this tutorial covers everything you need to know to begin your journey.
Initial Setup and Workstations
When you first spawn into the game with Tinkers Construct installed, you’ll receive a book called Materials and You. This is an invaluable resource that complements this tutorial and should be kept handy throughout your progression.
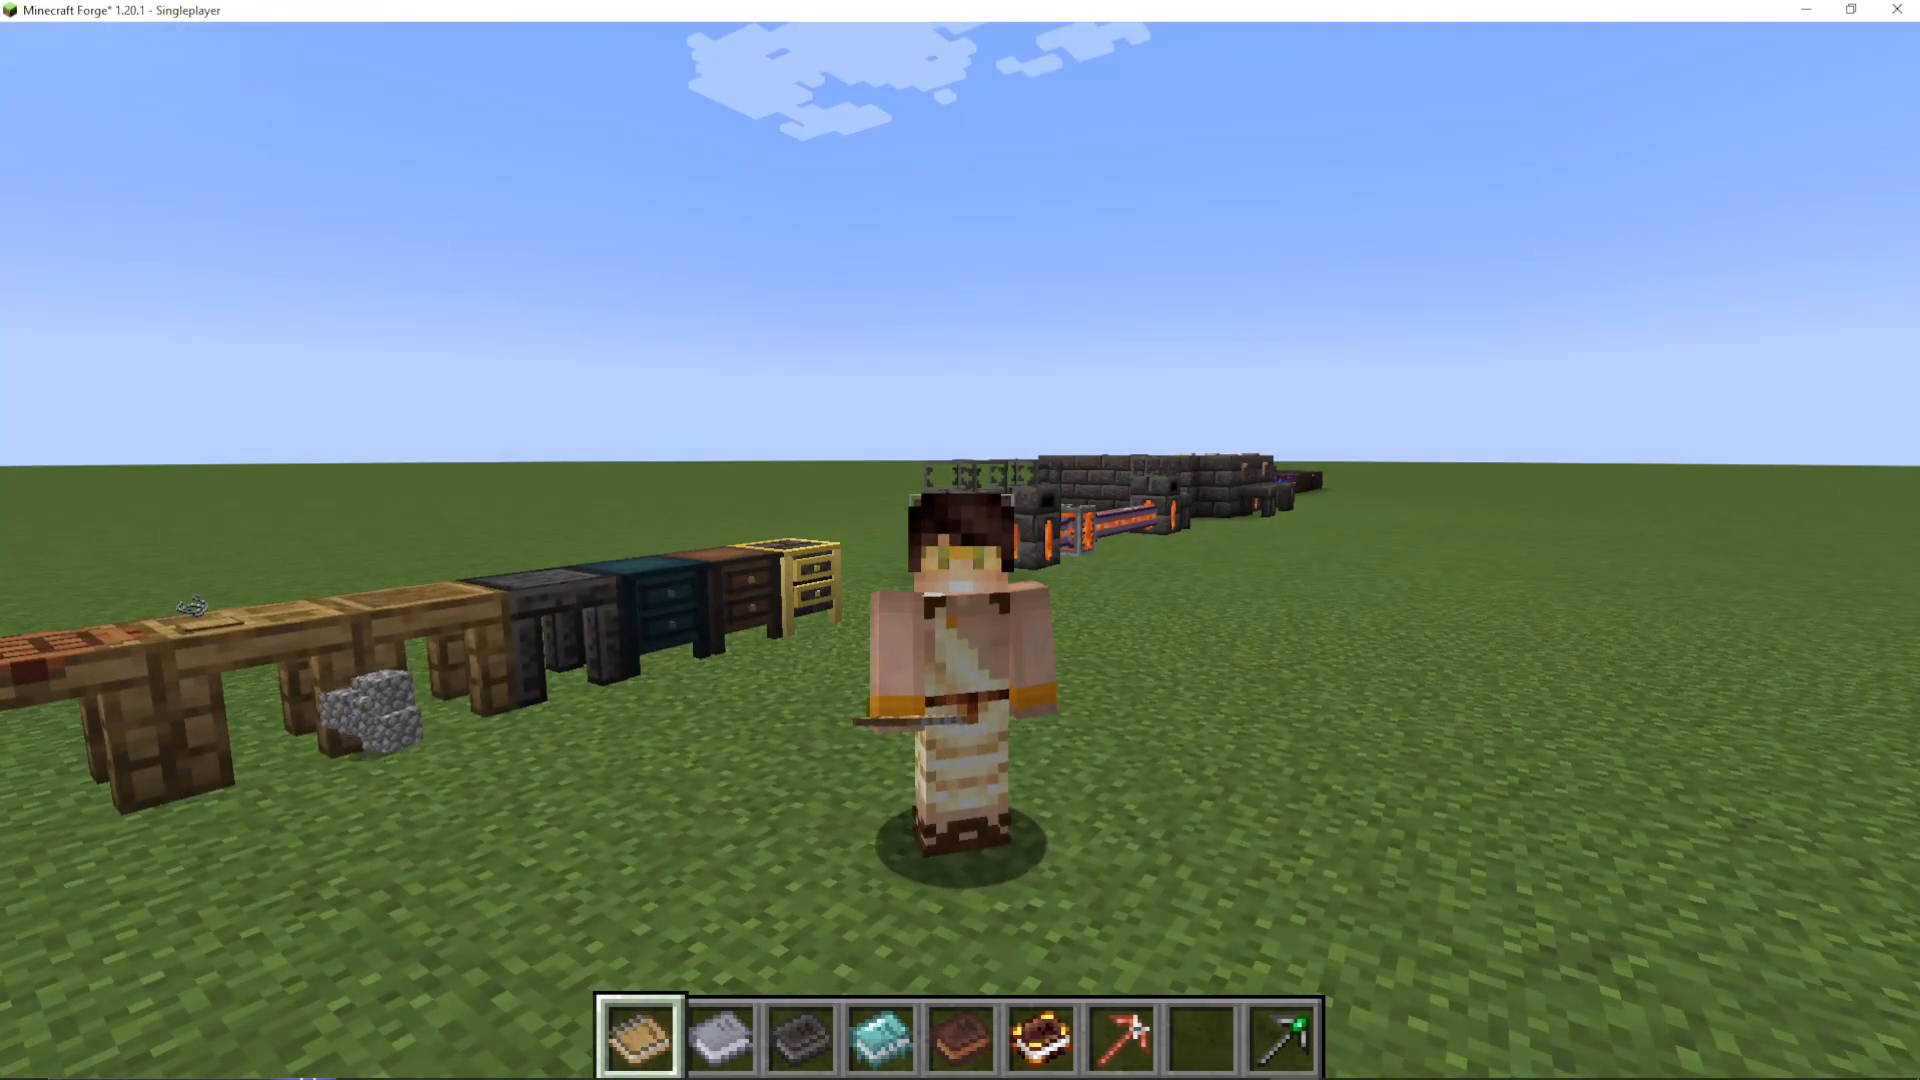
Your first task is to create several essential workstations. These include:
Crafting Station
Part Builder
Tinker Station
Modifier Work Table
Tinker’s Chest
Part Chest
Cast Chest
A key tip: place all these workstations next to each other so they connect. When you right-click on one, you’ll be able to access all of them from a single location, eliminating the need to move around constantly.
Creating the Crafting Station
The Crafting Station is an upgraded version of the standard Minecraft crafting table. To create it, take a regular crafting table and place a pattern on top. A pattern consists of two sticks and two planks. It’s highly recommended to craft a full stack of patterns at the start, as you’ll use them frequently throughout your progression.
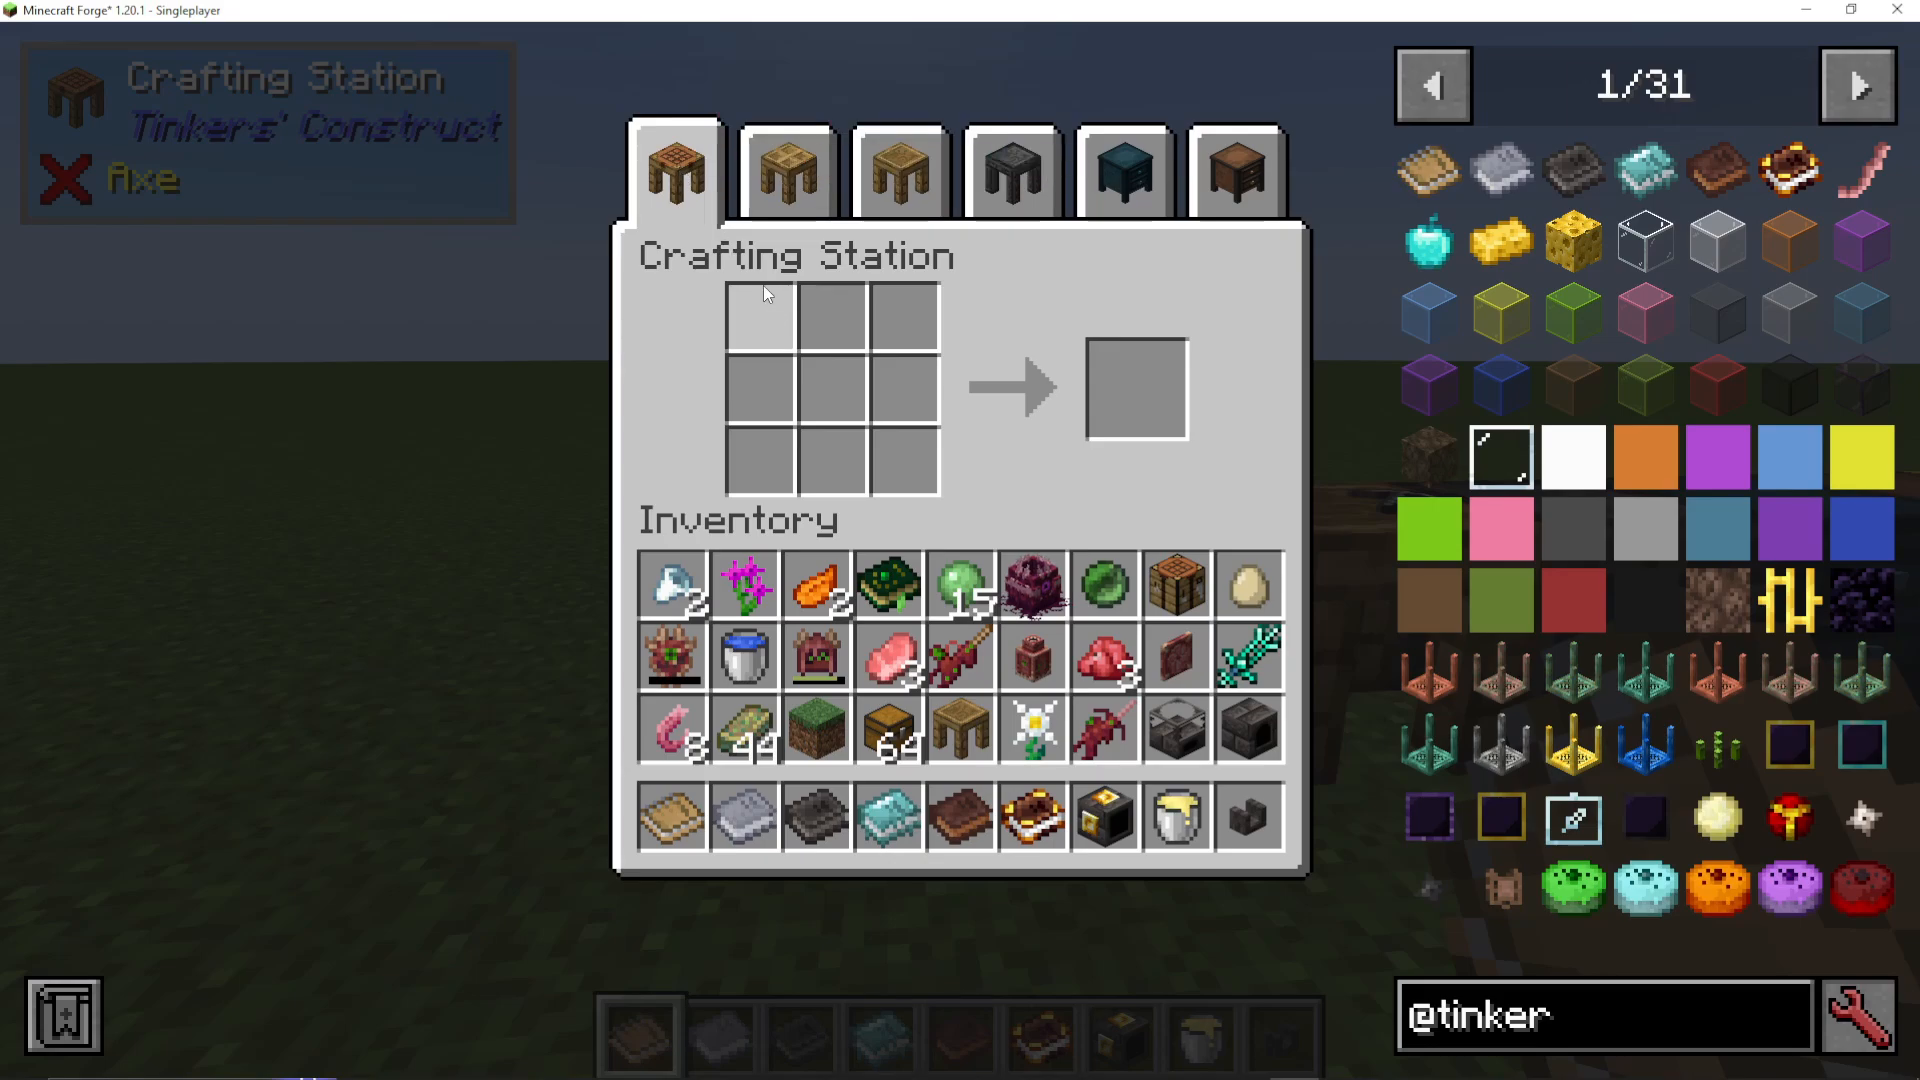
The main advantage of the Crafting Station over the regular crafting table is that items remain inside the station when you close the interface, rather than returning to your inventory.
Building Your First Tool
Understanding the Part Builder
The Part Builder is where you’ll create the individual components for your tools. You’ll place blank patterns on the left side and use various materials to craft tool parts. To start, you’re limited to very basic materials for crafting basic-tier tools.
For this tutorial, we’ll create a pickaxe using cobblestone as an example. A pickaxe requires three components:
Pickhead
Tool Handle
Tool Binding
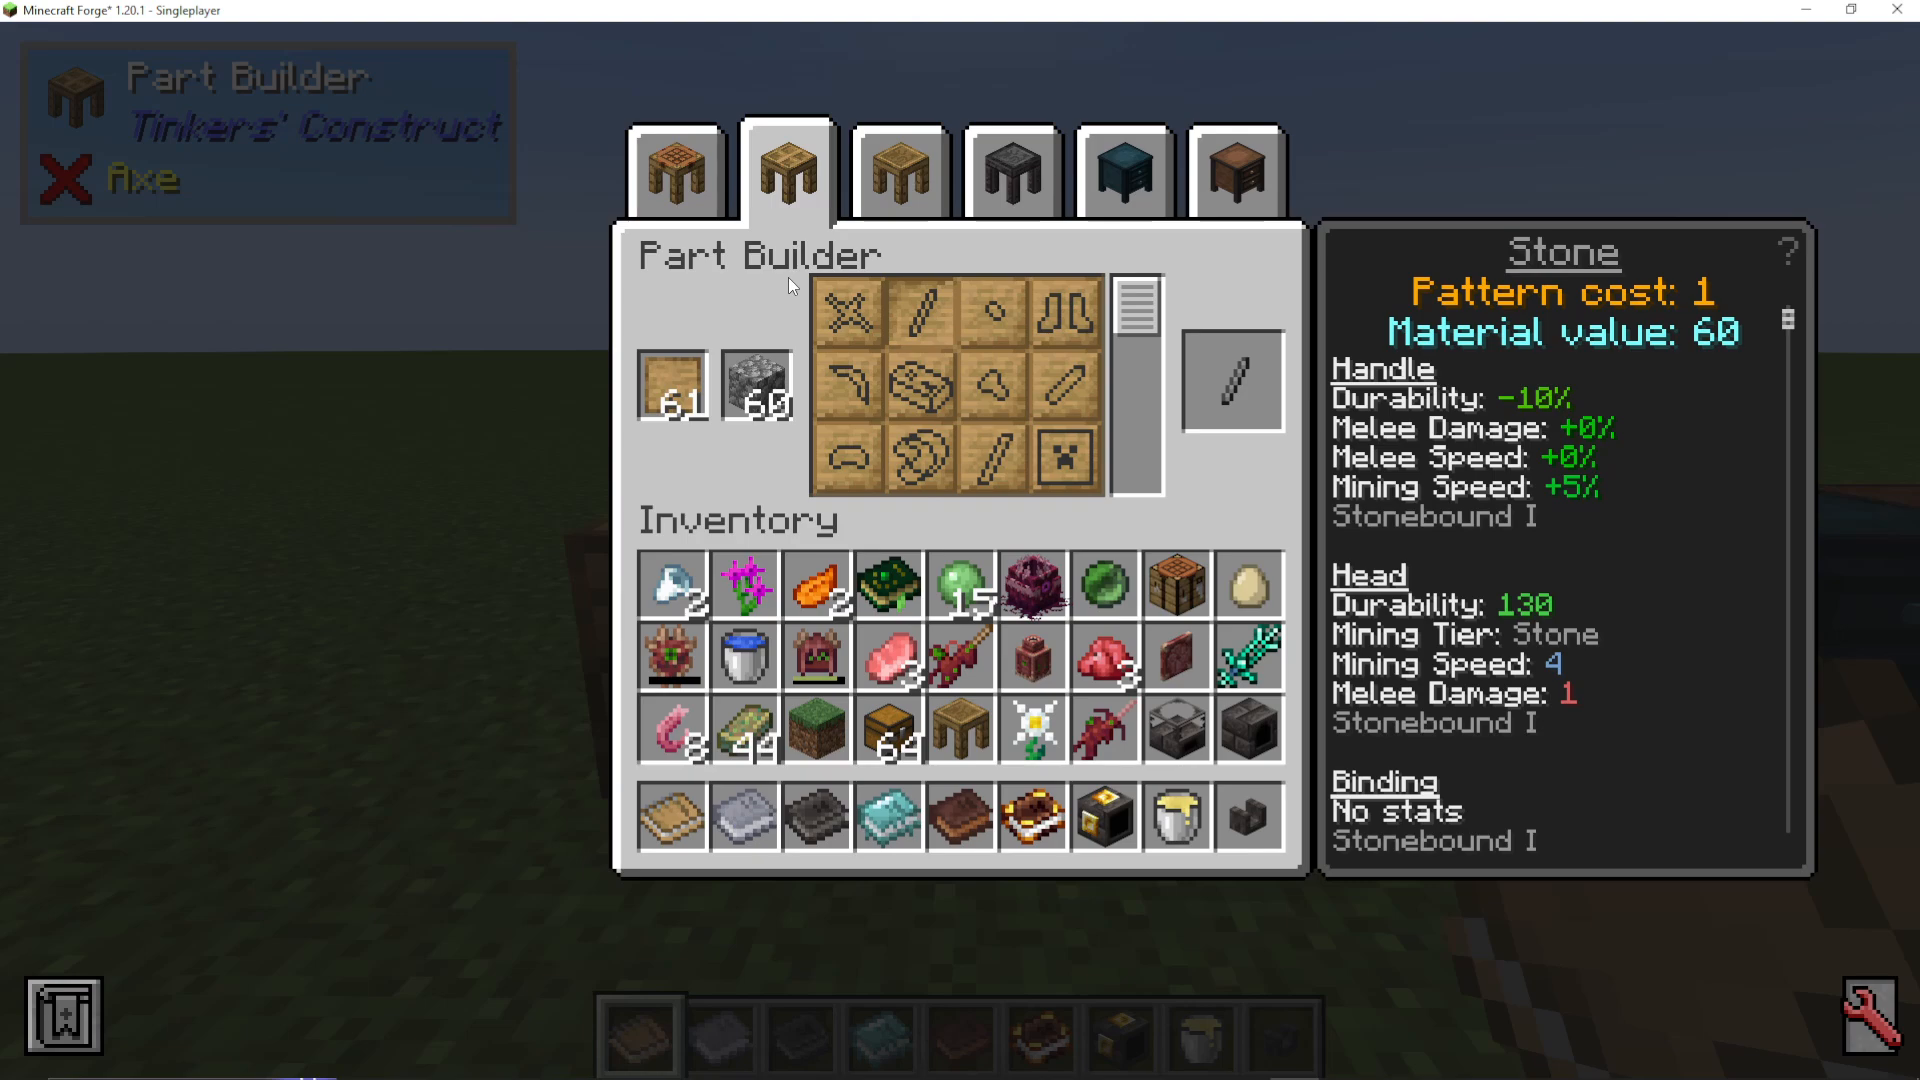
Each time you craft a part, you’ll consume one blank pattern. Think of patterns as stencils—you’re creating a mold for each component type.
Using the Tinker Station
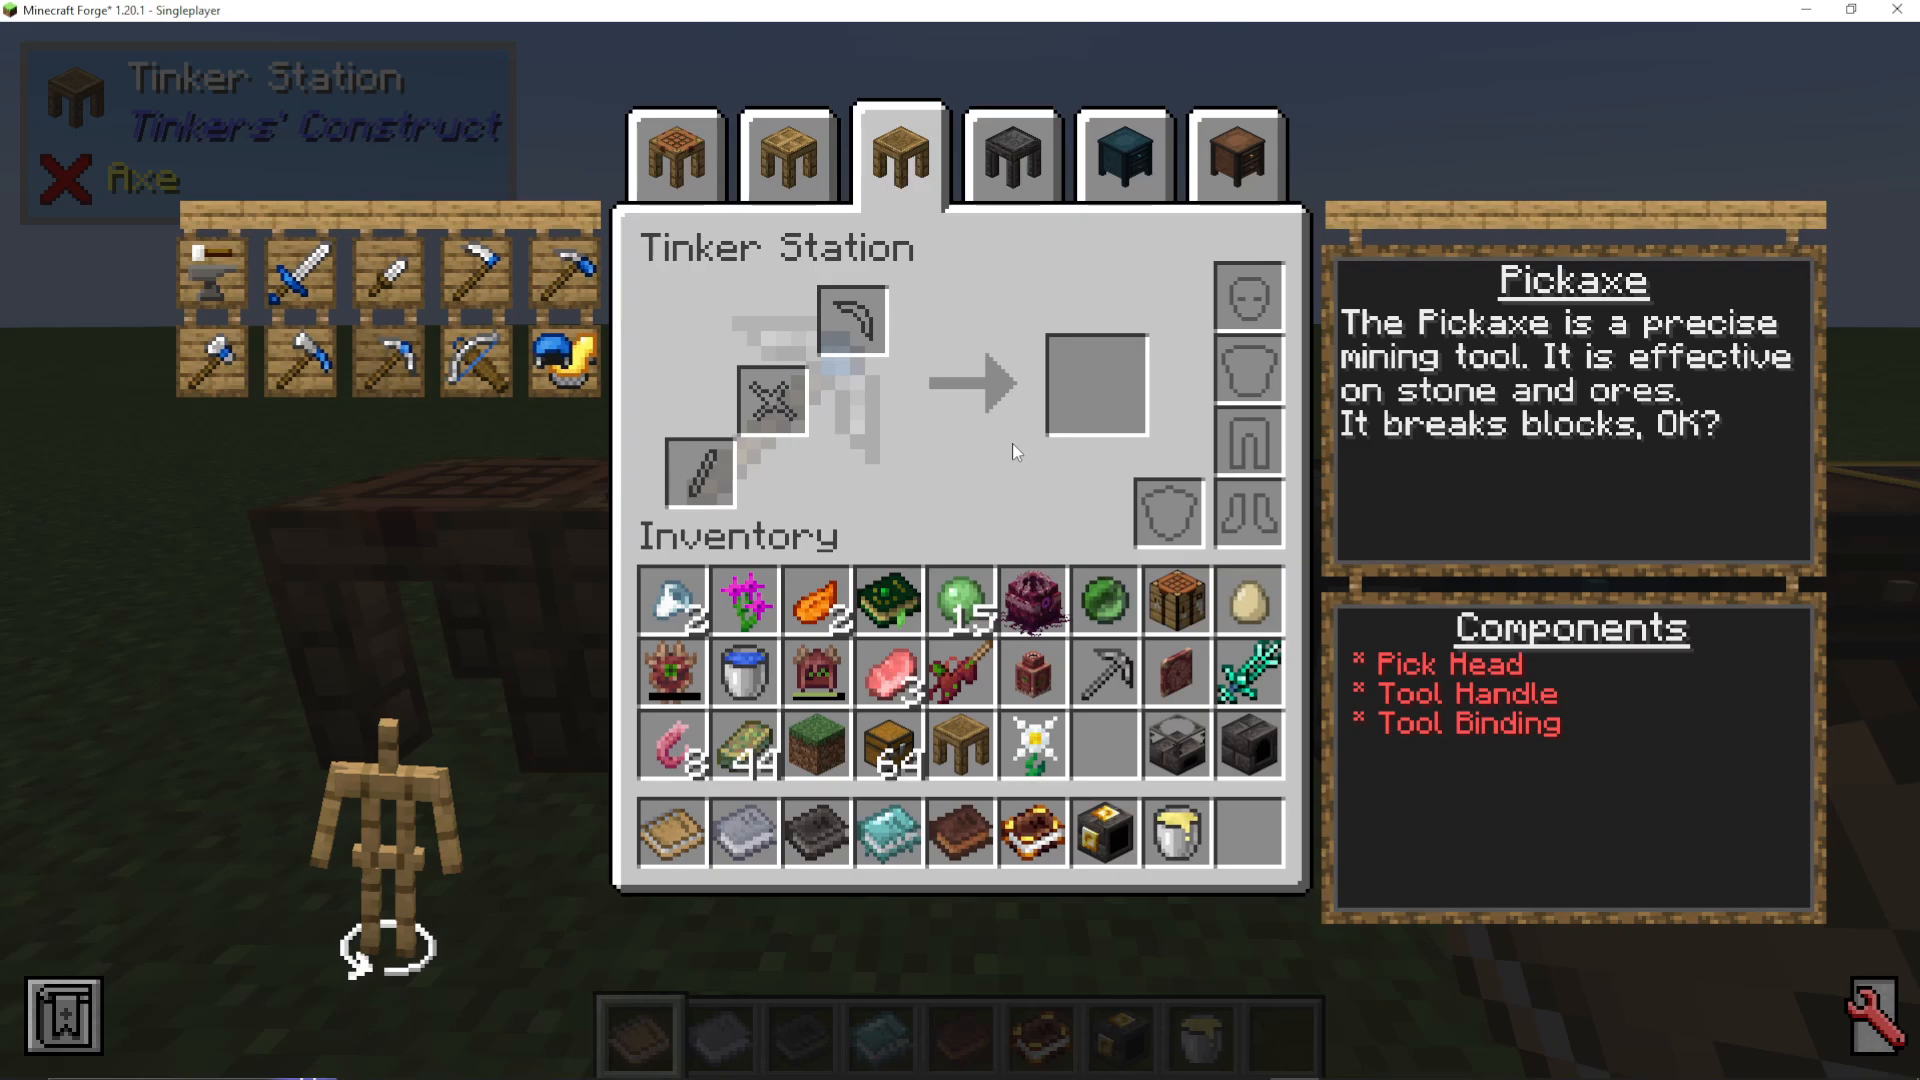
The Tinker Station is where you’ll assemble your completed tool from the parts you’ve crafted. When you open the station, you’ll see several icons on the left side. The pickaxe icon allows you to switch between different tool types (saw, pickaxe, sword, etc.).
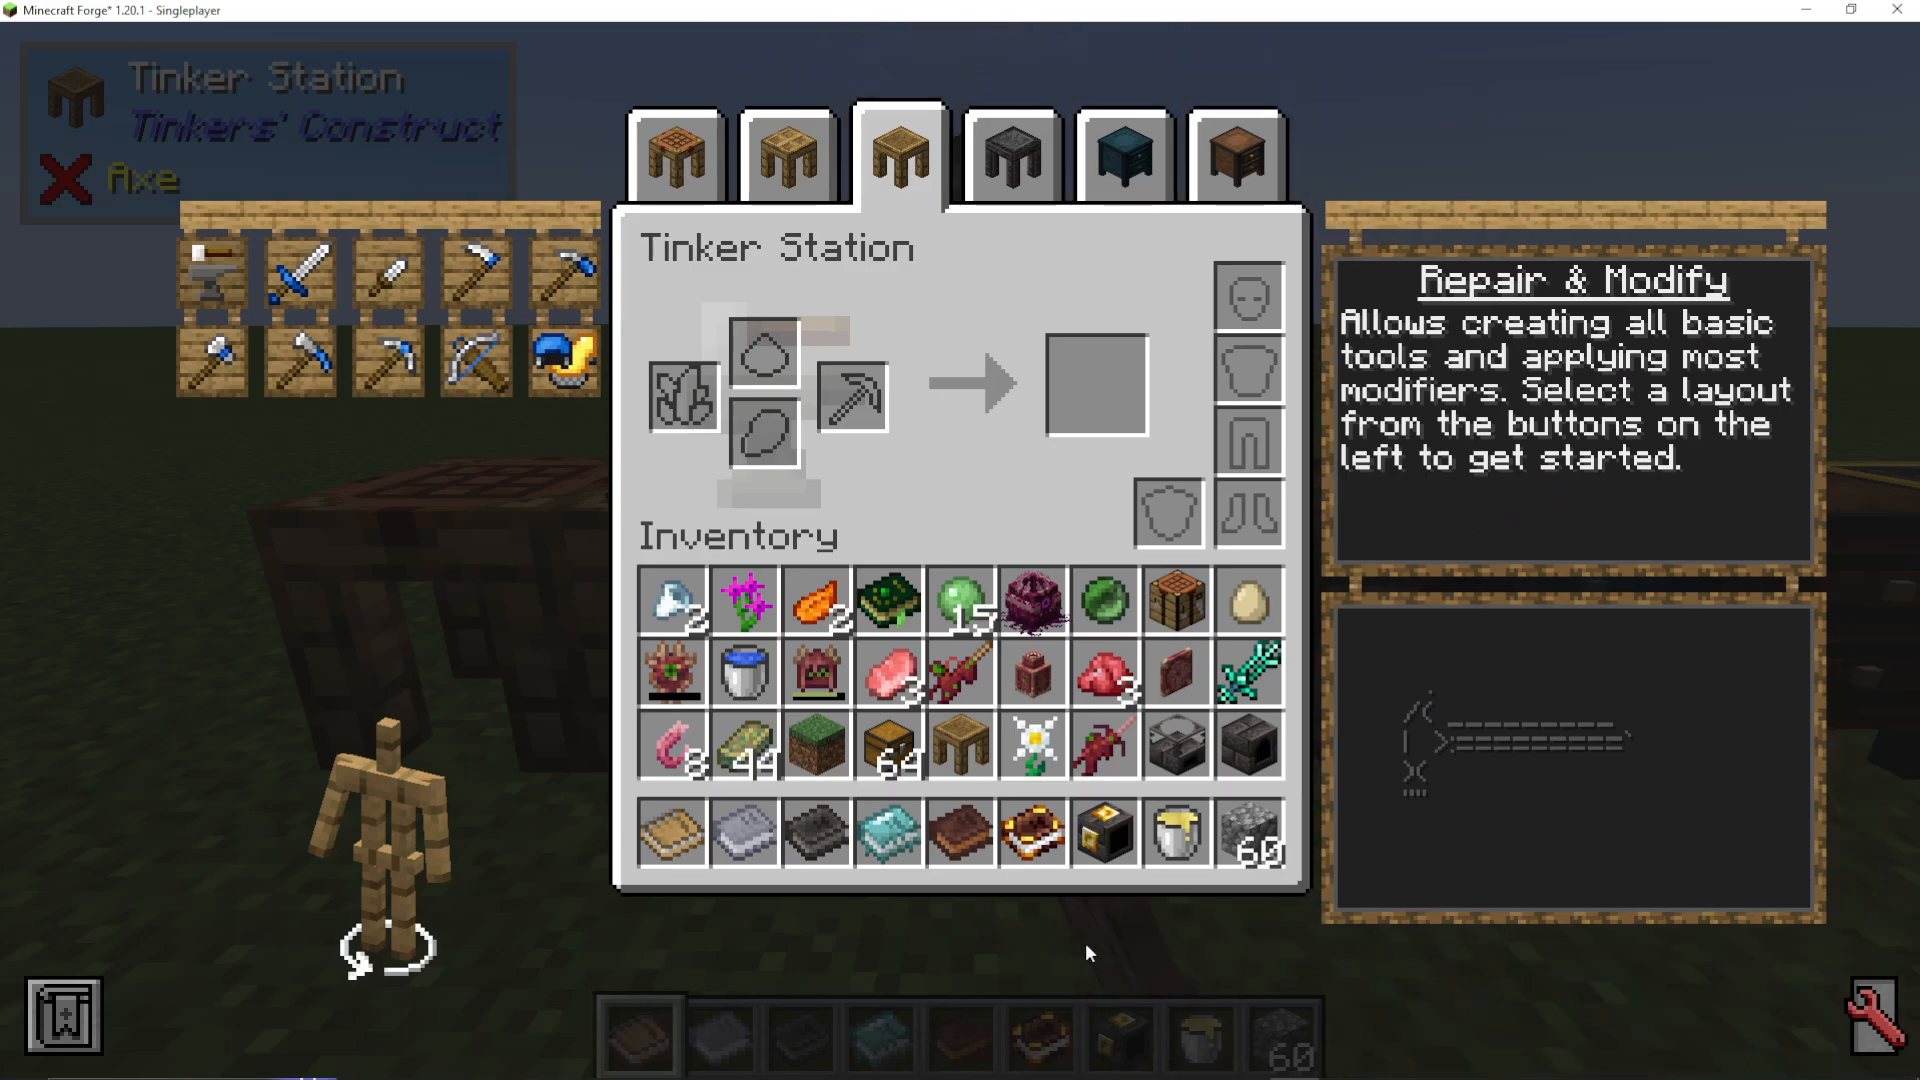
For a pickaxe, insert your pickhead, tool handle, and tool binding into their respective slots. You’ll see a preview of your crafted tool on the left side of the screen. You can also name your tool at this stage.
Understanding Tool Stats
Once assembled, your tool will display several important statistics:
Durability: How long the tool will last before breaking
Melee Damage: Damage dealt when attacking enemies
Melee Speed: How quickly the tool attacks
Mining Tier: What materials the tool can mine (wood, stone, iron, diamond, etc.)
Mining Speed: How quickly the tool mines blocks
Upgrade Slots: Available slots for adding modifiers
Abilities: Special traits granted by the materials used
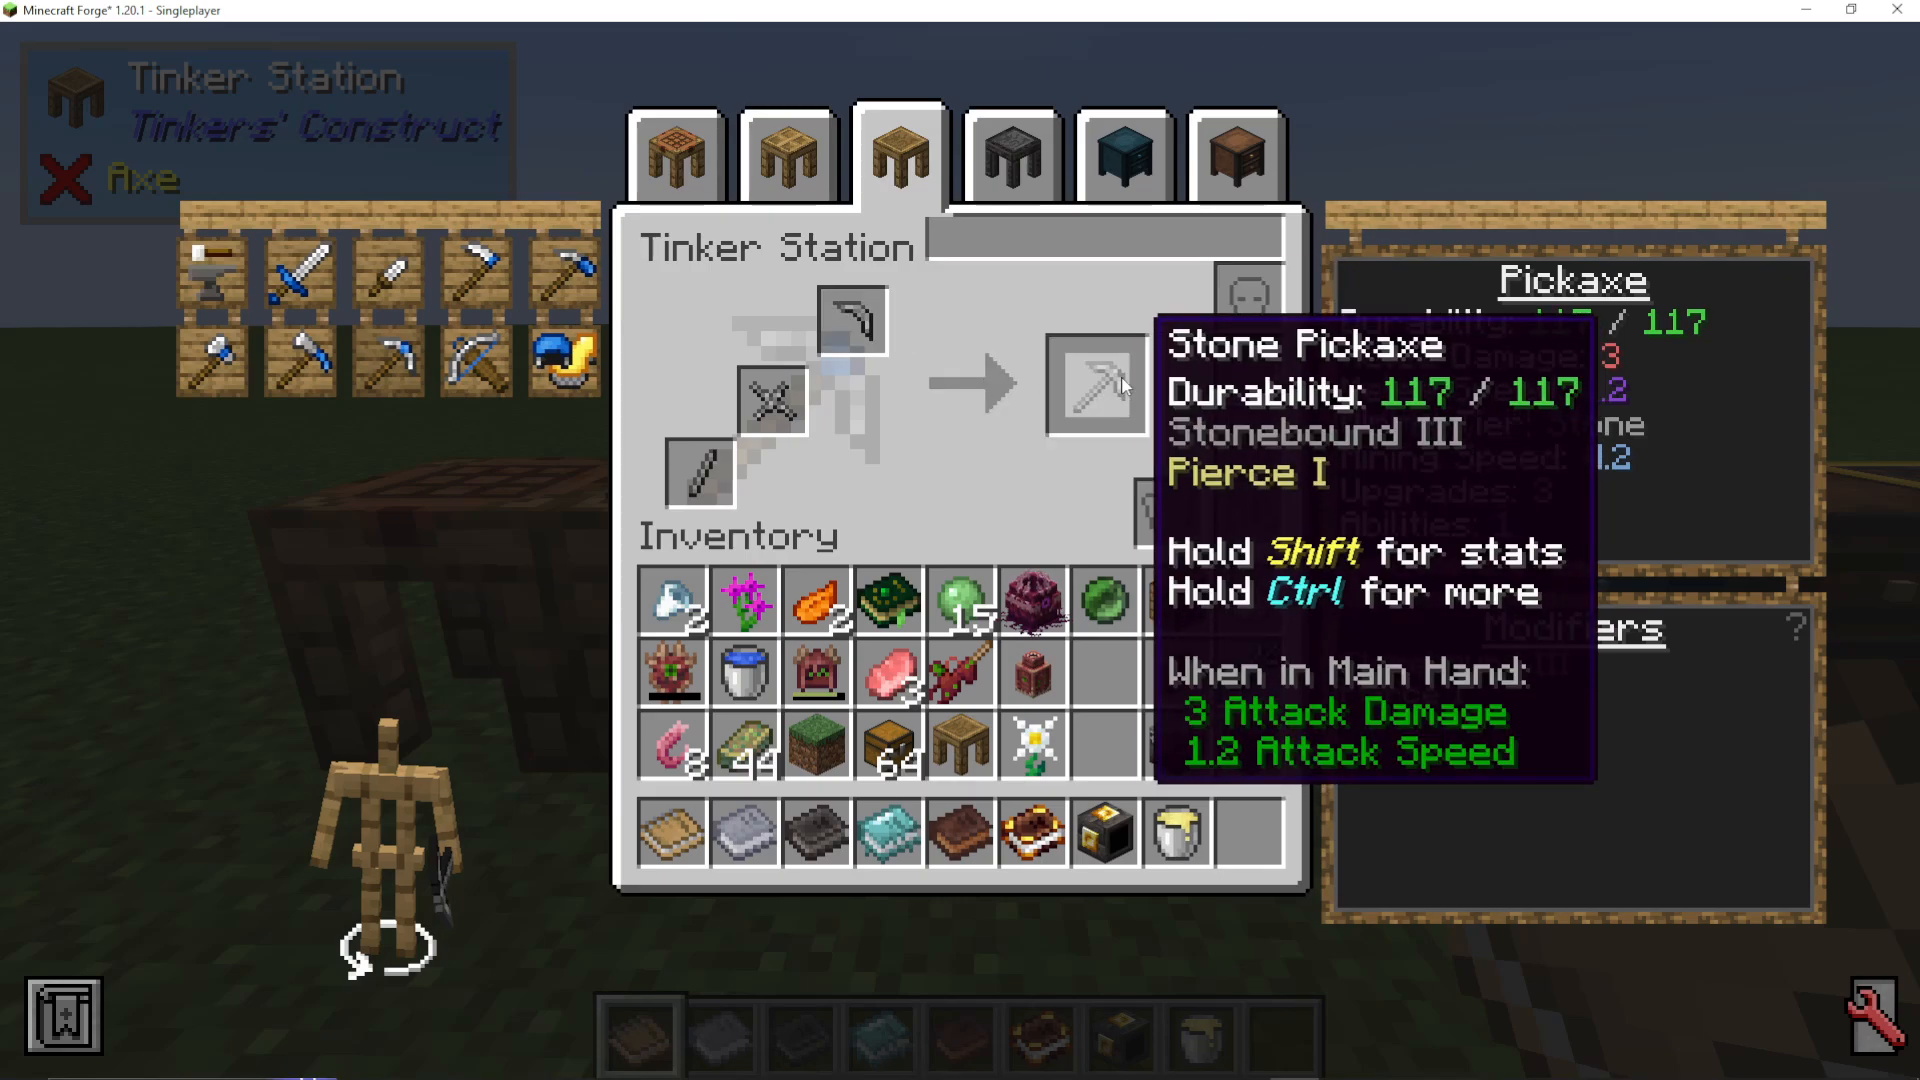
Your first cobblestone pickaxe will have modest stats. However, the materials you choose significantly impact these values. For example, a stone pickaxe might have 117 durability and include modifiers like “Stone Bound” (mines faster as it wears) and “PS1” (reduces armor effectiveness).
Choosing the Right Materials
One of the most important aspects of Tinkers Construct is material selection. Different materials have different properties when used on different tool parts. The Materials and You book contains detailed information about every available material in your mod pack.
Tier 1 Materials
The following materials are available for basic tool crafting:
Wood
Rock/Cobblestone
Flint
Bone
Copper
Chorus
Lever
String
Vines
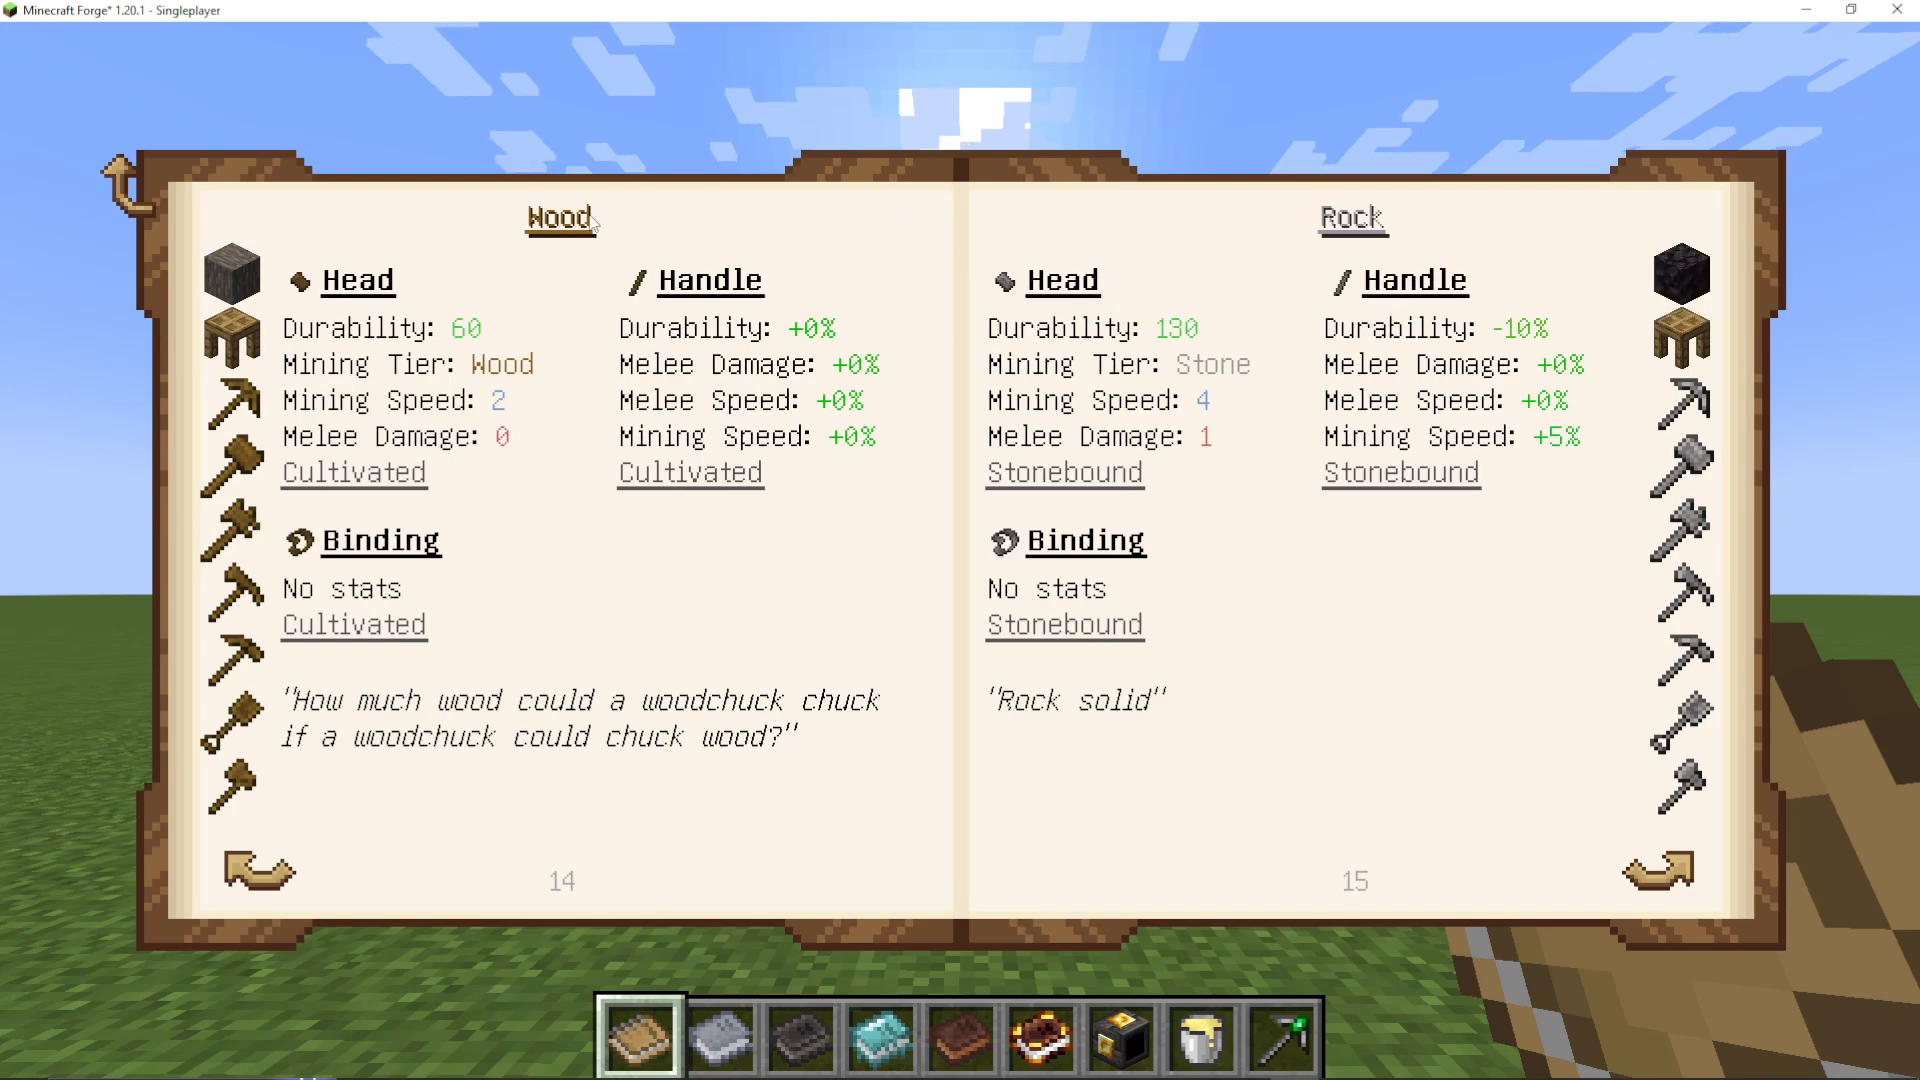
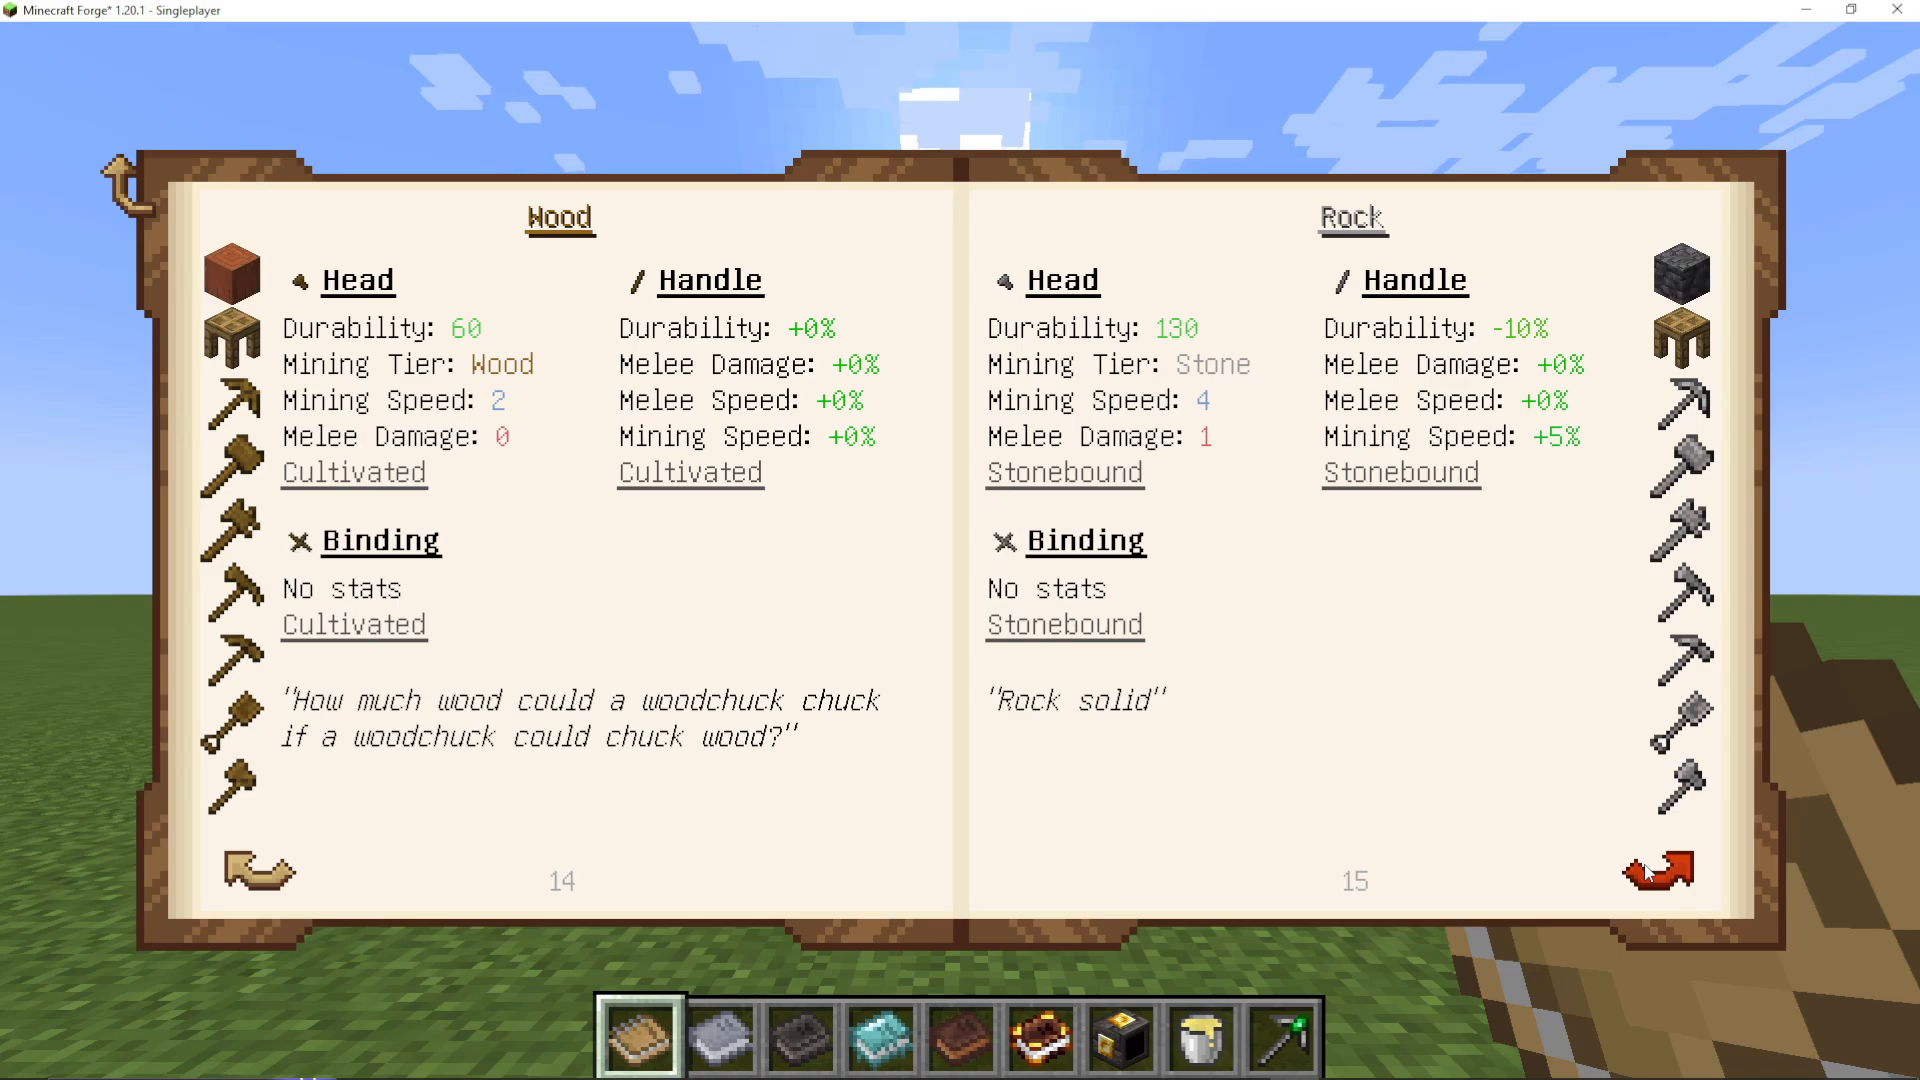
Each material has different effects depending on which tool part it’s used for. For example:
Wood Head: 60 durability, wood tier mining, +2 mining speed, grants “Cultivated” (repairs itself)
Stone Head: 130 durability, stone tier mining, excellent mining speed, grants “Stone Bound”
Copper Head: 210 durability, can mine iron, 5 mining speed, grants “Dwarven” (mines faster the deeper you go)
Optimizing Your First Pickaxe
Based on the material properties, here’s the recommended approach for a balanced pickaxe:
Head: Copper (210 durability, can mine iron, 5 mining speed)
Handle: Copper (sacrifices 20% durability for 10% mining speed) or Chorus (adds 10% durability with slight mining speed loss)
Binding: String (grants “Stringy” modifier, allowing you to repair the tool with string)
This configuration gives you 168 durability, can mine iron, achieves 5.5 mining speed, and includes useful modifiers like “Dwarven 2”, “Pierce 1”, and “Stringy 1”.
Adding Modifiers
Modifiers enhance your tools with additional properties and capabilities. To add a modifier, access the Tinker Station and click the small anvil icon on the left.
For example, emerald is a common modifier that:
Increases durability based on the tool’s base durability
Boosts conditional damage effectiveness
Increases mining speed
Improves mining tier (can now mine higher-tier materials)
Adding an emerald to a stone pickaxe increases its durability from 117 to 175, reduces available upgrade slots from 3 to 2, and improves its mining capability from stone to iron tier.
Other useful modifiers include:
Diamond: Increases durability and mining speed
Redstone: Adds haste effect (can be applied in stacks of 9 using blocks)
Lapis Lazuli: Grants fortune effect (can be applied up to 45 times for maximum effect)
Building Your Smeltery
Why You Need a Smeltery
Once you have basic tools, the next crucial step is constructing a smeltery. A smeltery allows you to process ores into molten metals and create tier 2 materials (primarily alloys and ingots) that are significantly more powerful than basic tier 1 materials.
Tier 2 materials available through the smeltery include iron, seared stone, venom bone, and others depending on which mods are installed in your pack.
Gathering Resources: Seared Bricks
The foundation of any smeltery is seared bricks. The process is as follows:
Create grout by combining sand, gravel, and clay (the exact recipe can vary)
Smelt the grout in a furnace to create seared bricks
This is often the most tedious part of the early game. A practical approach is to craft several stacks of grout at the start, then smelt them in bulk.
Seared Heater vs. Seared Fuel Tank
You’ll need one of two heating mechanisms for your smeltery:
Seared Heater: Uses coal or any solid burnable fuel to heat a melter. Suitable for beginning smelting operations.
Seared Fuel Tank: Uses lava for heating. Some alloys require specific heat levels that only lava can provide. This is the recommended option if you can obtain it early.
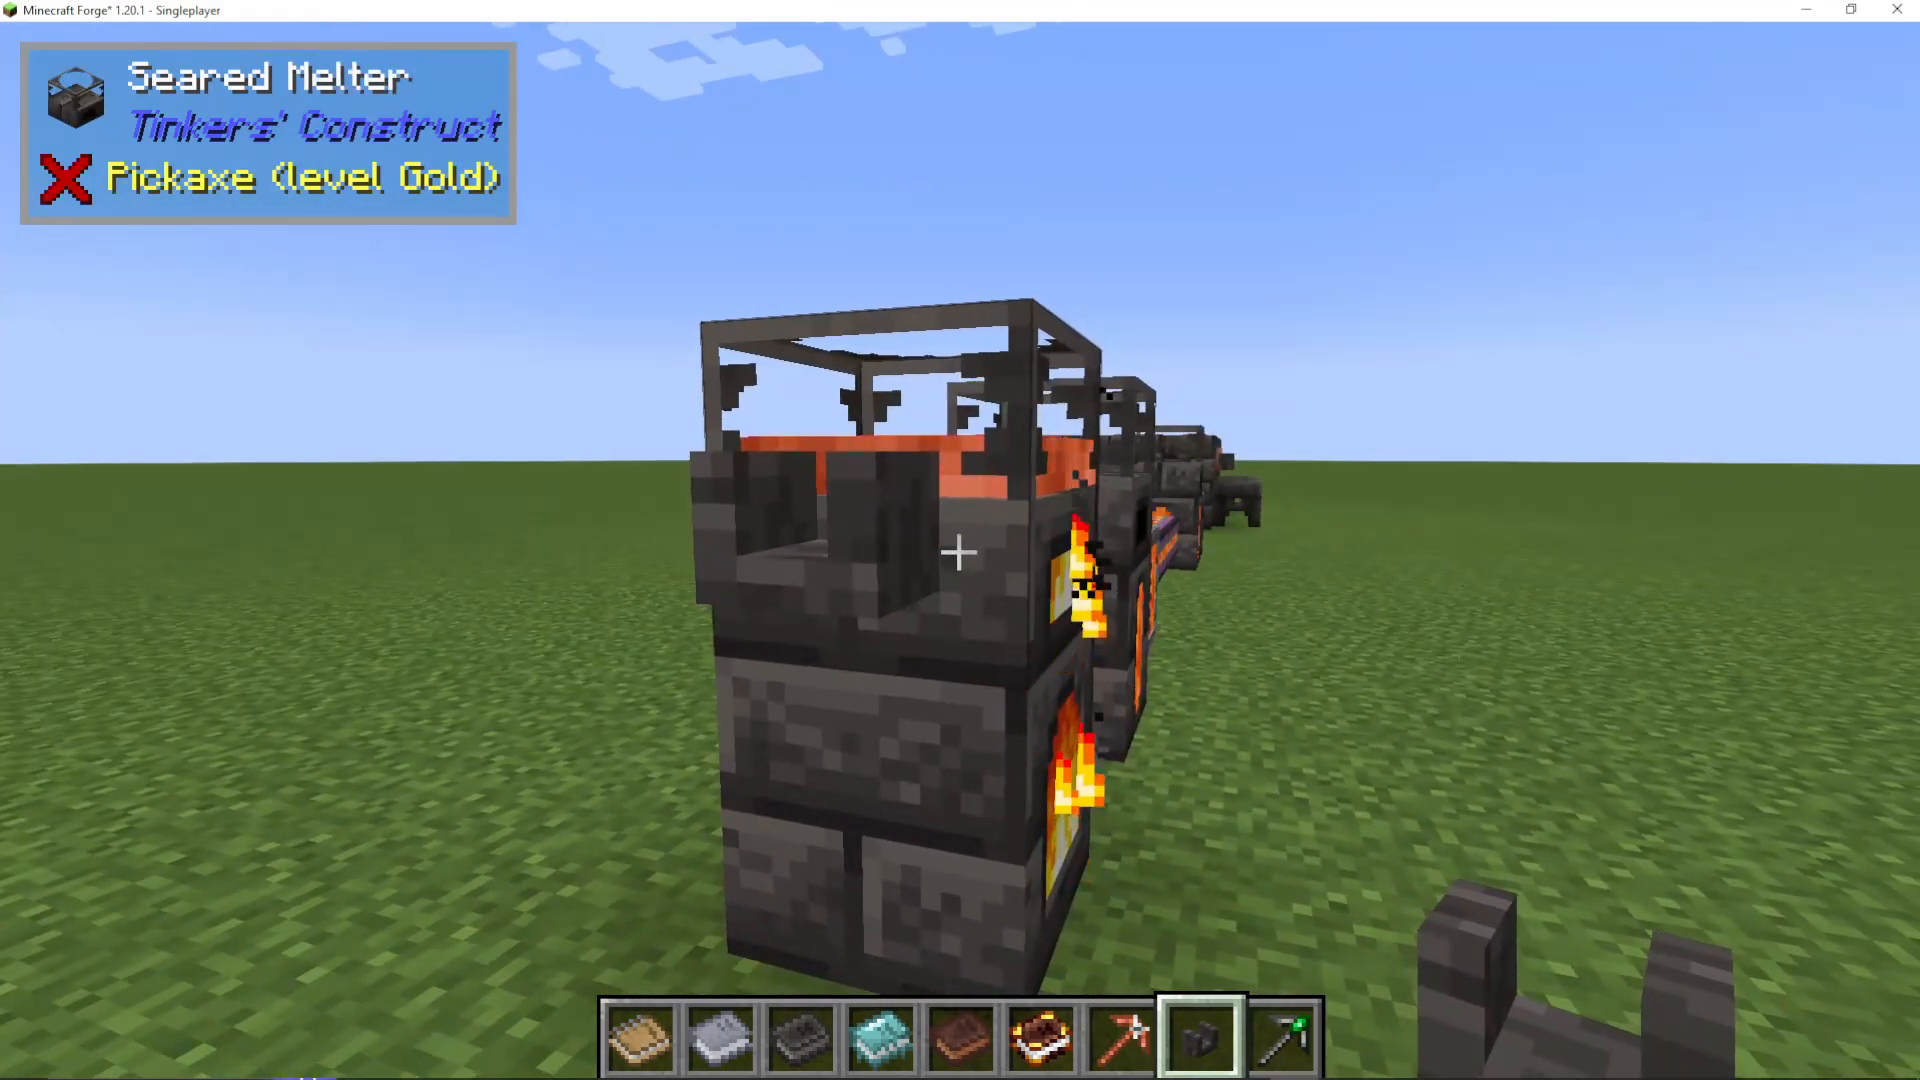
On top of either heater, you’ll place a Seared Melter—a small container for melting ore into molten metal.
The Seared Melter
The Seared Melter is a basic multiblock structure where you can smelt ores into liquid metal. Simply place raw ore (like copper) into the three input slots on the left, and the melter will heat it into molten form.
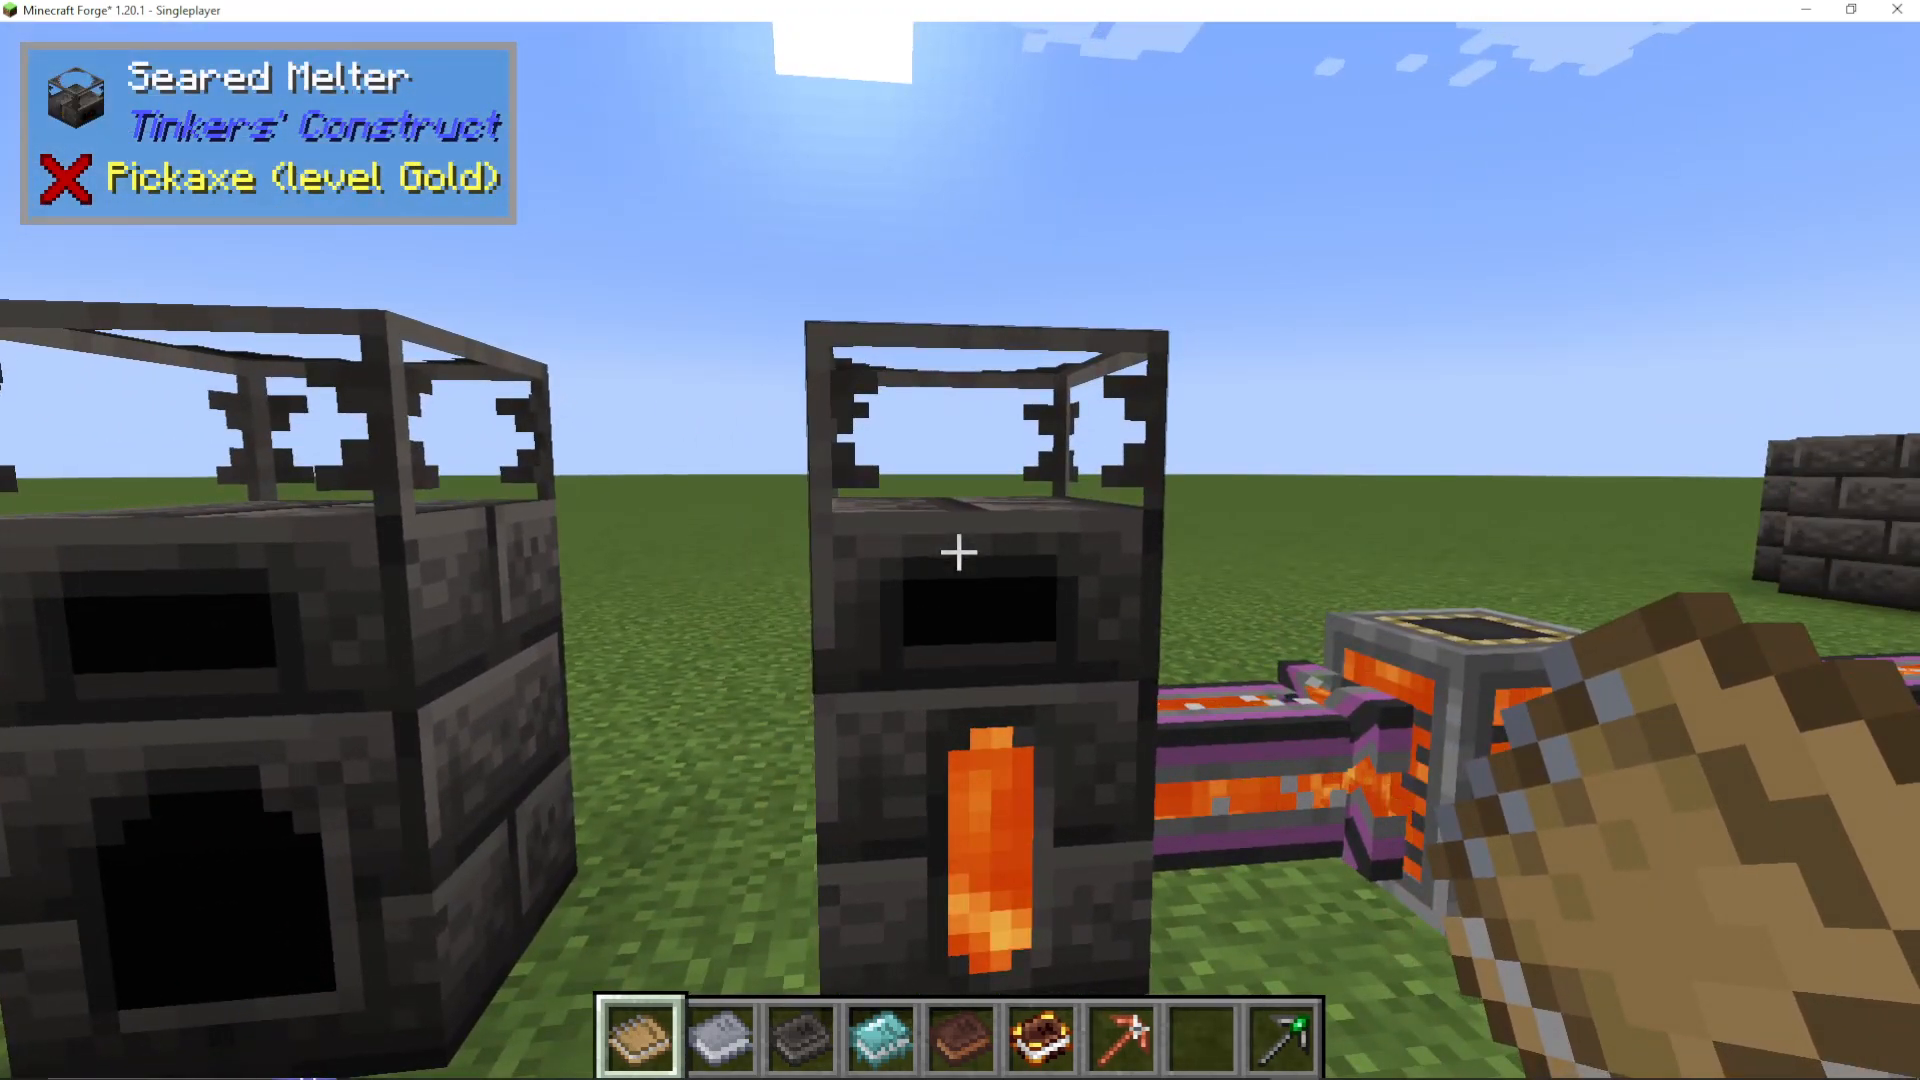
One significant limitation: the Seared Melter has very limited capacity. You’ll quickly realize you need to upgrade to a full smeltery.
Constructing the Smeltery
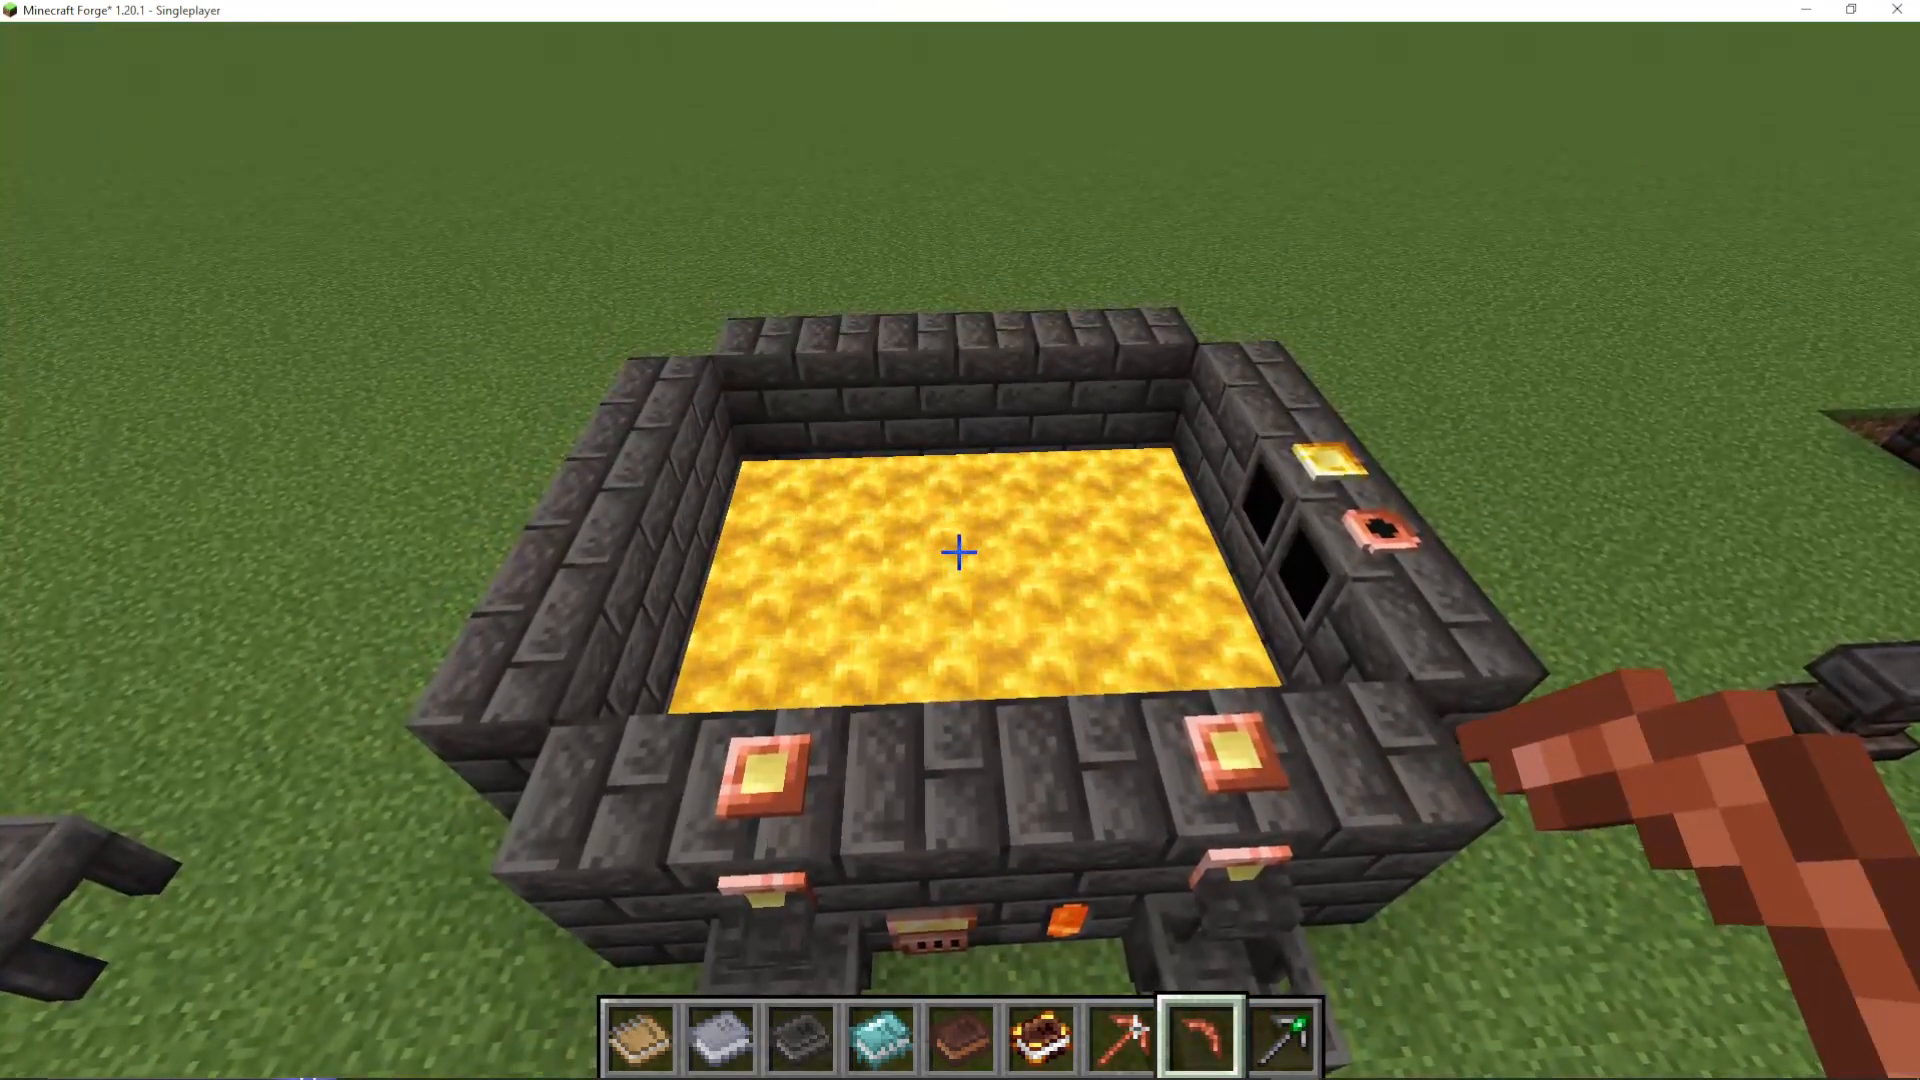
A full smeltery is a multiblock structure made entirely of seared bricks. You can make it any size you wish, but a minimum 3×3 structure works well for beginners. The structure should be:
Hollow in the center (this is where your molten metal pools)
Have a solid floor inside
Have a controller block placed in the multiblock
Creating the Smeltery Controller
The controller is the key component that activates your smeltery. To create one:
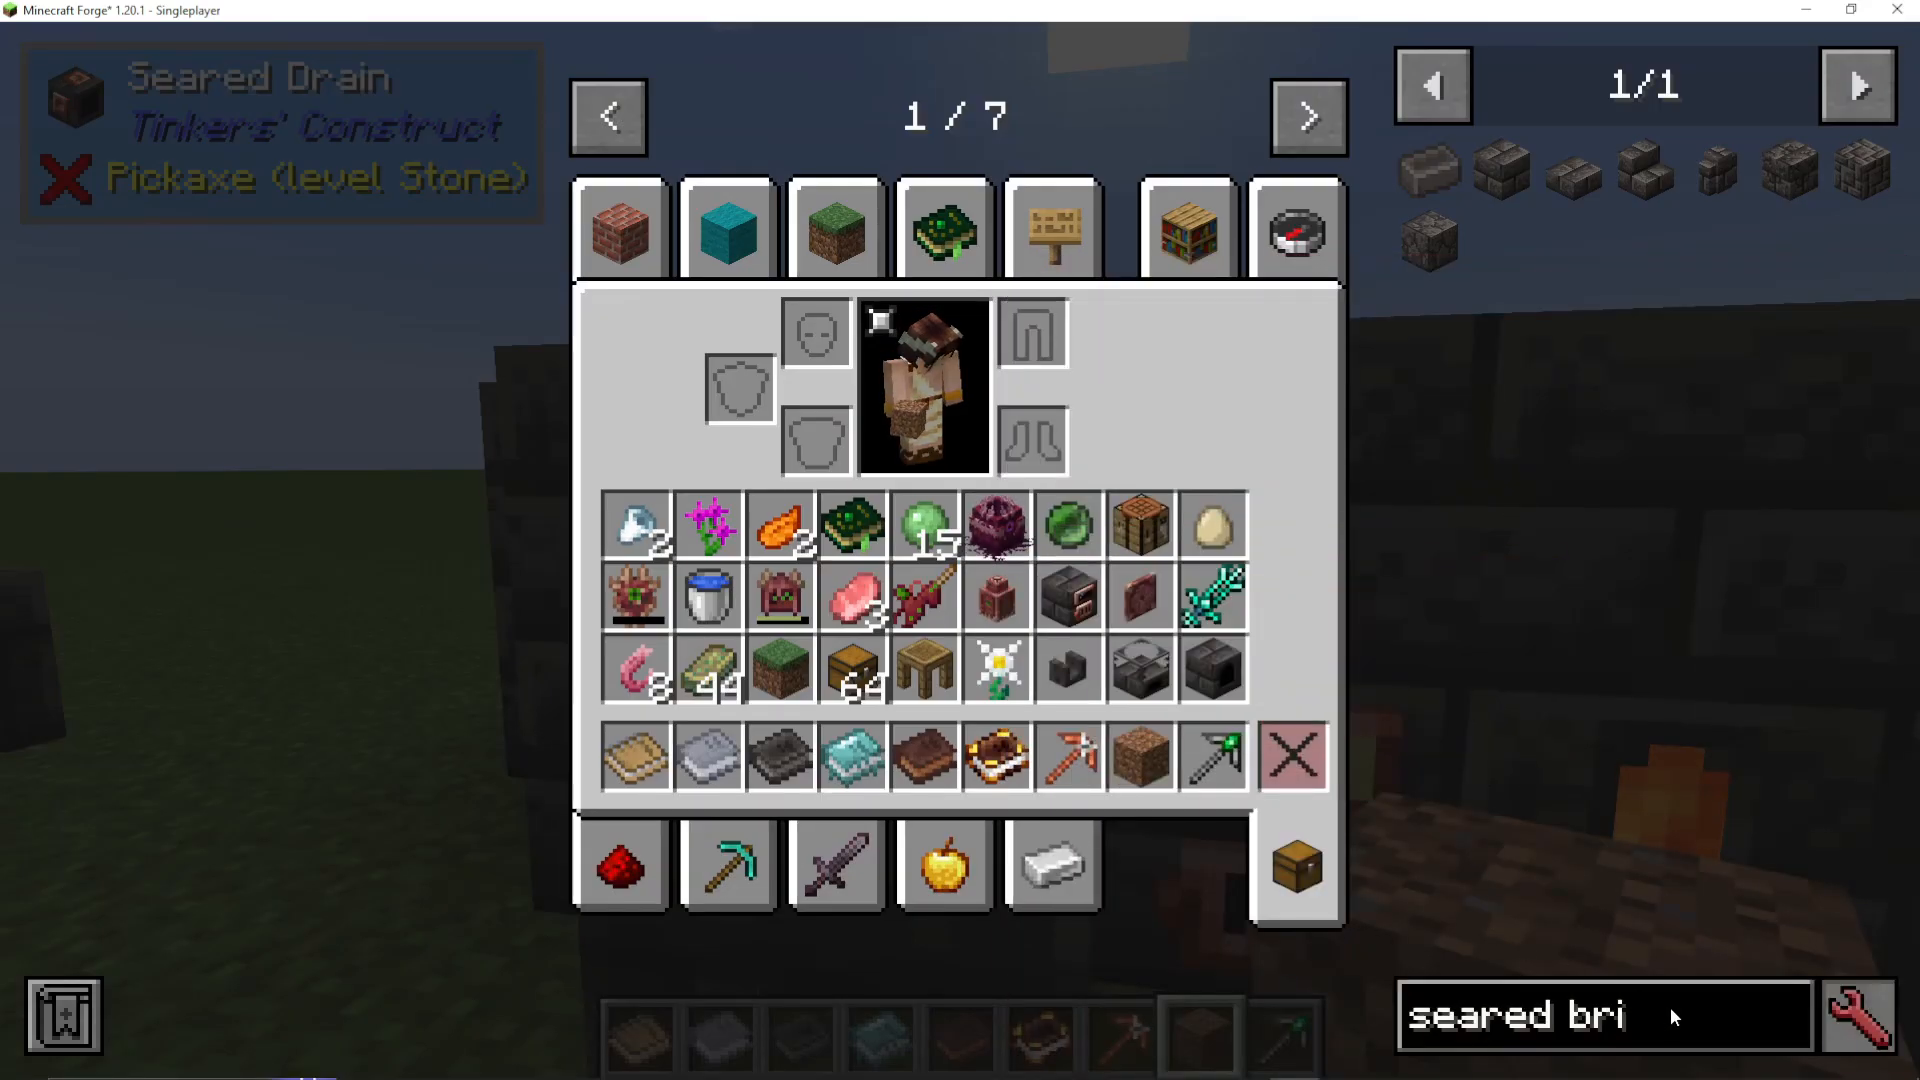
Place a Seared Casting Basin
Place a seared brick inside the basin
Pour molten copper over the seared brick from a source block or bucket
Once cooled, right-click the resulting cast to obtain the Smeltery Controller
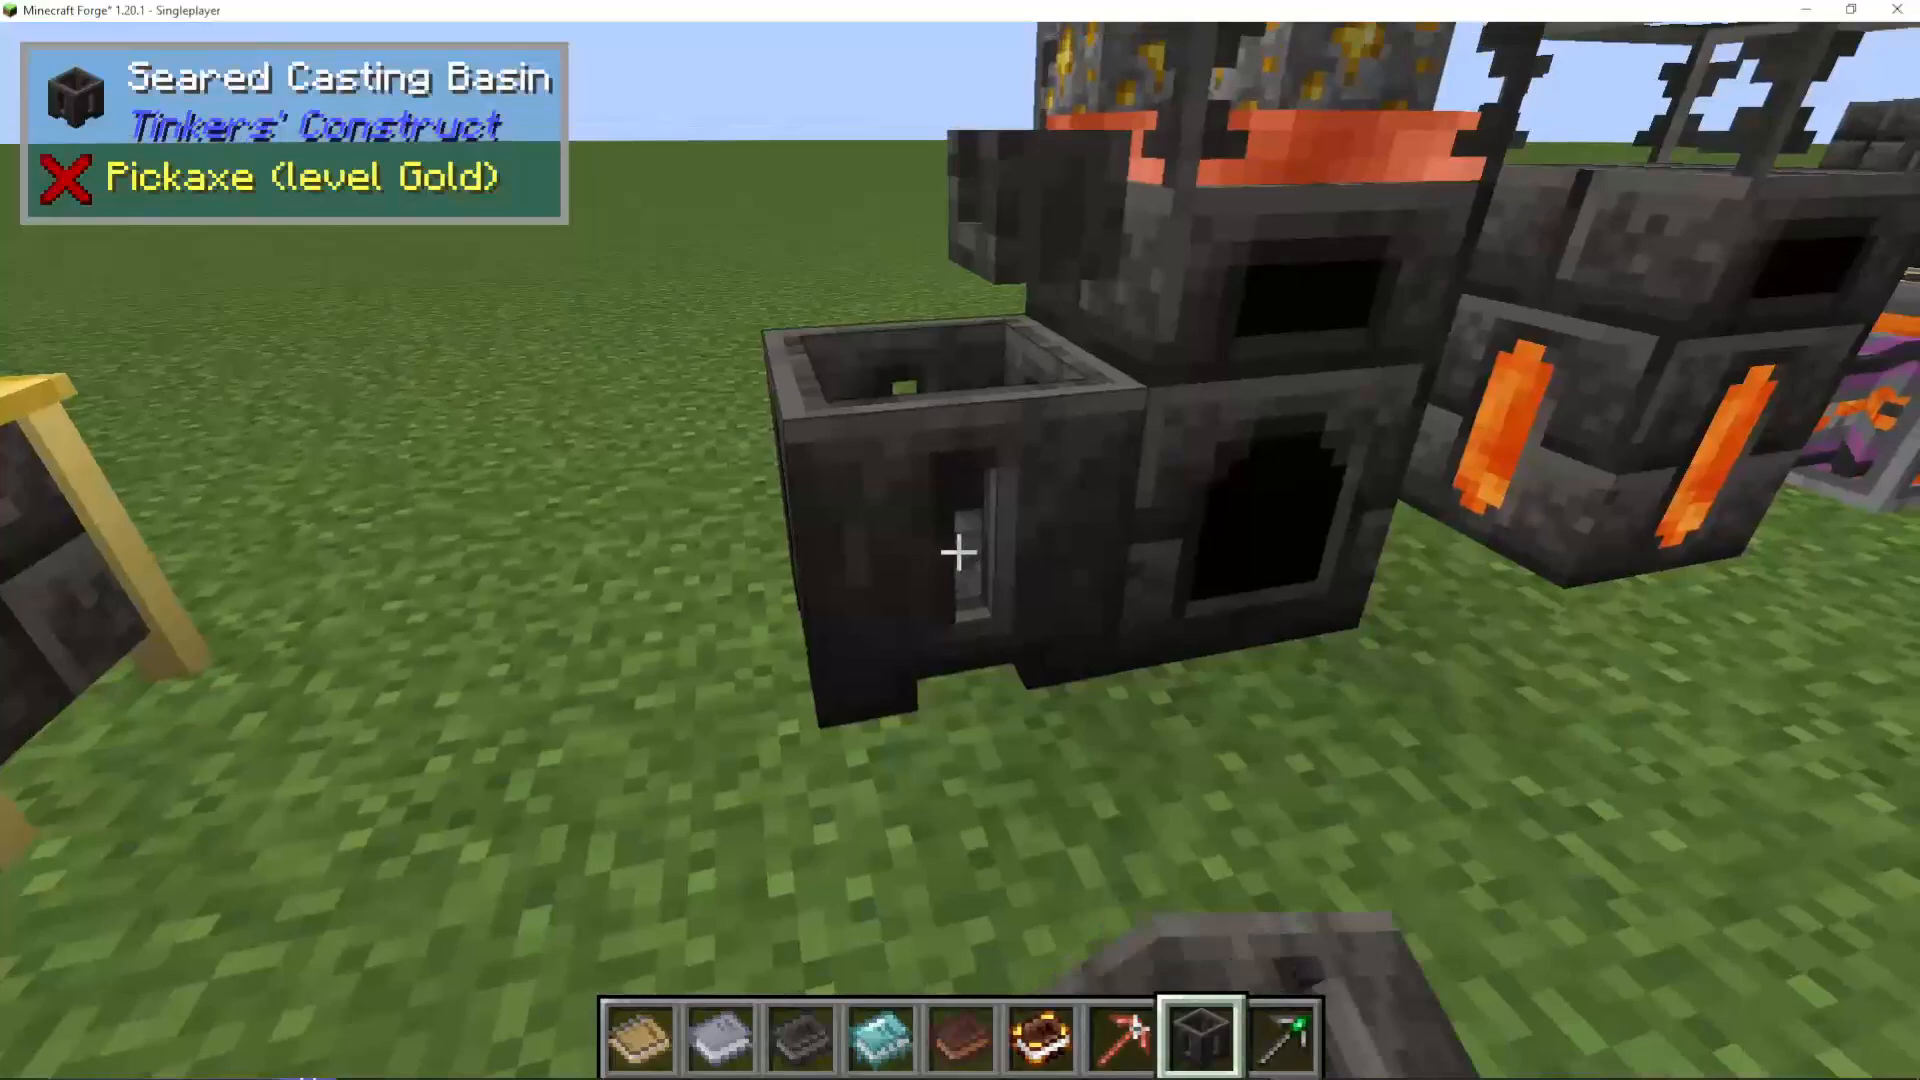
With the controller in place, your smeltery structure is now functional.
Essential Smeltery Components
Beyond the controller, you’ll need:
Seared Fuel Tank: Holds the lava or heating fuel. Can be filled using buckets or piping systems.
Seared Drains: Extract liquid metal from the smeltery. Made from two copper ingots and a seared brick. You’ll attach a faucet where the hole appears so molten metal can flow out.
Seared Casting Table: Allows you to pour molten metal into molds to create ingots or tool parts. Works with pre-made casts.
Seared Casting Basin: A larger casting surface that can create full blocks of metal instead of just ingots.
Cast Chest: Stores your casts for easy access and organization.
Working with Casts and Molten Metals
Understanding Casts
Casts are molds that shape molten metal into specific forms. To create a cast:
Craft a tool part in your Part Builder (e.g., a copper pickaxe head)
Place the part in a Seared Casting Table
Pour molten gold or copper around it to create the mold
Once a cast is created, you can reuse it indefinitely. Gold casts are permanent and reusable, while sand casts dissolve after one use.
Pouring and Prioritizing Metals
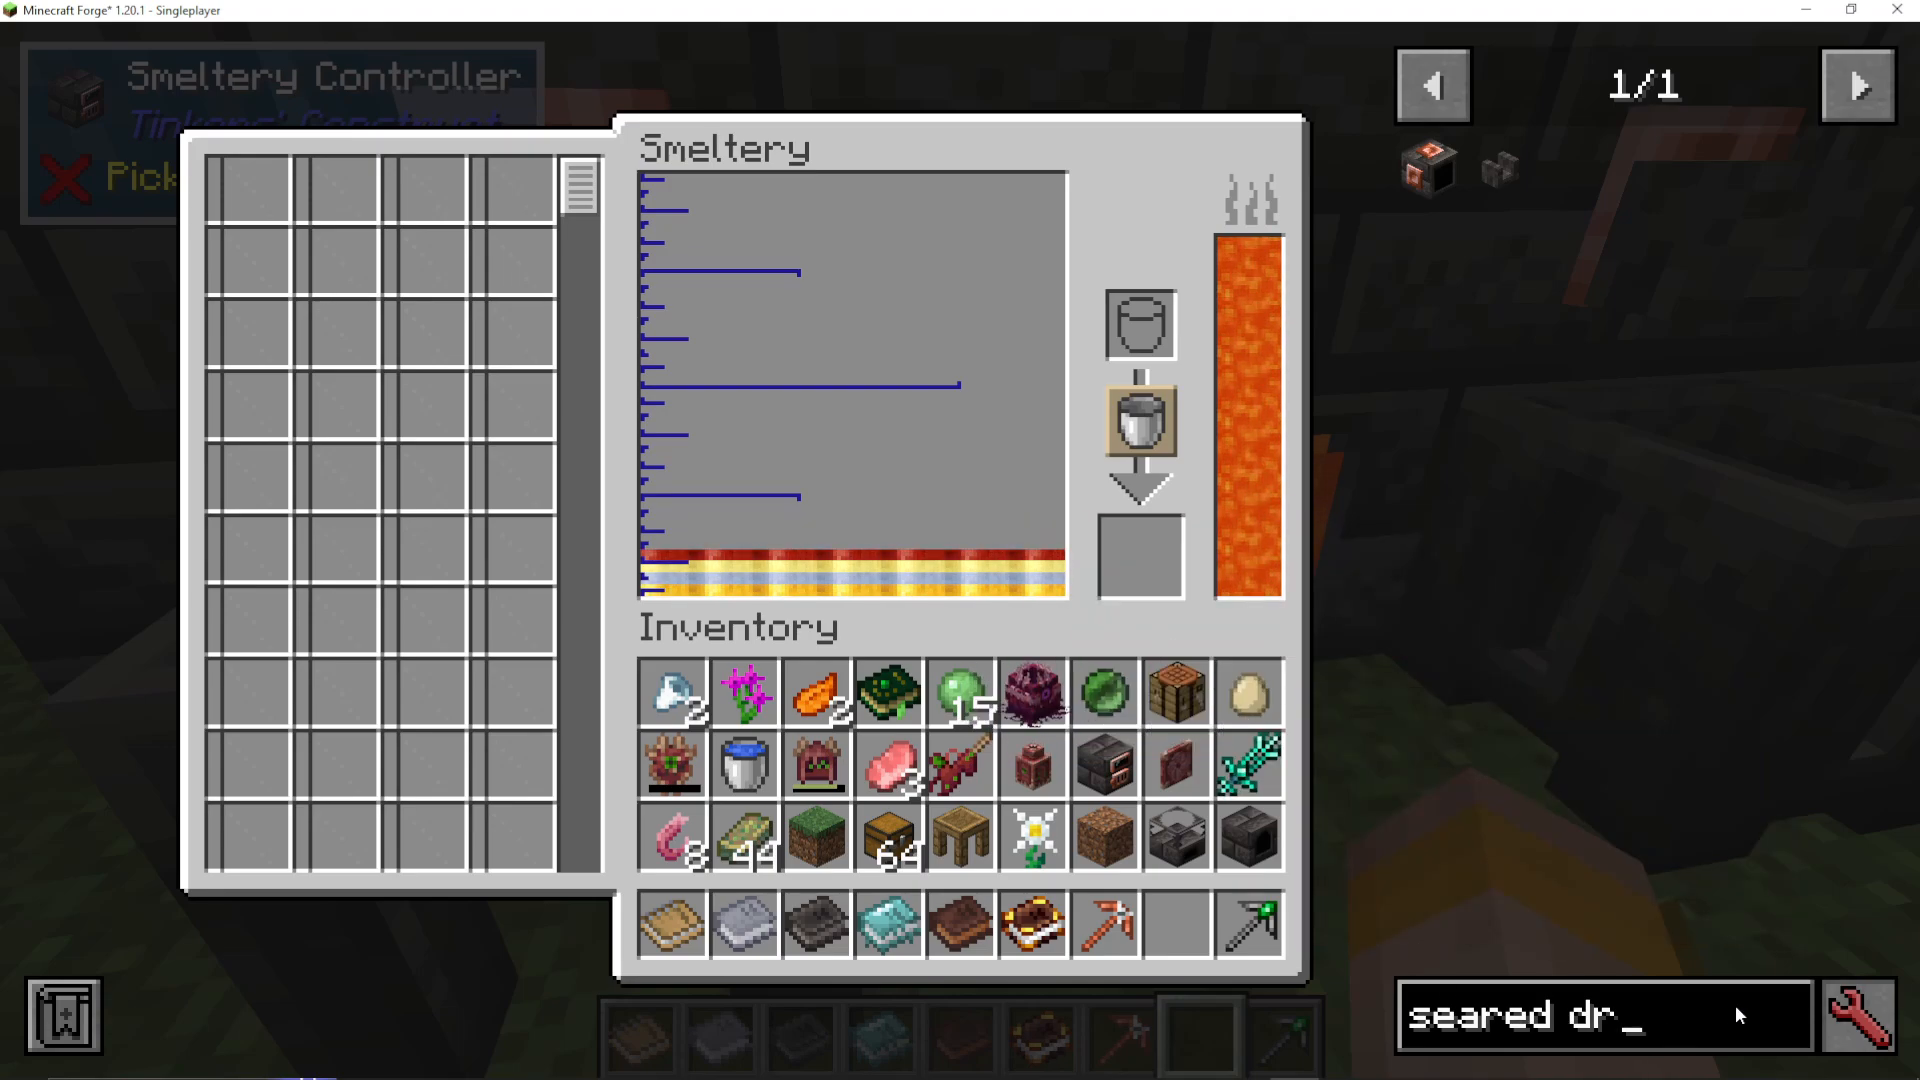
If you have multiple molten metals in your smeltery, you can control which one pours first:
Open the smeltery interface
Left-click on the metal you want to pour next to move it to the bottom of the queue
Right-click the faucet or drain to pour the metal
This is crucial because metals automatically alloy together in the smeltery. For example, molten gold and molten silver combine to create electrum. Plan your metal quantities carefully to avoid unwanted alloys.
Creating Alloys
Alloys are the primary way to create advanced materials in Tinkers Construct. The smeltery is the only method available for making alloy ingots. Some common alloys include electrum (gold + silver). Be mindful of what metals you combine to avoid creating unwanted alloys.
The Modifier Work Table
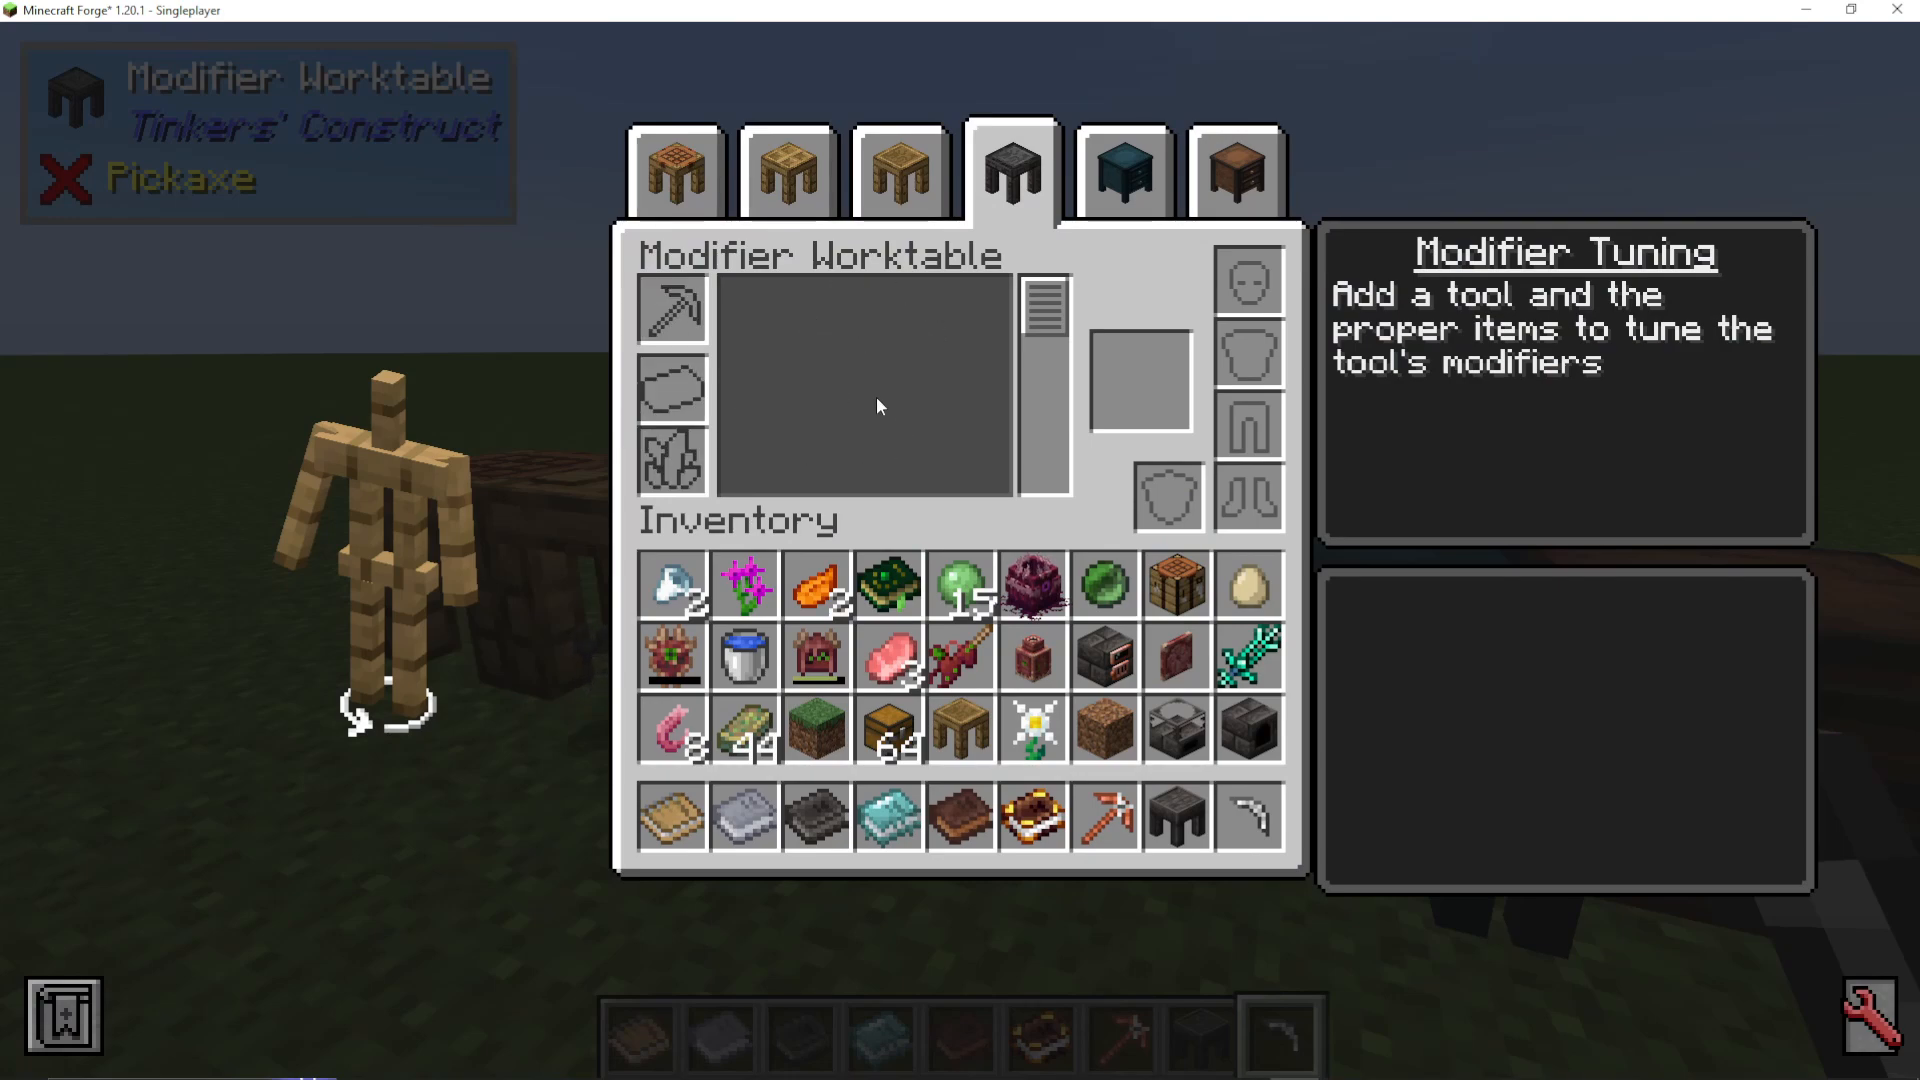
Once you have seared bricks, you can craft the Modifier Work Table—a superior version of the Tinker Station for adding modifiers to your gear. It provides more options and flexibility compared to the standard Tinker Station.
Automation and Advanced Techniques
Seared Casting Basin for Blocks
The Seared Casting Basin allows you to cast full blocks of metal instead of just ingots. You can automate this by adding:
Timers and levers to control continuous casting
Pipes or ducts to output the finished blocks
This creates a fully automated smelting and casting operation.
Ducts and Filtering
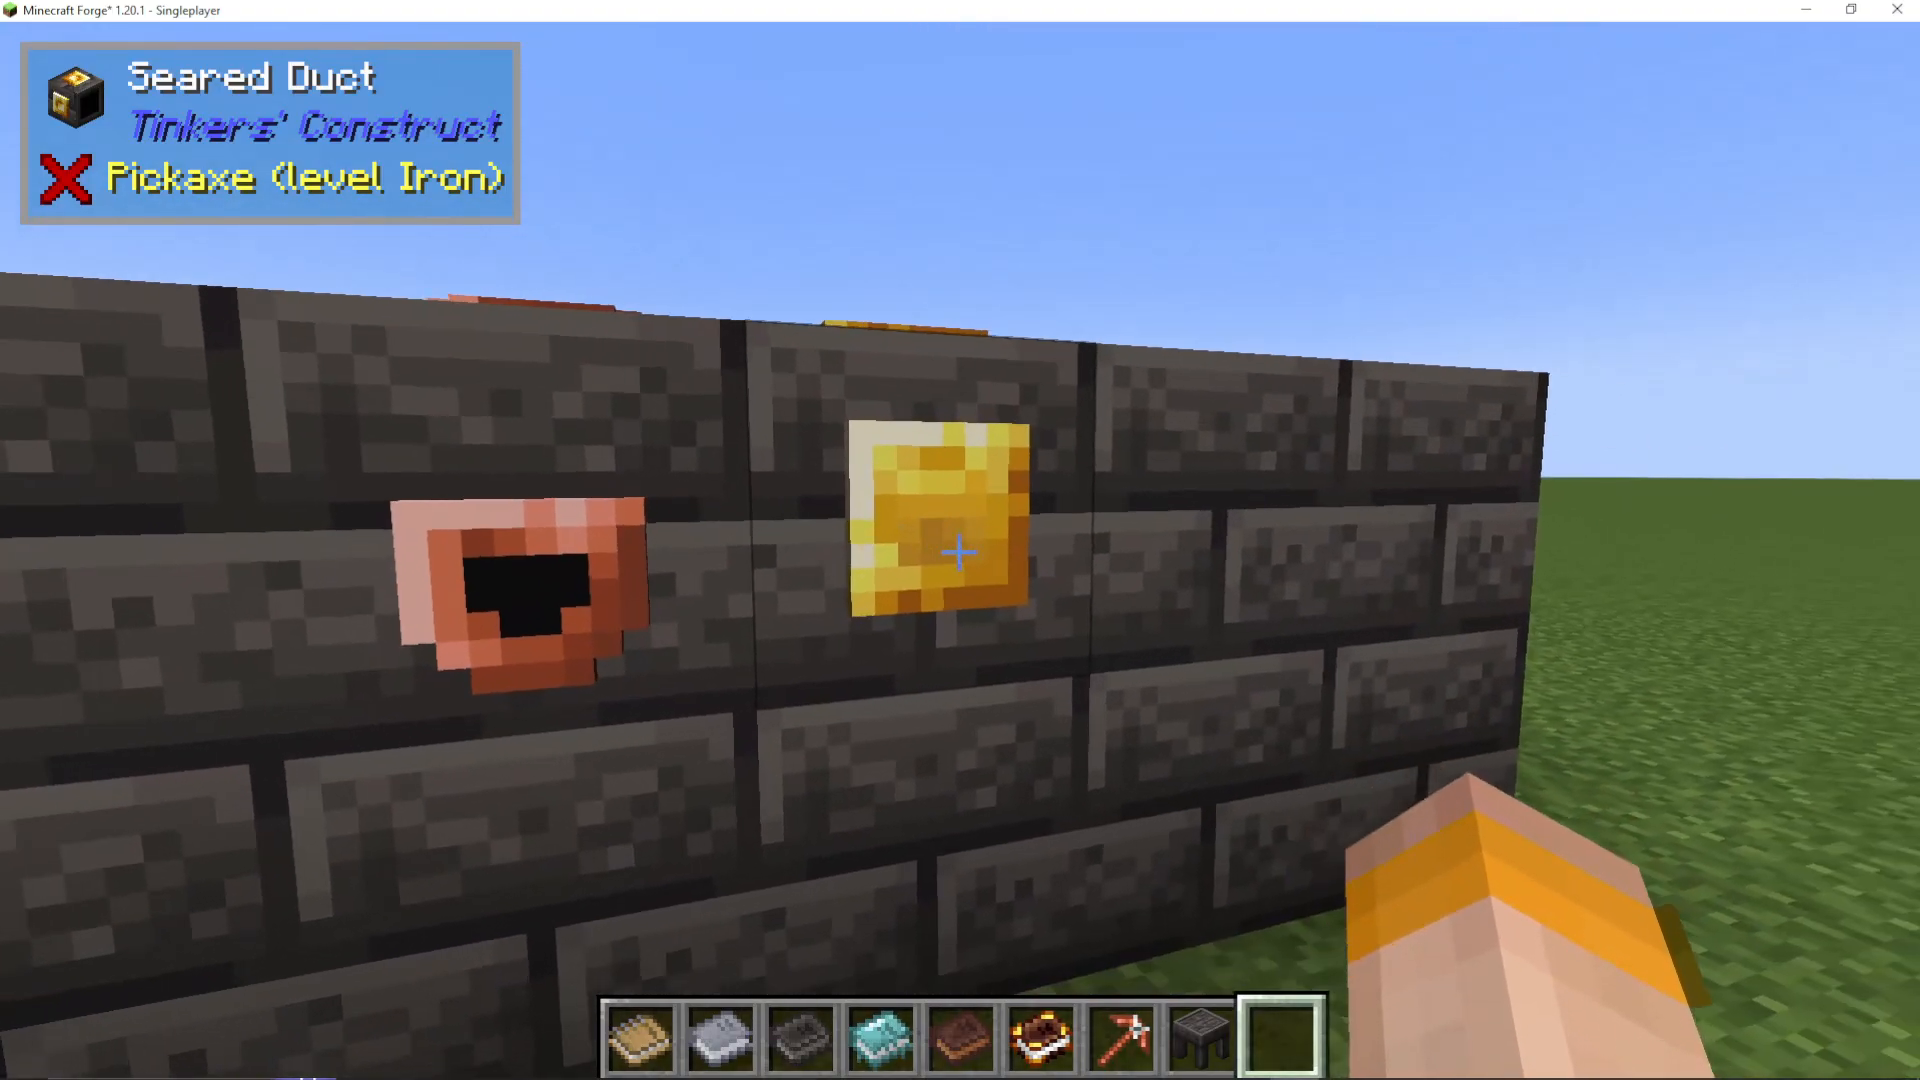
Ducts are filters that control which metals flow out of your smeltery. You can:
Fill a bucket with molten metal from your smeltery
Place the bucket into a Duct
The duct will now only output that specific metal
This is an excellent way to manage multiple metals flowing through your system.
Modifier Deep Dive: Lapis Lazuli
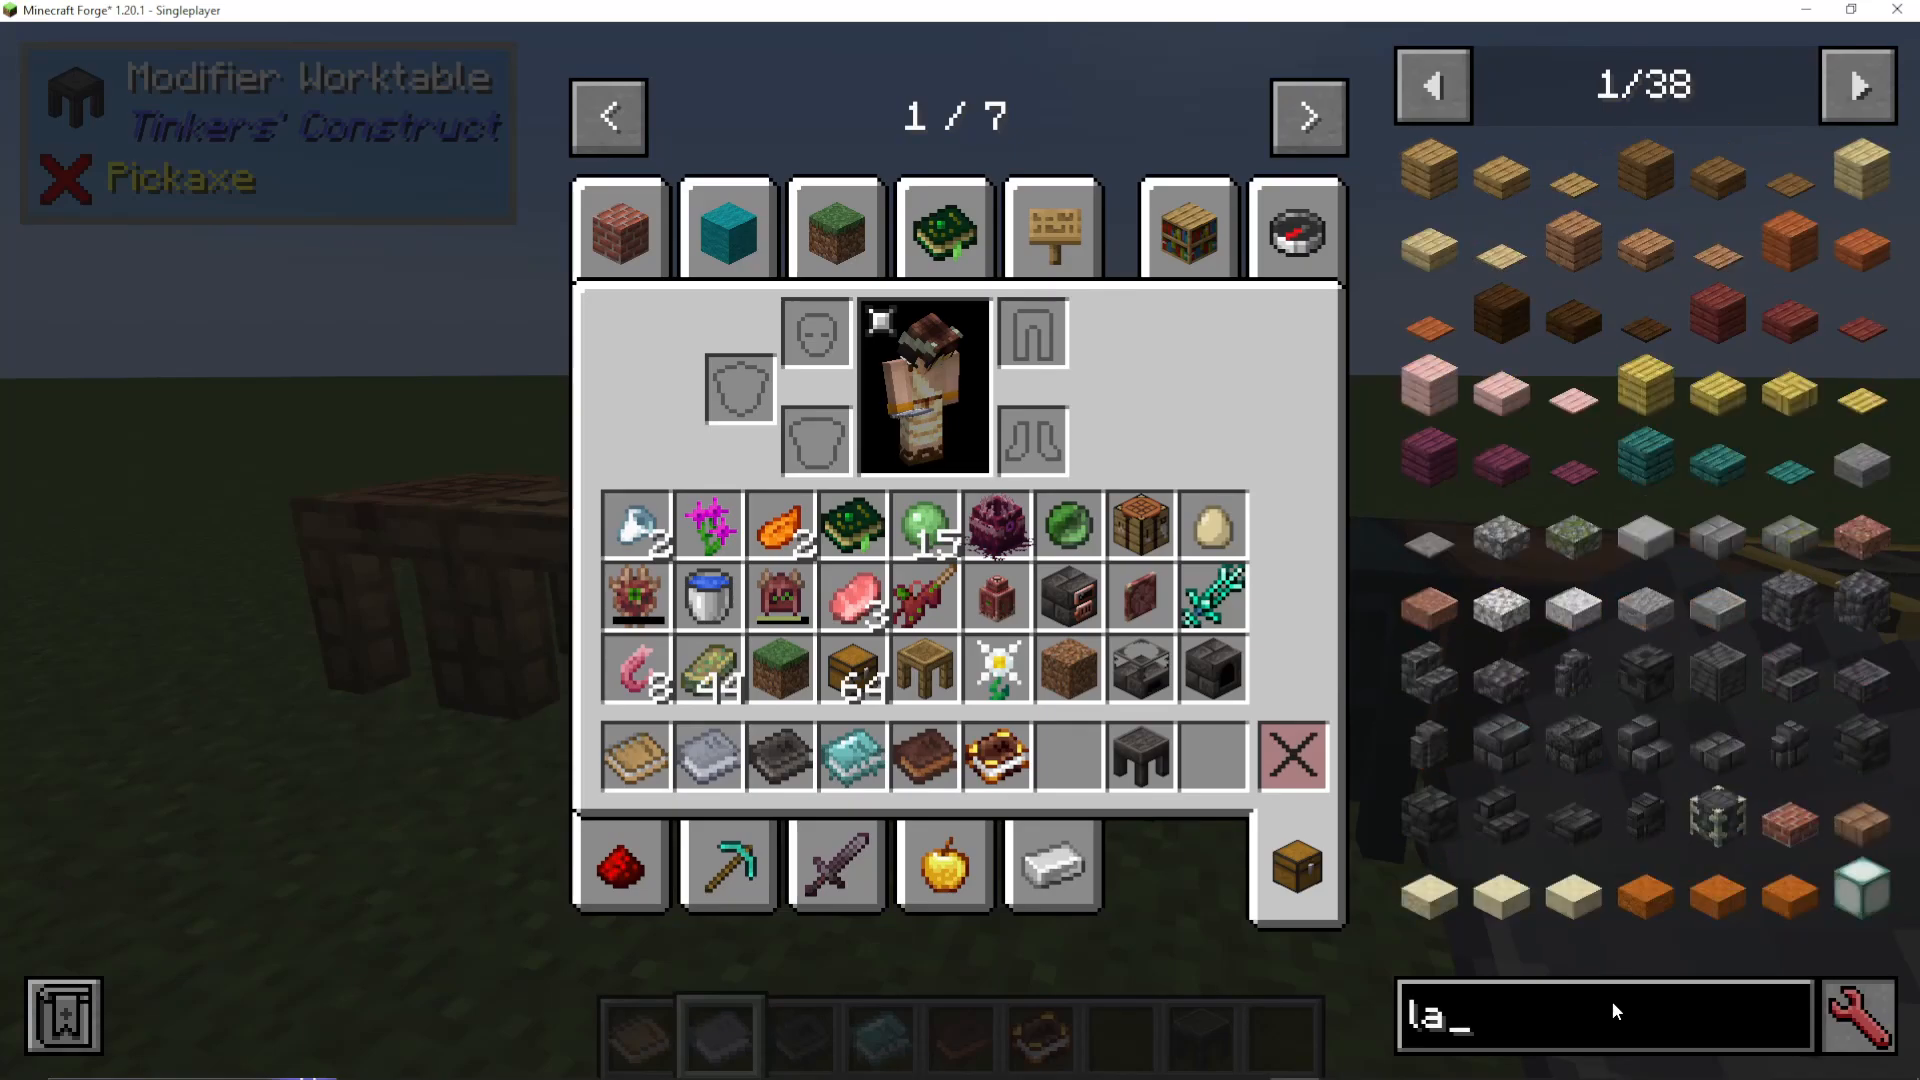
Some modifiers like lapis lazuli require multiple applications to reach full effectiveness. Lapis grants the fortune modifier, but it can be applied up to 45 times for maximum effect.
When you add lapis:
Each piece of lapis consumes one upgrade slot
The modifier level increases incrementally (1/45, 2/45, etc.)
You can use blocks of lapis to add 9 levels at a time, saving upgrade slots
Additional Resources: The Tinkers’ Smelting Book
As you progress, consult the Tinkers’ Smelting book, crafted from grout and a regular book. This guide covers:
Detailed smeltery mechanics
Advanced multiblock designs and configurations
Casting techniques and optimization
Automation strategies using levers, hoppers, and other blocks
Conclusion
You now have a complete understanding of Tinkers Construct’s early progression. Start by setting up your workstations, craft basic tier 1 tools, gather seared bricks, and build a smeltery to unlock tier 2 materials. From there, the mod opens up to countless customization possibilities. Experiment with different materials, combine modifiers strategically, and automate your smelting for maximum efficiency. The sky’s the limit in Tinkers Construct!
Want to Support?
If you would like to help us continue making these guides – please consider joining our patreon here – https://www.patreon.com/c/JaviHeals
Alternatively – we host a group of MC Servers you can join here – https://discord.gg/zD7Gjt6MHF



