







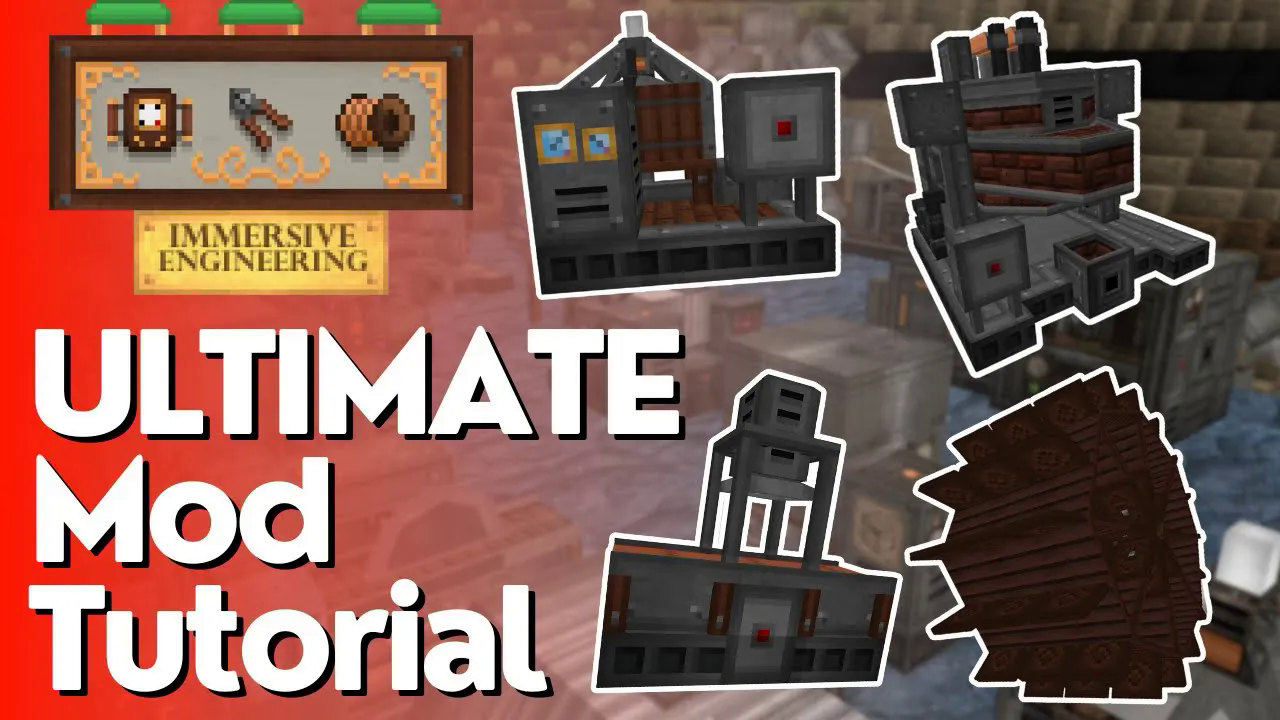
The Ultimate Immersive Engineering Guide
The Ultimate Immersive Engineering Guide
Welcome to the complete beginner’s guide to Immersive Engineering! This comprehensive tutorial will walk you through everything you need to know about this incredible Minecraft mod—from finding your first ores to automating complex production chains. Whether you’re just starting out or looking to optimize your setup, this guide covers all the essential tools, machines, and techniques you’ll need to master Immersive Engineering.
Getting Started: Ores and Basic Tools
Finding Ores
When you begin with Immersive Engineering, you’ll be finding ores buried in the ground, including Lead, Bauxite, Nickel, Silver, and Uranium. These ores spawn at a variety of different heights—generally much higher than Diamond level. This means you’ll need to mine deeper and explore more to find them effectively.
The Engineer’s Manual
The first thing you can craft is the Engineer’s Manual using a book and a lever. This manual contains everything you need to know about Immersive Engineering; however, you won’t really need it since you have this guide!
Essential Tools: Hammer and Wire Cutters
The first actual items you should craft are the Engineer’s Hammer and the Engineer’s Wire Cutters. The hammer is crucial for completing the multi-block structures you’ll be building throughout the mod. It’s also incredibly useful for making plates out of ingots—something that will be used in many Immersive Engineering recipes.
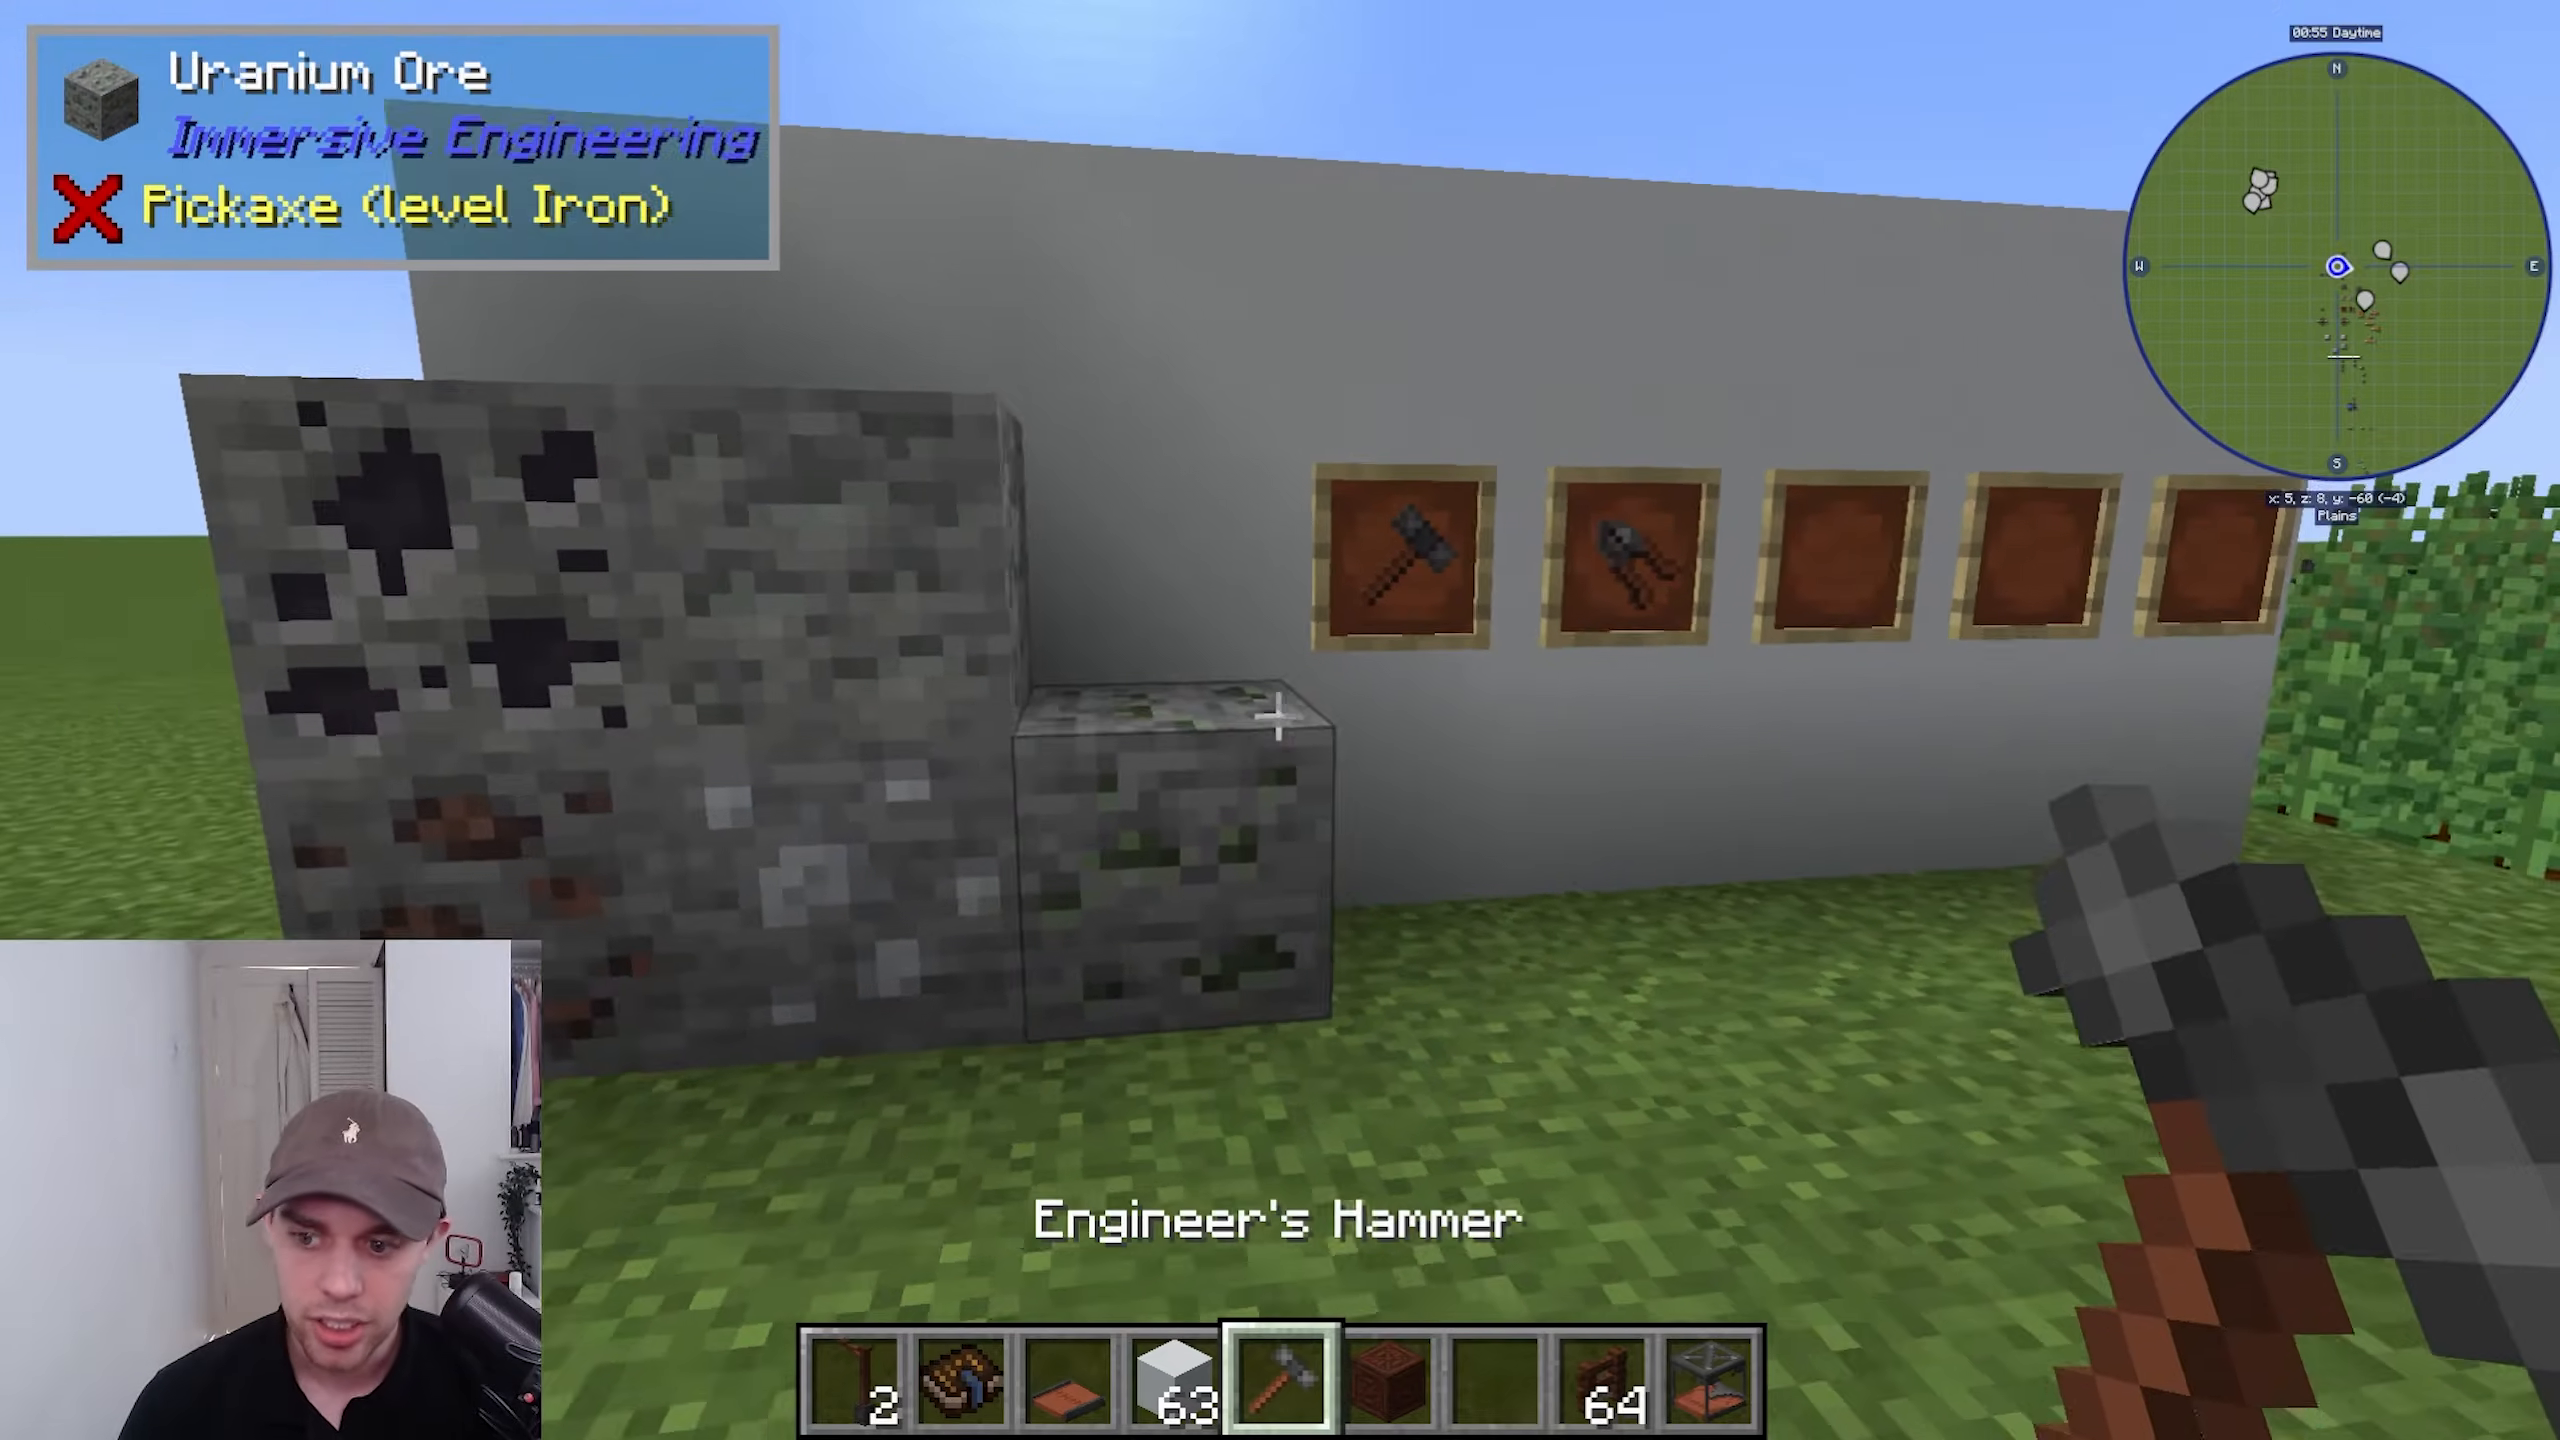
The Engineer’s Wire Cutters are used to cut the plates you’ve made with the hammer and turn them into wires. Wires are essential for transporting electricity around your base and are used in a variety of recipes.
Creating Alloys
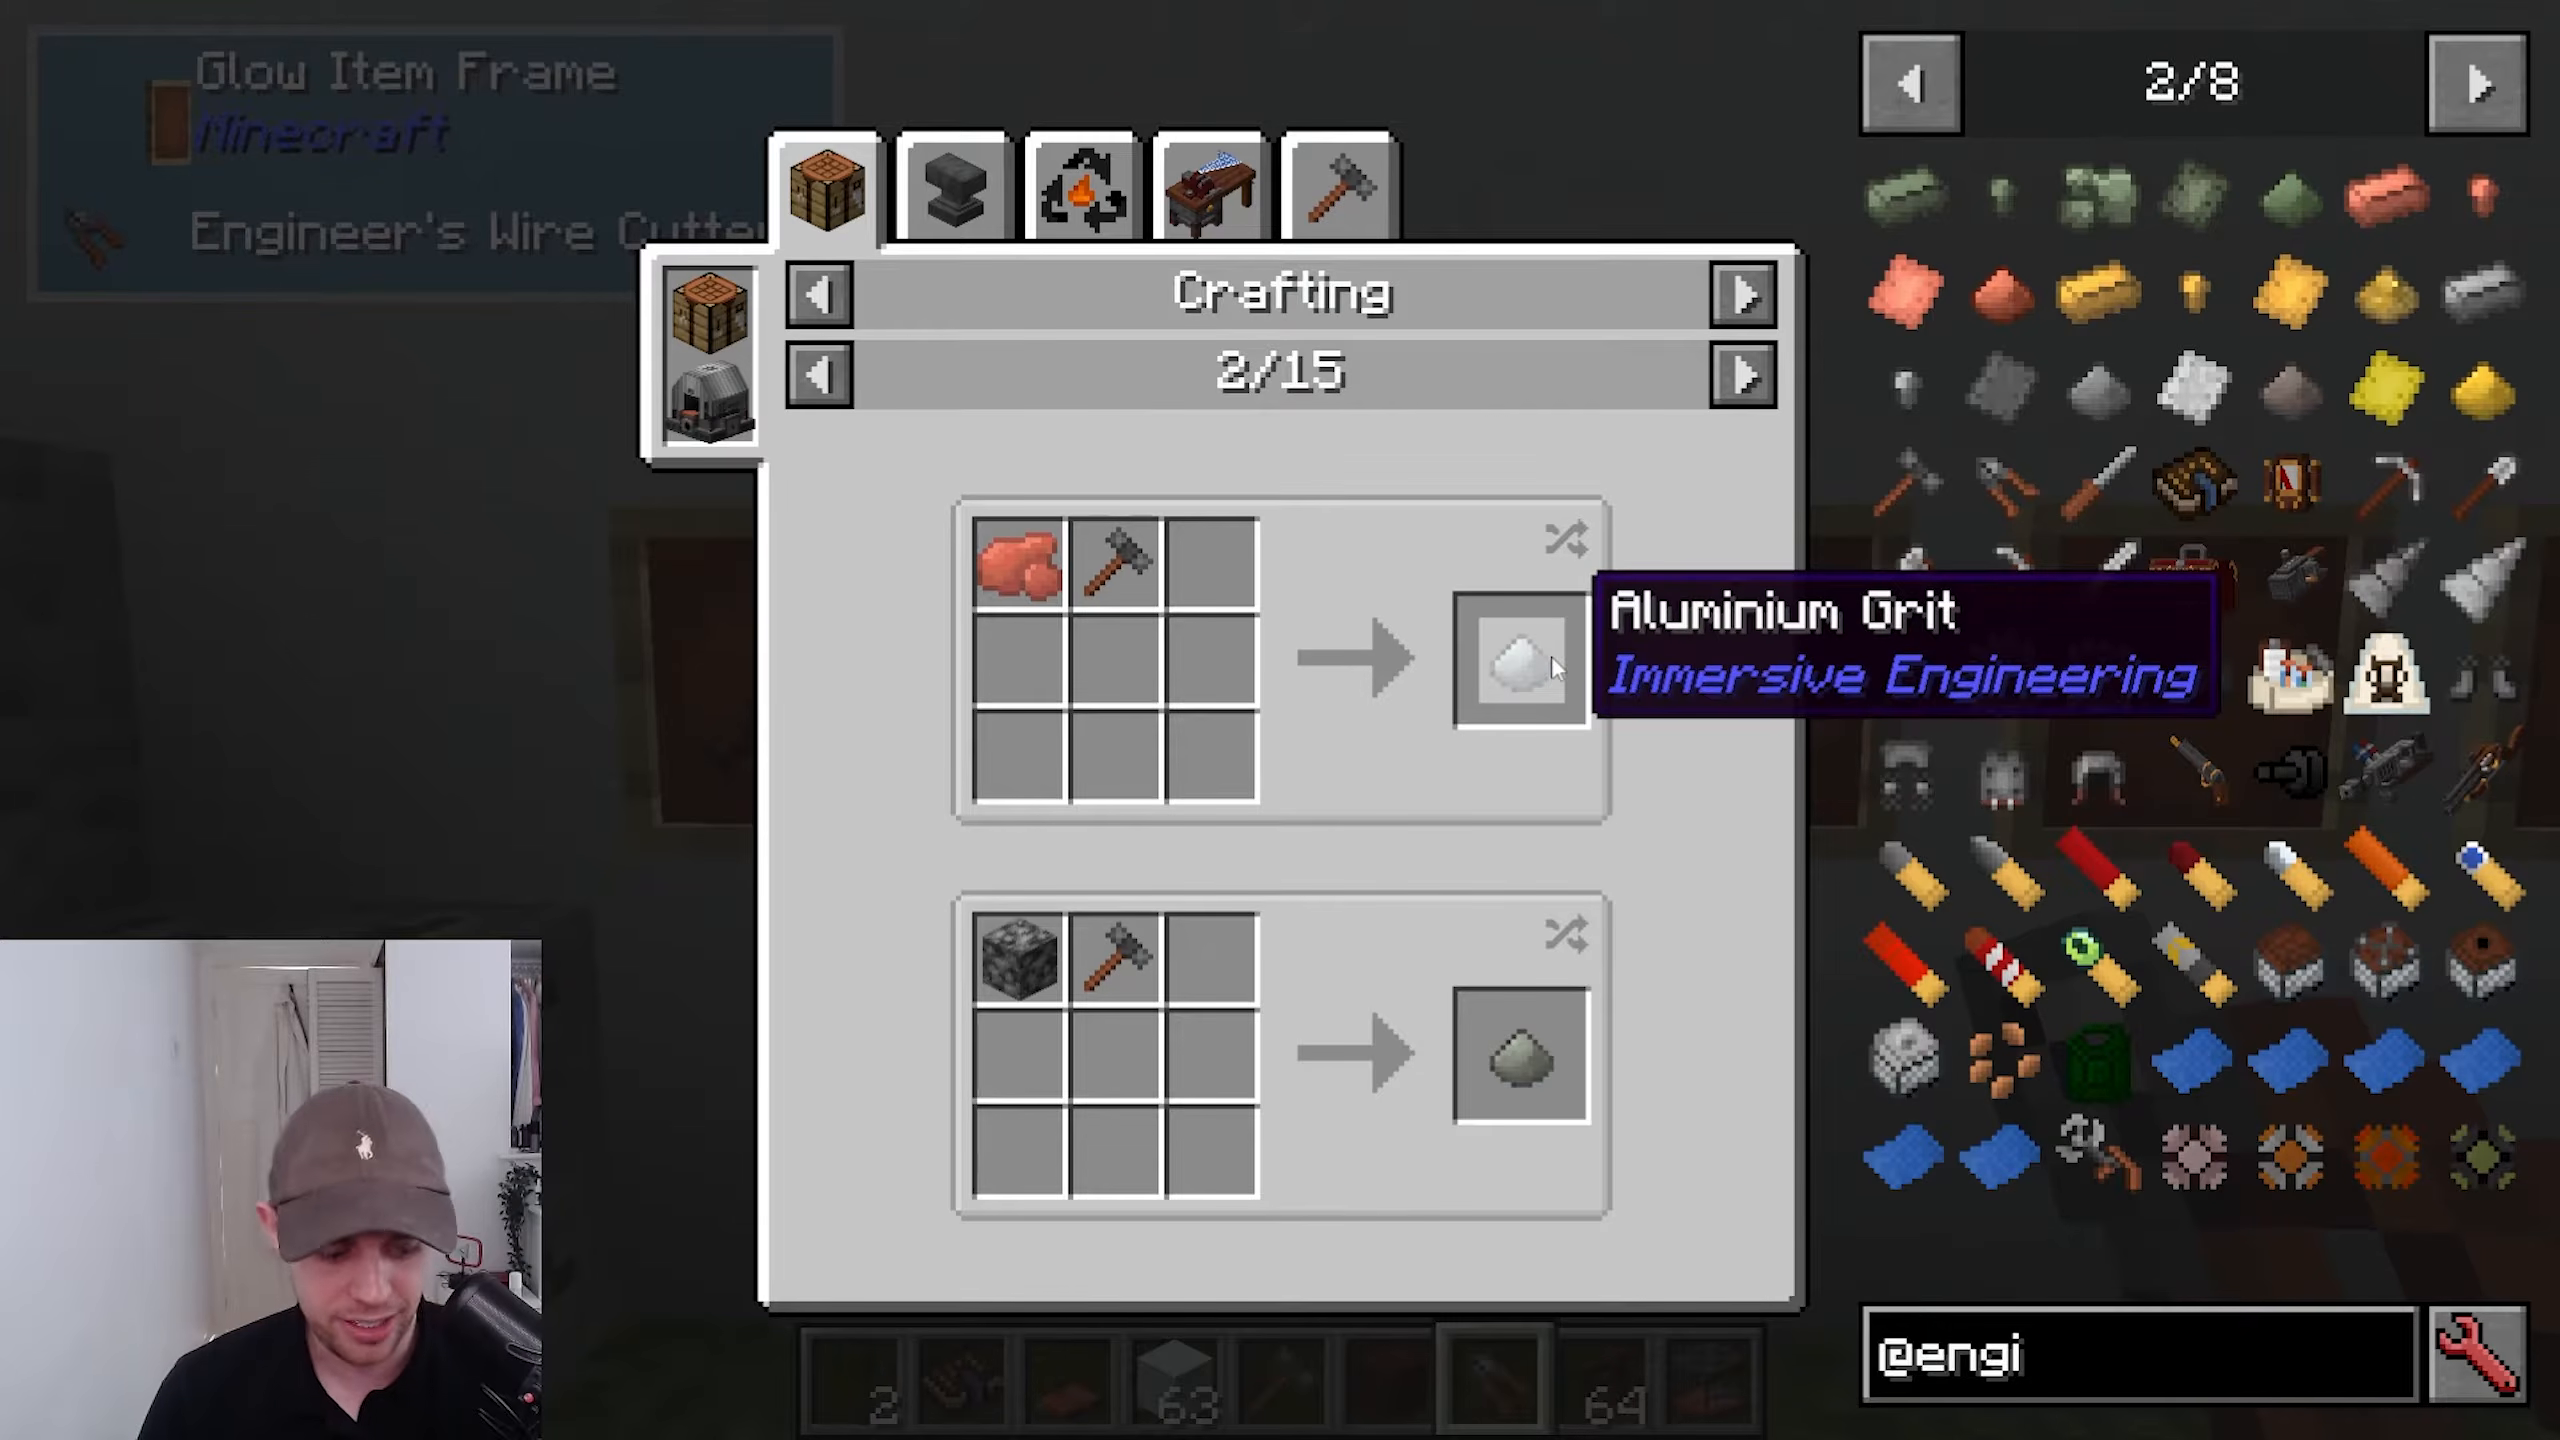
Immersive Engineering includes several alloys you can create, such as Electrum. To make these alloys, you’ll need to smash your ores into grit first. For example, you can combine Silver Grit and Gold Grit to make Electrum Grit, which can then be smelted into Electrum ingots. This is how you create your alloys in the mod.
Early Game Materials: Treated Wood
Storage Solutions: Wooden Crates and Barrels
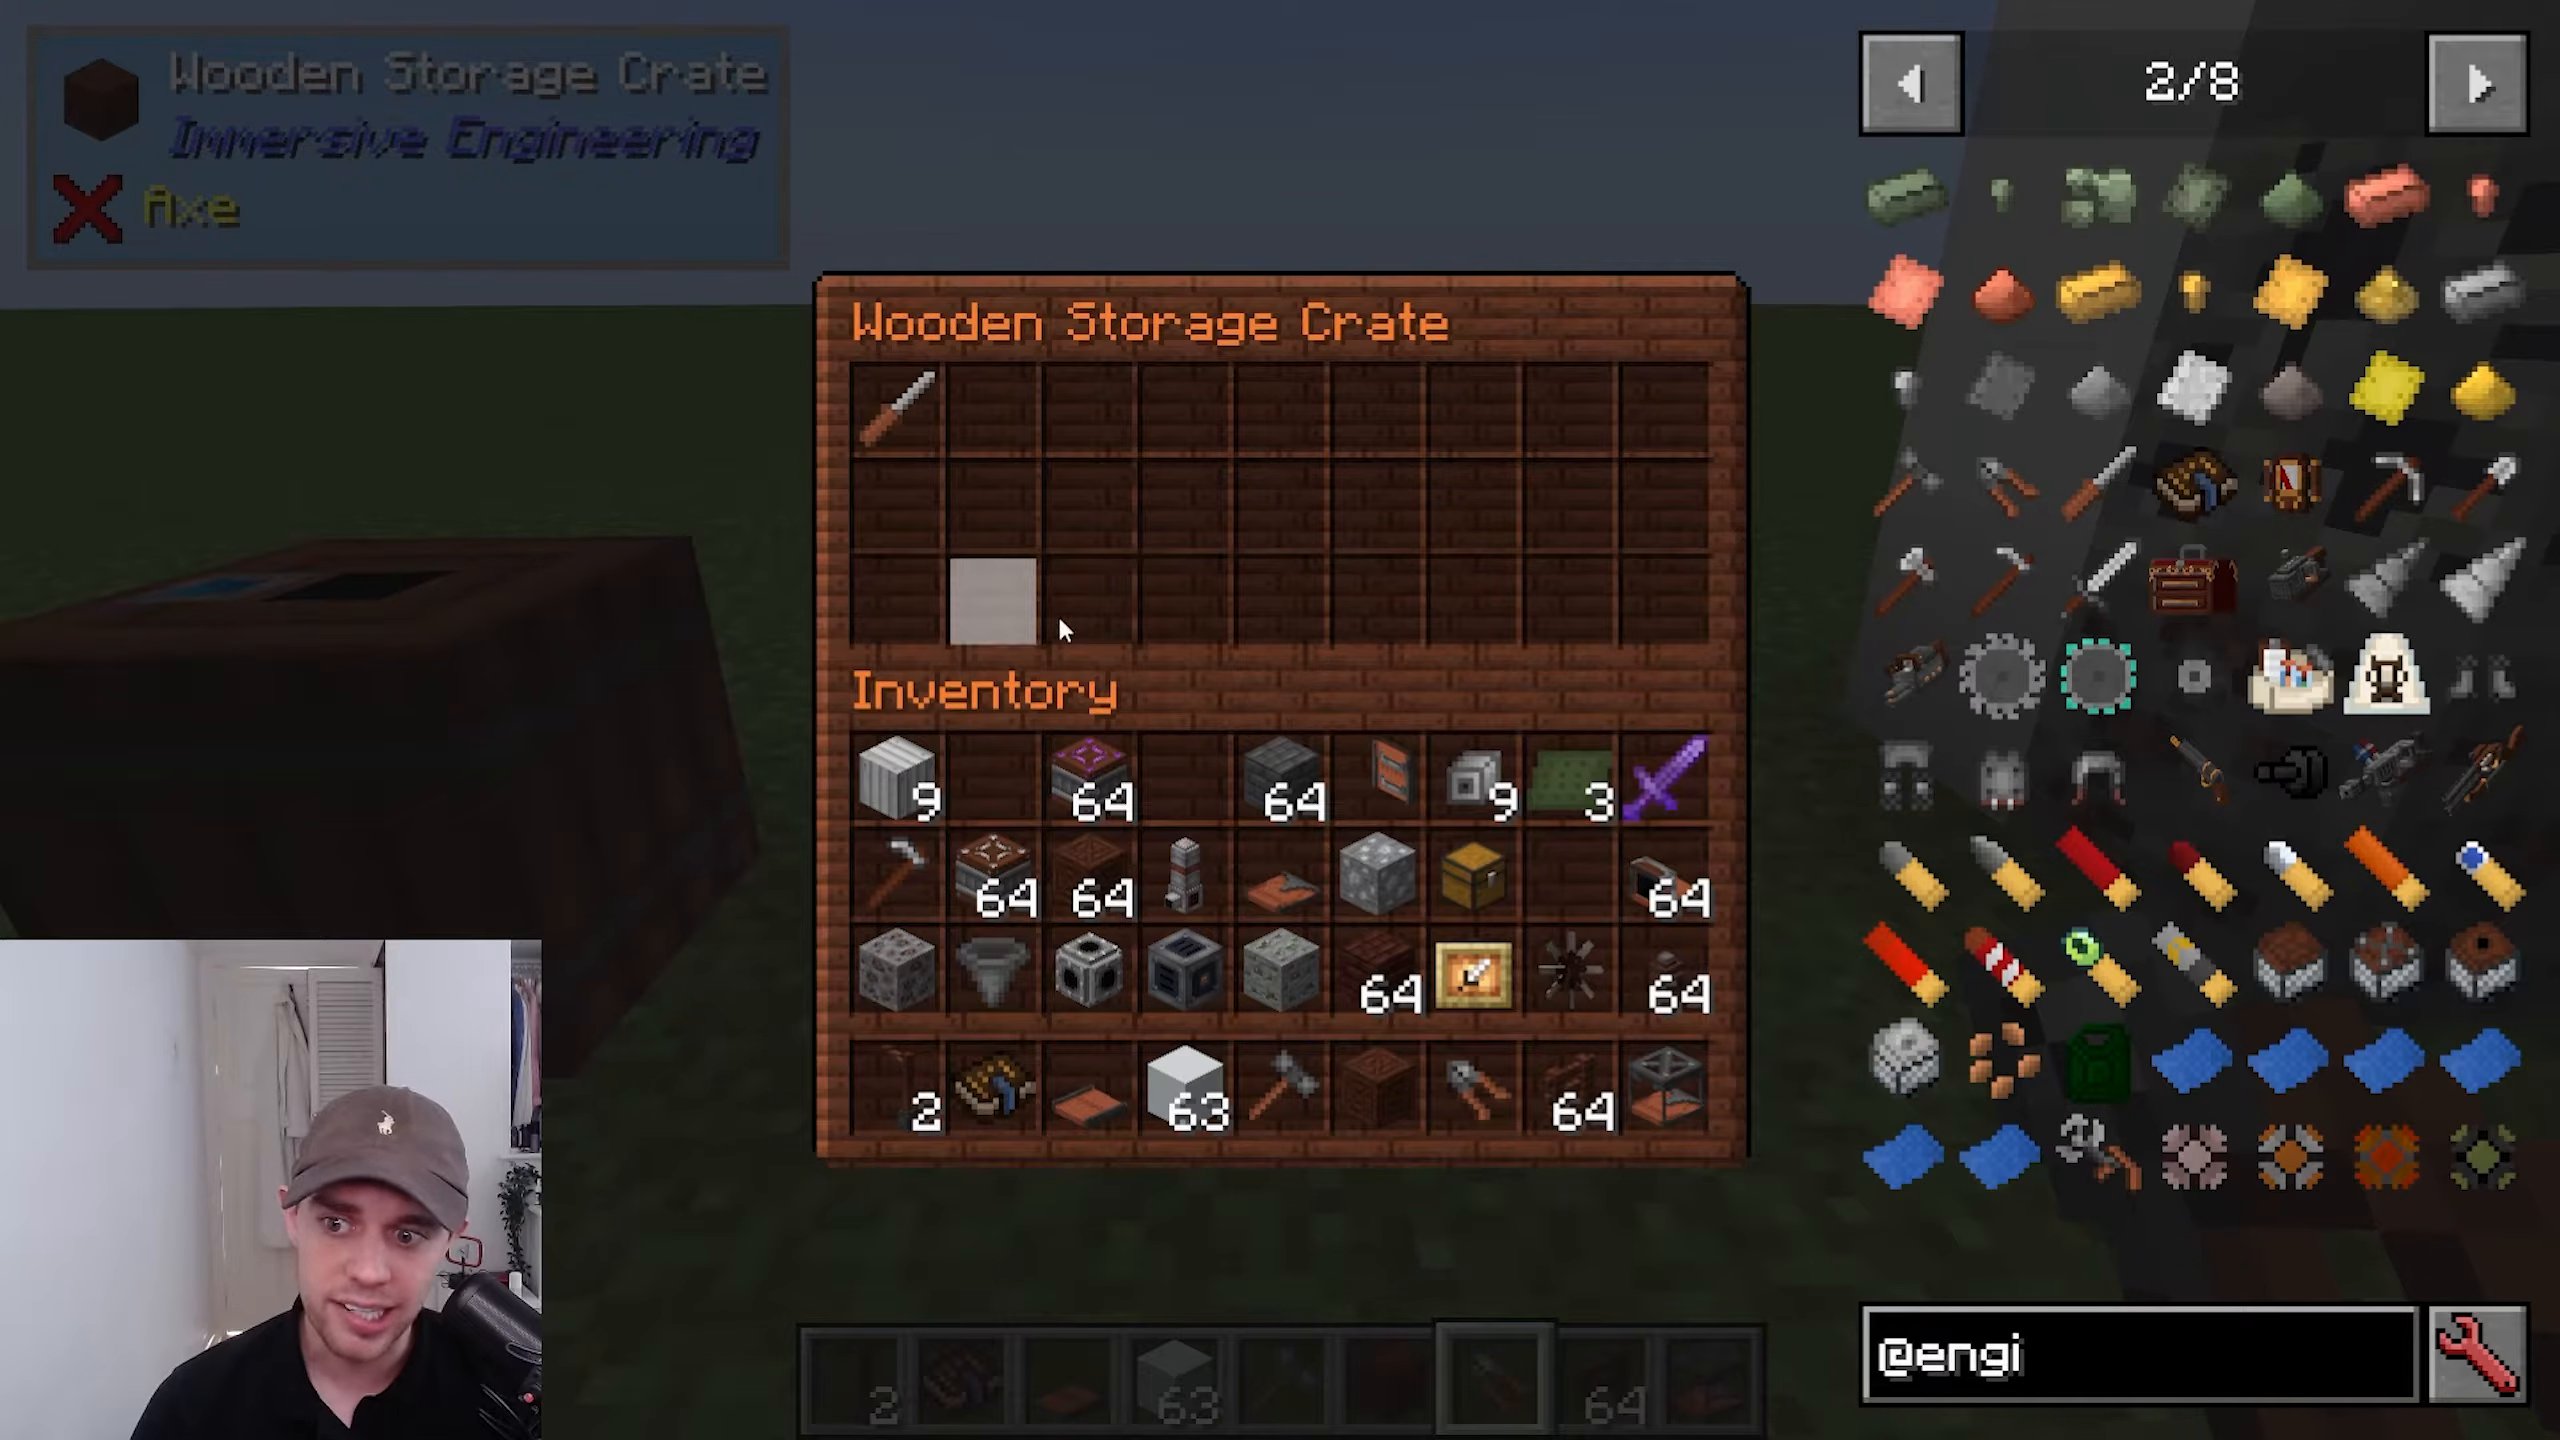
One of the first things you’ll want to make is treated wood. To do this efficiently, you’ll need wooden storage crates and wooden barrels. You can input items into these containers from the top using a hopper. The Engineer’s Screwdriver is another essential tool that lets you rotate your machines.
An advantage of wooden storage crates is that when you break them, the contents stay inside. This makes them perfect for portable storage—you can have multiple crates in your inventory, each filled with different items. This is especially useful in Adventure Packs where inventory space is limited.
Industrial Hemp and Its Uses
Industrial hemp is another essential early-game material. Once fully grown, you can use it to create hemp rope, coils, and string—making it an excellent way to grow string using Immersive Engineering. You can also turn hemp into tough fabric, which is used for insulating wires when transporting electricity.
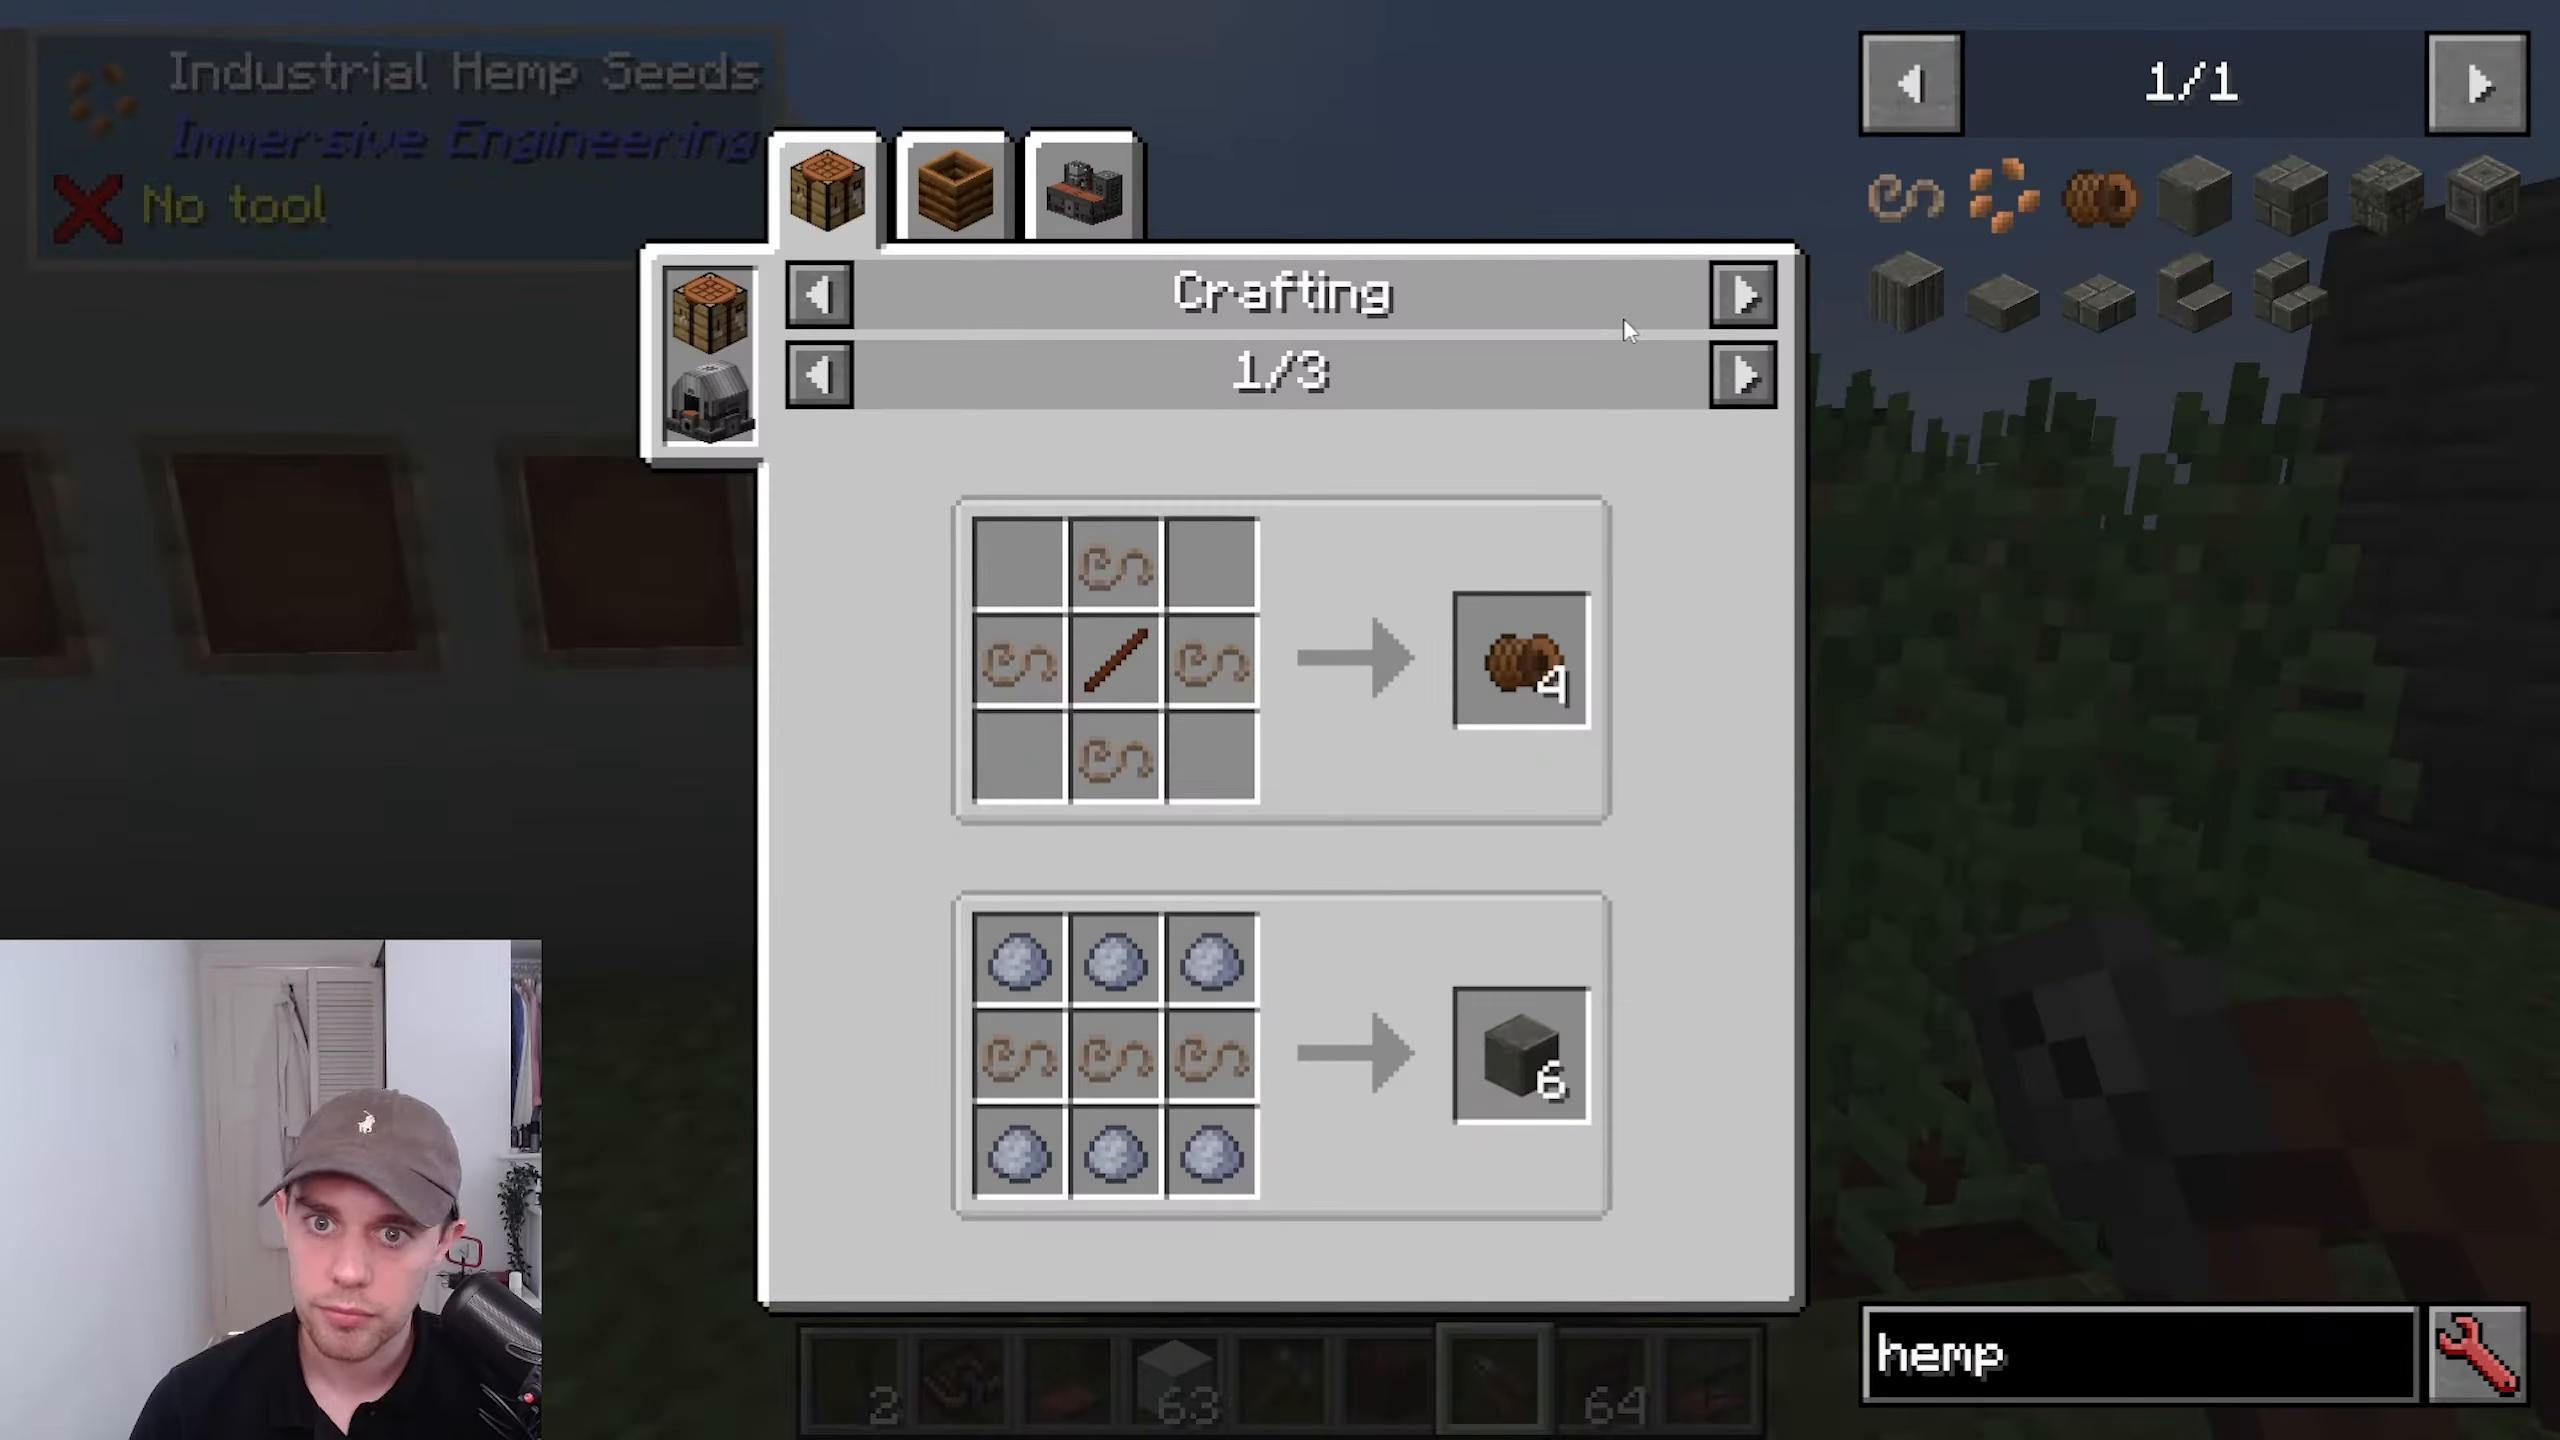
Making Treated Wood with the Coke Oven
To create treated wood, you’ll need to use the Coke Oven. Start by crafting Coke Bricks using clay, bricks, and sand in this pattern: one, two, three, one, two, three, one, two, three, then two, three, two, three, two, three, two, three. Fill all of this in and use your Engineer’s Hammer to right-click the center, creating a distinctive hole.
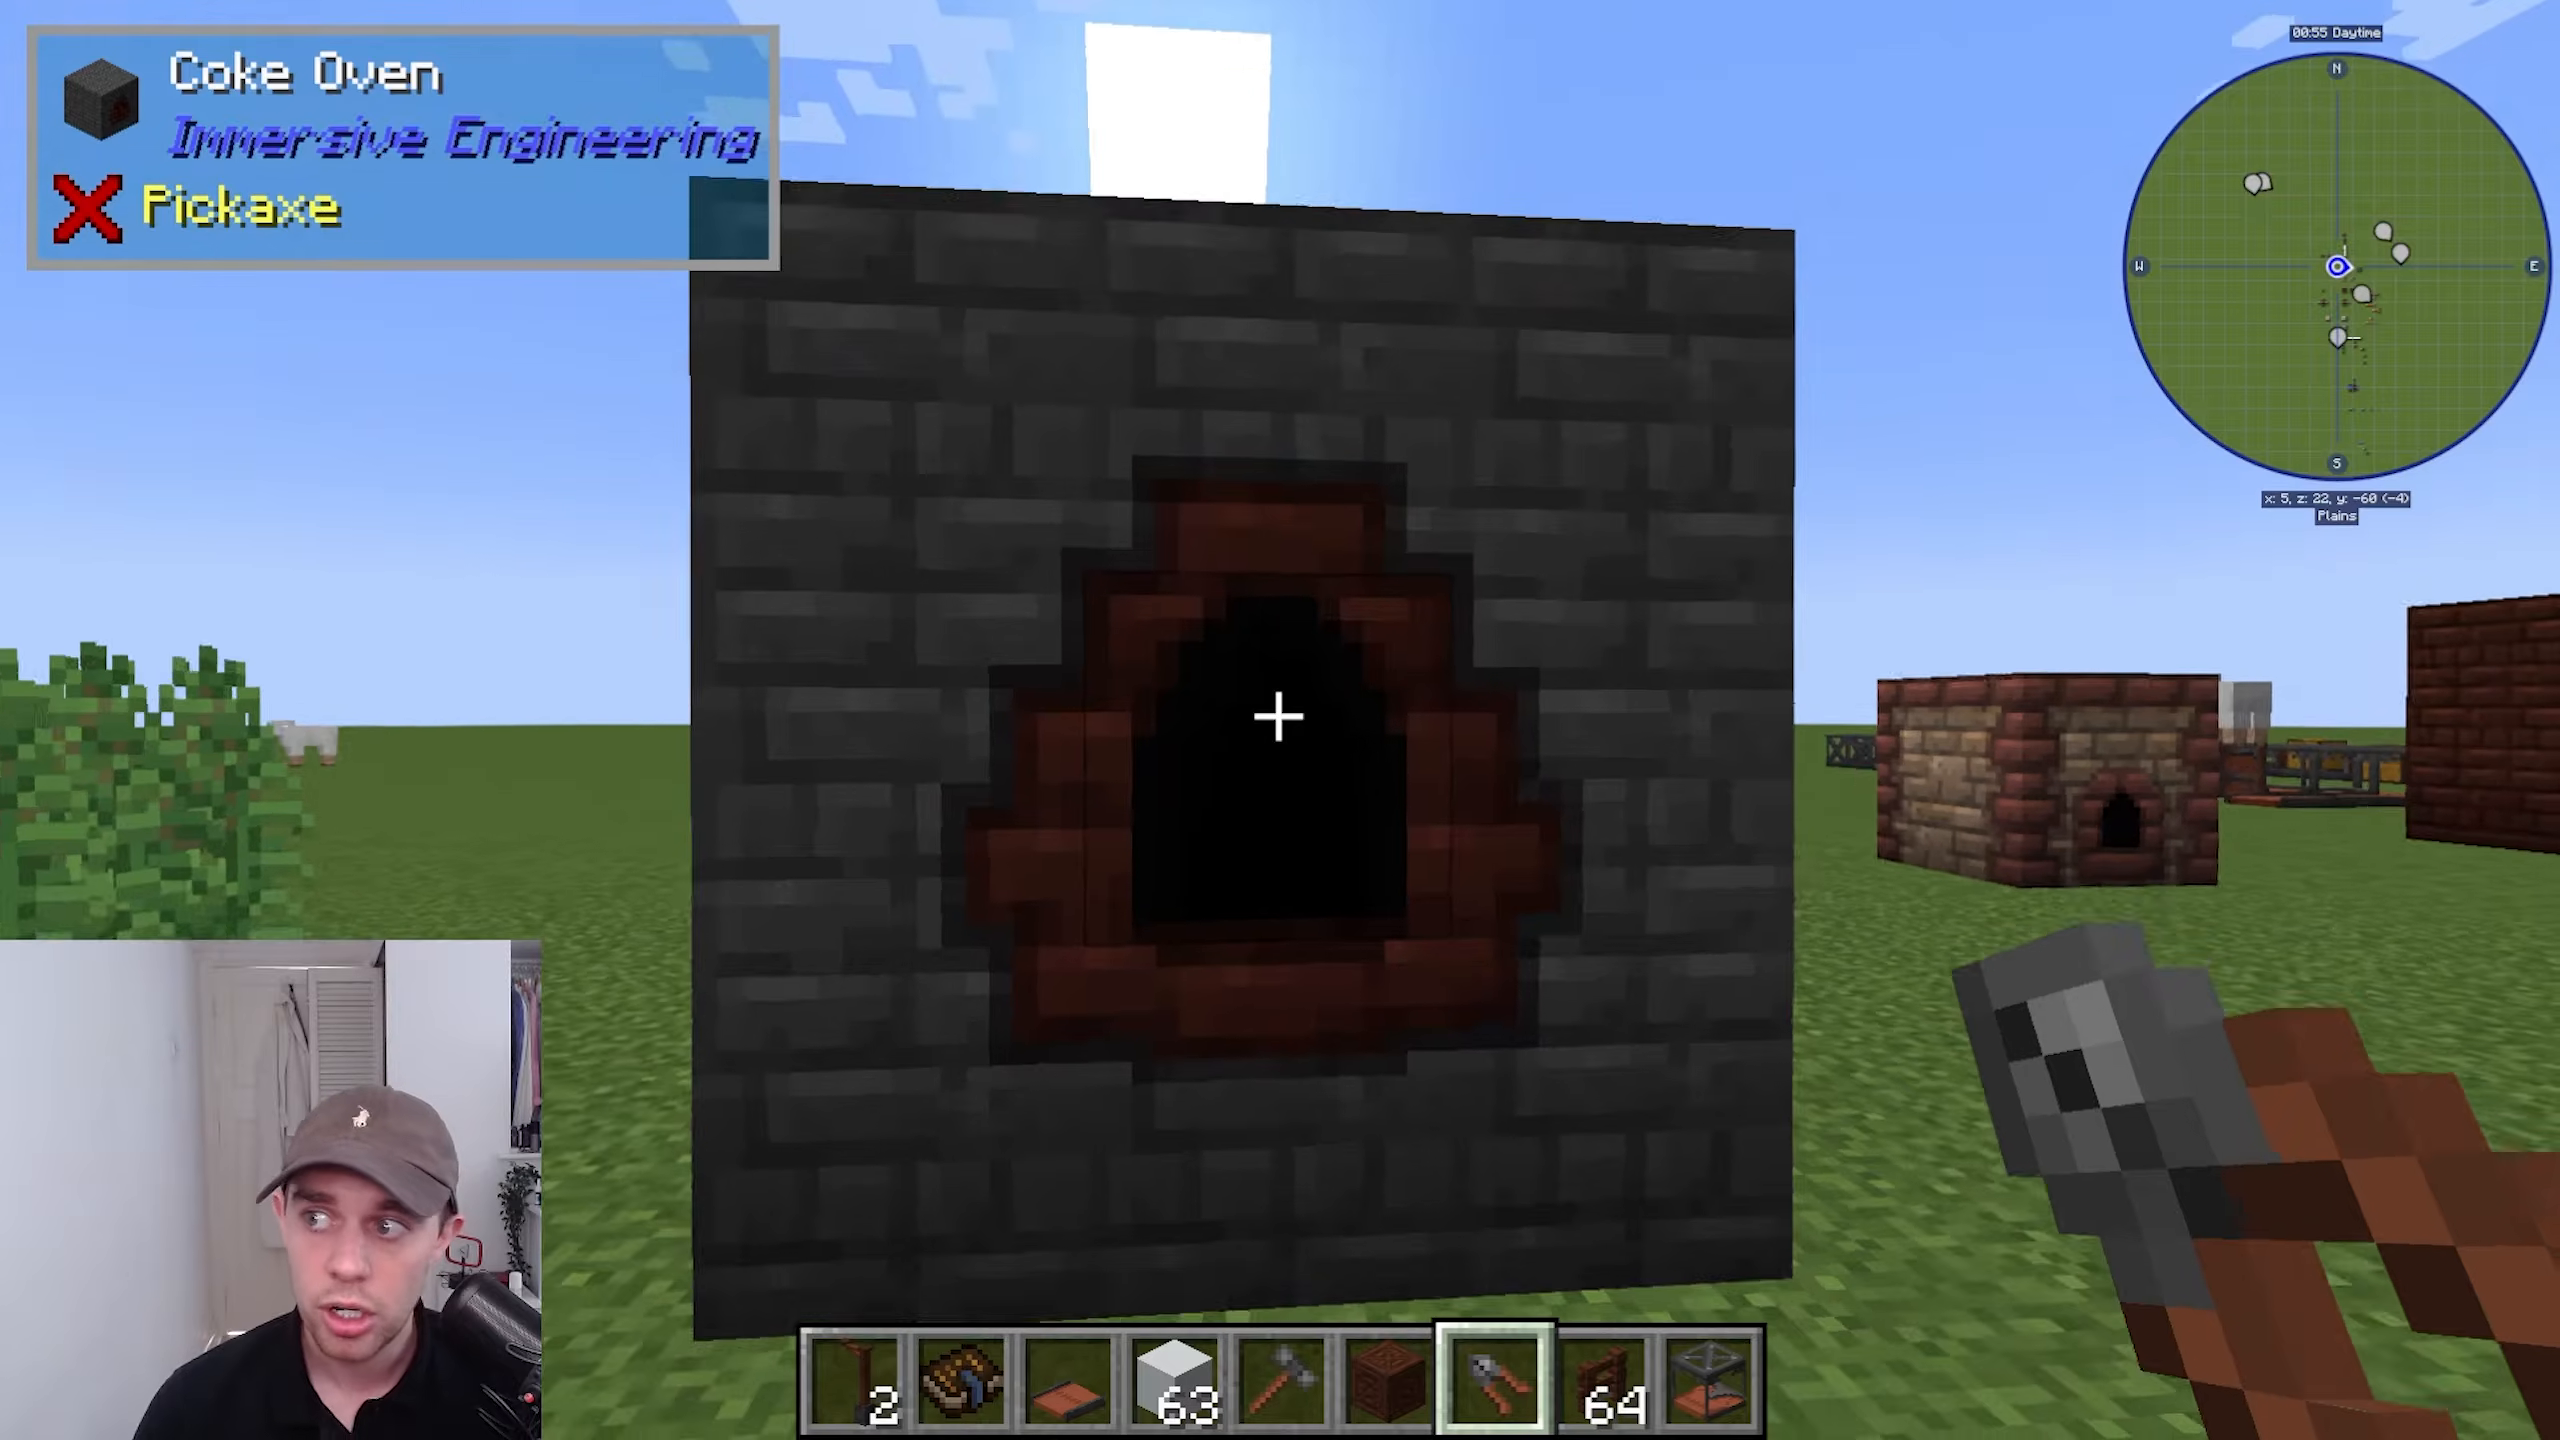
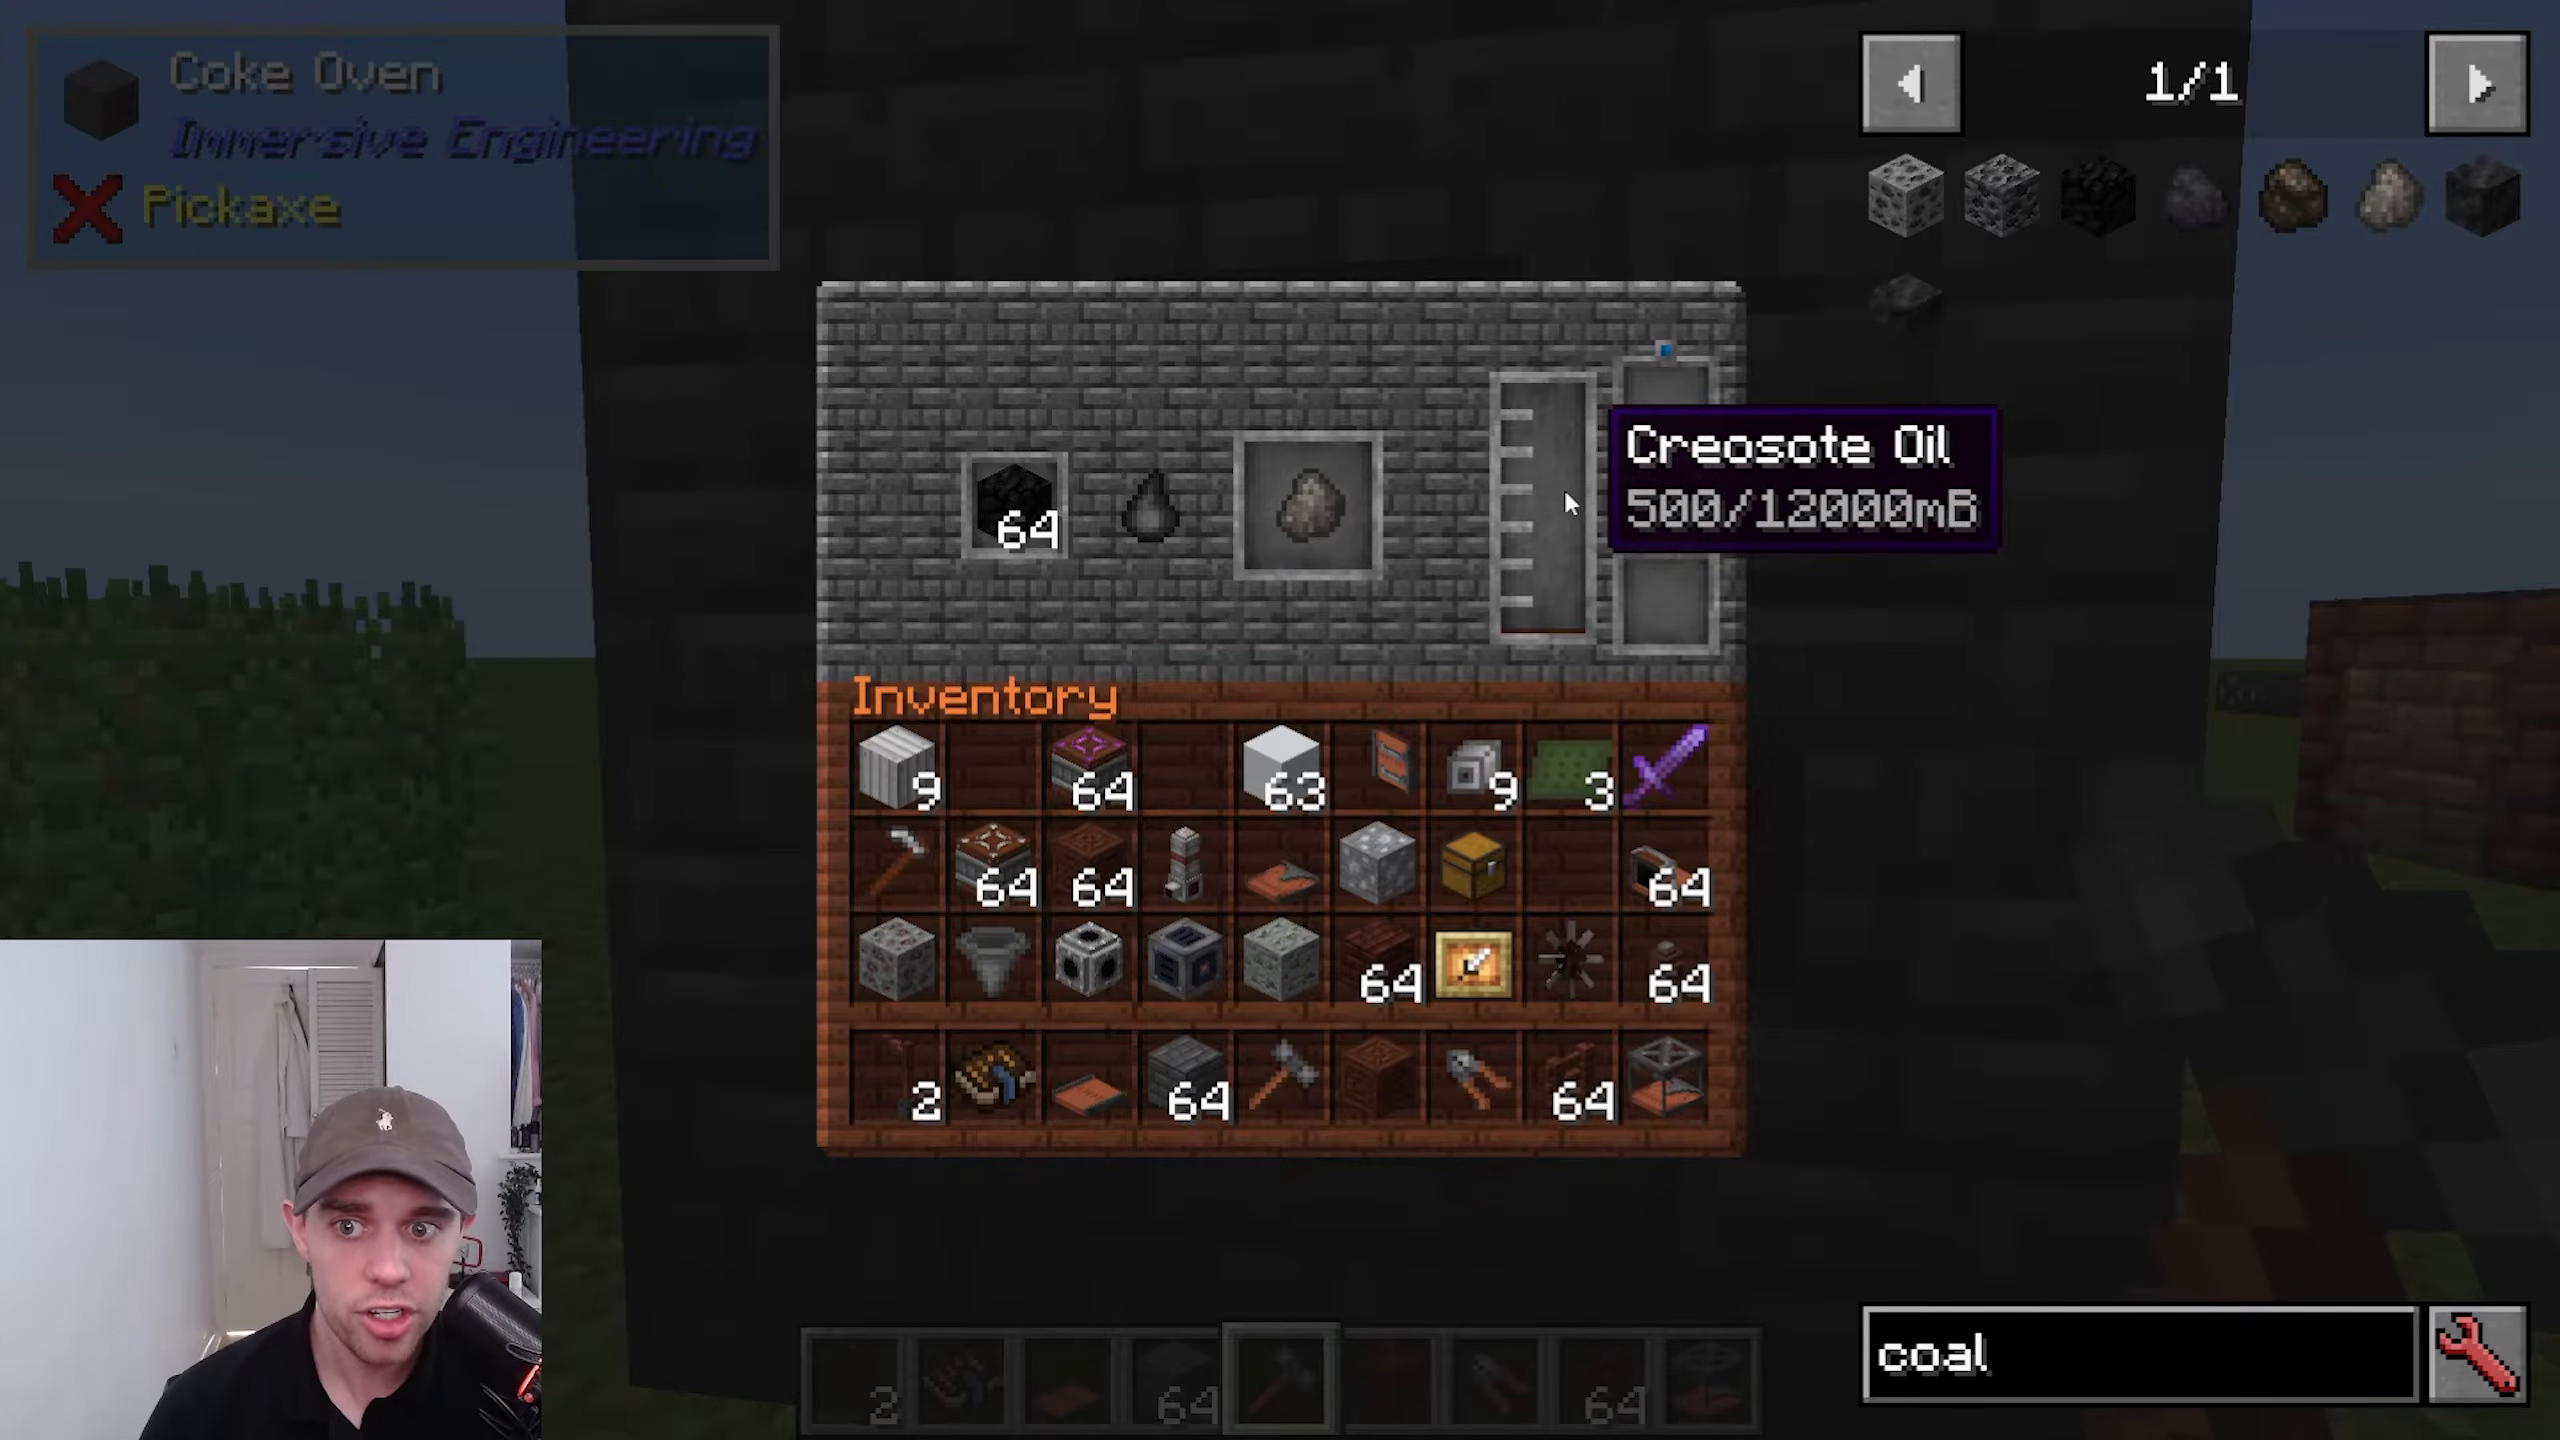
Right-click the Coke Oven to open its inventory. You’ll notice blue icons indicate input and orange icons indicate output. Put coal into the oven—you can use blocks of coal, but they take longer. The process is slow, so it’s recommended to make several Coke Ovens if you can.
Eventually, you’ll get Coal Coke, which can be used as an energy source just like coal. More importantly, you’ll get Creosote as a byproduct. Simply put a bucket in the top, and it will output a bucket of Creosote. To make treated wood planks, surround a bucket of Creosote with wooden planks. These treated wood planks will be incredibly useful throughout Immersive Engineering for numerous applications.
Early Automation: The Alloy Kiln
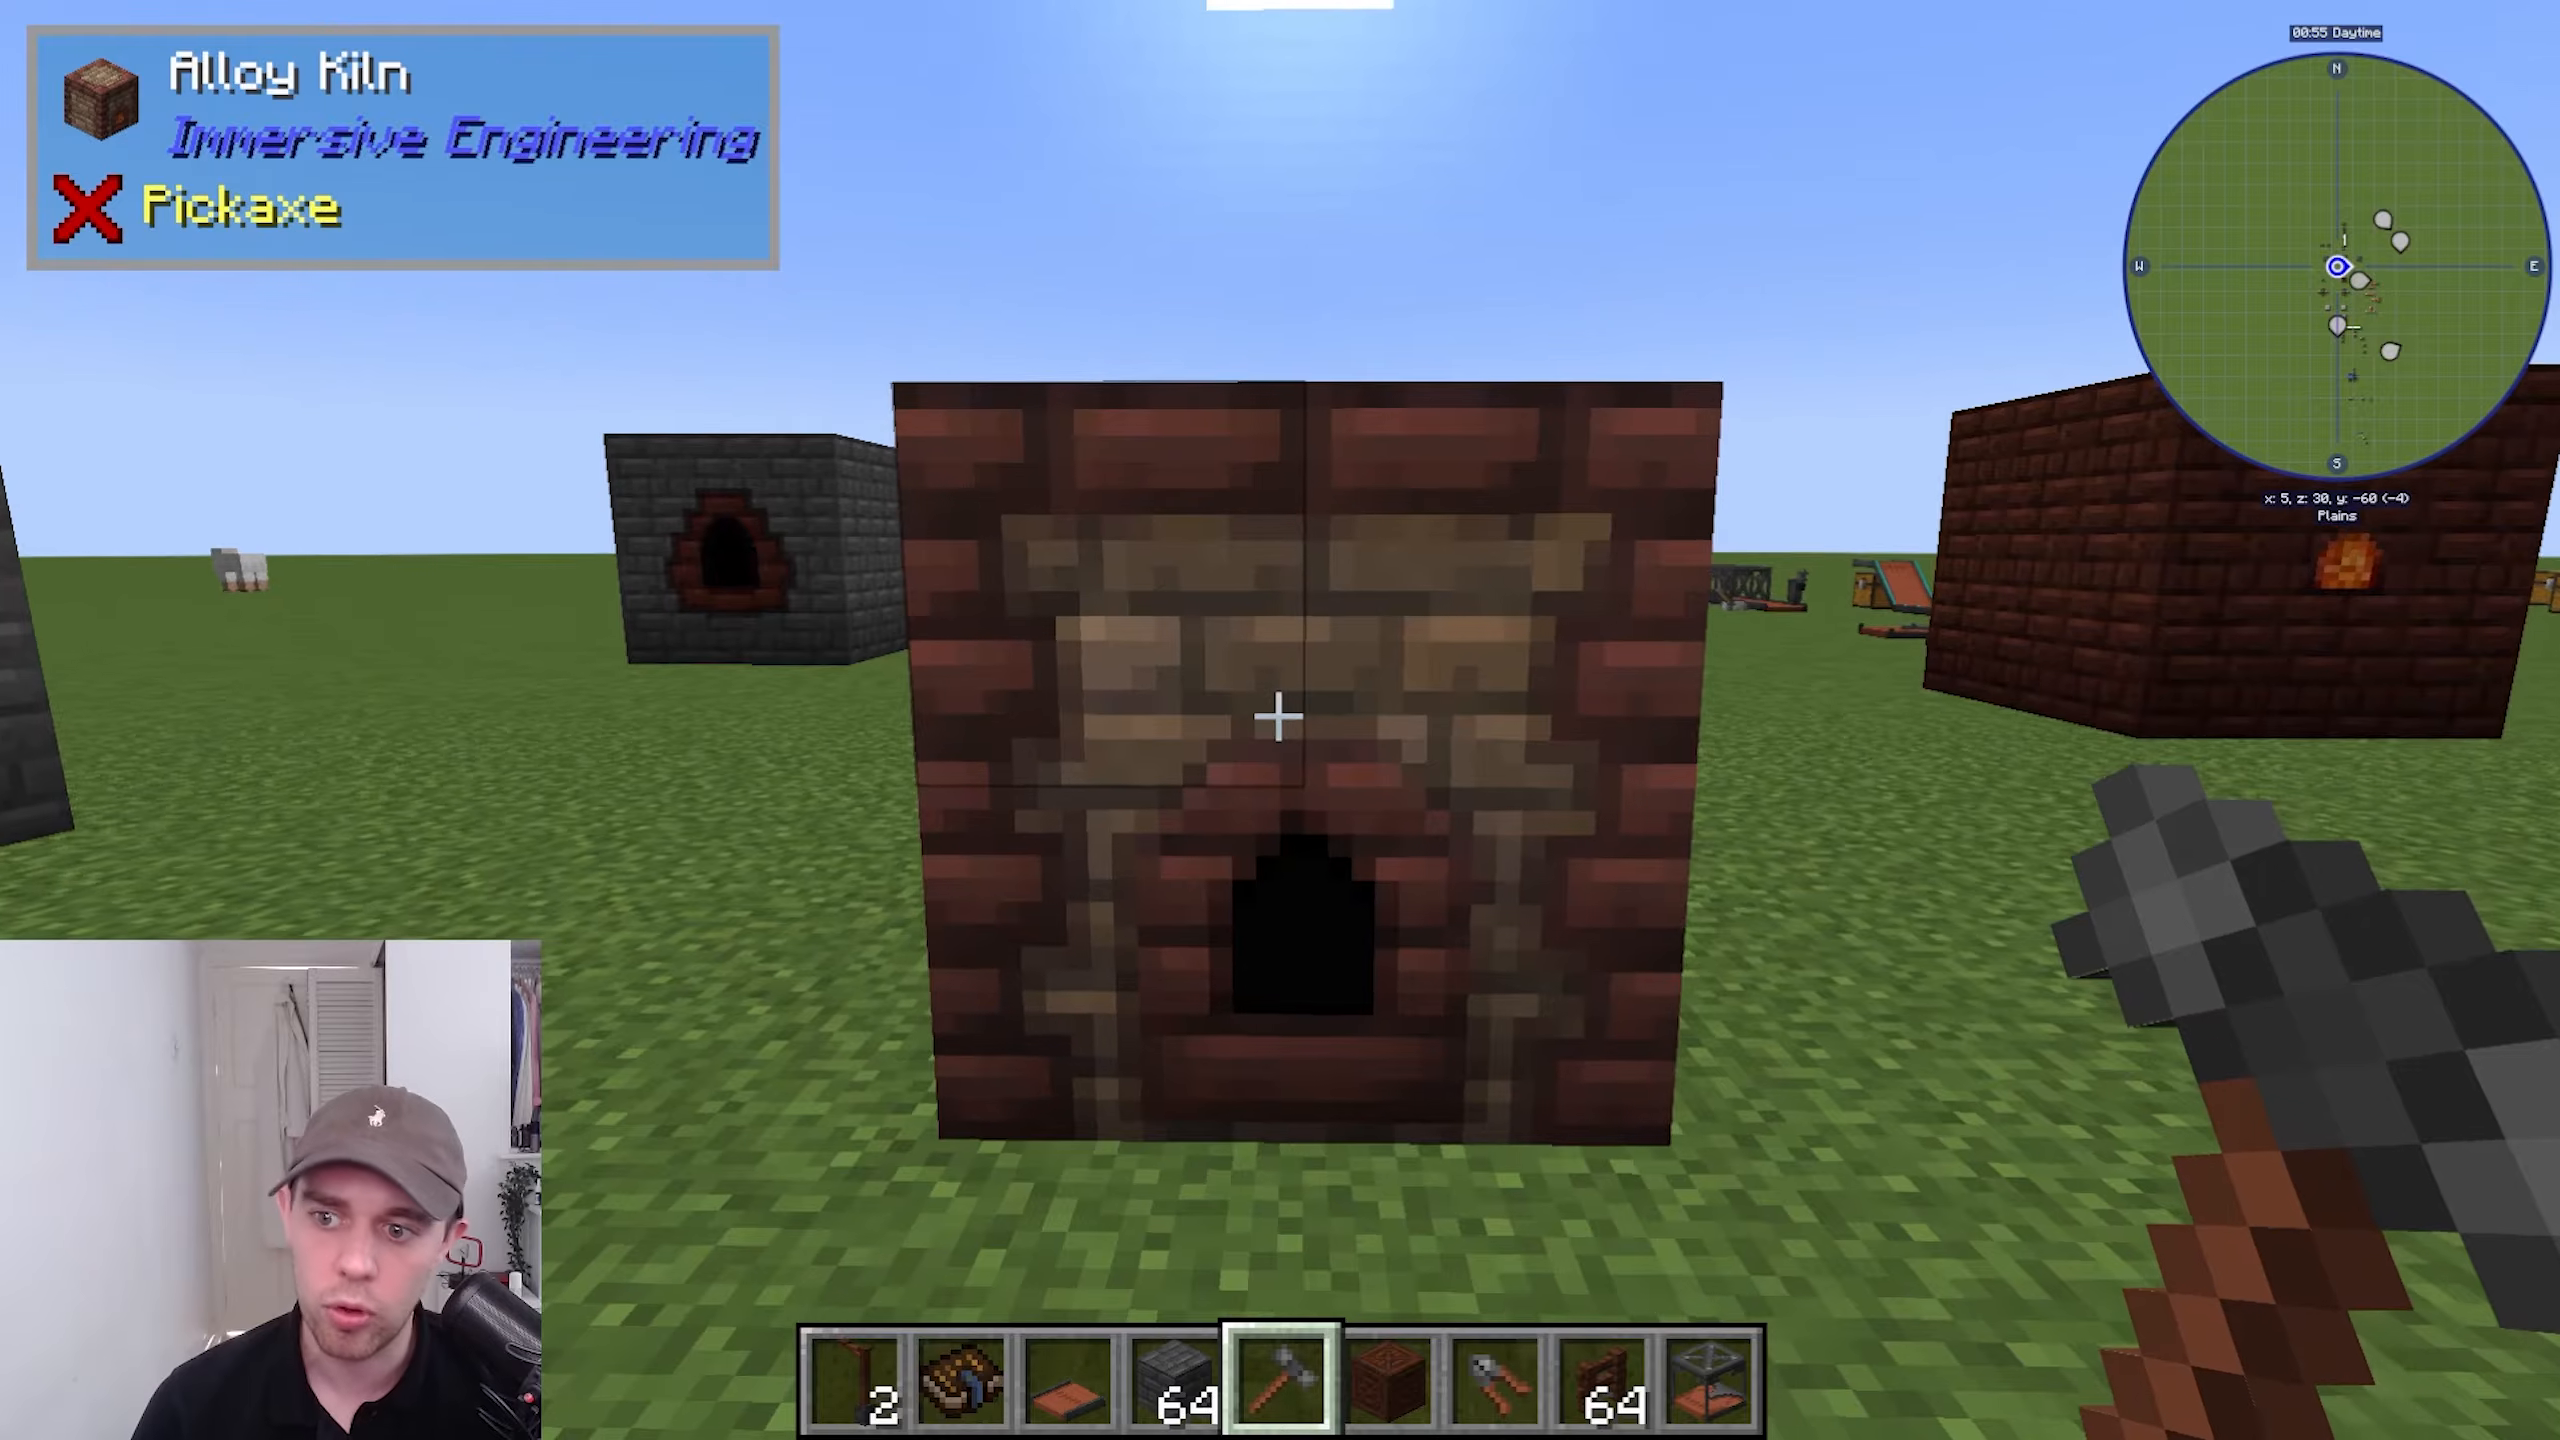
If you want to automate the process of making plates and grit, the Alloy Kiln is your answer. This machine allows you to combine materials directly into alloys without manual hammering. For example, you can use blocks of coal to heat the kiln and combine Silver and Gold ingots to turn them straight into Electrum ingots.
To build the Alloy Kiln, follow this pattern: one, two, one, two, one, two, one, two, one, two. Then hit any part of it with your Engineer’s Hammer to complete the multi-block. You can make Insulating Glass, Constantan ingots from Nickel and Copper, and Electrum from Silver and Gold. Note that you need to use ingots, not raw ores, in the Alloy Kiln.
Making Steel: The Blast Furnace
The Crude Blast Furnace
The Crude Blast Furnace is how you’ll make steel in Immersive Engineering. Steel is a critical material used throughout the mod. To build it, you’ll need Blast Bricks, which are made using Nether Bricks and Magma blocks.
Follow this building pattern: one, two, three, one, two, three, one, two, three. Then right-click the center with your Engineer’s Hammer to complete the Crude Blast Furnace.
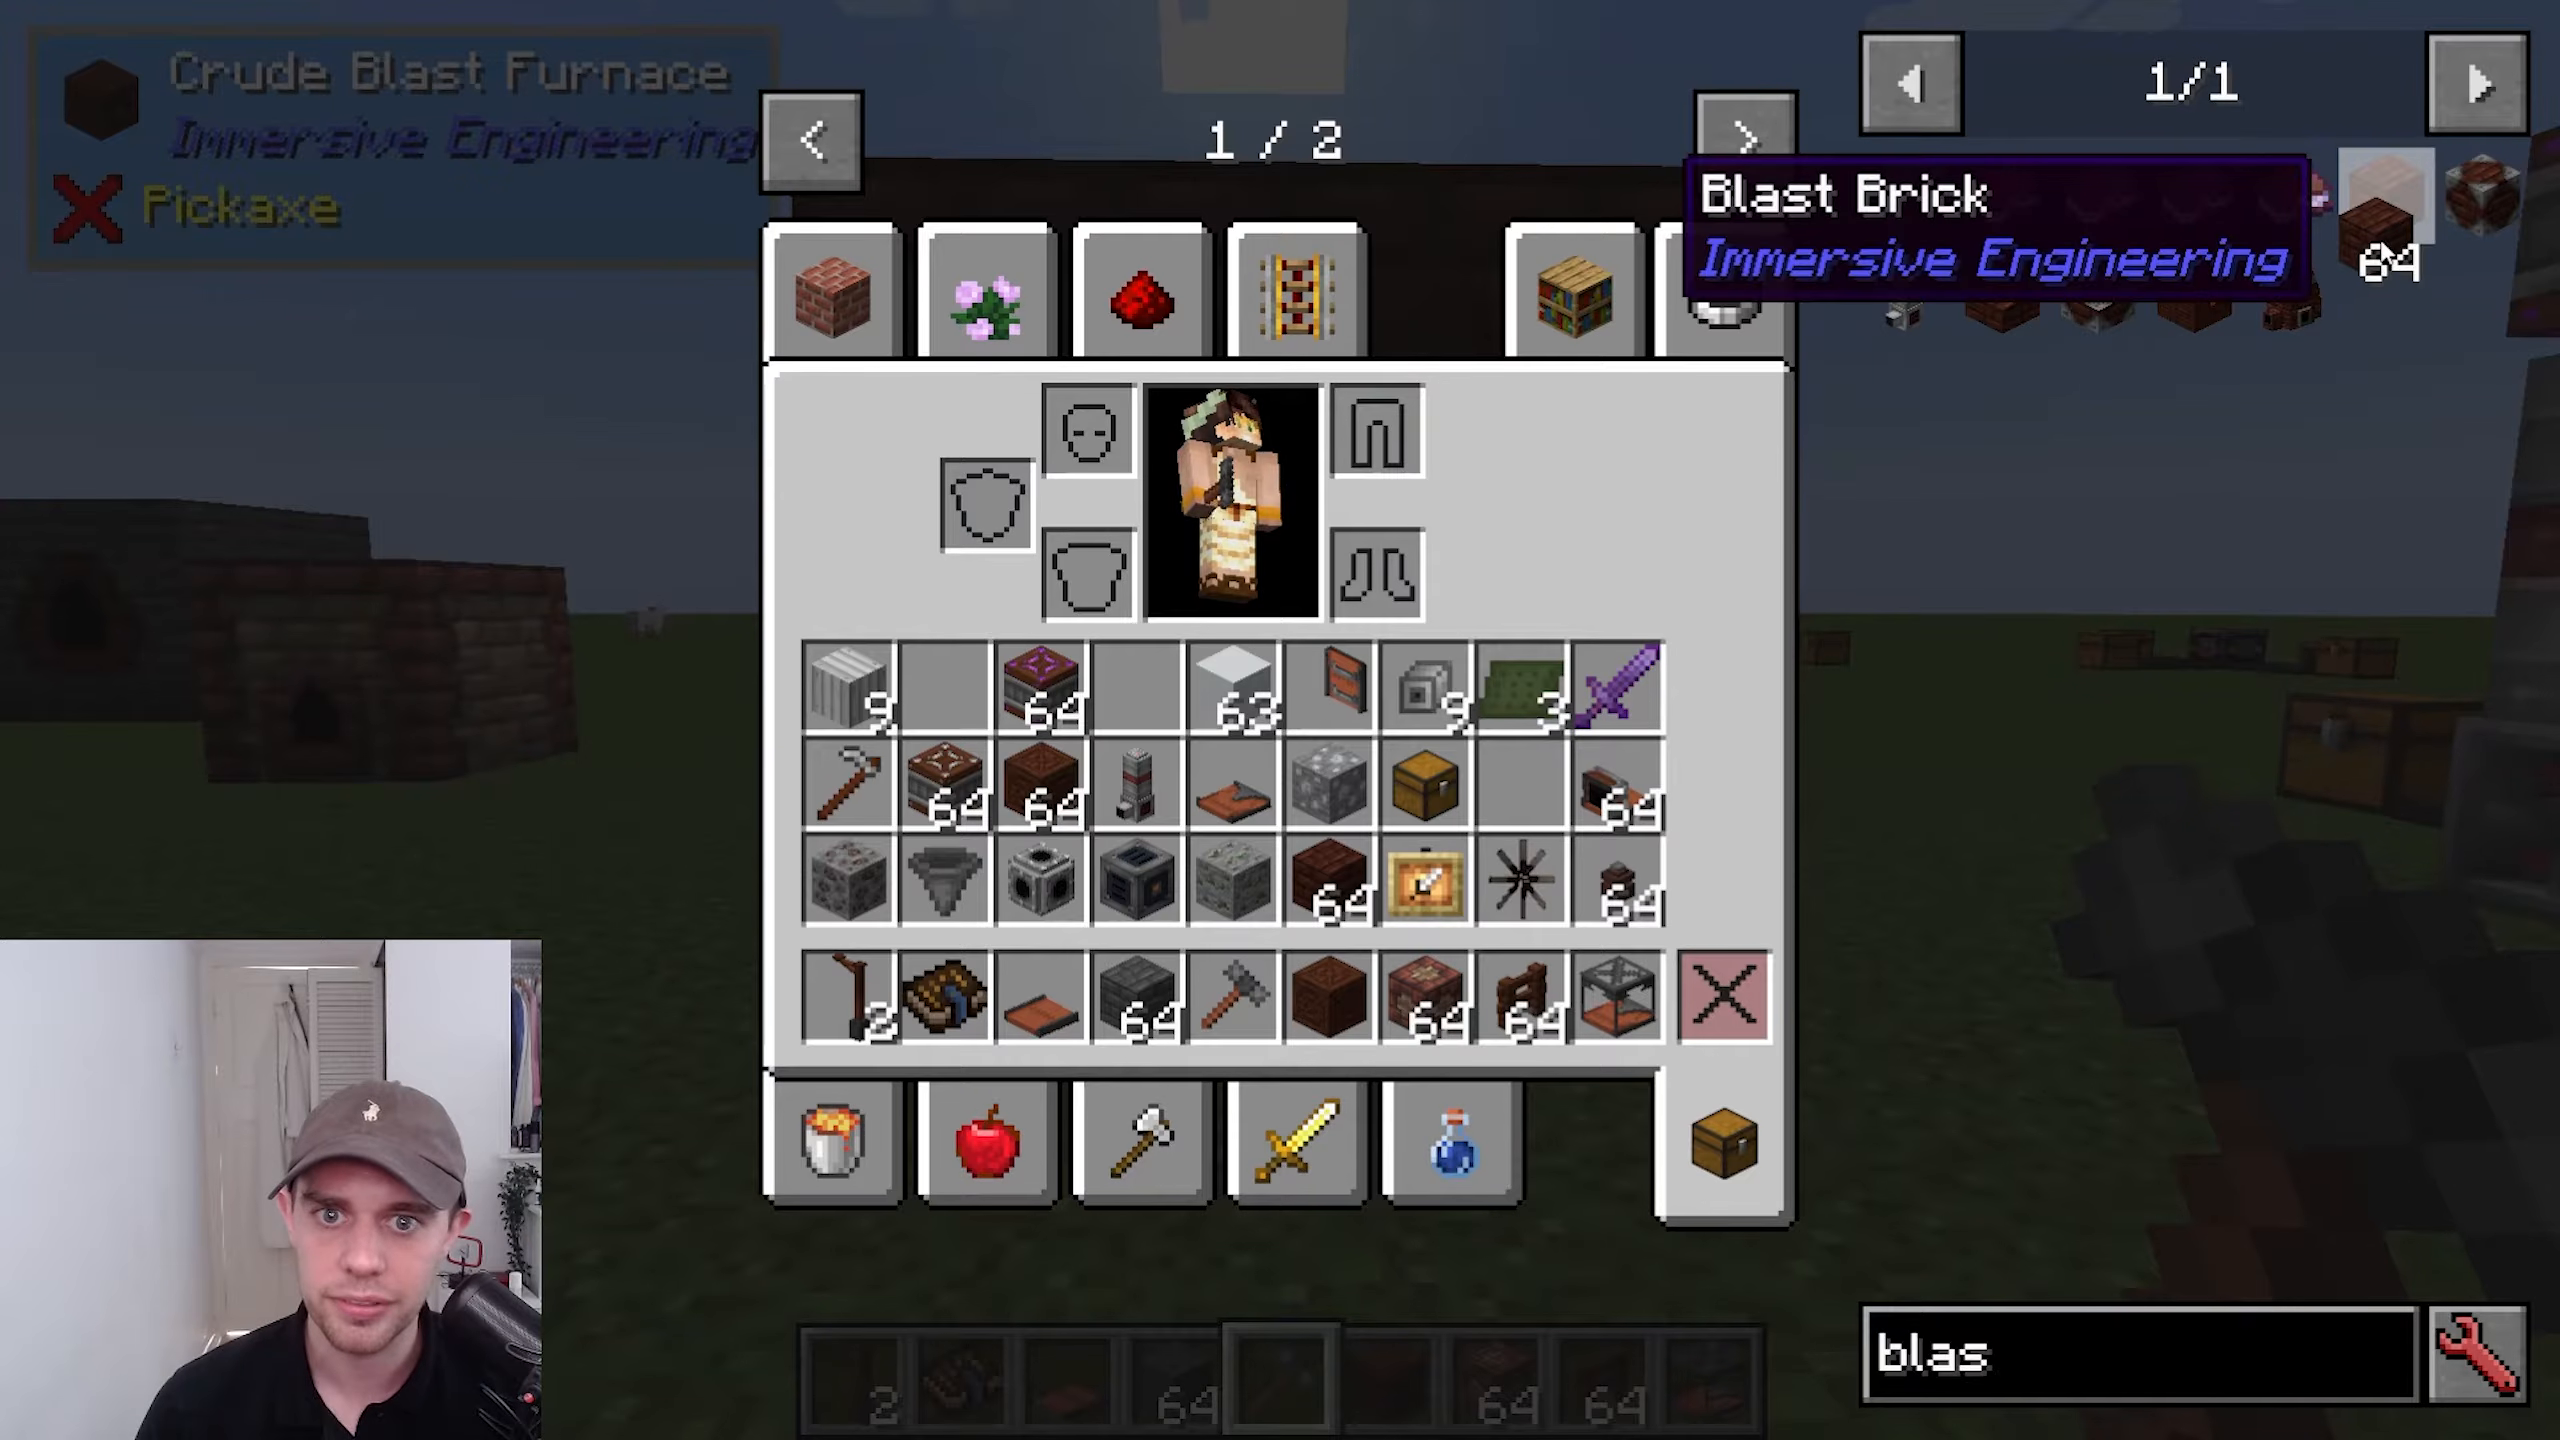
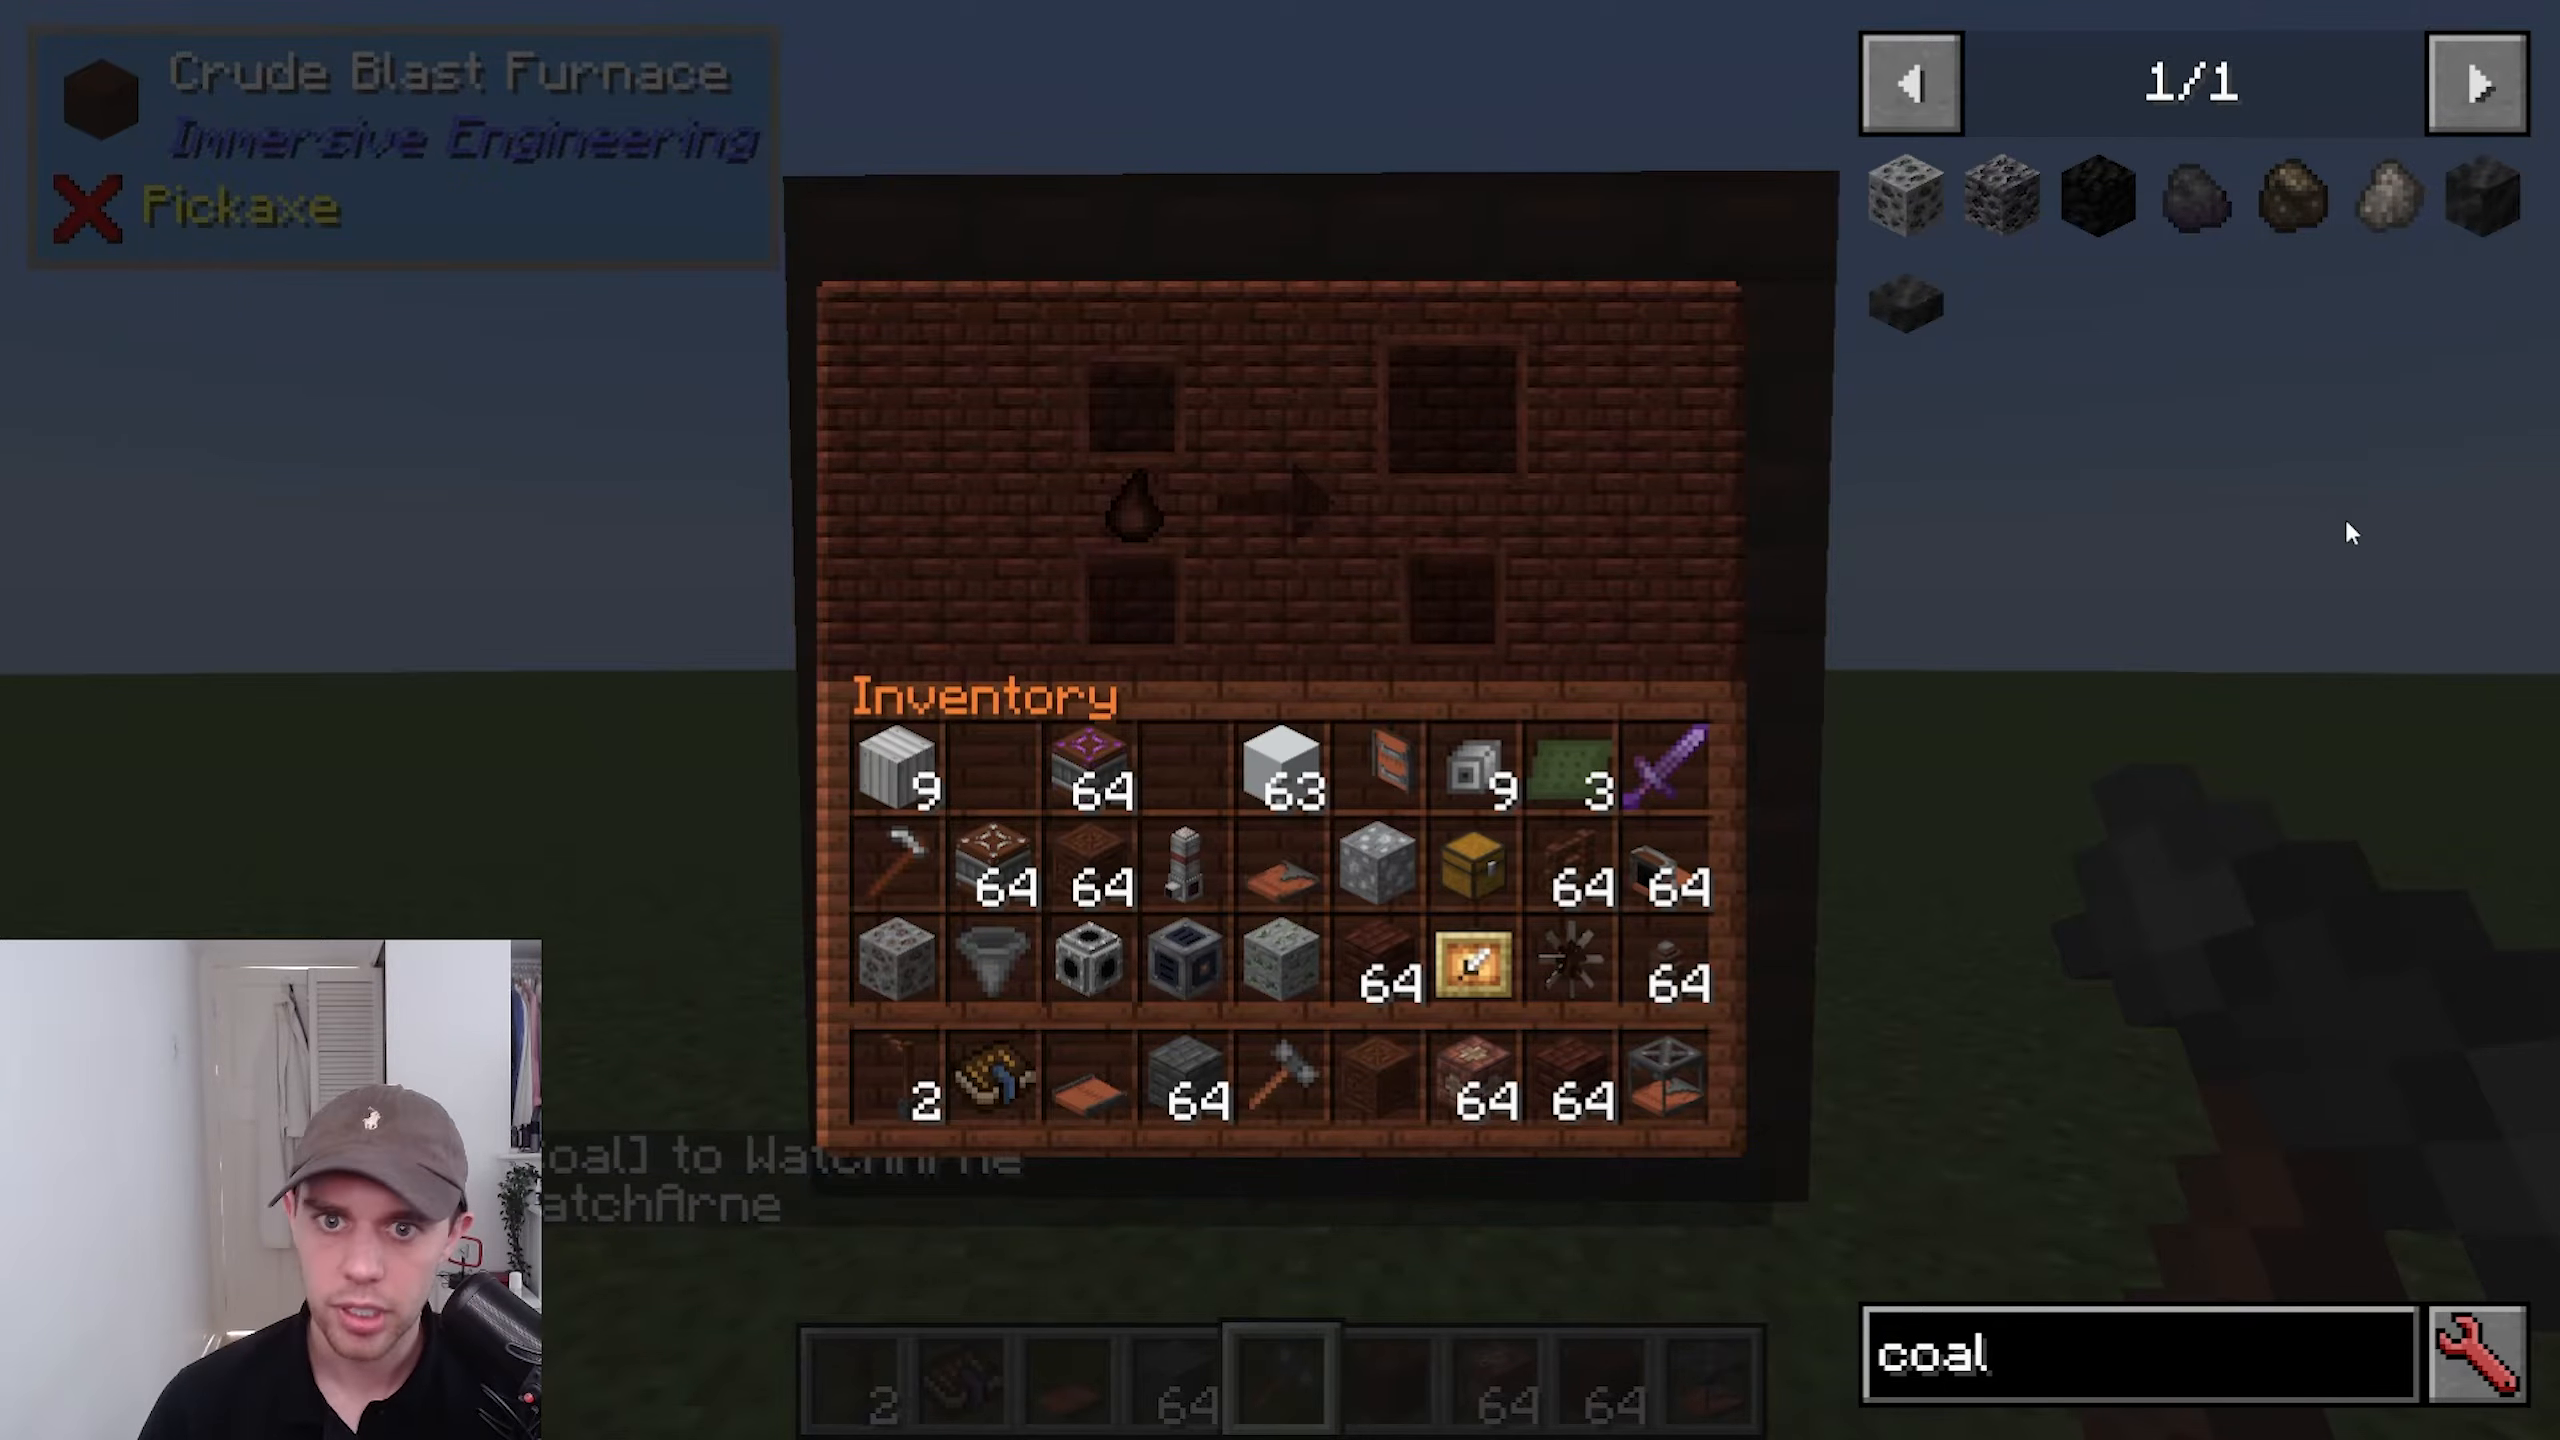
In this furnace, you’ll put Coal Coke in the bottom—not regular coal, it must be Coal Coke. Place iron ingots in the top. The furnace will then produce steel ingots, though this process is quite slow and cannot be automated with the Crude version.
The Improved Blast Furnace
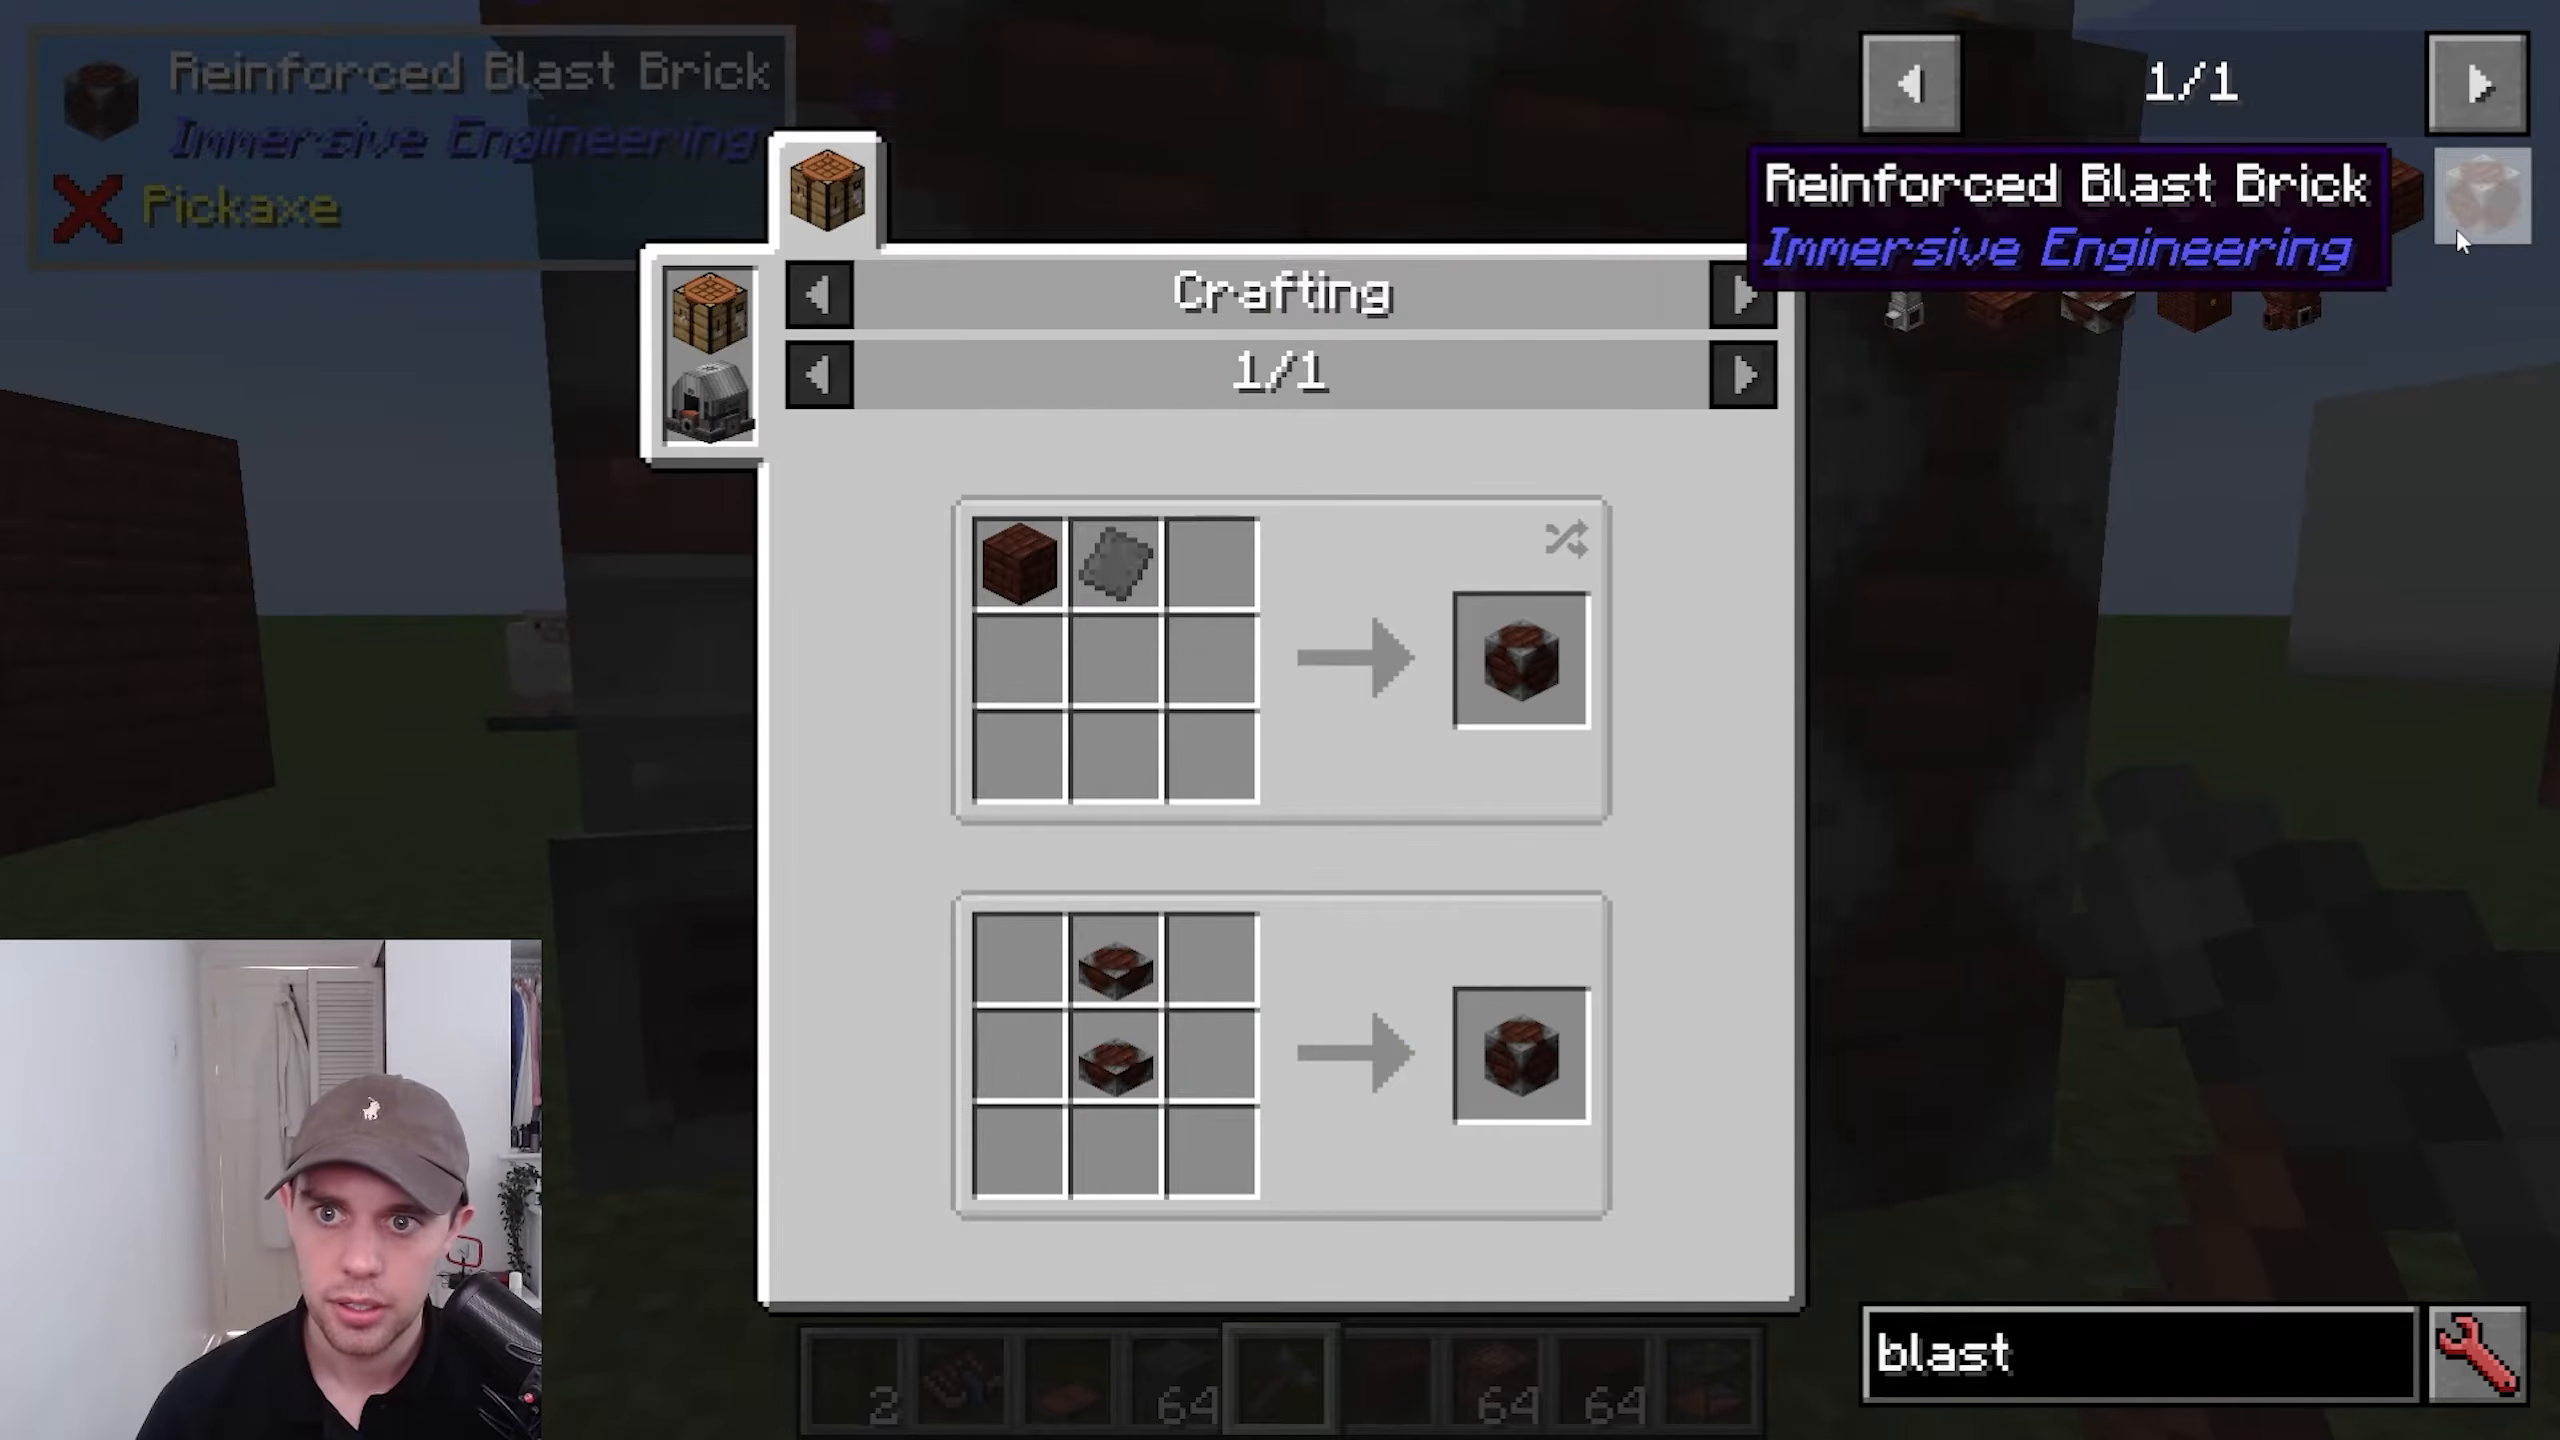
Once you’ve made your first batch of steel ingots, you can upgrade to the Improved Blast Furnace. To do this, use your Engineer’s Hammer to hammer your steel ingots into steel plates. Then combine these steel plates with Blast Bricks to create Reinforced Blast Bricks.
The Improved Blast Furnace is built in a three-by-three pattern using Reinforced Blast Bricks. Right-click the center with your Engineer’s Hammer to complete it.
Blast Furnace Pre-Heaters
To make your Improved Blast Furnace operate faster, you can add Blast Furnace Pre-Heaters. These are made from iron sheet metal (iron plates) and an external heater, which can be crafted from LV wire coils. LV wire coils are made from copper wire, which comes from copper plates—tools you’ve already learned how to make.
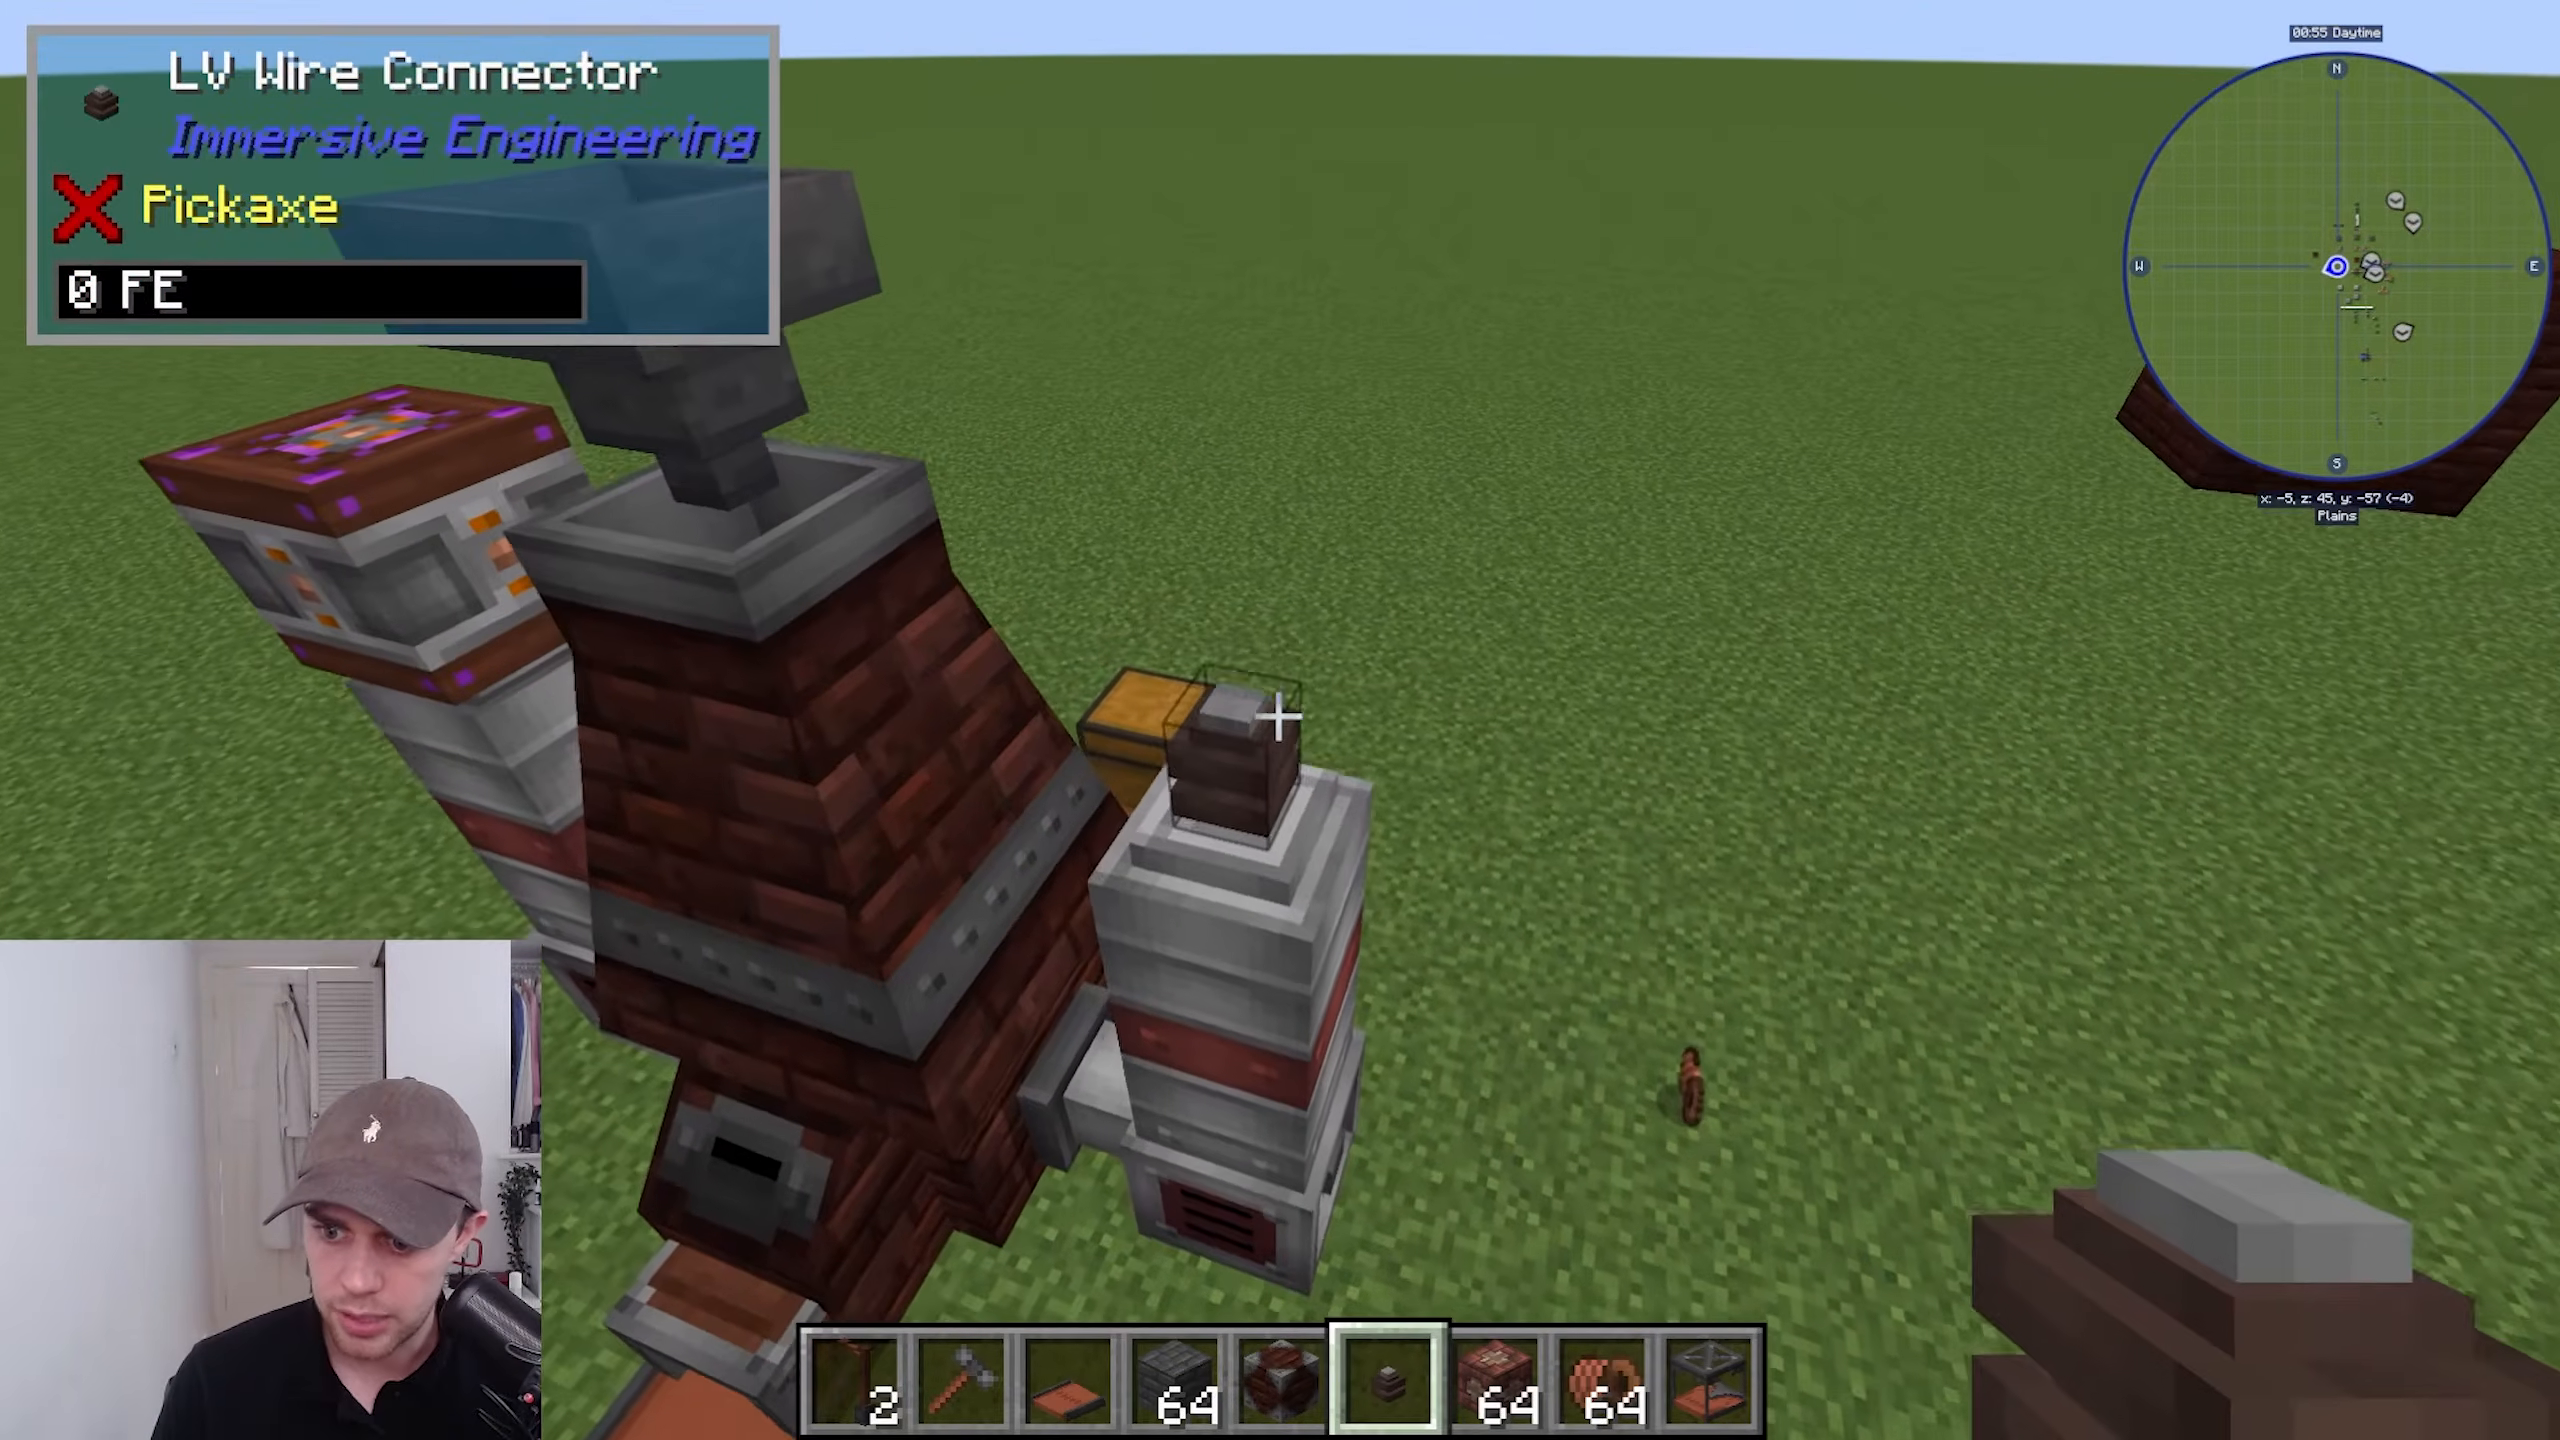
Once you have all the components, use your Engineer’s Hammer to right-click the center unit. These pre-heaters need to be powered to work. You can connect LV wire connectors to your battery or power source using LV wire coils. When powered, you’ll see a fan spinning and smoke coming out the top.
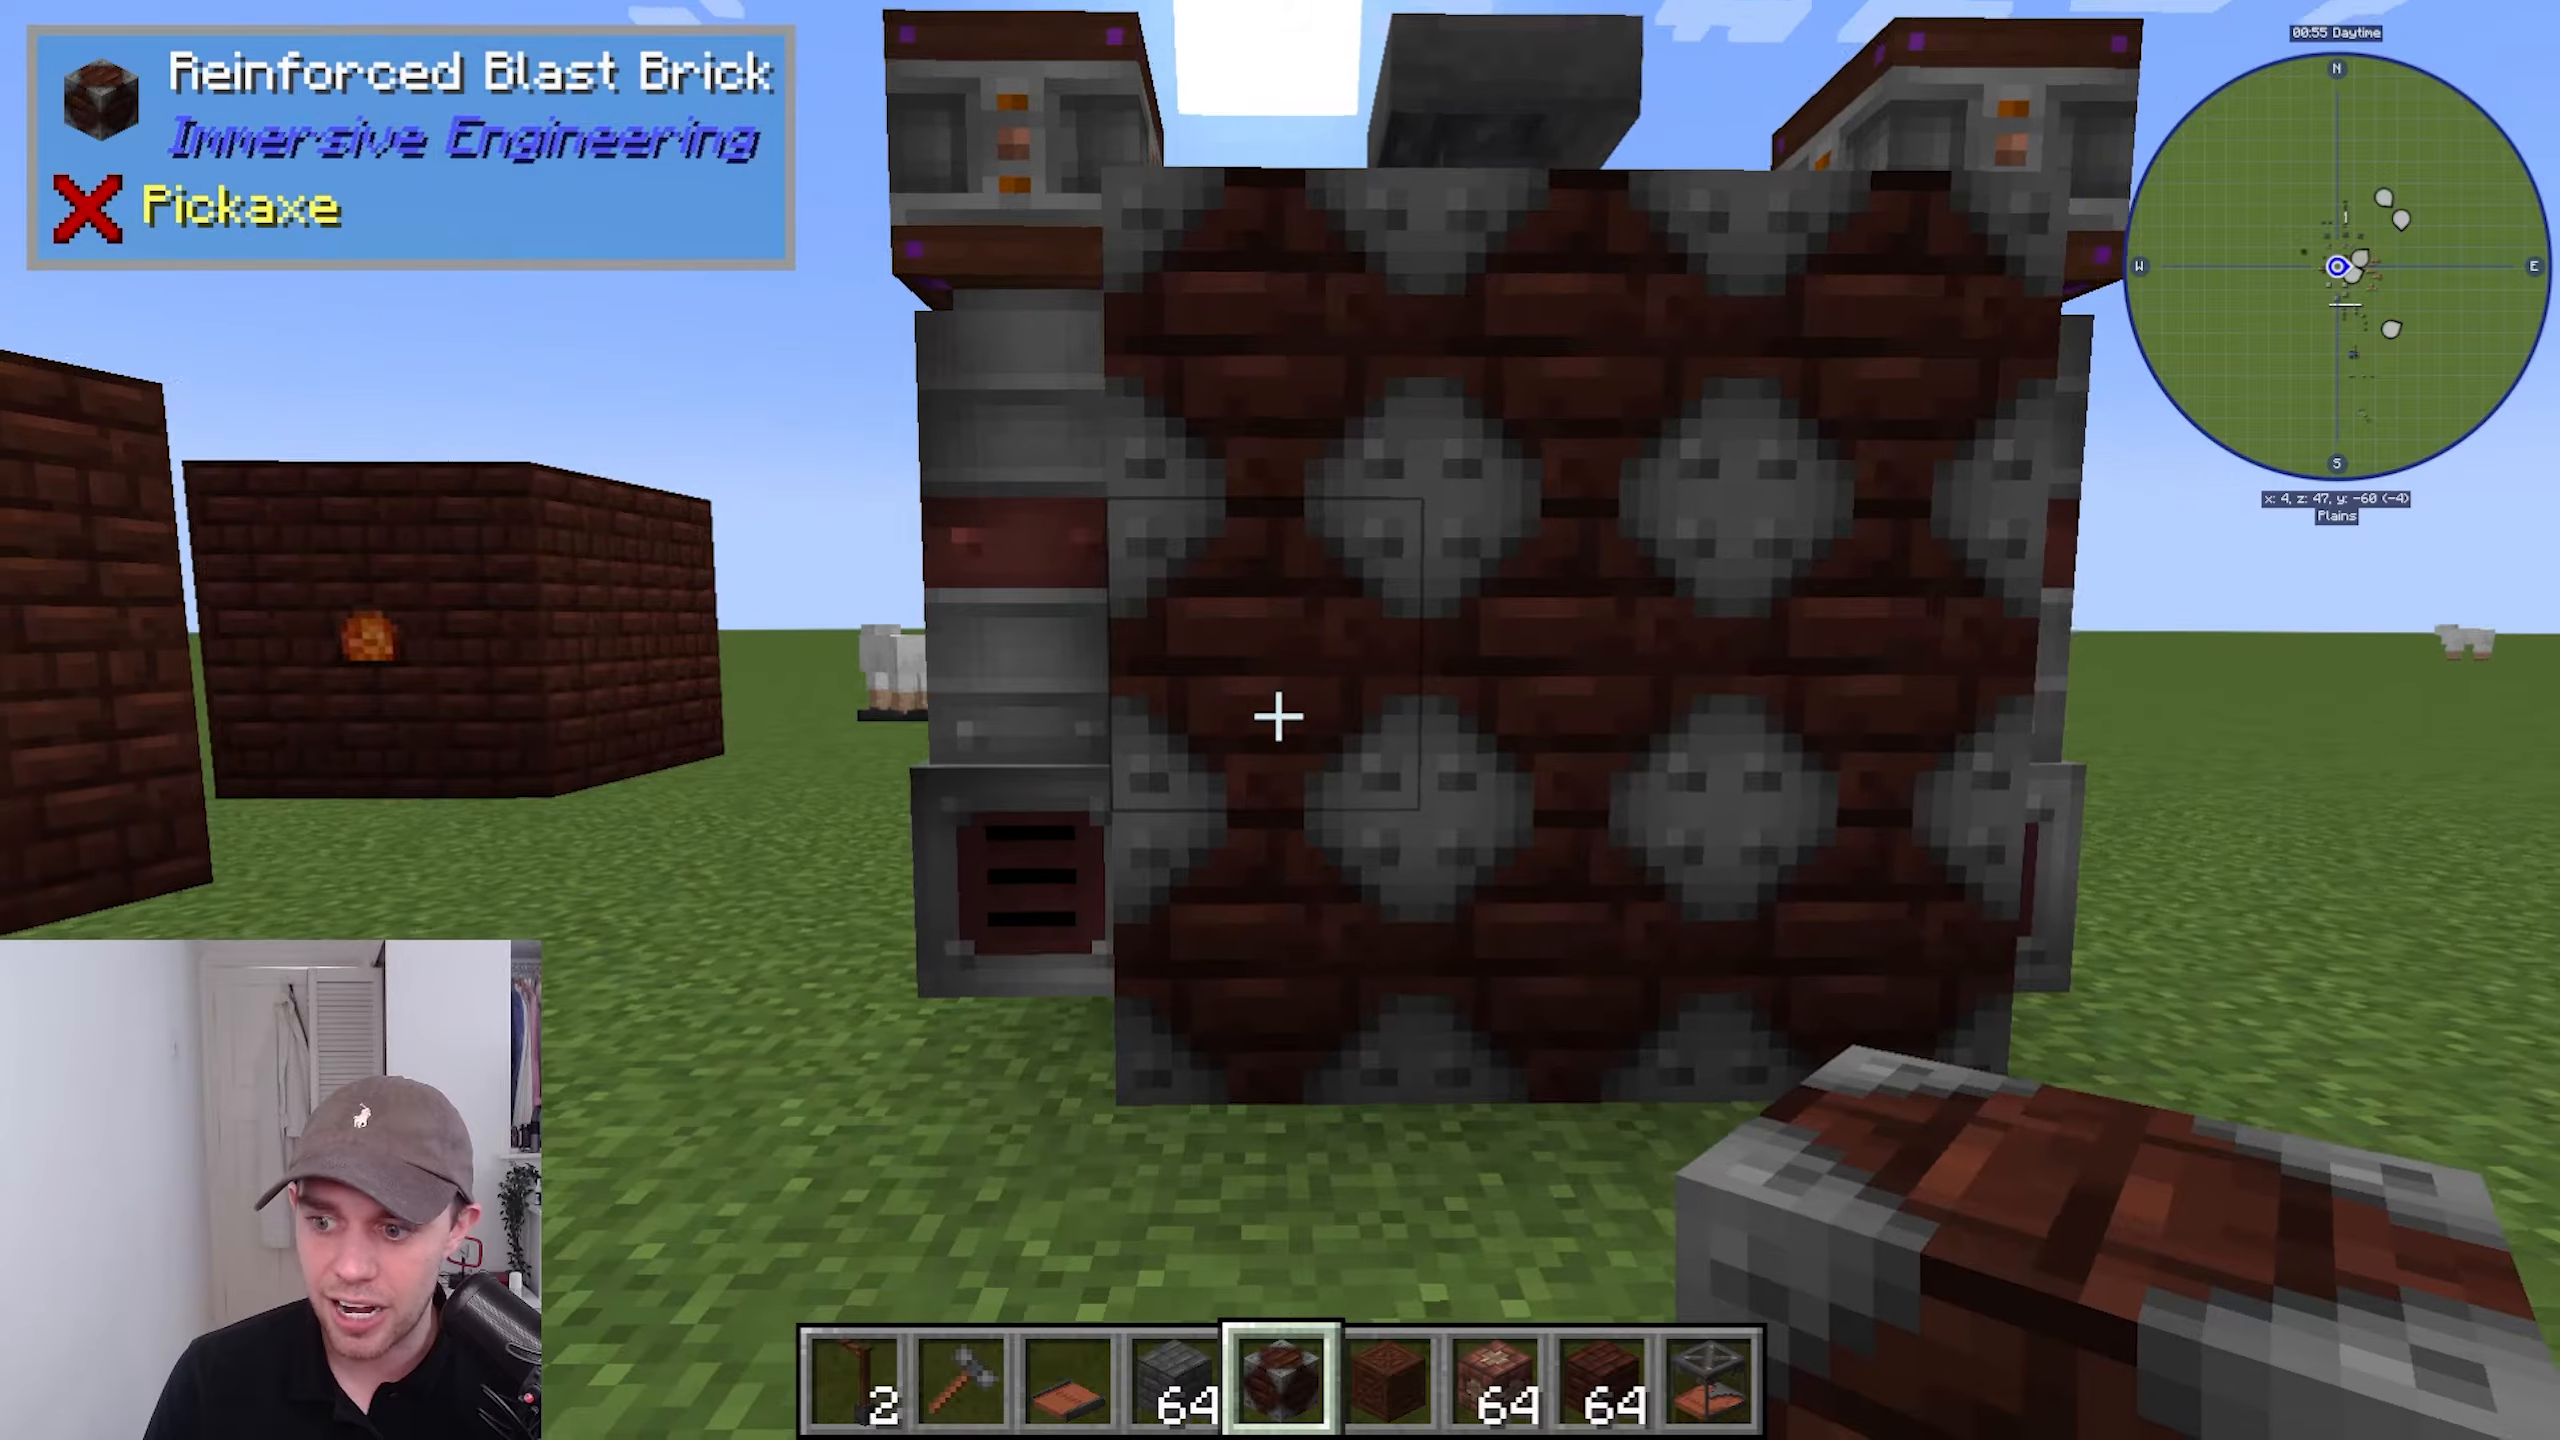
You can place hoppers in the top to input Coal Coke and iron. Slag will come out the back as a byproduct—it can be turned into fertilizer or cooked into Slag Glass (needed for High Voltage wire relays). Use an extracting conveyor belt to pull slag from the back into a chest, and another to output steel ingots from the front.
Conveyor Systems and Item Transport
Understanding Conveyor Belts
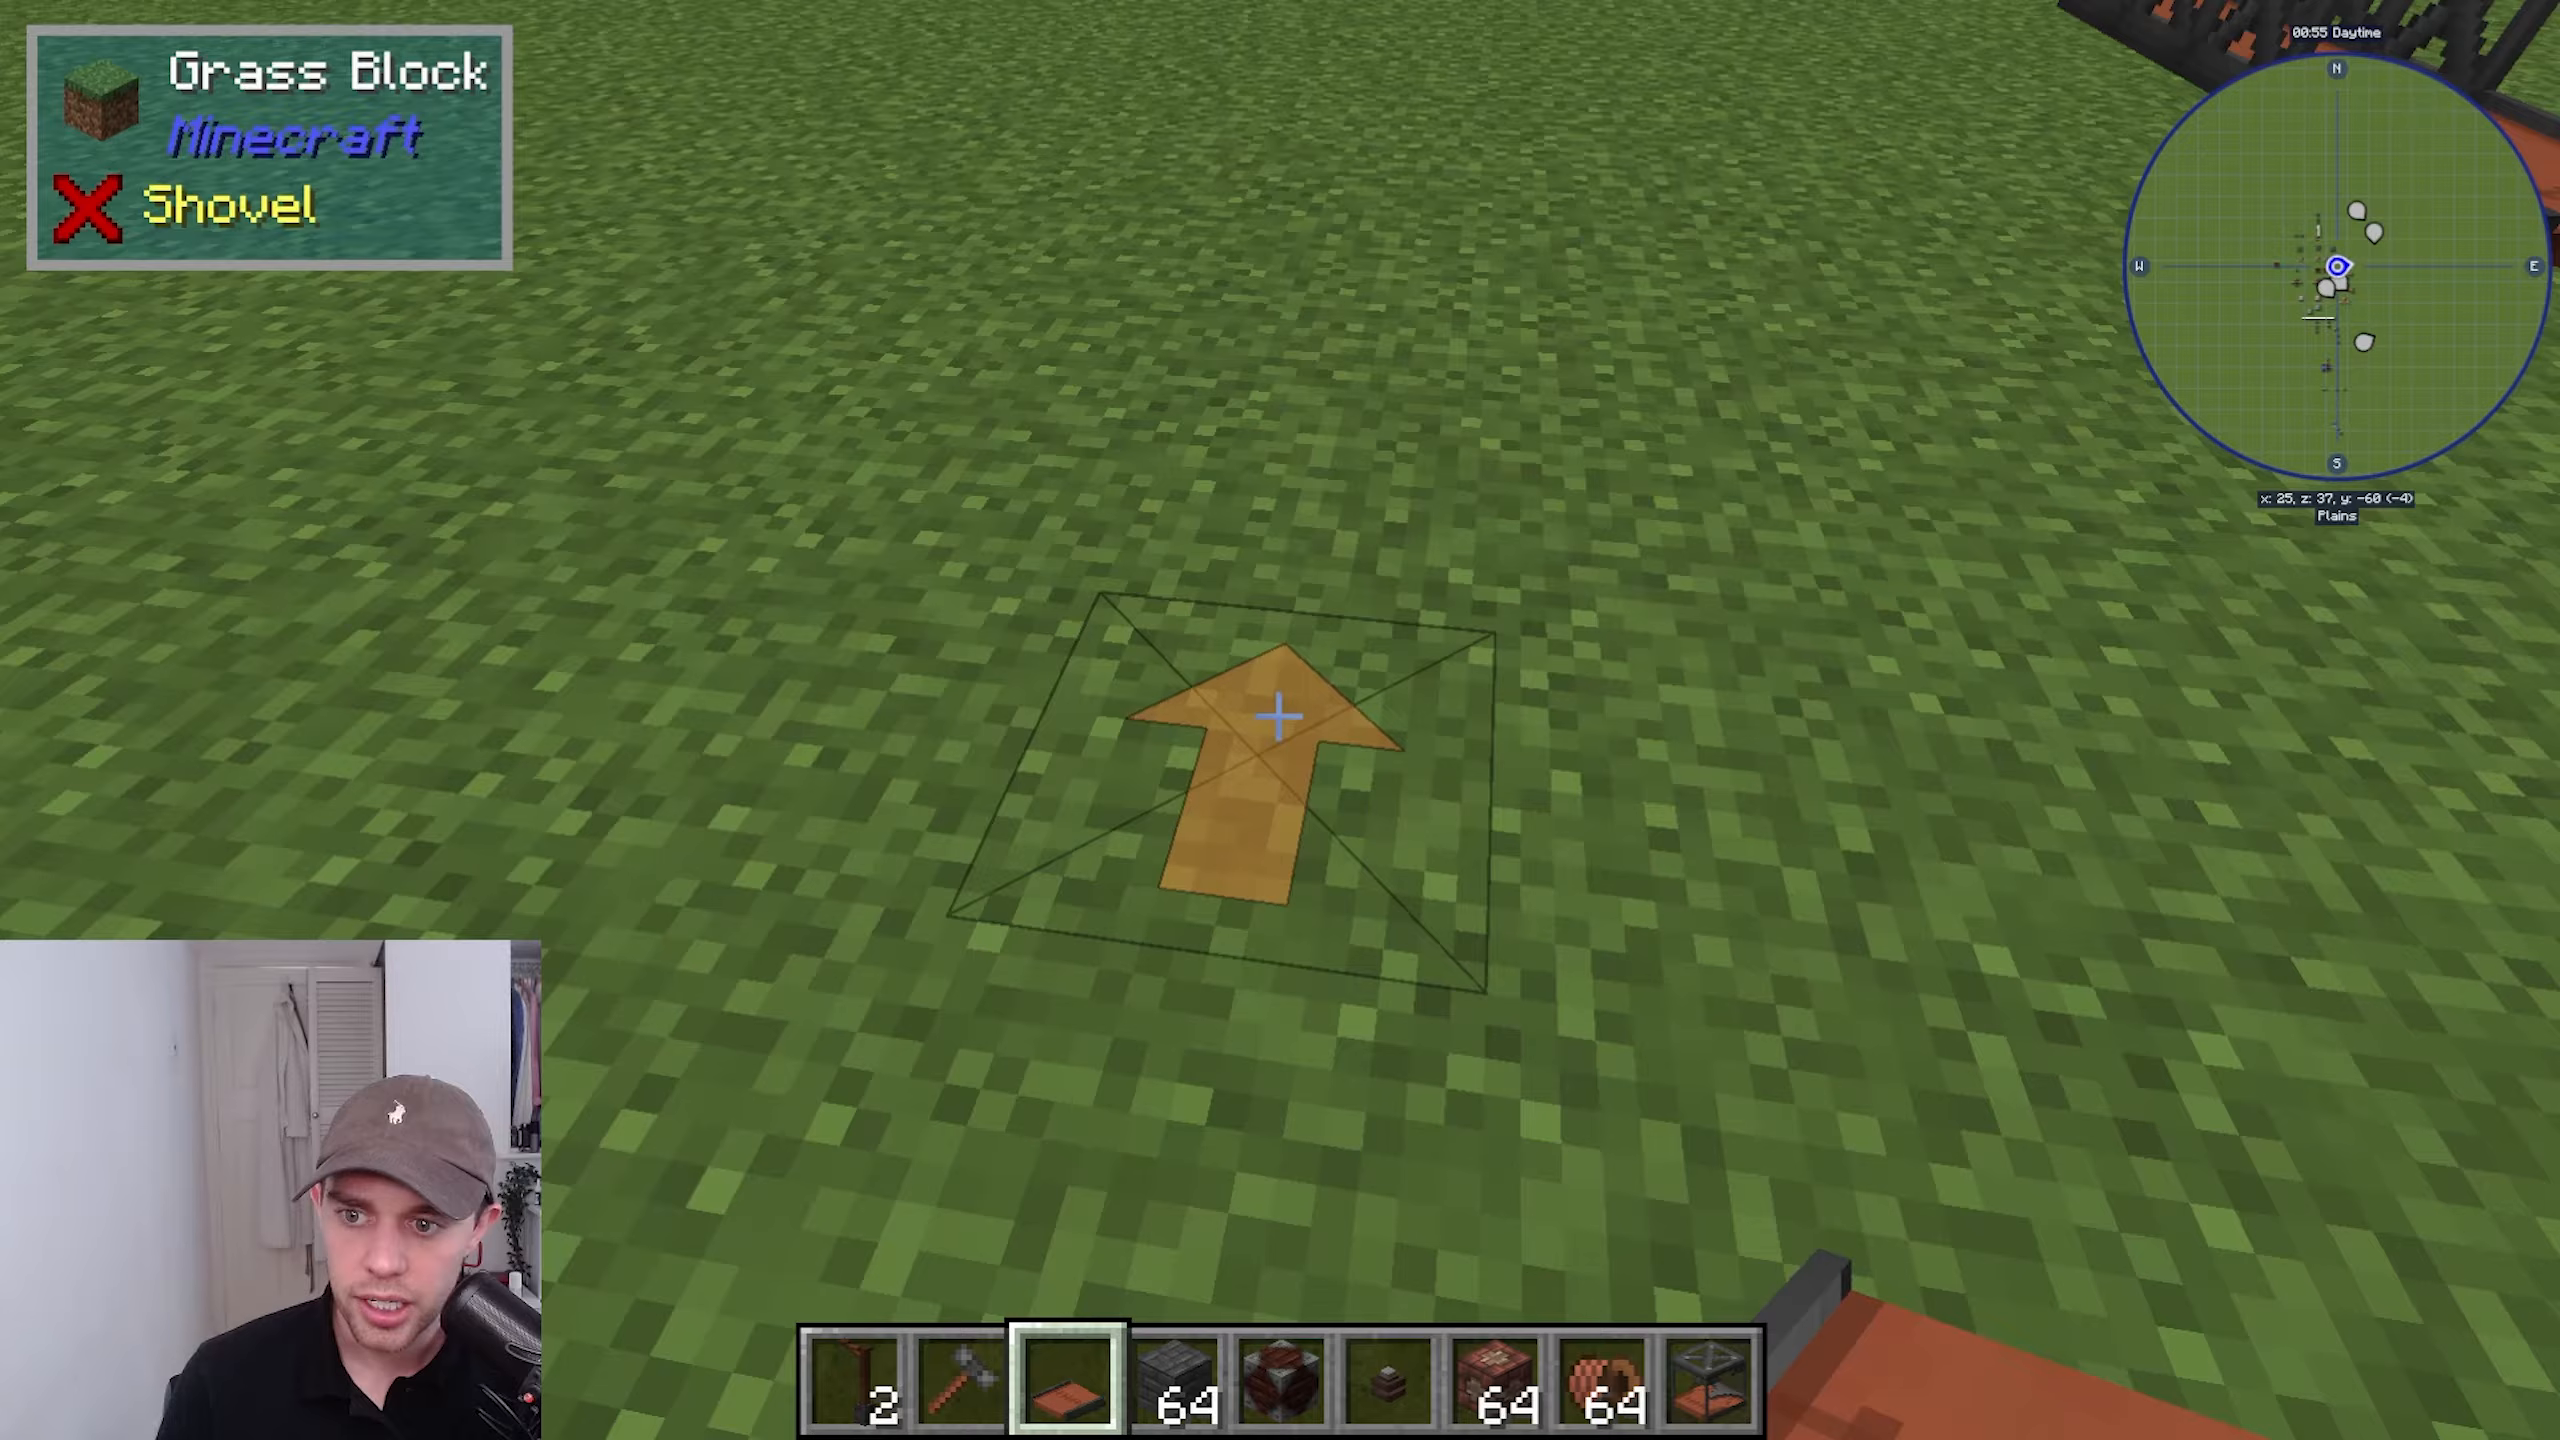
Immersive Engineering offers many types of conveyor belts for automation. When you place a basic conveyor belt on the floor, you can choose which direction you want items to move. You can also create vertical or inclined conveyors by using your Engineer’s Hammer and Shift-clicking to change their orientation.
Special Conveyor Belt Types
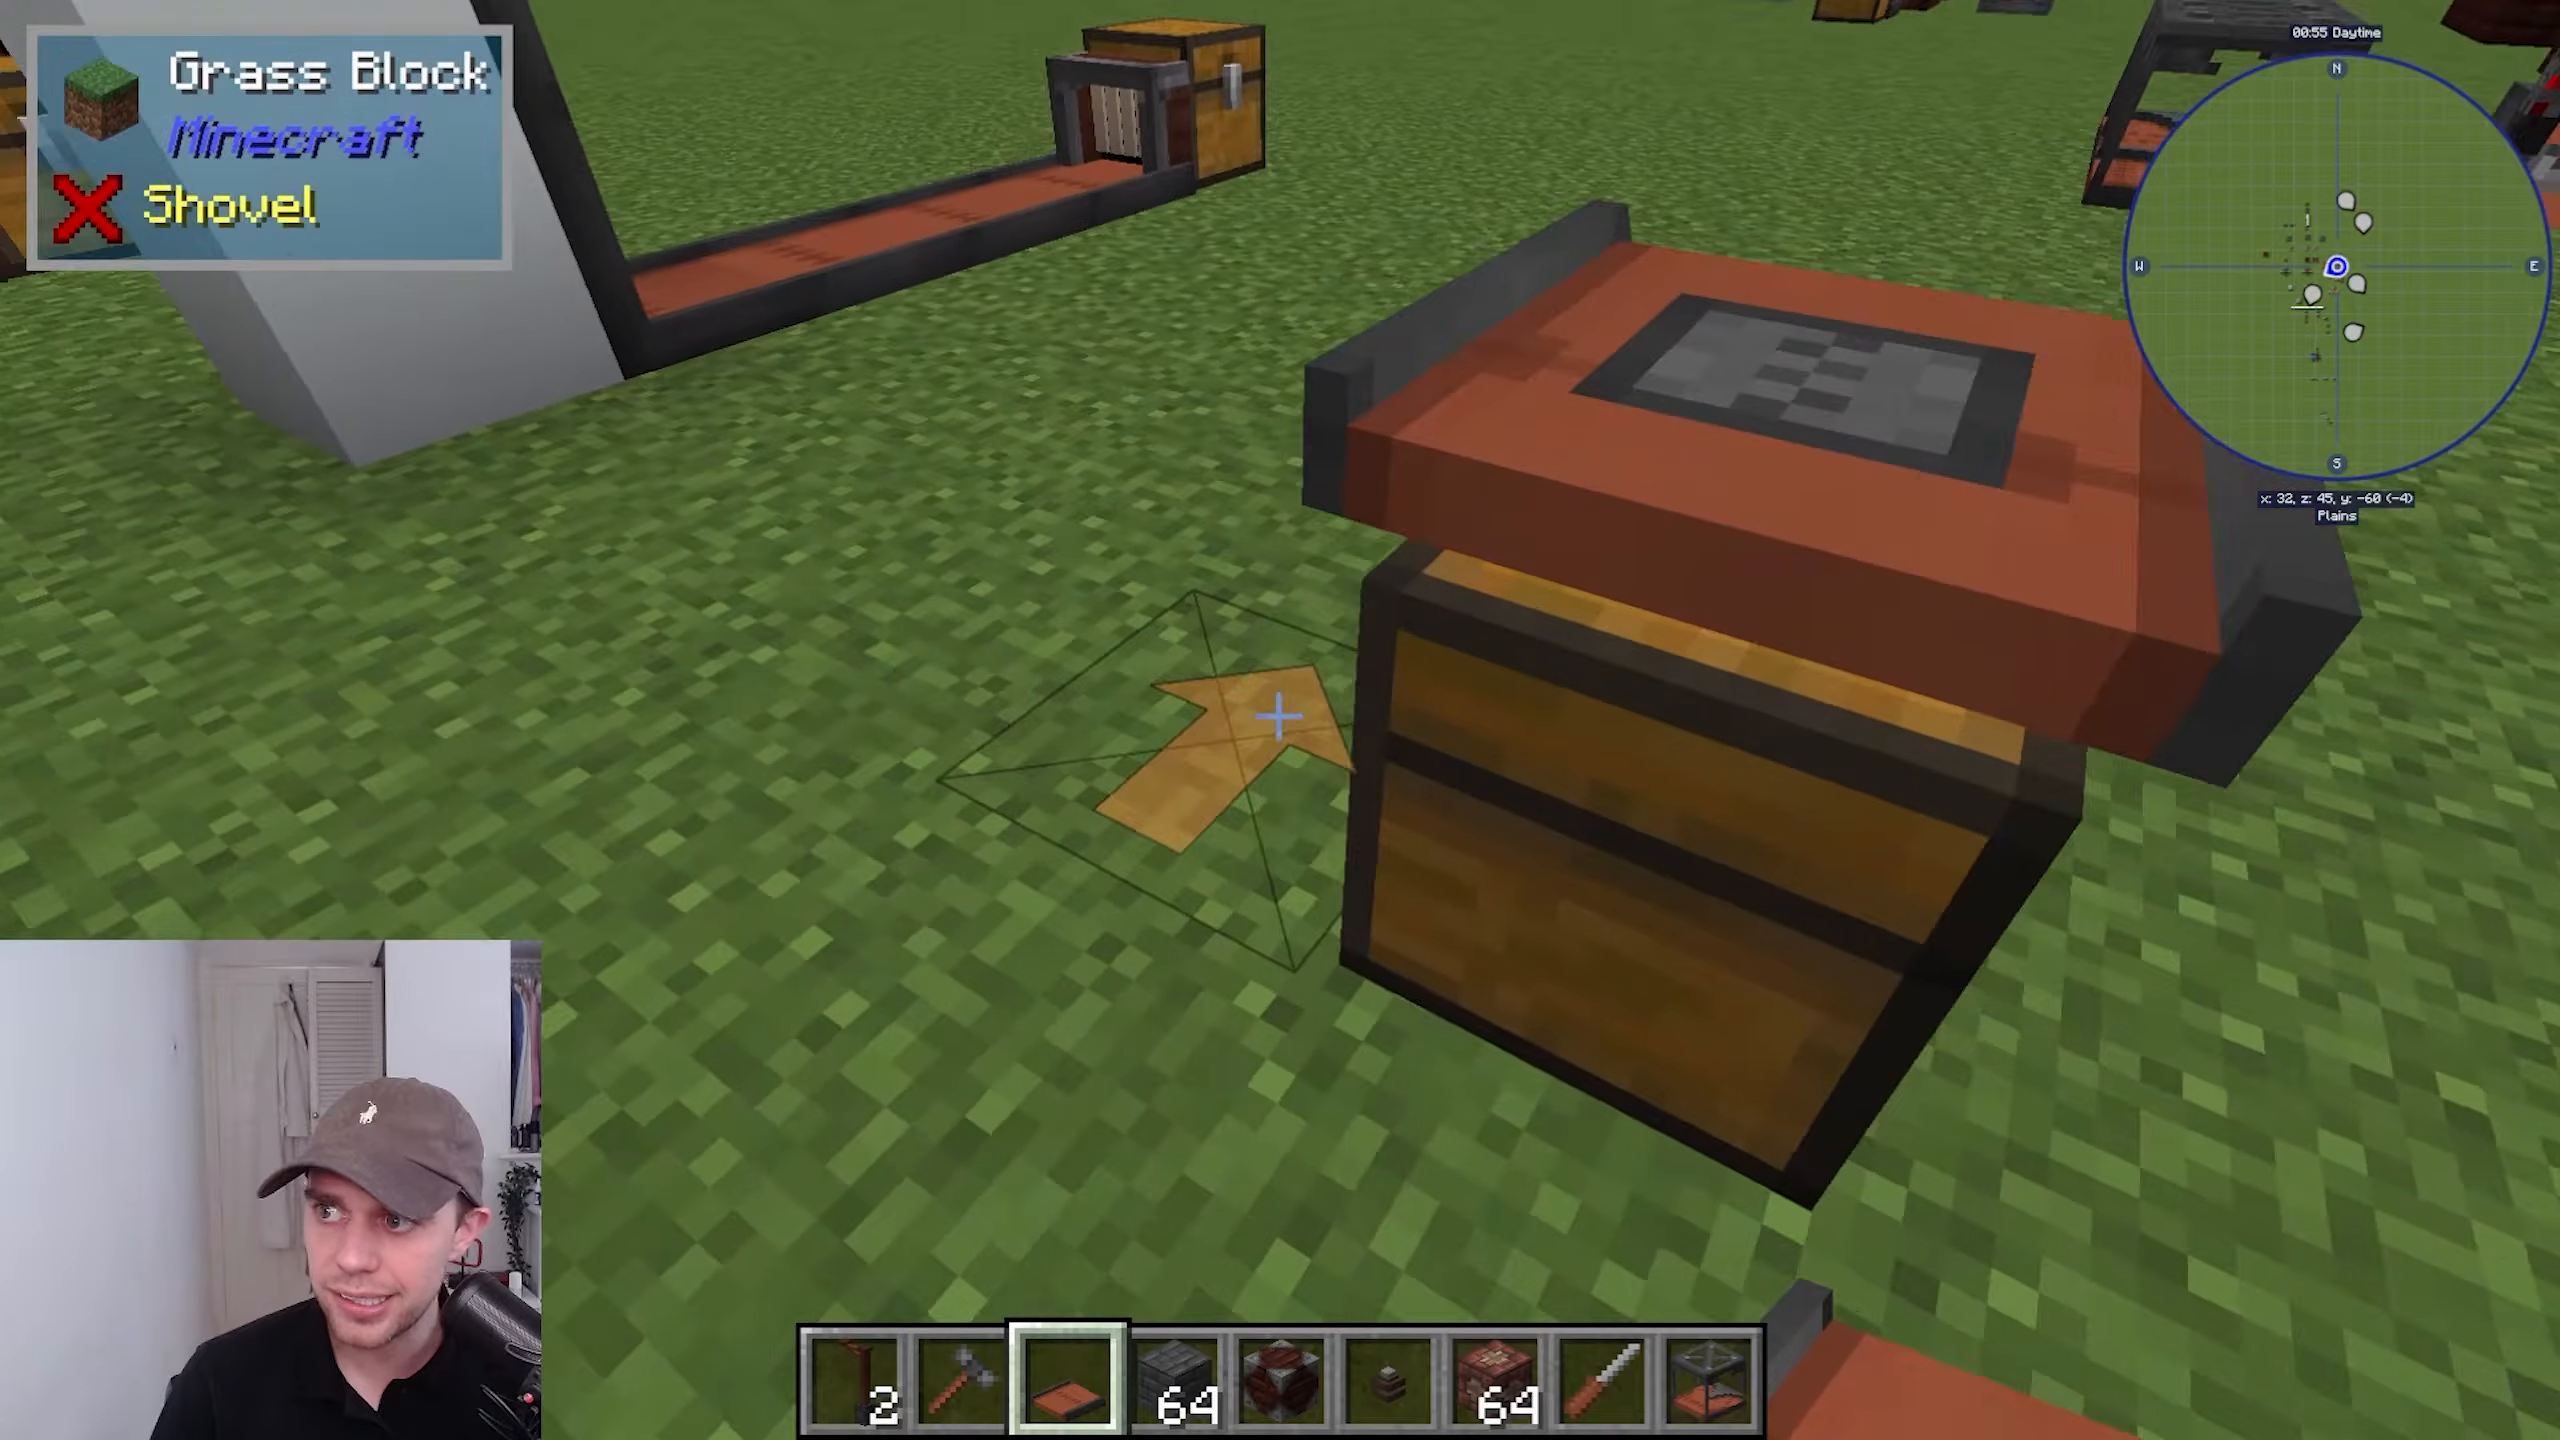
The Dropping Conveyor Belt has a hatch that allows items to fall through to another level. When you place items on it, they’ll disappear from one belt and appear on the one below.
The Vertical Conveyor Belt moves items straight up rather than on an incline, making it more efficient for tall builds.
The Splitting Conveyor Belt distributes items alternately in different directions—one item goes one way, the next goes another way, creating organized production lines.
The Extracting Conveyor Belt pulls items directly from chests or machines, automating input without needing hoppers.
Customizing Conveyors
You can add dyes to conveyor belts to color-code your production lines. The Redstone Control Conveyor Belt stops and starts based on redstone signals, giving you precise control over your automation.
Covered versions of all conveyor belt types are available, preventing items and animals from accidentally falling on them. These are especially useful when conveyors are in your walking path.
Item Routers and Filtering
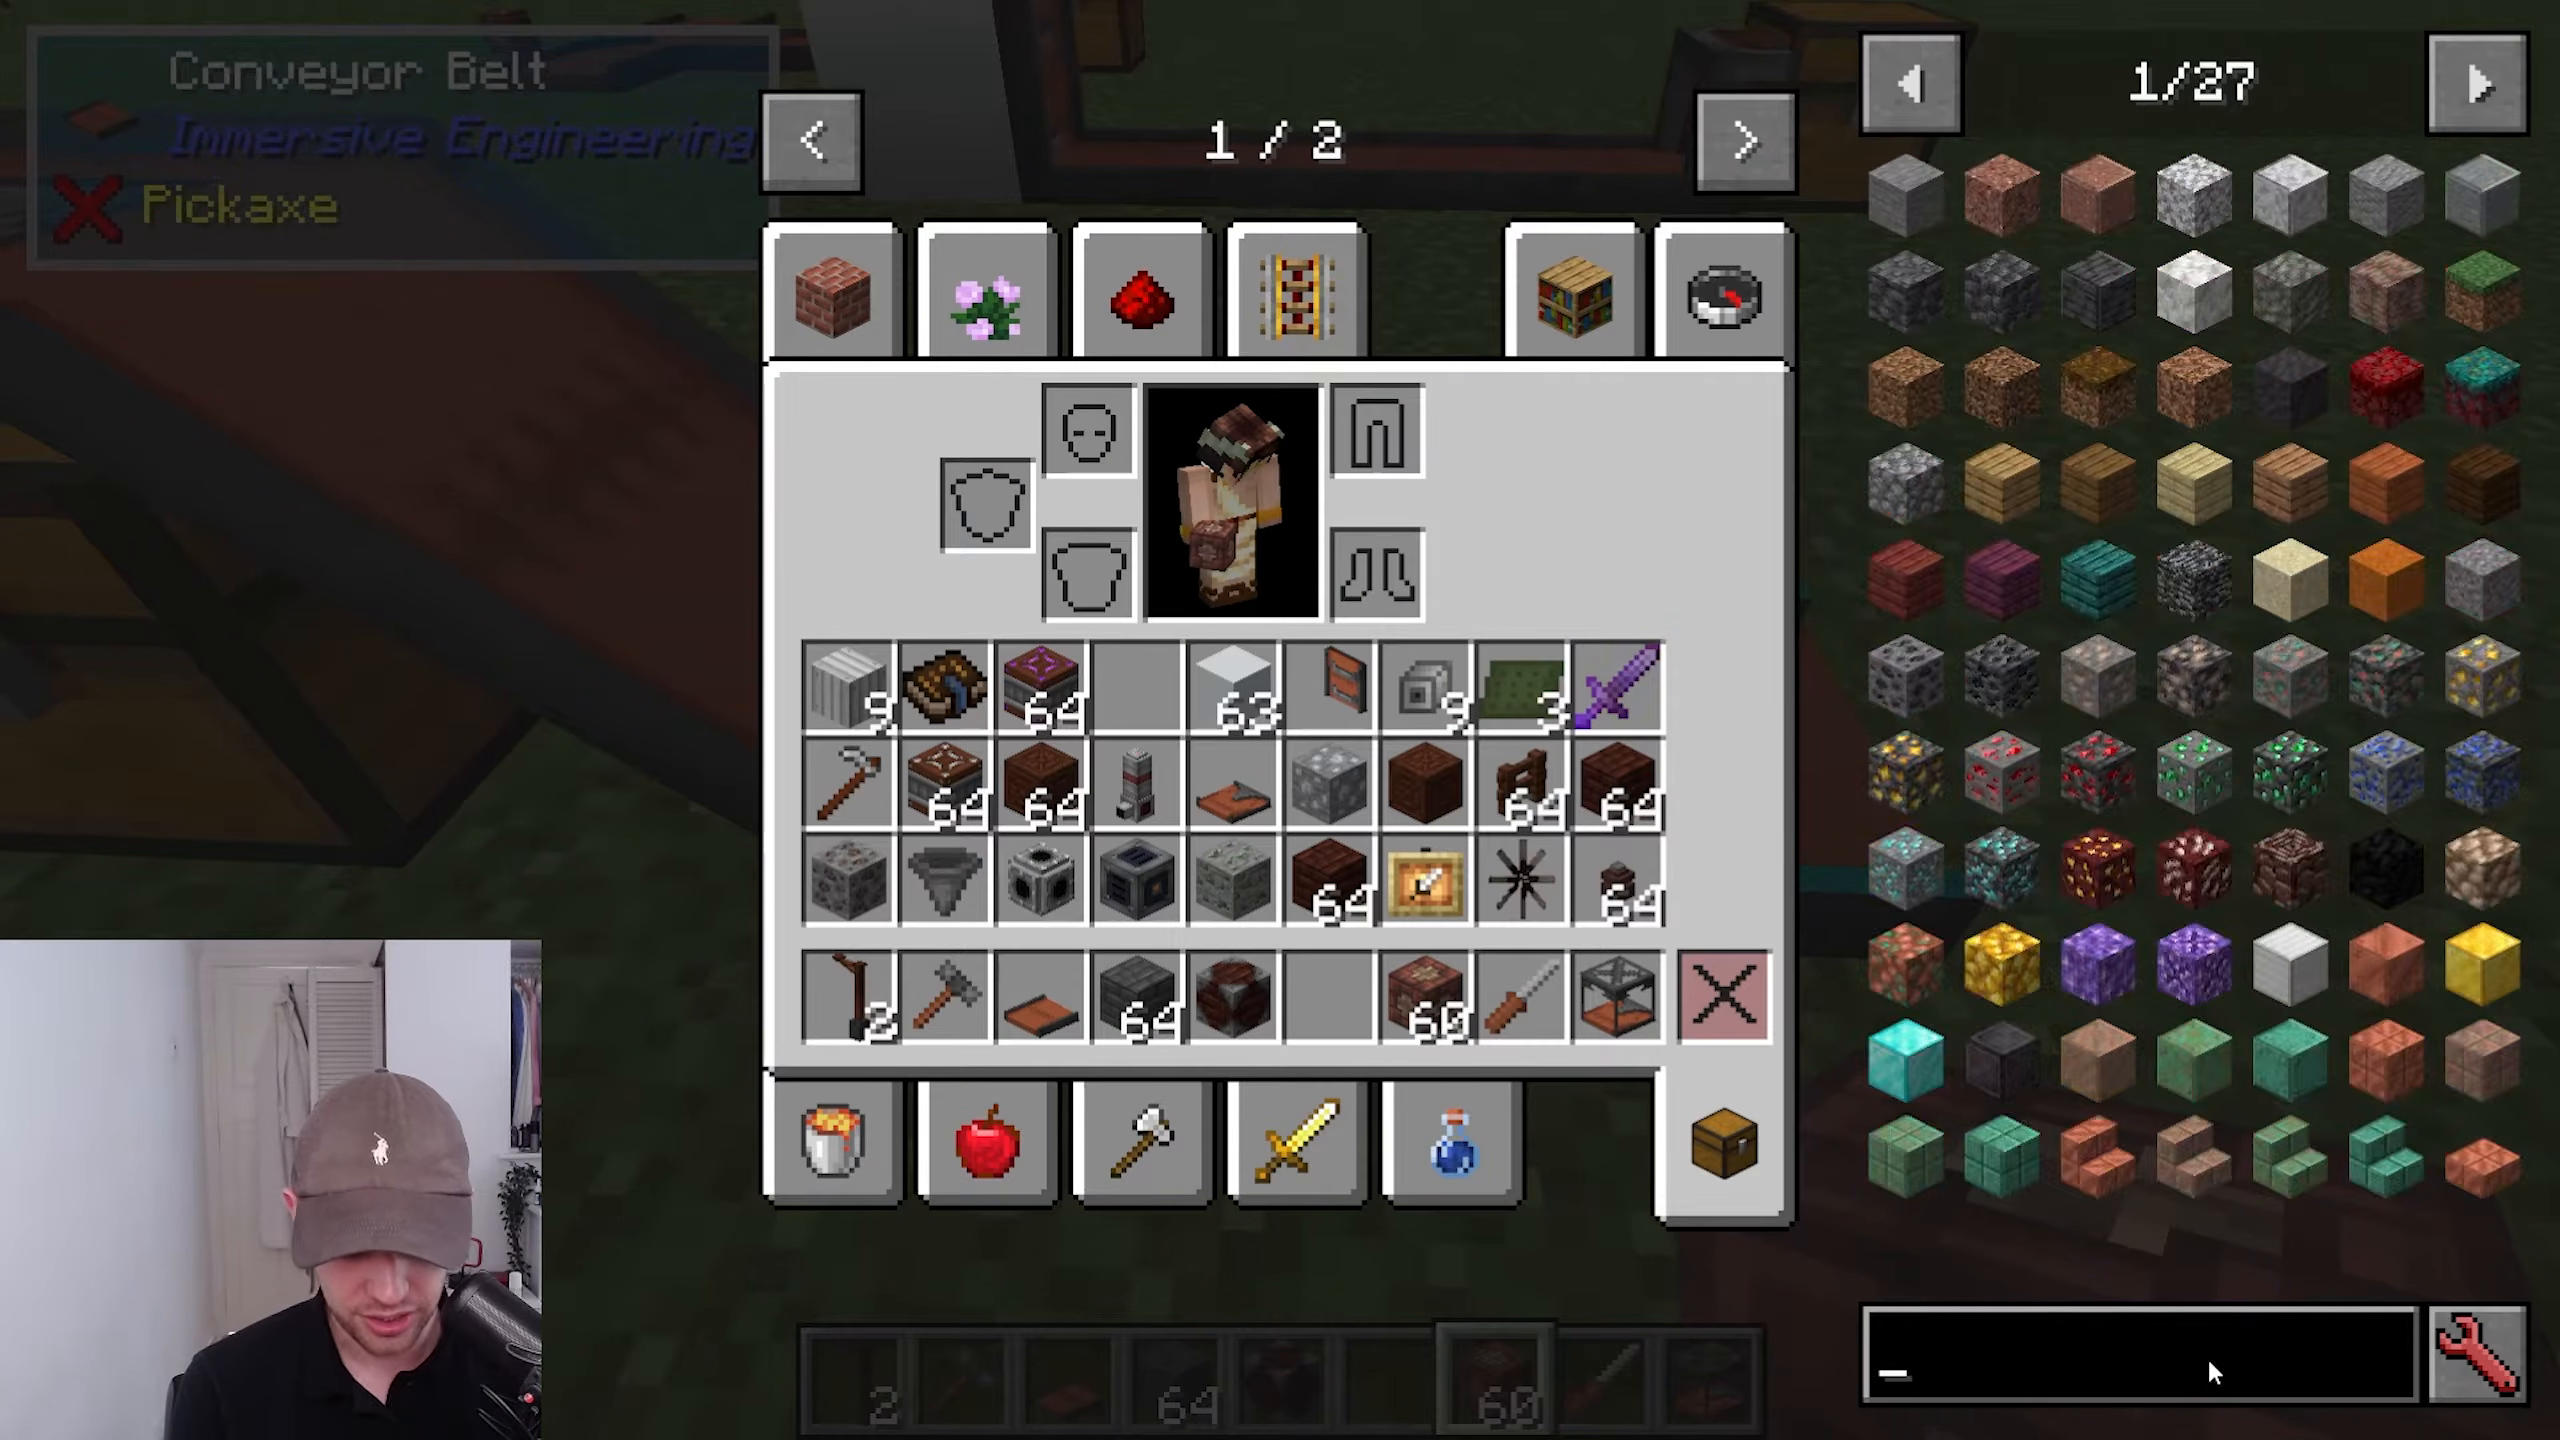
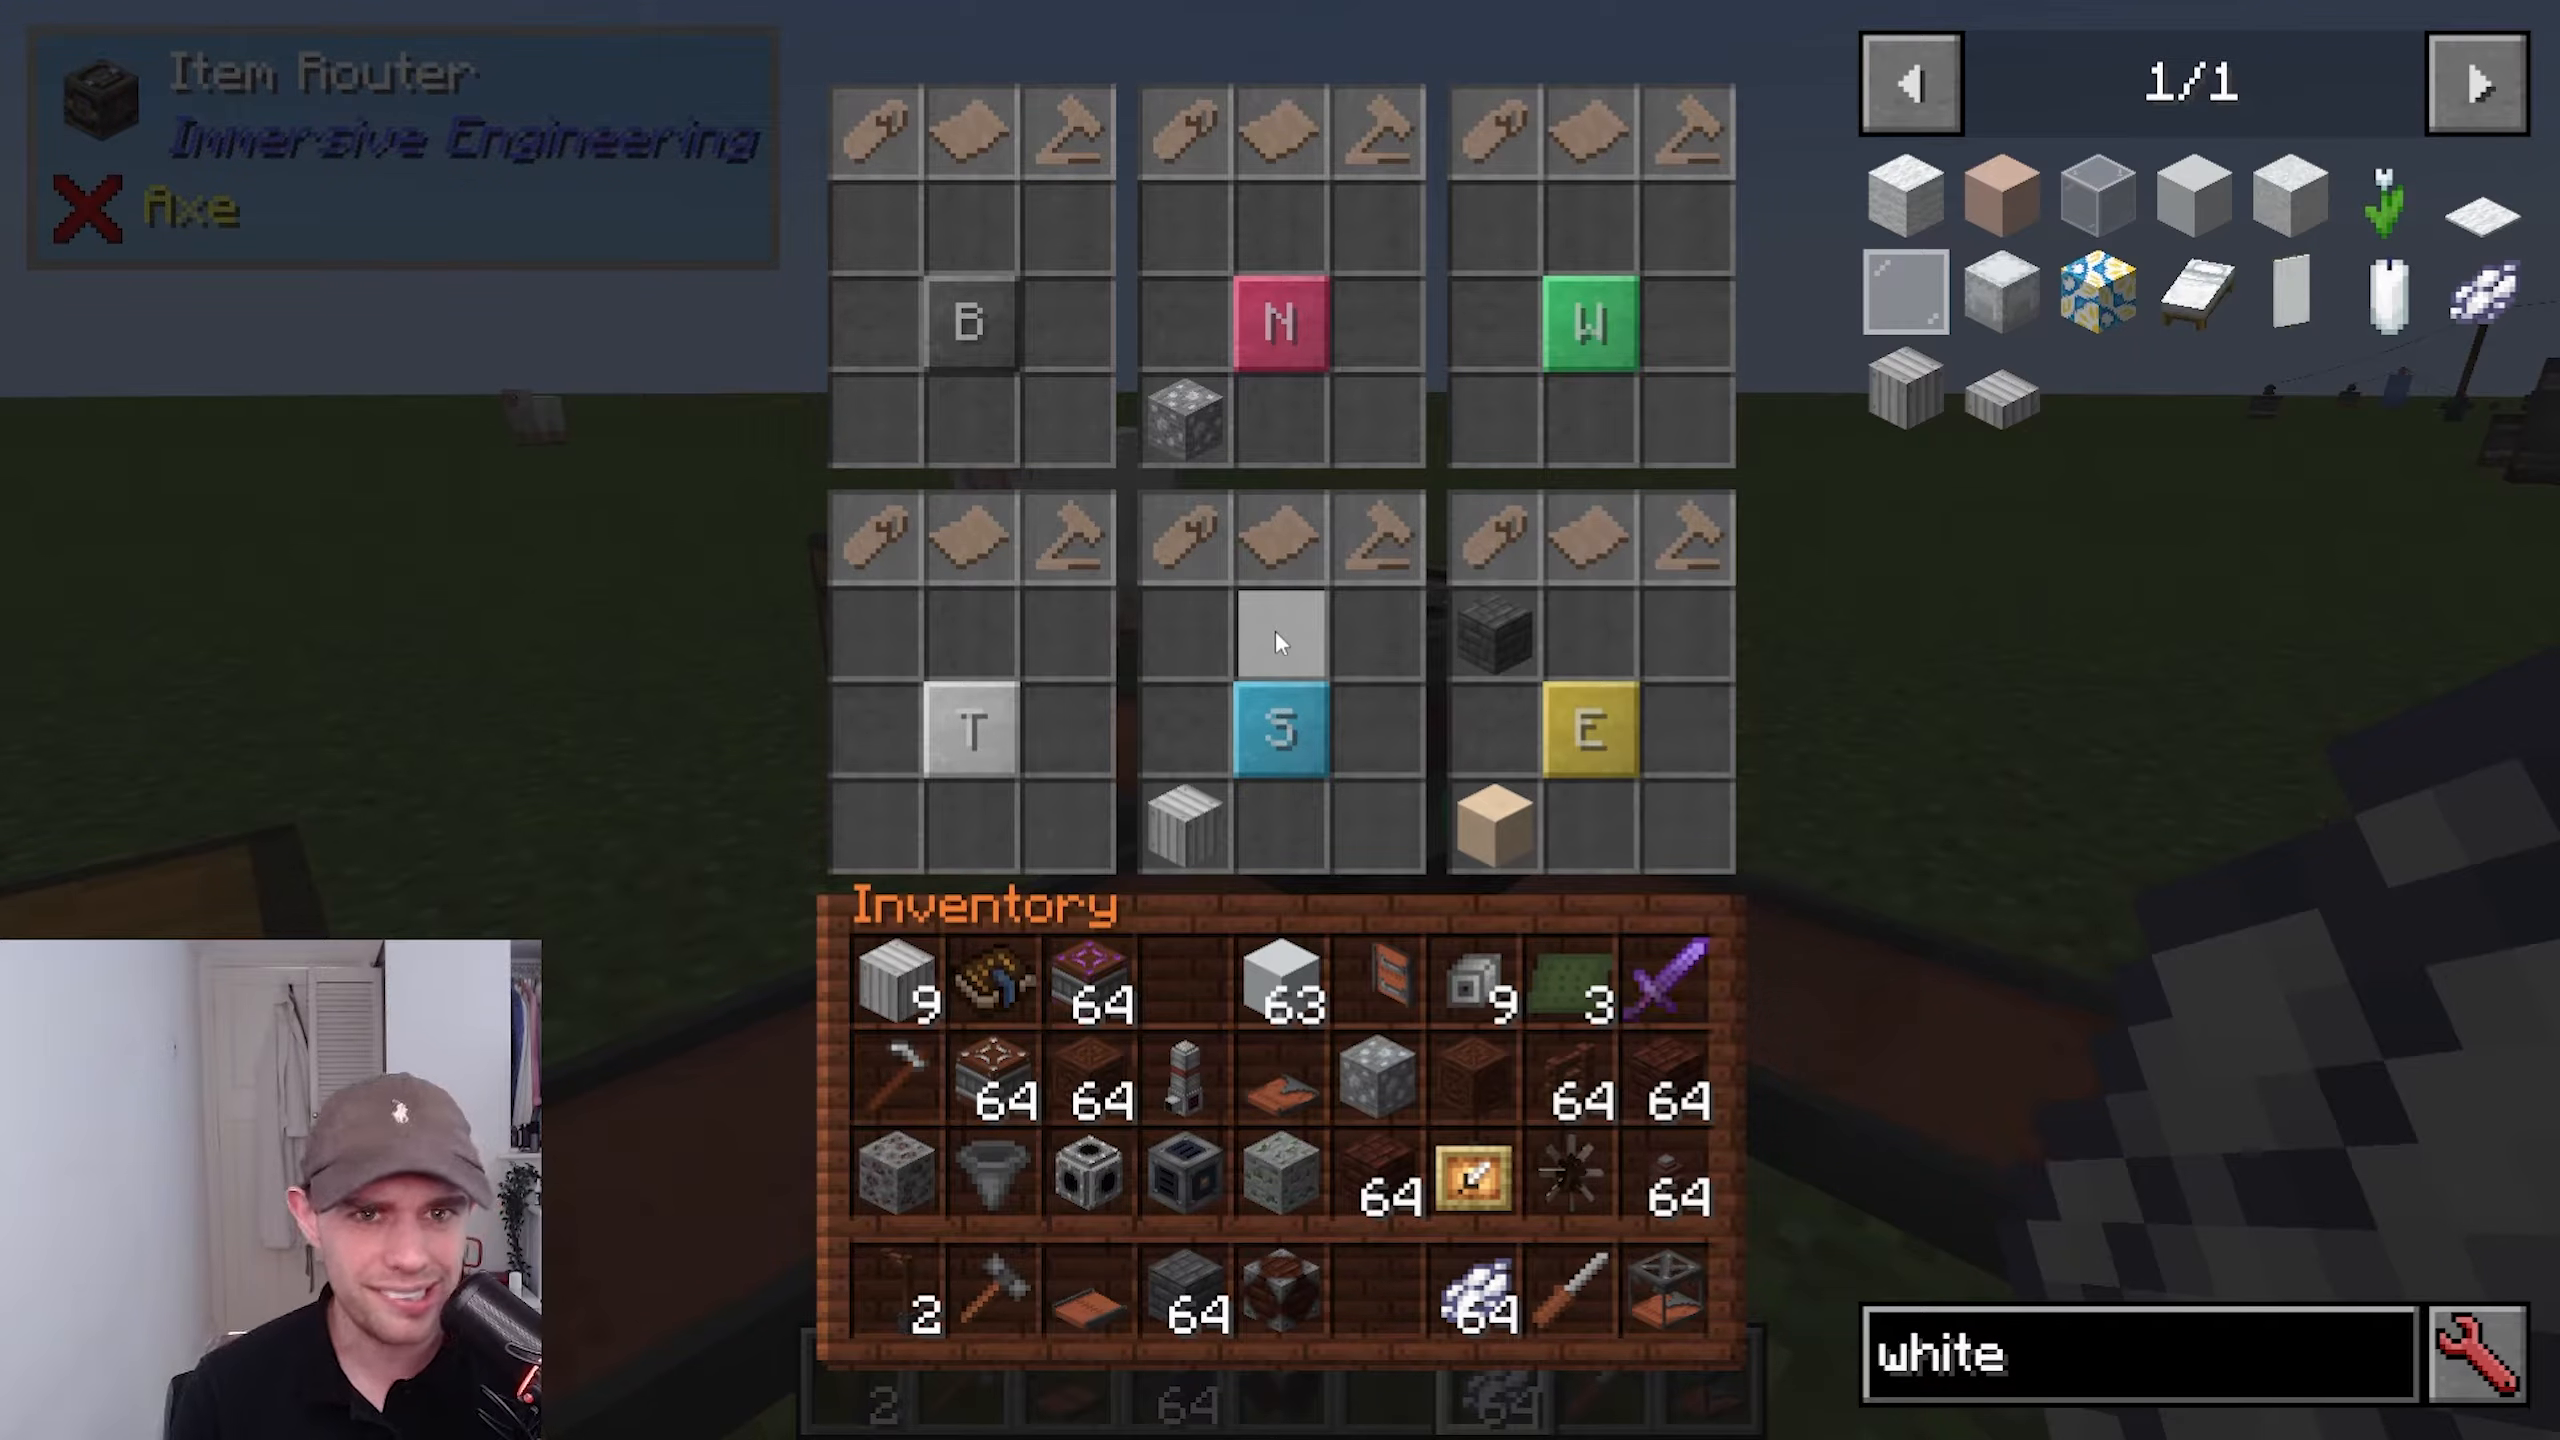
Item Routers allow you to filter items based on direction. Items can exit through different sides (for example, red is north, yellow is east). You can filter items by name, tags, or damage value. Using tags like “forge:ores” allows you to filter entire categories of items at once.
Storage Solutions: Item Silos and Fluid Tanks
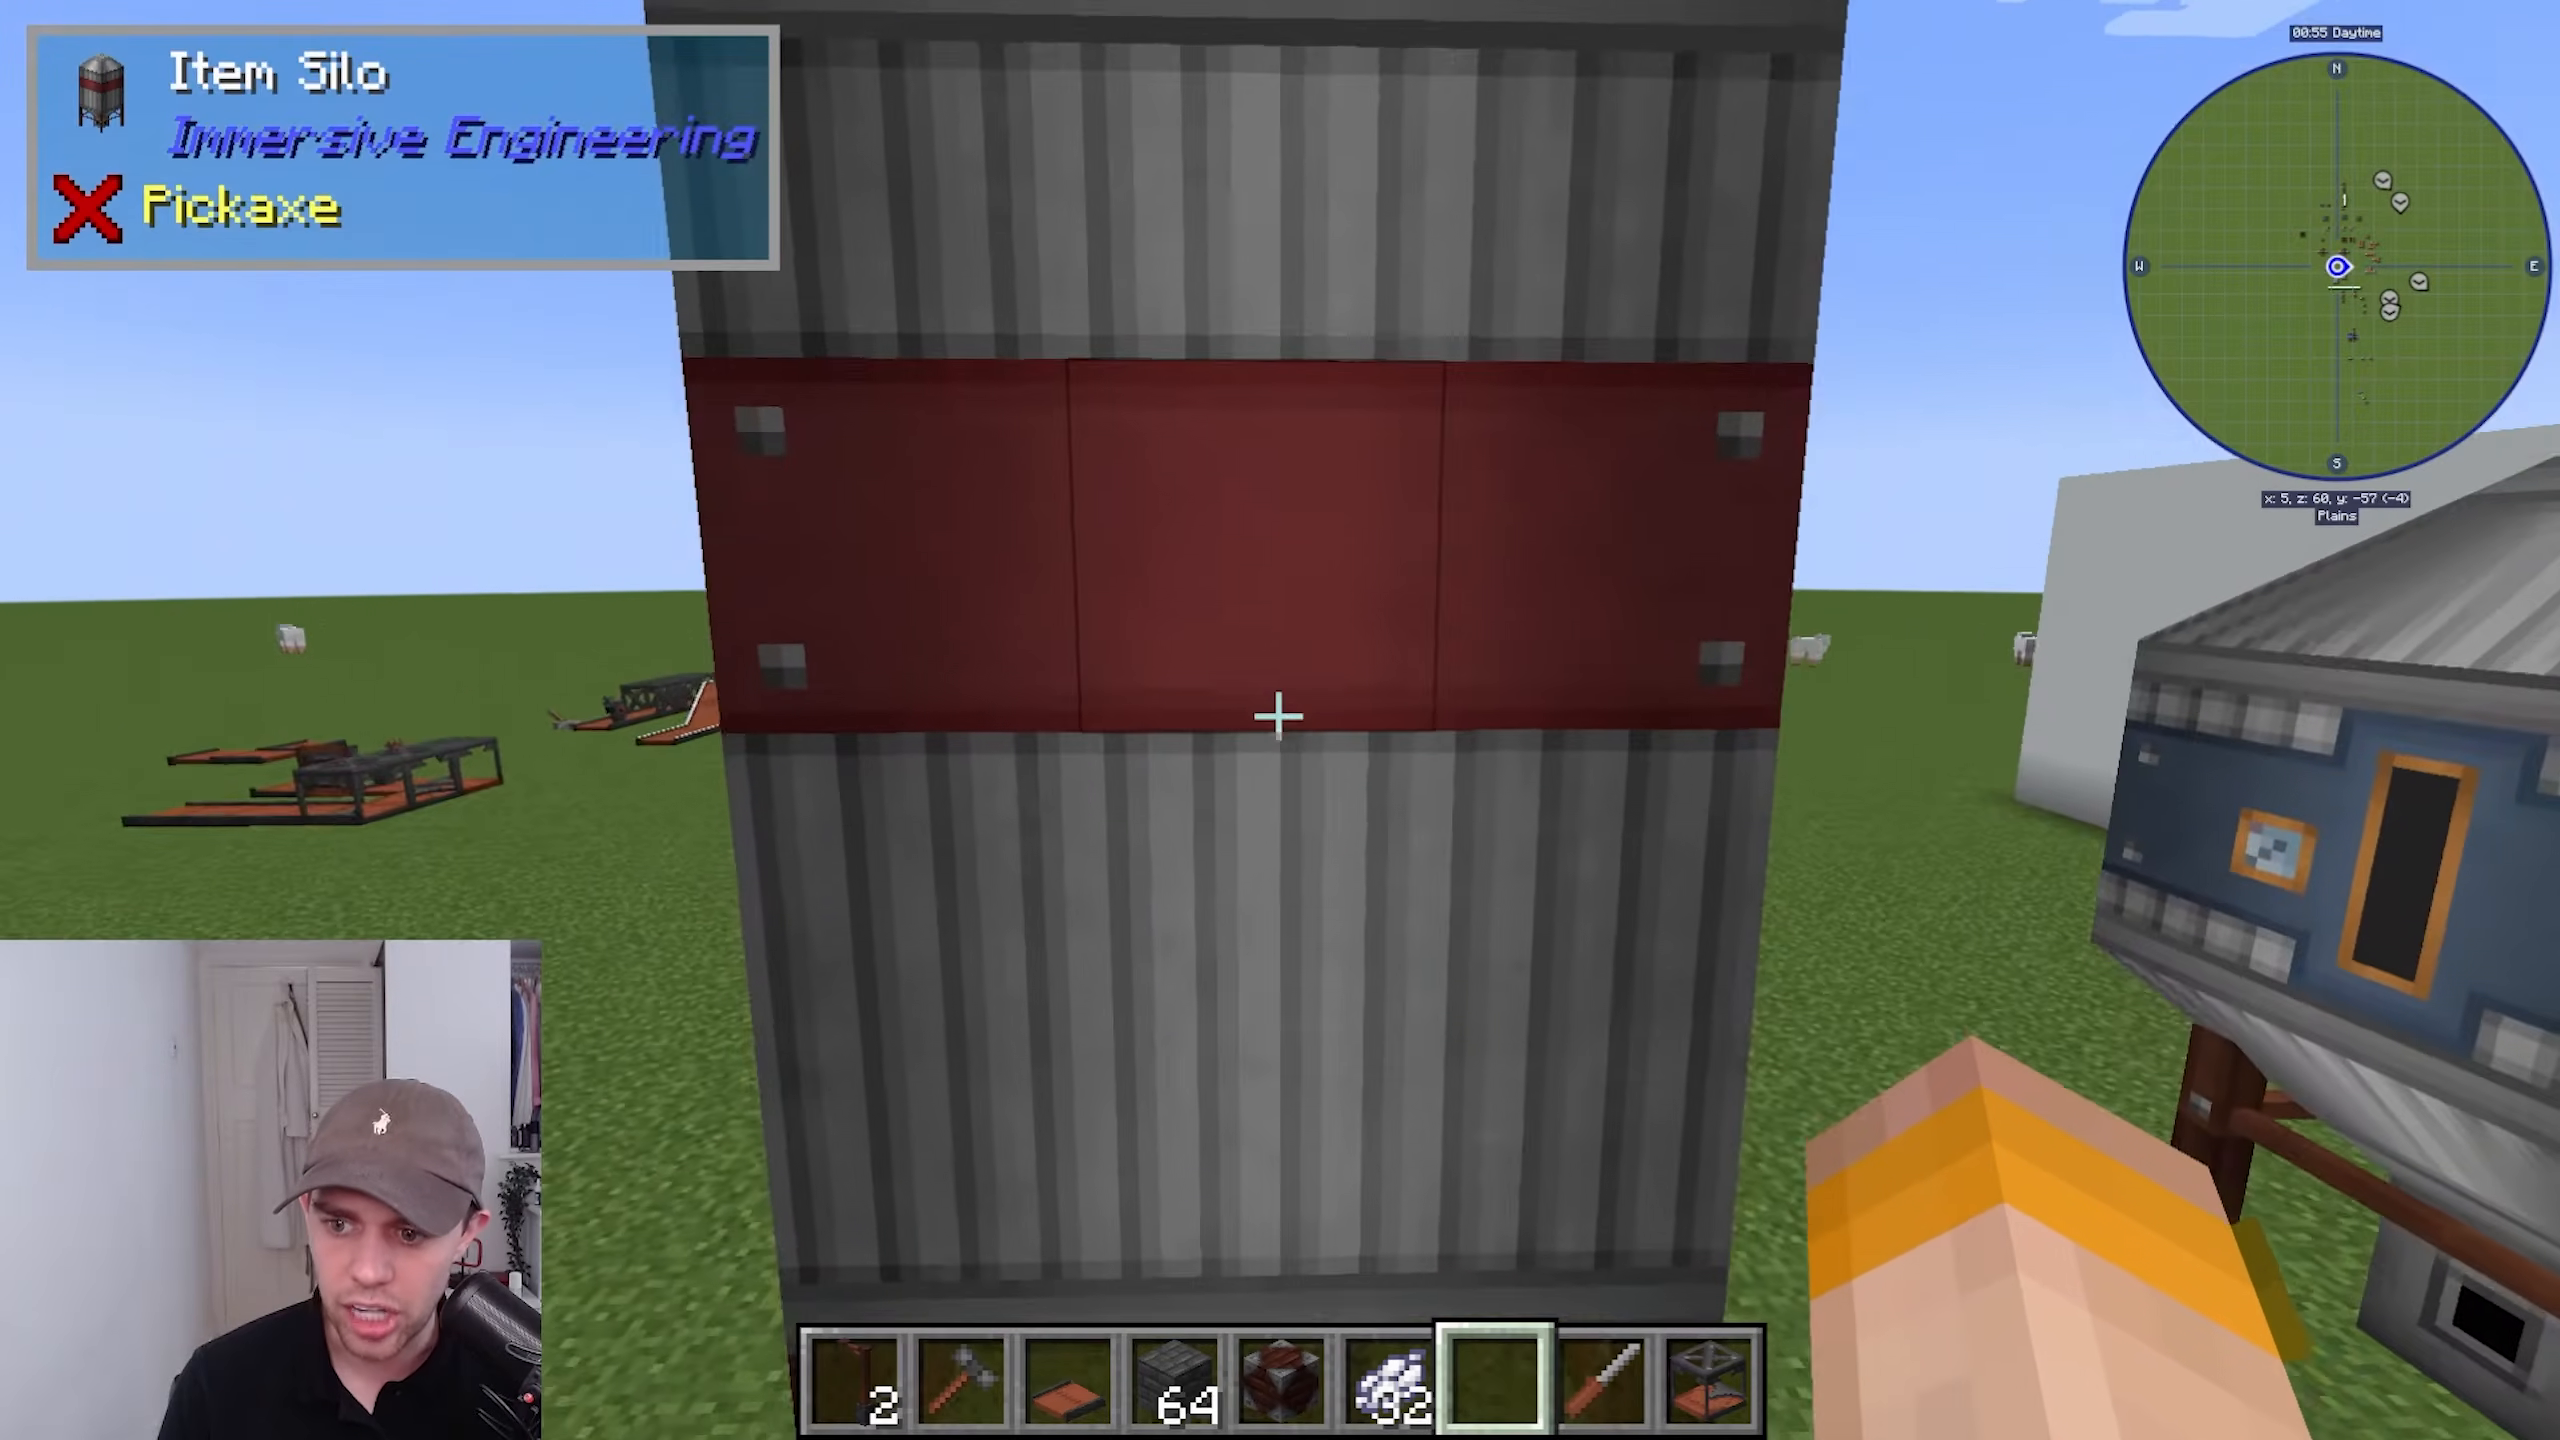
Item Silos are massive storage blocks equivalent to about 64 chests. They accept input from the top and output at the bottom, making them perfect for bulk storage in automated systems.
Fluid Tanks are built using four Treated Wood Fence blocks with a hollow interior. For Fluid Tanks, use one block on the bottom with a completely hollow interior.
Item Silos use six Treated Wood Fence blocks on the bottom with a hollow interior (except for the very bottom block which is the ground).
Crafting with the Engineer’s Workbench
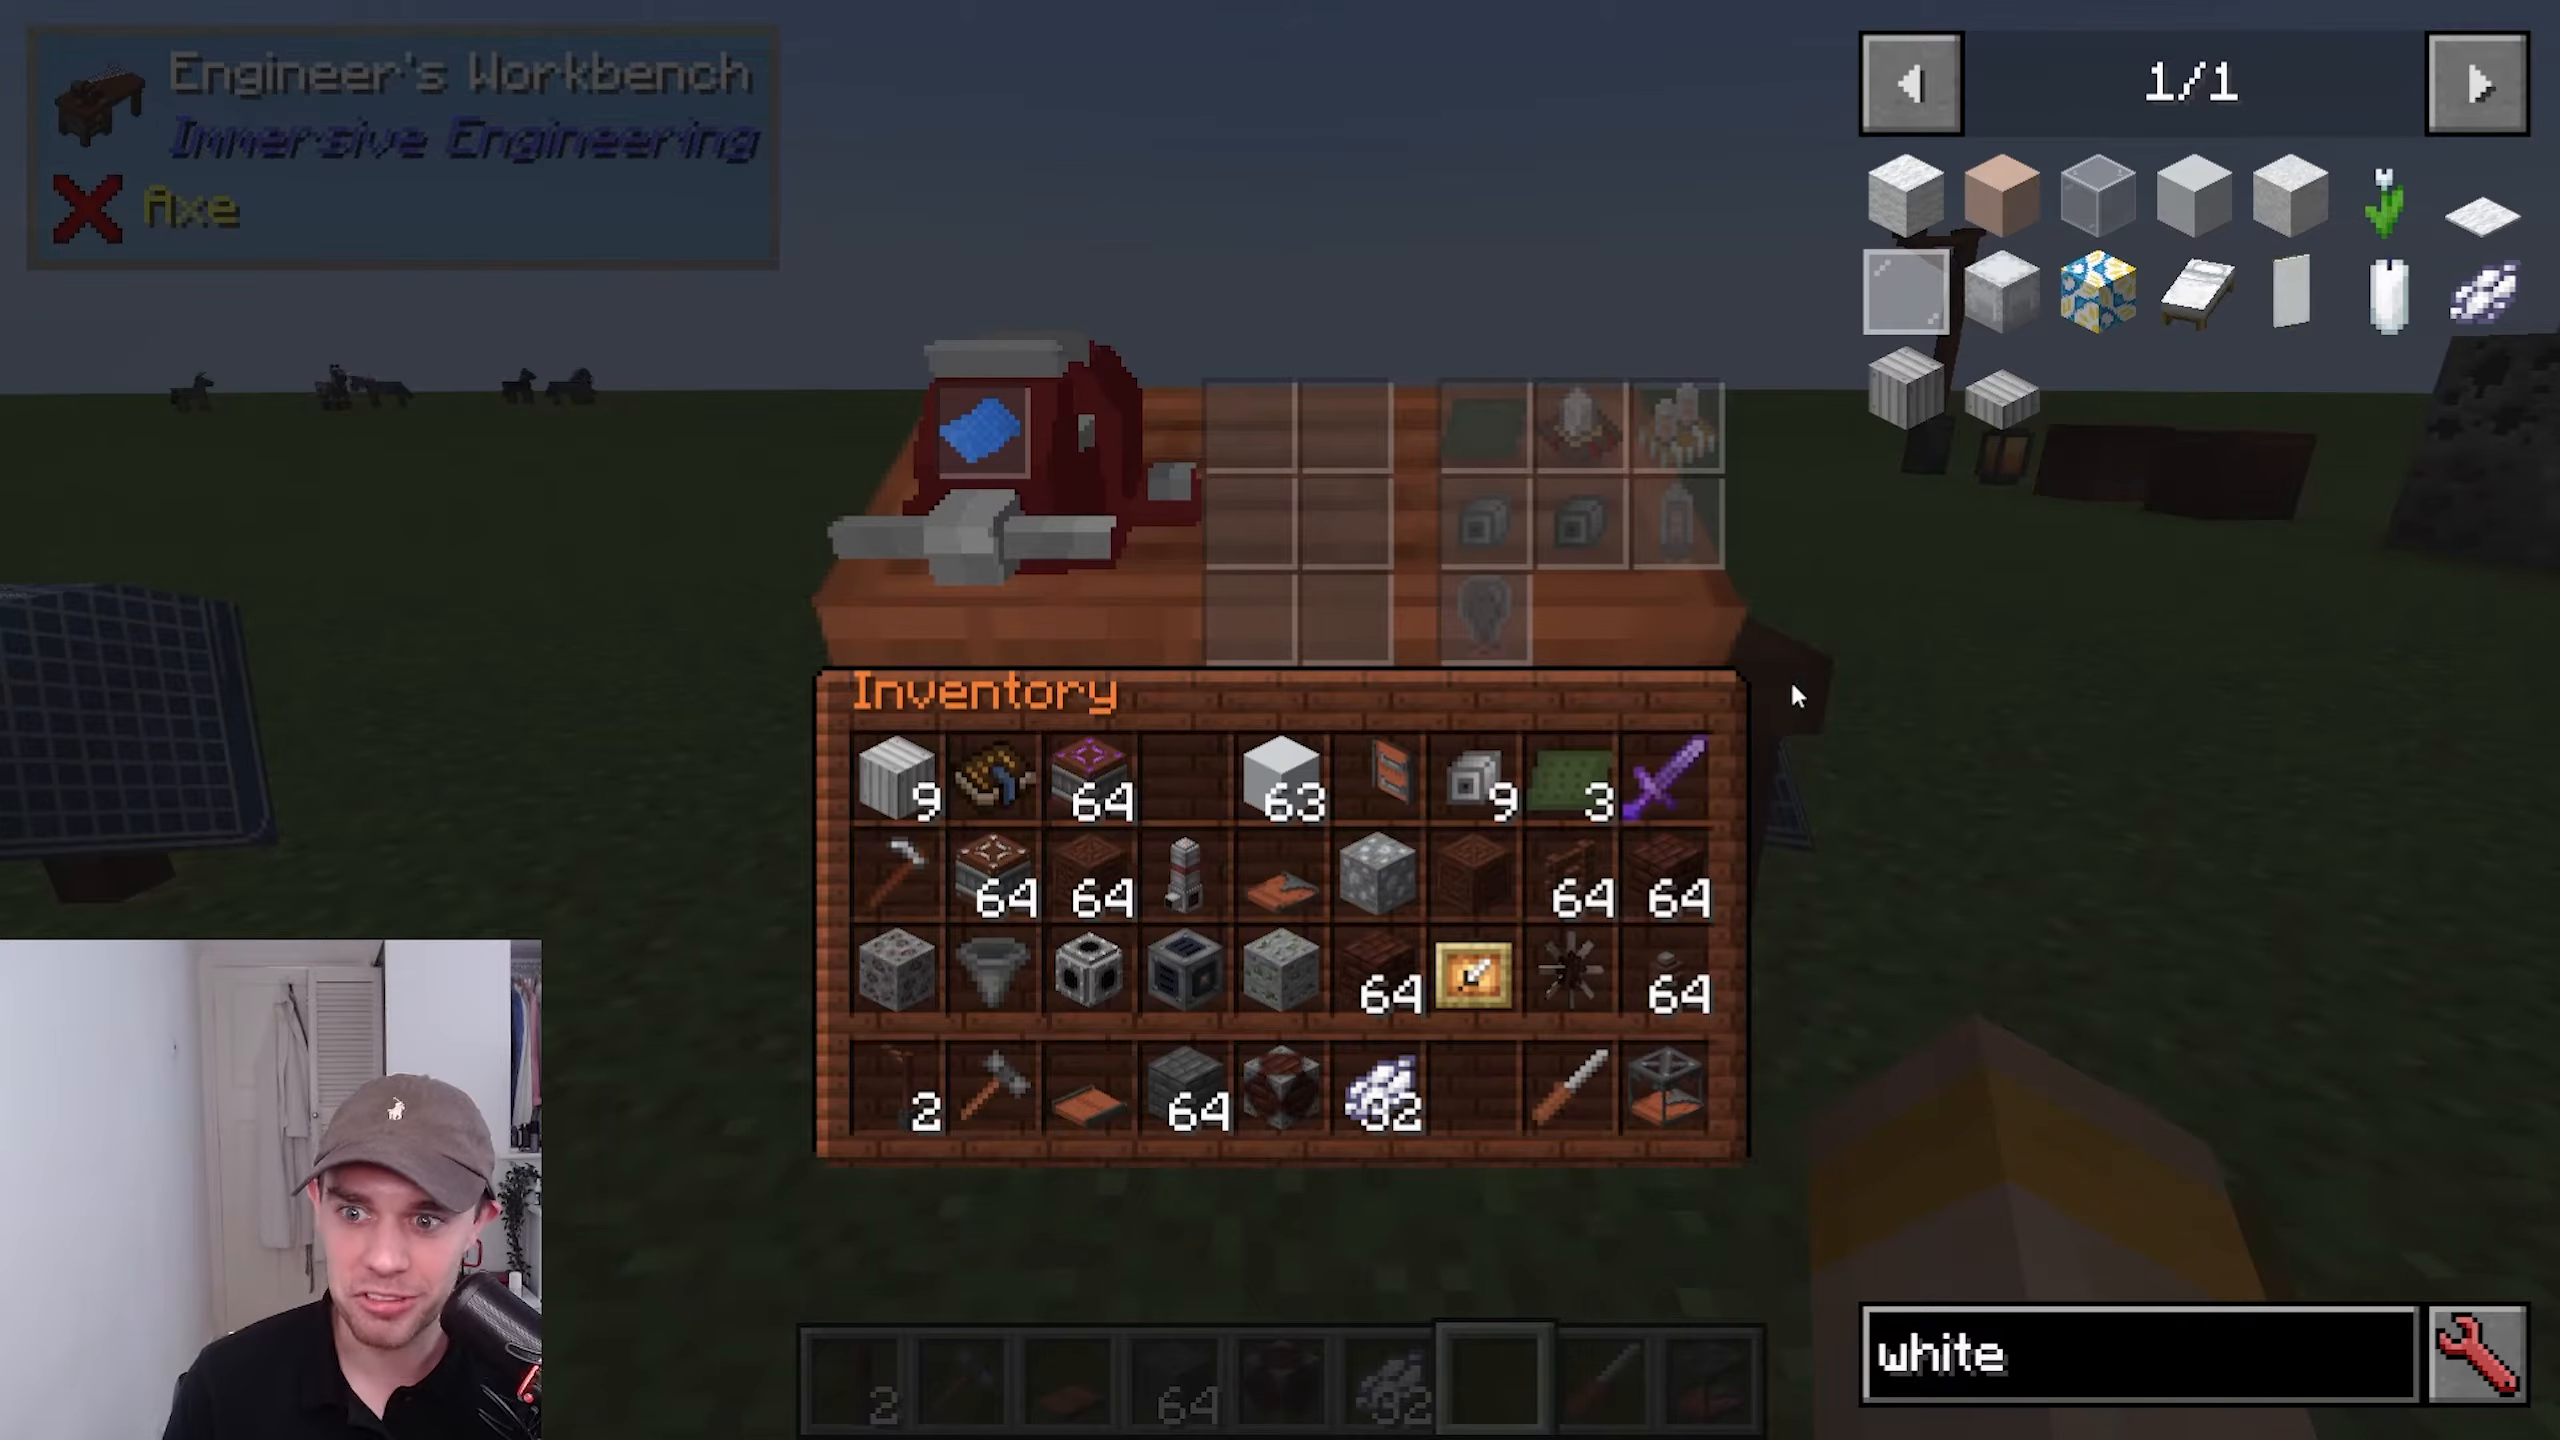
The Engineer’s Workbench is simple to make and allows you to craft using blueprints. Different blueprints enable different recipes.
The Components Blueprint is made in a crafting table using iron, aluminum, copper, blue dye, and paper. This blueprint allows you to craft various mechanical components.
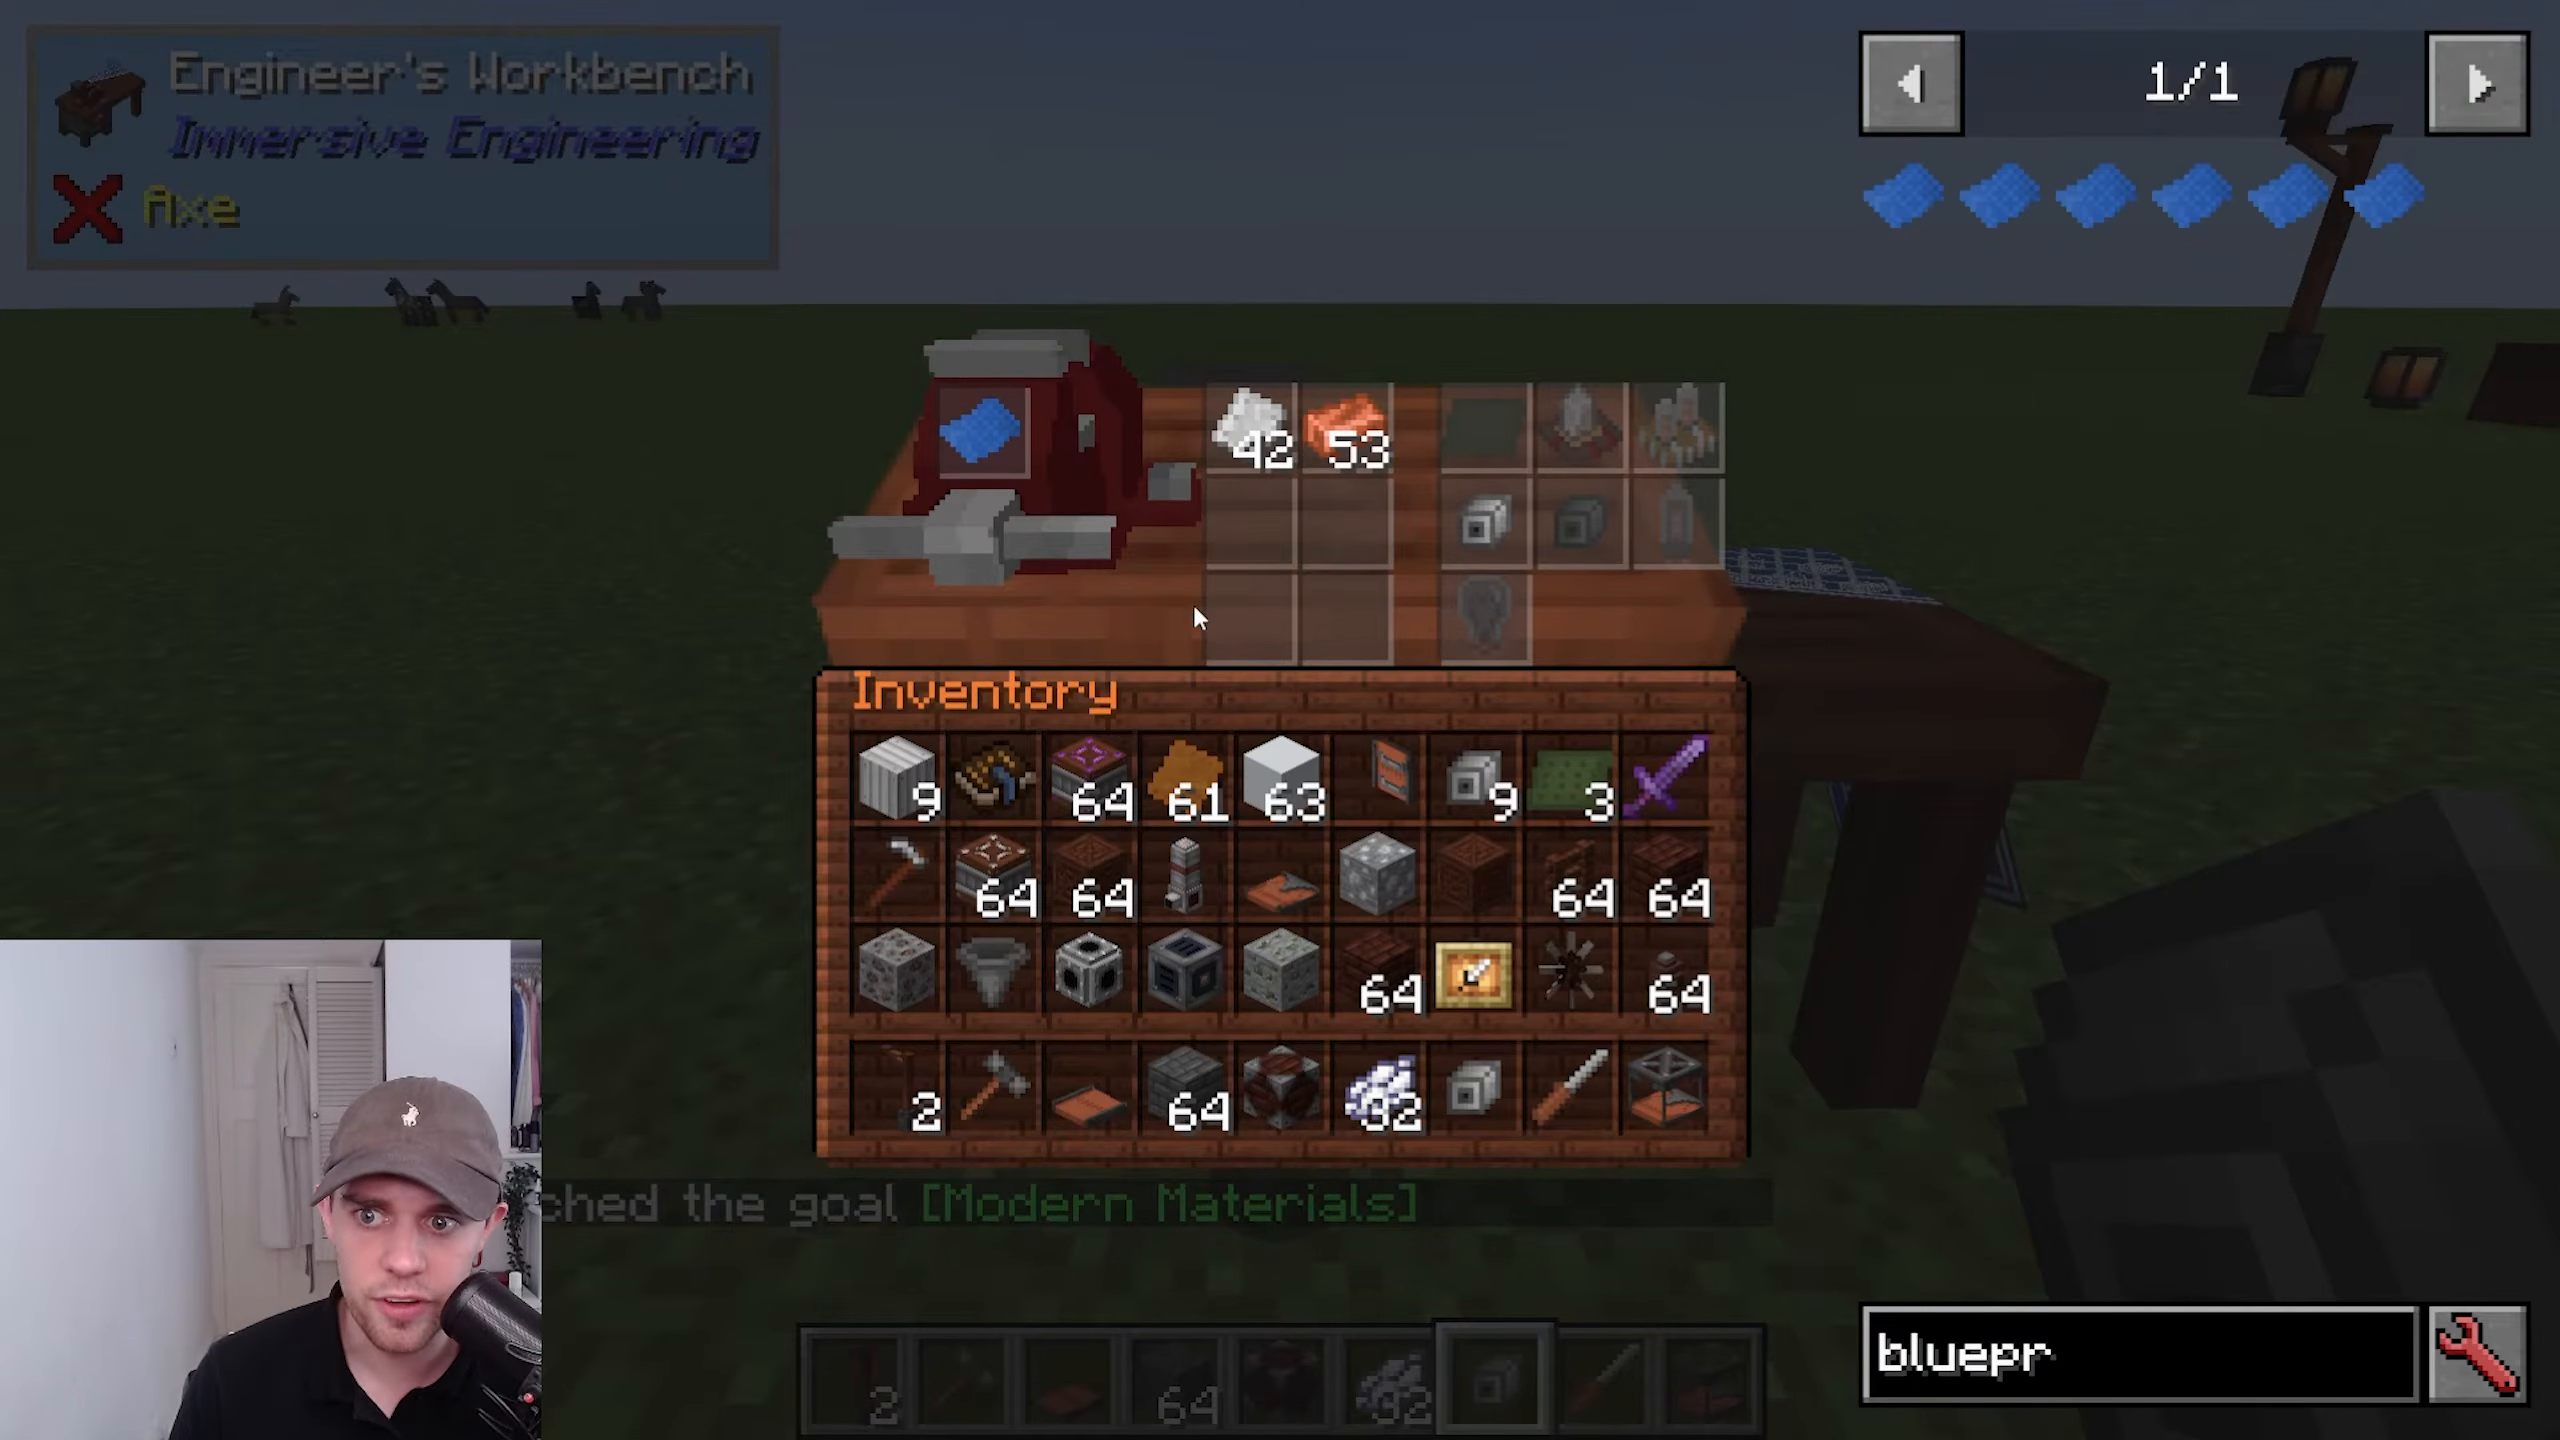
To use a blueprint, place it in the small slot on the left of the workbench. You’ll see all available recipes. If you know a recipe’s requirements, you can input the materials and they’ll turn gray when complete. Then simply left-click to pull out the finished components.
For example, with the Components Blueprint, you can make Iron Mechanical Components using iron plates and copper ingots. If you add copper plates and Duroplast sheets, you can make Circuit Backplanes. Some blueprints like Arc Furnace Electrodes can only be found in dungeon chests or obtained through trading, as they cannot be crafted.
Decorative Elements
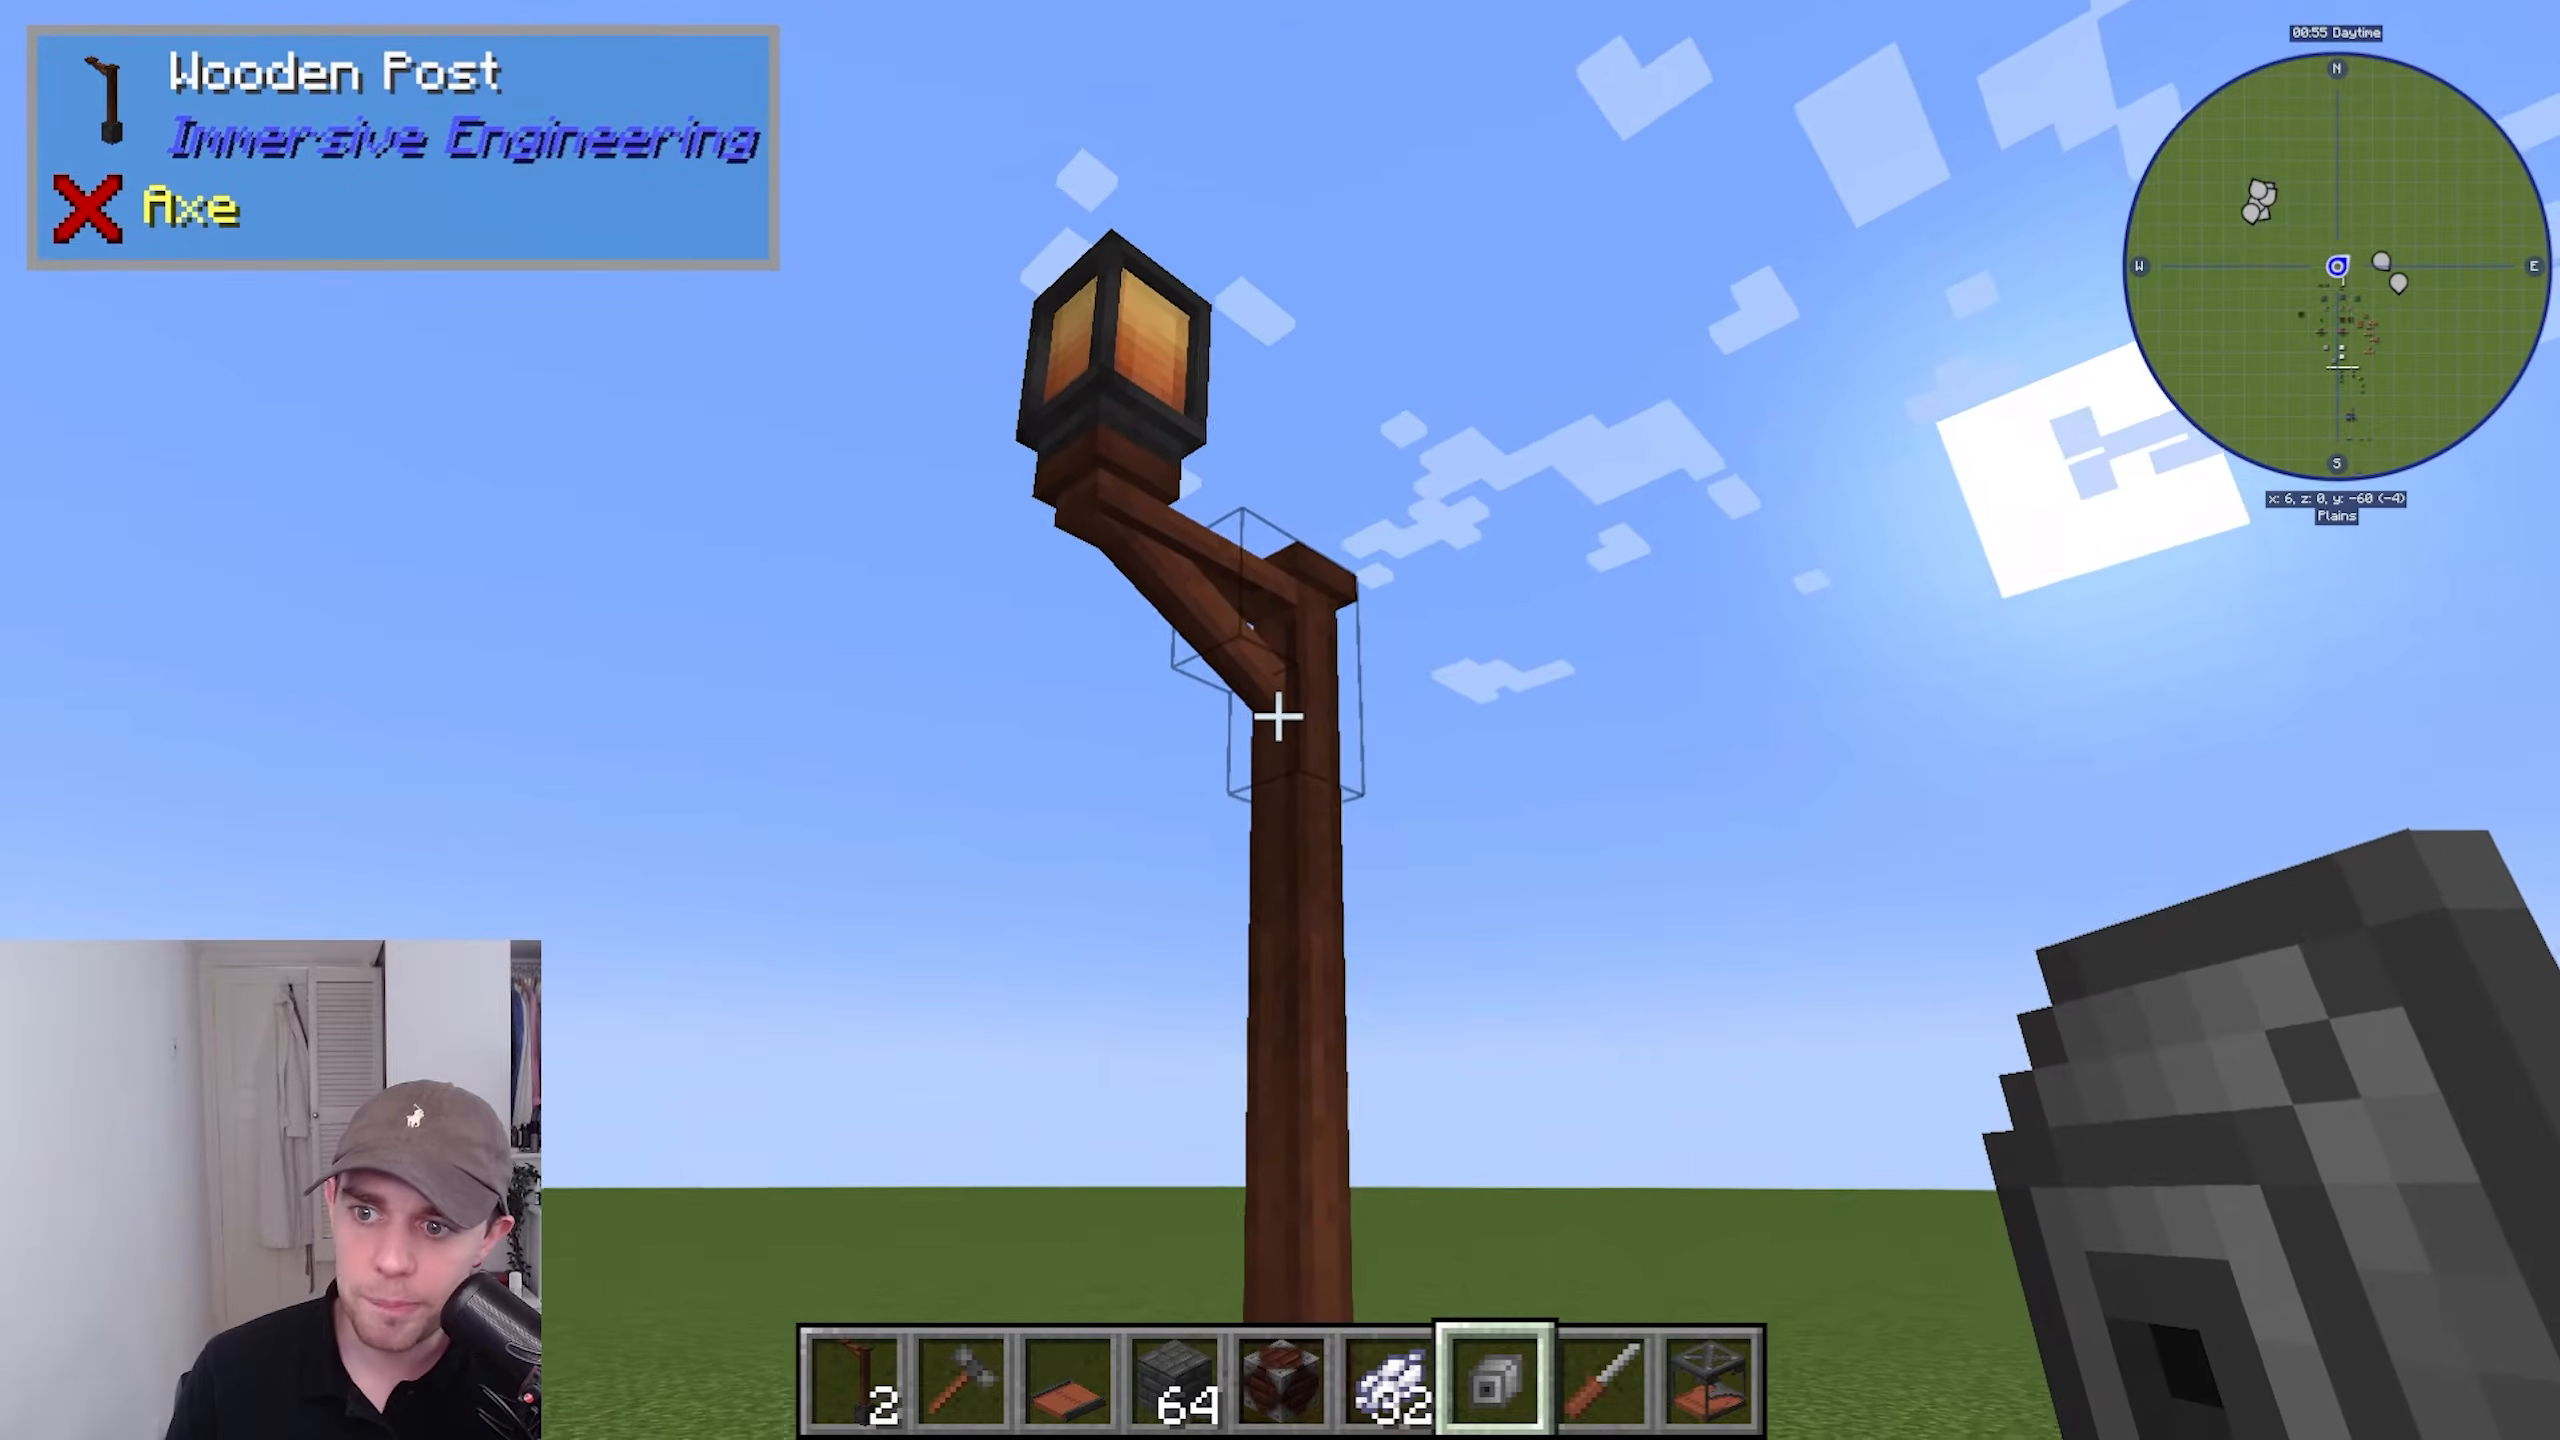
You can create lanterns from glowstone and other materials. Using the Engineer’s Hammer, you can right-click posts to choose which side you want the post bit to come out. You can then place lanterns or wires on top of posts to create decorative and functional structures.
Power Generation Basics
Accumulators (Batteries)
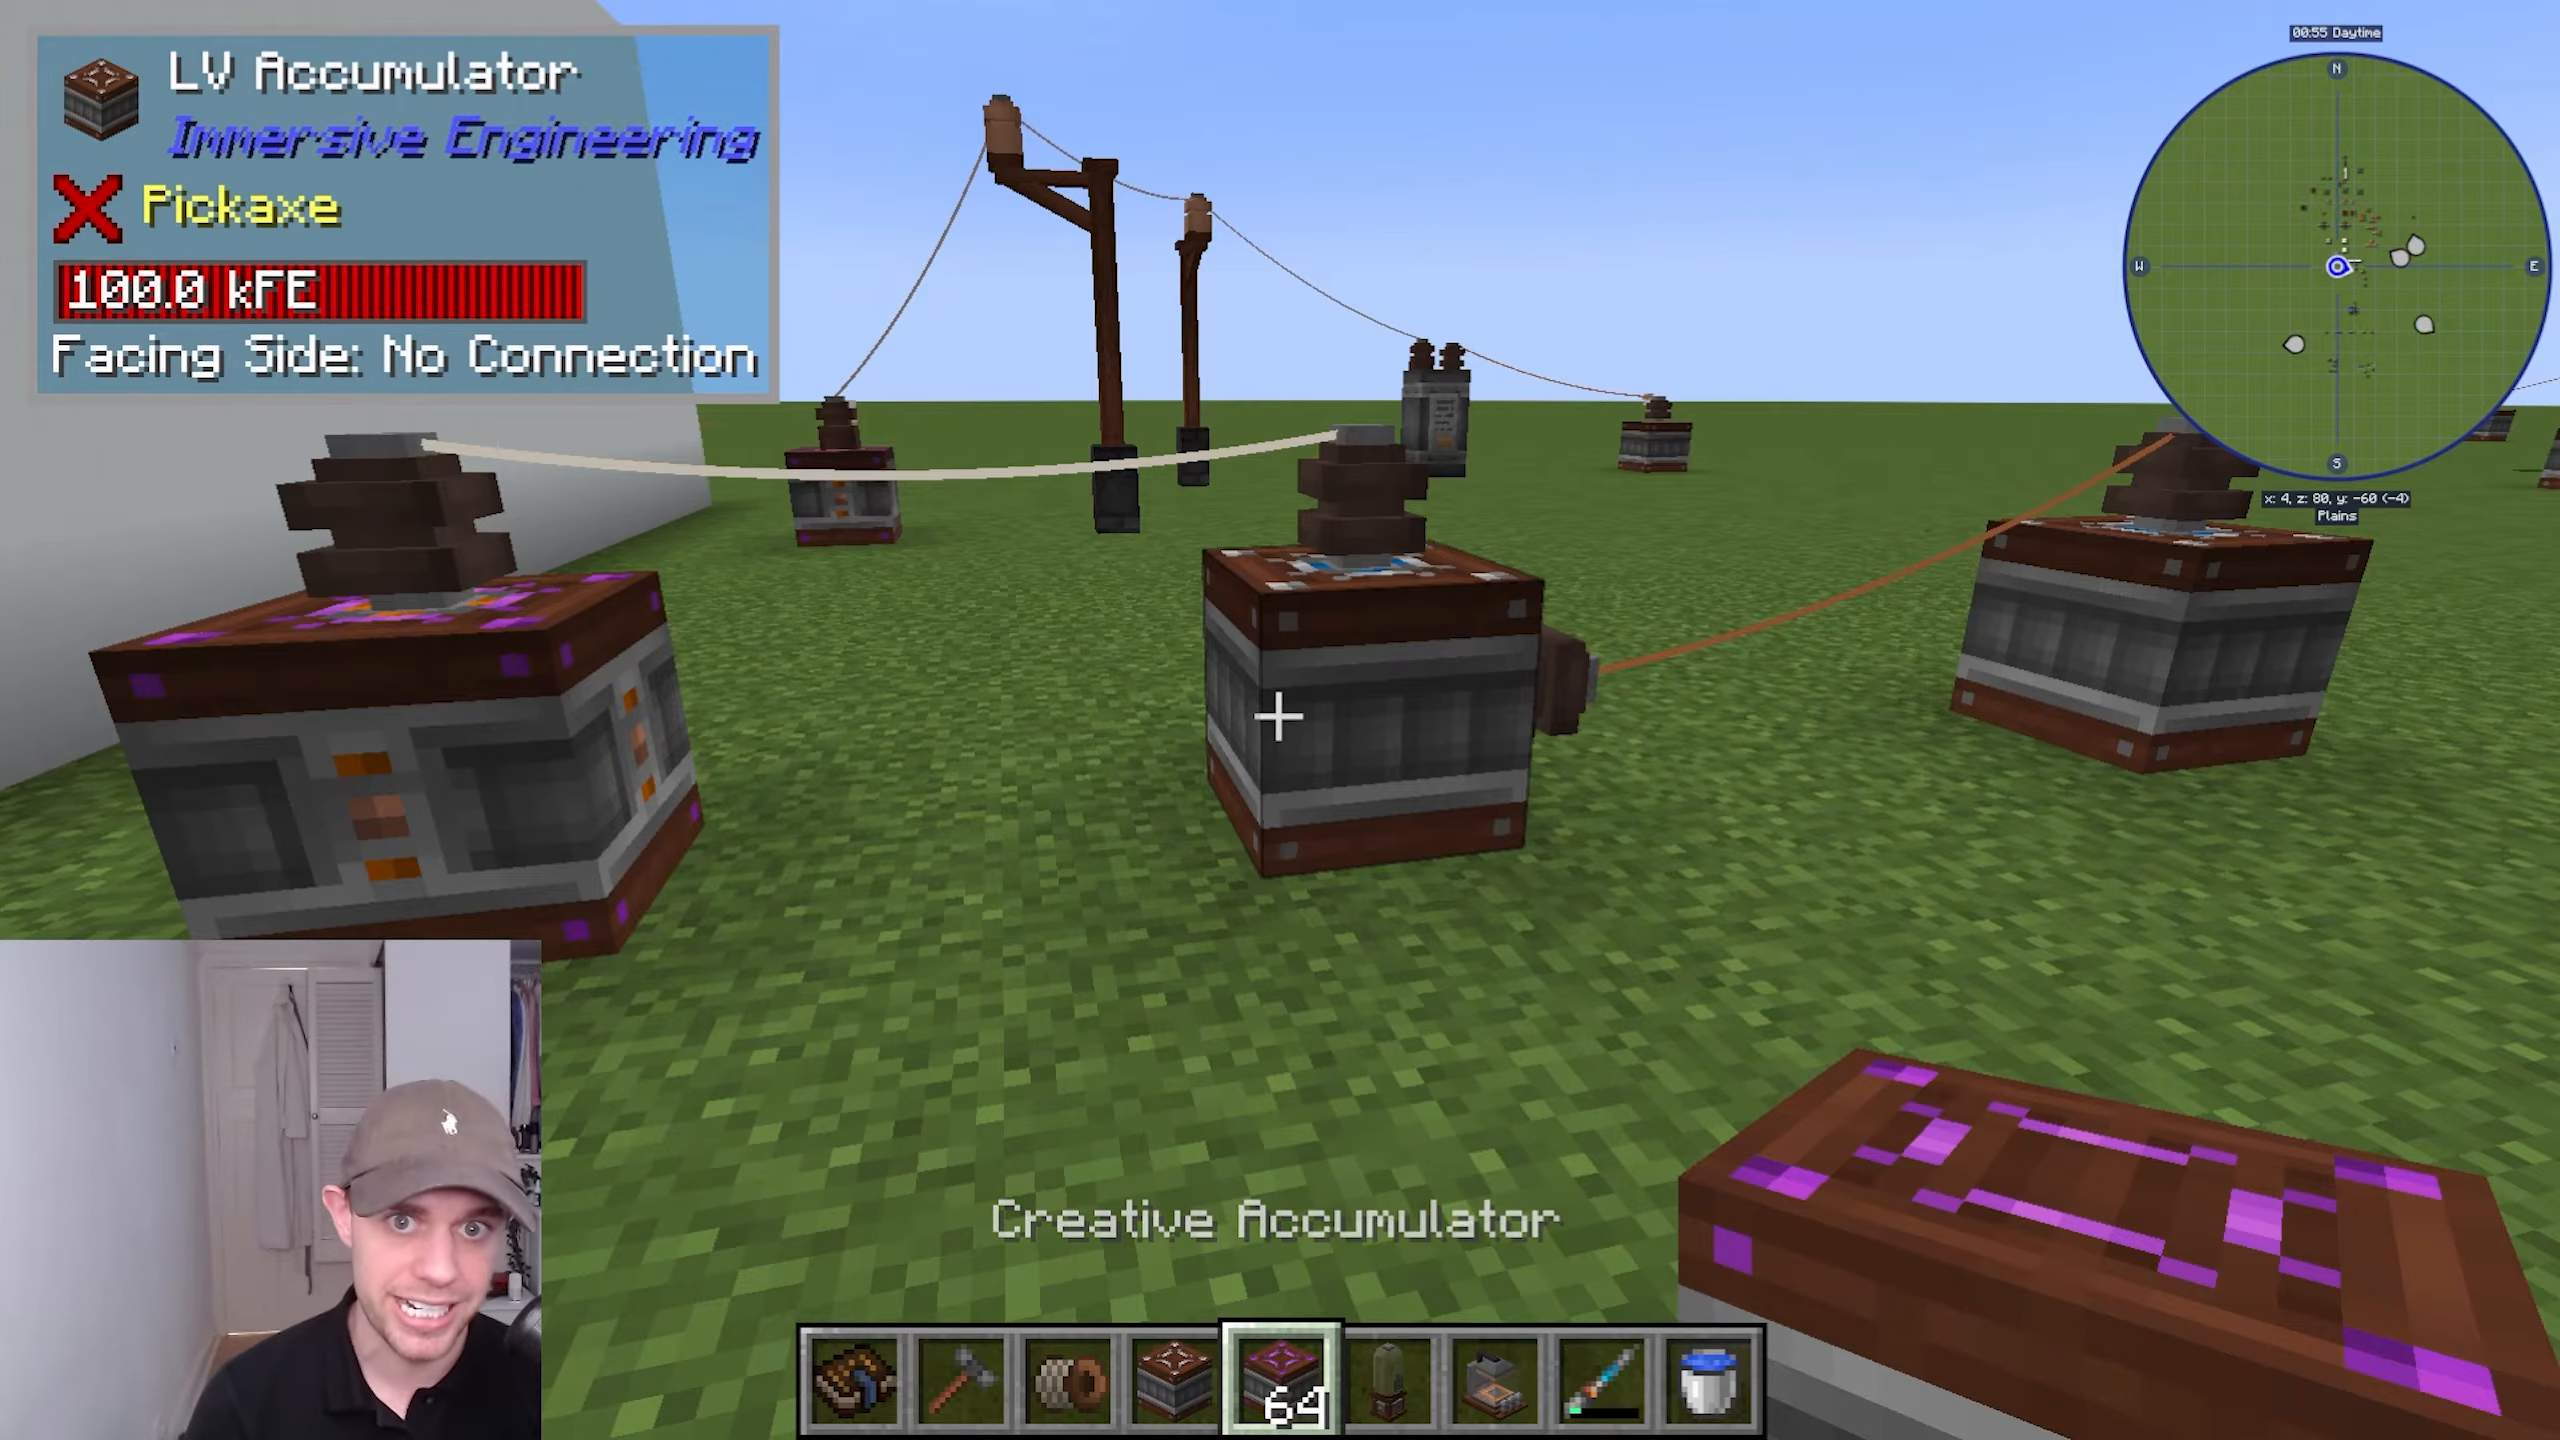
Accumulators are the batteries of Immersive Engineering. They have colored slots on the sides: orange for output and blue for input. You can change which side acts as input or output by right-clicking the slot. The top side is a good default choice for power input.
Wire Connectors and Power Transport
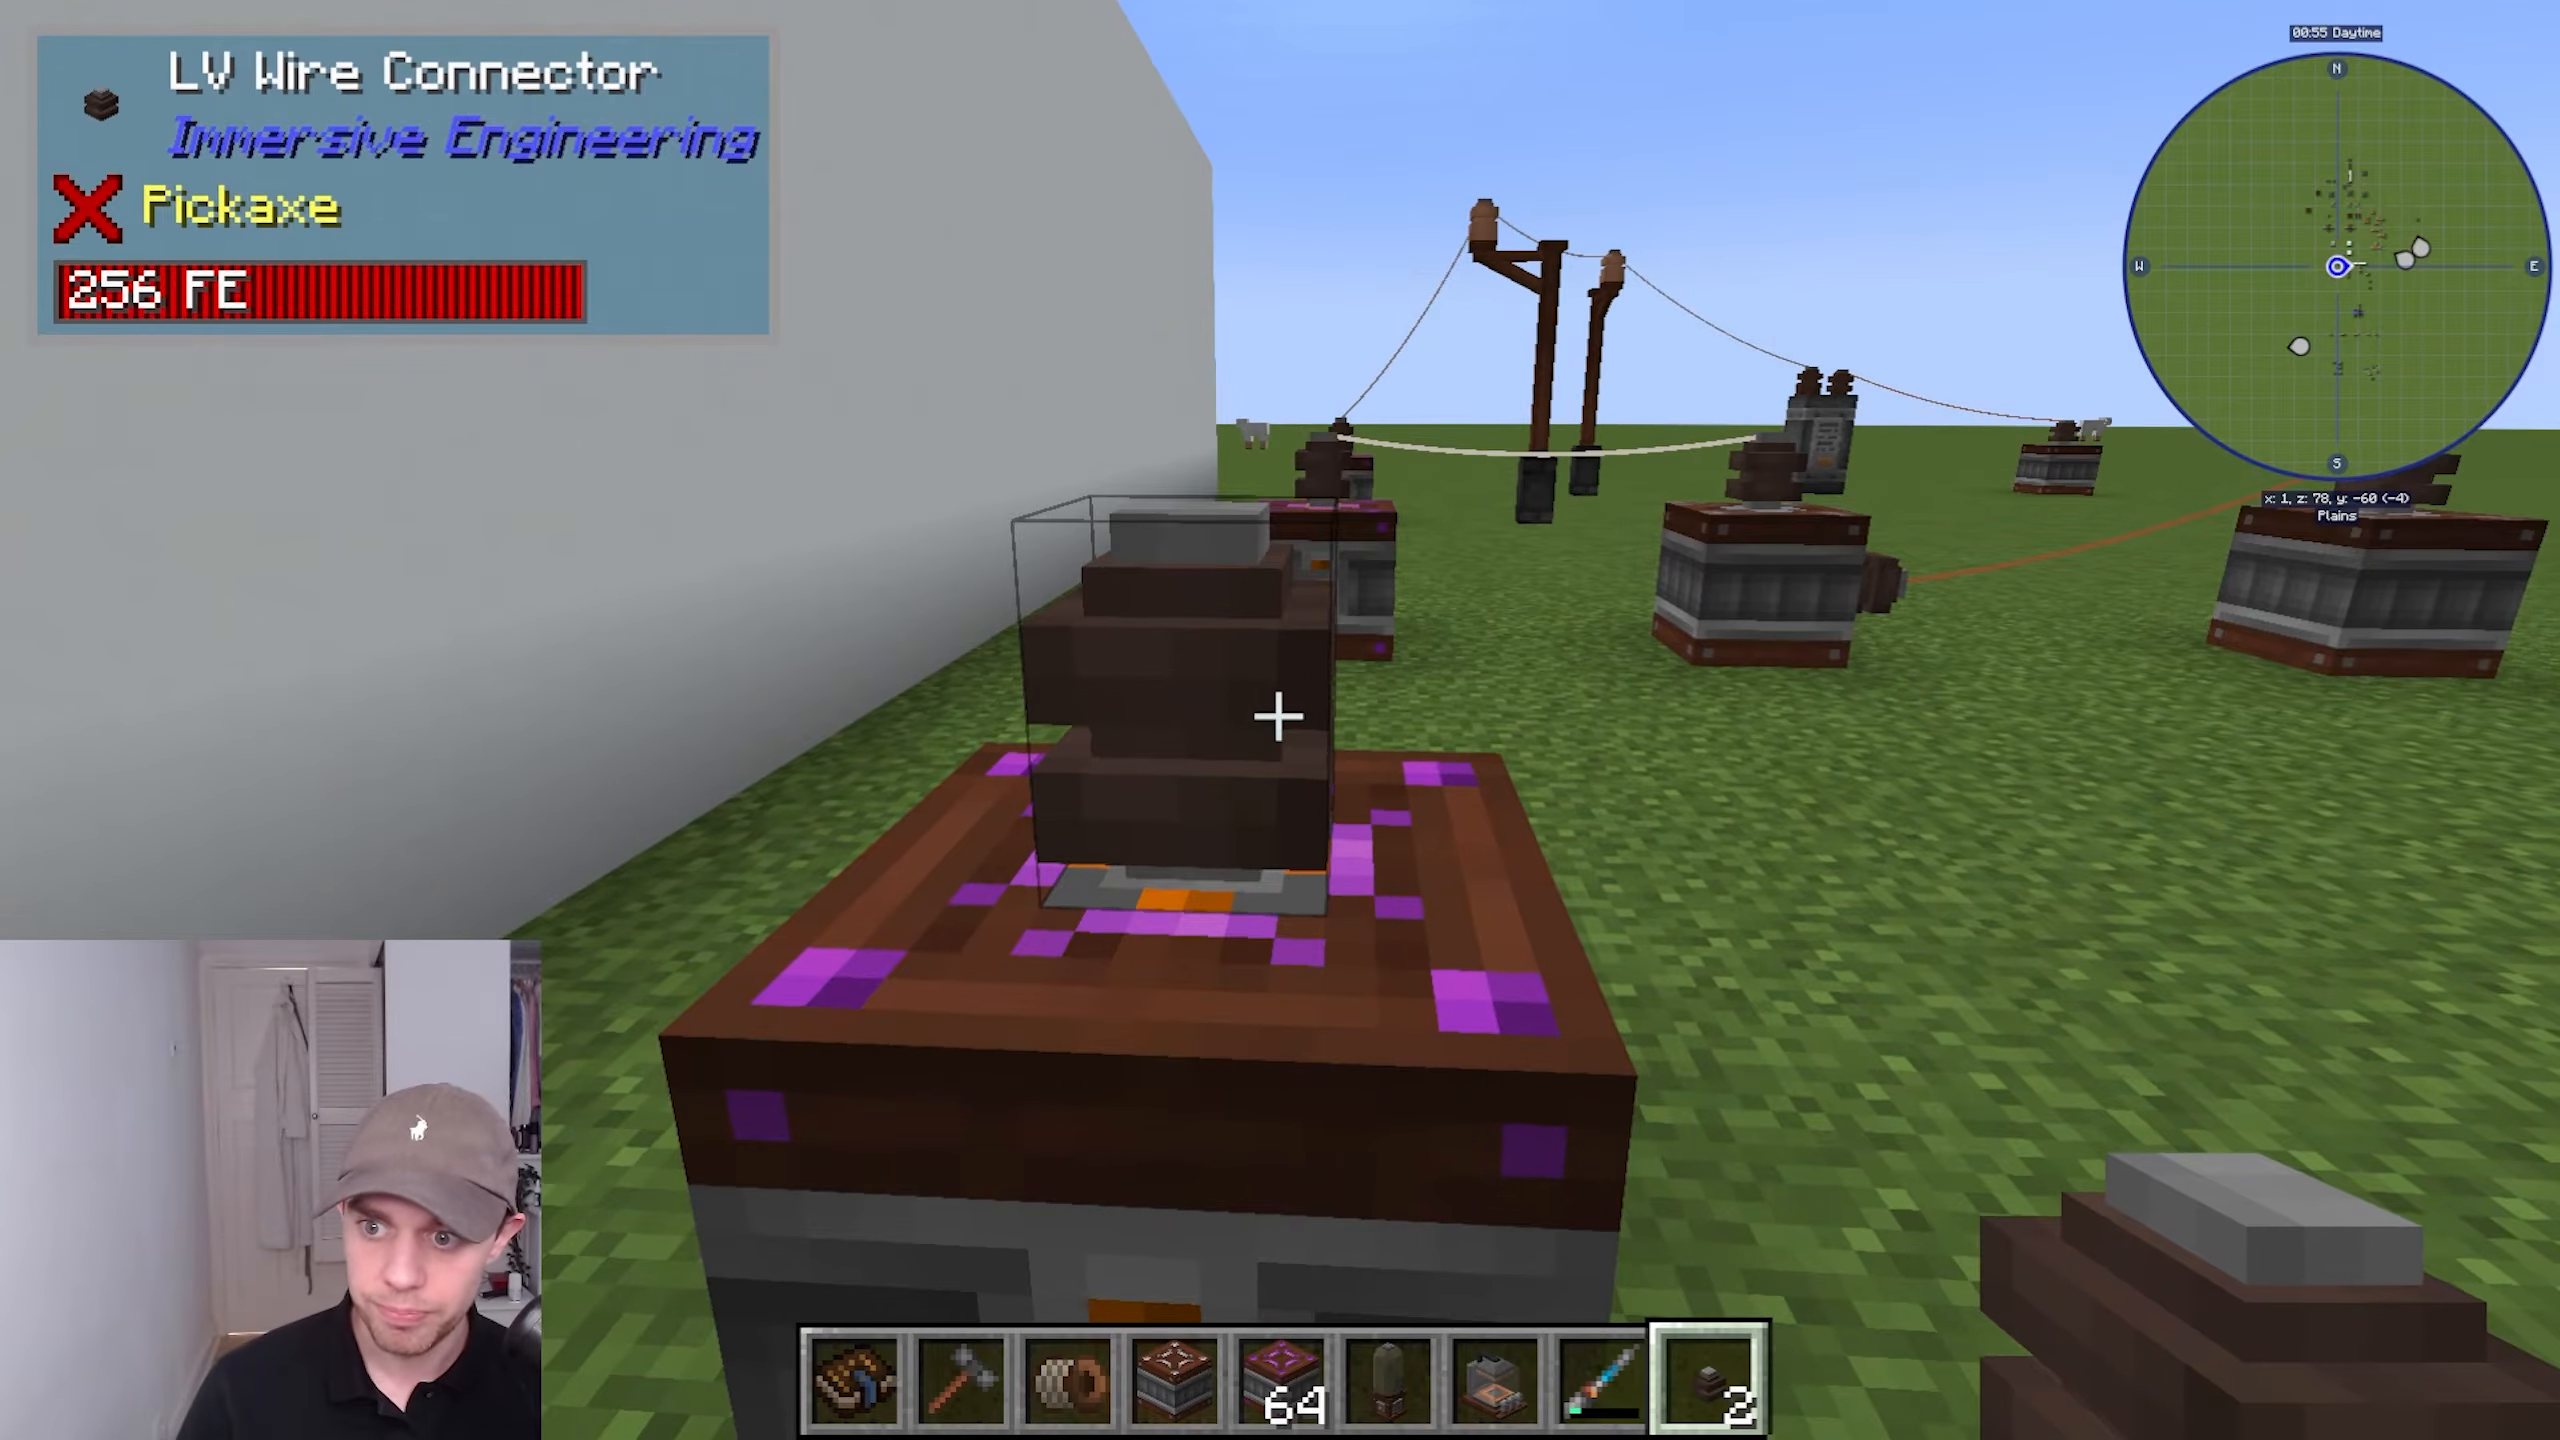
LV (Low Voltage) wire connectors are how you move power from one accumulator to another. Place a connector on the output side of one accumulator and the input side of another. Then use an LV Wire Coil to connect them. The wire will transfer power between the two batteries.
LV Wire Coils are made from copper wire, which comes from copper plates—materials you’ve already learned to create. Simply right-click both connectors with the wire coil to establish the connection.
Relays and Transformers
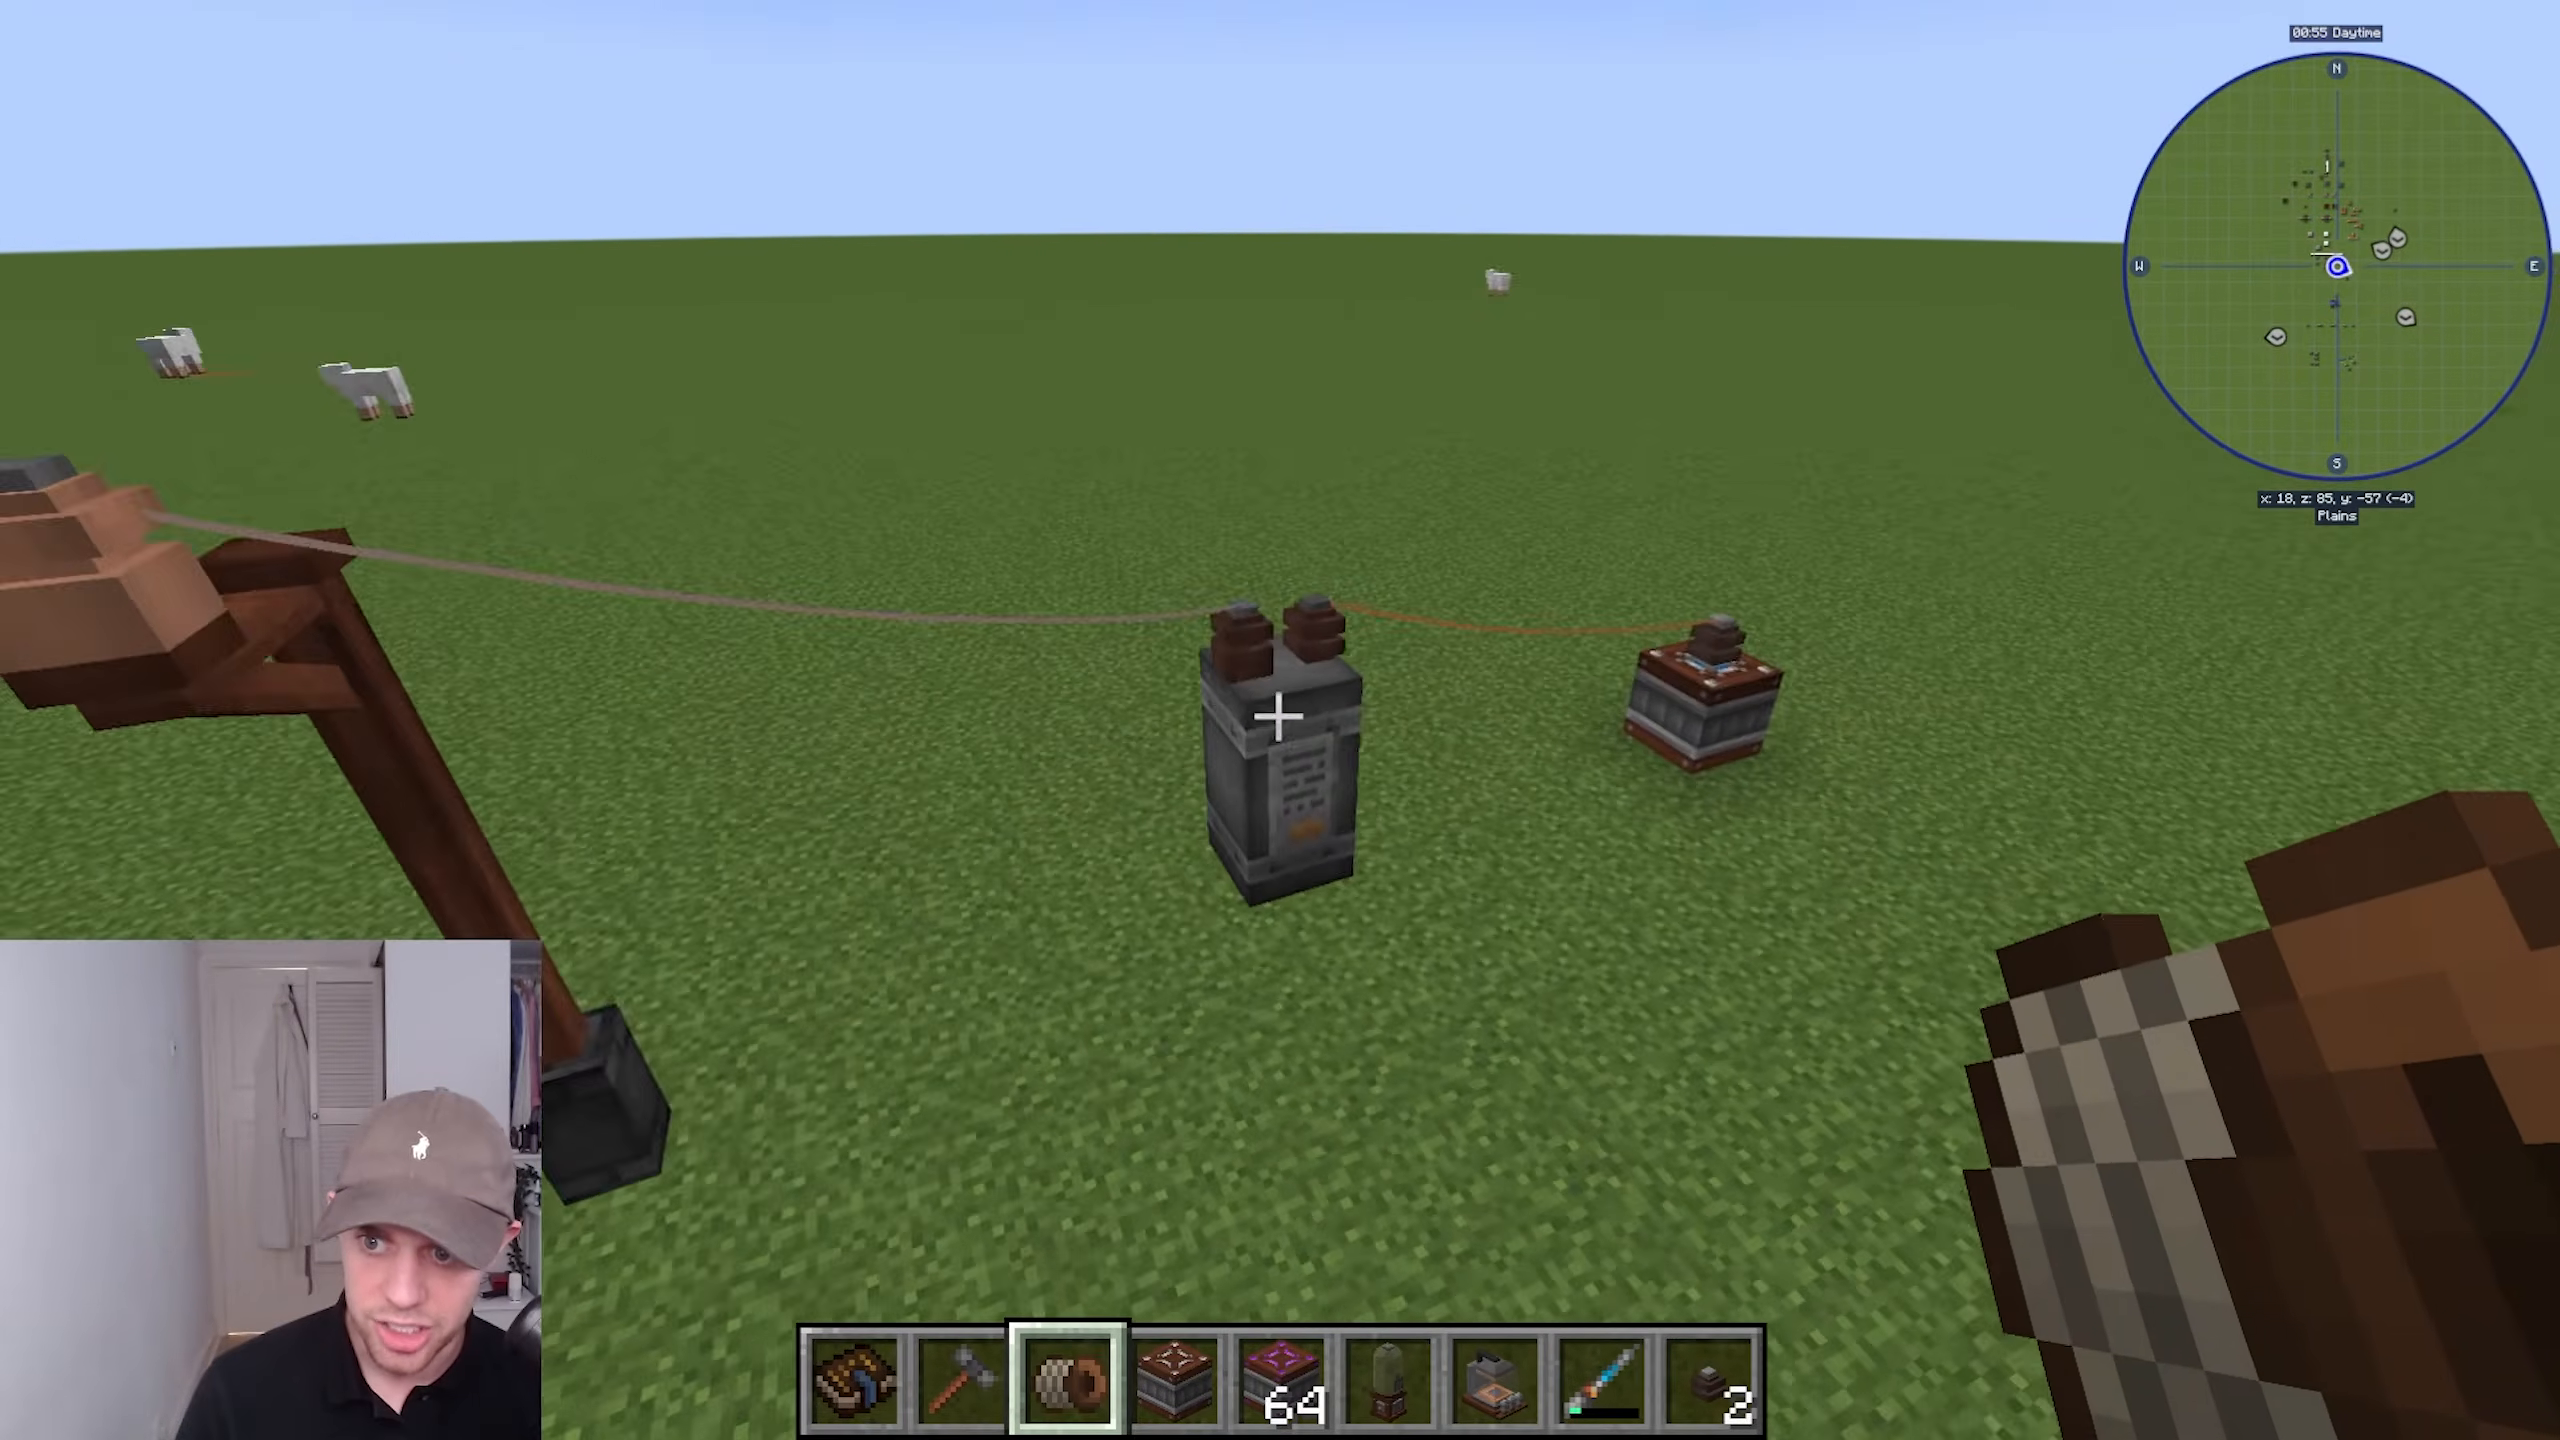
Relays allow you to create more complex power networks. While basic point-to-point connections only work from A to B, relays allow multiple wires to connect to a single point. A relay at one location can distribute power to multiple destinations.
Transformers convert between different voltage levels. For example, a transformer can convert Medium Voltage power to Low Voltage power for machines that require lower voltage inputs.
Water Wheel Power Generation
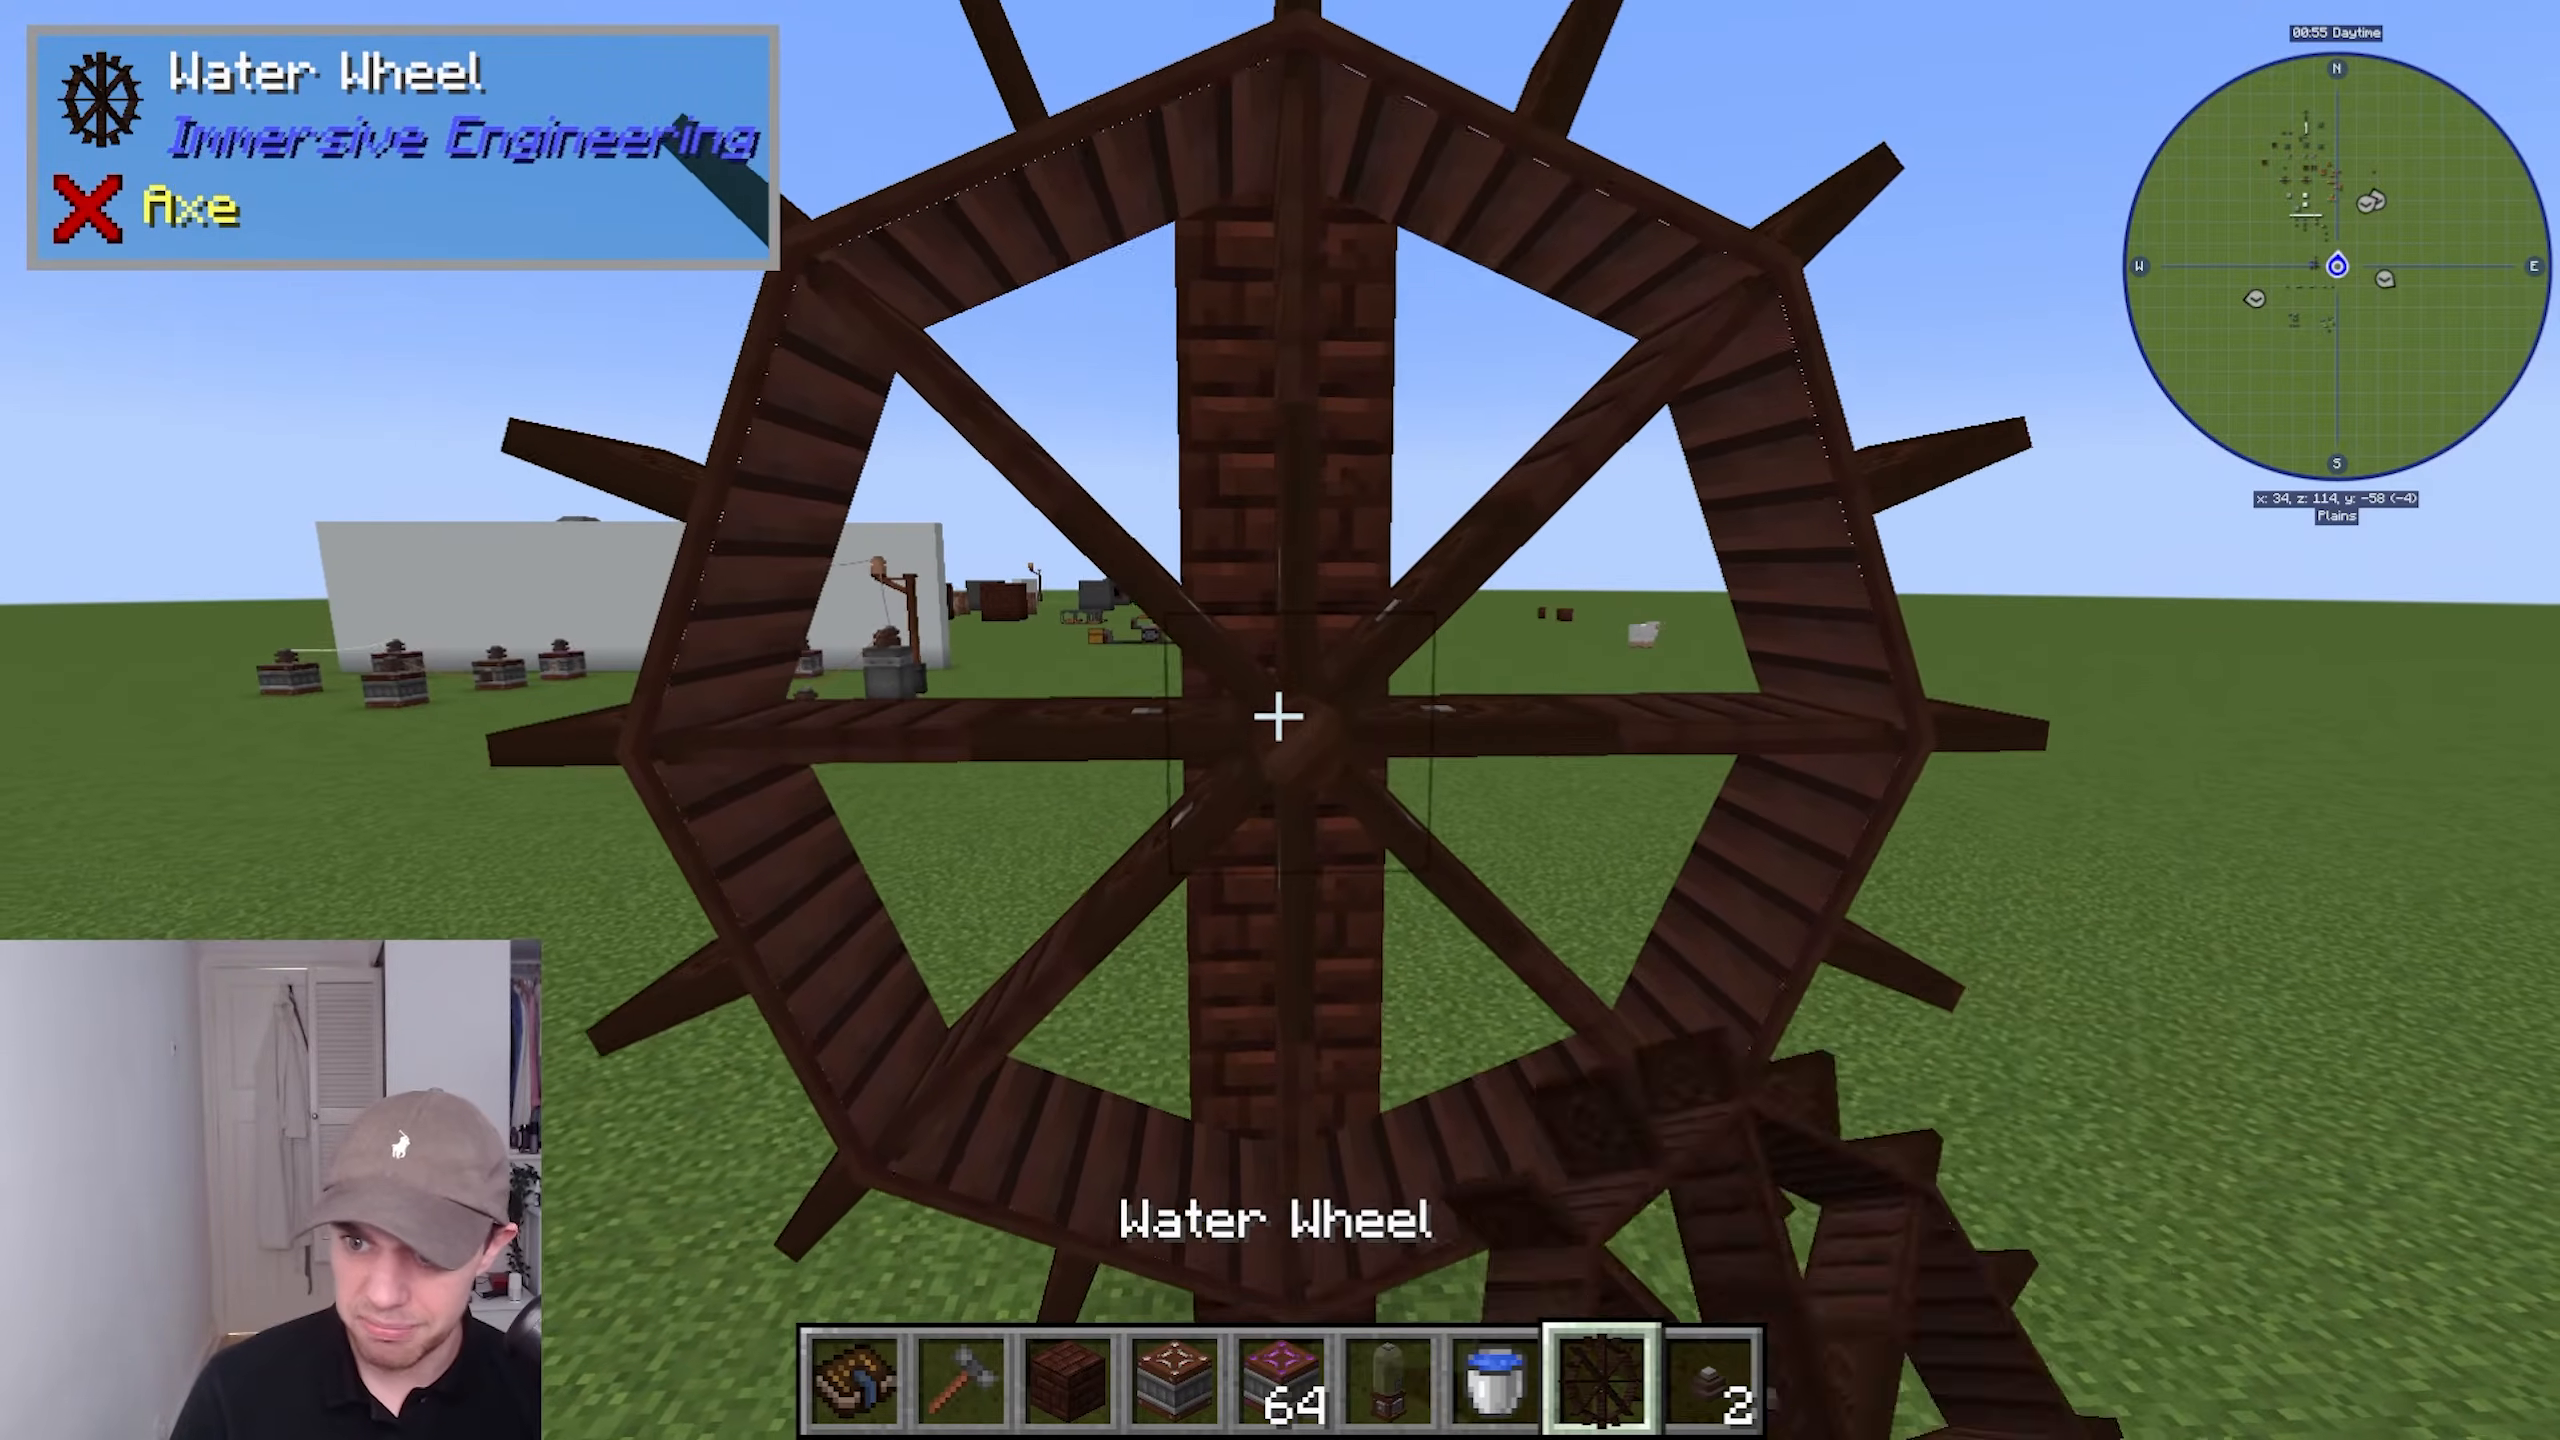
The Water Wheel is one of the simplest power generators. Create a wall of water by building a structure and pouring water on top. The flowing water will turn the water wheel, generating kinetic energy.
To extract this energy, place a Kinetic Dynamo against the water wheel. Use your Engineer’s Hammer to rotate it so the hole faces into the wheel. Connect an LV Wire Connector to the dynamo and link it to an accumulator using an LV Wire Coil. The dynamo will automatically convert kinetic energy into electrical power and store it in your battery.
Windmill Power Generation
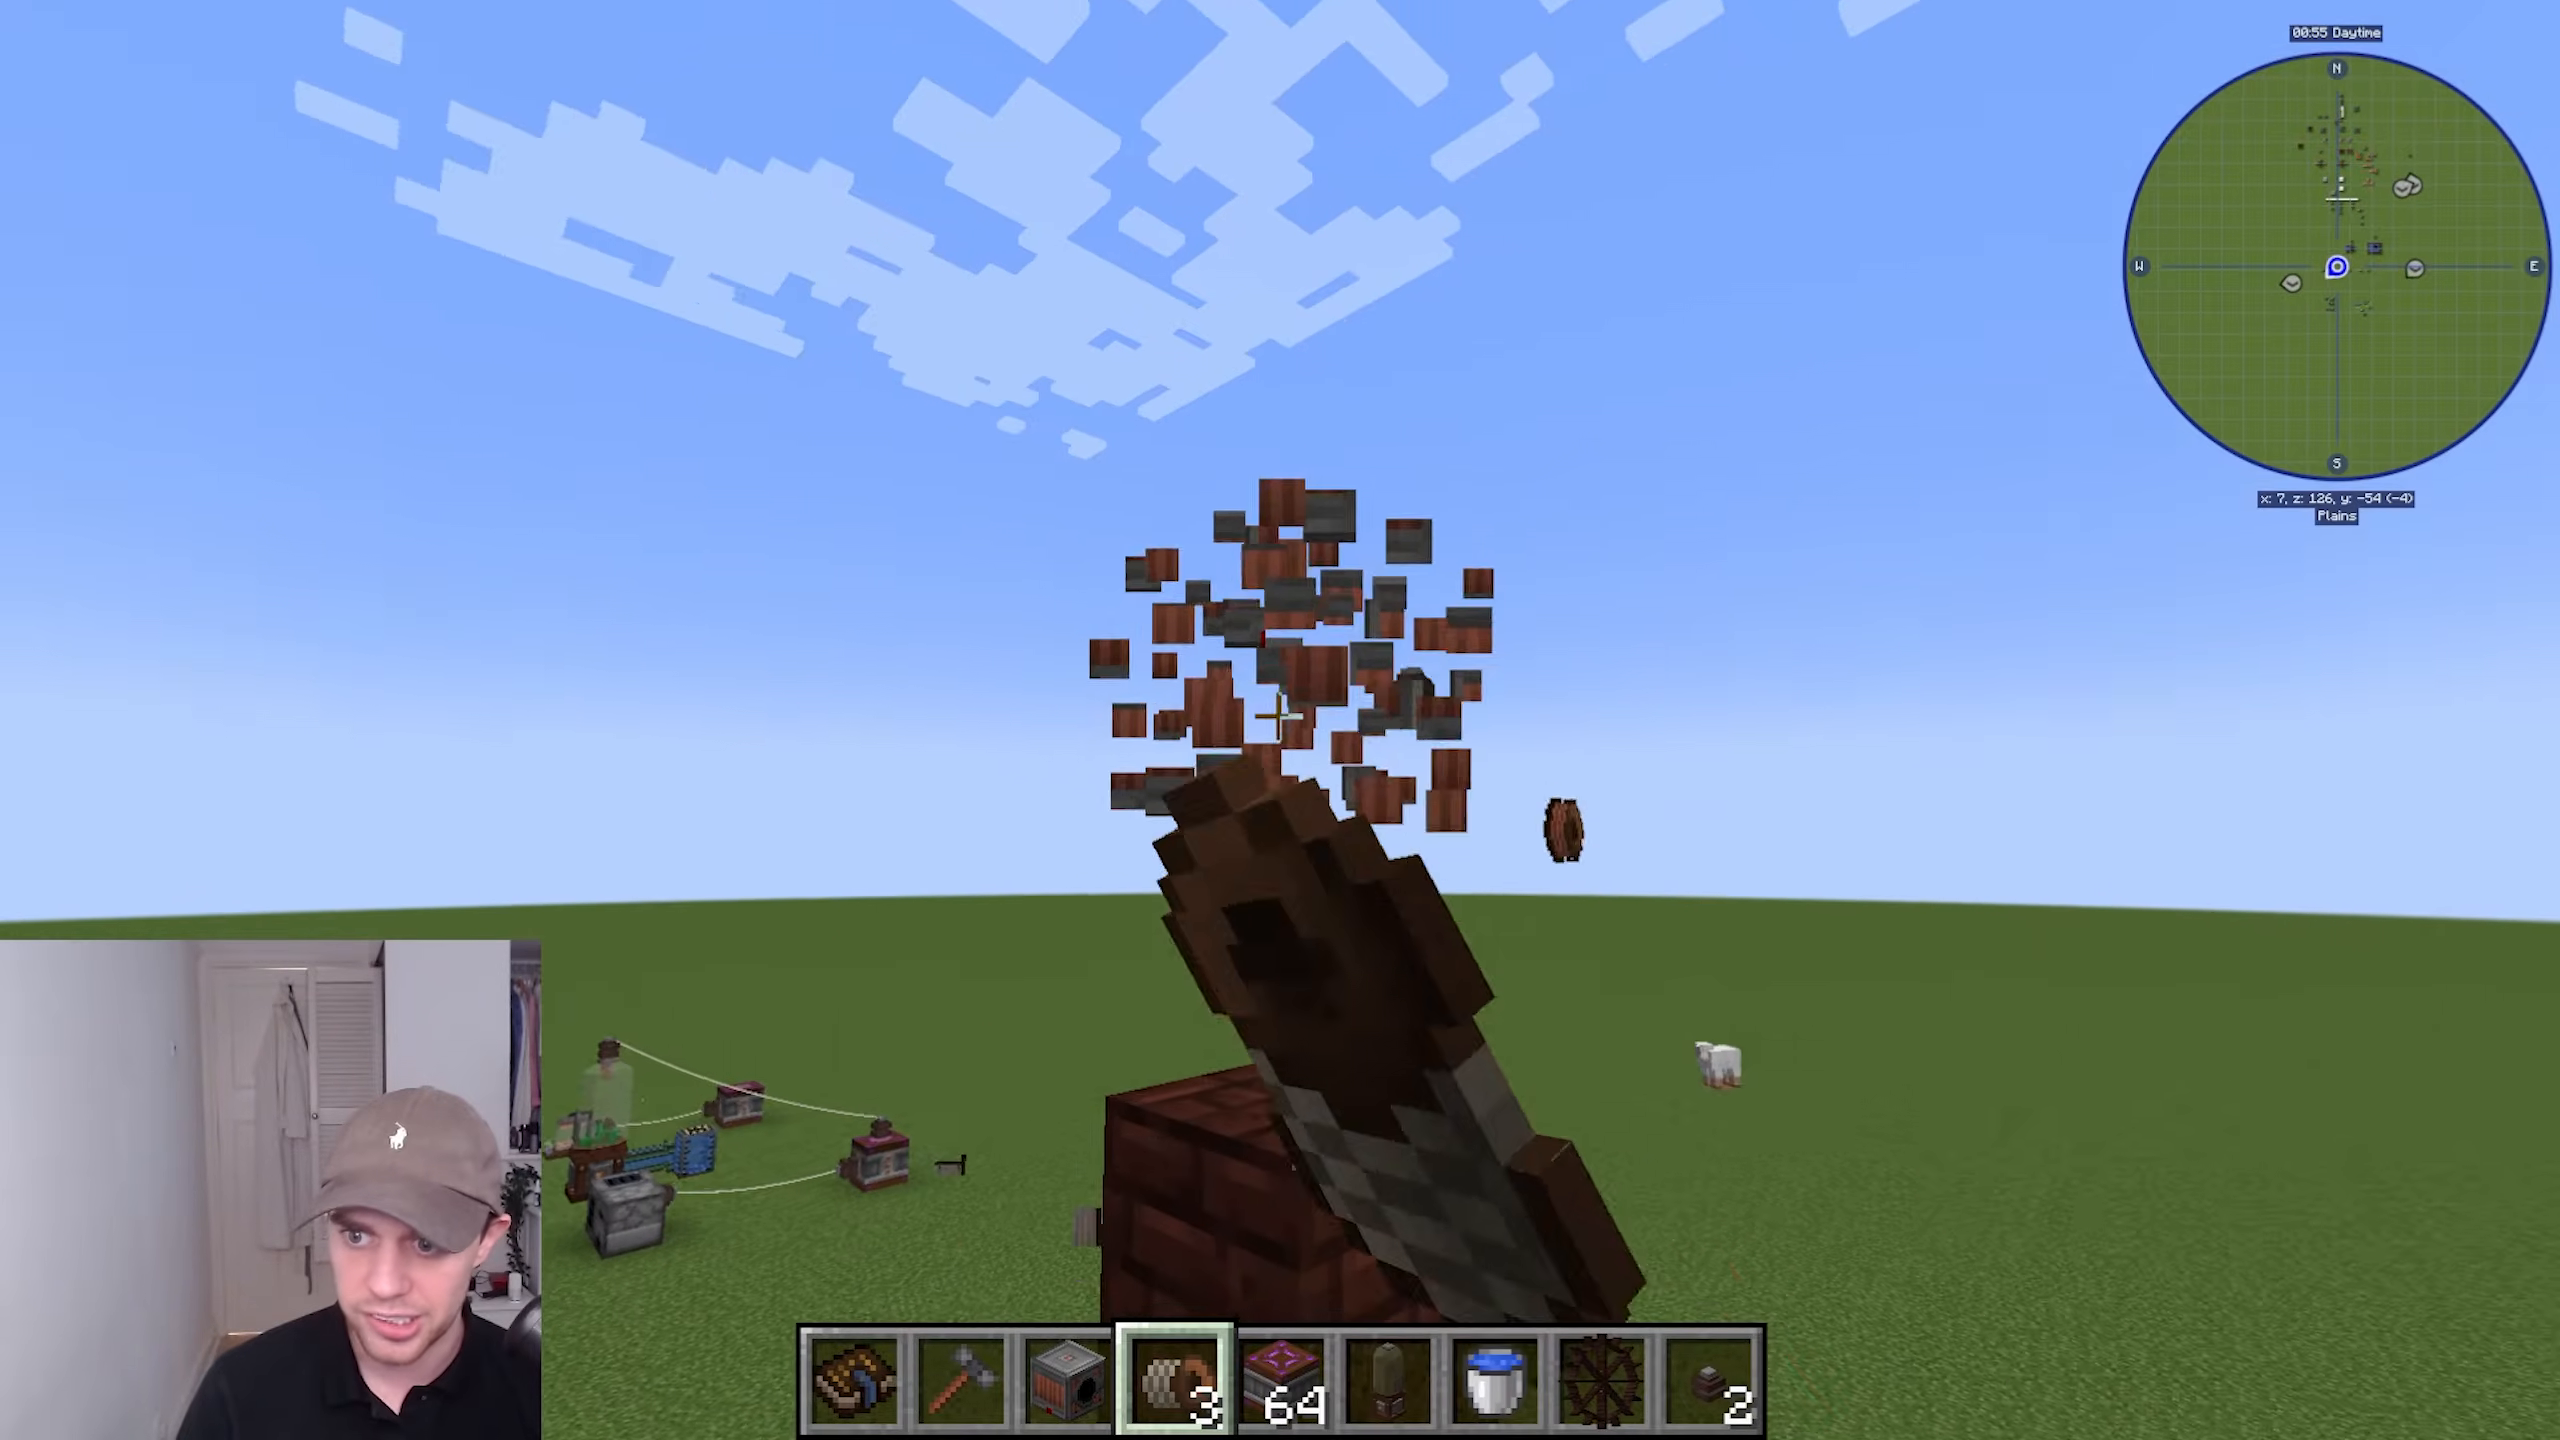
Windmills work similarly to water wheels but use wind power instead. Place the windmill block and add windmill blades to it. The higher you place the windmill, the more power it generates.
Place a Kinetic Dynamo below the windmill, rotating it with your Engineer’s Hammer so it faces into the rotor. To increase power output, add Windmill Sails, which are made from industrial hemp fiber and tough fabric from the hemp you grow.
Connect a Kinetic Dynamo to your power system just as you would with the water wheel.
Thermoelectric Generator
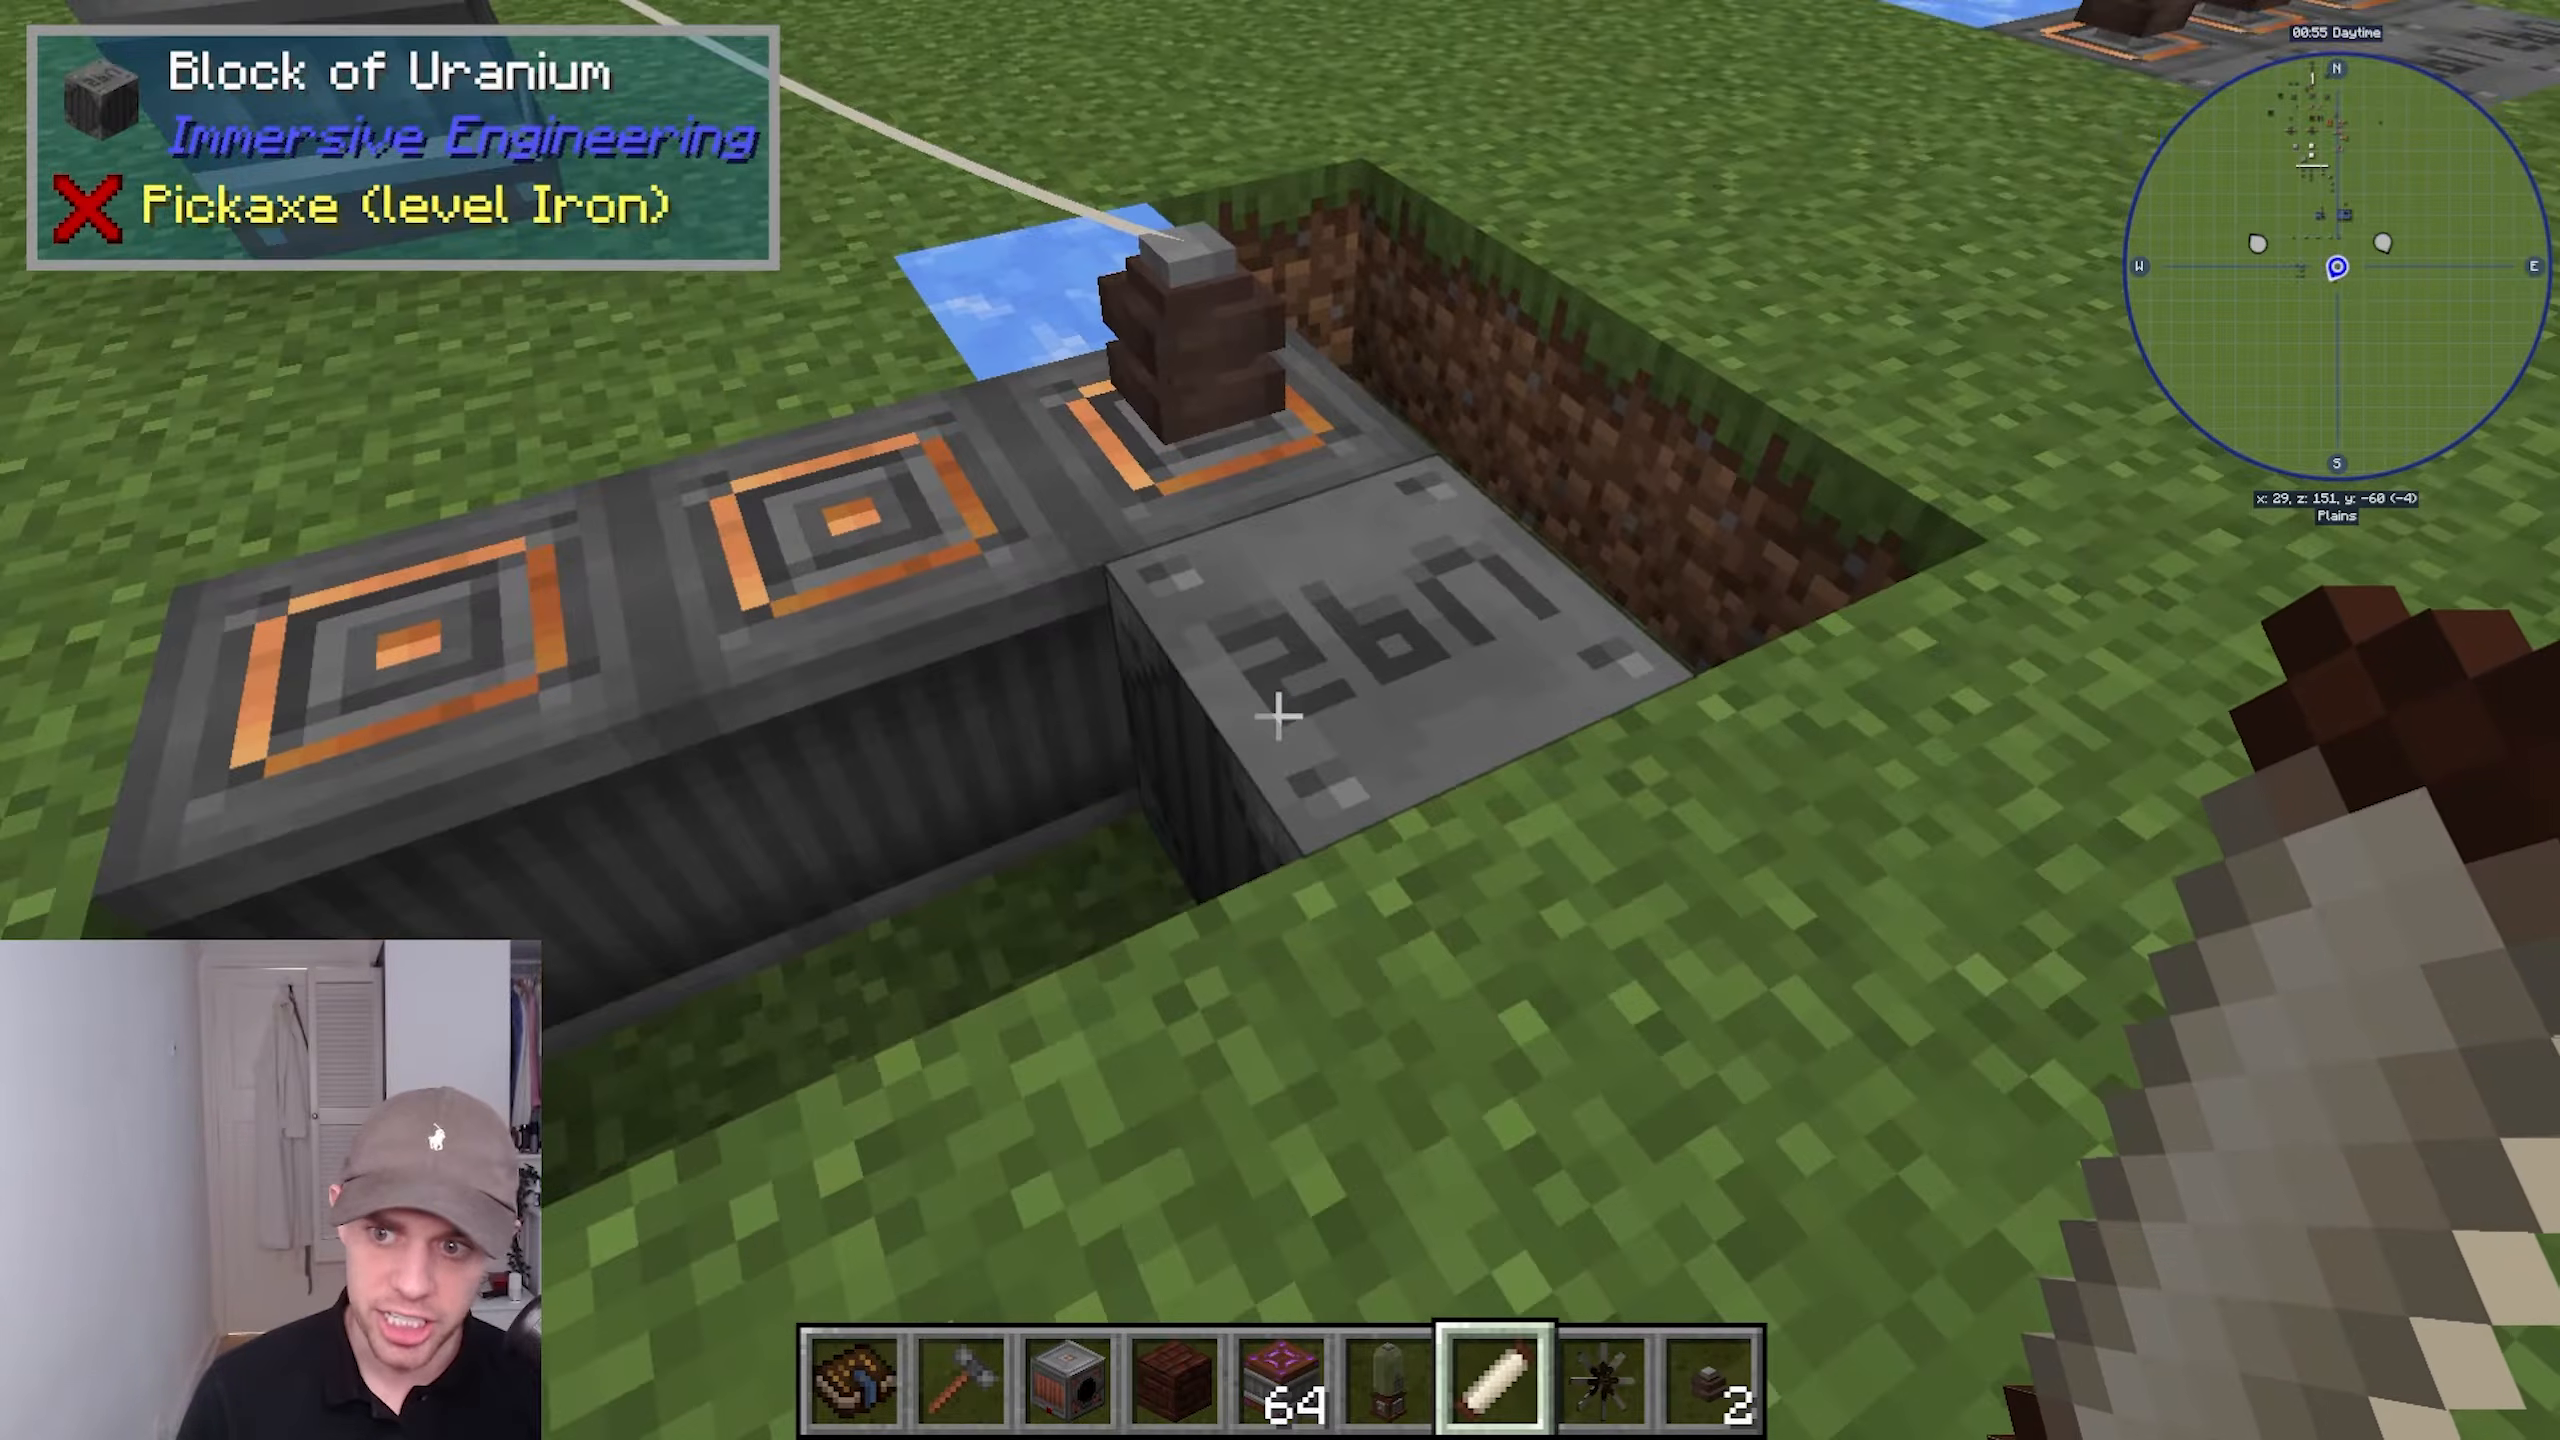
The Thermoelectric Generator creates power from temperature differences. According to the Engineer’s Manual, you want to place the coolest material opposite the hottest. The basic setup uses water and lava, but for maximum efficiency, use blue ice and uranium.
Simply place the thermoelectric generator with these materials on opposite sides. Connect LV connectors to the output and link them to your power system with LV Wire Coils.
Essential Early Machines
External Heater
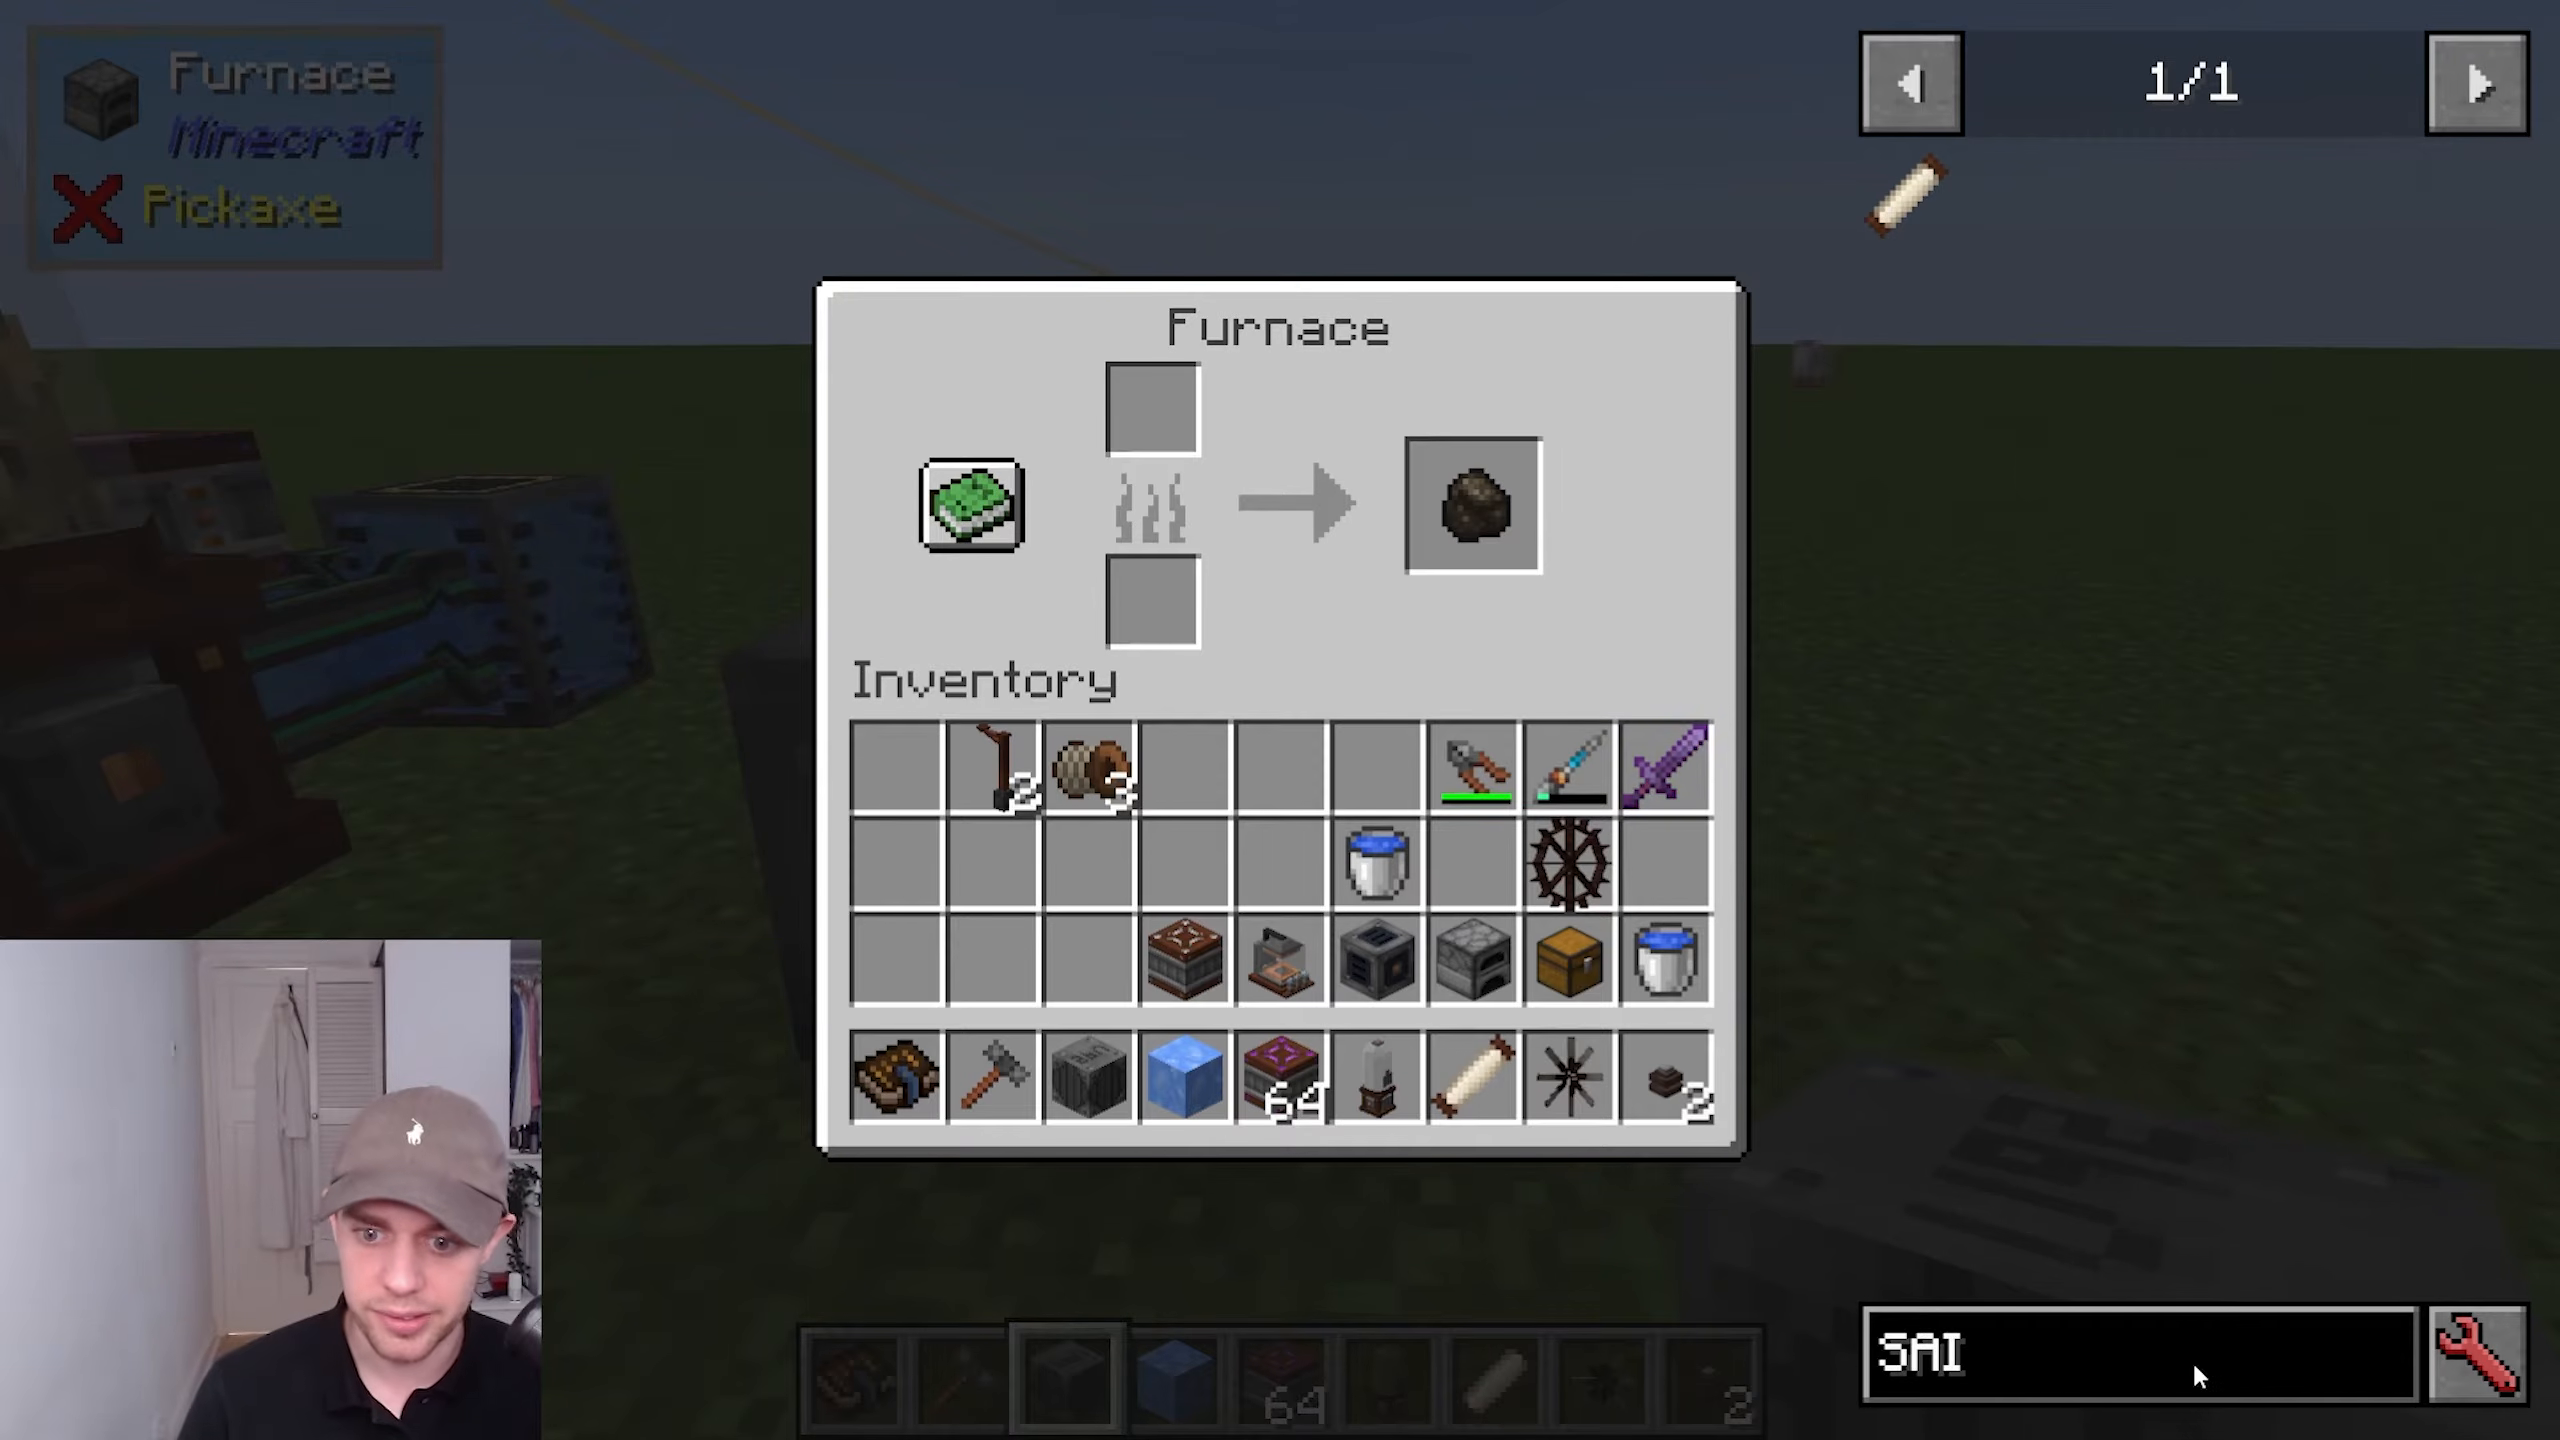
The External Heater is a simple device that provides heat to furnaces without requiring fuel. Place it next to a furnace and power it from the back using an LV connector and wire coil. This eliminates the need for coal in furnaces and significantly speeds up smelting operations.
Garden Cloche
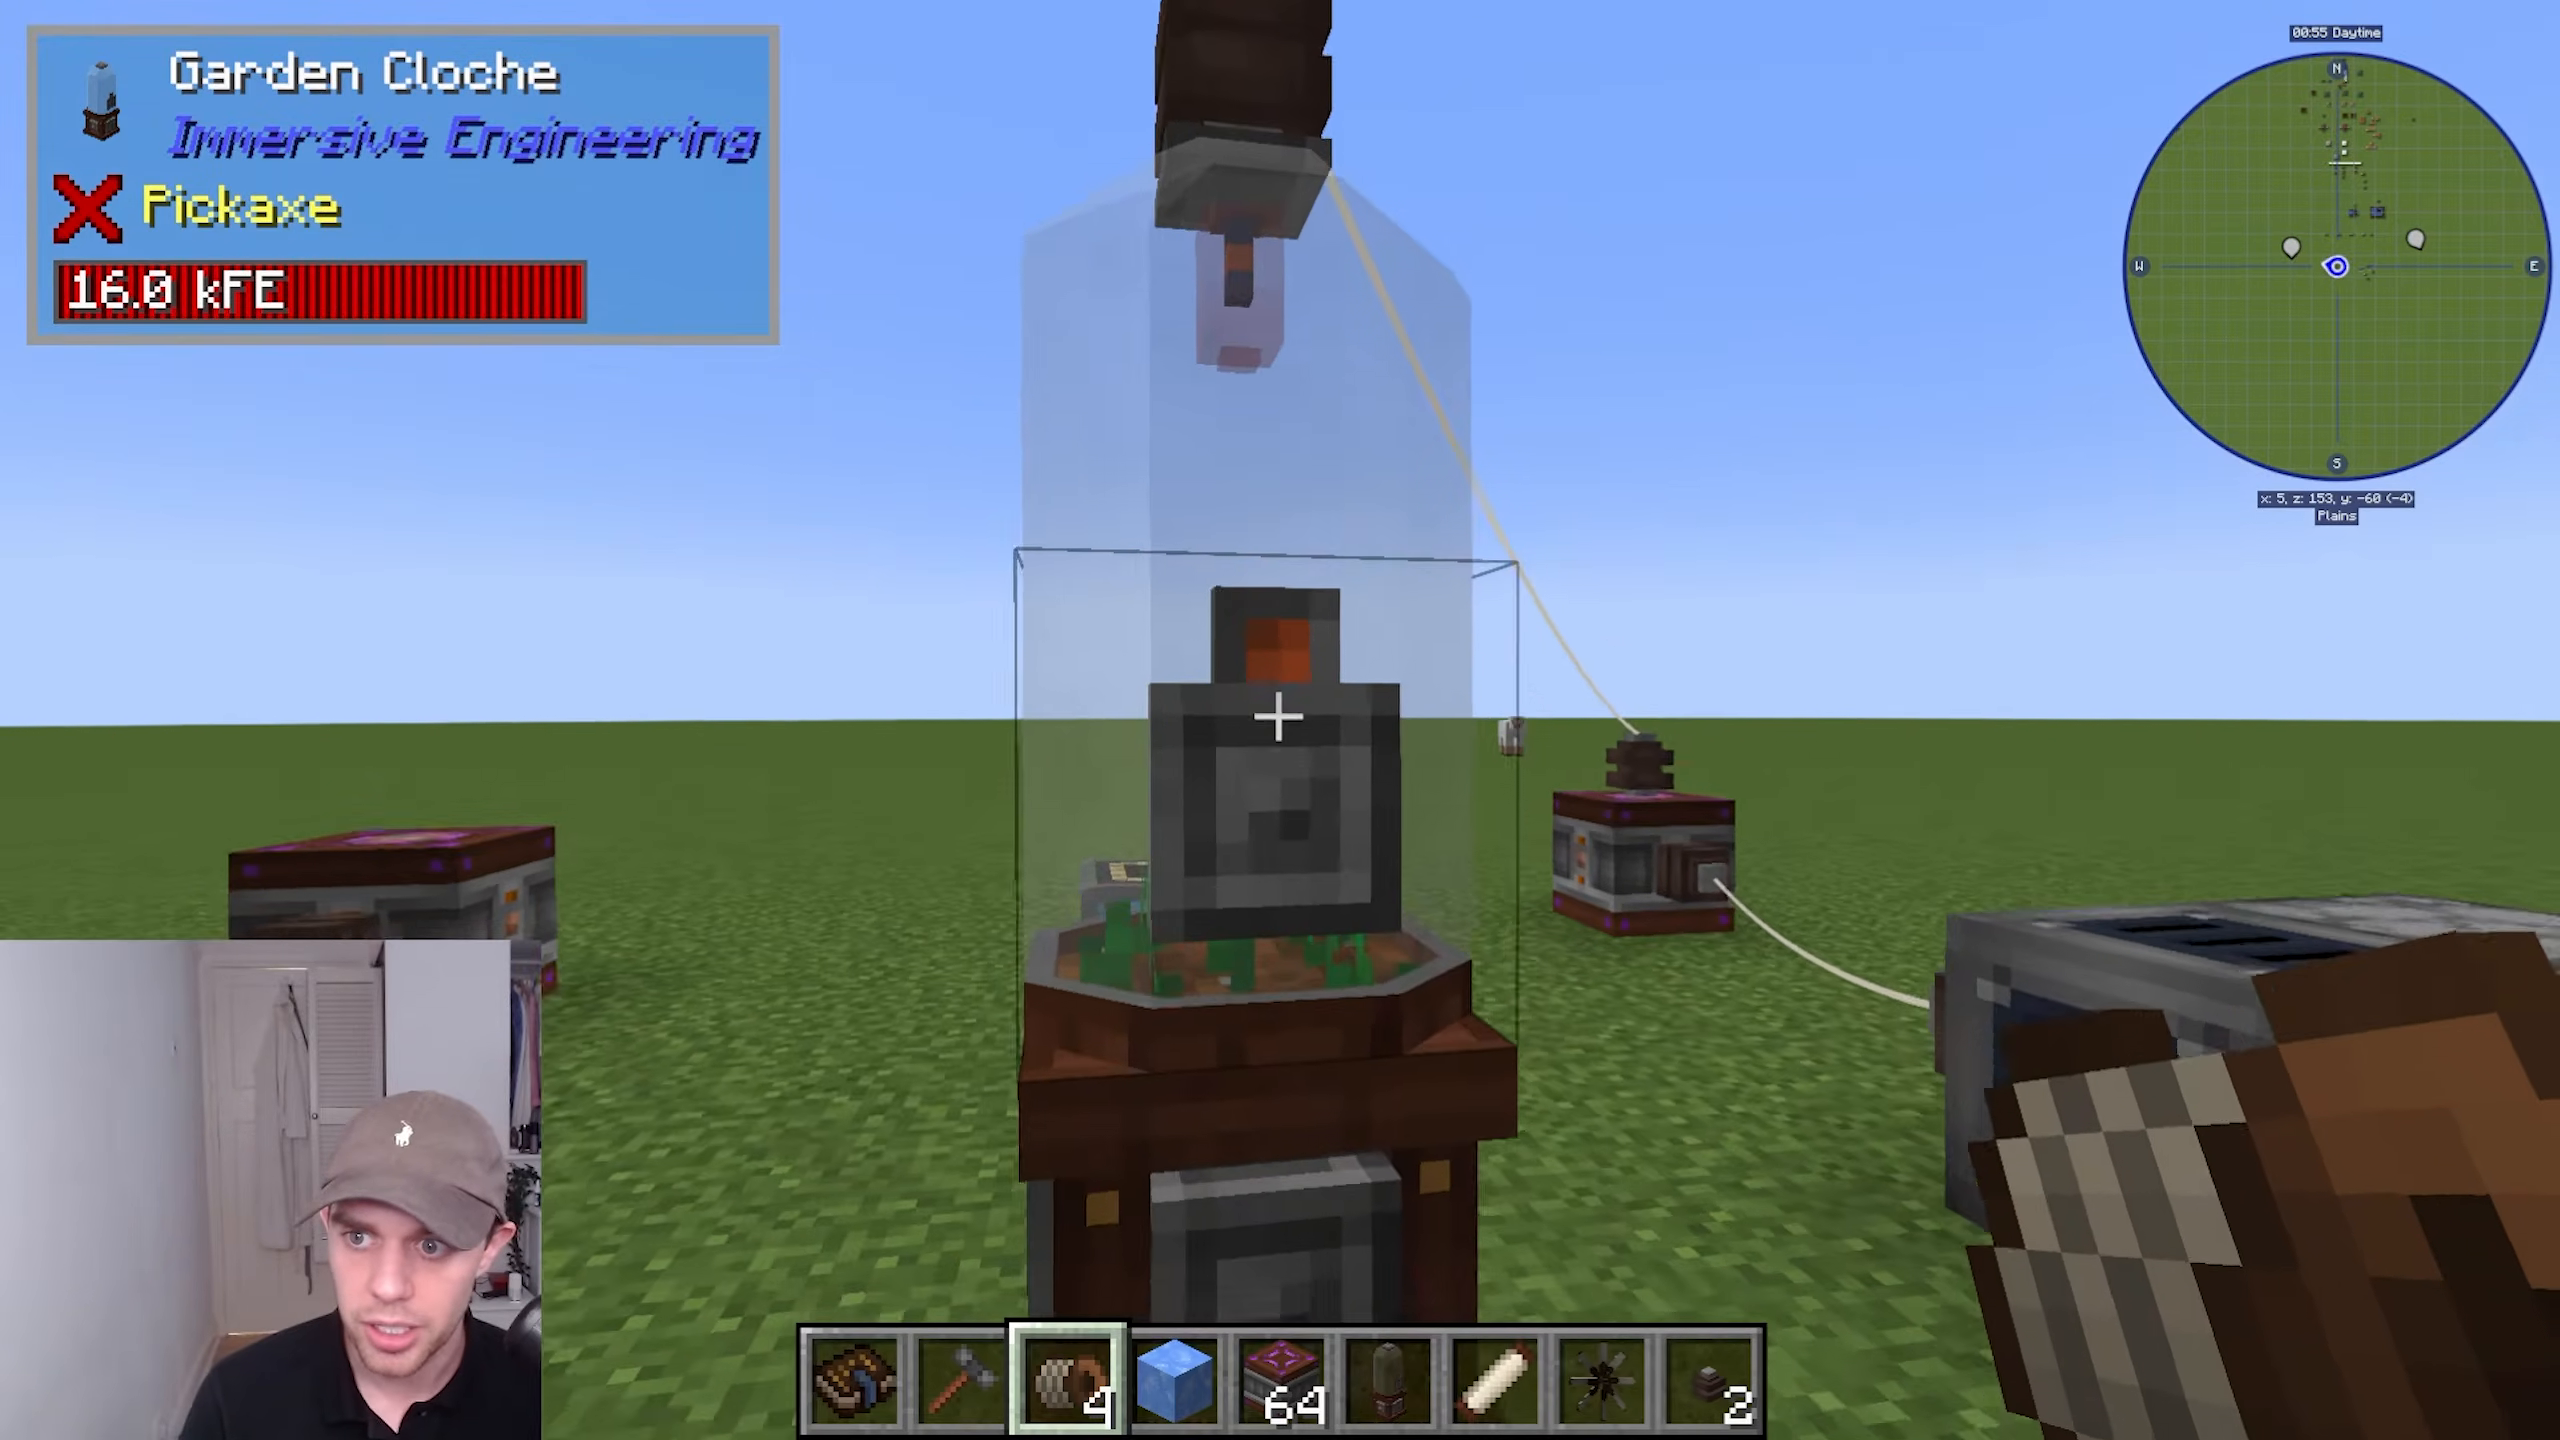
One of the most useful machines in Immersive Engineering, the Garden Cloche automatically grows crops. Power it from the top and input water from the back. Place your seed or plant in one slot and dirt in another.
Fertilizer is added automatically by default (though some modpacks require manual input). The cloche will rapidly grow plants—wheat grows in just seconds. It works with almost any mod’s crops and plants, from Nether Wart to End Lilies and even coral.
Output items through the orange slot using item pipes or conveyors.
Charging Station
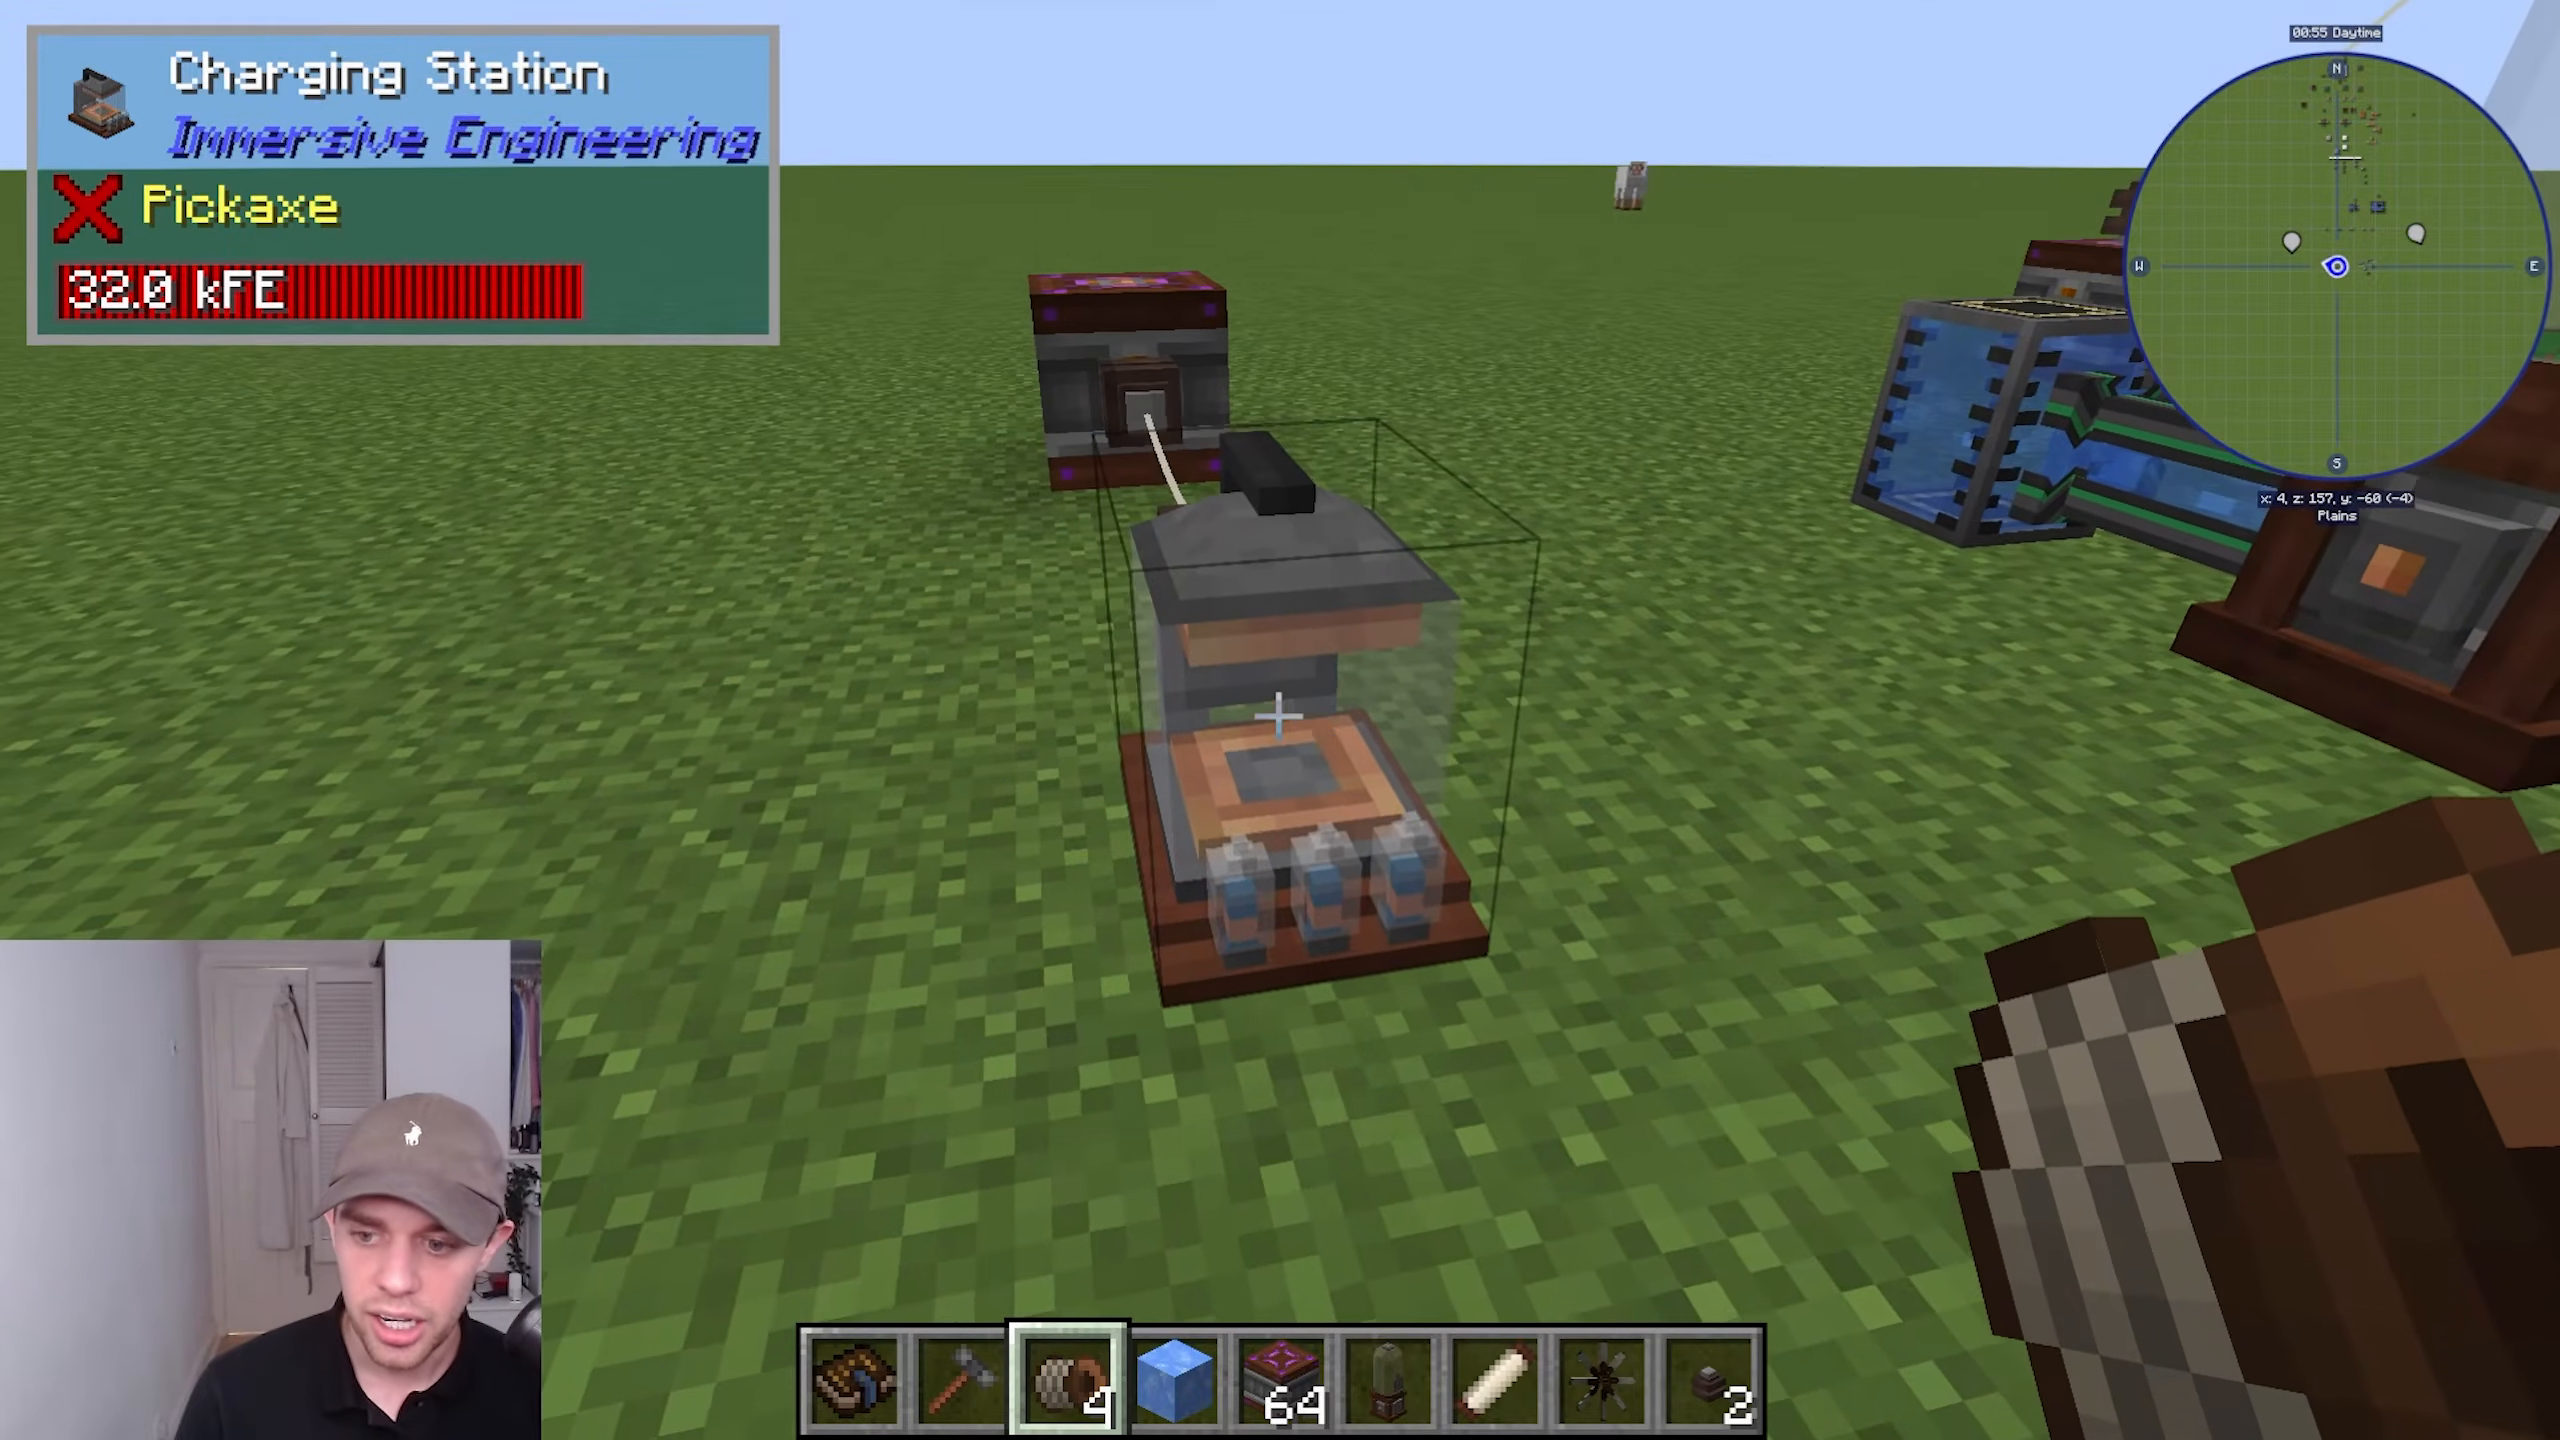
The Charging Station allows you to charge portable items. Power it from the back and place items into it. A color indicator at the front shows the charge level: green indicates full charge.
Right-click to remove fully charged items. This is useful for charging Engineer’s Hammers, drill bits, and other portable tools.
Advanced Machines
Metal Press
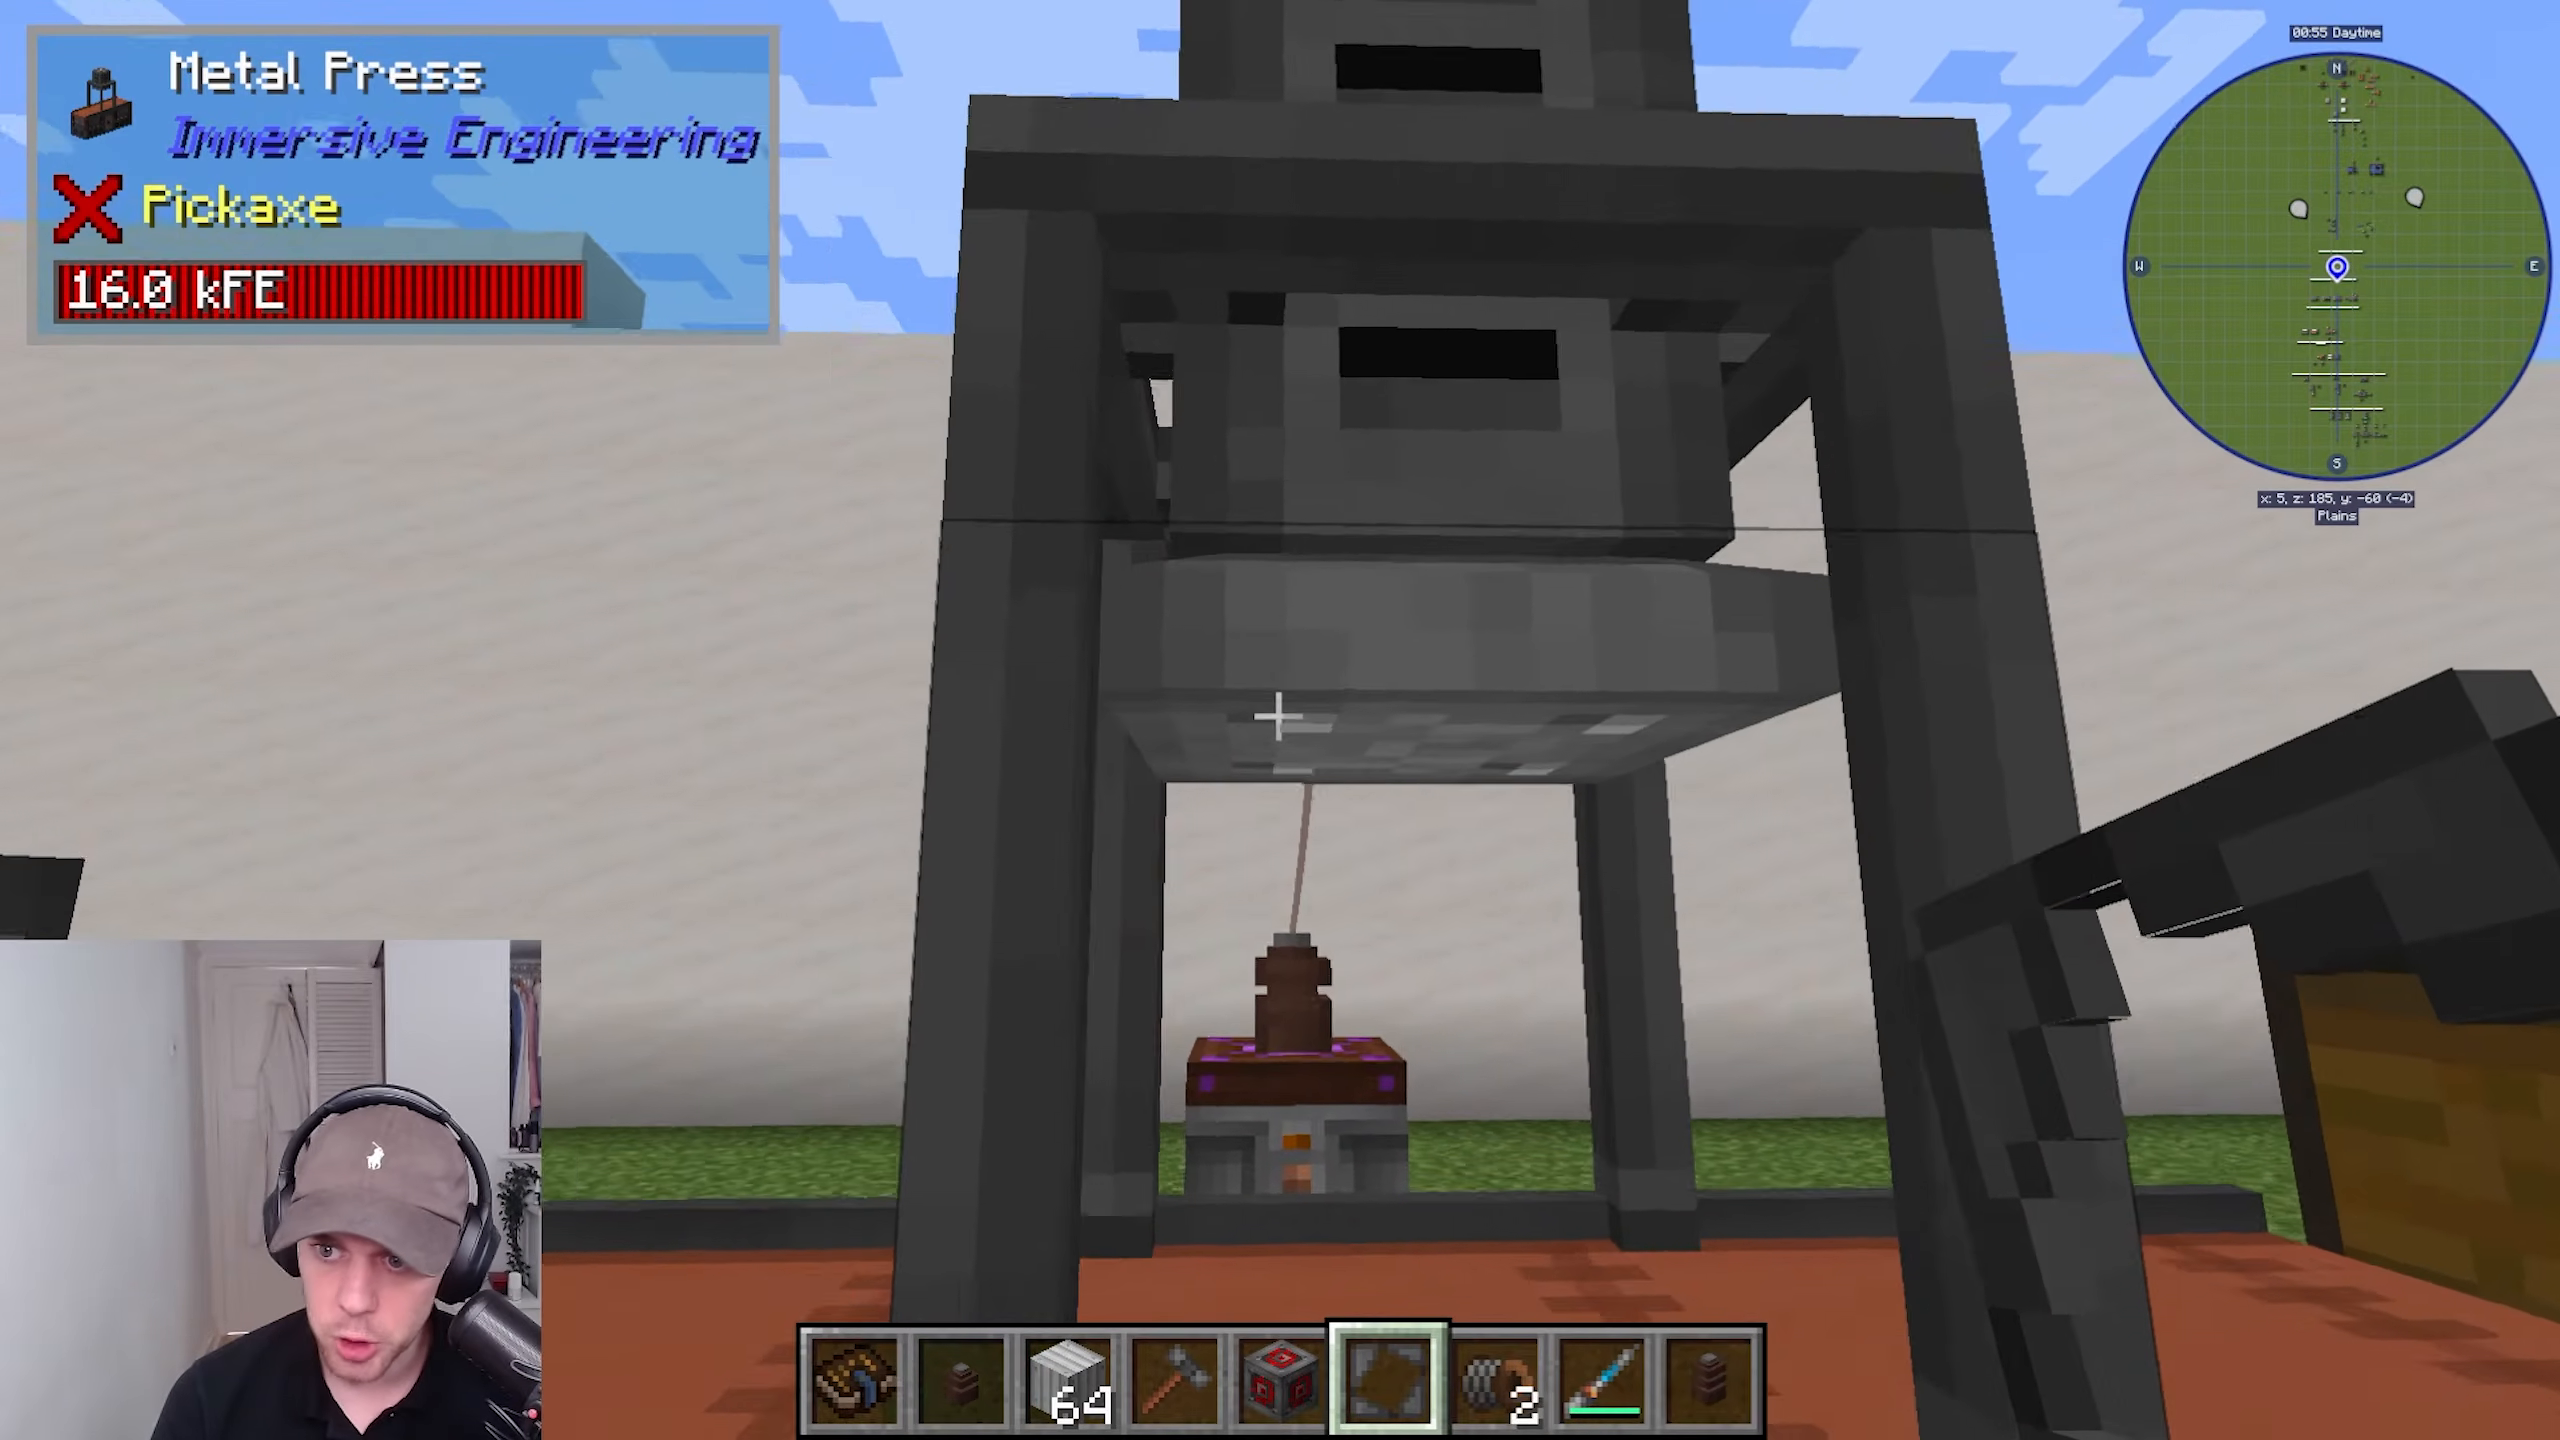
The Metal Press is a multi-block machine that uses molds to shape metal. To build it, place two steel scaffolding blocks, a redstone engineering block, a piston facing down, two conveyor belts, and a heavy engineering block in the proper configuration. Right-click with your Engineer’s Hammer to complete the multi-block.
Create metal molds using the Engineer’s Workbench with the molds blueprint. Once you have a mold, right-click the press to insert it. Input metal ingots into the machine, and they’ll be shaped according to the mold and output as finished pieces.
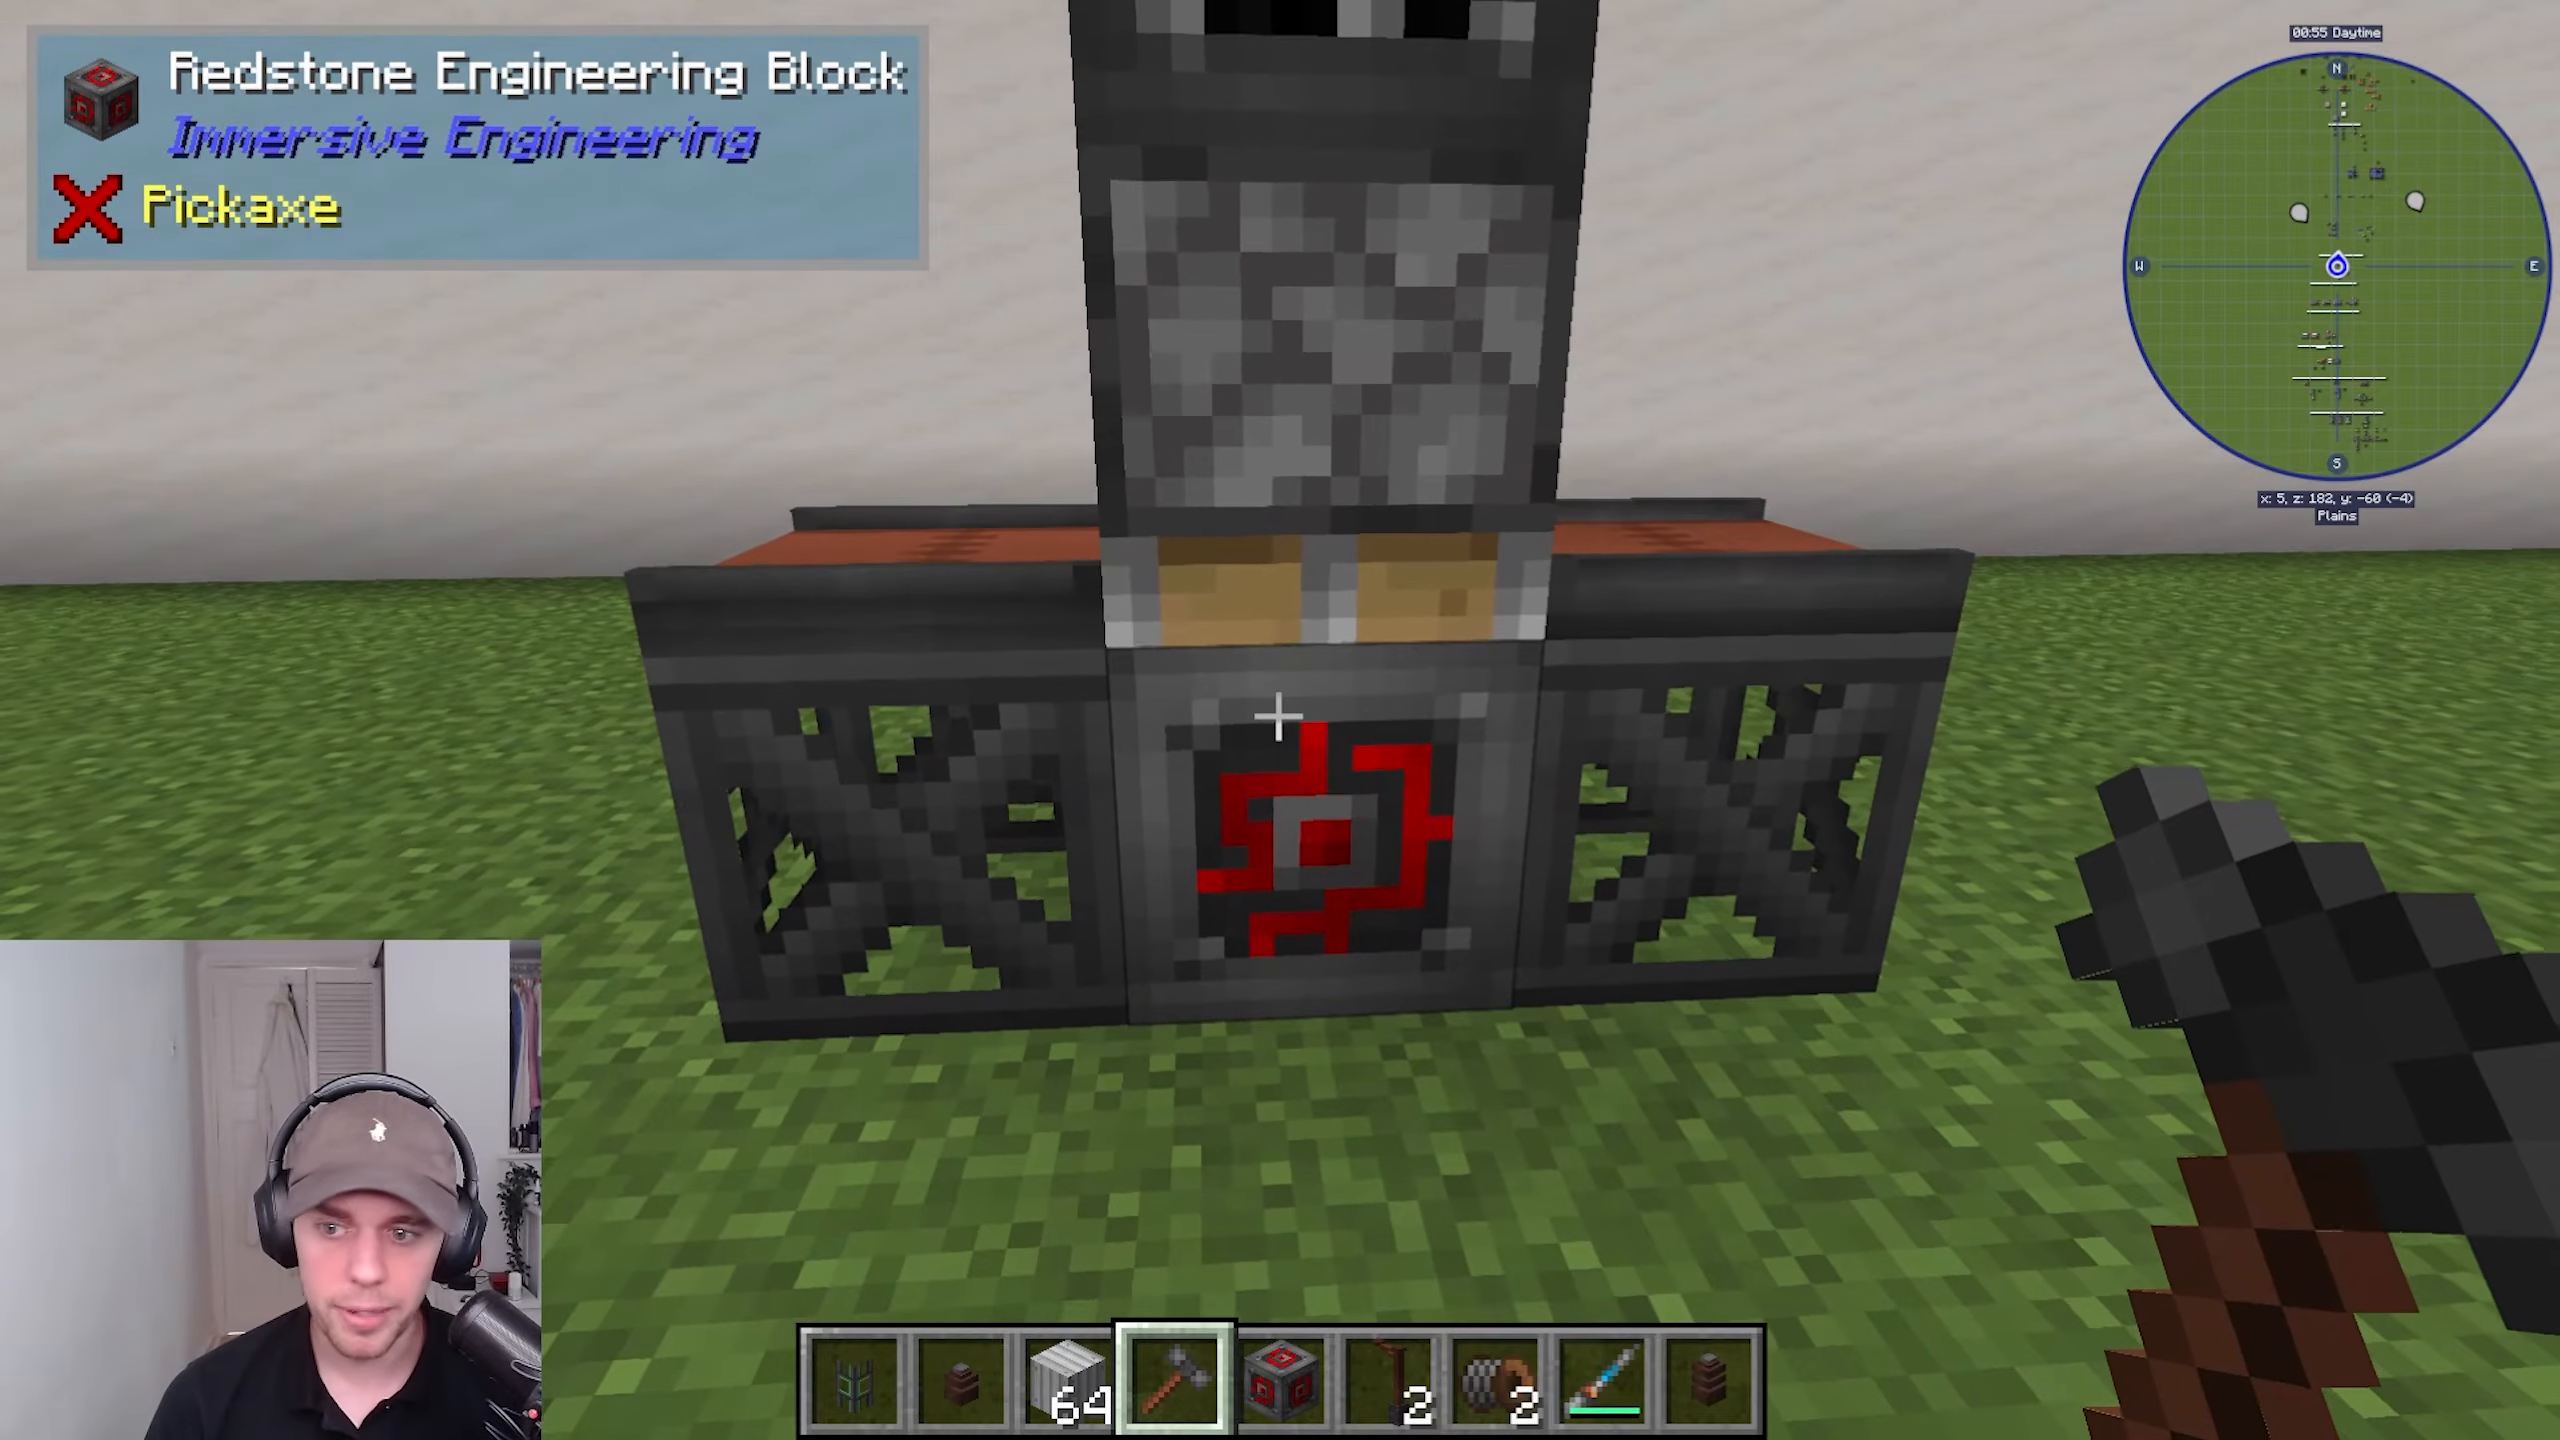
Add a redstone lever (visible as a red dot) to turn the machine on and off. Power input is through the orange dot at the top.
Crusher
The Crusher doubles your ores, making it one of the fastest ore multiplication methods in modded Minecraft. It’s made primarily of steel and light engineering blocks, with a redstone engineering block in the center, surrounded by steel fences.
To build it, create a pattern with light engineering blocks in the middle, surrounded by steel, with redstone blocks and light engineering blocks creating the structure. Right-click the middle steel fence with your Engineer’s Hammer to complete it.
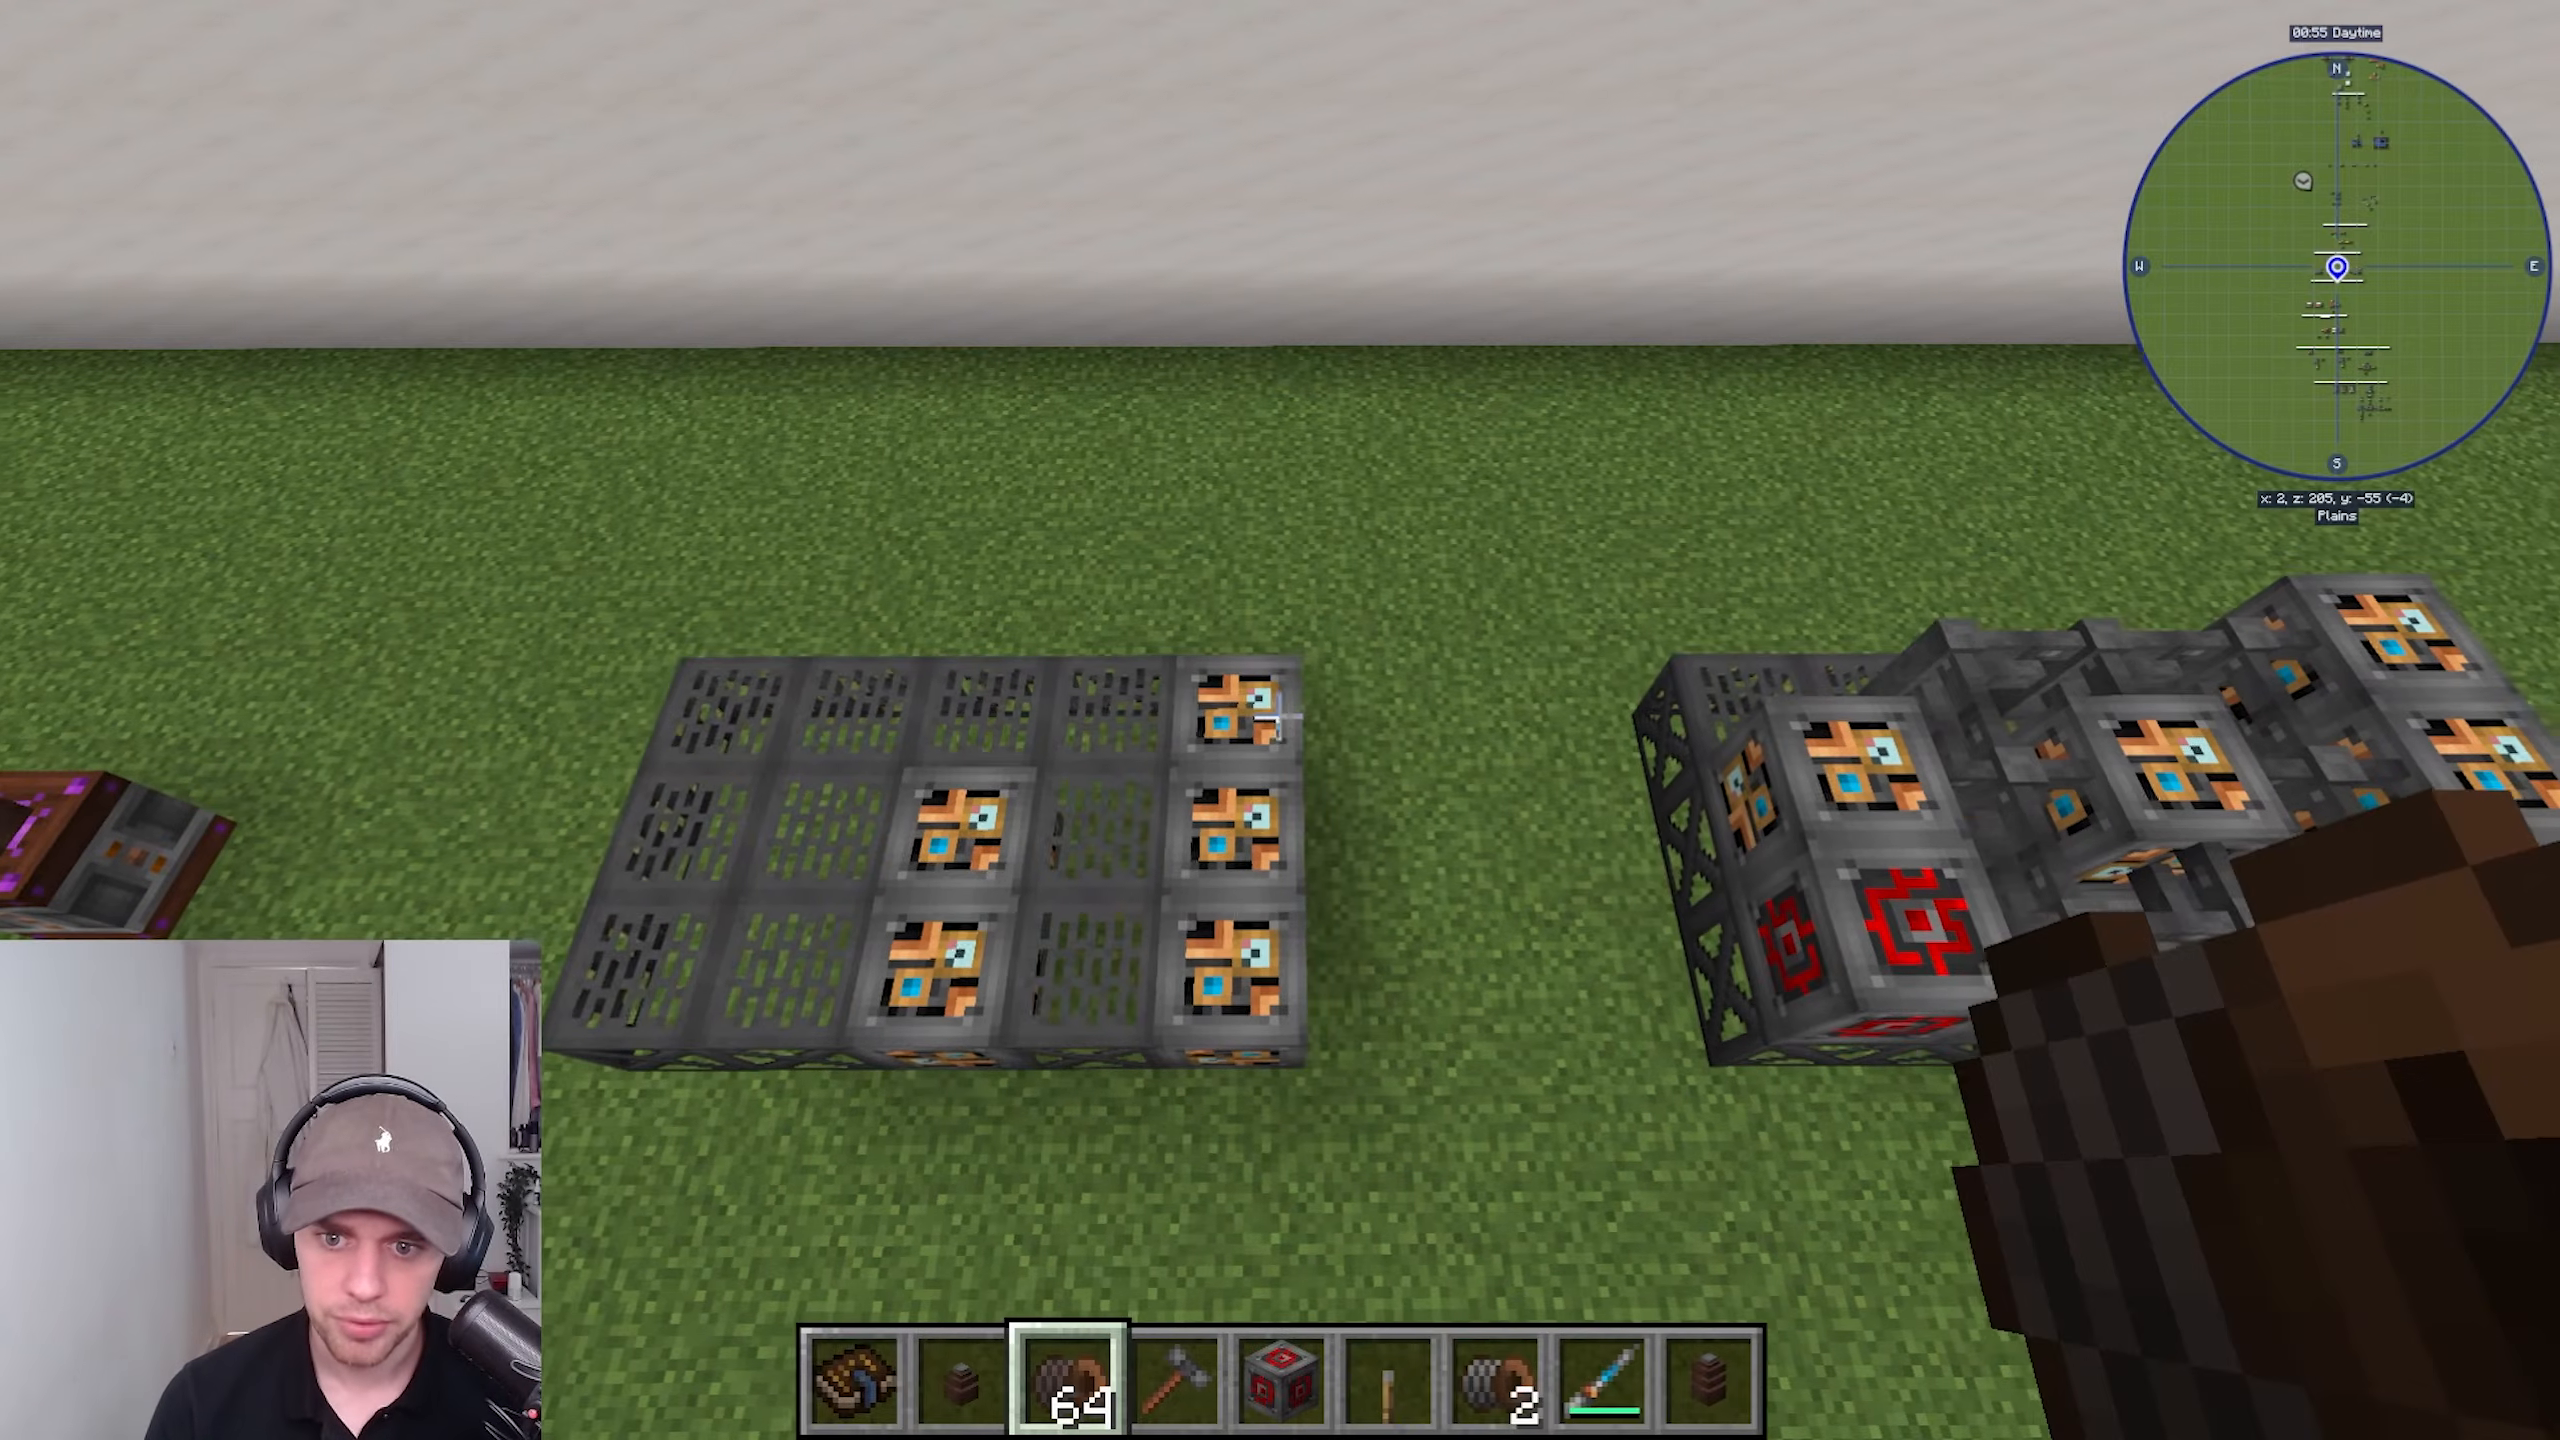
Place an extracting conveyor at the front and power the machine. Throw ore into the crusher, and it will output double the amount of ore grit. For example, iron ore becomes two iron grit, and you may also receive nickel as a bonus.
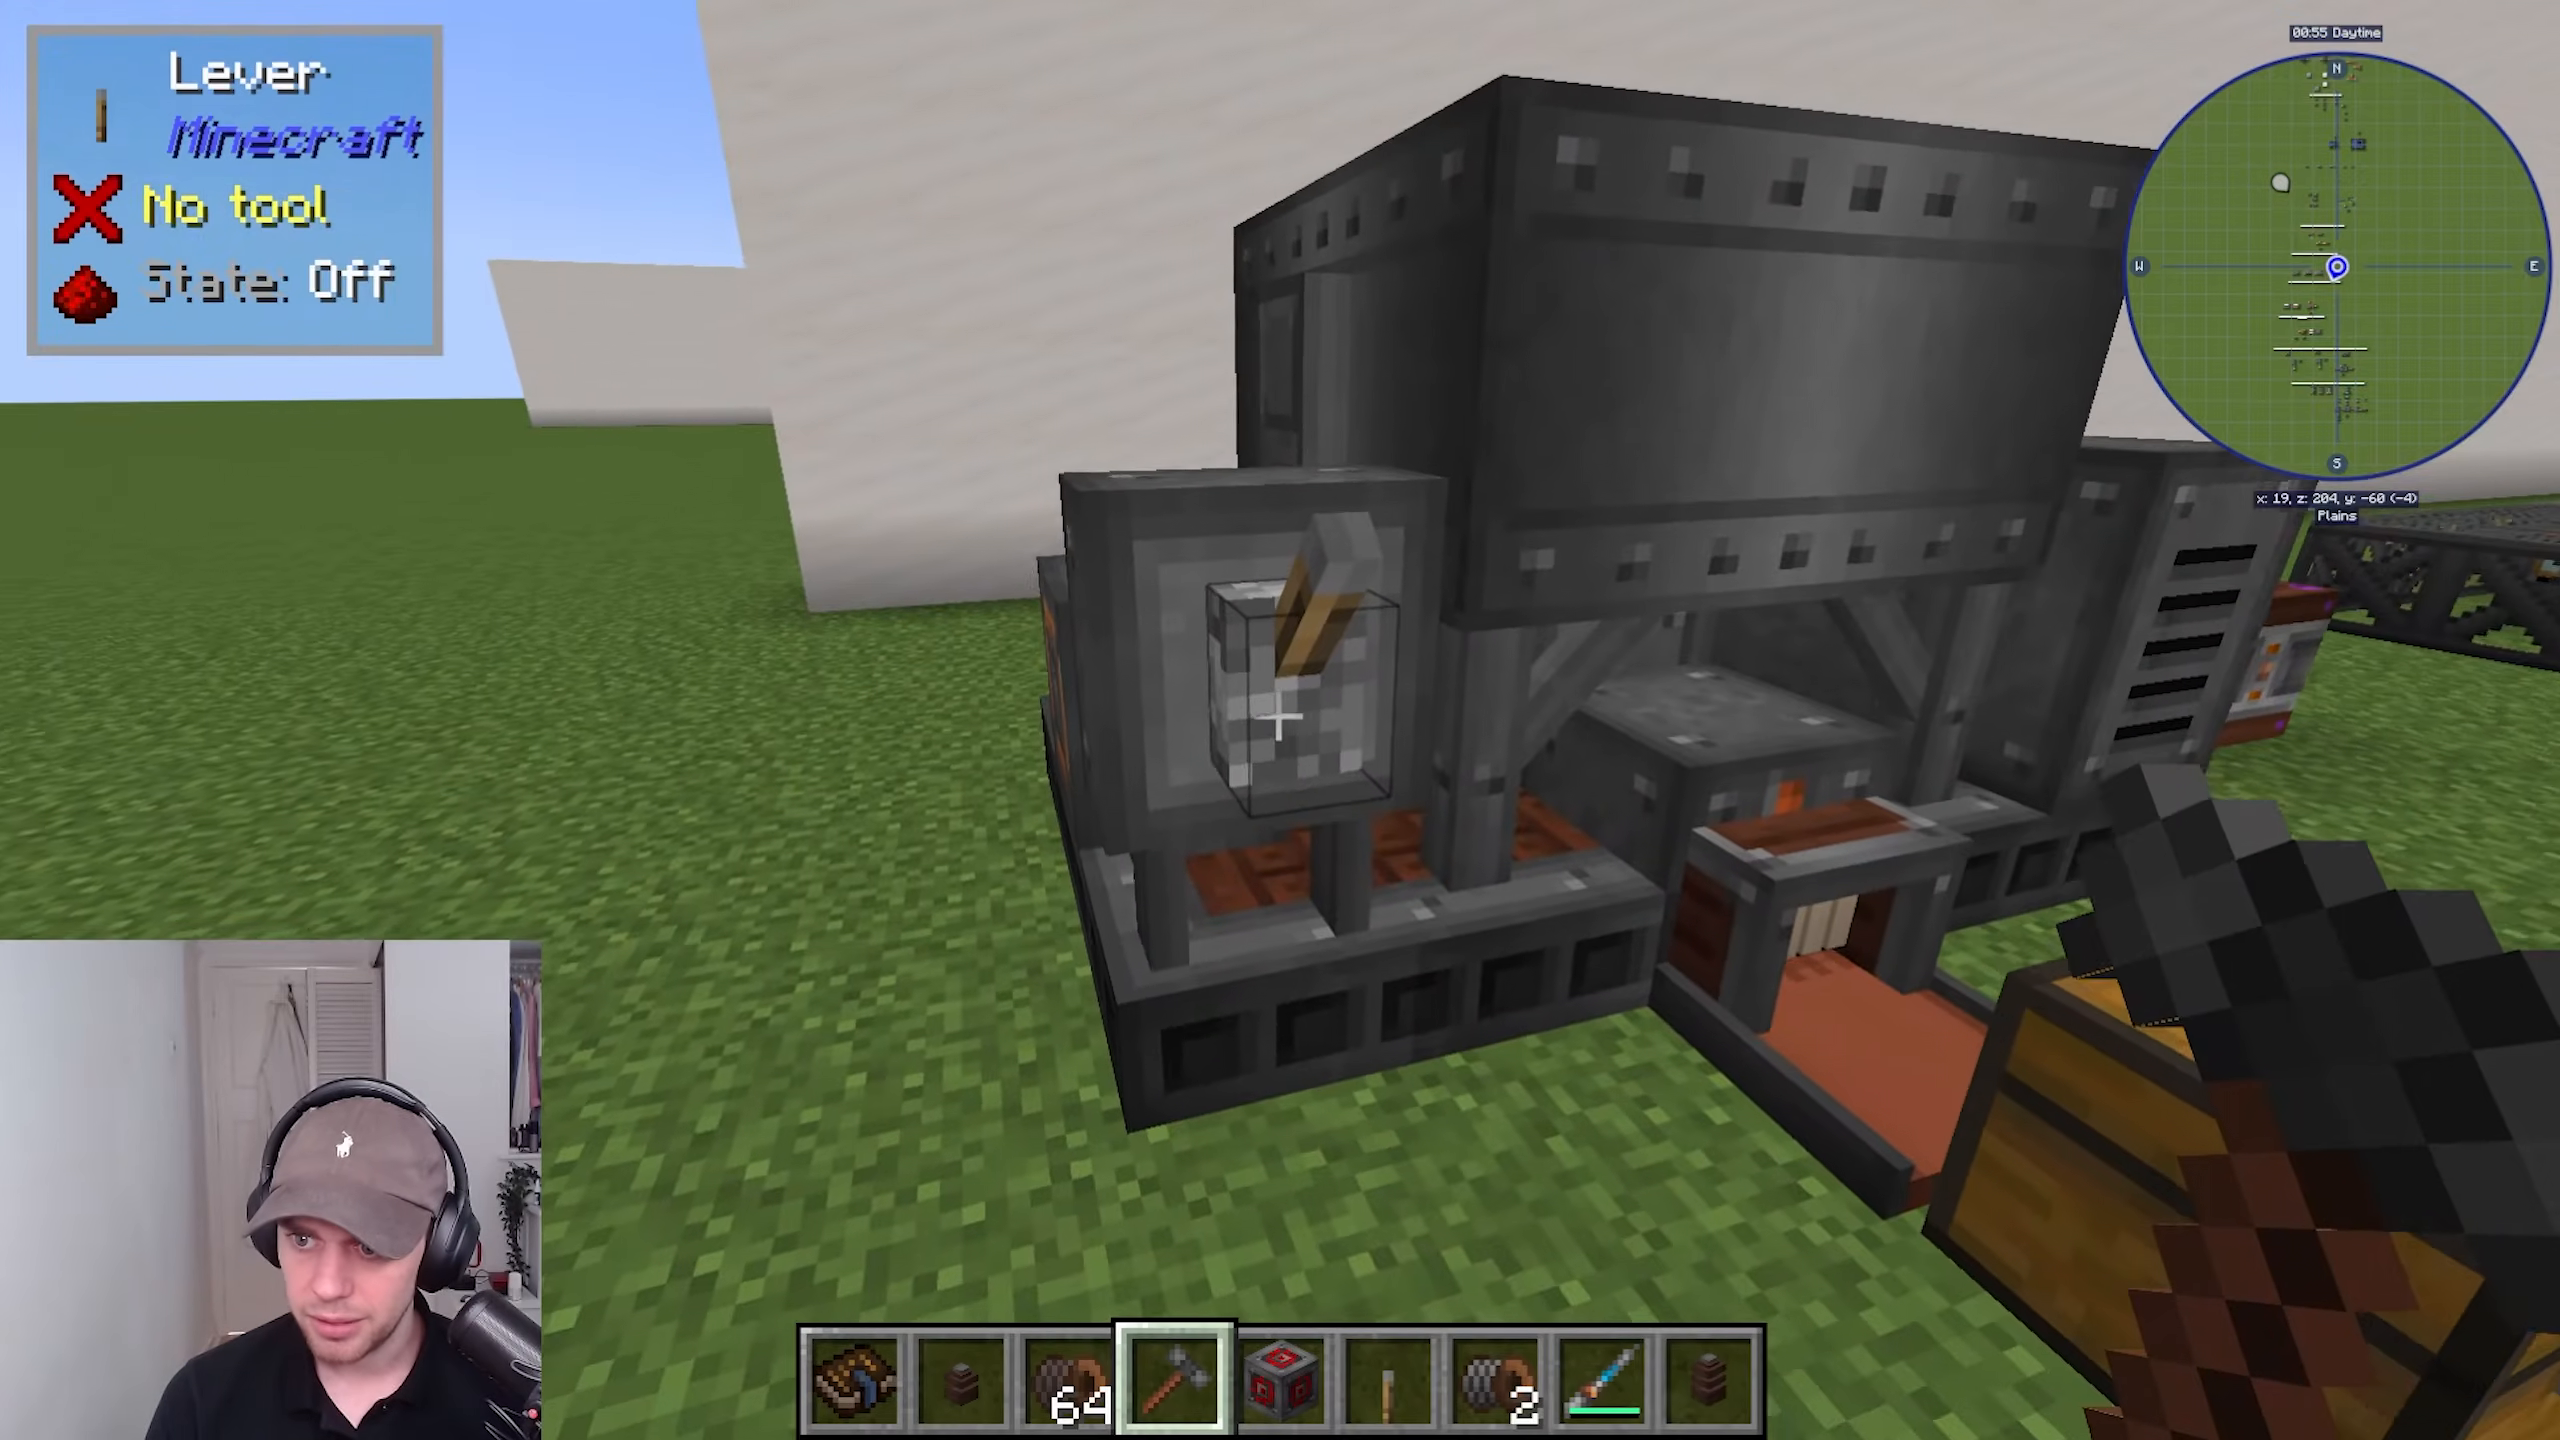
Sawmill
The Sawmill cuts wood and produces sawdust. It requires steel scaffolding, heavy and light engineering blocks, iron sheet metal, and conveyor belts arranged in a specific pattern. Right-click the middle iron sheet metal with your Engineer’s Hammer to complete it.
Items input from the left and output on the right. Sawdust exits from the front. Without a saw blade, it will only strip logs. Add a saw blade by right-clicking into the machine, and it will also produce planks while still outputting sawdust.
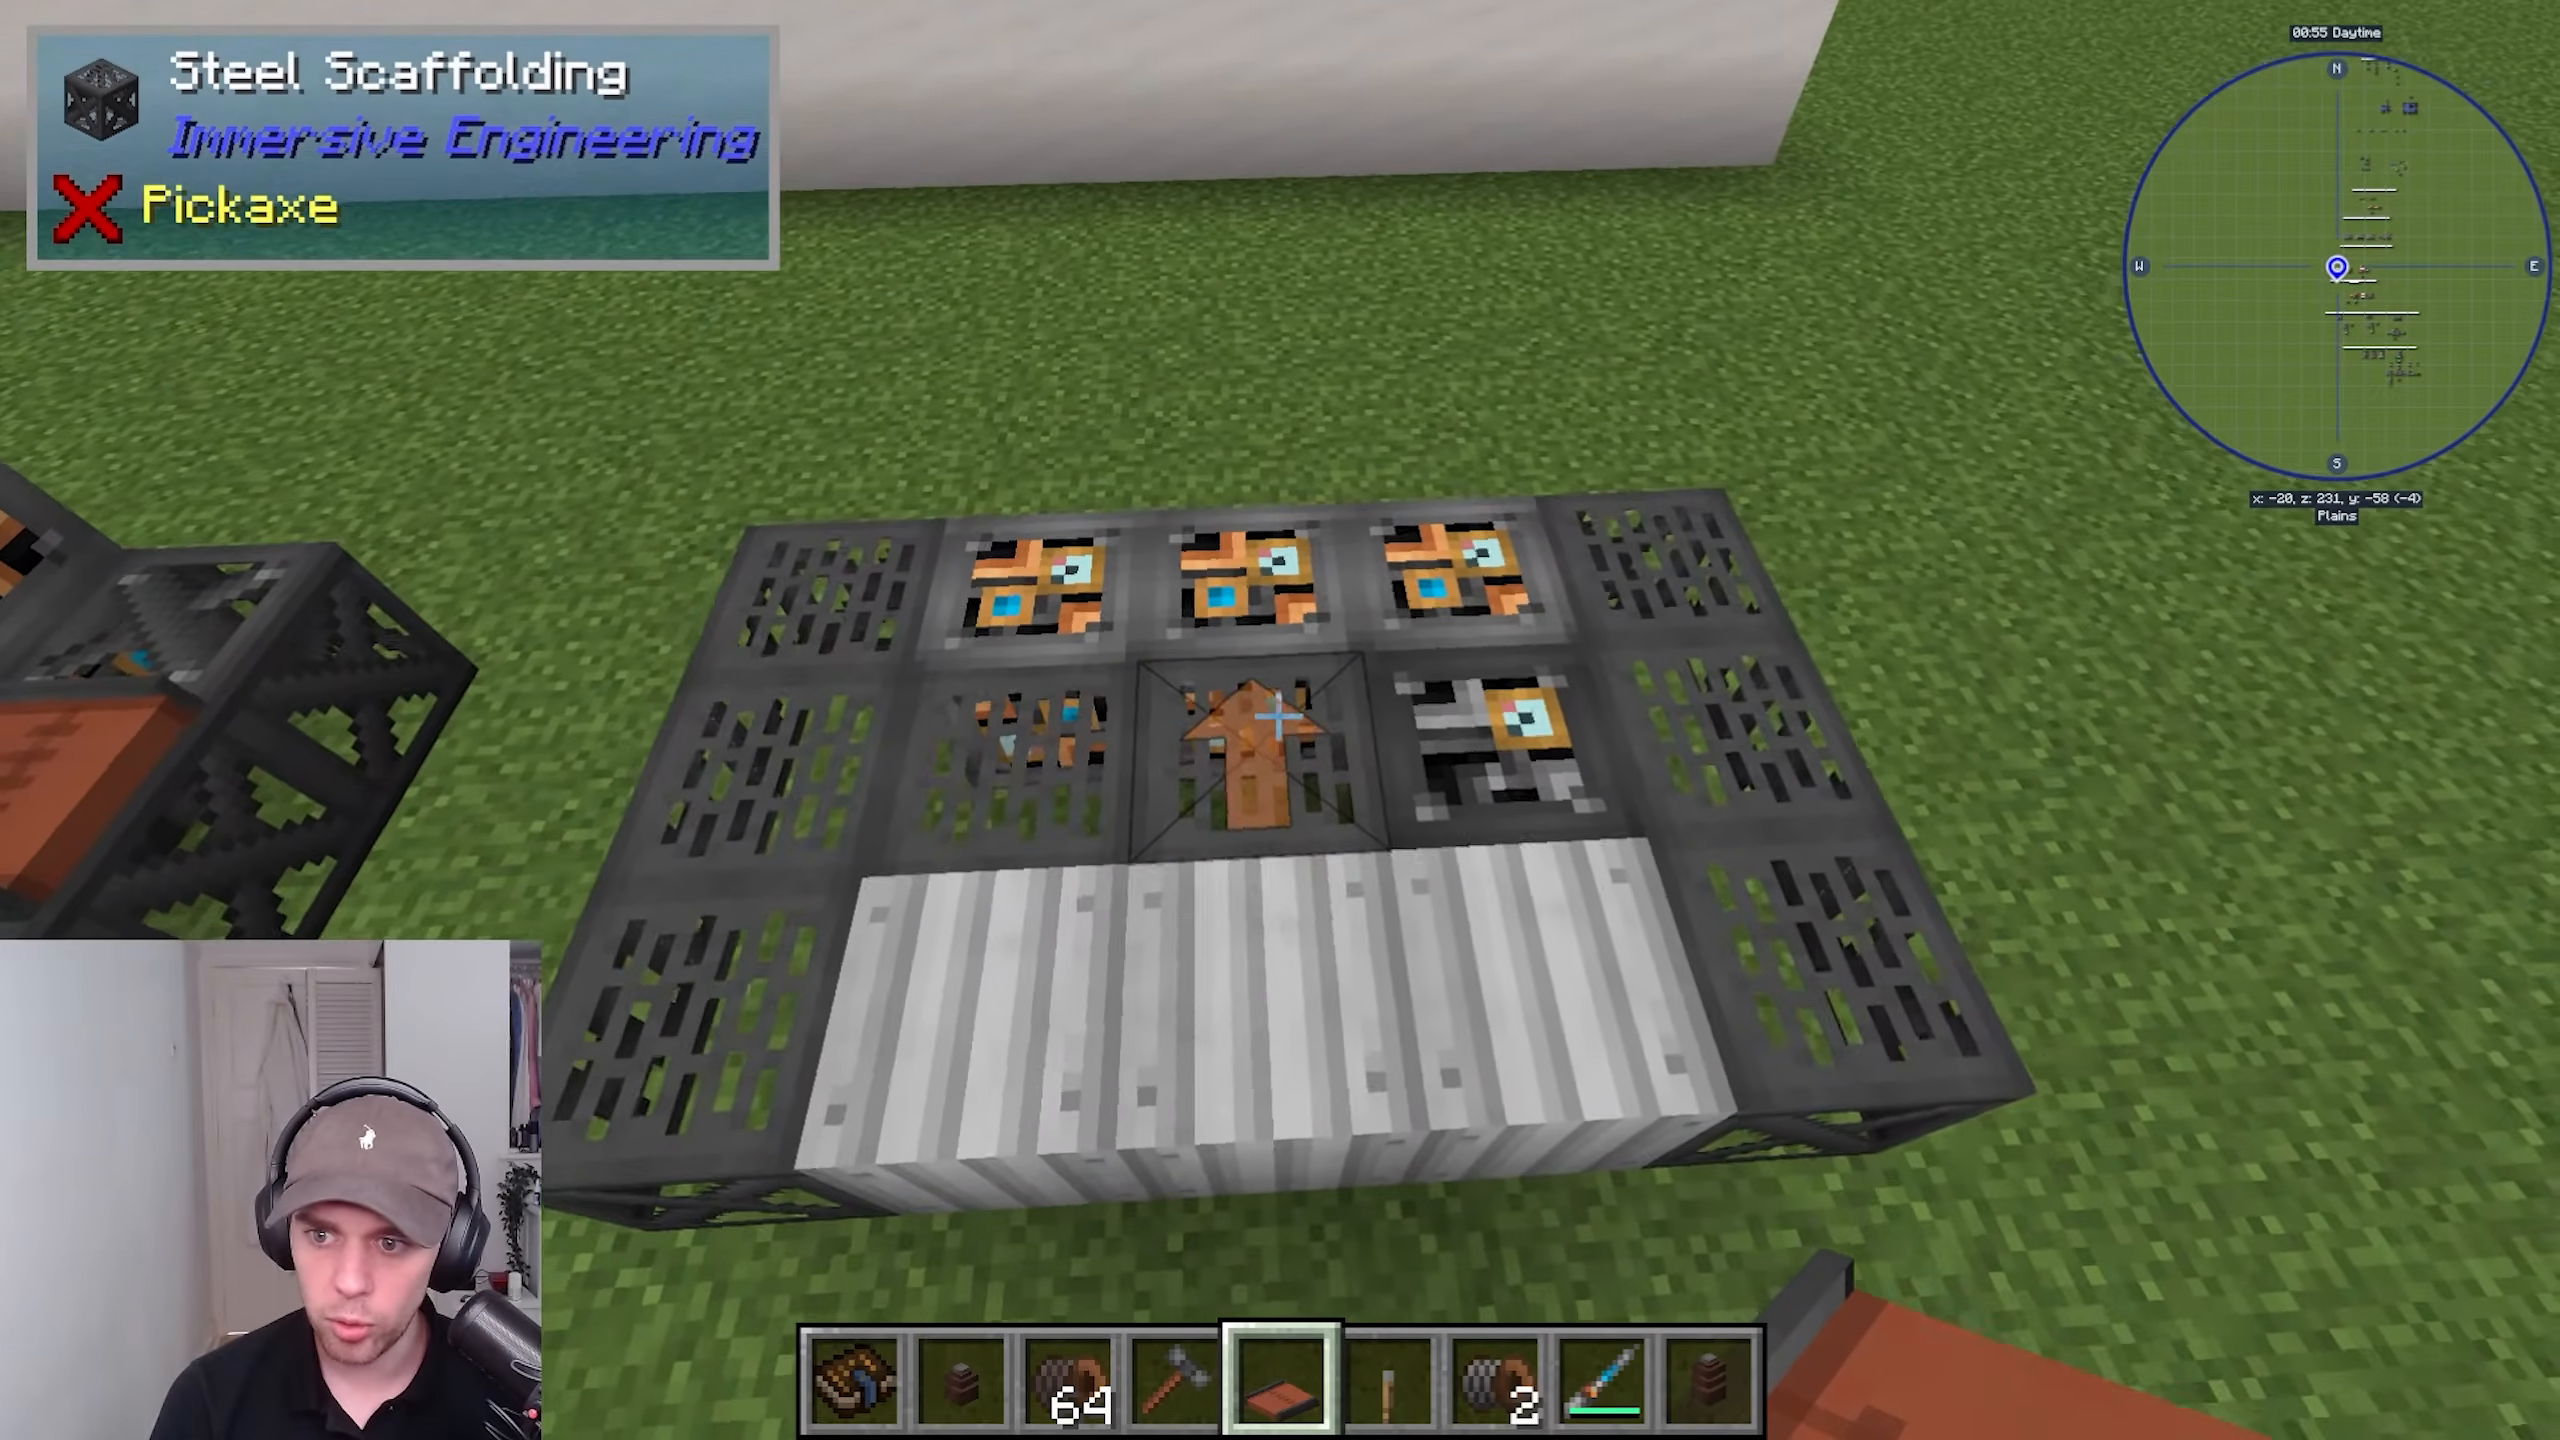
Assembler
The Assembler is a versatile multi-block that can perform multiple recipes in sequence. It requires steel scaffolding, sheet metal, and conveyor belts arranged with slabs on the sides. Right-click the conveyor to complete the multi-block.
The assembler has three recipe slots, allowing you to create assembly lines. For example, you could input oak logs to create planks, then pass those planks to another assembler to create doors. Items and fluids can be input and output, enabling complex production chains.
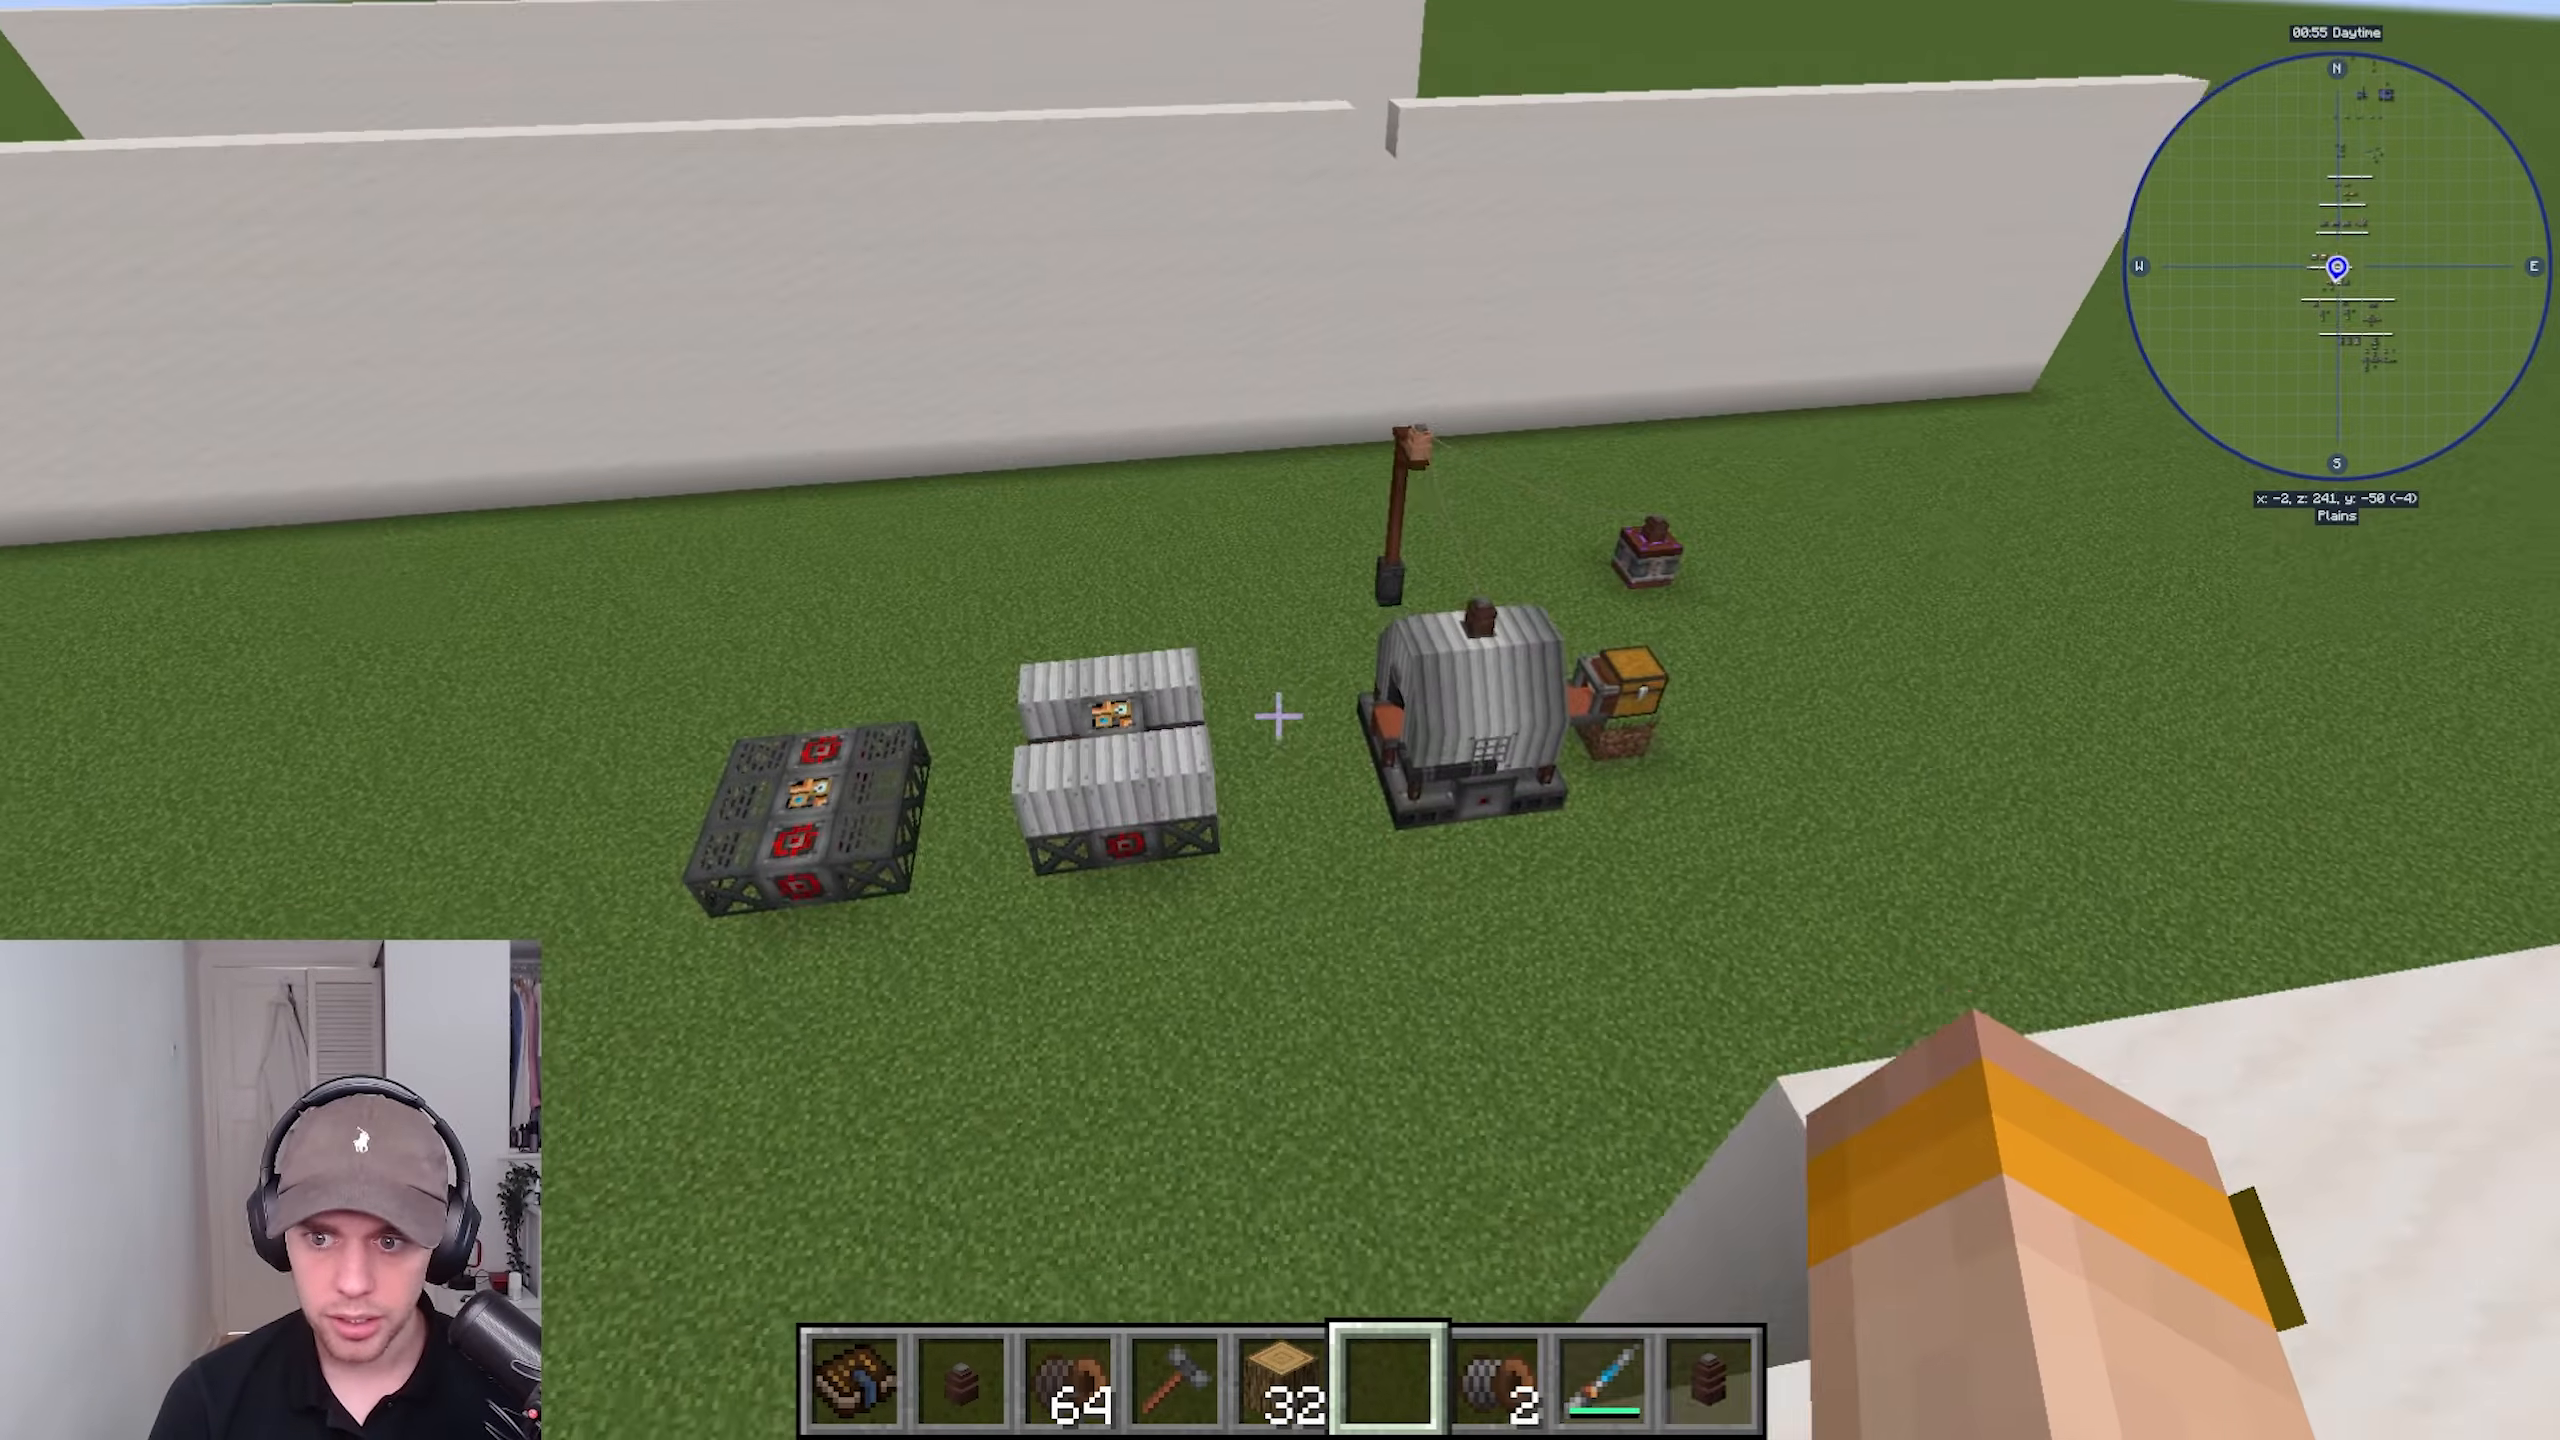
Advanced Power Generation: The Diesel Generator
The Squeezer
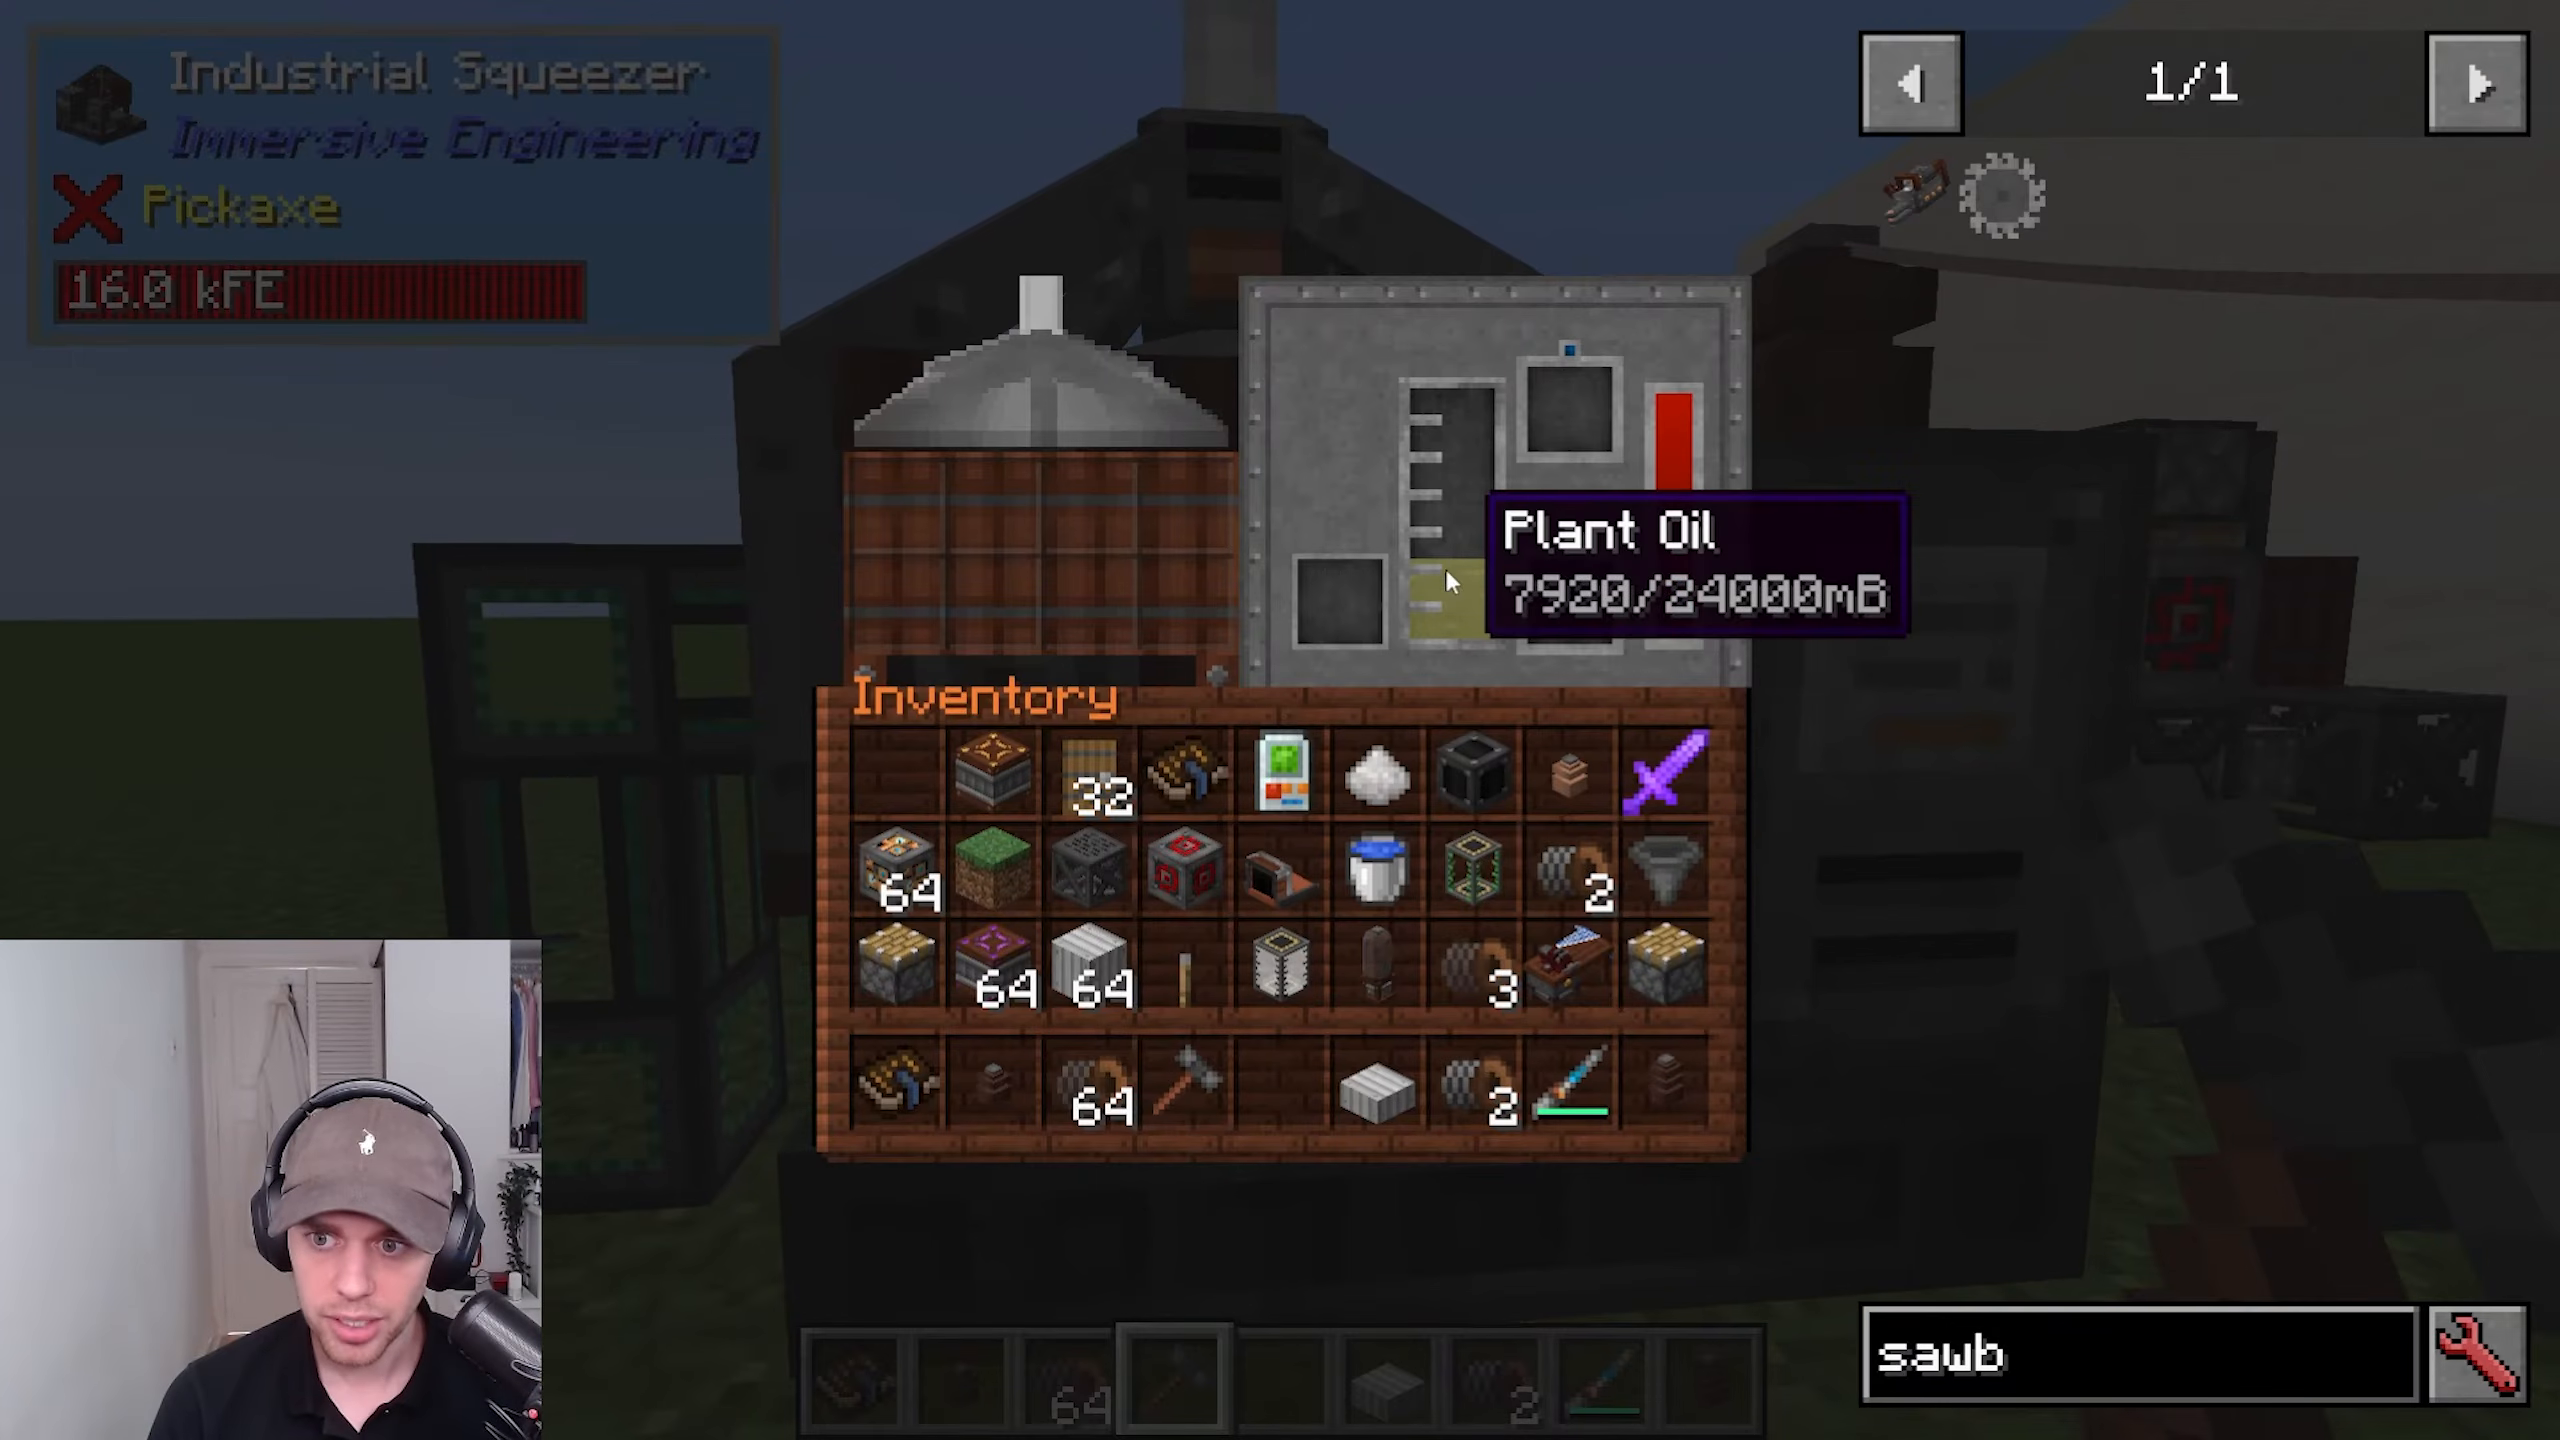
The Squeezer extracts plant oil from seeds, particularly industrial hemp seeds. Build it with four barrels arranged around a center point. Blue input slots accept hemp seeds, and orange output slots dispense plant oil. Items (like spent hemp) exit separately.
Hemp seeds are slowly squeezed into plant oil through an immersive animated process. This is one of the steps needed to create biodiesel for the end-game diesel generator.
The Fermenter
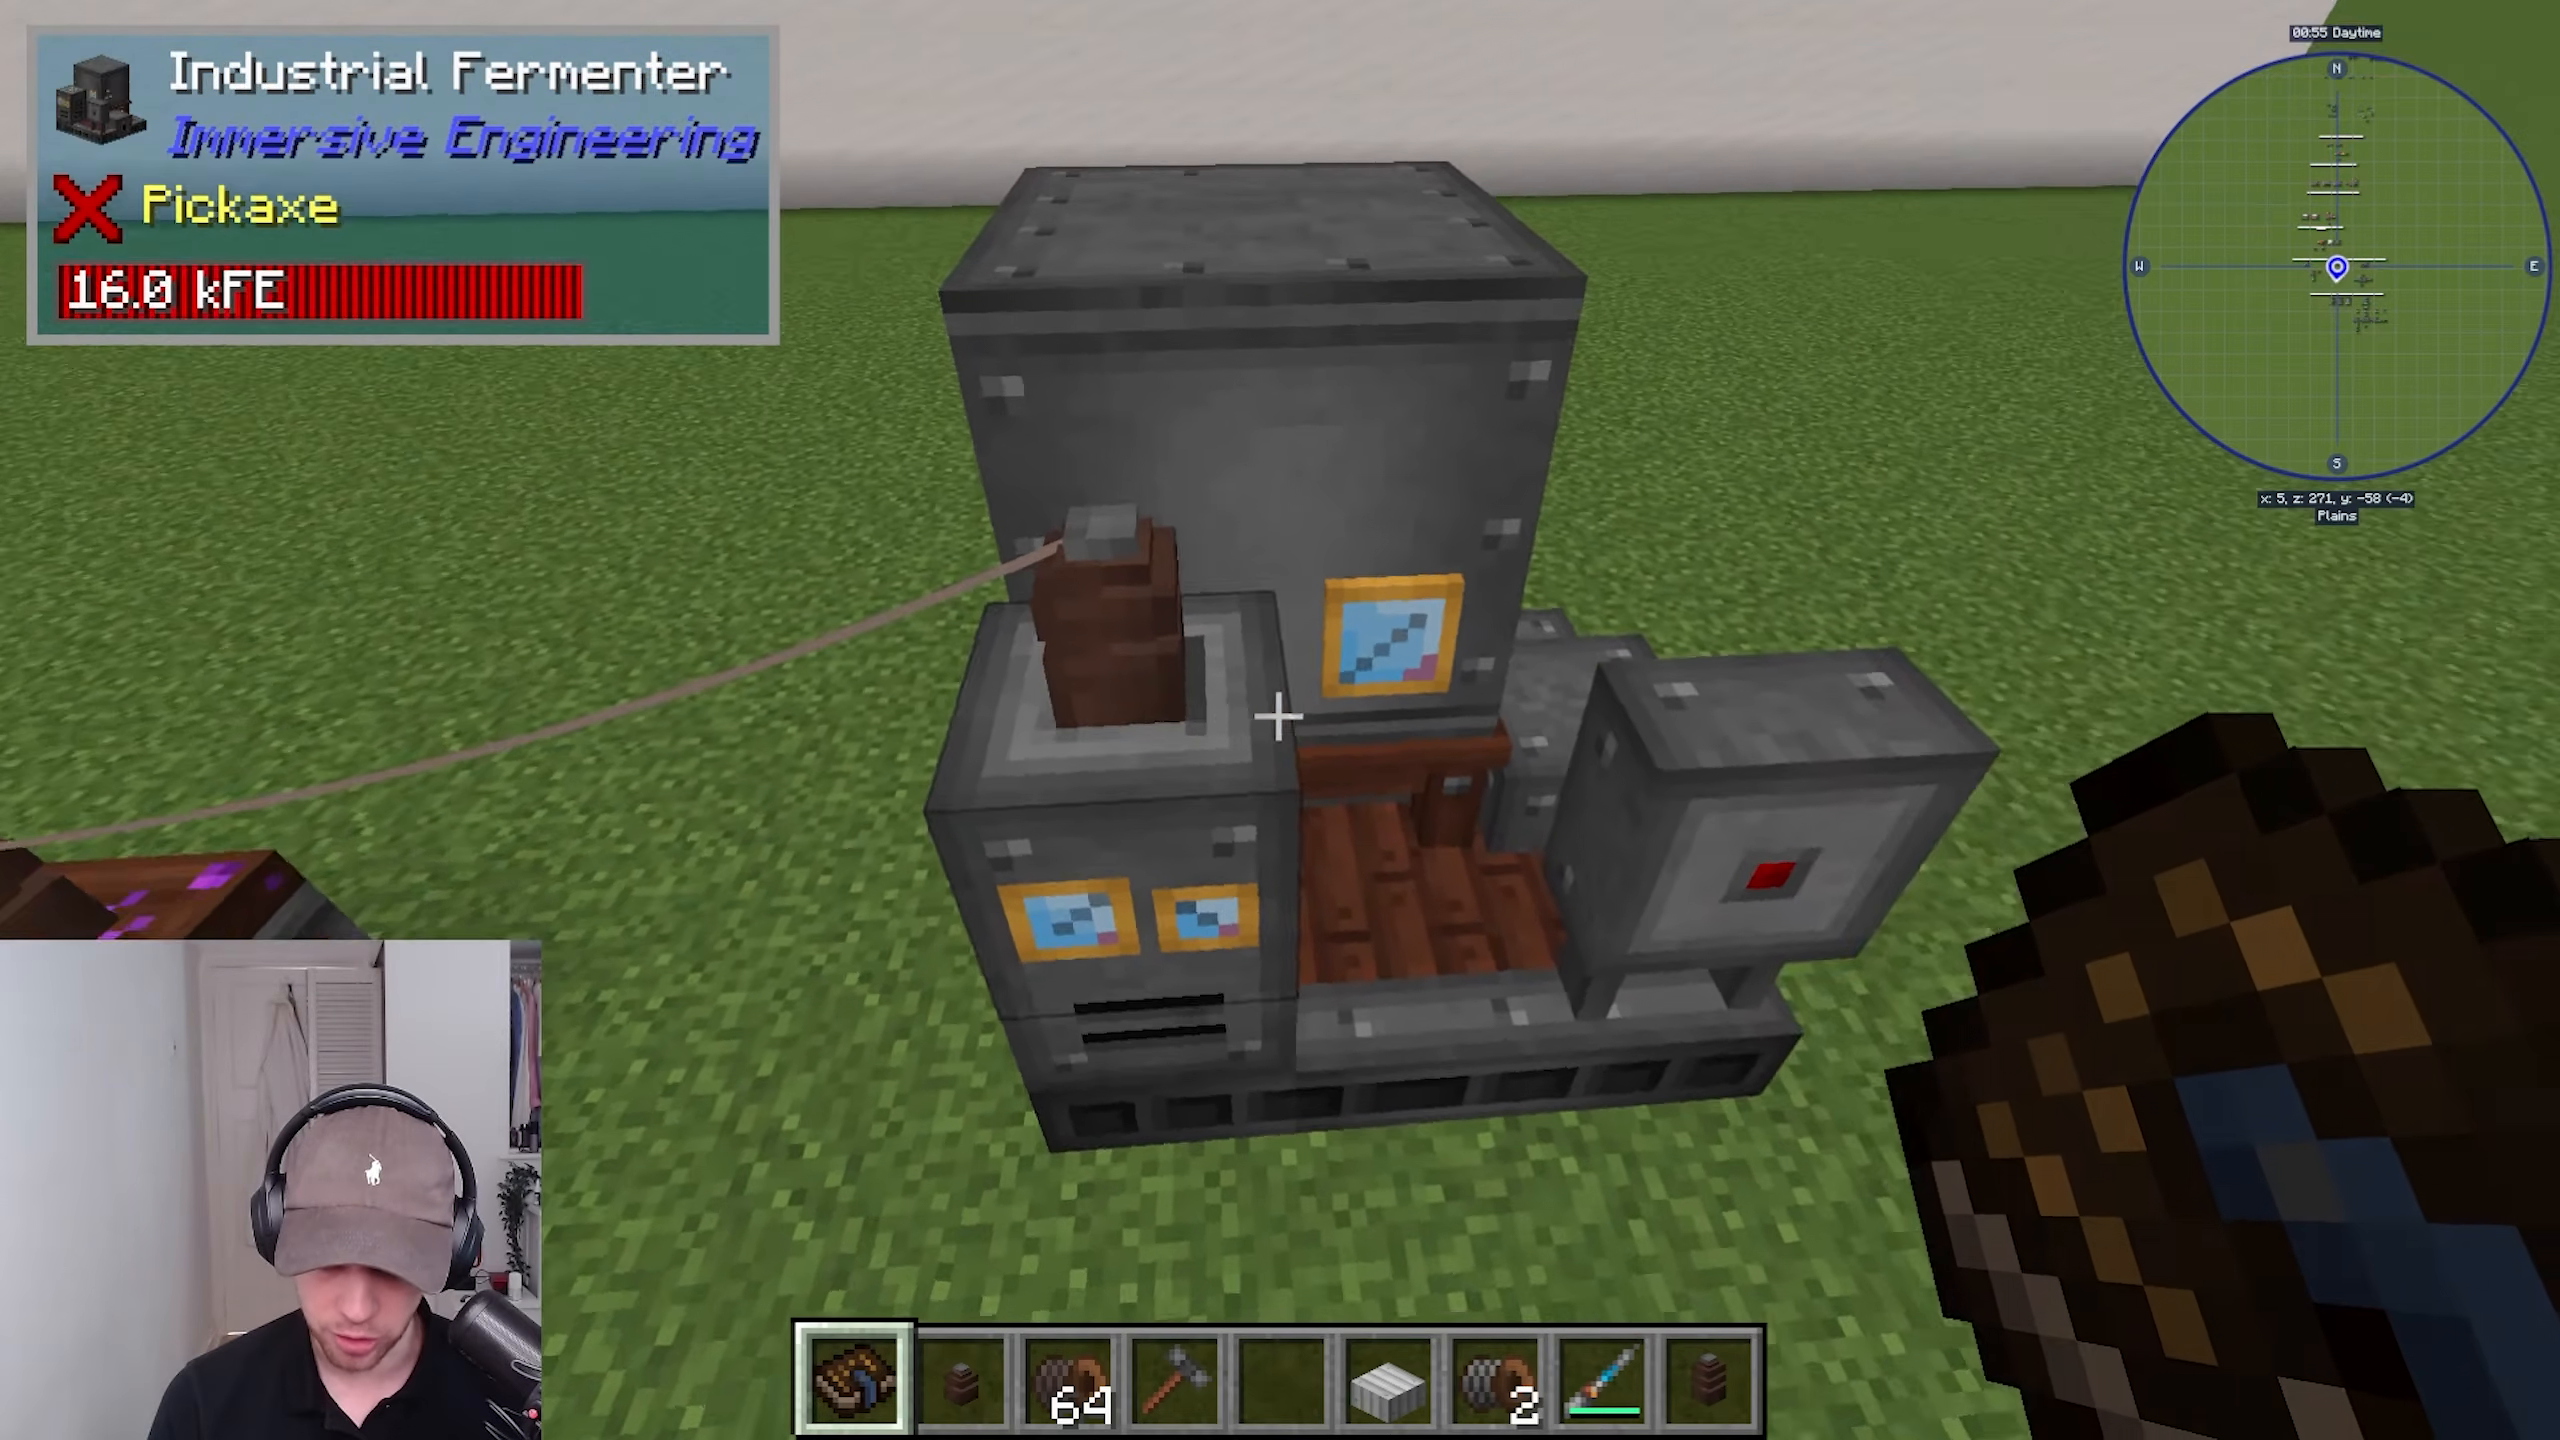
The Fermenter creates ethanol from potatoes or other fermentable materials. Built with four cauldrons and iron sheet metal, it operates similarly to the Squeezer. Power it from the top left, with items inputting through two blue slots and the ethanol output through an orange slot.
Place potatoes into the fermenter, and they’ll ferment into ethanol—another key ingredient for biodiesel.
The Refinery
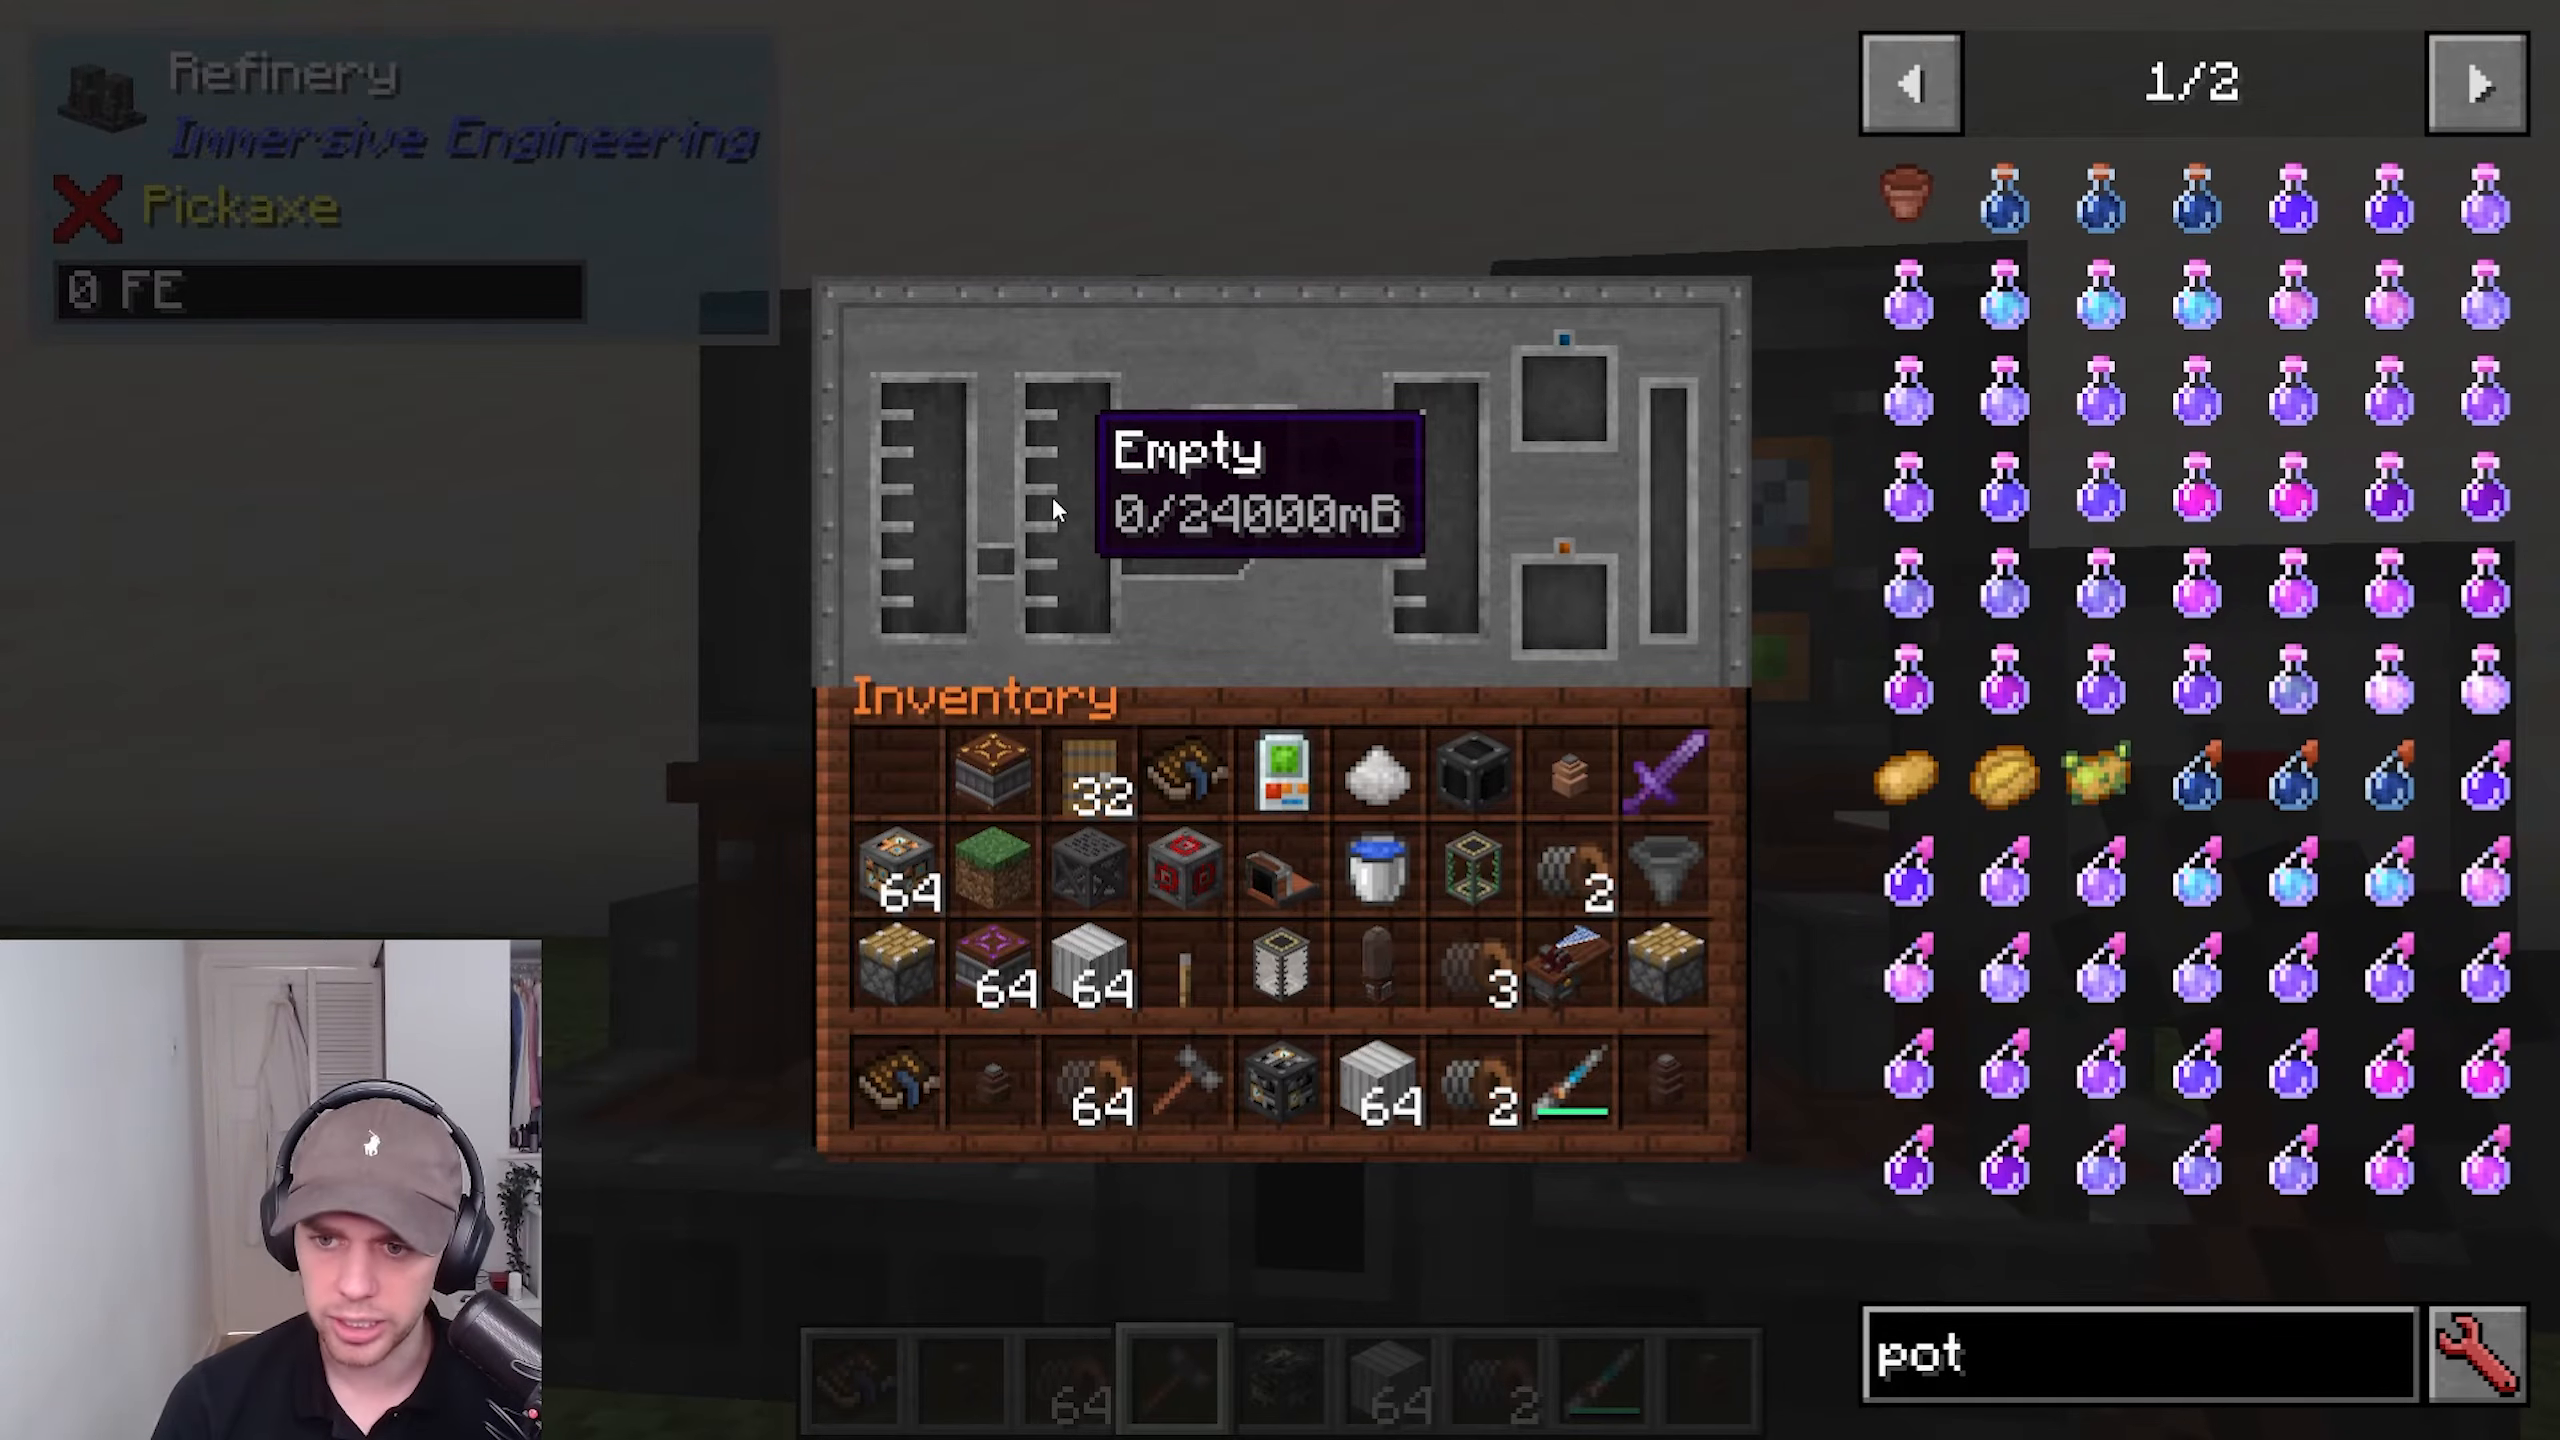
The Refinery combines plant oil and ethanol using a catalyst to create biodiesel. It’s a larger multi-block built with scaffolding, engineering blocks, and fluid pipes. Fluid inputs come from the sides, with the catalyst (nitrate dust, which lasts indefinitely) placed in the center slot.
Ethanol enters from one side, plant oil from the other. Power the refinery from the back using high-voltage connectors. Biodiesel outputs as a fluid and can be bucketed out or piped directly to the diesel generator.
The Diesel Generator
This is the ultimate power generator in Immersive Engineering. It’s a massive multi-block with a complex build pattern involving fluid pipes, steel scaffolding, radiators, and generator blocks. Three high-voltage connectors on the back output power.
Biodiesel inputs through a blue fluid slot. The generator operates continuously as long as biodiesel is supplied, producing enormous amounts of power. Two high-voltage wire connectors can power multiple machines or charge batteries extremely quickly.
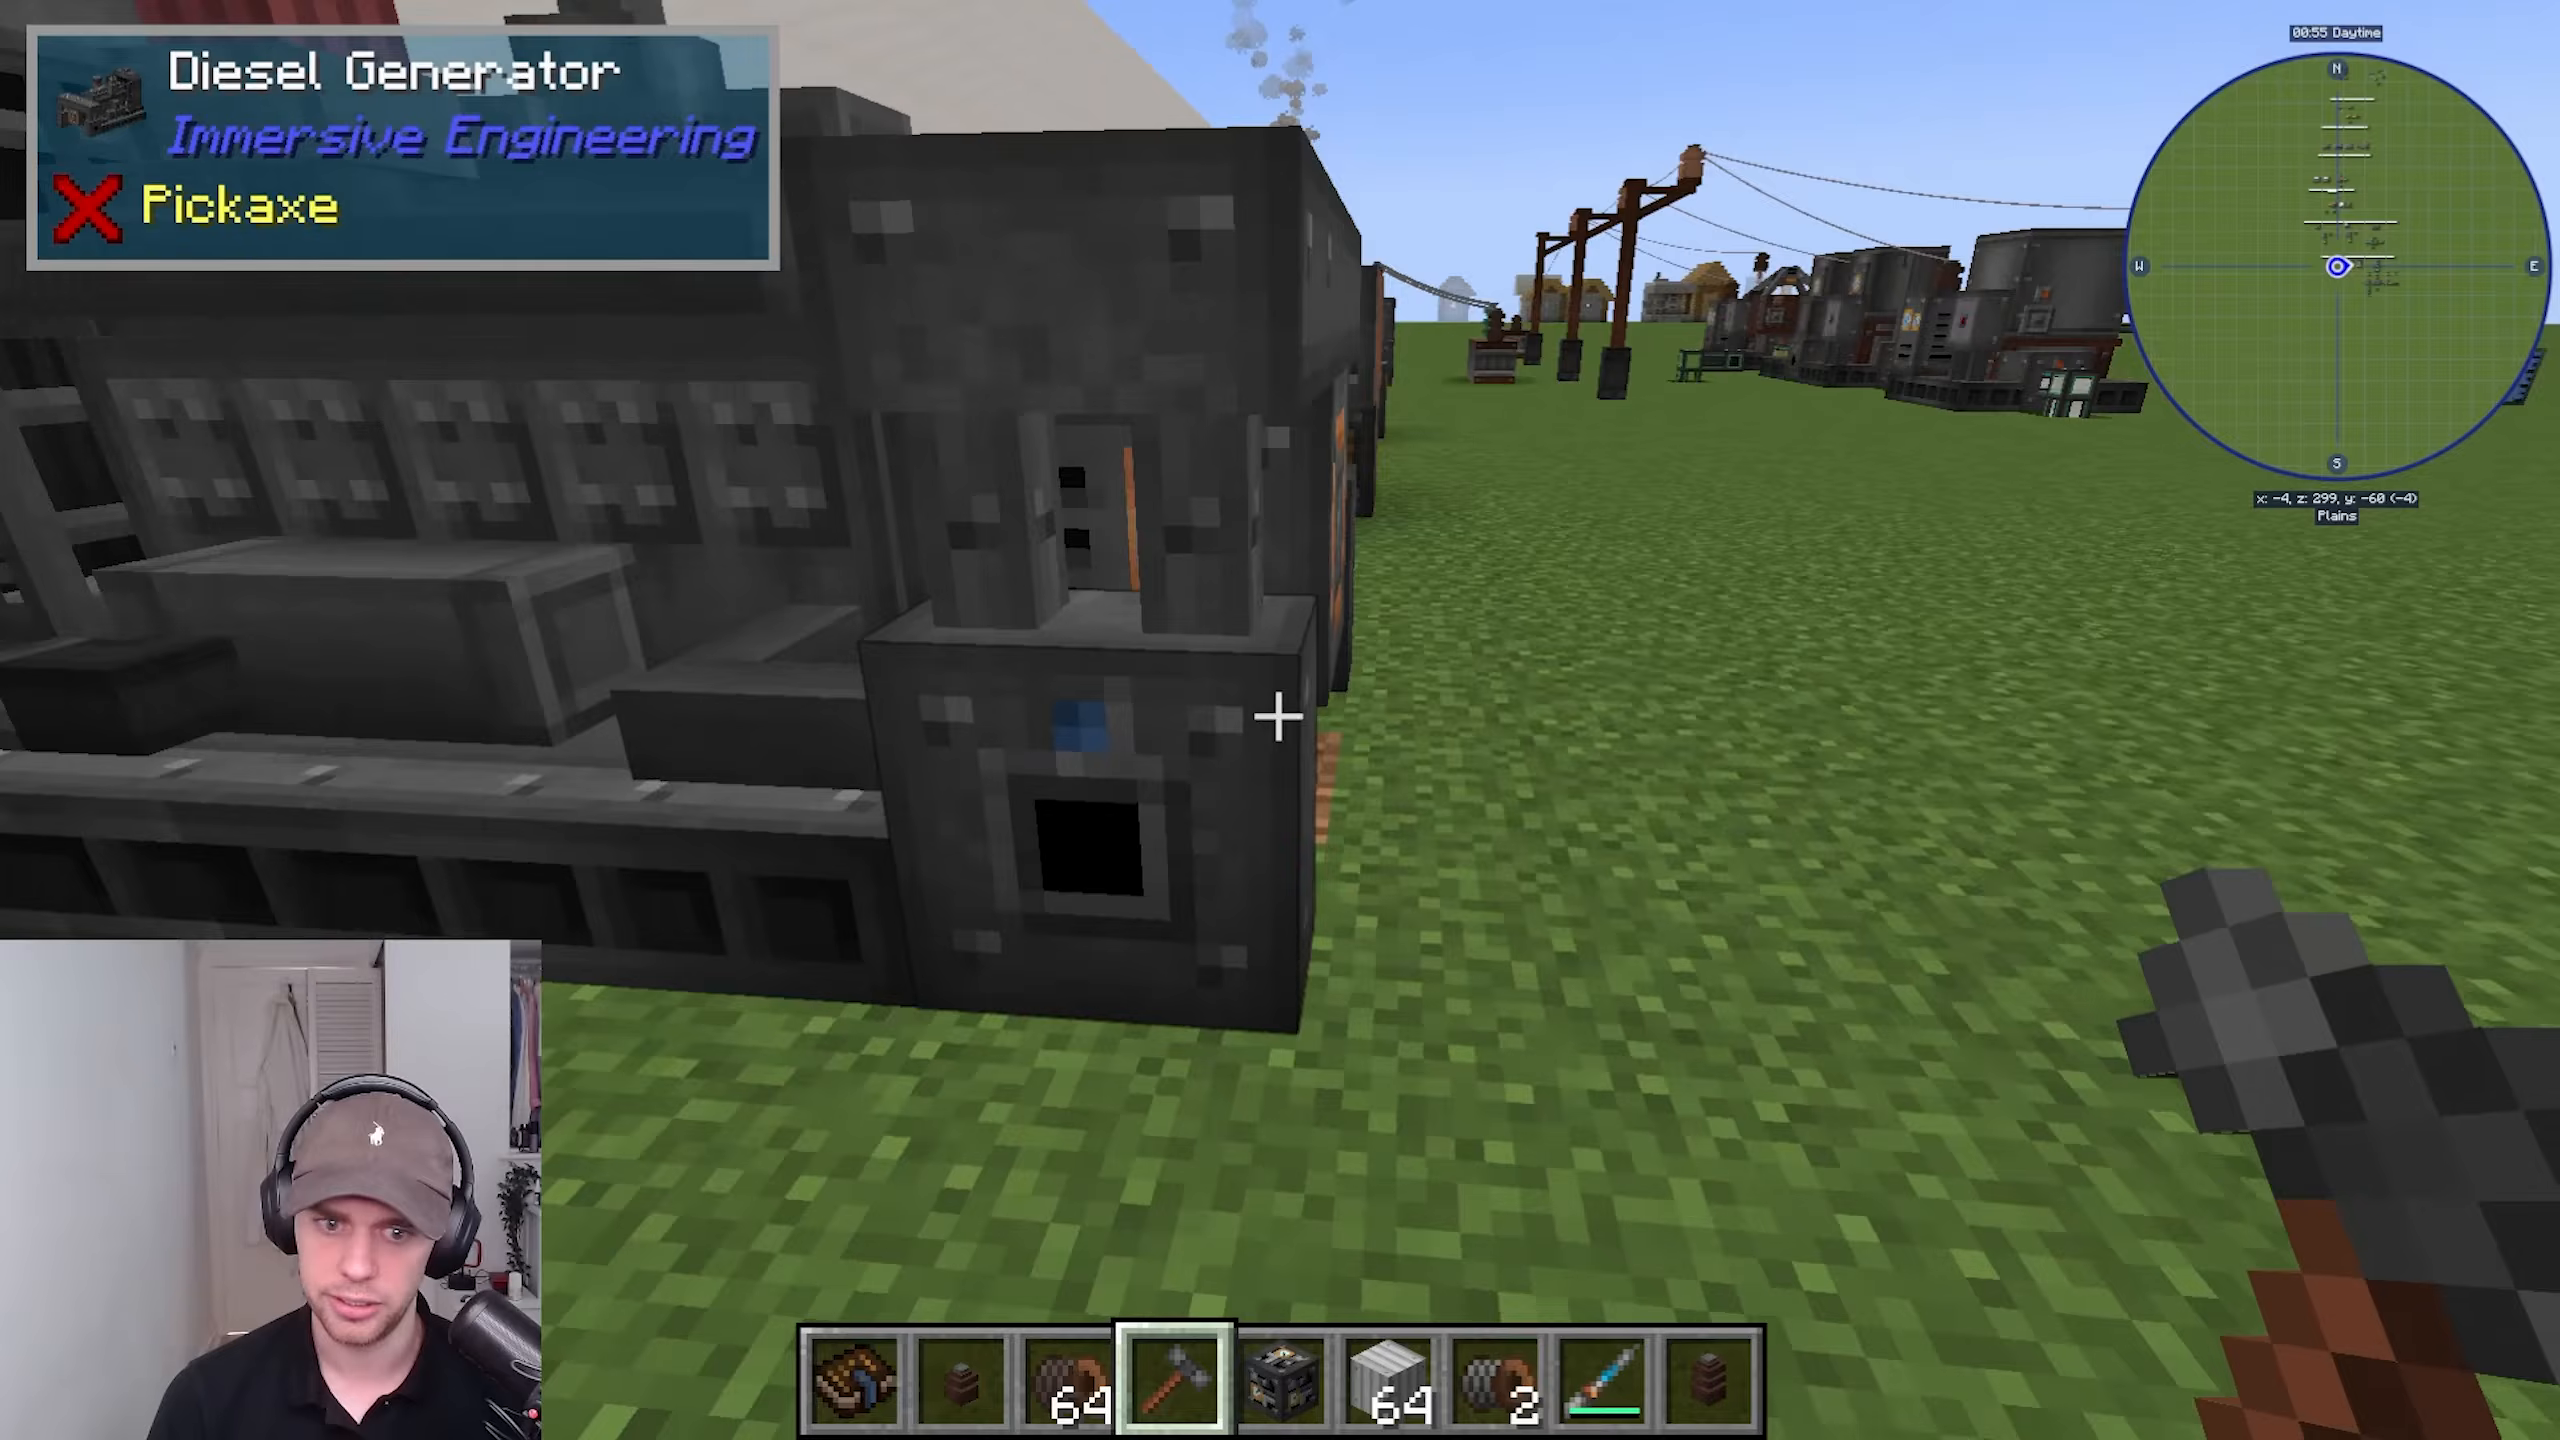
A complete automated setup would include: a Garden Cloche growing industrial hemp, the hemp being fed into the Squeezer for plant oil, another Cloche growing potatoes for the Fermenter, the ethanol and plant oil piped to the Refinery, and the resulting biodiesel piped to the Diesel Generator. This creates a self-sustaining, fully automated power production system.
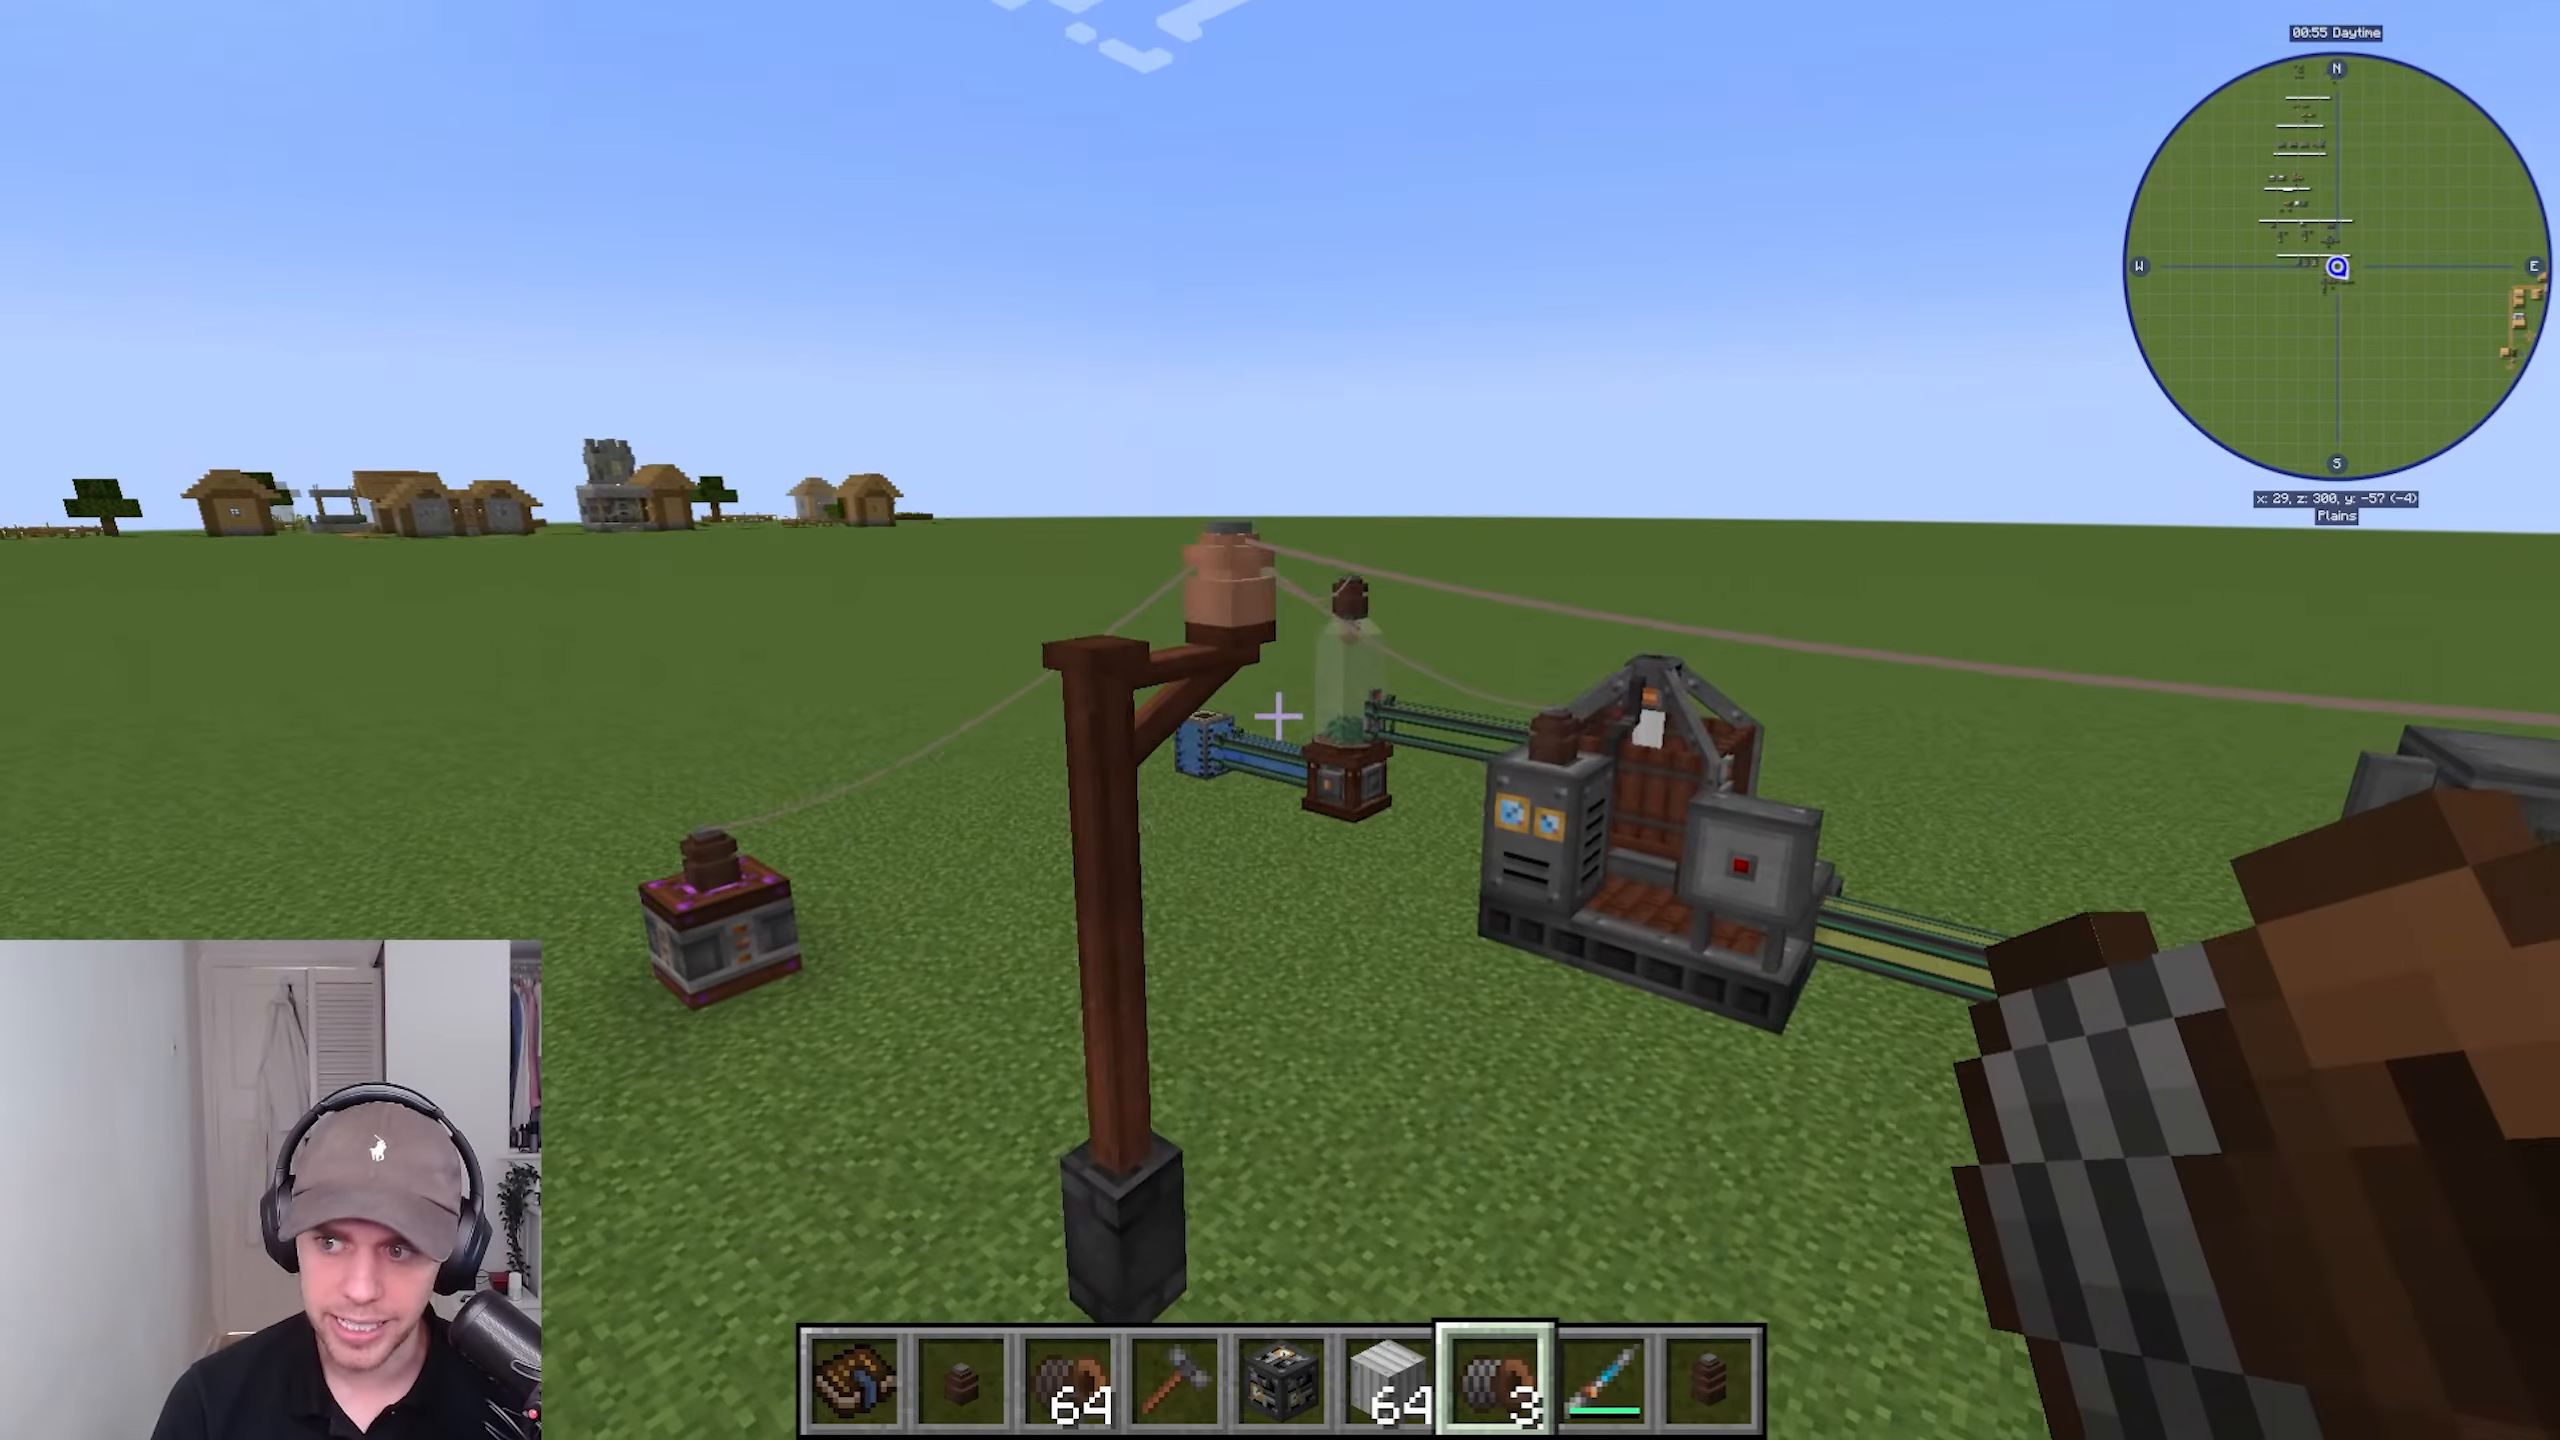
Lightning Rod (Alternative Power)
The Lightning Rod attempts to capture lightning strikes for power generation. It requires steel scaffolding, high-voltage accumulators, high-voltage coils, and copper coils arranged in a specific pattern with treated fences on top. Right-click the light engineering block to complete it.
While creative in concept, lightning strikes are rare, and the power output doesn’t justify the complexity. It’s a novelty option rather than a practical power source.
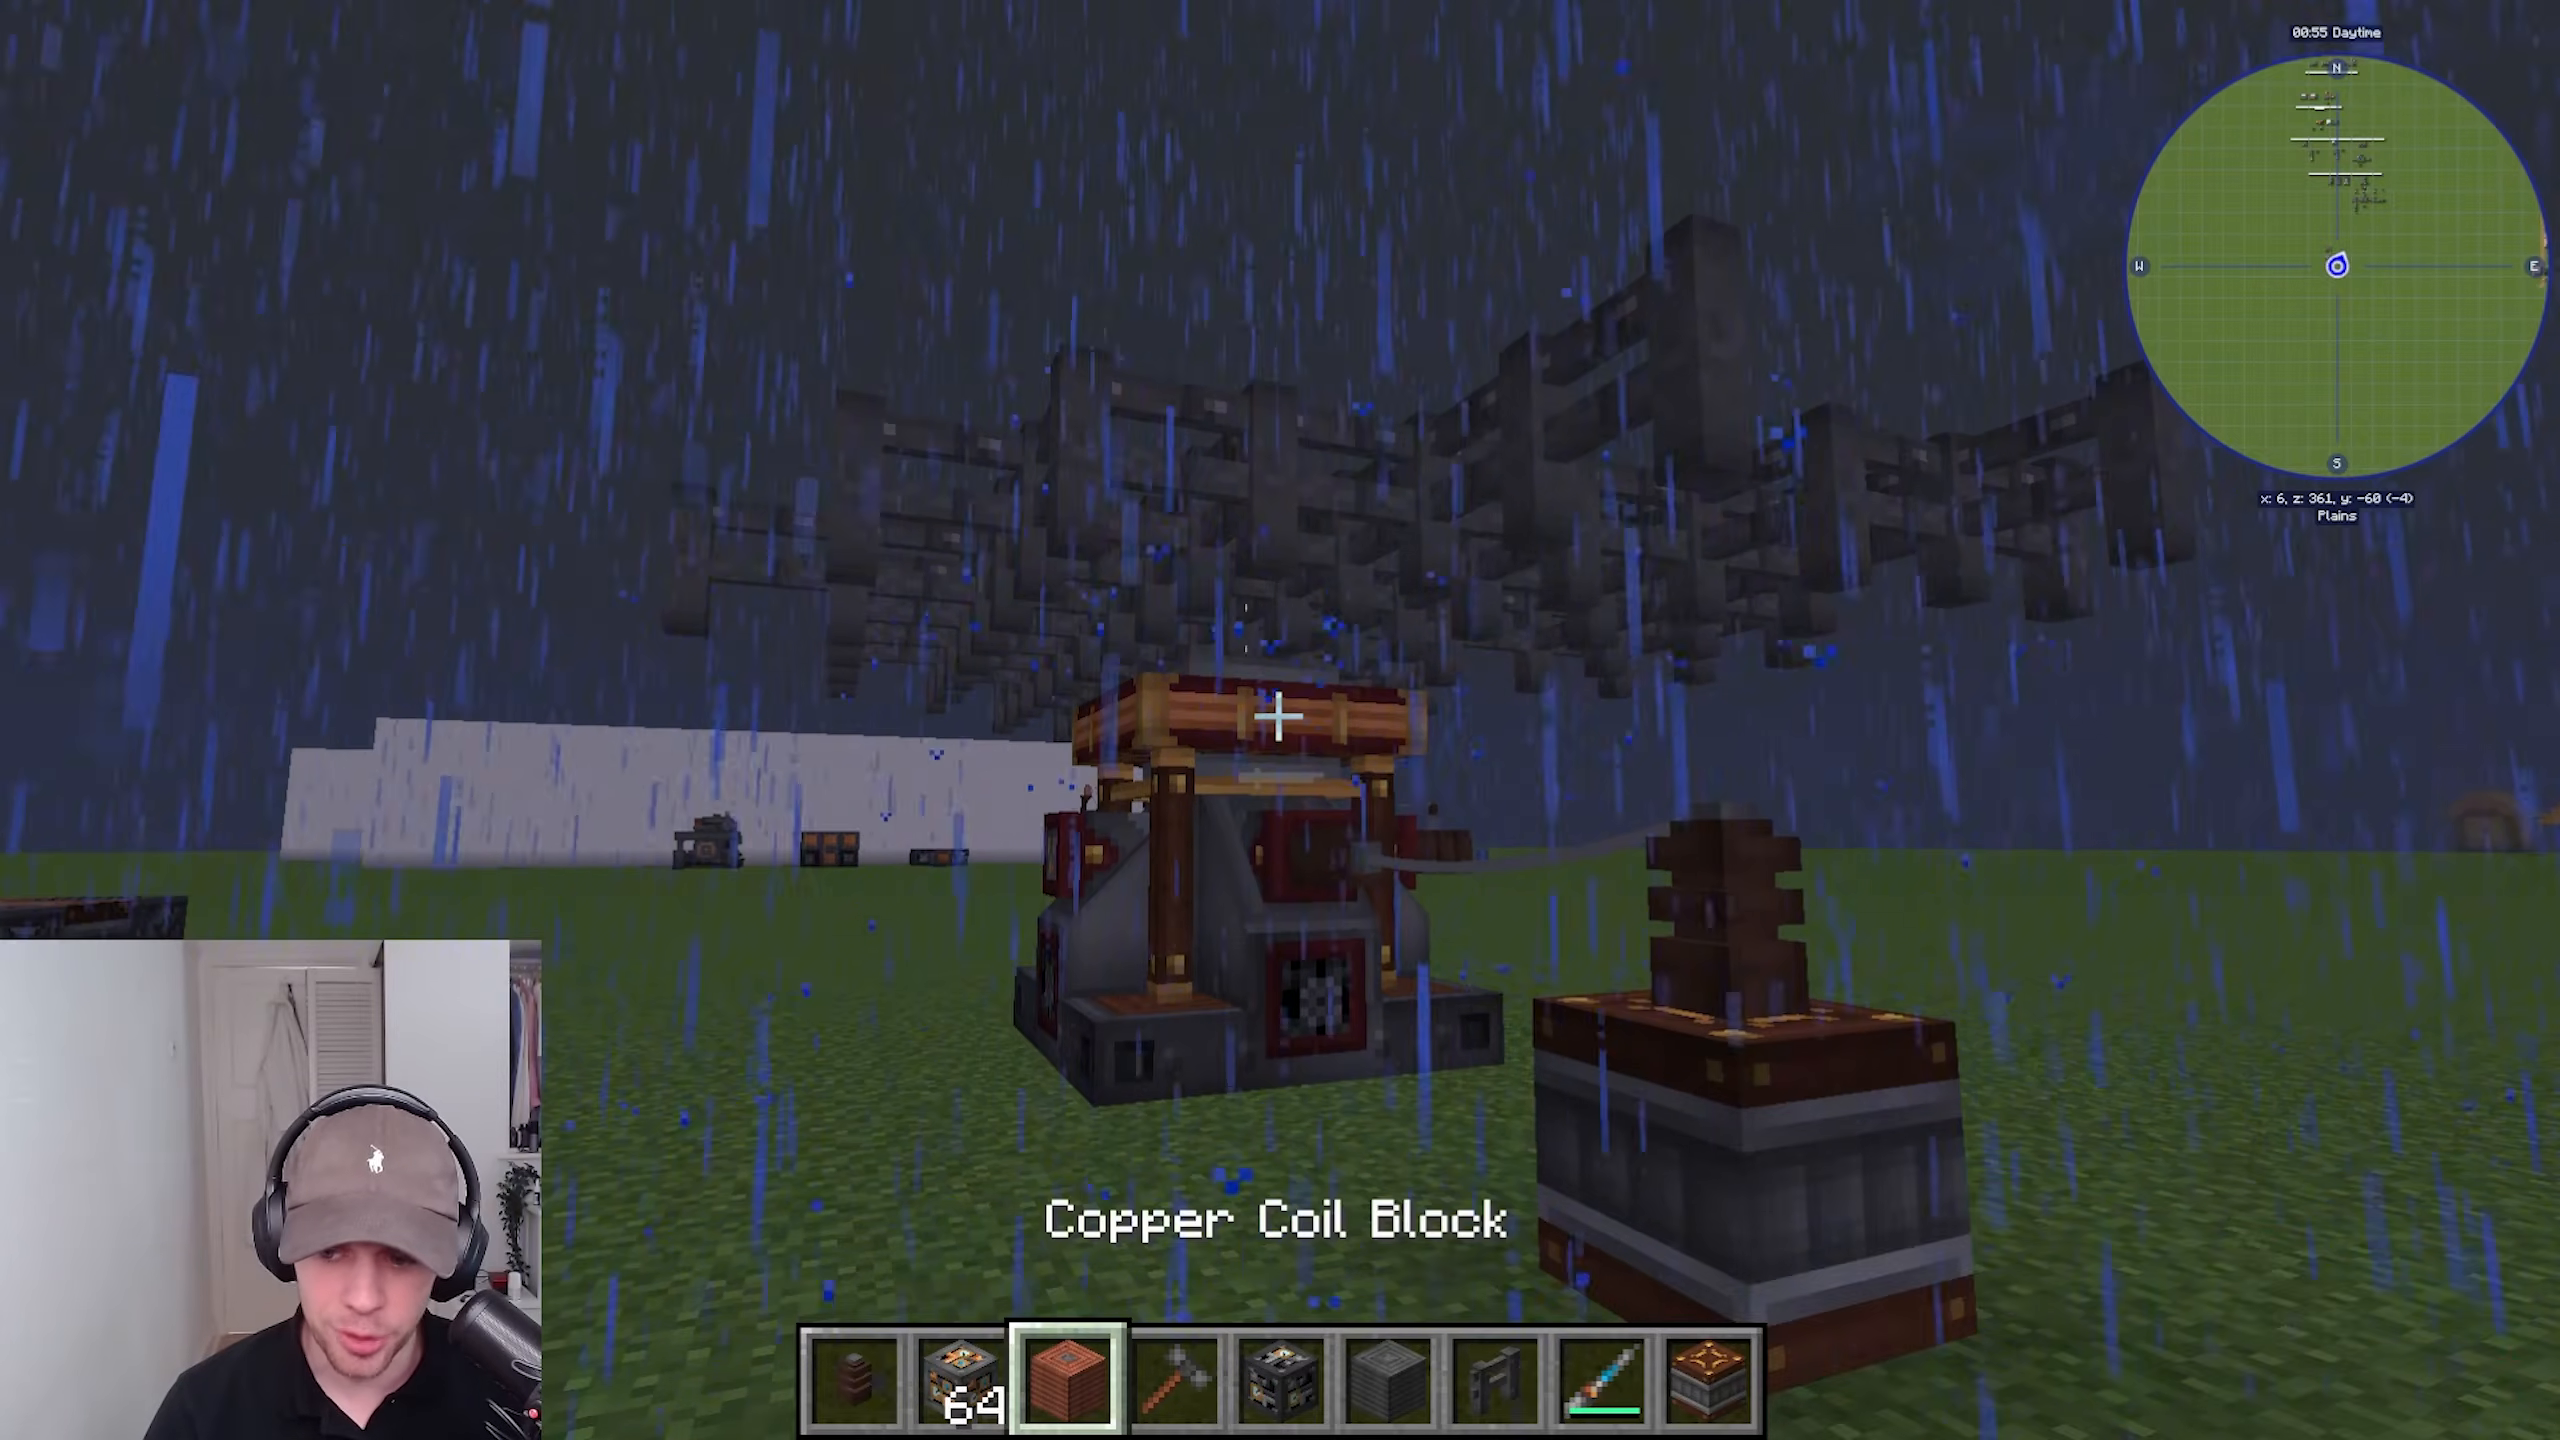
End-Game Machines
The Arc Furnace
The Arc Furnace is the pinnacle of ore processing, capable of smelting massive quantities of ores and ingots simultaneously. This complex multi-block requires extensive construction with steel sheet metal, slabs, heavy and light engineering blocks, reinforced blast bricks, and cauldrons.
The furnace has three high-voltage power inputs at the back. One input slot accepts ores, a secondary slot accepts companion materials (like copper and tin for bronze), and a top slot holds graphite electrodes that require maintenance as they degrade over time.
Items heat slowly as visible flames pour from the top. Output slots at the front dispense finished ingots, while slag (a waste byproduct) exits from the back. The machine operates with incredible speed once fully built and powered.
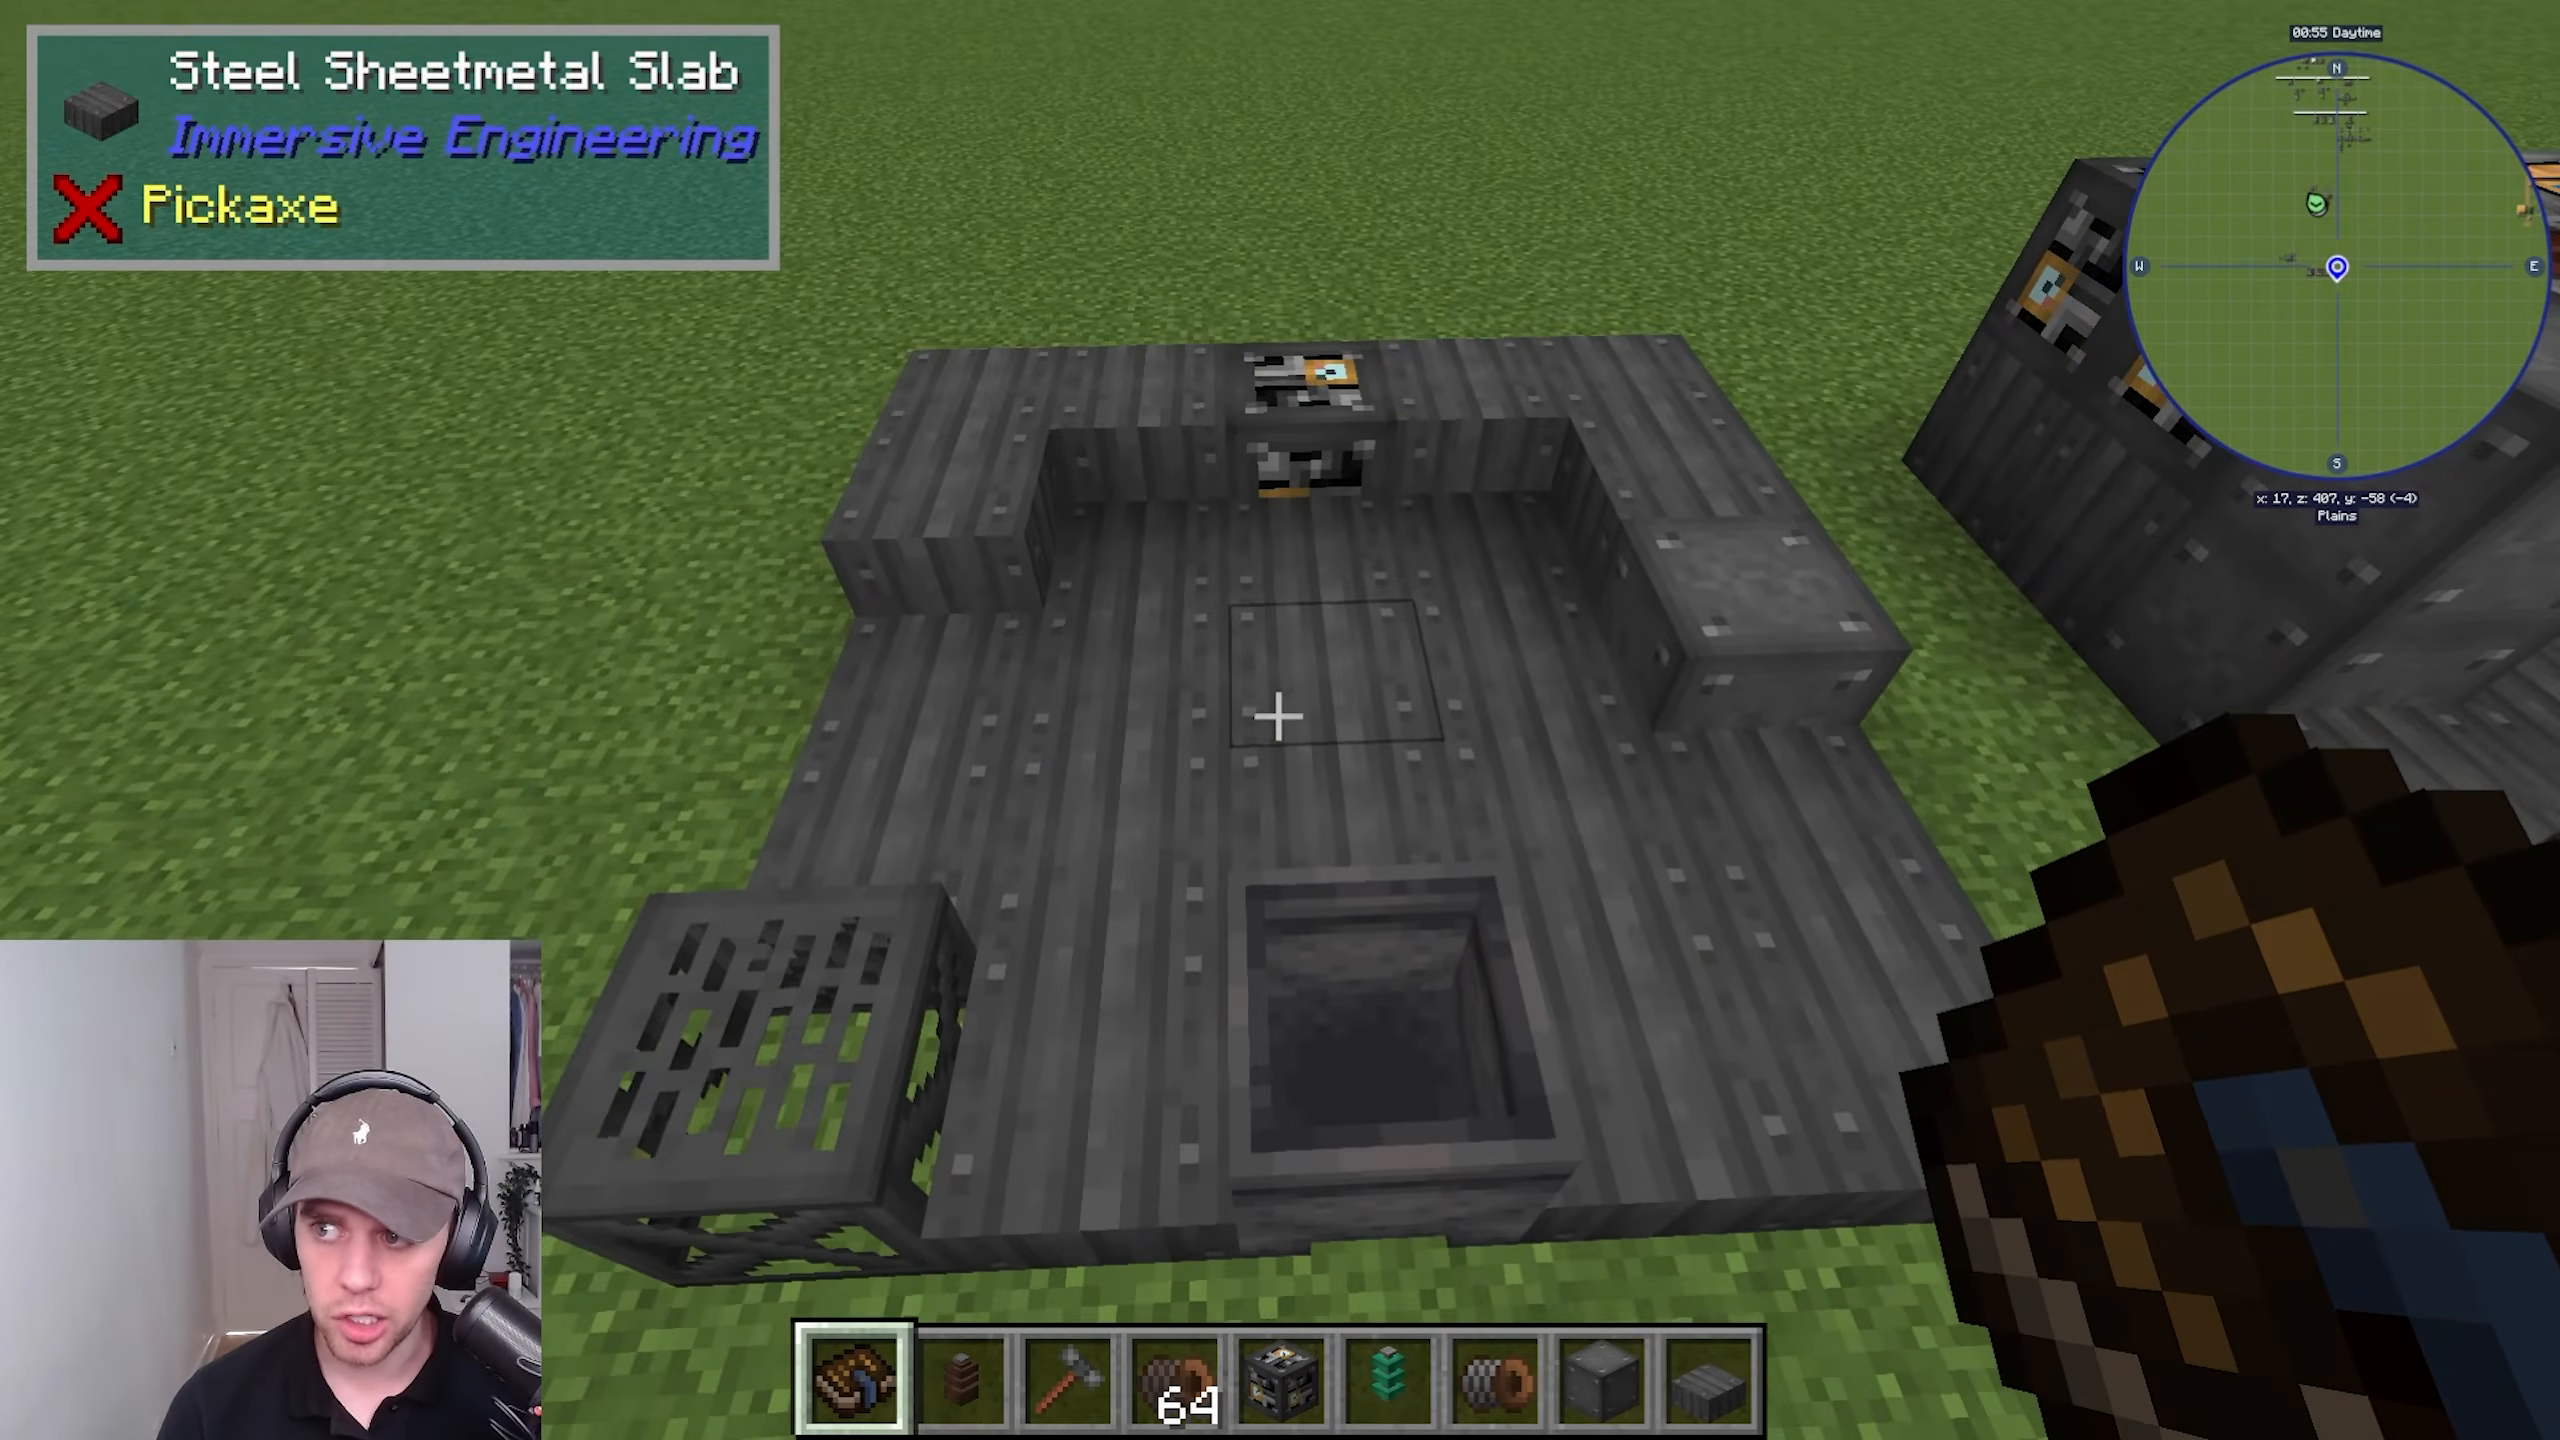
Graphite Electrodes and Maintenance
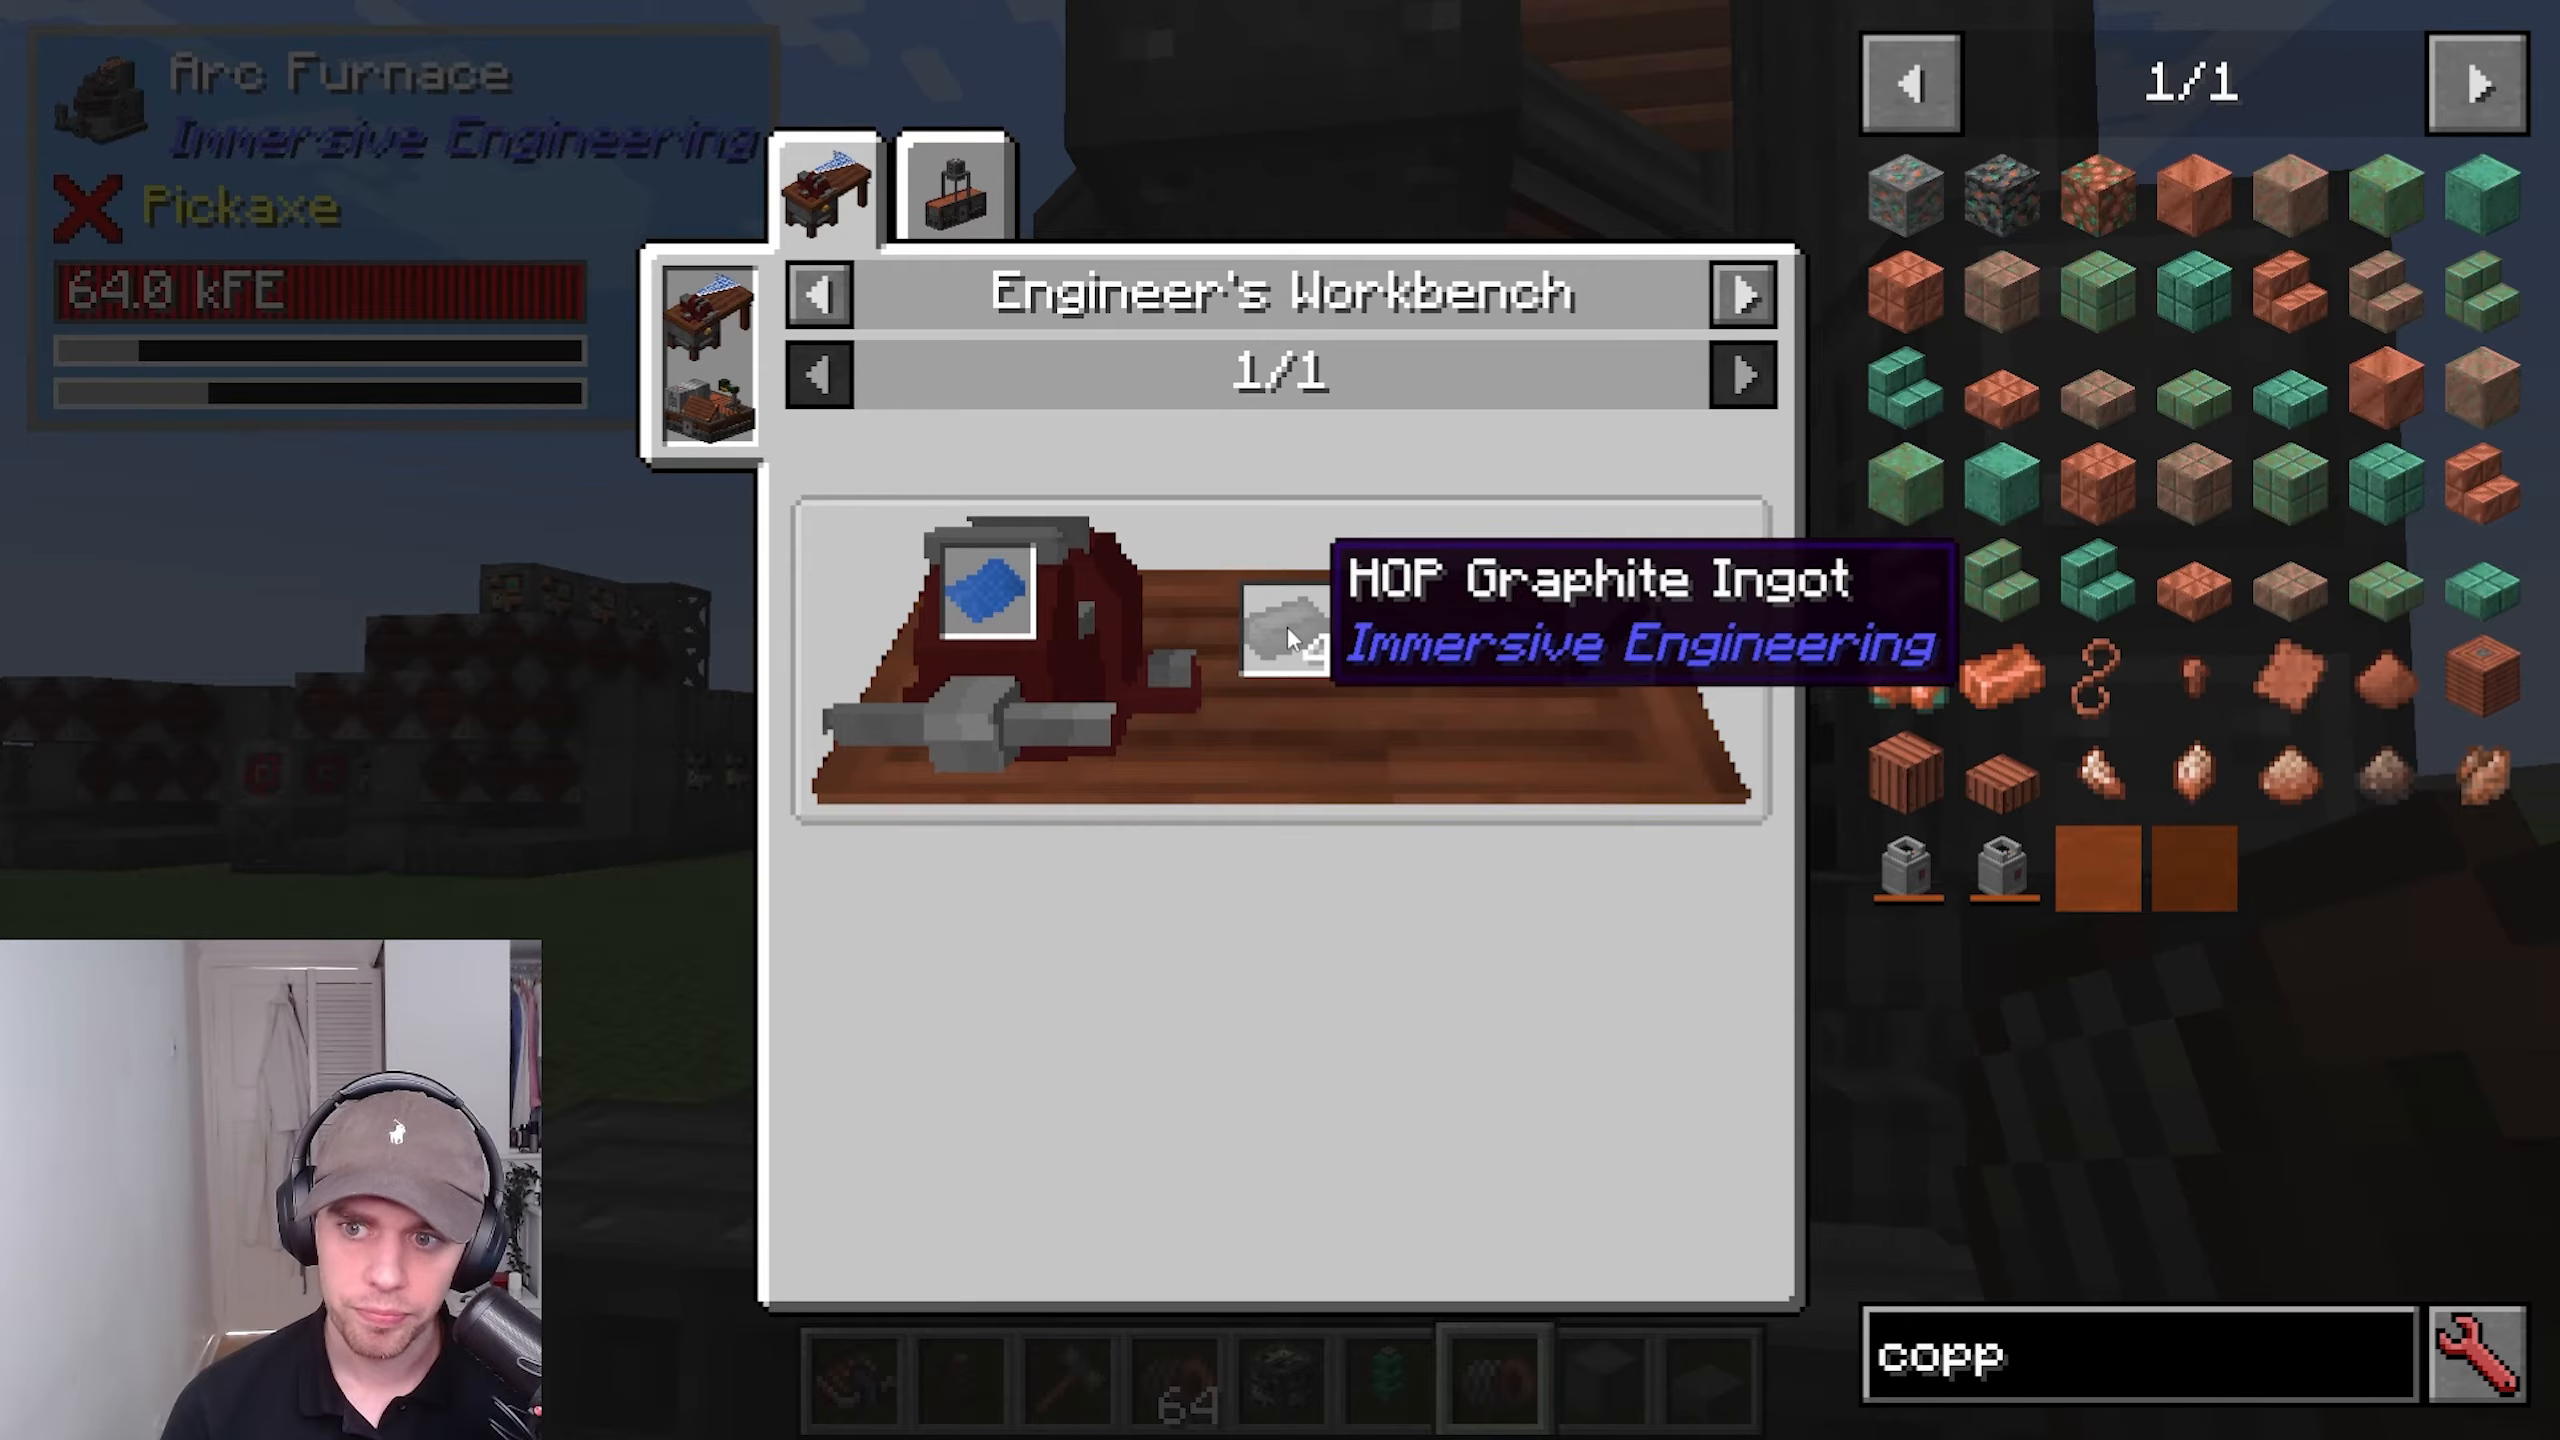
Graphite electrodes degrade with use and must be replaced. To make them, you need the Arc Furnace Electrodes blueprint (found in treasure chests or via villager trading) and hop graphite ingots.
Hop graphite ingots are made by smelting hop graphite dust, which comes from crushing coal coke in the Crusher into coke dust, then processing it in an industrial squeezer into hop graphite dust. While involved, this process is necessary for maintaining your Arc Furnace.
The Ore Excavator
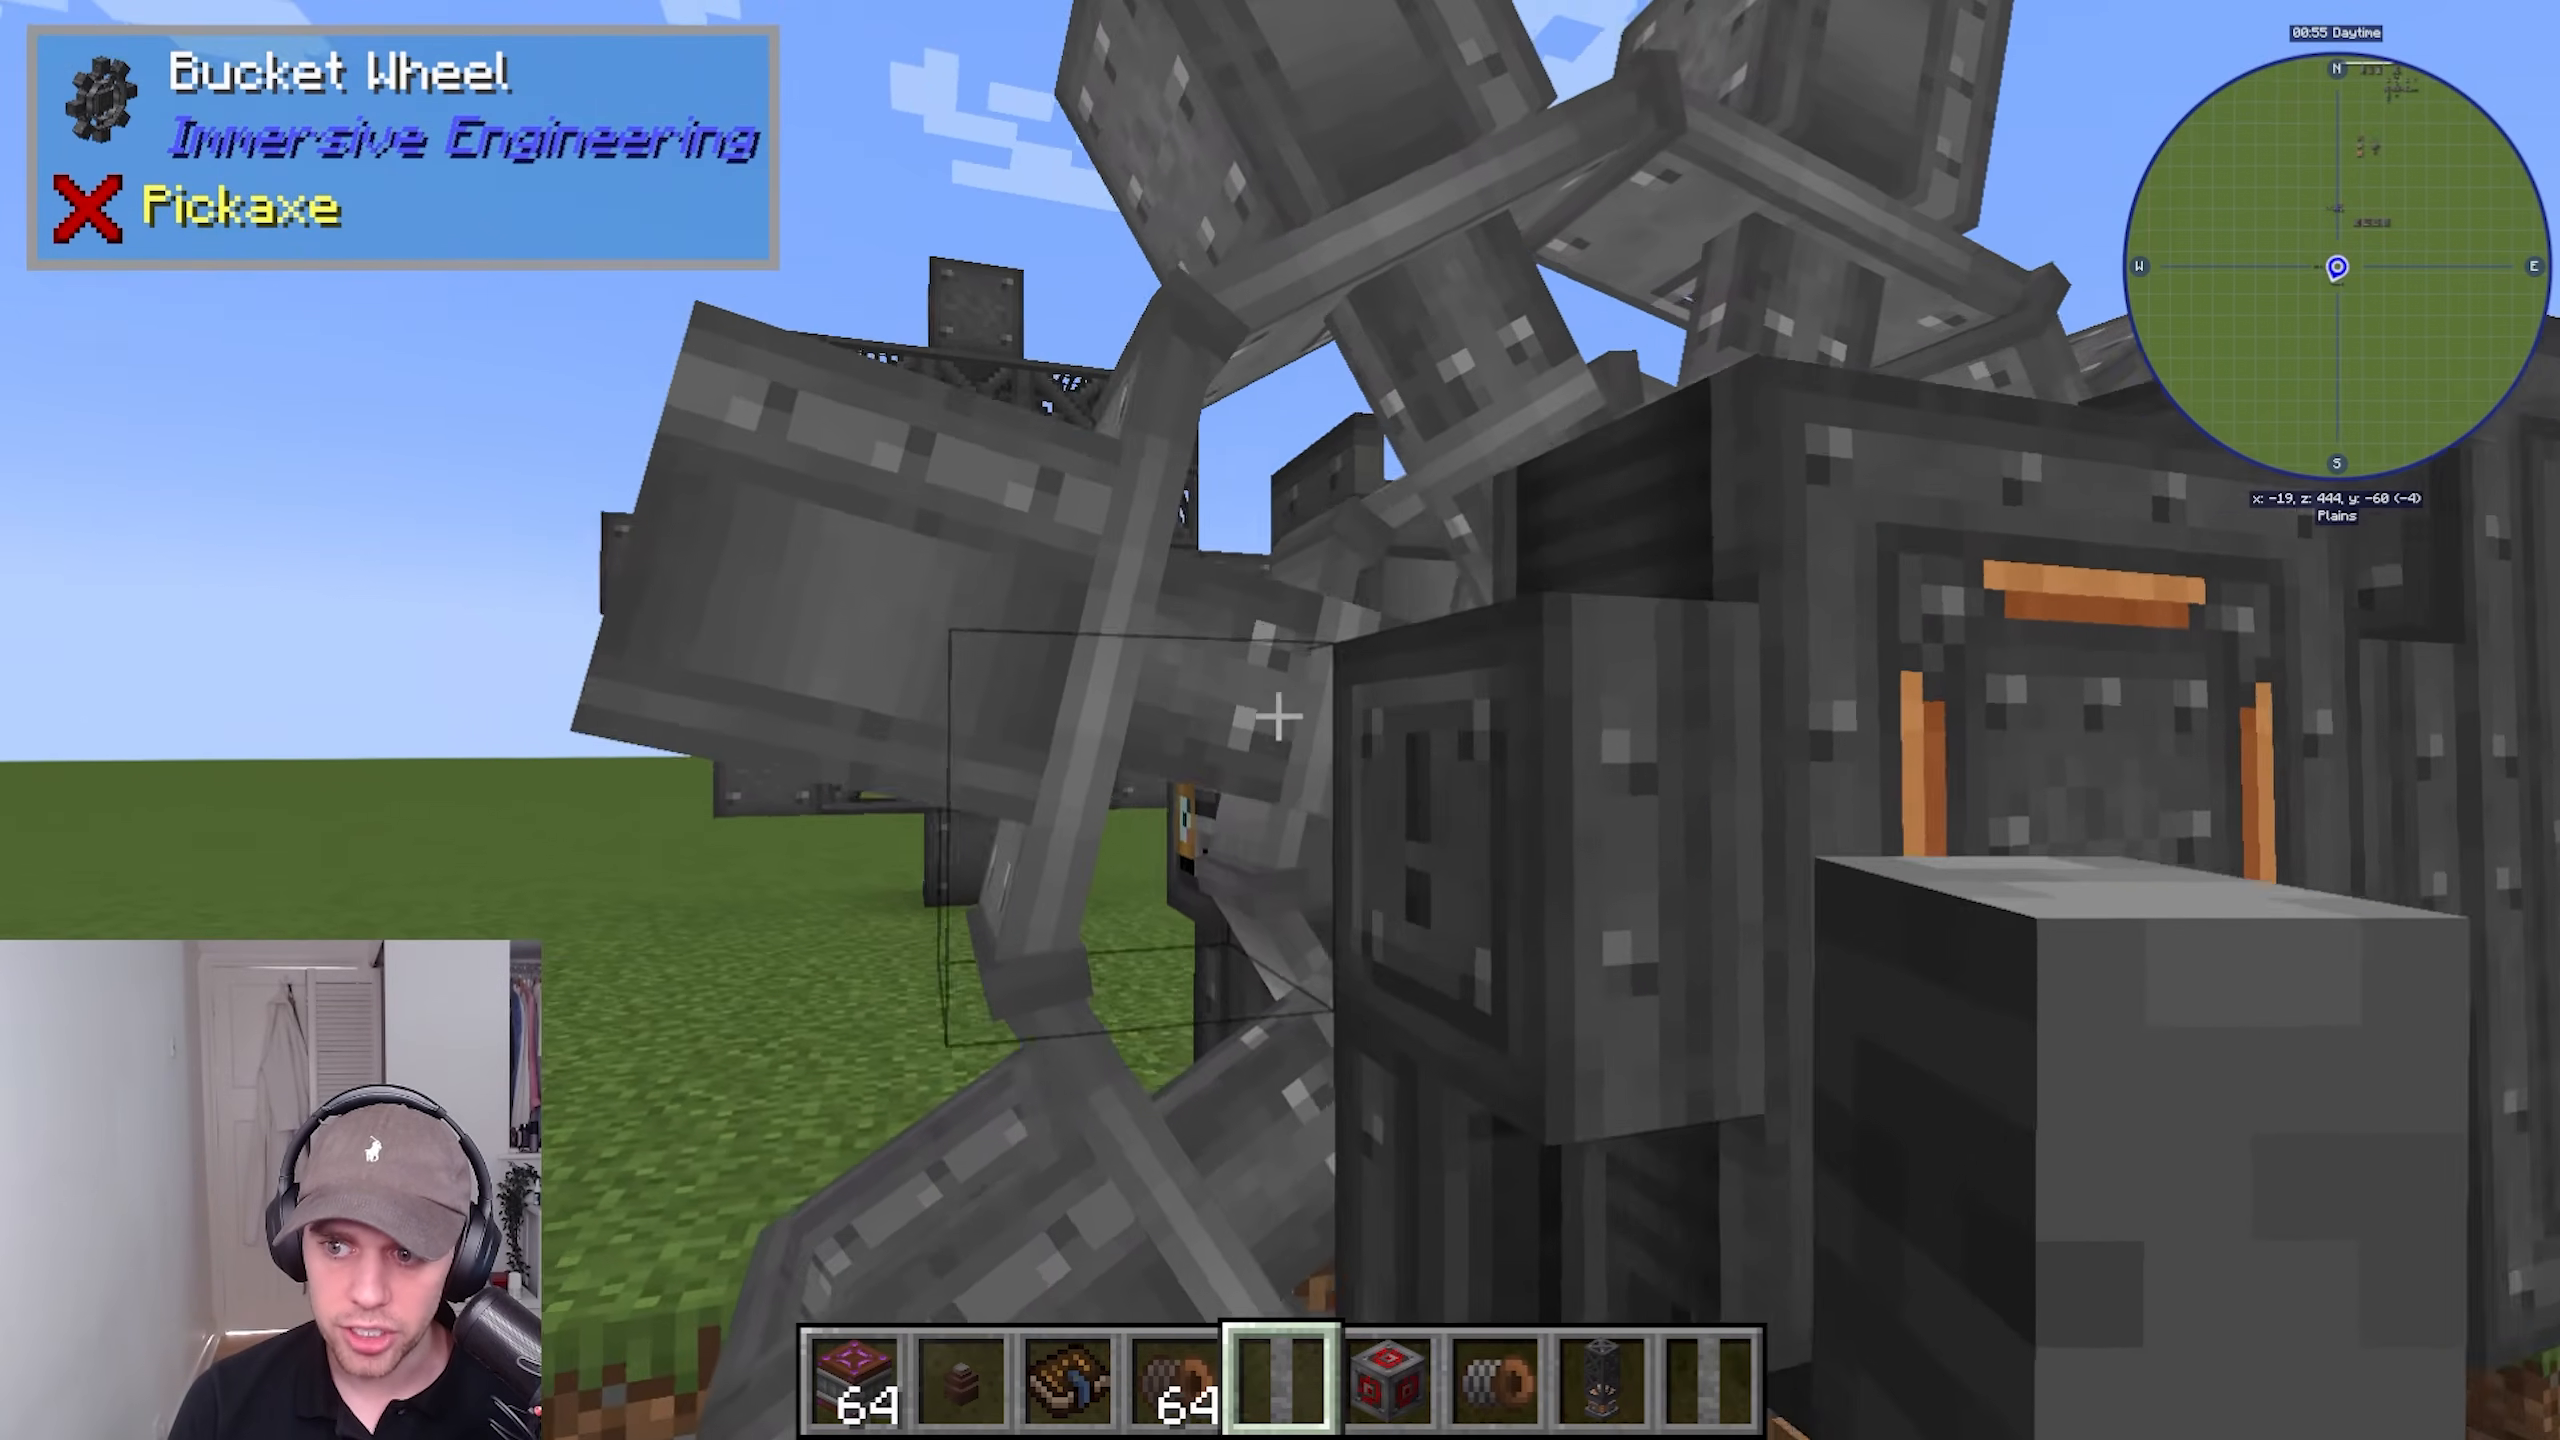
The Ore Excavator is a massive two-part multi-block that automatically mines ores in specified areas. It features a rotating bucket wheel that pulls ores into a collection tank. Power it with high-voltage connectors, and it will automatically extract ores and dump them into the tank.
The excavator pulls any blocks in its path, not just ores. Use the Core Sample Drill to locate ore veins in specific chunks. The drill requires power and penetrates downward to identify what minerals exist below.
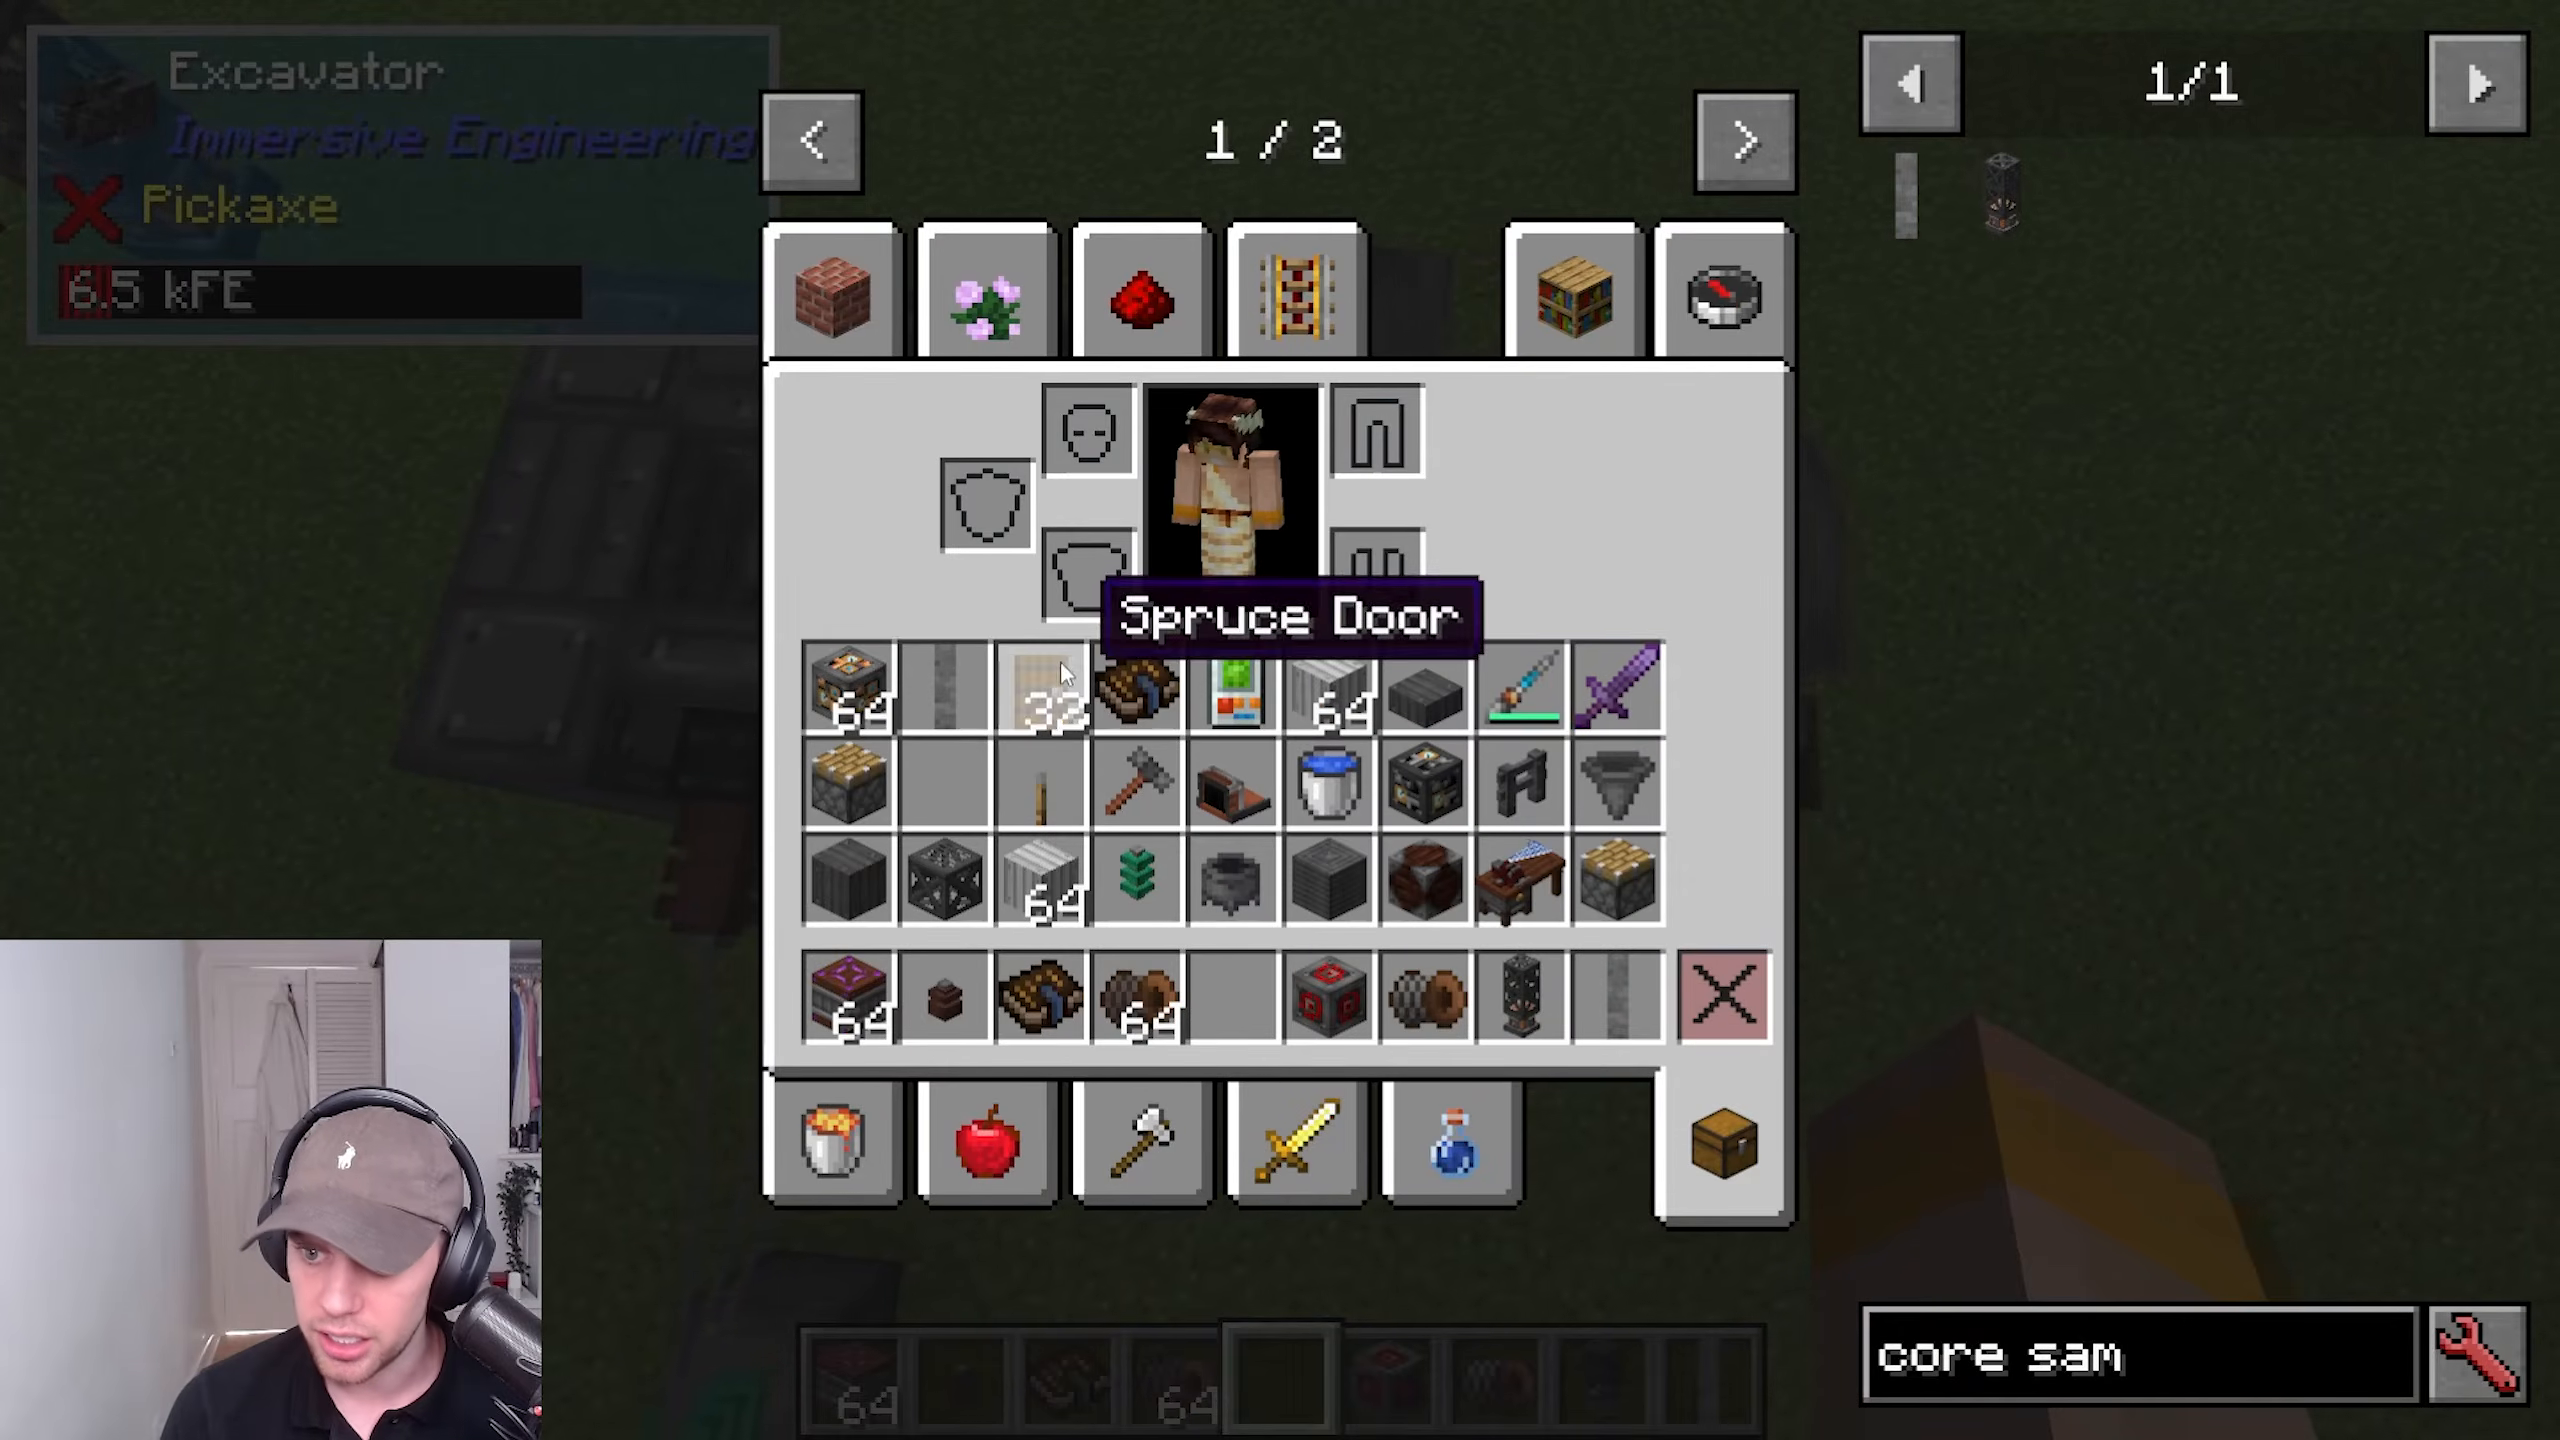
Once you locate a vein with the core sample drill, position your excavator over it. Vein capacity ranges up to 38,000 ores, so they deplete slowly over time. Ore automatically outputs from the back of the excavator into a connected system using pipes or conveyors.
Summary and Conclusion
Immersive Engineering is a vast and rewarding mod that takes you from simple ore collection to fully automated, massive-scale production facilities. You’ve learned the core progression: starting with basic tools like the Engineer’s Hammer, moving through early-game automation with the Coke Oven and Alloy Kiln, establishing power generation with water wheels and windmills, and ultimately reaching end-game machines like the Arc Furnace and Diesel Generator.
The key concepts to remember are:
Multi-blocks are the foundation of Immersive Engineering—always use your Engineer’s Hammer to complete them
Automation through conveyors and item routers makes large-scale production possible
Different voltage levels (LV, MV, HV) allow for varied power distribution and machine options
Biodiesel generation provides the best end-game power output for massive builds
Treated wood and alloys are essential intermediary materials used everywhere
With this comprehensive guide, you now have everything needed to master Immersive Engineering. Whether you’re building a humble farm or an industrial megabase, the systems and machines described here will serve as your foundation for success.
— Want to Support? —
If you would like to help us continue making these guides – please consider joining our patreon here – https://www.patreon.com/c/JaviHeals
Alternatively – we host a group of MC Servers you can join here – https://discord.gg/zD7Gjt6MHF



