







The Ultimate Guide to PneumaticCraft
The Ultimate Guide to PneumaticCraft
PneumaticCraft is a unique mod that uses pressure inside machines to power and craft items, rather than relying on electricity. This comprehensive guide will walk you through everything from your first compressed iron ingots to advanced drone programming and pneumatic armor. Whether you’re a beginner or looking to master the mod, this tutorial covers all the essential mechanics and systems you need to know.
Getting Started: Compressed Iron Ingots
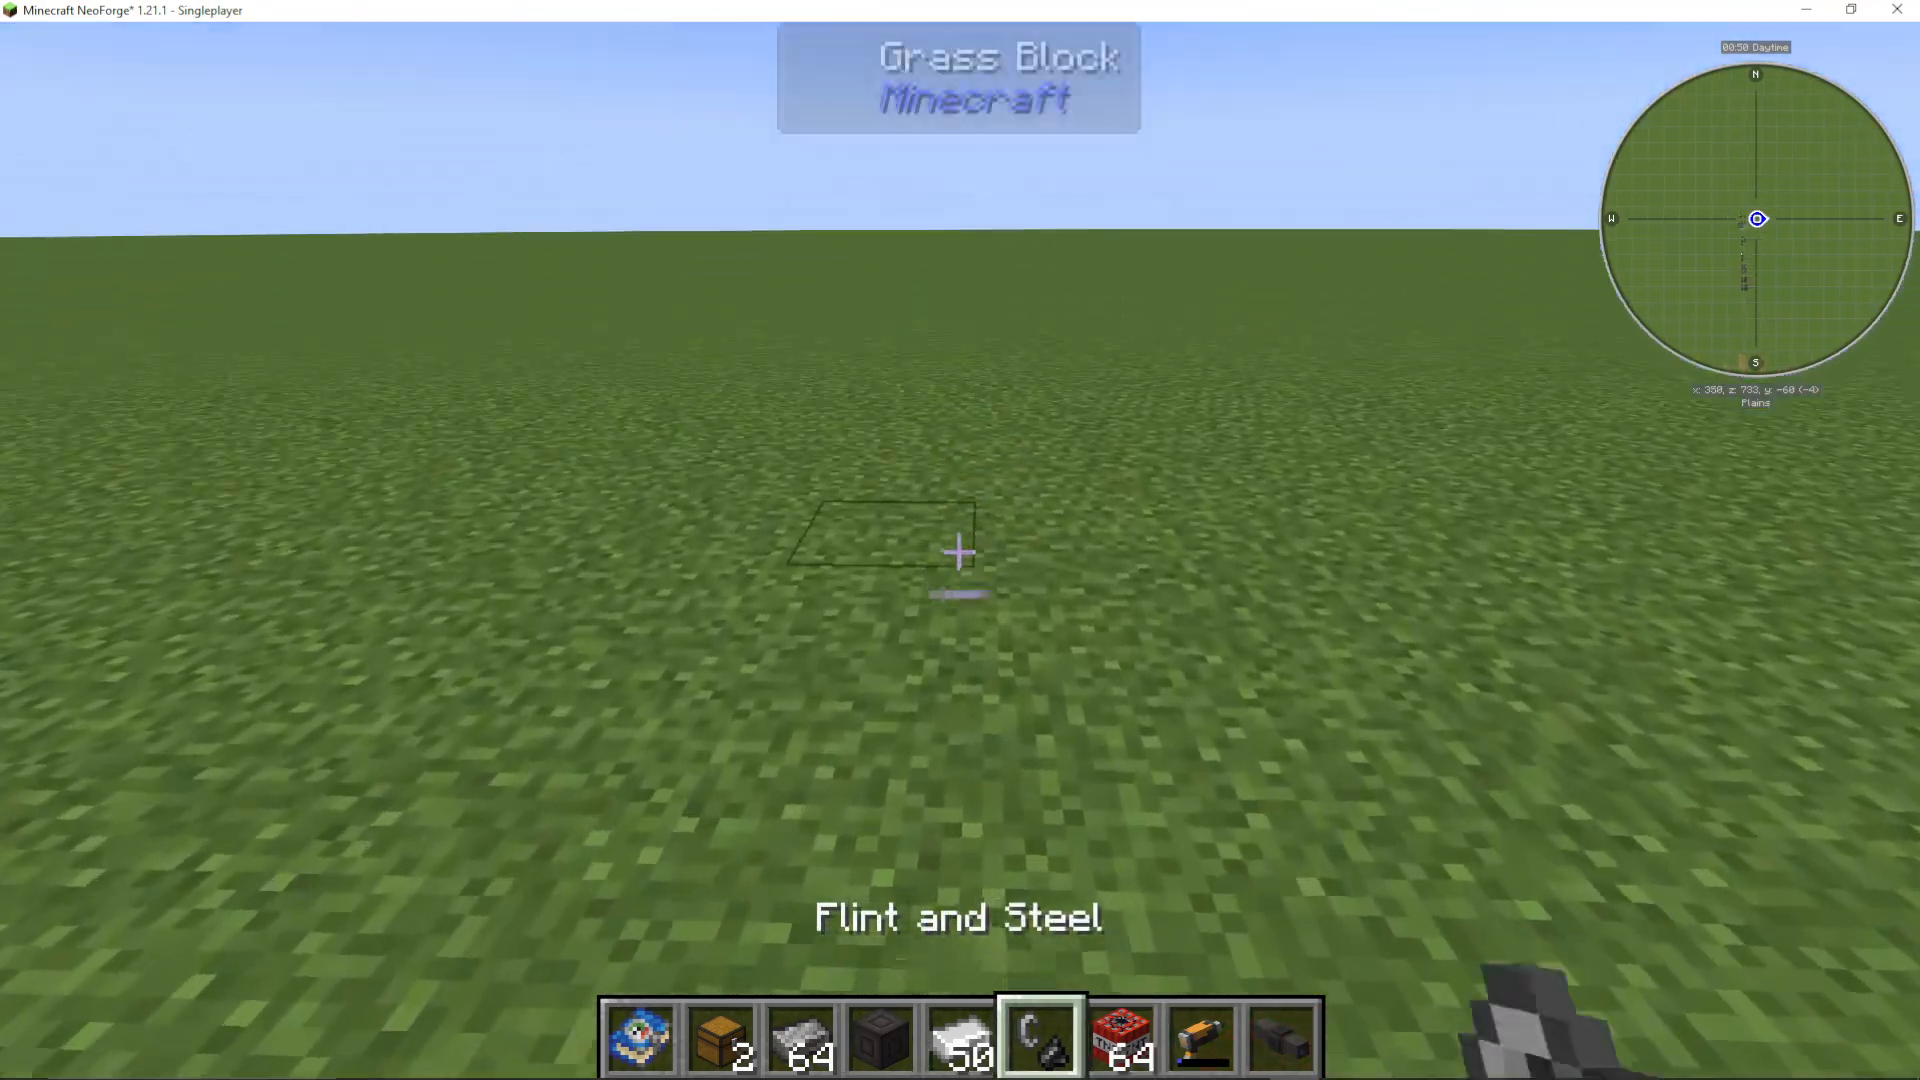
The first thing you’ll need to make in PneumaticCraft is compressed iron ingots. While there are easier methods later on, the quickest way to start is by using TNT to compress regular iron ingots. This method works at approximately 80% efficiency, meaning you’ll lose about 2 ingots for every 10 you compress.
Simply throw your iron ingots on the ground, place a piece of TNT with flint and steel, and ignite it. After the explosion, you’ll have compressed iron ingots instead of regular ones.
Creating Pressure: Your First Compressor
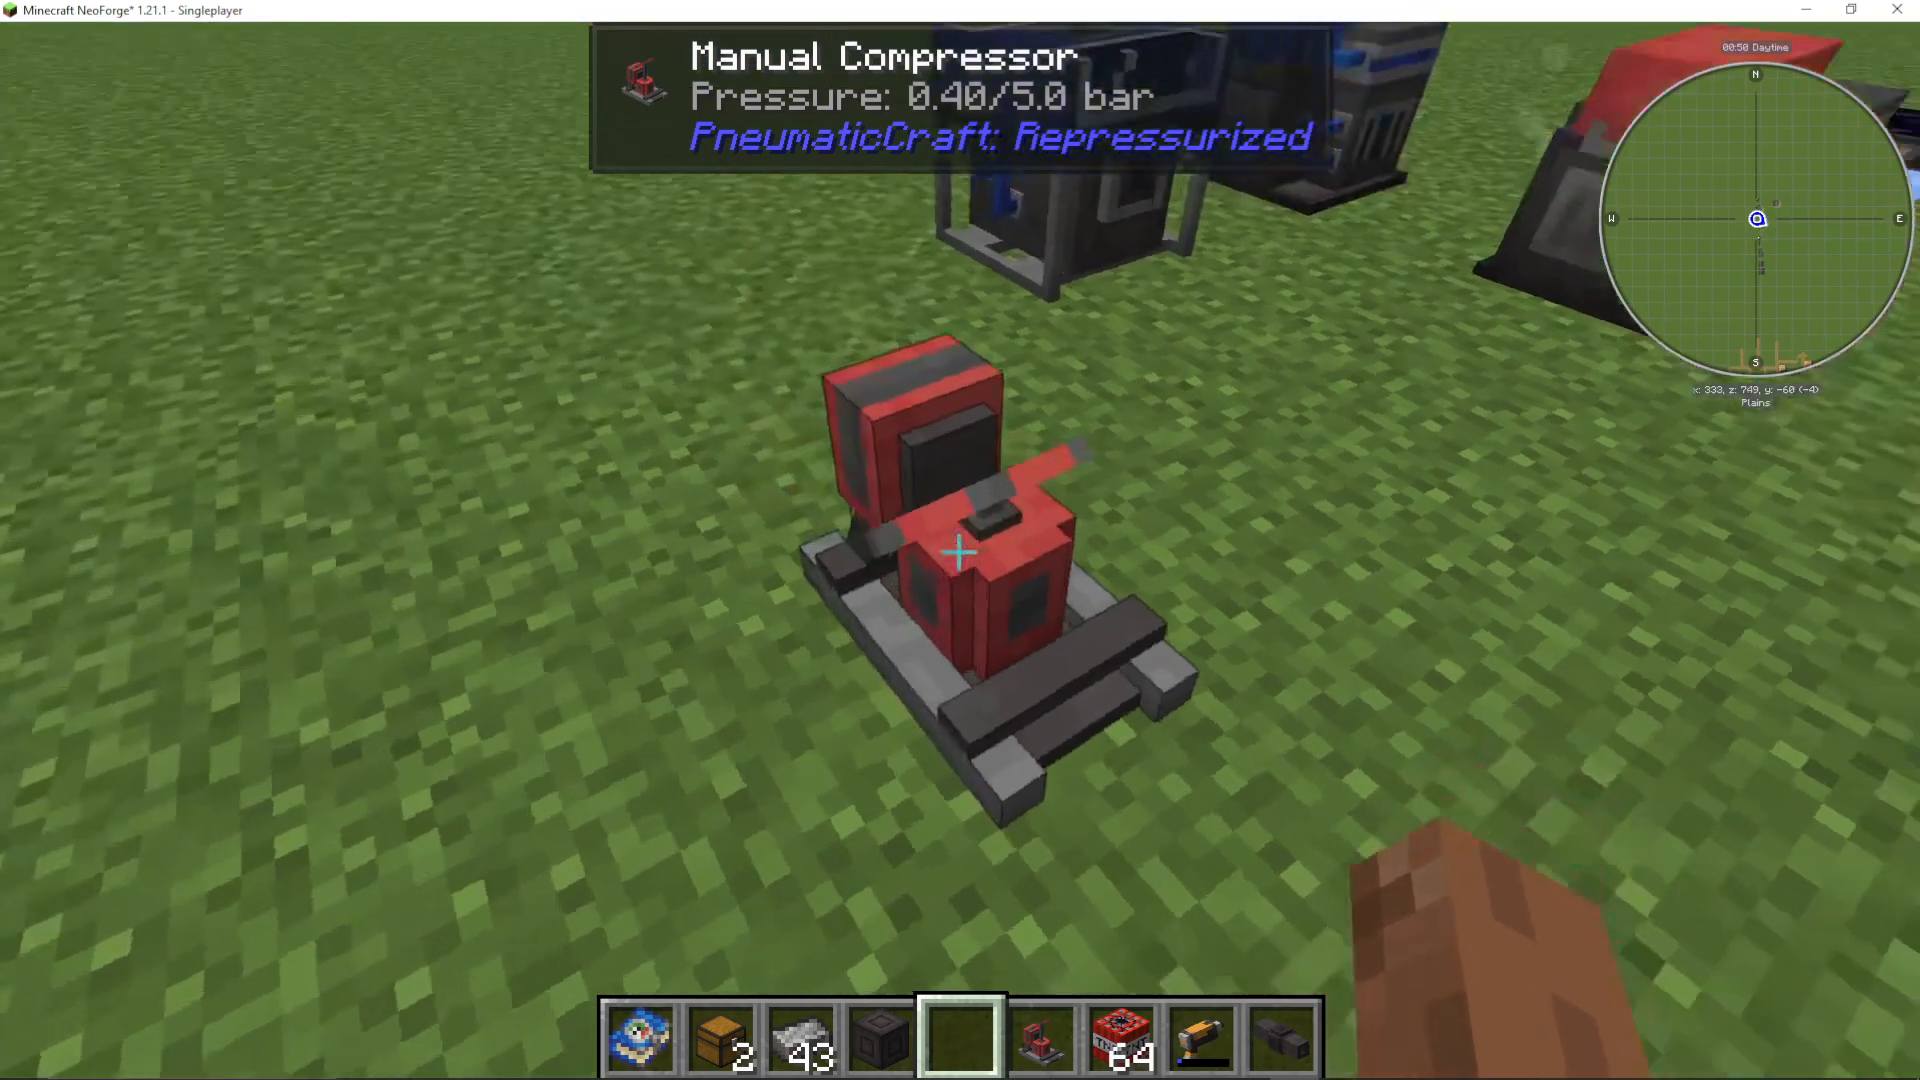
Manual Compressor
The easiest way to generate pressure is with a manual compressor. You’ll need:
Compressed iron gears
A stone base
A pressure tube
The manual compressor generates 0.4 out of 5 bar of pressure. Pressure is measured in “bar” in PneumaticCraft. You can manually pump this machine by hand to increase pressure, though this is obviously not practical for large-scale operations.
Air Compressor
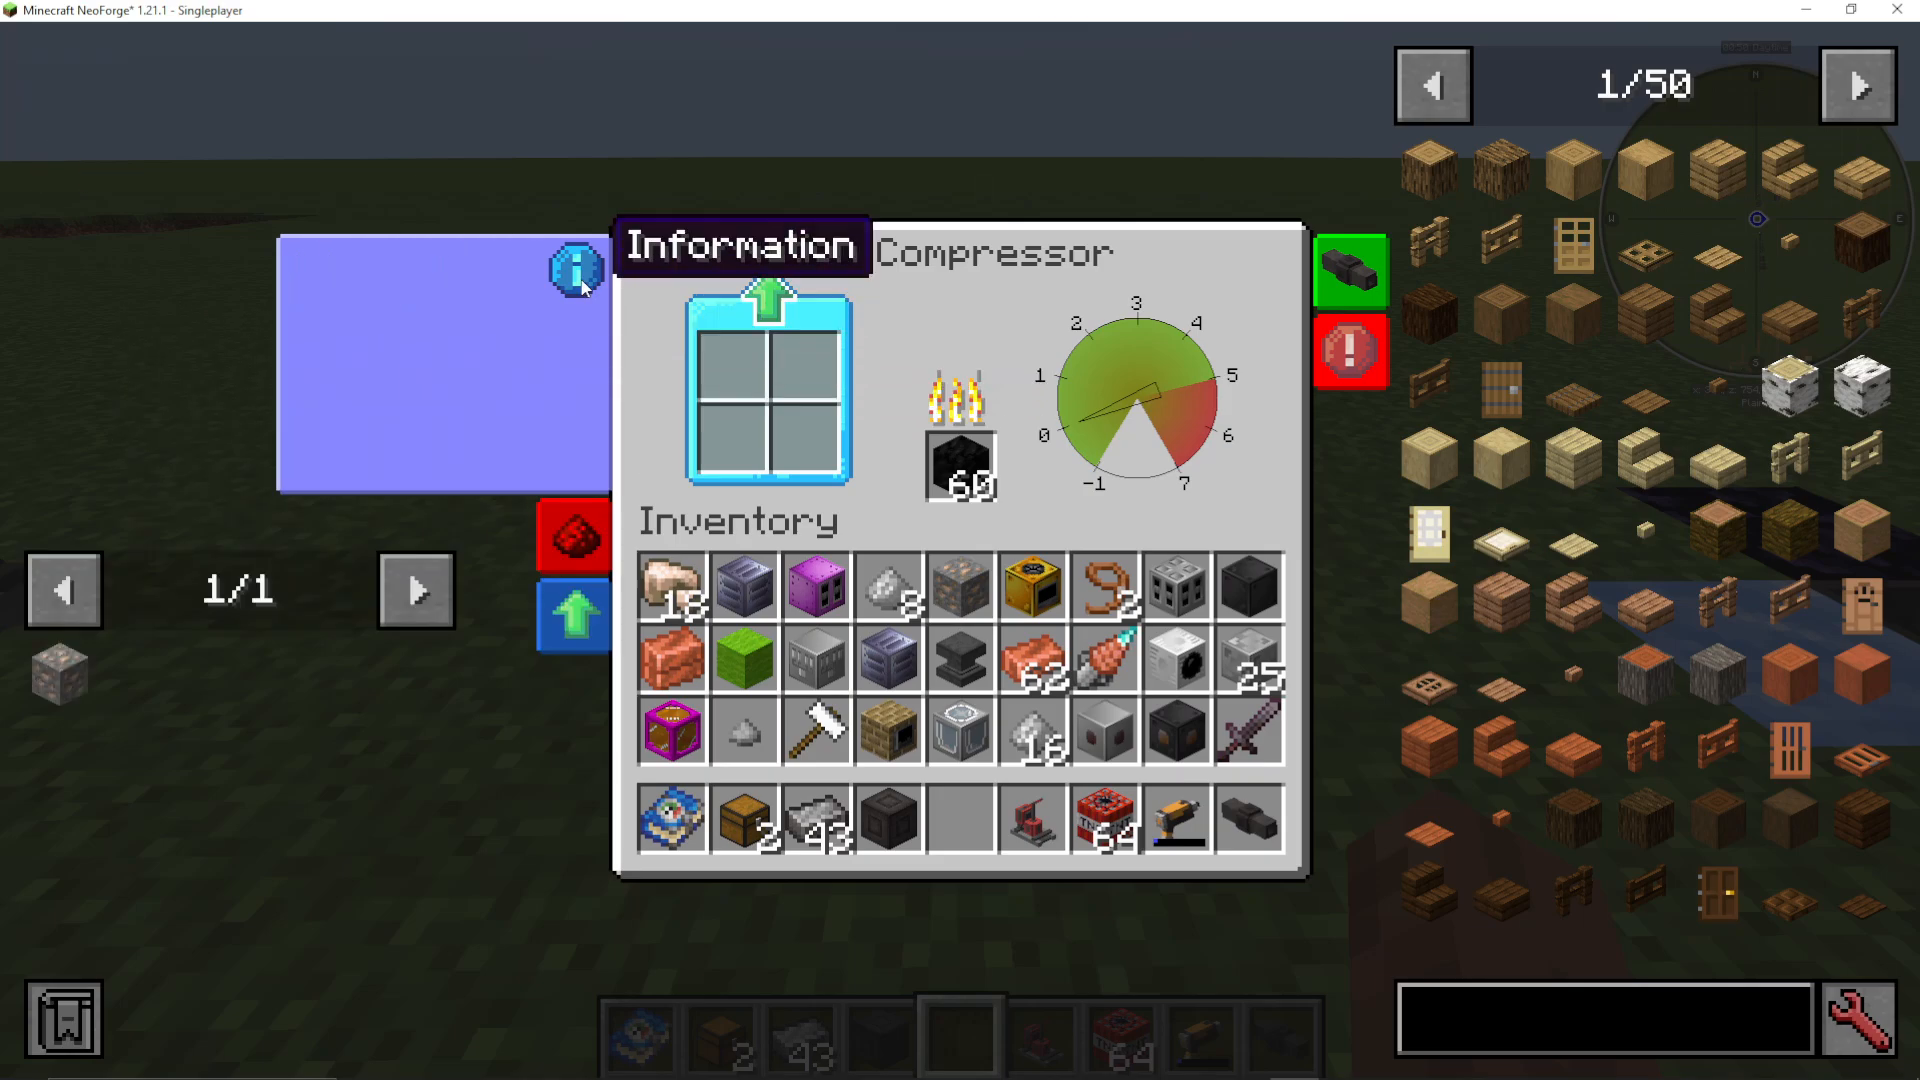
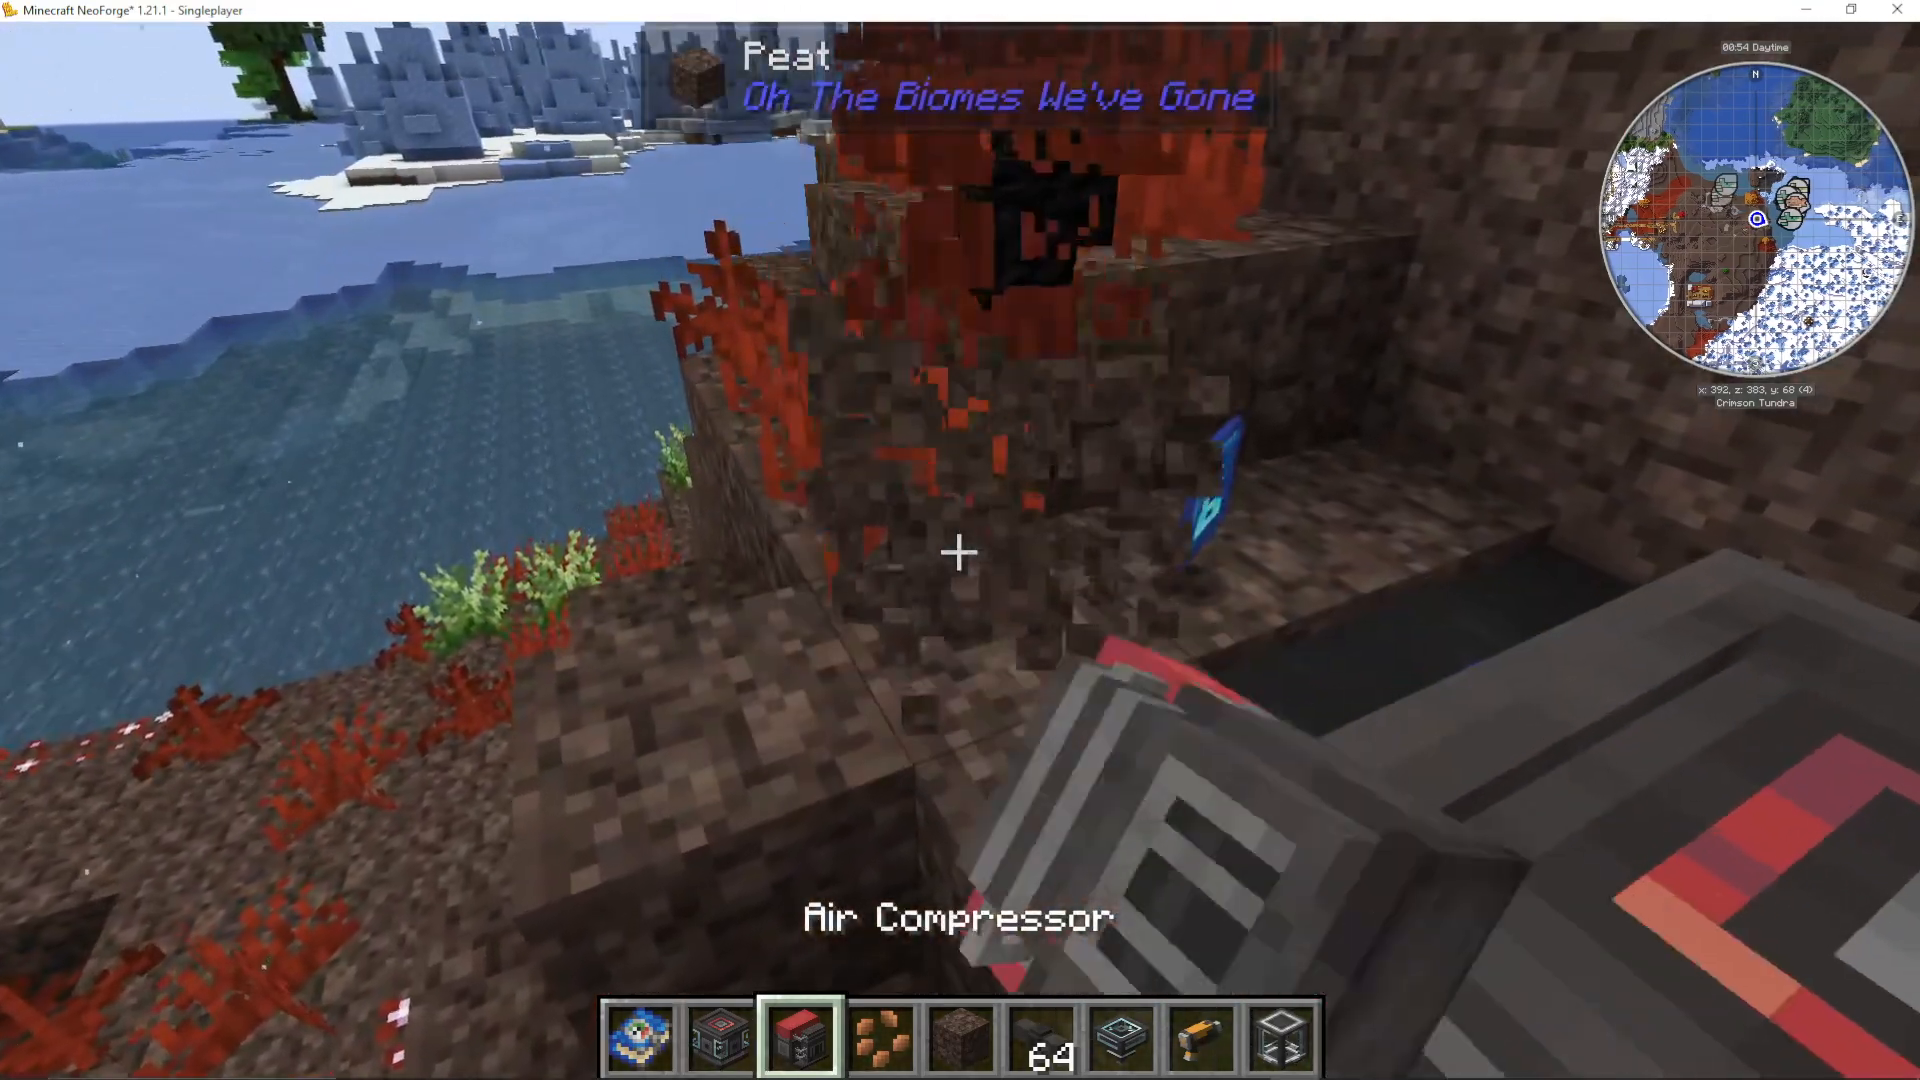
The air compressor uses flammable blocks like coal to generate pressure automatically. As pressure increases, the pressure gauge will rise. You can add upgrades to control its behavior with redstone.
The air compressor requires:
Reinforced bricks (made from reinforced stone and compressed iron)
Advanced Air Compressor
Later in the mod, you can craft an advanced air compressor that generates up to 20 bar of pressure instead of 5. However, it includes a temperature gauge that you must monitor to prevent overheating.
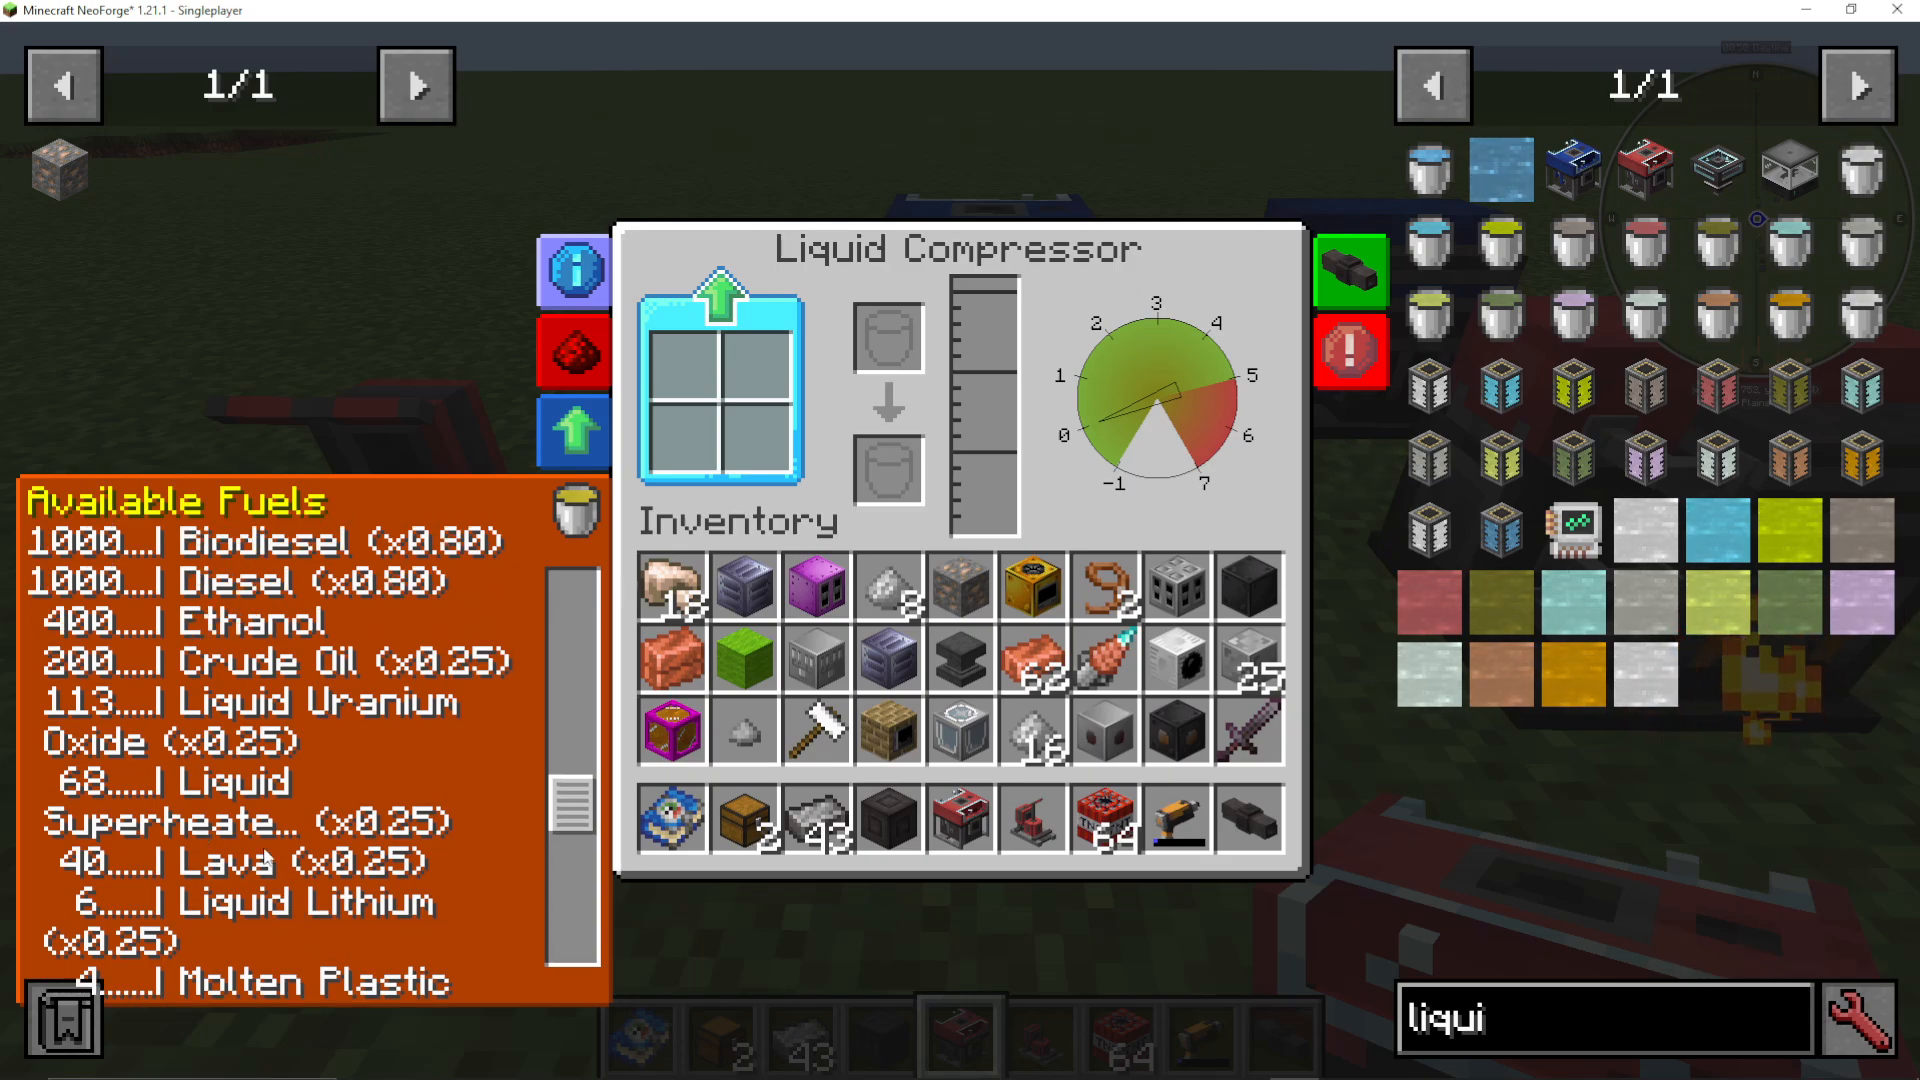
Liquid Compressor
The liquid compressor uses various fuels to generate pressure:
Liquid steam
Plastic
Lithium
Lava (early game)
Crude oil (mid game)
LPG (late game, most efficient)
An advanced version exists that reaches 20 bar and includes temperature management.
Thermal Compressor
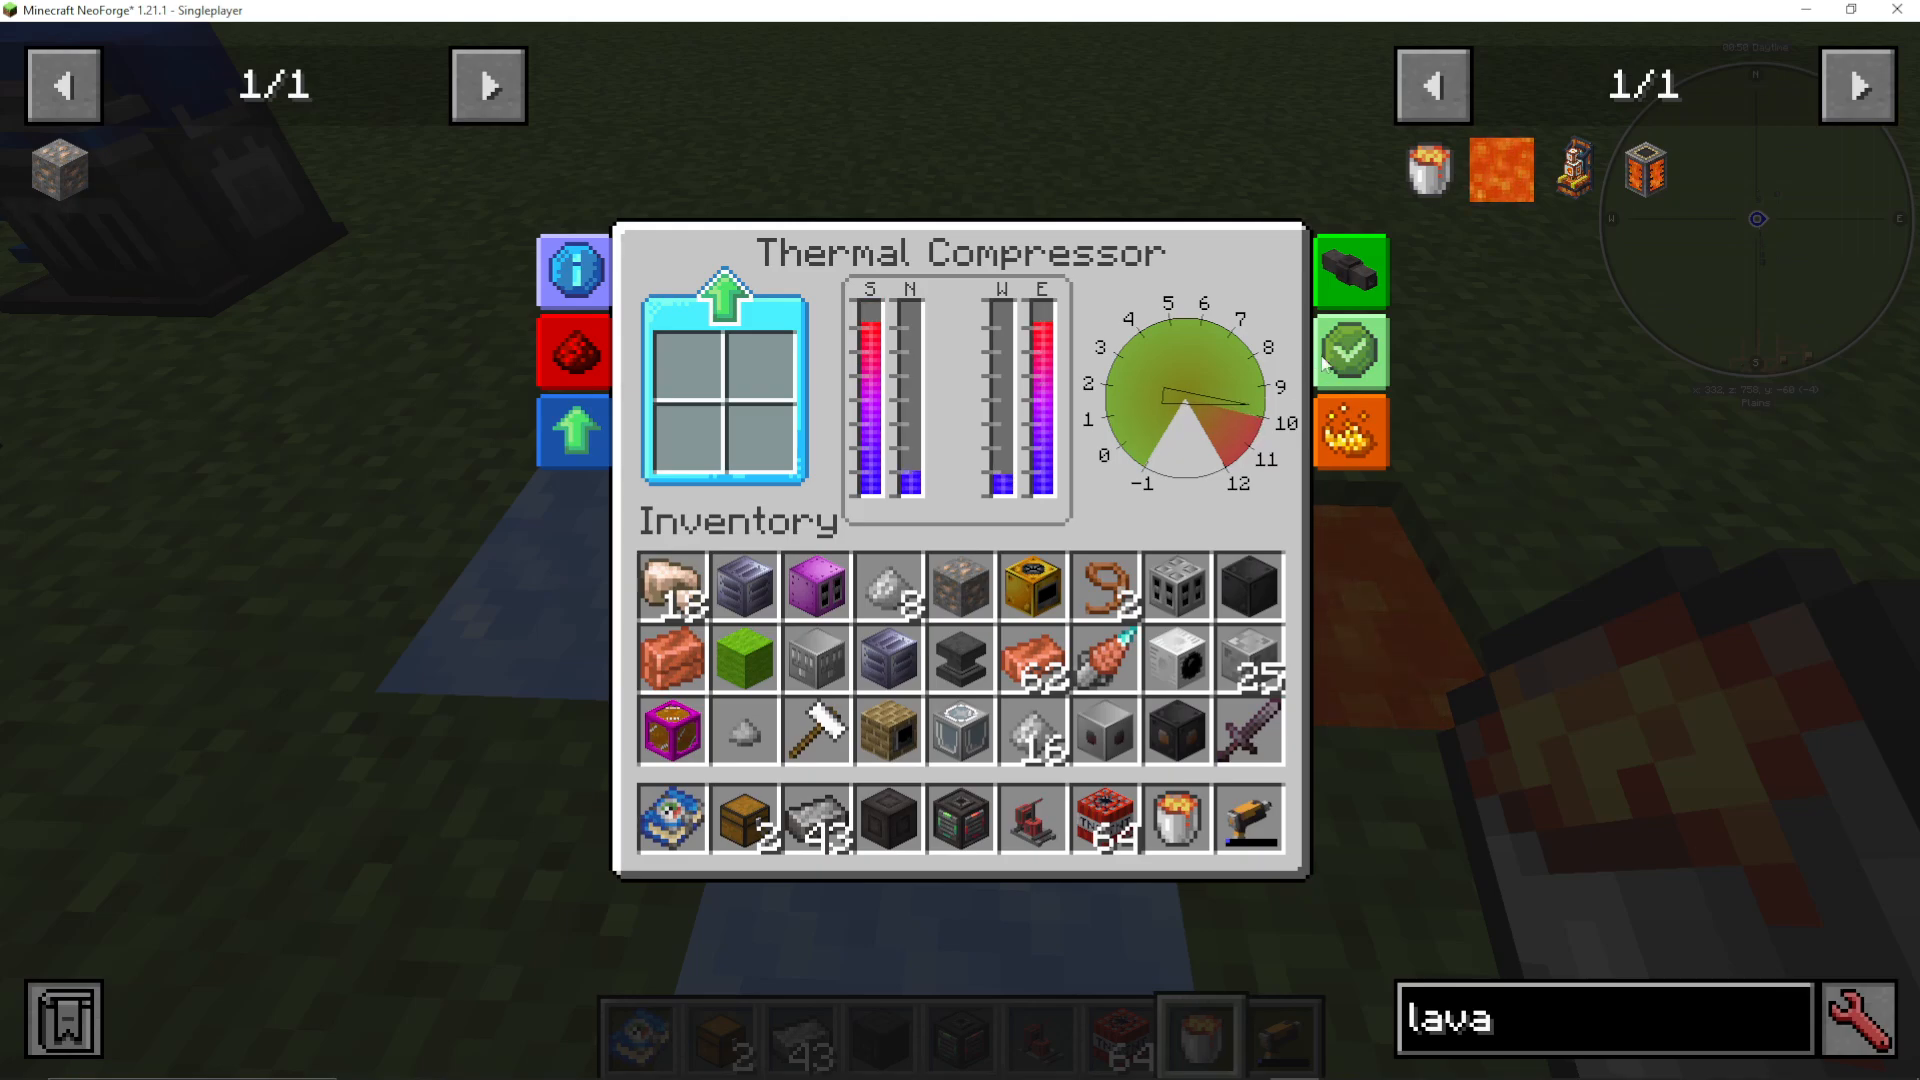
The thermal compressor generates up to 10 bar of pressure by using temperature differences. You need opposite hot and cold blocks on each side (north/south and east/west). For example, you could use lava on one side and ice on the other.
As pressure increases, it will eventually enter the red zone, which causes the machine to explode. To prevent this, use a security upgrade.
Security Upgrades
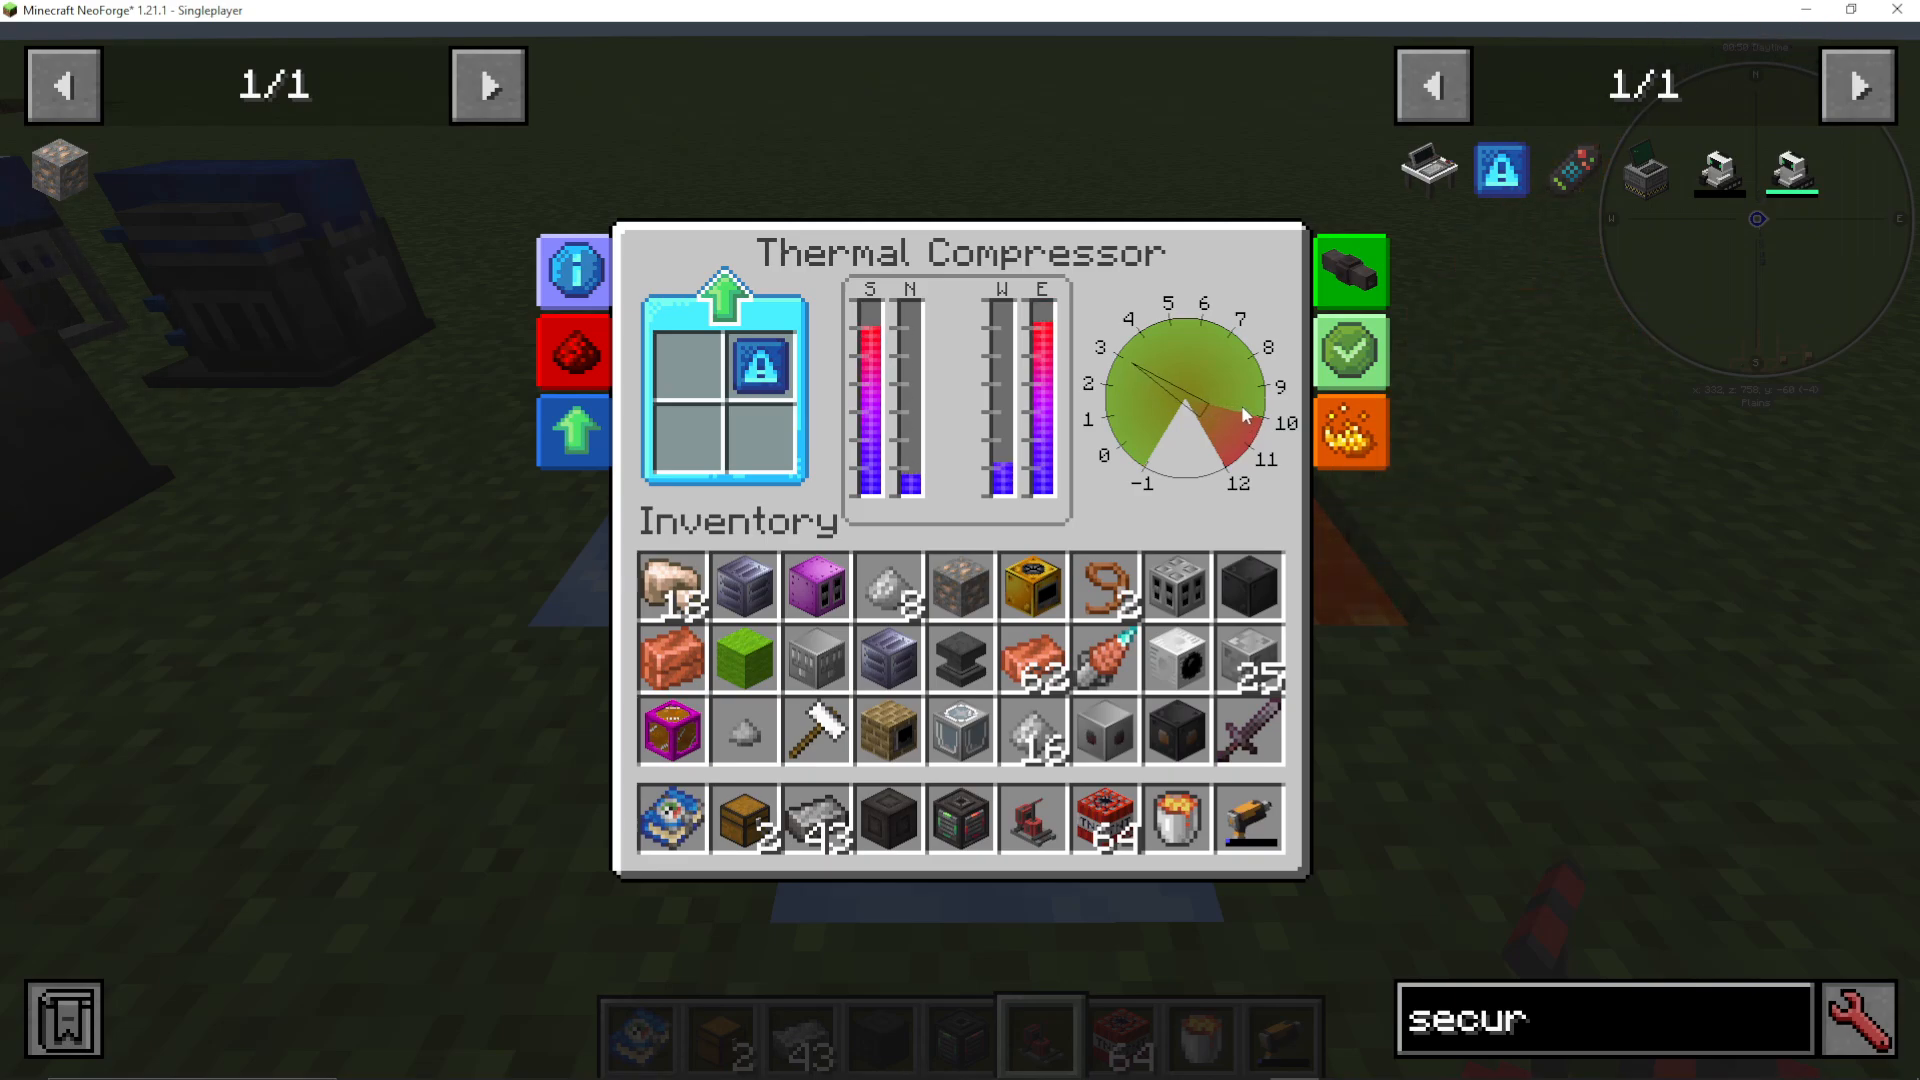
A security upgrade automatically releases excess pressure when it reaches dangerous levels. It requires:
A safety tube module (made with a pressure tube and pressure gauge)
The pressure gauge needs compressed iron, obsidian, and lapis lazuli.
Speed and Volume Upgrades
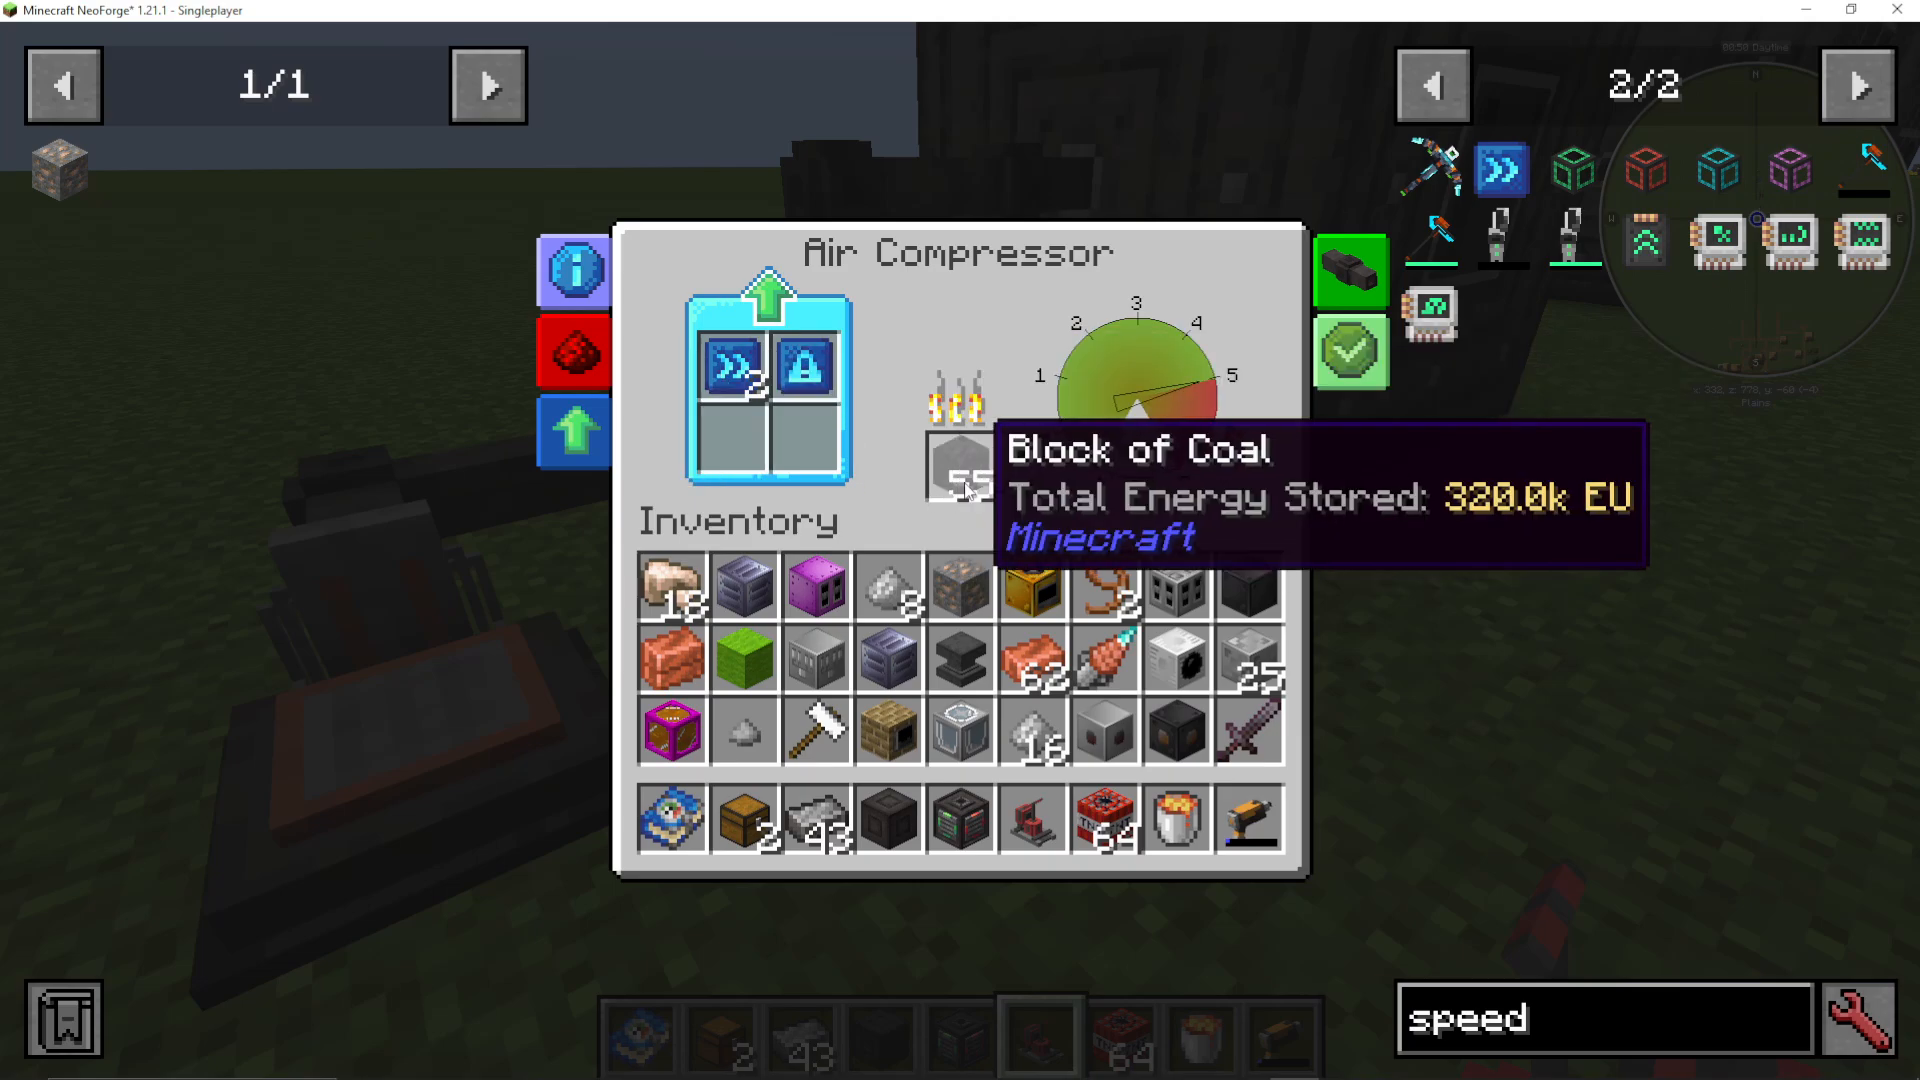
Speed upgrades increase how quickly your compressor generates pressure and reaches the target bar level. Volume upgrades increase the internal air capacity, meaning you need more air being pressurized to reach the same pressure level.
Be careful not to add too many speed upgrades, as they can cause pressure to rise faster than your security upgrade can handle, resulting in an explosion.
Other Compressor Types
Additional compressor options include:
Flux Compressor: Uses Redstone Flux (electricity from other mods)
Electrostatic Compressor: Uses lightning strikes (rarely used)
Creative Compressor: Available in creative mode for testing
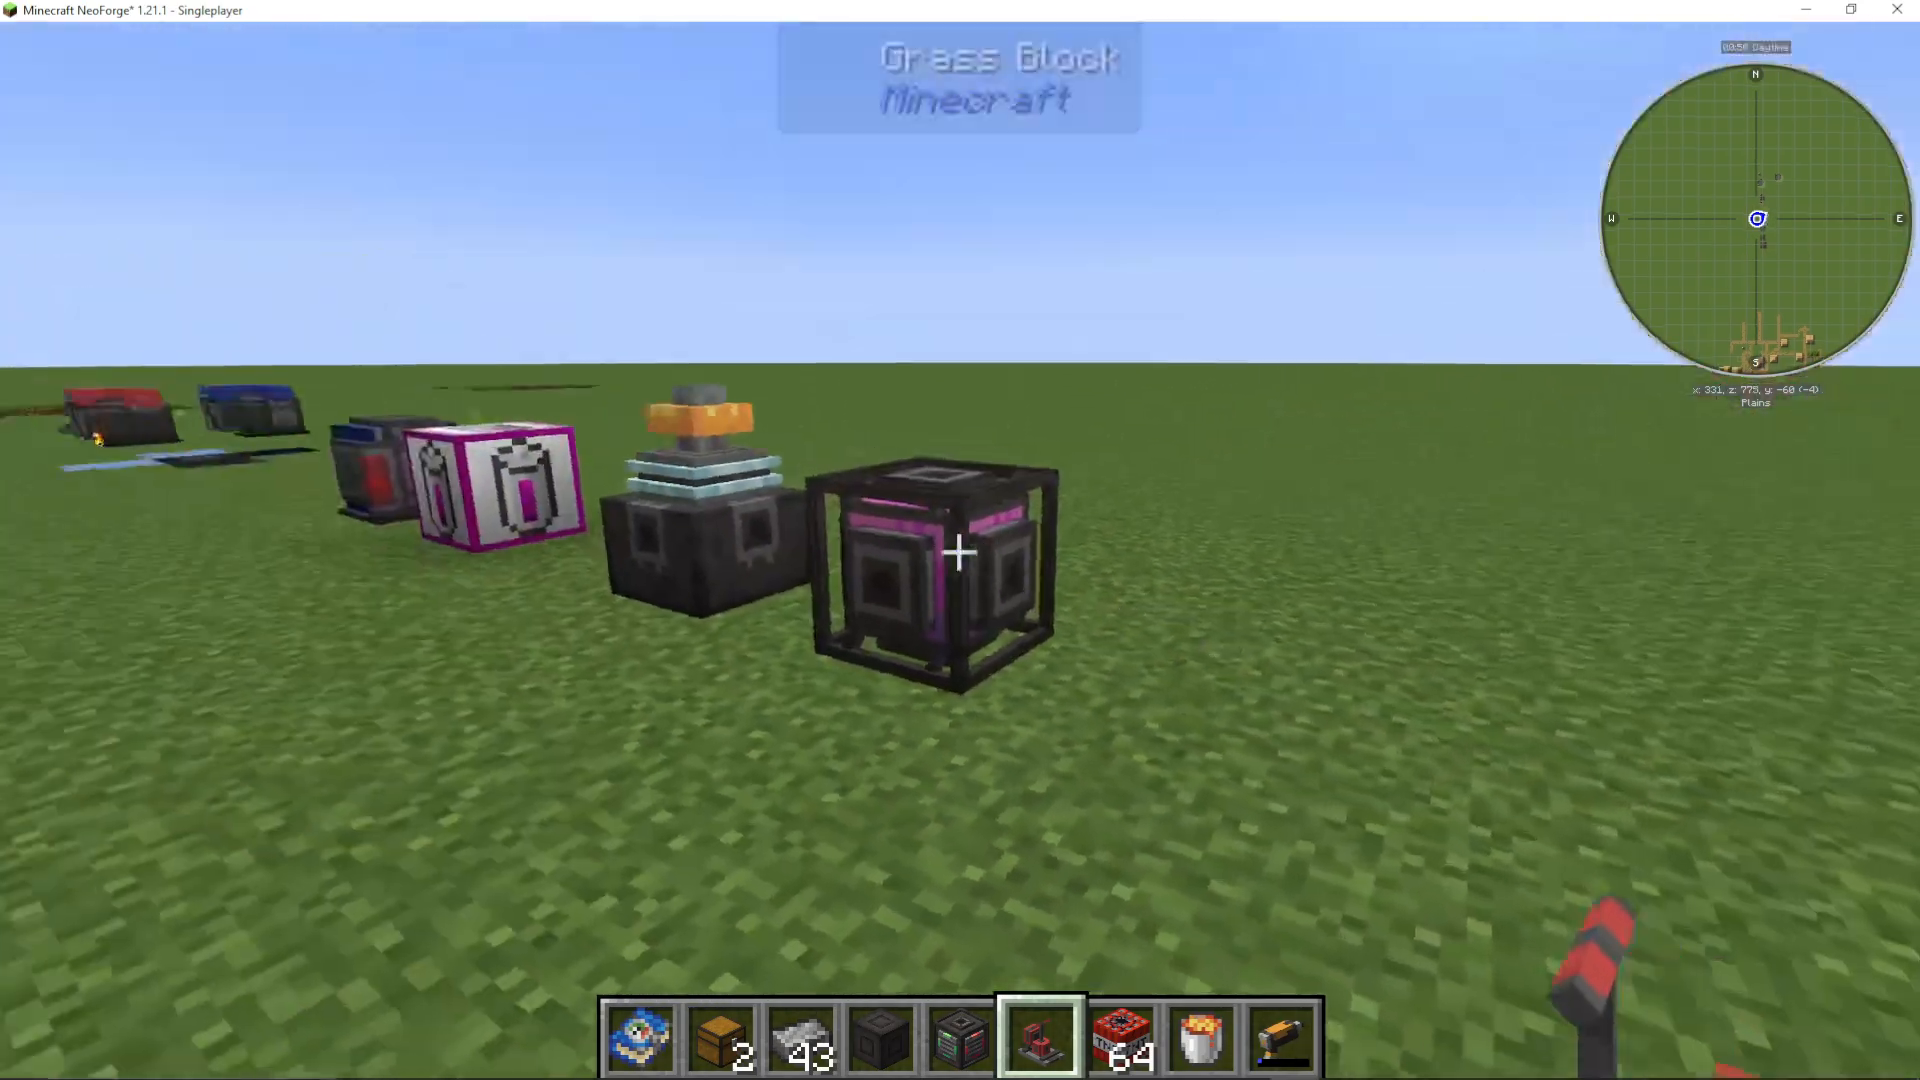
Pressure Chambers: Crafting with Pressure
Once you have compressed air and compressed iron ingots, you’ll want to build a pressure chamber. This multi-block structure allows you to craft items using pressure as a power source.
Building a Pressure Chamber
You can make a pressure chamber in three sizes: 3×3, 4×4, or 5×5. The basic structure consists of:
Pressure chamber walls (the main structure)
Pressure chamber glass (optional, for visibility)
A pressure chamber valve (where you input pressure)
Glass can be placed anywhere except on the edges. You can use regular glass or pressure chamber glass as needed.
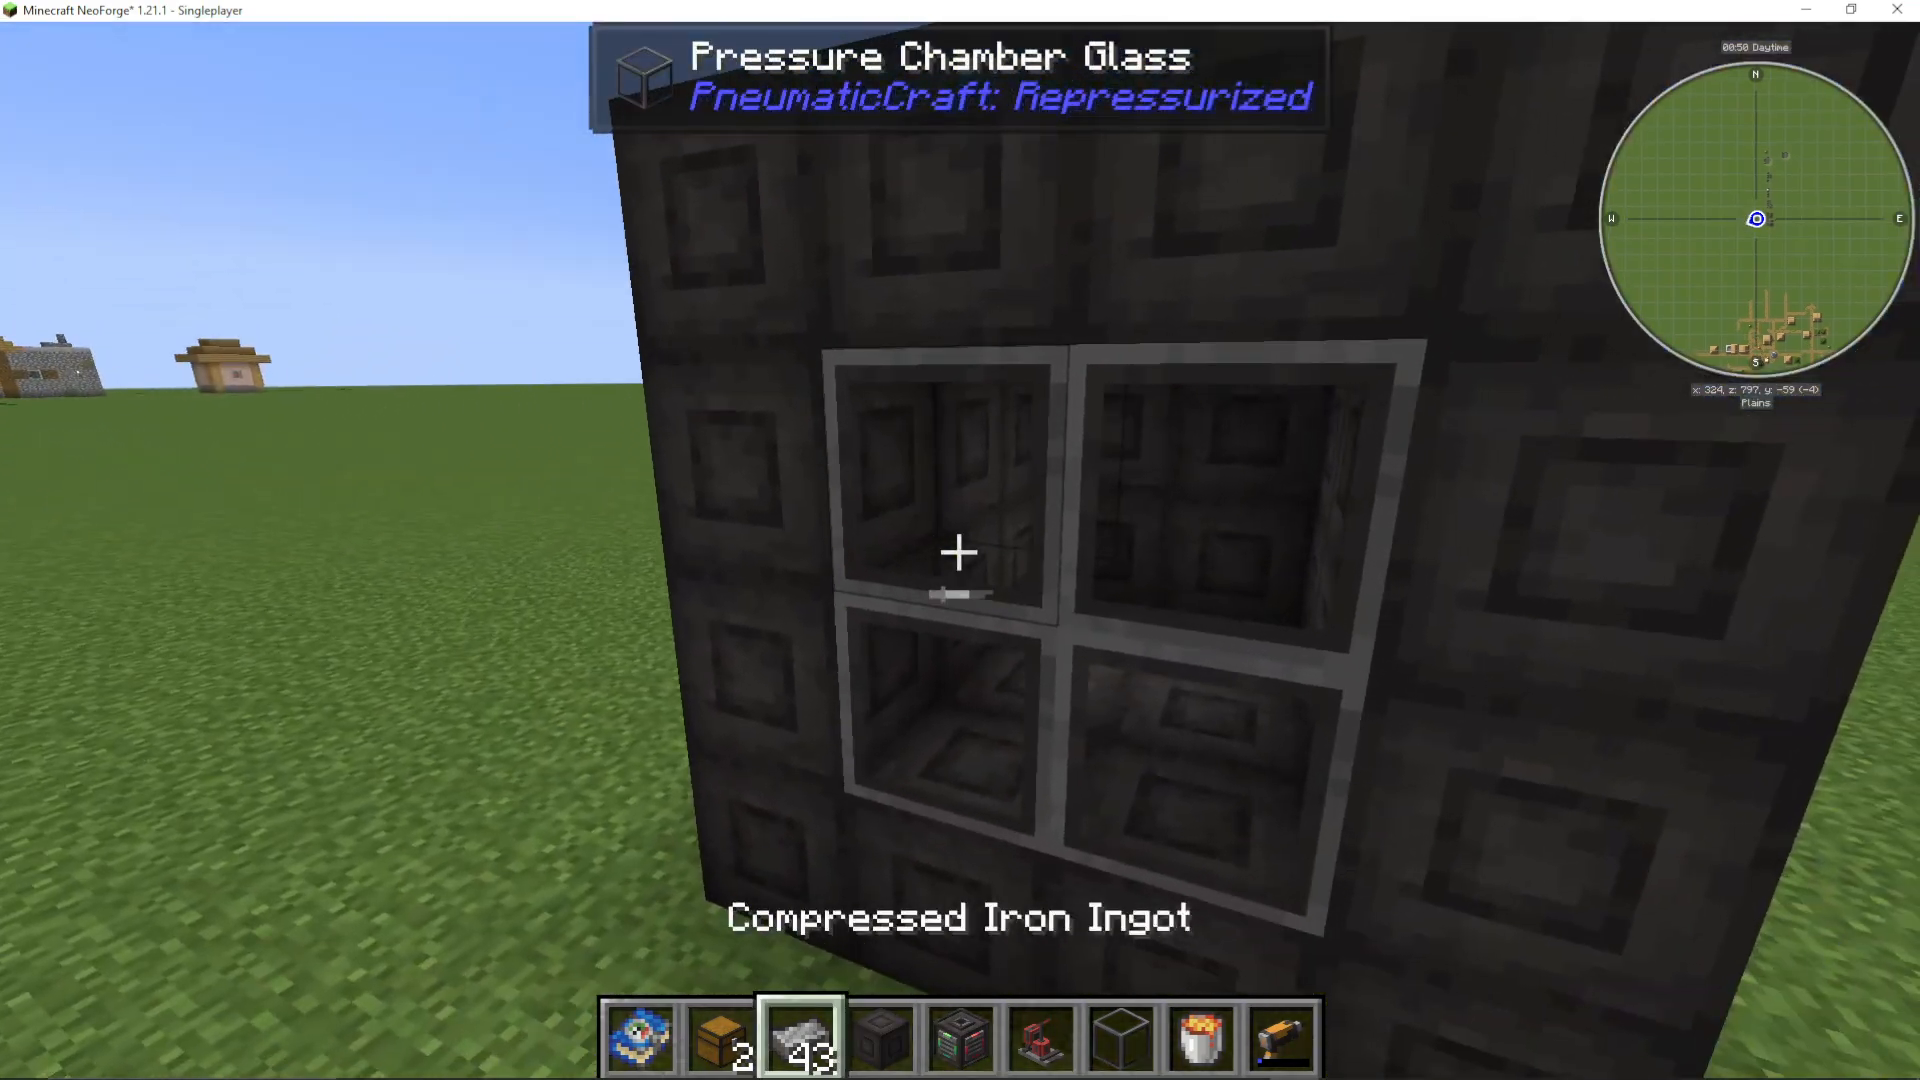
Connecting Pressure to Your Chamber
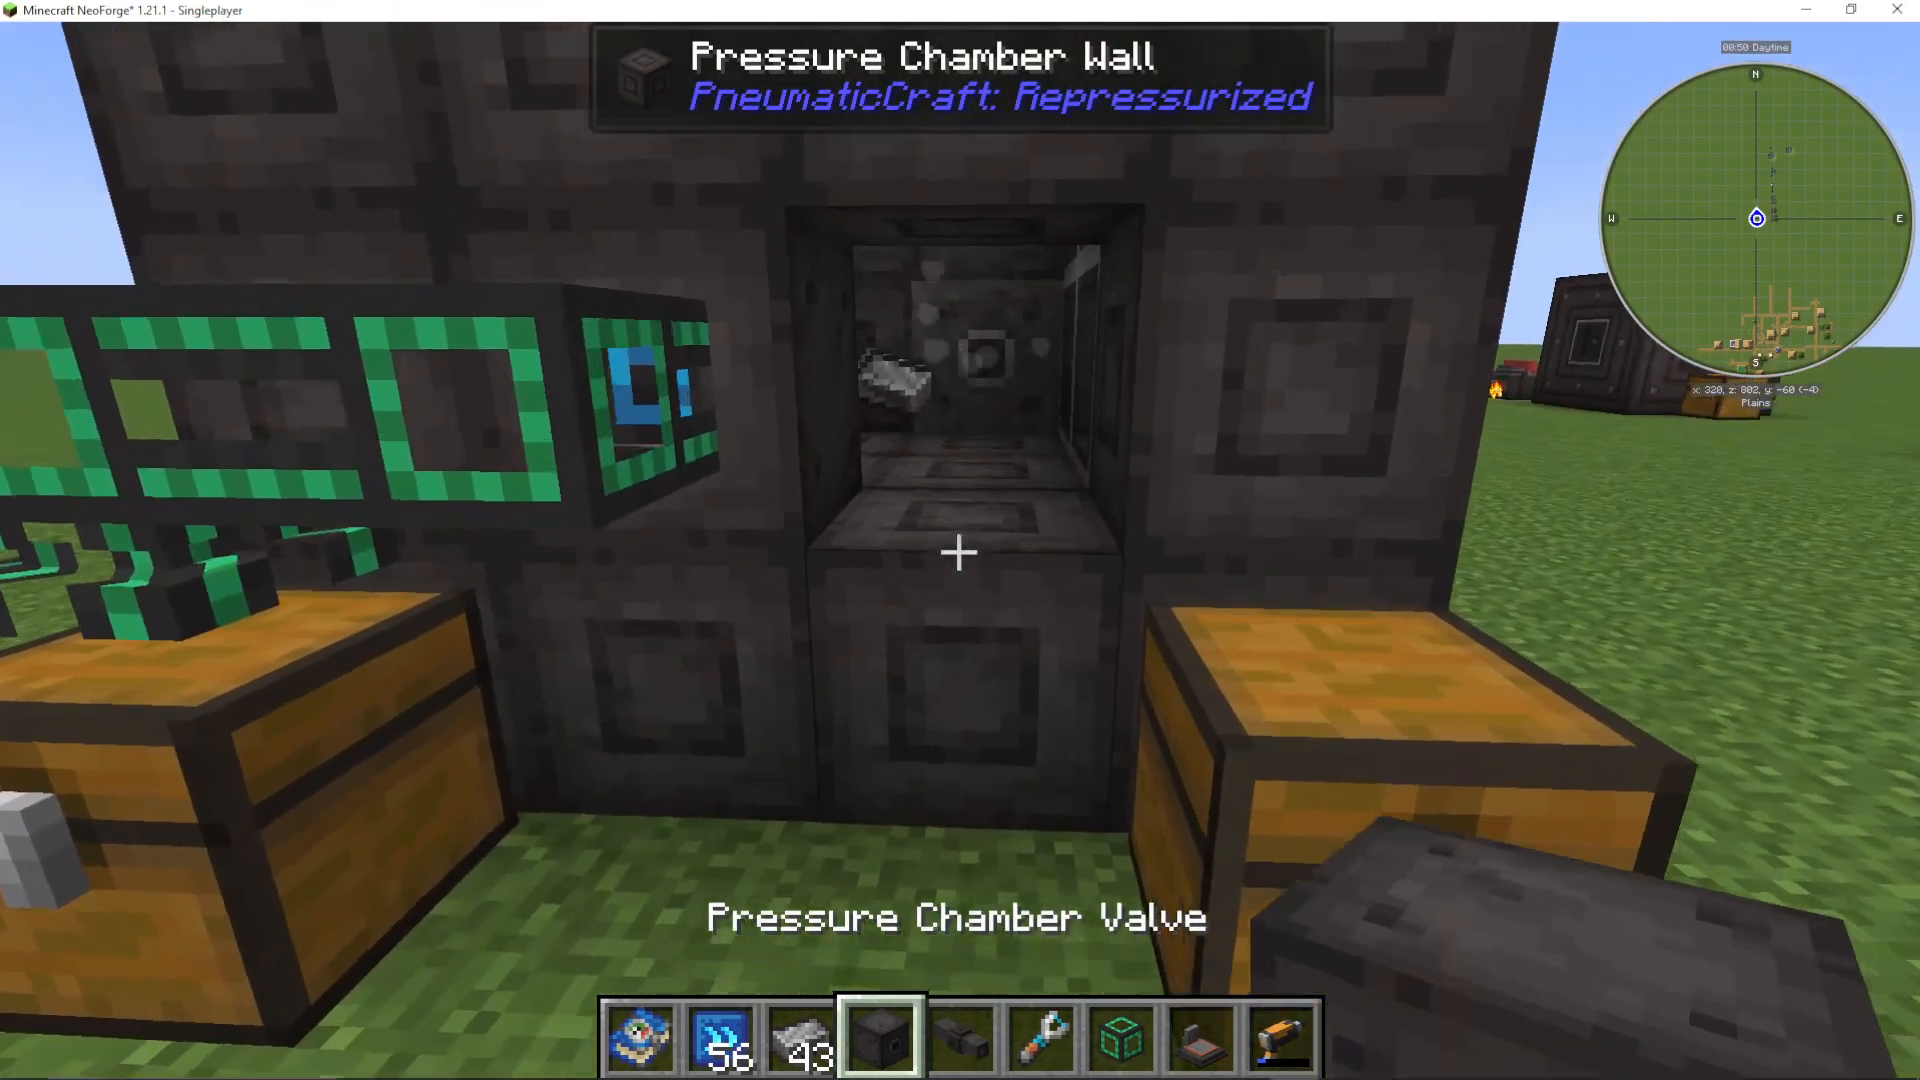
Connect your pressure source (like an air compressor) to the valve using pressure tubes. Once you have sufficient pressure, the chamber is ready to craft.
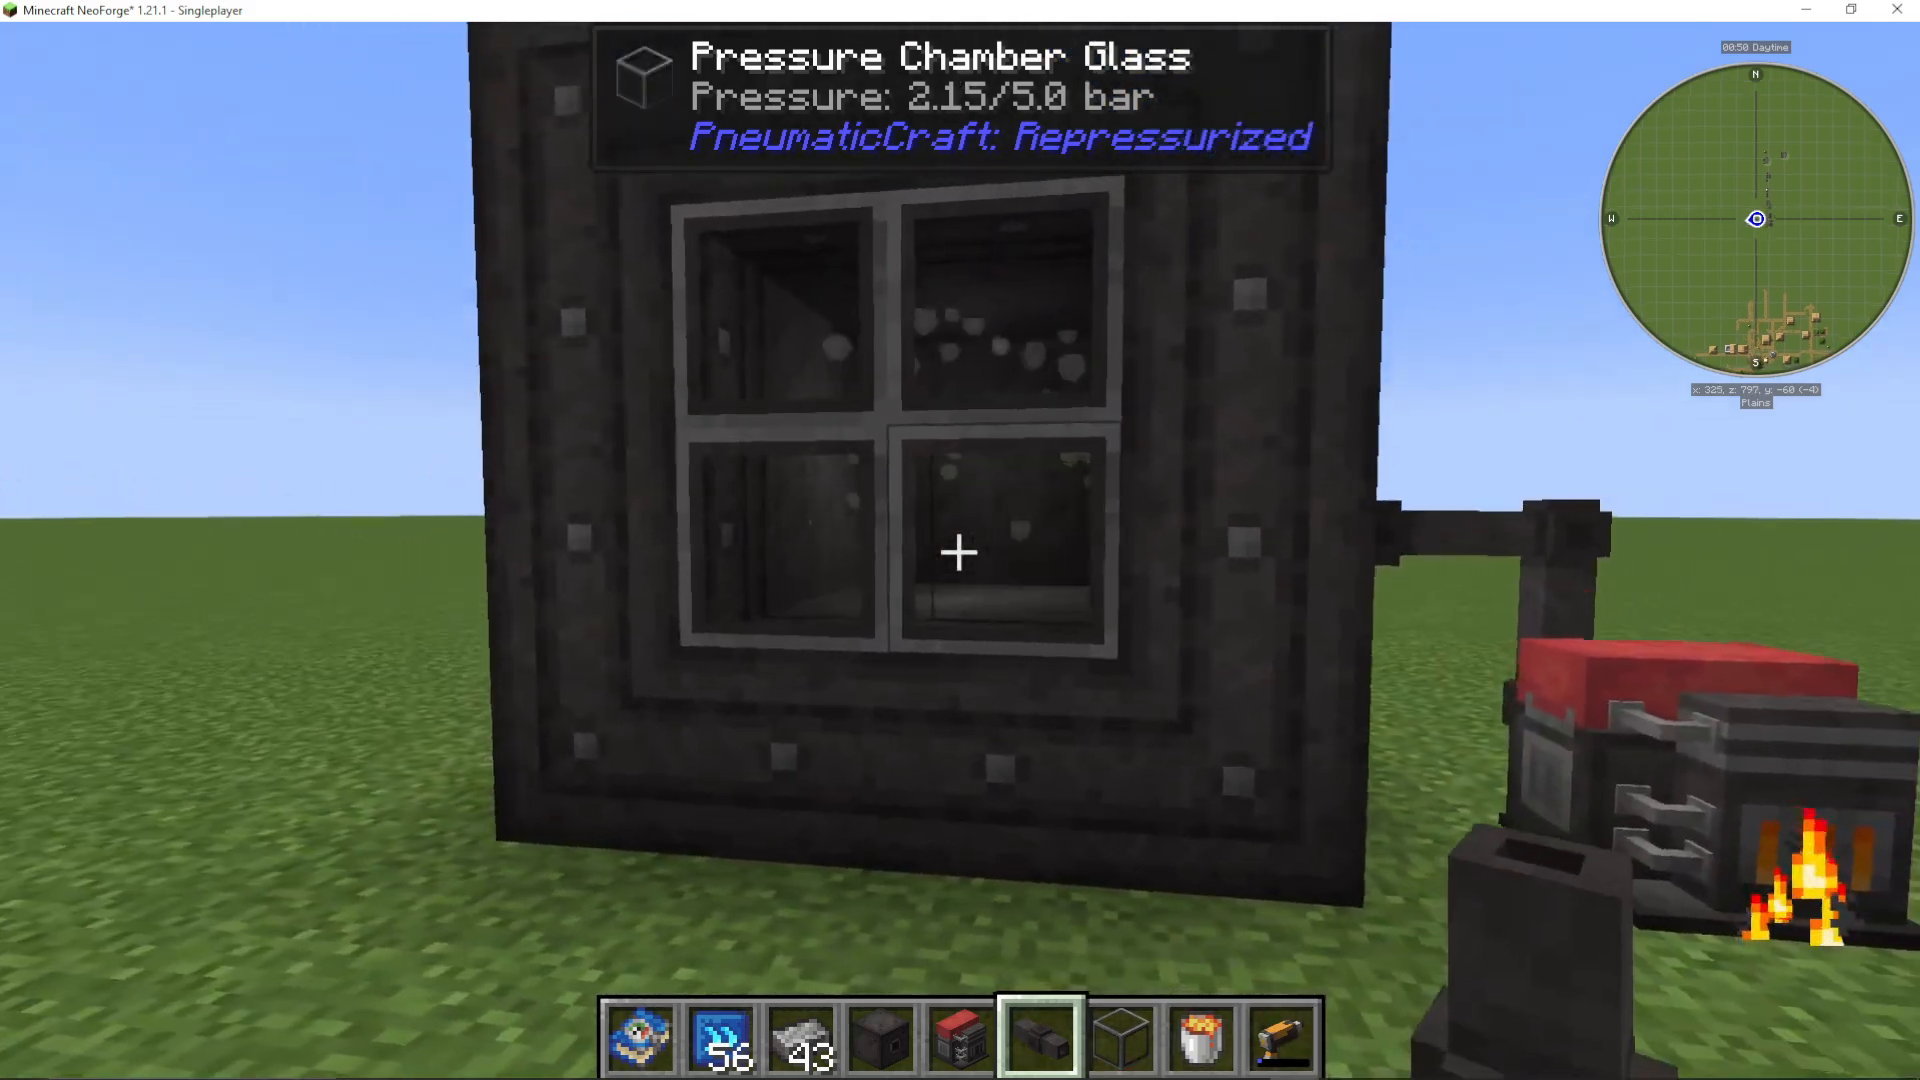
Adding Input and Output Interfaces
To actually use your pressure chamber, you’ll need pressure chamber interfaces. These allow you to input and output items. Place them on opposite sides of the chamber.
You’ll also need:
A pneumatic wrench (to configure the interfaces)
Cabling or pipes from another mod (like Mekanism) to move items in and out
Chests or other inventory blocks
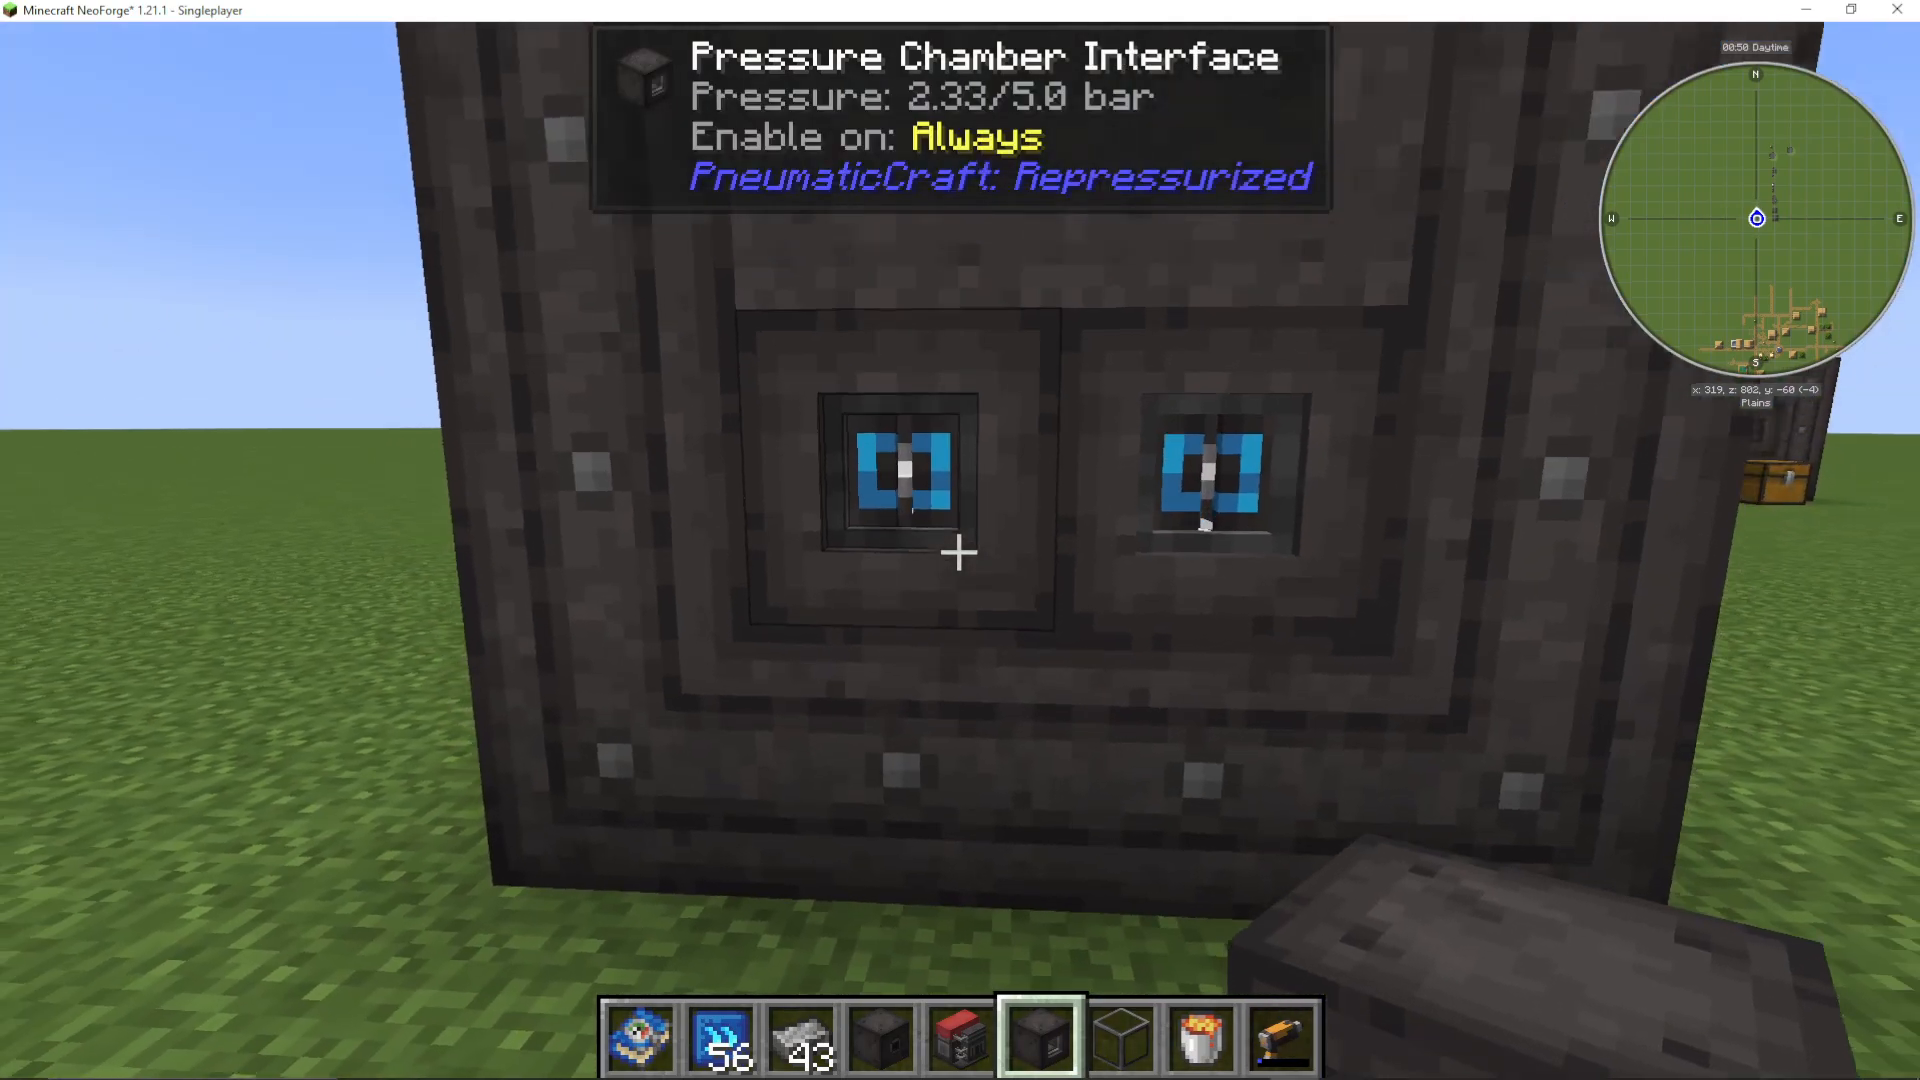
Pneumatic Wrench and Charging Station
The pneumatic wrench requires:
An air canister
A pressure tube
Compressed iron ingots
Create a charging station to fill the wrench with pressure. The charging station also needs pressure tubes connected to your compressor.
Configuring Interfaces for Import/Export
Use the pneumatic wrench to rotate interfaces between “importing items” and “exporting items.” You may need to rotate from different sides if you encounter issues. Once configured correctly:
Import interfaces pull items from chests into the pressure chamber
Export interfaces push crafted items from the pressure chamber into chests
Checking Pressure Requirements
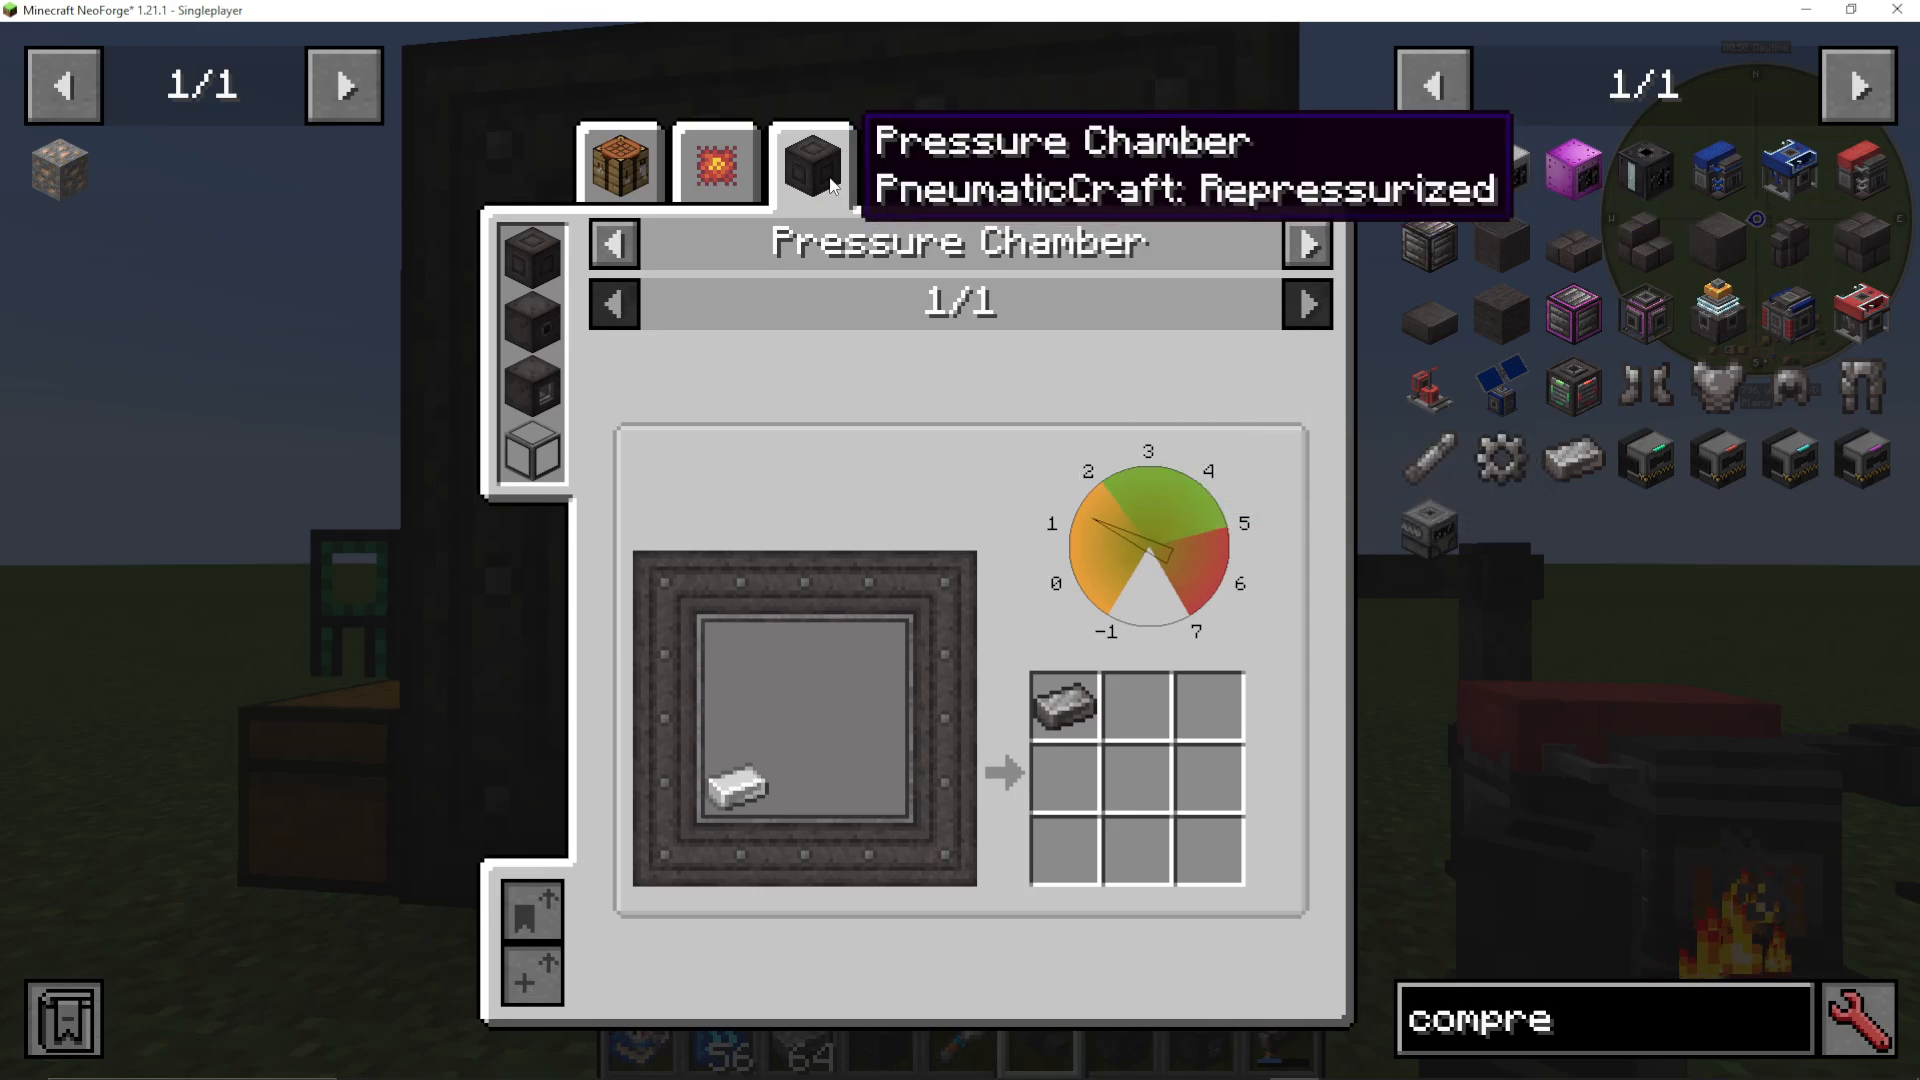
To see how much pressure a recipe needs, click on a pressure chamber wall with your wrench and press “U” to check in JEI (Just Enough Items). Different recipes require different pressure levels. For example, crafting compressed iron ingots requires 3 bar, while compressing diamonds requires 4 bar.
Oil Drilling and Crude Oil
Finding and Extracting Oil
Oil can be found naturally in your world. You can find more oil by digging deeper. PneumaticCraft is smart enough to recognize oil from other mods as well.
To set up an oil drilling operation:
Find an oil pocket
Place a gas lift directly above it
Connect pressure tubes from your compressor to the gas lift
As pressure builds, crude oil will fill the gas lift
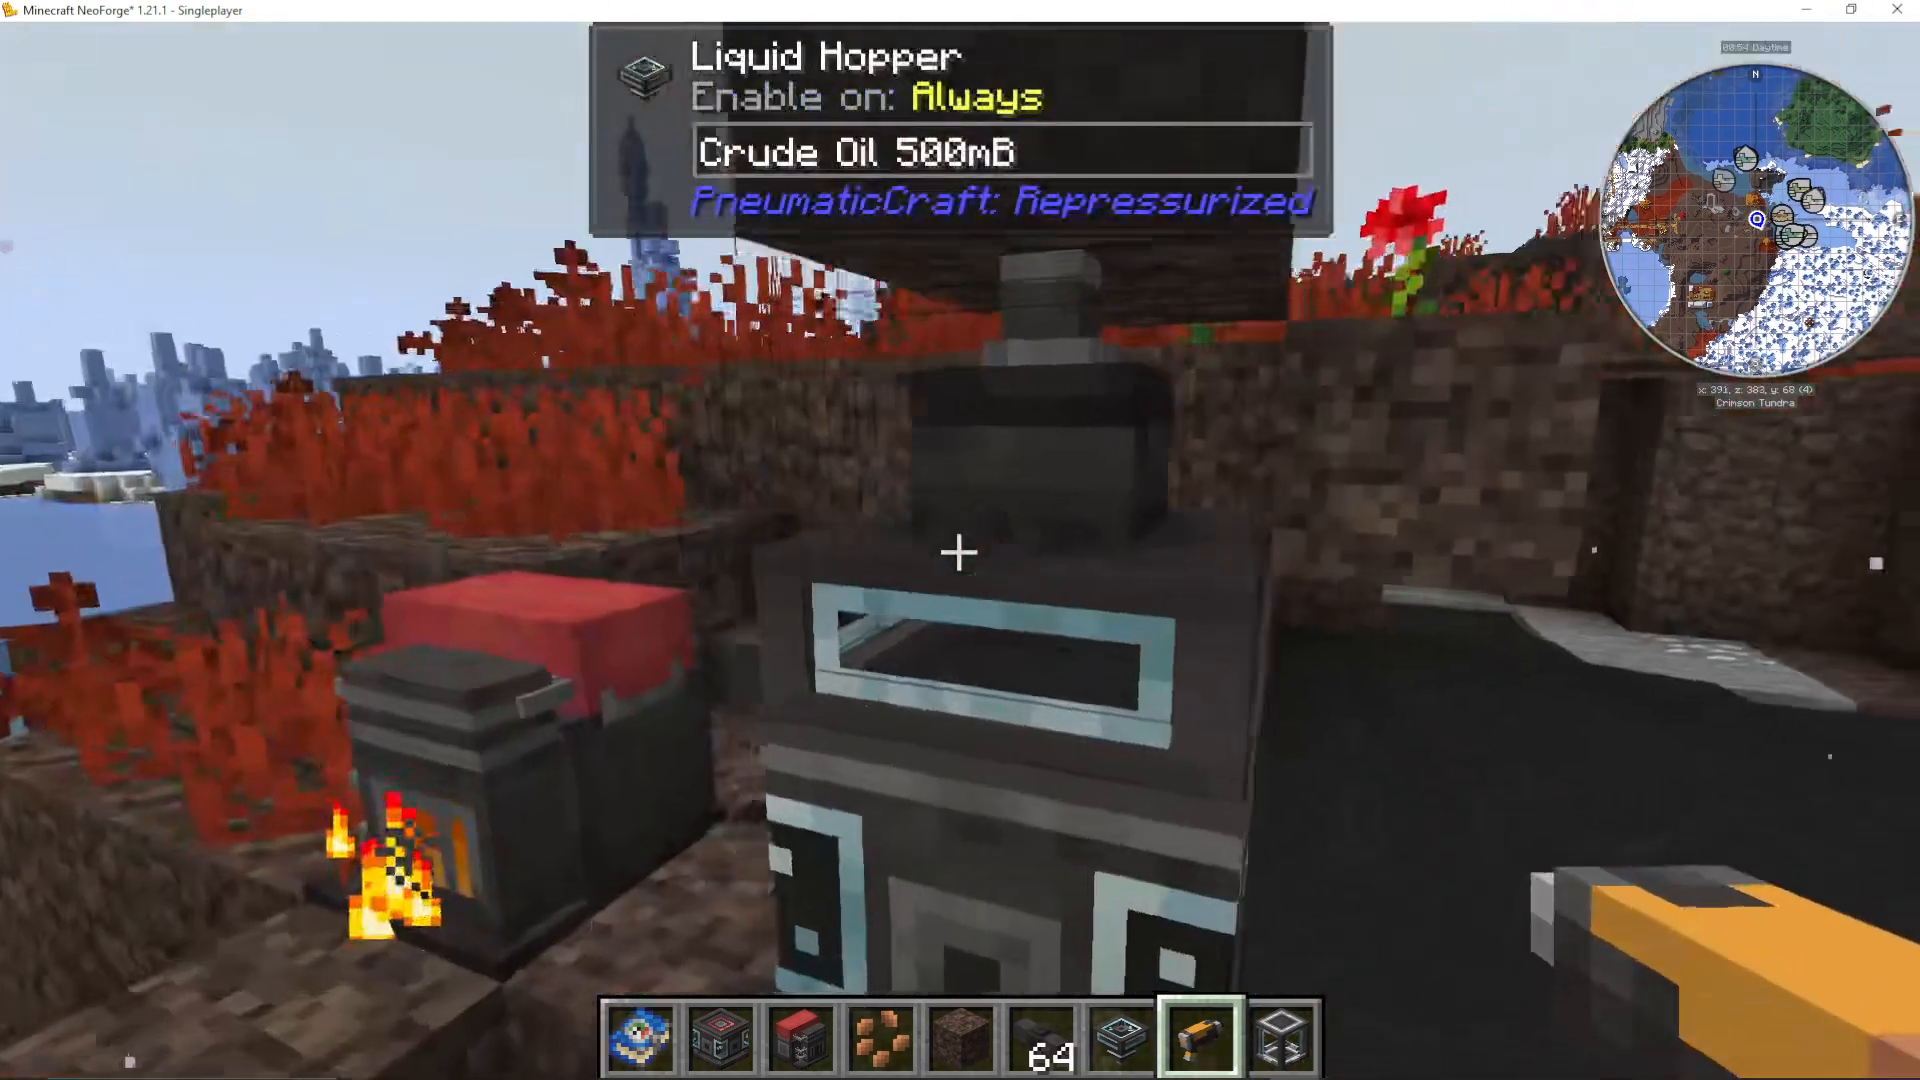
Transporting Oil with Liquid Hoppers
To move oil away from the drilling site, use a liquid hopper. Place it facing the block you want to extract from. You can use the pneumatic wrench to change which direction it pulls. Pair it with a fluid tank to store large amounts of crude oil.
Oil Refinery: Processing Crude Oil
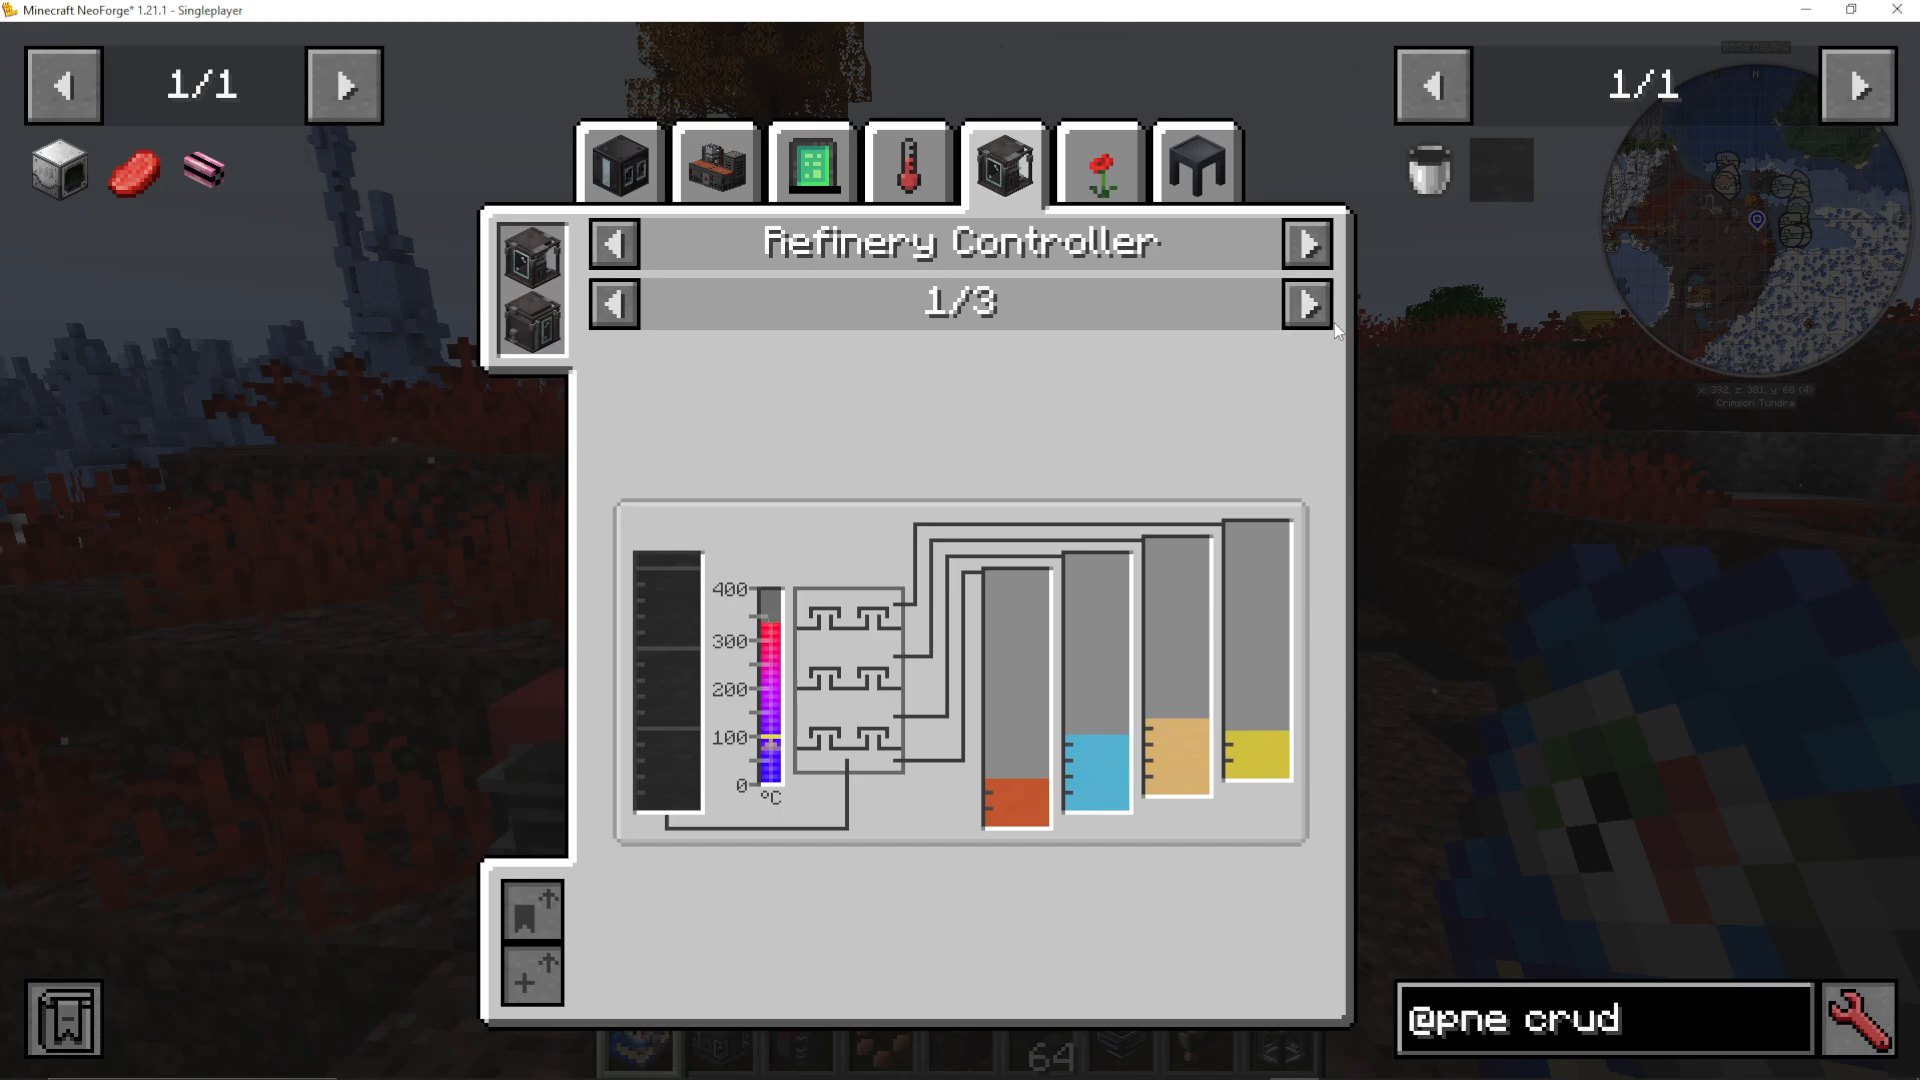
Crude oil can be processed in an oil refinery into more useful fuels. The refinery breaks down crude oil into:
Diesel (requires further processing)
Kerosene (can be made into gasoline)
Gasoline (can be made into LPG)
LPG (can be made into molten plastic)
Building the Oil Refinery
To construct an oil refinery:
Place the refinery controller (the main block)
Add a liquid hopper to input crude oil
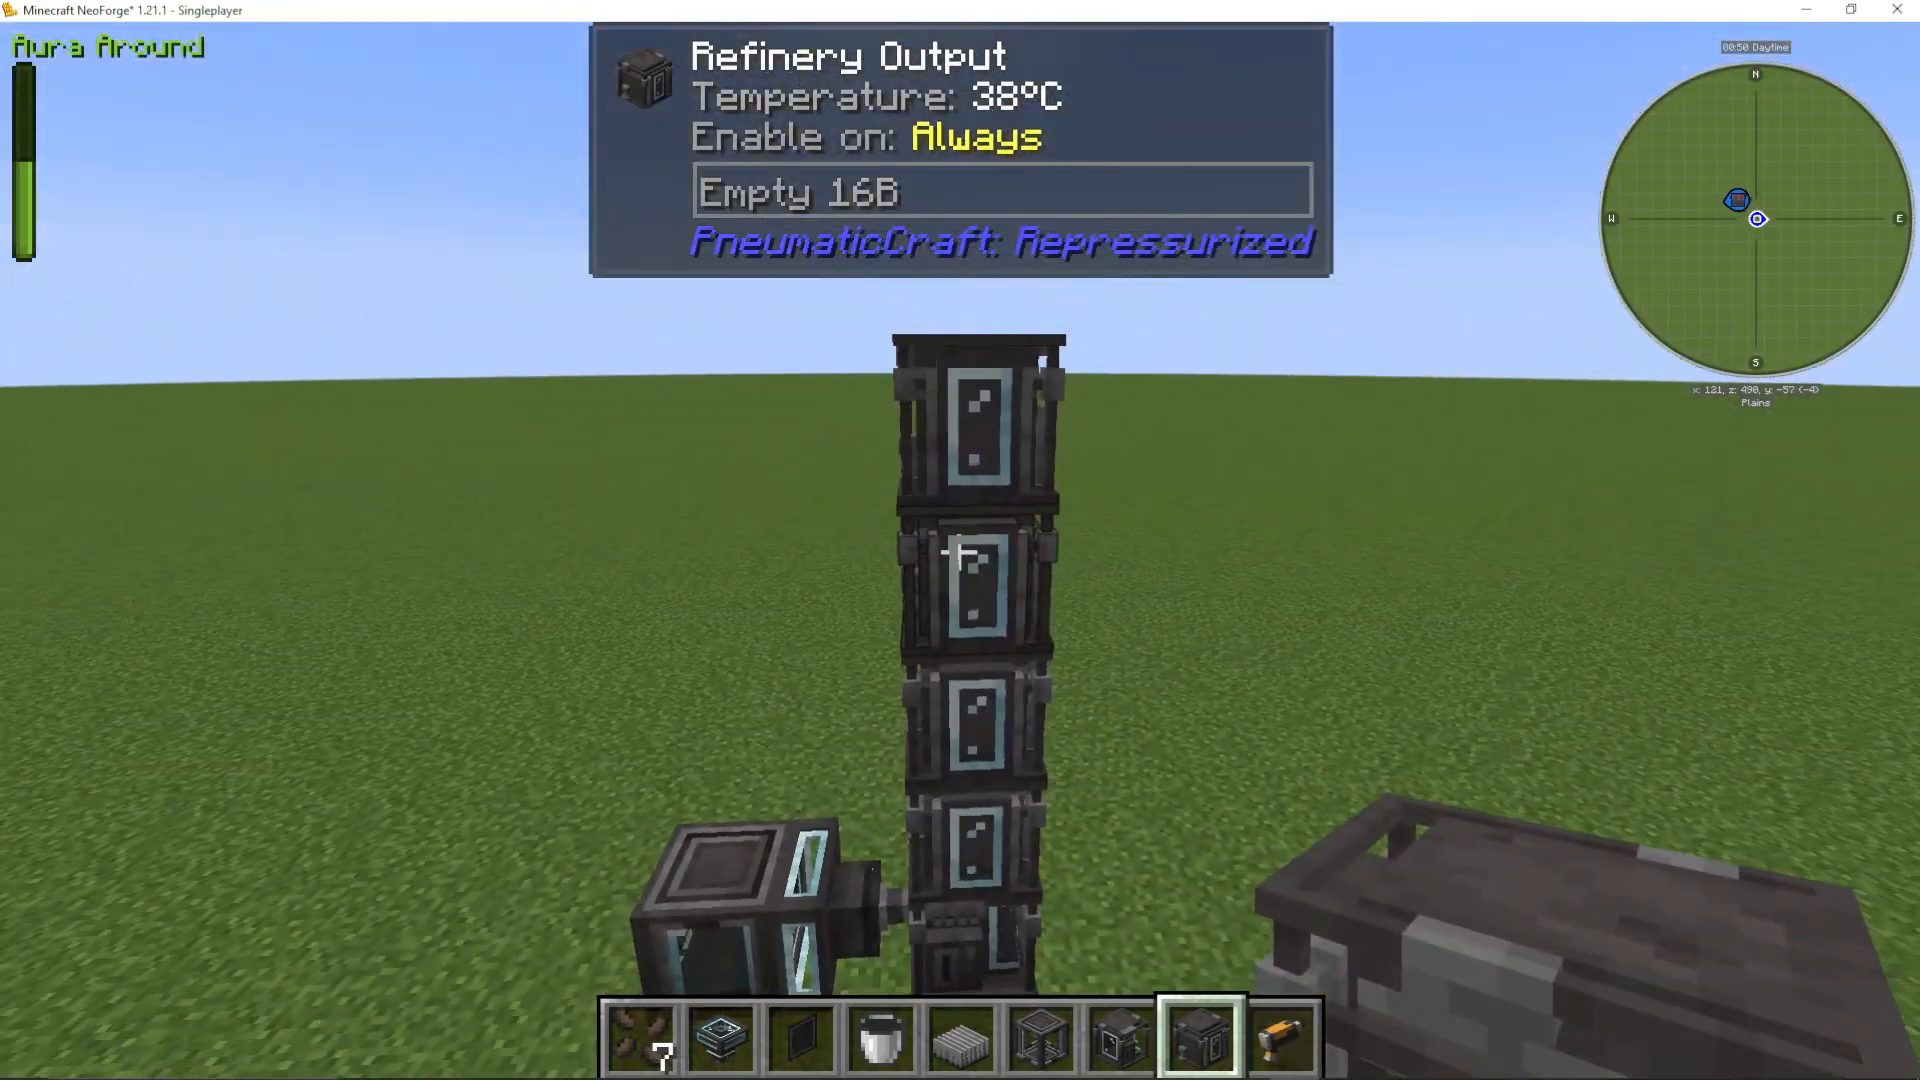
Place four refinery outputs on top of the controller
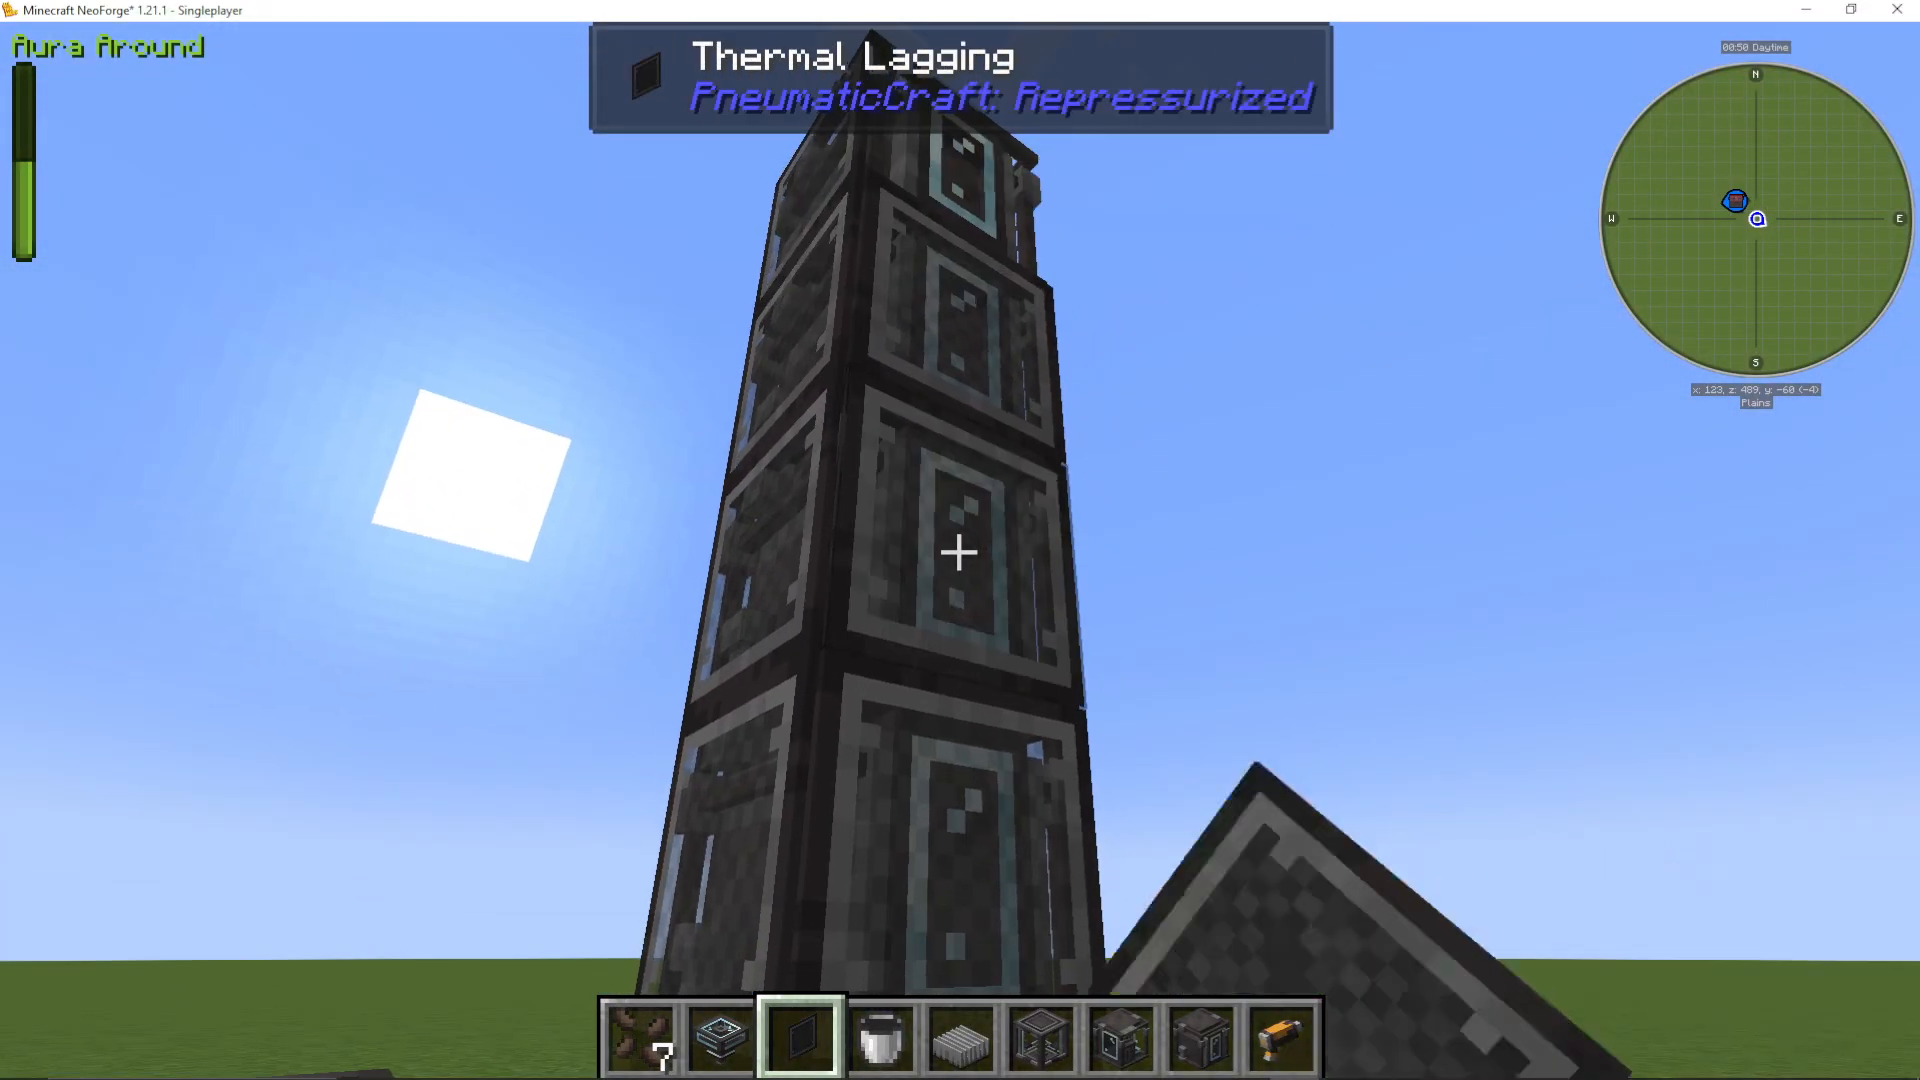
Add thermal lagging to the outputs (made from wool and glass) to prevent heat loss
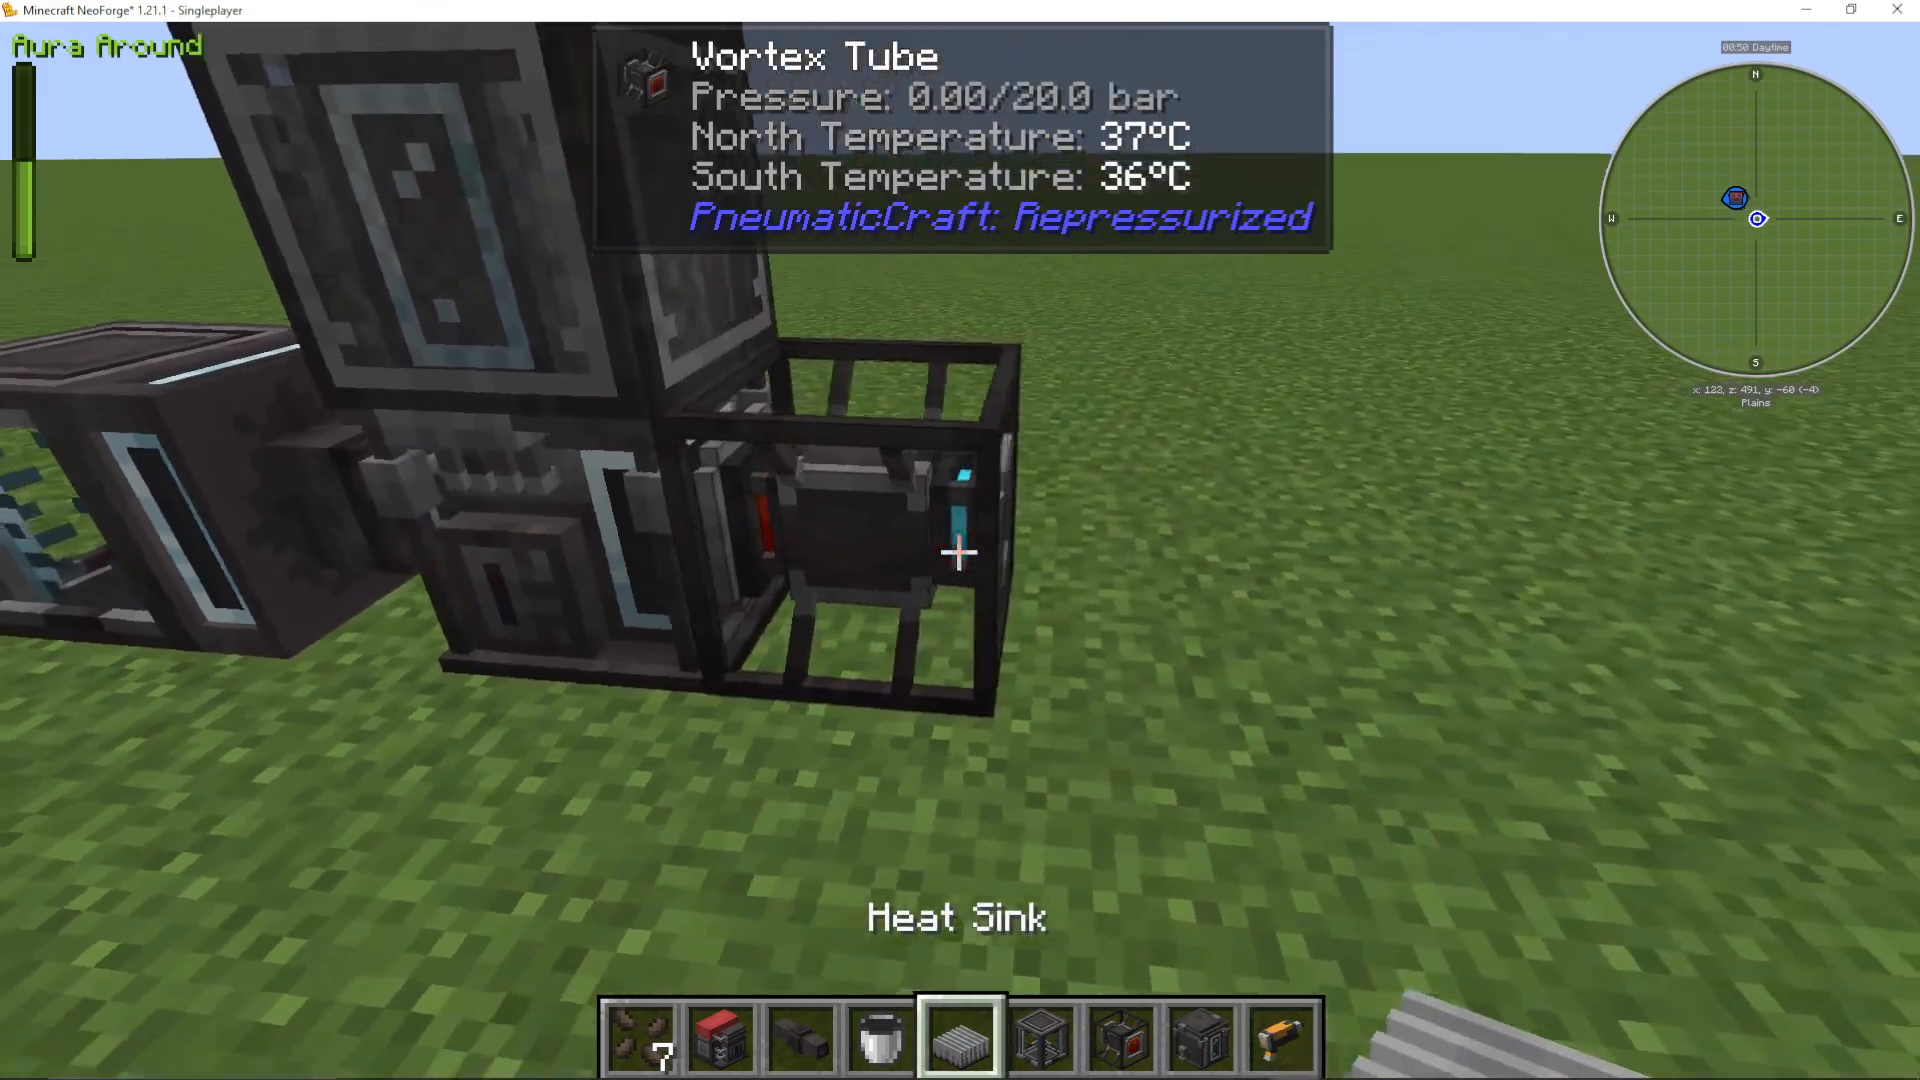
Use a vortex tube and heat sink for heating
Connect a pressure source to the vortex tube
Thermal Lagging and Heat Management
Thermal lagging prevents heat from escaping the refinery. You can shift-click wool and glass onto the outputs to apply it. If you left-click normally, you’ll target the output block; if you shift-click, you’ll target the lagging itself for removal.
Using a Vortex Tube for Heating
The vortex tube creates hot and cold sides. Rotate it so the hot side faces the refinery controller and the cold side faces a heat sink. The pressure from your compressor powers the vortex tube and drives the temperature difference.
Extracting Refined Fuels
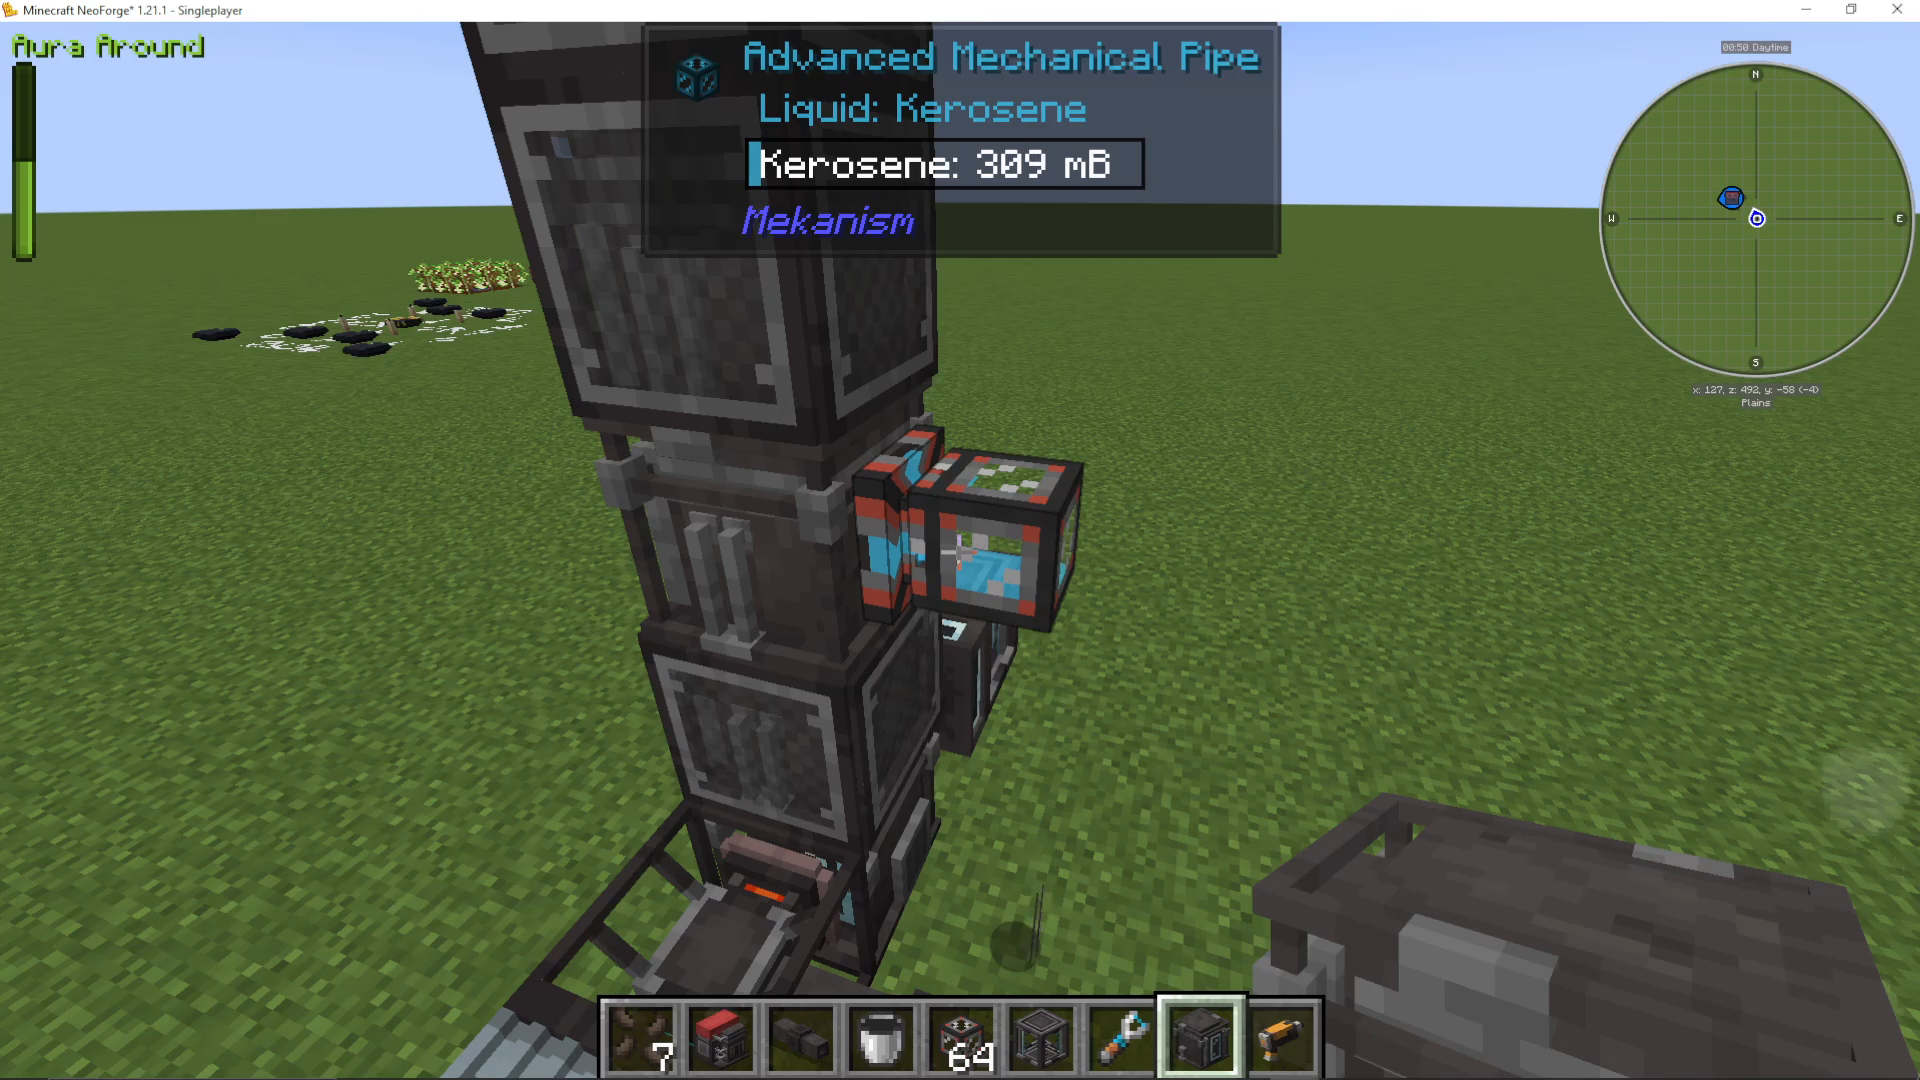
The refinery produces four different fuels in the following order from bottom to top:
Bottom: Diesel
Third: Gasoline
Second: Kerosene
Top: LPG
Connect mechanical cables or other fluid pipes from each output to transport the refined products.
Thermopneumatic Processing: Making Plastic
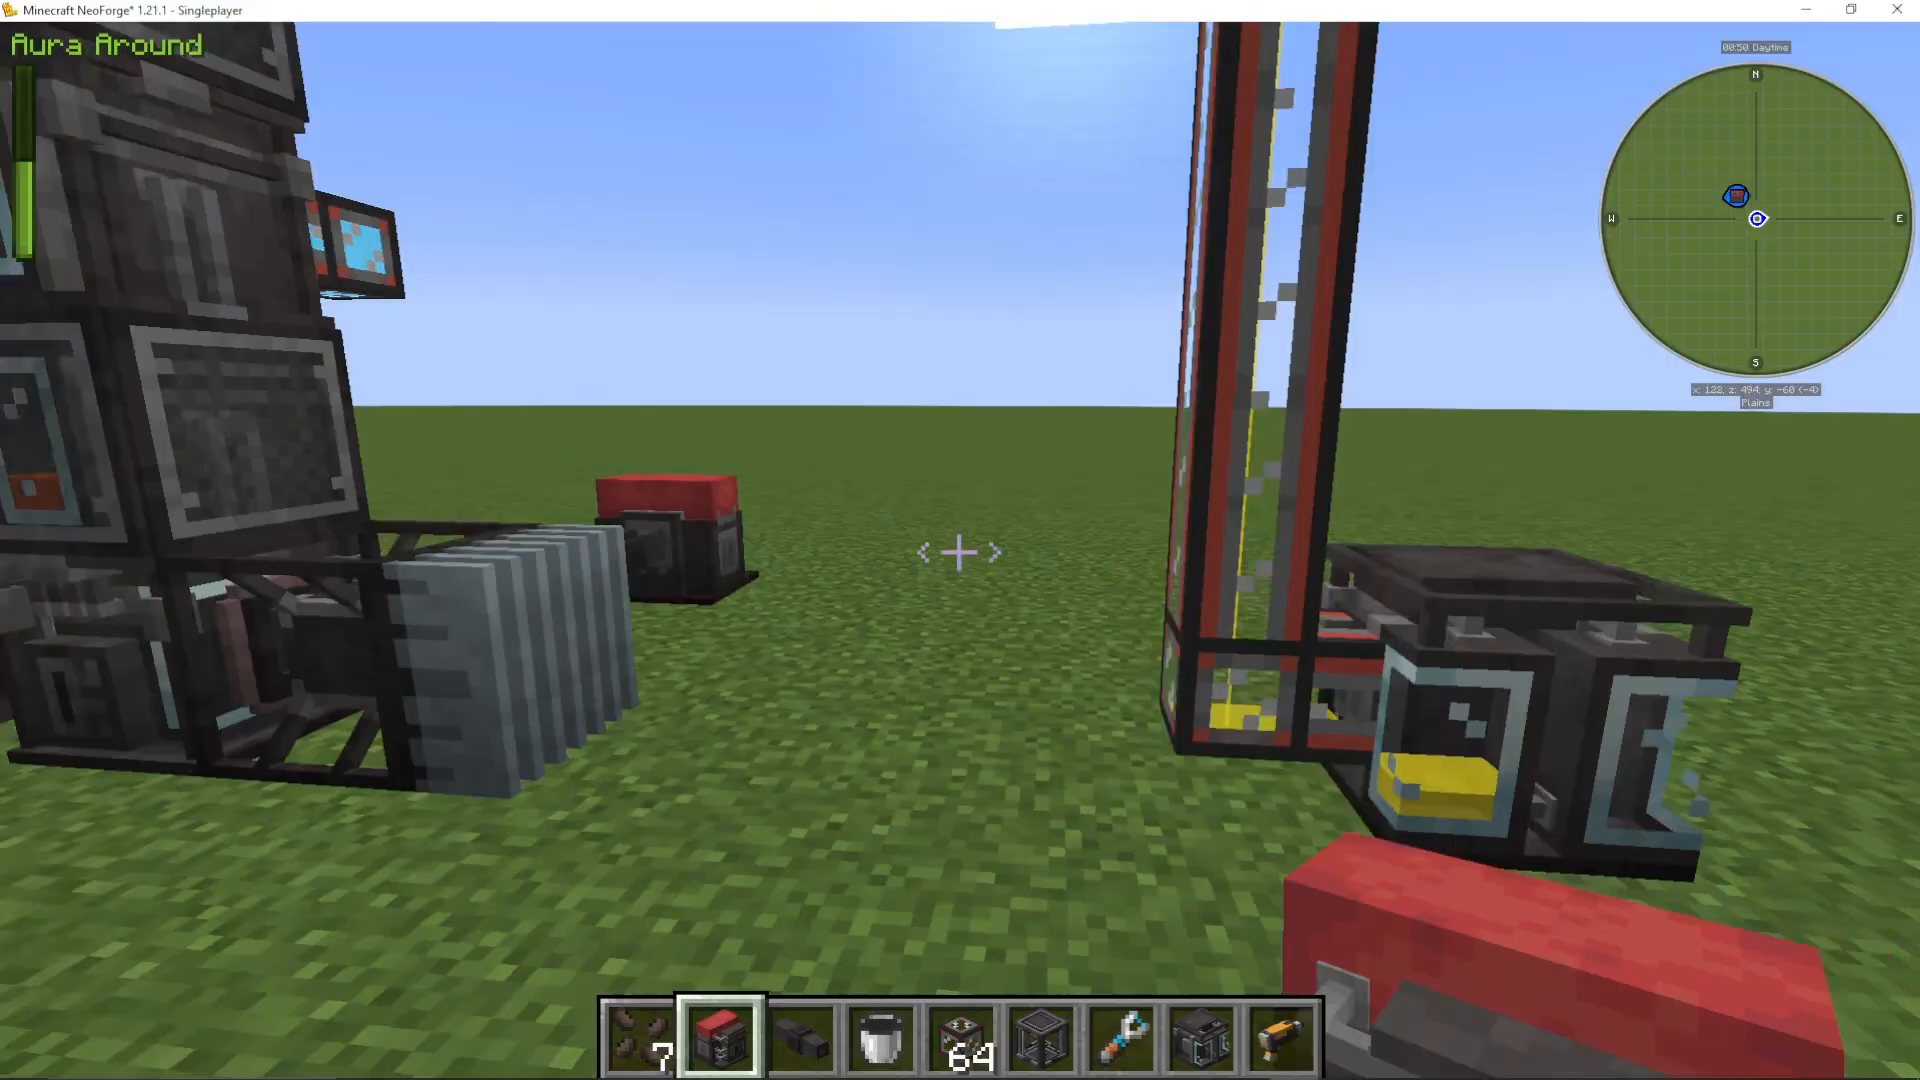
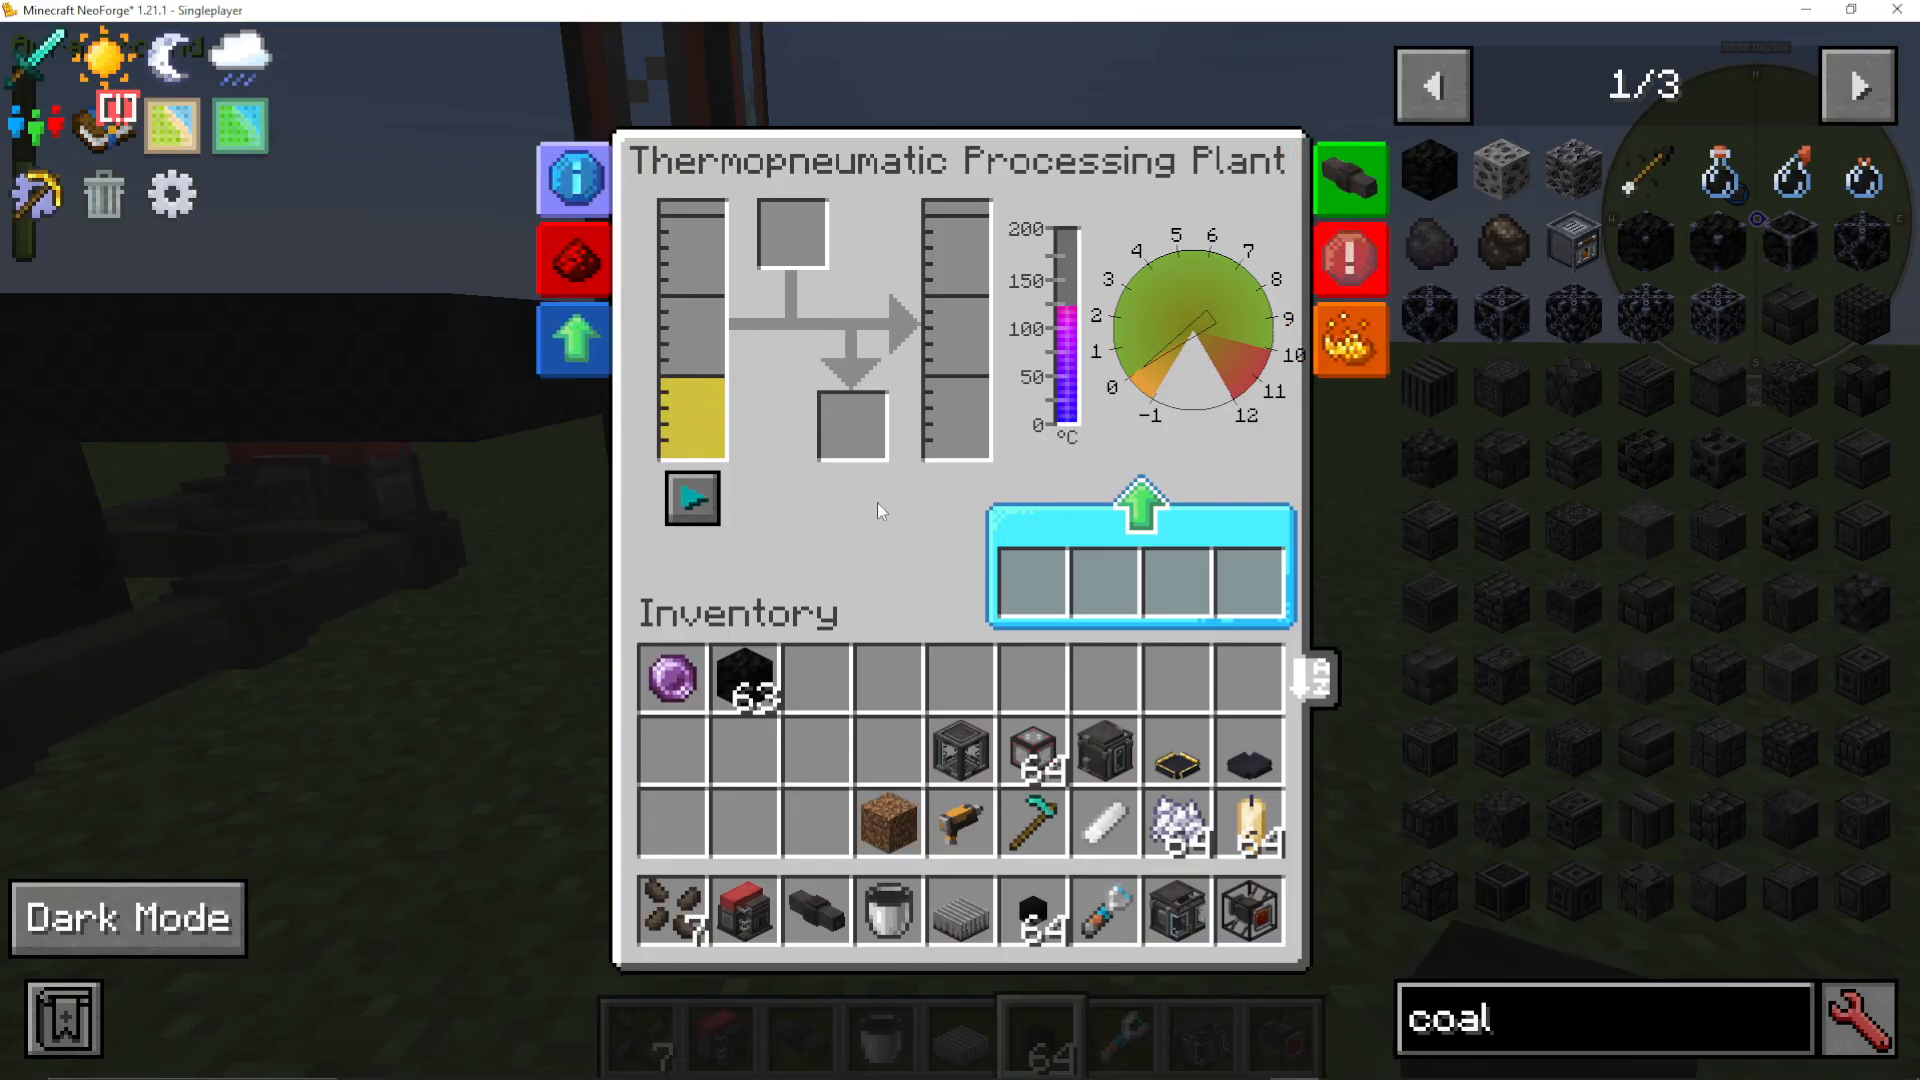
To create molten plastic (which solidifies into plastic sheets), you’ll use the Thermopneumatic Processing Plant. This machine combines LPG with heat and coal to produce molten plastic.
Heat Pipes and Heat Distribution
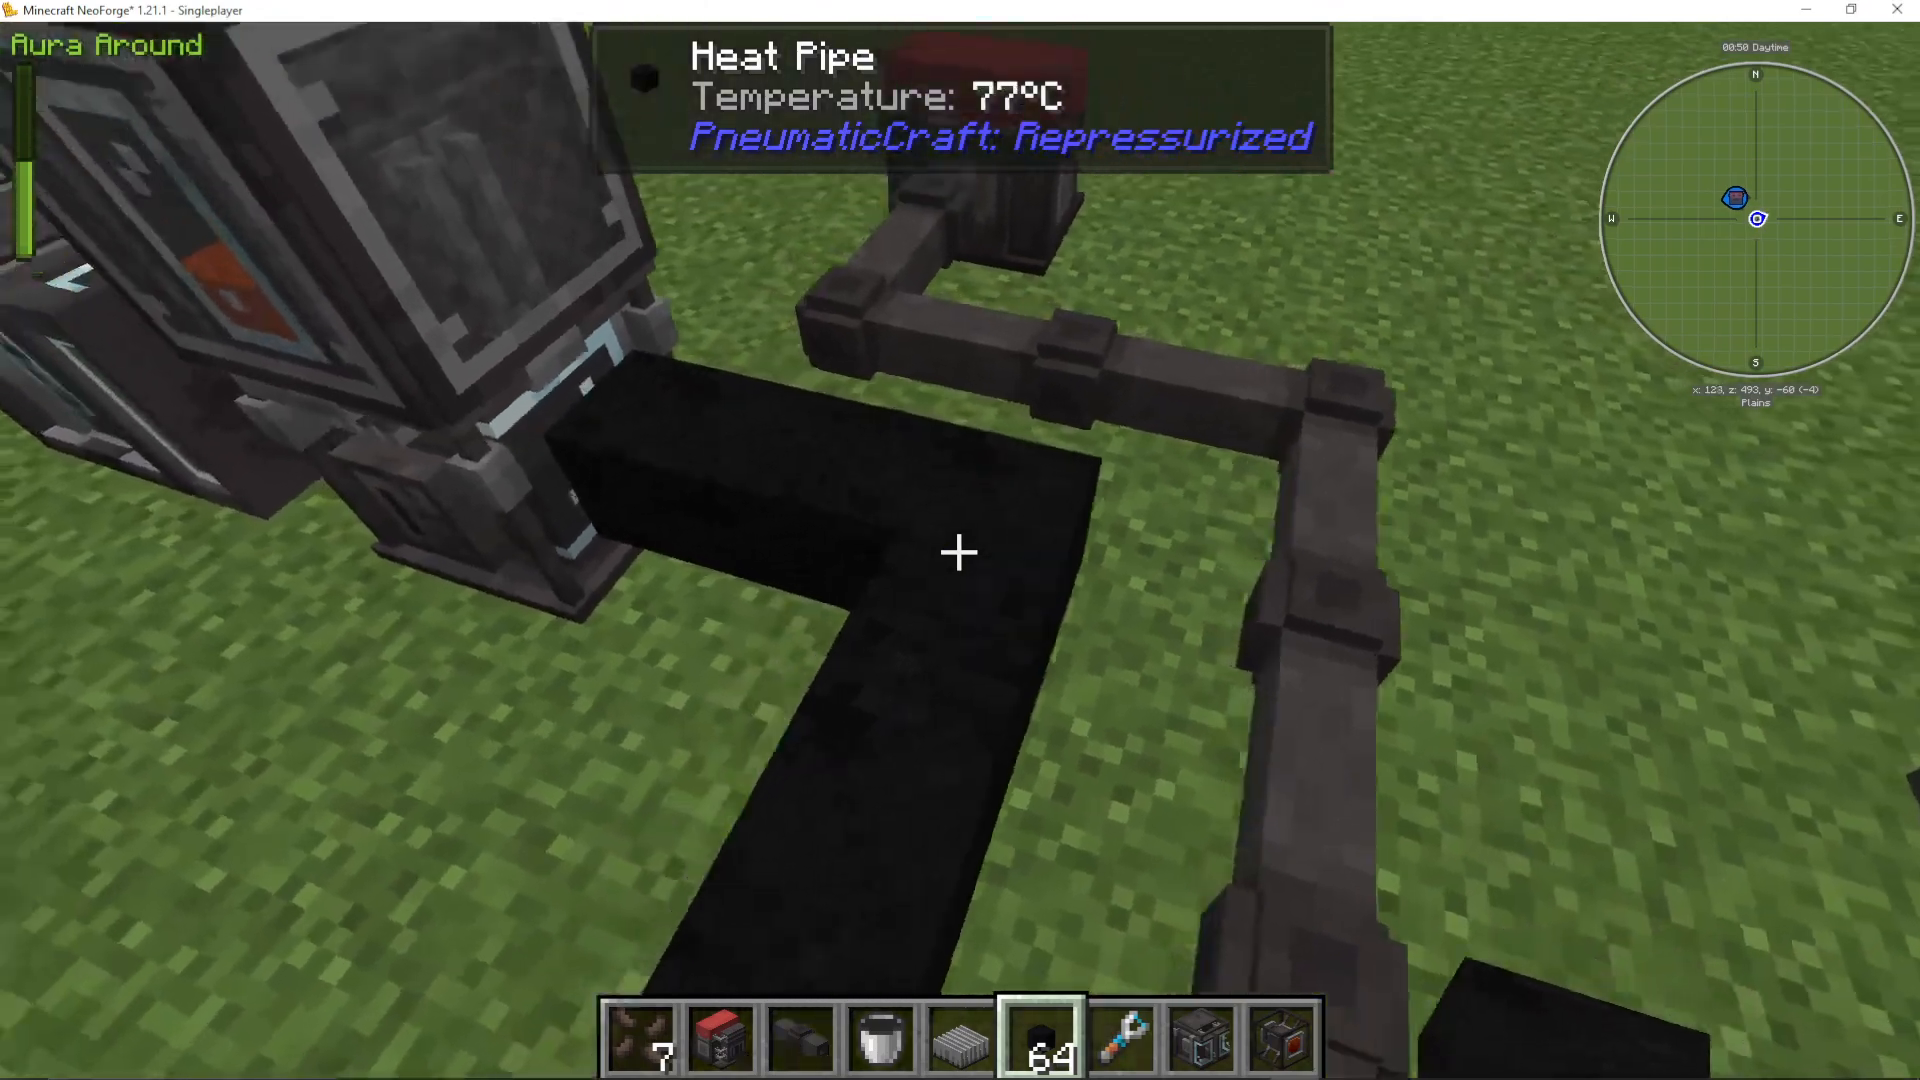
Heat pipes are incredibly useful for transferring heat without losing any. They’re made from compressed iron and allow you to distribute heat from your vortex tube to multiple machines efficiently. This means you can power your refinery, processing plant, and other heat-requiring machines all from a single heat source.
Processing LPG into Plastic
Once your refinery is producing LPG:
Input the LPG into the Thermopneumatic Processing Plant
Add coal (must be individual coal items, not coal blocks)
Connect heat pipes from your vortex tube
Apply thermal lagging to prevent heat loss
As the machine heats up and processes, it produces molten plastic
Cooling Molten Plastic into Sheets
Molten plastic must be cooled to become usable plastic sheets. You can:
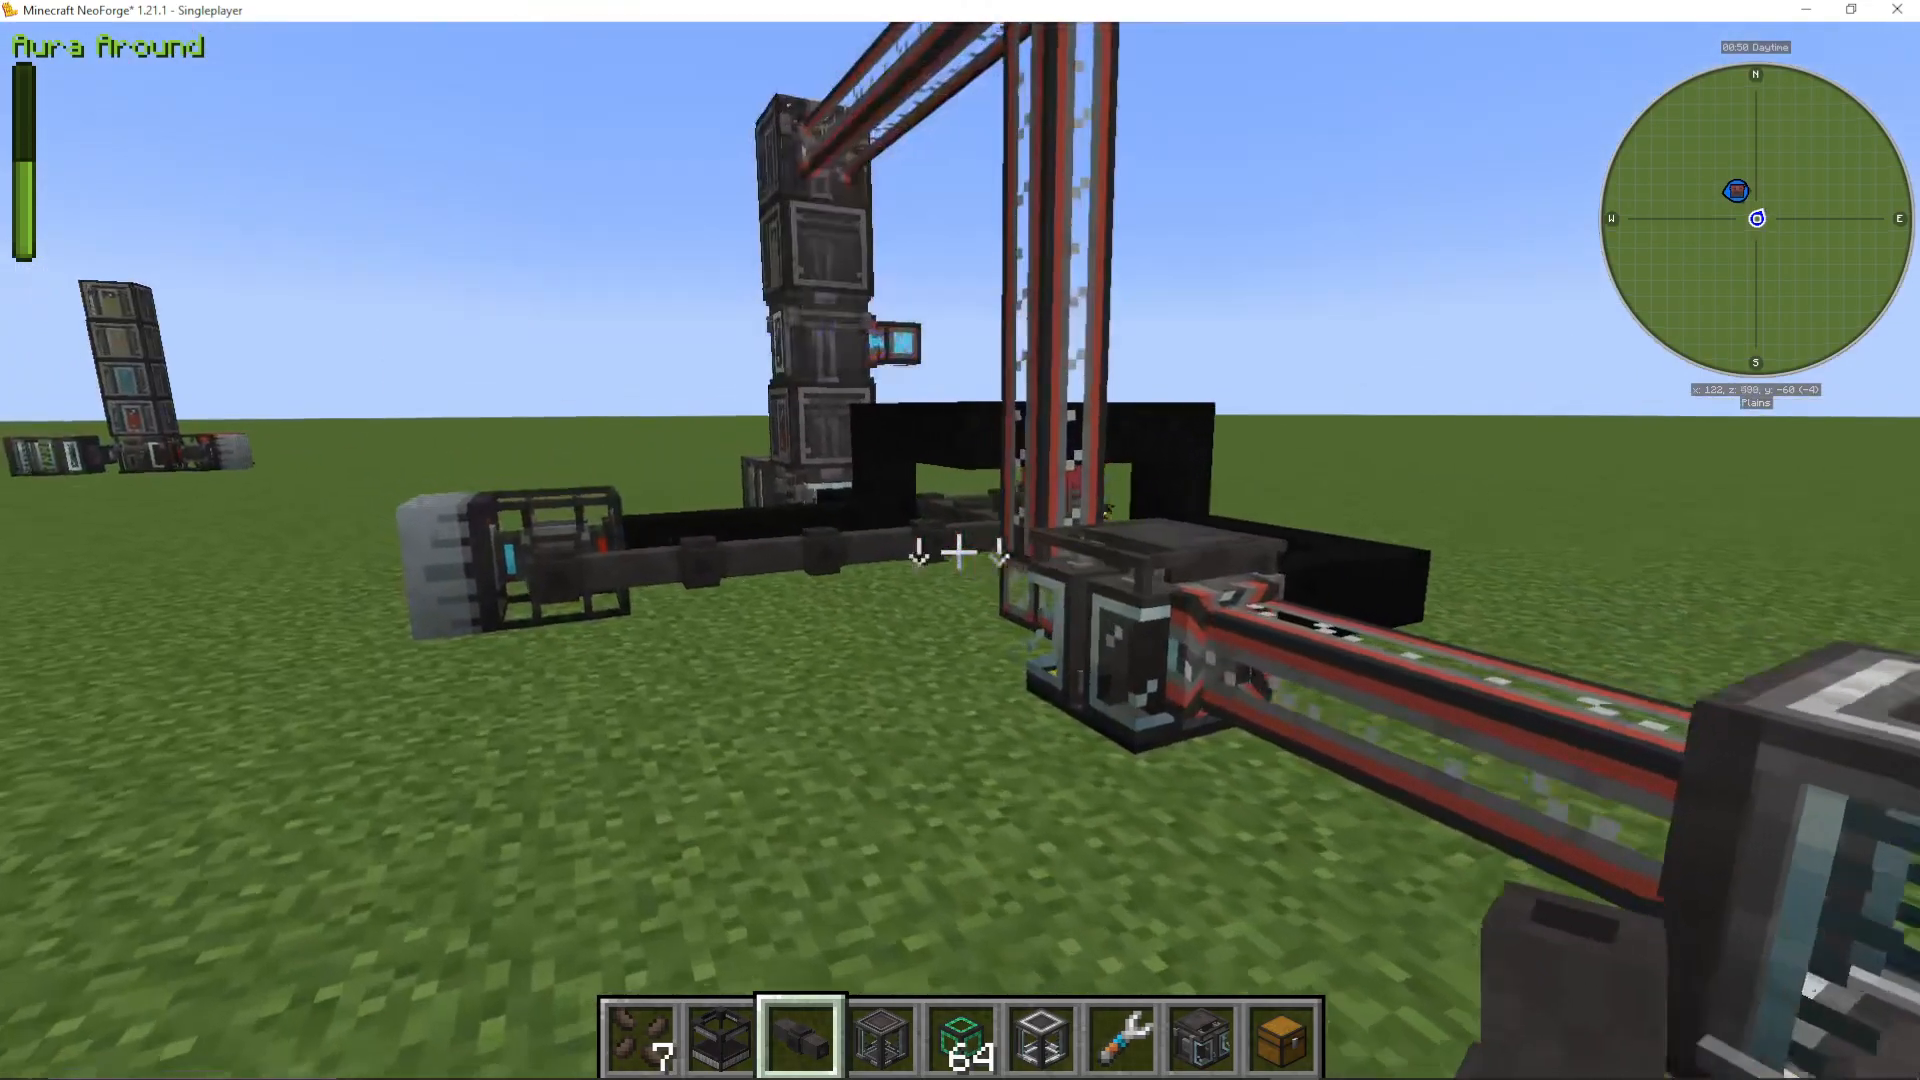
Place a heat frame on top of a chest containing molten plastic buckets
Connect the cold side of your vortex tube to the heat frame
As the molten plastic cools, it solidifies into plastic sheets
PCBs: Printed Circuit Boards
Introduction to PCBs
Printed Circuit Boards (PCBs) are essential components in PneumaticCraft. They’re used in advanced machines, drones, armor, and more. Creating PCBs is a multi-step process, but each step is straightforward.
Step 1: The Amadron Tablet and Trading
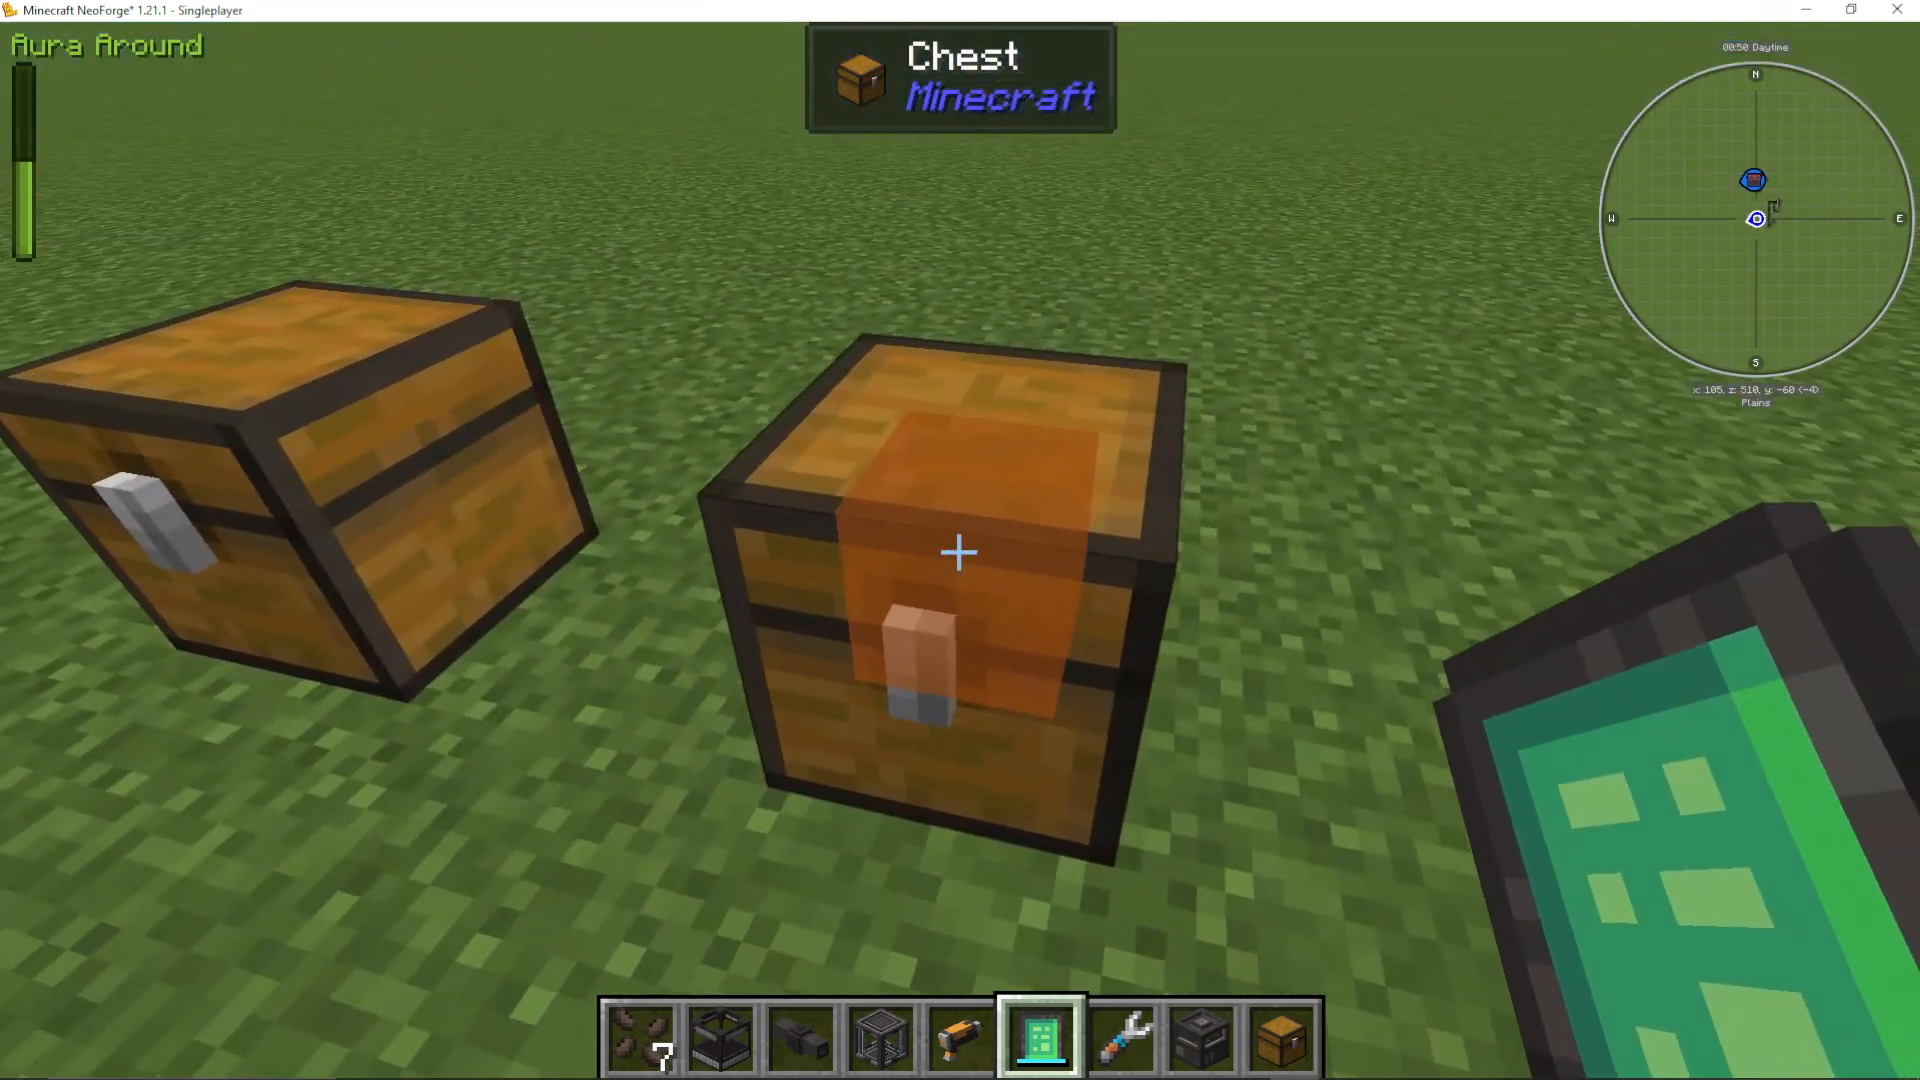
The Amadron Tablet is a remarkable trading device. First, you’ll need to purchase a PCB blueprint from it using emeralds. Here’s how:
Charge the tablet in a charging station with pressure
Shift right-click a chest to mark it as your trading inventory
Open the tablet interface and browse available trades
Add a PCB blueprint to your order (costs 8 emeralds)
Place the order, and a drone will deliver your blueprint
Step 2: Creating Empty PCBs
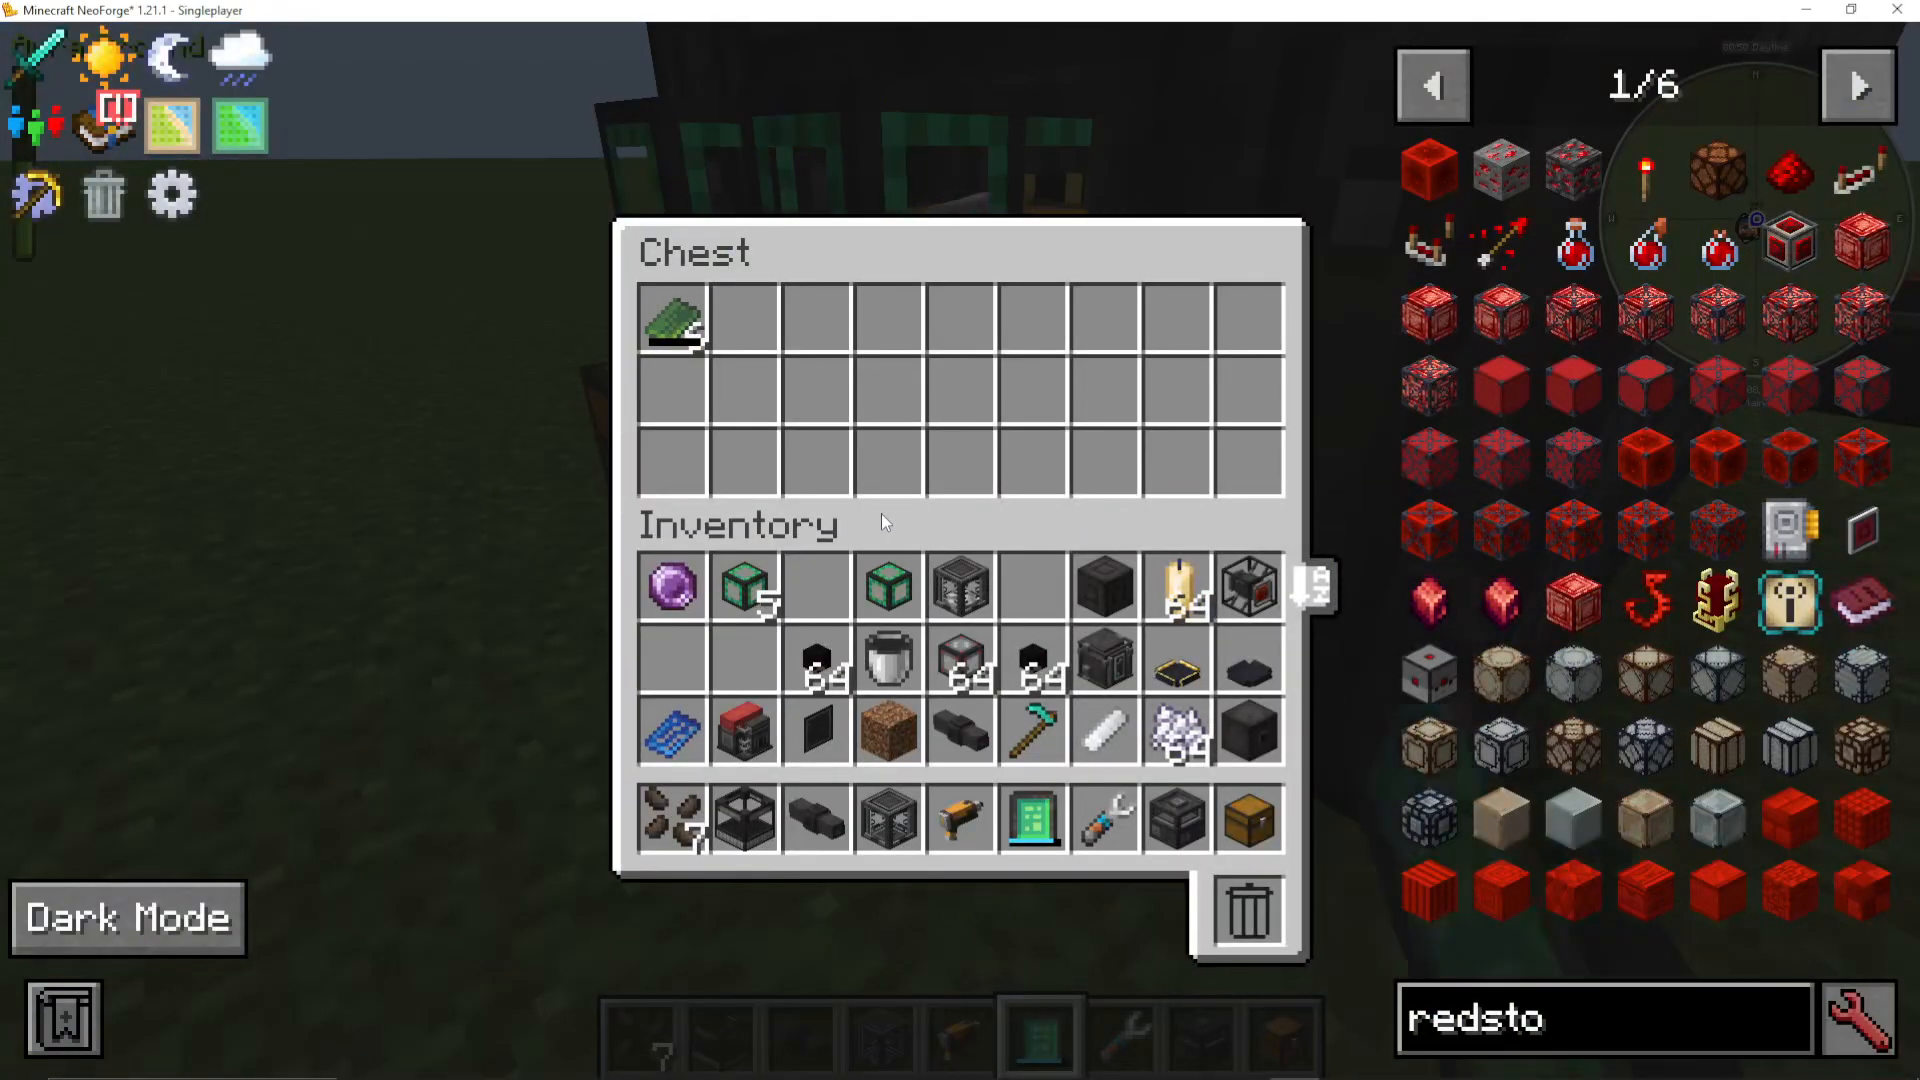
In a pressure chamber, craft empty PCBs using:
Plastic sheets
Gold or copper nuggets
Two redstone torches
Requires 1.5 bar of pressure
Note: If using pipes from other mods like Mekanism, they may input one item at a time, so patience is required.
Step 3: UV Light Box Processing
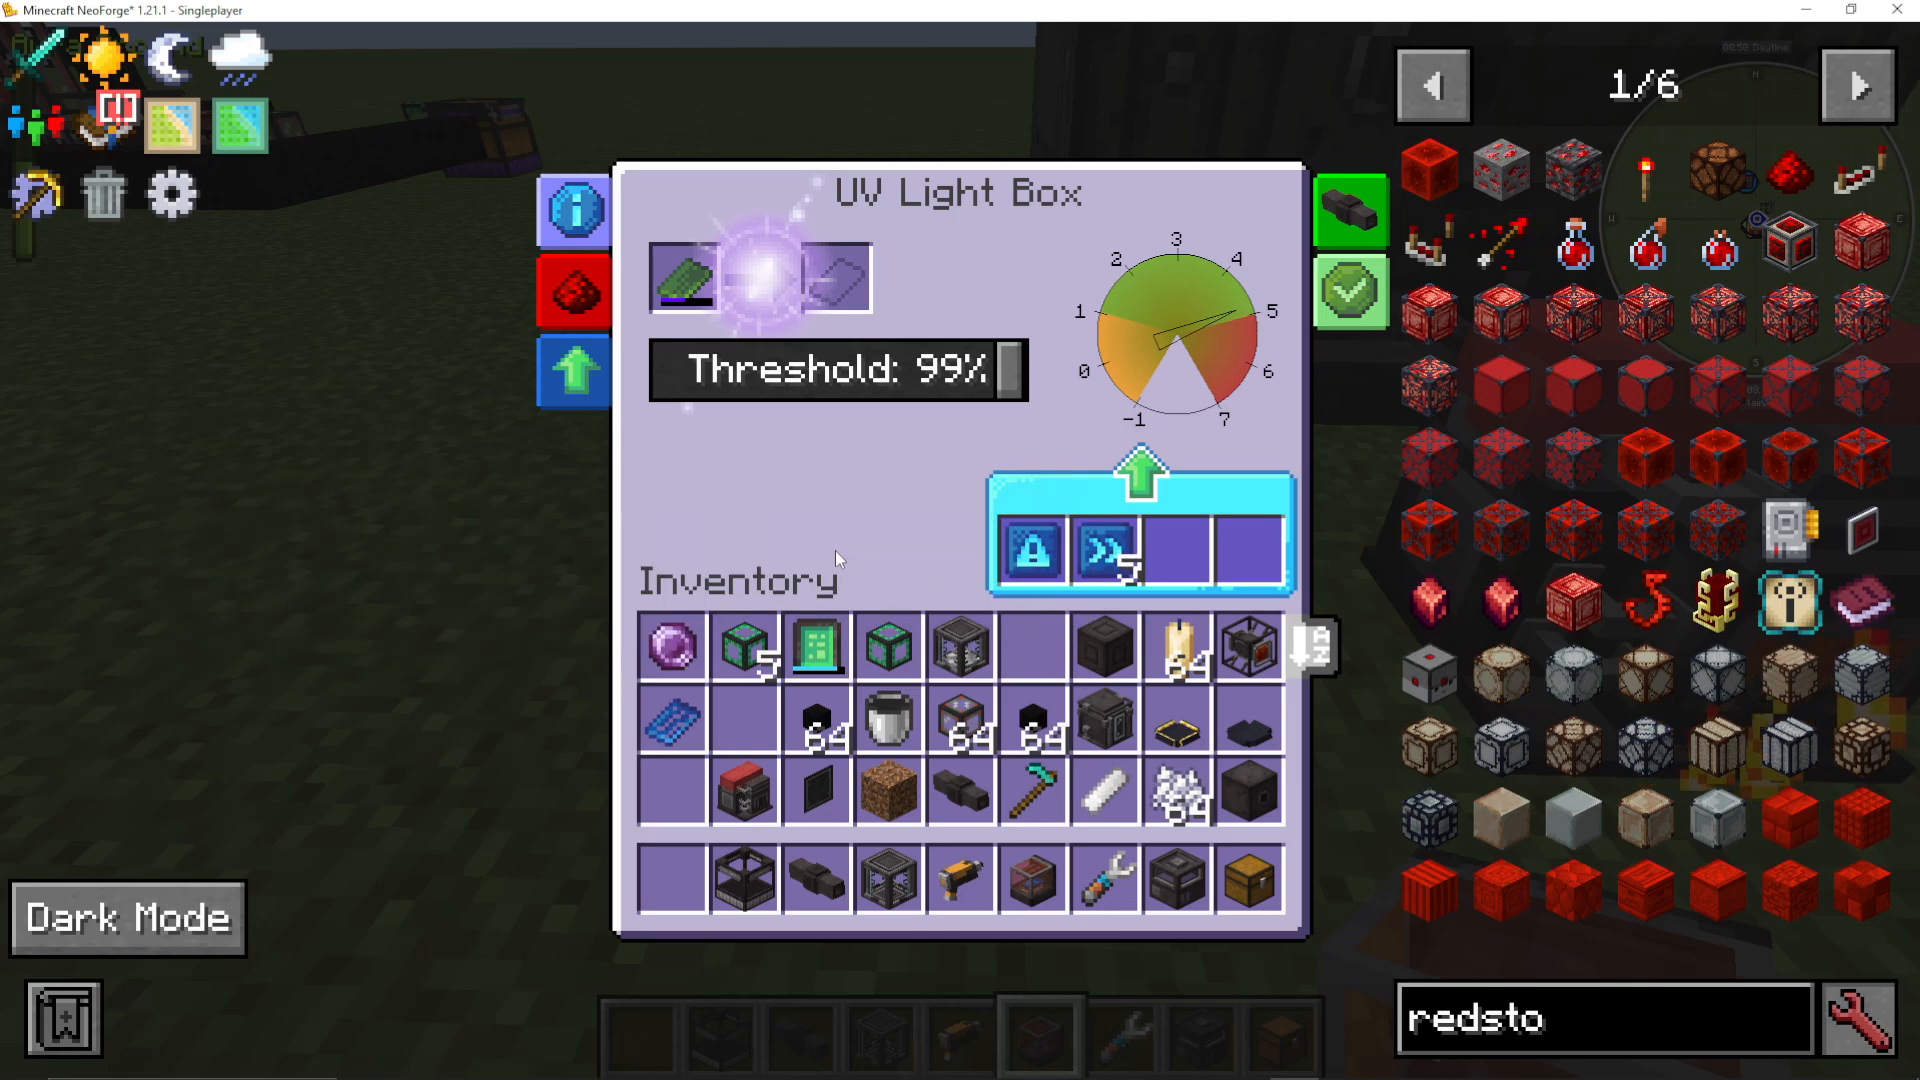
The UV light box exposes empty PCBs to sunlight to activate them. Requirements:
Must be exposed to the sky (direct sunlight)
Requires at least 1 bar of pressure
Speed upgrades significantly reduce processing time
Success chance increases gradually; aim for 80-100% before extraction
Step 4: Etching Tank
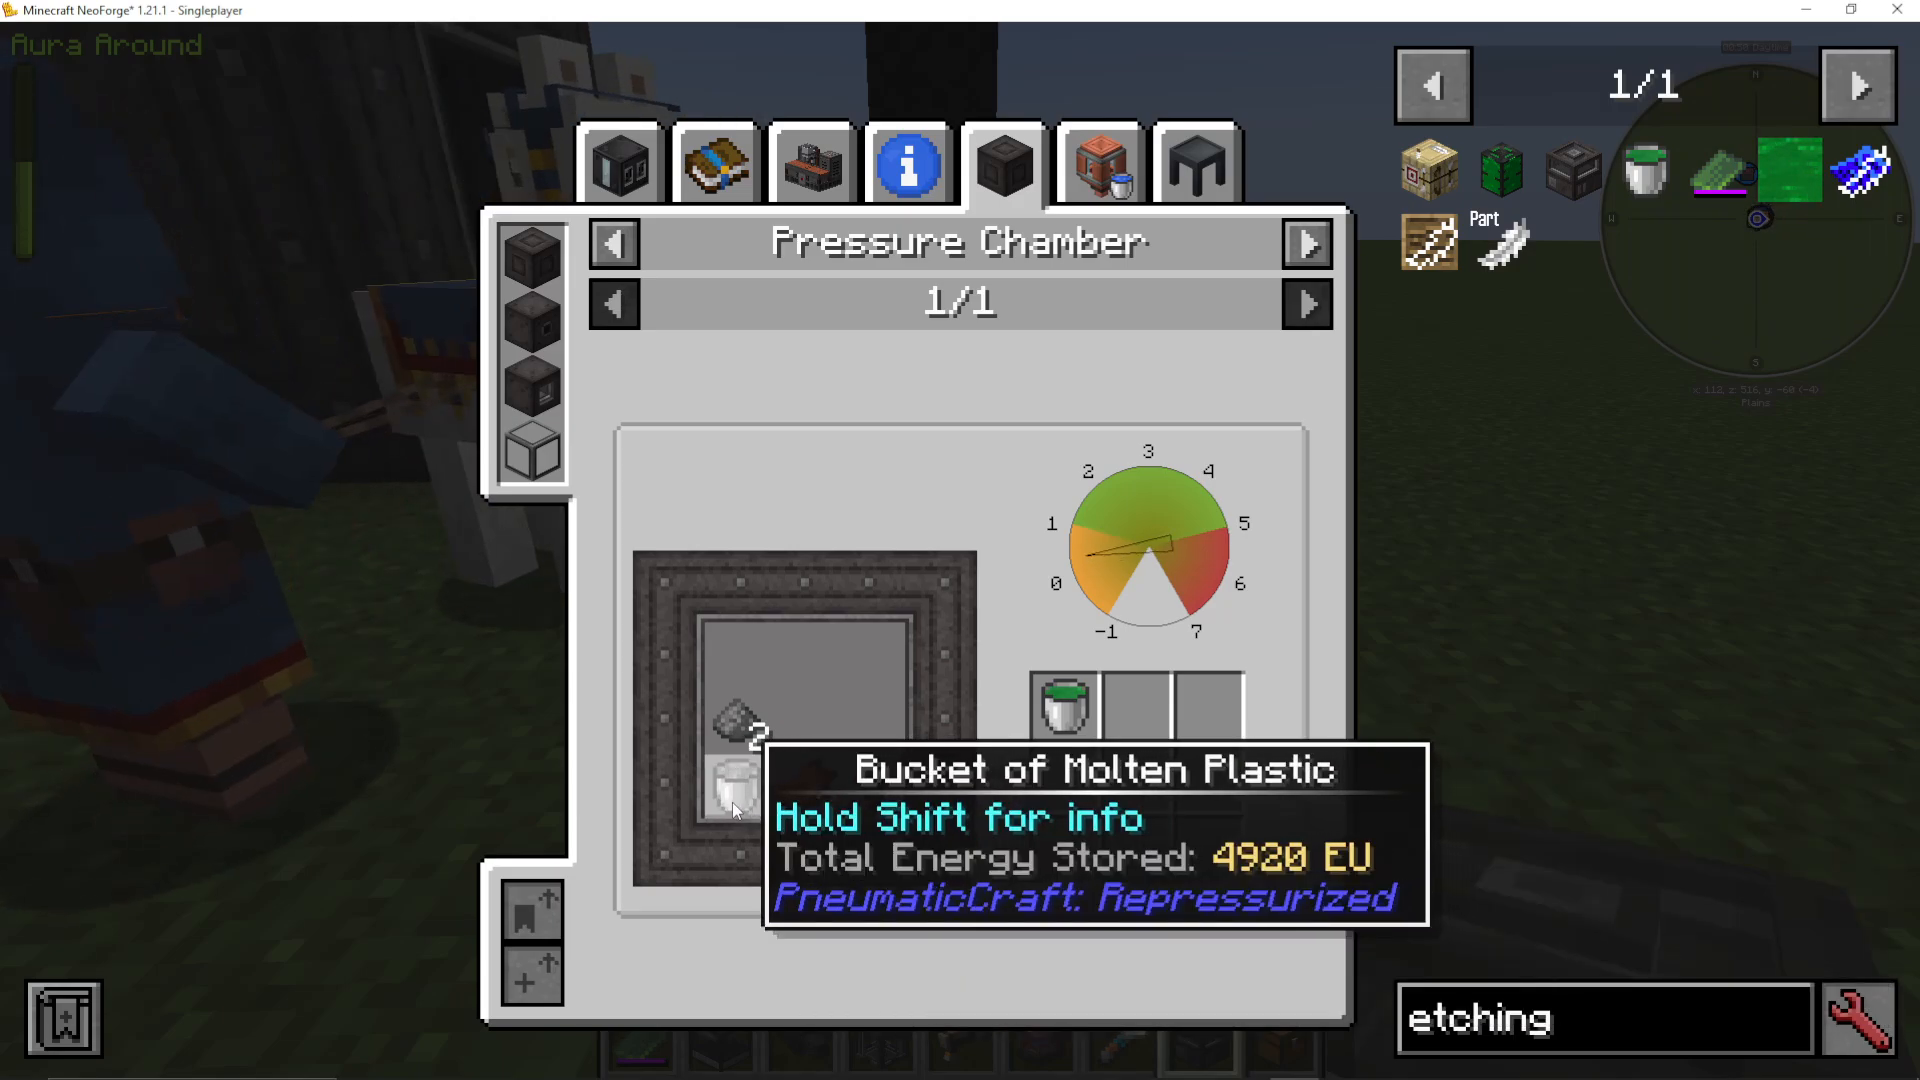
The etching tank requires etching fluid, which is created in a pressure chamber using:
A bucket of molten plastic
Two rotten flesh
Two spider eyes
Two gunpowder
Once the etching fluid is ready, bucket it into the etching tank and place your UV-exposed PCBs inside. The etching progress will increase over time.
Step 5: Assembling Finished PCBs
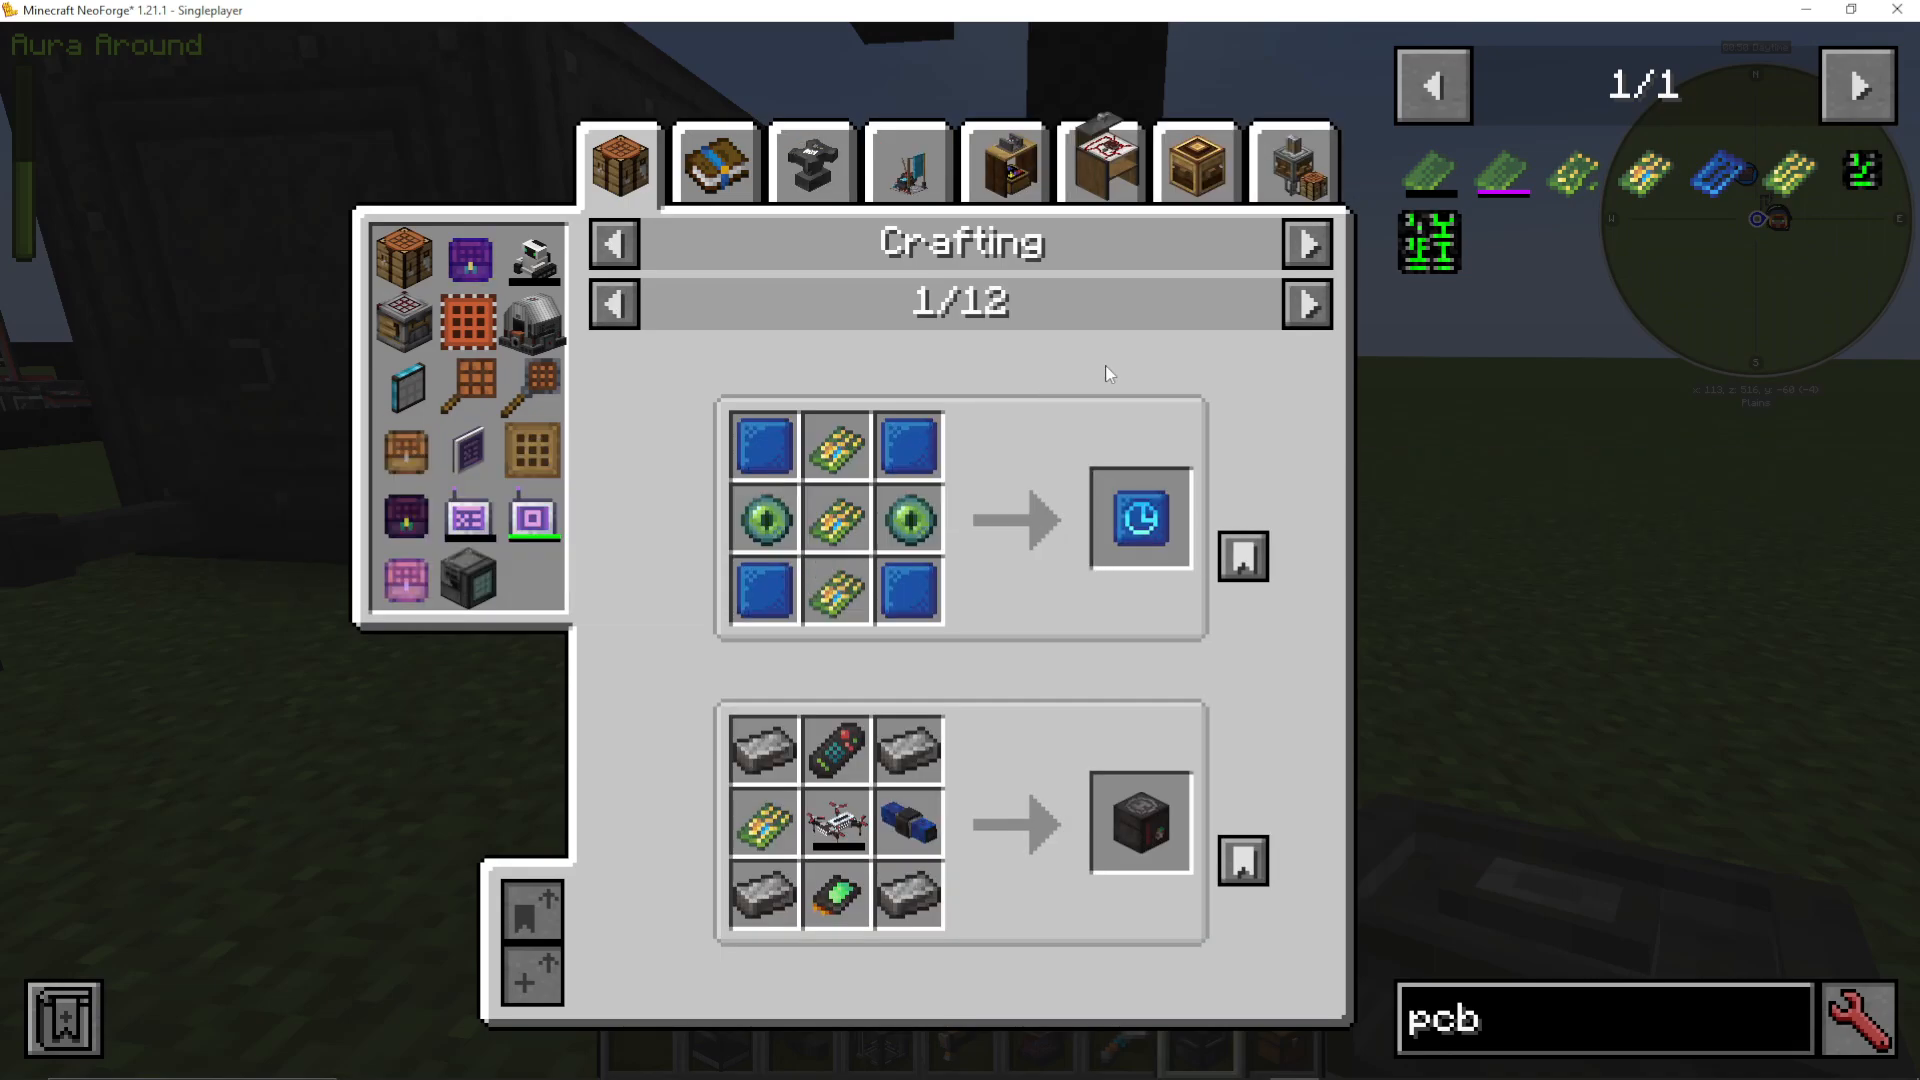
After etching, you’ll get an unassembled PCB. Craft it together with:
Transistors (made in a pressure chamber with plastic sheet, redstone, and nuggets)
Capacitors (made in a pressure chamber with plastic sheet, slime ball, and gold nuggets)
The result is a finished PCB, which is used in advanced machines, drones, armor, and more.
Assembly Lines: Automated Crafting
Assembly lines are where PneumaticCraft gets truly powerful. They can automatically craft advanced items using various tools. While they might look complicated, they’re actually straightforward once you understand the basic components.
Core Components
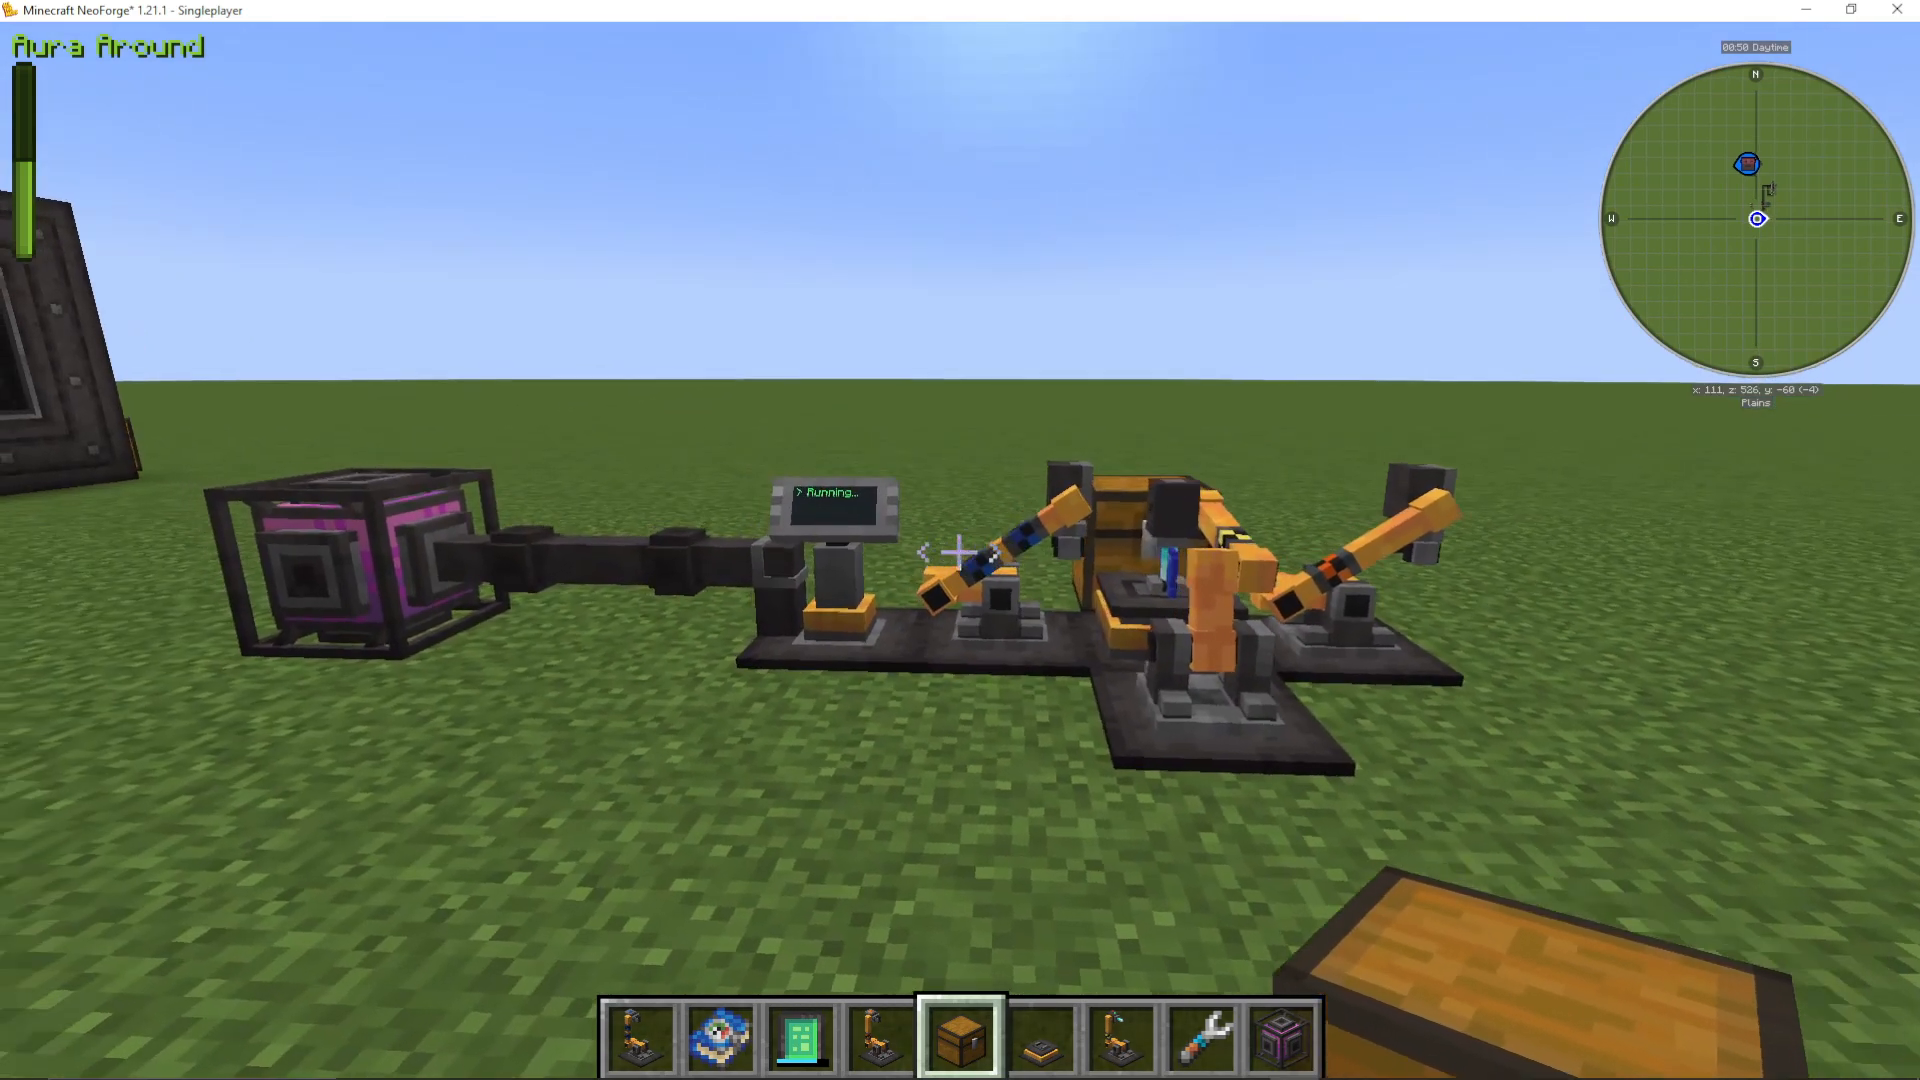
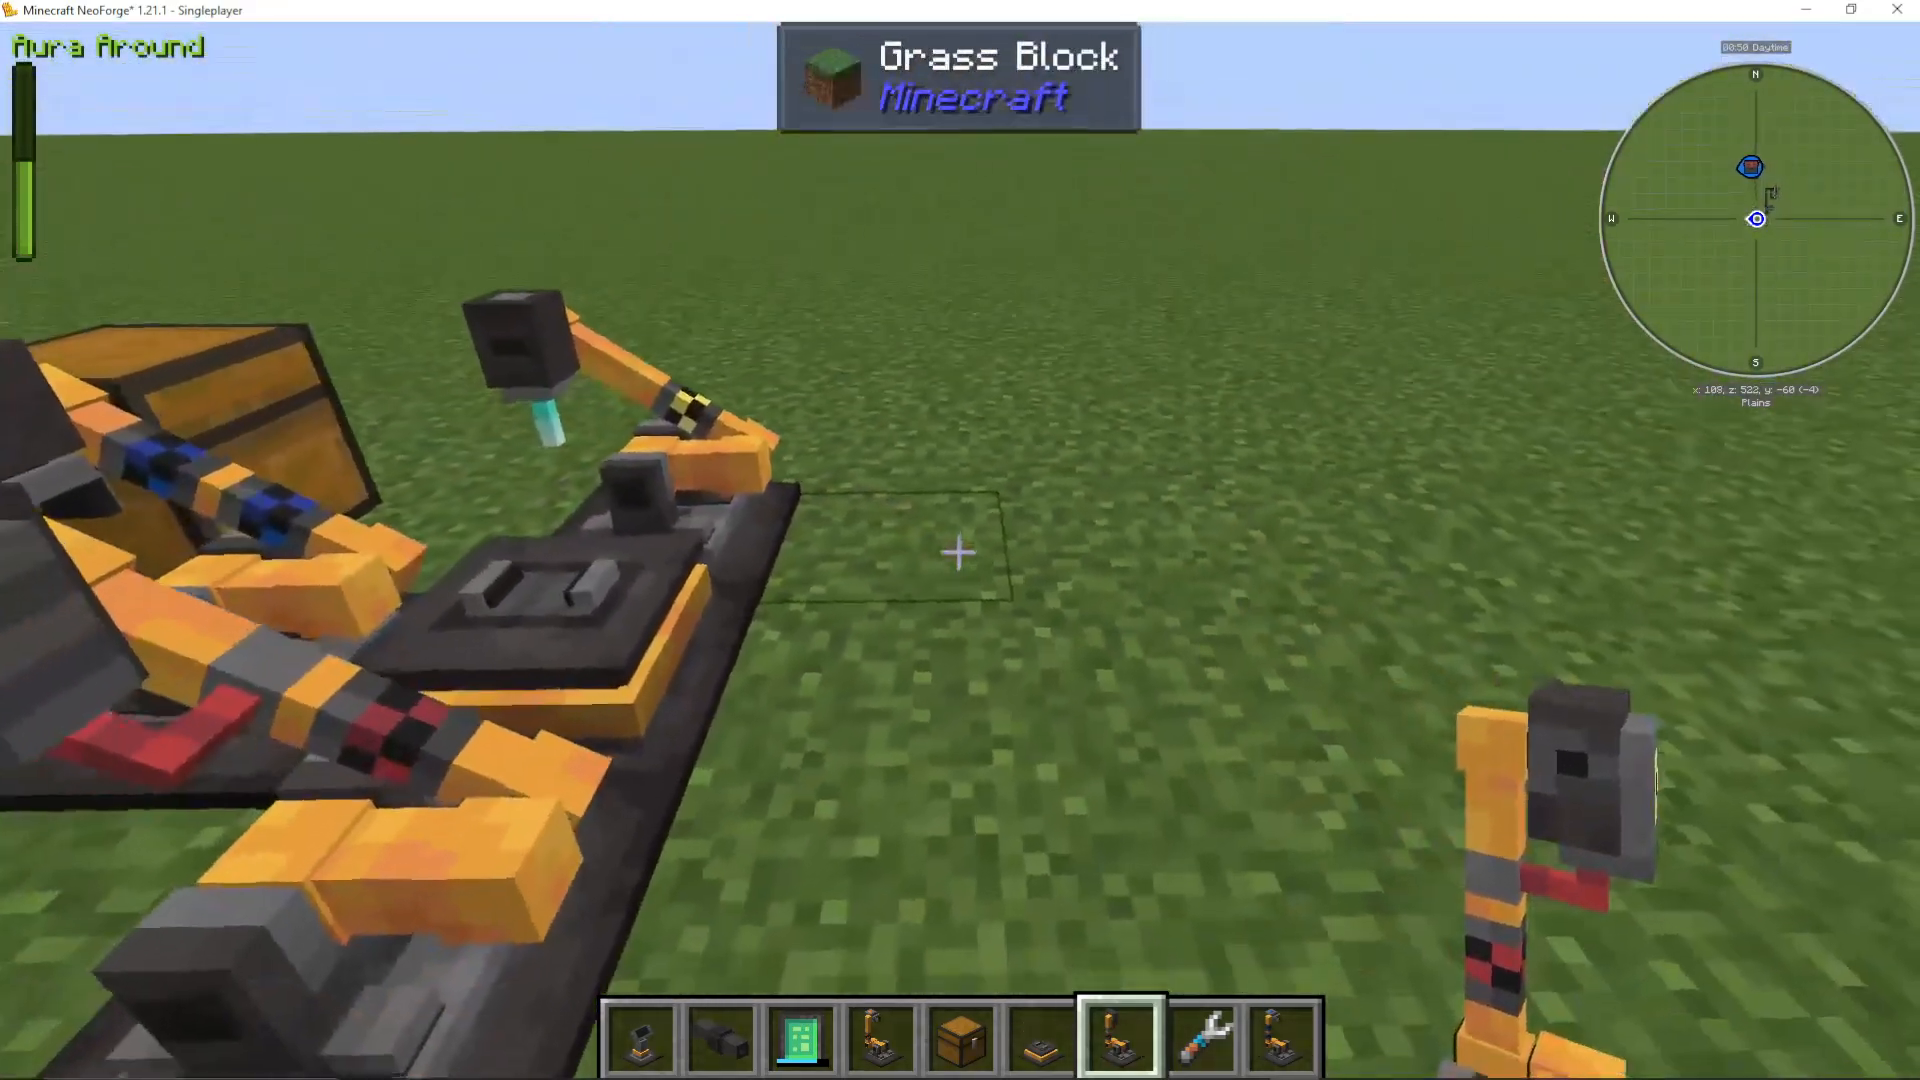
An assembly line consists of:
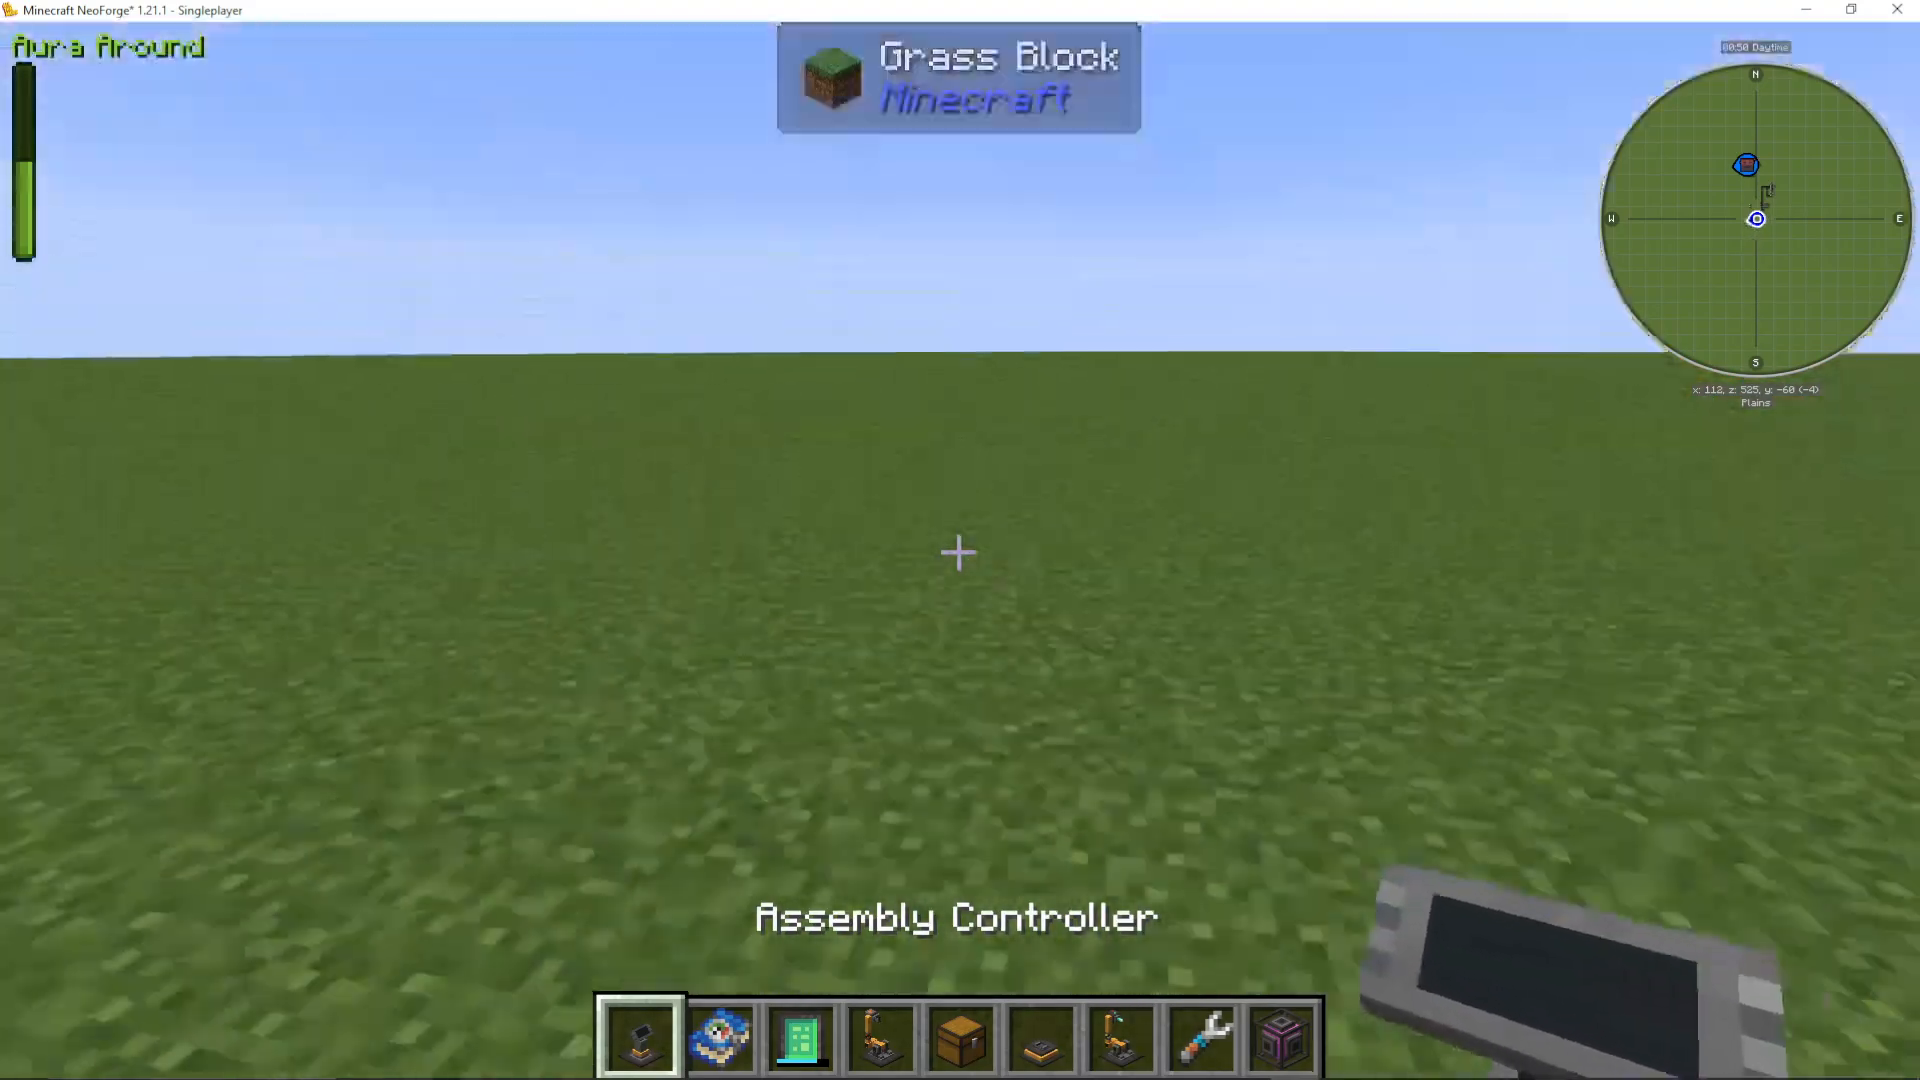
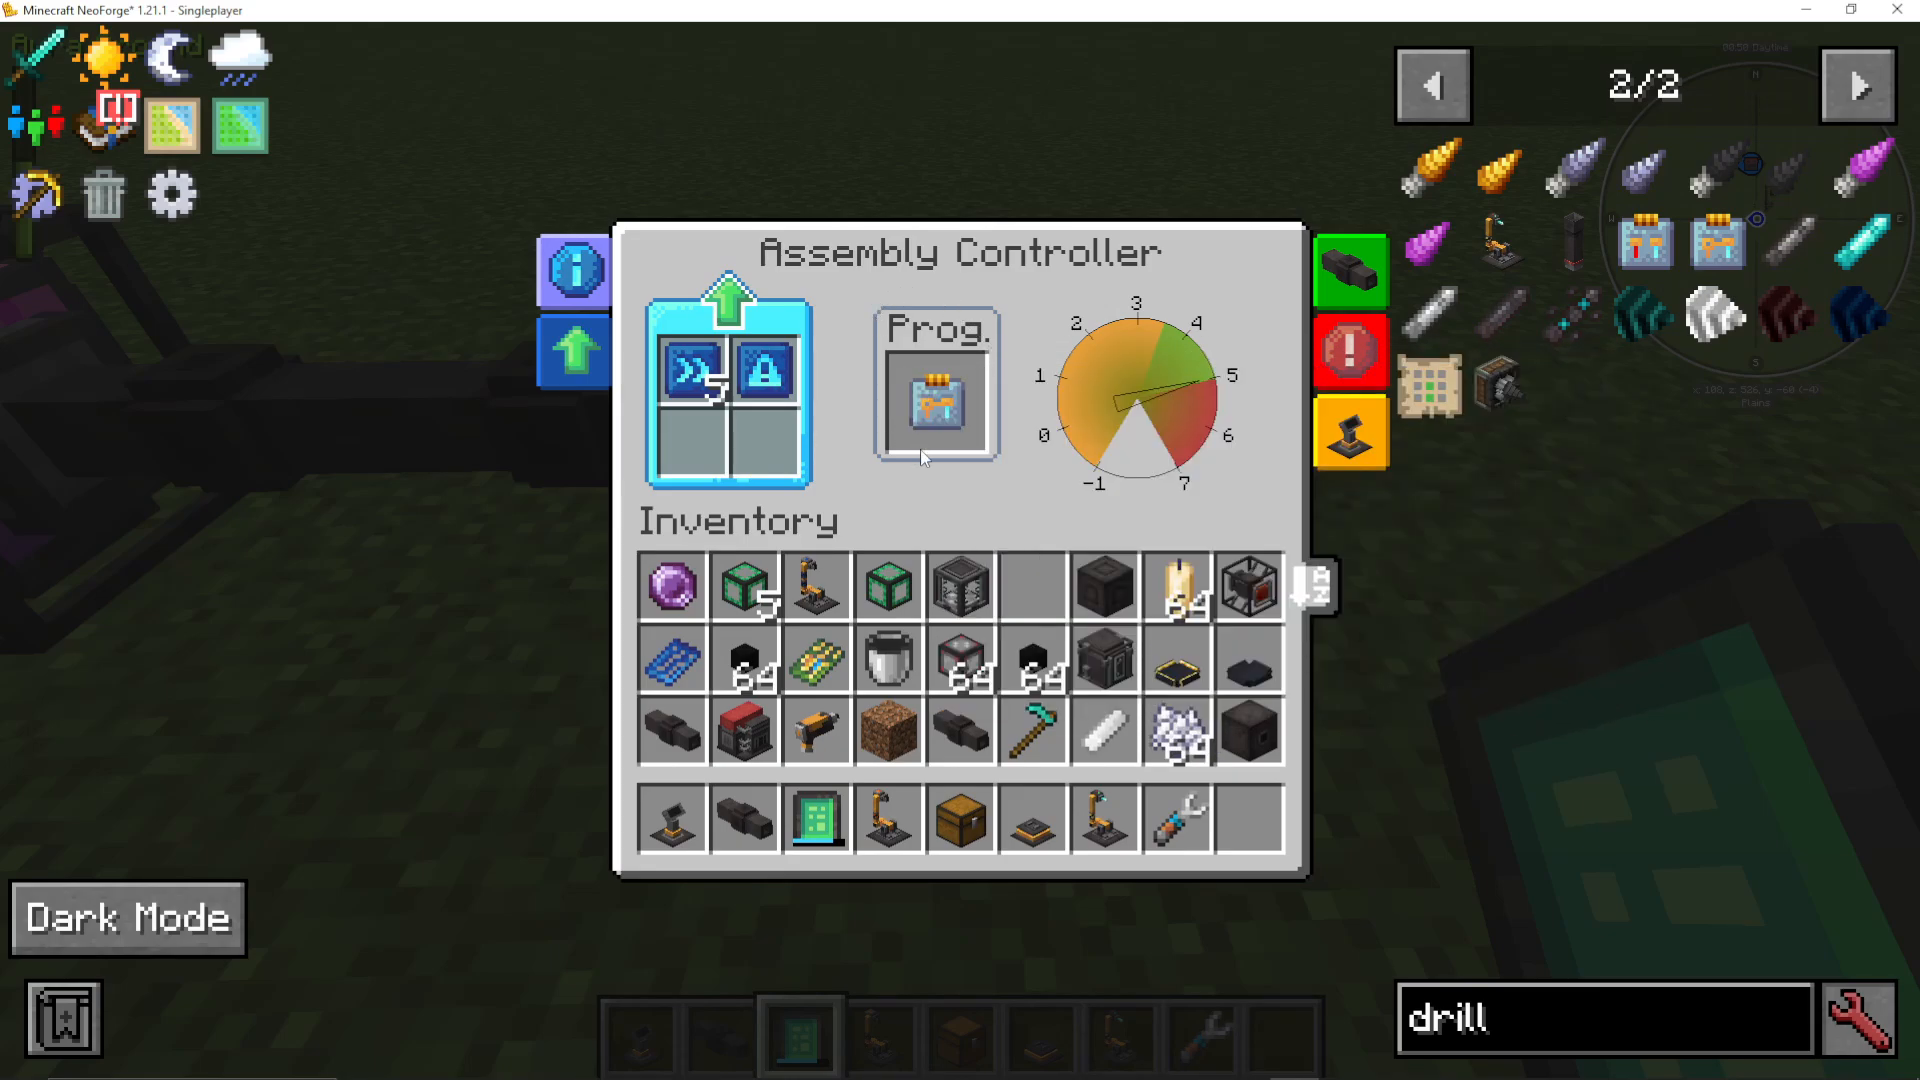
Assembly Controller: The brain of the operation; requires 5 bar of pressure and contains the program
Import Arm: Pulls ingredients from adjacent inventories onto the assembly platform
Assembly Platform: The workstation where items are crafted
Assembly Drill/Laser: Tools that perform the actual crafting operations
Export Arm: Pushes finished items into adjacent inventories
Setting Up an Assembly Line
To create an assembly line:
Place the assembly controller with pressure tubes for power
Add speed and security upgrades to the controller for faster operation
Insert an assembly program (purchased from the Amadron) into the controller’s program slot
Place an import arm next to the controller to pull ingredients
Place an assembly platform in front of the controller
Place the required tools (drill and/or laser) next to the platform
Place an export arm to push finished items out
Connect input chests with ingredients and output chests for products
Assembly Line Restrictions
Important notes about assembly line placement:
All horizontal parts (import arm, platform, drill, laser, export arm) must touch the controller
Import and export arms can reach diagonally to nearby blocks
Drills and lasers cannot place diagonally; they must be directly adjacent
The arms will automatically detect compatible items and operate the correct tools
Viewing Available Recipes
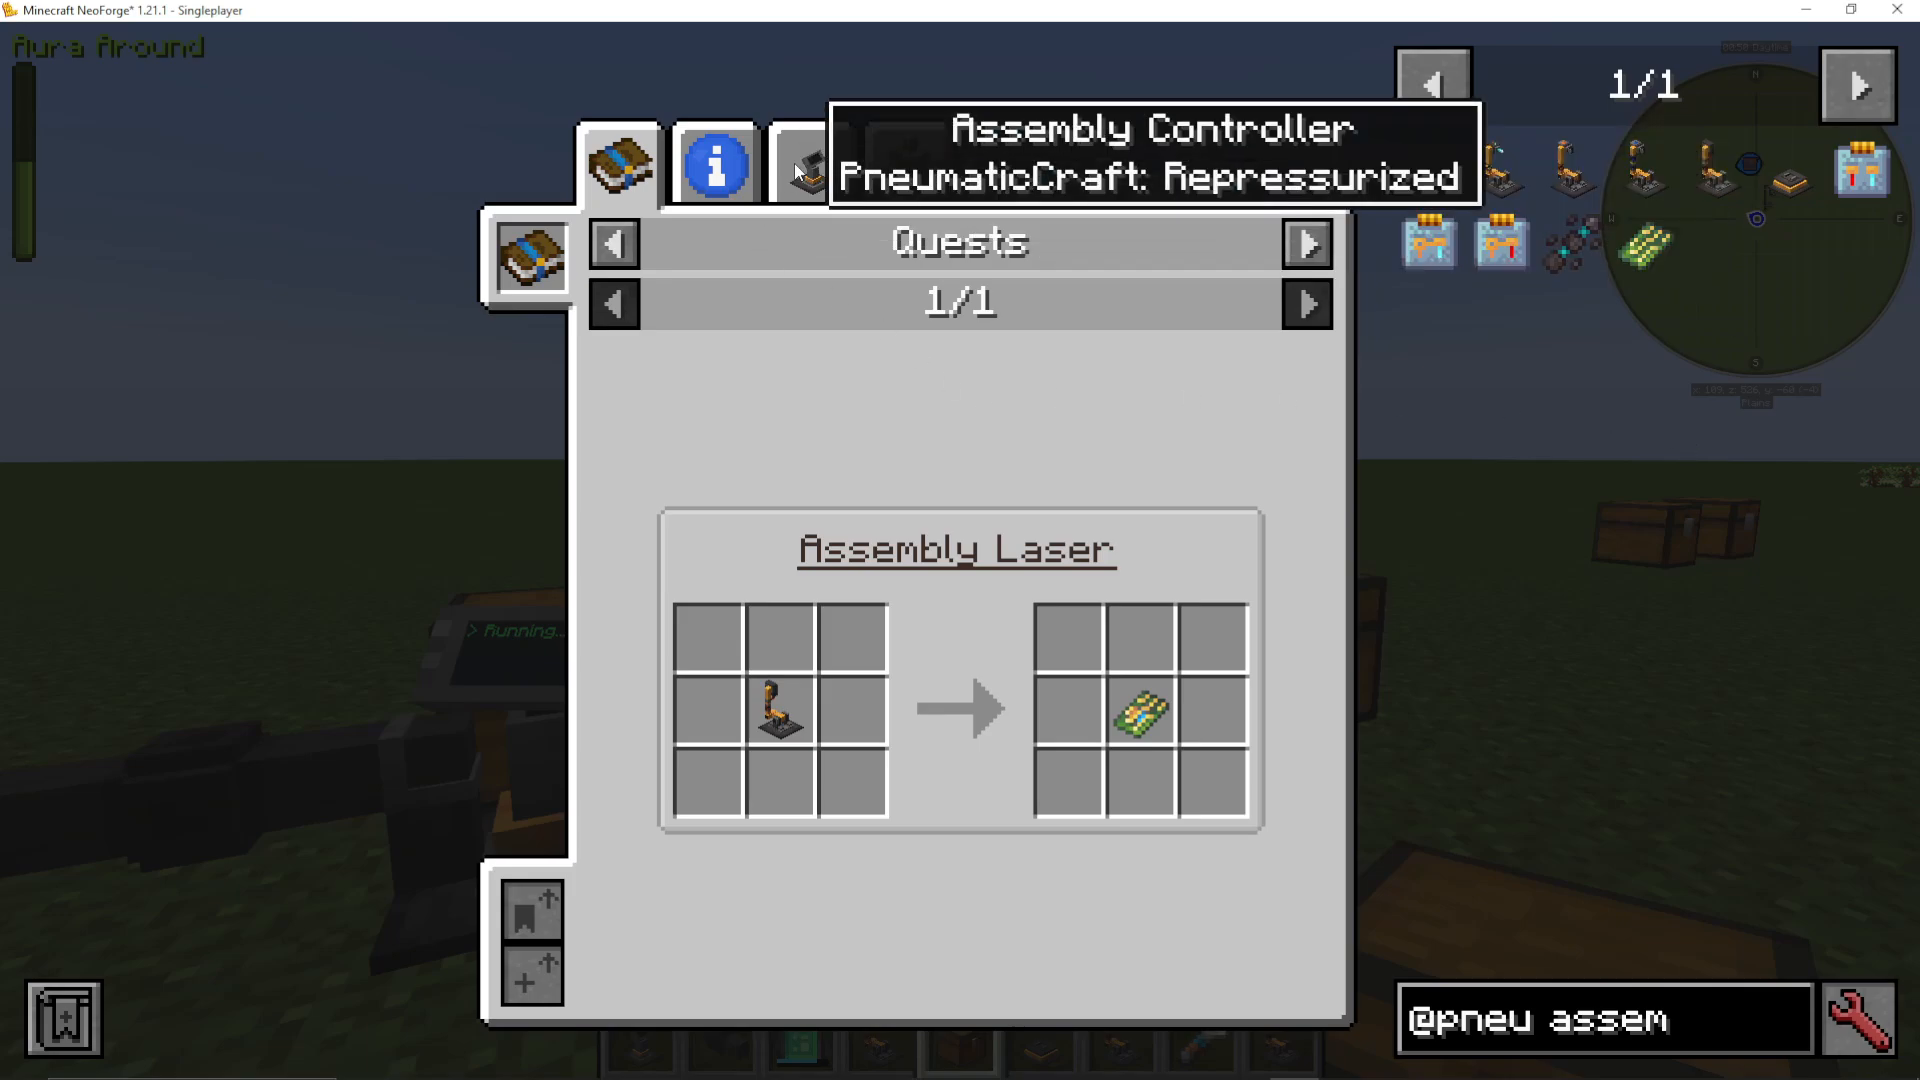
To see what an assembly machine can craft:
Click on a drill or laser in JEI
Press “U” to see uses
Click on “Assembly Controller”
All compatible recipes will be displayed
Drones: Autonomous Robots
Drones are one of the most exciting features in PneumaticCraft. These autonomous robots can be programmed to perform virtually any task. You can create anything from simple guard drones to complex automated systems.
Pre-Built Drone Types
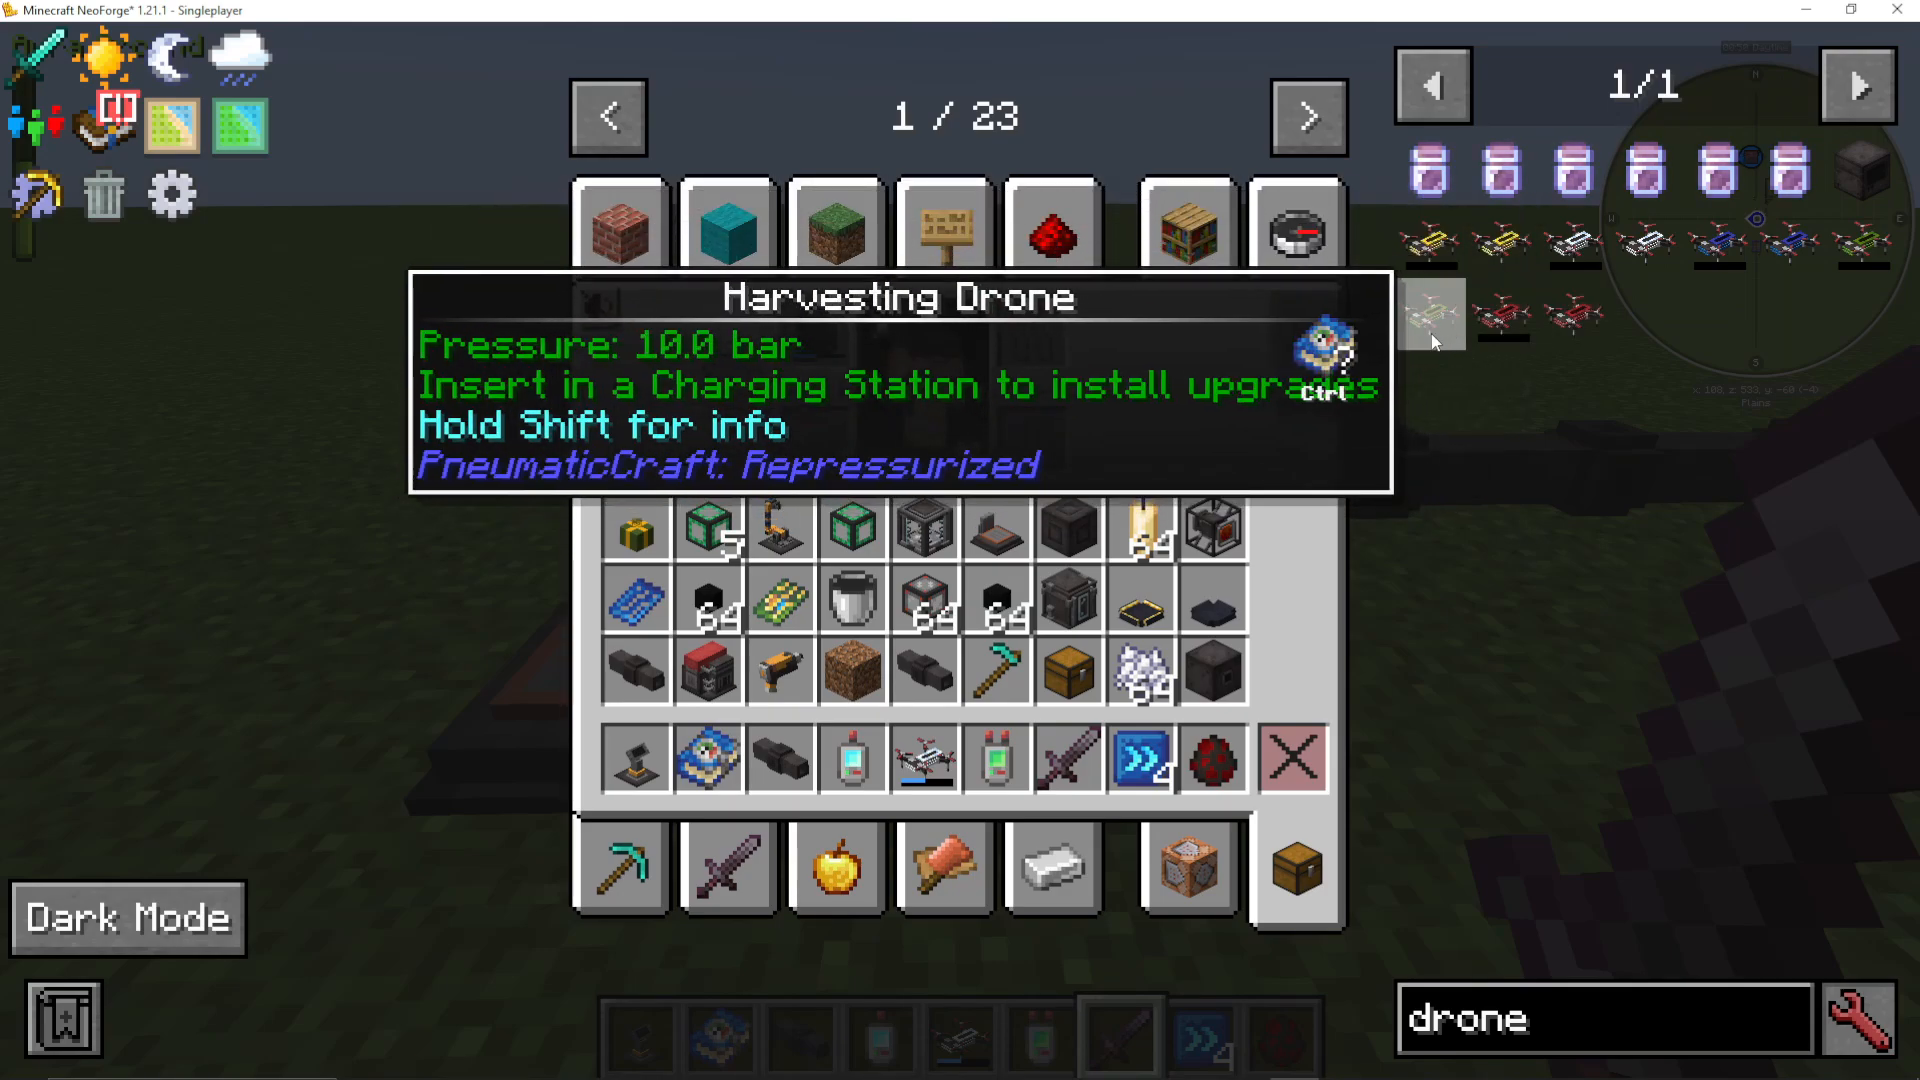
If you don’t want to program, you can use simpler drones:
Guard Drone: Defends an area when placed on an inventory with a weapon
Harvesting Drone: Harvests and replants crops automatically
Collector Drone: Collects items within a local area
Logistics Drone: Transports items between inventories
Drone Upgrades
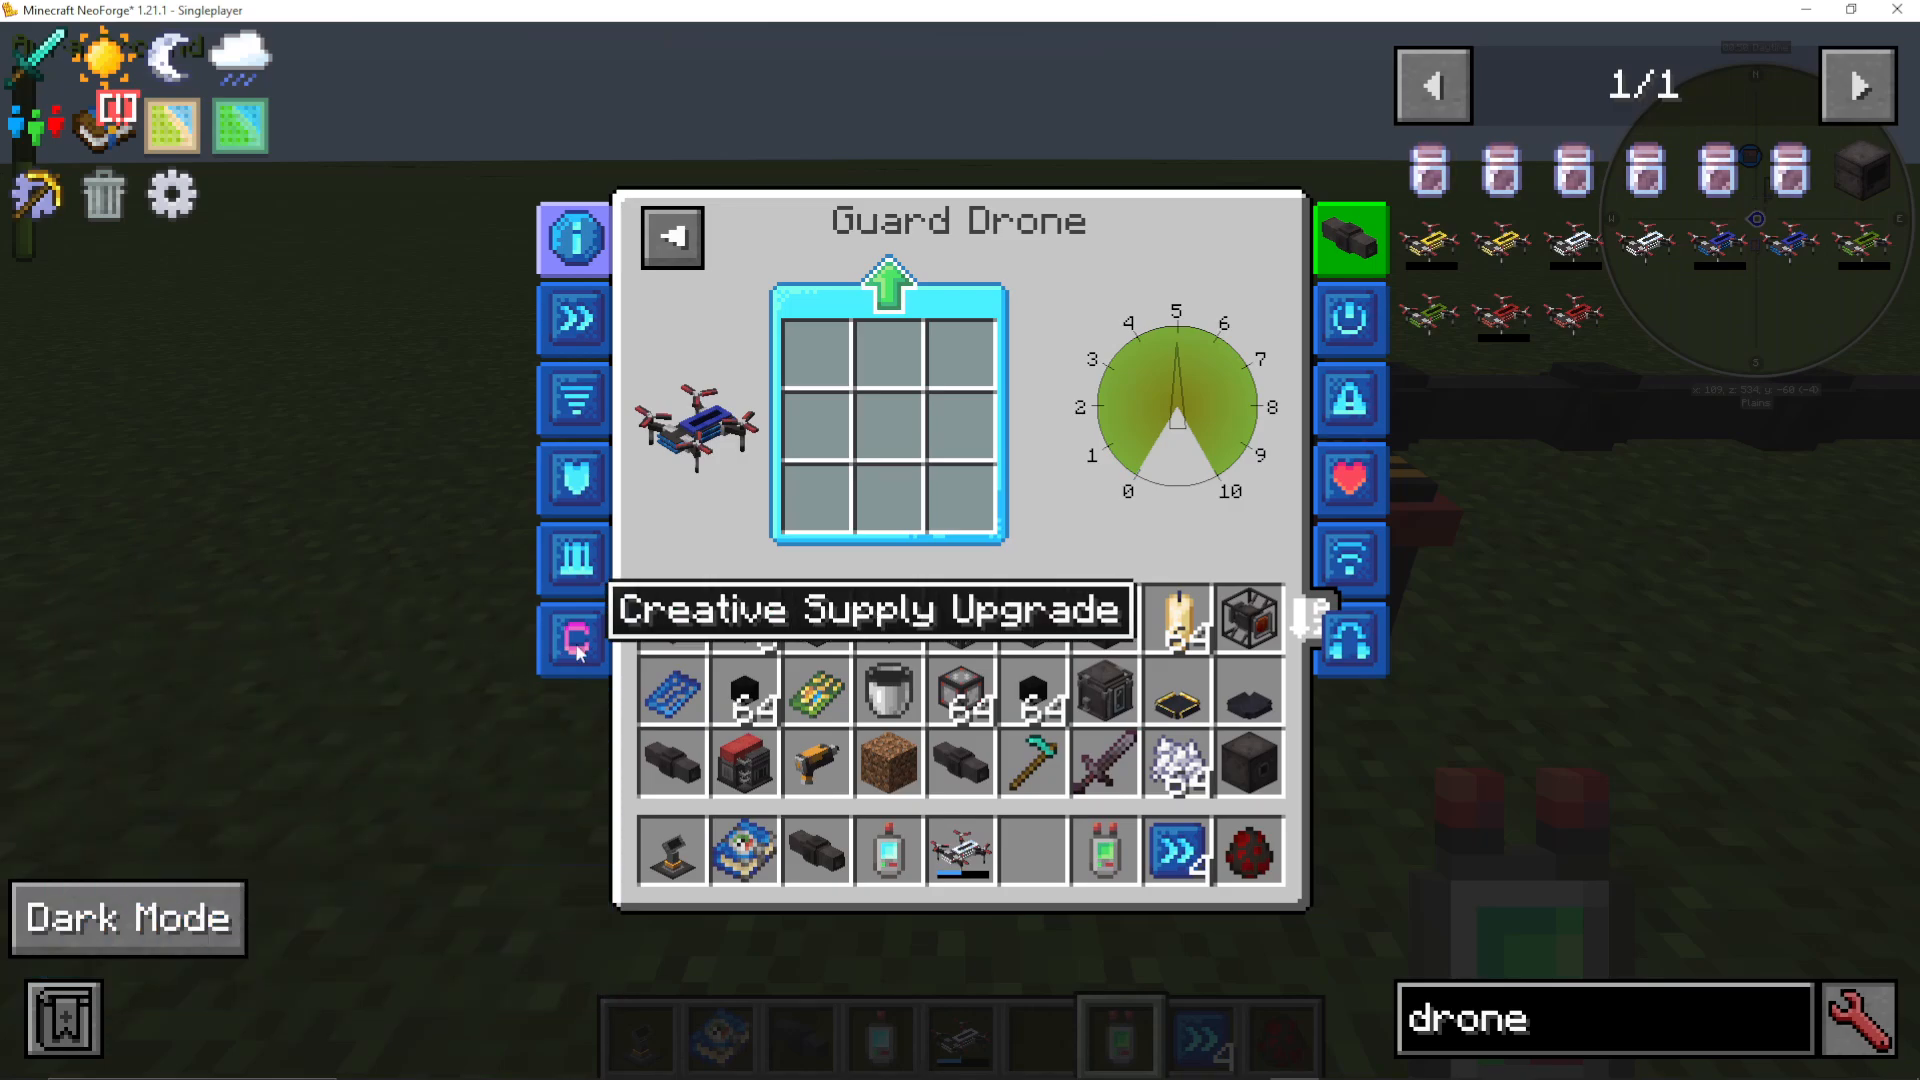
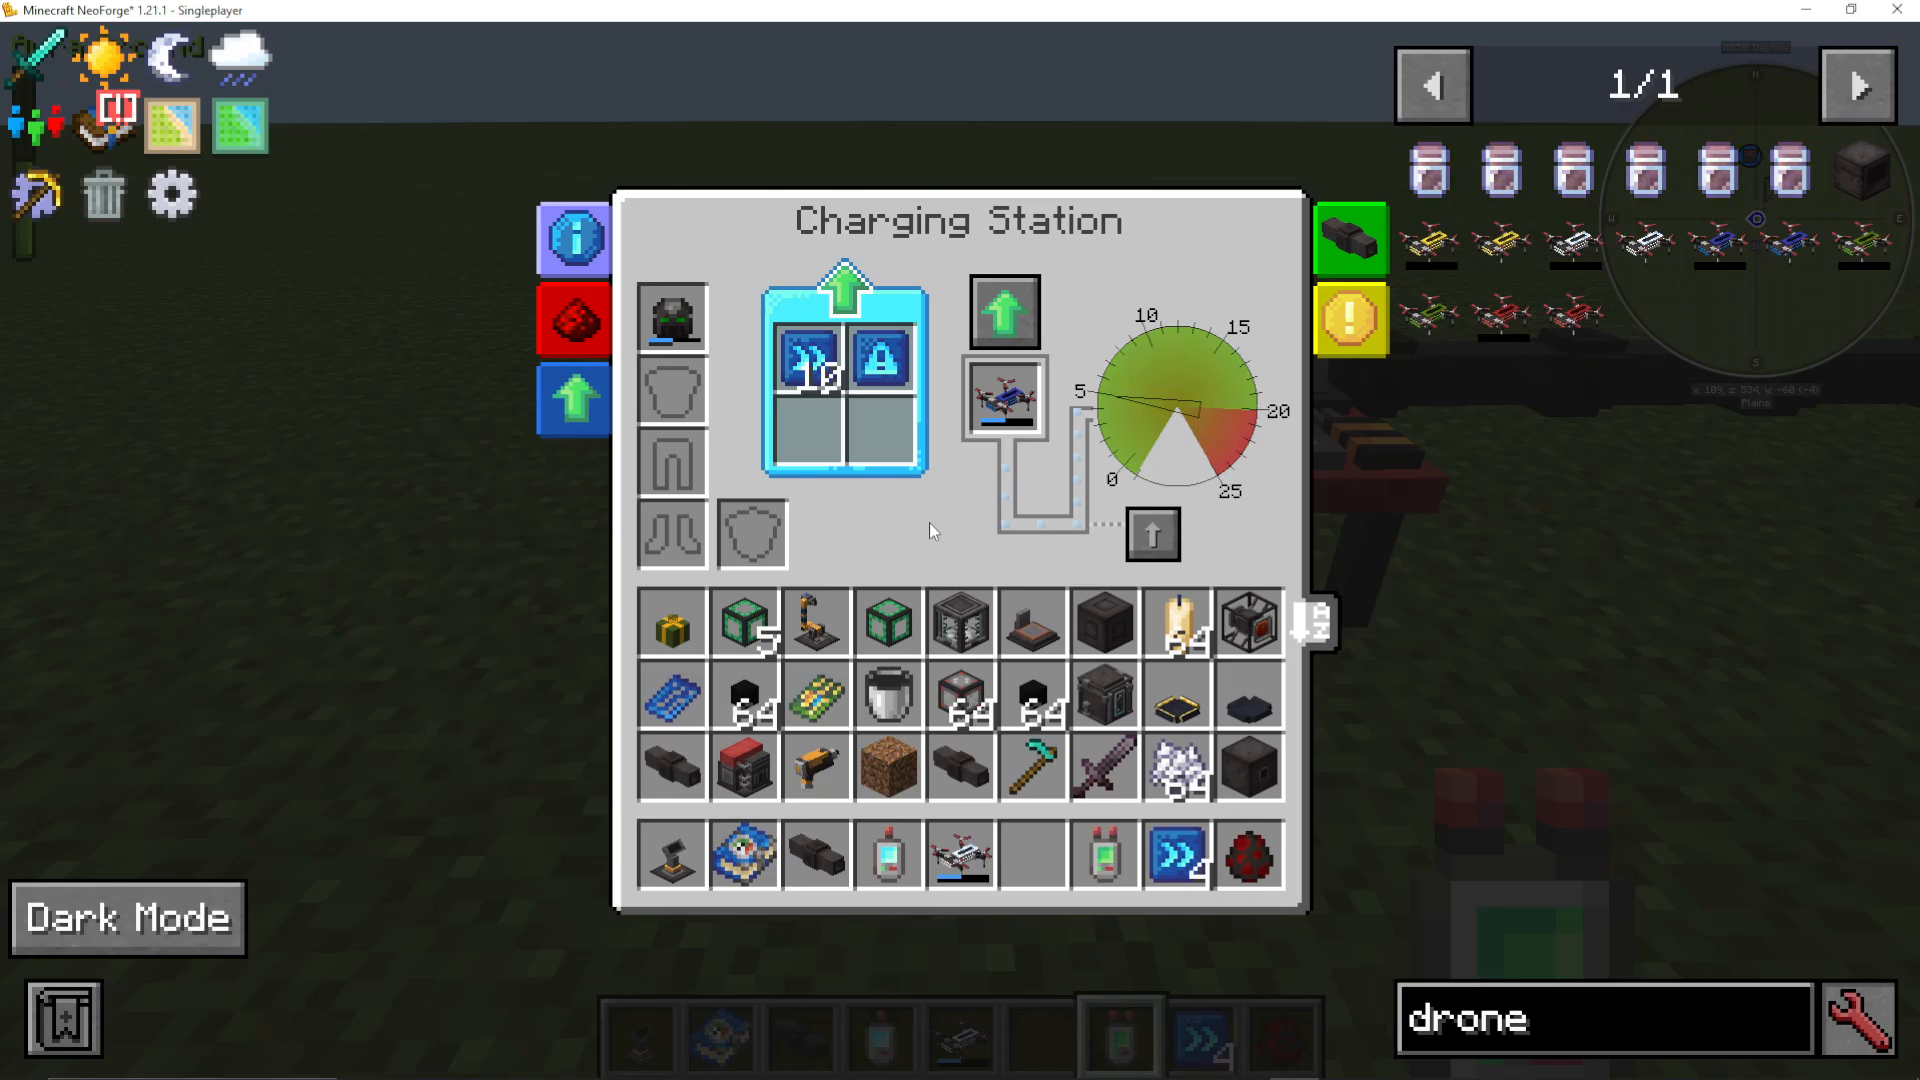
Drones can be upgraded in the charging station with up to 9 upgrade slots. Common upgrades include:
Speed Upgrades: Make the drone fly faster
Volume Upgrade: Increase carrying capacity
Armor Upgrades: Protect against damage (15 upgrades = full iron armor)
Mini Gun Upgrade: Adds a ranged weapon (requires ammo)
Item Life Upgrade: Increases health
Security Upgrade: Protection from electrical damage and fluid navigation
Range Upgrade: Extends how far the drone can travel
Muffler Upgrade: Reduces noise
Standby Upgrade: Saves air when idle
Automatic Charging
Drones automatically return to charging stations when they run low on pressure. They search within approximately 80 blocks for a station with available pressure, so you don’t need to manually manage refueling.
Programming Drones: The Basics
To program a drone, you’ll use a programmer device. Programming might look overwhelming, but it’s actually quite intuitive once you understand the system.
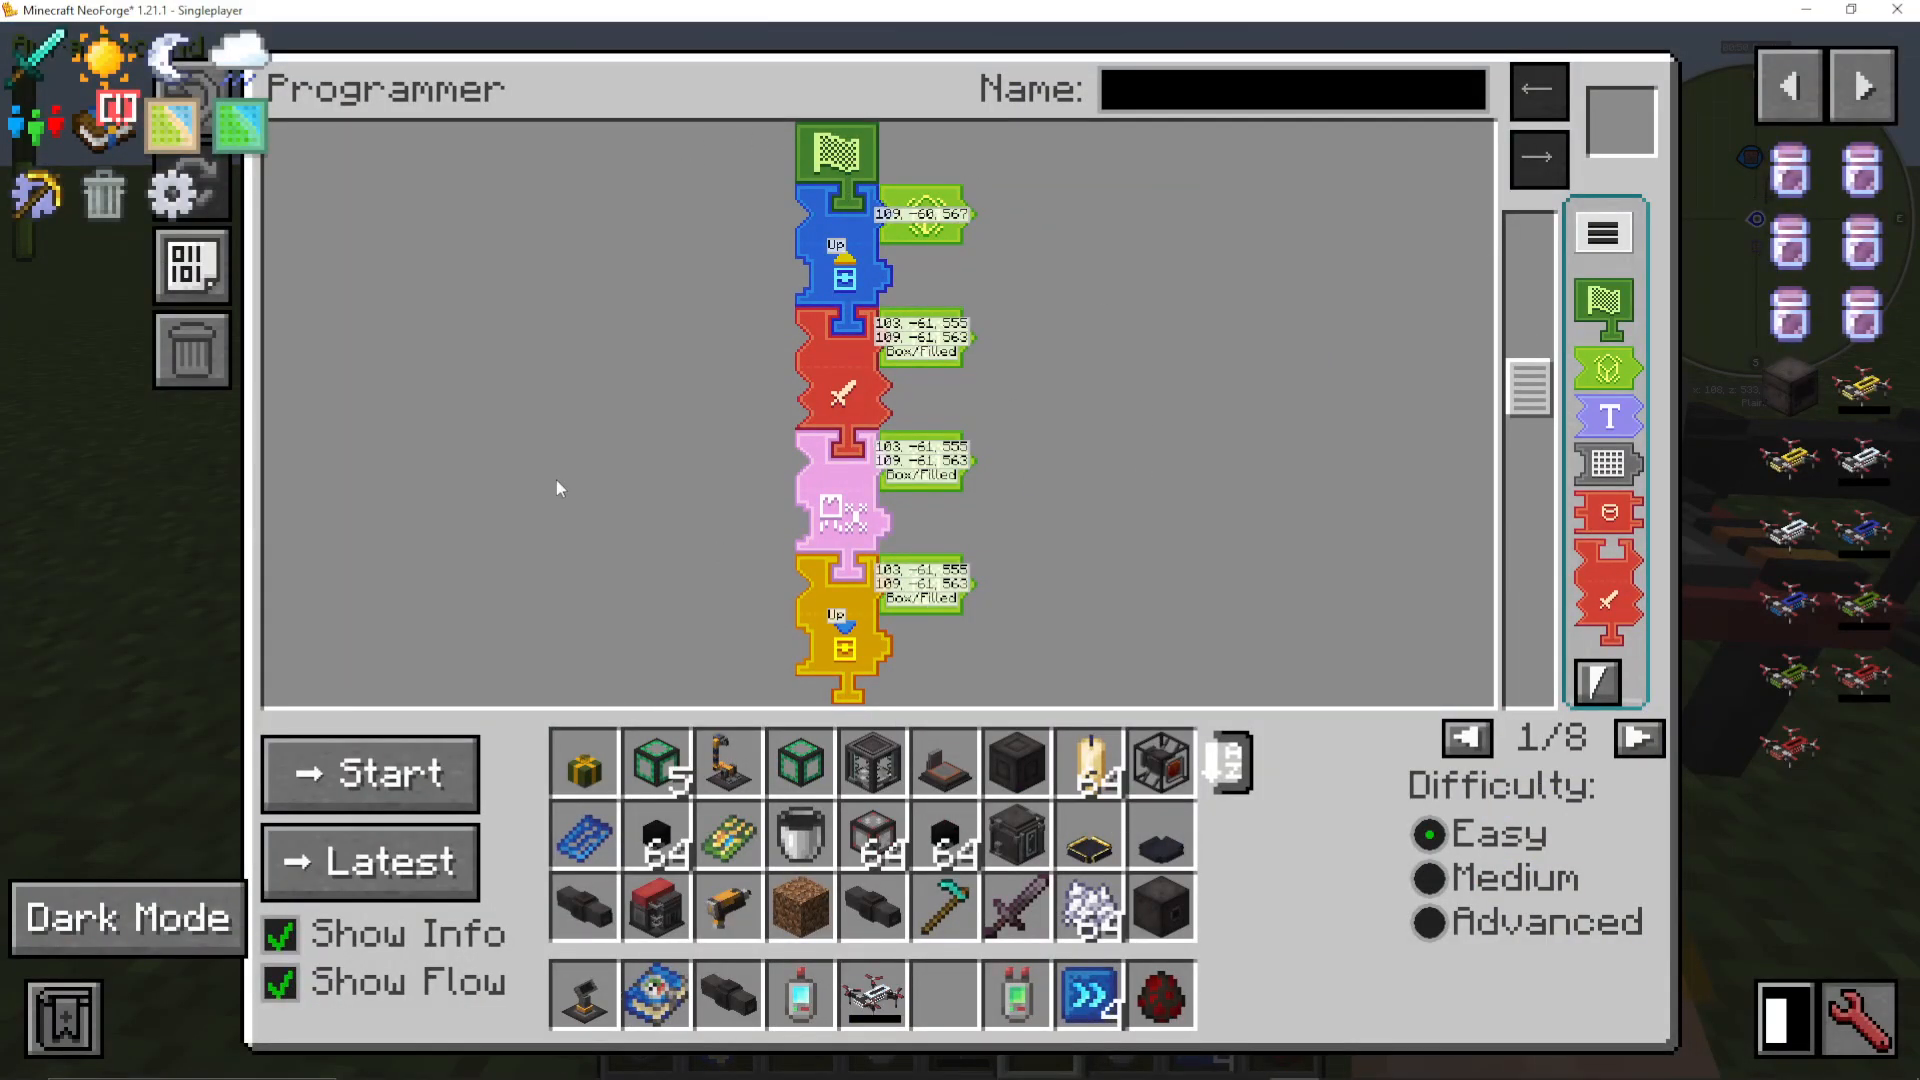
Programmer Interface
The programmer works with puzzle pieces:
Drag puzzle pieces onto the canvas to build your program
Connect pieces by snapping them together where they fit
Use the “Difficulty” setting to show only beginner, intermediate, or advanced pieces
Once complete, select your drone and export the program
The system consumes puzzle pieces from adjacent inventories when exporting
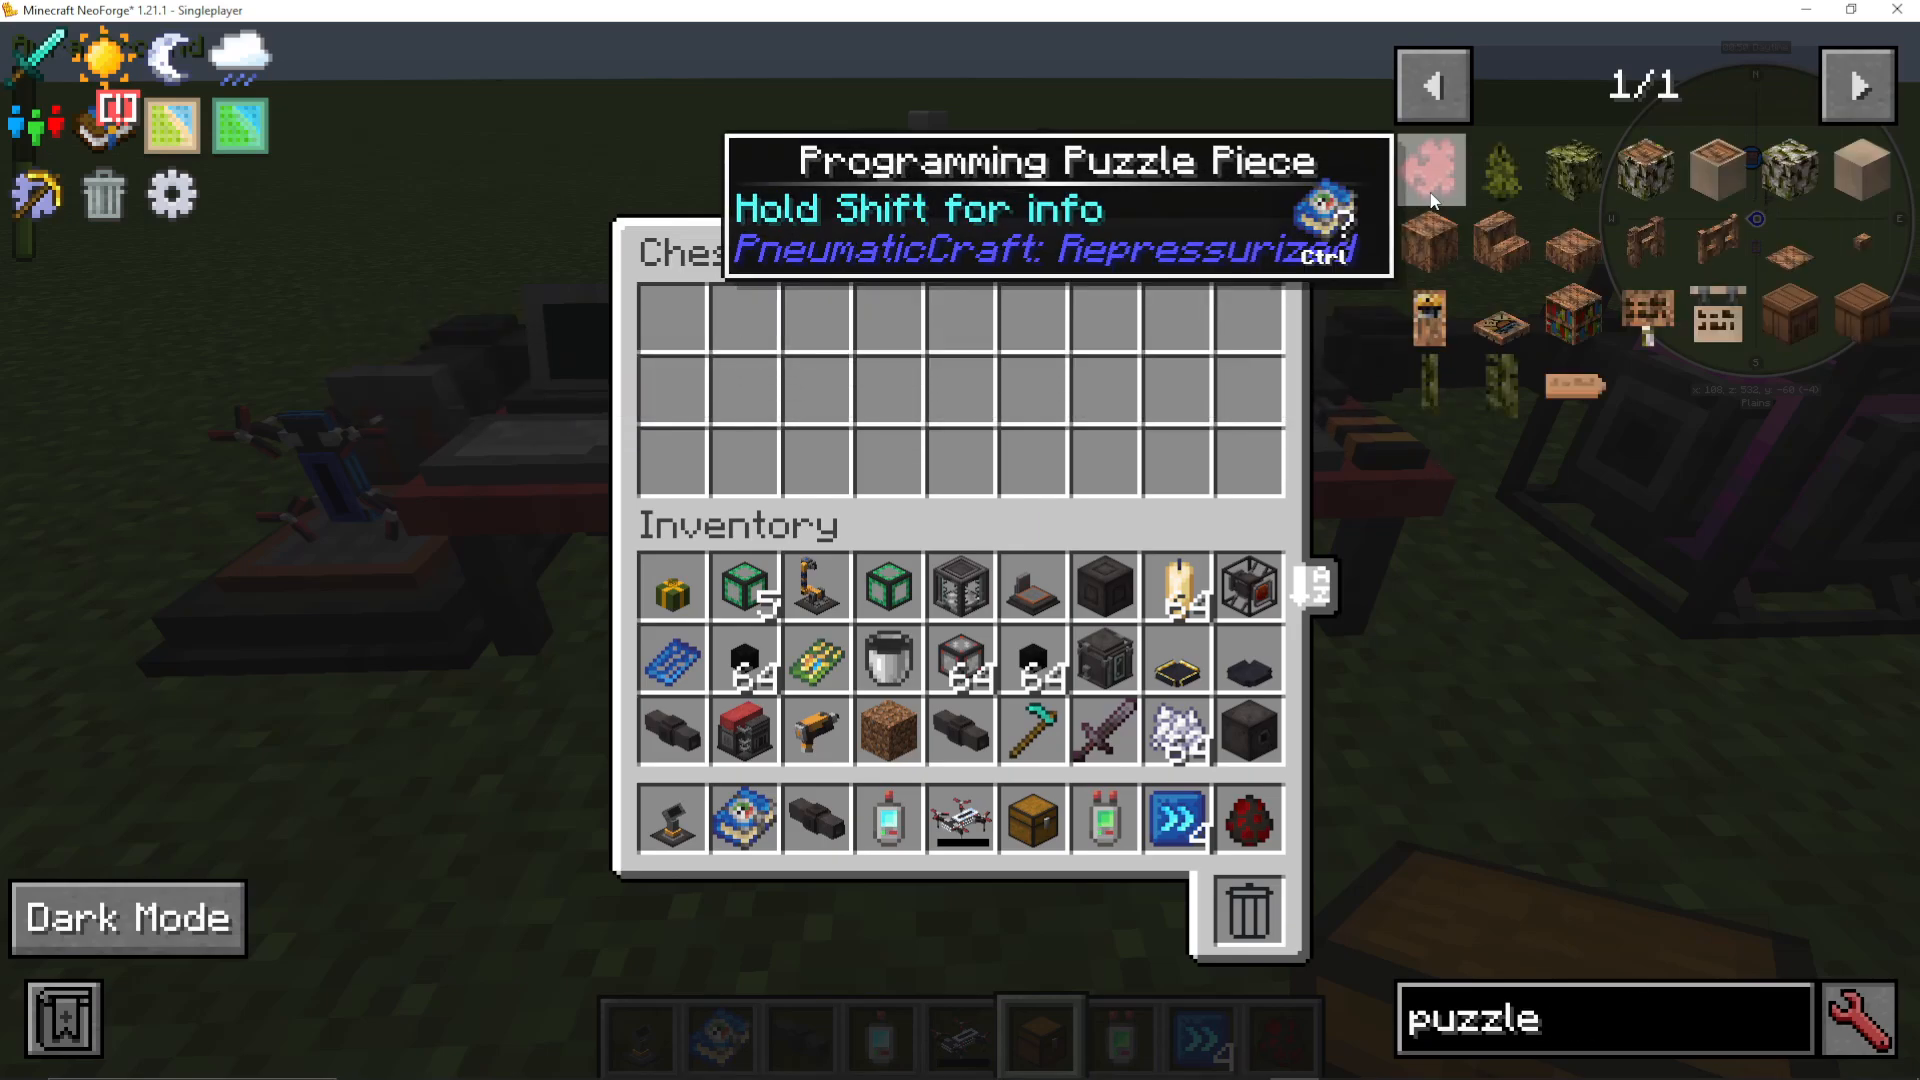
Essential Program Pieces
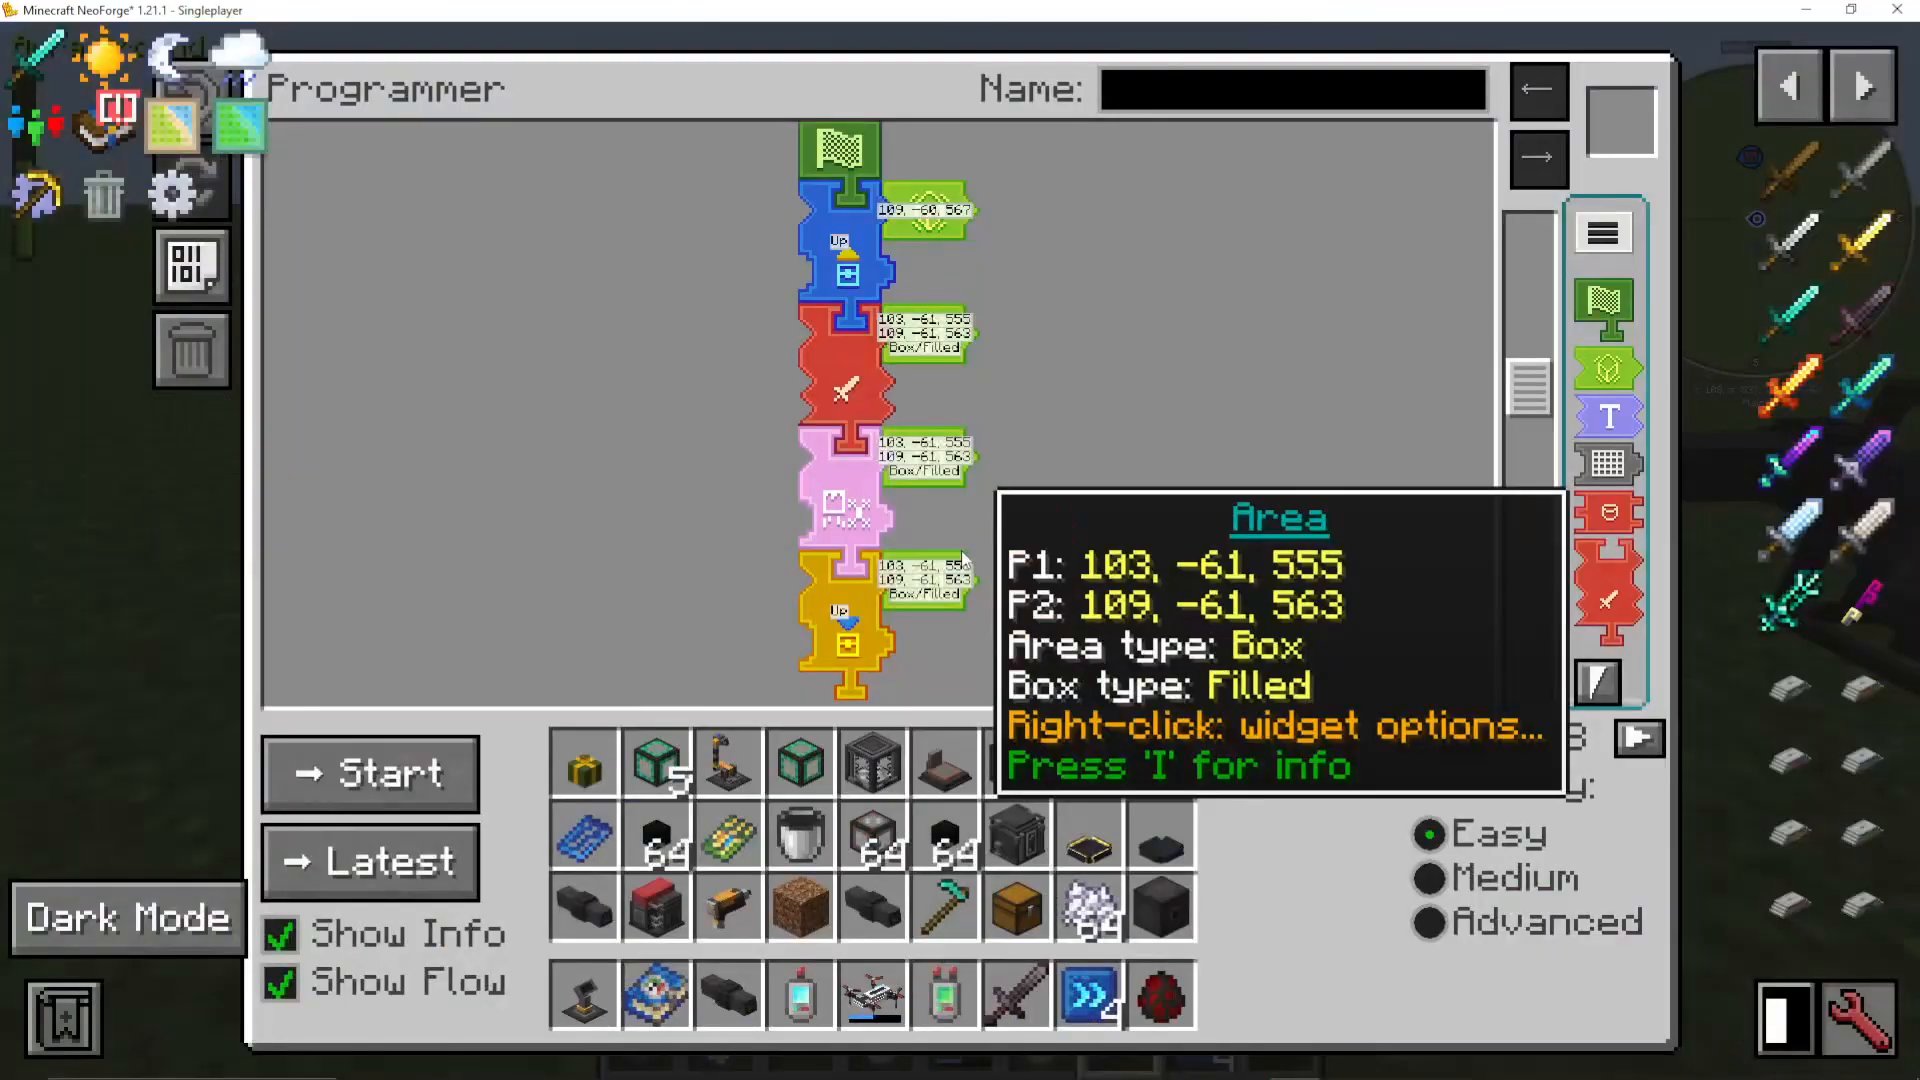
For a basic mob farm program:
Start: Where every program begins
Import from Inventory: Pulls items from a designated location
Entity Attack: Attacks mobs in a specified area
Pick Up Items: Collects items from the ground
Export to Inventory: Deposits items into a container
Area Cards: Defines the region where actions occur
GPS Tools: Marks specific locations or areas
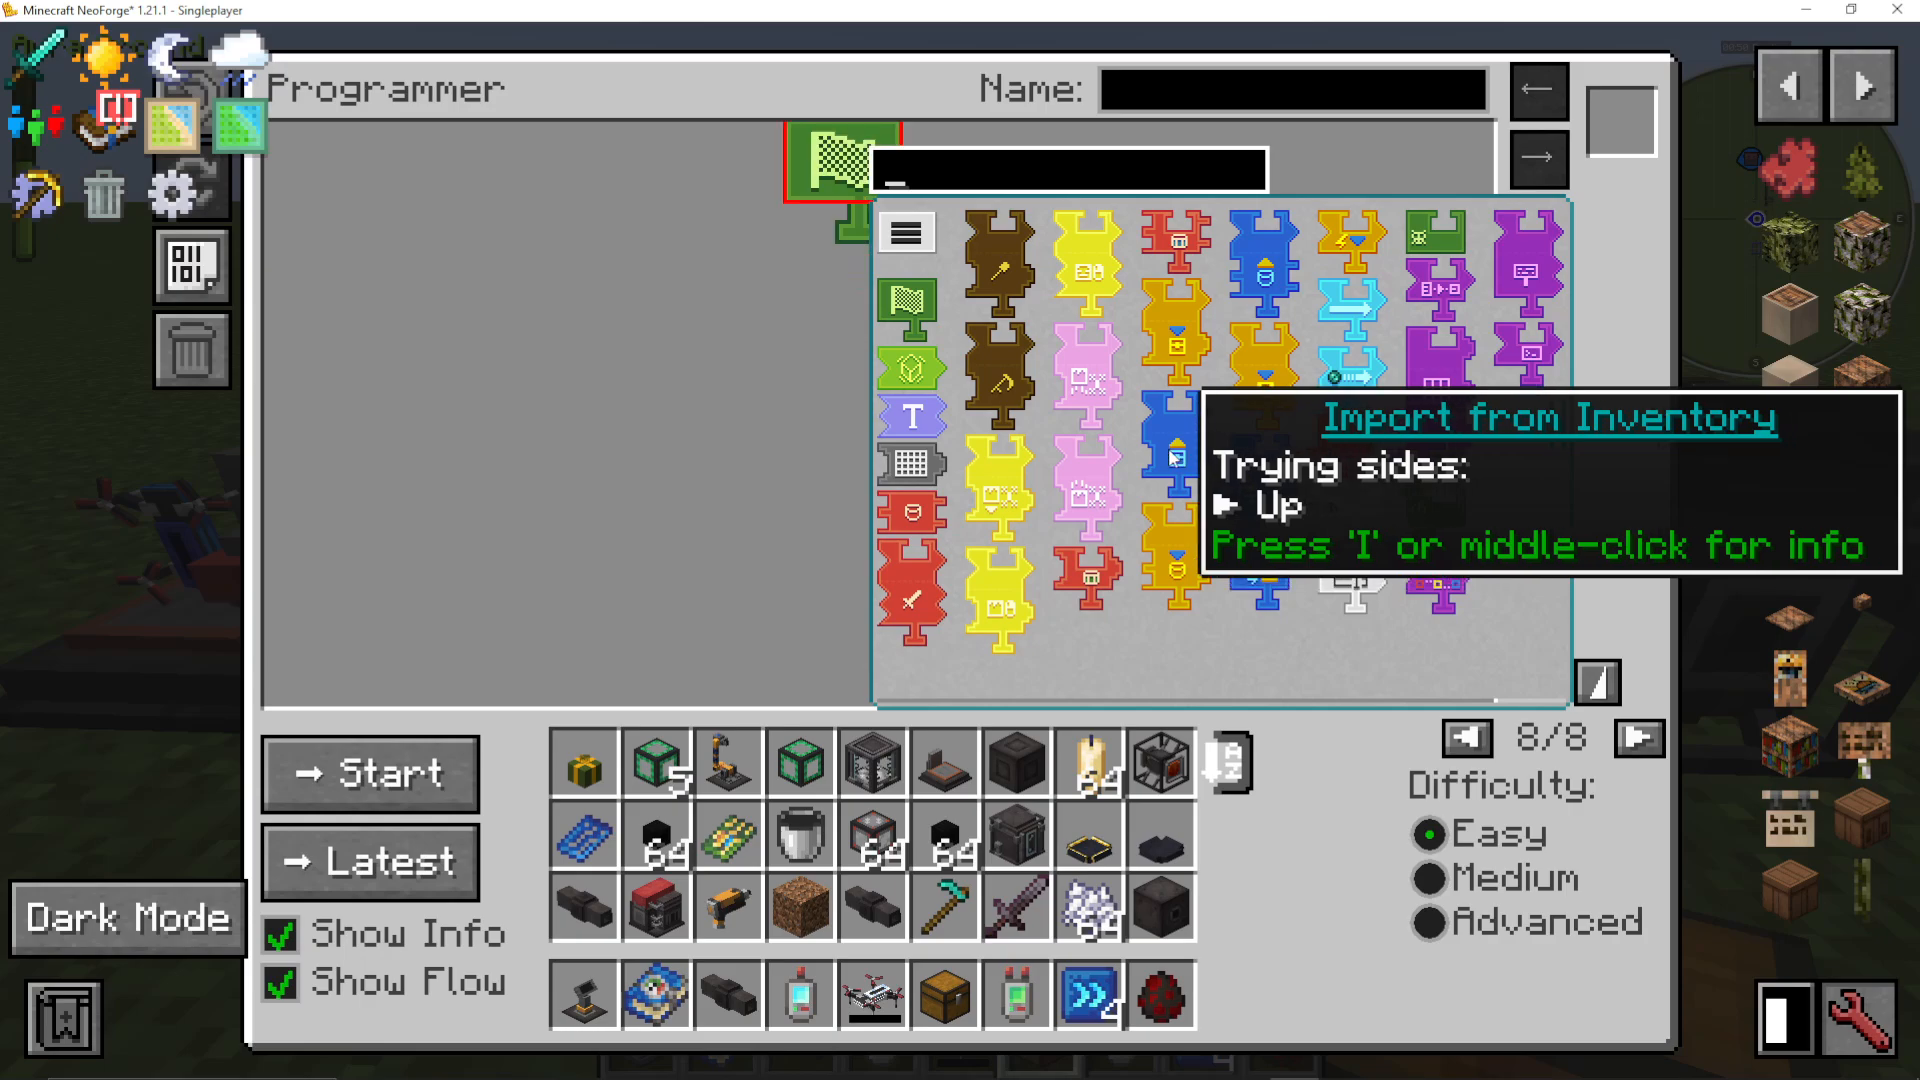
Example: Creating a Mob Farm Drone
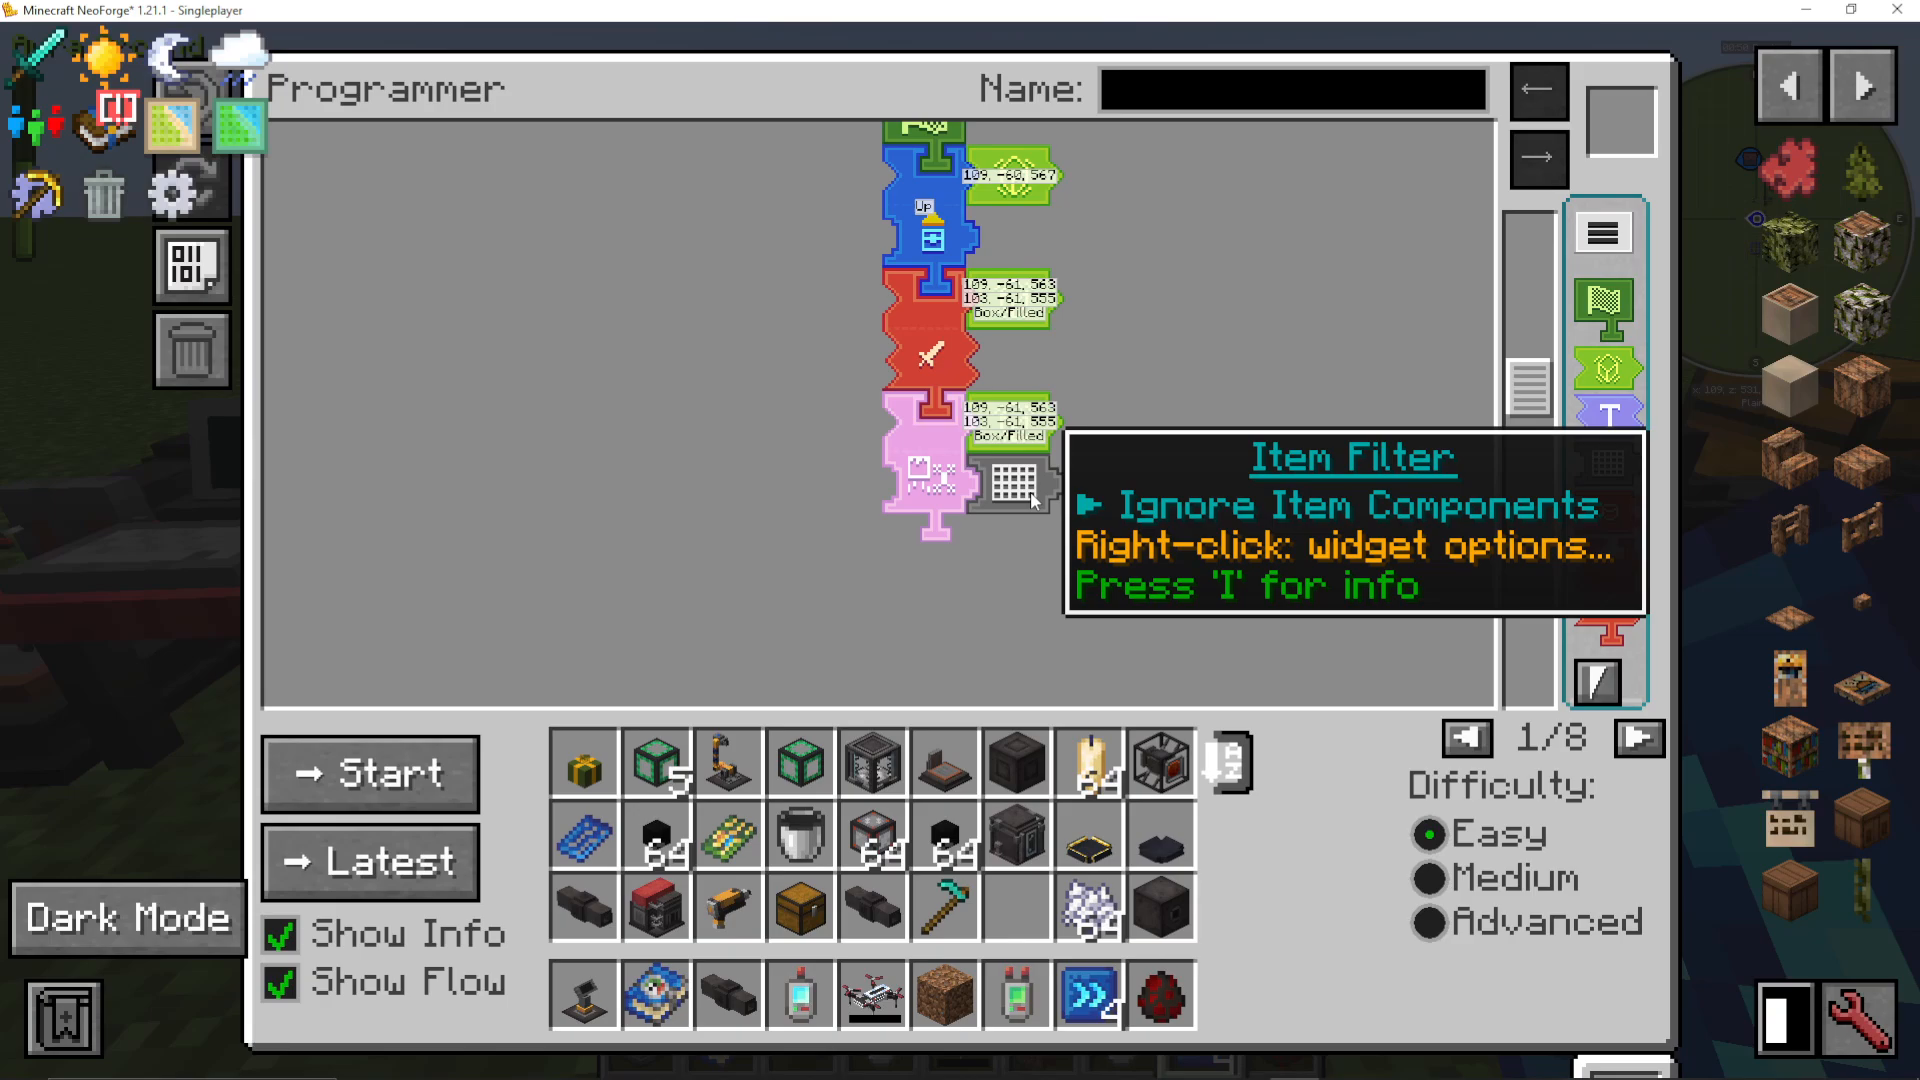
Here’s a simple mob farm program breakdown:
Start: Begin the program
Import from Inventory: Get a sword from a designated chest
Entity Attack: Attack all mobs within a marked area
Pick Up Items: Collect any dropped items from that area
Export to Inventory: Store collected items in a nearby chest
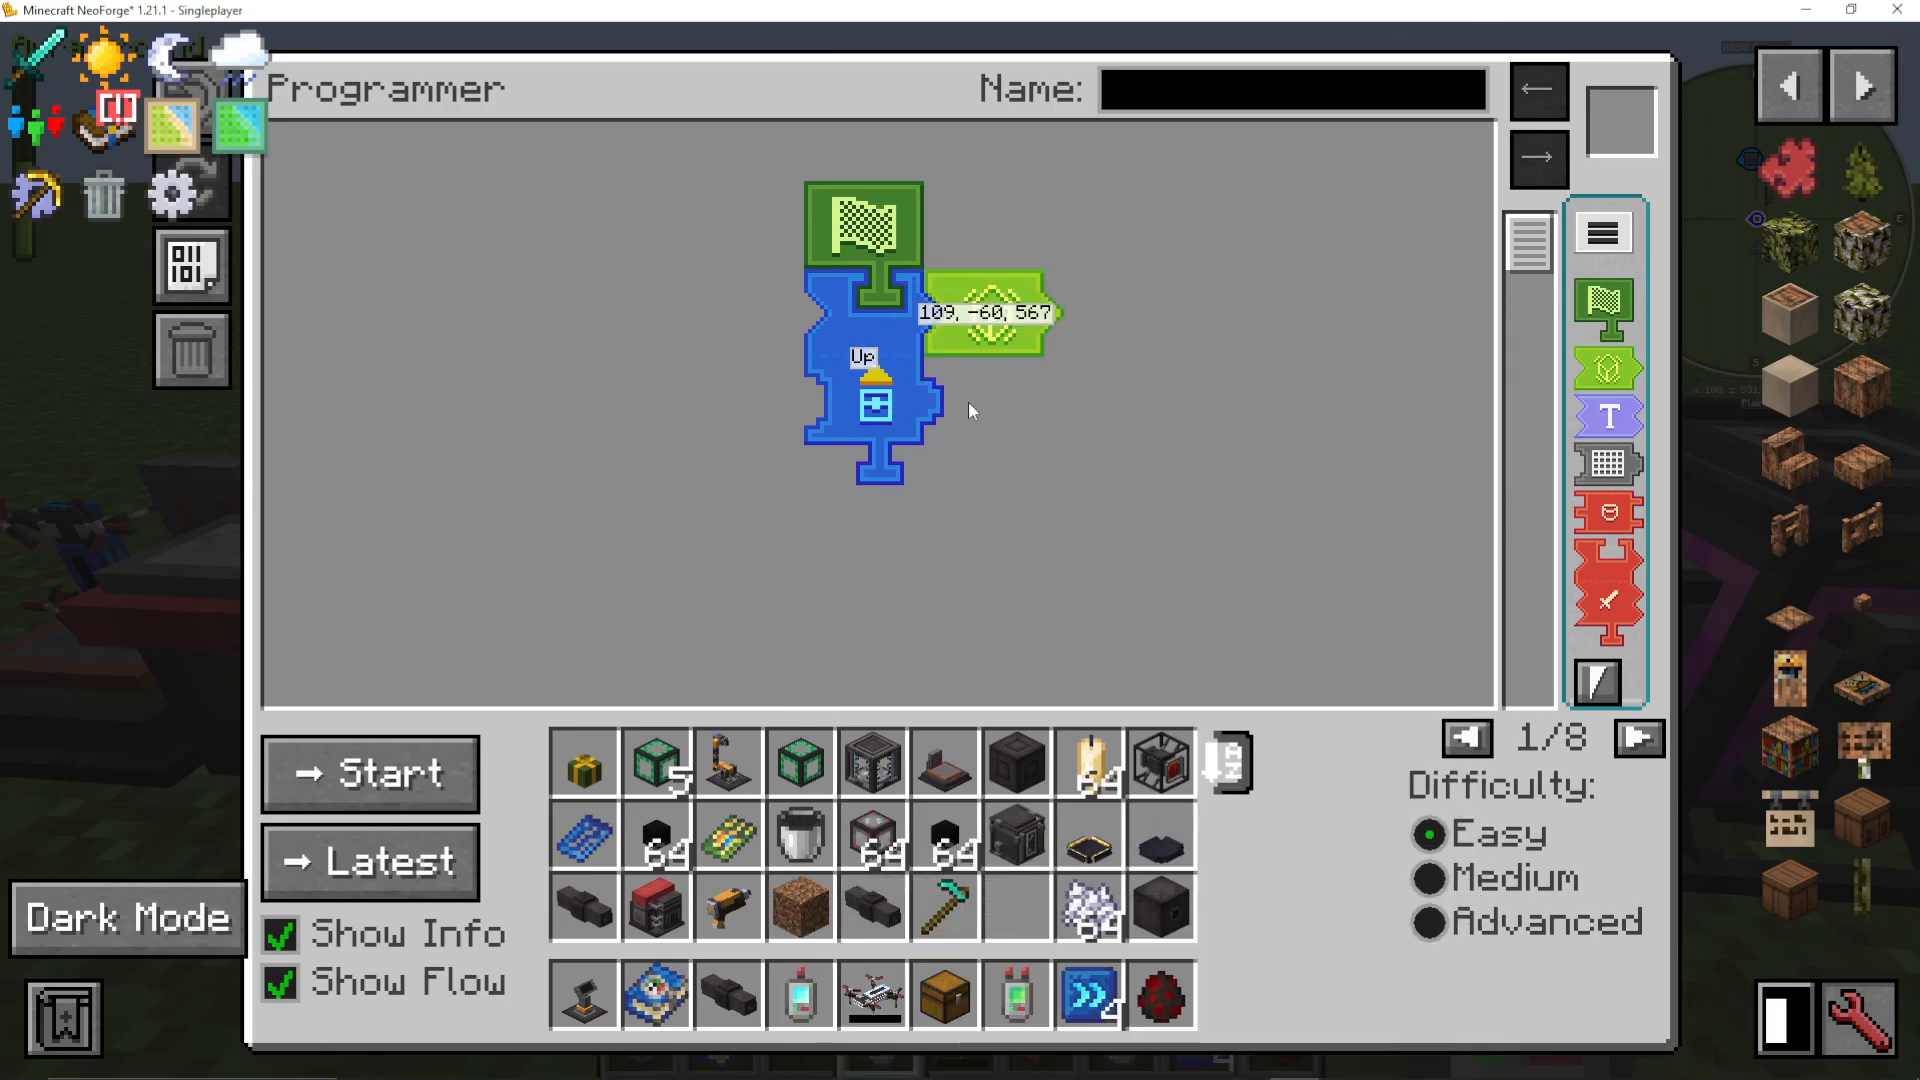
Using GPS Tools and Area Cards
GPS Tools and Area Cards help define locations and regions:
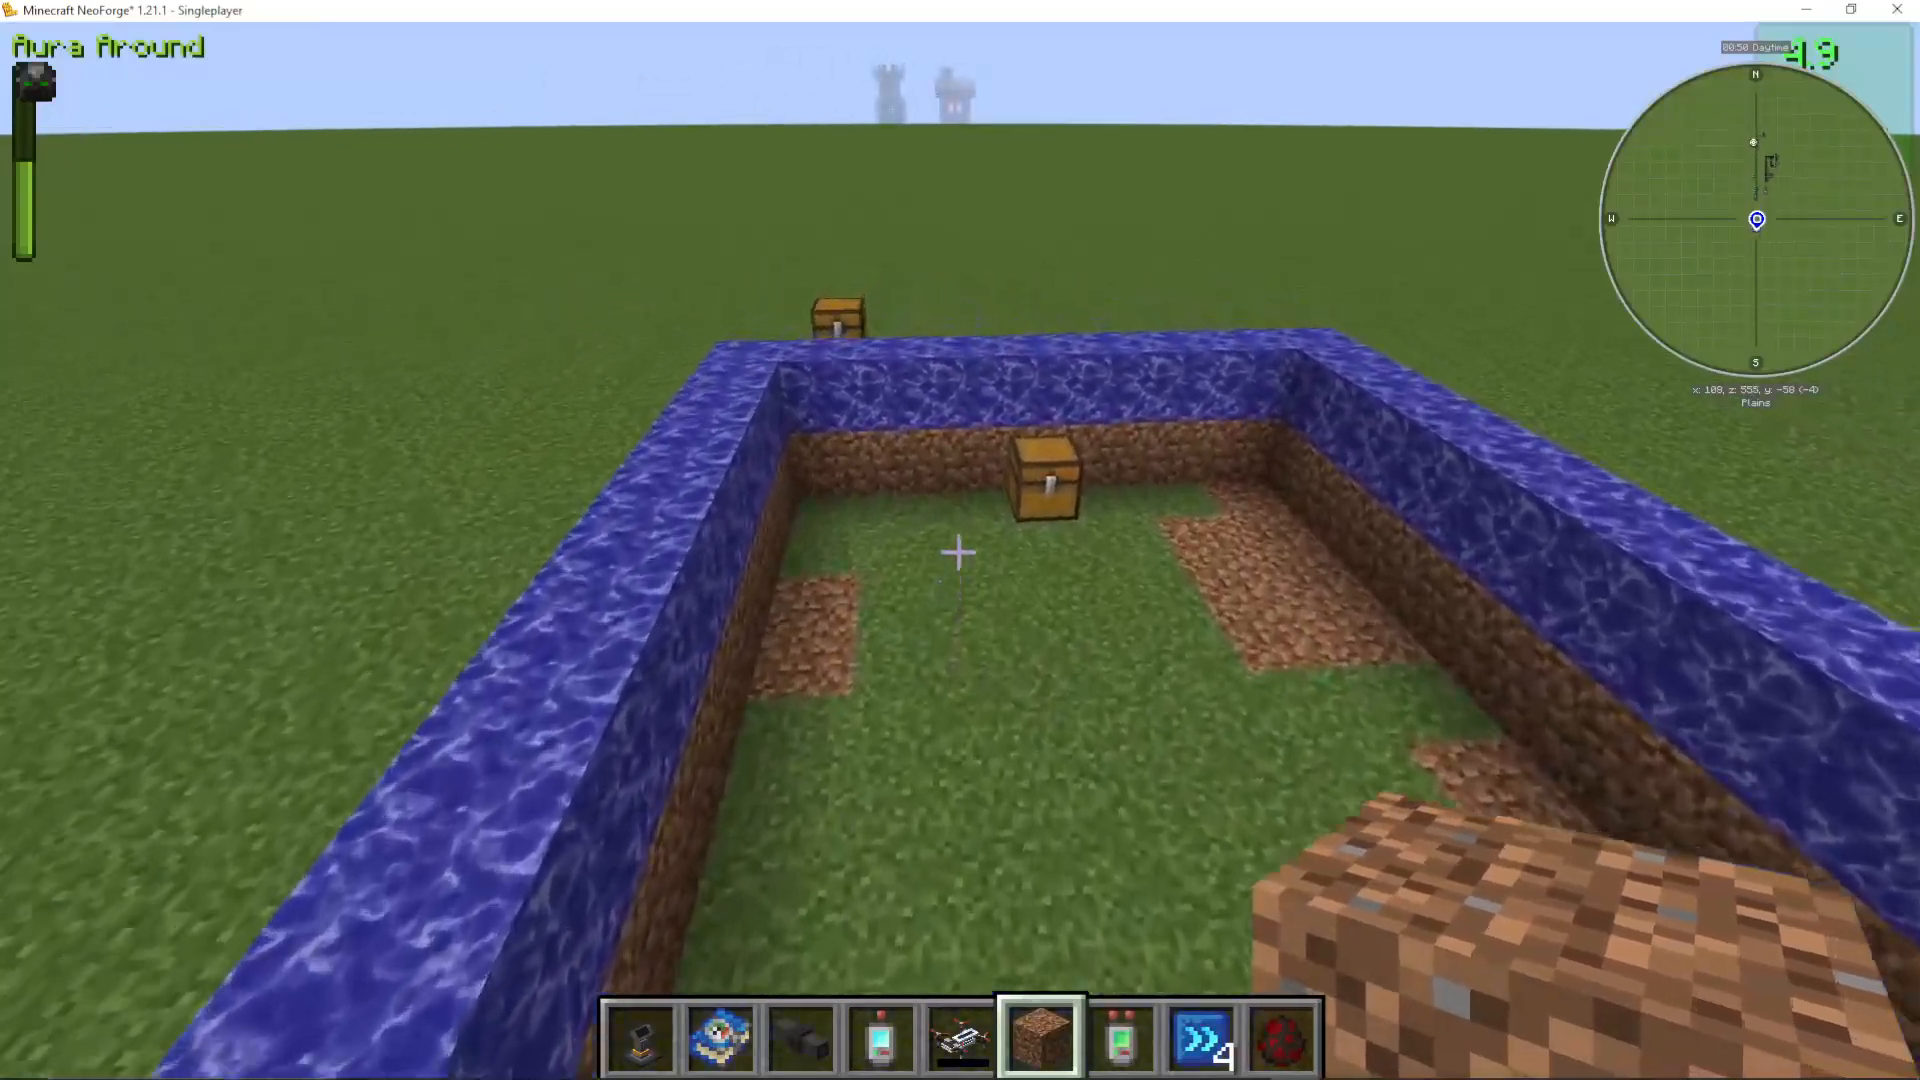
Shift right-click a GPS Tool on a block to mark that location
Left-click the piece in your program to use that saved location
Area Cards can be rectangular boxes, cylinders, or other shapes
Right-click the area card to preview the selected region
Adding Item Filters
Item filters prevent your drone from dumping unneeded items. For example, if you don’t want the drone exporting its own weapon, add an item filter to only export mob drops like string and spider eyes.
Exporting and Running the Program
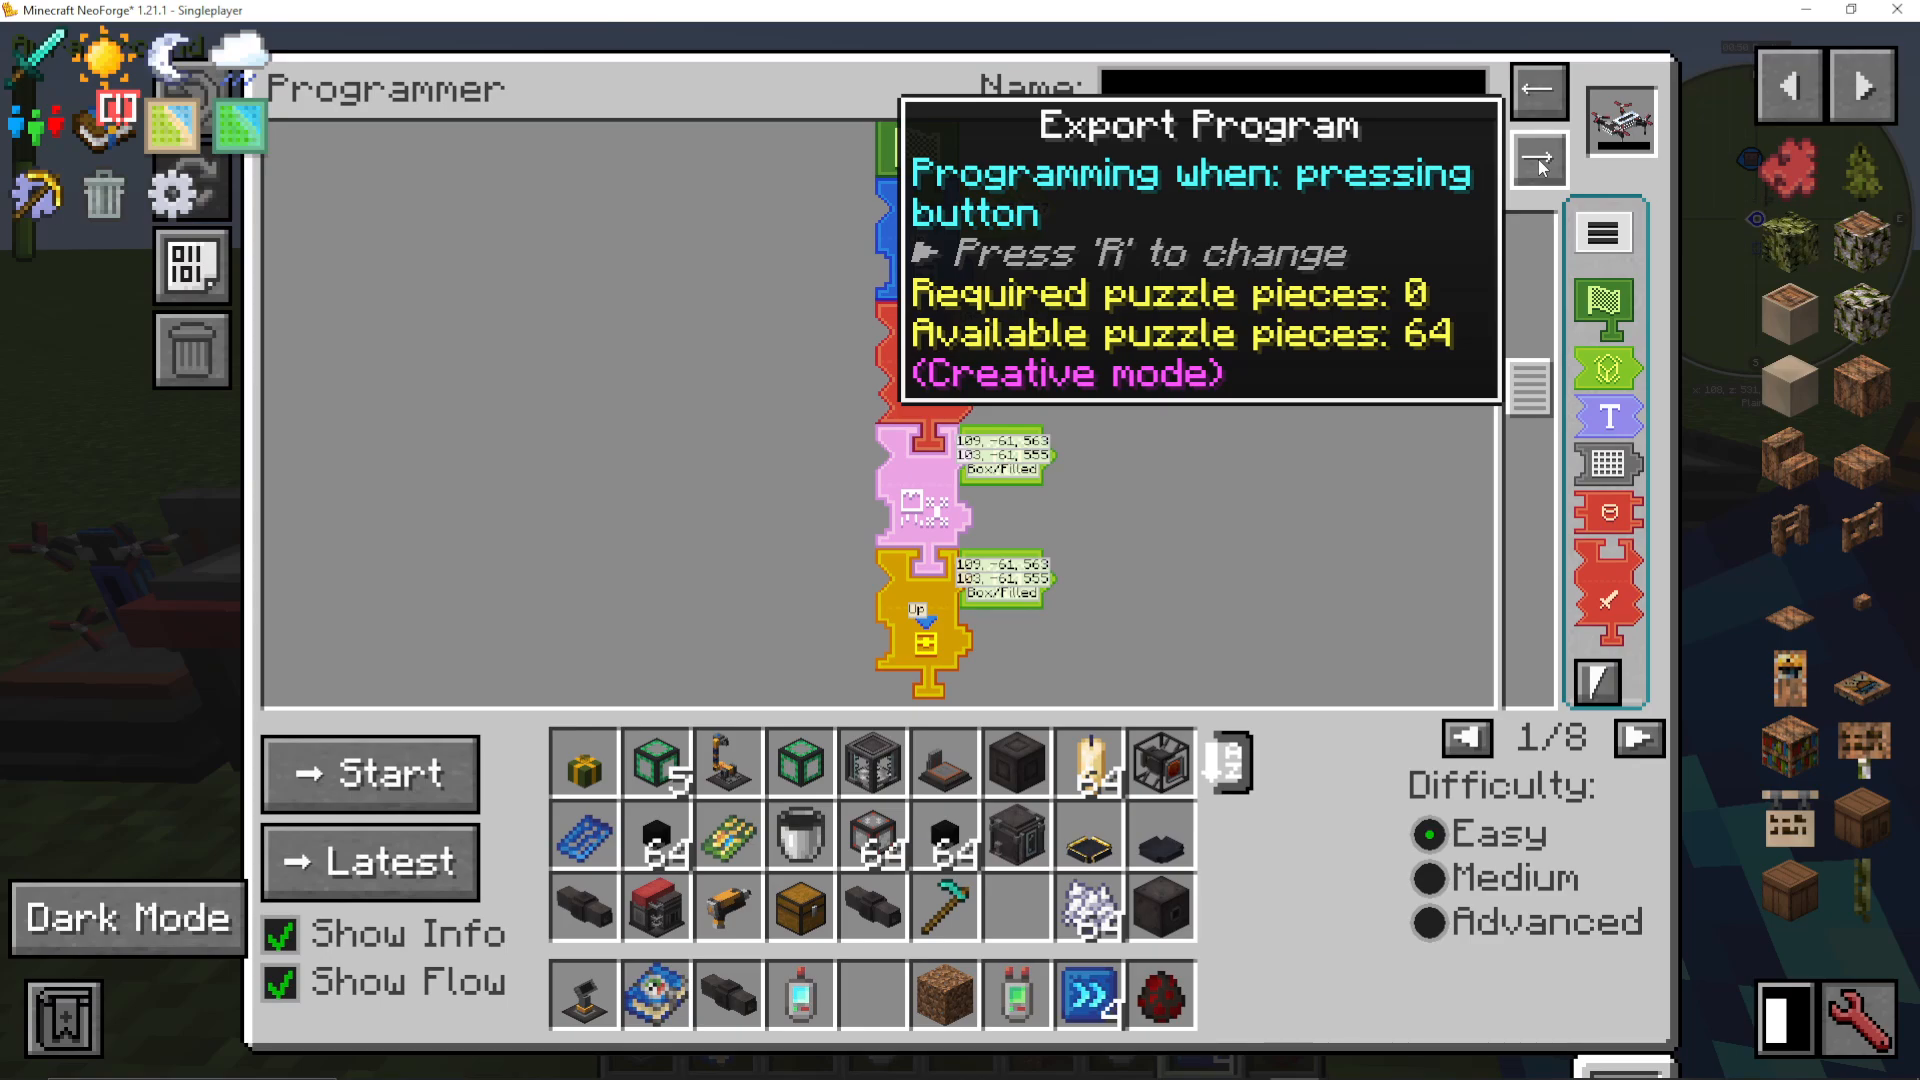
Once your program is complete:
Drag your drone into the export slot
Click “Export Program”
The system consumes puzzle pieces and loads the program into the drone
Take the drone to the charging station for pressure and upgrades
Place it down to activate the program
Advanced Program Pieces
As you get more comfortable, explore advanced pieces like:
Dig Area/Harvest: Mine blocks or harvest crops
Place Block: Place blocks in the world
Right Click: Interact with blocks (chests, furnaces, etc.)
Go to Location: Make the drone travel to specific coordinates
Edit Redstone: Activate redstone devices
Conditions: Add logic gates and conditional statements
Text Filters: Filter entities by type or other attributes
Pneumatic Armor
Pneumatic Armor is a full suit of wearable equipment that provides protection and special abilities through pneumatic pressure. It works similarly to drones and can be upgraded extensively.
Components
The pneumatic armor consists of four pieces:
Pneumatic Helmet
Pneumatic Chest Plate
Pneumatic Leggings
Pneumatic Boots
Each piece can be charged independently in a charging station.
Available Upgrades
The helmet offers numerous upgrades:
Speed Upgrades
Block Tracker (finds specific block types)
Item Life Upgrade
Night Vision
Range Upgrades
Scuba (underwater breathing)
Creative Supply (for testing)
Item Search
Armor Upgrades
Radiation Shielding
Hacking Upgrades (for blocks and entities)
Gilded and Security Upgrades
Getting Started with Armor
To use pneumatic armor:
Craft each piece of armor
Place each piece in a charging station to fill with pressure
Click the manage upgrades button to add upgrades
Put the armor on like normal Minecraft armor
Return to charging stations periodically to refill pressure
Additional PneumaticCraft Features
Beyond what we’ve covered, PneumaticCraft contains many other exciting features:
Air Cannons: Shoot projectiles using pressure
Vortex Cannons: Launch items or entities
Micro Missiles: Guided weapons for drones
Aphorism Tiles: Decorative and functional blocks
Pressurized Mob Spawner: Spawn mobs without light level requirements (requires spawner core)
Advanced Pressure Tubes: Support up to 20 bar pressure
Smart Displays: Show text and numbers with custom scaling
Summary and Next Steps
You’ve now learned the fundamentals of PneumaticCraft, from creating your first compressed iron through building complex automation with assembly lines and drones. The mod progresses naturally from simple pressure generation to advanced autonomous systems, with each new system opening possibilities for automation.
PneumaticCraft is incredibly deep, and there’s always more to discover. Take what you’ve learned here and start with one system at a time. Build a pressure chamber, then an oil refinery, then experiment with drones. The best way to master PneumaticCraft is through hands-on experimentation.
Keep an eye out for mods that integrate well with PneumaticCraft, such as Mekanism for pipes and conduits, or modpacks like ATM 9 that include comprehensive upgrade options for armor and other equipment.
— Want to Support? —
If you would like to help us continue making these guides – please consider joining our patreon here – https://www.patreon.com/c/JaviHeals
Alternatively – we host a group of MC Servers you can join here – https://discord.gg/zD7Gjt6MHF



