The Ultimate Guide to MineColonies
The Ultimate Guide to MineColonies
Welcome to the ultimate guide to MineColonies! This comprehensive tutorial will teach you absolutely everything you need to know to master this incredible mod. From setting up your first supply camp to managing a thriving colony with dozens of citizens and buildings, you’ll learn all the core concepts and mechanics that make MineColonies one of the most rewarding Minecraft mods available.
Getting Started: Supply Camp and Initial Setup
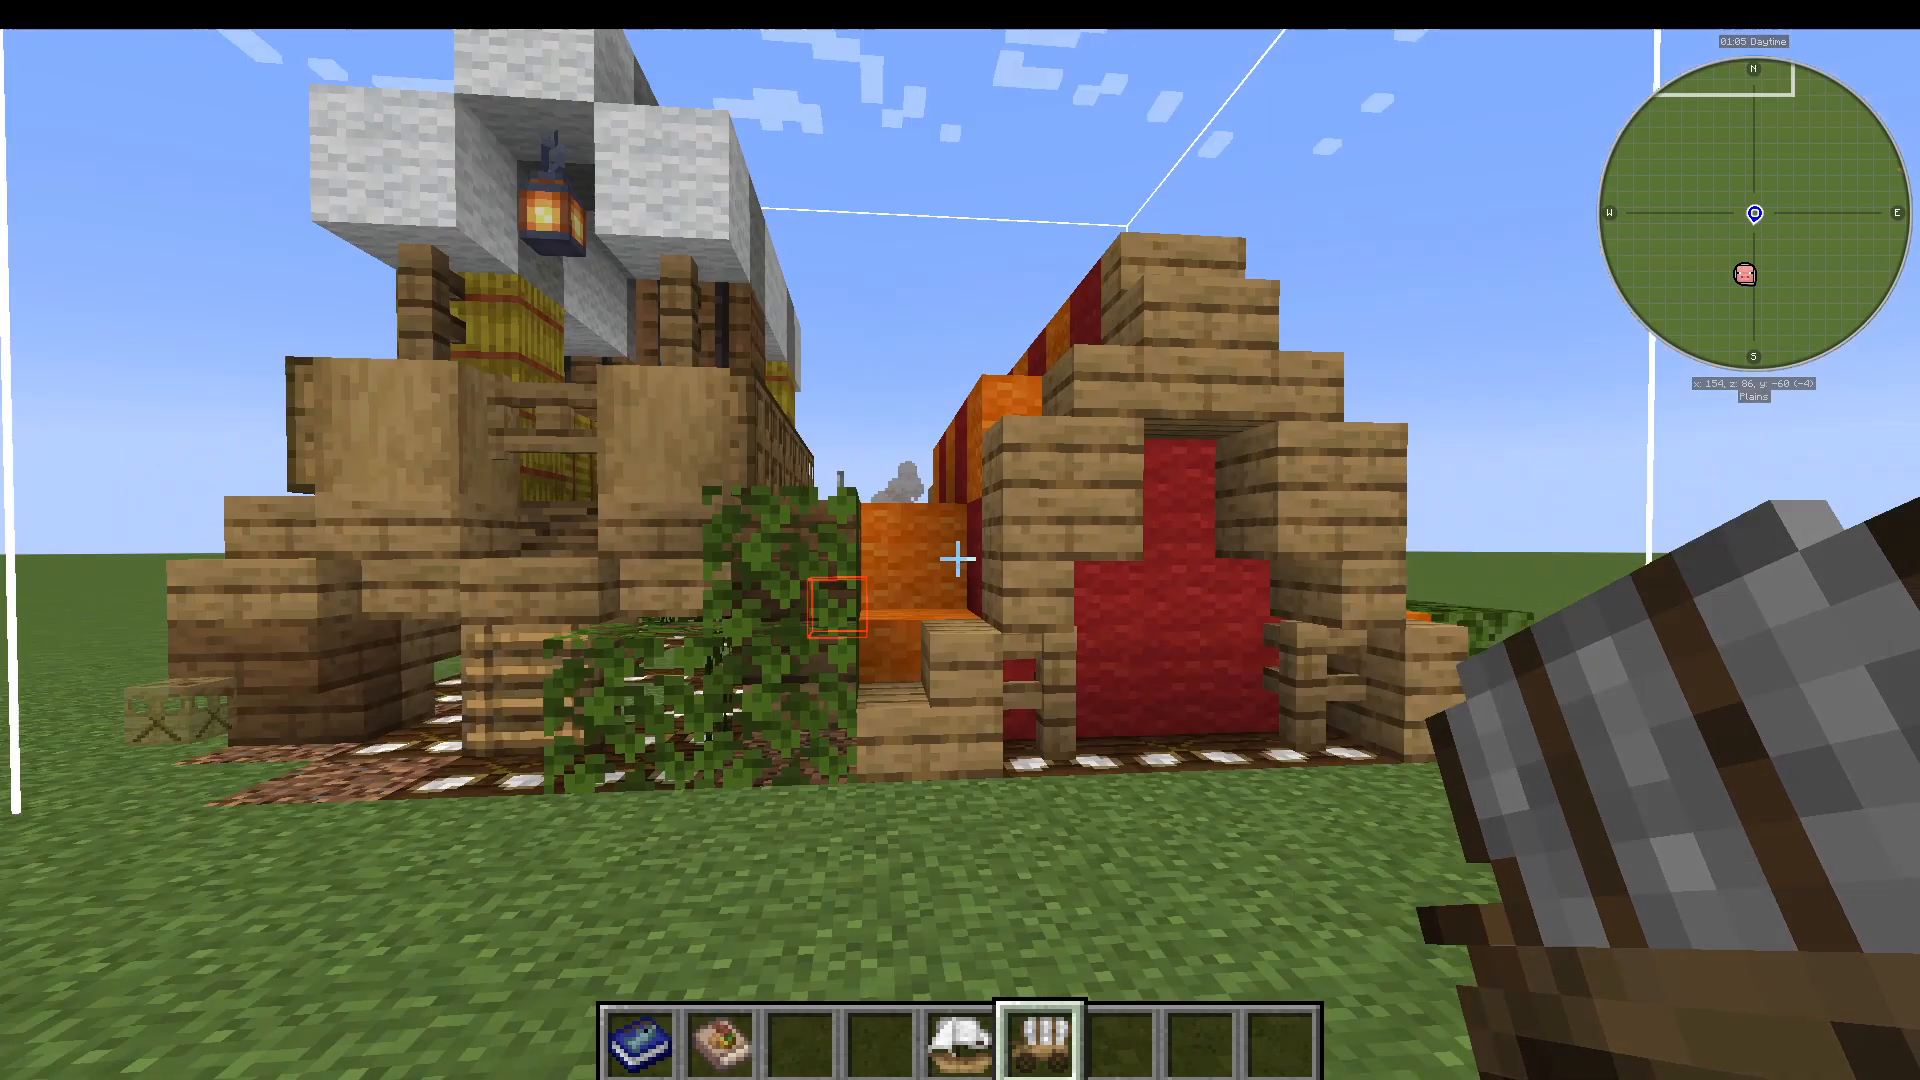
The first thing you need to do is make a supply camp or a supply ship. One is a ship, one is a camp, and they’re made very easily with boats or chests. You then right-click on the supply camp and press “Select Style.” This will ask you what style you want to build in. You can choose from many different styles including Desert Oasis, Urban Savannah, Medieval Oak, and many more.
Once you select a style like Medieval Oak and press “Select,” you’ll be taken to the structure eyes screen. This is how you’ll place all buildings in the mod. You have several options:
Delete the structure with the X button to start over
Rotate it 90 degrees at a time (up, down, left, and right)
Flip it to mirror the structure
Adjust the height to match the brown floor blocks visible in the preview
View the resources needed for the build
Access cog settings to share previews with other players (useful on servers)
Once you’re satisfied with the placement, press the tick to confirm. You now have your supply camp!
Building Your First Structures
Getting the Build Tool
First things first, go into the supply camp and find the little barrel that contains a build tool (which you’ll use to build your buildings) and a town hall. Now you’ll build all the buildings just like you made that supply camp. Look at the one you want to build (for example, the Mechanic’s Hut) and build it step by step.
Get your build tool and right-click on the floor. You’ll see options organized by category: Alls, Mystic, Military, Infrastructure, Fundamentals, Education, and more. Go to Fundamentals and select Town Hall (the Central Administration for Colony Management). Click it, then click “Town Hall” from the list above and press Escape to exit the menu.
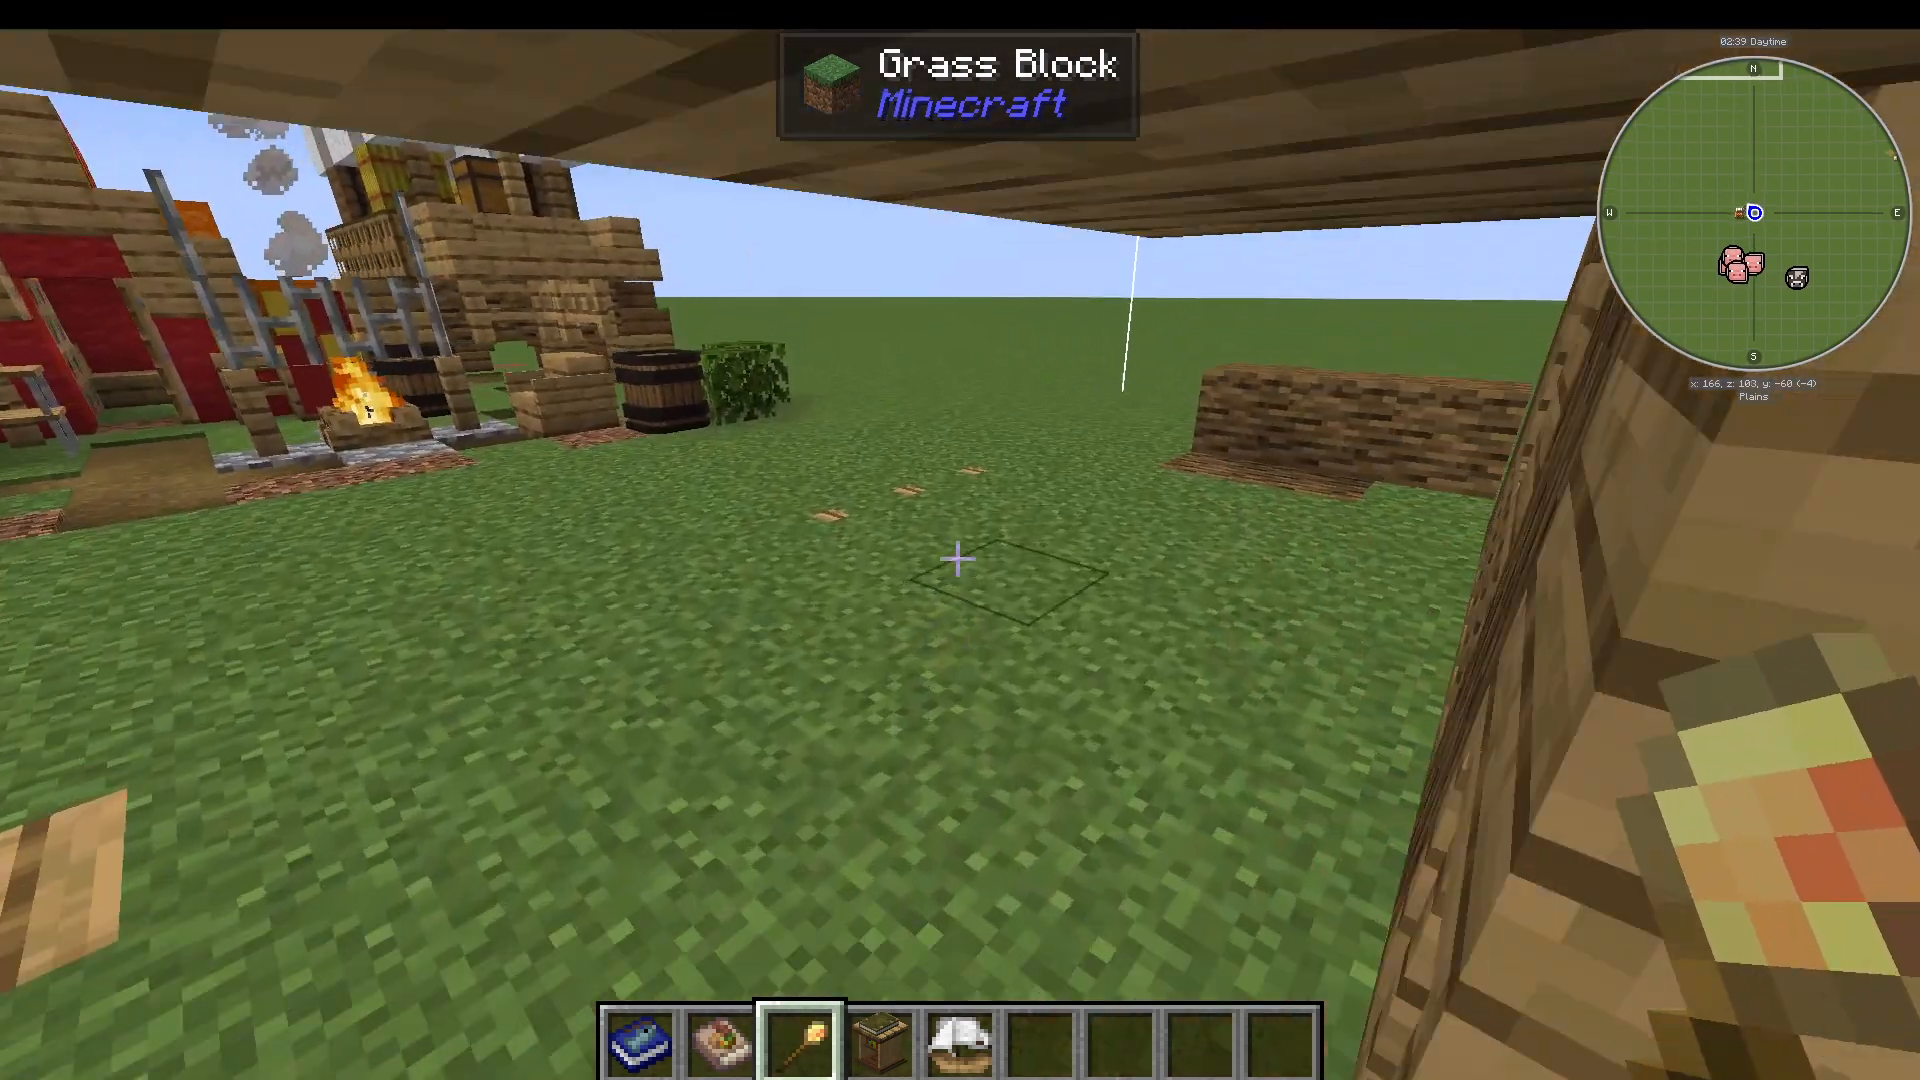
Placing and Assigning Structures to Builders
You can preview different levels of buildings (levels 1 through 5) to see how they’ll look when fully upgraded. A level five town hall is massive compared to level one! Press the tick to confirm placement and then press “Assign to Builder.” This starts the building process.
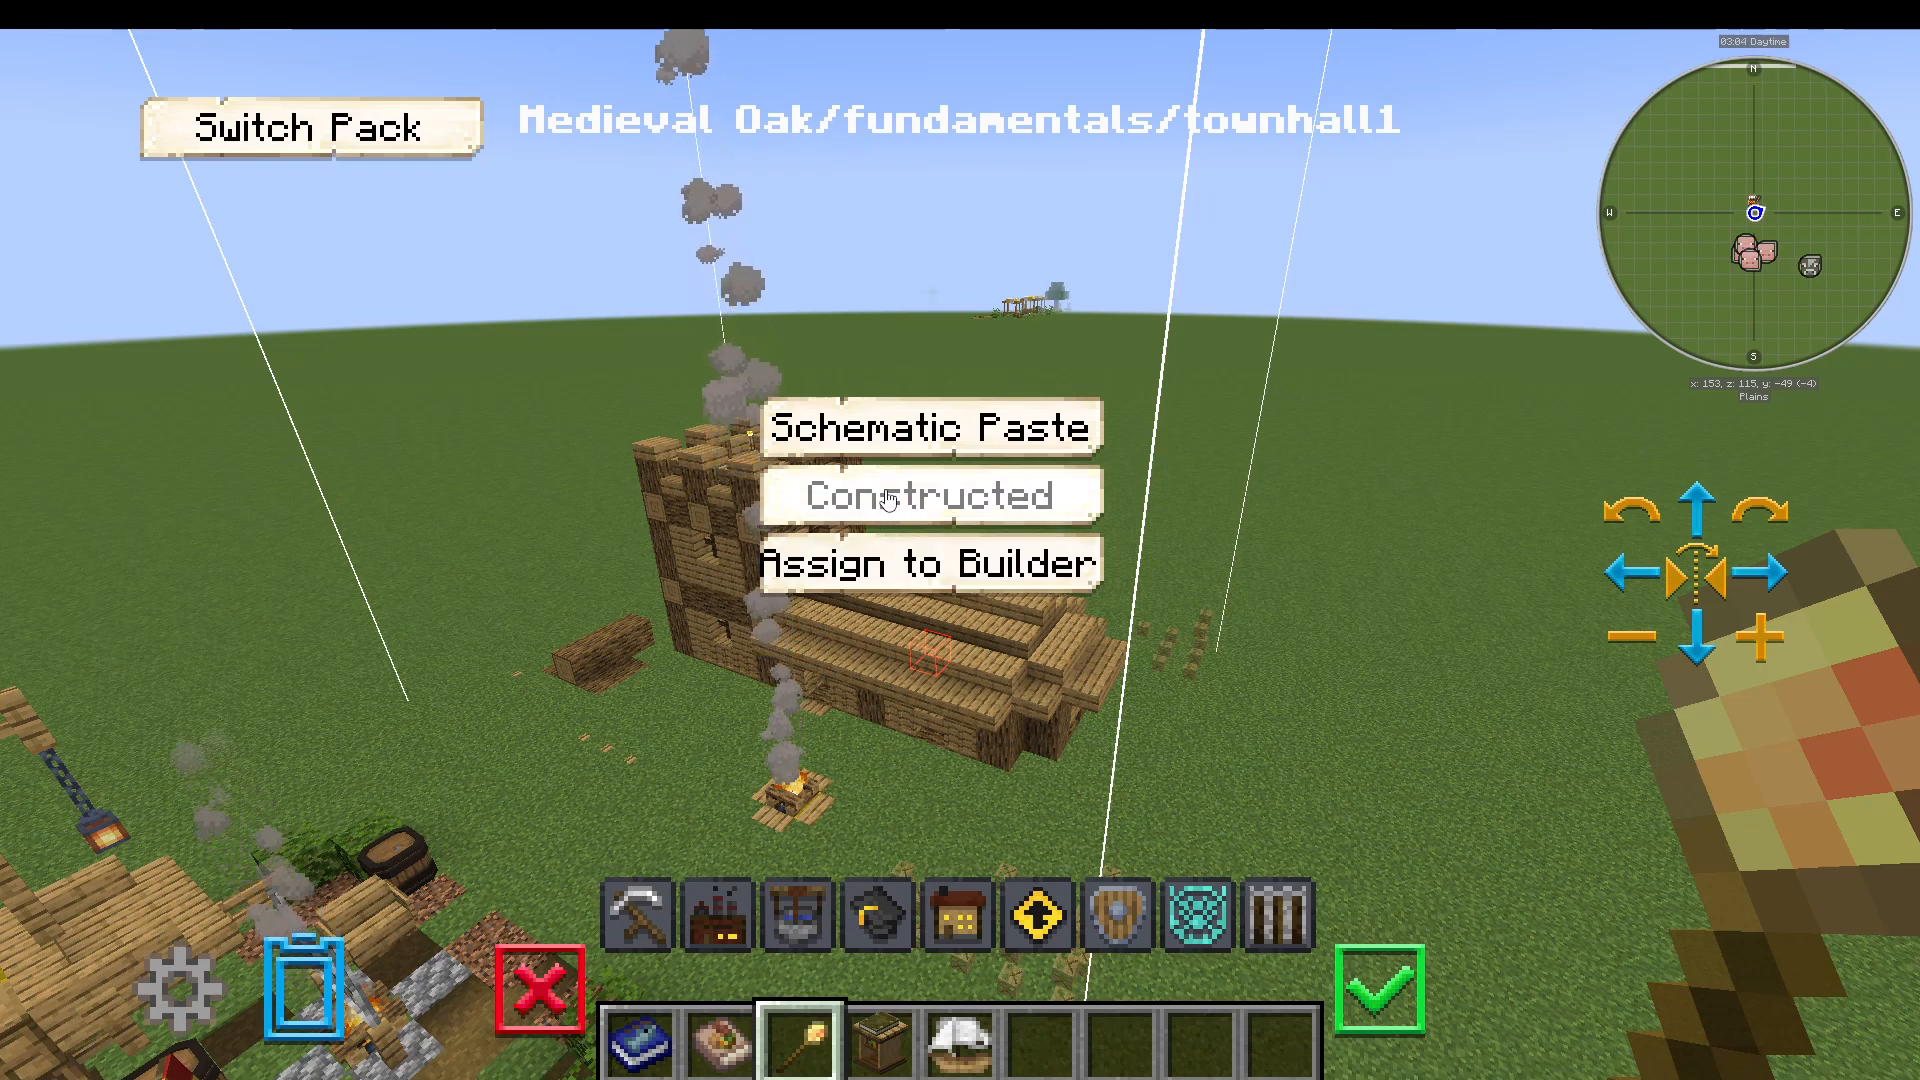
Every building you place will contain a workstation item. Now build a Builder’s Hut following the same process. Go to Fundamentals and select Builder’s Hut, level one. Make sure it looks good, then tick it and assign it to a builder.
Establishing Your Colony Border
You might get an “Error on placement” message saying the structure is partially outside the colony. To fix this, you need to go into your town hall, sign the covenant, and found your colony. This puts a white border on your map showing your colony’s boundaries. To expand the border, simply build more buildings—each new building extends the border outward.
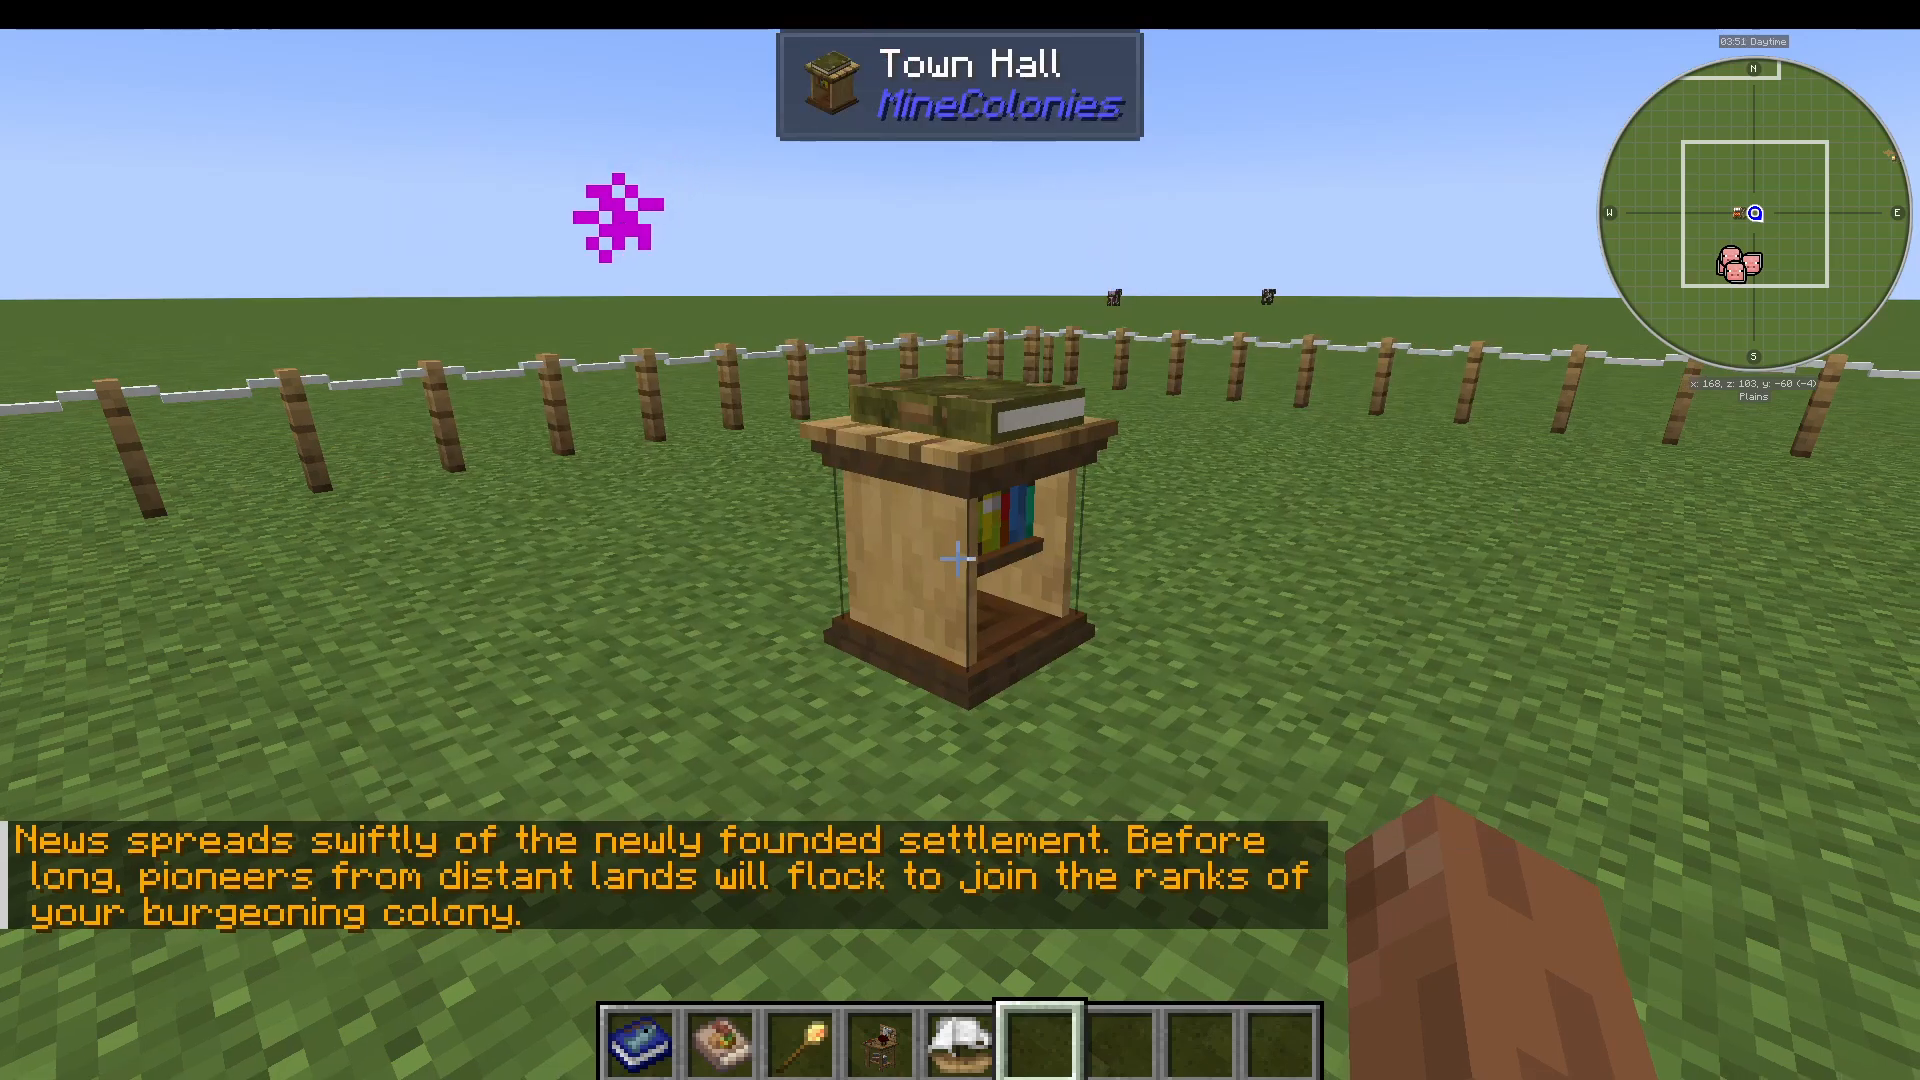
Now you can place your Builder’s Hut within the colony borders. Use your build tool again: go to Fundamentals, select Builder’s Hut, confirm placement, and assign it to a builder. Colonists will start coming in, and one will be automatically assigned as your Builder.
Starting Construction
To start building, right-click on the workstation and select “Build Building.” This shows you a list of materials you’ll need. Press “Build Building” and a builder will come construct it for you. You can see in the chat when they start work.
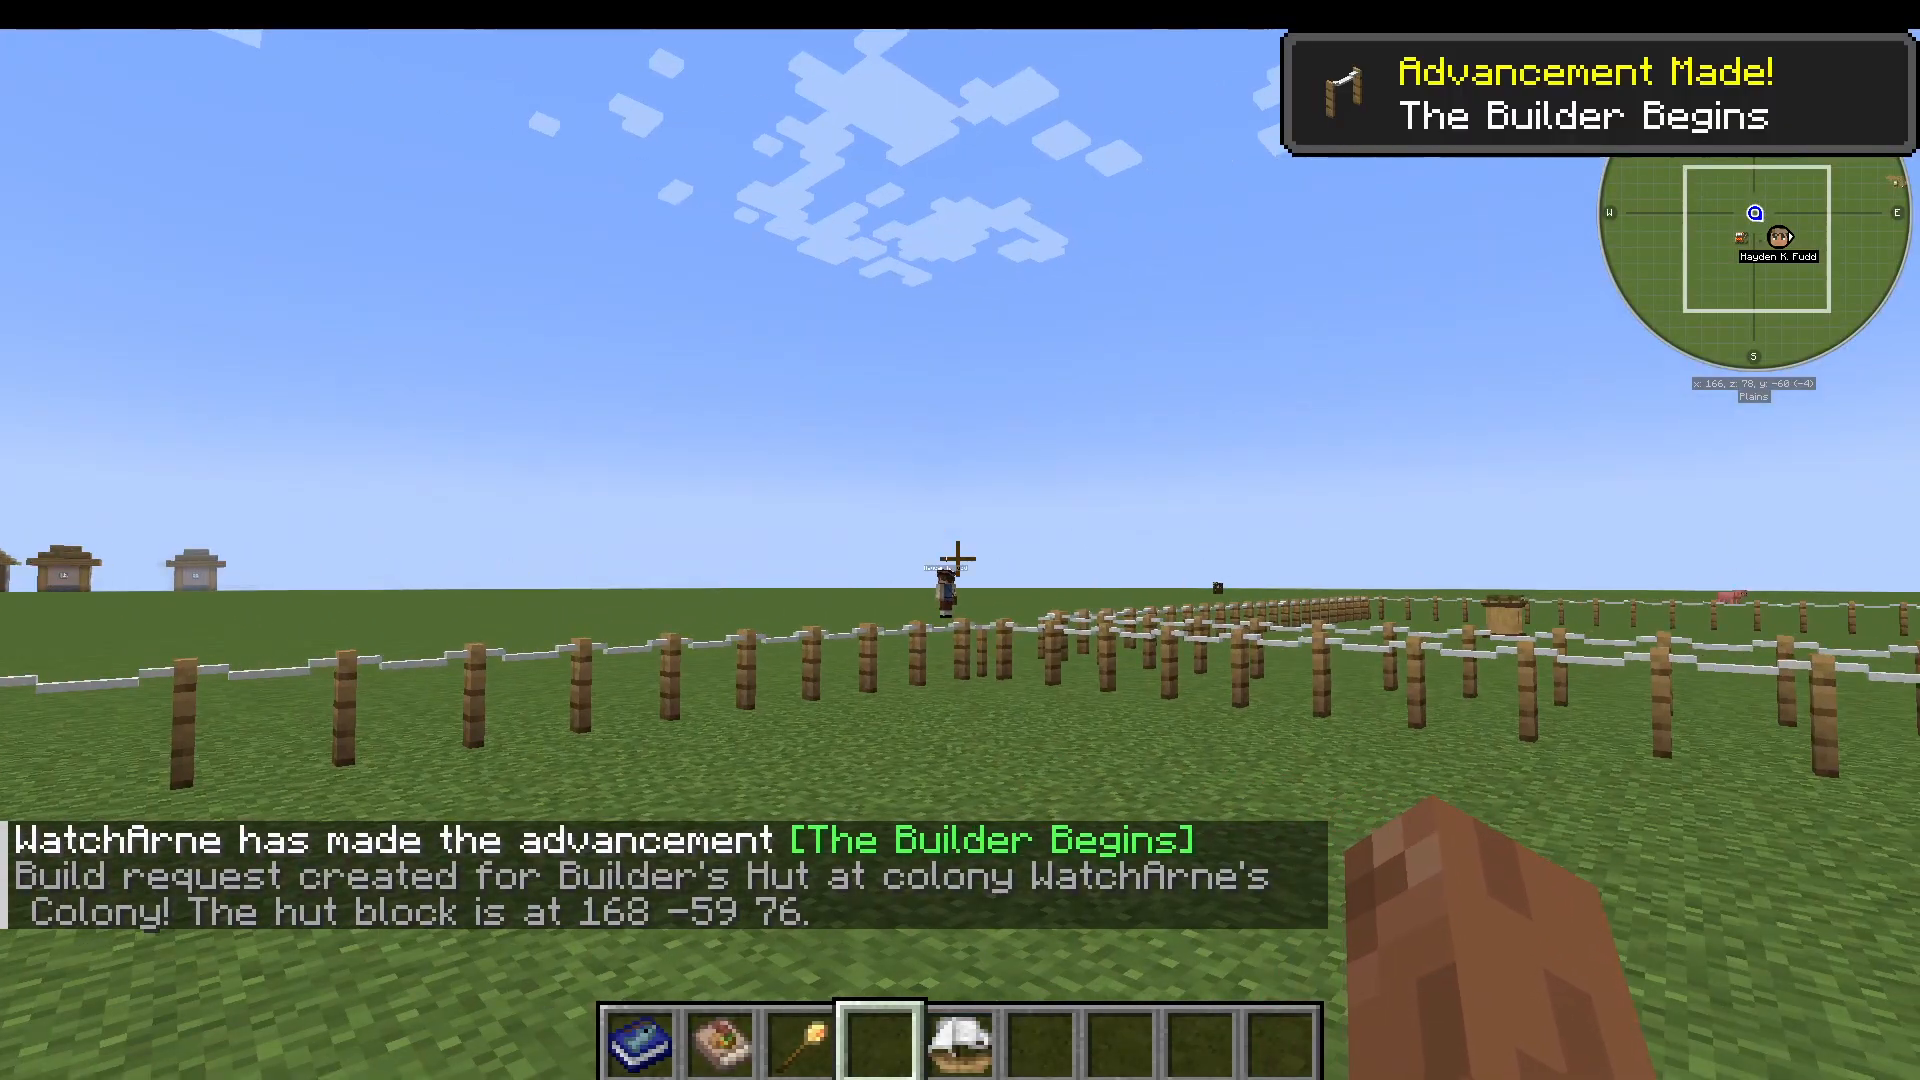
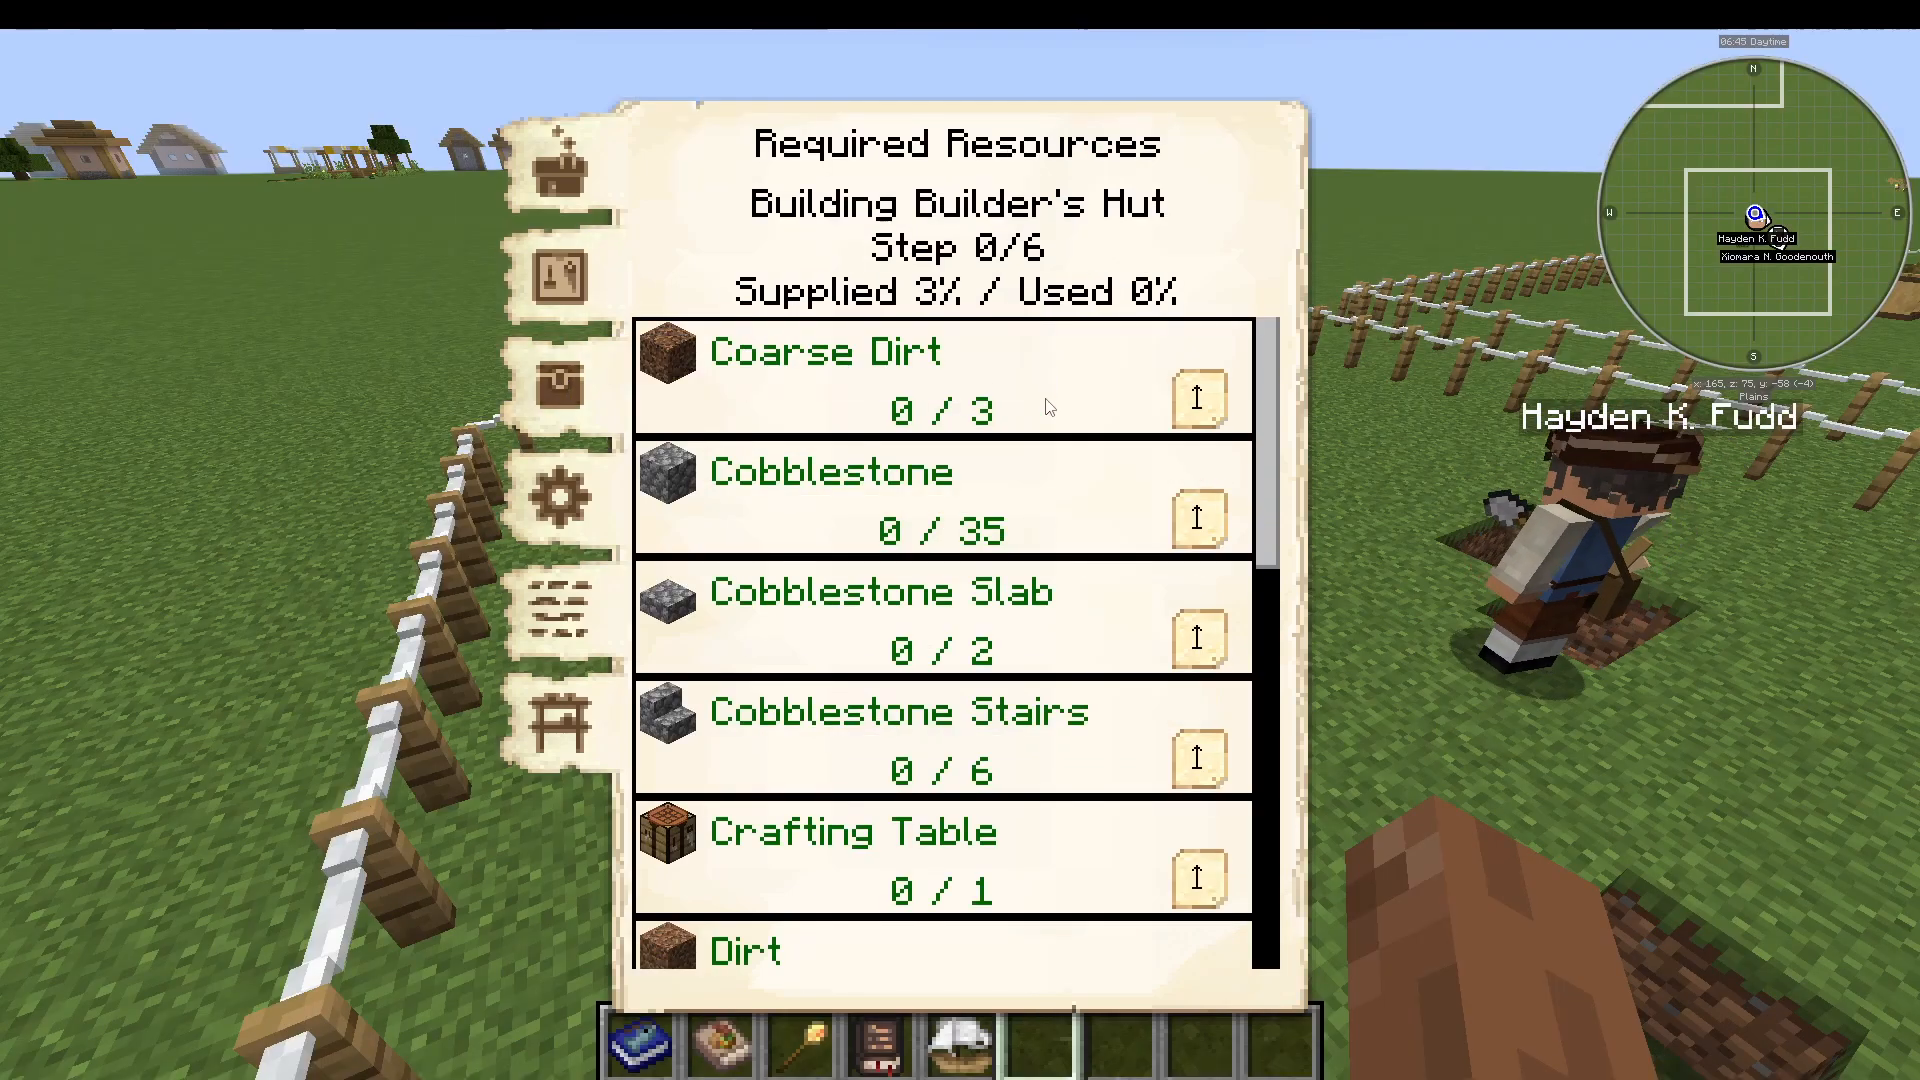
The builder might signal they need tools. Right-click on them and they’ll tell you what they need (for example, a shovel with minimum level wood or gold and maximum level stone). Put the required tool into their inventory by going to their inventory screen. For digging, you’ll also need to provide the building resources. Click on the building, go to the “Required Resources” tab, and use the arrows to provide the ingredients into the builder’s hut inventory.
Building Multiple Structures
This is the basic process to build buildings. You use JEI or craft recipes to create the building recipe, then use the build tool to right-click on the ground and select options. Buildings are organized into categories: Fundamentals, Infrastructure, Military, Education, and more. Some buildings require research at the university before you can build them.
The first six buildings I recommend making are: the Tavern, the Farm, the Bakery, the Restaurant, the Courier’s Hut, a Warehouse, and a Residence. As you complete buildings, more villagers will arrive and you’ll get chat messages showing completed buildings.
Upgrading Buildings
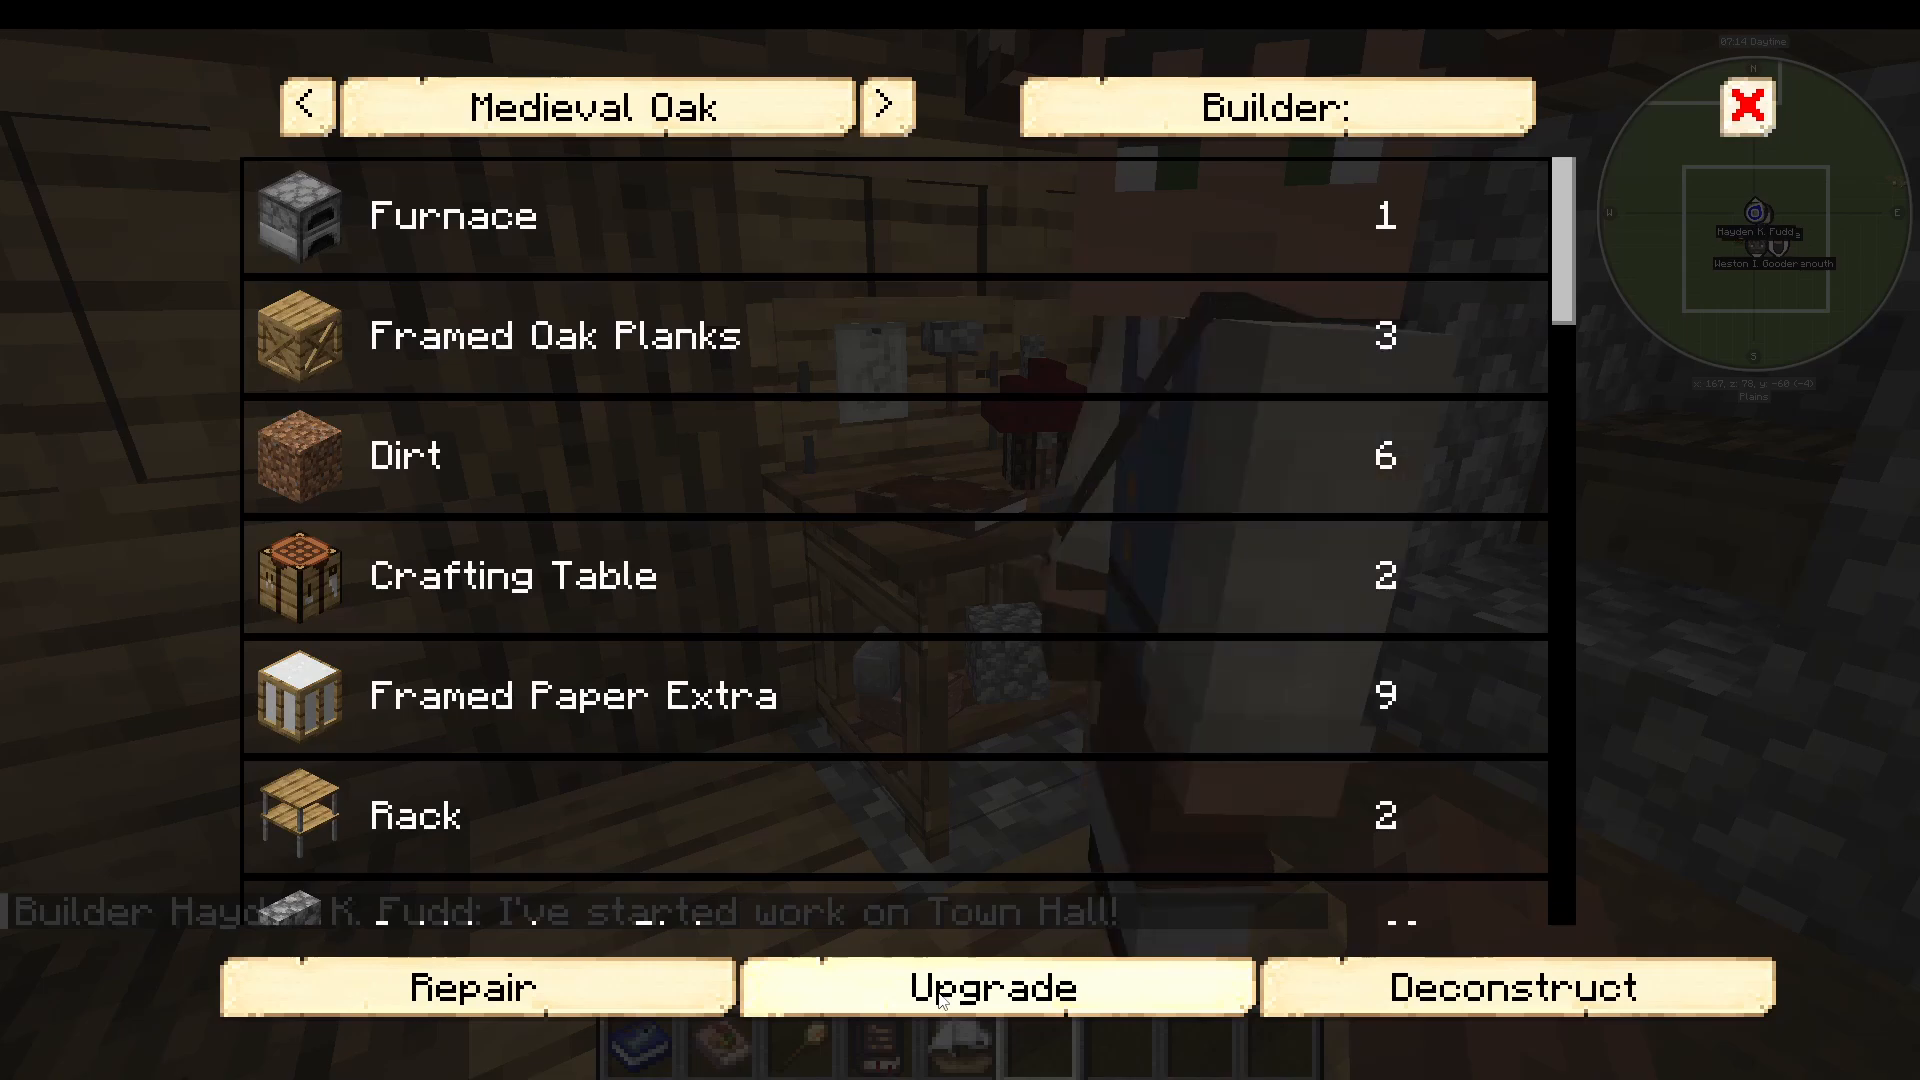
To upgrade a building like the Builder’s Hut, go into the building and click “Build Options,” then press “Upgrade.” This puts construction tape around it and sends a builder request. A level one builder’s hut can only make level one buildings. A level two can make up to level two buildings, level three up to level three buildings, and so on. Each level increases what the worker can do.
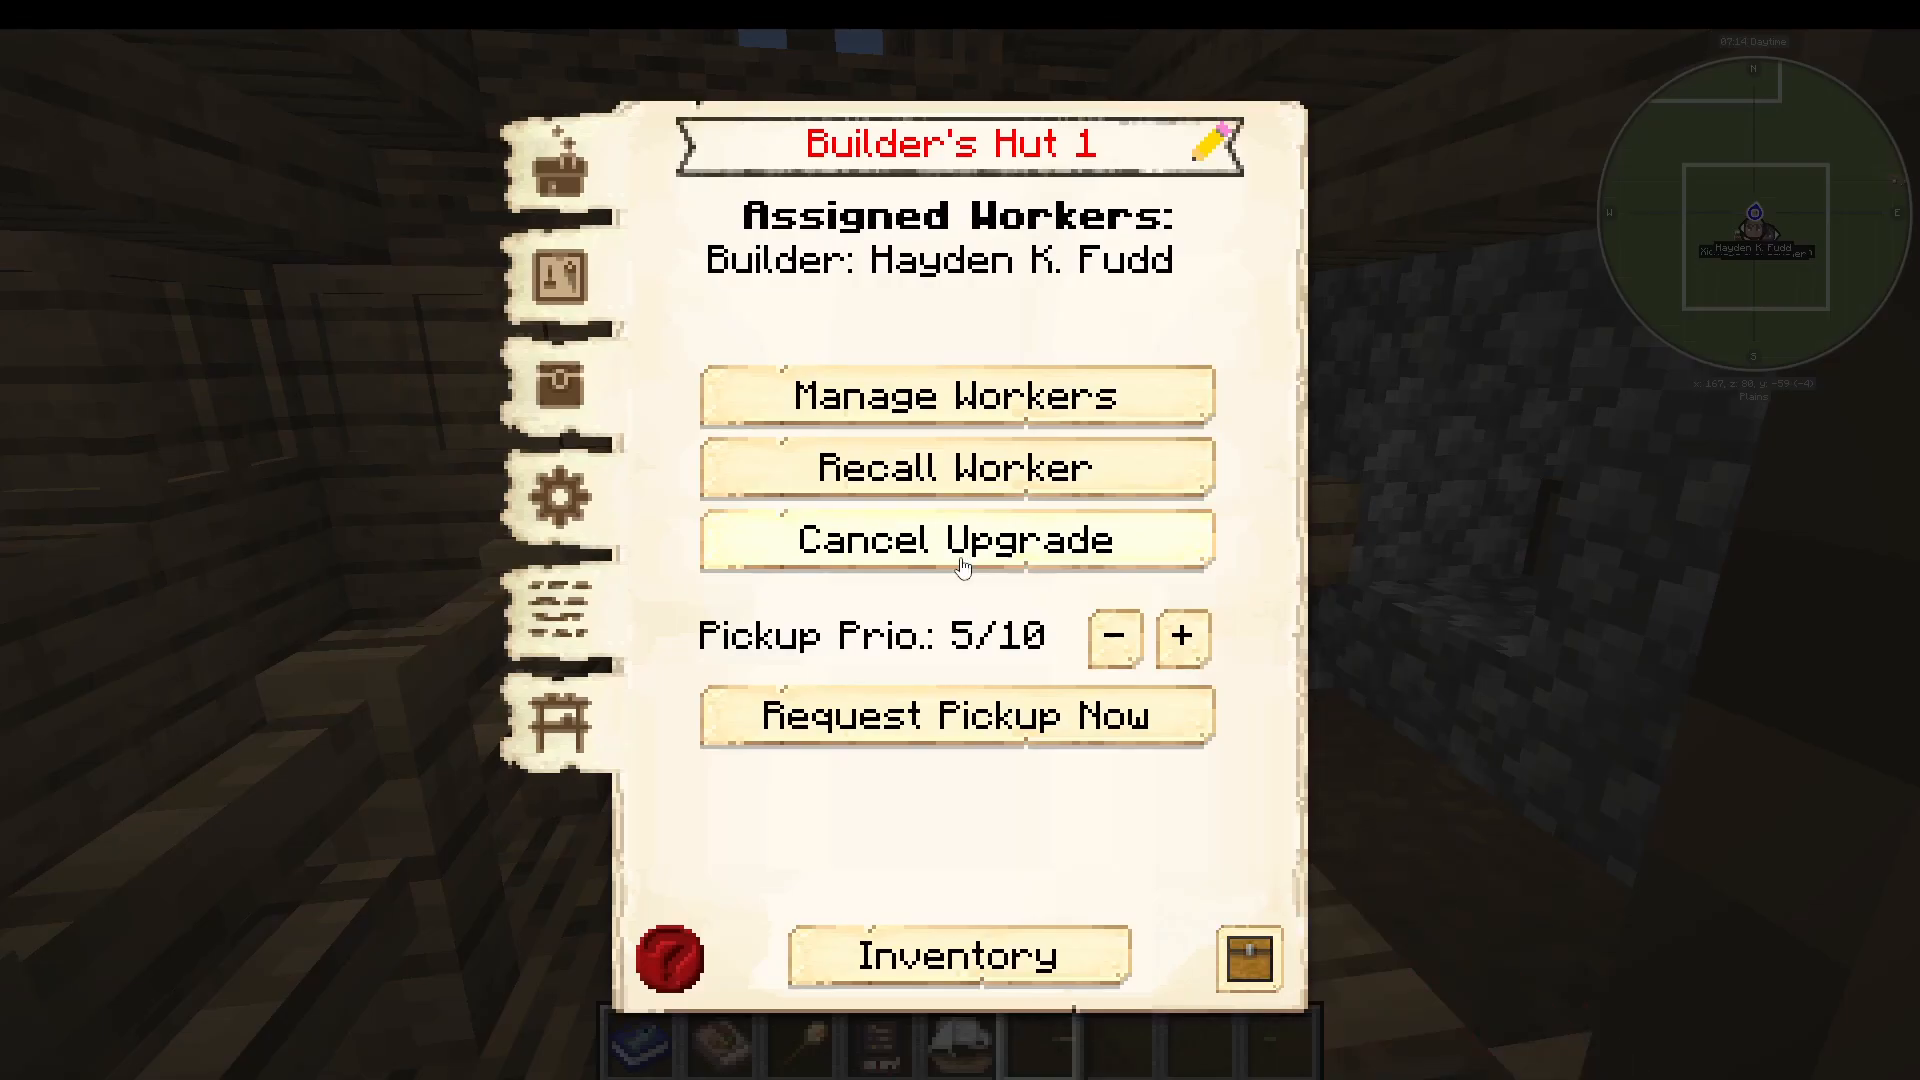
Inside each building, you can see the name, assigned worker, and option to recall them if they get stuck (which sometimes happens during upgrades). You can also see building progress (for example, “Building Town Hall, supplied 6%”) and manage work orders and inventory. The builder’s hut inventory is used for building the next structures.
A builder using a stone shovel can upgrade their hut to level two to use an iron shovel, level three for a diamond shovel, and so on. It’s the hut level (not the worker themselves) that determines tool quality.
Understanding Citizen Happiness and Mechanics
The Happiness System
Before building more buildings, let’s talk about citizen happiness. There’s an overall colony happiness rating and individual happiness ratings. Citizens will be happier if:
Their food saturation is above 14 hearts
Their home (or workplace for guards and trainees) is level 2.5 or higher
At least two guards exist for every three citizens
They benefit from partial completion of these conditions
Their residence level increases (from level 1 to level 5, for example)
Citizens become less happy if they:
Die (other citizens mourn for three days)
Get injured (slightly less happy the next day)
Get sick, homeless, unemployed, or have nothing to do
Can’t make it home to their bed at night
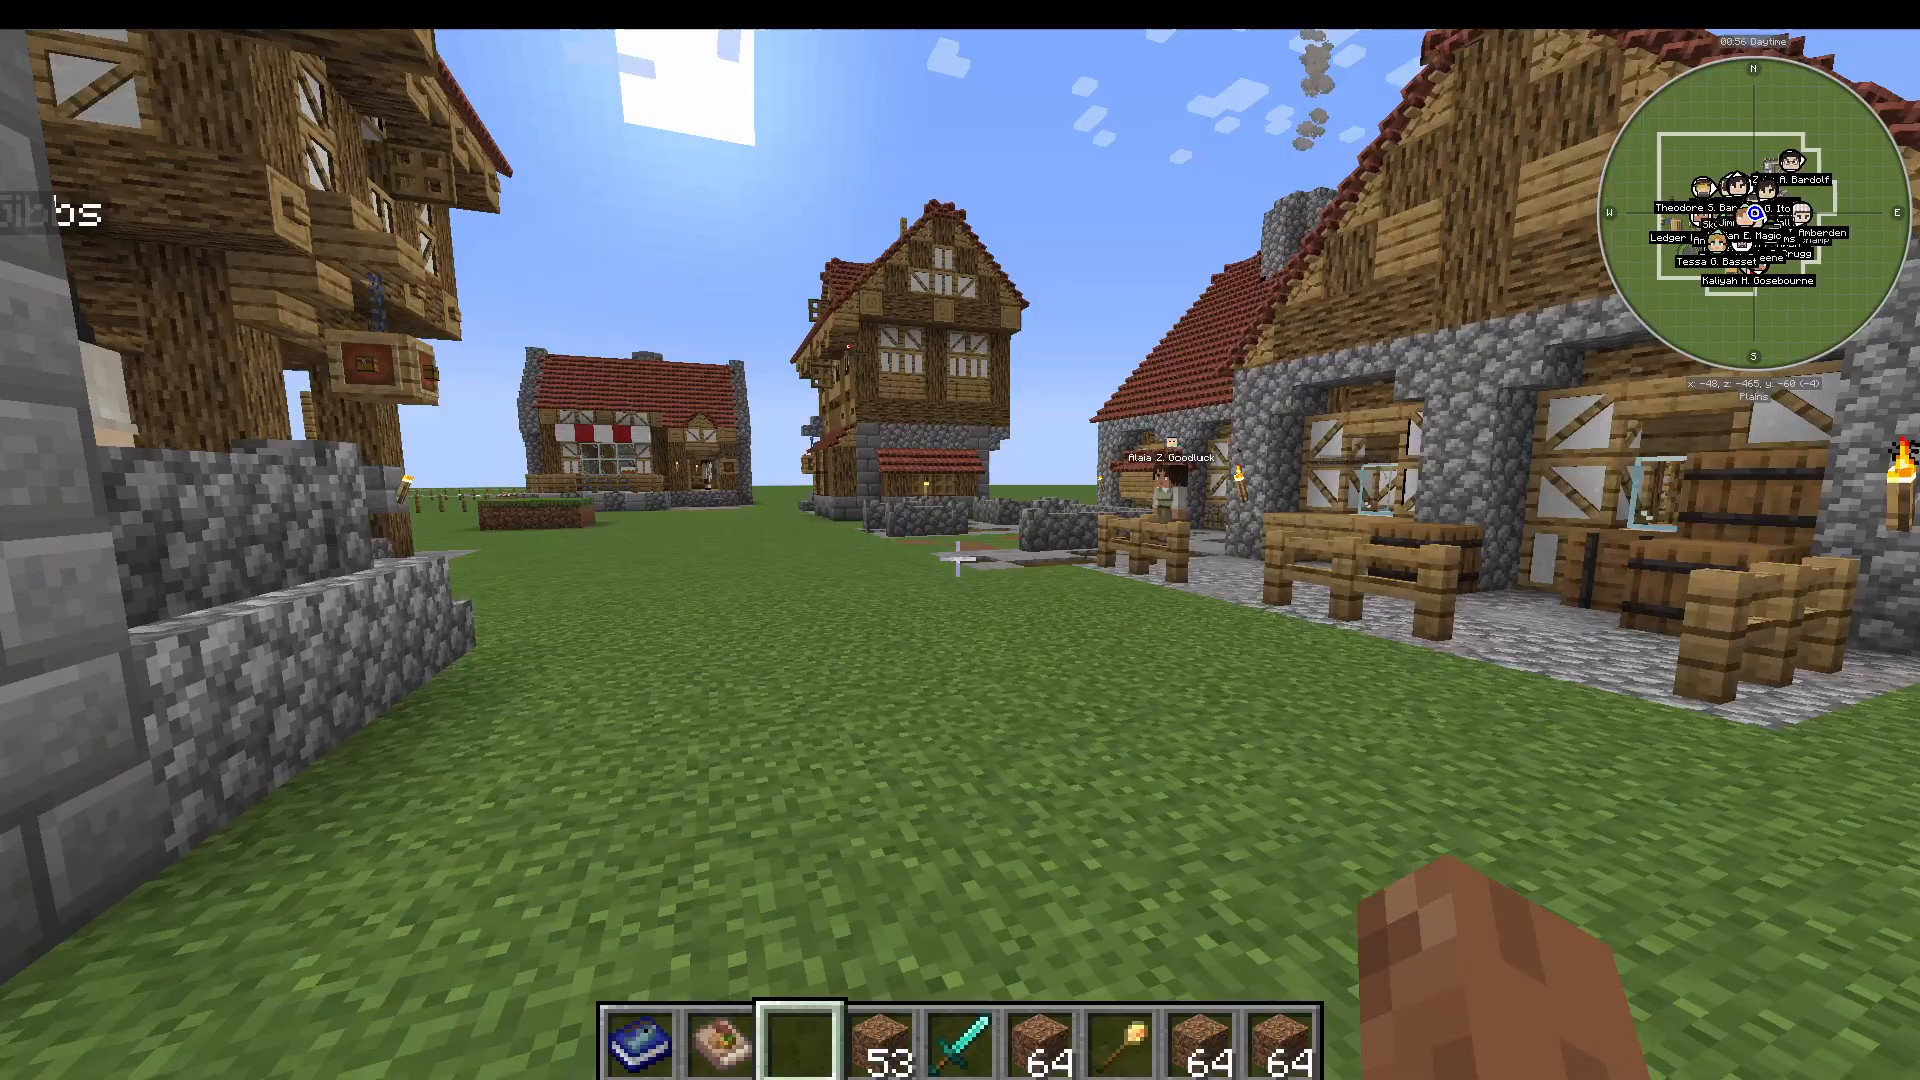
Health and Illness Prevention
Citizens can catch colds and other illnesses like measles. The cure for a cold is a carrot and a potato. A good strategy is to put potatoes and carrots in citizen inventories—this prevents most sickness issues. The better you run your colony (with adequate food, housing, jobs, and guards), the happier your citizens will be.
Raid Bonuses and Guards
There will sometimes be raids on your colonies. If you survive a raid without losing any colonists, you get a colony-wide “woohoo” happiness boost. Citizens also like to have guards near their homes and workplaces. Guard towers add a feeling of protection to how far happiness extends. When a citizen’s hunger reaches 6 or lower, they’ll go to a restaurant for food.
Citizen Skills
Each citizen has different skills that depend on their job. A builder might have Athletics (which increases building speed) and Adaptability (which increases block breaking/placing speed). These skills level up passively as citizens do their jobs.
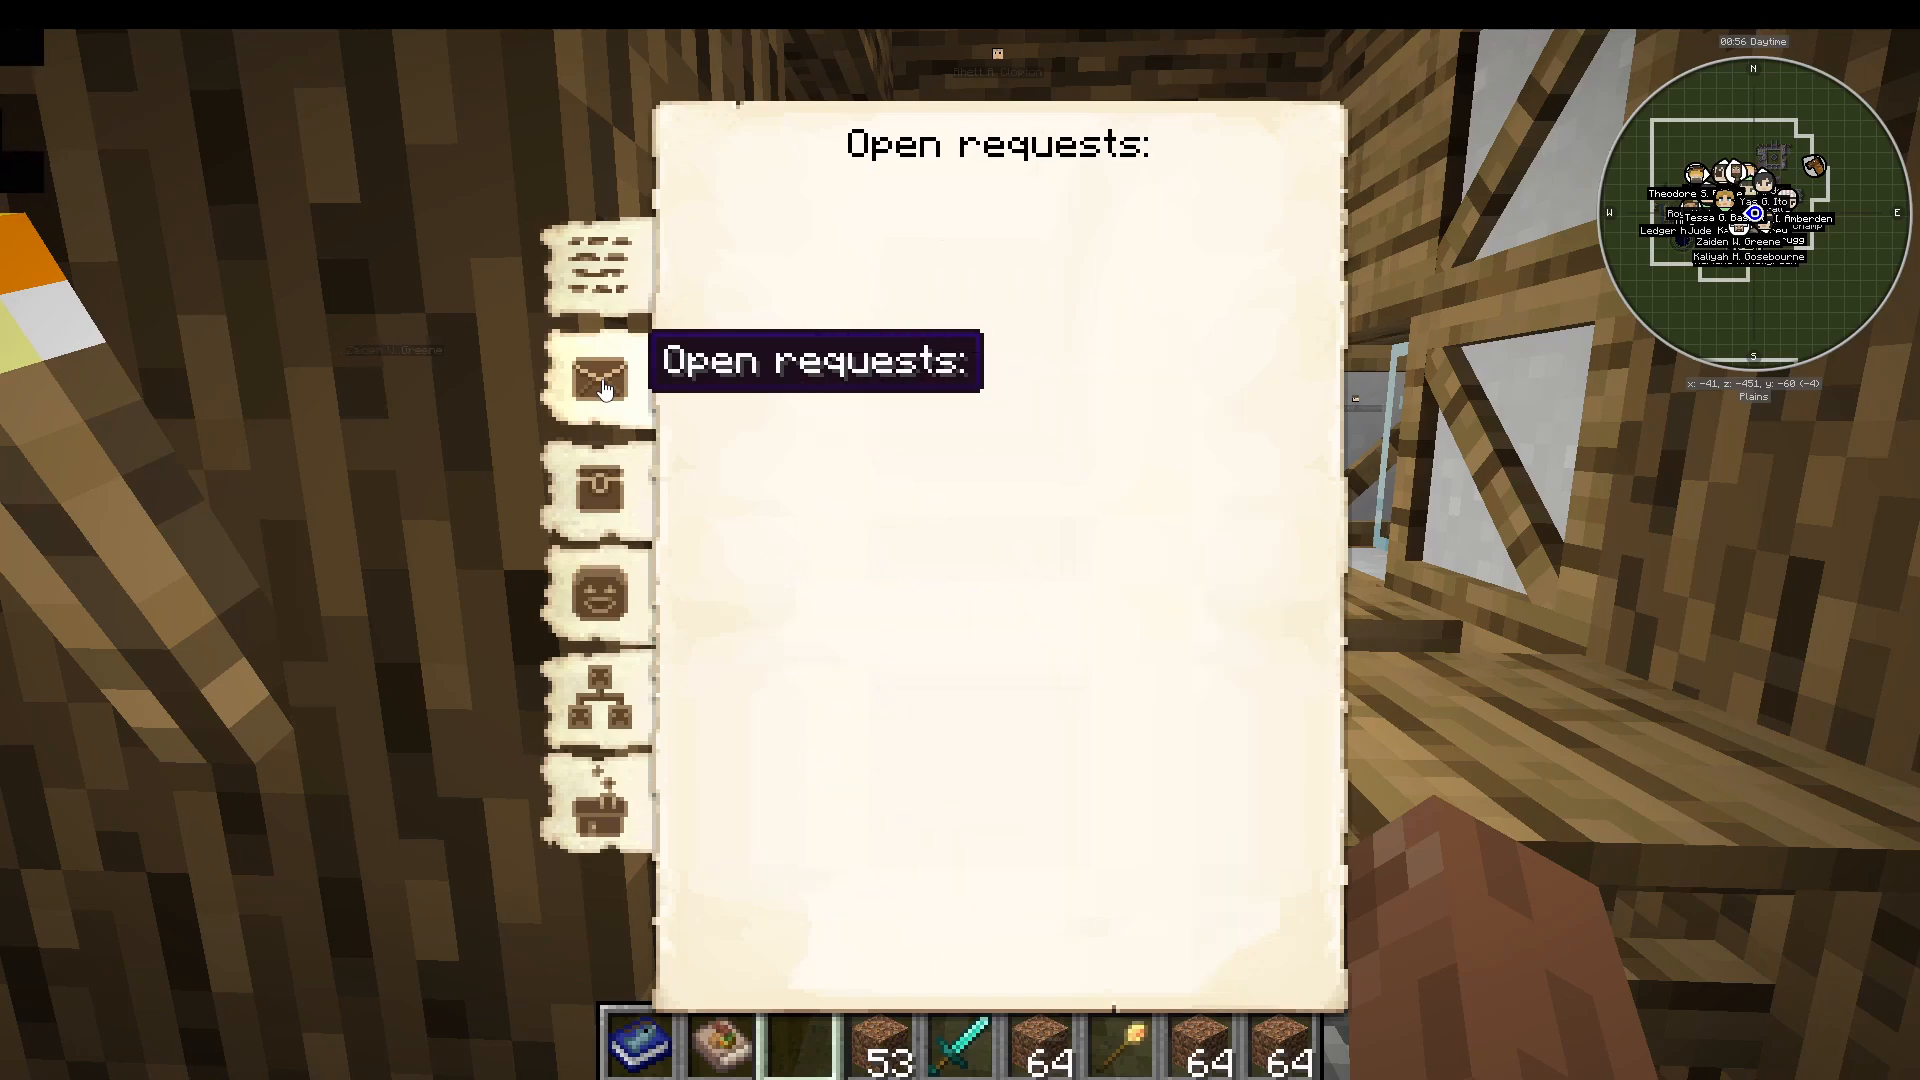
The Builder’s Hut: Your Most Important Building
The first building you’re going to actually build in MineColonies is the Builder’s Hut, because you can’t build anything without a builder. Take your build tool, right-click it on the ground, go to Fundamentals, and select Builder’s Hut level one.
When planning your city, don’t just plan for level one—look at levels two, three, four, and five to see how the building will look when fully built. This helps you plan how your city will eventually look. A level five Builder’s Hut is massive compared to level one, with additional framing and complexity at each level.
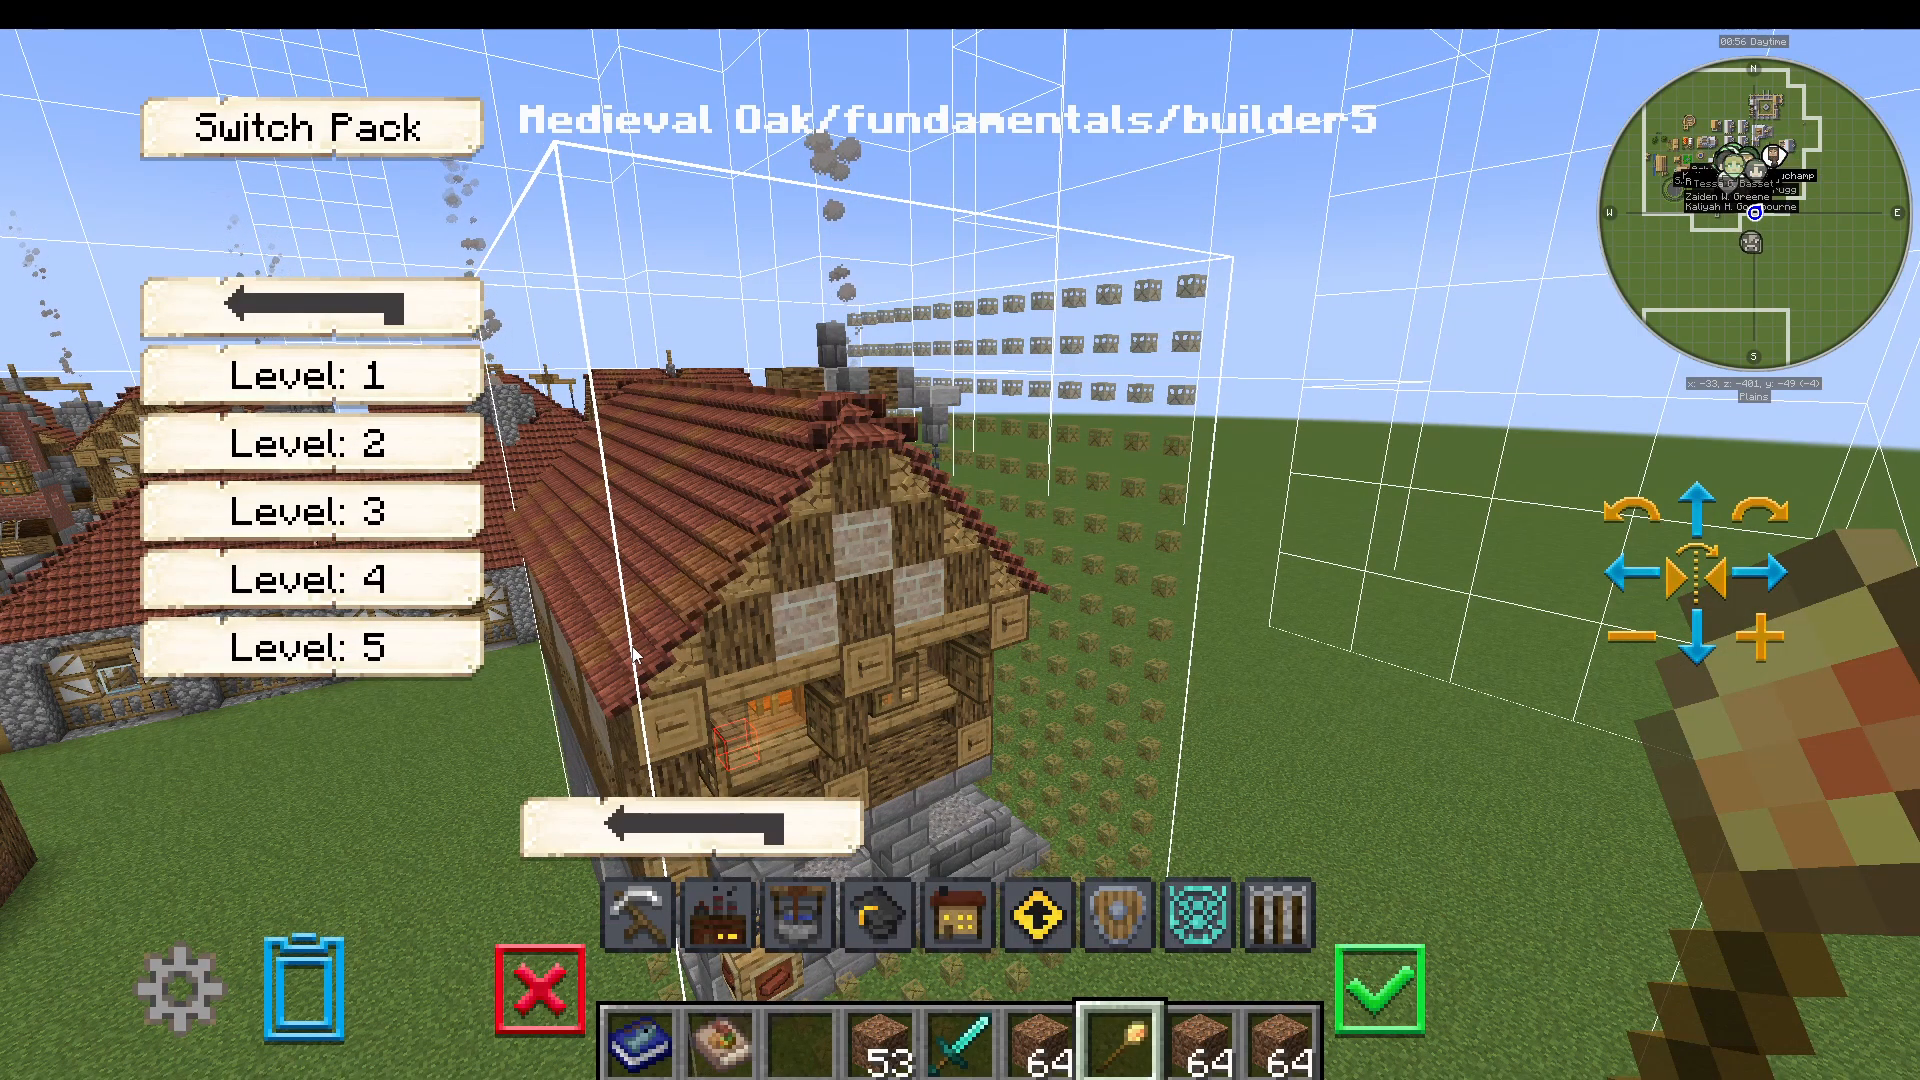
Multiple Builders for Efficiency
I recommend building multiple Builder’s Huts (I have five). Building is what you’ll do most often in MineColonies, and it takes a while, so having multiple builders significantly speeds up your progress. Each Builder’s Hut workstation shows the worker name, type (Builder), assigned worker, and options to manage workers, fire them, and hire unemployed people instead.
Builder Skills and Hiring
You can set hiring mode to automatic (default) or manual. In manual mode, you can see only unemployed people with the best skills for that job. The two most important builder skills are:
Athletics: Faster block breaking when upgrading buildings
Adaptability: Faster block placing when building
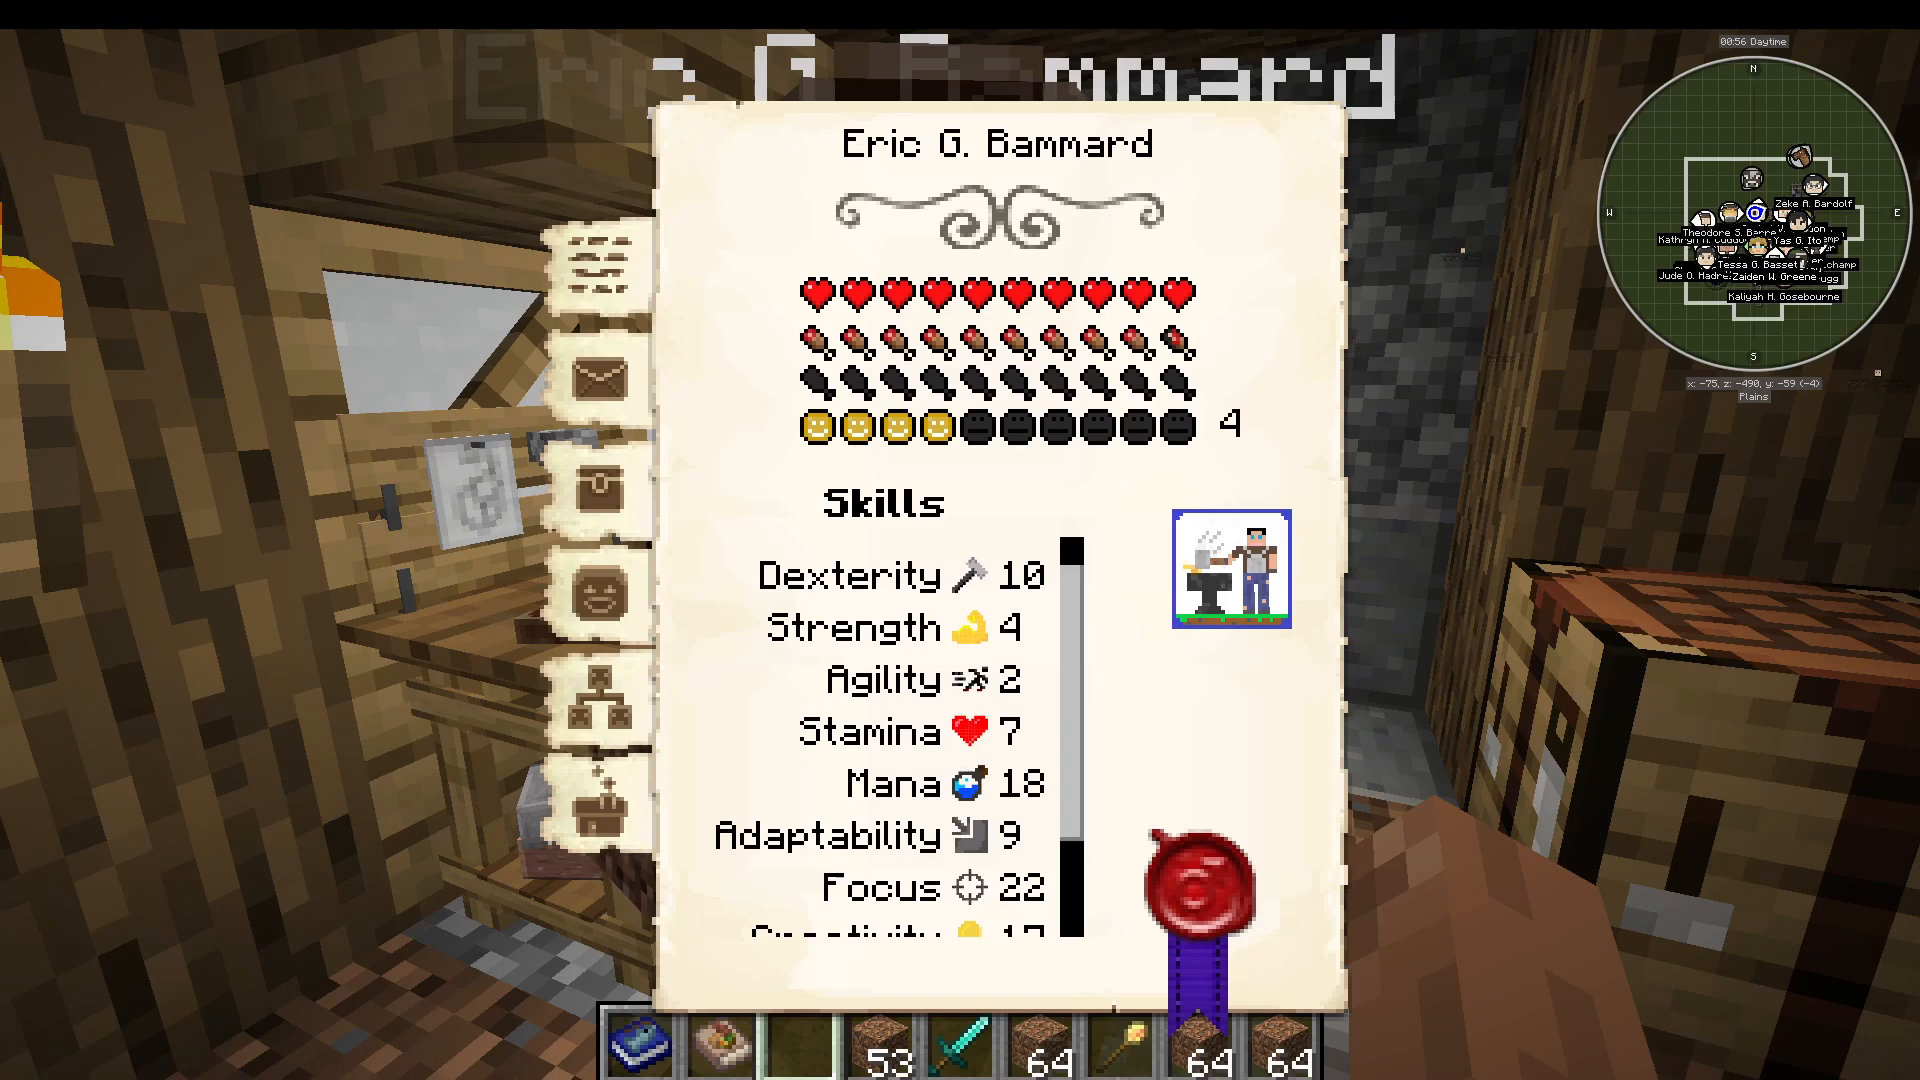
Nearby Building Previews
When building, you can see nearby buildings displayed at level five even if they’re currently at lower levels. This helps you visualize how your structures will look together at their maximum level. This setting is controlled in your building display options.
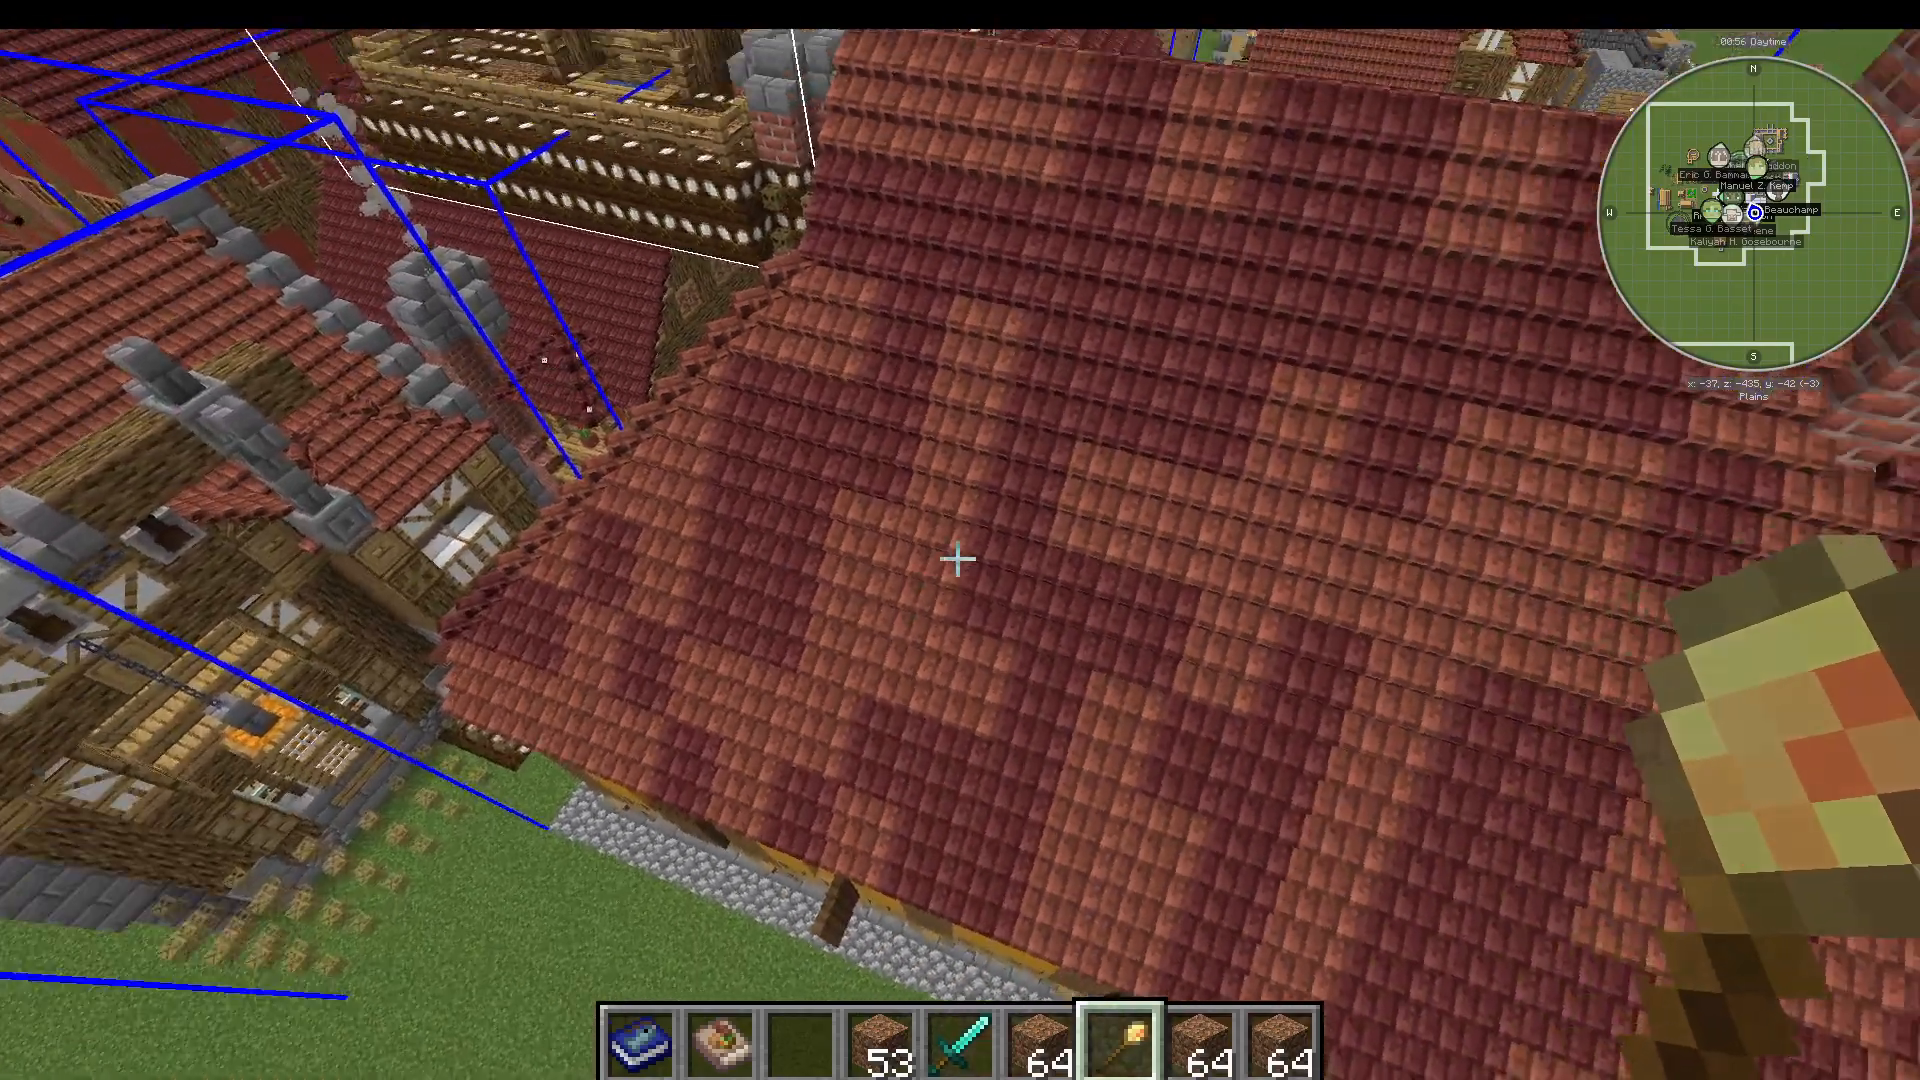
Building Priority and Work Orders
Inside the Builder’s Hut, you have “Main” where you manage workers and “Recall Worker” to help if they get stuck. “Build Options” is for the building itself. “Pick Up Priority” controls priority for the courier. “Inventory” shows building materials, and “Required Resources” is where you provide ingredients for construction.
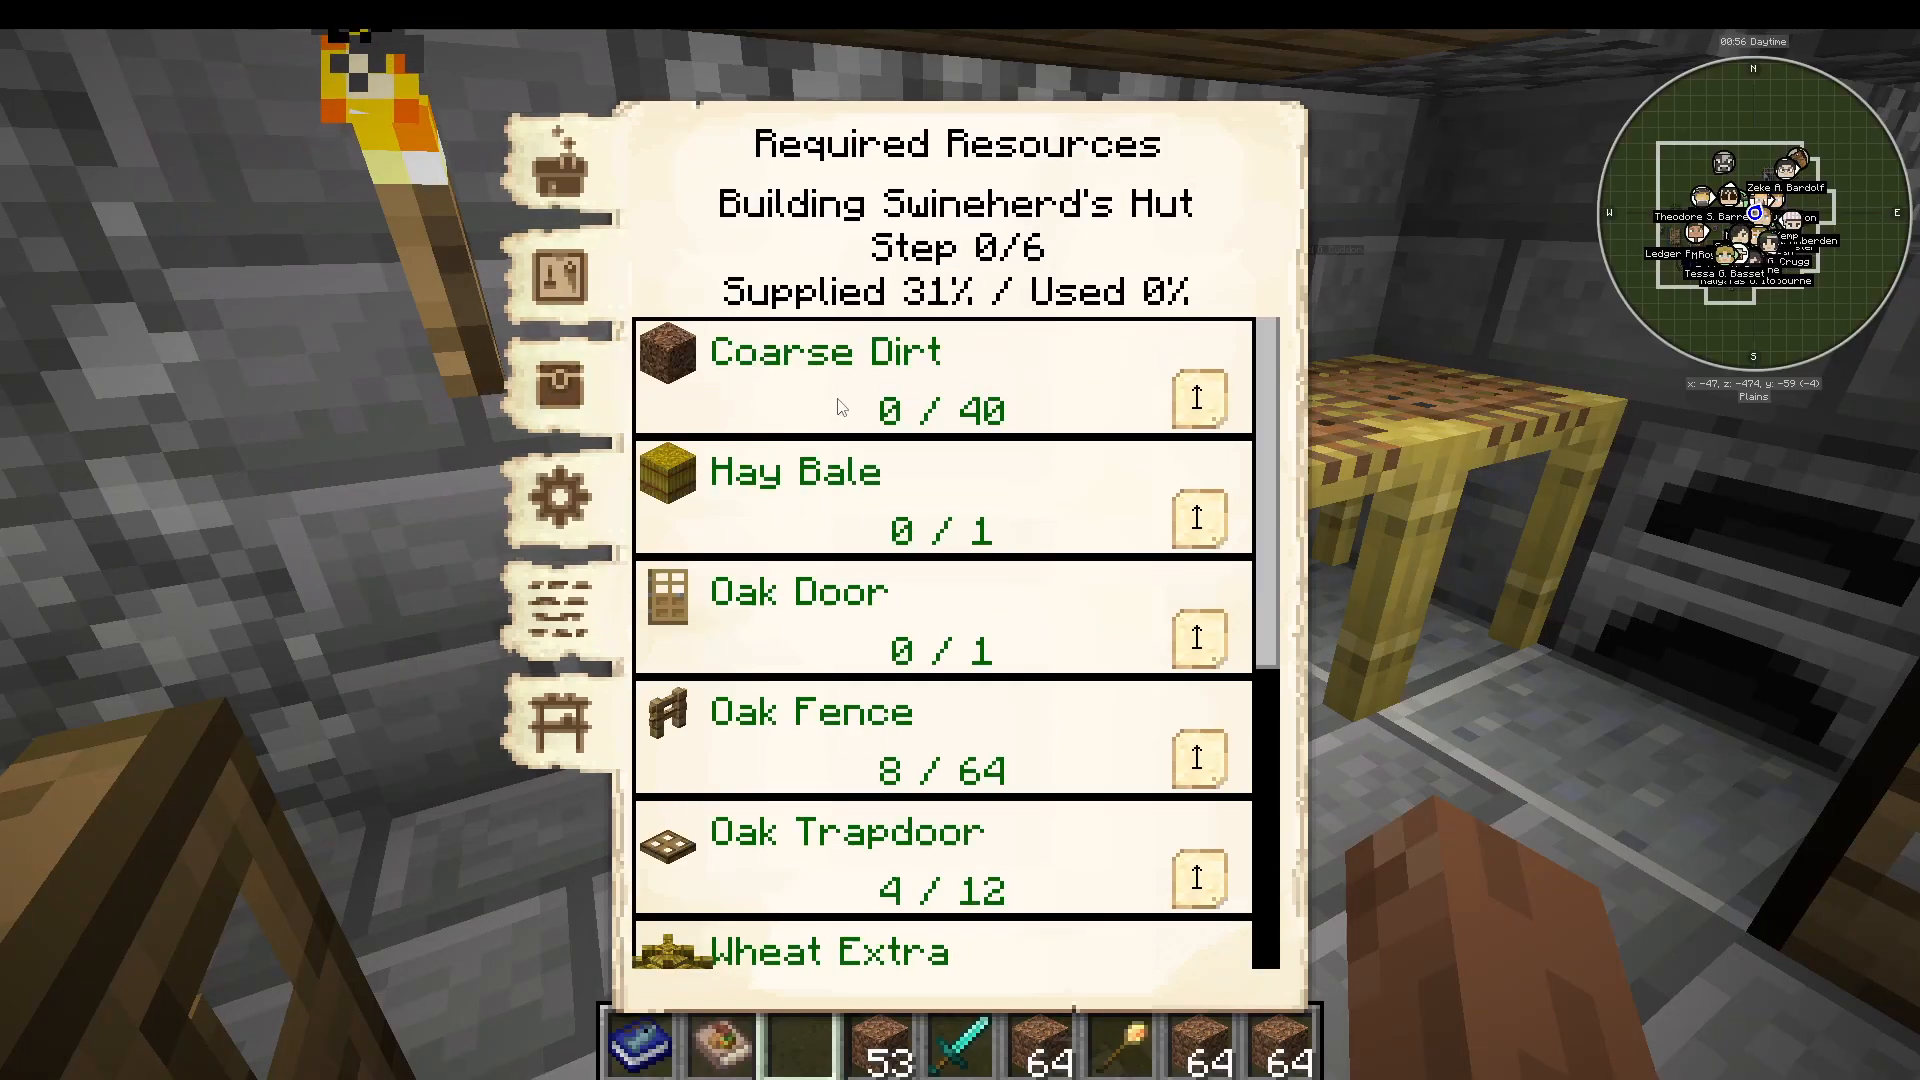
The “Required Resources” tab shows how much is supplied, used, and the step progress. Once all materials are supplied and the builder has the resources, they can complete the build. Higher-level Builder’s Huts have more storage. For example, a level five Builder’s Hut has a work space downstairs and an upper rack for additional materials.
Handling Builder Requests
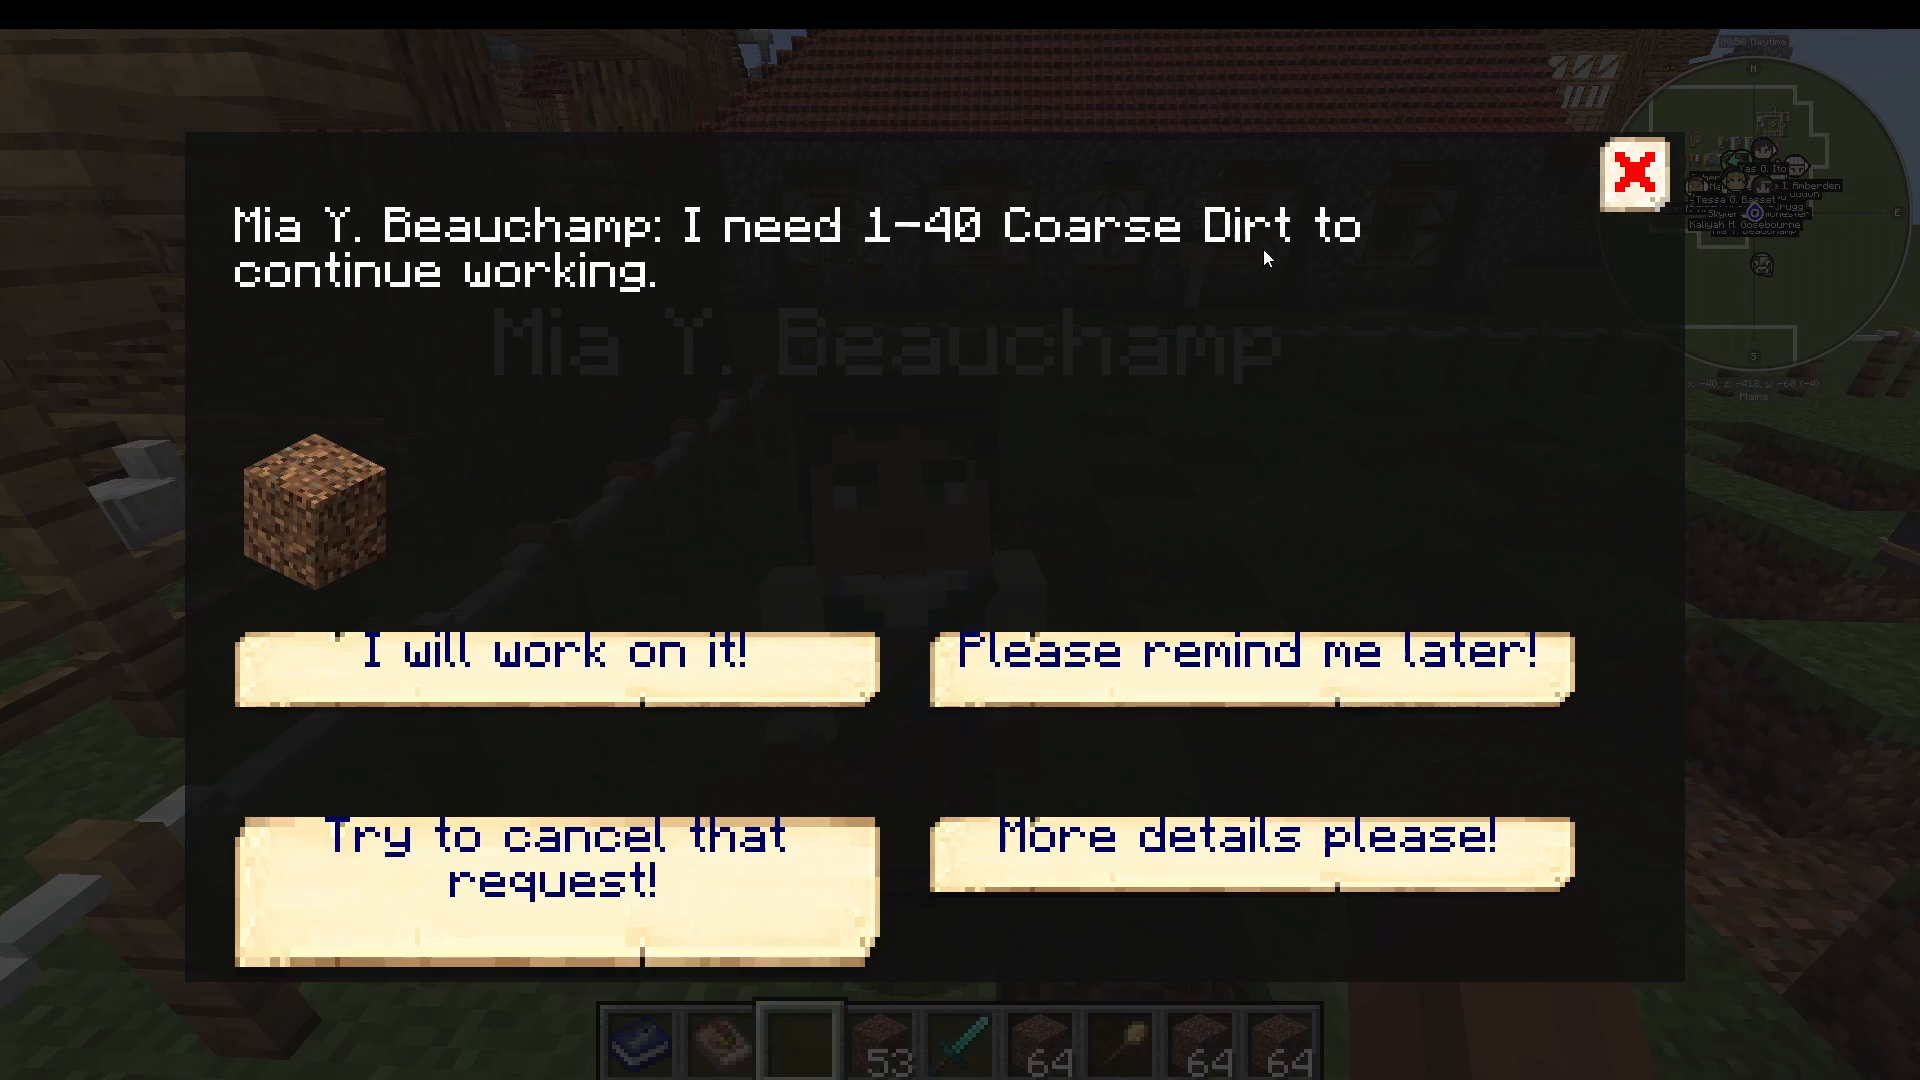
Sometimes builders signal they need resources (getting a cog above their head). Right-click them and they’ll tell you what they need. You can fulfill this immediately or they’ll sometimes realize the item is back at the Builder’s Hut. You can also set “Minimum Stock” to automatically keep certain materials available.
Builder Advancement and Tool Quality
Builders can only build up to their hut’s level. A level one hut can only build level one buildings, level two only up to level two, and so on. At level one and two, builders use stone or iron tools. At levels three and four, they use iron and diamond tools. At level five, they can use enchanted tools. It’s the hut level (not the individual builder) that determines tool capability.
Housing: Tavern and Residences
The Tavern: Early Game Housing
The Tavern is the first housing building you’ll want to make to let your residents live there. A level three Tavern is the maximum (unlike most buildings which go to level five). At level one, it has three beds; at level two, four beds; at level three, five beds. These beds are automatically allocated to citizens.
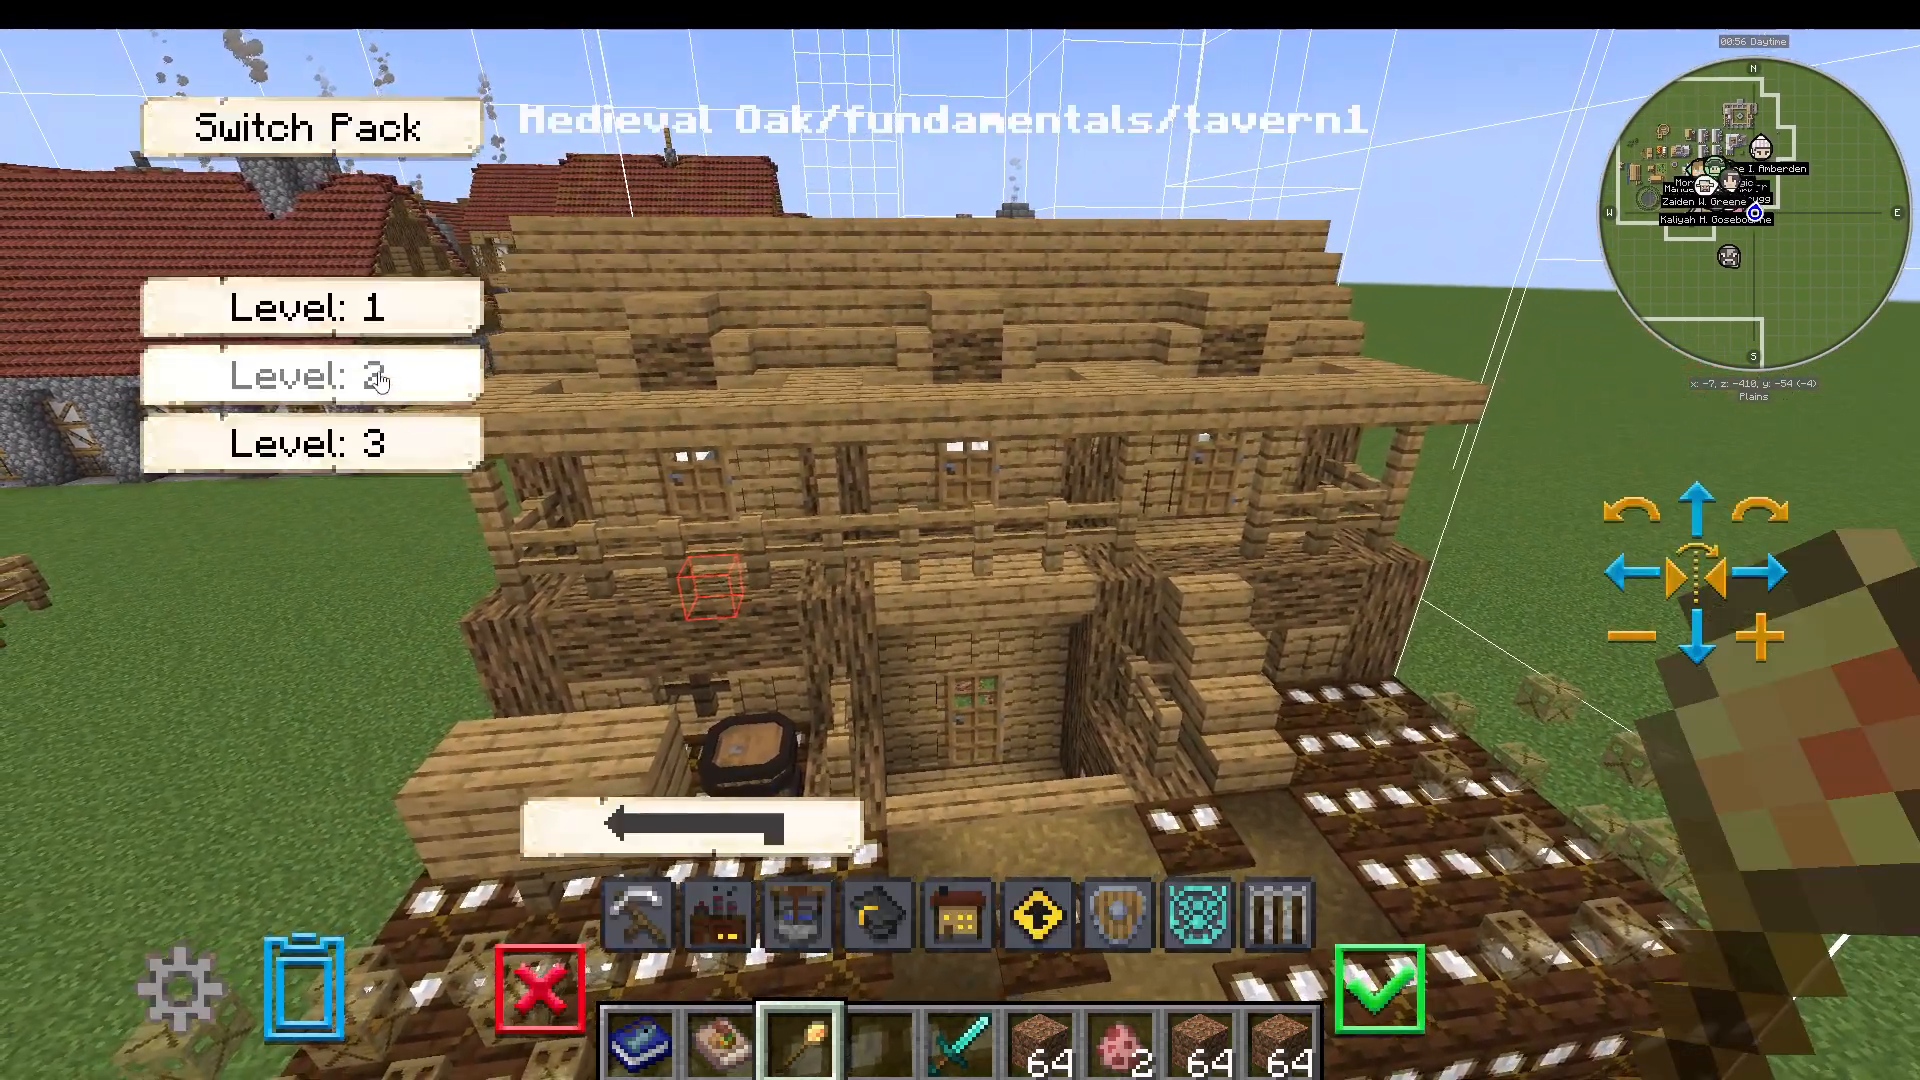
You’ll see visitors with icons above their heads wandering around the Tavern. Right-click them to see their stats and recruit them for a fee (for example, two diamond swords). The Tavern workstation shows assigned citizens and allows you to manage housing by assigning or unassigning residents. You can repair or upgrade the Tavern through the “Build Options” menu.
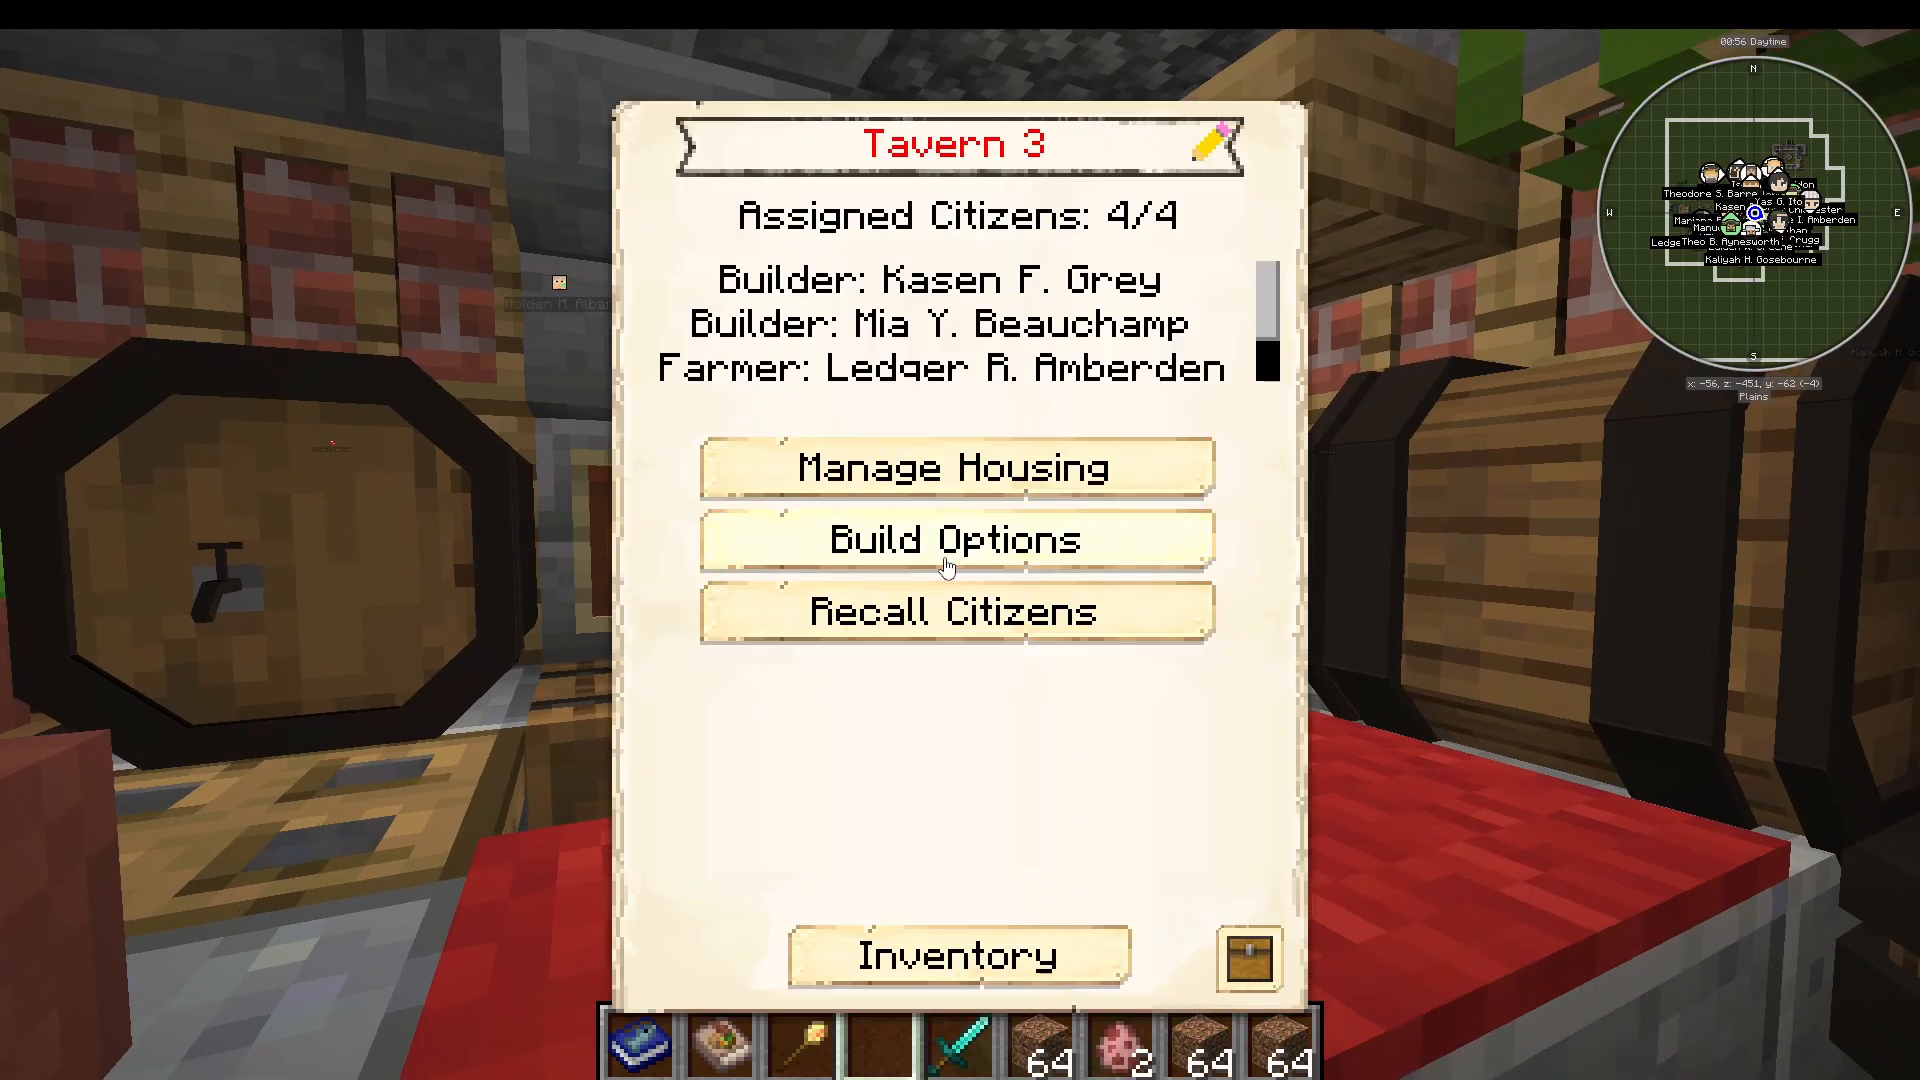
Inside the Tavern, you’ll find beds for sleeping. Double beds count as two individual beds, so they sleep two citizens each. The Tavern is really useful early game before you have multiple houses, providing up to four bed slots depending on level.
Residences: Permanent Housing
Residences are permanent houses for citizens. A level one residence has one bed, level two has two beds, level three has three beds, level four has four beds, and level five has five beds. This means a single level five residence can house five citizens, but the materials cost is enormous.
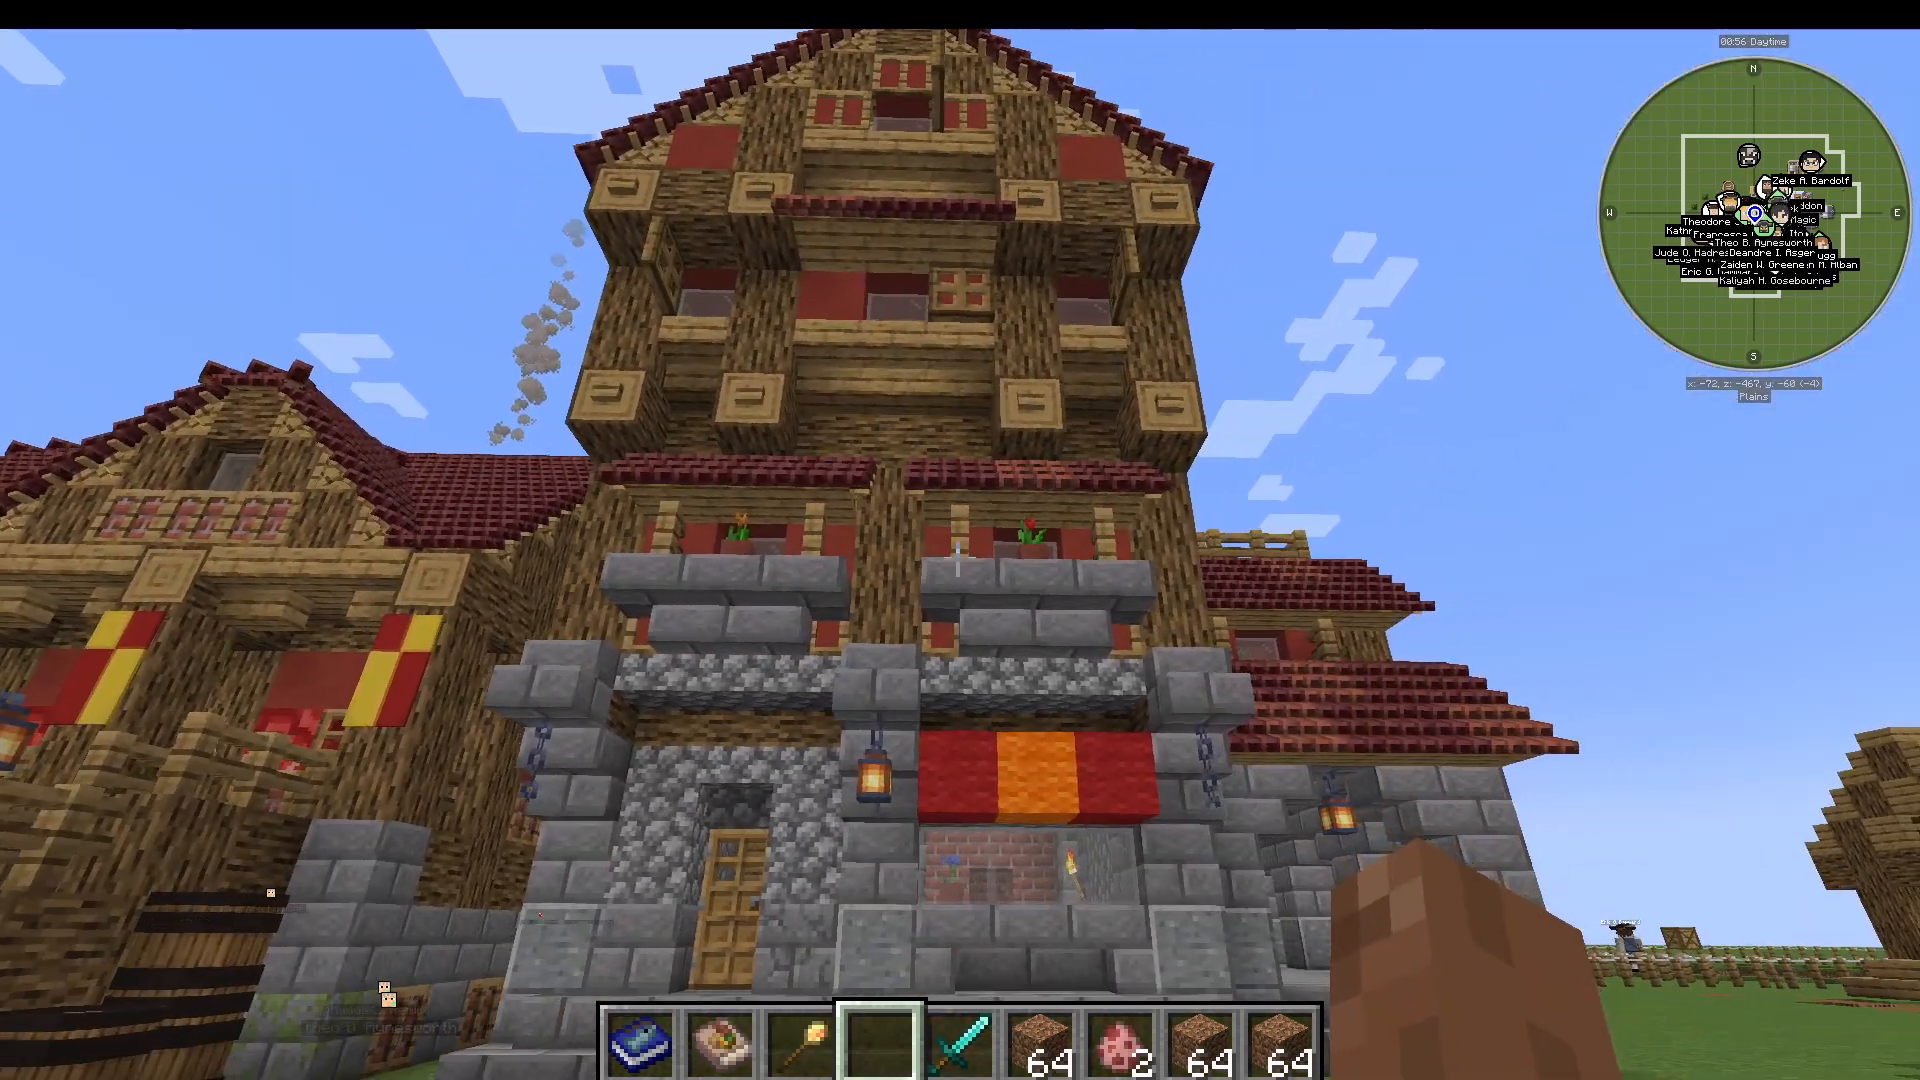
Inside each residence, you’ll find the workstation. You can manage housing by assigning or unassigning residents and lock it to specific citizen types (for example, no kids). You can also use manual assignment mode to move citizens between houses.
Citizens can grow your colony in two ways: by recruiting visitors at the Tavern or passively through babies born in houses with free beds. However, if you want more than 25 citizens, you must do research at the university to unlock higher population tiers (outpost, hamlet, village, city).
Town Hall Management
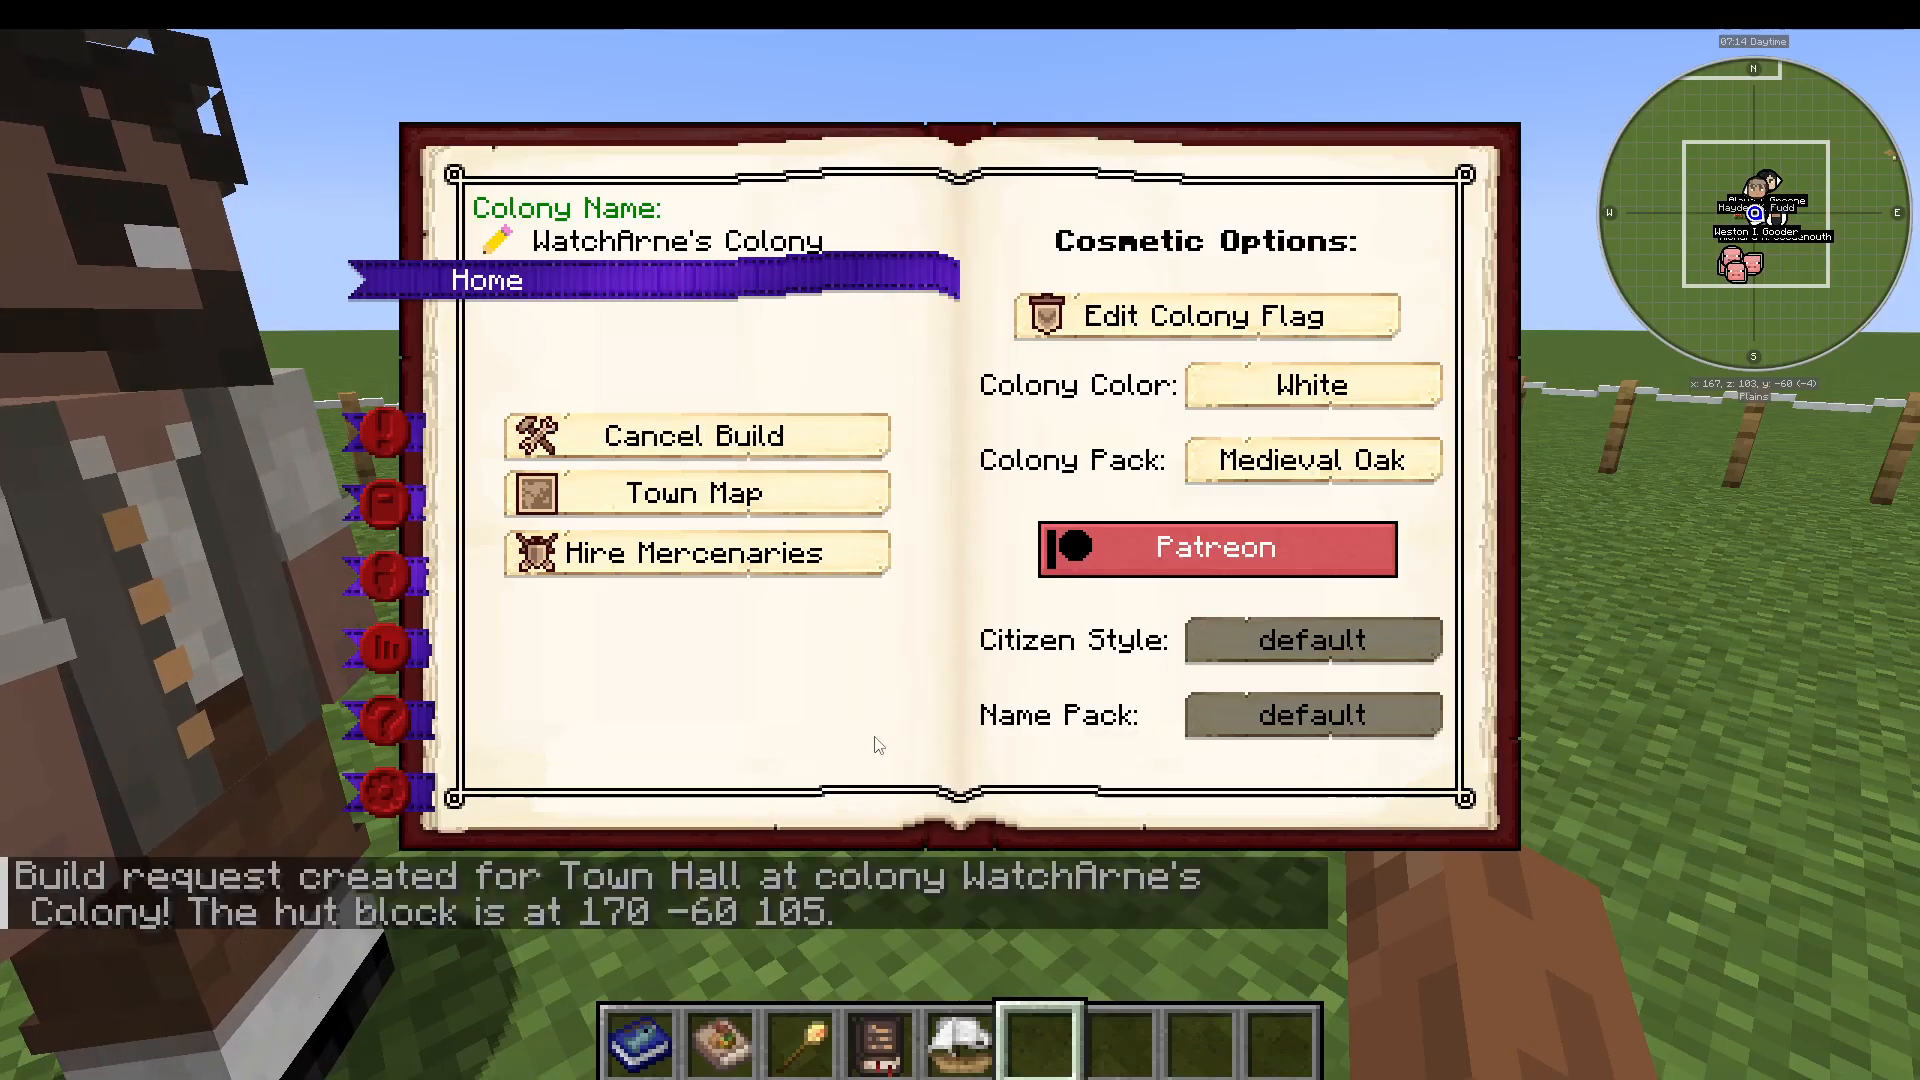
The Town Hall is the administrative center of your colony. It starts at level one and can go up to level five, becoming increasingly grand at higher levels. The town hall contains critical management functions.
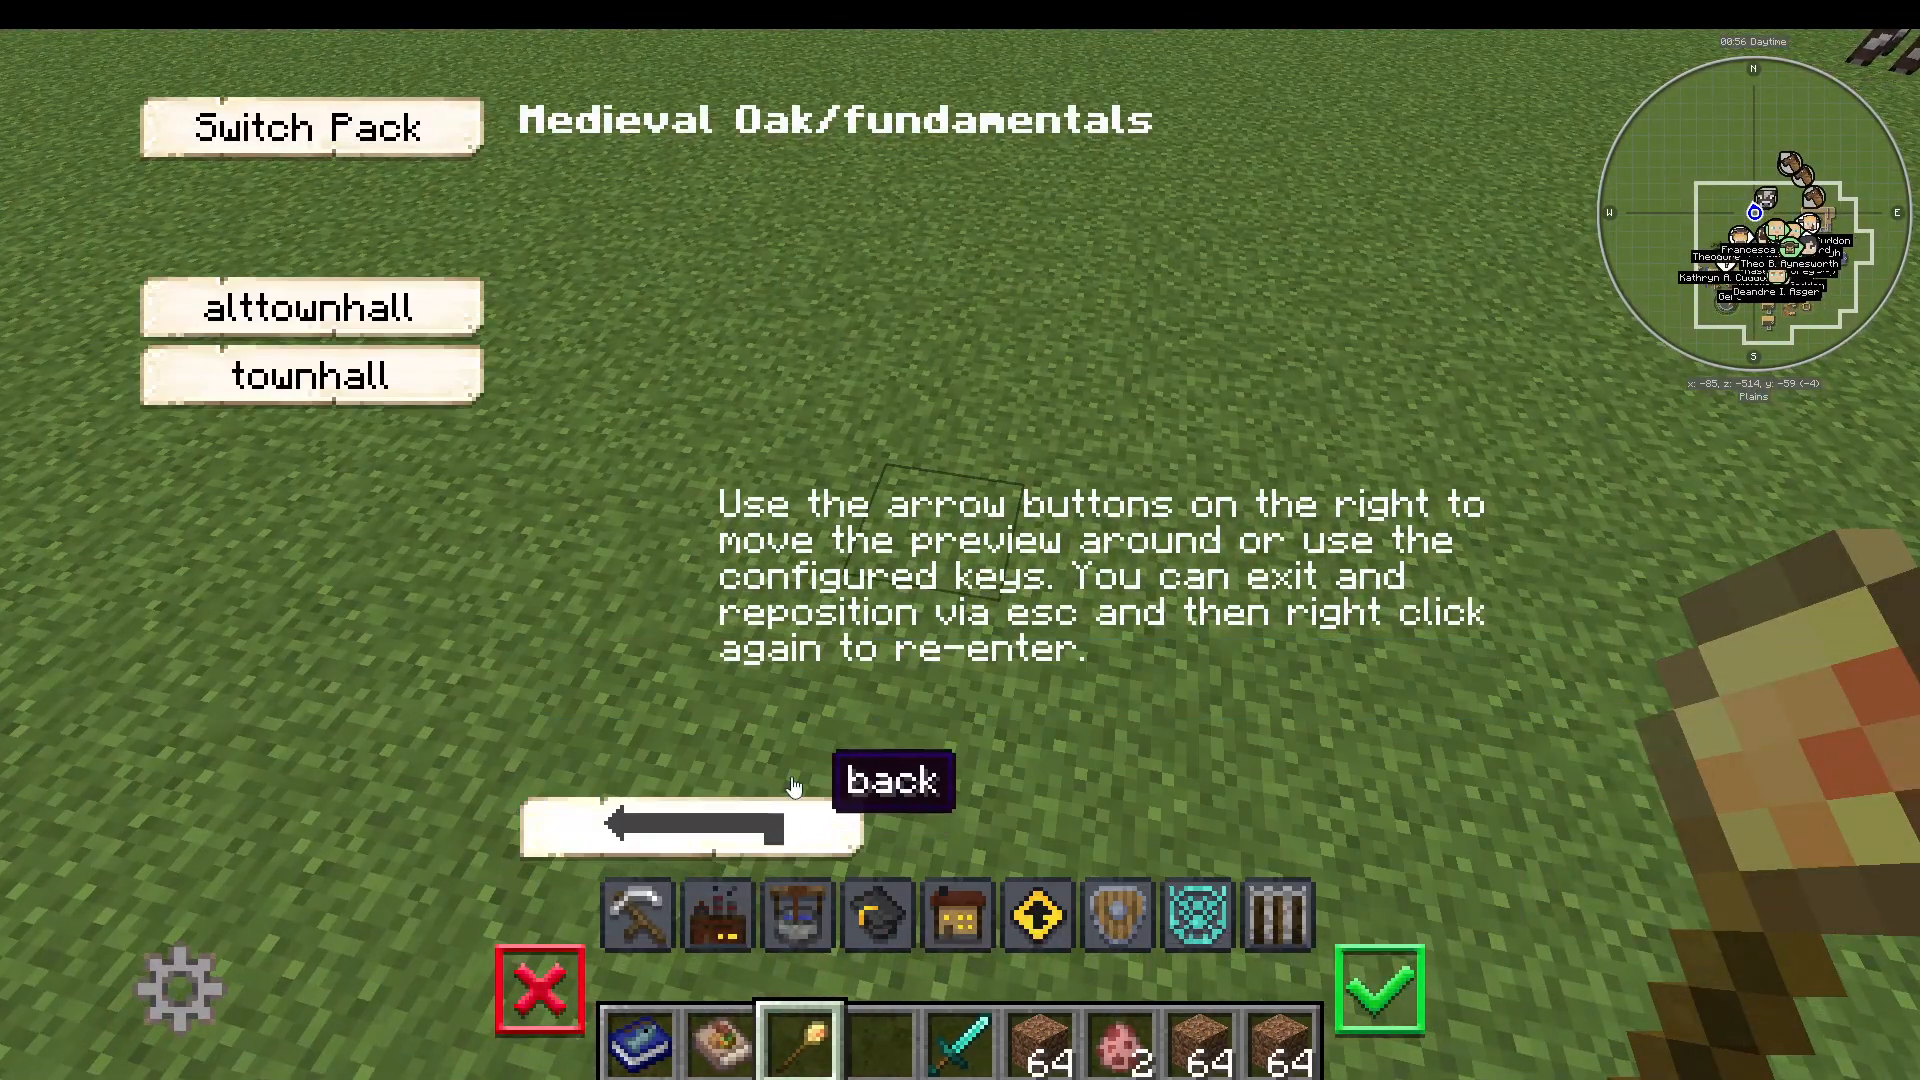
Town Hall Features
Inside the Town Hall, you can:
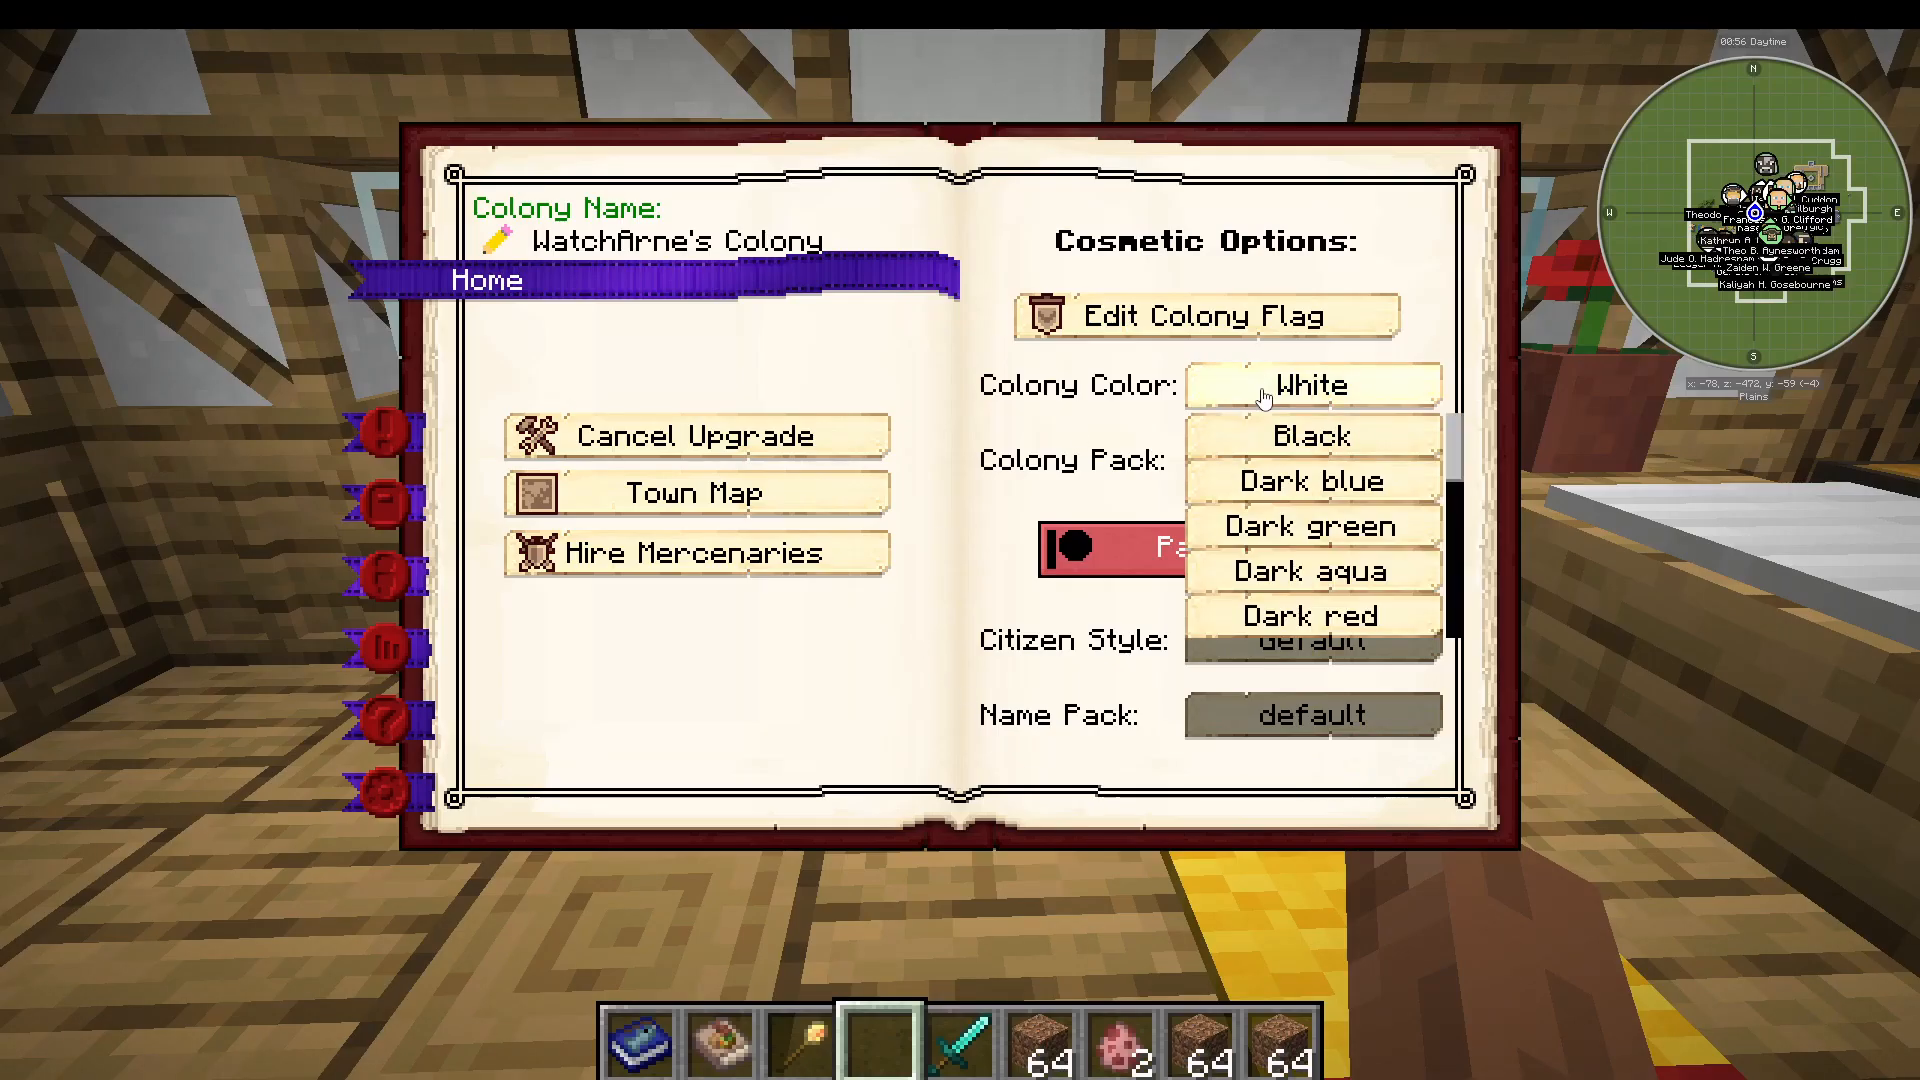
Edit your colony flag by selecting different designs and colors (some are Patreon exclusive)
Change the colony color
Switch colony packs (which determines your building styles)
Upgrade or cancel upgrades to the Town Hall itself
Create a map by placing an empty Minecraft map in the inventory and carrying it around to fill it in, which creates a bird’s eye view
Hire mercenaries for defense (they require payment)
Town Hall Information and Settings
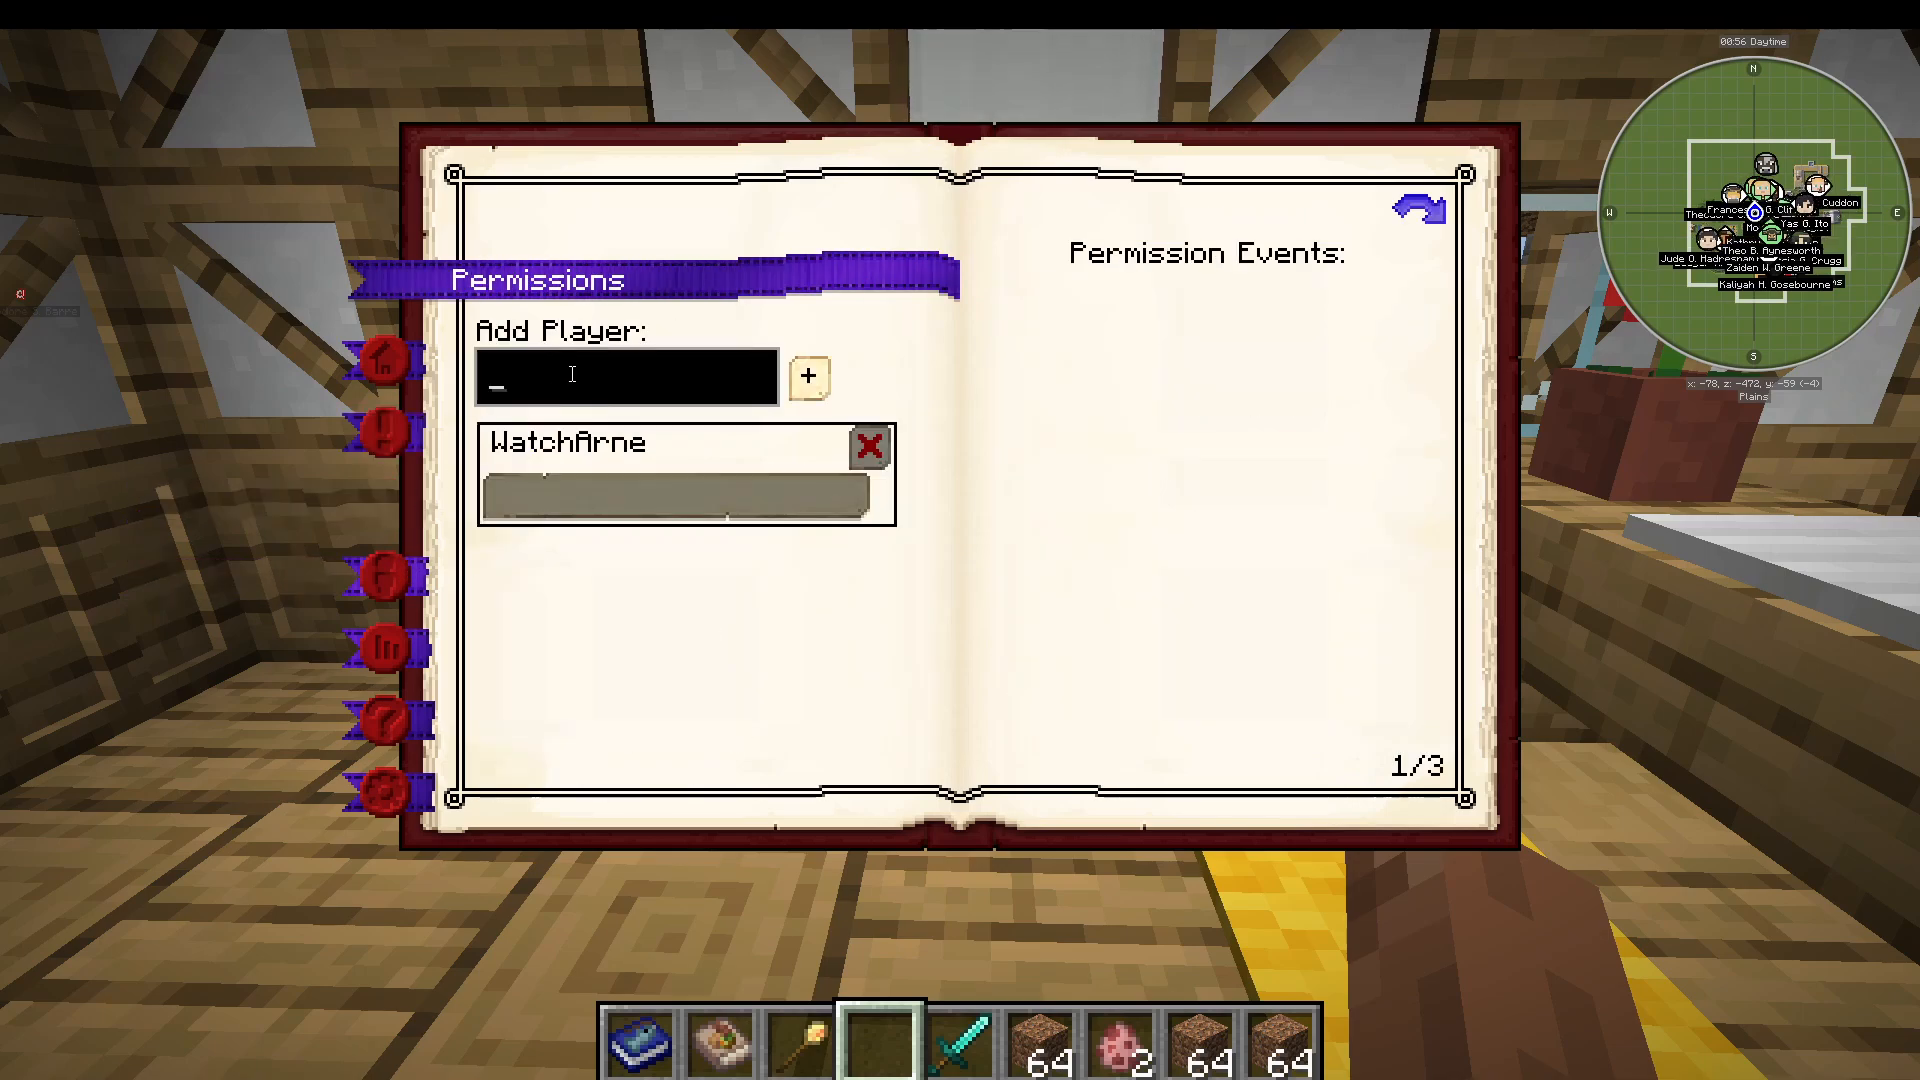
The “Information” tab shows recent events (spawned citizens) and current building upgrades. You can change work order priority here. The “Permissions” tab lets you add players and create ranks (Owner, Officer, Friend, etc.) with specific permissions like accessing GUIs, hiring guards, placing/breaking blocks, and editing permissions. You can even create hostile ranks whose citizens will be attacked by guards.
The “Citizens” tab shows your colony’s overall happiness (including factors like guard availability, school attendance, and food quality) and individual citizen details. You can see the number of citizens and job statistics. The “Statistics” tab displays your colony’s achievements, such as items delivered and blocks placed.
Food Production: Farms and Processing
The Farmer’s Hut
One of the easiest ways to feed your citizens is with a Farmer’s Hut. This is where you’ll grow all crops. Inside, you’ll find a farmer and a workstation with several options:
Crafting Recipes: Level one farmers can use 10 recipes, level two can use 20, level three 40, level four 80, and level five farmers can use 160 recipes
Fields: Level one farmers can manage one field, level two can do two, and level five can do five
Settings: You can request fertilizer if you have a compost building
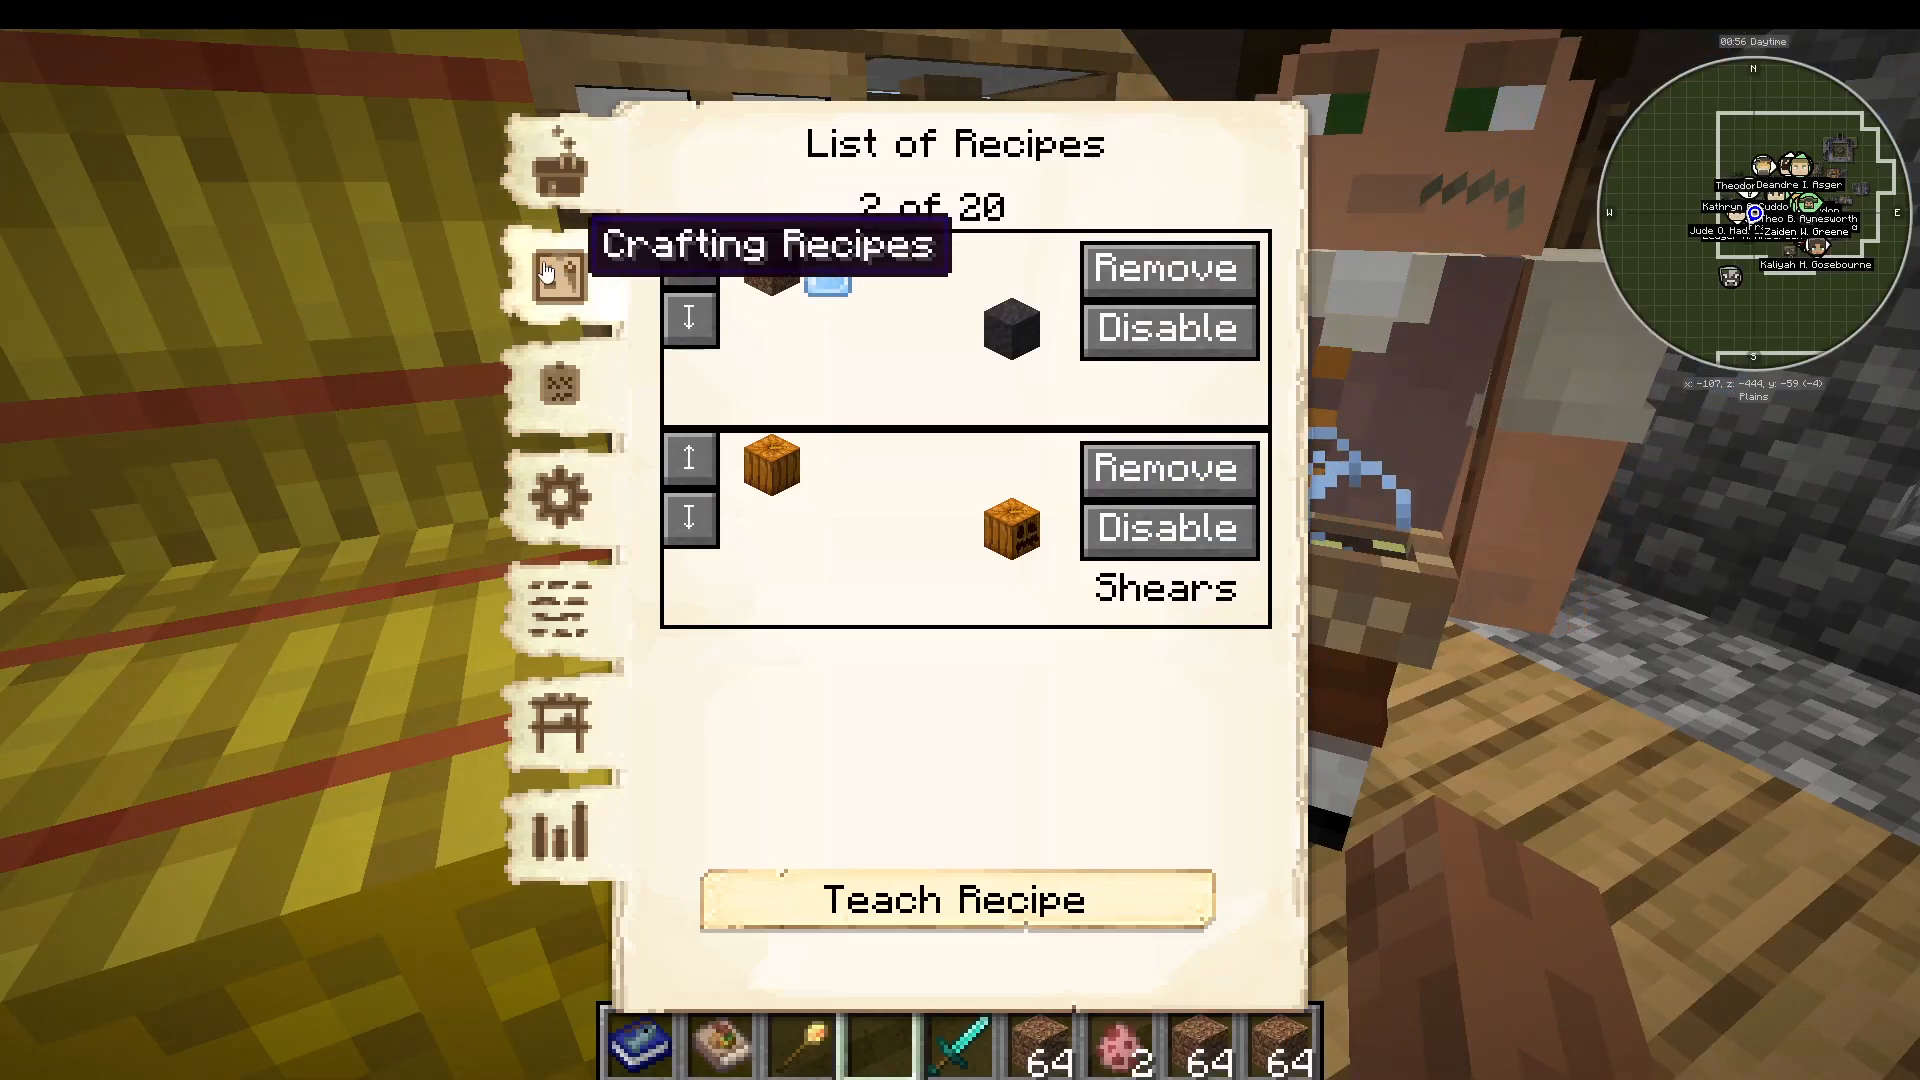
Farmers need a hoe. At level one, they can use wood, gold, or stone hoes. At level two and above, they can use iron and diamond hoes, with level five supporting enchanted hoes. A level one Farmer’s Hut can do one field, with each level increasing the number. You can make additional fields by placing field blocks and right-clicking them to select what to plant (carrots, wheat, etc.).
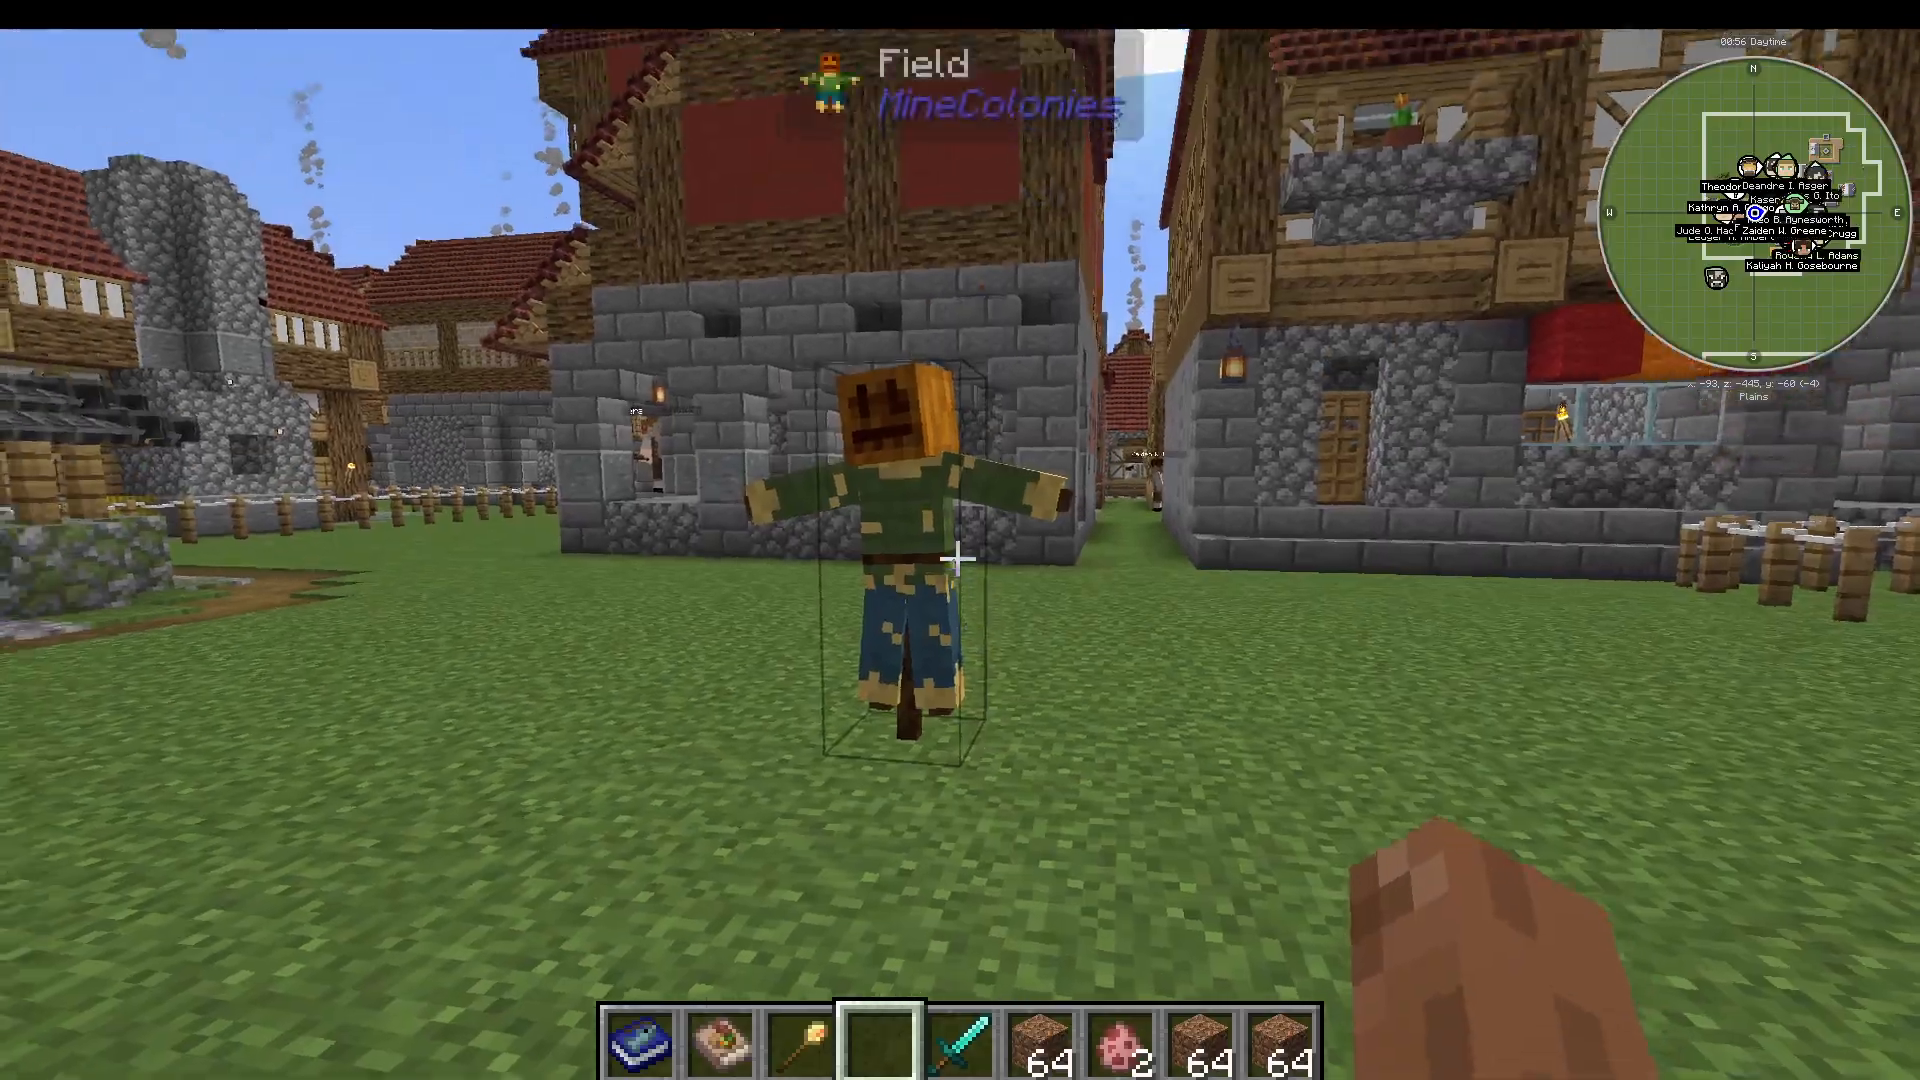
The farmer will automatically seed and harvest these fields. When seeding, they might momentarily trample crops while planting—don’t worry, this is normal and they’ll eventually get them to grow. Key farmer skills are Stamina (less time cycling between planting and harvesting) and Athletics (faster planting and harvesting).
Animal Husbandry: Pens and Herds
You can also rear animals for food production. Buildings include:
Swine Herd’s Hut: Raises pigs
Chicken Farmer’s Hut: Raises chickens
Cow Herder’s Hut: Produces milk, leather, and beef
Fisherman’s Hut: Catches fish near water
Apiary: Breeds bees for honey through careful management
Rabbit Hut: Breeds rabbits
Shepherd’s Hut: Breeds and shears sheep
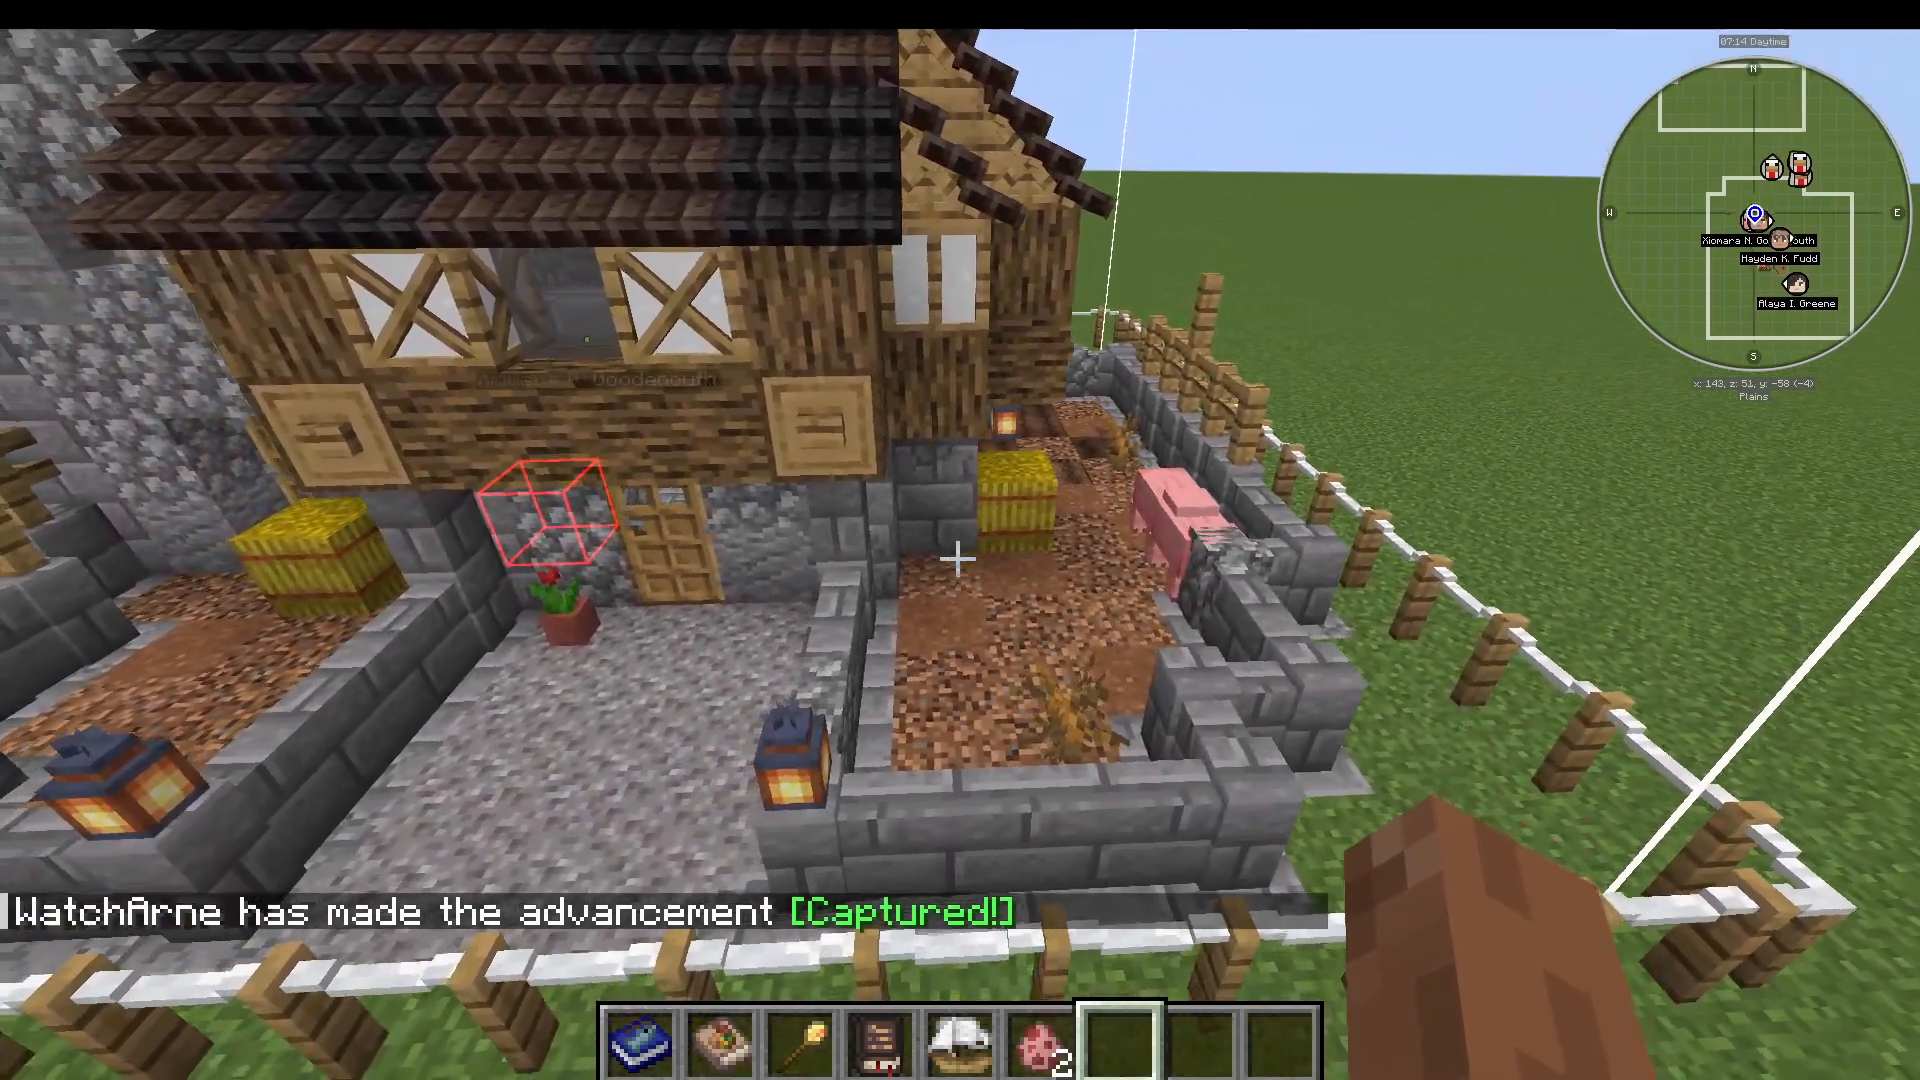
All these buildings work similarly: you lead animals into them, assign a worker with a hoe or shears, and they automatically breed, feed, and slaughter animals. At level one they manage 2 animals, level two 4, level three 6, and level five up to 10. The animals need appropriate food from your farm (seeds for chickens, wheat for cattle, etc.) to breed.
Logistics: Warehouse and Courier
The Warehouse
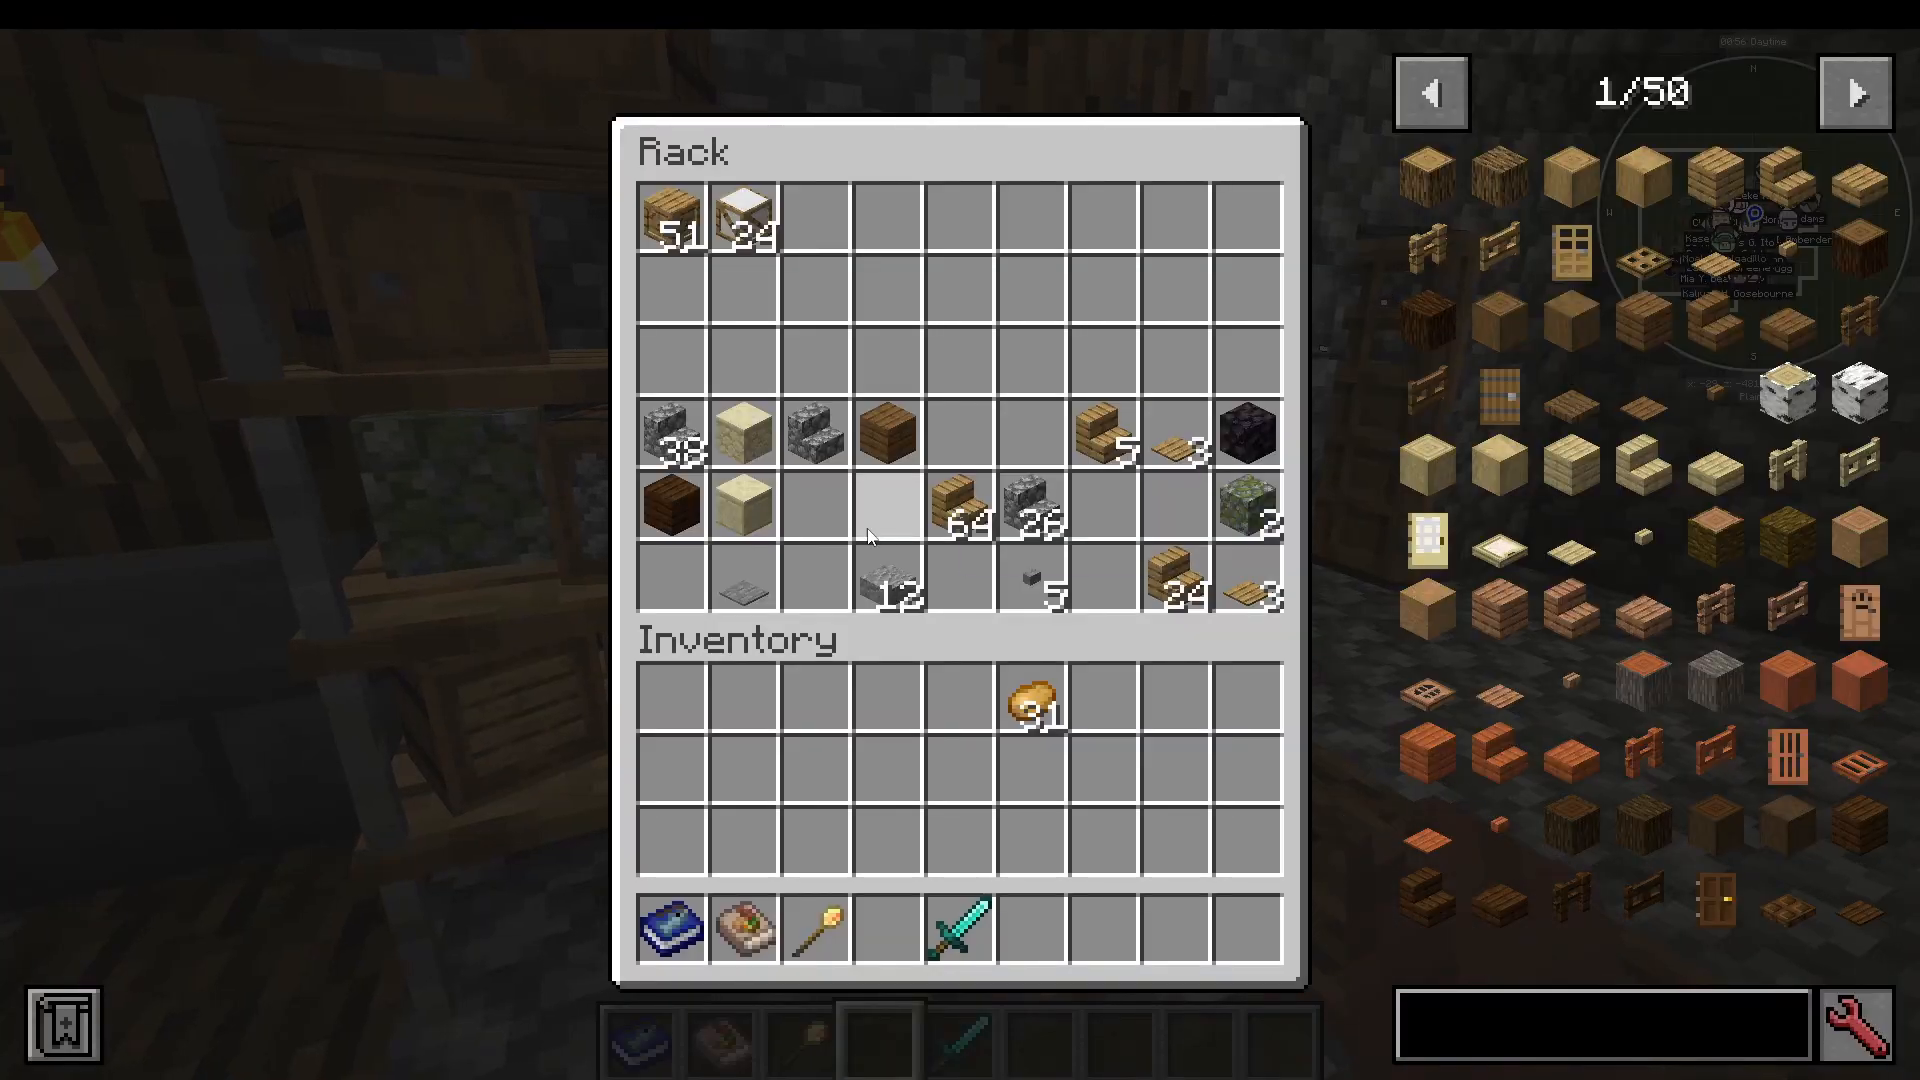
As your colony grows, you’ll need the Warehouse and Courier’s Hut to automatically deliver items. The Warehouse stores massive amounts of resources. Higher levels provide more racks for storage. Inside, you can manage workers, upgrade storage (requires level five warehouse), and sort items to organize your inventory.
The Courier System
The Courier automatically picks up excess items from builders’ huts, farms, and other buildings, then delivers them to where they’re needed. For example, your farmer’s hut will produce excess seeds, which the courier picks up and delivers to animal pens (where they’re needed for breeding). All of this is passive and automatic—just build the buildings and manage the system.
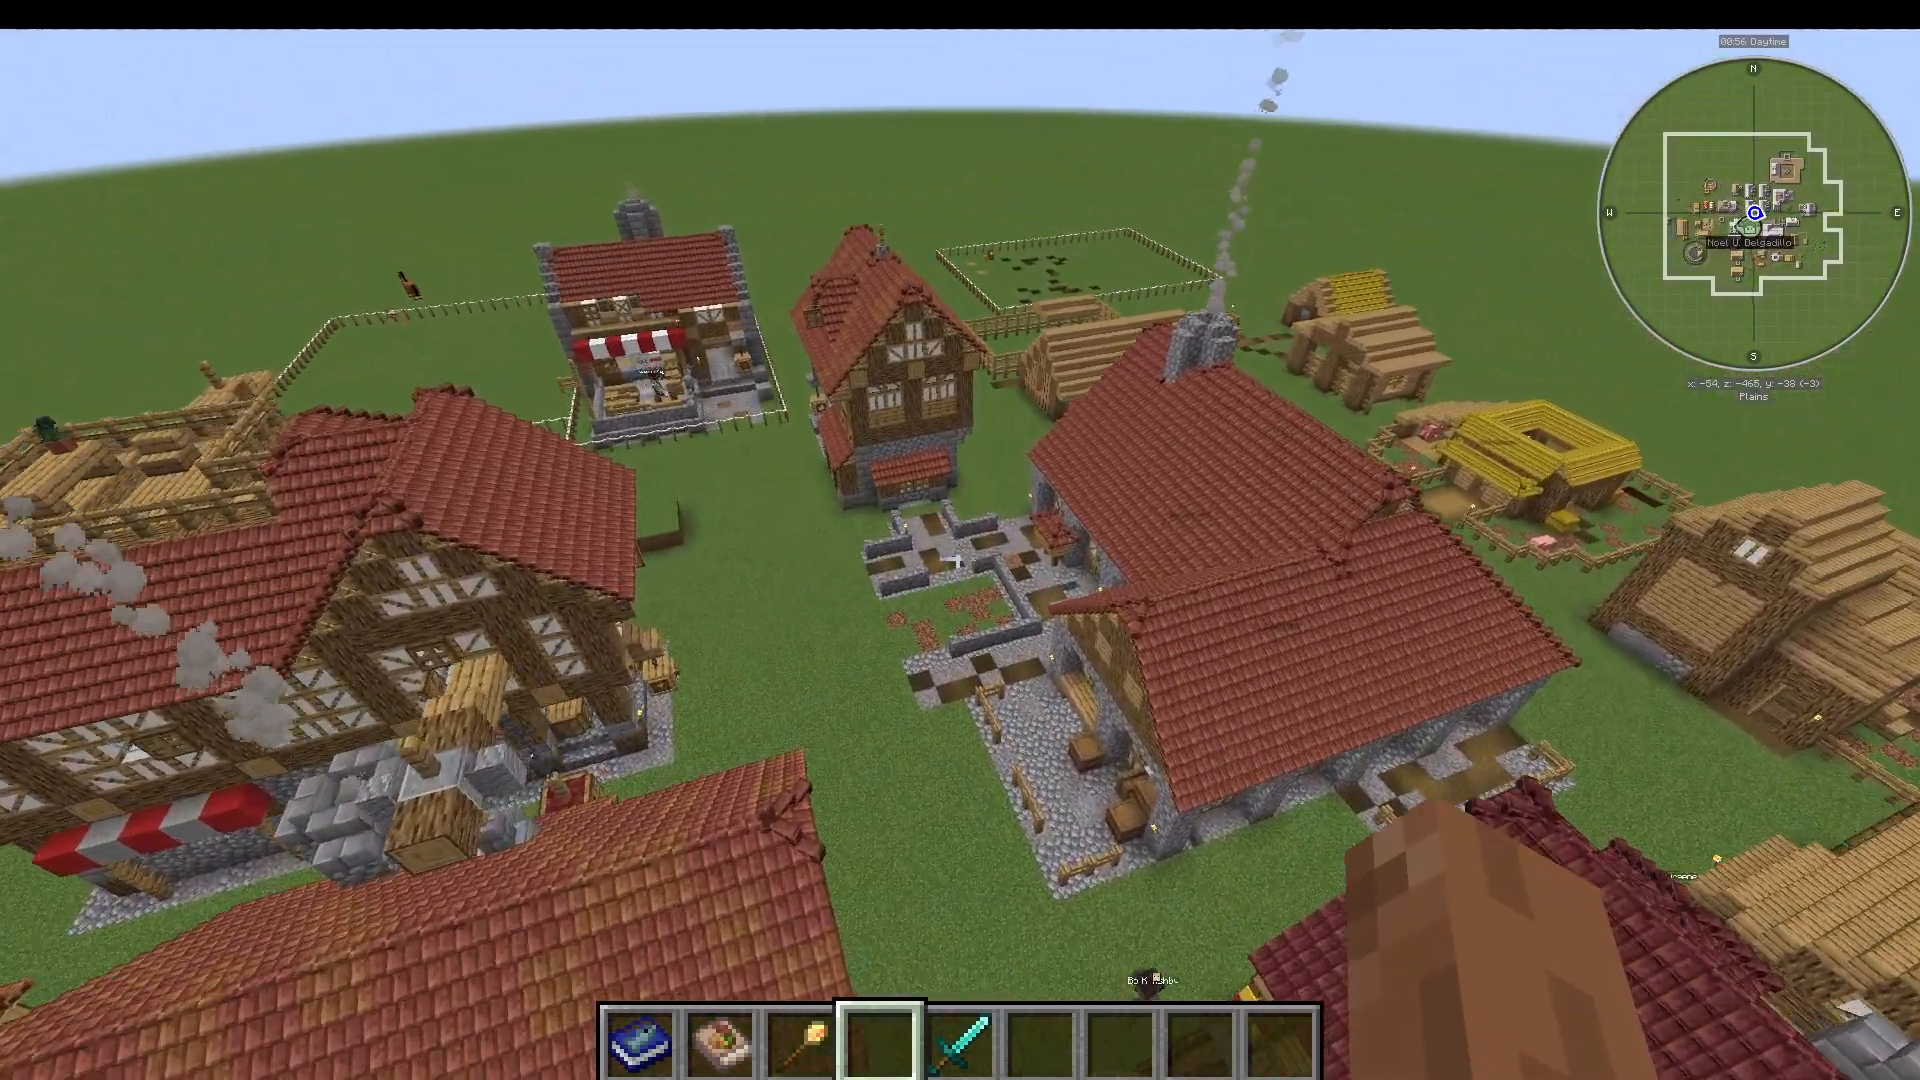
The Courier also takes items that builders discard while upgrading buildings and stores them in the warehouse. You only need one courier for a fairly large colony. In the warehouse inventory, you can see everything stored and set minimum stock for items you want to keep available.
Food Processing: Bakery, Cookery, and Restaurant
The Bakery
Once you have crops and animals, you need to process them into food. The Bakery has crafting recipes and smelting recipes. You provide ingredients (wheat, butter, etc.) and the baker produces finished goods (bread, cookies, etc.). Higher-level bakeries unlock better recipes.
📸 [ASSISTANT: TAKE SCREENSHOT AT SCREENSHOT AT TIMESTAMP 45:59]
Key baker skills are Knowledge (increasing chances of using fewer materials) and Dexterity (faster crafting and smelting). The baker needs coal or charcoal for smelting recipes. The courier automatically delivers wheat from farms and finished baked goods to the restaurant.
The Cookery
The Cookery provides additional food recipes through crafting and smelting. For example, you might craft meat pies or cook complex dishes. Similar to the bakery, important skills are Creativity (faster cooking) and Knowledge (chance for free food through material reduction).
The Restaurant
The Restaurant serves food to citizens. You set the menu by selecting what foods to serve based on your recipes. Food has a “residence level” requirement—better food requires higher-level houses. Residents won’t eat bread in level five homes and only get 25% nutrition from it, pushing you to make better food. Citizens come to the restaurant passively when hungry and are served by the waiter.
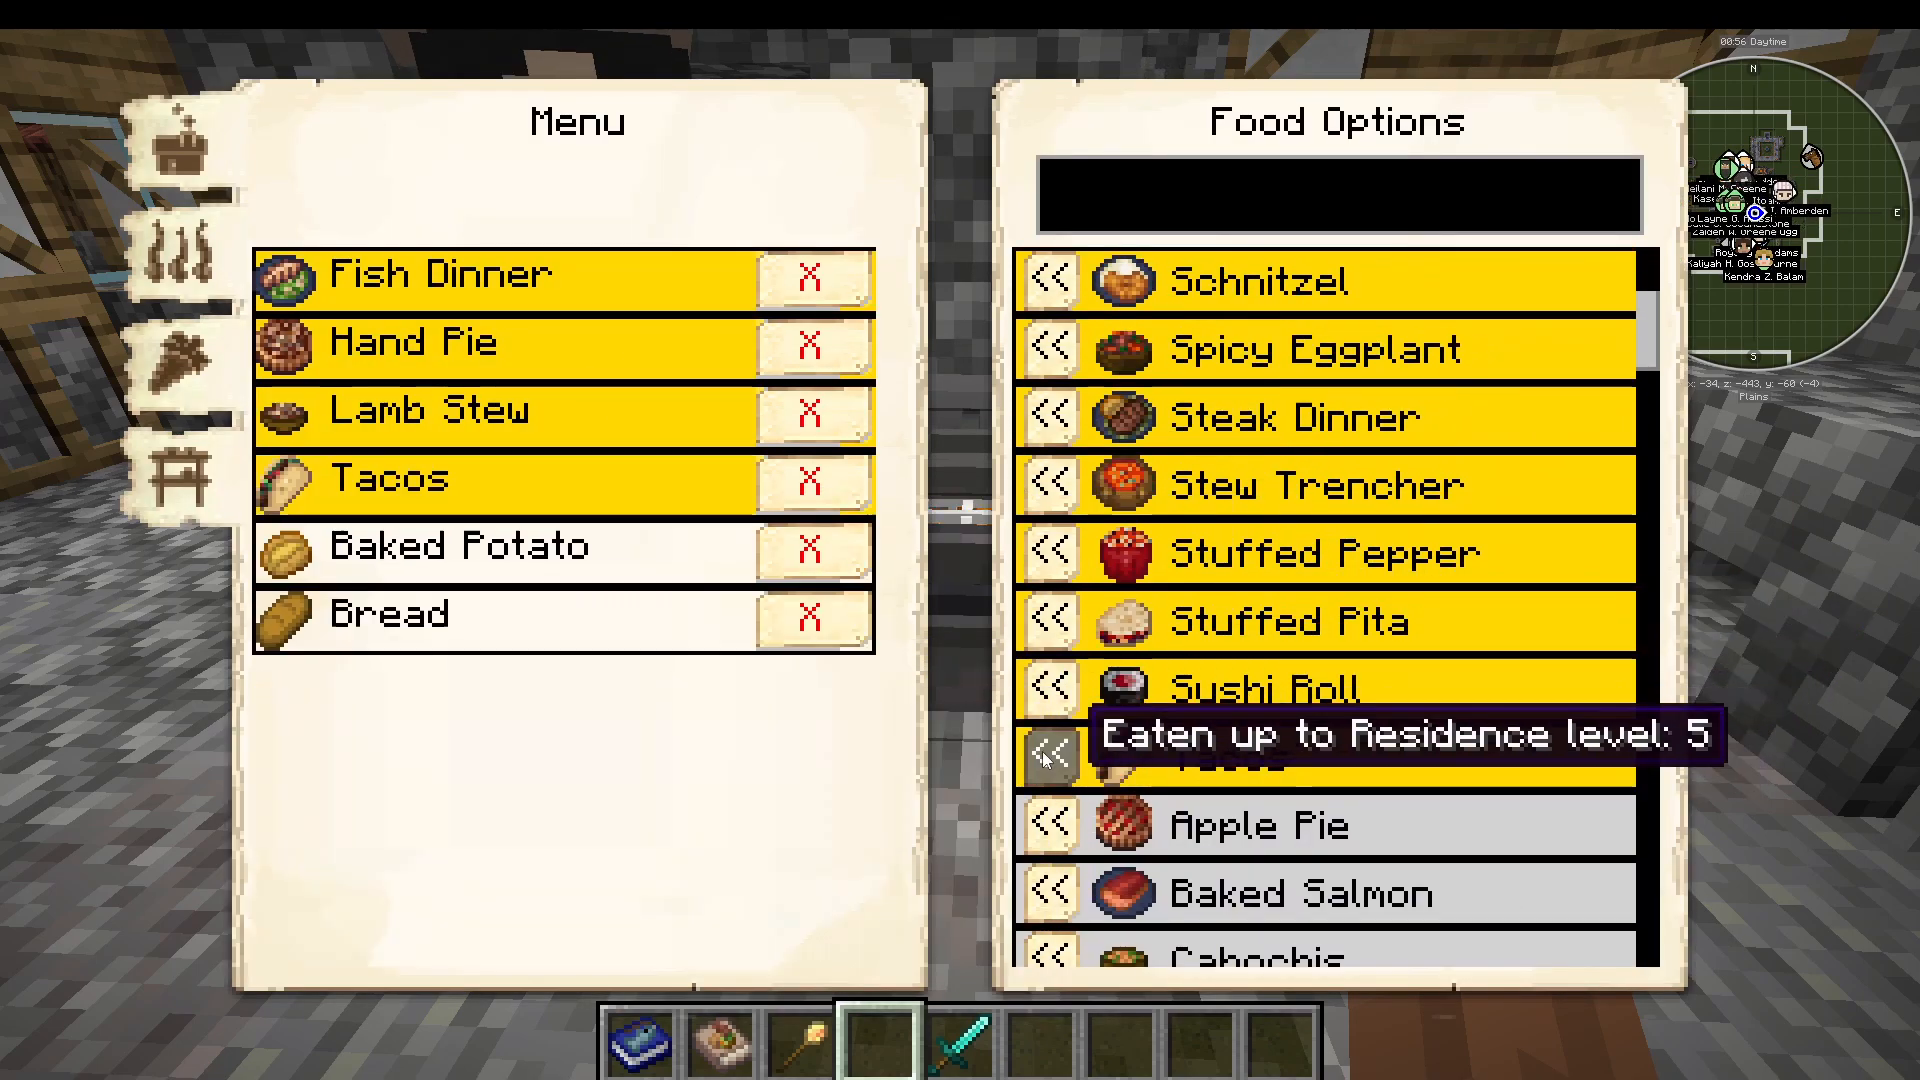
You can set whether the restaurant uses coal or charcoal for furnaces. Better food combinations mean happier citizens who won’t settle for simple bread once they live in high-level houses.
Advanced Production: Forestry and Processing
The Forest Hut
The Forest Hut allows your workers to cut and manage trees. When you access the Forest Hut, you get selection tools to designate cutting areas. Right-click and left-click to select a zone. Enable “Zoning Mode” if your worker has trouble—this restricts work to that specific area.
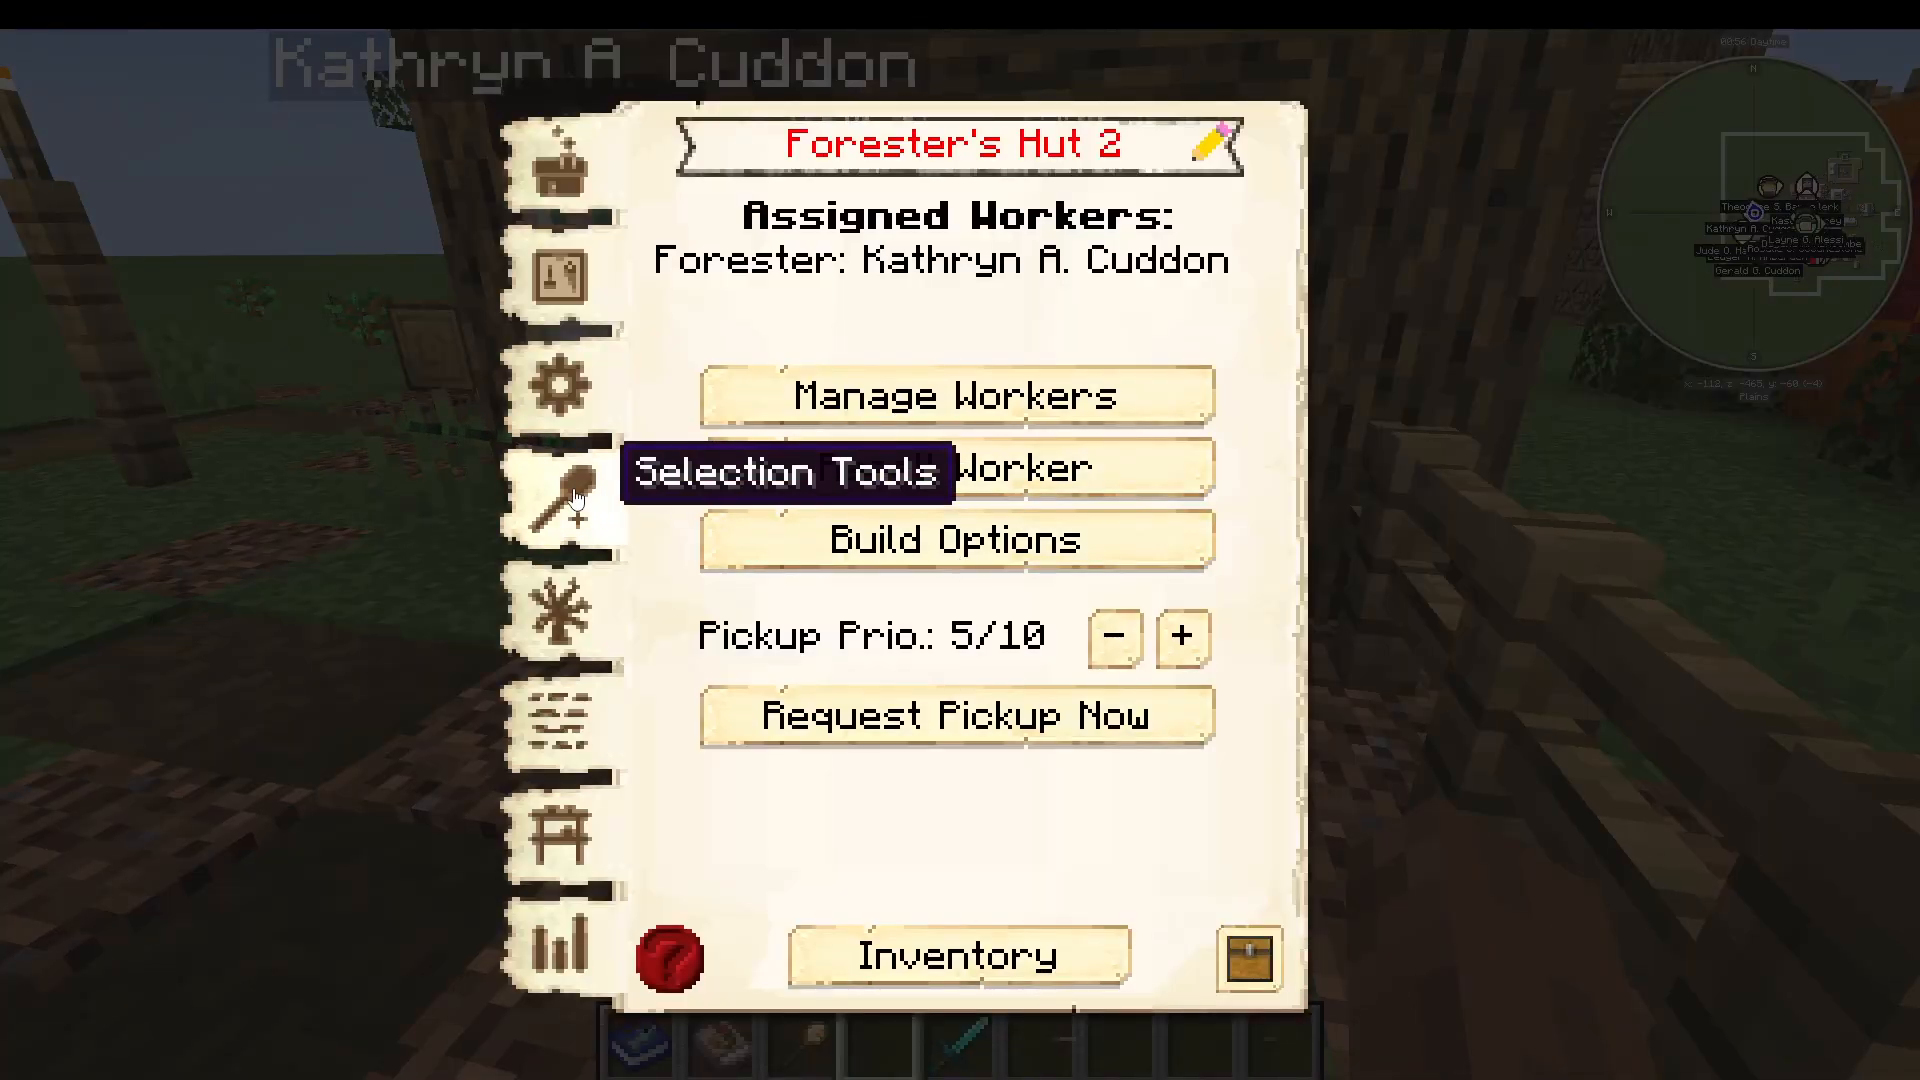
You can set saplings to be replanted automatically and choose whether you want to harvest leaves yourself or have the worker do it. Once zoned, the worker will automatically plant and harvest trees in that area.
The Sawmill and Cutter Recipes
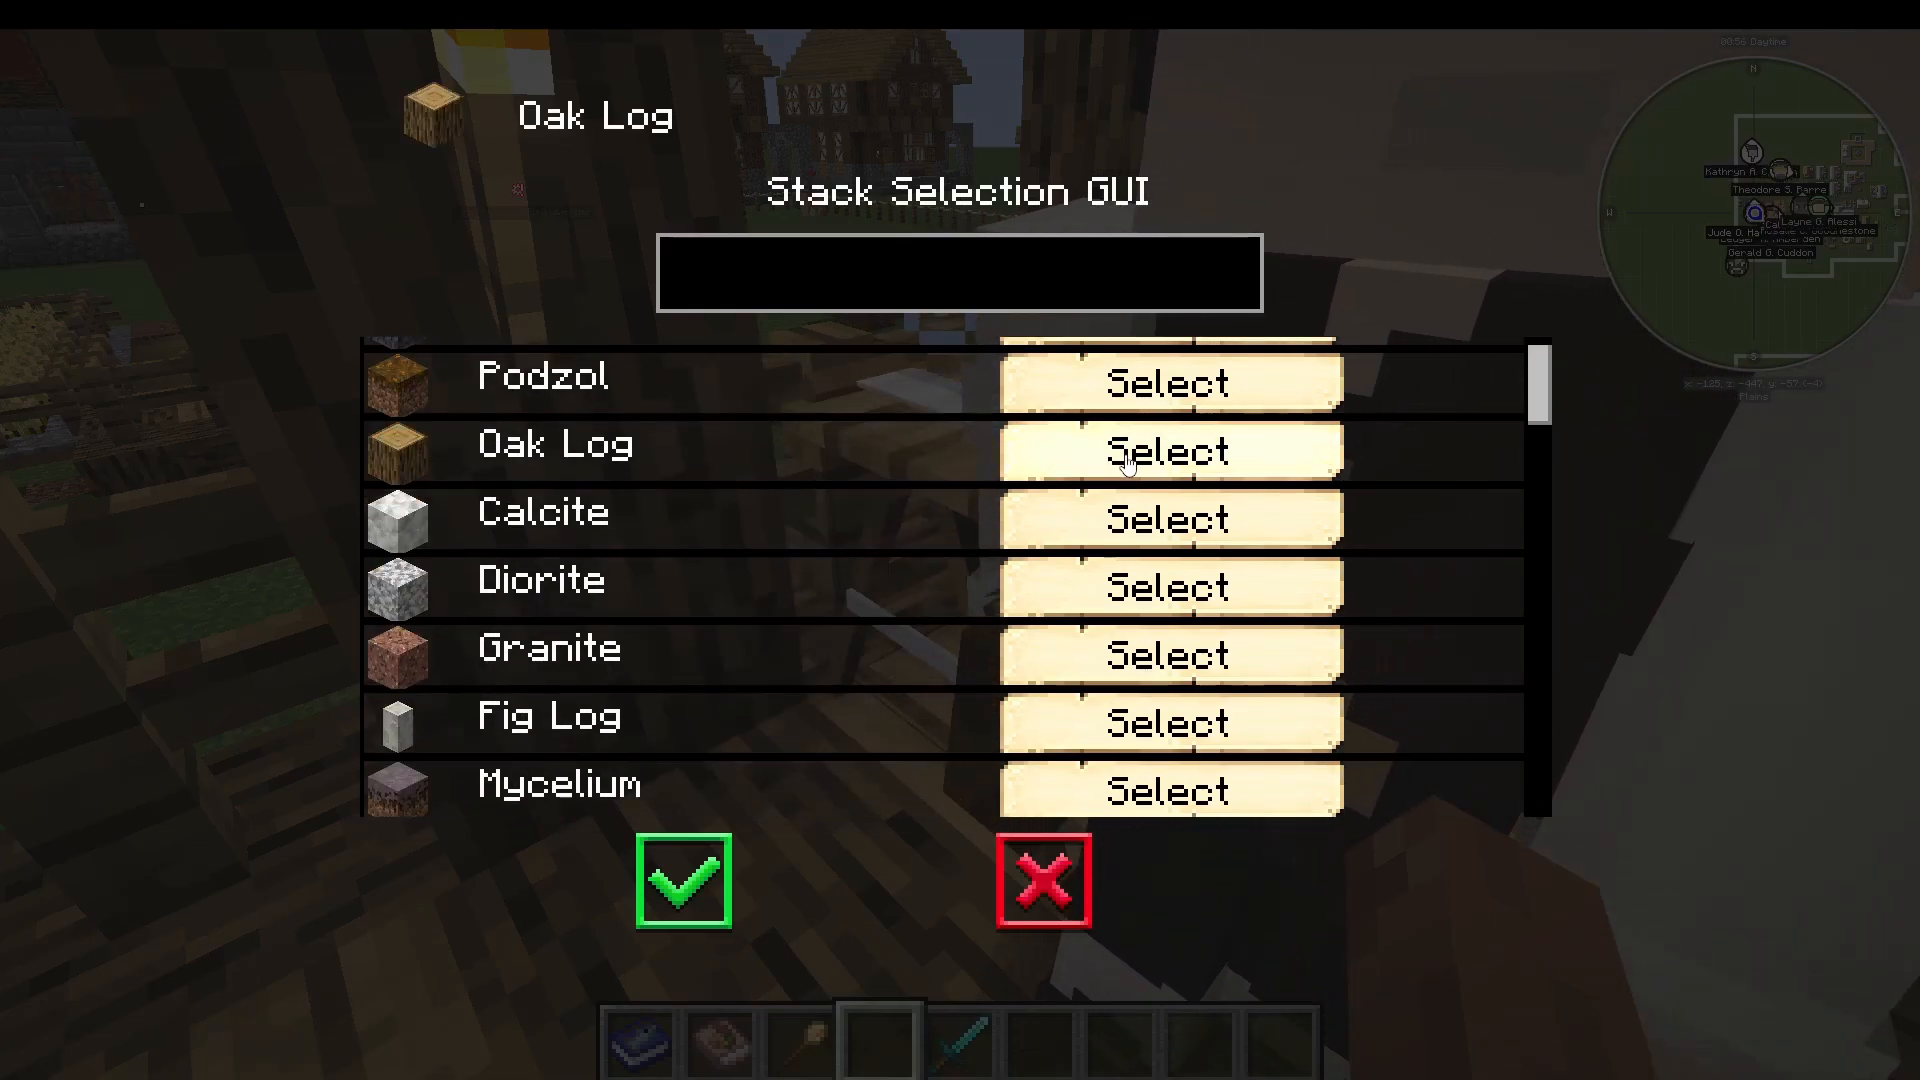
The Sawmill allows you to process wood logs into various wood products. You can teach custom recipes—for example, you might teach it to make different types of wooden stairs, slabs, or other wood items from oak logs. These recipes show up in the “Cutter Recipes” section once taught.
The Fletcher’s Hut
Fletchers can craft various wood-related items and, importantly, arrows. You teach recipes (for example, crafting arrows from sticks and feathers) and the fletcher will automatically produce them using materials in their inventory.
Research at the University
Unlocking New Possibilities
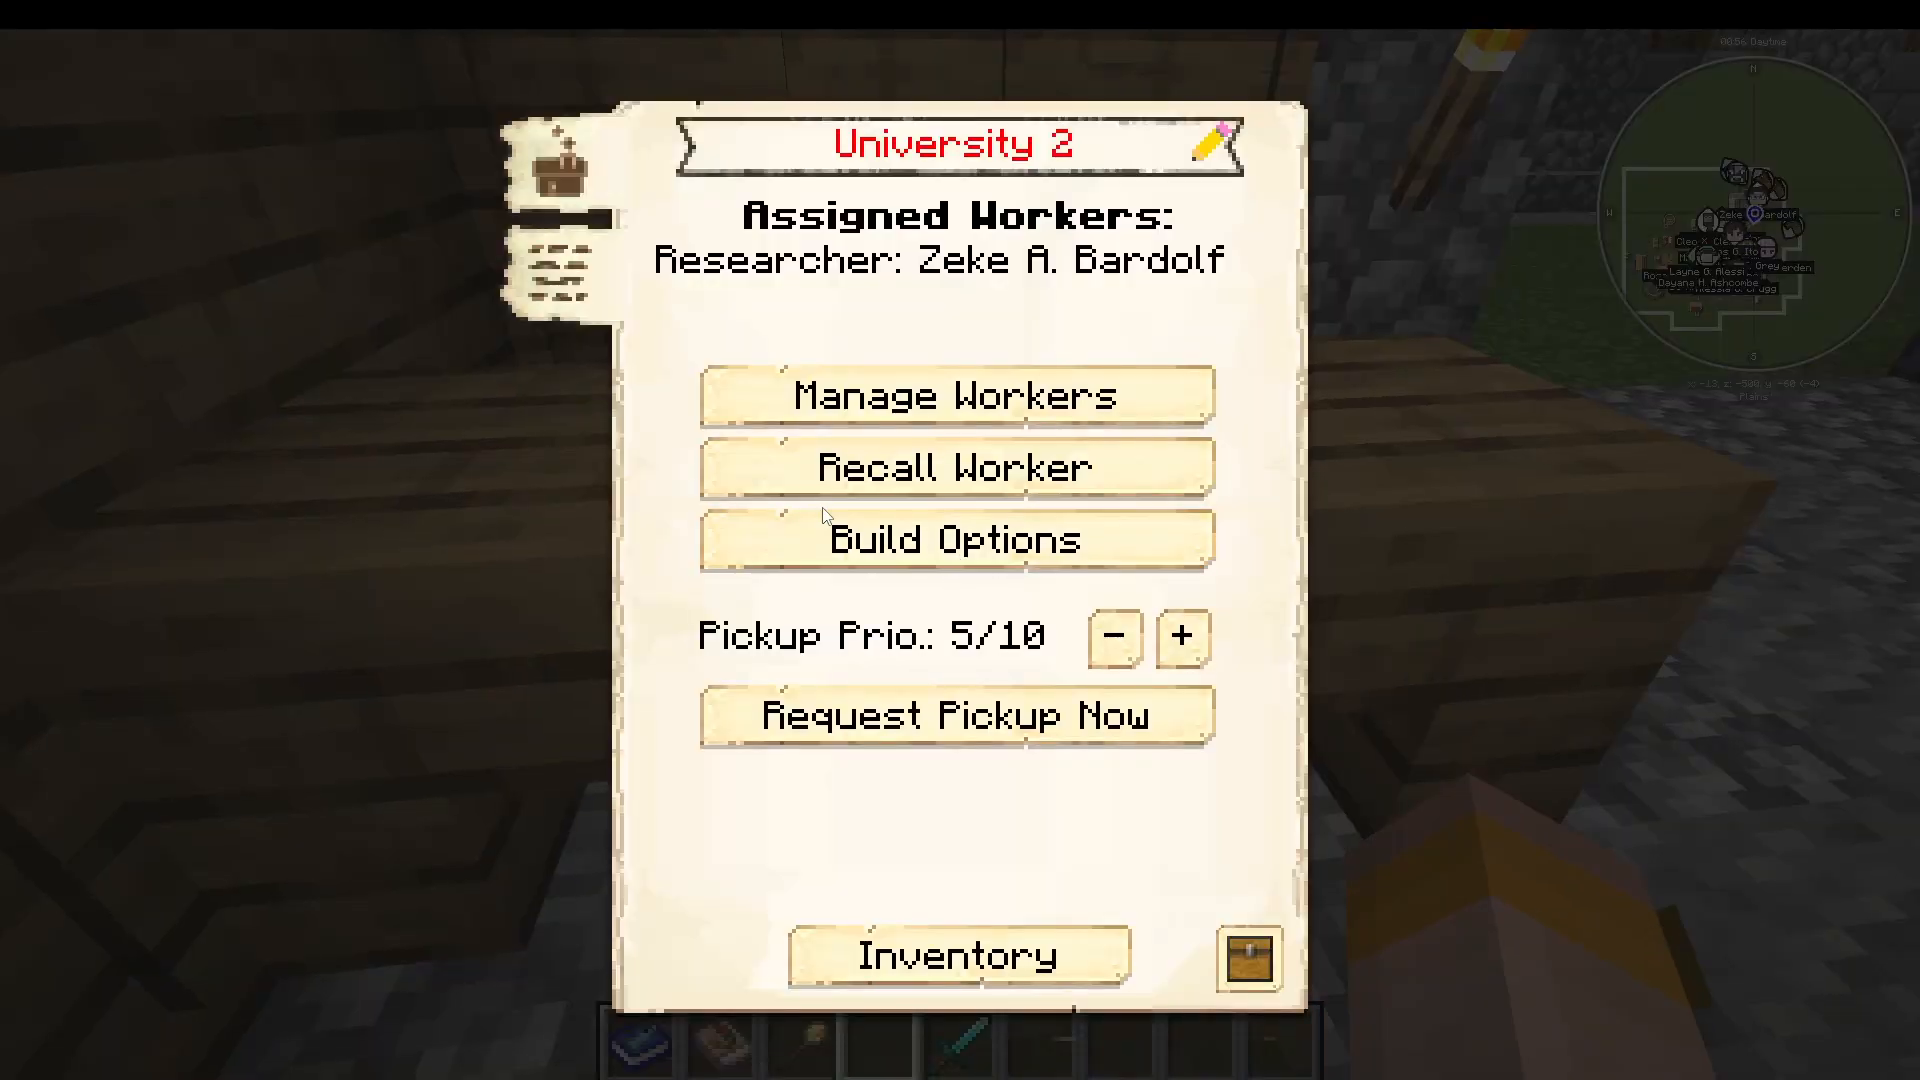
The University is where you conduct research to unlock new buildings and improve existing ones. It’s a massive building that grows significantly at higher levels. The University has different research tabs: Civilian, Combat, and Technology.
Research System
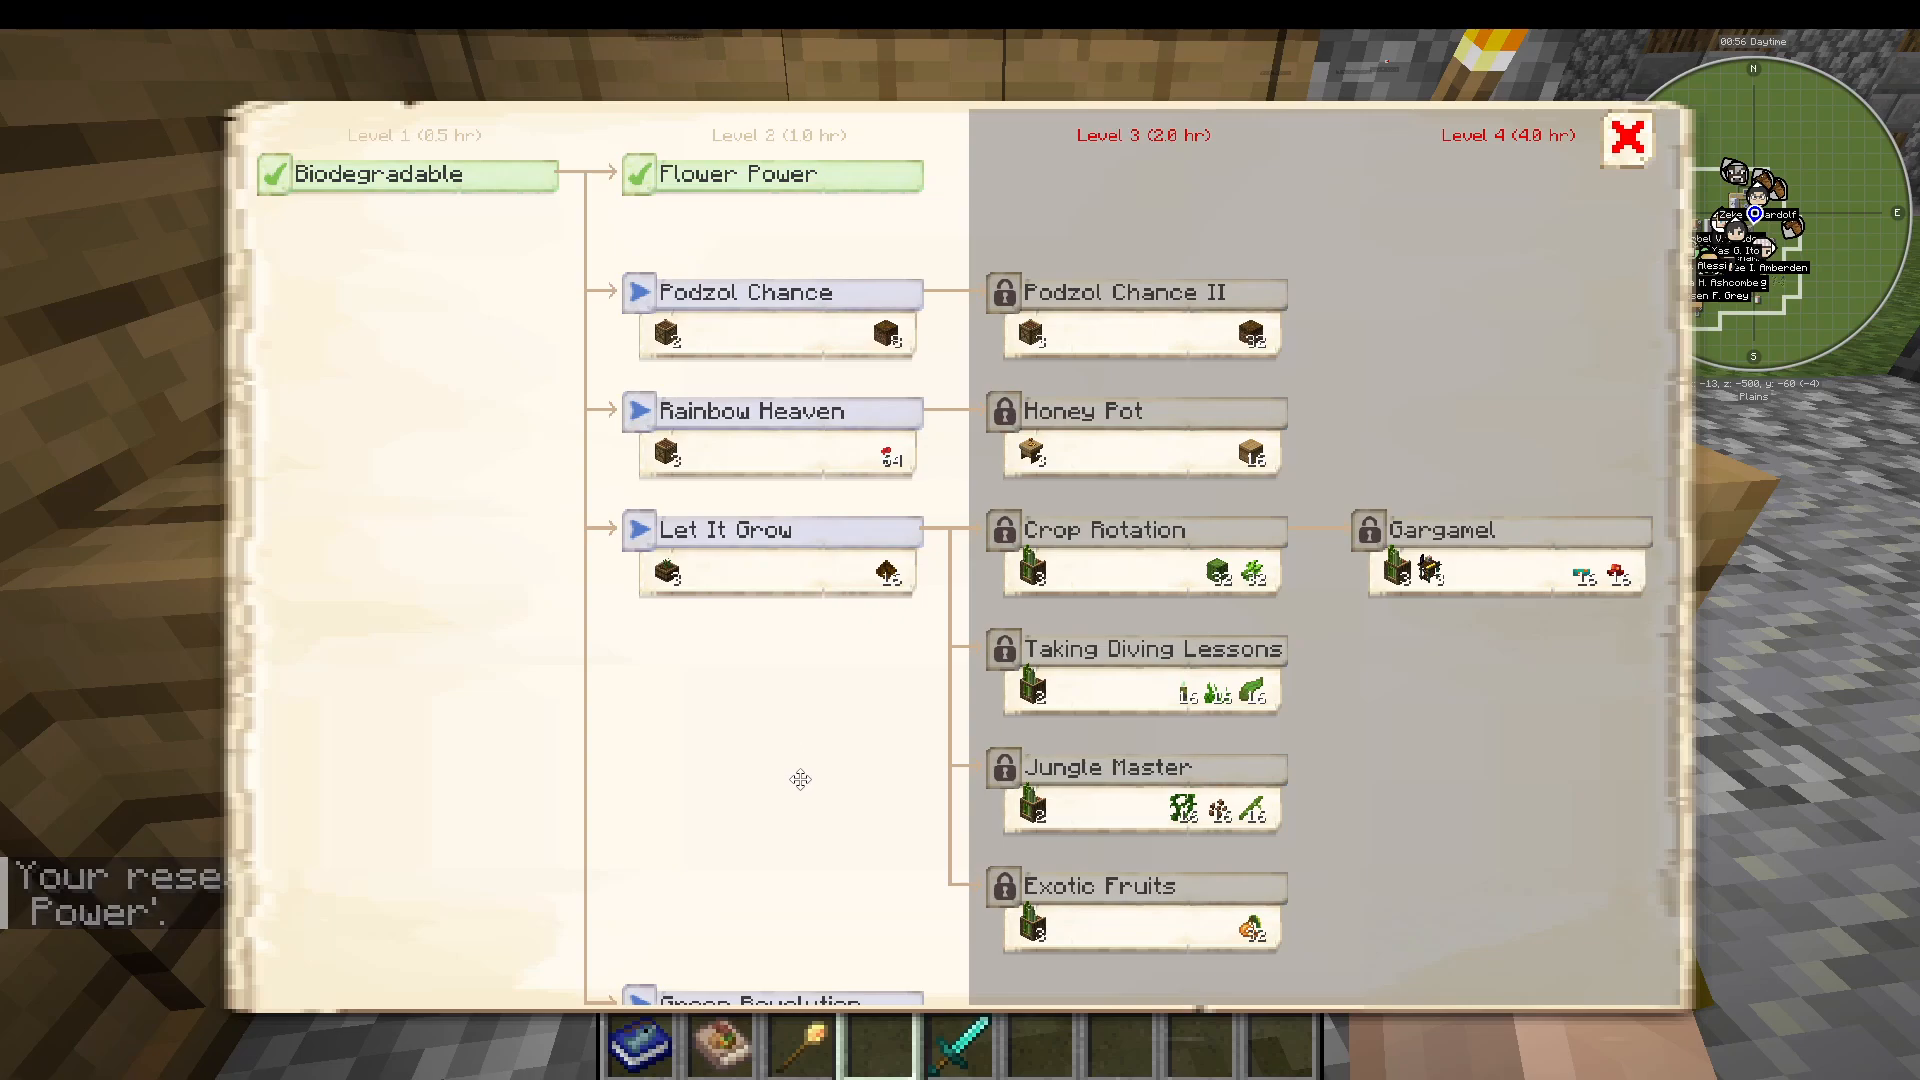
When you click on a research (for example, “Biodegradable” under Technology), it shows what it unlocks (Flower Power, which unlocks the Flower Shop) and costs (64 compost). You need researchers employed at the University. Each university level allows more simultaneous research (level two allows one, higher levels allow more).
Researchers benefit from high Knowledge skill (affects offline research time) and Mana skill (affects maximum daily offline research). Research takes real lifetime—level three research takes two real hours. Once you reach University level three, you can do offline research when you’re not playing.
Research Categories
There are massive amounts of research available:
Composters get more output
Beekeepers can harvest both honey bottles and combs
Plantations unlock additional fields
Builders and miners work faster
Buildings can stock 50% more and workers learn 25% more recipes
Guards have more durability and armor
Many civilian improvements for quality of life
Military and Defense
You can build military structures to defend your colony:
Archery: Trains citizens in archery
Barracks: Trains large numbers of guards
Barracks Tower: Houses guards for defense
Combat Academy: Trains swordsmanship and creates knights
Guard Towers: Protect the colony and make citizens feel safer
Having guards near homes and workplaces makes citizens happier. Guard towers especially contribute to this feeling of security. Combat research at the University unlocks improvements like increased guard durability and armor.
Hospital and Citizen Care
The Hospital allows nurses to automatically heal sick citizens. This requires research at the University to unlock. Having a hospital makes caring for illness easier than manually giving citizens potatoes and carrots, though both methods work.
Additional Useful Buildings and Concepts
Masonry and Crafting
Several buildings help with resource processing:
Crusher: Crushes and grinds resources into finer materials
Sifter: Sieves materials
Stone Mason: Works with stone
Stone Smelter: Smelts stone materials
Blacksmith: Crafts metal items
Mechanic: Handles mechanical crafting
Mine
The Mine allows you to extract ores and resources. It gets progressively deeper and more productive at higher levels, making it essential for gathering raw materials.
Colony Management: Deletion and Relocation
If you want to delete your colony, place a new Town Hall block outside your current colony’s borders. It will prompt you to delete the old colony. This allows you to start fresh or relocate your colony to a different area.
Getting Stuck or Needing Help
If citizens get stuck while building (especially during upgrades), you can right-click on them and select “Recall Worker.” This teleports them back to their building. Sometimes the AI gets confused, but most issues resolve themselves or can be fixed this way.
Summary
You now understand the core concepts of MineColonies! You’ve learned how to set up your colony, build essential structures (Builder’s Hut, Town Hall, residences), manage citizen happiness, produce food, establish logistics systems, and advance your colony through research. From here, you can expand with military, advanced crafting, and specialized buildings suited to your colony’s needs. Remember: build gradually, keep your citizens happy, establish good logistics early, and use the University to unlock new possibilities. Your colony’s success depends on managing these systems efficiently!
— Want to Support? —
If you would like to help us continue making these guides – please consider joining our patreon here – https://www.patreon.com/c/JaviHeals
Alternatively – we host a group of MC Servers you can join here – https://discord.gg/zD7Gjt6MHF