The Ultimate Guide to Iron’s Spells & Spellbooks
The Ultimate Guide to Iron’s Spells & Spellbooks
Iron’s Spells & Spellbooks is one of the most feature-rich magic mods available for Minecraft. Whether you’re brand new to the mod or just looking to sharpen your spellcasting skills, this guide walks you through everything — from finding your first spell scroll in the wild, to crafting legendary ink, gearing up your mage, and taking down the mod’s powerful bosses. Let’s dive in.
World Generation: Structures to Find
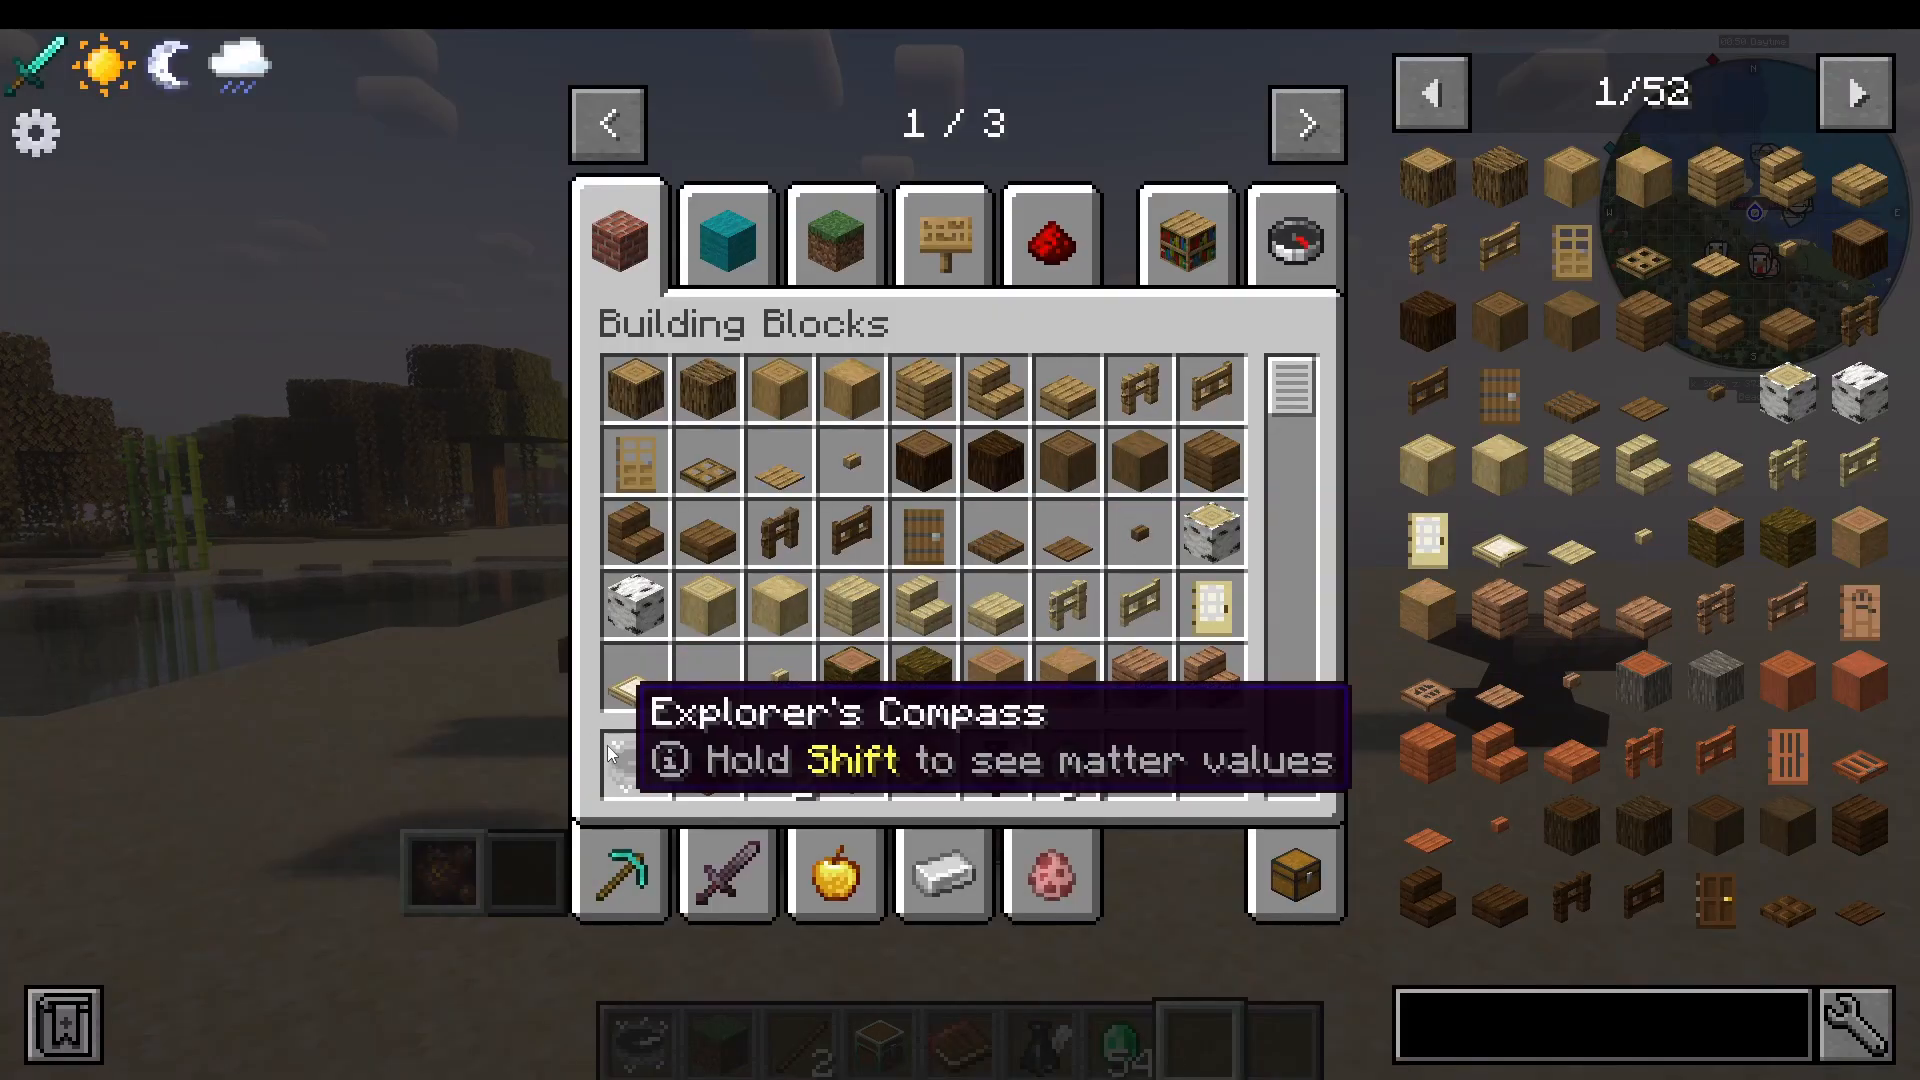
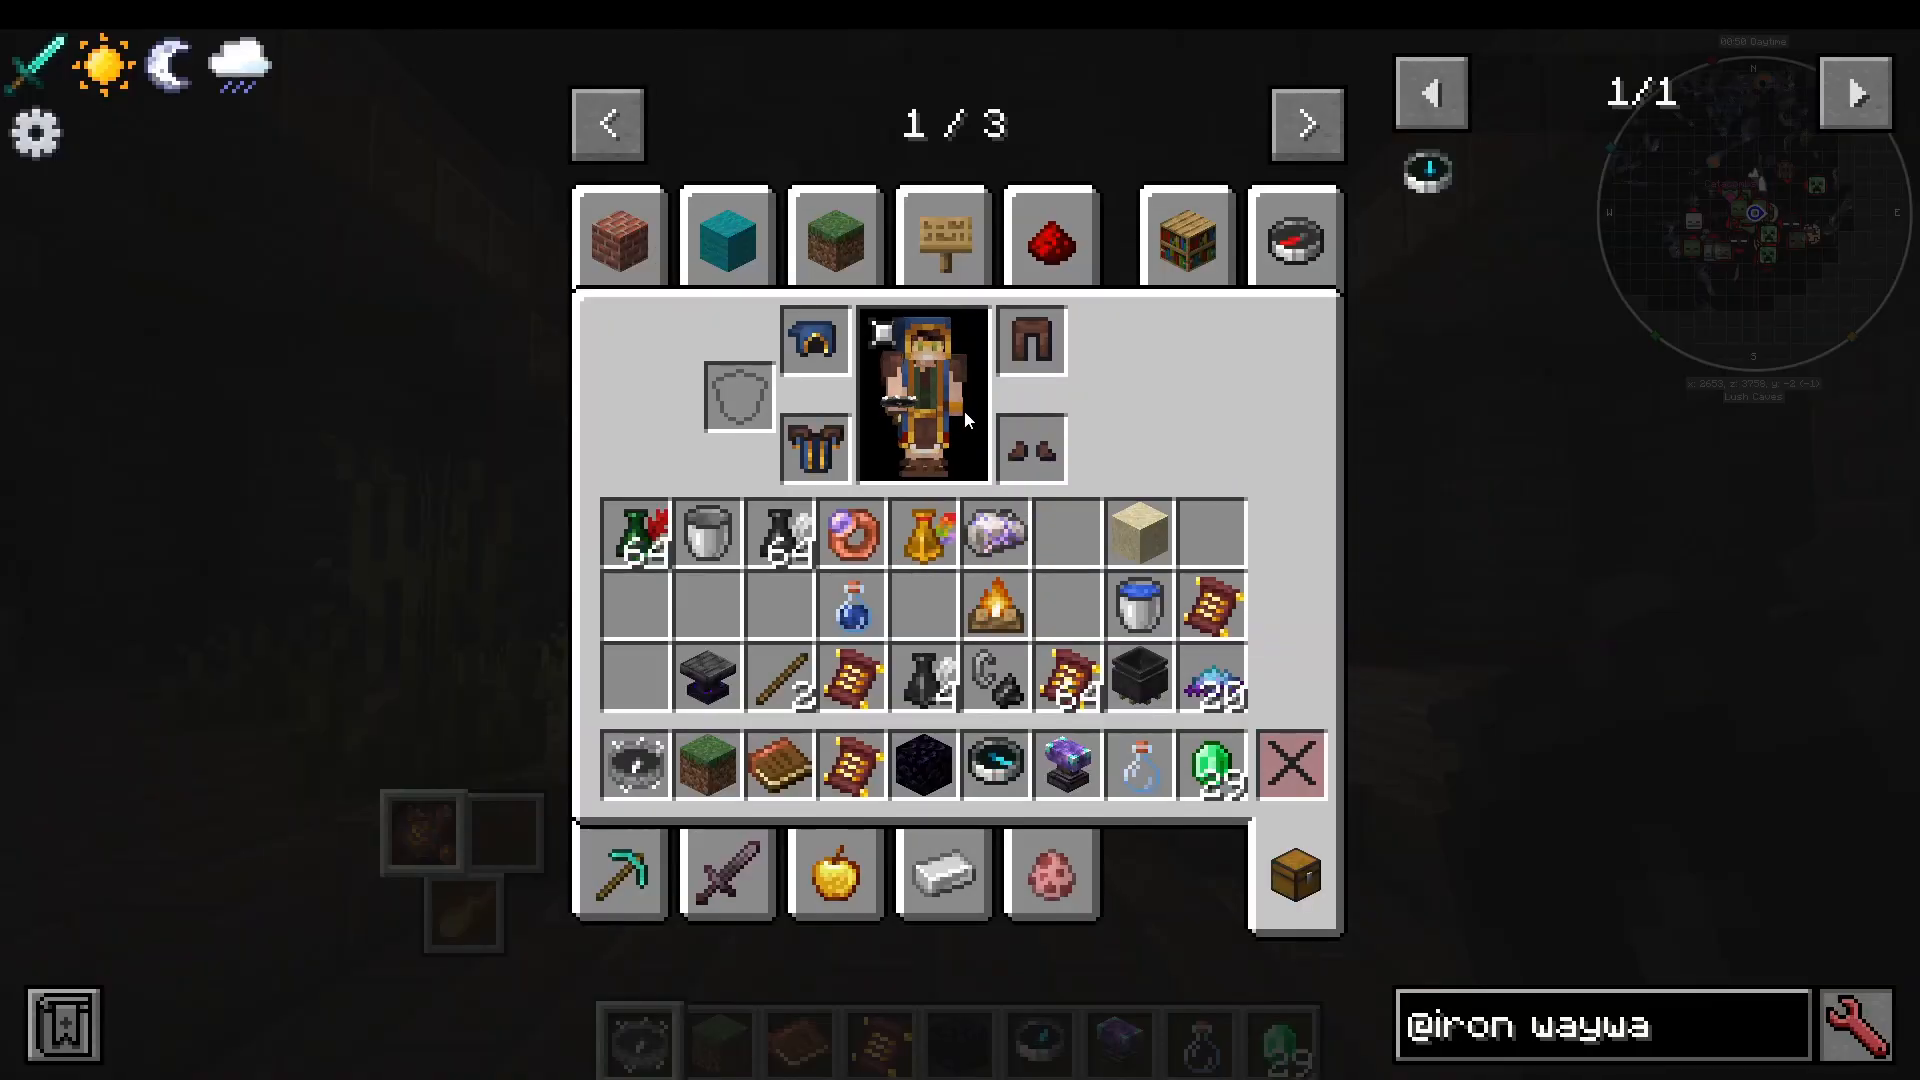
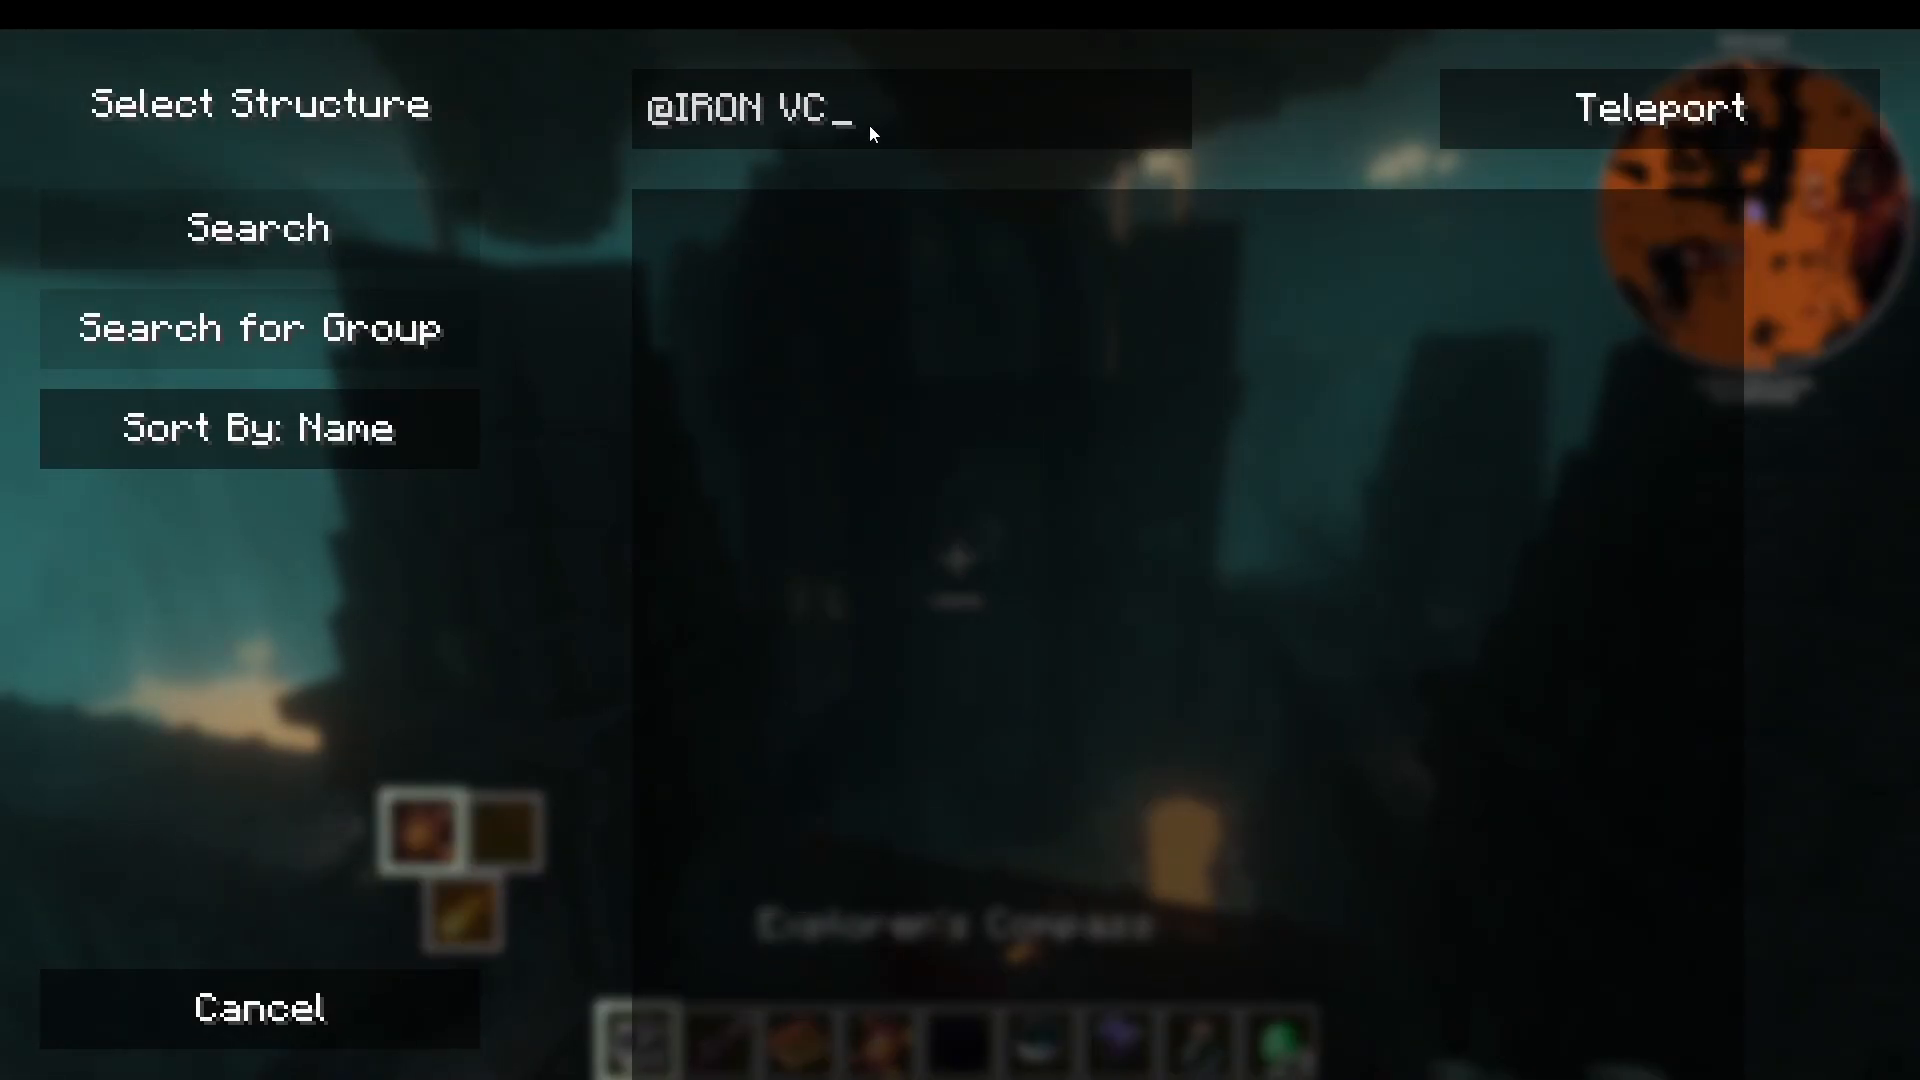
The first thing you’ll want to do is explore the world for structures added by Iron’s Spells & Spellbooks. There are several key locations that contain spell scrolls, crafting materials, and unique vendors. If you have the Explorer’s Compass mod available, it makes finding these structures much easier — simply open it, search for “Iron,” and browse the list of structures. In Creative mode you can teleport directly to them; otherwise it gives you coordinates.
Pyramancer Tower
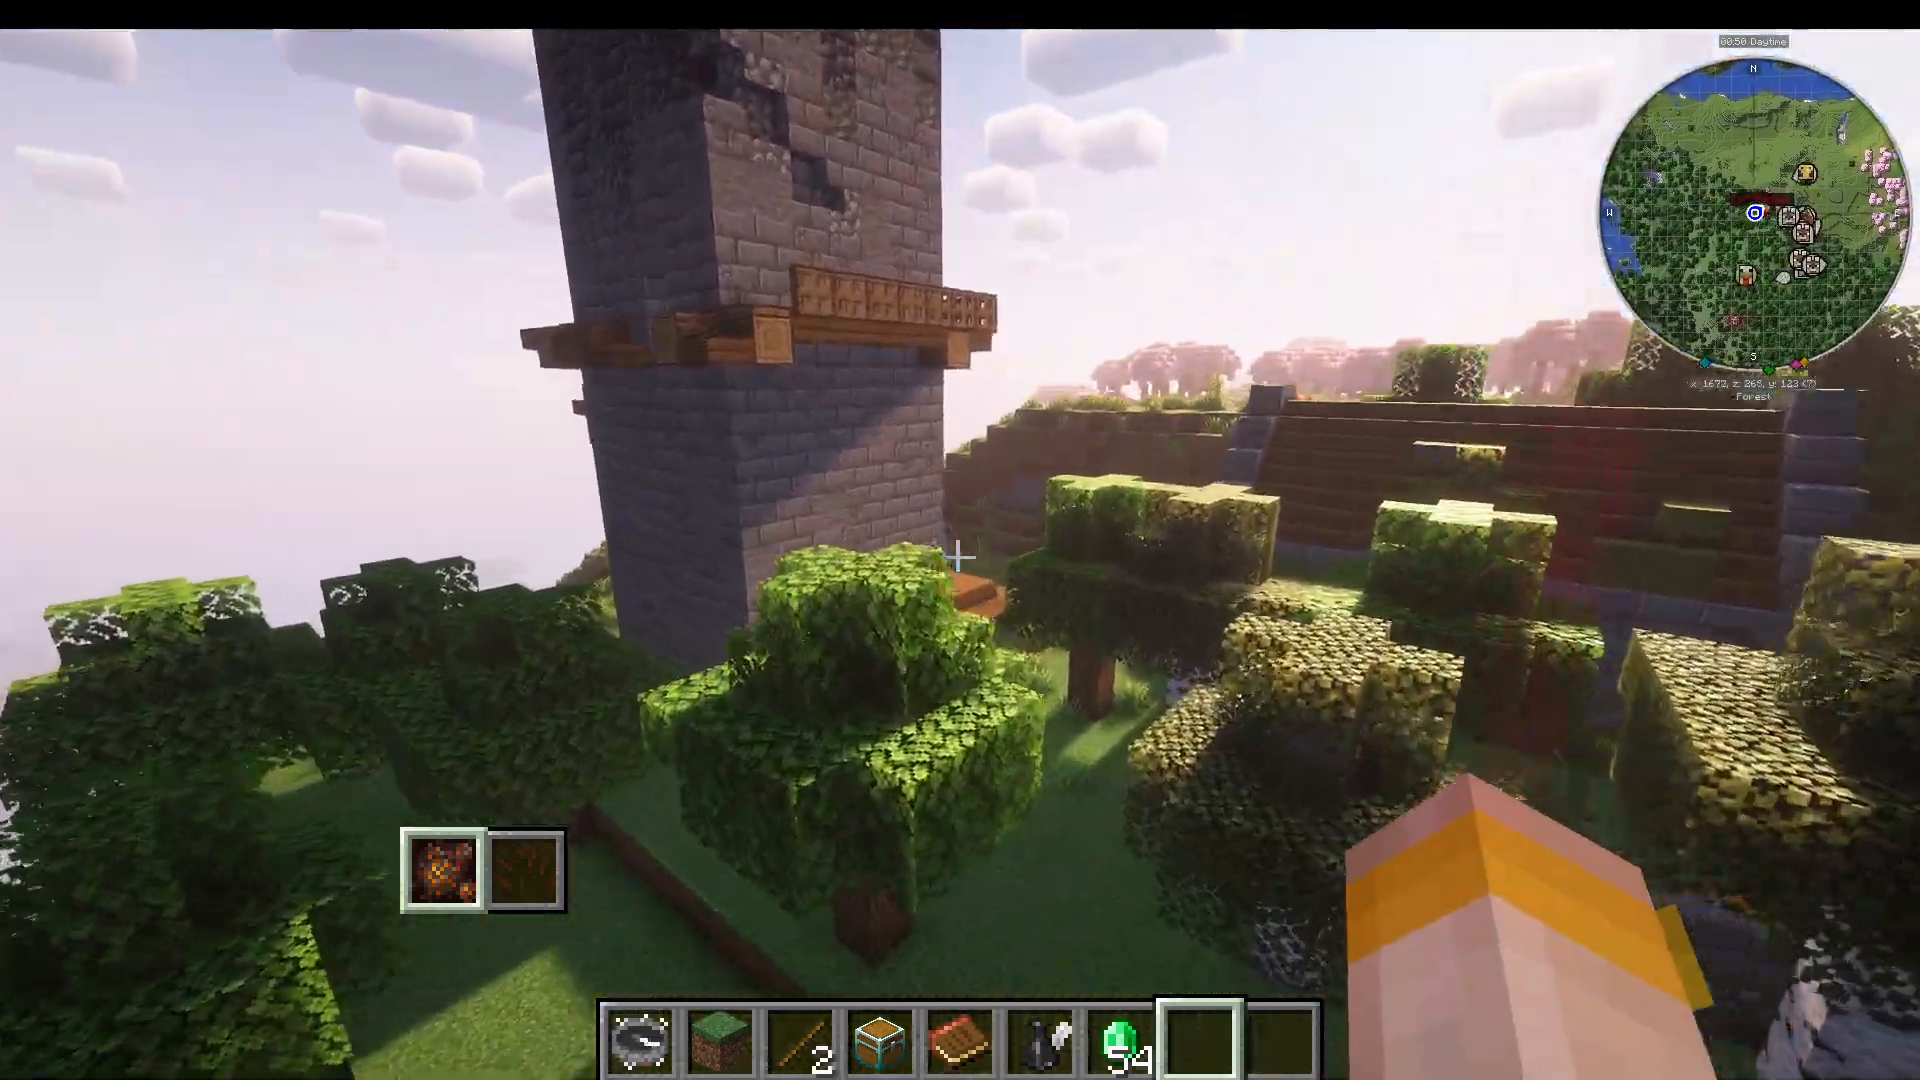
The most important structure to find first is the Pyramancer Tower. Head upstairs and check the barrels — you’ll typically find your very first spell scroll here, such as a Fire Bolt scroll. There may also be some loot and an armor pile at the top.
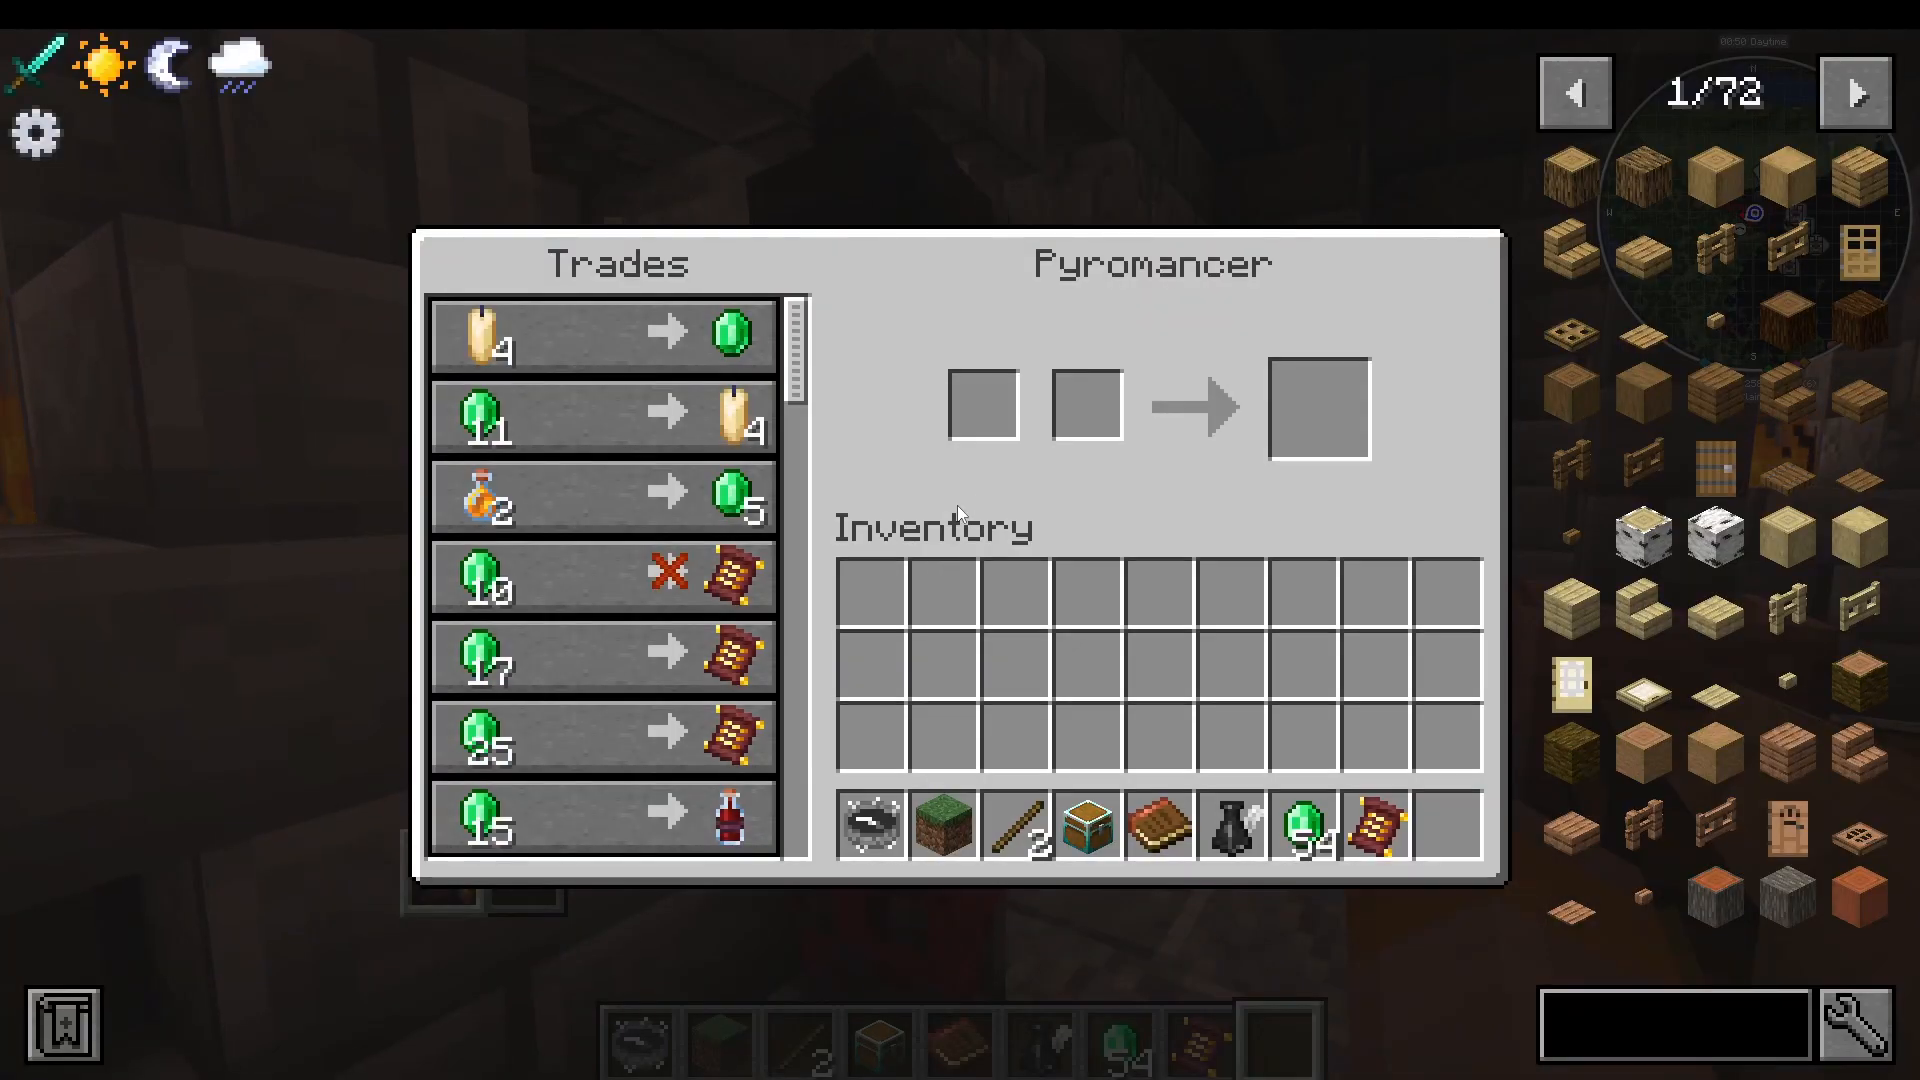
Head downstairs to find a basement. Don’t worry — the Pyramancer NPC down here is friendly. Right-clicking him lets you trade emeralds for spell scrolls. His stock includes spells like a Blaze Storm scroll, a Mag of a Bomb scroll, and a Heat Surge scroll. For example, the Heat Surge scroll is a Level 5 (Epic) spell that reduces enemy armor for 18 seconds in an 8.5 block radius, costs 90 mana, and has a 45-second cooldown with a 1-second cast time.
Also check the chests in the tower carefully. Key items to collect include Common Ink and Arcane Essence — both very useful later. You may also find a Ring of Expediency, which reduces your cast time (for example, turning a 3.5-second cast into a 3-second cast). Keep every scroll you find, even duplicates.
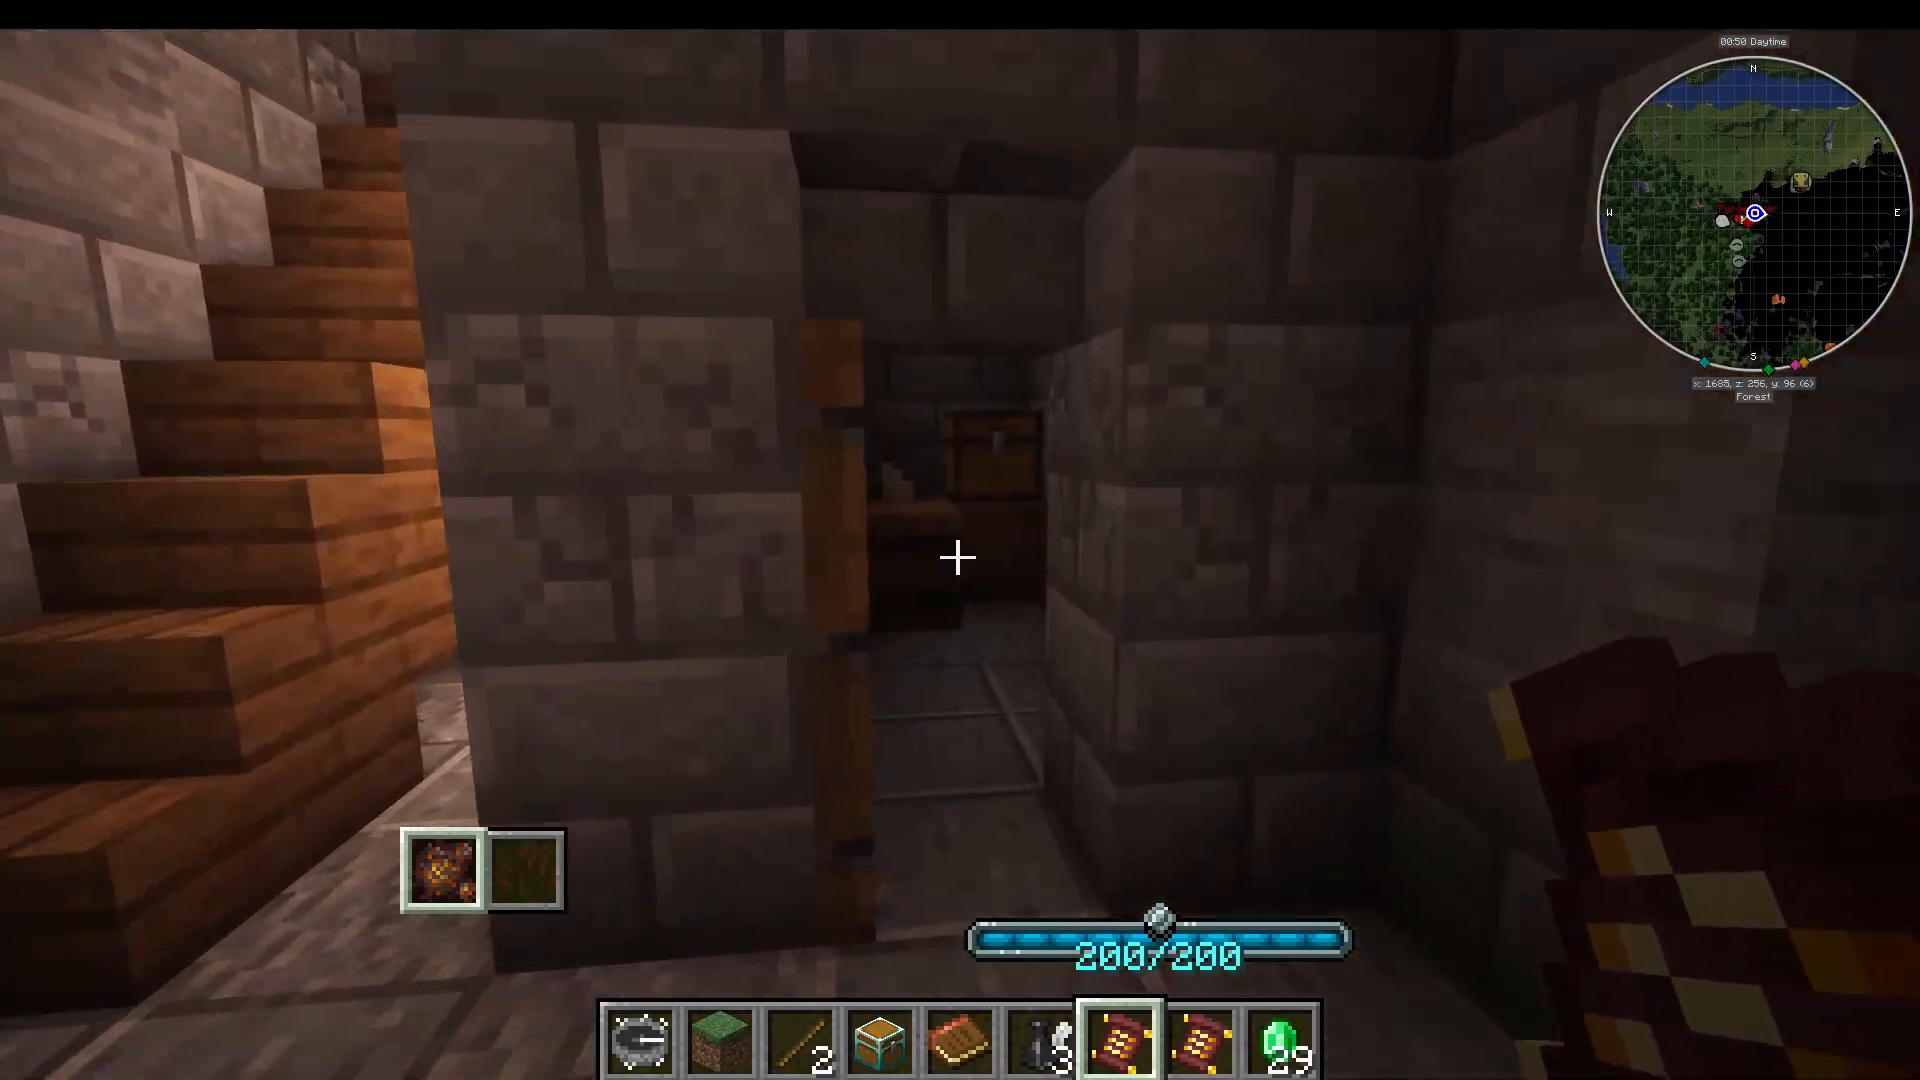
There is also an Inscription Table inside the tower — more on that shortly.
Mountain Tower
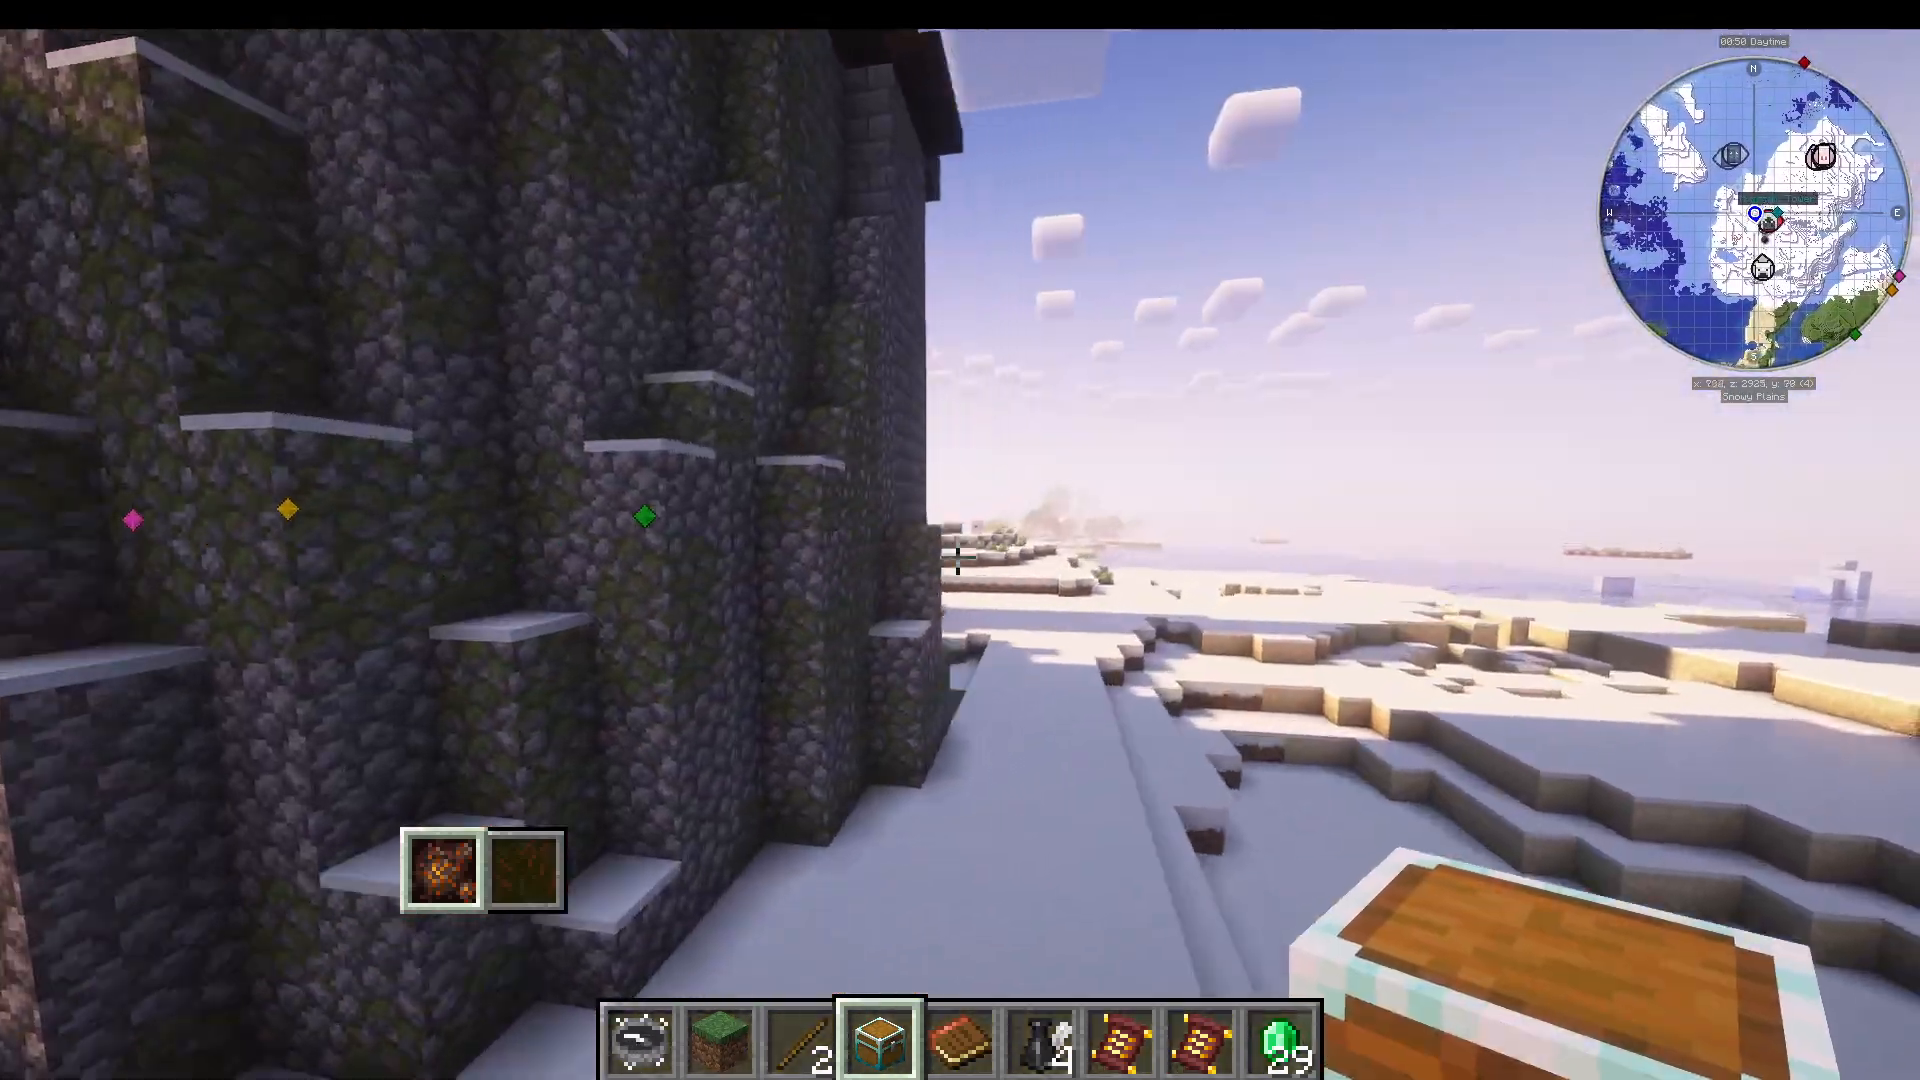
Another structure you may encounter is the Mountain Tower. It contains some loot but is generally found in snowy biomes and is less rewarding than the Pyramancer Tower.
Mangrove Hut
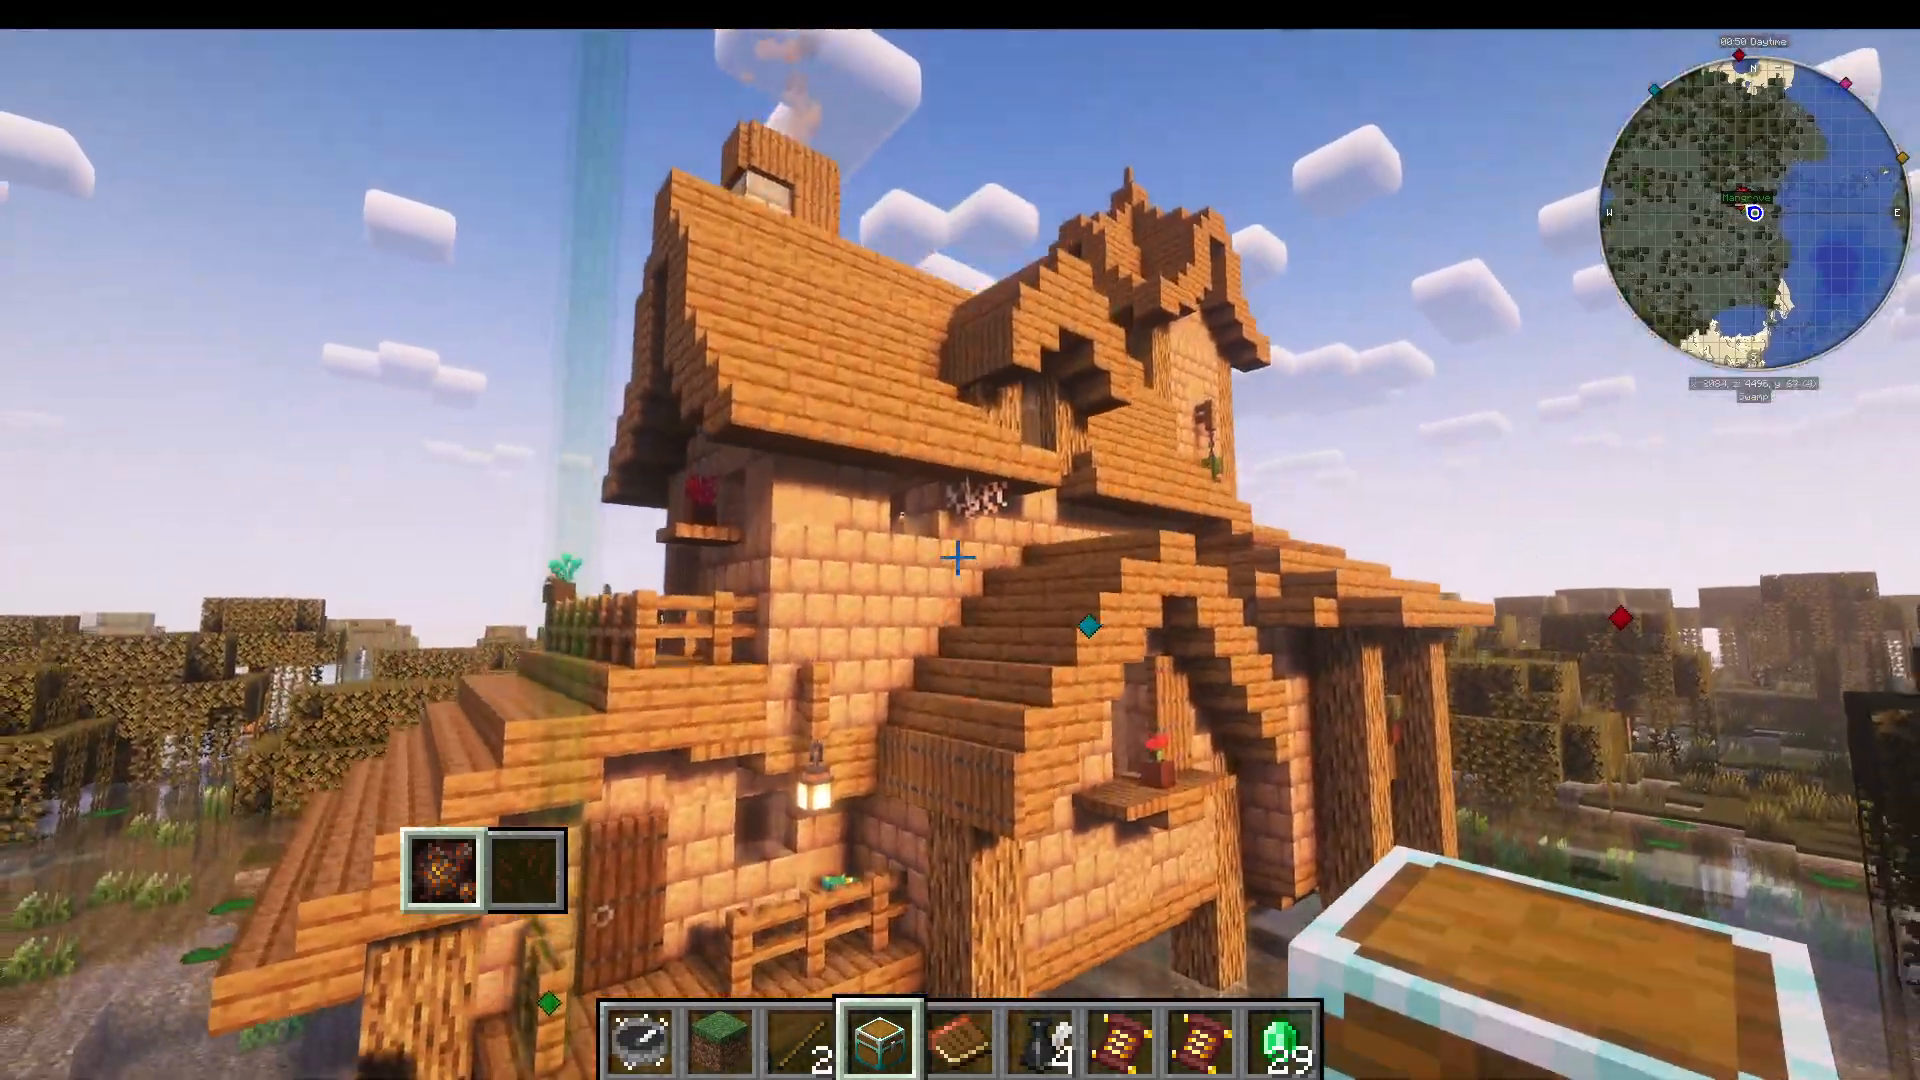
Found in swamp biomes, the Mangrove Hut is home to the Apothecary vendor and a hostile pig man. The Apothecary sells nature-themed spells and potion-based items. Check the chests here as well.
Illager Fort
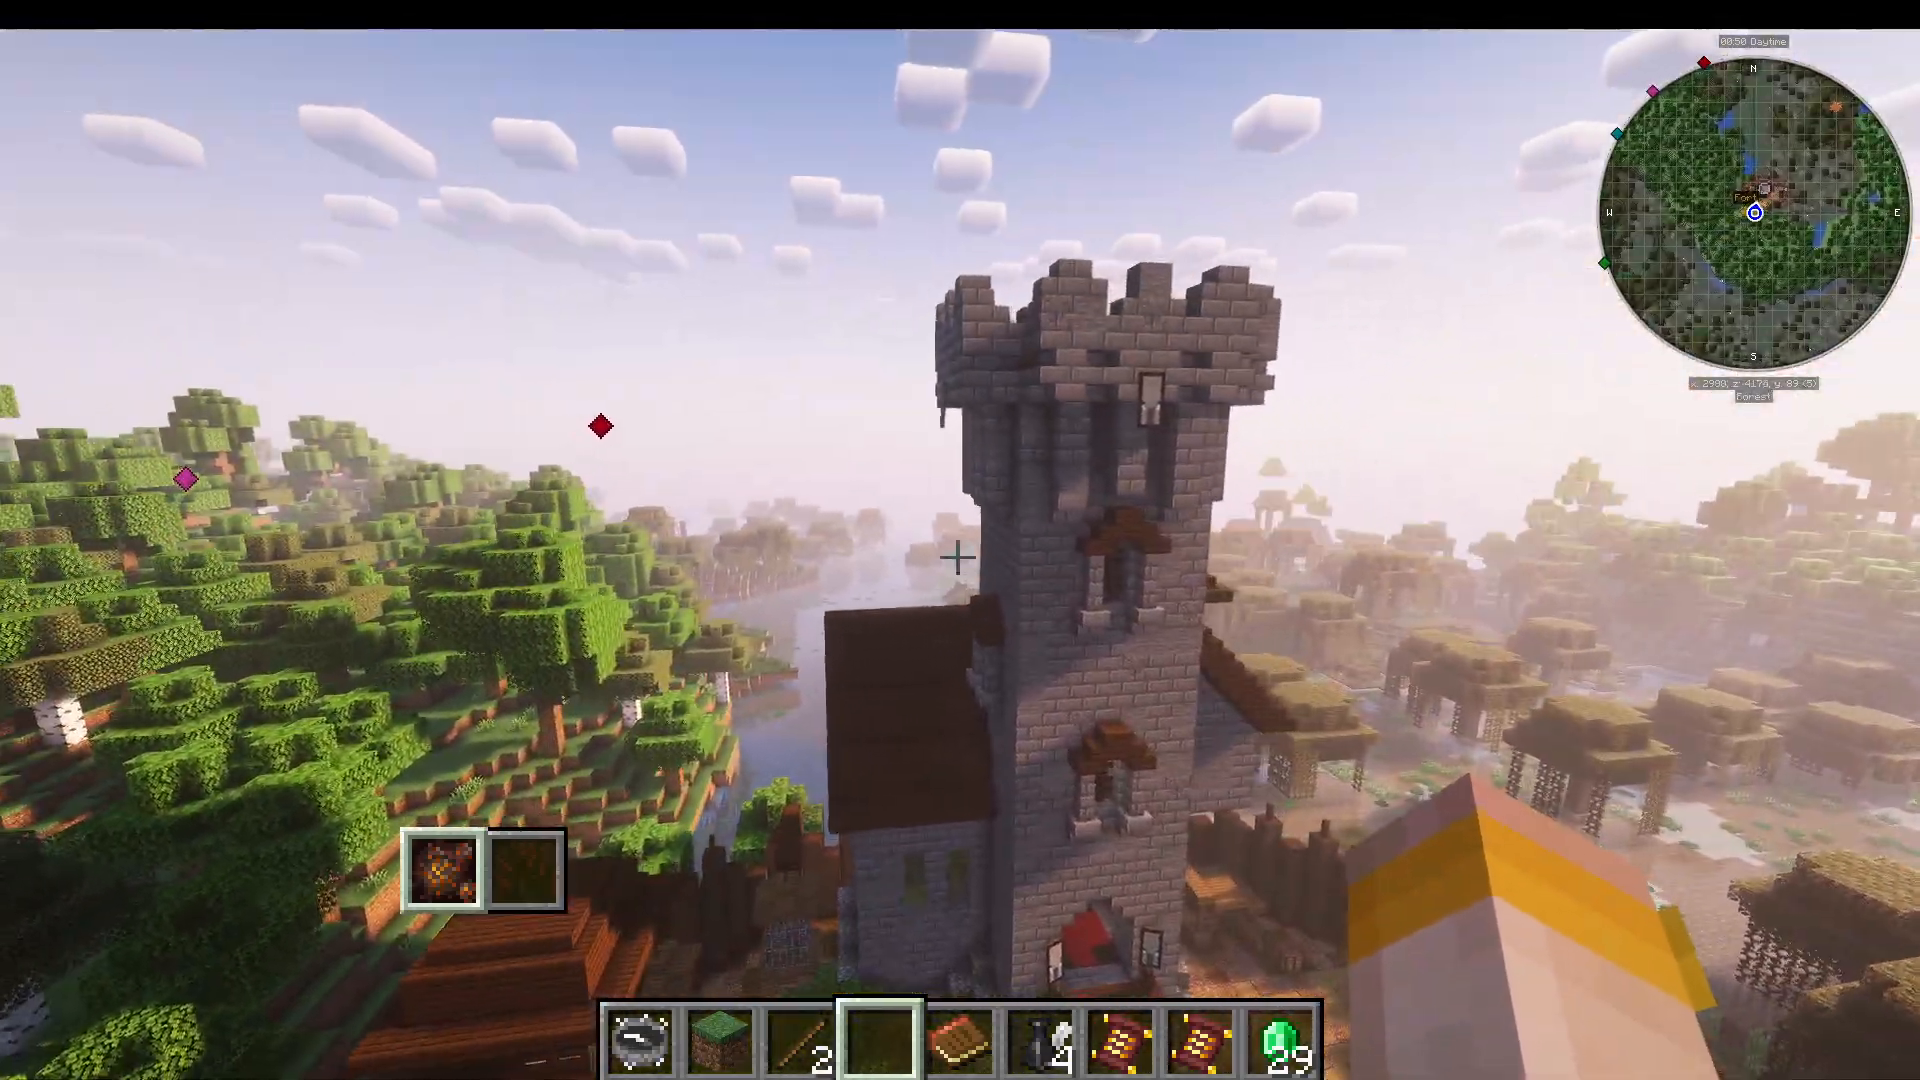
The Illager Fort is exactly what it sounds like — a fort full of Illagers with loot scattered throughout. It’s self-explanatory and worth clearing out.
The Catacombs
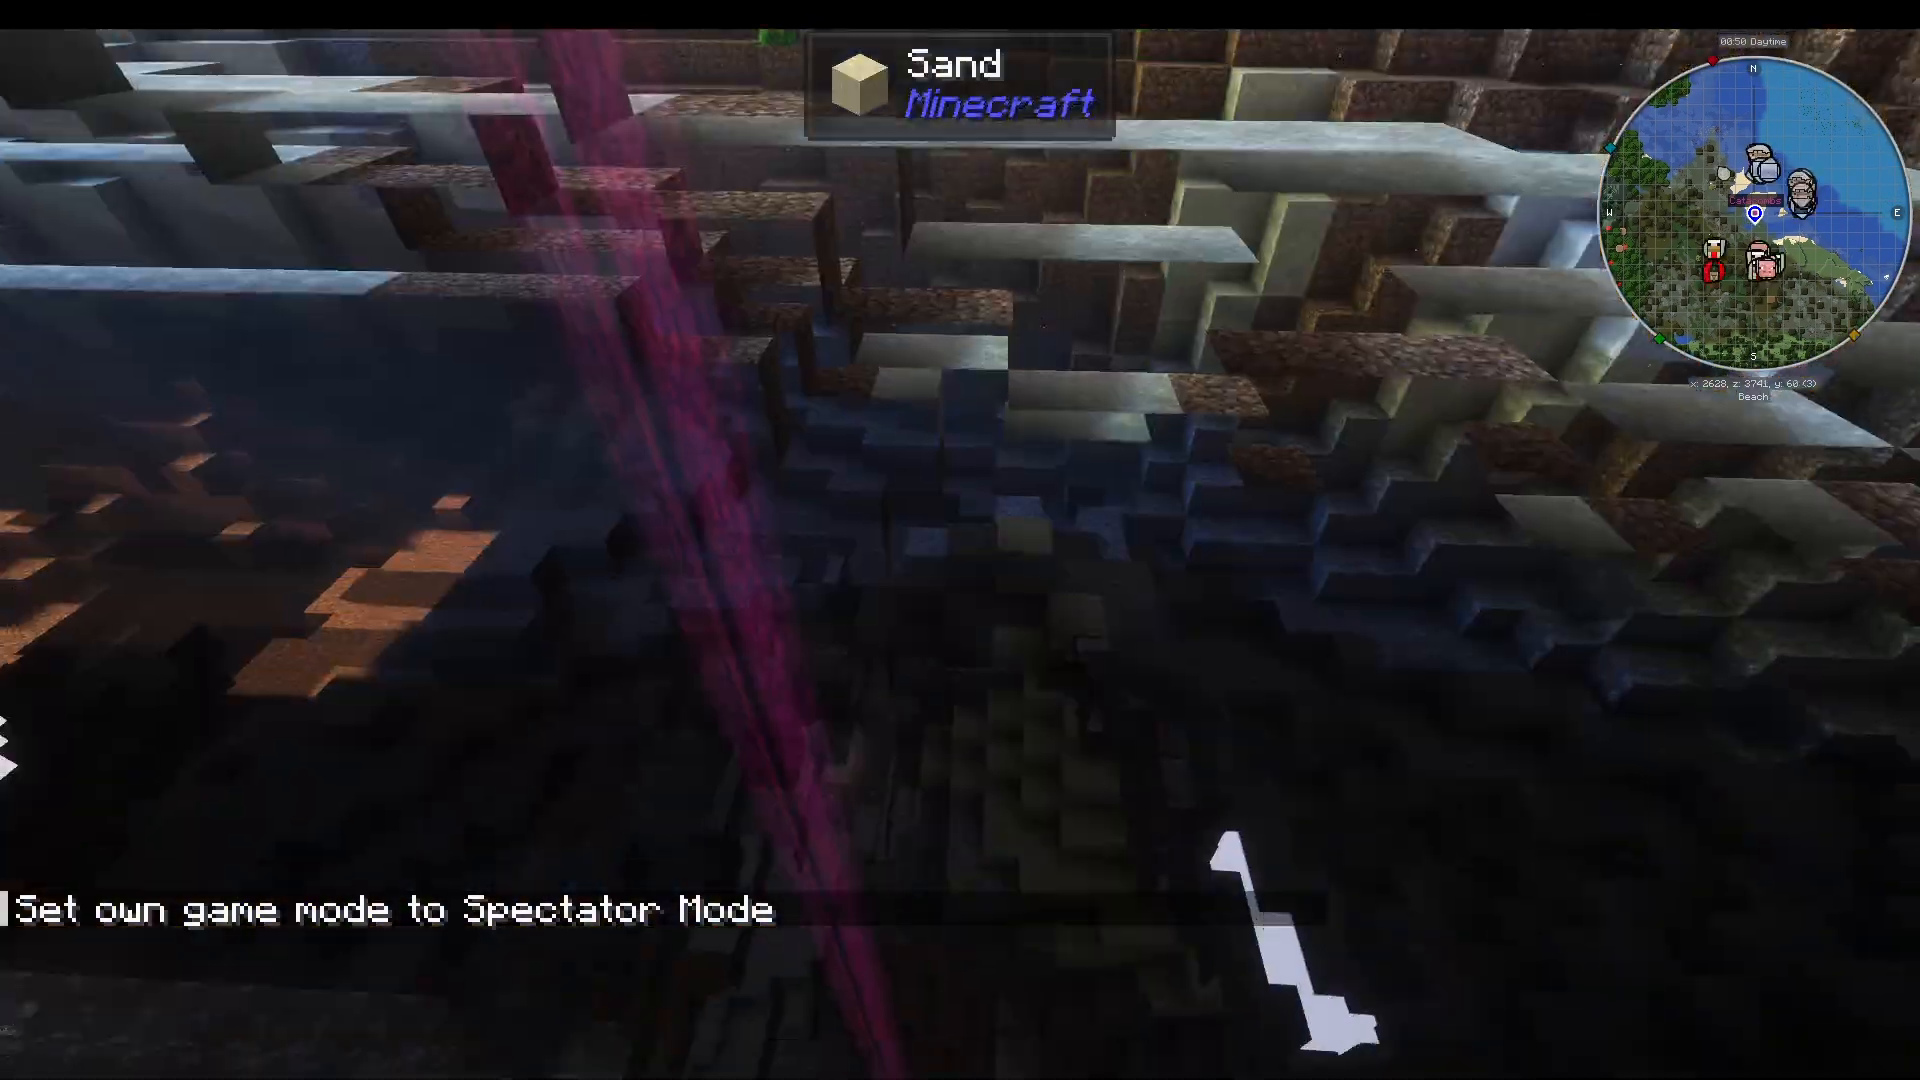
The Catacombs are an underground dungeon structure with sprawling corridors, lots of mobs, and a wide variety of loot. This is also where one of the mod’s bosses resides. You can locate the Catacombs using the Wayward Compass — an item included in Iron’s Spells & Spellbooks itself — which will point you toward the entrance.
Mithril Ore
While exploring, keep an eye out for Mithril ore, which spawns in the world as part of Iron’s Spells & Spellbooks. Smelt it into Mithril ingots, as these are used in several pieces of gear covered later in this guide.
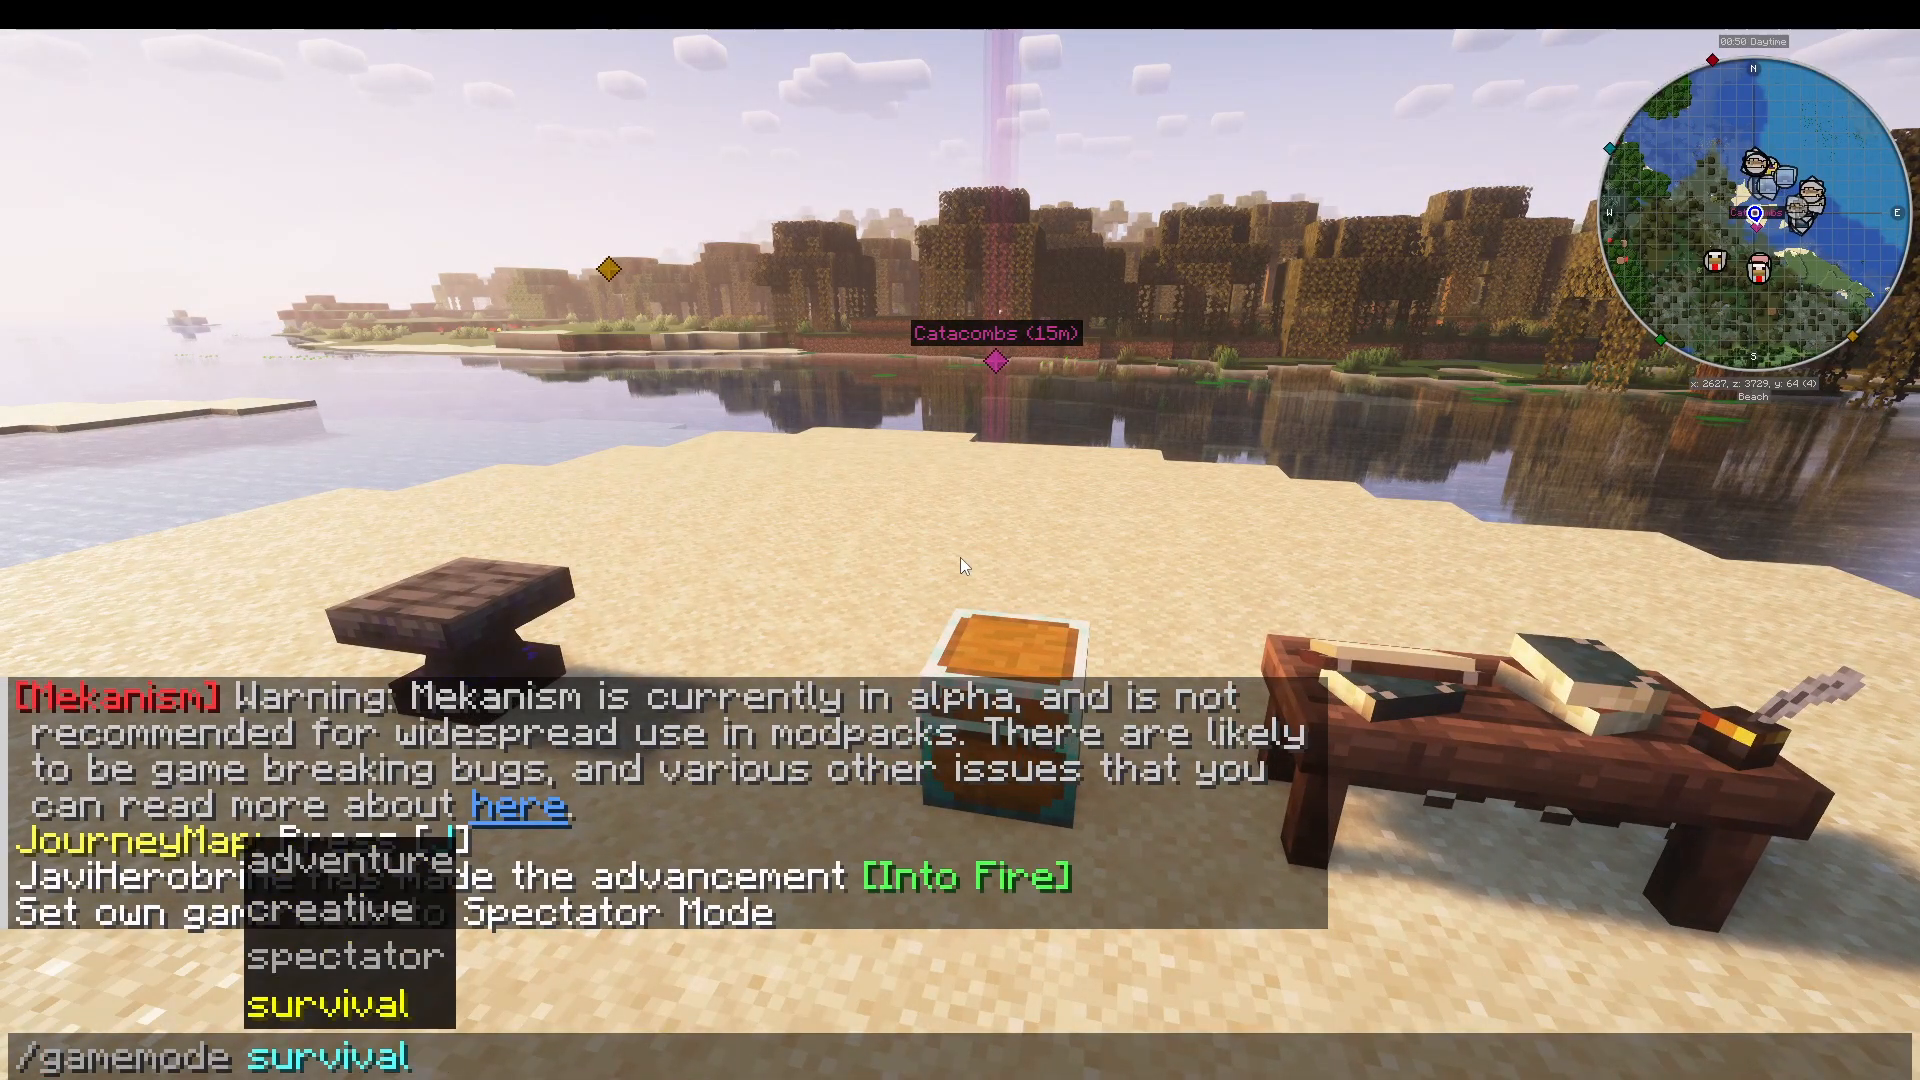
Making Your First Spell Book
Once you’ve looted a Pyramancer Tower or other Iron’s Spells & Spellbooks structure, it’s time to create your first spell book and start casting. You’ll need two key crafting stations: an Inscription Table and, later, a Scroll Forge.
Crafting and Using the Inscription Table
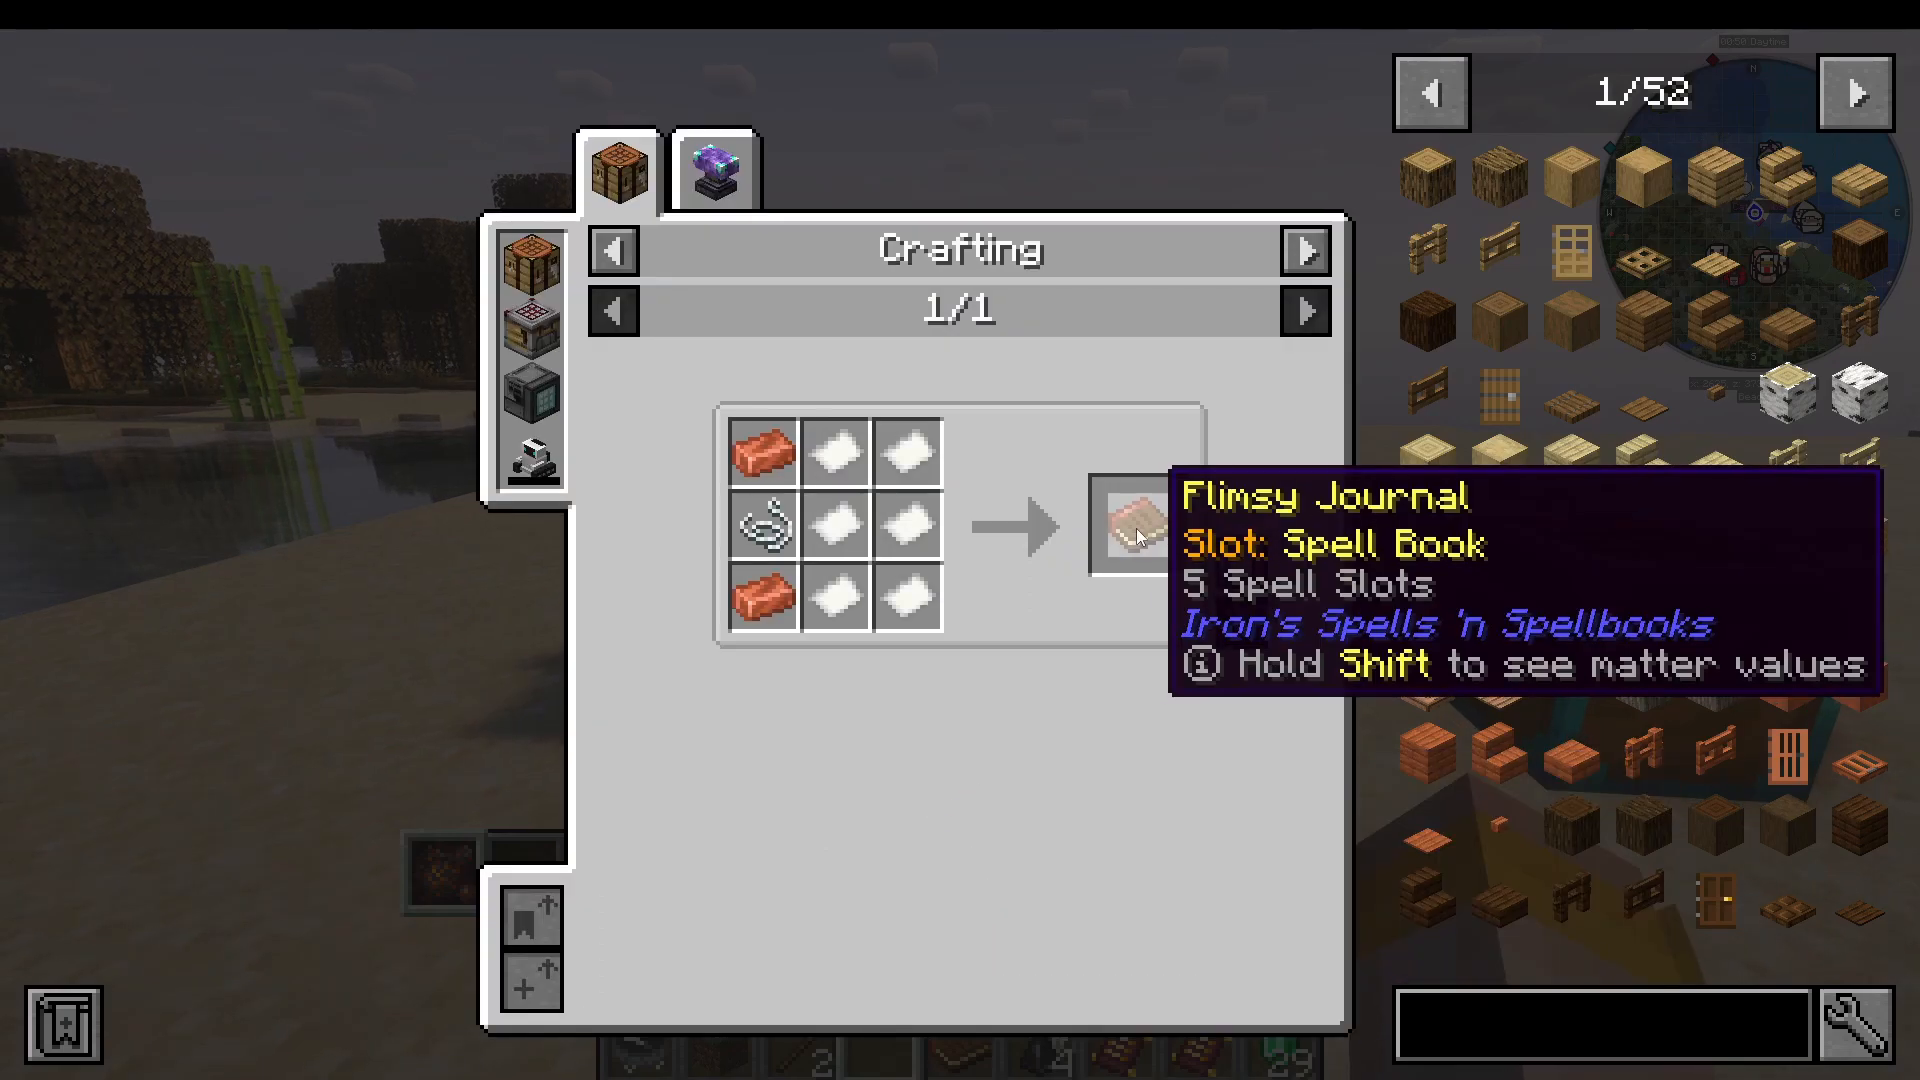
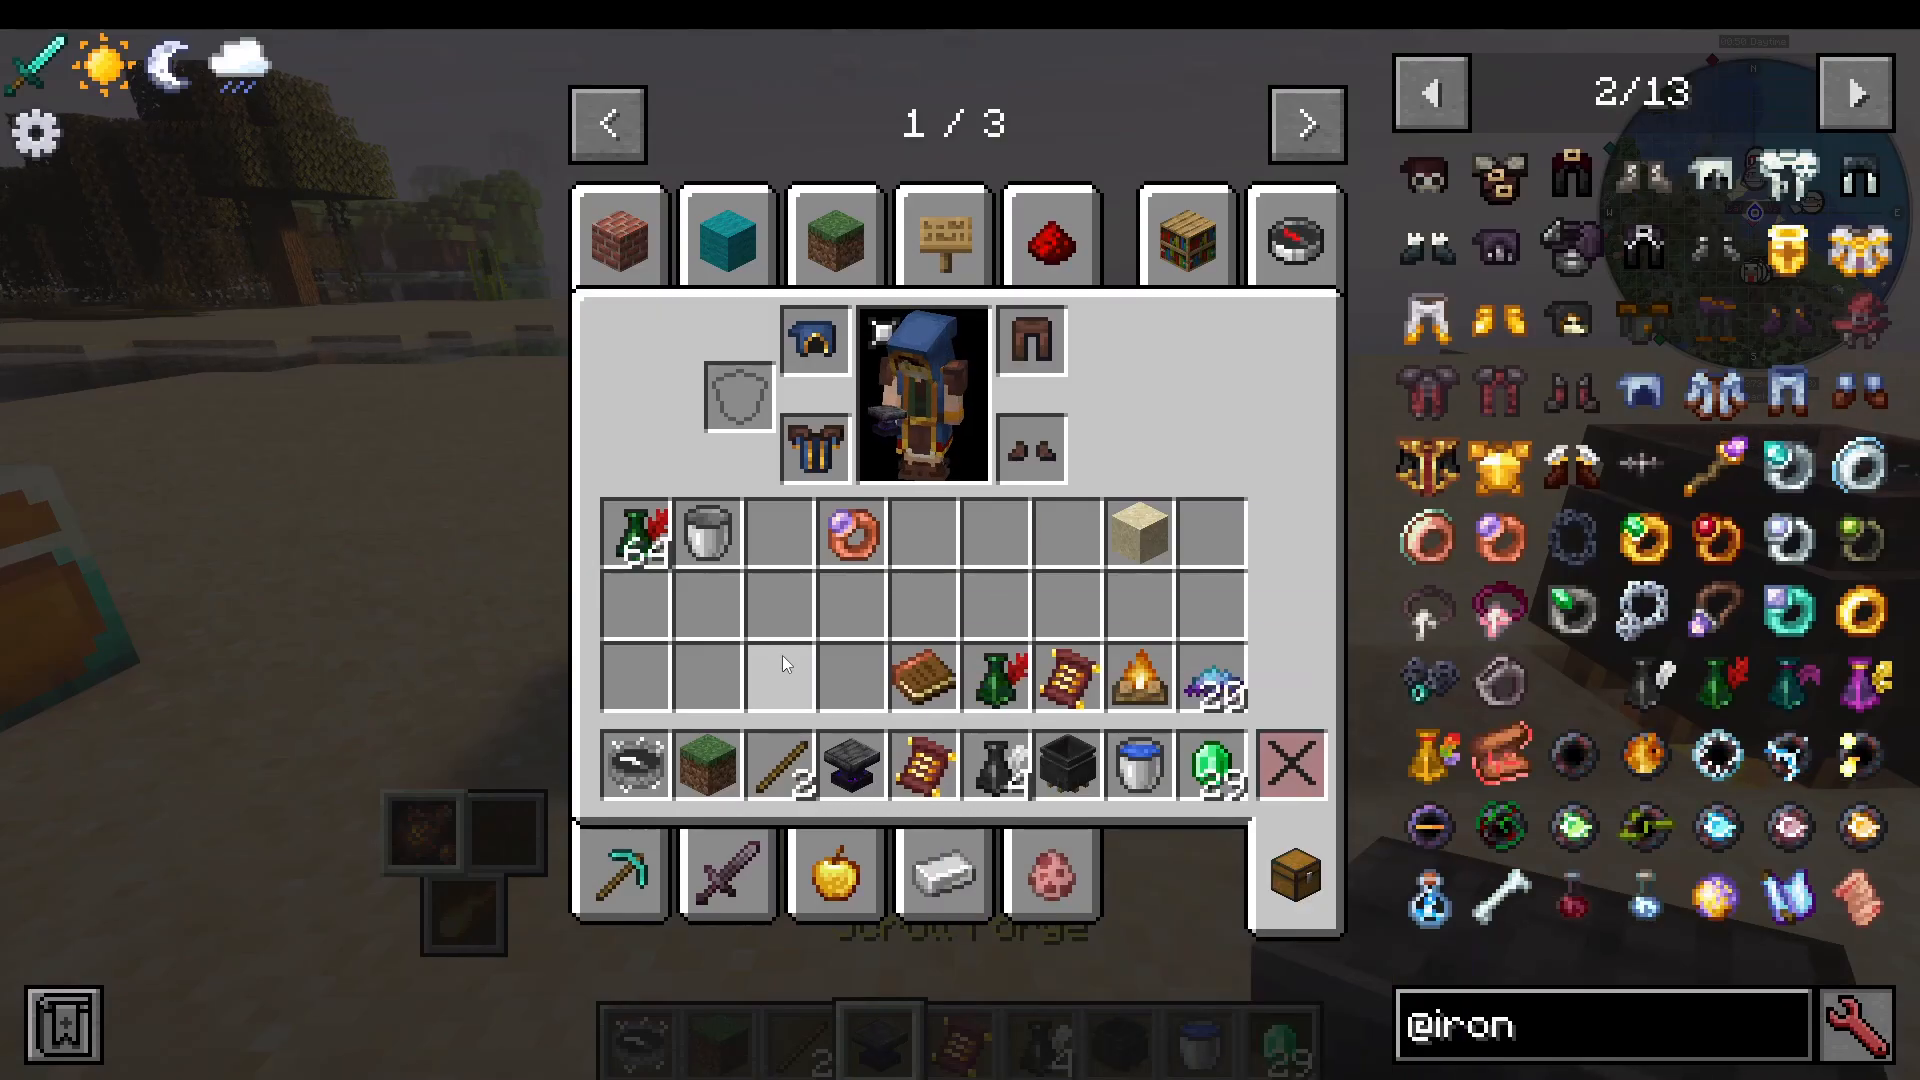
Start by crafting a Flimsy Journal — this is your first spell book and can hold up to five spells. Right-click the Inscription Table, place your Flimsy Journal in the main slot, then place a spell scroll (such as a Fire Bolt scroll) in the bottom slot. Press the button to add it to your spell book.
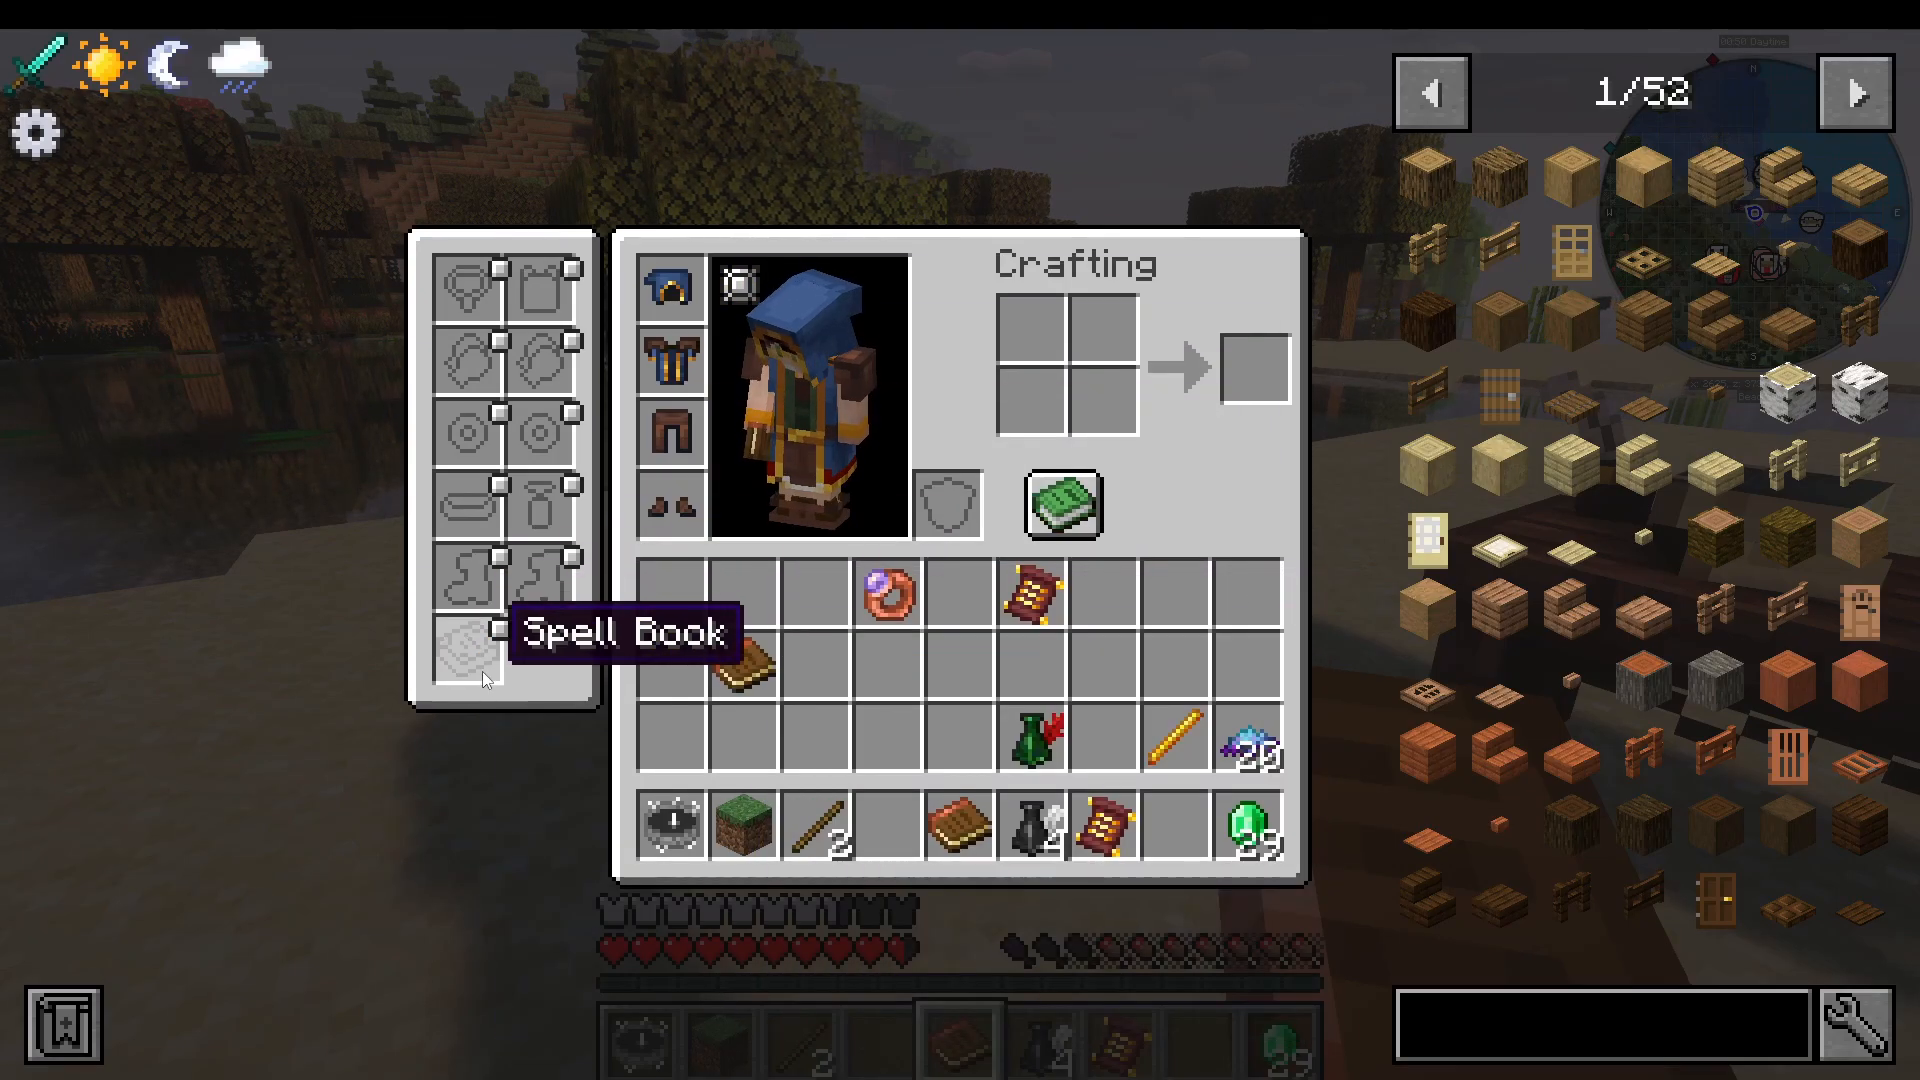
Once your spell book is loaded, right-click to equip it. If you have the Curios mod installed (common in mod packs), there is a dedicated spell book slot in your Curios menu. Once equipped, you’ll see your spells listed on the left side of your screen.
Using Spells In-Game
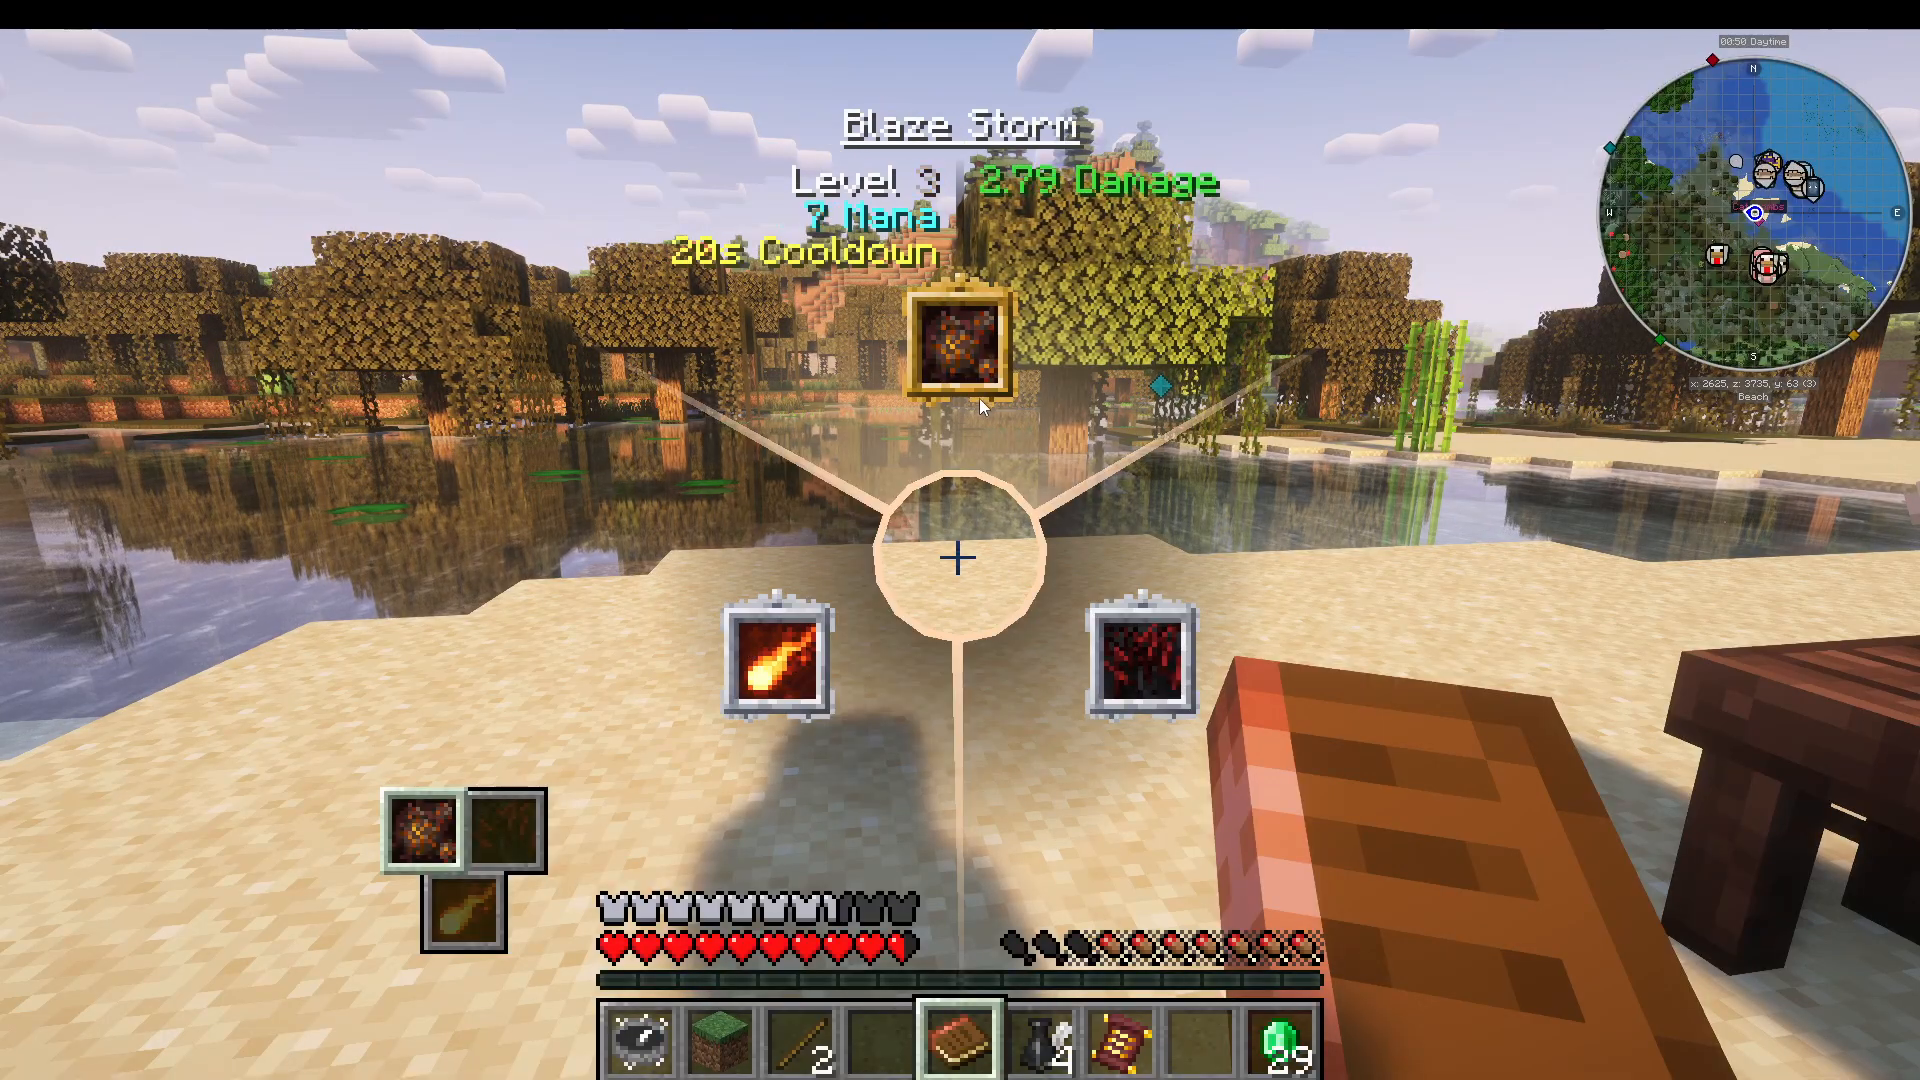
Press R to open the spell wheel and select a spell. Then press V to cast it. The spell will consume mana and go on cooldown. Press R again to switch to a different spell, then press V to use that one instead. To remove a spell from your spell book, open the Inscription Table, click the spell, and retrieve the scroll.
Starter Gear for Mages
To increase your mana pool and spellcasting power, you’ll want to craft some dedicated magic armor and accessories early on. Here’s a progression path for starter gear:
Armor Sets
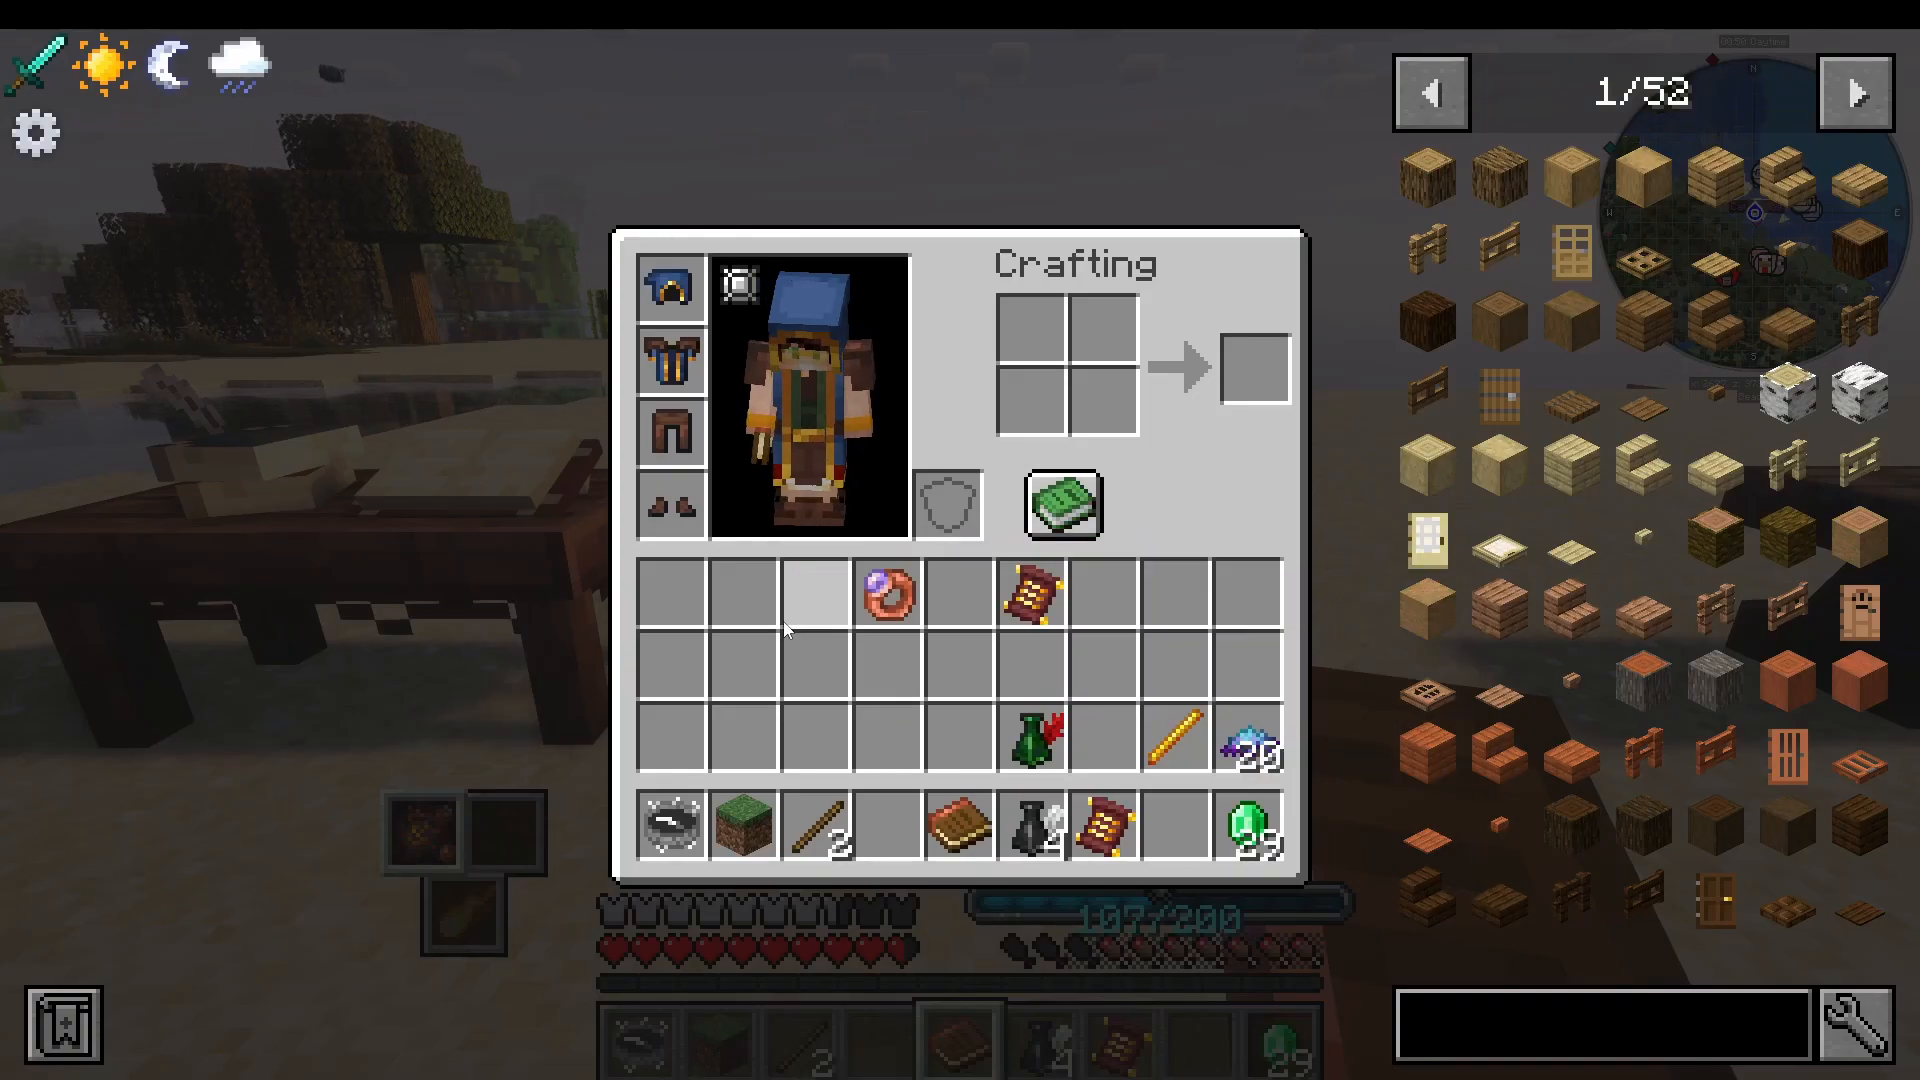
Wandering Magician’s Gear — Adds +25 to maximum mana. Requires Arcane Essence. Great first option.
Scarecrow Set — Requires Arcane Cloth (crafted from lots of Arcane Essence and Wool). Provides +75 mana per helmet piece, a significant improvement.
Wizard Set — Requires a large amount of Arcane Cloth. Adds +125 mana and increases spell damage by 5%. More expensive but much more powerful.
Spell Books to Upgrade Into
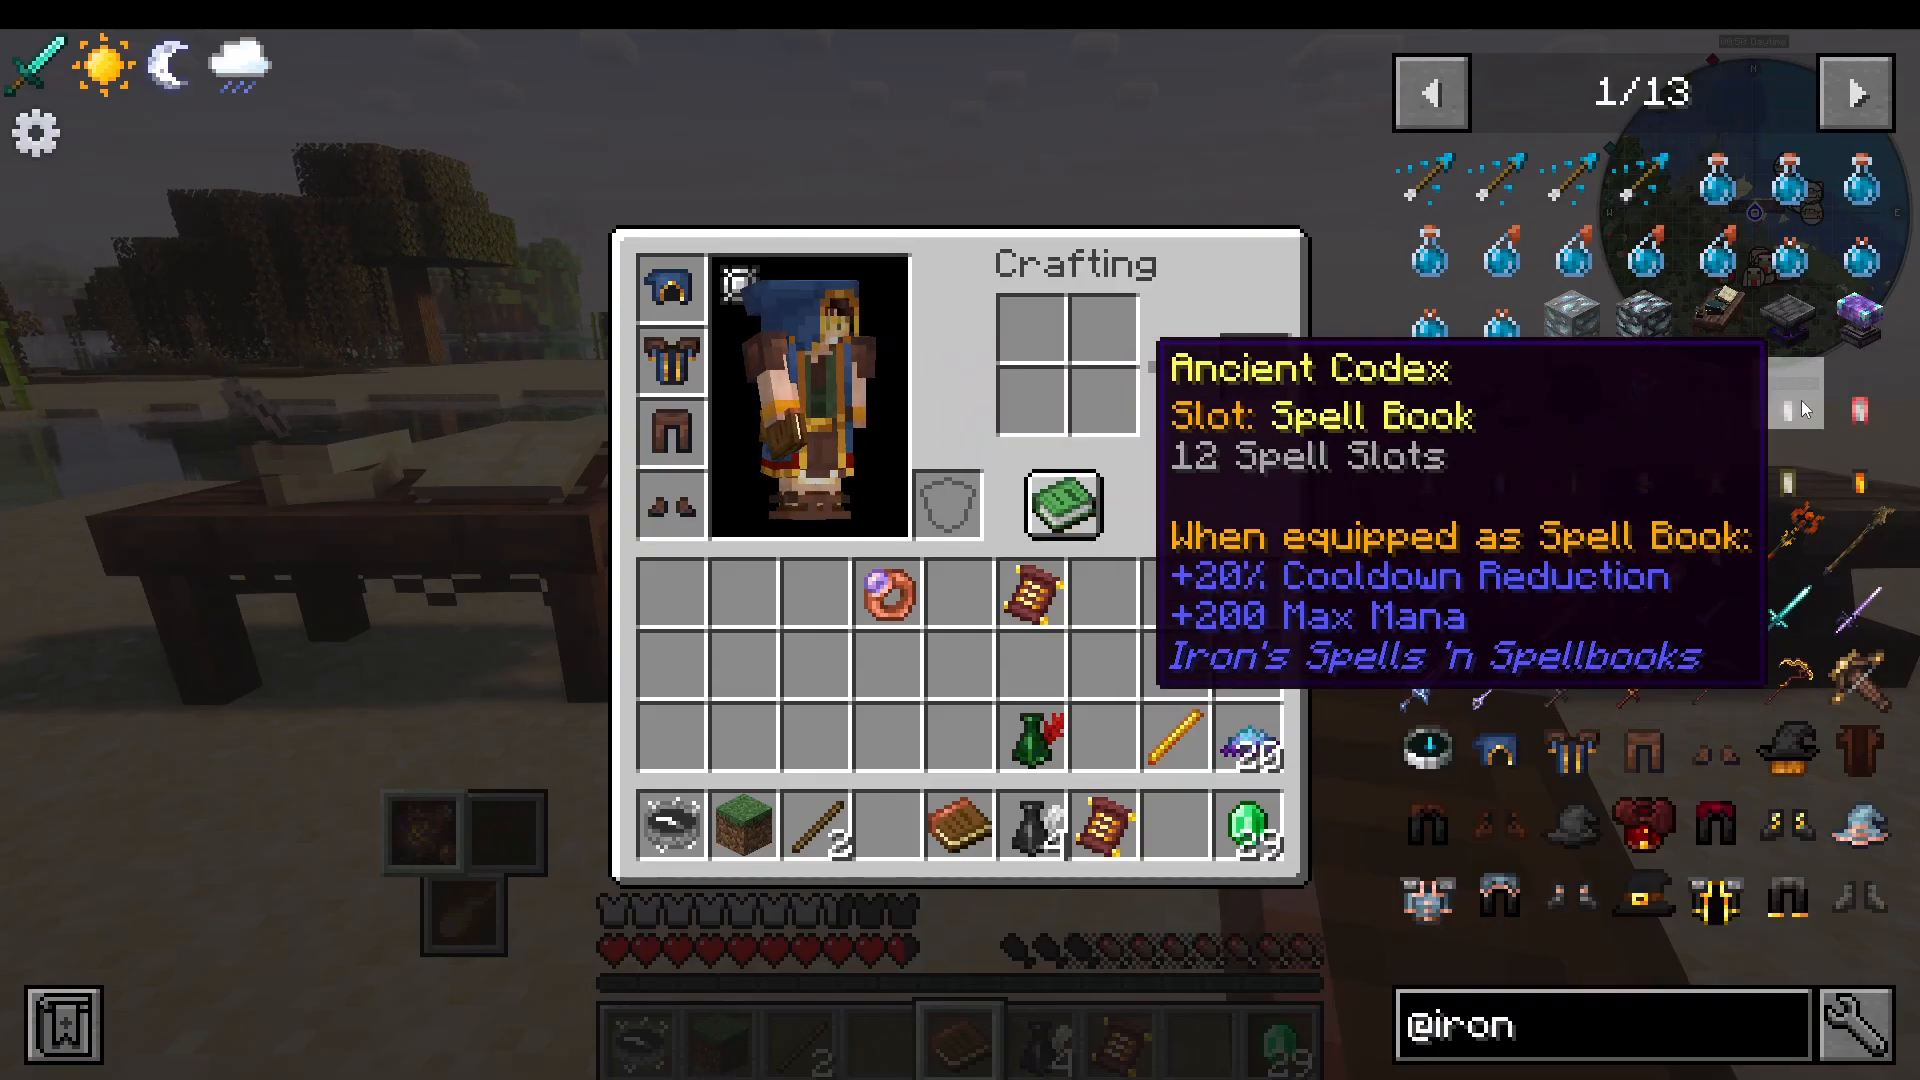
There are many spell book options beyond the Flimsy Journal. For example, the Ironbound Tome has six spell slots, while the Ancient Codex offers 20% cooldown reduction, increased mana, and 12 spell slots. If you plan to specialize in a school of magic, look for school-specific books — for example, the Blaze Instruction Manual increases fire spell power and mana. Browse Just Enough Items (JEI) to find the spell book that suits your playstyle.
Staffs
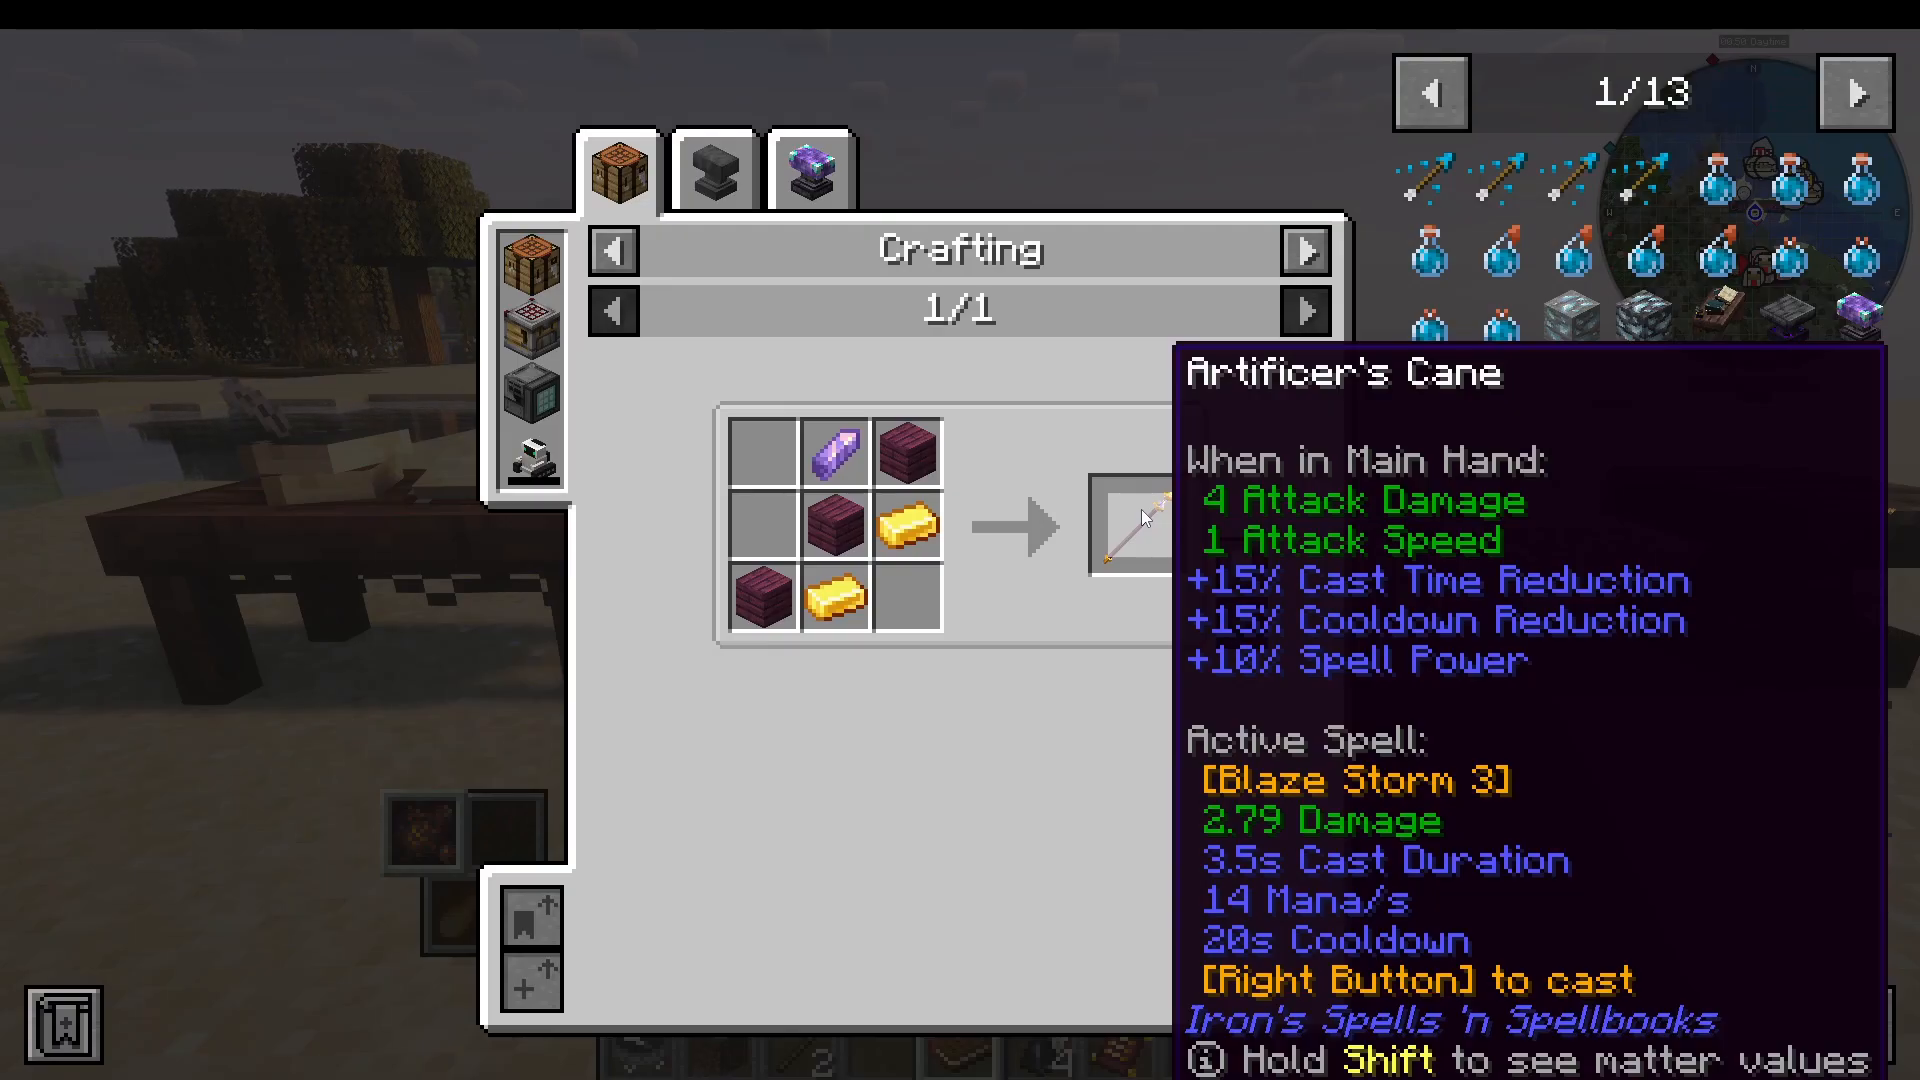
Instead of (or in addition to) a spell book, you can use a staff to cast spells by right-clicking. A great early option is the Artificer’s Cane, which provides +15% cast time reduction, cooldown reduction, and increased spell power. Check the JEI recipe — it’s one of the easier staffs to craft.
Rings and Amulets
Using Mithril ingots processed into Mithril Scrap (in a Blast Furnace), you can craft several useful accessories that go into your Curios ring slots:
Stone Plate Ring — Grants more experience from slaying creatures.
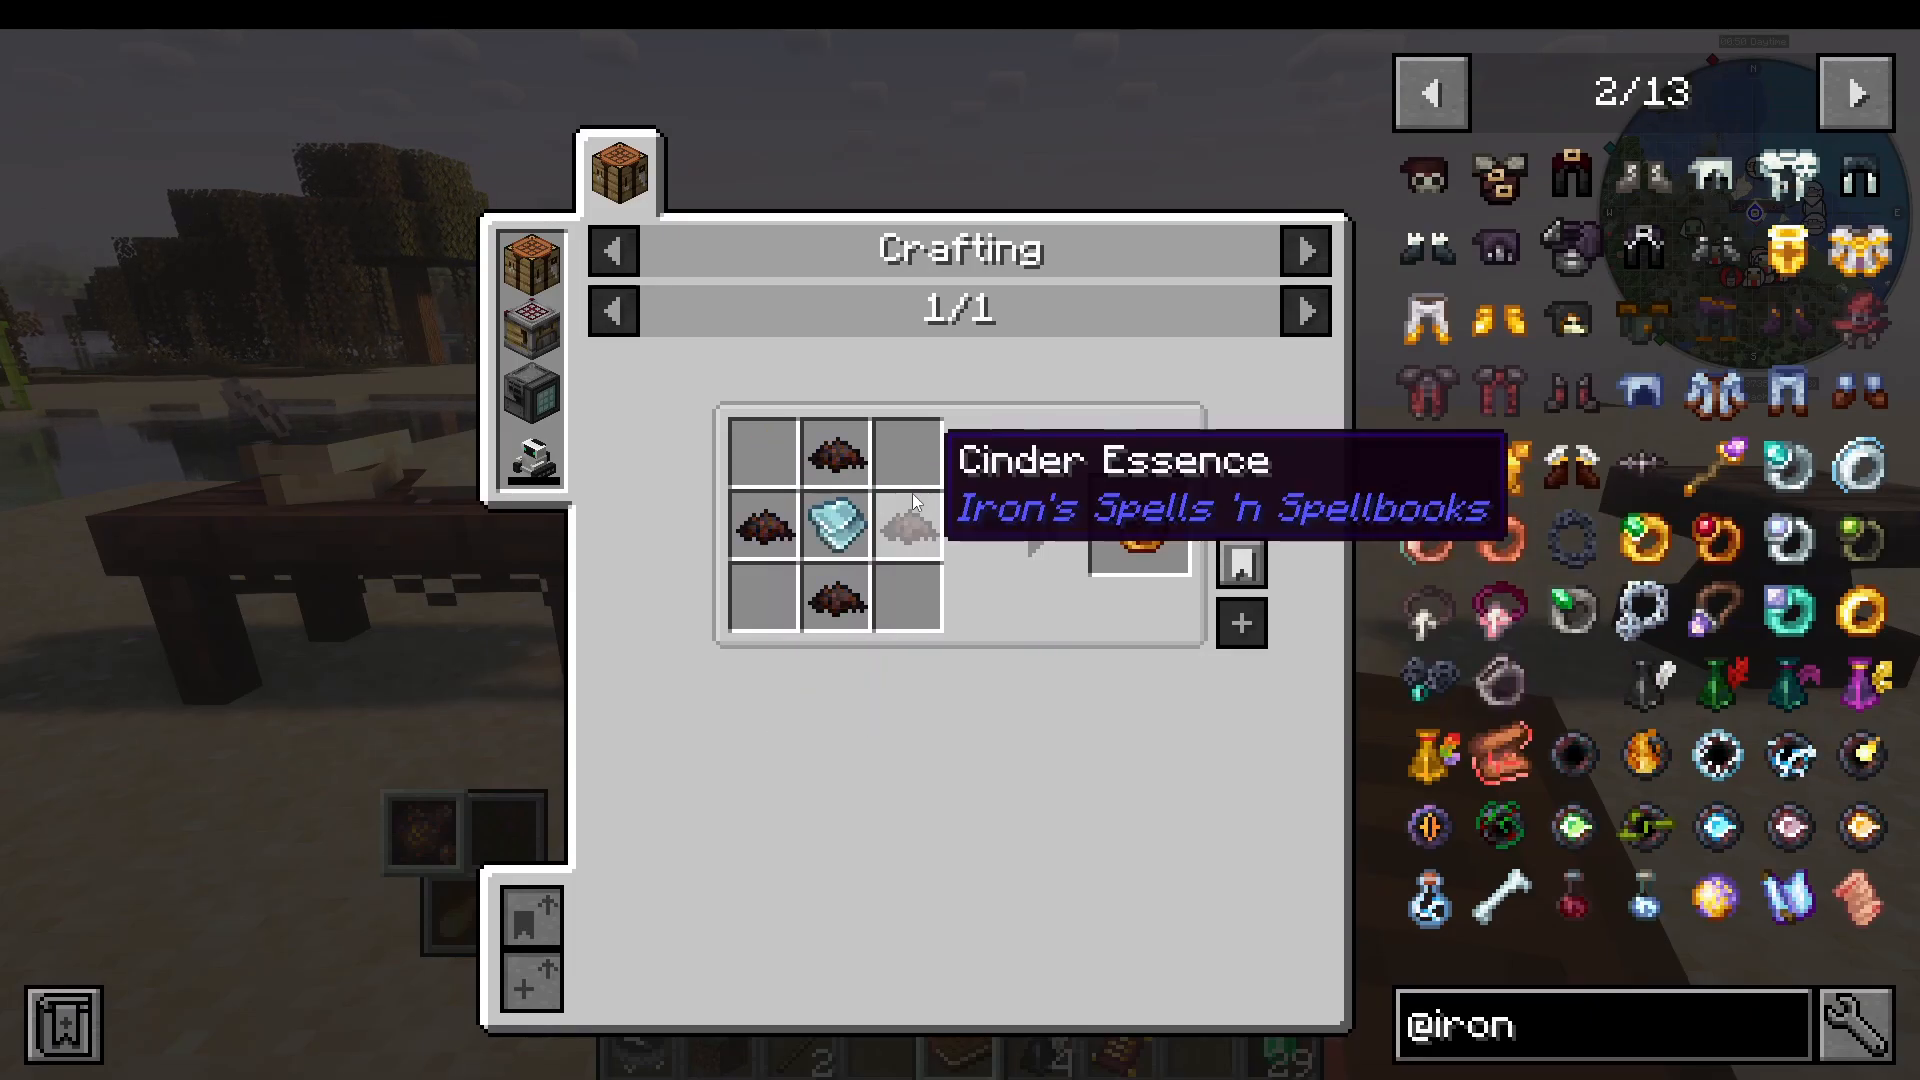
Fire Ward Ring — Requires Cinder Essence (dropped by Ancient Knights). Provides fire resistance.
Ring of Recovery — Simple to craft, provides cooldown reduction.
Ring of Expediency — Requires an Amethyst Shard. Reduces cast time.
Ring of Expulsion / Ring of Invisibility — Useful utility rings made with basic vanilla items and Mithril Scraps.
Amulet of Concentration — Makes long casts uninterruptible, so enemies hitting you won’t cancel your spell.
Amethyst Resonance Charm — Provides mana regeneration. Very cheap and easy to craft.
Crafting Your Own Spells
Once you’ve found a few scrolls from the world, you’ll want to start producing your own. This requires two crafting stations: a Scroll Forge and an Alchemist’s Cauldron.
Using the Scroll Forge
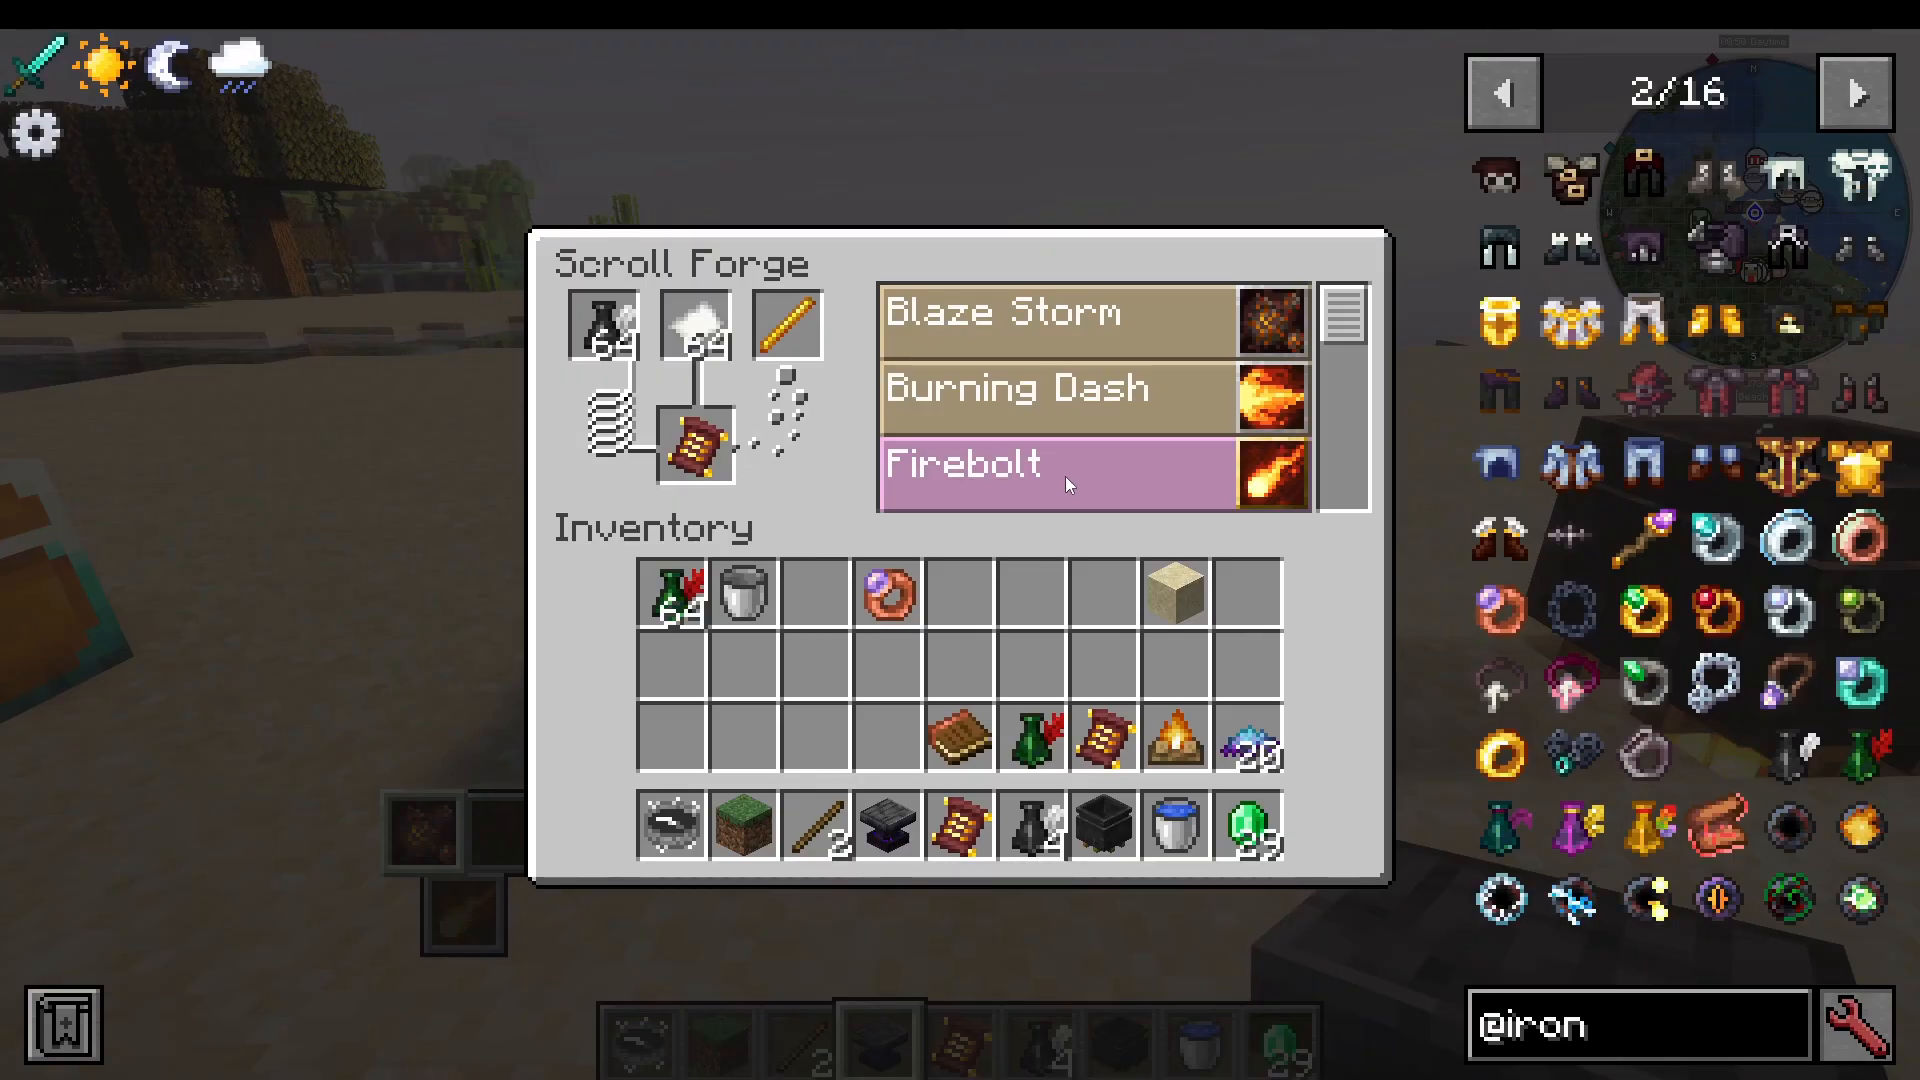
Open the Scroll Forge and place ink, paper, and a type-specific item inside. The type of item determines the school of magic available:
Blaze Rod → Fire spells
Frozen Bone → Ice spells
Other items unlock Eldritch, Nature, Evocation, Blood, Ender, Holy, and Lightning spells
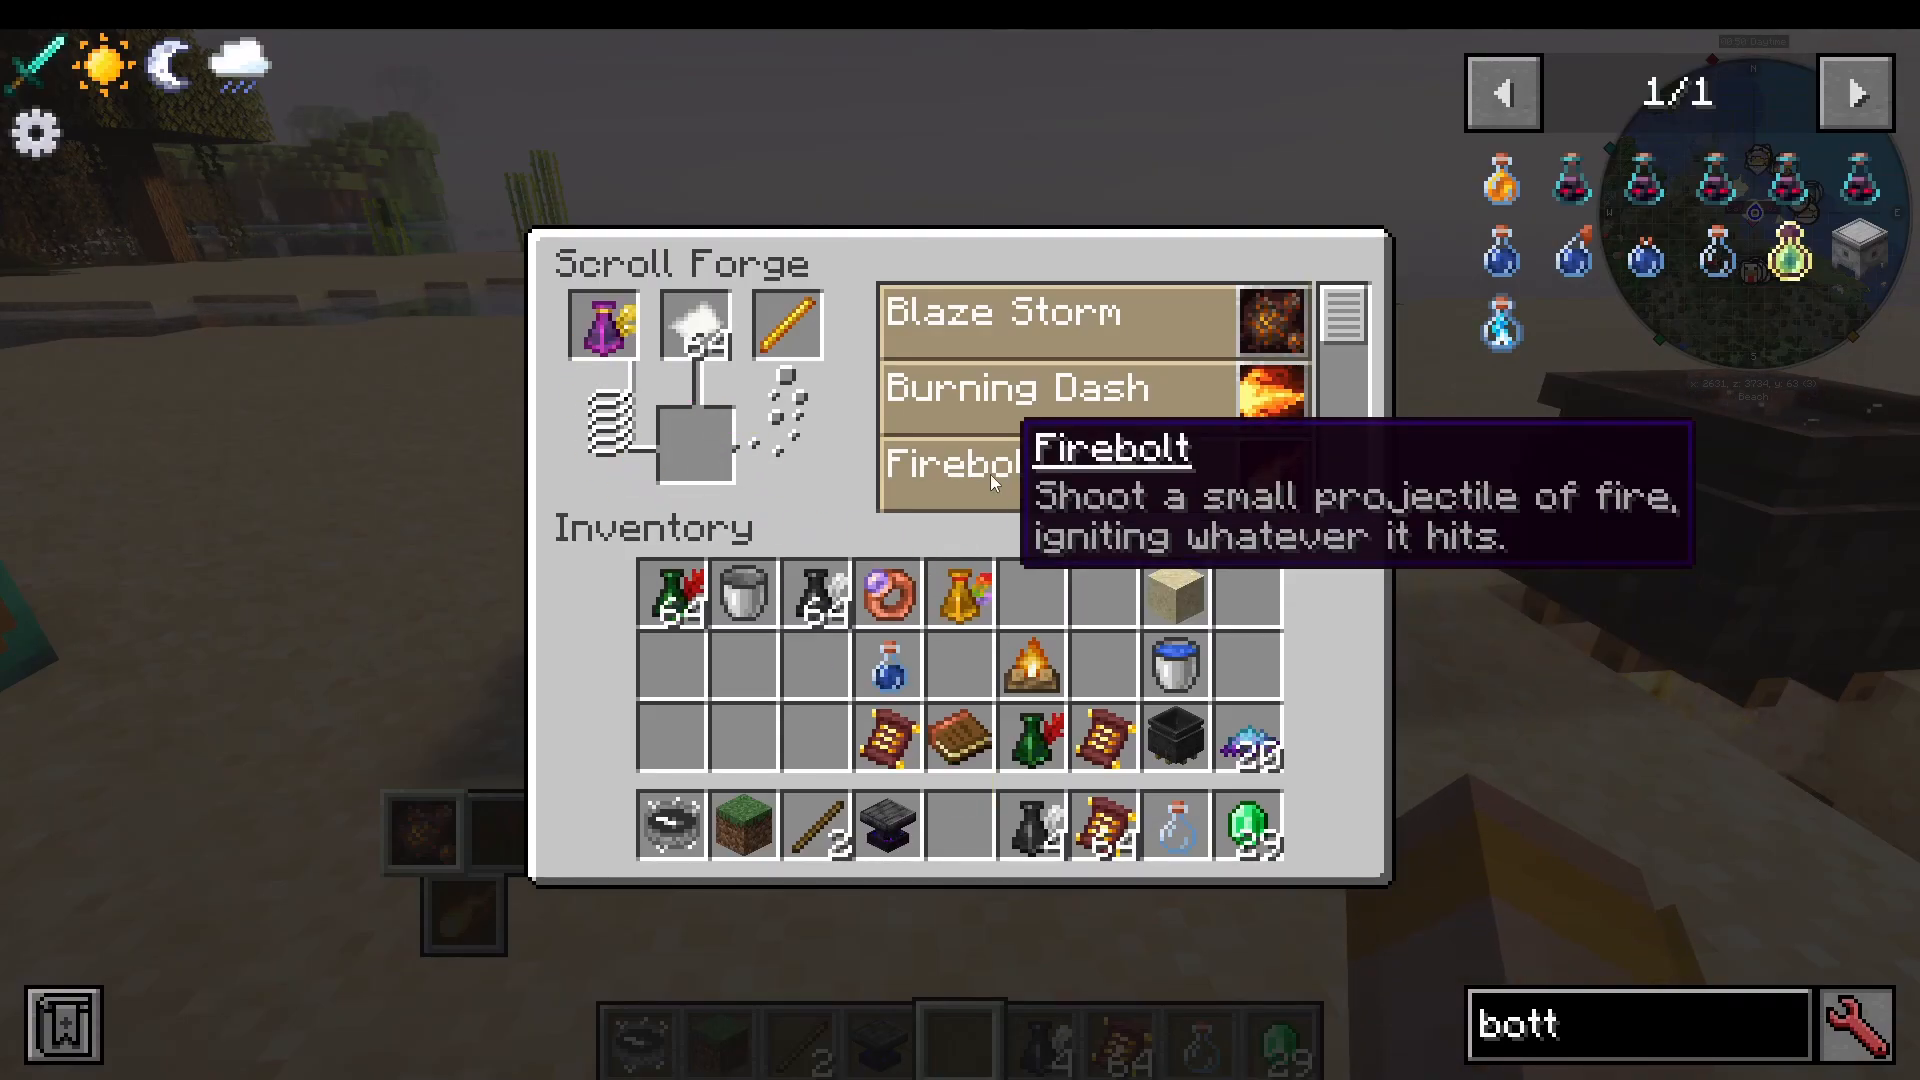
The tier of ink used determines the spell level and damage output. For example, a Fire Bolt scroll made with Common Ink is Level 1 and deals 6 damage. With Uncommon Ink it becomes Level 4 and deals 7.5 damage. At Legendary Ink, it reaches Level 10 and deals 10.5 damage — and unlocks all spells in that school.
Using the Alchemist’s Cauldron to Make Ink
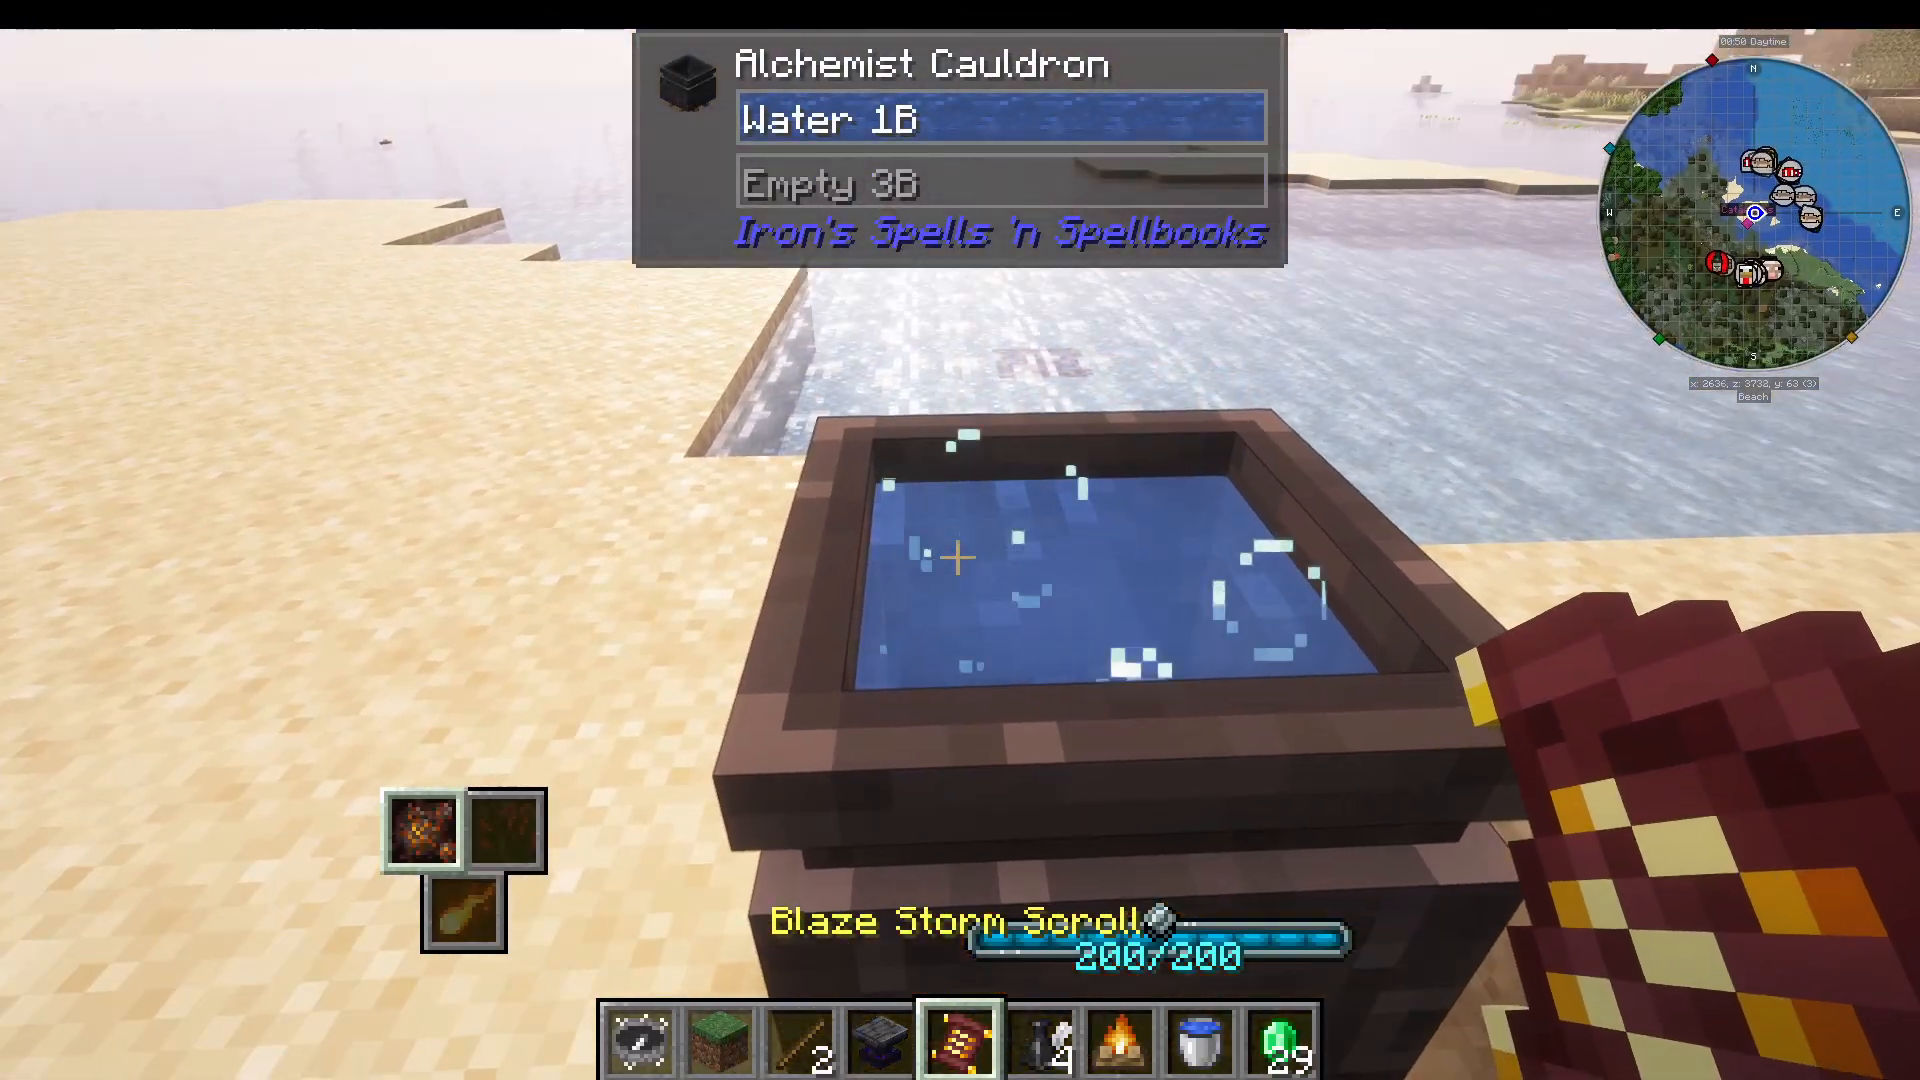
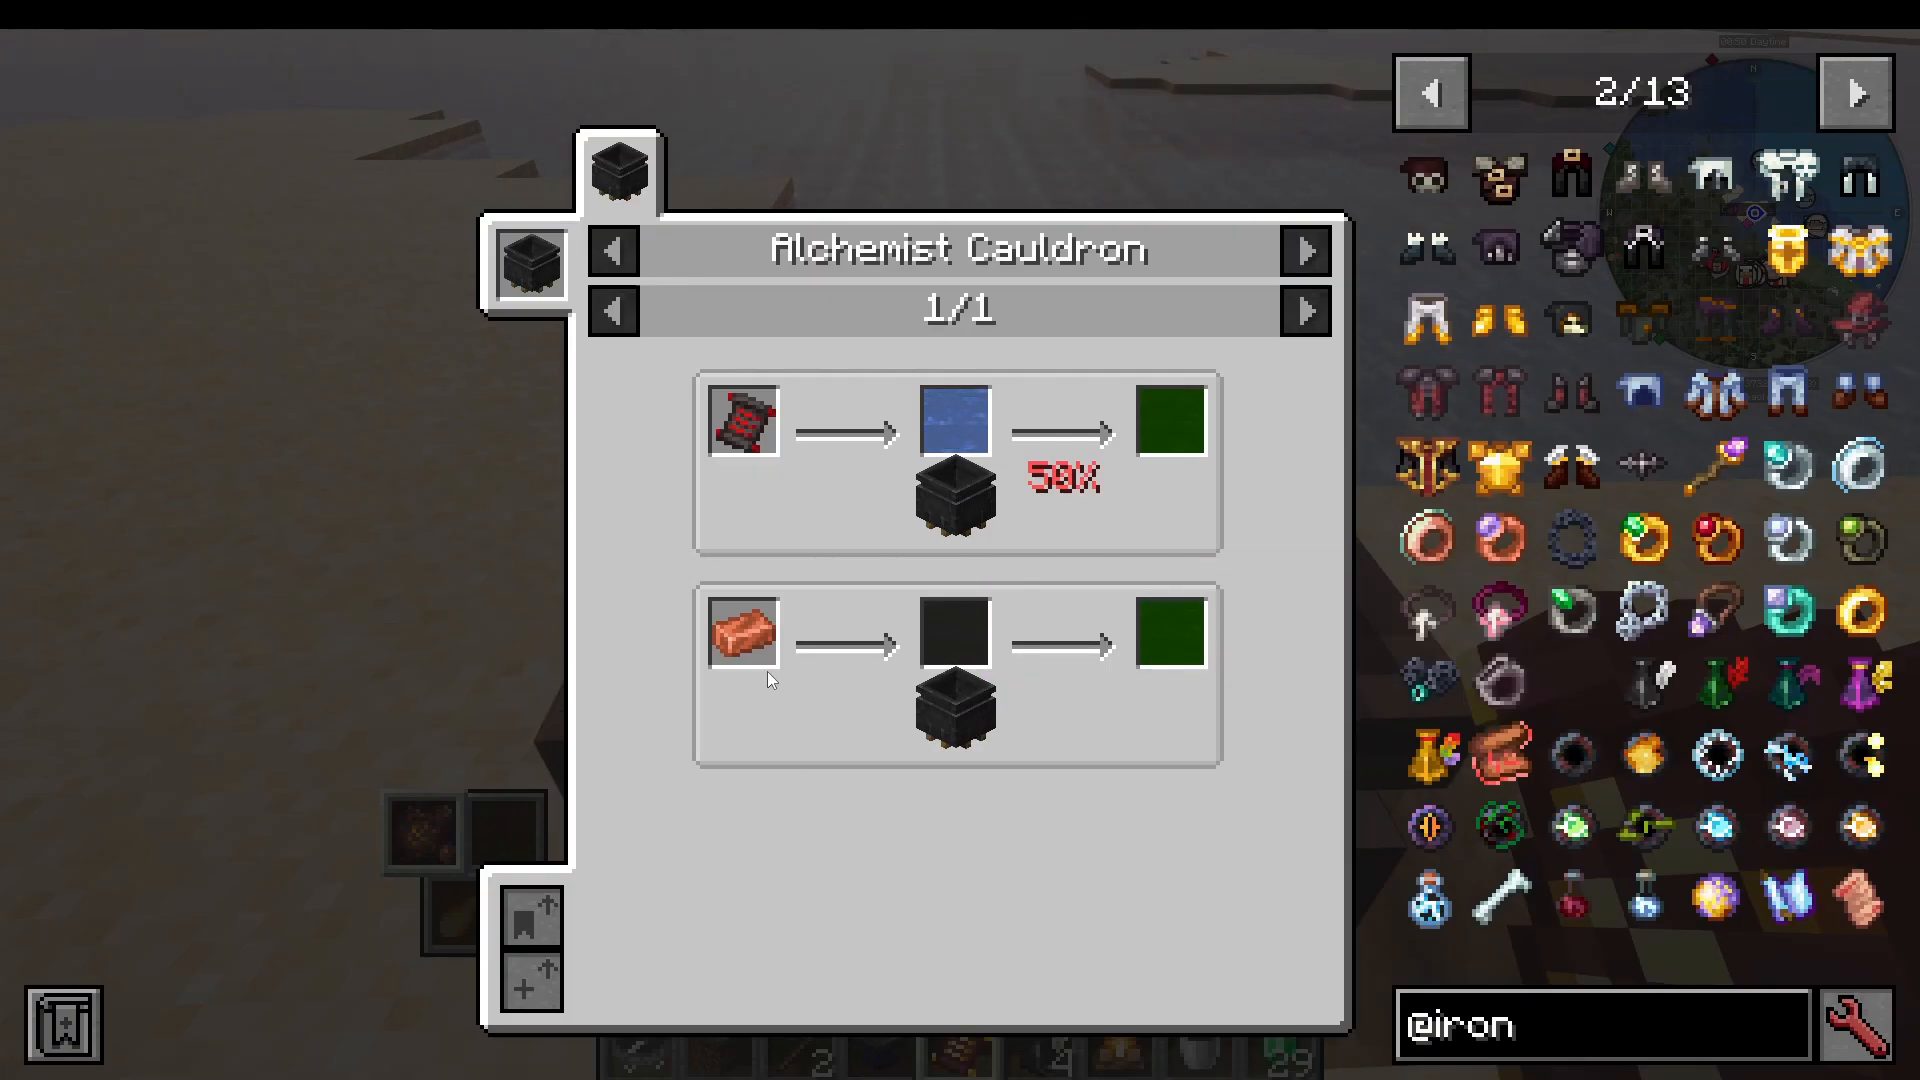
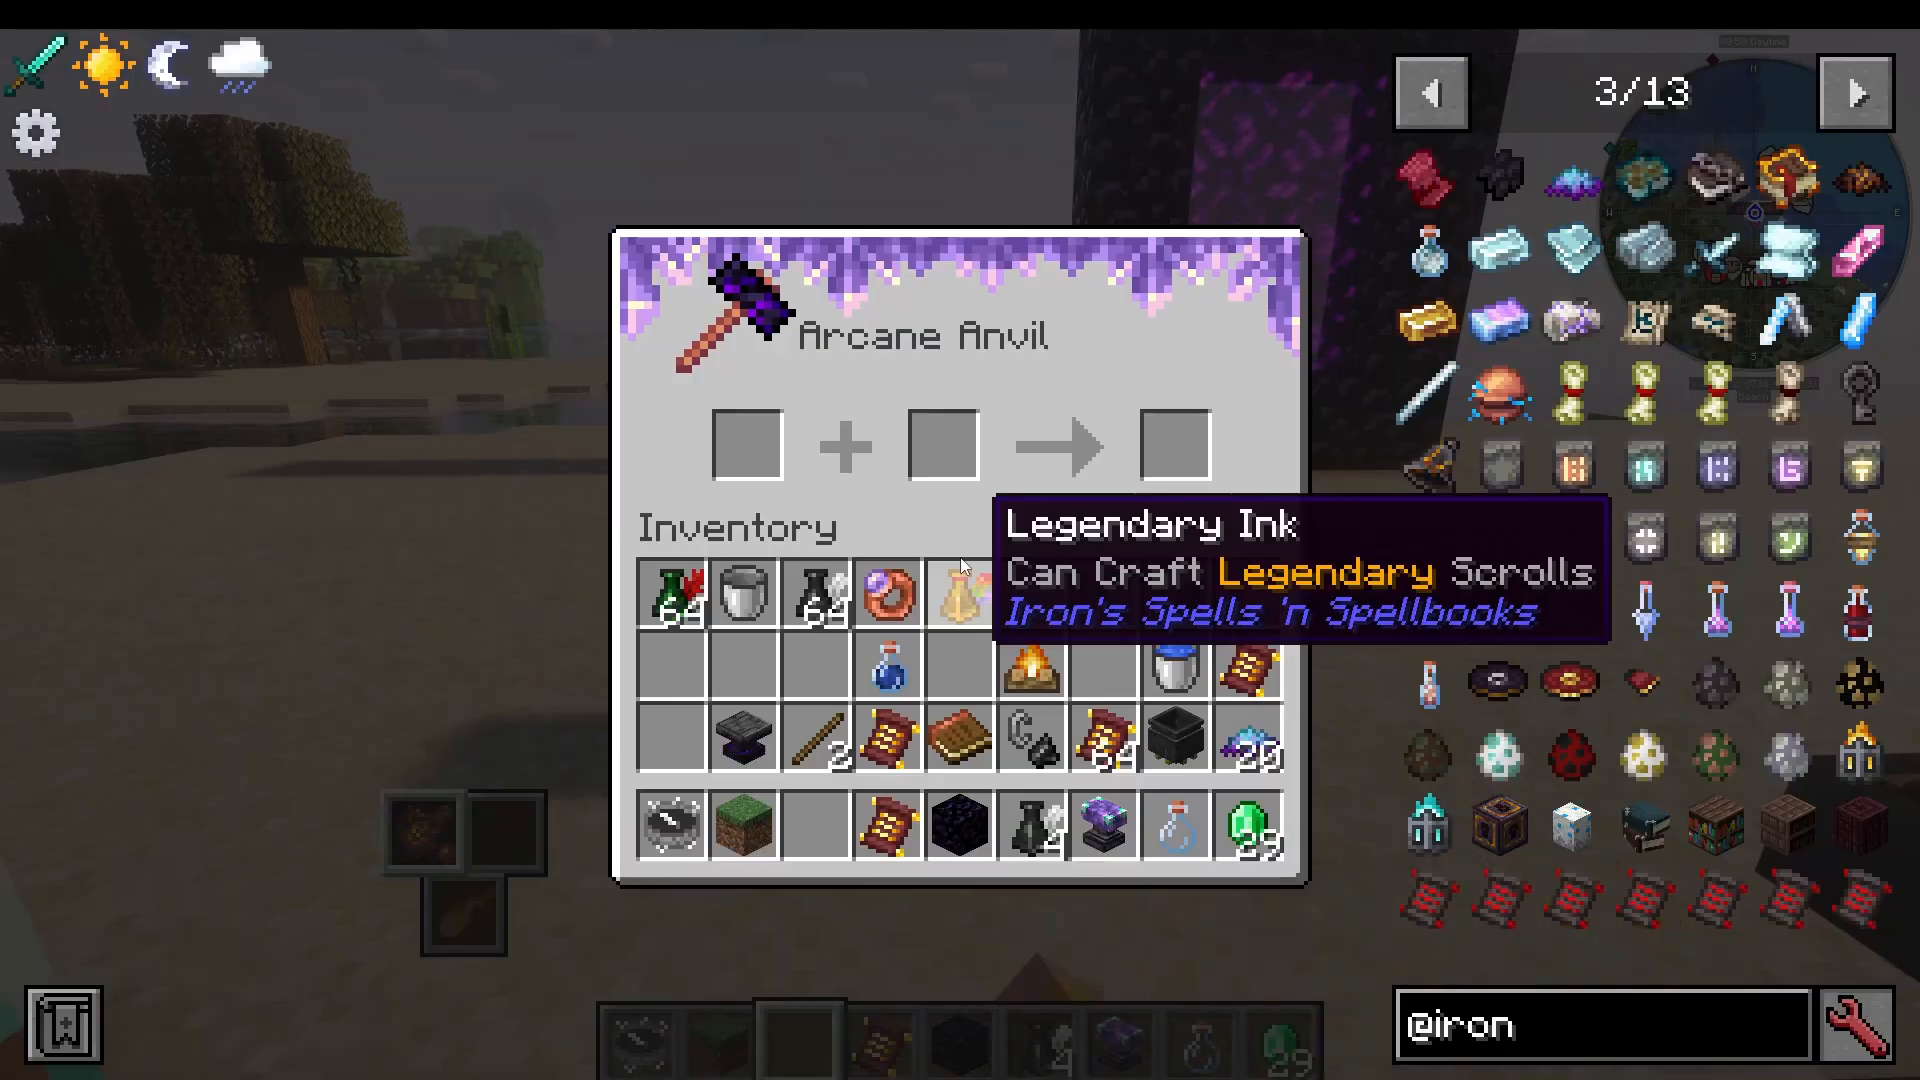
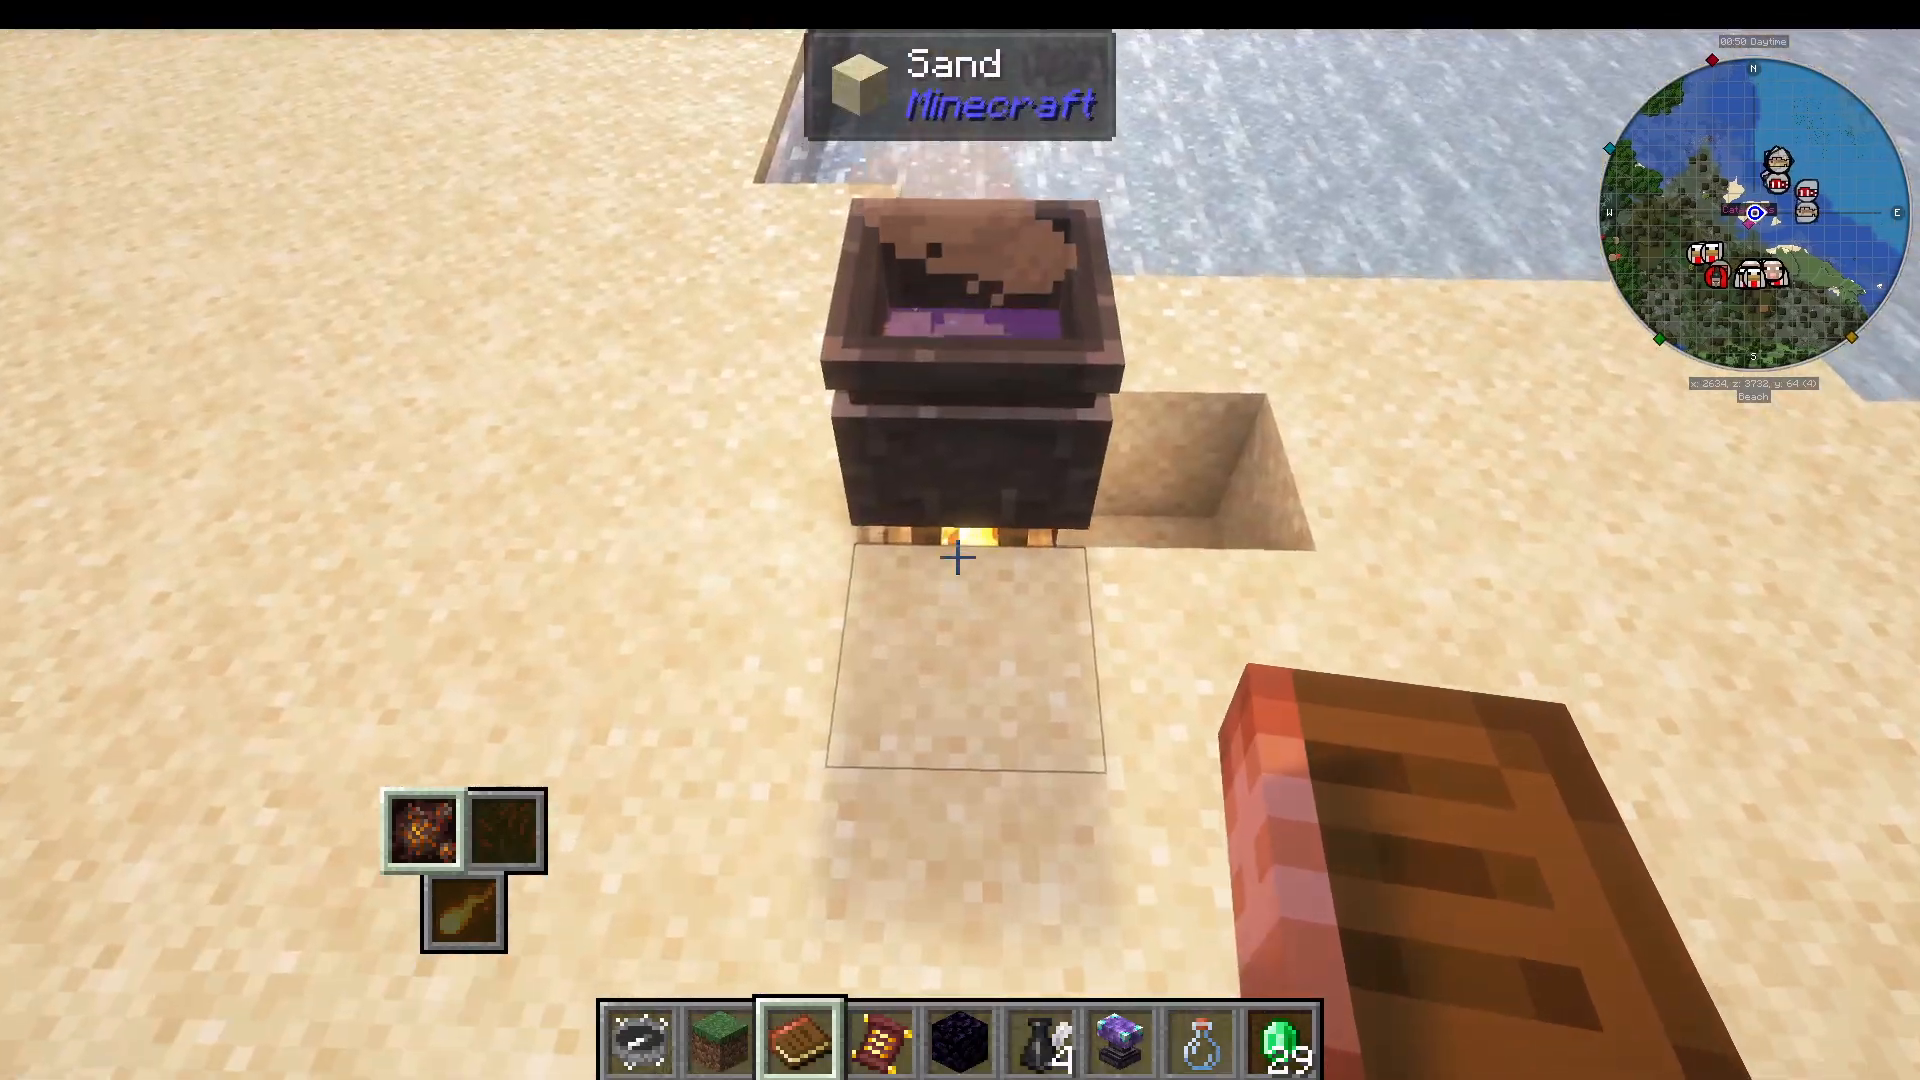
Place the Alchemist’s Cauldron down, put a heat source (such as a campfire) beneath it, and fill it with water. Right-click spell scrolls onto the cauldron — each scroll has a 50% chance to produce Common Ink. You can add multiple scrolls to accumulate ink (up to a maximum of 750 millibuckets at a time).
To upgrade your ink to higher tiers, add metal ingots to the cauldron:
Common → Uncommon: Add a Copper Ingot (guaranteed conversion)
Uncommon → Rare: Add an Iron Ingot
Rare → Epic: Add a Gold Ingot
Epic → Legendary: Add an Amethyst Shard
Once your ink is at the desired tier, right-click a glass bottle on the cauldron to bottle it — 250 millibuckets fills one bottle of ink.
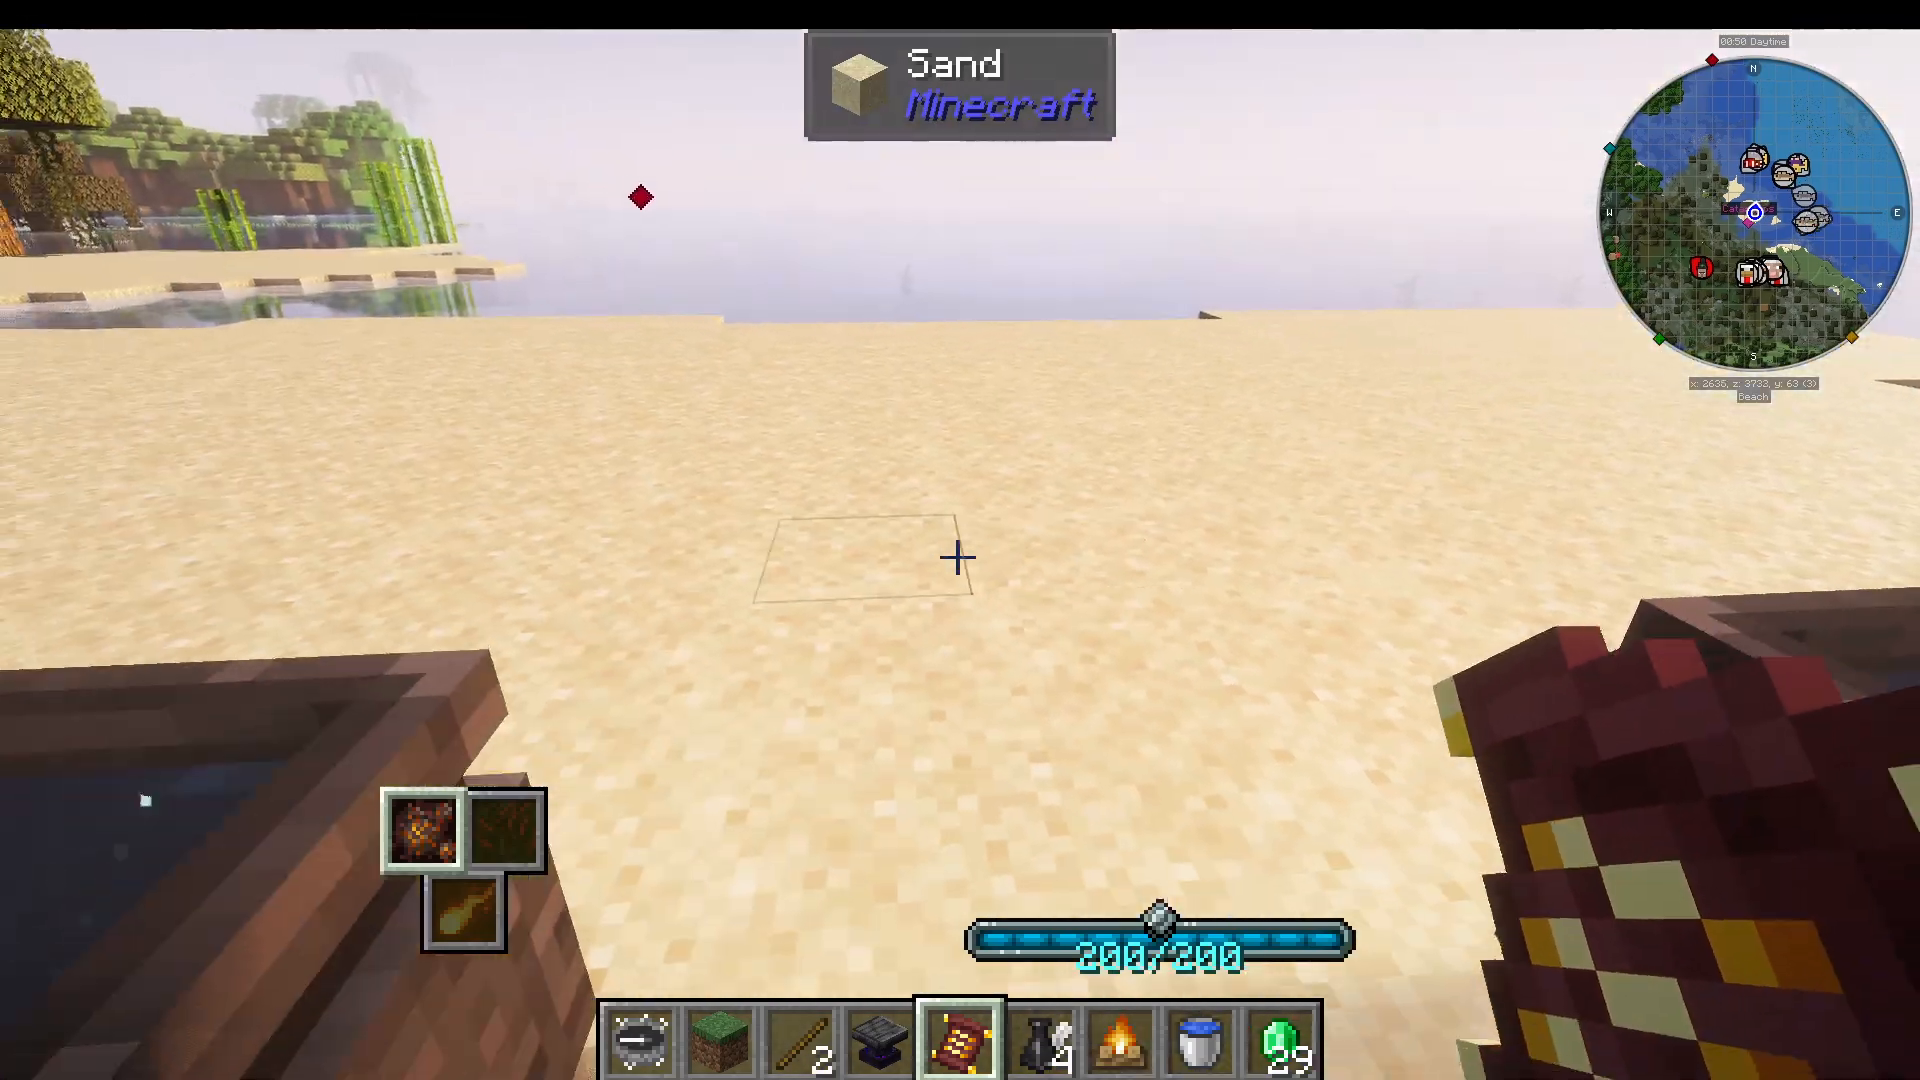
Take your bottled ink to the Scroll Forge, select your spell (e.g., Fire Bolt), and craft the scroll. Then take it to the Inscription Table and press the button to add it to your spell book at the new level. You can also view a description of any spell by hovering over it in JEI and pressing R.
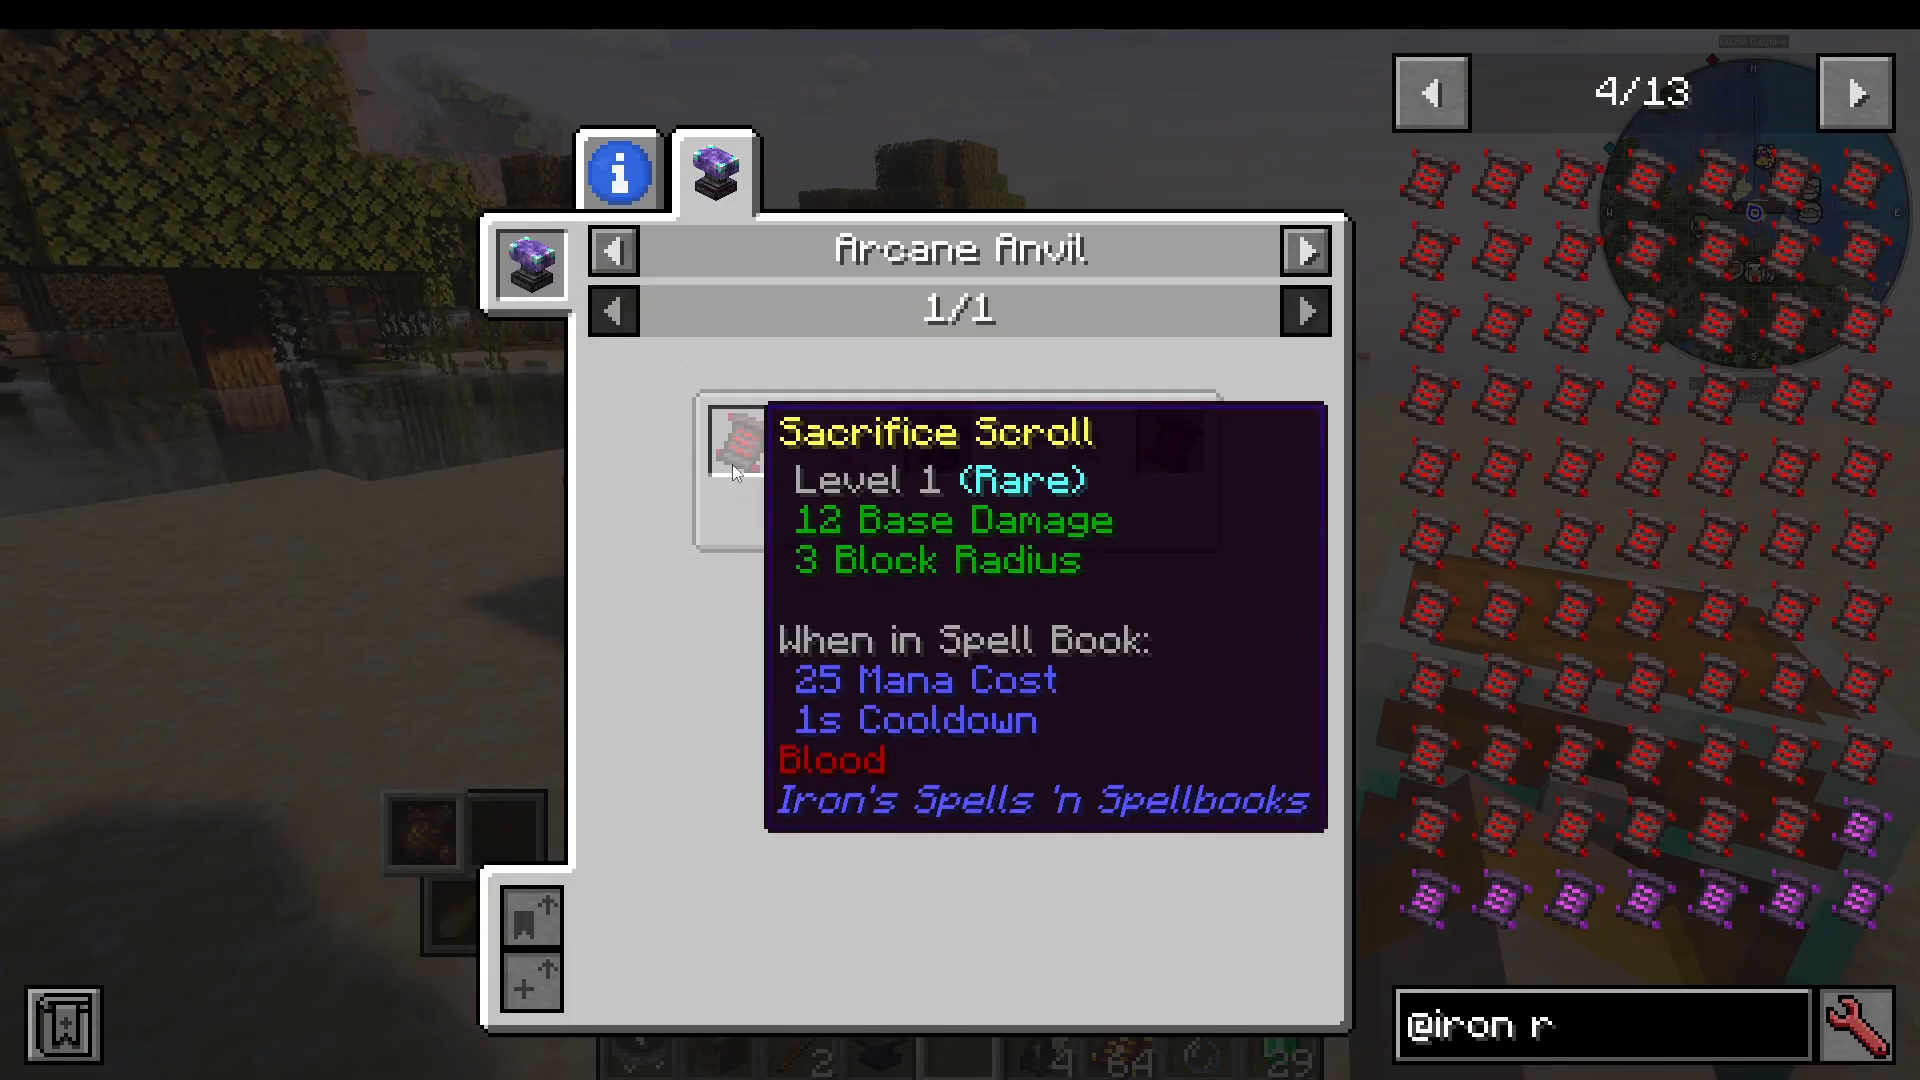
Upgrading Spell Levels at the Arcane Anvil
You can also upgrade existing spells using the Arcane Anvil. Place a spell scroll in the anvil, add the appropriate ink tier, and increase the spell’s level — for example, upgrading a Level 1 Rare spell to Level 2.
Upgrading Gear and Spell Books
Upgrade Orbs
To enhance your gear and spell books, you’ll use Upgrade Orbs. Start by crafting an Empty Upgrade Orb using Cinder Essence and other materials. Cinder Essence is dropped by Ancient Knights, which spawn at a Nether structure called the Ancient Battleground.
Combine the Empty Upgrade Orb with a rune to create a specific upgrade orb. For example:
Holy Rune + Protection Rune → Resistance upgrade orb
Evocation Rune → +5% Evocation Spell Power
Fire Rune → +5% Fire Spell Power
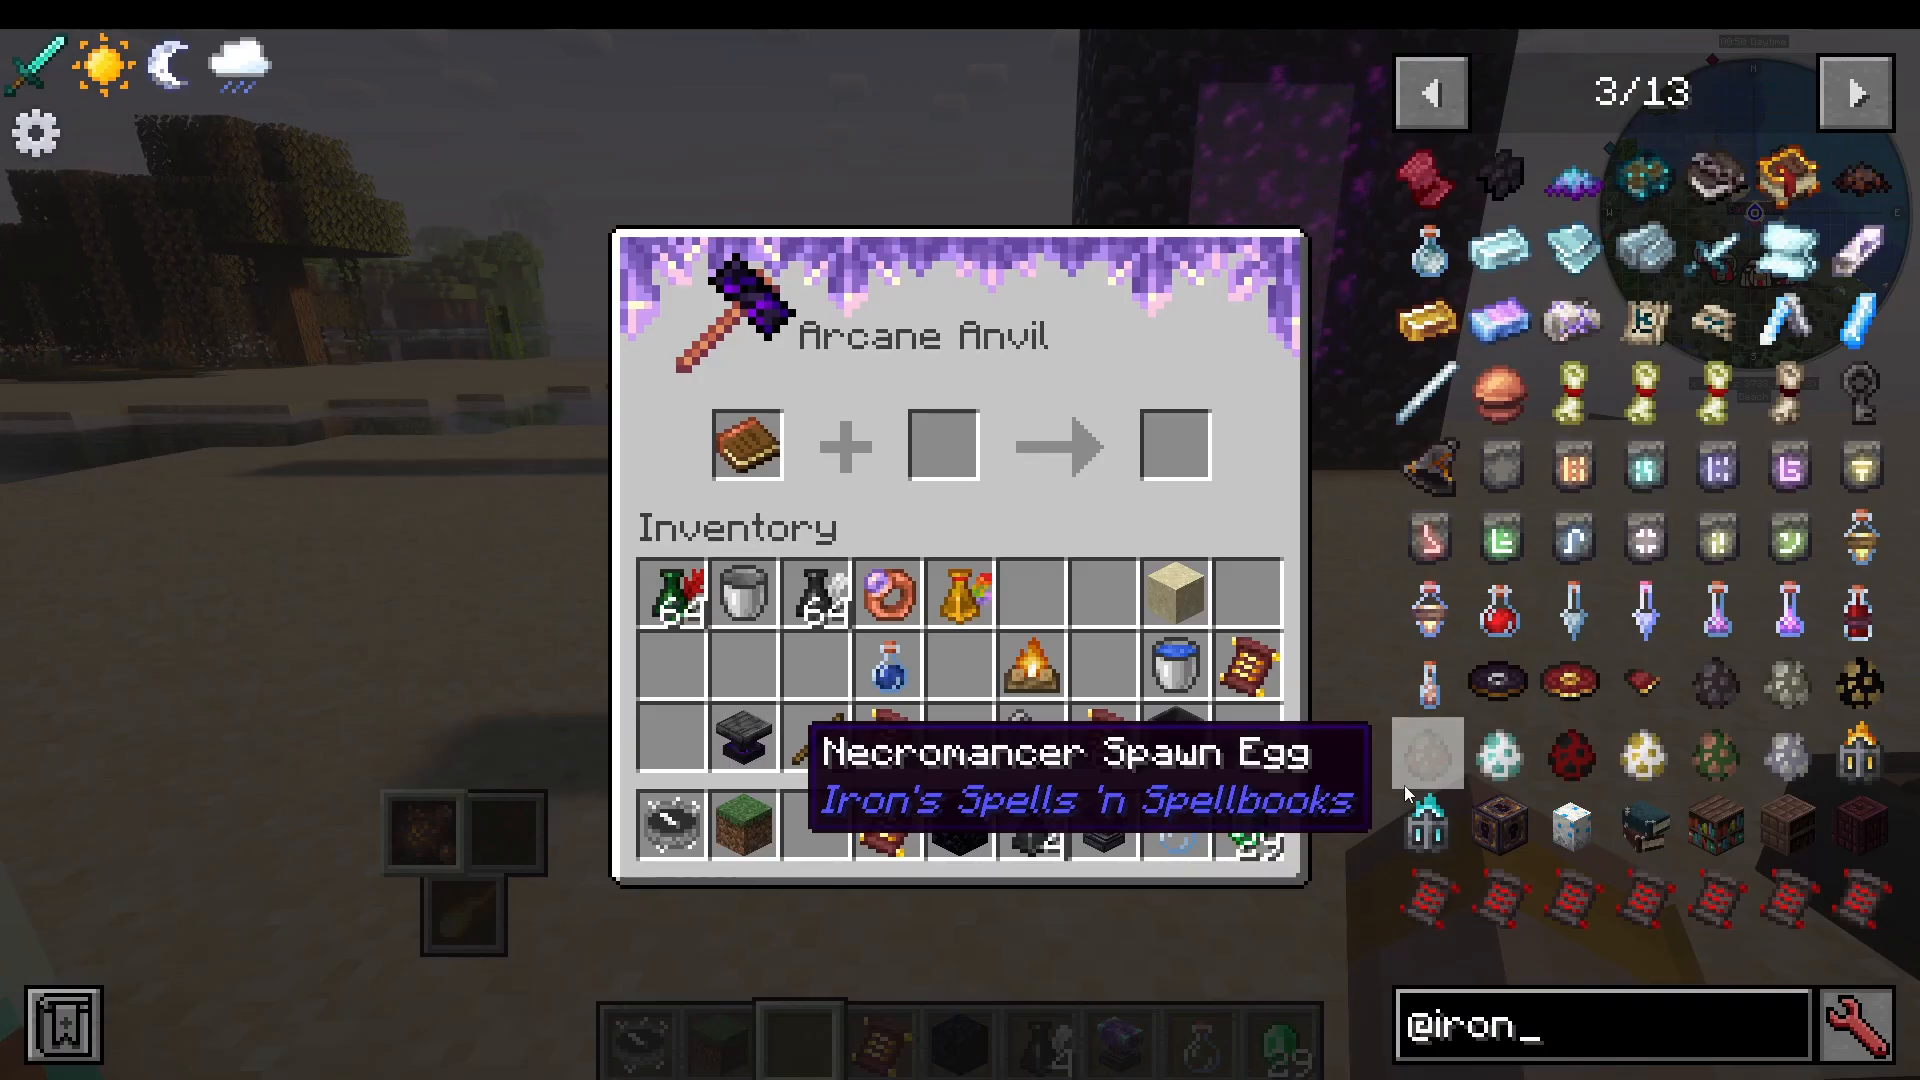
Place your item and the upgrade orb into the Arcane Anvil to apply the bonus. You can stack multiple upgrades on the same item.
Getting Rune Stones
Blank Rune Stones are primarily obtained from the Dead King boss (covered below) or found in loot chests. To craft specific runes from blank ones, use different items:
Nature Rune: Rotten or Poisonous Potatoes
Ender Rune: Ender Pearls
Arcane Rune: Arcane Essence (used for the Mana Upgrade Orb)
Removing Upgrades with the Shriving Stone
If you want to remove an upgrade from an item, place the item and a Shriving Stone in the Arcane Anvil to strip the upgrade and return the base item. The Shriving Stone is crafted with Amethyst and basic Iron materials.
Upgraded Armor Sets
Using specific runes and materials at a Smithing Table, you can upgrade your Wizard armor into advanced sets tailored to each school of magic. For example:
Wizard Hood + Evocation Rune + Arcane Essence → Arch Evoca Hat (great for Evocation spells)
Holy → Never Right Priestess set
Shadow/Ender → Ender Cultist set
Other Key Materials and Where to Find Them
Blood: Jump into a water-filled cauldron — it will damage you and fill the cauldron with blood. Bottle it with glass bottles.
Frozen Bones: Dropped by Strays.
Icy Fang: Dropped by Ice Spiders, found in Ice Spider lairs in frozen biomes.
Permafrost Shards: Found in Impaled Icebreaker Shipwreck structures. Used for ice rings and the Ice Staff.
Perium Ingots: Found in Citadel Vaults. Used for the Perium Staff, which adds significant fire spell power.
Divine Pearls / Hog Skin: Dropped by Hoglins.
Bloody Vellum: Craft by adding Hog Skin and Blood into the Alchemist’s Cauldron.
Eldritch Manuscript: Required to learn Eldritch spells. Use an Echo Shard and Ancient Knowledge Fragments (tradeable from Wandering Traders).
Energised Core: Use an empty bottle on a Charged Creeper. Combine with a Lightning Rod to make the Rod of Lightning.
Potions of Mana: Brew using an Awkward Potion and Arcane Essence, or craft in the Alchemist’s Cauldron.
Bosses in Iron’s Spells & Spellbooks
Boss 1: The Dead King
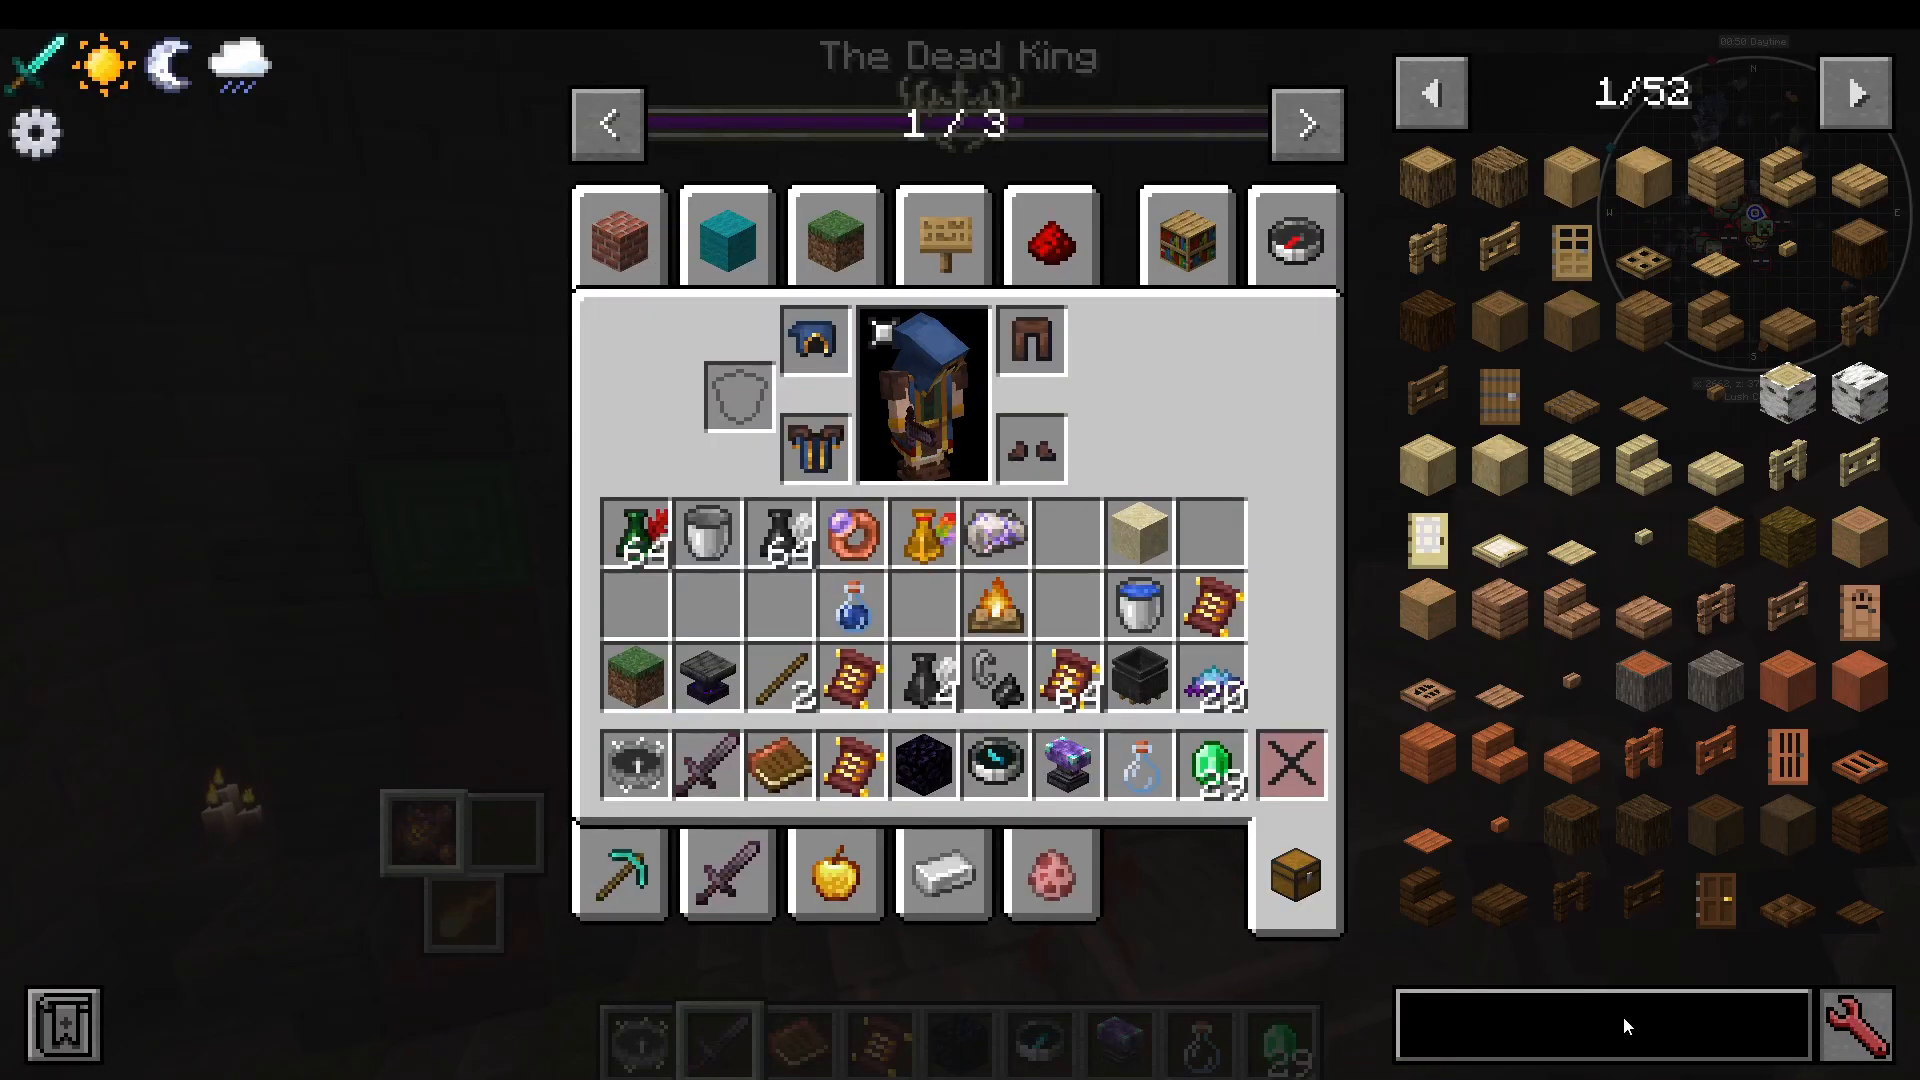
The Dead King is found in the Catacombs. Use the Wayward Compass (craftable within the mod) to navigate to the Catacombs entrance. Once inside, find the throne room. Any hit from a weapon will trigger the fight. He casts spells and enters a second phase at half health, but is manageable with good spells or even basic vanilla weapons.
The Dead King’s loot table includes:
28–45 Arcane Essence
A random spell scroll
Blank Rune Stone (50% drop chance)
Blood Amulet (55% drop chance) — provides high Blood Spell Power
The Necronomicon — a unique spell book with pre-inscribed spells
Boss 2: Tiras the Flamebreaker (Echo of Tiras, the First Flame Bearer)
The second boss is Tiras the Flamebreaker, found inside the Hellfire Citadel — a massive Nether structure. Use the Explorer’s Compass (search “Citadel” under Iron) to locate it. The citadel contains a large library, bridges, Ancient Knight spawners, and Citadel Vaults.
To reach the boss arena, navigate through the citadel’s bridges and staircases — the correct bridge leads upward to the boss room, called the Cindra’s Soul Room. To summon Tiras, interact with the summoner using a Cindra’s Soul Caller (crafted using Netherite Scraps and other materials).
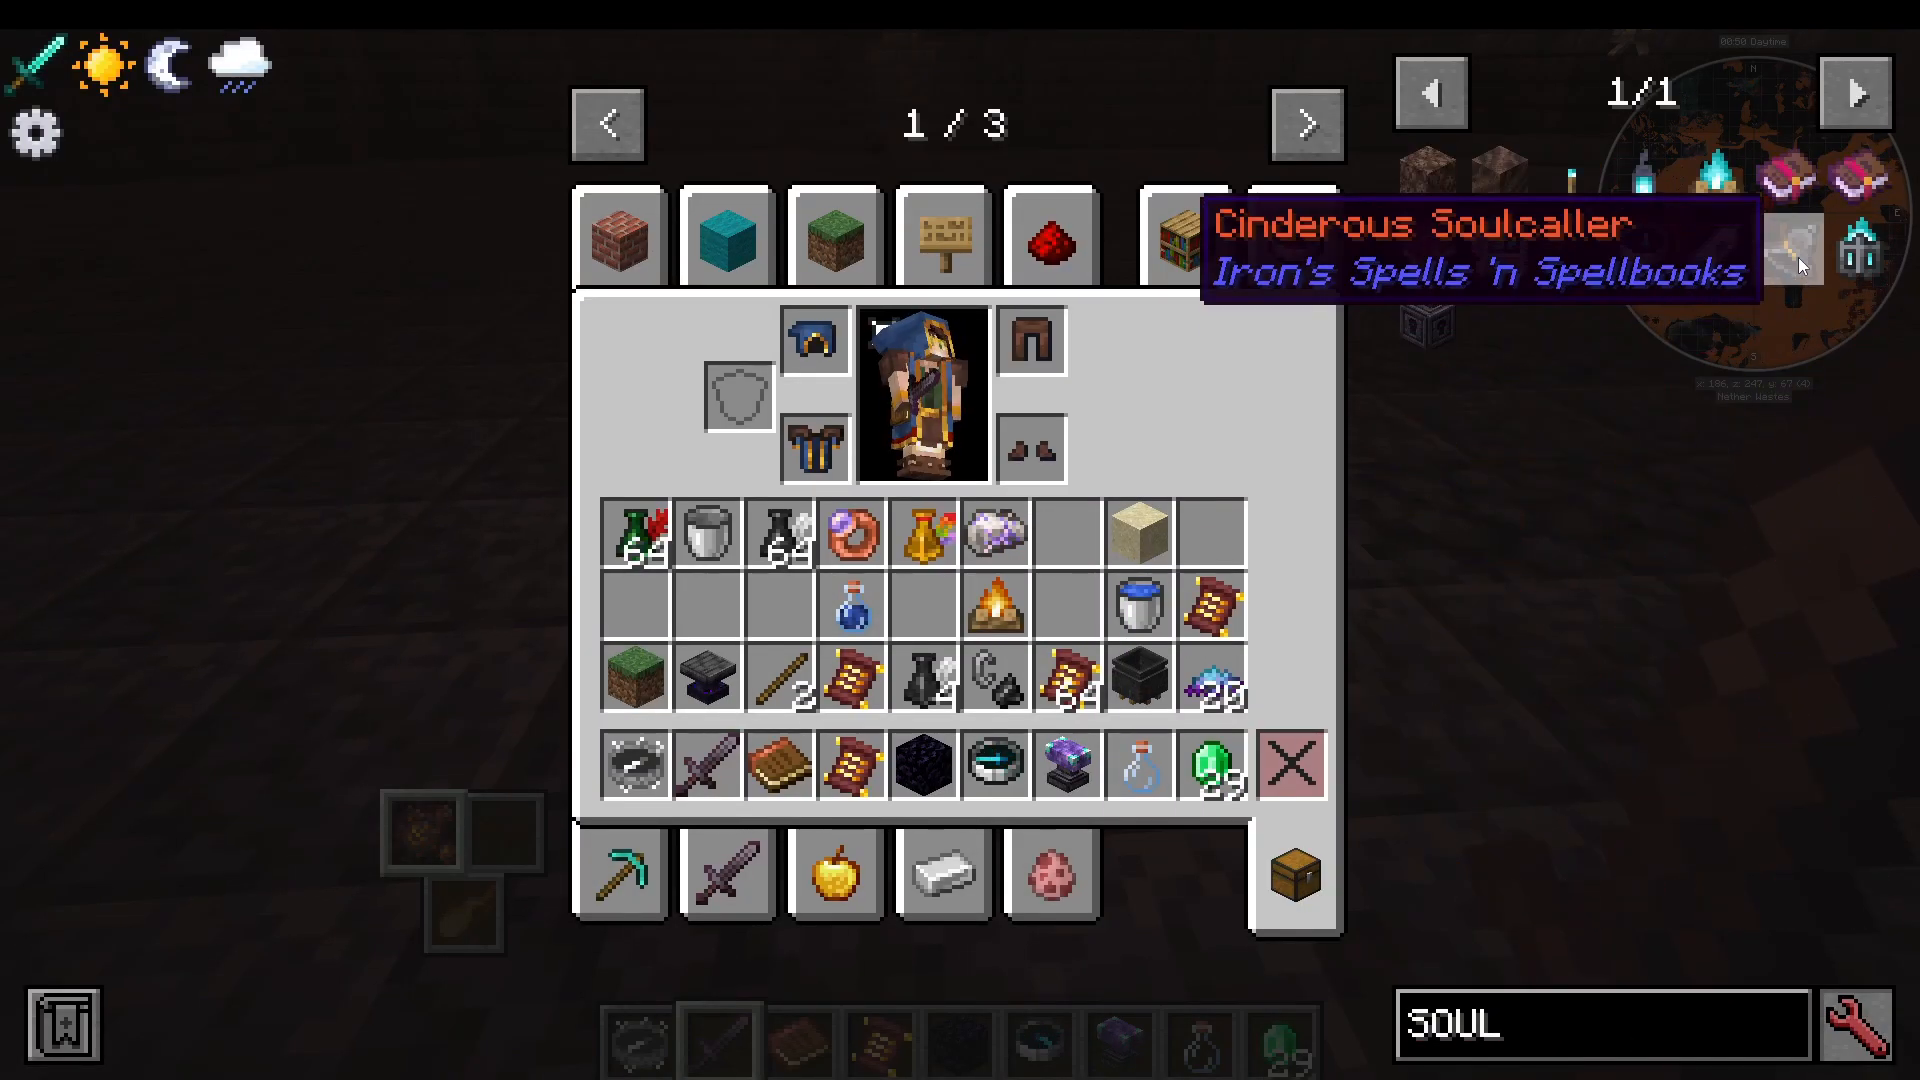
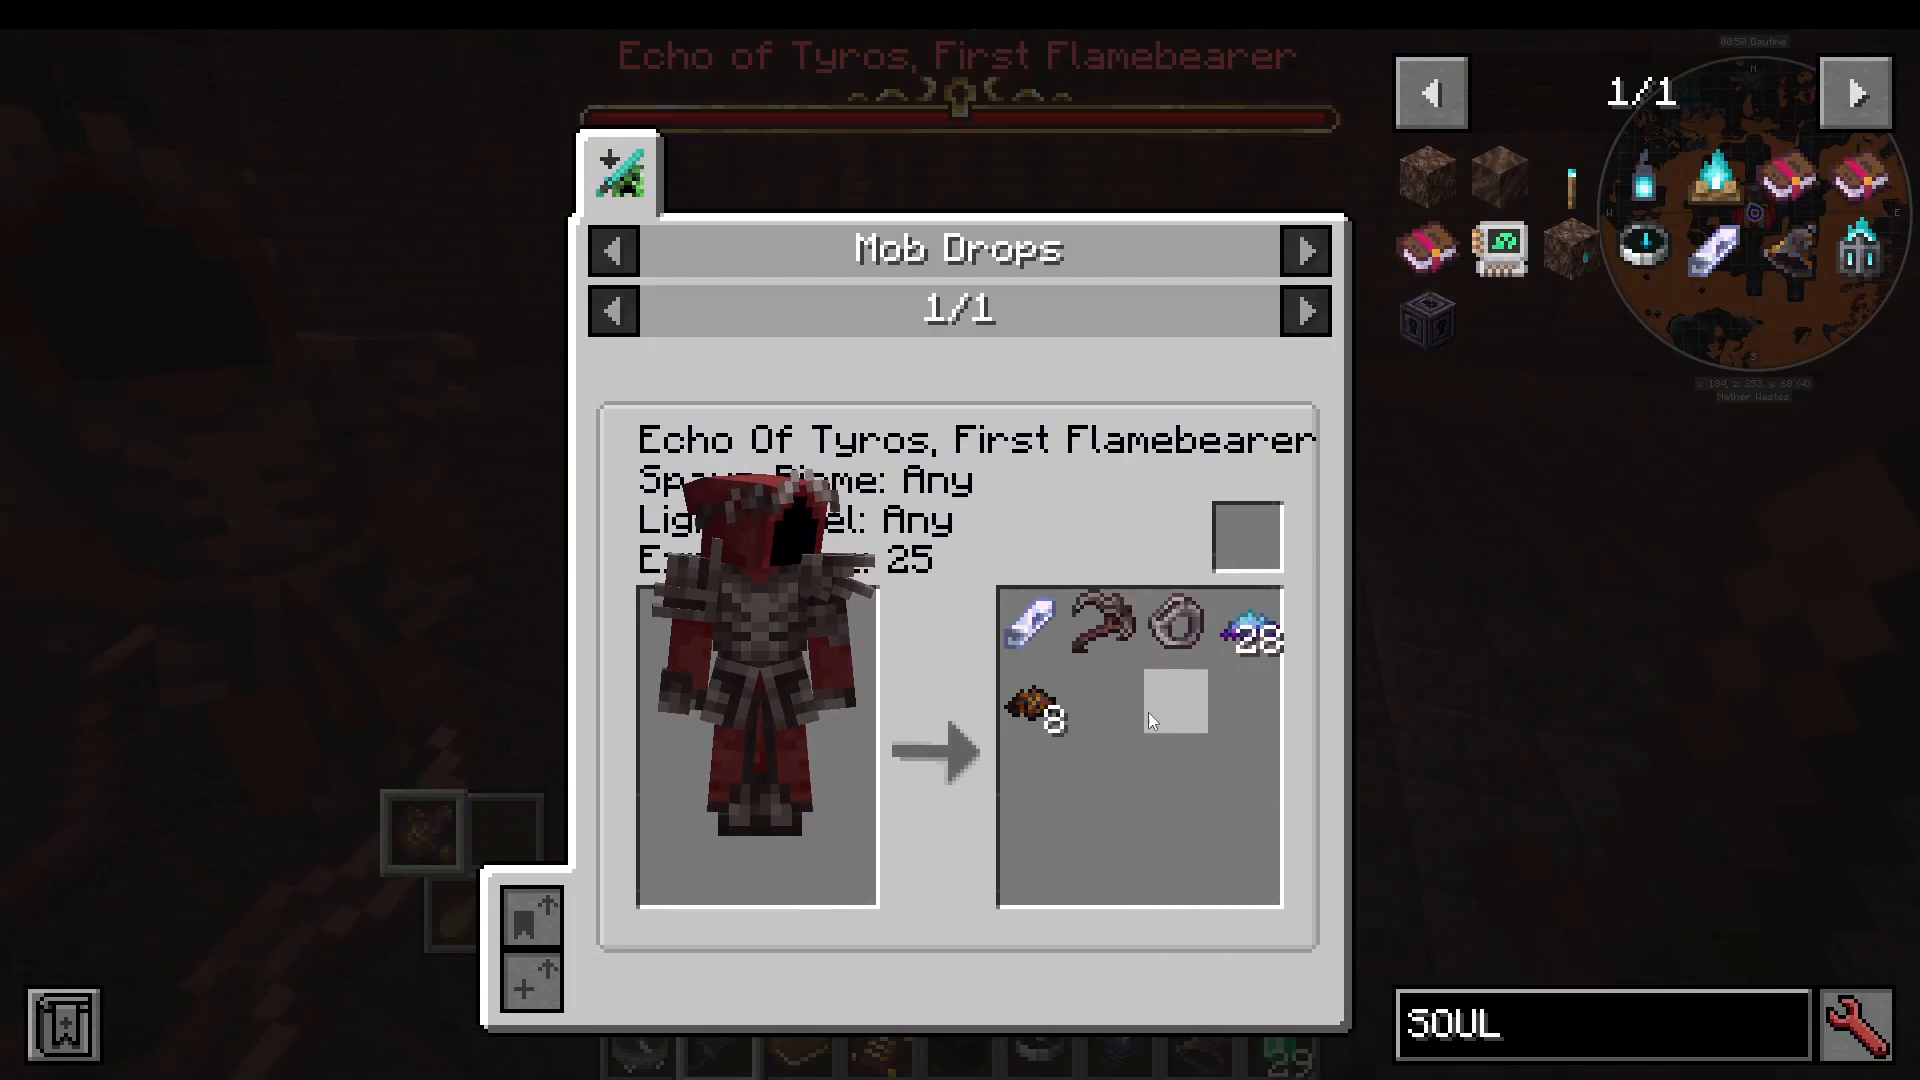
Tiras summons mobs throughout the fight and requires powerful spells and strong armor to defeat. He drops:
Divine Soul Shards (used to craft high-end gear like the Boots of Speed and Infernal Source Chestplate)
Decrepit Scythe
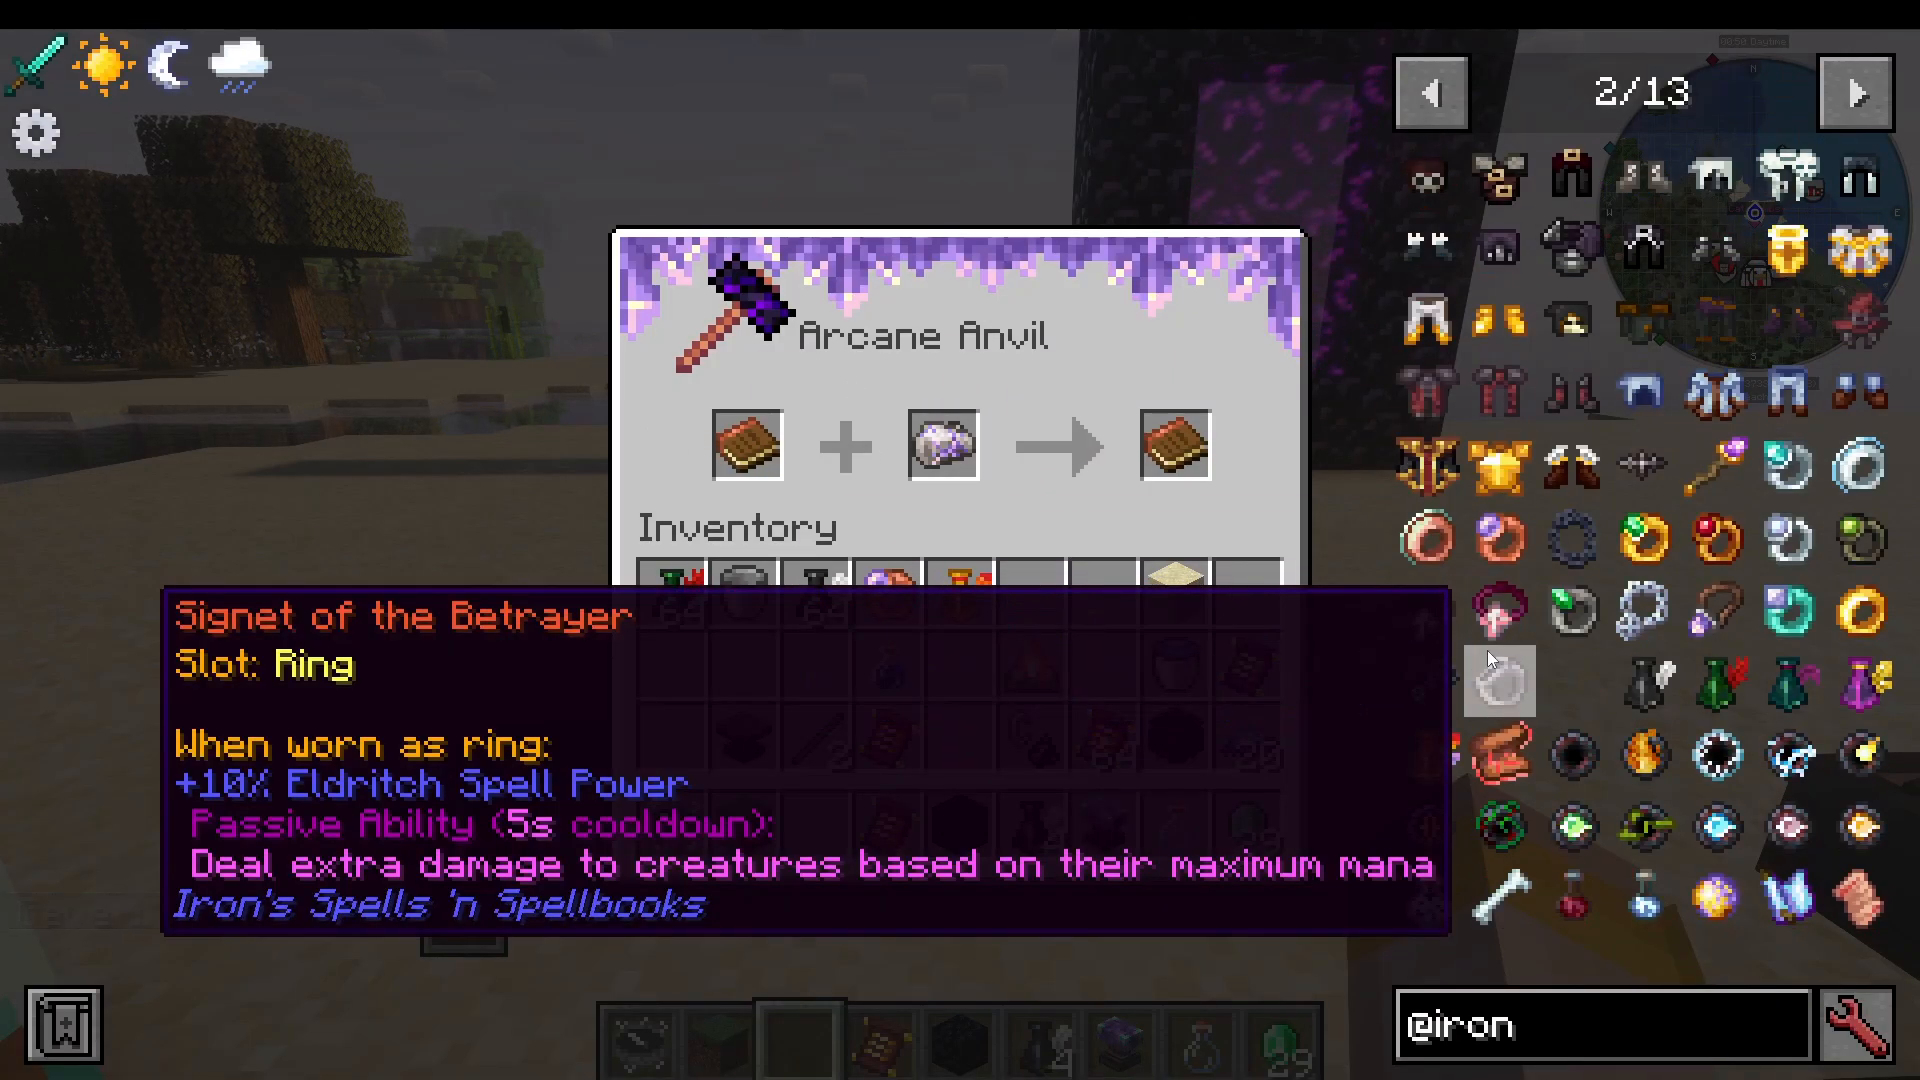
Signet of the Betrayer
Large quantities of Arcane Essence and Cinder Essence
Decrepit Key — used to unlock Citadel Vaults
Opening the Citadel Vaults
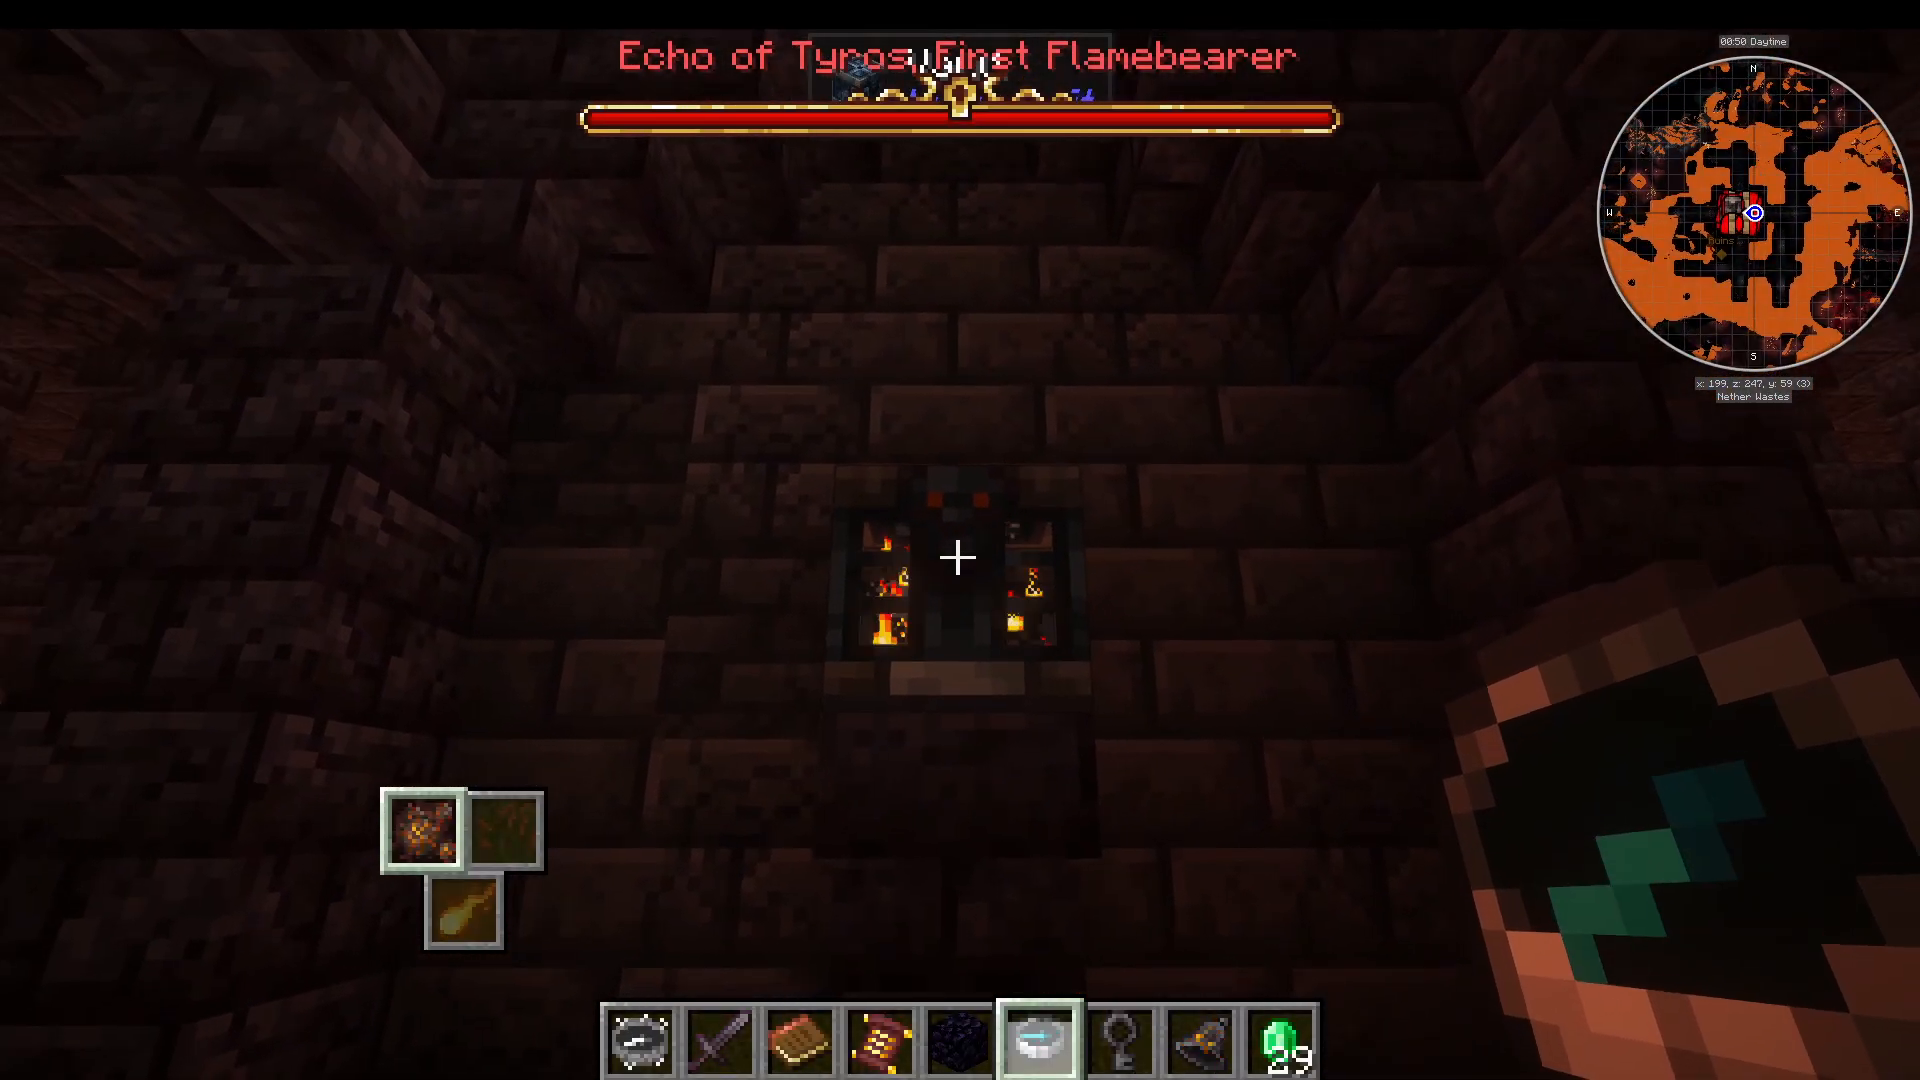
Use the Decrepit Key (dropped by Tiras) on the vault doors inside the Hellfire Citadel. The vault will open and dispense a large amount of high-tier loot, including Netherite, rare inks, Perium Ingots, Blank Rune Stones, and Blank Scrolls.
Summary and Conclusion
Iron’s Spells & Spellbooks is a deep and rewarding magic mod with a clear progression path. Start by finding a Pyramancer Tower and collecting your first spell scrolls. Build an Inscription Table and a Flimsy Journal to create your first spell book. Upgrade your mana with magic armor sets, craft your own spells using the Scroll Forge and Alchemist’s Cauldron, and enhance your gear with upgrade orbs at the Arcane Anvil. Work your way up to fighting the Dead King in the Catacombs and finally Tiras the Flamebreaker in the Hellfire Citadel to unlock the mod’s best loot and complete your mage’s journey.
Want to Support?
If you would like to help us continue making these guides – please consider joining our patreon here – https://www.patreon.com/c/JaviHeals
Alternatively – we host a group of MC Servers you can join here – https://discord.gg/zD7Gjt6MHF