







The Ultimate Guide to Draconic Evolution
The Ultimate Guide to Draconic Evolution
Welcome to the ultimate guide to Draconic Evolution! This comprehensive tutorial covers absolutely everything this powerful mod has to offer, from basic fusion crafting all the way through to running a stable draconic reactor. Whether you’re playing standalone or in a modpack, this guide will walk you through each feature step-by-step in an easy-to-follow manner.
Getting Started with Fusion Crafting
The foundation of Draconic Evolution is fusion crafting. This is the primary method for creating all items in the mod. To set up fusion crafting, you’ll need to understand the basic structure and power requirements.
Powering Your Fusion Crafting Setup
There are multiple ways to power your fusion crafting system. You can use energy from other mods, draconic energy, or a combination of both. Since Draconic Evolution is a very end-game mod, you’ll likely have energy infrastructure from other mods already established when you reach this point in progression.
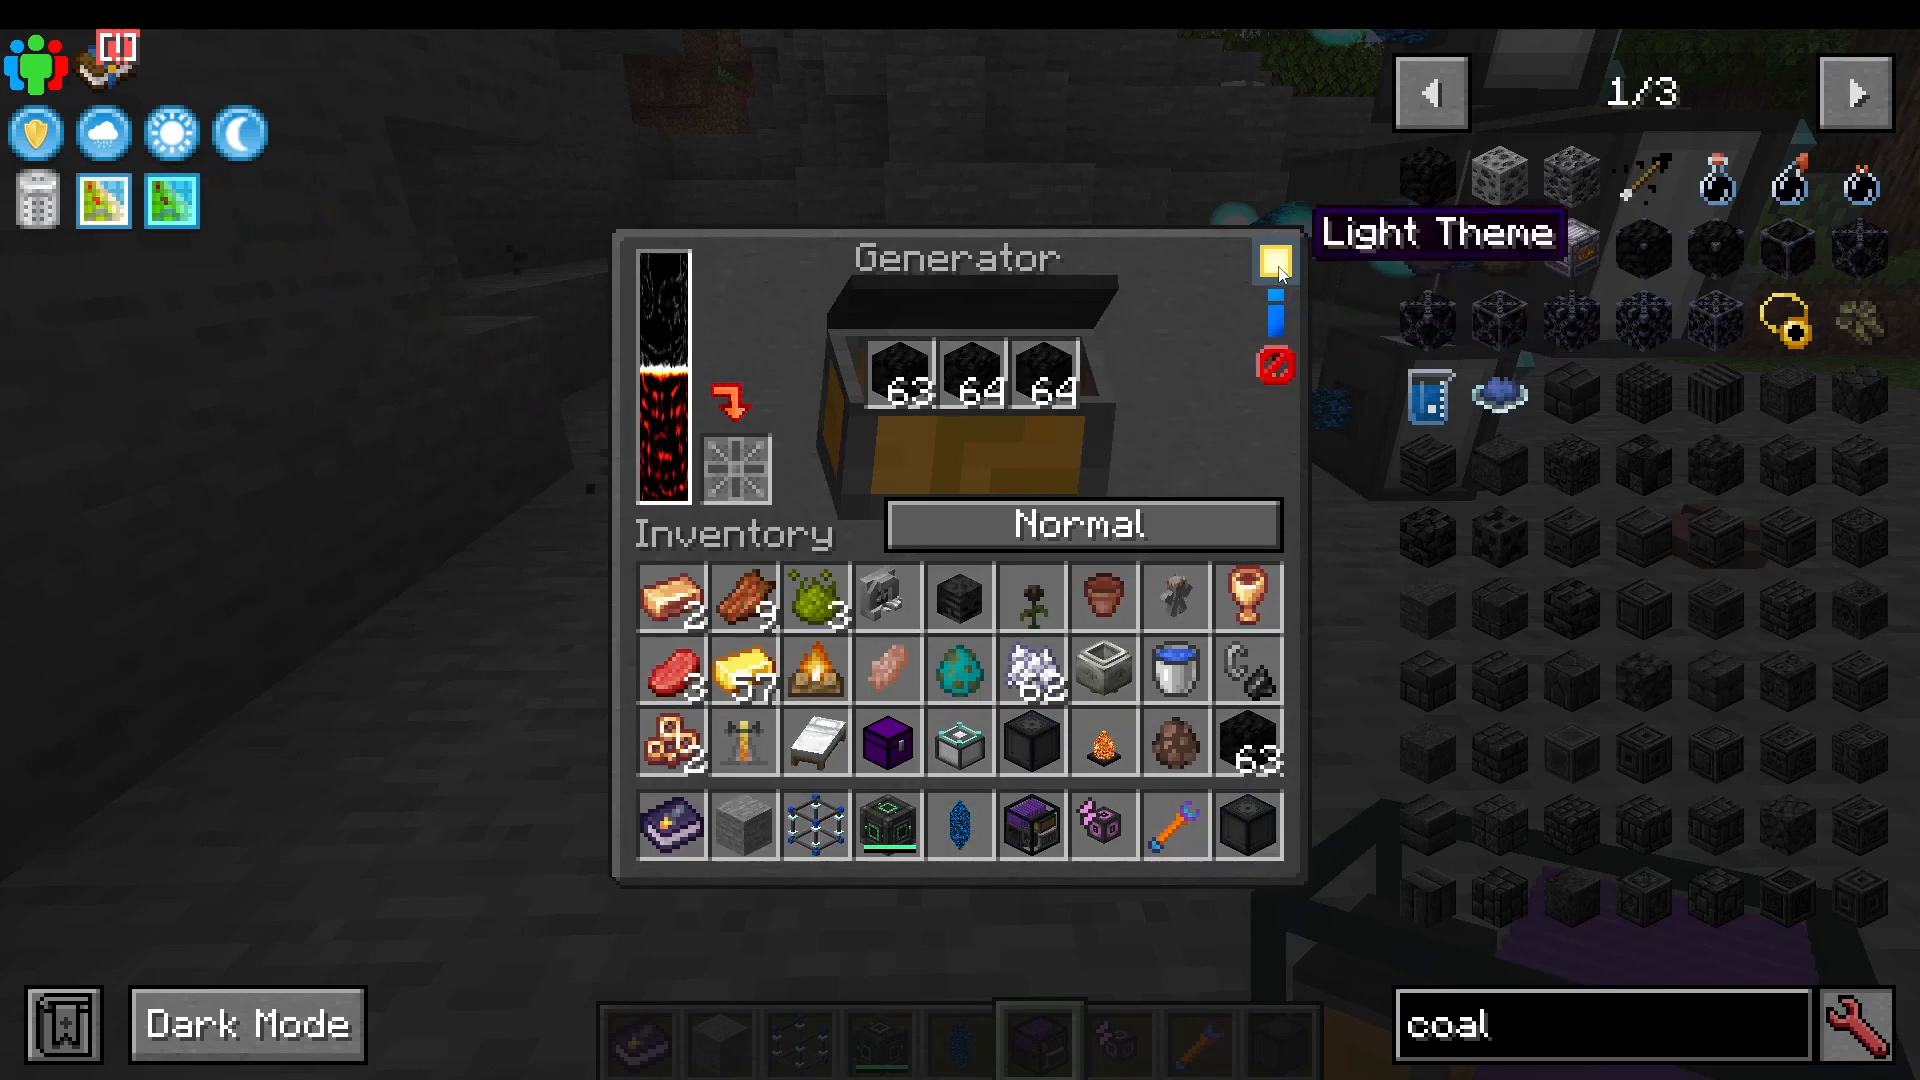
If playing standalone, you can use the Draconic Generator. This simple device is made from iron ingots and a draconium core. Draconium cores are crafted from draconium ingots, gold, and diamonds. You can power the generator using coal blocks and toggle between normal mode, performance mode, and overdrive mode depending on how much power you need.
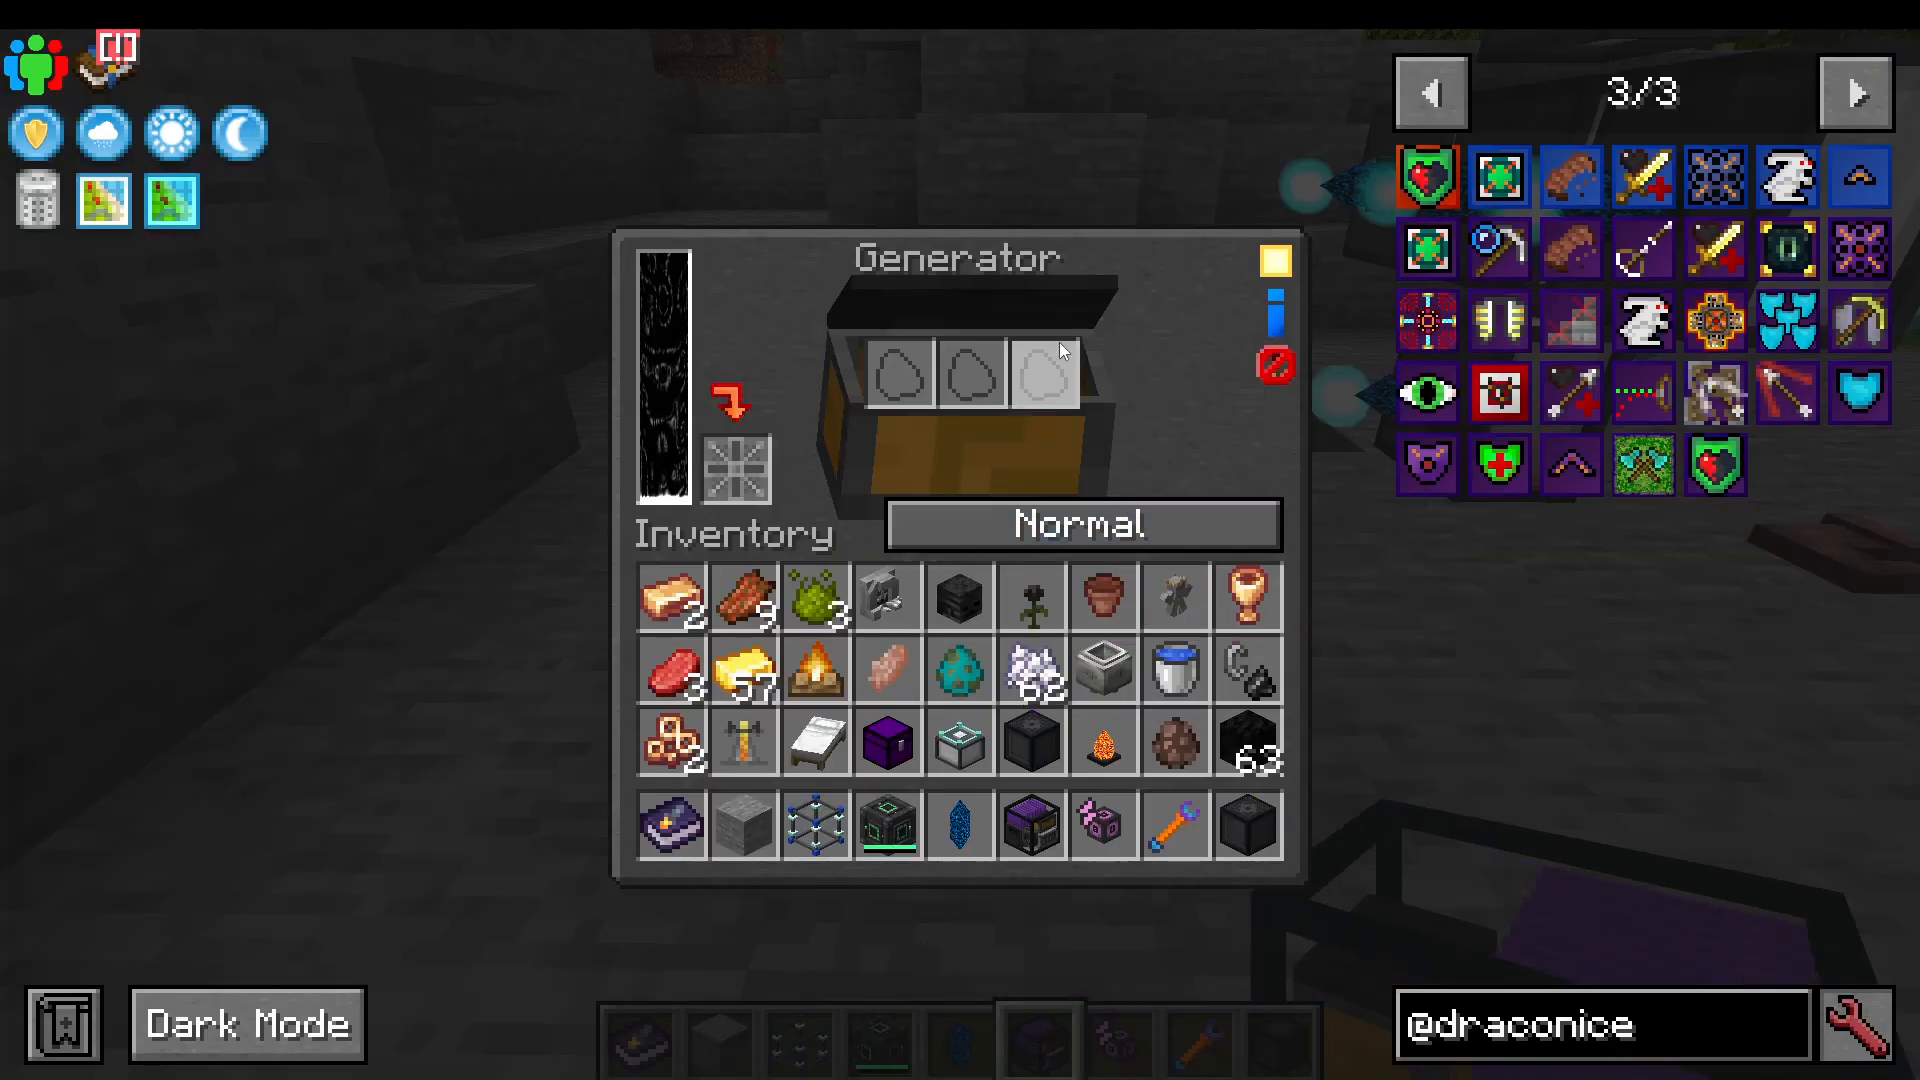
The generator also features theme options (dark mode and light mode) and redstone controls. You can charge items in the designated slot if needed.
Setting Up the Fusion Crafting Core
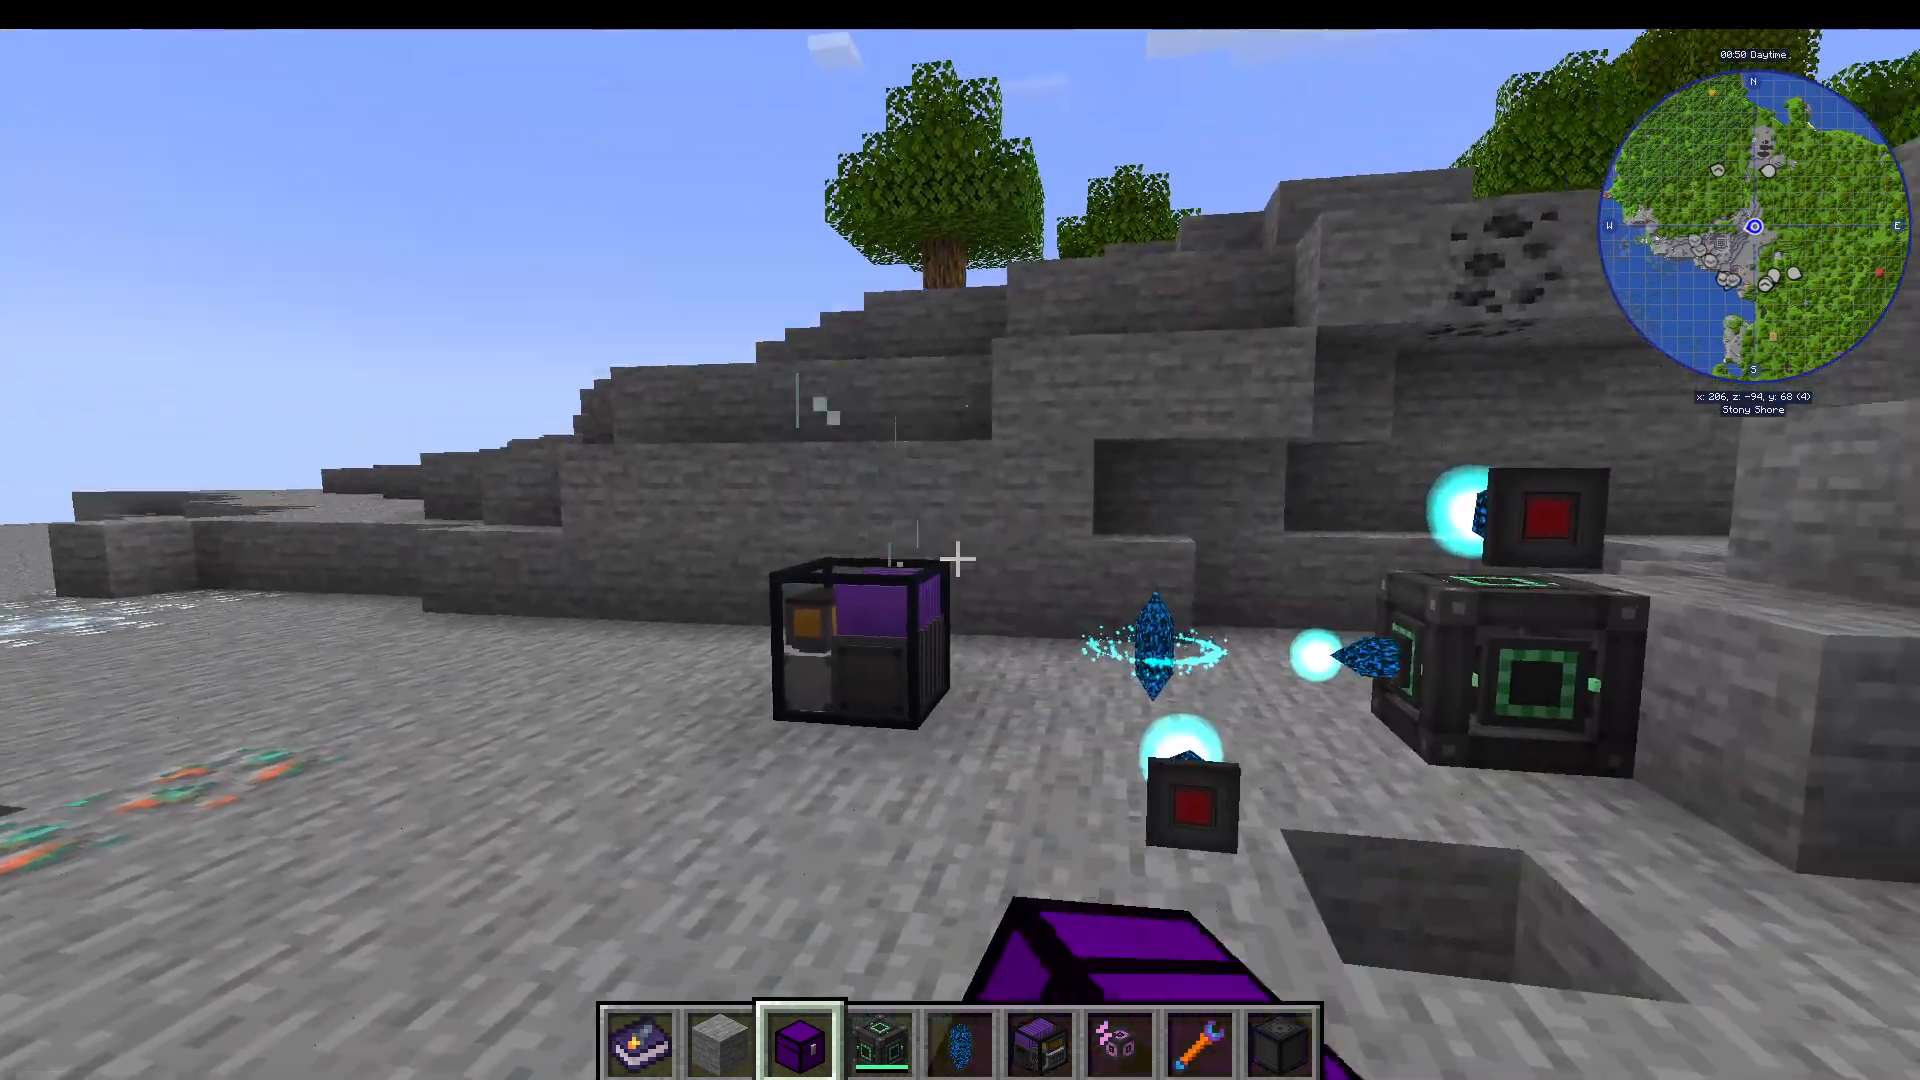
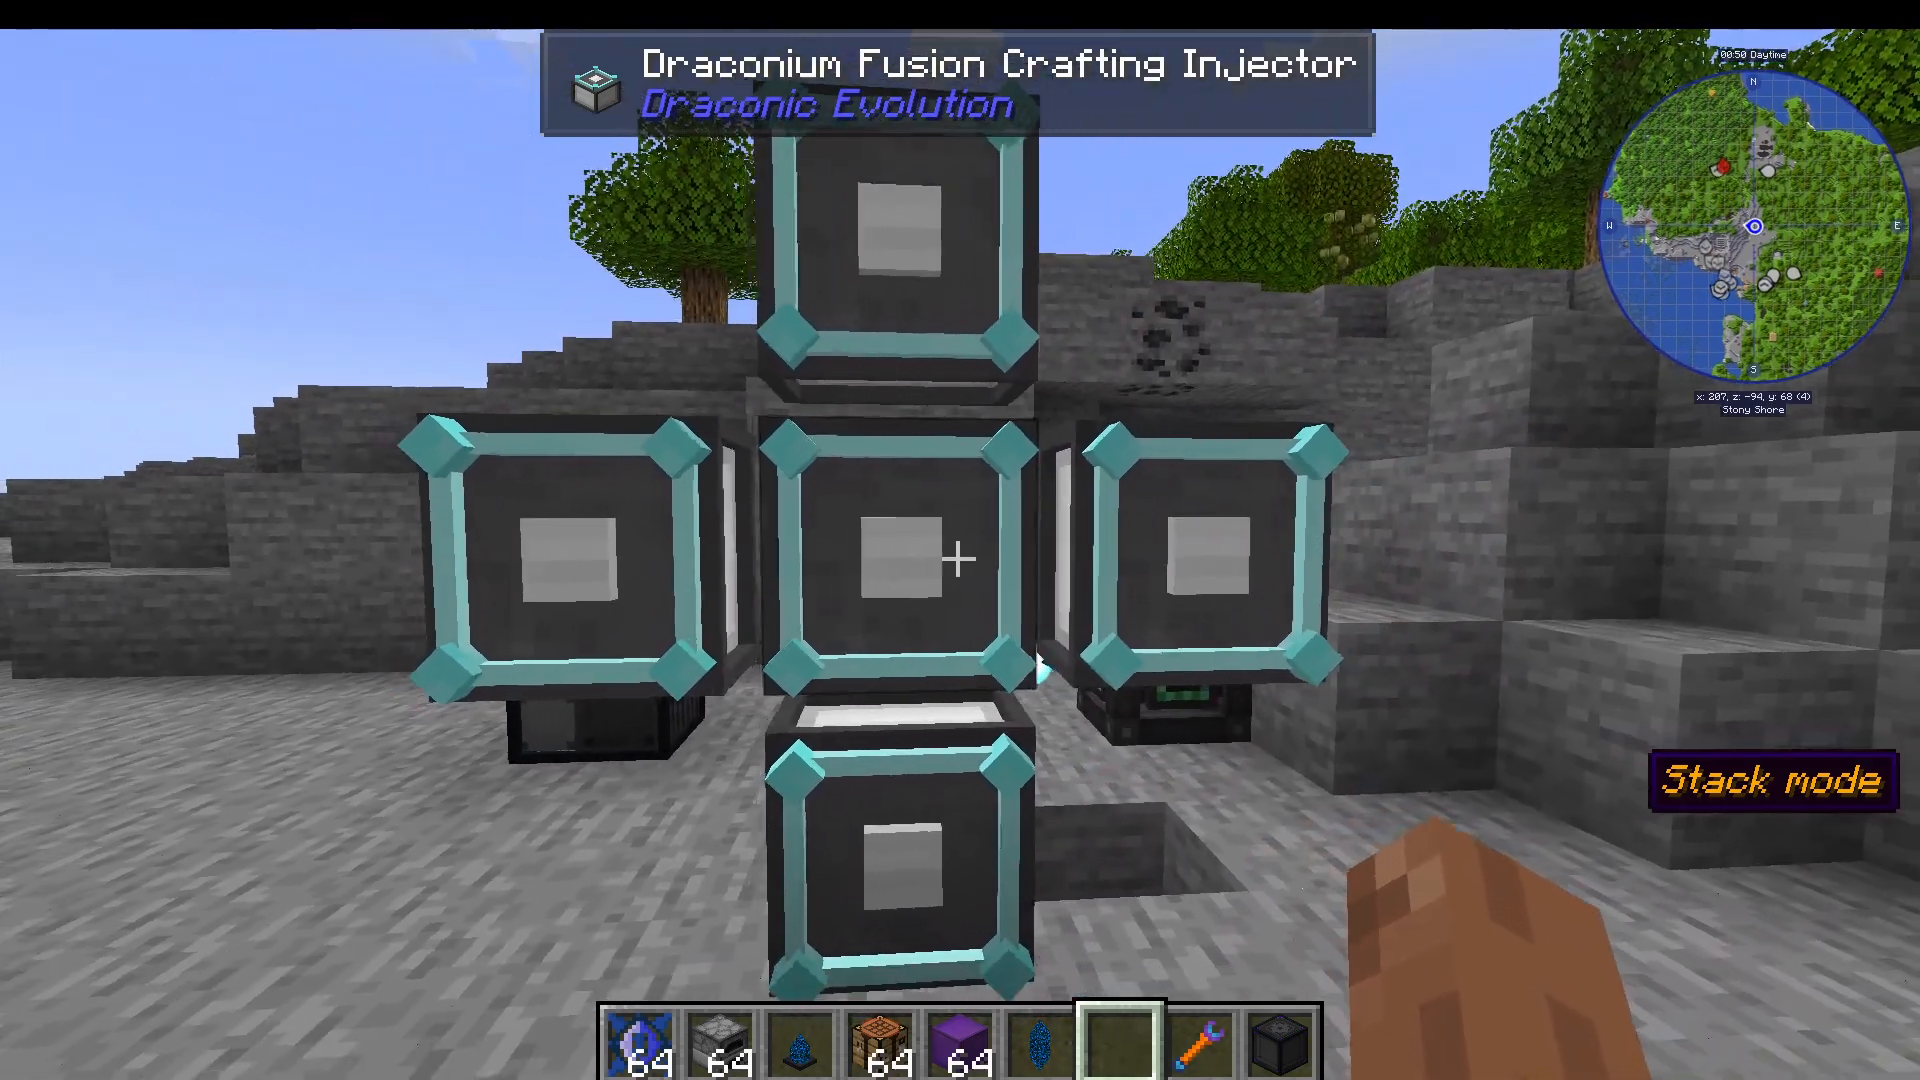
Start by crafting a fusion crafting core. We recommend placing it one block up from the floor using stone or another temporary block. You’ll need to place draconium fusion crafting injectors around it, with a gap of one block in the middle on each side. This means placing injectors on both sides of the setup with proper spacing.
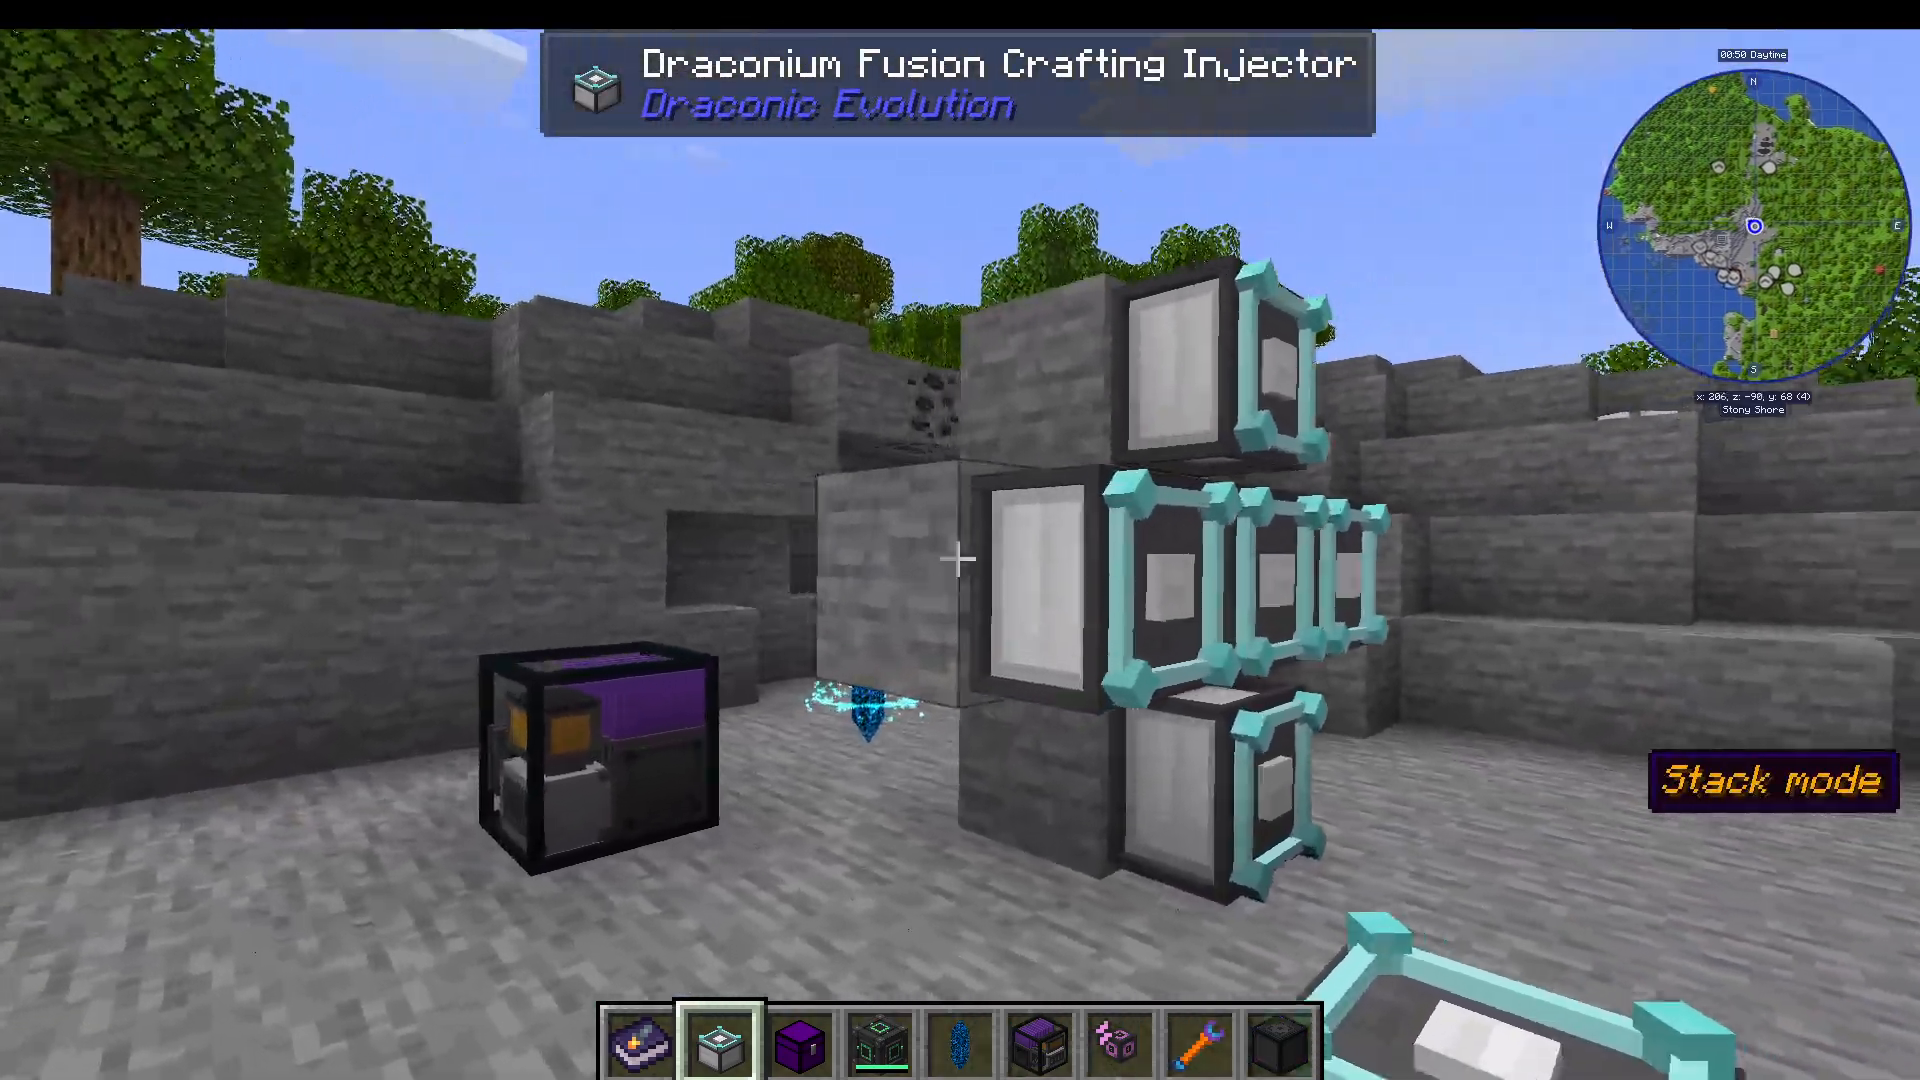
Powering the Injectors
You can power the draconium fusion crafting injectors using cables from other mods (such as Mekanism). Alternatively, if using purely Draconic Evolution, you’ll need basic energy I/O crystals and energy relay crystals.
Basic energy relay crystals are crafted with an energy controller and draconium cores, yielding four crystals. When placed in a crafting table, one relay crystal produces I/O crystals. The I/O crystals attach directly to machines, while relays serve as connection hubs between multiple points.
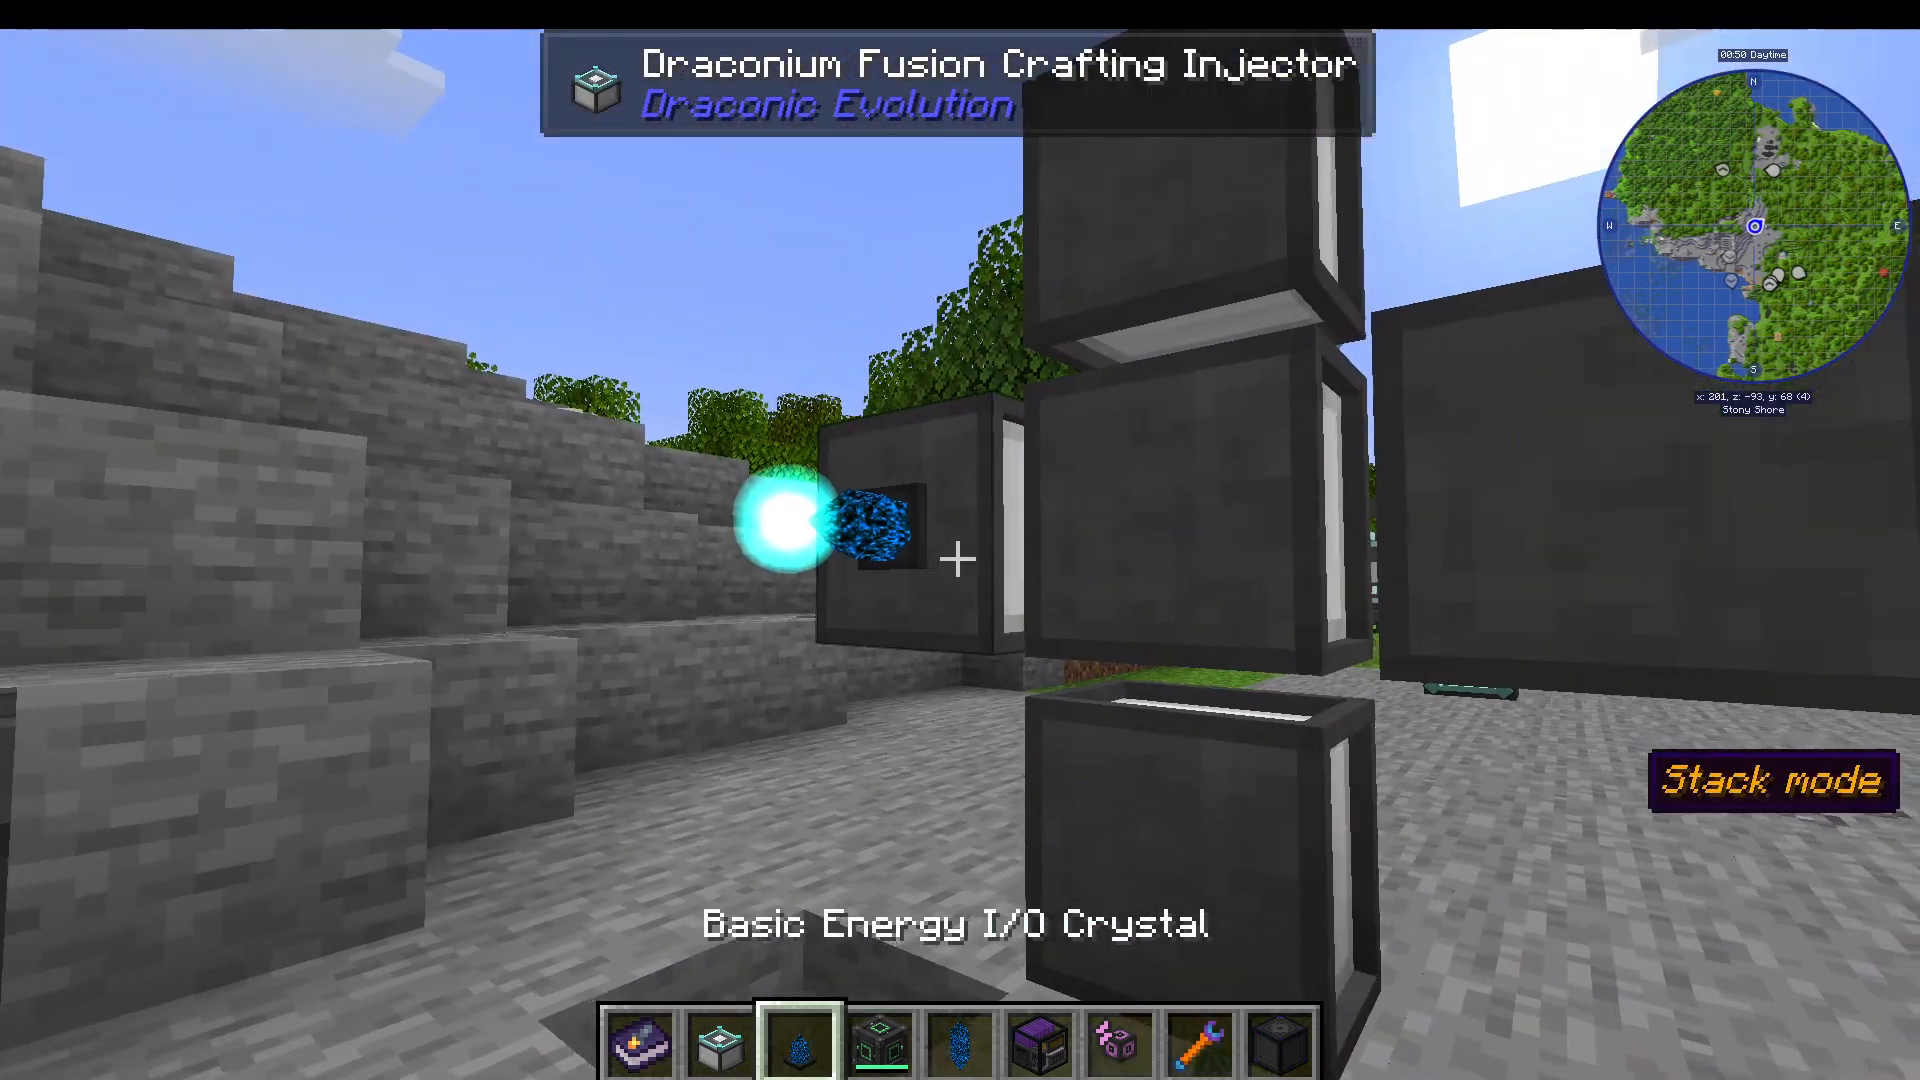
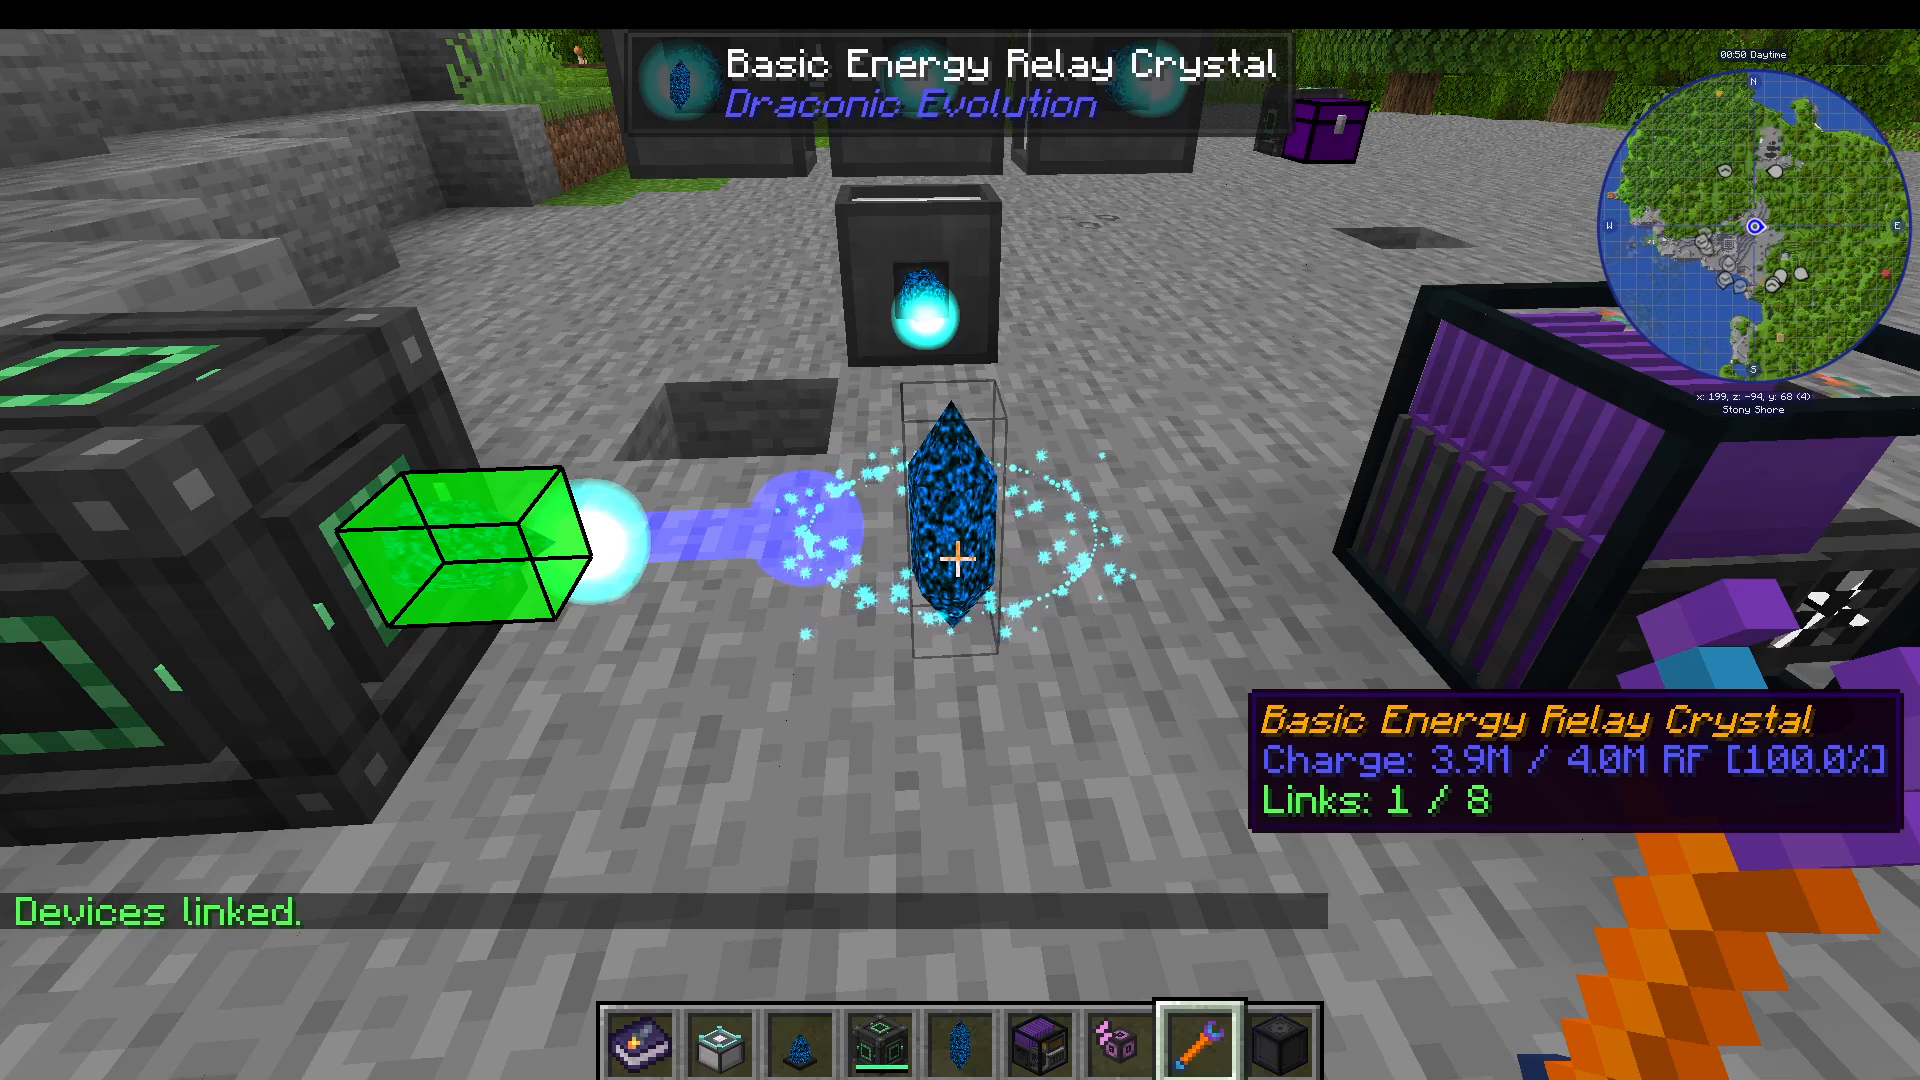
To link crystals and relays together: shift right-click the I/O crystal first, then right-click (without shift) the relay. This links them together and allows energy transfer. An I/O crystal can link to two locations, while a relay can link to eight.
Crafting Your First Item: The Draconium Chest
Once your setup is complete, place the item to be crafted in the top slot of the fusion crafting core and required materials in the injectors. Set injectors to single item mode by shift right-clicking them, rather than stack mode. This ensures proper material input.
For the Draconium Chest, you’ll need five furnaces, two draconium cores, two crafting tables, and one draconium block. Once all materials are placed in single-item mode, press craft in the fusion core.
During crafting, you’ll see visual effects including charging percentages and lightning around the fusion core. Once crafting reaches 100%, the item appears in the core and you can remove it.
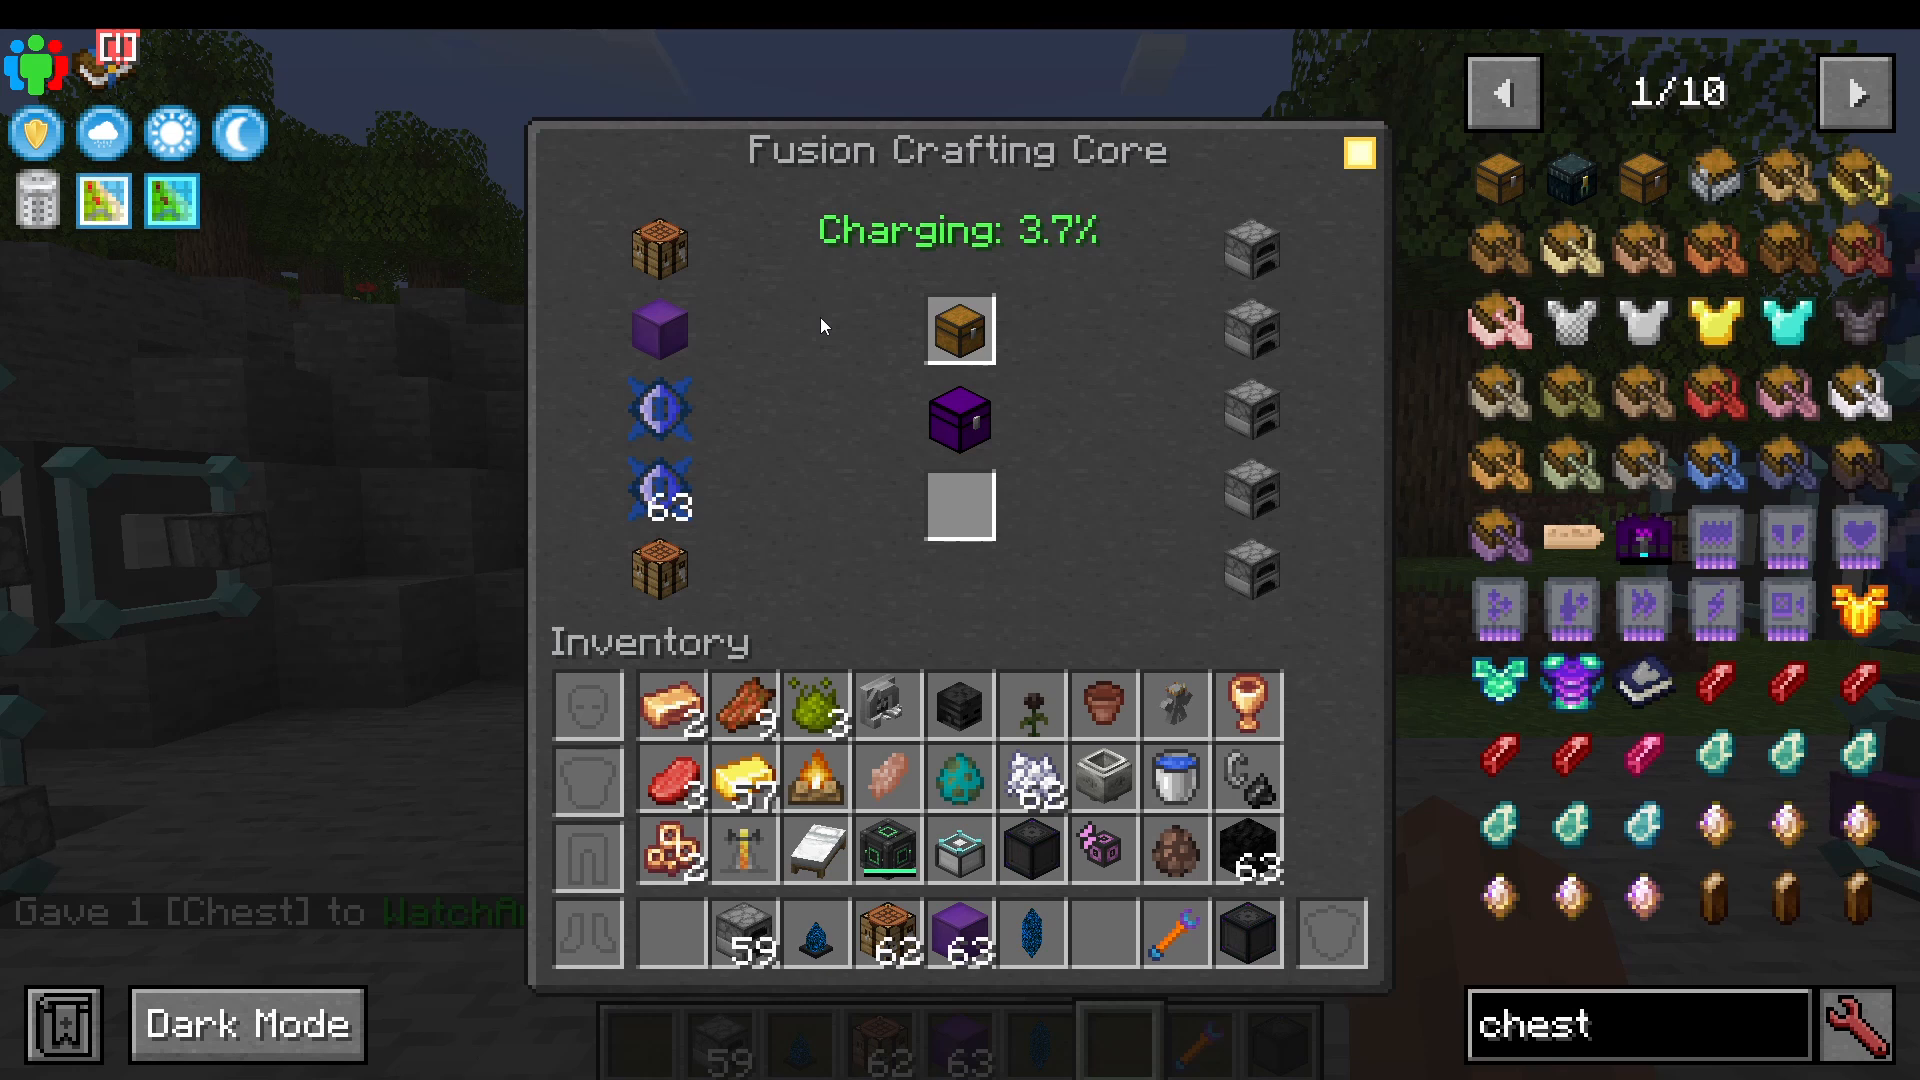
The Draconium Chest is a massive storage container with color customization options, charting capability for smelting items, and built-in crafting bench functionality. It also features dark and light mode options.
Understanding Fusion Crafting Tiers
Different items require different tiers of crafting injectors. The mod includes multiple tiers: basic, weapon, draconic, and chaotic. As you progress, you’ll need to upgrade your injectors to higher tiers to craft more advanced items.
Weapon Tier Crafting
The weapon tier is needed to craft all weapon-type items and armor. To progress to weapon tier, you need weapon tier fusion crafting injectors and an energy controller.
To create a draconic core for tier upgrades, you’ll need four draconium cores and a nether star. The awakened draconium required for further progression is made by crafting an awakened draconium block from four draconium blocks and many draconium cores, then breaking it into nine ingots.
You can also obtain dragon hearts by killing the end dragon. You can respawn the dragon repeatedly using vanilla Minecraft end crystals to gather more dragon hearts as needed.
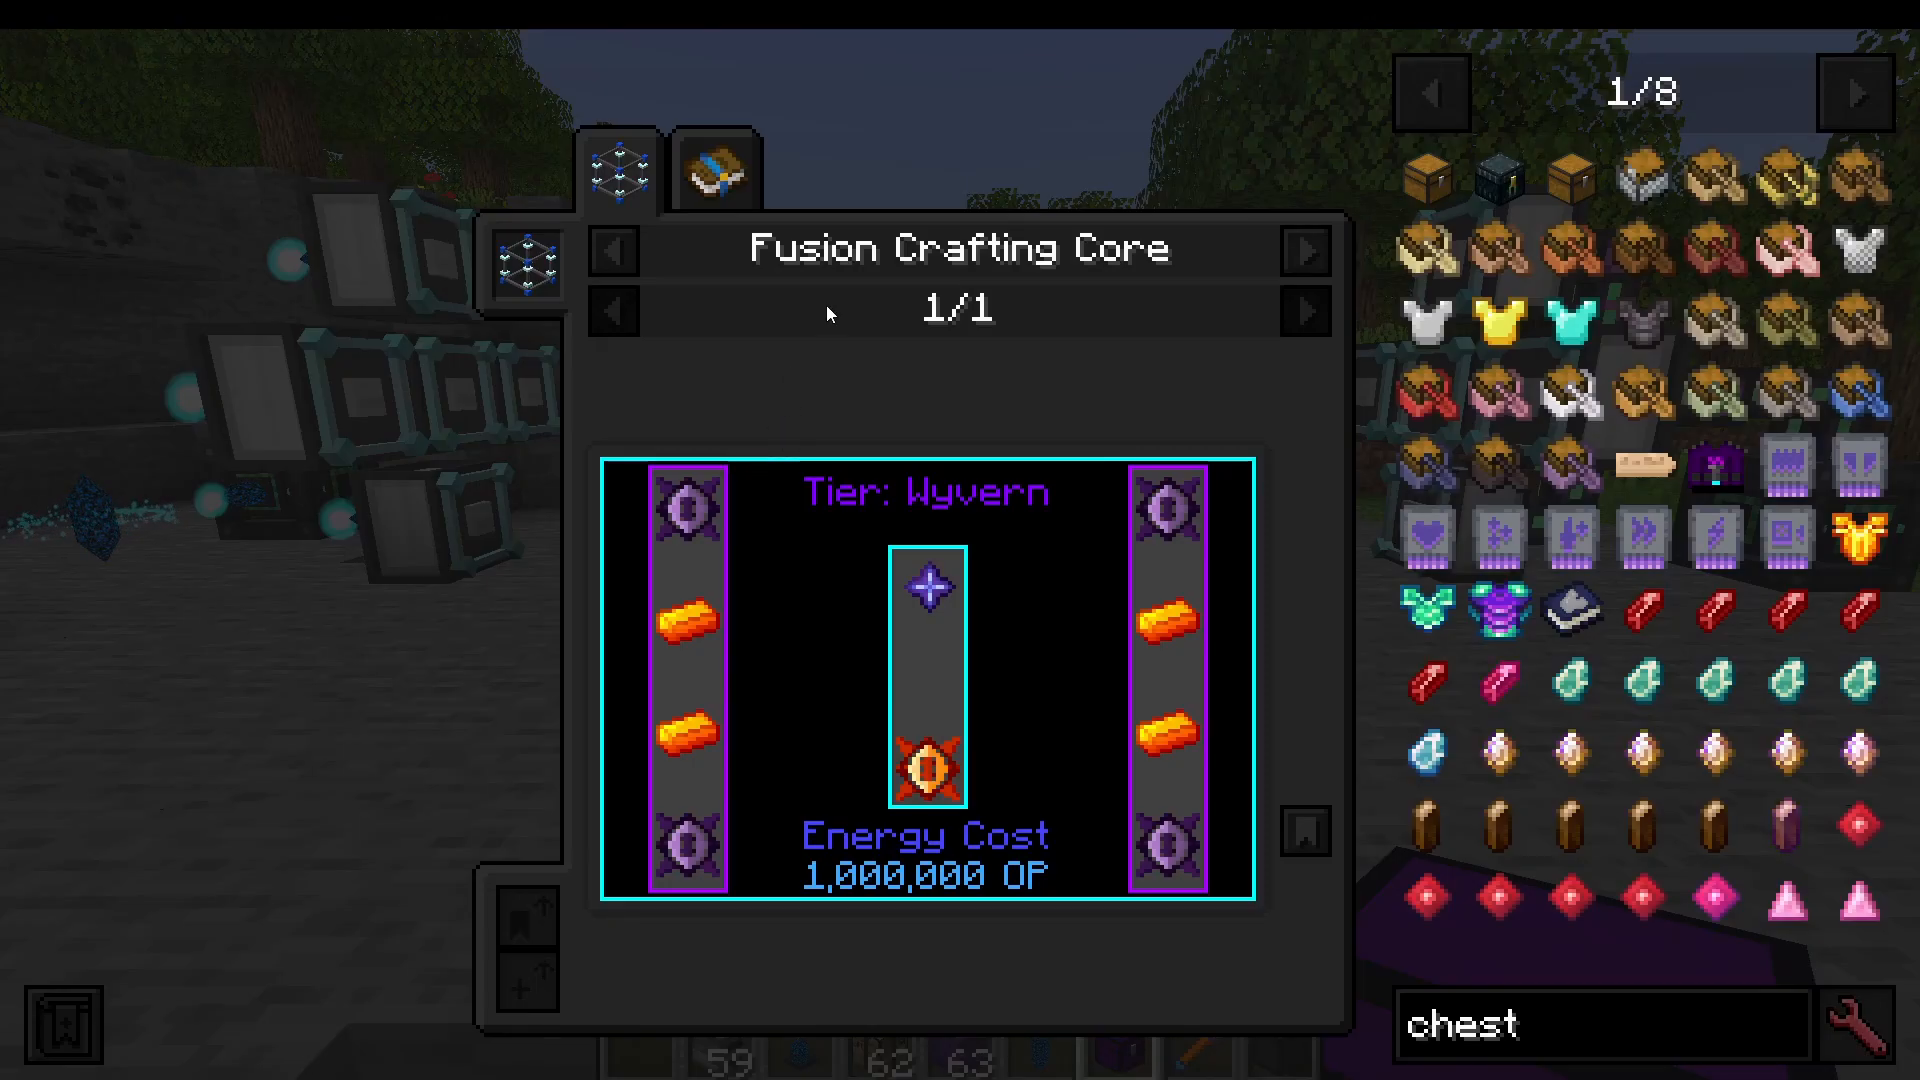
Higher Tiers: Draconic and Chaotic
Progression to draconic tier requires awakened draconium and weapon cores. The chaotic tier requires chaos fragments, dragon eggs, and chaotic cores. To obtain these materials, you must defeat the chaos guardian.
Gear and Modules System
Available Gear Tiers
Draconic Evolution offers tiered gear that progresses from weapon tier through draconic to chaotic variants. The mod features bows, swords (called paxels when all-in-one), and chest plates as primary gear pieces.
Notably, you only need the chest plate for armor protection—not separate head, chest, legs, and feet pieces. The chest plate can have shield modules added to it for additional protection.
Module System Overview
Gear can be enhanced with modules by shift-clicking and accessing the module grid. Different modules serve different purposes and many can stack to increase their effects. Module tiers correspond to weapon tiers (draconic modules work with draconic gear, chaotic modules with chaotic gear, etc.).
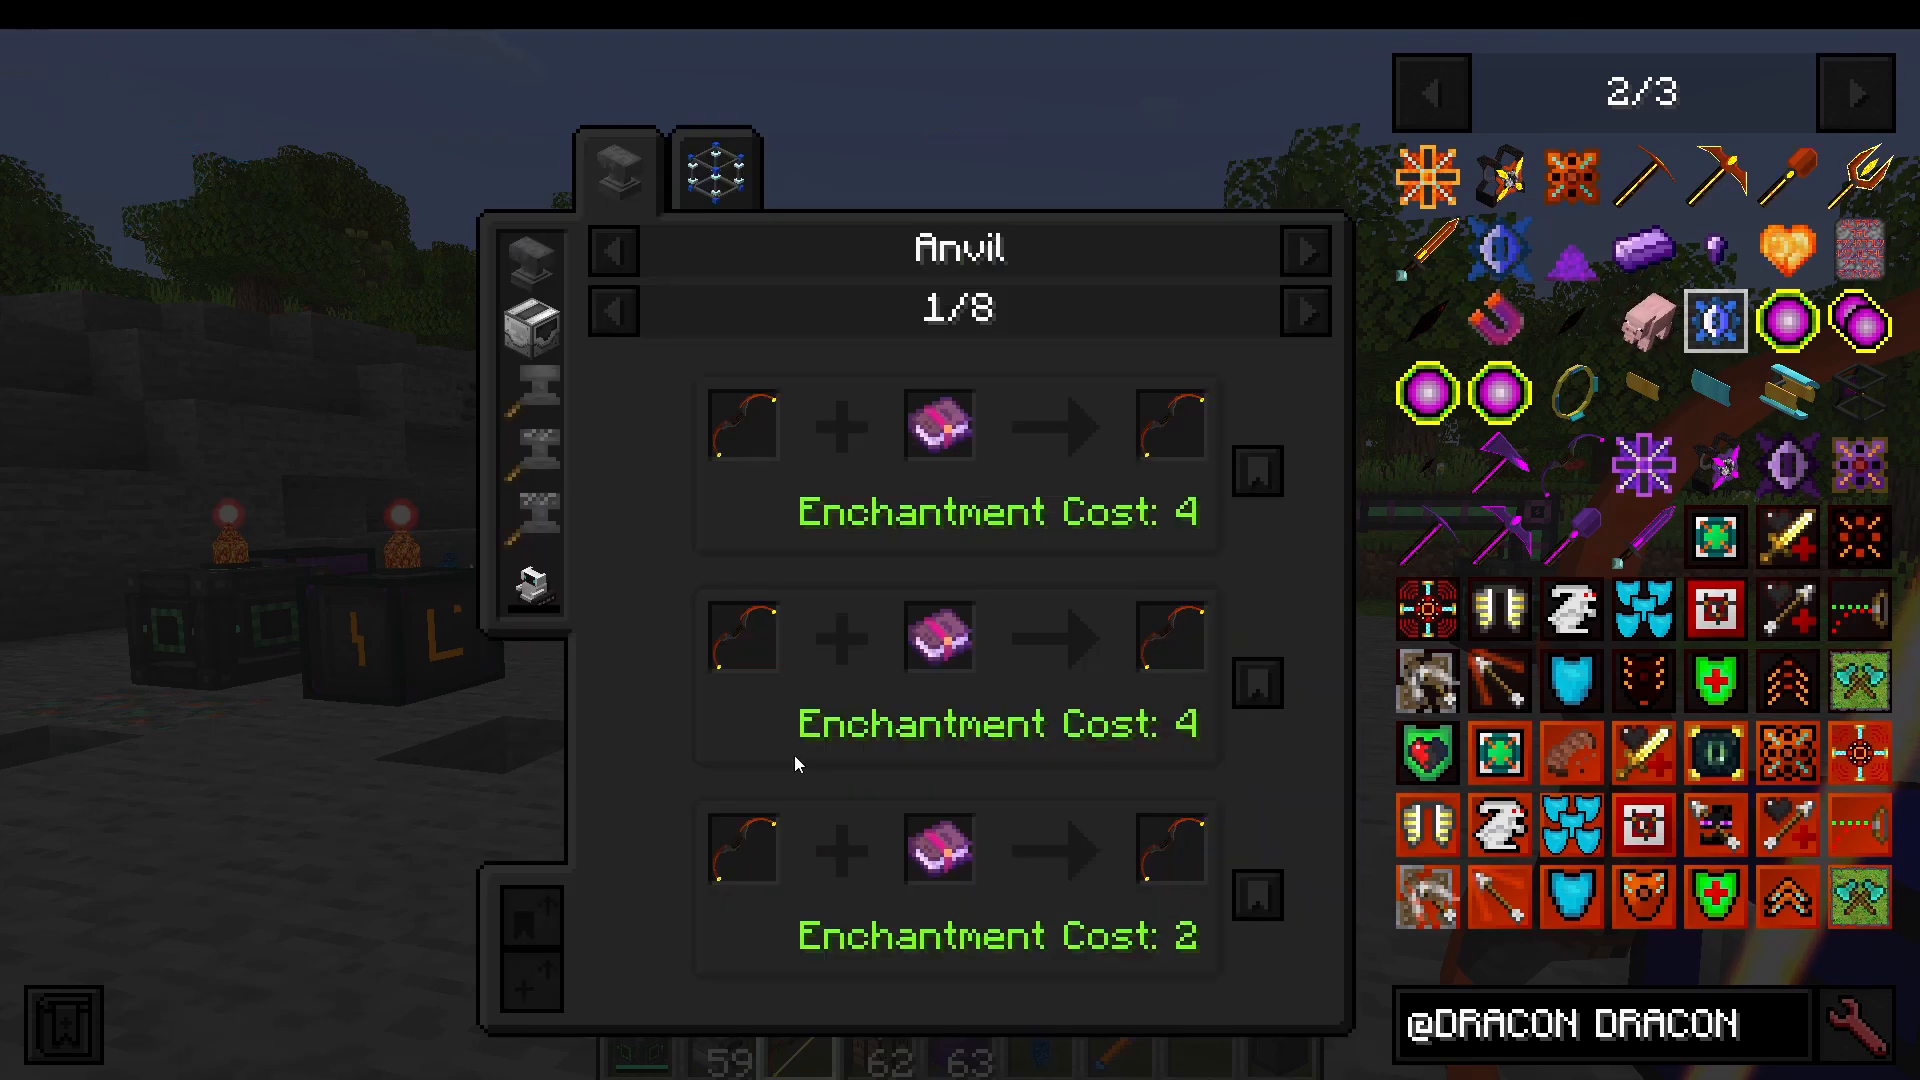
Available Modules
Energy and Wireless Modules:
Energy modules: Store power in gear; higher tiers hold more energy
Wireless energy link: Allows wireless charging through linked wireless energy crystals
Weapon Enhancement Modules:
Speed upgrades: Increases mining/tool speed and bow draw speed
Projectile damage: Increases arrow damage; can stack for higher total damage
Projectile velocity: Makes arrows fly faster toward targets
Projectile penetration: Allows arrows to pass through multiple targets
Accuracy: Reduces inaccuracy; some modules reduce accuracy so this helps compensate
Gravity compensation: Reduces the bell curve of projectile flight for straighter aim
Area of effect: Increases mining/harvesting radius (e.g., 3×3 or 5×5)
Ender collection: Sends mined items directly to your ender chest
Basic damage: Increases melee damage on axes; stackable
Tree harvester: Enables vein mining for axes
Auto fire: Makes bows semi-automatic, firing repeatedly while holding right-click
Armor and Protection Modules:
Undying module: Acts like an undying totem with cooldown; higher versions have reduced cooldown
Shielding capacity: Adds shielding to chest plate
Large shield capacity: Upgraded version with higher capacity
Shield recovery: Allows shields to regenerate outside of emergency situations
Shield control: Changes shield behavior and regeneration timing
Utility Modules:
Flight module: Enables creative flight
Jump: Increases jump height
Auto feed: Automatically feeds hunger
Night vision: Provides permanent night vision effect
Aqua adapt: Enables underwater breathing
Mining stabilize: Maintains normal mining speed during creative flight
Stepup: Allows stepping up full blocks
Selective incineration: Filters items to automatically incinerate unwanted drops
Projectile immunity cancellation: Prevents mobs from slowing projectiles; arrows ignore entity collision
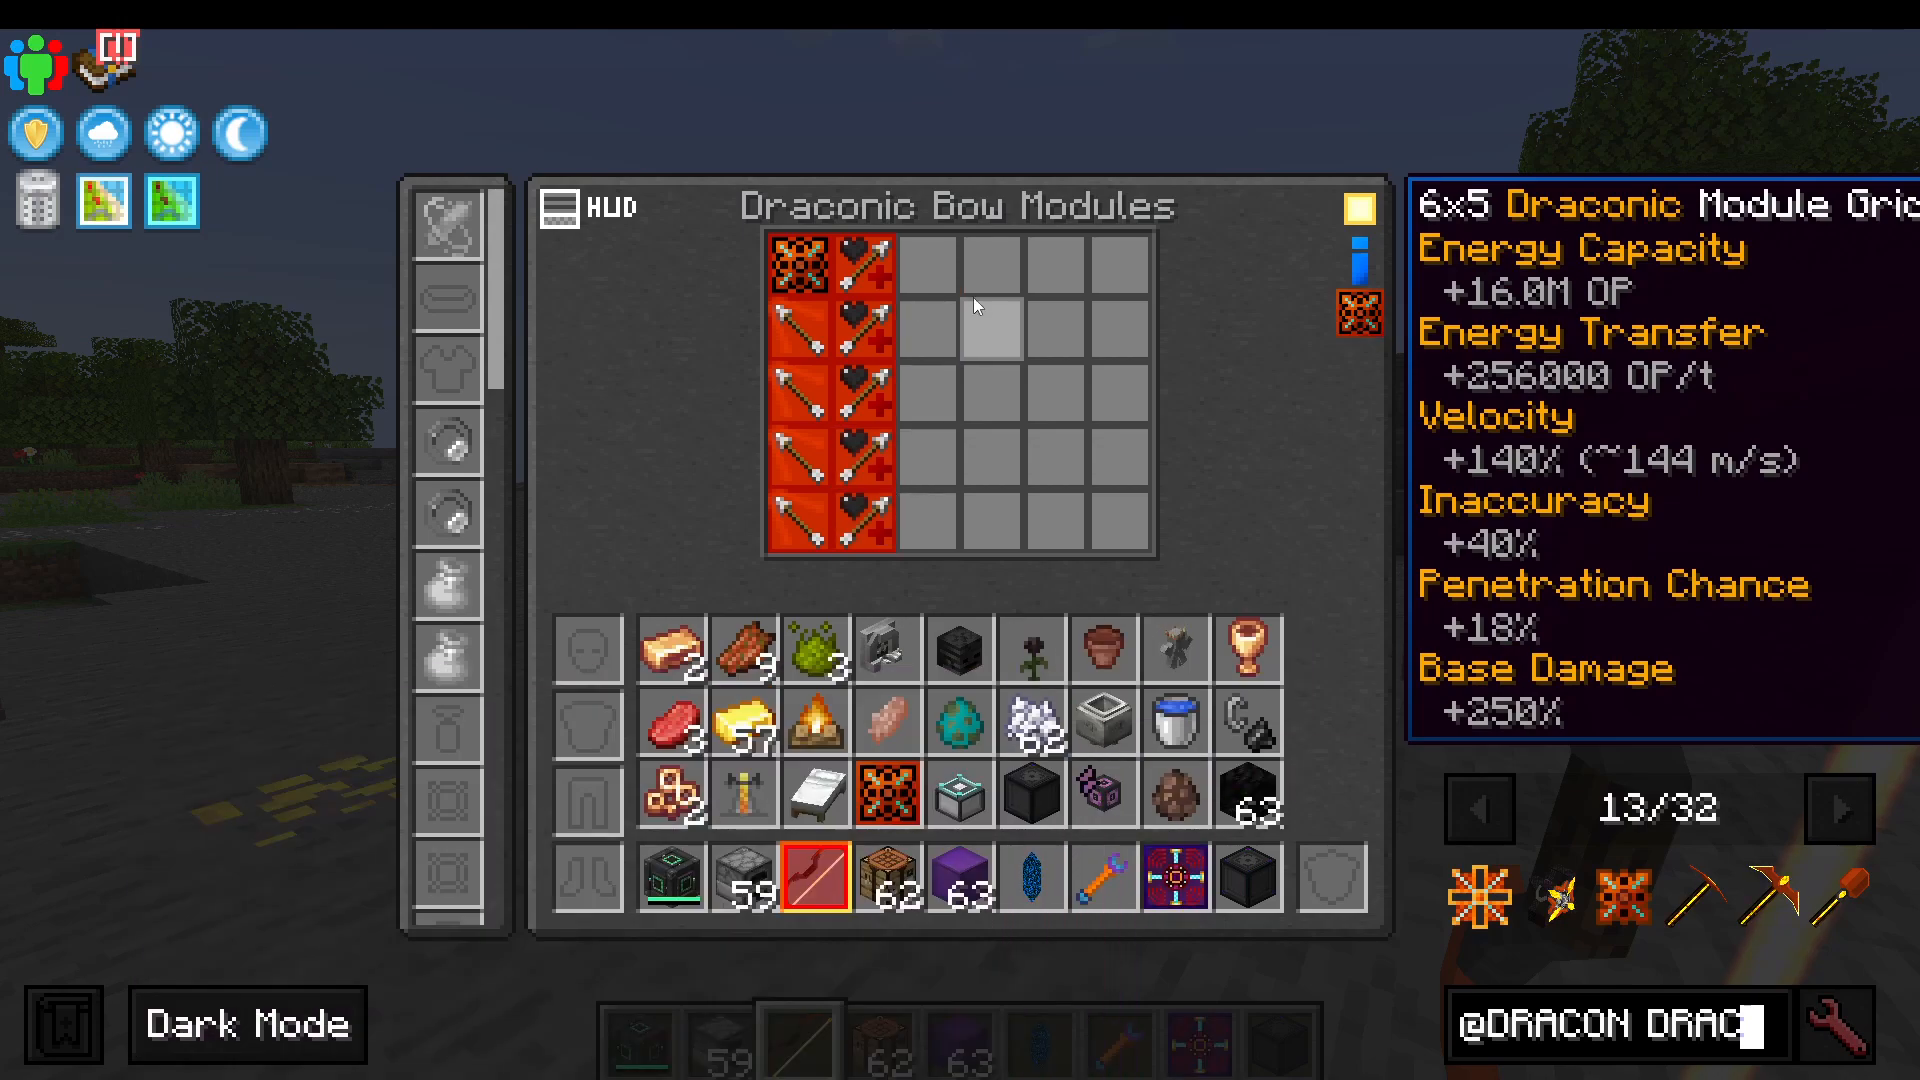
Charging Your Gear
Use the Energy Transinfuser from Draconic Evolution to charge gear items. Place items in designated slots and configure input/output directions. You can also use cables from other mods in the top slot.
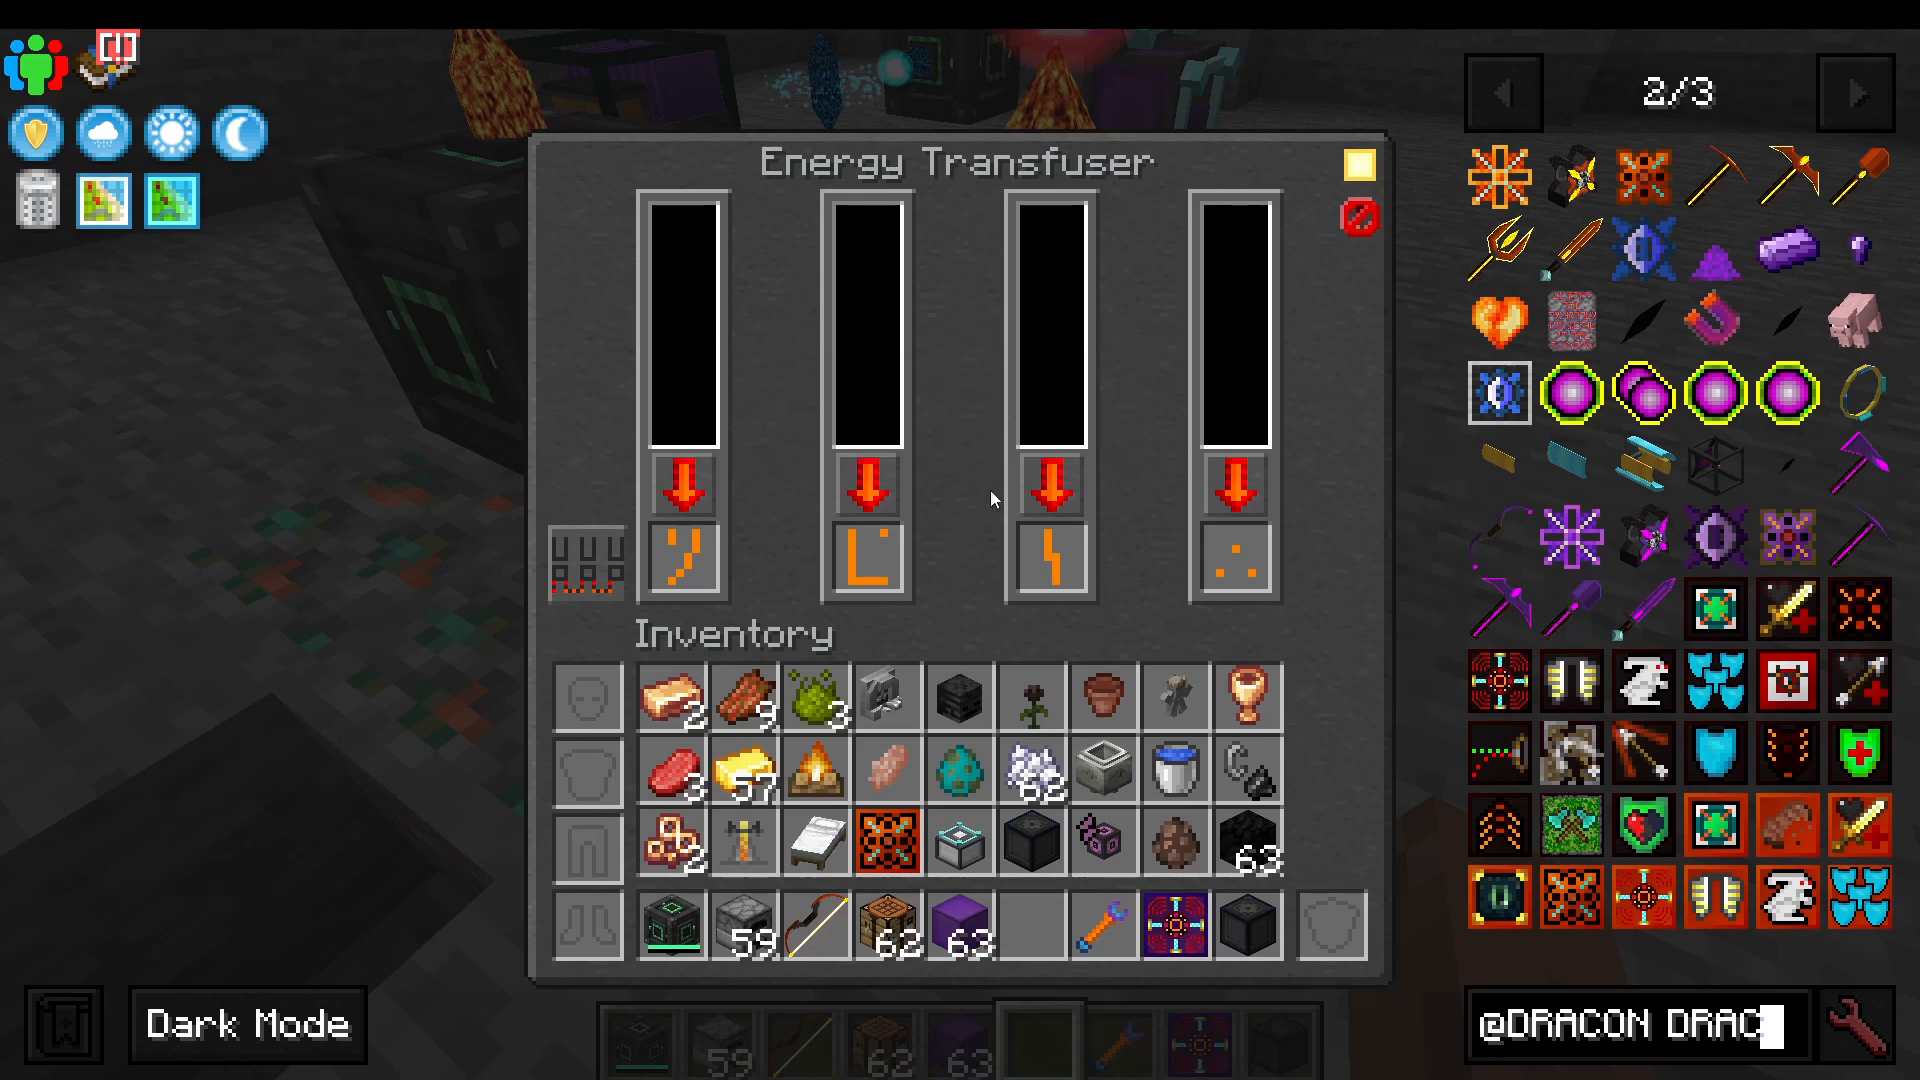
The transinfuser shows energy stored in each item and allows you to set charging priority between different slots. You can input power from different sides to direct energy to specific slots.
Defeating the Chaos Guardian
Finding the Chaos Guardian
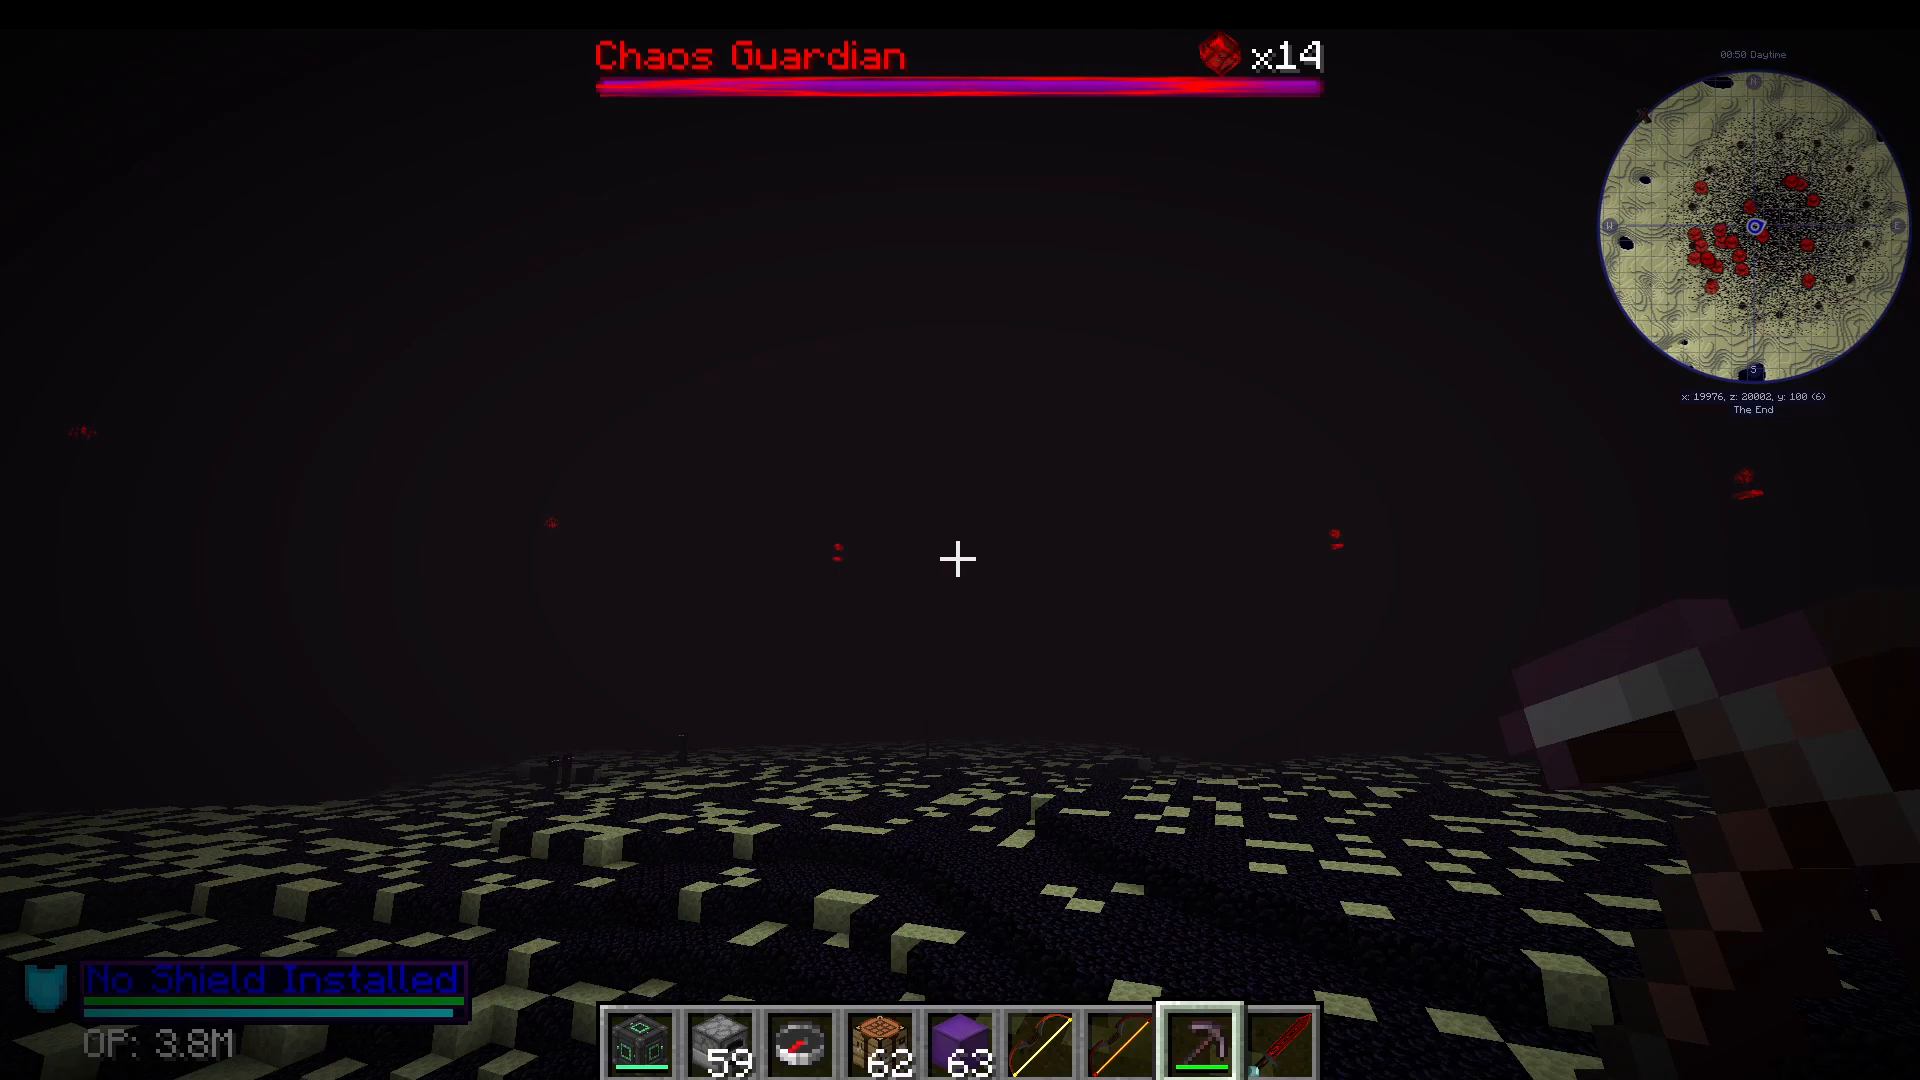
The chaos guardian spawns at specific coordinates: every 10,000 blocks along both the X and Z axes (10,000, 20,000, 30,000, 40,000, 50,000, etc.). The guardian appears on a large island at these intersection points.
Boss Fight Strategy
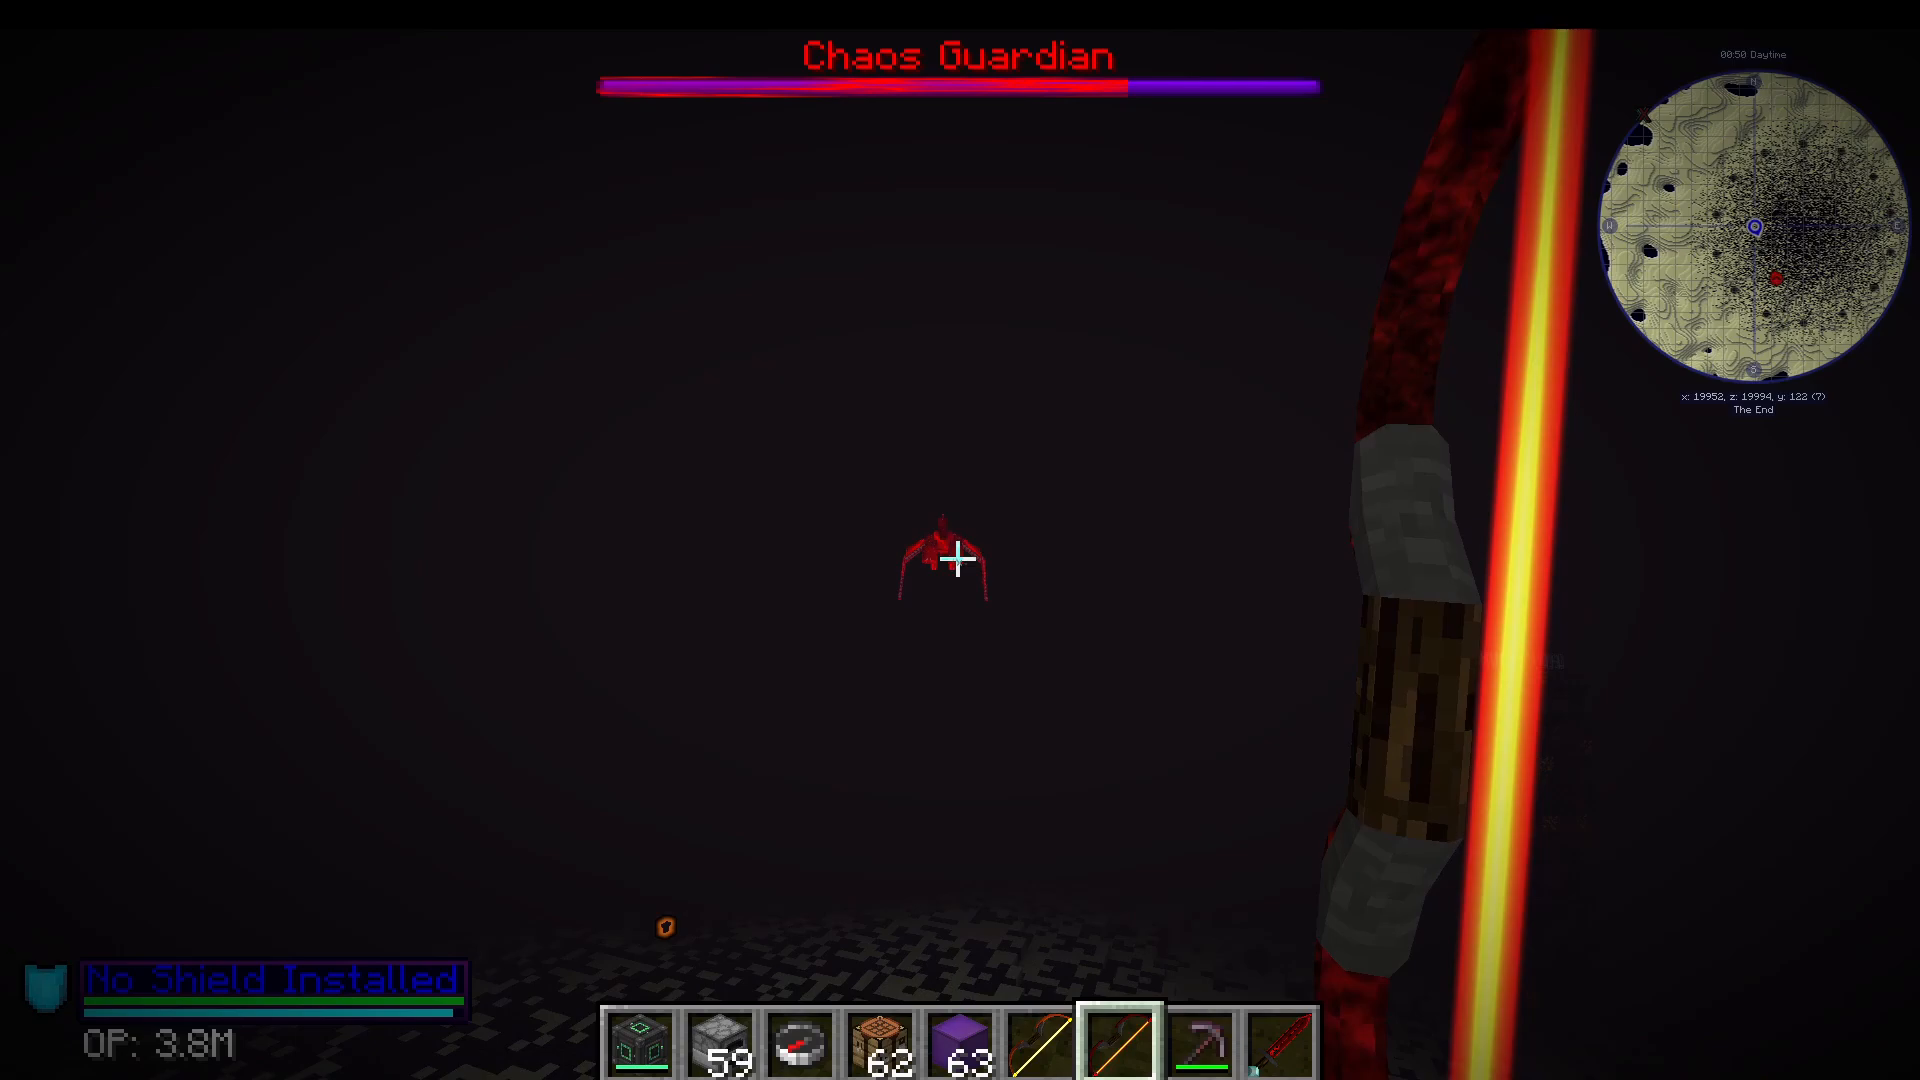
The chaos guardian is significantly more powerful than the end dragon. It shoots laser beams, throws fireballs, and can one-shot you even with top-tier draconic gear. Proper preparation is essential.
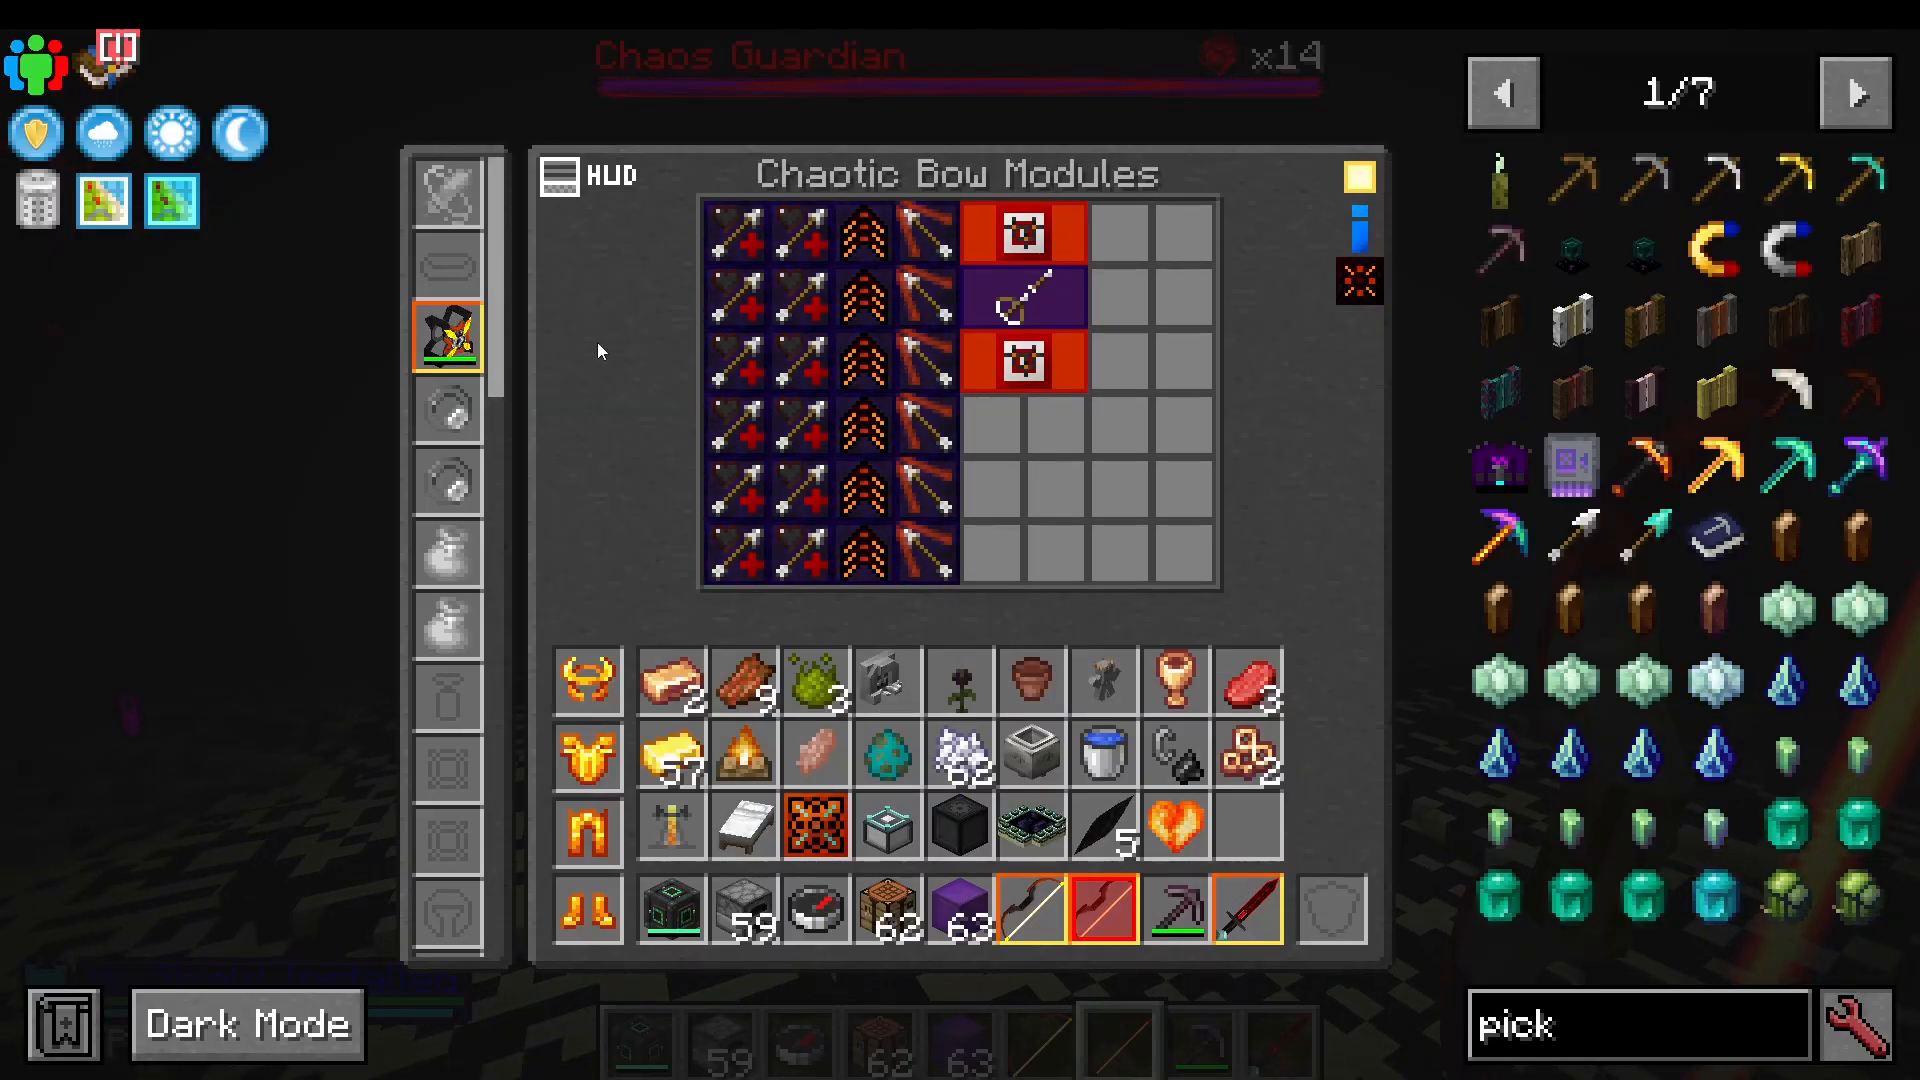
Recommended Gear Setup:
Multiple projectile damage modules for high output
Speed modules to draw arrows faster
Velocity modules for faster arrow flight
Accuracy modules to reduce inaccuracy
Auto fire module for continuous rapid fire
Optional: wireless energy module for power
With this setup, you can fire arrows extremely rapidly by holding right-click, making the fight far more manageable.
Crystal Destruction Phase
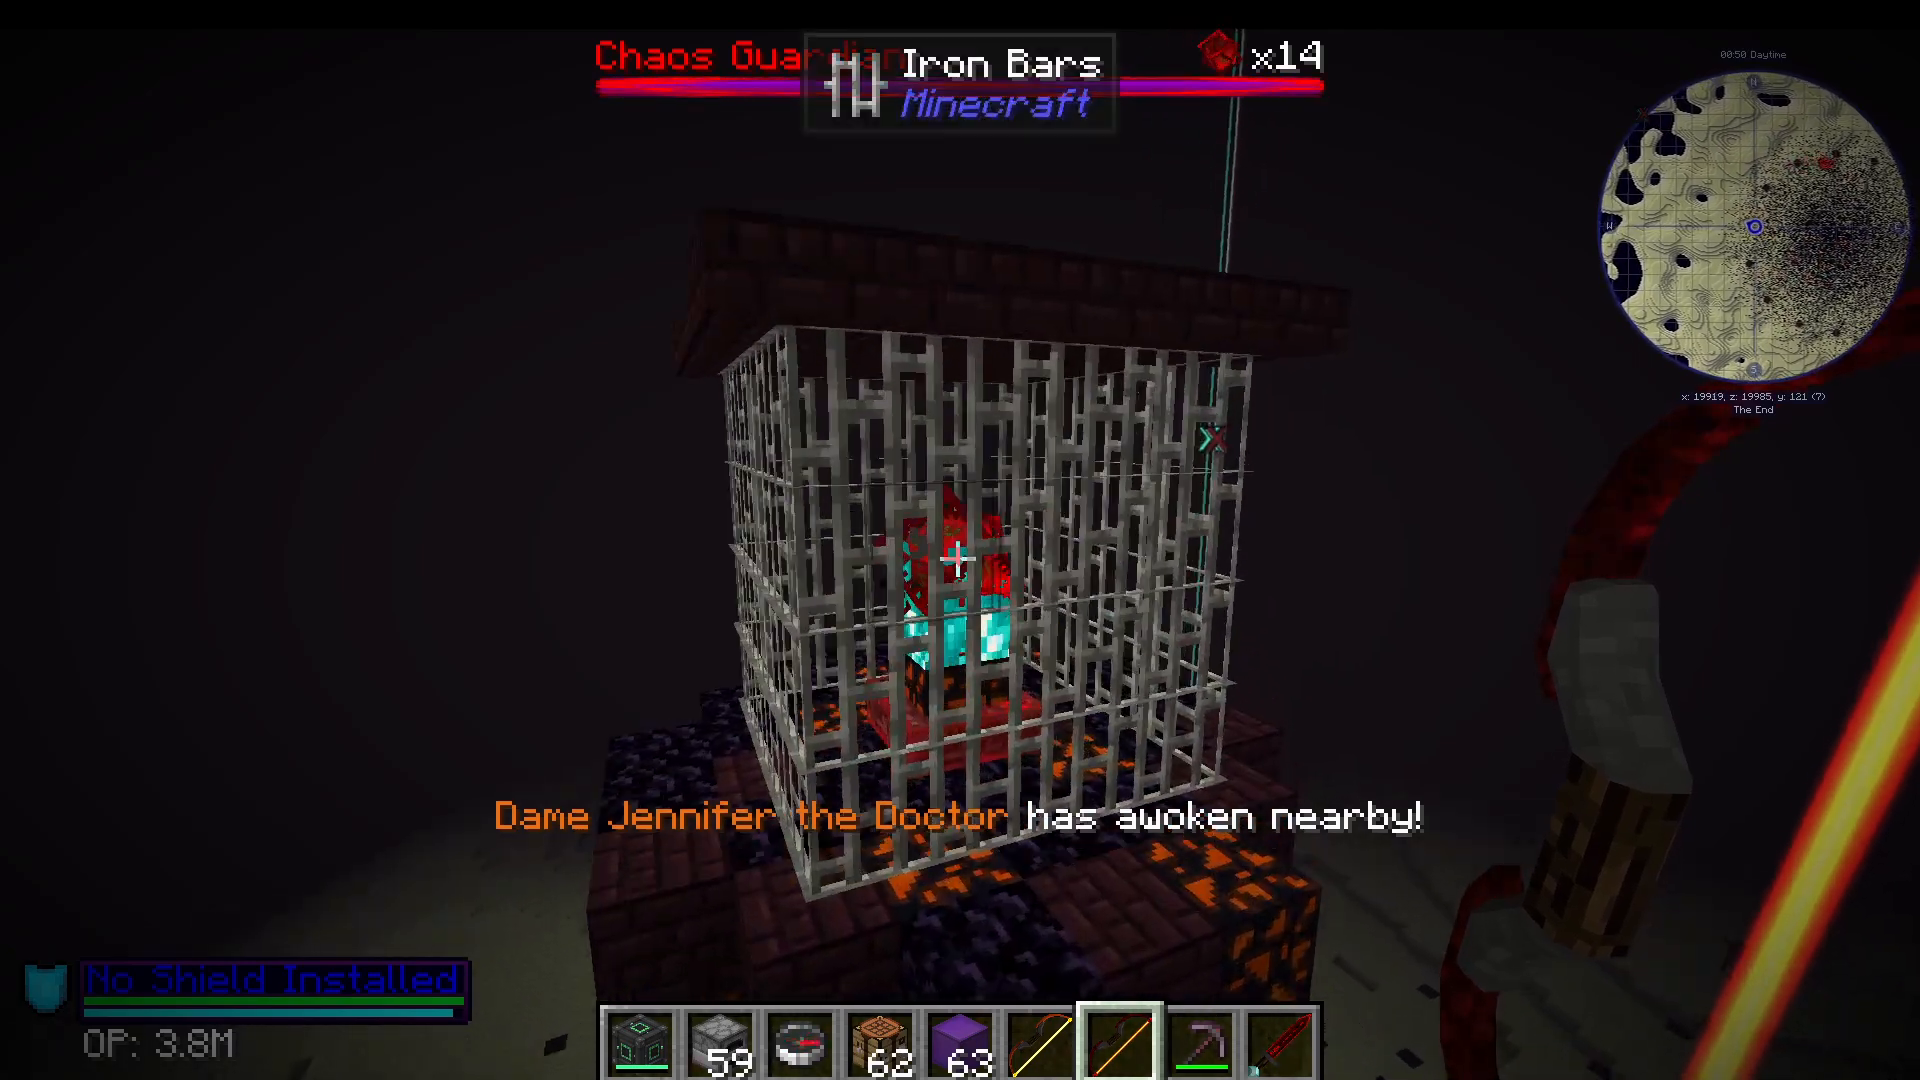
Before fighting the guardian, you must destroy the iron bar crystals scattered around the arena. These crystals allow the guardian to regenerate. Use explosions (TNT, fireballs) or melee attacks to break through the iron bars, then destroy the crystals behind them. Crystals make no sound and the guardian gains more visual effects as crystals are destroyed.
Battle Phases
The fight has two phases: the shield phase (first bar) and the health phase (orange bar). With a properly equipped draconic bow, you can bring down shields quickly.
Post-Victory Rewards
When you defeat the chaos guardian, it drops a dragon heart (like the end dragon) and creates a crater with lightning strikes. The lightning indicates the location of a chaos crystal chamber deep underground.
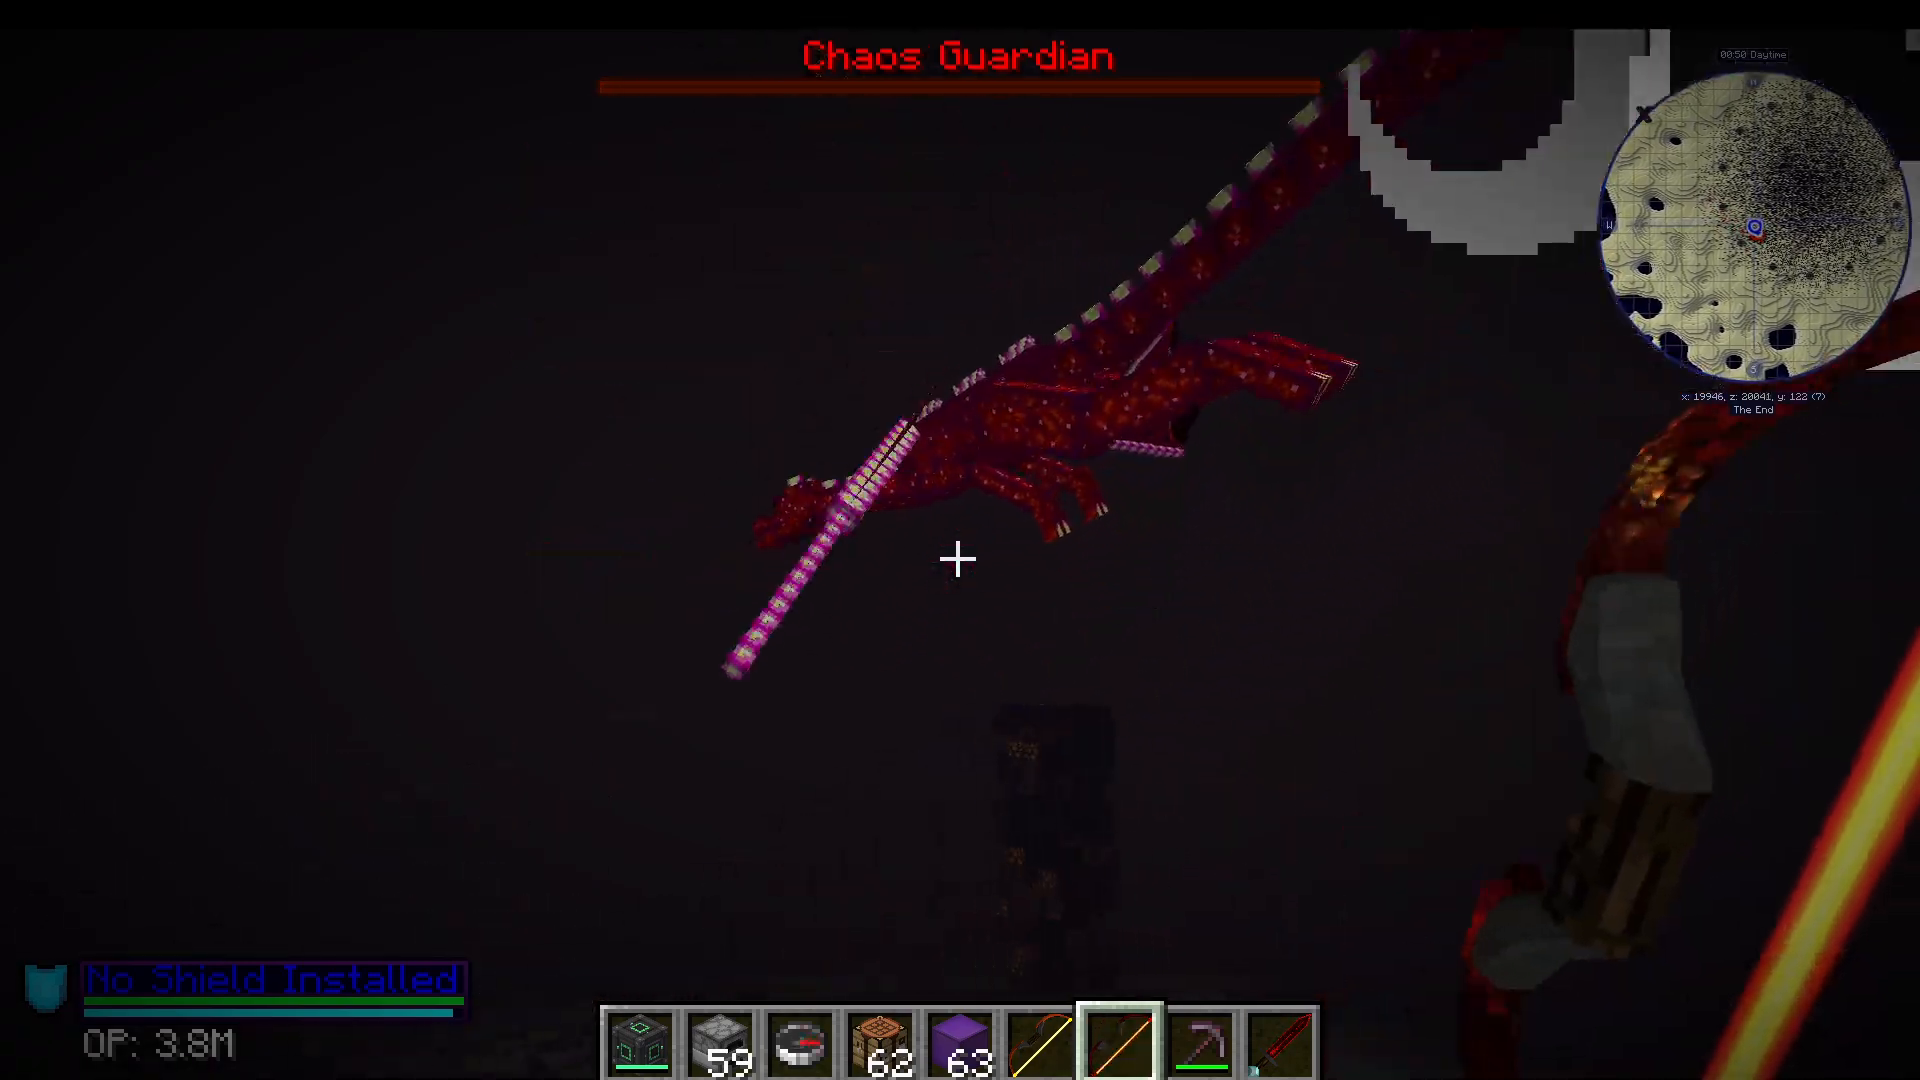
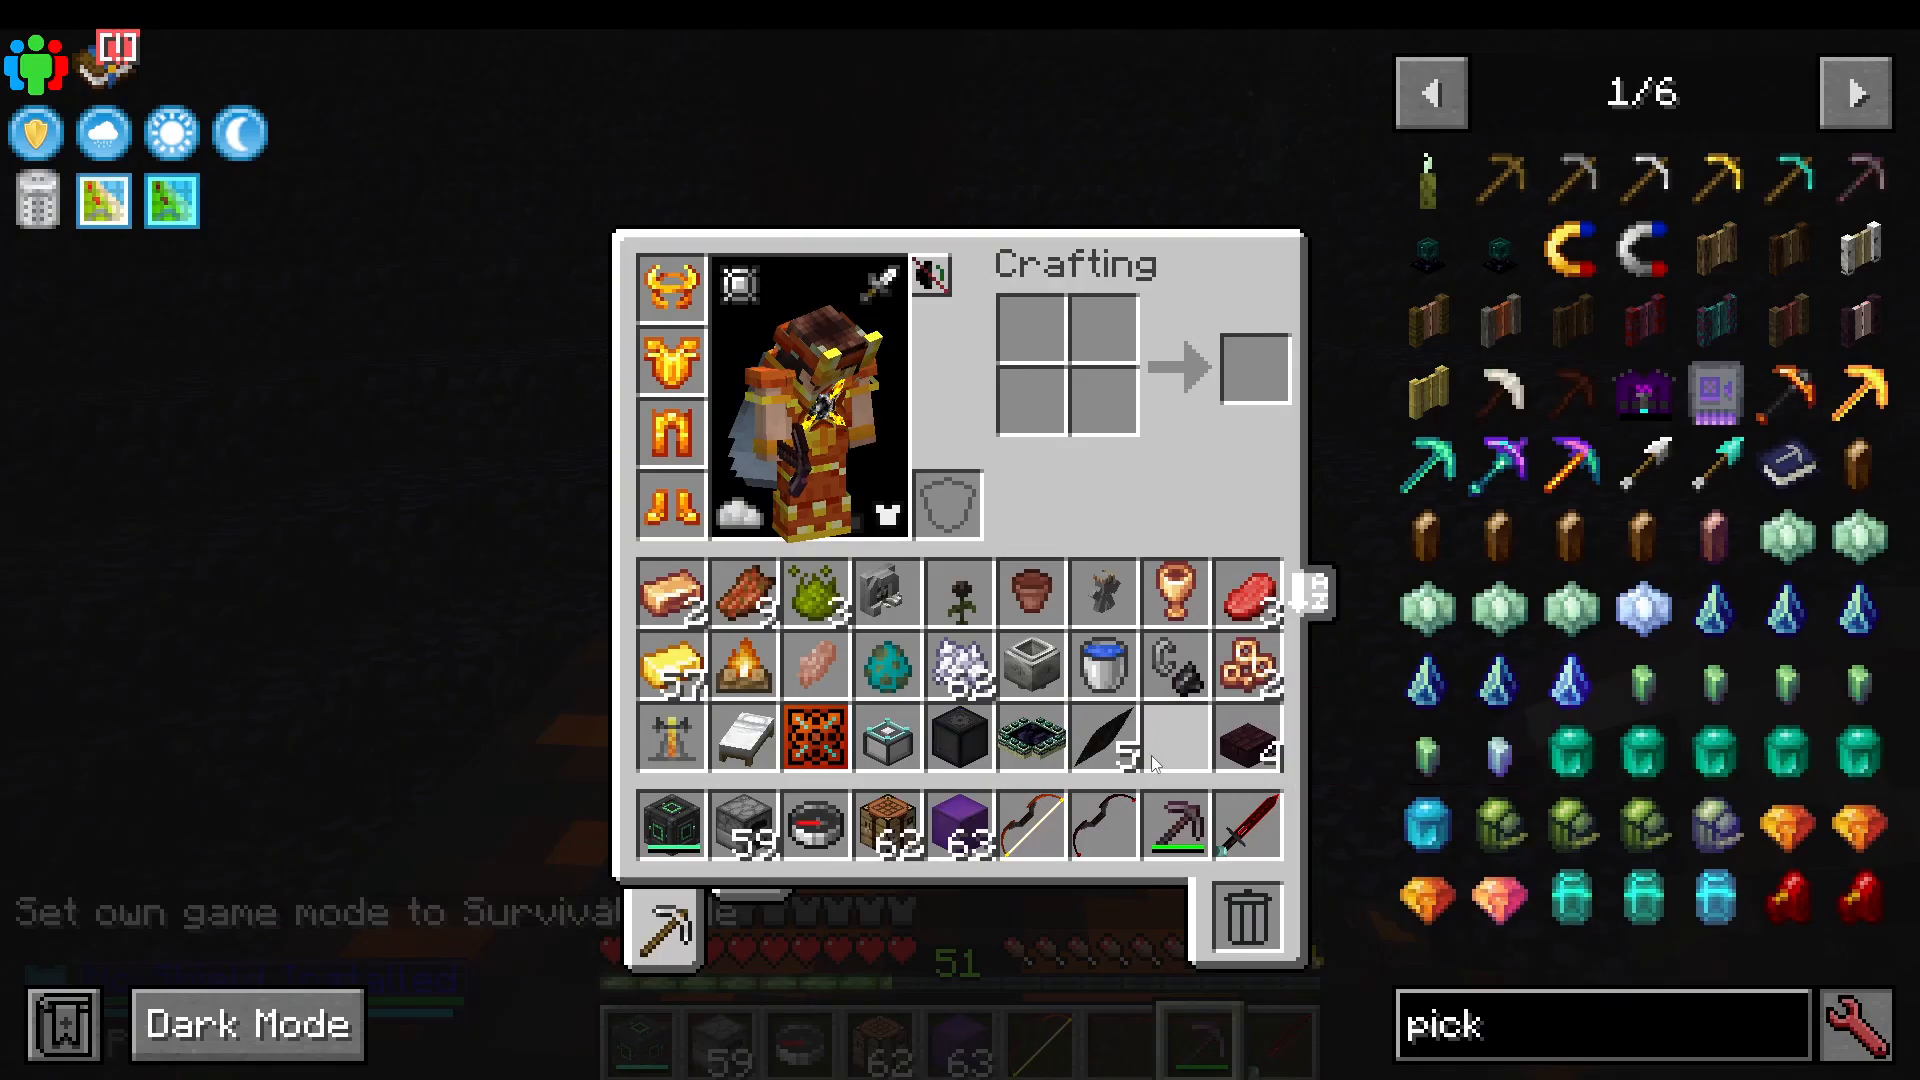
Mine down to the lightning strike location and dig through the draconium-infused obsidian to find the chaos crystal. Use a netherite pickaxe or draconic pickaxe (mining takes a very long time). The chaos crystal yields five chaos shards.
Crafting Progression with Chaos Materials:
5 Chaos Shards → 9 Large Chaos Fragments
1 Large Chaos Fragment → 9 Small Chaos Fragments
Chaos materials used for chaotic tier crafting and tool upgrades
You can only get five chaos shards per guardian defeat. To get more, you must travel to different chaos guardian islands (20,000 X, 30,000 X, etc.). On servers, admins often reset the End dimension to allow players to revisit the 10,000 X coordinate.
Setting Up a Draconic Reactor
Critical Safety Warning
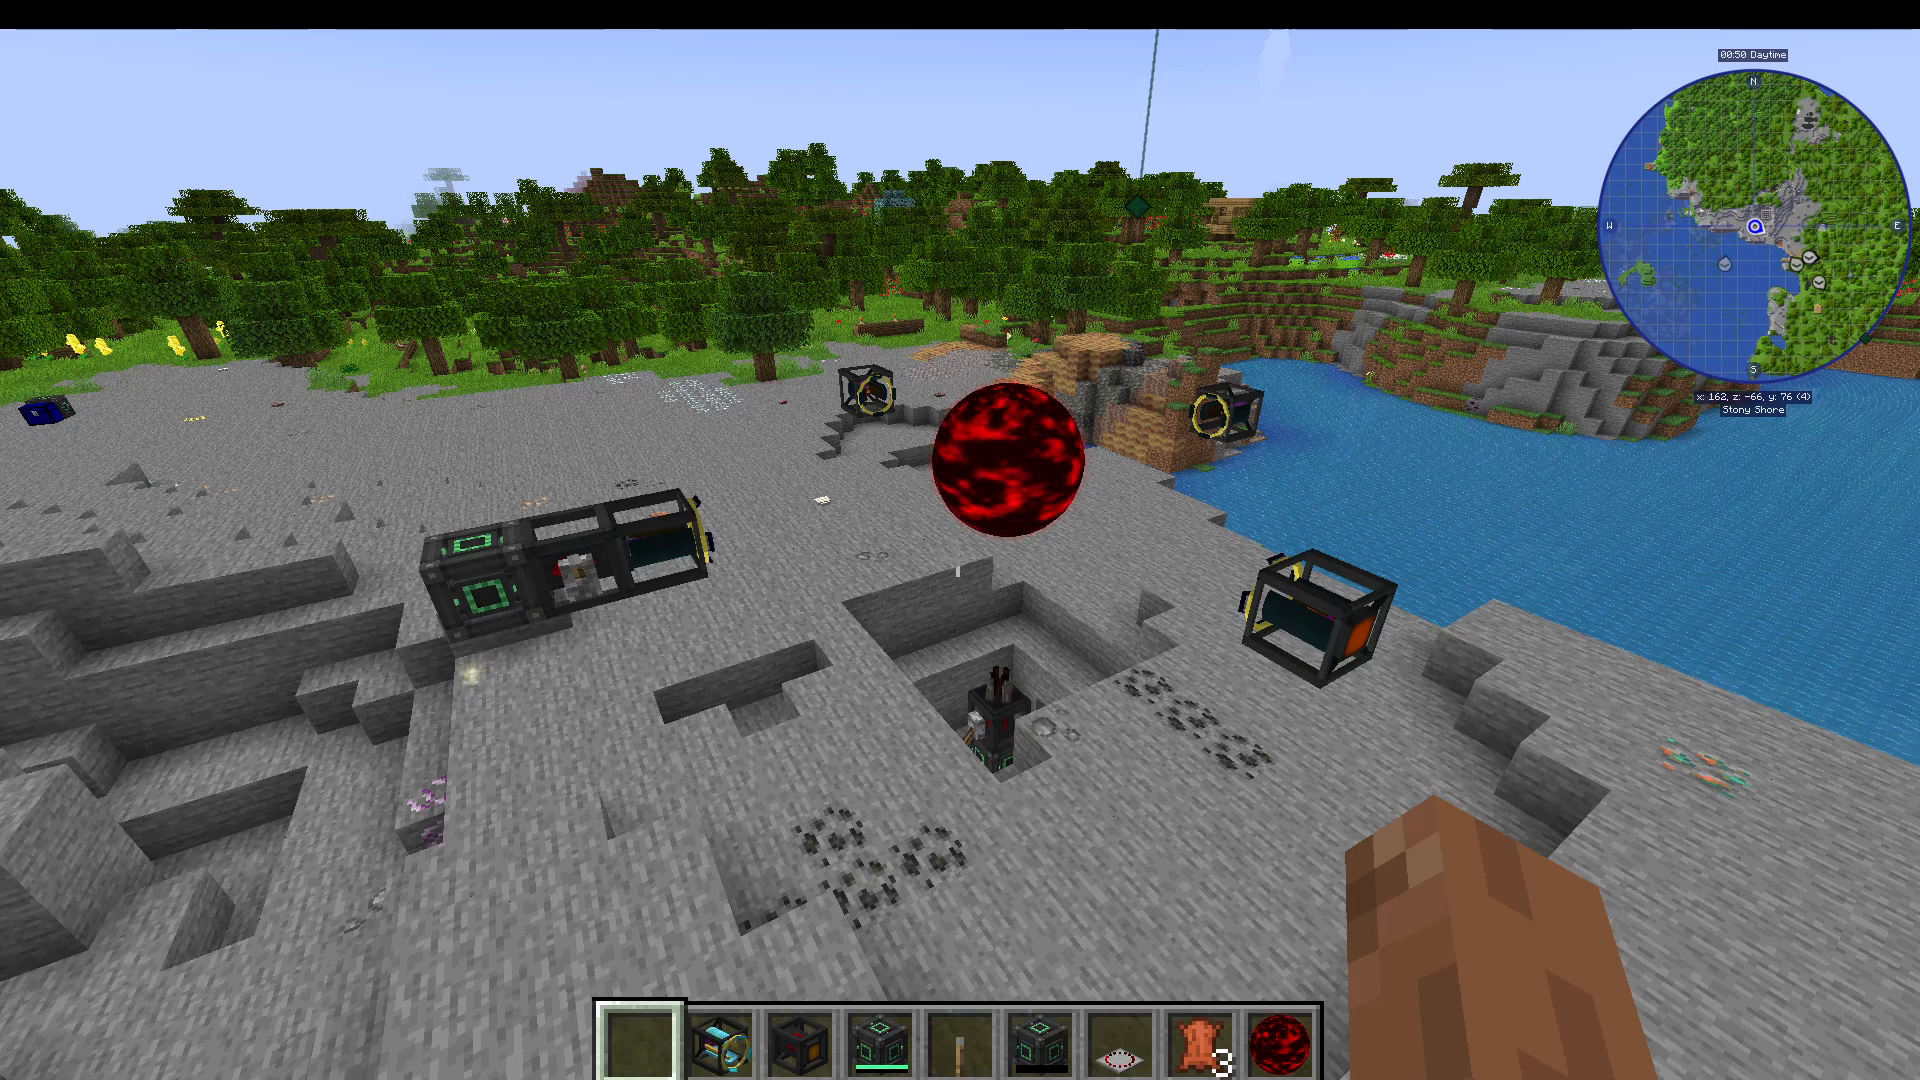
A meltdown in a draconic reactor will vaporize absolutely everything in a 300-block radius. There is no way to contain this explosion. Before setting up a reactor, place it in a separate dimension, a compact machine, the nether, or the end—anywhere away from your base. Always make backups.
Required Components
To build a draconic reactor you need:
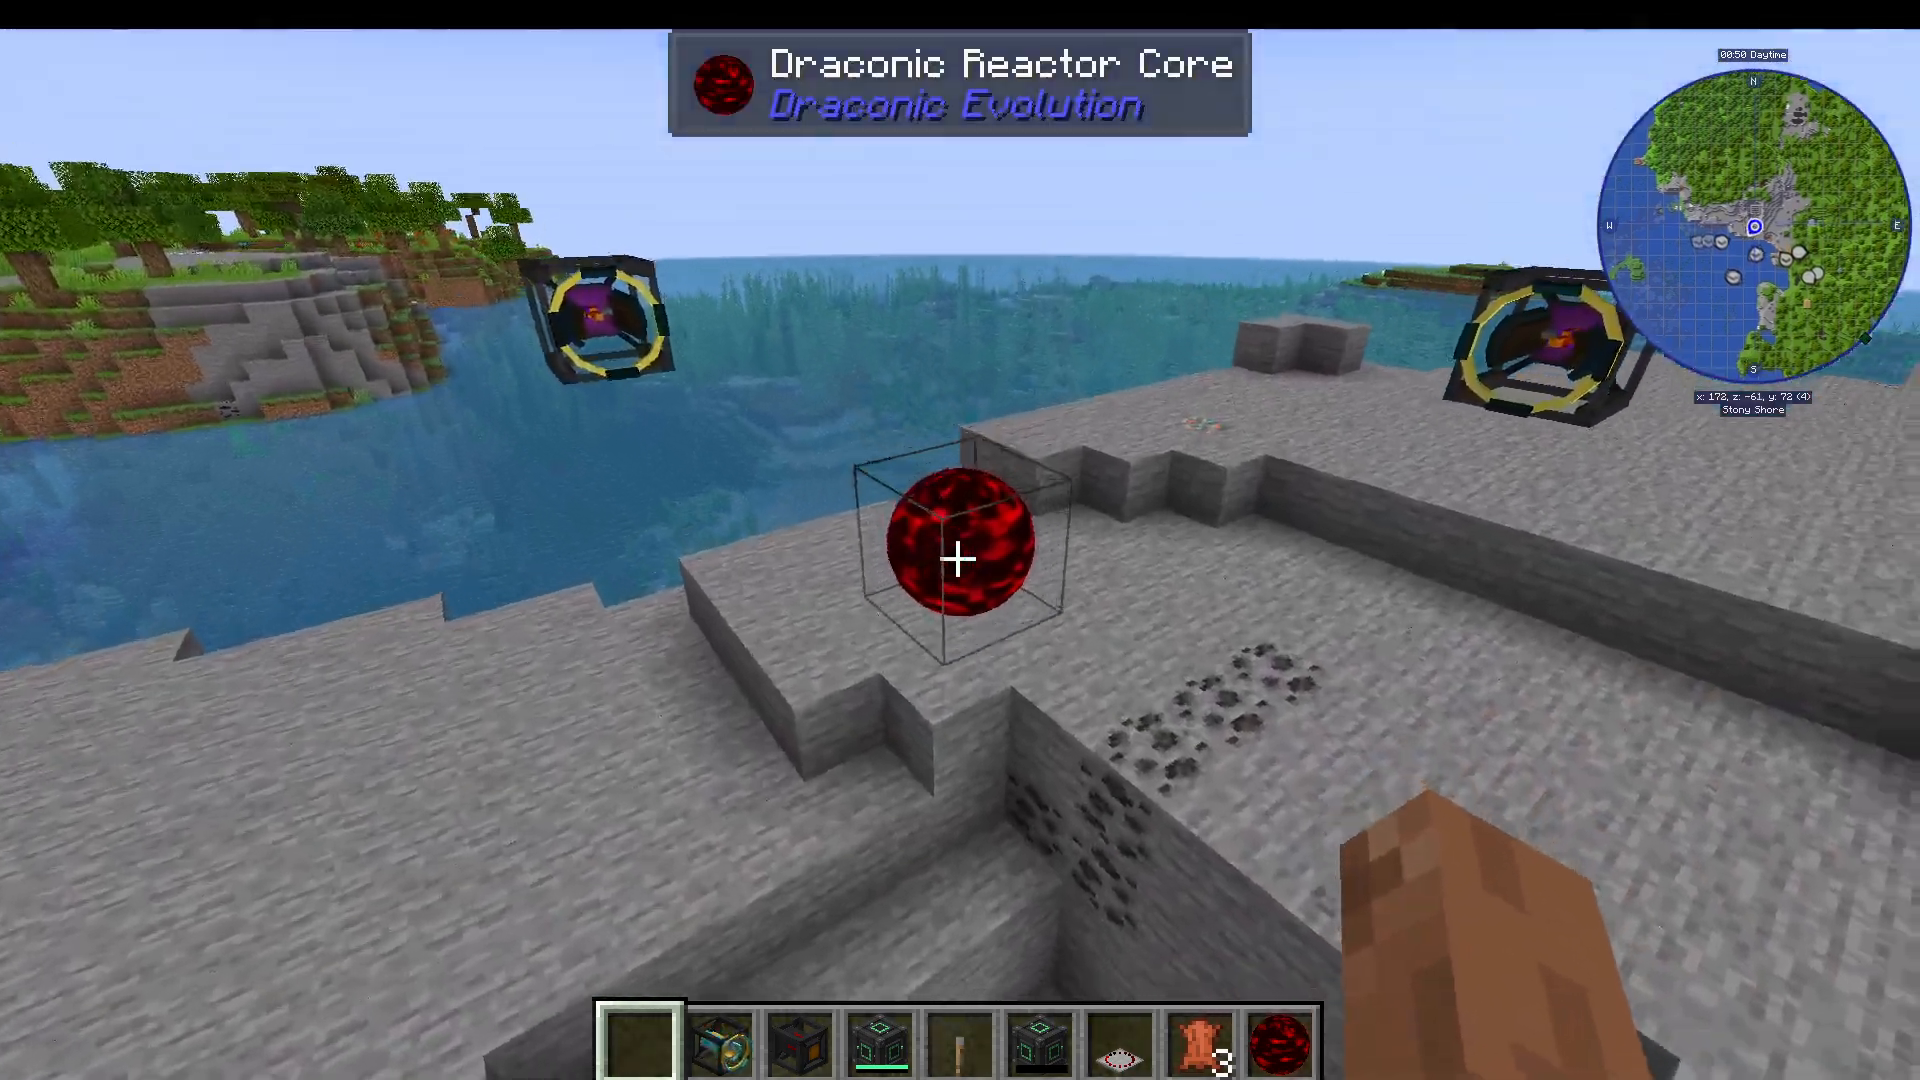
1 Draconic Reactor Core
4 Reactor Stabilizers
2 Flux Gates
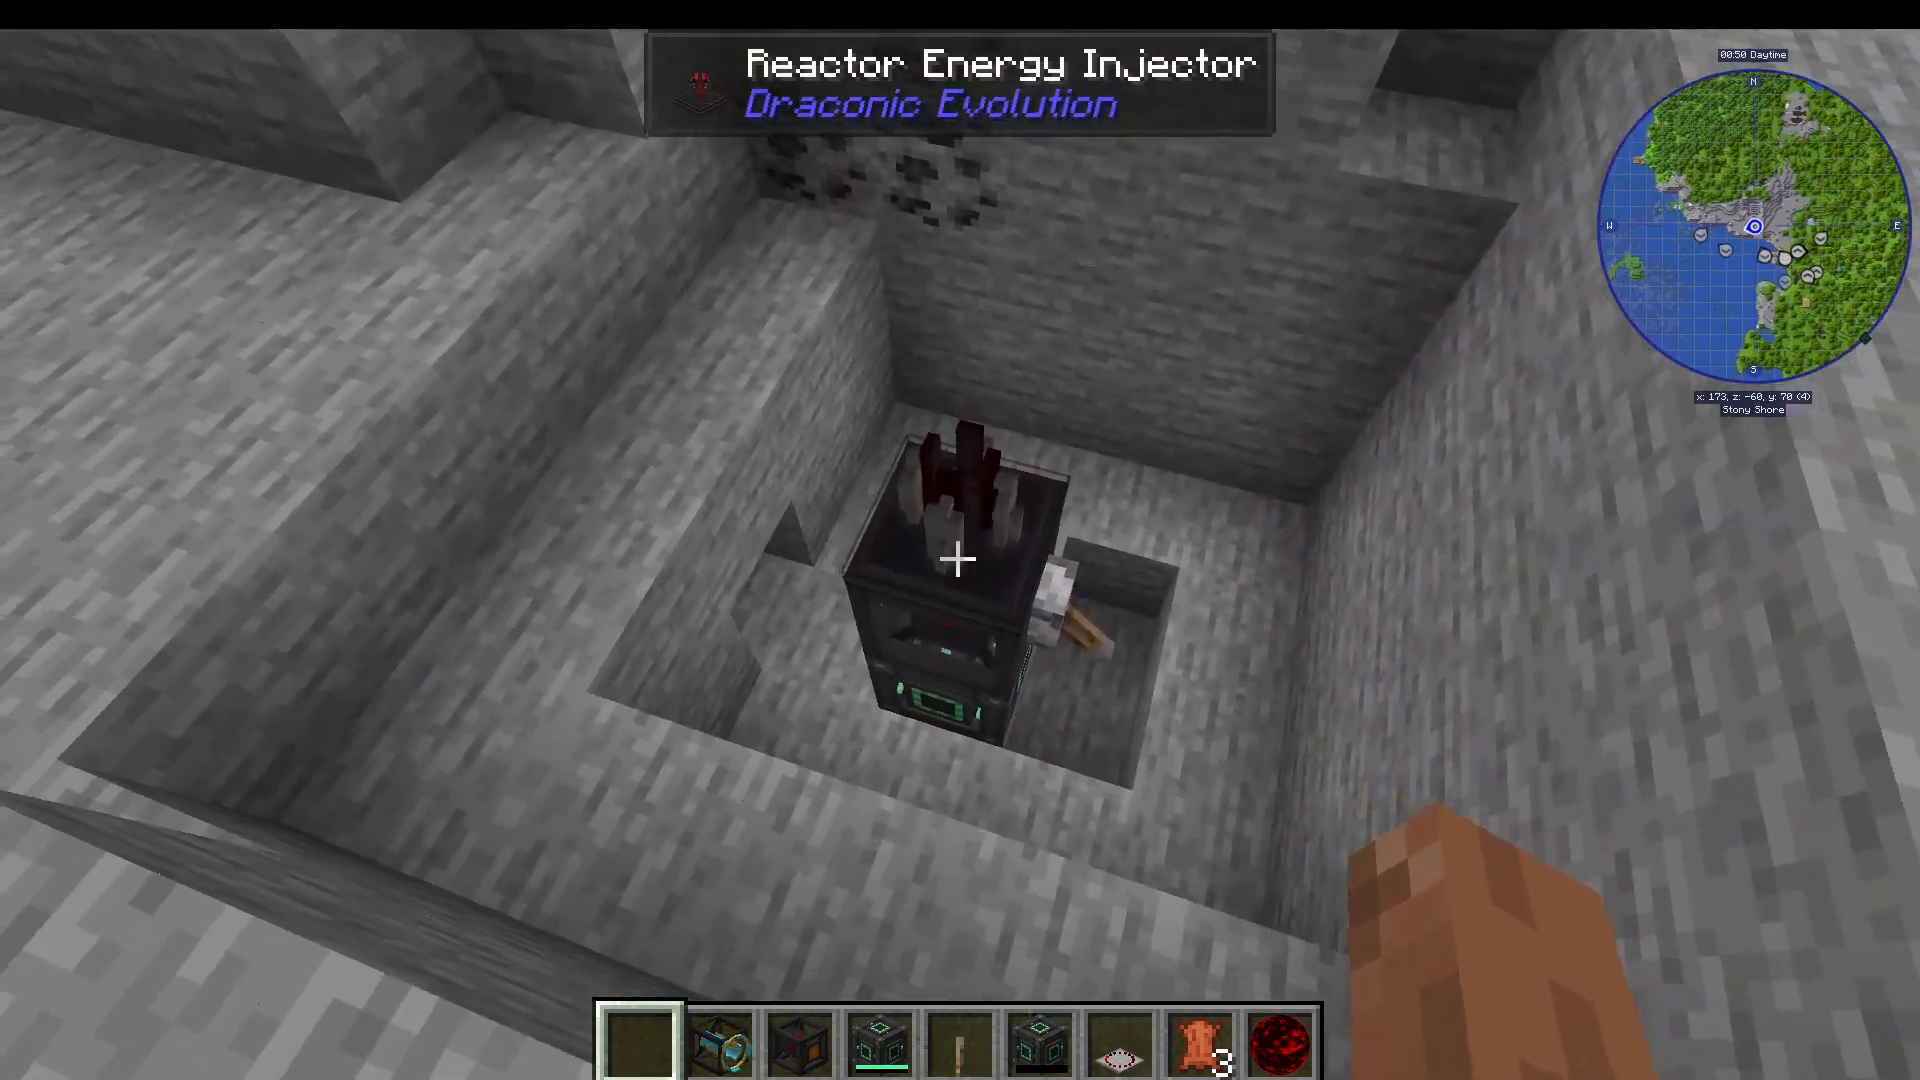
1 Reactor Energy Injector
Optional: Levers for redstone control
Physical Setup
Place the reactor core in the center with stabilizers 5-8 blocks away (8 blocks is recommended to allow for core expansion). The core can be placed on different axes from the injectors and flux gates. Ensure all components align on the same X, Y, or Z axis as the core for proper connection.
📸 [ASSISTANT: TAKE SCREENSHOT AT SCREENSHOT AT TIMESTAMP 30:34]
When properly set up, right-clicking the reactor stabilizer will show “Status: Online” confirming valid construction.
Power Input and Output Configuration
Use flux gates to control energy flow. The injector receives energy (shown with input direction), and flux gates can be configured for input or output. Set up redstone controls on flux gates to regulate flow rates based on redstone signal strength.
You can specify flow rates for high and low redstone signals (in RF per tick). Use levers or redstone signals to toggle between these rates.
Core Mechanics Explained
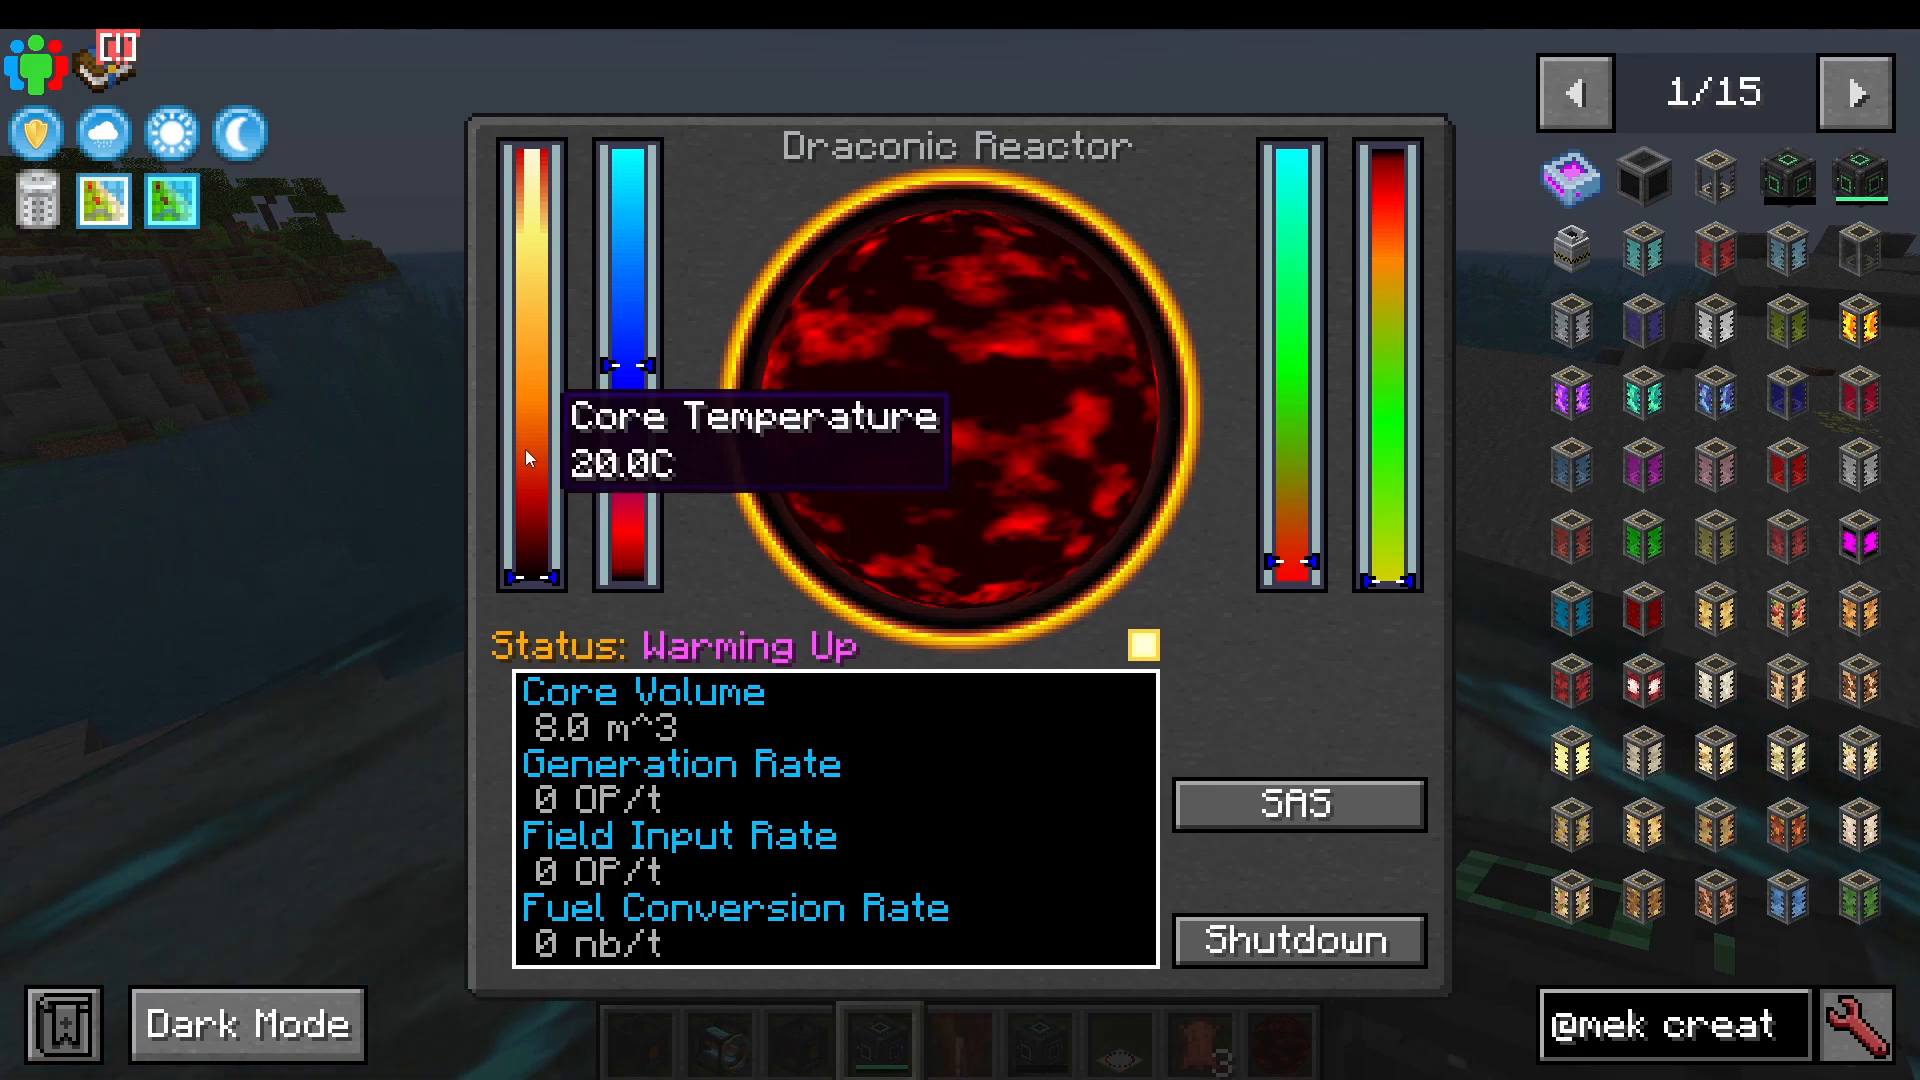
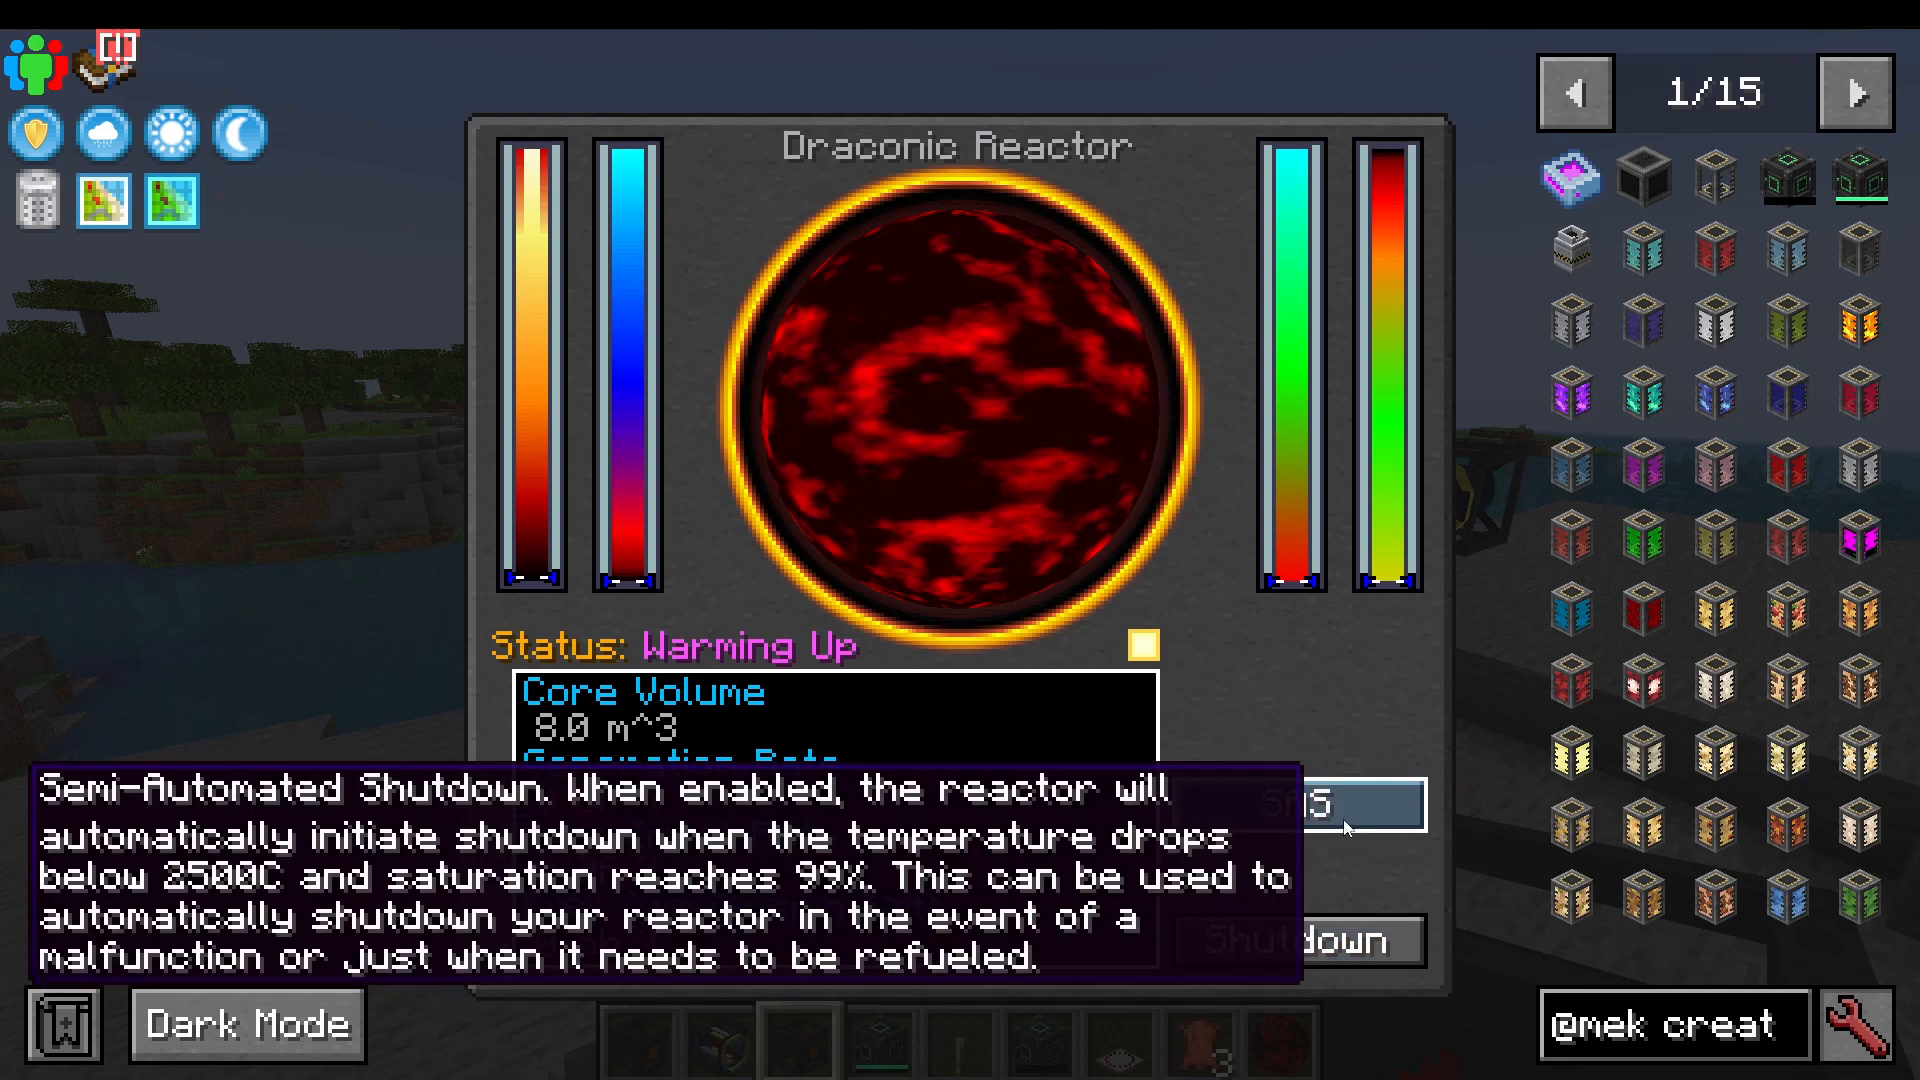
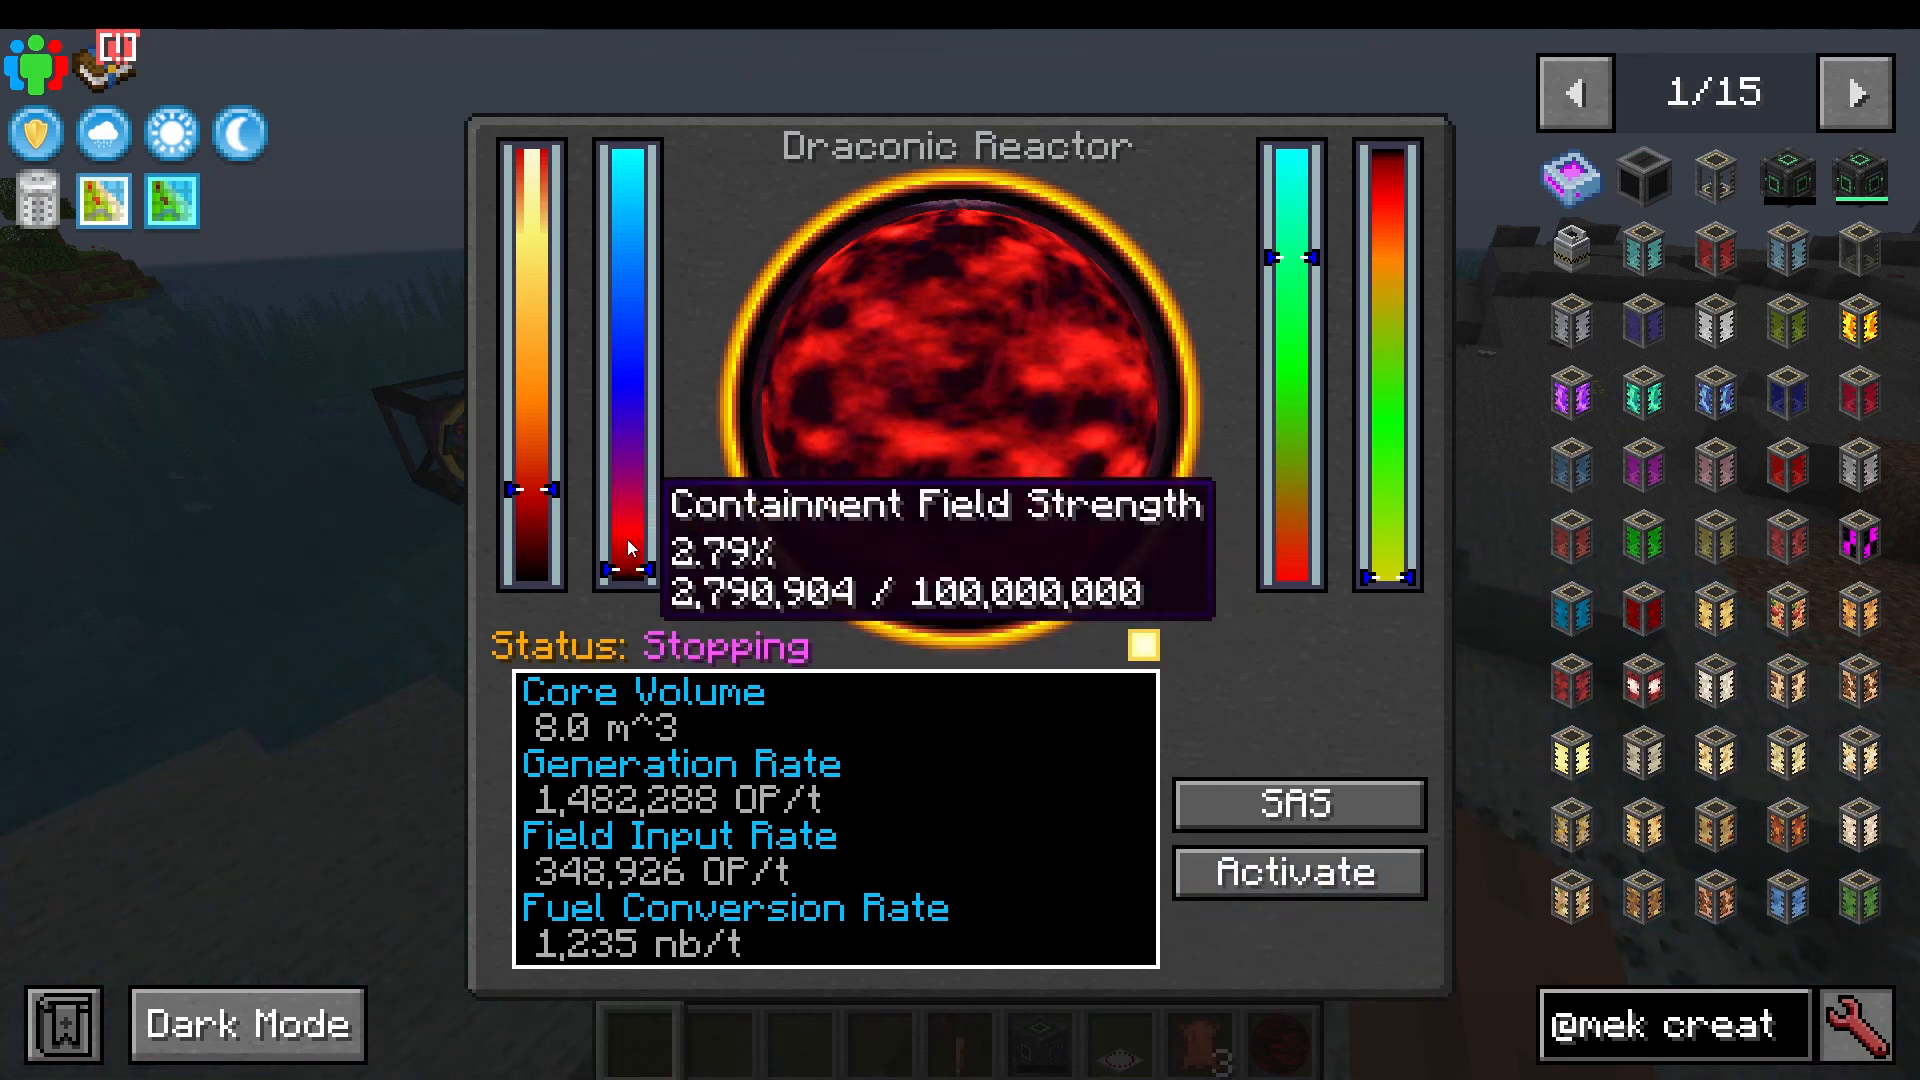
Core Temperature: The internal heat of the reactor. Starts at 0, needs to reach approximately 2,000 degrees for startup. Higher temperatures increase power generation but also danger.
Containment Field Strength: Represents the stability of the magnetic containment. Must stay above 0% or meltdown occurs. Target 50% during initial charge.
Energy Saturation: The amount of energy stored within the core. The reactor converts input energy to higher power output. Target 50% during charge.
Fuel Conversion Rate: How much awakened draconium is consumed per tick. A perfectly stabilized reactor burns very little fuel.
Generation Rate: The power output being generated. Lower saturation equals higher generation rate as the reactor tries to refill its saturation.
Safe Startup Procedure
Follow this step-by-step process:
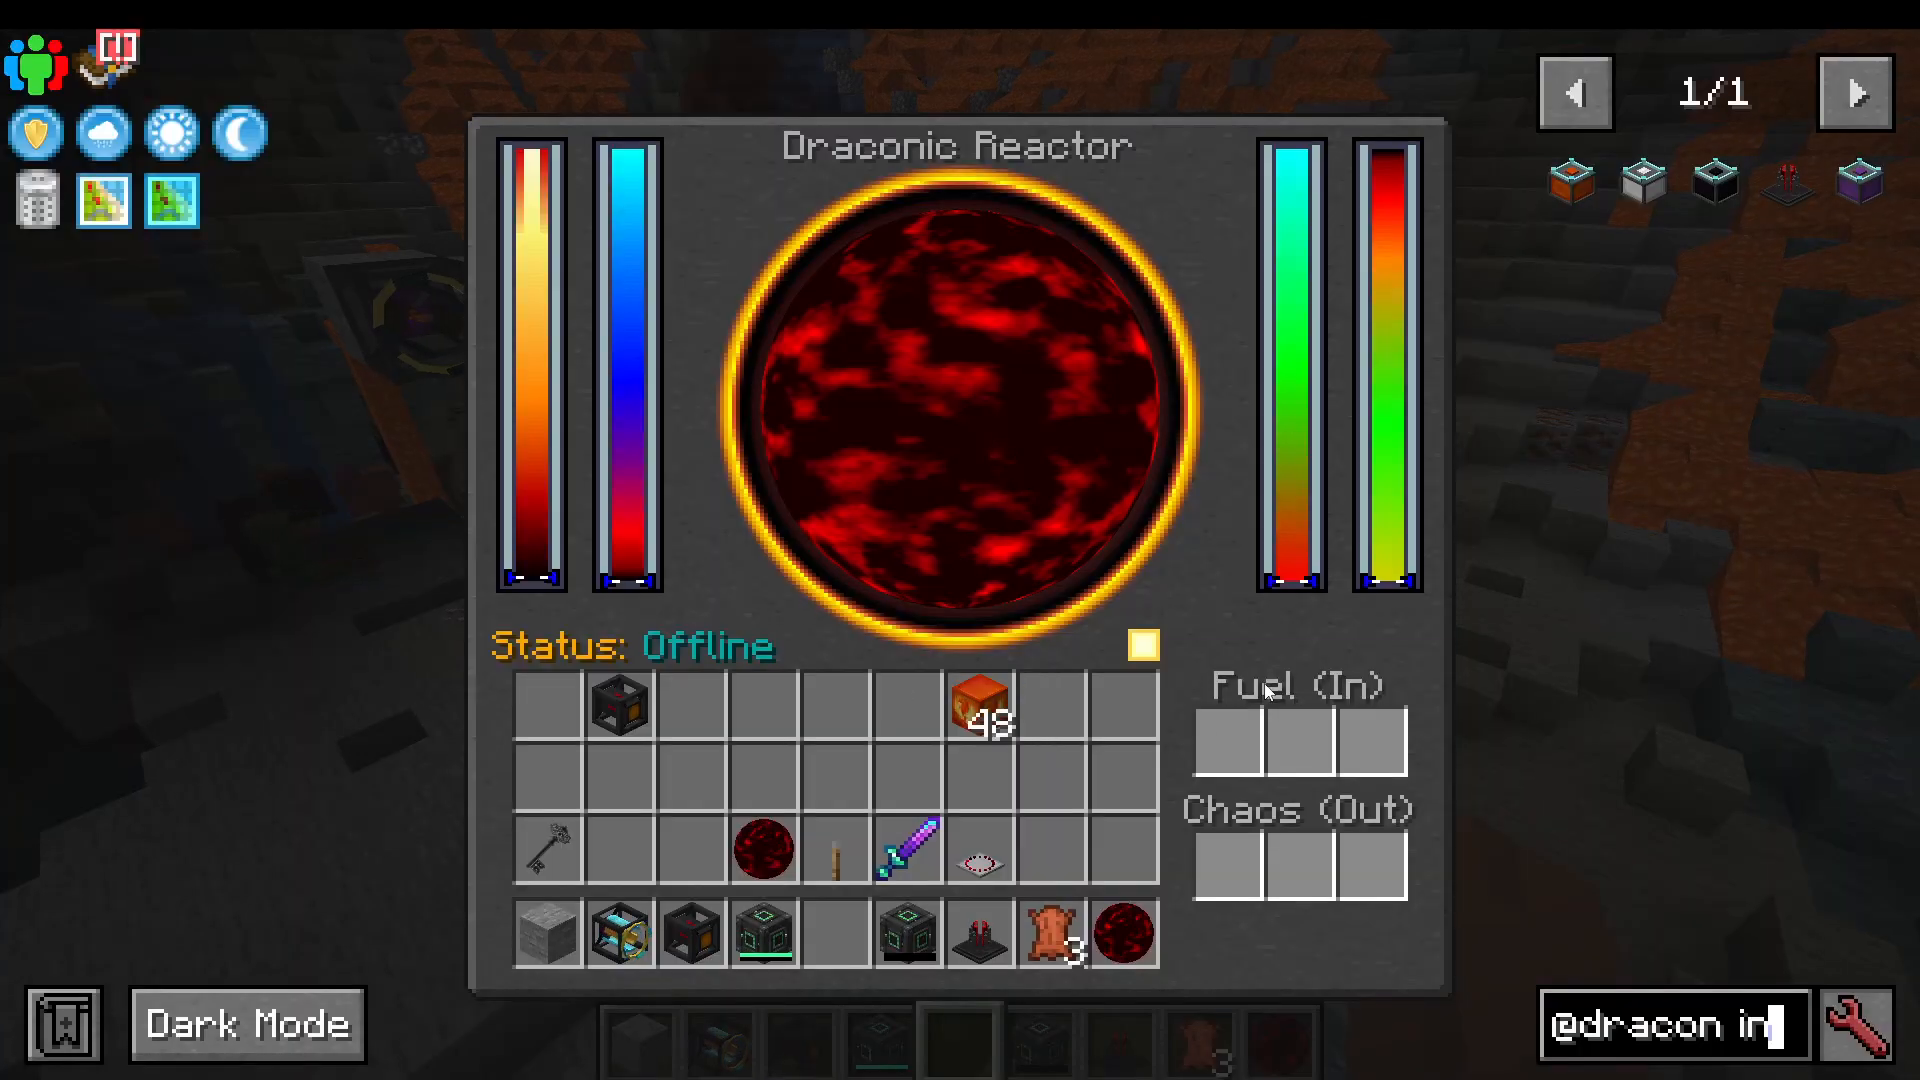
Insert eight blocks of awakened draconium into the fuel slot
Set input flux gate to 1.2 million RF/tick (high redstone signal)
Set output flux gate to 2.5 million RF/tick (high redstone signal)
Keep both levers OFF (low redstone)
Press the Charge button
Allow containment field strength to reach 50%
Allow energy saturation to reach 50%
Allow core temperature to reach 2,000 degrees
Press Activate to start the reactor
Wait for stabilization (containment field and saturation will fluctuate then stabilize)
Once stable, toggle the output lever ON to begin power generation
Once running, you can incrementally increase input and output rates in small increments, waiting for stabilization between each adjustment. This allows scaling up to approximately 8 million RF/tick output safely.
Meltdown Demonstration
If the containment field reaches 0%, emergency shields briefly activate before a catastrophic explosion occurs. The explosion creates a massive crater and vaporizes terrain in a 300-block radius, leaving behind devastated landscape.
Energy Storage with the Draconic Energy Core
Energy Core Tiers
The draconic energy core system stores massive amounts of energy. Cores range from tier 1 (45 mega RF capacity) to tier 8 (effectively infinite storage). Each tier requires increasingly complex multi-block structures.
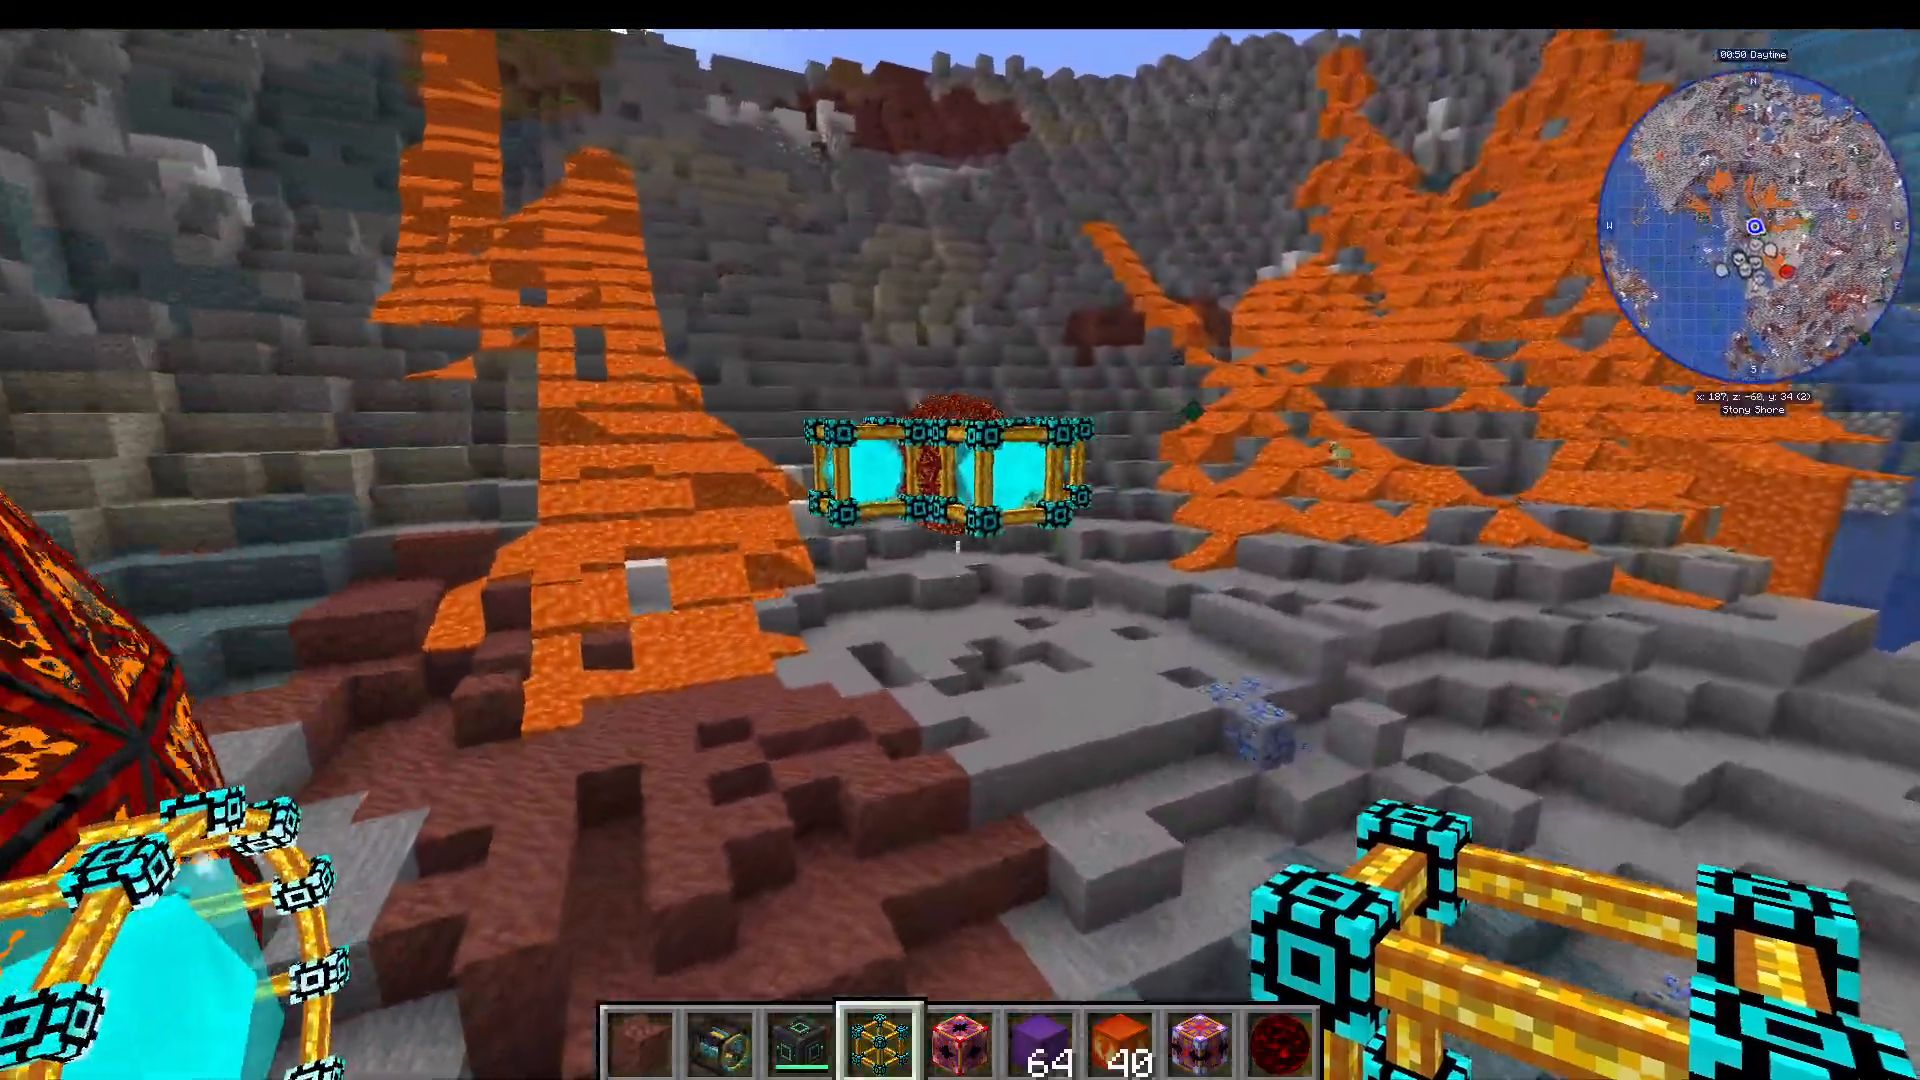
Tier Specifications:
Tier 1: Core + 4 energy core stabilizers (one on each side)
Tier 2: Core surrounded by draconium blocks with stabilizers
Tier 3: 26-block draconium cube with stabilizers
Tier 4: Redstone cube with surrounding draconium layer
Tier 5+: Uses circular stabilizer arrangement (9 in ring, 1 center)
Tier 8: Most complex configuration with maximum capacity
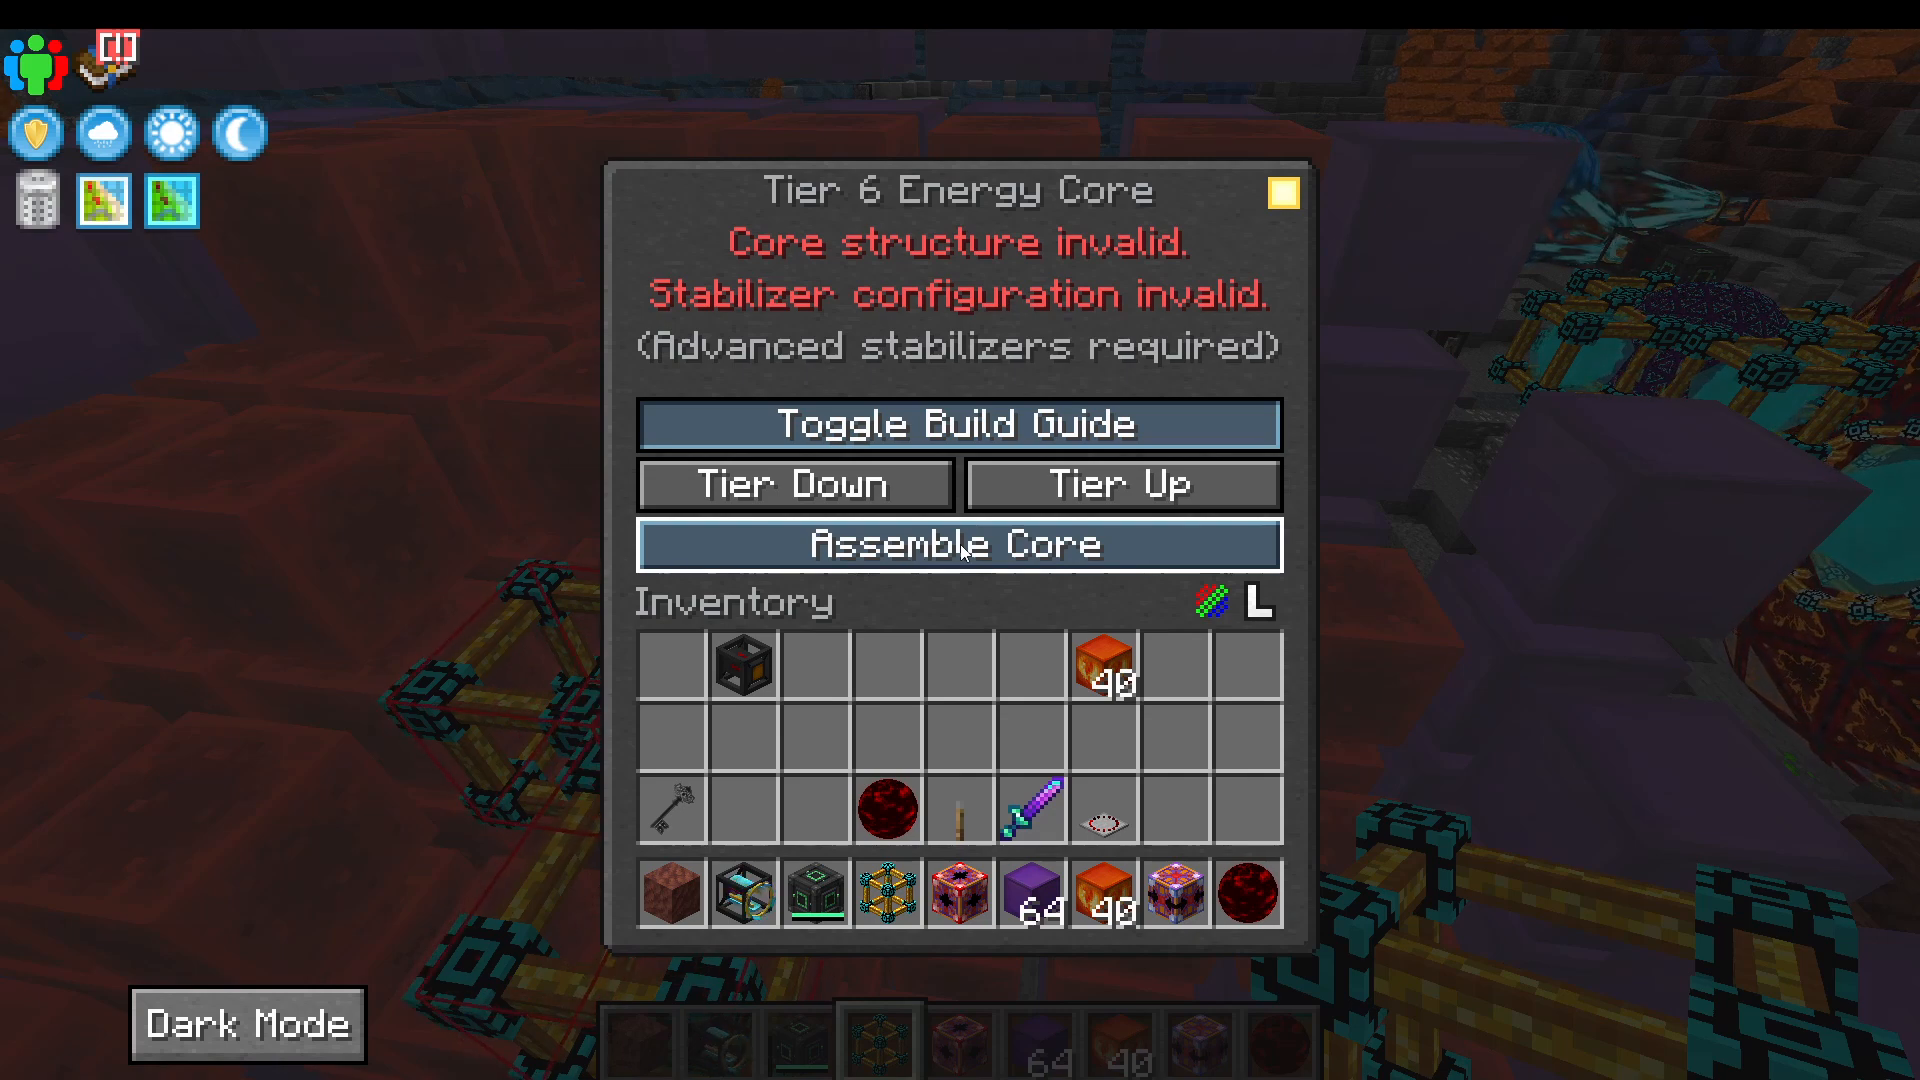
Build Guide Feature
Right-click any completed core and toggle “Build Guide” to see exactly where components must be placed. Once properly configured, press “Assemble Core” (in creative) or build manually to complete the structure.
Energy Input/Output with Pylons
Place energy pylons around the core structure and surround them with glass blocks. The pylon will show a purple beam connecting to the nearest energy core. Right-click the orb on the pylon to toggle between input mode (receiving energy into the core) and output mode (extracting energy from the core).
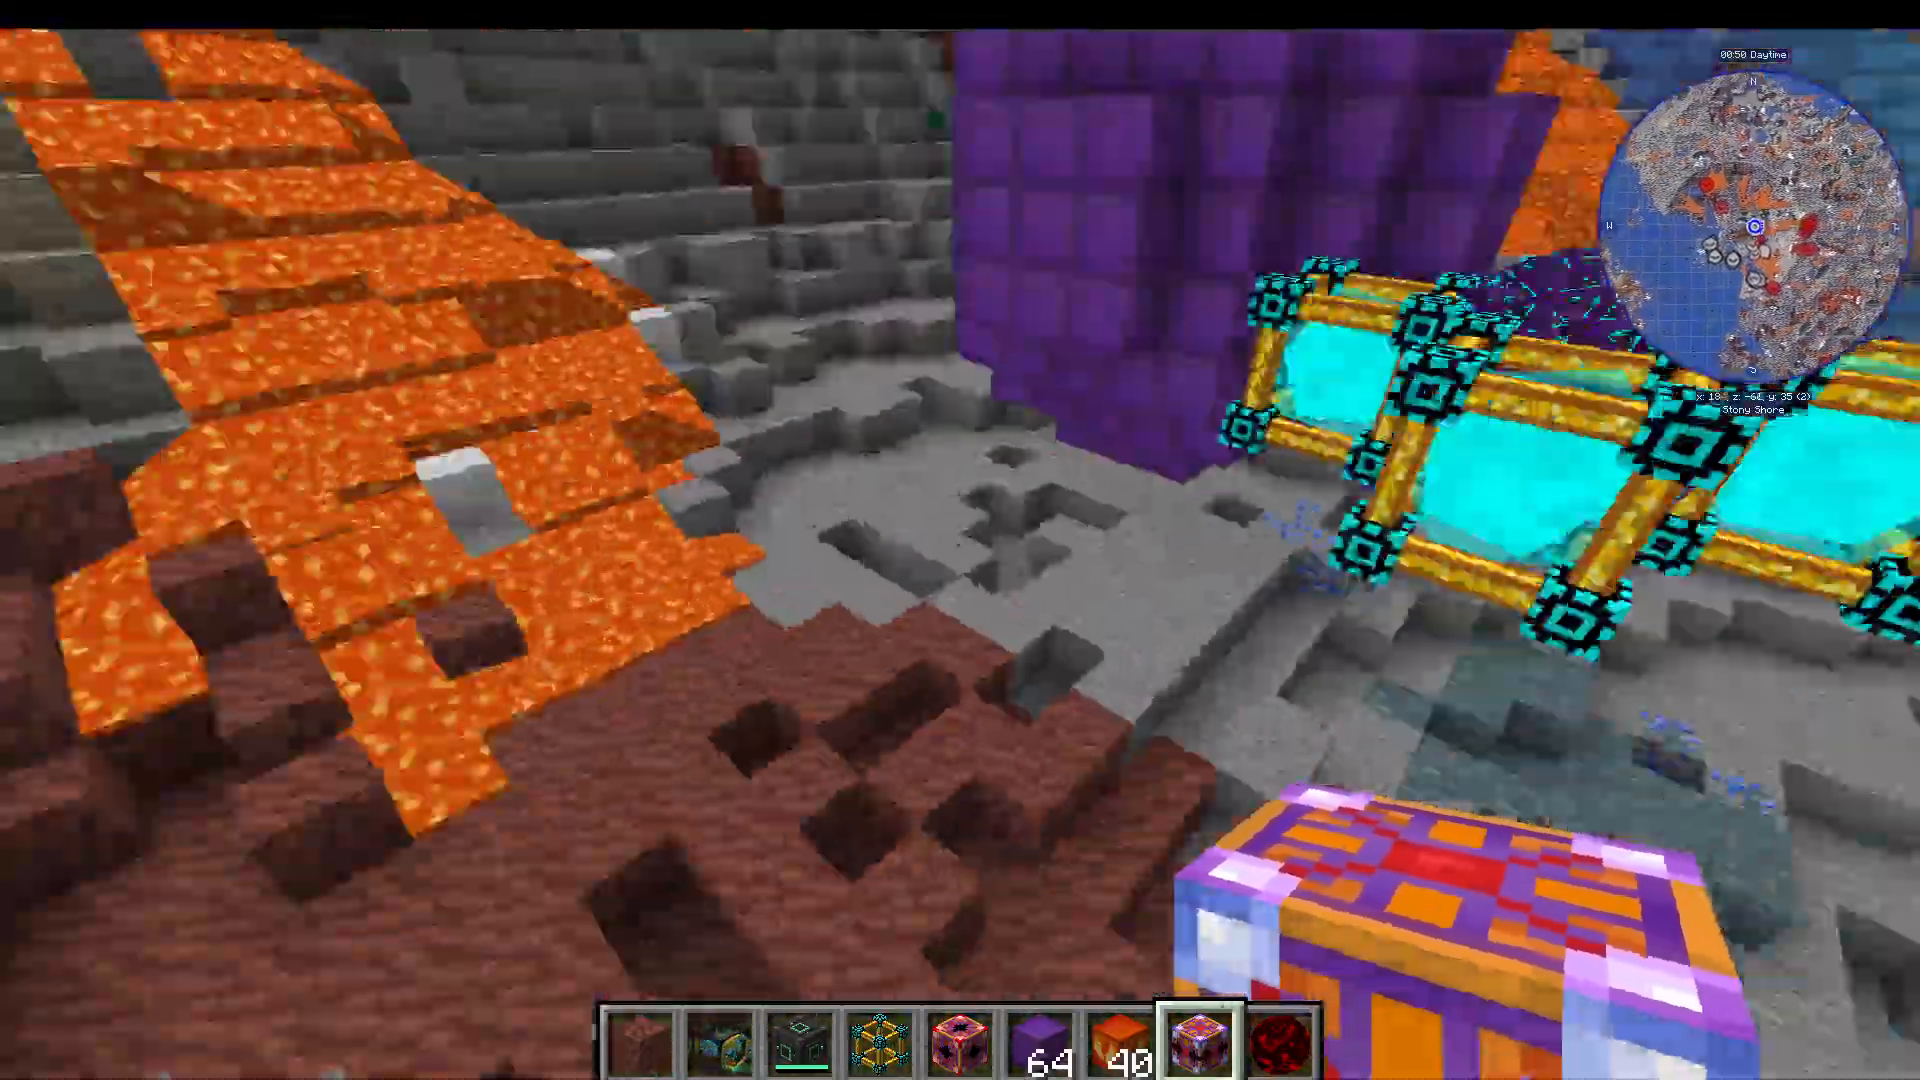
Connect your reactor’s output flux gate to an energy pylon in input mode to store generated power. Multiple pylons can be placed to distribute power across multiple bases.
Additional Draconic Evolution Features
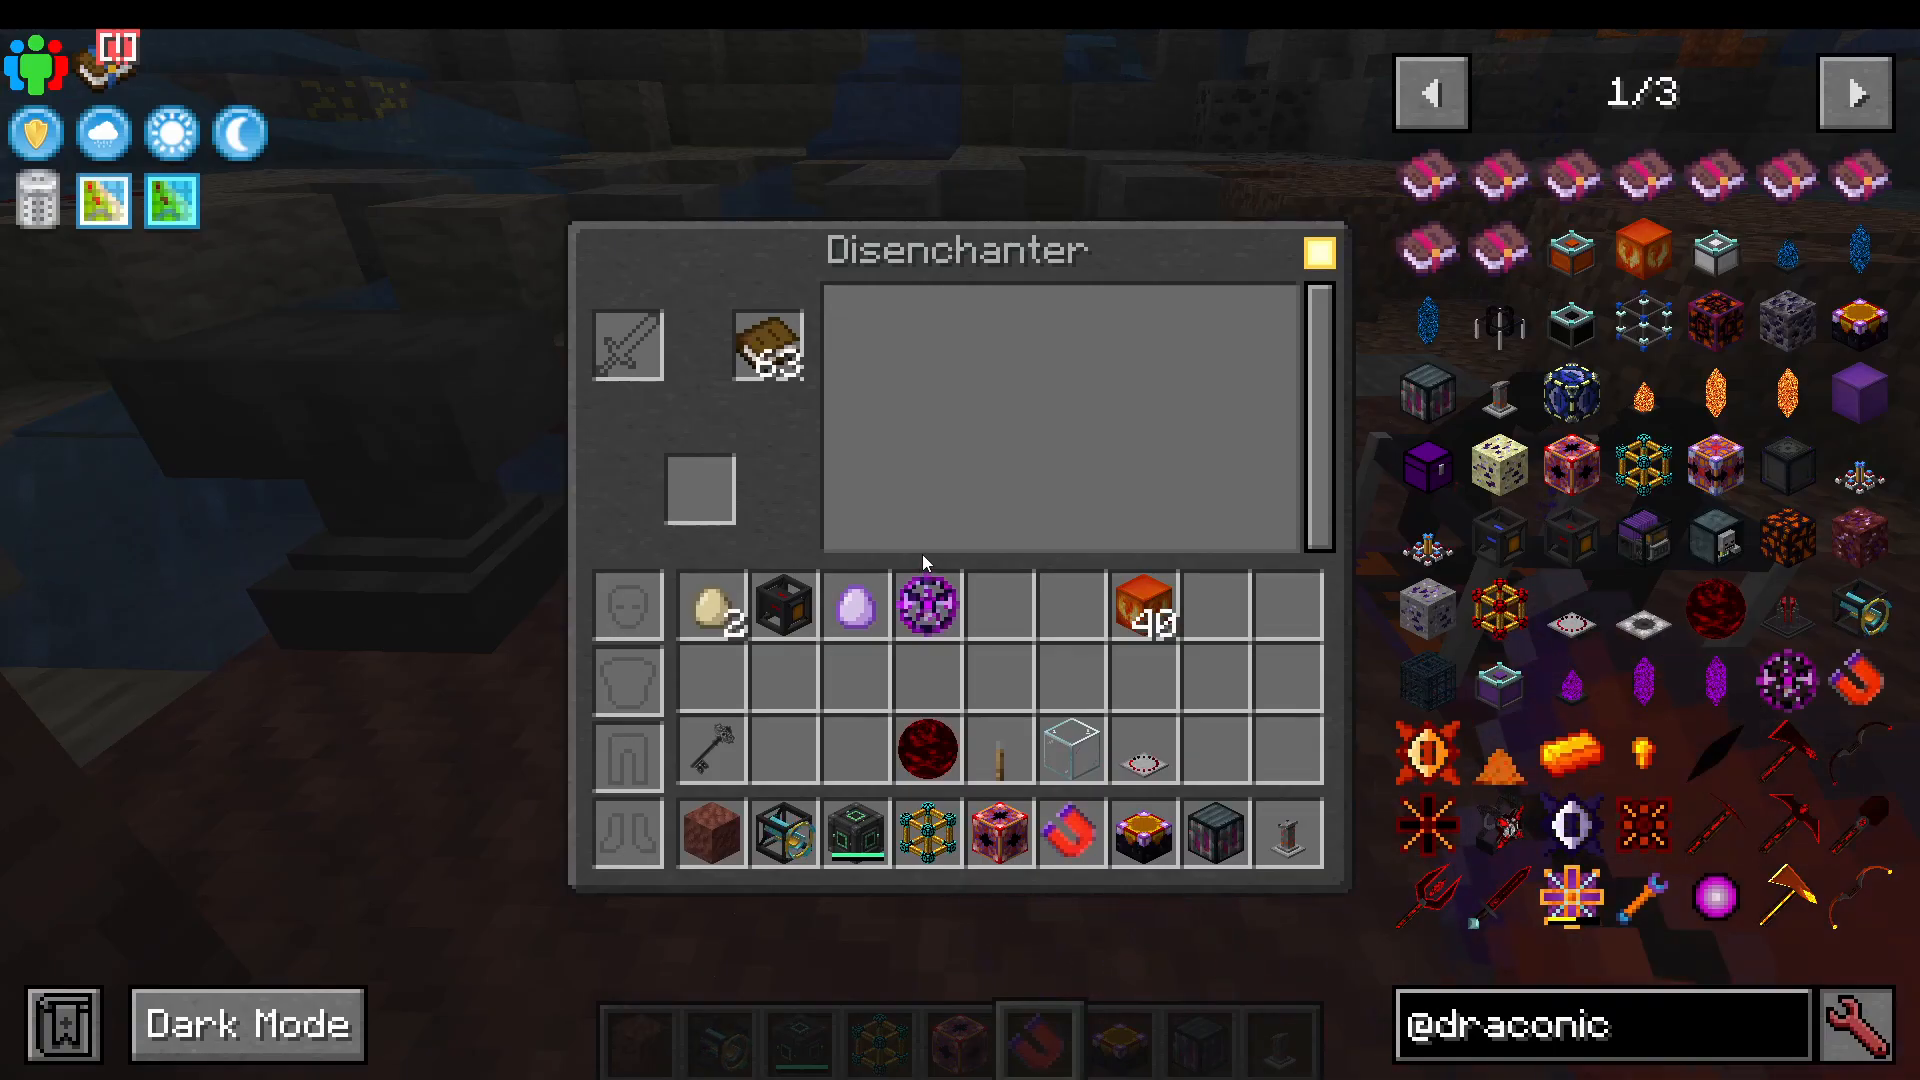
Disenchanter
The disenchanter removes enchantments from items and transfers them to books. Place an enchanted item in one slot, blank books in another, select the enchantment you want to extract, and receive the item back plus an enchanted book.
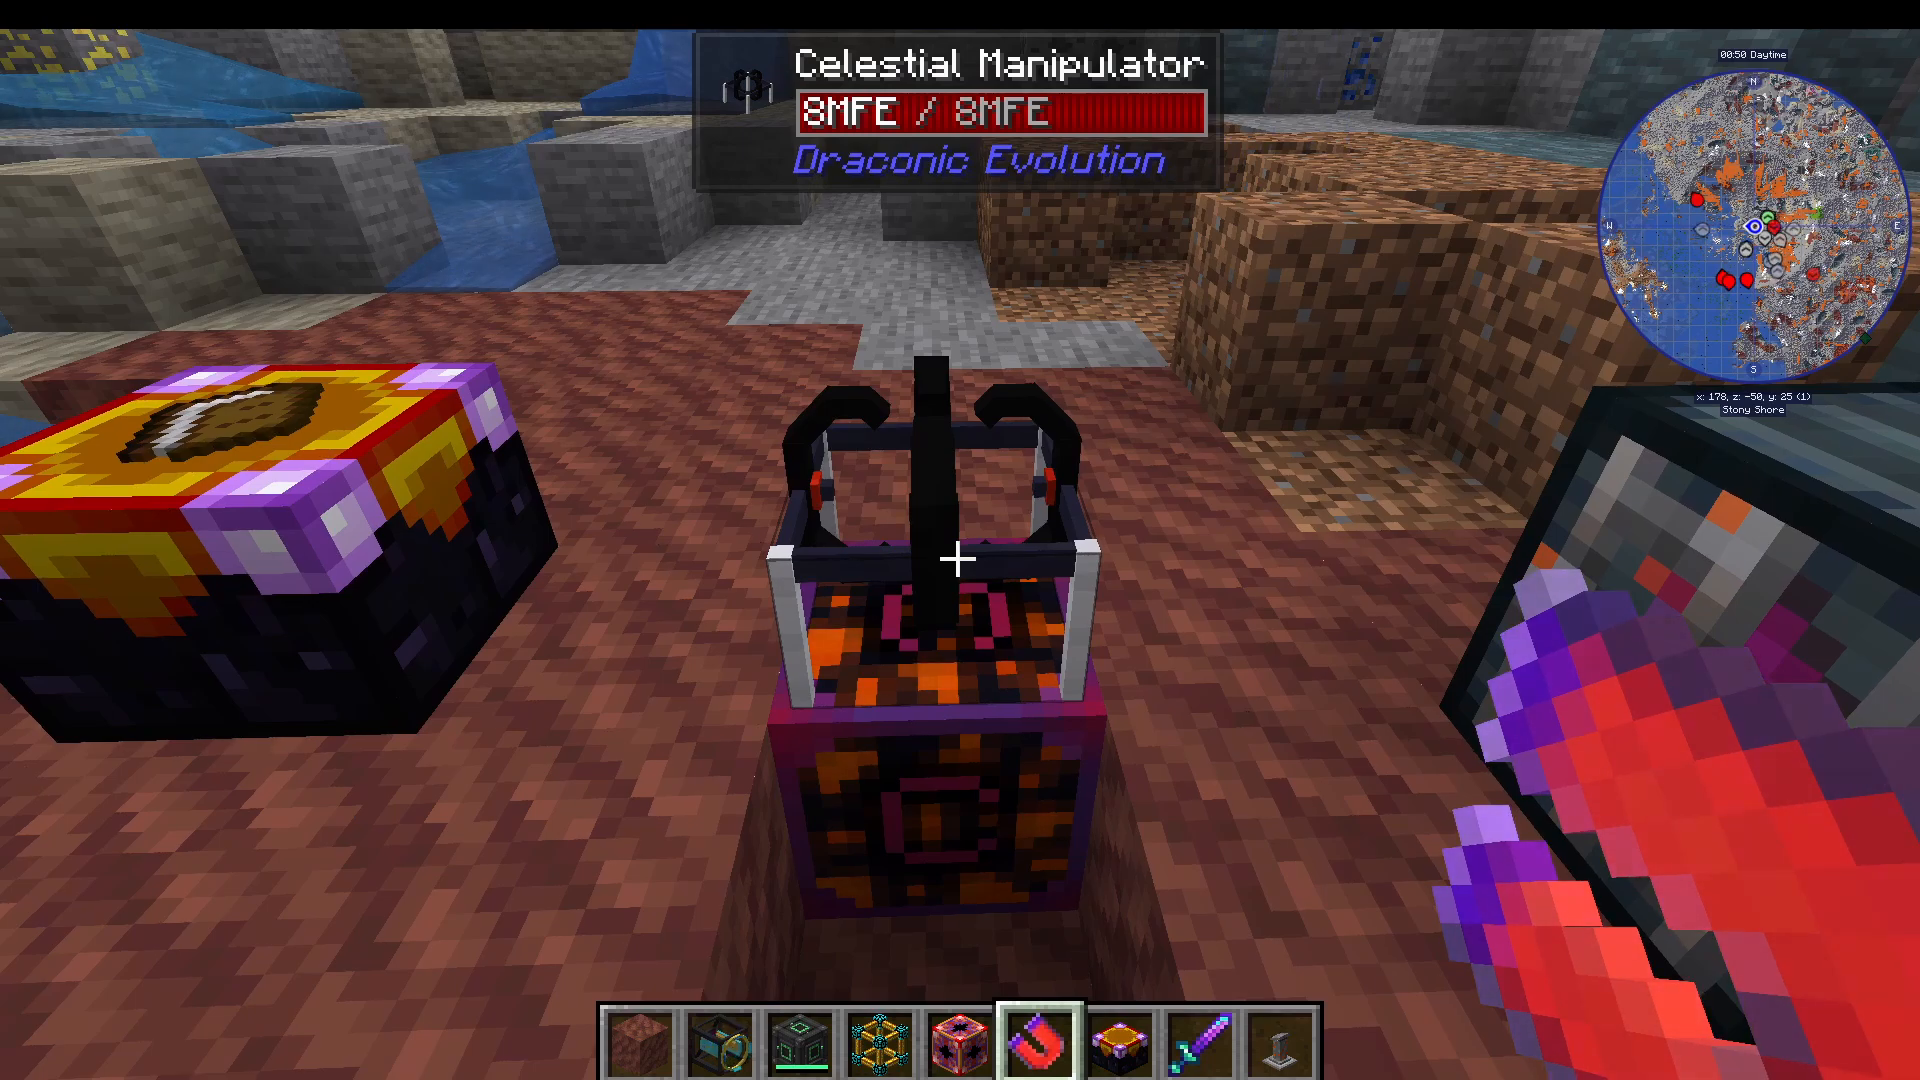
Celestial Manipulator
This powered device controls weather and time. Set it to rain, clear skies, noon, or midnight. The manipulator creates a visual effect beam upward and then changes the world state accordingly. It requires continuous power supply.
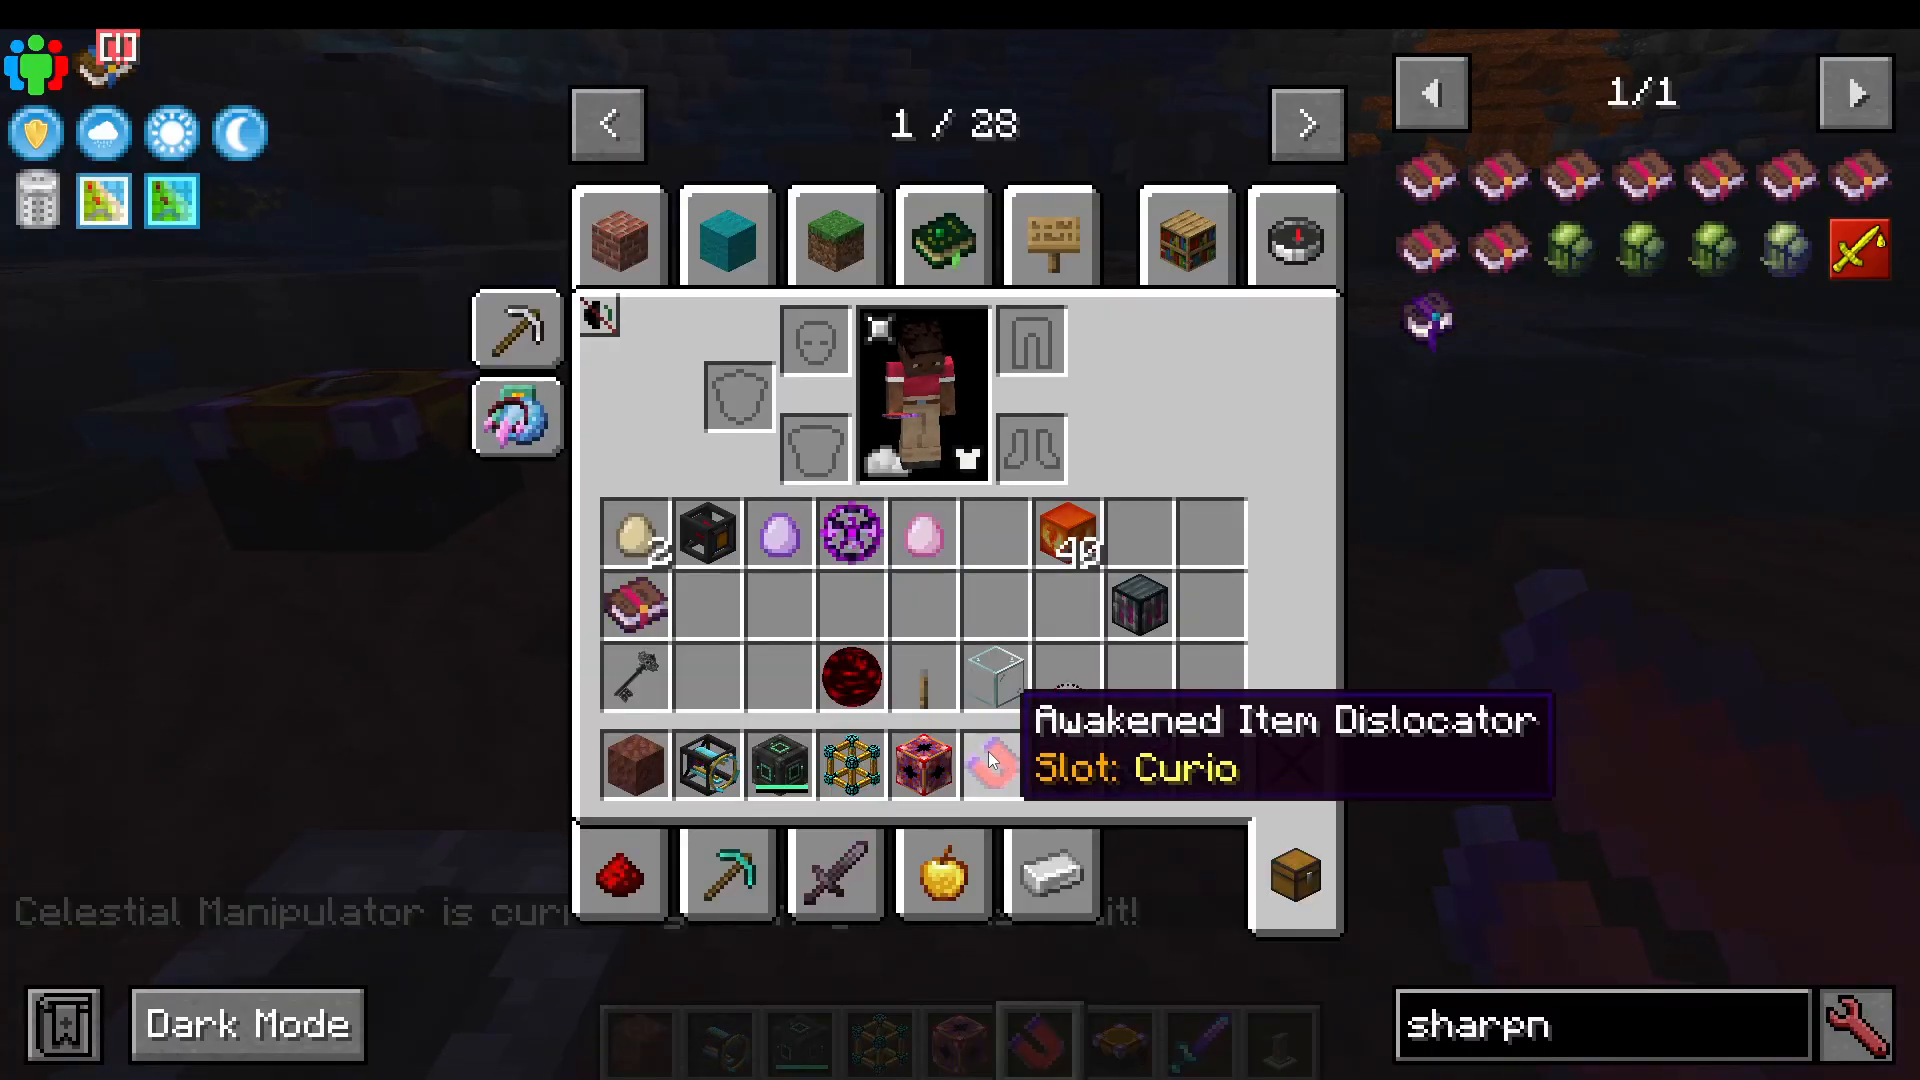
Awakened Item Dislocator
Acts as a magnet when shift right-clicked. Any items dropped nearby are pulled toward you automatically. This is useful for mining operations and item collection.
Dislocation Normalization Field Projector
Creates a 5-block radius field where dislocators cannot pick up items. Useful for preventing the magnet from collecting items you want to leave behind.
Other Notable Items:
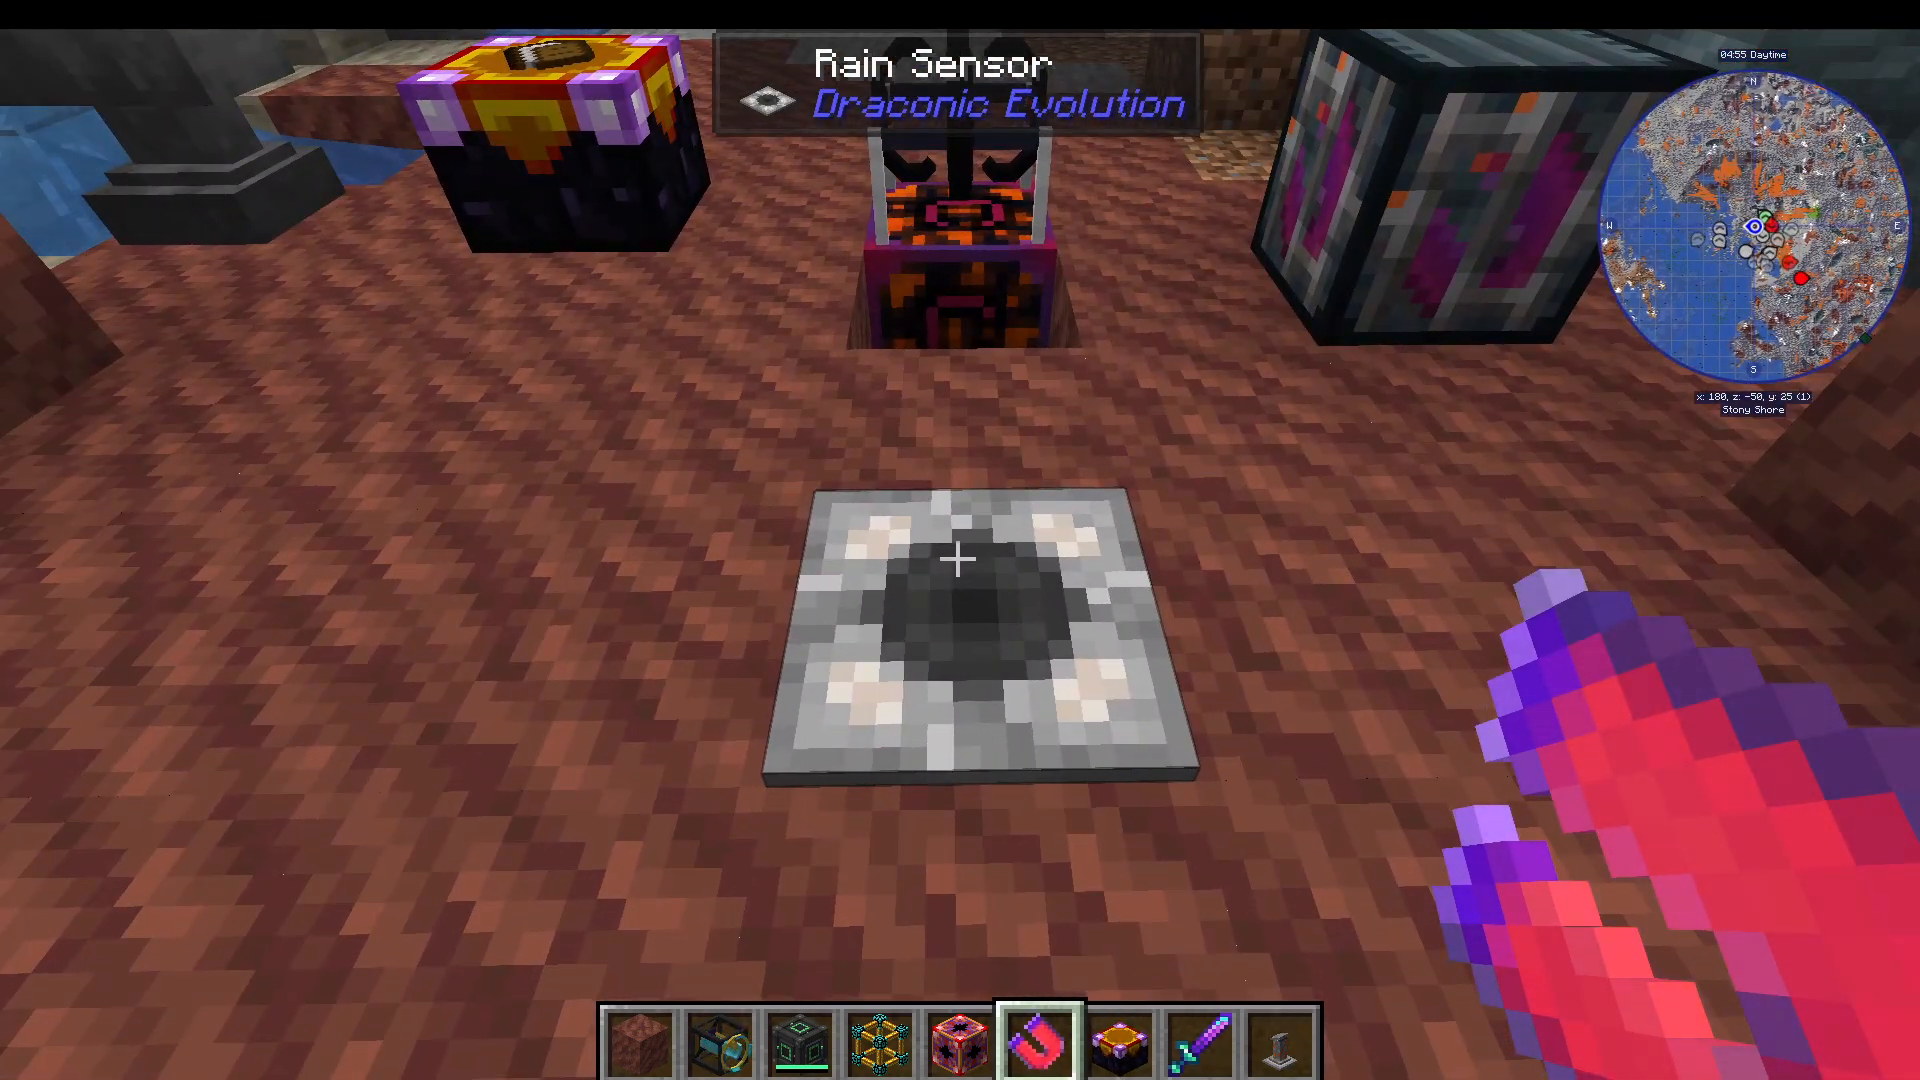
Rain Sensor: Emits redstone signal when it’s raining; useful for weather-dependent automation
Advanced Dislocator: Allows teleportation by right-clicking target locations; costs energy
Conclusion
You’ve now learned the complete progression through Draconic Evolution, from basic fusion crafting all the way through to running a stable reactor and managing massive energy storage. This mod represents true end-game content with incredible power output and amazing tools. Whether you’re using it in a modpack or standalone, you now have all the knowledge to harness the power of draconium and chaos energy.
Remember to always prioritize safety when setting up reactors, keep backups, and start small with incremental power increases. With patience and careful planning, you can build an incredibly powerful energy infrastructure using Draconic Evolution.
Want to Support?
If you would like to help us continue making these guides – please consider joining our patreon here – https://www.patreon.com/c/JaviHeals
Alternatively – we host a group of MC Servers you can join here – https://discord.gg/zD7Gjt6MHF



