








The Beginners Guide to Using Fluids in Create
The Beginners Guide to Using Fluids in Create
The Create mod opens up amazing possibilities for fluid manipulation in Minecraft. Whether you’re working with water, lava, or honey, understanding how to store, pump, and control liquids is essential for any serious Create modder. This guide walks you through every tool and technique you need to master fluid systems, from basic storage to advanced pumping setups.
Storing Fluids with Fluid Tanks
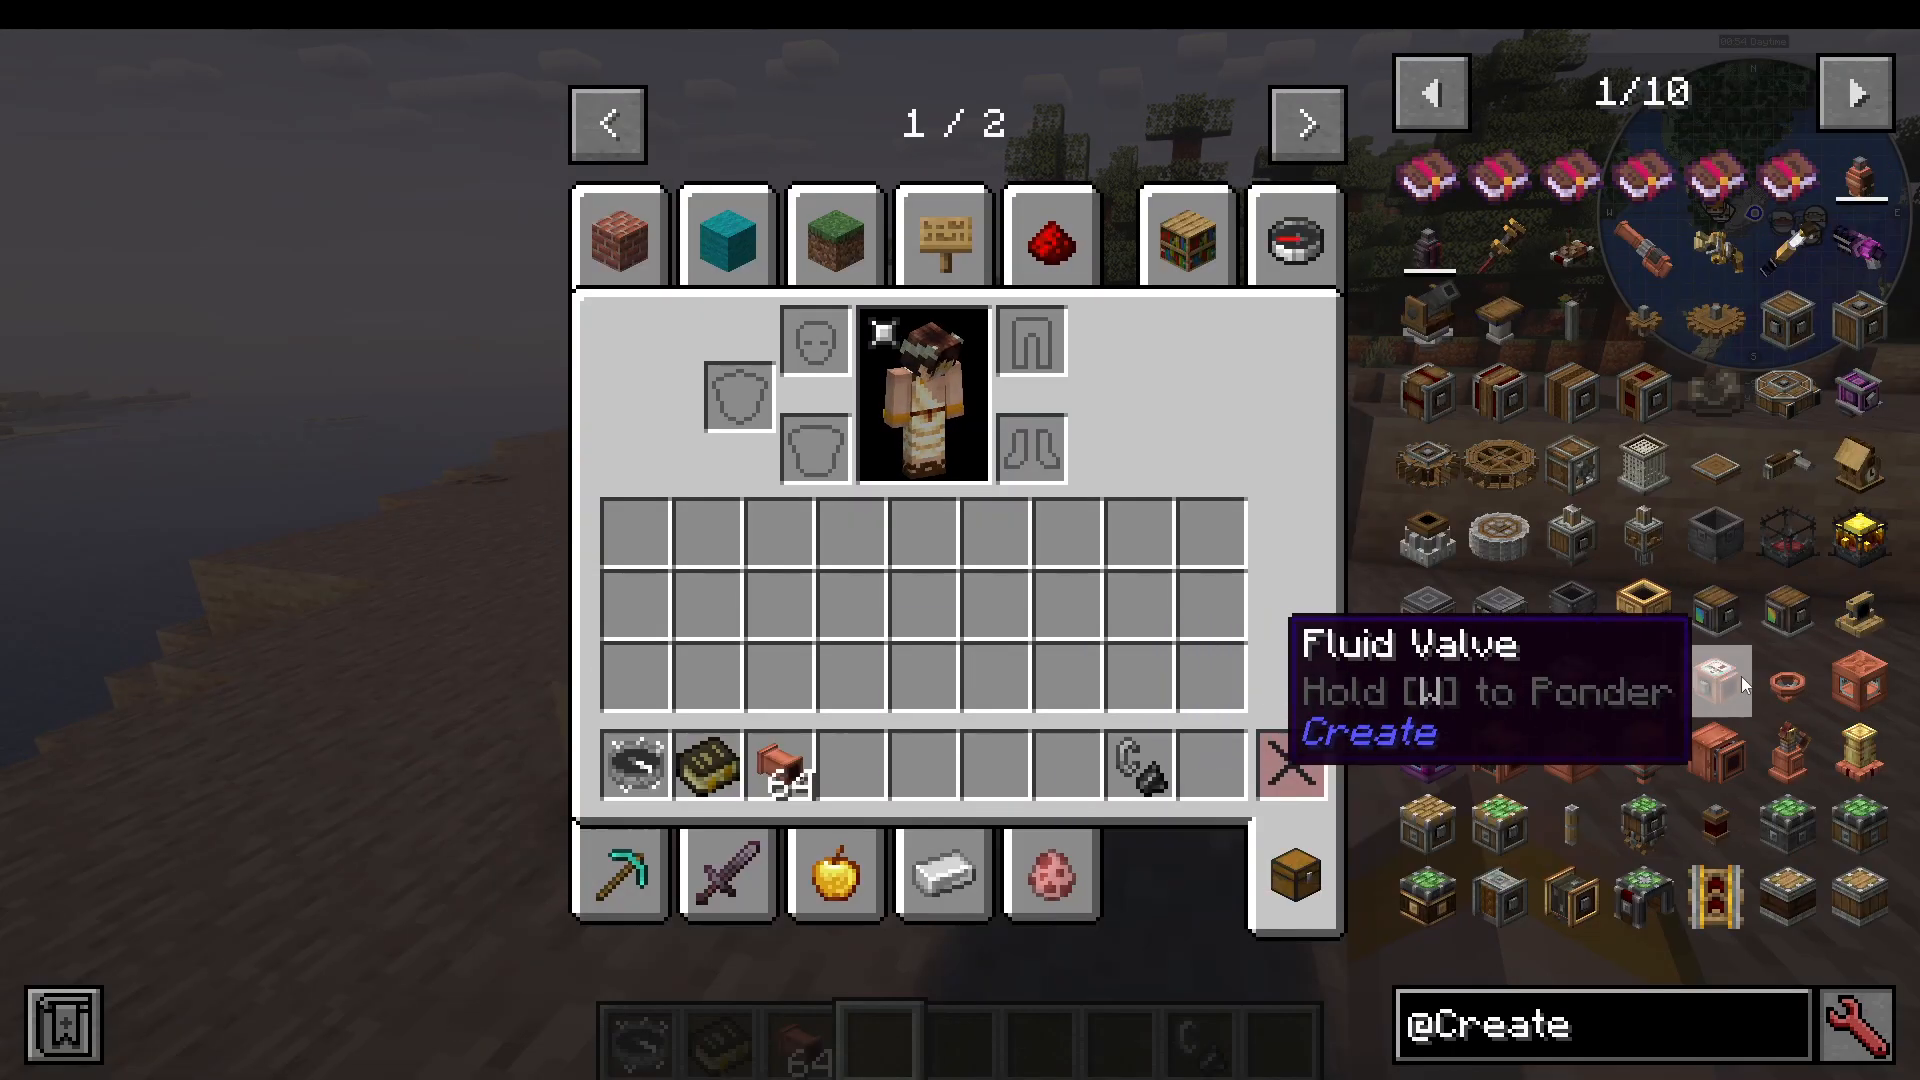
The foundation of any fluid system is proper storage. Fluid tanks are multi-block structures that allow you to store large quantities of liquids. You can create tanks in various sizes—start with a single tank, expand to a 2×2 configuration, or go even larger with a 3×3 setup. Simply right-click to expand the tank dimensions and increase its capacity as needed.
Pumping Fluids with Mechanical Pumps
Setting Up a Mechanical Pump
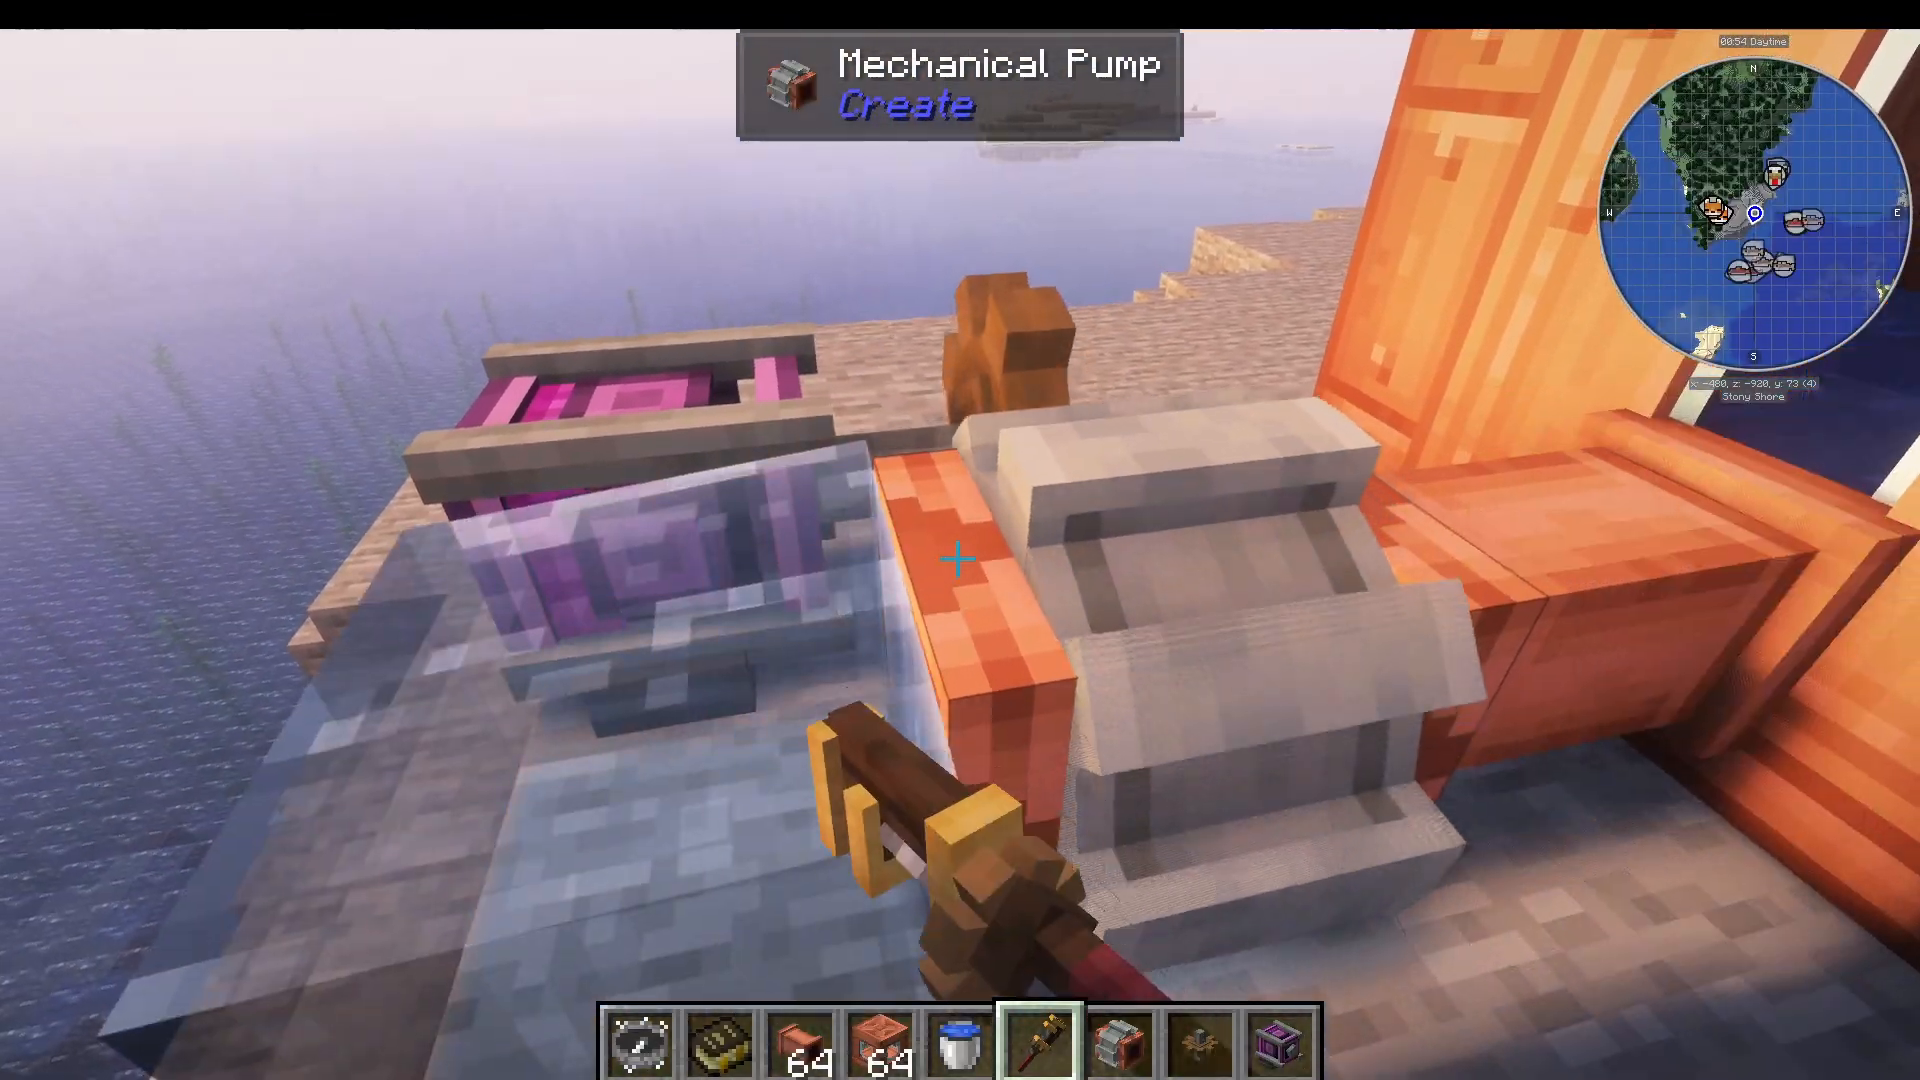
To move fluids out of your tanks, you’ll need a mechanical pump. This device converts rotational force into liquid flow. Use a creative motor (or any other rotational source you have available) and connect it with a simple cogwheel to power the pump. Position the pump next to your fluid tank and watch as the water begins to flow.

Controlling Pump Direction
The mechanical pump has a directional arrow that determines whether it pushes or pulls fluid. If the arrow faces one direction, it pushes fluid out. Right-click the pump to reverse its direction and make it pull fluid from external sources into your tank instead. This flexibility lets you control the flow of your entire system.
Fluid Pipes and Basic Pumping
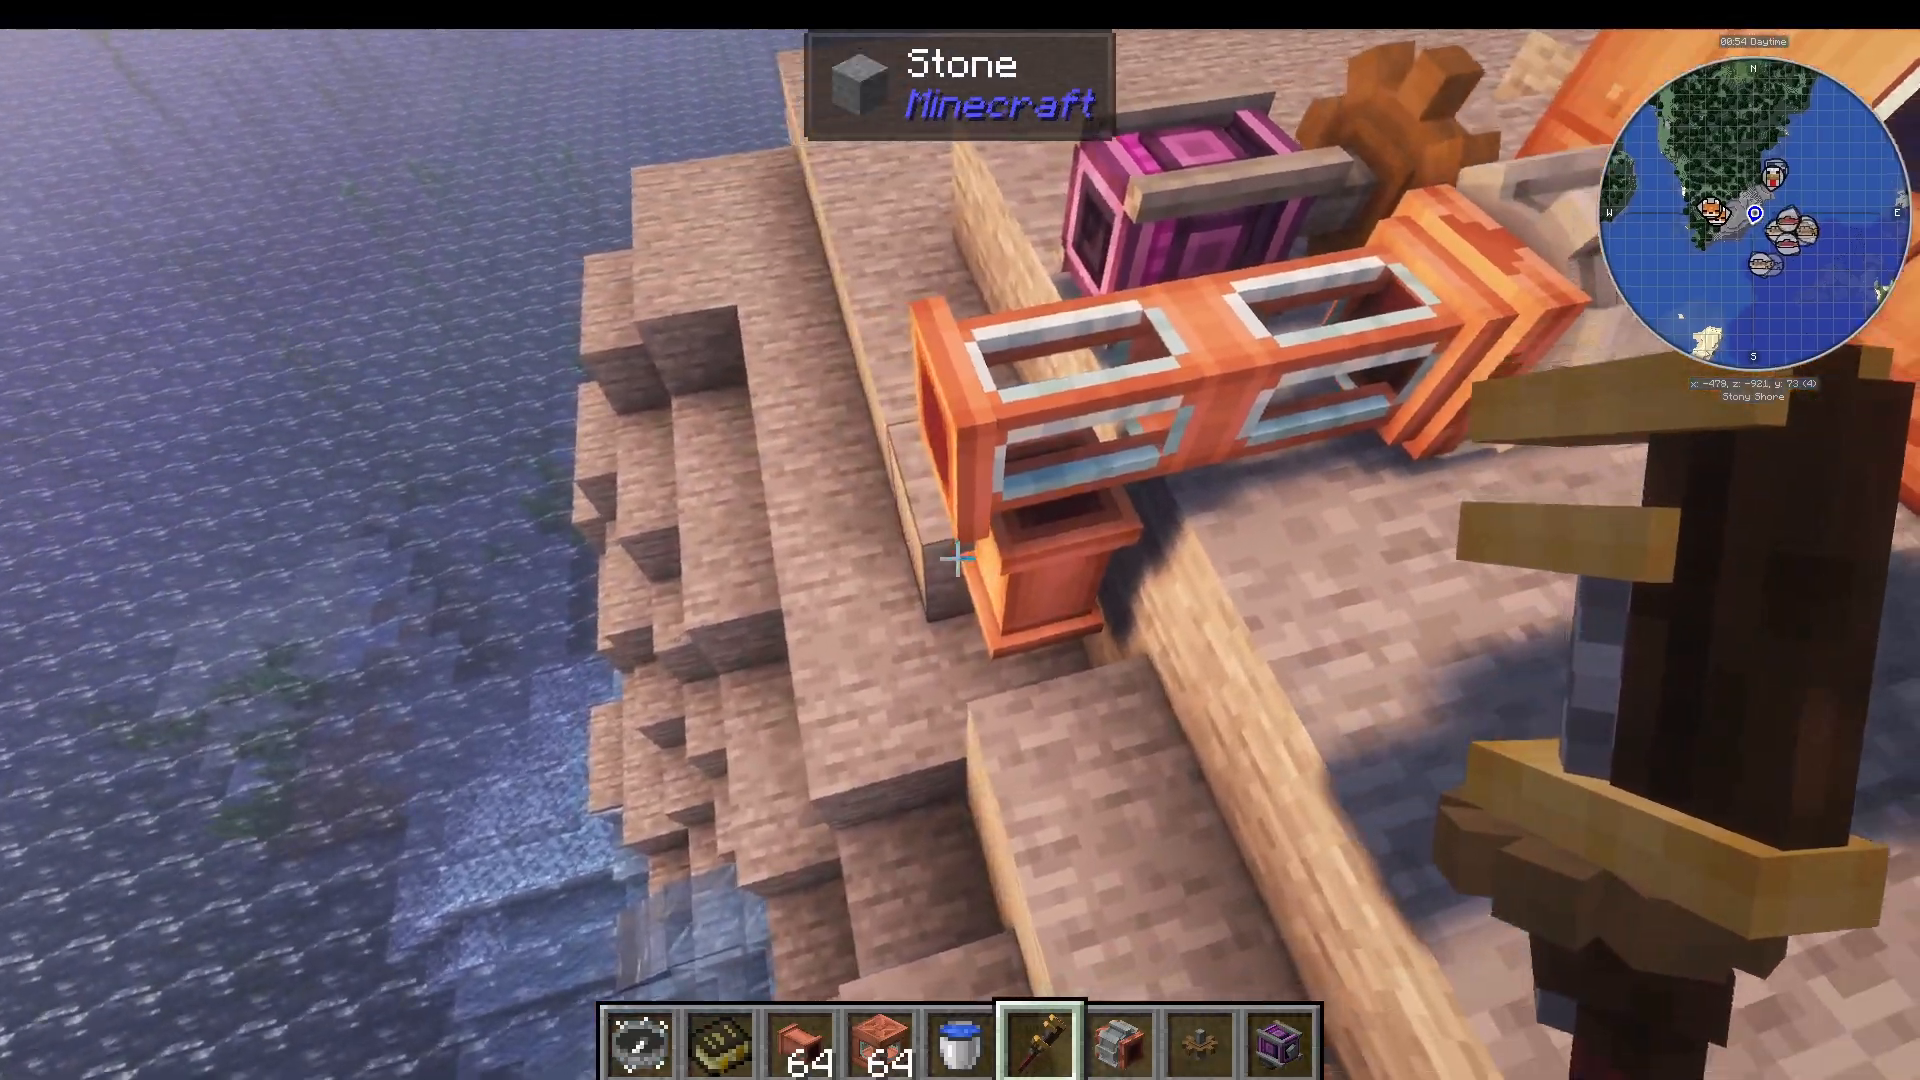
Fluid pipes are the conduits of your system. When you place a fluid pipe below a water source and have a mechanical pump pulling from above, the pipe acts as a natural pump, automatically drawing the water upward. You can also right-click a pipe with a wrench to extract individual buckets of fluid, or use the wrench again to pull that fluid back into your tank.

Adding Glass to Pipes
Right-click any fluid pipe with a wrench to add a glass window. This lets you visually inspect whether liquids are flowing through your system. Note that you cannot add glass to pipe bends, but the feature is invaluable for troubleshooting and monitoring your fluid network.
Filtering Fluids with Smart Pipes
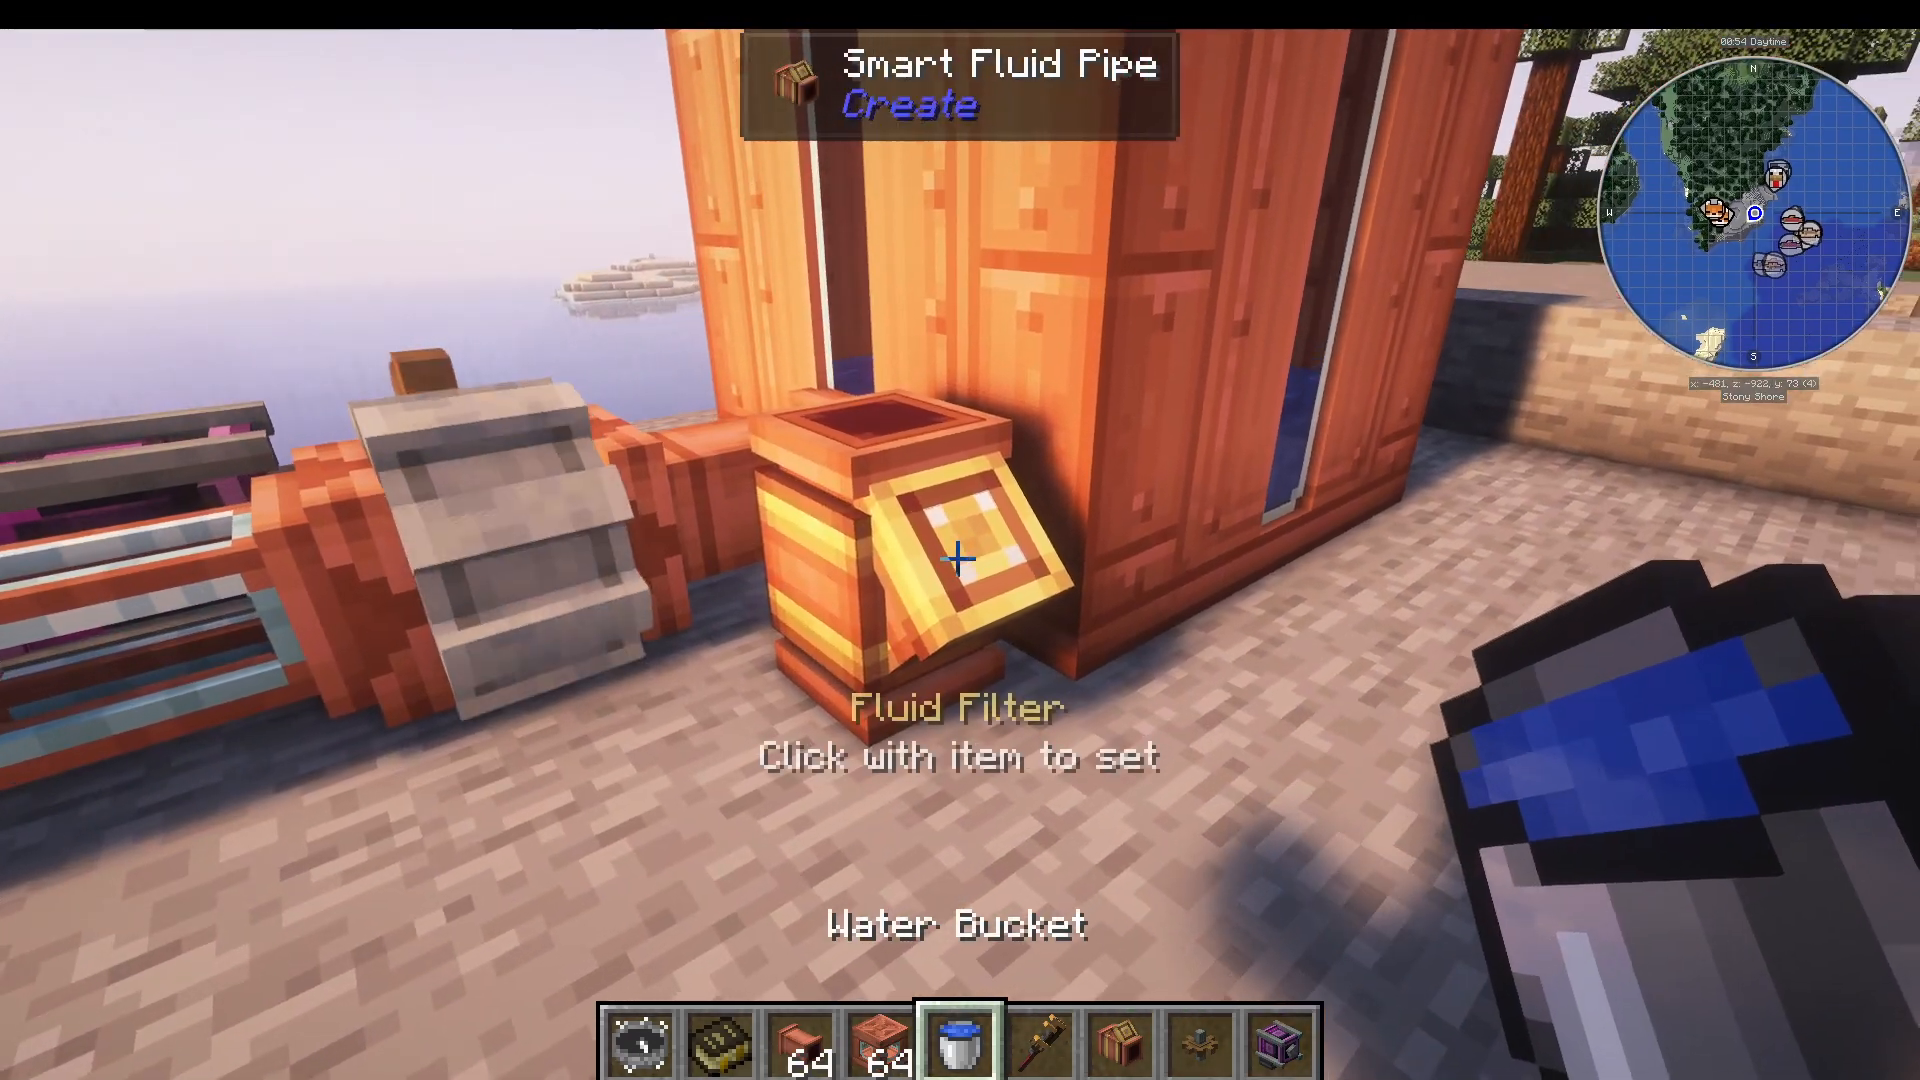
If you need to ensure only specific fluids flow through your pipes, use a smart fluid pipe. Place a bucket of your desired liquid (such as water) on the smart pipe, and only that fluid type will be allowed to pass through. This prevents unwanted mixing in your system.
Controlling Flow with Fluid Valves
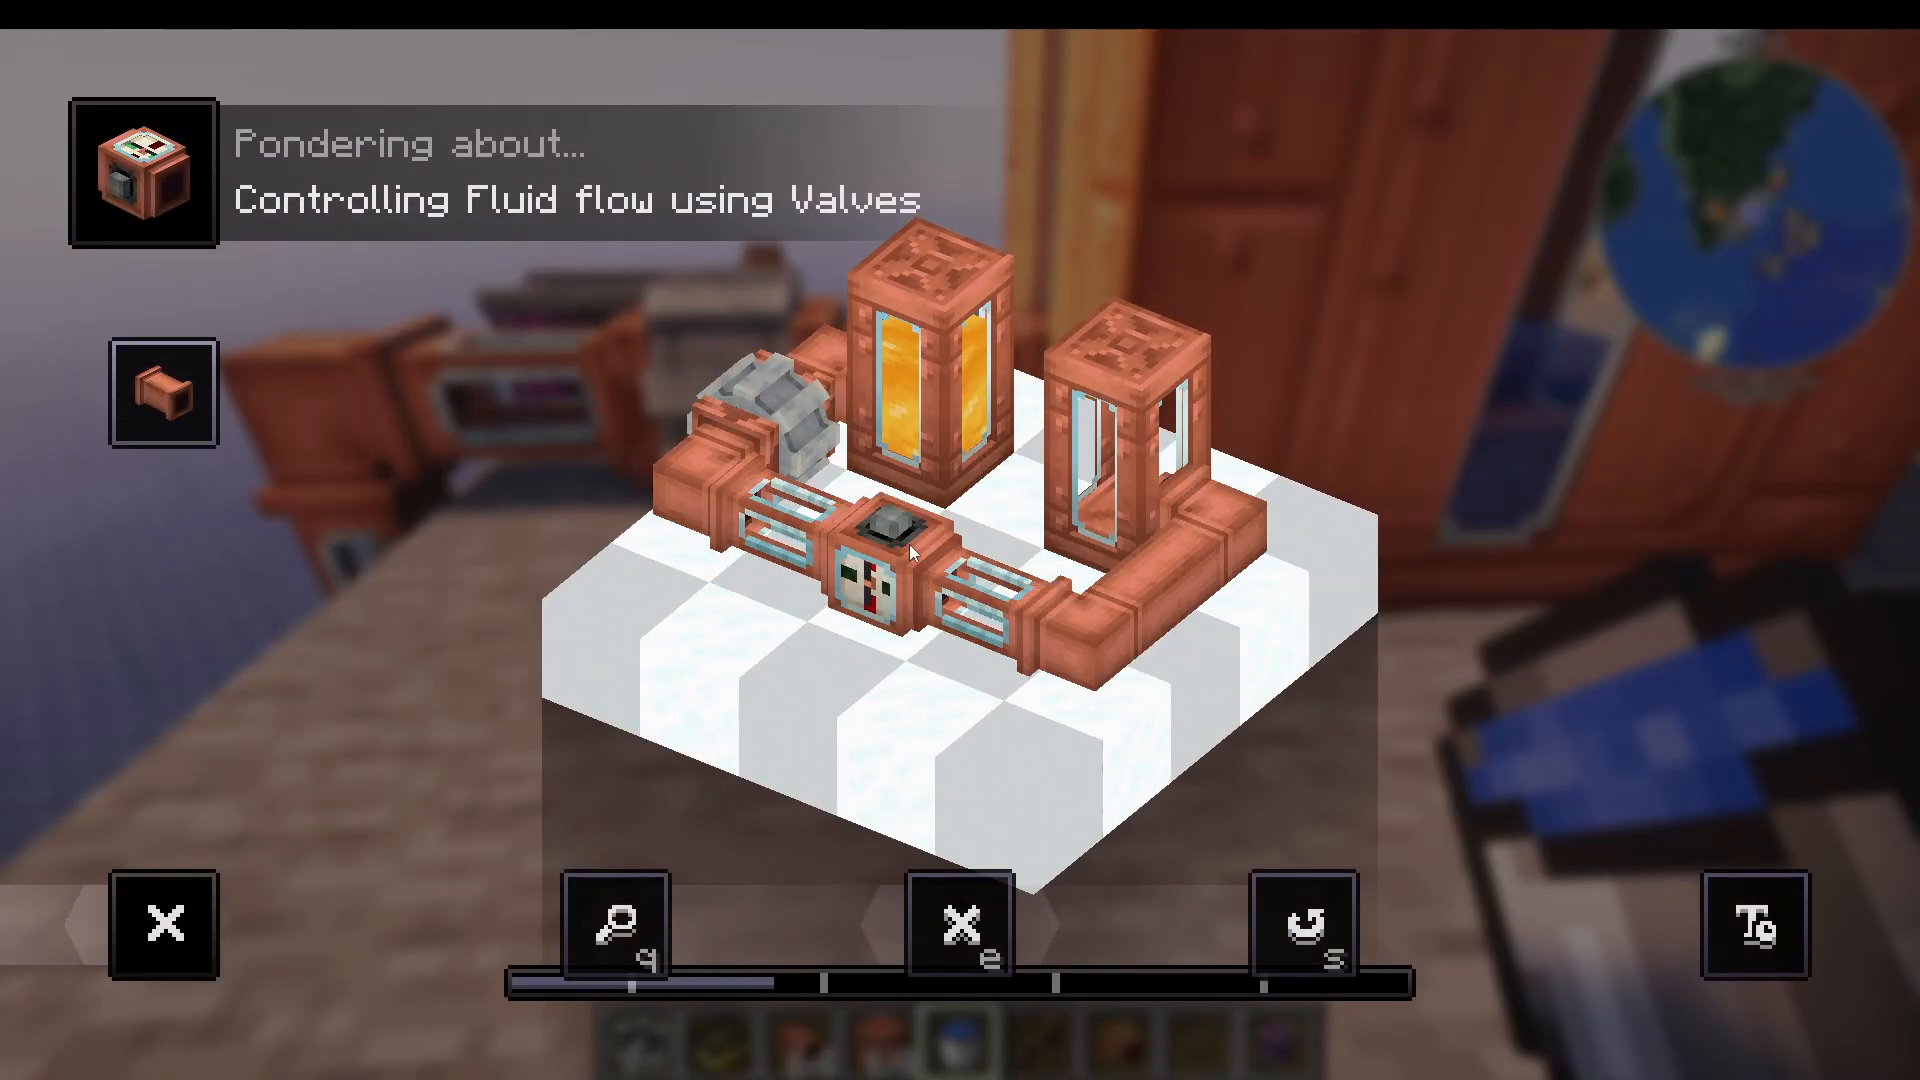
A fluid valve gives you active control over your fluid flow. The valve uses rotational energy to open and close the pipeline. When powered with rotation in one direction, it allows fluid to pass through to your destination tank. Reverse the rotation, and the valve shuts off the flow completely. This is an excellent way to start and stop your fluid systems at specific points in your setup.
Extracting Fluids from Items
The Item Drain
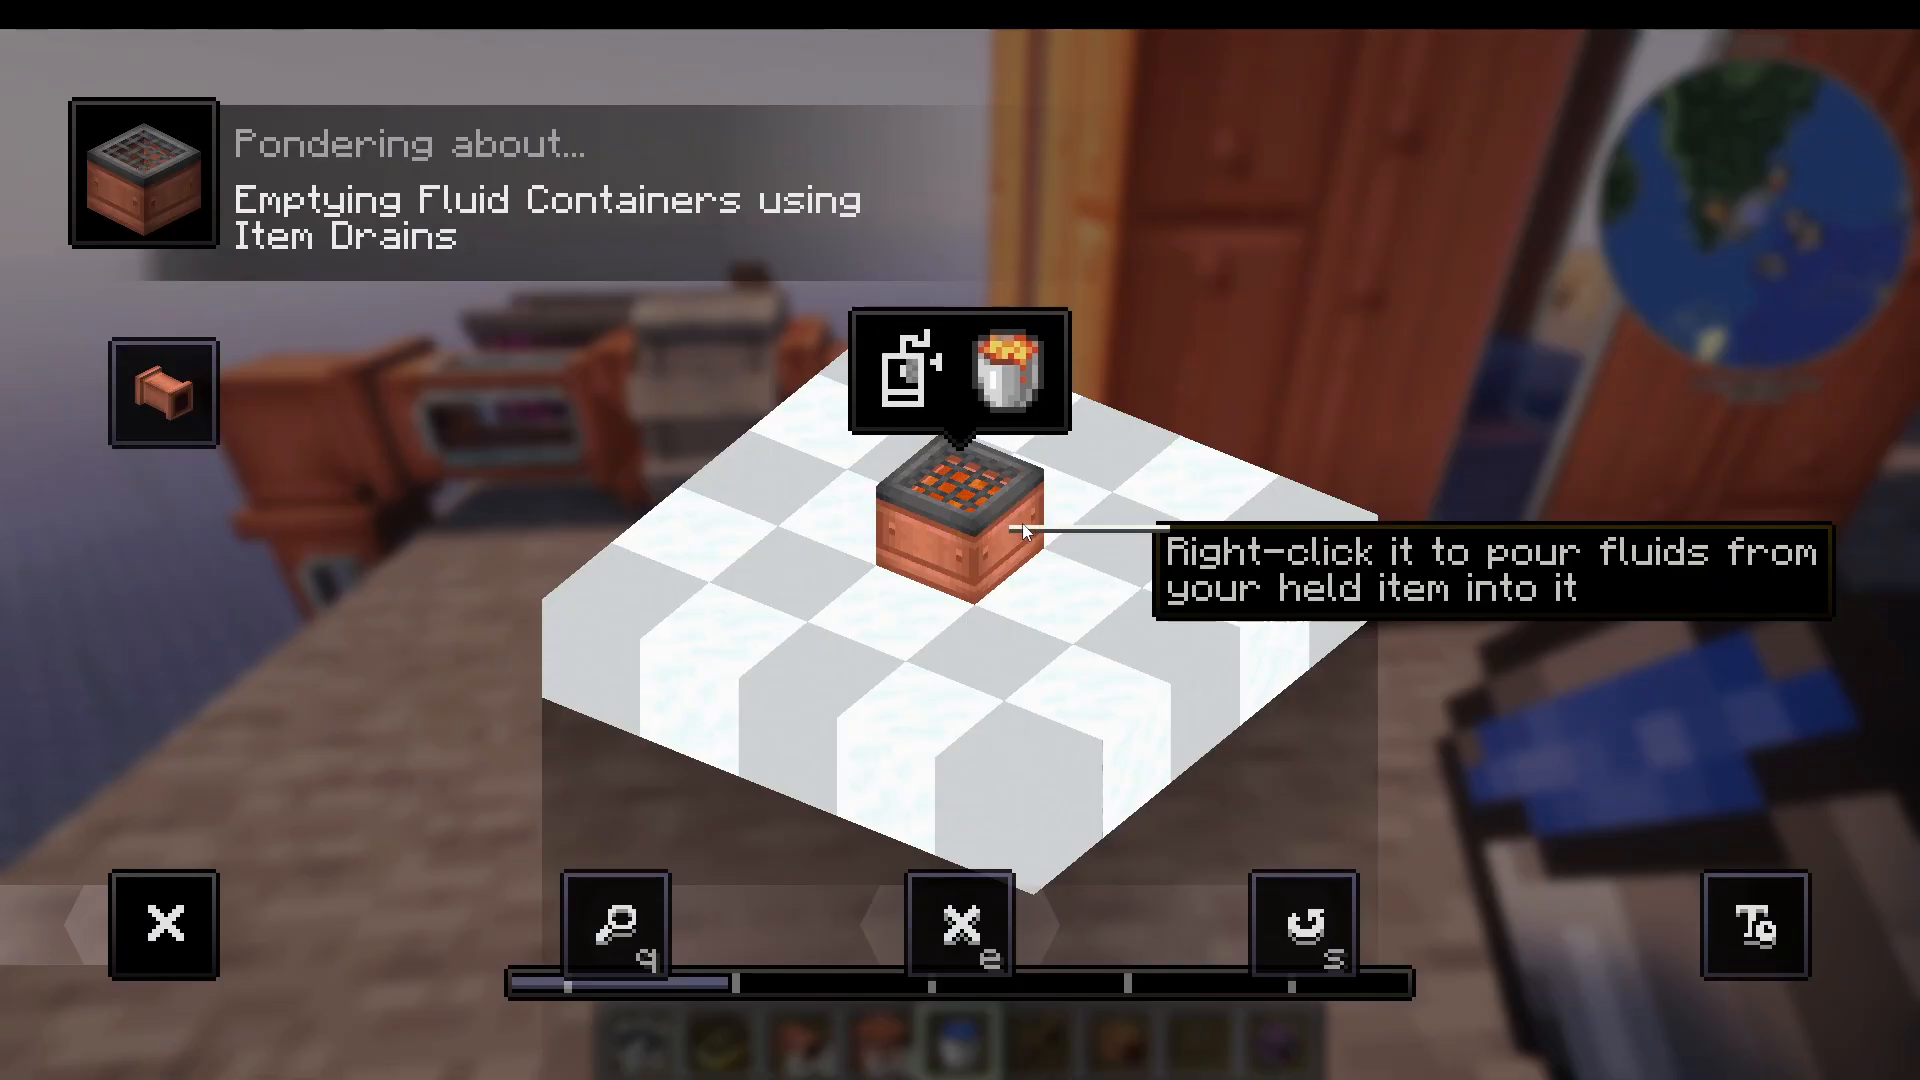
The item drain extracts fluids directly from items you place on it. Right-click the drain’s port while holding an item to extract its fluid. This is perfect for quickly emptying buckets or bottles into your system.
Automated Extraction with Conveyors
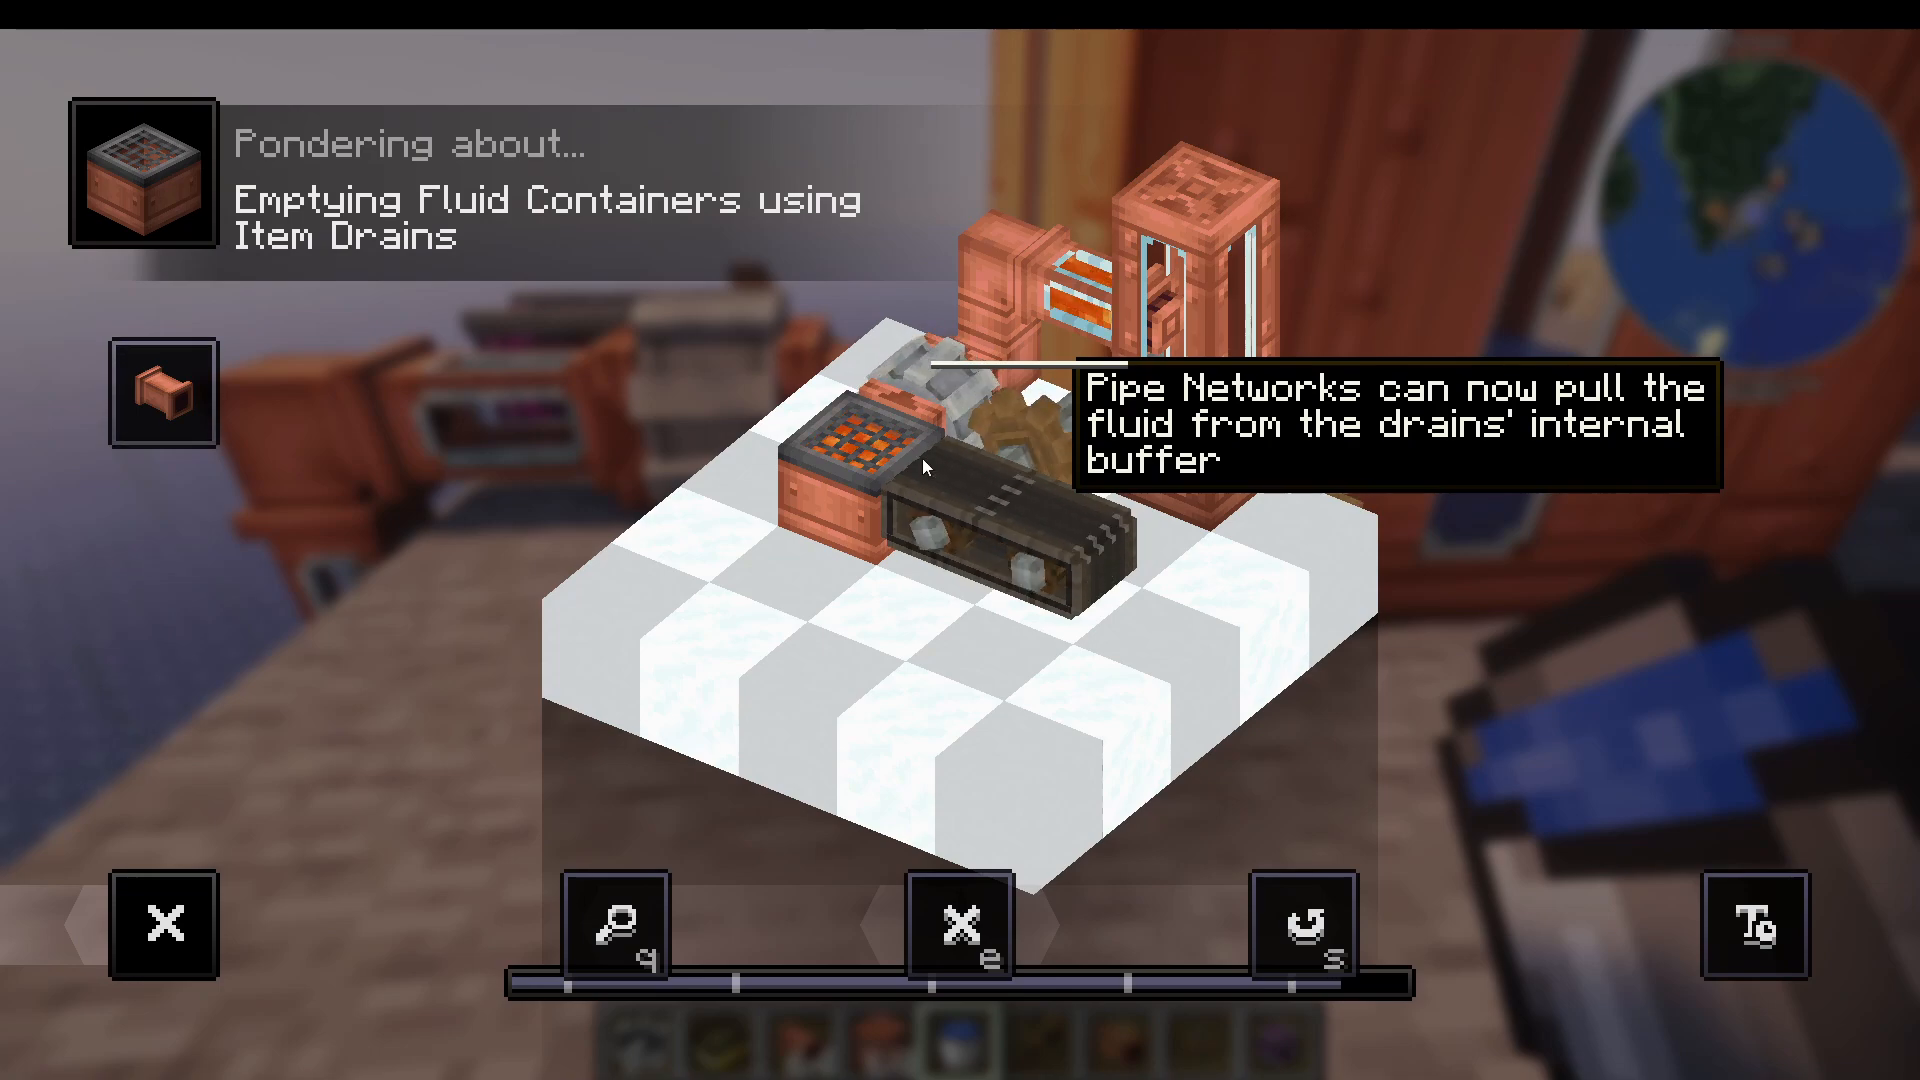
For a more automated approach, use conveyor belts. Place buckets of lava (or any other fluid-containing item) on a conveyor belt that passes over an item drain. The drain automatically empties each bucket as it passes over. Connect a fluid motor pulling from the drain, and the extracted fluid flows directly into your tank.
Dispensing Fluids with Spouts
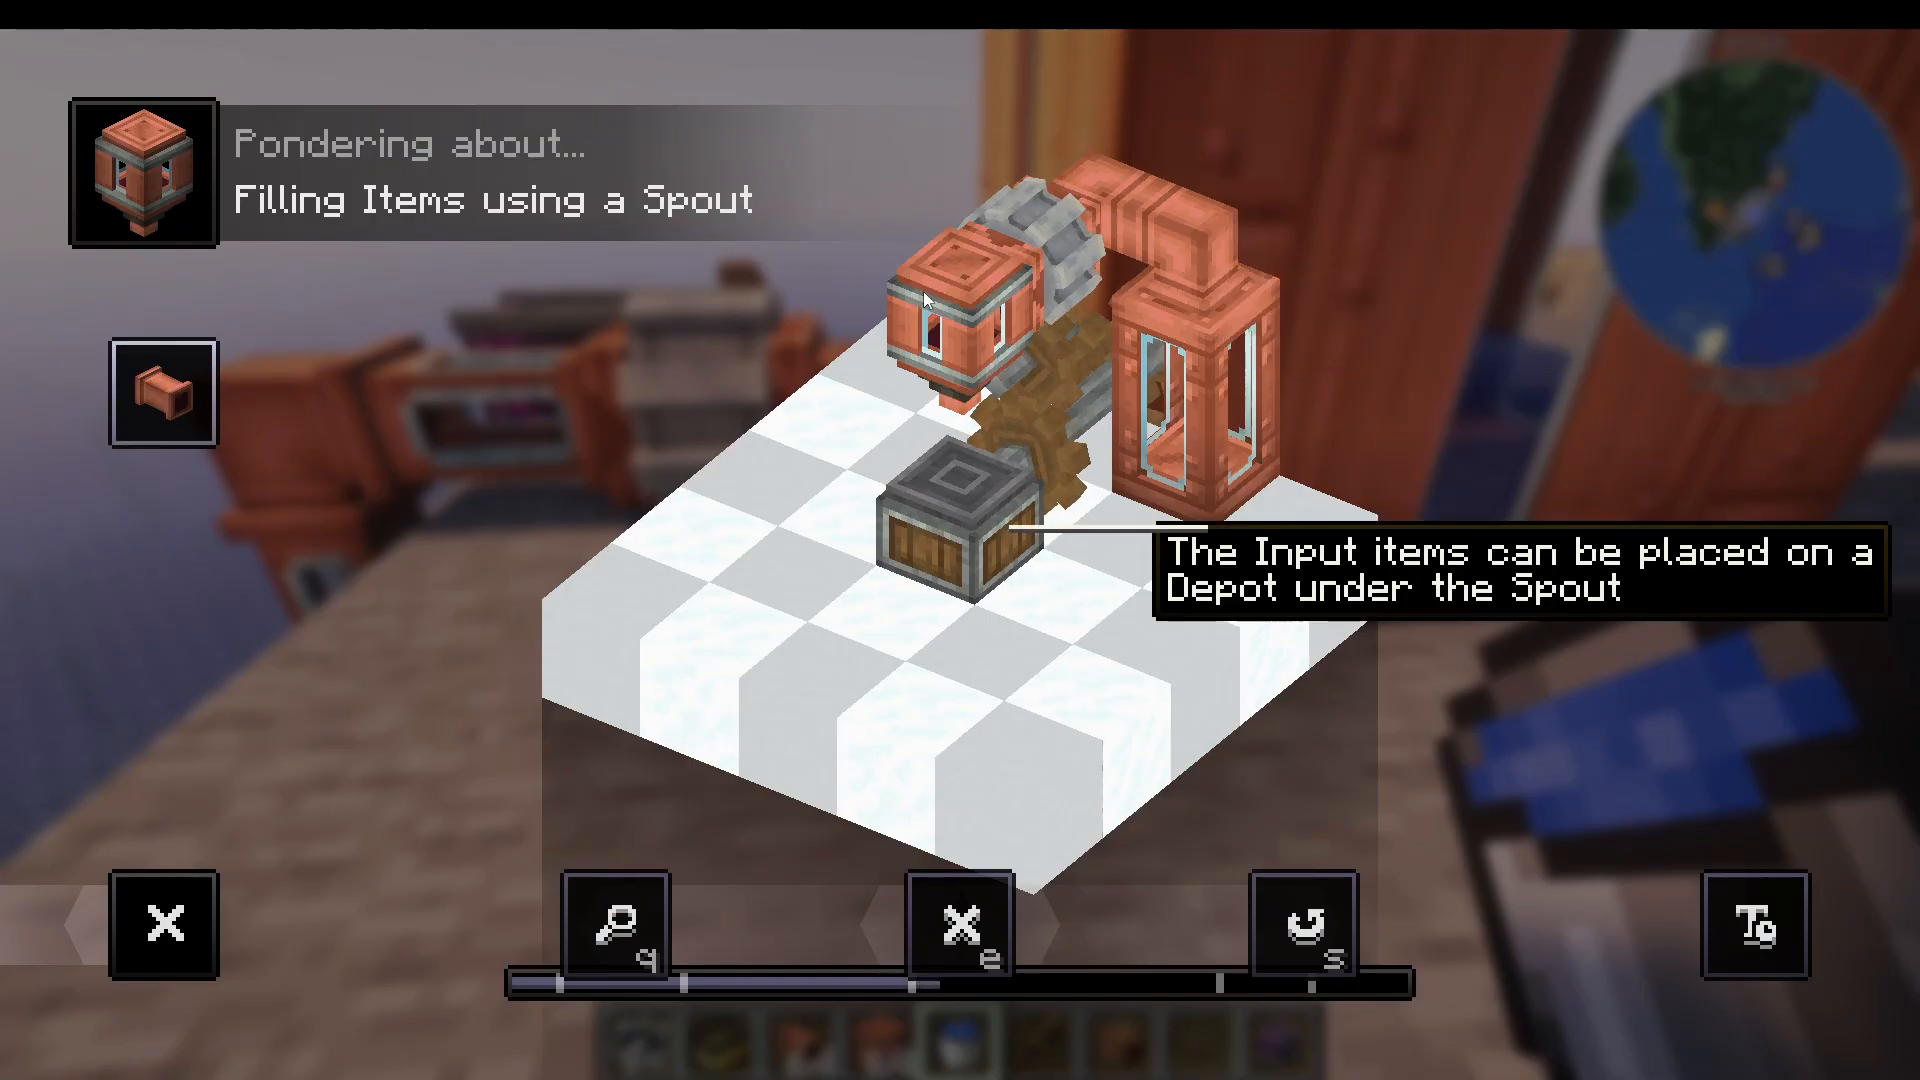
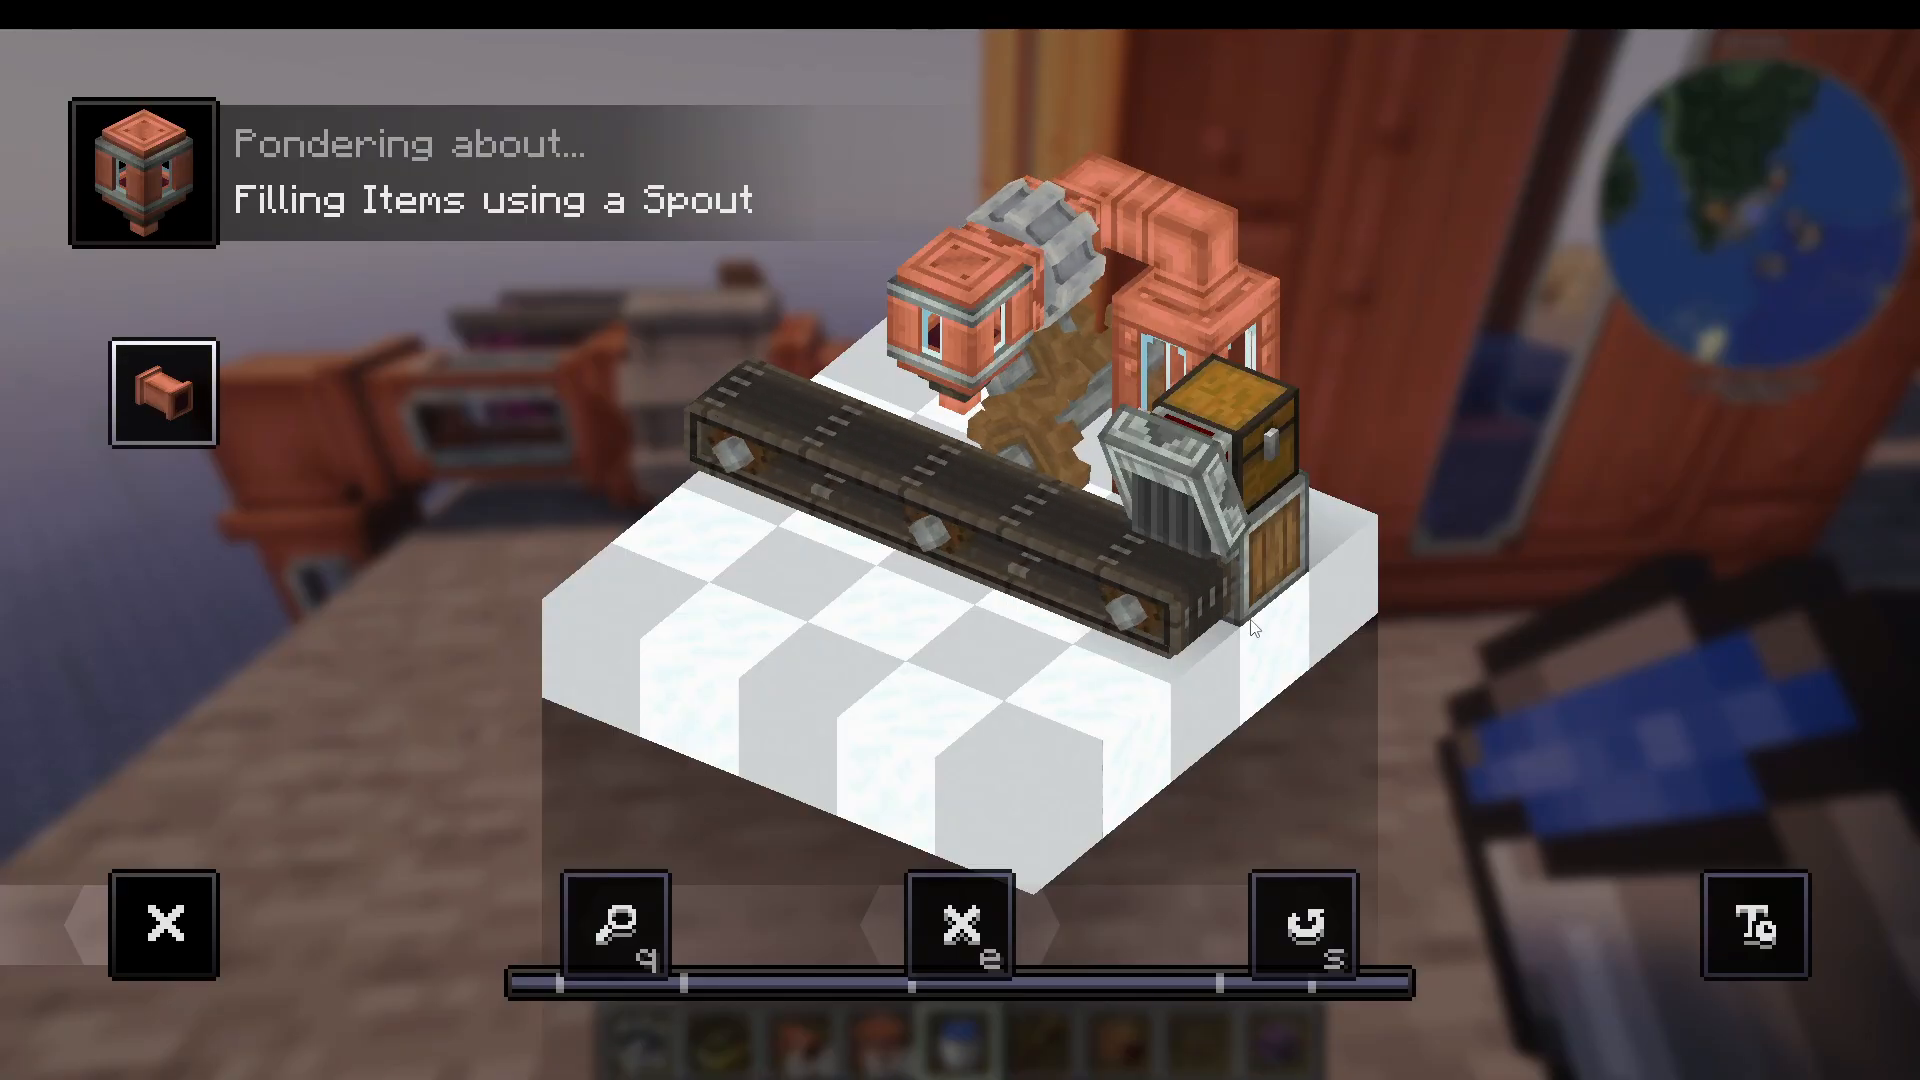
The spout is the inverse of the item drain—it fills containers with fluid. Set up your tank with a fluid motor pushing toward the spout, and place a conveyor belt beneath it. When you place empty bottles or buckets on the conveyor, they automatically stop at the spout and fill with whatever fluid is in your system (water, honey, lava, etc.). Once filled, they continue down the conveyor.
Automated Filling Workflow
For a complete automated system, use a funnel set to pull from a chest of empty containers onto a conveyor. The spout stops each container, fills it, and the conveyor carries it away. This workflow is incredibly efficient for mass-producing filled buckets or bottles.
Draining Large Water and Lava Bodies with the Hose Pulley
How the Hose Pulley Works
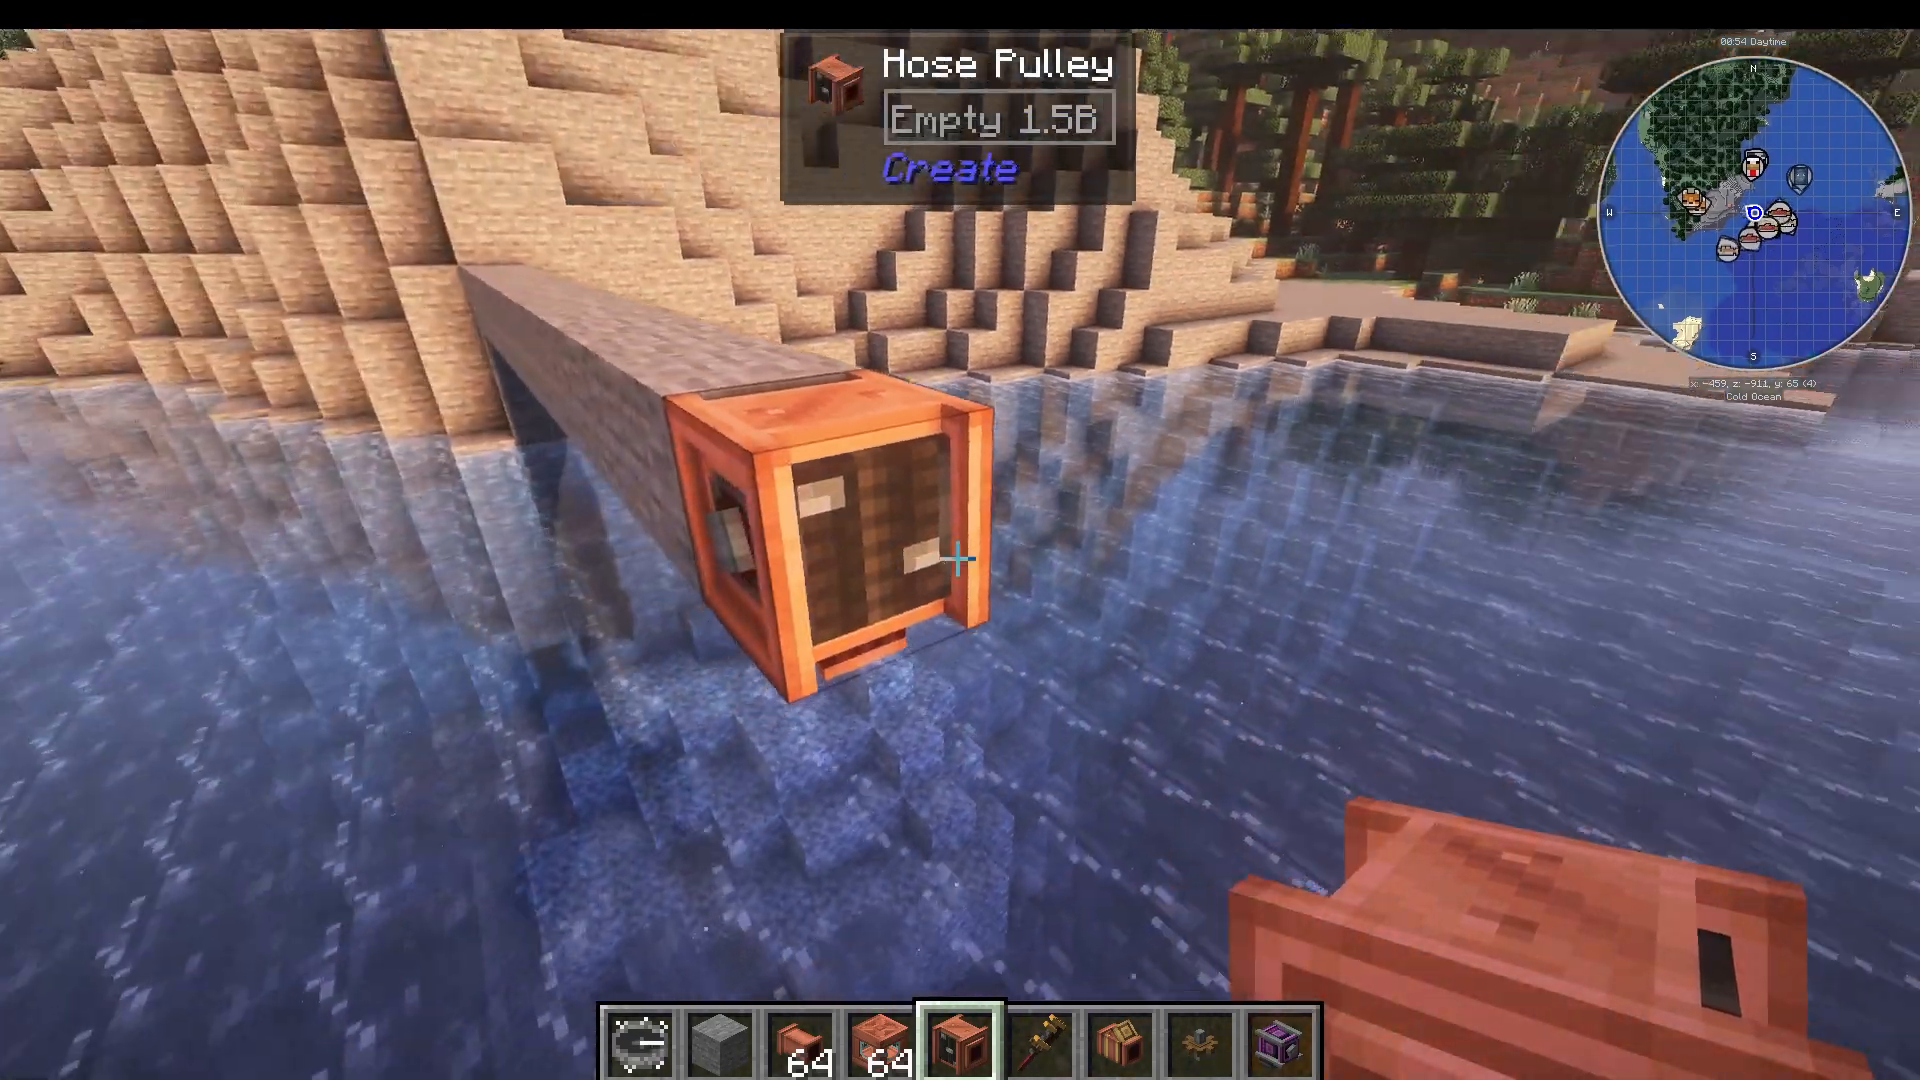
The hose pulley is one of Create’s most powerful fluid tools. Place it above a large body of water or lava and power it with rotation. Depending on the rotation direction, the pulley either extends down into the liquid or retracts. Make sure your rotation is oriented correctly—it should push the hose down into the fluid source.
Infinite Fluid Sources
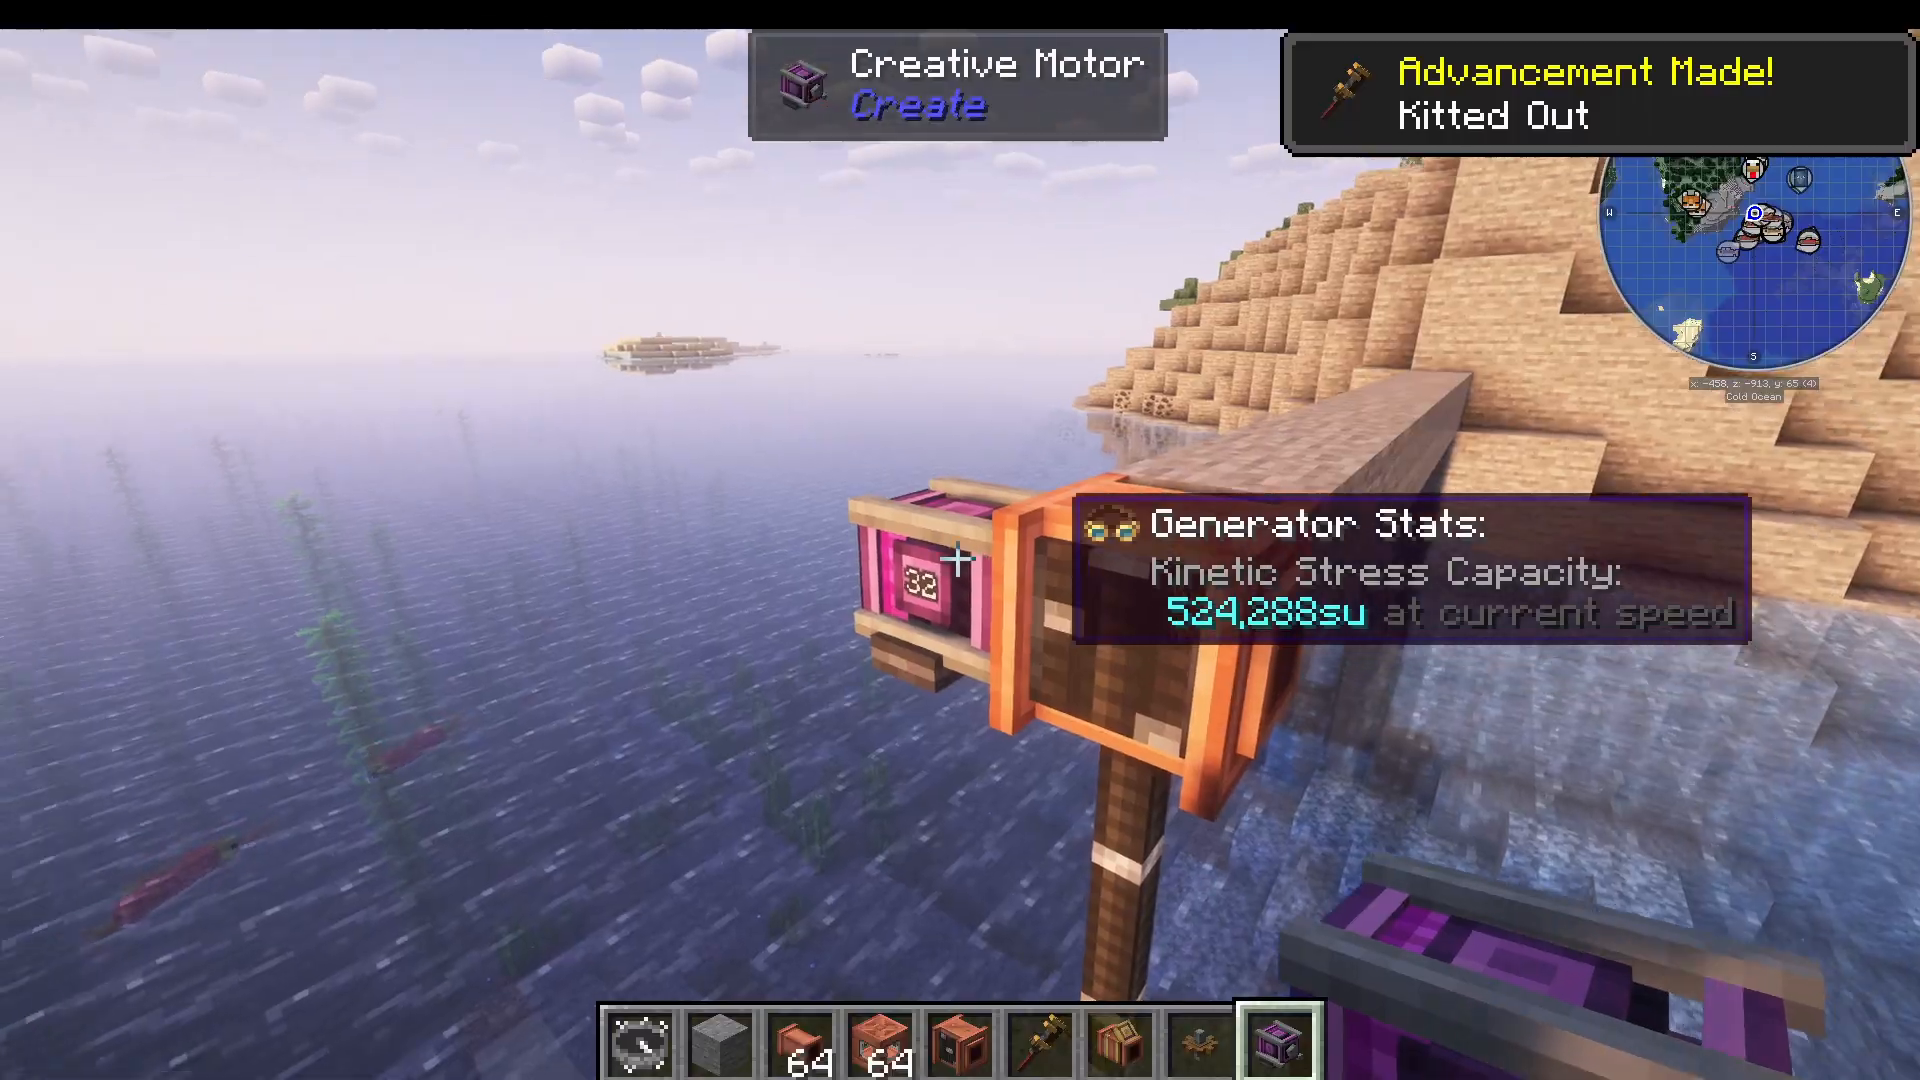
When a body of water or lava contains over 10,000 blocks, the Create mod considers it an infinite source. To verify this, equip your goggles and check for the “infinite fluid source” indicator. Connect a mechanical pump powered to the hose pulley, and you can pump fluid indefinitely without depleting the source. This works perfectly for oceans and large lava lakes in the Nether.
Pumping from the Hose Pulley
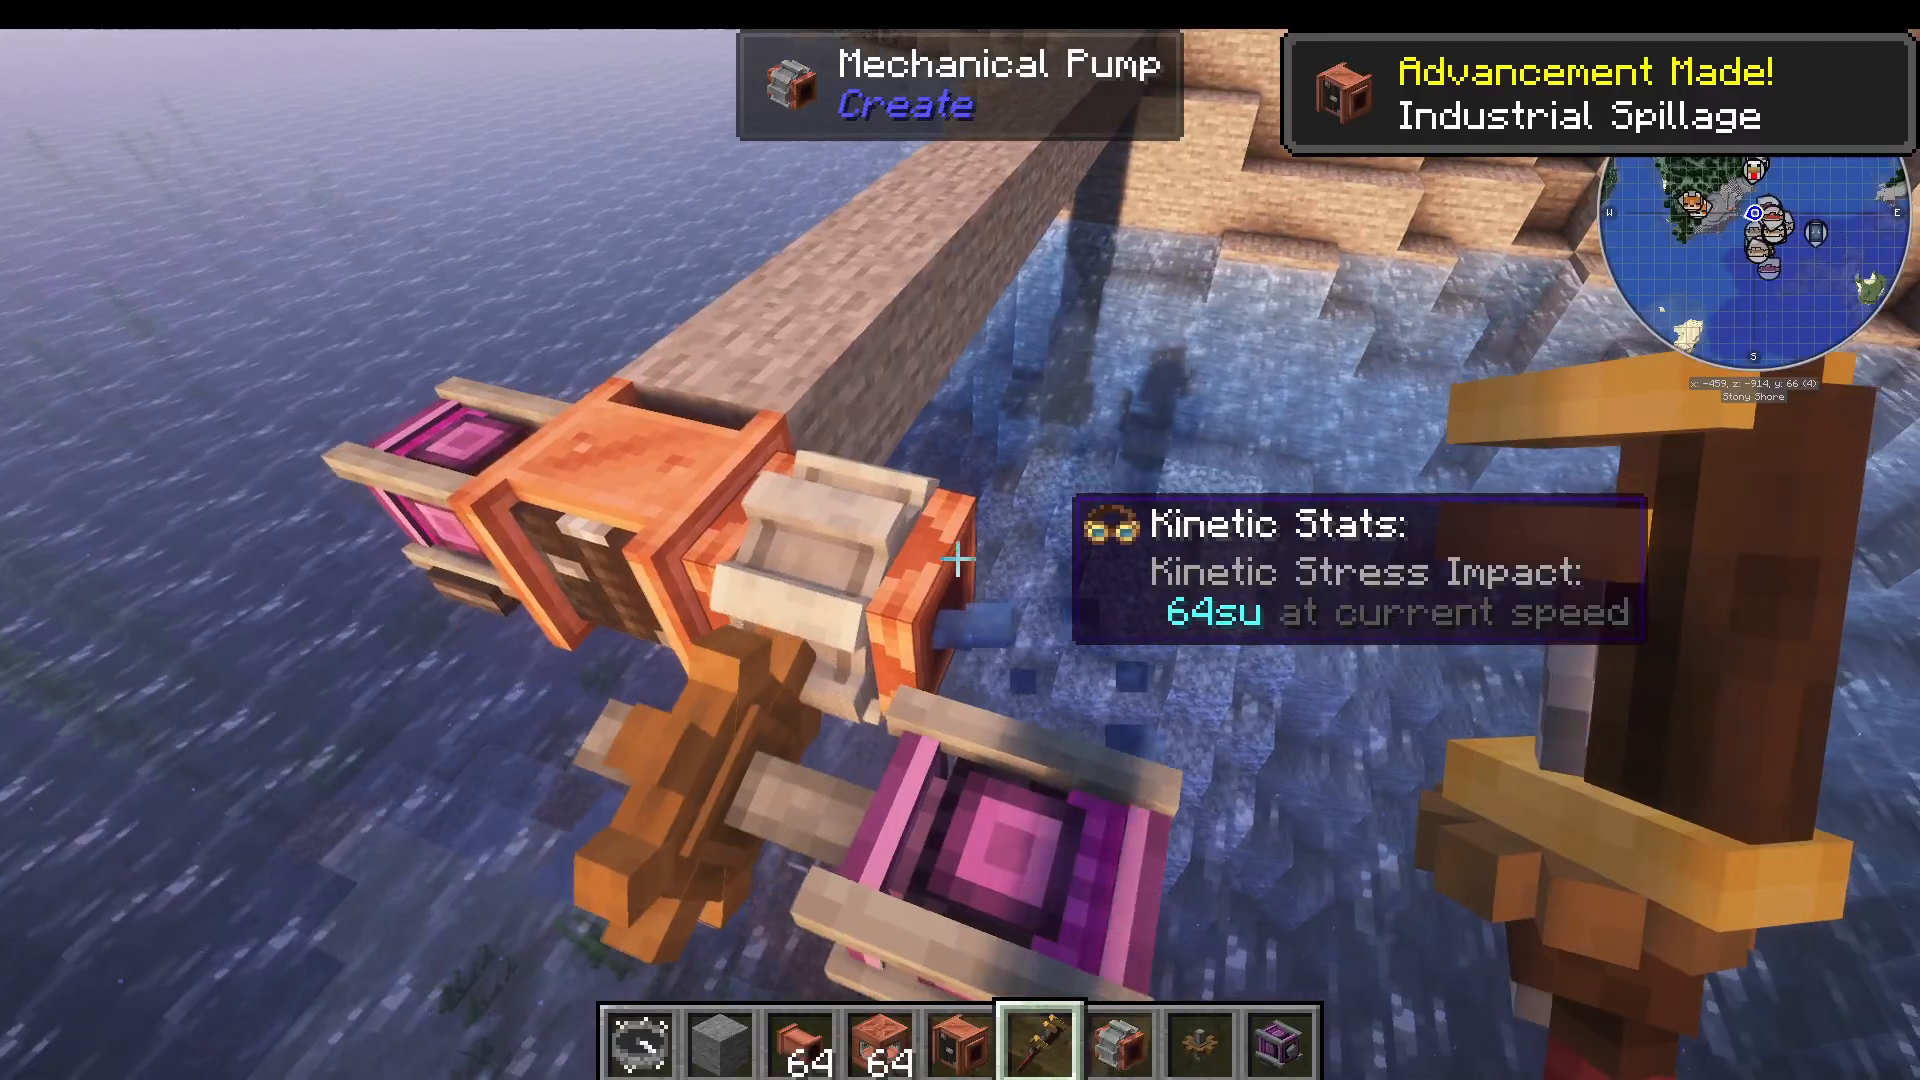
Once your hose pulley is positioned in an infinite fluid source, add a mechanical pump to draw from it. The pump will push the extracted fluid through your pipe network for distribution anywhere in your system. This setup is ideal for large-scale fluid operations that require continuous supply.
Summary
You now have a complete toolkit for managing fluids in Create. From storing liquids in multi-block tanks to pumping, filtering, and dispensing them with precision, these systems form the backbone of any advanced Create setup. Master these fundamentals, and you’ll be able to build impressive fluid-based contraptions and automation systems.
— Want to Support? —
If you would like to help us continue making these guides – please consider joining our patreon here – https://www.patreon.com/c/JaviHeals
Alternatively – we host a group of MC Servers you can join here – https://discord.gg/zD7Gjt6MHF



