Stellaris Mod Complete Tutorial
Stellaris Mod for Minecraft: Complete Beginner’s Guide
The Stellaris mod for Minecraft lets you roam the solar system in your very own rocket, visiting planets like Mars, Venus, and the Moon — each with unique ores, structures, mobs, and biomes. Despite sounding complex, this mod is surprisingly beginner-friendly. This guide walks you through everything you need to know: gathering materials, producing oxygen, refining fuel, building your rocket, and exploring space.
Step 1: Gather Your Starting Materials
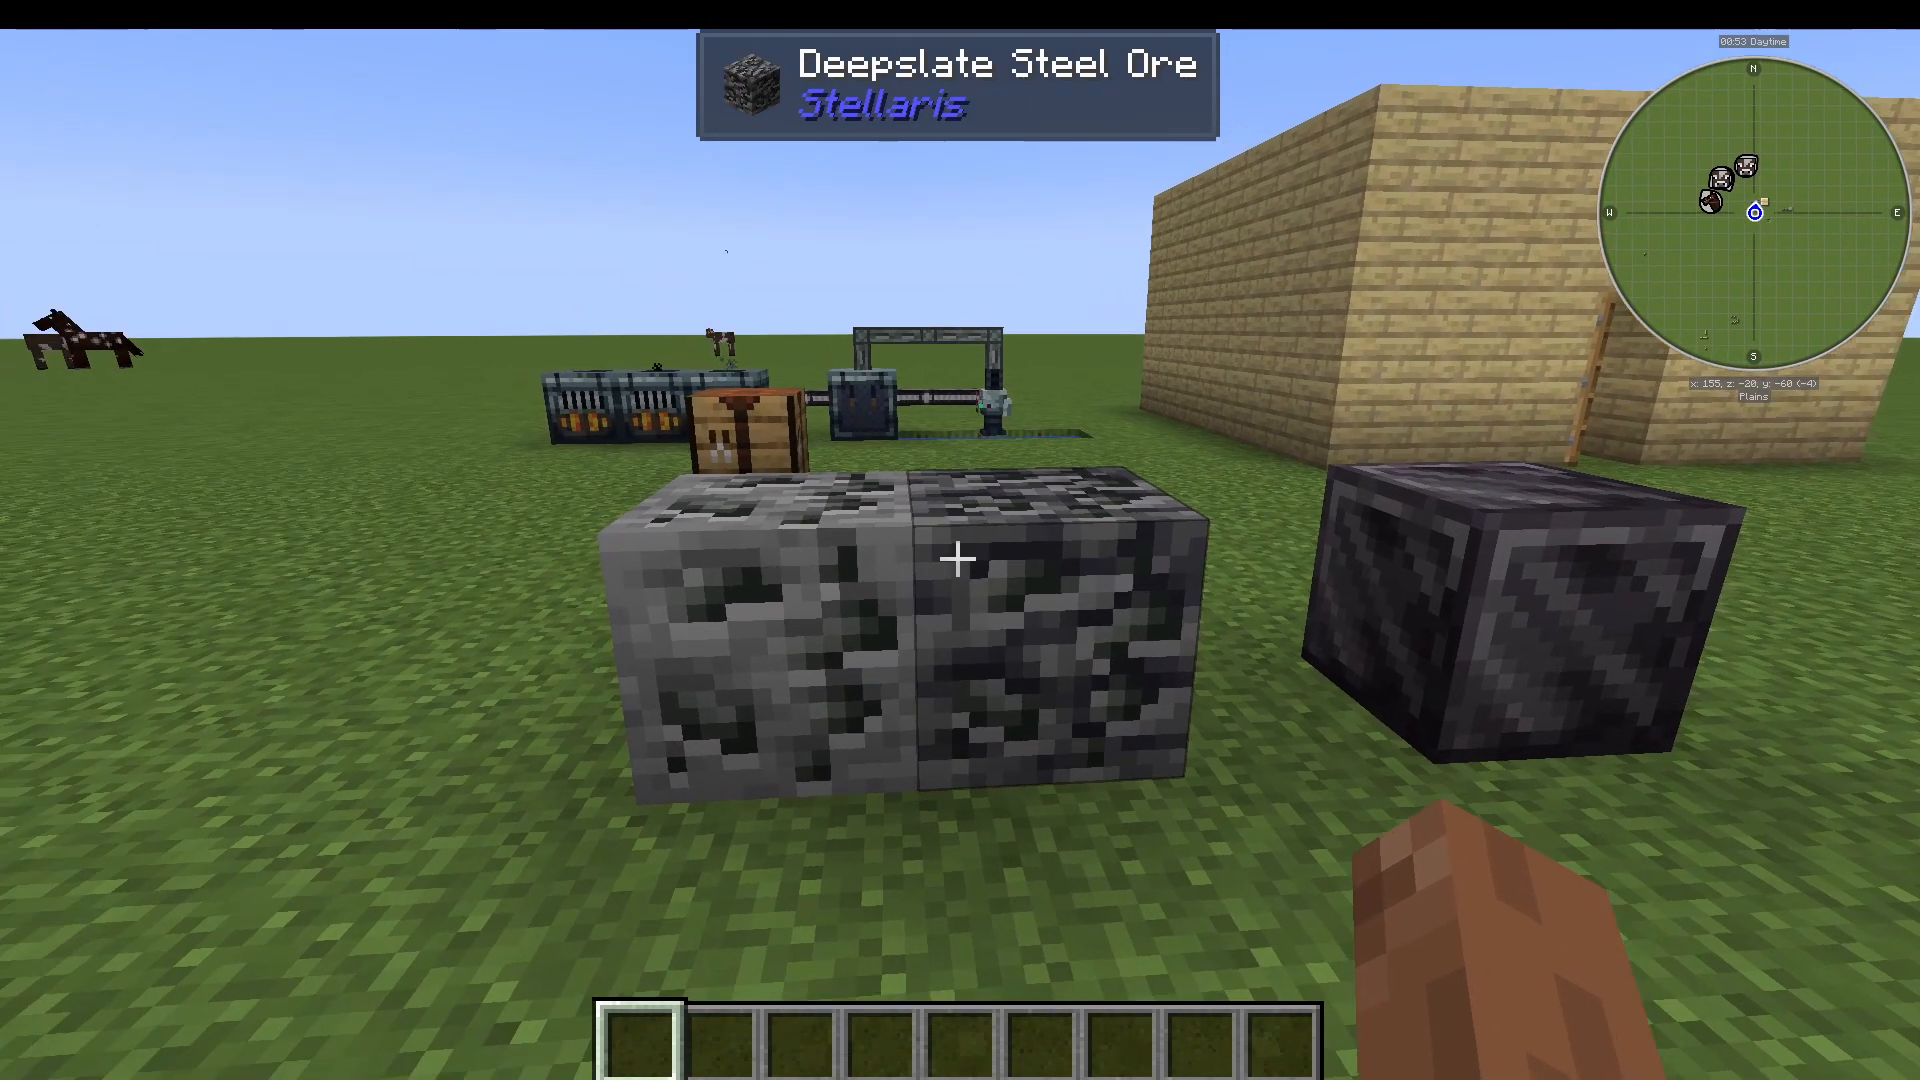
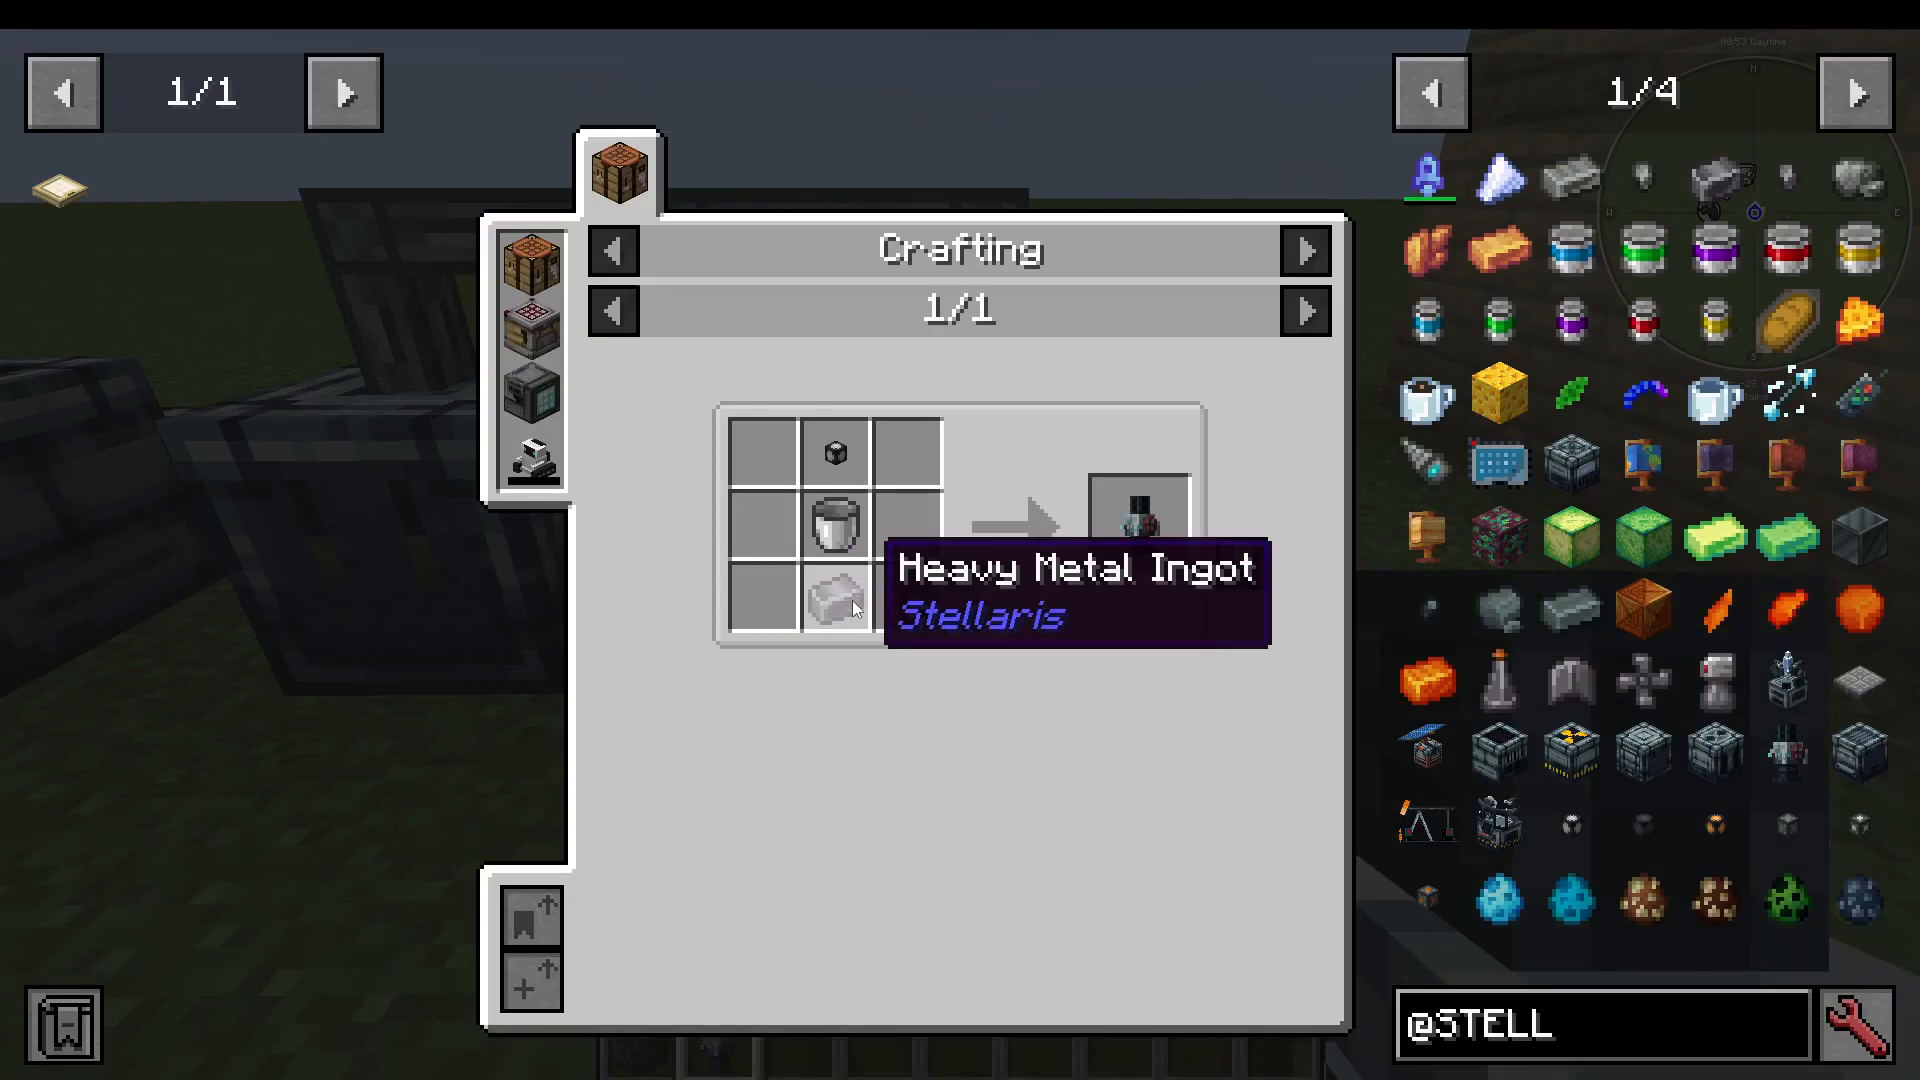
Before anything else, you need to mine deep into the earth to collect steel ore. You will also need heavy metal ingots, which are crafted simply by smelting regular iron ingots in a furnace. These two materials form the backbone of almost every early-game recipe in the Stellaris mod.
Understanding Cables and Pipes
The mod uses a tiered system for transferring power and fluids. Here is a quick breakdown:
Tier 1 Cables — Crafted from steel nuggets. Used to transfer power between machines on the overworld.
Tier 2 Cables — Crafted with dash ingots, which are sourced from the Moon.
Tier 1 and Tier 2 Pipes — Used to transfer fluids such as water between machines.
Tier 3 Cables and Pipes — Crafted using late-game materials like plutonium, uranium, and Neptuneium, all found on other planets.
On the overworld (Earth), you will only have access to steel-based crafting. Planet-specific ores like plutonium and uranium come later once you have already reached space.
Step 2: Set Up Your Oxygen Production System
Oxygen is essential for surviving in space. You will need to build a small production chain to generate it before you can launch your rocket.
Building the Water Pump
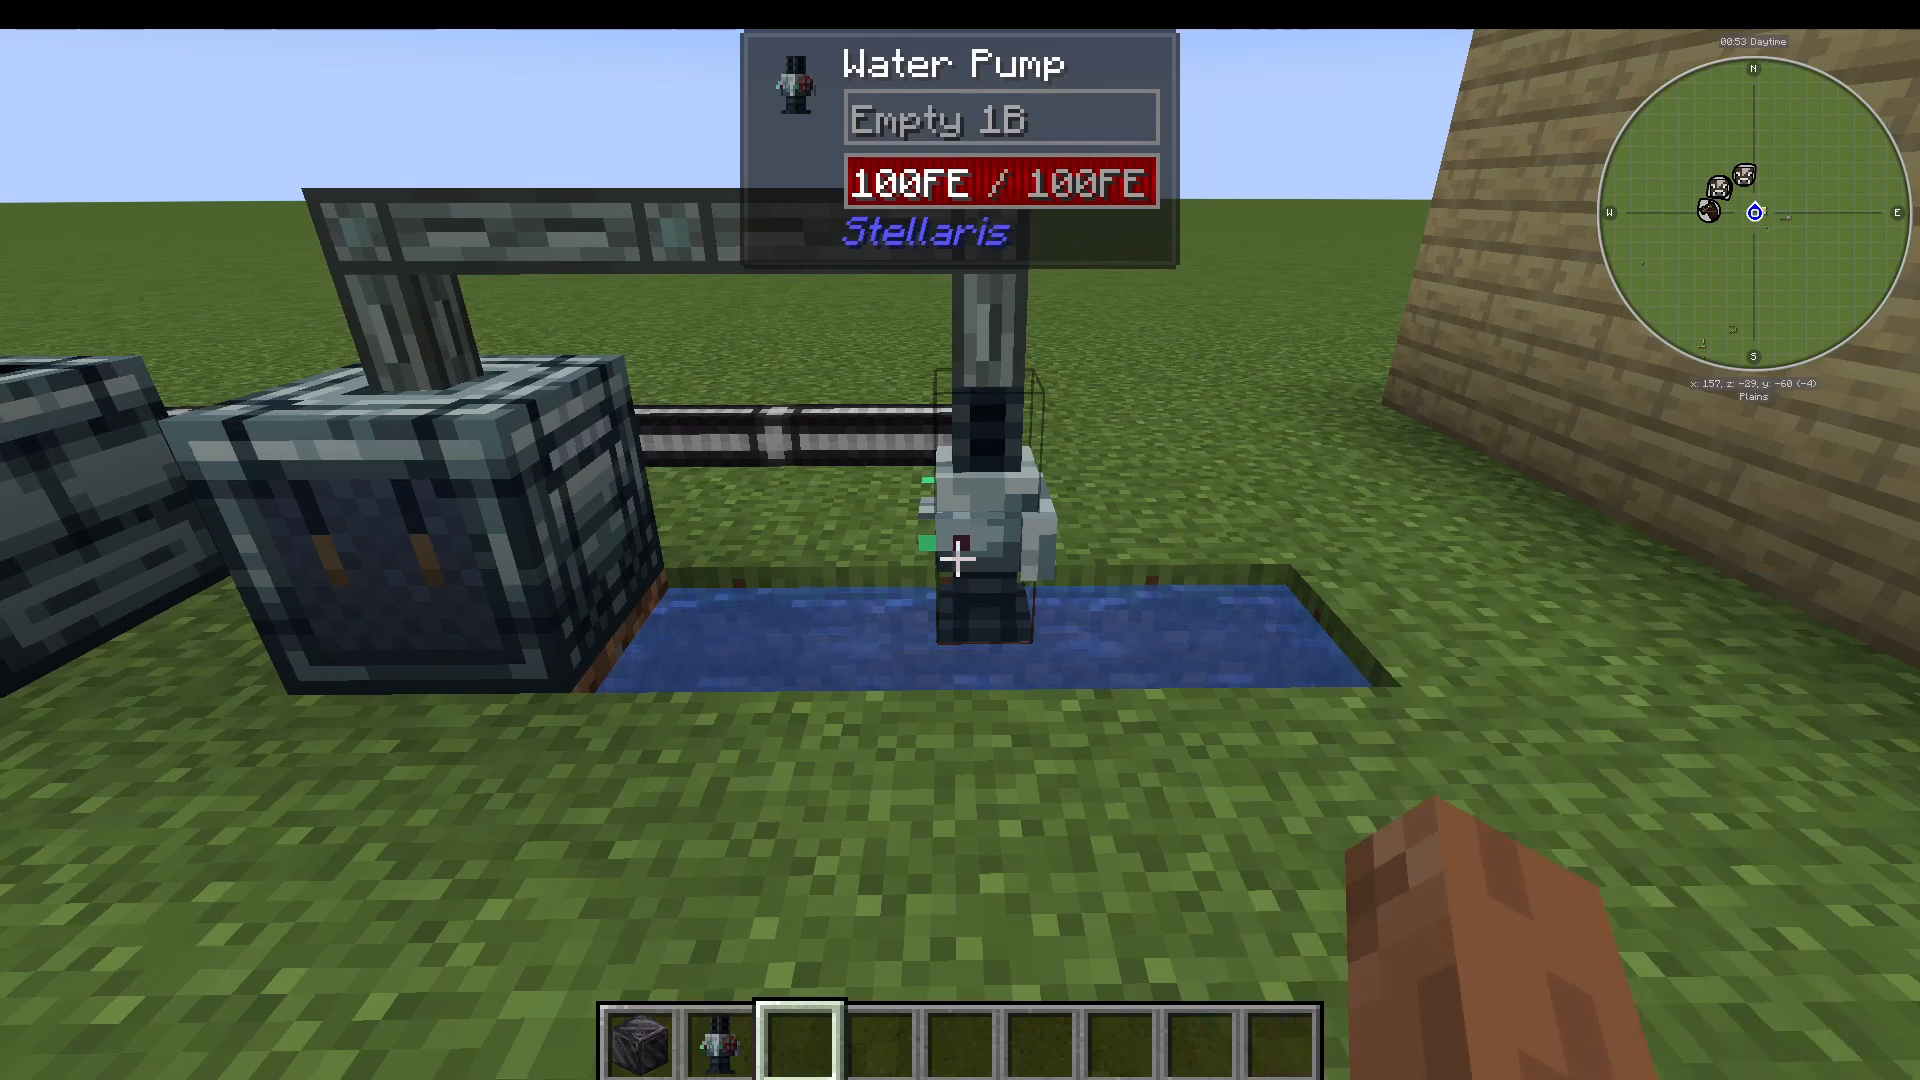
Craft a water pump using heavy metal ingots and tier 1 cables, then place it directly over an infinite water source. It is important to use an infinite water source — if you place it over a finite one, the pump will drain it completely. Connect a tier 1 cable behind the pump to supply it with power.
Building the Water Separator
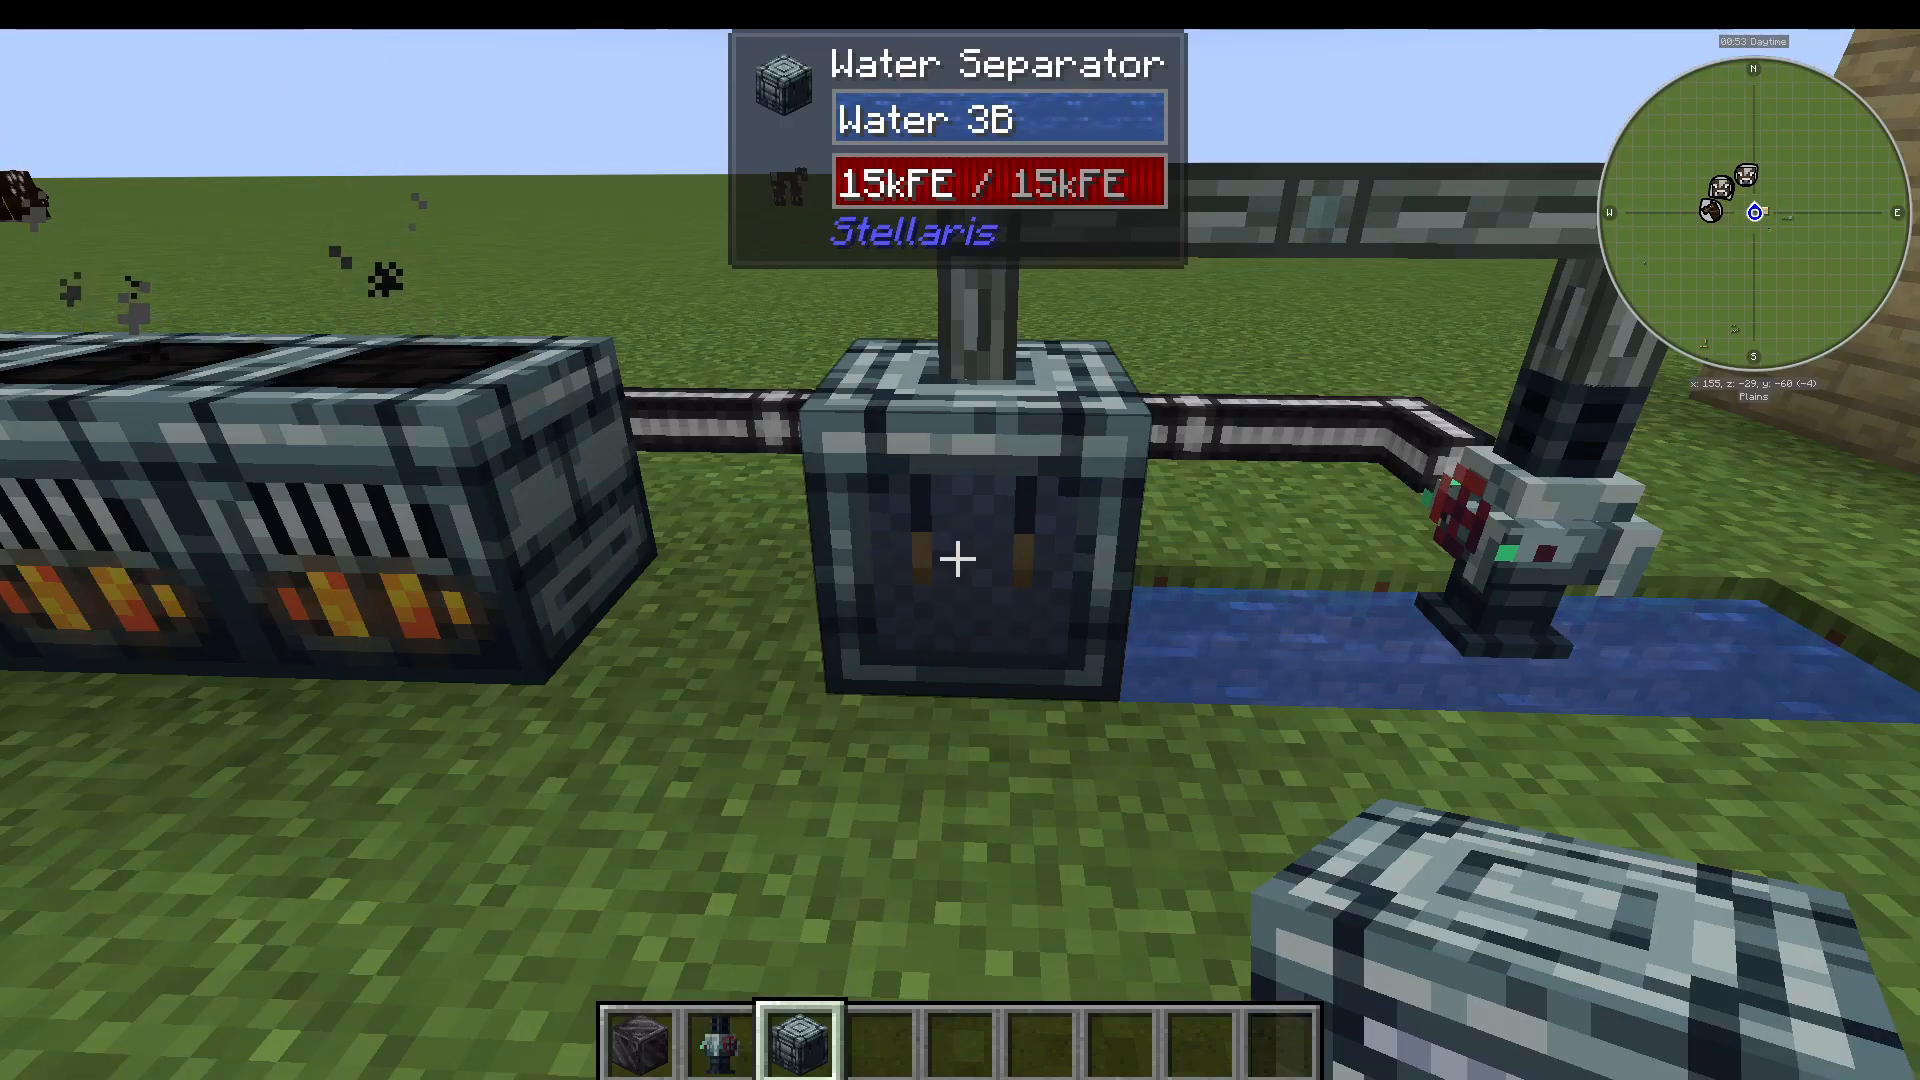
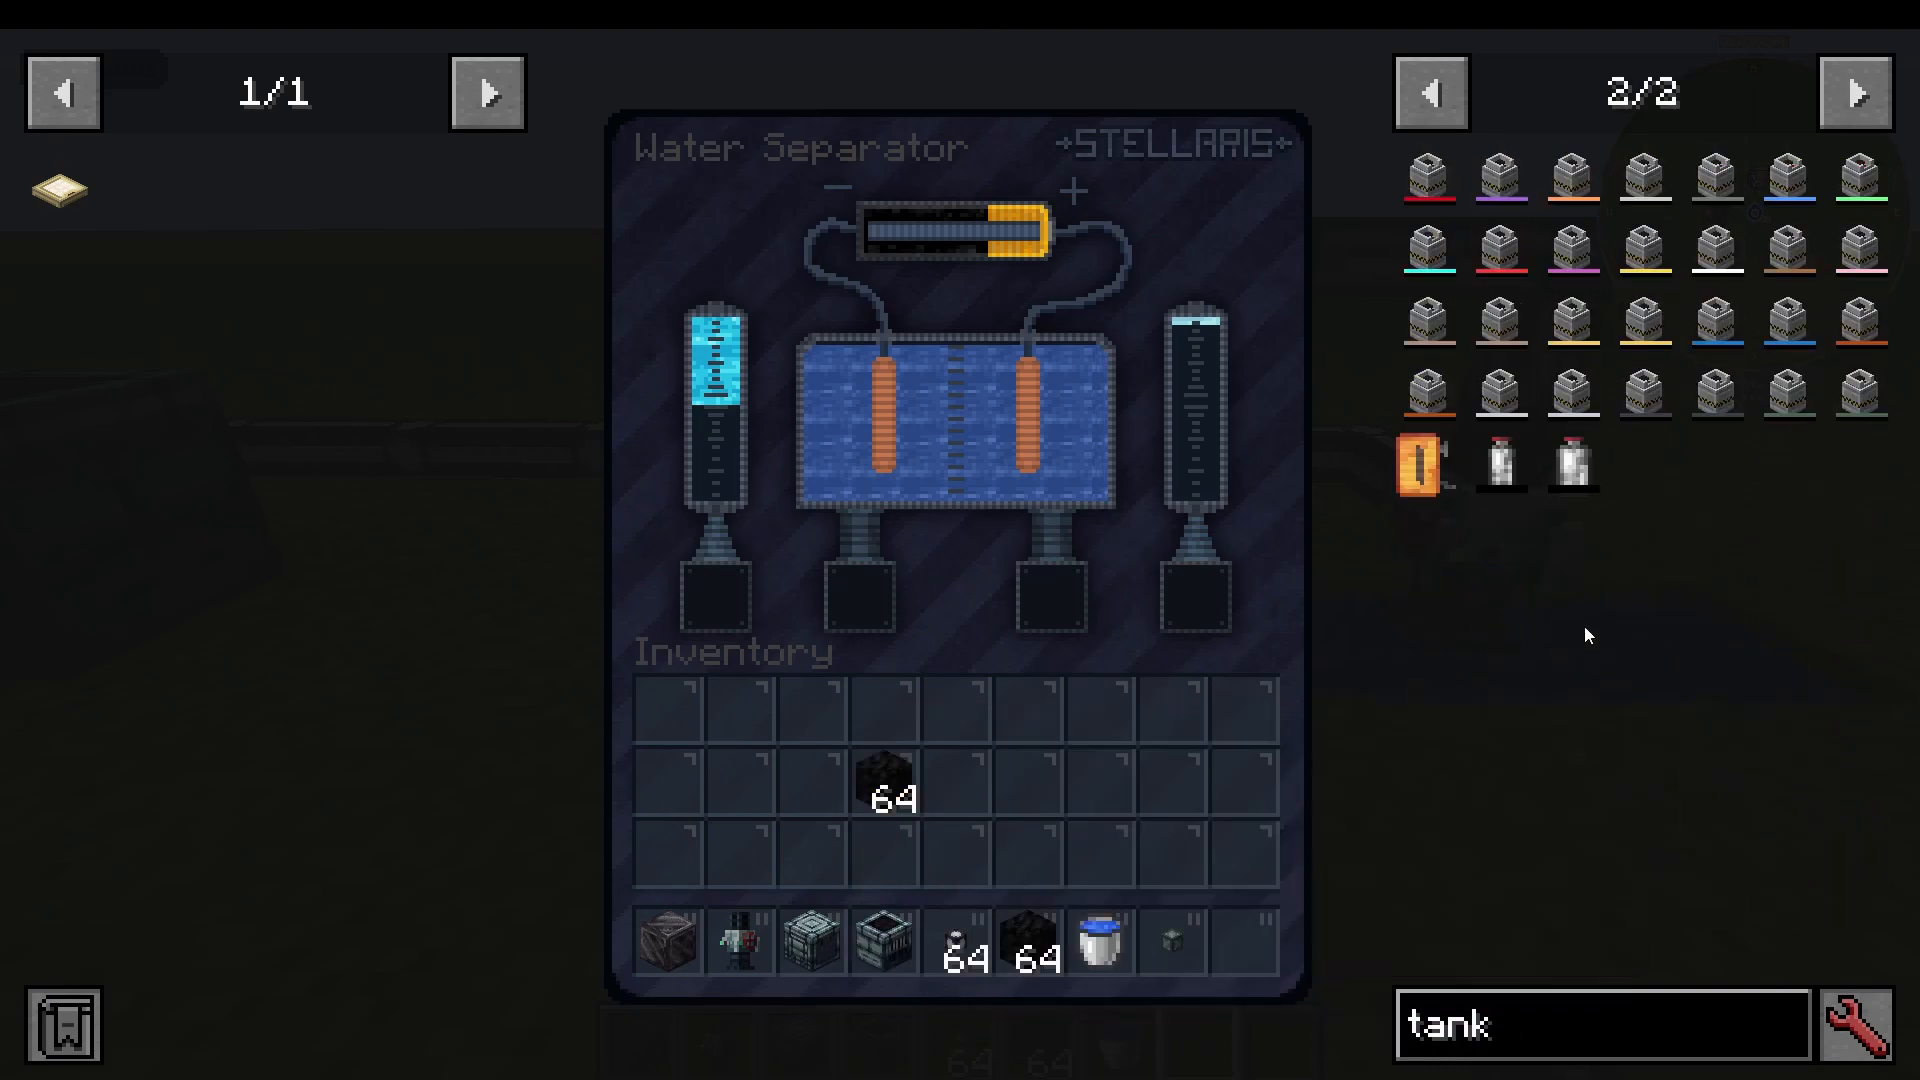
Next, craft a water separator. This machine splits water into two outputs: oxygen and hydrogen. It requires a steady supply of energy to operate. Connect it to your water pump using a tier 1 pipe (pipes transfer fluids, cables transfer power).
Powering Your Machines with Coal Generators
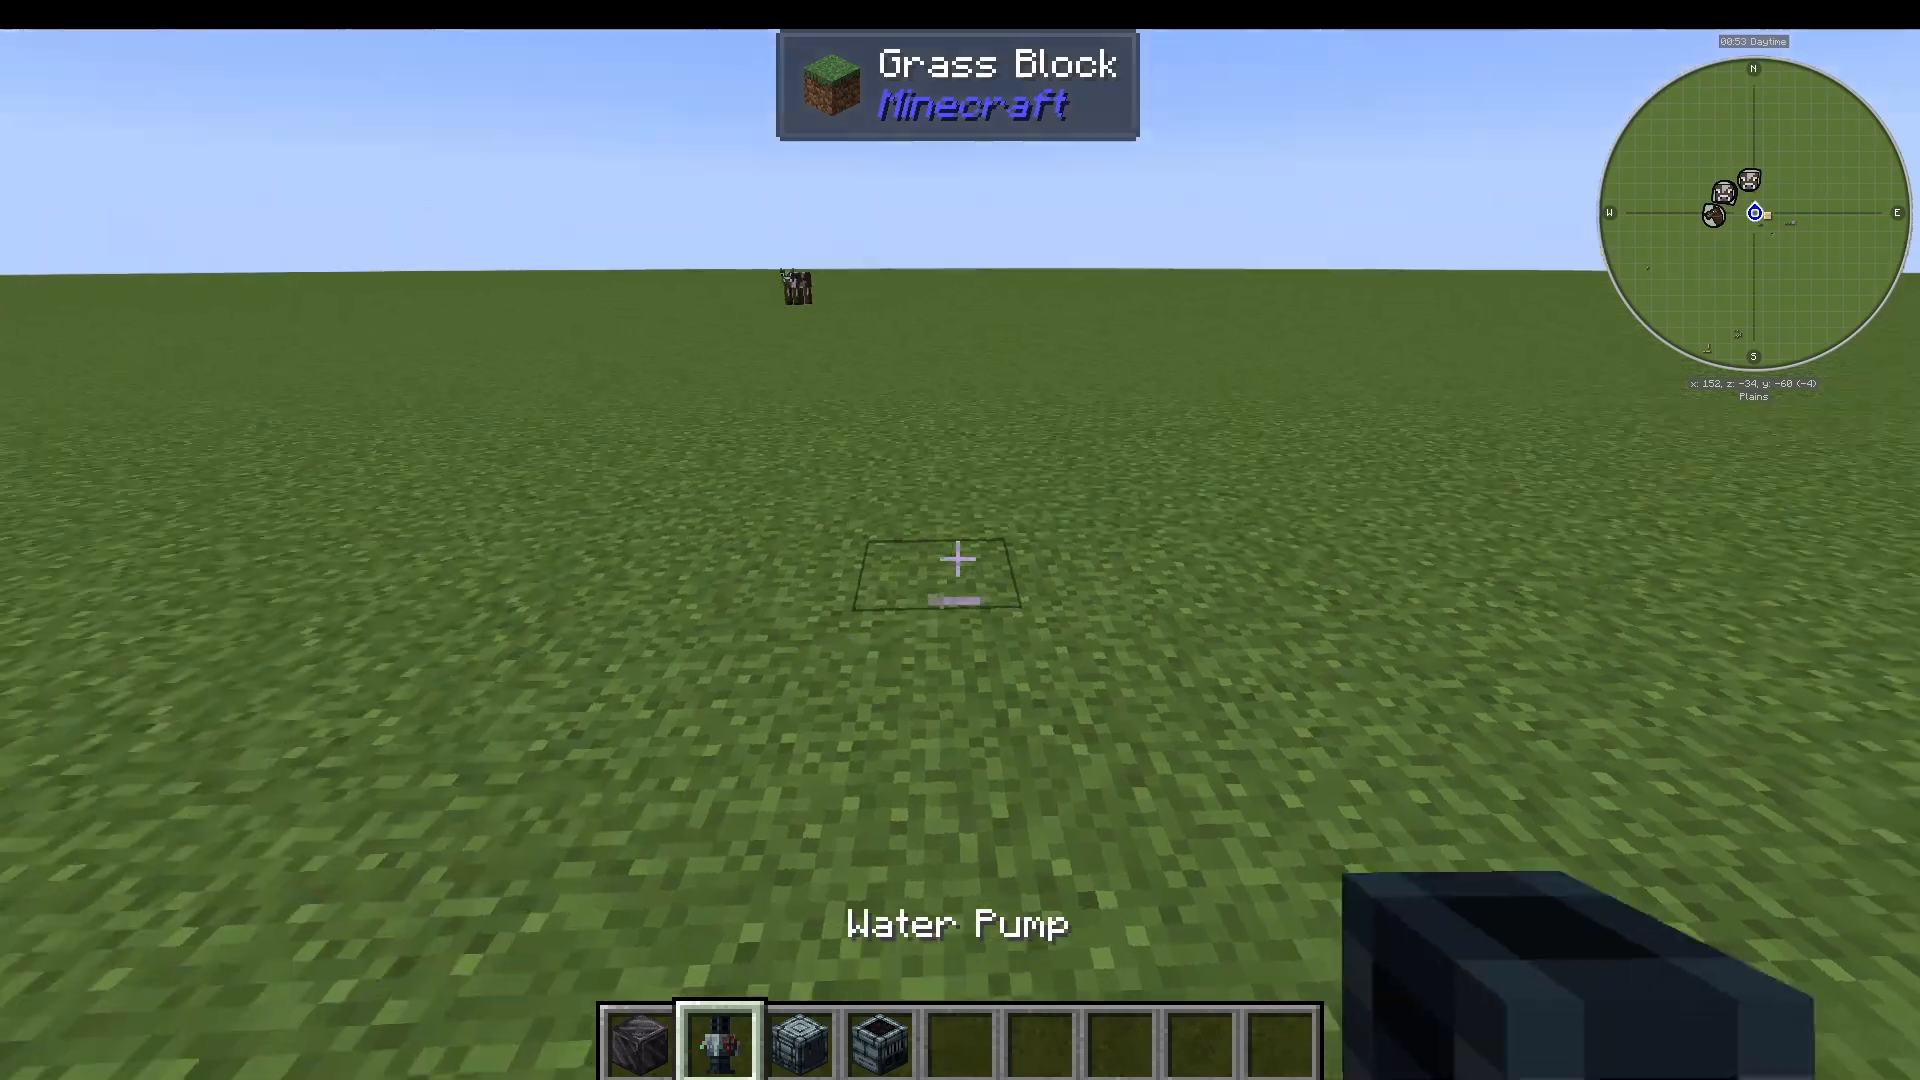
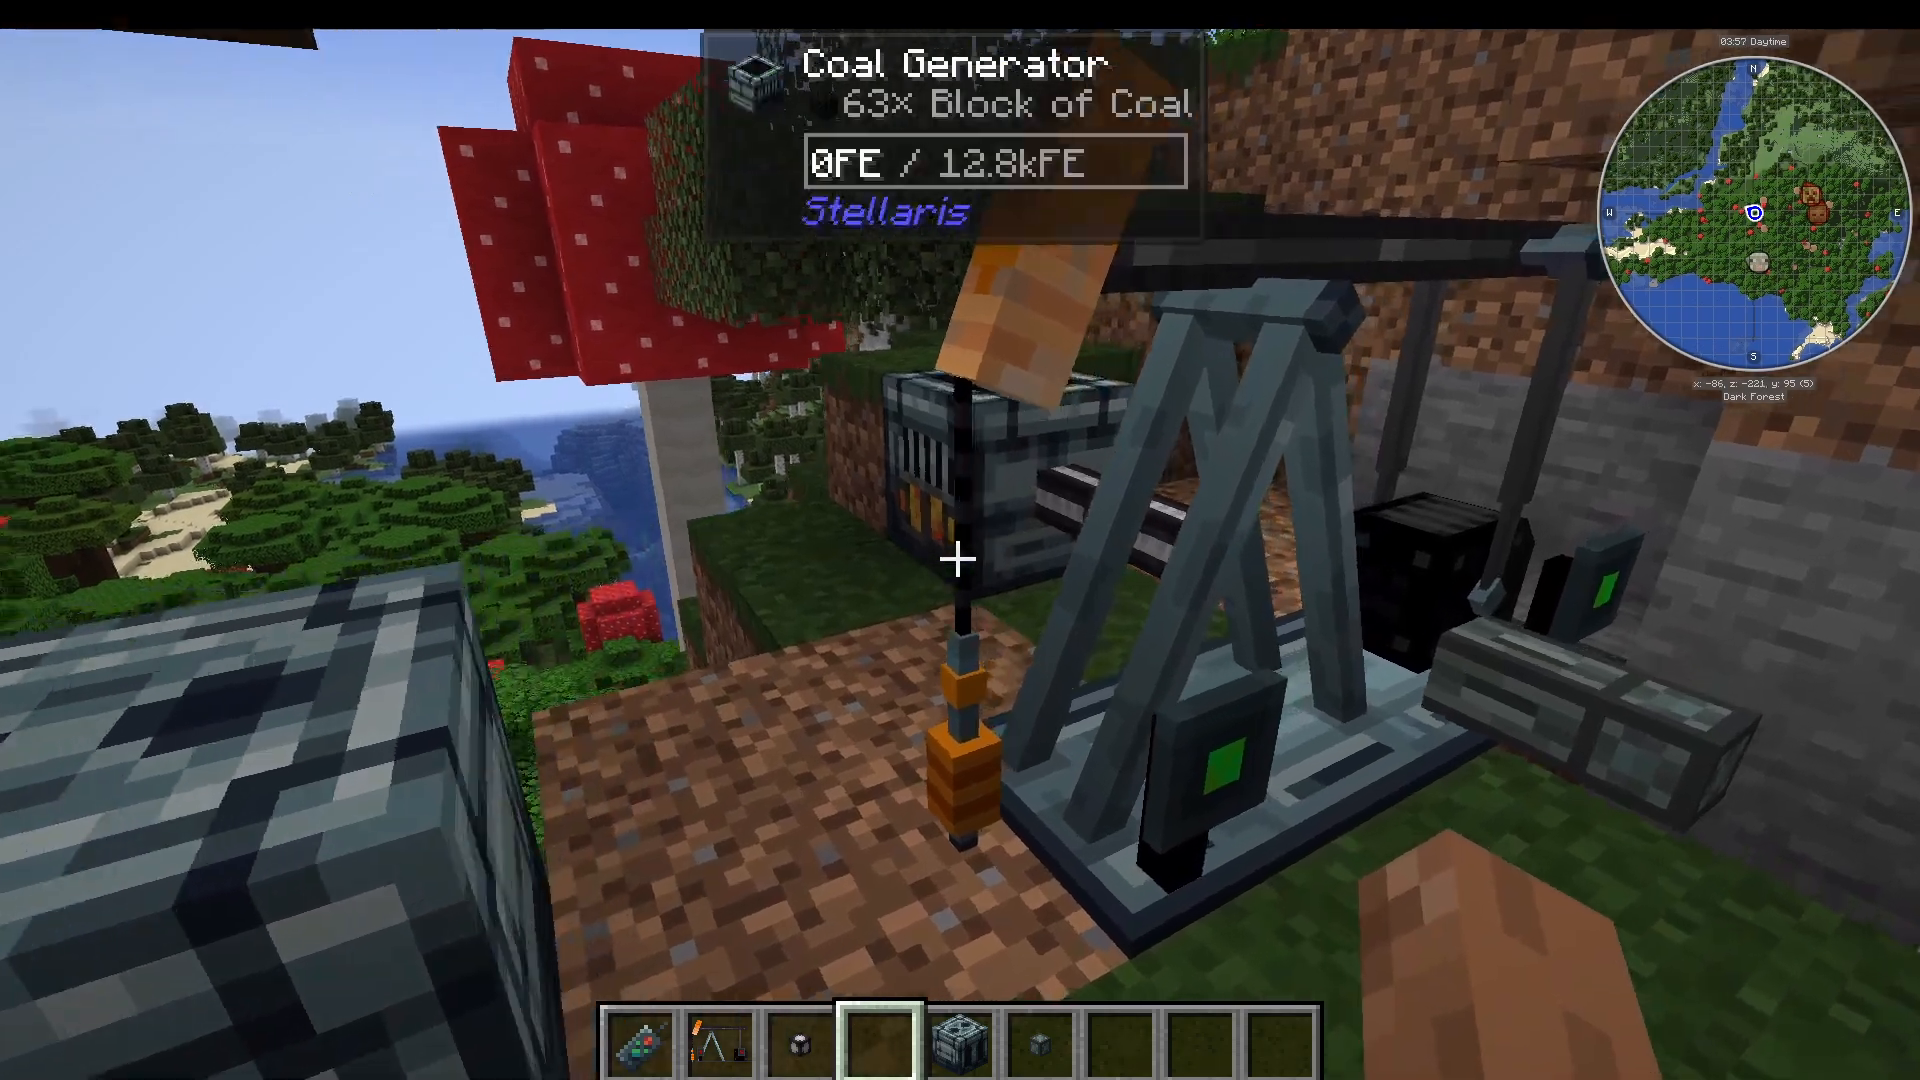
The recommended early-game power source is the coal generator, which simply burns coal to produce energy. Build around three coal generators and connect them to both the water pump and the water separator using tier 1 cables. Fill the generators with coal, and you will see them begin charging and supplying power automatically.
If you already have power-generating mods installed, you can use those instead to supply energy to your machines.
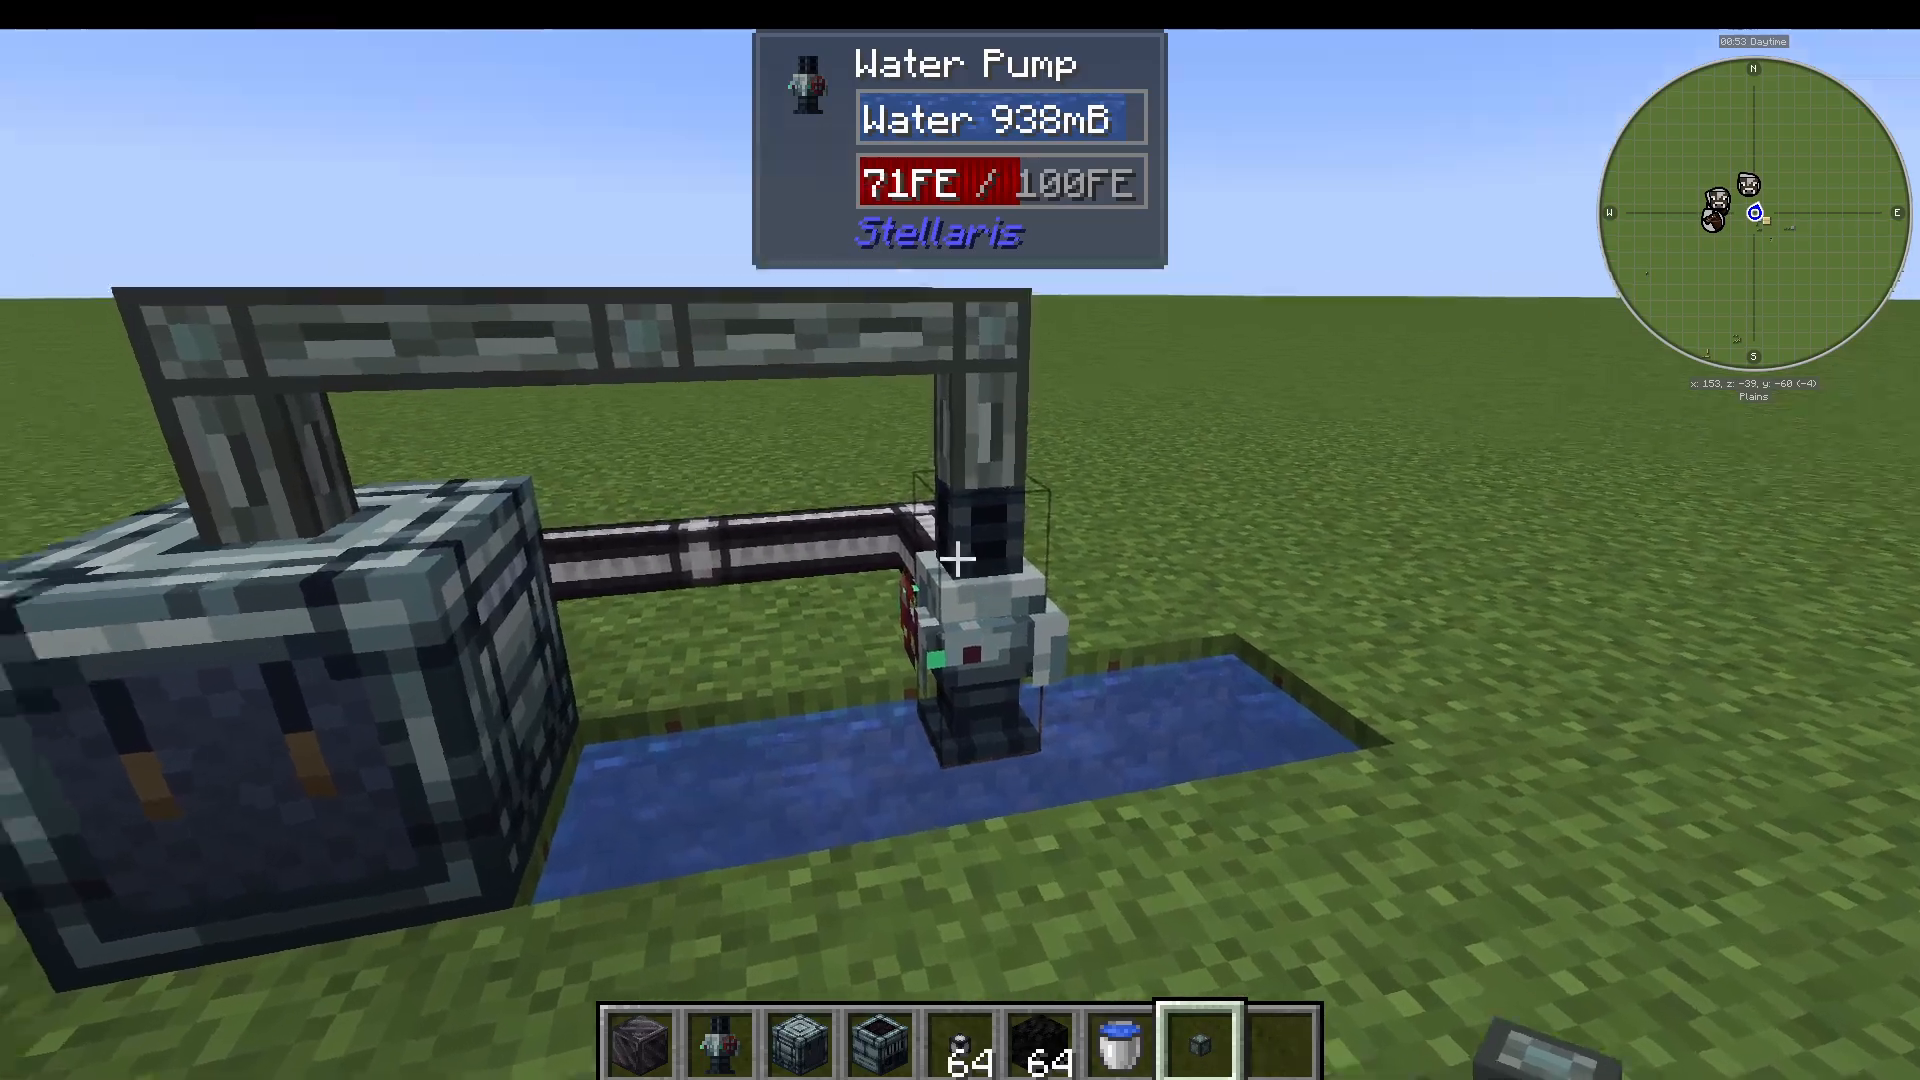
Once the system is running, water flows from the pump through a tier 1 pipe into the water separator, which produces both hydrogen and oxygen. You will use oxygen immediately for your spacesuit. Hydrogen is used later for rocket motor upgrades.
Filling Your Spacesuit with Oxygen
The spacesuit is crafted in four pieces: boots, leggings, helmet, and chestplate. Each piece functions like standard armor, but the chestplate has a special oxygen tank slot. To fill it, open the water separator’s interface and place the chestplate in the slot beneath the oxygen tank. Once filled, you will be able to breathe in outer space.
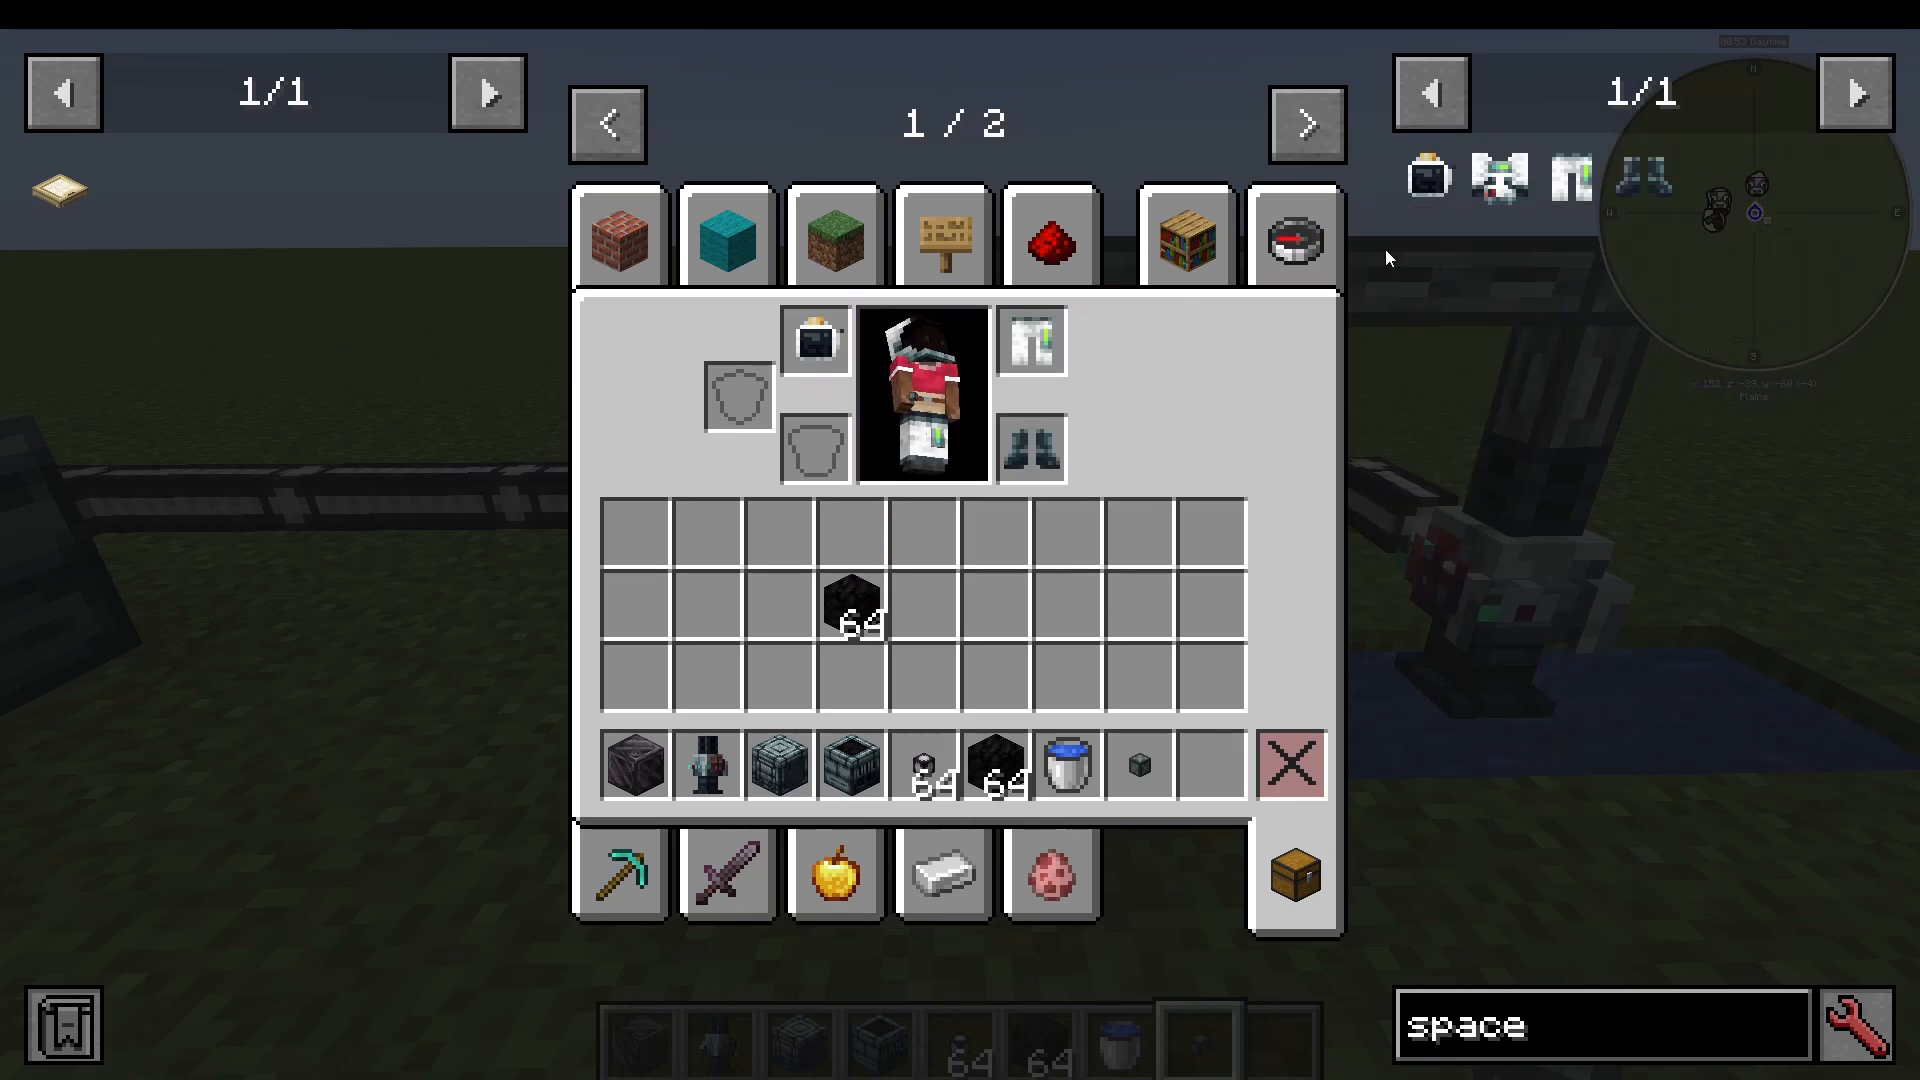
You can also craft a standalone oxygen tank in either a small or large size. The large oxygen tank stores significantly more oxygen than the small one. Place your chosen tank in the oxygen slot on the right-hand side of the water separator’s interface to fill it.
Oxygenating a Base on Another Planet
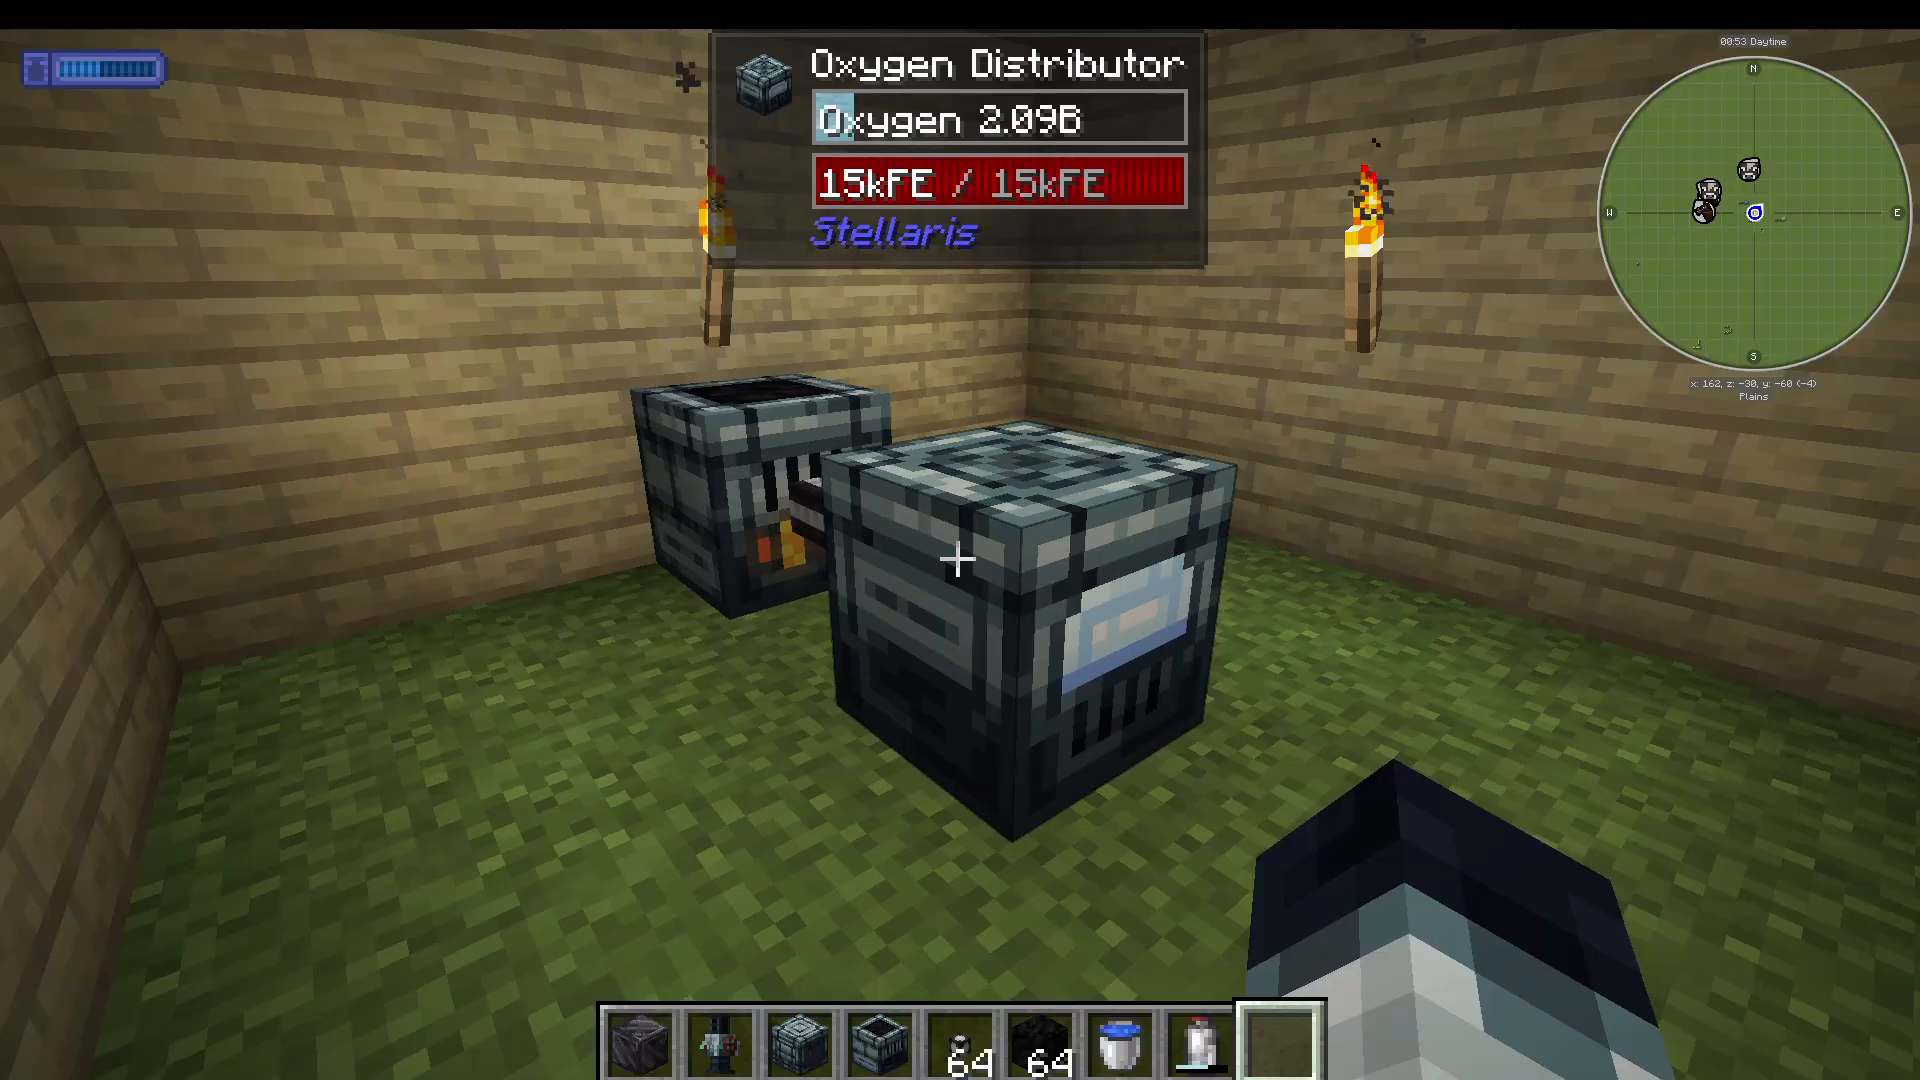
If you plan to build a permanent base on another planet, you will need to oxygenate enclosed rooms. Craft an oxygen distributor, place your filled oxygen tank into its tank slot, and it will distribute breathable oxygen throughout any sealed room it is placed in.
Step 3: Find and Refine Rocket Fuel
Your rocket runs on refined fuel made from crude oil found underground. Not every chunk contains oil, so you will need to search for it.
Finding Oil with the Oil Finder
Craft an oil finder and right-click it as you walk around the world. The tool will display either “Oil Found” along with a quantity reading, or “No Oil Found”. Keep moving until you get a positive reading.
Extracting Oil with the Pump Jack
Once you have located oil, craft a pump jack and place it over the oil deposit. Power it using a coal generator connected to the middle input. Right-clicking the pump jack will show you the oil accumulating inside. You can then bucket the oil out directly from the pump jack interface.
Refining Oil into Fuel
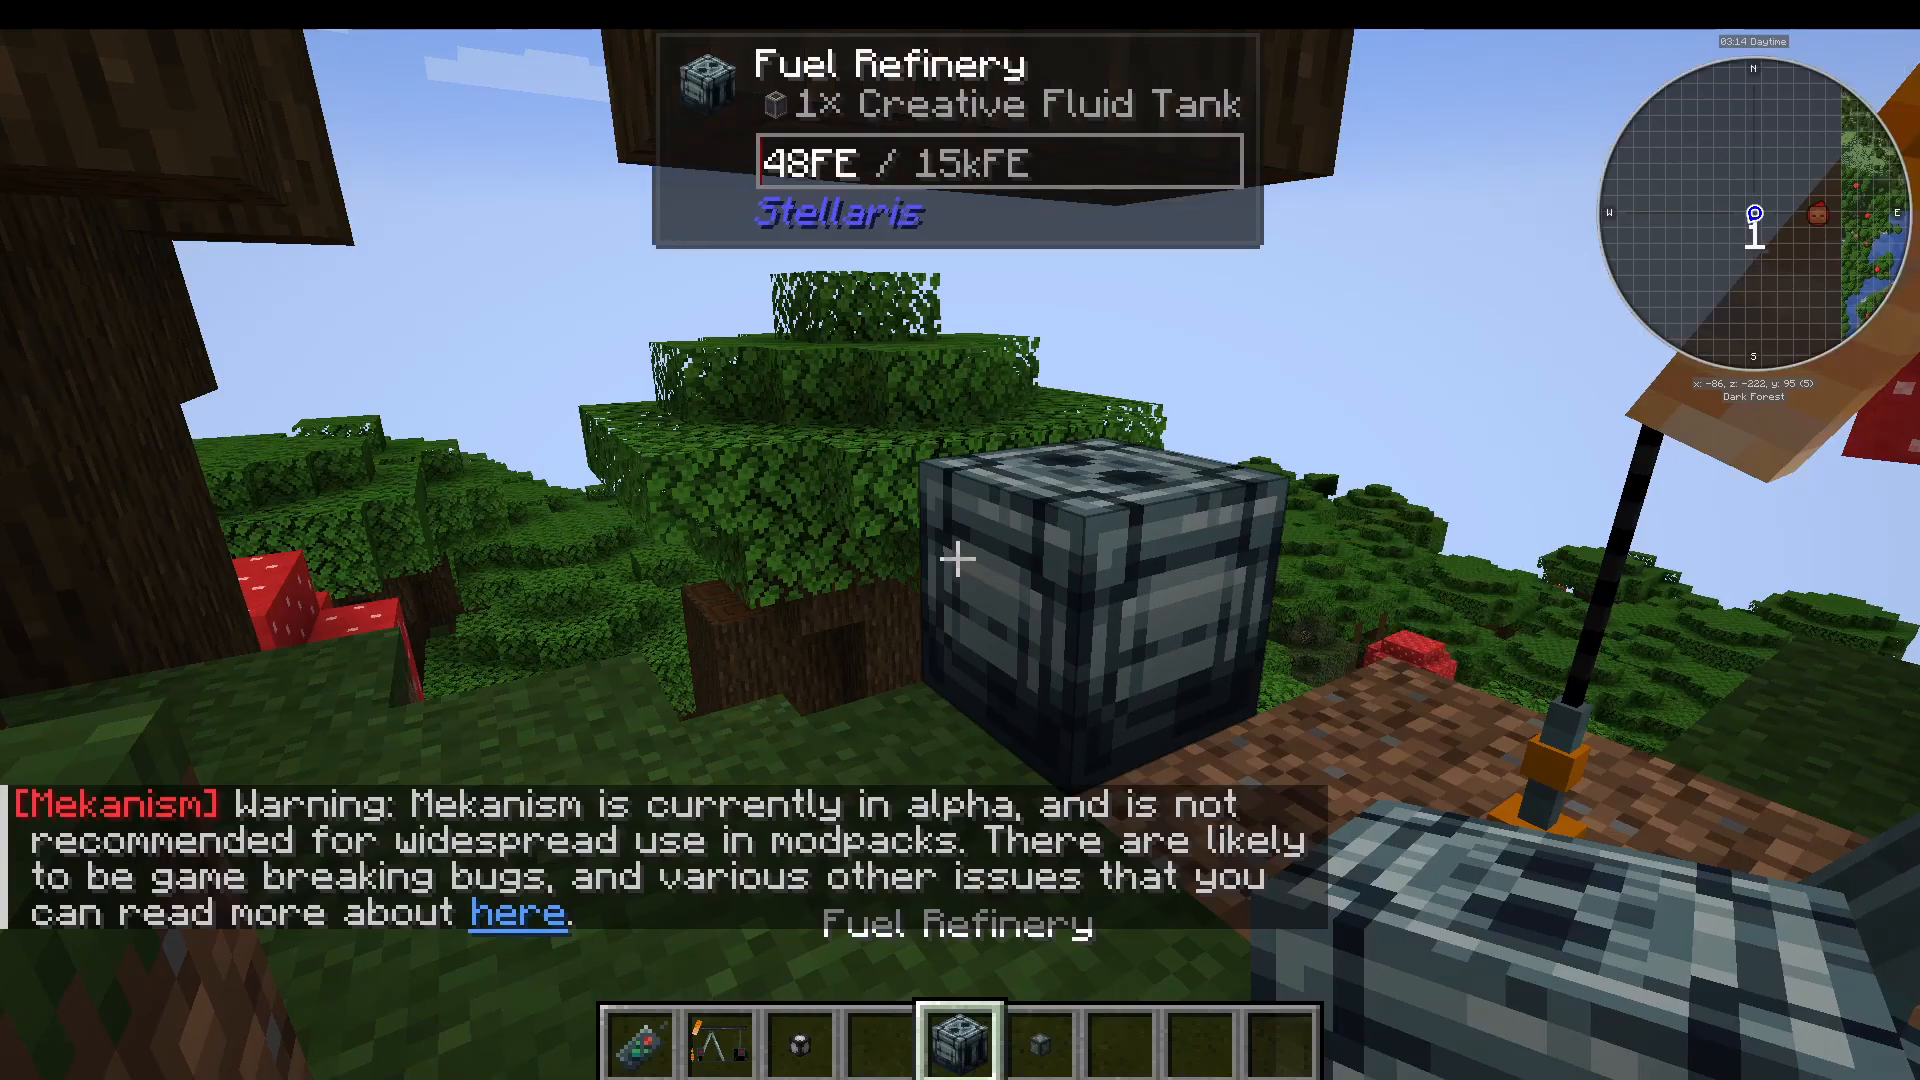
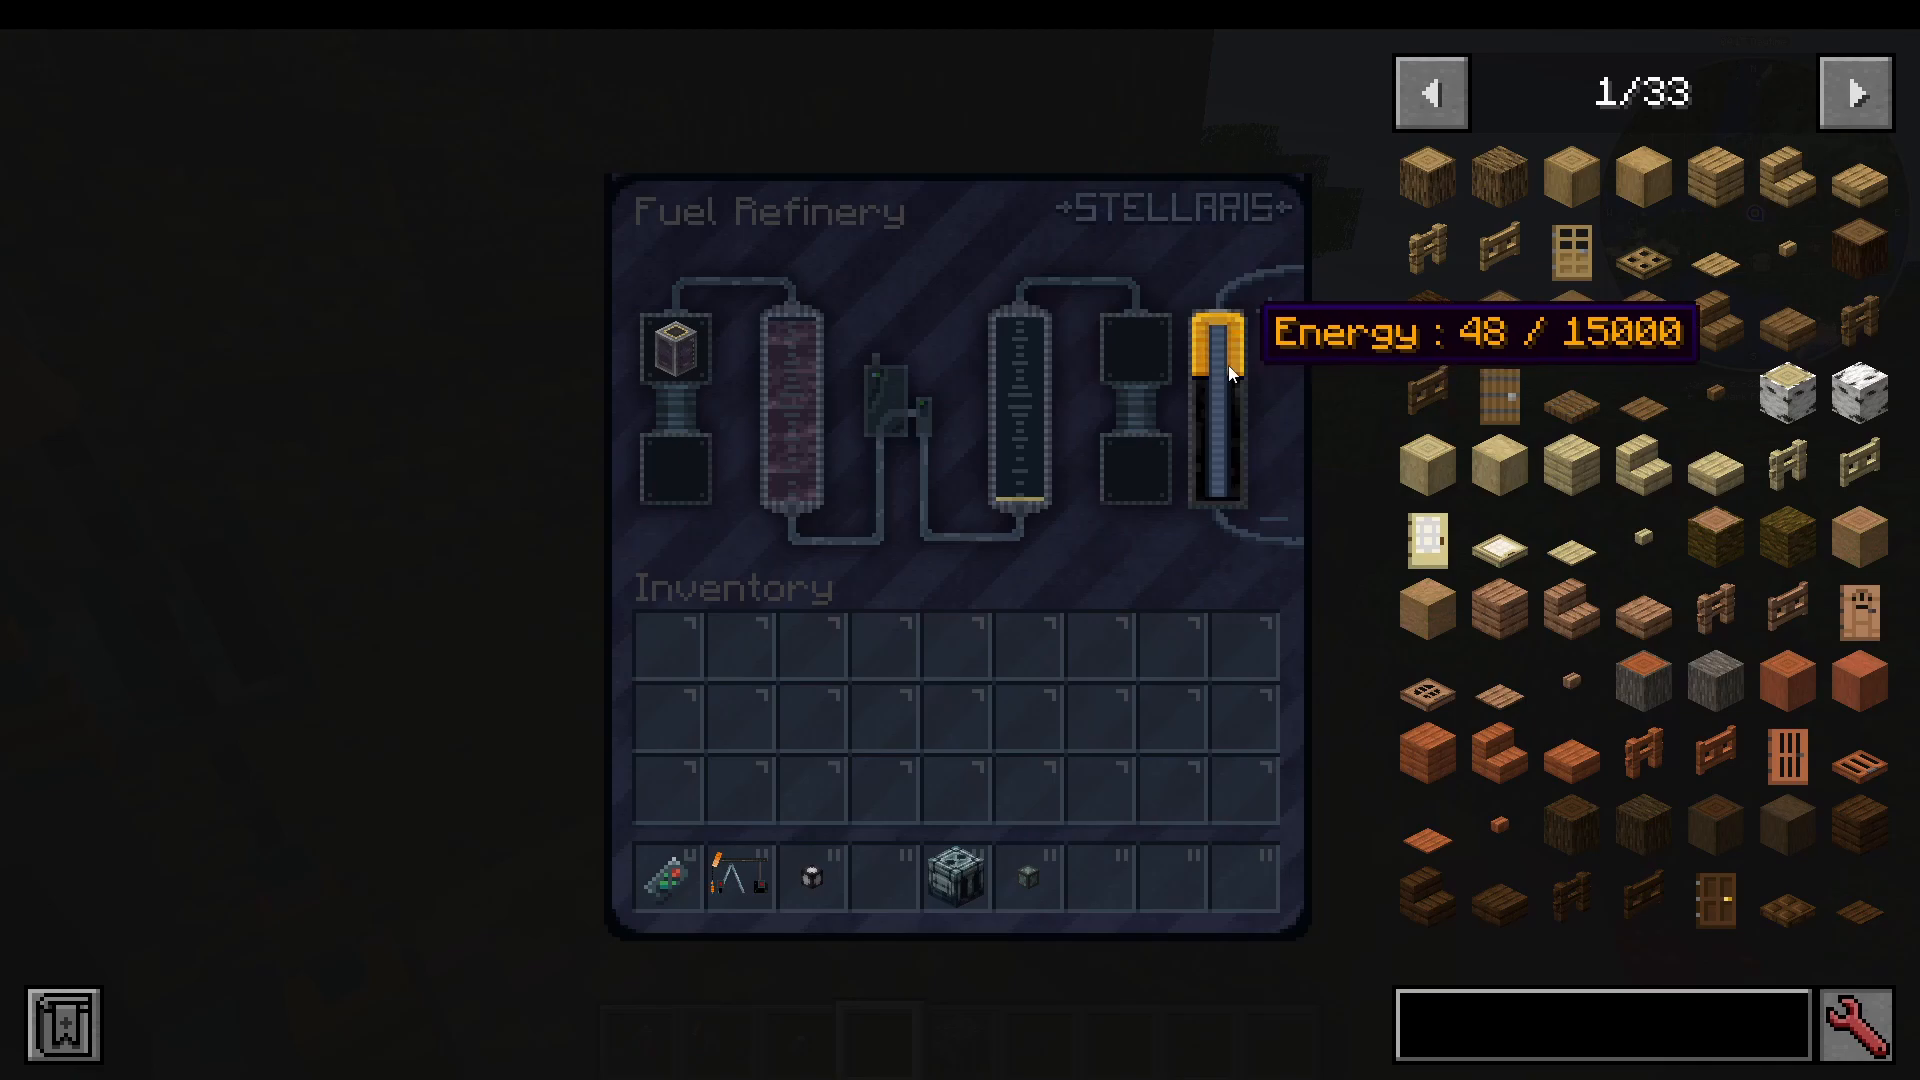
Place the extracted oil into a fuel refinery. The refinery converts crude oil into usable rocket fuel. Make sure the refinery is connected to a power source, or it will not process the oil efficiently. Once refined, bucket the fuel out of the refinery — it is now ready to be loaded into your rocket.
Step 4: Prepare Your Space Food with the Vacuumator
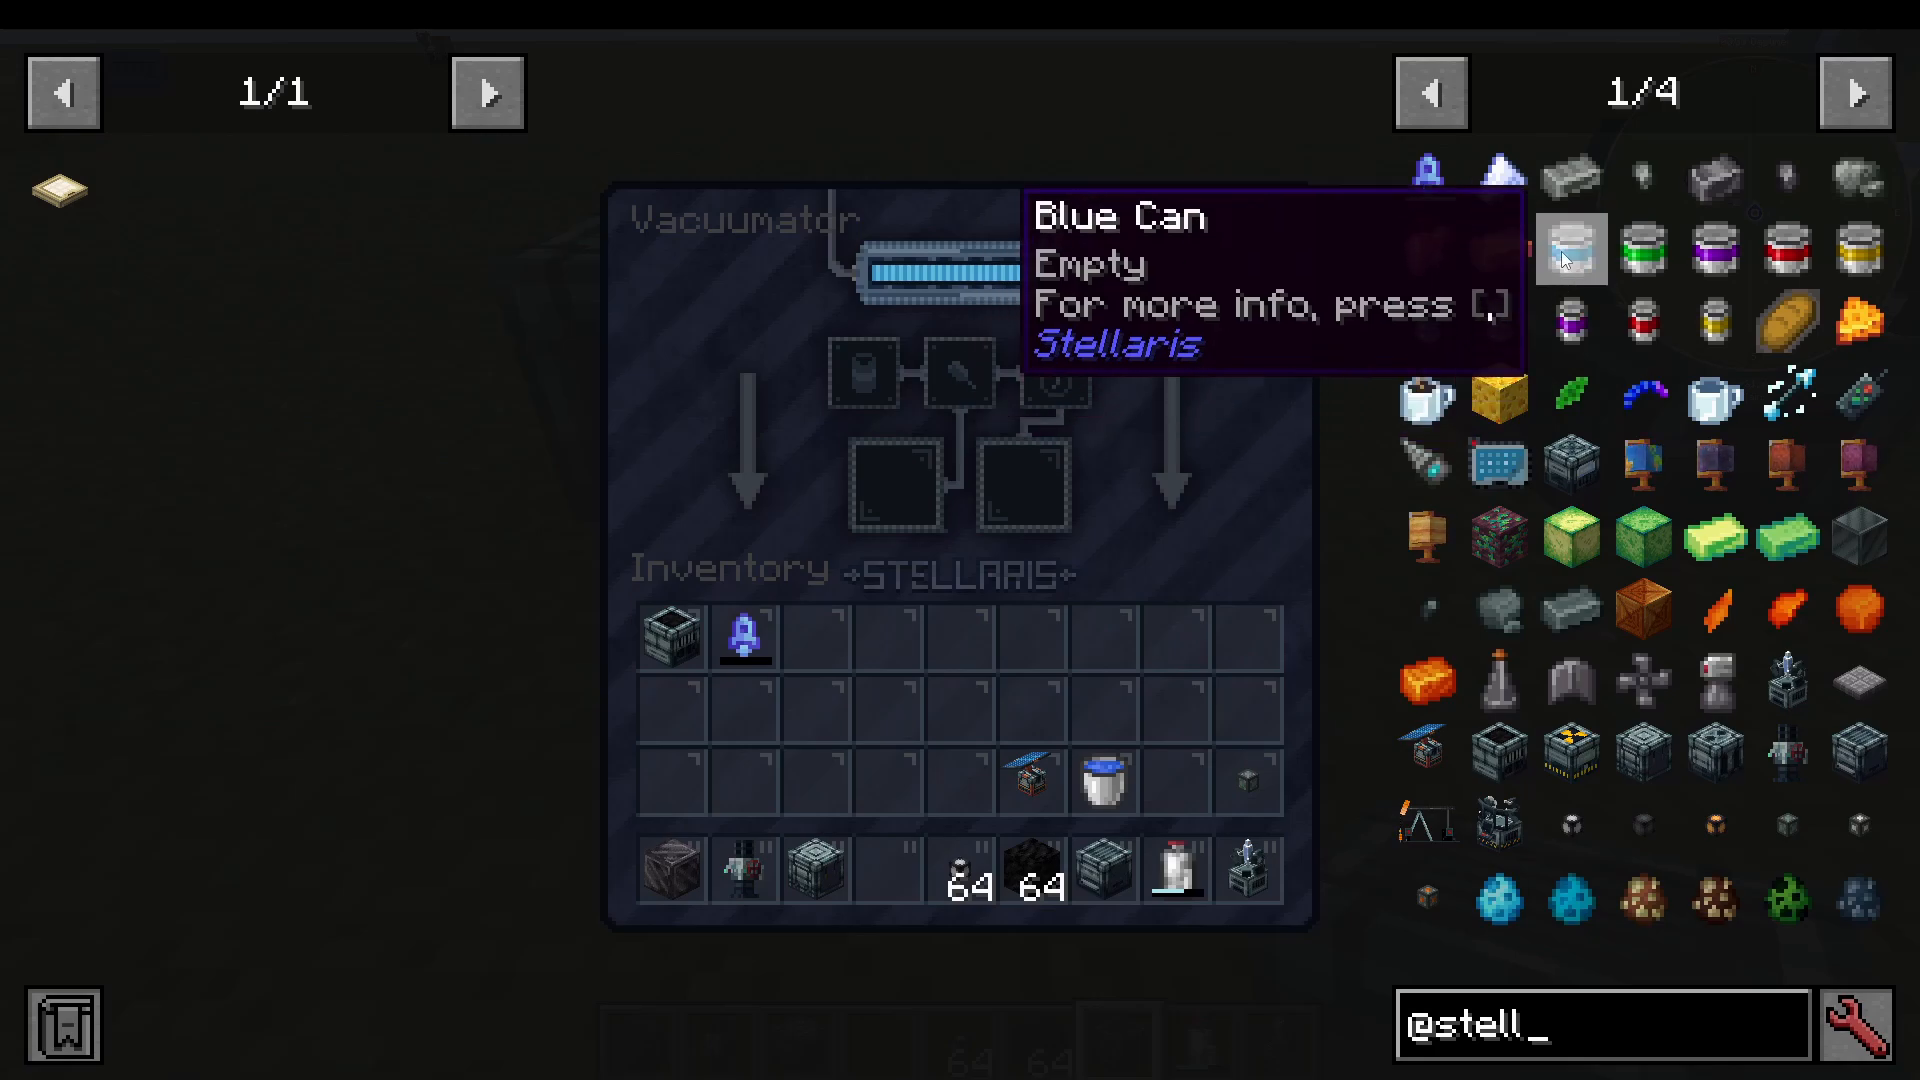
You cannot bring regular food into space unprotected. The vacuumator solves this by vacuum-sealing food into cans, removing moisture and preserving it for space travel.
To use it, craft some cans (made from nuggets) and optionally dye them different colors to tell them apart. Place the cans in the left slot of the vacuumator, add your food (for example, cooked chicken), and include glass bottles. The machine vacuums out the moisture, returns a water bottle, and produces a sealed food can. Each can displays its nutrition and saturation values so you know exactly what you are packing.
Step 5: Build and Launch Your Rocket
With oxygen, fuel, and food ready, it is time to build your rocket.
Crafting the Rocket
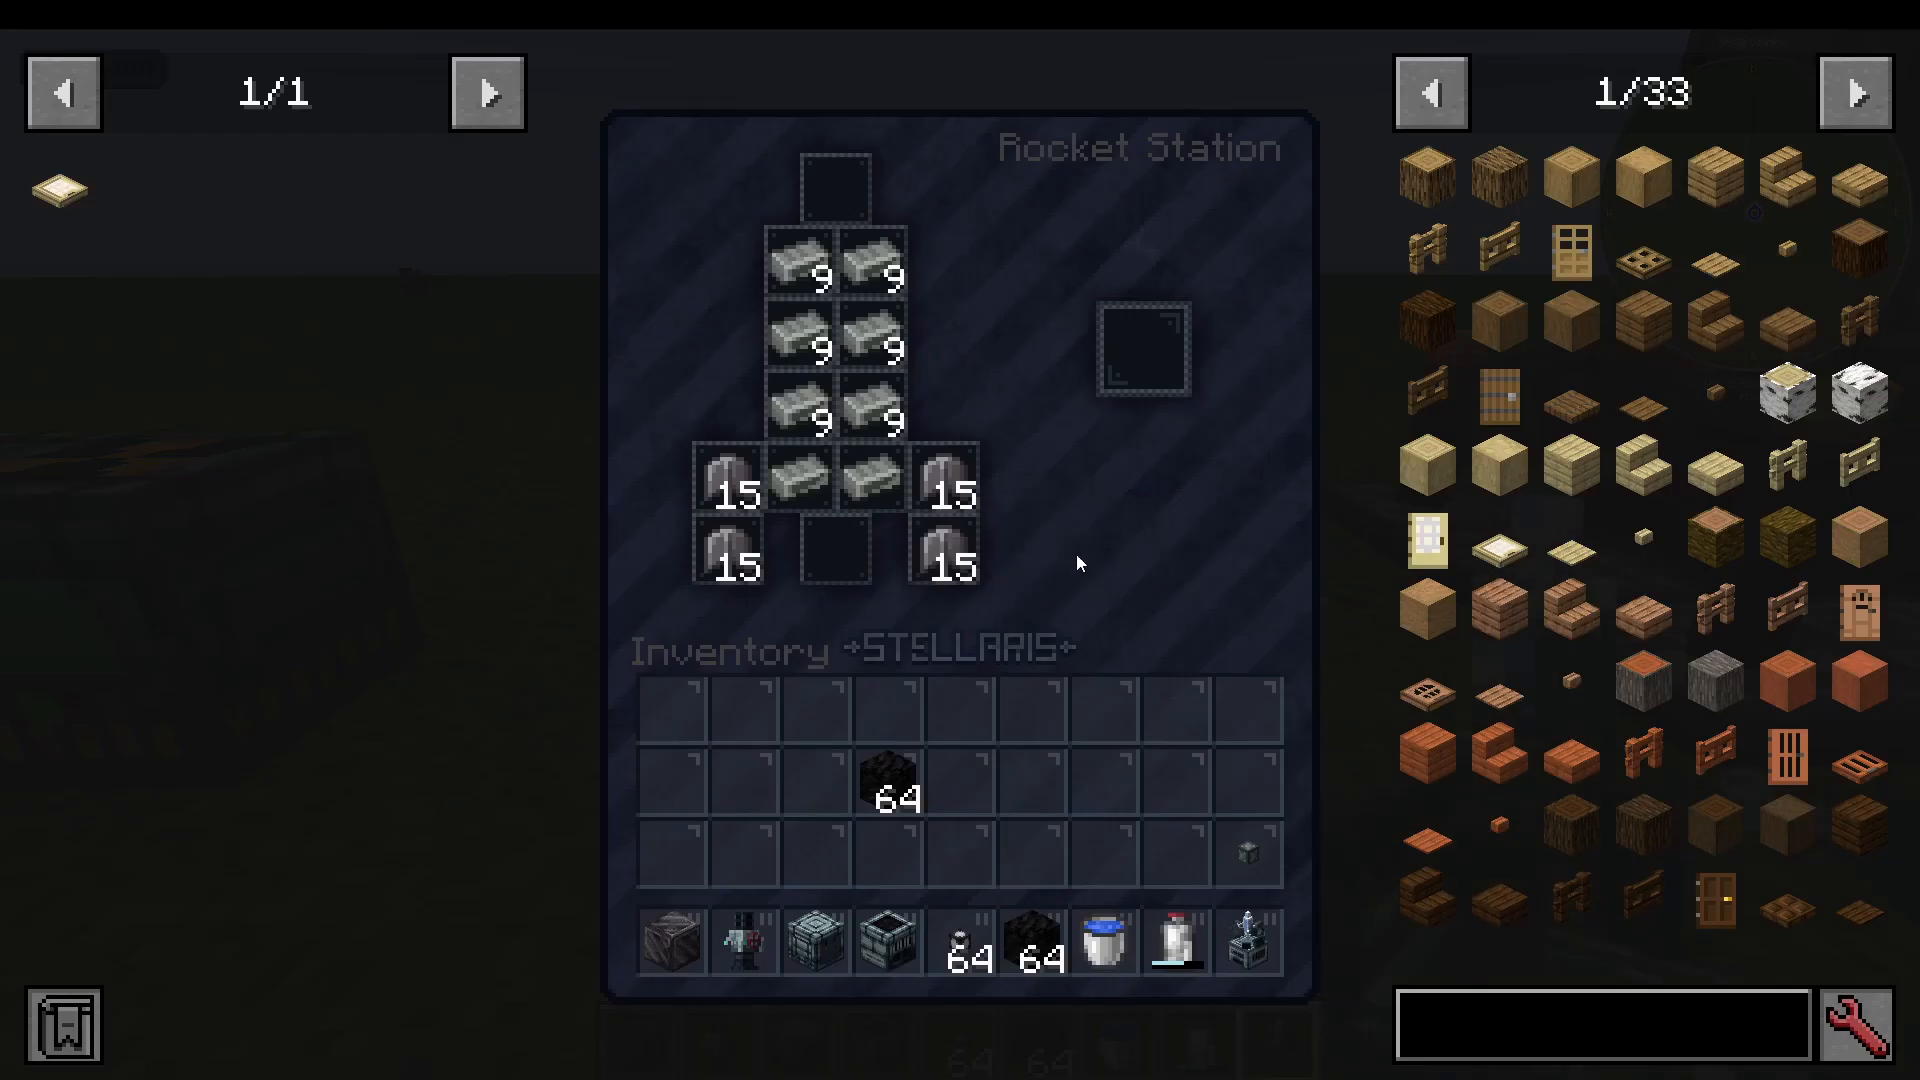
Craft a rocket station and open its interface. There is only one rocket recipe. You will need:
Rocket fins — Crafted from steel ingots
Rocket nose cone
Rocket engine
Combine these in the rocket station to produce your rocket. Take the finished rocket from the right-hand output slot.
Setting Up the Launch Pad
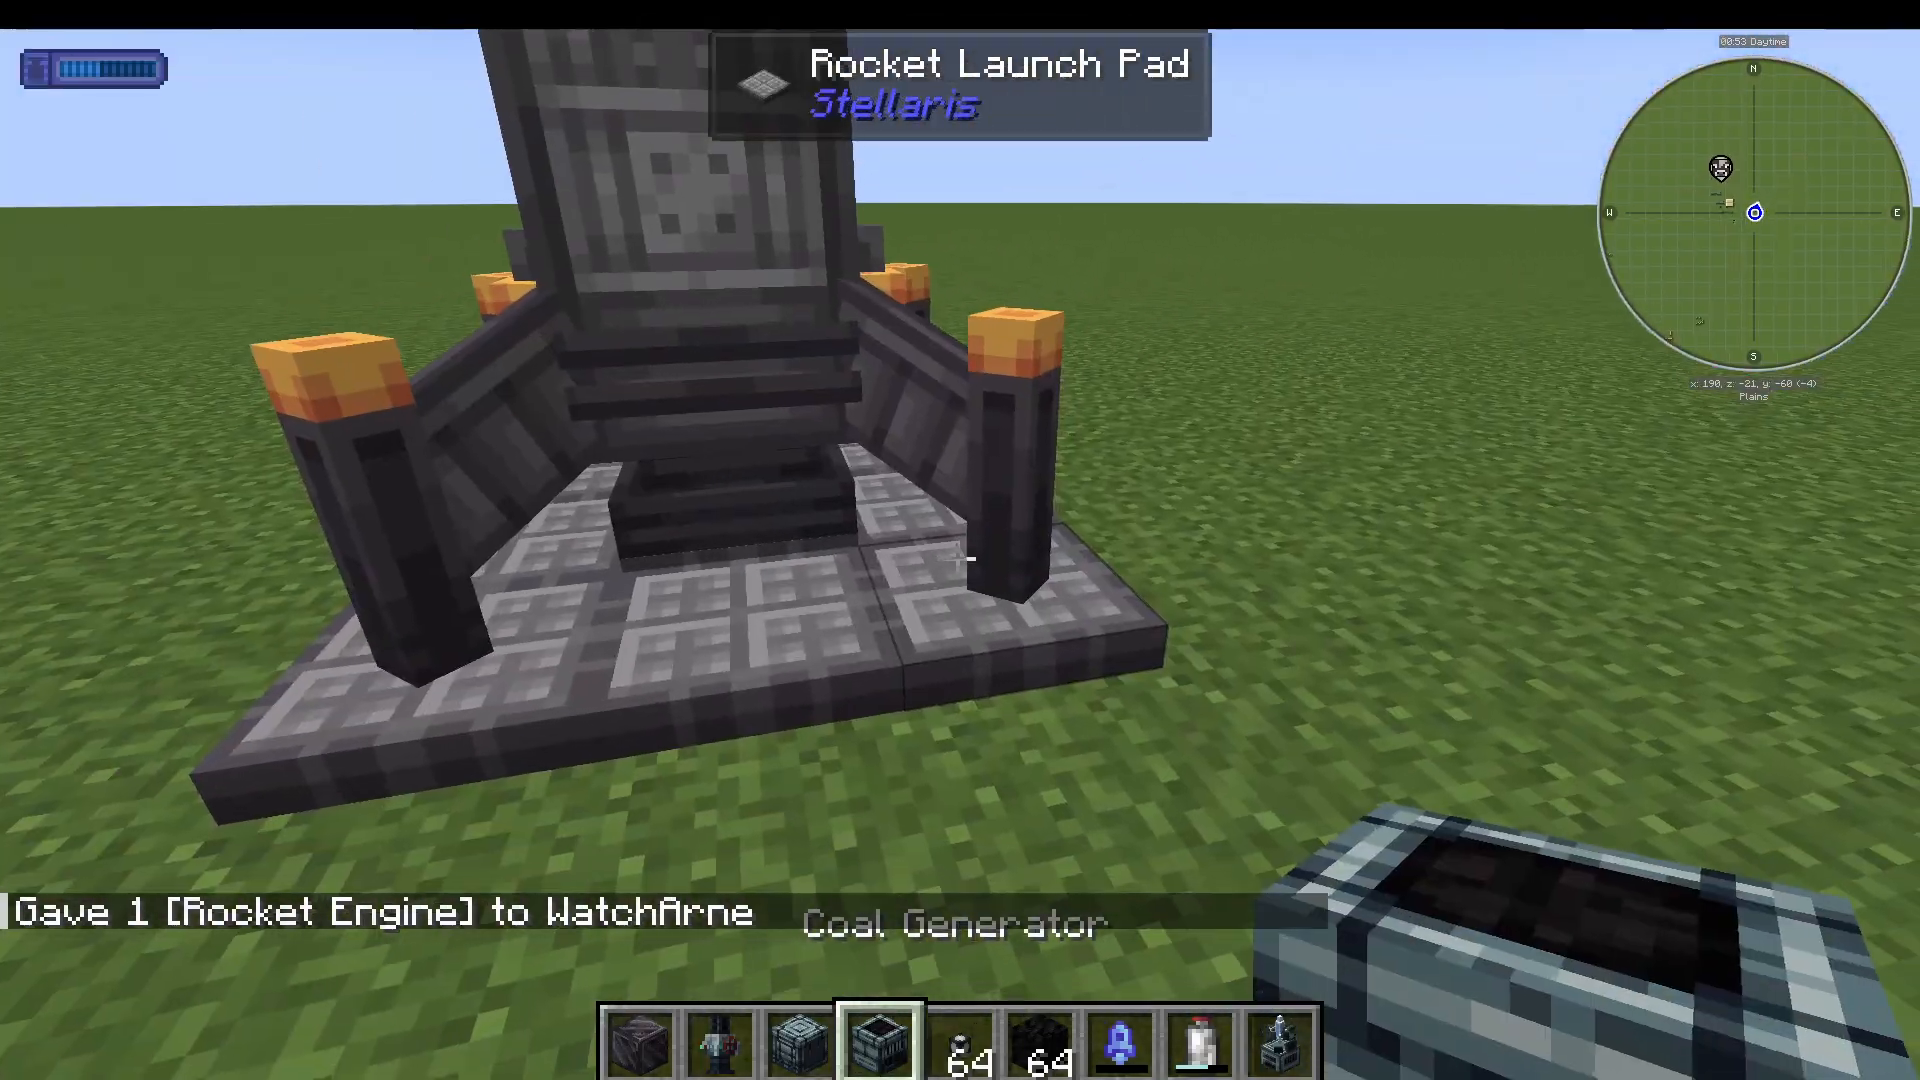
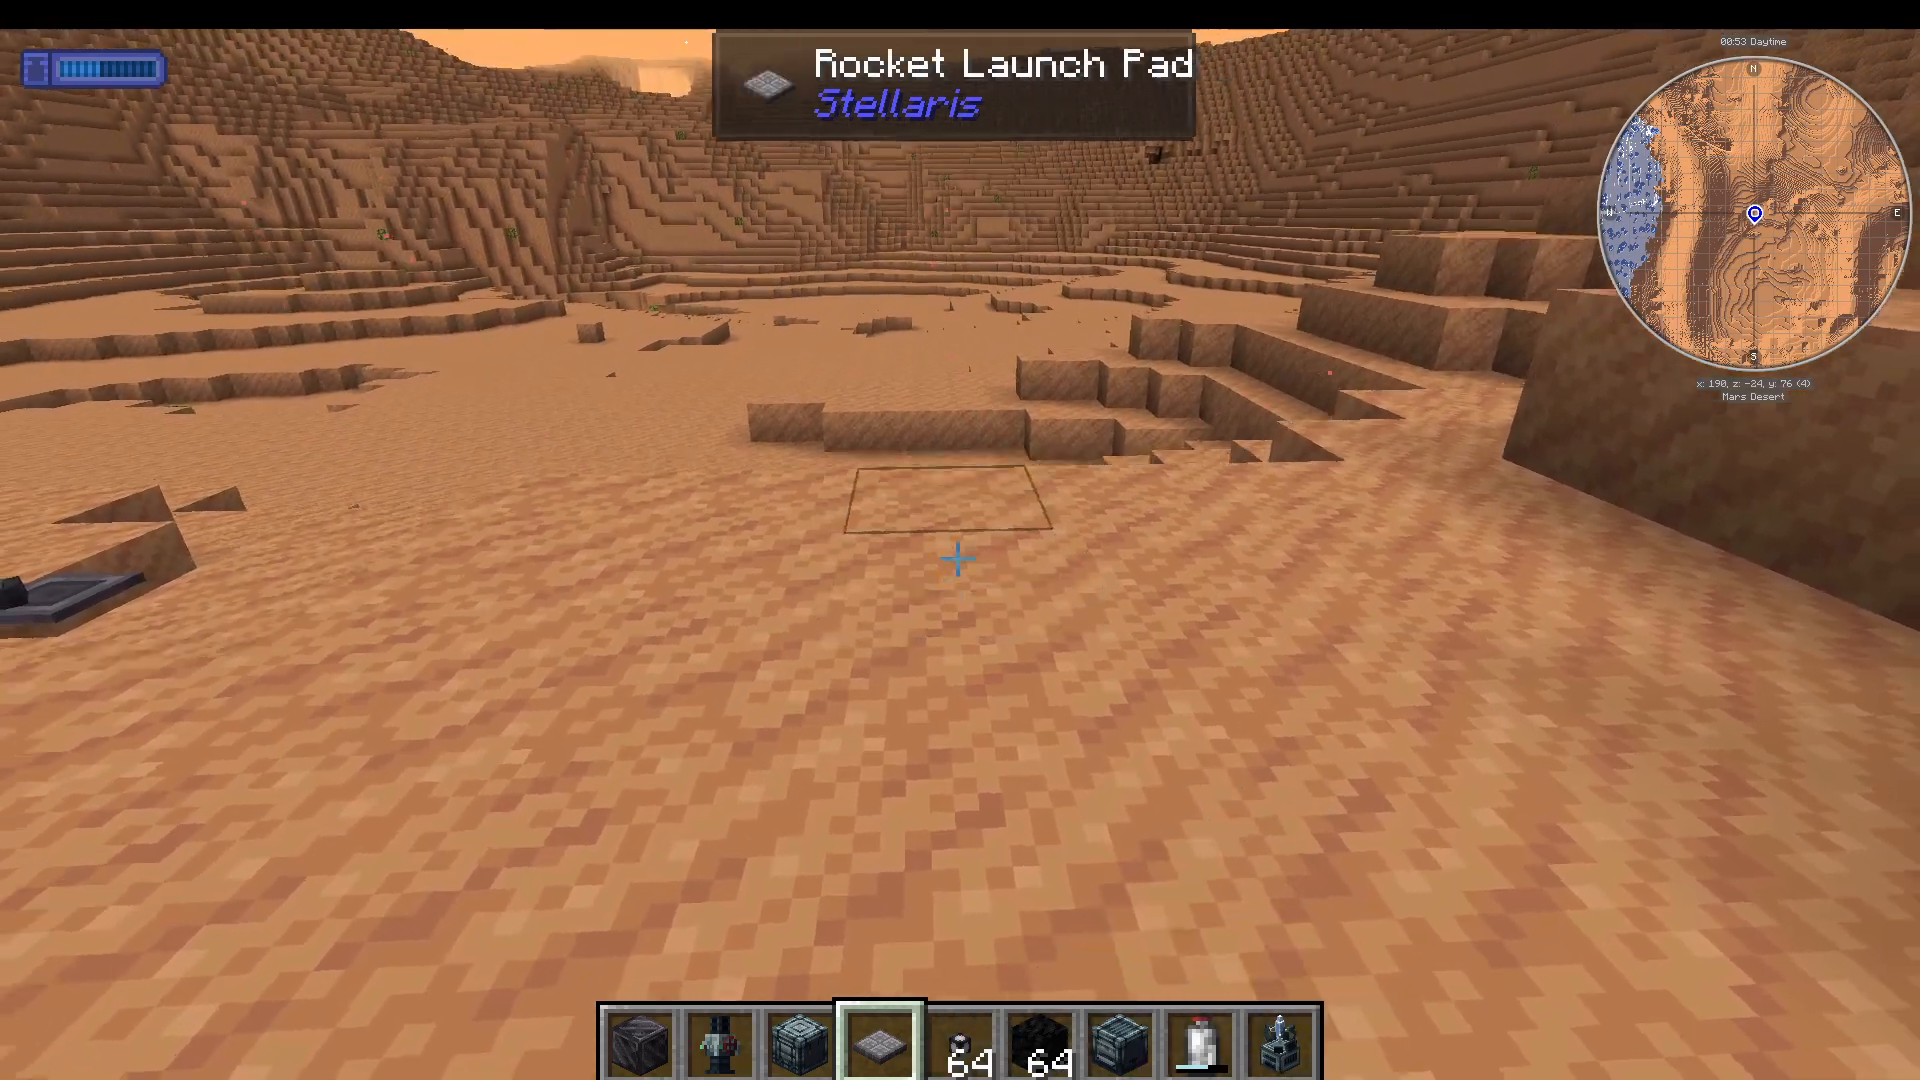
Place rocket launch pads in a 3×3 grid on the ground. The multi-block structure will rise up automatically. Right-click to place your rocket on top of the launch pad.
Loading the Rocket and Launching
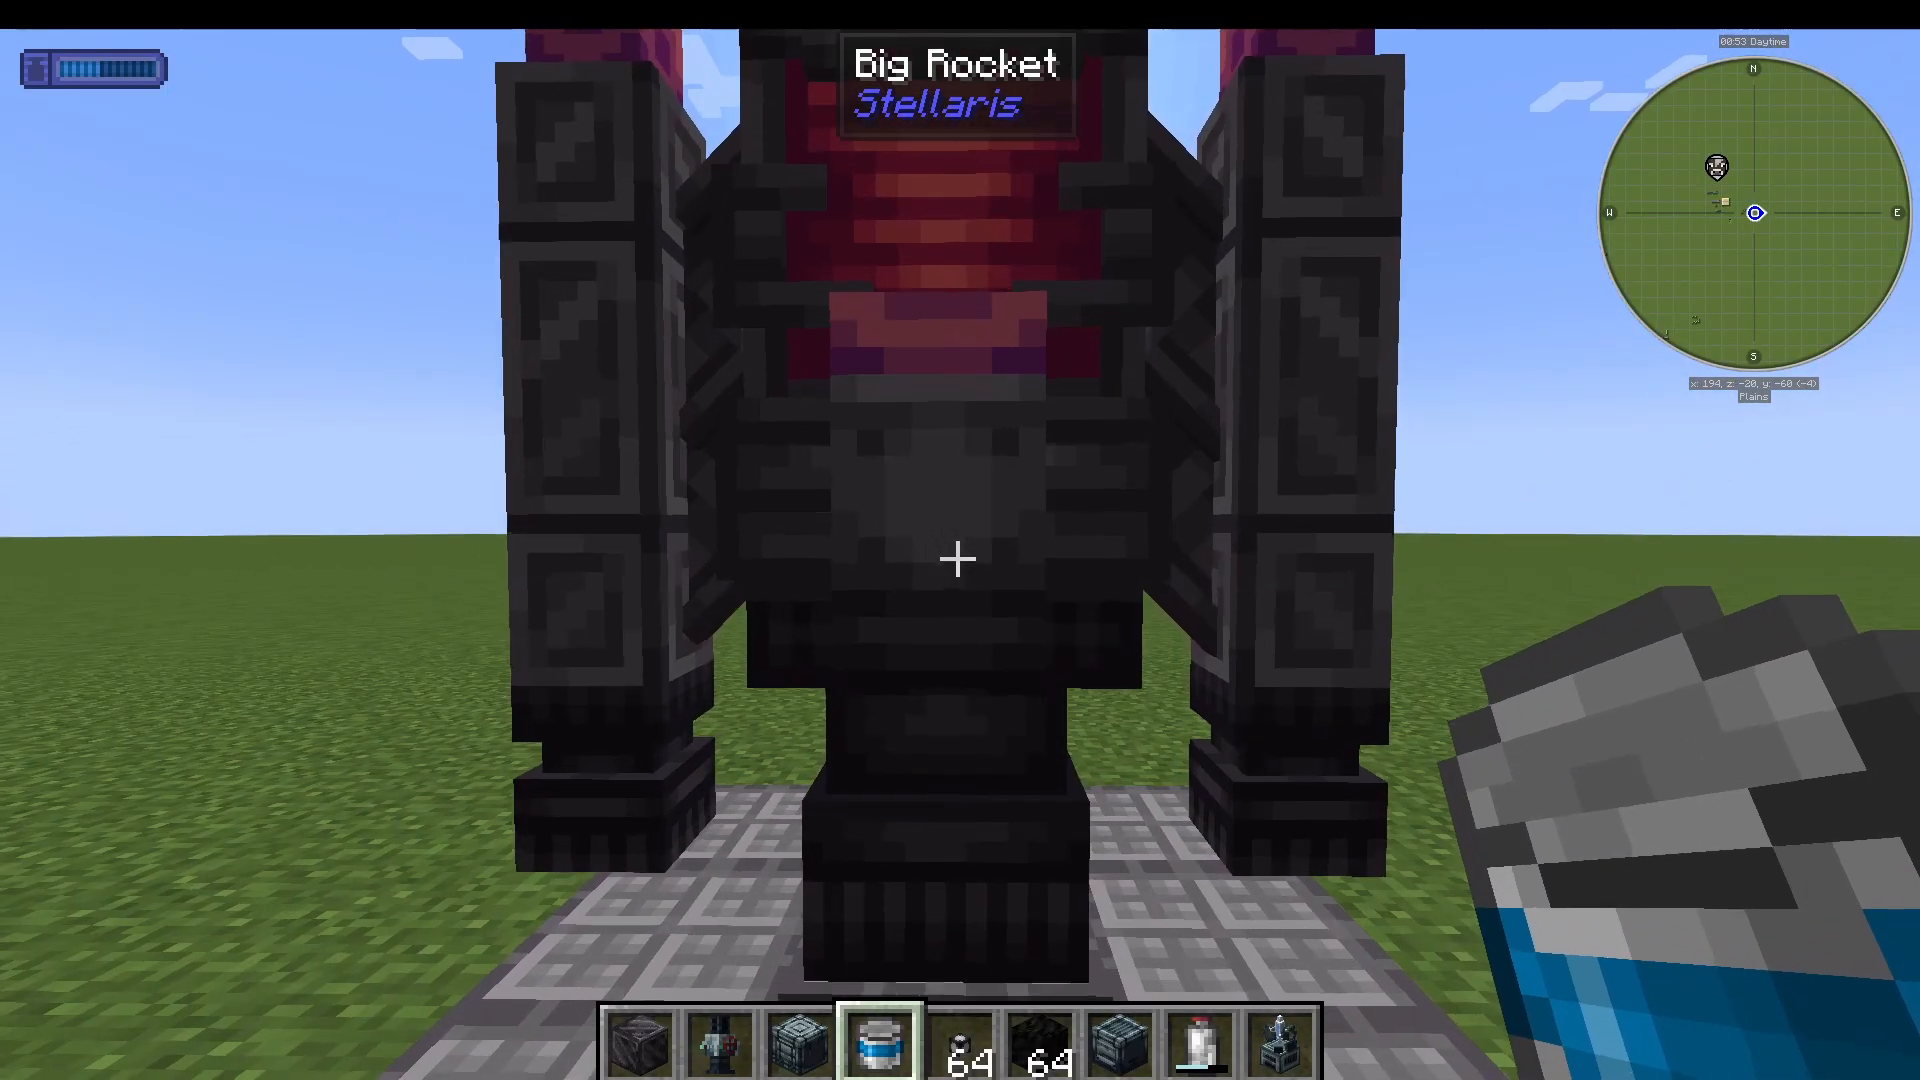
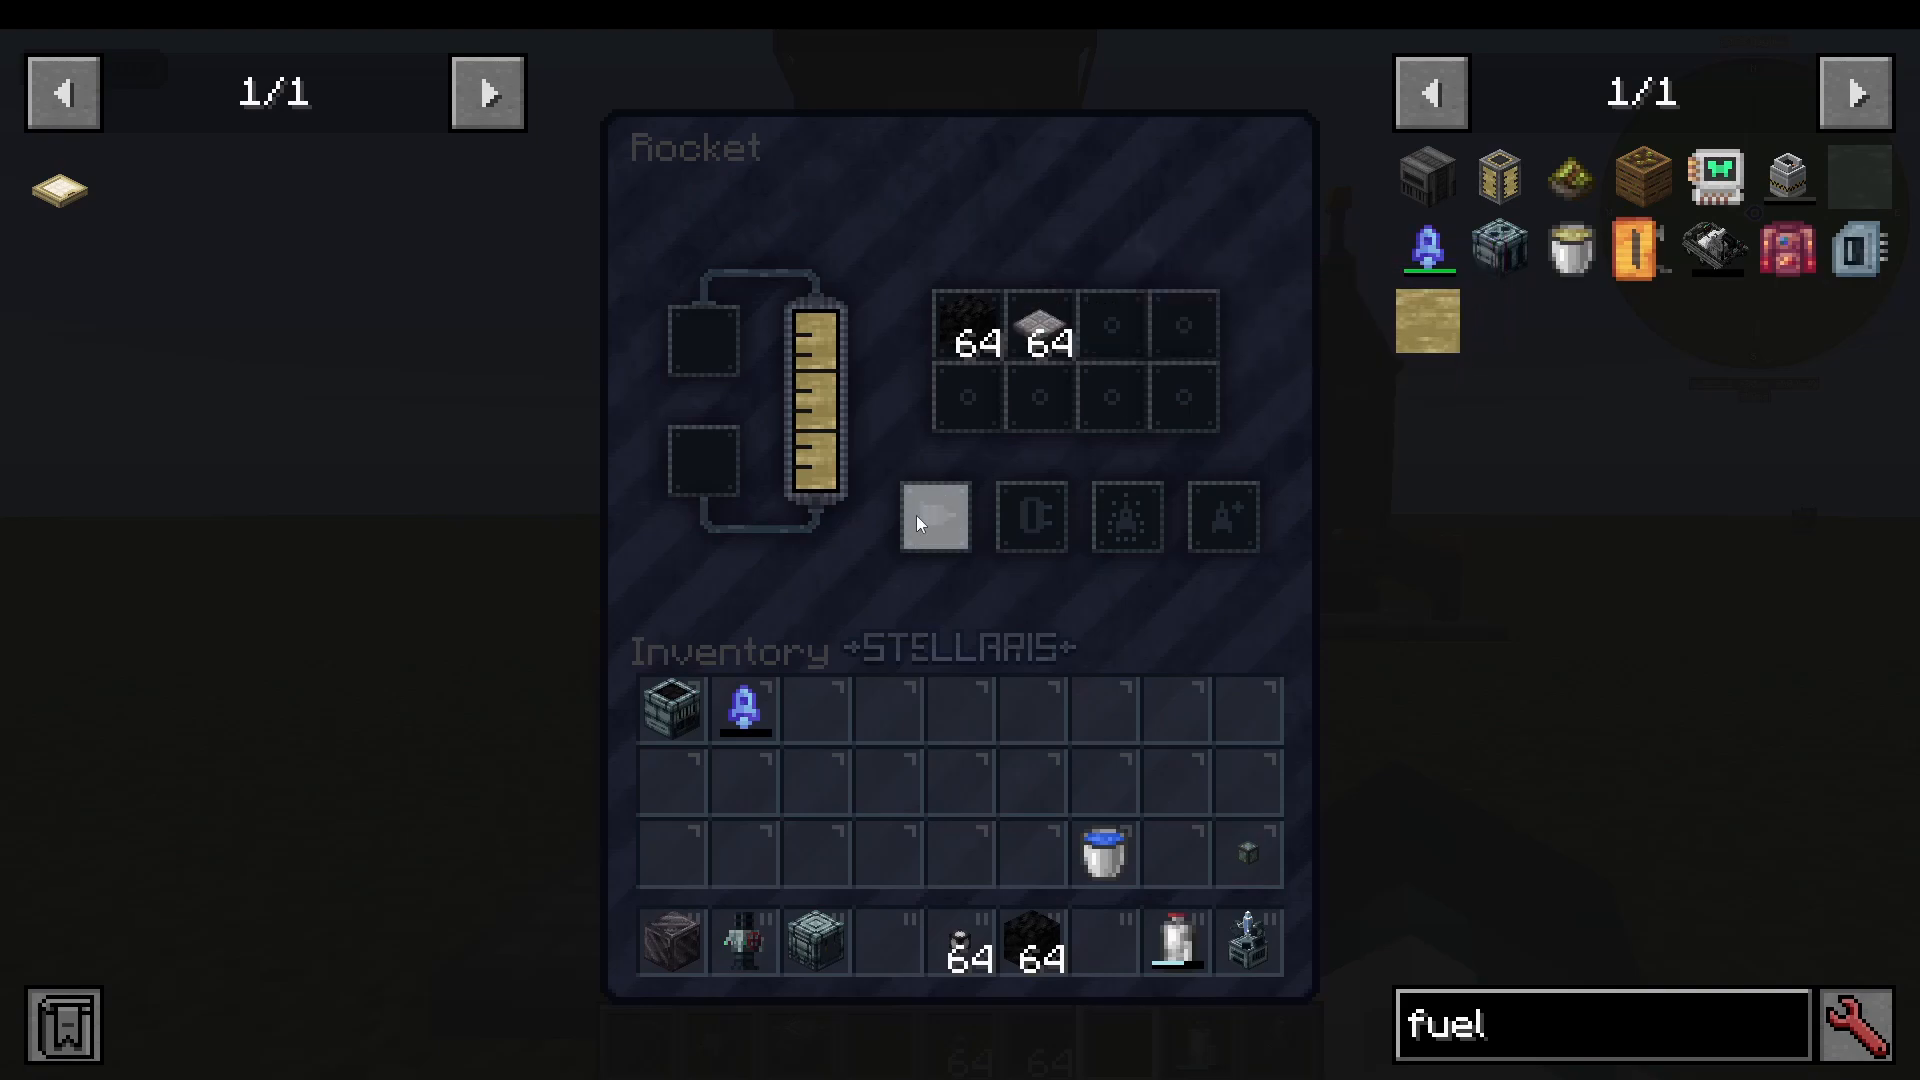
Use Shift + Right-Click to enter the rocket (right-clicking alone will interact with it without boarding). Once inside, you will see the fuel slot on the left — bucket your refined fuel in until the tank is full. The storage area at the top lets you bring supplies. Consider packing:
Coal (for generators on other planets)
Extra rocket launch pads (so you can take off again when you land)
Your vacuum-sealed food cans
When you are ready, press Spacebar to initiate the launch countdown. Press F5 to switch to third-person view and watch your rocket lift off.
Step 6: Navigate Space and Choose a Destination
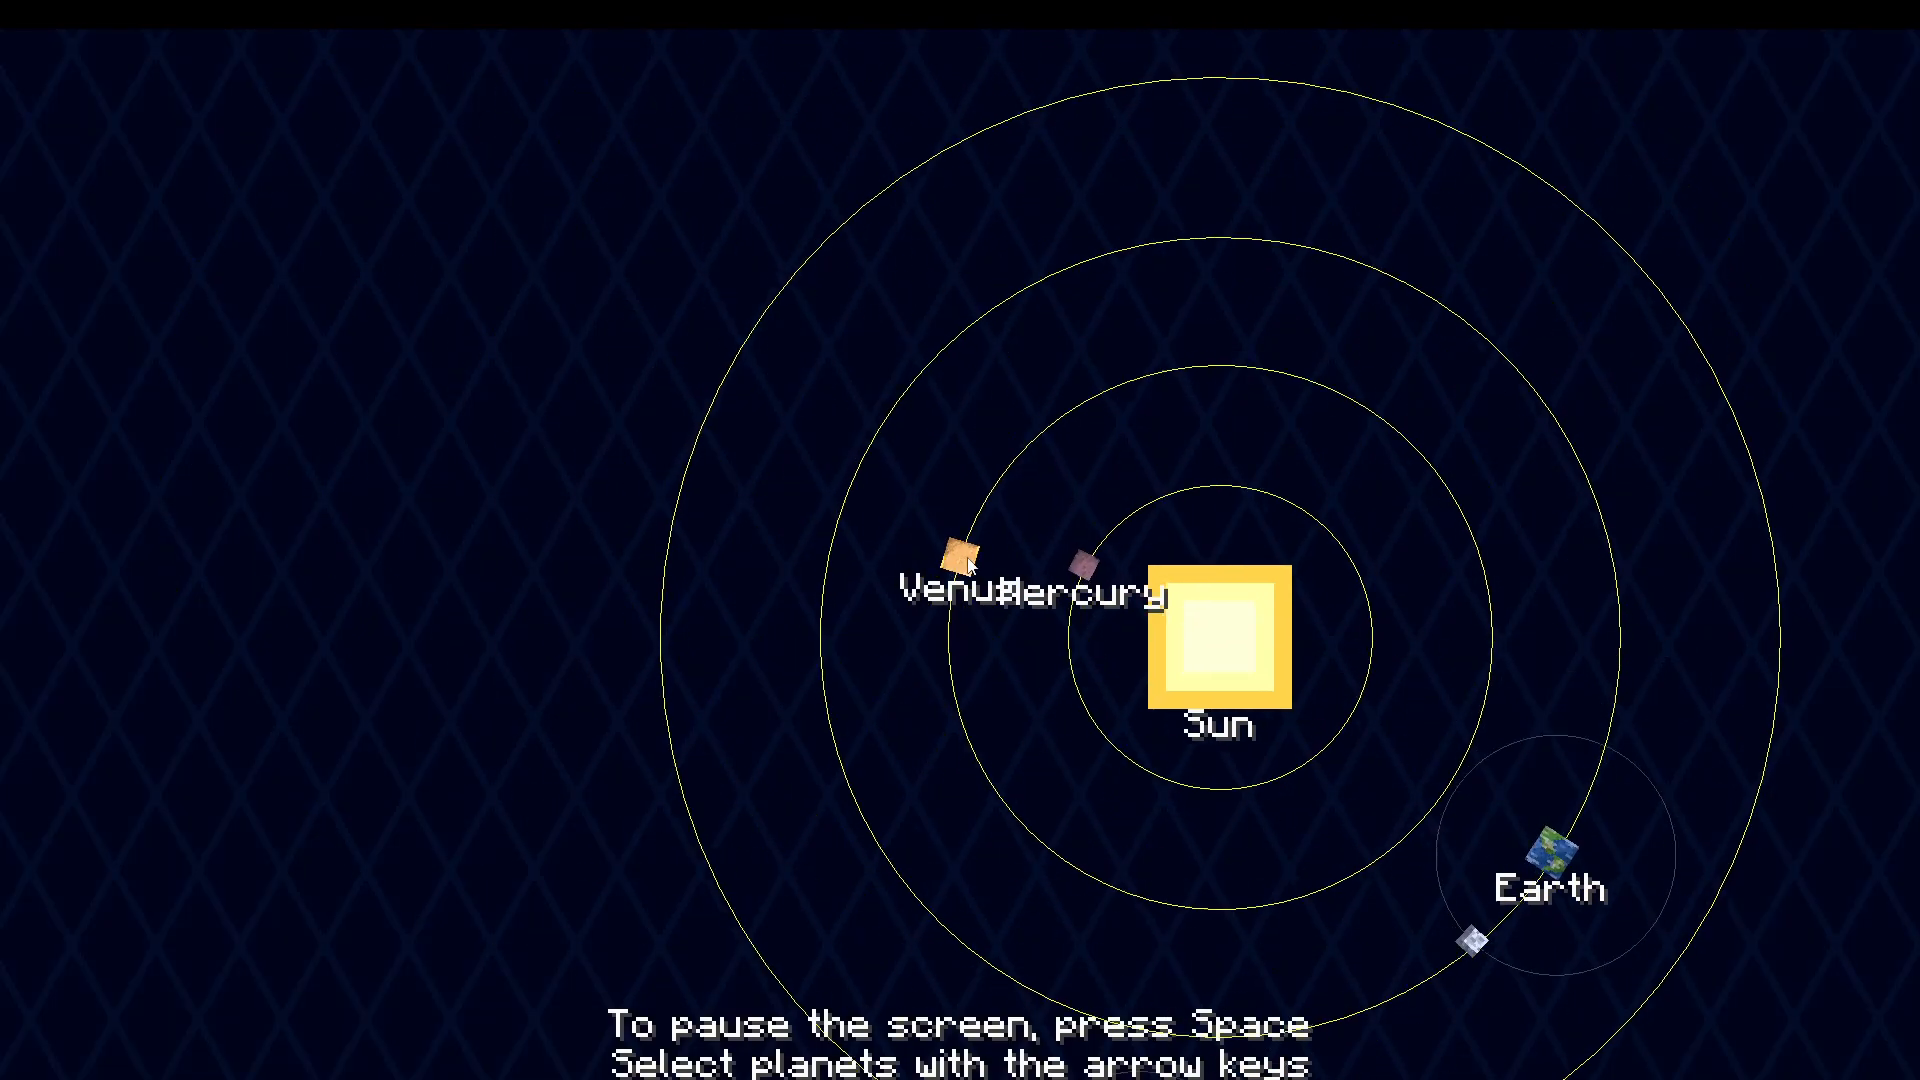
Once you reach orbit, press Spacebar to stop your ascent. You will see a solar system map showing all available destinations. Click on any planet or moon to view its stats, including:
Surface temperature
Gravity level
Whether it has a natural oxygen atmosphere
Number of moons
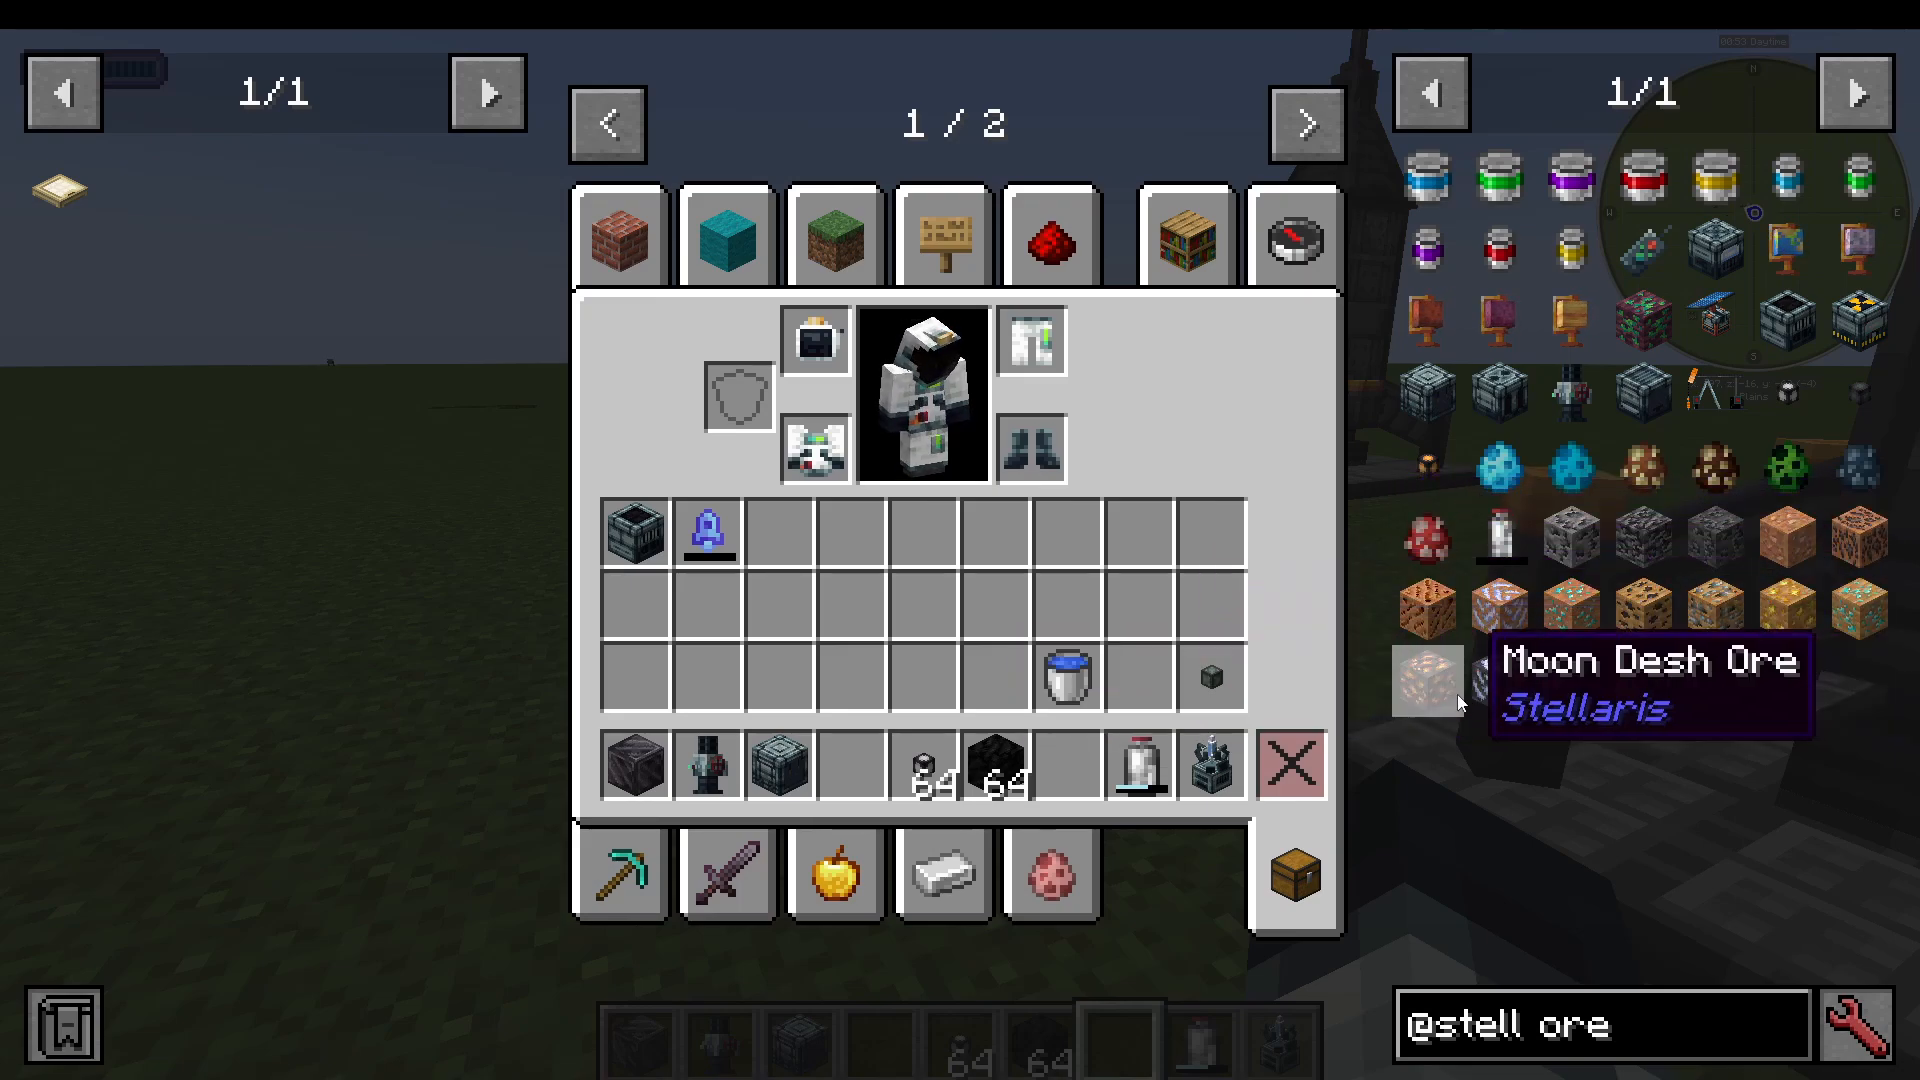
Each planet has unique resources. Here is a quick reference for planet-specific ores:
Mercury — Uranium
Venus — Mercury Ion ore, Coal ore, Neptuneium, Gold, Diamond
Moon — Dash ingots, Ice Shards
Mars — Ice Shards, Plutonium
Select your destination and press Launch to begin traveling.
Step 7: Landing on a Planet
As you enter a planet’s atmosphere, you will notice your speed increasing rapidly. Hold Spacebar to throttle down and slow your descent. Watch the left side of your screen — it shows your altitude as the terrain loads beneath you. Land carefully. Once on the ground, press Shift to exit the rocket lander.
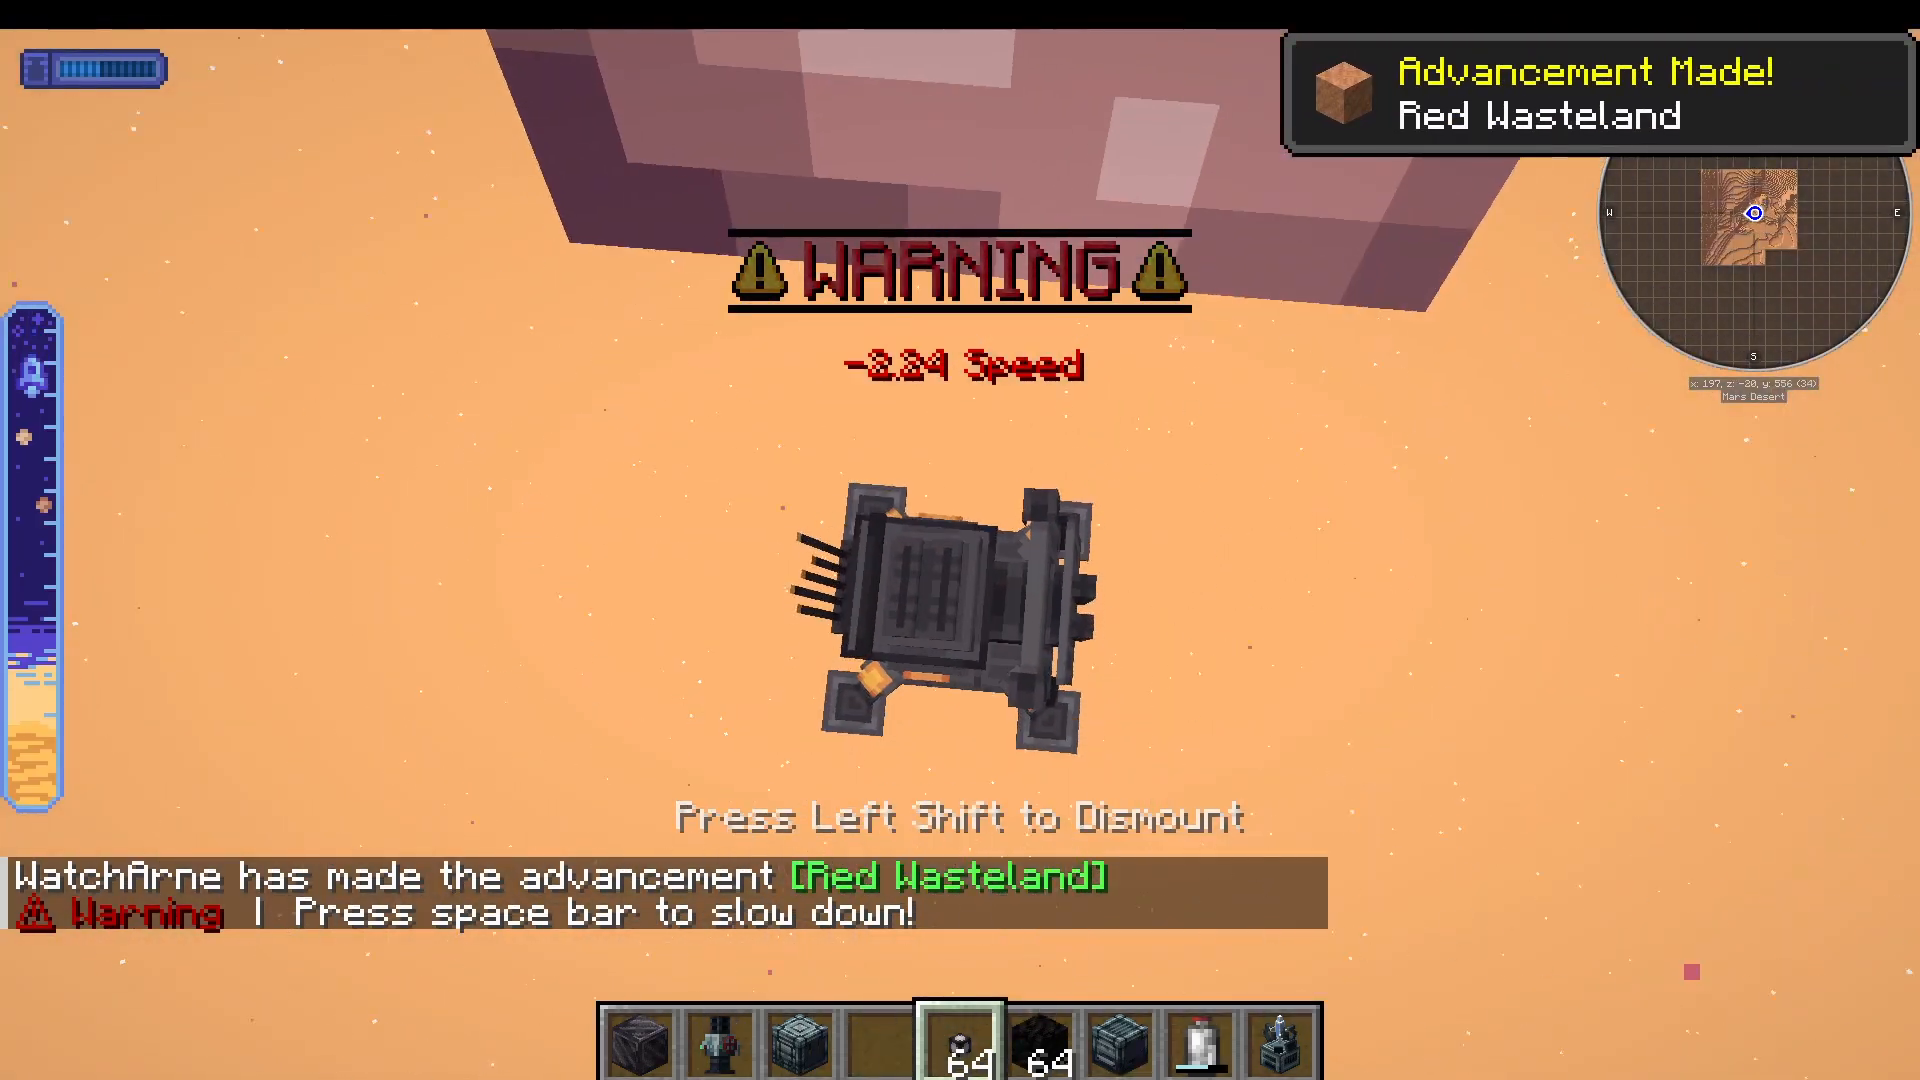
Remember: you landed in a lander module, not the rocket itself. Shift + Right-Click the lander to access your rocket and its remaining fuel for the return journey. You will also need launch pads placed on the surface to take off again, so make sure you brought some with you. As of the time of recording, there is a known bug where launch pads cannot be placed — the mod developers have been notified. Alternatively, launch pads can sometimes be found inside planetary structures.
Exploring Planets: Structures, Mobs, and Biomes
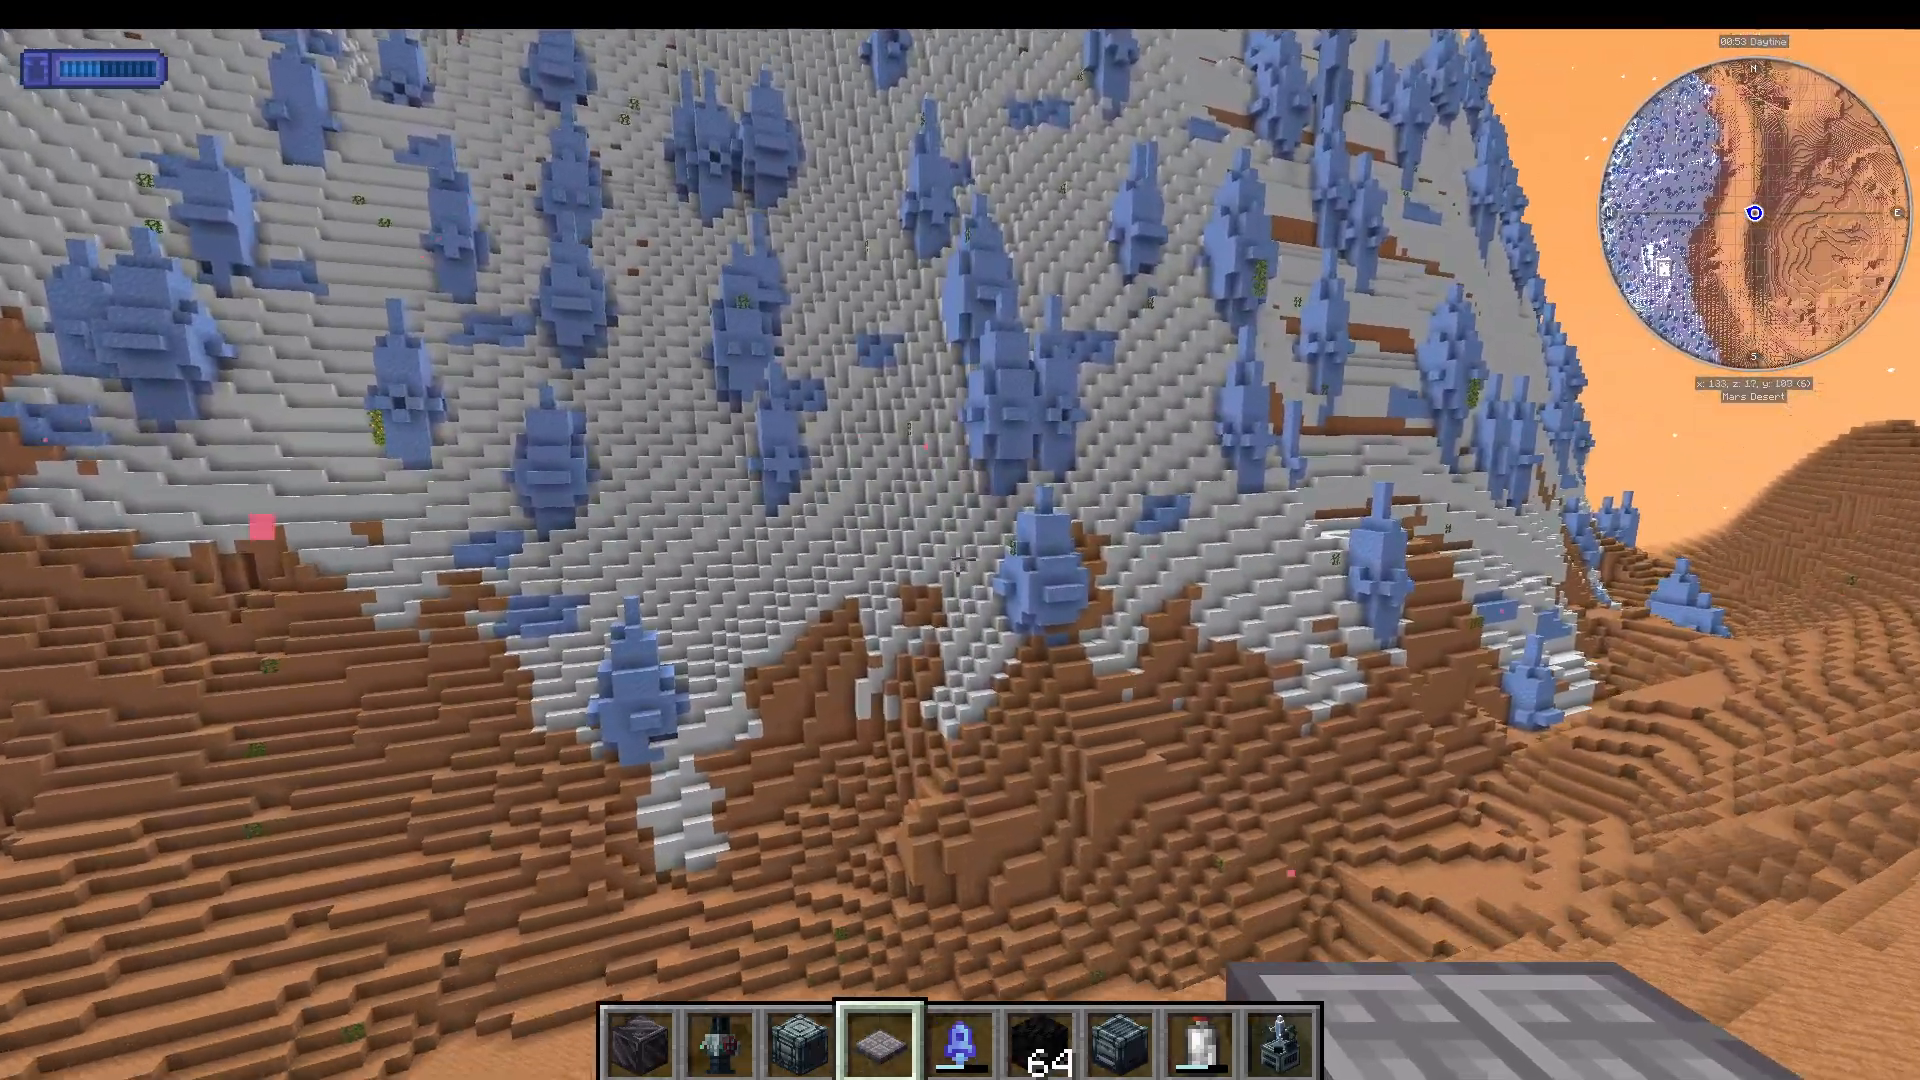
Each planet features its own biomes, alien mobs, and structures to explore. On Mars, for example, you may encounter Martian Raptors — large, intimidating creatures that roam the surface. Planetary structures often contain spawners, loot, and occasionally built-in launch pads. Some structures have levers and interactive elements worth investigating.
Using the Rover
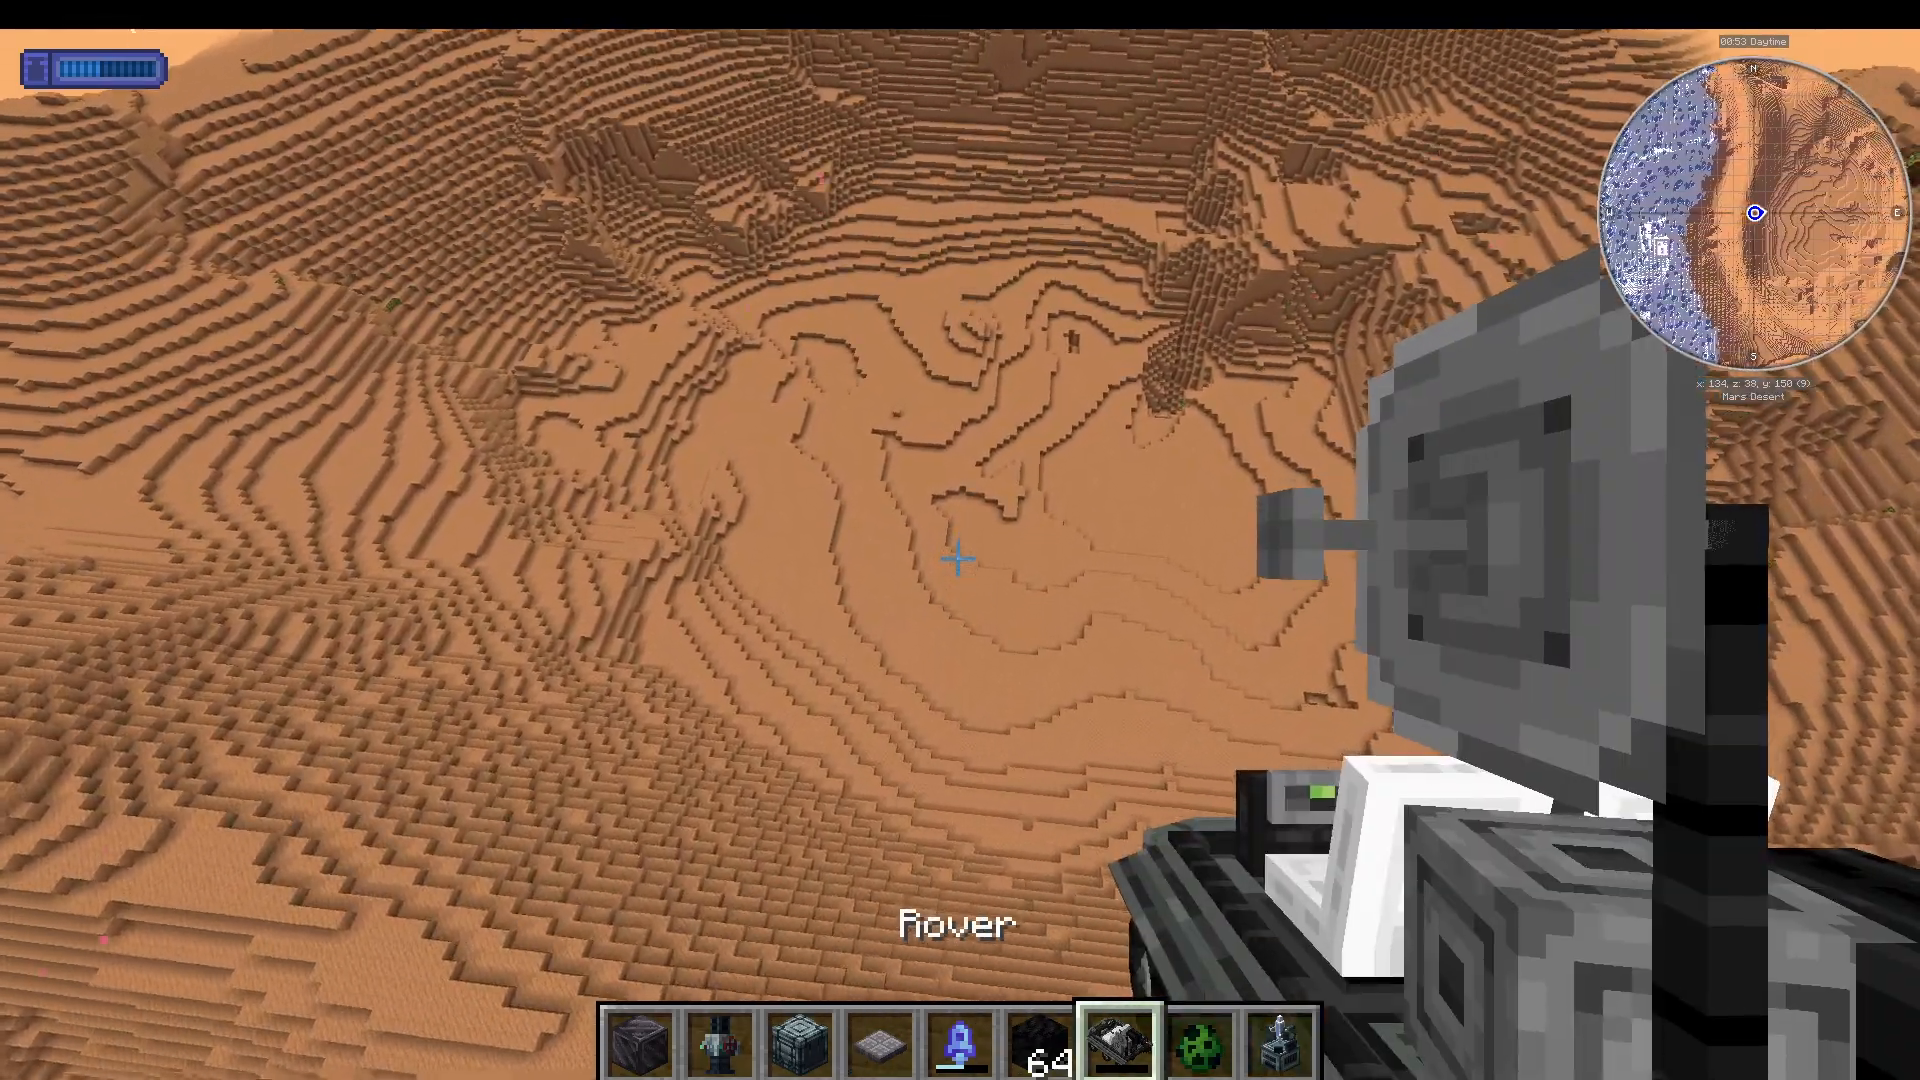
On Mars specifically, you can craft and place a rover to travel the surface quickly. The rover is surprisingly fast and can climb over blocks with ease. Press Shift to dismount the rover when you are done.
Step 8: Rocket Upgrades and Customisation
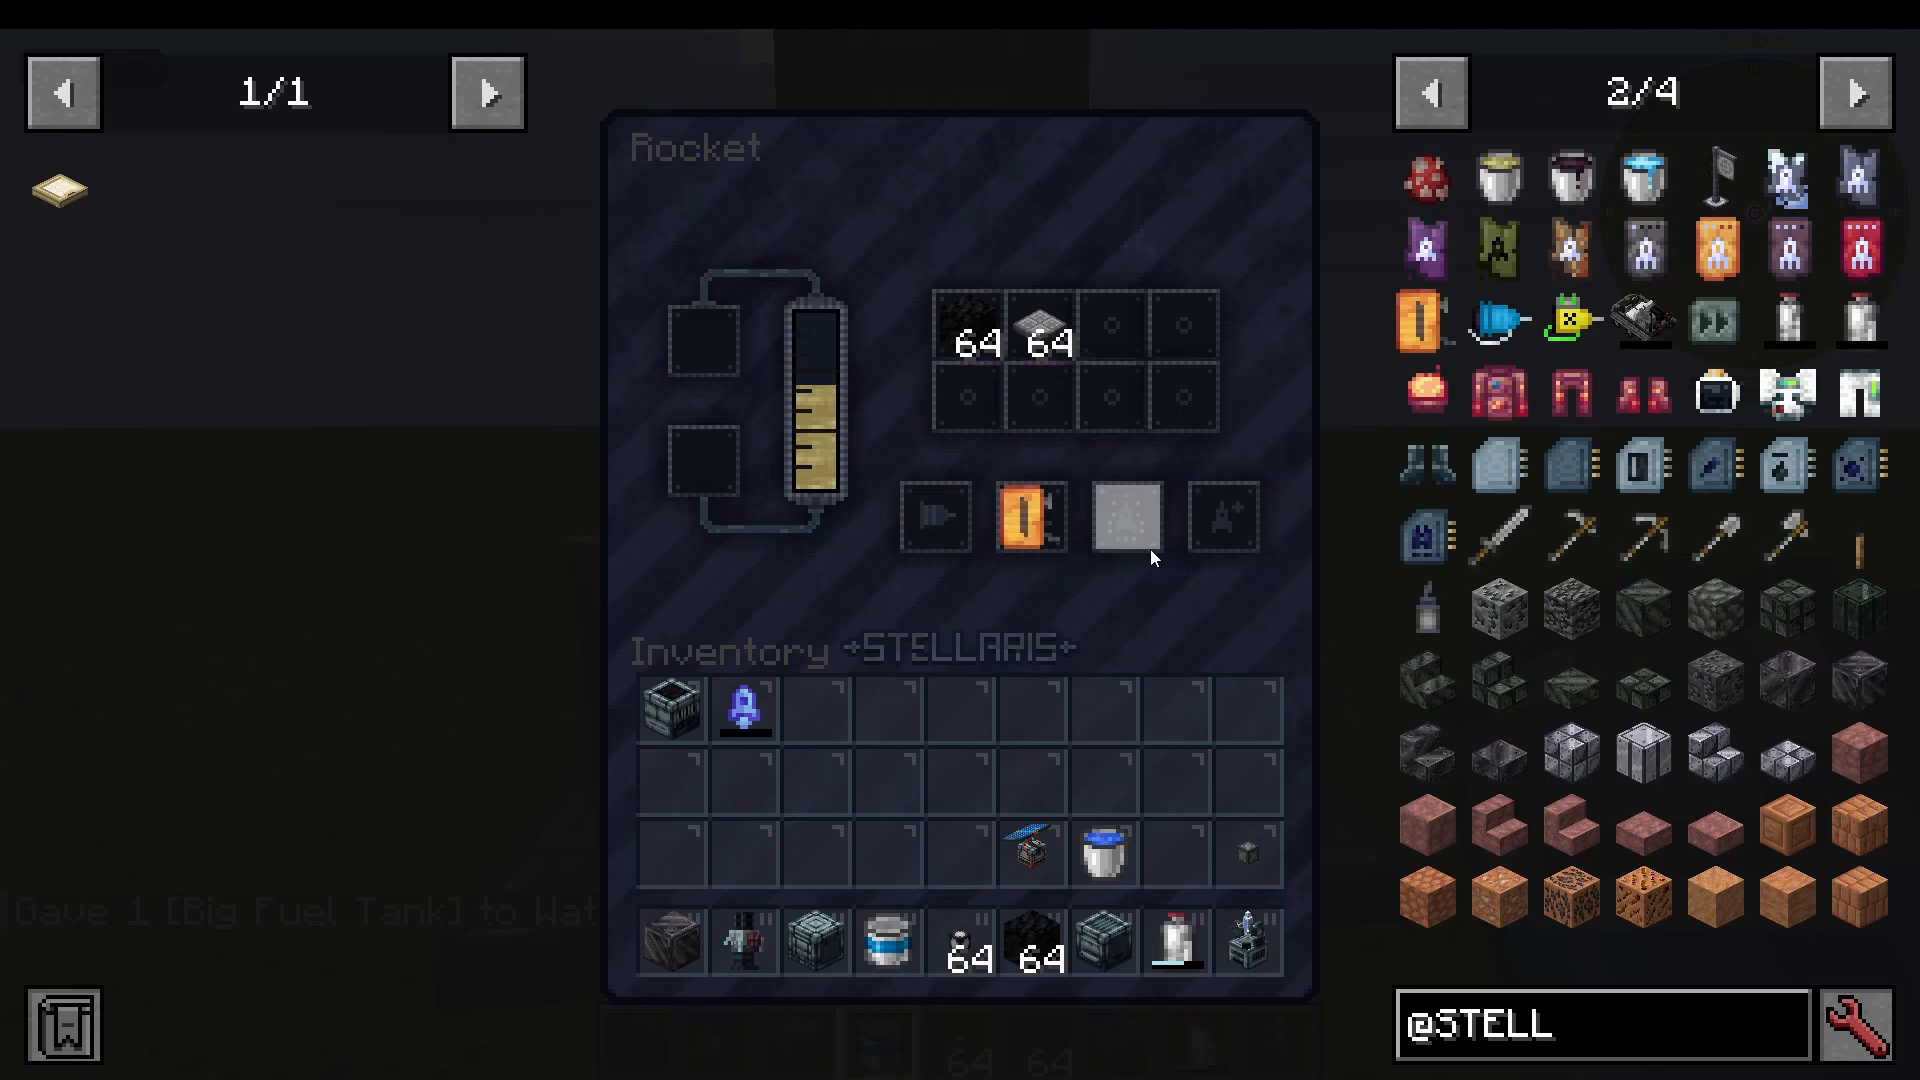
Back in the rocket station, there are several upgrade slots that allow you to improve and personalise your rocket.
Motor Upgrades (Slot 1)
The first upgrade slot changes what fuel your rocket uses:
Hydrogen Motor — Switches the rocket to run on hydrogen (produced by your water separator).
Radioactive Motor — Switches the rocket to run on radioactive materials such as uranium, plutonium, or Neptuneium.
Note: You must empty the fuel tank before changing the motor upgrade.
Fuel Tank Upgrade (Slot 2)
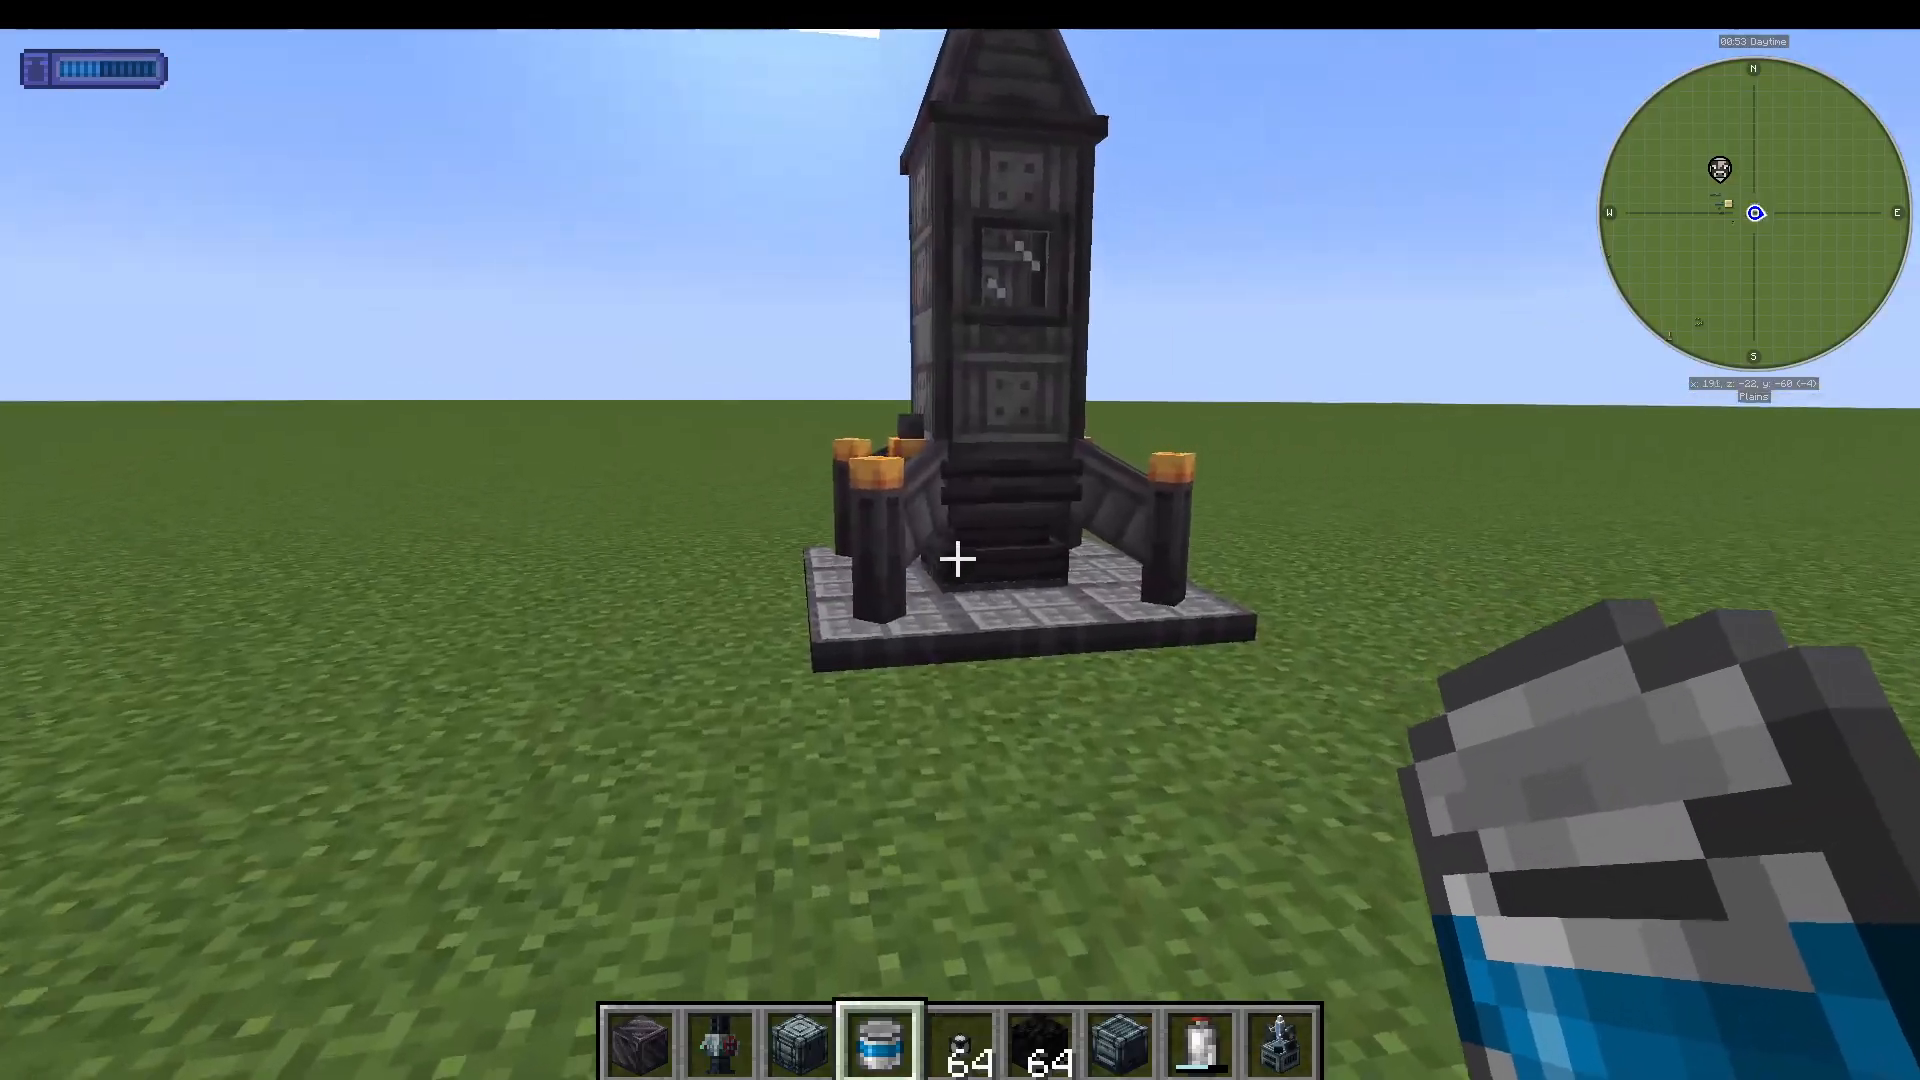
The second slot accepts a big fuel tank upgrade, which increases the total amount of fuel your rocket can carry.
Rocket Size and Skin Upgrades (Slots 3 and 4)
There are four rocket size tiers: tiny, small, normal, and big. All use the same base rocket recipe, but you can upgrade the size by adding dash ingots (from the Moon) and heavy metal ingots in the upgrade station. A bigger rocket is purely cosmetic — it does not change performance, only appearance.
The third and fourth upgrade slots let you apply cosmetic skins to your rocket. Available skins include a rusty variant and a visually striking frozen variant.
Step 9: Upgrade Your Spacesuit at the Upgrade Station
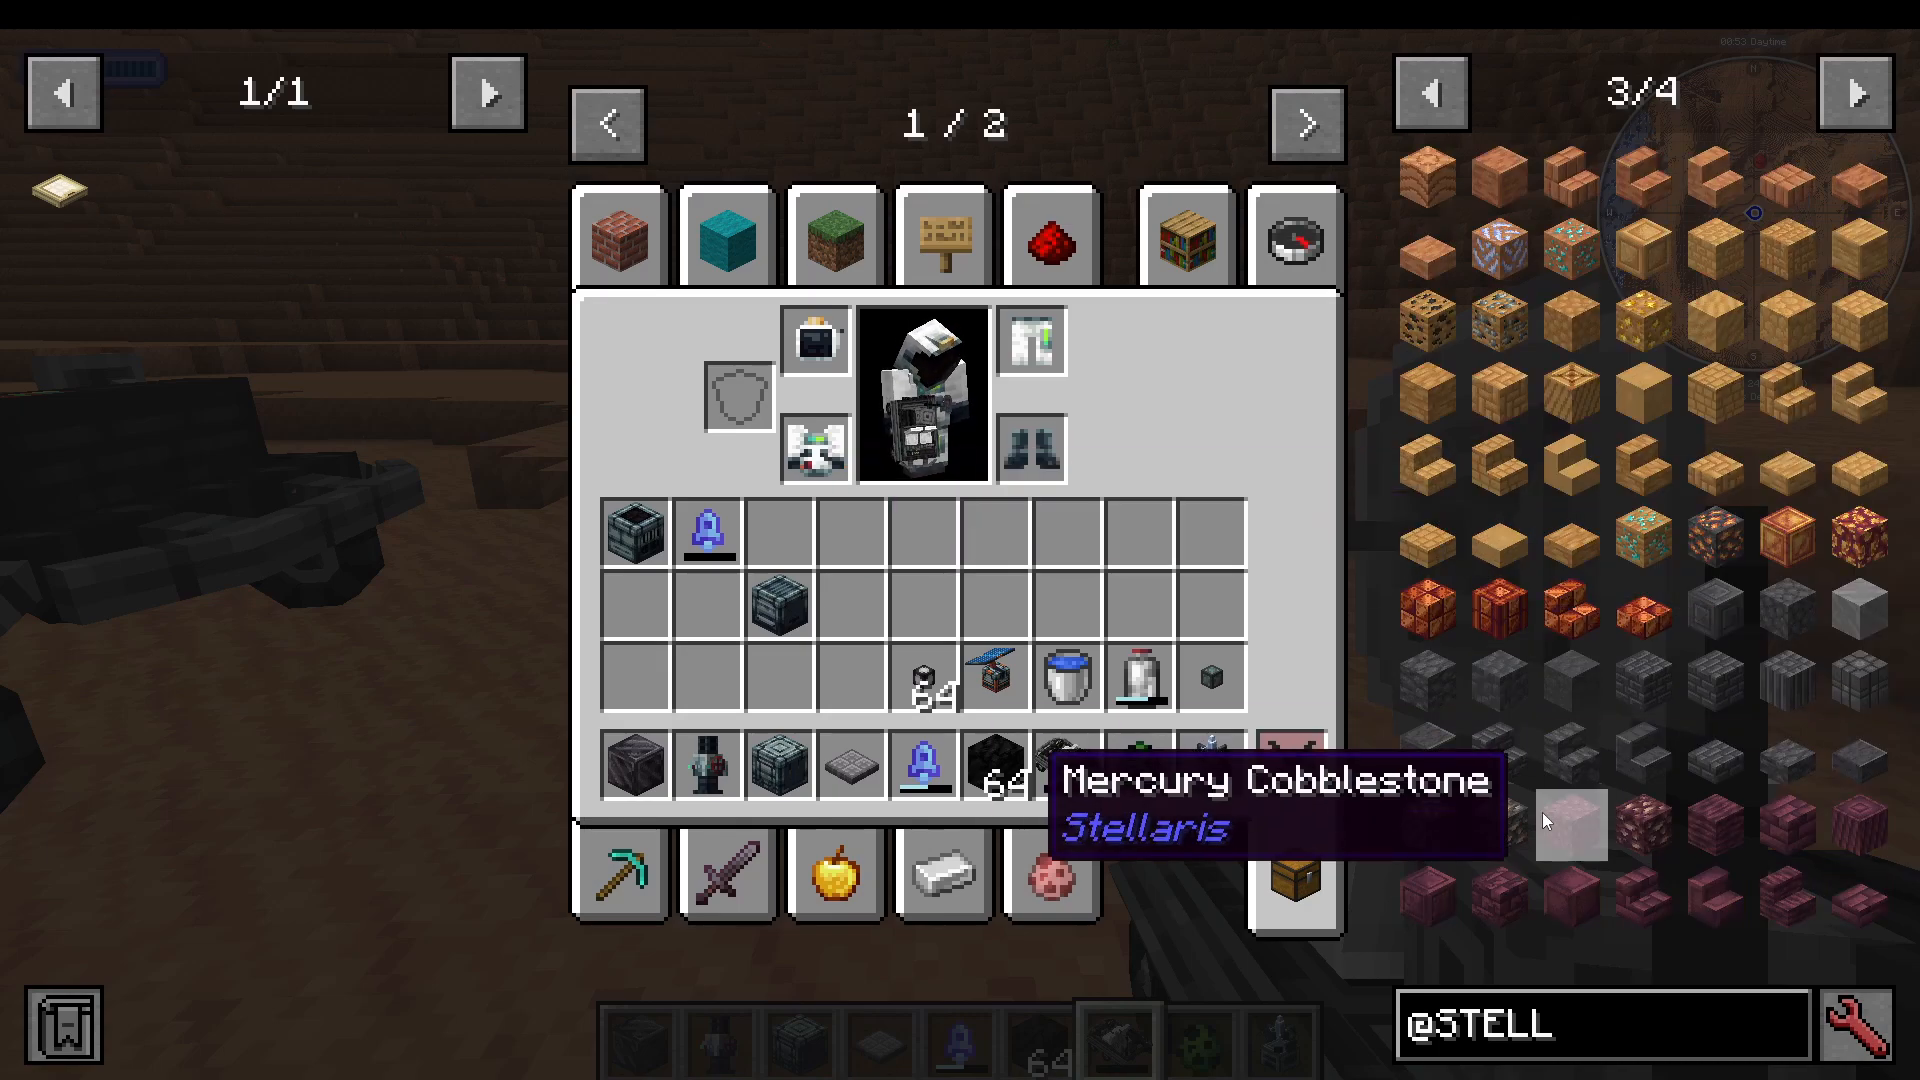
The upgrade station allows you to add special modules to your spacesuit. Place your spacesuit chestpiece into the station, then insert module upgrades. Available modules include:
Fuel Module — Adds a fuel reserve to your suit.
Auto Feeder Module — Automatically feeds you from your inventory.
Oil Finder Module — Detects oil deposits while you are wearing the suit.
Gravity Normalizer Module — Adjusts gravity to Earth-like levels.
Jet Module — Allows limited flight powered by the suit’s fuel supply.
Shift-click inside the upgrade station to view which modules are currently installed on your suit.
Bonus: Advanced Power Sources
As you progress into the mod, coal generators become inefficient. Two more powerful alternatives are available:
Radioactive Generator — Produces a large amount of energy using radioactive materials (uranium, plutonium, Neptuneium). You can place energy-consuming blocks directly adjacent to it to power them.
Solar Panel — Produces a modest amount of energy using sunlight. Useful on other planets where coal is scarce, though its output is limited.
Summary
The Stellaris mod is one of the most complete and accessible space exploration mods available for Minecraft. Starting from basic steel ore mining on the overworld, you build up a production chain for oxygen and fuel, construct and customise your rocket, and then venture out to explore an entire solar system of unique planets — each with its own ores, alien creatures, and structures to discover. Whether you are a complete beginner to Minecraft modding or a seasoned player looking for a new challenge, the Stellaris mod delivers an impressive and well-crafted space adventure. Suit up, fuel your rocket, and get exploring.
“`