







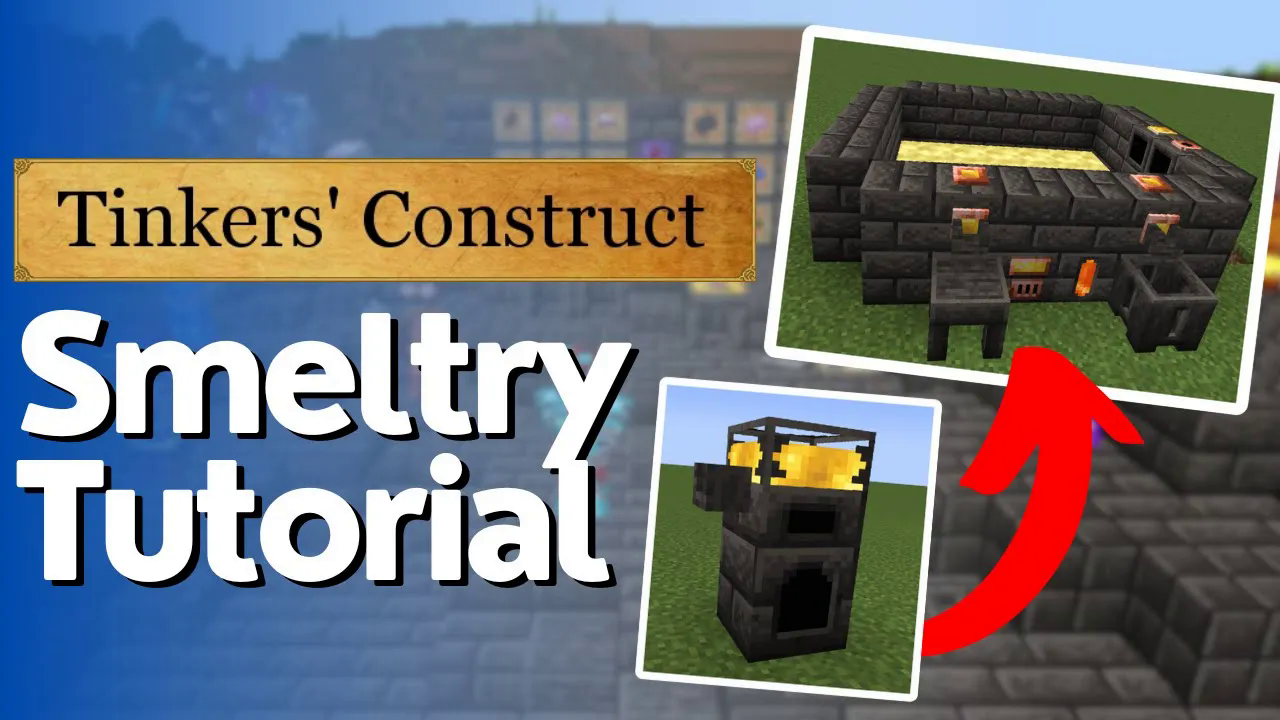
Smeltery Tutorial – Tinkers Construct (1.16 & Newer)
Smeltery Tutorial – Tinkers Construct (1.16 & Newer)
Once you’ve progressed through basic tools and crafting tables in Tinkers Construct, the next major step is building a smeltery. This guide will walk you through everything you need to know about constructing and using a smeltery to process ores, create tier 2 materials and alloys, and significantly upgrade your gear.
Understanding the Smeltery Basics
A smeltery is an essential structure in Tinkers Construct for processing ores and creating powerful materials. The key advantage of a smeltery is that it allows you to create tier 2 materials — which are typically alloys and ingots that are far more powerful than basic wooden and stone materials.
To get started with a smeltery, you’ll need one of two heating methods:
Seared Fuel Tank: Uses lava as fuel
Seared Heater: Uses coal or any solid, burnable fuel
While a seared heater works for some basic ingots, it’s recommended to go straight for the fuel tank if possible, as some ingots require higher heat and may specifically need lava.
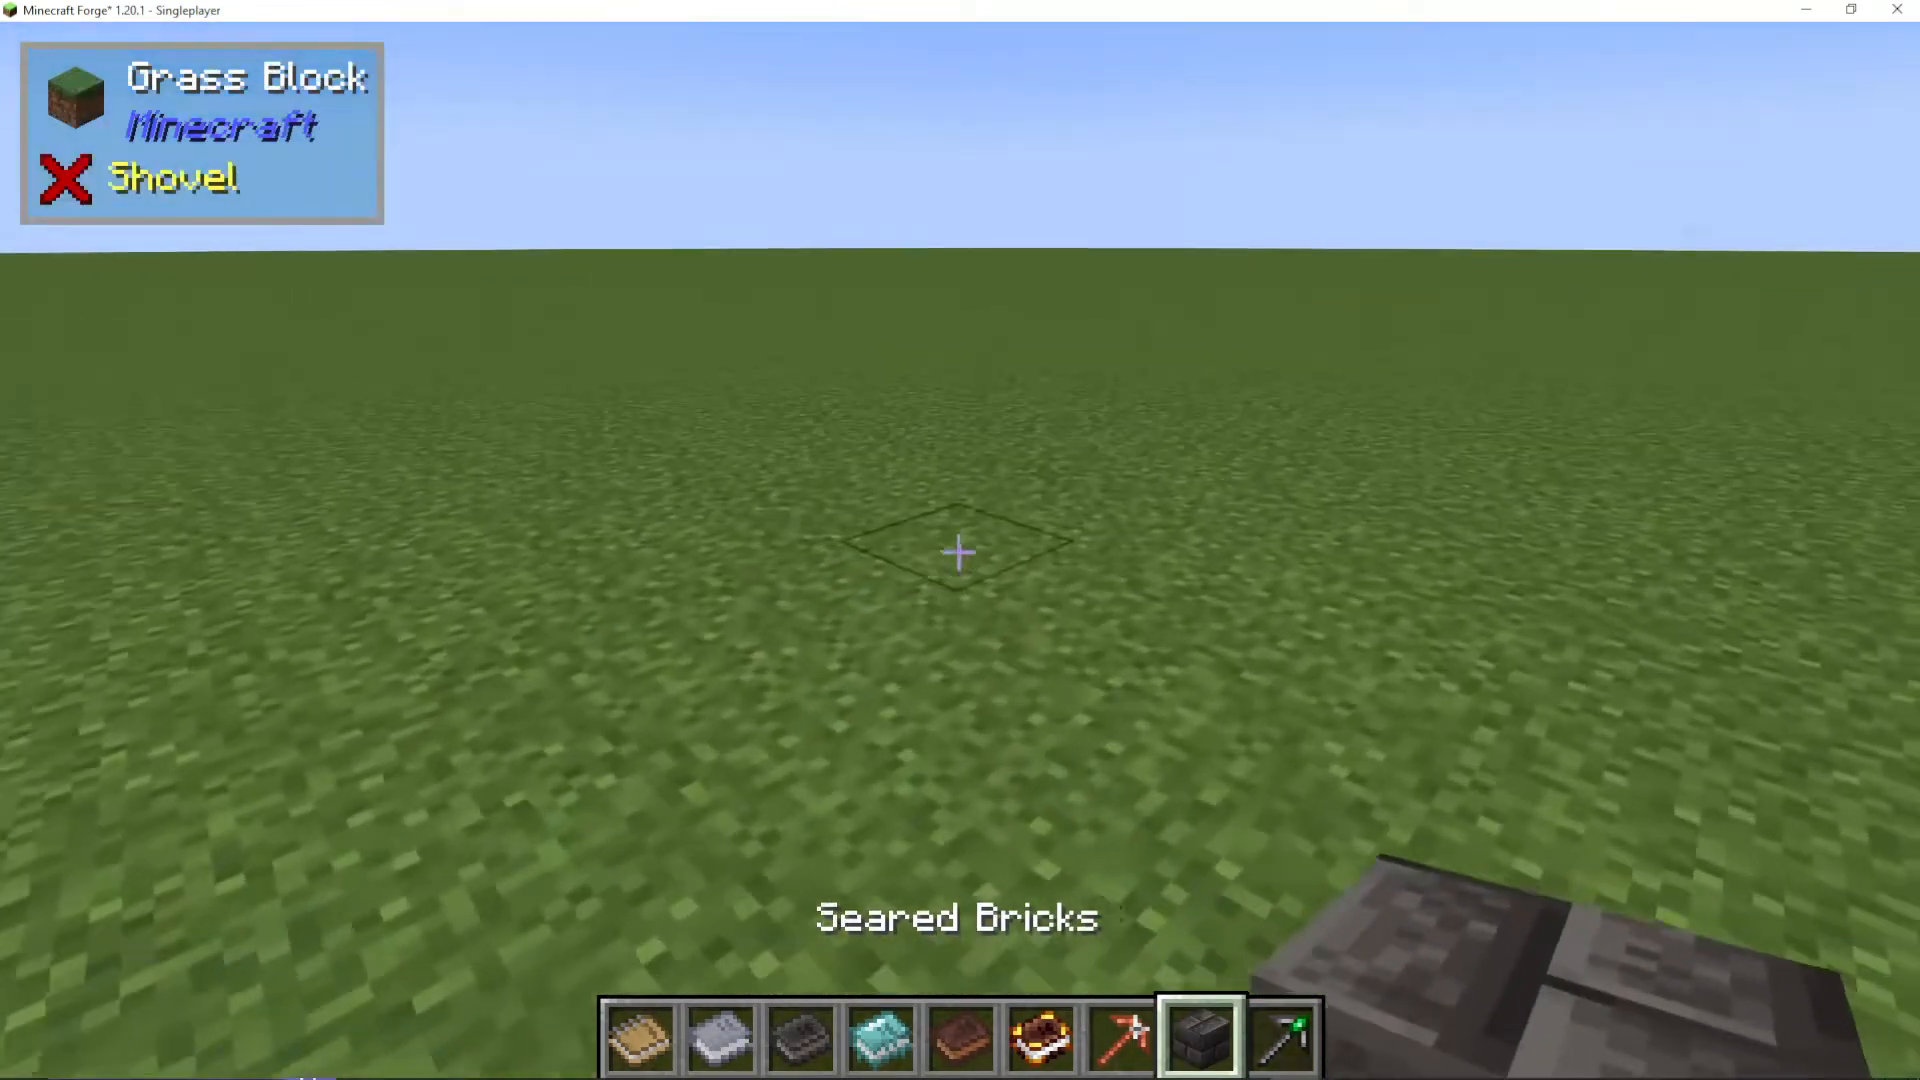
Creating Seared Bricks
Before you can build any smeltery components, you need to create seared bricks. This process involves:
Crafting grout from sand, gravel, and clay
Smelting the grout to create seared bricks
Creating grout in bulk is often one of the most tedious tasks at the start of any modpack, so plan to gather several stacks of materials. The recipe allows for flexibility in how you combine the three ingredients.
Building Your First Smeltery
The smeltery itself is a multiblock structure made entirely of seared bricks. You can customize the size to suit your needs — for example, a 3×3×3 smeltery would have the following structure:
Seared brick walls on all sides
A seared brick floor inside
Corner blocks are optional
The beauty of the smeltery design is its flexibility — you can build it as large or small as you need for your operation.
Essential Smeltery Components
Your smeltery requires the following key components:
Smeltery Controller
The controller is the main block that makes your smeltery function. To craft it:
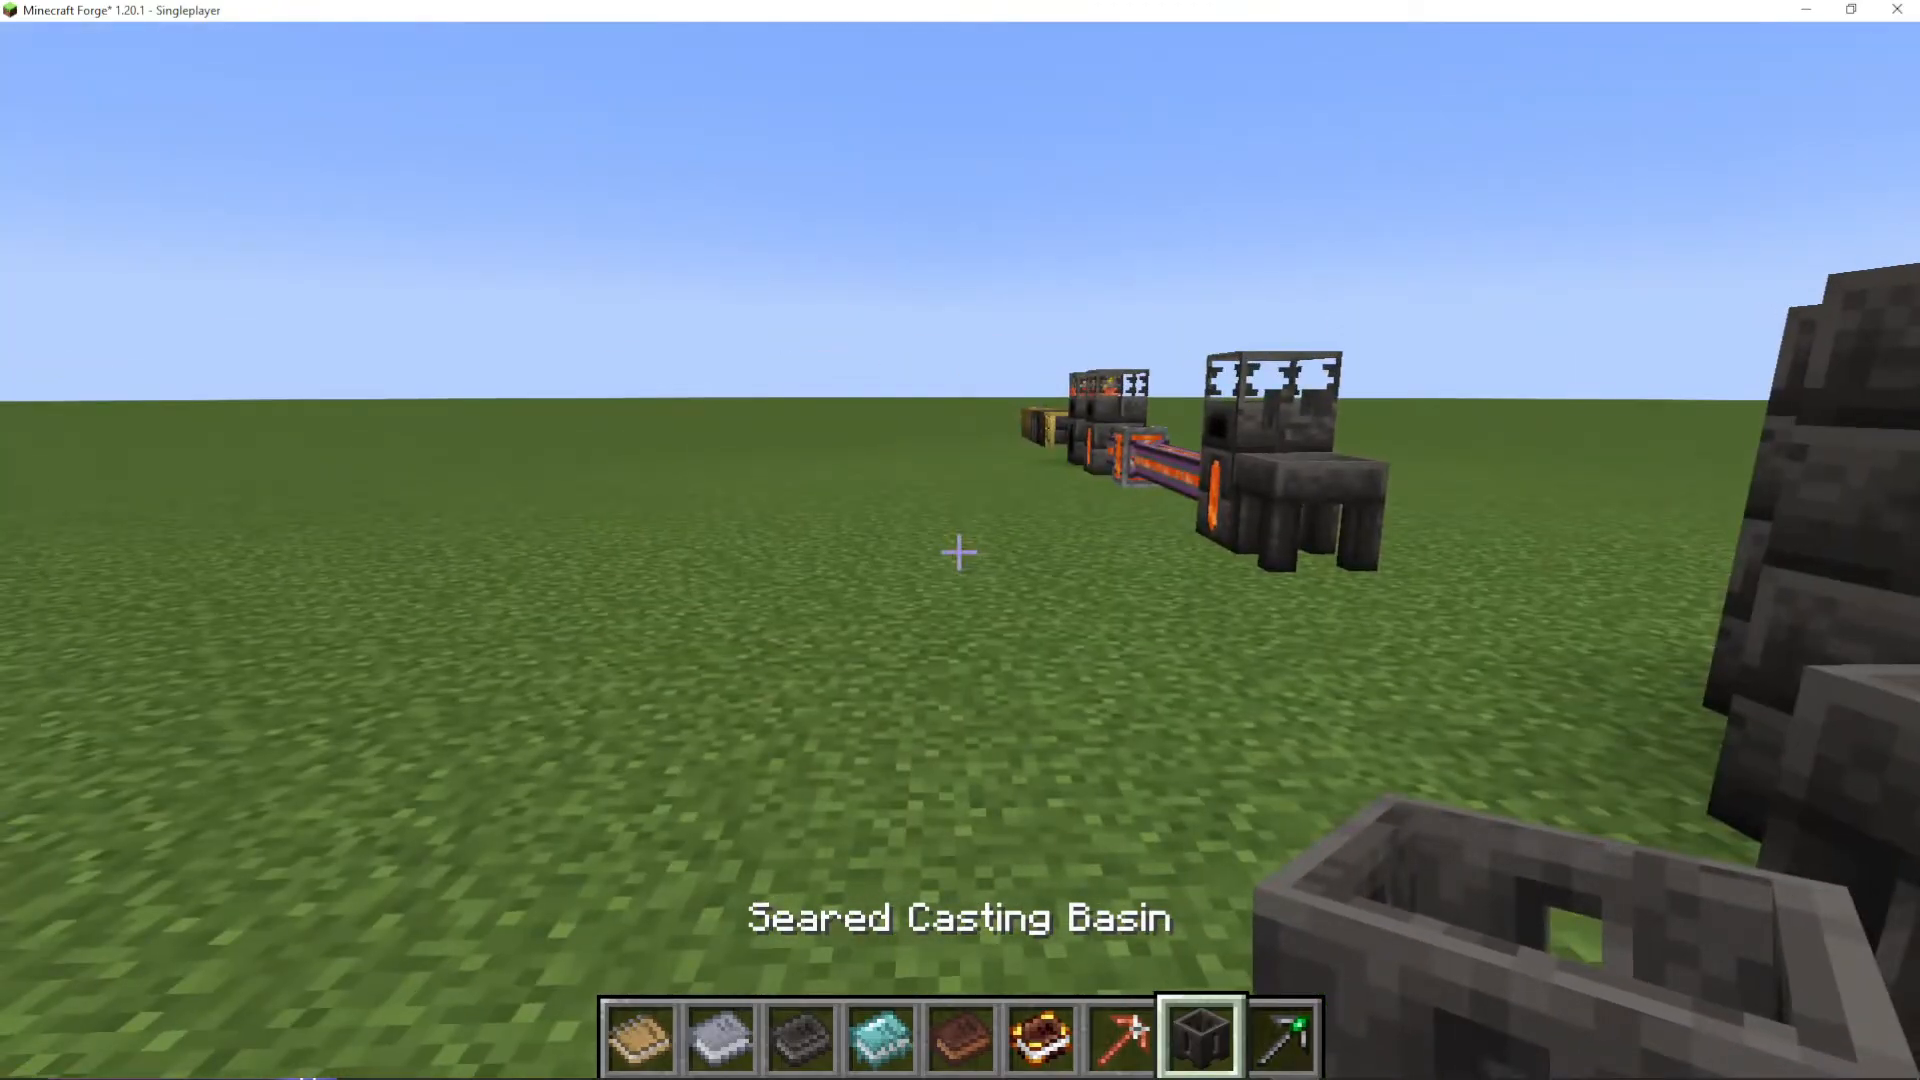
Place a seared casting basin on your smeltery
Place a seared brick inside the basin
Pour molten copper over the seared brick using a seared faucet
Wait for it to cool, then right-click to obtain the smeltery controller
Seared Fuel Tank
This is the same fuel tank you would have created earlier. It holds lava to heat your smeltery. You can fill it using buckets or automated methods like mechanism tanks.
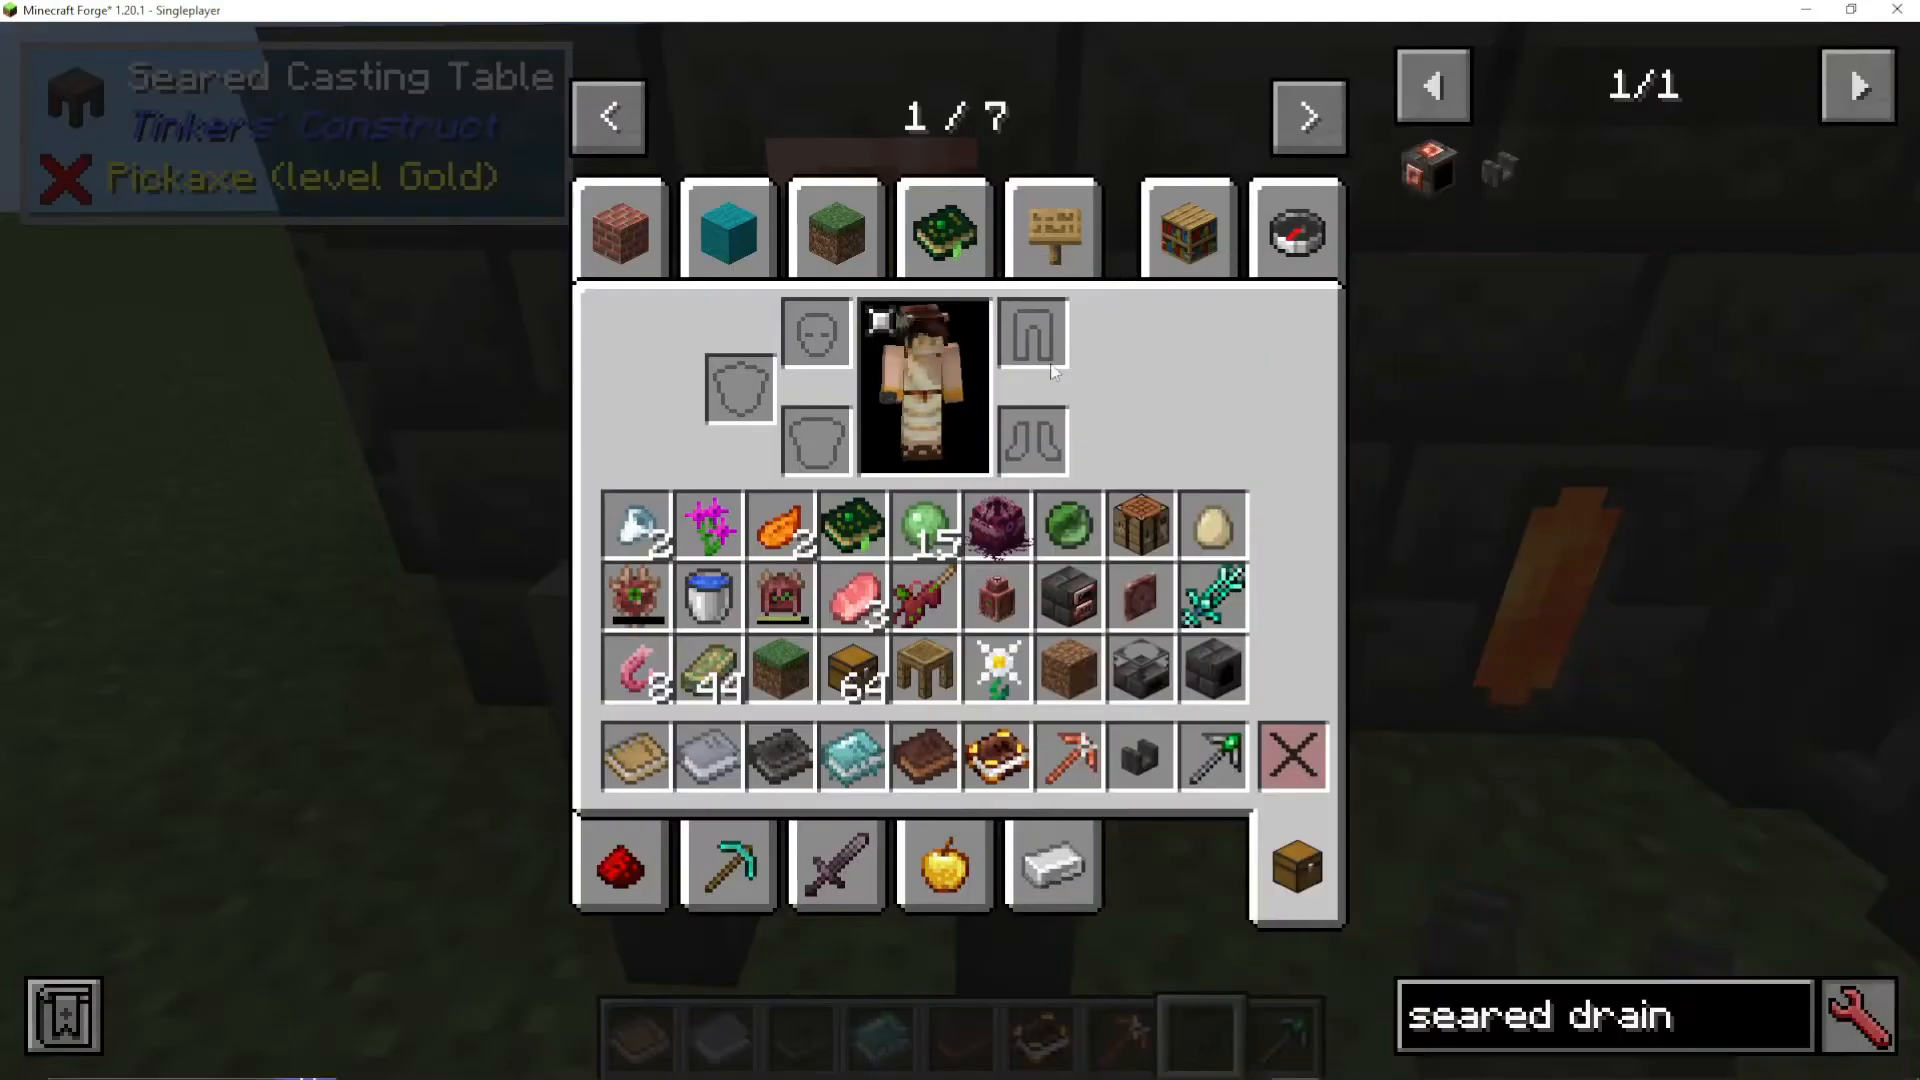
Seared Drains
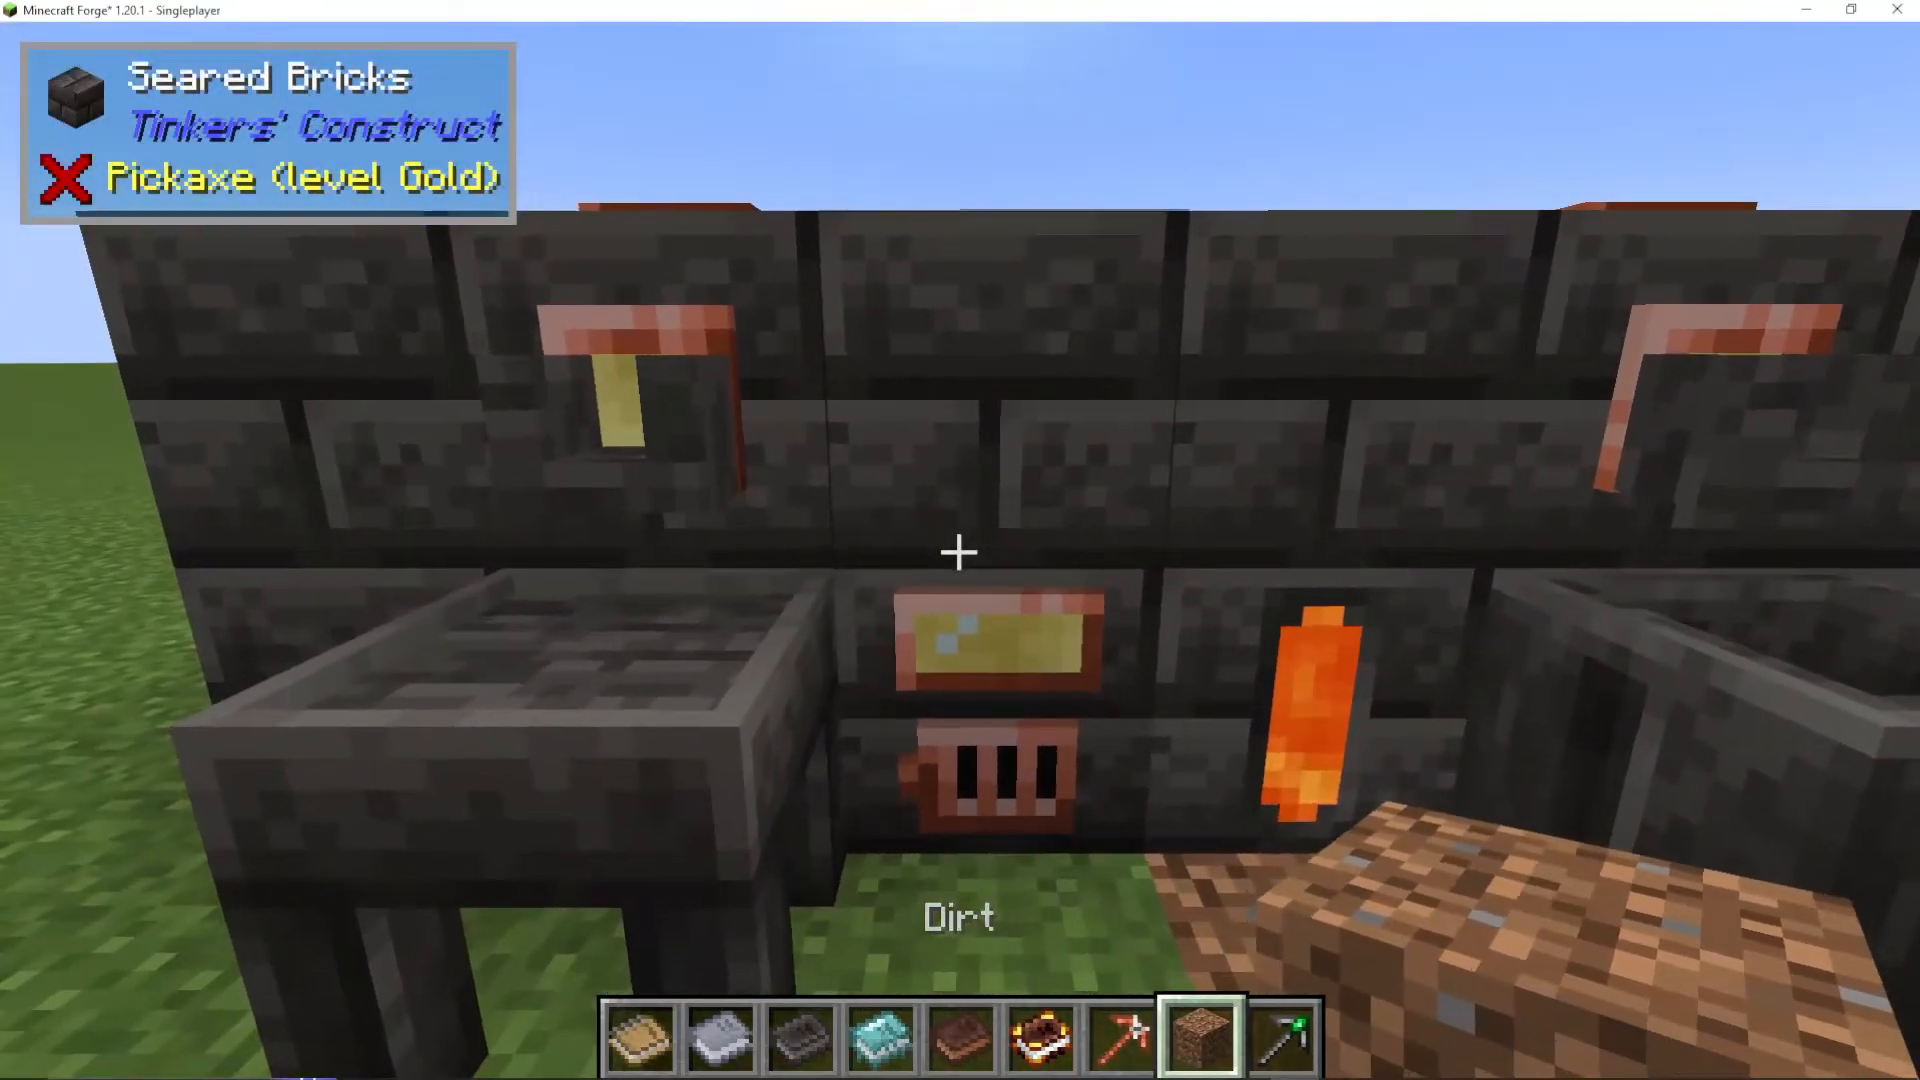
Seared drains are crucial for extracting liquids from your smeltery. They’re crafted with:
Two copper ingots
One seared brick
Attach a seared faucet to the drain hole so that ingots and liquids can flow out properly. You’ll typically want multiple drains — one for a basin and one for the casting table.
Smelting and Casting Process
Melting Ores
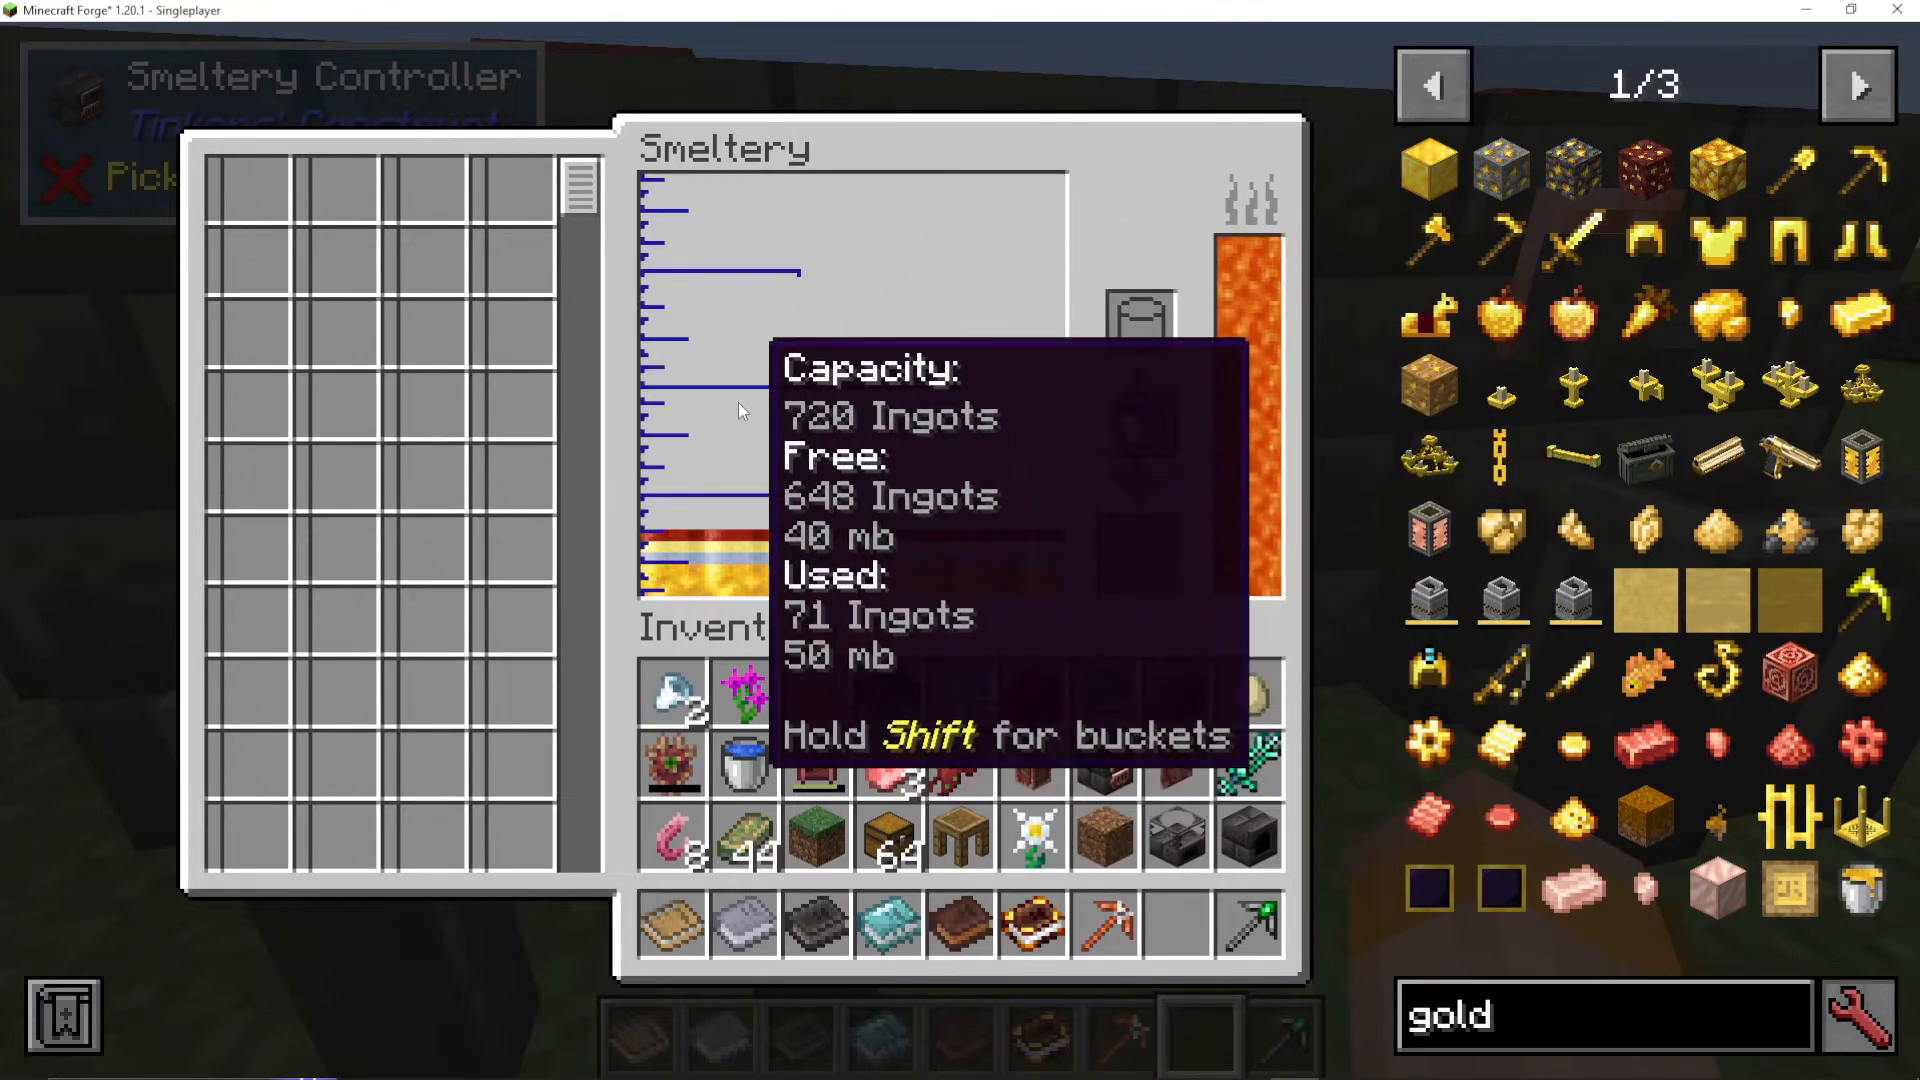
Once your smeltery is operational with fuel, you can begin melting ores. Simply place raw ore or ingots into the smeltery and they will heat up and convert into molten metal. The smeltery can hold a surprisingly large quantity of molten material at once.
Managing Molten Metals
The smeltery interface allows you to manage multiple molten metals simultaneously. The molten metal at the bottom of the list is what will flow out next. If you want to output a different metal:
Left-click on the desired metal in the list
It will move to the bottom and become the next output
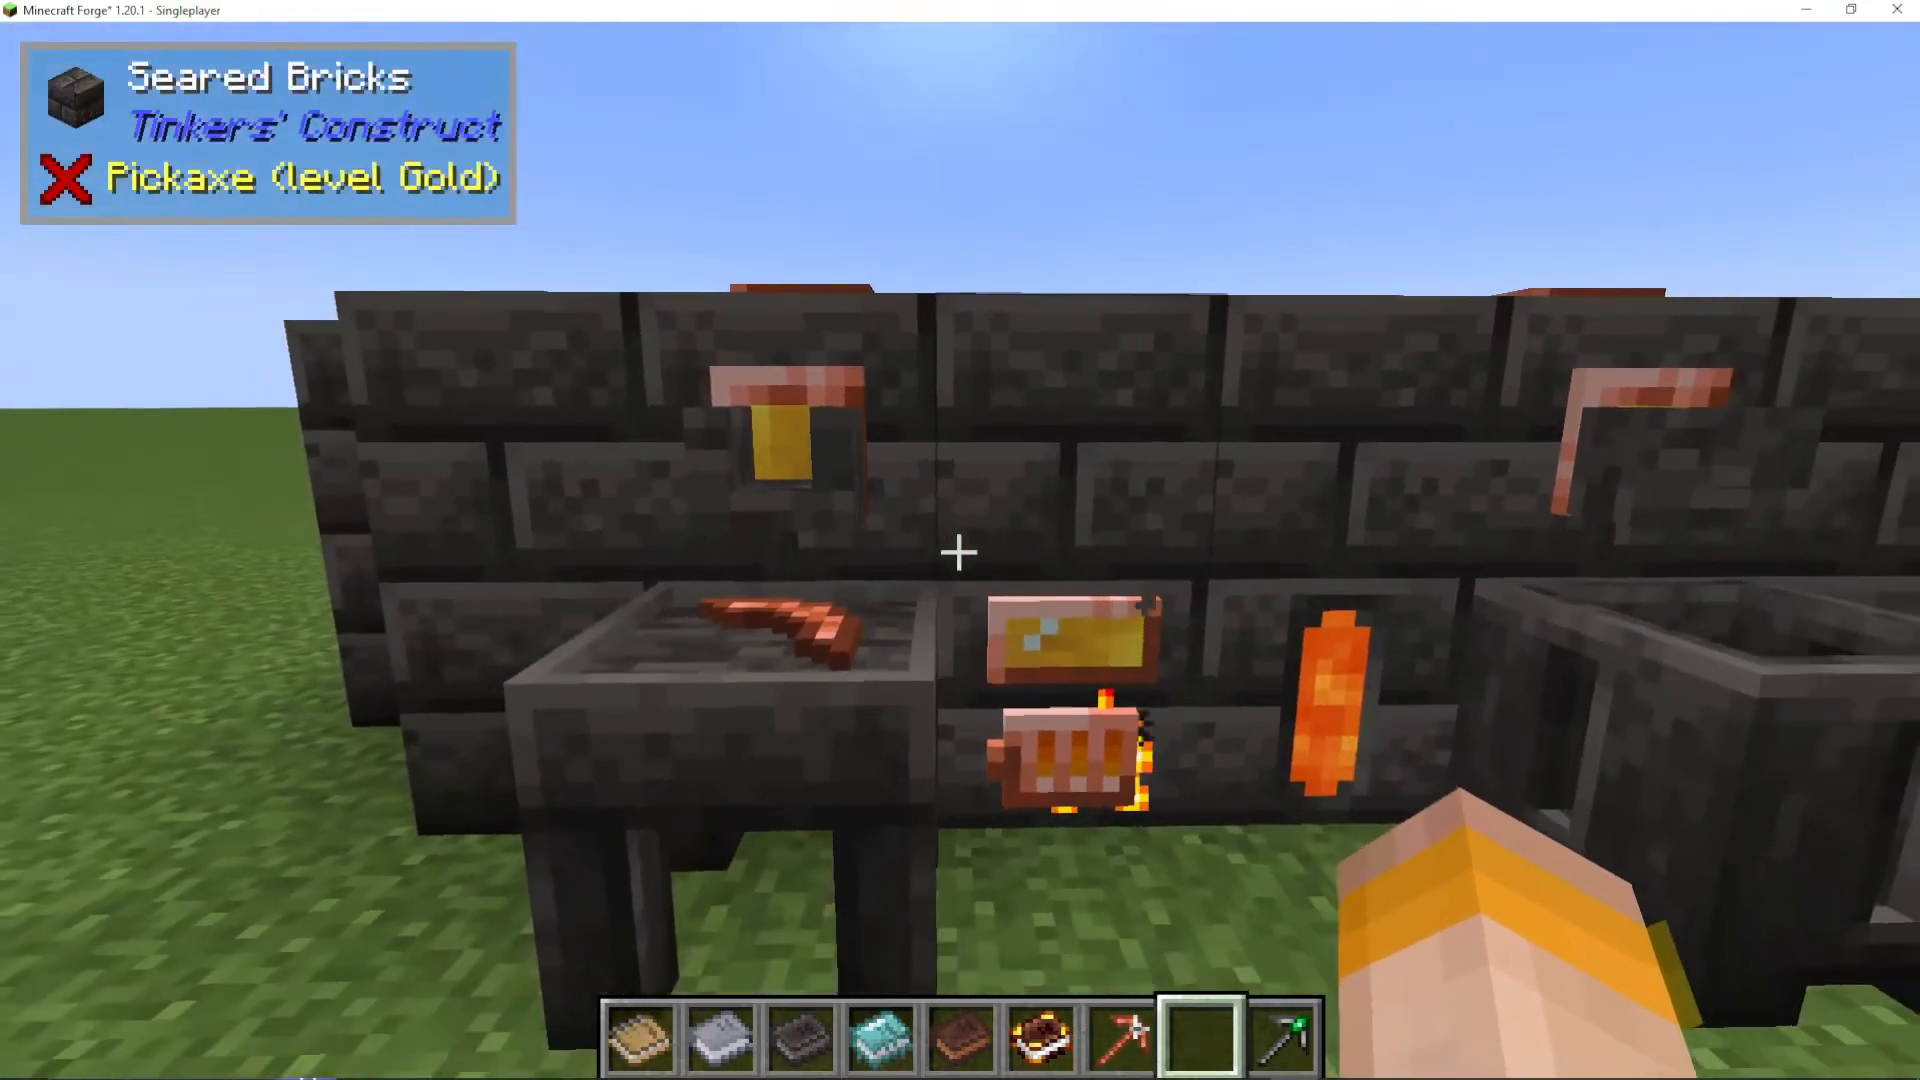
Creating Casts
To create tool parts from molten metal, you’ll need casts. The casting process uses:
A seared casting table (for tool parts)
A seared casting basin (for blocks)
A casting material like gold or sand
Gold casts are reusable indefinitely and are the preferred choice. Sand casts are a one-time use alternative that will dissolve after use.
To make a gold cast:
Create a tool part (like a pickaxe head) in the Part Builder
Right-click the tool part onto the casting table
Pour molten gold around it using the seared faucet
Once cooled, you’ll have a gold cast of that tool part
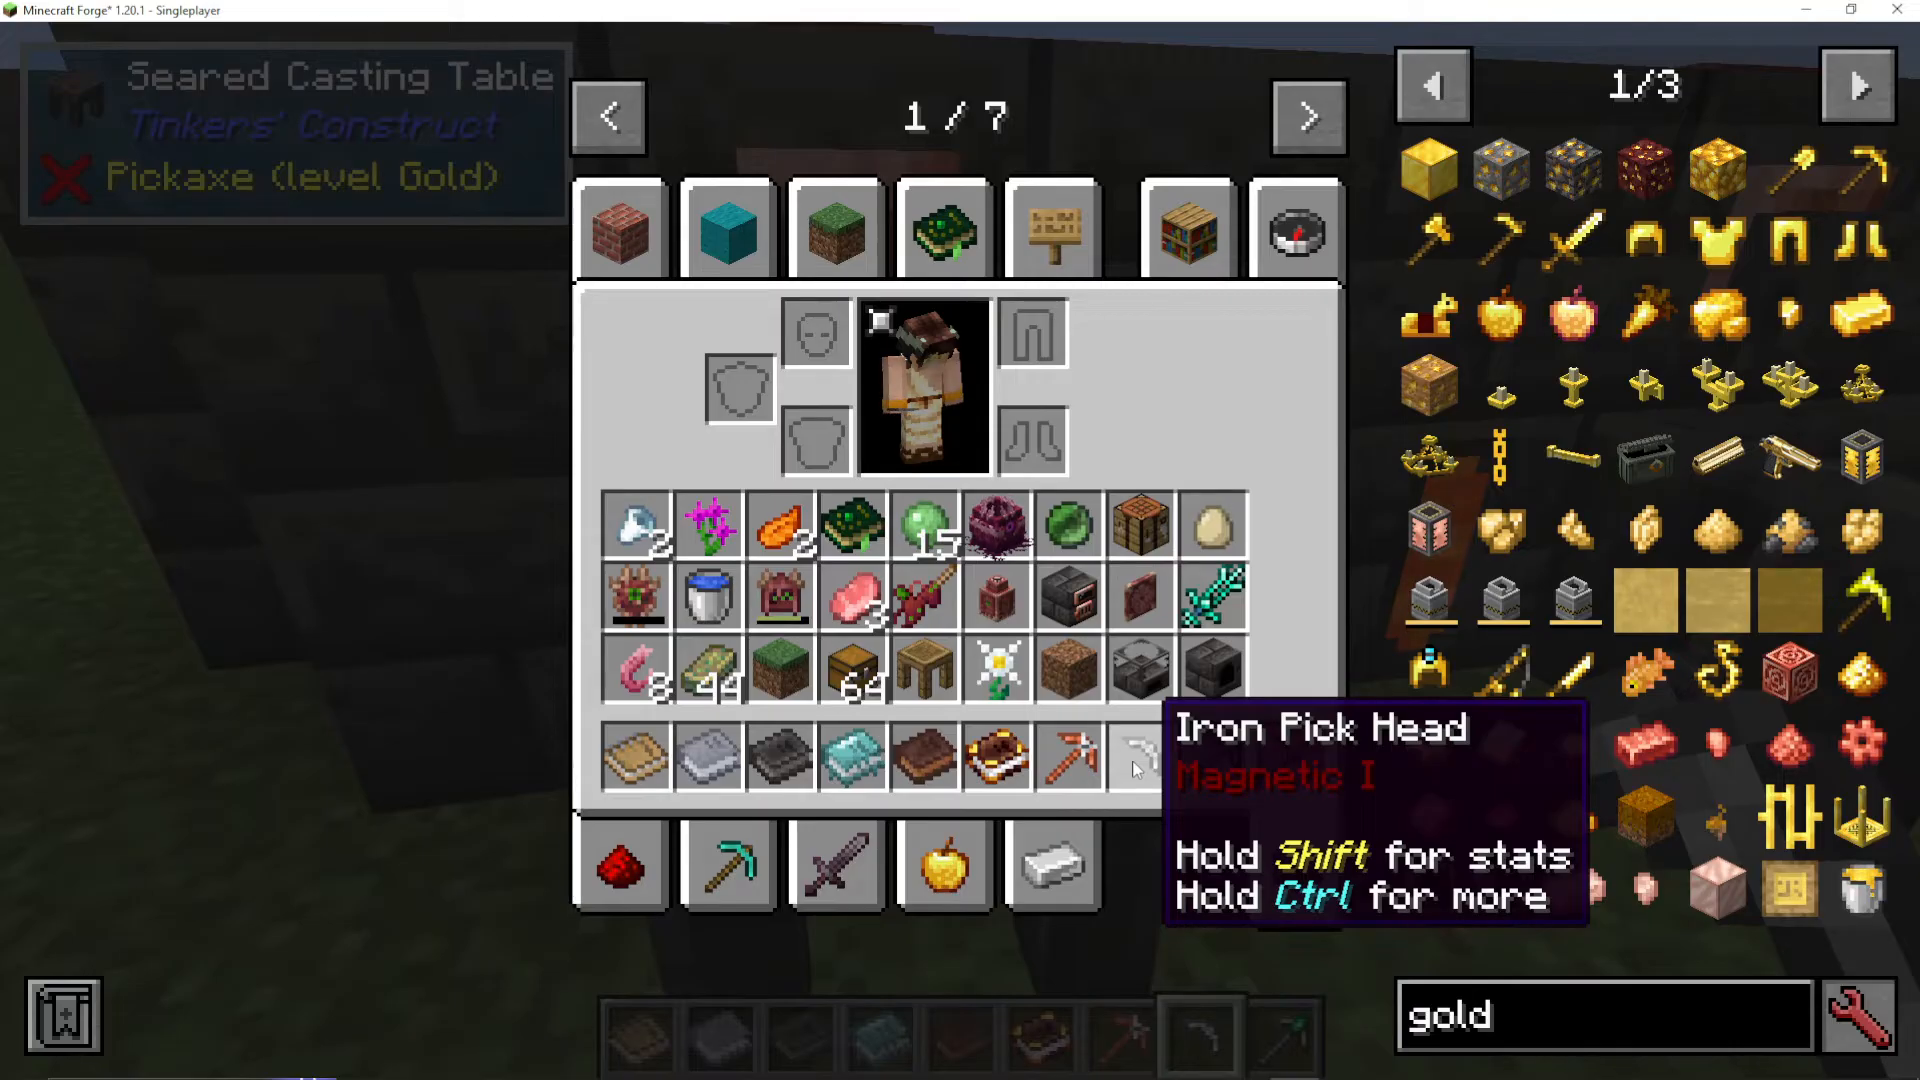
Making Tool Parts with Casts
Once you have a gold cast, you can use it repeatedly to create tool parts from different molten metals:
Select the desired molten metal and move it to the bottom of the list
Right-click the seared faucet while the cast is positioned underneath
The molten metal will fill the cast and cool
Right-click the cooled cast to extract your new tool part
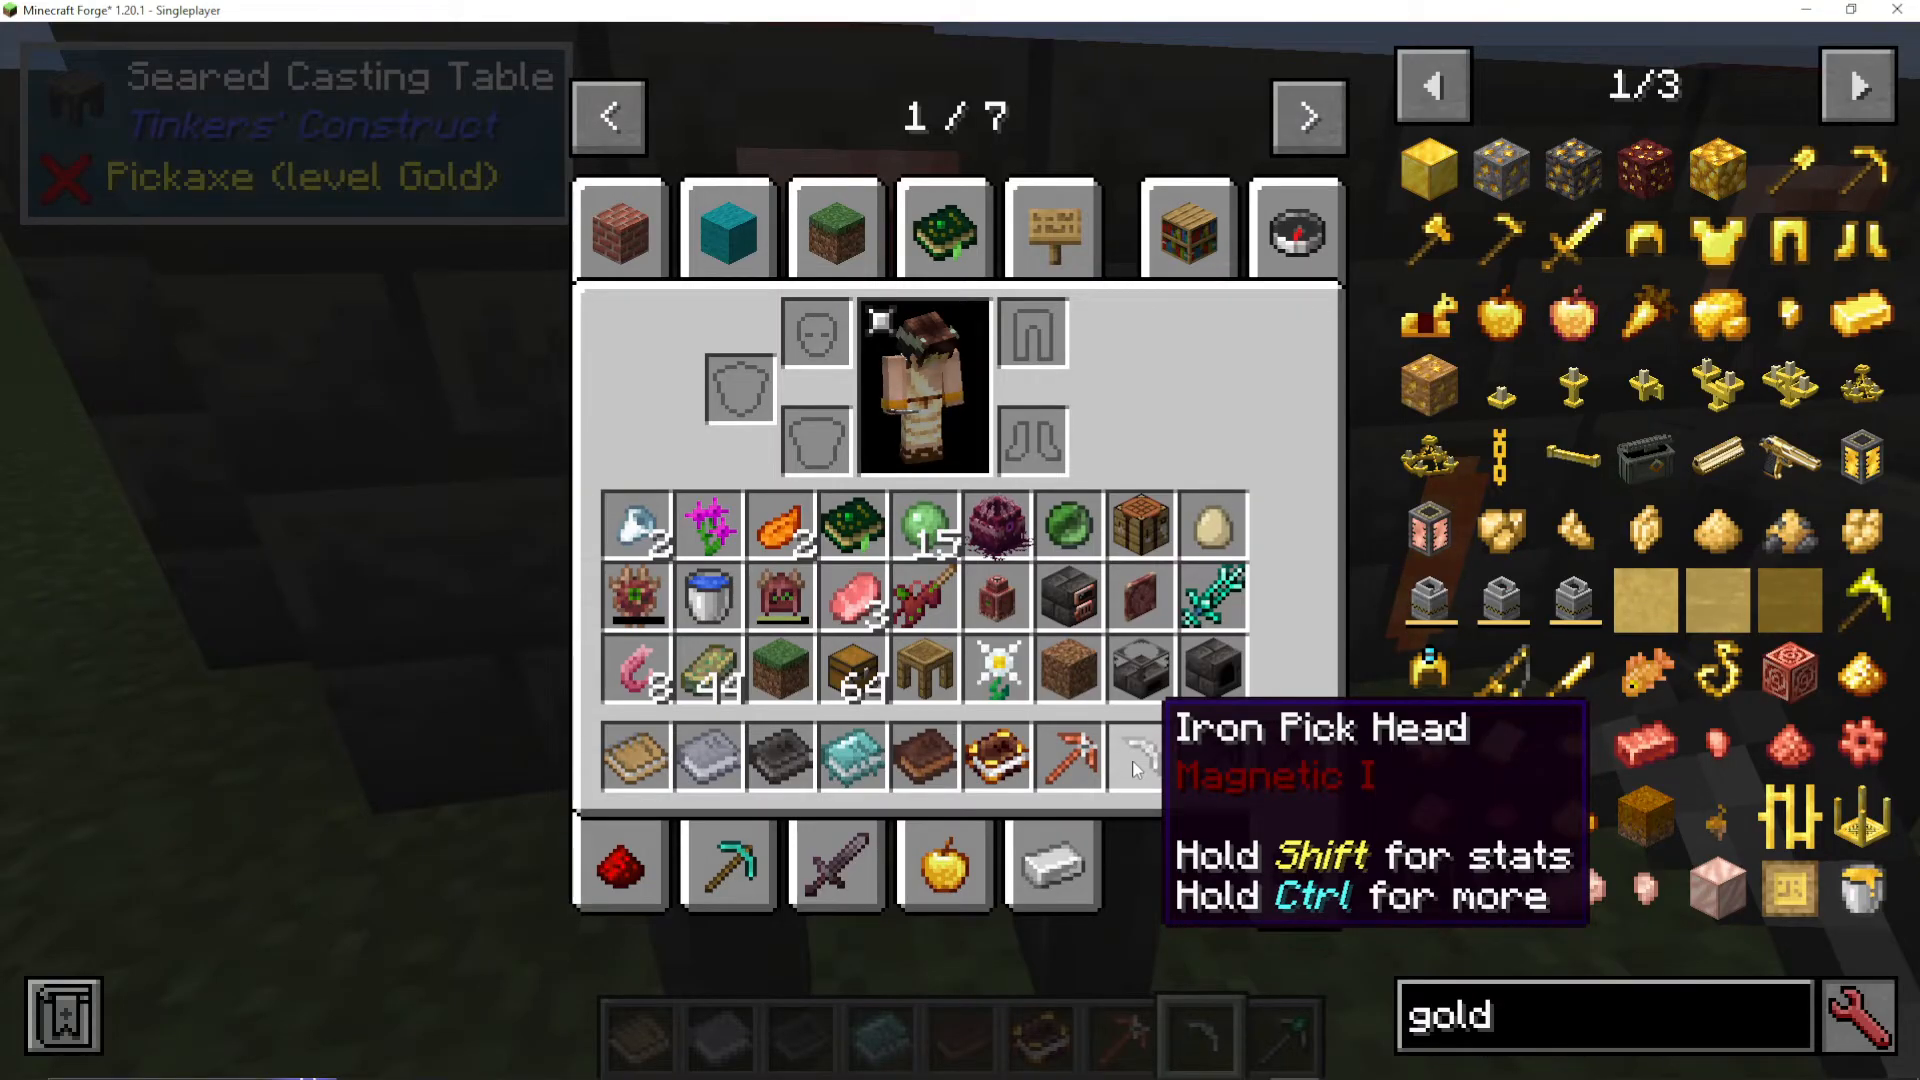
This allows you to create tier 2 materials like iron, seared stone, venom bone, slimewood, osmium, lead, silver, necrotic bones, scorched stone, and more (depending on which mods are installed in your modpack).
Understanding Alloys
One critical aspect of smeltery operation is automatic alloying. When you combine certain molten metals in the smeltery, they will automatically merge into alloys. For example:
Molten gold + Molten silver = Electrum
Be aware that this happens automatically in the smeltery. The smeltery is the only method in Tinkers Construct for creating alloyed ingots. If you want specific alloys, plan your metal combinations accordingly. If you want to prevent accidental alloying, keep incompatible metals separate or melt them at different times.
Advanced Smeltery Features
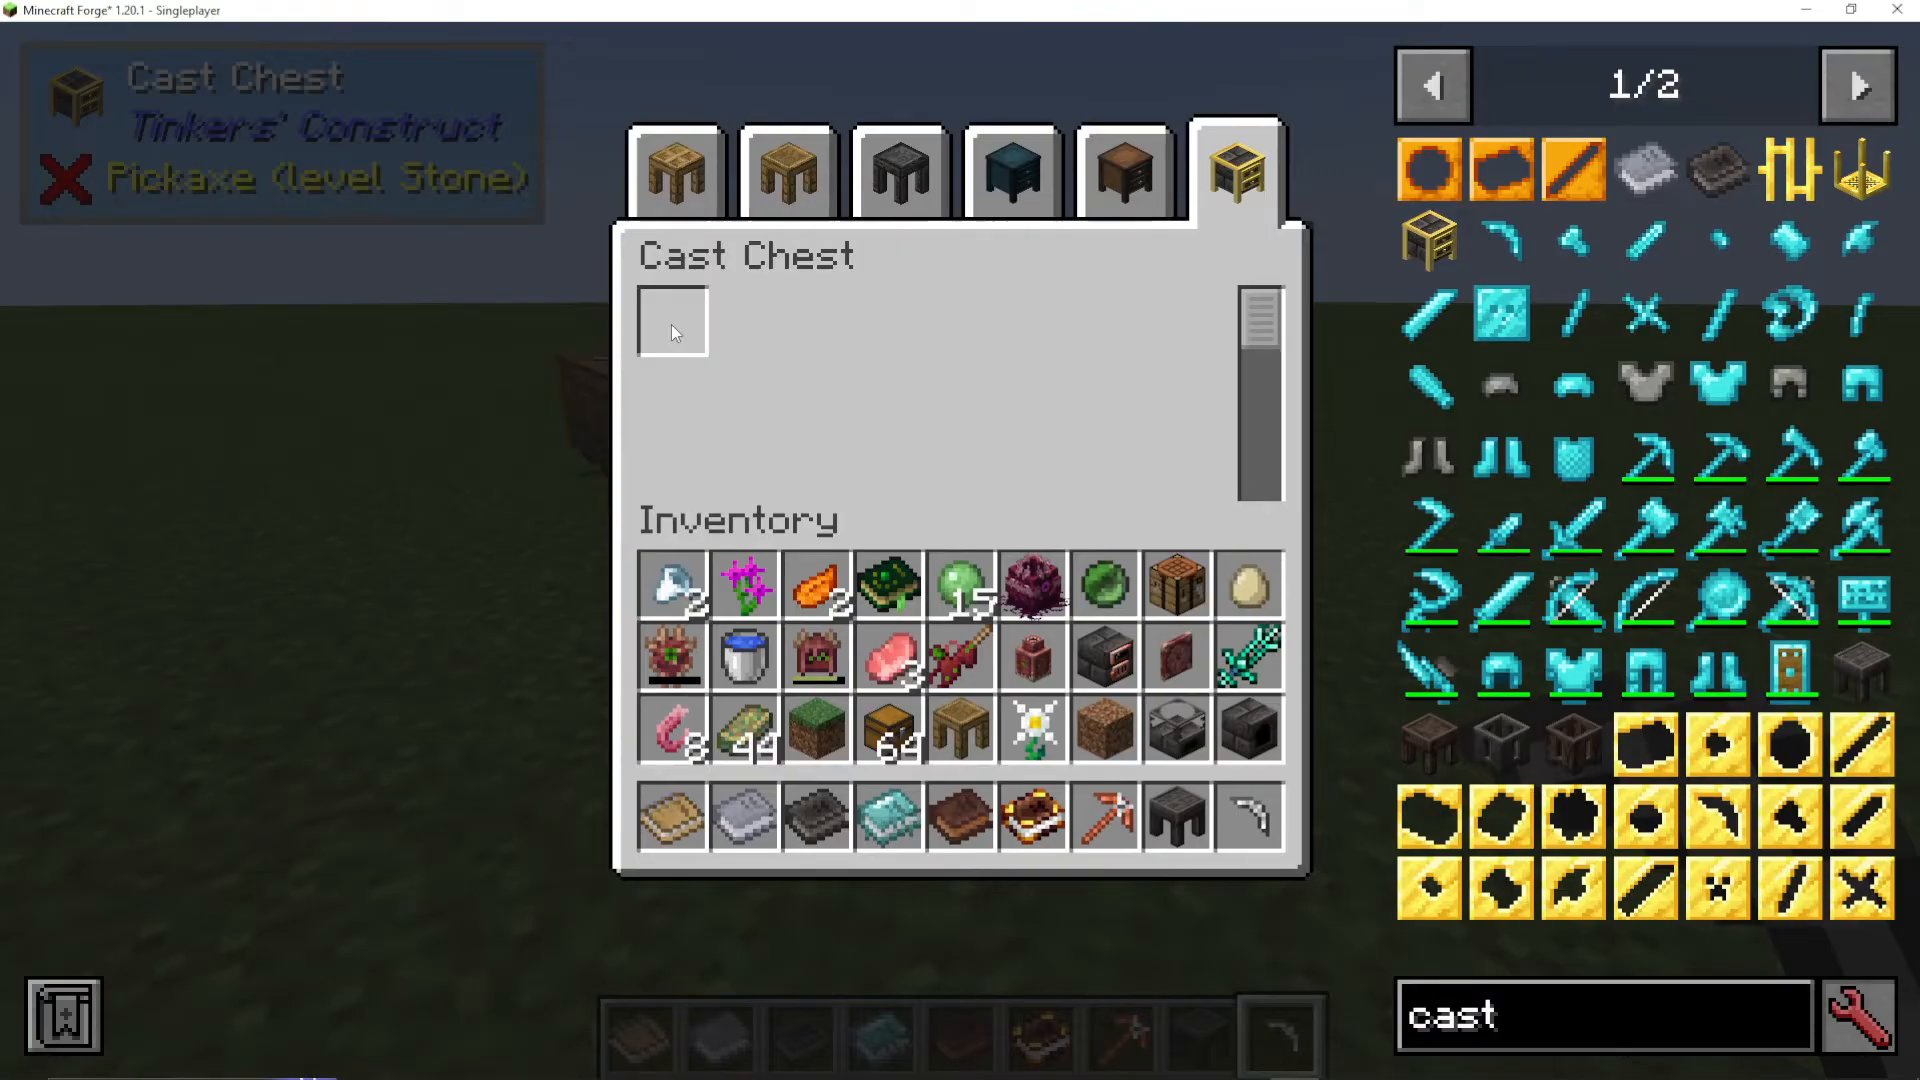
Cast Chest
A cast chest provides convenient storage for all your casts. Simply place your casts into the chest, and they’ll be organized and easily accessible for future use.
Seared Casting Basin
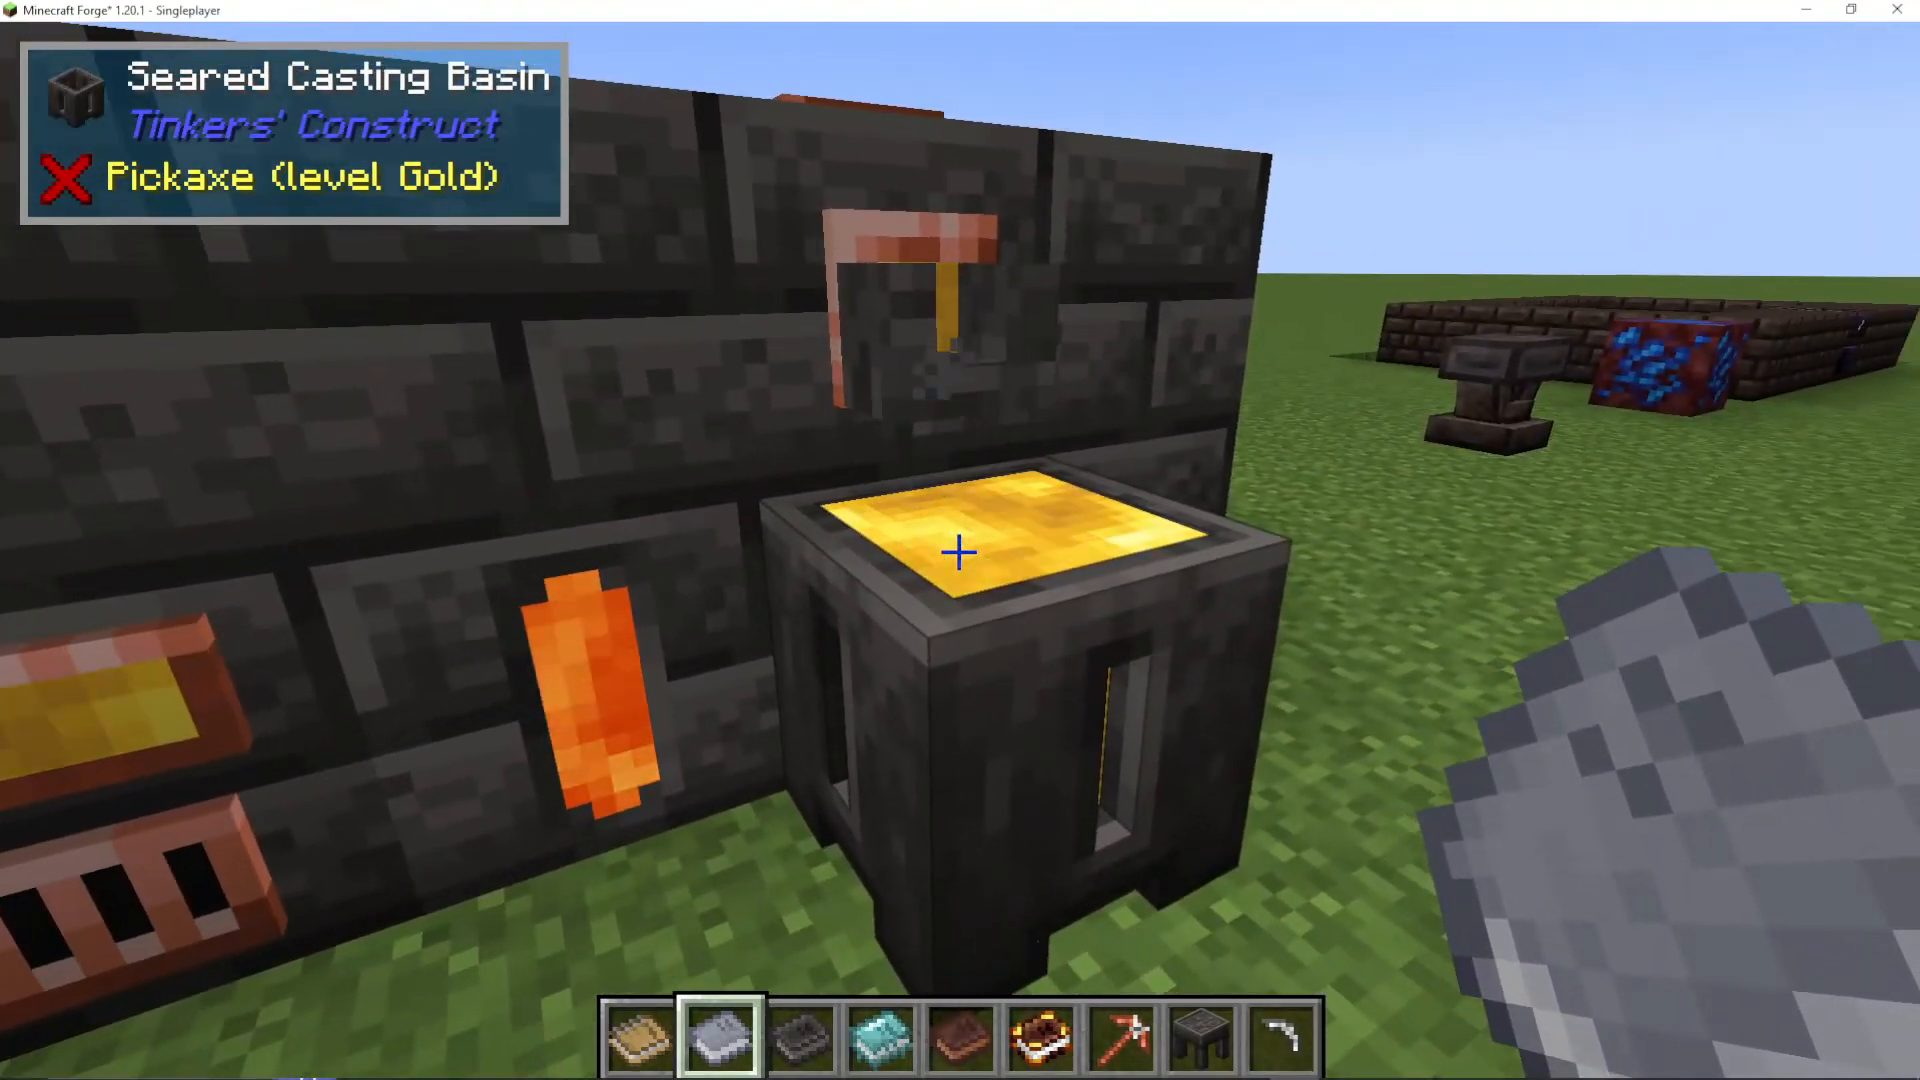
Unlike the casting table (which makes tool parts), the seared casting basin allows you to create full blocks of metal. Right-click the faucet to fill the basin completely with molten metal, which will cool into a solid block.
Automation with Shoots and Ducts
For advanced automation, you can use:
Shoots: Input and output items from the smeltery
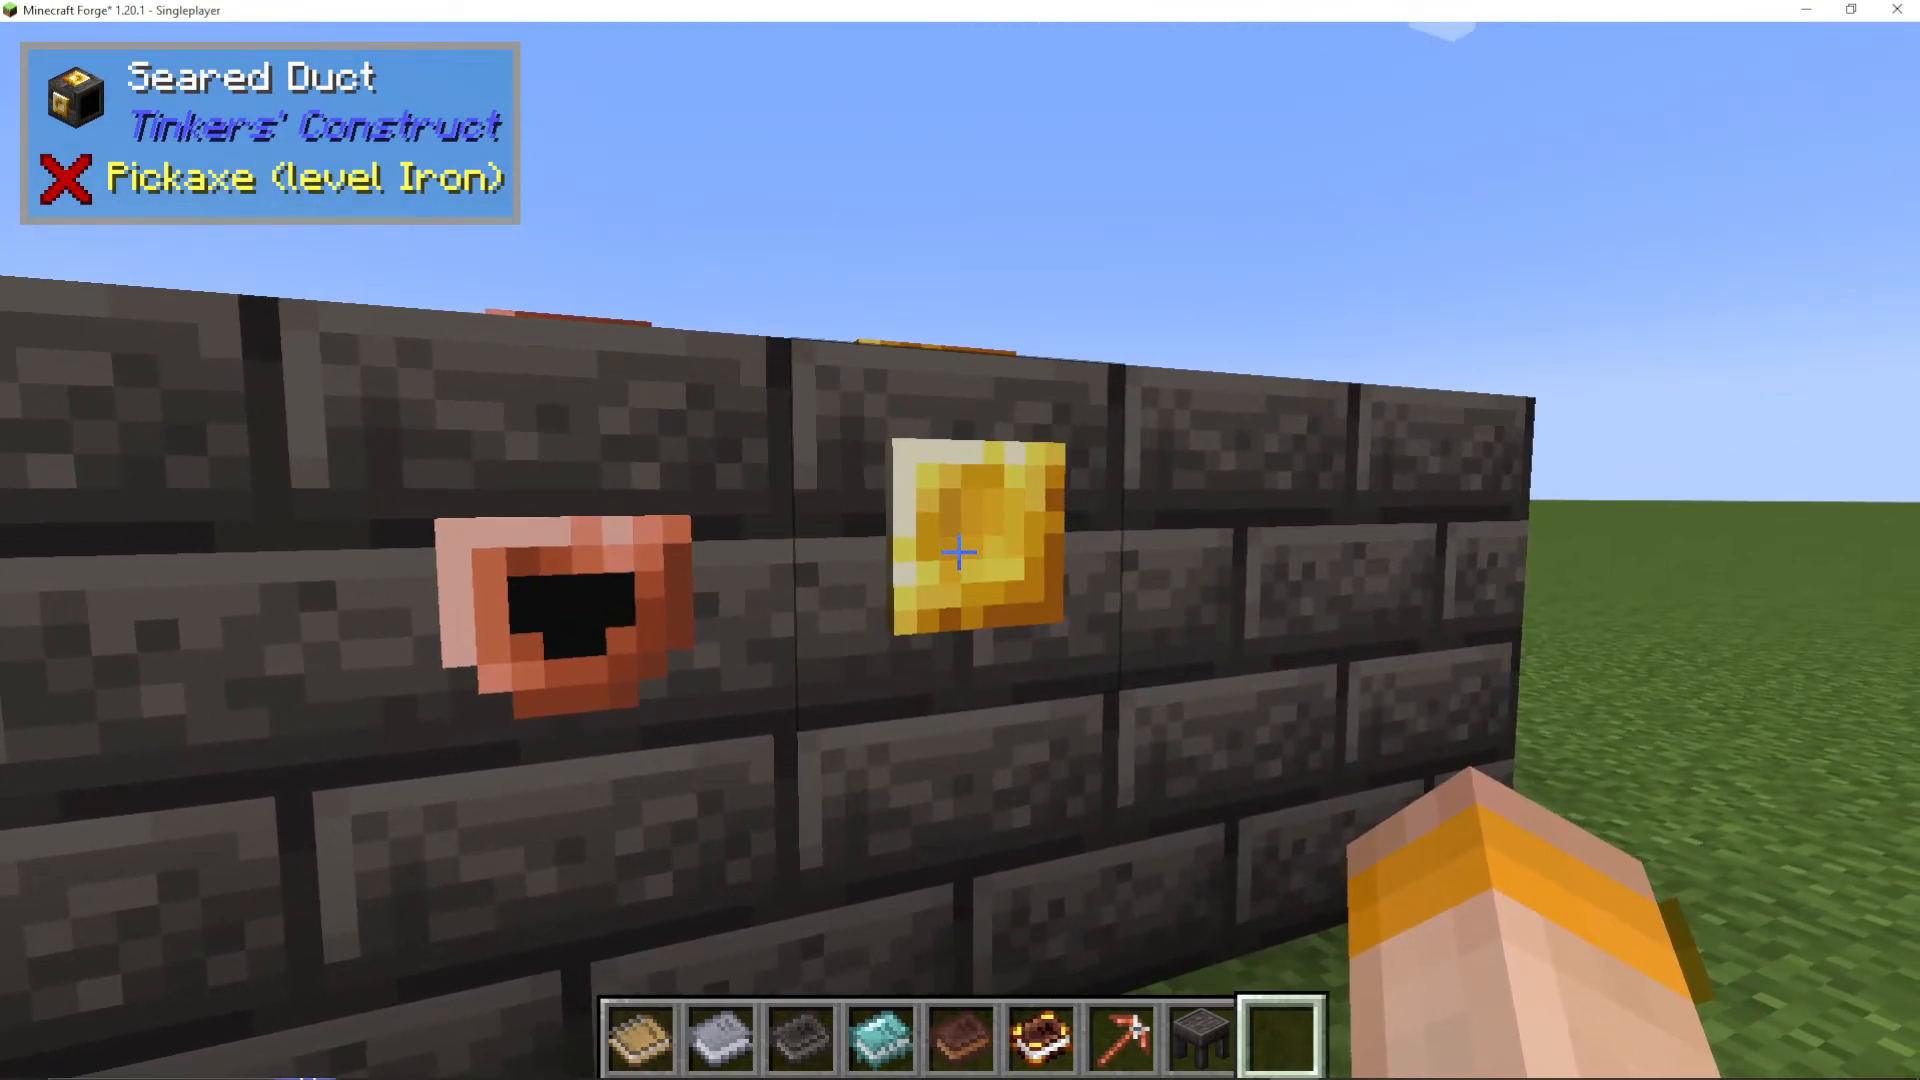
Ducts: Act as filters for specific molten metals
To set up a filtered duct:
Take a bucket and right-click it on a faucet to fill it with the desired molten metal
Place the bucket into a duct
The duct will now filter and only output that specific metal
This is especially useful for automated smelting operations, allowing you to pipe outputs to specific locations based on metal type.
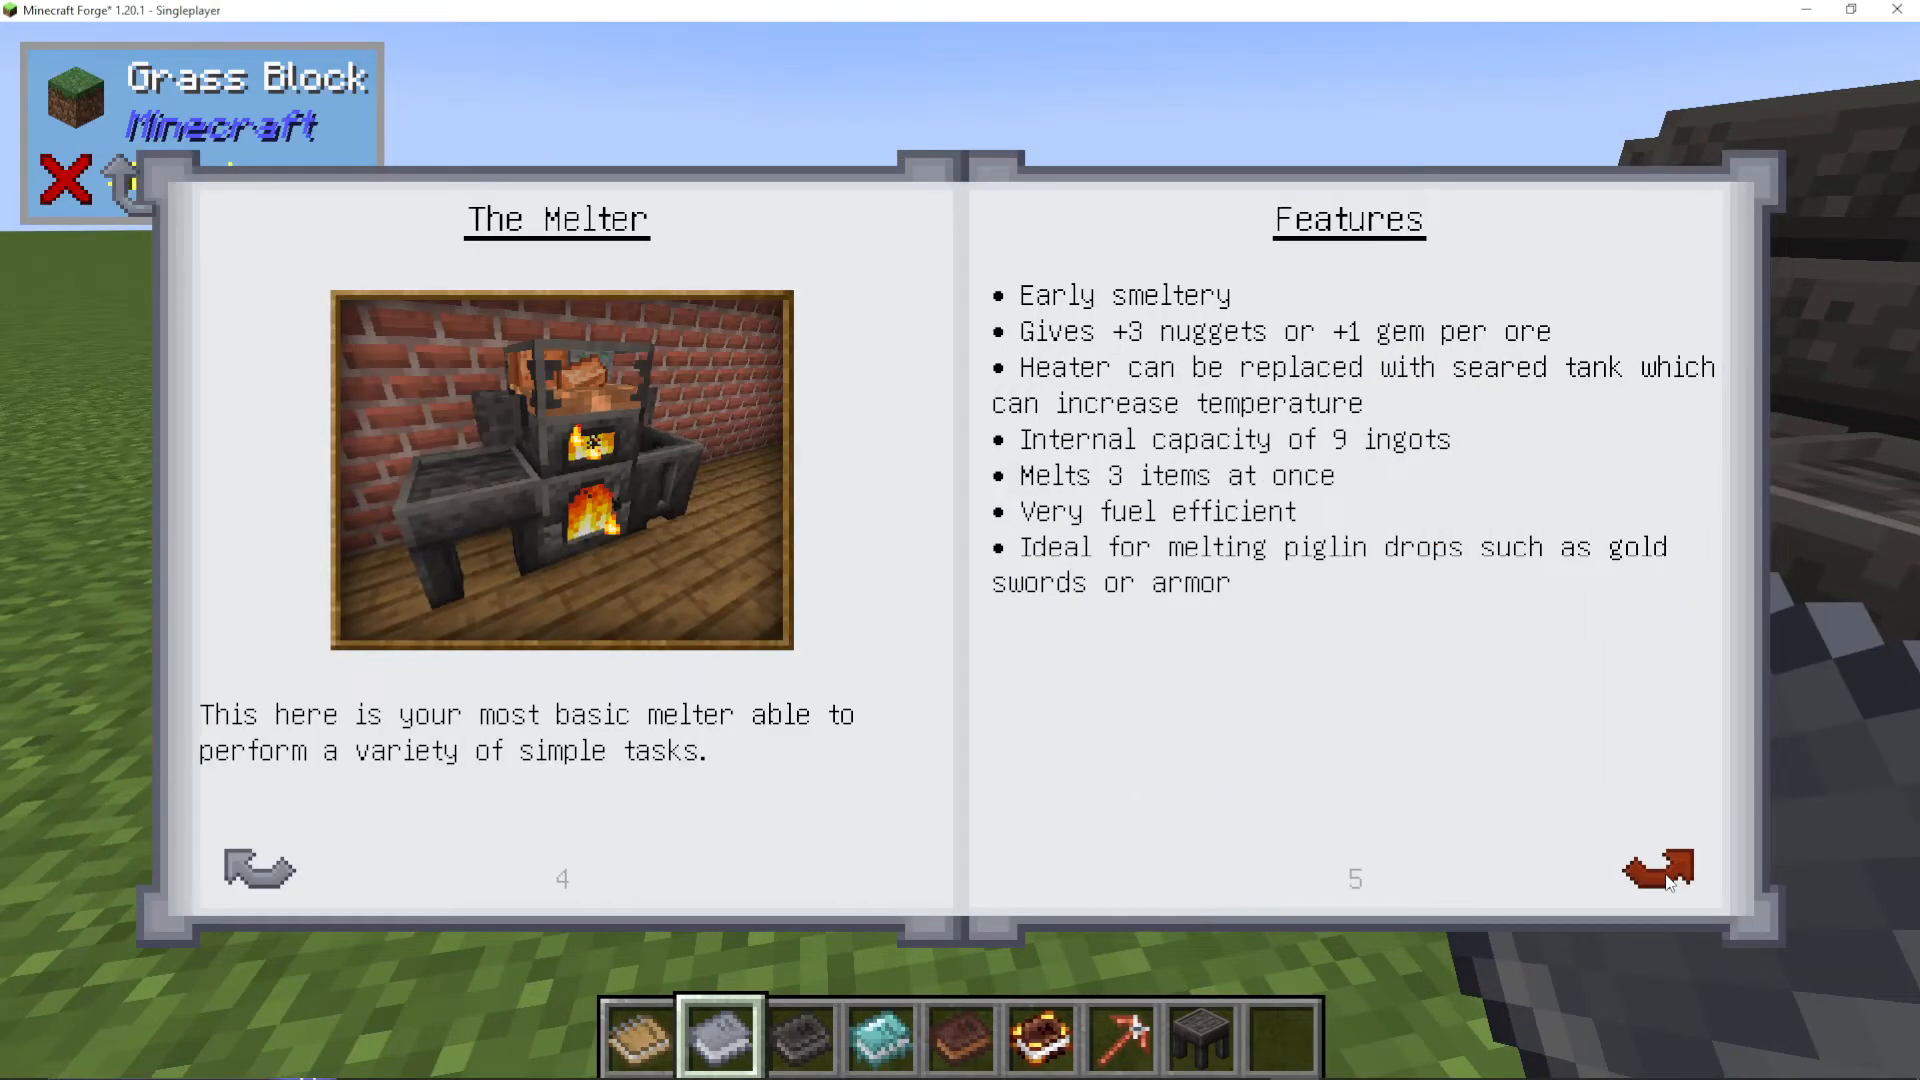
Tinker’s Smelting Book
The Tinker’s Smelting book (crafted from grout and a book) provides an in-game reference guide covering:
How melters work
Creating and using gold casts
Simple automation setups with levers and hoppers
Tier 2 materials available in your modpack
Ranged and melee tool materials
Detailed modifier information
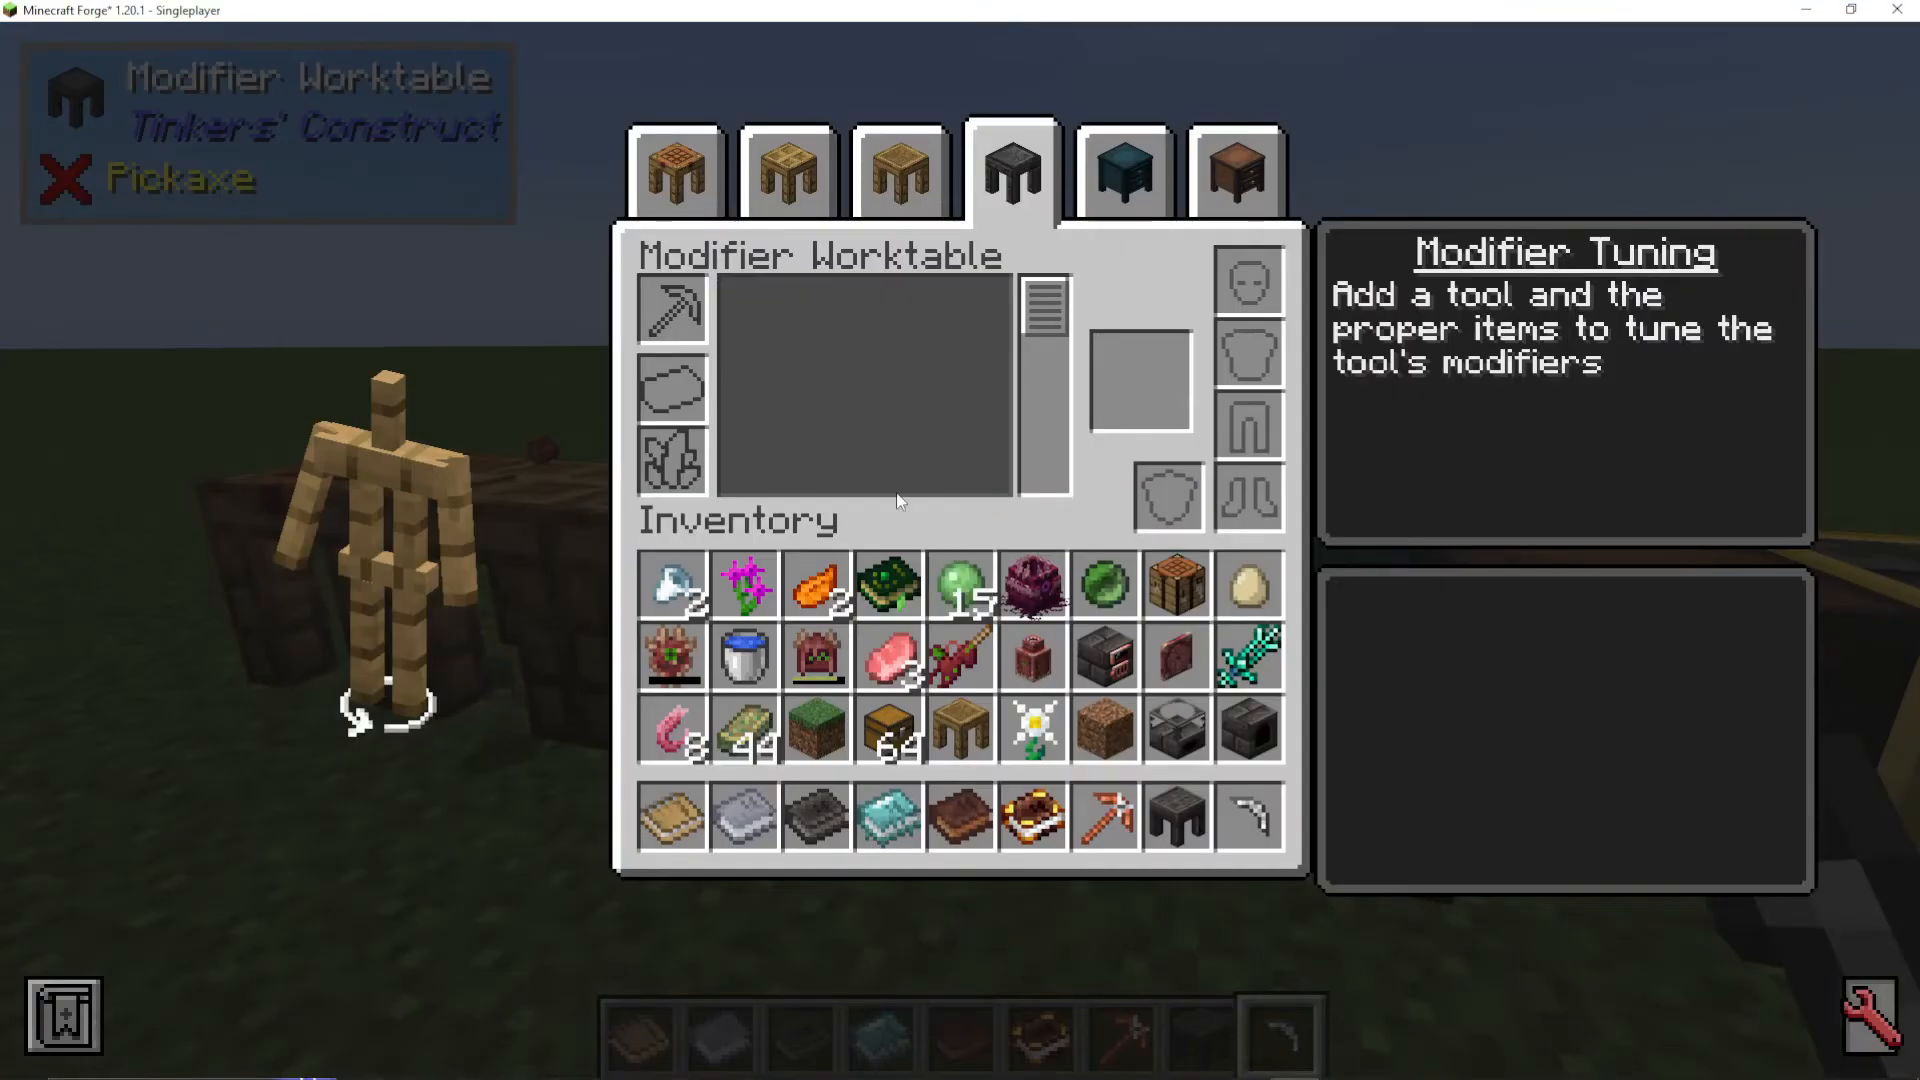
The Modifier Work Table
With seared bricks, you can also craft the Modifier Work Table, which is a superior version of the Tinker Station for adding modifiers to your gear. It provides significantly more options and flexibility for upgrading your tools and weapons.
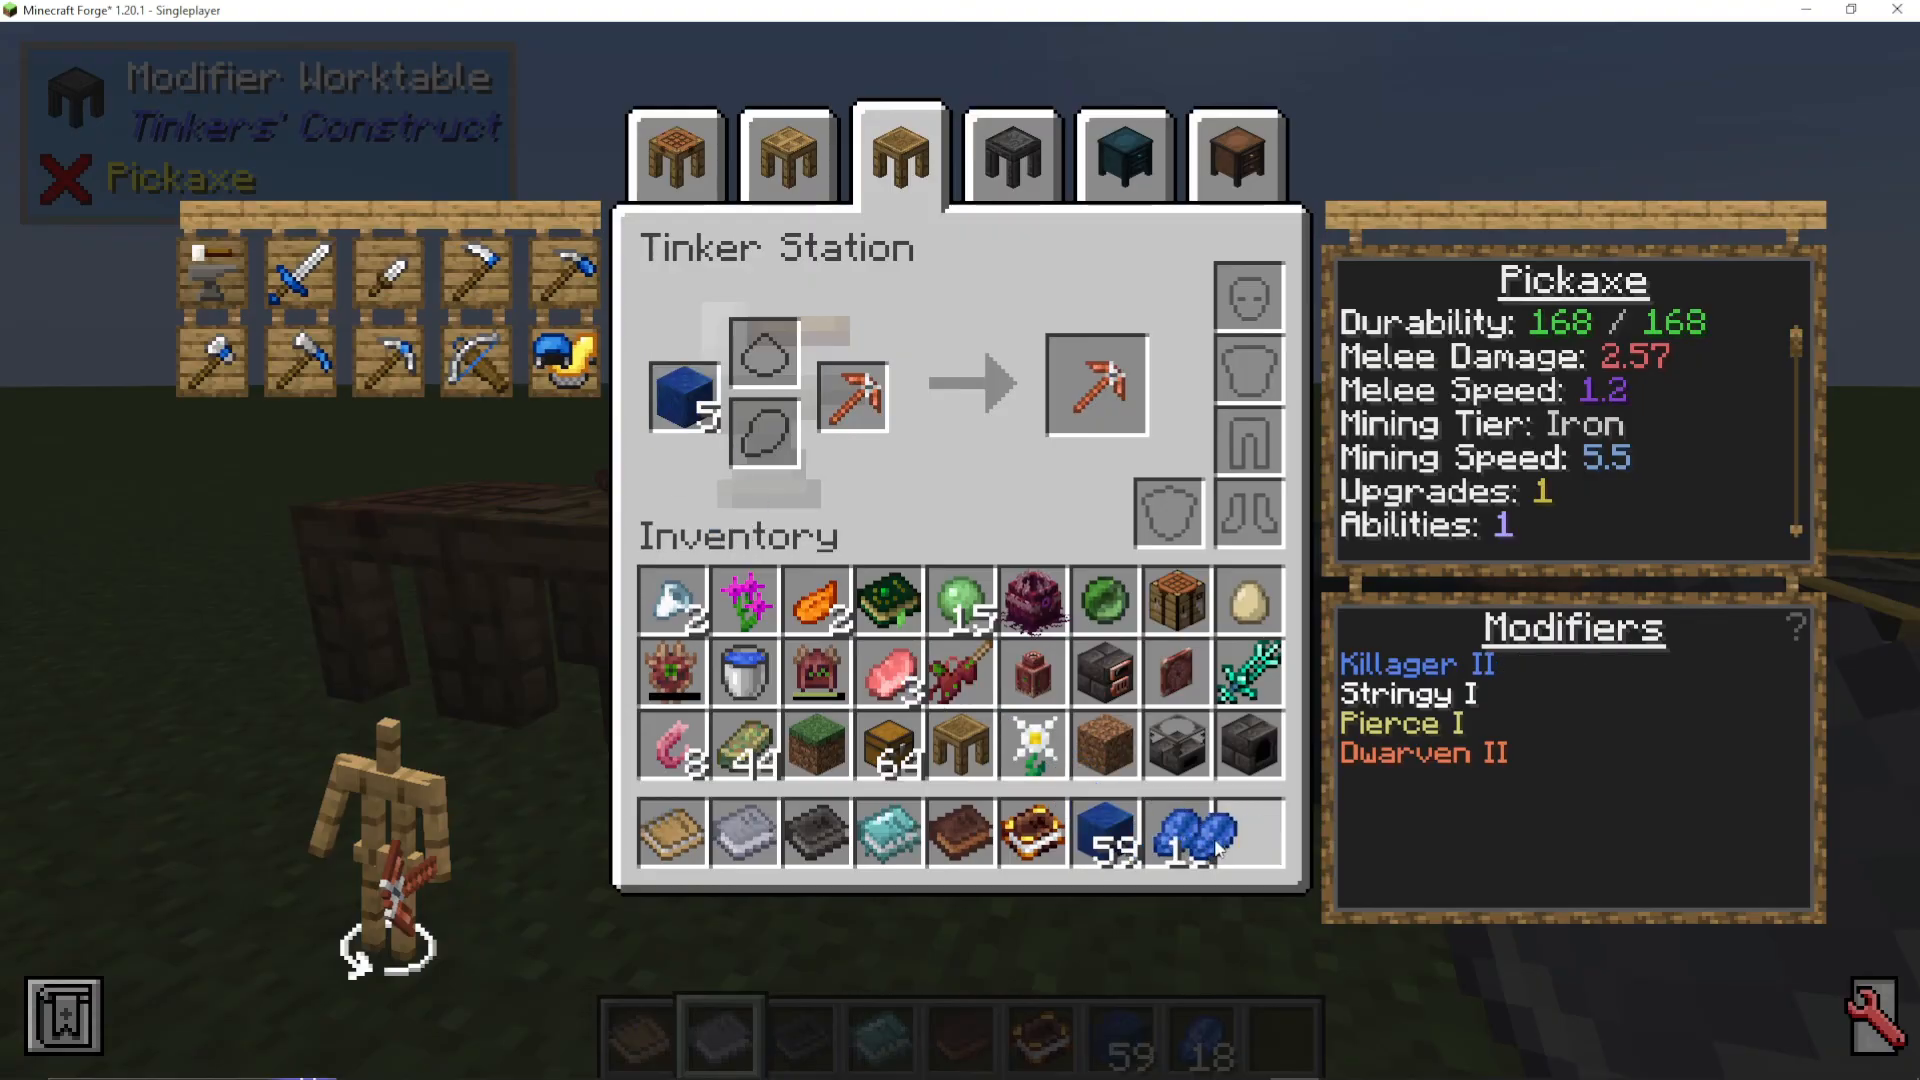
Applying Modifiers to Your Tools
Once you have tier 2 materials and quality tools, you can enhance them with modifiers. Common modifiers include:
Diamond: Increases durability and mining speed
Redstone: Adds Haste effect (use blocks of redstone for 9 modifier levels at once)
Lapis Lazuli: Adds Fortune effect
Experience: Adds experience drops
Magnetic: Attracts dropped items
Some modifiers have multiple levels. For example, Lapis Lazuli can be applied up to 45 times to maximize the Fortune effect. Each application uses one upgrade slot on your tool. You can accelerate the process by using blocks of materials instead of individual pieces — blocks typically add 9 modifier levels at once.
Conclusion
The smeltery is a game-changing structure that unlocks tier 2 materials and enables you to create powerful alloys. By mastering the basics of melting, casting, and automation, you’ll significantly enhance your tool arsenal and progression in Tinkers Construct. The investment in building a smeltery pays dividends throughout your modpack journey, making it one of the most worthwhile early-game projects to pursue.
Want to Support?
If you would like to help us continue making these guides – please consider joining our patreon here – https://www.patreon.com/c/JaviHeals
Alternatively – we host a group of MC Servers you can join here – https://discord.gg/zD7Gjt6MHF



