



Powah Complete Mod Tutorial – MC 1.16 – 1.21
Powah Complete Mod Tutorial – MC 1.16 – 1.21
The Powah mod is all about generating power in Minecraft and provides a good variety of ways to do so. Whether you’re just starting out or looking to build advanced power infrastructure, this guide covers everything you need to know about creating and managing power generation in your world.
Getting Started with the Furnator
One of the first things you’ll want to make when starting with Powah is a Furnator. There are several versions available: Starter, Basic, Hardened, Blazing, Neotic, Spirited, and Nitro. For beginners, the Starter version is the best place to begin.
To craft a Starter Furnator, you’ll need:
Dielectric paste
Basic capacitors (tiny ones)
Dielectric casing
A furnace
Basic capacitors are made by breaking down basic ones, which require dielectric paste, iron ingots, and redstone. The dielectric casing is crafted using dielectric rods (made with iron bars and paste) combined with more paste. Both horizontal and vertical orientations can be crafted in the crafting table.
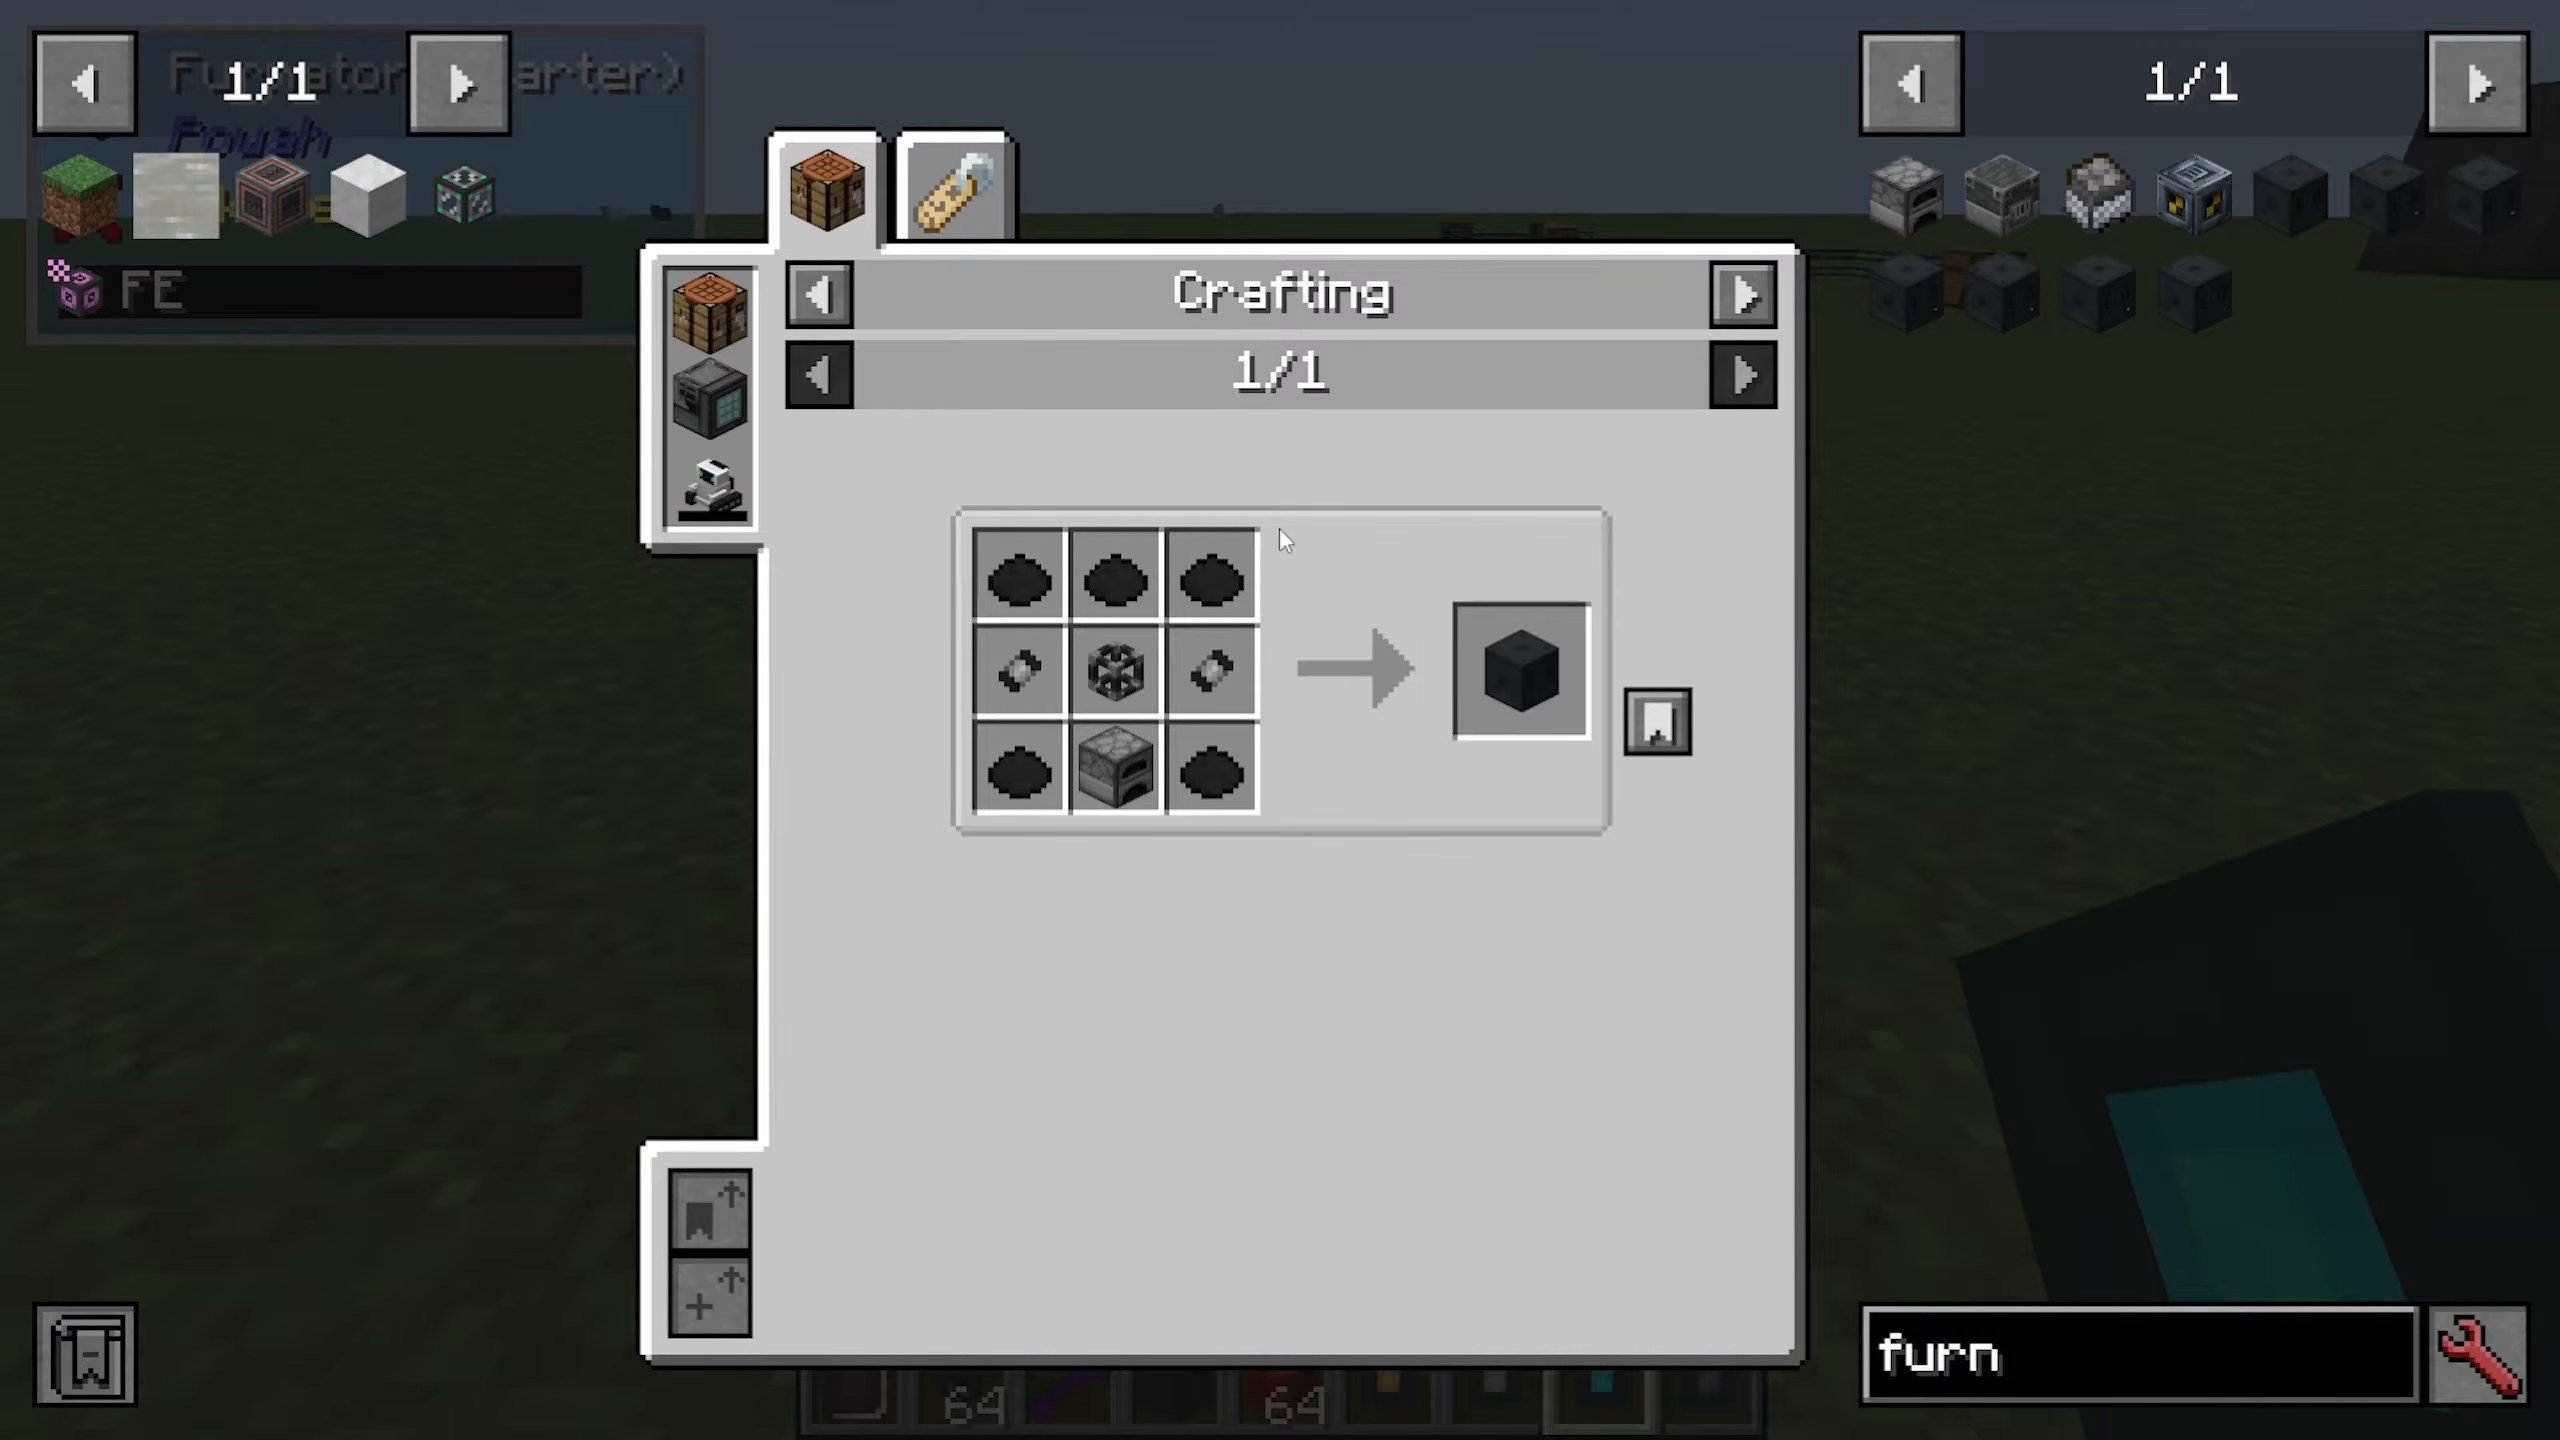
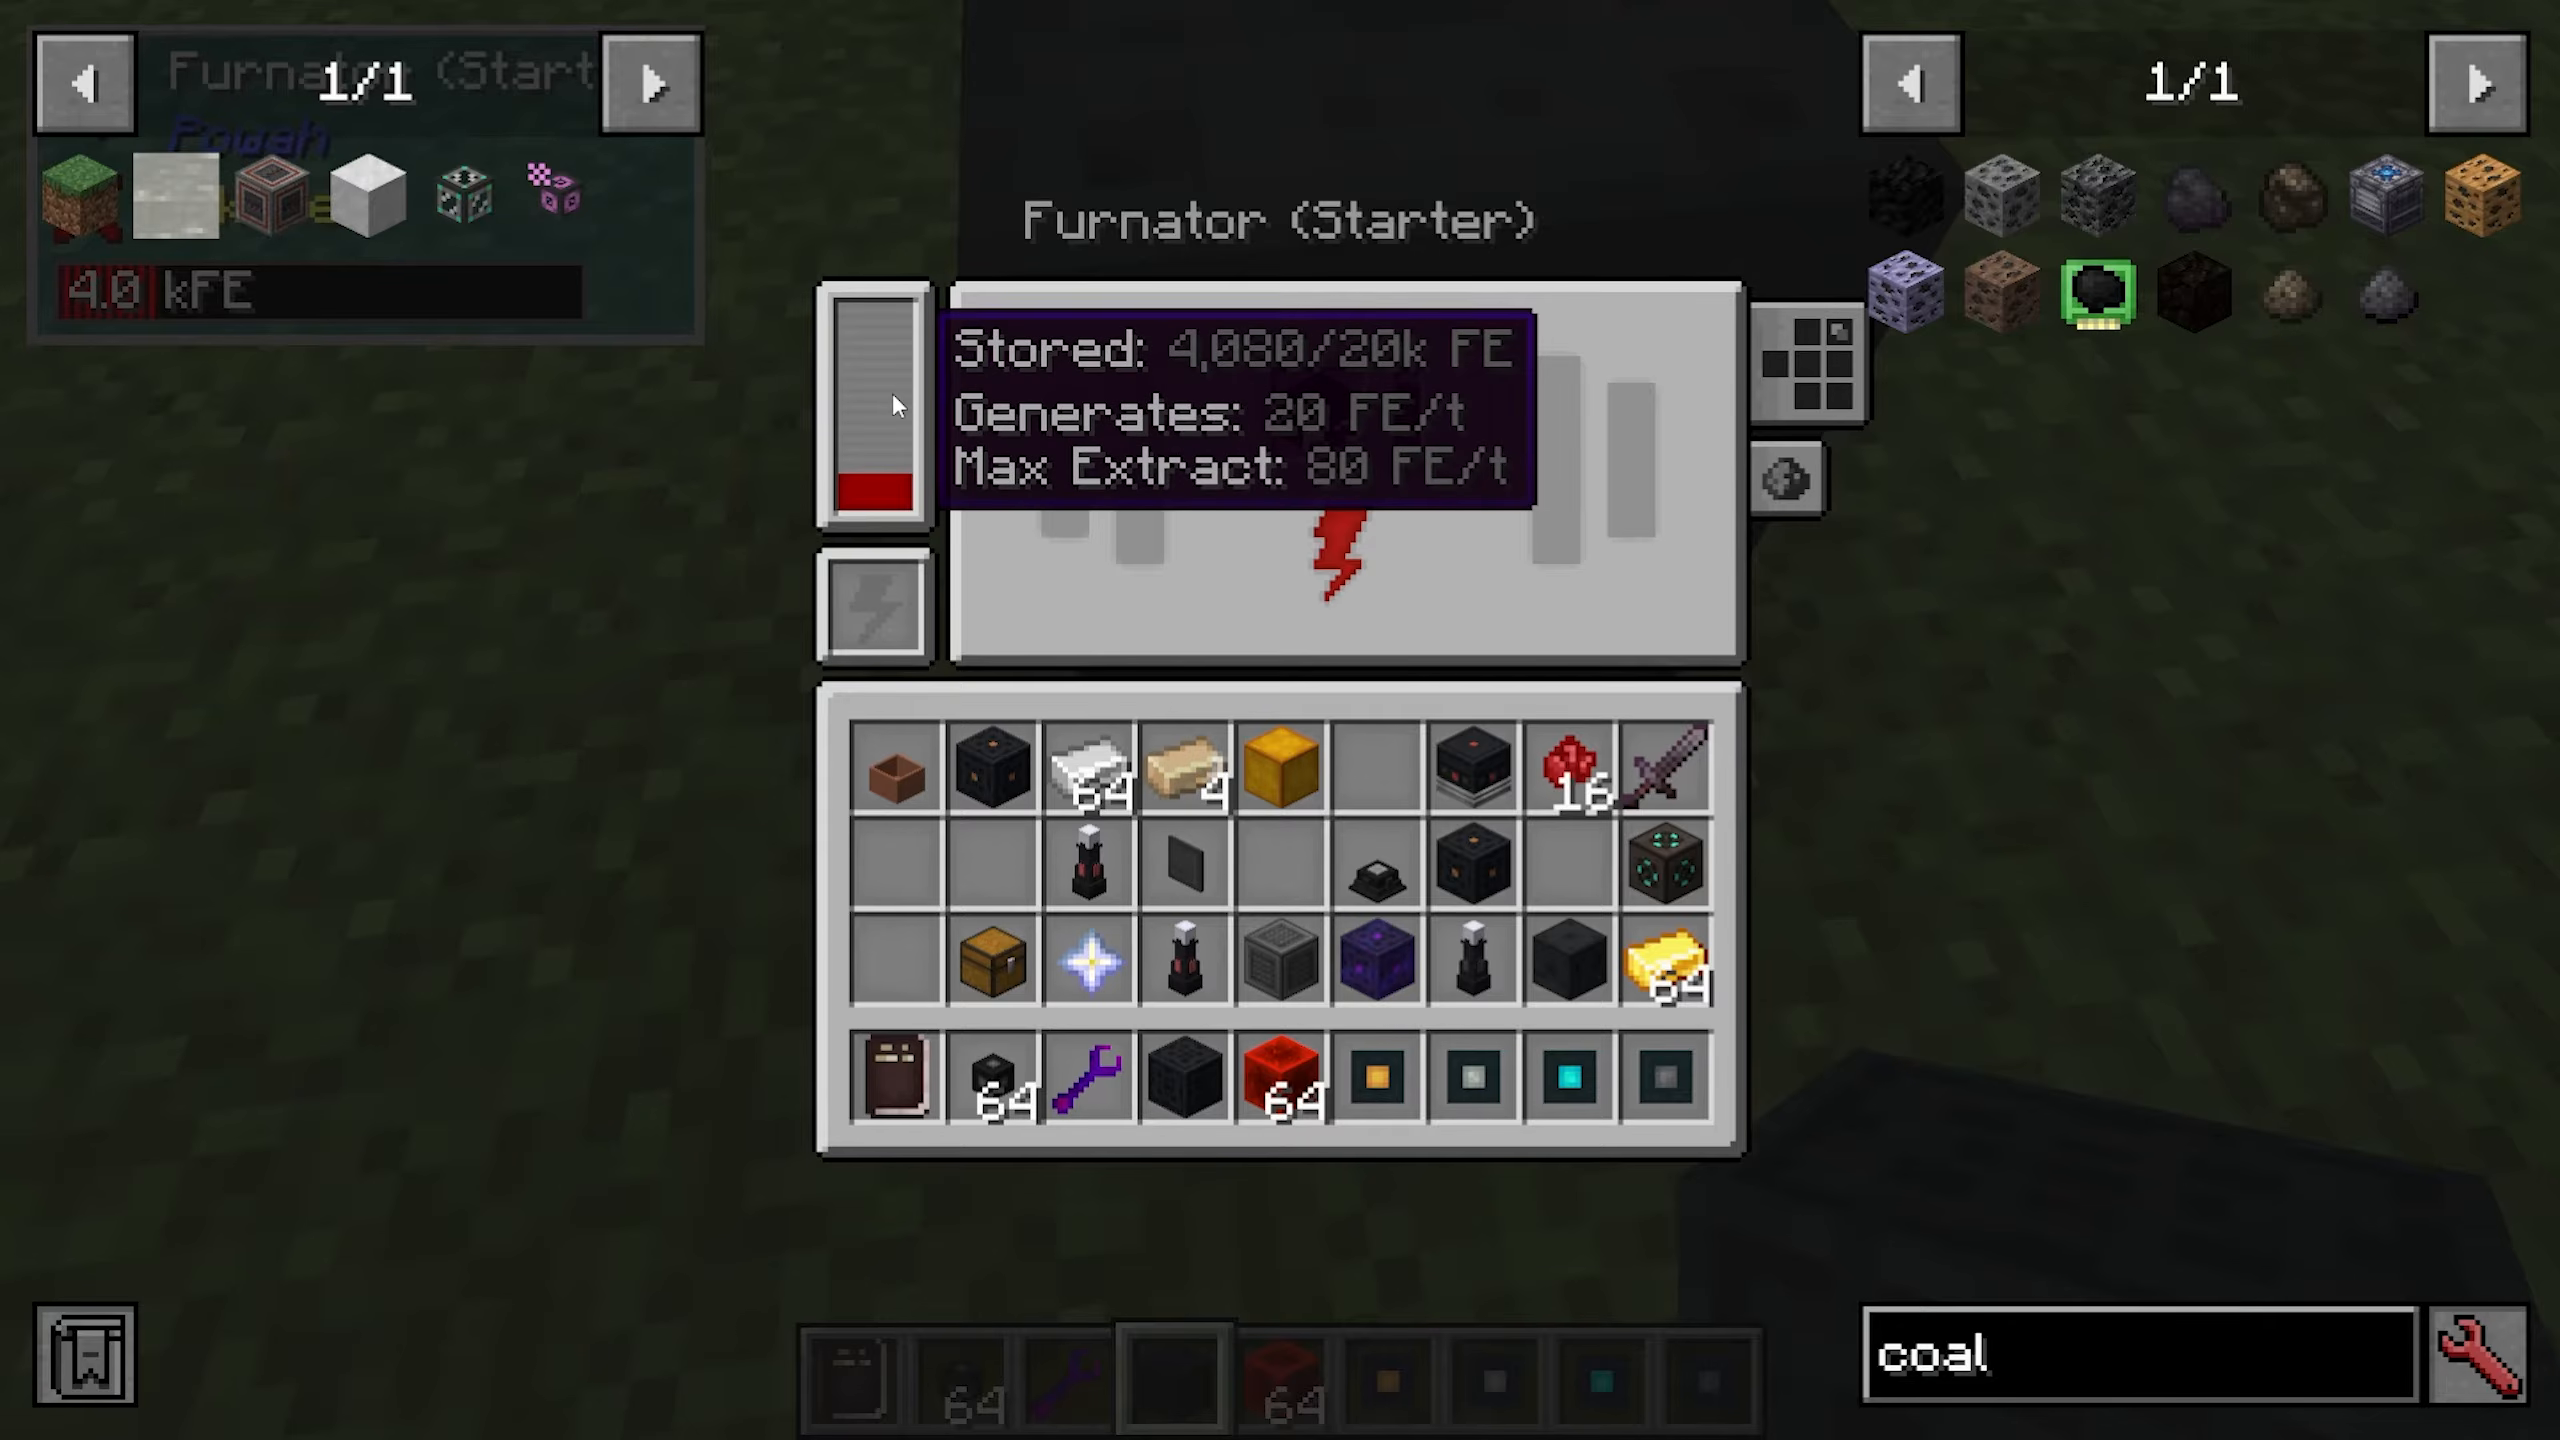
Once assembled, your Starter Furnator is ready to use. Right-click on it to open the interface. You’ll see it can generate 20 Forge Energy per tick and extract 80 Forge Energy per tick. The machine features a carbon slot in the middle and configurable sides.
To use the Furnator, simply place combustible solid materials like coal or wood blocks into the carbon slot. You’ll watch as the carbon melts down and converts into Forge Energy, which gets stored in the machine’s internal buffer. You can also passively charge items placed inside.
The Furnator has several configuration options:
Redstone mode: Ignore, require signal, or toggle on/off
Side configuration: Control which faces extract energy
Energy Cable Types and Configuration
Powah includes many different cable types for transporting power throughout your base. These cables range from Starter grade all the way up to Nitro, with each tier supporting higher energy transfer rates.
Cable types and their energy transfer rates:
Starter and Basic: 2,000 Forge Energy per tick
Hardened: 5,000 Forge Energy per tick
Blazing: 20,000 Forge Energy per tick
Neotic: 50,000 Forge Energy per tick
Spirited: 200,000 Forge Energy per tick
Nitro: 1,000,000 Forge Energy per tick
To craft Basic cables, you’ll need dielectric rods and basic capacitors. Once you reach the Hardened tier, you’ll need to use energized steel and hardened capacitors. A useful feature: you can upgrade two basic cables into six hardened cables, and continue this pattern with higher tiers.
Cables can be connected together to form networks and linked to machines. Cables of different tiers won’t connect to each other, which can be useful for managing power separation. When connected to machines, you’ll see two small arrows indicating input/output capability.
To configure a cable connection to a machine, right-click it with a wrench. The arrows will change direction to show the power flow. You can set cables to:
Push energy into the machine
Extract power from the machine
Handle both input and output
Disable the connection completely
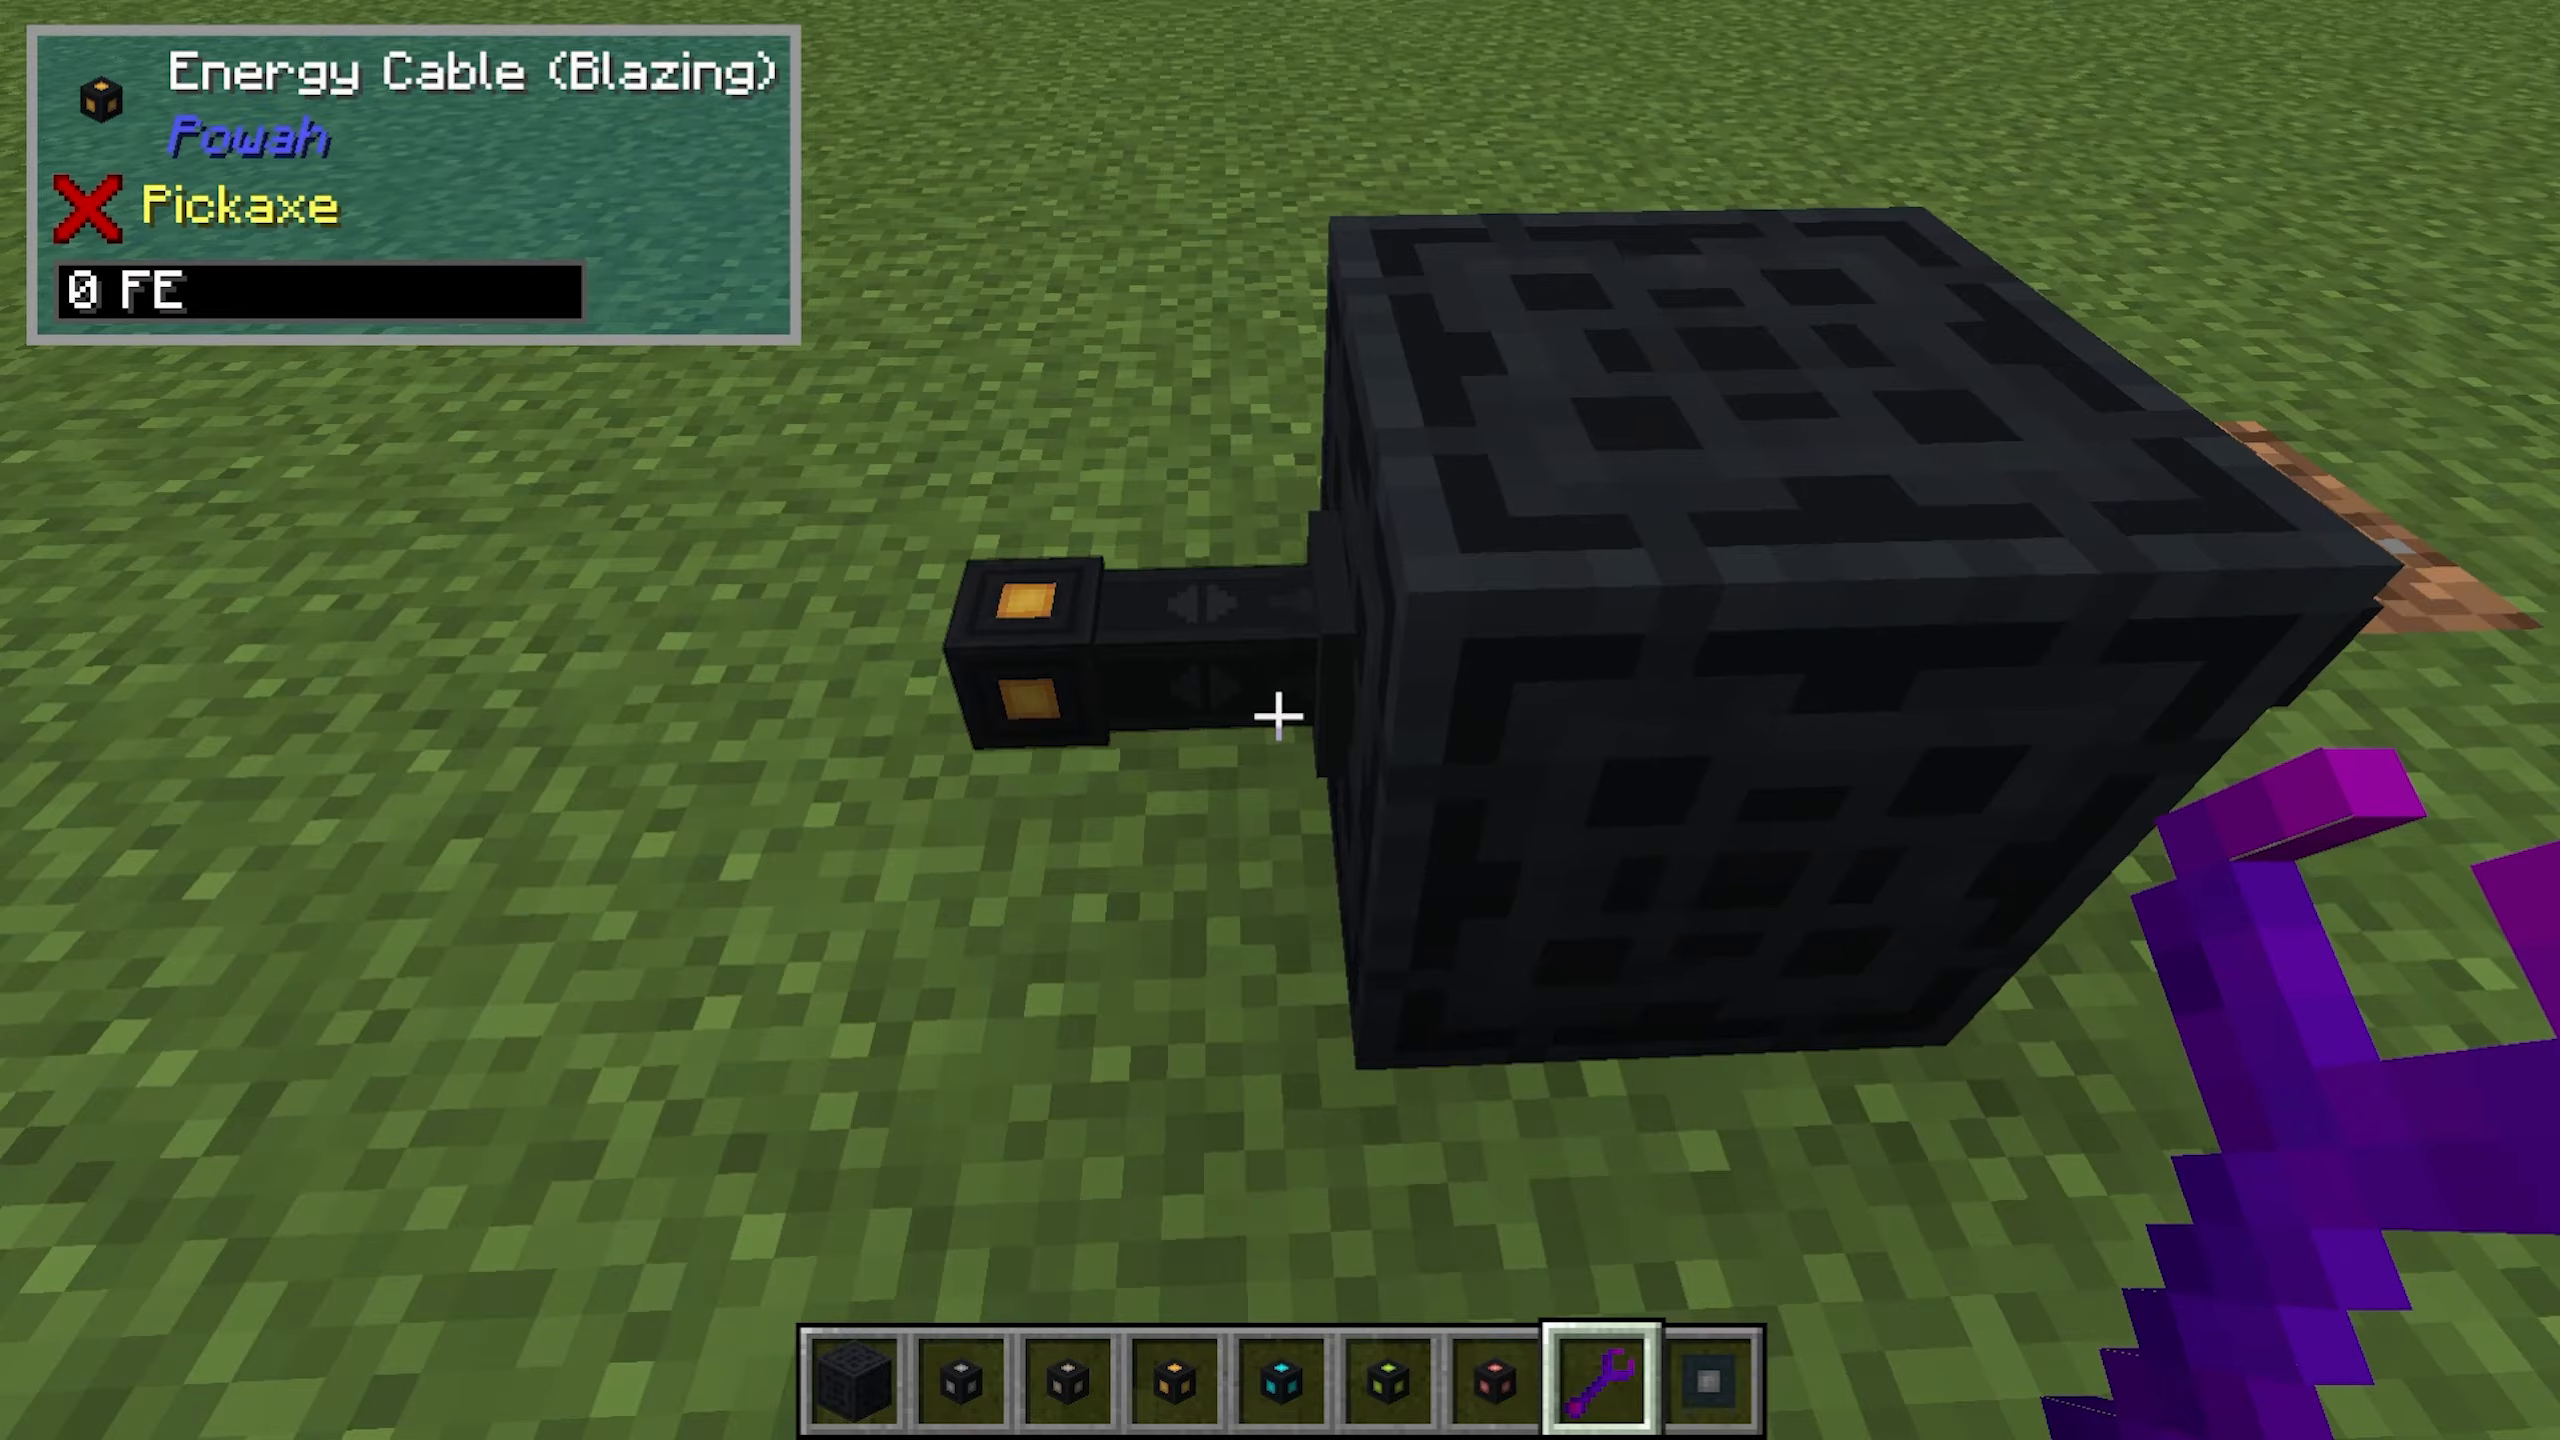
The Magmaator – Lava-Powered Generation
If you prefer not to use solid fuels early on, the Magmaator offers an alternative. Like other Powah machines, it comes in multiple upgradable versions from Starter to Nitro.
The Magmaator works by burning lava to generate energy. You can pump lava into it using pipes from other mods like Mekanism. The current lava level is displayed in the top section of the machine.
To set up a Magmaator:
Place the Magmaator in your desired location
Use a fluid pipe to pump lava into it
Attach energy cables to extract the generated power
Configure redstone and extraction sides as needed
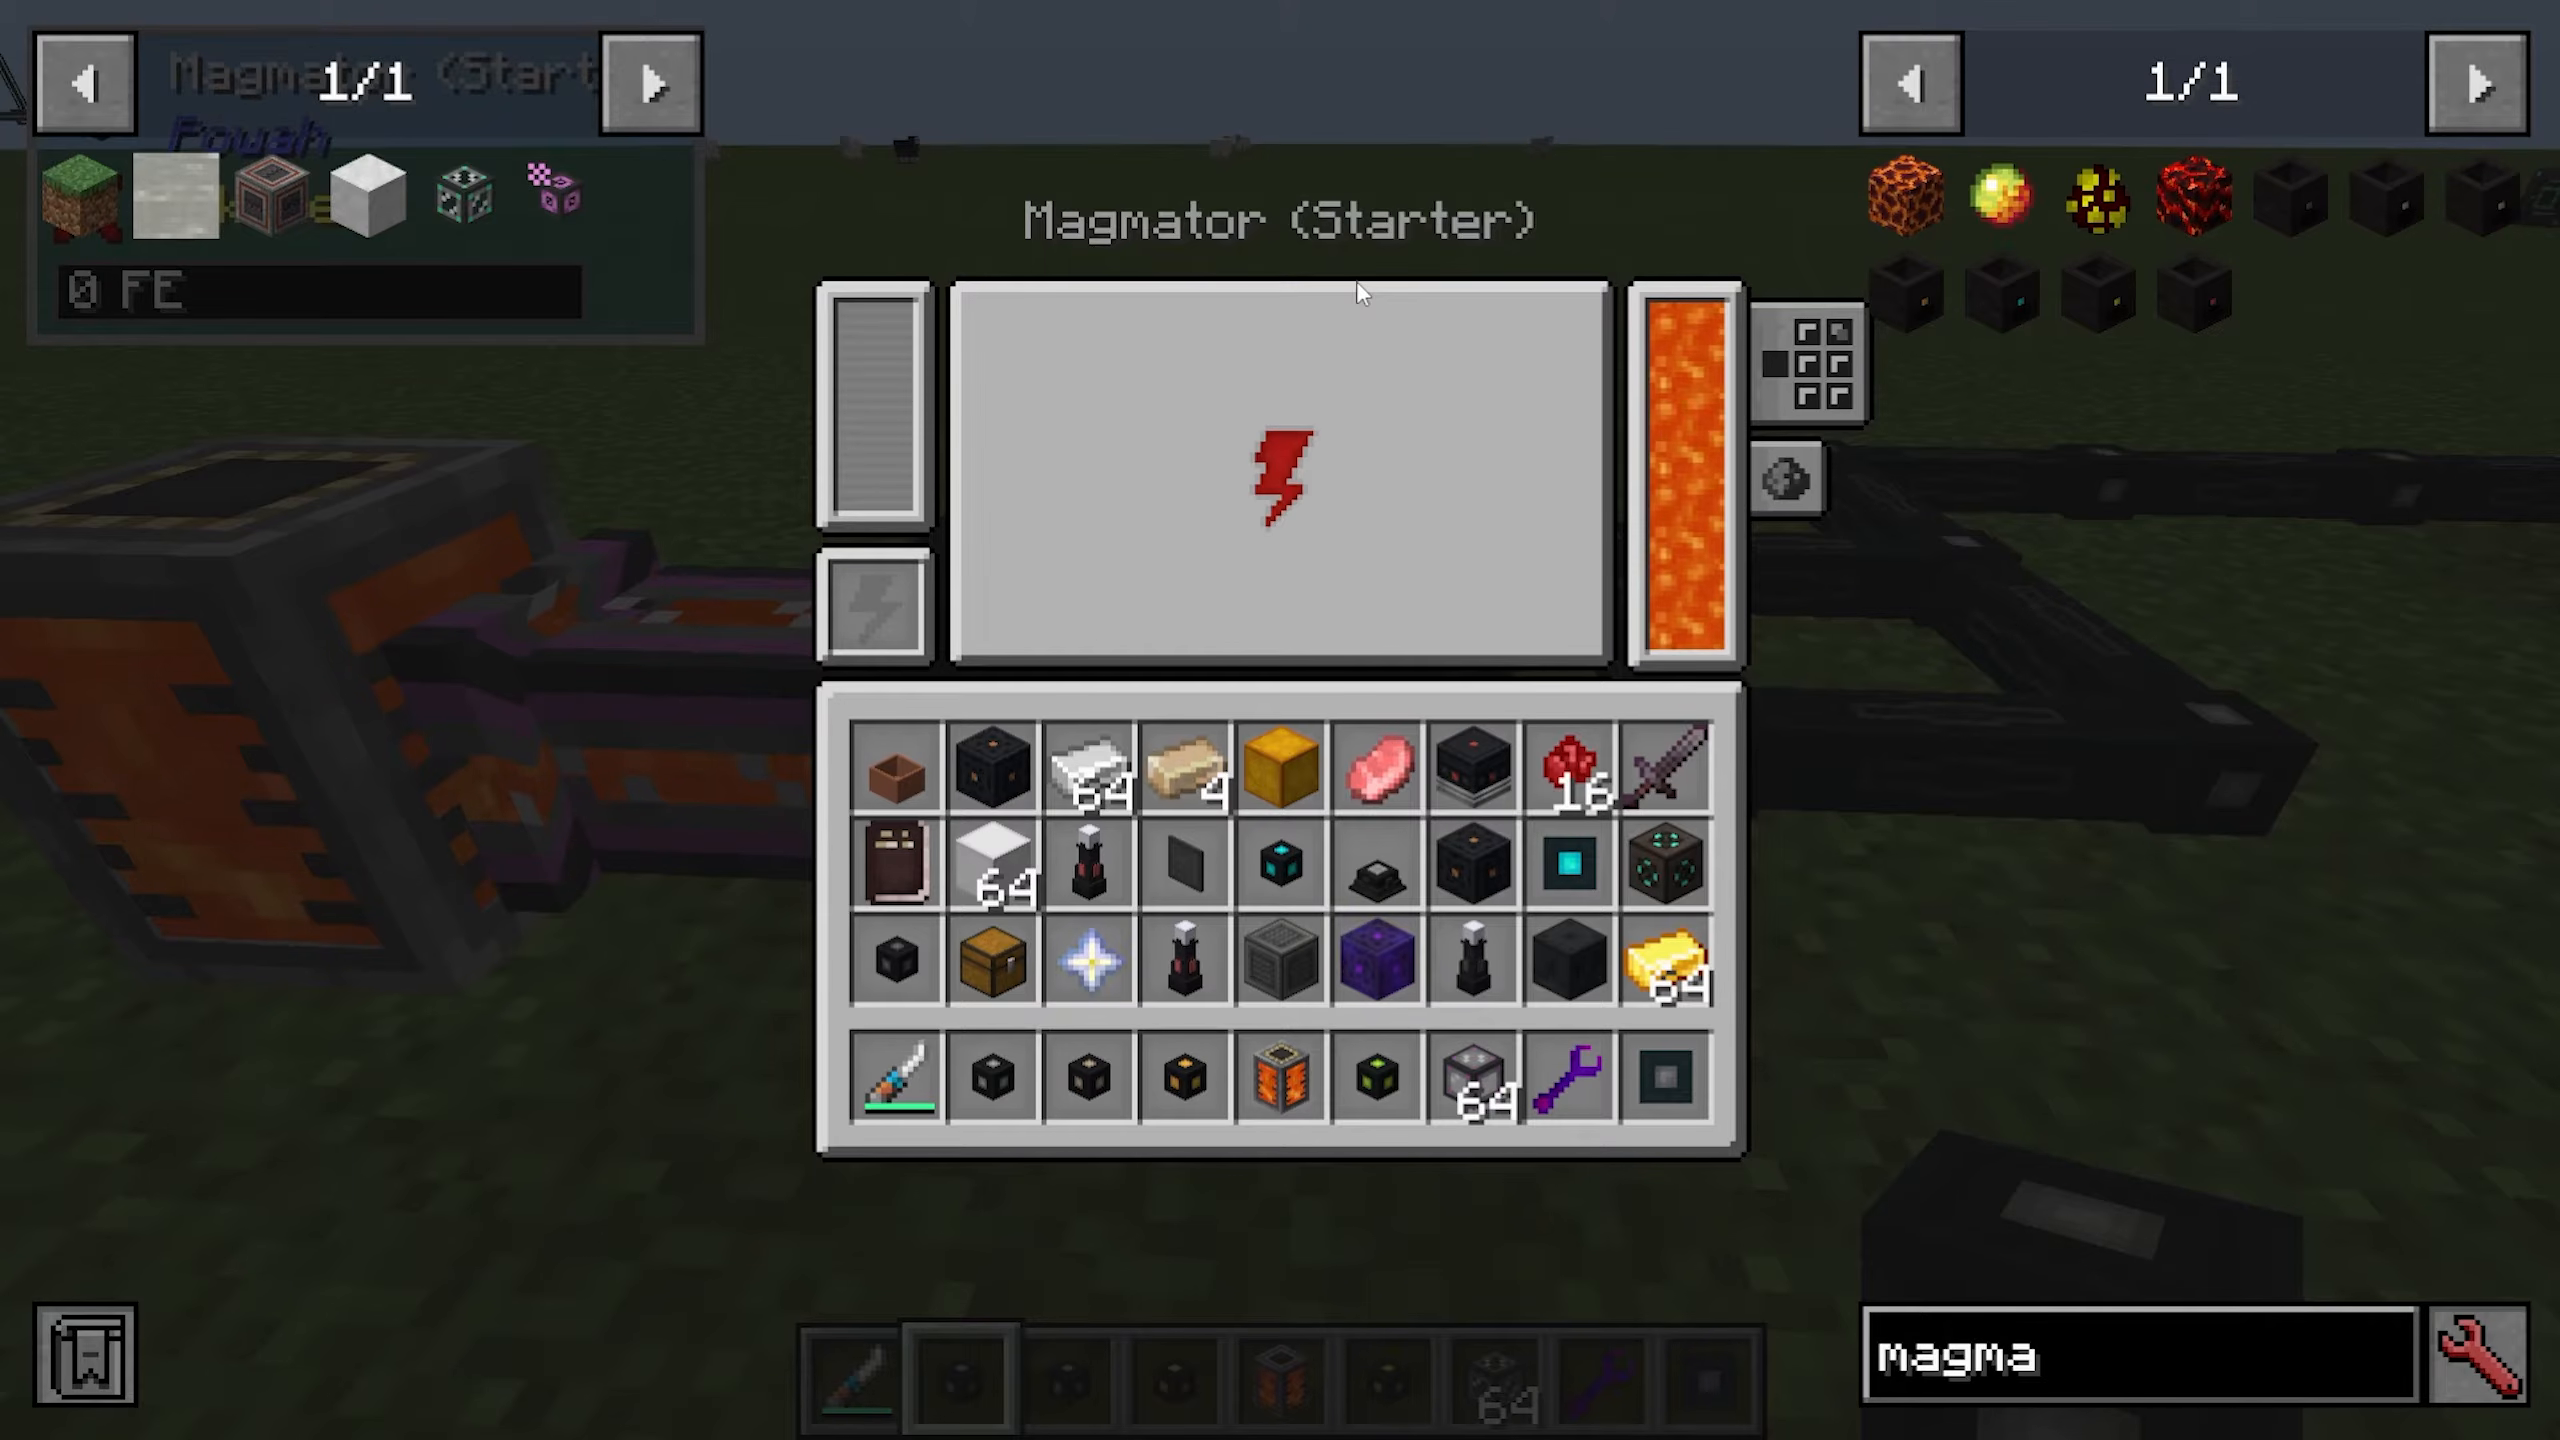
Like the Furnator, you can configure which faces extract energy and set redstone behavior. The Magmaator is a simple and effective early-game power source, especially if you have easy access to lava.
The Thermogenenerator – Heat-Based Power
The Thermoelectric Generator produces power from heat sources placed directly beneath it. The Basic version generates around 500 Forge Energy per tick, though this varies by heat source temperature.
To determine which heat sources work best, hover over the Thermoelectric Generator in your inventory and press the “U” key (if you have Just Enough Items installed). Navigate to “Sources” to see available heat sources and their temperatures:
Magma Block: 800 temperature
Lava: 1,000 temperature
Blazing Crystal (Powah): 2,800 temperature
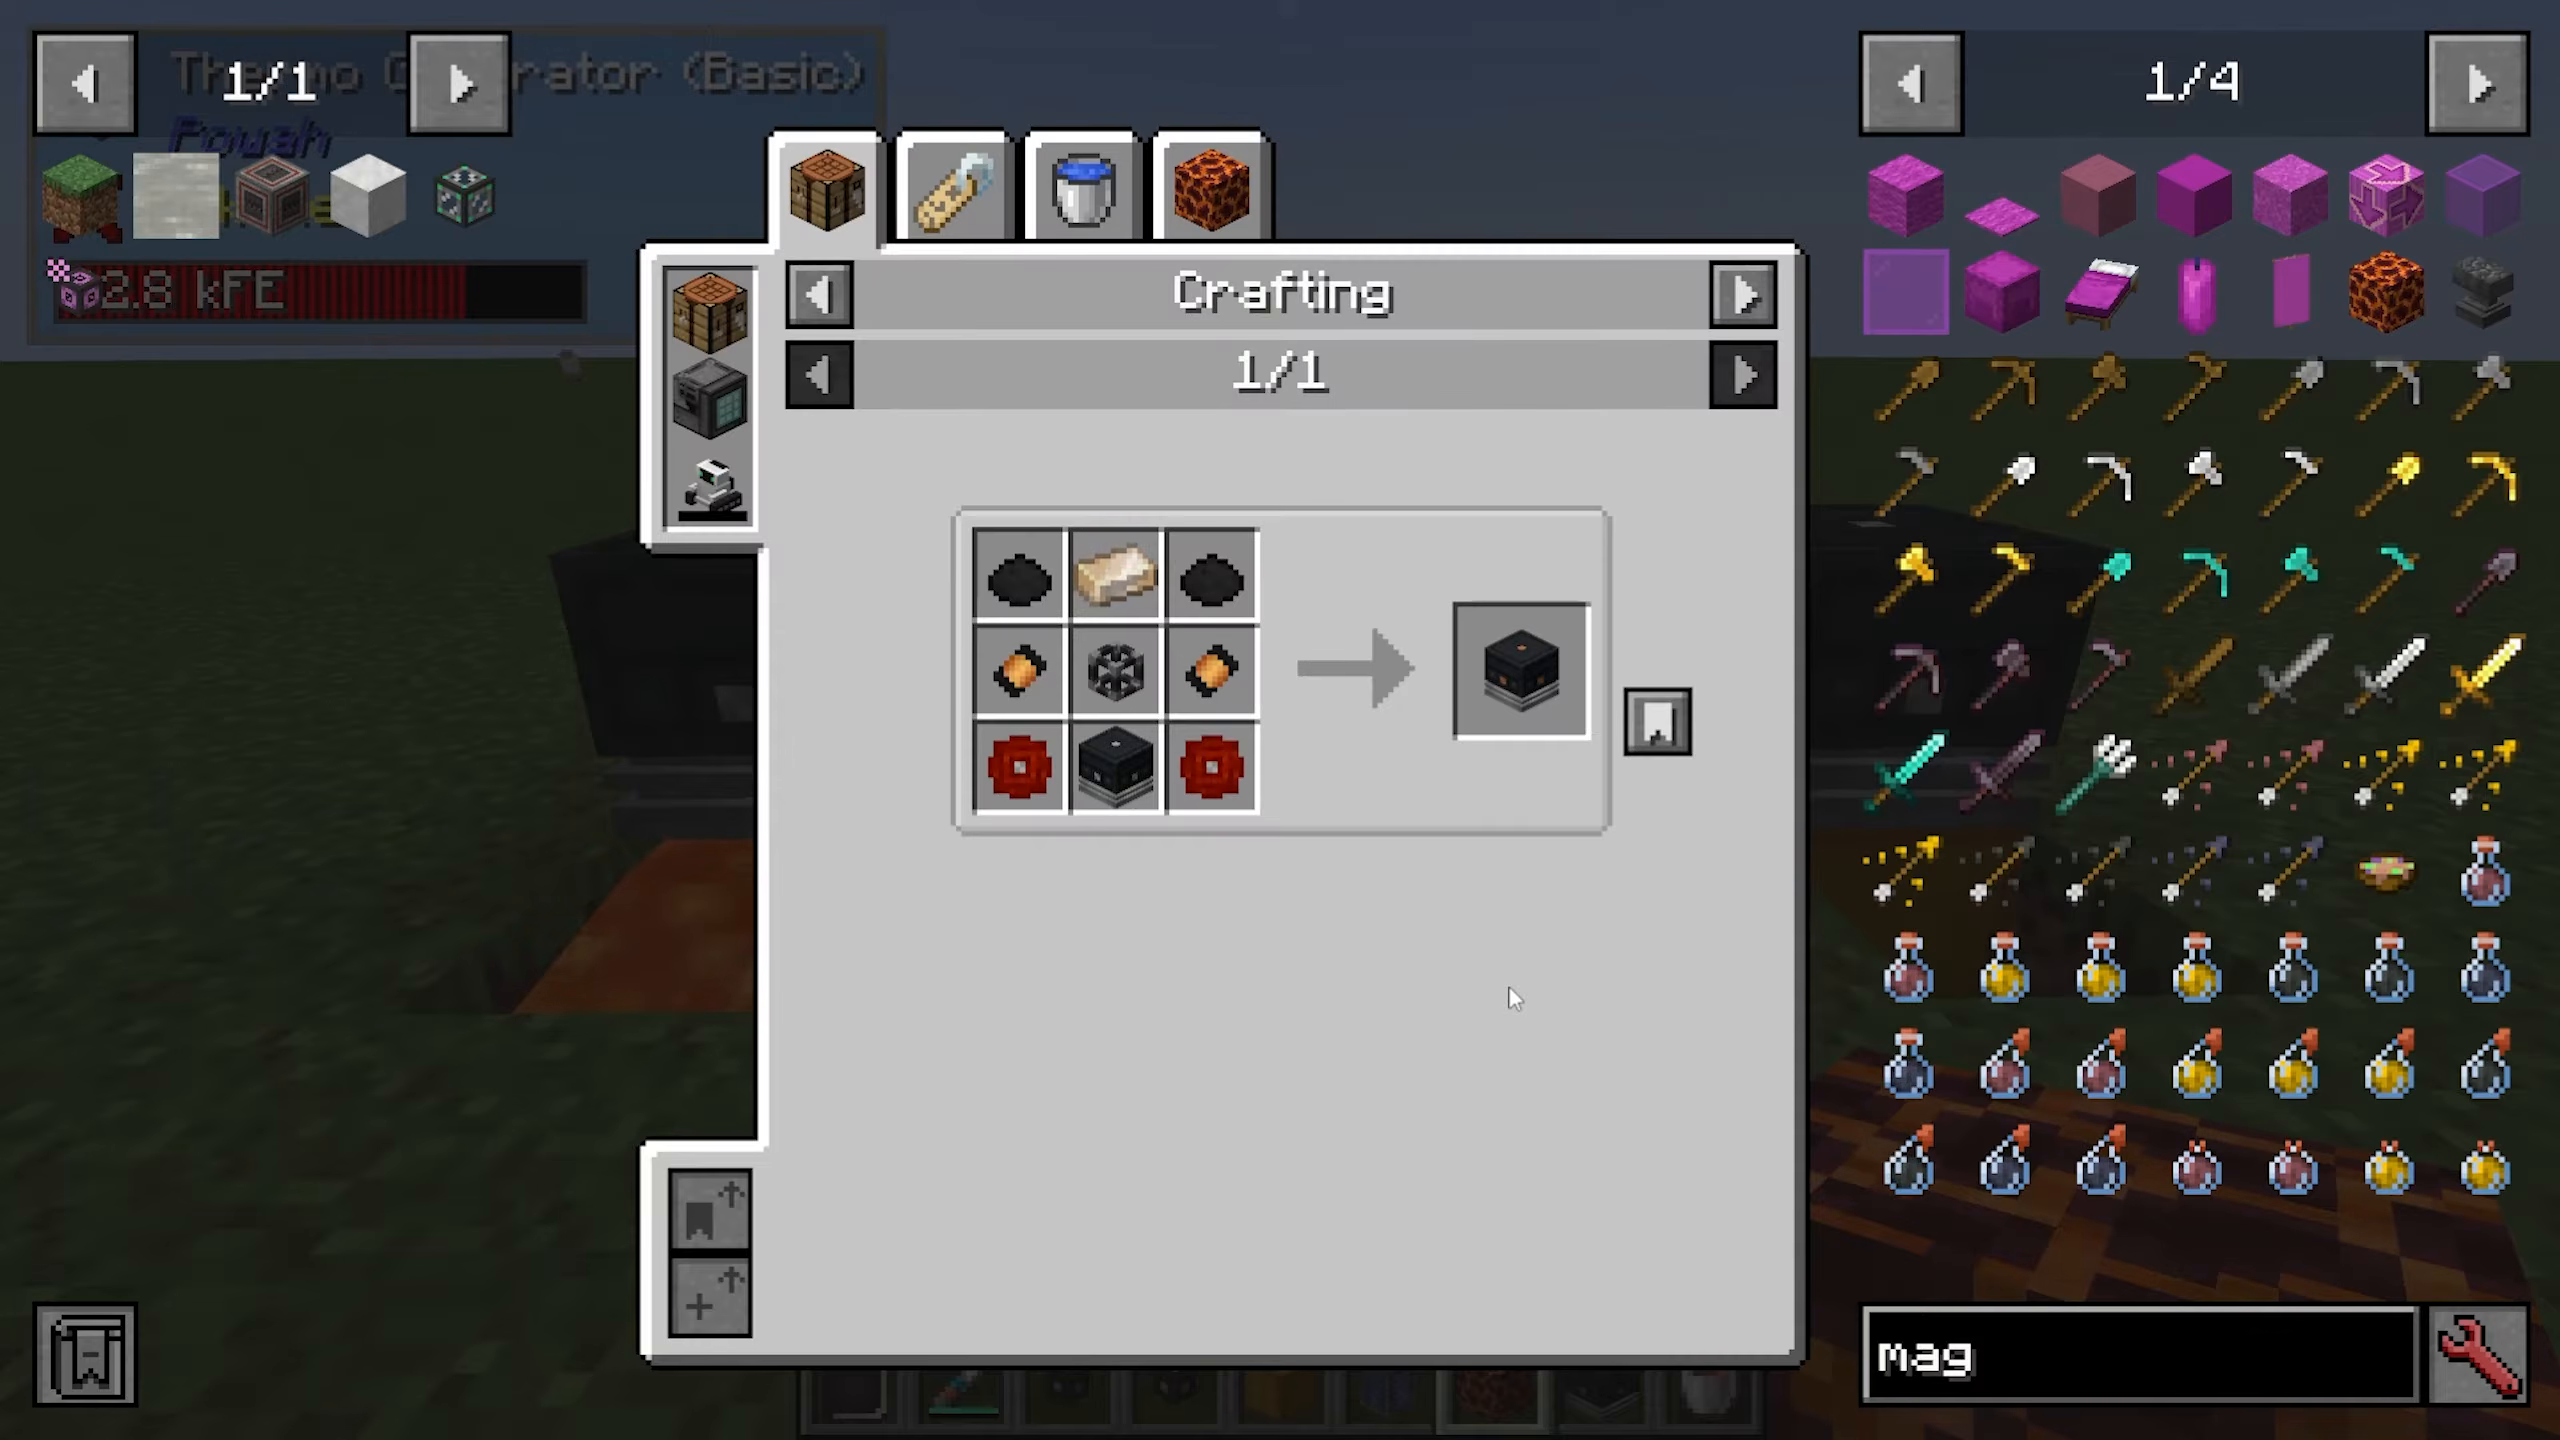
Blazing Crystals are the most efficient heat source since they’re solid blocks and won’t flow. Lava works but can create placement challenges. You can press “U” again and navigate to “Coolants” to see available cooling fluids—water is the standard coolant.
The Thermoelectric Generator requires water to be pumped in continuously to cool itself while it generates power. You can set up large arrays of these generators, and like other machines, you can configure energy output faces and redstone behavior.
Solar Panels – Renewable Energy
For an environmentally conscious power setup, Solar Panels provide renewable energy during daylight hours. These can be placed in massive arrays and look visually appealing when arranged in grids.
Solar Panel energy output by tier:
Basic: 60 Forge Energy per tick
Hardened: 100 Forge Energy per tick
Blazing: 400 Forge Energy per tick
Neotic: 800 Forge Energy per tick
Spirited: 1,200 Forge Energy per tick
Nitro: 2,000 Forge Energy per tick
📸 [ASSISTANT: TAKE SCREENSHOT AT SCREENSHOT AT TIMESTAMP 10:04]
Each Solar Panel has an internal battery that charges during daylight. You can only extract power from the bottom face of Solar Panels. For maximum efficiency, build a large array connected to energy cables feeding into a central Energy Storage system.
Energy Storage with Energy Cells
To store the power you generate, Energy Cells are essential. They come in seven tiers from Starter to Nitro, with increasing storage capacity and input/output rates.
Energy Cell specifications:
Starter: 1,000,000 storage, 1,000 Forge Energy per tick I/O
Basic: 10,000,000 storage, 5,000 Forge Energy per tick I/O
Hardened: 100,000,000 storage, 20,000 Forge Energy per tick I/O
Blazing: 500,000,000 storage, 50,000 Forge Energy per tick I/O
Neotic: 1,000,000,000 storage, 100,000 Forge Energy per tick I/O
Spirited: 1,500,000,000 storage, 500,000 Forge Energy per tick I/O
Nitro: 2,000,000,000 storage, 2,000,000 Forge Energy per tick I/O
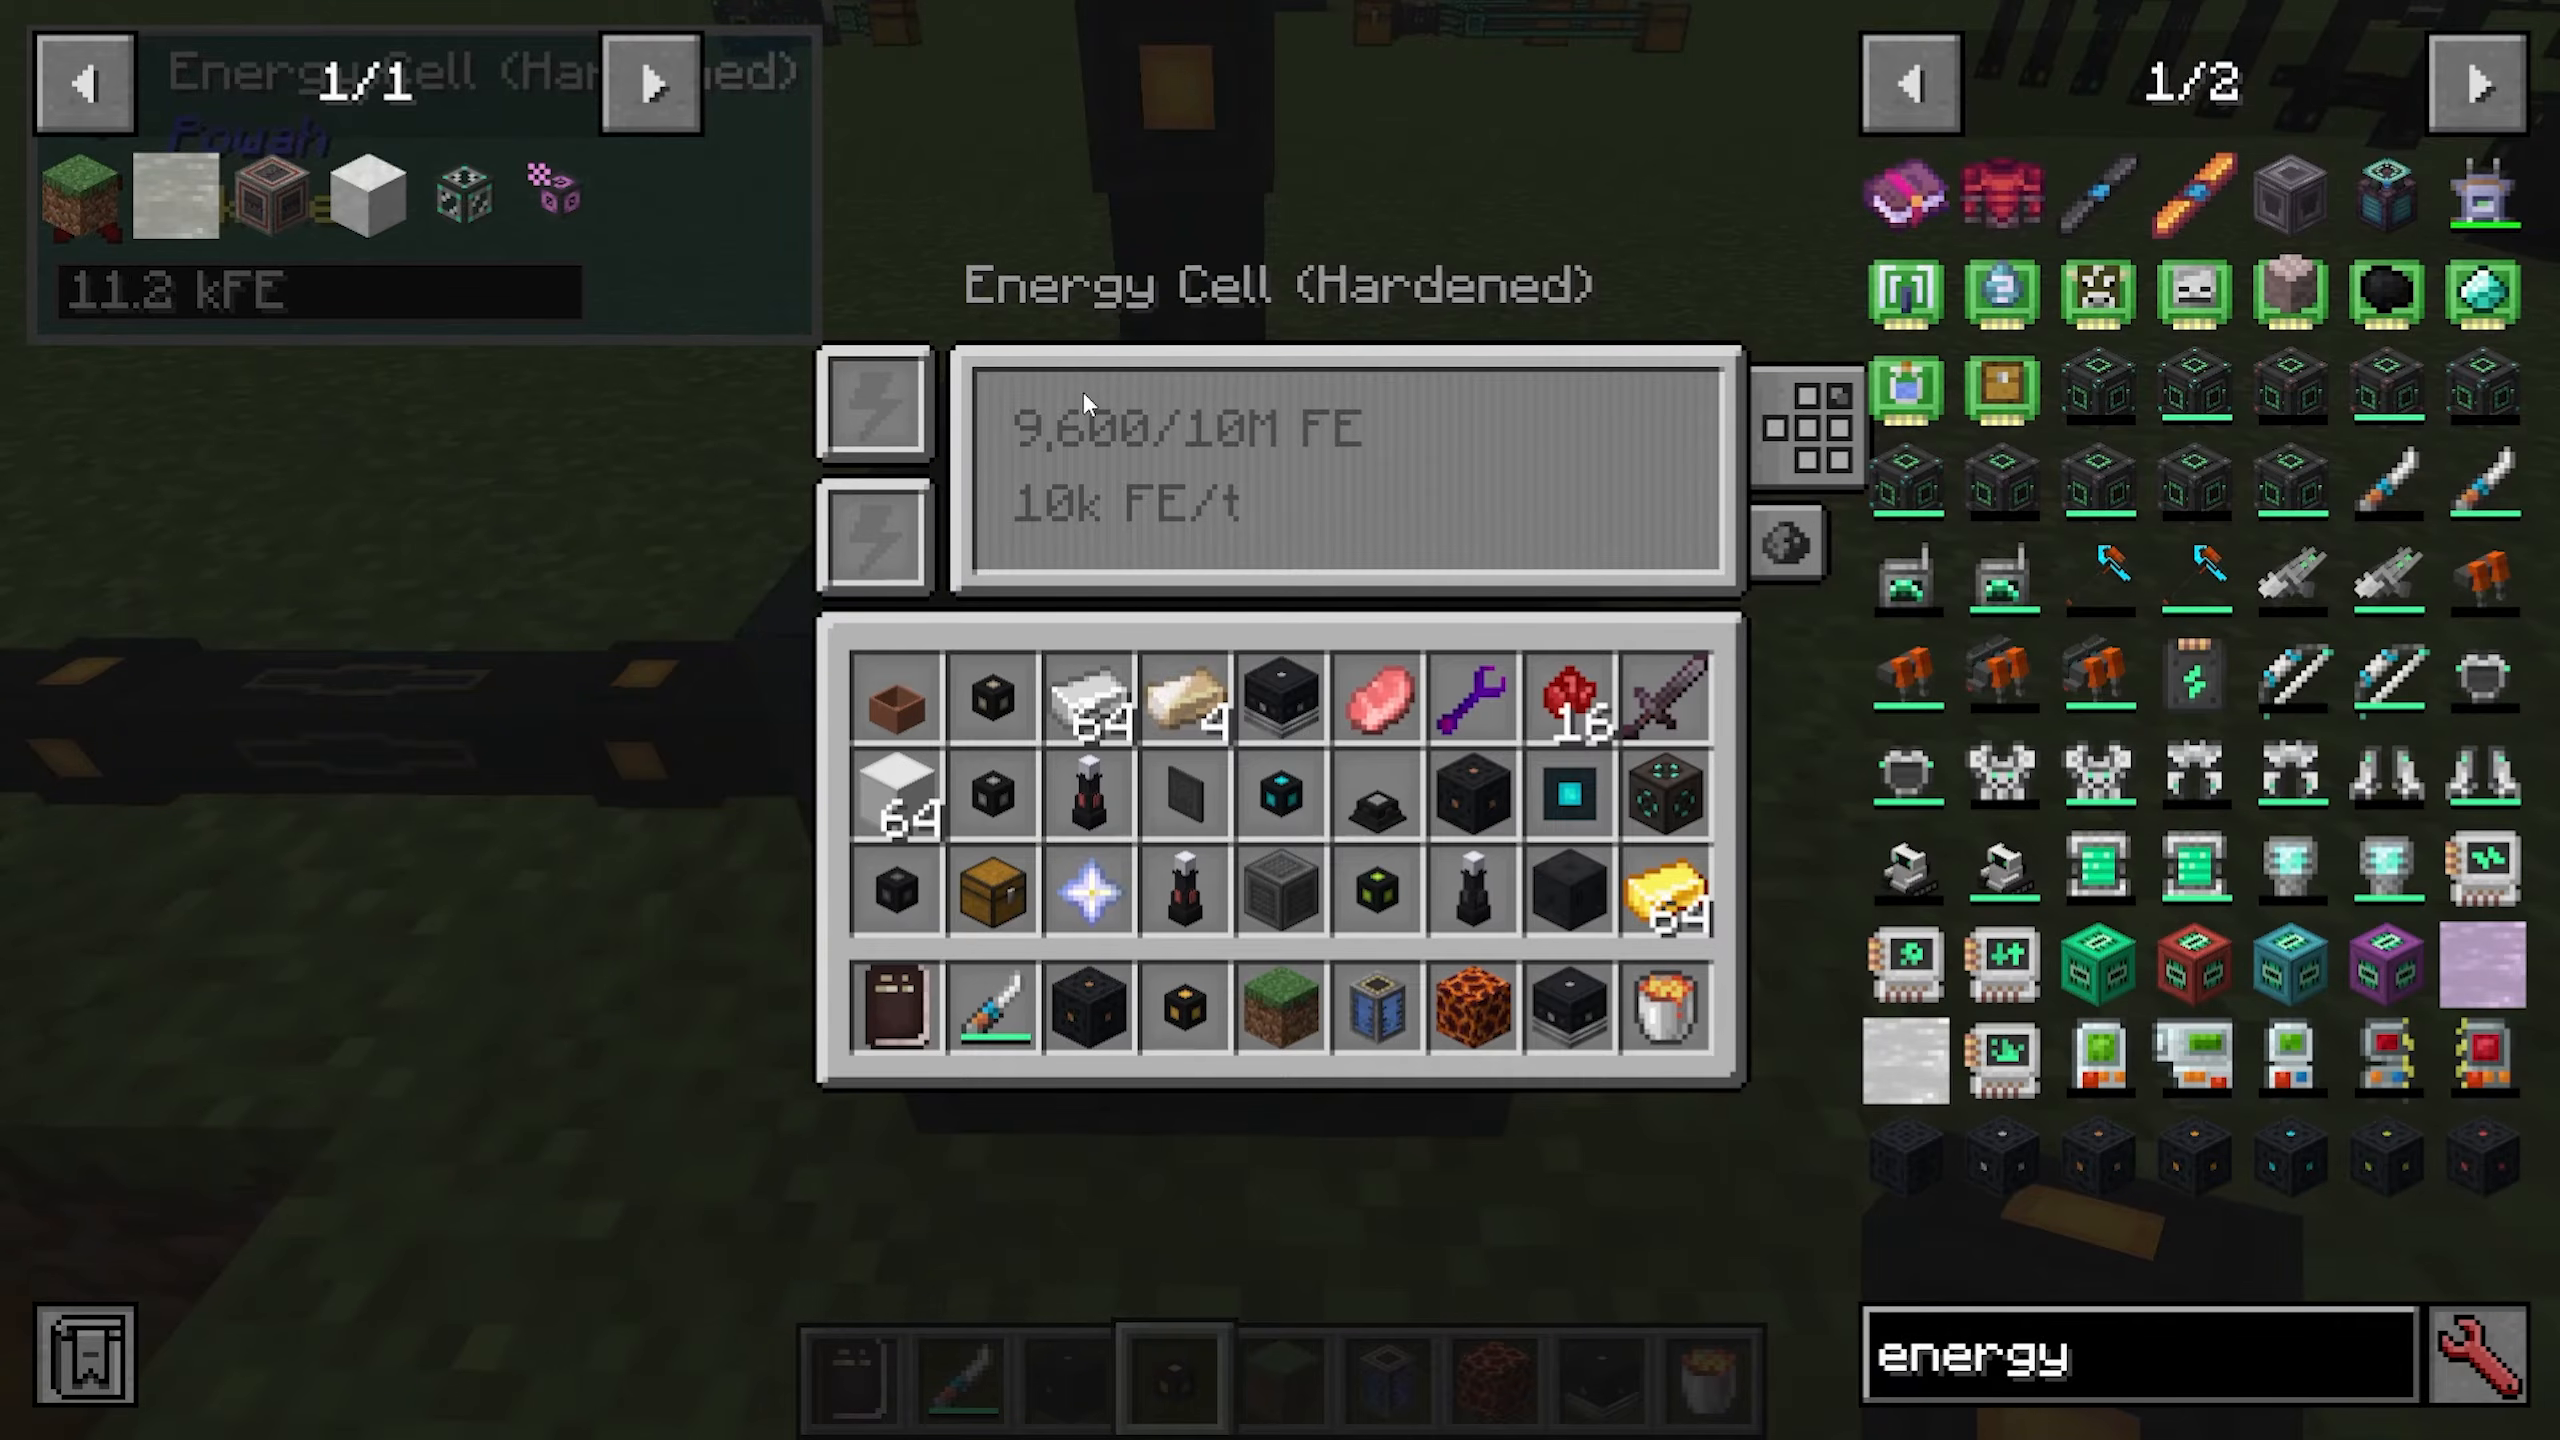
When you right-click an Energy Cell, you can configure each face to receive power, extract power, or be disabled completely. As power flows into the cell, a red progress bar fills from bottom to top, showing the storage level. You can also control redstone behavior—set it to ignore redstone, require a signal, or respond to redstone input.
The Energizing Orb – Advanced Crafting
To progress beyond the Hardened tier in Powah, you’ll need an Energizing Orb. This special crafting block is used to create advanced materials required for higher-tier components.
To set up an Energizing Orb:
Craft an Energizing Orb using basic Powah materials
Place it on the ground in a clear area
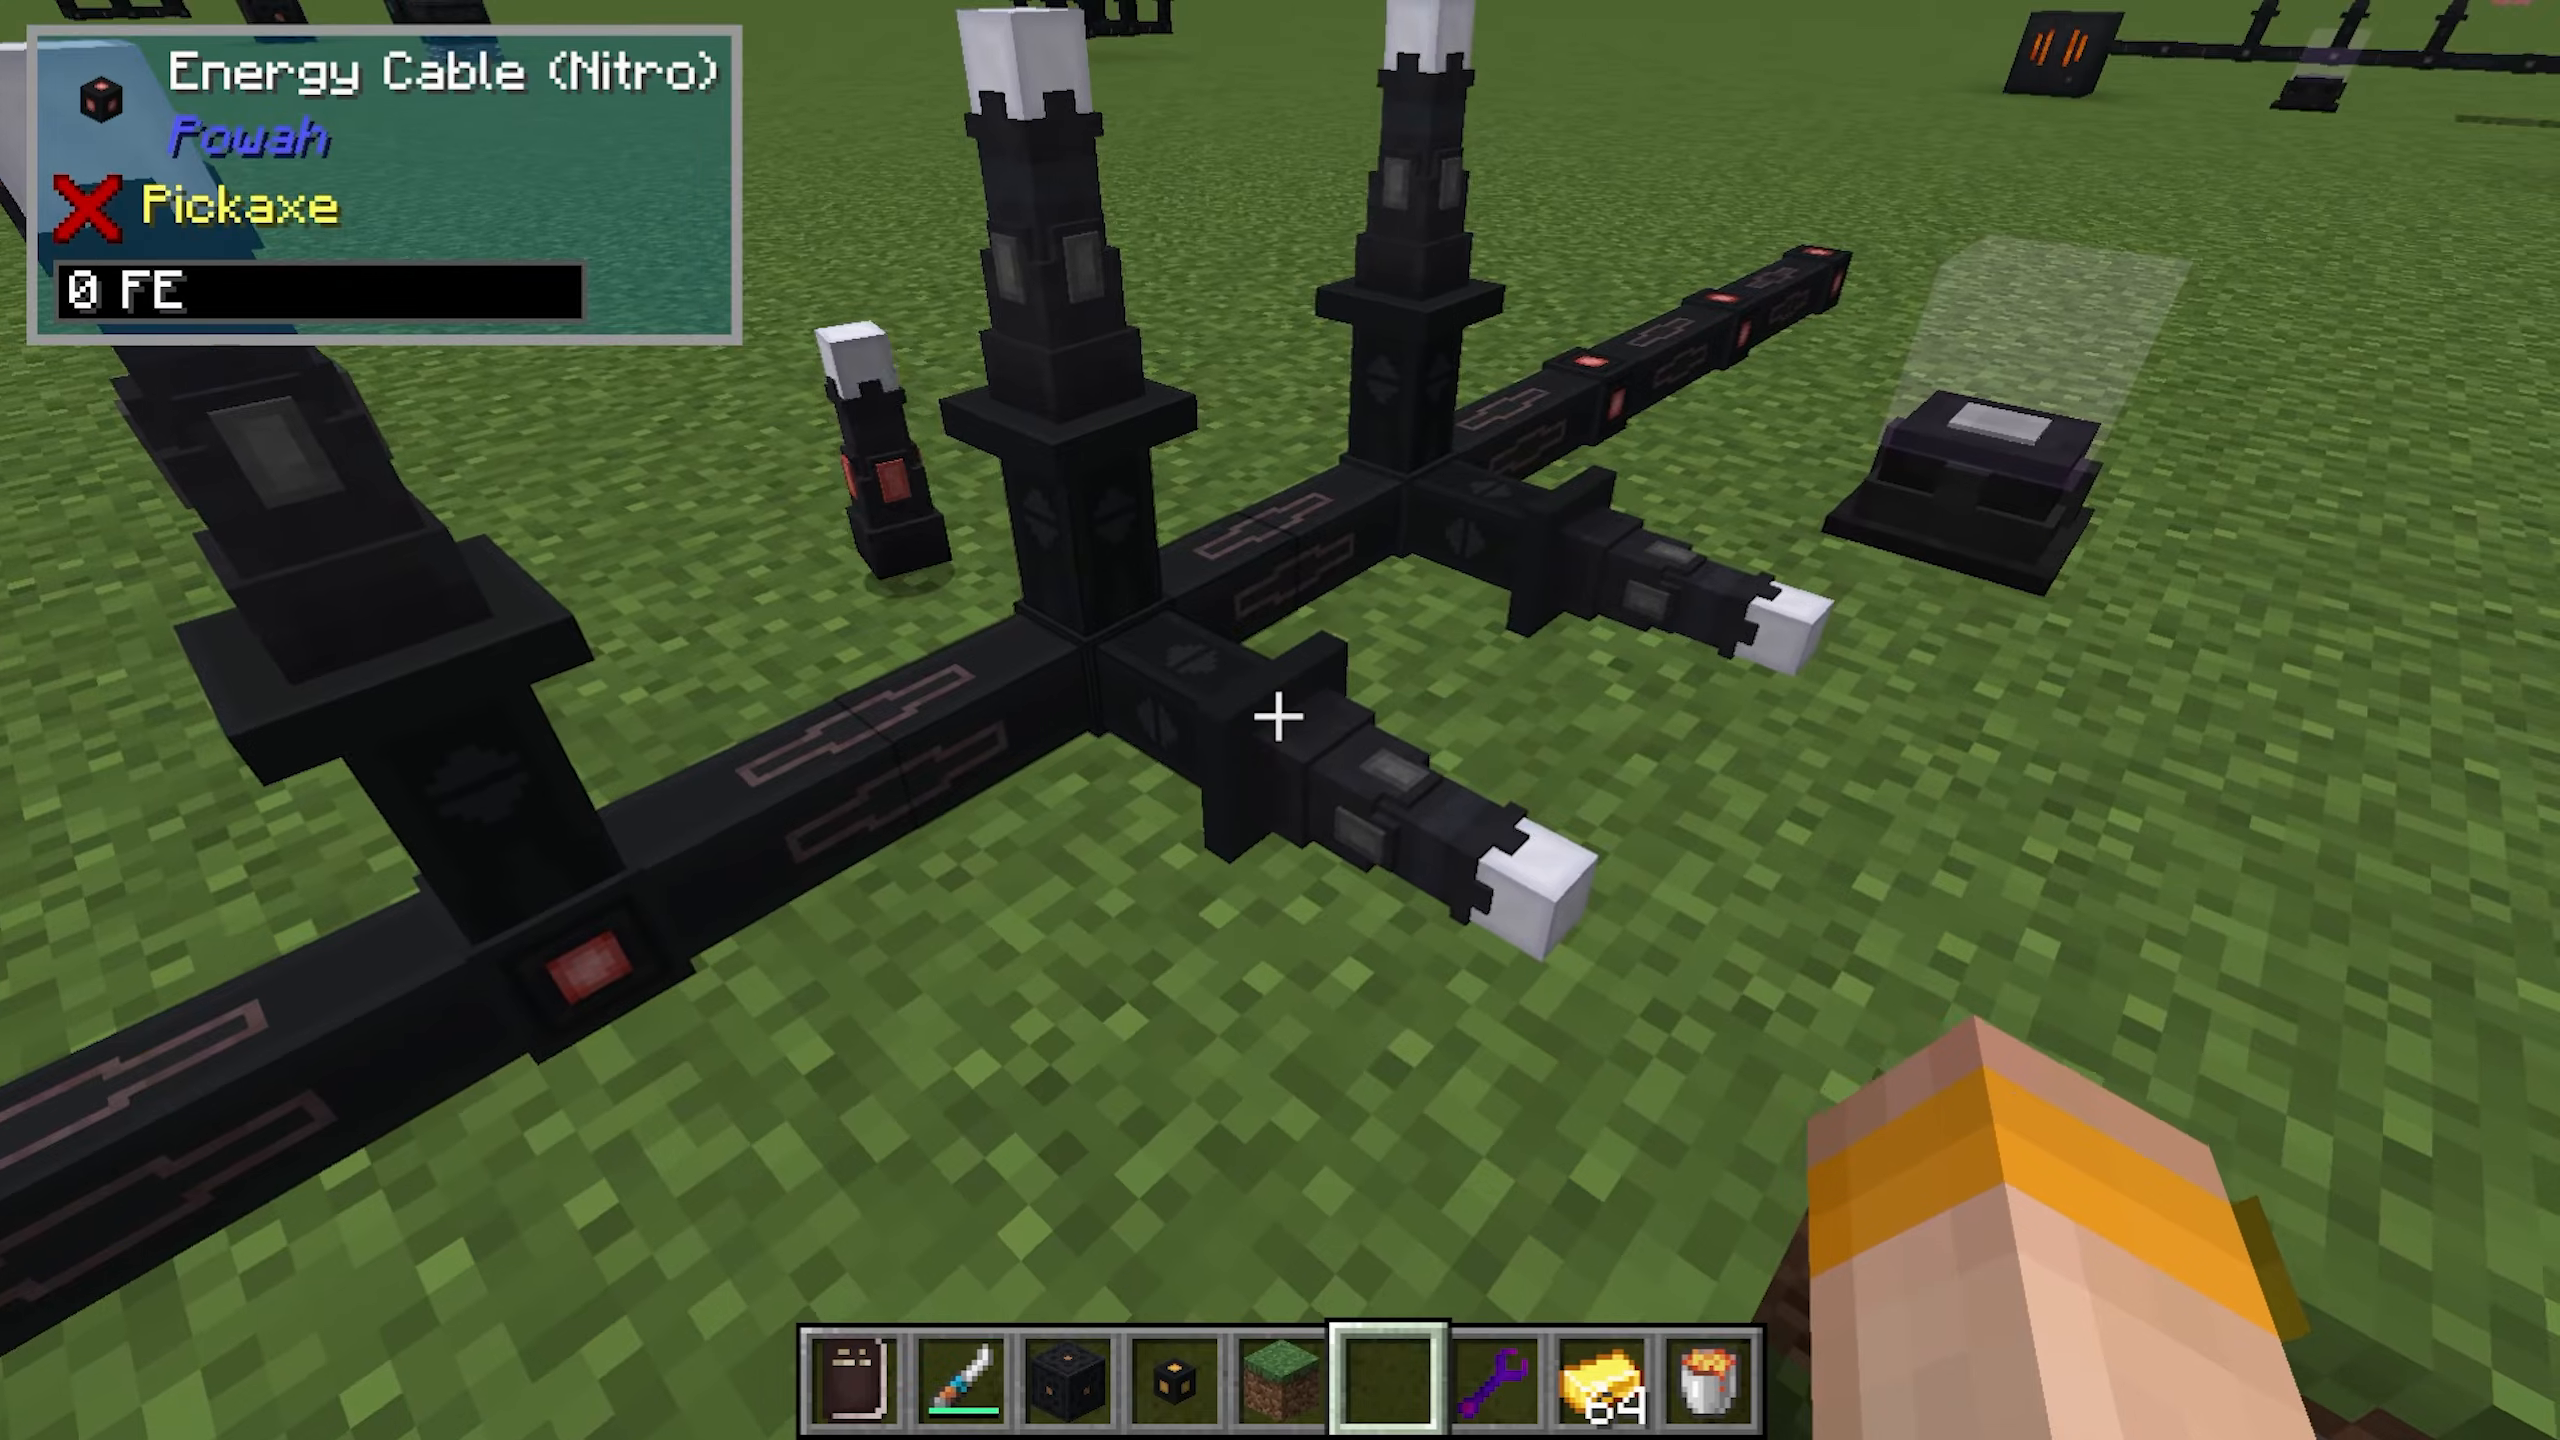
Place Energizing Rods nearby within a 9×9 radius (these don’t require power)
Right-click items onto the orb to begin energizing them
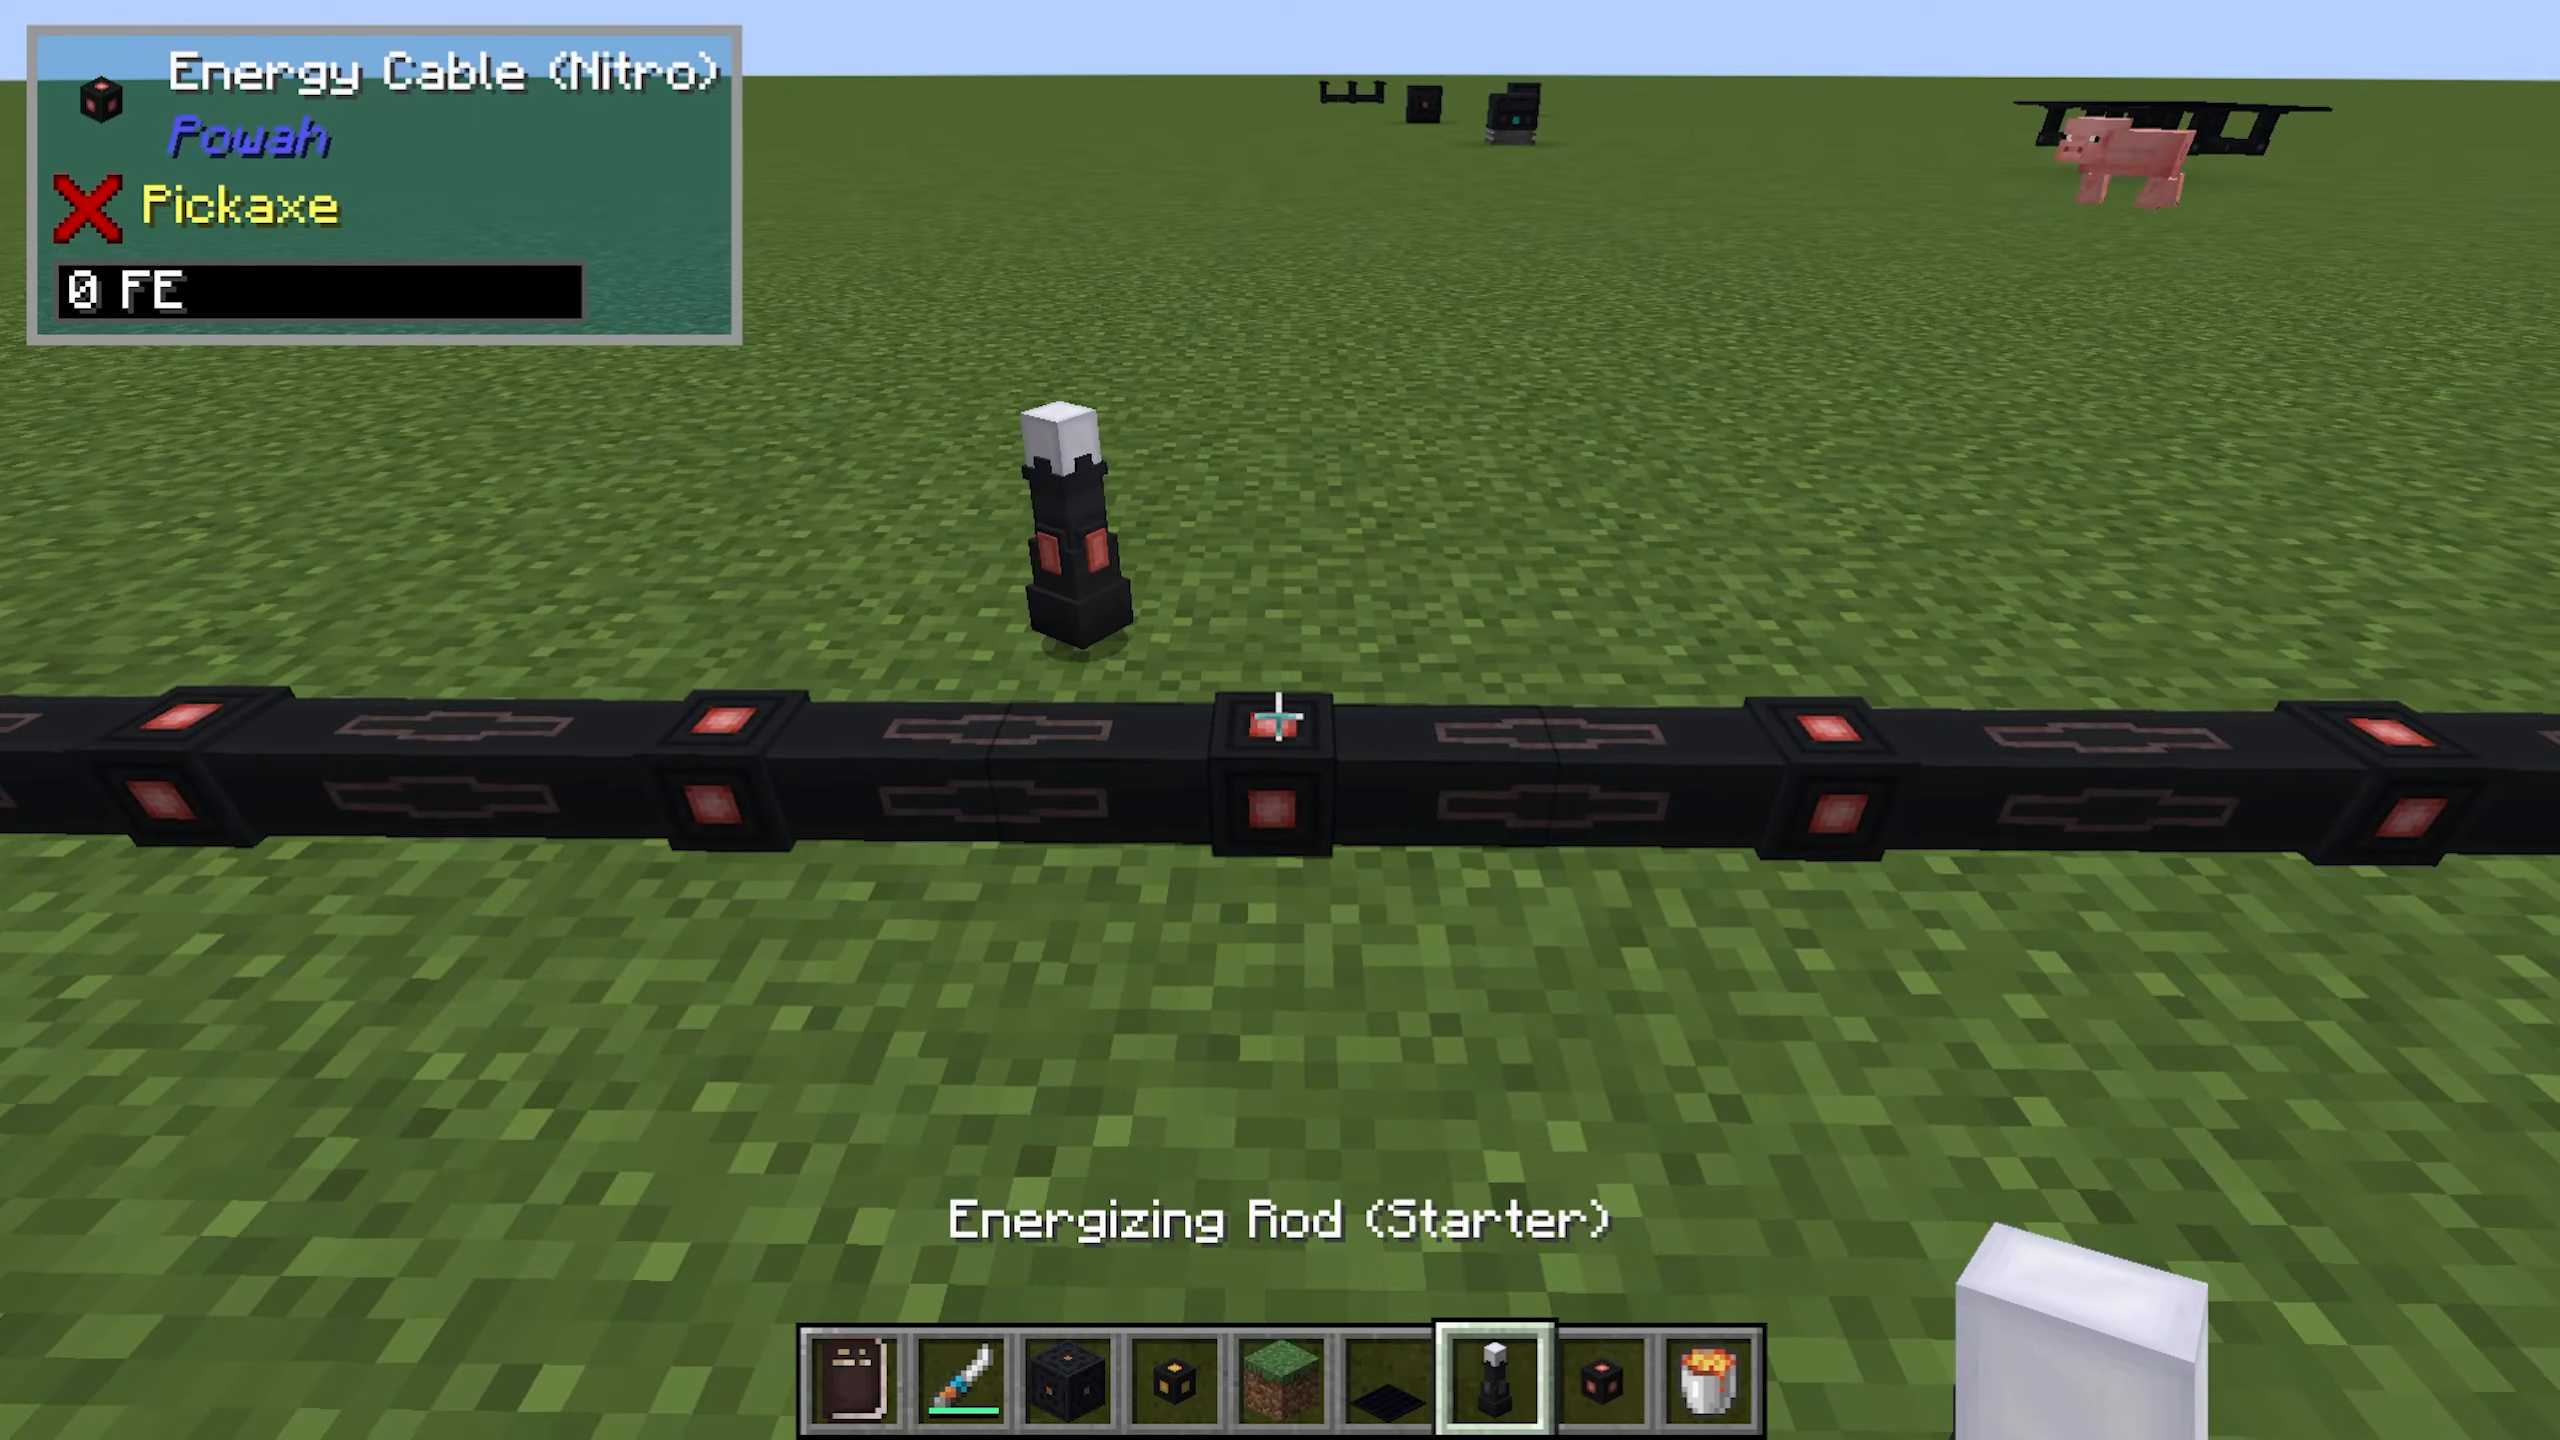
Important note: The Energizing Orb does not require Forge Energy to operate. It only needs Energizing Rods placed within the 9×9 radius.
Items you can create with the Energizing Orb include:
Energized Steel (10,000 Forge Energy, gold, and iron)
Blue Ice into Dry Ice (for reactor cooling)
Uranium Ore into Uranite
Blazing Crystals (from blazing rods)
Charged Snowballs
Spirited Crystals
Nitro Crystals
If you have multiple Energizing Orbs, you can link Energizing Rods to specific orbs. To do this, shift right-click a wrench to enter linking mode, then right-click a rod and link it to your desired orb. You can hover over rods to see how much energy they’re storing.
Ender Cells and Ender Gates – Wireless Power Transfer
Once you’re progressing further into Powah, you may want to transfer power wirelessly across your base. Ender Cells and Ender Gates make this possible through an ender network with multiple channels.
To set up wireless power transfer:
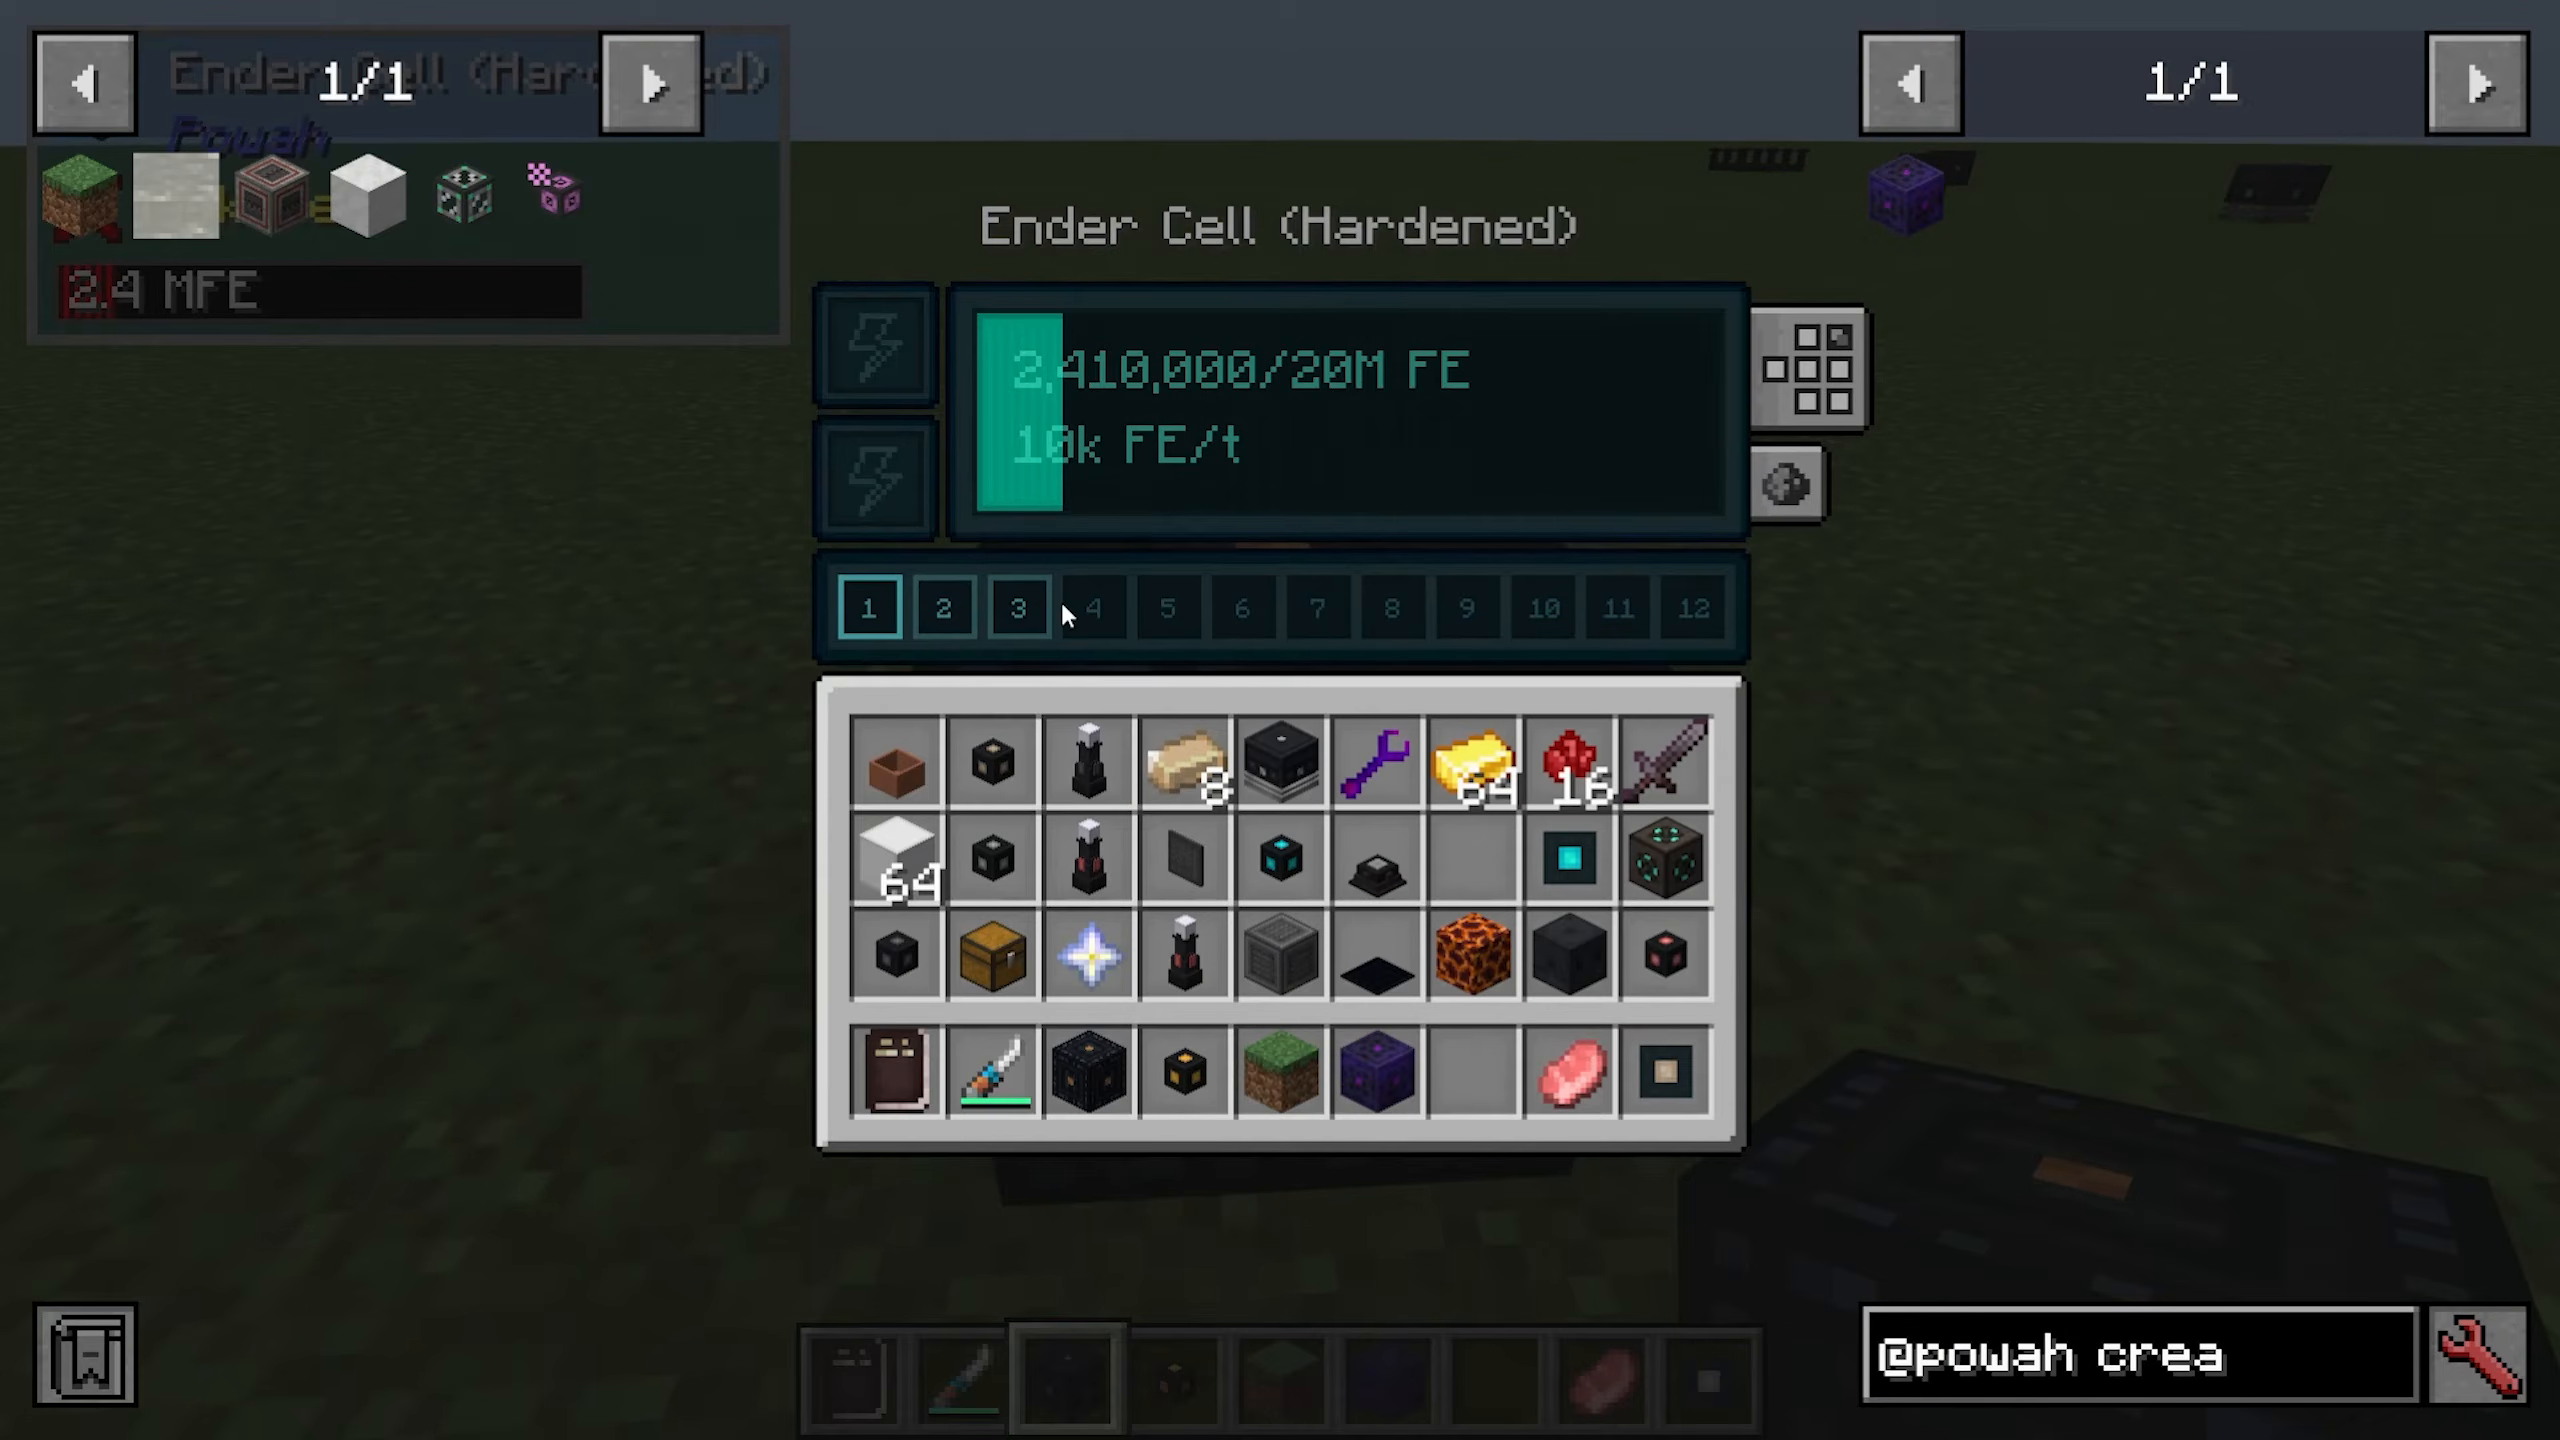
Place an Ender Cell and assign it to a channel (channel 1-many available)
Shift-click Energy Cells onto the Ender Cell to add storage capacity to that channel
Place an Ender Gate on the same channel to receive power wirelessly
Ender Gate specifications by tier:
Starter: 500 Forge Energy per tick input/output
Higher tiers up to Nitro: up to 1,000,000 Forge Energy per tick
You can shift-click an Energy Cell onto an Ender Gate to link it, making the gate a wireless receiver from that channel. If you move the gate to a different channel, it will stop receiving energy and you can switch it back by changing the channel number.
Additional Powah Items
Player Transmitter
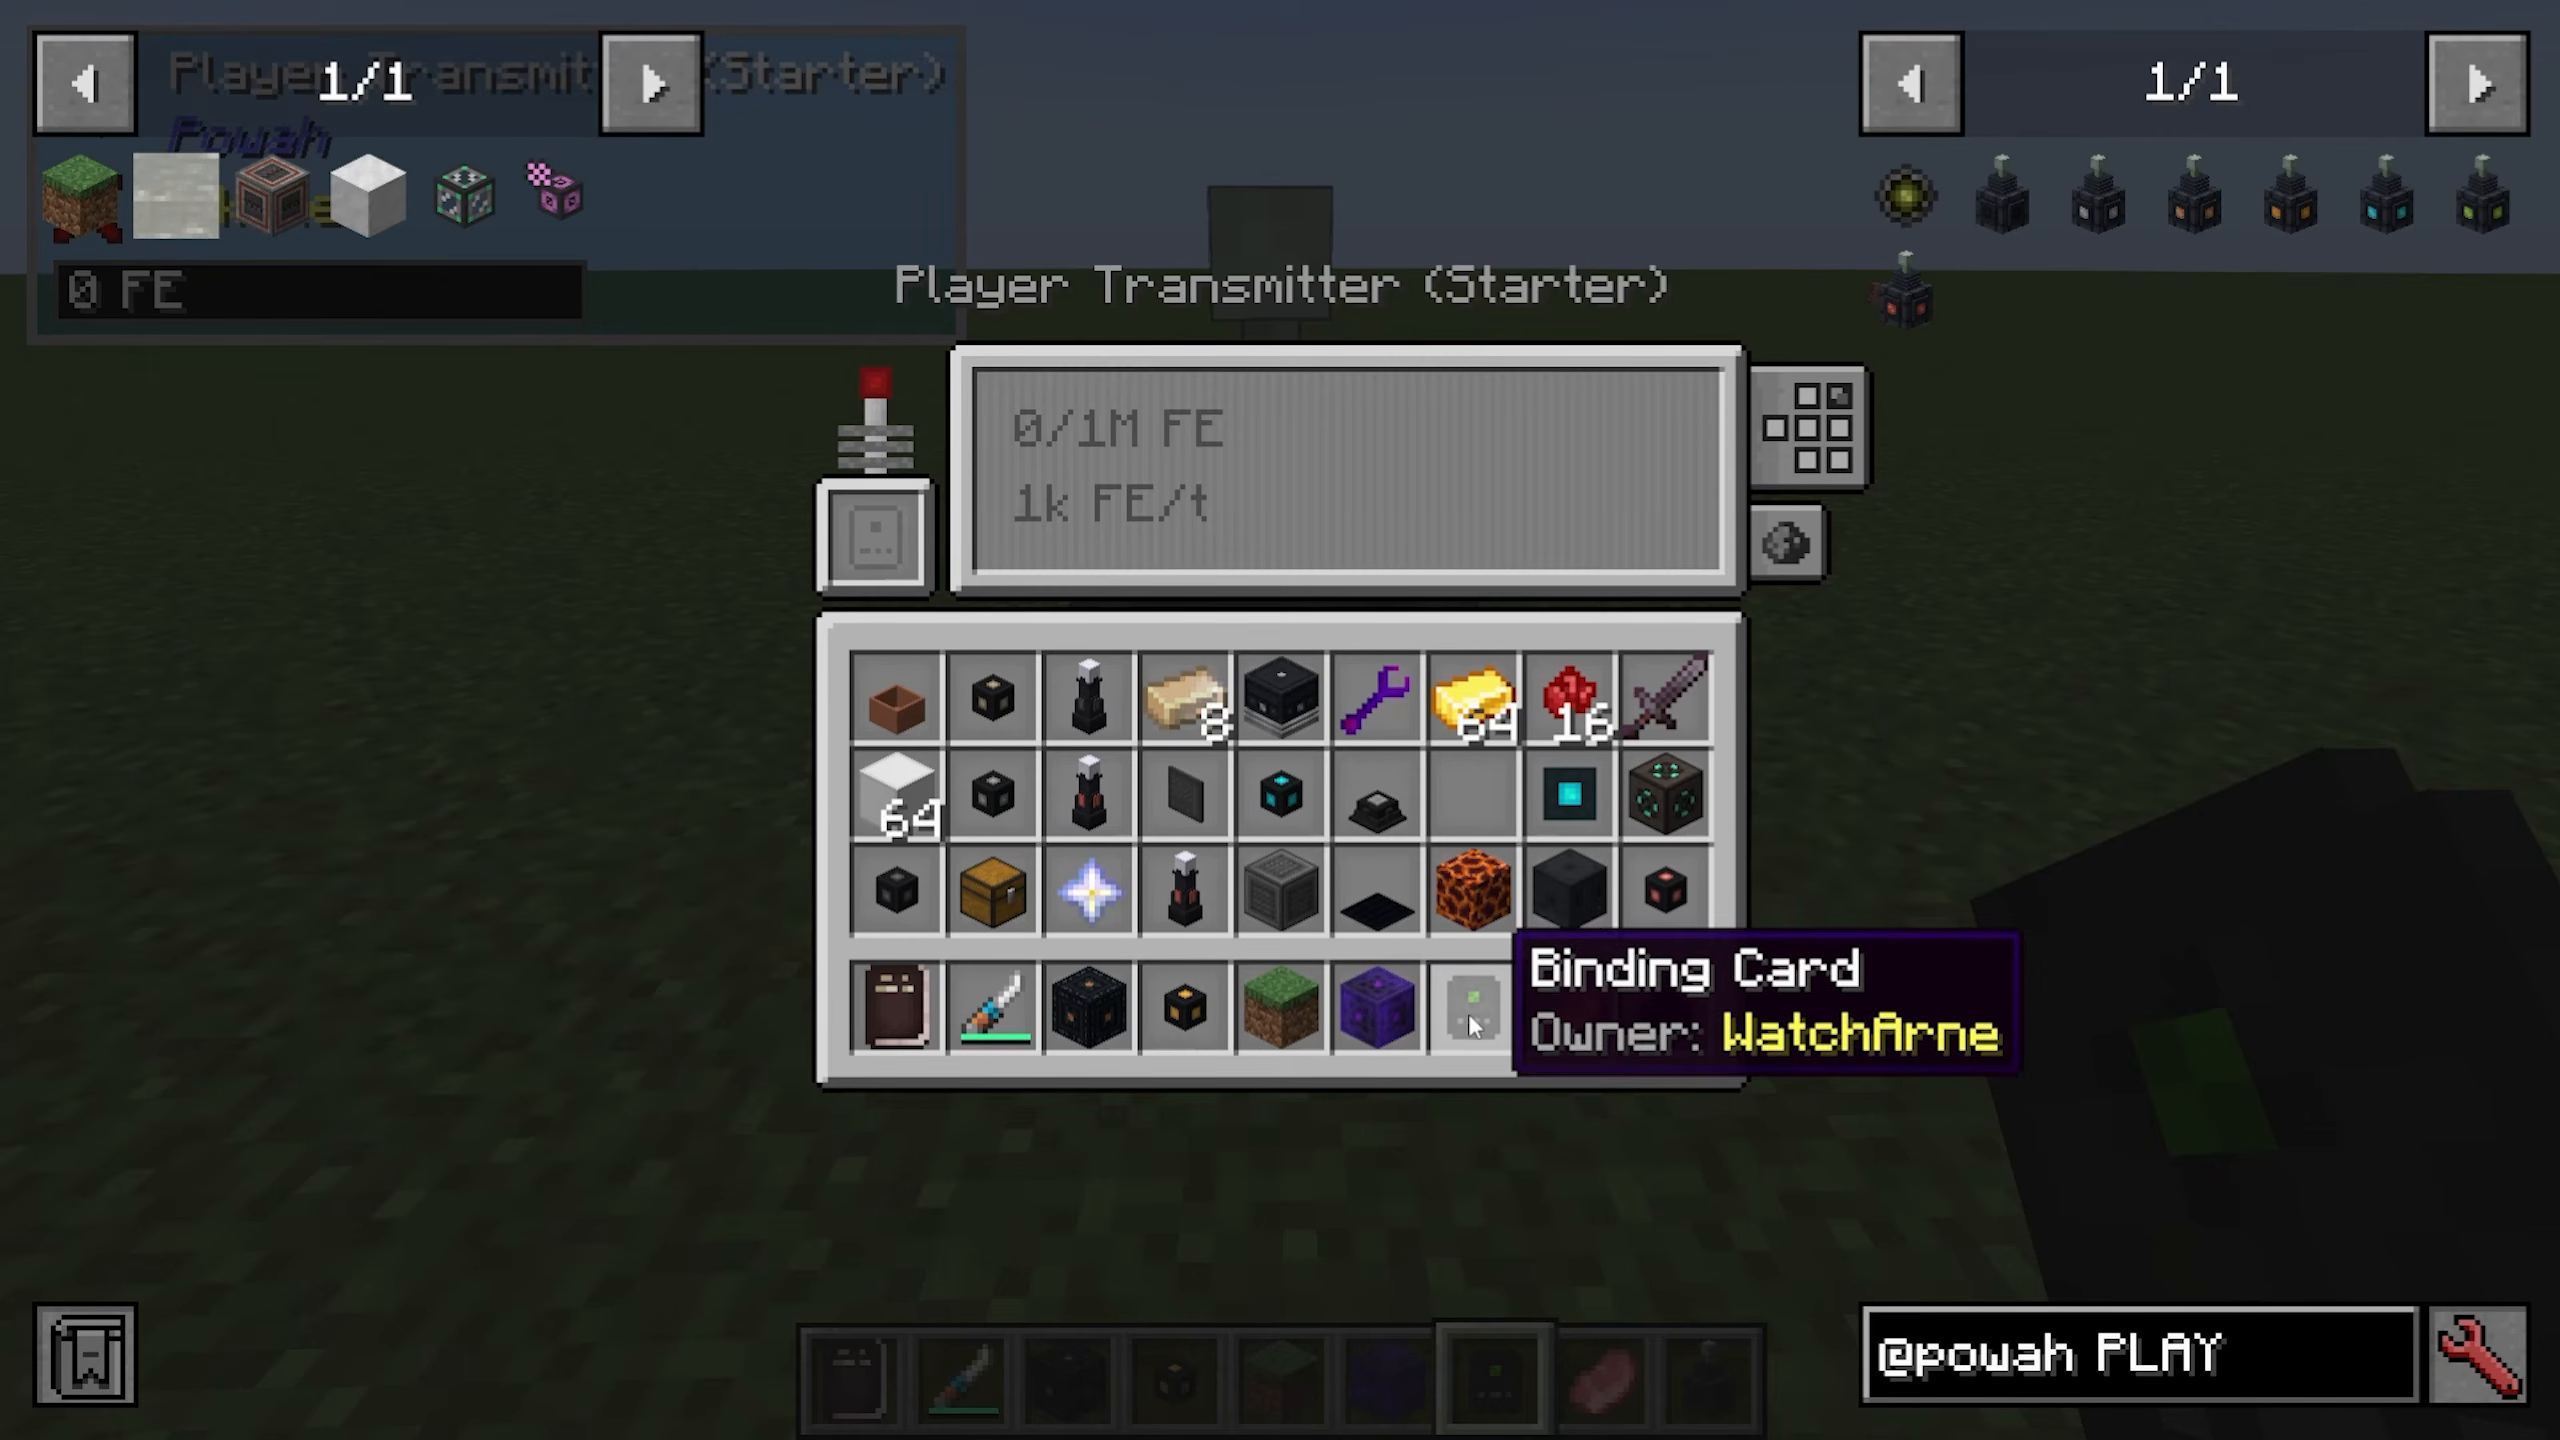
The Player Transmitter wirelessly charges items in a player’s inventory, including armor slots. To use it, craft a Binding Card or Dimensional Binding Card, then shift right-click the transmitter with the binding card. The interface will turn green when linked. You’ll need to power it with nearby energy cables.
Energy Hopper
The Energy Hopper is placed adjacent to an inventory (like a chest) and automatically charges any chargeable items inside that inventory.
Energy Discharger
The Energy Discharger drains energy from charged items and stores it in an internal buffer, then extracts it into connected pipes.
The Reactor – End-Game Power Generation
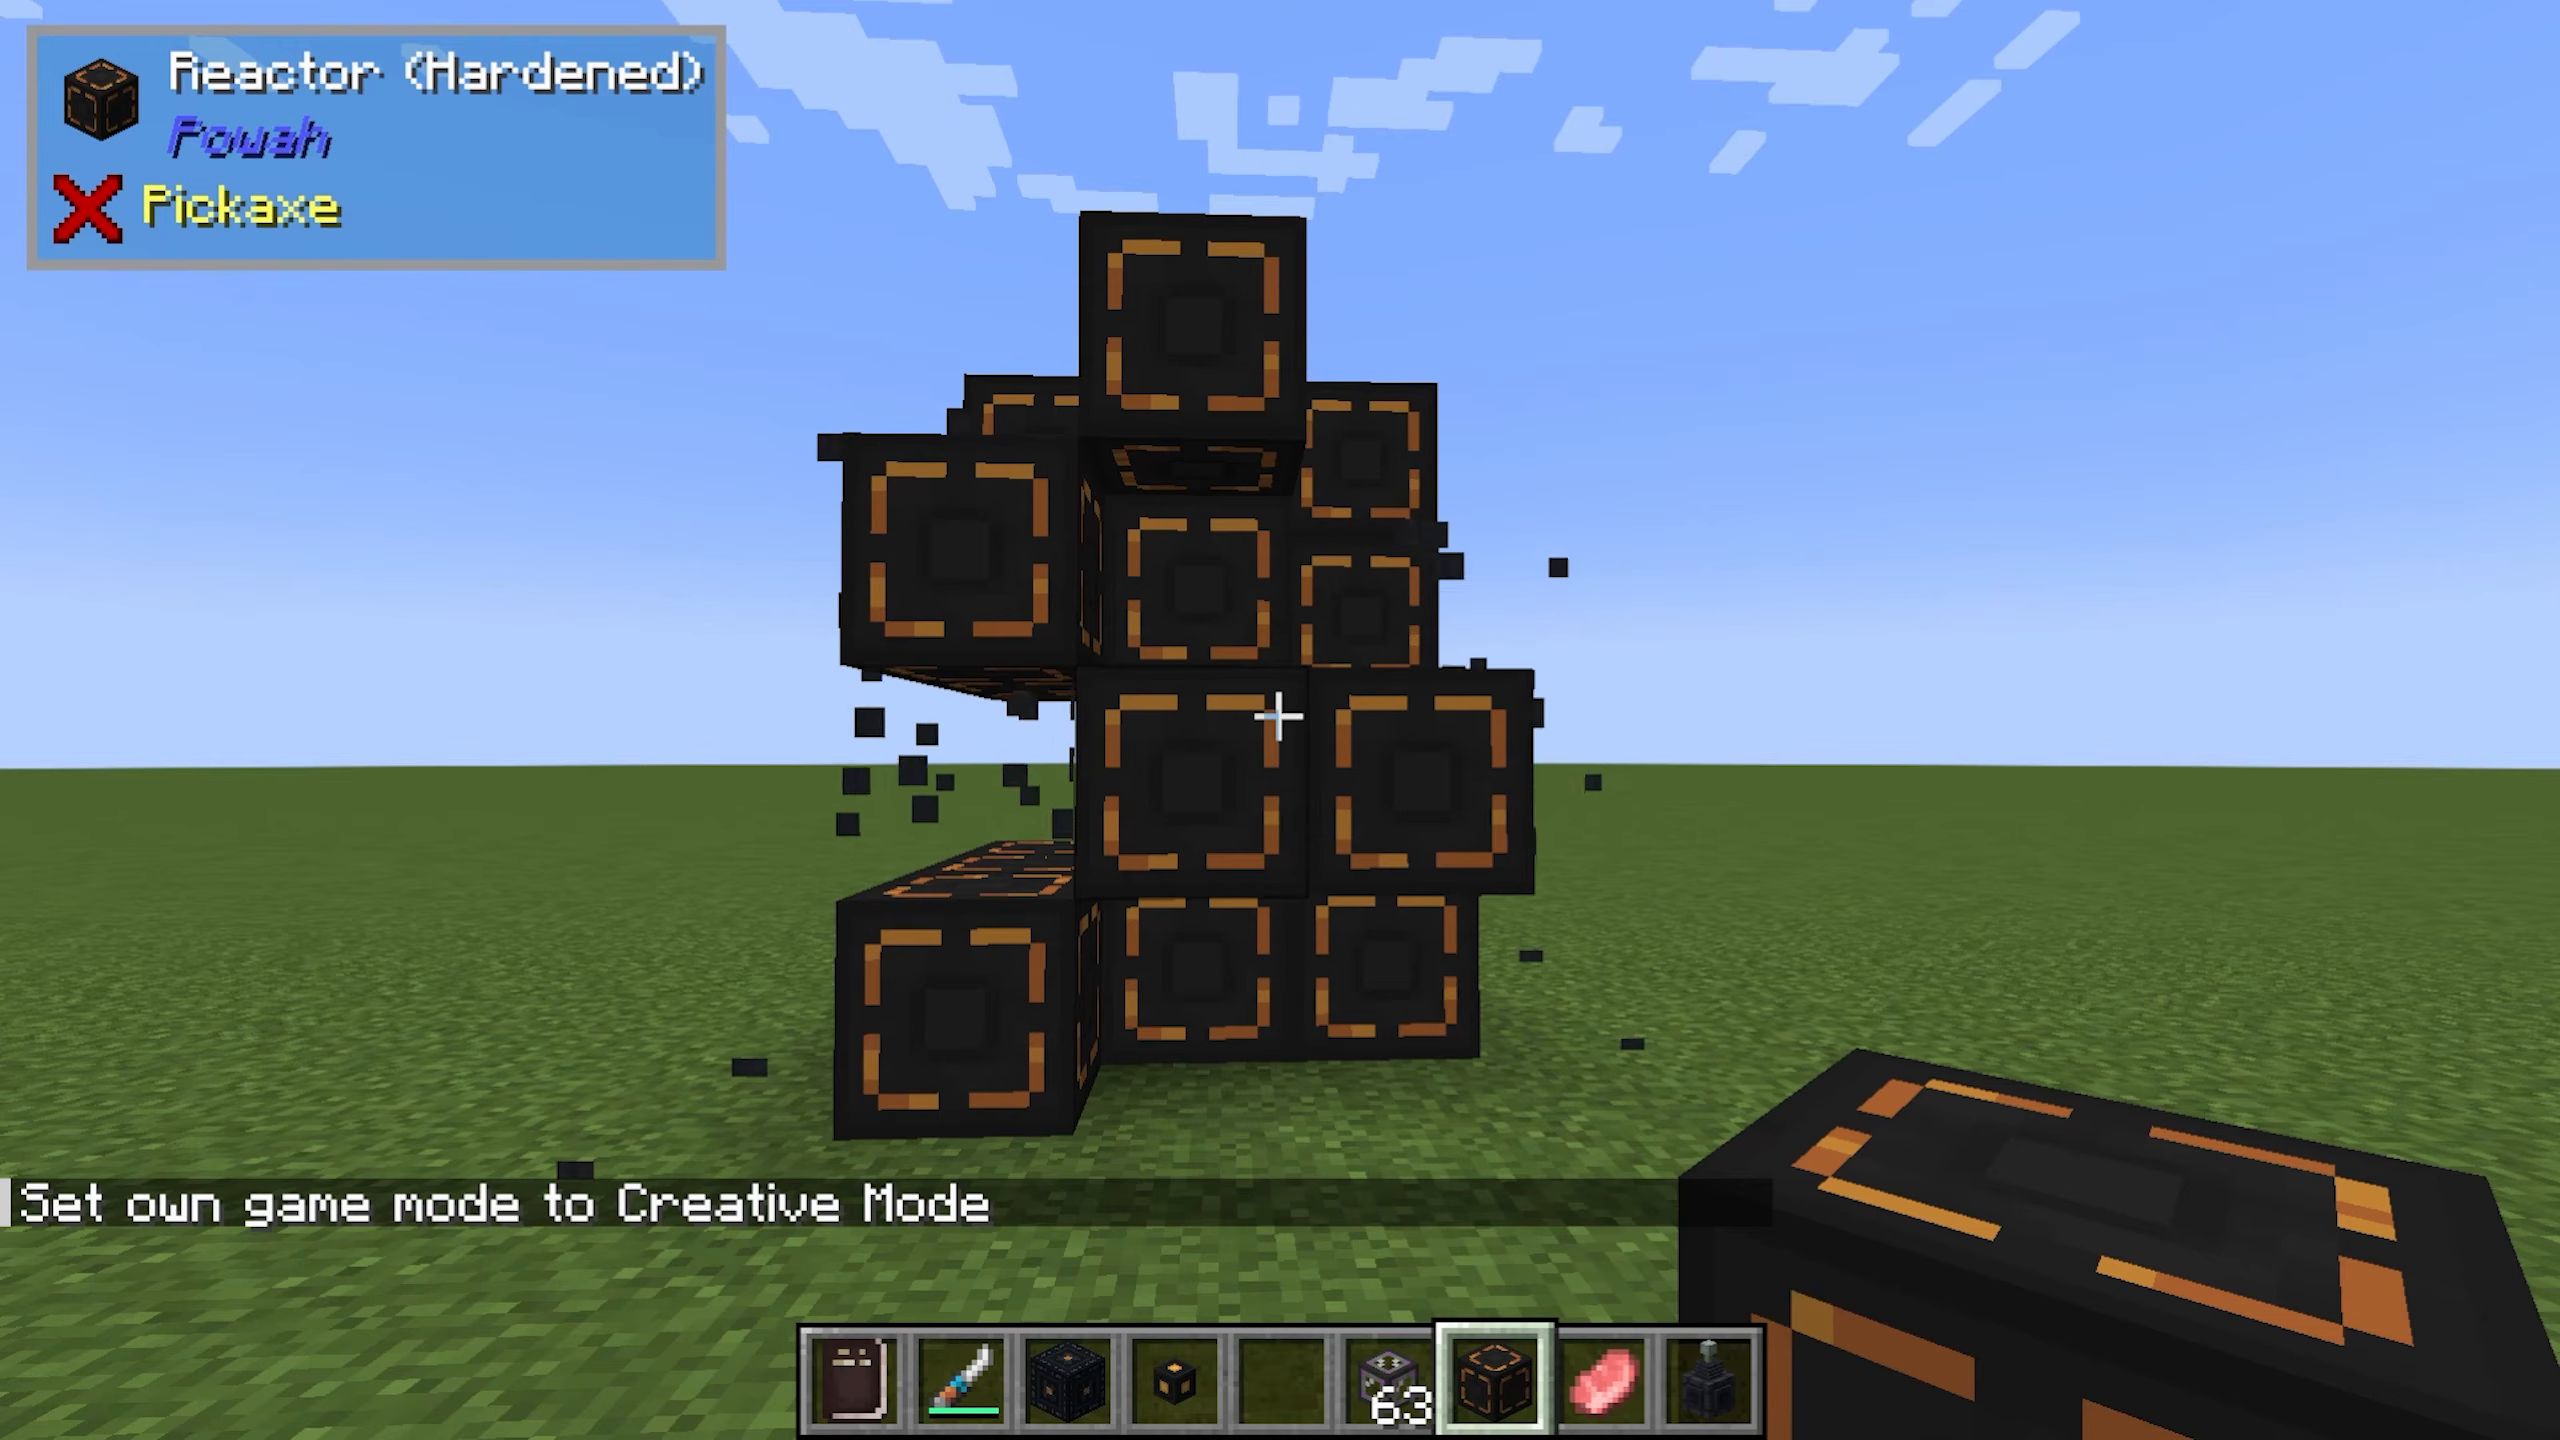
The Reactor is one of the most impressive power generation systems in Powah and features a 3×4 multiblock structure. You can simply press the complete reactor in your hand on the ground to build it automatically (requires 36 blocks in survival mode). Alternatively, use creative mode to place one block and it will construct itself.
Like other Powah machines, Reactors come in different tiers: Starter, Basic, Hardened, Blazing, Neotic, Spirited, and Nitro.
The Reactor interface has several input slots:
Redstone (bottom left slot): Placing redstone blocks or pieces slightly increases reactor temperature and efficiency.
Solid Coolant: Ice or Dry Ice (from the Energizing Orb) cools the reactor. Dry Ice is the most effective.
Liquid Coolant: Water must be pumped into the reactor to cool it as it operates. Use pipes from other mods to supply water to a side port.
Carbon (Coal): Coal or coal blocks increase reactor temperature, similar to redstone. More carbon means more heat and more power generation.
Fuel (Uranite): Uranite, created in the Energizing Orb, is the actual fuel that powers the reactor. Place it in the designated slot and watch the reactor operate.
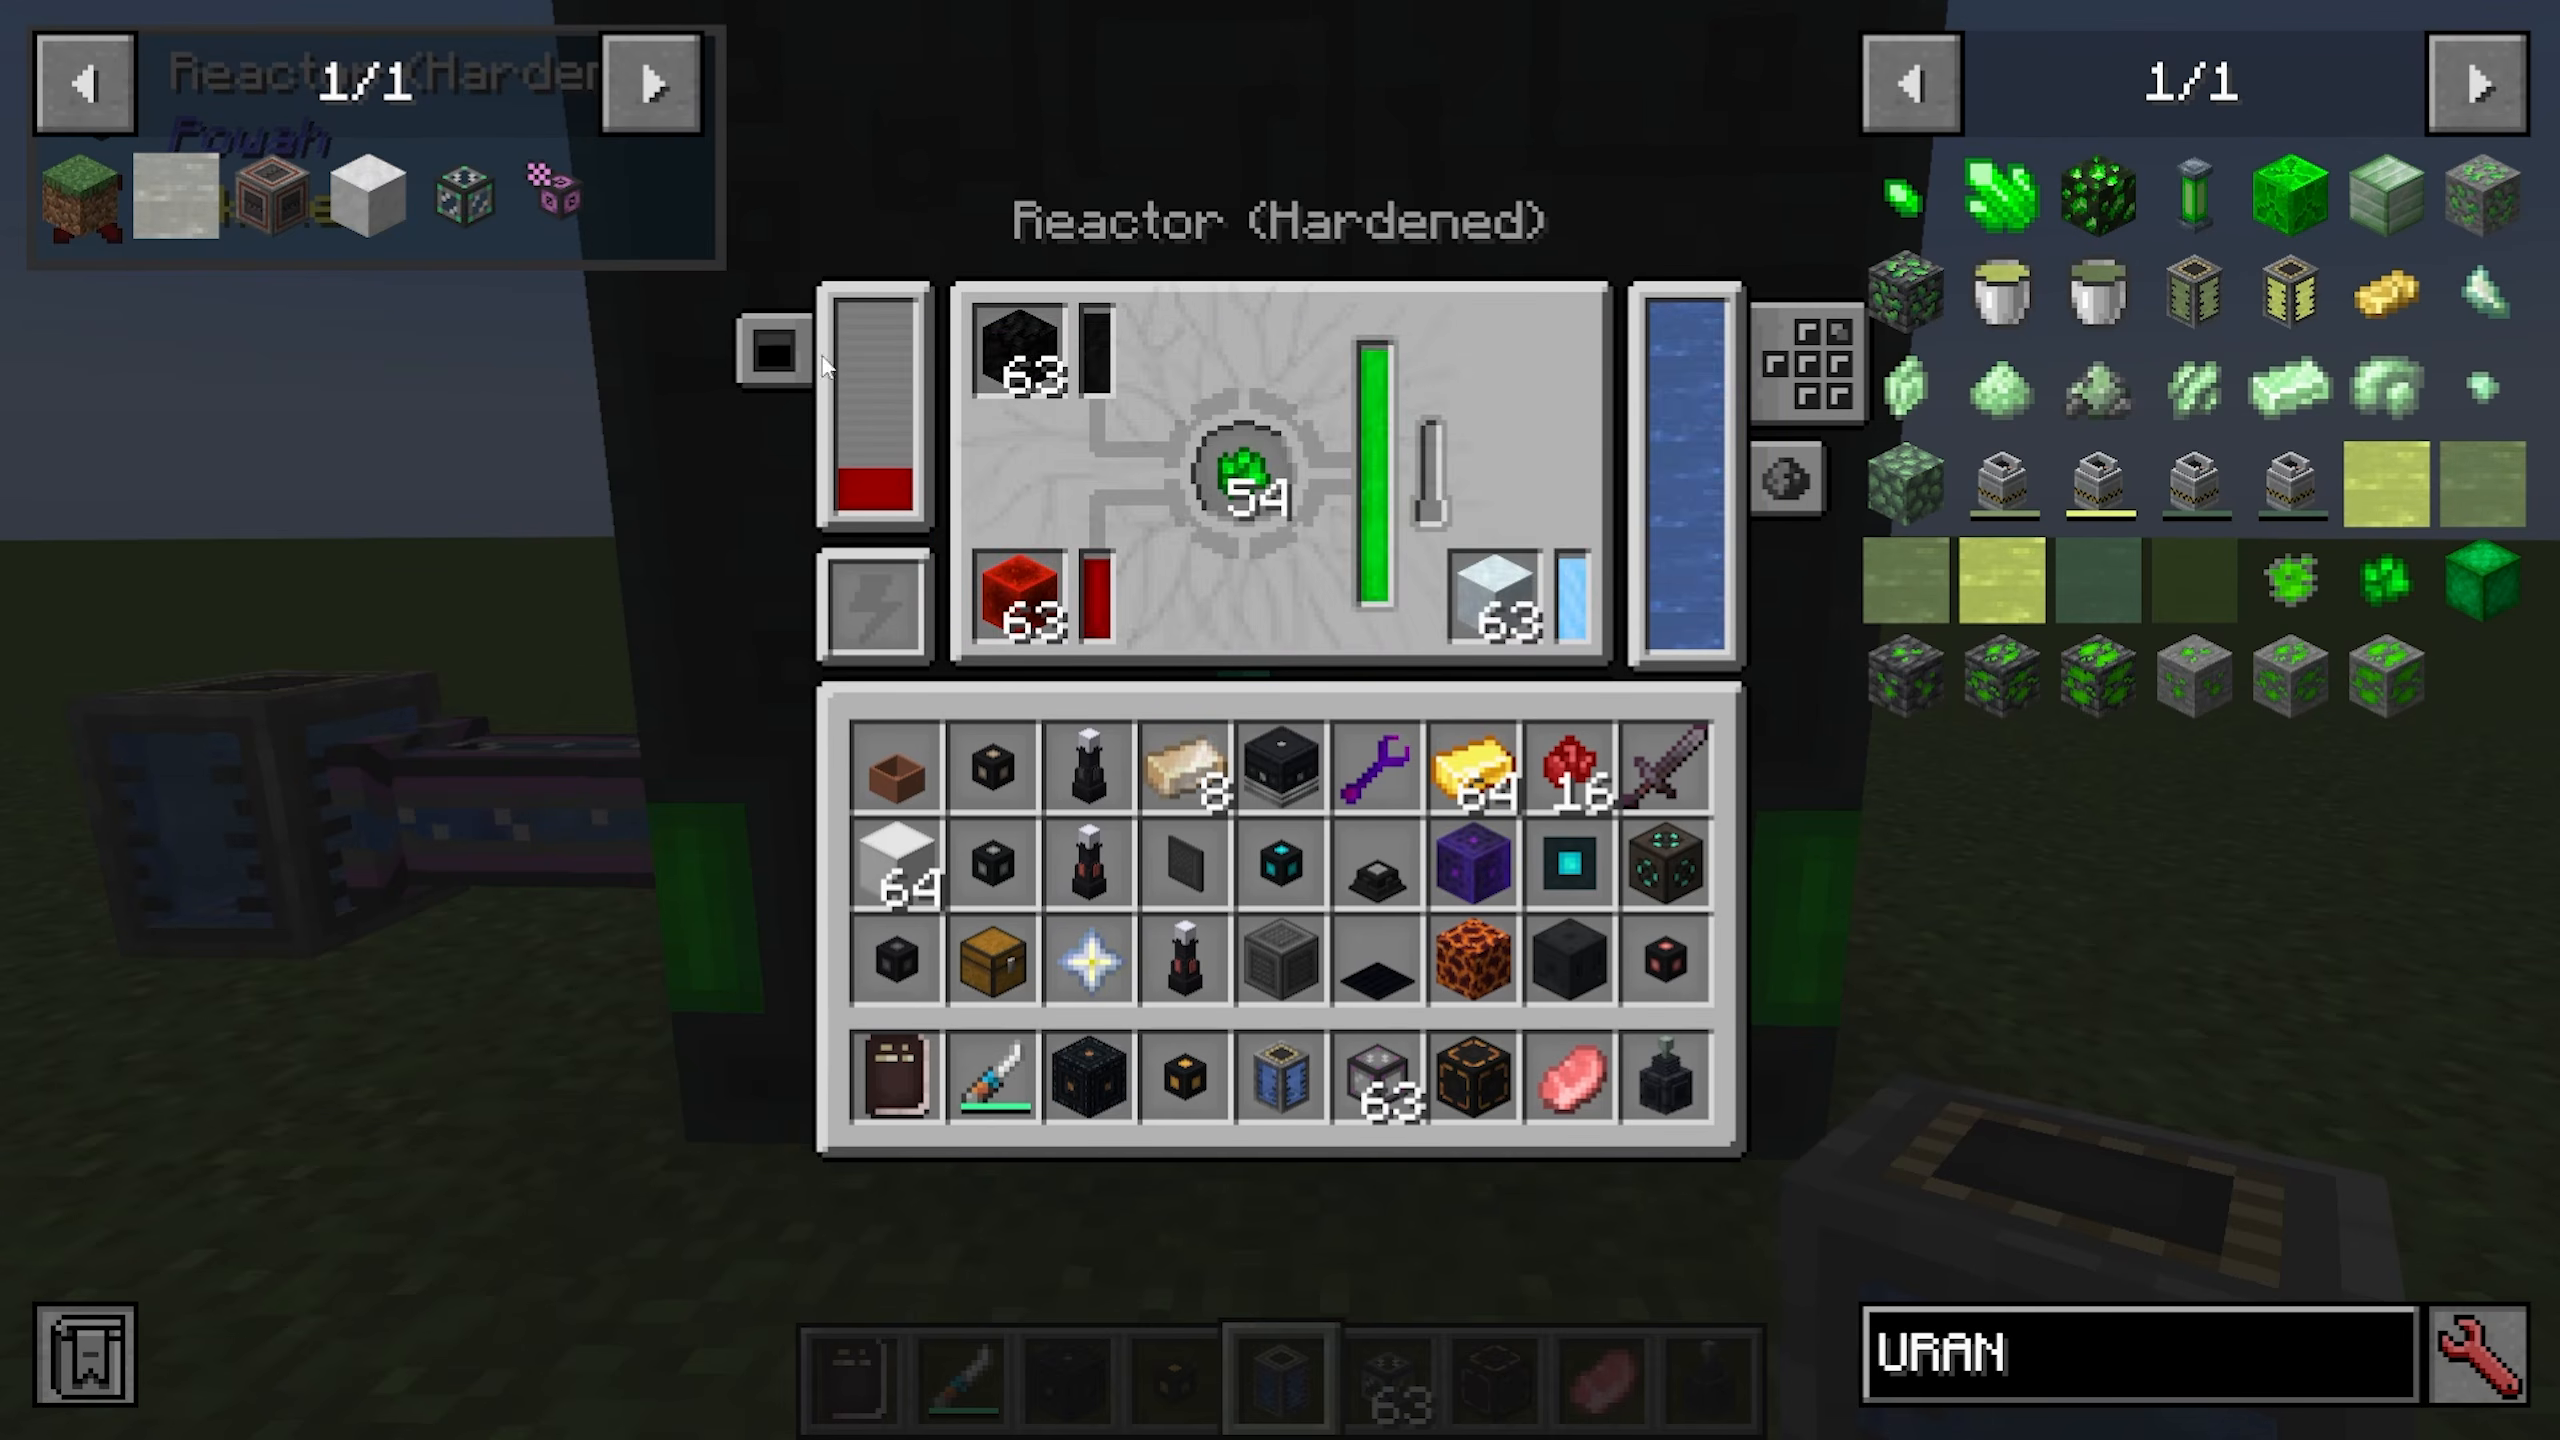
Key Reactor Features:
Higher reactor temperature = more energy generation
Redstone and coal increase temperature
Ice and Dry Ice cool the reactor
Liquid coolant (water) must be continuously supplied
Auto Mode: Enable to automatically shut off when full and restart when below 70% capacity, maximizing efficiency
The Reactor is an excellent end-game power source, especially with Auto Mode enabled. It will intelligently manage its own operation, preventing wasted resources while maintaining consistent power output.
Conclusion
The Powah mod provides a comprehensive and beginner-friendly approach to power generation in Minecraft. From simple early-game solutions like the Furnator and Solar Panels to advanced systems like the Reactor and wireless Ender network, there’s a power solution for every stage of progression. While some systems may initially appear complex, they’re designed to be intuitive and rewarding once you understand the basics. Whether you prefer renewable energy, heat-based generation, or nuclear power, Powah has you covered.
Want to Support?
If you would like to help us continue making these guides – please consider joining our patreon here – https://www.patreon.com/c/JaviHeals
Alternatively – we host a group of MC Servers you can join here – https://discord.gg/zD7Gjt6MHF