







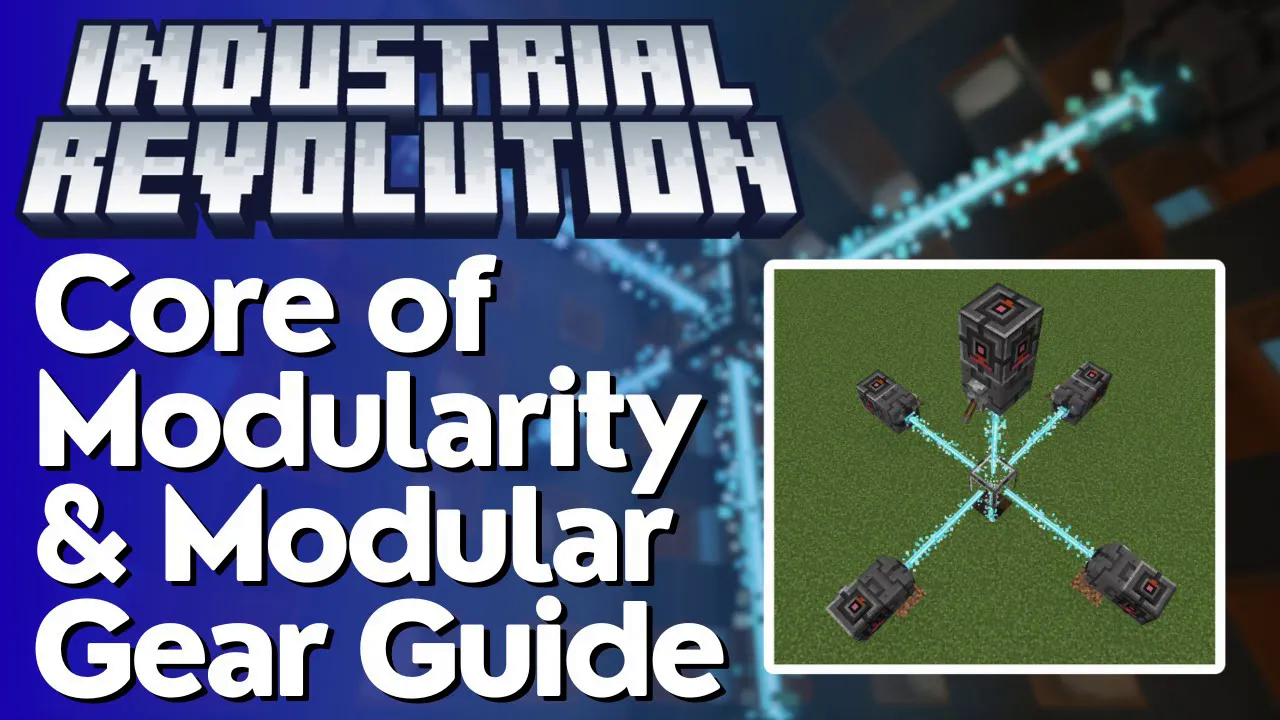
Modular Gear Guide – Industrial Revolution Mod
Modular Gear Guide – Industrial Revolution Mod
The Industrial Revolution mod offers a comprehensive crafting system for modular gear that allows players to customize their armor and tools with specialized modules. This guide will walk you through the entire process of creating a charged core of modularity and assembling modular equipment with various enhancements.
Understanding Modular Gear Basics
Modular gear in the Industrial Revolution mod requires a core of modularity for each item you wish to create. Before you start, understand that the charging process is specific and requires careful setup. The gear system allows you to add multiple modules to helmets, chestplates, leggings, boots, and other tools for enhanced functionality.
Setting Up the Charging System
Gathering Materials
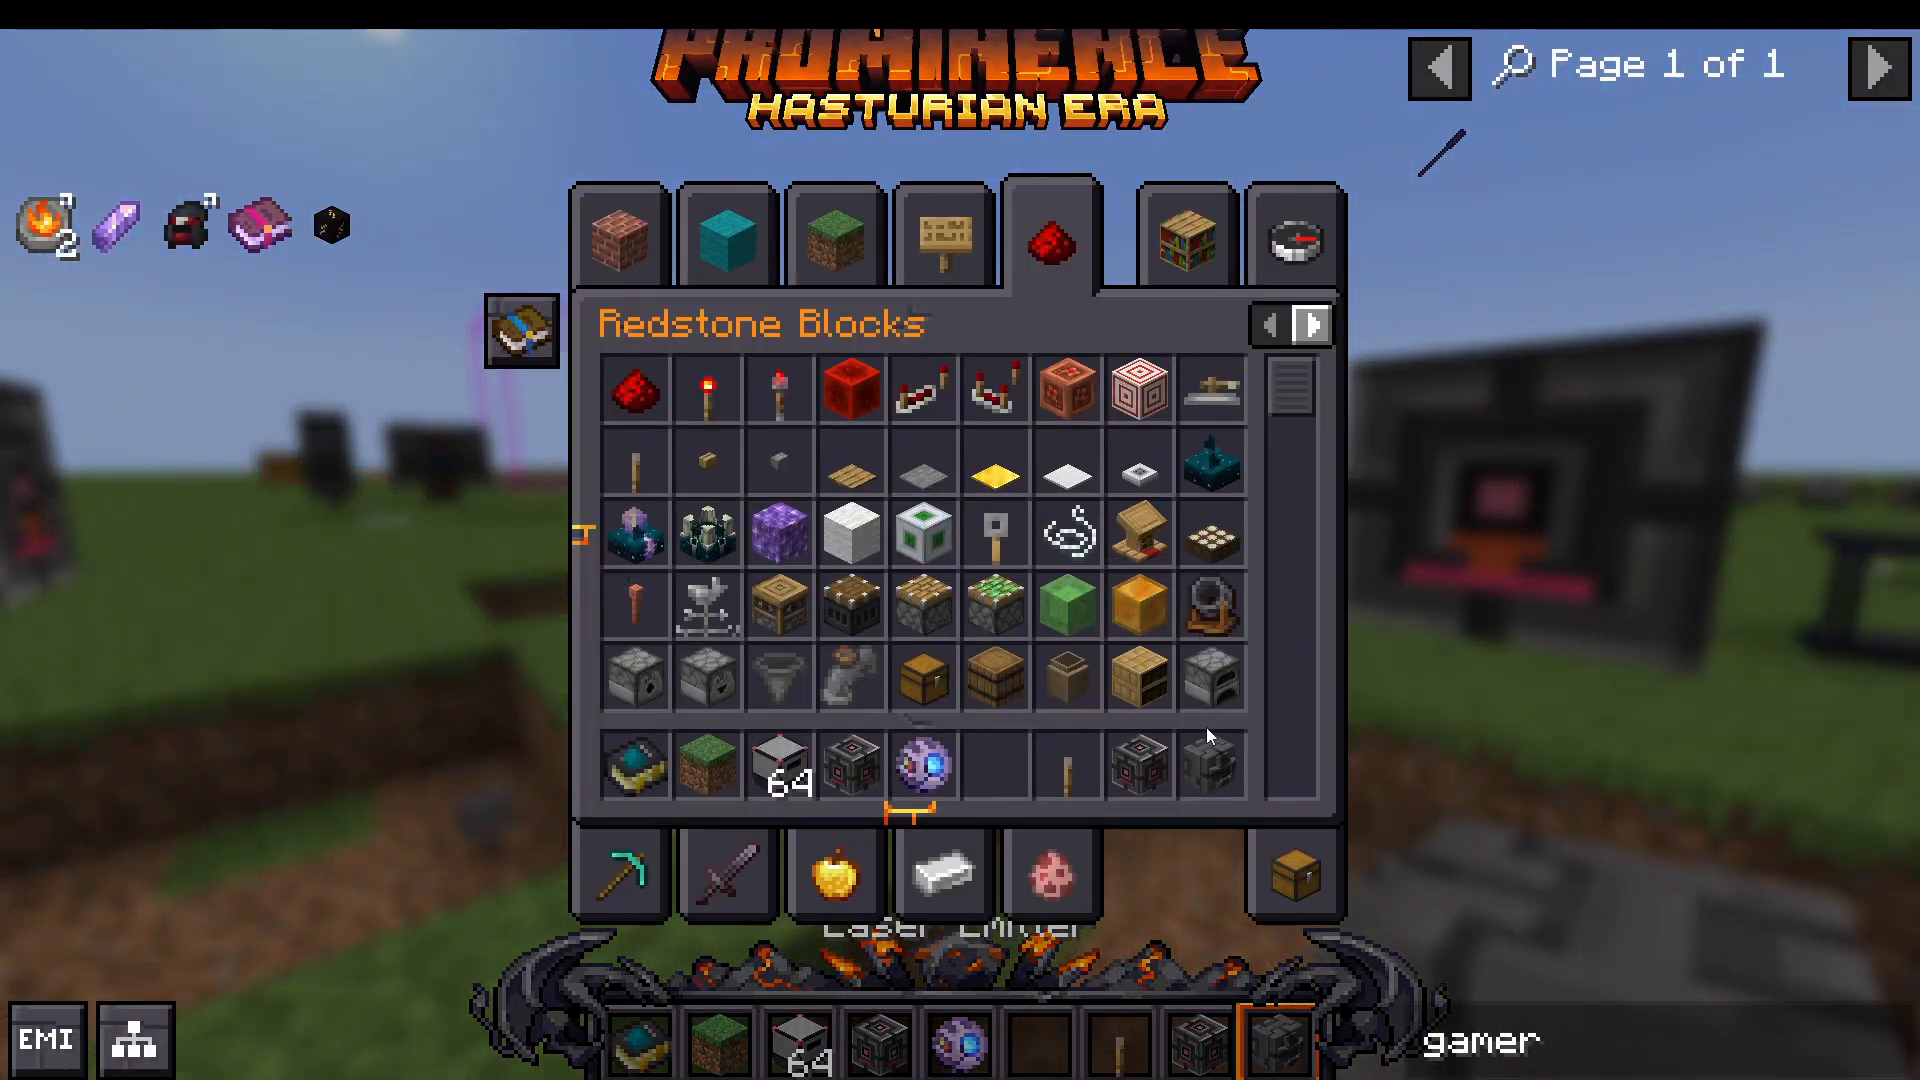
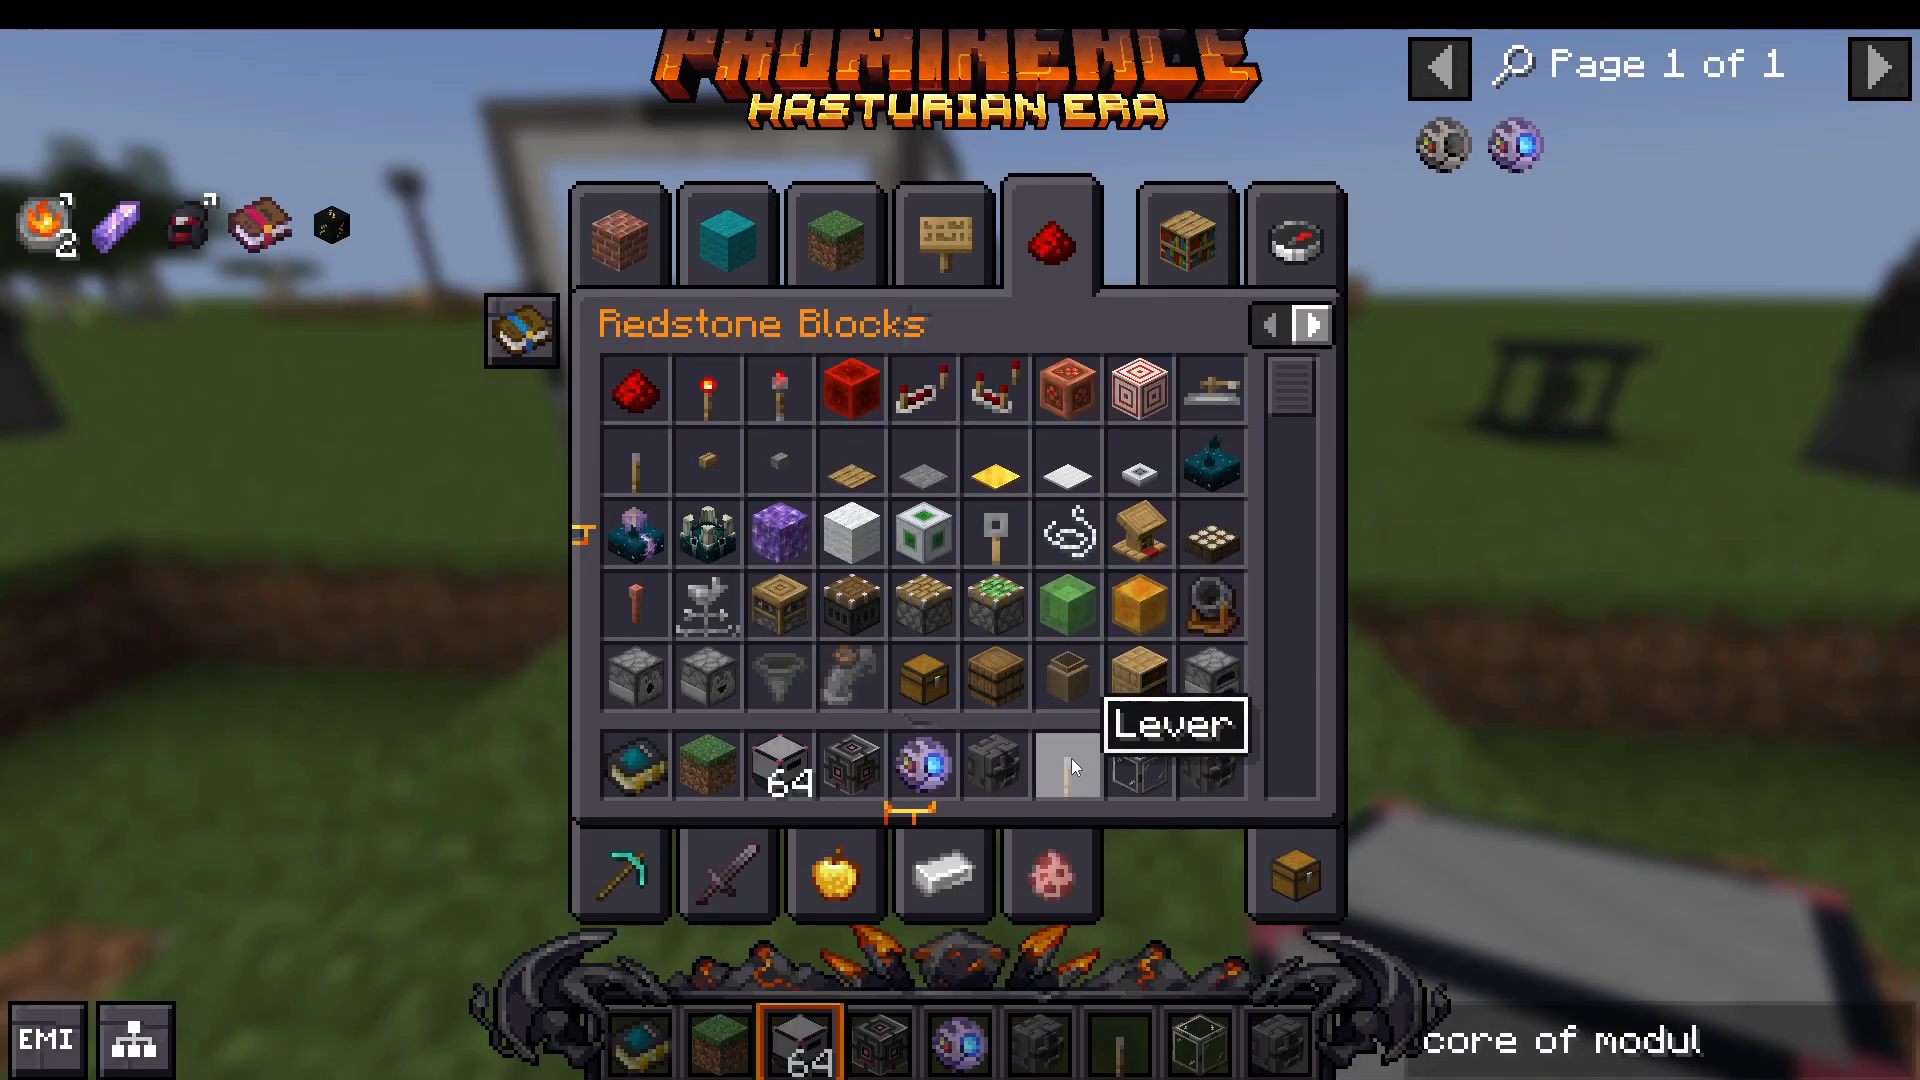
To begin creating a charged core of modularity, you’ll need to craft four to six laser emitters. These will be the cornerstone of your charging setup. You’ll also need one capsule and an uncharged core of modularity.
Arranging the Laser Emitters
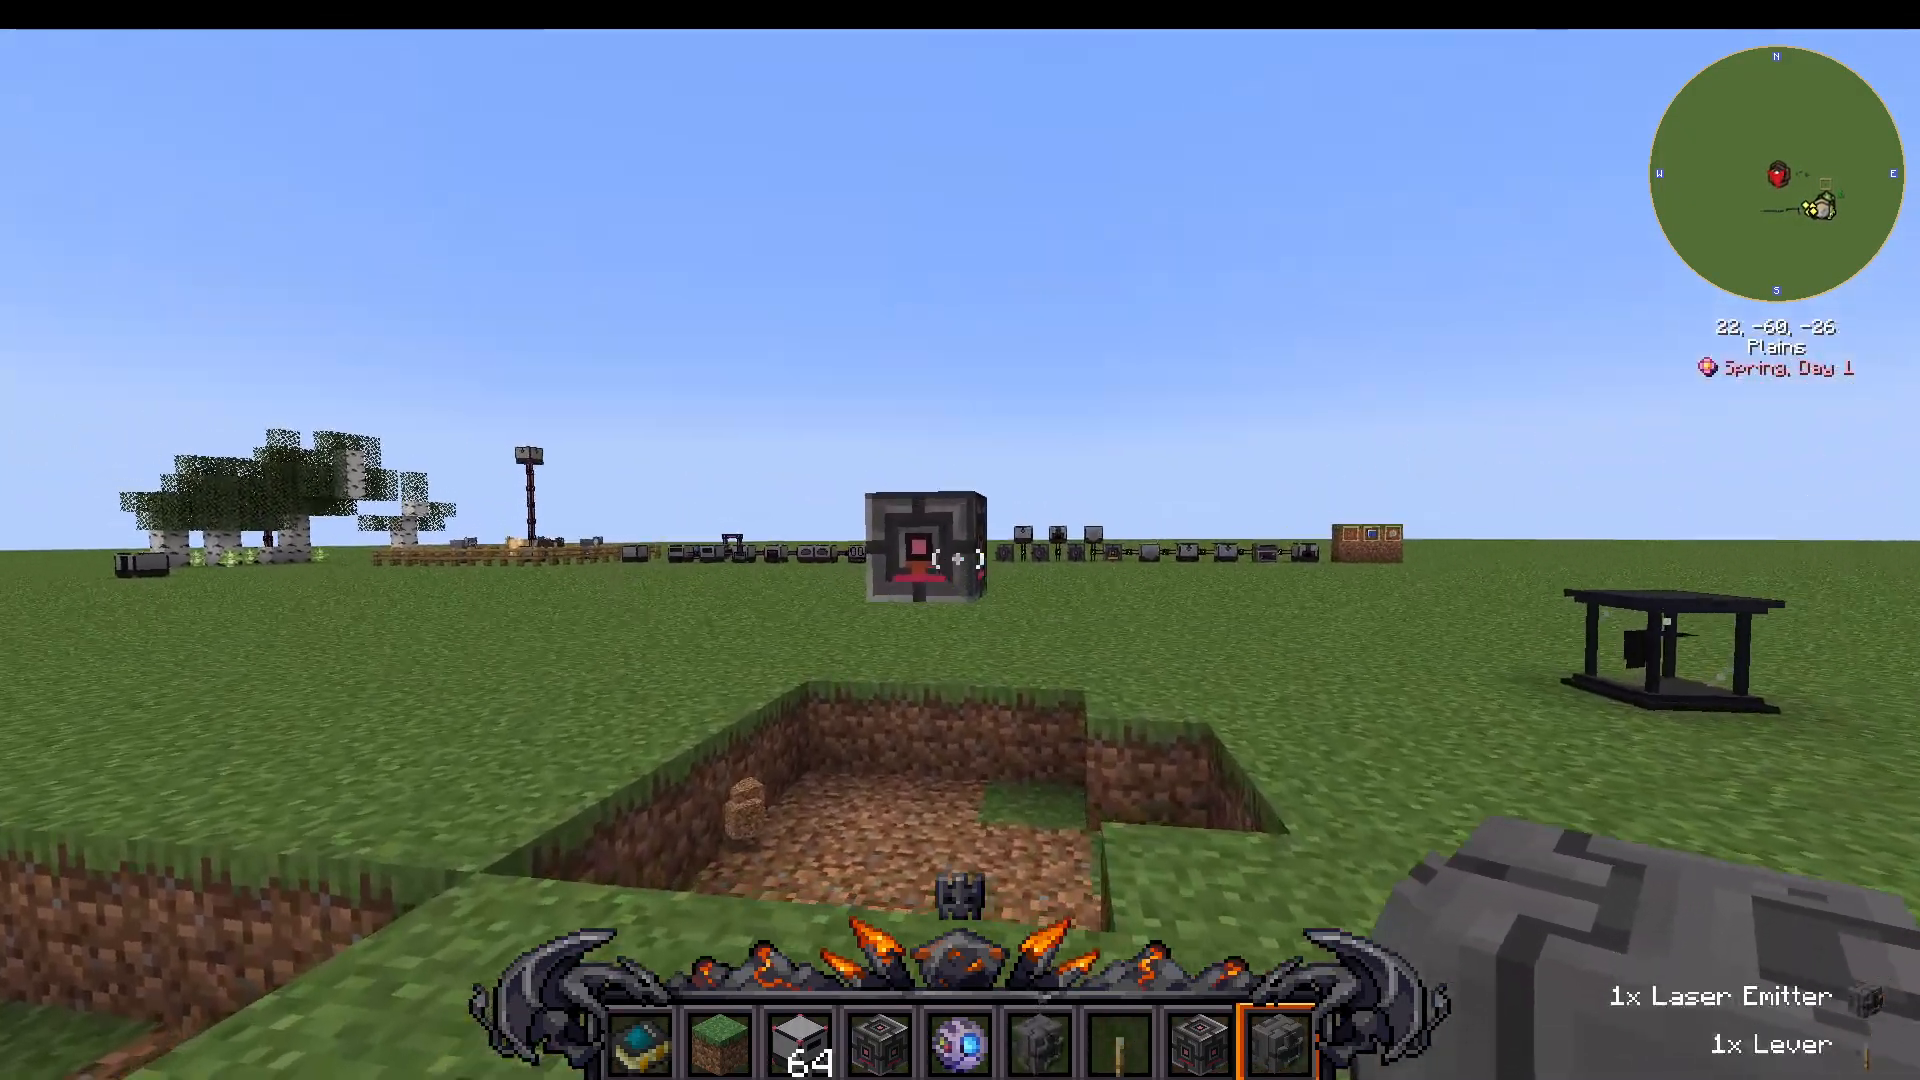
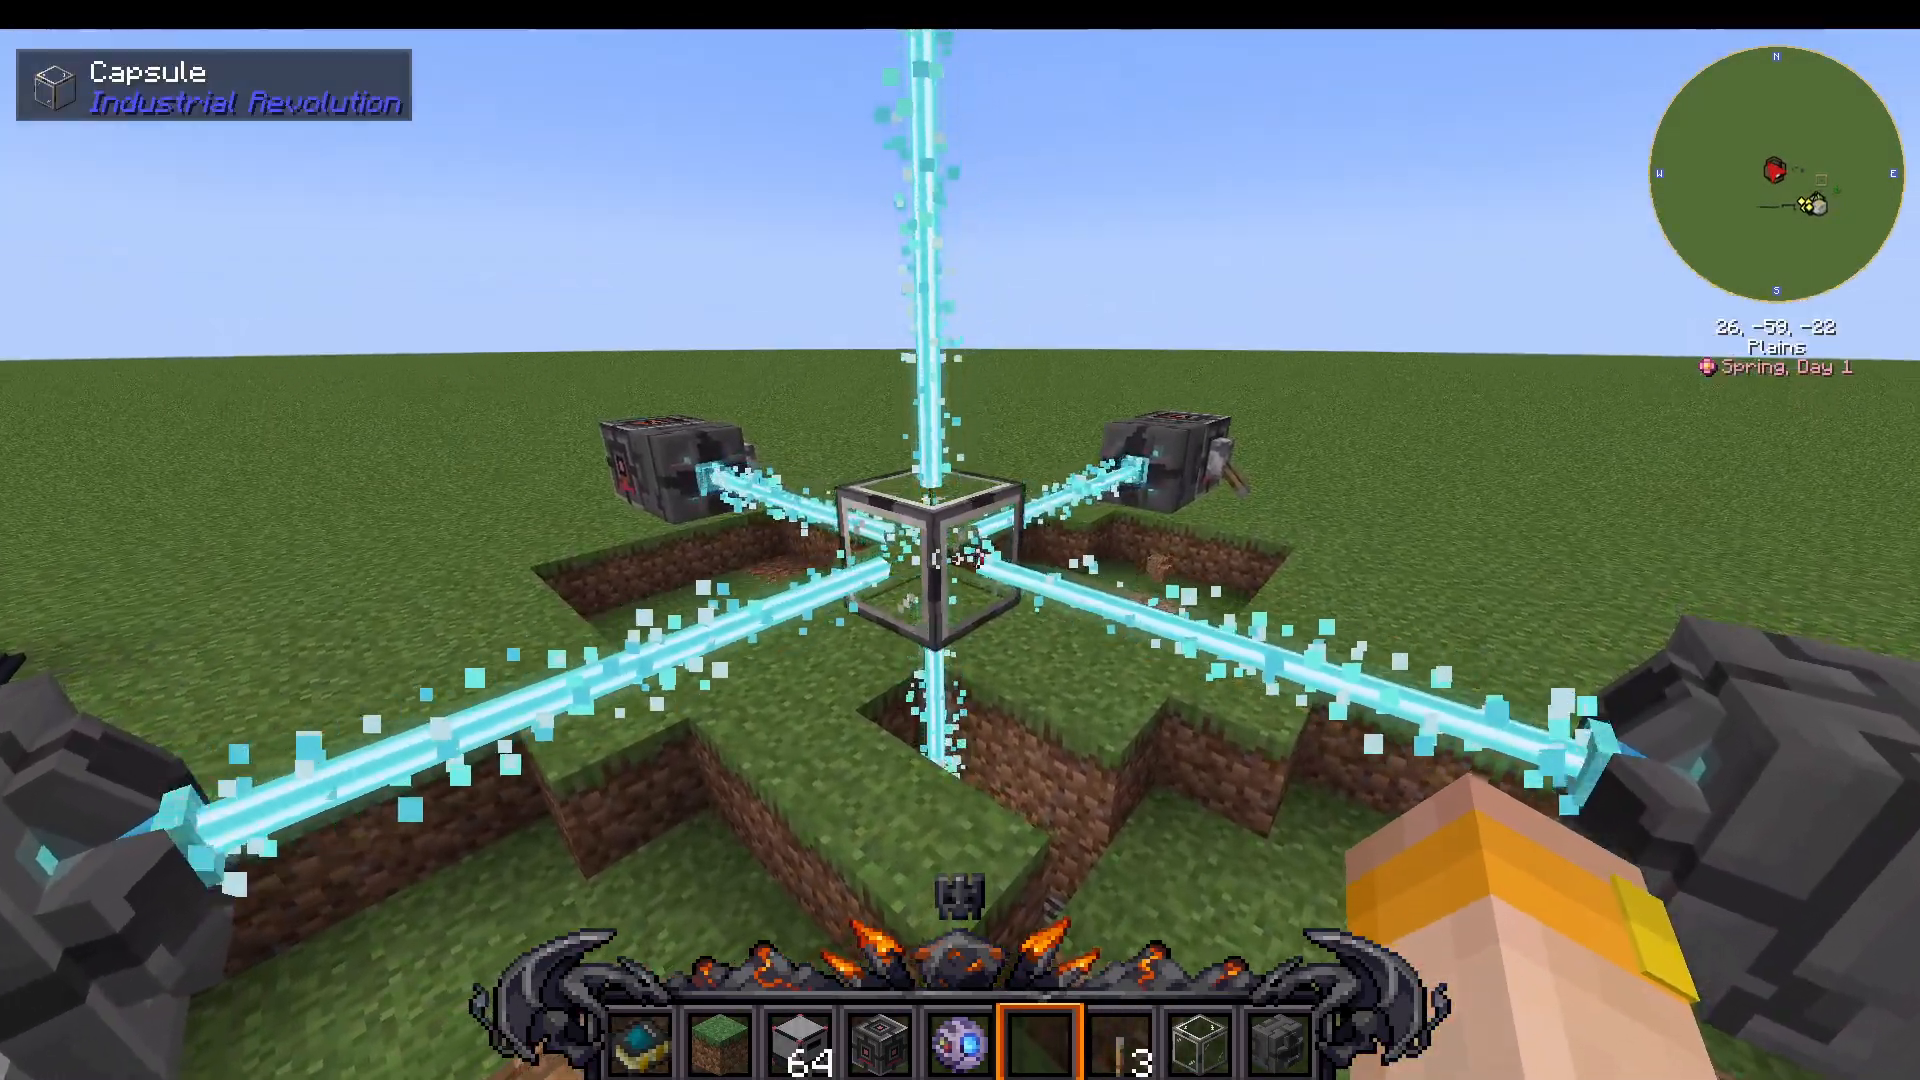
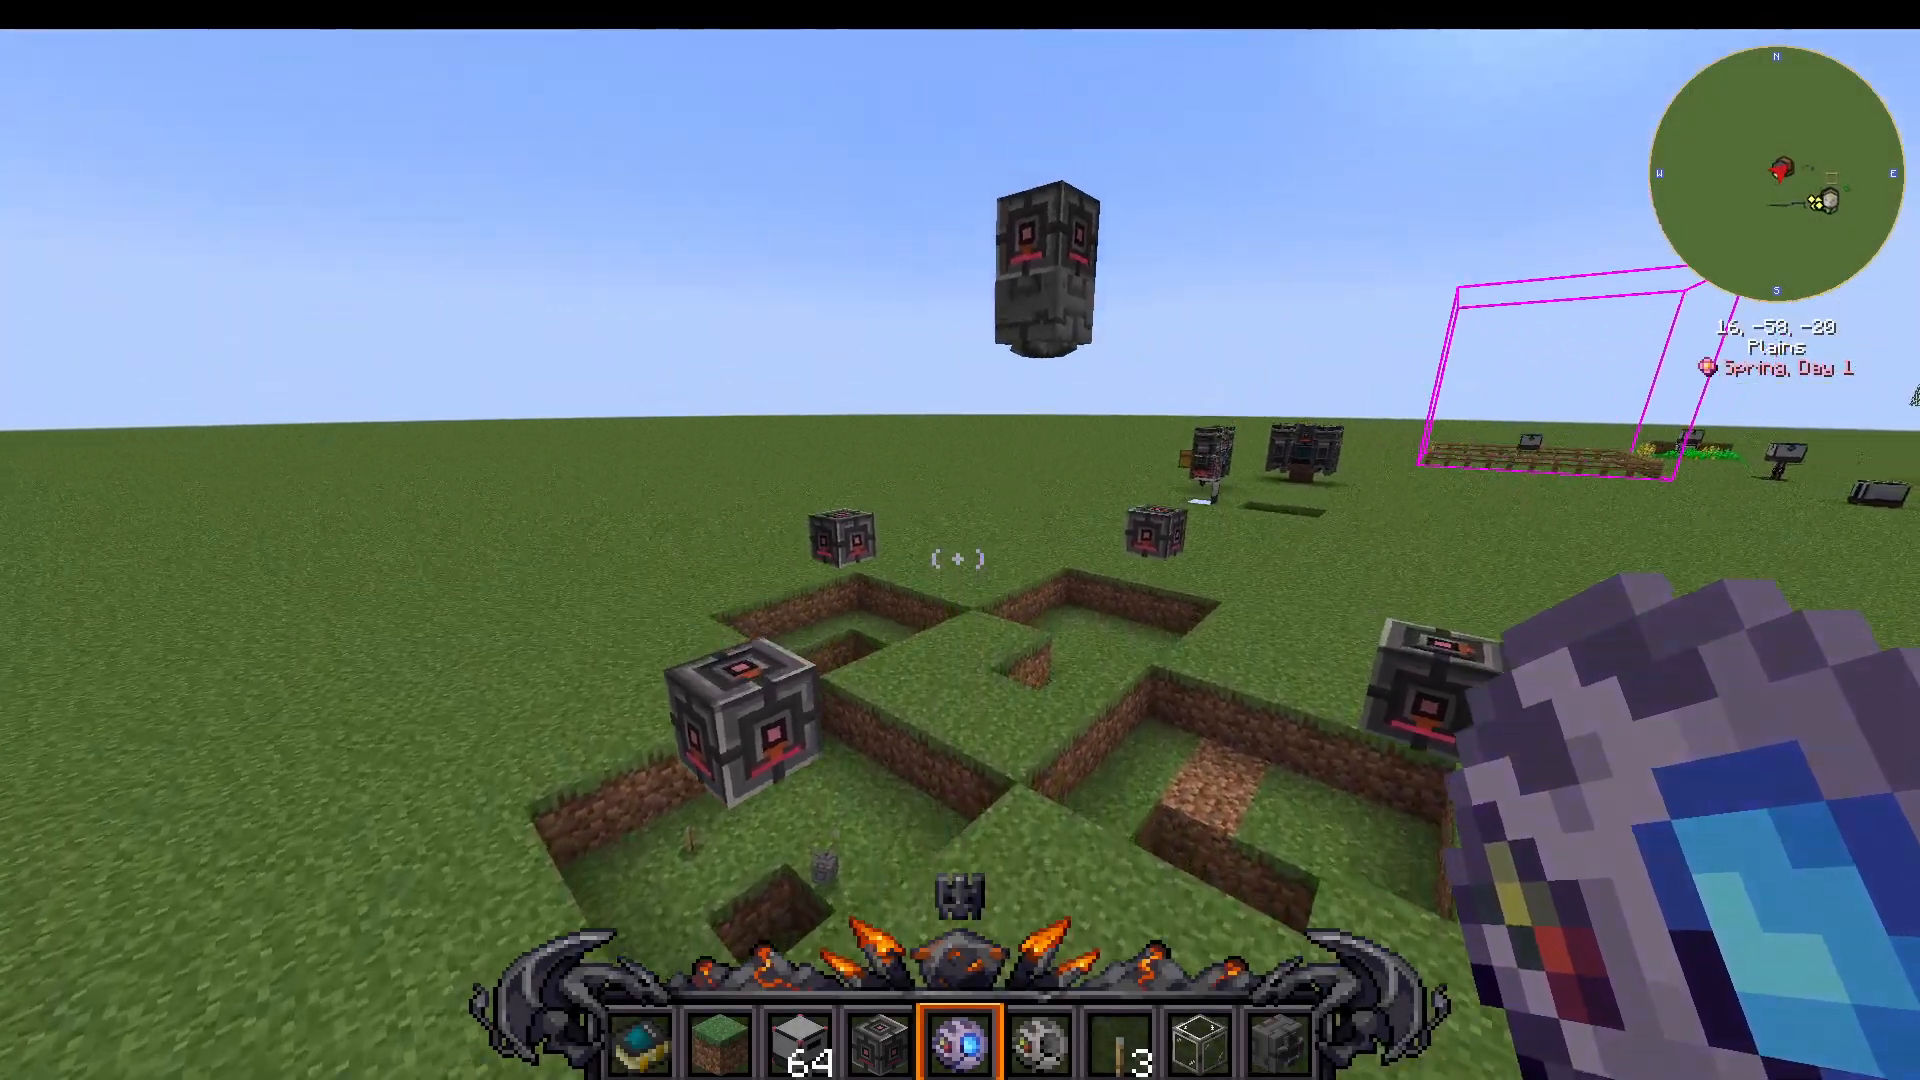
Place your laser emitters onto a power source using cables or your preferred power delivery method. Creative cores work well for this purpose, and make sure all emitters are turned off before proceeding. Position the emitters around your setup—you can place them on the sides and even above and below the charging station.
Placing the Capsule
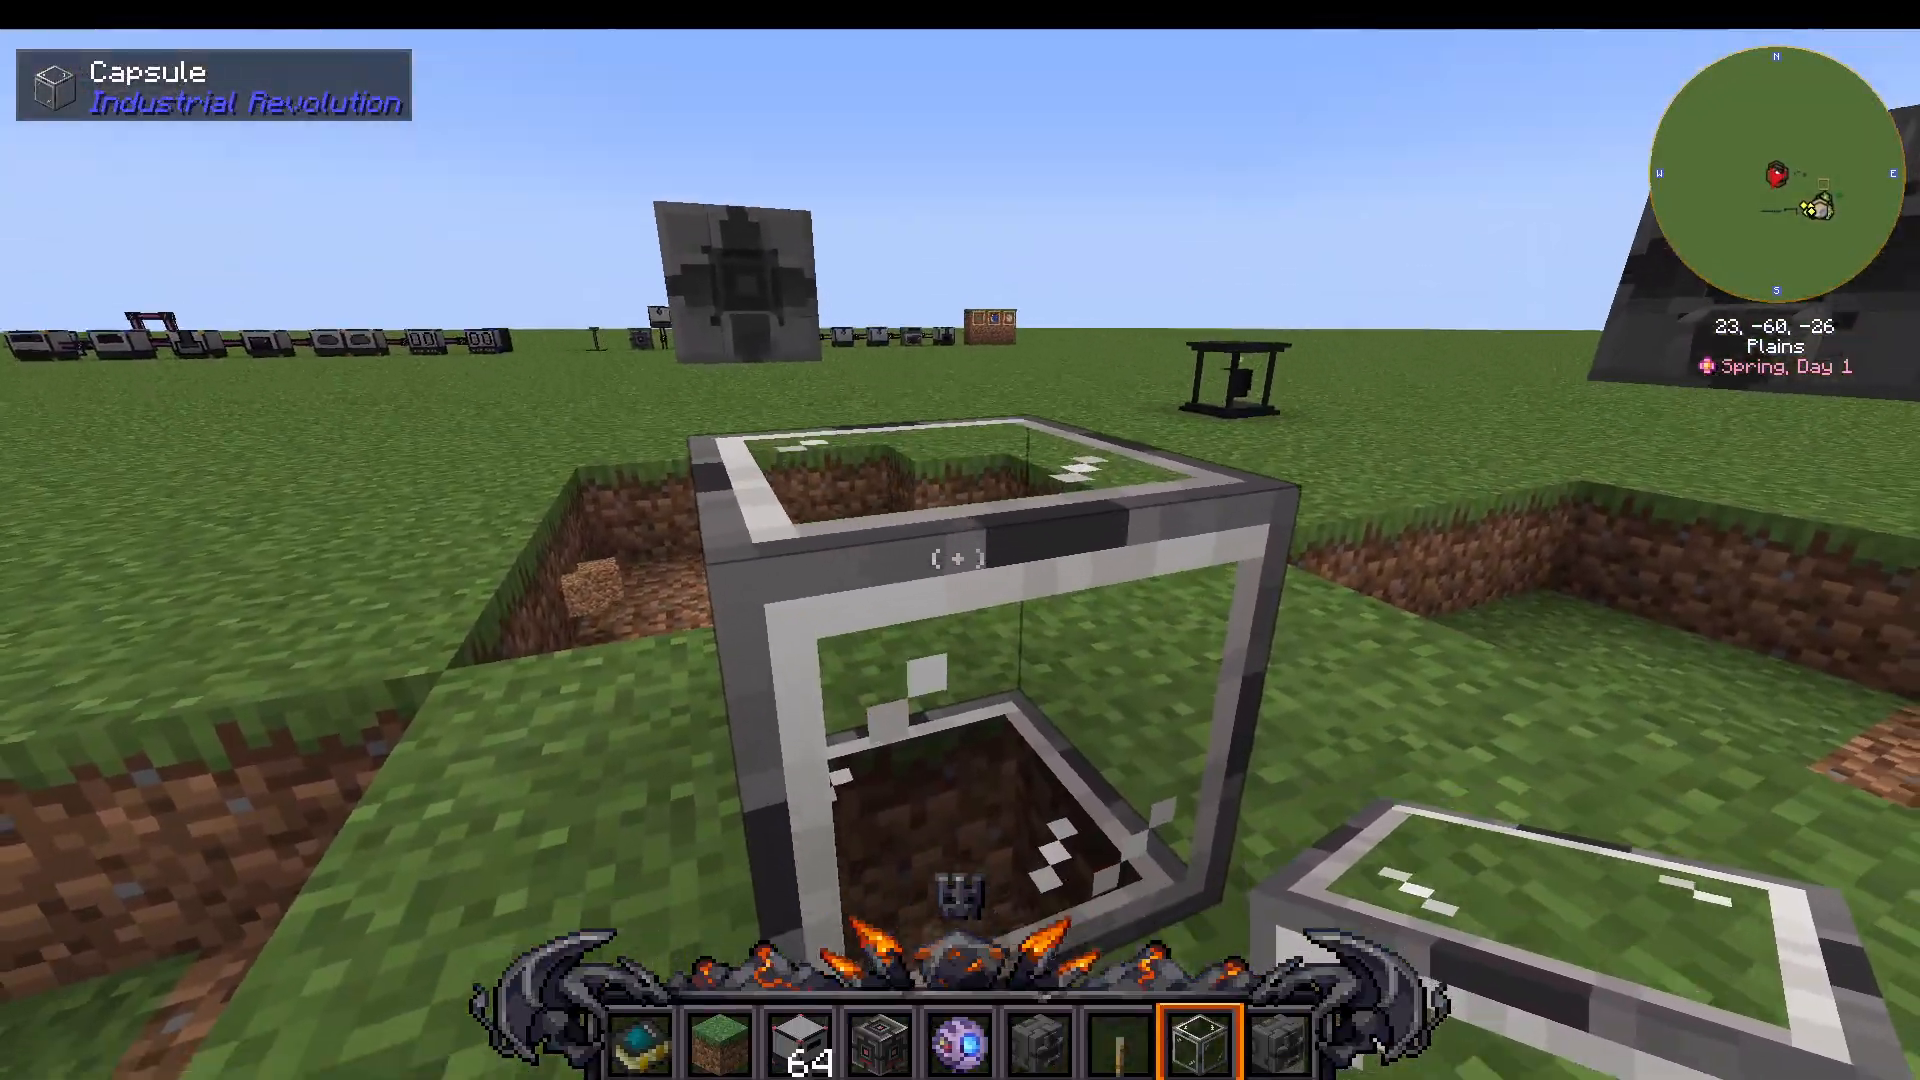
The capsule should be placed in the center of your laser emitter arrangement. It must be placed independently and cannot have blocks directly adjacent to it on the sides. If you attempt to place blocks adjacent to the capsule, they will not stay.
Installing the Core
Right-click the uncharged core of modularity into the capsule. The core will not be visible inside the capsule, but it is there. This is the crucial item that will be charged by your laser emitters.
Charging the Core of Modularity
Spacing Requirements
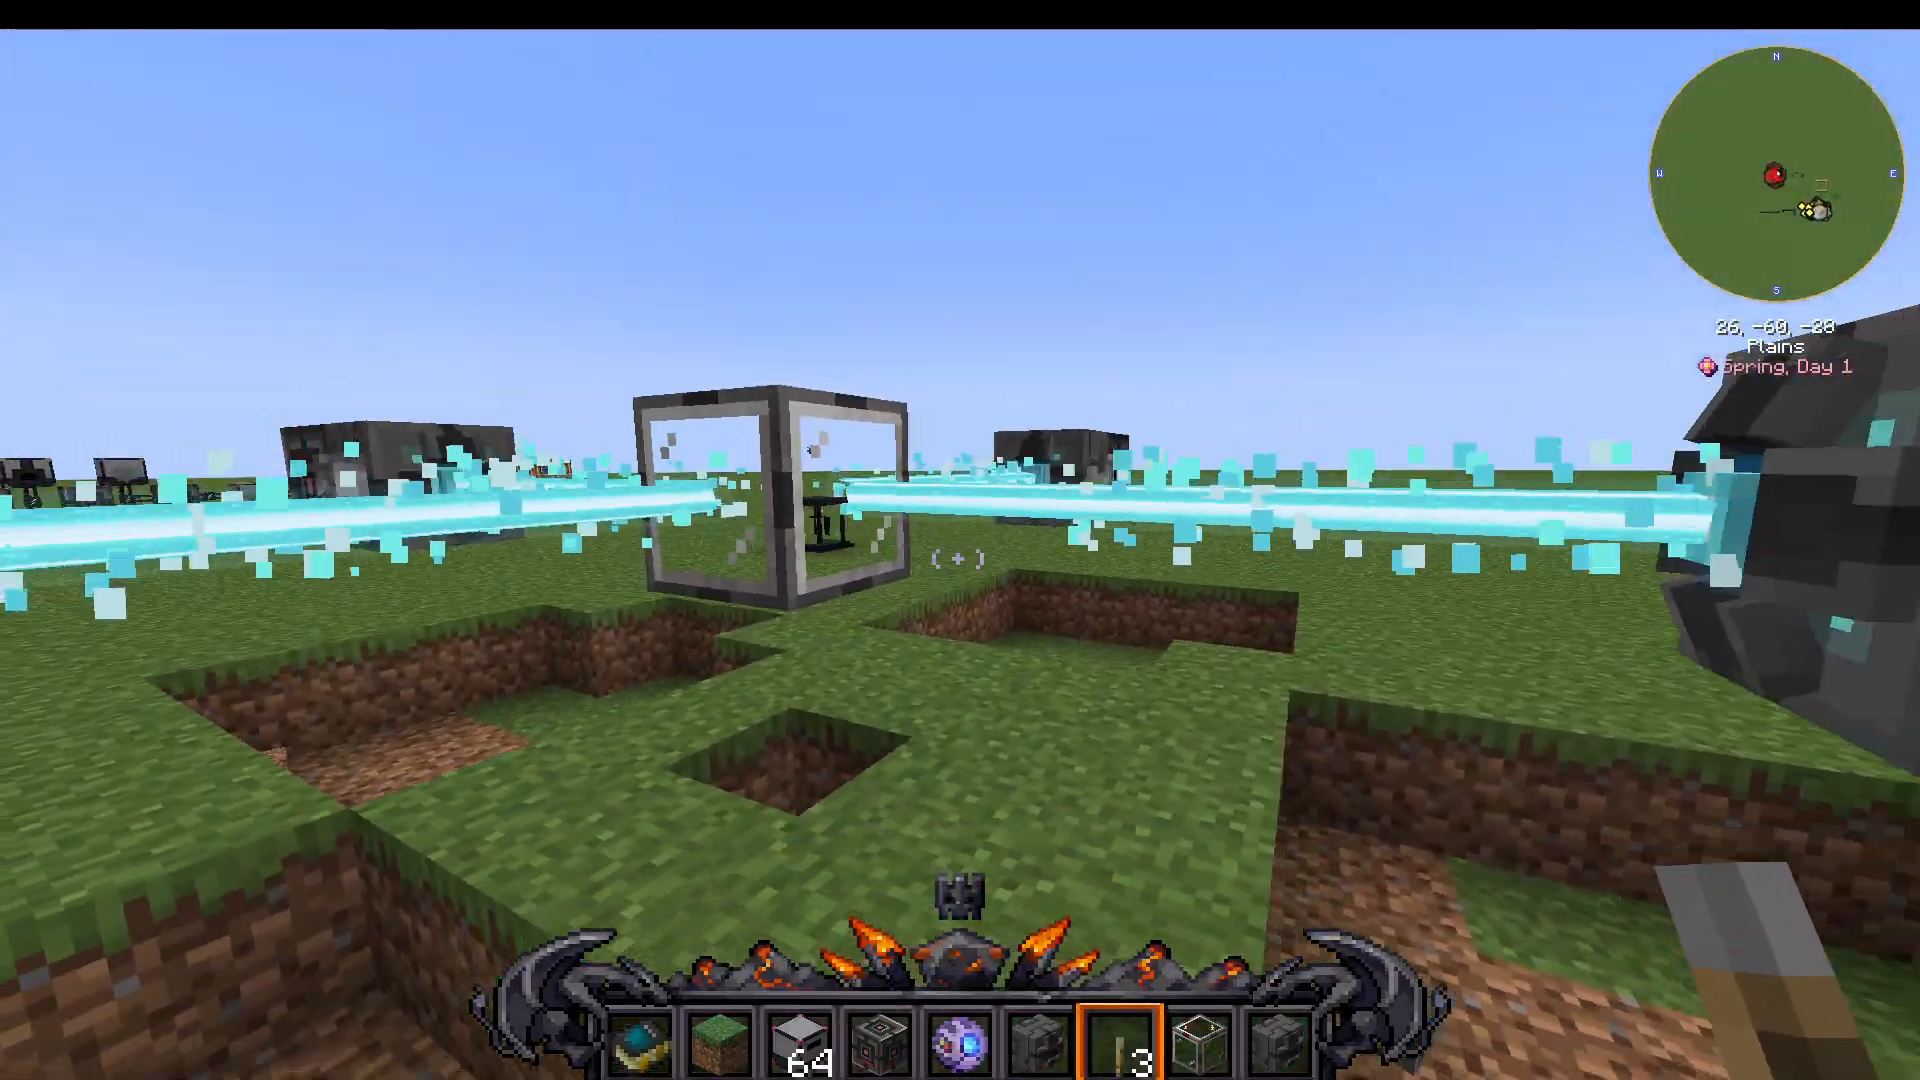
This is critical: there must be a gap of exactly one, two, three blocks between your laser emitters and the capsule. If you place a laser emitter too close, the capsule will emit smoke and potentially explode when activated. Proper spacing is essential for a successful charge.
Activating the Lasers
Once your emitters are properly spaced, use levers or redstone signals to turn on the laser emitters. Each laser will fire a beam of energy into the capsule. You can place emitters on multiple sides—left, right, front, back, above, and below—all work effectively.
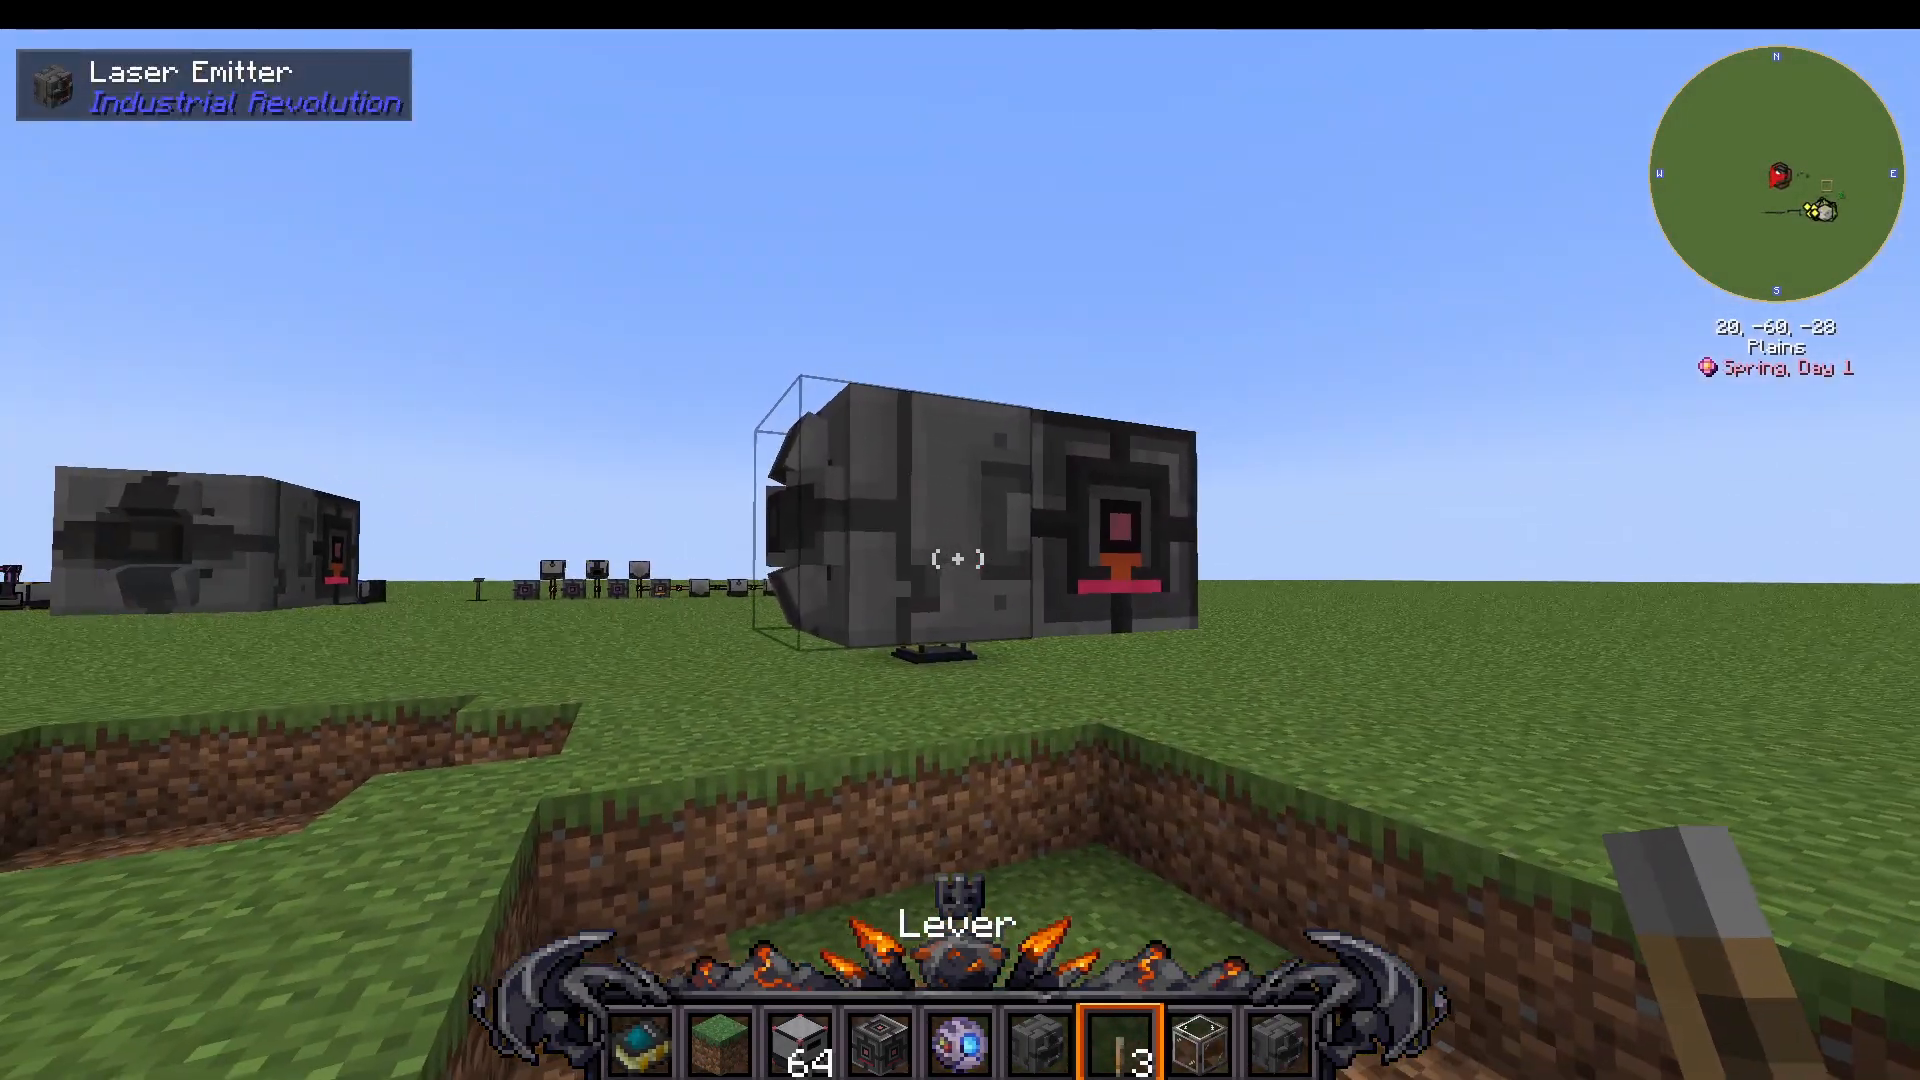
The more lasers you use in your setup, the faster the charging process will complete. However, even with one or two lasers, the system will work.
Waiting for the Charge to Complete
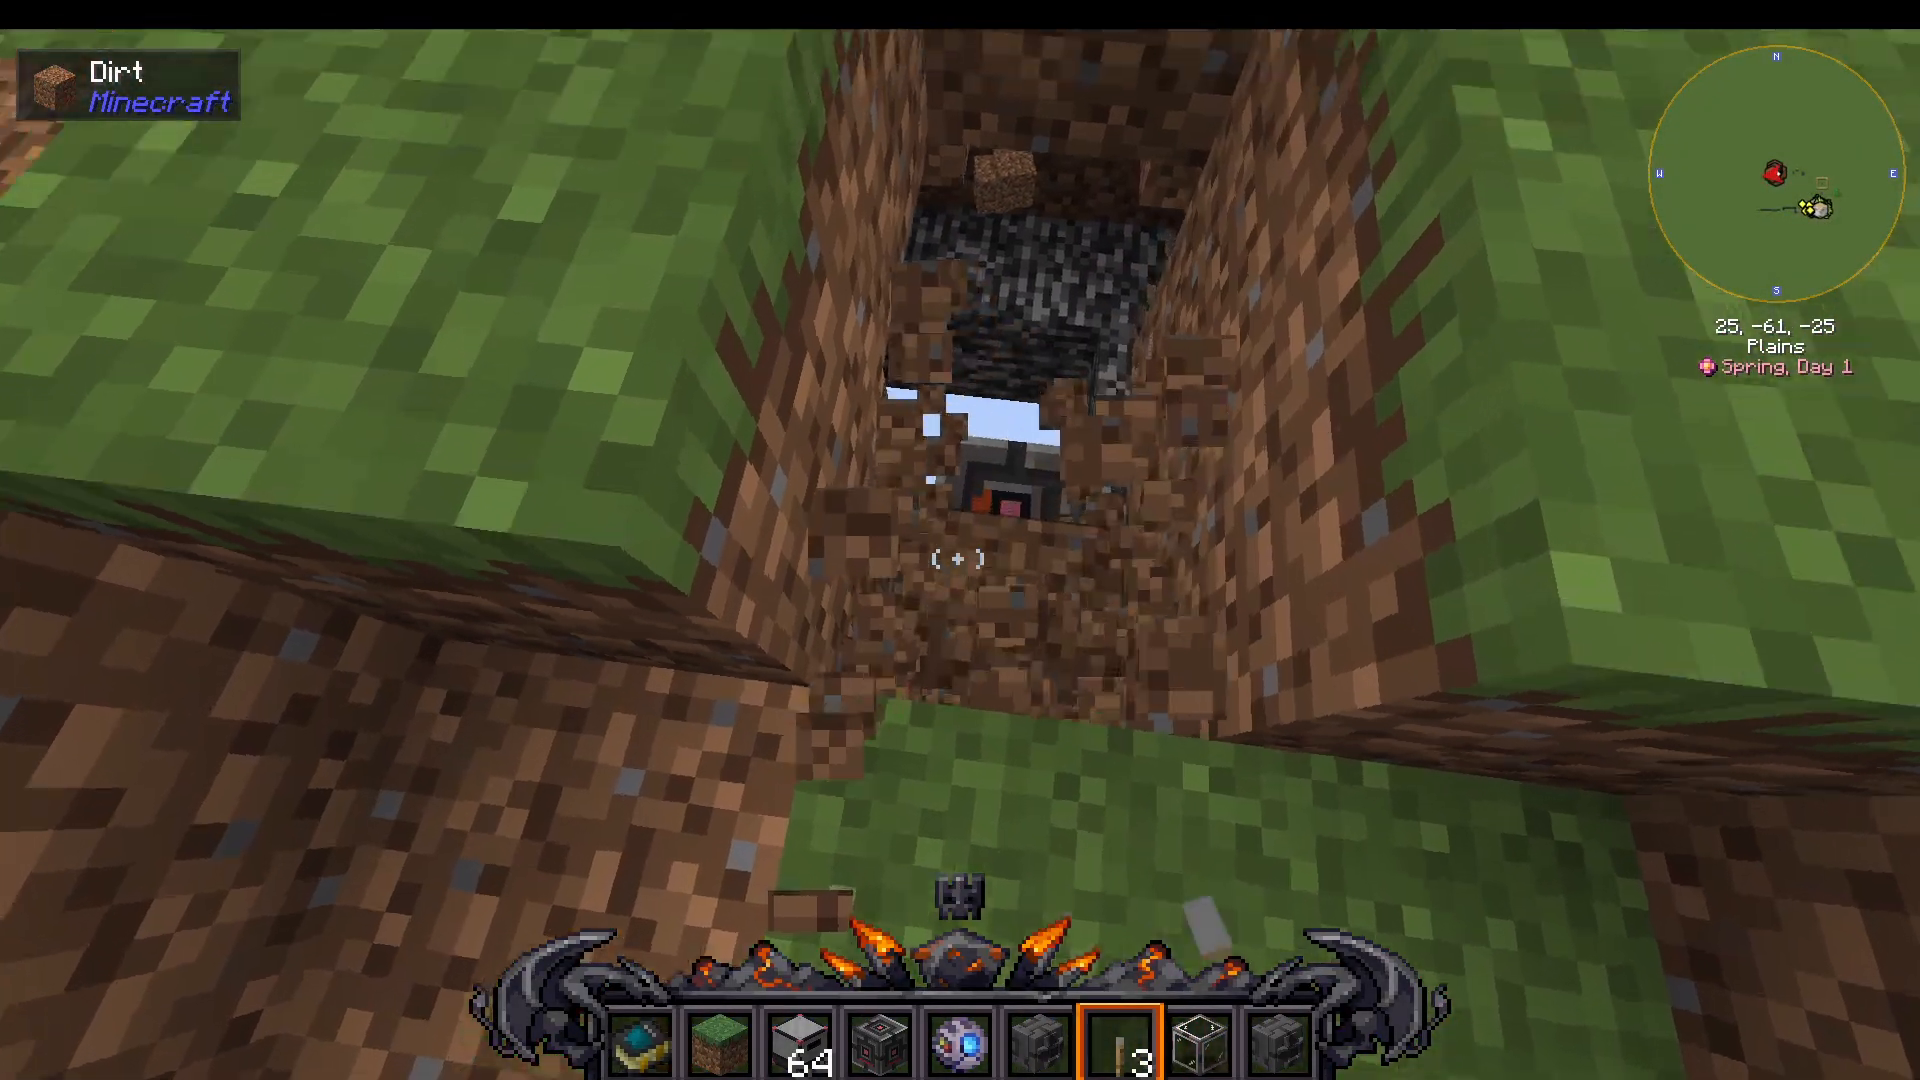
The charging process takes approximately five to ten minutes of real-time. Unfortunately, there is no visible indicator inside the capsule to show when the core is fully charged, so patience is required. It’s recommended to wait at least five minutes before attempting to retrieve your core.
Retrieving Your Charged Core
Important: You must turn off all laser emitters before attempting to retrieve the core from the capsule. Right-click each emitter to deactivate them completely.
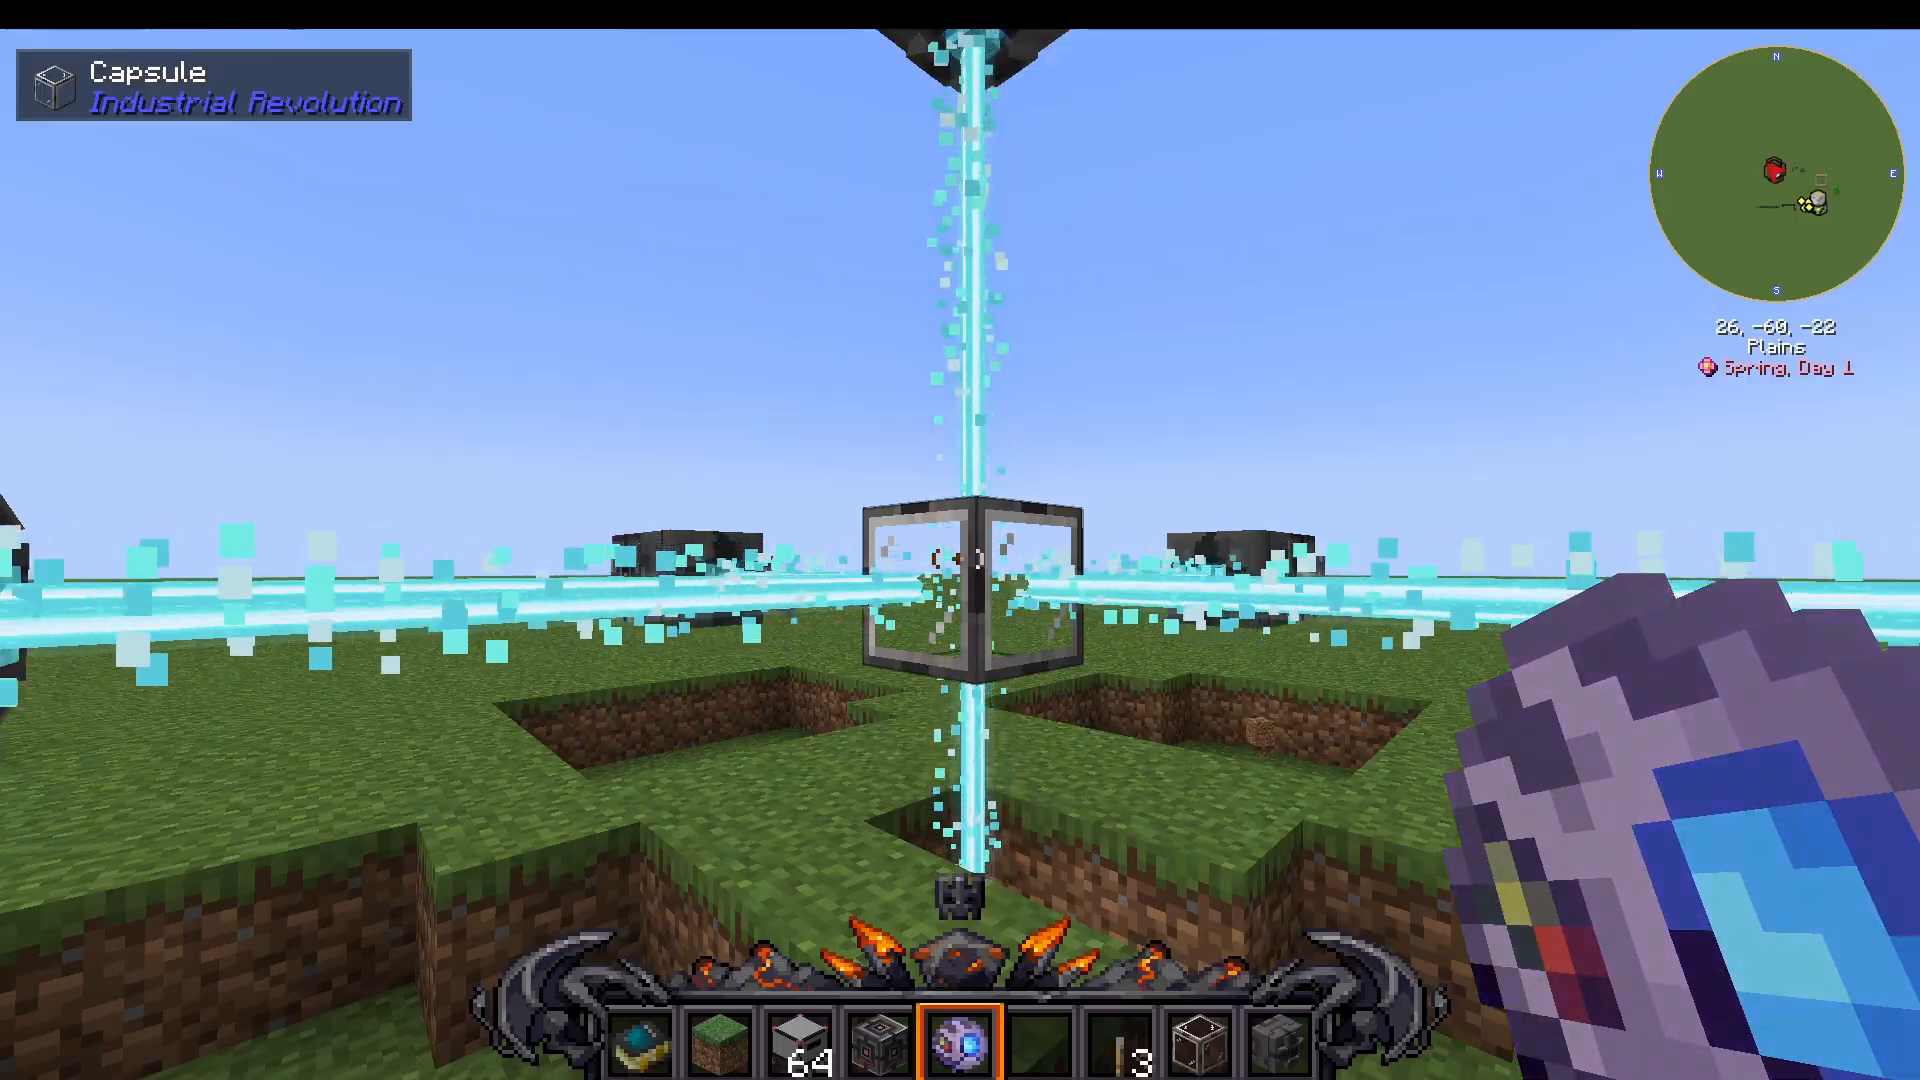
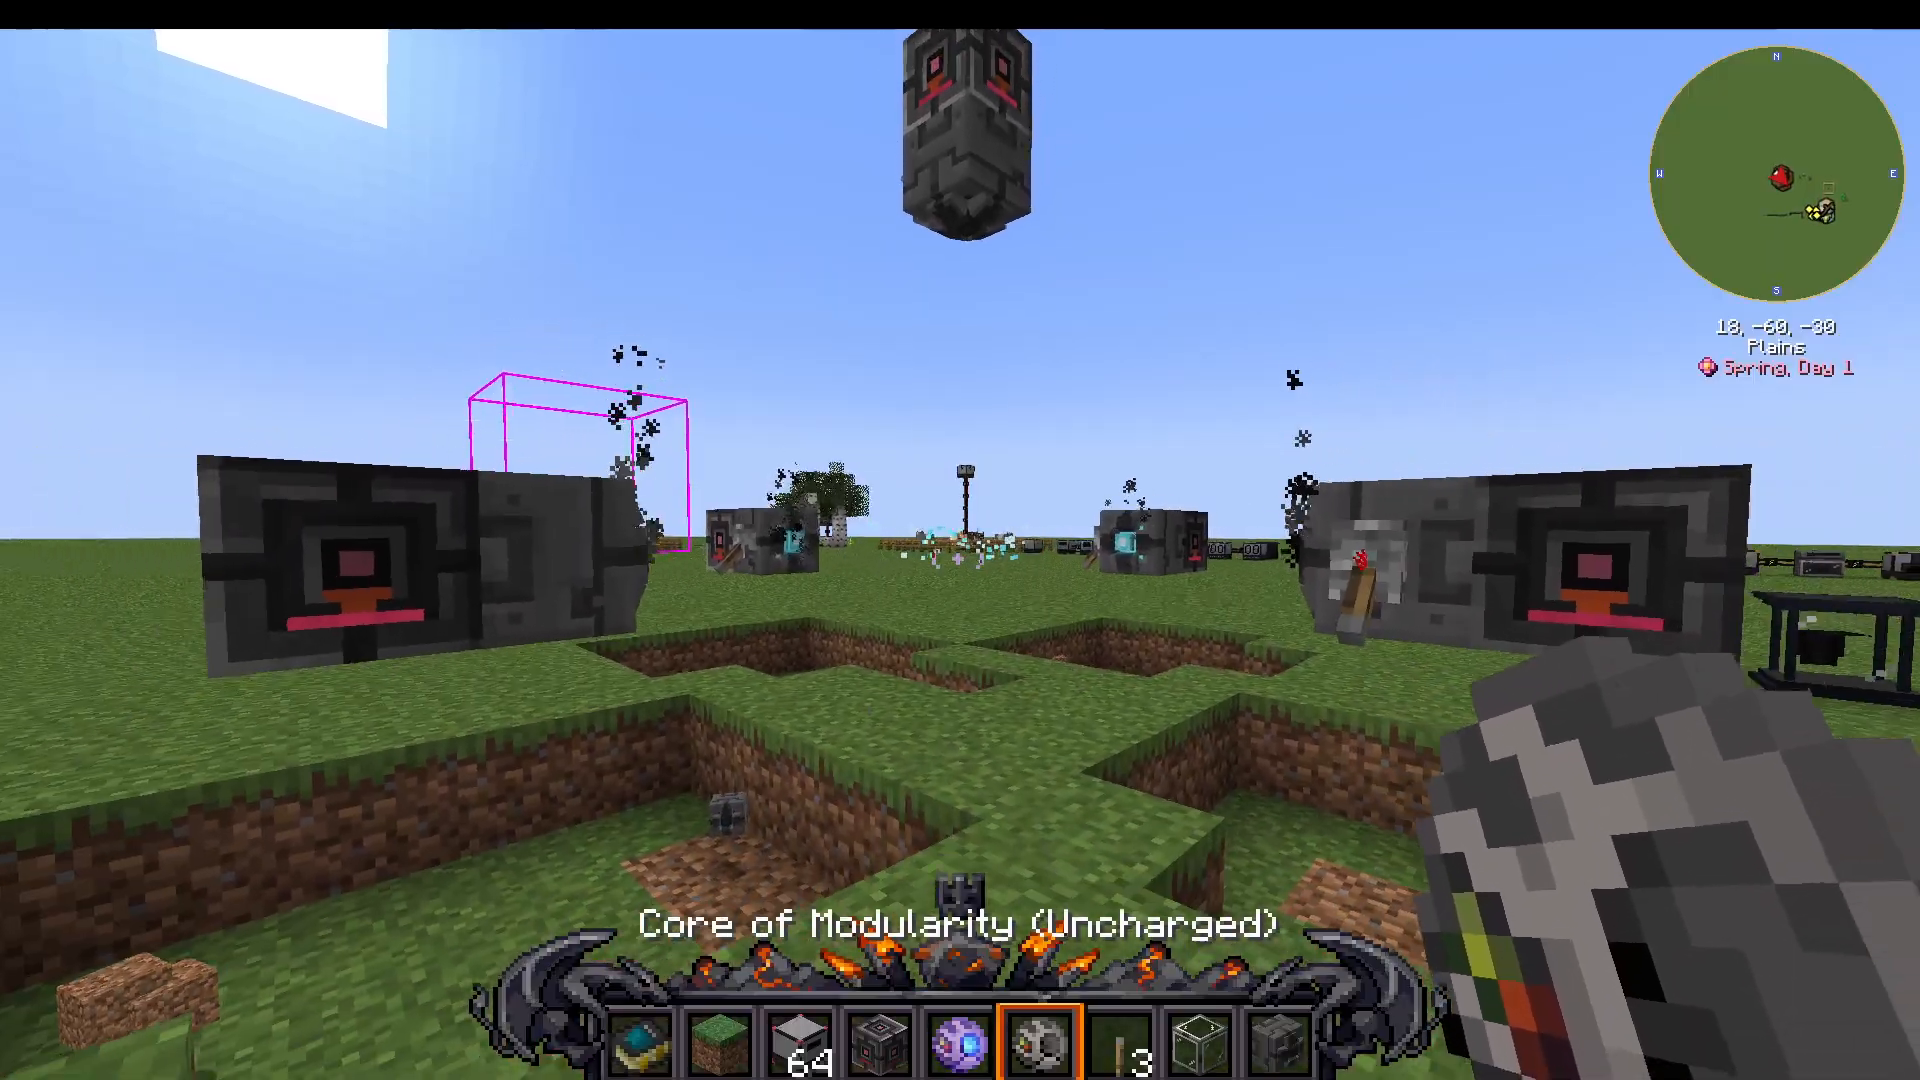
Once all lasers are off, right-click the capsule to extract the core. If the core is not fully charged, it will display as “uncharged.” If you extract it before it’s ready, you’ll need to place it back in and start the entire charging process from the beginning—the system does not retain progress.
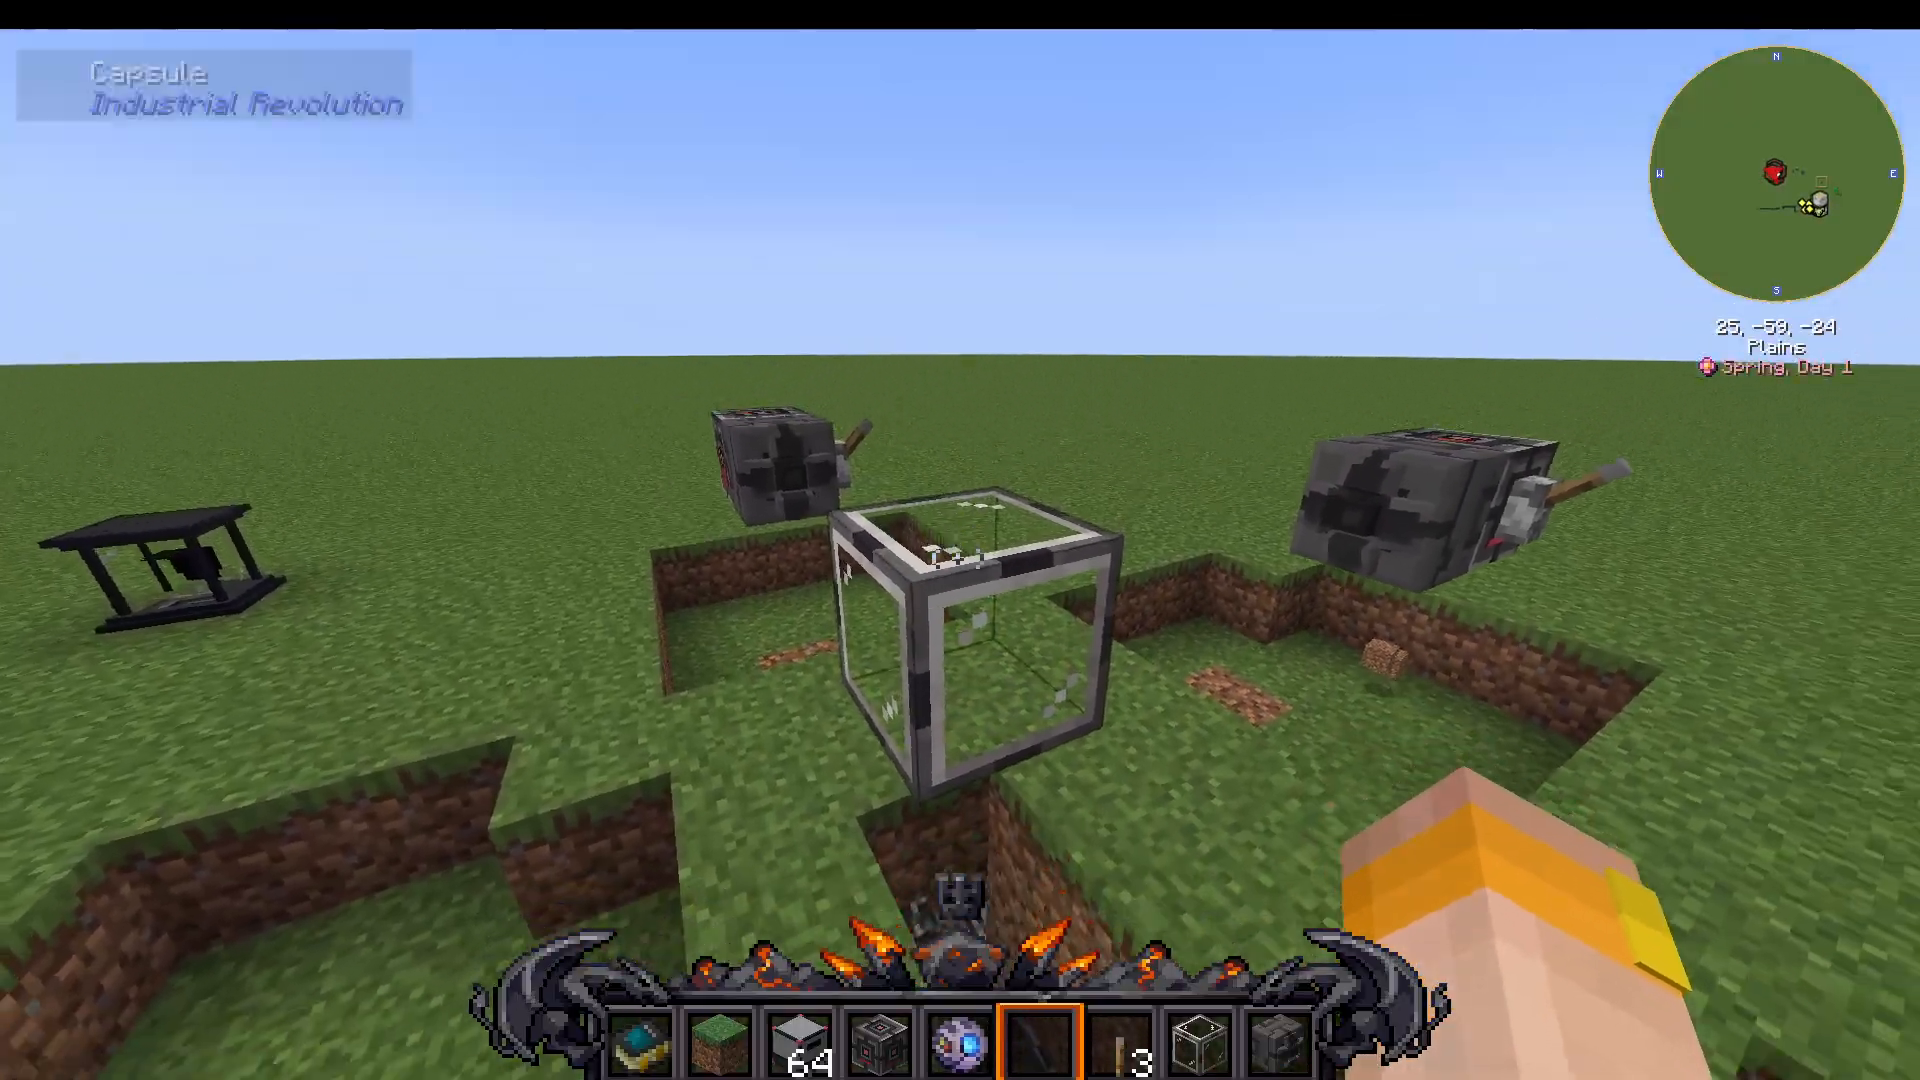
If you break the capsule while the lasers are still active, the energy beams will cause an explosion. Always deactivate the lasers first.
Crafting Modular Armor Pieces
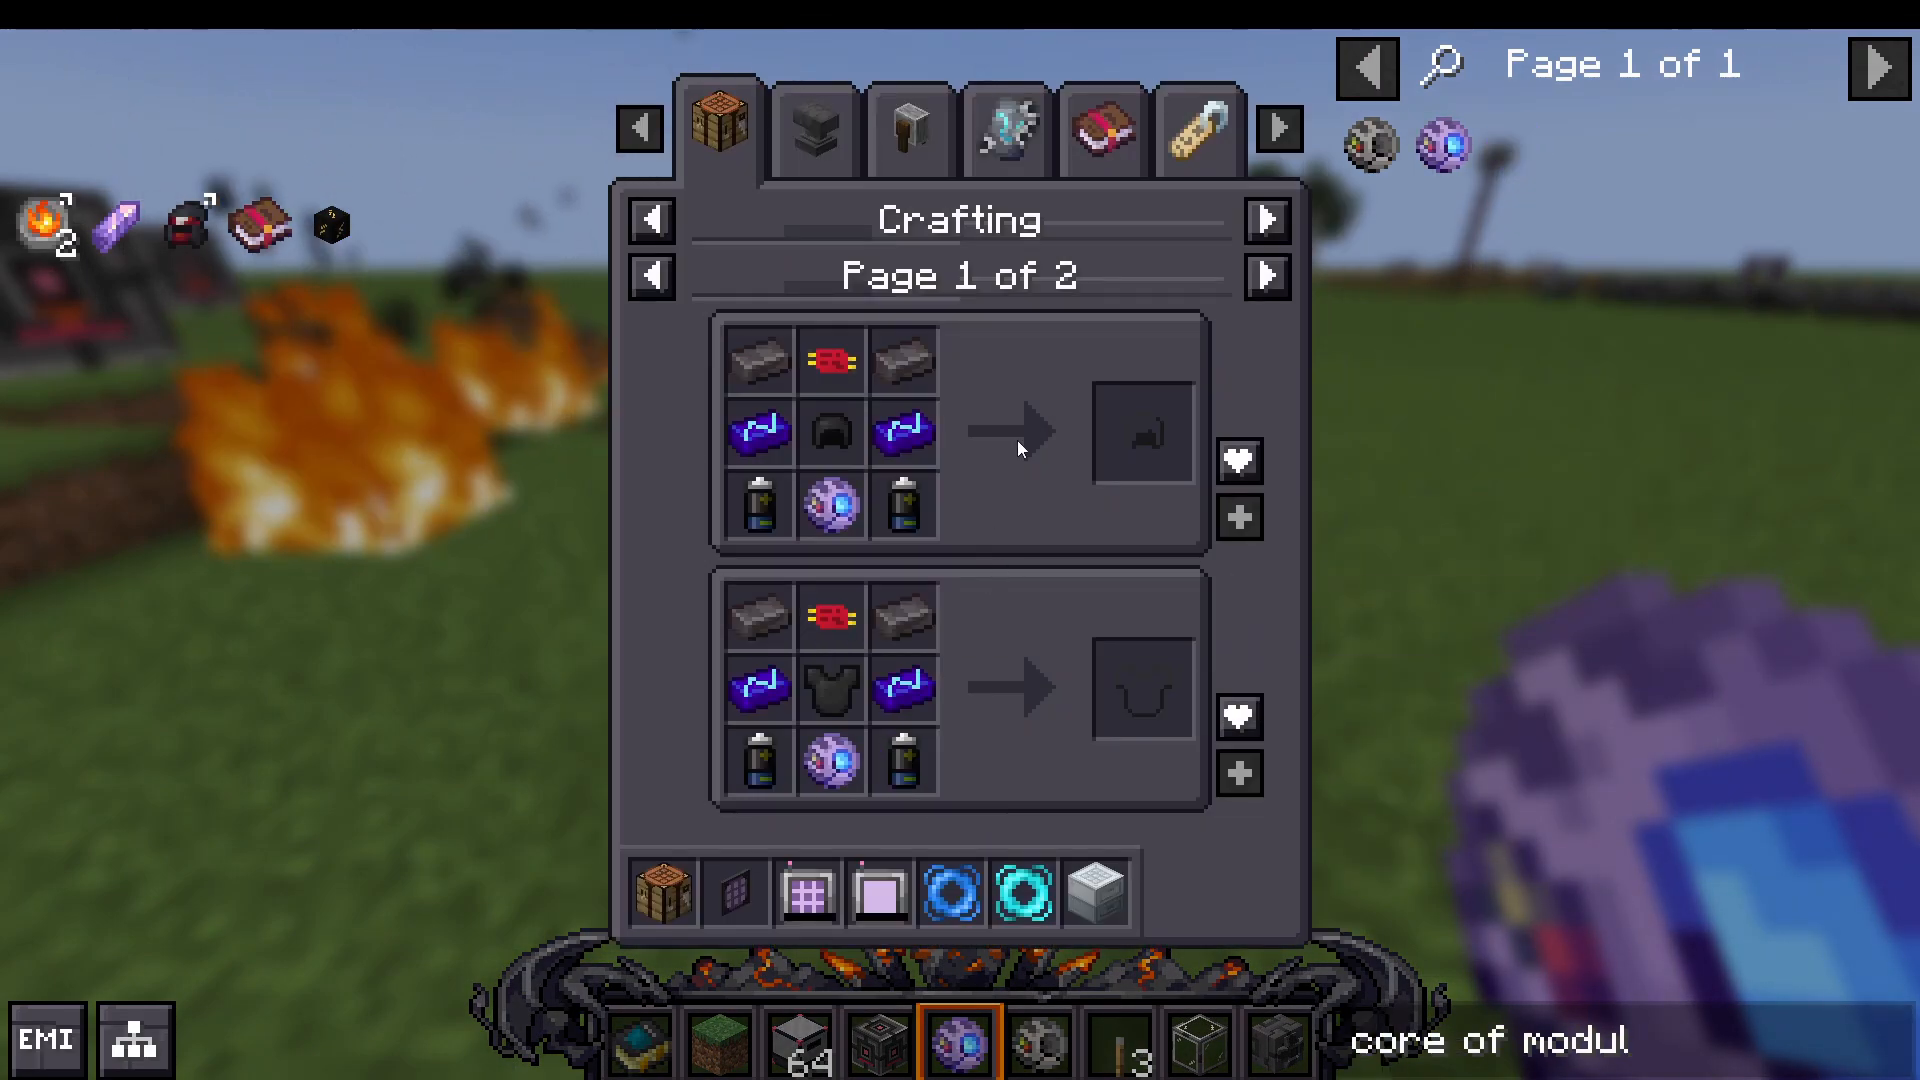
Once you have a fully charged core of modularity, you can craft modular gear. In your crafting menu, you’ll find four options:
Modular Helmet
Modular Chestplate
Modular Leggings
Modular Boots
Each piece of modular armor requires one core of modularity to craft.
Adding Modules at the Modular Workbench
Setting Up the Workbench
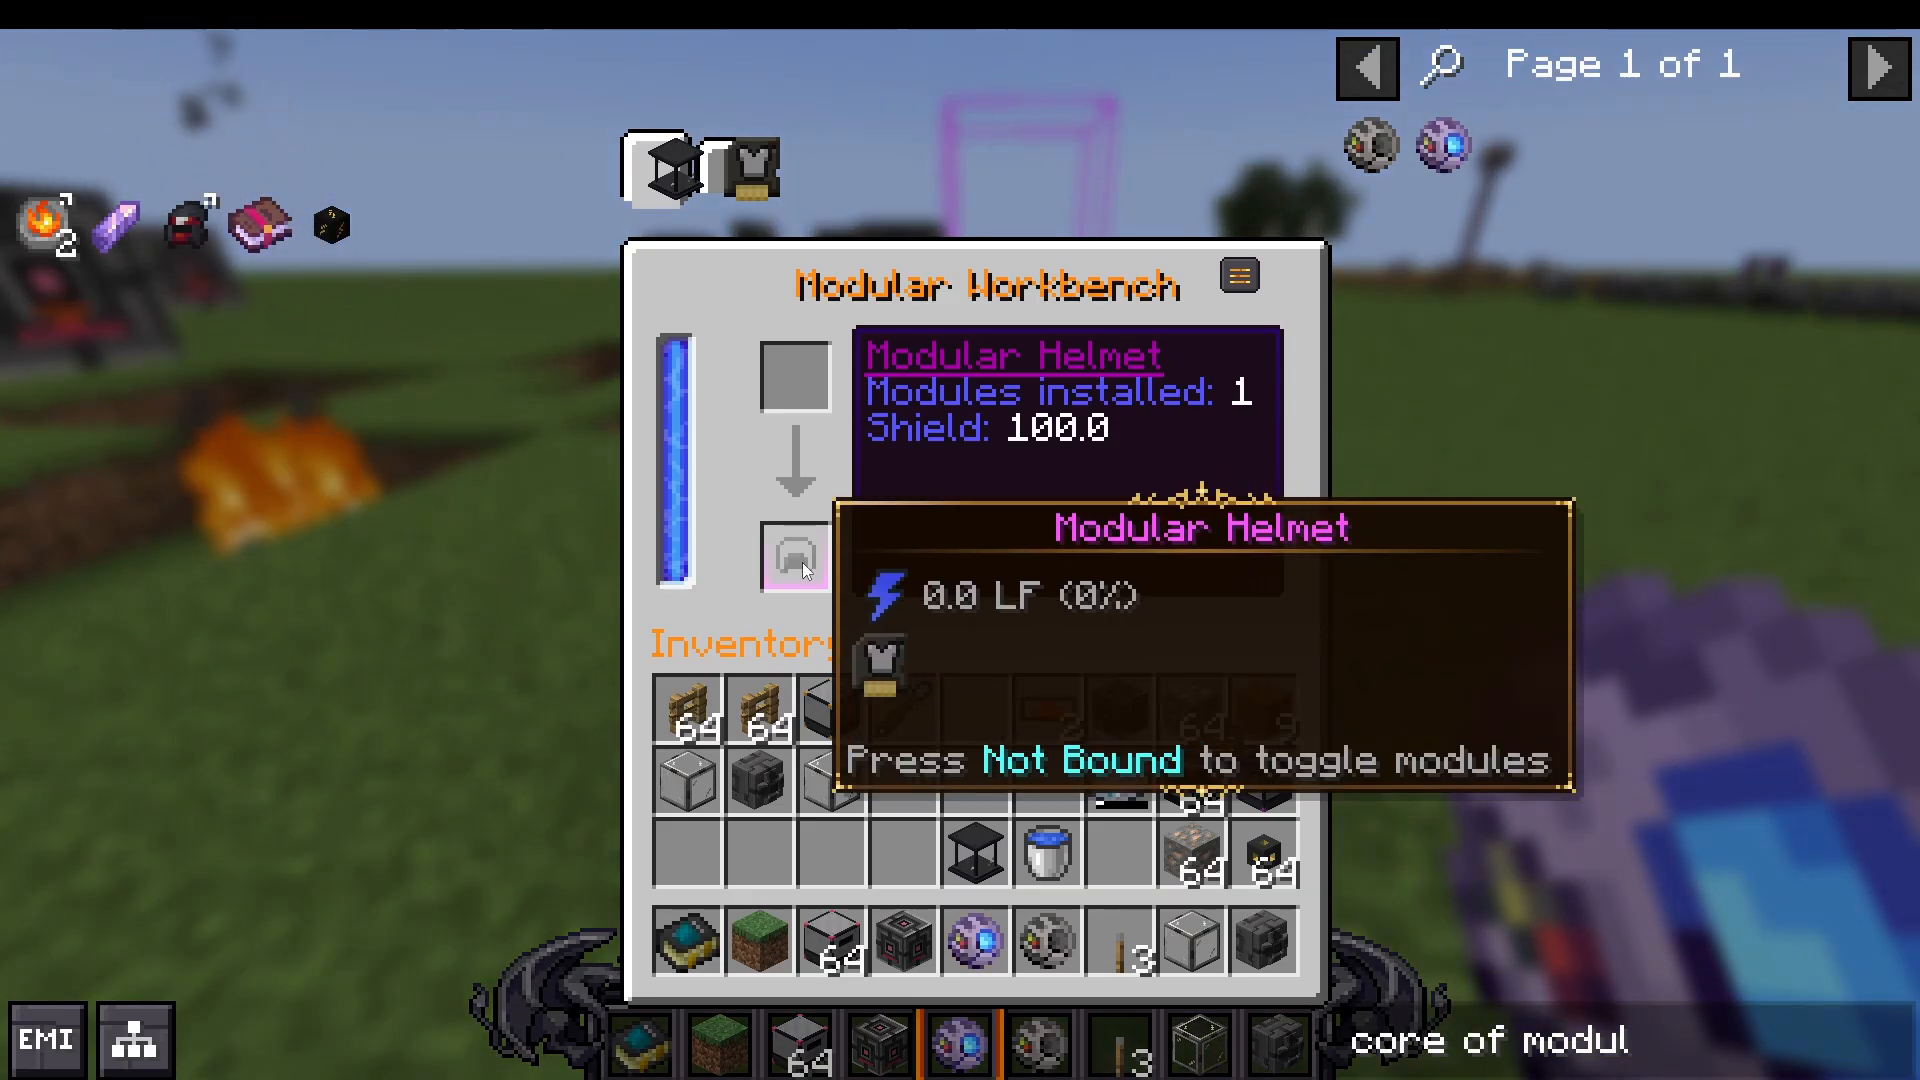
To add modules to your gear, place your modular armor piece in the bottom slot of a modular workbench. Ensure the workbench is powered, then access the modules tab at the top of the interface.
Available Modules
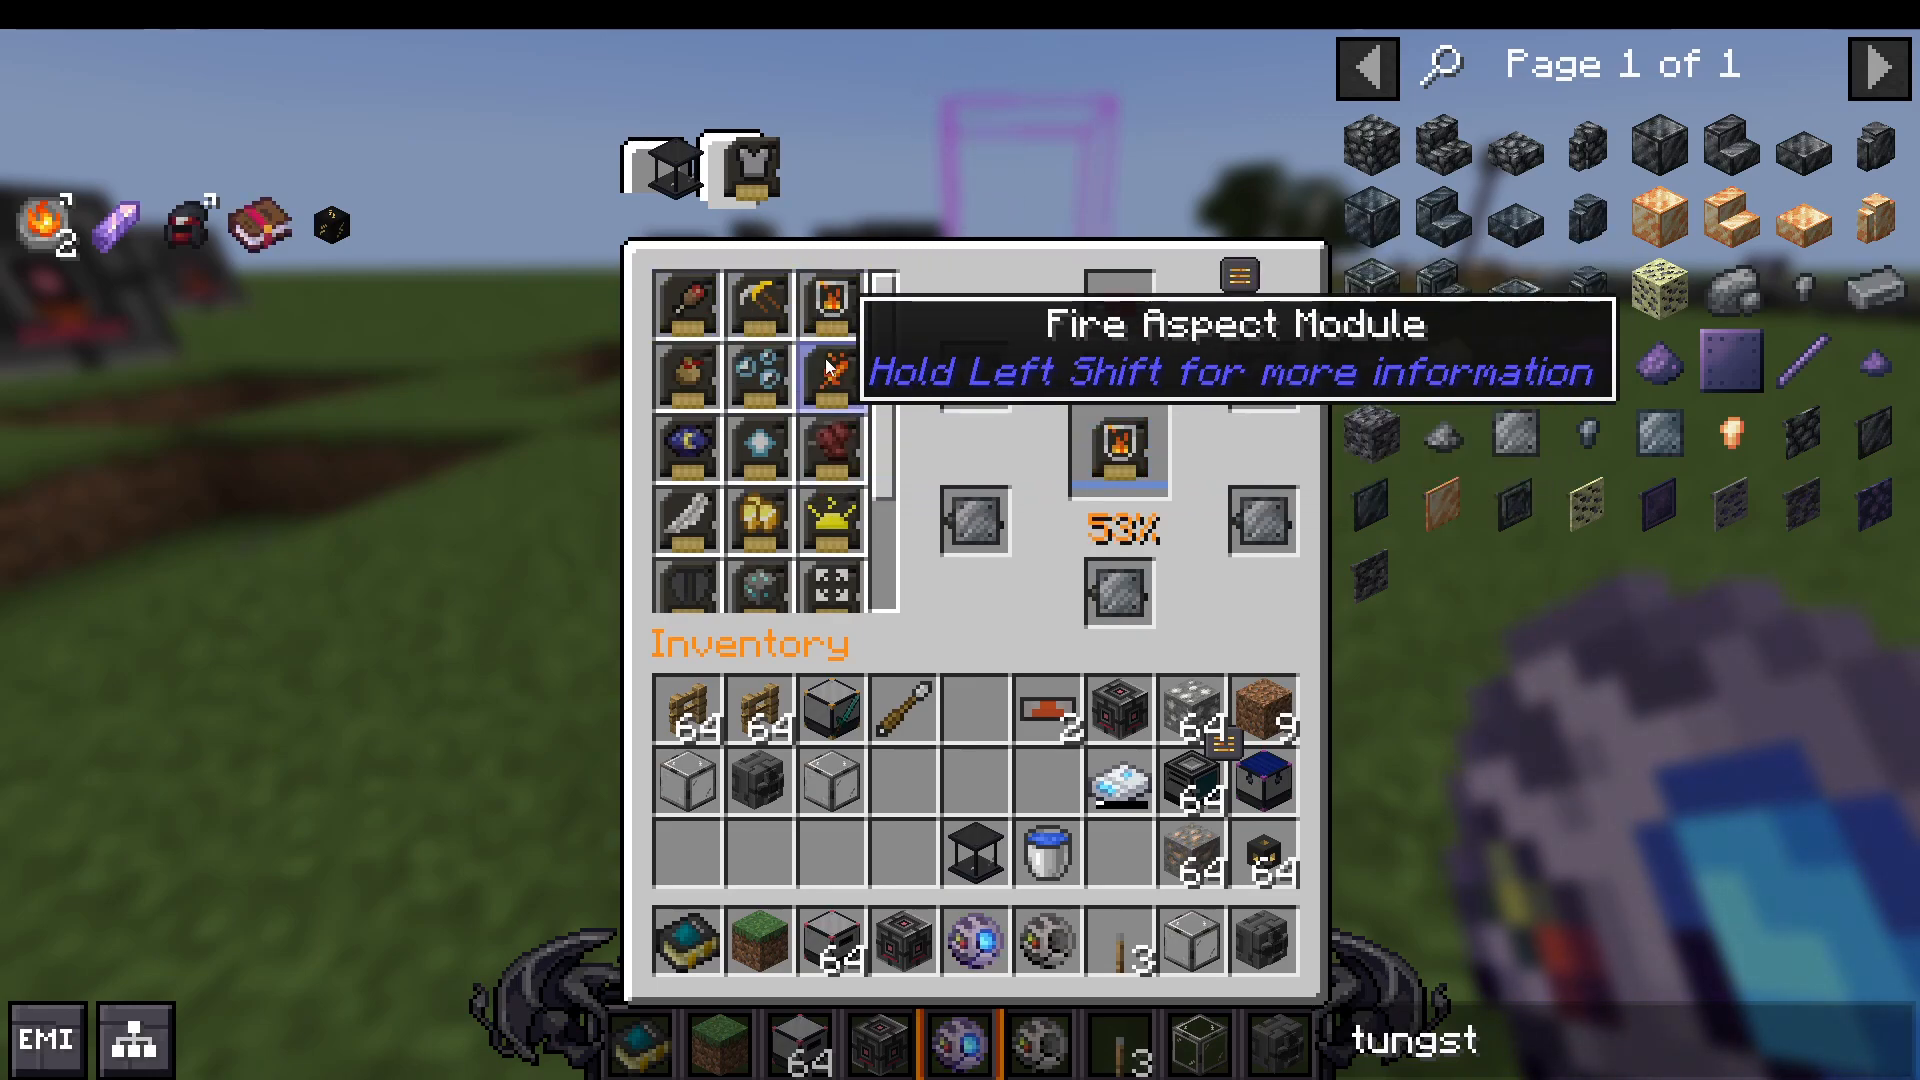
The modular gear system offers an extensive selection of modules including:
Fire Resistance
Auto Feeder
Efficiency
Fire Aspect
Breathing
Looting
Night Vision
Jump Boost
Silk Touch
Built-in Light
Fortune
Sharpness
Crafting Modules
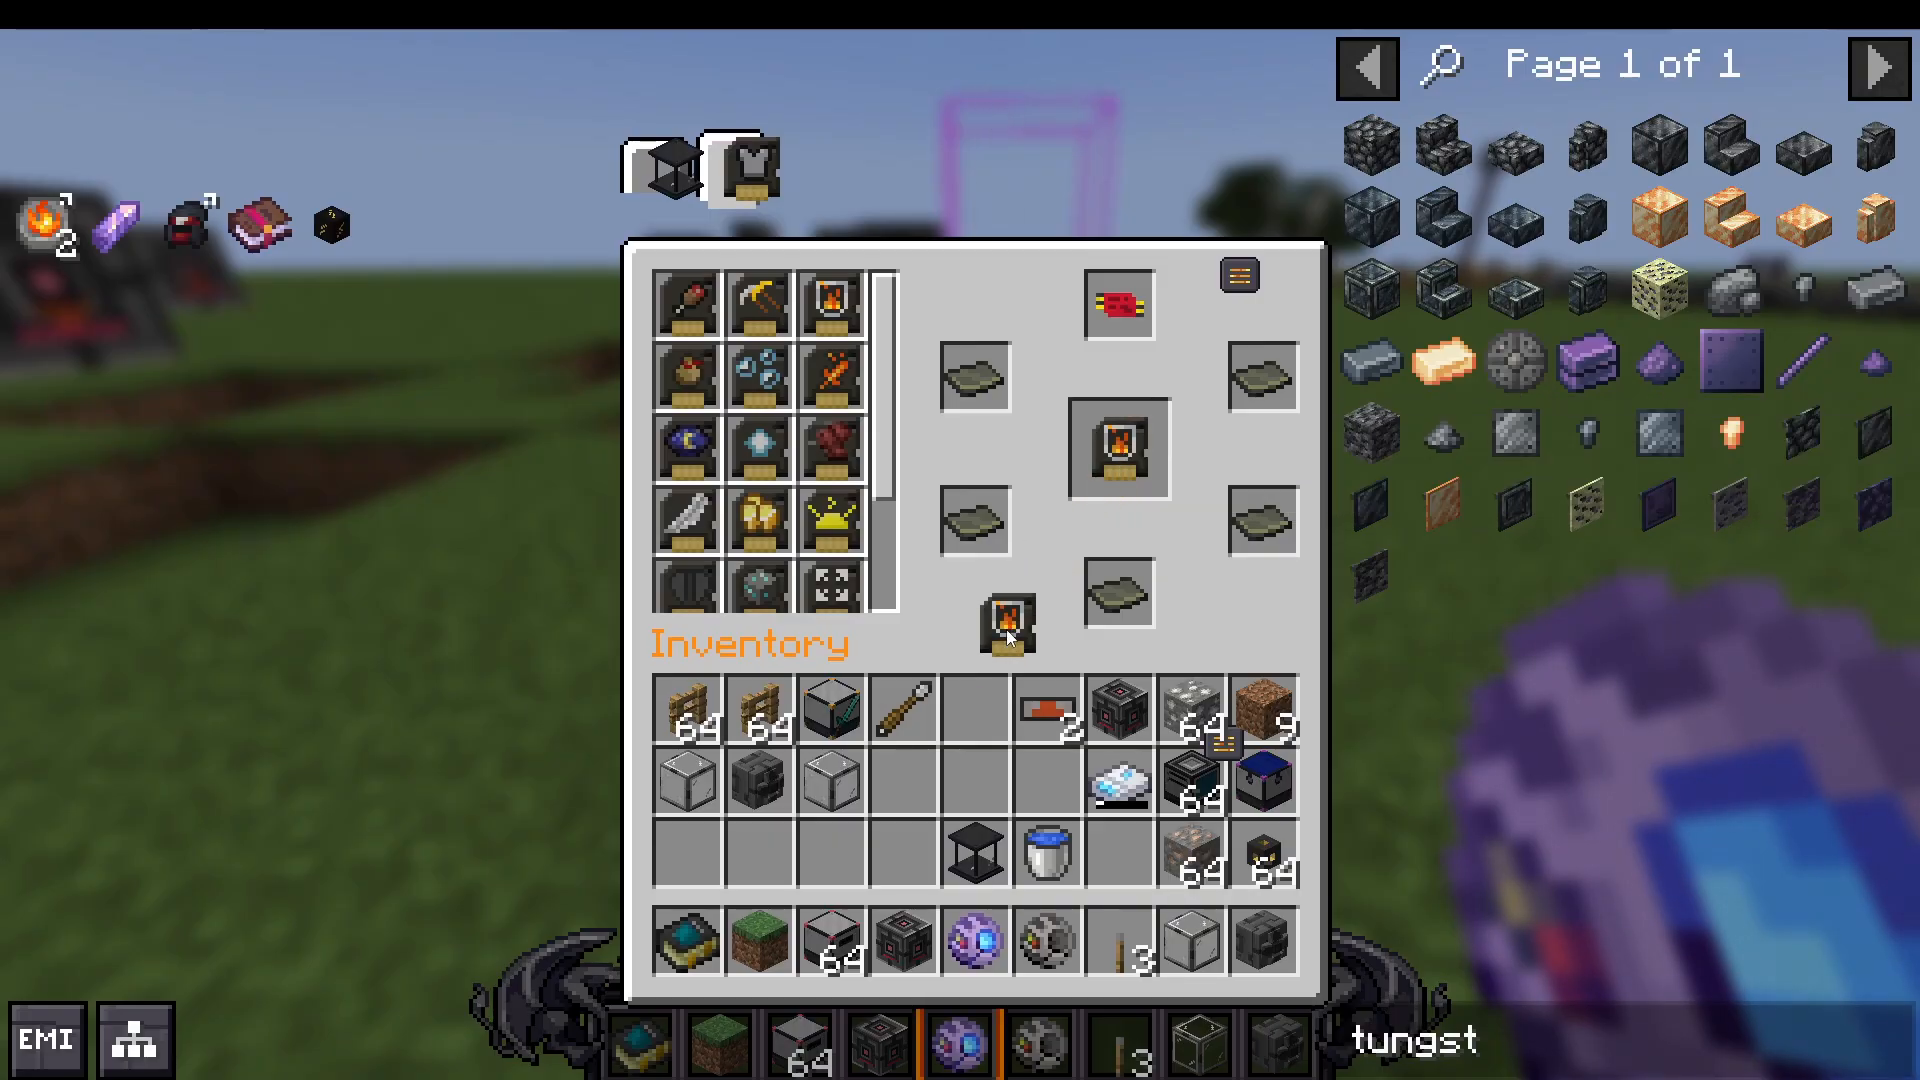
To craft a module, select it from the modules tab. Each module has specific material requirements. For example, the fire resistance module requires a Markful circuit and tungsten plates. Place the required materials in the appropriate slots, and the workbench will display a percentage showing the crafting progress.
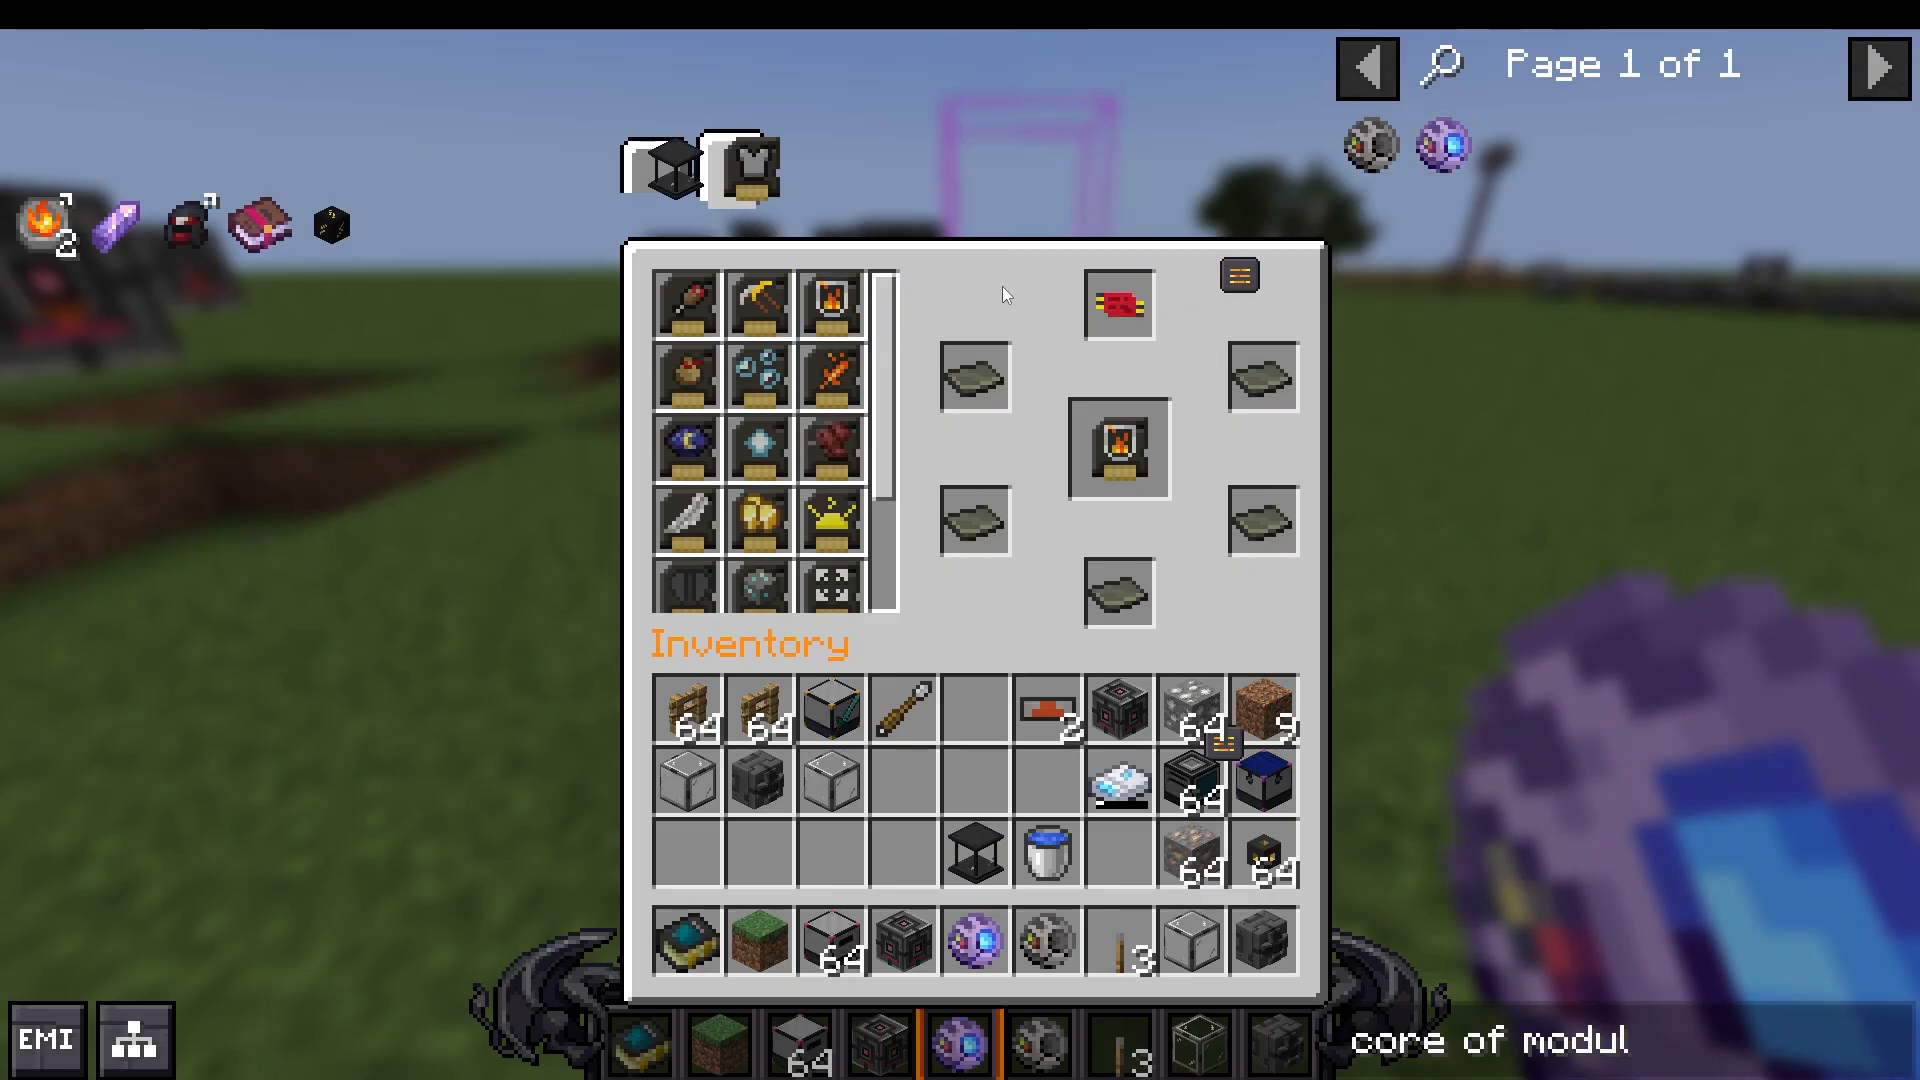
Once the module is complete, remove it from the crafting slot and proceed to install it.
Installing Modules
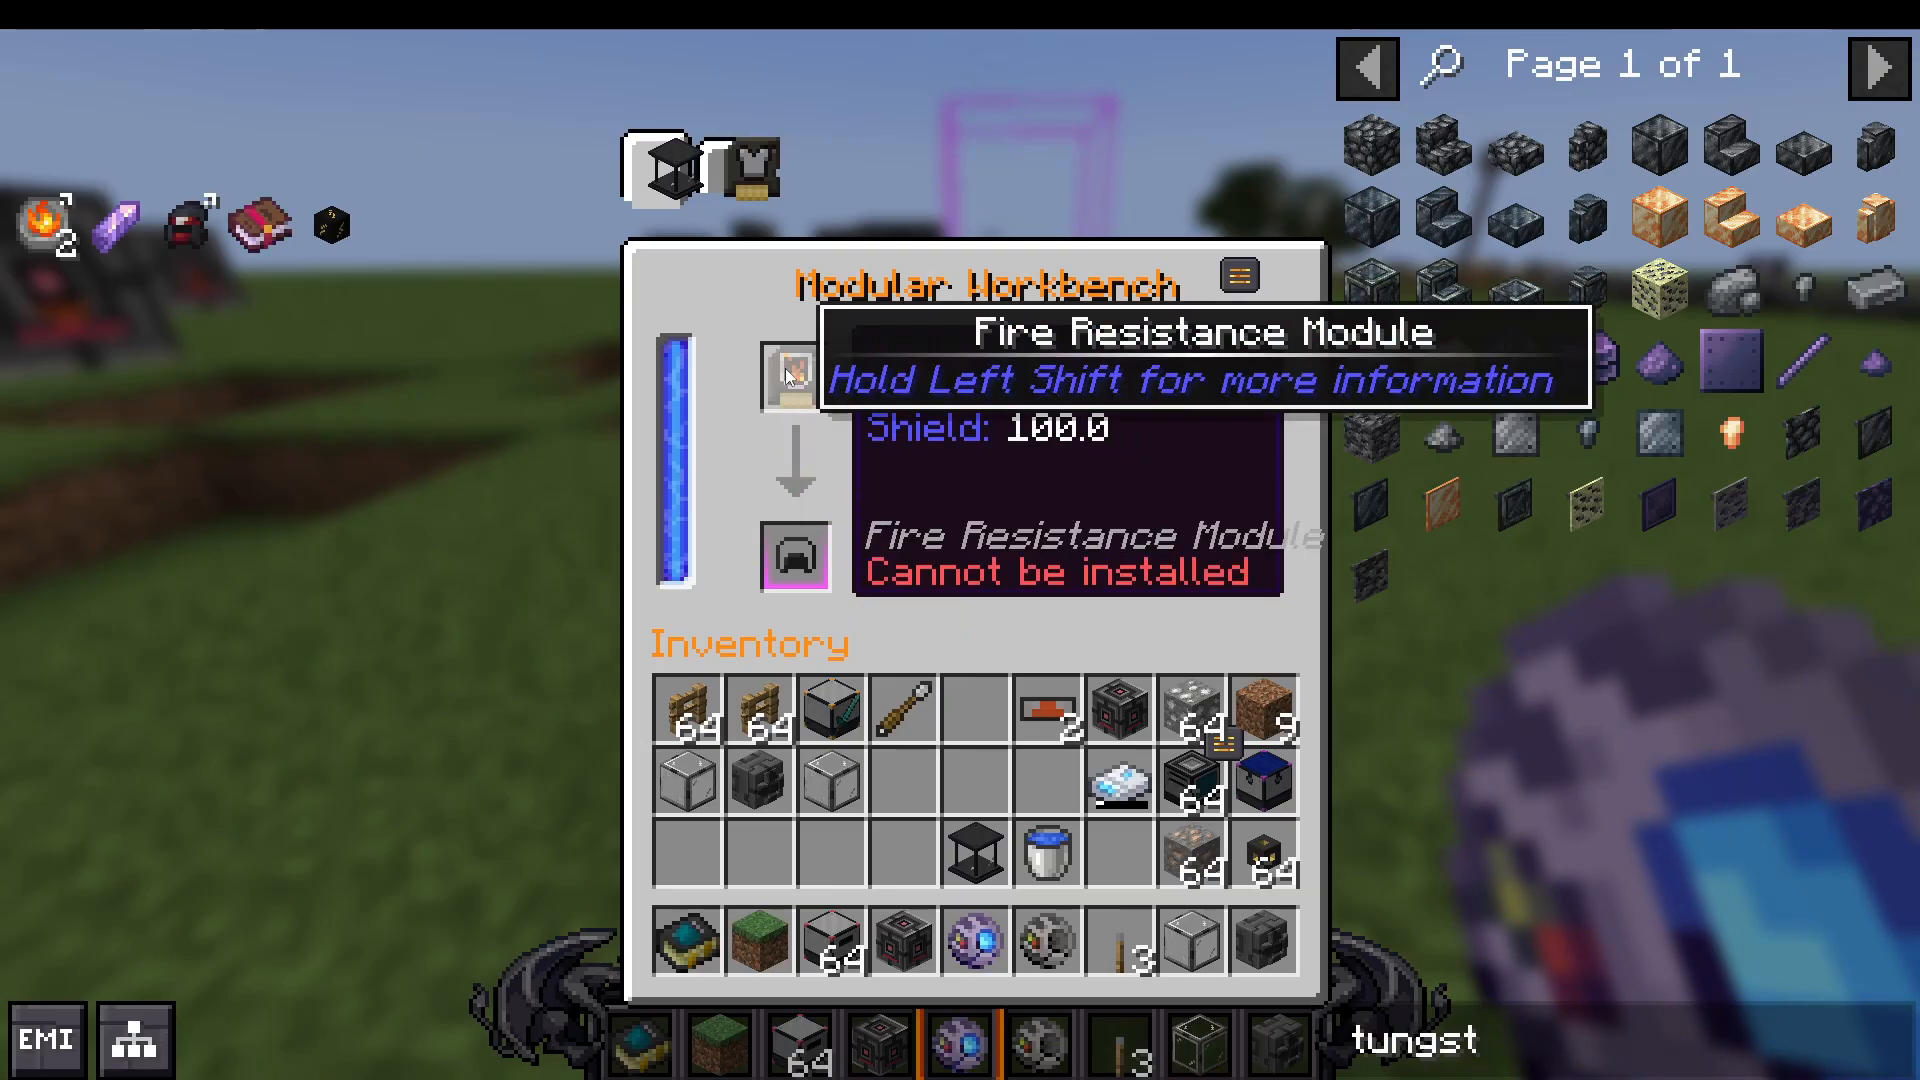
Not all modules can be installed on all armor pieces. Each module has specific compatibility requirements. For instance, the fire resistance module can only be installed on a chestplate, as it provides a fire resistance effect at the cost of shield charge. The interface will indicate whether a module is compatible with your selected armor piece.
Charging Your Modular Gear
Modular armor and tools can hold and consume power. To charge your gear, craft a charger and place your equipment onto it. You can also right-click the gear directly onto the charger. A charged padpad is a simple power storage solution that works well for this purpose.
Advanced Tools: Modular Pickaxes and Drills
Gamer Axe
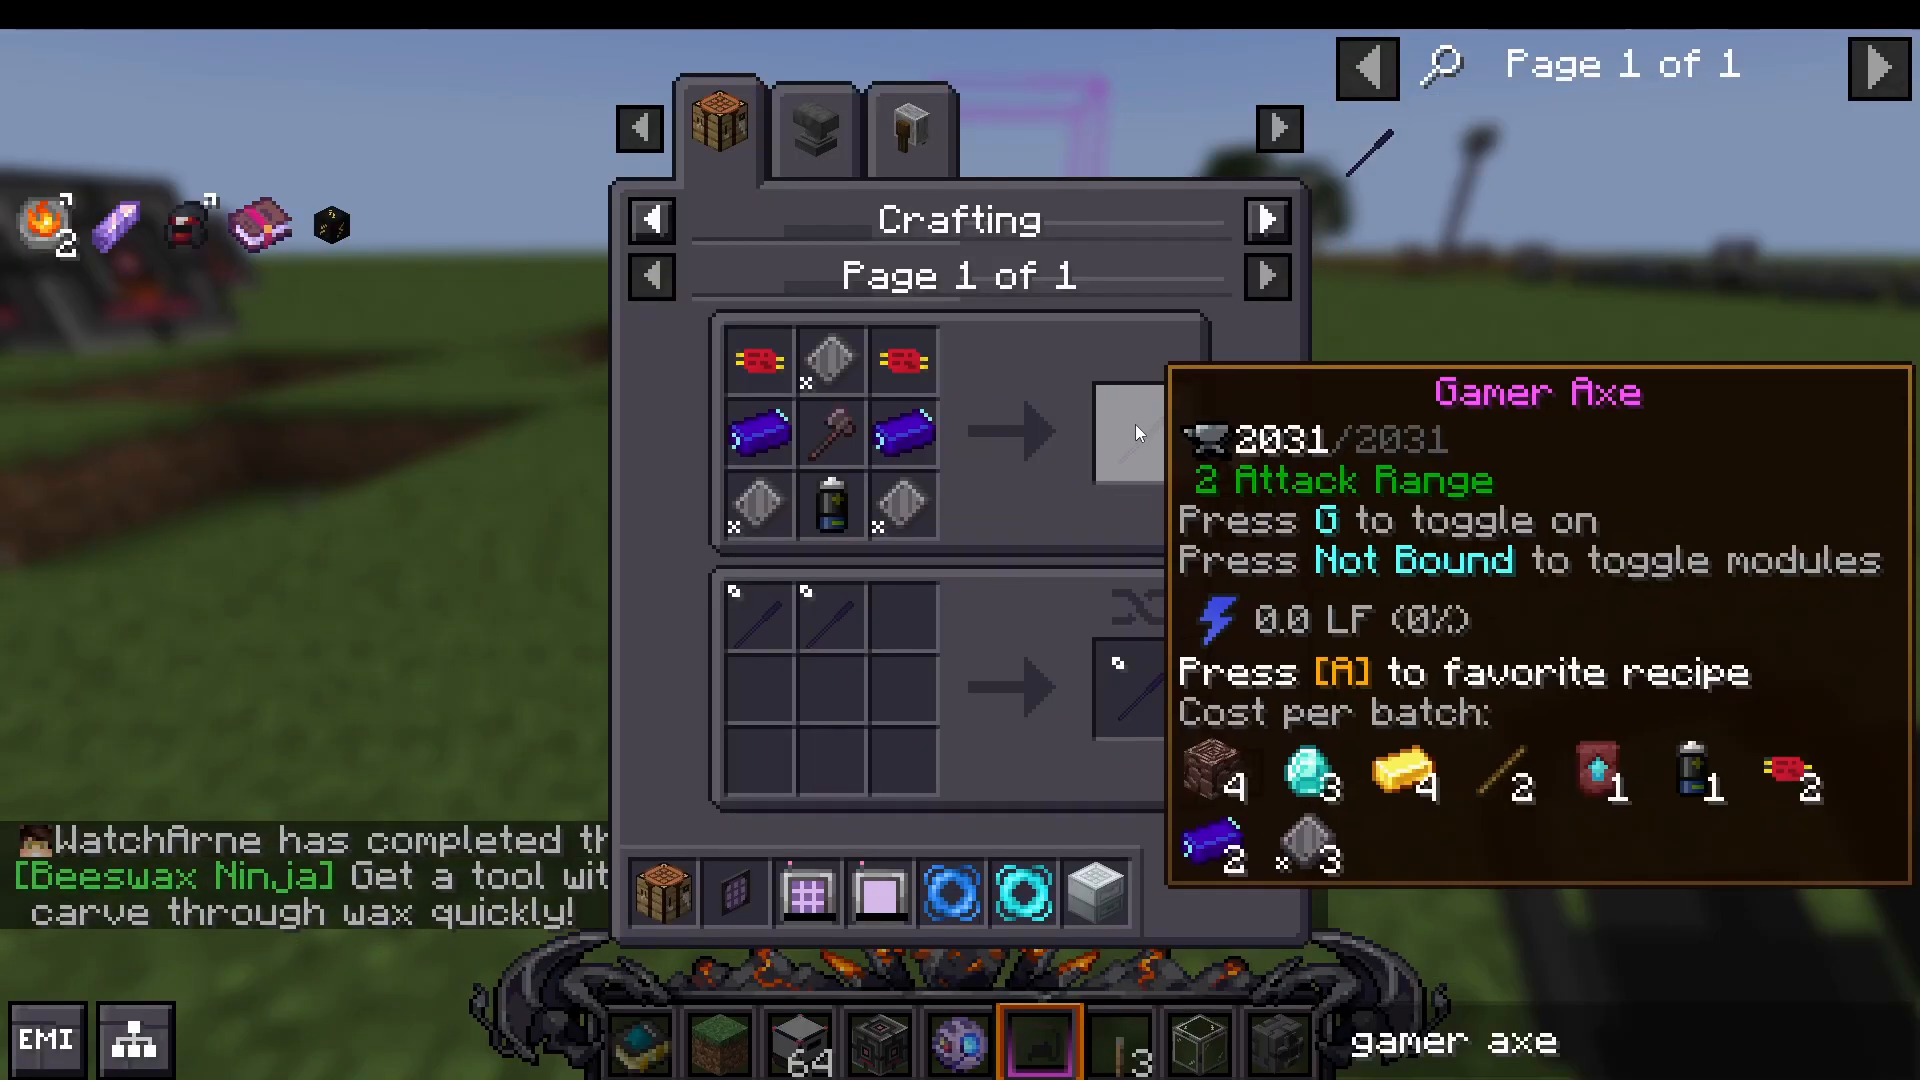
The gamer axe is a modular tool crafted with a singularity core. Like armor pieces, it can have modules installed, such as fire aspect. This is particularly useful for combat-focused gameplay.
Mining Drills
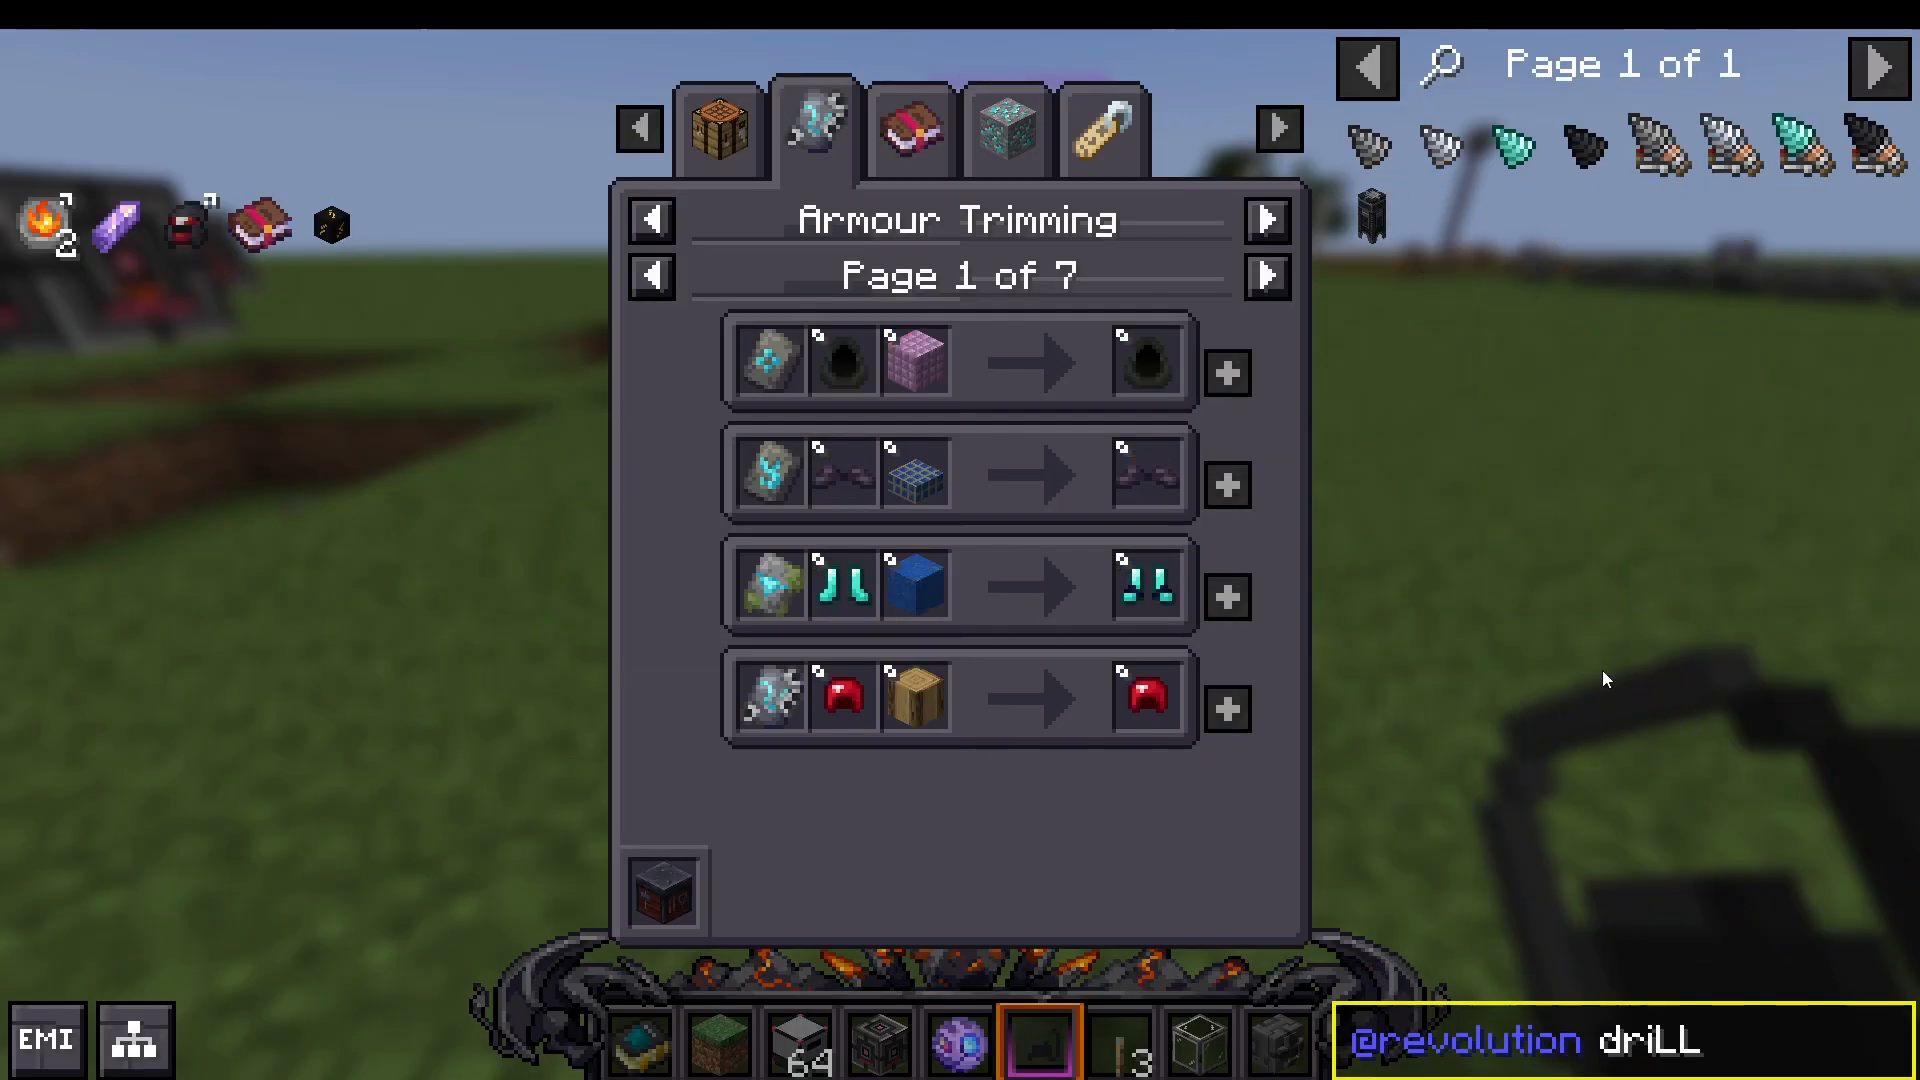
Industrial Revolution also offers mining drills in four tiers: Mark I, Mark II, Mark III, and Mark IV. While not quite modular gear in the traditional sense, these drills are excellent for mining efficiency. Despite only requiring a core of modularity, you can still add modules like fortune and silk touch to enhance their functionality.
Summary
Modular gear in the Industrial Revolution mod provides extensive customization options for your armor and tools. By mastering the core charging process and understanding module compatibility, you can create a perfectly tailored loadout for your playstyle. Remember to space your laser emitters correctly, wait patiently for the charge to complete, and always deactivate your lasers before retrieving your core. With these fundamentals in place, you’ll have access to some of the most powerful and versatile gear the mod has to offer.
— Want to Support? —
If you would like to help us continue making these guides – please consider joining our patreon here – https://www.patreon.com/c/JaviHeals
Alternatively – we host a group of MC Servers you can join here – https://discord.gg/zD7Gjt6MHF



