







Mekanism Mid-Game Tutorial (Digital Miner, Thermal Evaporation & Ore Processing etc)
Mekanism Mid-Game Tutorial: Digital Miner, Thermal Evaporation & Ore Processing
Welcome to this comprehensive advanced guide for Mekanism! This tutorial builds on beginner knowledge and covers essential mid-game content including factories, robots, digital miners, obsidian refinement, thermal evaporation towers, charge pads, jet packs, atomic disassemblers, quantum entangle portals, pressurized reaction chambers, and advanced ore processing techniques. Whether you’re doubling, tripling, or quadrupling your ores, this guide has you covered.
Machine Factories Overview
In Mekanism, you can upgrade basic machines into factories, significantly increasing their processing capacity. The available factory tiers are:
Basic Smelting Factory (3 input slots)
Advanced Smelting Factory (5 input slots)
Elite Smelting Factory (7 input slots)
Ultimate Smelting Factory (9 input slots)
These upgrades apply to many machines, including the enrichment chamber, crusher, osmium compressor, combiner, purification chamber, chemical injection chamber, metallurgic infuser, and precision saw mill. By utilizing auto-eject functionality and multiple input slots, you can achieve triple the output while still applying energy and speed upgrades.
Two Methods to Upgrade Machines
Method 1: Using Installers
You can craft tier-specific installers for machine upgrades:
Basic Installer: Uses basic control circuits (created by infusing redstone and osmium in a metallurgic infuser)
Advanced Installer: Uses advanced control circuits (infused alloy + basic control circuits)
Elite Installer: Uses reinforced control circuits (diamond added to infused alloys)
Ultimate Installer: Uses ultimate control circuits and requires refined obsidian infused into reinforced alloys to create atomic alloys
Method 2: Direct Machine Upgrade
Place the machine in an Android smelter and use the same control circuit resources listed above to upgrade directly without installers.
Creating Refined Obsidian
Refined obsidian is essential for crafting ultimate-tier components. Here’s the straightforward process:
Place obsidian in an enrichment chamber to crush it into obsidian dust
Transport the obsidian dust to a metallurgic infuser using a logistical transporter
Infuse the obsidian dust with diamond dust (note: regular diamonds don’t work—you must use diamond dust) to create refined obsidian dust
Compress refined obsidian dust into refined obsidian ingots using an osmium compressor with osmium ingots
Important: Refined obsidian ingots cannot be smelted from dust alone—they require osmium to compress properly in the osmium compressor.
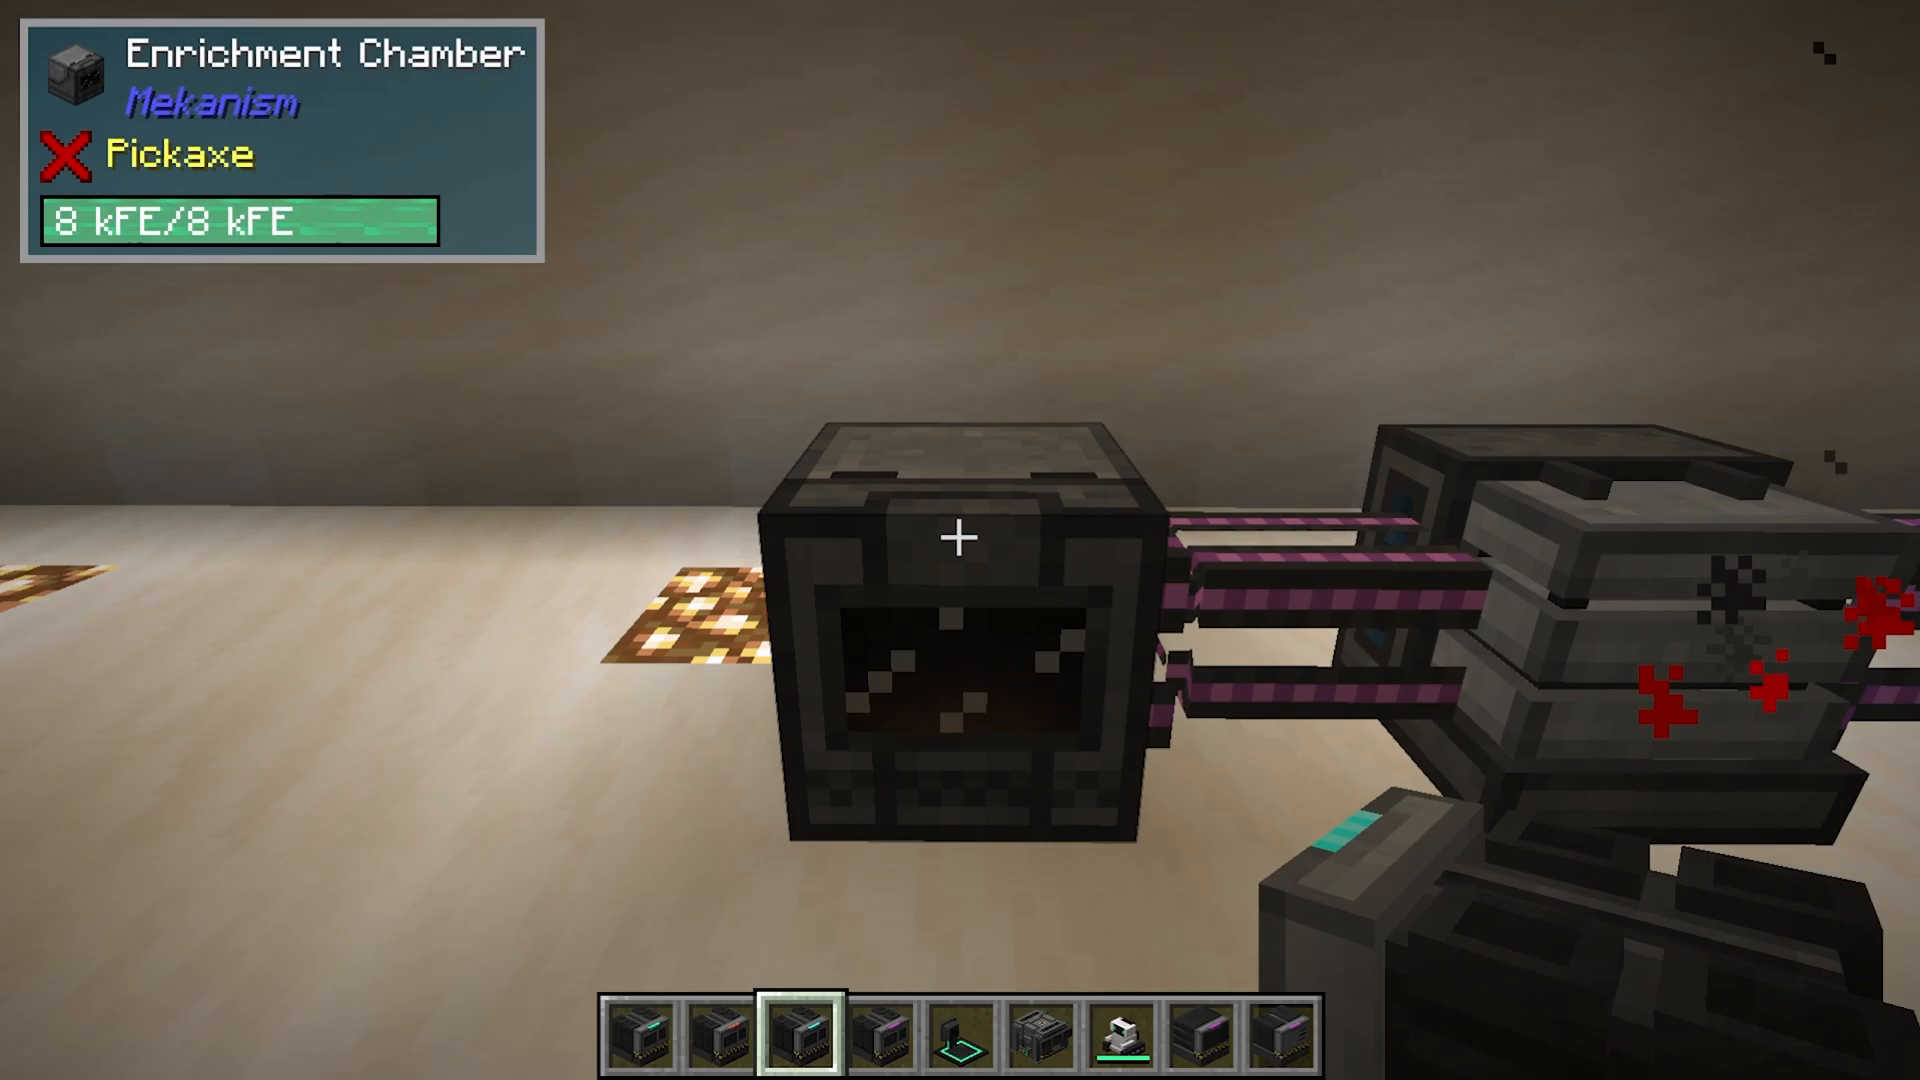
Practical Uses for Refined Obsidian
Once you’ve created refined obsidian, numerous applications open up:
Robit companion unit
Refined obsidian chestplate (solid mid-game armor)
Teleporters and quantum entangle portals
Obsidian tools
Chemical crystallizer and similar advanced machines
Atomic disassemblers
Chemical washers and other specialized equipment
Charge Pads
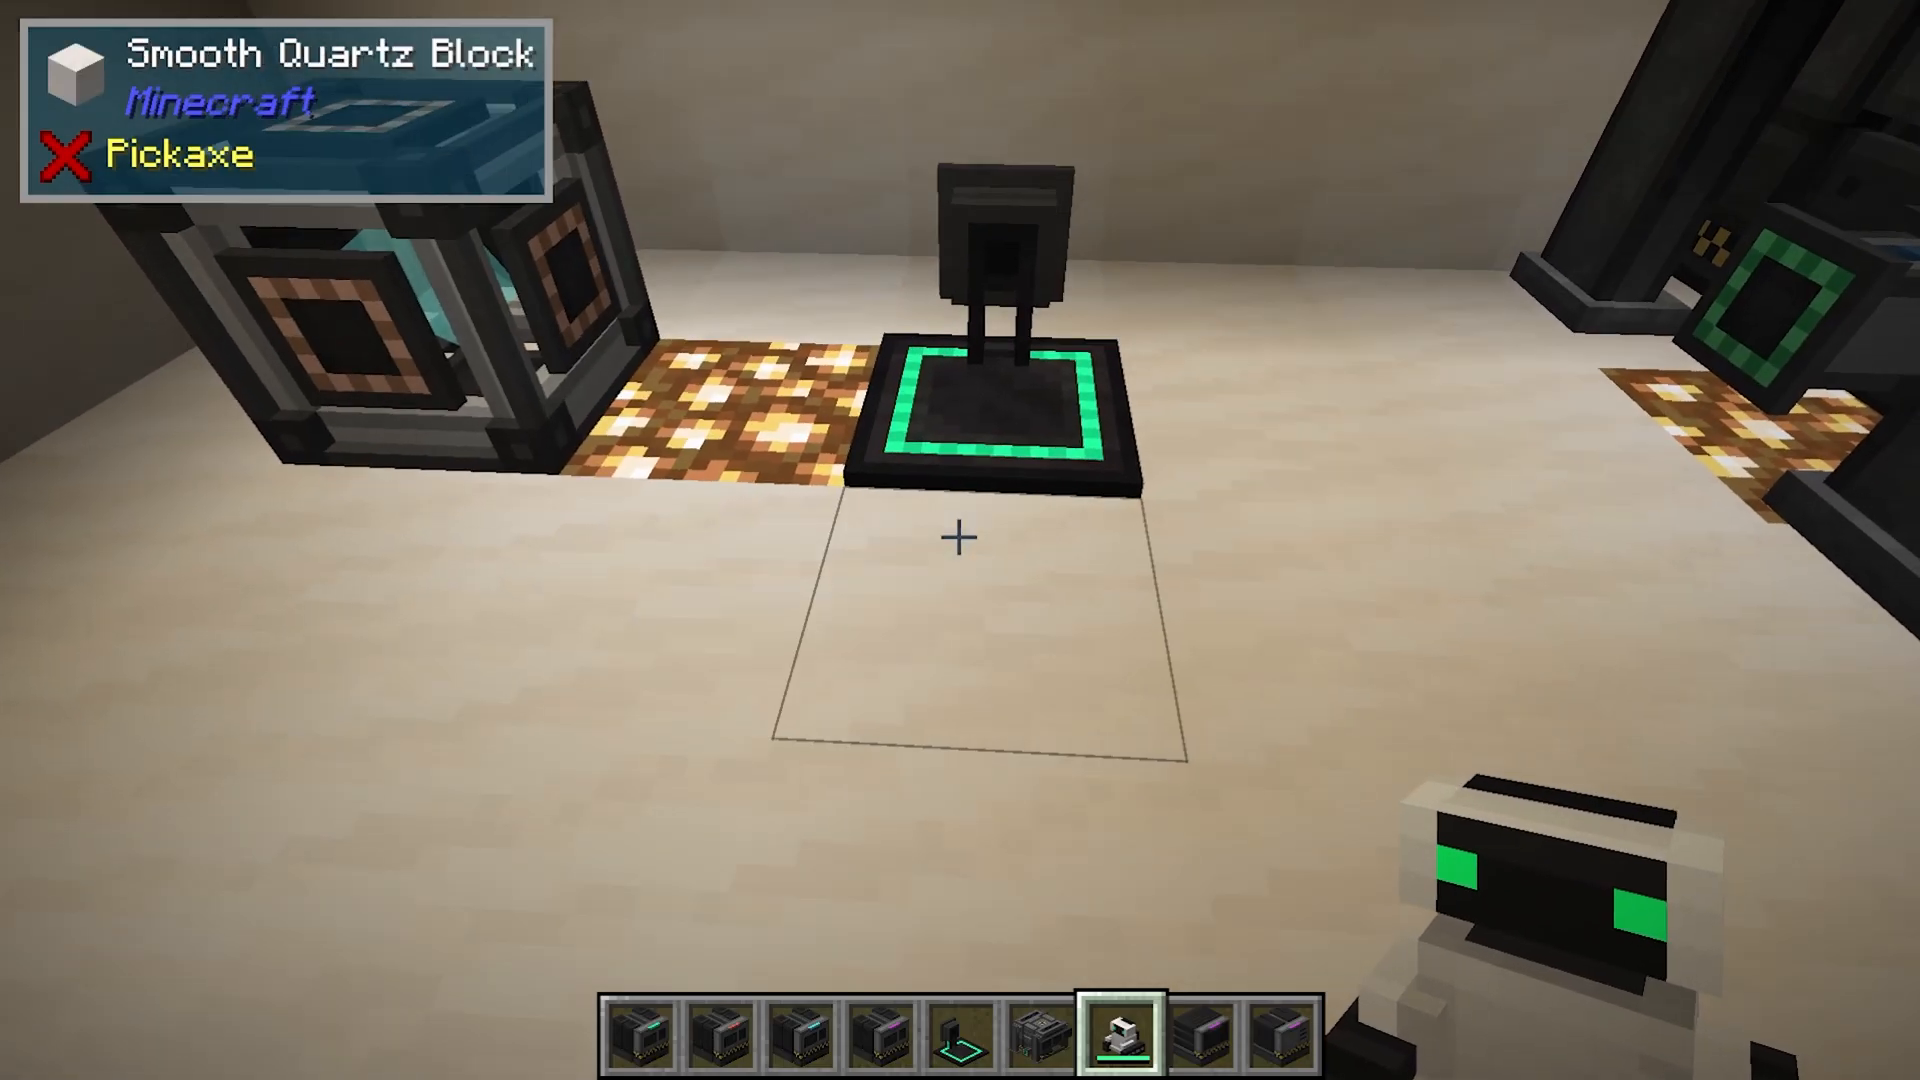
Charge pads are simple but valuable devices for powering items and equipment. To create one, combine pressure plates with an energy tablet. The pad receives power from below and allows you to charge anything placed on top—weapons, armor, or even your Robit companion.
The Robit Companion
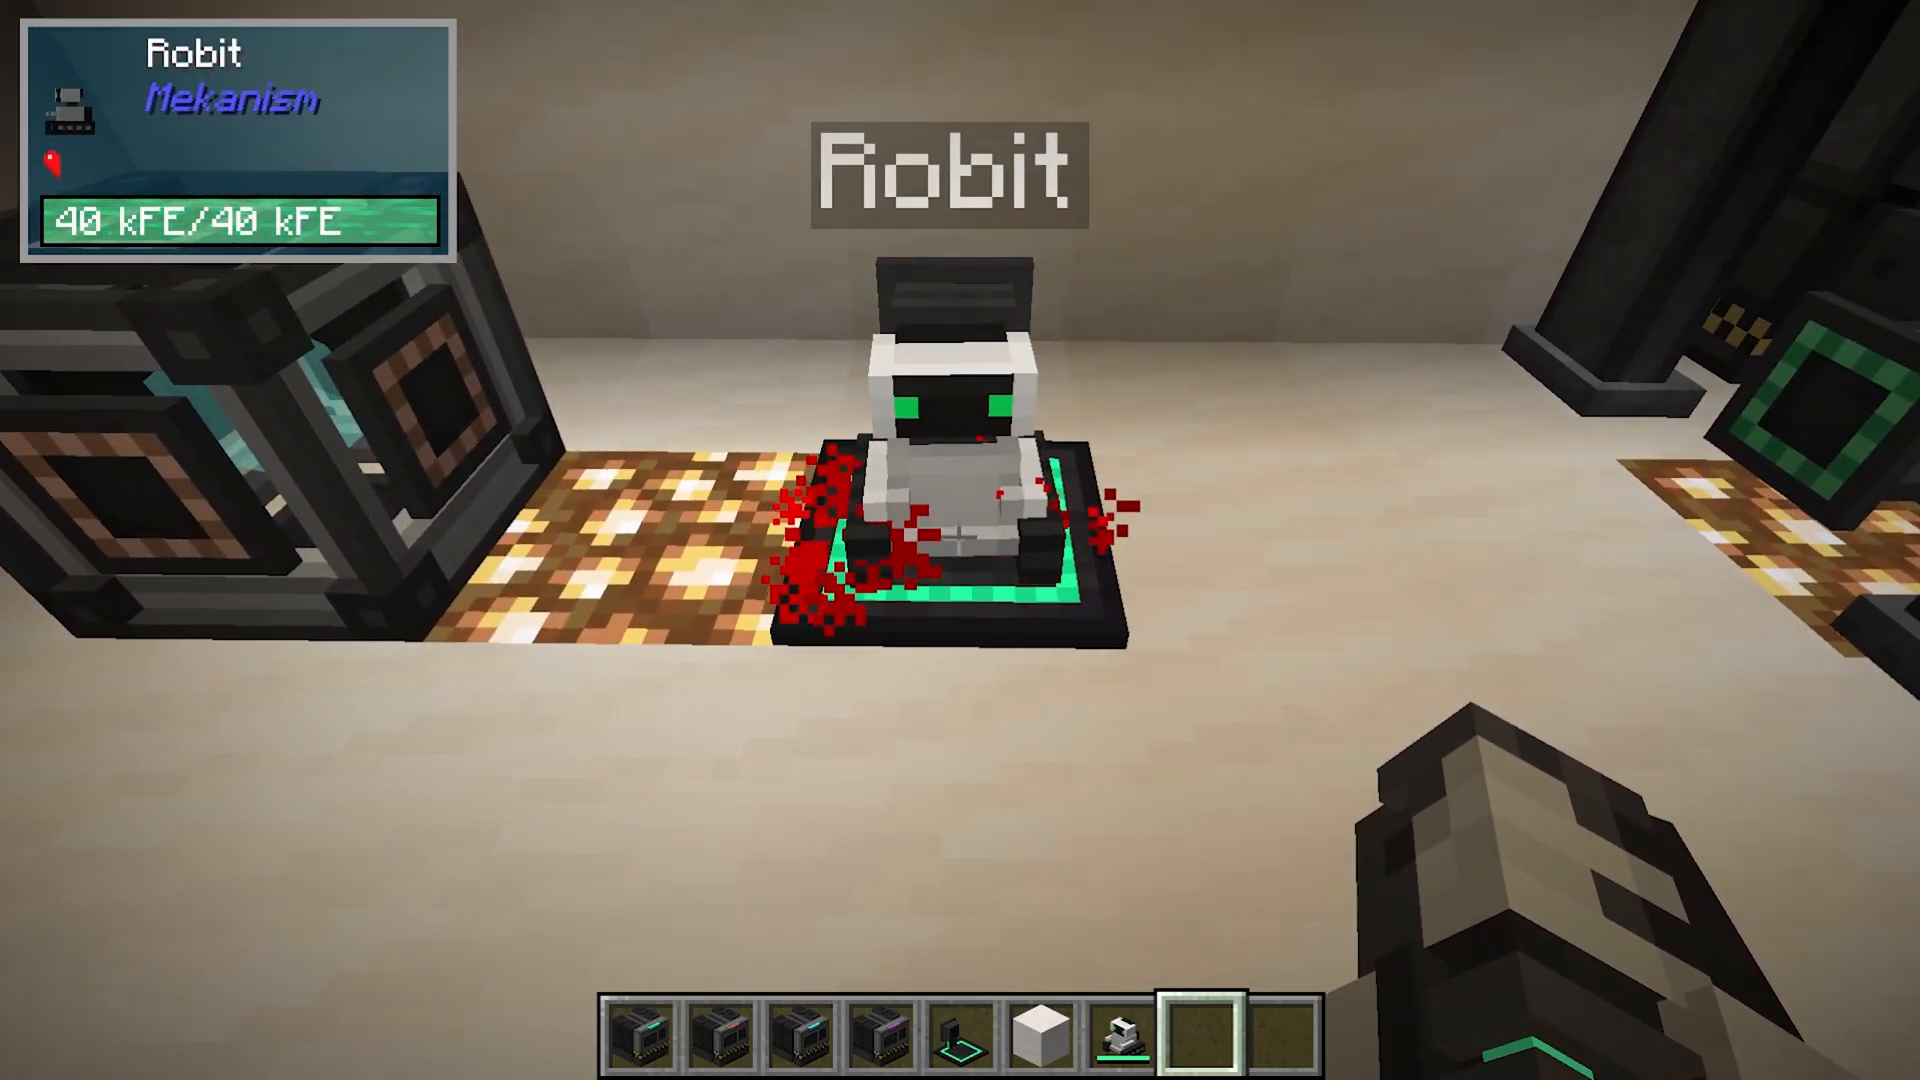
The Robit is a cute and extremely useful mid-game companion crafted using basic resources including refined obsidian. To set up your Robit:
Craft the Robit
Right-click the Robit onto a powered charge pad—this becomes its base of operations
The Robit will follow you around your base and world
Robit Features and Configuration
Your Robit can function as:
Crafting grid
Furnace
Anvil
Chest with inventory storage
General companion and best friend
The Robit is immune to fire, including flamethrower damage. Access its settings via the homepage menu to configure:
Follow mode (on/off)
Drop and pick up items (on/off)
Inventory access
Crafting grid functionality
Smelting capabilities
Repair function (acts as anvil)
Teleport home command (returns to charge pad)
Rename and appearance customization
If your Robit gets lost in the wild, it will automatically teleport back to its charge pad as long as the pad remains powered and intact. If the charge pad is broken, the Robit will drop and may despawn.
Digital Miner
The Digital Miner is a fantastic mid-game tool that mines ores automatically without requiring you to venture underground. This machine makes large-scale ore collection effortless.
Digital Miner Crafting
To craft a Digital Miner, you’ll need:
Robit
Logistical sorters
Iron ingots
Basic control circuits
Piston
Teleportation cores (requiring atomic alloys)
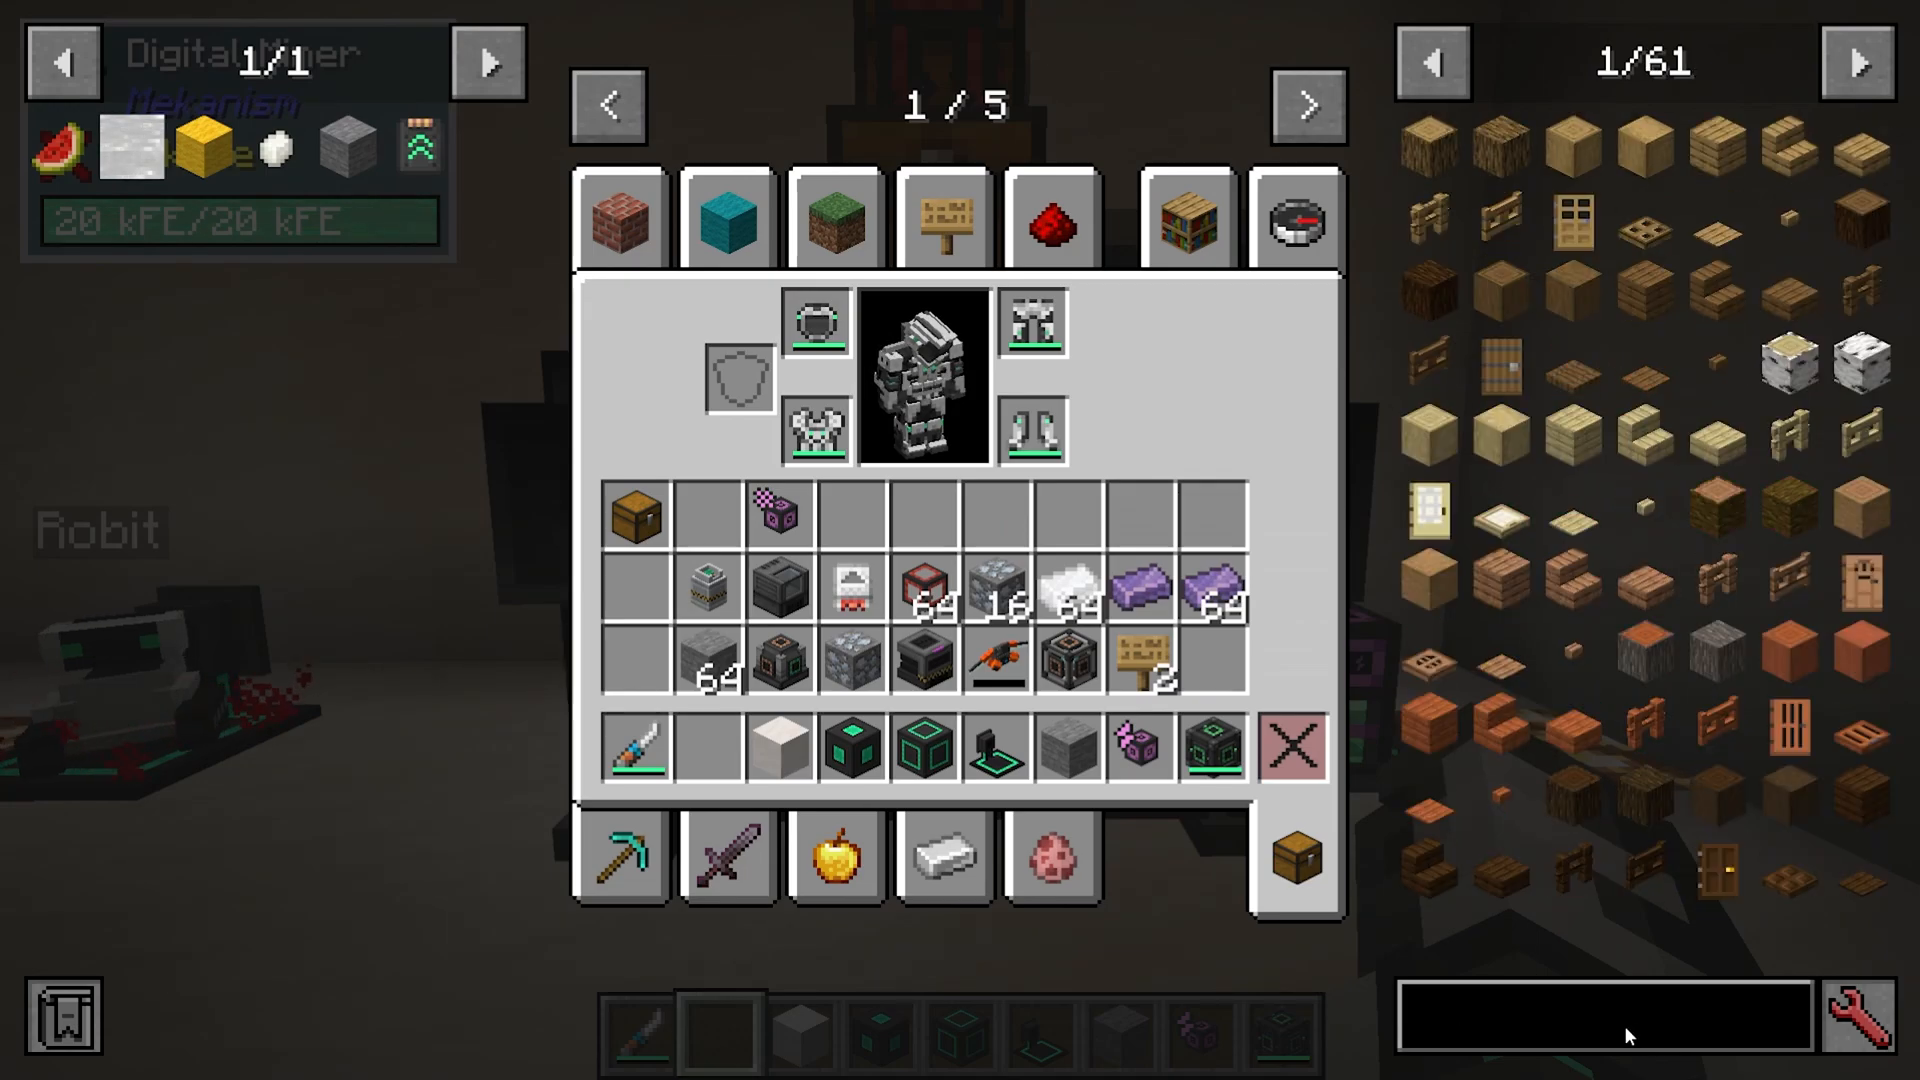
Digital Miner Configuration
Right-clicking the Digital Miner opens its comprehensive interface with several key options:
Power and Basic Settings:
Power input: Connect power to the green section (supports multiple sides)
Auto-eject: Automatically eject mined items (yes/no)
Auto-pull: Automatically pull replacement blocks from the container above (yes/no)
Replace blocks: Replace mined blocks with specified material (e.g., cobblestone) or leave holes
Silk touch: Mine blocks with silk touch enchantment (yes/no)
Advanced Options:
Stone Generator Upgrade: Automatically generates stone or cobblestone as needed
Anchor Upgrade: Keeps the machine’s chunk loaded for continuous mining
Speed and Energy Upgrades: Enhance mining speed and efficiency
Security: Set access level (trusted, public, or private)
Visuals: Toggle blue glass visualization showing mining area underground
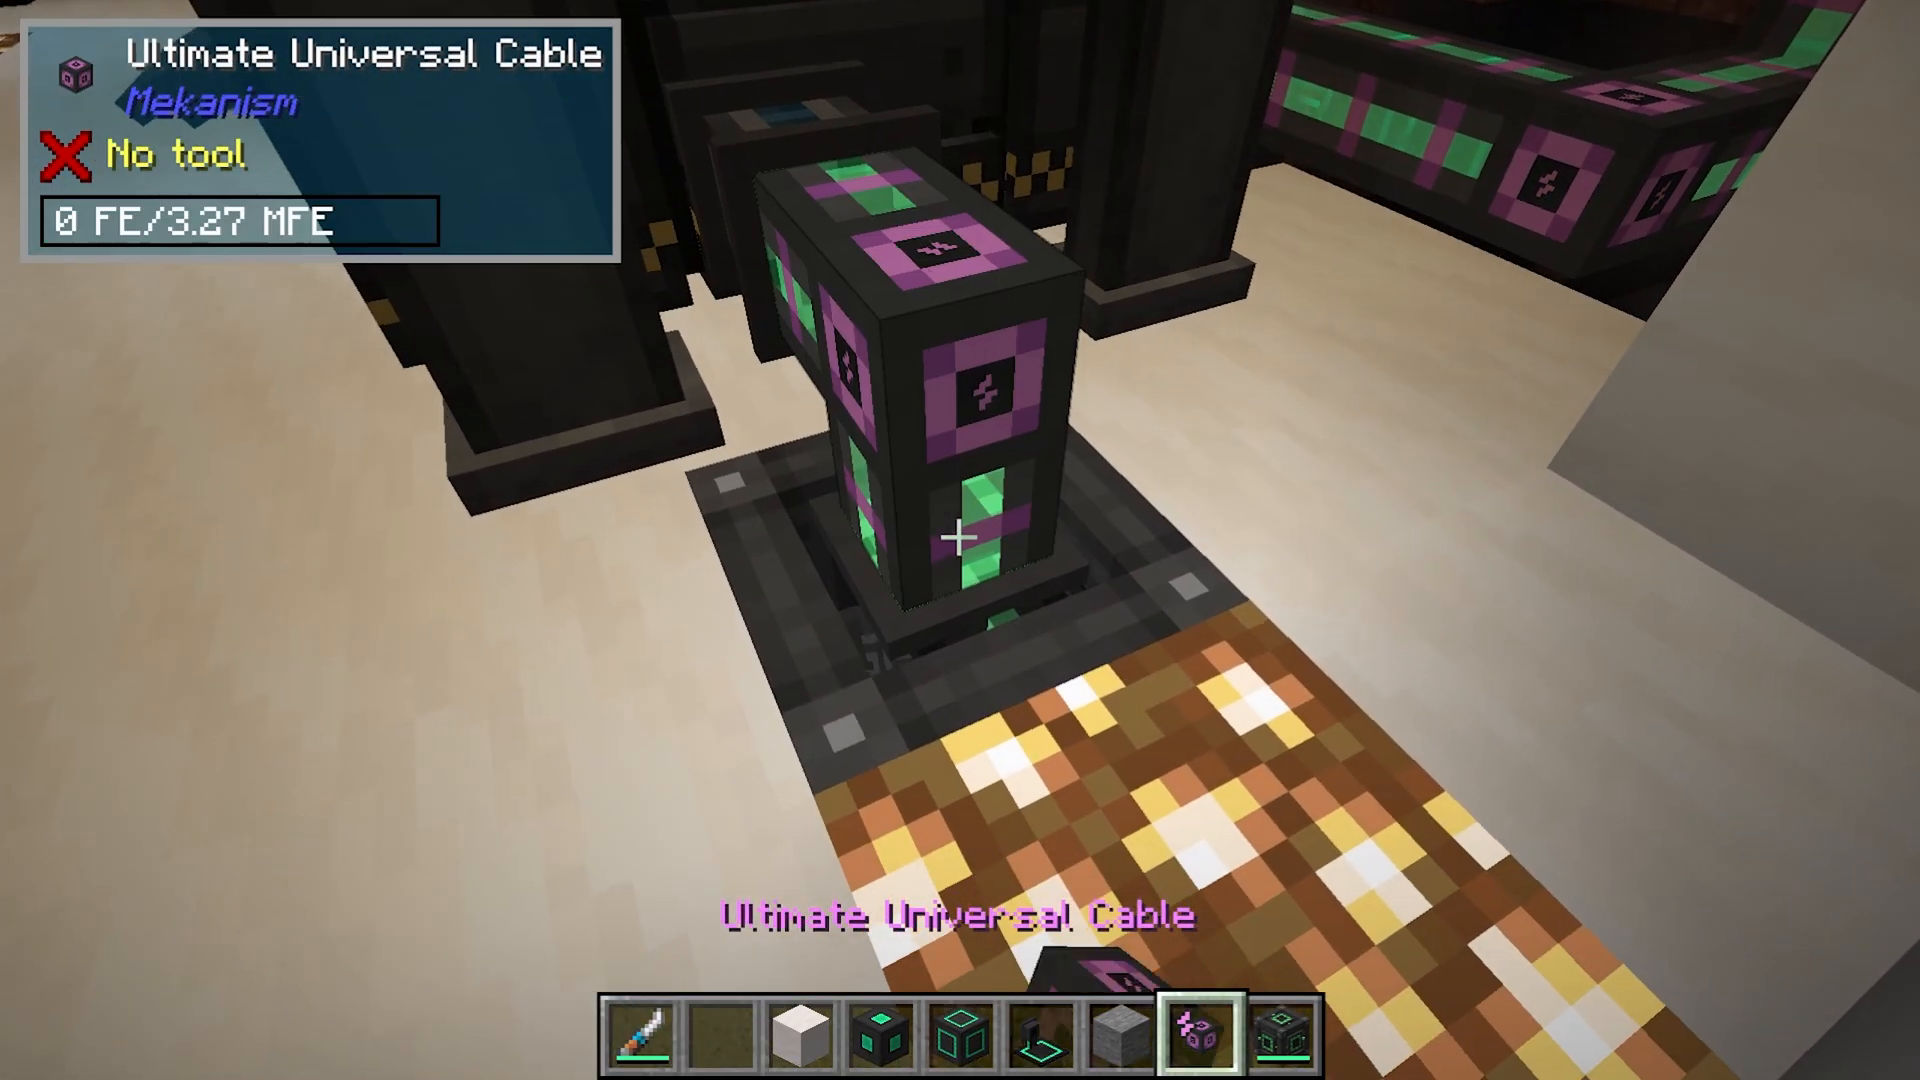
Configuring Mining Filters
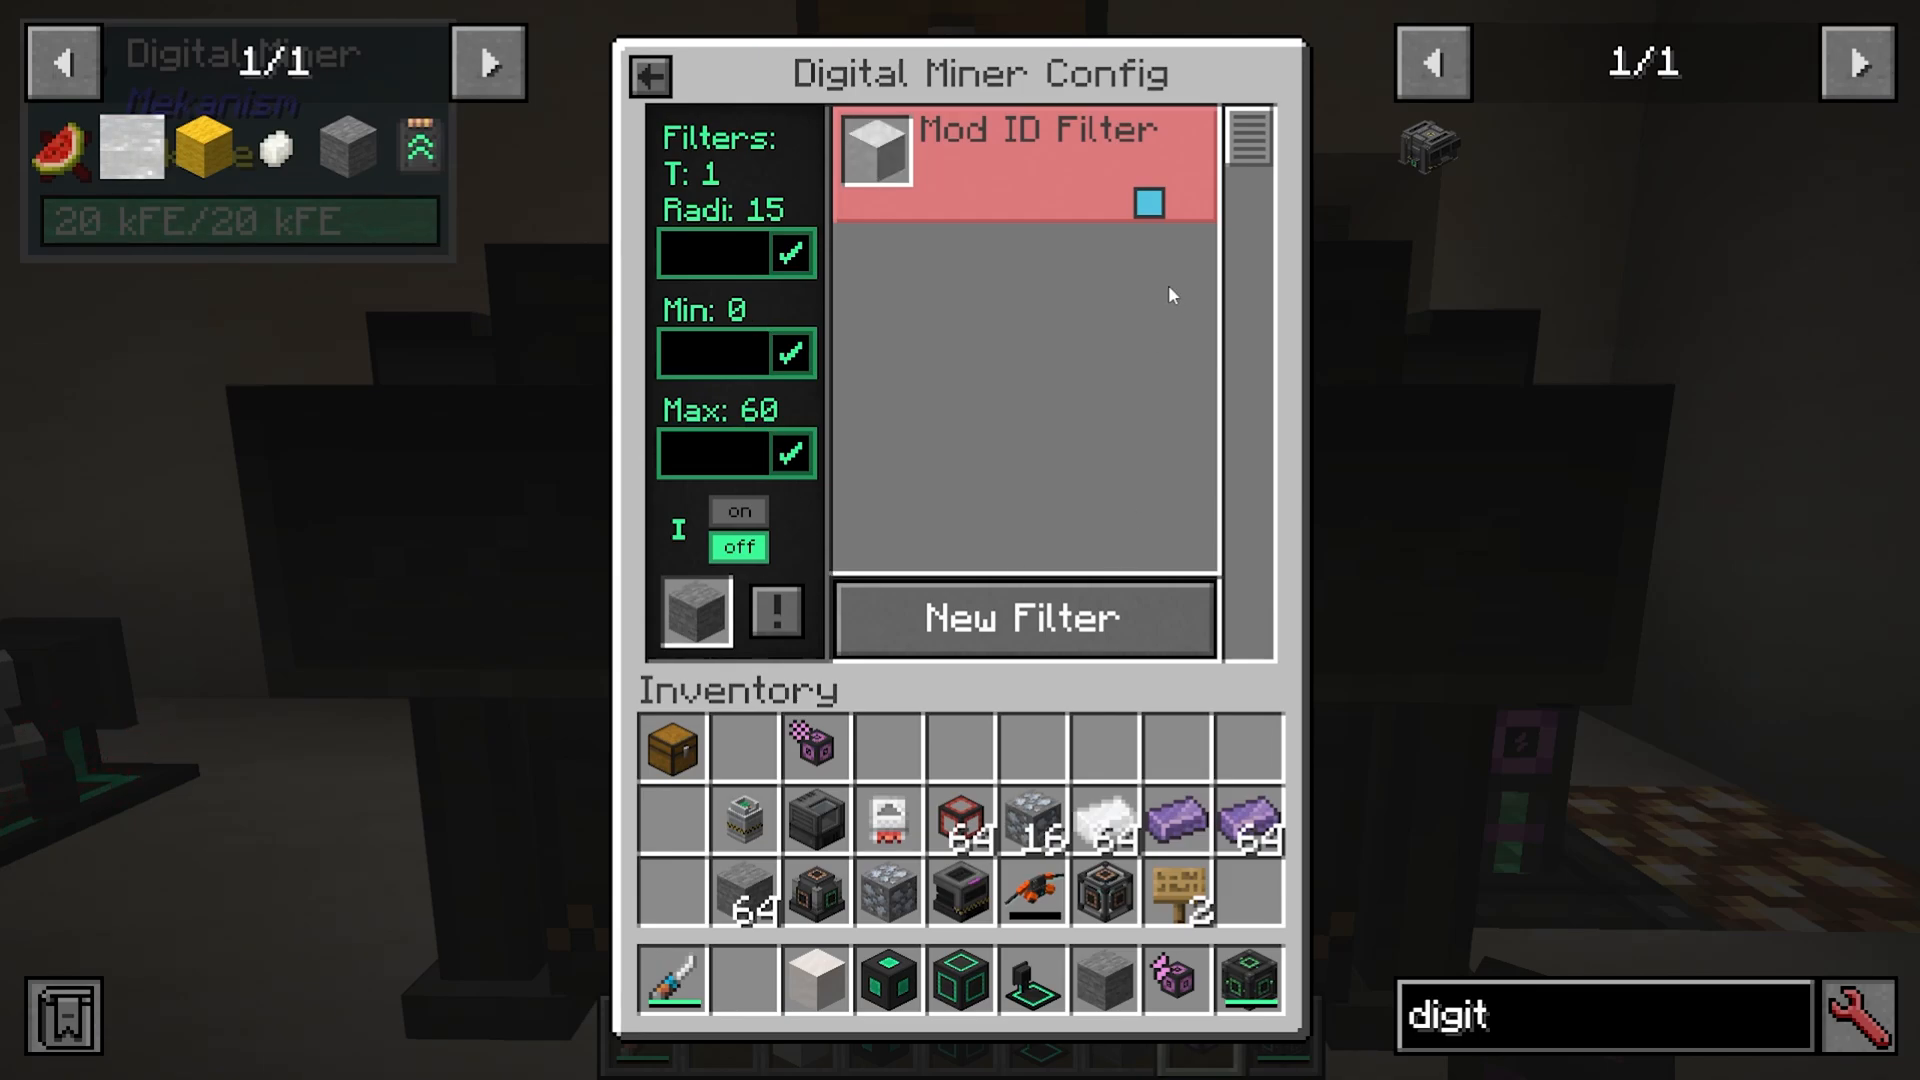
The Digital Miner uses an intuitive filter system to determine what to mine. Access the config menu to:
Create Filters:
Mod ID Filter: Mine all ores from a specific mod (e.g., “Mekanism” mines all Mekanism ores)
Item Stack Filter: Specify exact items to mine (e.g., only Osmium ore)
Priority Setting: Assign higher priority values to filters—higher priority mines first
Replacement Blocks: Set what blocks replace mined ores (e.g., stone)
Auto-pull: Automatically pull replacement blocks from the chest above
Mining Parameters:
Radius: Set the horizontal mining radius around the miner (e.g., 10, 15 blocks)
Y-Level Range: Define minimum and maximum mining depth (e.g., 0 to 60)
Inverse Mode: Mine everything EXCEPT items in your filter
Inverse Replacement: Specify replacement blocks for inverse mode mining
Filter management is flexible—toggle filters on and off without deleting them. This allows quick switching between different mining configurations.
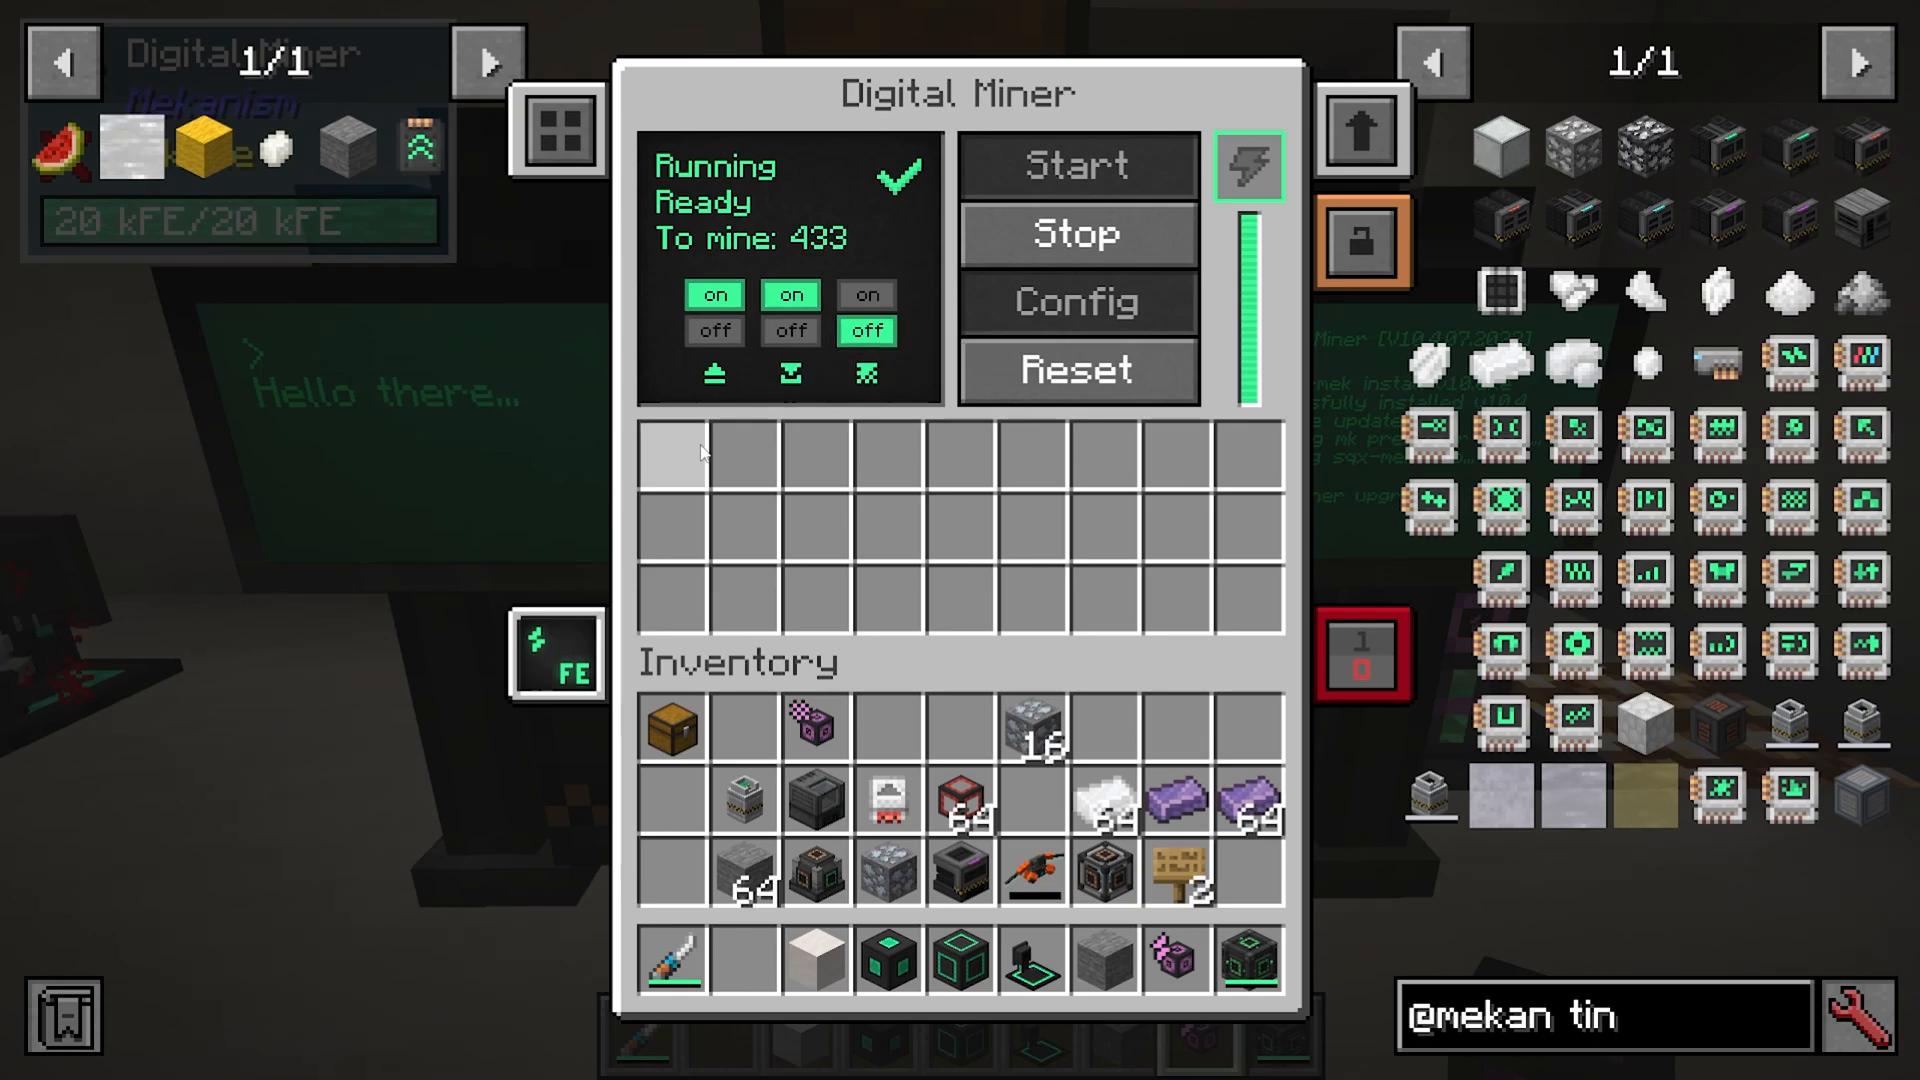
Once configured, press “Start” to begin mining. The Digital Miner collects ores into its internal inventory and ejects them through the orange port on the back. You can connect a simple chest or use more advanced transport systems like the Quantum Entangle Porter.
Quantum Entangle Porter
The Quantum Entangle Porter is an advanced item and fluid transport system that uses frequency synchronization to transfer items across any distance instantly.
Basic Setup
Assign the same frequency to two or more Quantum Entangle Porters
Configure input and output directions for each porter using side config
Connect power to each unit
Configuration Options
Access the side config menu to specify what transfers through each direction:
Items
Fluids
Gases
Infusions
Heat
Energy
Slurries
Pigments
Example setup: Set the Digital Miner’s output to feed into a Quantum Entangle Porter on the “tutorial” frequency. Configure that porter’s left side to input items. Then place another Quantum Entangle Porter on the “tutorial” frequency elsewhere and set its right side to output items. Items travel instantly between synced porters.
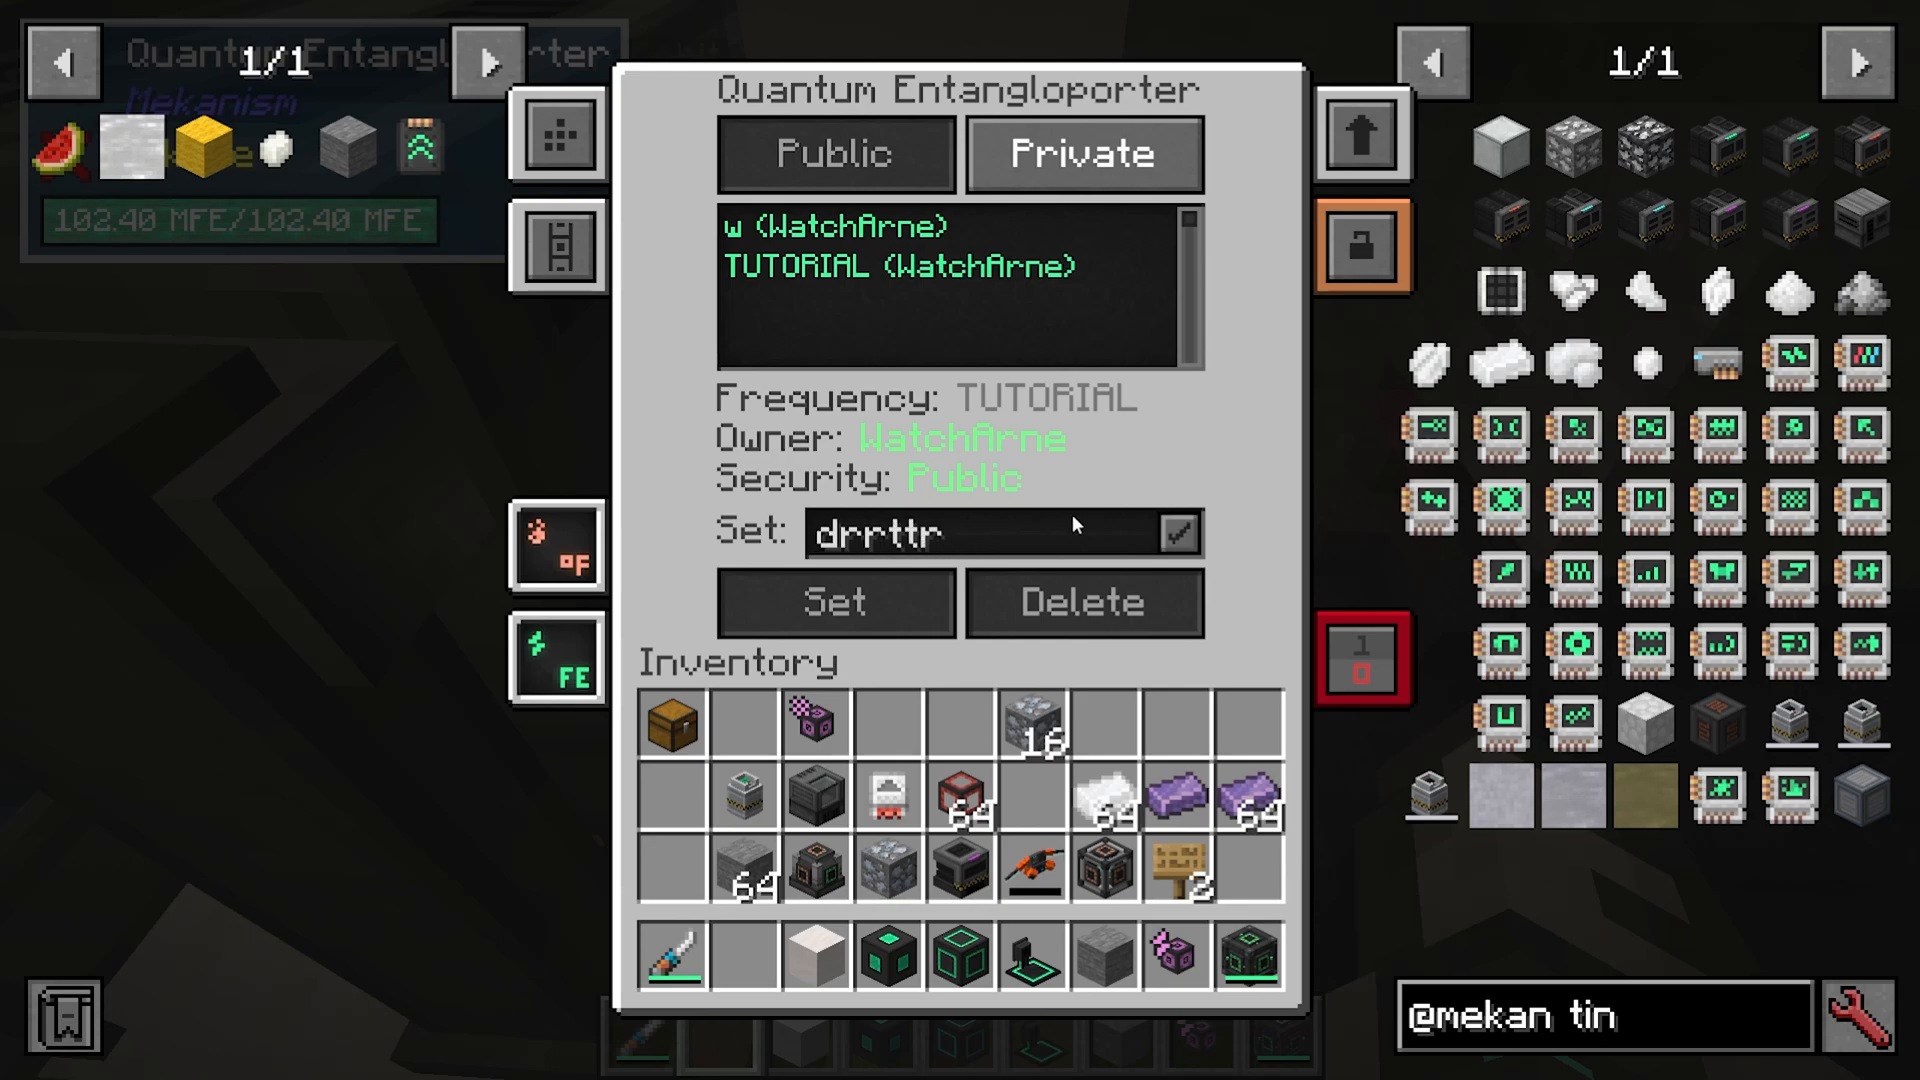
Upgrades available include anchor upgrades (to keep chunks loaded) and security settings. As long as both porters share the same frequency, you can transfer virtually anything anywhere on your world.
Teleporters and Portals
For player travel, Mekanism offers simple yet effective teleporter portals. These are easier to construct than Quantum Entangle Porters but consume significant energy.
Building a Teleporter Portal
Construction is straightforward:
Place one teleporter block in the center
Surround it with teleporter frames in a nether portal-like pattern
Right-click the center block to access the interface
Power the teleporter from underneath
Set the frequency (e.g., “tutorial”)
Set access level (public or private)
Choose a color (gray, light blue, lime, etc.)
Using Multiple Portals
You can create multiple portals on the same frequency by assigning different colors. For example:
Main base portal: Tutorial frequency, light blue
Mining outpost 1: Tutorial frequency, lime
Mining outpost 2: Tutorial frequency, gray
Simply change the color setting to switch which portal you’re connecting to. Note: You must return through the same portal to get back—consider maintaining a separate return portal on a different frequency at your base if desired.
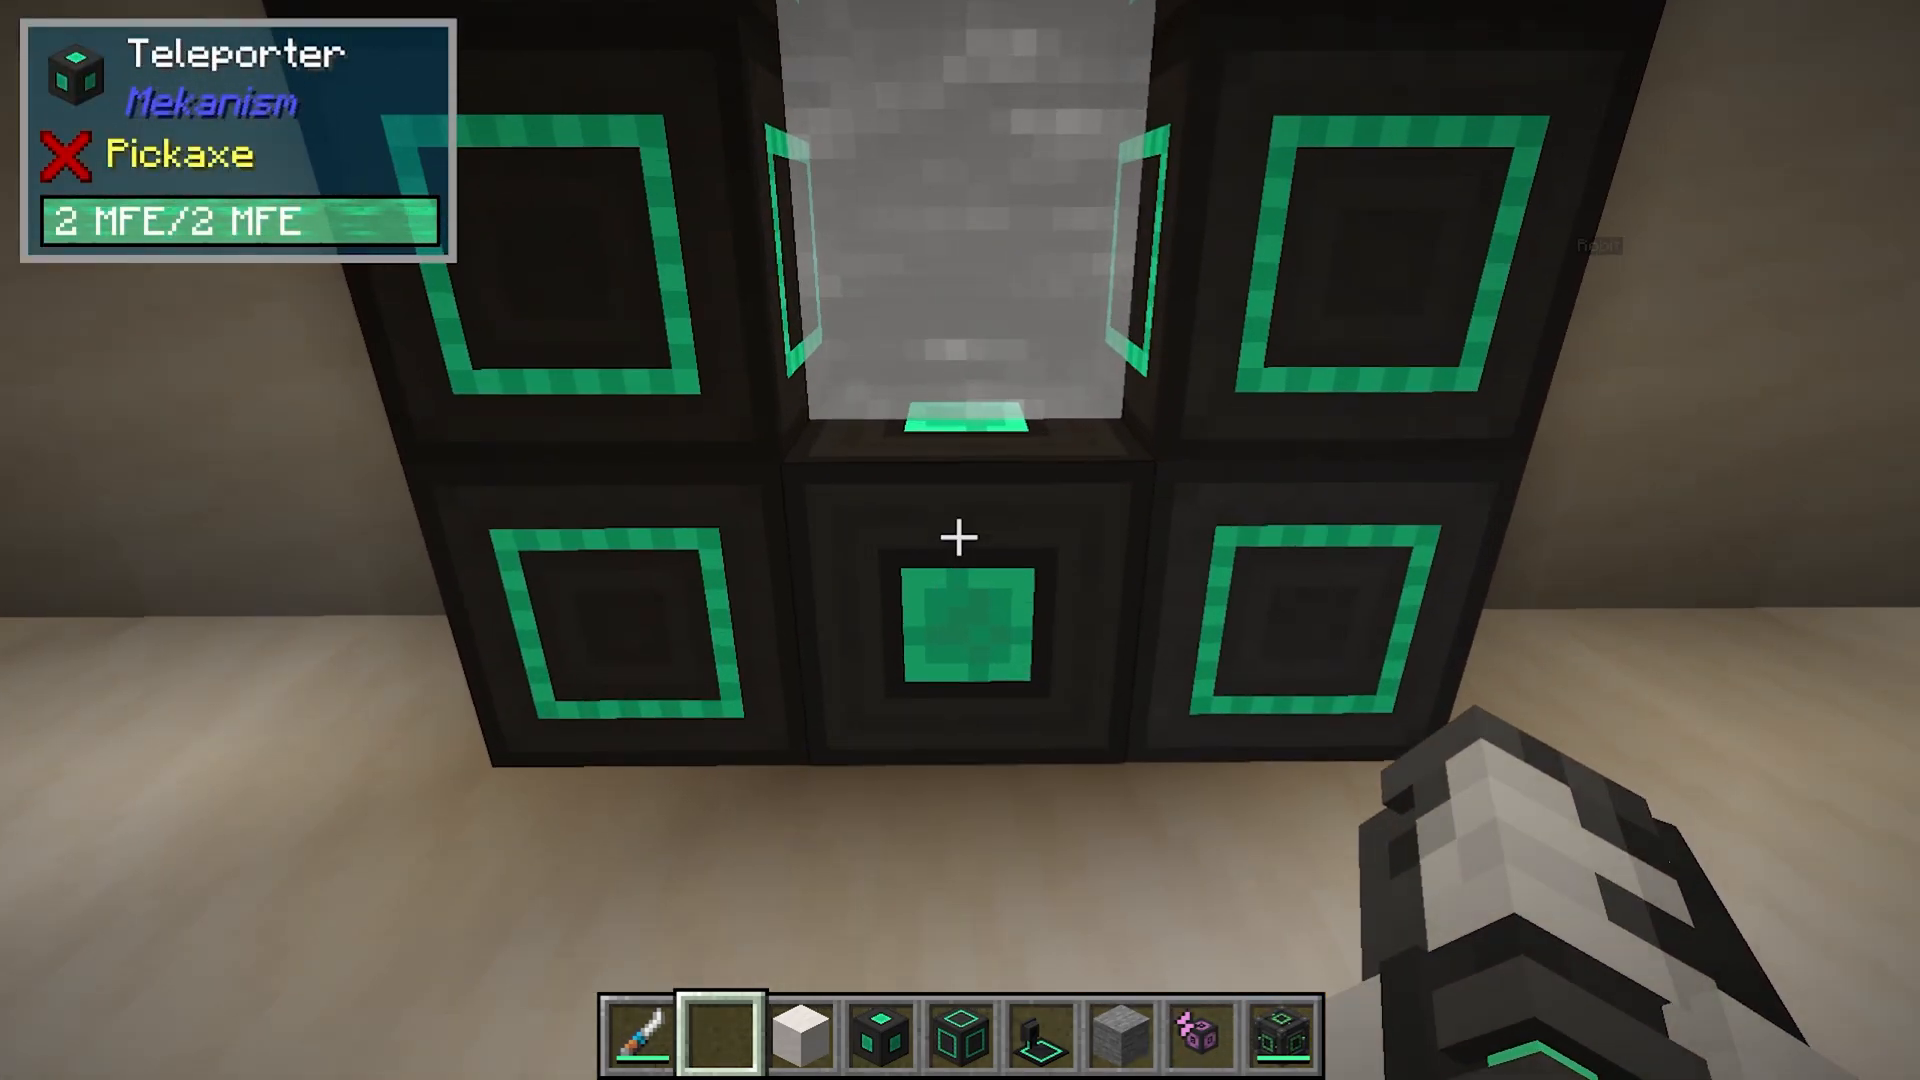
Teleporters use considerable energy per use, so they’re best reserved for important travel routes. For more efficient energy generation methods to support teleporters, advanced setups are covered in the end-game guide.
Ore Processing: Doubling, Tripling, and Quadrupling
Mekanism excels at ore multiplication. By the mid-game stage, you’re likely mining vast quantities of ore with the Digital Miner. Proper processing multiplies your output efficiently. There’s slight diminishing returns, but these processes are generally referred to as 2x, 3x, 4x, and 5x multiplication.
Doubling Ores (2x Output)
The simplest multiplication method requires only two machines:
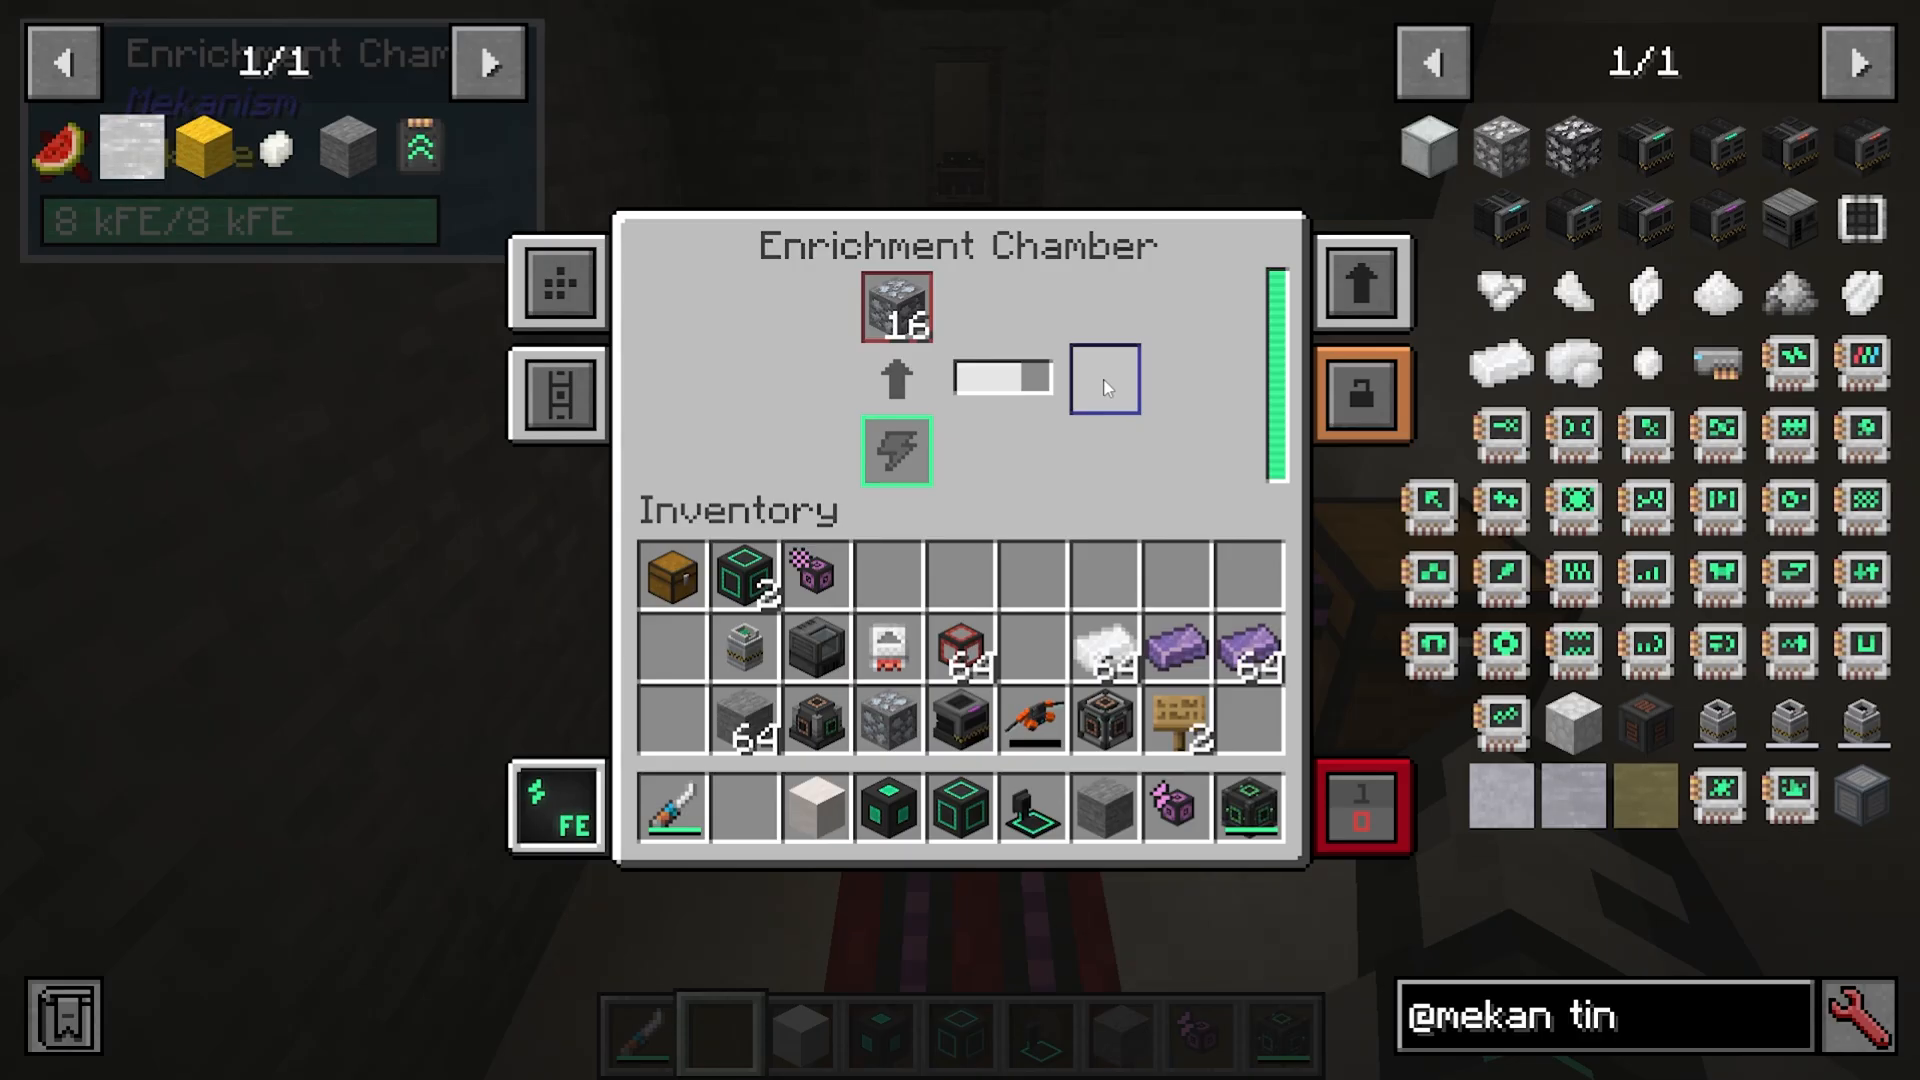
Place ore in an enrichment chamber to crush it into ore dust
Transfer the ore dust to an energized smelter where it becomes ore ingots
Result: One ore yields approximately two ingots. This process is quick, efficient, and requires minimal setup.
Tripling Ores (3x Output)
Tripling requires oxygen and adds additional processing steps:
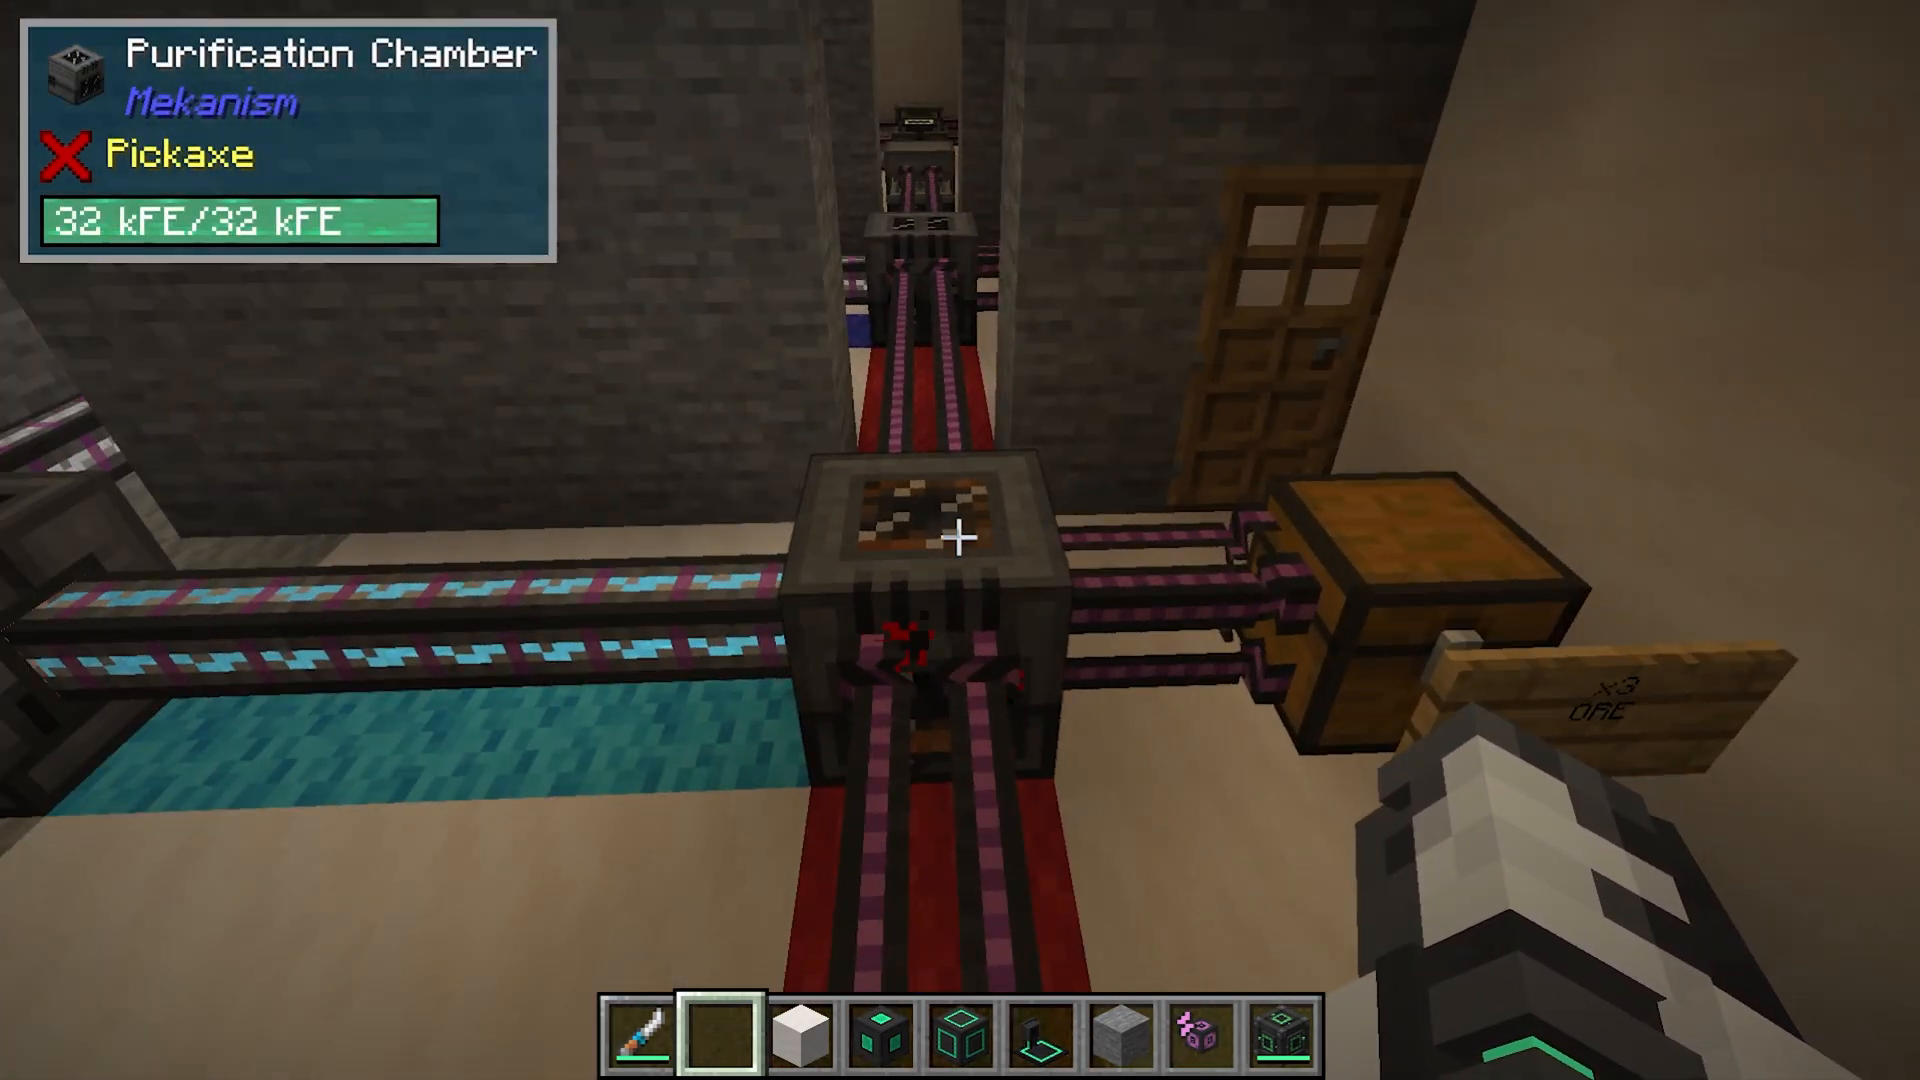
Place ore in a purification chamber with oxygen to create ore clumps
Crush ore clumps in a crusher to produce dirty ore dust
Process dirty ore dust through an enrichment chamber to create clean ore dust
Smelt ore dust in an energized smelter to produce ingots
Producing Oxygen:
Use an electric pump to extract water
Feed water into an electrolytic separator to produce hydrogen (left output) and oxygen (right output)
Route oxygen into the purification chamber via blue piping or fluid ducts
Setup tip: Arrange machines in a production line. Use wool blocks on the floor as visual guides to track material flow through enrichment → crusher → purification → smelter.
Quadrupling Ores (4x Output) with Hydrogen Chloride
Quadrupling adds one critical step: chemical injection with hydrogen chloride. The process becomes:
Place ore in a chemical injection chamber with hydrogen chloride
Feed the result into a purification chamber with oxygen
Crush in a crusher to produce dirty ore dust
Process through an enrichment chamber for clean ore dust
Smelt in an energized smelter to produce ingots
The challenge lies in producing hydrogen chloride, which requires a thermal evaporation tower.
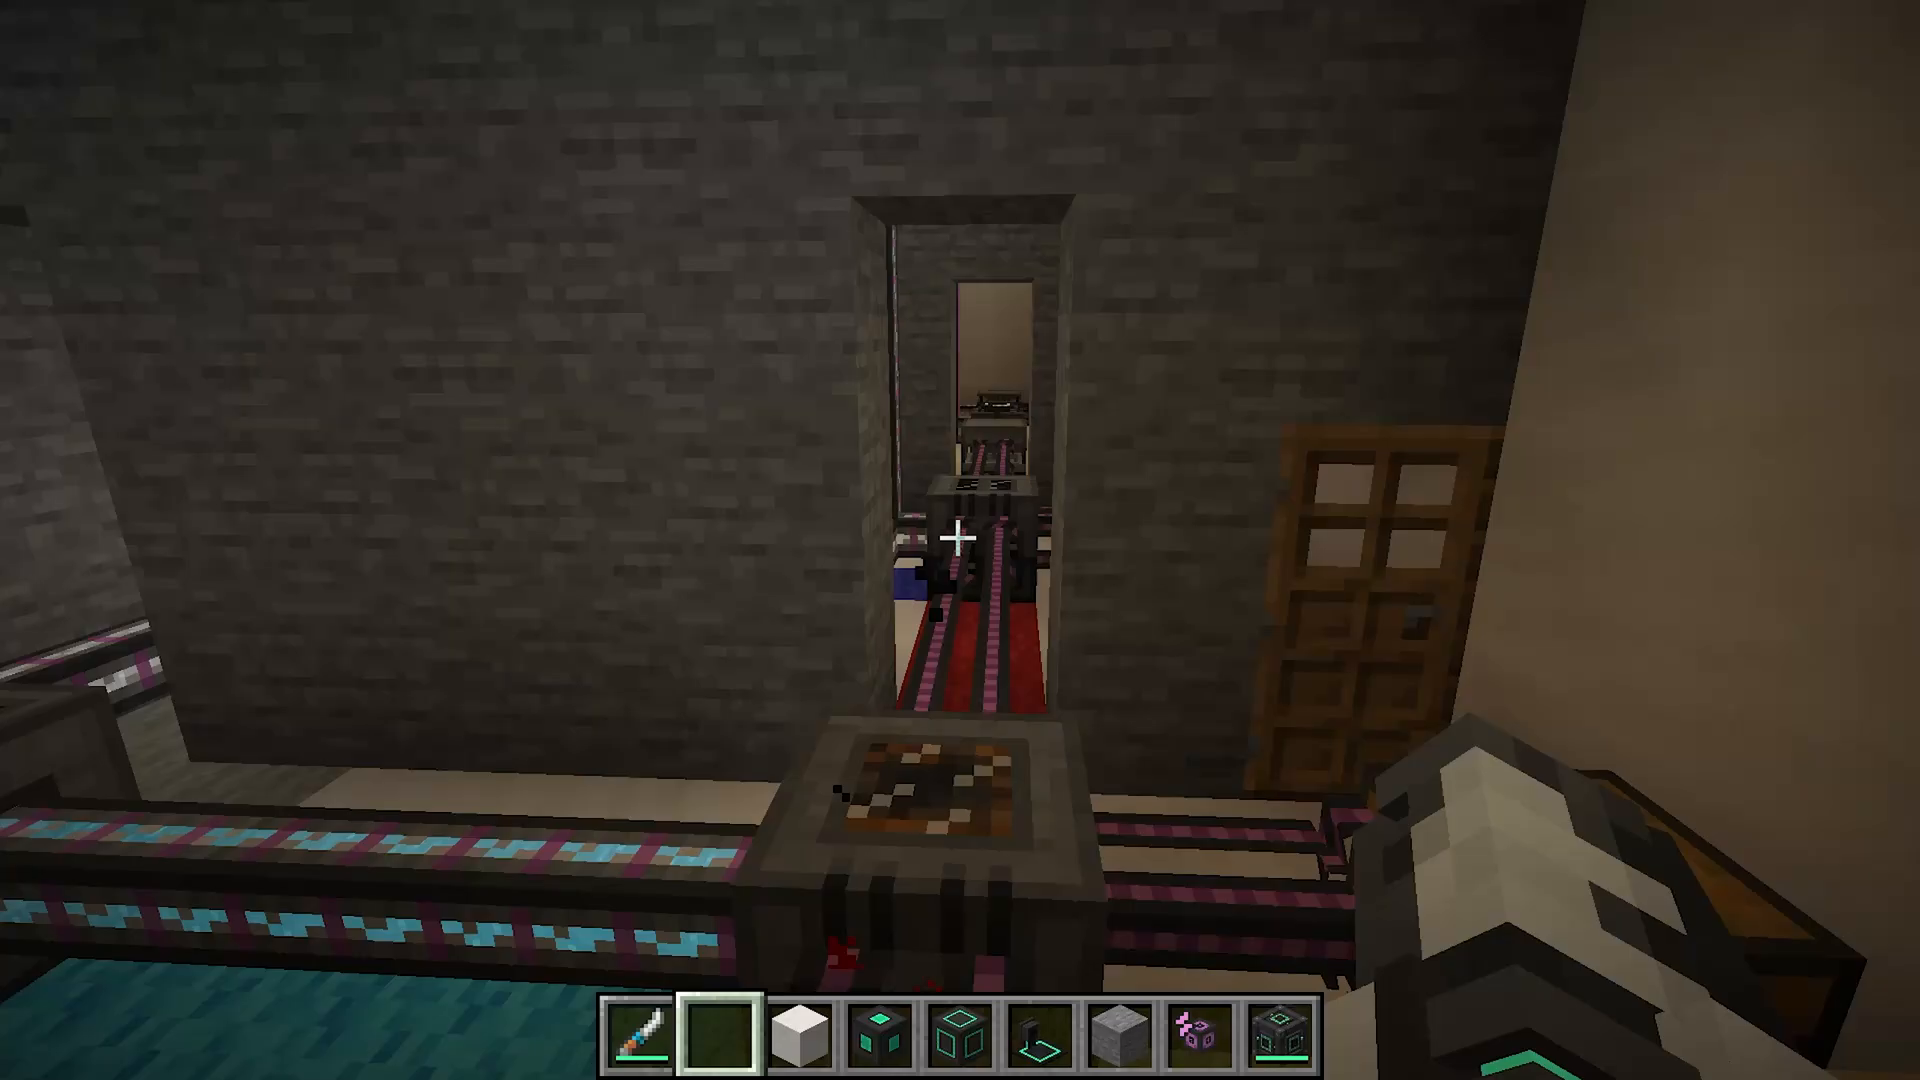
Thermal Evaporation Tower
The thermal evaporation tower converts water and heat into brine, which is then processed into hydrogen chloride. While it appears complex, the setup follows logical steps.
Tower Construction
Structure:
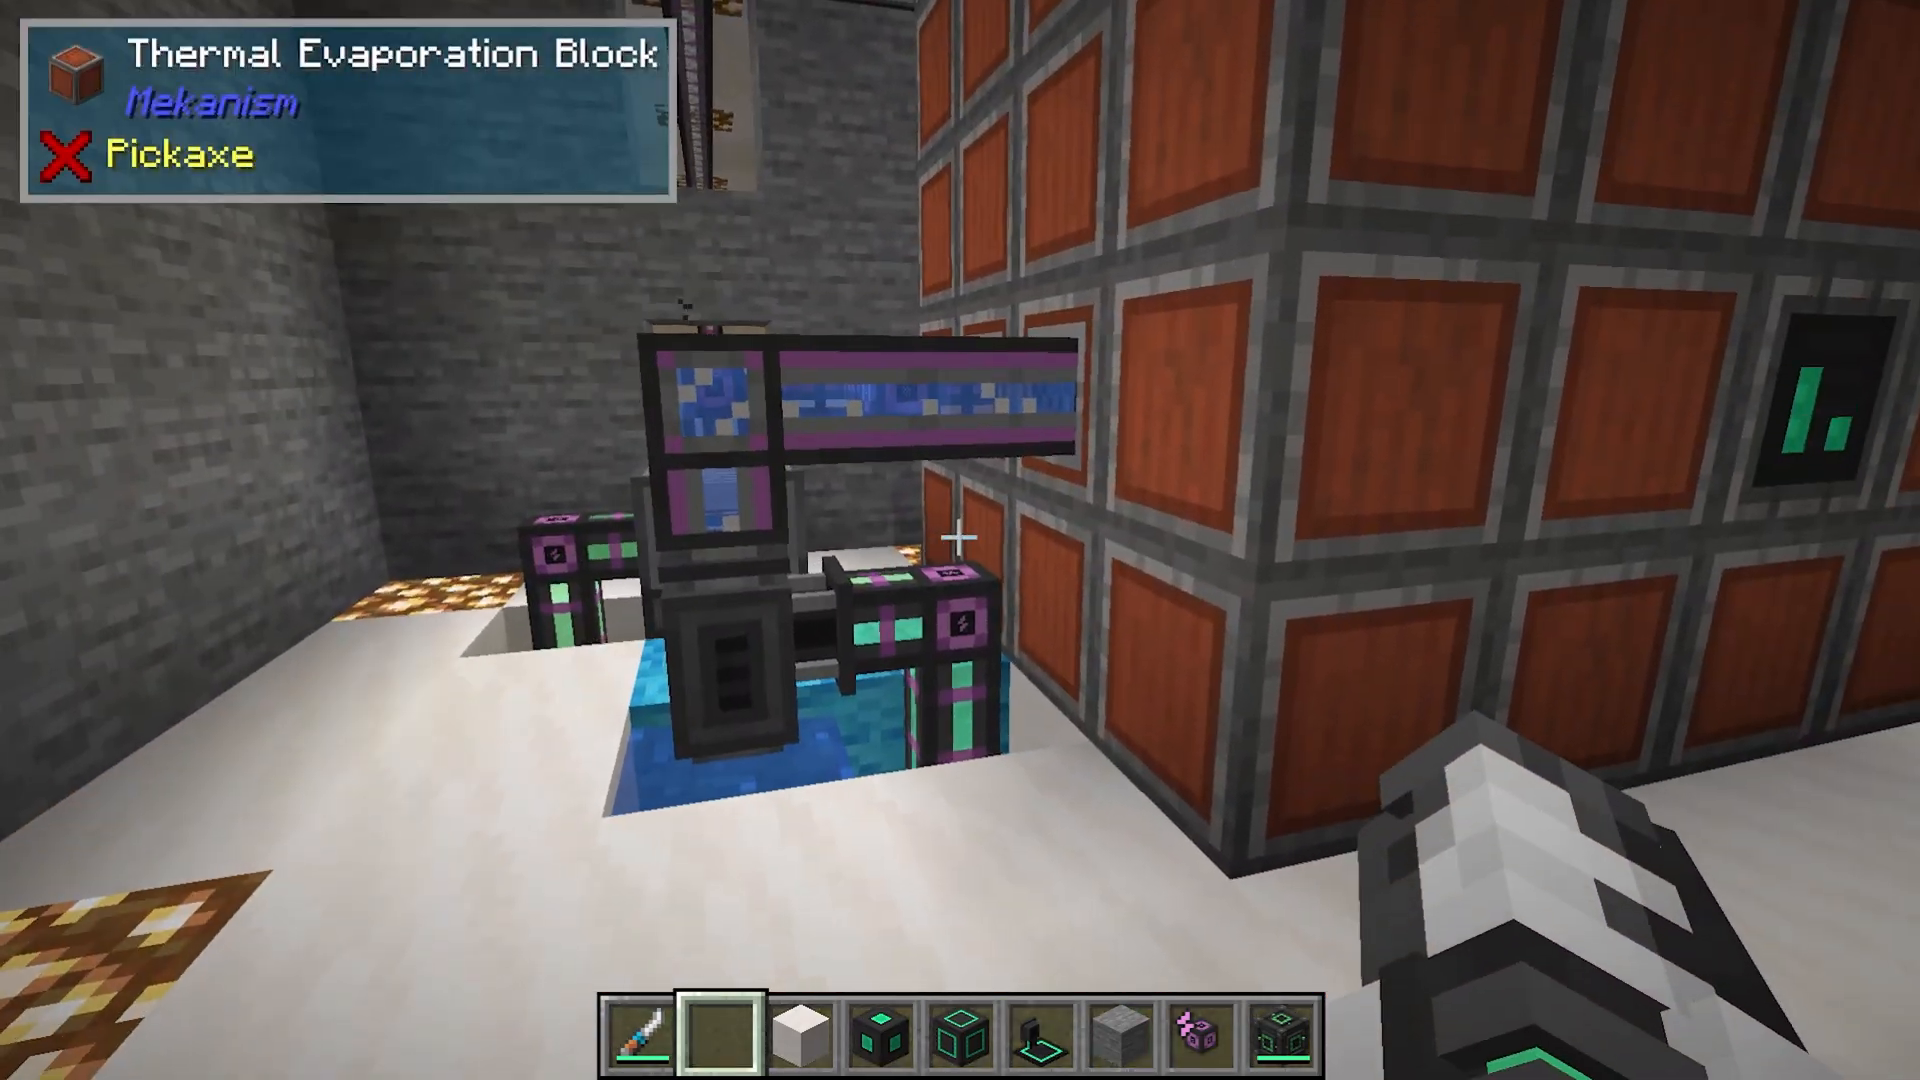
Build a hollow 4×4 frame using thermal evaporation blocks
Height can extend up to 17 blocks (example uses 4 blocks high)
Top corners may be left open
Leave the interior hollow except for the bottom
Required Components:
Thermal Evaporation Controller: Place on tower for interface access
Thermal Evaporation Valves: Multiple valves for input/output
Resistive Heater: Provides heat energy (alternative: use hot biome)
Thermodynamic Conductor: Transfers heat from resistive heater to tower
Mekanism Pump: Feeds water into the tower
Operation Process
Power the resistive heater: Set energy input (e.g., 300 energy per tick) via the front interface
Transfer heat: Connect a thermodynamic conductor from the heater to a valve on the tower to pump heat inside
Add water: Use a Mekanism pump connected to a water source, feeding into another valve
Extract brine: A third valve outputs brine once water and heat combine
Result: The tower converts water and heat into brine inside its interface window (visible when opening the controller).
Processing Brine into Hydrogen Chloride
Once you have brine, the conversion process requires two electrolytic separators and a chemical infuser:
Electrolytic Separator (Brine Input): Feed brine (instead of water) into this separator
Output handling: This produces sodium (discard) and chlorine (keep)
Route chlorine: Extract chlorine gas from the right output
Chemical Infuser Setup:
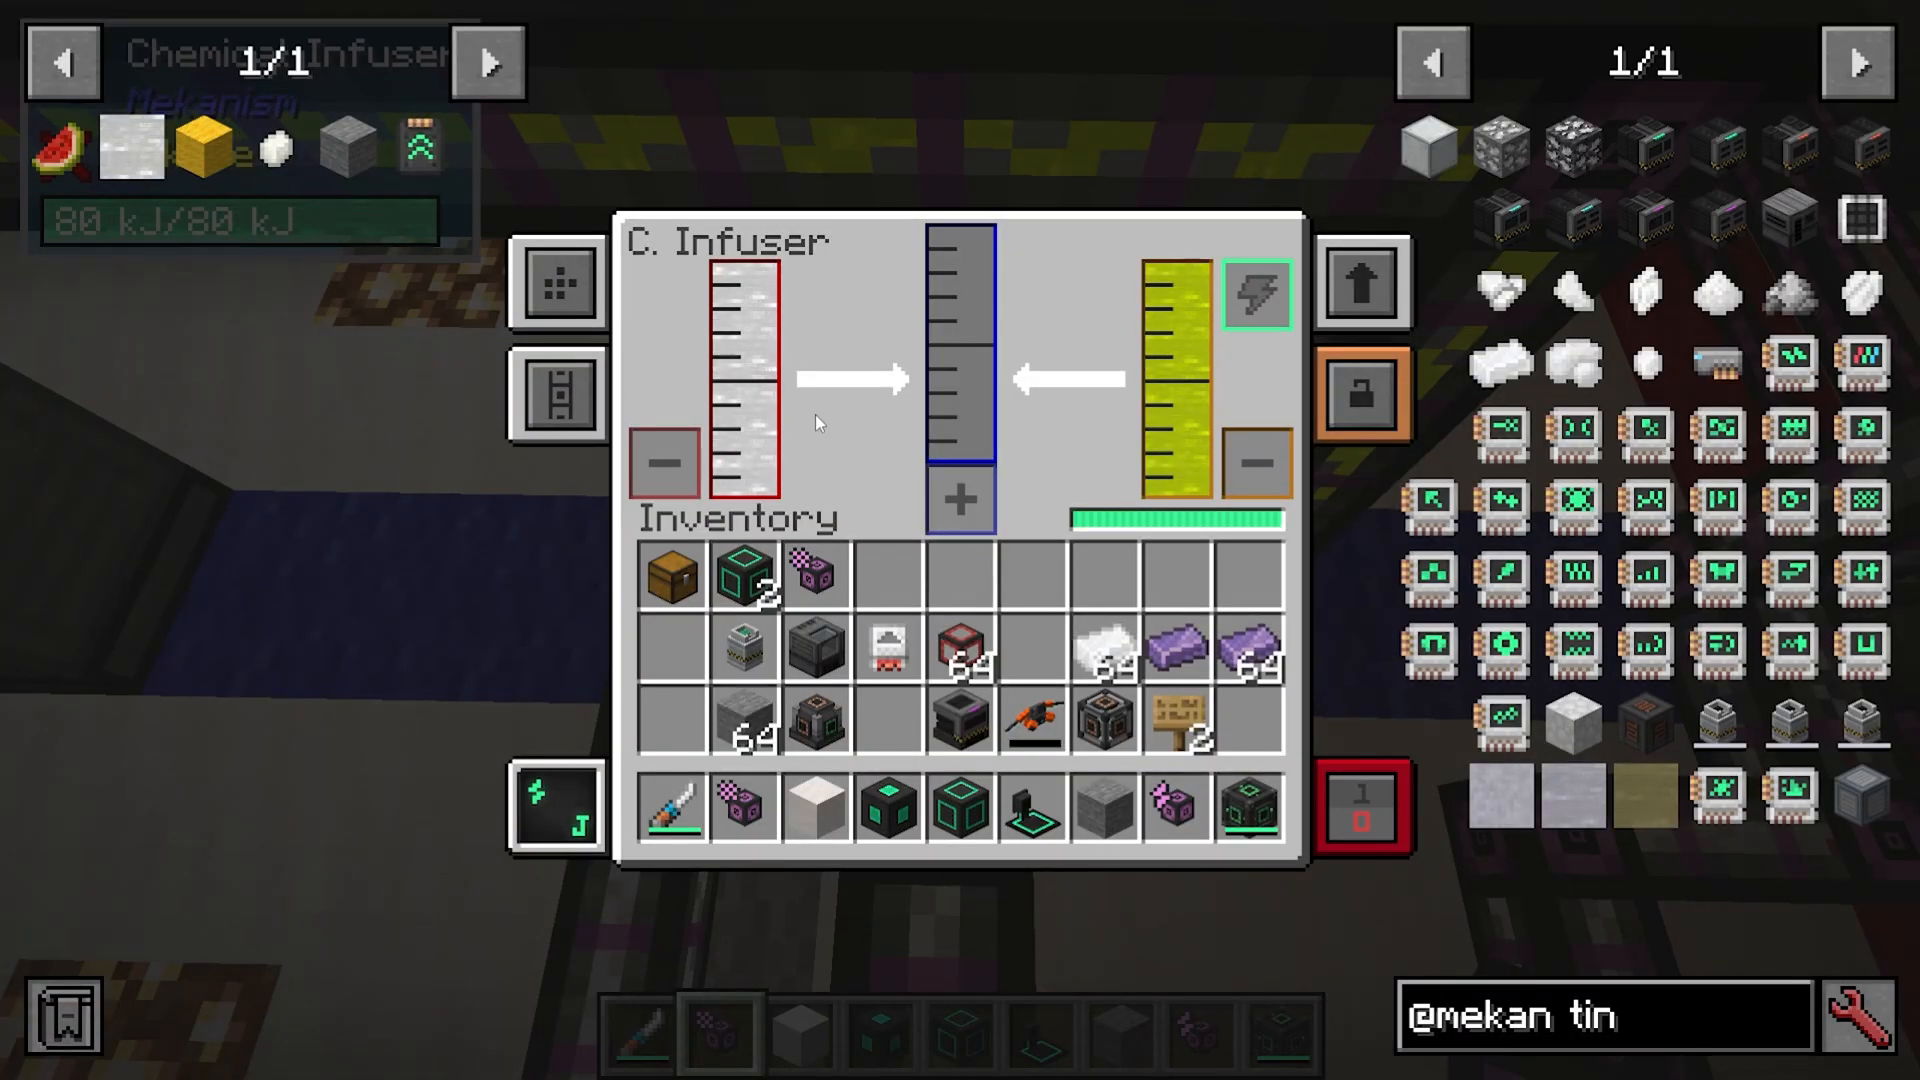
Left input: Hydrogen (from the original water-processing electrolytic separator used for 3x ore)
Right input: Chlorine
Front output: Hydrogen chloride gas
Feed to chemical injection chamber: Route hydrogen chloride into your chemical injection chamber for 4x ore processing
Optional Enhancement: Advanced Solar Generators
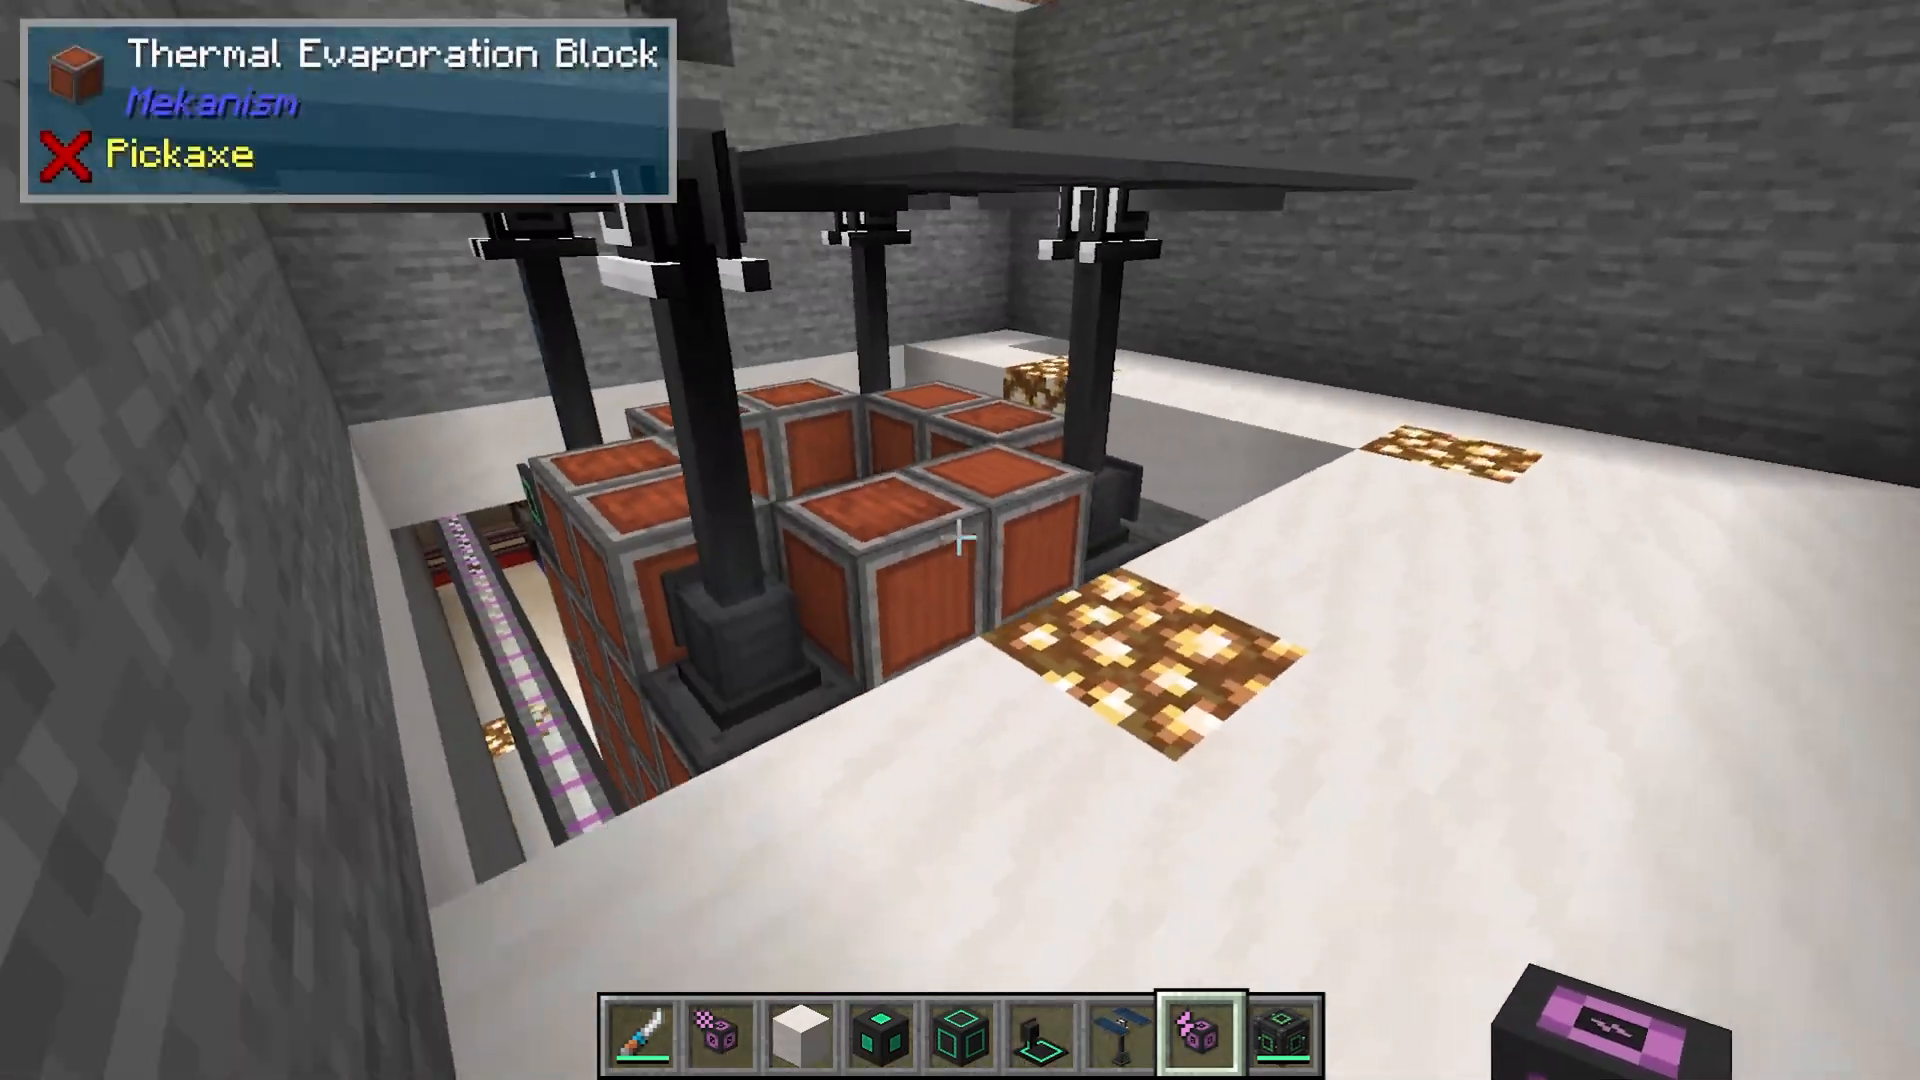
To further optimize the thermal evaporation tower, place advanced solar generators (from the Mekanism Generators add-on mod) on the tower’s top corners. This increases brine production efficiency without requiring additional setup.
Complete 4x Ore Processing Workflow Summary
Here’s the entire hydrogen chloride production and ore processing chain in one overview:
Thermal Evaporation Tower: Water + heat → brine
Electrolytic Separator (brine): Brine → sodium + chlorine
Chemical Infuser: Hydrogen + chlorine → hydrogen chloride
Chemical Injection Chamber: Ore + hydrogen chloride → processed ore
Purification Chamber: Processed ore + oxygen → ore clumps
Crusher: Ore clumps → dirty ore dust
Enrichment Chamber: Dirty ore dust → clean ore dust
Energized Smelter: Ore dust → ingots (approximately 4x per ore)
Don’t forget: Oxygen comes from a separate electrolytic separator processing water from your electric pump. Route oxygen to both the purification chamber in the 3x and 4x processes.
Beyond Quadrupling: Quintuple Ore Processing
Mekanism also supports 5x ore multiplication, but the setup is significantly more complex. This advanced technique is reserved for the end-game guide as it requires additional infrastructure and careful planning.
Conclusion
You’ve now mastered mid-game Mekanism essentials: factories and machine upgrades, the indispensable Digital Miner for bulk ore collection, the Robit companion for mobile crafting, teleportation systems for rapid world traversal, and comprehensive ore processing techniques that double, triple, and quadruple your ore output. The thermal evaporation tower and hydrogen chloride production chain unlock efficient 4x processing, significantly boosting your material production as you progress toward end-game content.
With these systems in place, you’re well-equipped to tackle the remaining Mekanism content and prepare for the advanced setups covered in the end-game guide. Continue experimenting with different configurations, and remember that efficiency improvements compound when multiple systems work in concert.
Want to Support?
If you would like to help us continue making these guides – please consider joining our patreon here – https://www.patreon.com/c/JaviHeals
Alternatively – we host a group of MC Servers you can join here – https://discord.gg/zD7Gjt6MHF



