Item Collectors Mod Tutorial
Item Collectors Mod for Minecraft: Complete Beginner’s Guide
The Item Collectors mod is one of the simplest yet most useful quality-of-life mods you can add to Minecraft. It adds just two items — the Basic Item Collector and the Advanced Item Collector — but together they can automate item pickup for farms, mob grinders, and complex modded setups. This guide walks you through everything you need to know to get started.
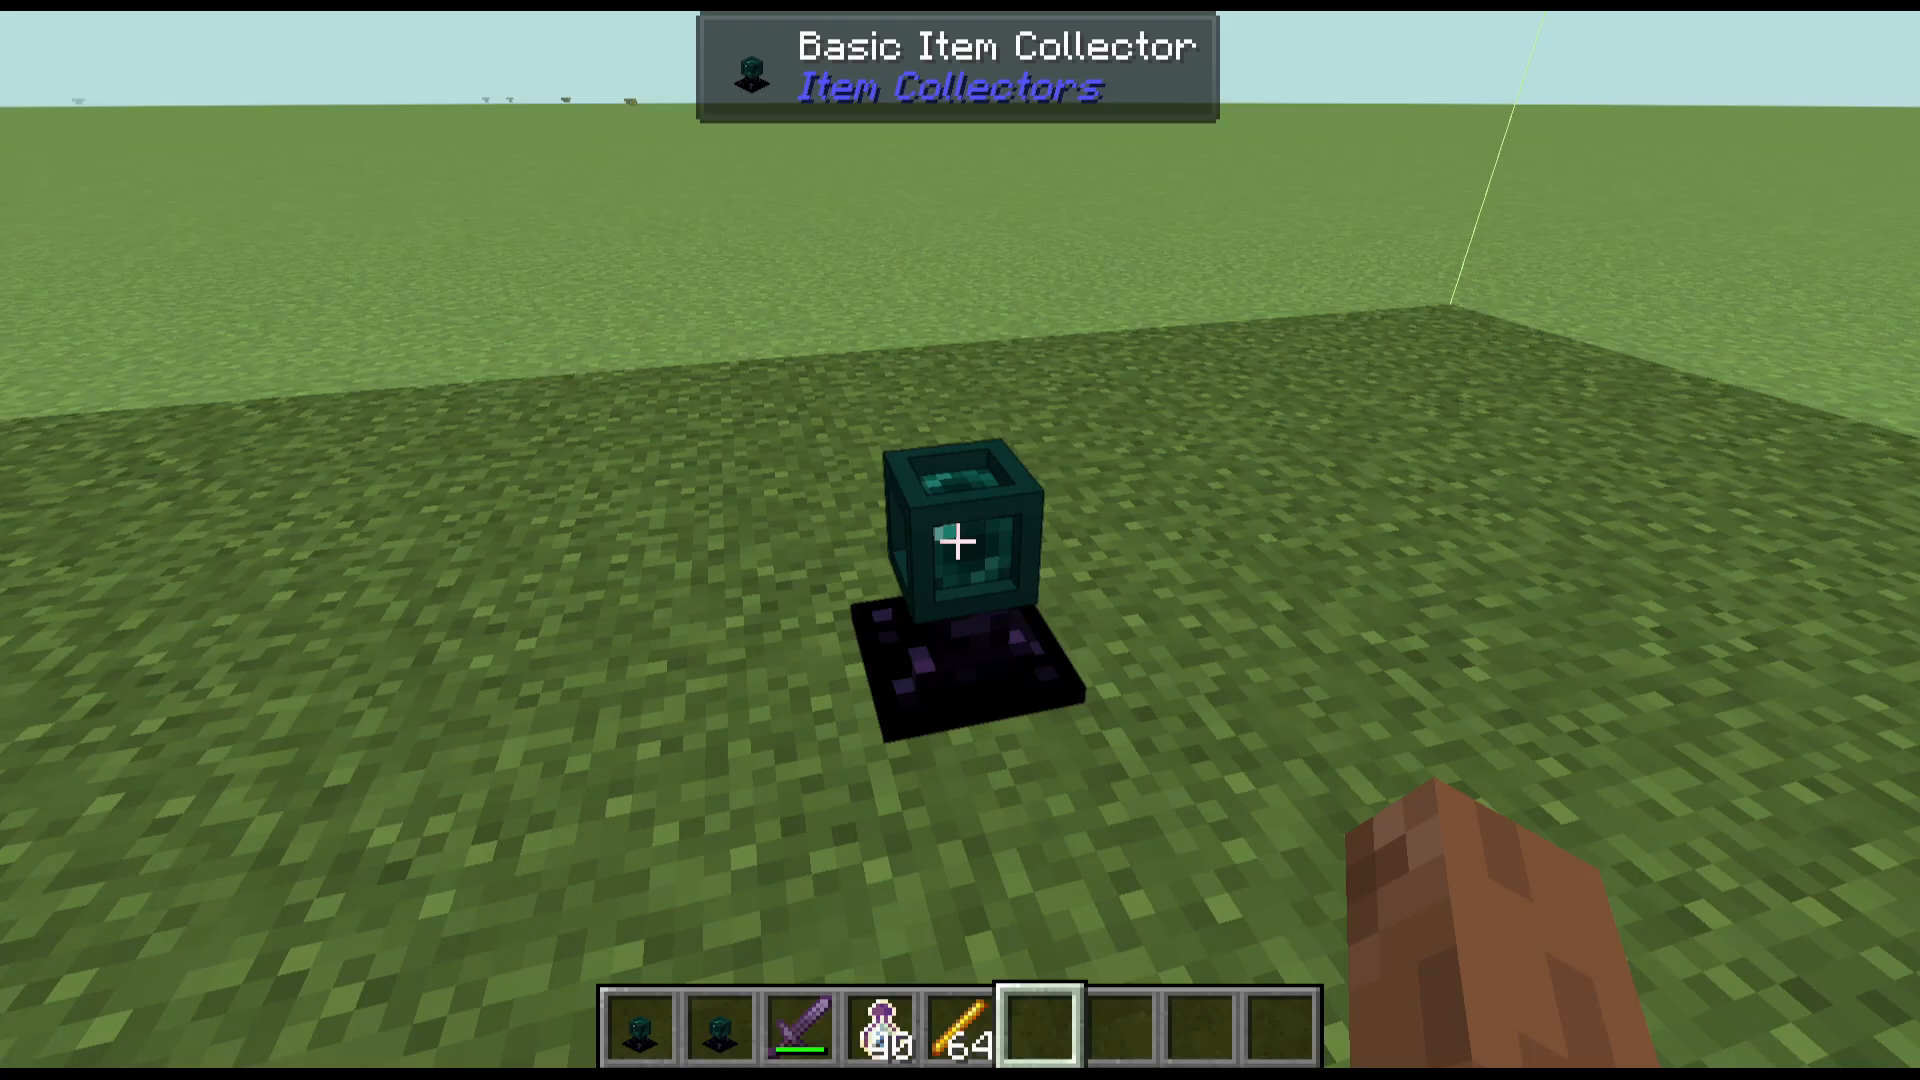
The Basic Item Collector
When you hover over the Basic Item Collector in your inventory, it displays its collection range directly on screen. This gives you an immediate visual reference before you even place it down.
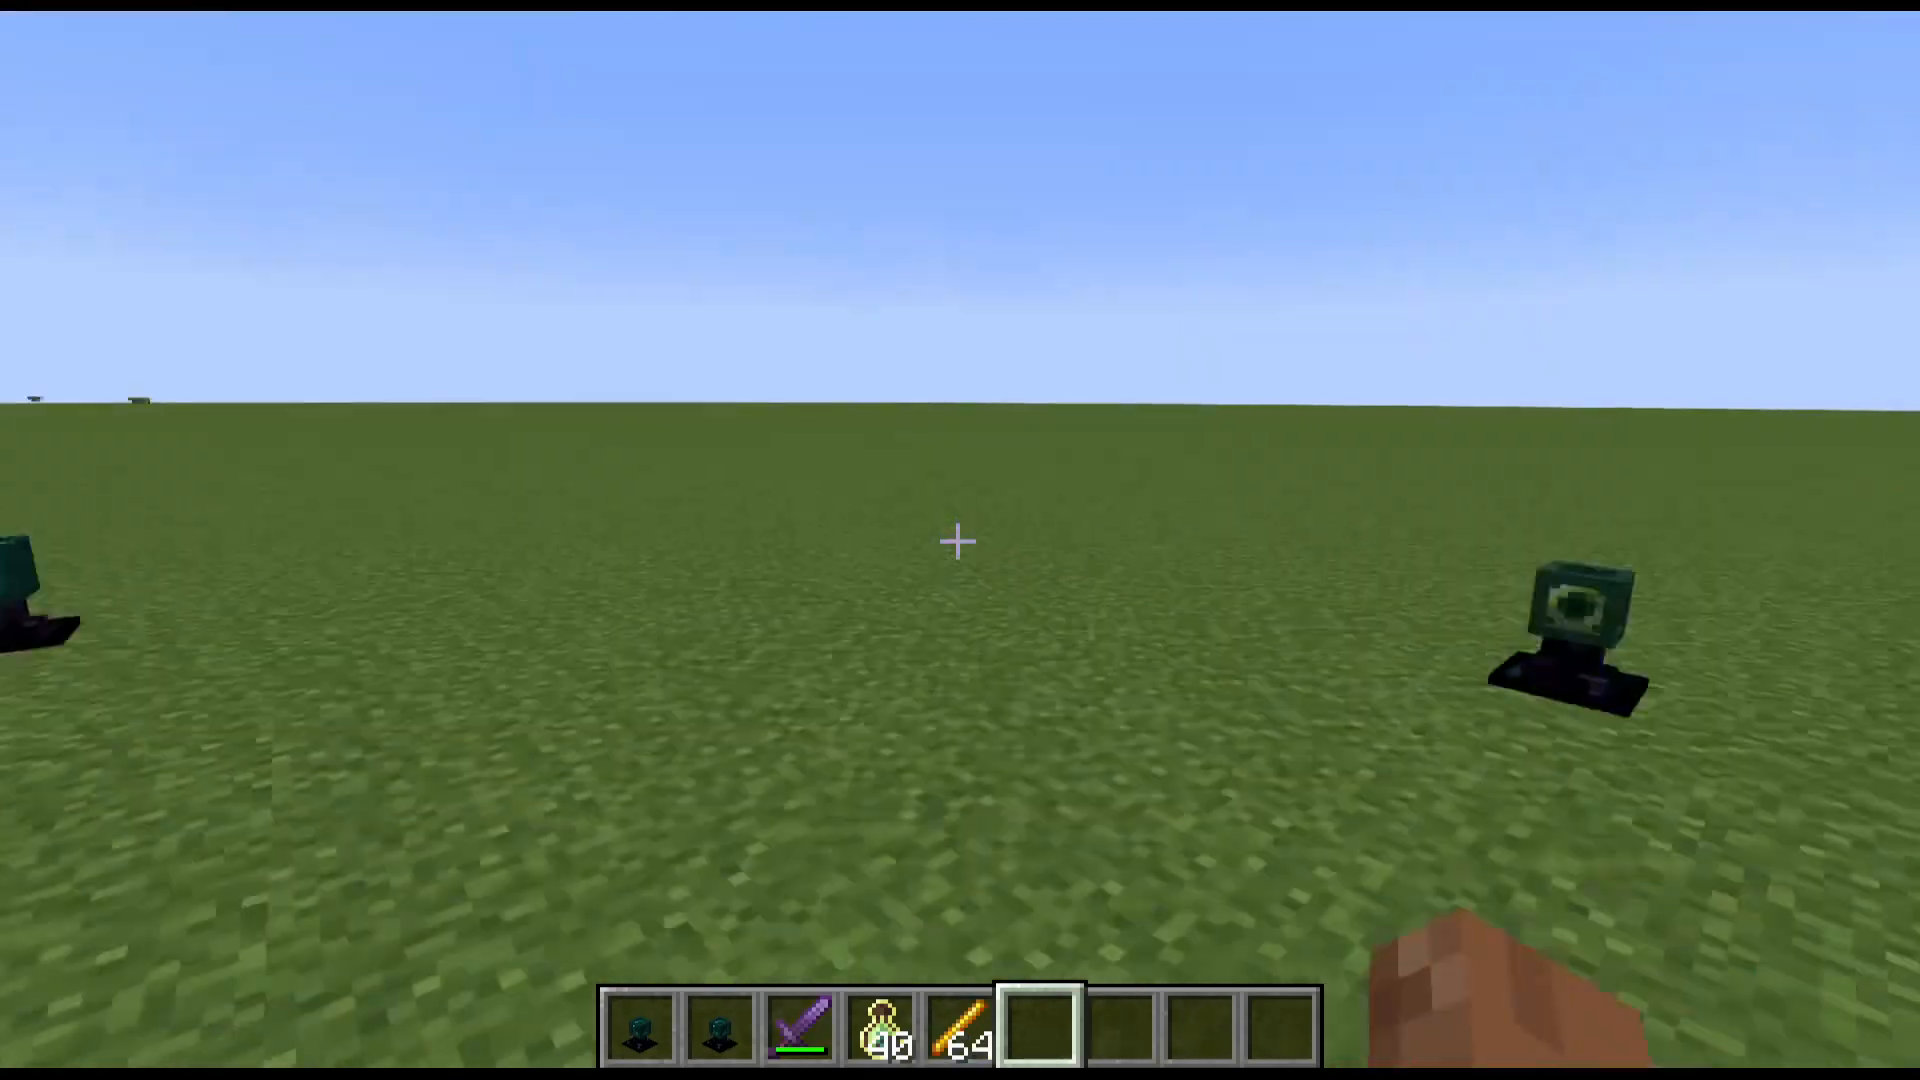
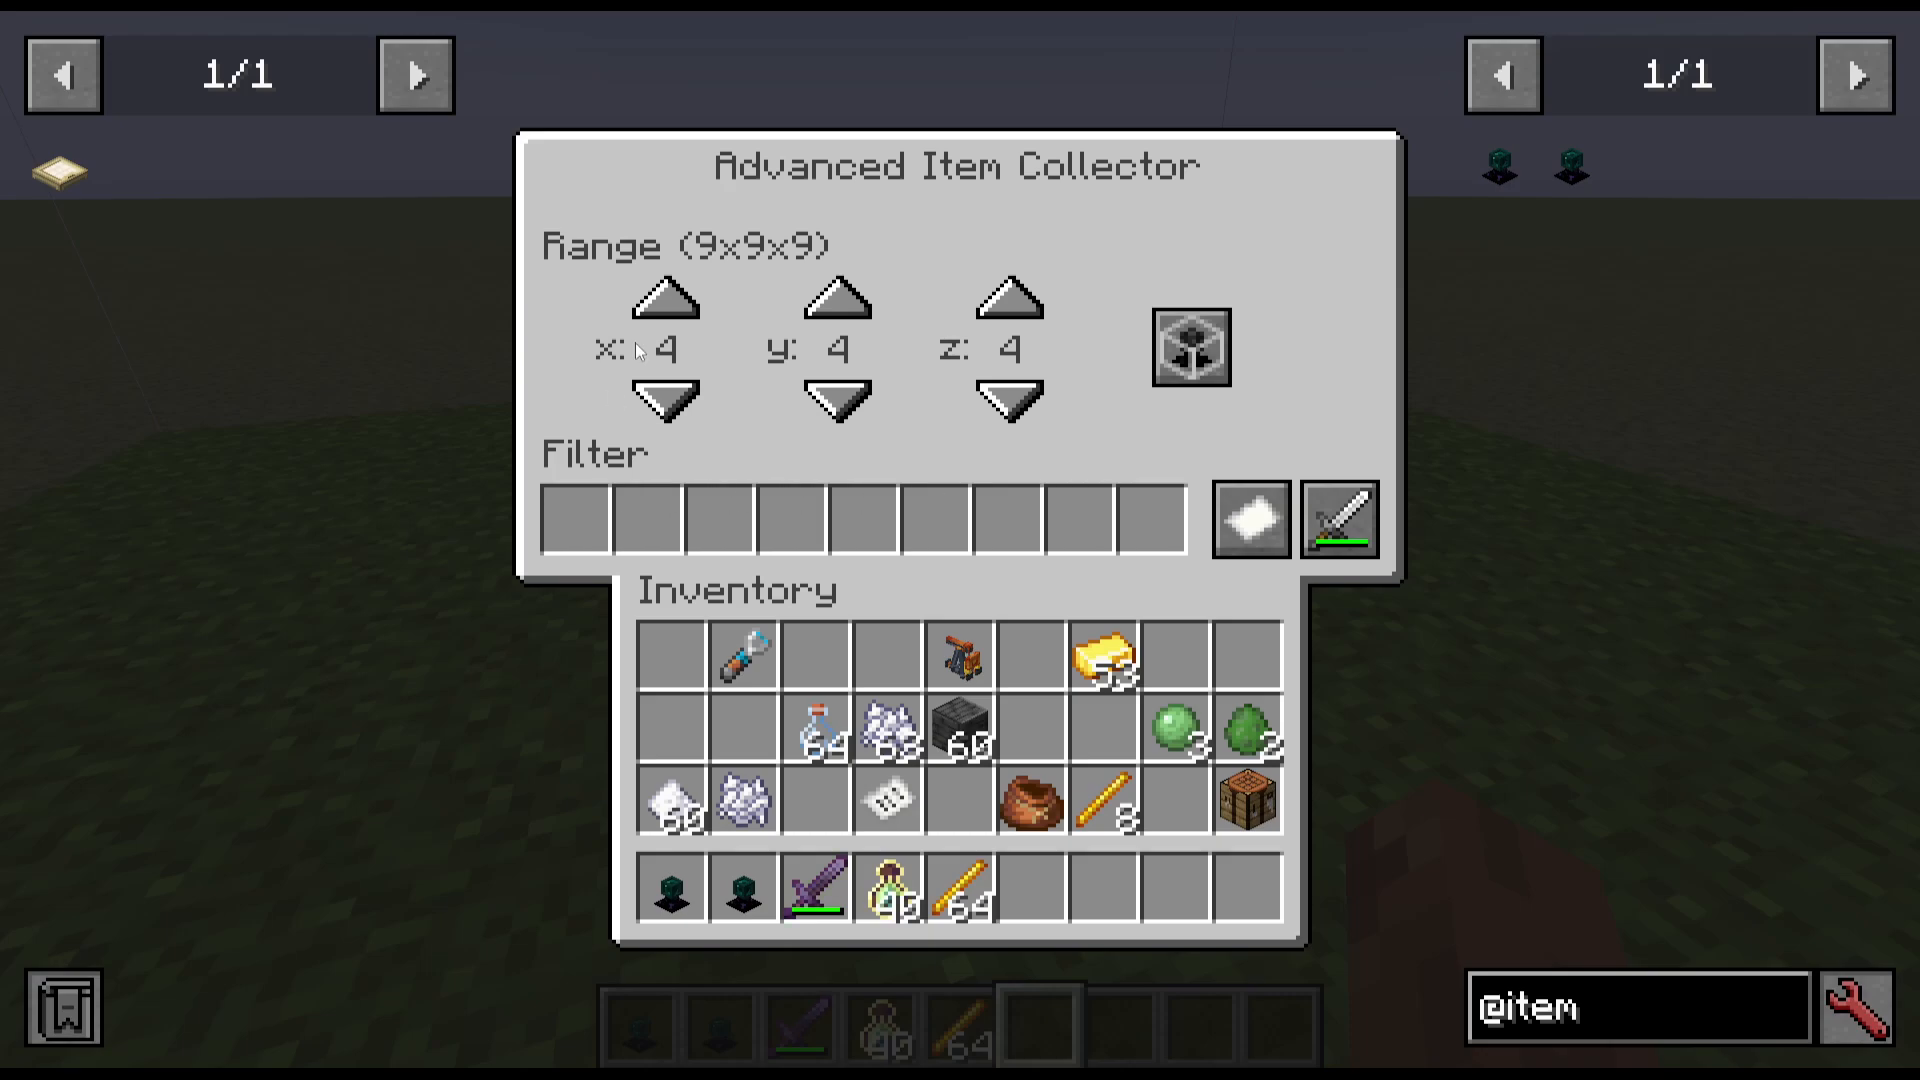
Right-clicking on a placed Basic Item Collector opens its configuration menu. From here, you can adjust the axes and size of the collection range, letting you customise exactly which area the collector monitors for dropped items.
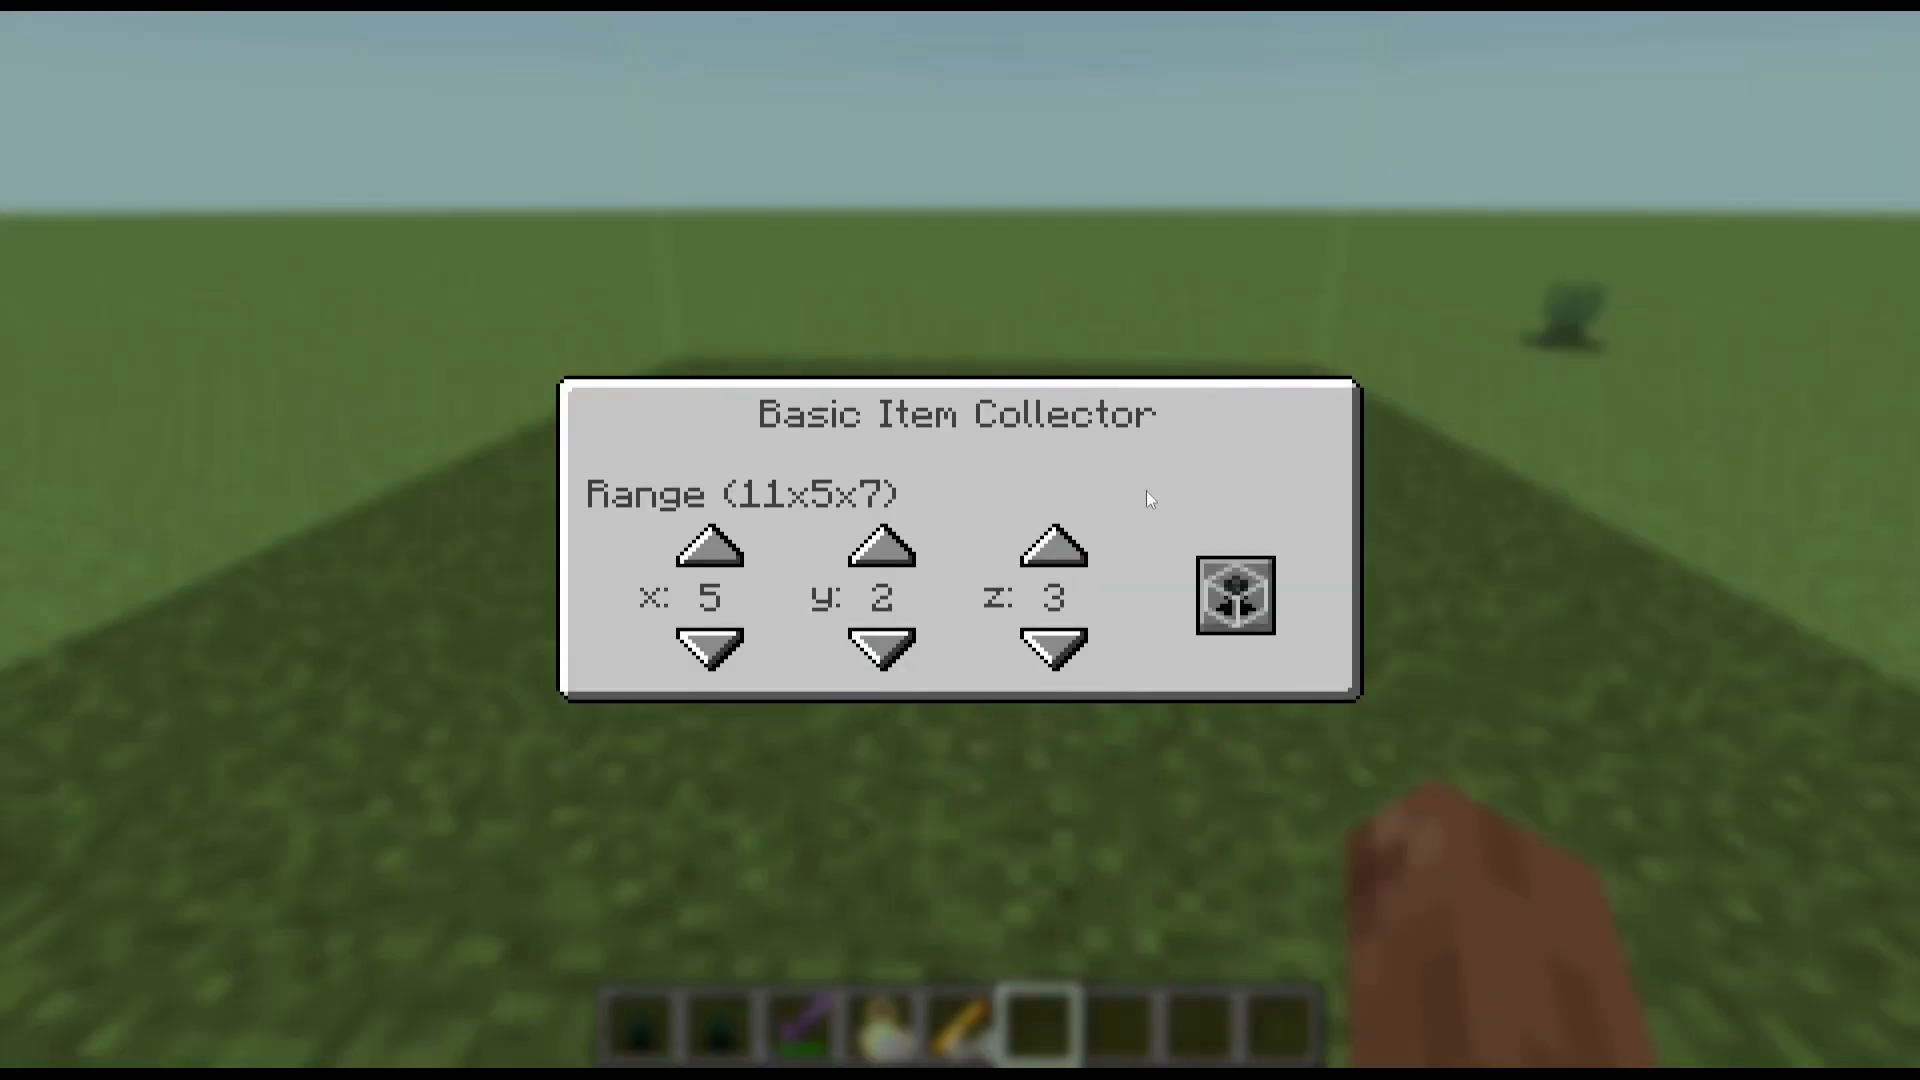
Toggling the Range Display
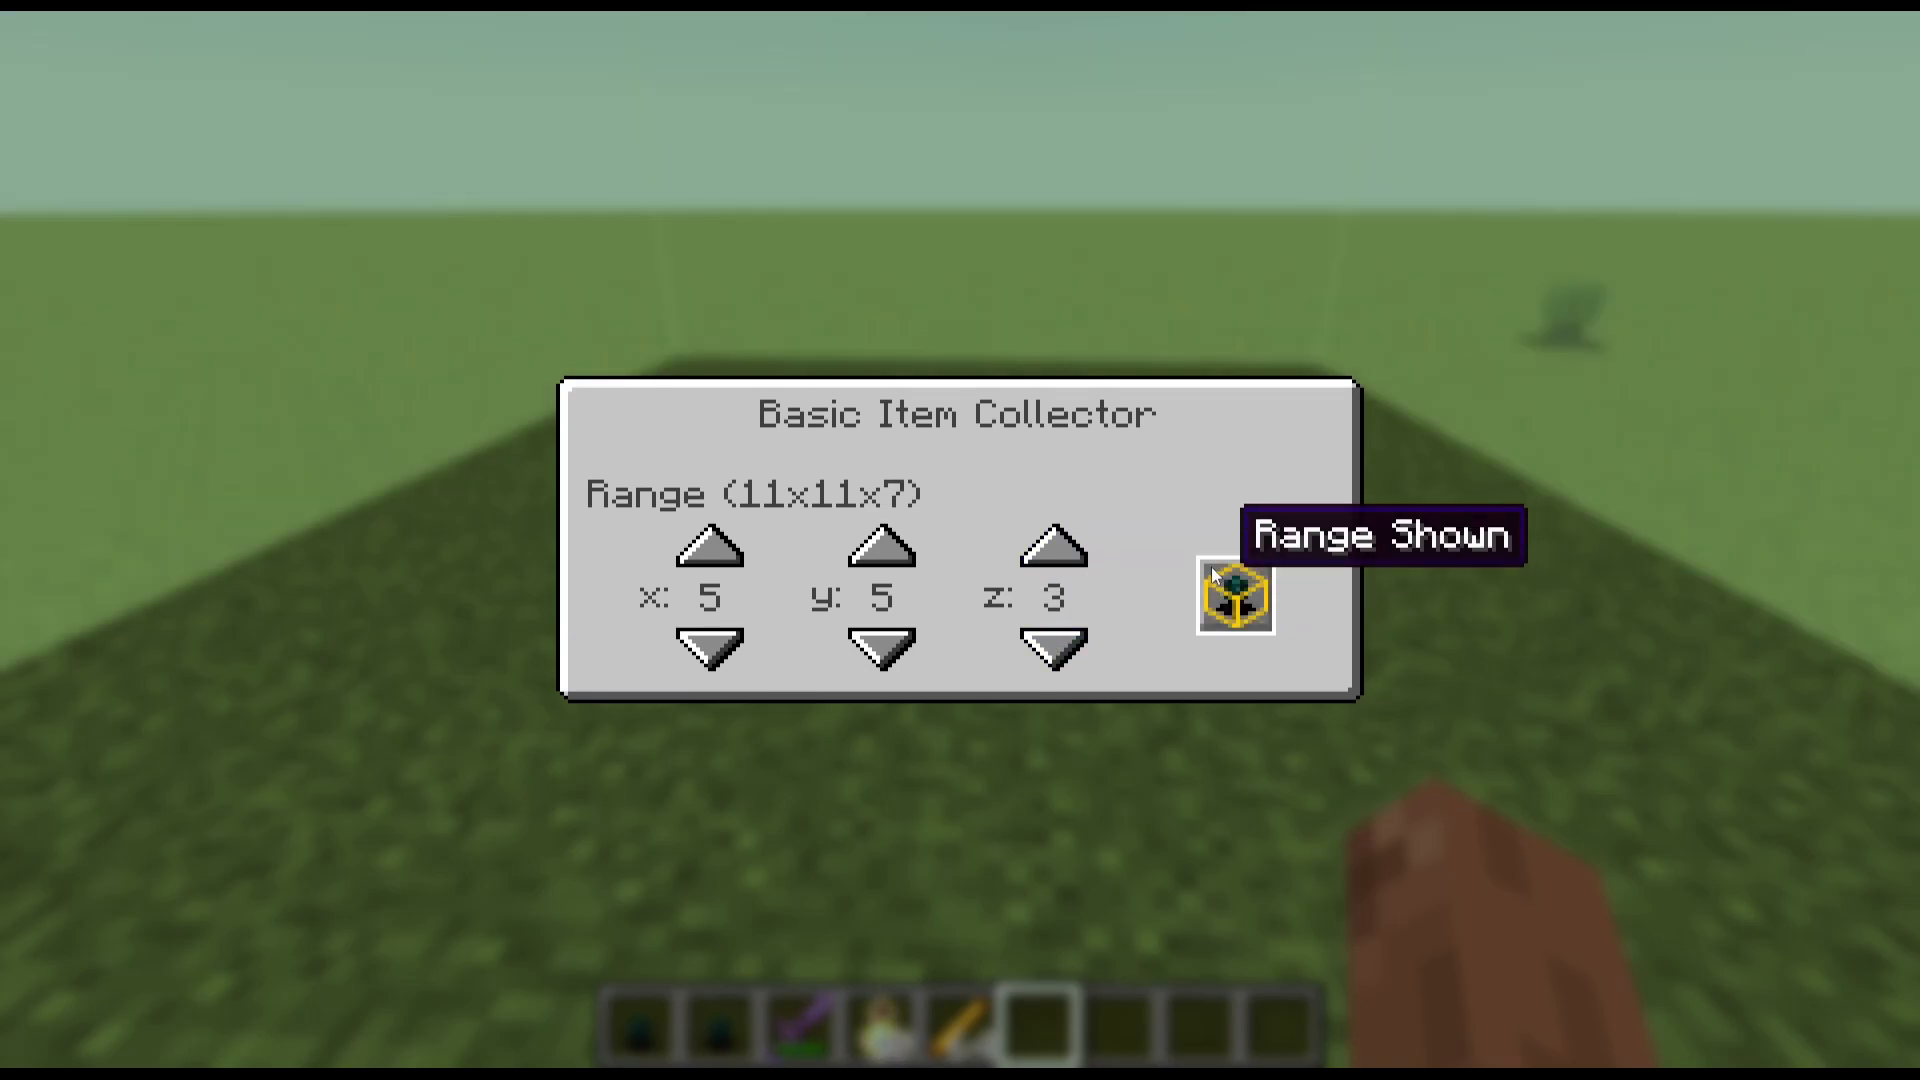
Inside the configuration menu, you’ll find a Range Shown toggle. Enabling this option keeps the collection range visible at all times — even when you move away from the collector. This is particularly handy when you’re designing and fine-tuning farm layouts. If you prefer a cleaner view once everything is set up, you can simply hide the range display.
The Advanced Item Collector
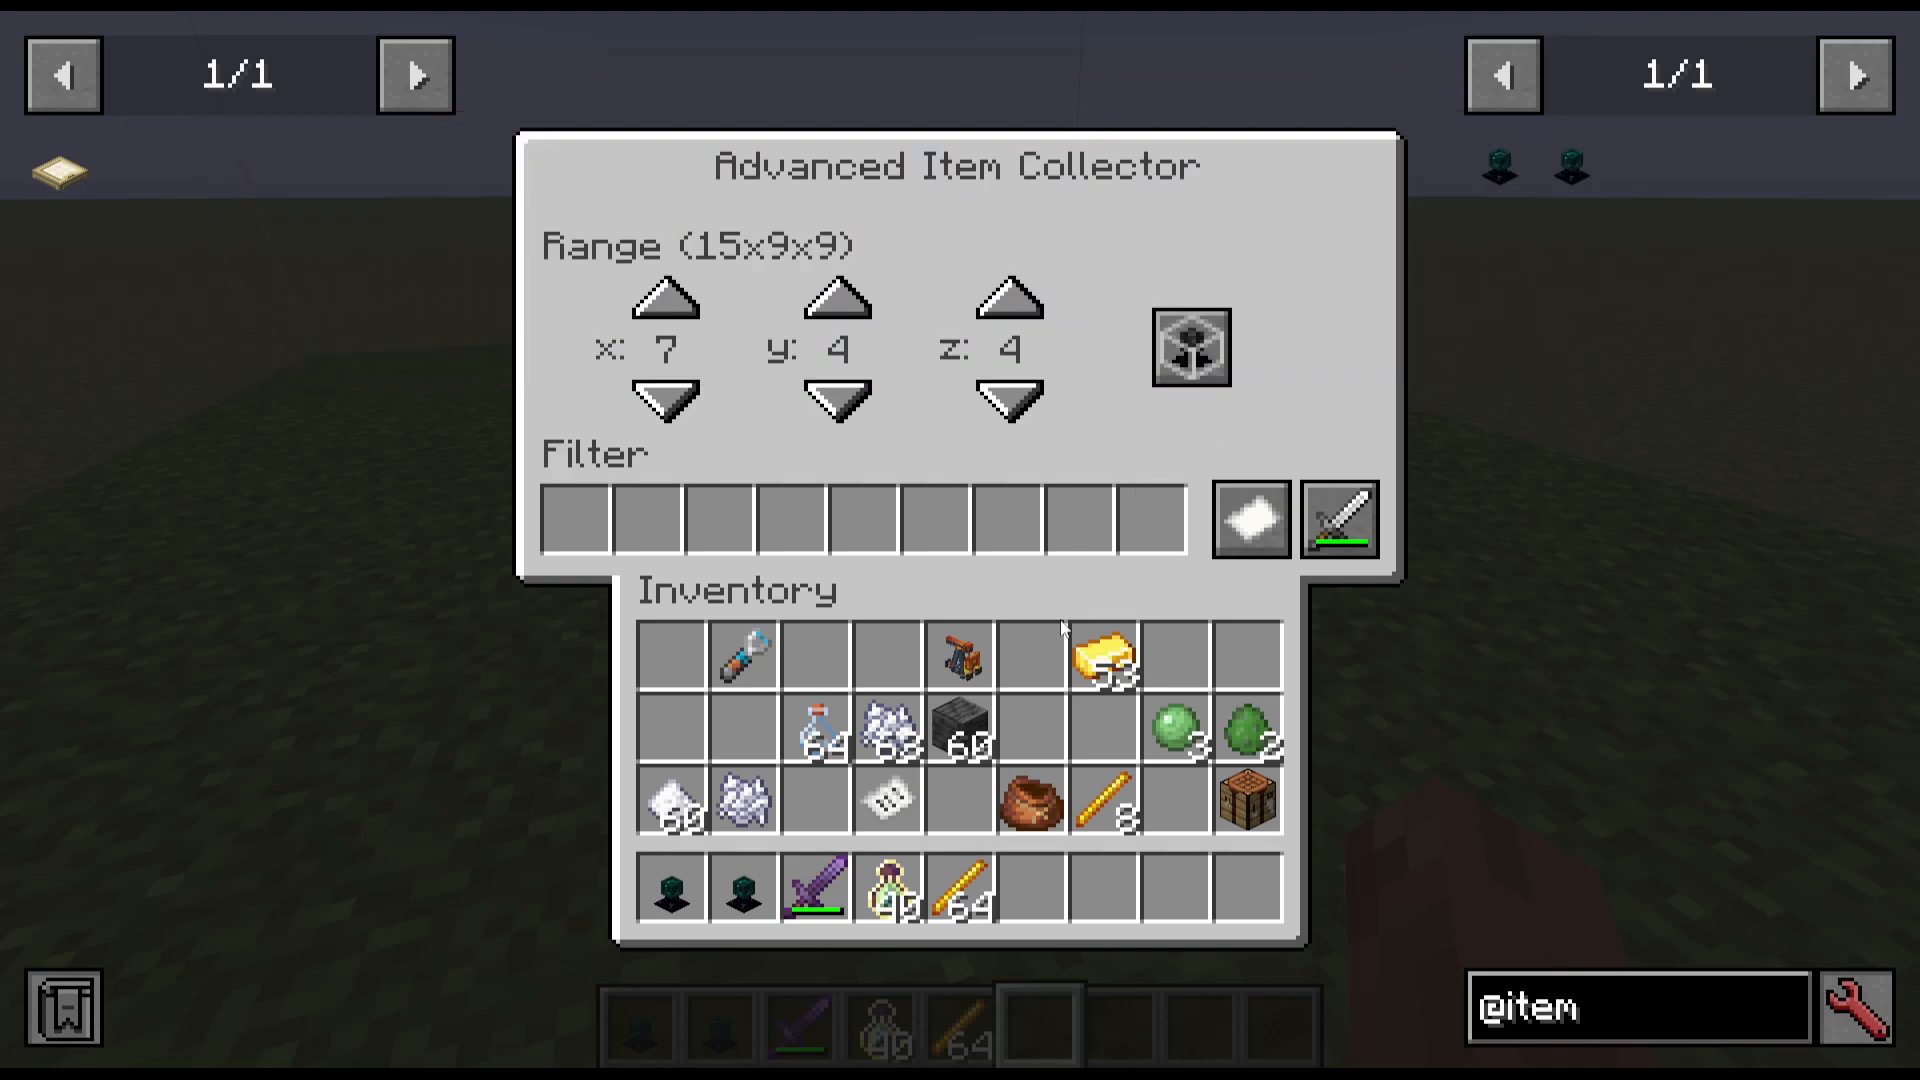
The Advanced Item Collector includes everything the Basic version offers, plus a powerful filter system. This filter supports whitelist and blacklist modes, and can also match or ignore NBT (Named Binary Tags) — the hidden data tags that Minecraft attaches to certain items. This is especially useful when working with modded items, such as ores from machinery mods, where NBT data helps distinguish between otherwise similar items.
Like the Basic Collector, the Advanced Item Collector supports a collection range of up to seven blocks in all directions around itself.
Using the Whitelist Filter
To restrict the collector to only picking up specific items, add the desired item — for example, a Gold Ingot — to the filter slot and set the mode to Whitelist. Once configured this way, the collector will only pick up Gold Ingots and ignore everything else, including items like Blaze Rods dropped nearby.
Using the Blacklist Filter
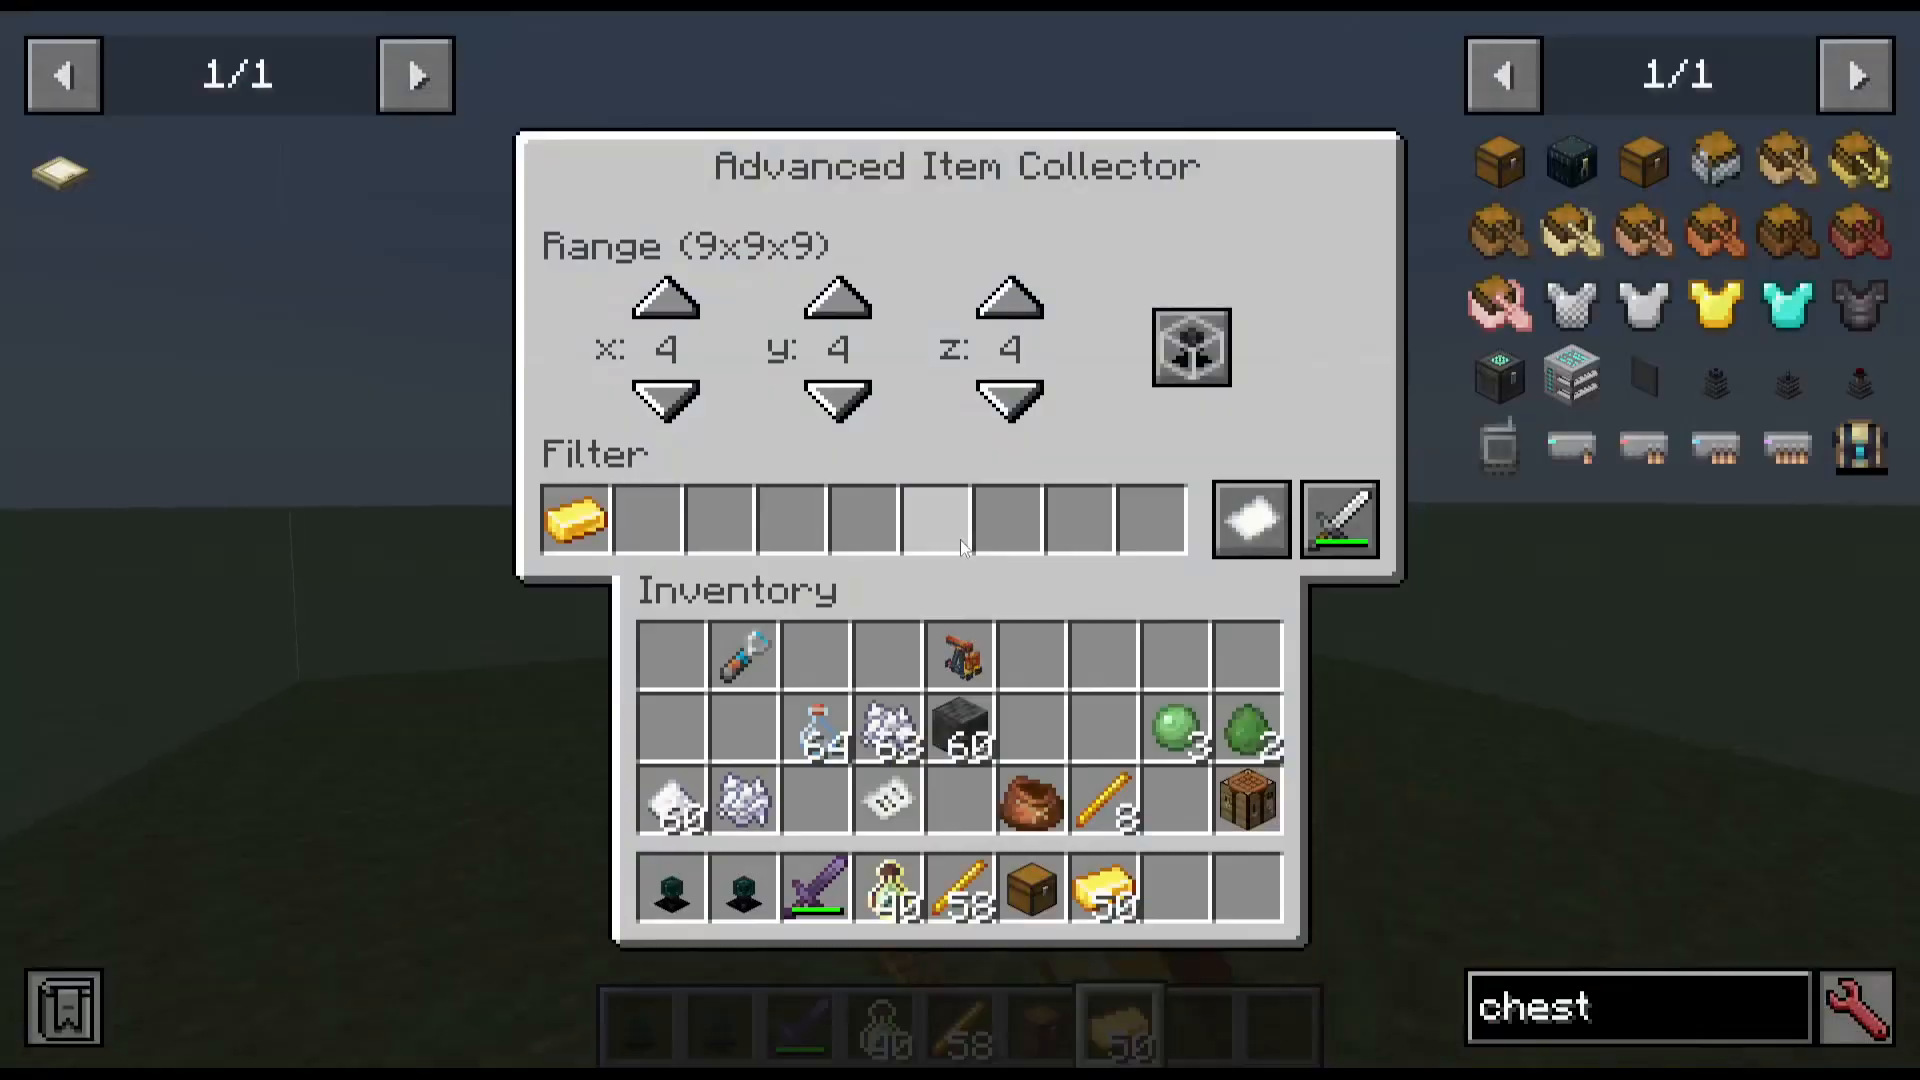
Switching the filter mode to Blacklist reverses the logic. The collector will pick up every dropped item in its range except for the item specified in the filter slot. Using the same Gold Ingot example, all other items would be collected while Gold Ingots are left on the ground.
Connecting the Item Collector to Storage
Item Collectors don’t hold items themselves — they require a storage block placed directly beneath them to function. Place a chest on the ground first, then place your Item Collector on top of it. Any items collected within the configured range will be automatically deposited into that chest.
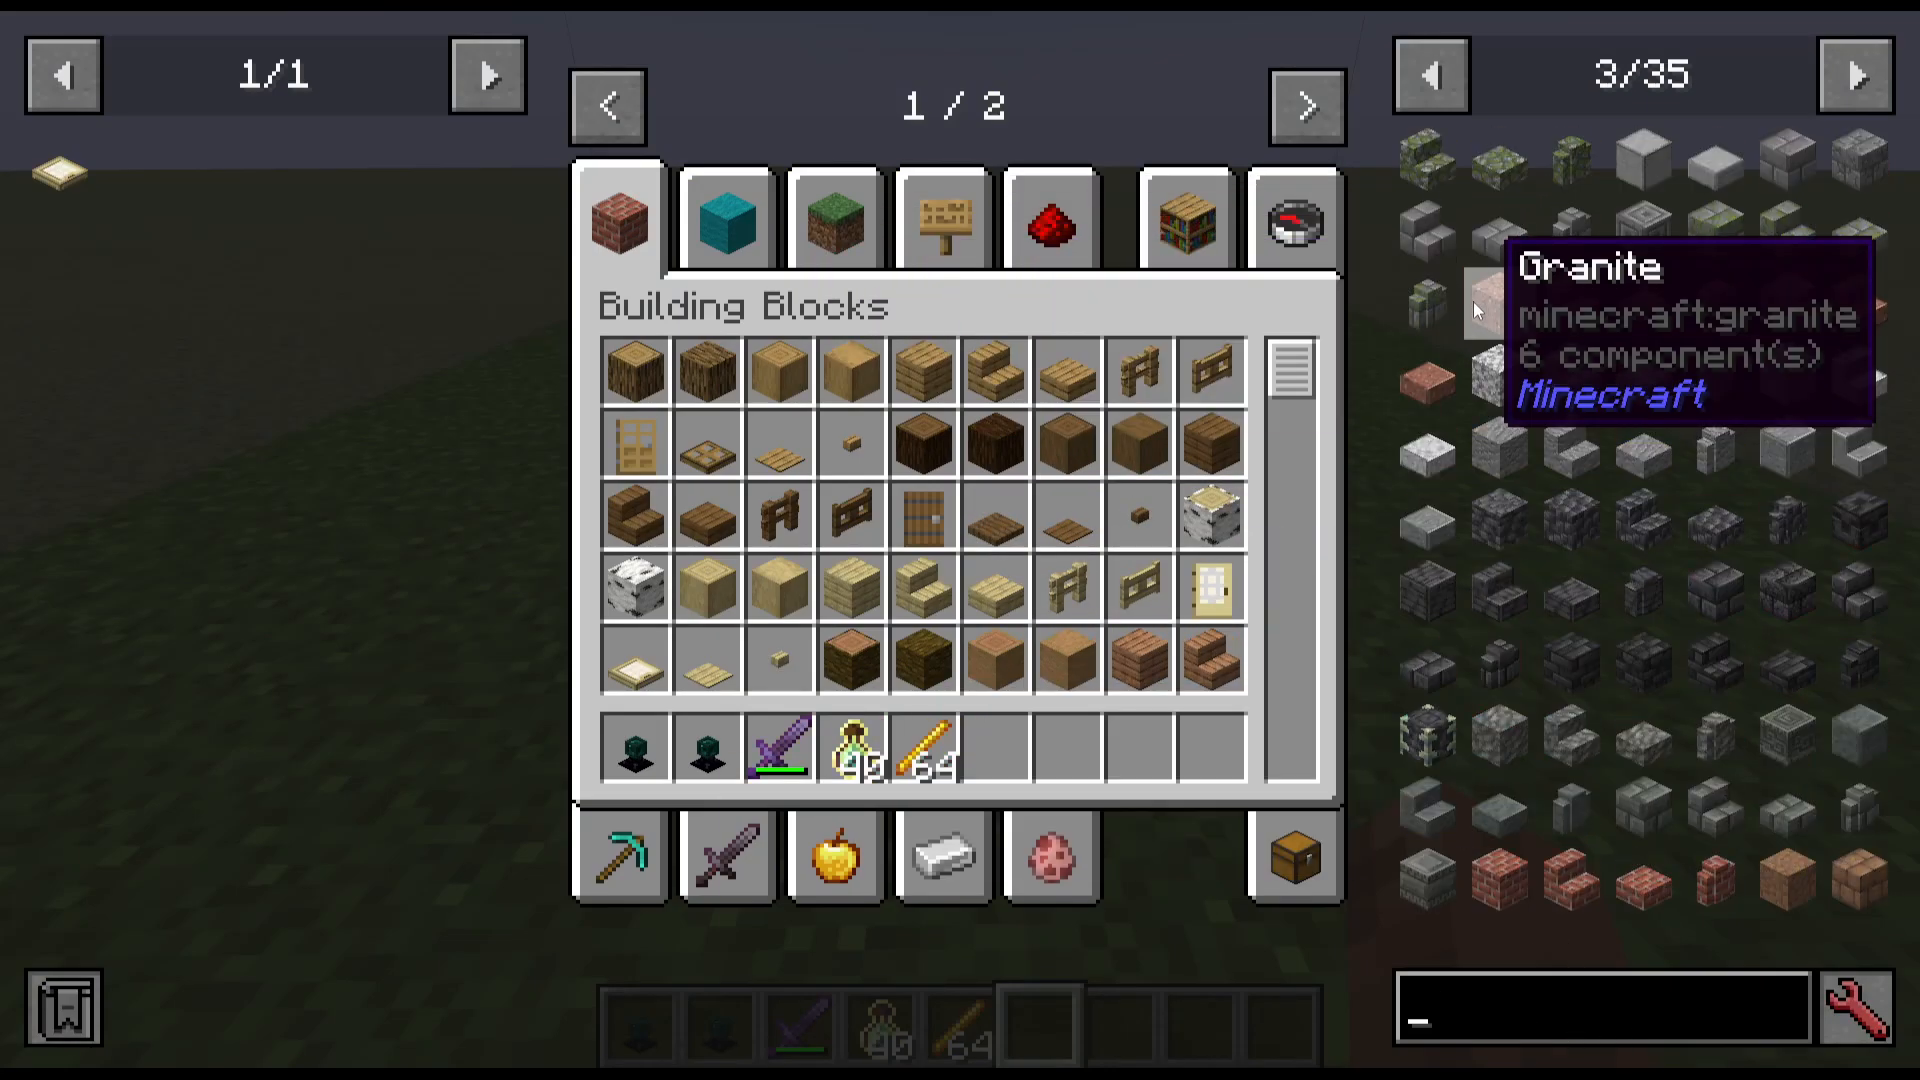
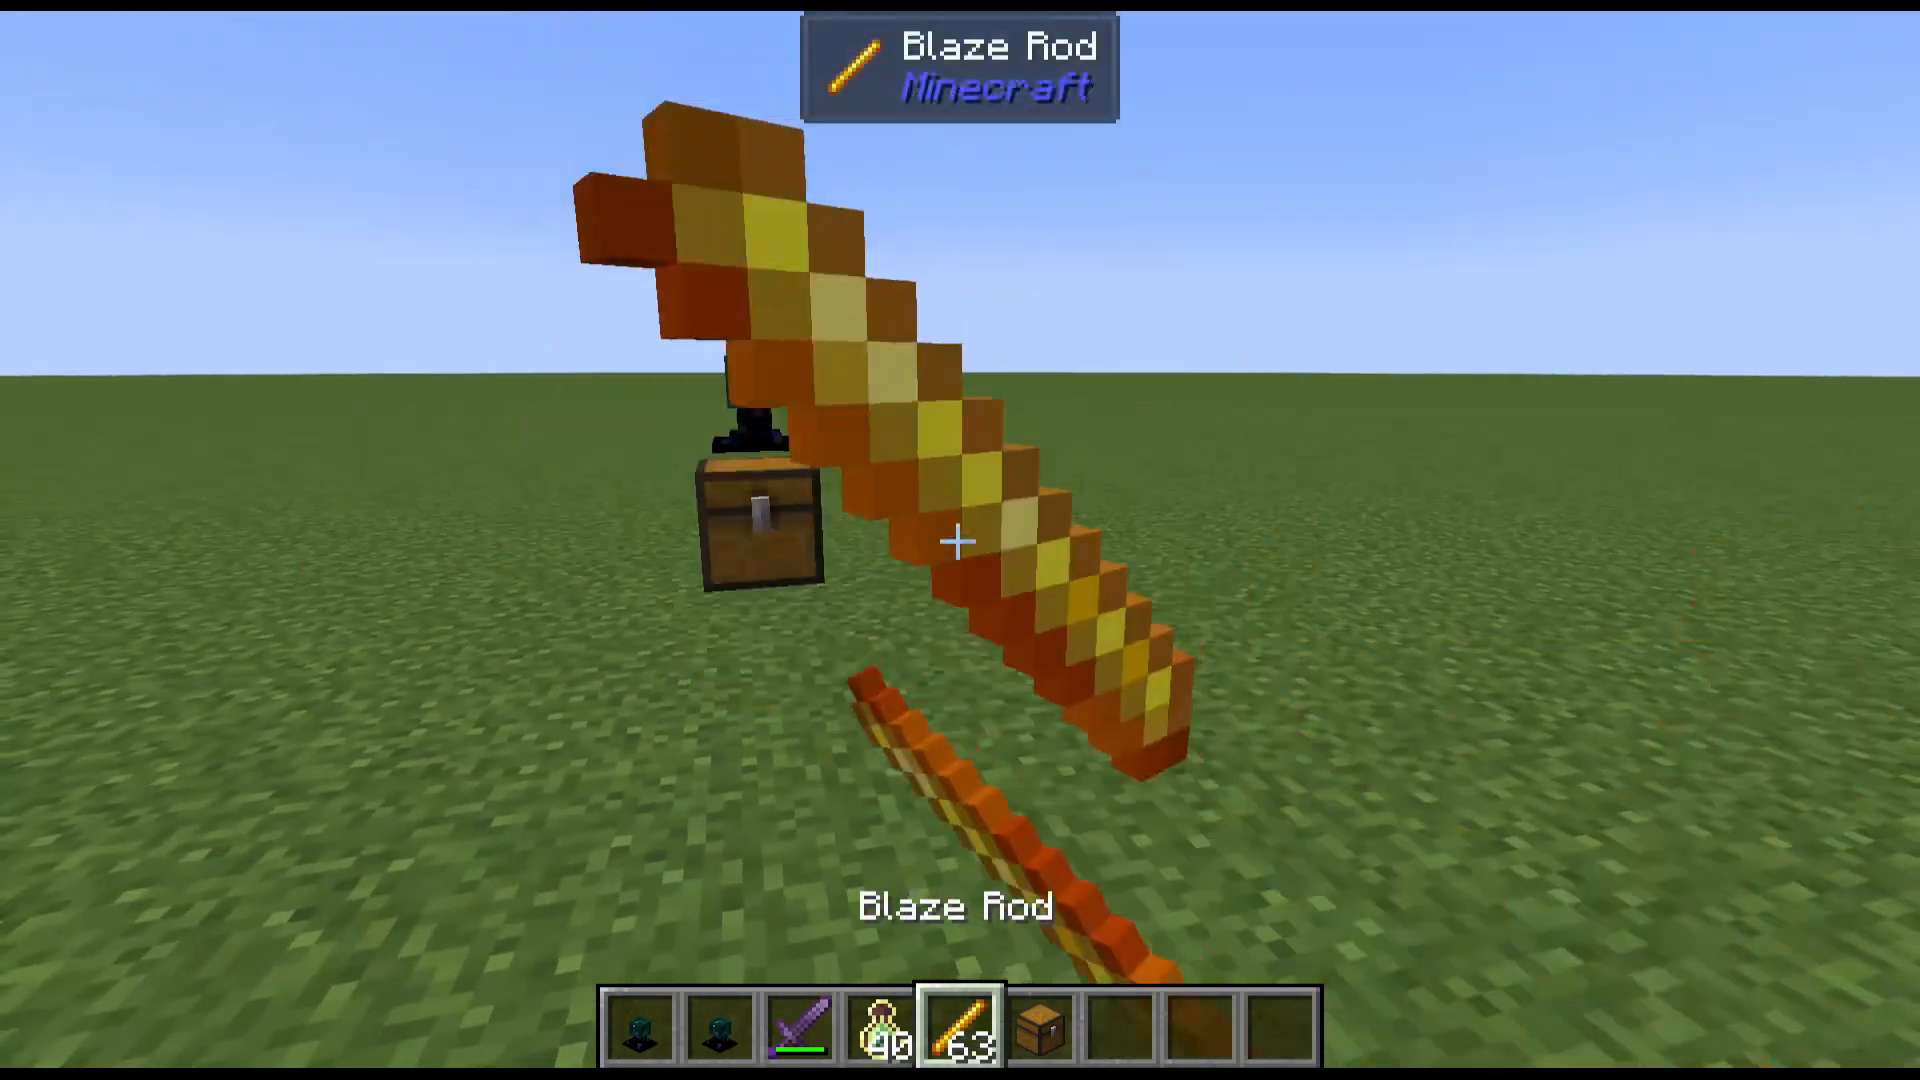
For example, with a Basic Item Collector sitting on top of a chest and no filters active, dropping items like Blaze Rods on the ground nearby will result in them being automatically pulled into the chest below the collector.
Summary
The Item Collectors mod is a straightforward but highly effective automation tool for Minecraft. The Basic Item Collector handles general item pickup within a configurable range, while the Advanced Item Collector adds NBT-aware whitelist and blacklist filters for precise control over what gets collected. Simply place either collector on top of a chest, dial in your range and filter settings, and let it handle the rest — perfect for farms, mob grinders, and any modded setup where automatic item management saves time.
“`