







How to use the Engineers Workbench & Blueprints – Immersive Engineering
How to Use the Engineer’s Workbench & Blueprints – Immersive Engineering
The Engineer’s Workbench is one of the most essential crafting stations in Immersive Engineering, allowing you to create complex components that standard crafting tables cannot handle. This guide will walk you through crafting the workbench, understanding blueprints, and efficiently managing your recipes.
Crafting the Engineer’s Workbench
To craft the Engineer’s Workbench, you’ll need to start with an Engineer’s Crafting Table along with treated wood and other materials. If you’re unsure how to obtain treated wood, you’ll need to learn about the Coke Oven first, as it produces creosote—the key ingredient for making treated wood.
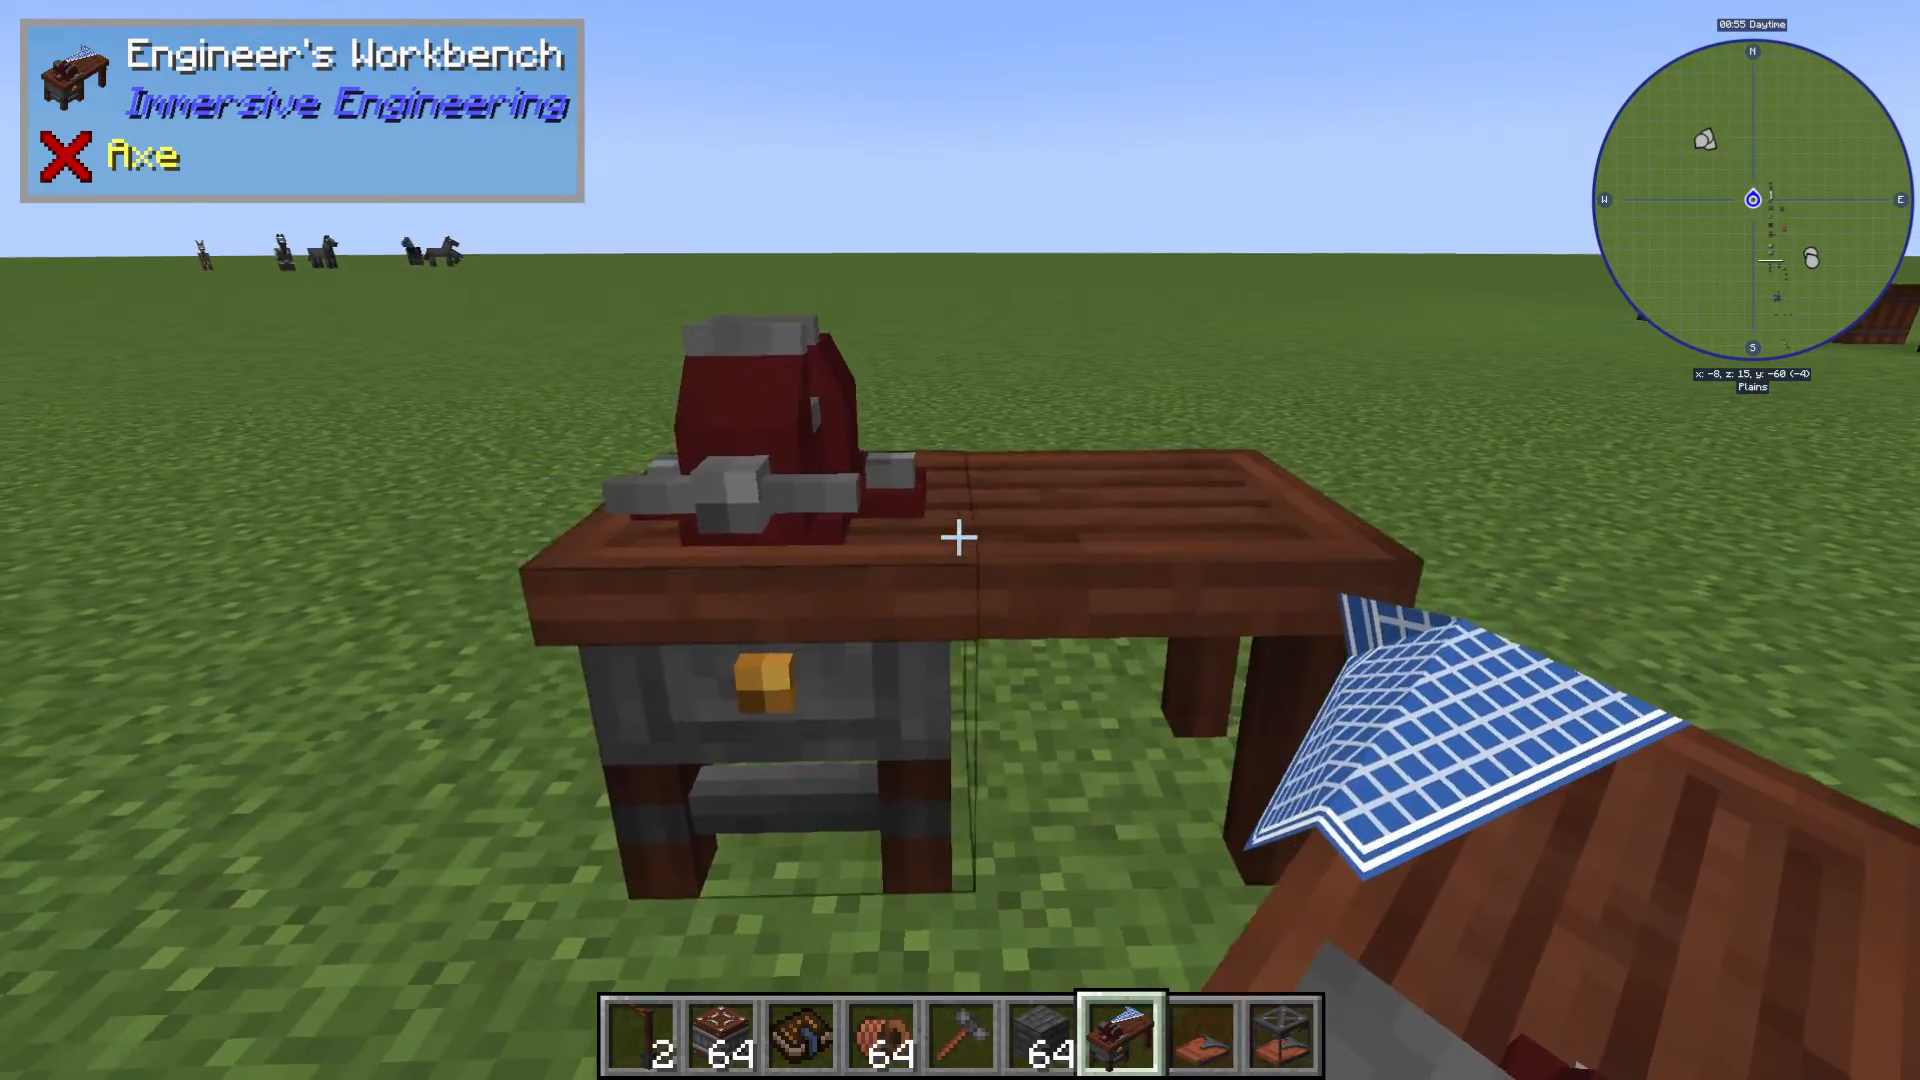
Once crafted, simply place the Engineer’s Workbench in the world. It occupies a 1×2 space and is ready for use.
Accessing and Understanding the GUI
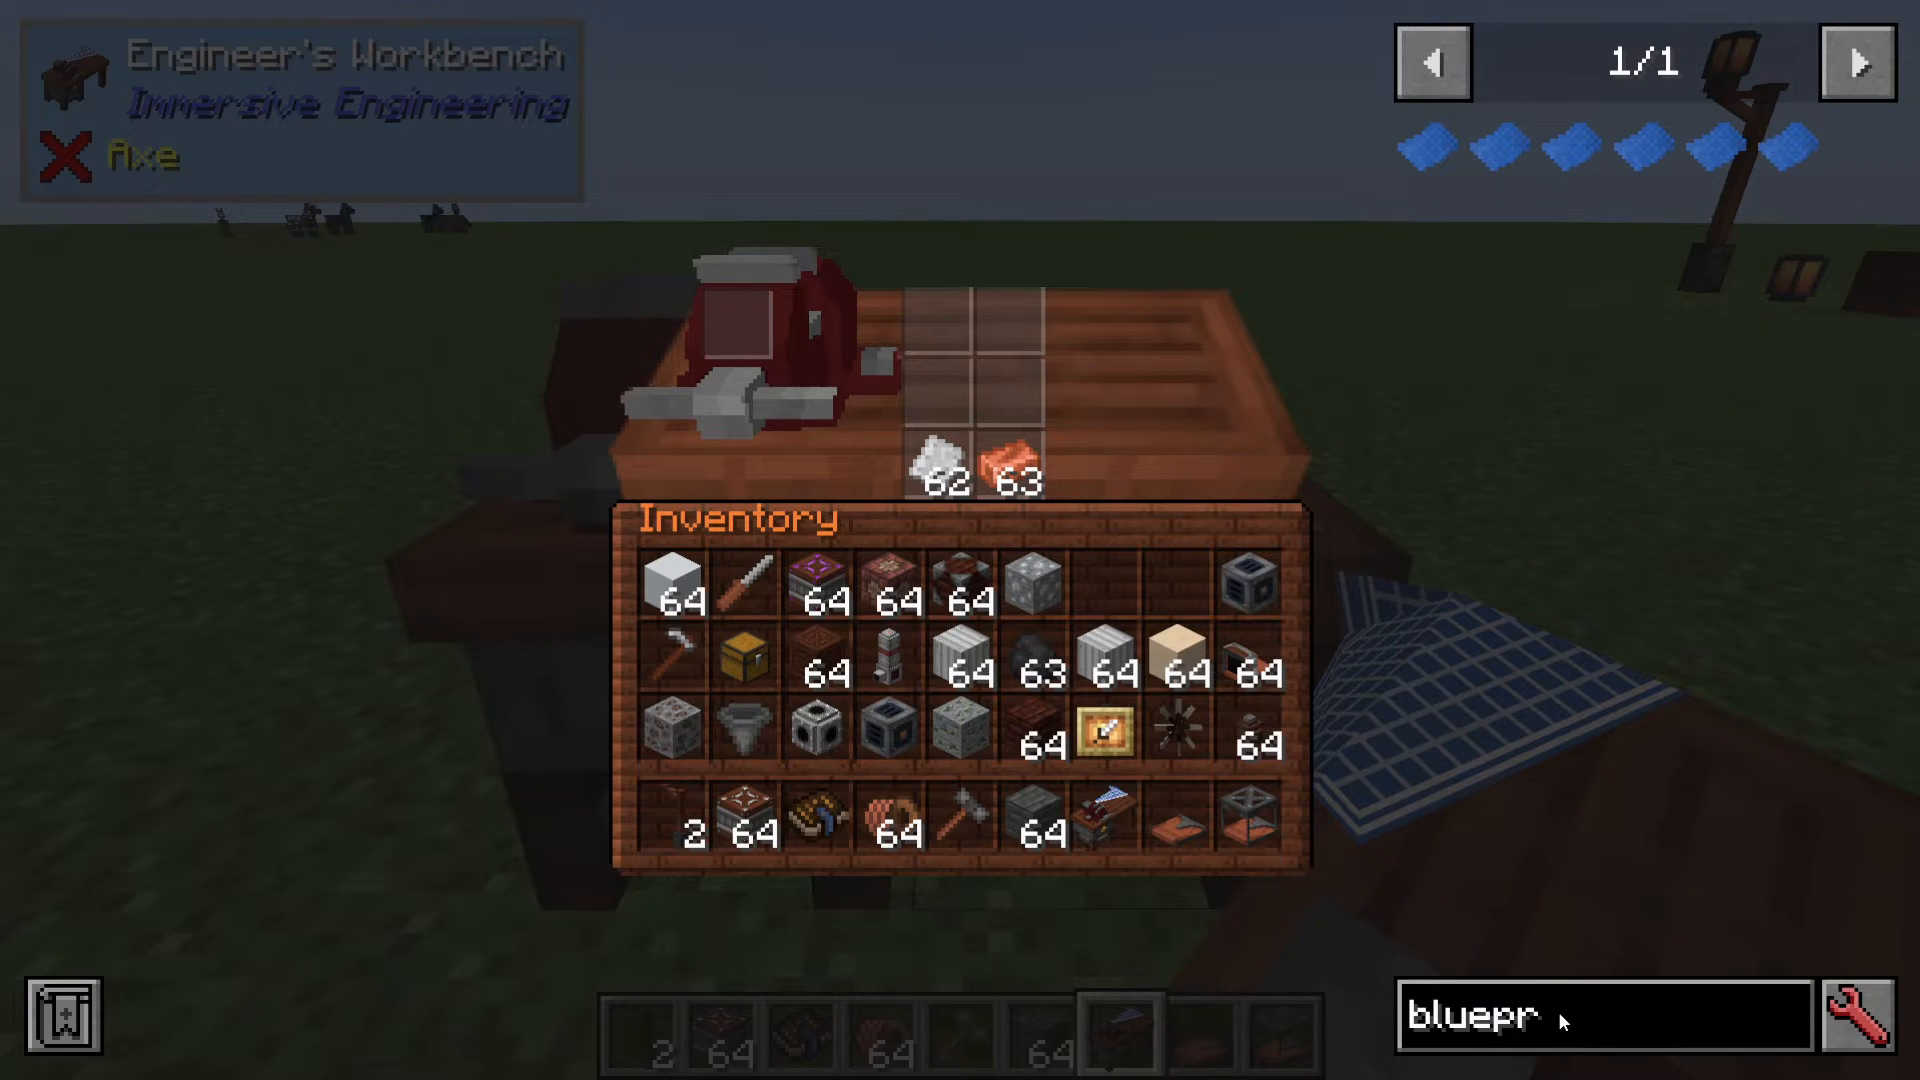
Right-click on the placed Engineer’s Workbench to open its interface. Inside, you’ll see several distinct areas:
Inventory Slots
The main workspace contains inventory slots where you can place items you’ll use for crafting. One of the immersive design features of this workbench is that you can actually see the items displayed on the physical workbench—a nice touch that adds to the mod’s immersive atmosphere.
Blueprint Slot
On the left side of the interface is a dedicated slot for blueprints. This is where you’ll insert the blueprint corresponding to the recipes you want to access.
Understanding Blueprints
Blueprints are the key to unlocking recipes in the Engineer’s Workbench. However, not all blueprints are created equal—some must be obtained through specific methods.
Finding Blueprints
Some blueprints, like the Arc Furnace Electrodes blueprint, cannot be crafted and can only be obtained by:
Trading with Immersive Engineering villagers
Finding them in dungeon chests
Discovering them in the special Immersive Engineering village houses (made entirely of bricks and Immersive Engineering materials)
When you locate the Immersive Engineering village house, it will be very obvious—the structure is distinctly built from bricks and mod-specific materials and contains a dedicated villager for trading blueprints.
Crafting Blueprints
Many blueprints can be crafted through standard recipes. Here are some examples:
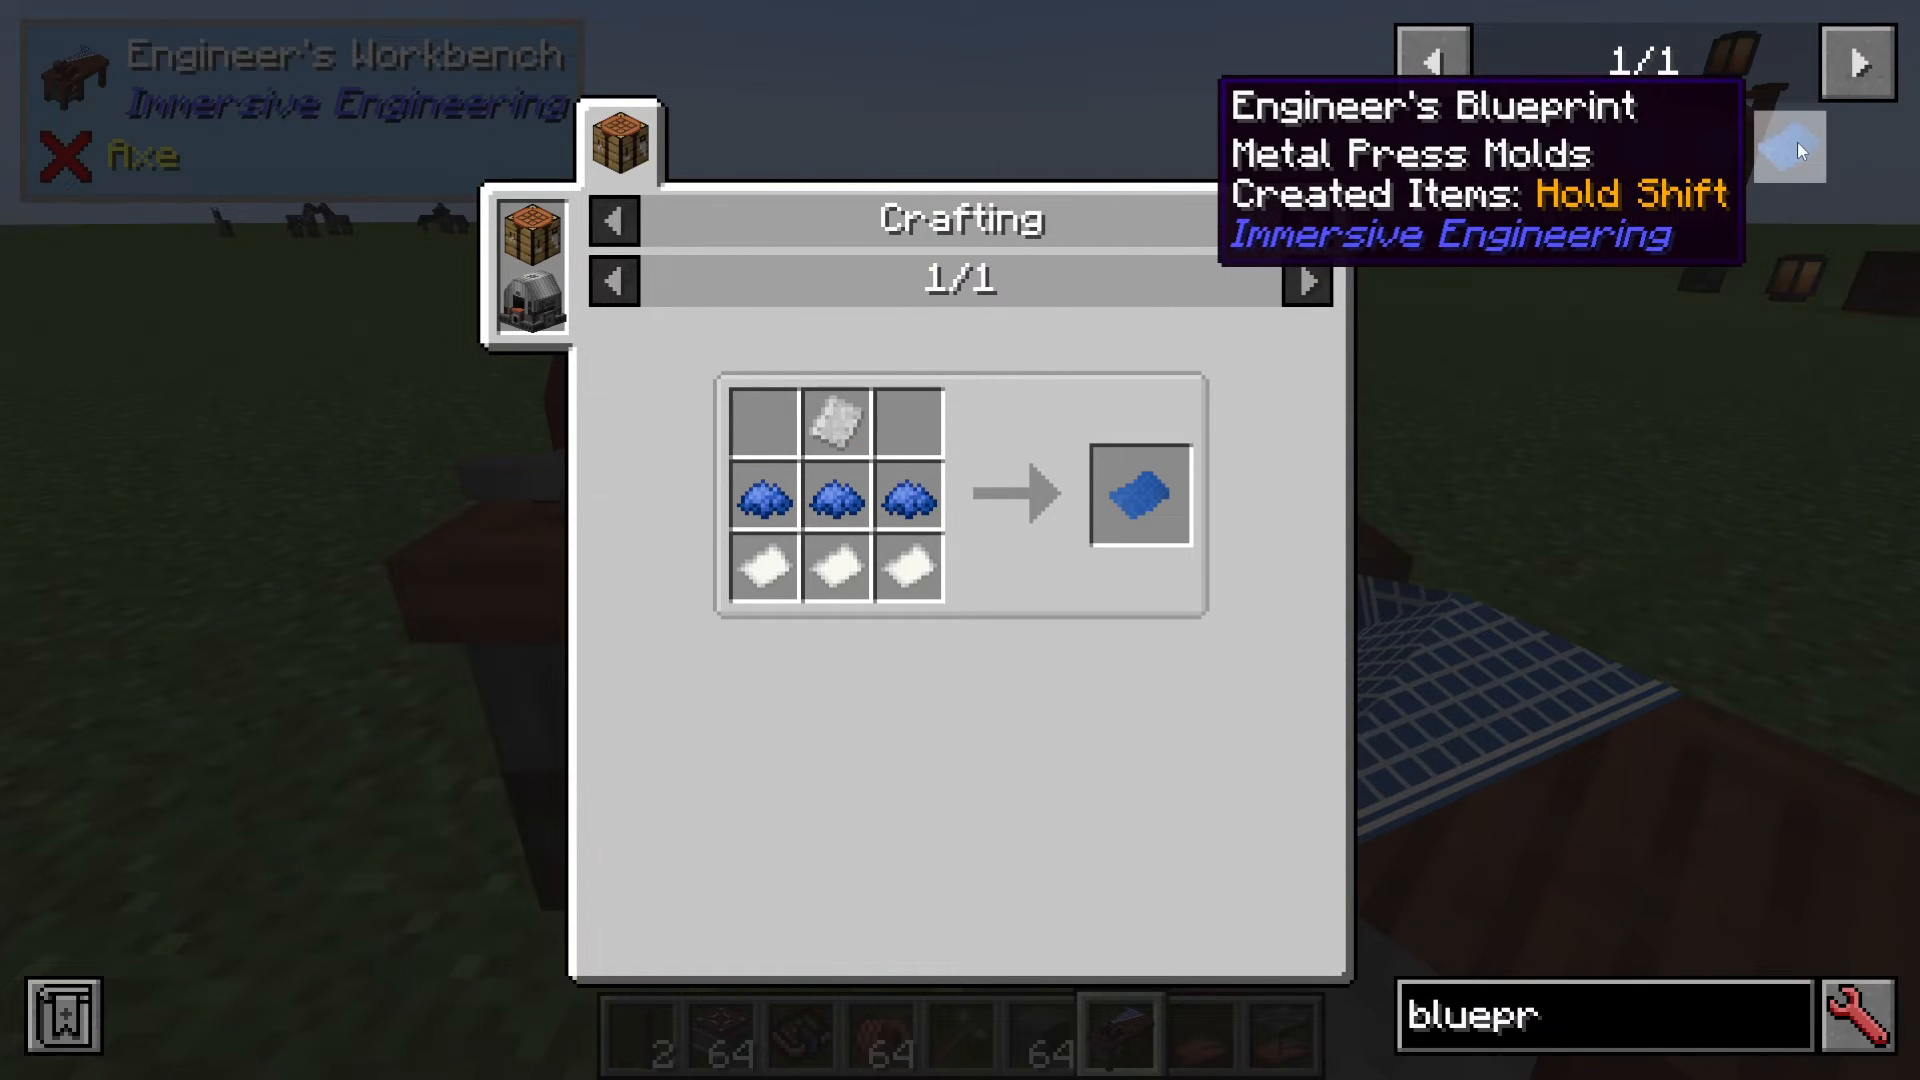
Banner Patterns Blueprint: 3 Paper + 3 Blue Dye + 1 Banner
Crafting Components Blueprint: 1 Iron Ingot + 1 Aluminum Ingot + 1 Copper Ingot
Common Projectiles Blueprint: 1 Empty Casing + Gunpowder
Metal Press Blueprint: 1 Iron Plate
If you’re using Just Enough Items (JEI), you can press R while hovering over a blueprint to view its crafting recipe directly.
Using the Engineer’s Workbench: Step-by-Step
Example: Crafting Components Blueprint
The Crafting Components Blueprint is one of the most frequently used blueprints in Immersive Engineering. Here’s how to use it:
Place the Crafting Components Blueprint in the blueprint slot on the left
The interface will display all available recipes for this blueprint
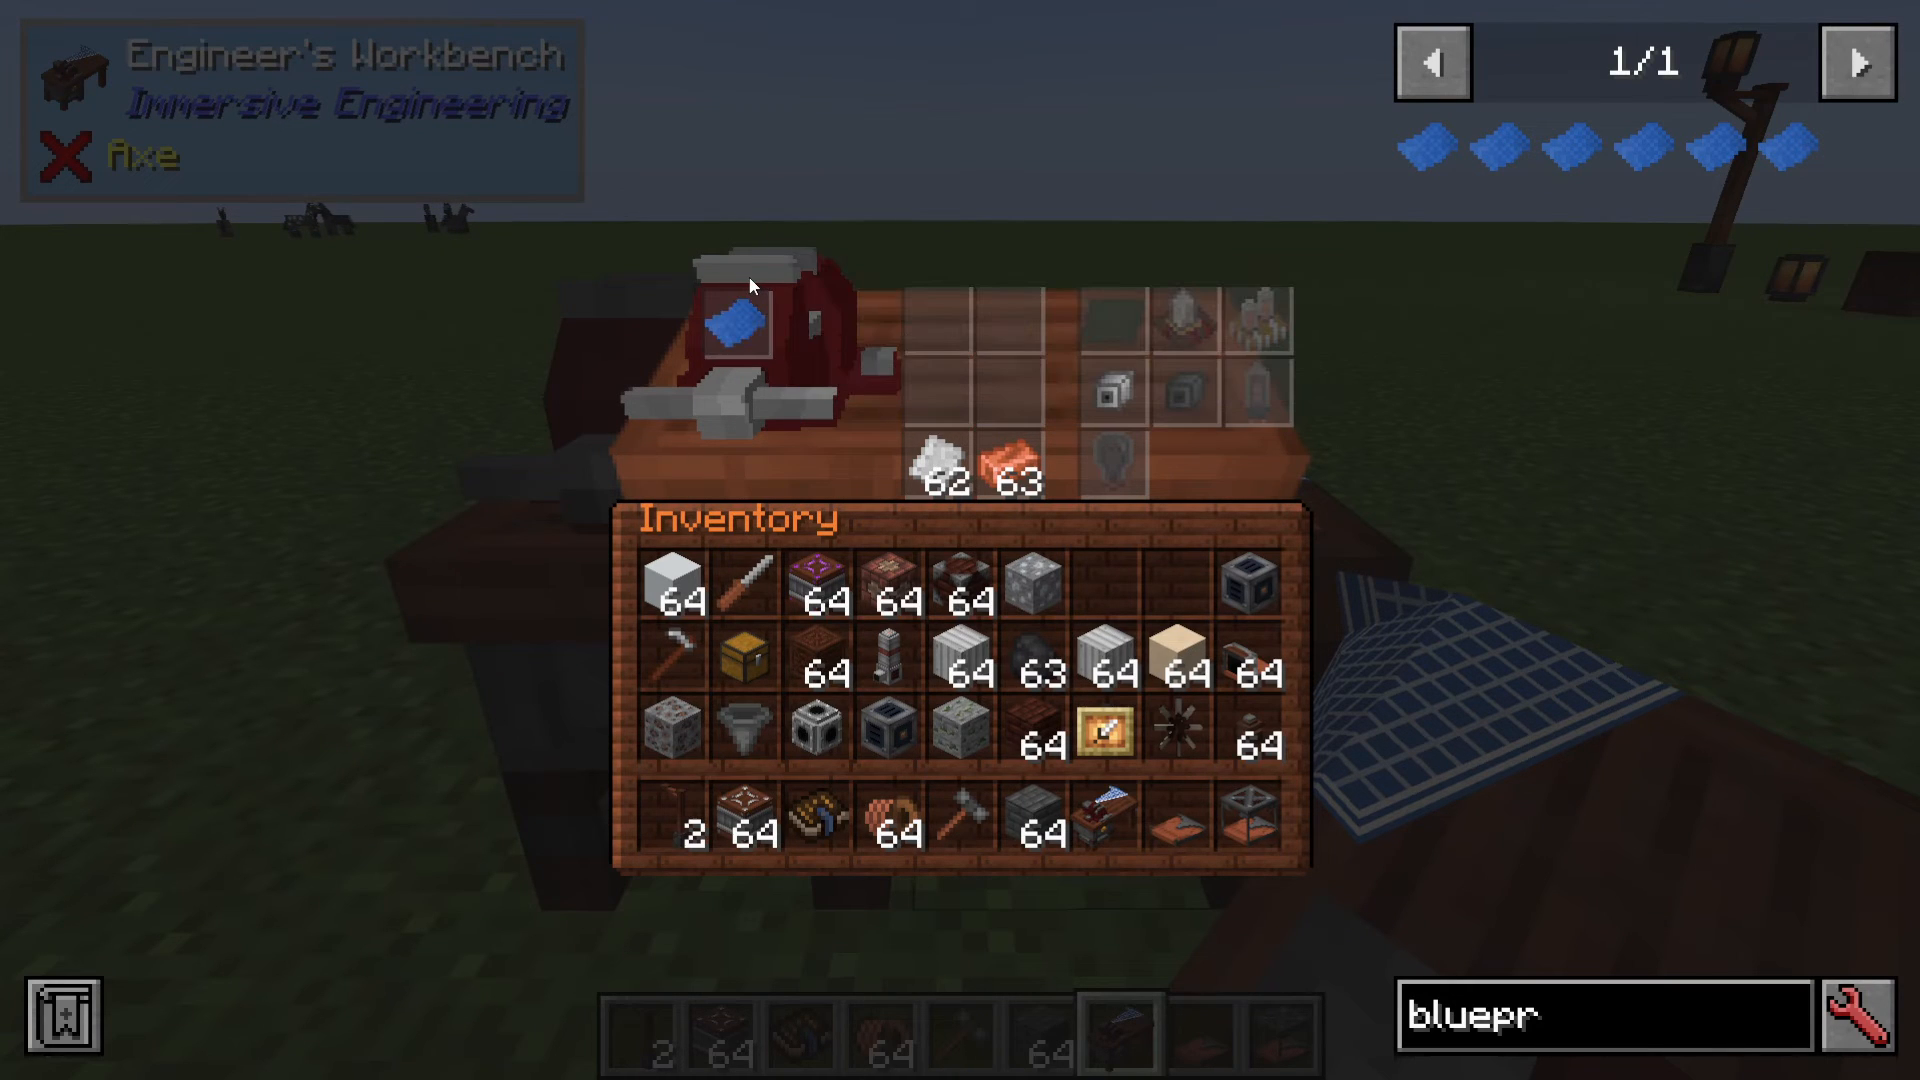
Initially, all recipes will appear grayed out. As you add the required ingredients to the inventory slots, recipes will light up when you have the correct materials.
Crafting Iron Mechanical Components
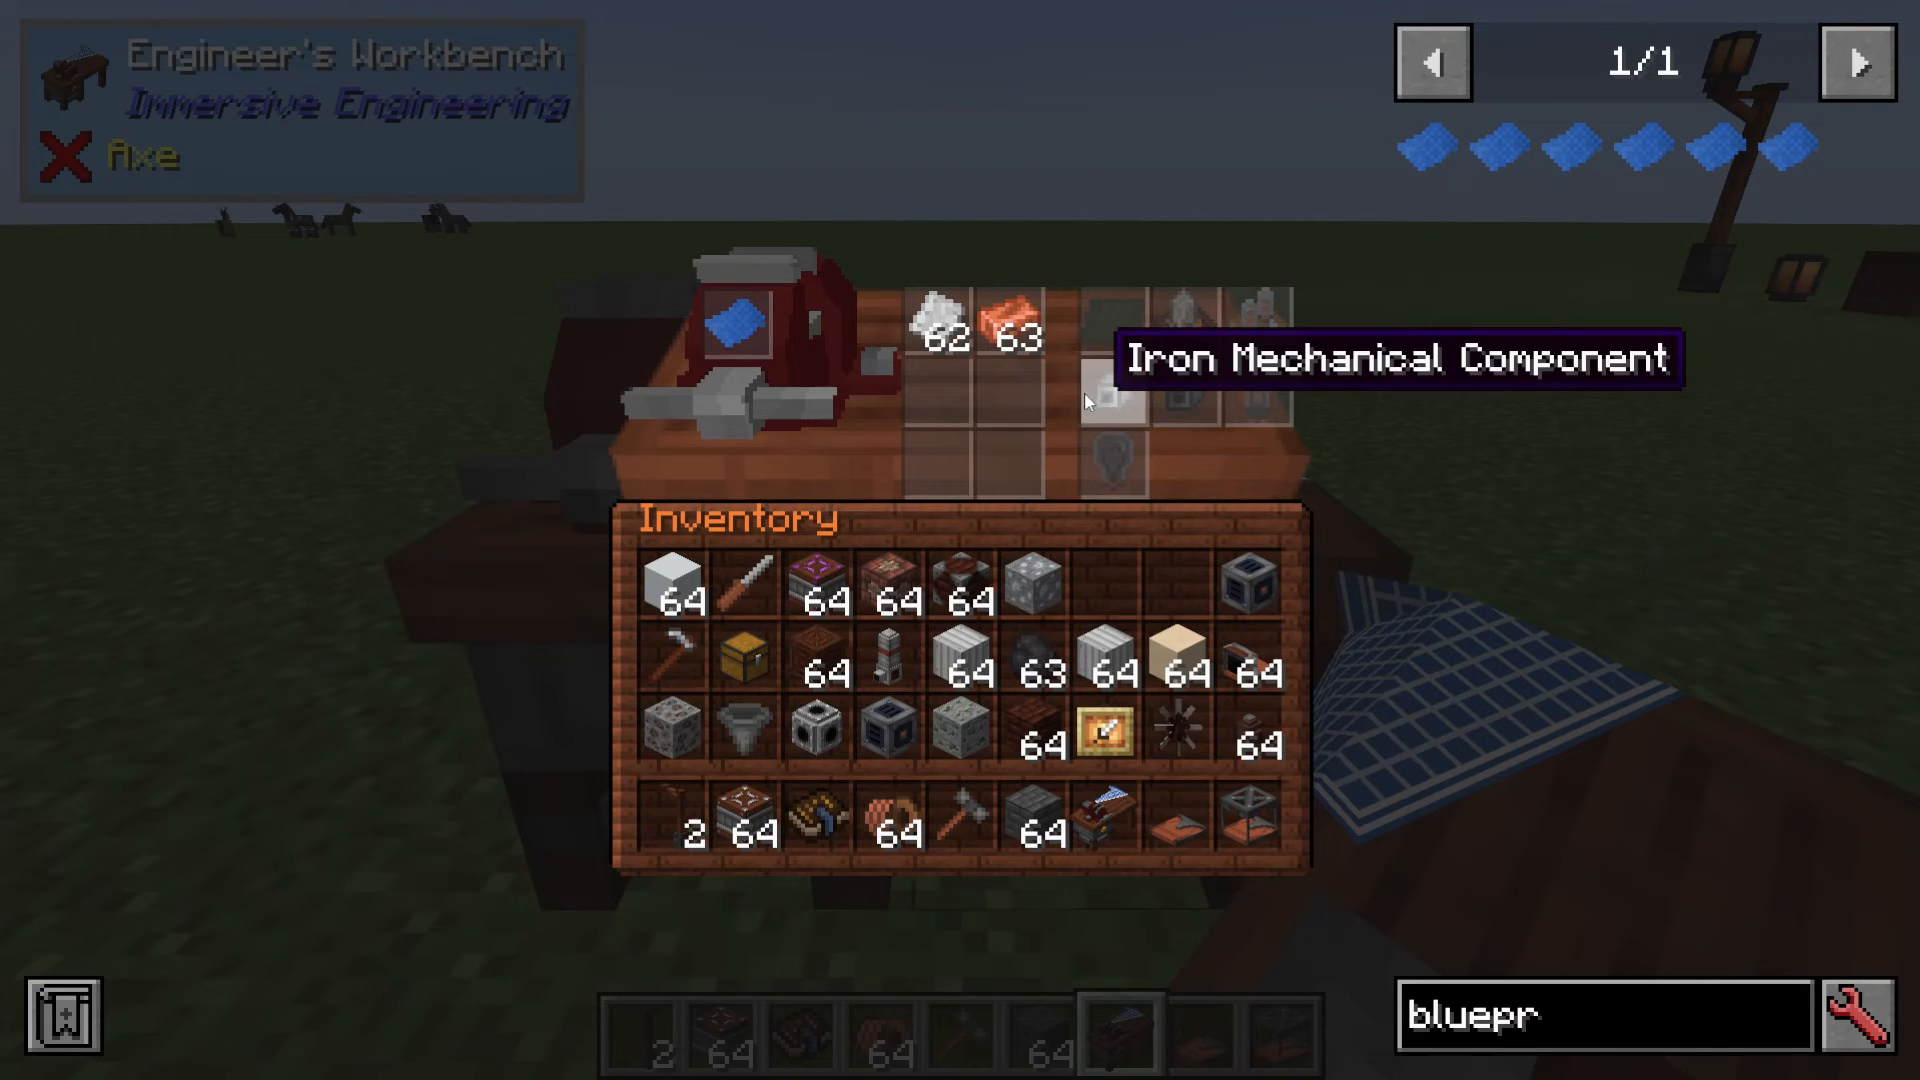
For example, the Iron Mechanical Component requires:
2 Iron Plates
1 Copper Ingot
Once you place these items into the inventory slots, the Iron Mechanical Component recipe will light up. Simply left-click to pull out as many as you need—similar to using a standard crafting table.
Multi-Recipe Crafting
One of the powerful features of the Engineer’s Workbench is its ability to manage multiple recipes simultaneously. You don’t need to be exact with your ingredient placement.
For example, you could have:
Ingredients for Vacuum Tubes (Stained Glass, Nickel Plates, Copper Wire, Redstone Dust)
Ingredients for Circuit Backplanes (Duroplast Sheet, Copper Plates)
Both sets of ingredients can coexist in the six inventory slots, and you can craft from both recipes without needing to reorganize. This flexibility is incredibly useful for efficient bulk crafting.
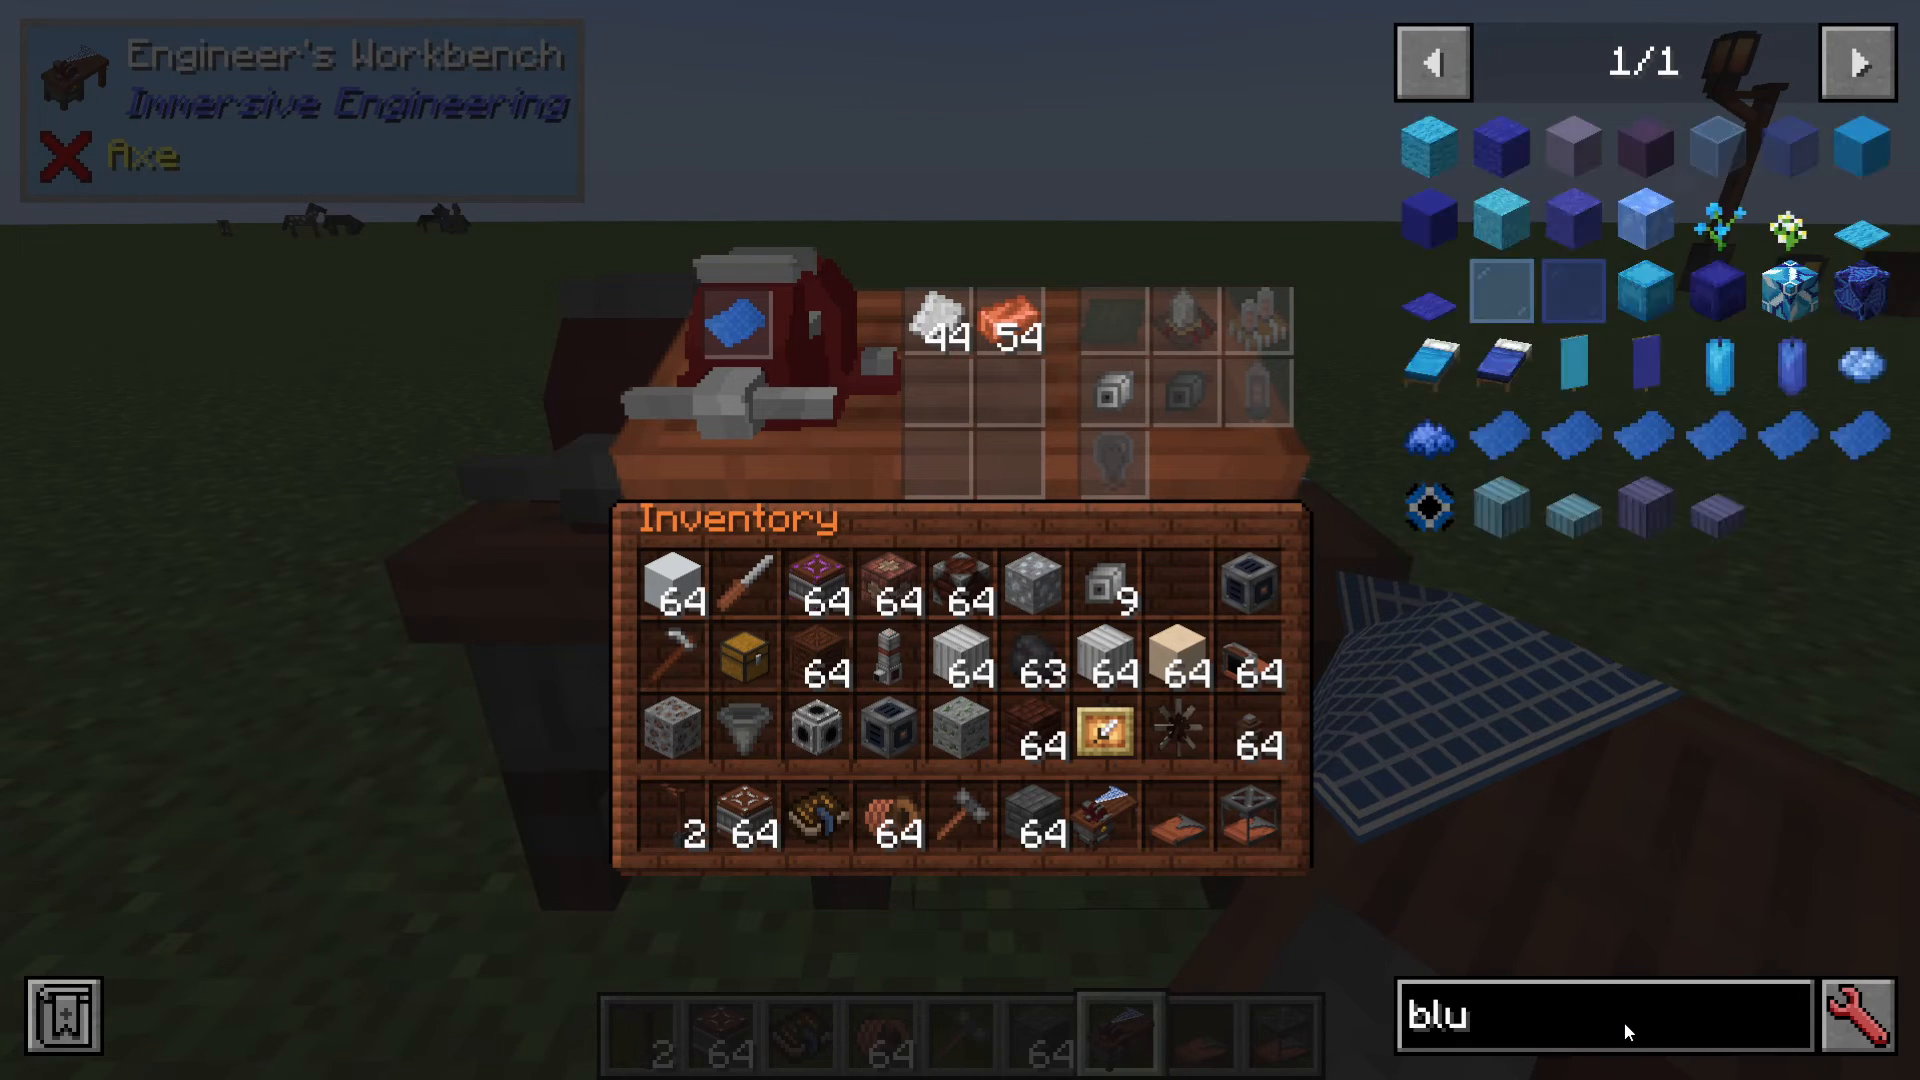
You can fill all six slots with different ingredient combinations for various components, allowing you to quickly switch between crafting different items without constantly reorganizing your inventory.
Tips and Best Practices
While the Engineer’s Workbench is highly functional, one limitation is that the interface could be larger to accommodate more items simultaneously. However, the current design still allows for impressive flexibility in managing multiple recipes at once.
Keep your most-used blueprints (like Crafting Components) readily available, as you’ll be returning to them frequently throughout your Immersive Engineering progression.
Conclusion
The Engineer’s Workbench is a cornerstone of Immersive Engineering’s crafting system. By understanding how to source blueprints and manage your ingredients effectively, you’ll be able to produce the complex components necessary for advanced machinery and automation. Start with the Crafting Components Blueprint and expand from there as you unlock more blueprints.
For more detailed Immersive Engineering tutorials, check out the mod’s full playlist on the channel to learn about related systems like the Coke Oven, Metal Press, and other specialized equipment.
Want to Support?
If you would like to help us continue making these guides – please consider joining our patreon here – https://www.patreon.com/c/JaviHeals
Alternatively – we host a group of MC Servers you can join here – https://discord.gg/zD7Gjt6MHF



