







How to Use Drones & Programs in PneumaticCraft
How to Use Drones & Programs in PneumaticCraft
Drones are one of the most powerful features in PneumaticCraft, allowing you to automate complex tasks throughout your Minecraft world. In this comprehensive guide, we’ll walk you through everything you need to know about creating, upgrading, and programming drones—including how to build a fully functional mob farm drone from scratch.
Getting Started with Drones
To begin working with drones, you’ll need two essential components: a programmer and a charging station. The programmer may look intimidating at first, but once you understand the basics, you’ll find it’s incredibly intuitive. The charging station keeps your drones powered and ready to work.
Types of Drones
PneumaticCraft offers several drone options, each suited to different tasks:
Standard Drone – A fully programmable drone that you can customize to perform any task you design.
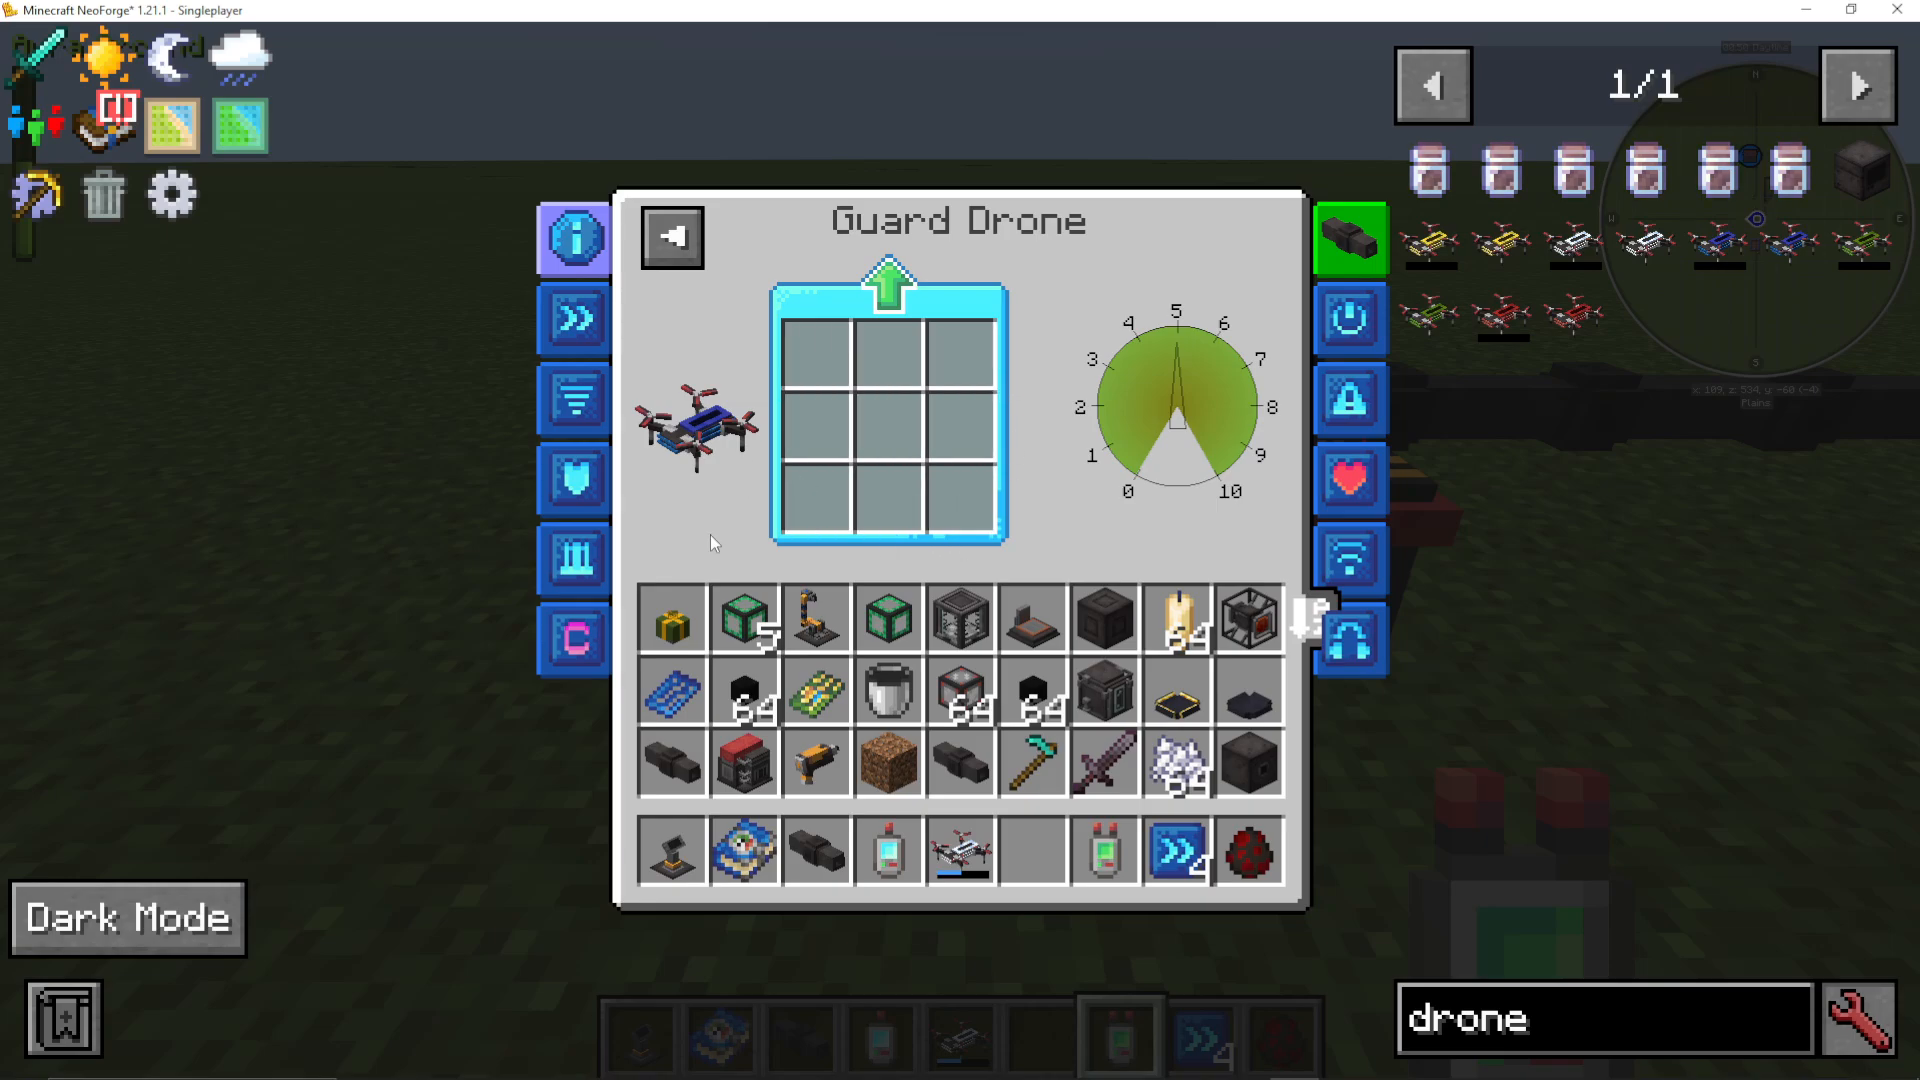
Guard Drone – An airborne robot that defends a designated area. Place it on an inventory using shift+right-click, add a weapon to the inventory, and it will automatically attack any mobs within a 31×31 area centered on that inventory.
Harvesting Drone – When placed on an inventory, this drone picks up a hoe and automatically replants harvested crops.
Collector Drone – Collects items within a local area centered on where you deploy it. Use shift+right-click to place it.
Logistics Drone – Handles item transportation between inventories.
Charging Your Drones
Before any drone can operate, it needs to be charged with pneumatic pressure. Place your drone in a charging station that is connected to a pressurized air system, and it will automatically fill up. Once fully charged and programmed, the drone is ready for deployment.
An important feature to note: drones will automatically return to a charging station whenever they run low on pressure. They search within approximately 8080 blocks to find a powered charging station, and once fully recharged, they resume their programmed tasks without requiring manual intervention.
Drone Upgrades
All drones can be enhanced with upgrades installed in the charging station. Click the “Manage Upgrades” button when a drone is in the charging station to access nine upgrade slots. Here are the available upgrades:
Creative Supply – Negates all air usage and ammunition (useful for testing in Creative mode).
Speed Upgrades – Increases drone flight speed.
Volume Upgrade – Increases cargo capacity.
Armor Upgrades – Provides protection. Approximately 15 armor upgrades equal a full suit of iron armor, though each upgrade incurs a small speed penalty.
Mini Gun Upgrade – Equips the drone with a mini gun (requires ammunition called “gun ammo”).
Standby Upgrade – Puts the drone into standby mode when idle, conserving air pressure instead of consuming it while hovering.
Item Life Upgrade – Extends the drone’s durability.
Security Upgrade – Enables operation in fluids (two upgrades required) and provides protection from electrical damage. Note: drones will never enter lava regardless of security upgrades.
Range Upgrade – Extends operational range.
Muffler Upgrade – Reduces drone noise.
Without armor upgrades, drones are vulnerable to mob damage. However, even just a few armor upgrades will provide sufficient protection to prevent full damage from mobs like zombies. When destroyed, drones drop as items that can be picked up and repaired.
Introduction to the Programmer
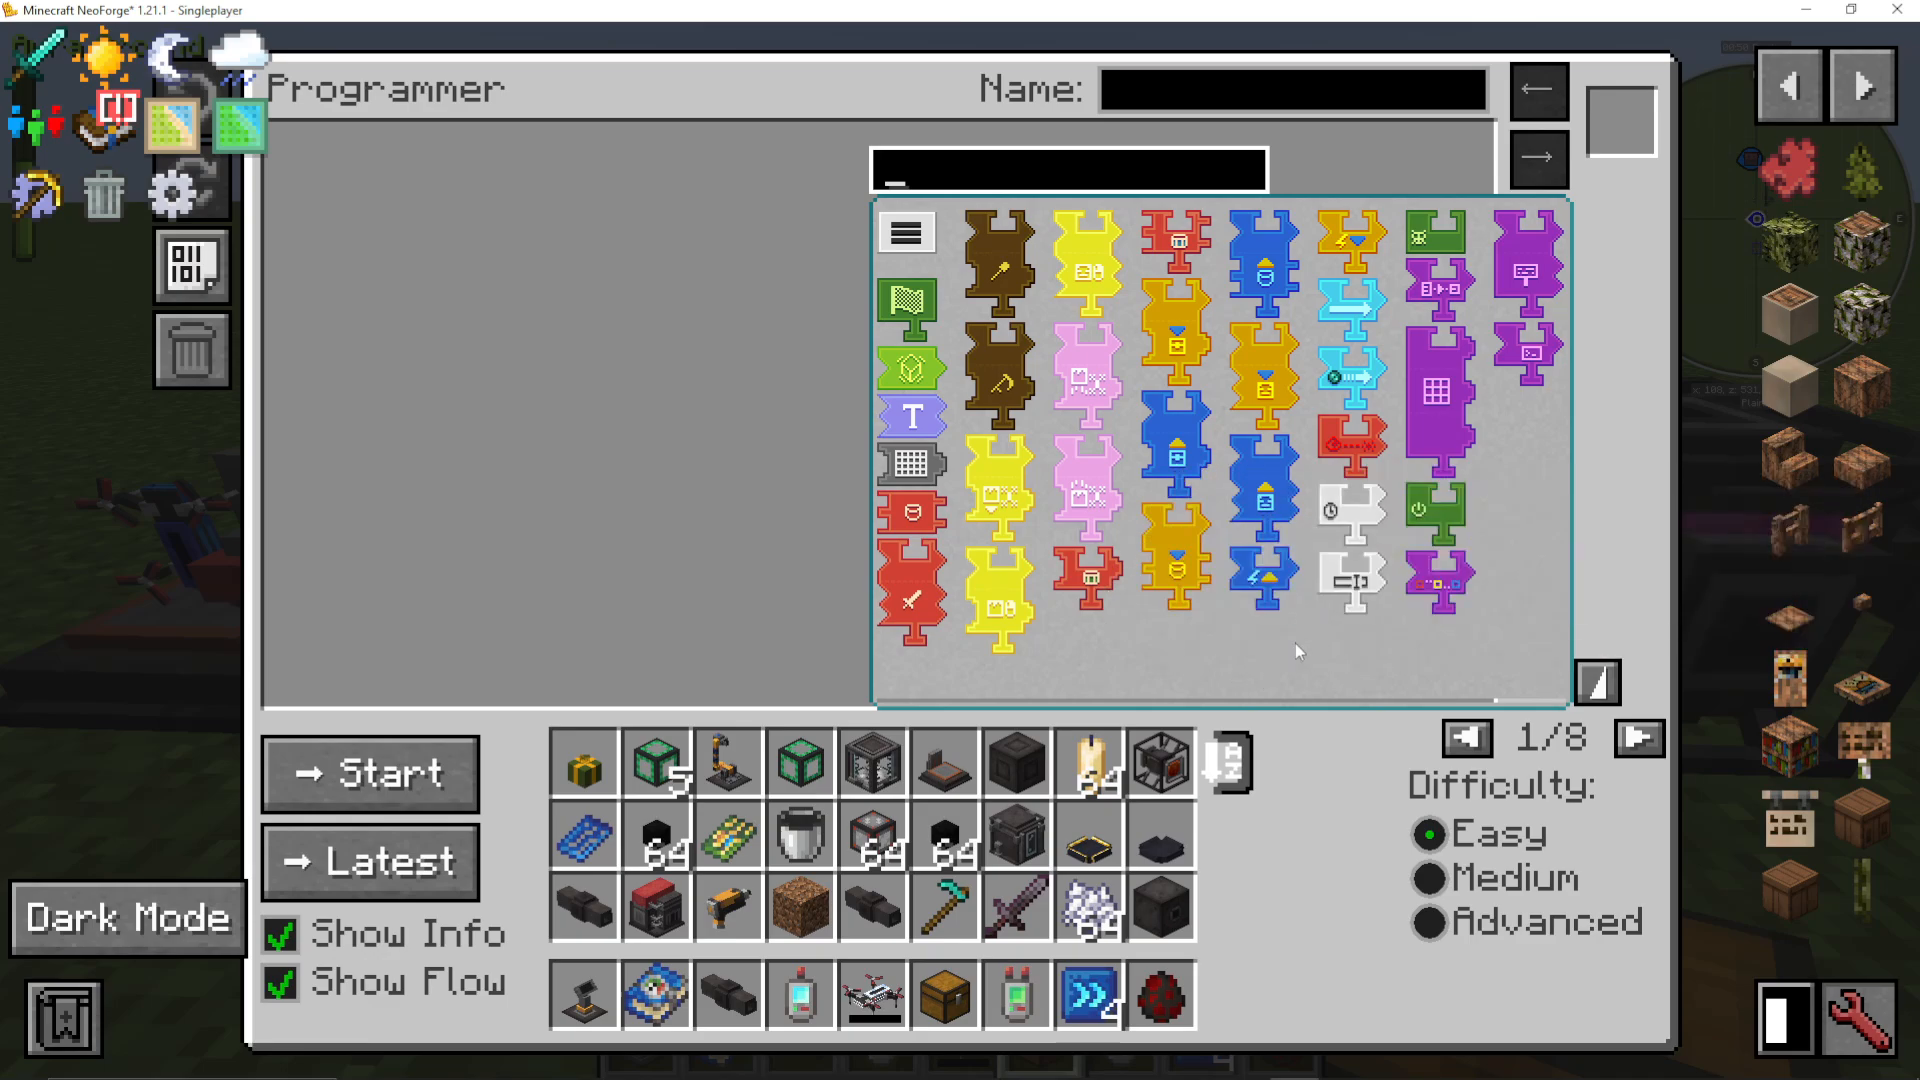
The programmer is where you design custom programs for your drones using puzzle pieces. While it appears complex, it operates on a simple logic: puzzle pieces connect together like actual puzzle pieces—if they fit together visually, they work together mechanically.
Every program starts with a start piece. From there, you add additional puzzle pieces to create your drone’s behavior sequence. The programmer includes a difficulty setting that lets you filter which puzzle pieces are visible:
Beginner – Shows only basic puzzle pieces, perfect for learning.
Medium – Displays more complex options.
Advanced – Shows all available pieces (may be overwhelming for newcomers).
Creating a Mob Farm Drone Program
Let’s walk through creating a practical mob farm drone that will automatically kill mobs and collect their drops.
Step 1: Set Up Your Areas with GPS
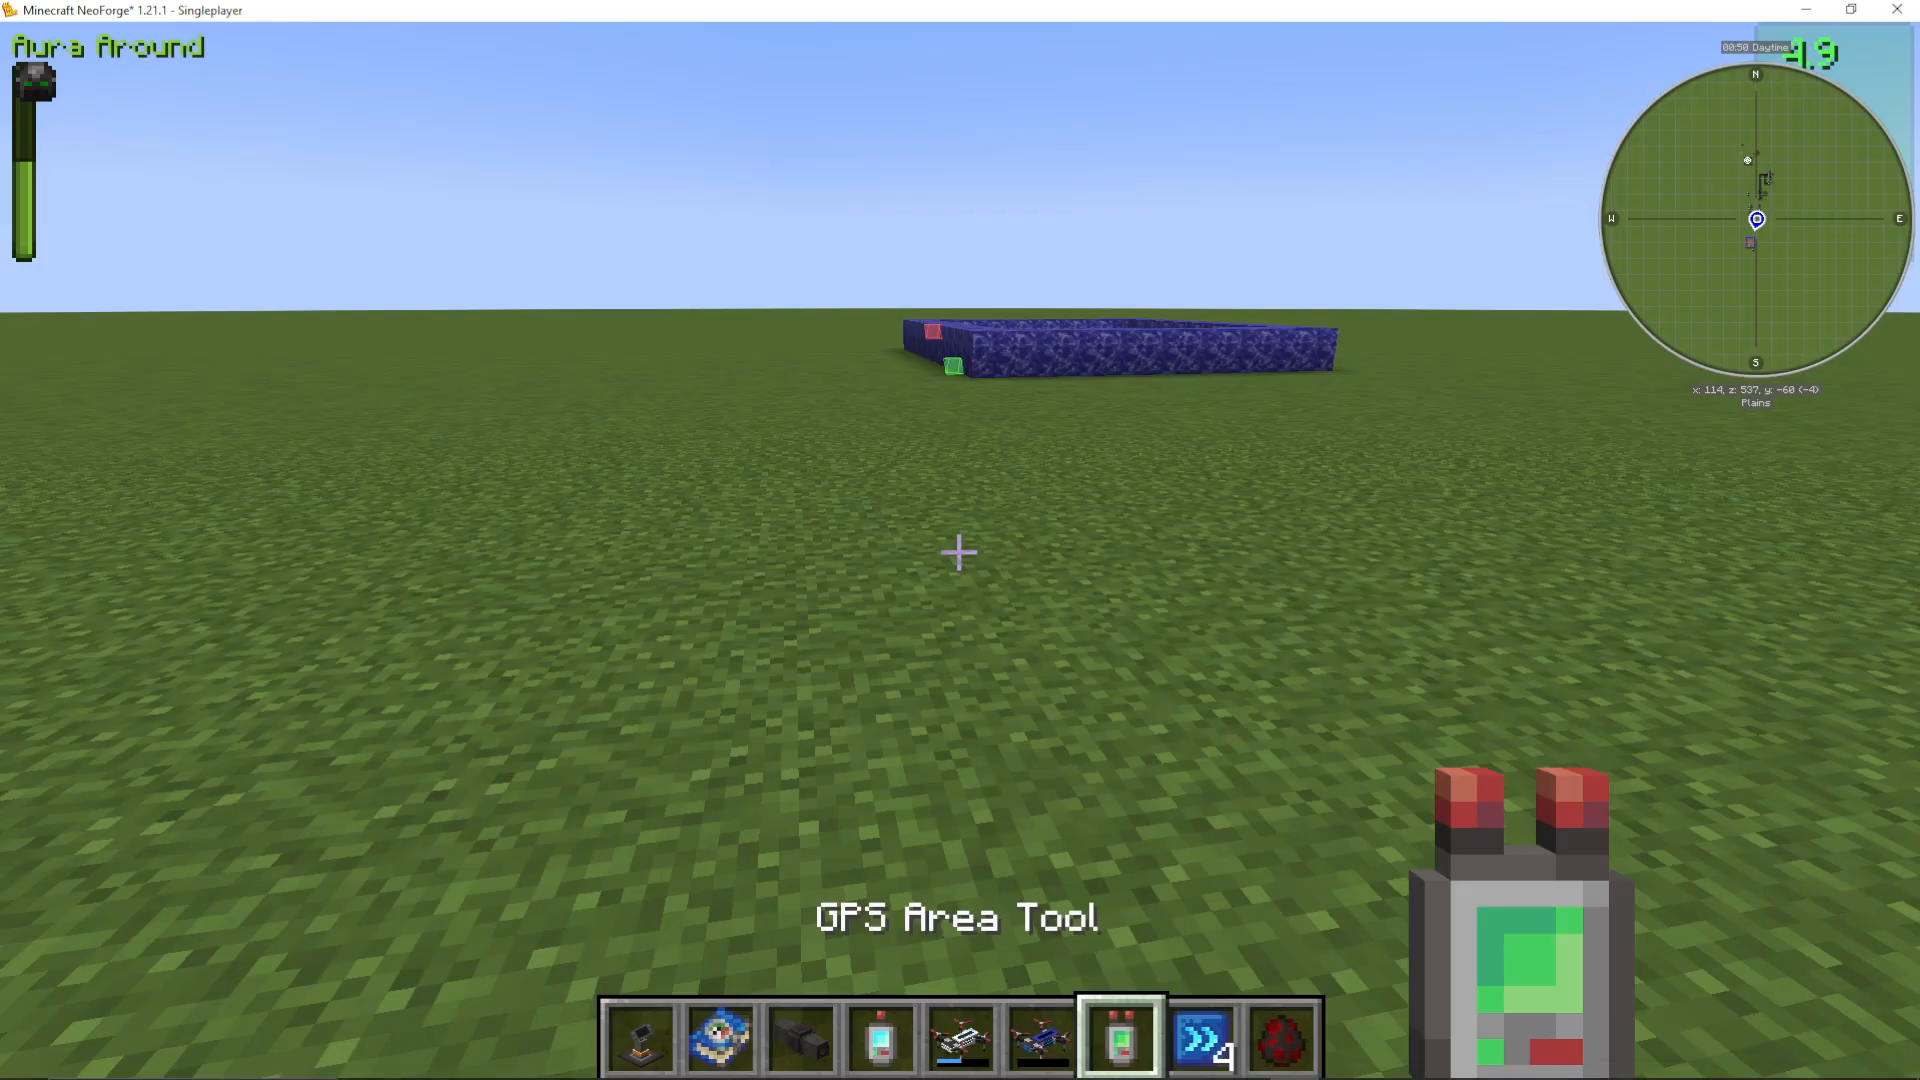
Before building your program, use a GPS tool to mark the areas your drone will use. Craft or obtain a GPS tool and shift+right-click it on chests or ground locations to register coordinates. This tool is essential for telling your drone exactly where to work.
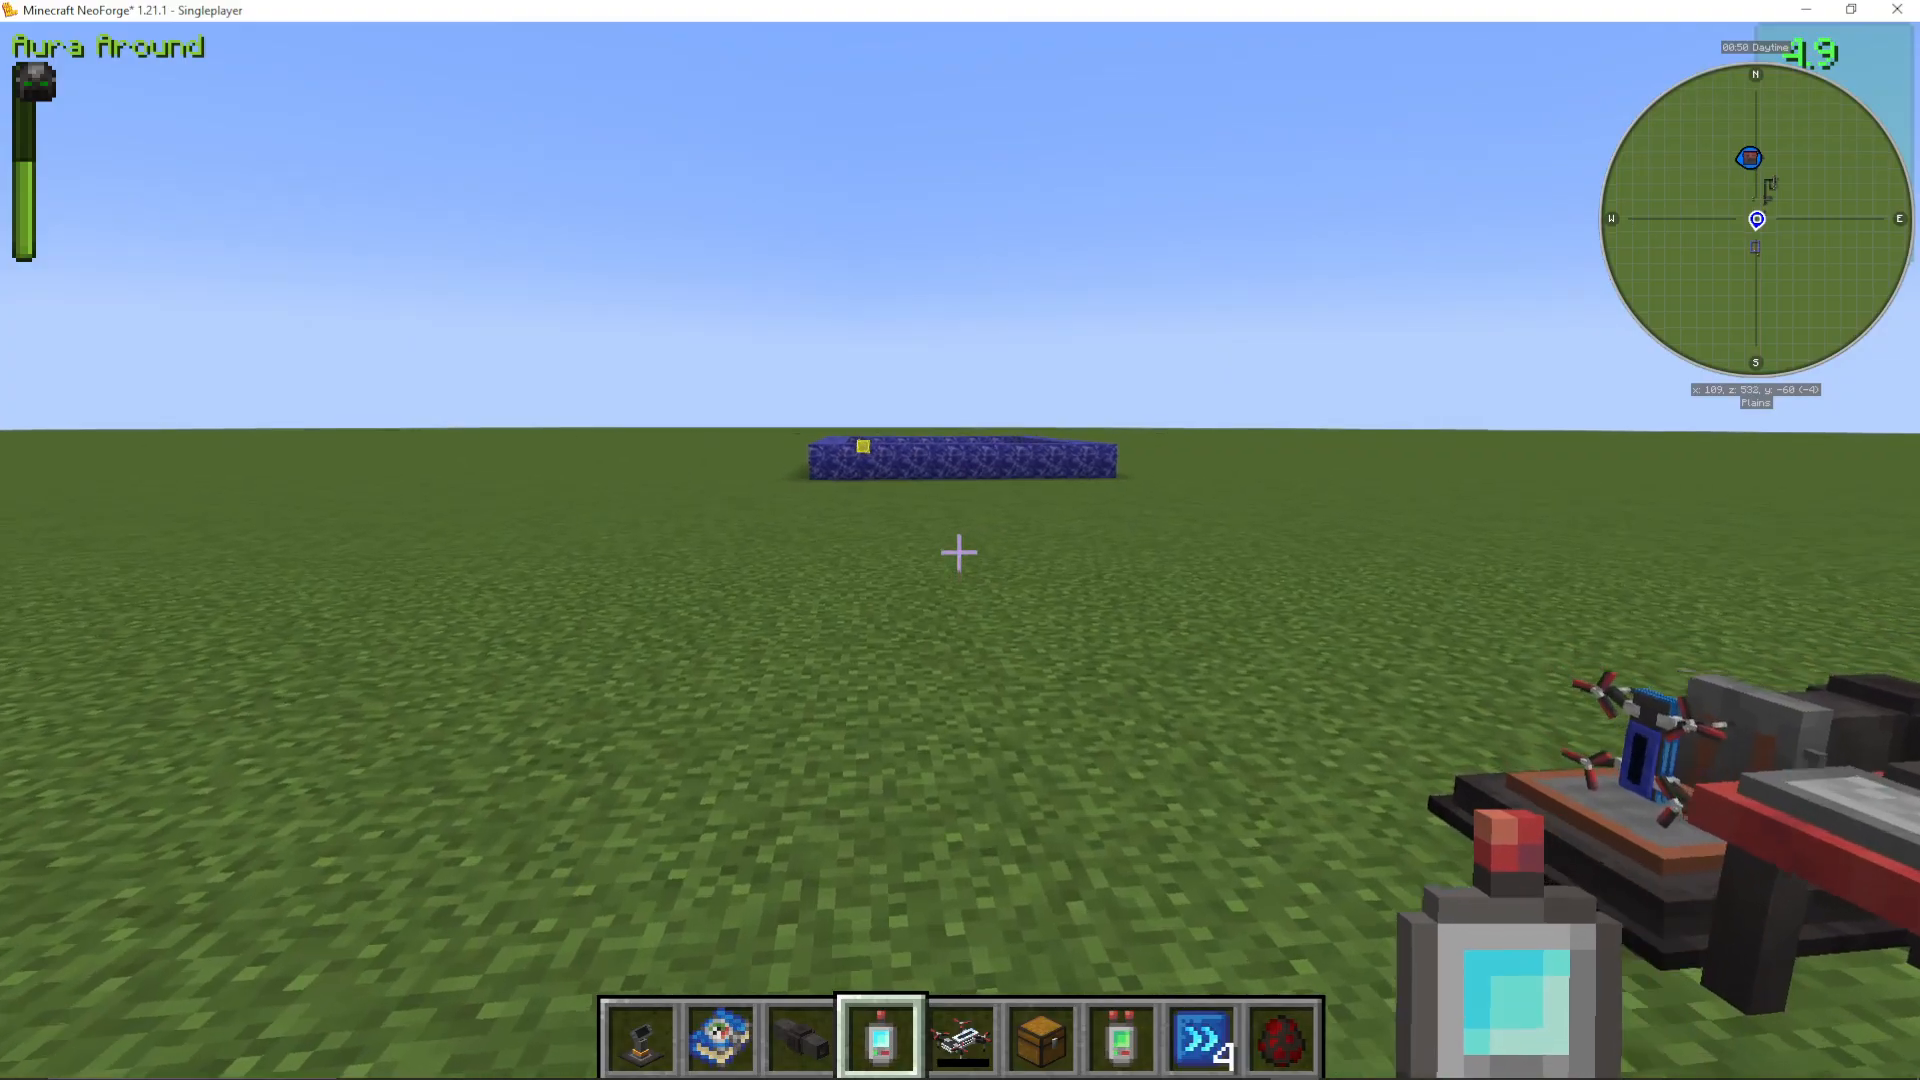
Step 2: Import a Weapon
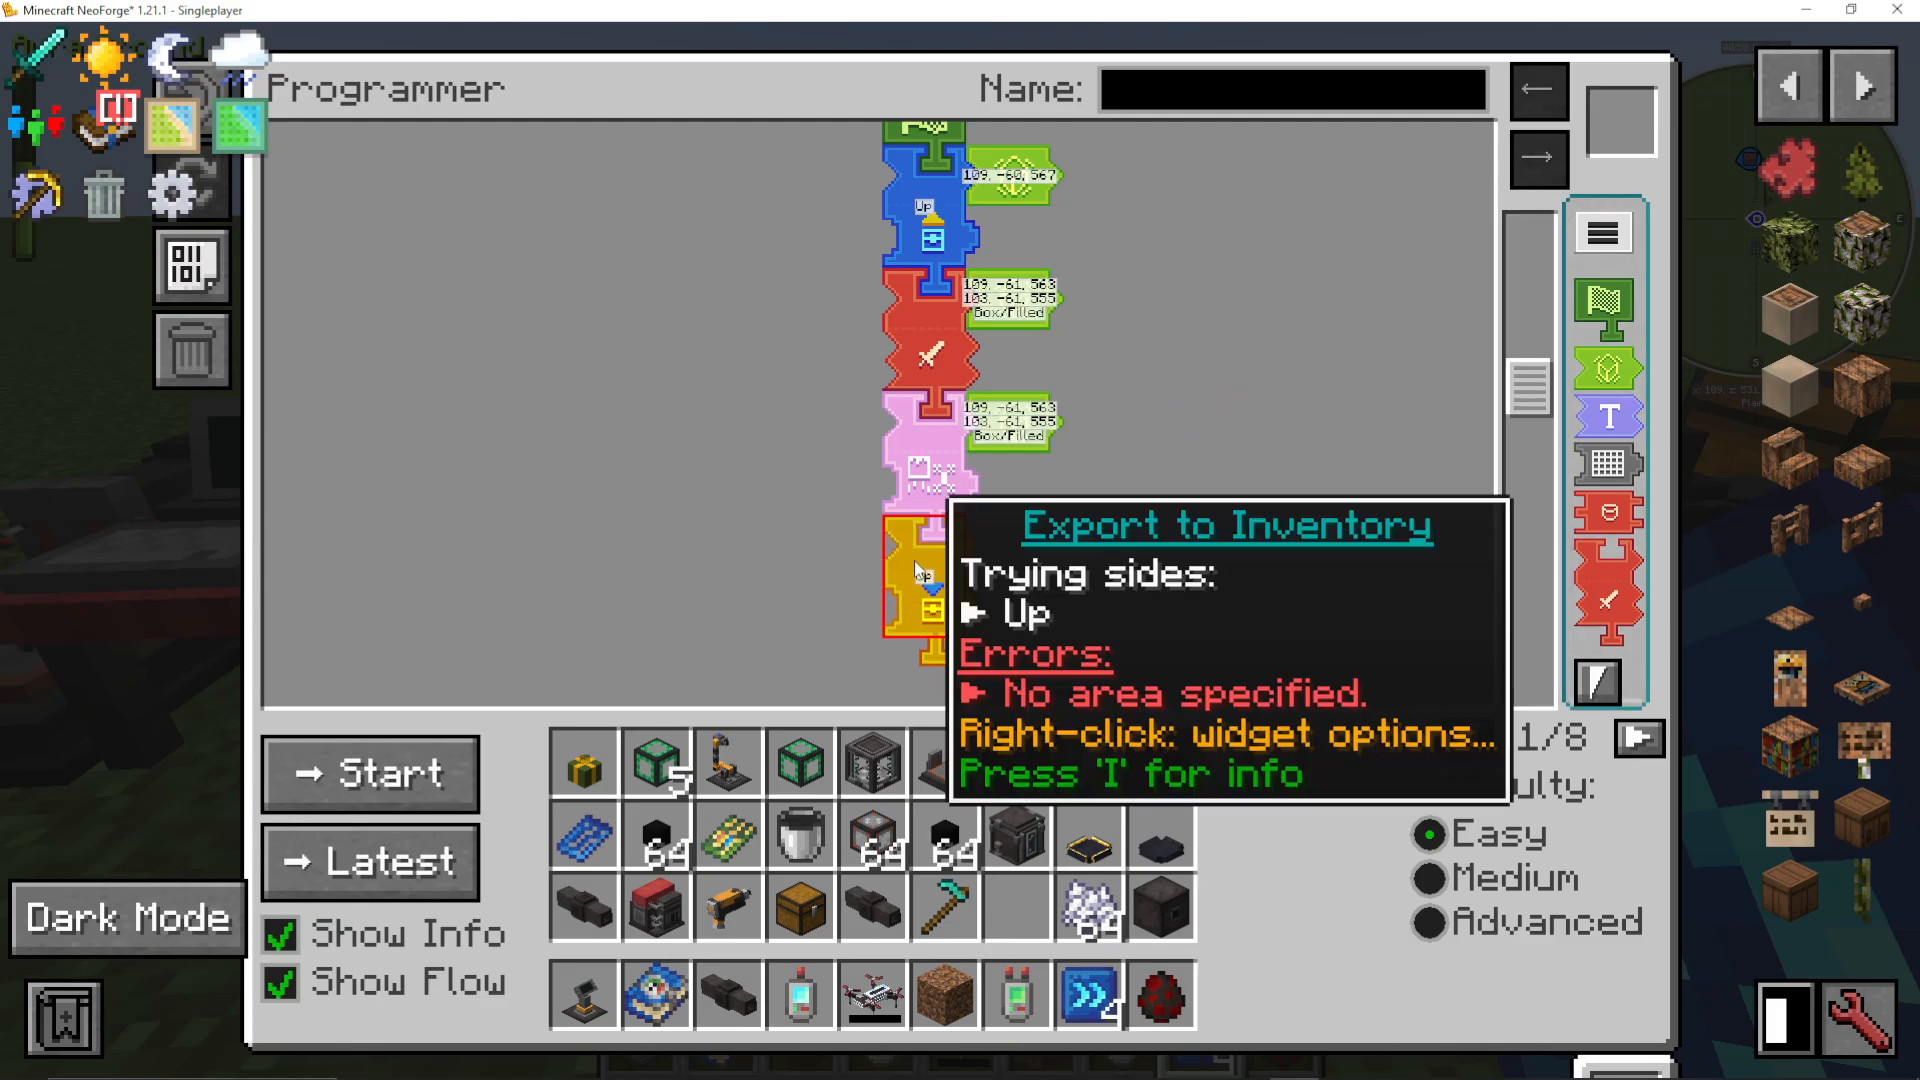
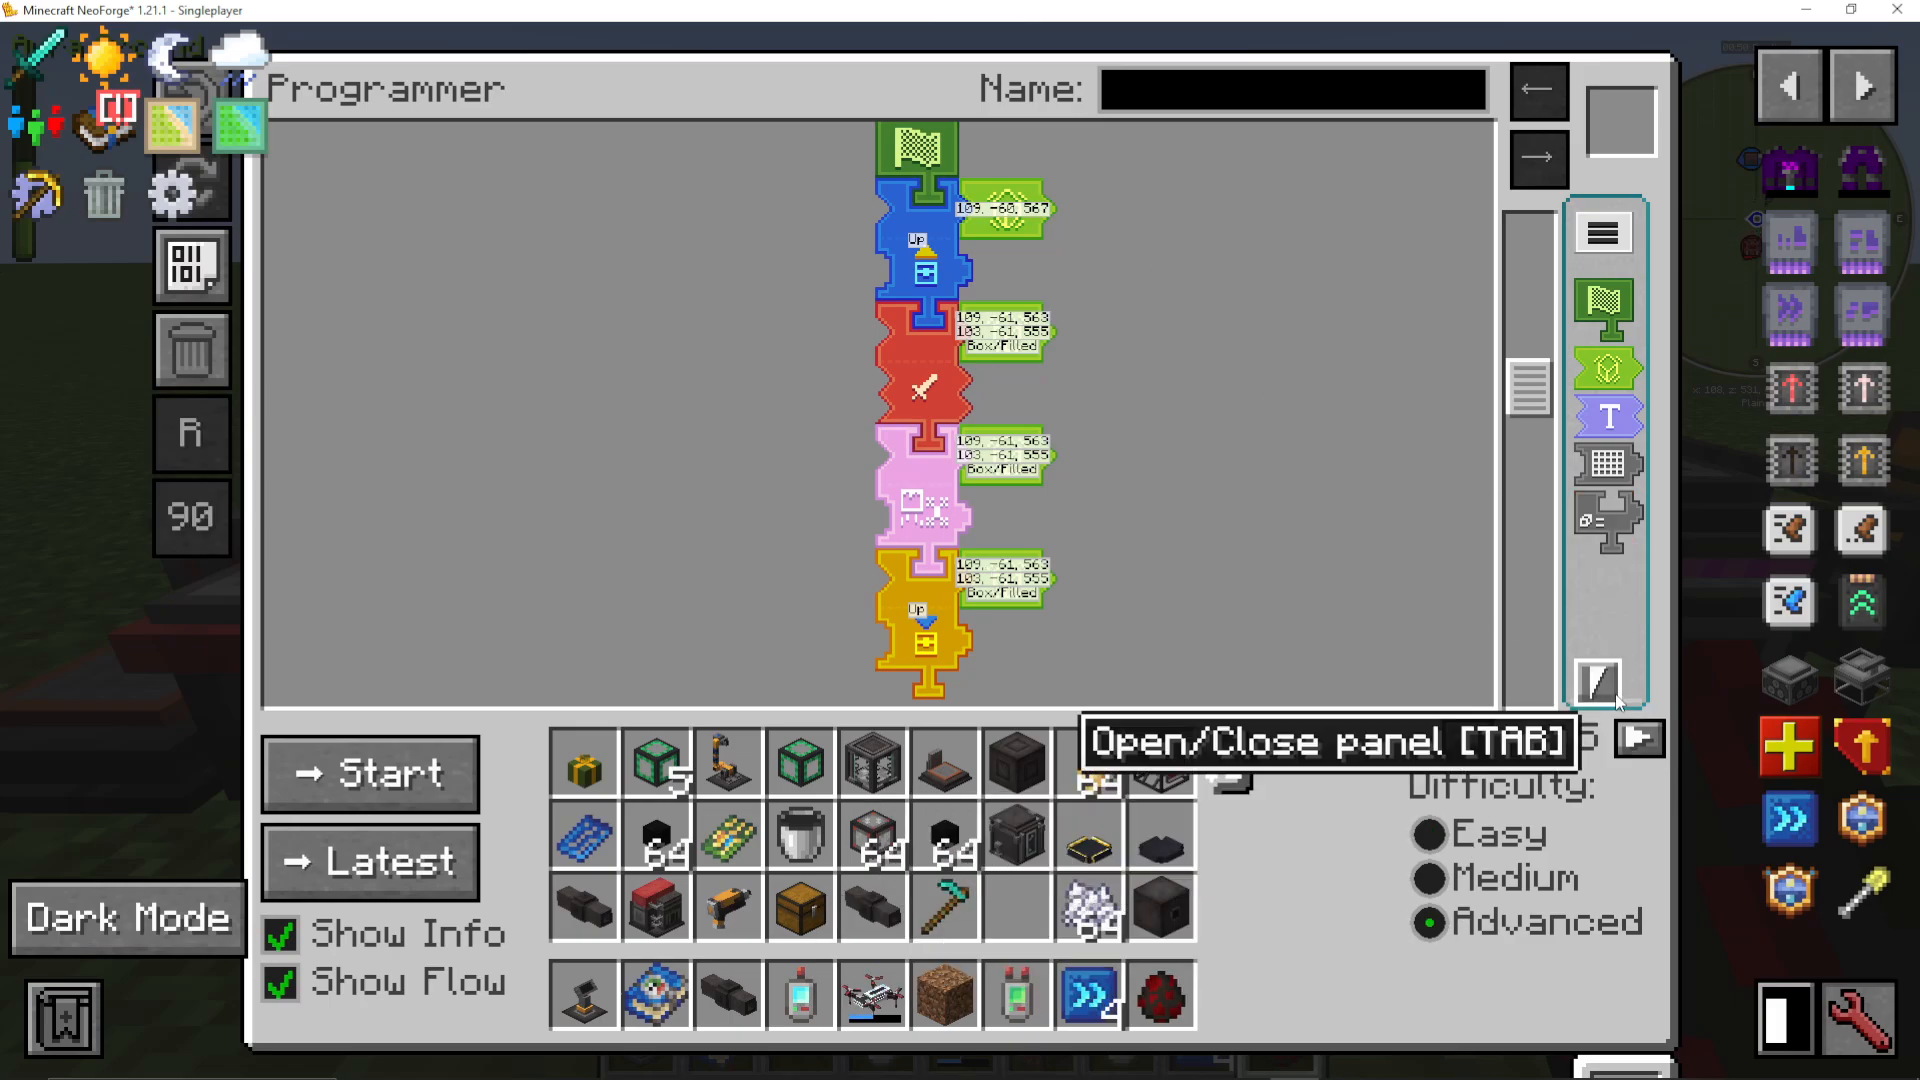
Start your program with an “Import from Inventory” puzzle piece. Connect an Area card to specify which inventory contains your weapon (place a Netherite sword or similar weapon in the designated chest). This tells the drone to pick up a weapon before attacking mobs.
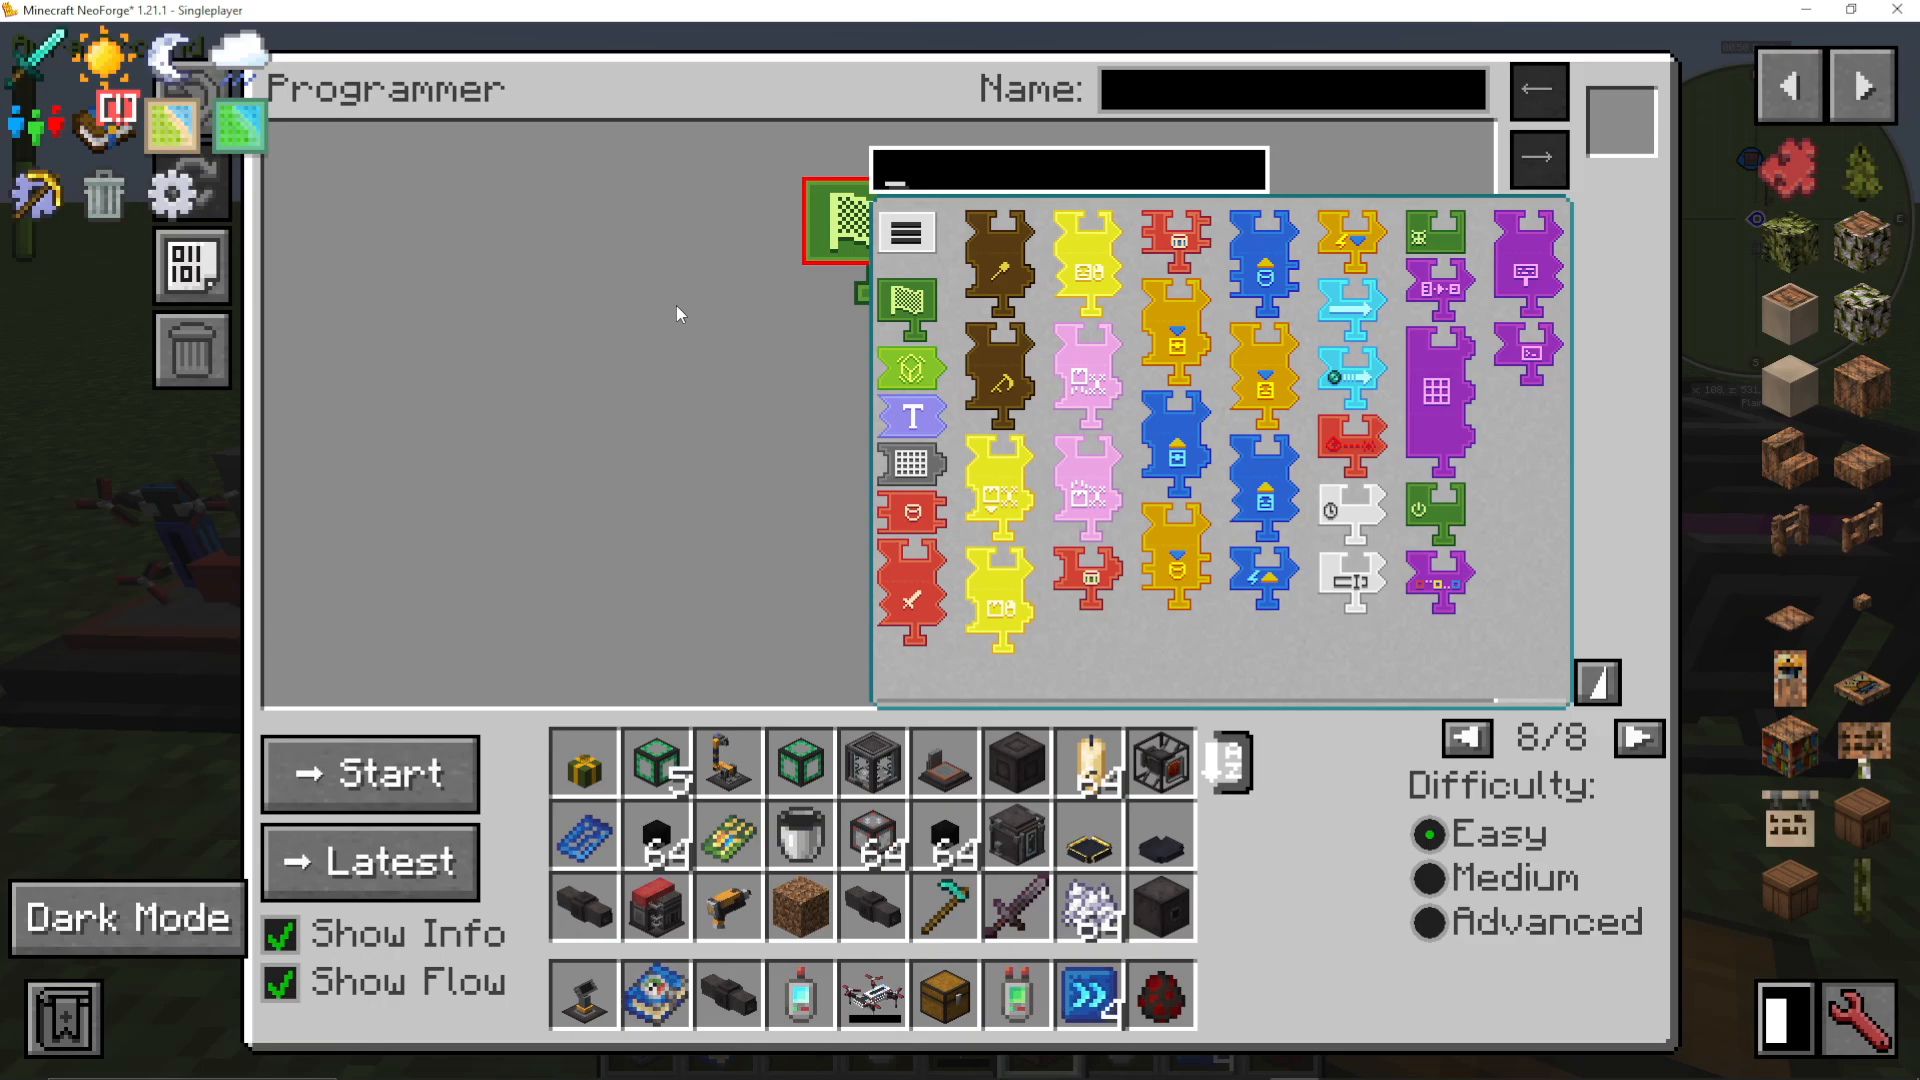
Step 3: Add Entity Attack
Next, add an “Entity Attack” puzzle piece and connect it to an Area card. Use the GPS area tool to define a box-shaped region where mobs will be killed. Right-click and left-click on two corner blocks to establish the boundaries. You can preview your area by right-clicking the area widget and selecting “Preview Area” to ensure the box is correct.
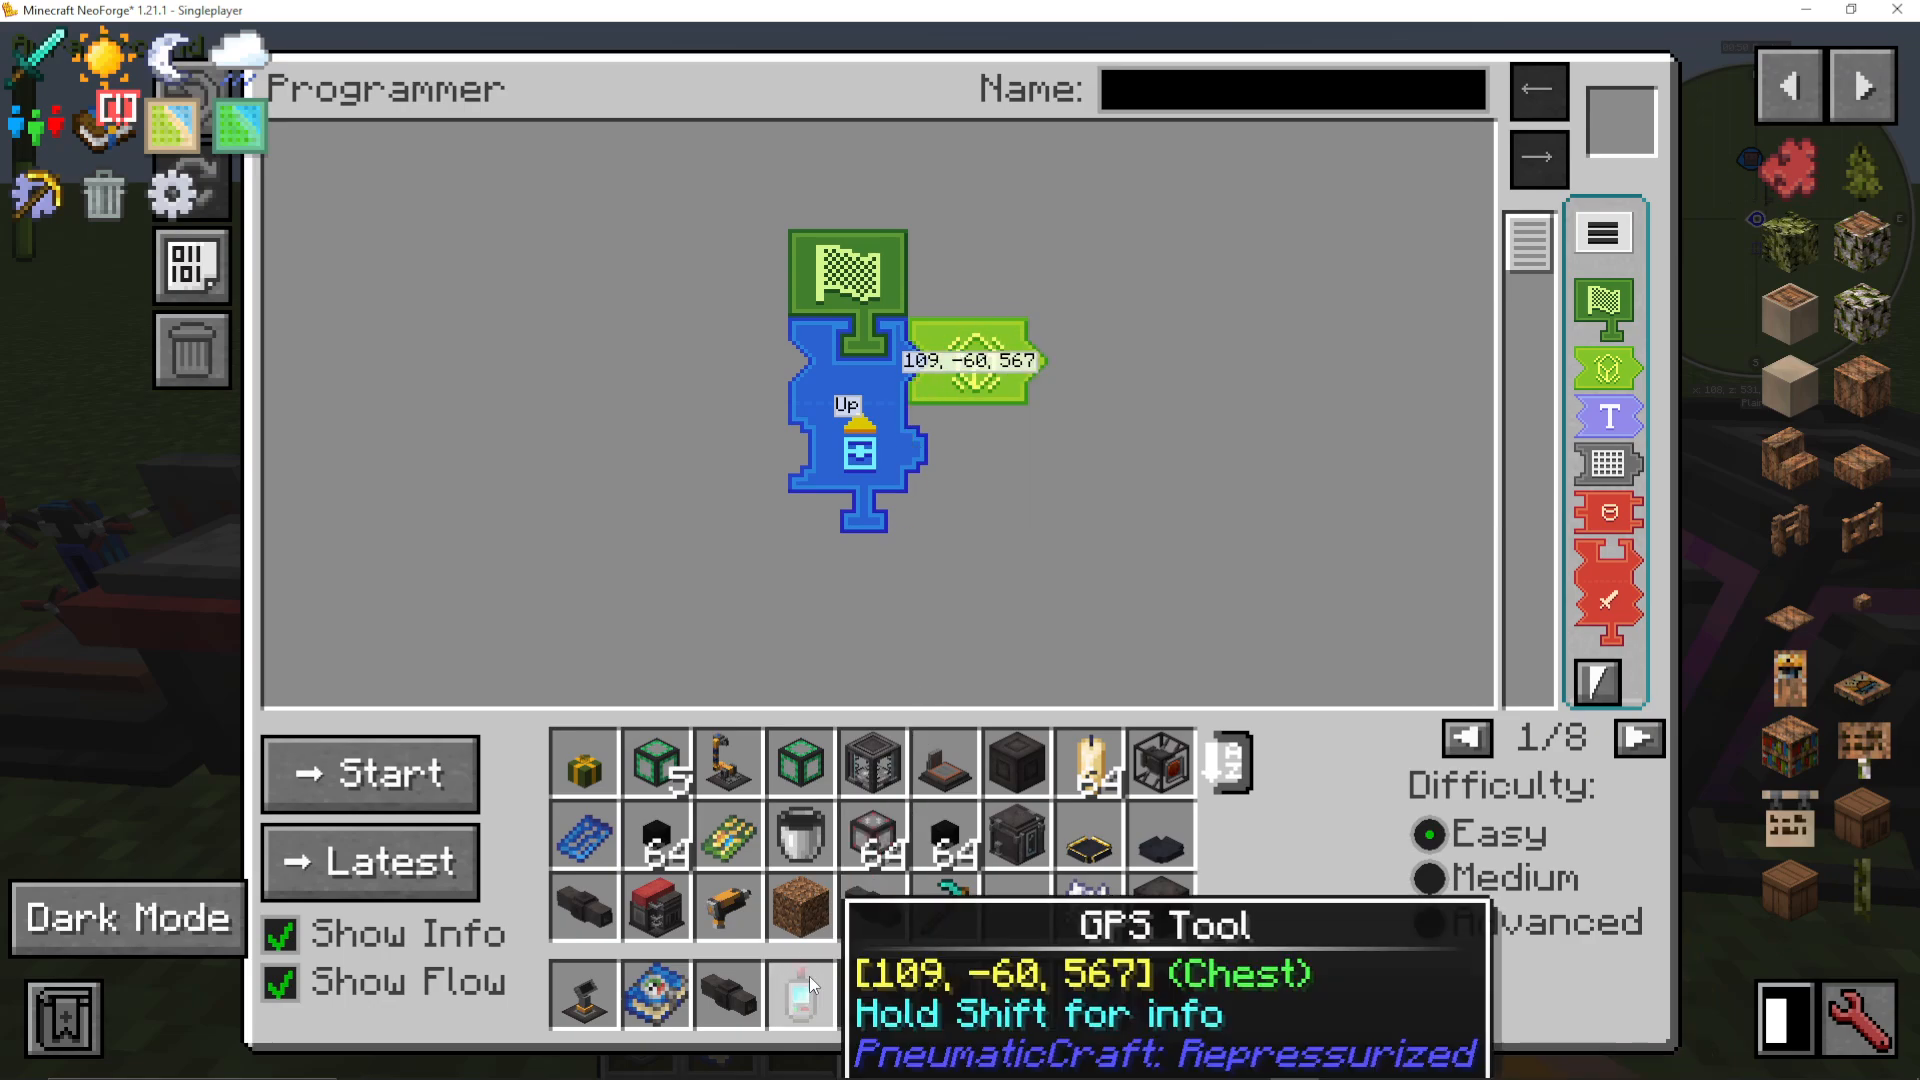
Step 4: Pick Up Items
Add a “Pick Up Items” puzzle piece. You can reuse the same area as your attack zone by middle-clicking on the existing area widget and dragging it down. This ensures the drone collects all mob drops in the same region where mobs are killed.
Optionally, add an Item Filter puzzle piece if you want to collect only specific drops (for example, only string from spiders). Right-click the filter to add specific items.
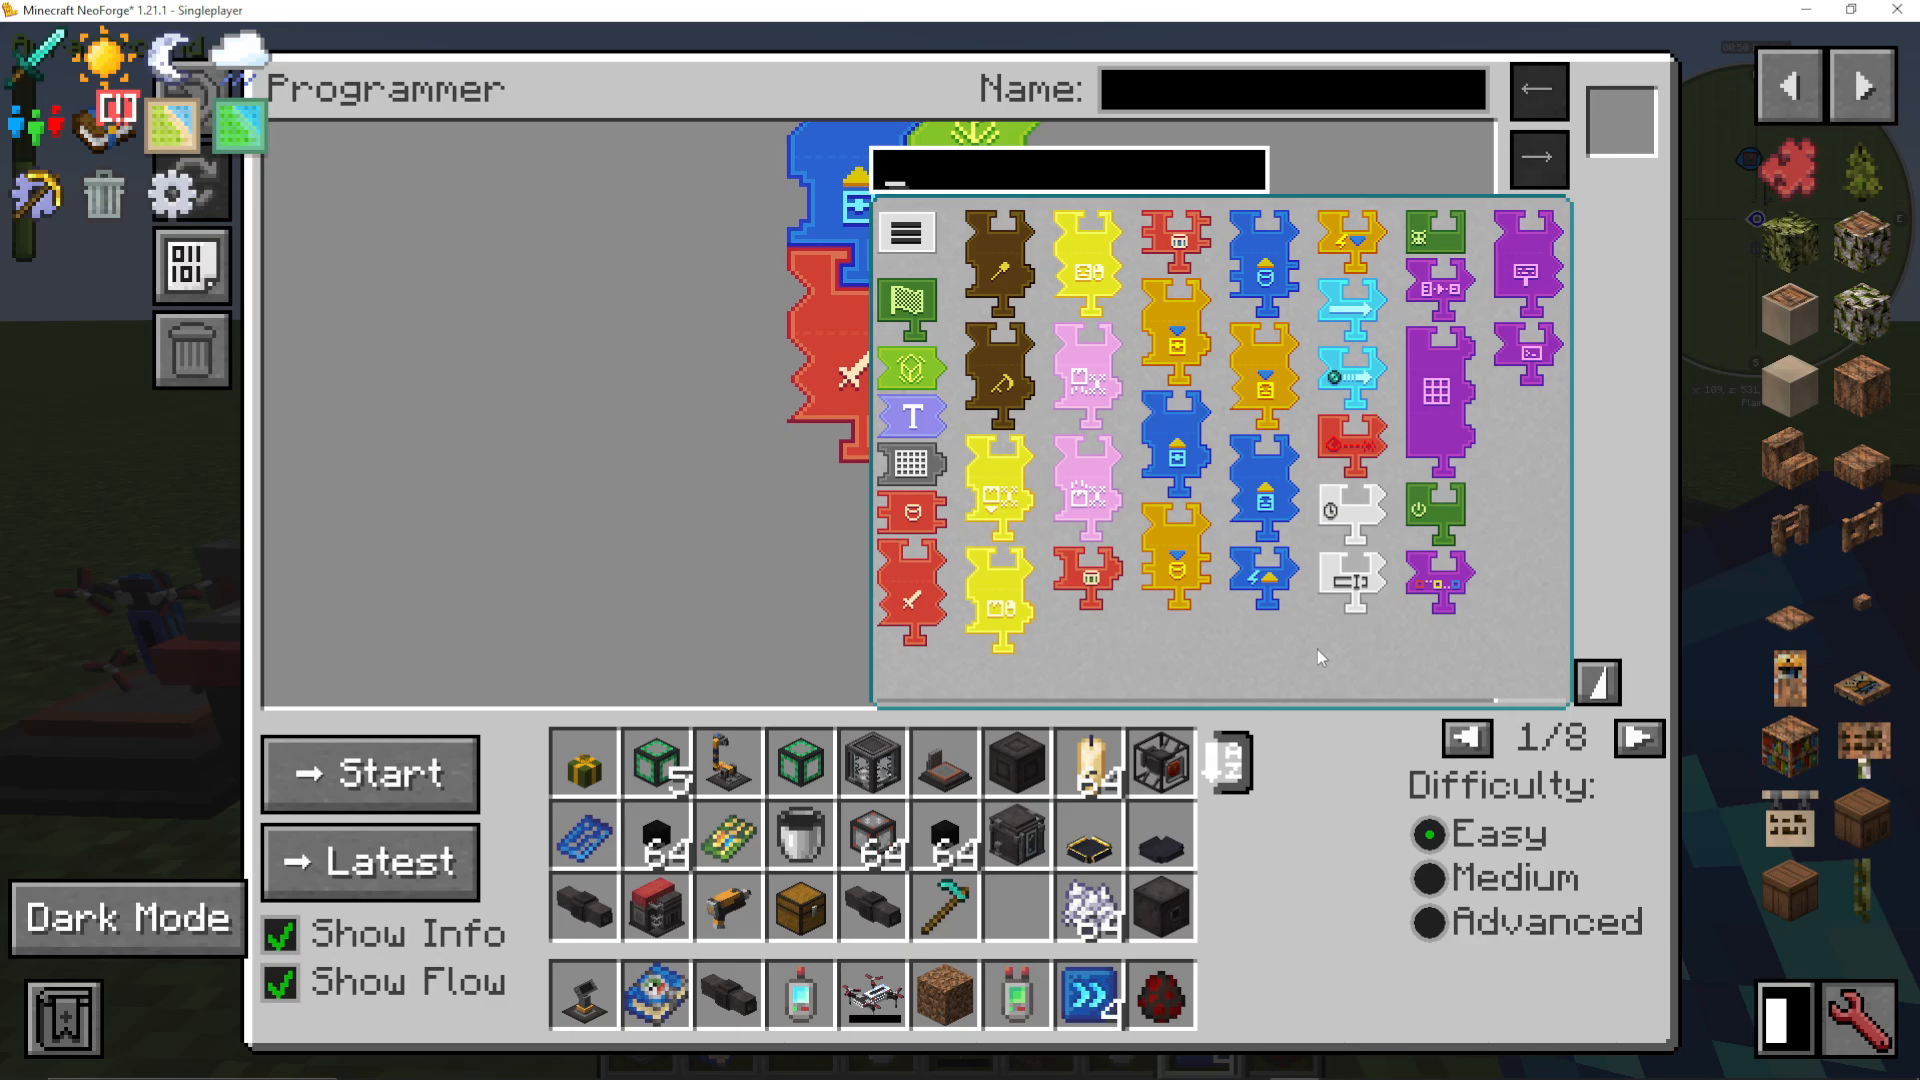
Step 5: Export Items to Storage
Finally, add an “Export to Inventory” puzzle piece with an Area card. This tells the drone to deposit collected items into any inventory within that area. If you have multiple chests in the region, the drone will fill them one by one. For a specific chest, set the area to just that chest.
Step 6: Upload the Program
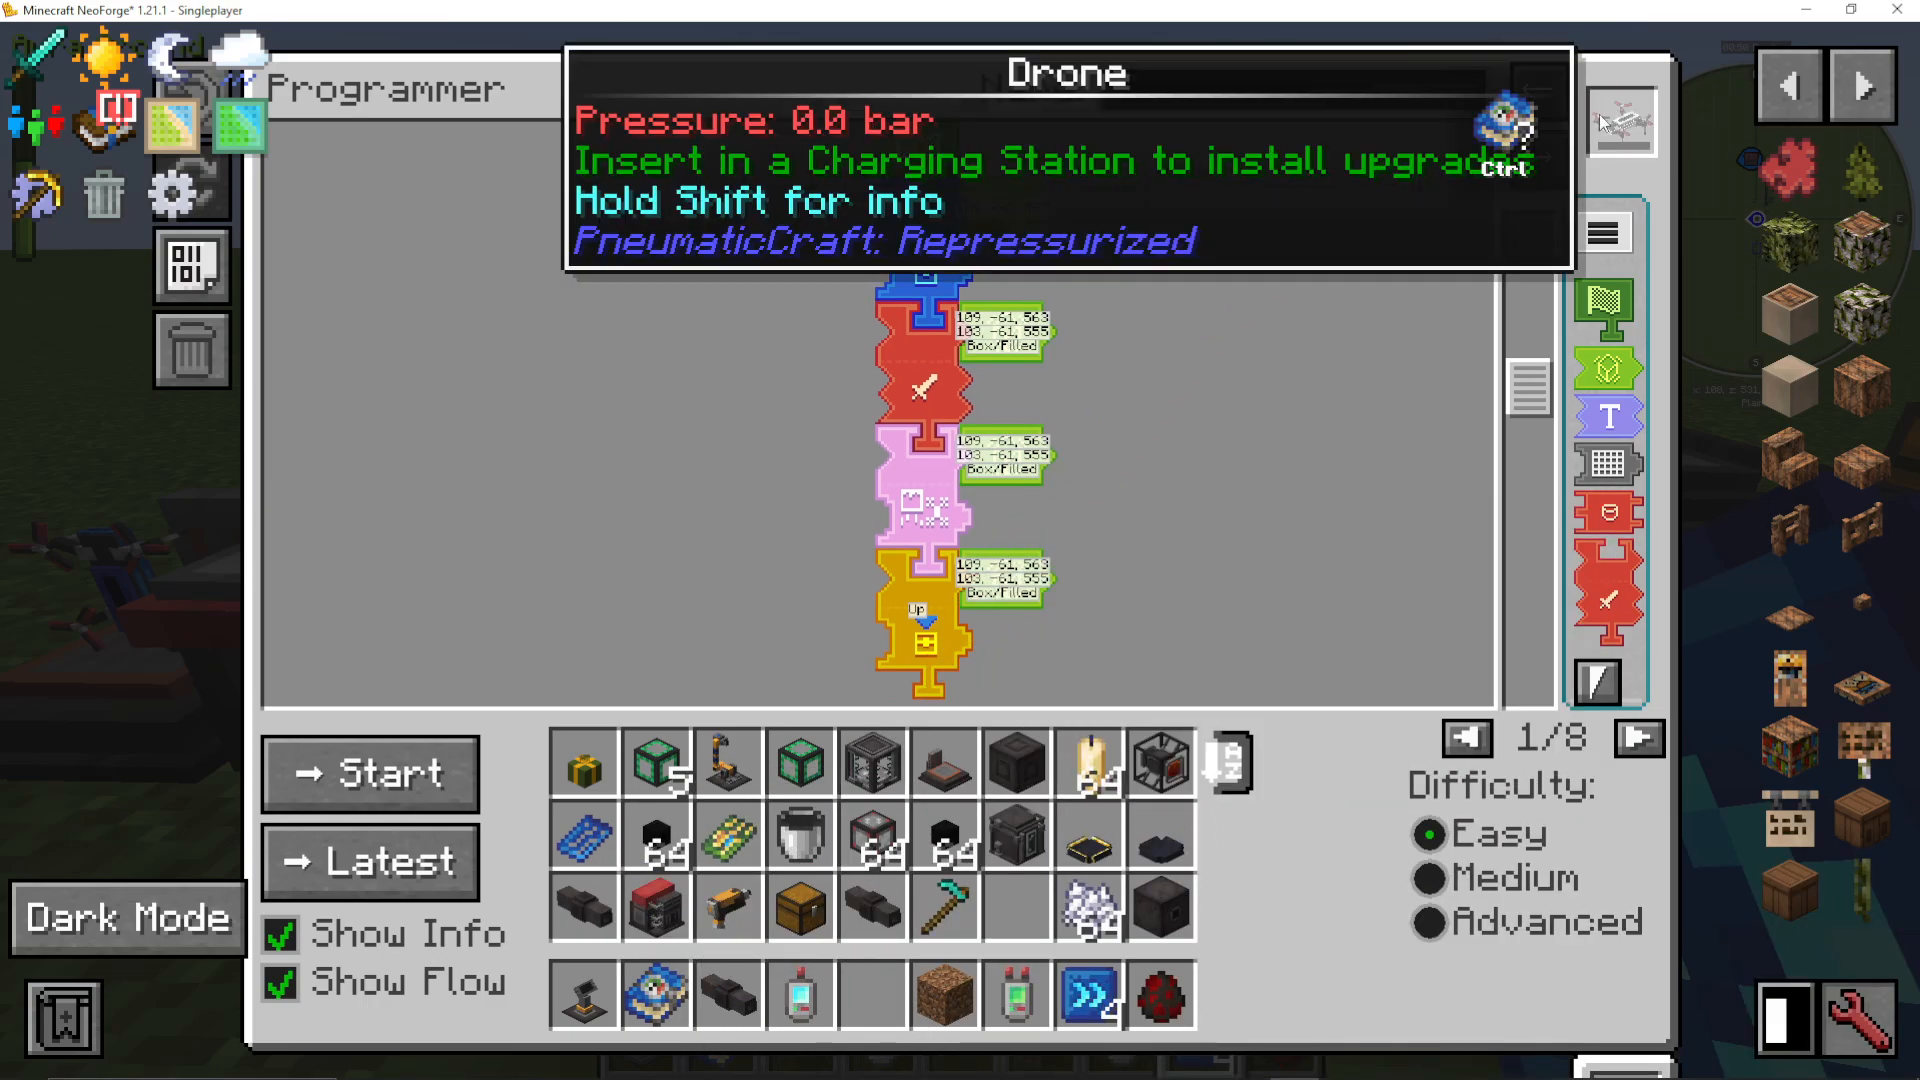
Place your drone in the top-right slot of the programmer and click “Export Program.” The system will tell you how many puzzle pieces are required. Make sure you have enough puzzle pieces in an adjacent inventory. In Creative mode, the system won’t consume pieces, but in Survival, you’ll need to provide them.
Step 7: Charge and Upgrade
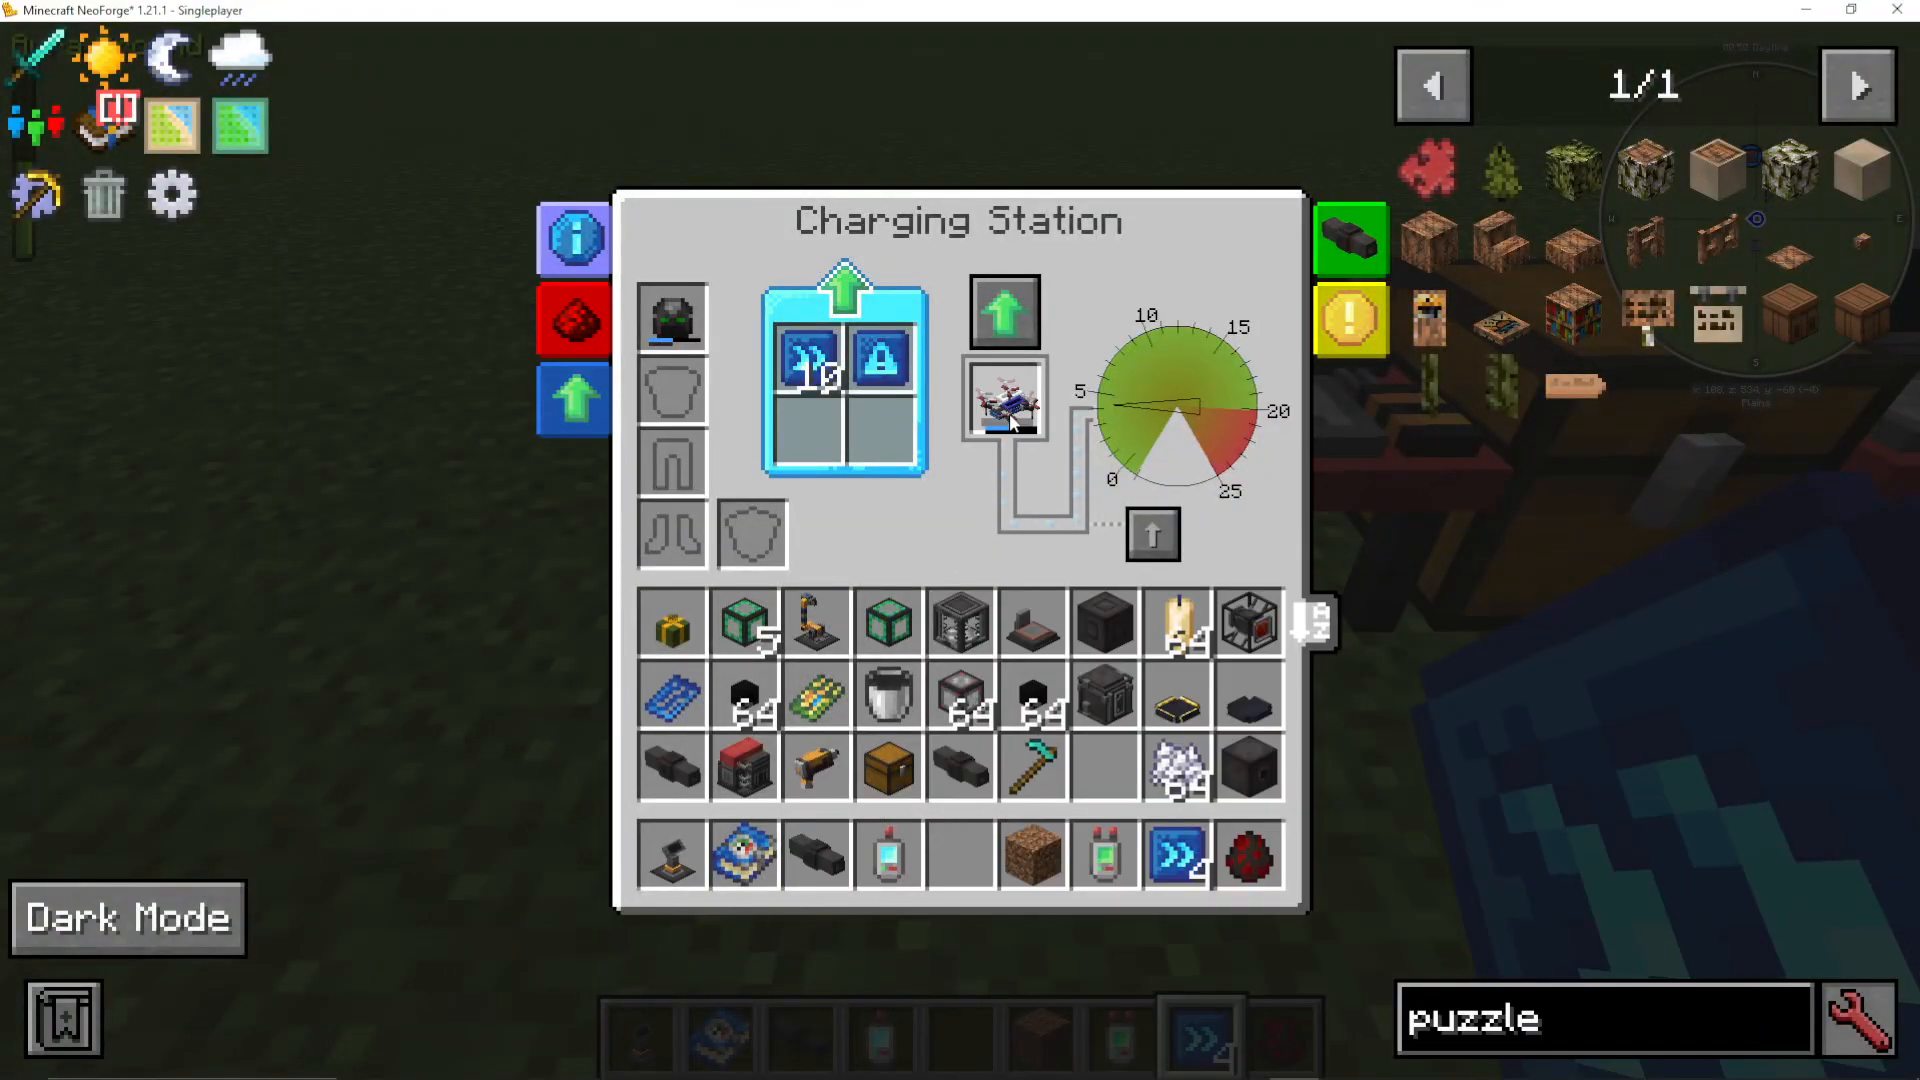
Put your programmed drone into the charging station to fill it with pressure. Add armor upgrades for protection and speed upgrades to make it work faster. With these additions, your drone is ready to deploy.
Step 8: Deploy and Test
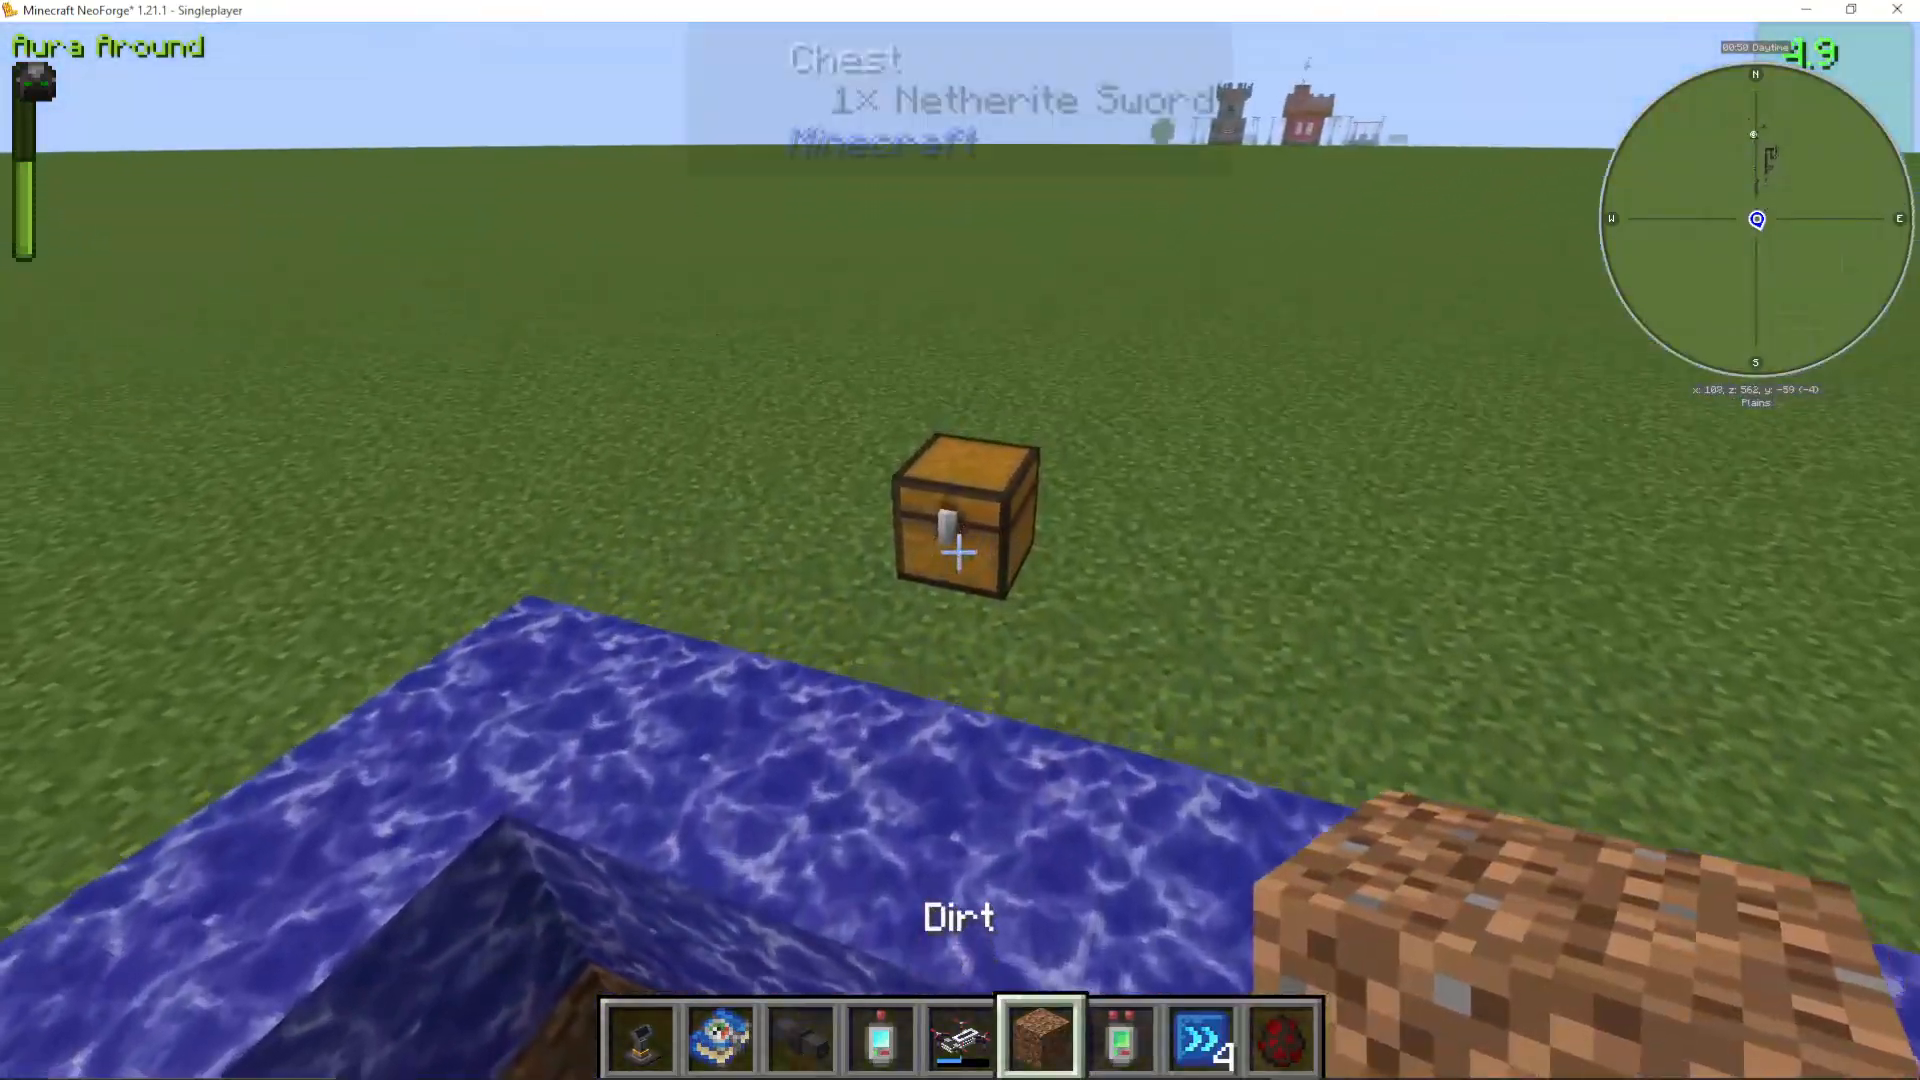
Place your drone in the world, and it will execute its program: retrieve the weapon, kill mobs in the designated area, collect drops, and store them in your inventory. When pressure runs low, it automatically returns to the charging station.
Advanced Puzzle Pieces
Beyond the basic pieces used in our mob farm, PneumaticCraft offers many advanced puzzle pieces for complex automation:
Fluid Filters – Filter liquids for specific tasks.
Coordinate Operators – Perform calculations on coordinates.
Crafting Module – Enable on-board crafting.
Text Filters – Filter entities based on custom criteria (e.g., exclude players from attacks).
Dig Area / Harvest / Place – Mine blocks, harvest crops, or place blocks.
Right Click / Right Click Entity – Interact with blocks or entities.
Void Items – Discard unwanted items.
Go to Location – Navigate to specific coordinates.
Emit Redstone – Trigger redstone signals.
Suicide – Abort the program immediately.
Wait – Add delays between actions.
Edit Sign – Modify sign text.
Conditions – Add logic branches to your program.
You can middle-click on any piece in the advanced menu to jump directly to its documentation in the in-game manual for detailed information.
Tips and Troubleshooting
While creating drone programs, keep these tips in mind:
If your drone appears to work slowly, check your item filters. Without proper filtering, the drone may export unwanted items (like its own basic weapon) into storage, wasting time.
Use item filters to whitelist specific drops you want collected, especially if you’re using a mini gun upgrade with ammunition.
Test programs in Creative mode first to refine behavior before deploying in Survival.
Drones only operate within their designated areas—mobs outside the boundaries won’t be attacked.
Consider upgrading for your specific use case: armor for durability, speed for performance, and standby for efficiency.
Conclusion
Although the programmer interface may seem overwhelming at first, PneumaticCraft drones are surprisingly straightforward once you understand the basics. By starting with simple programs like our mob farm example, you’ll quickly build confidence to create far more complex automation. The combination of flexible puzzle pieces, comprehensive upgrades, and automatic pressure management makes drones one of the most powerful tools in PneumaticCraft. Experiment with the advanced pieces, combine them creatively, and you’ll unlock endless automation possibilities.
— Want to Support? —
If you would like to help us continue making these guides – please consider joining our patreon here – https://www.patreon.com/c/JaviHeals
Alternatively – we host a group of MC Servers you can join here – https://discord.gg/zD7Gjt6MHF



