







How To Use Alloy Smelters In EnderIO
How To Use Alloy Smelters In EnderIO
Alloy smelters are essential machines in EnderIO that allow you to craft custom alloys and smelt items efficiently. Whether you’re just starting out or looking to optimize your production, understanding how to use these three tiers of machines will significantly improve your EnderIO setup. This guide walks you through the features and functions of each alloy smelter type.
Understanding the Three Types of Alloy Smelters
EnderIO offers three different alloy smelter variants, each offering increased efficiency and speed over the previous one:
Simple Alloy Smelter
The simple alloy smelter is the most basic option and requires minimal crafting materials. It is designed specifically to create EnderIO alloys. While it has limited capabilities compared to its upgraded versions, it’s a great starting point if you’re new to the mod.
Alloy Smelter
The alloy smelter is a significant step up and serves a dual purpose. Not only can it create EnderIO alloys, but it also functions as a powered furnace. This versatility makes it a two-in-one machine. You can upgrade it with capacitors to increase smelting speed and energy storage capacity, making it far more efficient than the simple version.
Enhanced Alloy Smelter
The enhanced alloy smelter offers the best performance of the three. It functions identically to the standard alloy smelter but operates faster and more efficiently, consuming less energy per operation.
Setting Up Input and Output
Each alloy smelter features configuration options that allow you to control how items enter and exit the machine. You’ll notice a cog icon on the smelter interface—this is where you manage input and output behavior.
Right-clicking the cog icon on any side of the smelter lets you choose between two options:
Pull: The smelter will pull items from an adjacent inventory (such as a chest) into itself.
Push: The smelter will push finished items out into an adjacent inventory.
For example, you can place a chest on top of the smelter and set it to “pull” mode, allowing the machine to automatically extract raw materials from the chest.
Viewing Available Recipes
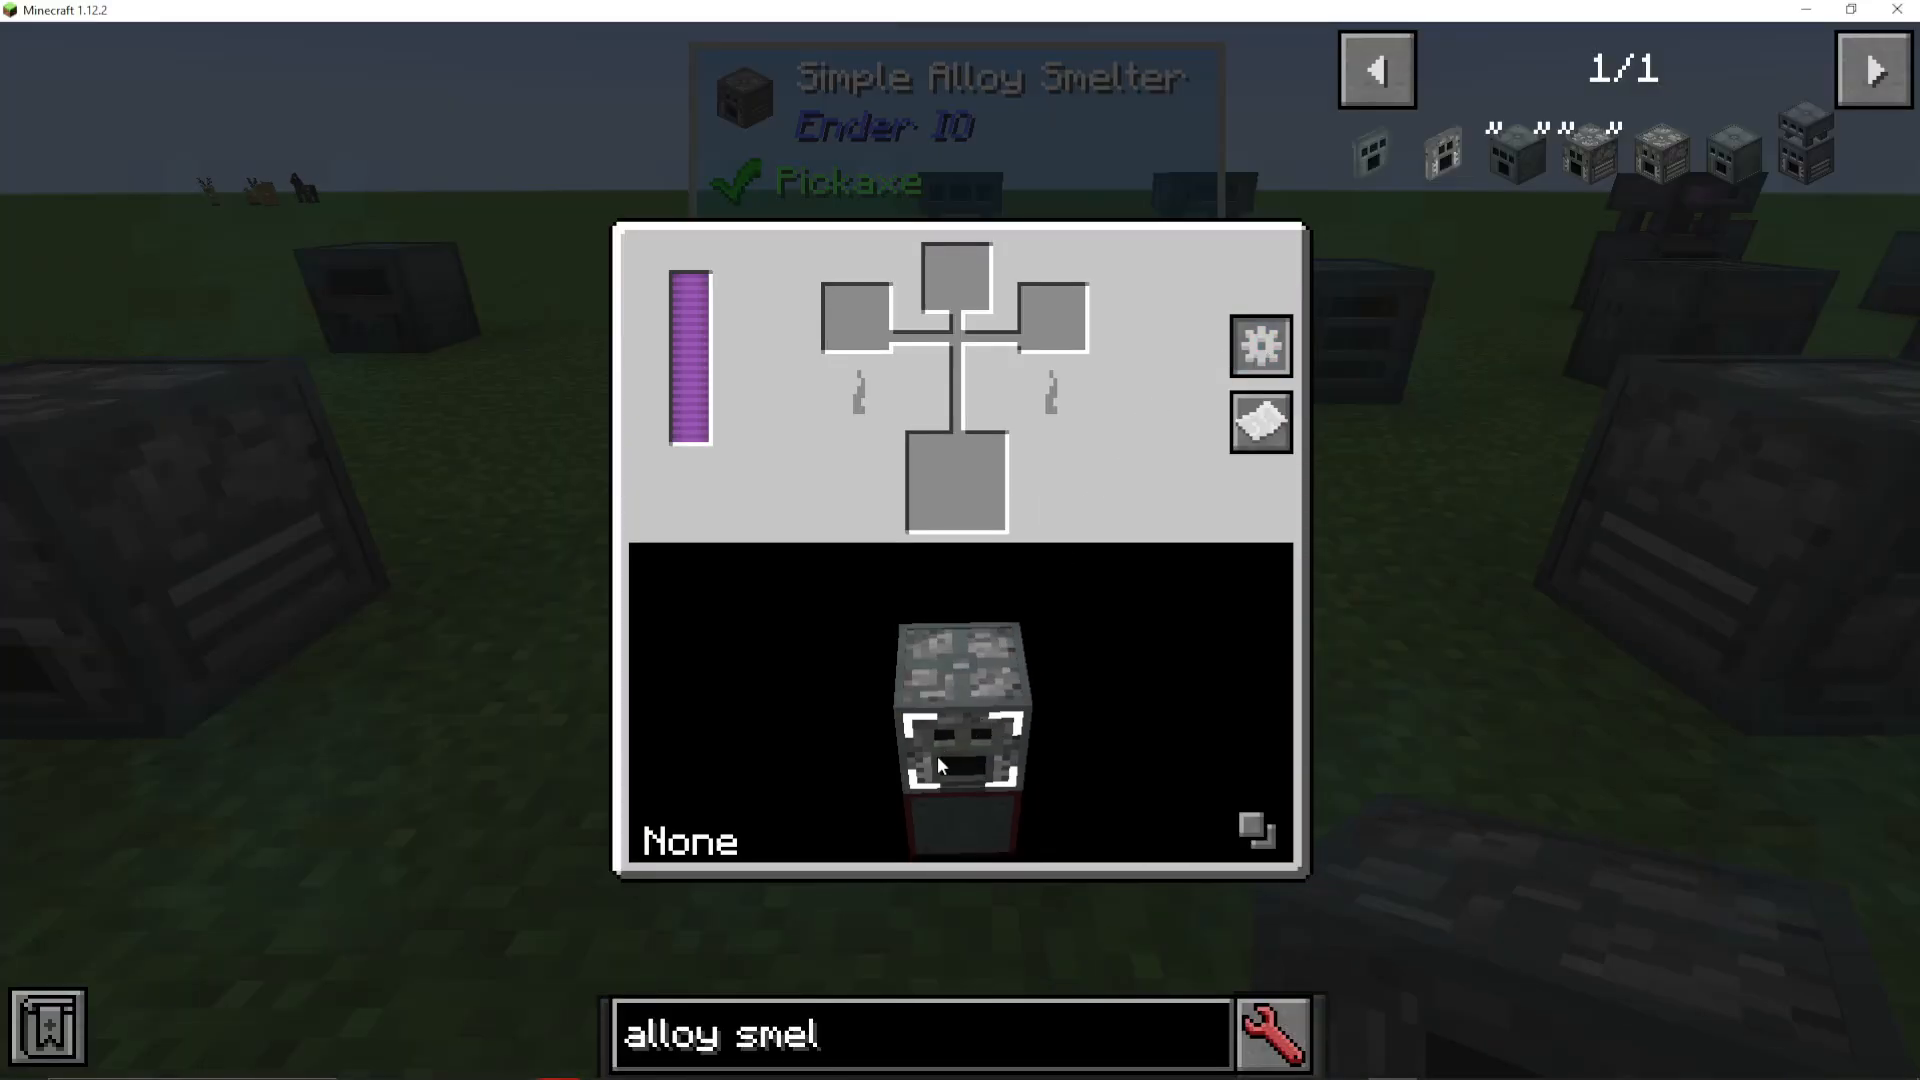
To see what recipes are available in your alloy smelter, press the U key while hovering over the machine with Just Enough Items (JEI) installed. This will display all compatible recipes.
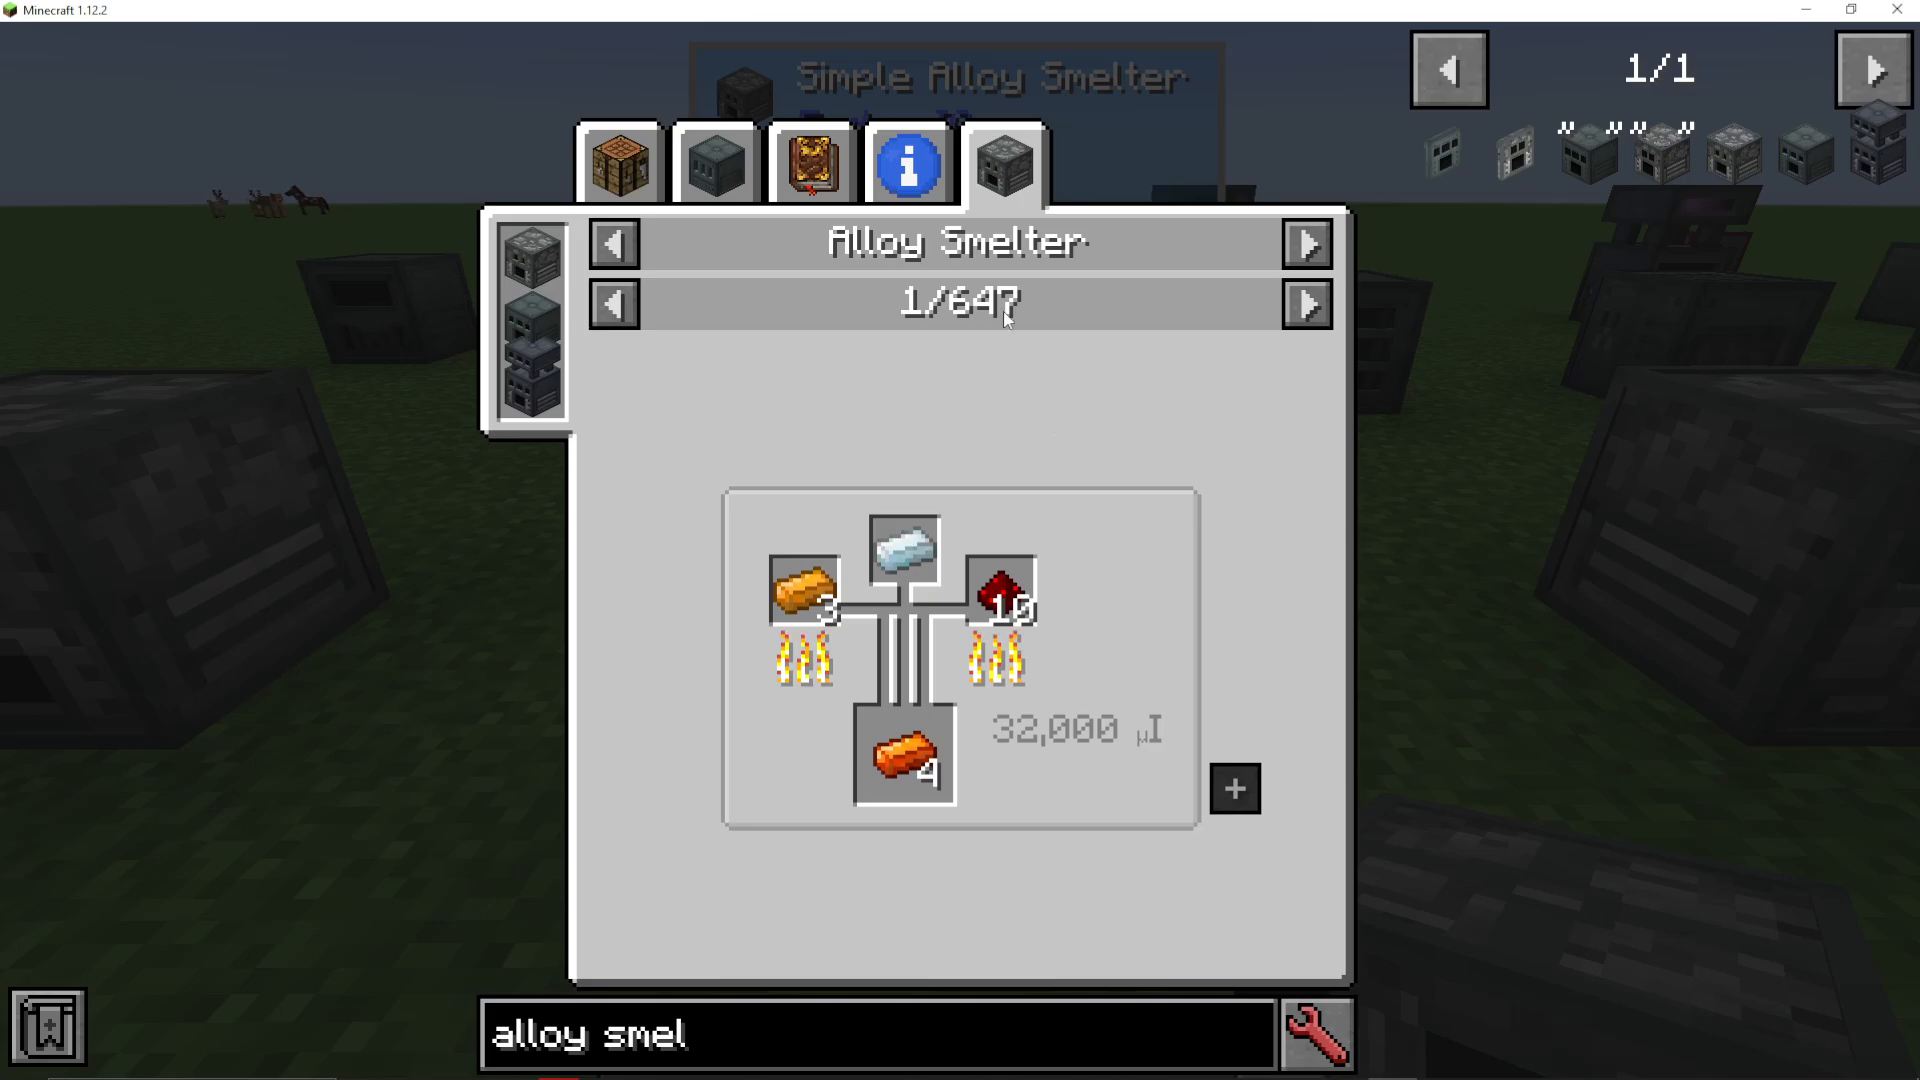
Alternatively, you can click the “Show Recipes” button within the machine’s GUI. The alloy smelter is compatible with recipes from multiple mods beyond just EnderIO. For example, you can use recipes that combine copper, silver, and redstone to create signalum with Thermal Foundation, along with many other mod integrations.
Creating EnderIO Alloys
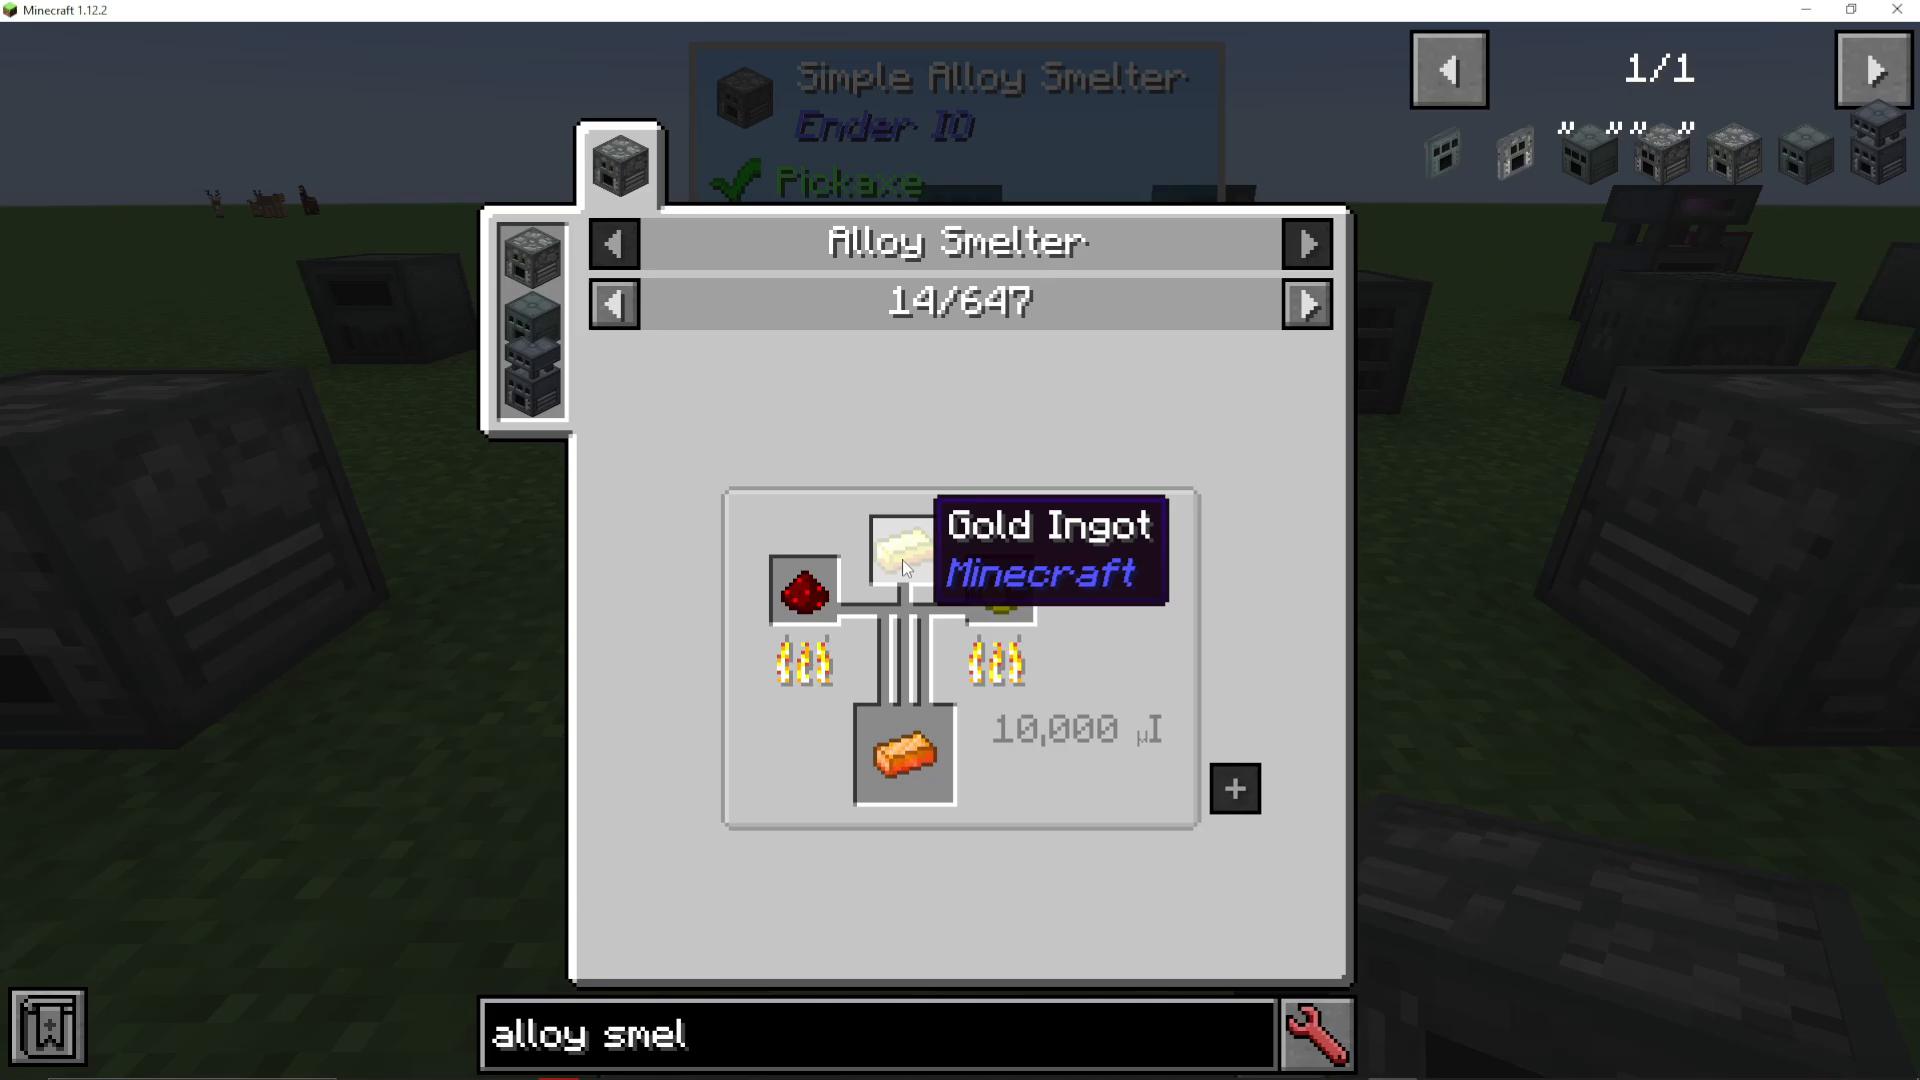
One of the primary functions of alloy smelters is crafting EnderIO-specific alloys. A common example is the Energetic Alloy, which requires:
Redstone
Glowstone
Gold Ingots
You’ll place these three ingredients in the three input slots at the top of the smelter. The output will appear in the larger box below. Keep in mind that the machine requires power to operate—if you’re unsure how to generate energy in EnderIO, check out the EnderIO playlist for more details.
Advanced Features of the Standard Alloy Smelter
The standard alloy smelter (and enhanced version) includes several configuration options not found in the simple version. These machines require a capacitor to function, but offer much greater control over their behavior.
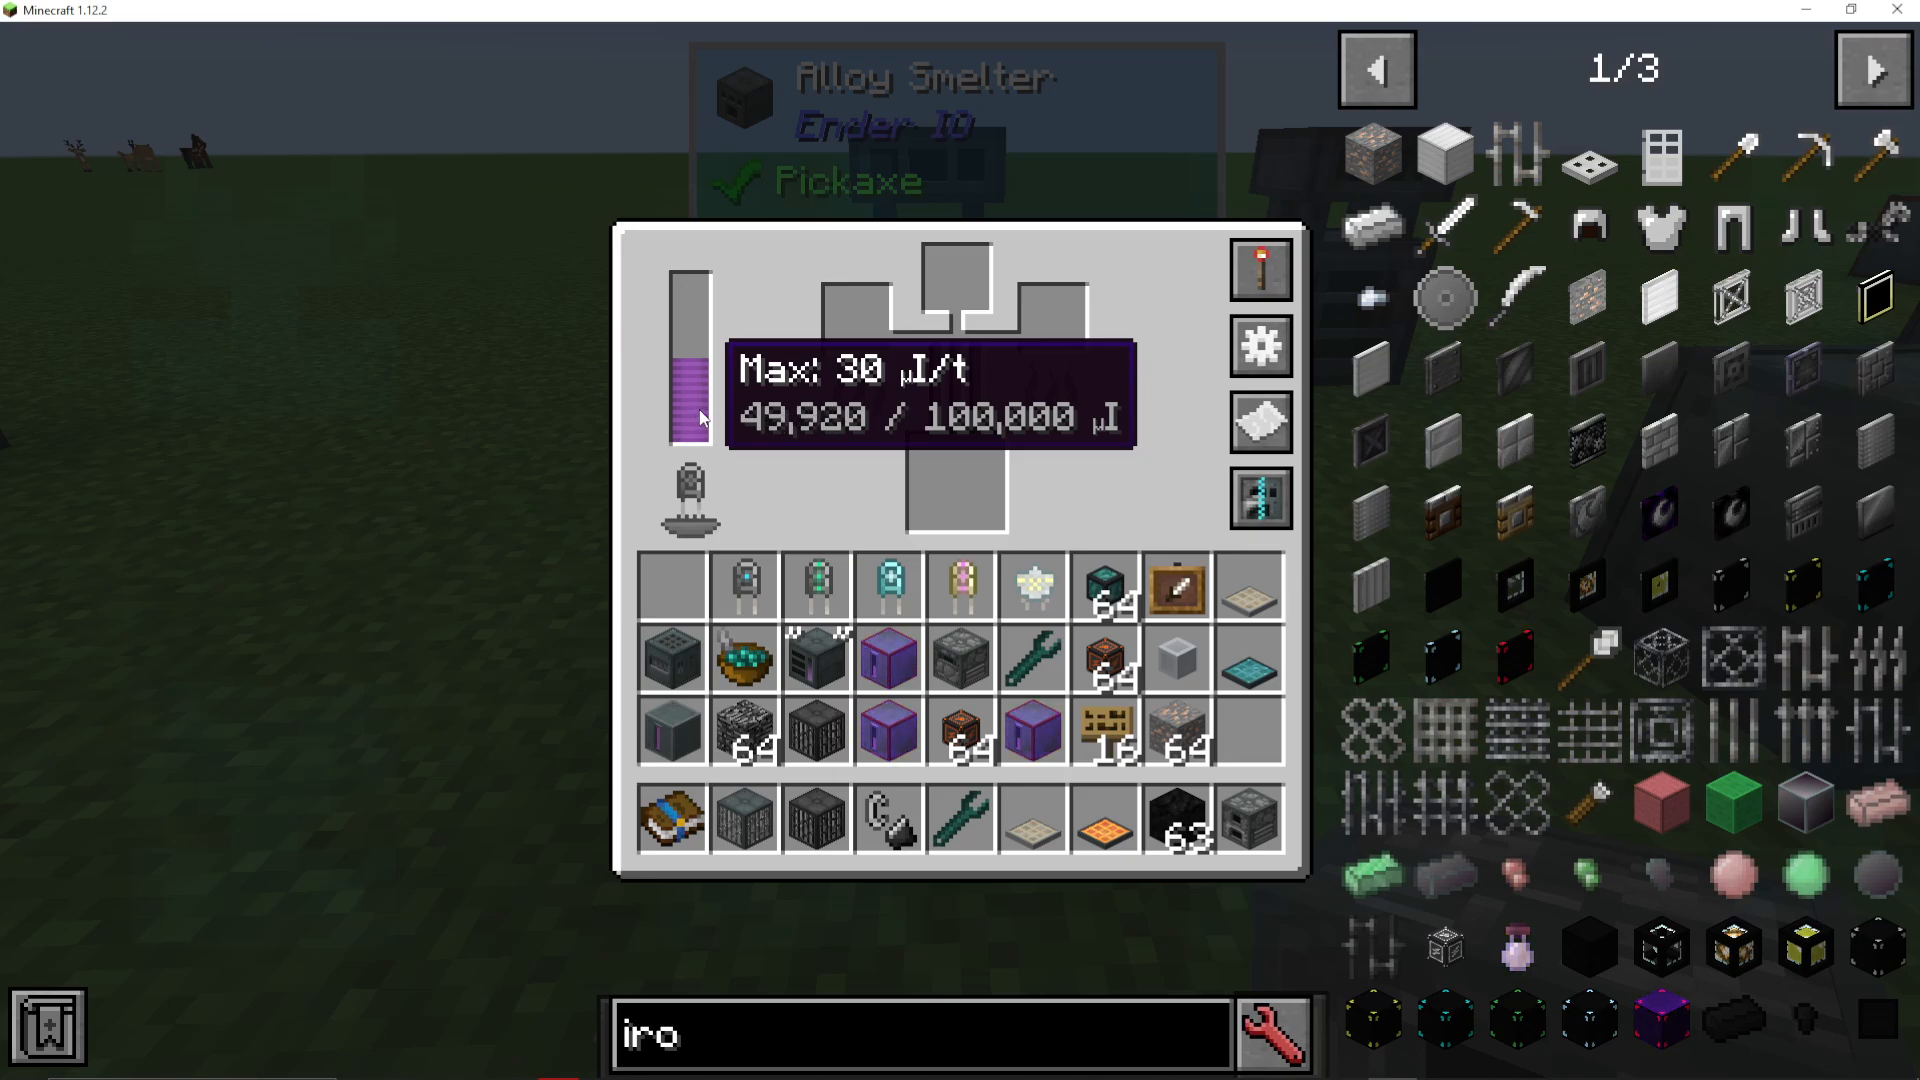
Capacitor Selection
The capacitor you install determines how much energy the smelter can store and how quickly it operates:
Basic Capacitor: Stores 100,000 energy
Double Layer Capacitor: Works faster than the basic capacitor
Octadic Capacitor: Offers even greater speed than the double layer capacitor
Installing a higher-tier capacitor will noticeably improve processing speed, though it requires more energy investment upfront.
Redstone Control
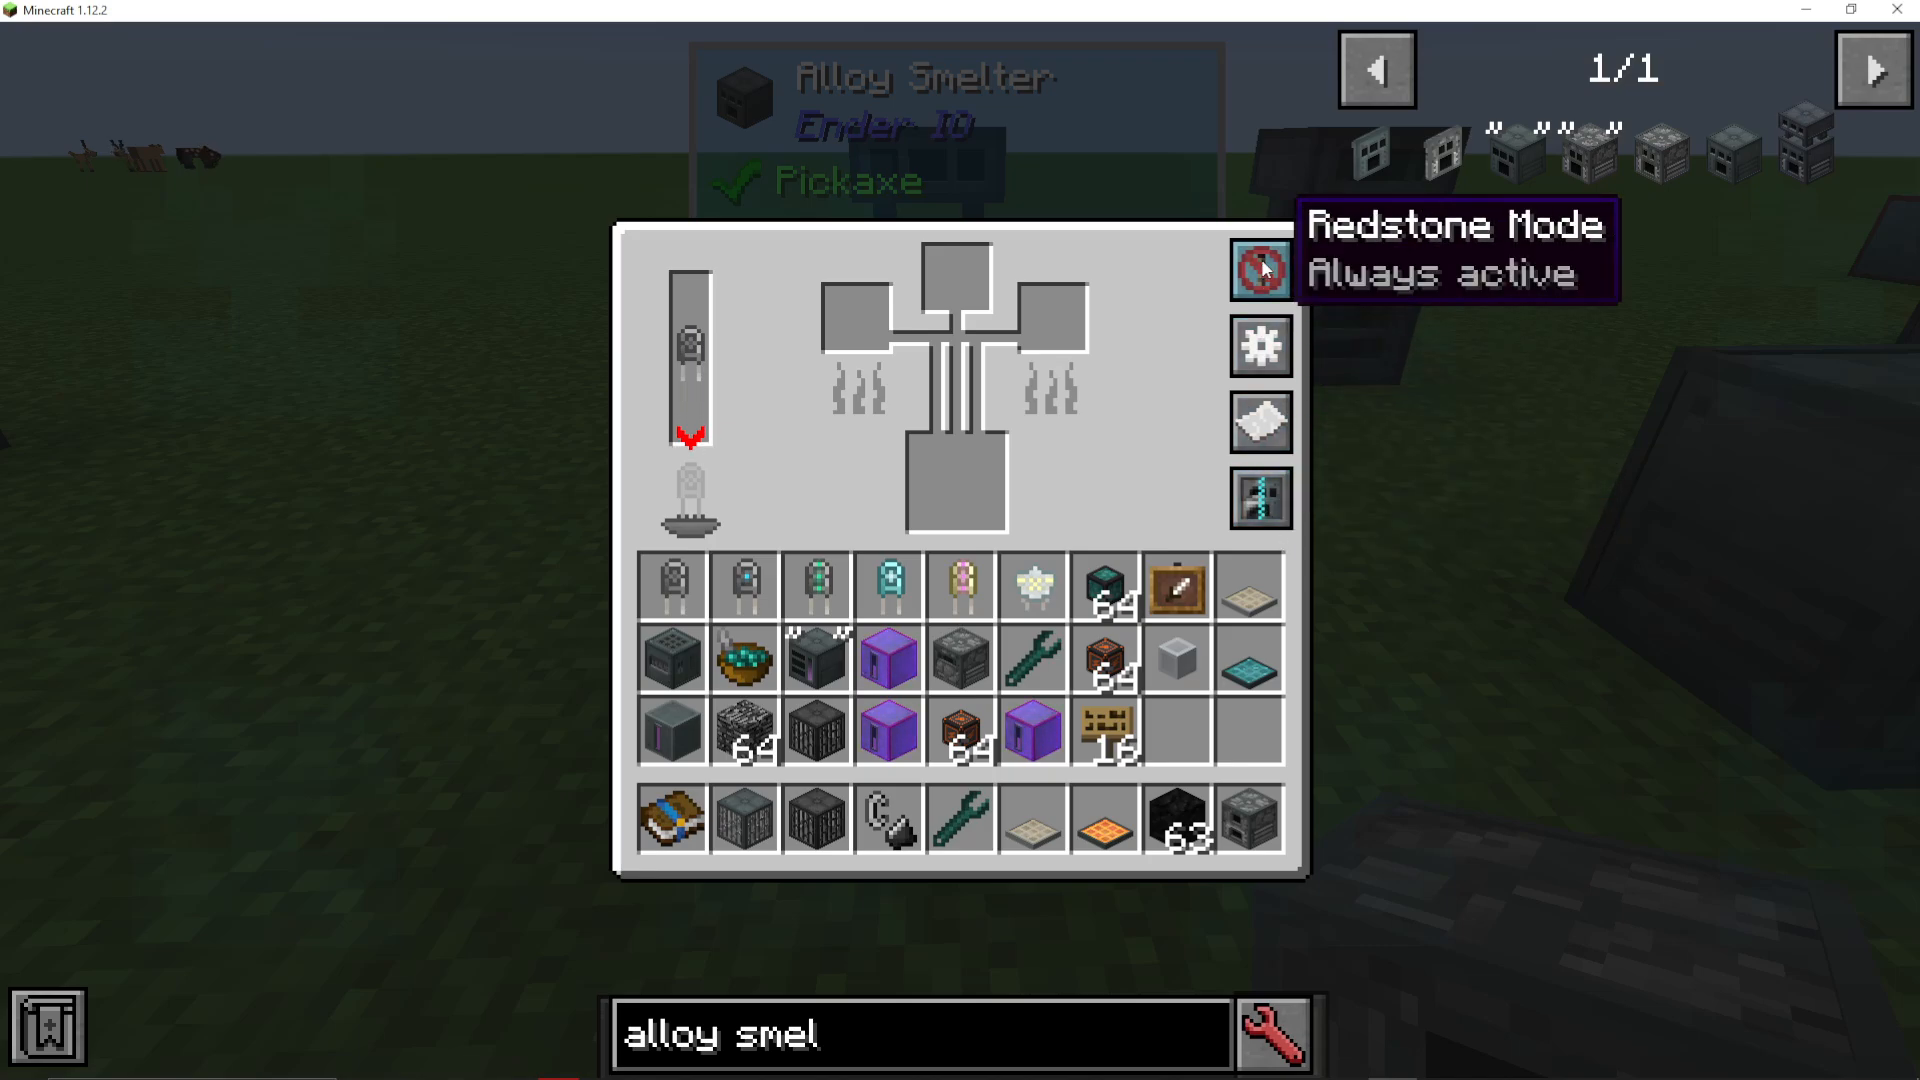
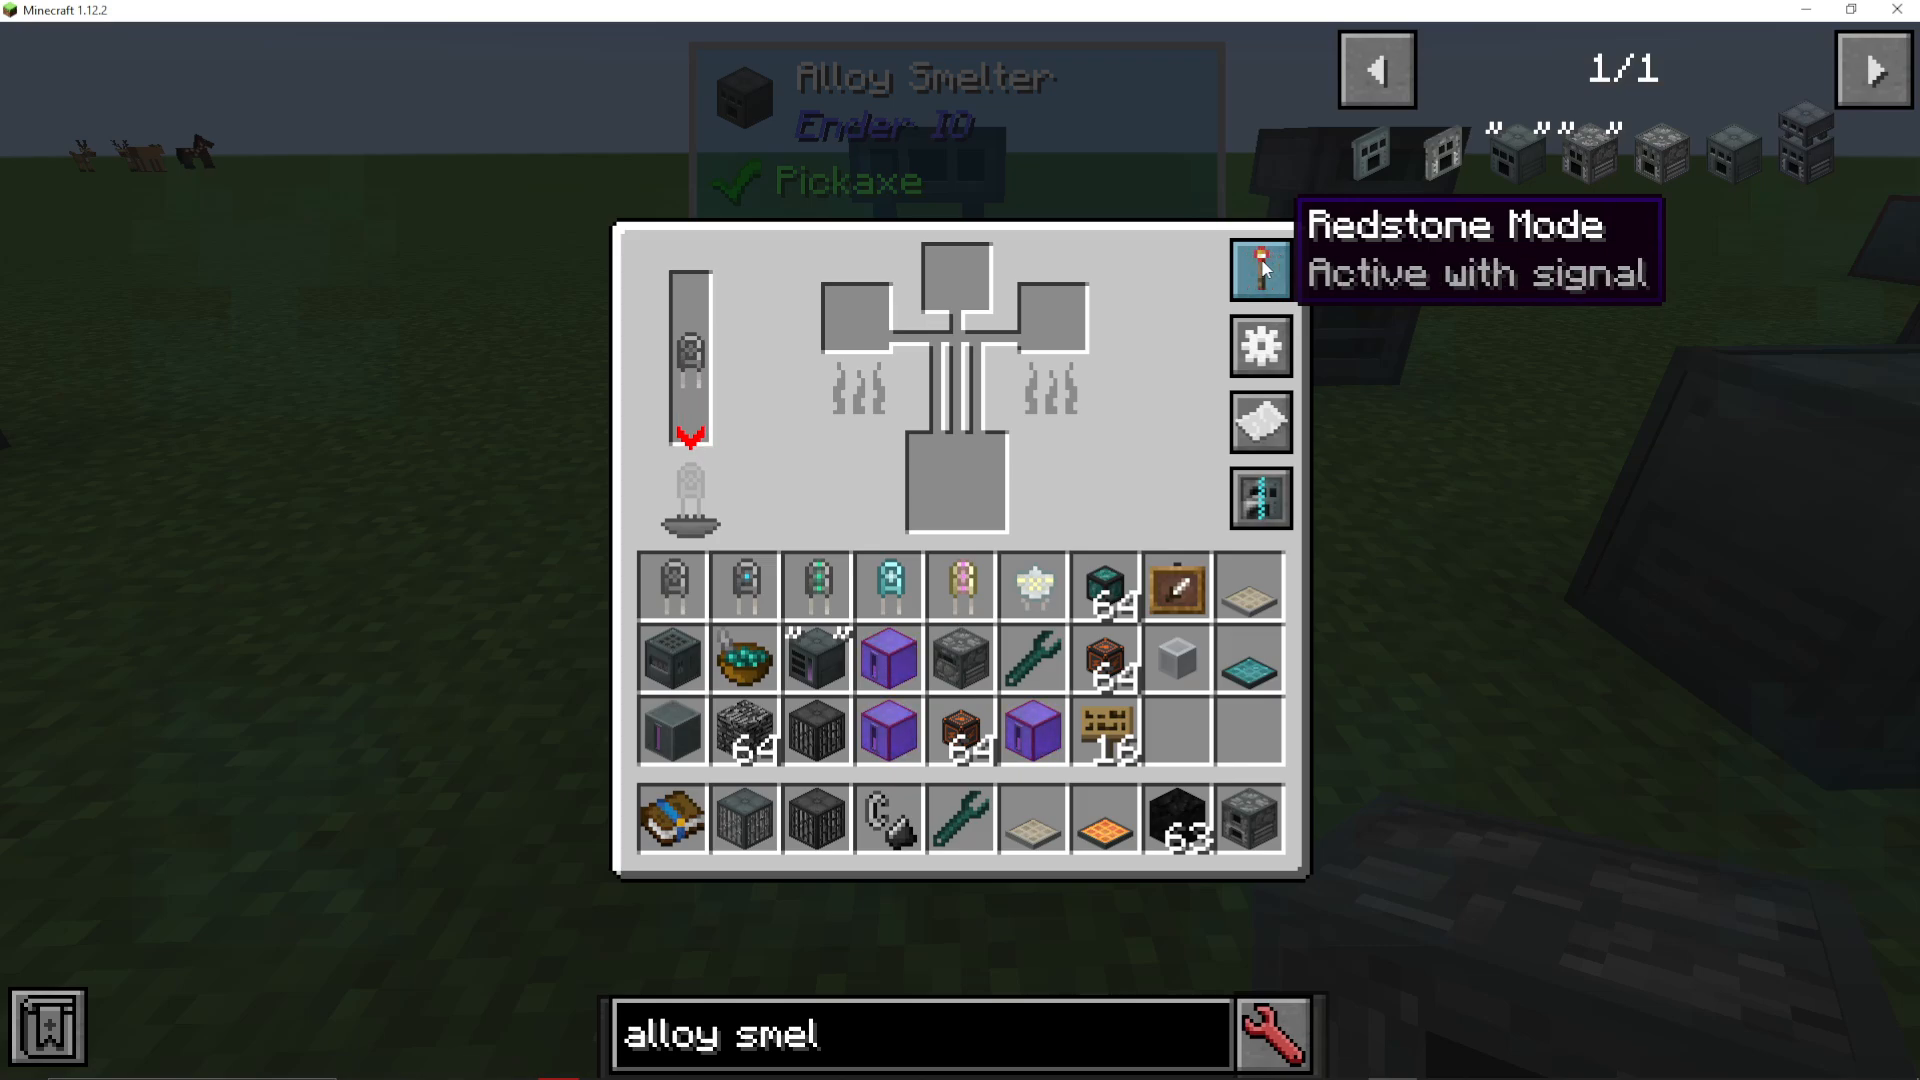
The alloy smelter allows you to control activation via redstone signals. You have three options:
Never Active: The machine will not operate
Always Active: The machine runs continuously when it has items and power
Only Active on Signal: The machine only operates when receiving a redstone signal
Smelting Mode
The standard and enhanced alloy smelters offer three smelting modes, giving you precise control over what the machine can process:
All Smelting: The machine can smelt both regular items (like iron ingots) and create alloys. This is the most versatile option.
Alloys Only: The machine will exclusively create alloys and refuse regular smelting operations. If you attempt to place iron ingots in this mode, they will not be accepted.
Furnace Only: The machine acts as a powered furnace for regular smelting only and cannot create alloys.
Choosing Your Alloy Smelter
Selecting which alloy smelter to use depends on your needs:
Use the Simple Alloy Smelter if you only need basic alloy production with minimal setup.
Use the Standard Alloy Smelter if you want flexibility to both create alloys and smelt regular items, with customizable controls.
Use the Enhanced Alloy Smelter for maximum efficiency and speed in large-scale production setups.
Conclusion
Alloy smelters are incredibly versatile machines that form the backbone of EnderIO processing. By understanding the differences between the three tiers, configuring input/output properly, selecting appropriate capacitors, and utilizing smelting modes, you can optimize your alloy production and smelting operations. Whether you’re a beginner or an advanced player, these machines offer the flexibility and power needed for any EnderIO setup.
Want to Support?
If you would like to help us continue making these guides – please consider joining our patreon here – https://www.patreon.com/c/JaviHeals
Alternatively – we host a group of MC Servers you can join here – https://discord.gg/zD7Gjt6MHF



