







How To Oritech Automated Crop Farm – Minecraft 1.21.1
How To Oritech Automated Crop Farm – Minecraft 1.21.1
Introduction
In this comprehensive guide, we’ll walk you through setting up a fully automated crop farm using OriTech in Minecraft 1.21.1. This is one of the most impressive and efficient crop farming setups available in modded Minecraft, and everything used here is from OriTech (except power generation). Whether you’re growing wheat, potatoes, or other crops, this tutorial covers all the essential components and setup procedures you’ll need.
Getting Started with the Destroyer Block
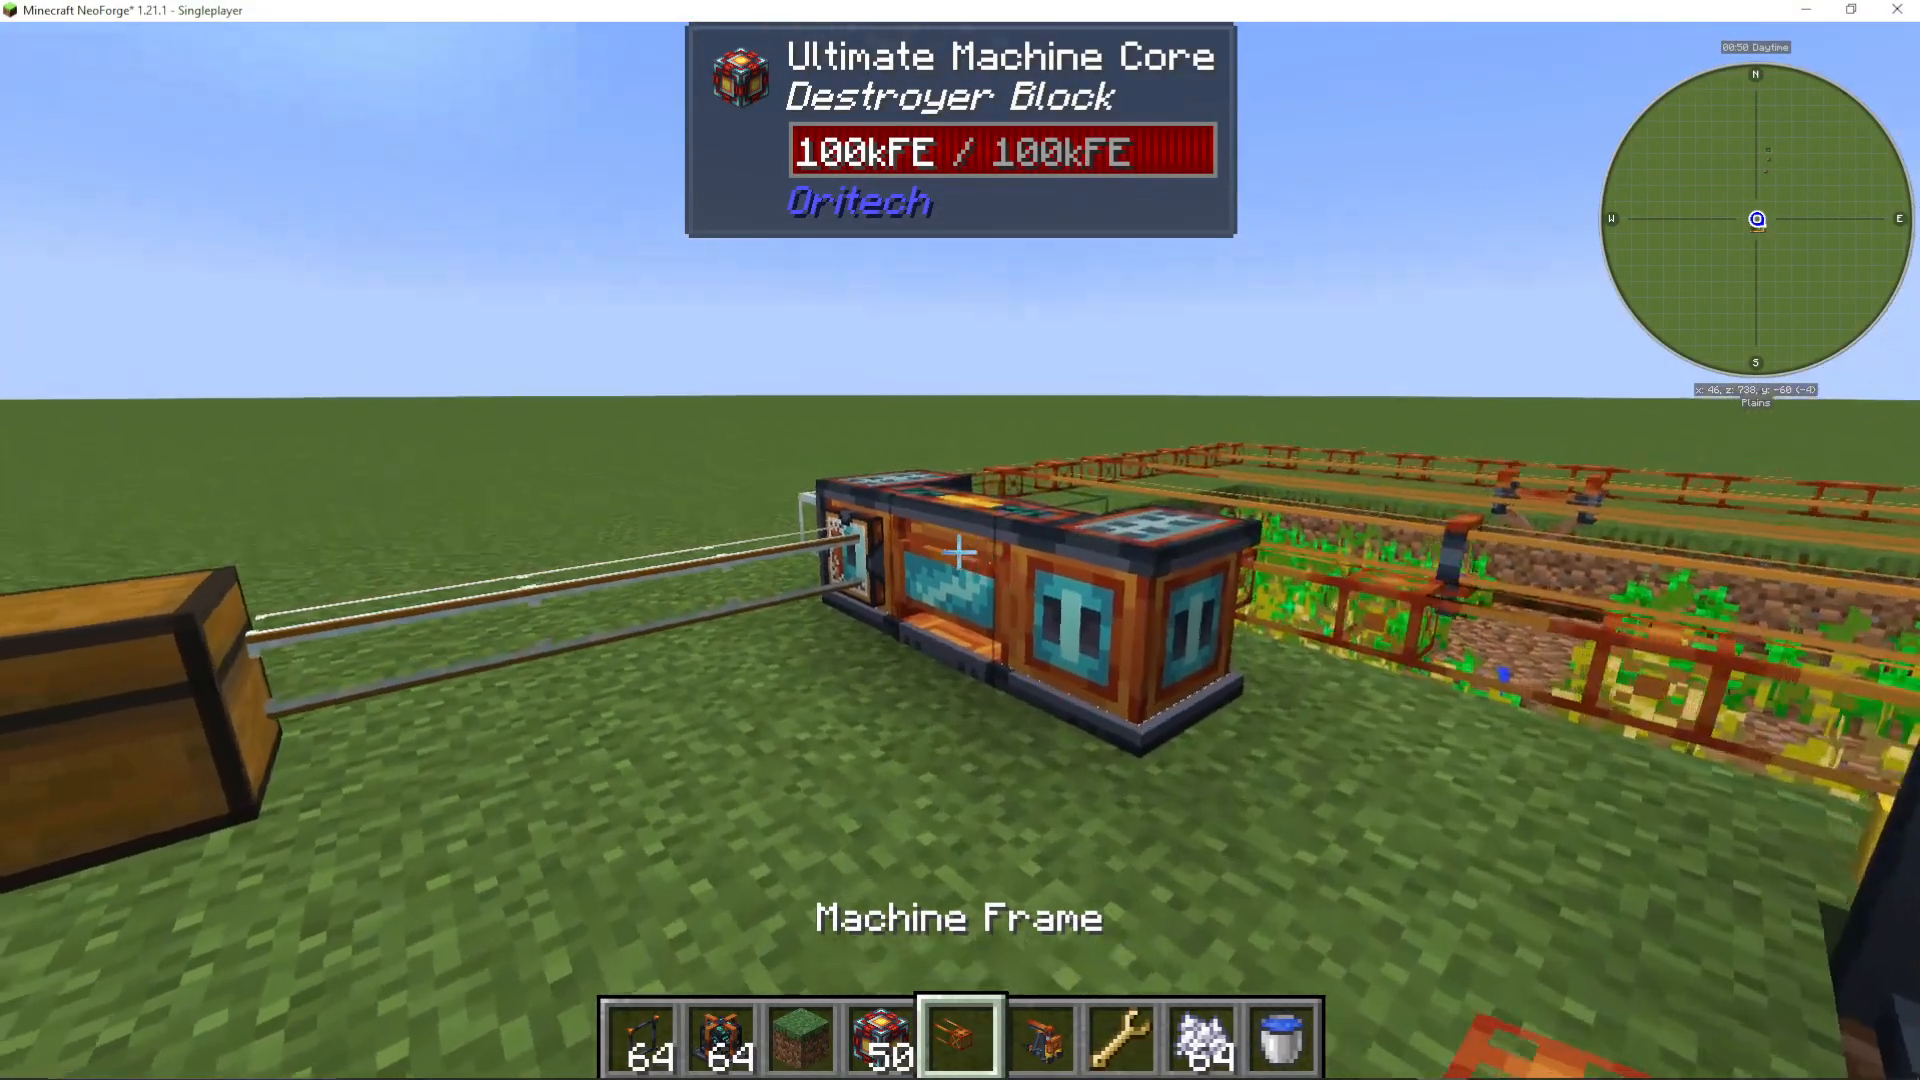
The first component you’ll want to place is a destroyer block. This machine is responsible for harvesting your fully grown crops. You’ll need to use machine cores to craft it.
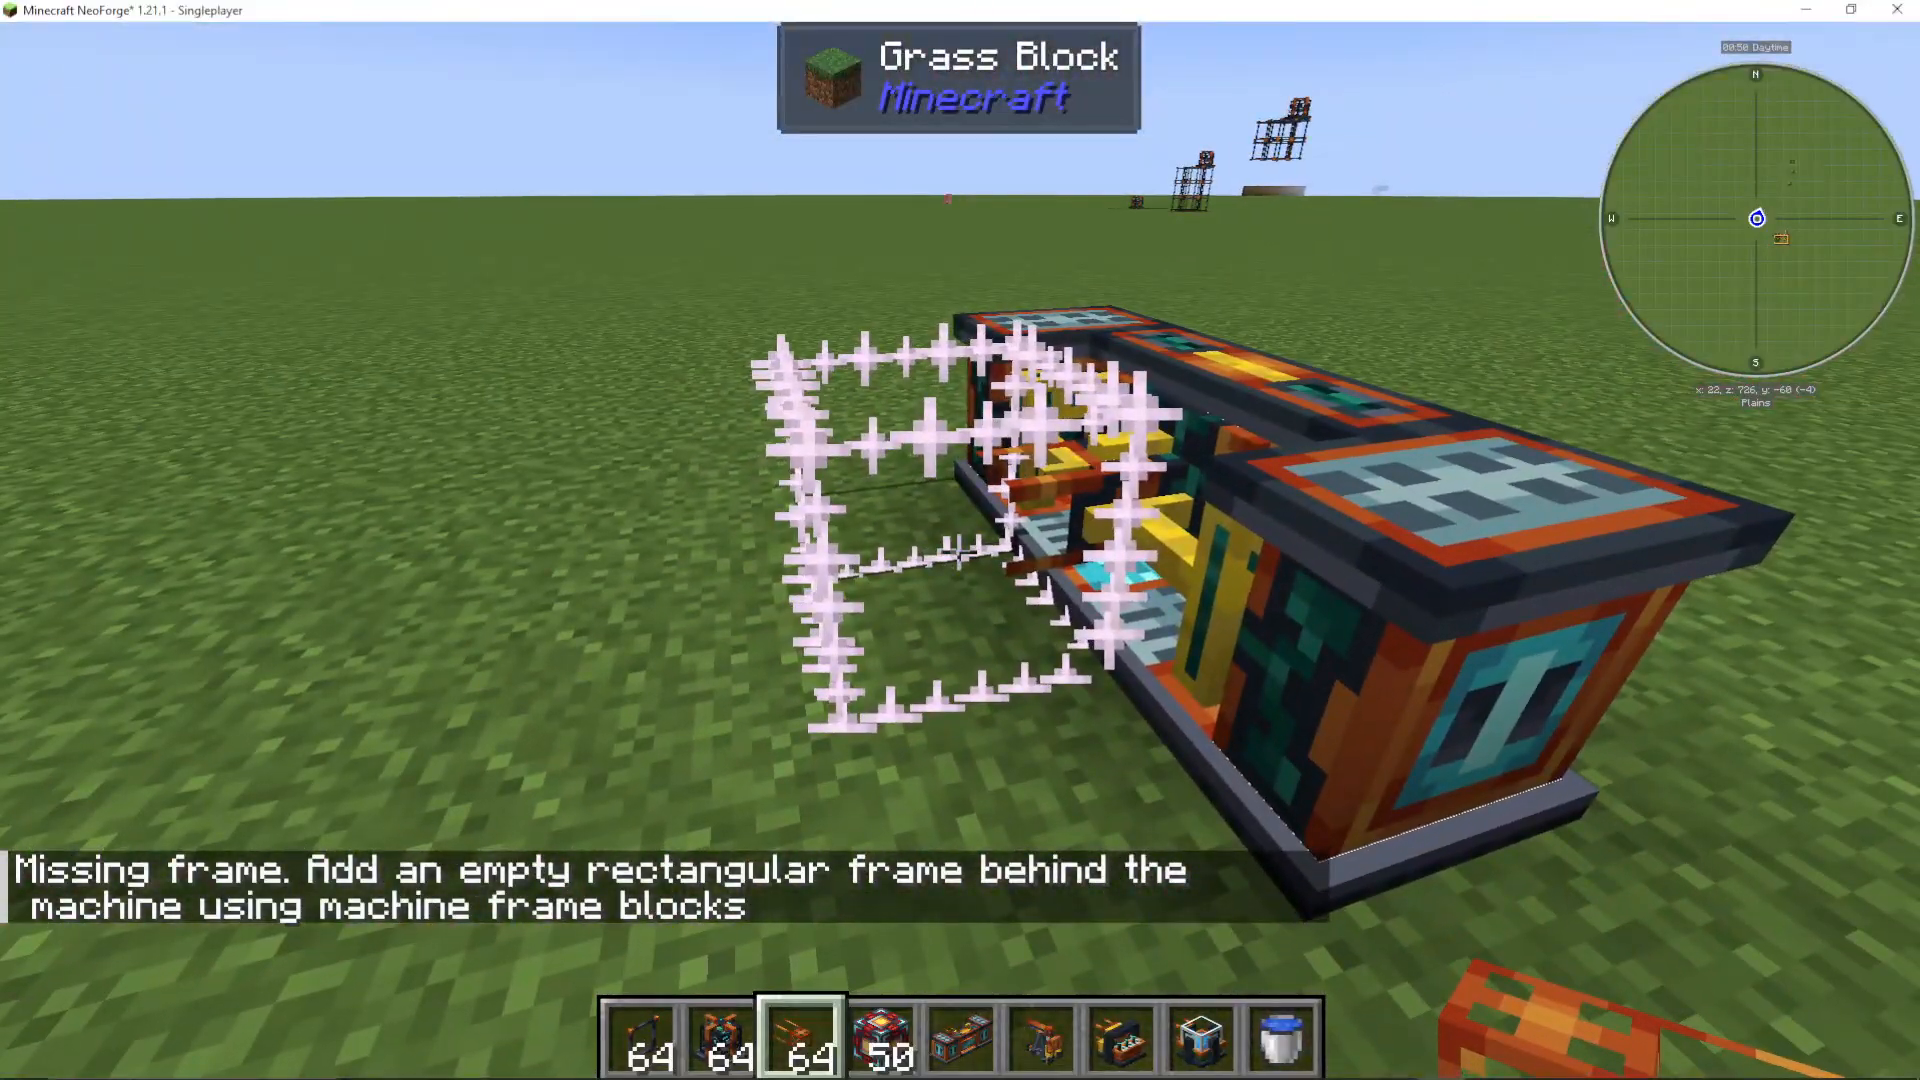
Start by placing the destroyer block and right-clicking it multiple times. You’ll see a message that says “missing frame.” This tells you that you need to create a rectangular frame behind the machine using machine frame blocks.
Building the Machine Frame
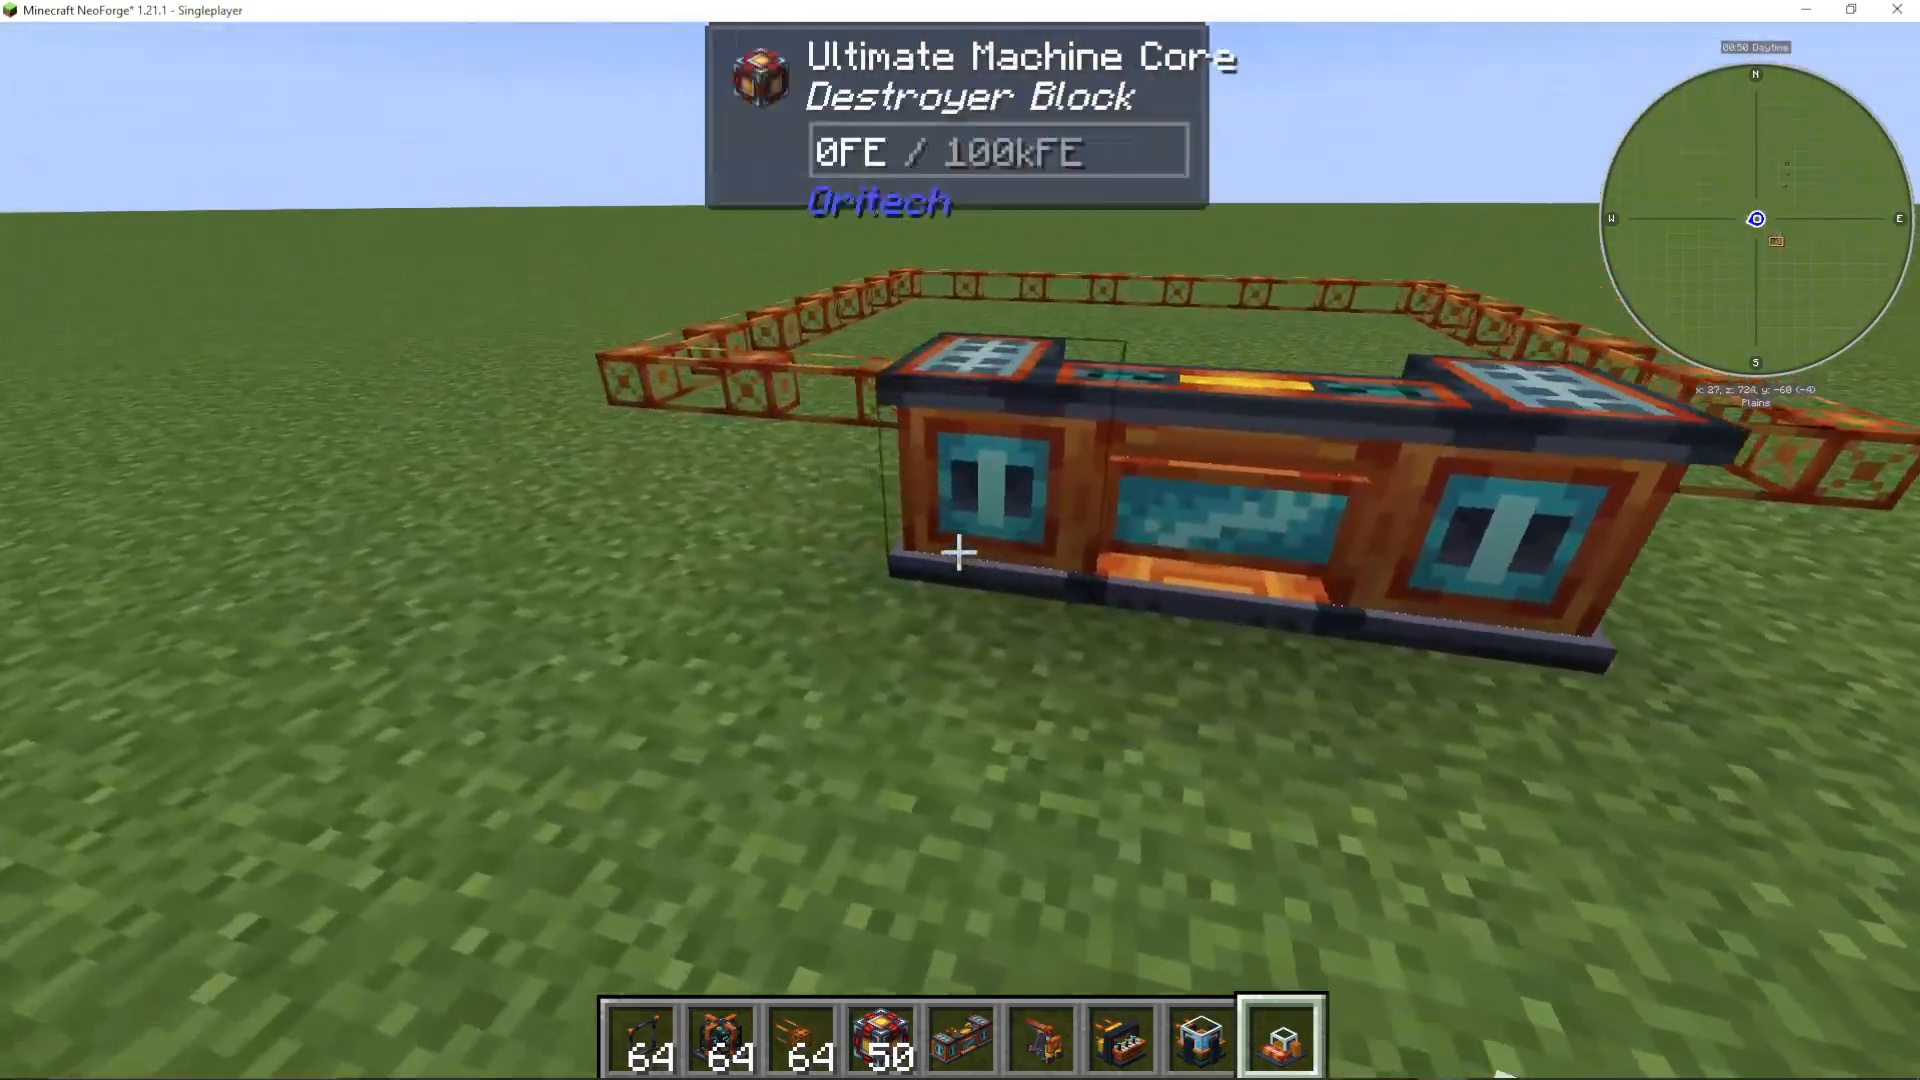
The maximum frame size you can create is 64 times 64 blocks. However, for this tutorial, we’ll start with a smaller one. Here’s the critical rule: you cannot place your machine on the end of the frame. The frame must extend outward from the machine, as the destroyer will always break the block directly beneath it.
Adding the Crop Filter Add-On
To ensure you only harvest fully grown crops and not immature ones, you need a crop filter add-on. Shift right-click this add-on onto one of the four blue plugs on your destroyer block. This crucial component ensures that the destroyer only harvests crops that are ready, leaving younger crops untouched.
Powering Your Destroyer Block
The destroyer block has four output slots where harvested crops will appear. Before it can function, you need to supply power to it. Connect energy pipes to your power network and attach them to the destroyer. The machine quality of the core you used determines how many layers of add-ons you can apply, but for basic crop farming, a simple crop filter is all you need.
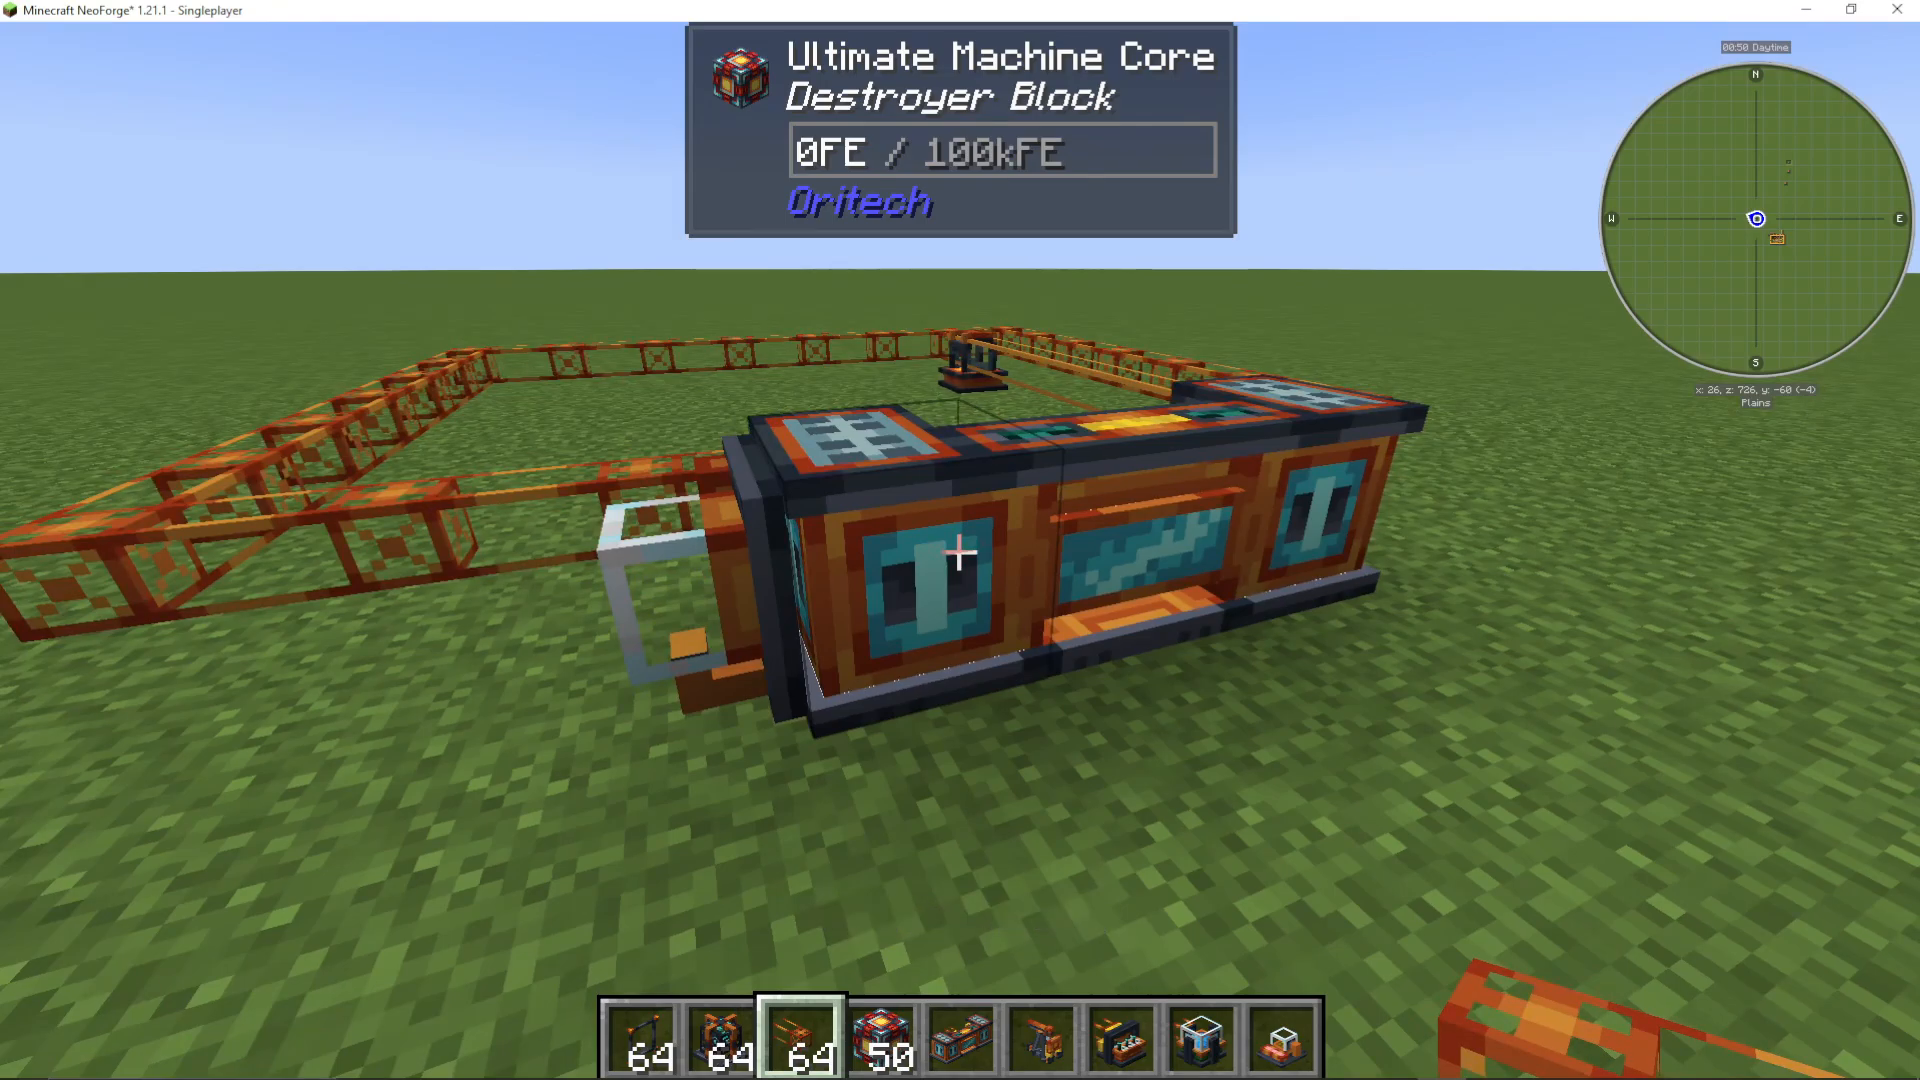
Once powered, the destroyer will begin breaking blocks beneath it. You can add speed add-ons if you want faster operation, though they’re optional. The one manual task you’ll need to perform is hoeing the soil yourself after the destroyer clears the old crops.
Setting Up Water Supply
Next, you’ll need to establish a water source. If your modpack includes Cooking for Blockheads, their sink is an excellent choice as an unlimited free water source. However, if you’re using pure OriTech, you’ll need an OriTech pump.
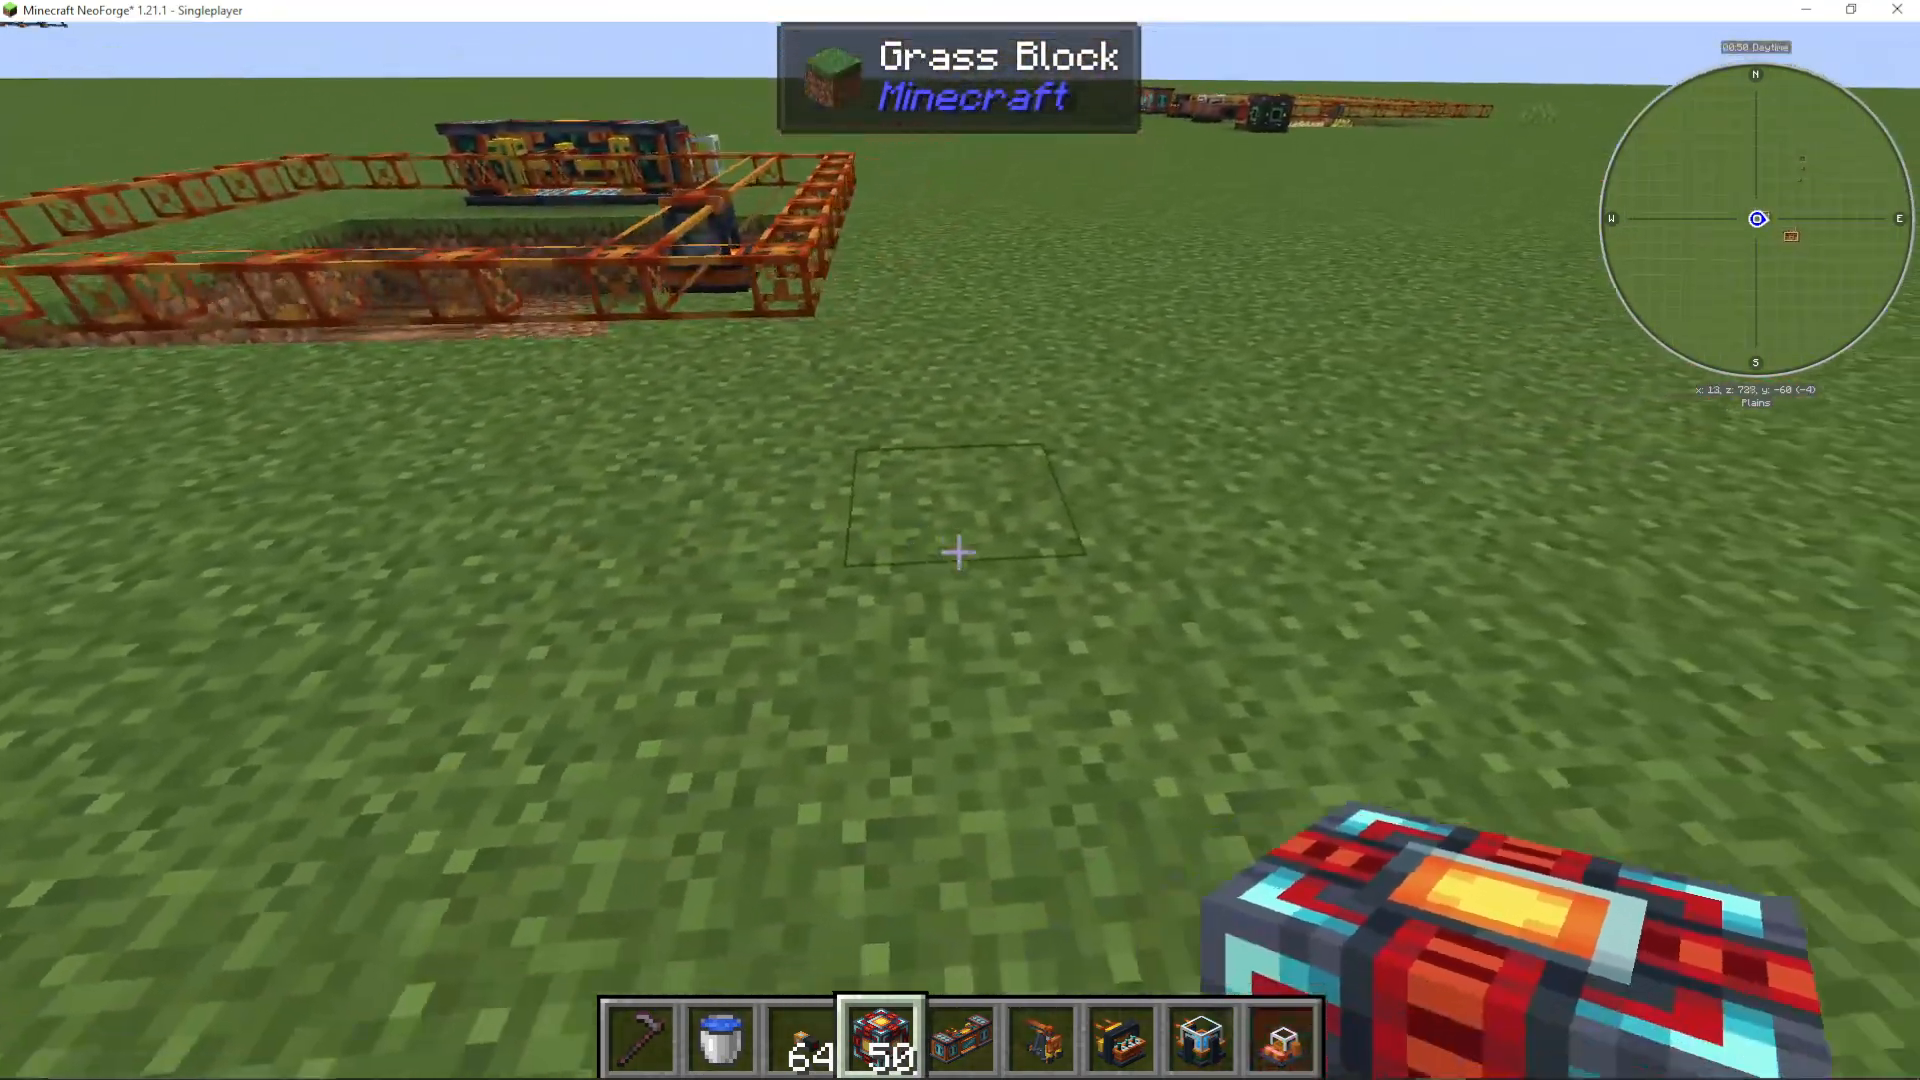
To set up the pump: find or create a water source nearby (or use a couple of water buckets). Place a dirt block next to your frame, then place the pump above the water source. Connect energy pipes and a great energy cube to power the pump.
Connecting Water Pipes
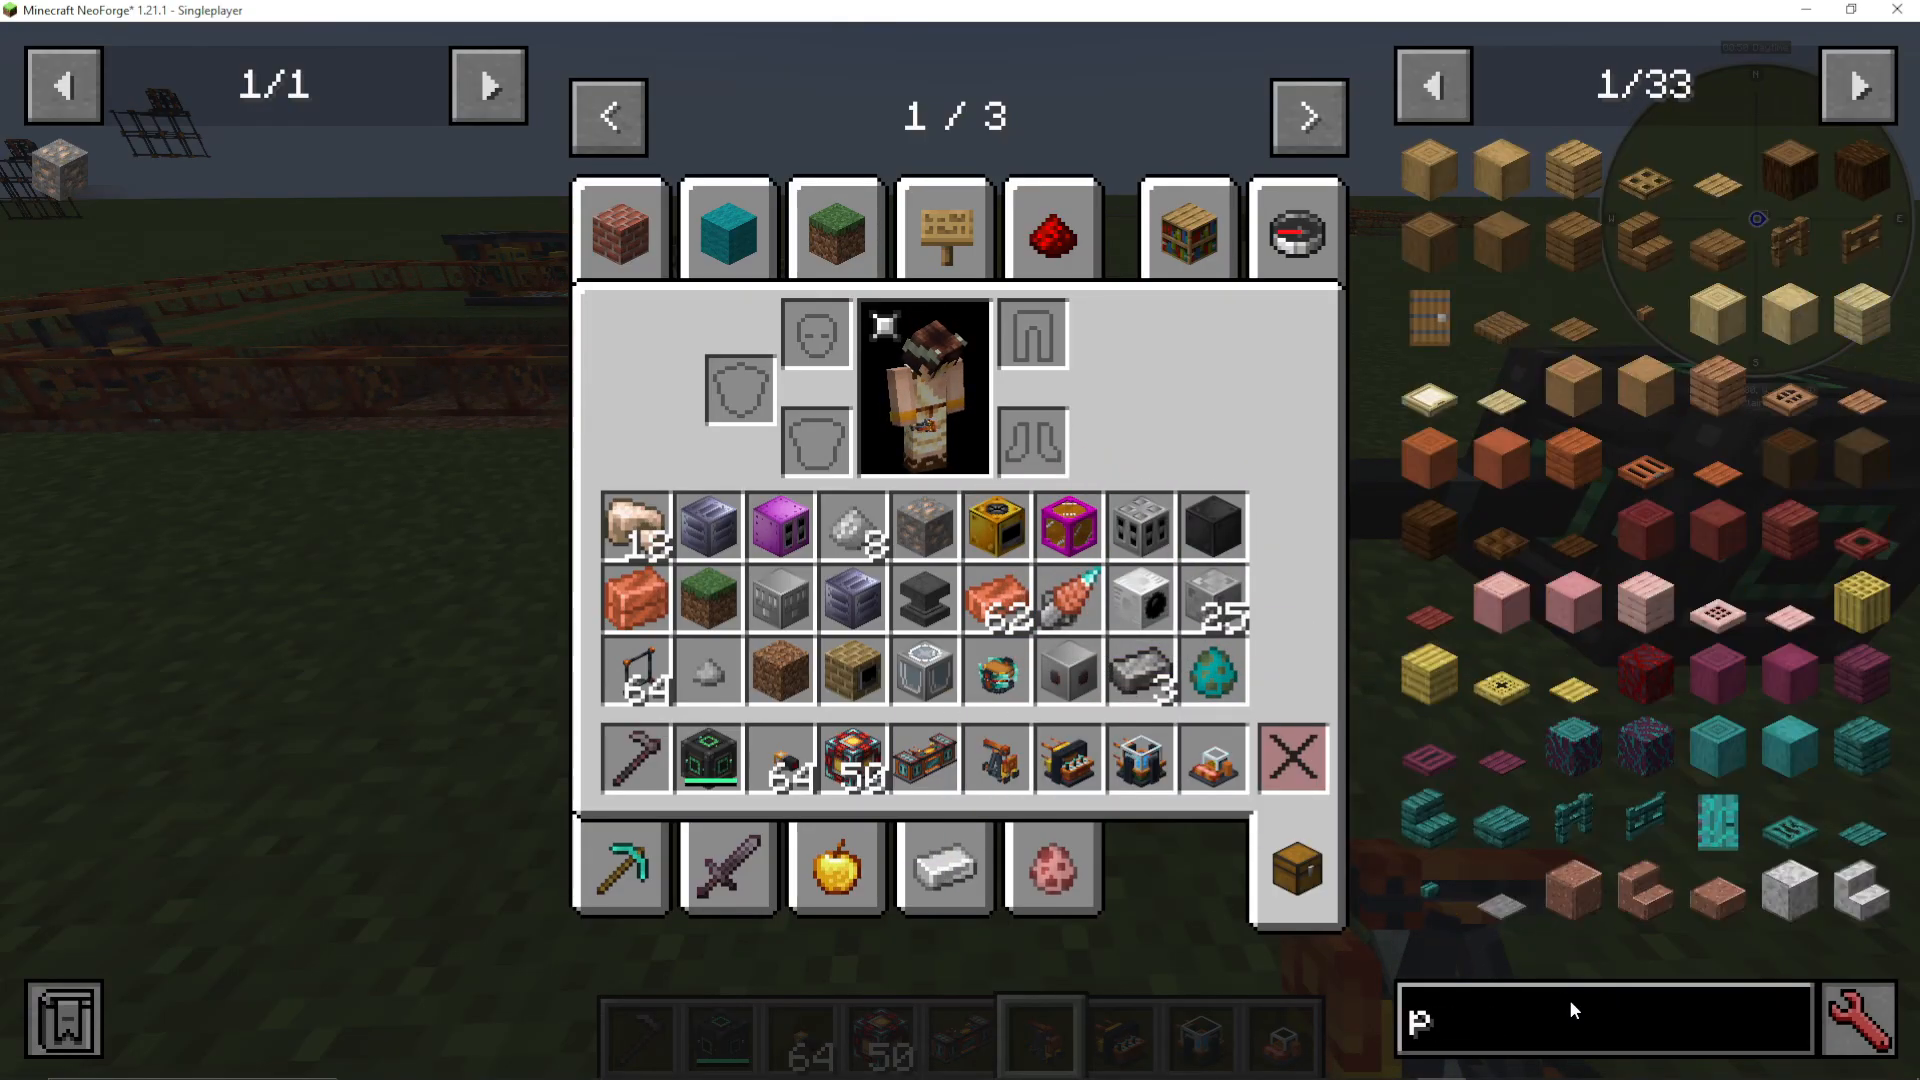
Once your pump is powered and pumping water, attach a liquid pipe (also called a water pipe or fluid pipe) to the pump outlet. This pipe will carry water to your fertilizer block.
Installing the Fertilizer Block
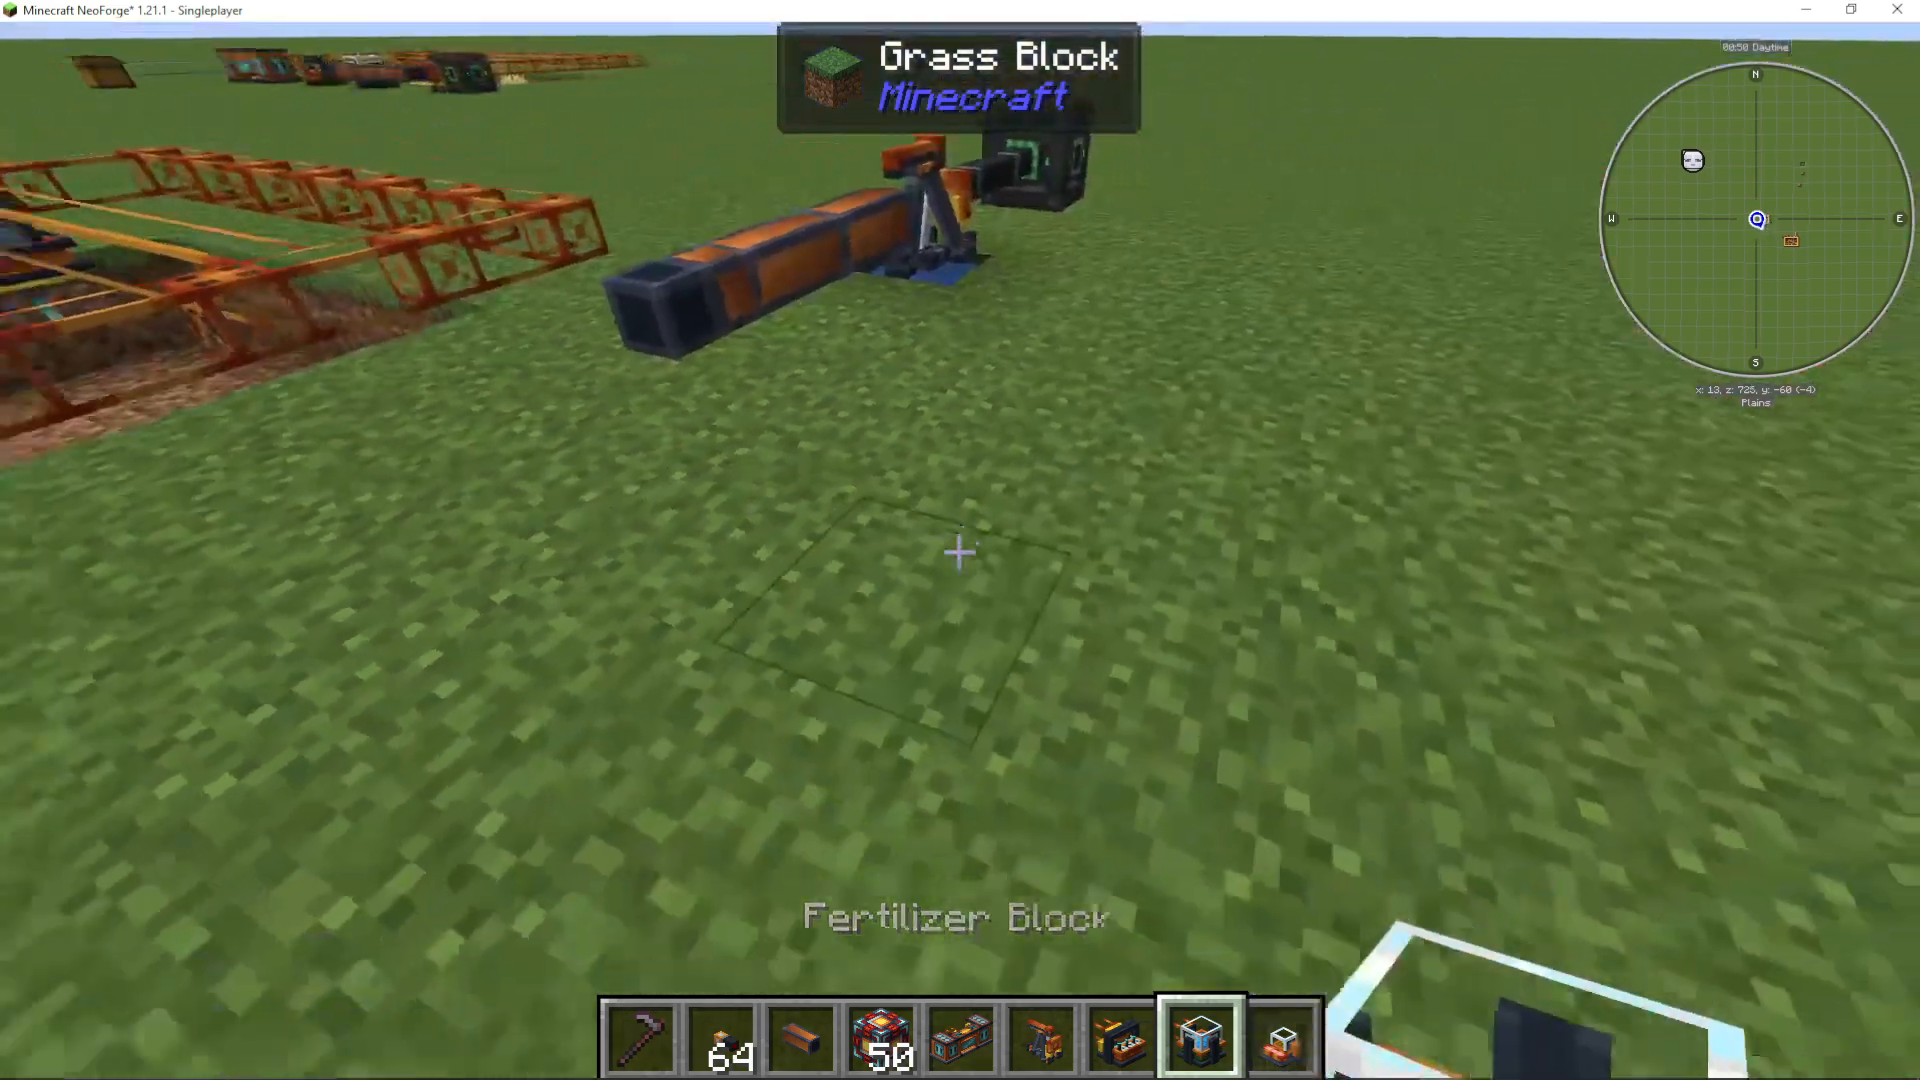
The fertilizer block is your next machine. Like the destroyer, it needs to attach to your frame. Place it so the frame icon aligns with your frame structure. You can add as many machines to your frame as needed—they all work independently.
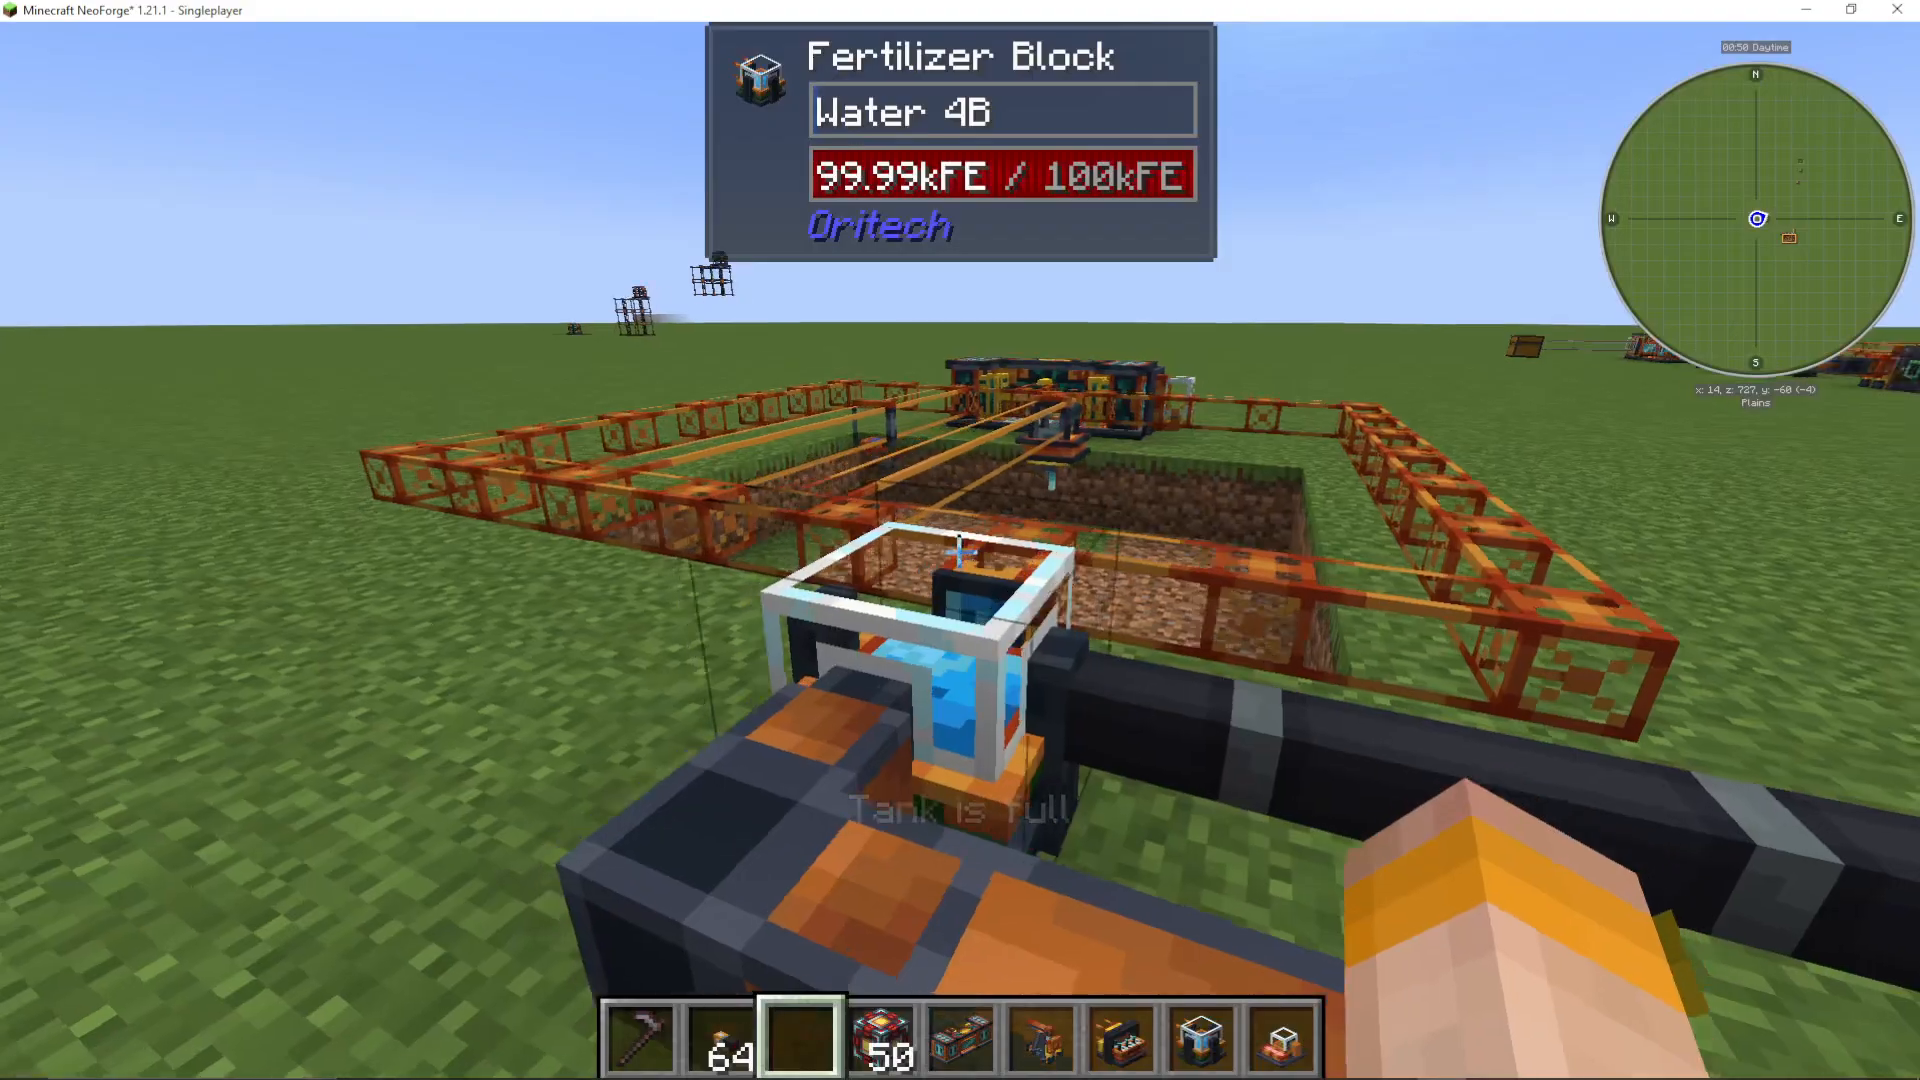
Connect your water pipe to the fertilizer block. Right-click the end of the pipe while holding an empty hand, and it will automatically start extracting from your pump, creating a full fertilizer water pipe.
Power the fertilizer block by running a power cable down from your energy network. Once active, you’ll see a small water bucket icon on the frame, indicating it’s hydrating the soil. Important: Don’t trample the soil while it’s being hydrated.
Automating Fertilizer with Bone Meal
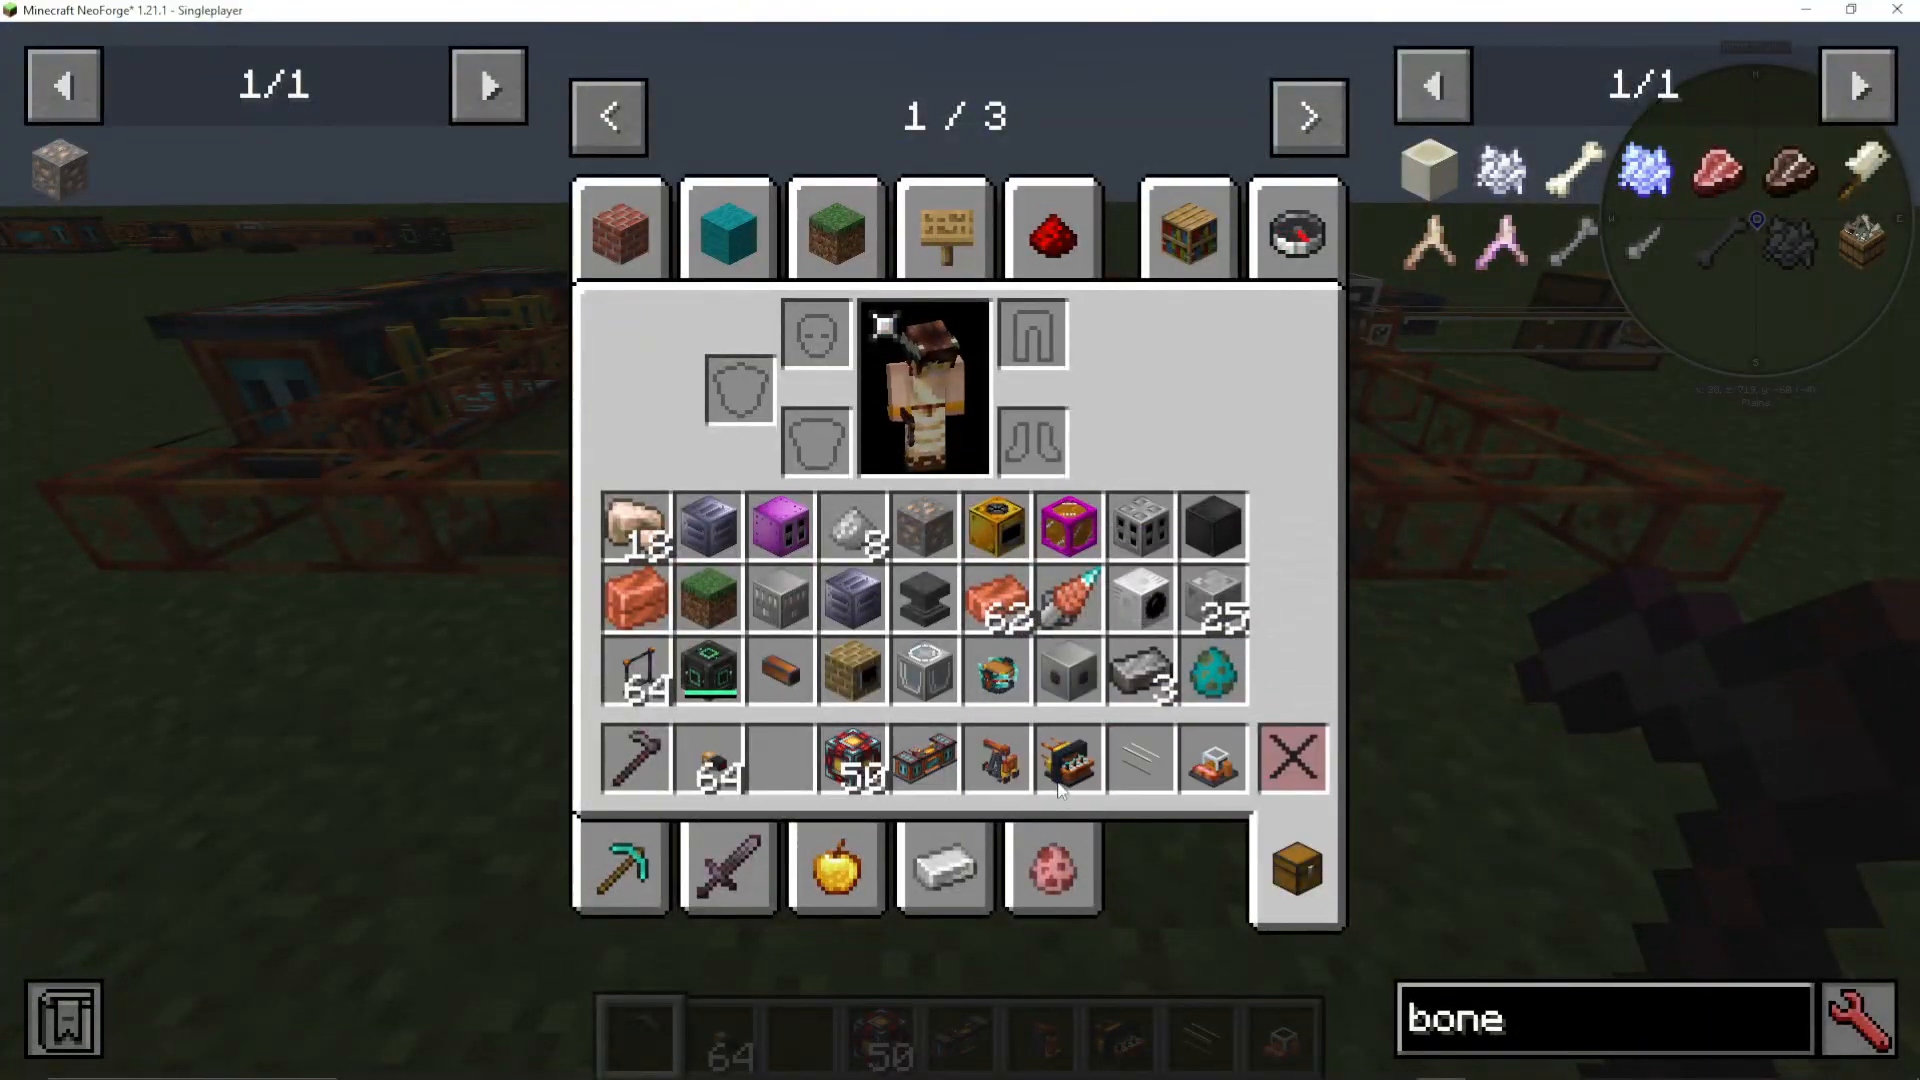
For fully automated fertilization, you can pipe bone meal into the fertilizer block’s item slot. Set up a chest nearby and use an item pipe to pull bone meal from the chest and feed it into the fertilizer. This way, your crops will receive both water and bone meal automatically.
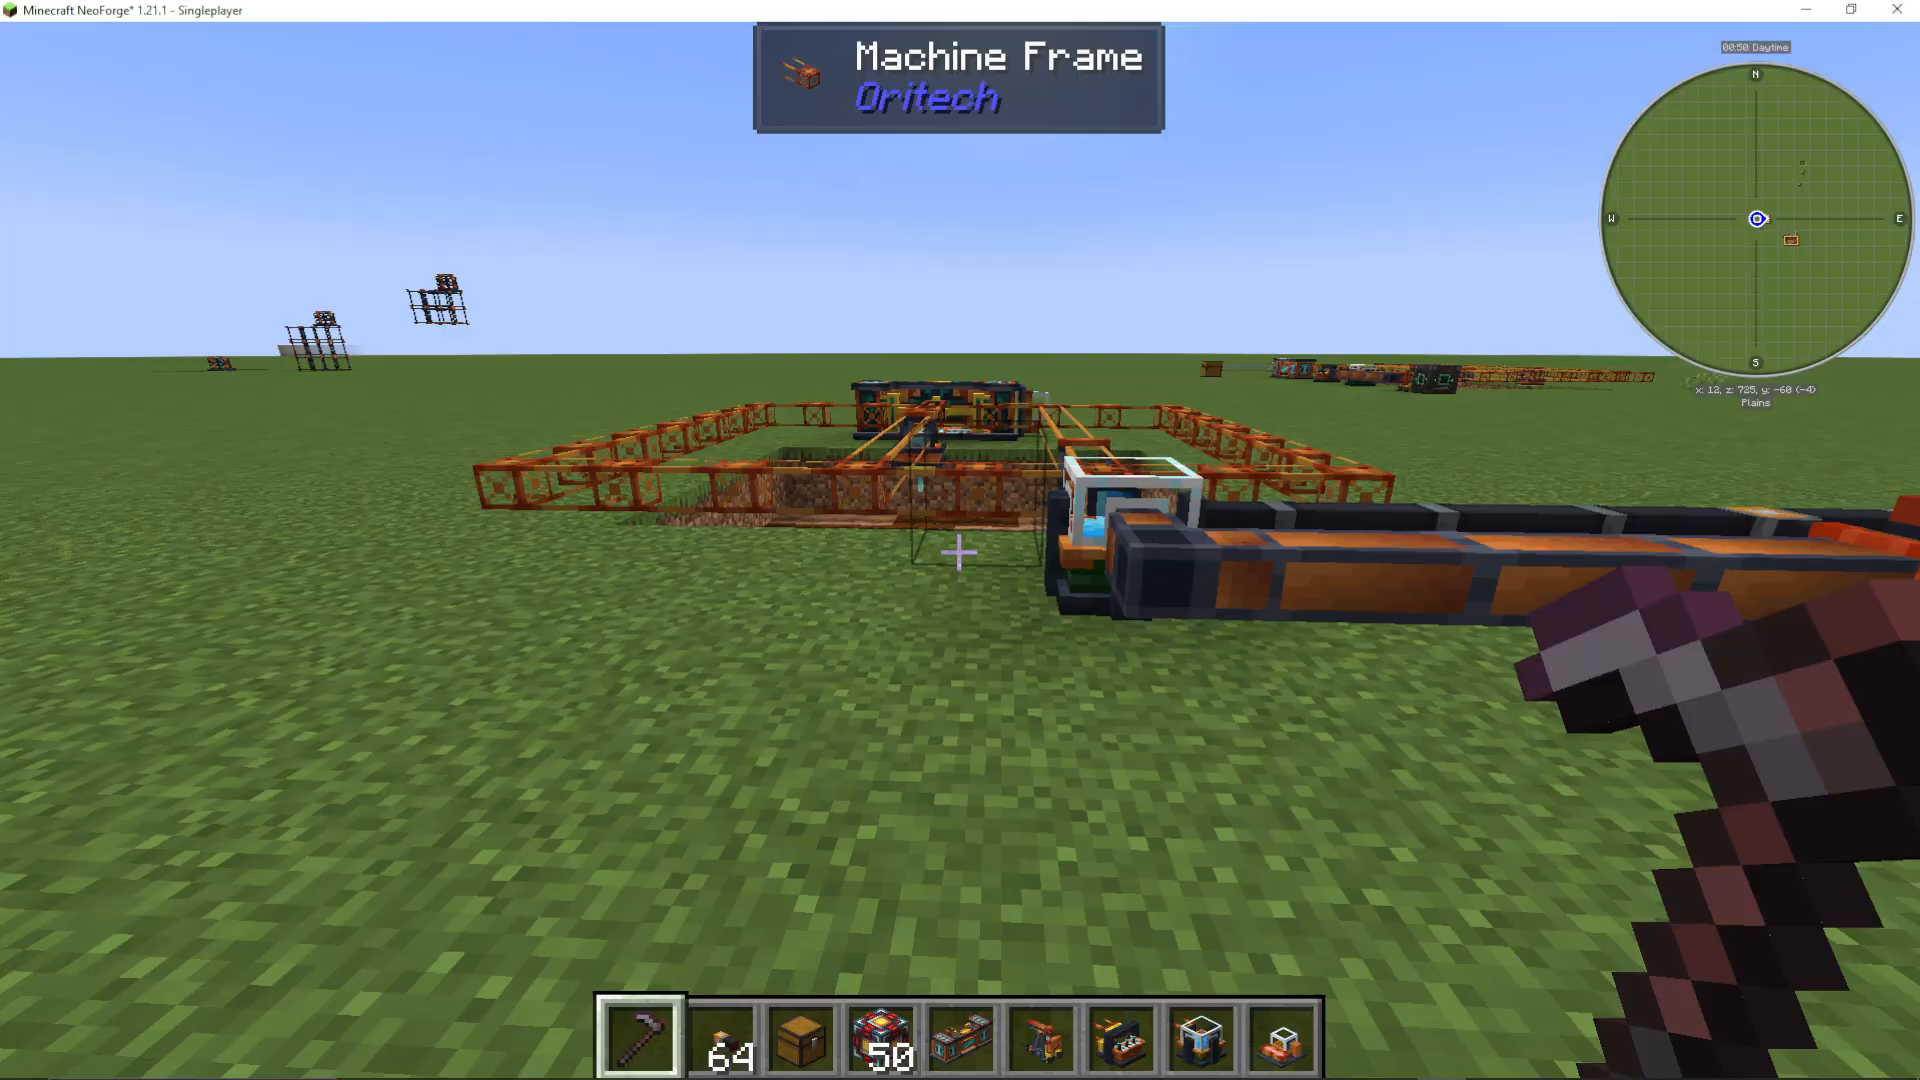
Note: Some dirt blocks may occasionally revert to regular dirt if the fertilizer takes too long to cycle through. Simply re-hoe these blocks if needed. Once all blocks are properly hydrated, this shouldn’t be an ongoing issue.
Planting Your Crops
To automatically plant crops, use a place-a-block machine. Like your other machines, it must attach to your frame and requires power. This block will automatically place seeds into the farmland below it.
Fill the place-a-block with seeds (wheat seeds in this example). Once active, it will begin planting continuously.
Creating a Closed Loop: Full Automation
To create a completely automated farm, you need to filter outputs and inputs. Here’s how to set it up:
Filtering the Harvest
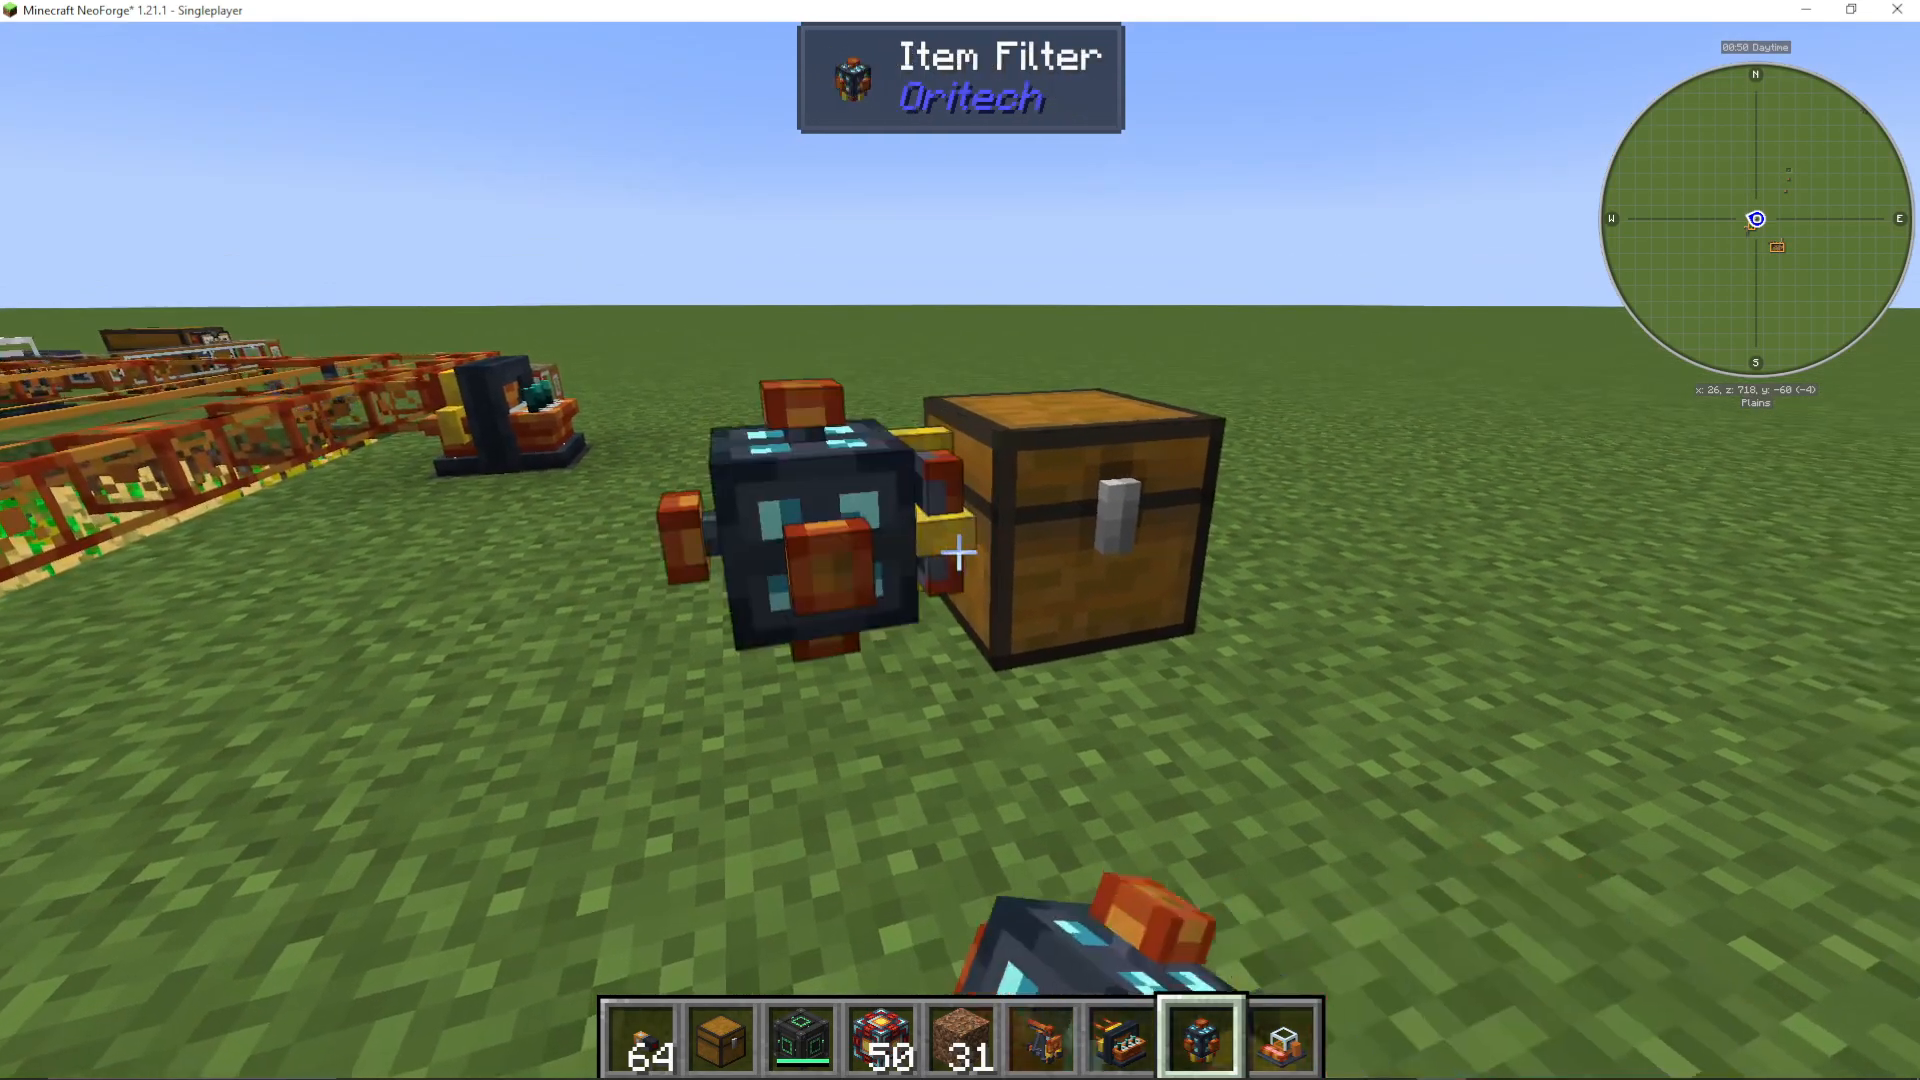
Set up a second chest for your harvested crops. Use an OriTech item filter to separate crops from seeds. Click the filter onto the chest and configure it to accept only wheat (or whatever crop you’re farming).
Feeding Seeds Back
The destroyer block outputs both the crop and seeds. Instead of using item filters (which may have bugs), right-click item pipes directly onto your place-a-block to extract seeds. This ensures seeds go directly back into the planter without clogging the system with unwanted items.
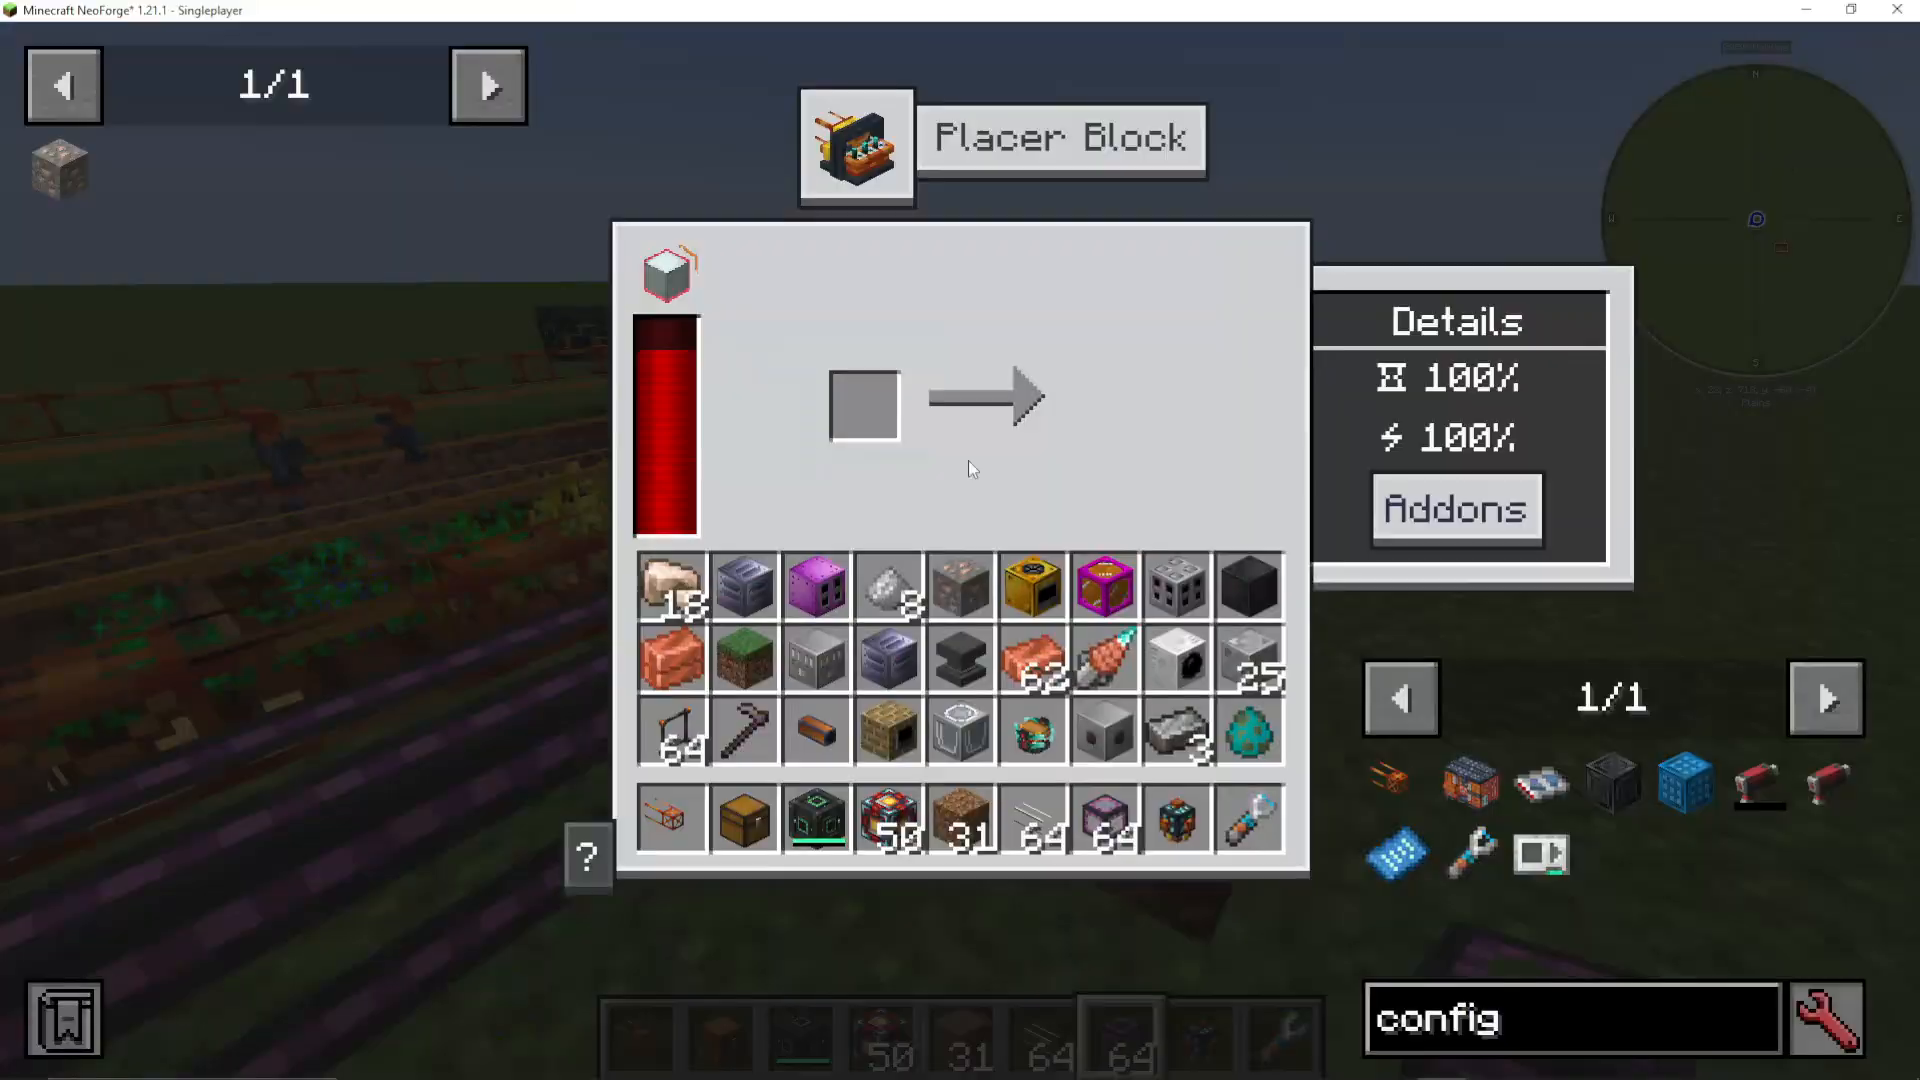
Pro Tip: If you use a Mechanism pipe for extraction instead of an item filter, you’ll get more reliable seed distribution into your place-a-block.
Adapting for Different Crops
This setup works for all standard crops (wheat, potatoes, carrots, etc.). However, for tree farming, the basic destroyer block won’t work well since it only breaks the block directly beneath it, not the entire tree structure.
Instead, use the OriTech tree cutter, which will fell an entire tree in front of it. Create a simple one-by-one frame with the tree cutter positioned in front, and you’ll have an efficient automated tree farm.
Summary
Congratulations! You now have a fully automated OriTech crop farm. Here’s what you’ve built:
Destroyer Block: Harvests fully grown crops with the crop filter add-on
Fertilizer Block: Hydrates soil and applies bone meal
Pump: Supplies water to the fertilizer
Place-a-Block: Automatically plants seeds
Item Filters & Pipes: Direct seeds back to the planter and crops to storage
This setup is one of the best crop farming solutions in modded Minecraft, and it’s completely scalable. Need faster processing? Add speed upgrades or duplicate machines on the same frame. Want to farm multiple crops? Create additional frames with their own machines.
Want to Support?
If you would like to help us continue making these guides – please consider joining our patreon here – https://www.patreon.com/c/JaviHeals
Alternatively – we host a group of MC Servers you can join here – https://discord.gg/zD7Gjt6MHF



