







Gregtech CEu Low Voltage Quick Progression Guide
Gregtech CEu Low Voltage Quick Progression Guide
Welcome to the Low Voltage age in Gregtech! If you’ve already crafted your basic electronic circuits, you’re ready to take the next step. This quick guide will walk you through the essential machines, voltage systems, and recipes you need to progress through Low Voltage and eventually reach Medium Voltage. Whether you’re automating phenolic circuit boards or diving into the complex world of diode production, this guide will help you understand the fundamentals and work through the more intricate crafting chains.
Understanding Voltage and Amperage
Before you start building machines, it’s crucial to understand how voltage and amperage work in Gregtech. Voltage determines the tier of your machines, while amperage acts like packets of energy being transmitted.
The voltage tiers are as follows:
Ultra Low Voltage (ULV): 0 EU/t
Low Voltage (LV): 32 EU/t
Medium Voltage (MV): 128 EU/t
High Voltage (HV): 512 EU/t
Extreme Voltage (EV): 2048 EU/t
The key rule to remember: if you input too high of a voltage into a Low Voltage machine, it will explode. However, machines can handle excess amperage without exploding—only cables will burn up if overloaded with too many amps. This means you can safely pump multiple amps into a machine without damage, but you must always respect voltage limits.
Your First Machine: The Basic Steam Turbine Generator
The first Low Voltage machine you should craft is the Basic Steam Turbine Generator. This machine converts the steam you’re already producing into electricity. Simply pump steam into the machine and pipe out the energy from the red dot side. A basic steam generator typically produces one or two amps of power, which is perfect for getting started.
Essential Low Voltage Machines
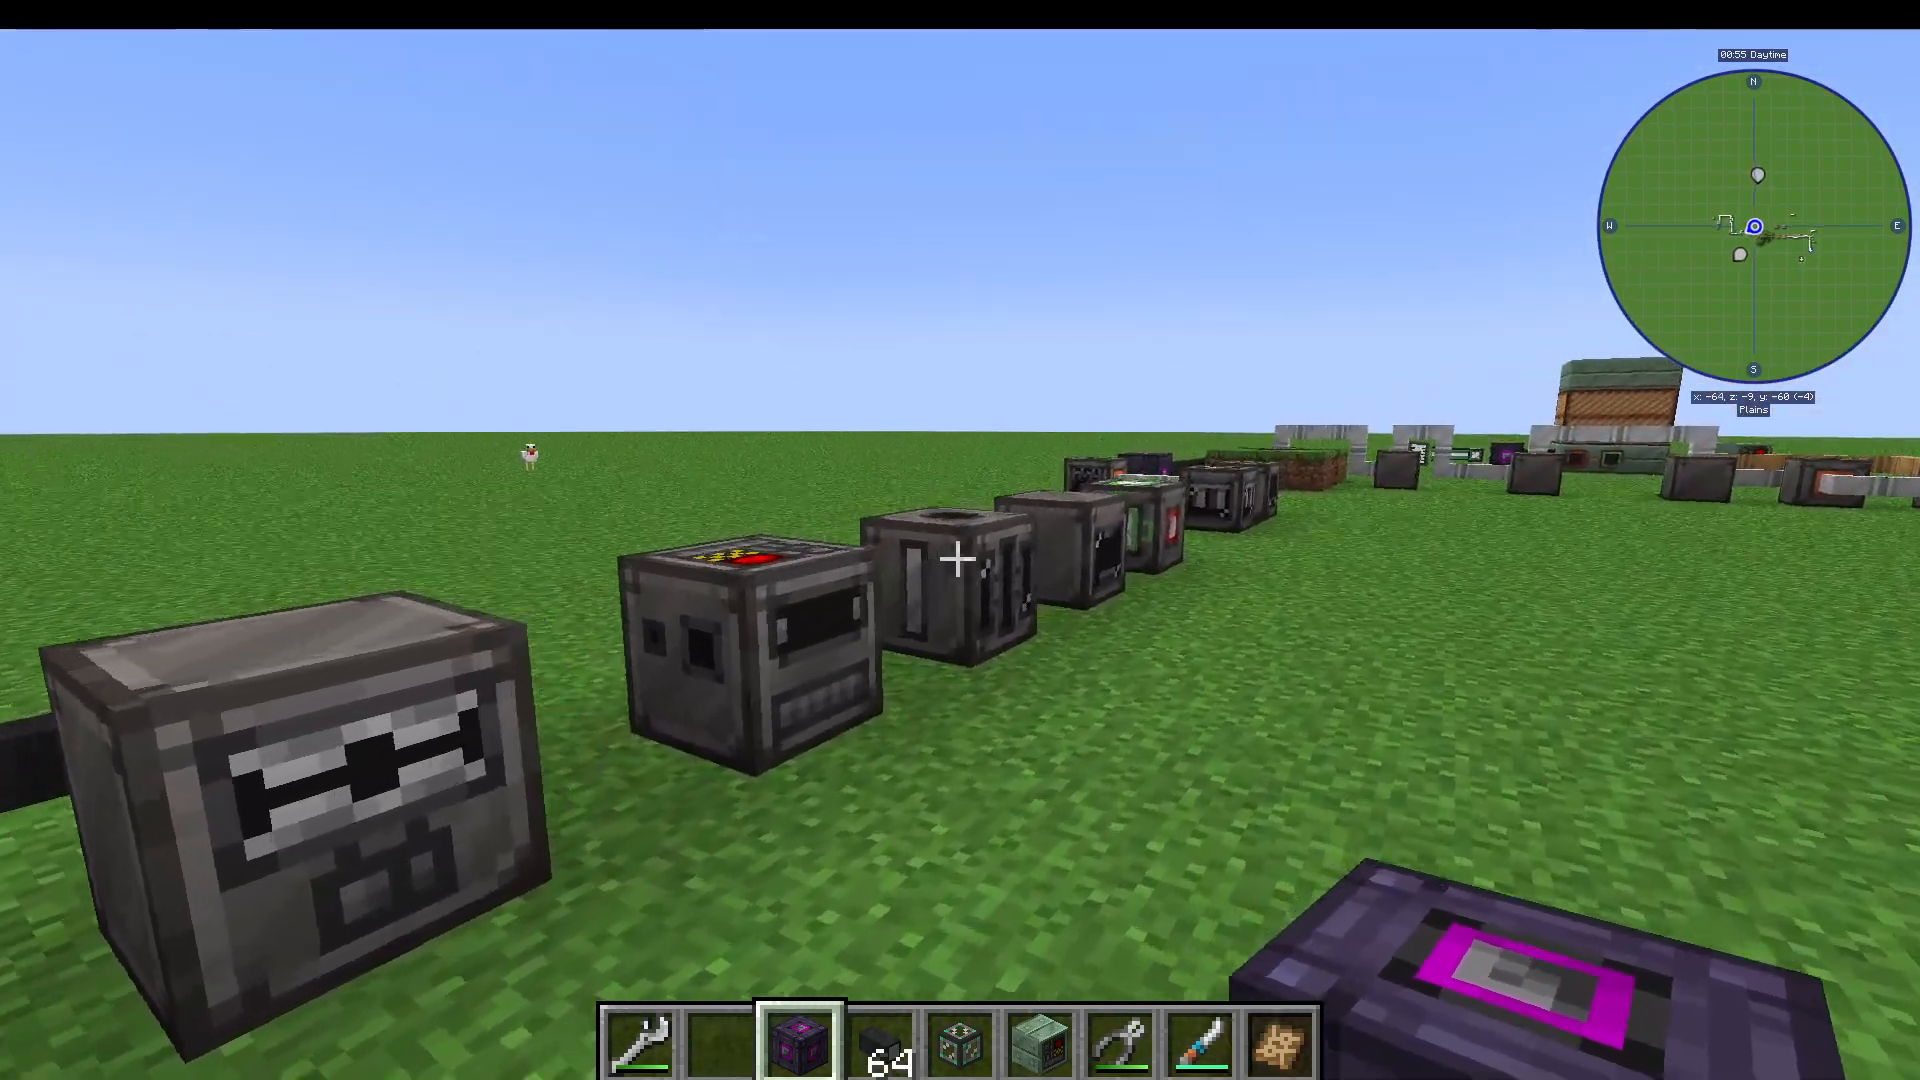
Once you have your steam turbine running, you’ll want to craft several basic/LV machines. A helpful tip: press U on any machine to see what it does. Here are the key machines you’ll need:
The Bender
Excellent for making rods and similar components.
The Wire Mill
Essential for crafting wires from various materials.
The Extractor
Used for extracting liquids and processing materials.
The Fluid Solidifier
Converts liquids into solid blocks and items.
The Energy Converter
If you’re using energy from other mods (like RF from other tech mods), the Energy Converter allows you to convert it. For example, 4 RF converts to 32 EU (Low Voltage energy). You input RF on the green sides and output EU on the red side. To swap input/output orientation, craft a Soft Mallet (made with rubber) and right-click the machine.
Progressing to Medium Voltage: What You’ll Need
Your ultimate goal is to reach Medium Voltage, which requires Good Electronic Circuits. To craft these, you’ll need two critical components: Diodes and Phenolic Printed Circuit Boards. While diodes are complex, phenolic circuit boards are relatively straightforward and should be your first focus.
Automating Phenolic Printed Circuit Boards
Phenolic Printed Circuit Boards require two ingredients: silver wire and wood pulp mixed with glue. Here’s how to automate this process:
Step 1: Create Silver Wire
Use an Extruder or Wire Mill to create silver wire from silver ingots or dust.
Step 2: Process Rubber Logs into Raw Rubber Pulp
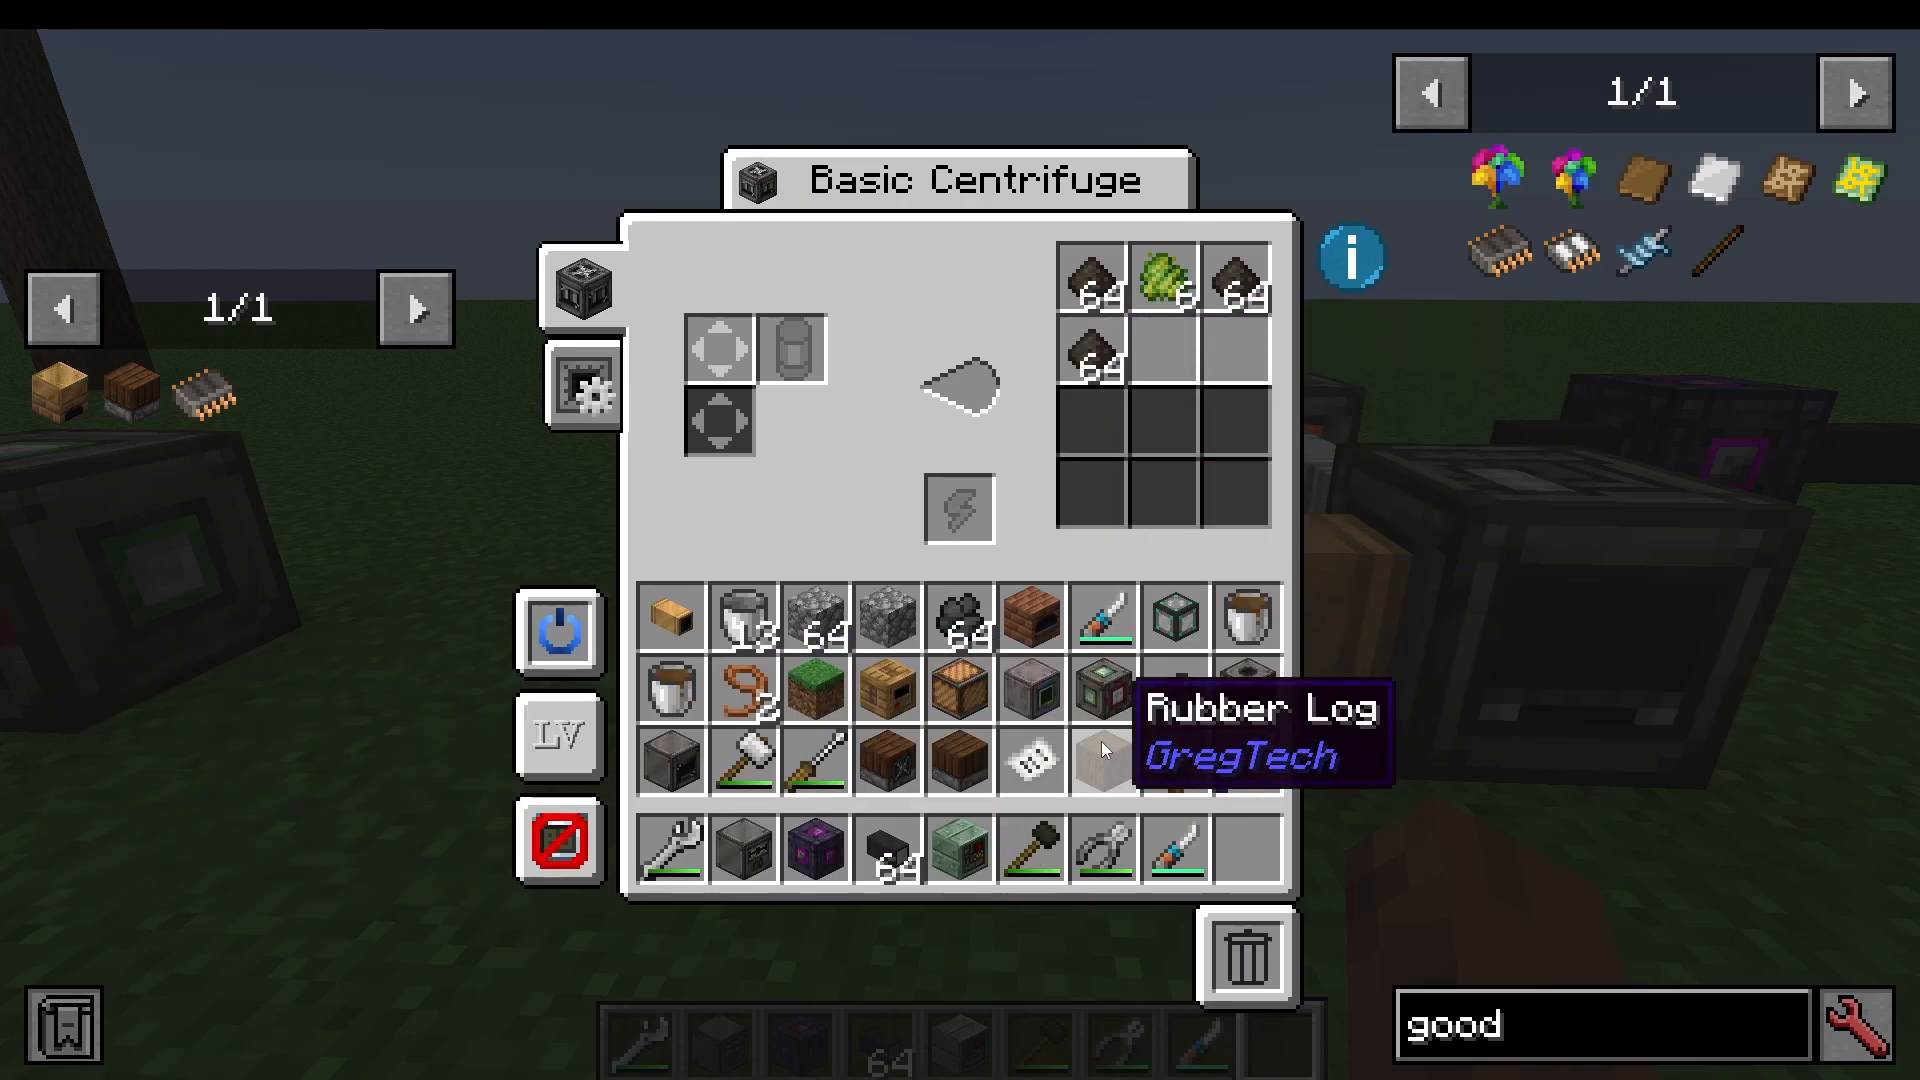
Feed rubber logs into a Basic Centrifuge to extract the sticky resin. The centrifuge will produce raw rubber pulp and occasionally plant balls.
Step 3: Create Glue
Convert your sticky resin from the centrifuge into glue. You’ll pipe this into your assembler.
Step 4: Make Wood Pulp
Use a Macerator to process your rubber logs into wood pulp.
Step 5: Assemble Phenolic Circuit Boards
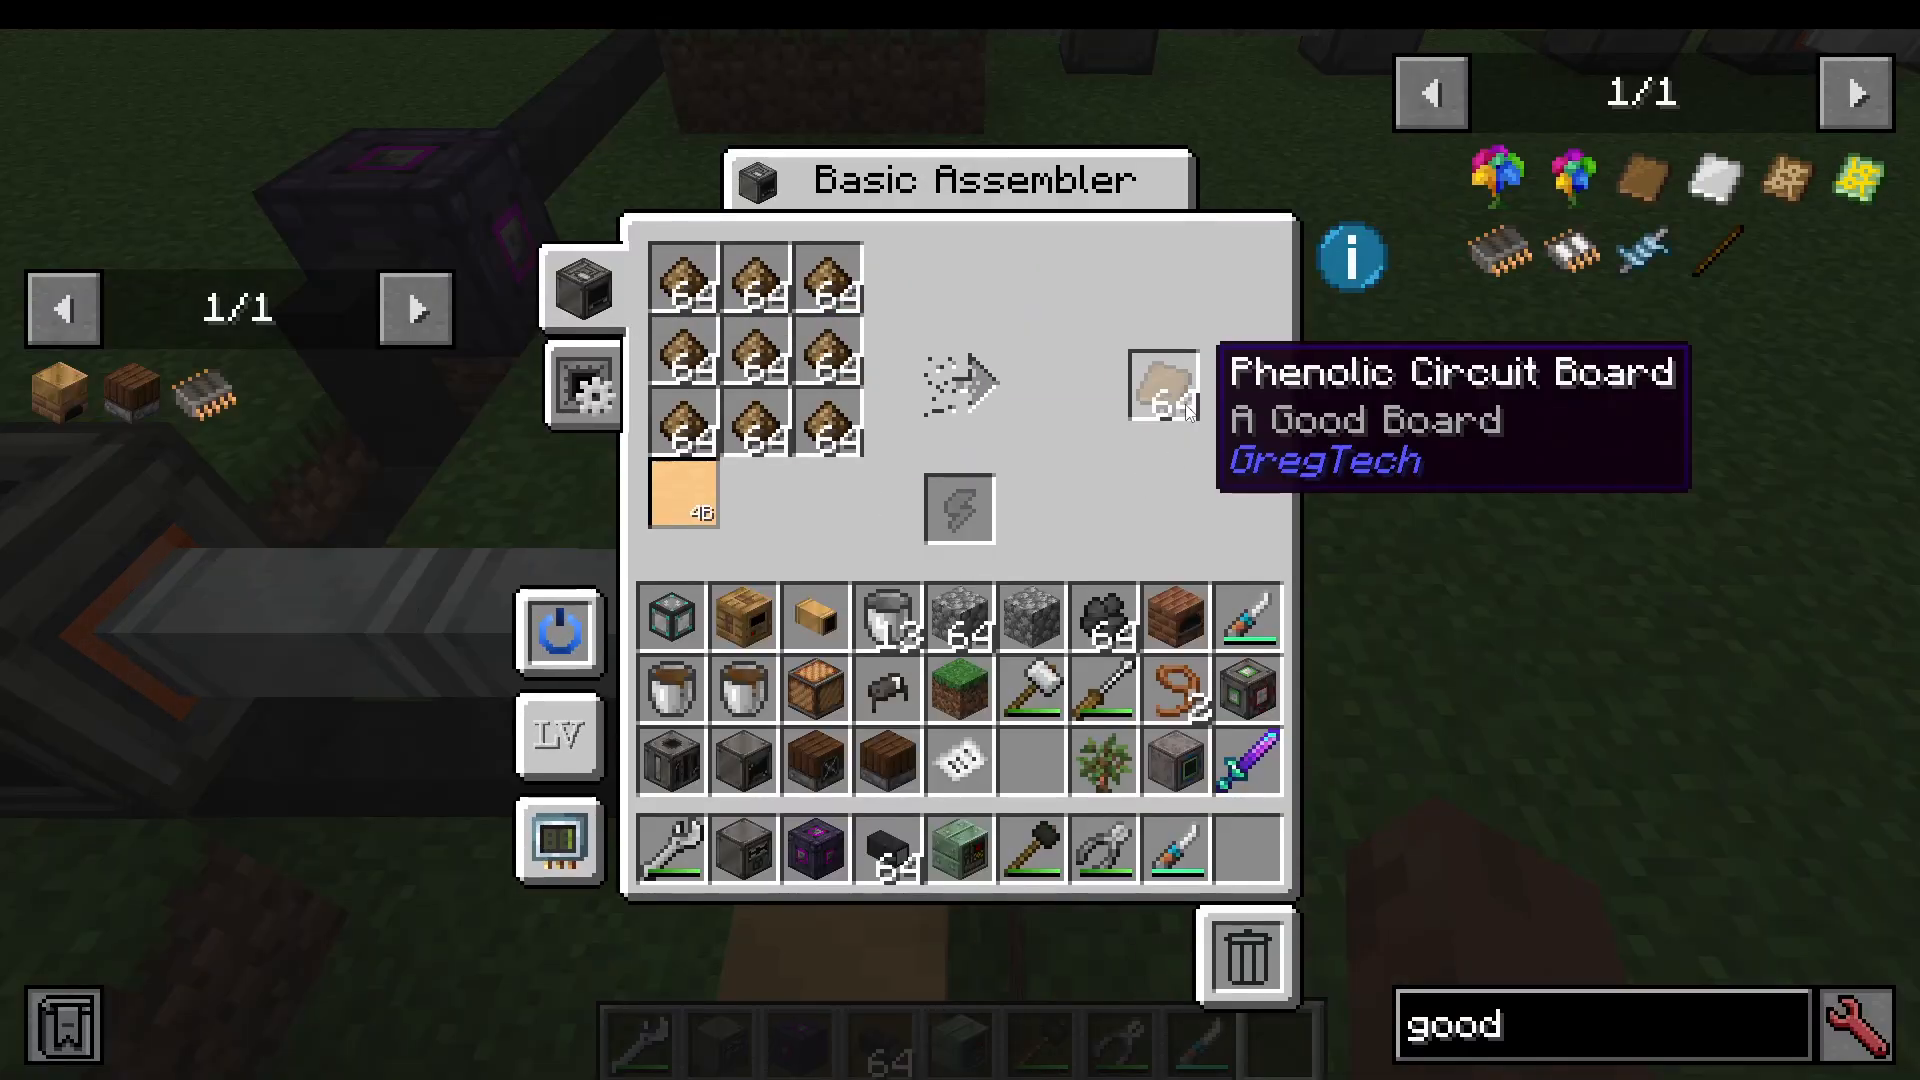
Use a Basic Assembler to combine glue and wood pulp. When you open the assembler interface, you’ll see a circuit settings option at the bottom. For this recipe, you need to select circuit 1. The phenolic circuit board will require silver wire as well to complete the craft.
Producing Oxygen: The First Complex Chain
Oxygen is essential for later recipes, particularly for creating diodes. While the oxygen production chain seems long, it’s largely straightforward once you understand the flow. Here’s the automated process:
Crush cobblestone in a Rock Crusher
Process cobblestone through a Fluid Chamber to create gravel
Process gravel through another Fluid Chamber to create sand
Smelt sand in an Electric Furnace to create glass
Process glass in a Basic Macerator to create glass dust
Centrifuge glass dust to obtain silicon dust
Run silicon dust through an Electrolyzer to get silicon dust and oxygen
Pump the oxygen into an Electronic Blast Furnace (EBF) for later use.
Building Your Electronic Blast Furnace (EBF)
The Electronic Blast Furnace is your first multiblock machine. To build it:
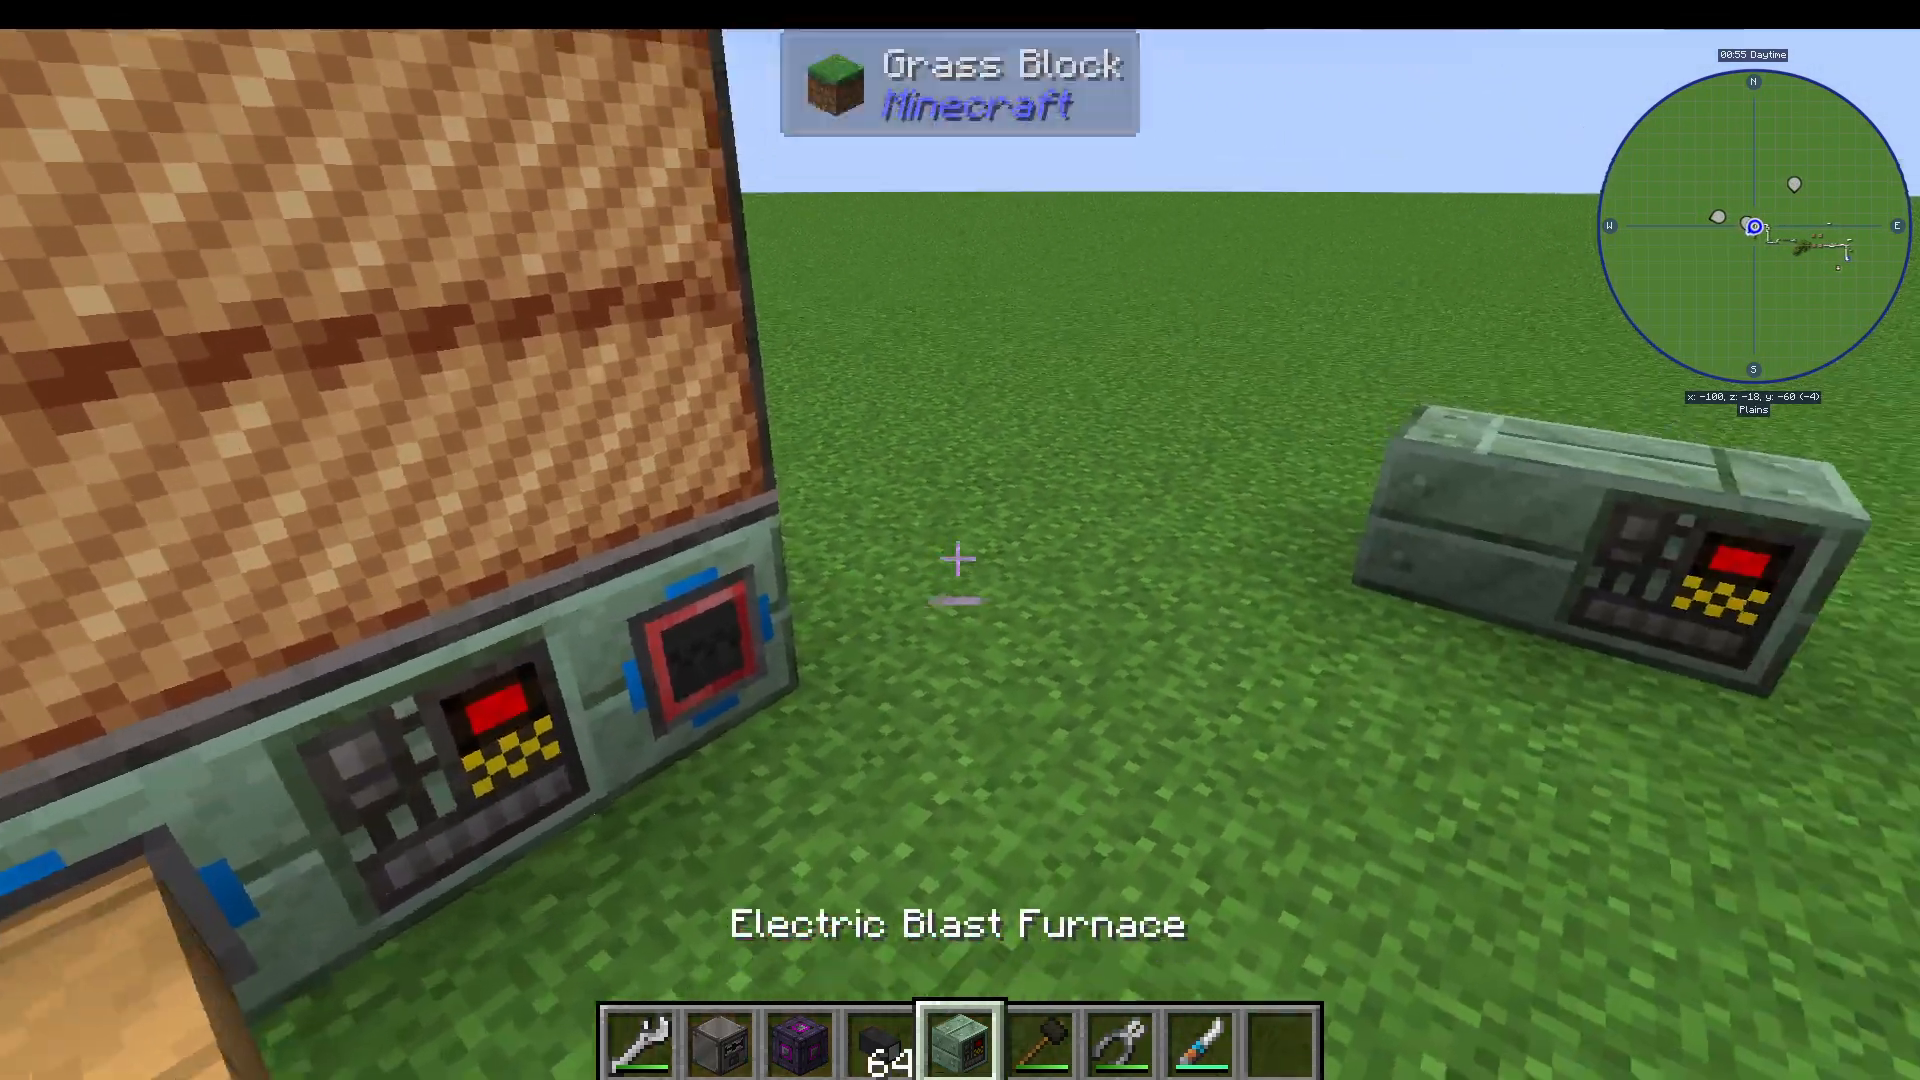
Obtain an Electroblast Furnace block
Press U on the block to view the multiblock structure
The display will show you which level to build, from top to bottom
Key EBF Components
You’ll need several types of hatches and buses:
Cupronickel Coils: Made in an Assembler with liquid tin (from scrap remelting in a basic extractor) and bronze foil. Cupronickel itself is created by combining copper and nickel in an Alloy Furnace.
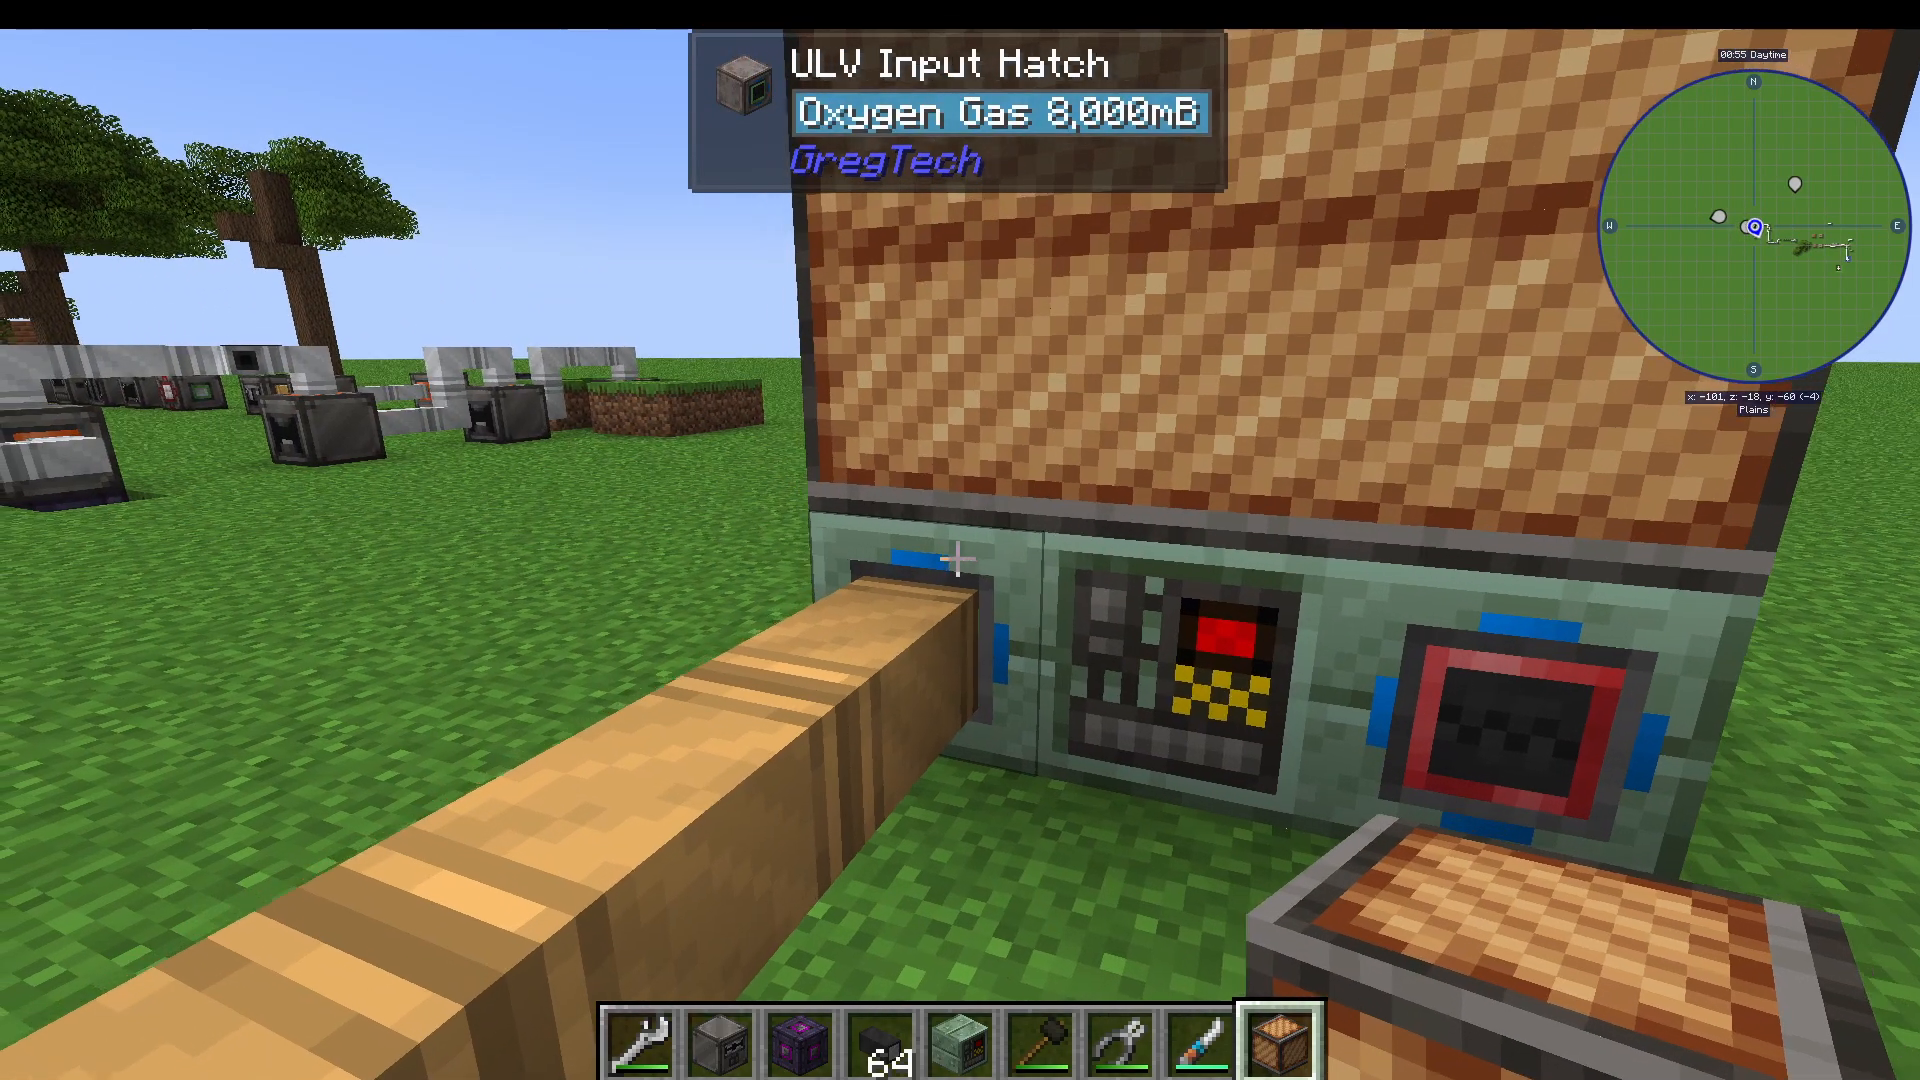
Input/Output Hatches: For liquid inputs and outputs. These can be Ultra Low Voltage or Low Voltage depending on your needs.
Input/Output Buses: For item transfers. Ultra Low Voltage buses hold one slot, while Low Voltage buses hold four slots.
Energy Hatches: You can use two LV energy hatches to process Medium Voltage recipes within the EBF.
Maintenance Hatch: Required for all multiblocks. Occasionally needs repair with tools from your inventory.
Muffler Hatch: Outputs waste products (tiny piles of ash).
EBF Recipe Example
For producing arsenic trioxide (needed for diodes), input cobaltite dust and oxygen into your EBF. You’ll receive arsenic trioxide and sulfur dioxide as outputs. Make sure you have enough amperage flowing into the energy hatches to process the recipe.
The Complex Path to Diodes
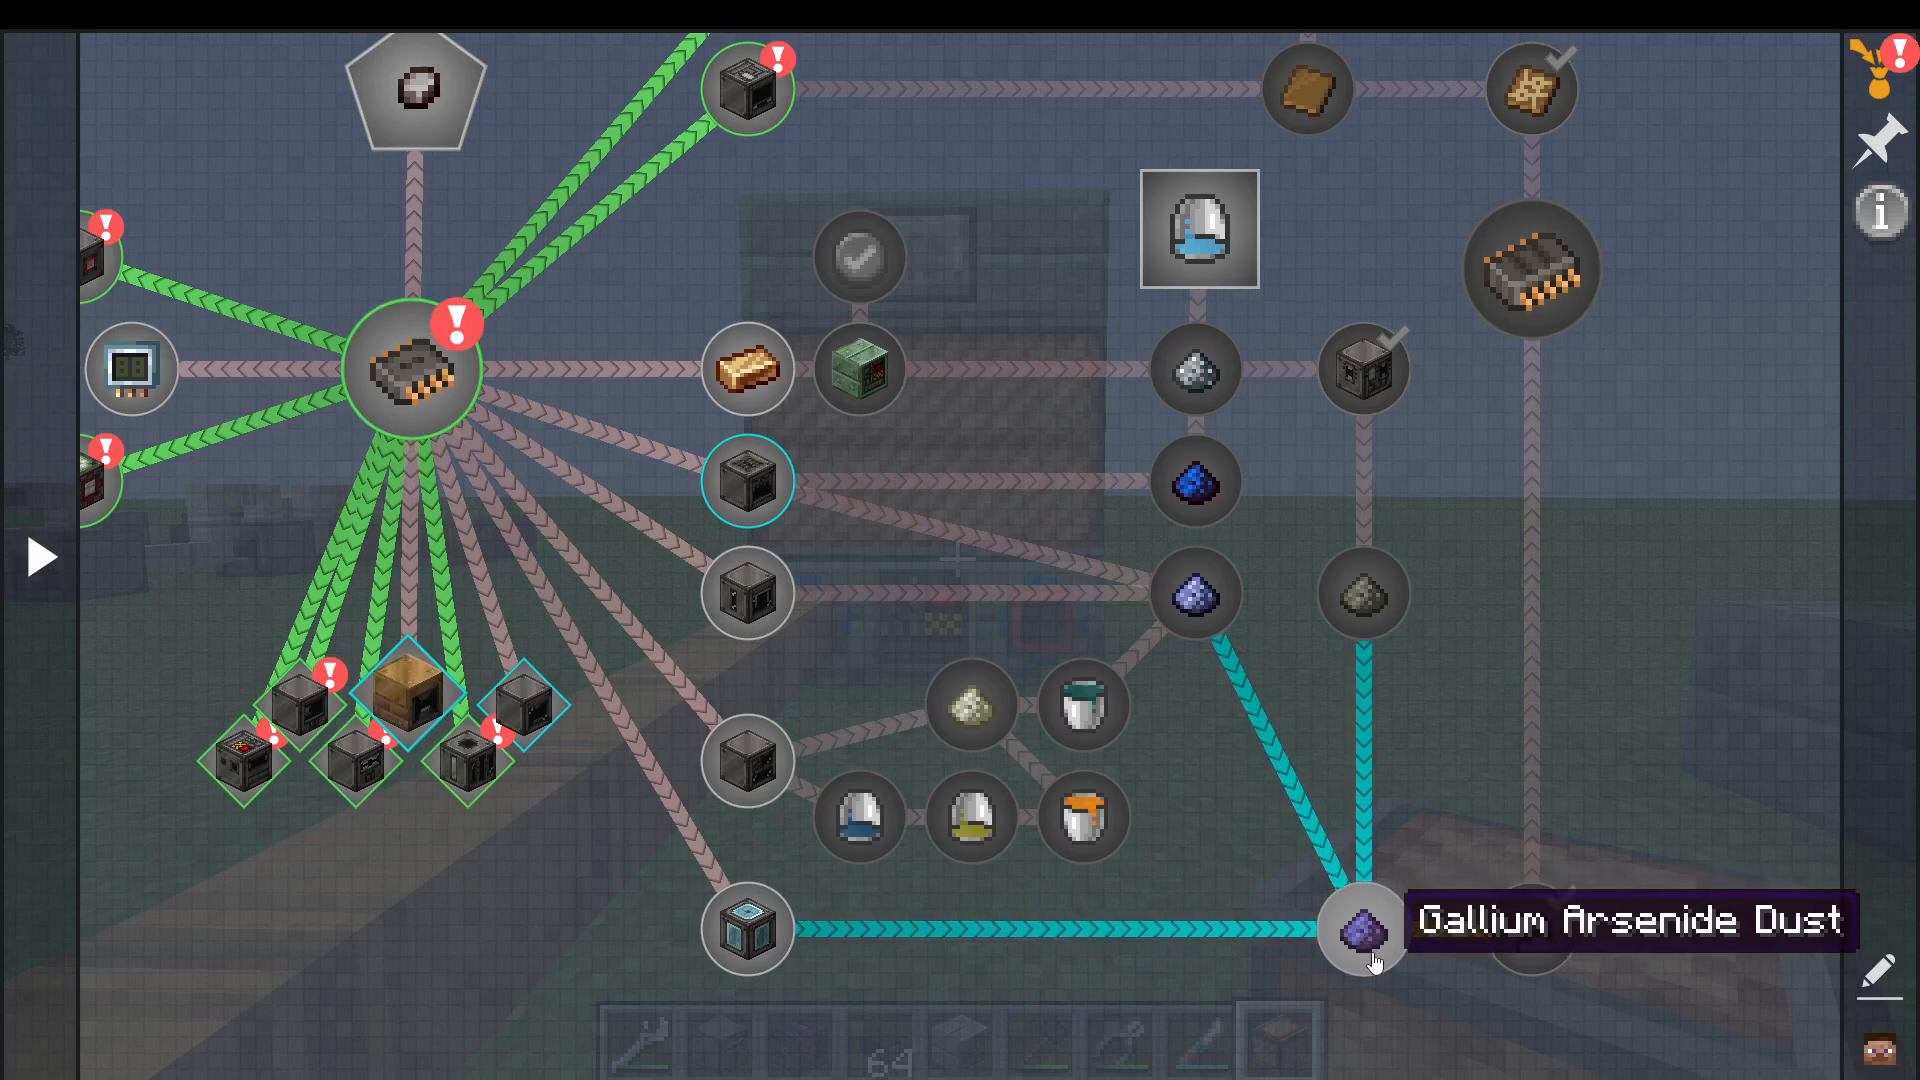
Diodes are the most intricate component you’ll craft at this stage. They’re created in a Circuit Assembler using small piles of gallium arsenide dust, liquid glass, and fine copper wire. The challenging part is obtaining gallium arsenide dust, which requires working backward through multiple recipes and machines.
Working Backward Through JEI
To understand how to make gallium arsenide, use the JEI (Just Enough Items) mod:
Search for “Gallium Arsenide” in JEI
Click on the item to see all recipes that create it
Identify which machine can produce it (in this case, a Mixer)
For the Mixer recipe, you need arsenic dust and gallium
Continue working backward: arsenic comes from centrifuging cobaltite, which you can mine as an ore
The Arsenic Dust Chain
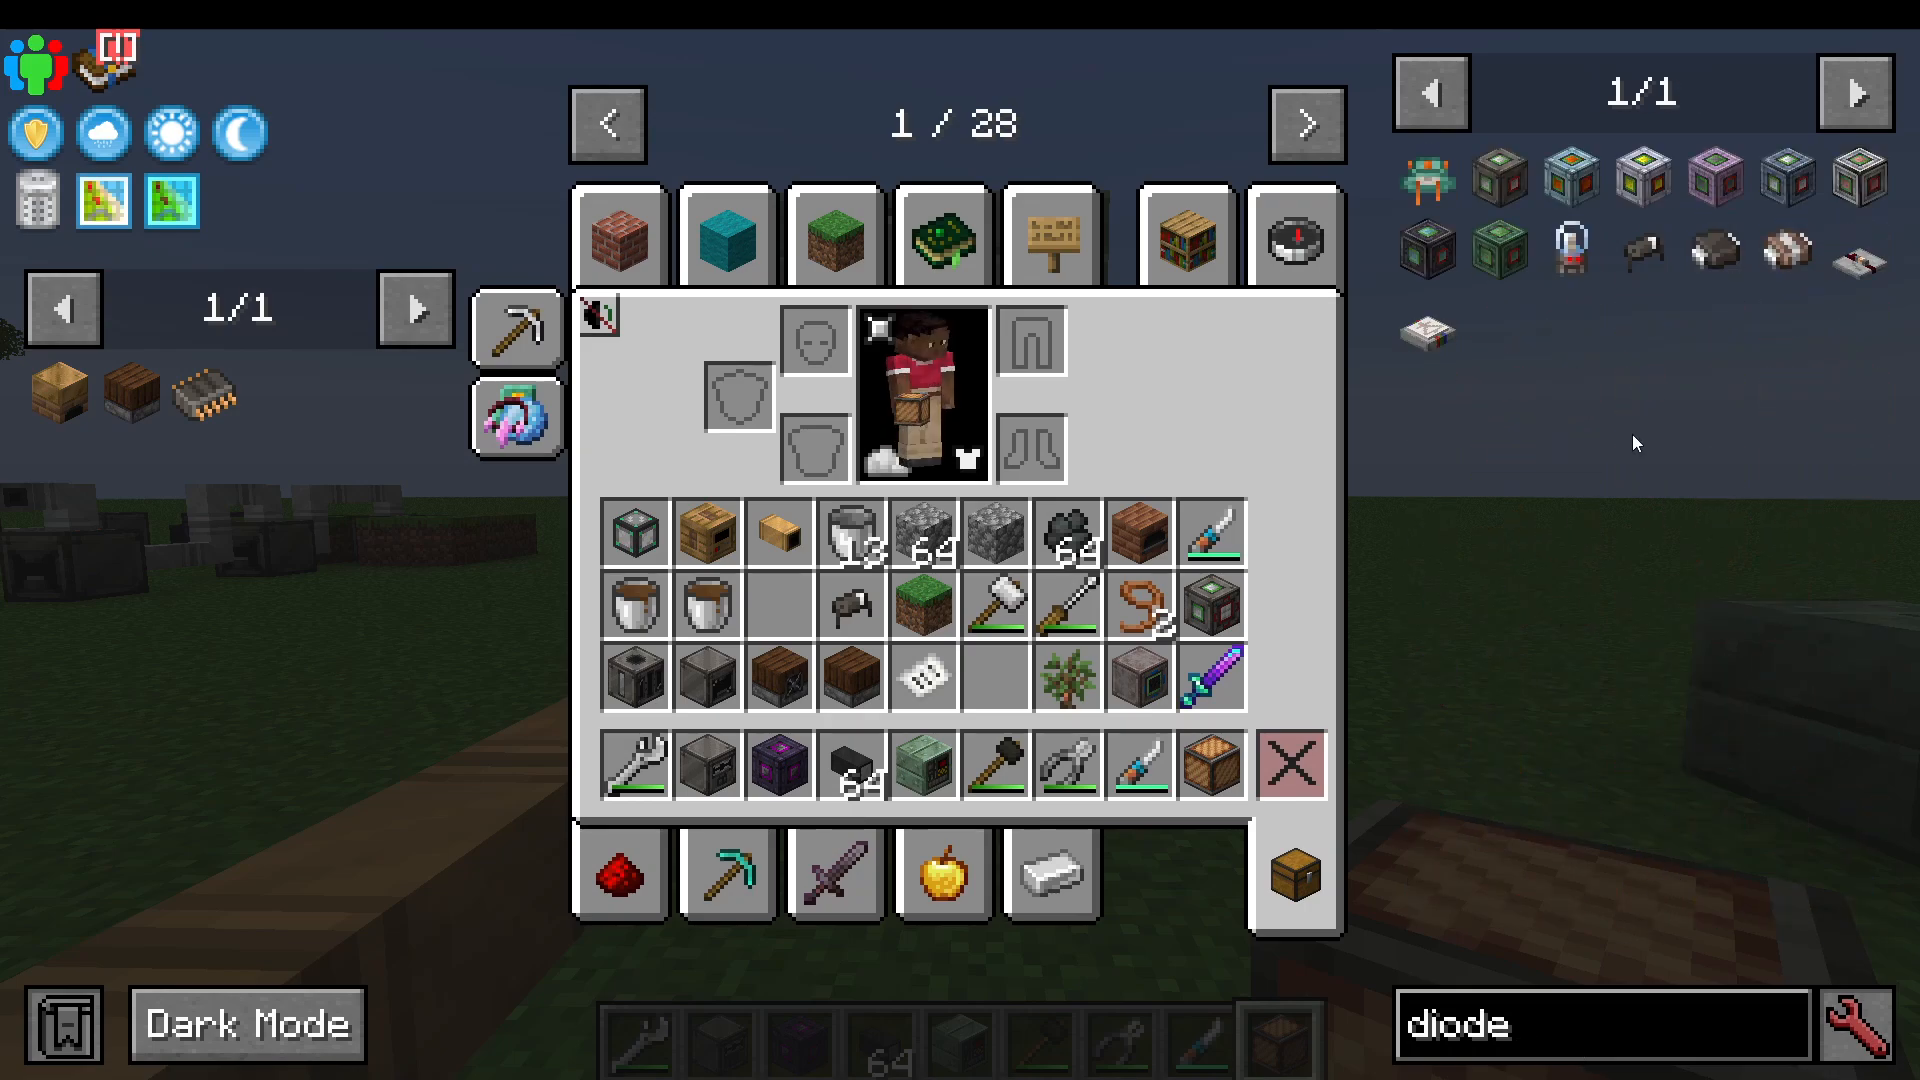
Here’s one path to obtain arsenic dust for gallium arsenide:
Mine cobaltite ore
Crush it to create crushed cobaltite
Centrifuge the crushed cobaltite to get impure piles of cobaltite
Process the impure piles in your EBF with oxygen to create cobaltite dust and arsenic trioxide
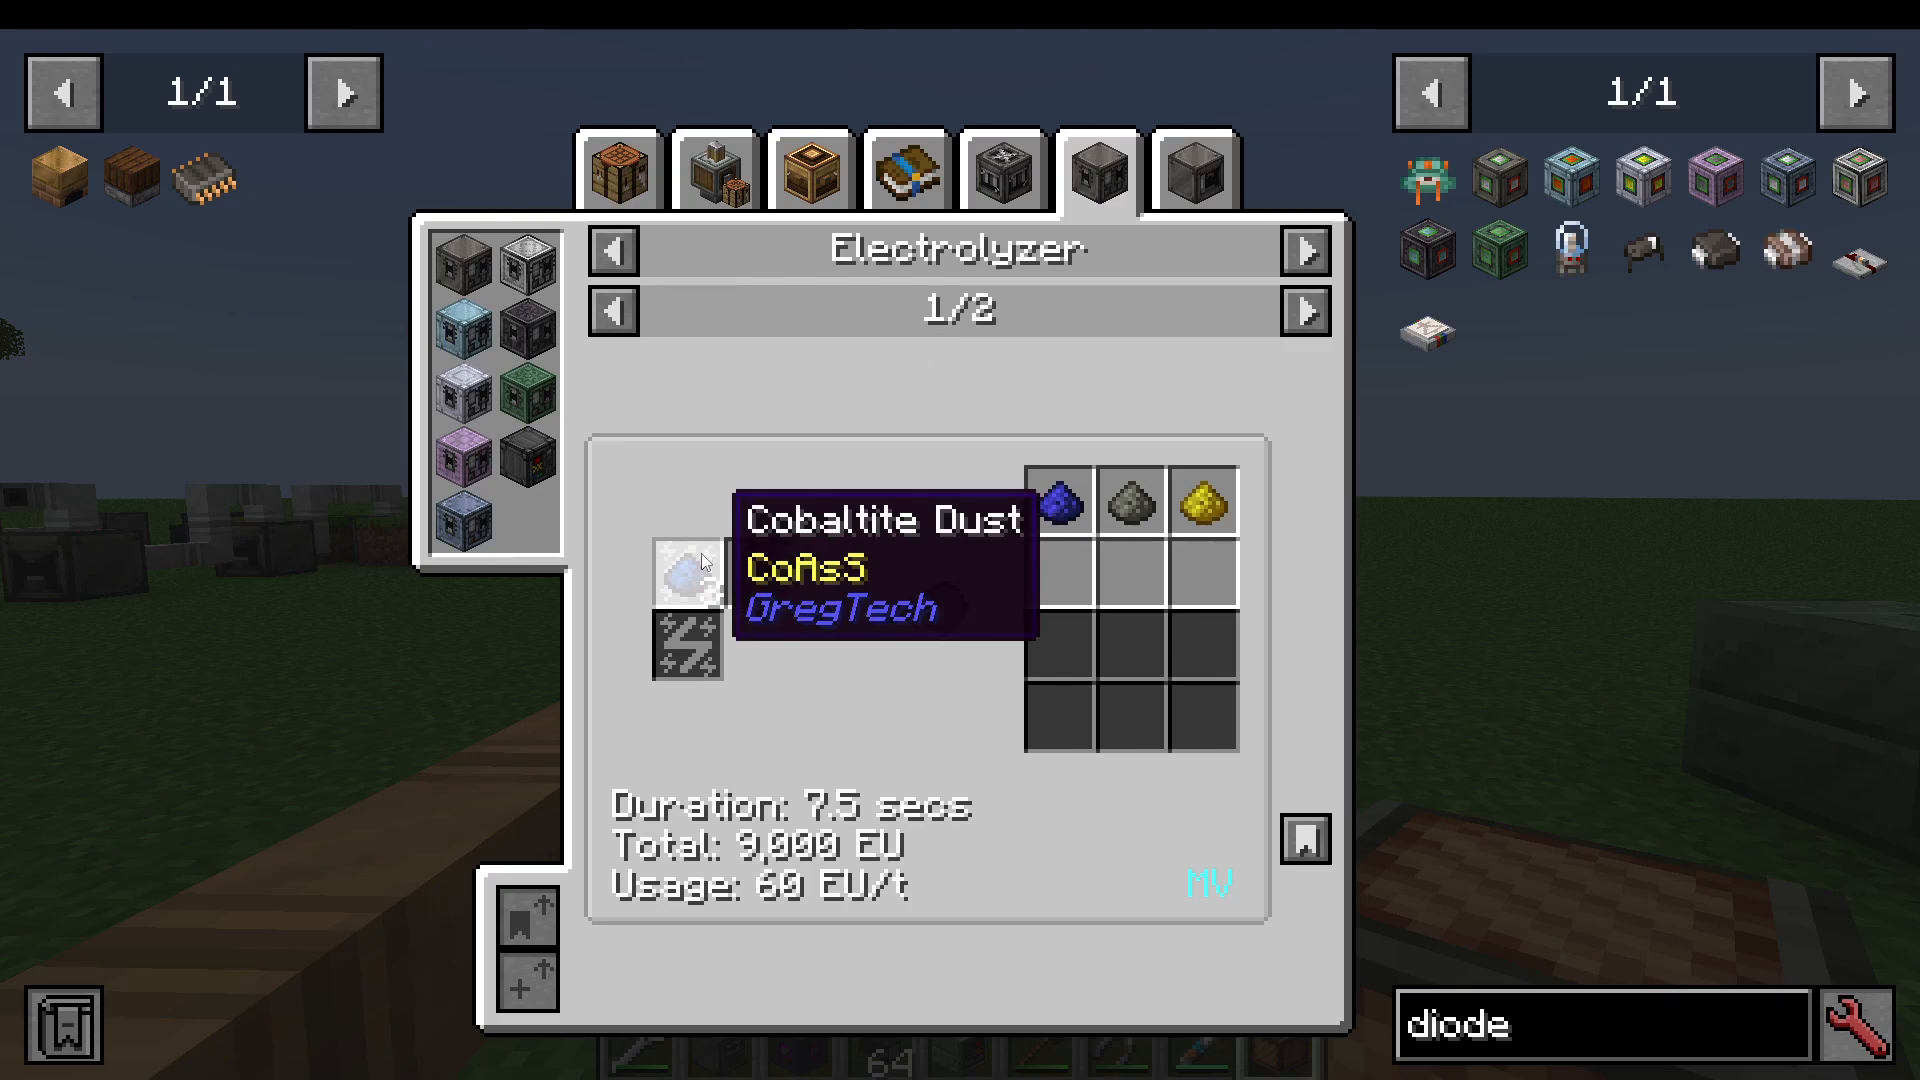
Put the arsenic trioxide into an Electrolyzer to obtain arsenic dust
Alternative: Using Sodium Persulfate
You can also obtain cobaltite dust by processing cobalt ore with sodium persulfate. This introduces an additional chain:
Create sodium persulfate in an Electrolyzer from sodium sulfate
Sodium sulfate is made in a Chemical Reactor using salt and liquid sulfuric acid
Sulfuric acid is produced in a Chemical Reactor from sulfur trioxide and water
Sulfur trioxide can be obtained as a byproduct from your EBF when processing cobaltite
Making the Diode
Once you have gallium arsenide dust, the final step is simple:
Obtain liquid glass by extracting it from glass in an Extractor
Create fine copper wire (straightforward to produce)
Combine these three ingredients in a Circuit Assembler: small piles of gallium arsenide dust, liquid glass, and fine copper wire
You now have your diodes!
Entering Medium Voltage
With your diodes and phenolic printed circuit boards ready, you can now craft Good Electronic Circuits. Combine your diodes, basic electronic circuits, and phenolic printed circuit boards together to create the Good Electronic Circuits needed for Medium Voltage machines. Congratulations—you’ve successfully progressed through Low Voltage!
Tips for Success
Don’t Rush: If any part of this guide feels overwhelming, watch the full Low Voltage guide for more detailed explanations. This quick guide covers roughly three times the content of the comprehensive version.
Use JEI Extensively: The JEI mod is your best friend. When stuck, search for items and work backward through available recipes.
Start Small: You don’t need to automate everything immediately. Start with manual crafting and gradually introduce automation as you progress.
Respect Voltage Limits: Always check machine voltage ratings before connecting them to your power network.
Conclusion
The Low Voltage age is a significant milestone in Gregtech progression. While it introduces complexity with multiblock machines and intricate recipe chains, the fundamental principle remains the same: work backward through JEI to understand your recipes, automate where possible, and respect voltage and amperage limits. Once you’ve mastered these concepts, you’ll be well-prepared to tackle Medium Voltage and beyond. Good luck, and enjoy your journey through Gregtech!
Want to Support?
If you would like to help us continue making these guides – please consider joining our patreon here – https://www.patreon.com/c/JaviHeals
Alternatively – we host a group of MC Servers you can join here – https://discord.gg/zD7Gjt6MHF



