







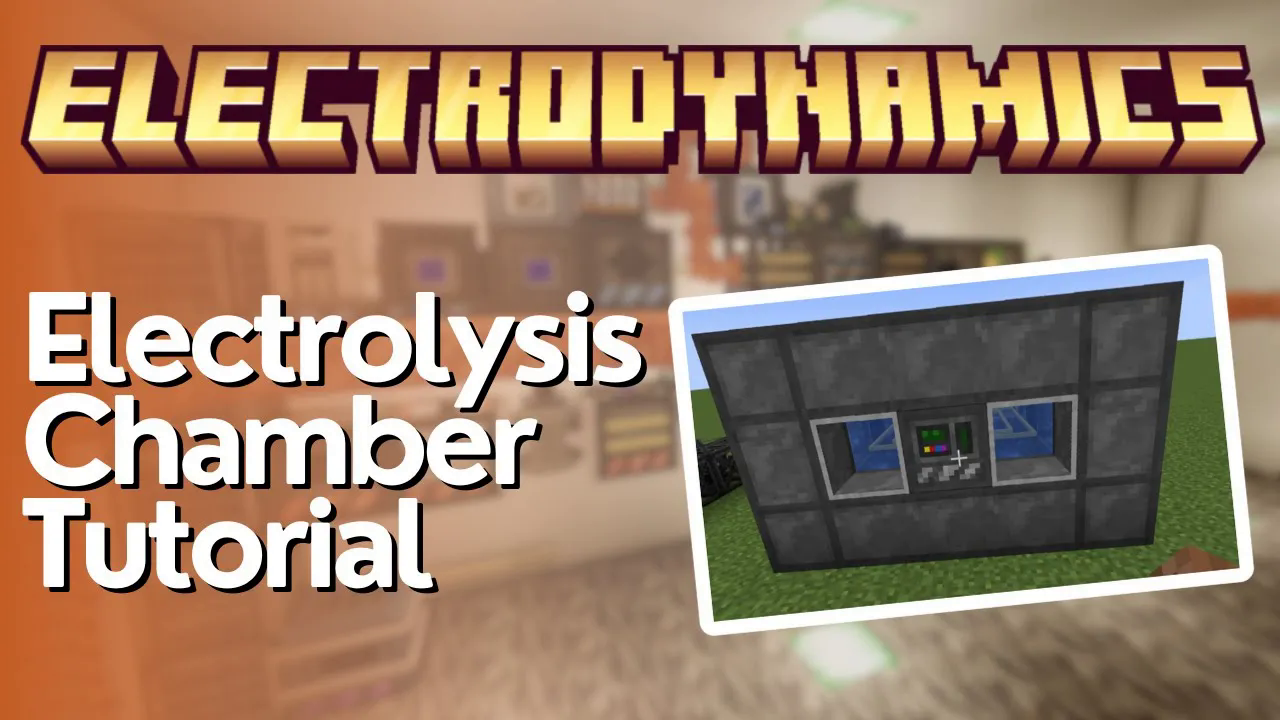
Electrolysis Chamber Tutorial – Electrodynamics
Electrolysis Chamber Tutorial – Electrodynamics
The Electrolysis Chamber is an essential multi-block machine in Electrodynamics that will help you progress through mid-game content. While the initial setup might seem complex, once you understand the structure and wiring, it becomes straightforward to use. This guide will walk you through building and configuring your Electrolysis Chamber step-by-step.
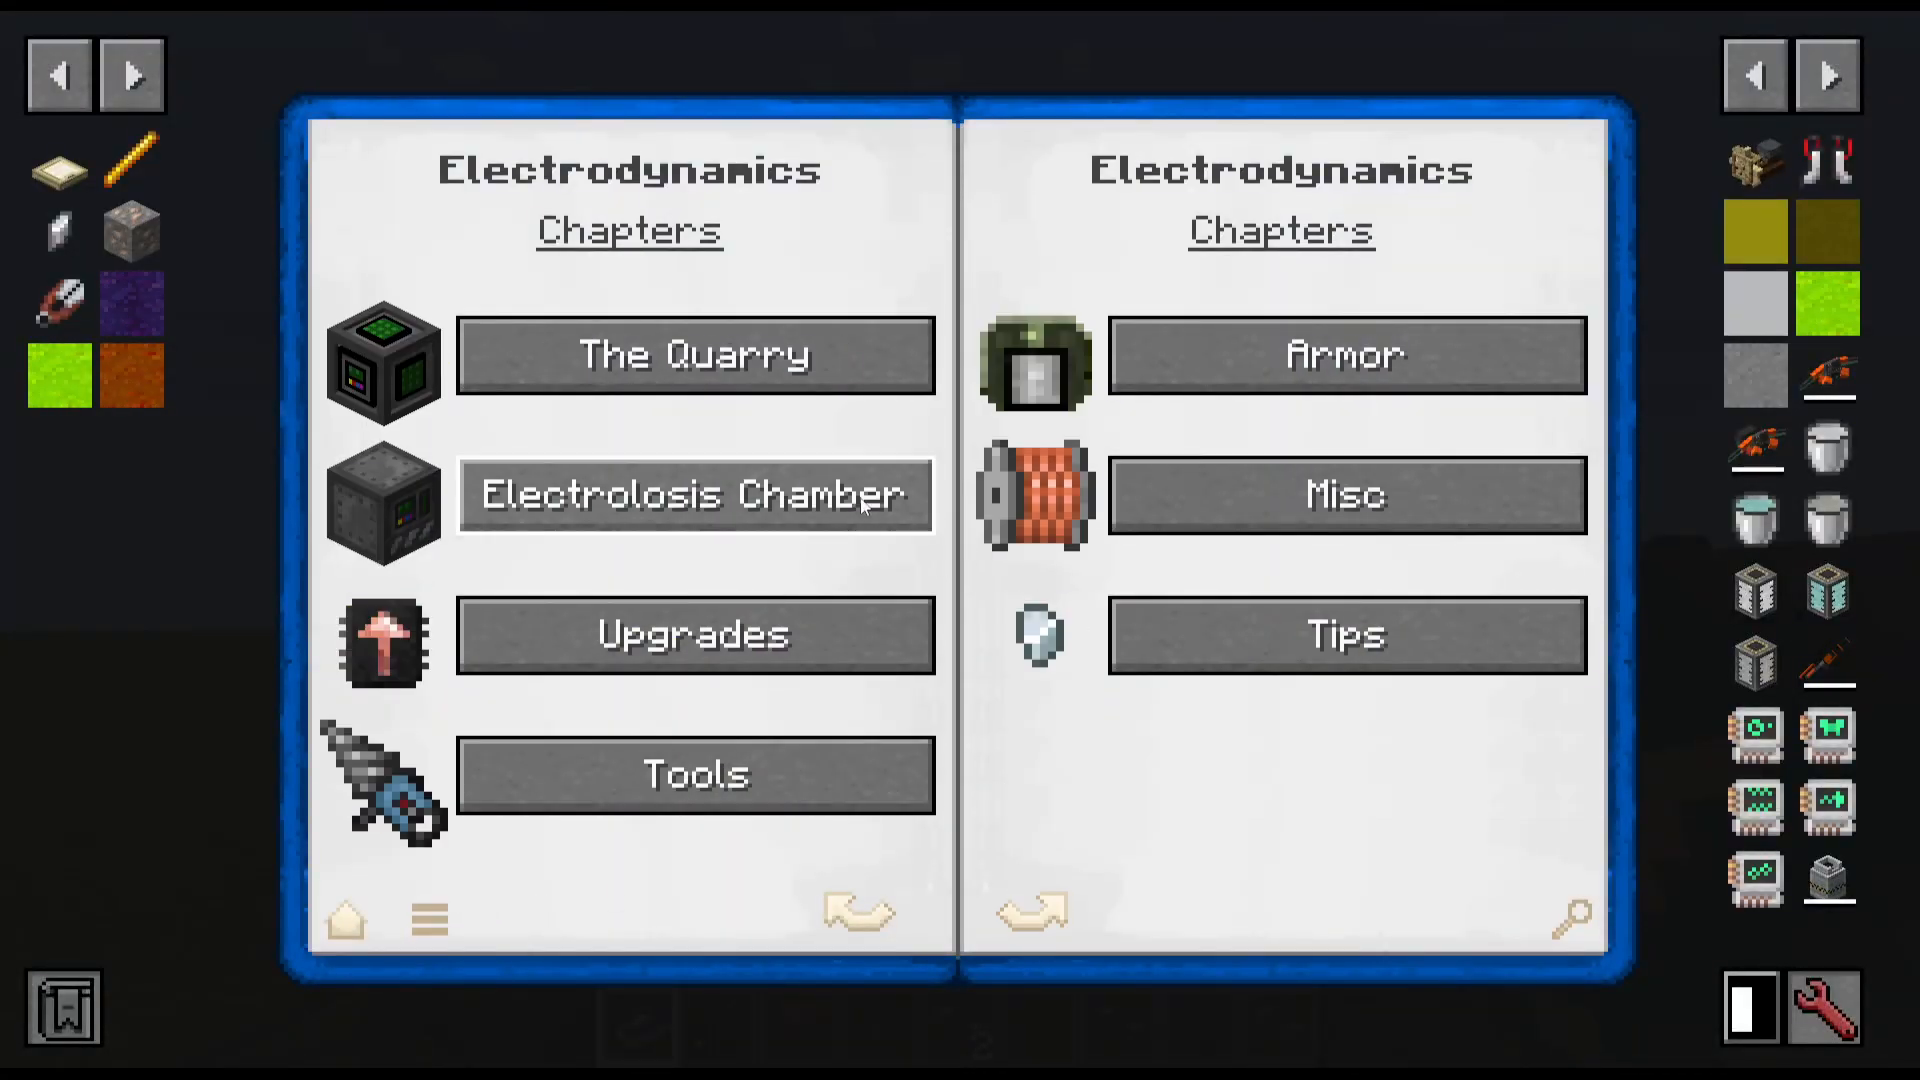
Materials Required
Before you begin construction, gather all the necessary materials. According to the in-game documentation, you’ll need:
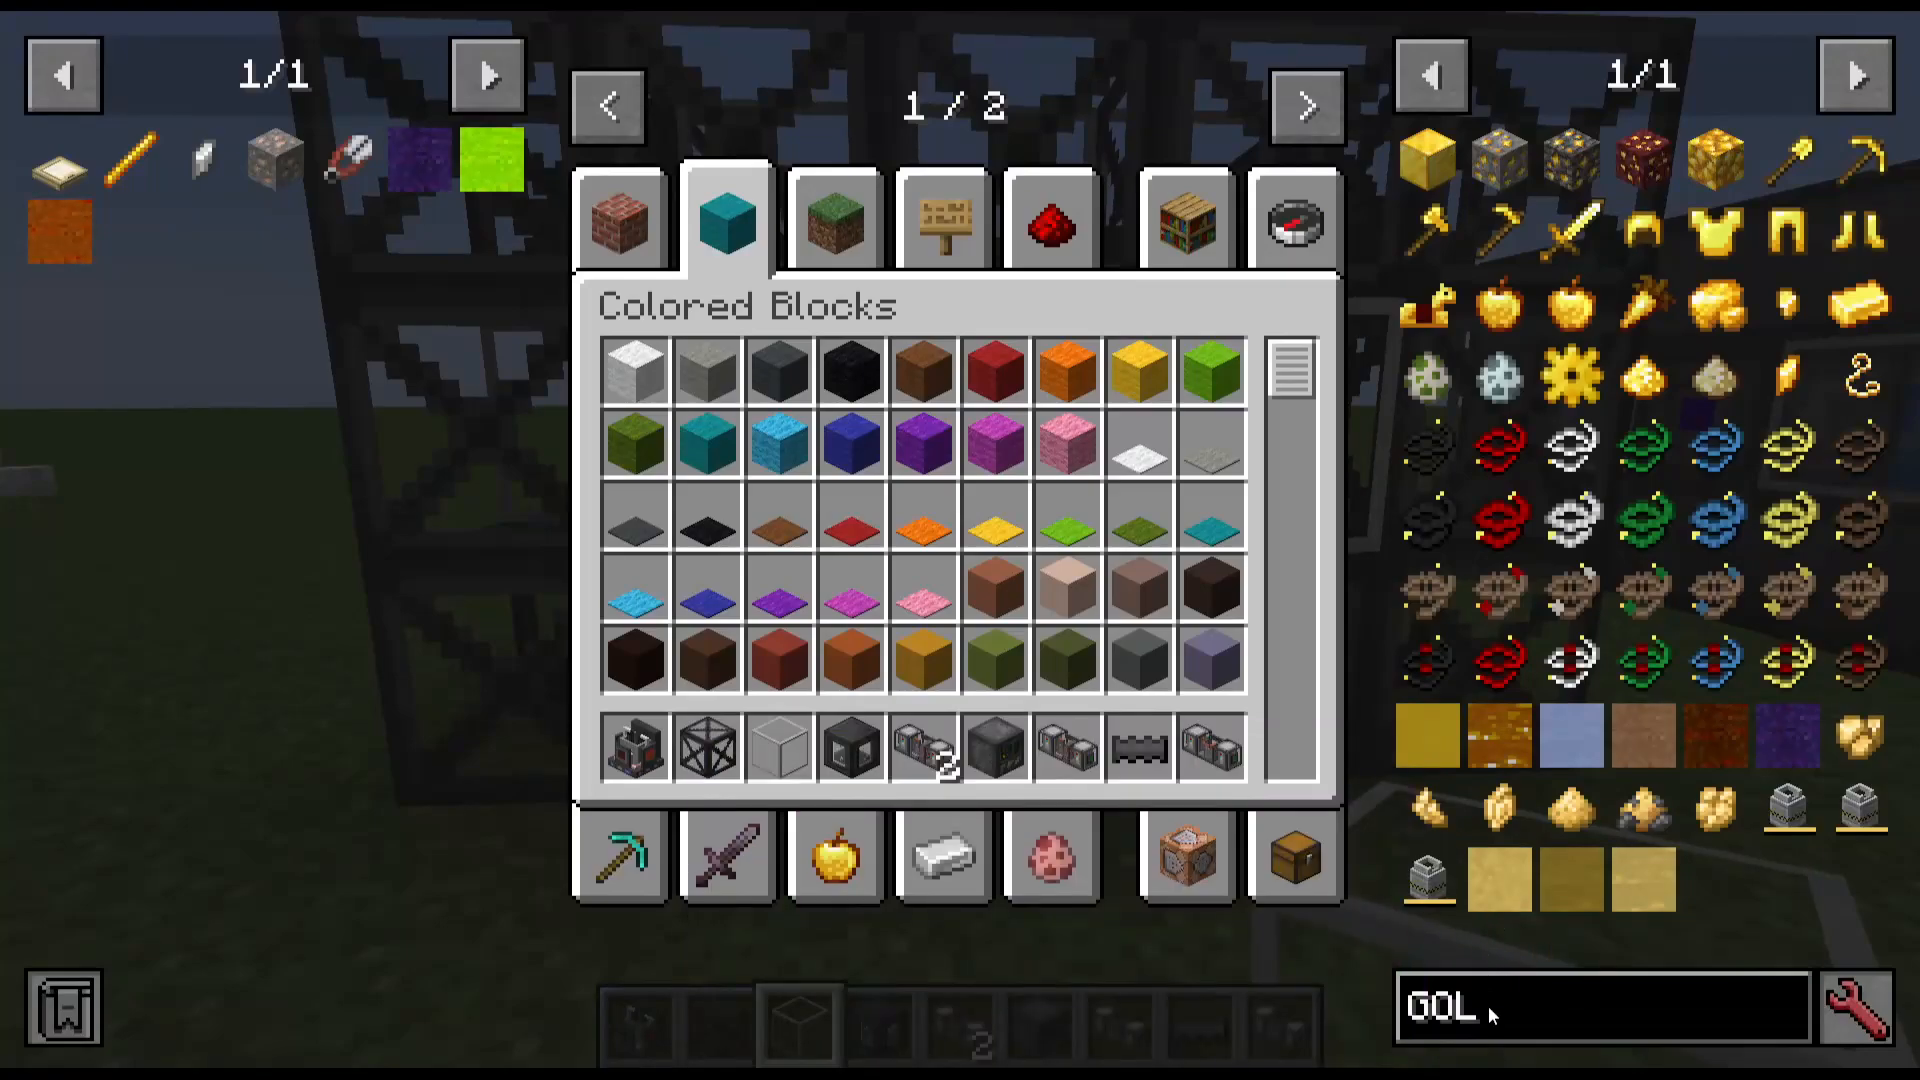
49 Steel Scaffolds
17 Alon
8 Steel Tanks
3 Gold Blocks
1 Electrolytic Separator
1 Electrolysis Chamber block
1 Ultimate Circuit
The Ultimate Circuit requires Steel and Obsidian Dust (which you can obtain from the Mineral Crusher). Alon is crafted from Niter and Aluminum in an Energized Alloy furnace. These are relatively simple recipes, so don’t worry if the list seems long.
Building the Electrolysis Chamber
Step 1: Create the Foundation
Start by placing a 5×5 grid of Steel Scaffolds on the floor. This forms the base layer of your multi-block structure. Take your time to ensure the grid is perfectly aligned.
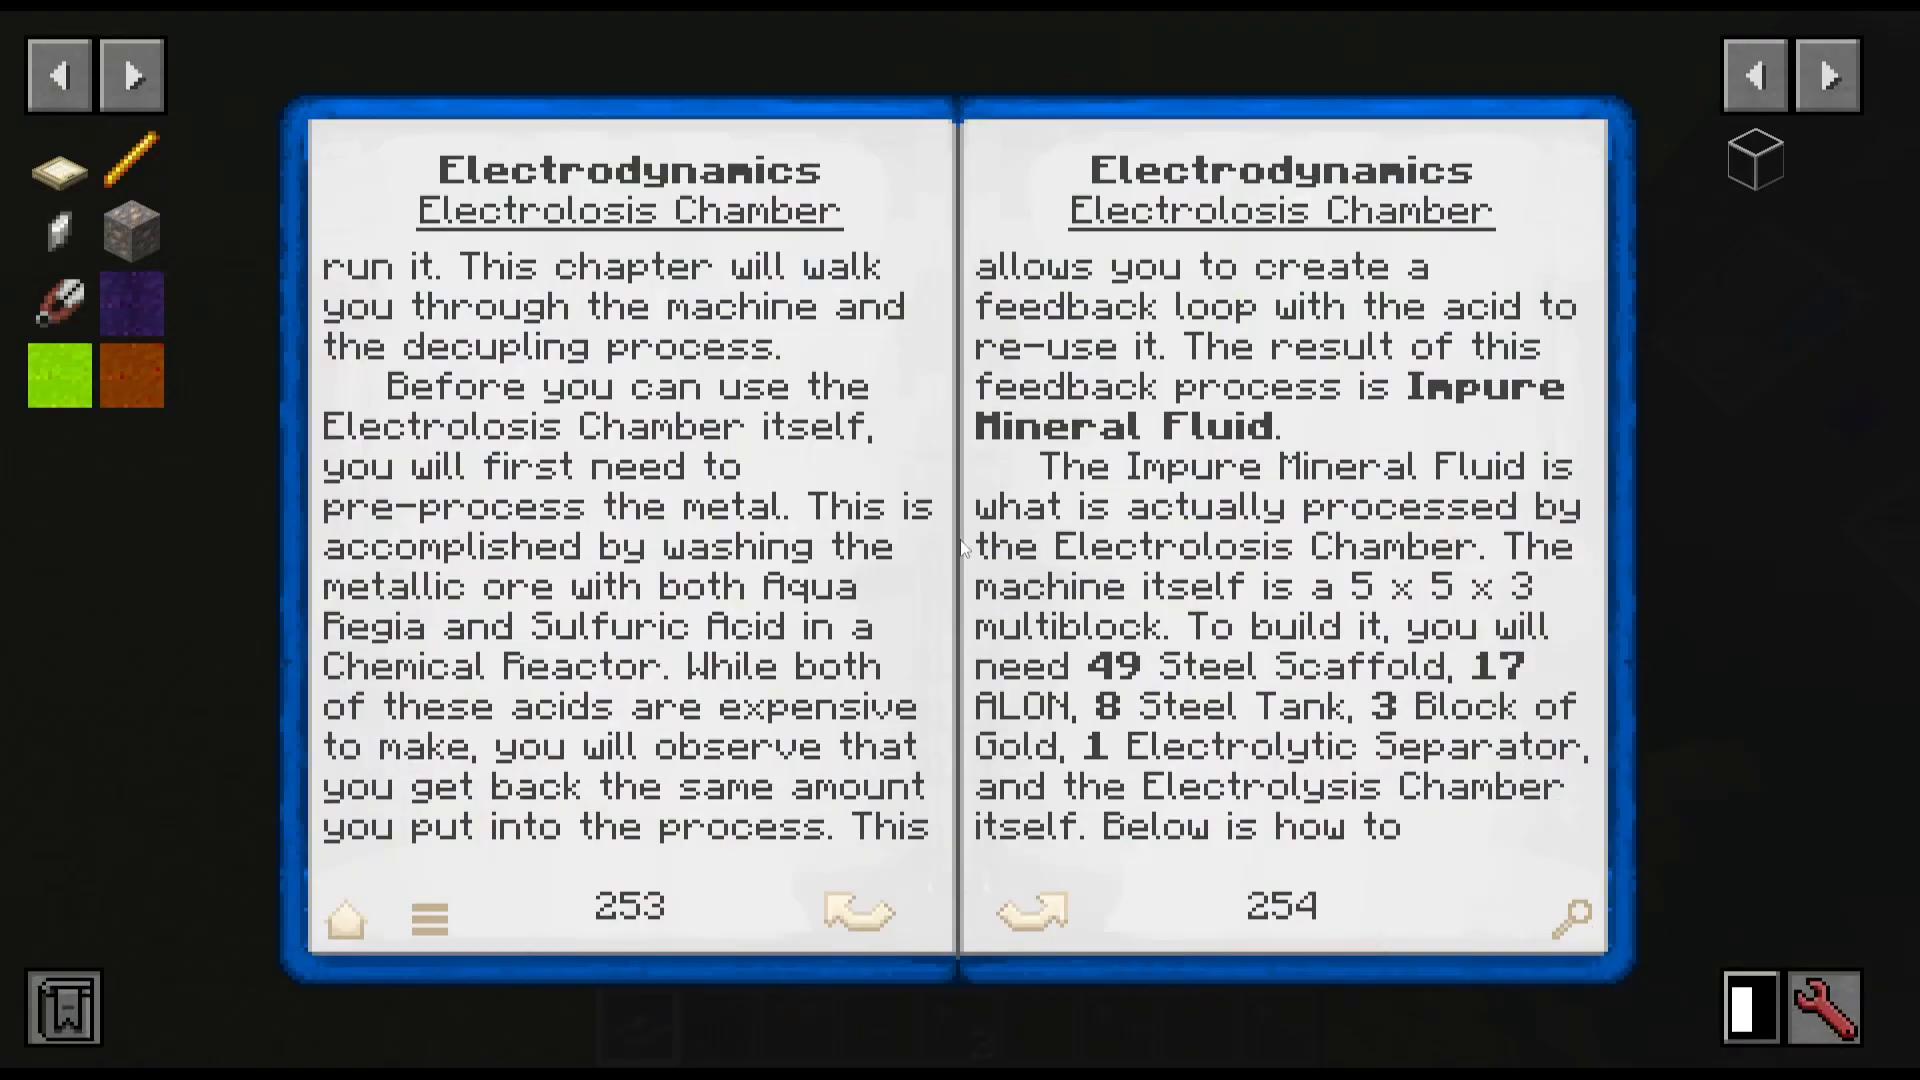
Step 2: Add Corner Supports and Alon Frame
Place four additional Steel Scaffolds in the corners on top of your foundation layer. Now take your Alon blocks and place them around the outside of these corner scaffolds in an alternating pattern: 1-2-1-2-1-2-1-2. This creates the outer wall of your chamber while leaving the center empty.
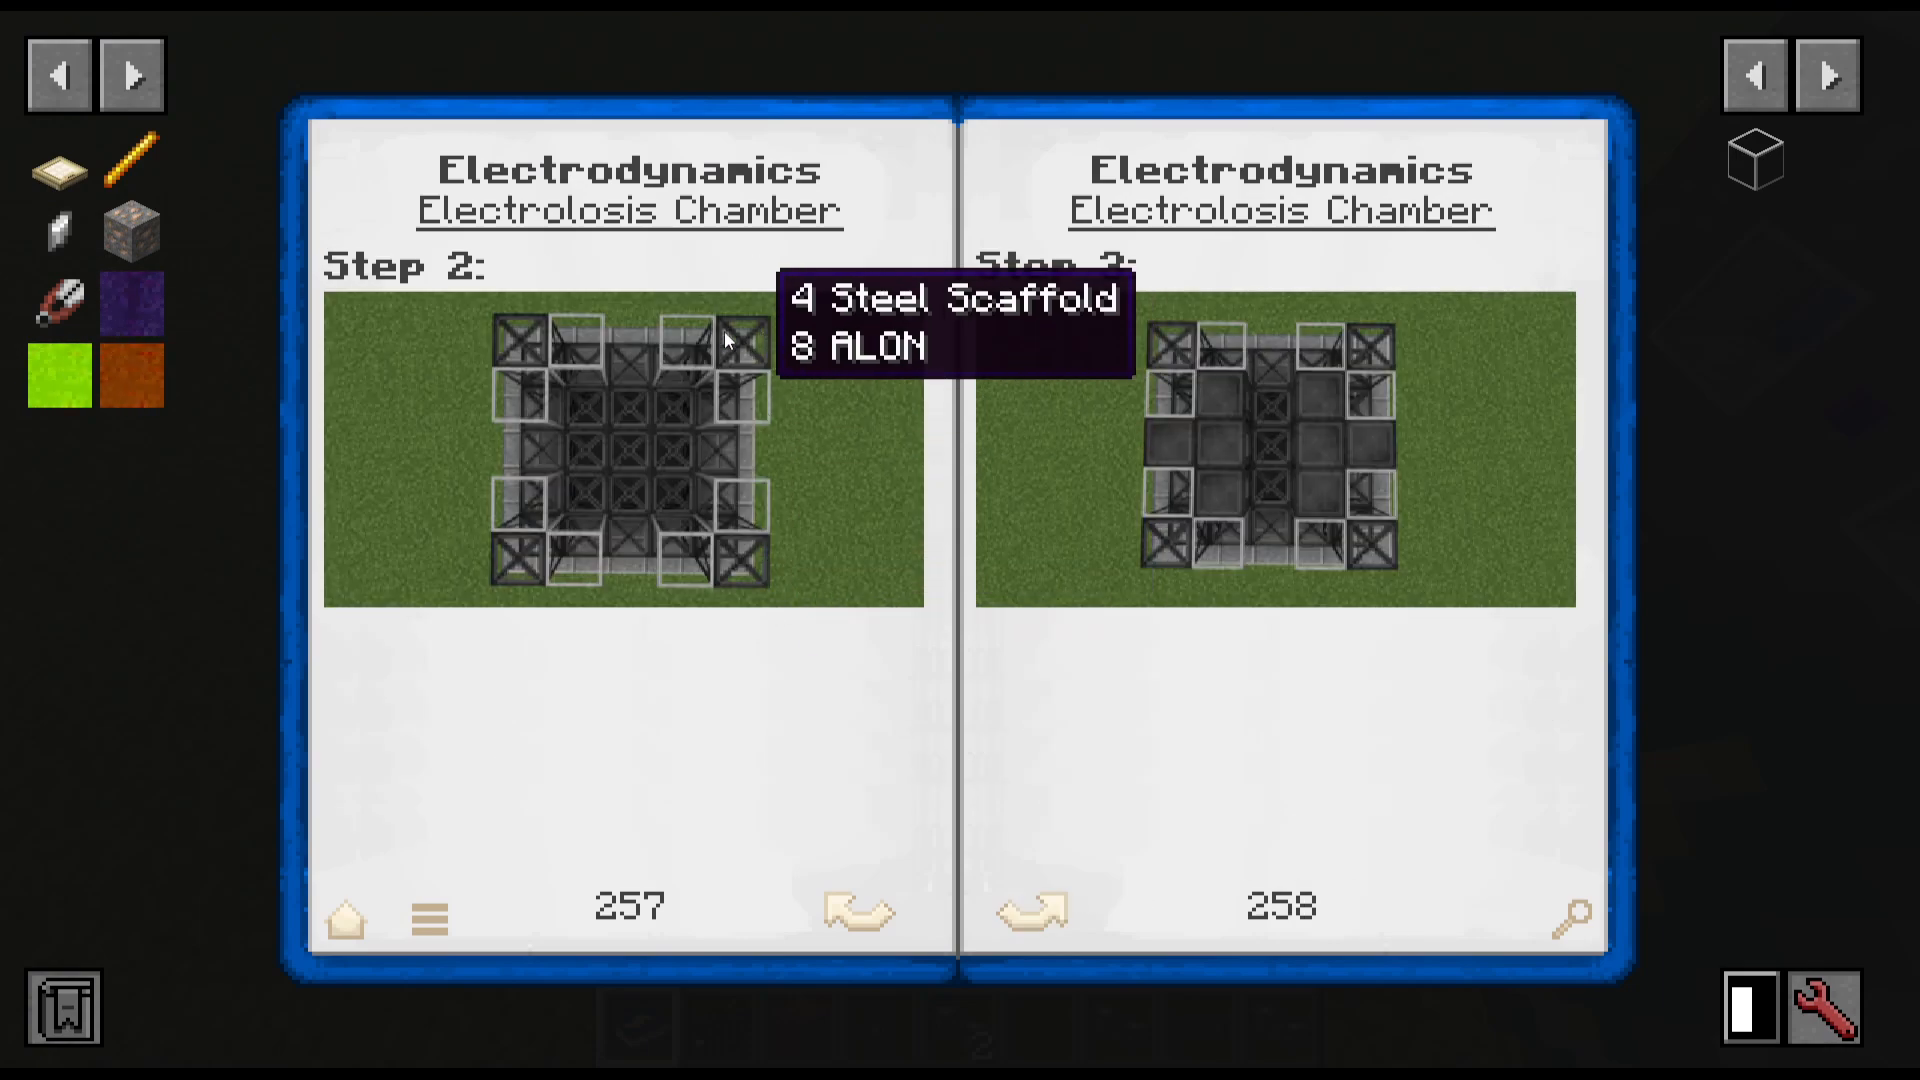
Step 3: Install Steel Tanks
Fill in the designated sections with your 8 Steel Tanks. Position them in the spaces you’ve left, avoiding the center which will house the Electrolytic Separator. The tank placement creates the input/output framework for your chamber.
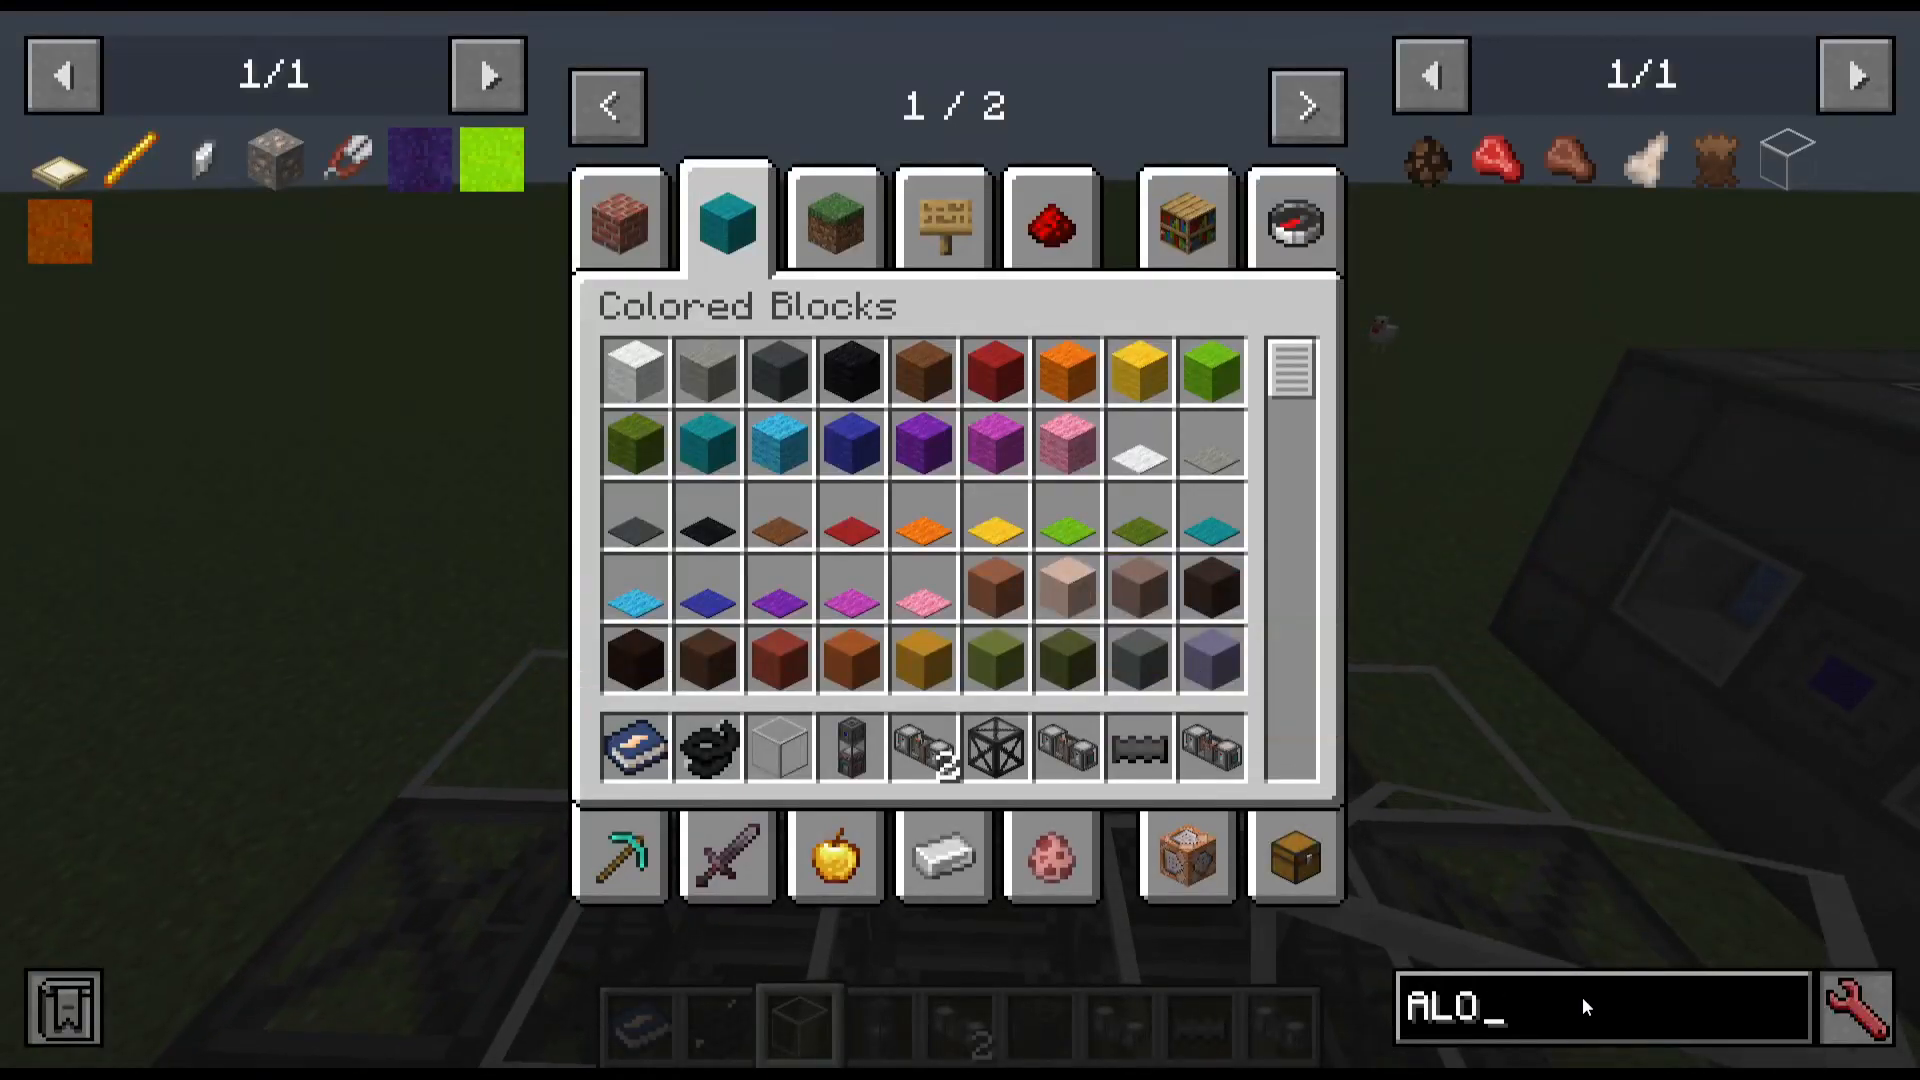
Step 4: Place the Electrolytic Separator
Place the Electrolytic Separator in the center of your structure. It doesn’t matter which direction it faces—the chamber will function correctly regardless.
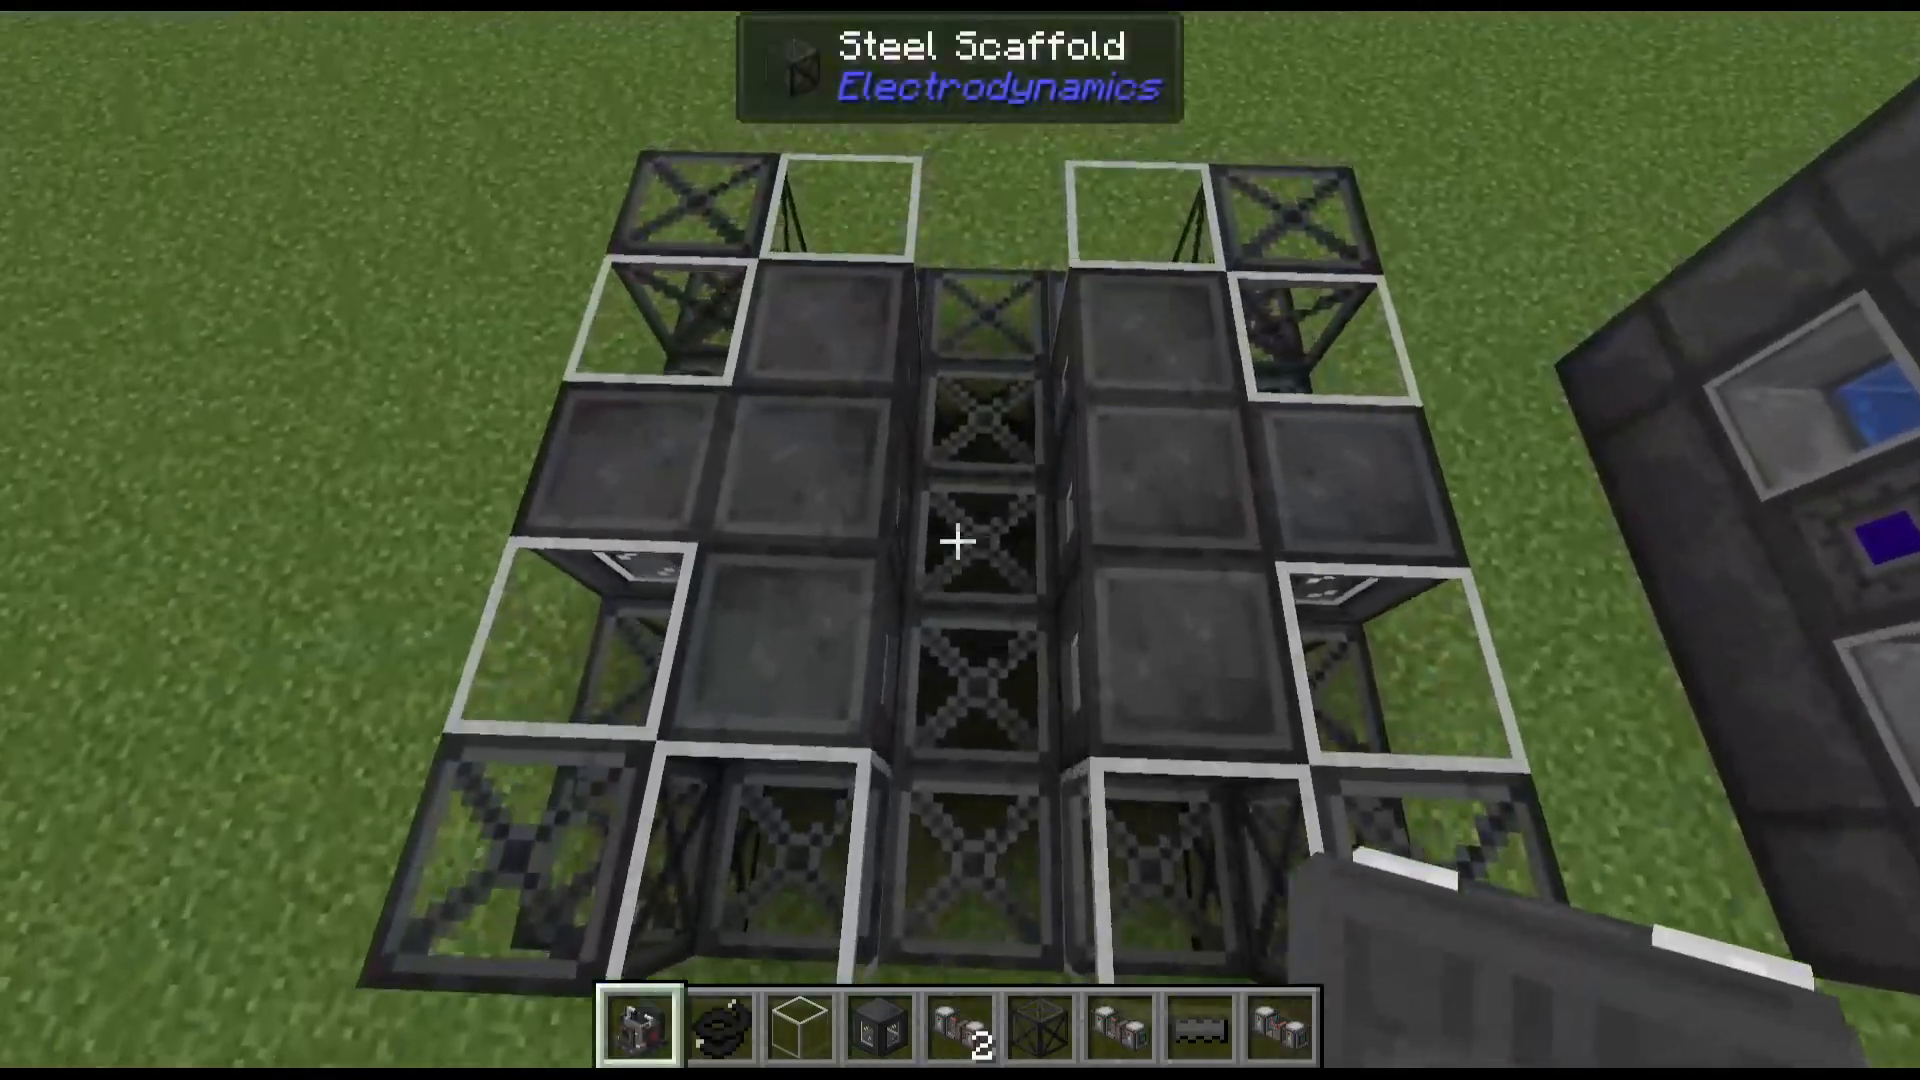
Step 5: Add Gold Blocks
Position your Gold Blocks strategically: place two blocks on one side and one block on the opposite side. Note which direction you consider the “front” of your chamber—this is where you’ll interact with it.
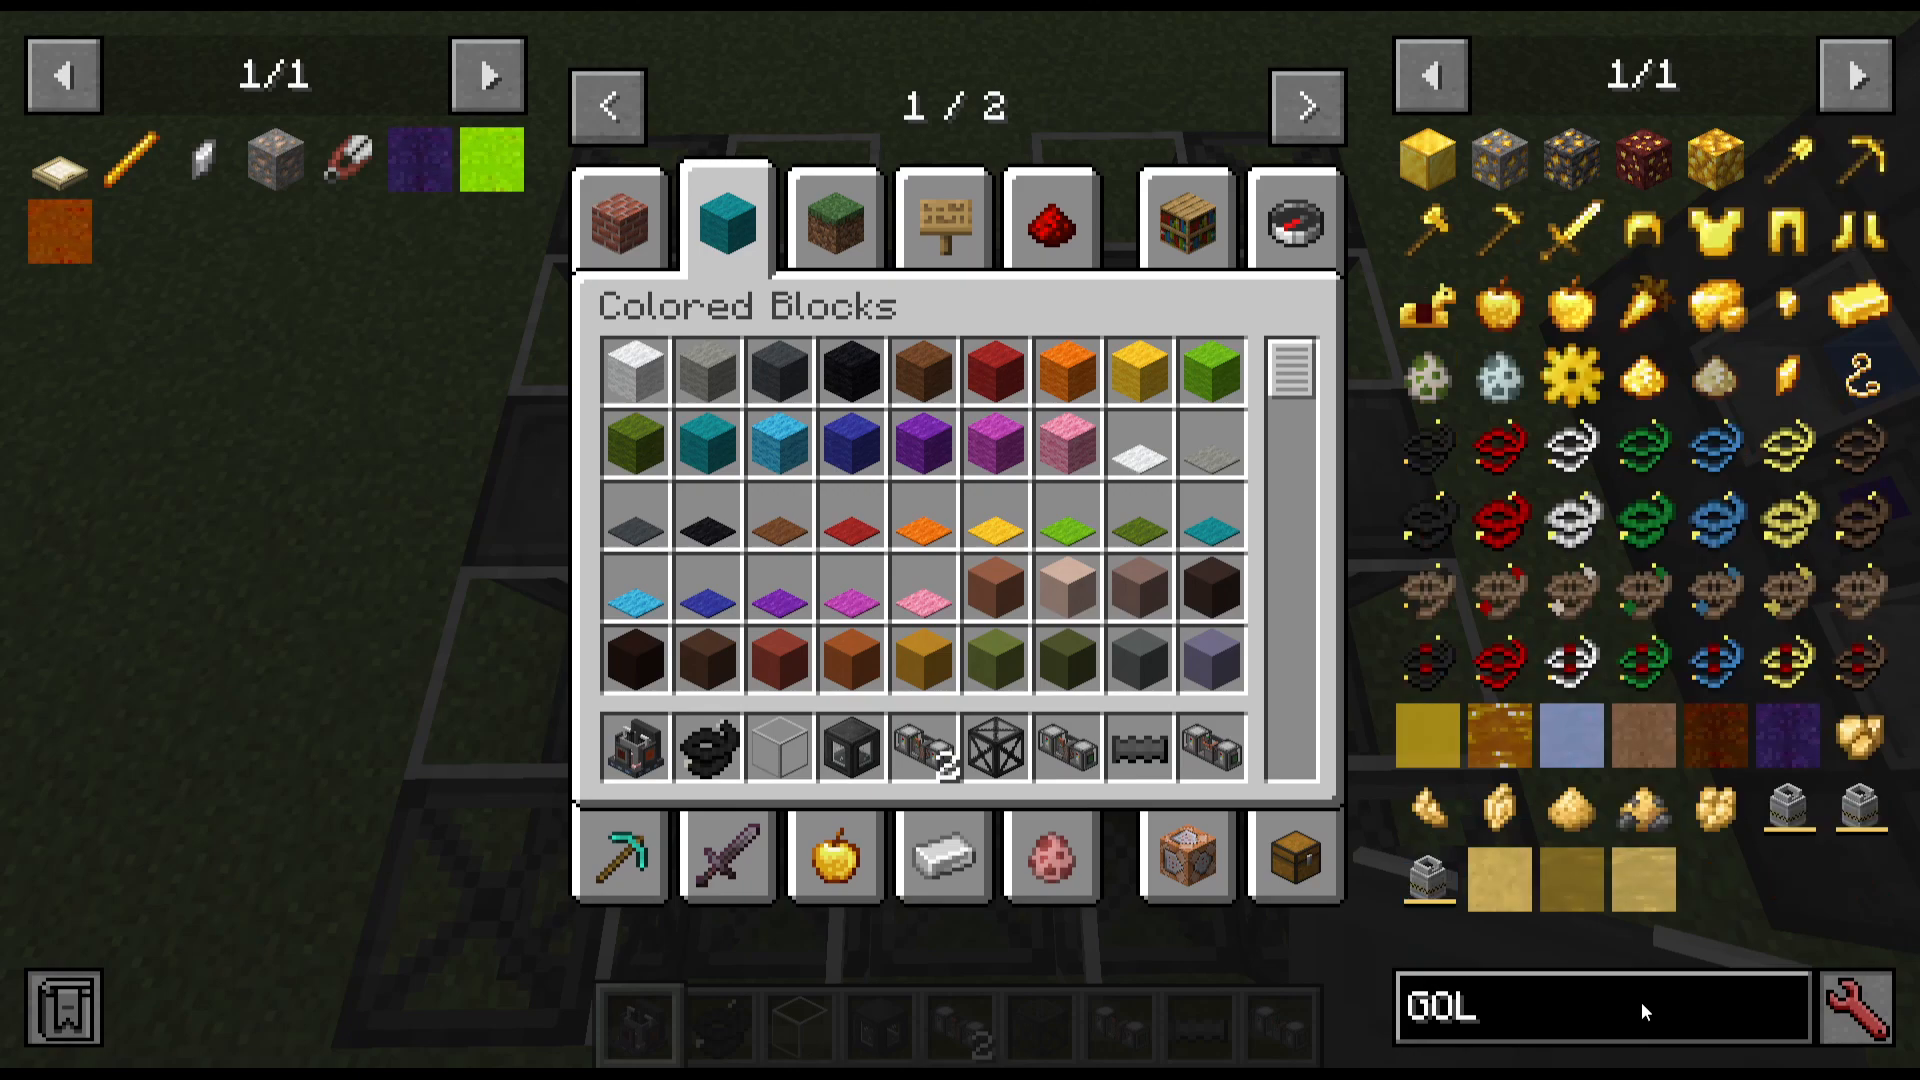
Step 6: Complete the Structure
Build the roof of your chamber using Steel Scaffolds all the way around the top layer. Once the scaffolding is in place, fill in the remaining spaces with Alon blocks to complete the multi-block structure.
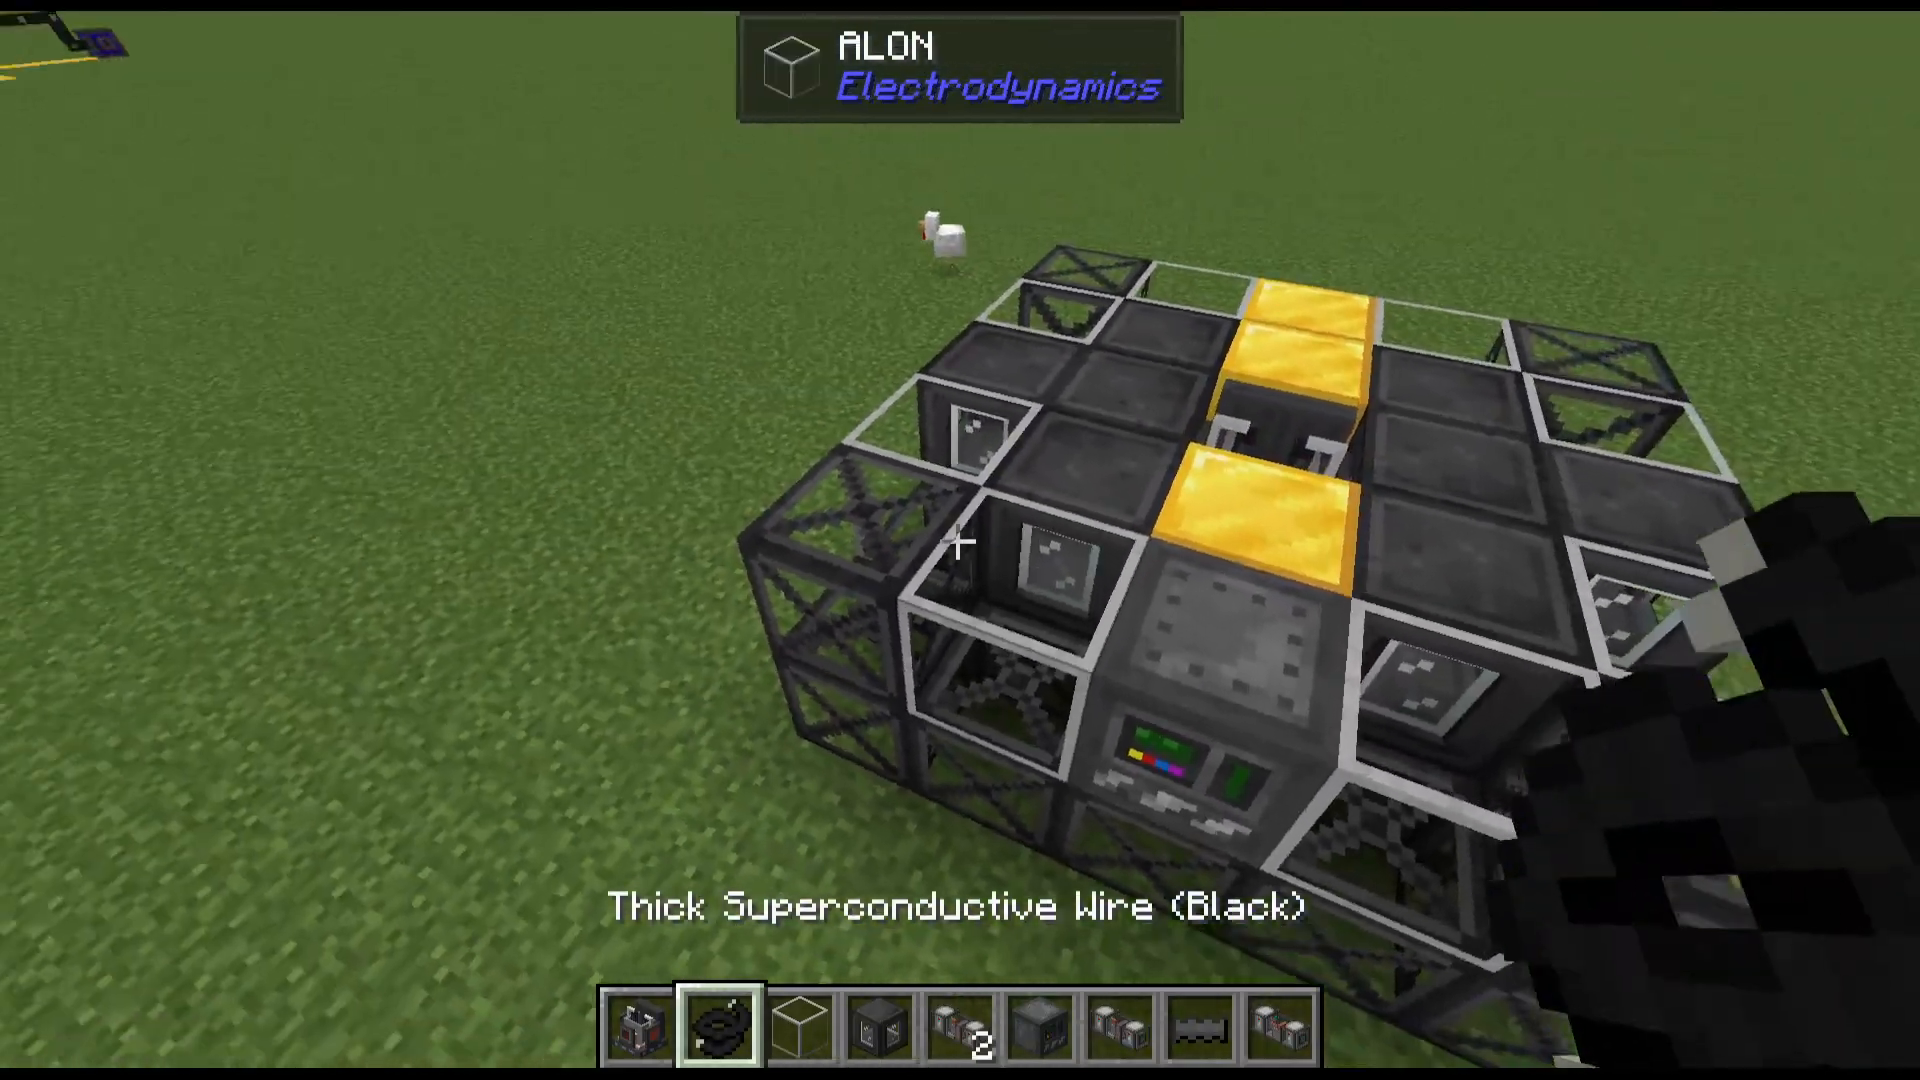
Step 7: Activate the Chamber
Take a Wrench and right-click the completed structure. It will transform into the functional Electrolysis Chamber. You can also right-click it again later to disassemble and reassemble it if needed.
Using the Electrolysis Chamber
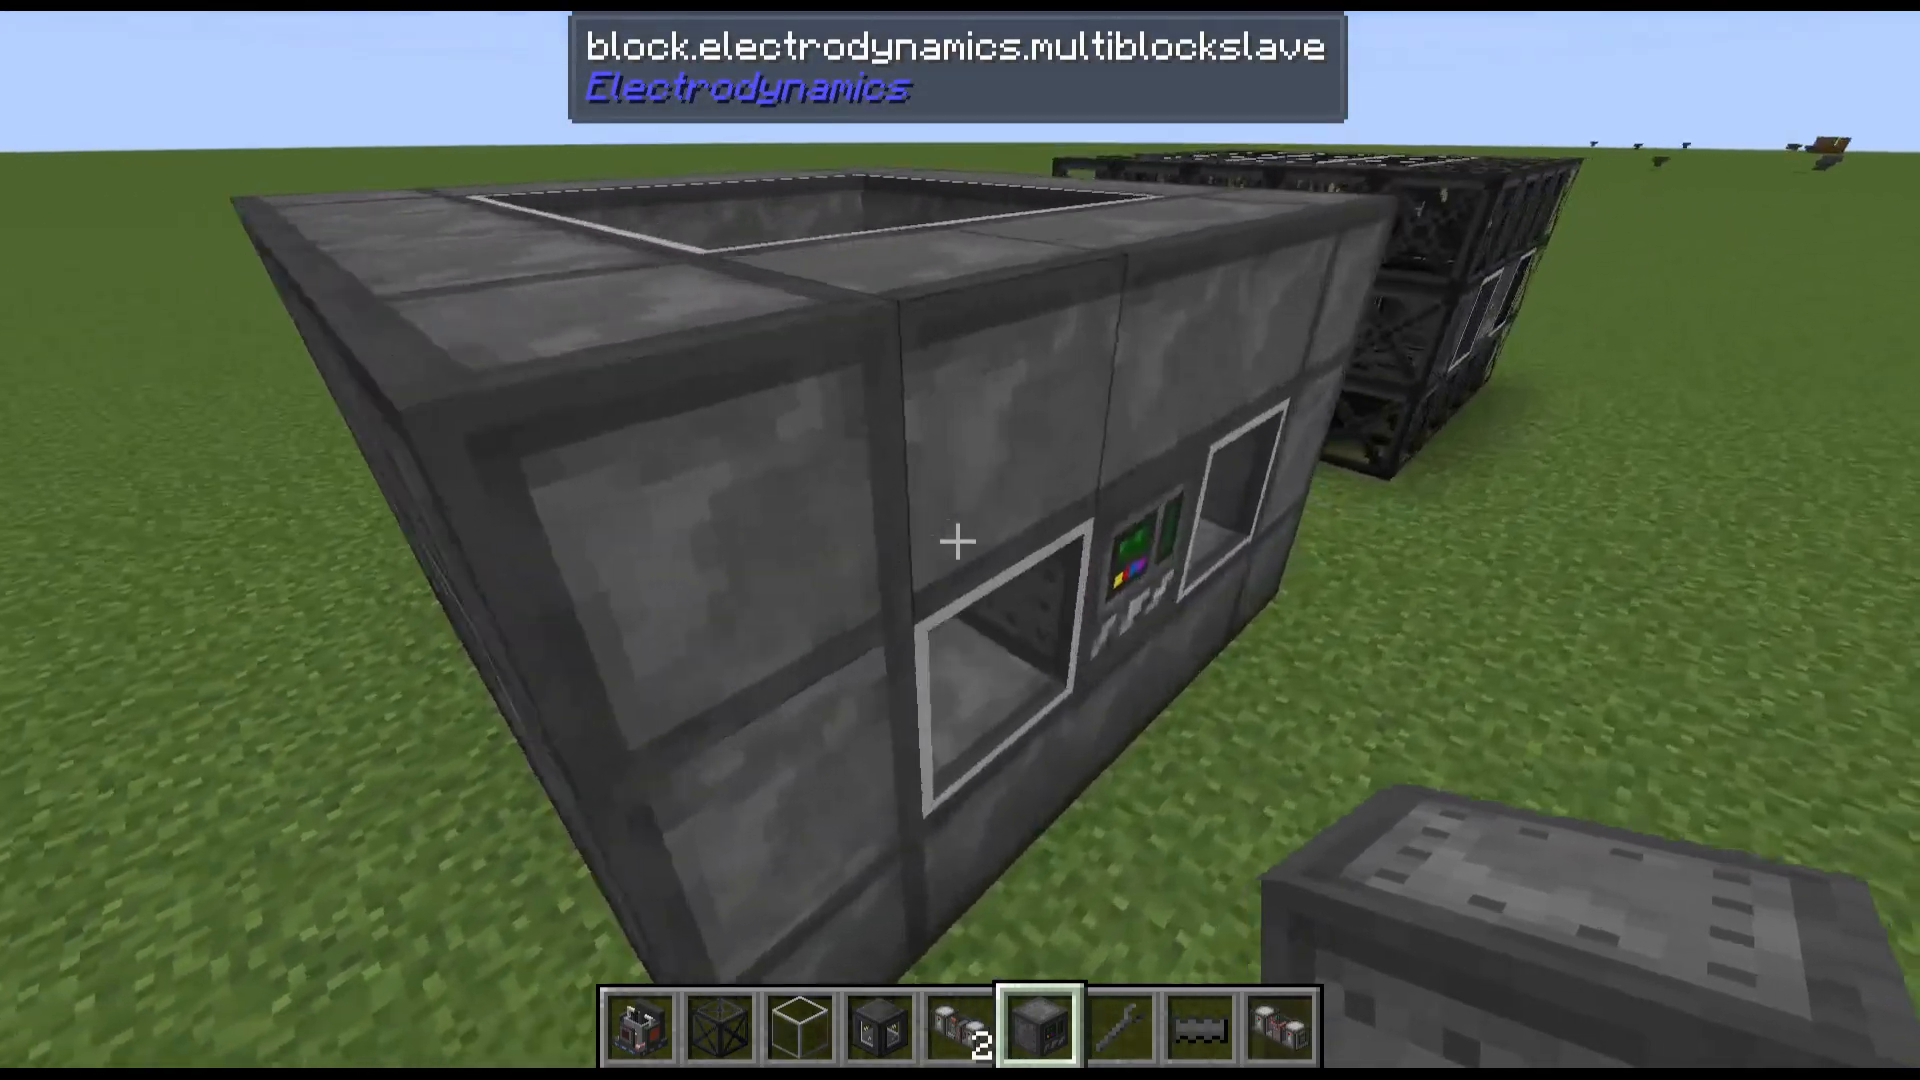
The Electrolysis Chamber is remarkably simple once it’s built. It takes one input and converts it into one output. For example, combining Aqua Regia with Iron Ore produces Royal Iron Solution.
Port Configuration
Blue Socket (Left Side): Input port for materials
Output (Right Side): Output port for finished products
Power Input (Back): Where energy enters the machine
Power Requirements and Setup
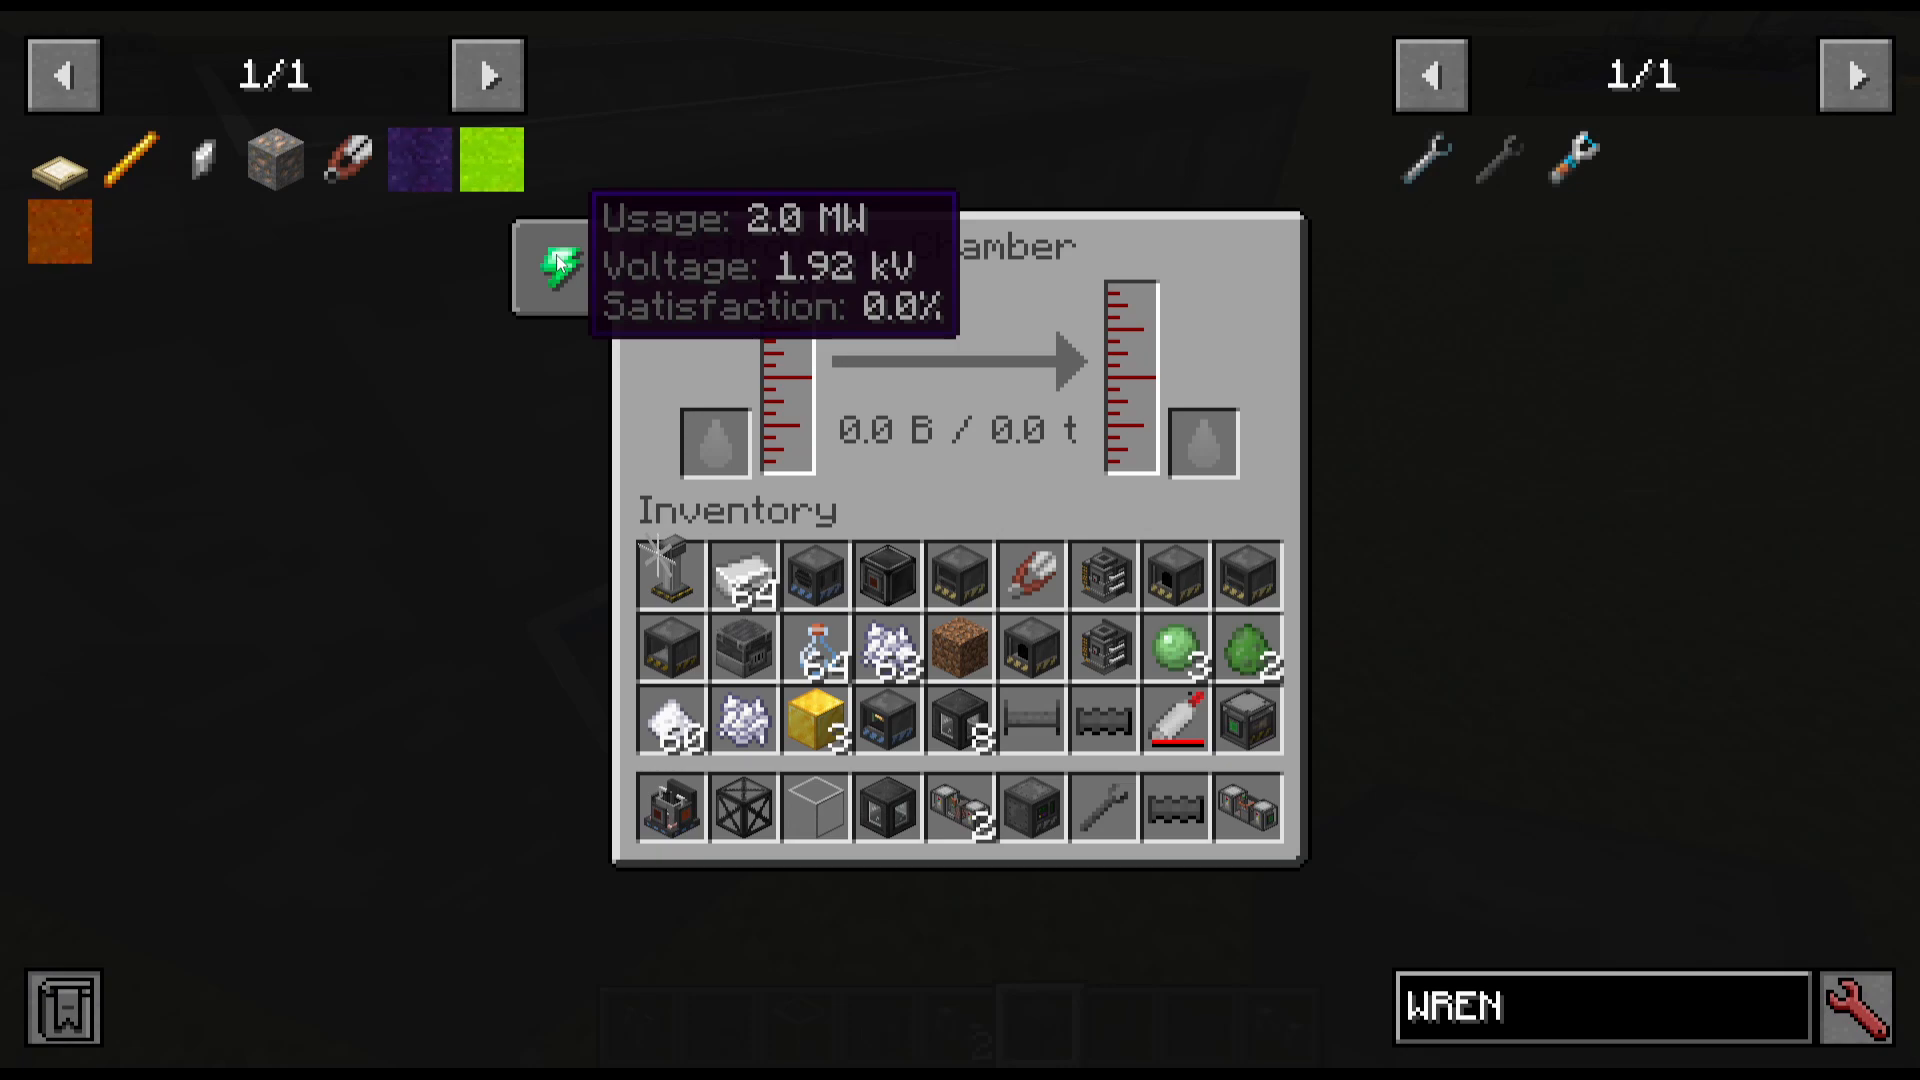
The Electrolysis Chamber requires 1.92 kilowatts of voltage to operate. This is higher than standard wire capacity (which typically maxes out at 960 voltage). To solve this, use Upgrade Transformers.
Powering Your Chamber
Attach an Upgrade Transformer directly to the back of your Electrolysis Chamber. Use your Wrench to right-click the transformer and rotate it so that red (input) faces your power source and grey (output) faces the chamber. At 960 voltage, the transformer will provide sufficient power for the machine to operate efficiently.
Summary
You’ve now successfully built and configured an Electrolysis Chamber! Remember: the construction is the hardest part—once it’s complete, operation is straightforward. Use the chamber to convert various materials into valuable products, and always ensure your power supply is properly connected via an Upgrade Transformer. With this machine in your arsenal, you’re well-equipped to progress further in the Electrodynamics mod.
Want to Support?
If you would like to help us continue making these guides – please consider joining our patreon here – https://www.patreon.com/c/JaviHeals
Alternatively – we host a group of MC Servers you can join here – https://discord.gg/zD7Gjt6MHF



