Complete Fluids Tutorial – Embers Rekindled
Complete Fluids Tutorial – Embers Rekindled
One of the most powerful features in Embers Rekindled is its fluid manipulation system. Whether you want to store water, move lava, or filter multiple liquids through the same pipe network, Embers Rekindled gives you the tools to do it all. In this guide, we’ll walk you through everything — from basic fluid vessels to advanced reservoirs with mechanical cores and fluid filters.
Getting Started: The Fluid Vessel
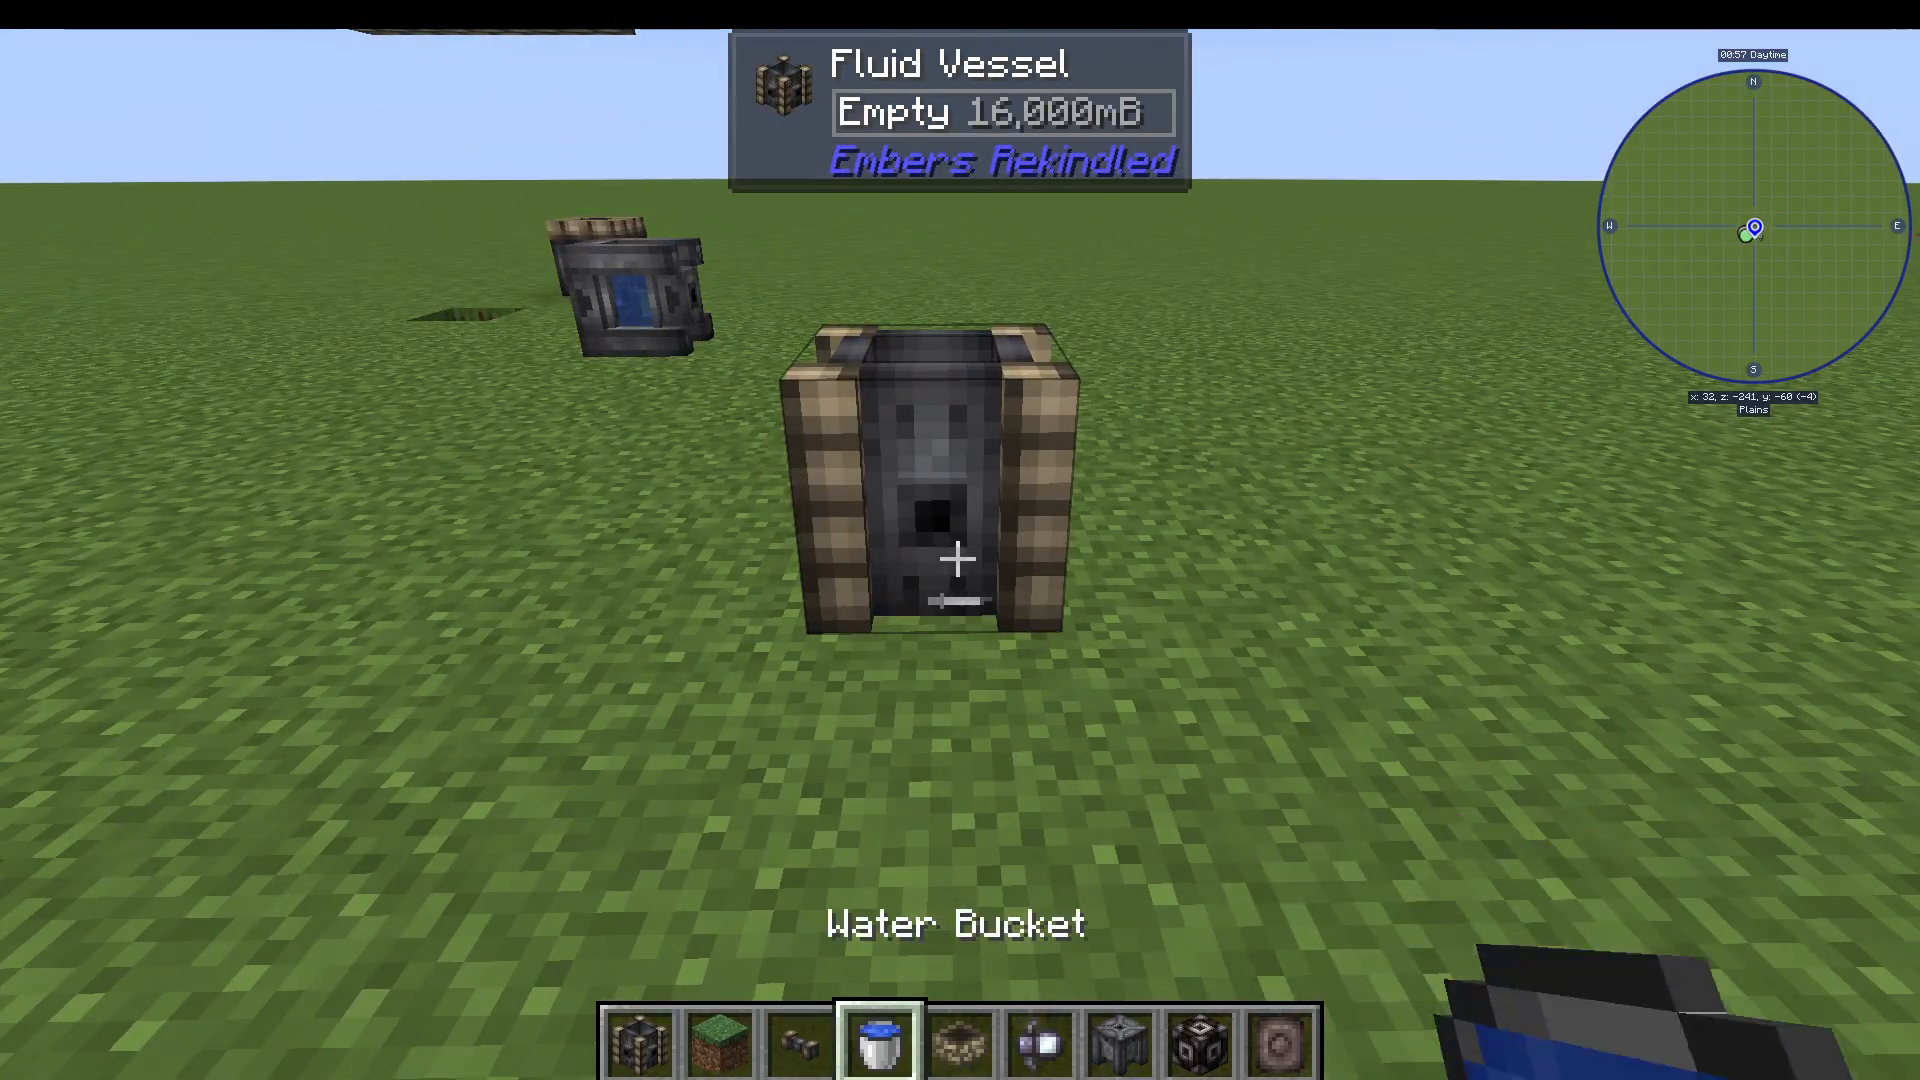
The foundation of fluid storage in Embers Rekindled is the Fluid Vessel. To fill one, simply use a water bucket on it — it will collect the water directly. To craft a Fluid Vessel, you’ll need Camonite Bricks, which are made by smelting Camonite Blend (a simple mix of clay and sand). You’ll also need plates, which are crafted using your Tinker’s Hammer. Both materials are straightforward to obtain early on.
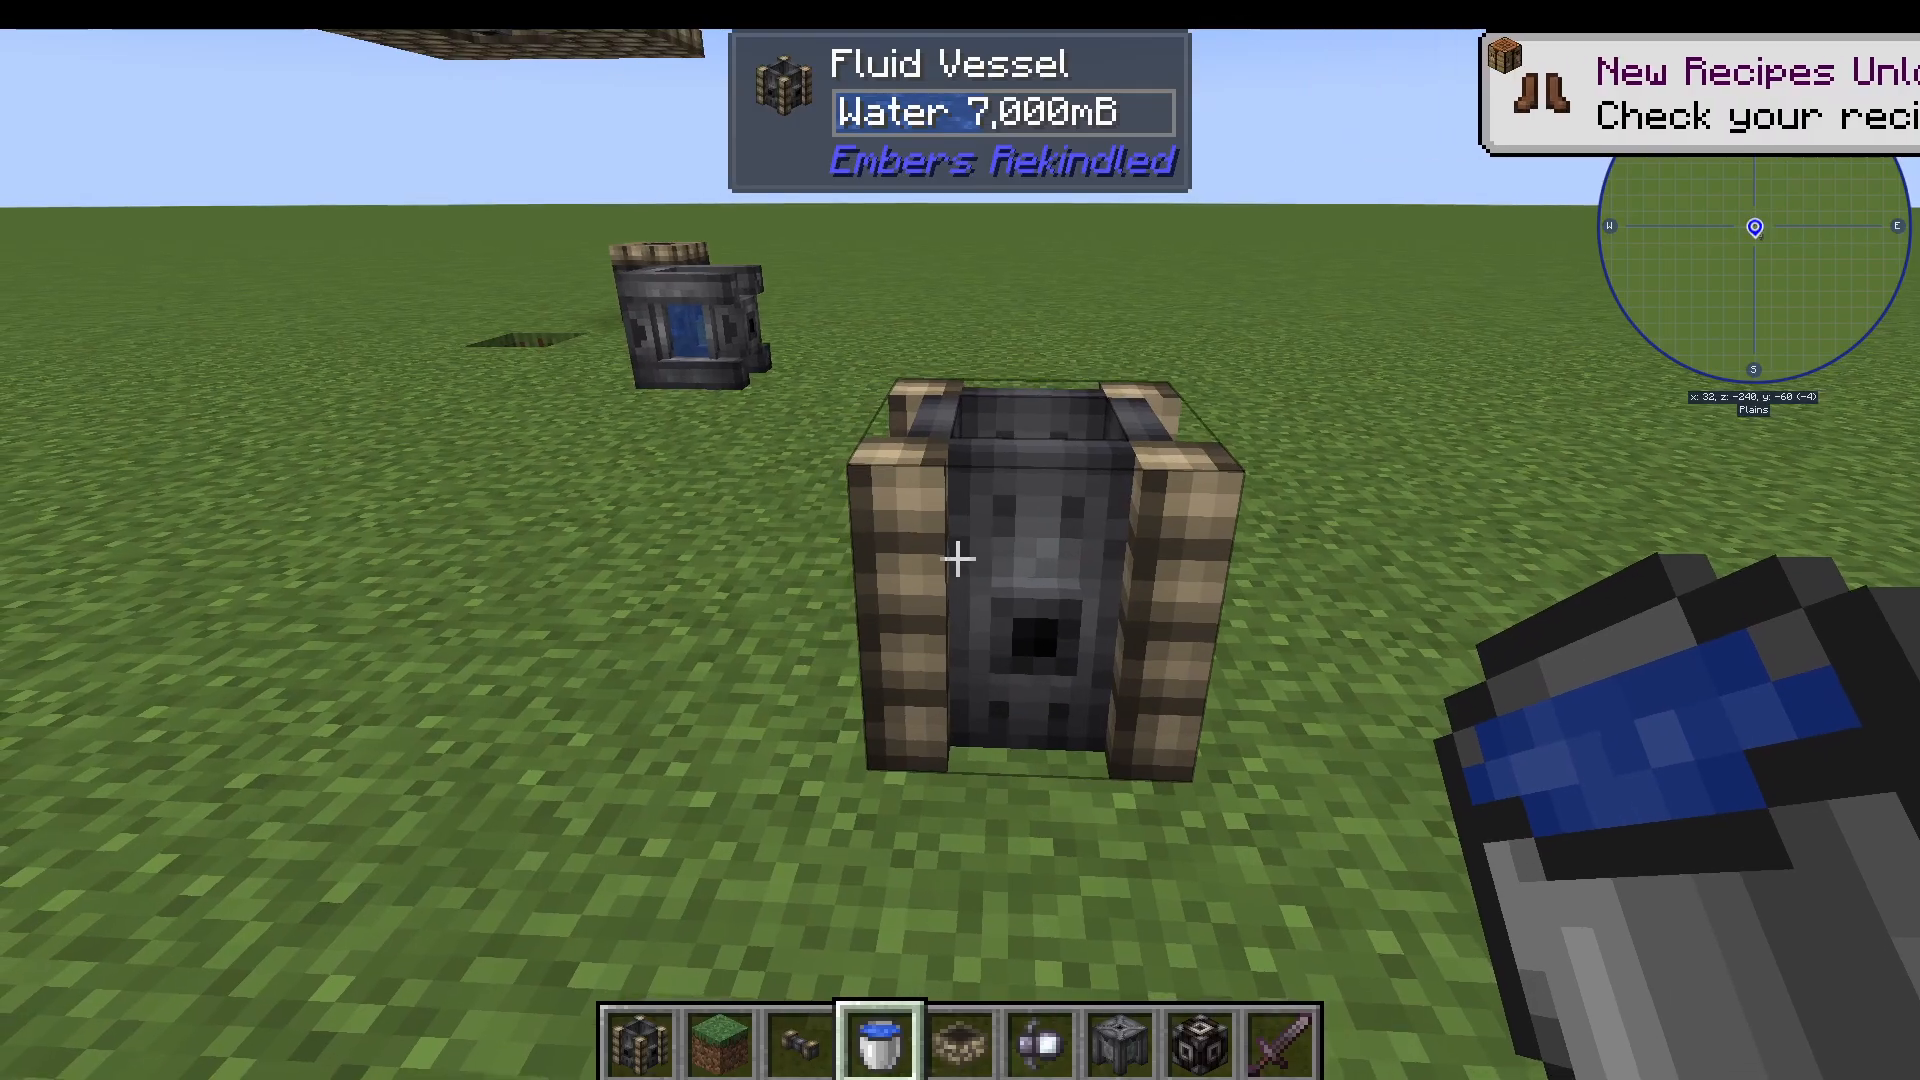
If you have the Jade mod installed, you’ll be able to see your fluid levels displayed at the top of your screen — for example, showing 7,000 water in a vessel at a glance.
The Fluid Dial
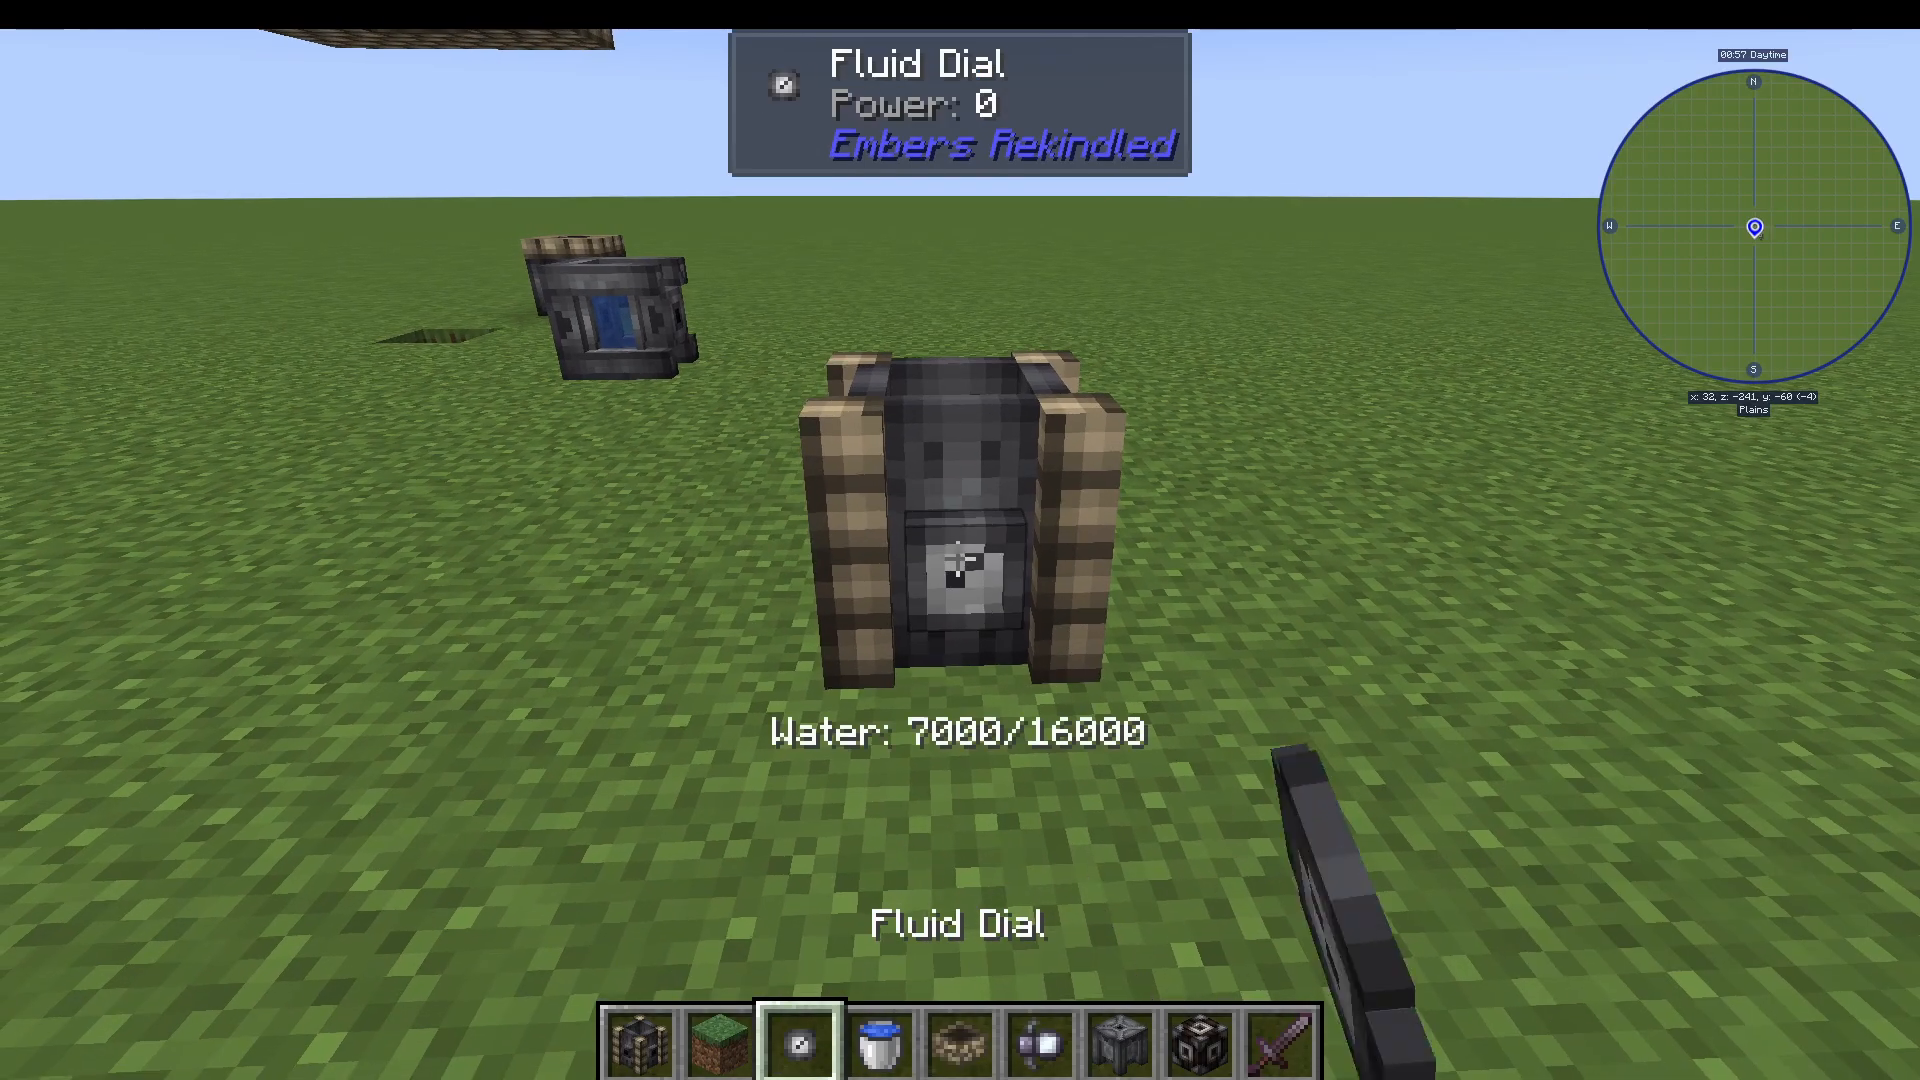
If you don’t have Jade installed, you can craft a Fluid Dial instead. Right-clicking the Fluid Dial on a vessel will display how much liquid is stored — for example, Water: 7,000 / 16,000. It works with any liquid, not just water, making it a handy alternative monitoring tool.
Automating Fluid Flow: Pipes and the Fluid Extractor
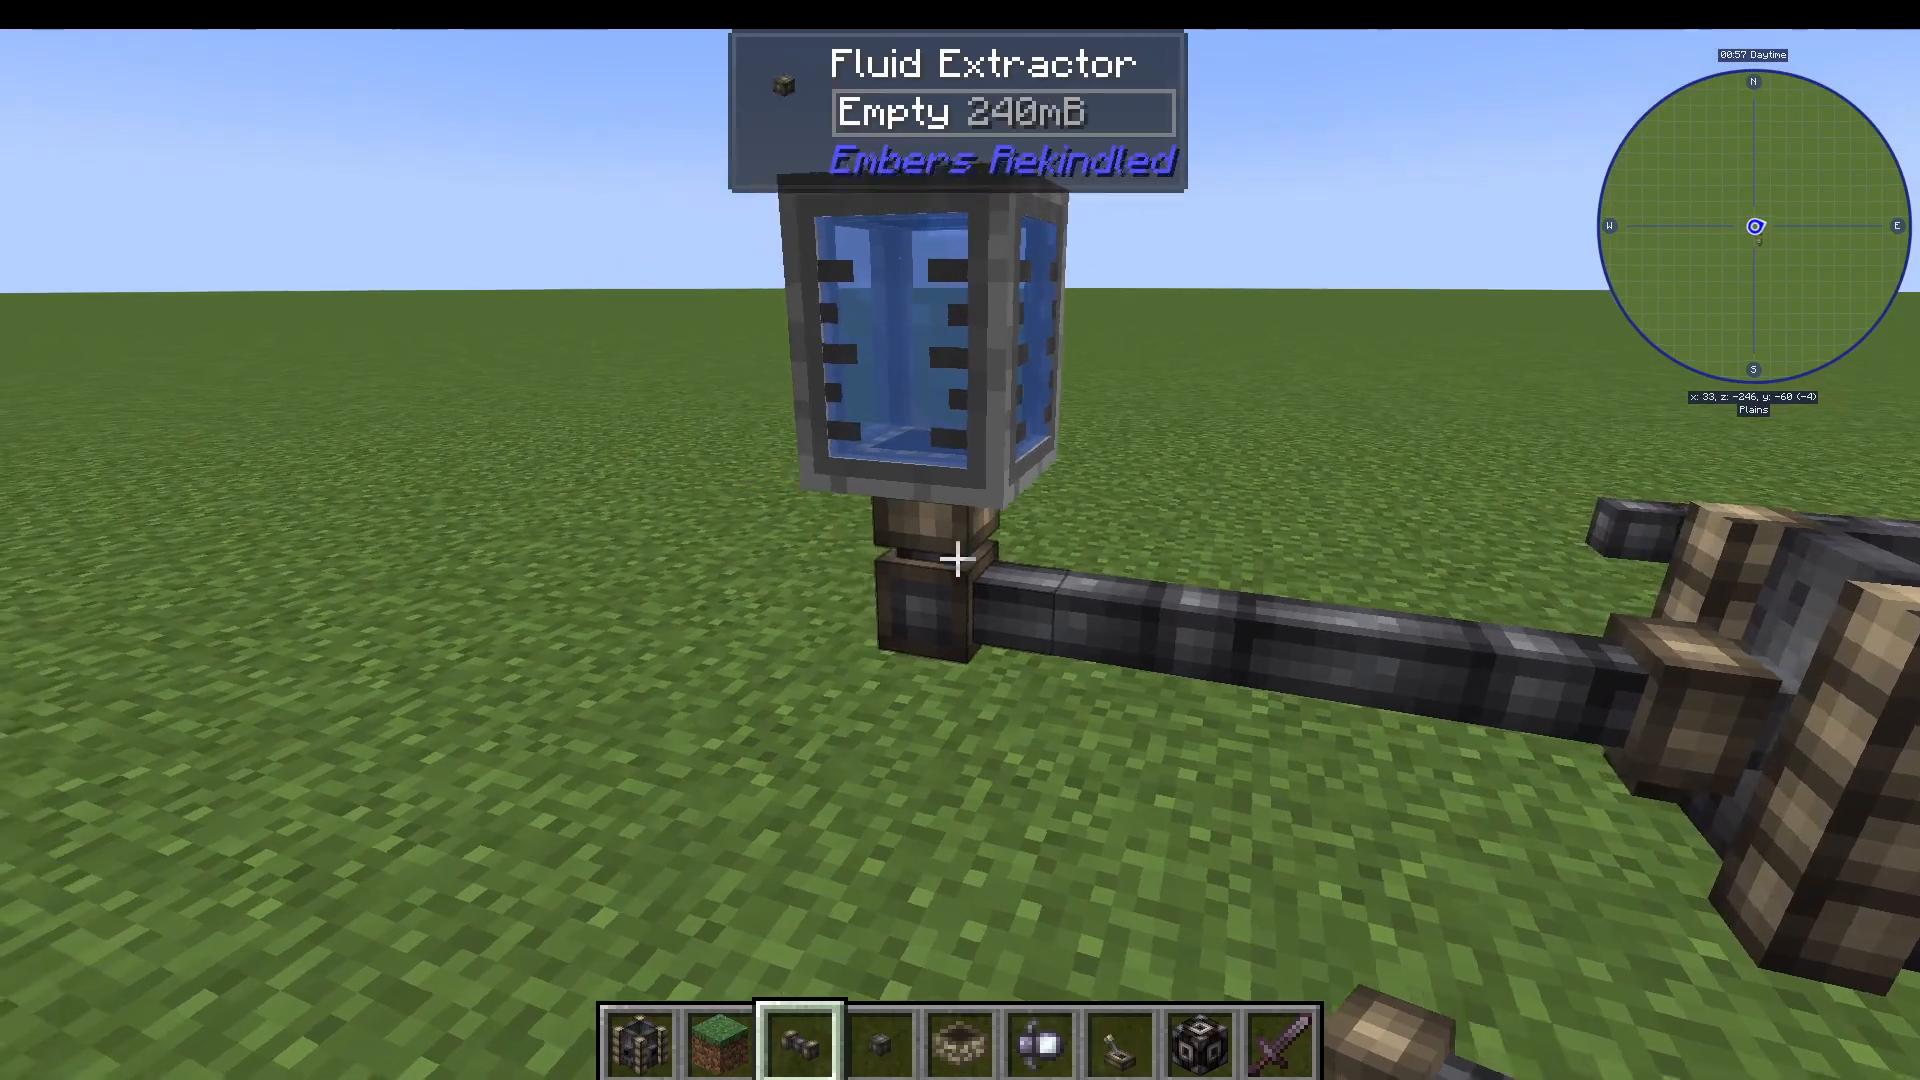
To move fluids in and out of vessels automatically, you’ll need Fluid Pipes and a Fluid Extractor. The Fluid Extractor attaches to any block that contains a liquid — such as a Fluid Vessel or a fluid tank from another mod — and pushes the fluid into your pipe network.
Connect your Fluid Extractor to your target Fluid Vessel using Fluid Pipes. However, note that nothing will flow by default — the Fluid Extractor is Redstone-controlled. You’ll need to attach a Camonite Lever (or a regular lever) to the extractor and flip it to activate the flow.
Using the Tinker’s Lens to Monitor Flow
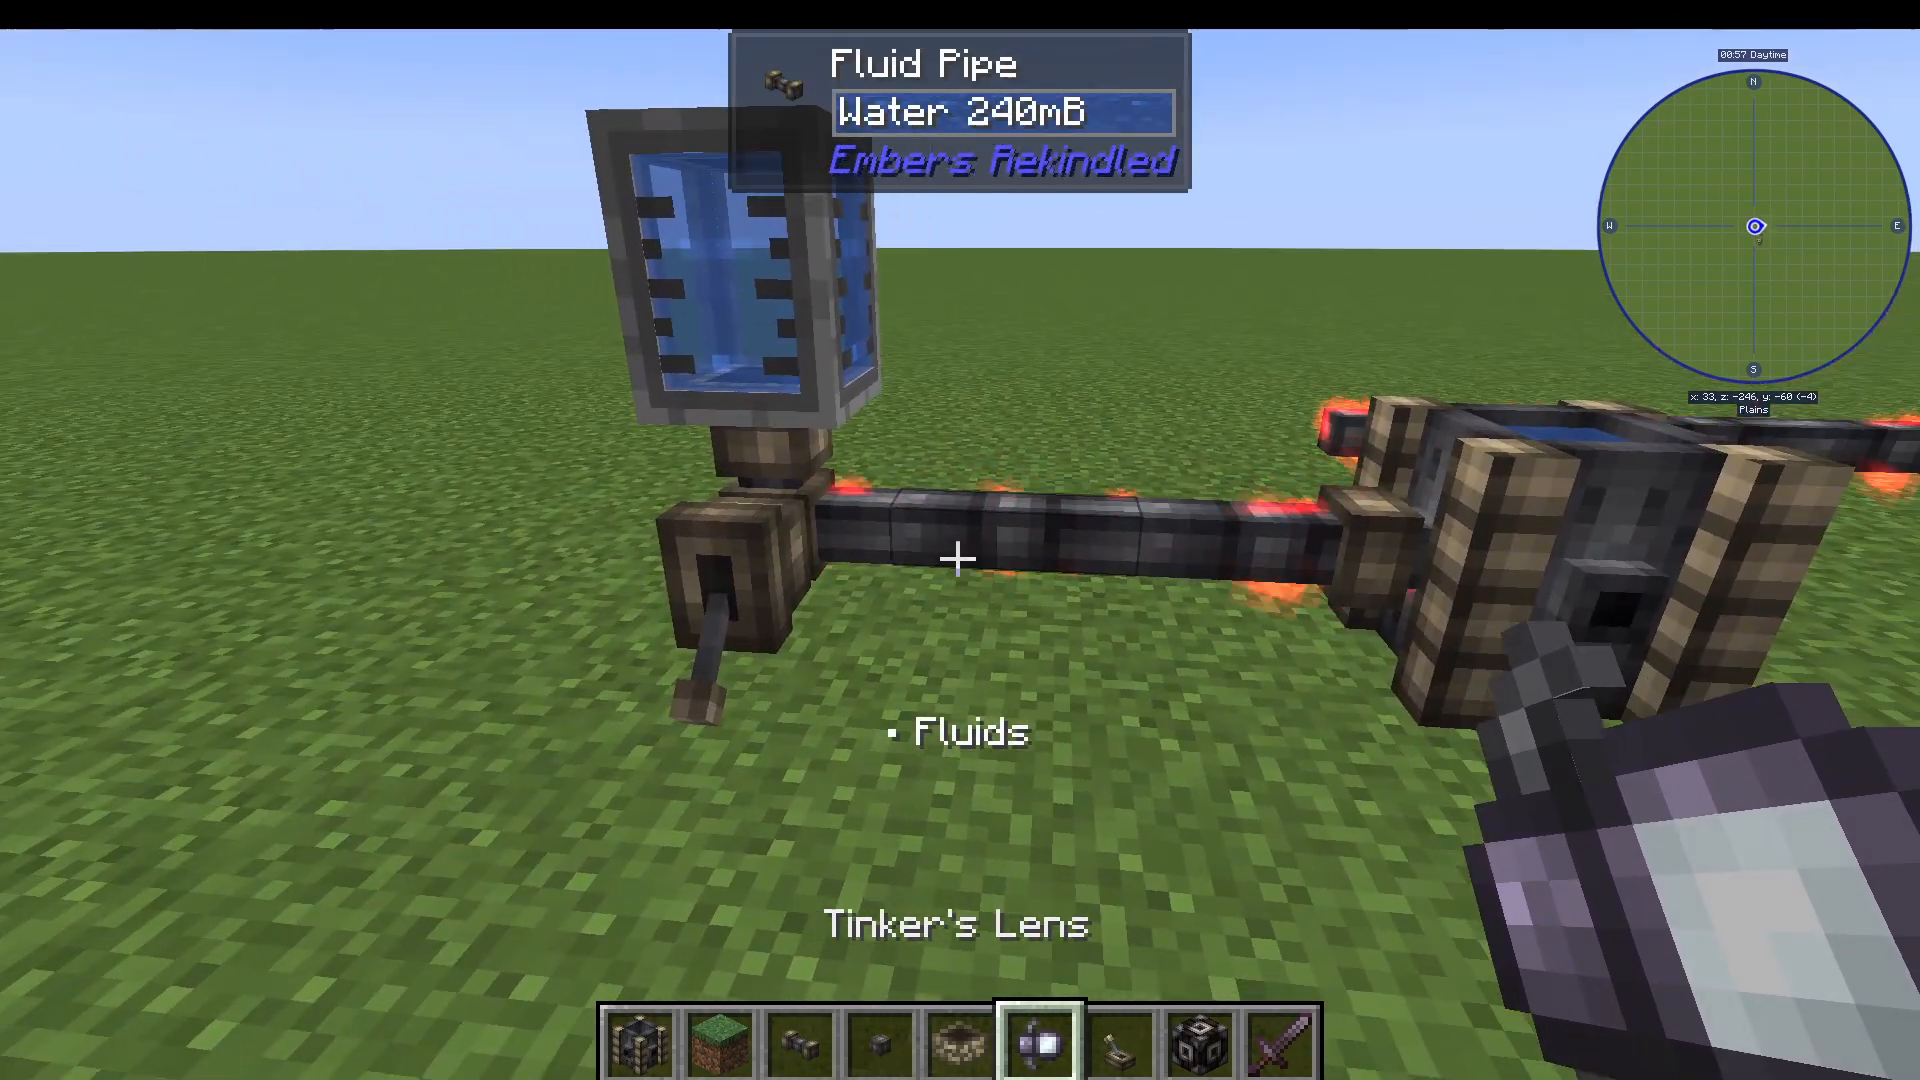
You can craft a Tinker’s Lens to visually inspect your pipe network. When held, pipes will display a colour:
Red — the vessel is full, or there is no fluid available to pull.
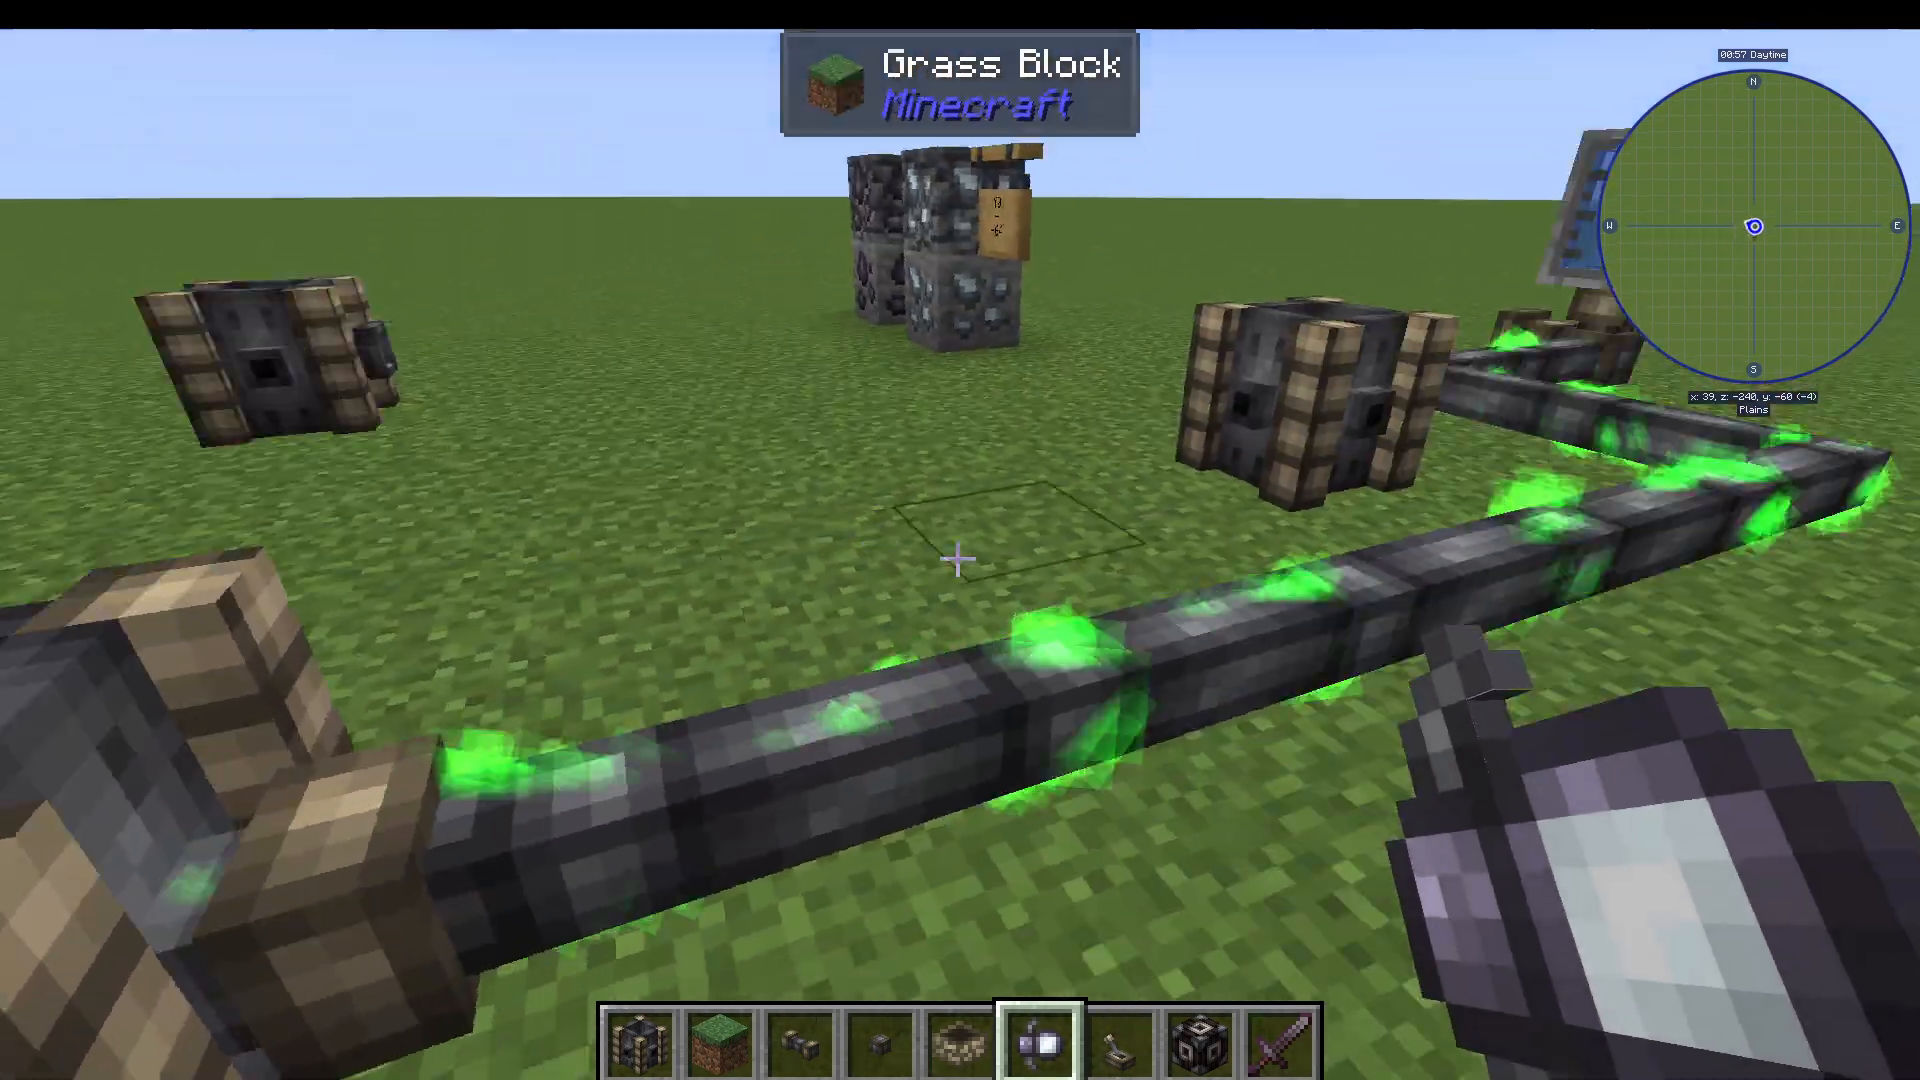
Green — fluid is actively flowing in the indicated direction.
This makes it easy to diagnose your fluid network at a glance without needing extra UI mods.
Fill Order: Closest Vessel First
When multiple Fluid Vessels are connected in a pipe network, Embers Rekindled will fill the closest vessel first, then move on to vessels further down the line once the nearest one is full. Keep this in mind when designing your storage layout.
Large-Scale Storage: The Reservoir
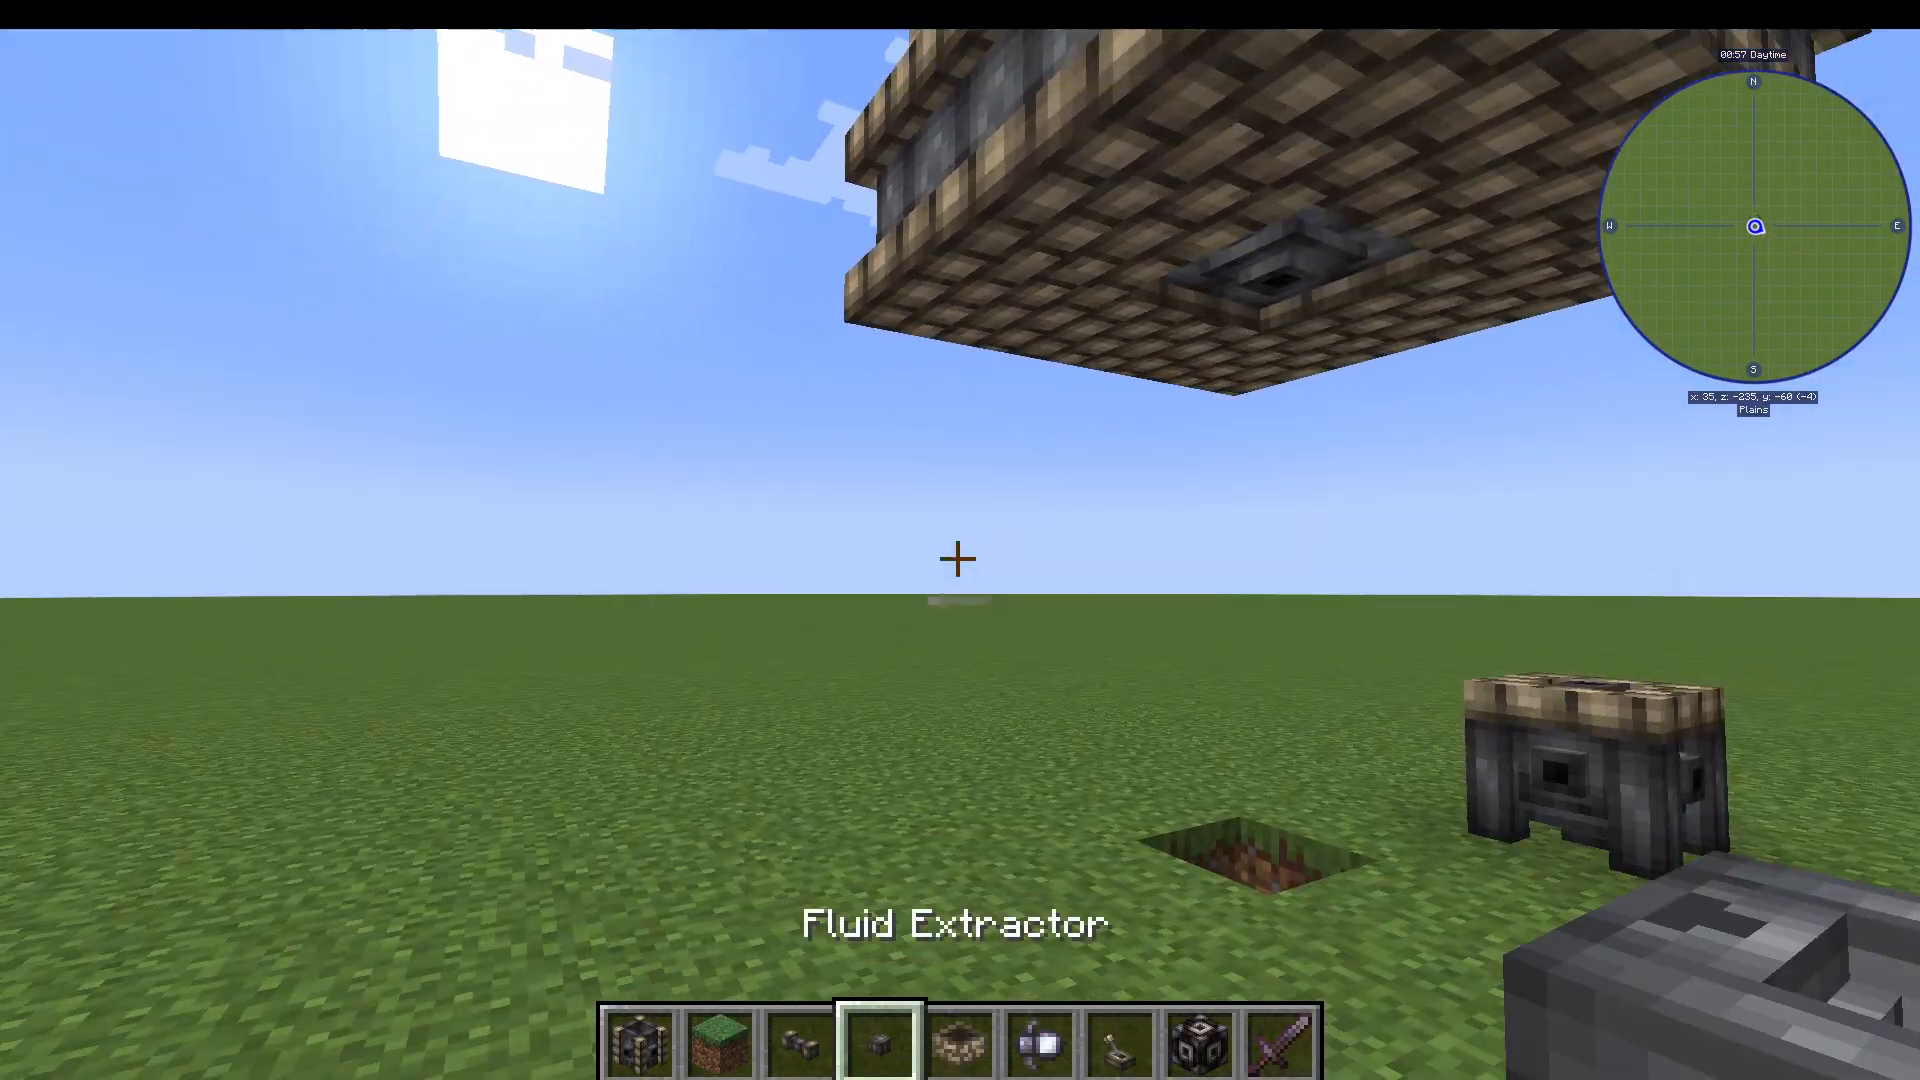
For much larger fluid storage, craft a Reservoir. Simply place it down and right-click it — this will automatically form a multiblock structure with a single click, creating a vessel with a small hole at the top for fluid input.
Expanding Reservoir Capacity with Camonite Rings
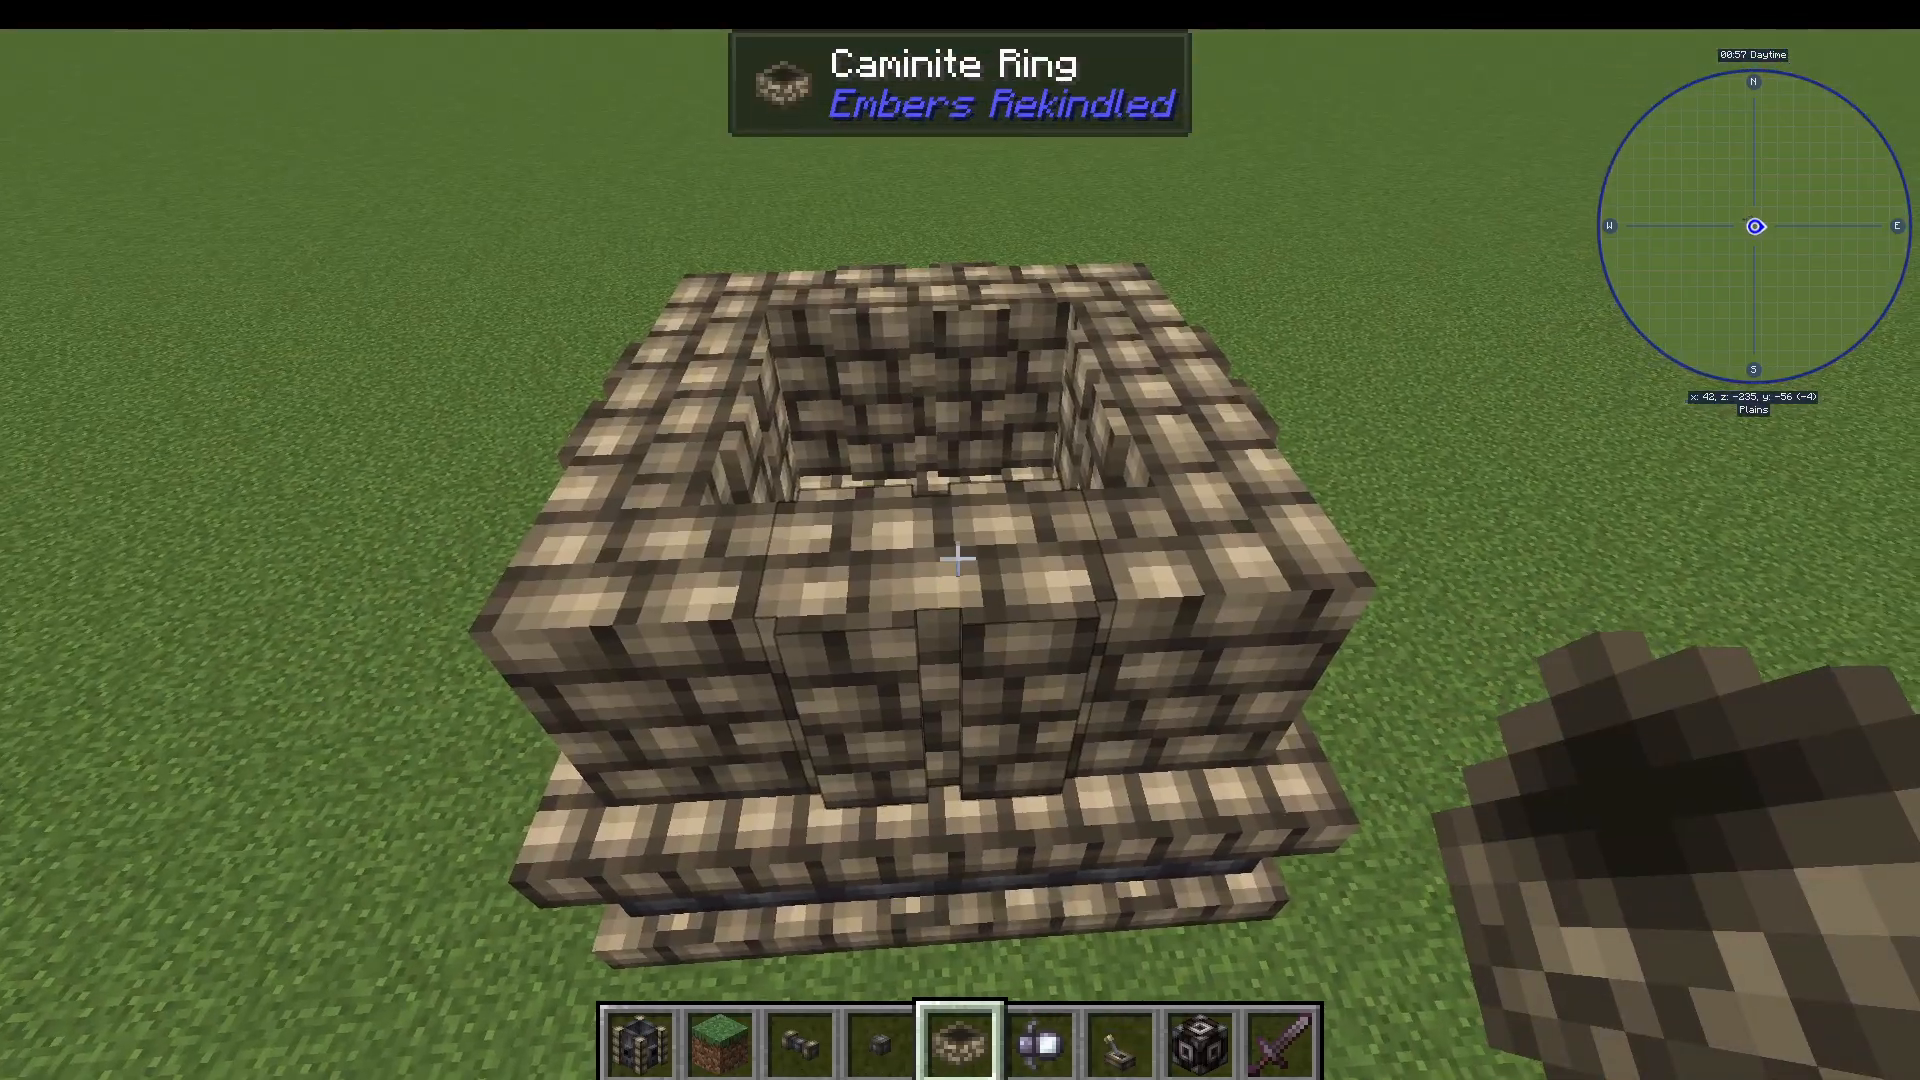
On its own, the Reservoir won’t display its capacity clearly. To unlock its storage potential, craft Camonite Rings from Camonite Bricks and right-click them onto the top of the Reservoir. Each ring adds 40,000 buckets of capacity:
1 Camonite Ring = 40,000 buckets
2 Camonite Rings = 80,000 buckets
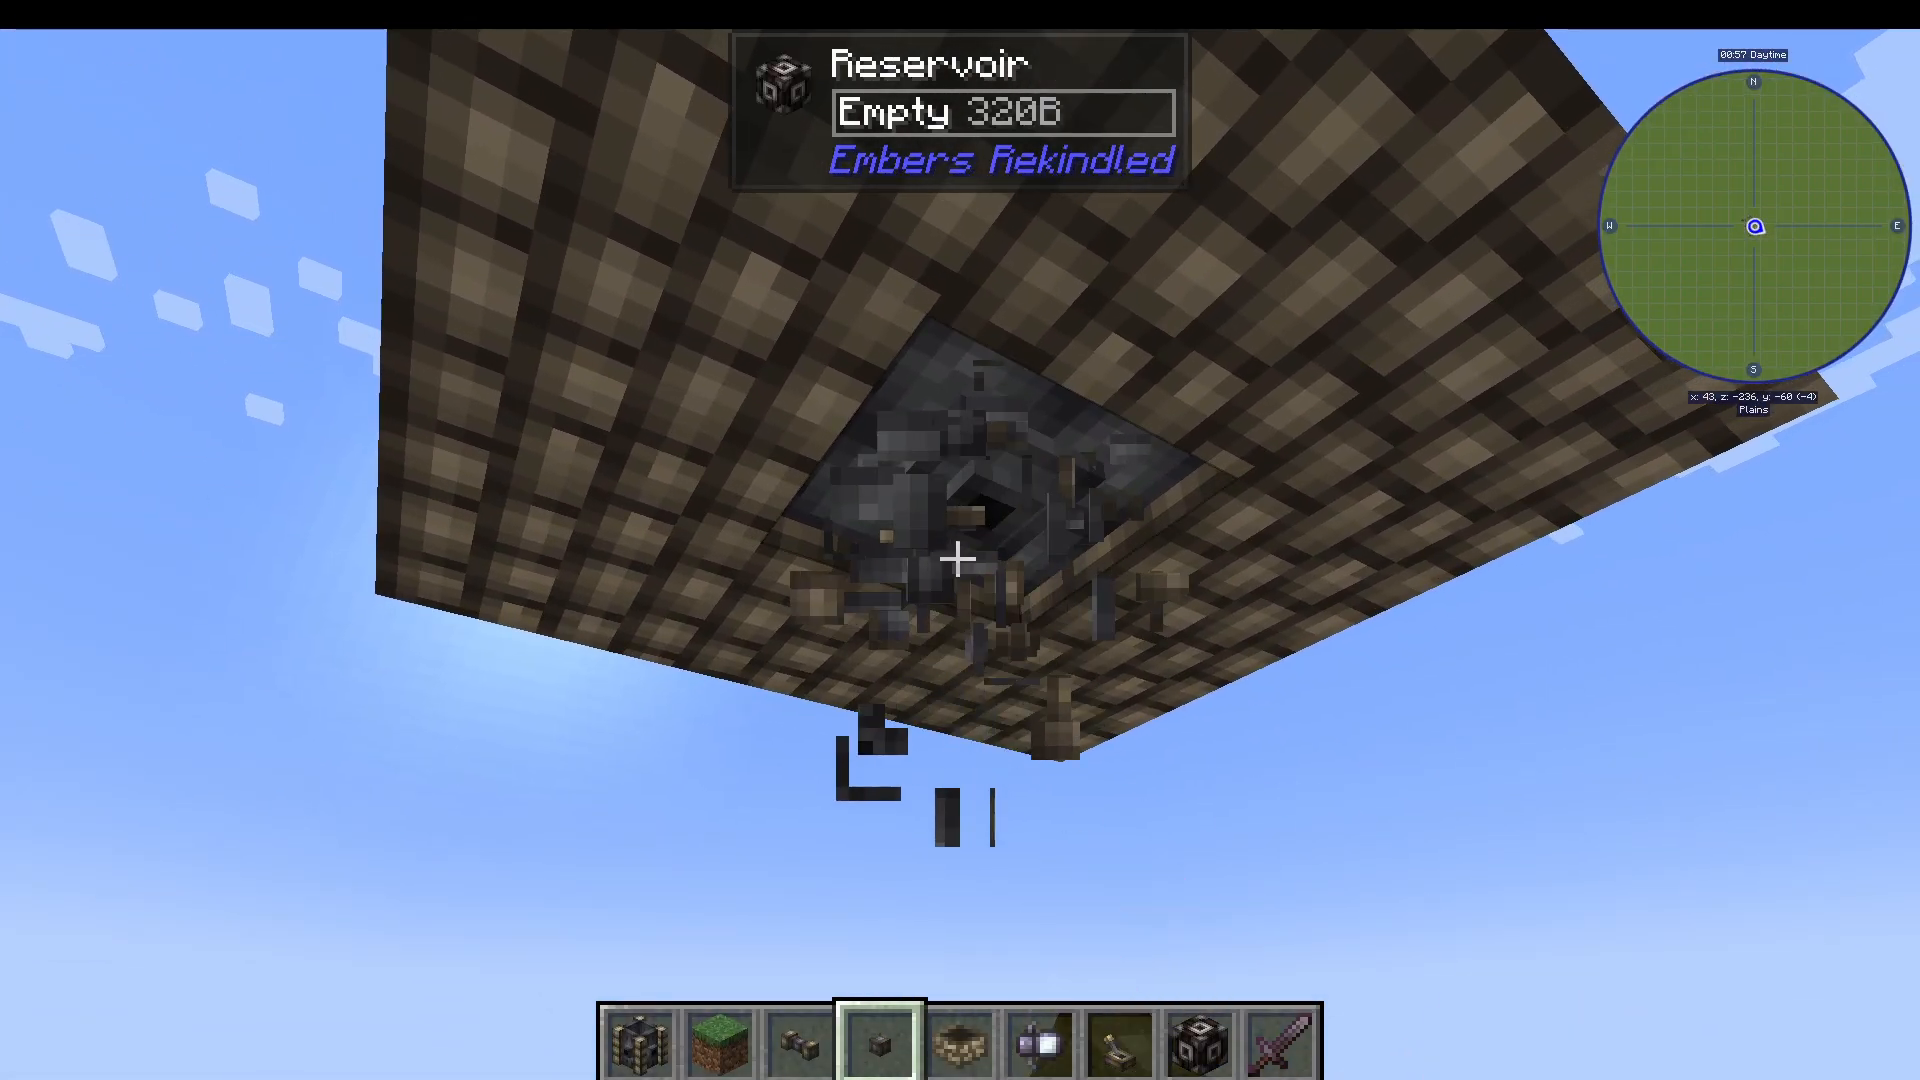
8 Camonite Rings = 320,000 buckets (and you can keep stacking!)
The maximum limit is not confirmed, but the system is highly scalable for large modpack builds.
Inputting and Outputting from the Reservoir
To pump fluid into the Reservoir, use the hole at the top — attach a Fluid Extractor and lever combination pointing into it. To pull fluid out, attach a Fluid Extractor and pipe to the side or bottom of the Reservoir block itself.
Advanced Control: The Mechanical Core
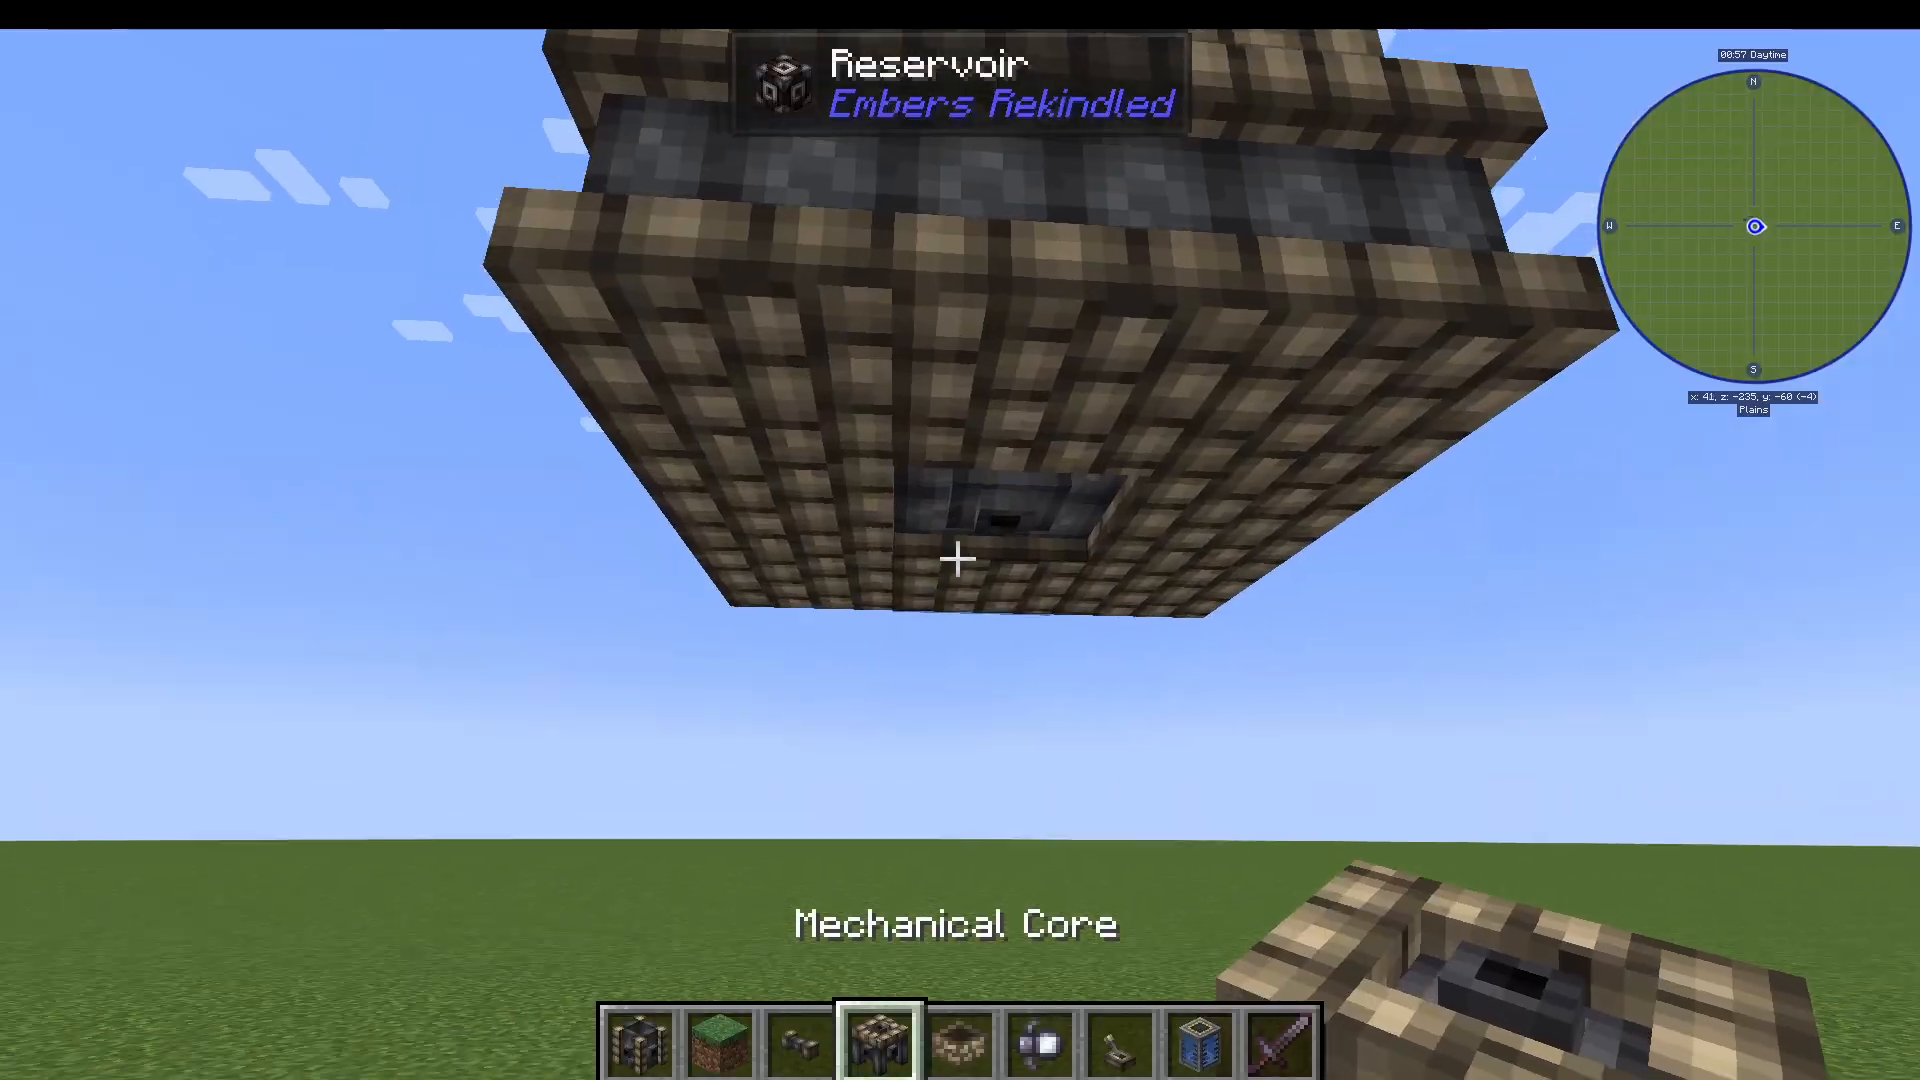
For even greater control over fluid routing, attach a Mechanical Core to the exit point of your Reservoir. The Mechanical Core provides five connection points — one for each side — giving you multiple simultaneous input and output options for your fluid network.
For example, you can pipe fluid into the Mechanical Core from one direction, and pipe fluid out in up to four other directions, allowing you to distribute a single fluid source to multiple destinations at the same time.
Filtering Fluids: The Fluid Transfer
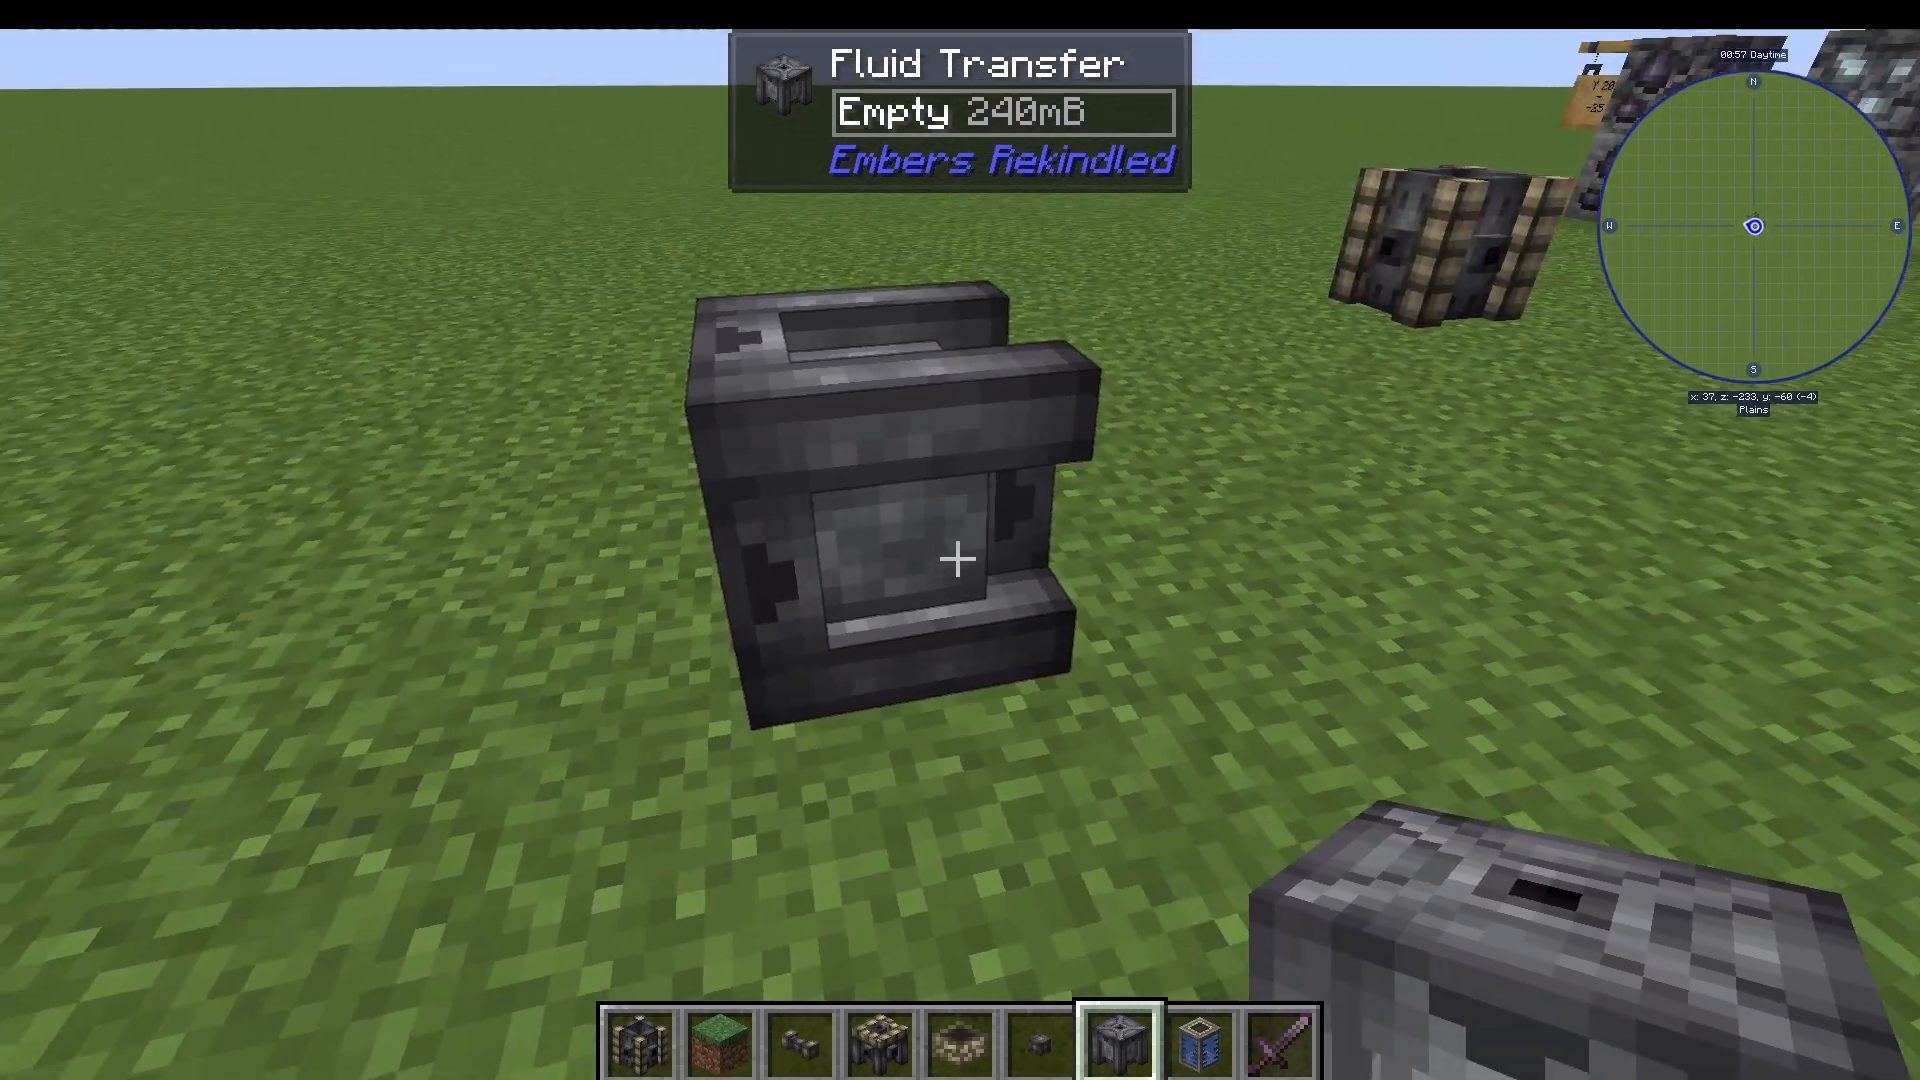
When working with multiple fluid types — such as water and lava running through the same network — you’ll want to use a Fluid Transfer block to filter and direct each fluid to the correct destination.
Fluid Transfer blocks display arrows indicating the direction of flow. Place them facing the direction you want fluid to travel. To set a filter, simply right-click the Fluid Transfer with the desired fluid (e.g., right-click with water to filter for water only). You do not need to use a full bucket — just having the fluid item in hand applies the filter.
Example: Splitting Water and Lava
Here’s a practical example of how filtering works:
Place one Fluid Transfer pointing in the direction you want water to flow, then right-click it with water to set the filter.
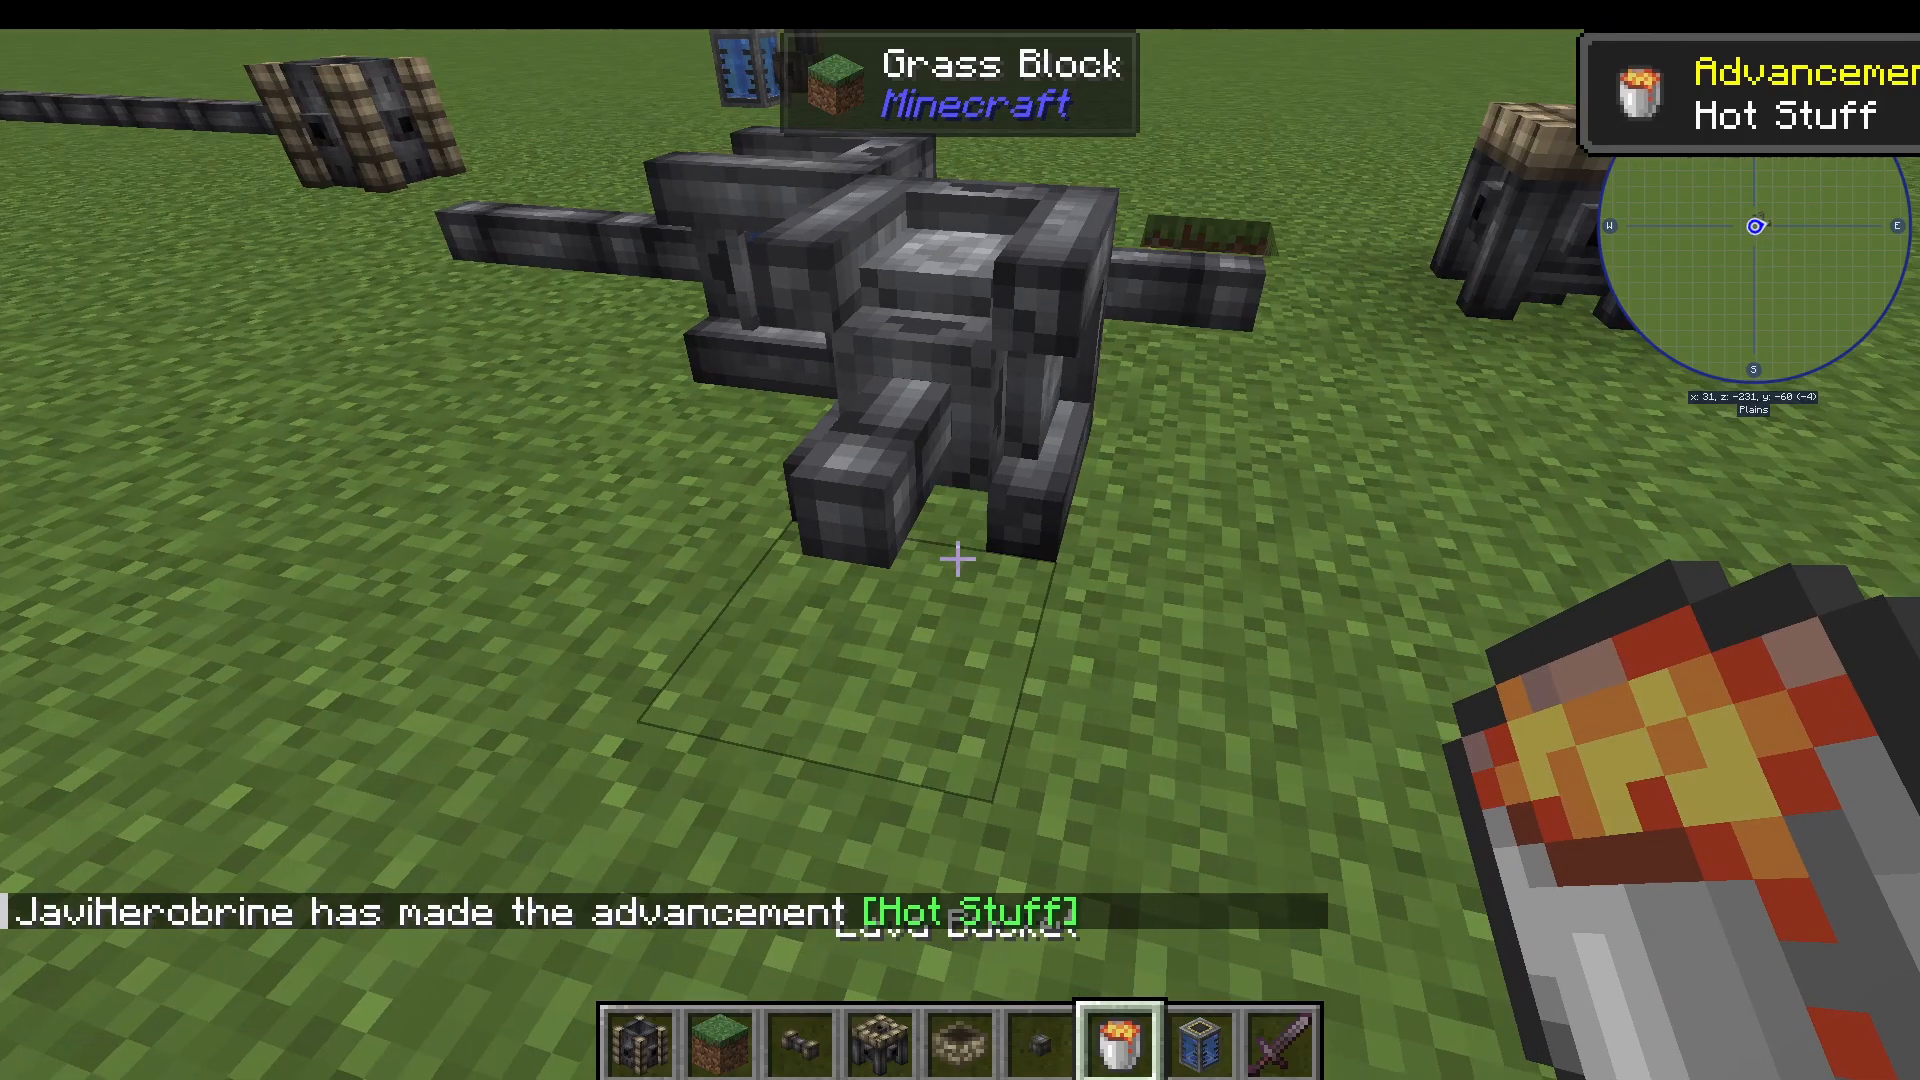
Place a second Fluid Transfer pointing in the direction you want lava to flow, then right-click it with lava to set its filter.
Now, when both fluids pass through your network, water will automatically route one way and lava the other — no manual intervention needed.
Summary
Embers Rekindled’s fluid system is surprisingly deep but very intuitive once you understand the building blocks. Here’s a quick recap of everything covered:
Fluid Vessel — Basic fluid storage. Filled manually with a bucket or automatically via pipes.
Fluid Dial — Displays fluid levels in a vessel without needing Jade.
Fluid Extractor + Fluid Pipes — Automated fluid movement, activated by a lever.
Tinker’s Lens — Visual tool to monitor flow direction and pipe status.
Reservoir + Camonite Rings — Large-scale storage with expandable capacity (40,000 buckets per ring).
Mechanical Core — Adds five-way input/output control to a Reservoir.
Fluid Transfer — Filters specific fluids to specific directions in your network.
With these tools combined, you can build a fully automated, multi-fluid network capable of handling even the most complex modpack setups. Happy crafting!
Want to Support?
If you would like to help us continue making these guides – please consider joining our patreon here – https://www.patreon.com/c/JaviHeals
Alternatively – we host a group of MC Servers you can join here – https://discord.gg/zD7Gjt6MHF