Ars Nouveau How To – Sourcelinks & Relays Minecraft 1.21.1
Ars Nouveau Source Links & Relays – Complete Guide for Minecraft 1.21.1
In this guide, we’re covering everything you need to know about generating and transporting Source in Ars Nouveau for Minecraft 1.21.1 — though this guide applies to all versions of the mod. We’ll walk through every Source Link type — the Agronomical, Mycelial, Volcanic, Vitalic, and Alchemical Source Links — and show you how to fully automate each one. We’ll also cover how to move Source around your base using Source Relays.
Agronomical Source Link
The Agronomical Source Link generates Source from the growth of nearby crops. It has an impressive range — it can detect crop growth in a 17×17 area around it. Importantly, Source Berries generate significantly more Source than standard crops like wheat, so they’re the recommended choice for this setup.
Setting Up the Agronomical Source Link
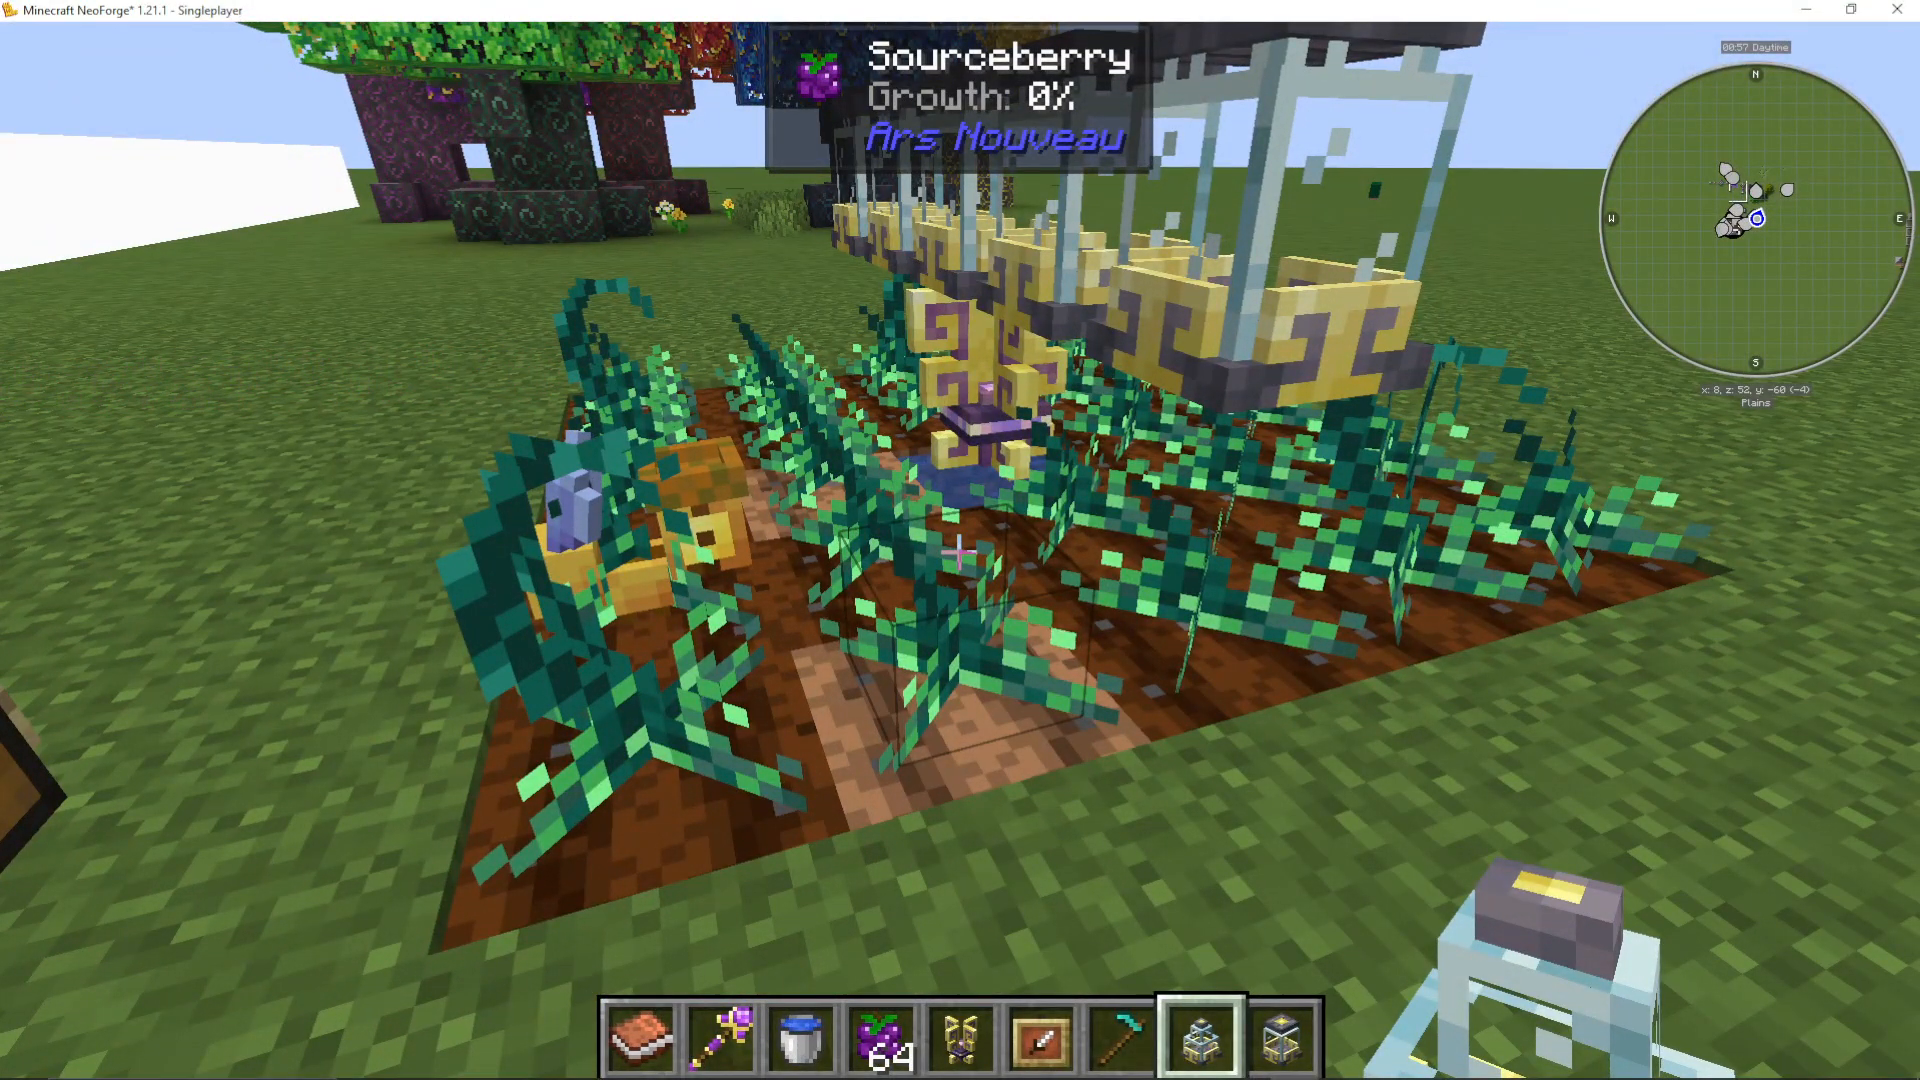
Start by placing your Agronomical Source Link. Add a water source beneath it, then hoe the surrounding land. Plant Source Berries all around the link. Next, place Source Jars on top of the link — these will automatically store the Source generated by the growing crops. You can spread Source Jars up to a 5×5 arrangement around the link.
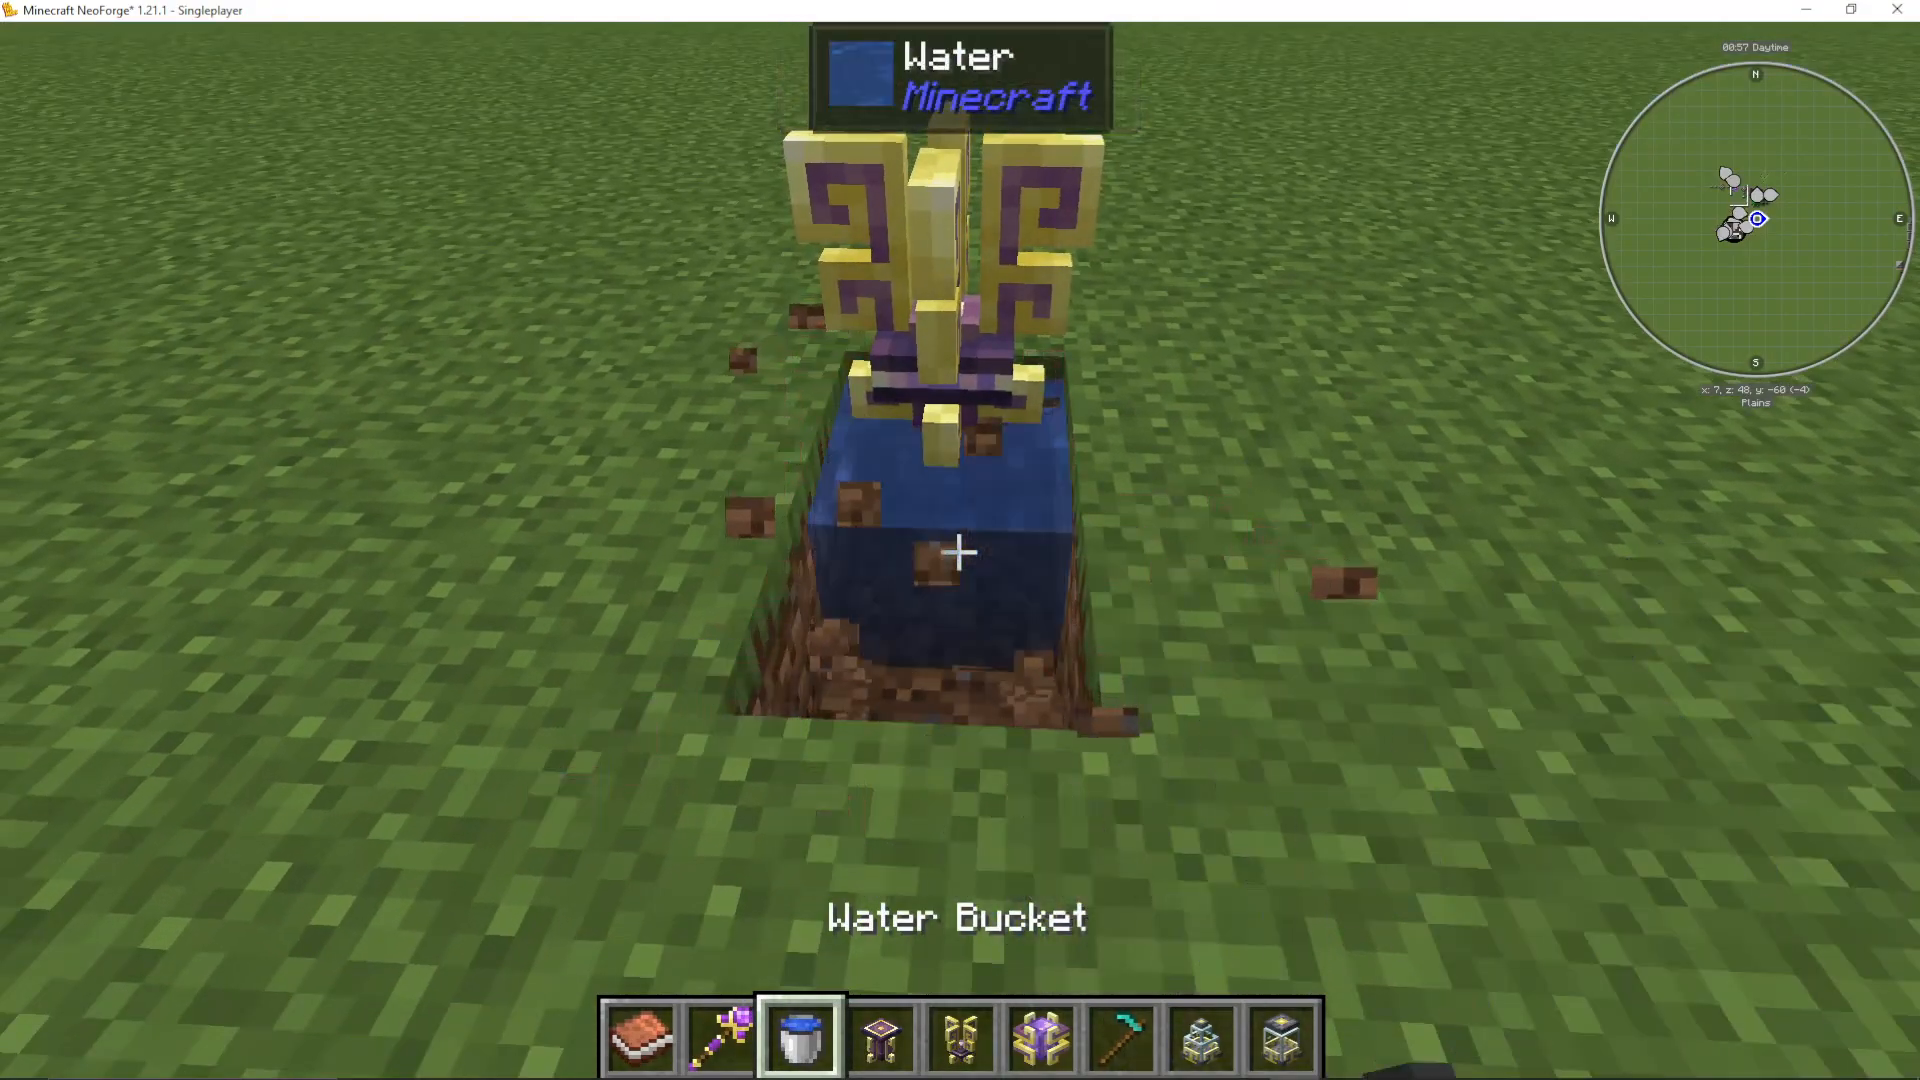
As crops grow nearby, Source will automatically be sent into the connected Source Jars. You’ll visually see Source transferring the moment a crop advances a growth stage.
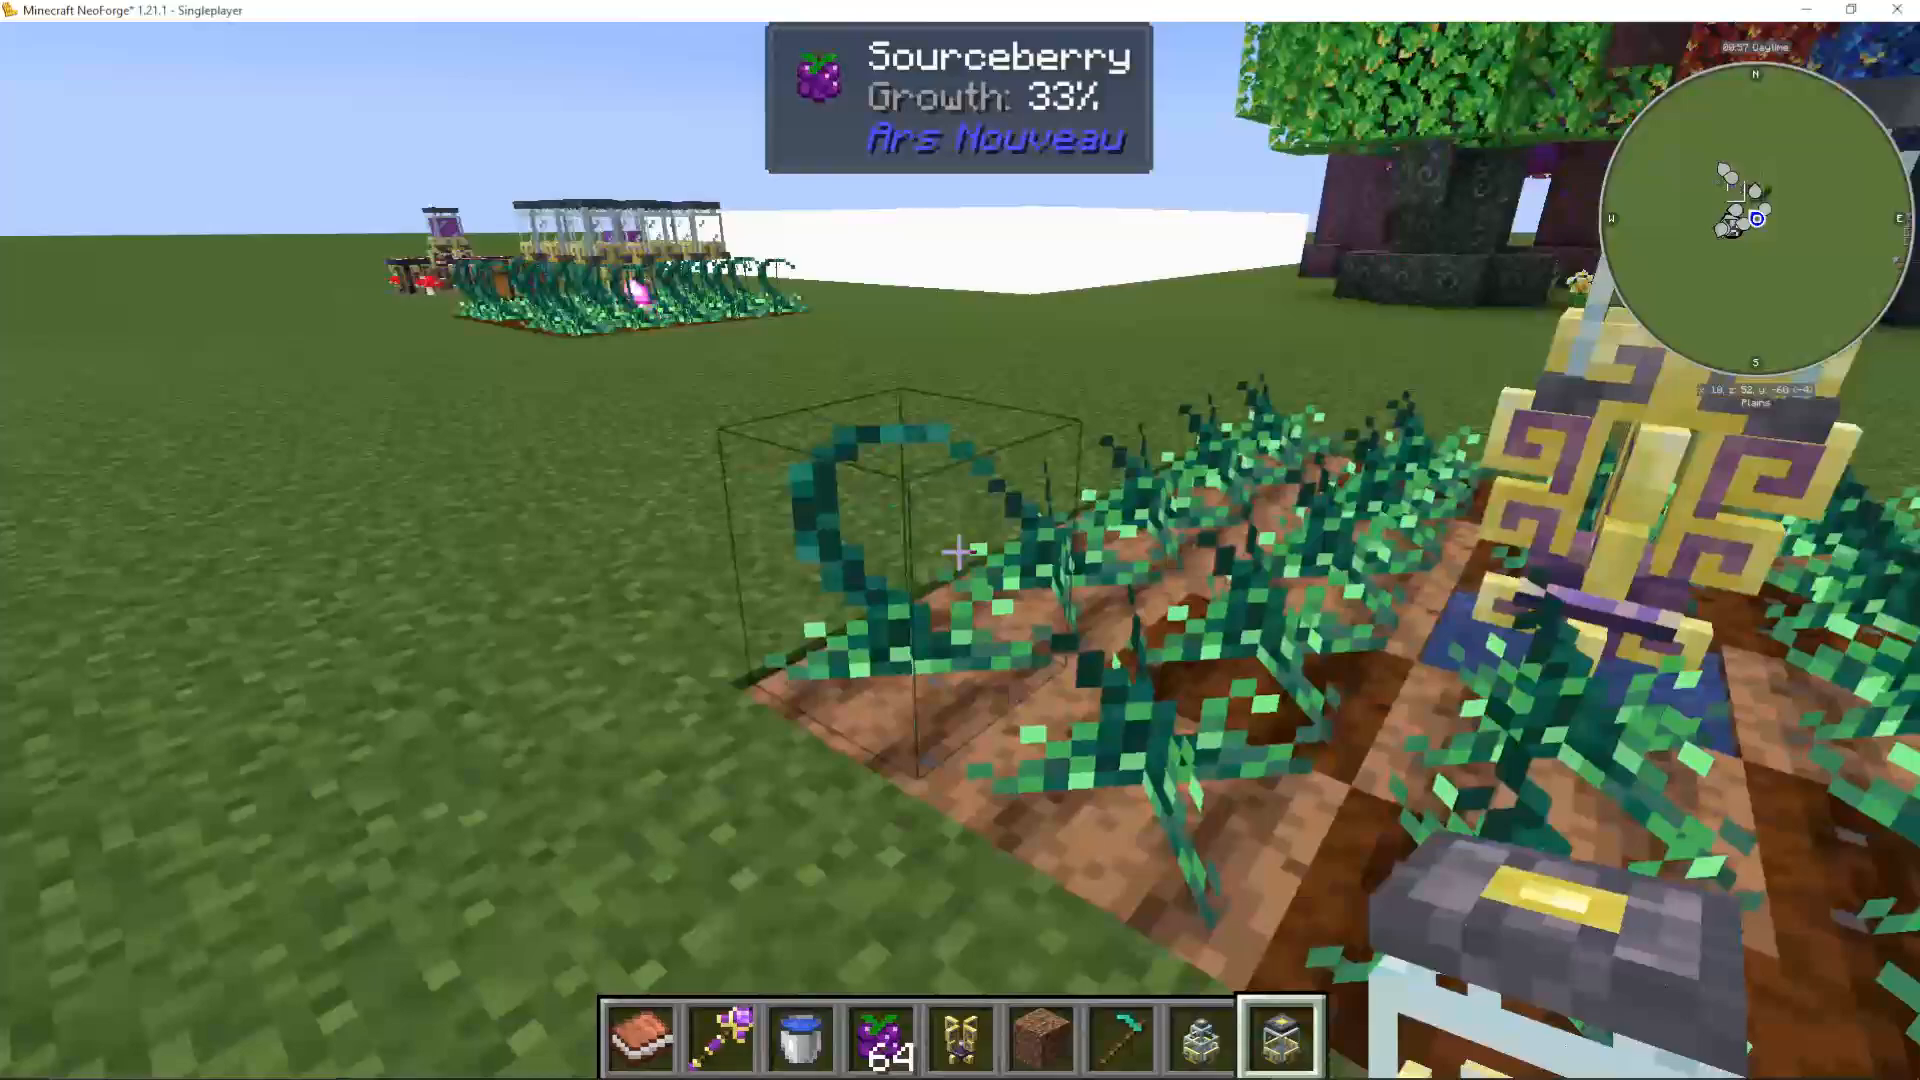
Automating with a Starbuncle
To fully automate this farm, you’ll use a Starbuncle and a Dominion Wand. Place your Starbuncle Charm, then right-click it on the ground to summon the Starbuncle. Place a chest nearby to store harvested berries.
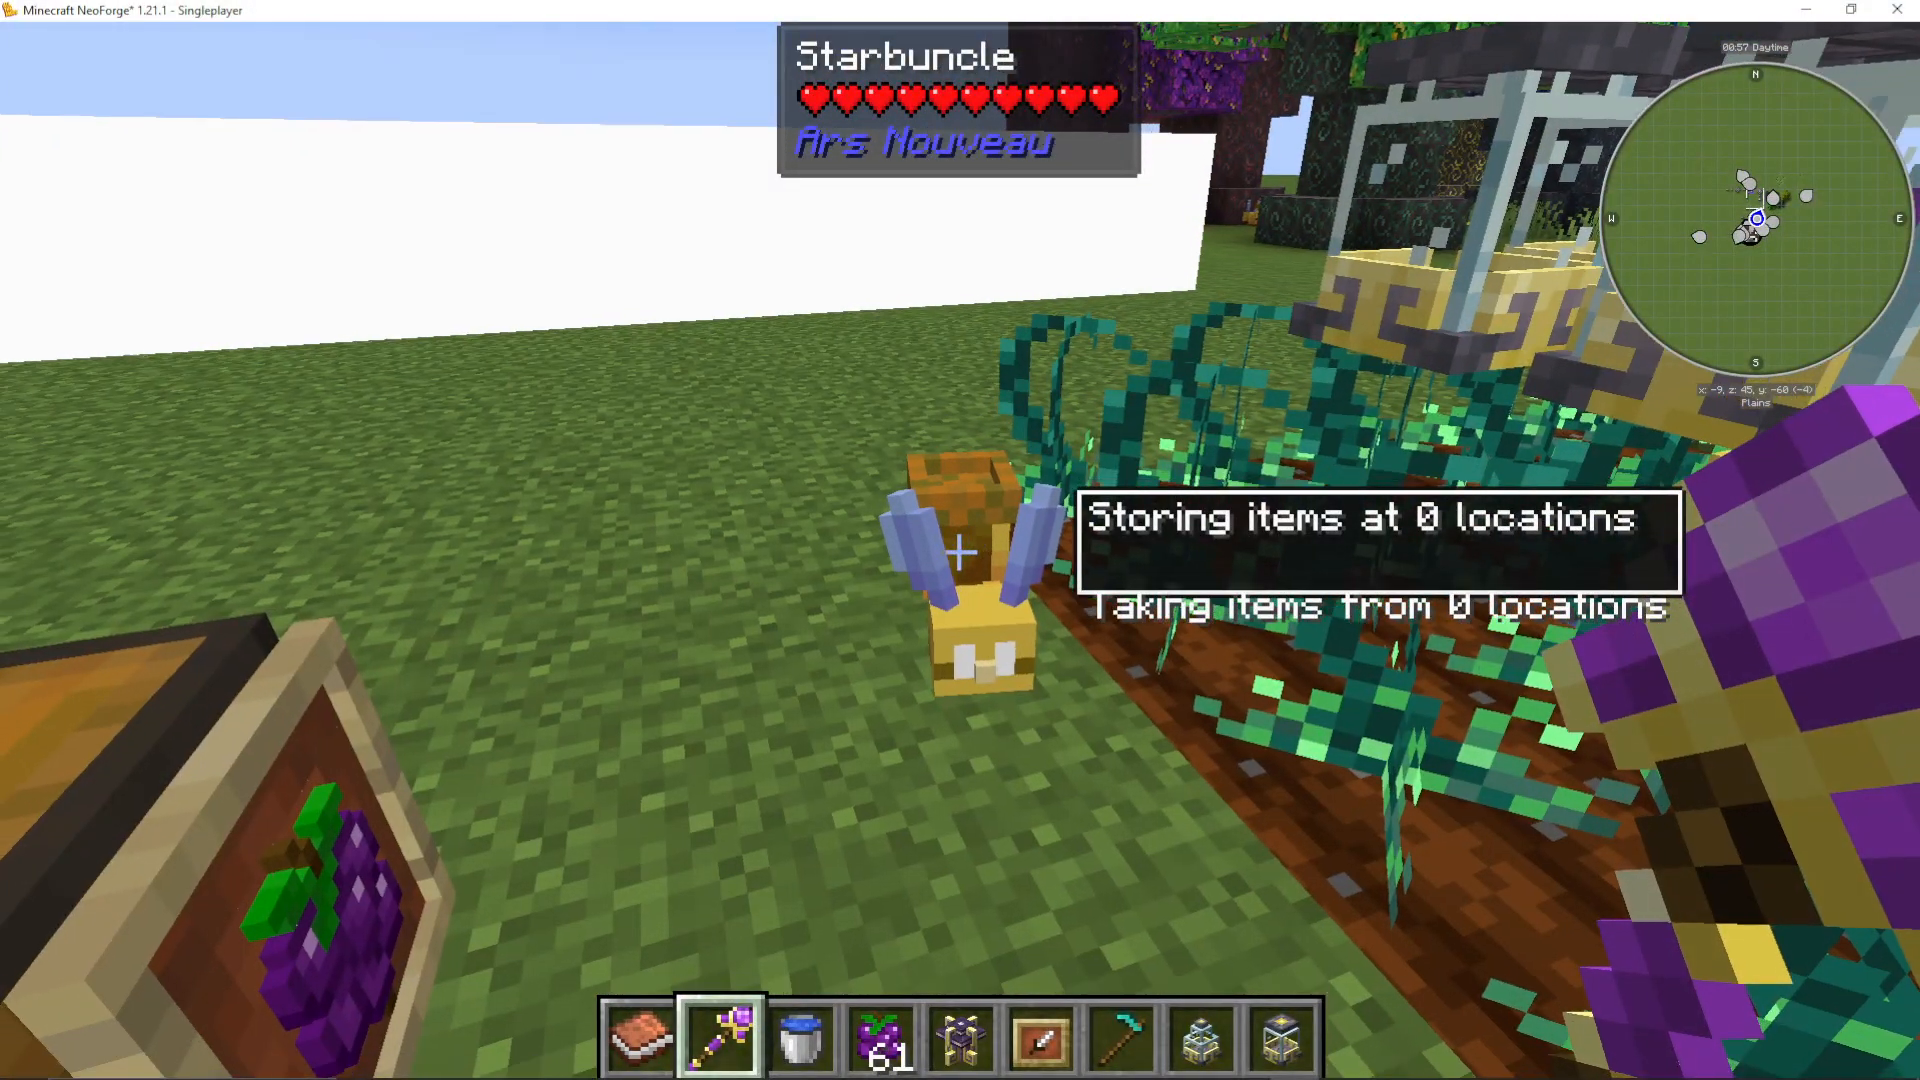
Right-click the Starbuncle, then shift right-click the chest. This instructs the Starbuncle to deliver items to that chest. To restrict it to only storing Source Berries, attach an Item Frame to the chest and place a Source Berry in that Item Frame — this acts as a filter.
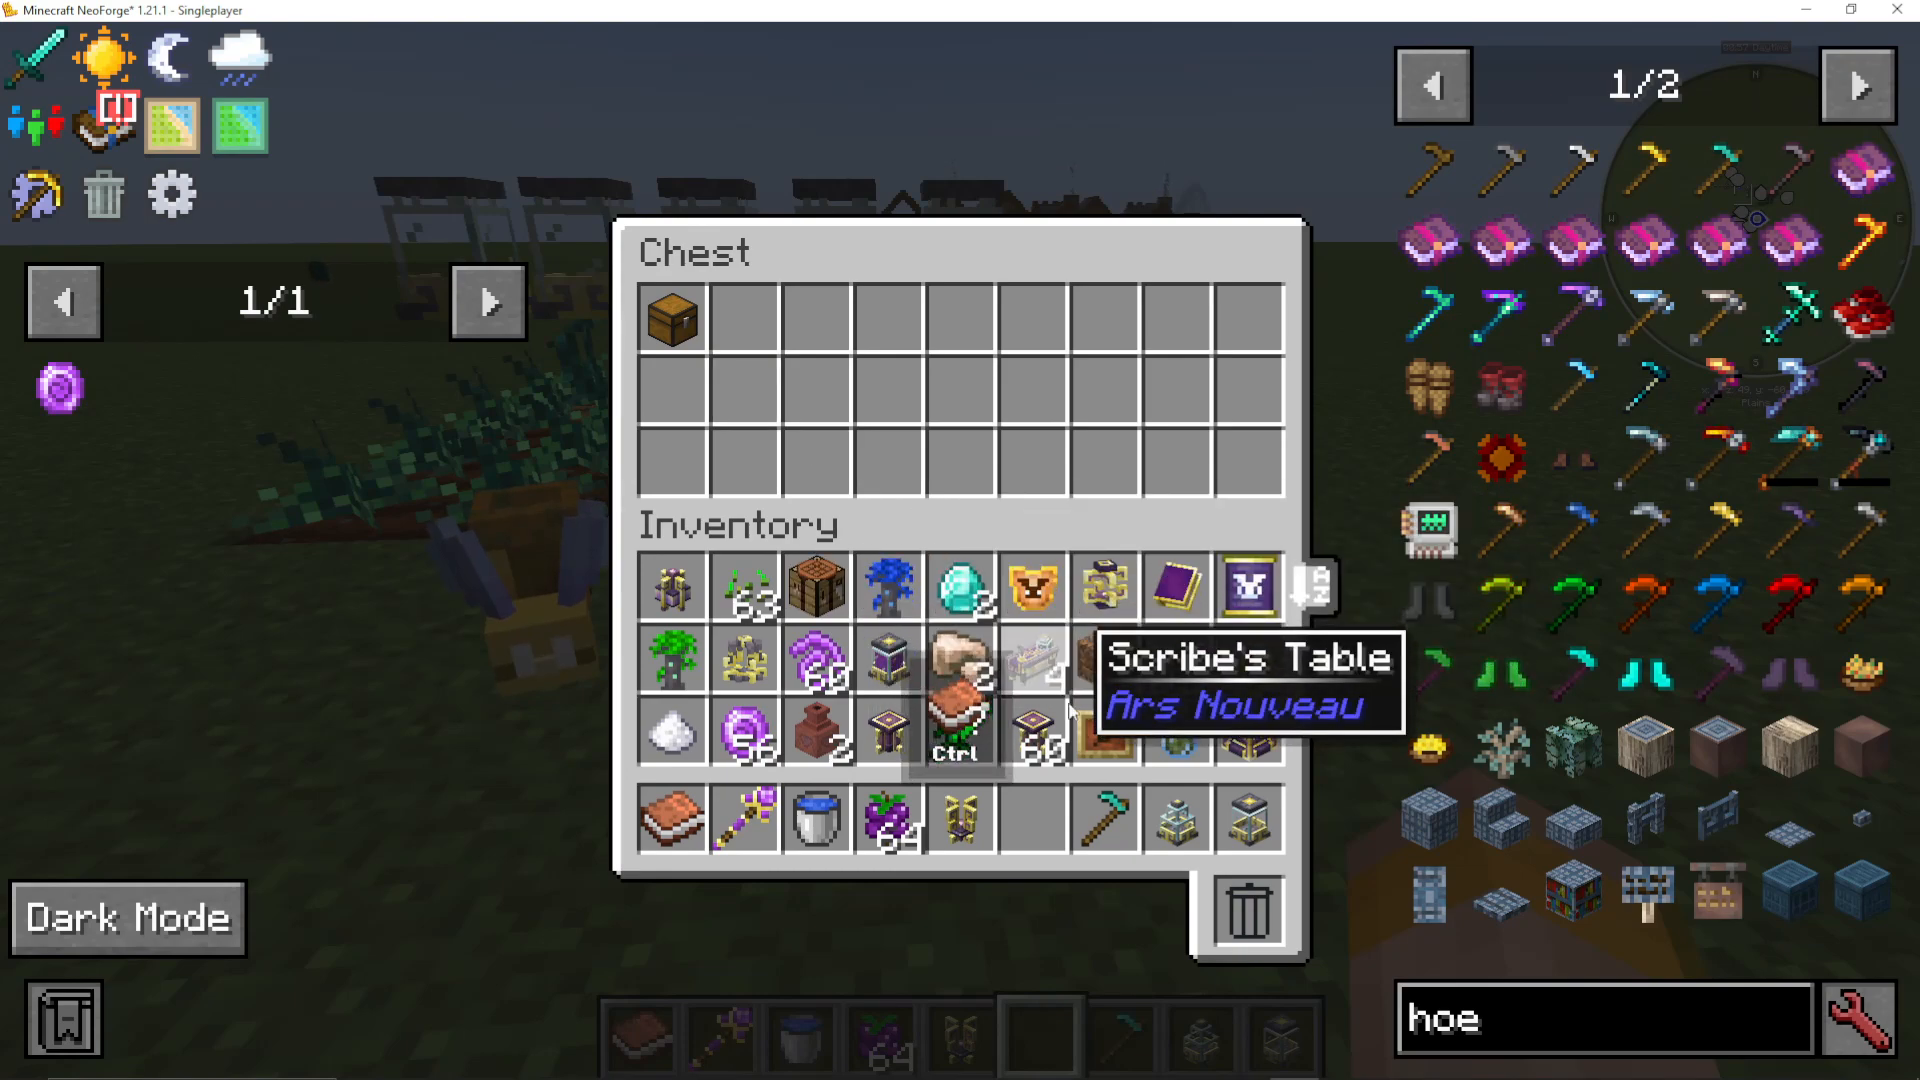
Starbuncles will automatically harvest nearby Source Berries without any additional instruction — this is one of their built-in behaviours. Combined with the chest filter set via the Dominion Wand, the Starbuncle will continuously harvest and deposit Source Berries, keeping the farm running indefinitely.
Mycelial Source Link
The Mycelial Source Link generates Source by consuming nearby food items. It will pick up any food placed on an adjacent Pedestal or dropped on the ground near it and convert that food directly into Source, which then fills nearby Source Jars.
Combining the Mycelial Link with Your Berry Farm
A smart pairing is to feed the Source Berries harvested by your Agronomical farm directly into the Mycelial Source Link. This way, your berry farm is doing double duty — generating Source from crop growth and providing food for the Mycelial link.
Place a Pedestal next to the Mycelial Source Link. Using your Starbuncle and Dominion Wand, right-click the Starbuncle and then shift right-click the Pedestal. This tells the Starbuncle to deliver Source Berries directly to the Pedestal, where the Mycelial Source Link will consume them.
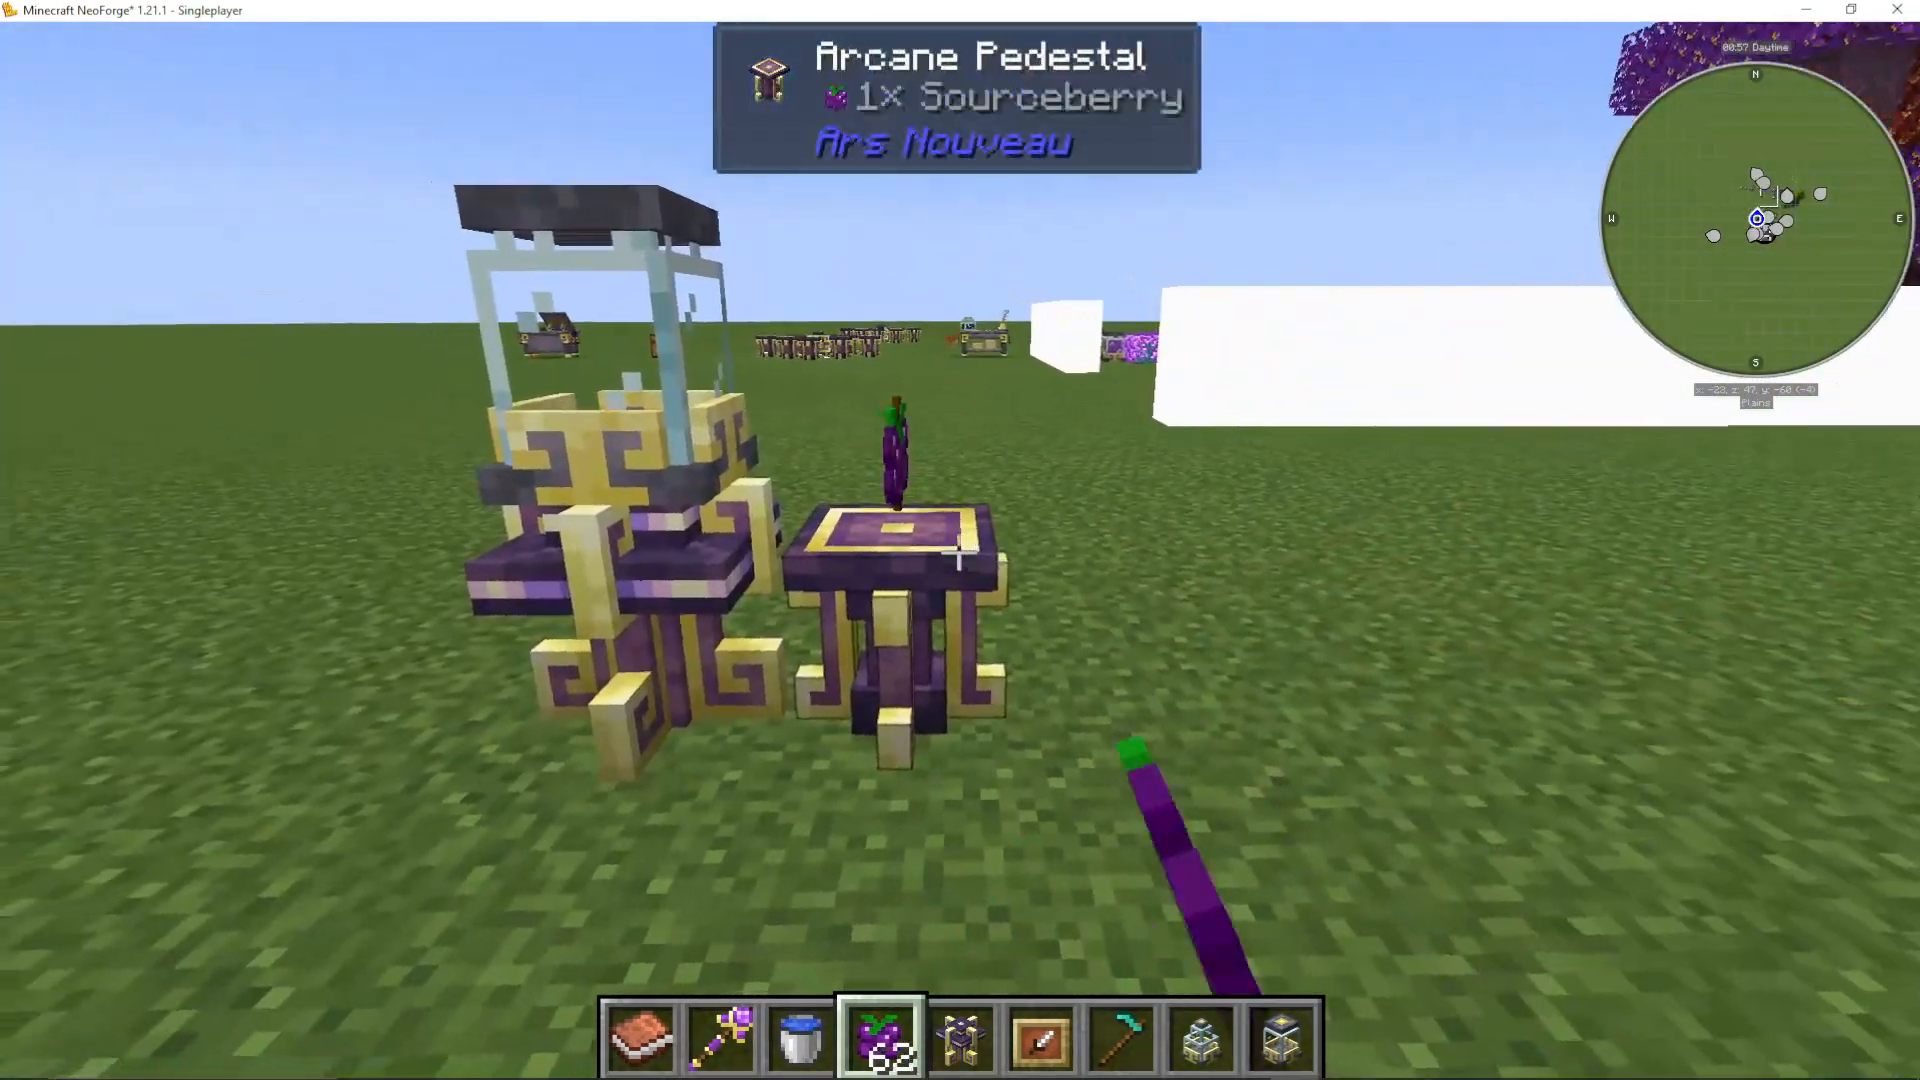
To avoid creating a looping task on a single Starbuncle, either have it deliver directly from the crop area to the Pedestal in one step, or use two separate Starbuncles — one delivering berries to a chest, and a second delivering from that chest to the Pedestal.
As a bonus, the Mycelial Source Link will passively convert the ground beneath it into Mycelium and grow mushrooms — giving you a free early-game mushroom farm at no extra cost.
Volcanic Source Link
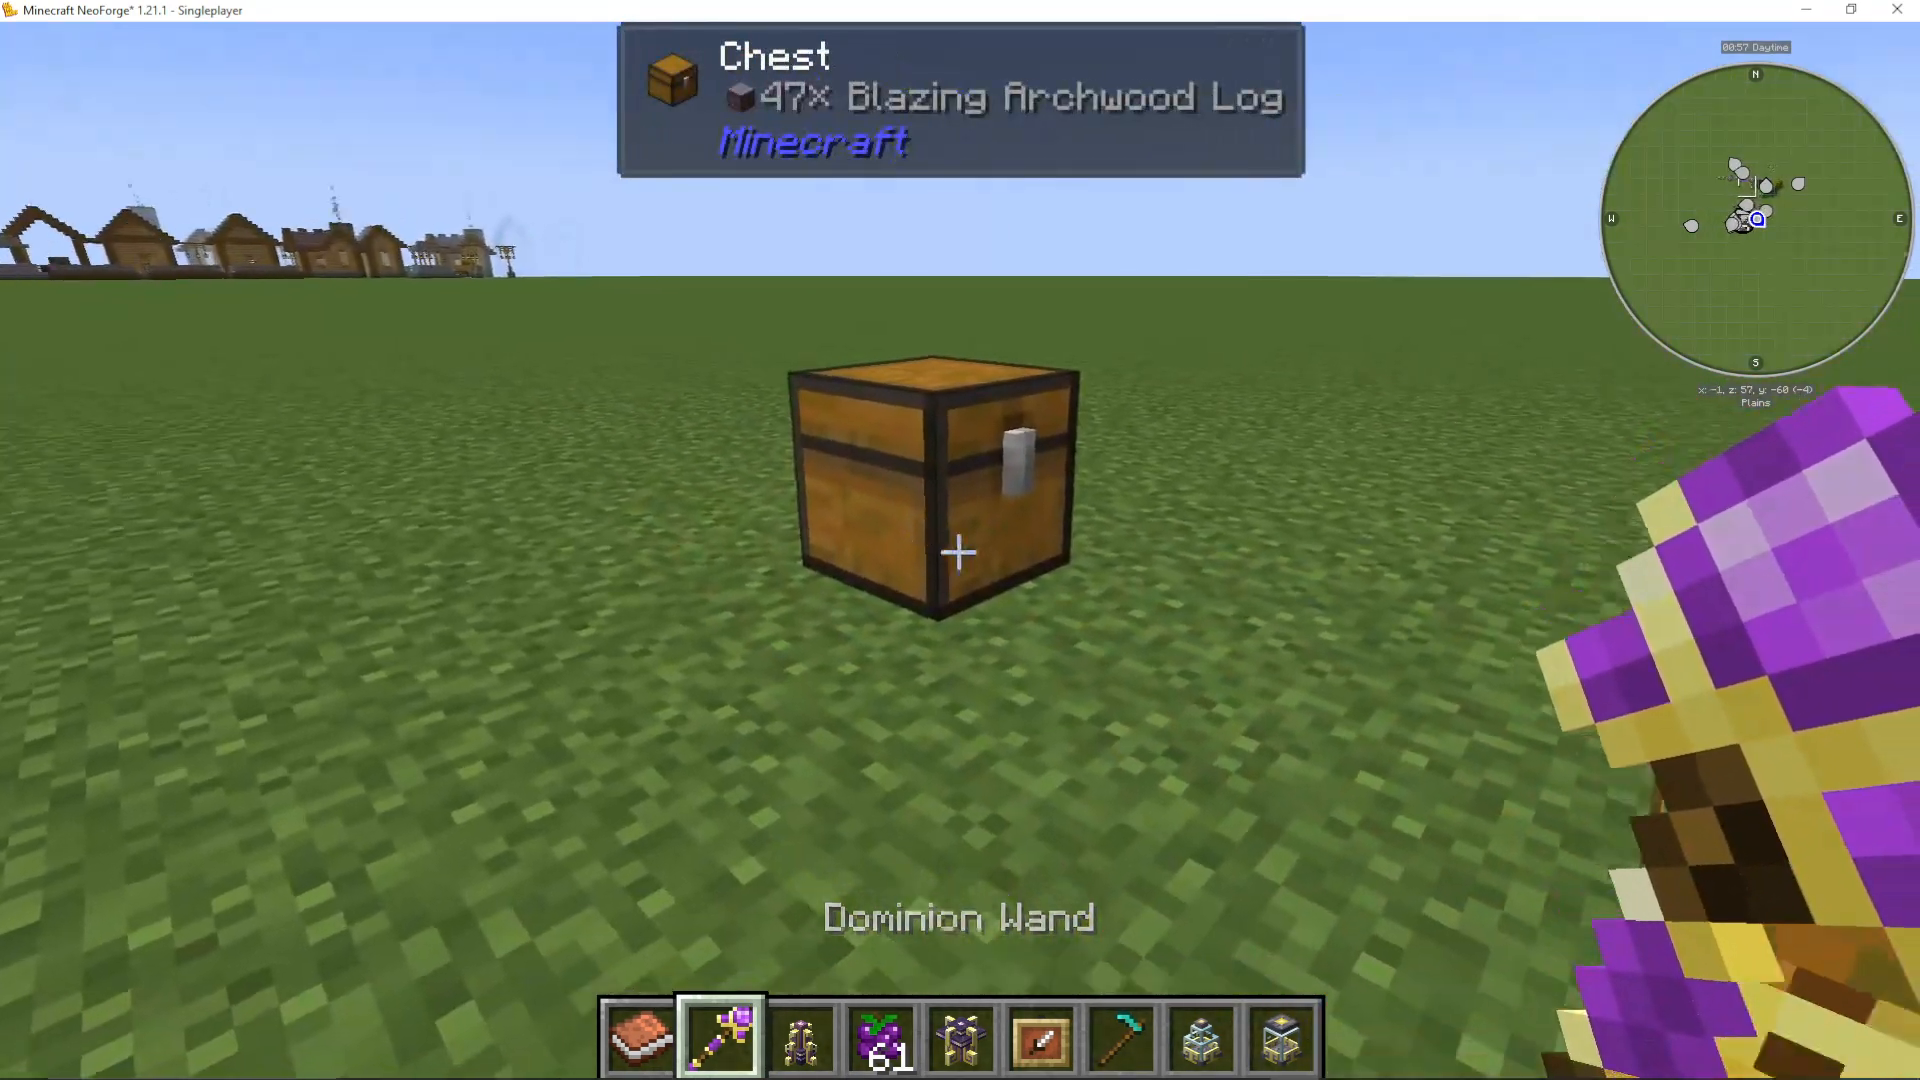
The Volcanic Source Link generates Source by burning items. The best fuel source to use is Blazing Archwood, though any type of wood will work. Simply supply it via a Pedestal, and the link will burn the items and convert them into Source for nearby jars.
As an added bonus, if you place Stone blocks beneath the Volcanic Source Link, it will convert them into Lava over time — making it a useful early-game lava farm as well.
Automating the Volcanic Source Link
Use a Starbuncle with a two-step task to automate fuel delivery. First, shift right-click the chest (containing your Blazing Archwood or wood fuel), then right-click the Starbuncle — this tells it to take from that chest. Then right-click the Starbuncle again and shift right-click the Pedestal — this is the second task, telling it to deliver to the Pedestal. The Starbuncle will now continuously move fuel from the chest to the Pedestal for burning.
Vitalic Source Link
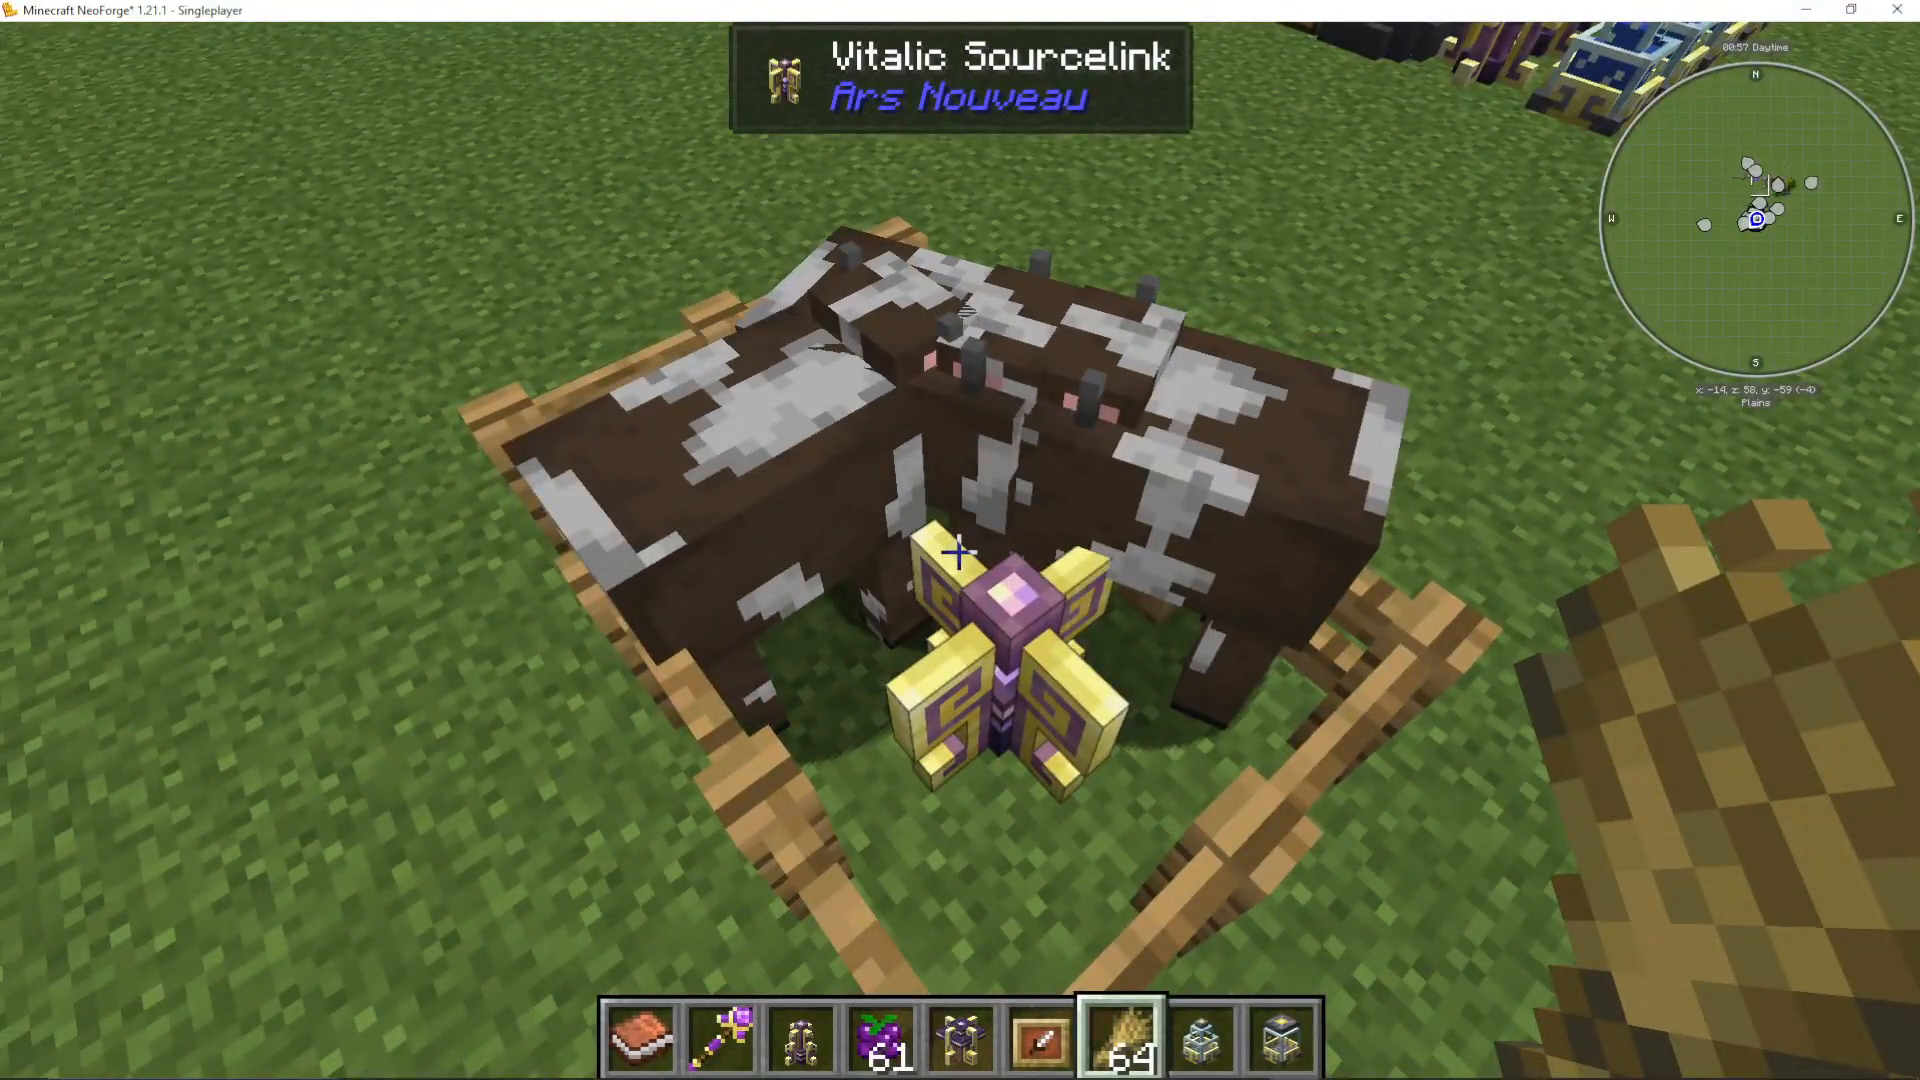
The Vitalic Source Link generates Source from two events involving living entities nearby:
Animal breeding — when two animals produce a baby, Source is generated.
Entity growth — when a baby animal matures into an adult, Source is generated.
Entity death — when a mob dies near the link, Source is also generated.
This makes it an excellent companion to breeding farms or mob farms. Place the Vitalic Source Link near those setups and it will passively collect Source from the activity around it.
Fully automating animal breeding within Ars Nouveau itself involves Bookwyrms and more advanced mechanics — that will be covered separately in a dedicated Familiars guide. However, if you already have breeding or mob farms set up via other mods, simply placing the Vitalic Source Link nearby is all you need.
Alchemical Source Link
The Alchemical Source Link is arguably the most powerful Source generator in Ars Nouveau. It generates Source from nearby Potions stored in Potion Jars. Critically, the more complex the potion — meaning the more crafting steps it required — the more Source it produces. This means investing in a multi-step potion chain pays off significantly.
What You’ll Need
4× Chests
4× Vanilla Cauldrons
4× Wixie Charms
4× Pedestals
4× Potion Jars
Source Jars (with existing Source to power the Wixies)
A Dominion Wand
Potion ingredients (see chain below)
Setting Up the Wixie Cauldrons
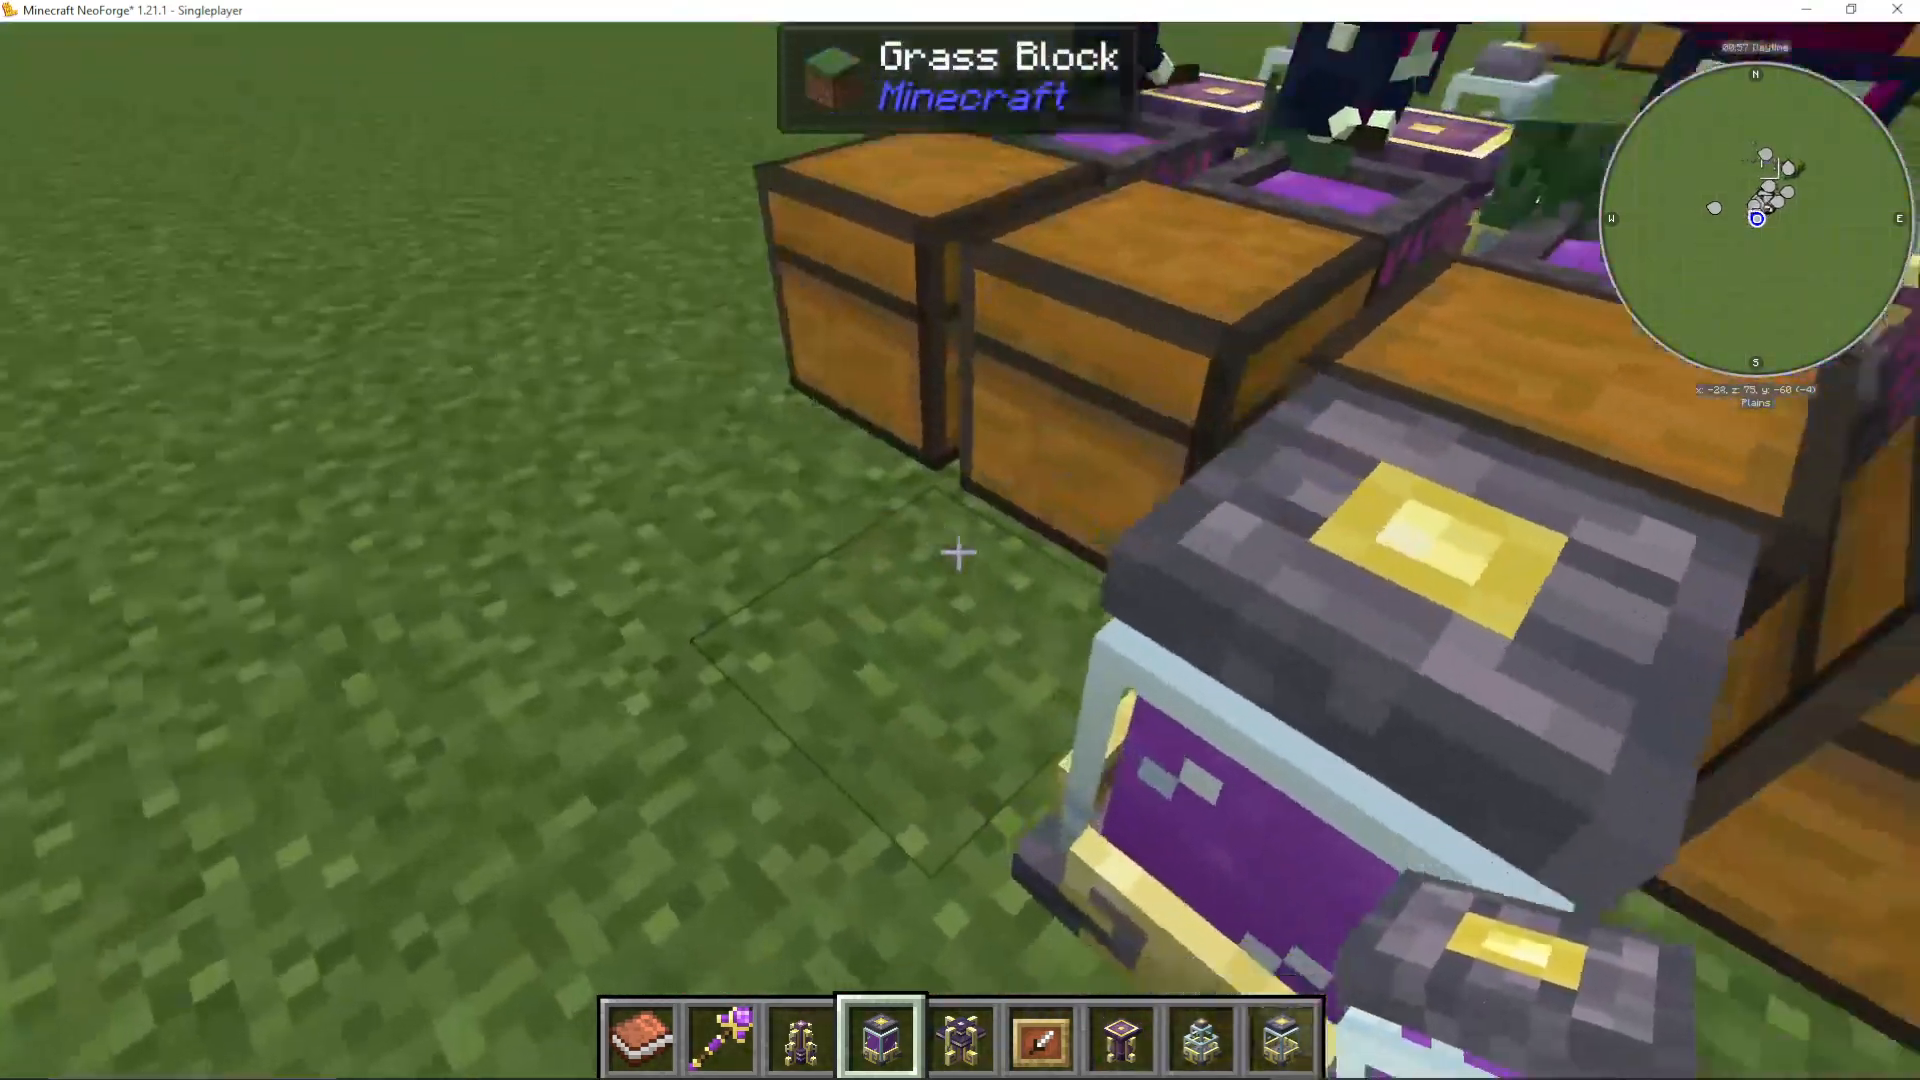
Place four chests in a row, then place four vanilla Cauldrons in front of them. Right-click each Cauldron with a Wixie Charm to convert them into Wixie Cauldrons. Place a Pedestal in front of each Wixie Cauldron, and then place a Potion Jar in front of each Pedestal. The Wixies will automatically supply water for the potion-making process.
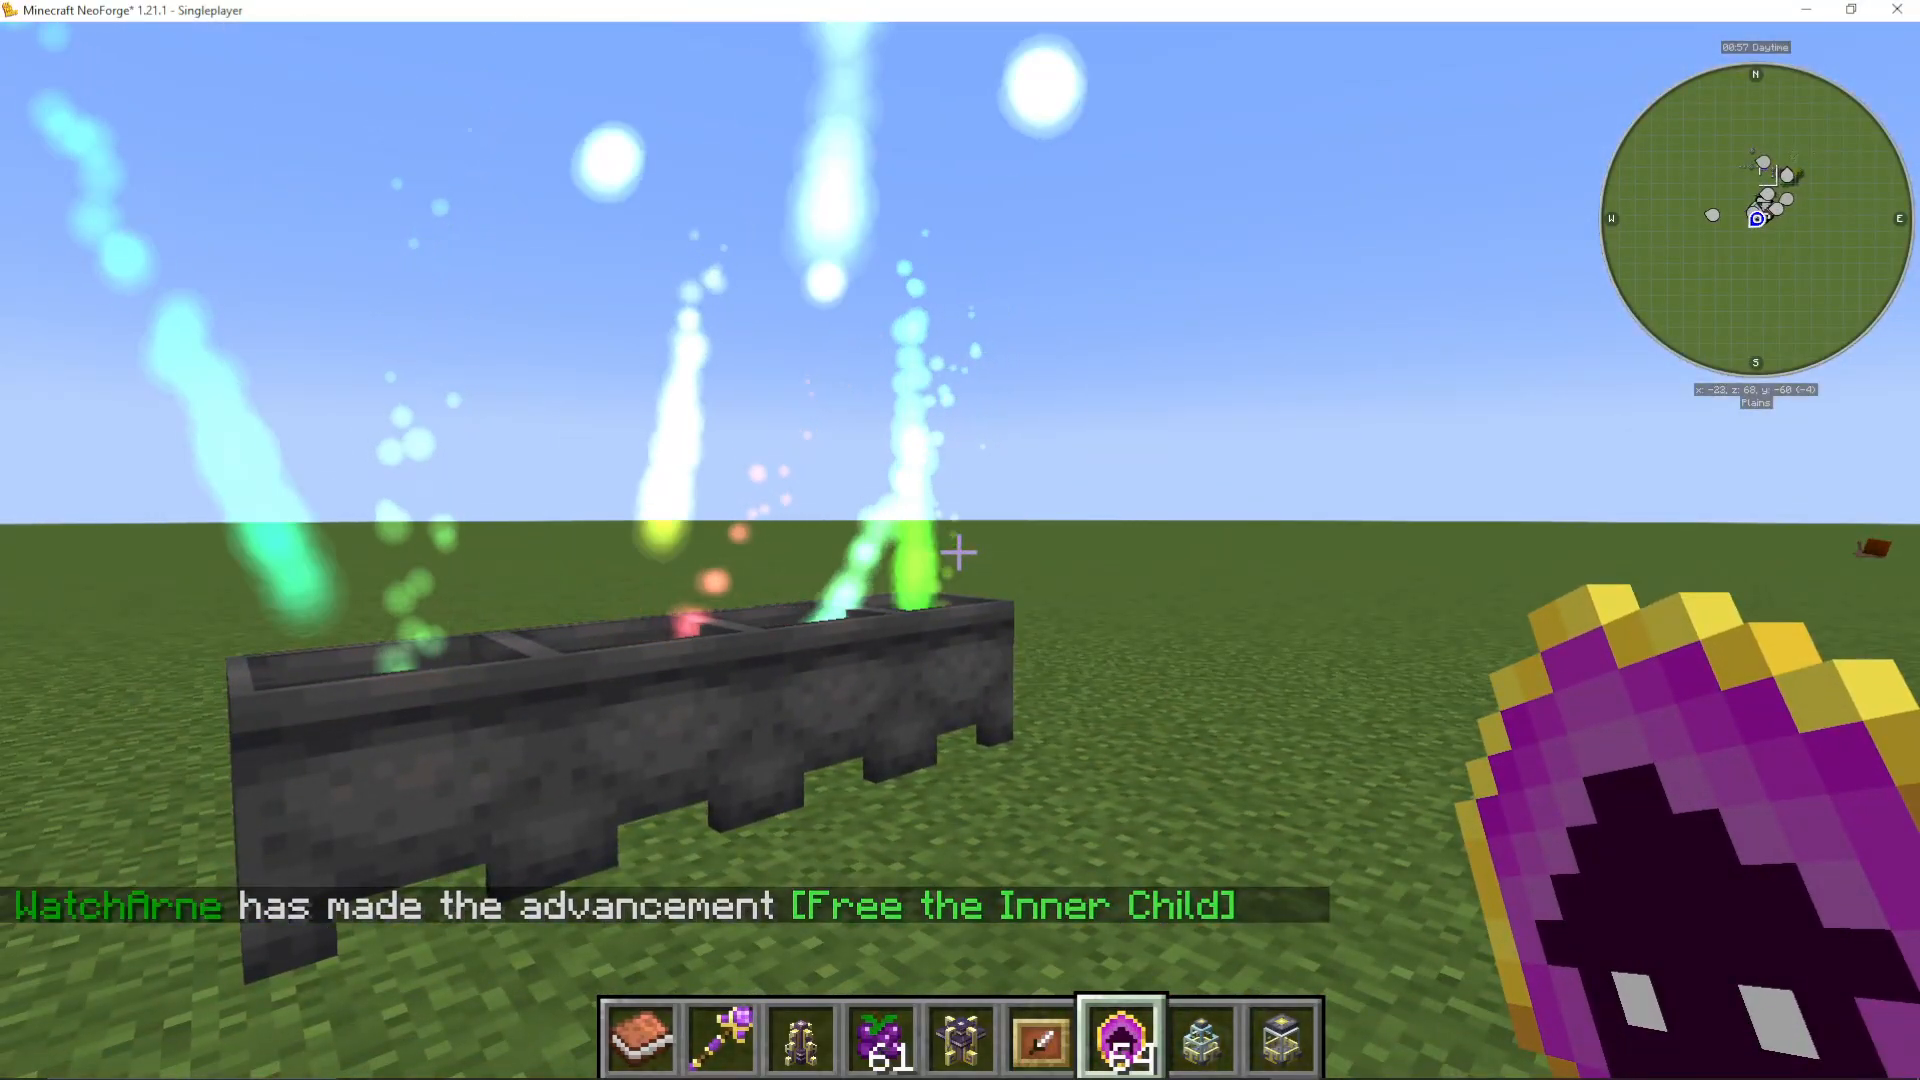
Make sure you have Source Jars with existing Source nearby — the Wixies need Source to operate. Place a couple of Source Jars in the area to power the setup.
Building the Potion Chain (Example: Potion of Harming)
The example chain below produces a Potion of Harming across four stages. Each stage uses one Wixie Cauldron, one Chest (for ingredients), one Pedestal (for the recipe), and one Potion Jar (to store output).
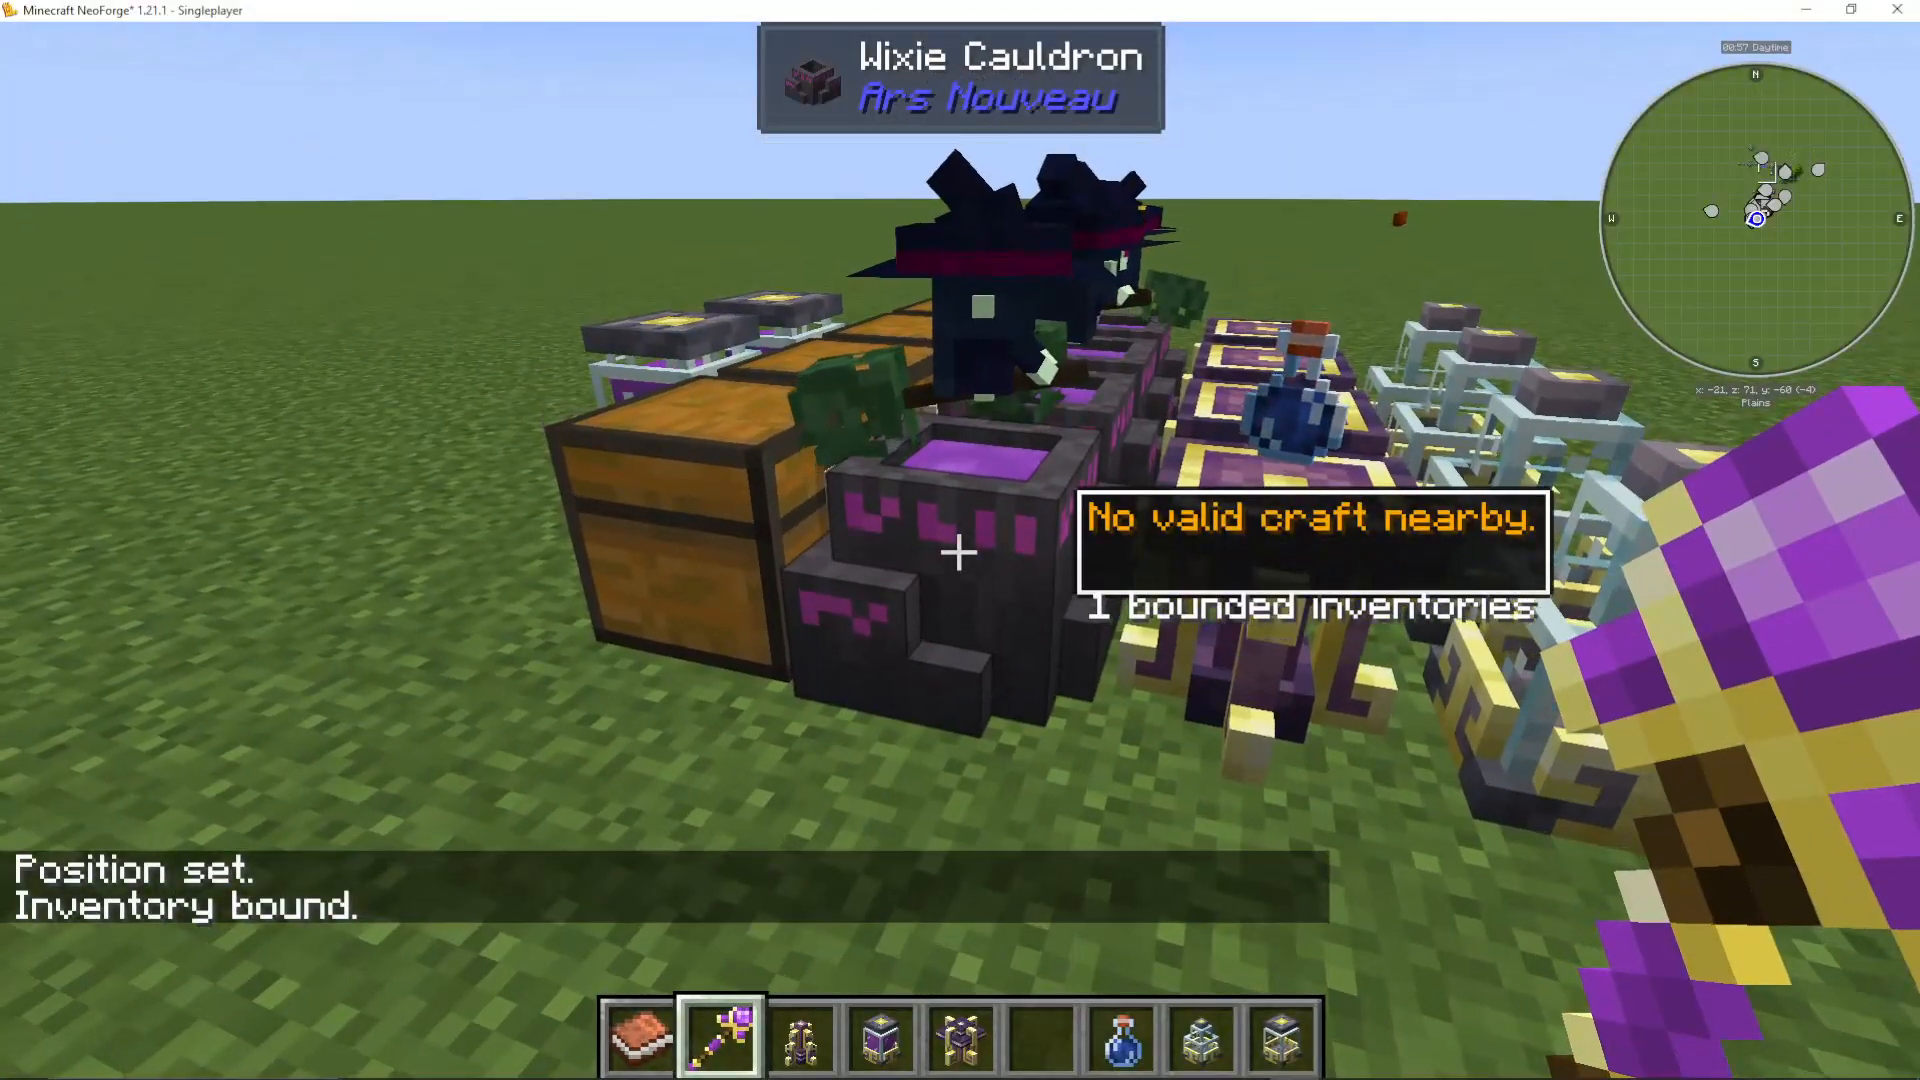
Stage 1 – Awkward Potion
Place an Awkward Potion on the first Pedestal as the recipe reference. Add Nether Wart to the first chest. Using your Dominion Wand, shift right-click the chest, then shift right-click the Wixie Cauldron to link them. The Wixie will take the Nether Wart, add water automatically, and produce an Awkward Potion into the first Potion Jar. Shift right-click the Potion Jar to lock it to this recipe.
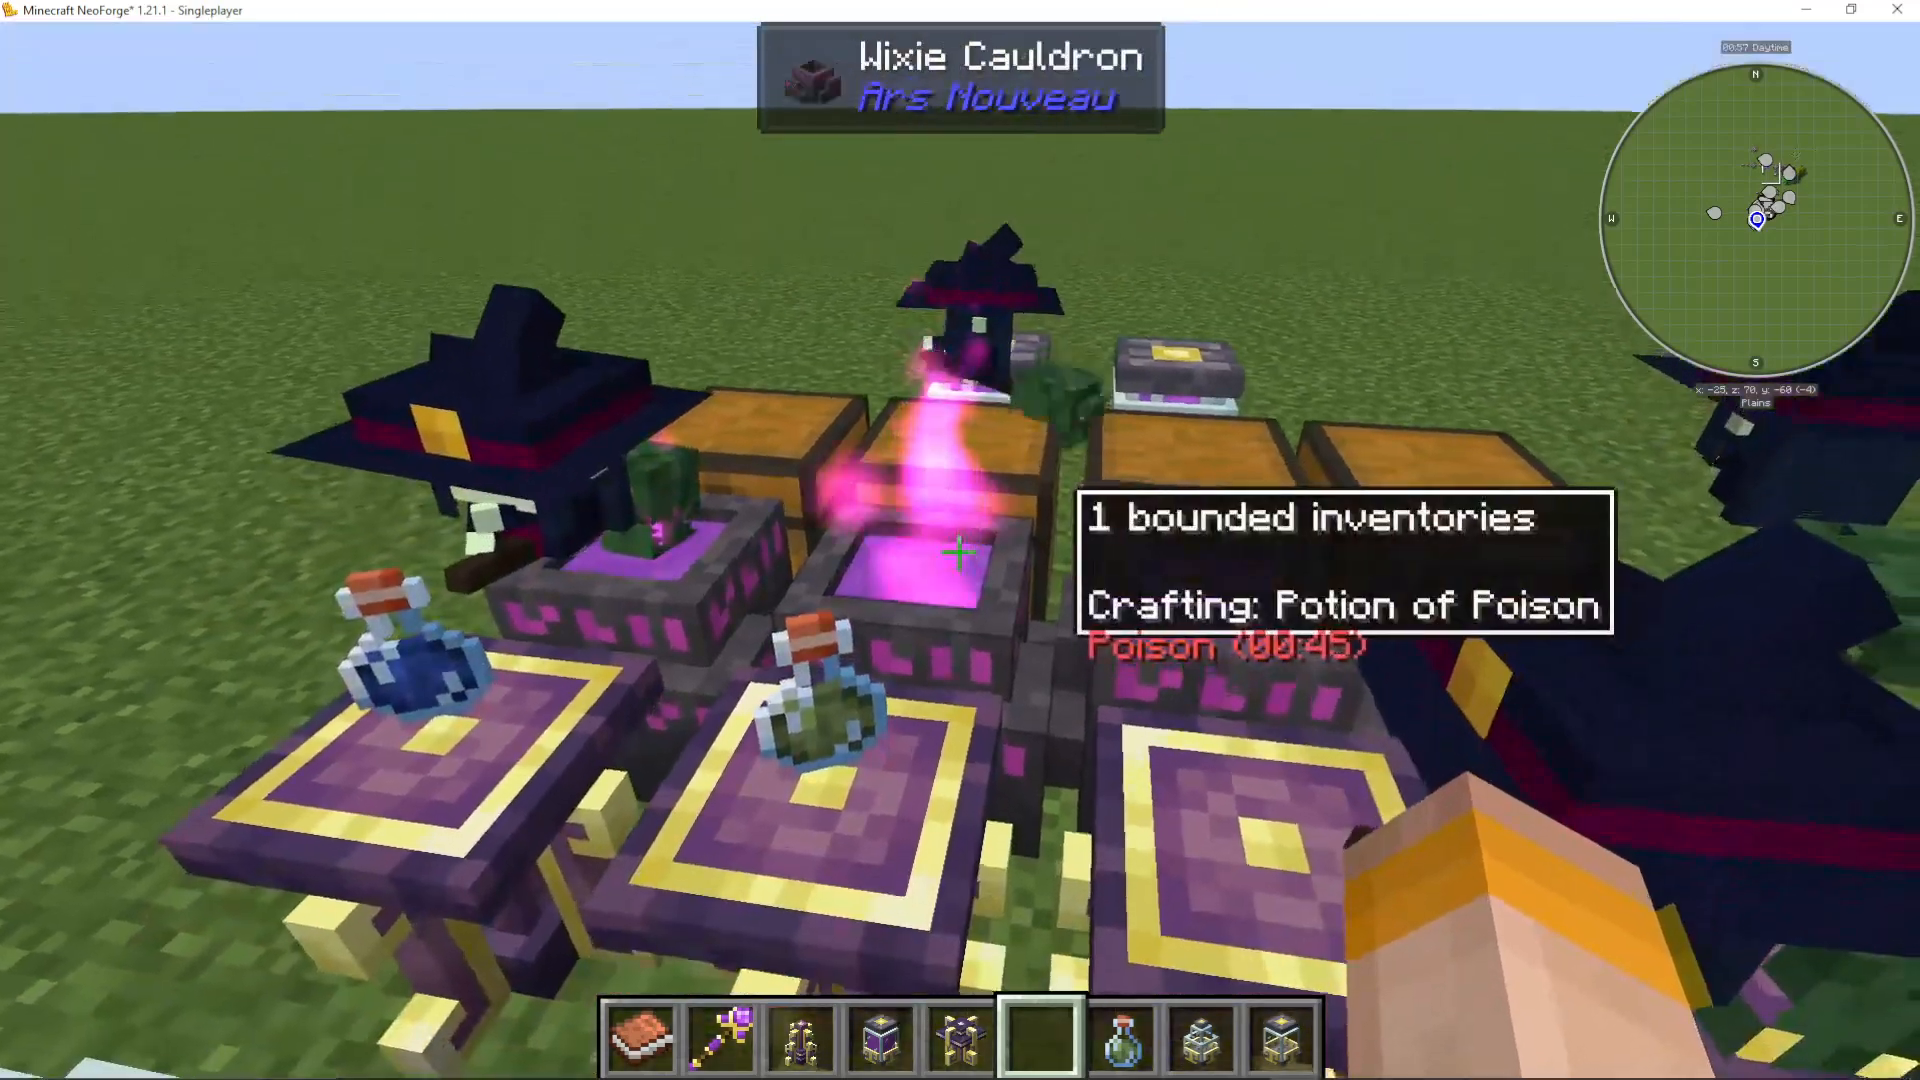
Stage 2 – Potion of Poison
Place a Potion of Poison on the second Pedestal. Add Spider’s Eye to the second chest and link that chest to the second Wixie Cauldron. The Wixie is smart enough to pull the Awkward Potion from the previous Potion Jar automatically, combine it with the Spider’s Eye, and produce a Potion of Poison into the second Potion Jar. Shift right-click the jar to lock it.
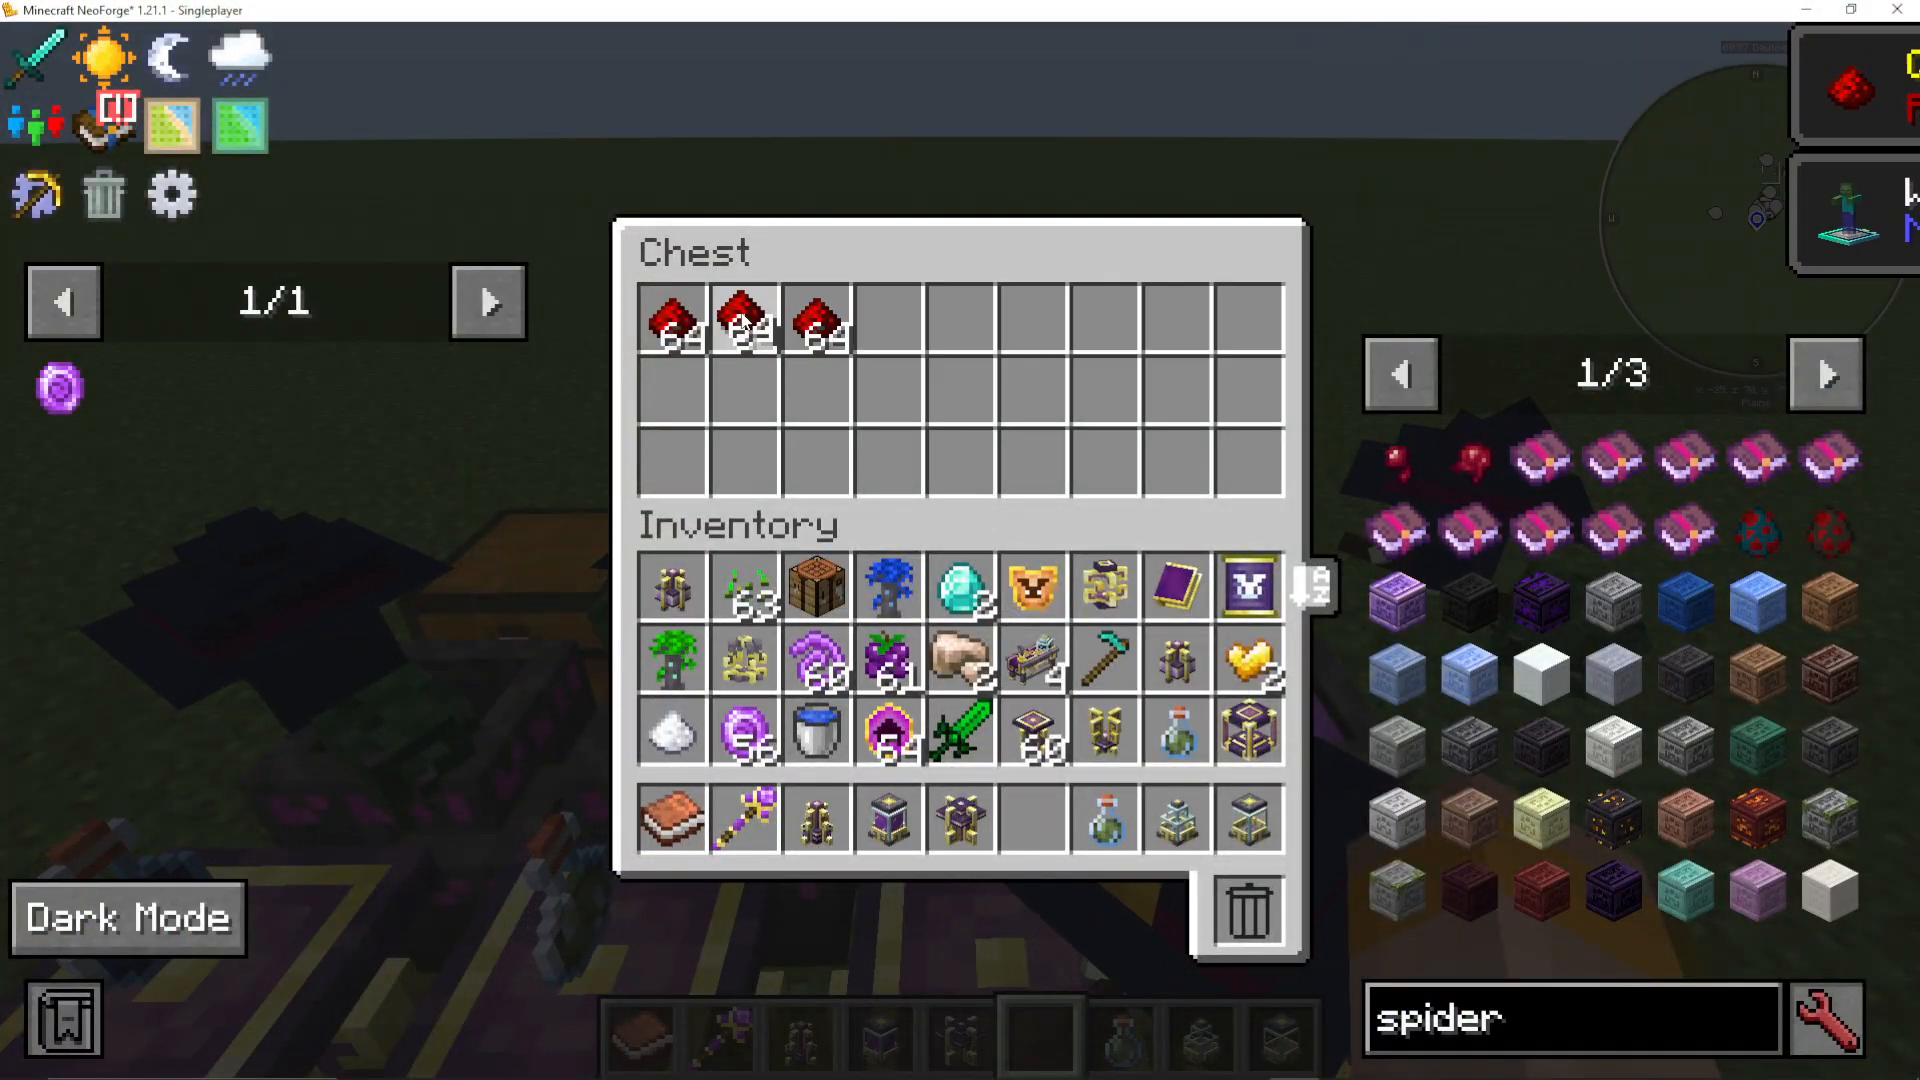
Stage 3 – Potion of Poison (Extended)
Place a Potion of Poison (1:30) on the third Pedestal. Add Redstone to the third chest and link it to the third Wixie Cauldron. The Wixie will extend the duration of the Poison potion. Shift right-click the jar to lock it.
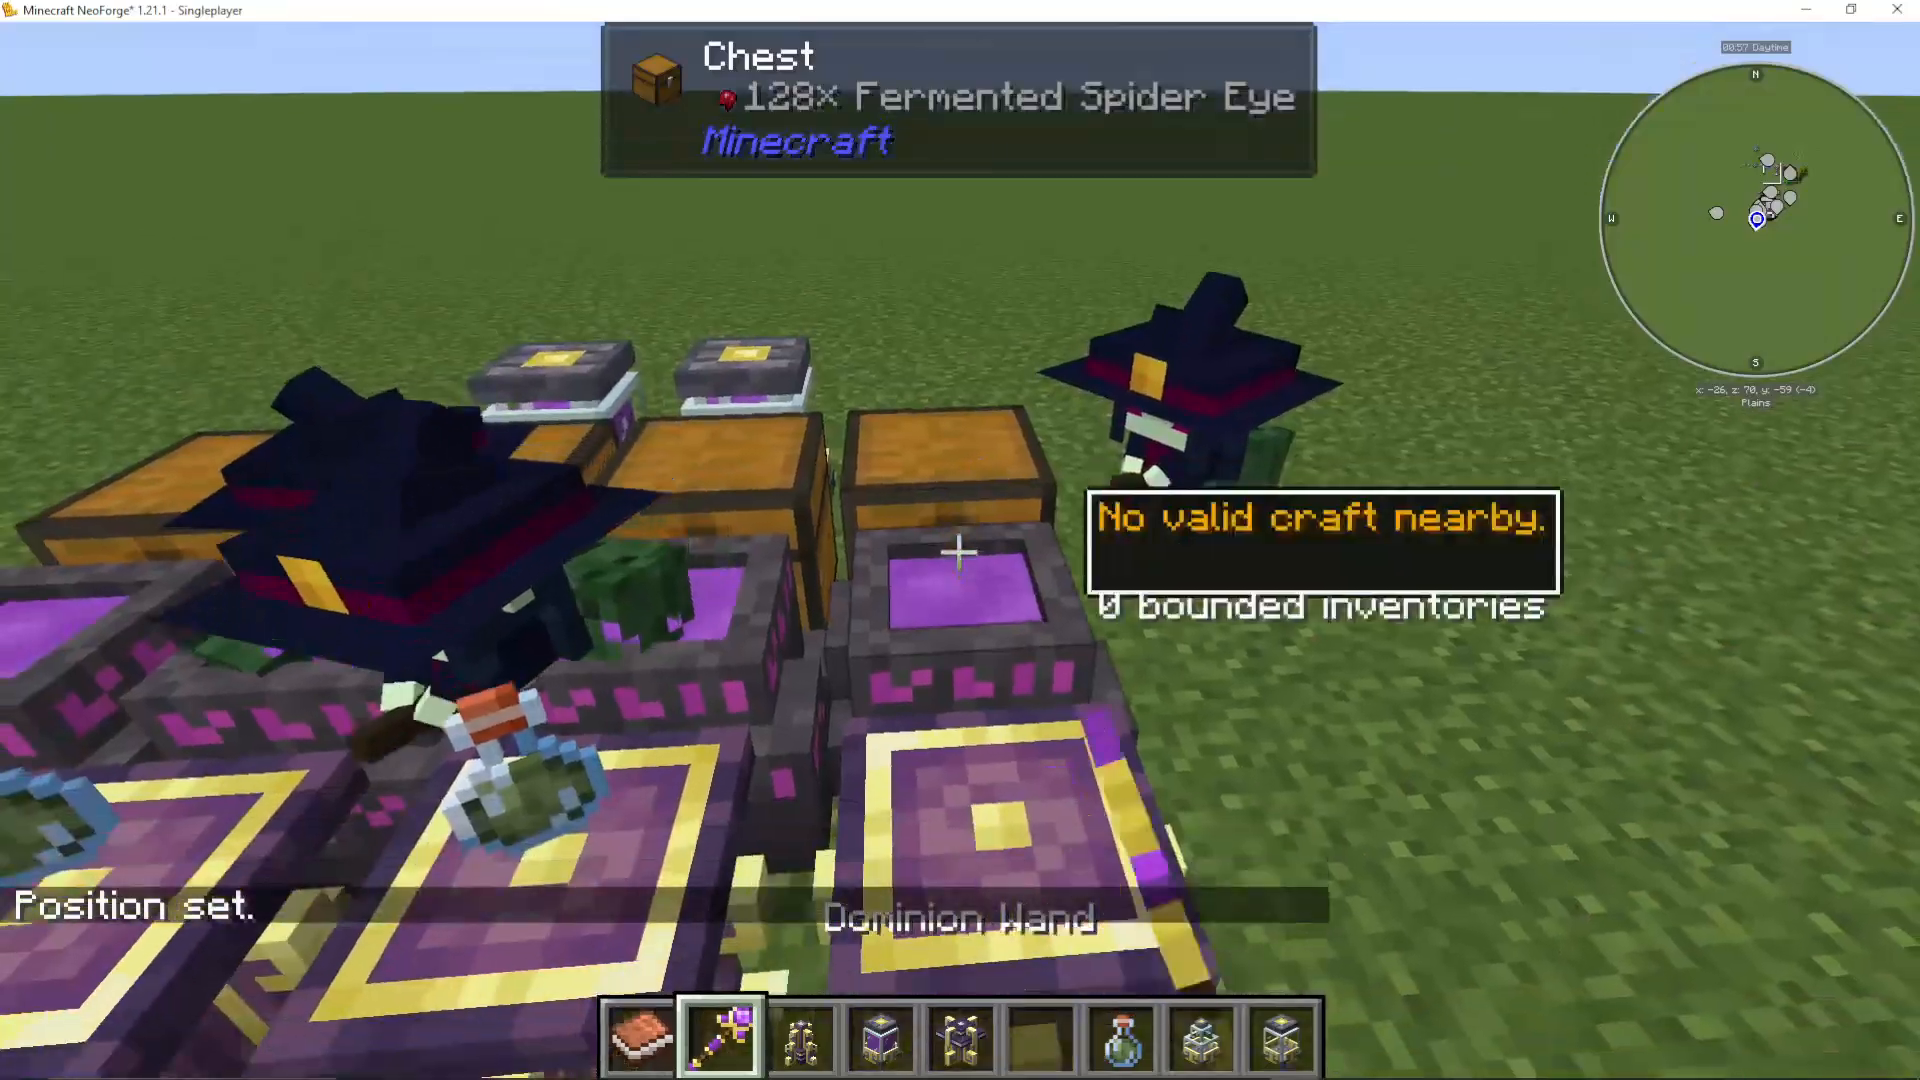
Stage 4 – Potion of Harming
Place a Potion of Harming on the fourth Pedestal. Add Fermented Spider’s Eye to the fourth chest and link it to the fourth Wixie Cauldron. This final step converts the extended Poison potion into a Potion of Harming. Shift right-click the final jar to lock it.
Connecting the Alchemical Source Link
Once your potion chain is running and the final Potion Jar is producing Potions of Harming, place your Alchemical Source Link next to that final Potion Jar. Add a Source Jar nearby. The Alchemical Source Link will draw Source from the potions and fill the jar. The more complex the potion chain, the more Source you earn — so running all four stages is absolutely worth it.
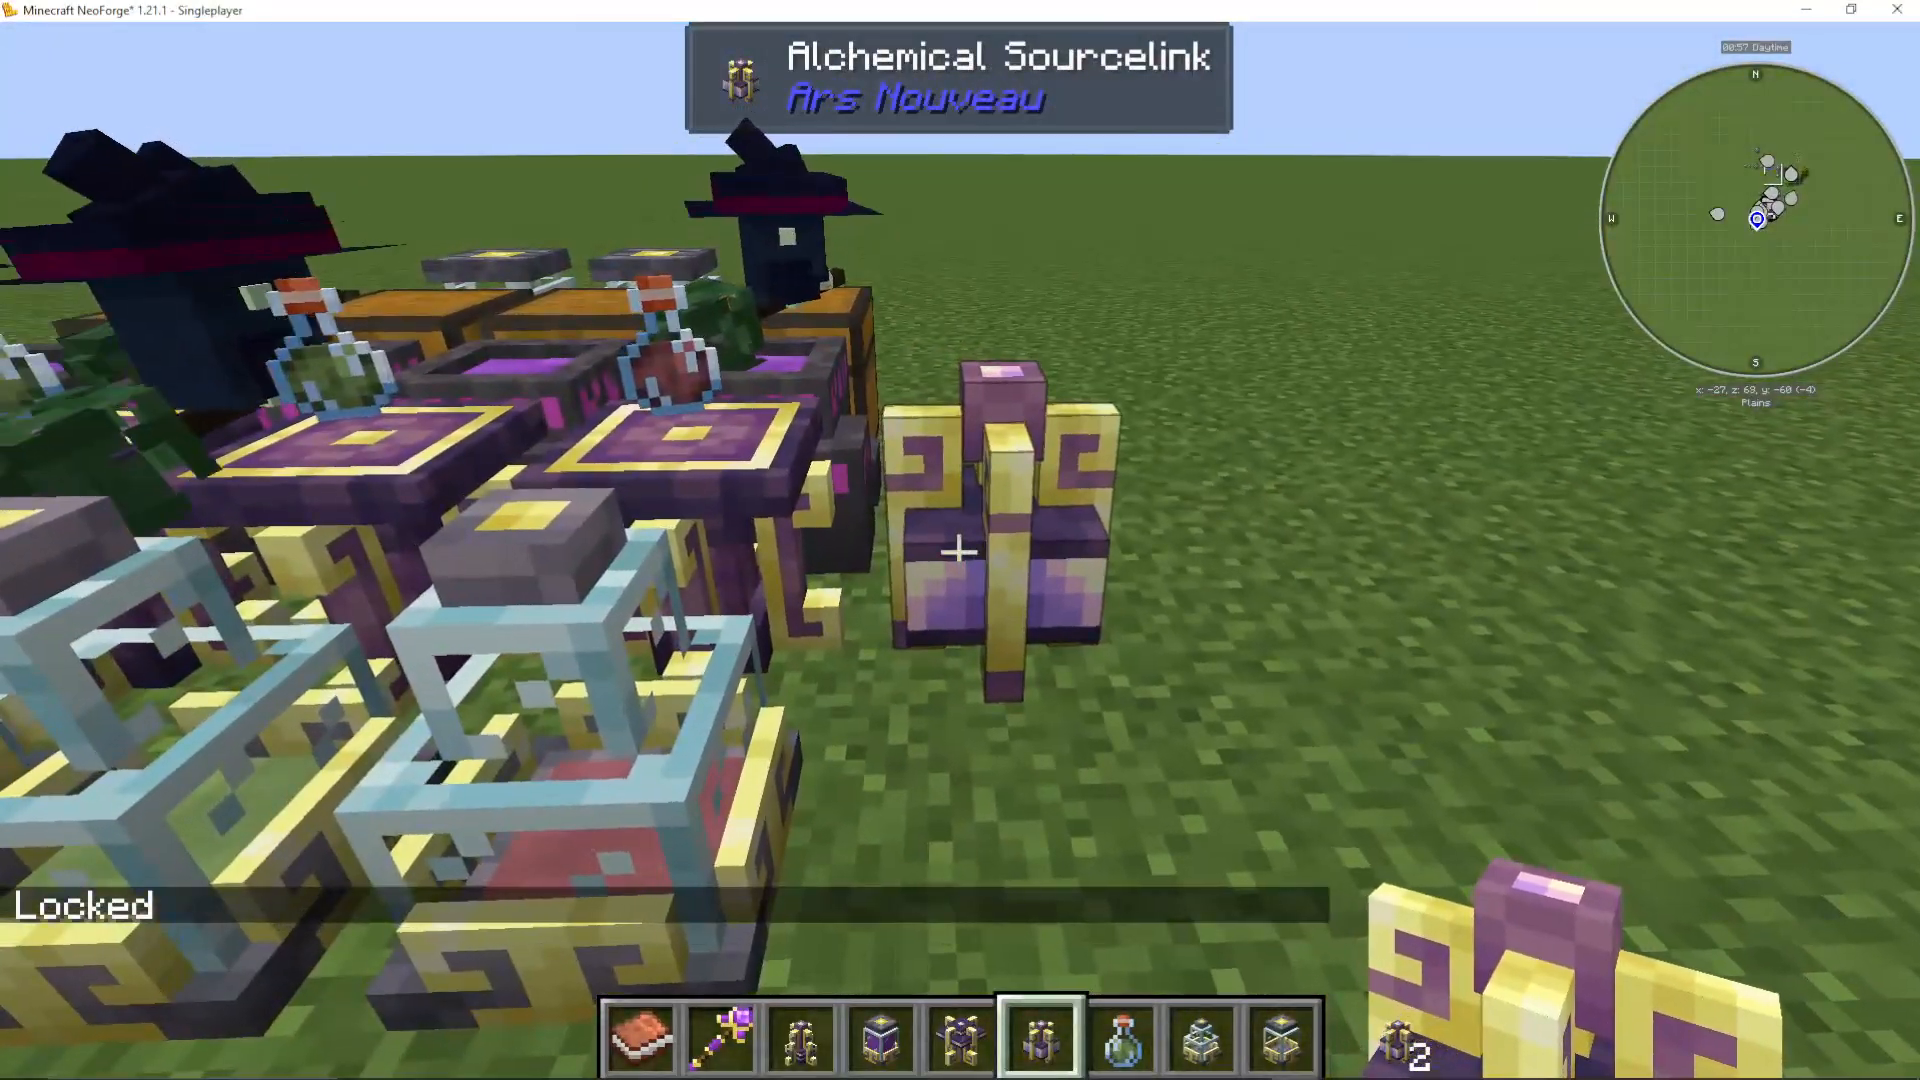
Source Relays – Transporting Source Around Your Base
Once you’re generating large amounts of Source, you’ll need a way to move it from your farms to wherever you actually use it. Source Relays handle this.
Basic Source Relay
To link a Source Jar to a relay, shift right-click the Source Jar, then shift right-click the Relay. Then right-click the Relay and shift right-click the destination jar. This creates a Source flow: from the first jar → into the relay → out to the second jar.
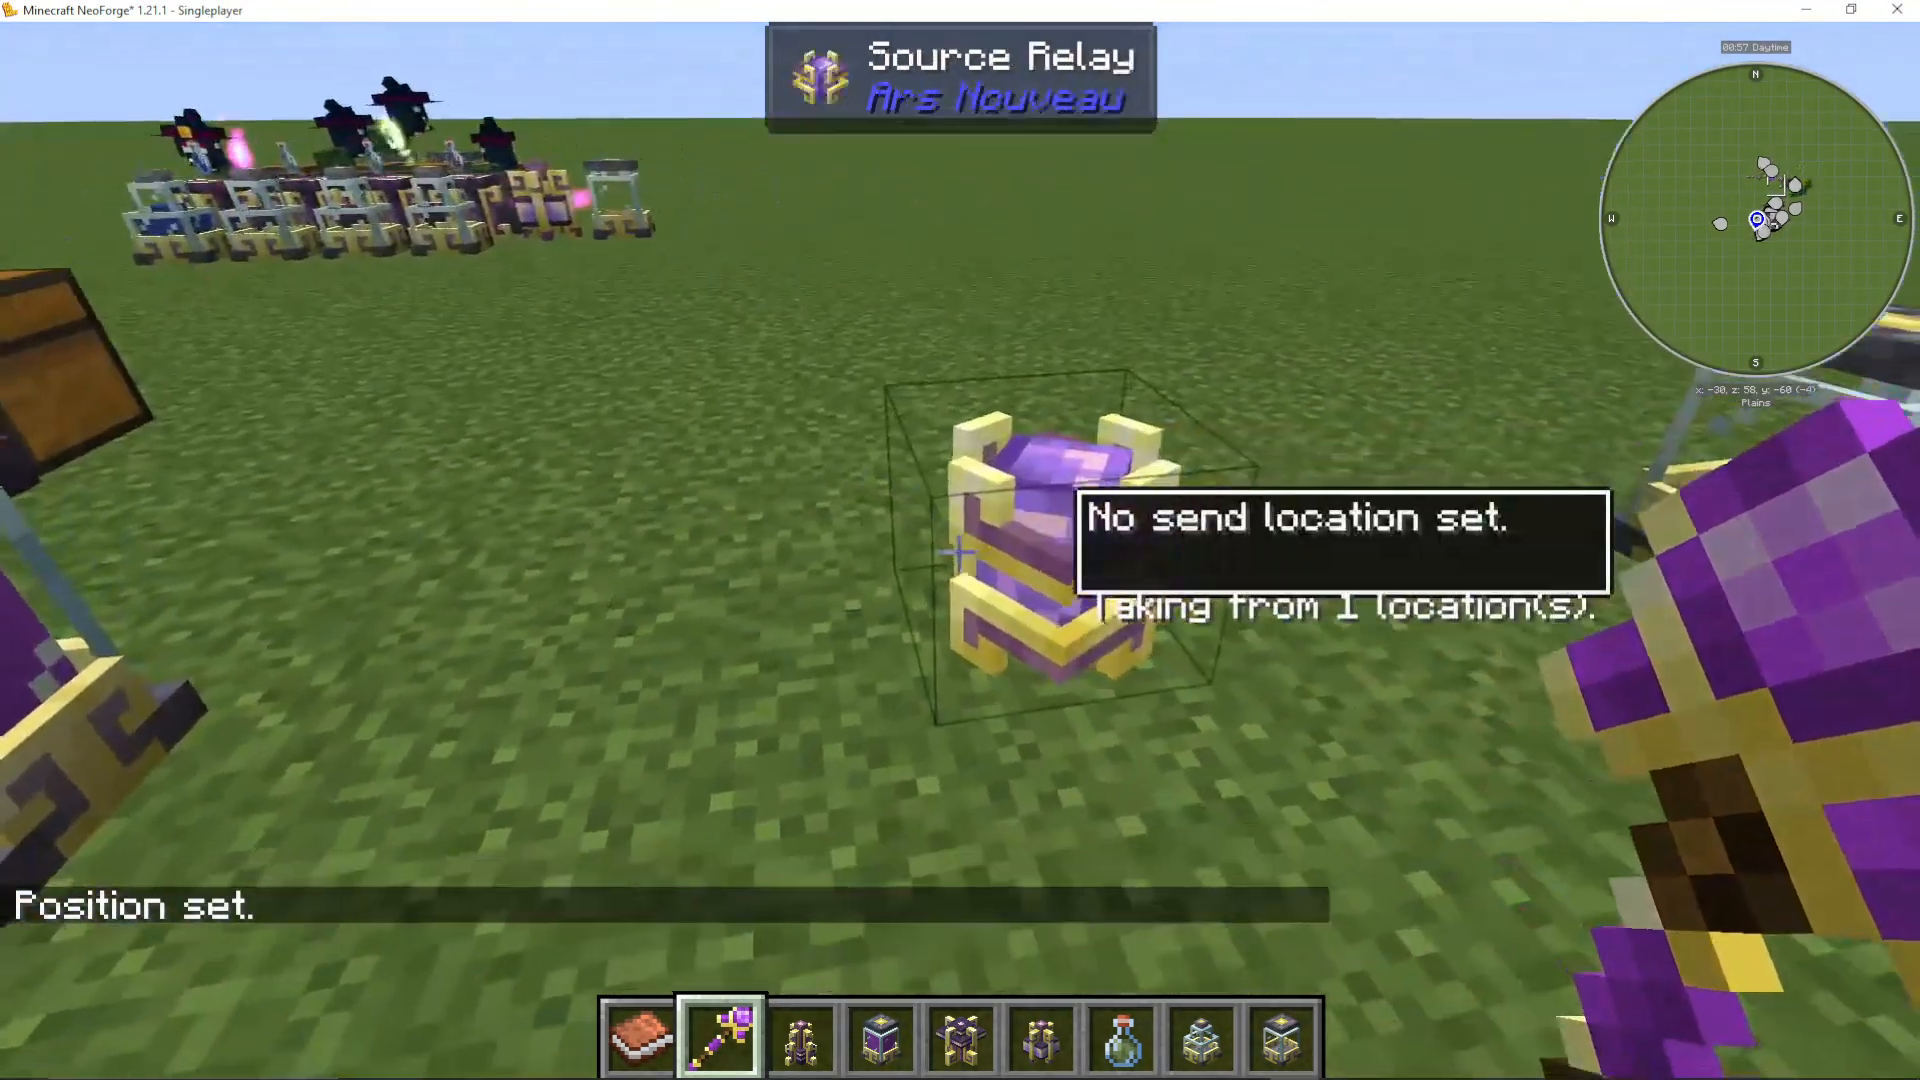
Types of Relays
Collector Relay
Operates similarly to the standard Source Relay, but will automatically collect from any Source Jars within 5 blocks — even ones it isn’t explicitly linked to. No manual linking required for nearby jars.
Depositor Relay
Operates similarly to the standard Source Relay, but will automatically deposit into any Source Jars within 5 blocks that it isn’t explicitly linked to.
Splitter Relay
Splits incoming Source and distributes it across multiple destination jars simultaneously. Useful for powering several areas from one source.
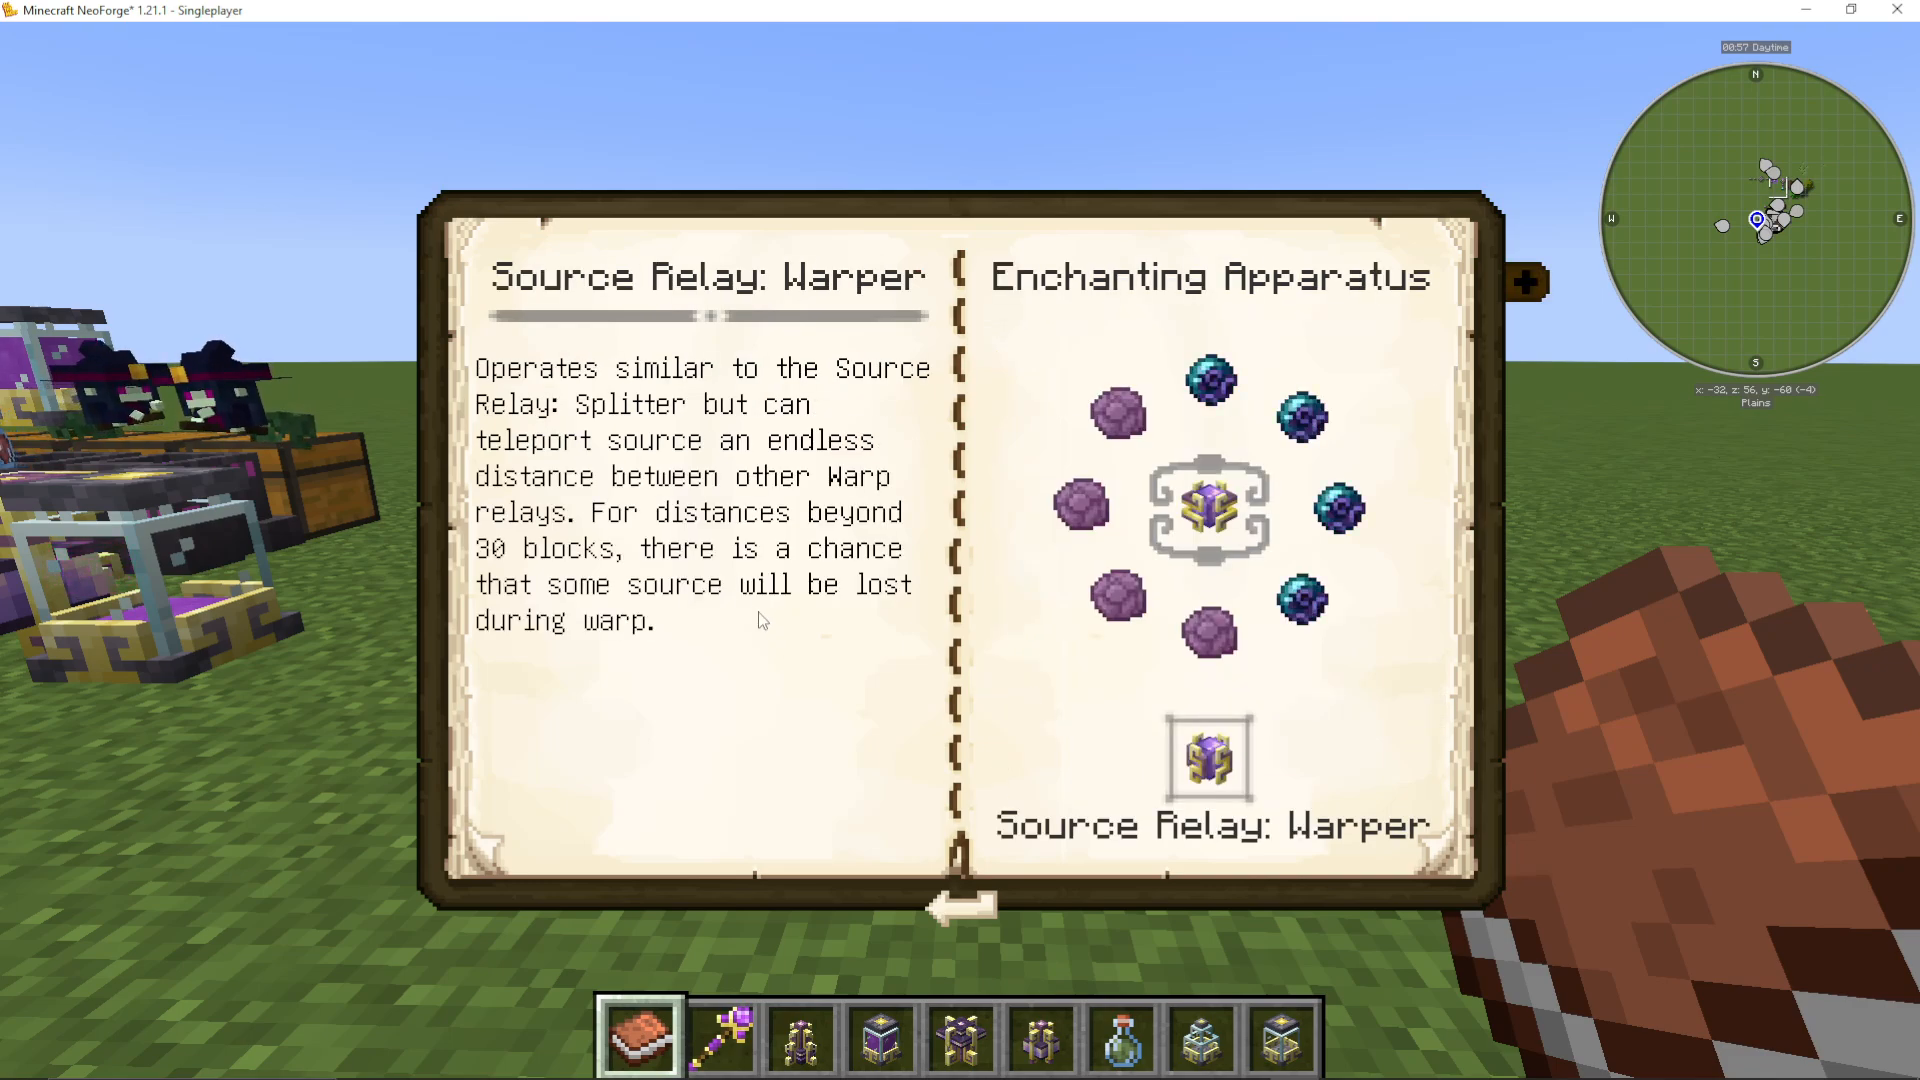
Warp Relay
The most powerful relay option. Operates like the Splitter Relay but can teleport Source over an unlimited distance between paired Warp Relays. Note: for distances beyond 30 blocks, there is a chance that some Source will be lost during the warp transfer.
Summary
Here’s a quick recap of everything covered in this guide:
Agronomical Source Link – Generates Source from crop growth (17×17 range). Best paired with Source Berries and automated with Starbuncles.
Mycelial Source Link – Consumes food from Pedestals or the ground to generate Source. Bonus: converts ground to Mycelium.
Volcanic Source Link – Burns items (best: Blazing Archwood) for Source. Bonus: converts Stone beneath it to Lava.
Vitalic Source Link – Generates Source from animal breeding, mob growth, and entity deaths. Best placed near mob or breeding farms.
Alchemical Source Link – Generates Source from Potions in Potion Jars. The more complex the potion chain, the more Source produced. Automated with Wixies.
Source Relays – Move Source between jars using the Collector, Depositor, Splitter, or Warp relay variants depending on your needs.
With all five Source Links set up and your relays in place, you’ll have a fully automated, high-output Source network powering your entire Ars Nouveau operation. Good luck, and happy spellcasting!
Want to Support?
If you would like to help us continue making these guides – please consider joining our patreon here – https://www.patreon.com/c/JaviHeals
Alternatively – we host a group of MC Servers you can join here – https://discord.gg/zD7Gjt6MHF