BEST Protection Warrior Tank Build Early to End Game Guide – Prominence II
Best Protection Warrior Tank Build Early to End Game Guide – Prominence II
Learn how to master the Protection Warrior tank role in Prominence II with this comprehensive guide. We’ll walk you through everything you need to know to play an effective tank from early game through end game, covering armor choices, weapons, accessories, enchantments, talents, and consumables. Whether you’re playing solo or with a group, this build will give you the survivability and damage mitigation you need to protect your allies and absorb massive amounts of damage.
What is a Warrior Tank?
A Protection Warrior tank is a character build focused on having an insane amount of health, protection, and resistances. Your primary role is to absorb damage from bosses and enemies while protecting your allies. The tank allows everyone else on your team to deal damage without worry.
You can absolutely play this build solo, though damage output won’t be your strongest point. What you sacrifice in DPS, you gain in survivability—fights may take longer, but you’ll be incredibly tanky and nearly impossible to kill.
Early Game Armor Progression
Starting your tank journey is straightforward with basic armor progression:
Iron Armor: Your initial starting gear
Diamond Armor: Your next upgrade step
Netherite Armor: Your final early game piece
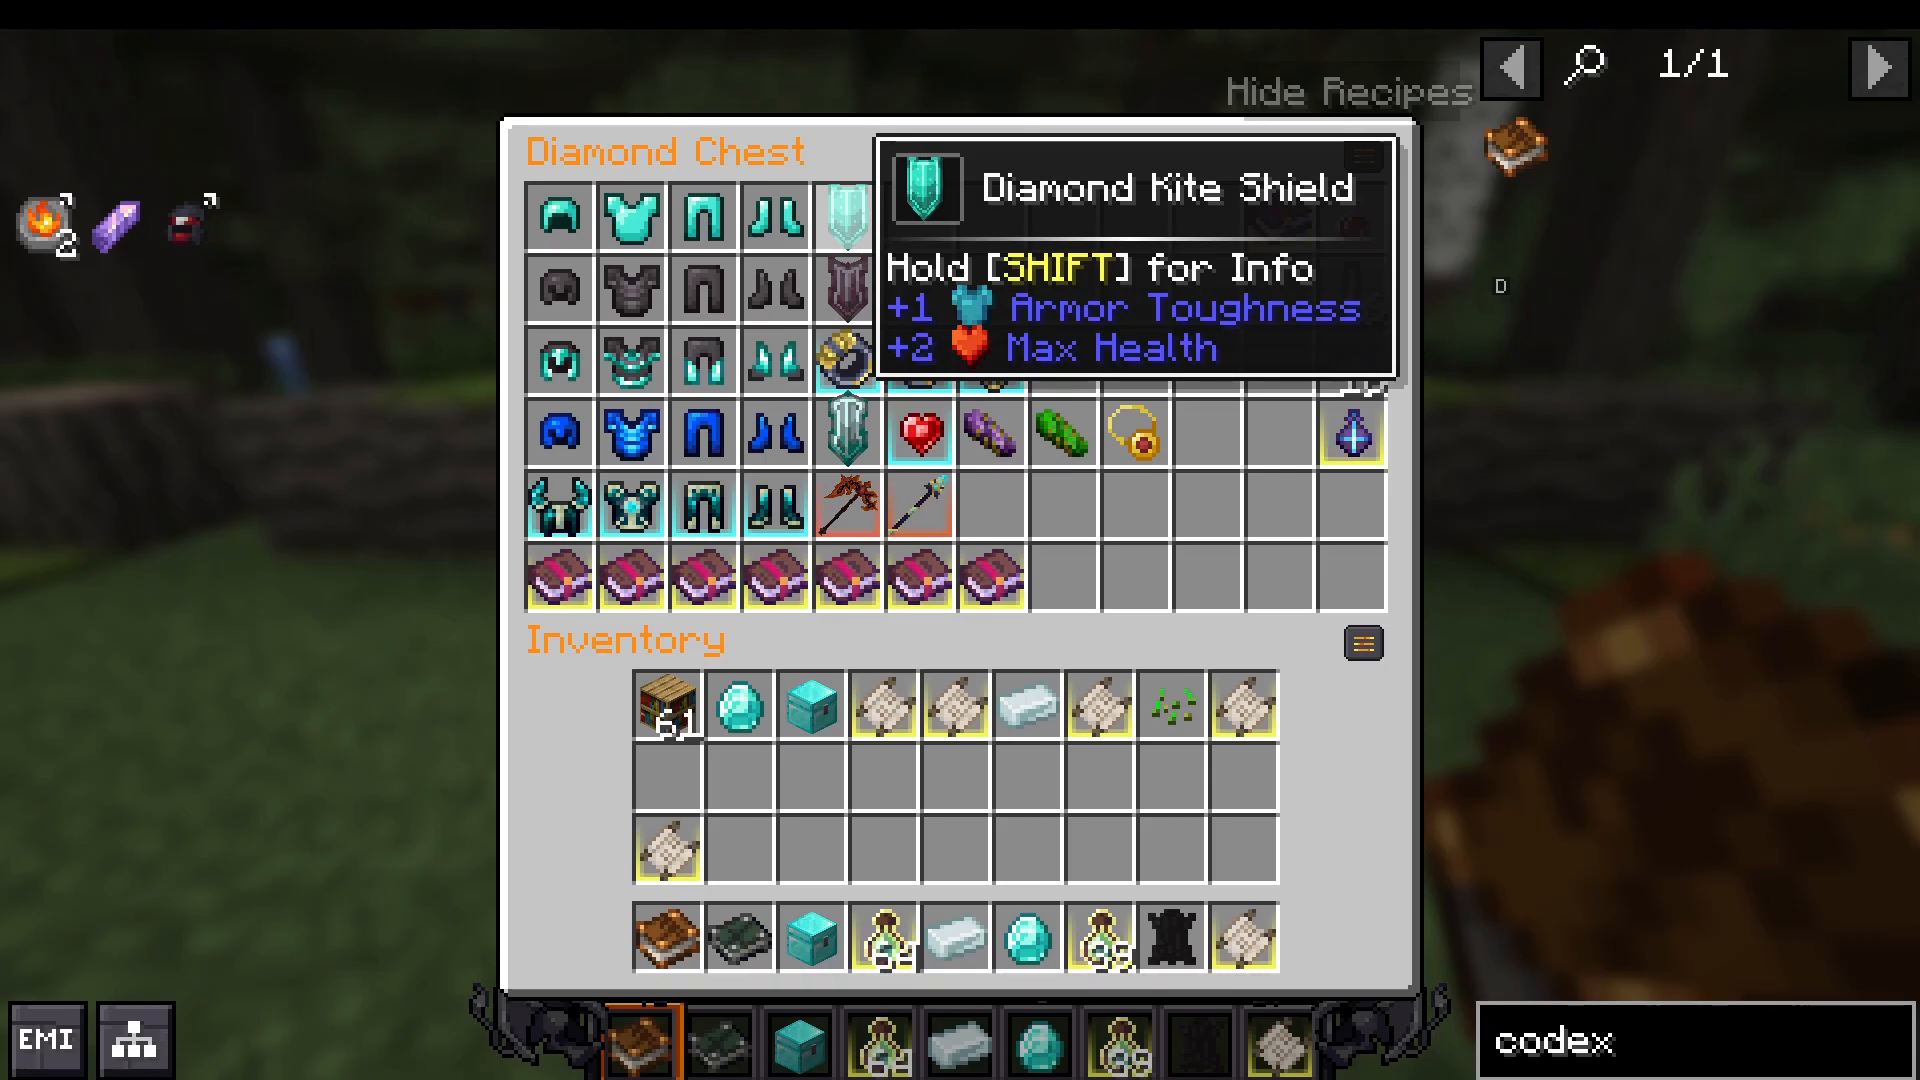
For your weapon setup, you’ll want to equip a one-handed weapon paired with a Diamond Kite Shield. If you find you don’t need the shield protection early on, a two-handed weapon works fine—it really doesn’t matter at this stage.
When you upgrade to Netherite, you gain knockback resistance and frost resistance, making you significantly more durable. A Netherite Kite Shield is also highly recommended at this point.
Mid Game Armor and Accessories
This is where your build starts getting interesting. The mid game introduces several powerful options:
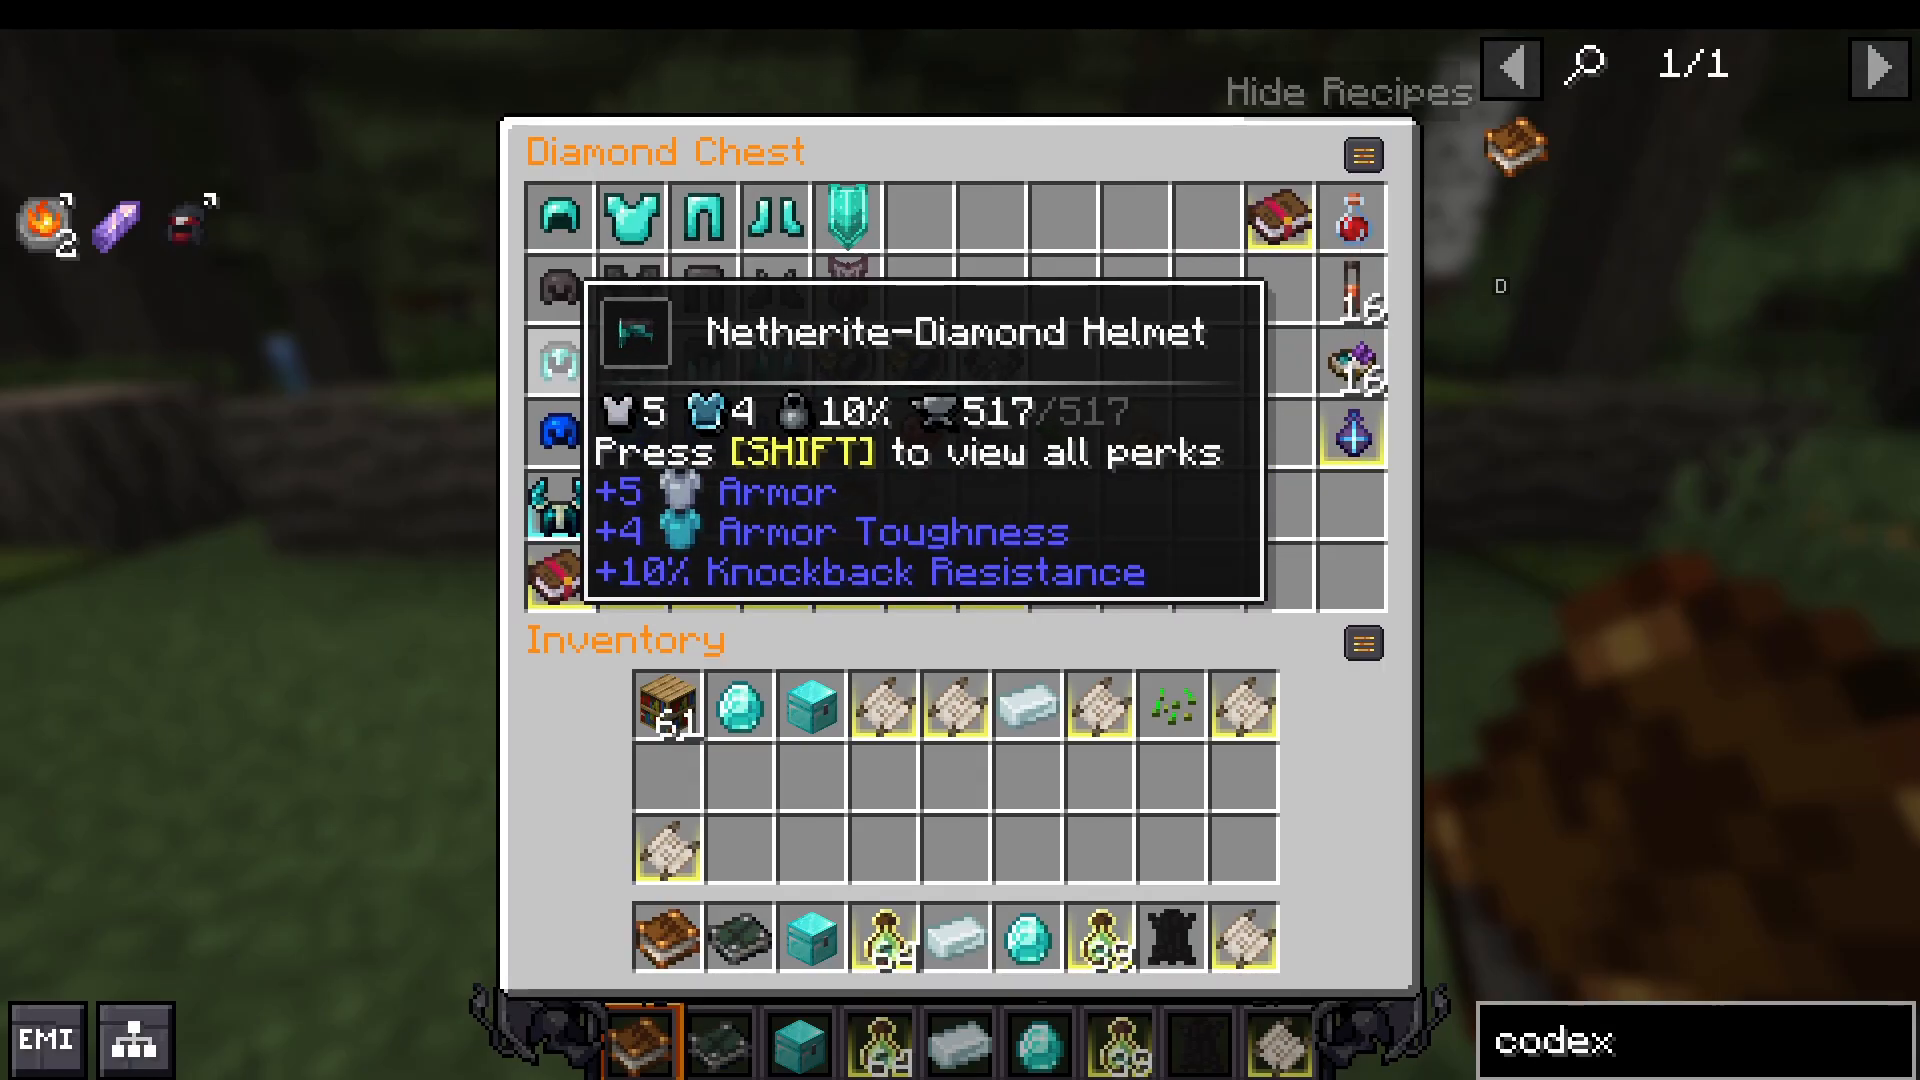
Netherite Diamond Armor
This hybrid armor combines the benefits of both Netherite and Diamond, providing a significant bonus. Additionally, it pacifies Enderman, Piglins, and Phantoms—incredibly useful for staying alive in challenging encounters.
Accessories for Health and Armor
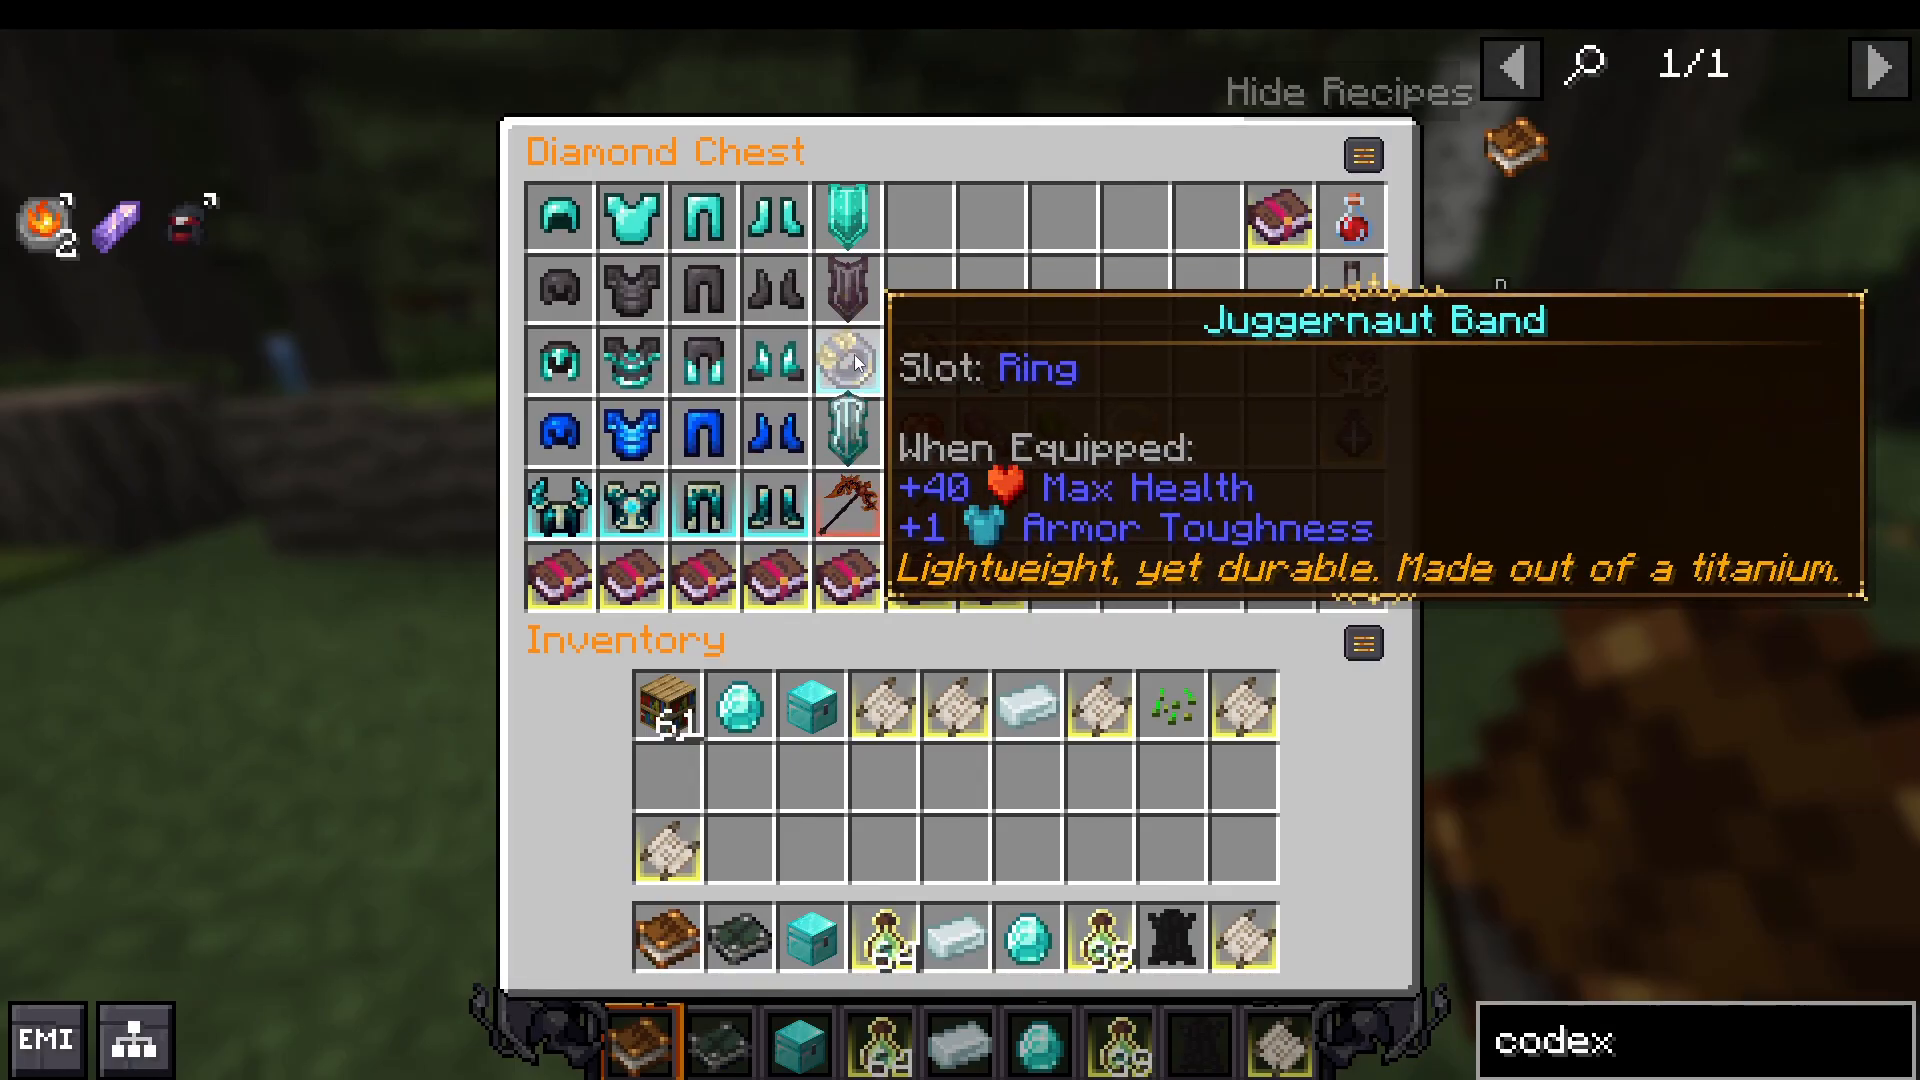
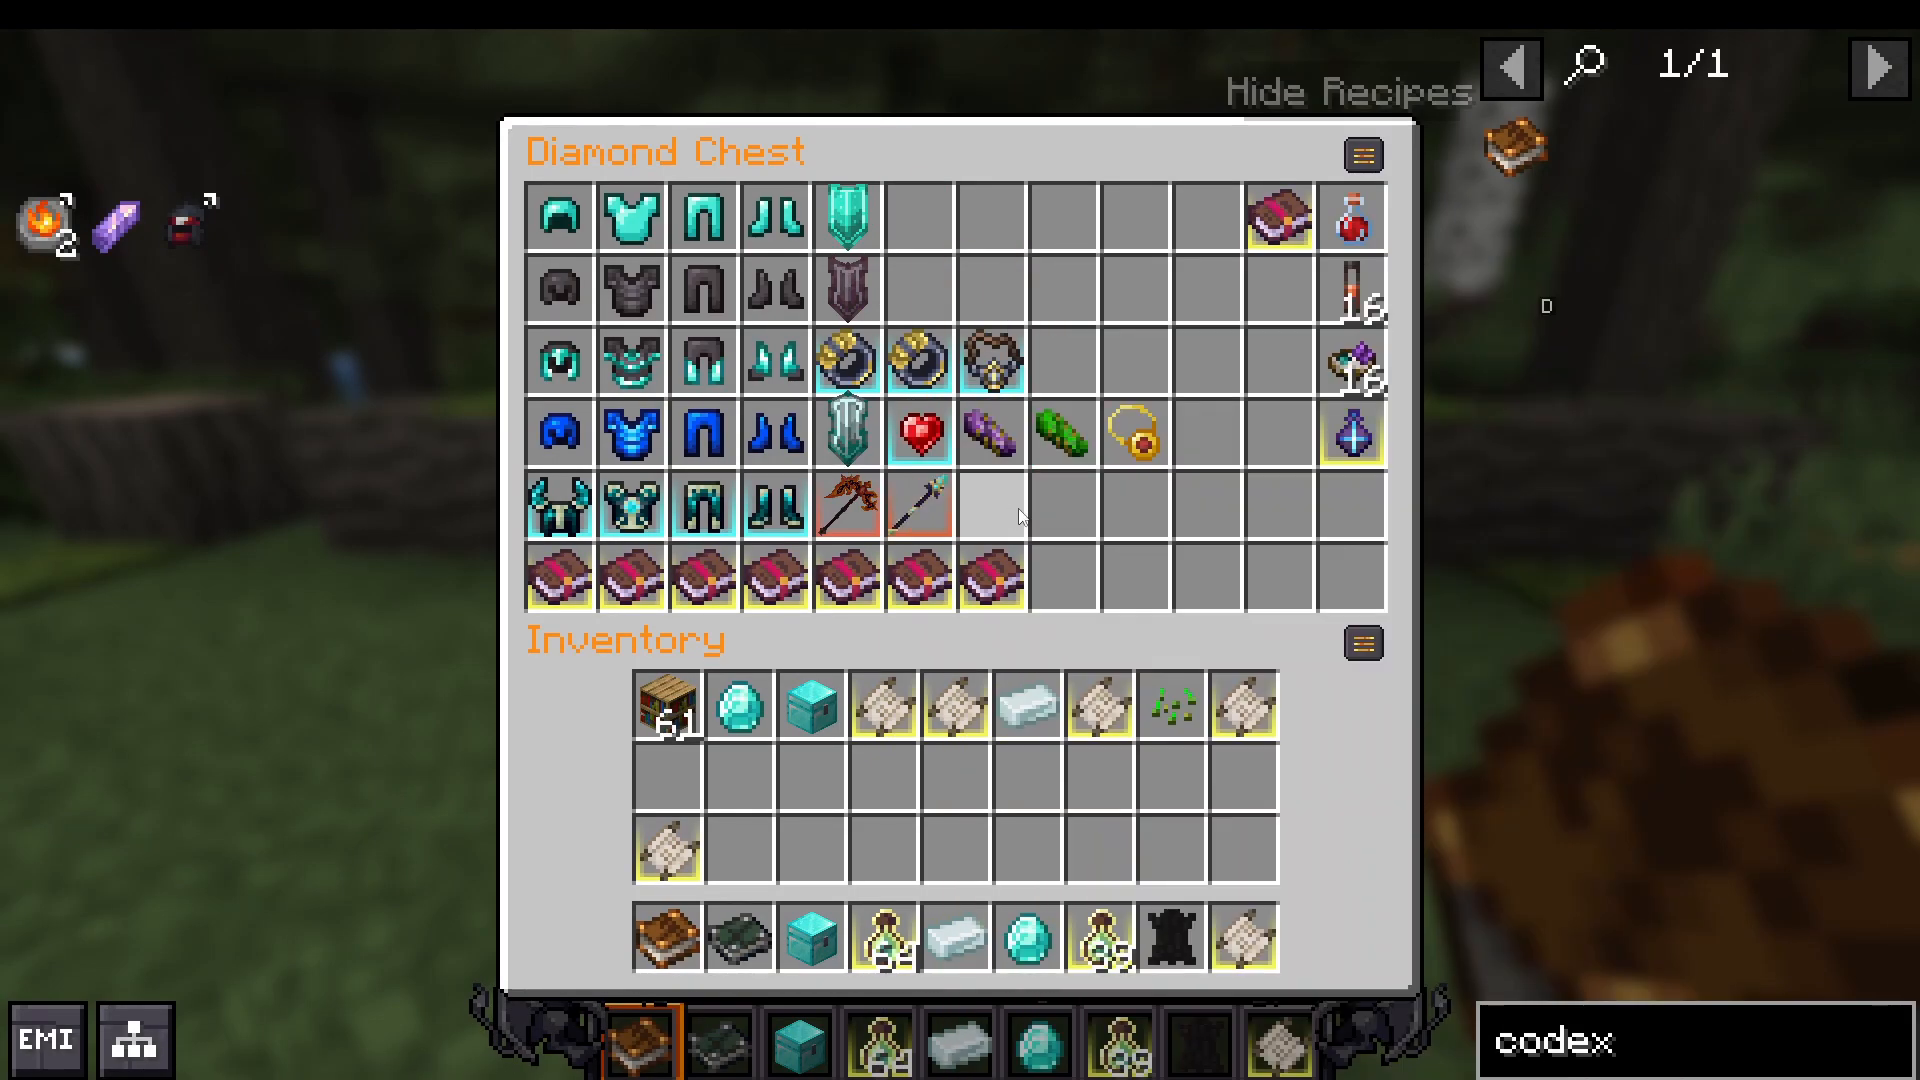
Juggernaut Bands: These accessories provide 40 max health and armor toughness on both pieces, giving you a substantial health boost right away.
Sentinel’s Amulet: This amulet grants 60 max health and armor toughness—a massive accessory for tank builds.
Just from these few accessories alone, you’ll notice your health pool expanding dramatically.
End Game Armor Choices
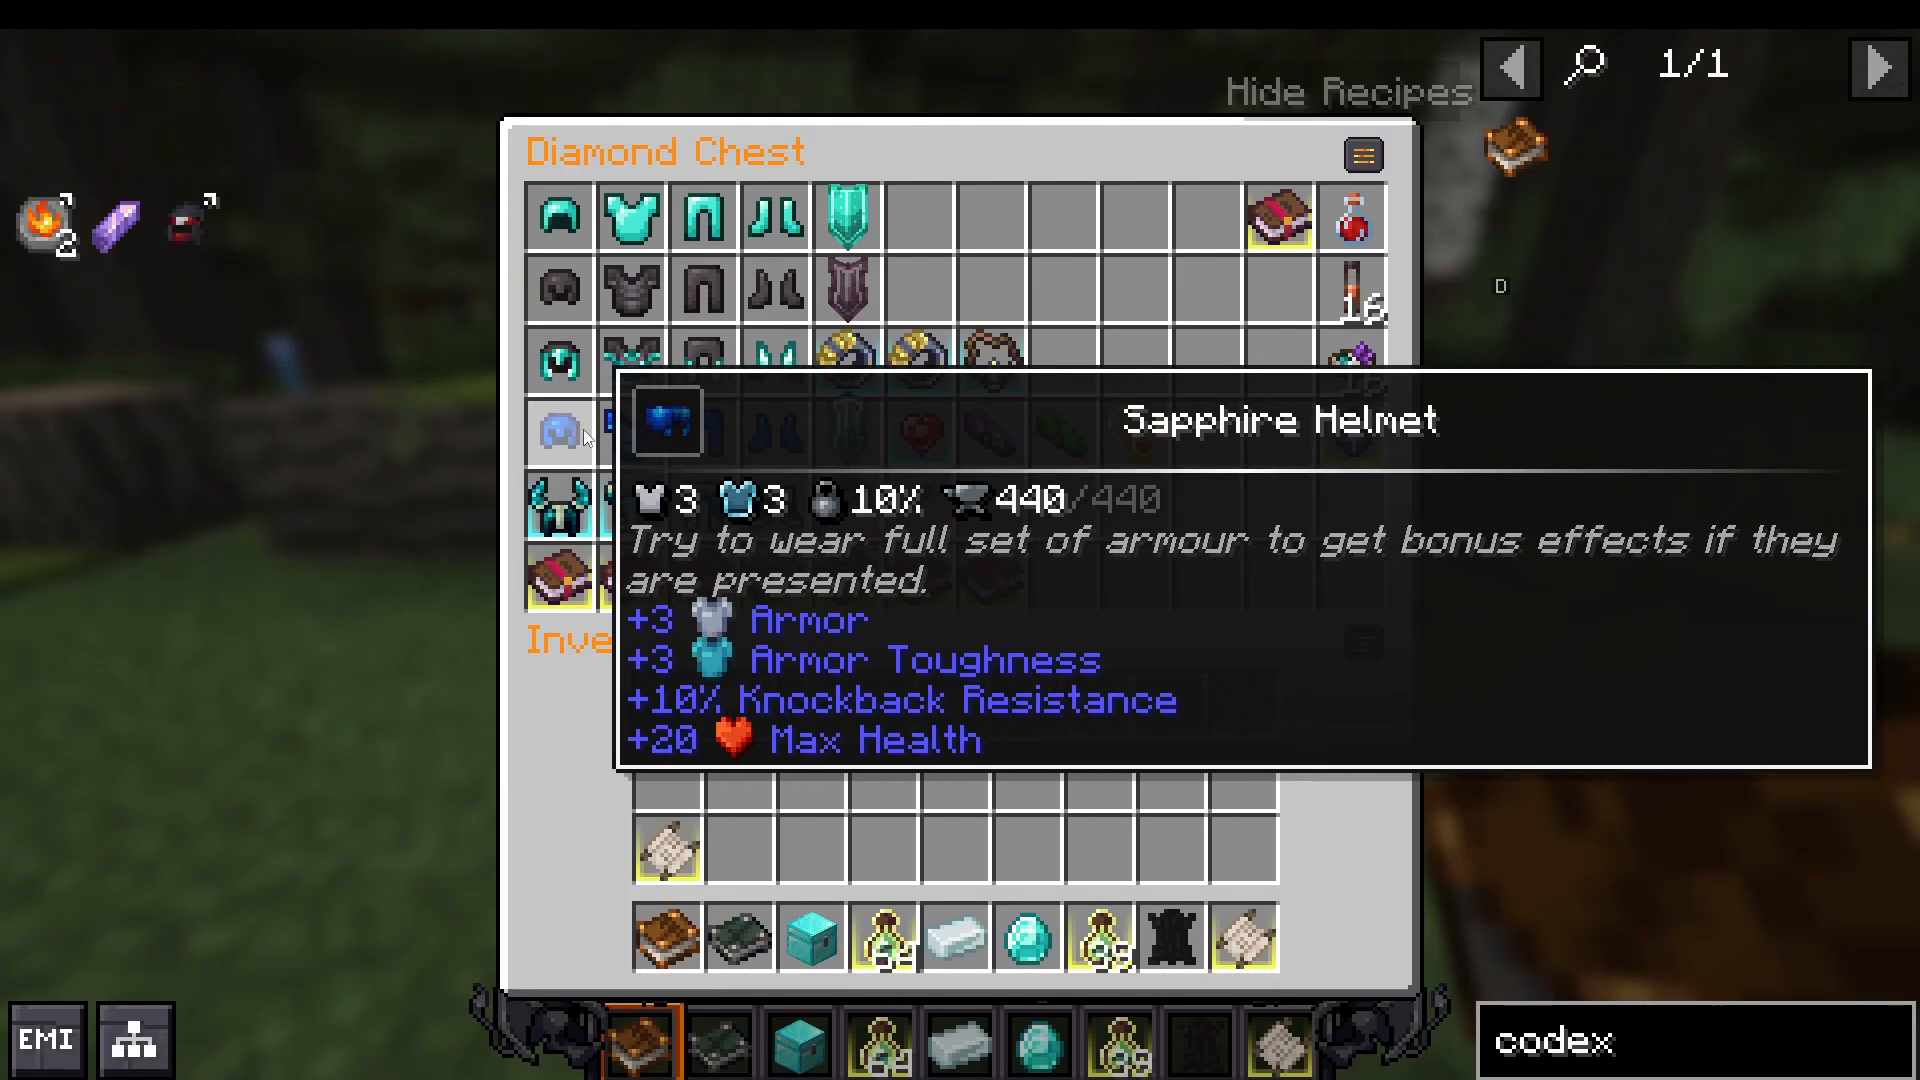
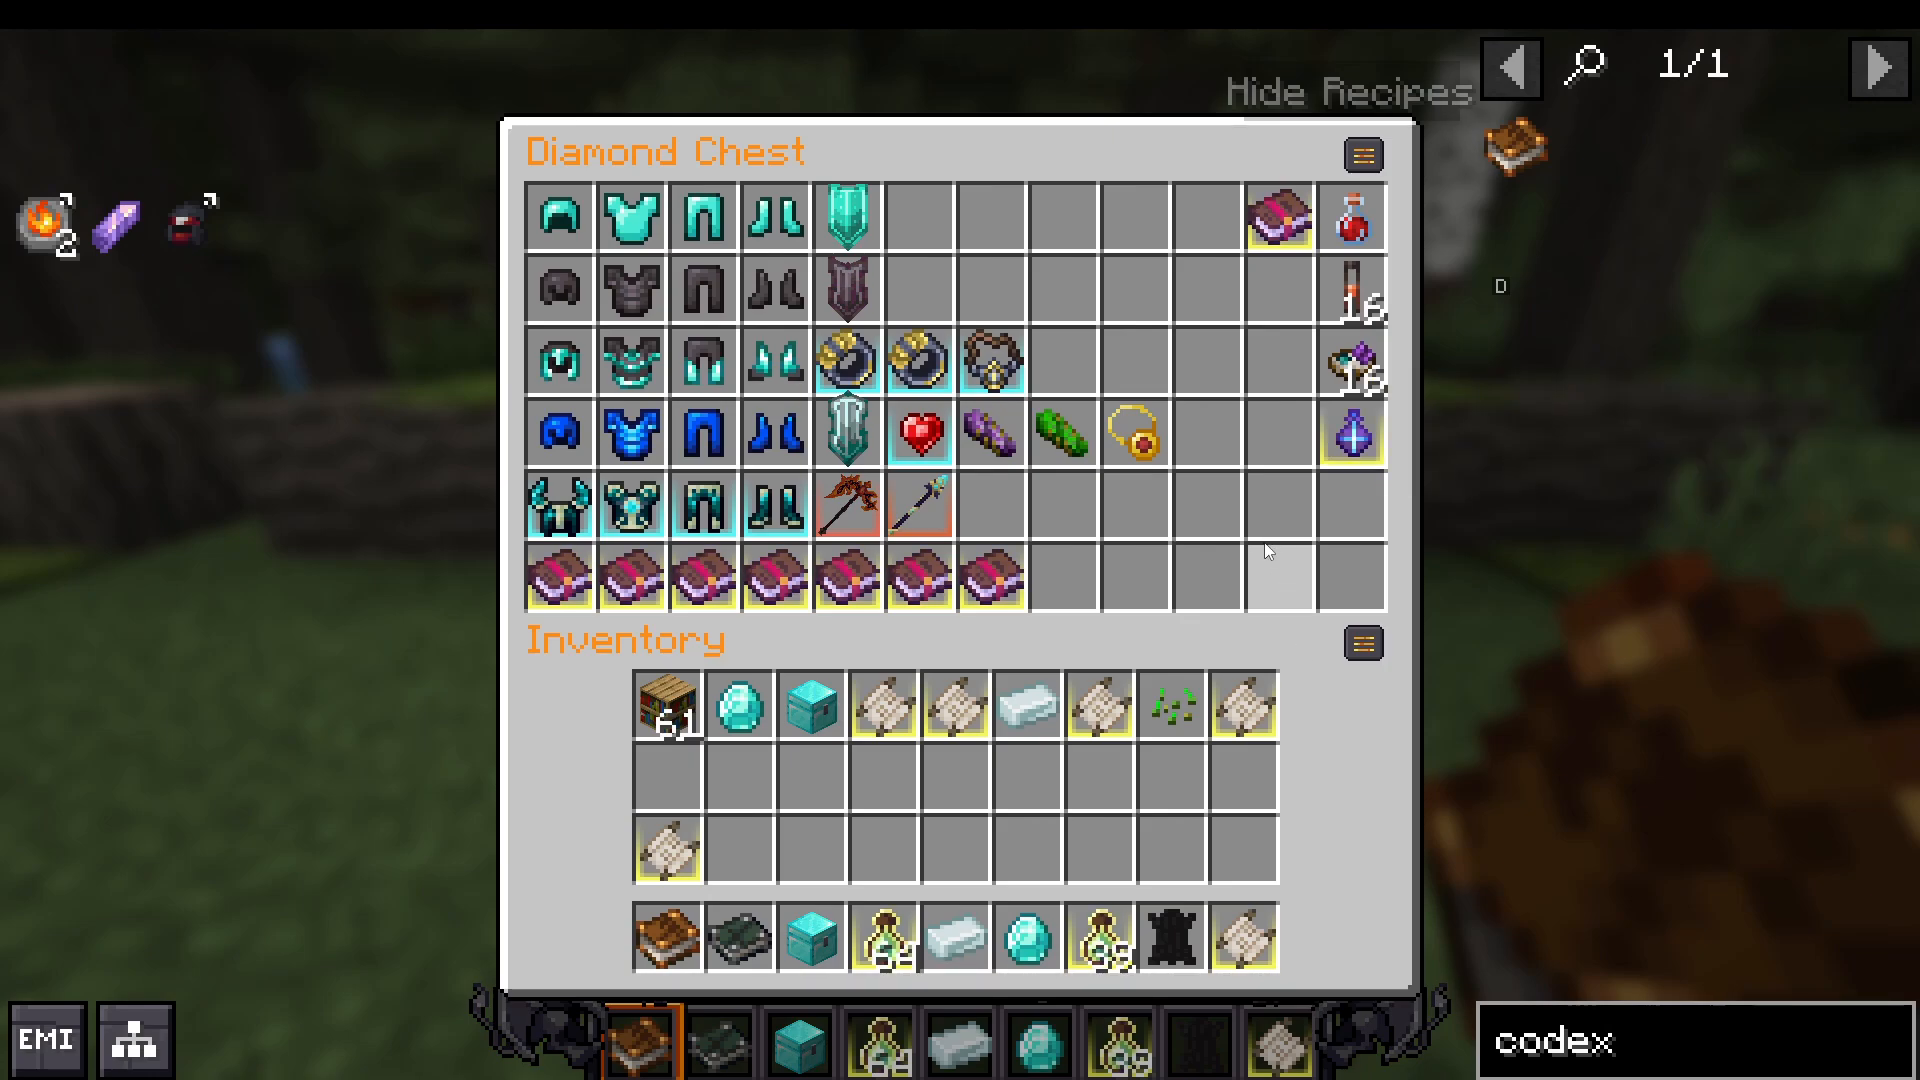
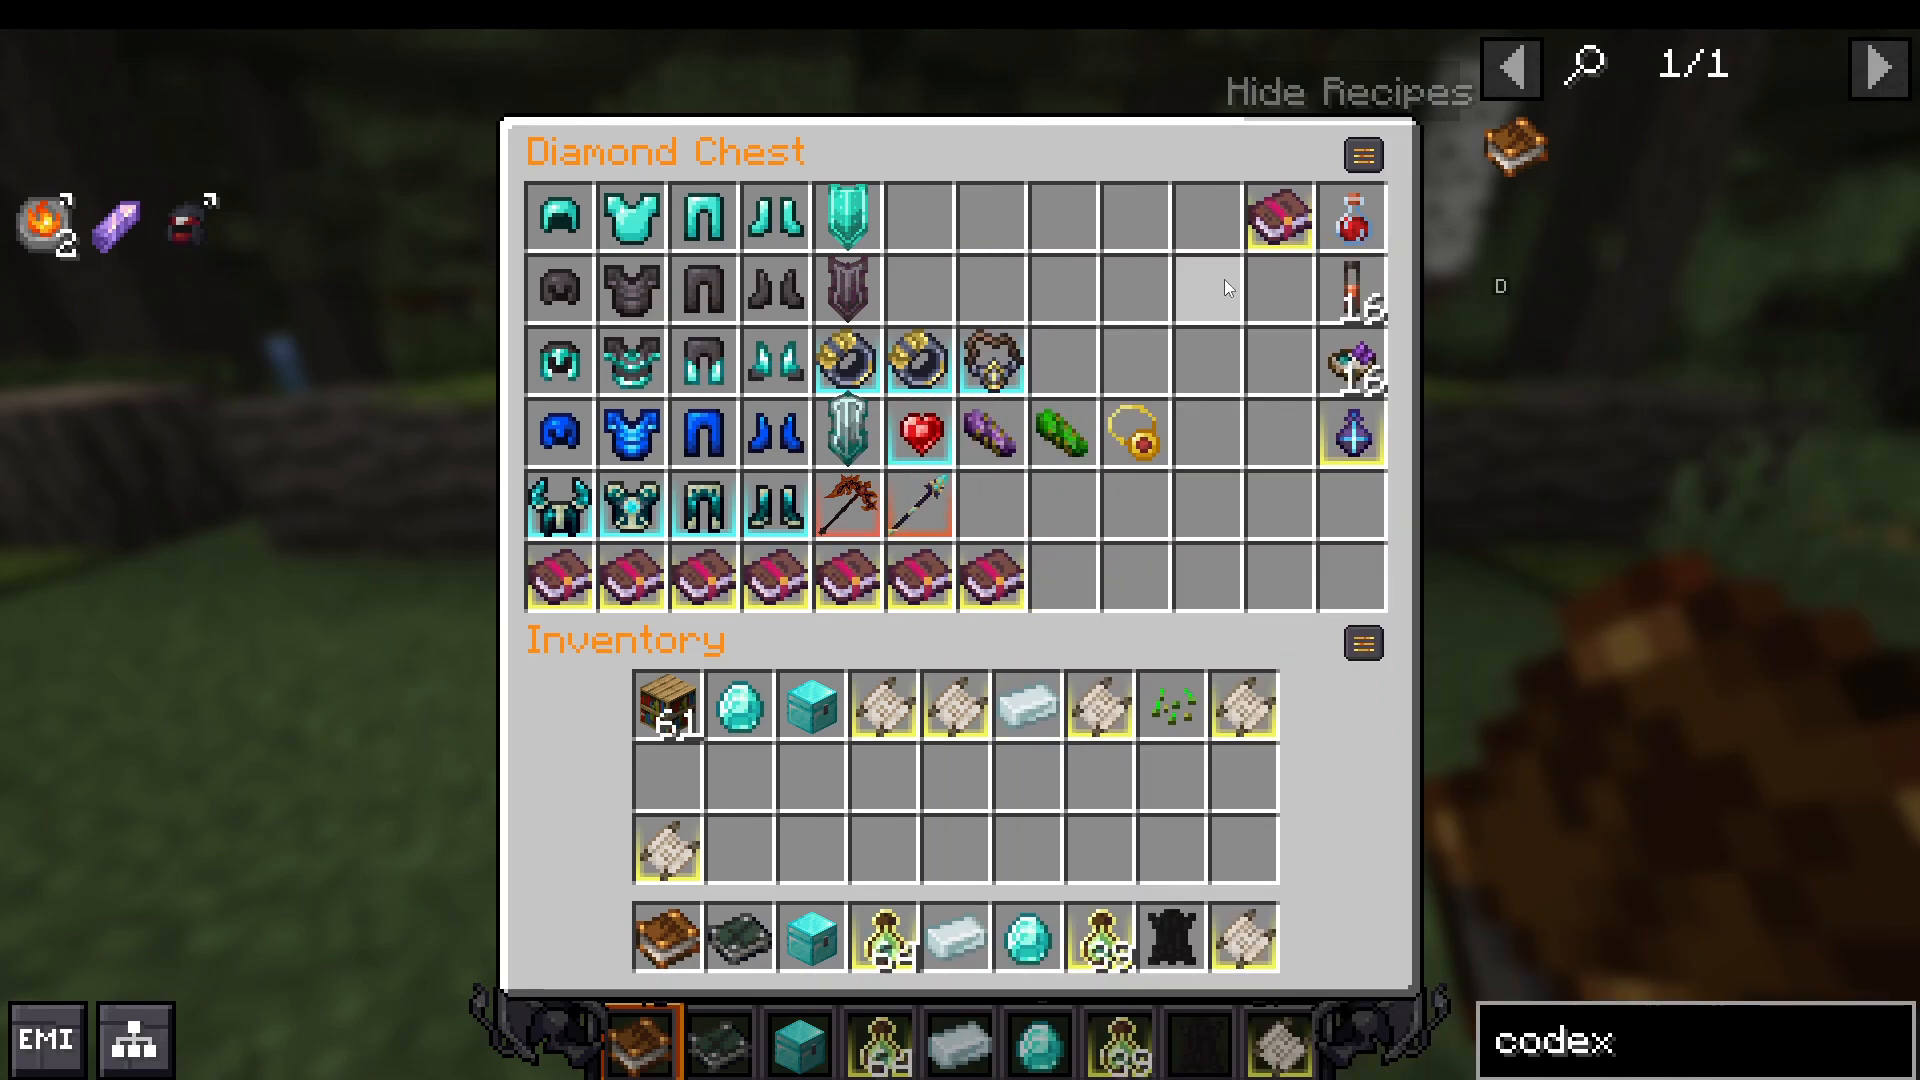
You have two excellent armor options for end game: Sapphire Armor and Warden Armor. Each has distinct advantages depending on your playstyle.
Sapphire Armor
Stats per piece:
20 max health
3 armor
3 armor toughness
A full Sapphire set grants 80 max health across all four pieces. This armor prioritizes raw health over protection values, making it perfect if you want maximum survivability.
Warden Armor
Stats per piece:
15 max health
4 armor
4 armor toughness
Warden Armor provides more armor and armor toughness per piece at the cost of health. It also grants blindness and darkness to your enemies, giving you additional protection through crowd control.
Special Note on Warden Leggings: The Warden leggings provide 50% movement speed, making them an excellent choice if you find yourself moving too slowly in combat.
Recommendation: Choose Sapphire if you want maximum health. Choose Warden if you prefer more armor and additional crowd control effects.
Shield Choice
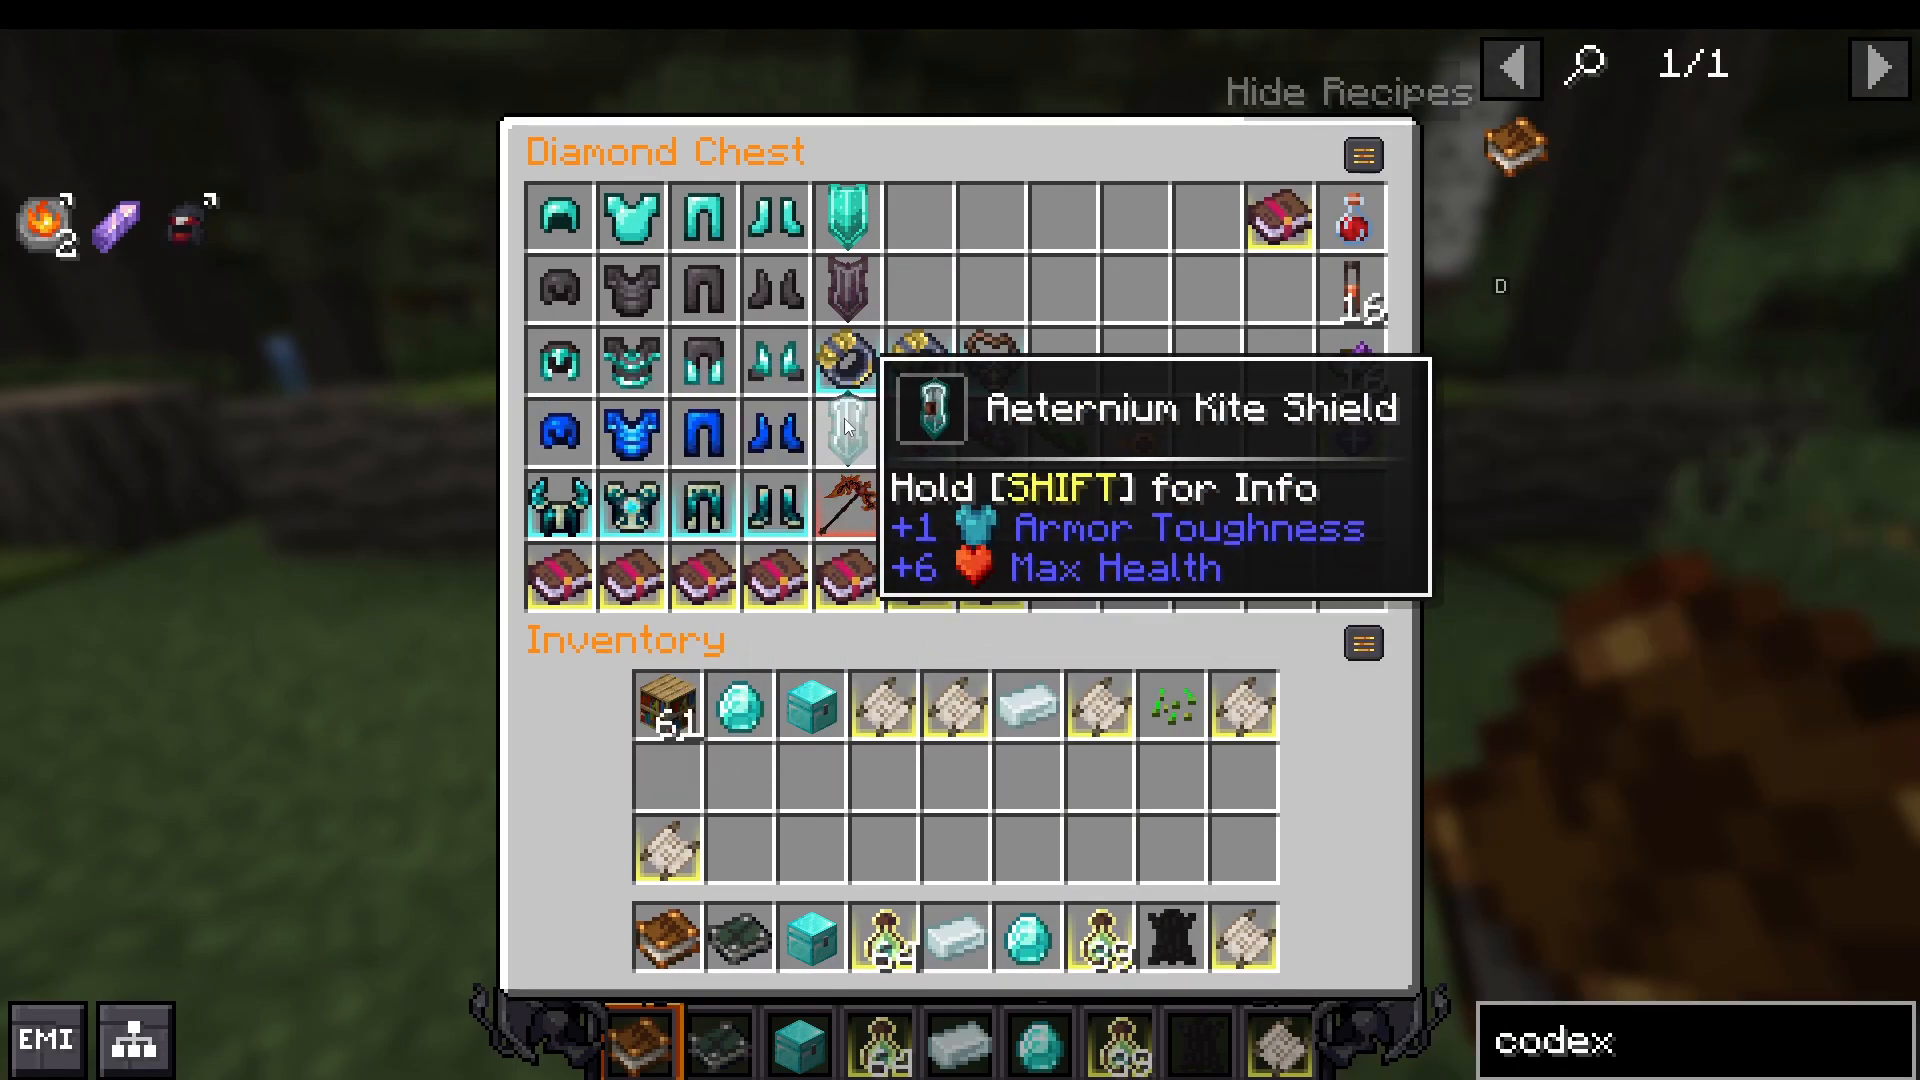
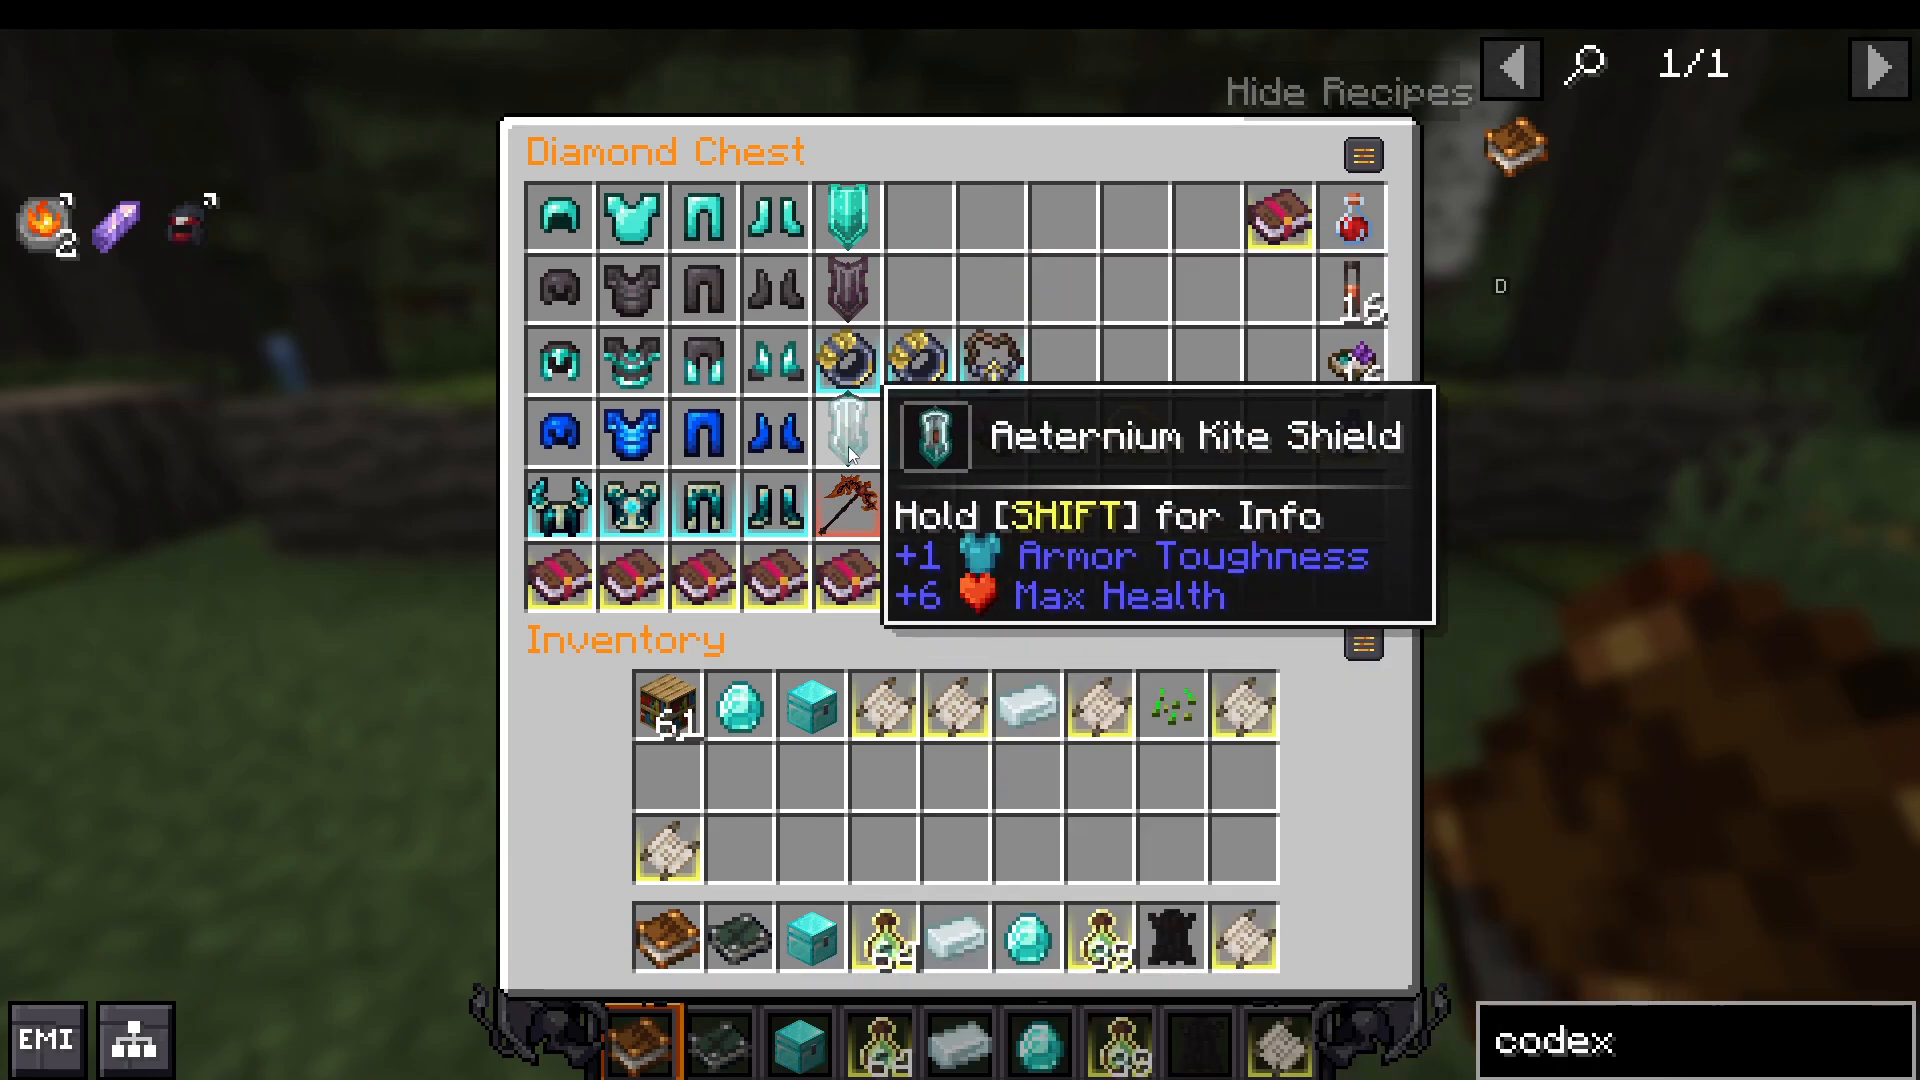
For your shield throughout all game stages, an Eternium Kite Shield is your best option, providing excellent protection values to complement your one-handed weapon.
Accessories and Trinkets
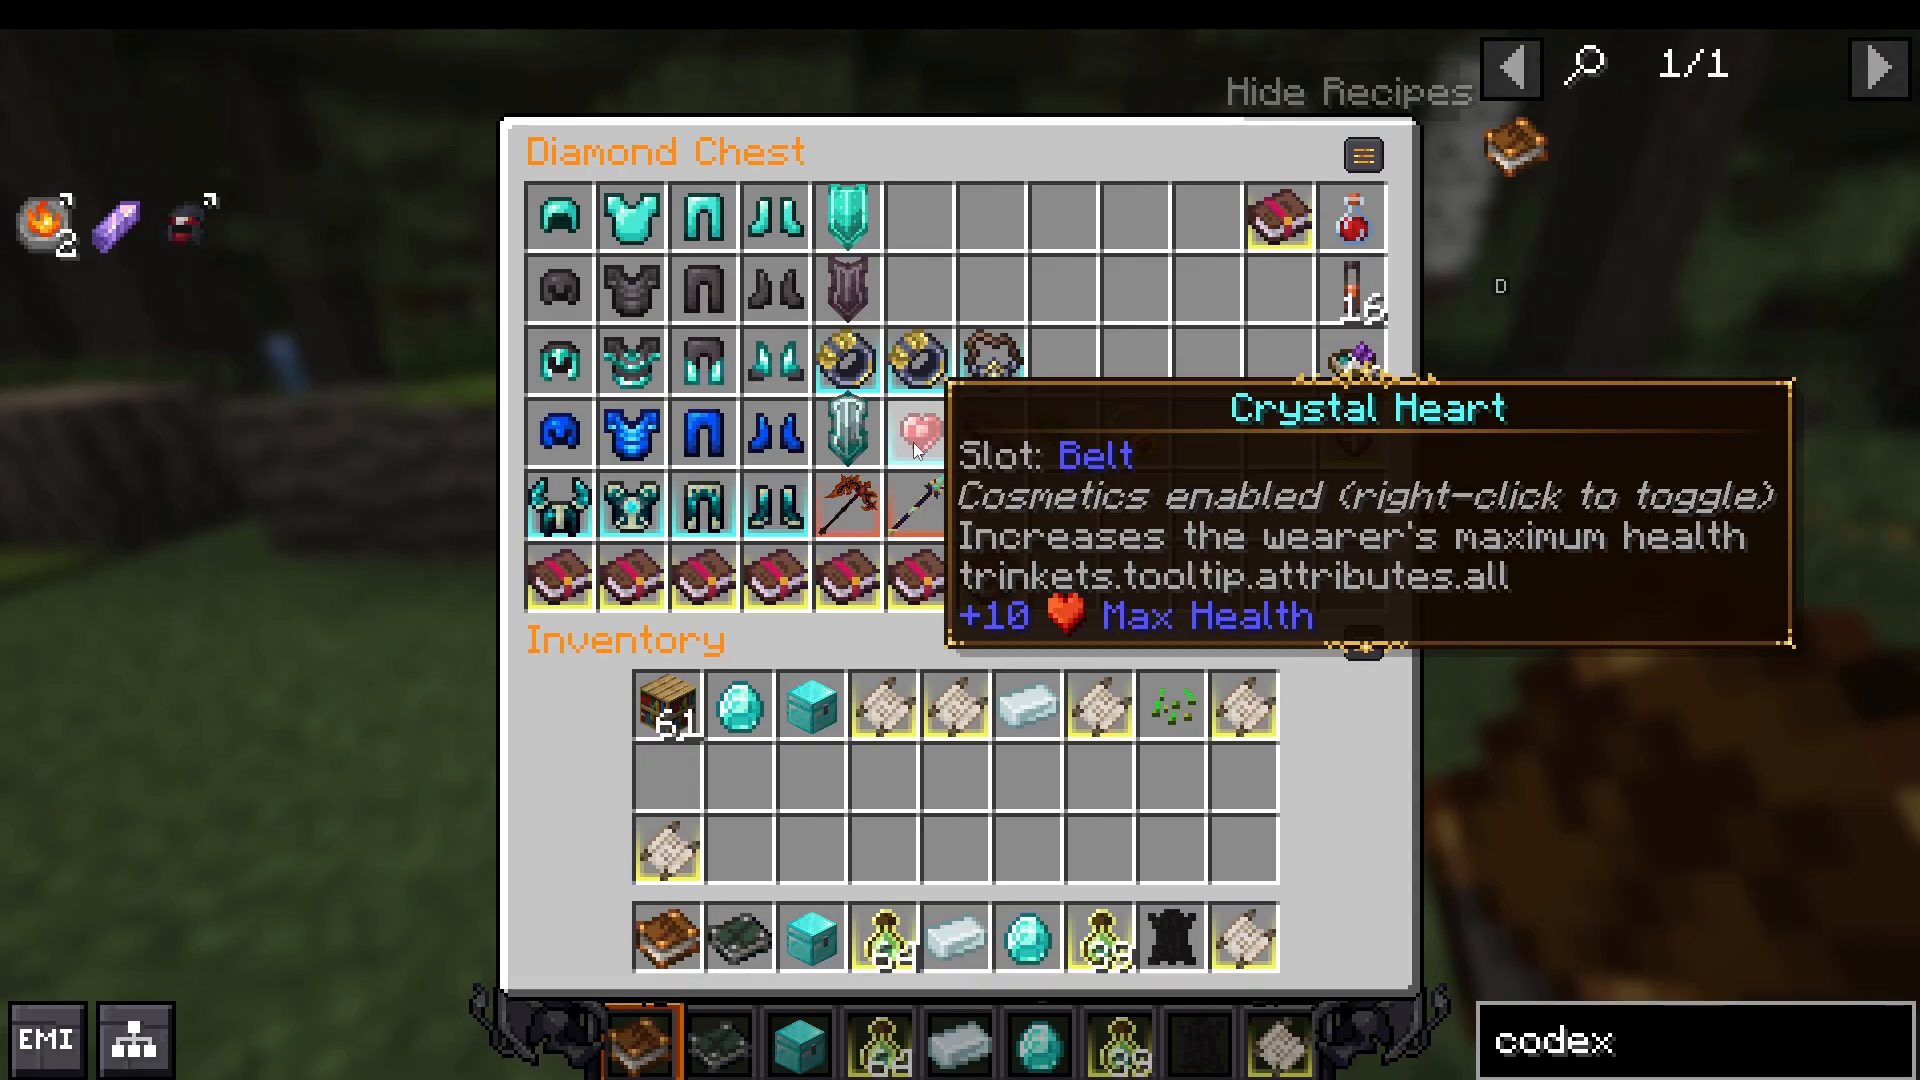
Beyond your main armor, several accessories significantly boost your tank capabilities:
Crystal Heart Belt (Cosmetic Trinket): Grants 10 max health
Amethyst Bracer: 25% chance for spells you receive to deal significantly less damage
Turtle Bracer: Mitigates normal damage received
Charm of Bursting Vitality: Grants the Bursting Vitality effect when active in your trinket slot
Armor Enchantments
Your enchantment strategy is straightforward but powerful. Apply all four protection enchantments to maximize your damage reduction:
Protection V
Magic Protection V
Blast Protection V
Fire Protection V
This combination protects you from all major damage types.
Additional Armor Enchantments
You have two additional options:
Potion Barrier: When you drink an instant health potion, you receive the Resistance effect. Works with both health flasks and potions of healing.
Mending or Life Mending: Helps keep your armor in good condition (optional)
Durability Protection
Use Hardening Catalysts on your armor pieces to make them unbreakable. This is superior to mending in most cases since you won’t have to worry about durability at all.
Weapon Strategy
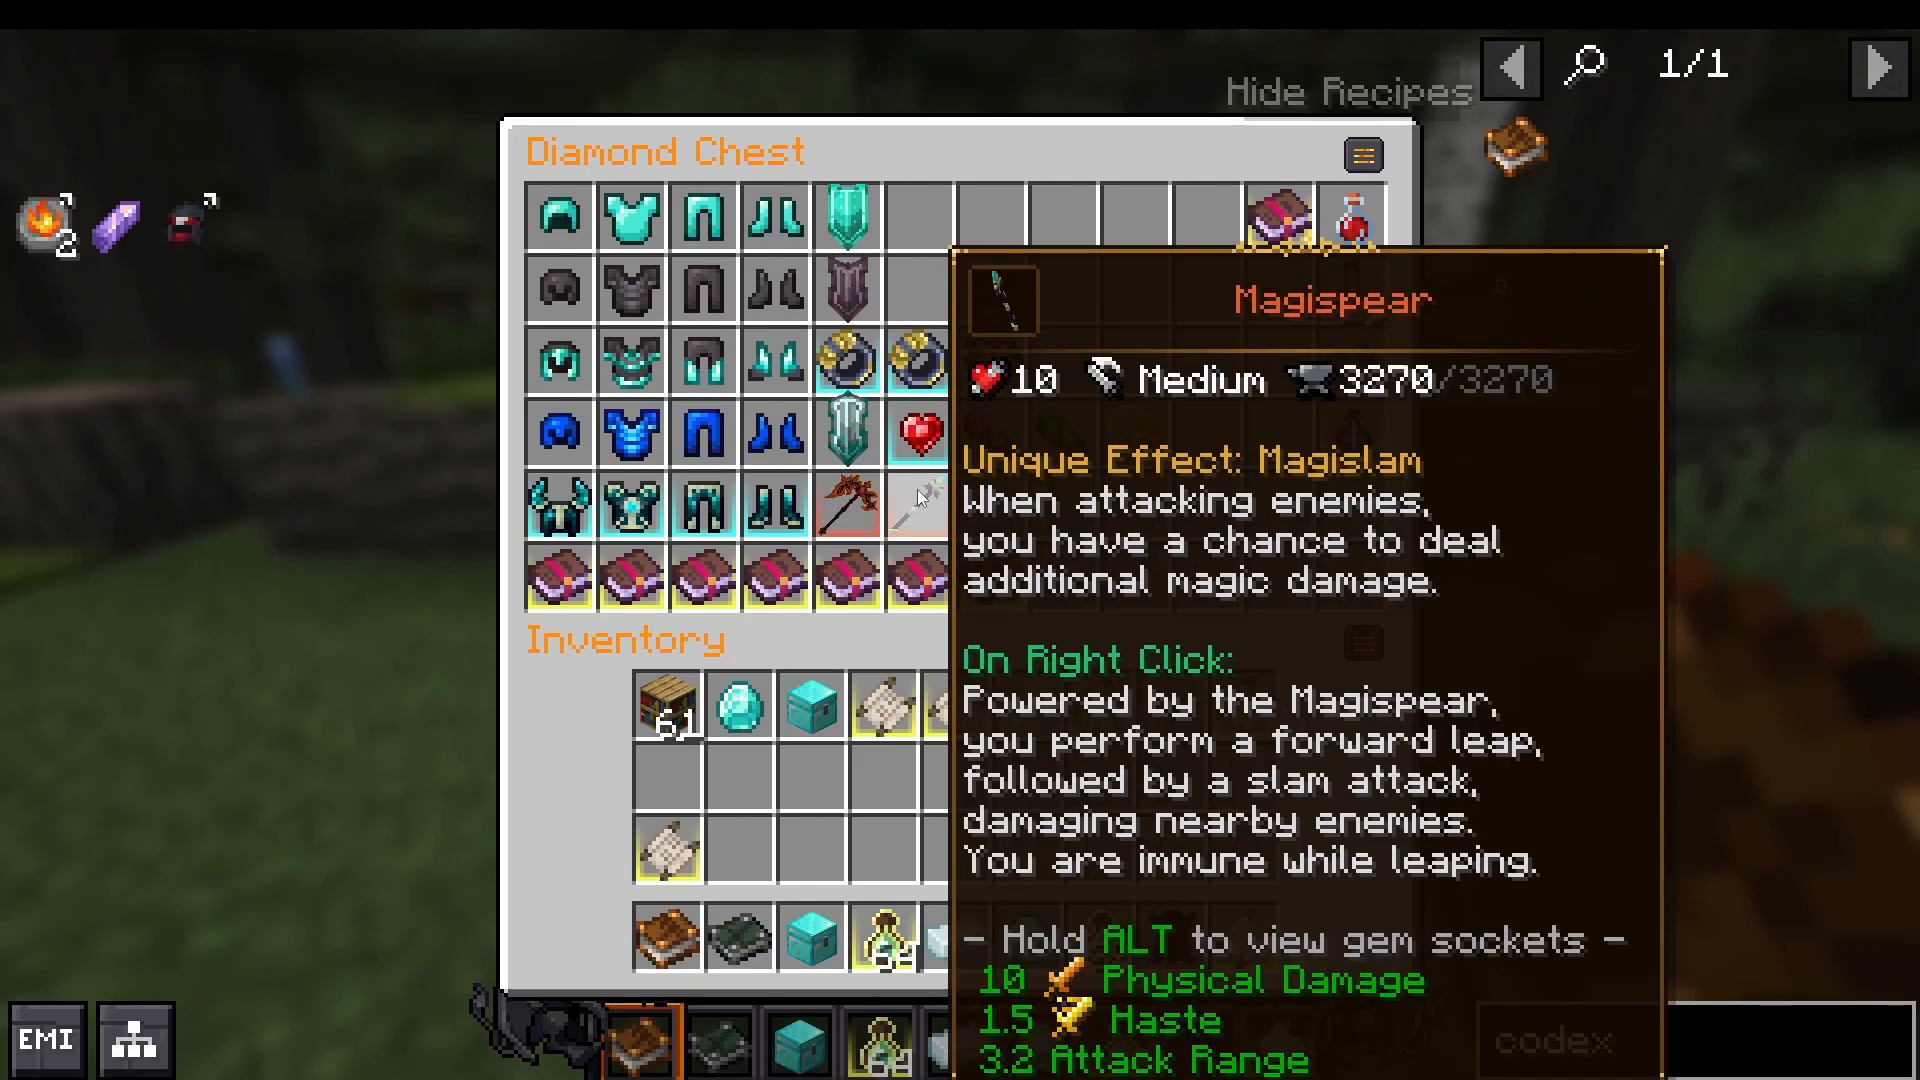
Primary Weapon: Magi Spear
The Magi Spear is one of the best one-handed weapons for tank builds. On right-click, the powered Magi Spear performs a forward leap followed by a slam attack that damages nearby enemies. You’re immune while leaping, making it a great offensive and defensive tool.
When attacking enemies, the Magi Spear has a chance to deal additional magic damage.
Magi Spear Enchantments
Since we’re dealing magic damage with this weapon, focus your enchantments on increasing spell potency:
Ambush I: More damage while sneaking
Radiance II: Chance to spawn a healing cloud around the target
Sharpness: Increases base damage
Smite: Additional damage to undead
Spell Power: Increases magic damage output
Soul of the Hour: Gain more XP from kills
Spell Infinity: Spells are free to cast
Secondary Weapon: Fira-Laf
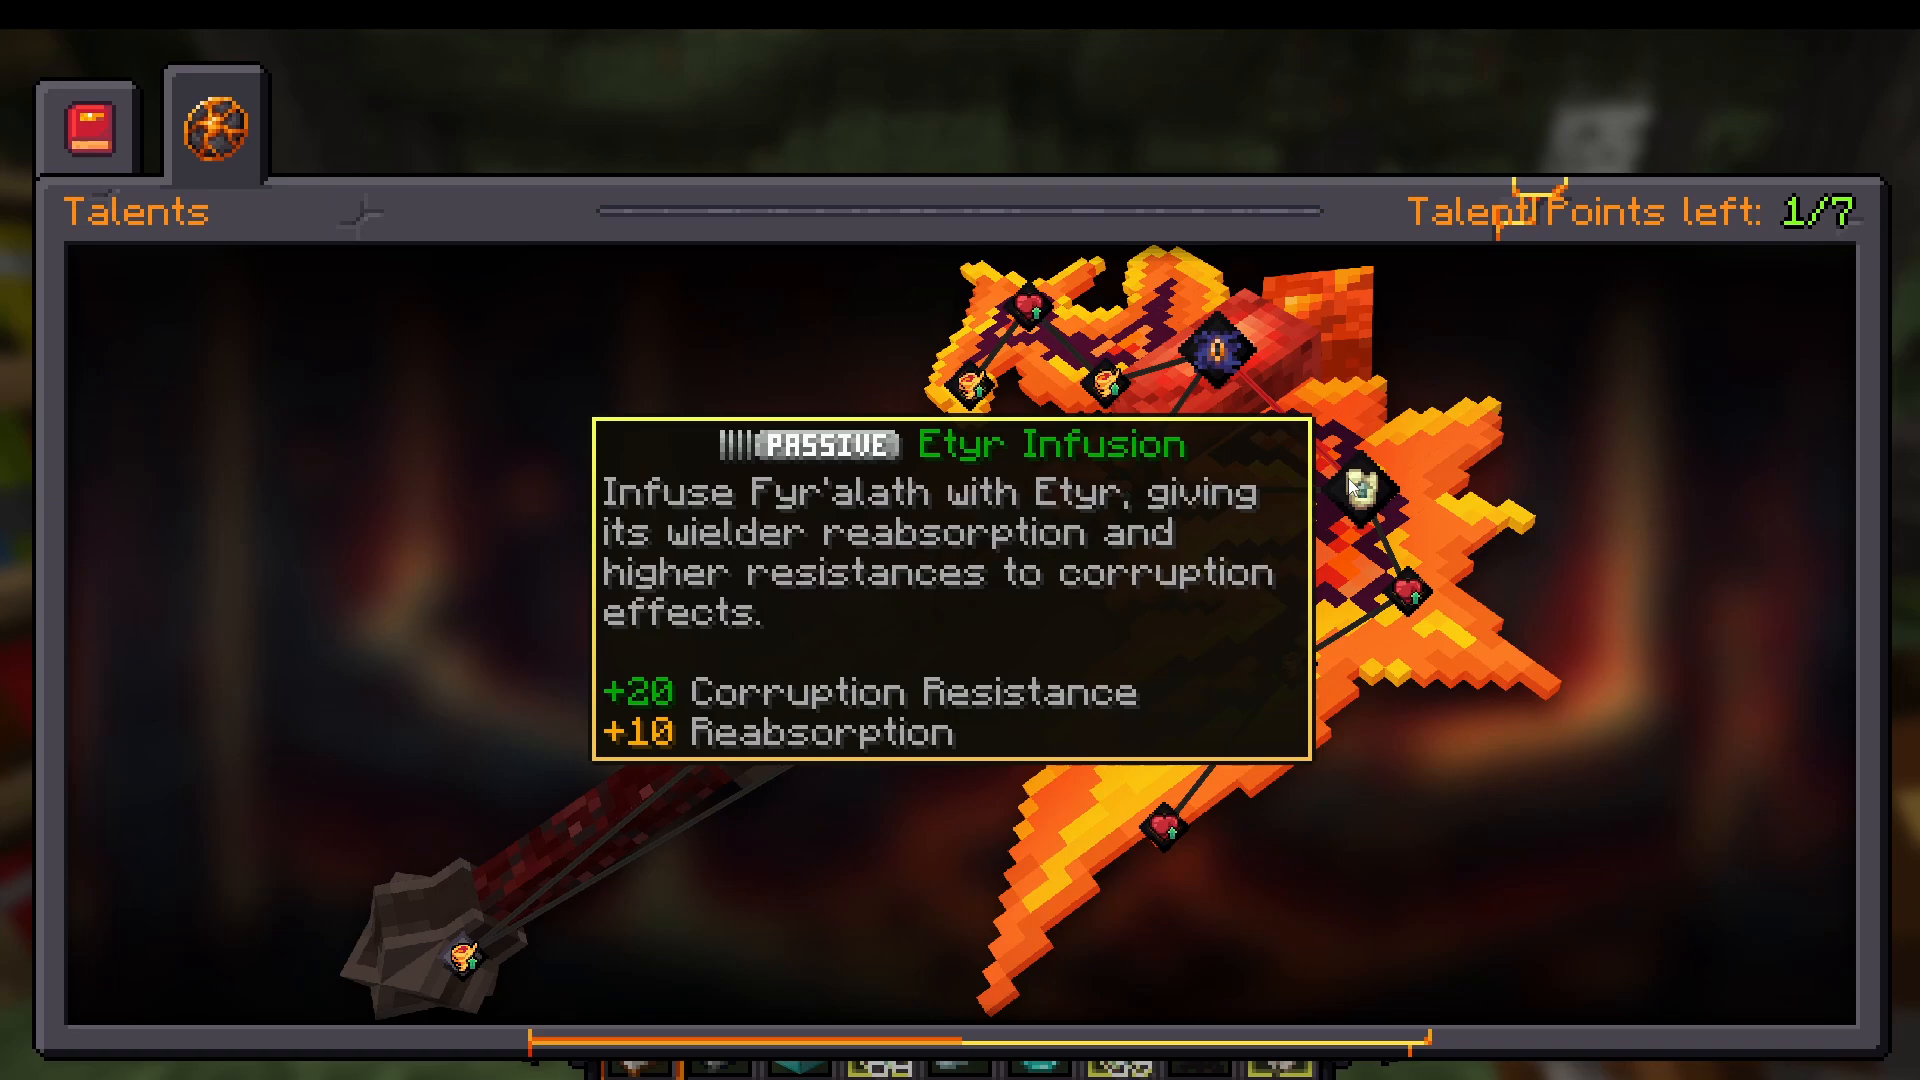
You’ll occasionally swap to Fira-Laf for a specific mechanic. This weapon regenerates absorption up to your maximum absorption gradually after not being hit for 4 seconds. This is incredibly valuable for tanking—you can swap to Fira-Laf, build up absorption, then swap back to your Magi Spear and Eternium Kite Shield.
This weapon swap rotation is simple but highly effective for sustaining through long fights.
Consumables and Buffs
Health and Resistance Potions
Potion Barrier IV: When you drink an instant health potion, you receive the Resistance effect. Use health flasks or potions of healing to trigger this.
Ender Congee: Provides regeneration, resistance, and health boost effects. It grants 12 max health as an amazing food choice for any situation.
Talents and Abilities
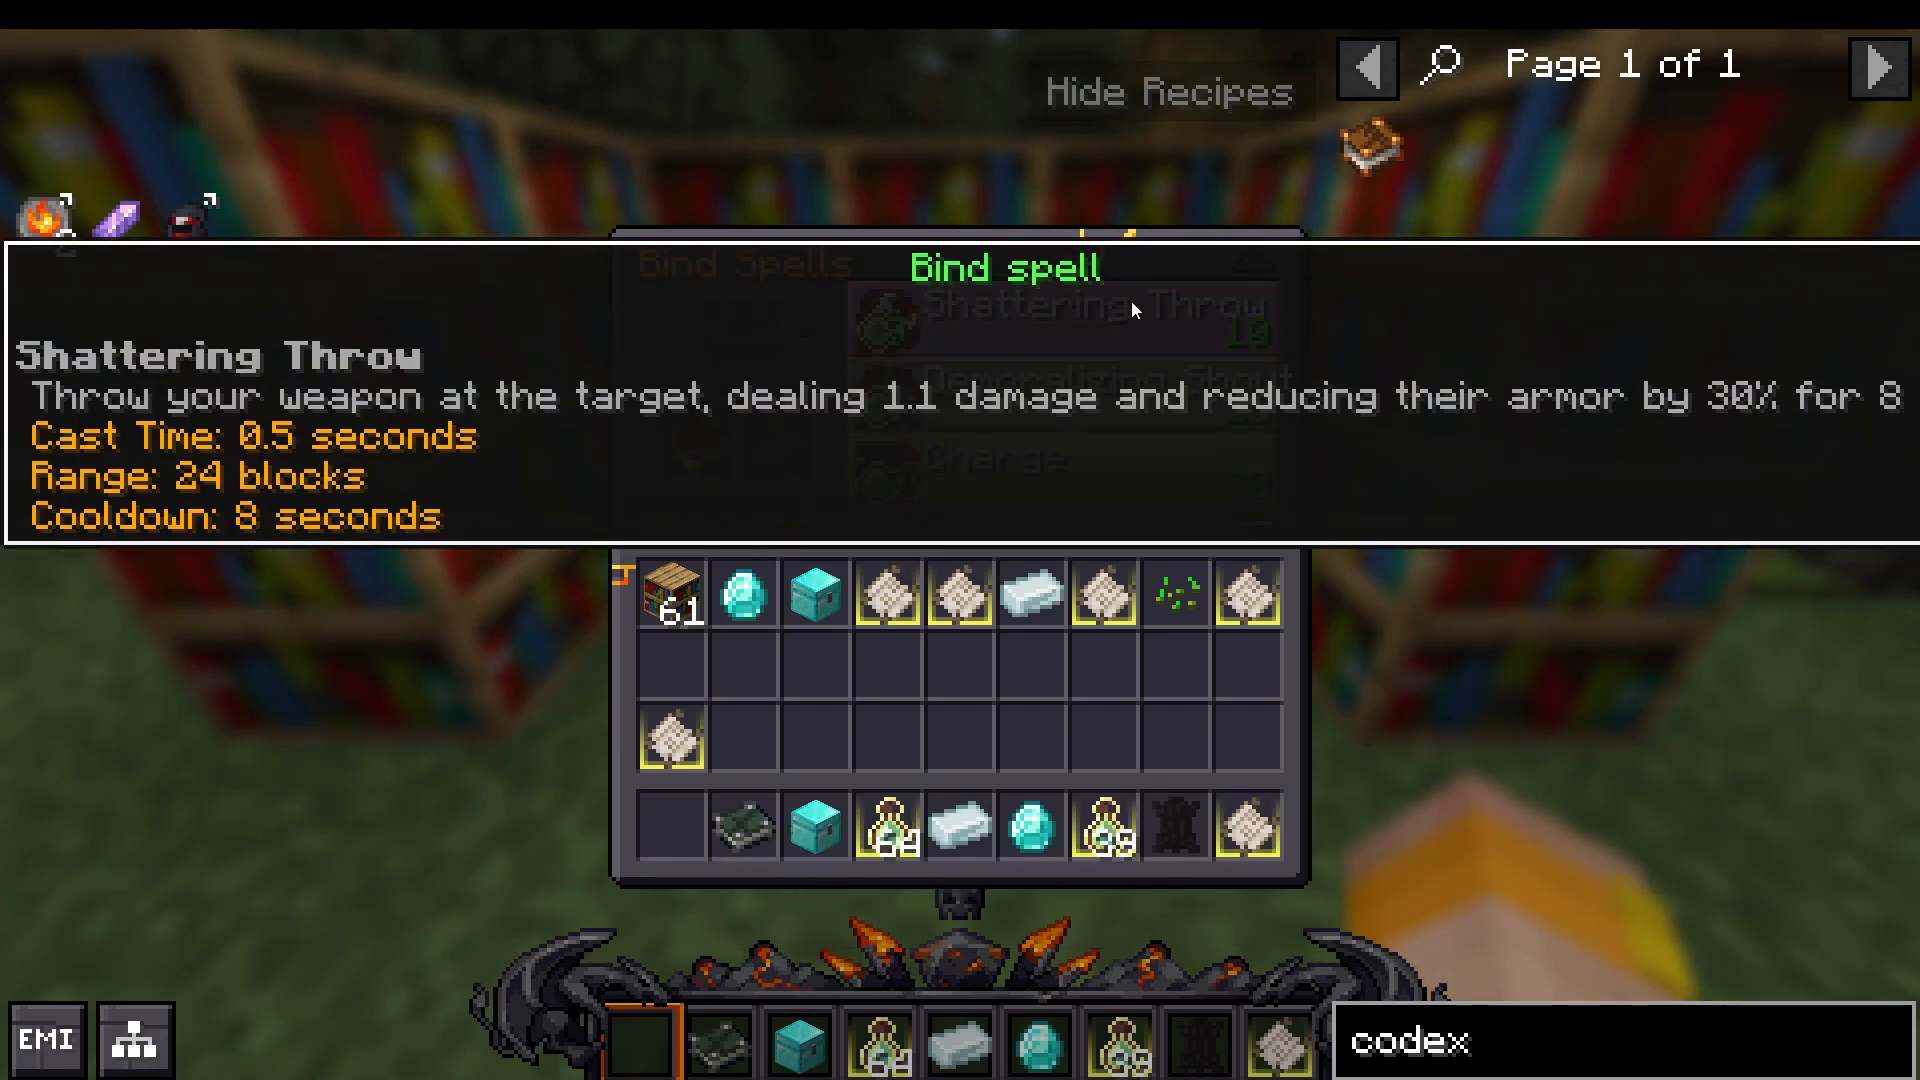
Warrior’s Codex Ability: Demoralizing Shout
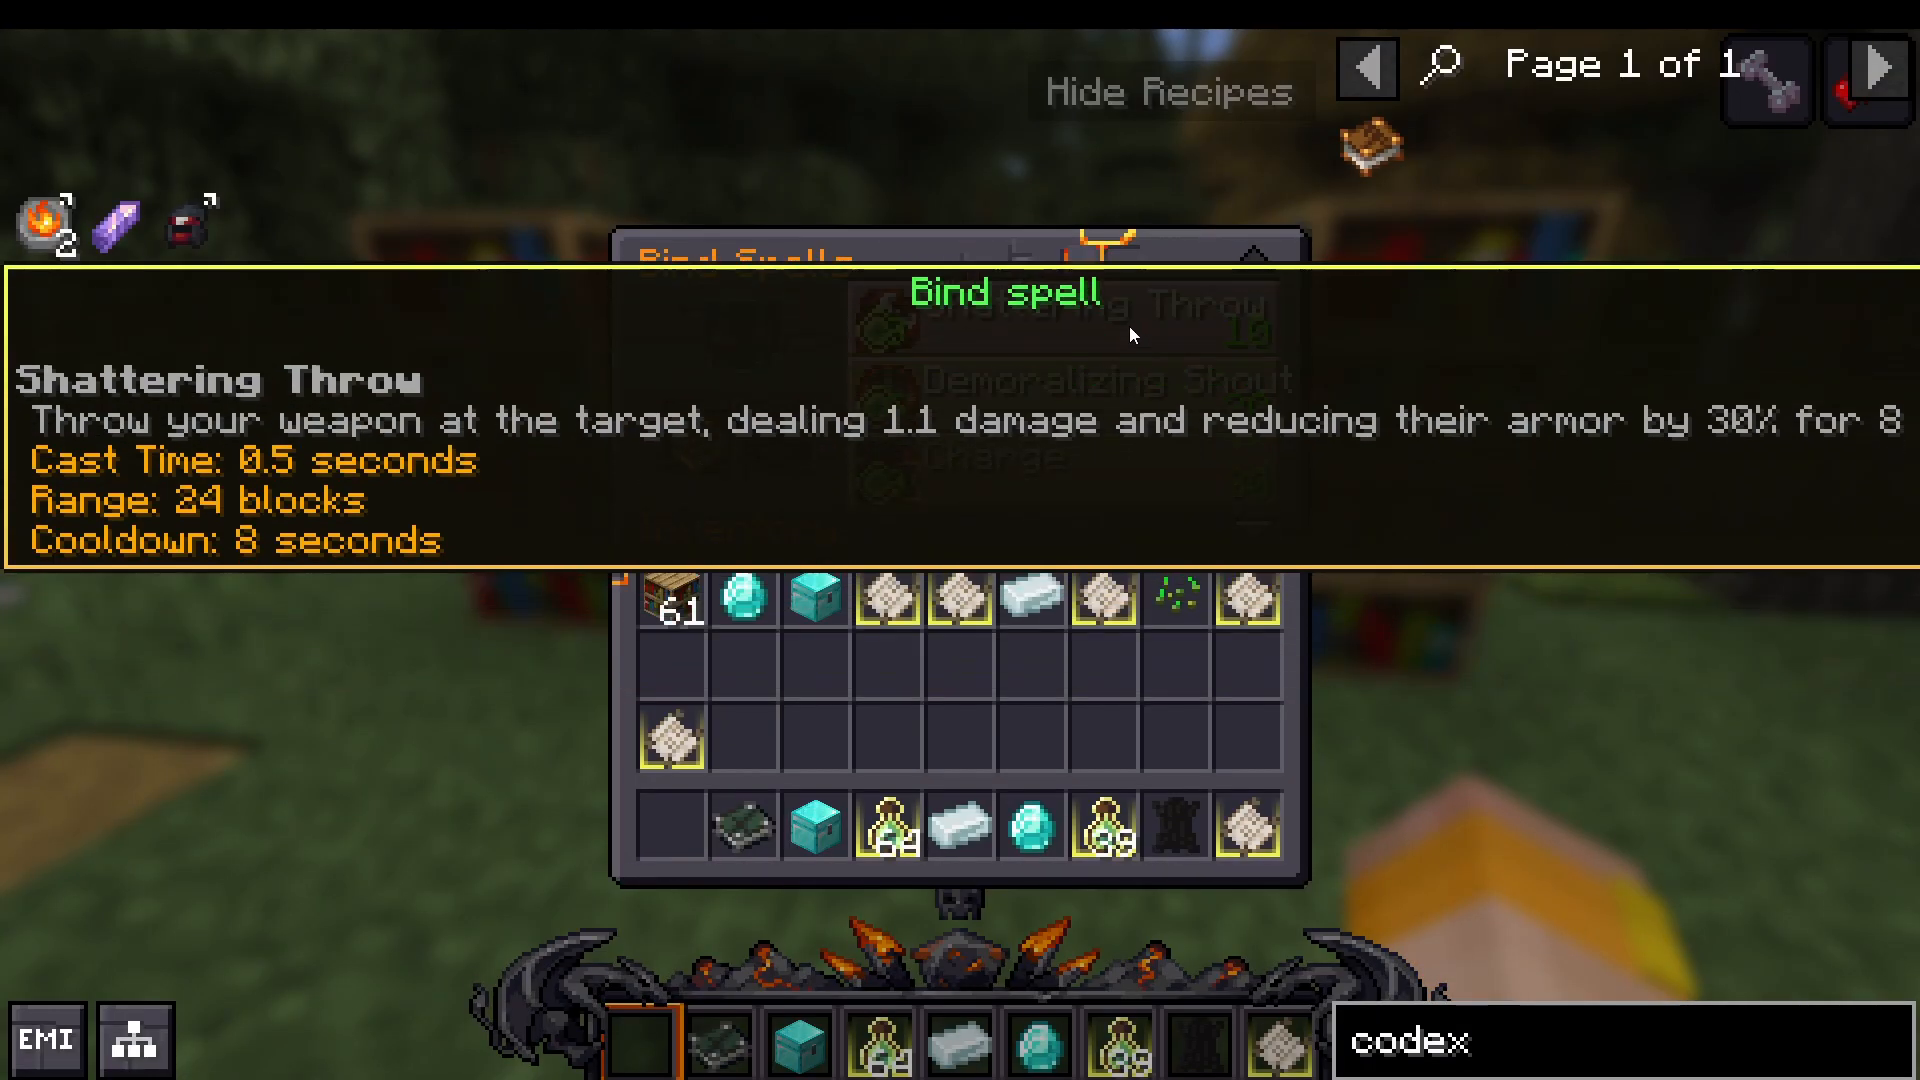
Equip the Warrior’s Codex and select Demoralizing Shout as your primary ability. This shout reduces enemy attack damage by 30% for 8 seconds while dealing some damage. It’s another layer of damage reduction to protect yourself and your team.
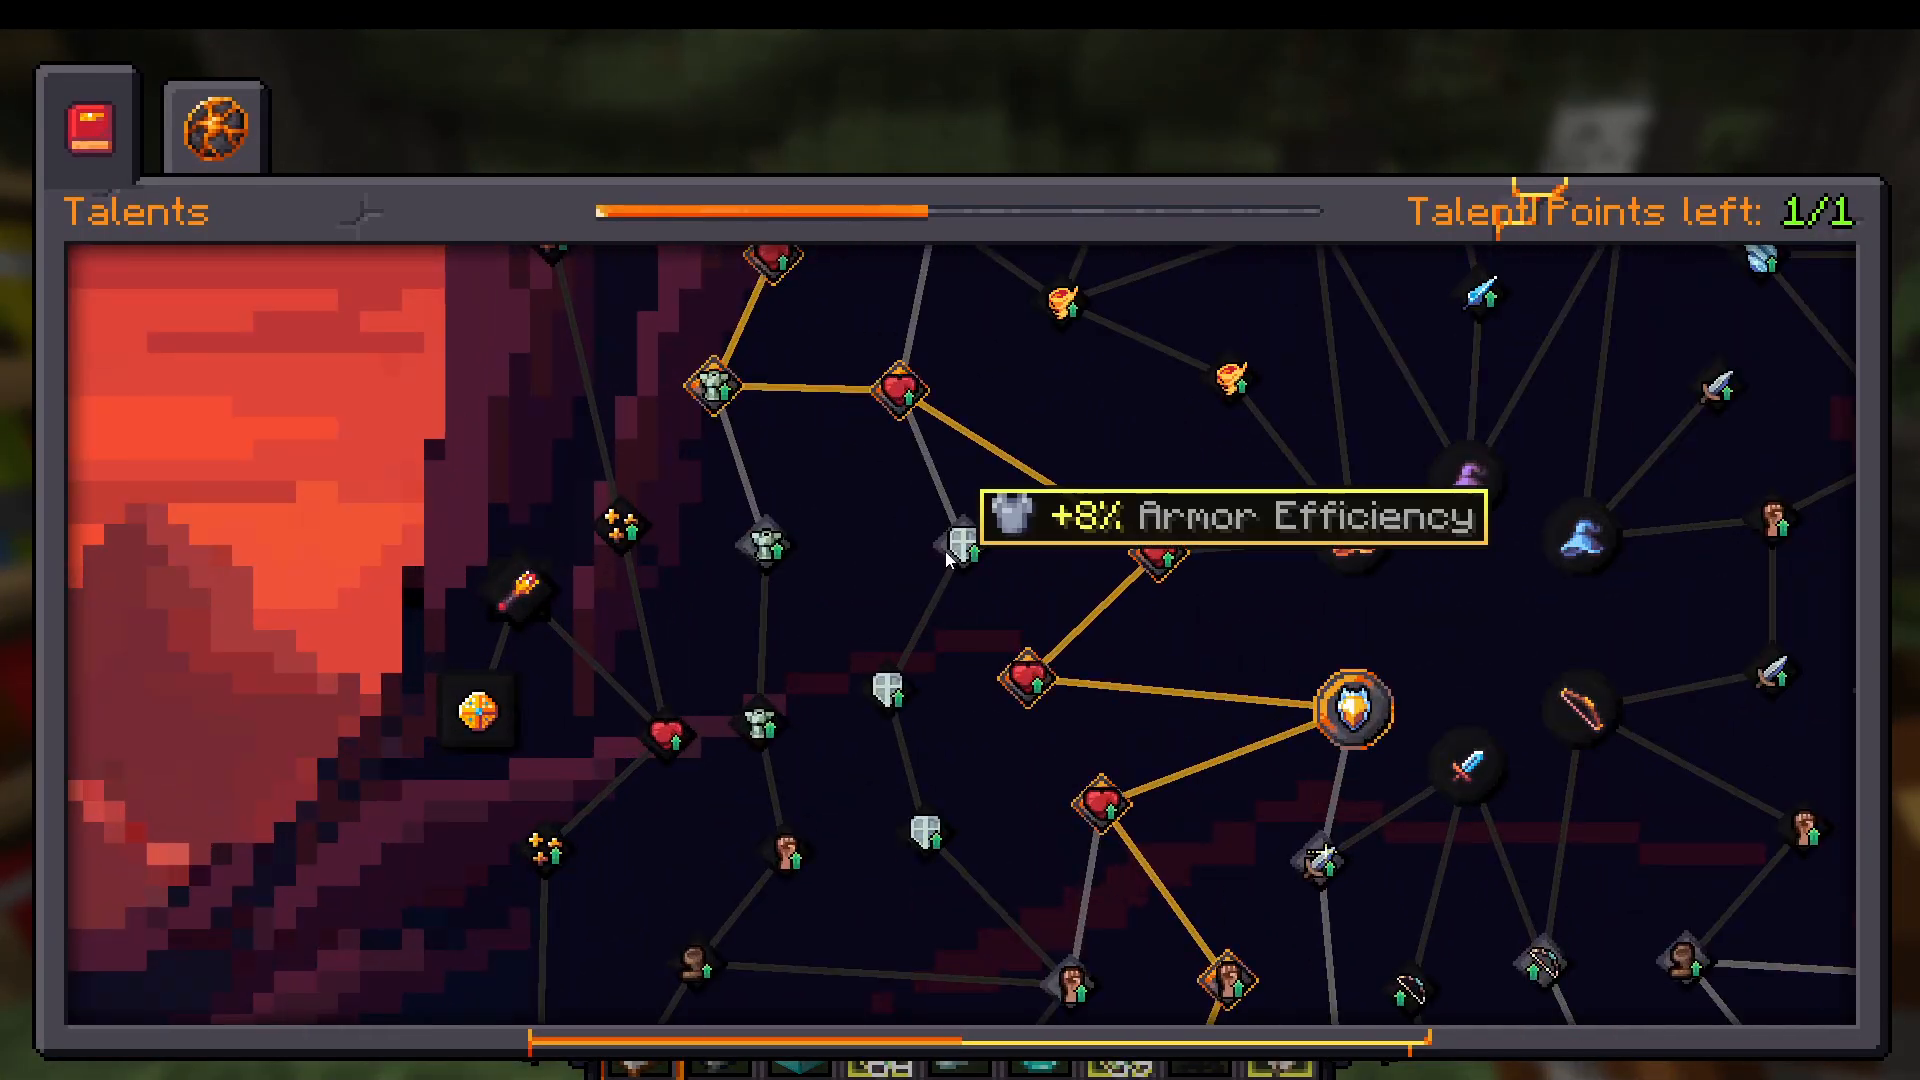
Talent Path: Protector’s Path
Follow the Protector’s Path talent tree, prioritizing the left-side nodes for maximum health increases. Progress downward through the tree as shown in your talent interface.
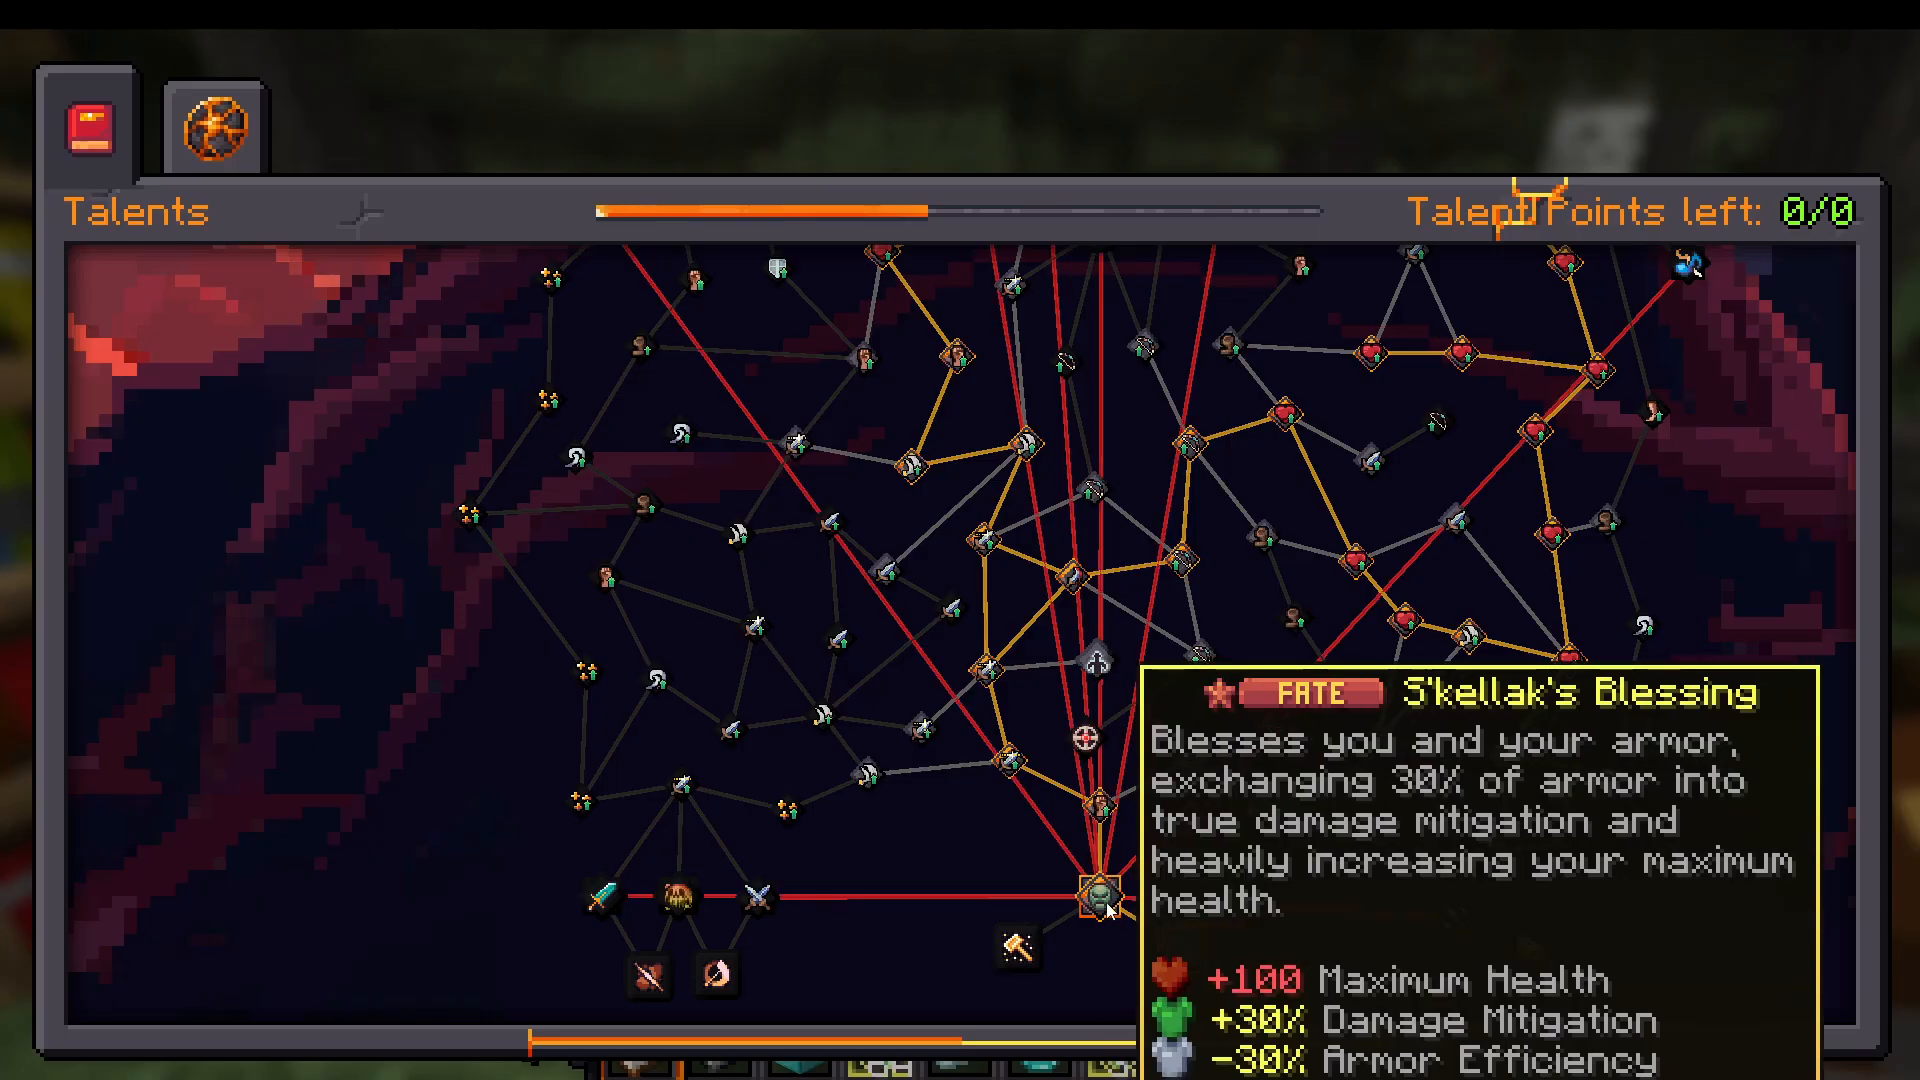
End-Game Talents
Skelax Blessing: This crucial talent exchanges 30% of your armor into true damage mitigation and heavily increases your maximum health. It grants a massive 100 additional maximum health, which is a game-changer for tank builds.
Bone Armor: Your second key ability. This talent taunts nearby enemies and shields you in a layer of bones. You gain an additional bone layer for each enemy taunted, up to a maximum of 6 layers. Taking damage removes one layer. This ability works on a 40-second cooldown.
Bone Armor functions similarly to the Death Knight mechanic from World of Warcraft, providing both threat management and damage mitigation.
Corruption Management: Extending corruption on your talents will give you extra taunt effects. Manage this carefully to maximize your threat generation.
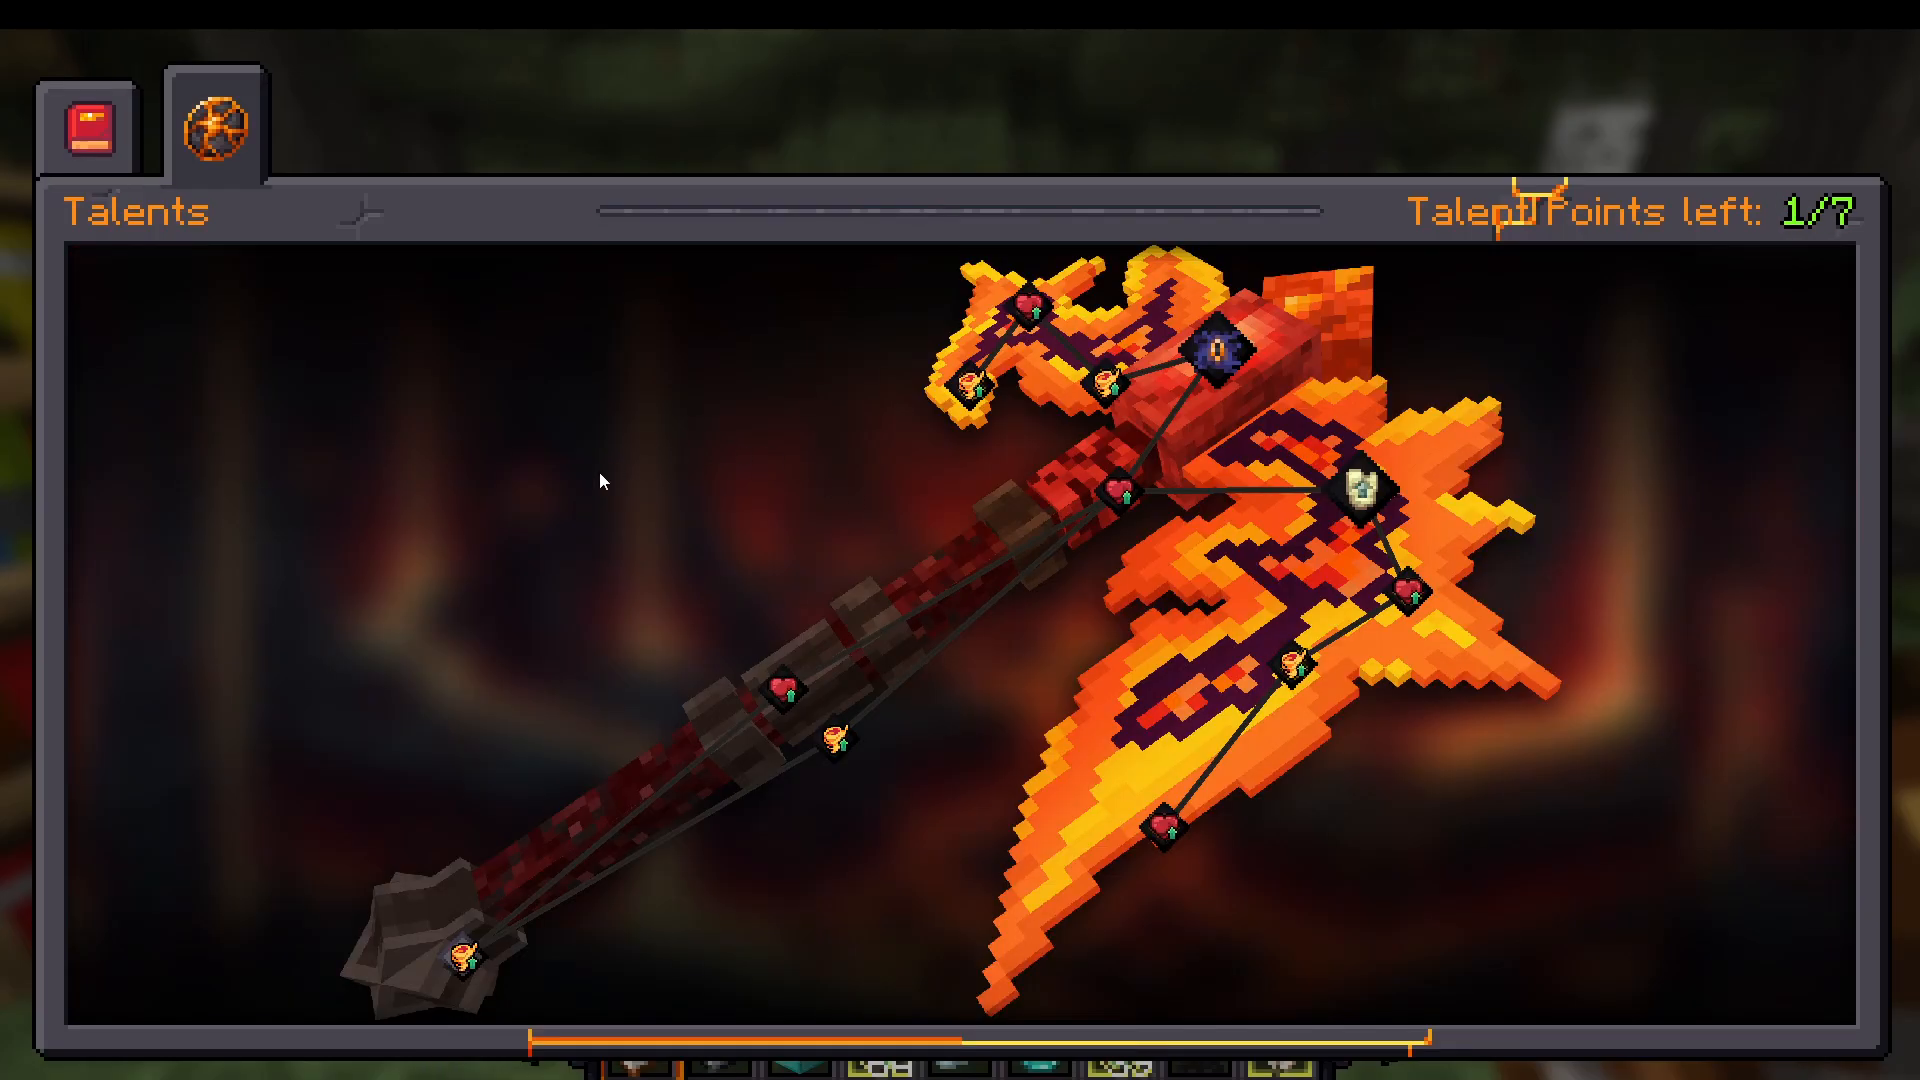
Fira-Laf Talent Path
On Fira-Laf, follow the left side of the talent tree for maximum health, then progress down the right side for additional survivability bonuses.
Rune and Gem Strategy
Use Eta runes on your armor to gain corruption resistance, which helps against late-game threats. Otherwise, stick with Diamond runes on your gear for reliable protection.
Alternative Ability Options
While Demoralizing Shout is your primary choice, you can substitute it with other offensive abilities if you want more damage output. Wild Wind, for example, lets you spin around to attack nearby enemies.
Health Potential
If you build this correctly and stack all your health bonuses from armor, accessories, talents, and consumables, you can achieve over 1000 maximum health—an absolutely incredible amount of survivability.
Summary
The Protection Warrior tank build in Prominence II is deceptively simple to play despite its powerful performance. Your core rotation involves:
Equip your Magi Spear and Eternium Kite Shield as your main weapons
Activate Bone Armor for threat and protection
Use Demoralizing Shout to reduce enemy damage
Swap to Fira-Laf to regenerate absorption when needed
Swap back to your Magi Spear and shield to continue tanking
With proper gear progression from early through end game, combined with optimized talents, enchantments, and abilities, you’ll become an unkillable wall of health and armor that protects your entire team.
For more Prominence II build guides and general tips, check out the complete playlist available on our channel. If you have suggestions for other builds or guides you’d like to see, feel free to comment below!
Want to Support?
If you would like to help us continue making these guides – please consider joining our patreon here – https://www.patreon.com/c/JaviHeals
Alternatively – we host a group of MC Servers you can join here – https://discord.gg/zD7Gjt6MHF