
Alchemy Tutorial – Blood Magic
Blood Magic Alchemy Tutorial: Alchemy Table, Arrays, Sigils & More
Already got your Blood Altar set up and a Blood Orb in hand? Then you’re ready to dive into one of Blood Magic’s most powerful systems — Alchemy. In this guide, we’ll walk you through crafting and using the Alchemy Table, creating Alchemy Arrays, unlocking Sigils, crafting Living Equipment, brewing potions with Alchemy Flasks, and applying Salves to your gear. Whether you’re brand new to the mod or just need a clear reference, this tutorial has you covered.
Crafting the Alchemy Table
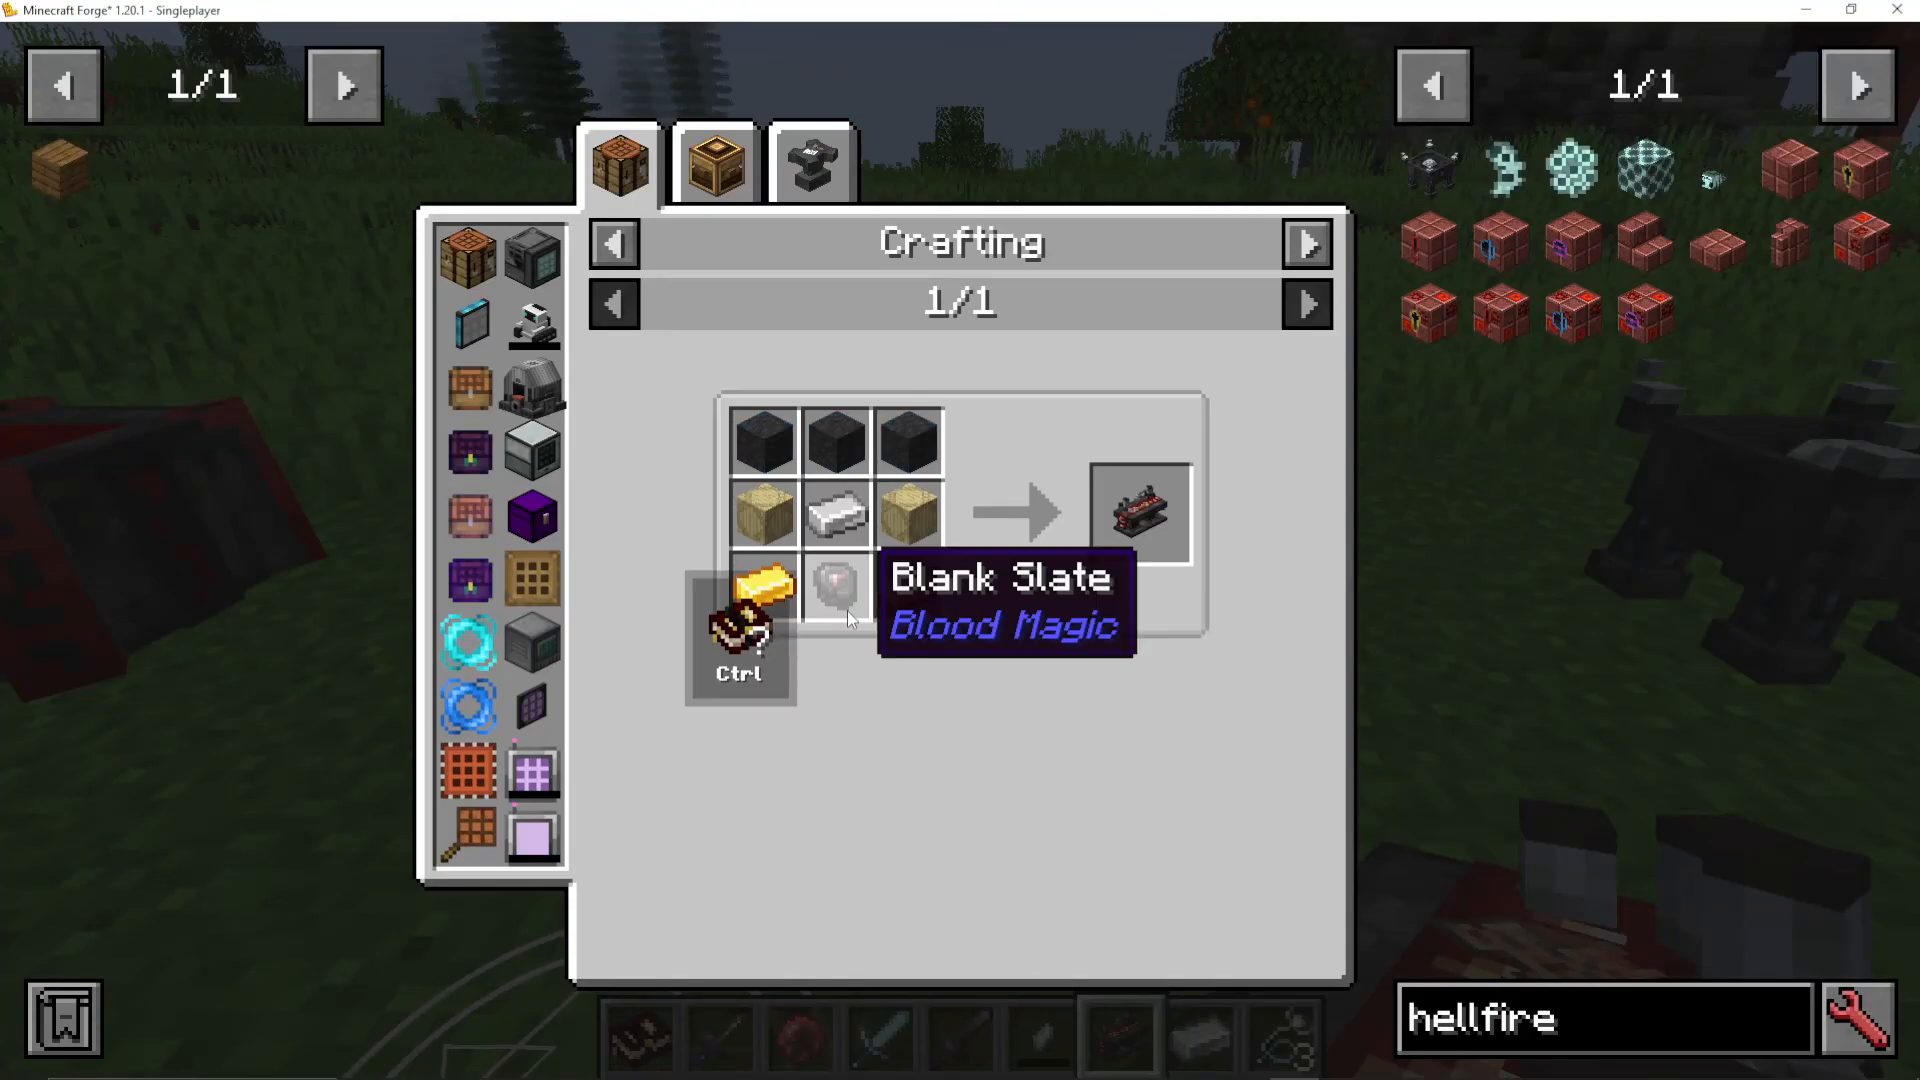
Before you can do anything with alchemy, you’ll need to craft an Alchemy Table. The process is straightforward: start by placing some stone into your Blood Altar to create a Blank Slate. Once you have your Blank Slate, you can use it to craft the Alchemy Table itself.
Understanding the Alchemy Table Interface
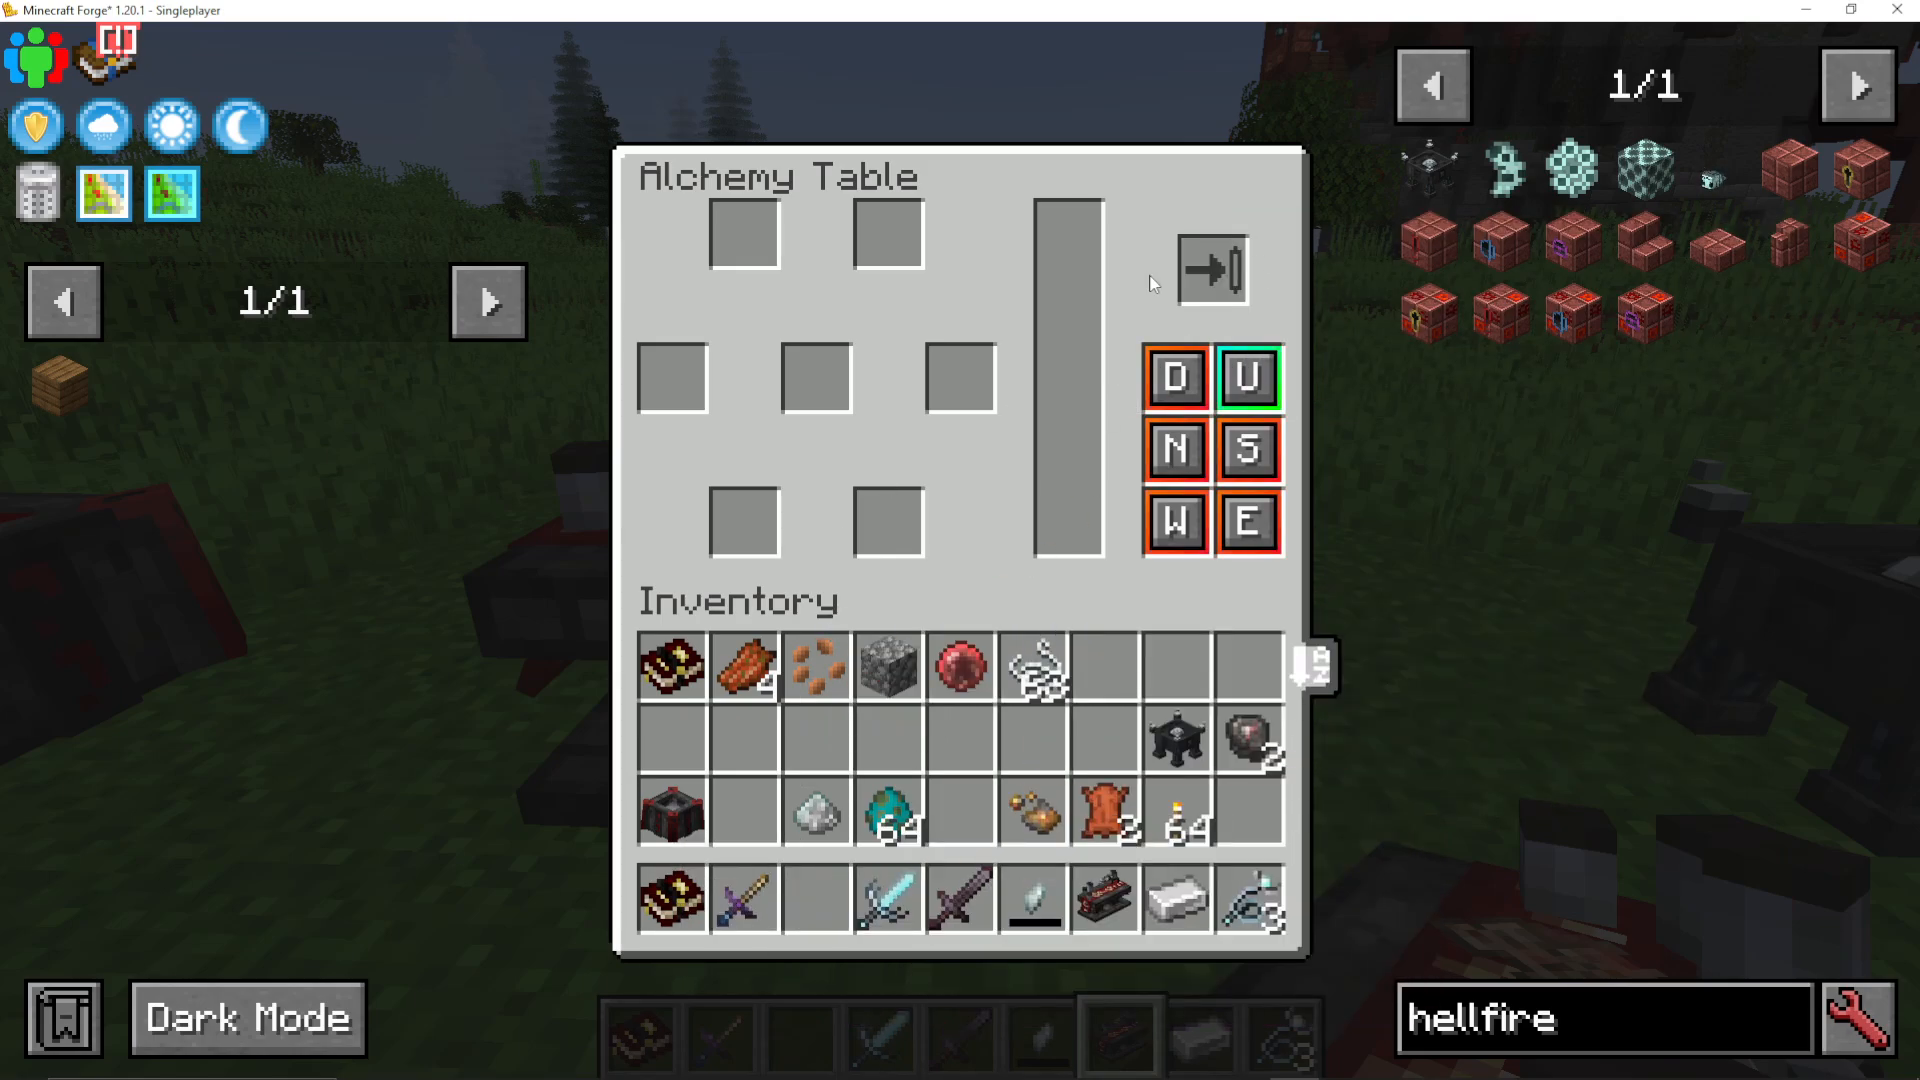
When you open the Alchemy Table, you’ll notice it shares some similarities with the Health Forge — but don’t worry if you haven’t used that before. The interface contains several key slots:
Blood Orb Slot — Located in the top right. Place your Blood Orb here to connect the table to your blood network for crafting.
Ingredient Slots — Six slots arranged around the outside where you place your crafting ingredients.
Output Slot — Located in the centre, this is where your crafted item will appear.
Input and Output Side Configuration
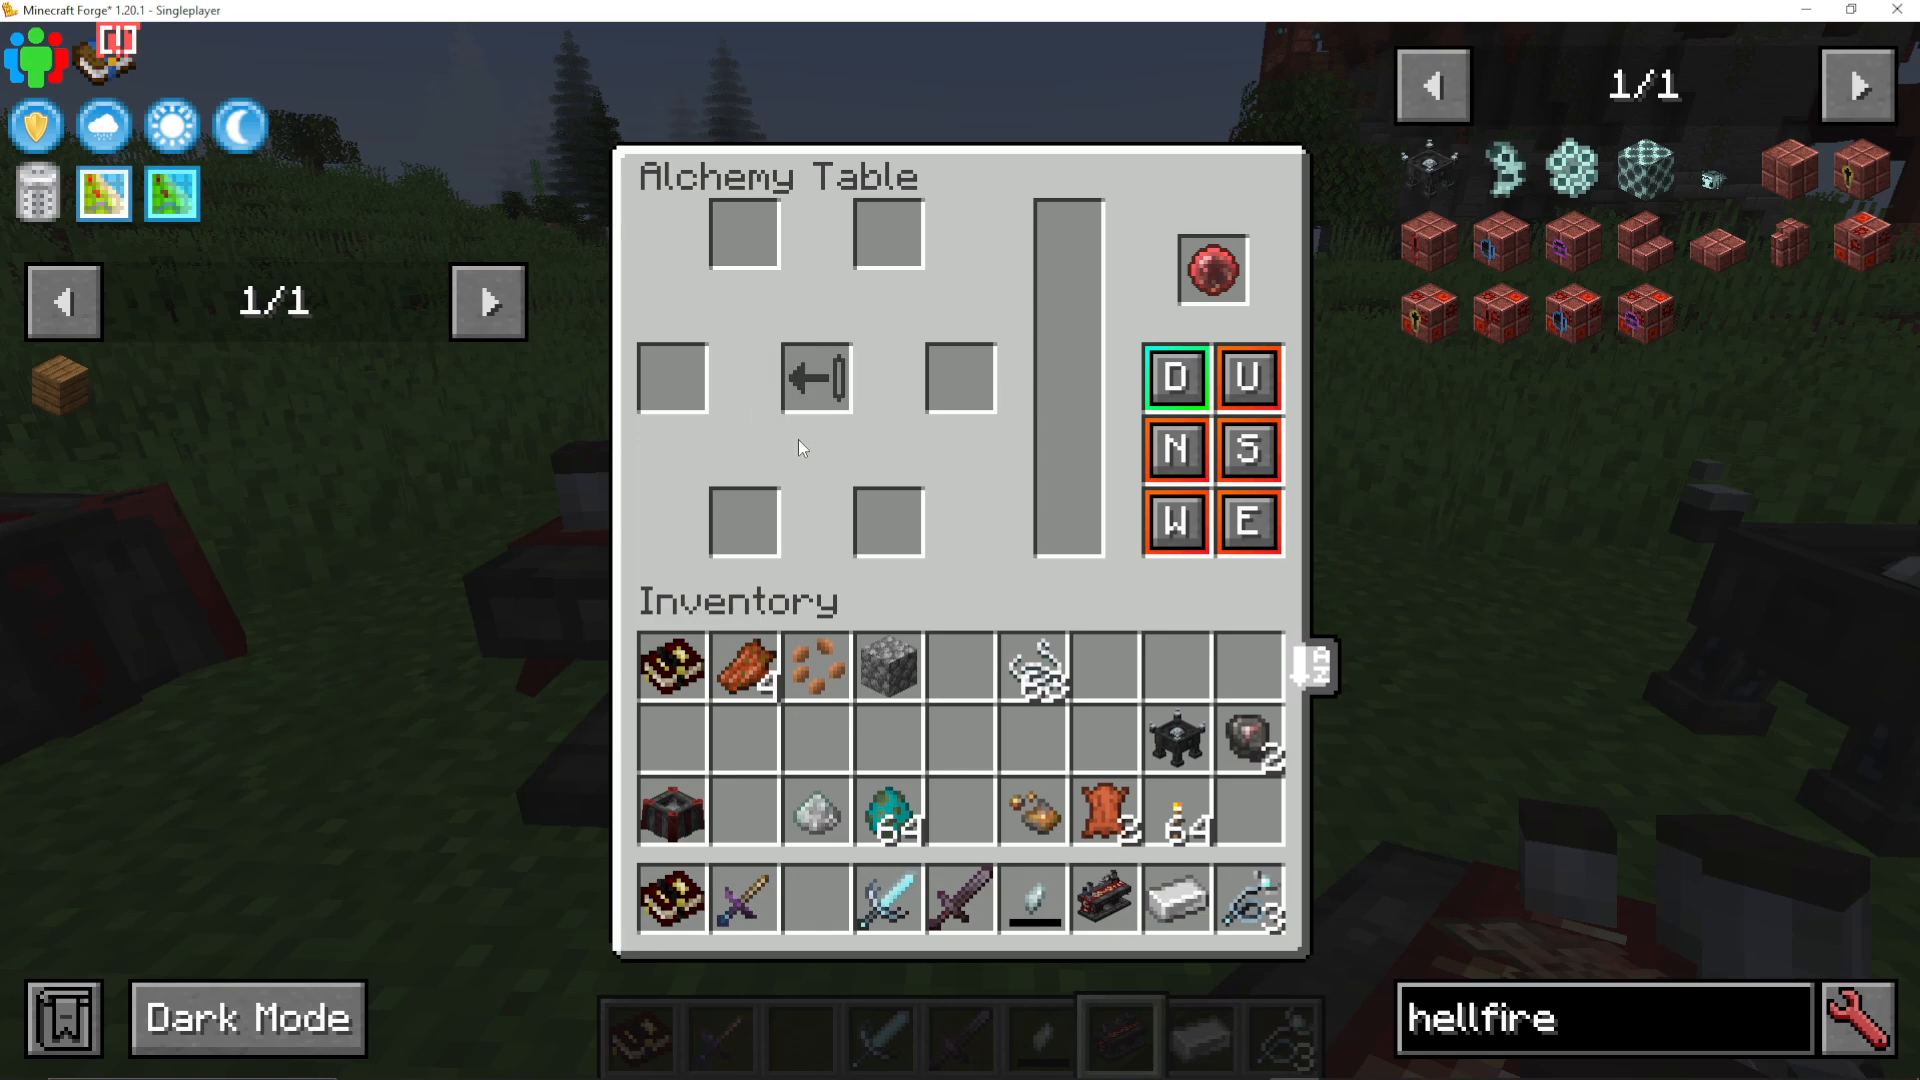
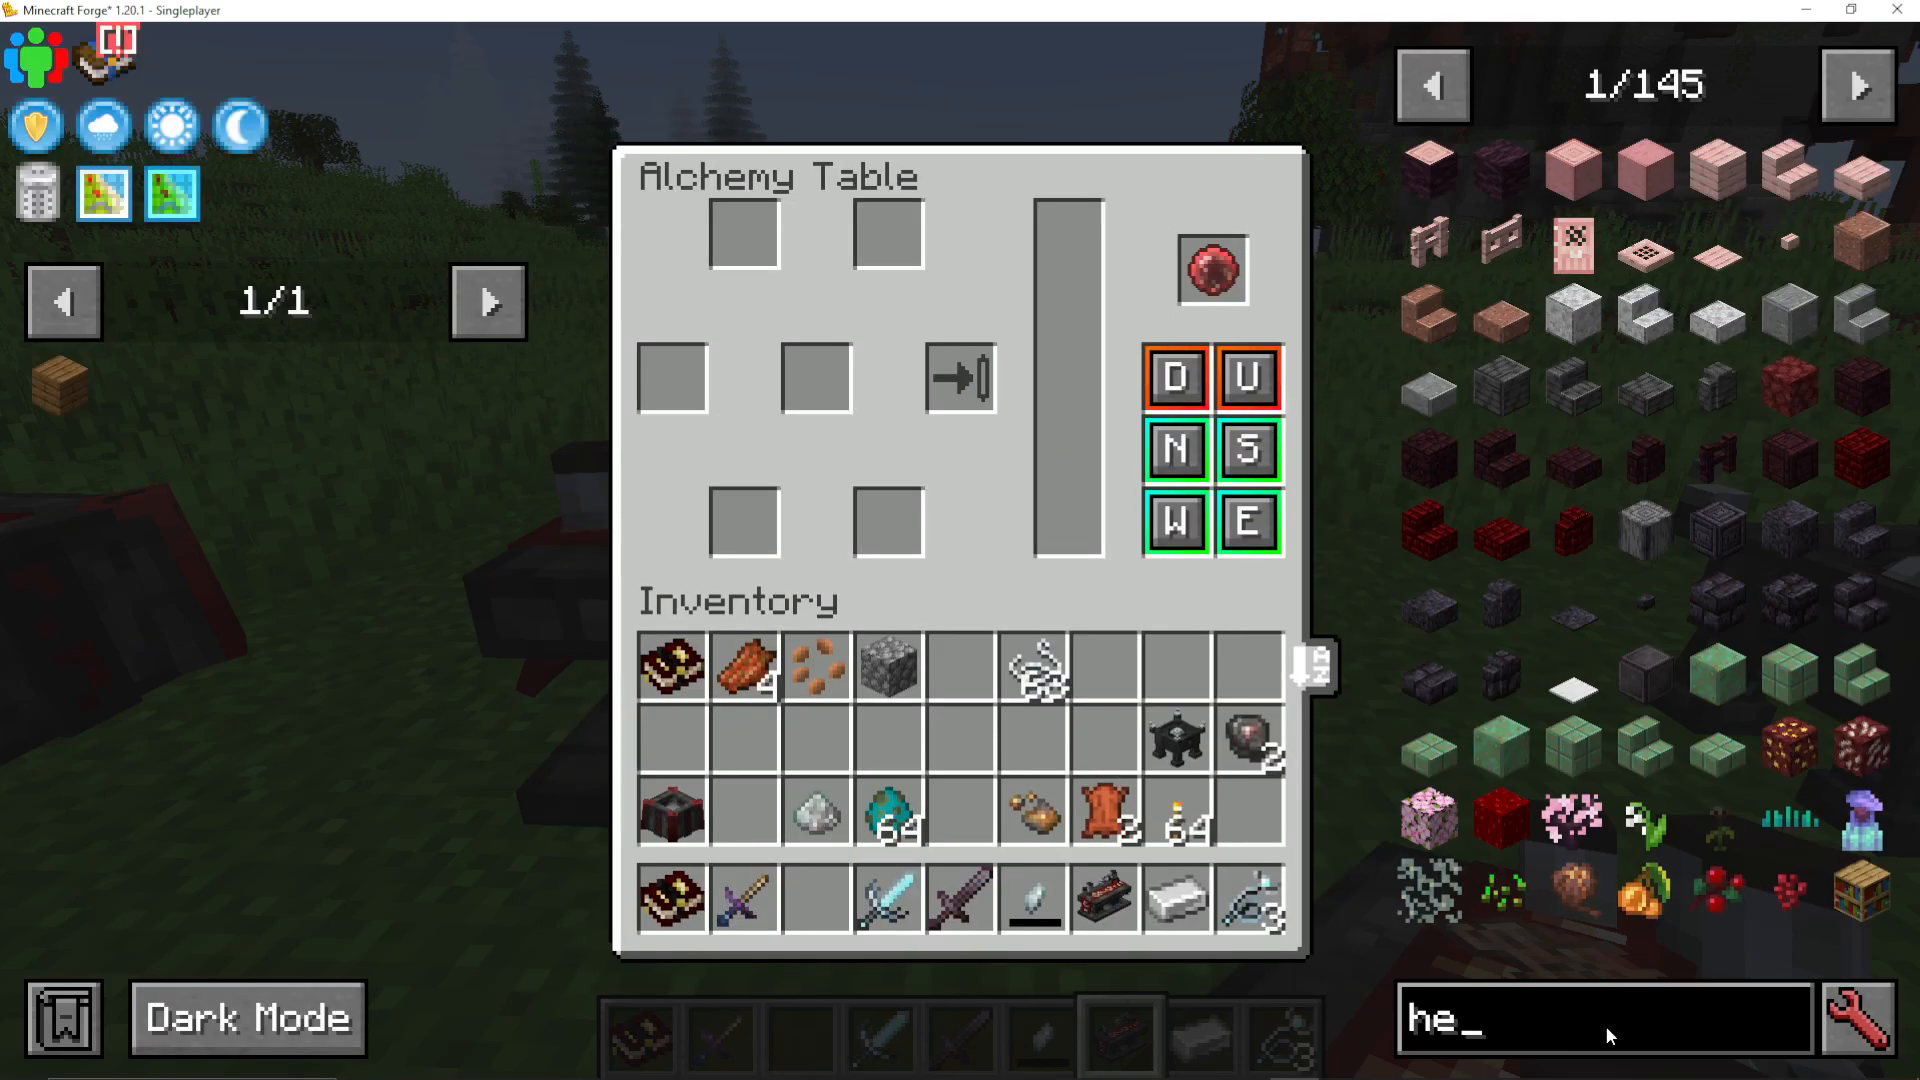
Along the sides of the Alchemy Table interface, you’ll see a series of buttons. Clicking these allows you to configure which sides of the table accept inputs or produce outputs — useful for automating the table with item pipes from other mods.
The outer buttons (showing an arrow going in) control which sides can receive ingredients for each slot. The centre button (showing an arrow going out) controls which sides can export from the output slot. Simply click a button to toggle it green, enabling that side for interaction. For example, if you want to pipe sugar in from the east side only, enable just the east-facing input button for that ingredient slot.
Your First Recipe: Bread
To get familiar with the Alchemy Table, try crafting some bread. Place a piece of sugar and a piece of wheat into the ingredient slots, make sure your Blood Orb is inserted, and watch the crafting bar fill. Once complete, bread will appear in the central output slot.
Crafting Arcane Ashes
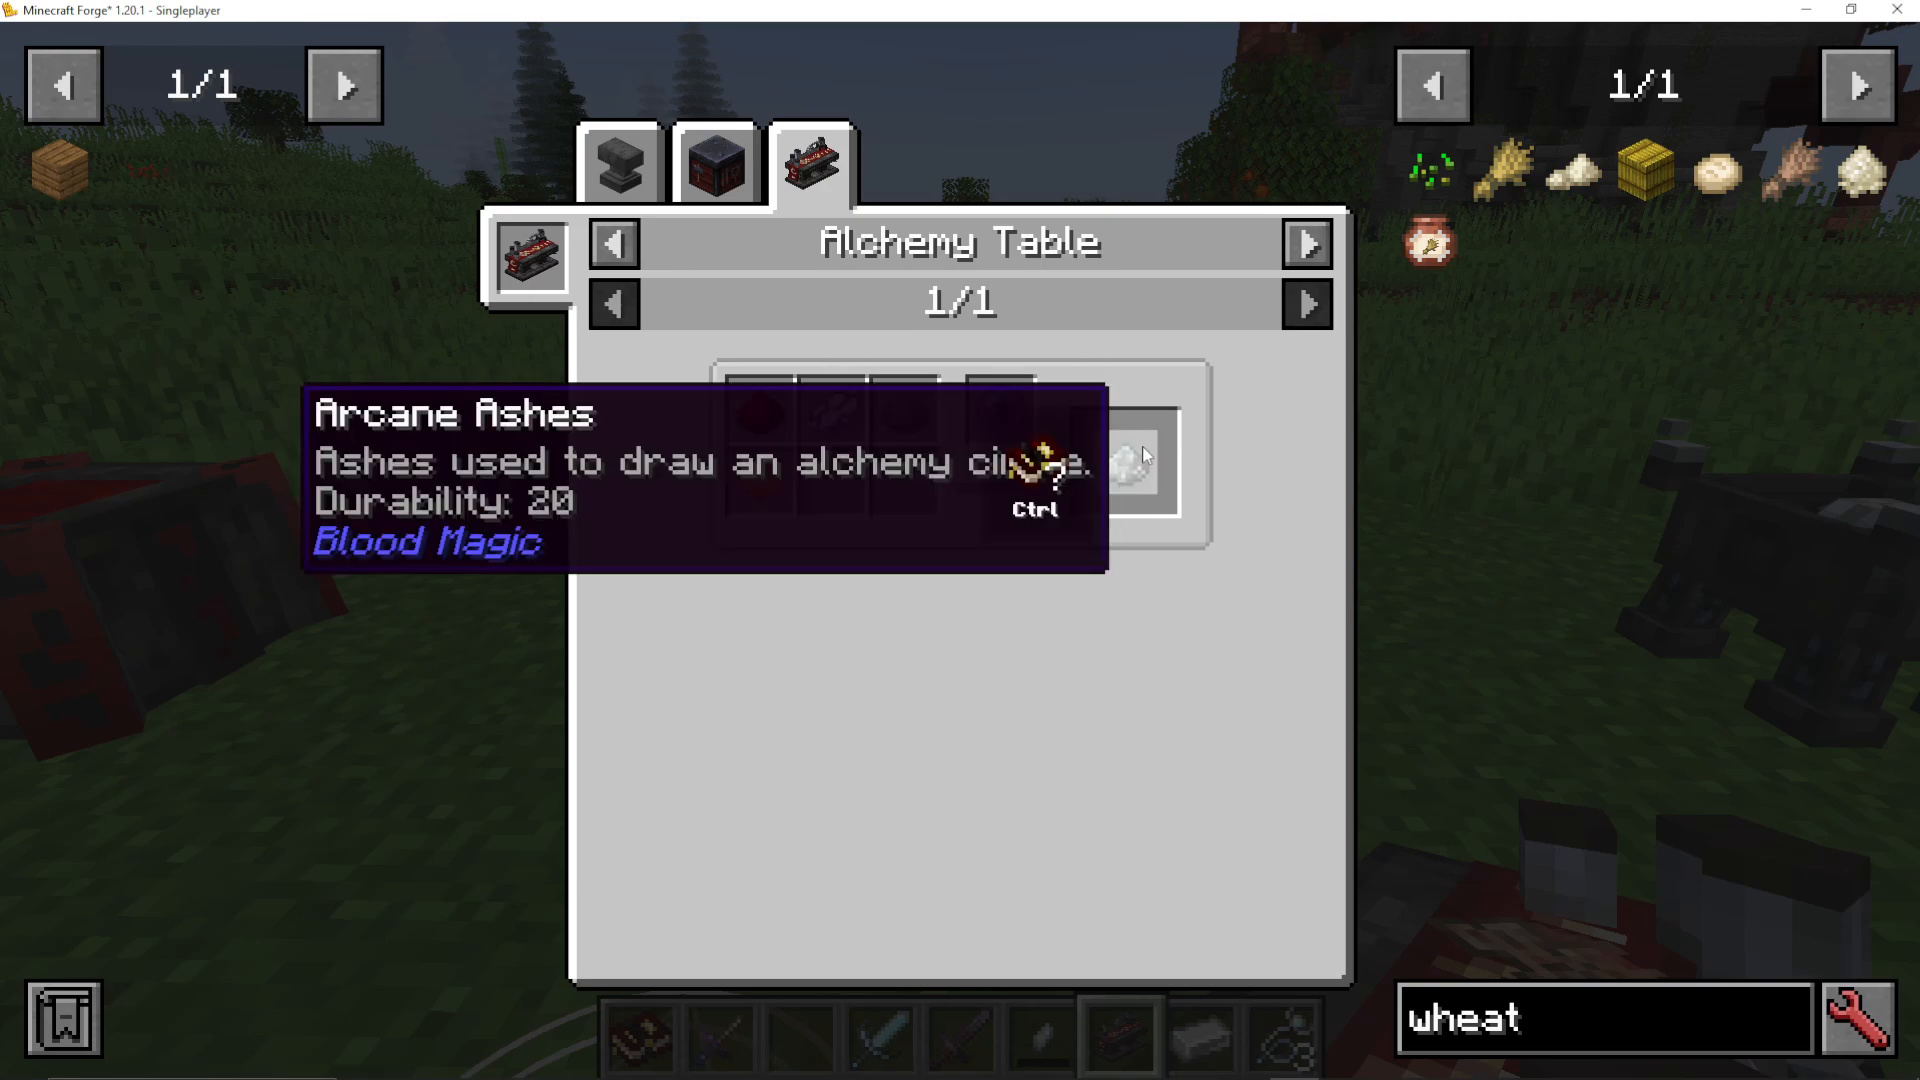
One of the very first things you should craft in your Alchemy Table is Arcane Ashes. To make them, place the following ingredients into the slots along with your Blood Orb:
Gunpowder
White Dye
Redstone
Coal
Make sure your Weak Blood Orb has some blood in it, and the Arcane Ashes will appear in the central output slot. You’ll be using these constantly going forward.
Alchemy Arrays
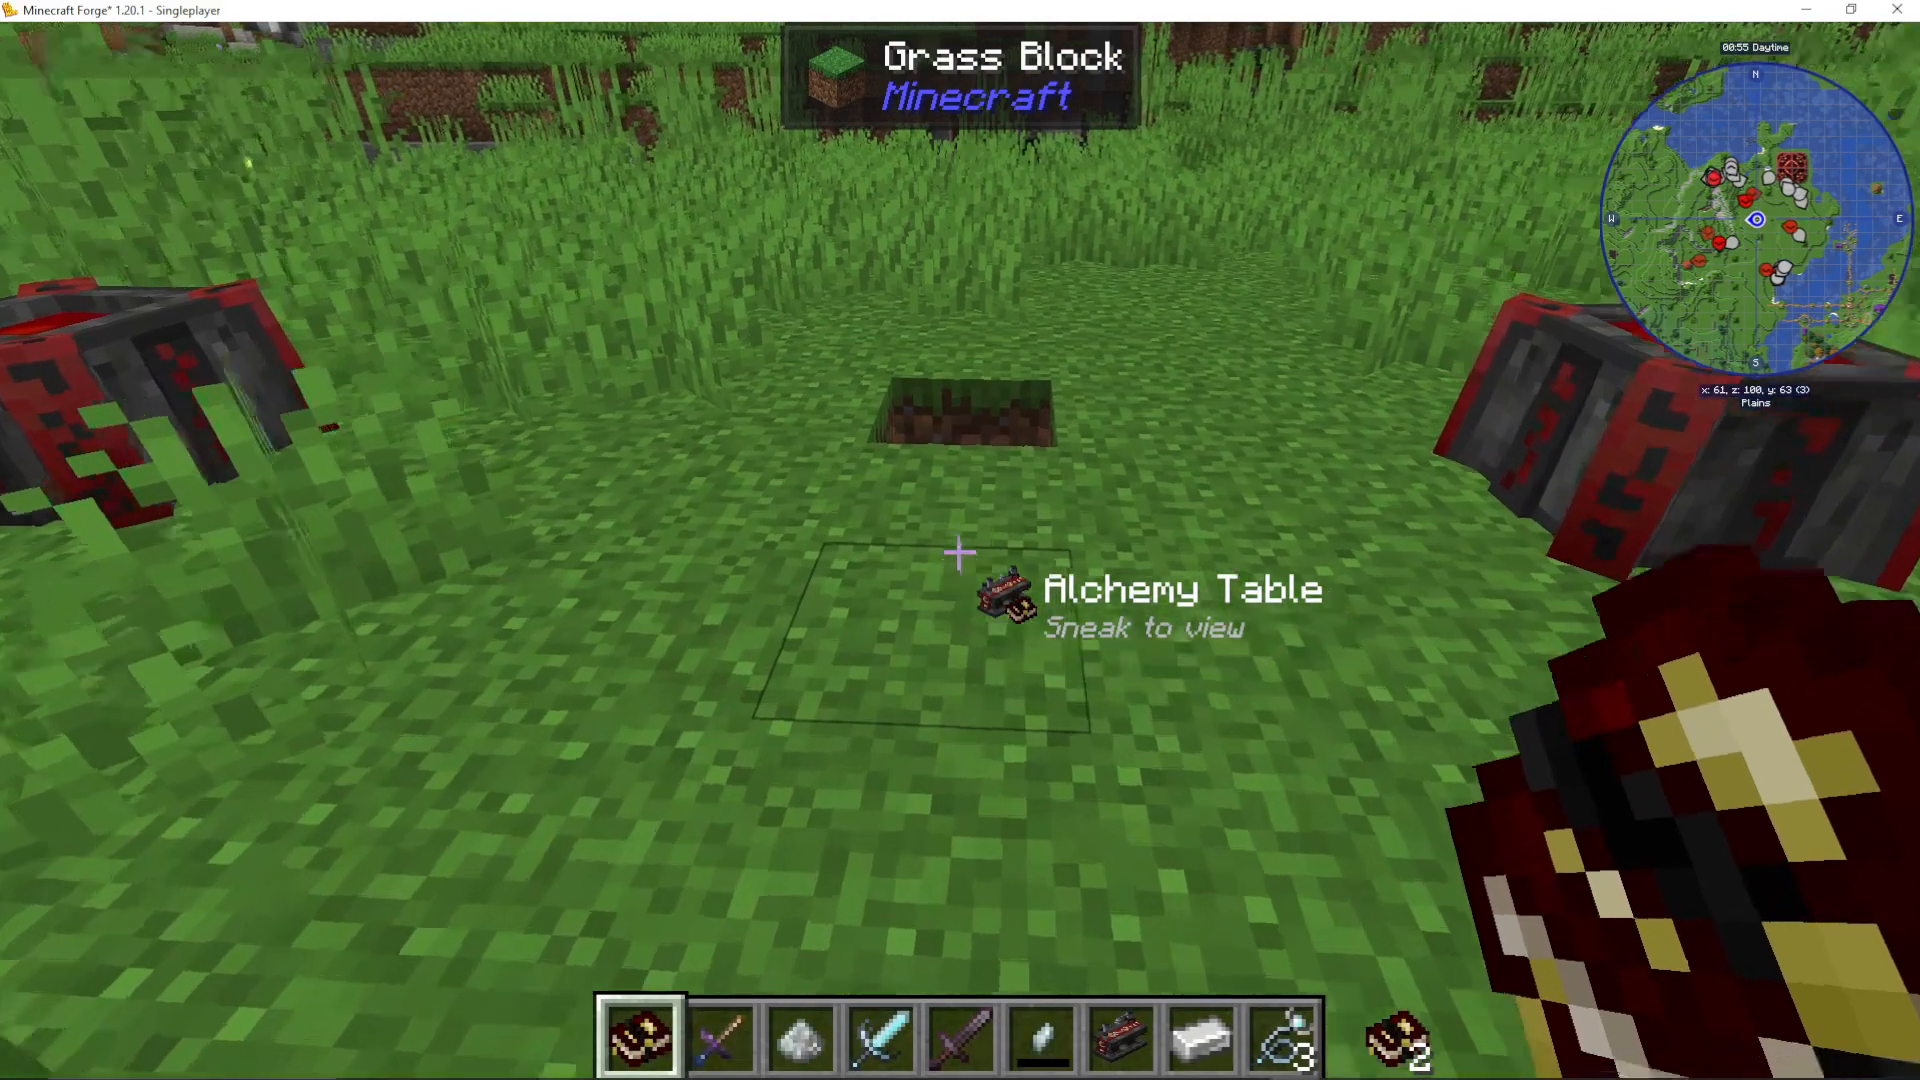
Once you have Arcane Ashes, you can place them on the ground by right-clicking. This creates what is called an Alchemy Array — a special floor circle that you can interact with to perform unique effects.
How Alchemy Arrays Work
To use an Alchemy Array, you place two items on it in sequence. The first item right-clicked onto the array is the primary ingredient, and the second is the catalyst. You can find all array recipes in the Sanguine Sciences book under the Alchemy Arrays category.
Each recipe entry shows: the base array material (Arcane Ashes), the primary ingredient, and the catalyst. Once both items are placed, the array will begin spinning and transform into the desired array type.
Example: Spike Array
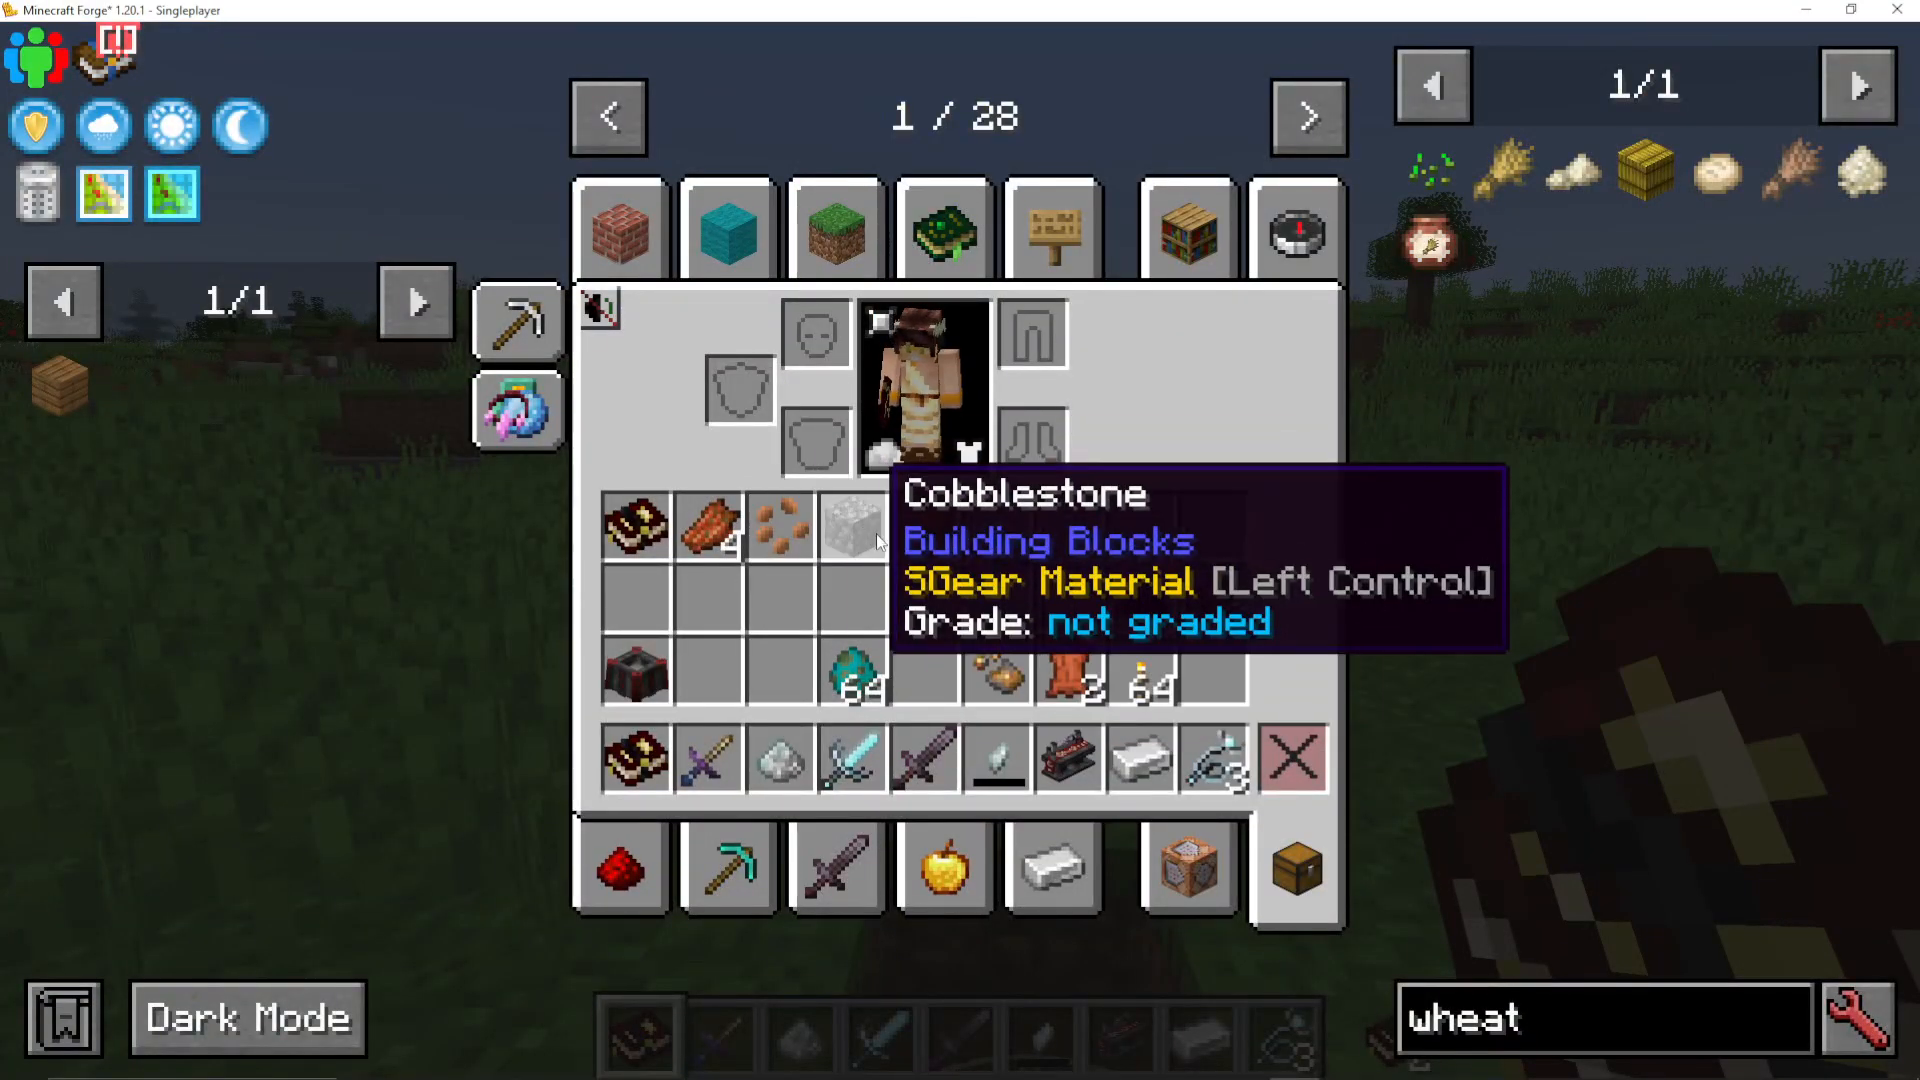
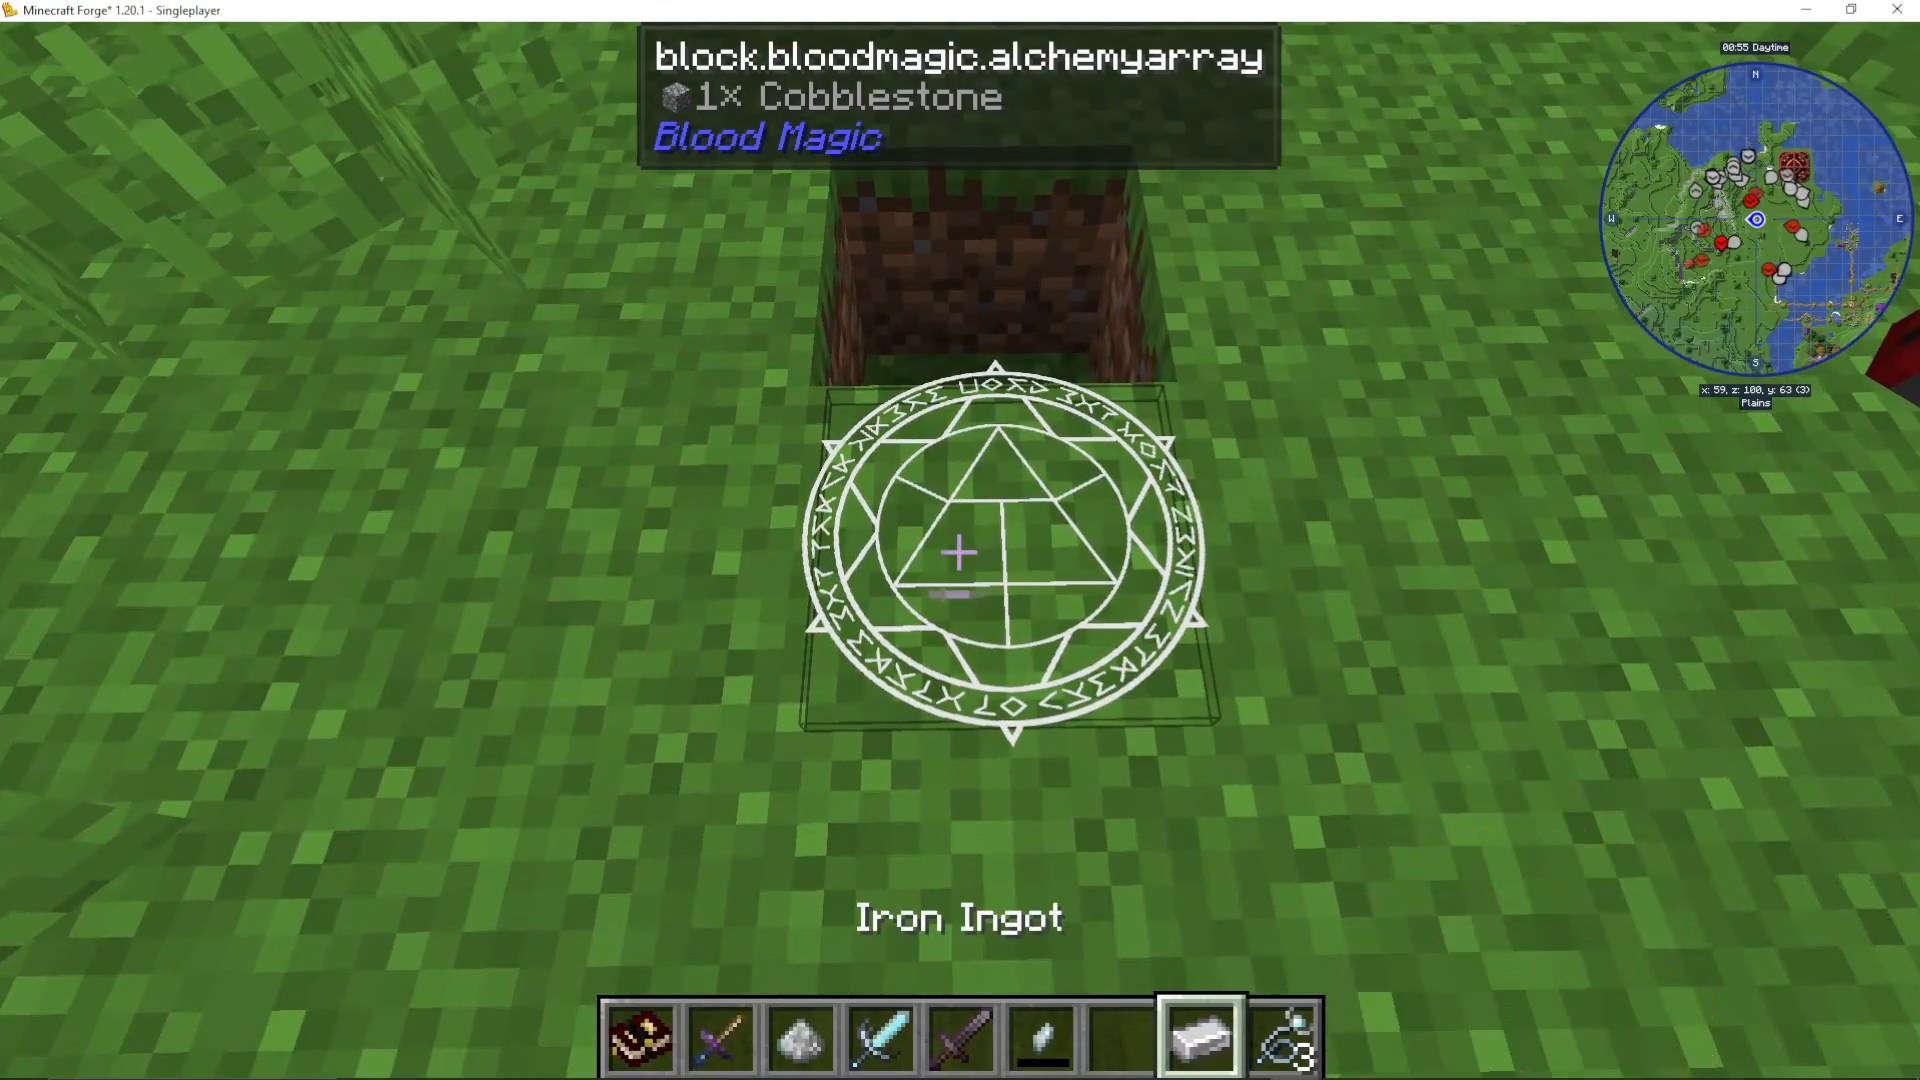
A great starter array is the Spike Array. Right-click Cobblestone onto the Arcane Ashes array, then use an Iron Ingot as the catalyst. The array will spin and convert into a Spike Array. Any enemy that steps onto it will take one heart of damage.
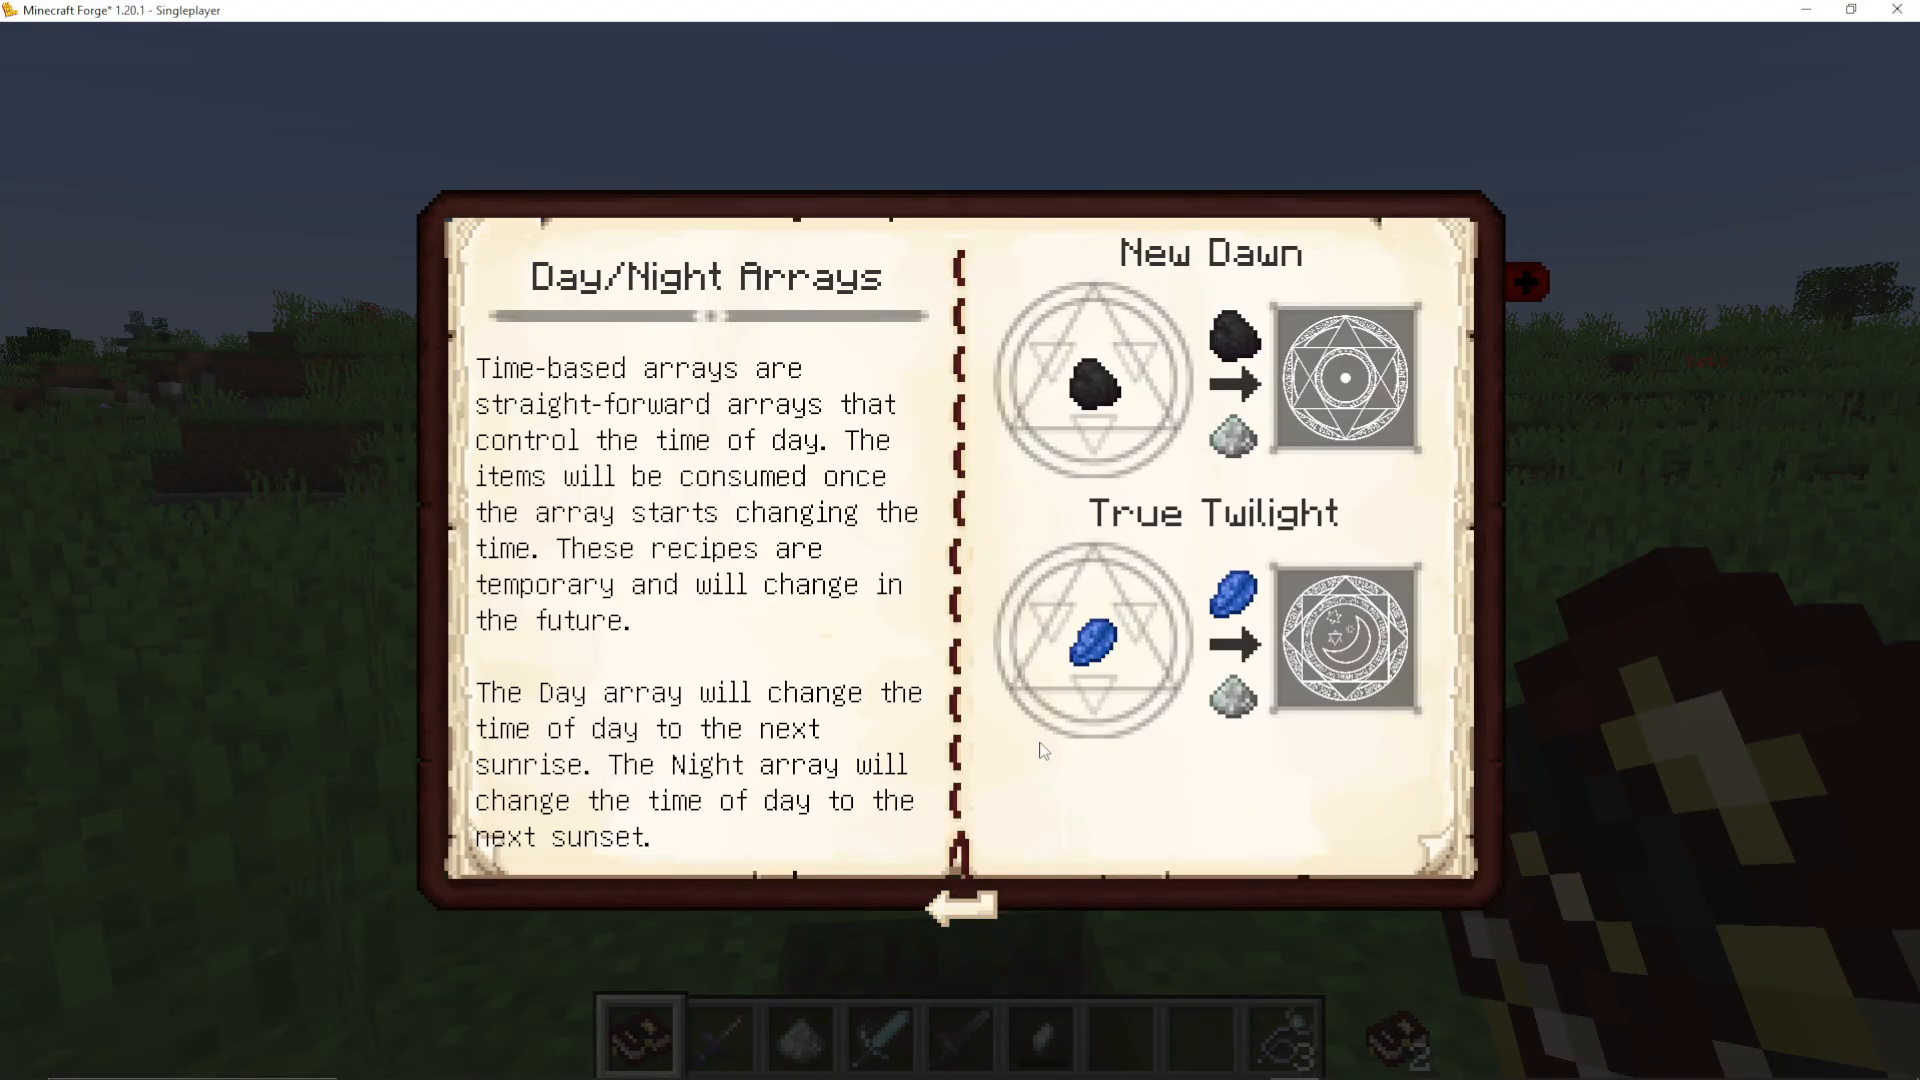
Day and Night Arrays
You can also control the time of day using arrays. Use Lapis and Lapis together to set the time to sunset, or use Coal and Coal to set it to dawn. It’s a surprisingly handy tool for controlling your environment.
Crafting Sigils
Sigils are powerful items that draw from your blood network to perform special abilities. They are crafted in two stages: first in the Alchemy Table to create a reagent, and then on an Alchemy Array using a Blank Slate to produce the finished Sigil.
You can find all Sigil recipes in the Sanguine Sciences book under Alchemy Arrays → Sigils. Available sigils include Air, Divination, Lava, Water, Magnetism, Suppression, Frozen Lake, and more.
Example: Lava Sigil
To craft the Lava Sigil, start at your Alchemy Table. Place the following ingredients in the slots along with your Blood Orb:
Lava Bucket
Redstone Dust
Cobblestone
Block of Coal
This costs one full bucket of Life Points from your Weak Blood Orb and produces a Lava Reagent.
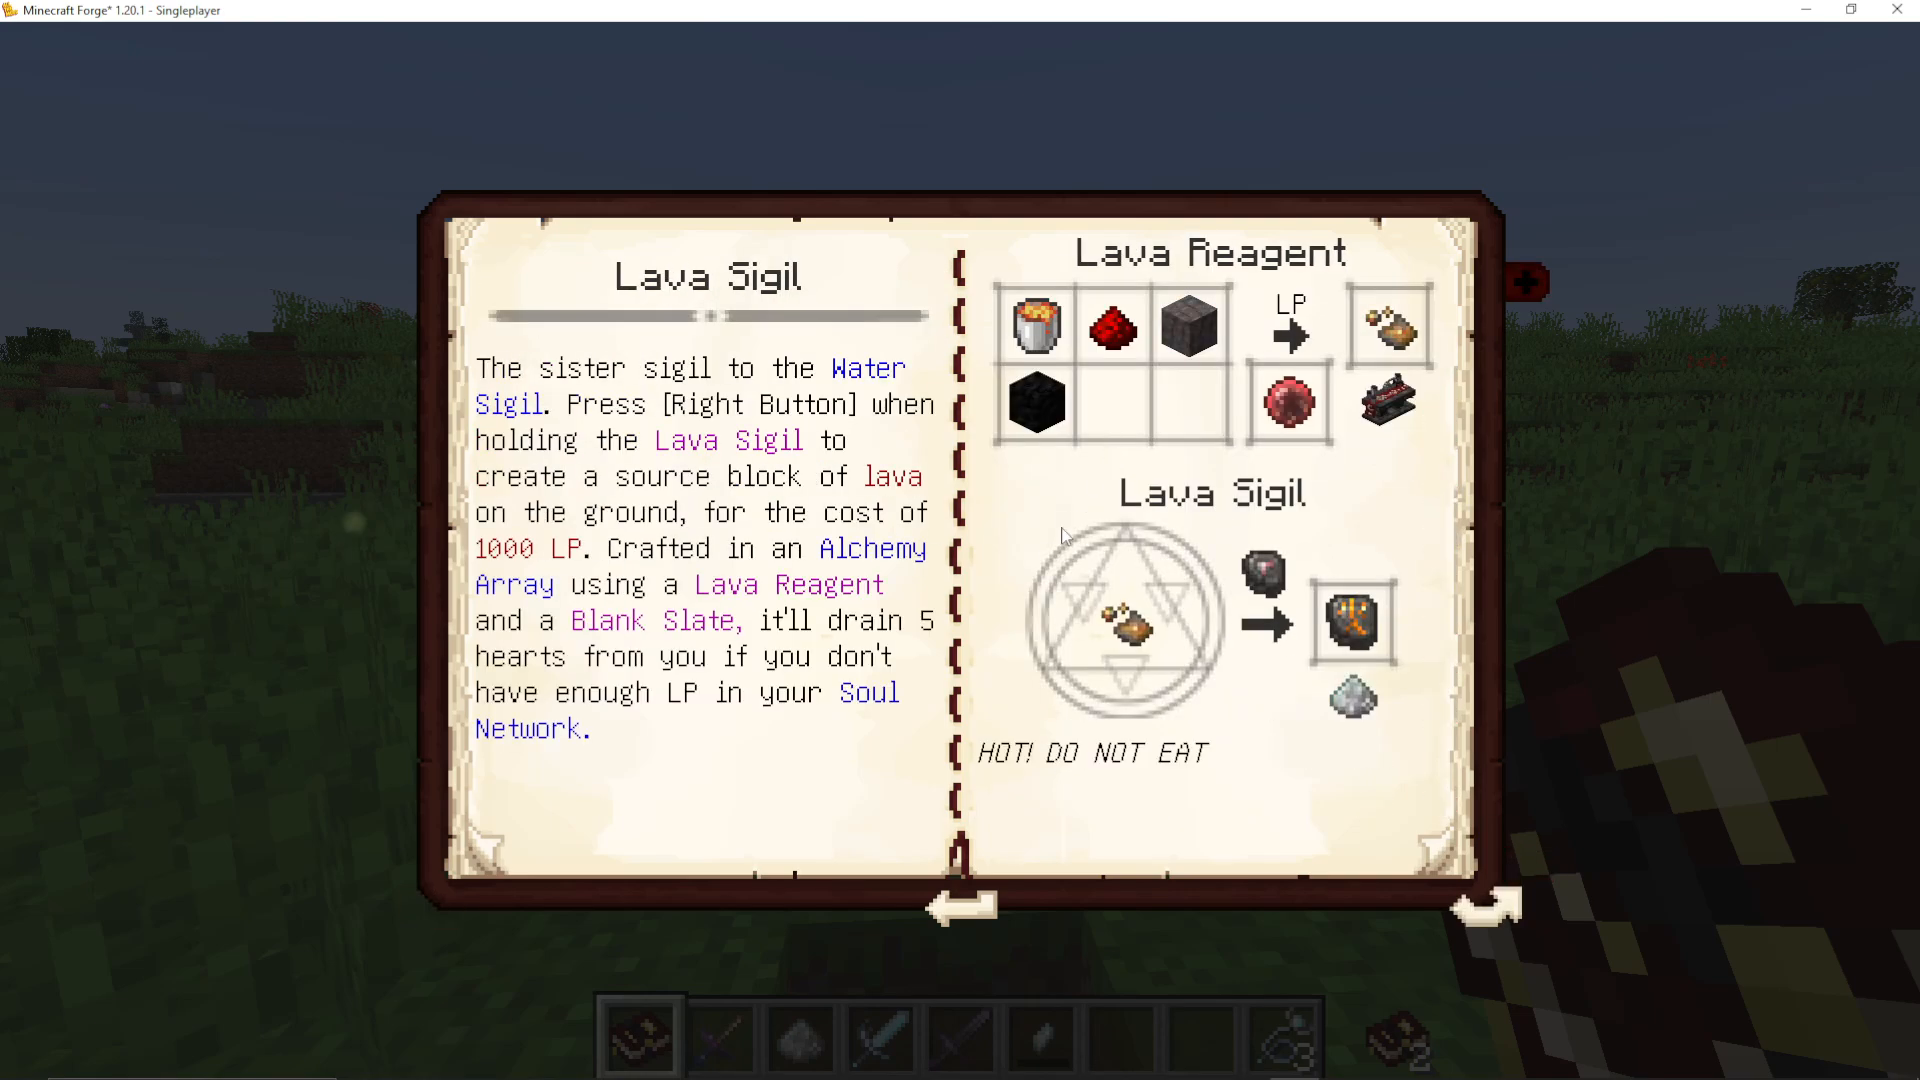
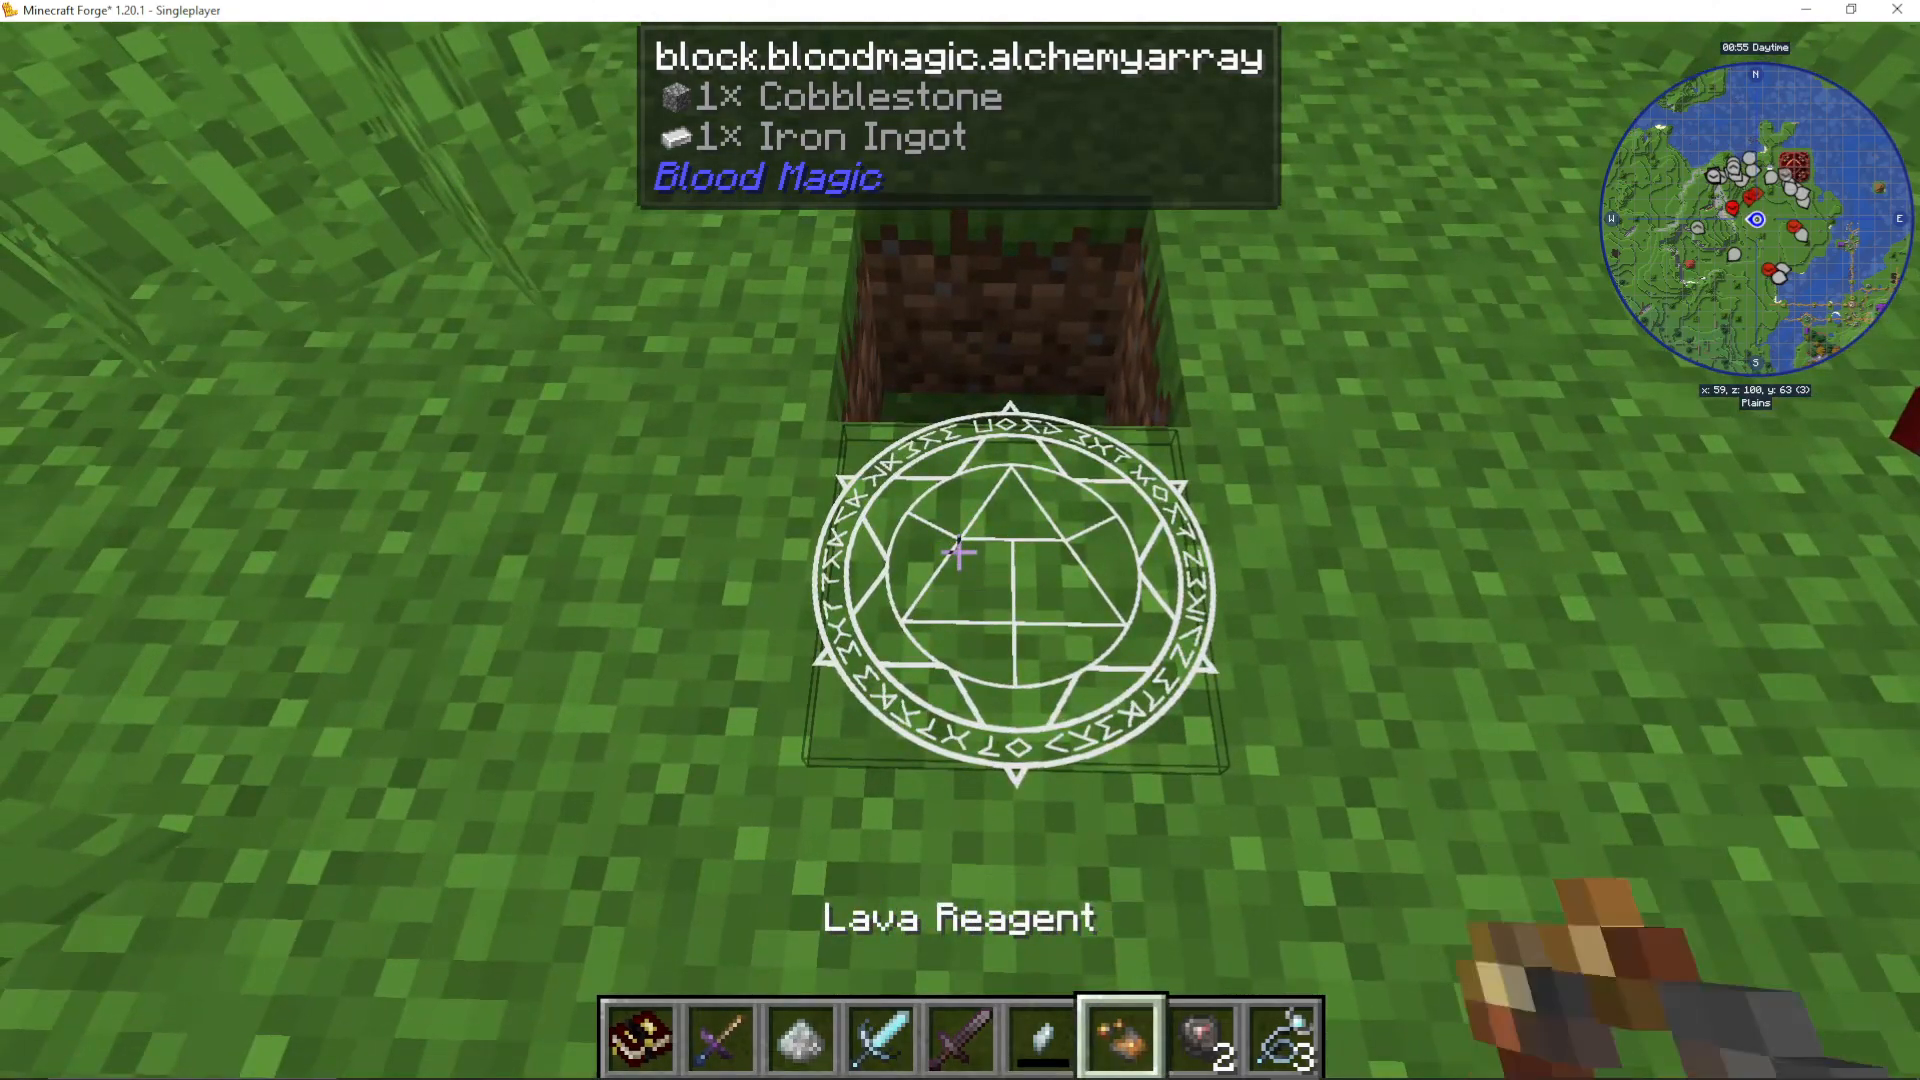
Next, place your Arcane Ashes on the ground to create an Alchemy Array. Right-click the Lava Reagent onto it as the primary ingredient, then right-click the Blank Slate as the catalyst. The array will spin and produce a Lava Sigil.
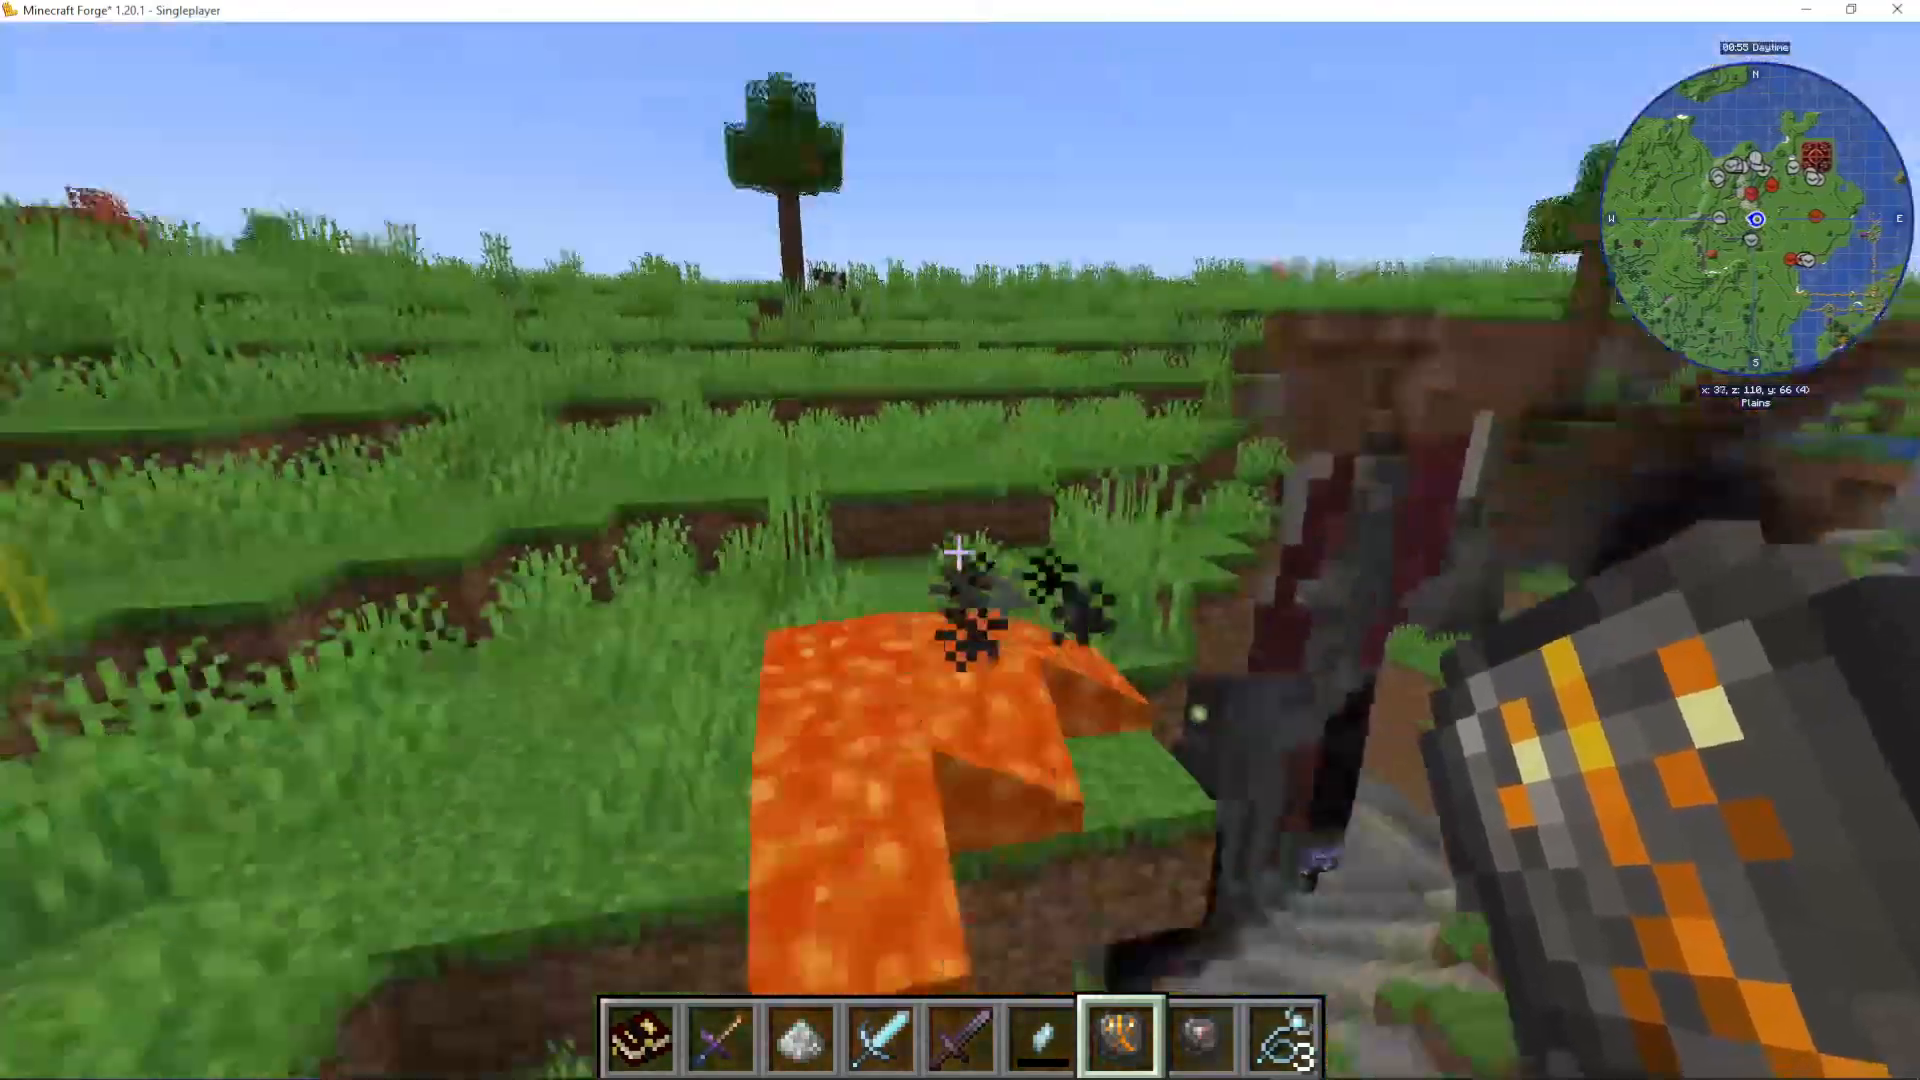
Once crafted, right-click while holding the Lava Sigil to place a source block of lava. Each use costs 1,000 Life Points. If your soul network doesn’t have enough, it will drain five hearts directly from you.
Other Notable Sigils
Water Sigil — Places a source block of water. Can also be used inside Alchemy Table recipes in place of a water bucket, and won’t be consumed in the process.
Sigil of Magnetism — Increases your item pickup range. Toggle it on or off by crouching and right-clicking while holding it. Consumes Life Points every five seconds while active.
Sigil of the Frozen Lake — Functions like the Frost Walker enchantment, but as a portable sigil.
Living Equipment
Living Equipment is a set of craftable armour that starts off equivalent to iron armour in strength but can be upgraded over time. It is equivalent in durability to diamond armour and can be repaired in an anvil using Binding Reagents.
Crafting Binding Reagent
The key material for Living Equipment is the Binding Reagent. Craft it by placing four specific ingredients into your Alchemy Table. Once you have Binding Reagent, you can use it on an Alchemy Array along with an iron helmet, chestplate, leggings, or boots to produce the corresponding piece of Living Armour.
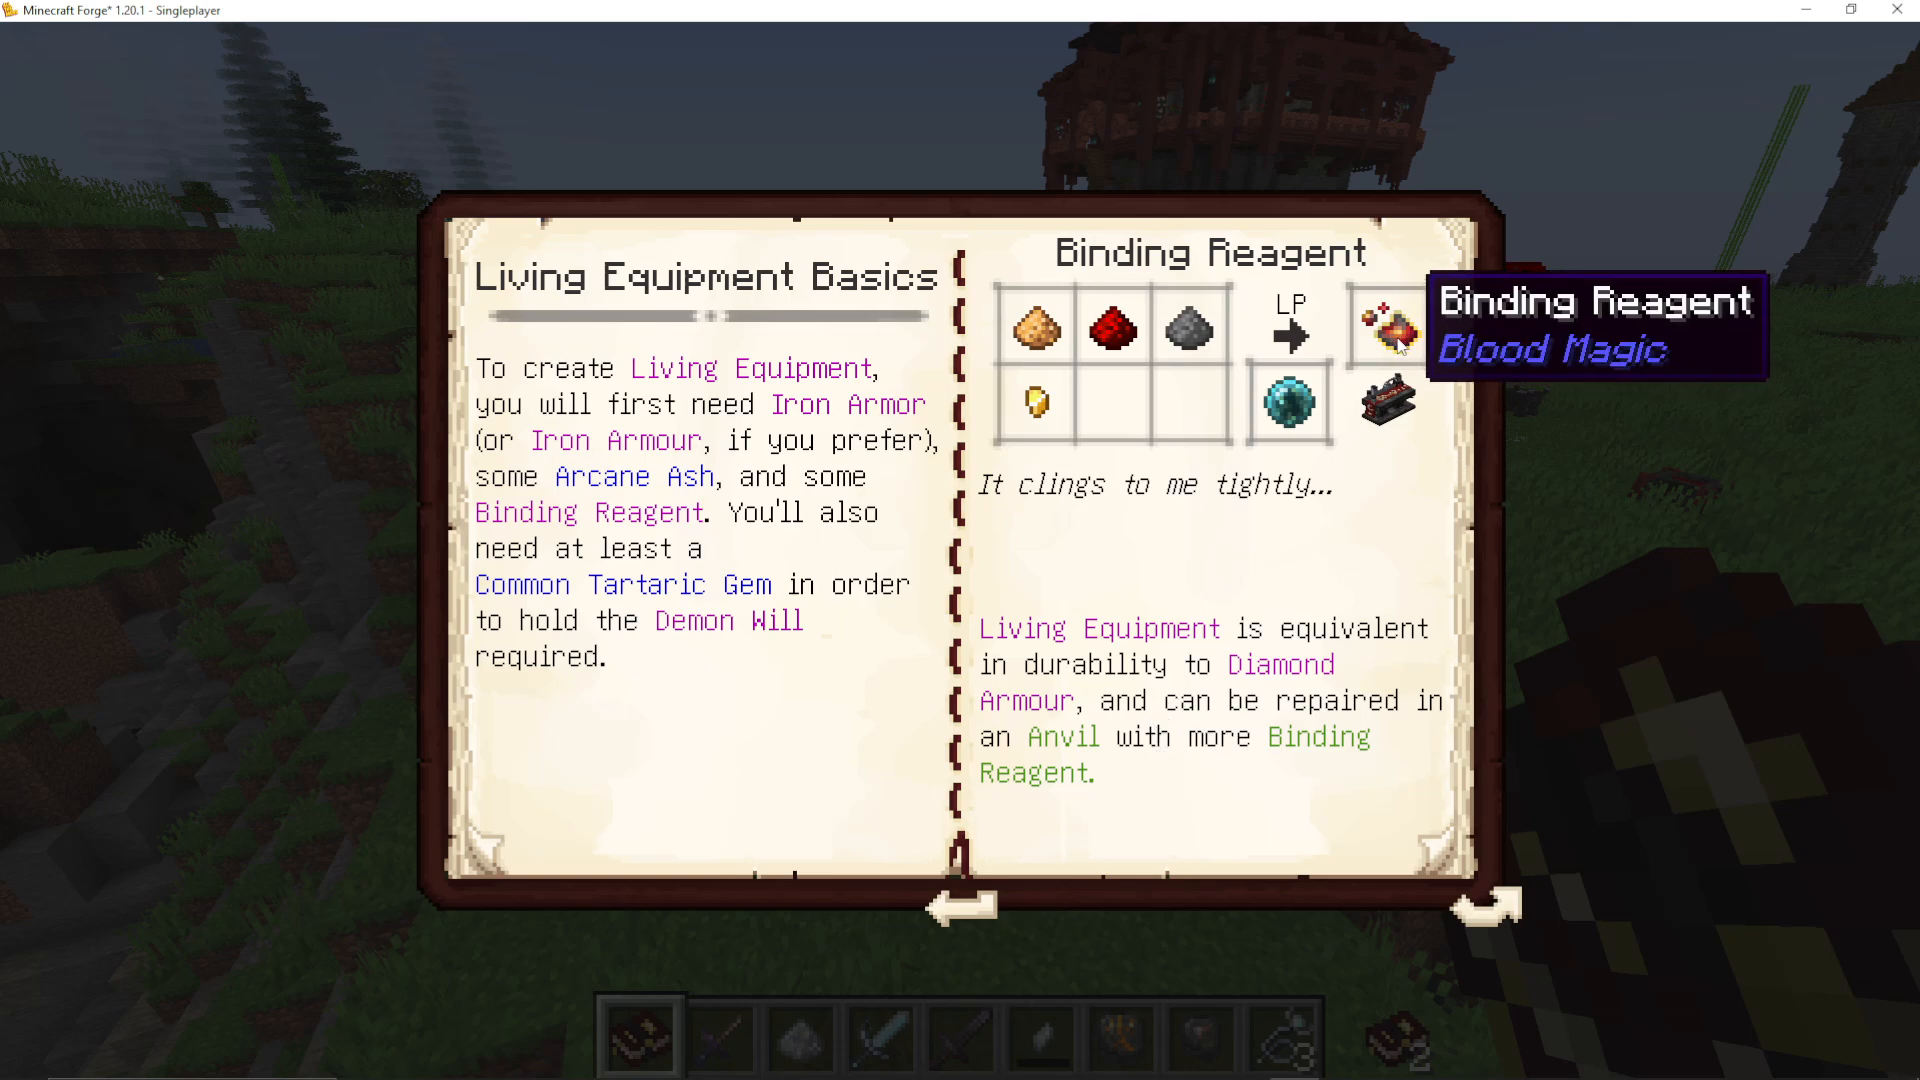
Place the Binding Reagent on the Arcane Ashes array first, then add your chosen iron armour piece. You’ll need at least a Common Tartaric Gem (upgraded at least once) to use this equipment. The armour starts with 100 upgrade points which can be spent to specialise it — but upgrading it further requires Rituals, which are covered in a later guide.
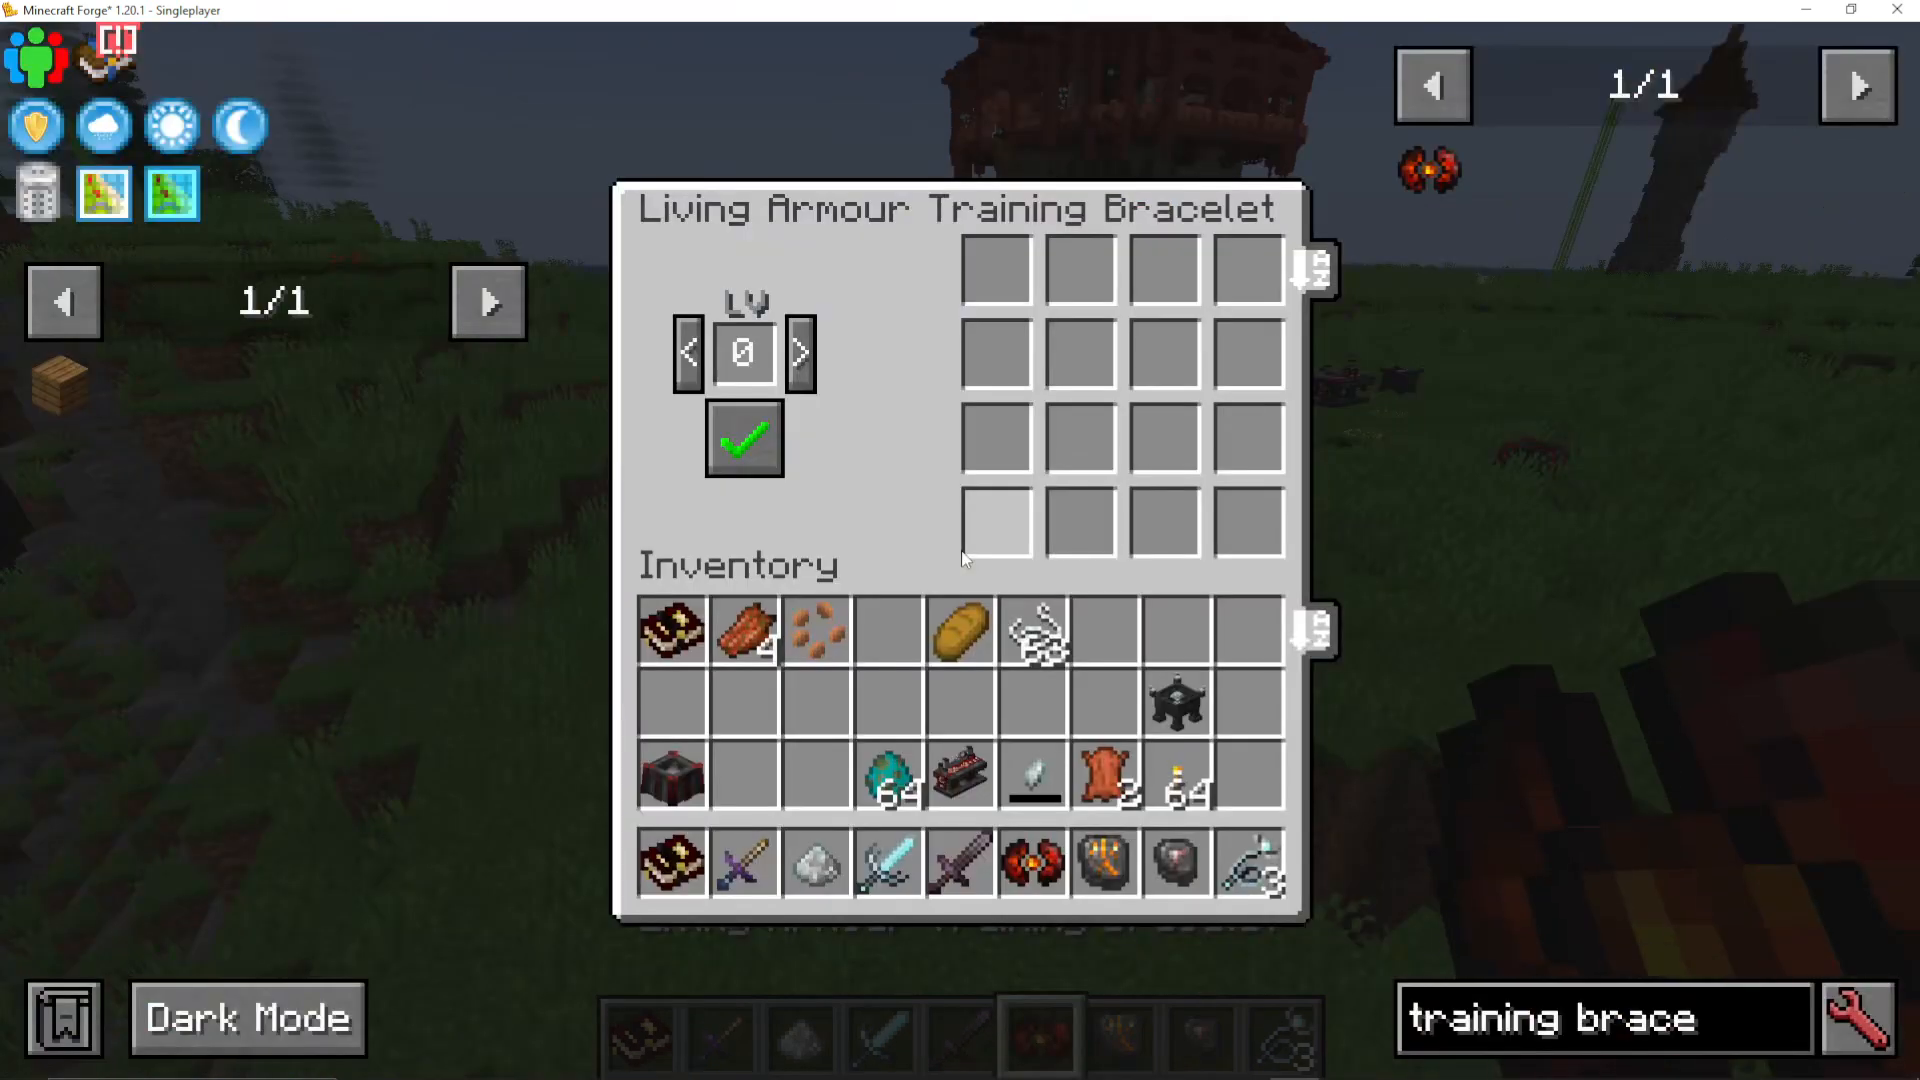
Living Armor Training Bracelet
To spend those upgrade points, you’ll need a Living Armor Training Bracelet. Craft one using Binding Reagent, a Diamond, and Arcane Ashes in an Alchemy Array. Open the bracelet to add upgrade tomes to it. For example, combine a Binding Reagent with Arcane Ashes and a Light Trot tome, then insert that tome into the bracelet to apply the Light Trot upgrade to your Living Armour.
Potion Crafting with Alchemy Flasks
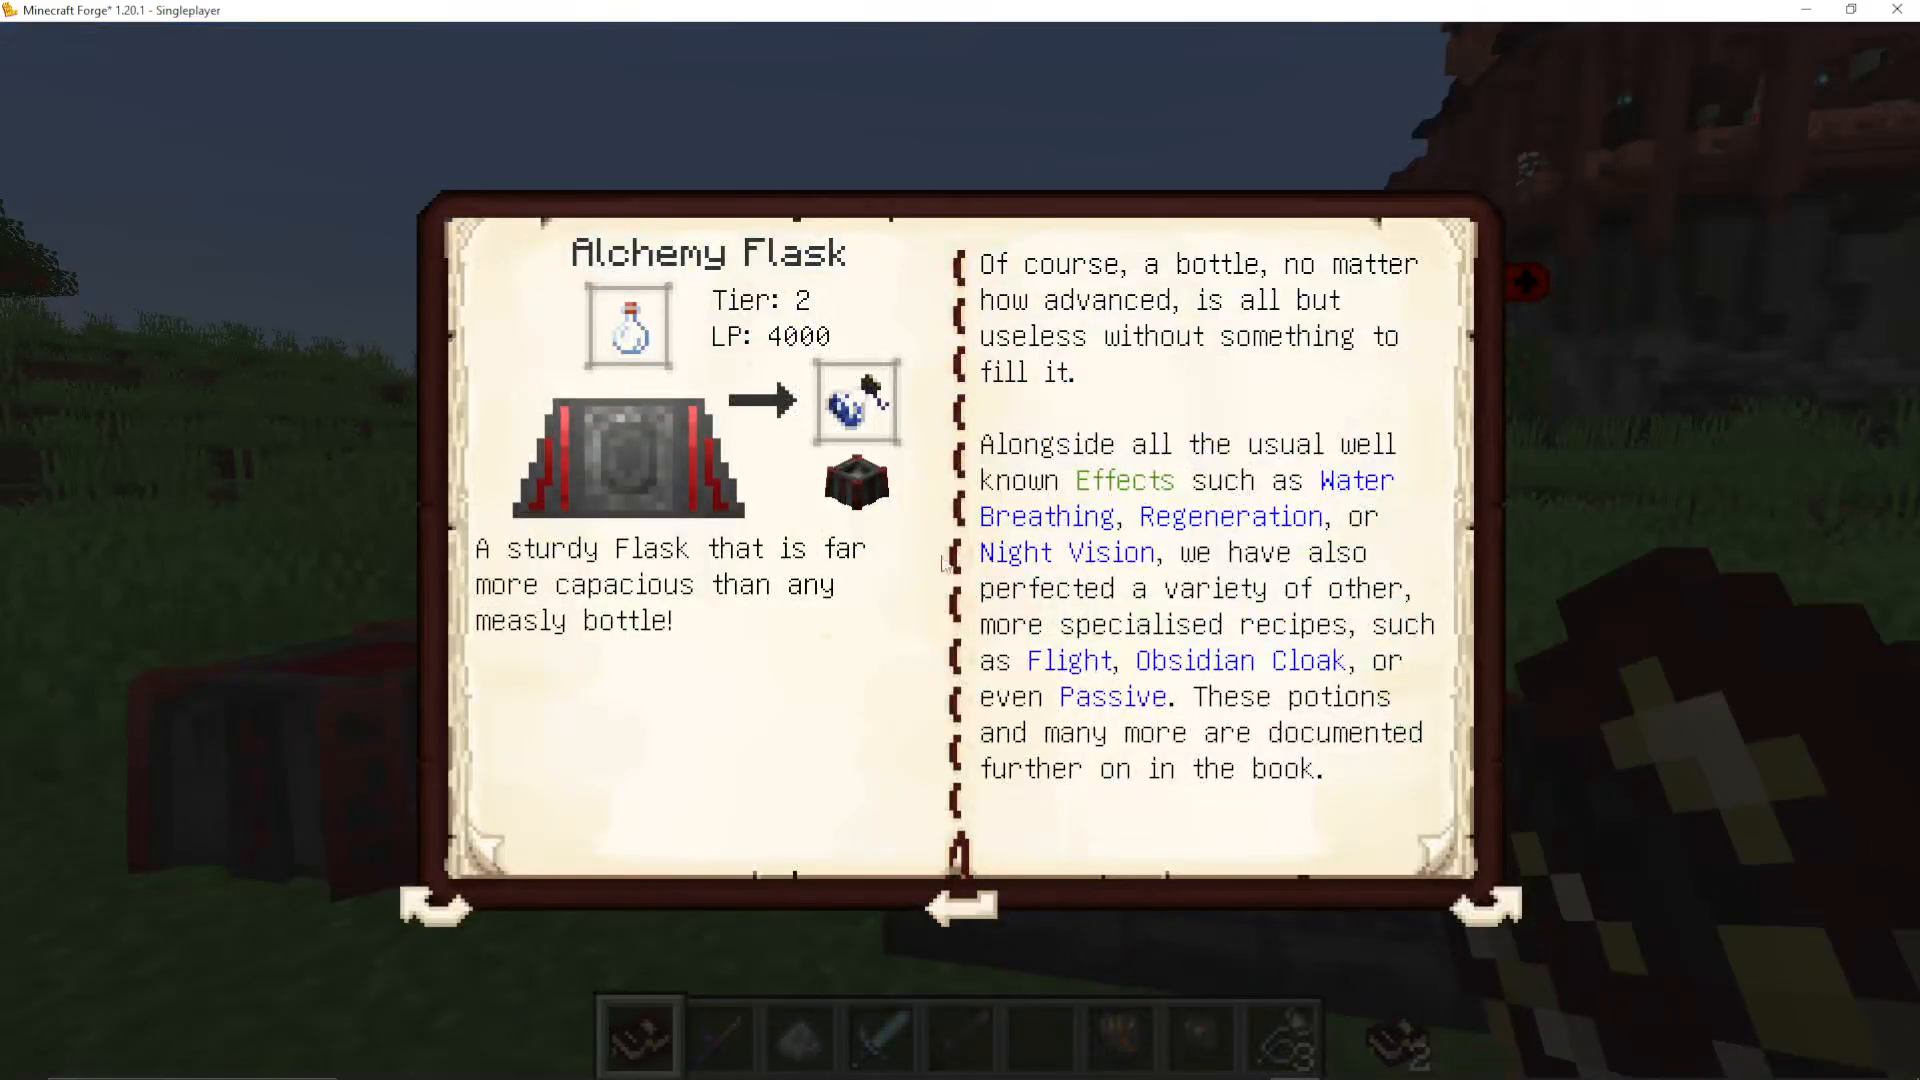
The Alchemy Table also doubles as a potion-crafting station. Start by placing glass bottles into your Blood Altar — this converts them into Alchemy Flasks, which have eight uses each. Fill a flask with water by using it on a water bucket.
Next, craft a Simple Catalyst in the Alchemy Table. With your flask, catalyst, and a potion ingredient, you can brew potions directly in the Alchemy Table. For example, combining an Alchemy Flask, a Simple Catalyst, and a Golden Carrot will produce a Night Vision potion lasting three minutes.
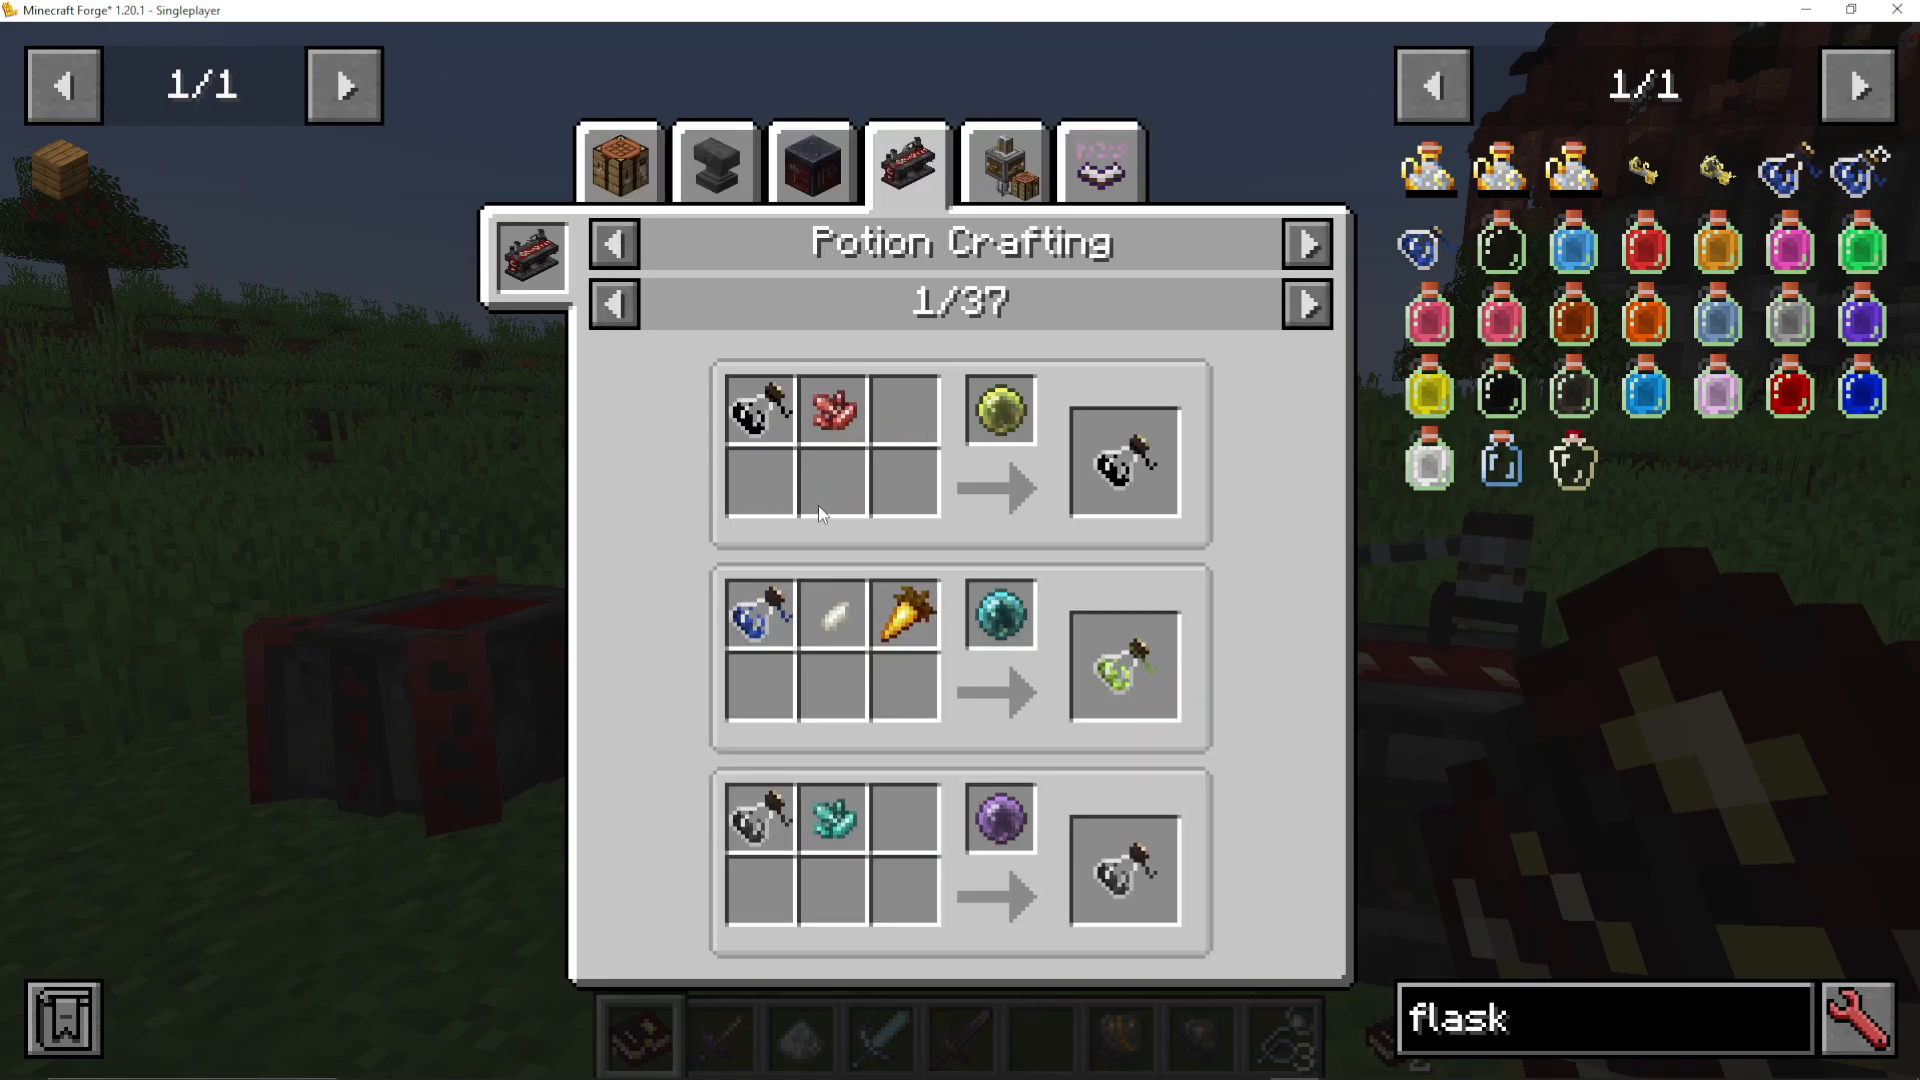
There are many potion recipes available this way, making Alchemy Flasks a much more efficient alternative to standard Minecraft brewing — each flask delivers multiple uses compared to a single glass bottle.
Slate Infused Vials and Salves
For an even more advanced crafting option, combine one of your Blank Slates with stained glass in the Alchemy Table. This produces eight Slate Infused Vials.
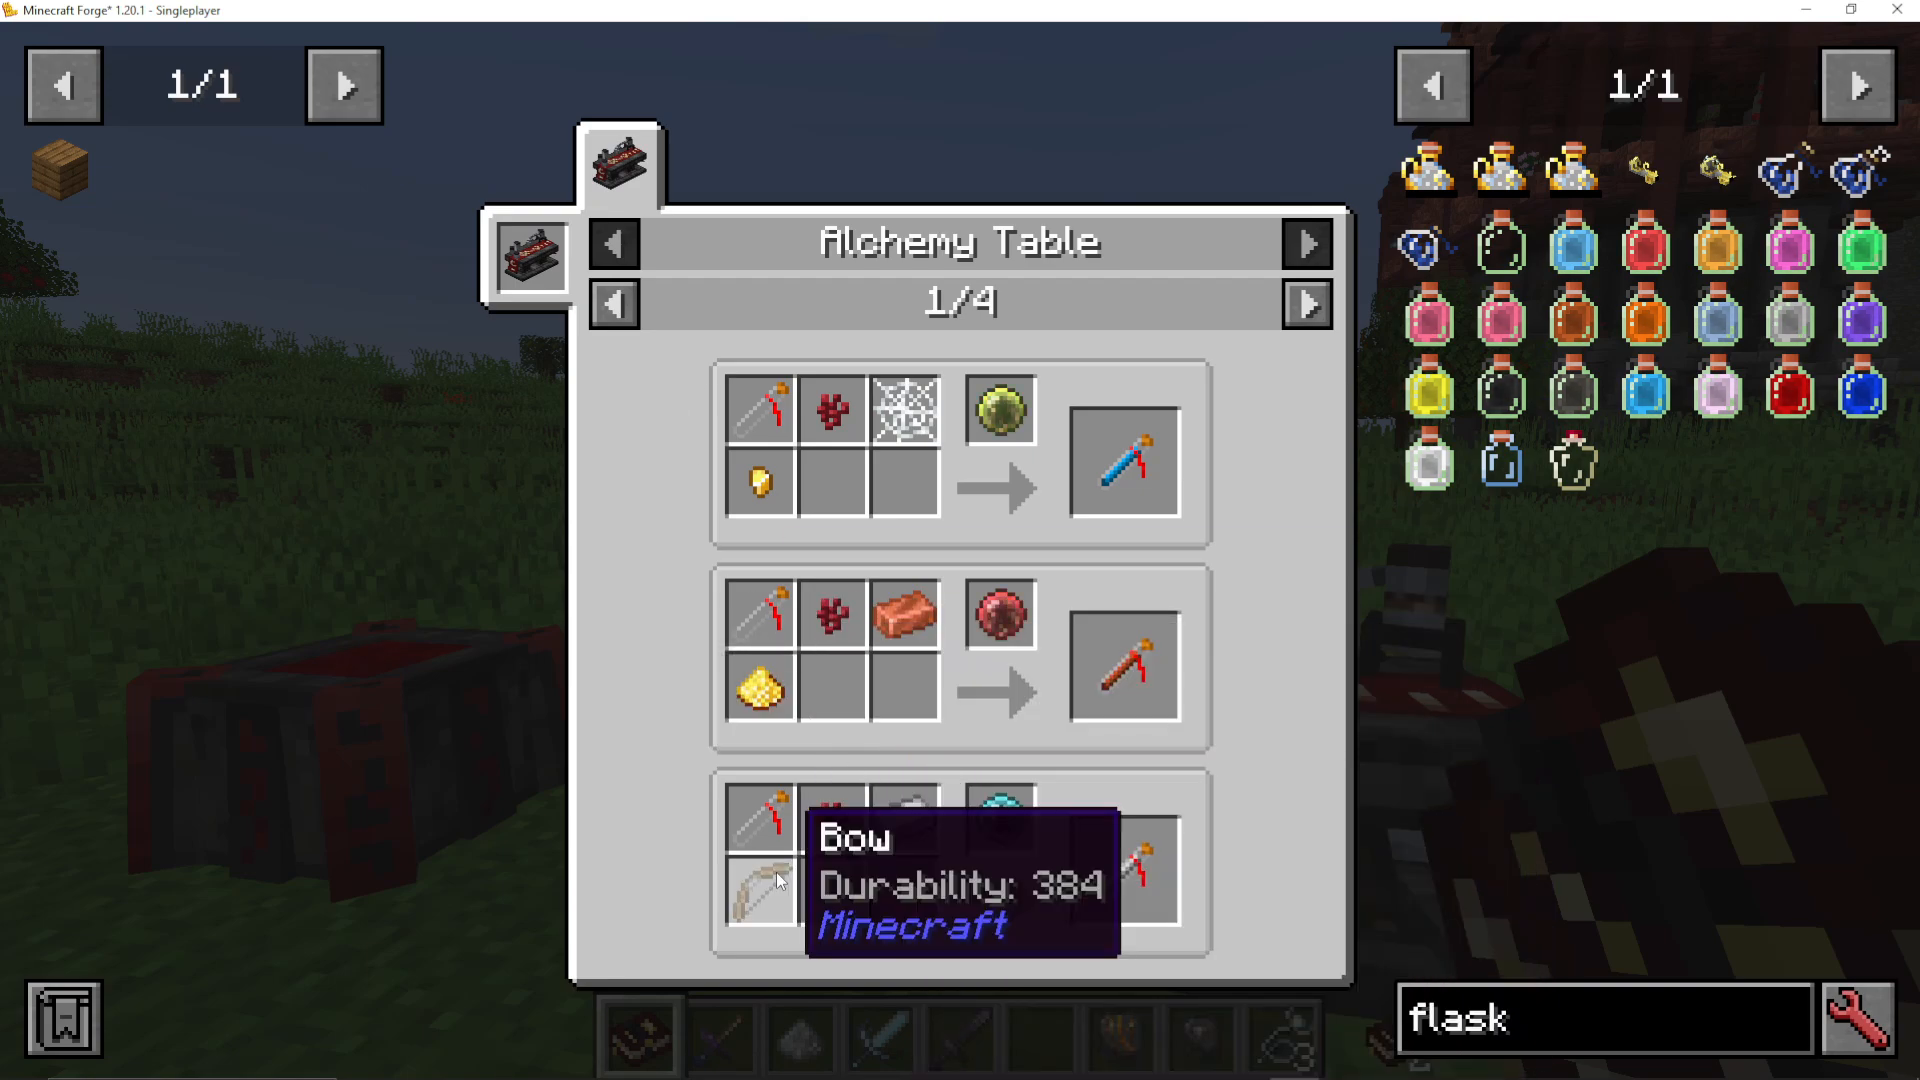
These vials can then be used in further Alchemy Table recipes to craft Salves — special items that can be applied directly to your tools and gear. For example, combining Nether Wart, Iron Ingot, a Bow, and a Slate Infused Vial with some blood produces an Iron Tip or a Repairing Salve.
The Repairing Salve repairs a damaged tool by one point each time the tool is used. Unlike potions, salves don’t expire over time — they are consumed only when you actually use the tool. Keep in mind that each salve has a limited number of uses built in.
Summary
Blood Magic’s Alchemy system is deep and rewarding. Starting from a simple Blank Slate and Alchemy Table, you can progress through Alchemy Arrays, powerful Sigils, durable Living Equipment, multi-use potion flasks, and gear-enhancing Salves. Take the time to explore the Sanguine Sciences book under the Alchemy Arrays and Sigils categories — there are far more recipes than we could cover here, and many of them will become essential as you progress further into the mod.
Want to Support?
If you would like to help us continue making these guides – please consider joining our patreon here – https://www.patreon.com/c/JaviHeals
Alternatively – we host a group of MC Servers you can join here – https://discord.gg/zD7Gjt6MHF