LaserIO Complete Mod Tutorial
LaserIO Mod: Complete Beginner’s Tutorial Guide
The LaserIO mod is one of Minecraft’s most flexible storage and transfer mods. Whether you need a simple item pipeline between two chests or a complex multi-channel network moving items, fluids, energy, and chemicals across your base, LaserIO can handle it. This complete guide walks you through every core feature — from crafting your first laser node to setting up counting filters and node overclockers.
Getting Started: Core Crafting Ingredients
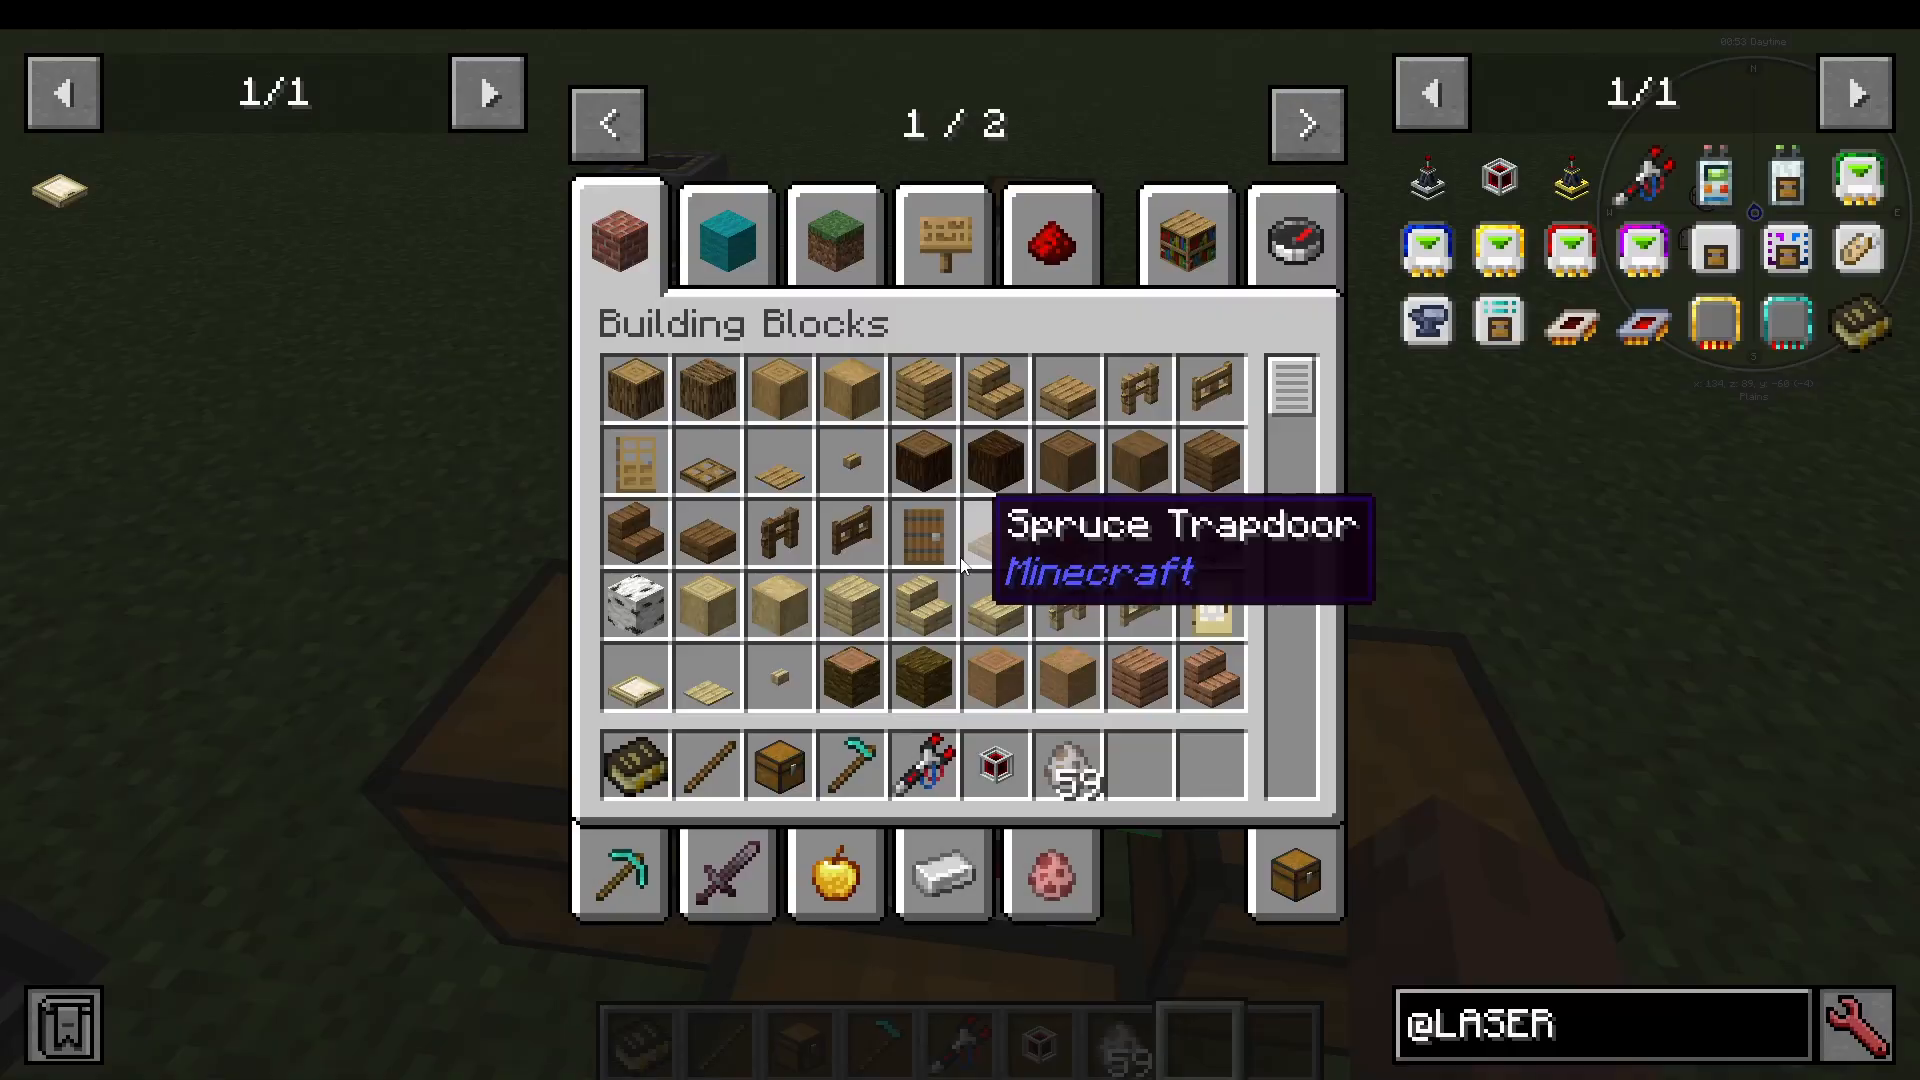
Everything in the LaserIO mod is built from a small set of crafted components. The two items you’ll need immediately are the laser node and the laser connector. Both are crafted using a logic chip, which itself is made by first crafting a raw logic chip from vanilla ingredients and then smelting it in a furnace.
Once you have logic chips, you can craft virtually everything in the mod — including the in-game guidebook and all of the card types you’ll use for item, fluid, energy, redstone, and chemical transfer.
Laser Nodes and Connectors: Building Your Network
Maximum Transfer Range and the Laser Wrench
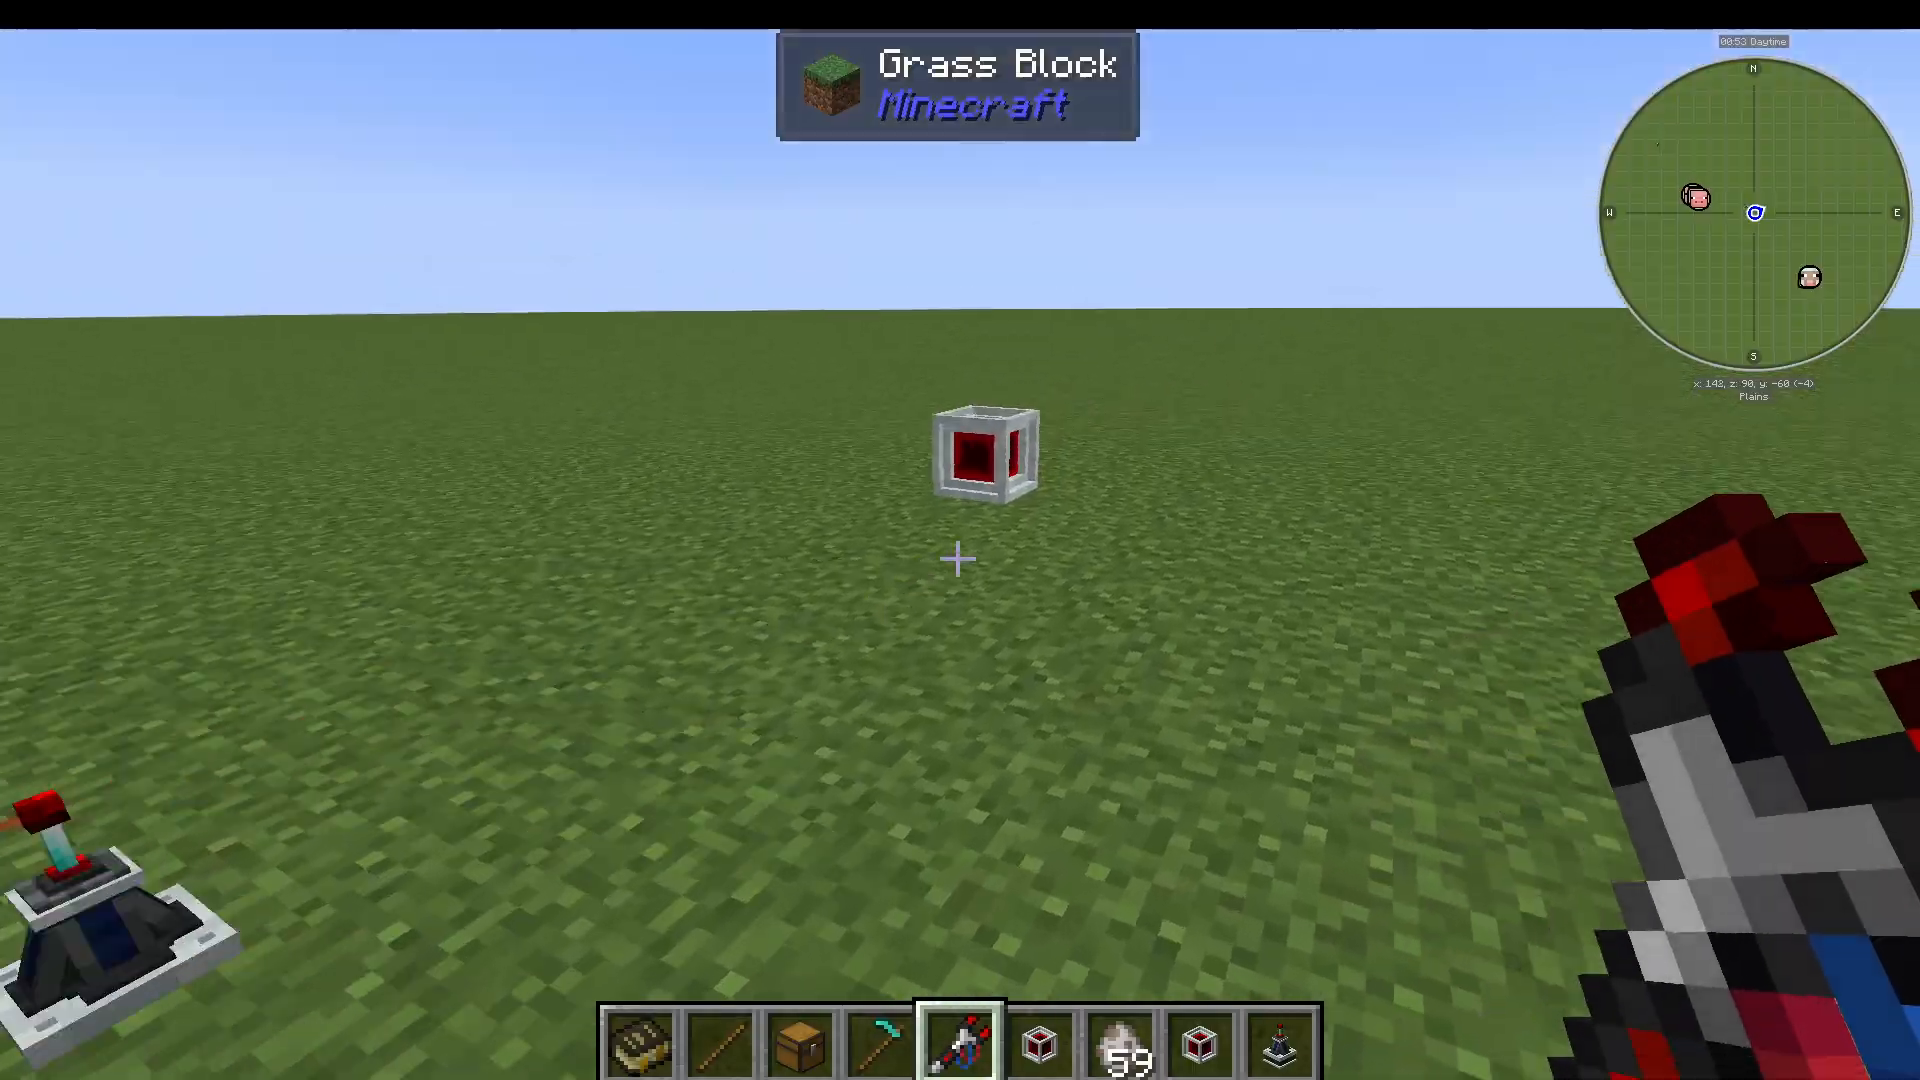
Laser nodes can transfer between inventories up to eight blocks apart. To link two nodes together, craft a laser wrench. With the wrench in hand, shift right-click the first node to select it, then right-click the second node to create the connection.
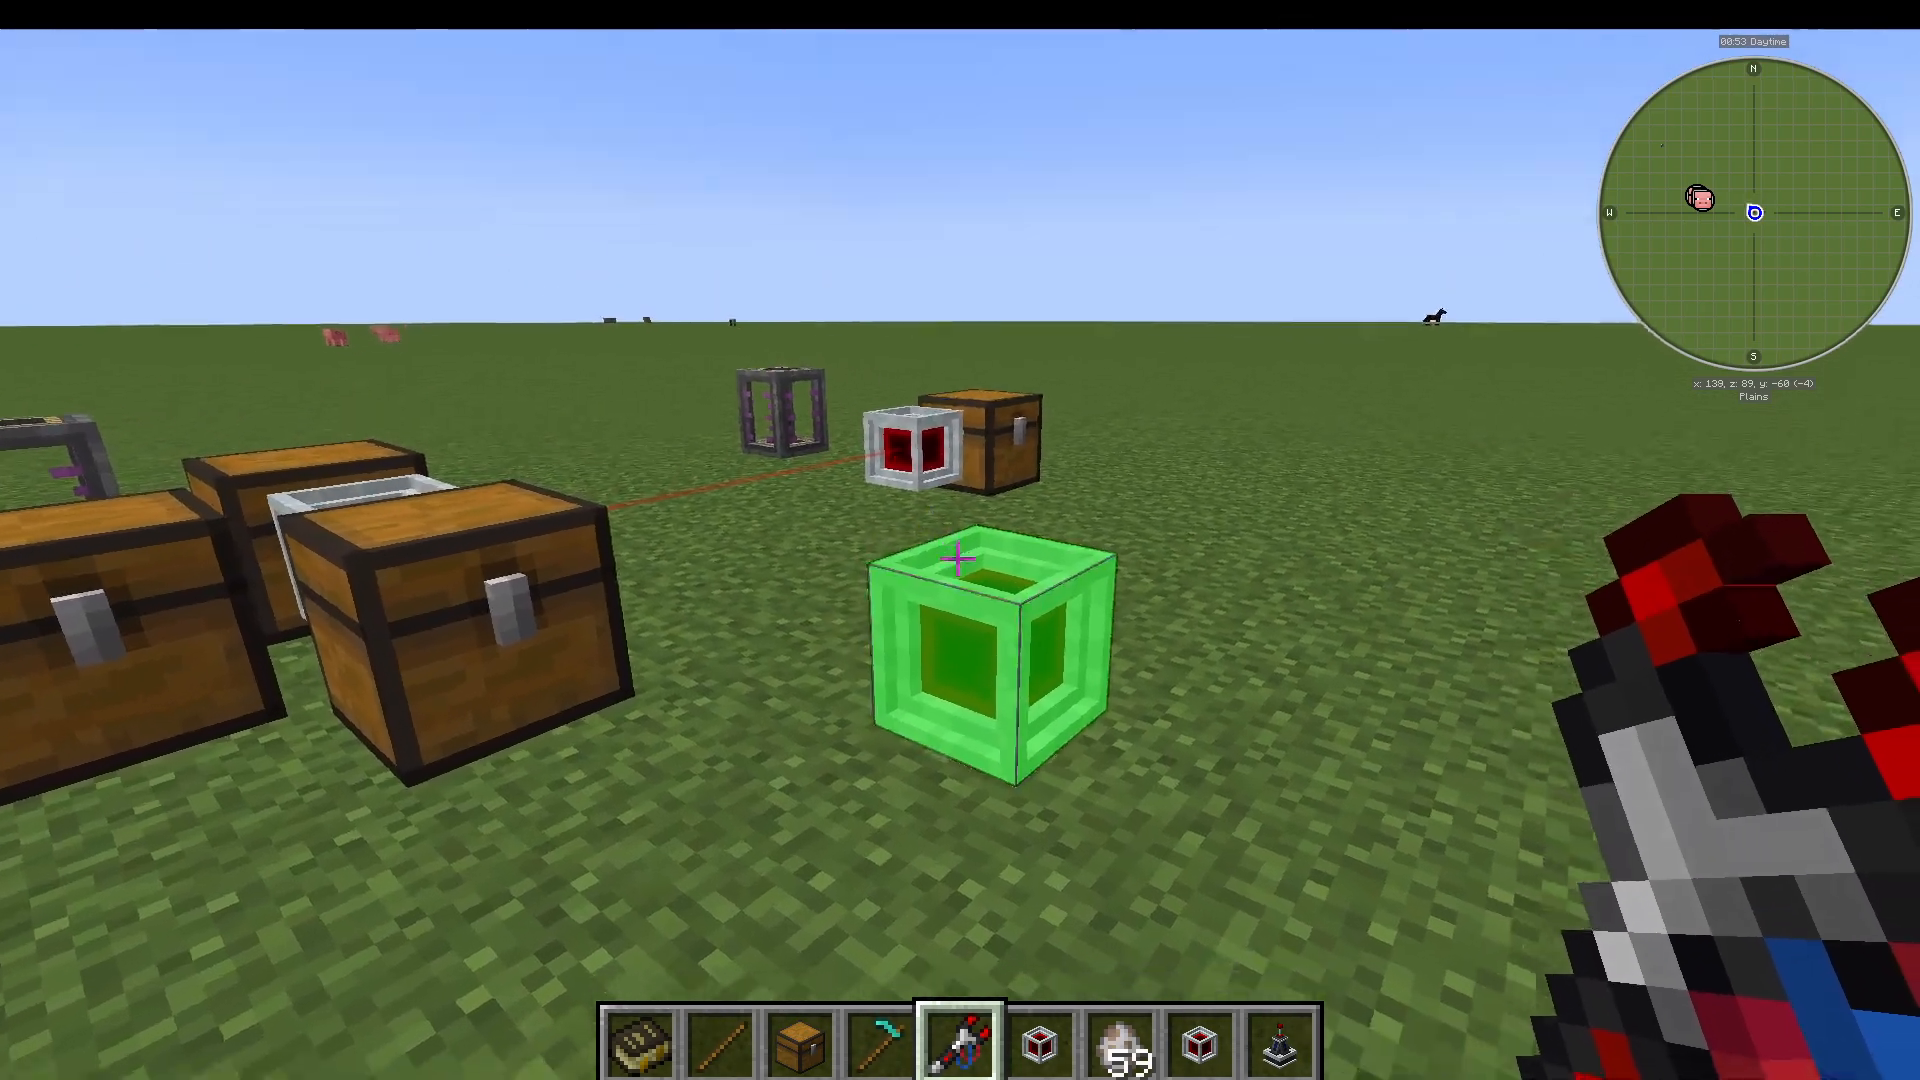
If the two nodes are more than eight blocks apart, you will see the error message: “Connection exceeds maximum range of 8.” In this case, you need to place a laser connector between them. Shift right-click the first node, right-click the connector, then shift right-click the connector and right-click the second node. The connector acts as a relay, extending the range of your network.
Advanced Laser Connectors: Cross-Dimension Linking
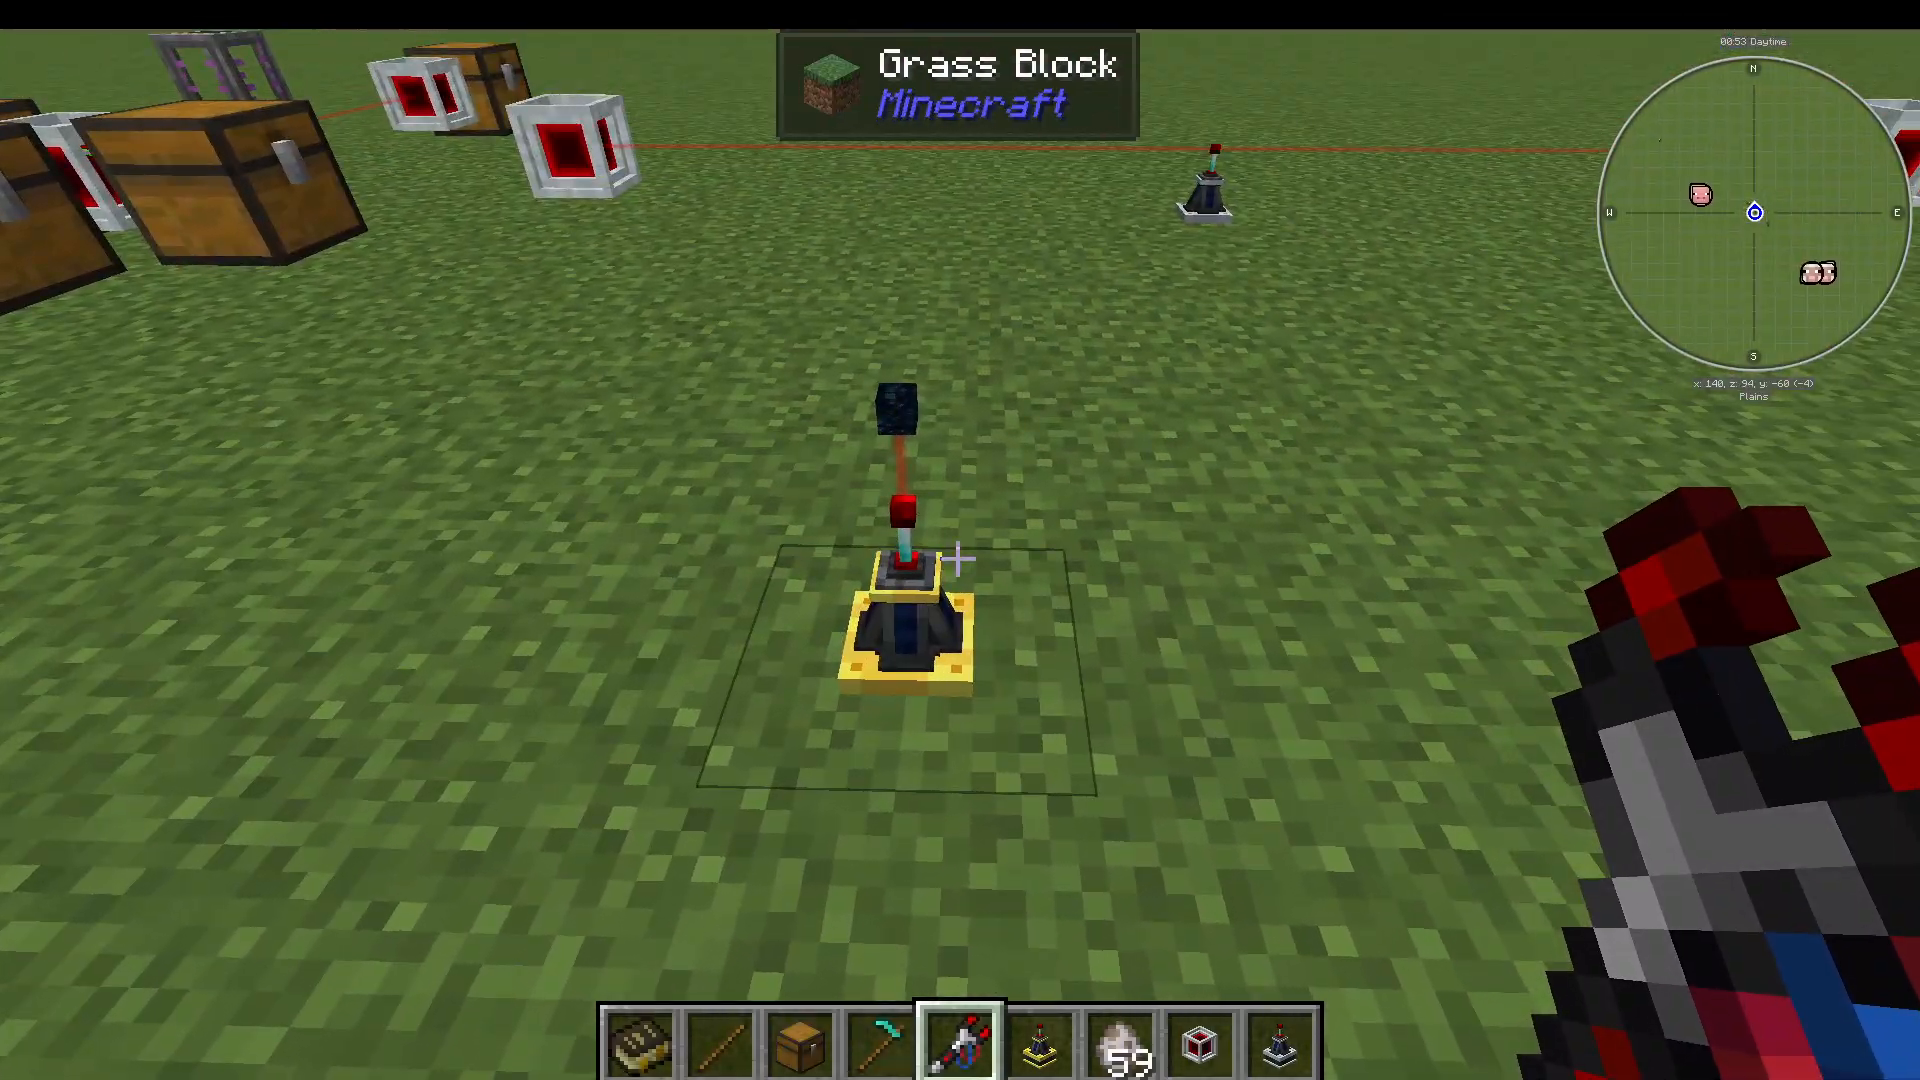
The advanced laser connector allows you to link nodes across different dimensions. Advanced connectors can only connect to other advanced connectors — they work in pairs. Place one advanced connector at each end, shift right-click the first to select it, then right-click the second to pair them. A small End portal icon will appear above each connector to confirm the link.
Inside the Laser Node: Cards and Sides
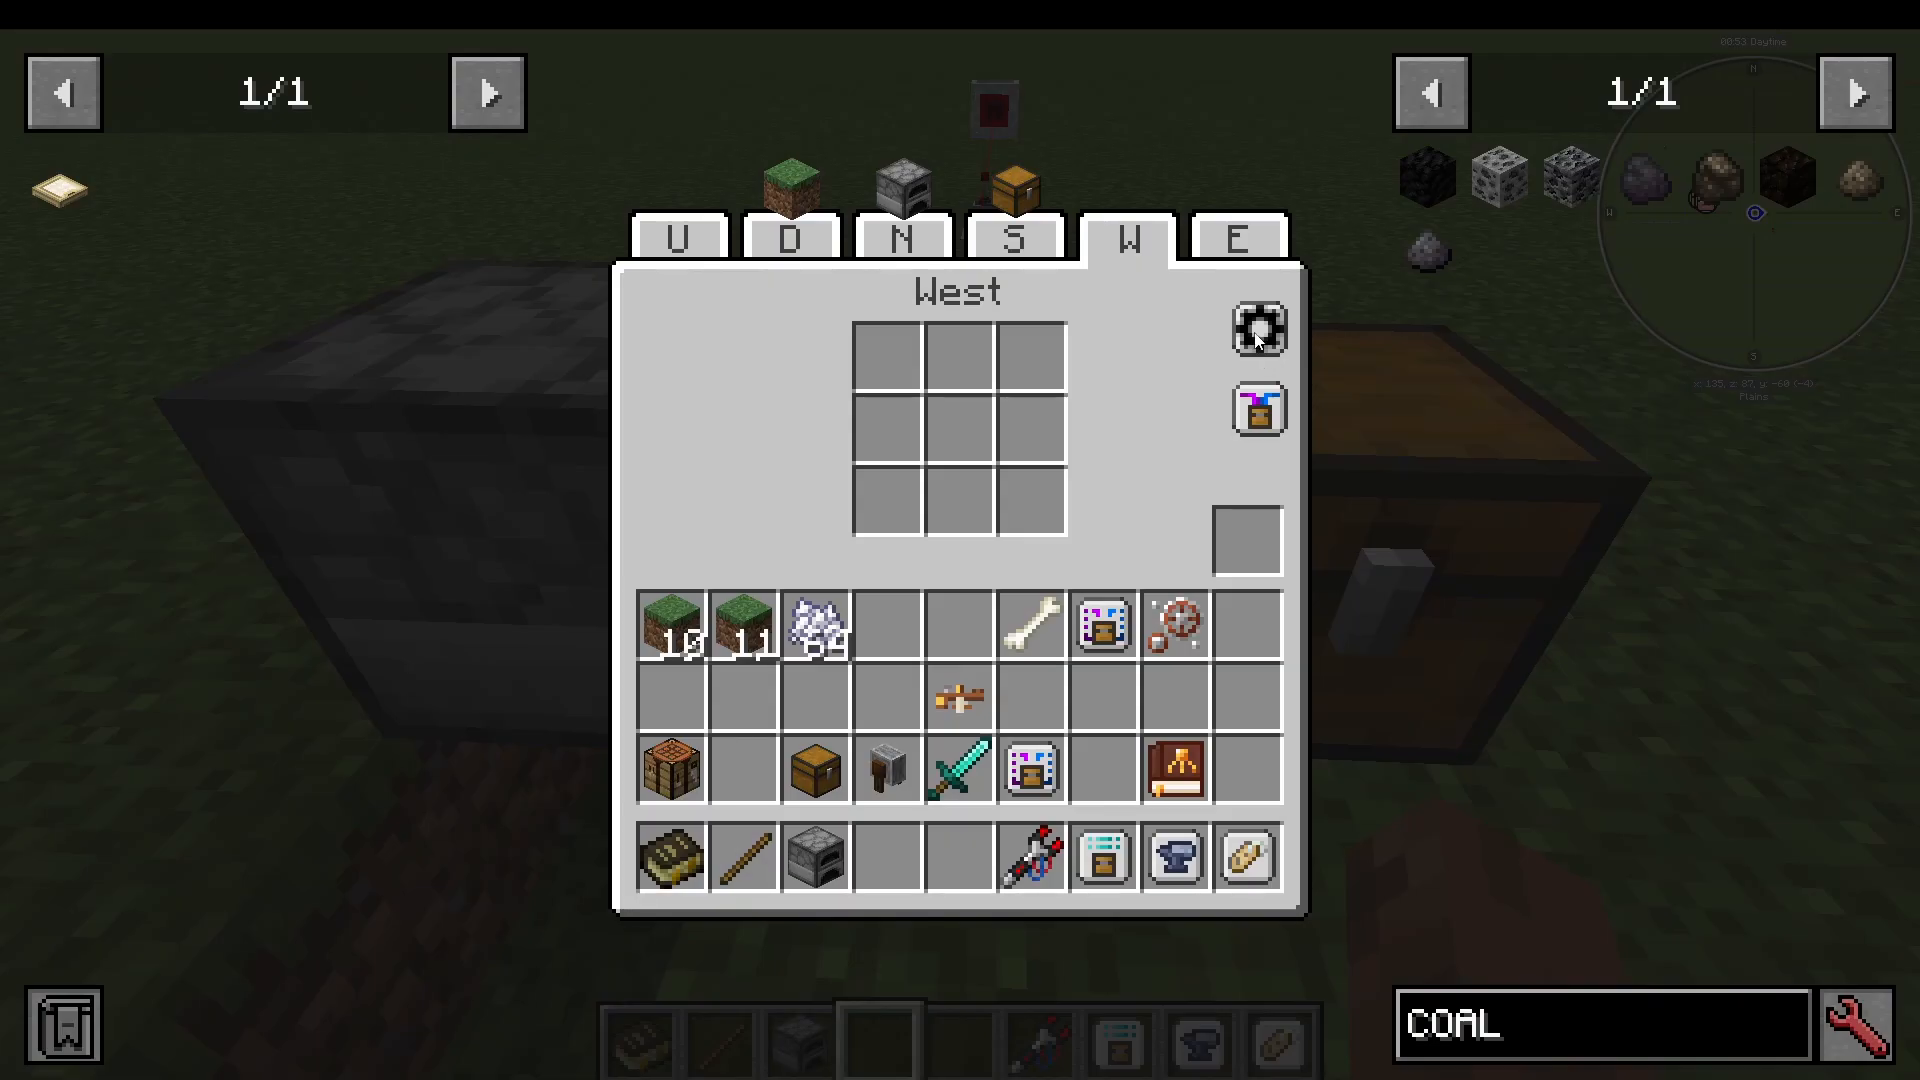
Right-clicking a laser node opens its interface. Inside, you will see six directional slots: Up, Down, North, South, West, and East. Each slot represents one side of the node and shows what inventory — if any — is adjacent on that side. For example, if a fluid tank sits to the south of your node, the south slot will display that tank.
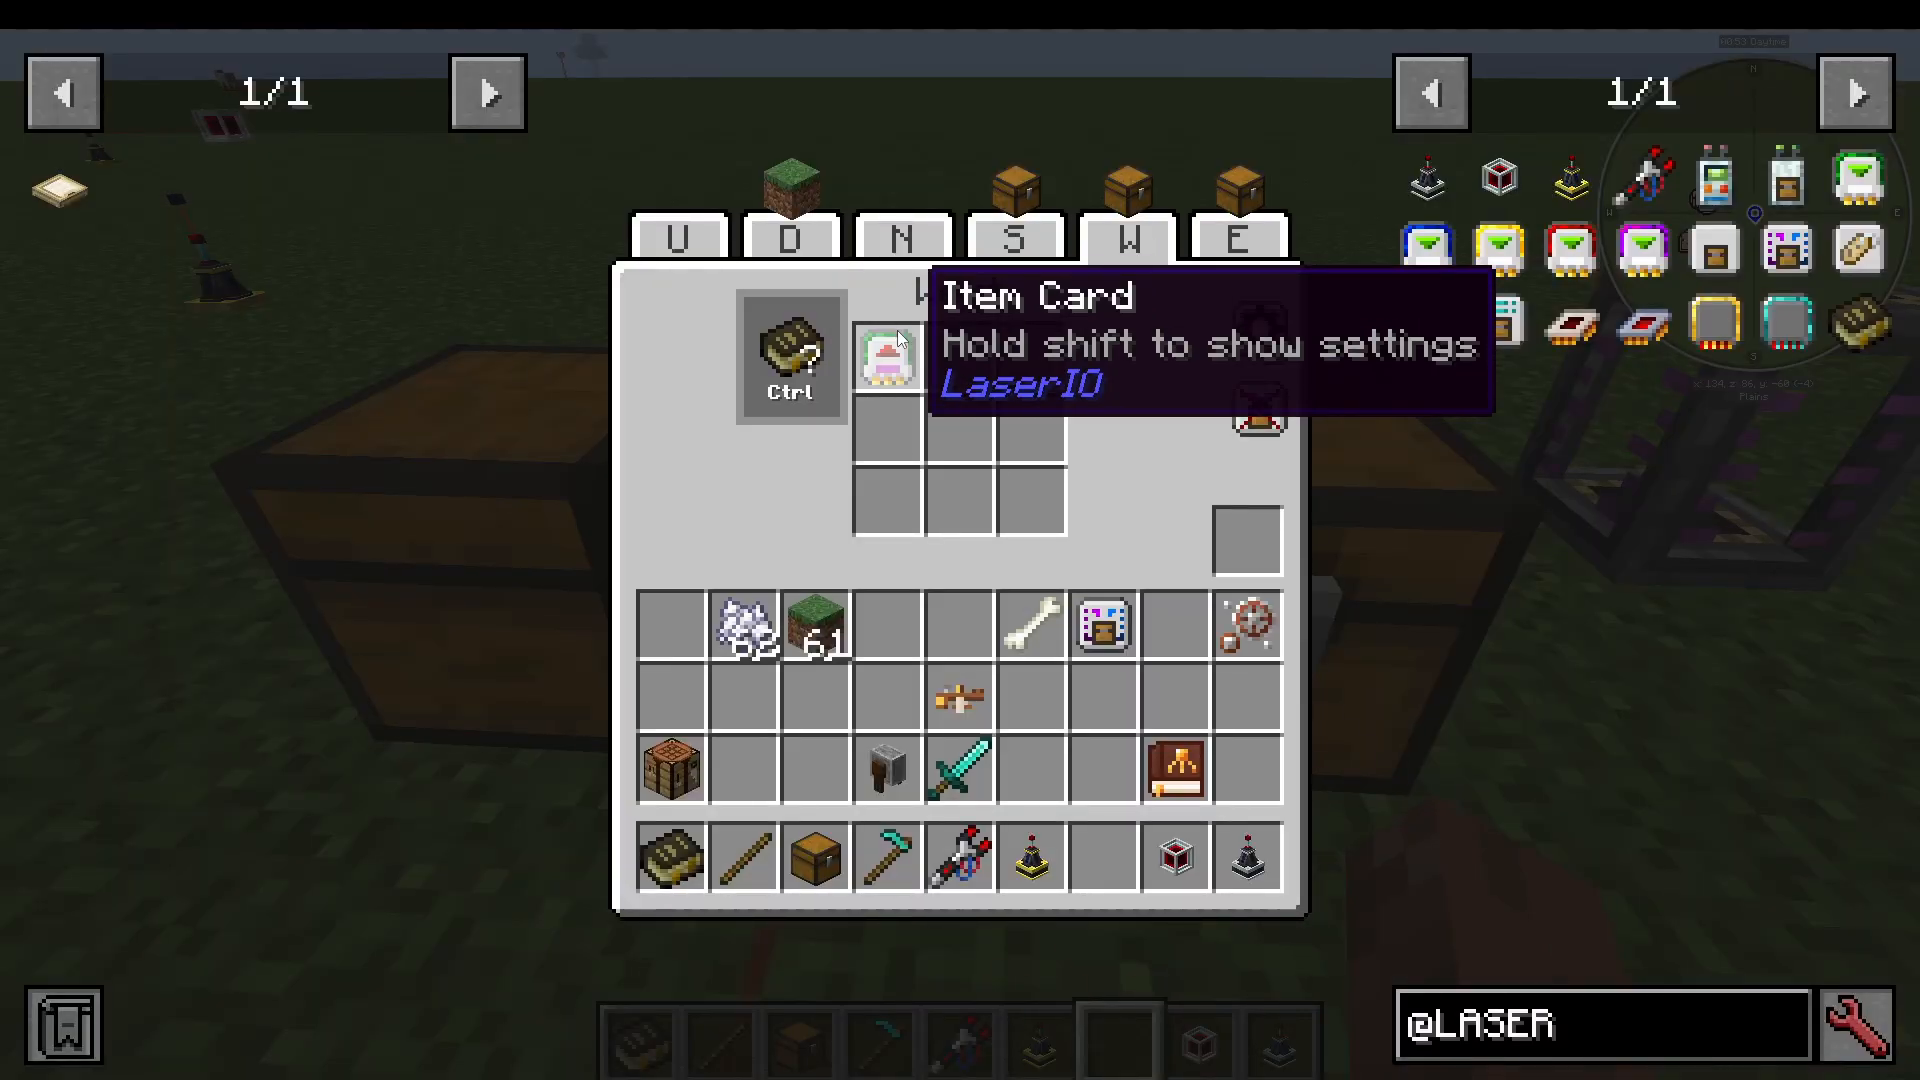
LaserIO uses a different card for each transfer type:
Item Card — transfers items
Fluid Card — transfers fluids
Energy Card — transfers energy
Redstone Card — transfers redstone signals
Chemical Card — transfers chemicals (e.g., from Mekanism)
All card types share the same logic and interface. Once you understand how one card works, you understand how they all work.
Item Cards: Extract, Insert, Stock, and Sensor Modes
Viewing and Configuring a Card
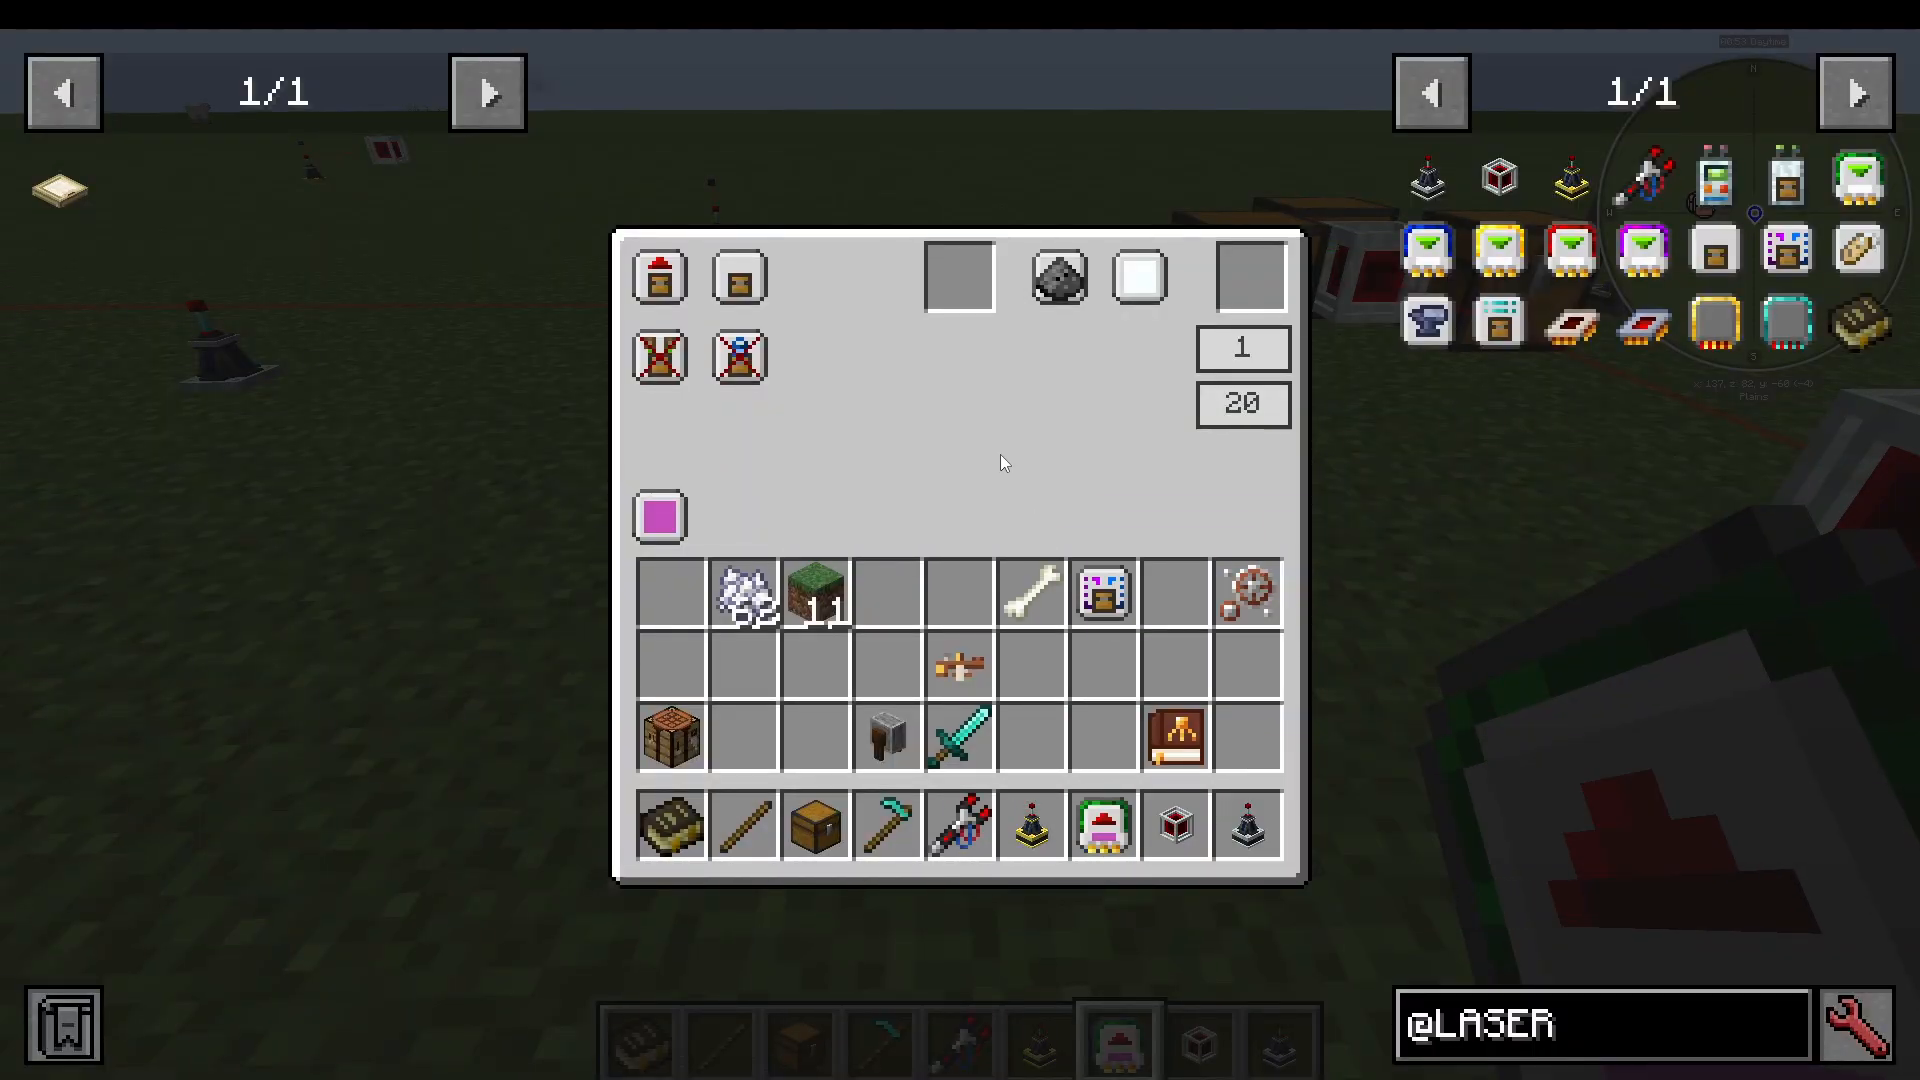
Take an item card out of the node and right-click it in your hand to open its configuration screen. In the top-left corner, you will see four operating modes:
Insert — pushes items into an adjacent inventory
Extract — pulls items out of an adjacent inventory
Stock — maintains a set quantity of an item in an inventory
Sensor — emits a redstone signal when specified conditions are met
Channels: Matching Extracts to Inserts
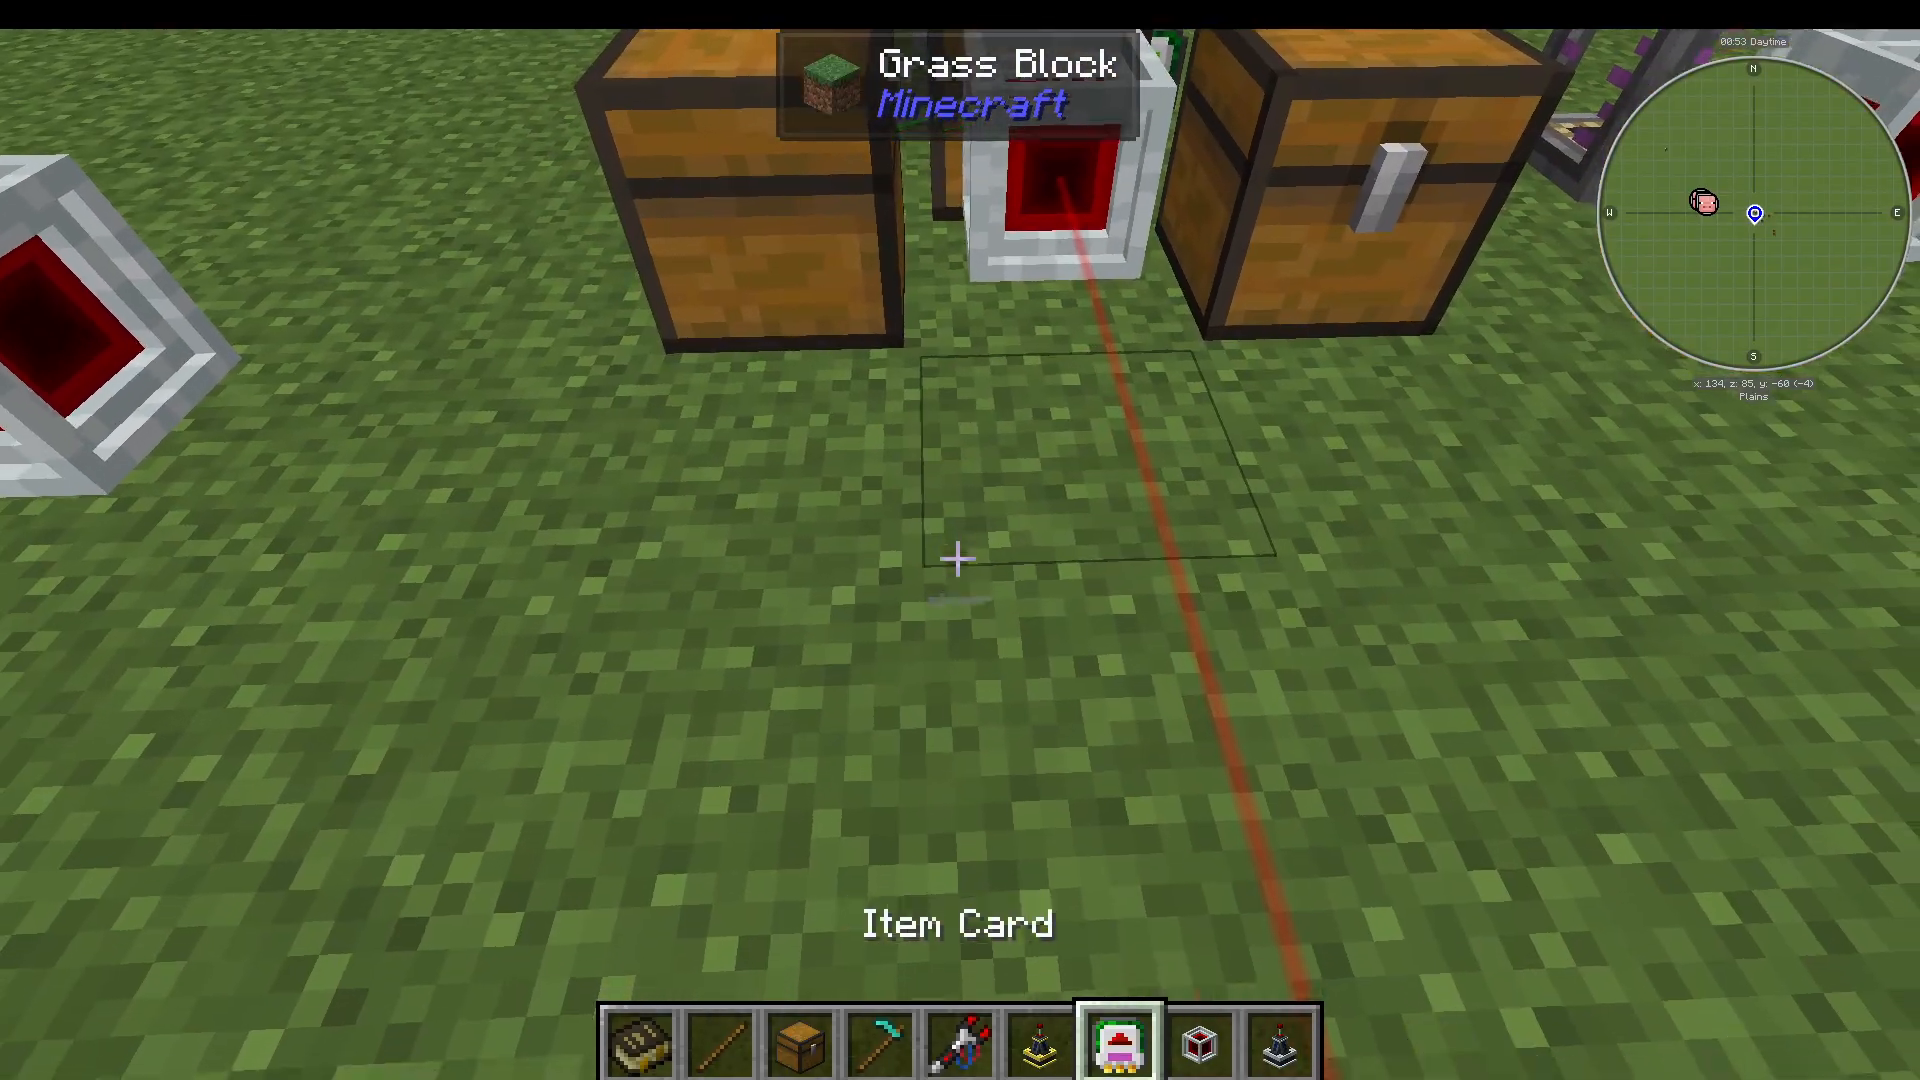
Cards communicate using channels. An extract card on Channel 2 will only send items to insert cards that are also on Channel 2. If your extract card is on Channel 3 but your insert card is on Channel 2, no items will move — the channels must match. You can run multiple independent transfer operations simultaneously by assigning them to different channels.
Practical Multi-Channel Example
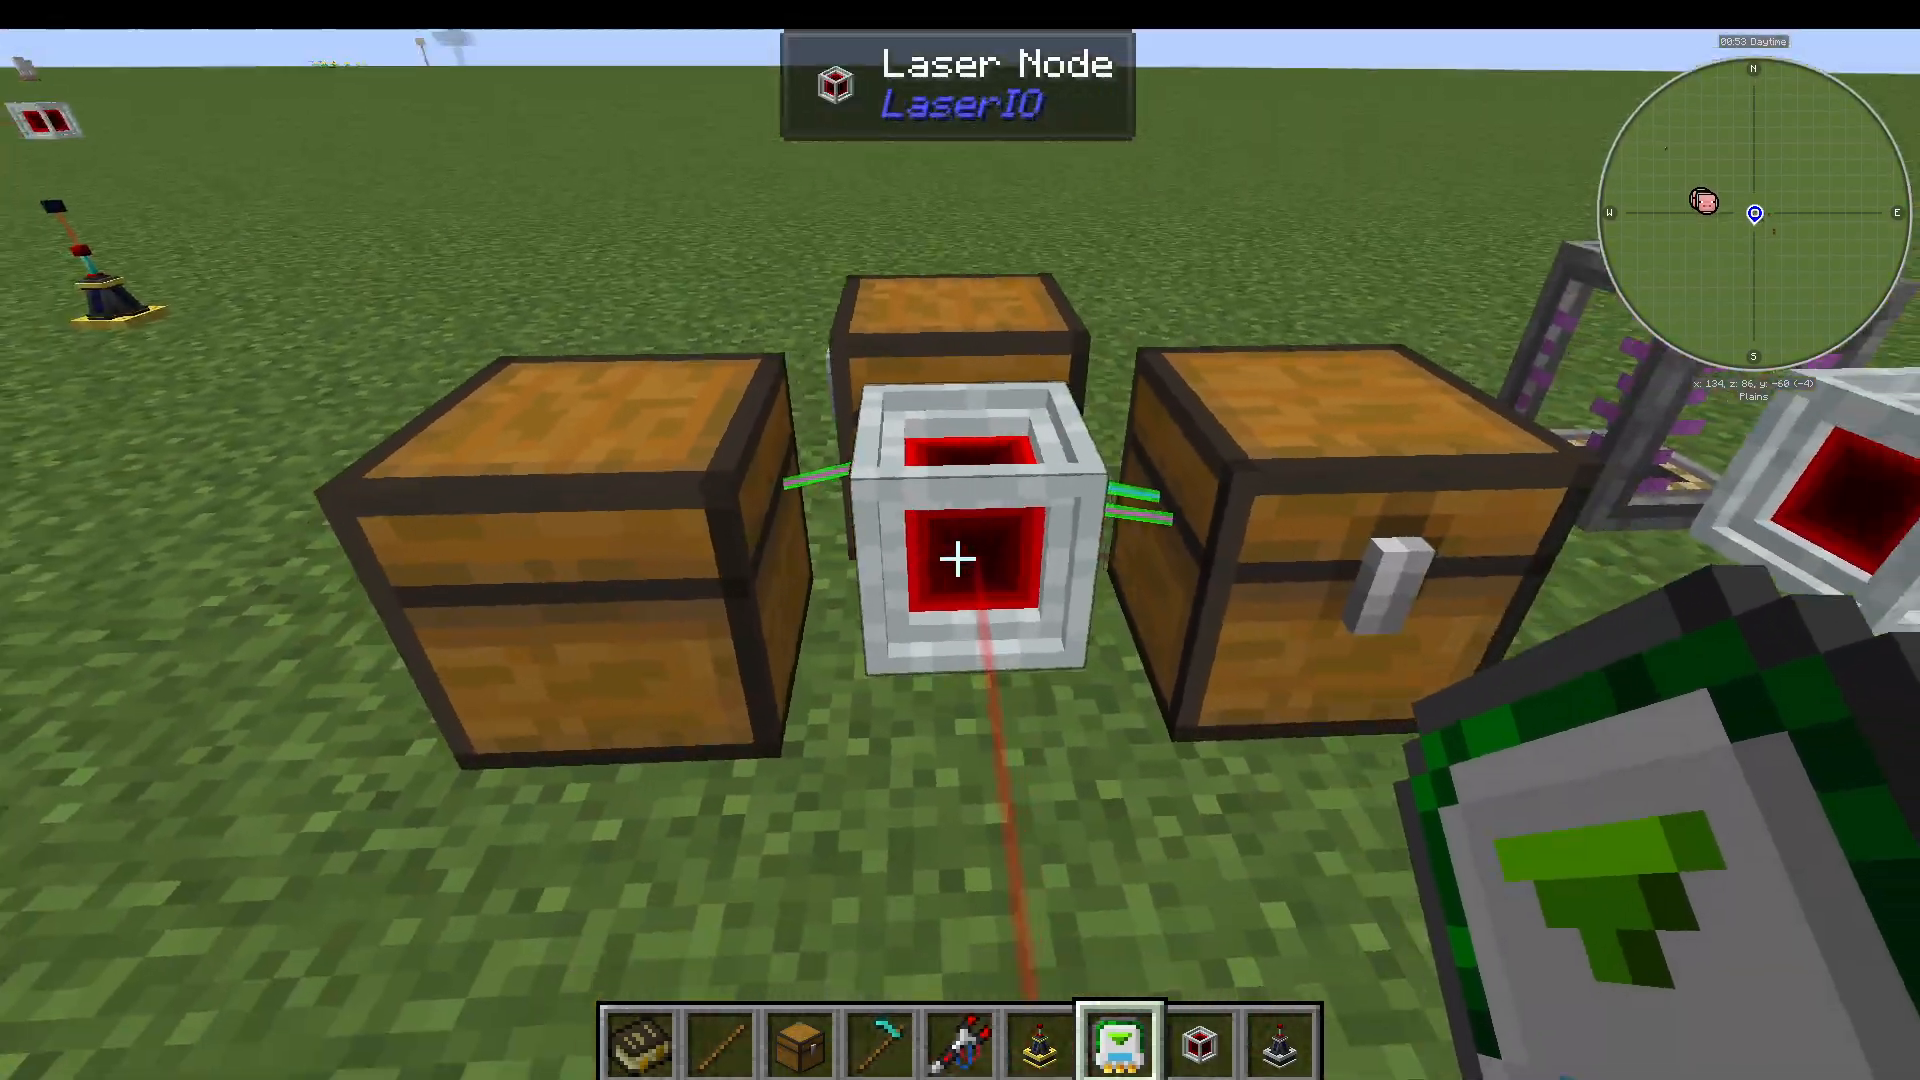
Here is a working example with two items and two destinations inside the same node:
West side, Extract Card, Channel 2: Extracts dirt → delivers to the east chest (Insert Card, Channel 2)
West side, Extract Card, Channel 3: Extracts bone meal → delivers to the south chest (Insert Card, Channel 3)
A single node can hold up to nine cards per side, allowing for highly customised multi-item pipelines from a single location.
Round Robin and Exact Transfer Options
When configuring an extract card, you can enable Round Robin mode. If your extract card connects to multiple insert destinations, round robin will distribute items evenly — a portion to the first destination, then the second, then back to the first, and so on.
The Exact option means the card will only move the precise transfer amount you have specified at one time, rather than moving items in smaller partial batches.
Filters: Controlling What Gets Transferred
Basic Filter
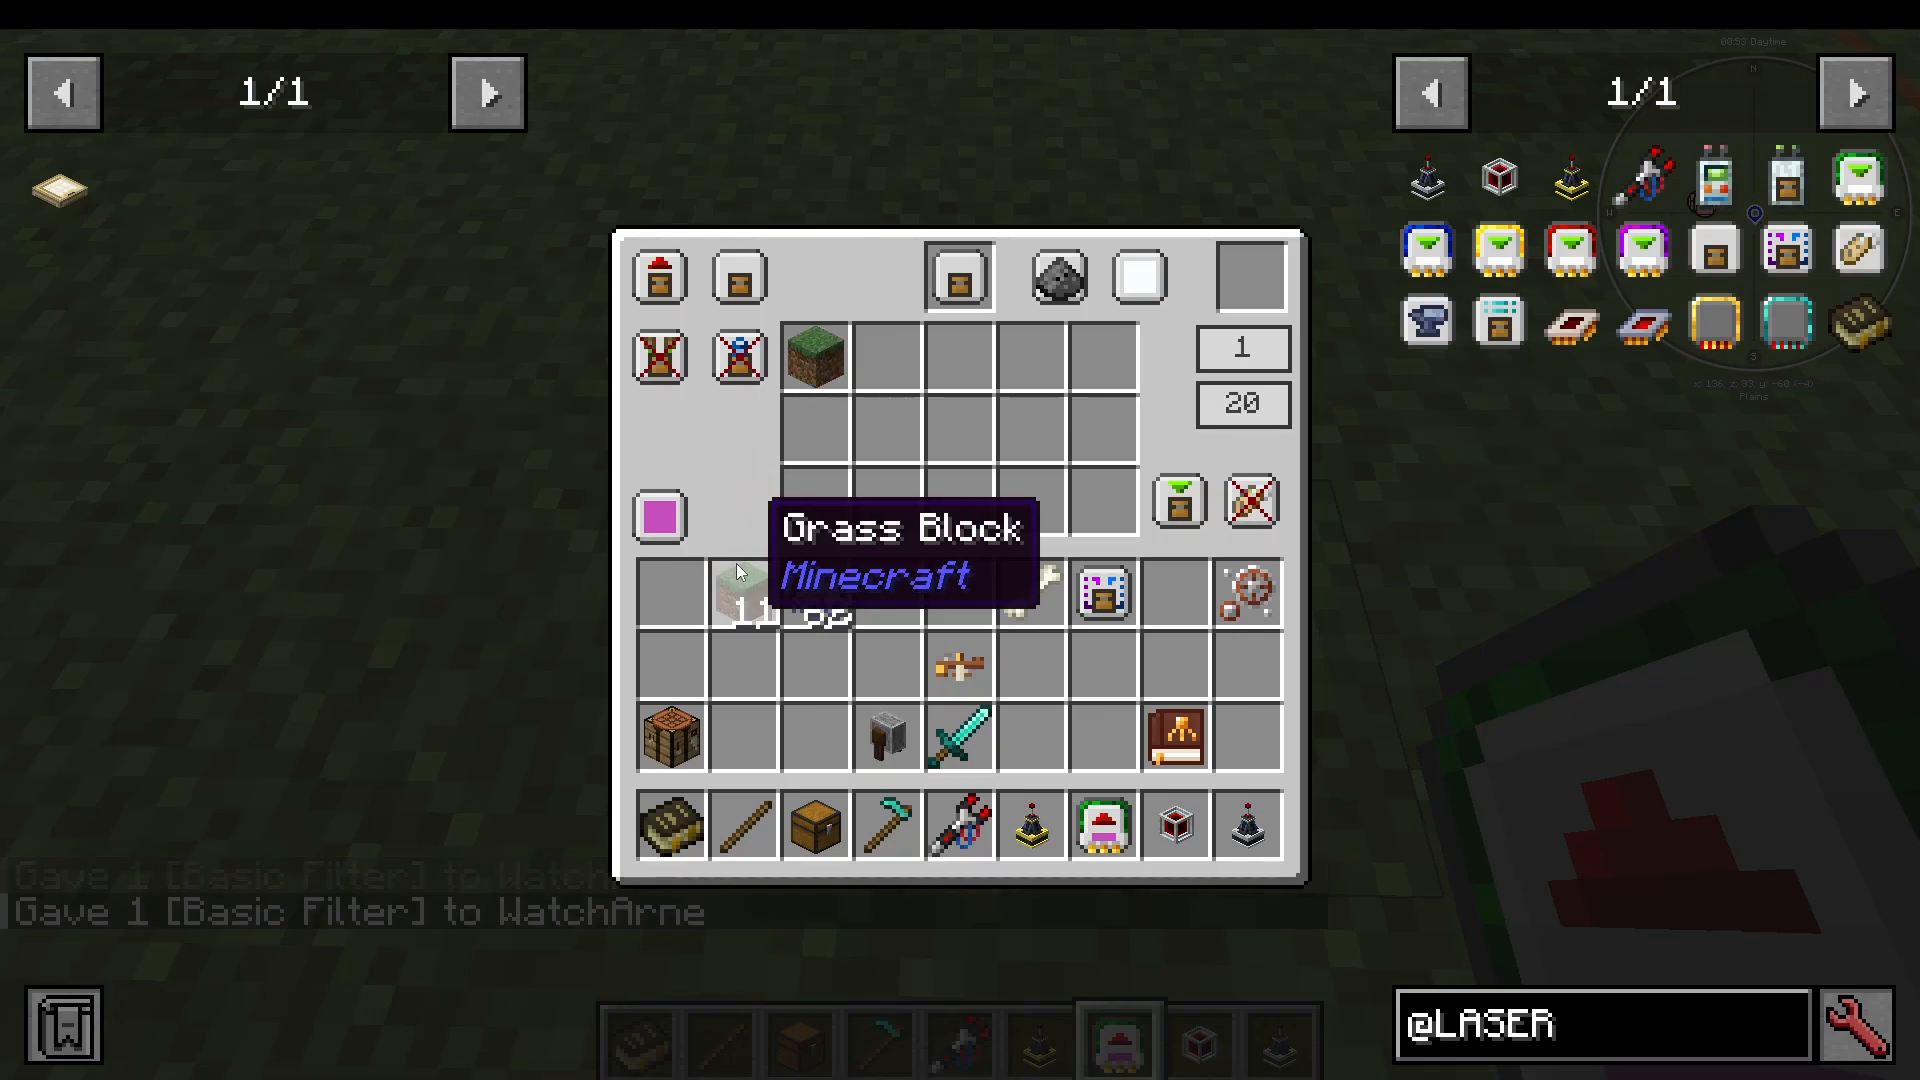
Slot a basic filter into the filter slot of any card. Place an item into the filter (for example, dirt) and the card will only transfer that item. You can then toggle the filter between Allow (whitelist) and Deny (blacklist) mode, and choose whether to match item metadata.
Tag Filter
The tag filter lets you allow or deny entire item tags — for example, Forge tags. You can add or remove individual tags from the filter’s list.
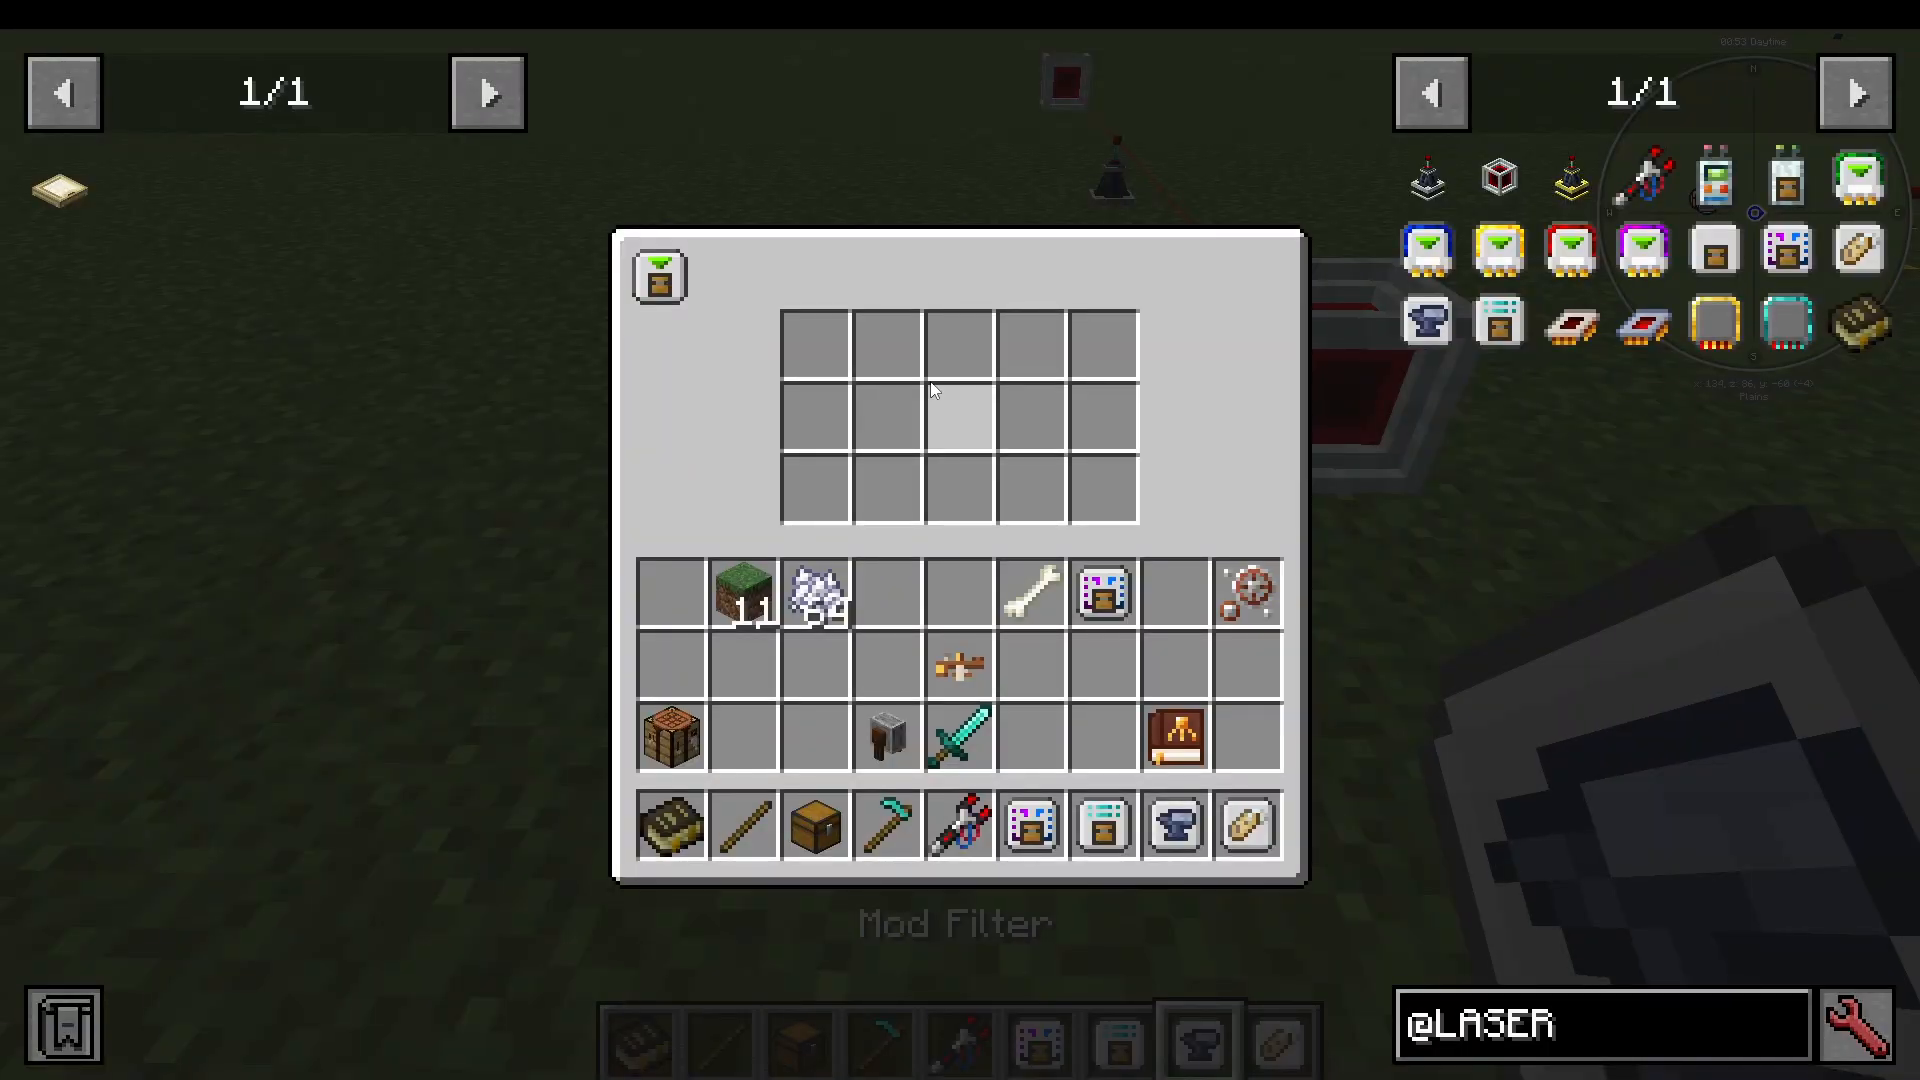
Mod Filter
The mod filter allows or denies all items from a specified mod. For instance, entering laserIO into the mod filter will restrict transfers to only items from the LaserIO mod itself.
Data Filter
The data filter operates on NBT data, letting you filter by properties such as damage value, repair cost, and display name — similar in concept to a tag filter but targeting item data directly.
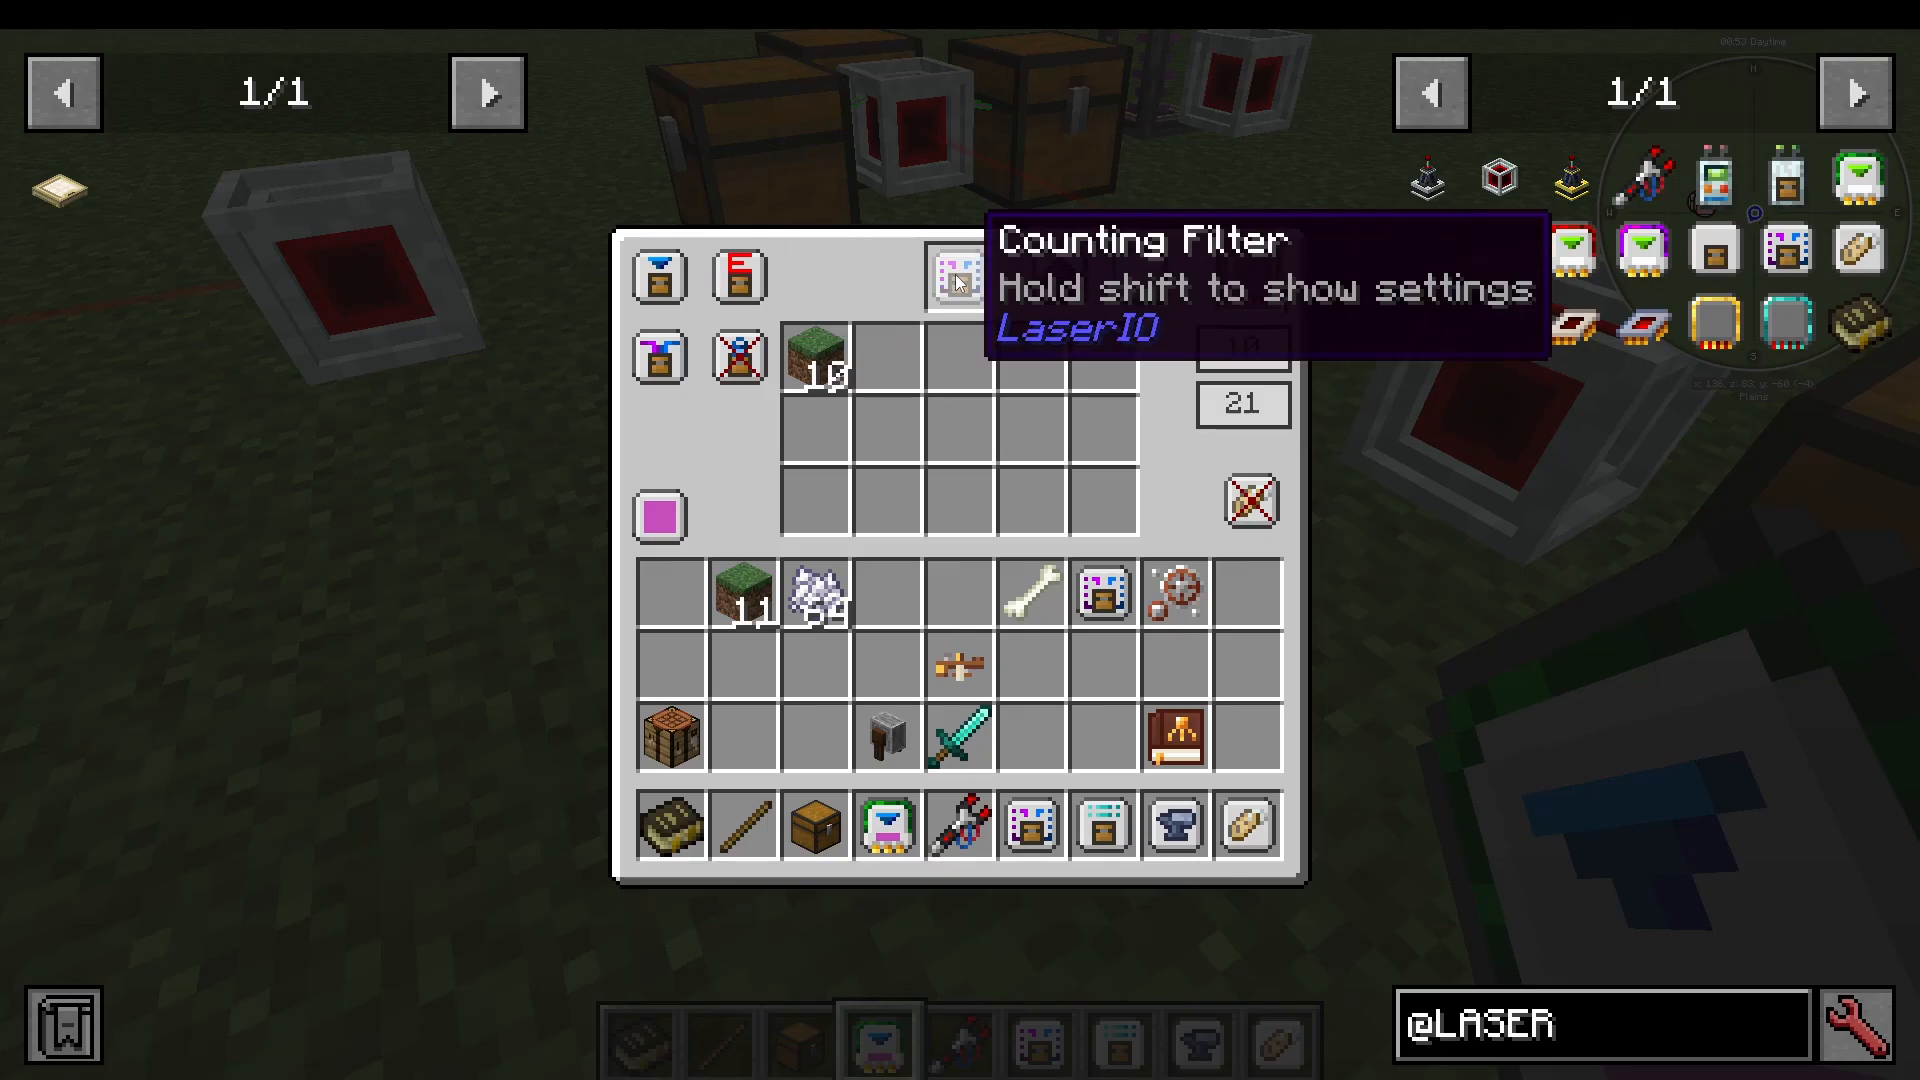
Counting Filter
The counting filter is used together with Stock mode. It defines an exact quantity of a specific item that should be maintained in a target inventory.
Important: When using Stock mode with a counting filter, the node pulls items from an insert card, not an extract card. This is counter-intuitive but is how the mod works. For example, a counting filter set to 10 grass blocks will keep the target chest stocked at exactly 10 grass blocks, drawing from whichever insert card is on the matching channel. Enable the Regulate option on the stock card to enforce this exact quantity.
Directional Insertion: Targeting Specific Inventory Slots
Inside a card’s configuration screen, you can specify which face of an adjacent machine the card should insert into or extract from. This is critical for machines like furnaces, where different sides accept different item types.
For example, to insert coal into the fuel slot at the bottom of a furnace, set the insert card’s direction to Down. Setting it to Up would incorrectly insert coal into the top (smelting) slot instead.
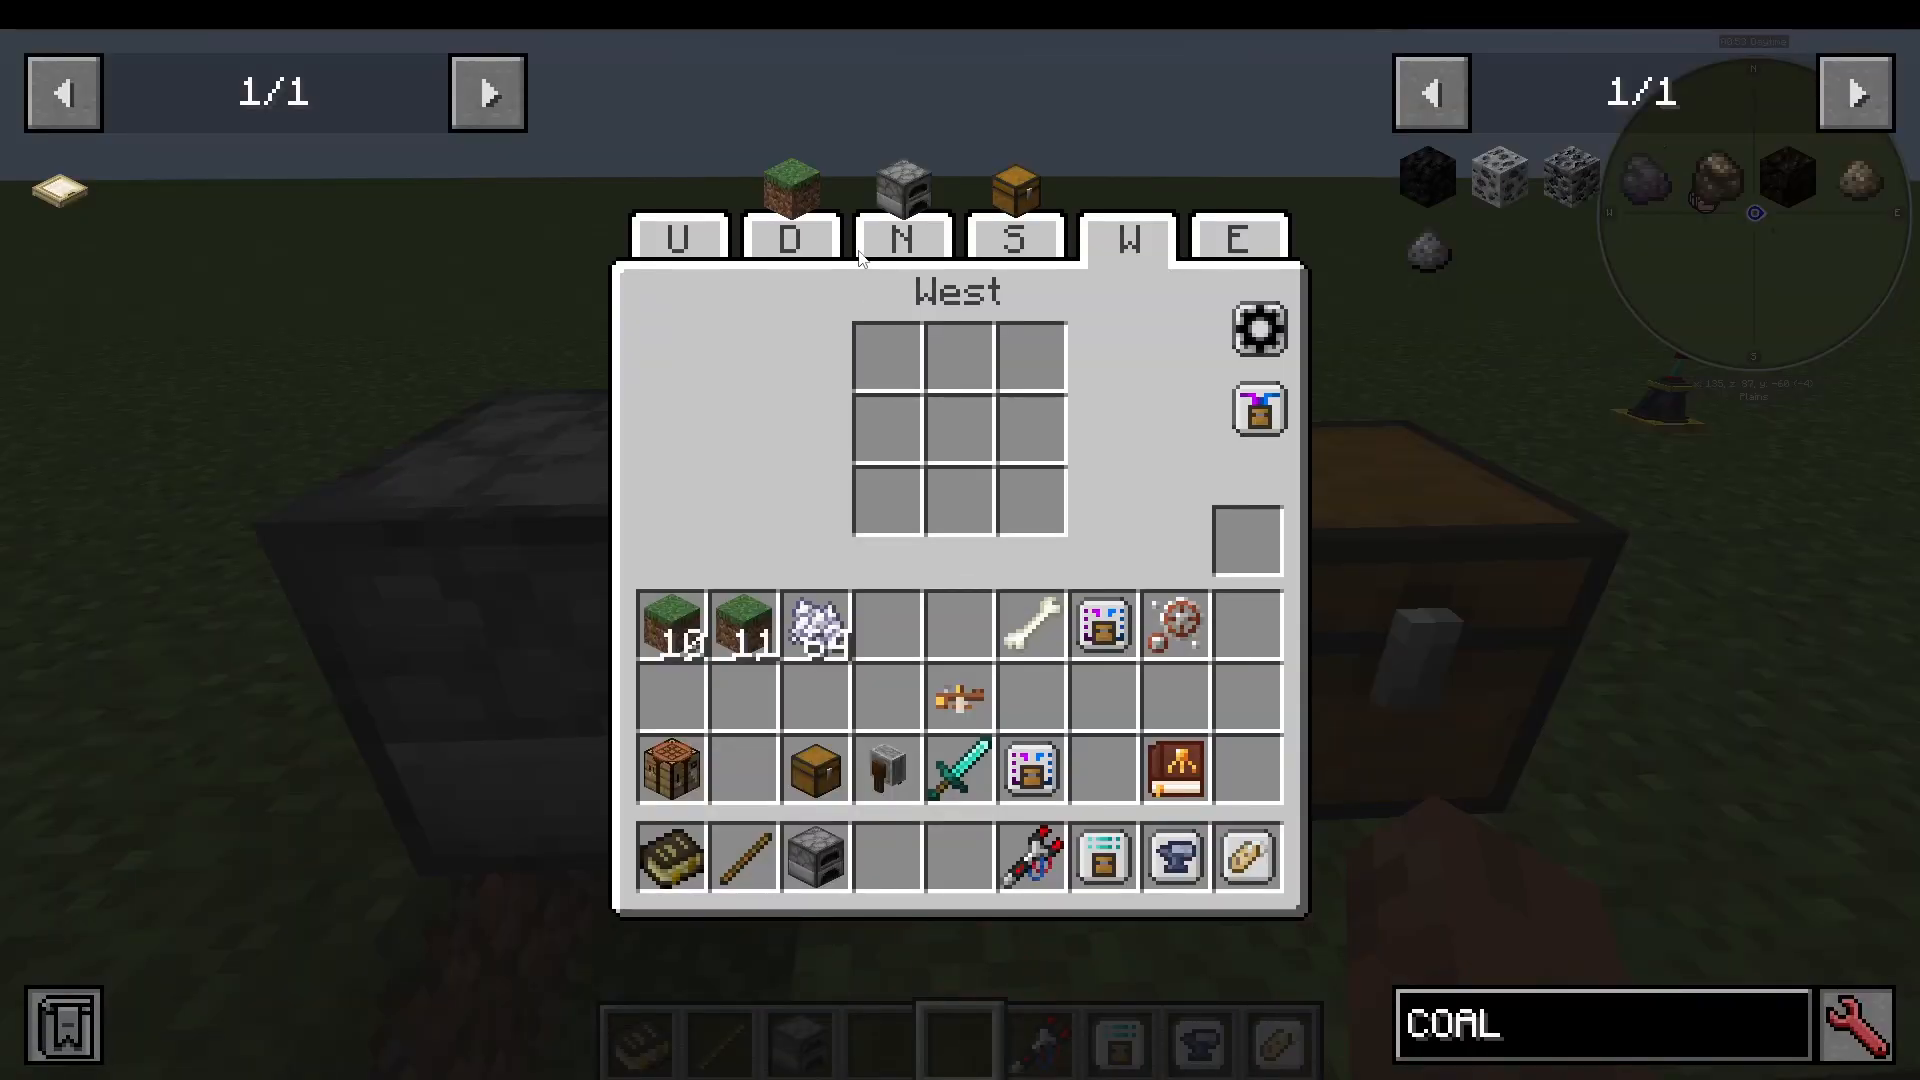
Be aware that when you right-click to open a laser node, the game will automatically default to the side you are standing on. Always double-check which directional slot is selected before placing a card.
Card Overclockers, Node Overclockers, and Priority
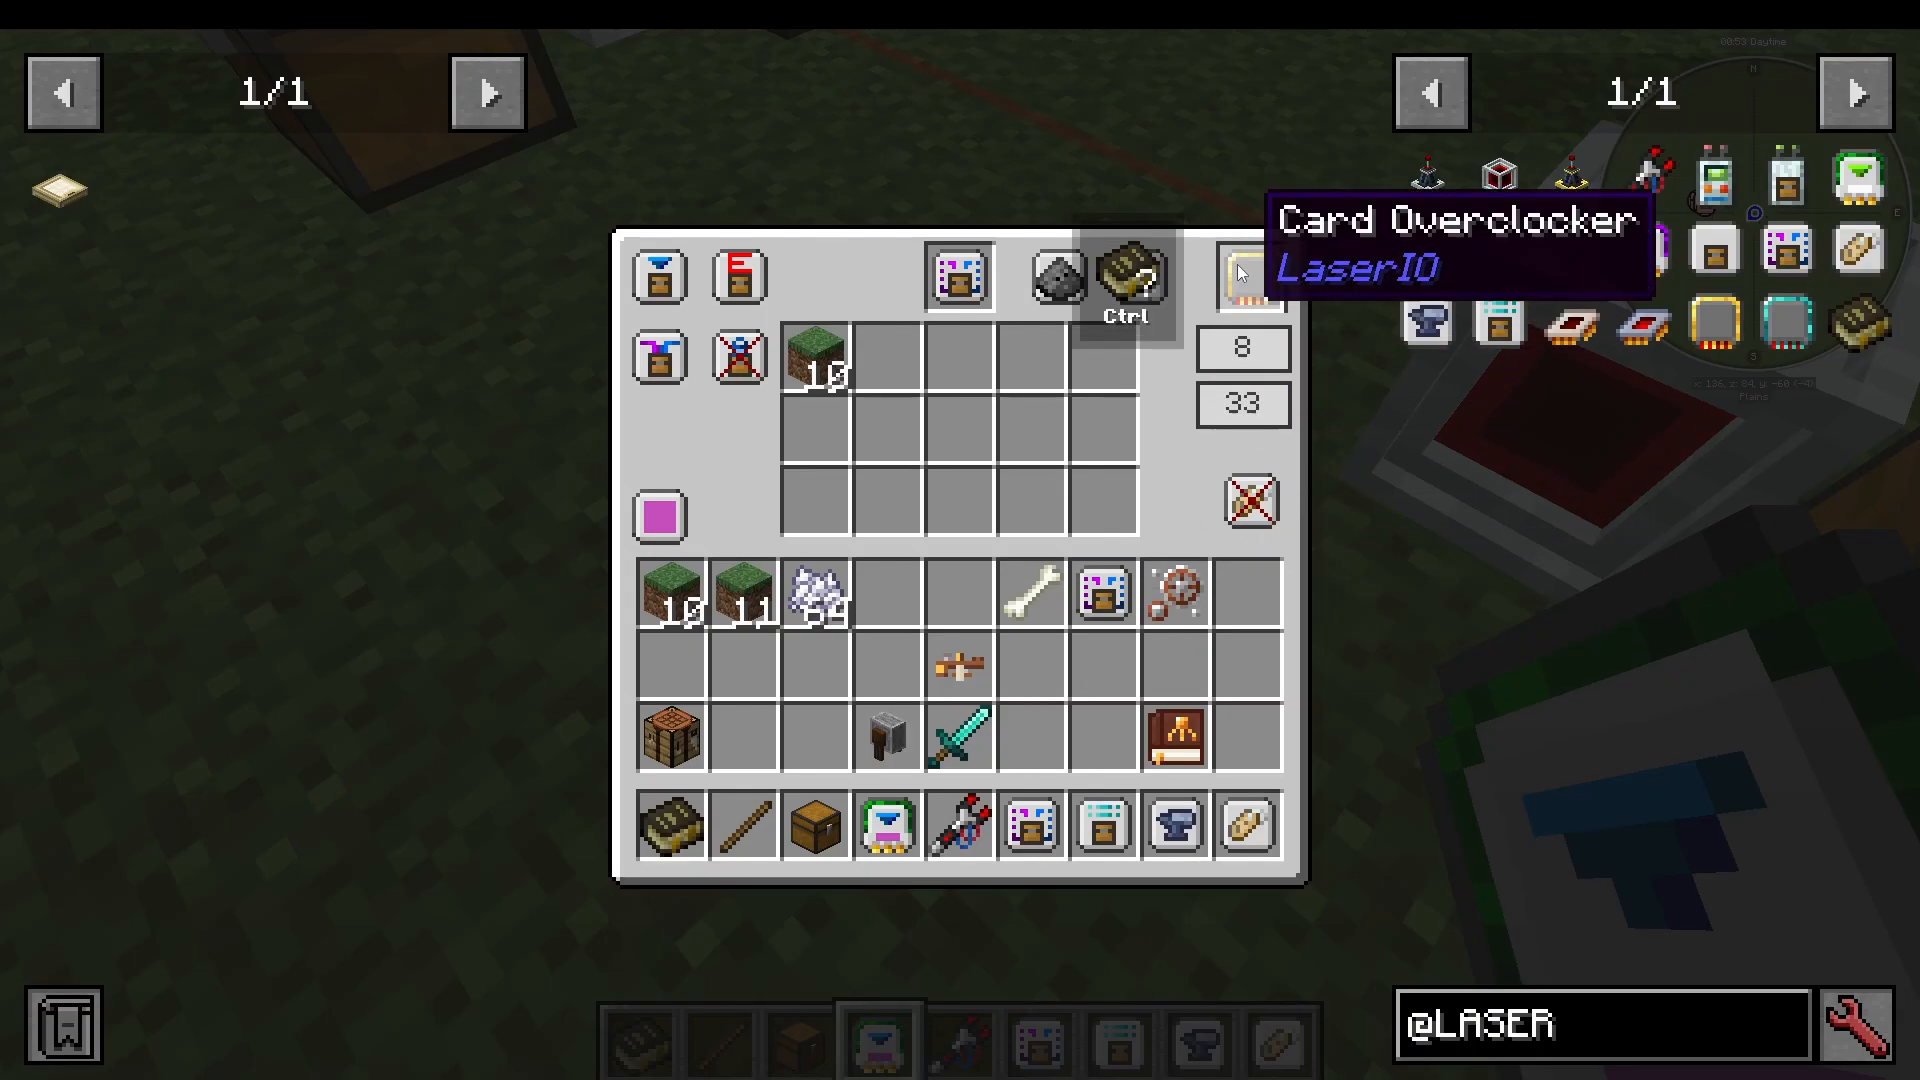
Card Overclockers
You can slot overclockers directly into a card to increase the speed and volume of transfers for that specific card. More overclockers mean faster throughput.
Node Overclockers
Node overclockers work differently and are more permanent. By default, a laser node can only operate on one card per side, per game tick. If there are three extract cards on the same side, only the first one activates during a tick; the second only activates if the first fails, and so on.
Installing a node overclocker on a side allows that side to process multiple cards simultaneously per tick. Up to eight node overclockers can be installed on a single side, allowing all nine card slots to operate at the same time.
Priority
Cards also support a priority setting. A priority of 10 is processed before a priority of 0, giving you control over the order in which transfers are attempted.
Additional Tools: Card Cloner, Card Holder, and Visual Settings
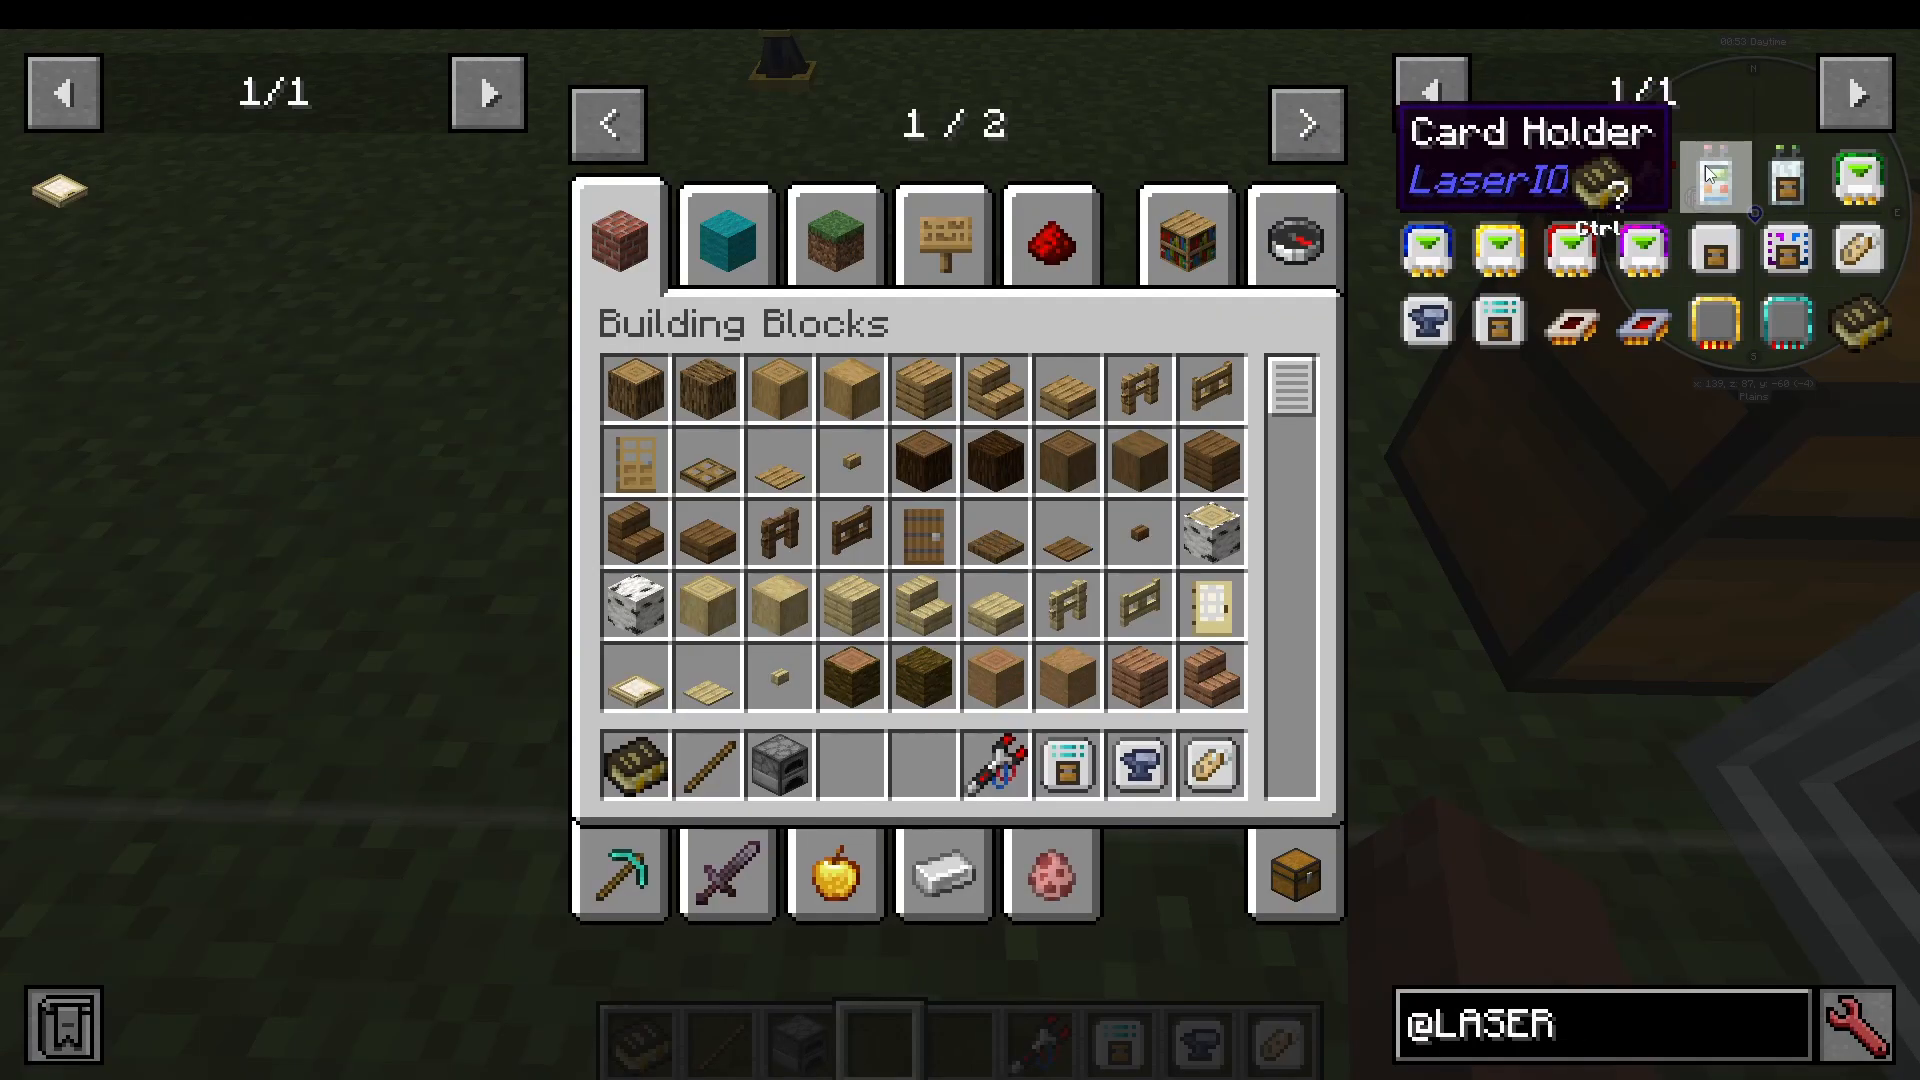
Card Cloner
The card cloner lets you copy the settings from one card and paste them onto another, directly within the laser node screen. To use it:
Pick up the card cloner on your cursor inside the node interface.
Left-click a configured card to copy its settings.
Right-click another card to paste those settings onto it.
The cloner will also attempt to copy overclockers and filters. Note that the required filter items must exist in the available cards — they will not be pulled from your player inventory, and the paste will fail if any required items are missing.
Visual and Beam Settings
Inside the node settings, you can toggle particle visibility on or off. Hiding particles is recommended on multiplayer servers for performance. You can also customise the appearance of the connection beam that displays between linked nodes.
Transferring Fluids, Energy, Redstone, and Chemicals
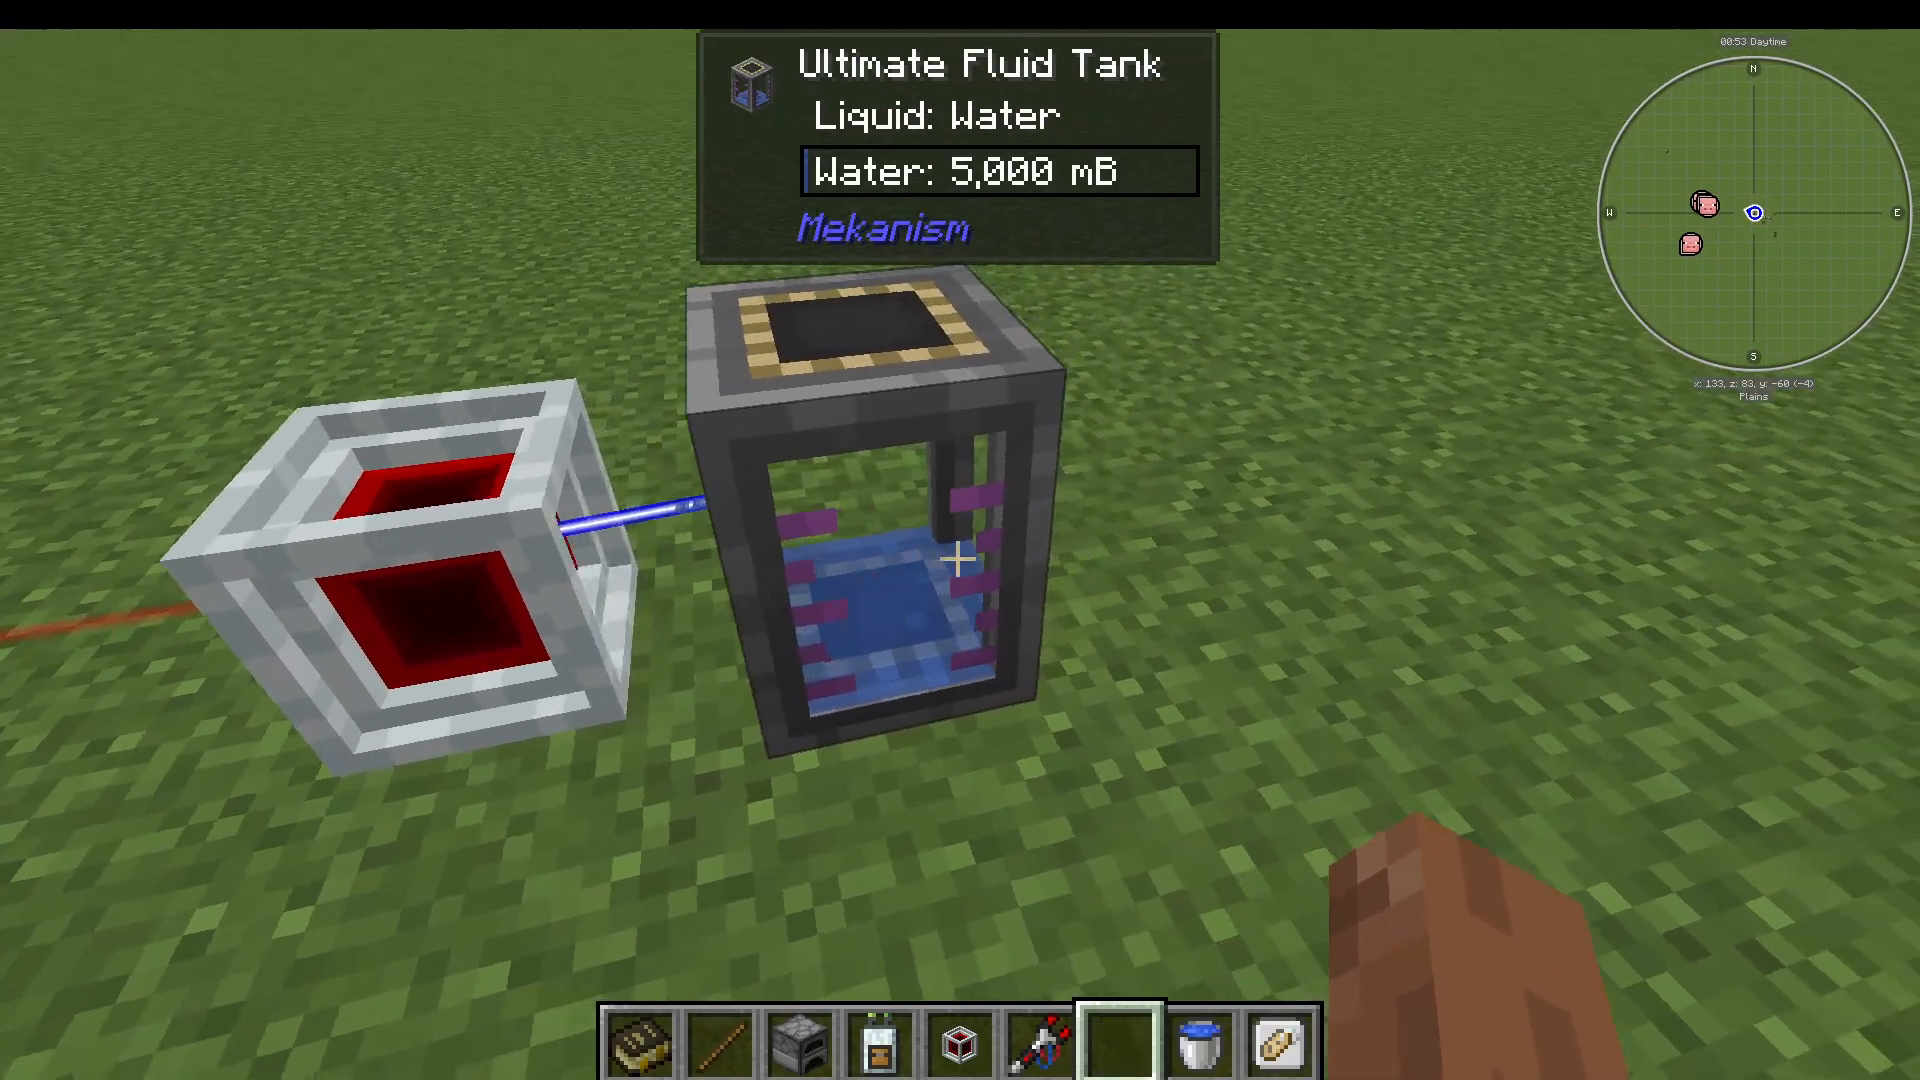
Fluid, energy, redstone, and chemical transfers work exactly the same way as item transfers. Simply use the corresponding card type. For example, to transfer water between two fluid tanks:
Link the two laser nodes using the laser wrench (shift right-click, then right-click).
Place a fluid card set to Extract in the node adjacent to the source tank, on the correct directional side.
Place a fluid card set to Insert in the node adjacent to the destination tank, on the matching channel.
The fluid will begin transferring immediately. The same channel-matching rules apply — extract and insert cards must share the same channel number.
If you are playing with Mekanism, chemical transfer works identically using the chemical card variant.
Summary: Mastering LaserIO
LaserIO is a powerful but logical mod once you understand its core principles. Here is a quick recap of what you have learned:
Craft raw logic chips → logic chips to unlock all mod recipes.
Use the laser wrench to link nodes; use laser connectors to extend range beyond eight blocks.
Place the correct card type (item, fluid, energy, etc.) in a node’s directional slot and configure it as Extract or Insert.
Match channel numbers between extract and insert cards to create working transfer pipelines.
Use filters to whitelist or blacklist specific items, tags, mods, or NBT data.
Use Stock mode with a counting filter to maintain exact item quantities in a chest.
Set the correct directional face on your card when working with machines that have specific input slots.
Install node overclockers to allow multiple cards on the same side to operate simultaneously per tick.
Once you understand the item card, every other card type in LaserIO follows the same pattern. Start simple with a single dirt pipeline, then expand into multi-channel, multi-item, cross-dimension networks as your base grows.
“`