







How to use Assembly Lines in PneumaticCraft
How to Use Assembly Lines in PneumaticCraft
Once you’ve mastered PCB crafting in PneumaticCraft, assembly lines unlock a whole new tier of advanced item creation. While assembly lines may appear complicated at first glance, they’re actually straightforward to set up and operate. This guide walks you through building and configuring a fully functional assembly line from start to finish.
Understanding Assembly Lines Basics
Assembly lines are powerful automation systems that combine multiple machines to craft complex items. In this example, we’ll be crafting solar cells—a great introductory project. Before building, always check the JEI (Just Enough Items) interface to understand the recipe requirements, necessary machines, required programs, input items, and final output.
Setting Up the Assembly Controller
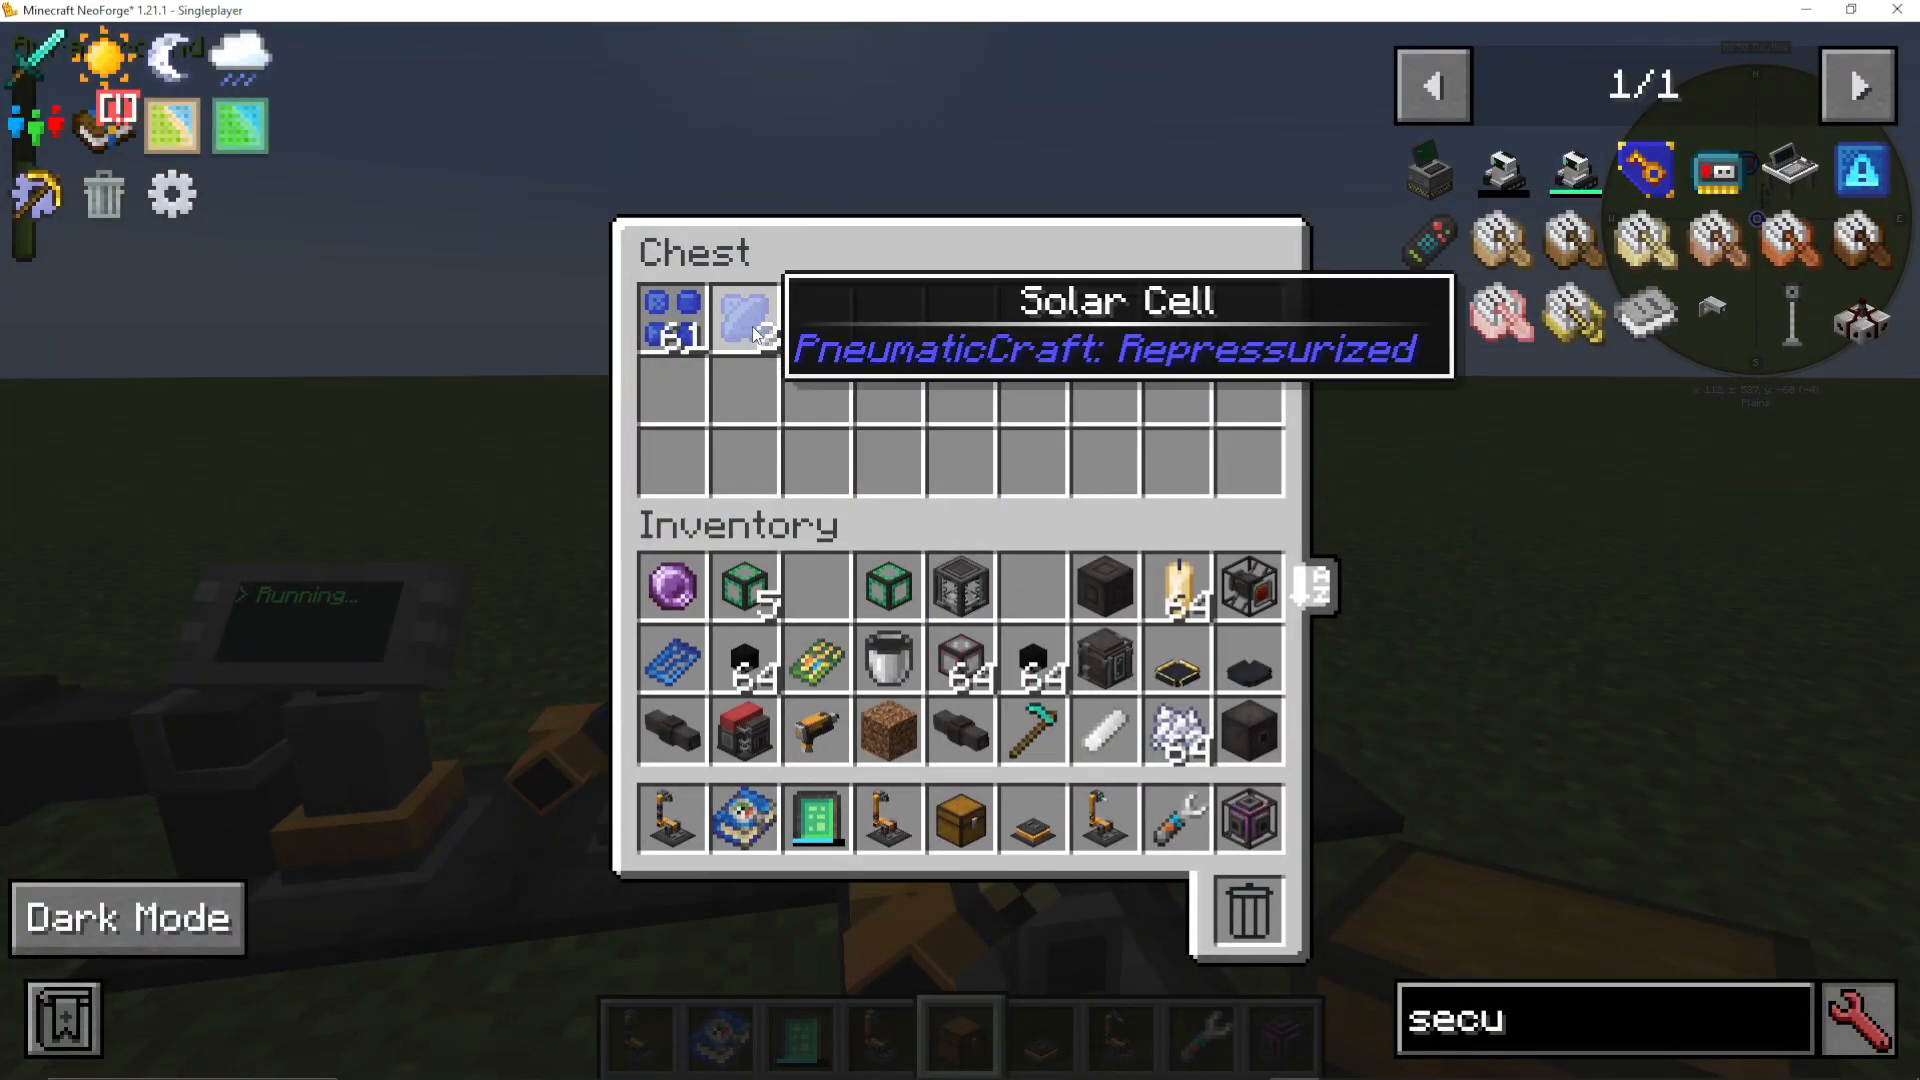
The assembly controller is the core component of your entire assembly line. This is where you input your recipe and direct the entire operation.
Placing and Powering the Controller
Start by placing an assembly controller in your build area. This machine must be supplied with pressure to function—at least 5 bar is required for assembly controllers. You can provide this pressure by connecting a creative compressor with pressure tubes to any side of the controller.
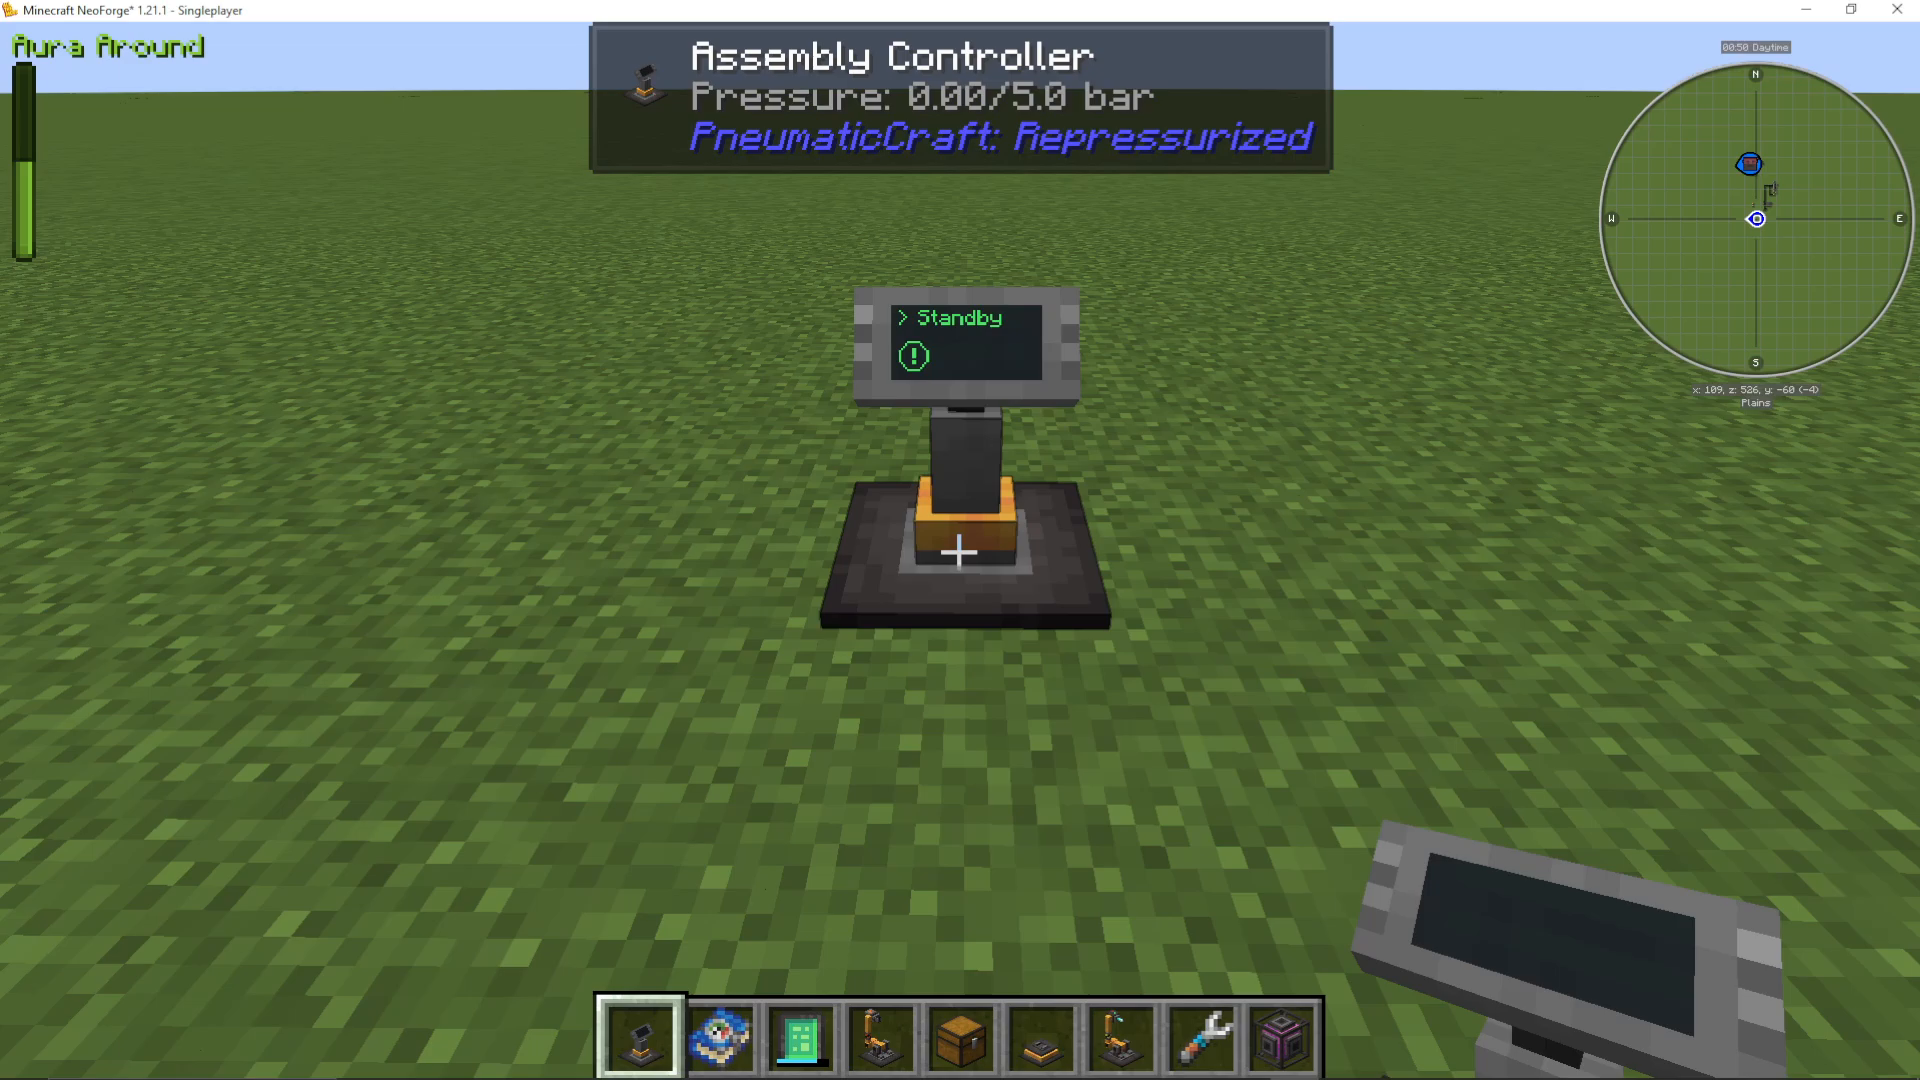
Pressure will automatically flow into the controller when you attach pressure tubing. Importantly, the assembly controller is the only component in the assembly line that requires direct pressure input—all other machines receive their power through the controller.
Installing Upgrades
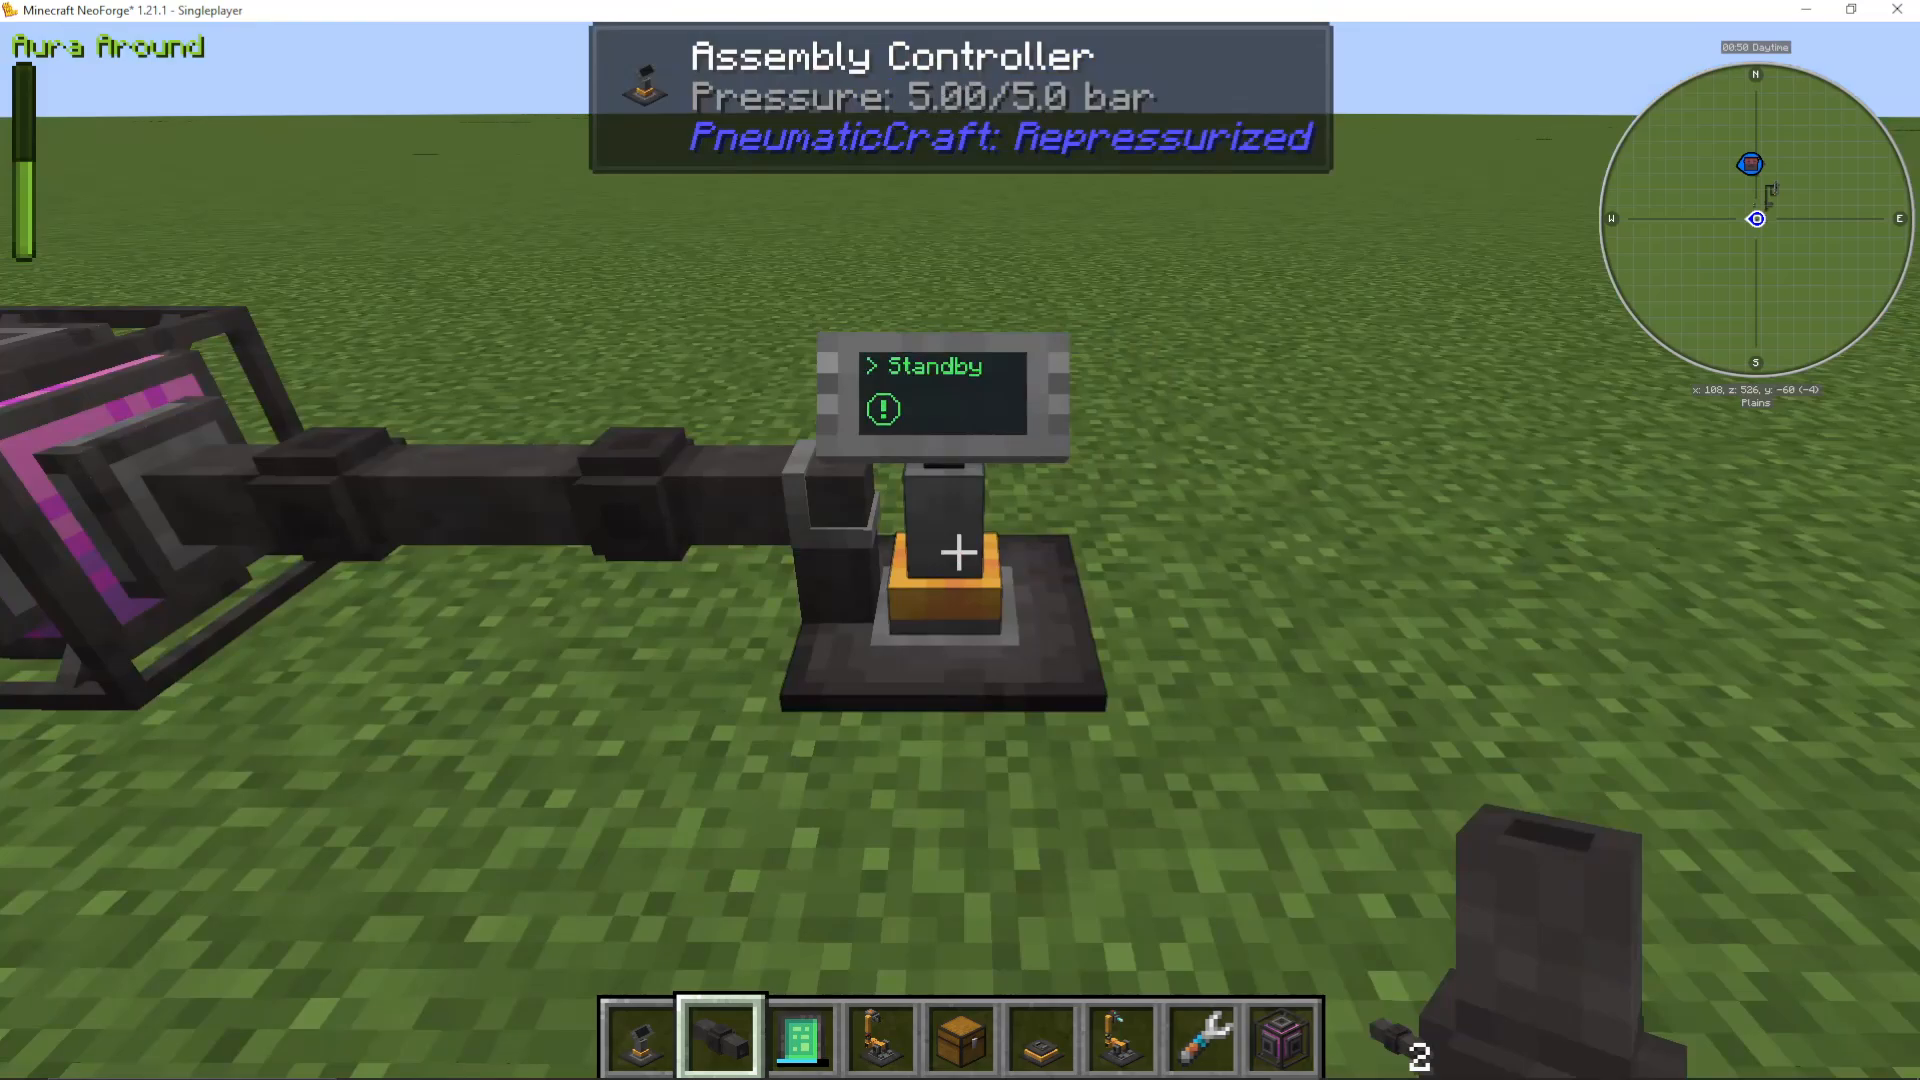
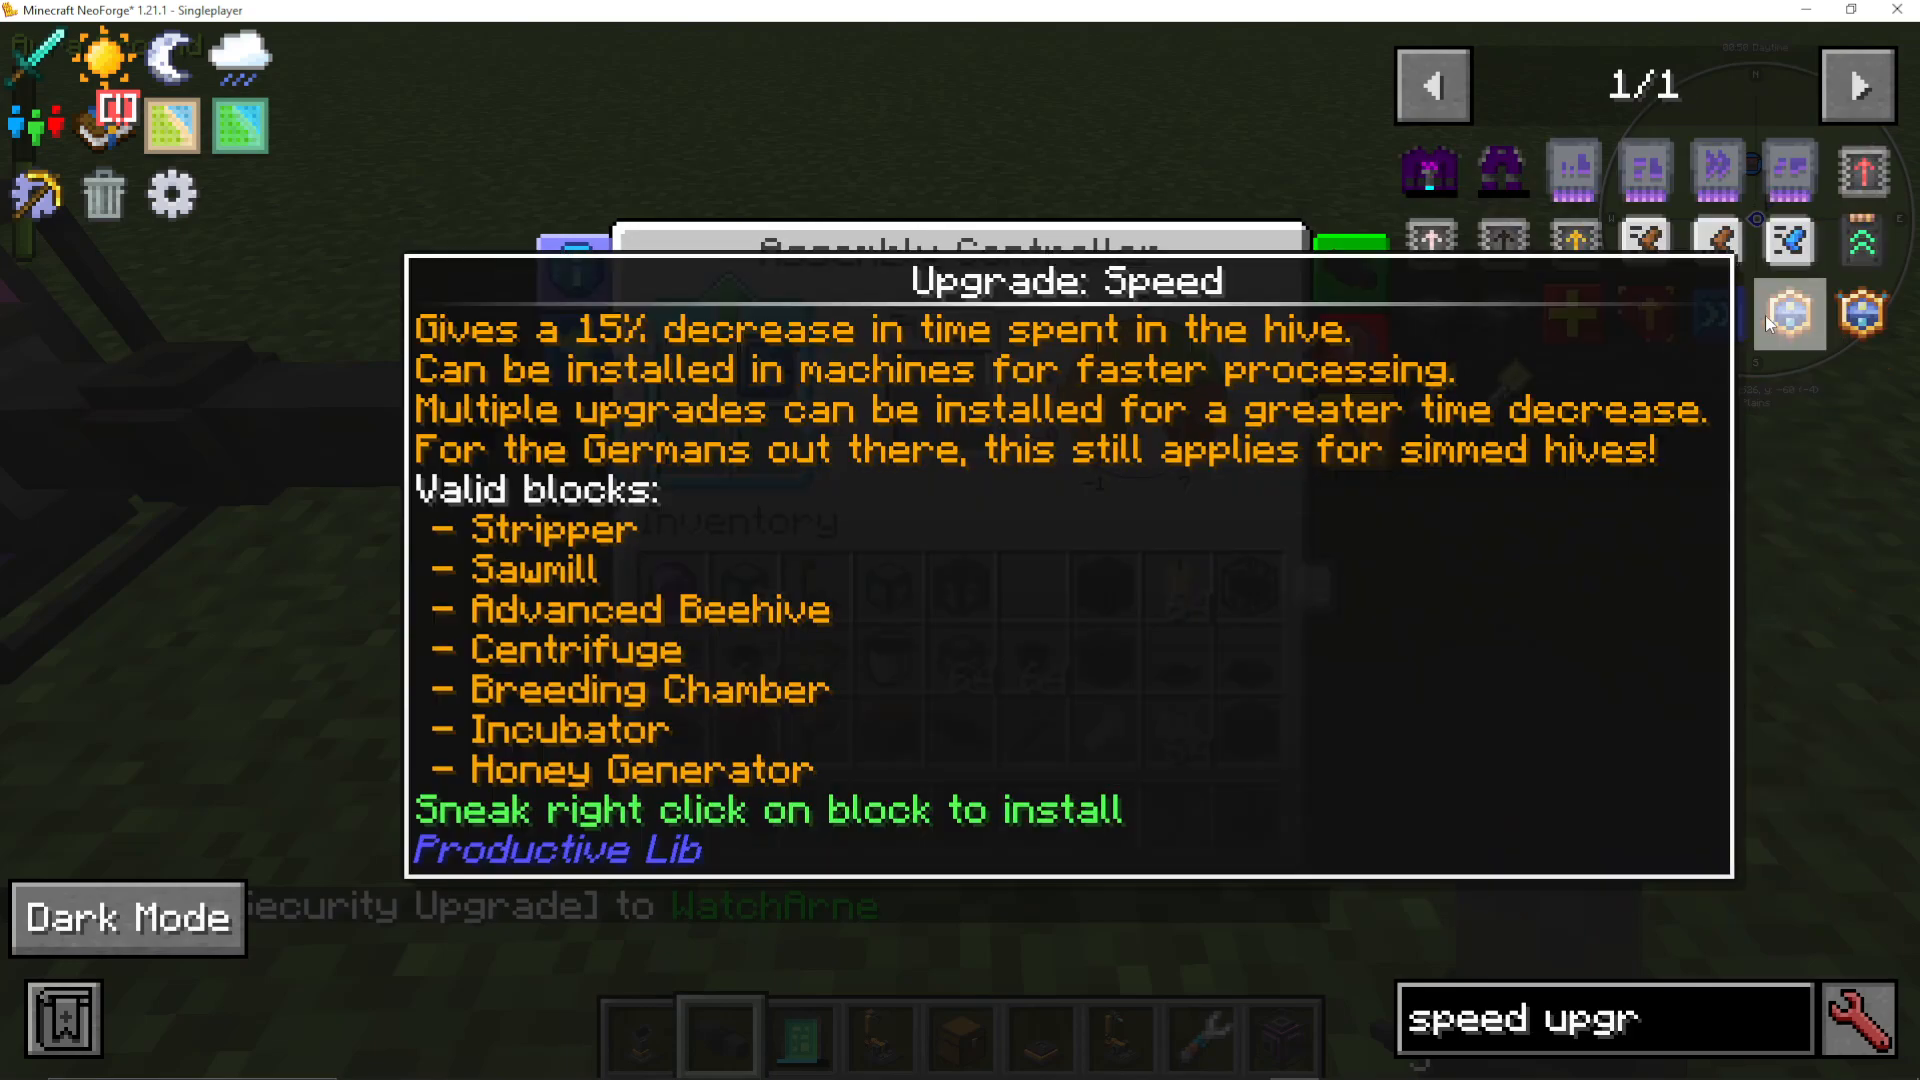
Before configuring your recipe, add upgrades to improve performance. Install a security upgrade and speed upgrades, as assembly lines operate slowly without them. These upgrades make a significant difference in processing time.
Installing Assembly Programs
Assembly lines require specific programs to function. These programs tell the assembly line exactly what to craft. You can purchase programs through your Amadron tablet or trade with mechanic villagers.
Obtaining and Installing Programs
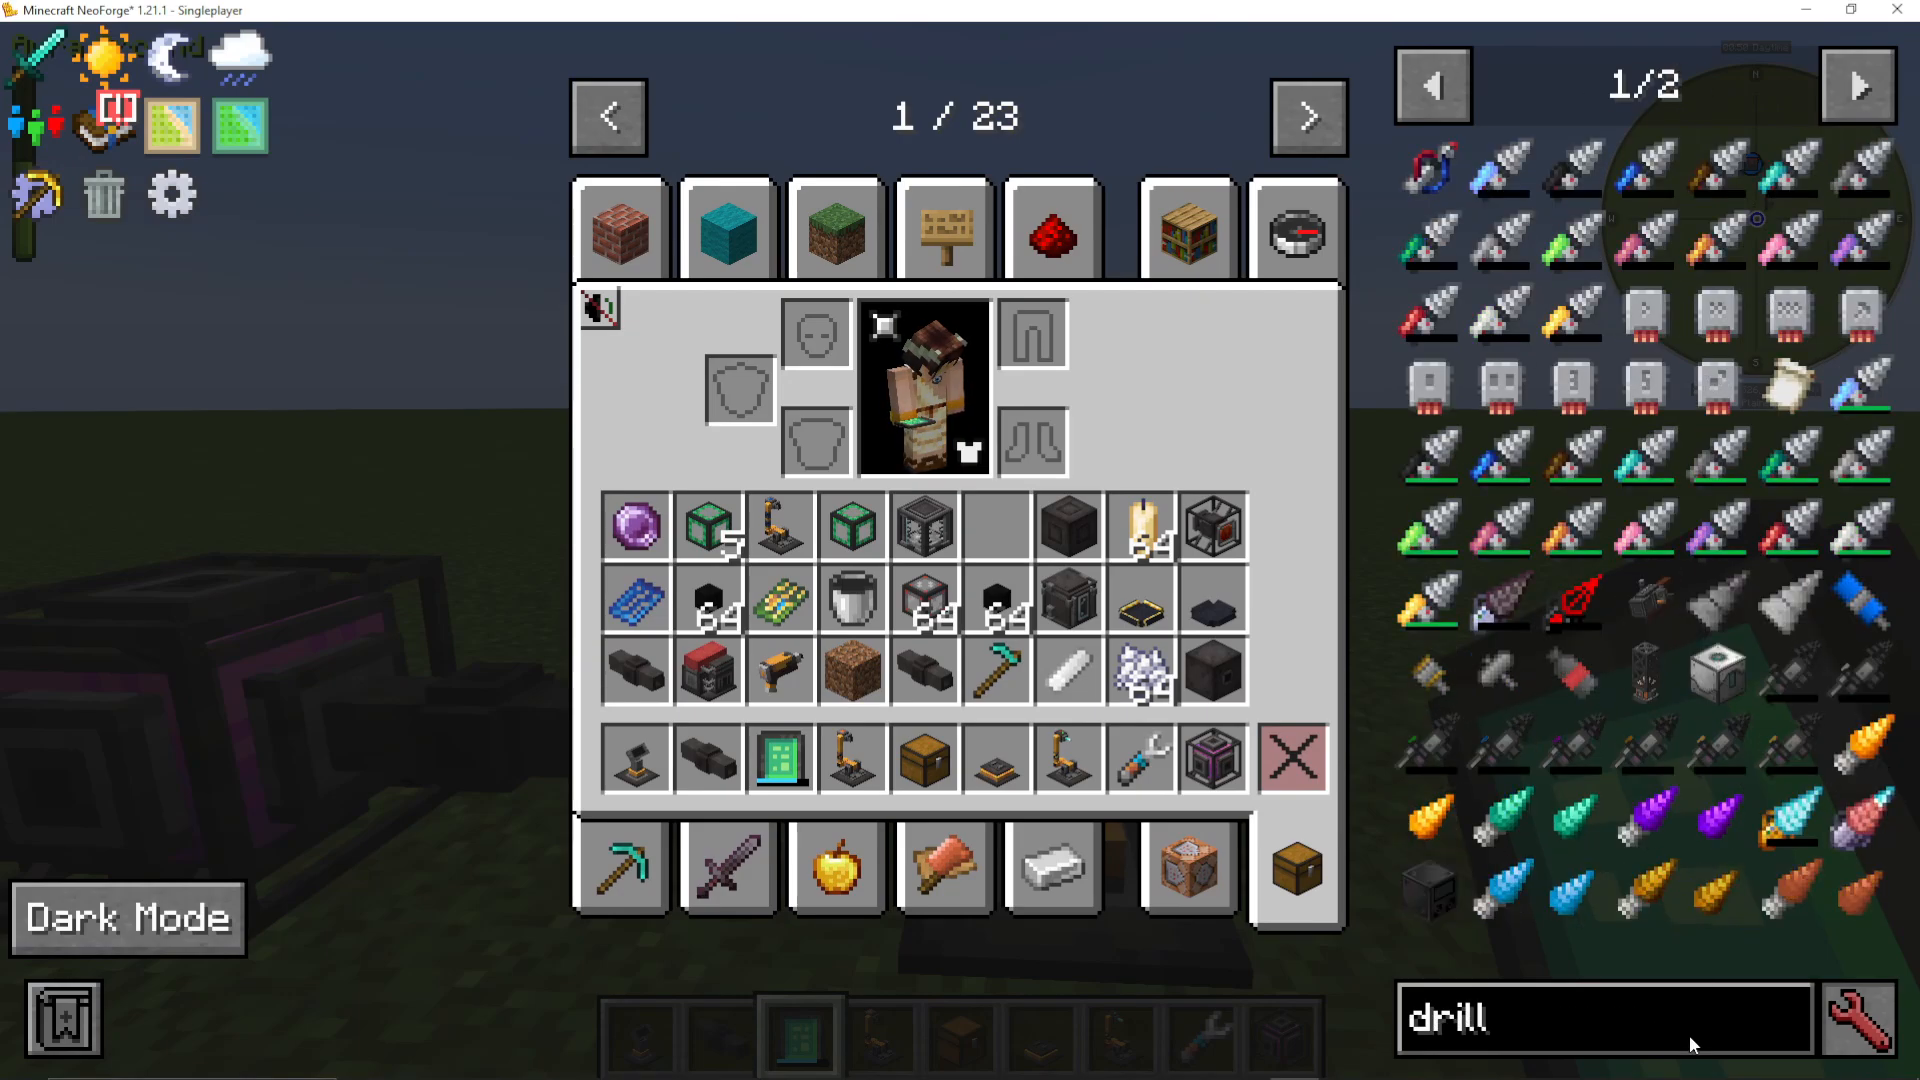
Available programs include the assembly program drill and assembly program laser. For our solar cell example, we need the assembly program drill. Once purchased from Amadron, place the program into the program slot of the assembly controller.
Building the Assembly Line Layout
Assembly lines consist of several connected components arranged horizontally from the controller. All components must touch the controller horizontally—this ensures they receive power, pressure, and access to the program instructions.
Import Arm Setup
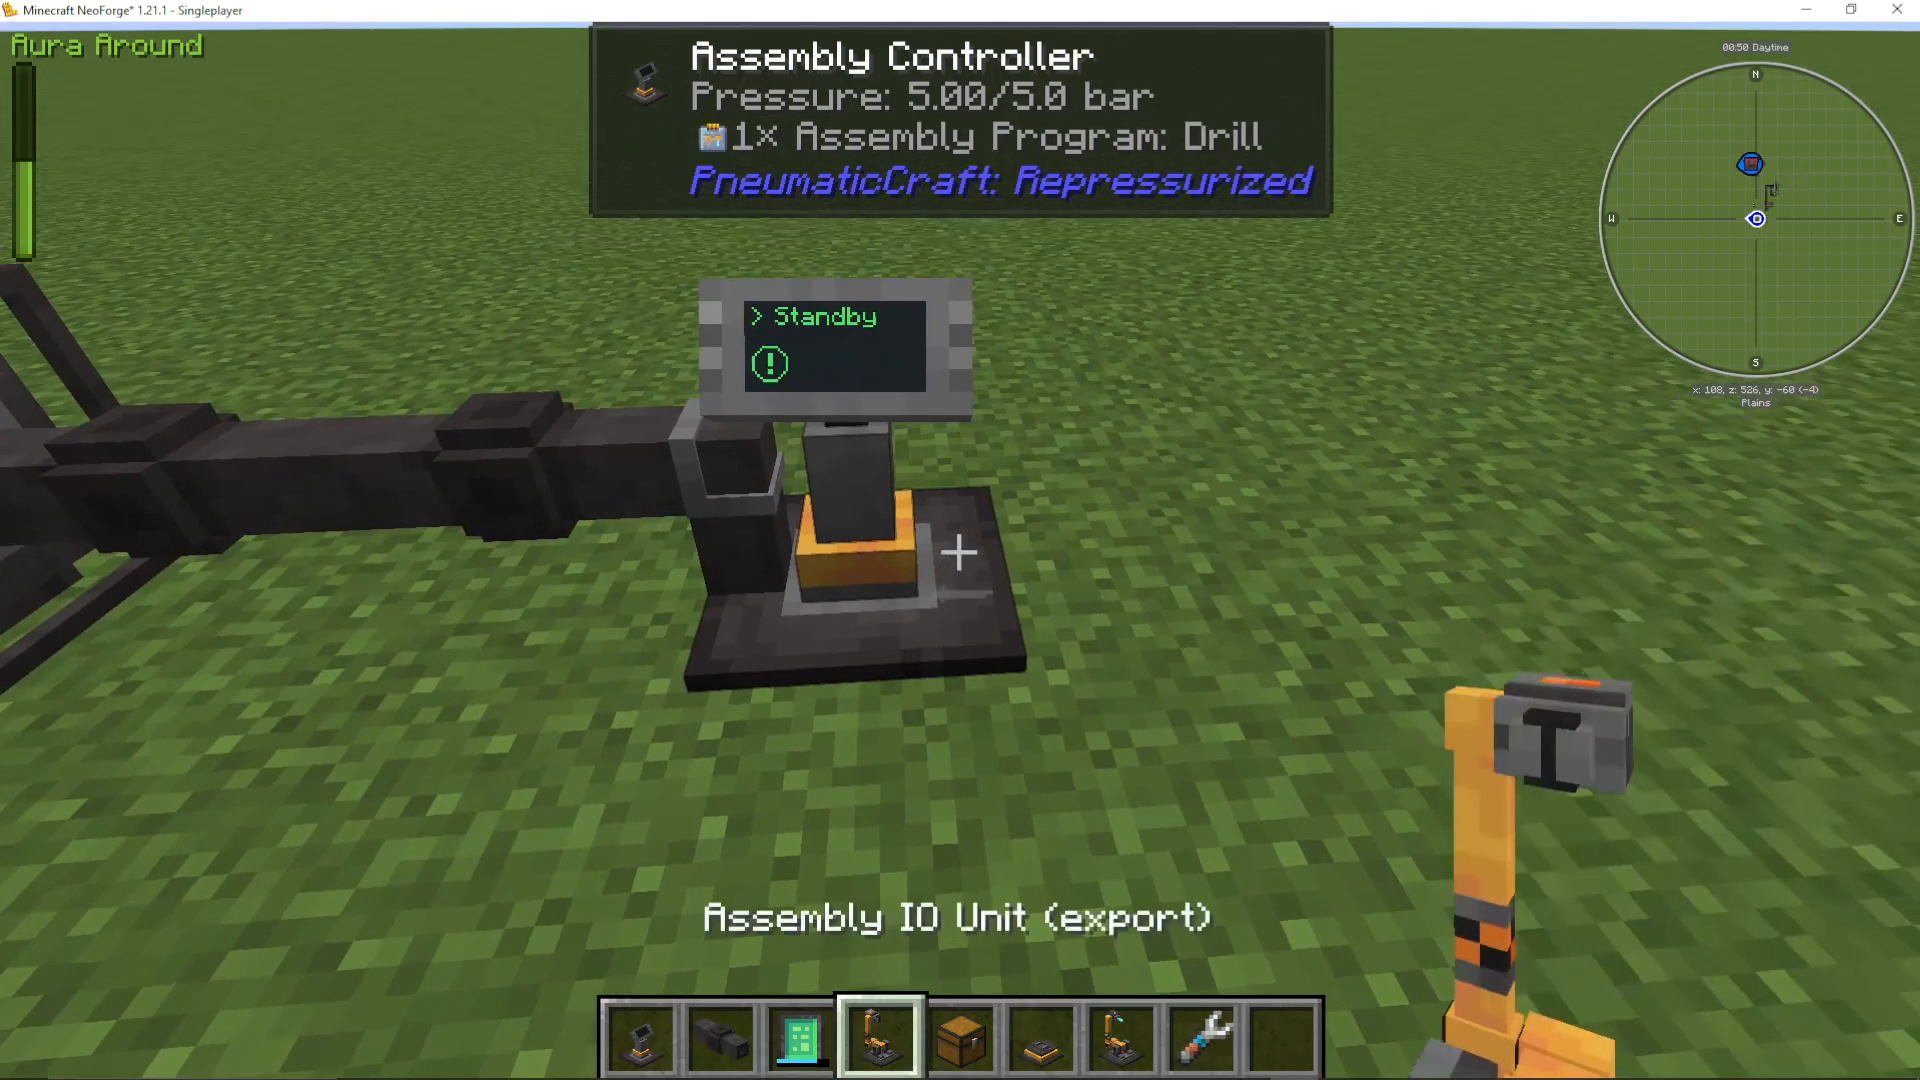
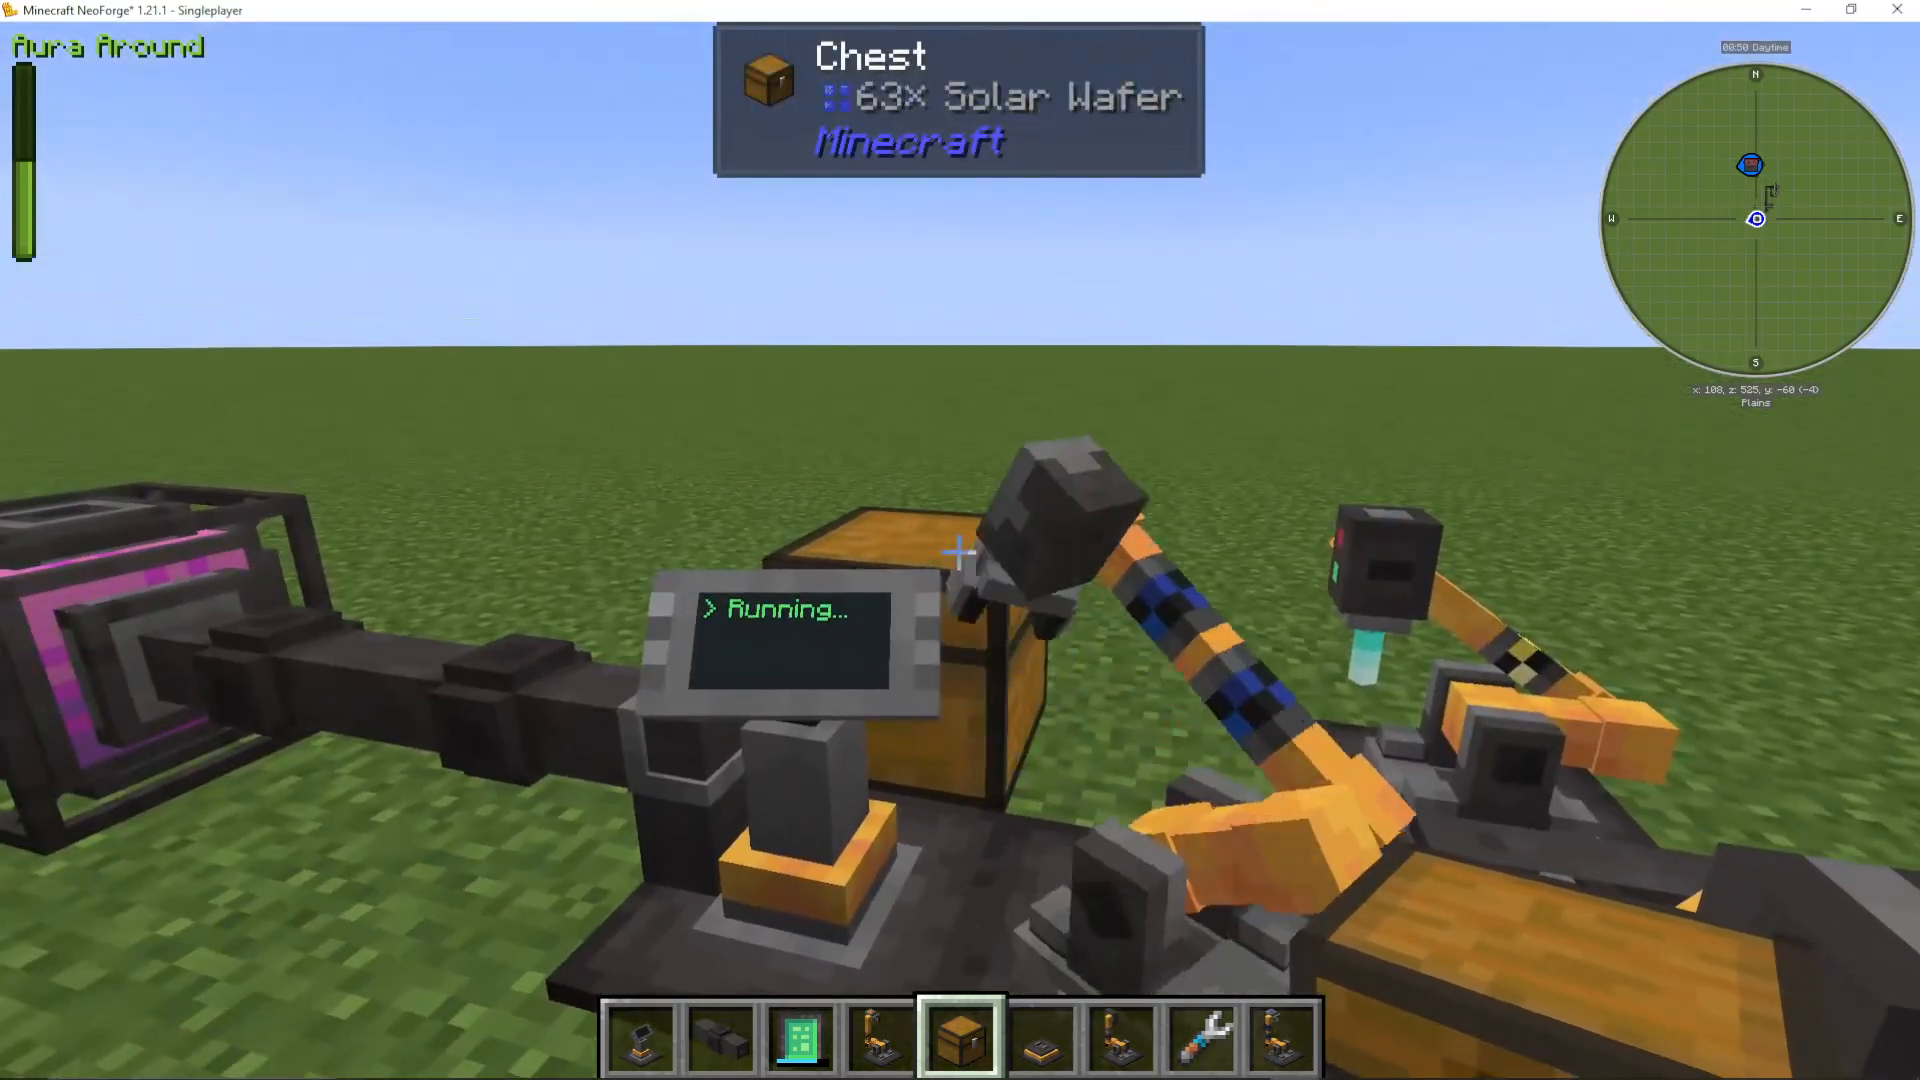
Attach an import arm to the controller. This arm automatically pulls compatible items from nearby blocks—including diagonally adjacent blocks. Position your input chest with raw materials (solar wafers in our example) where the import arm can reach it. The import arm will automatically detect compatible items and feed them into the system.
Assembly Platform
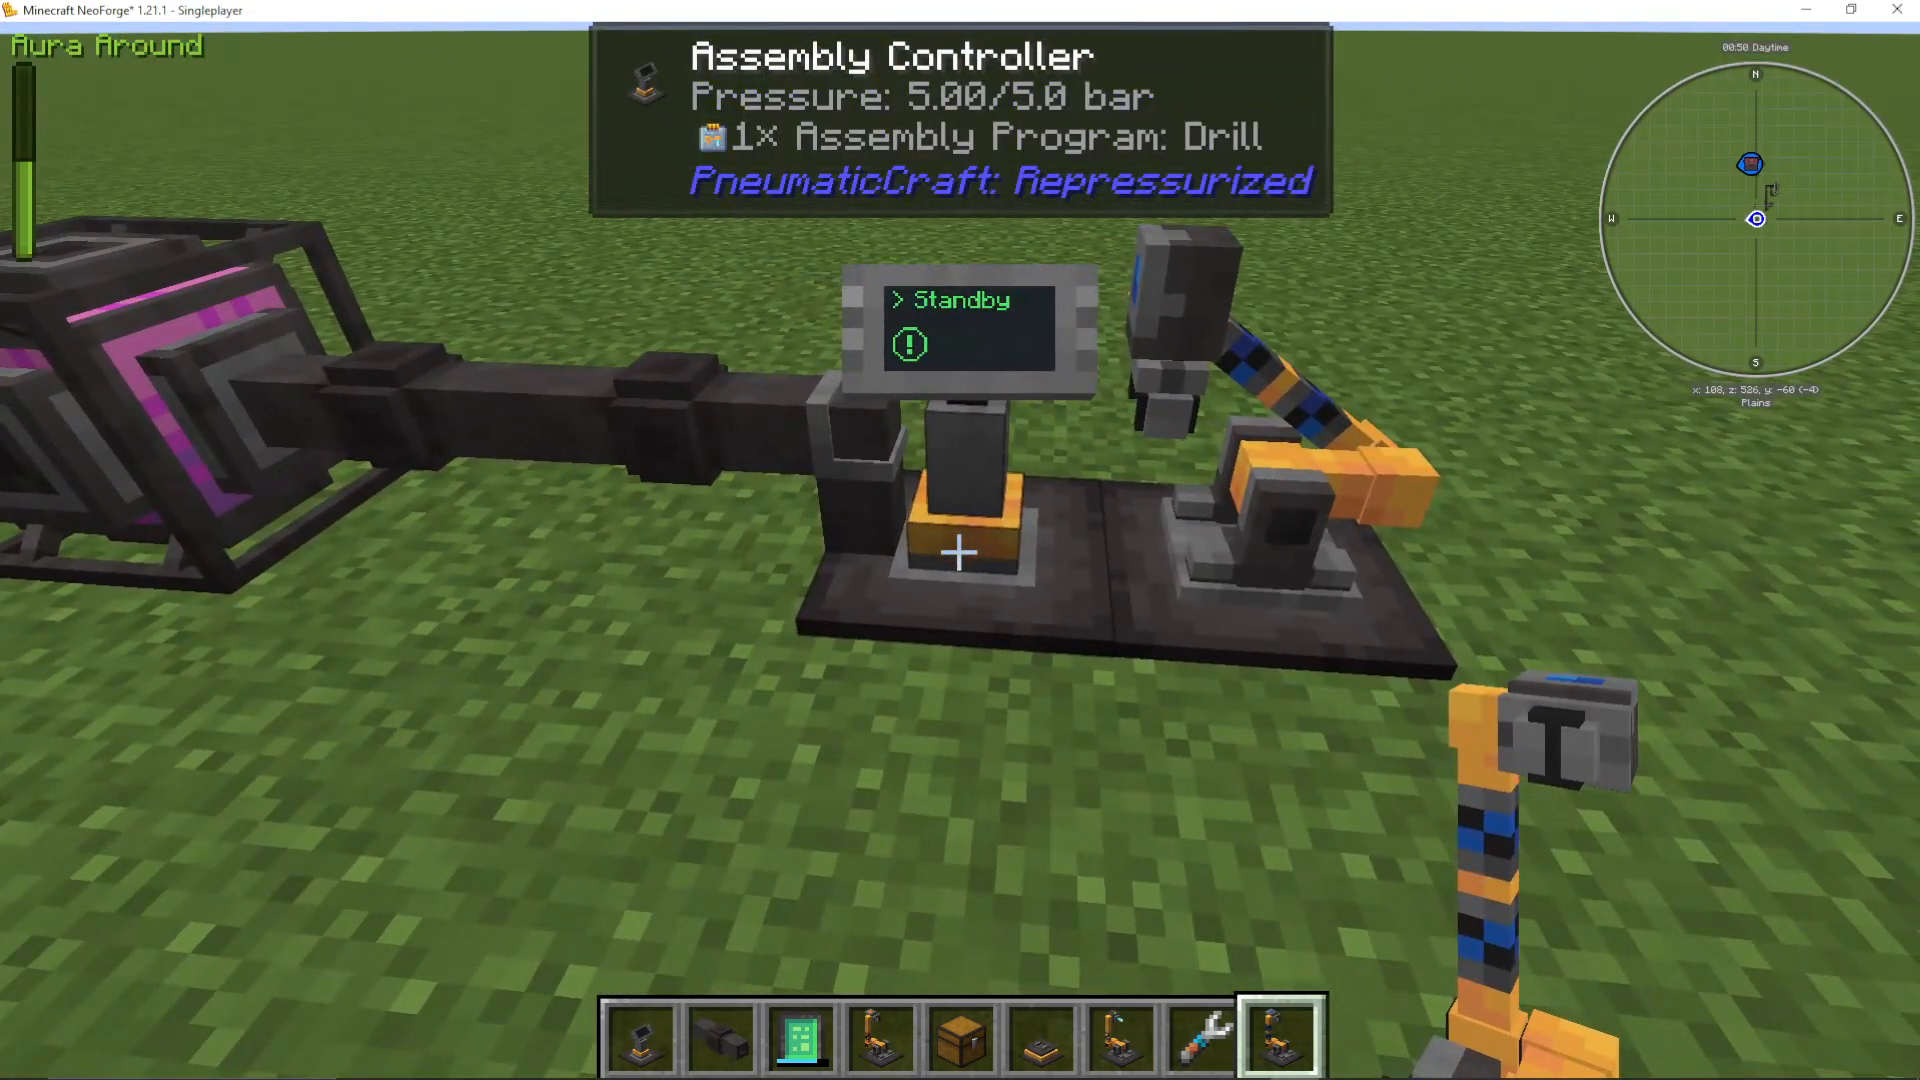
The assembly platform serves as the workstation or crafting table for your assembly line. Items are imported here and processed by the attached machines. Position this component directly next to the controller.
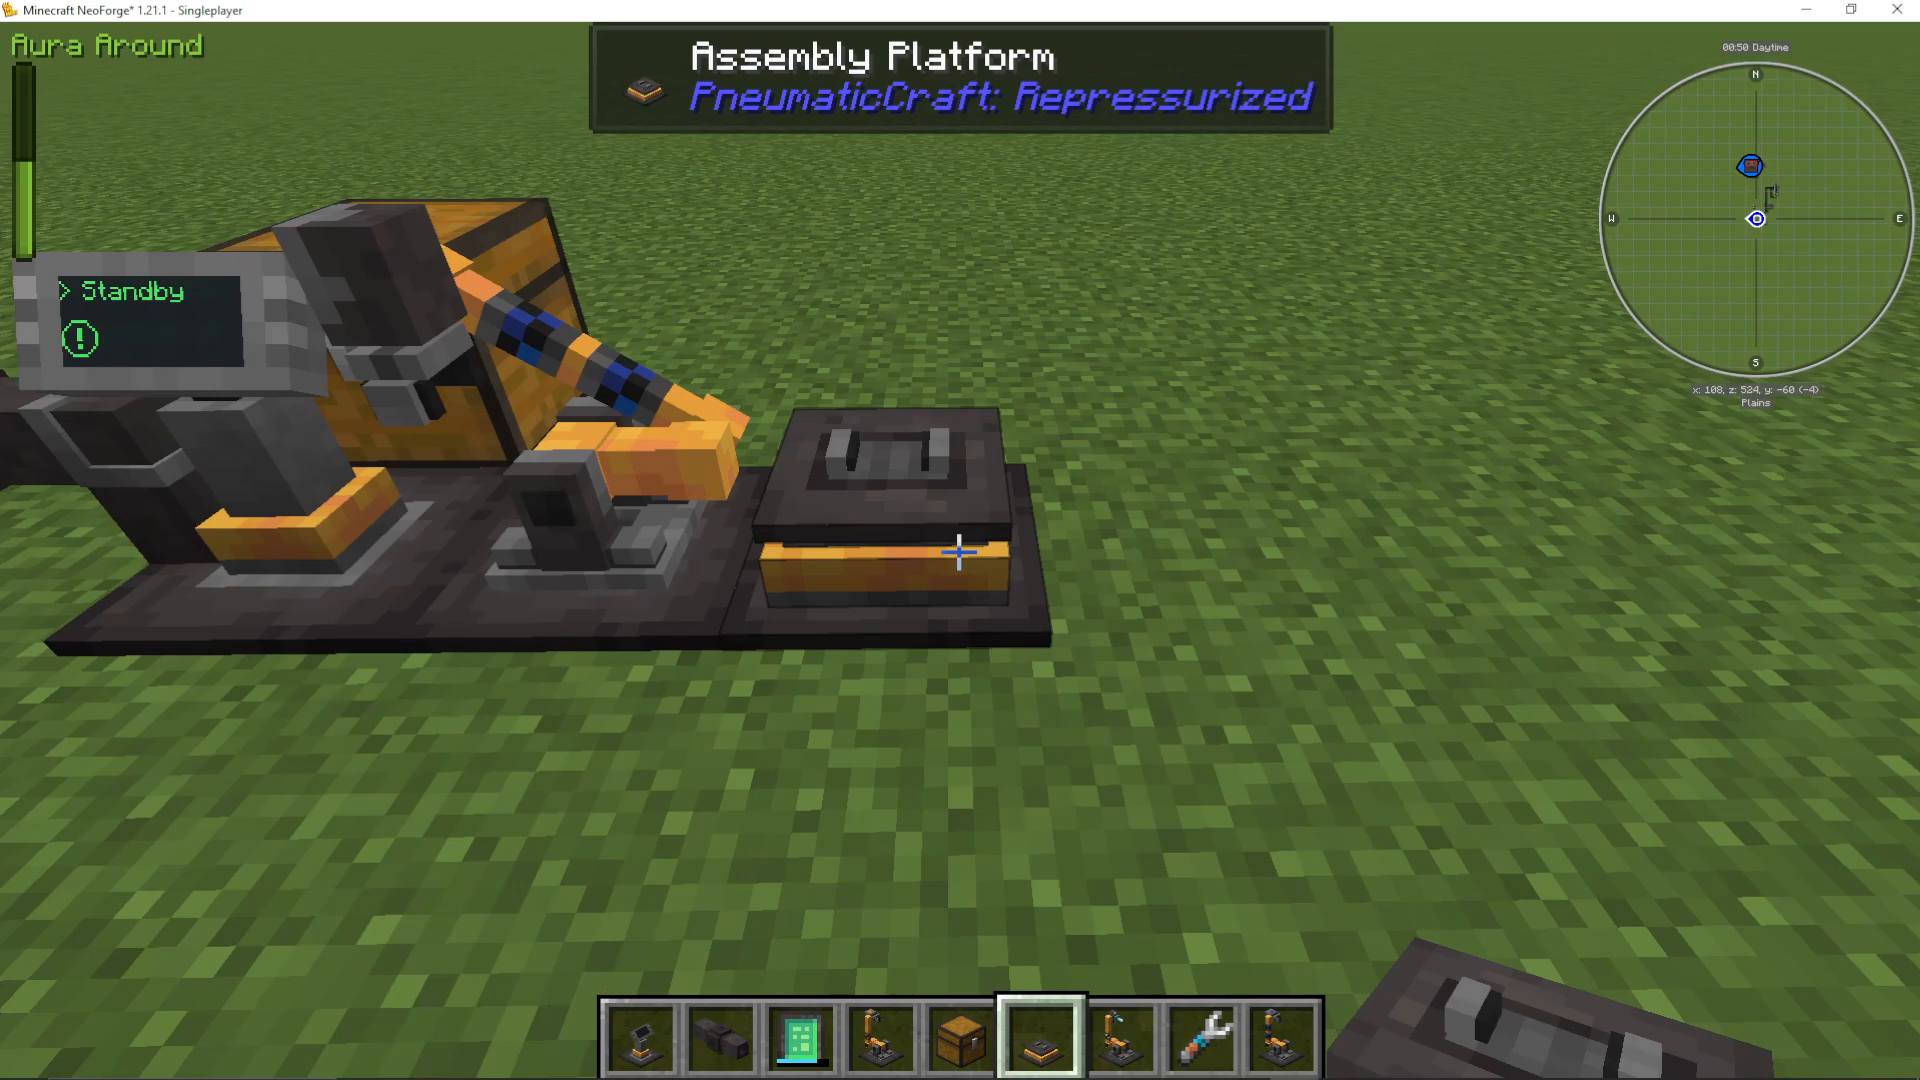
Processing Machines (Drill and Laser)
Attach the machines needed for your recipe. For solar cells, install both an assembly drill and an assembly laser. Place the drill on one side of the assembly platform and the laser on another side. The assembly line automatically knows which machine to use based on your installed program.
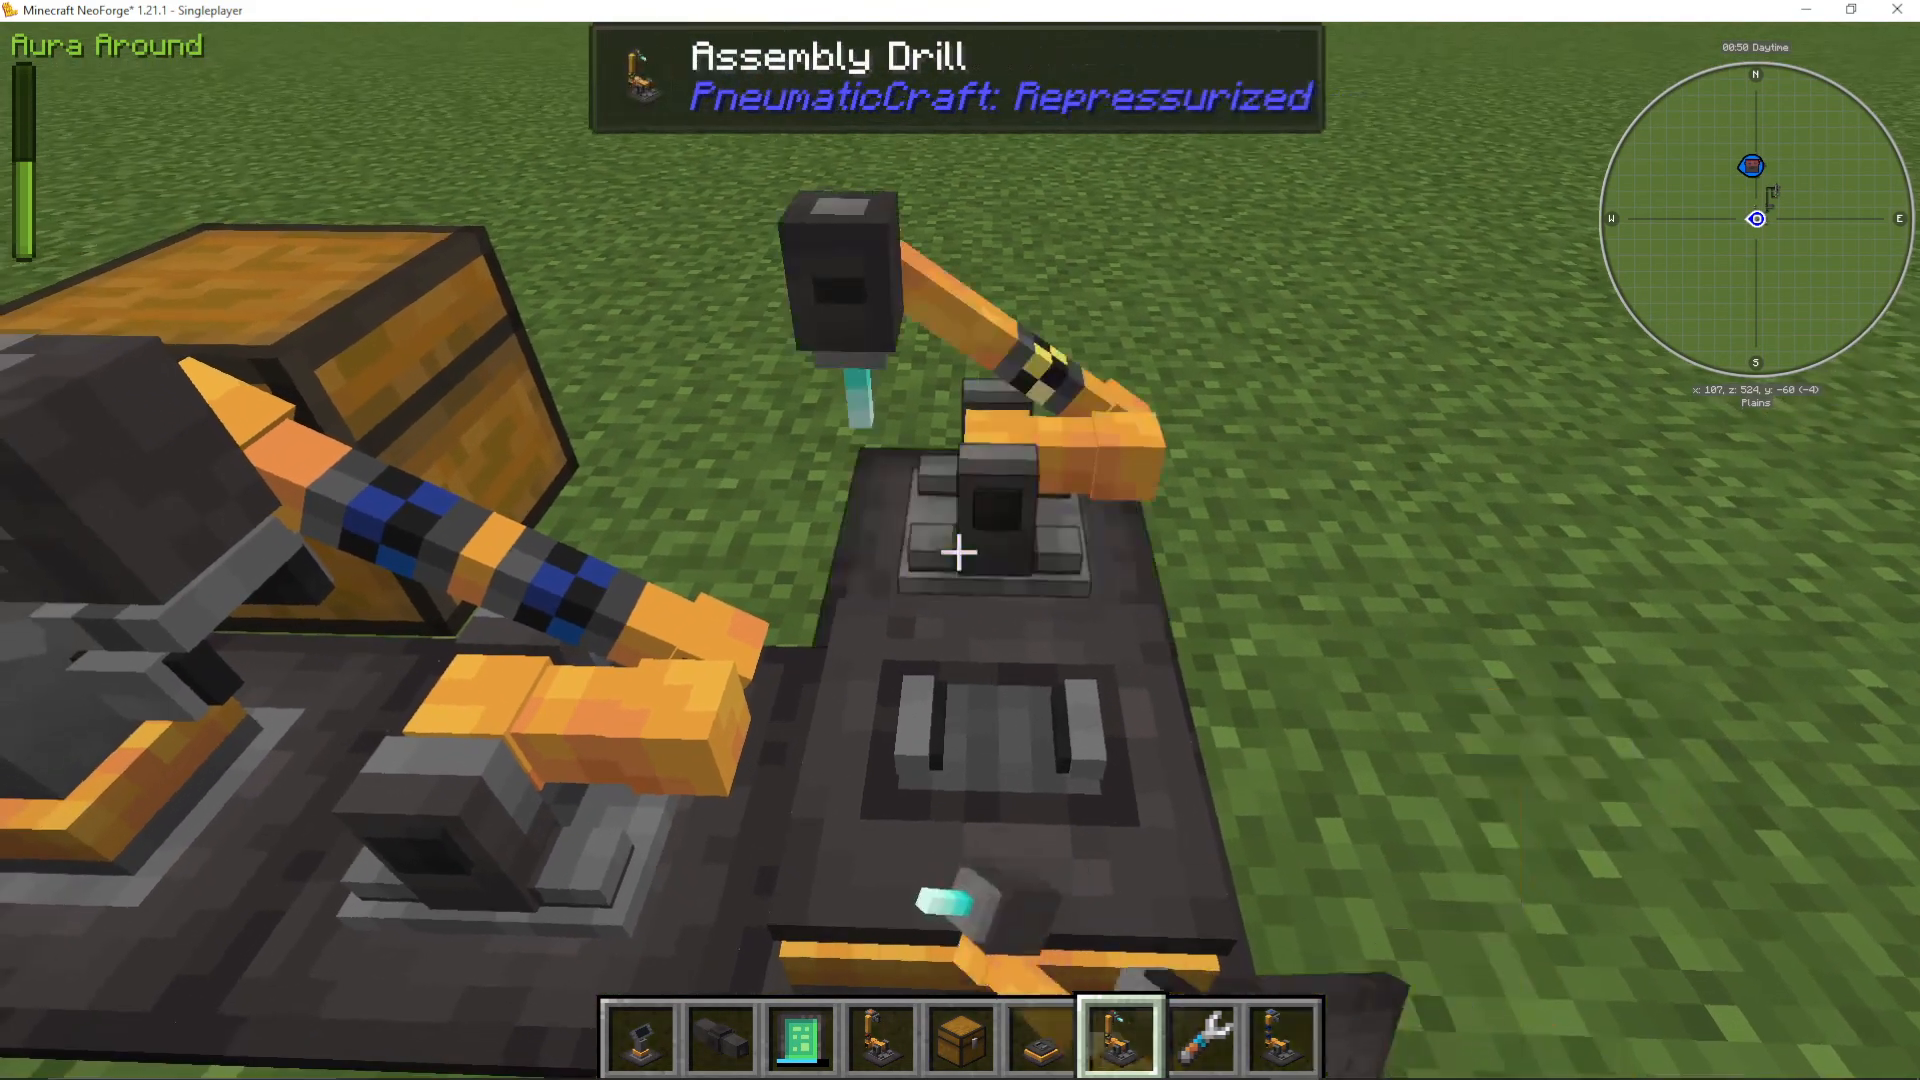
Important note: While import and export arms can reach diagonally, drilling and laser machines cannot. Arrange your layout so drilling and laser operations occur on cardinal directions only.
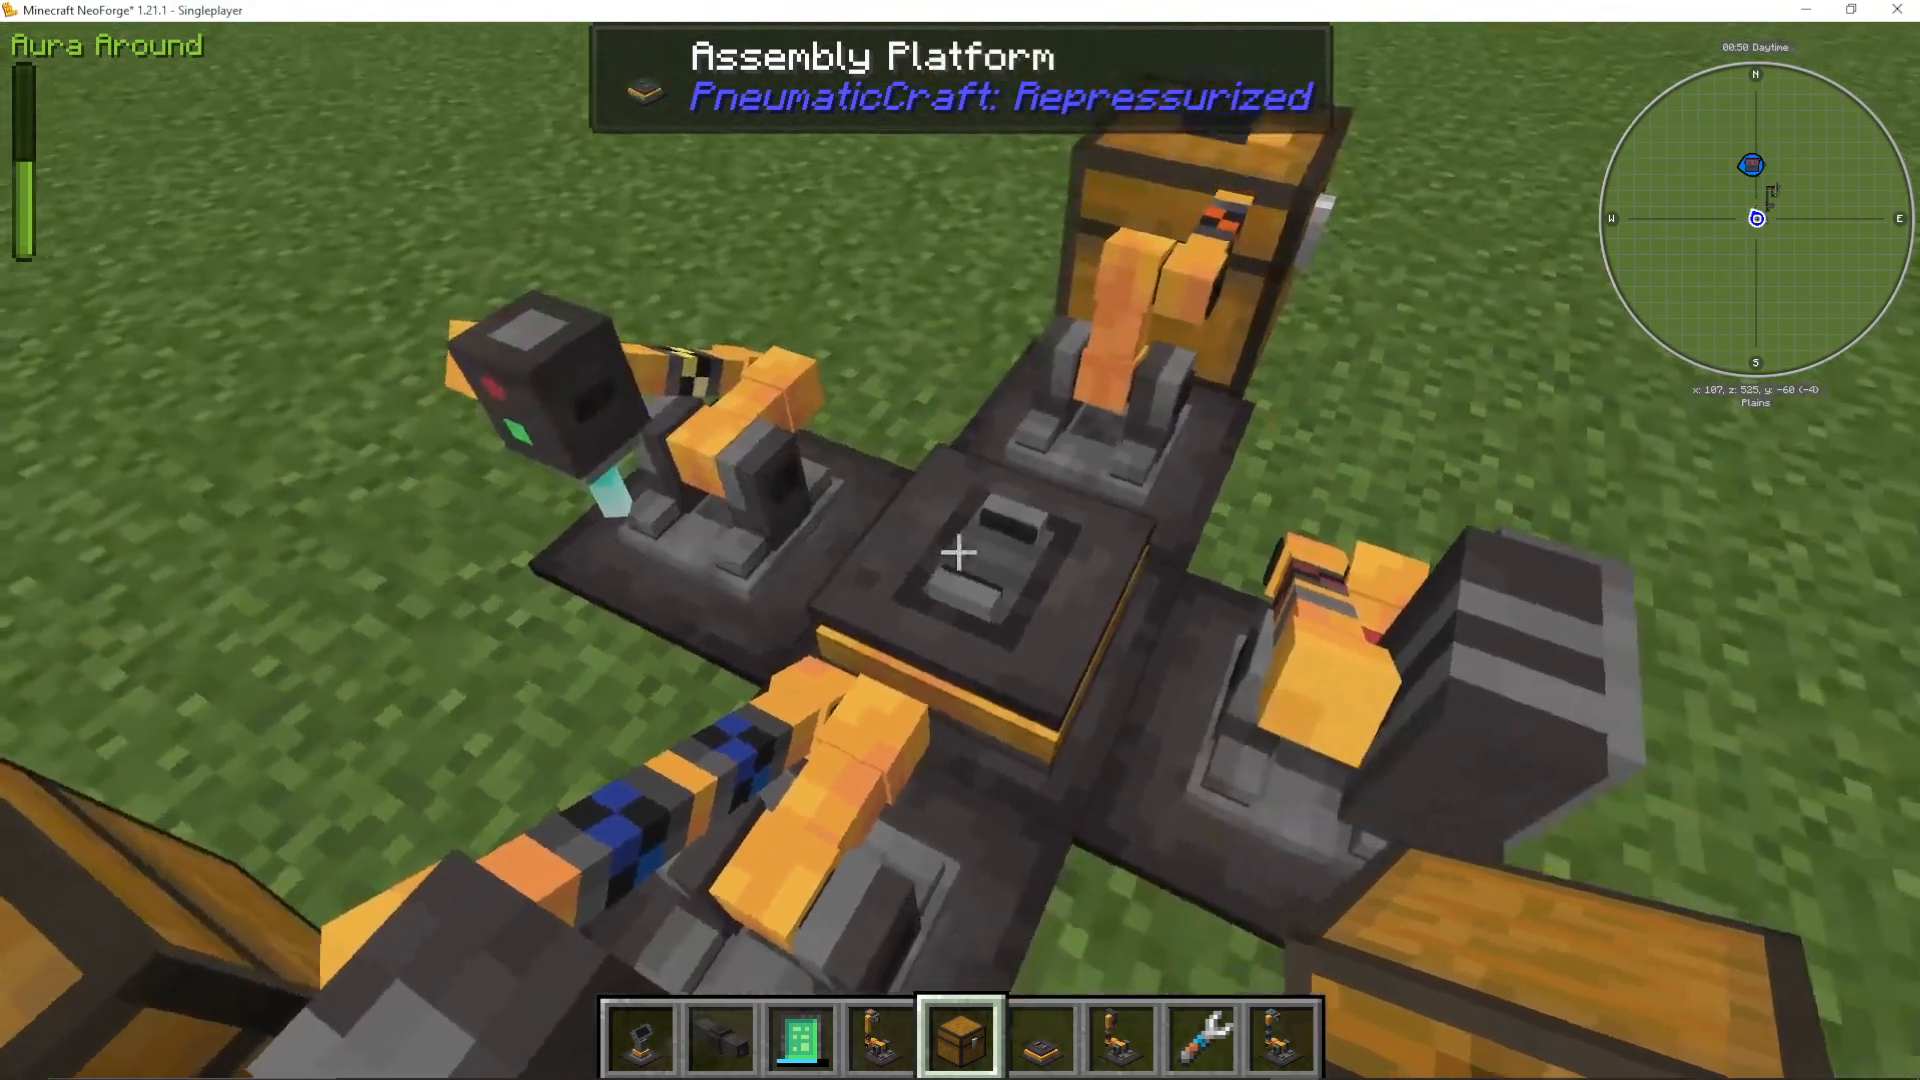
Export Arm and Output Chest
Finally, attach an export arm to the controller and place an output chest nearby. Once items complete processing, the export arm automatically transfers them to the adjacent chest. The export arm can reach diagonally, giving you flexibility in chest placement.
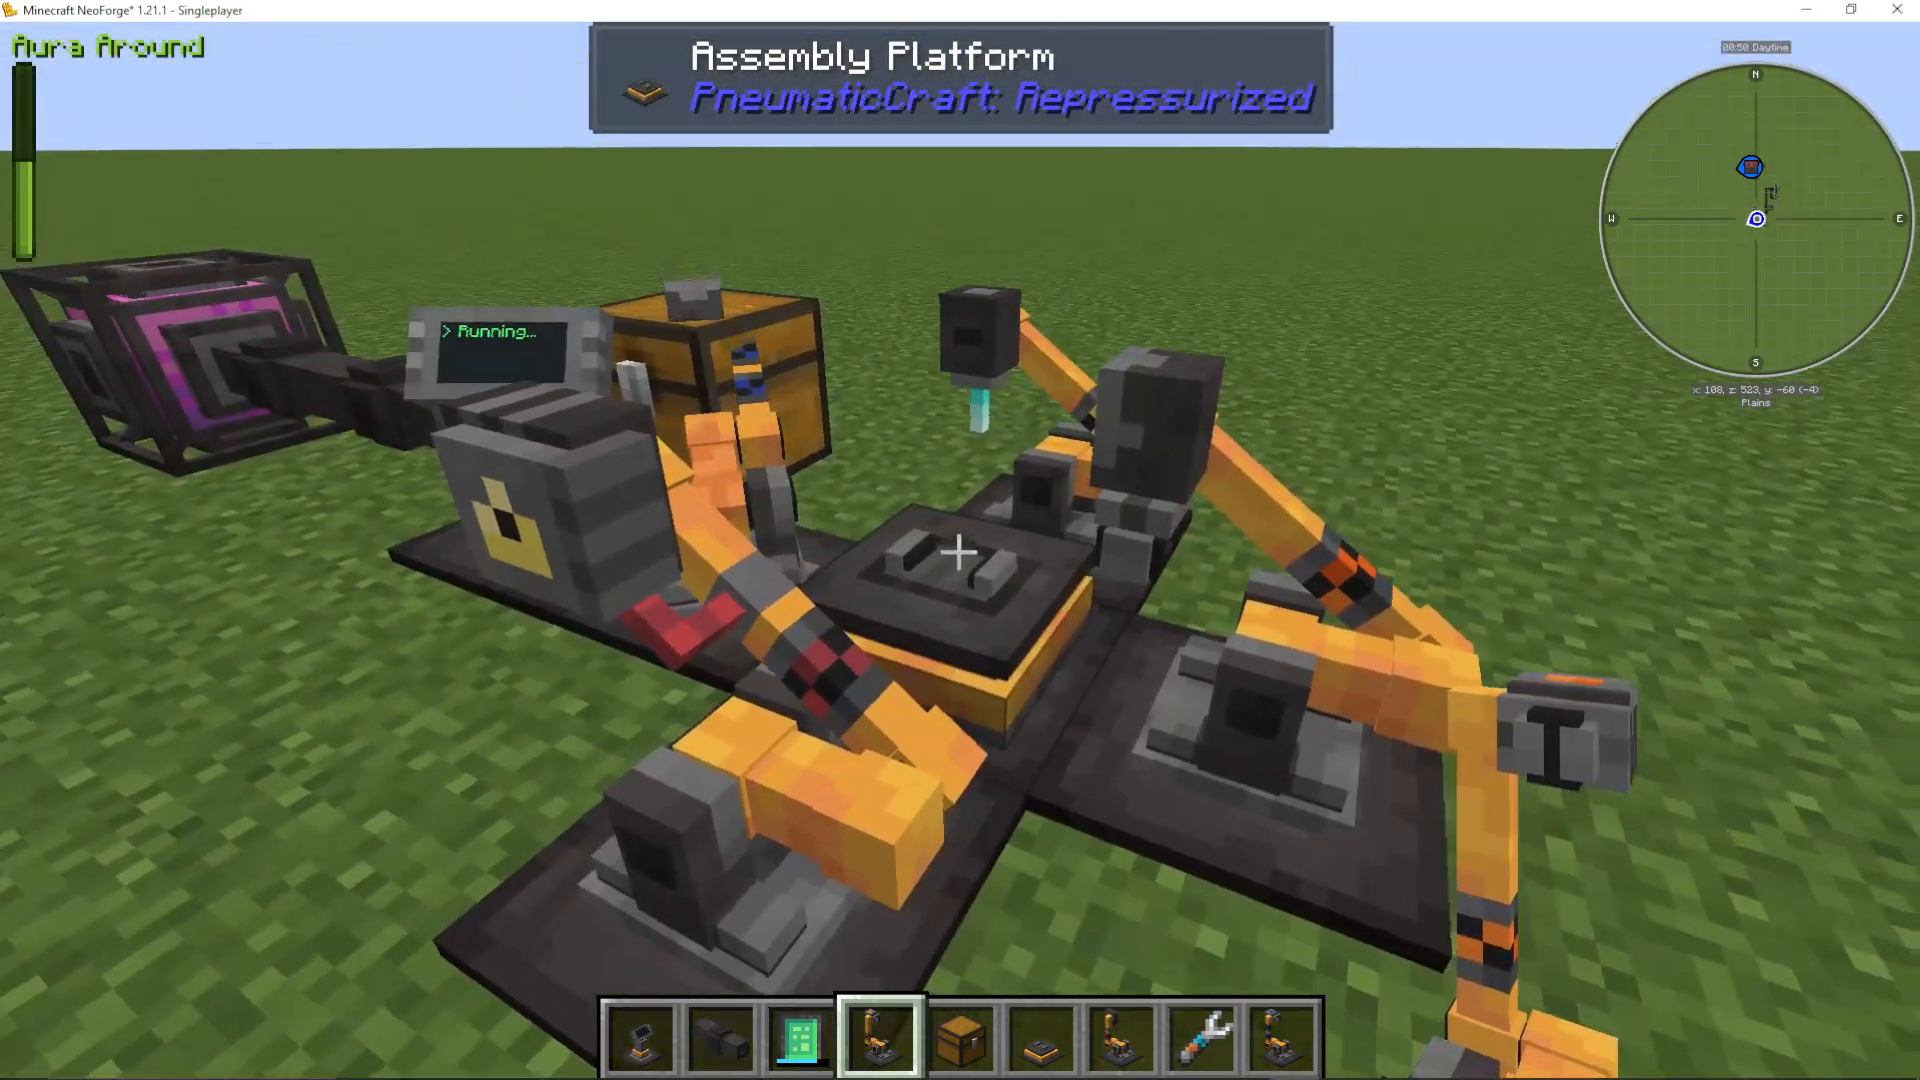
How the Assembly Line Operates
Once configured, your assembly line operates automatically:
The import arm pulls raw materials from the input chest
Items are placed on the assembly platform
The assembly drill (or other machines) processes the item based on the installed program
The export arm pulls completed items and deposits them in the output chest
Discovering Additional Recipes
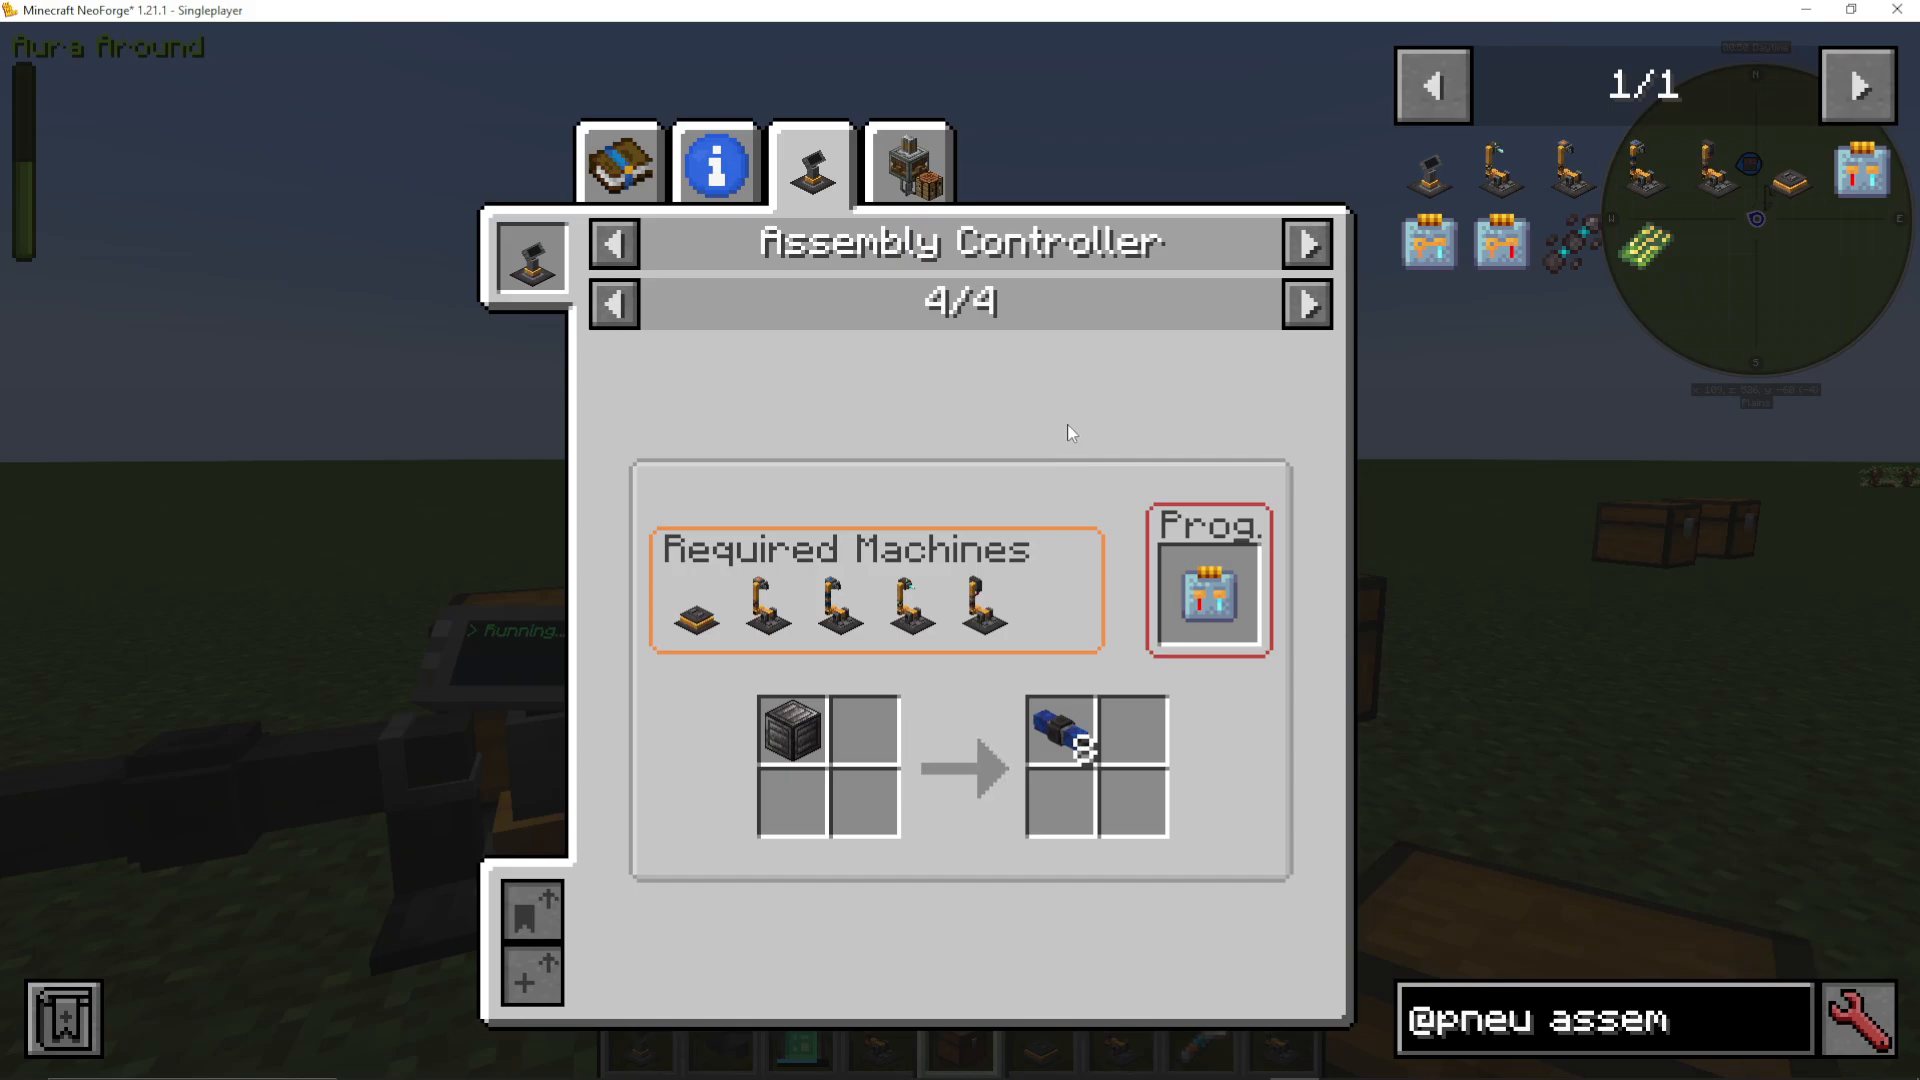
Your assembly line can produce far more than just solar cells. To see all available recipes, check the JEI interface for the assembly controller. You’ll find numerous crafting options including:
Advanced pressure tubes (up to 20 bar variants)
Empty PCBs converted to assembled PCBs (alternative to UV light box)
Compressed iron blocks to advanced pressure tubes (8 tubes per block)
Atherism tiles and smart signs
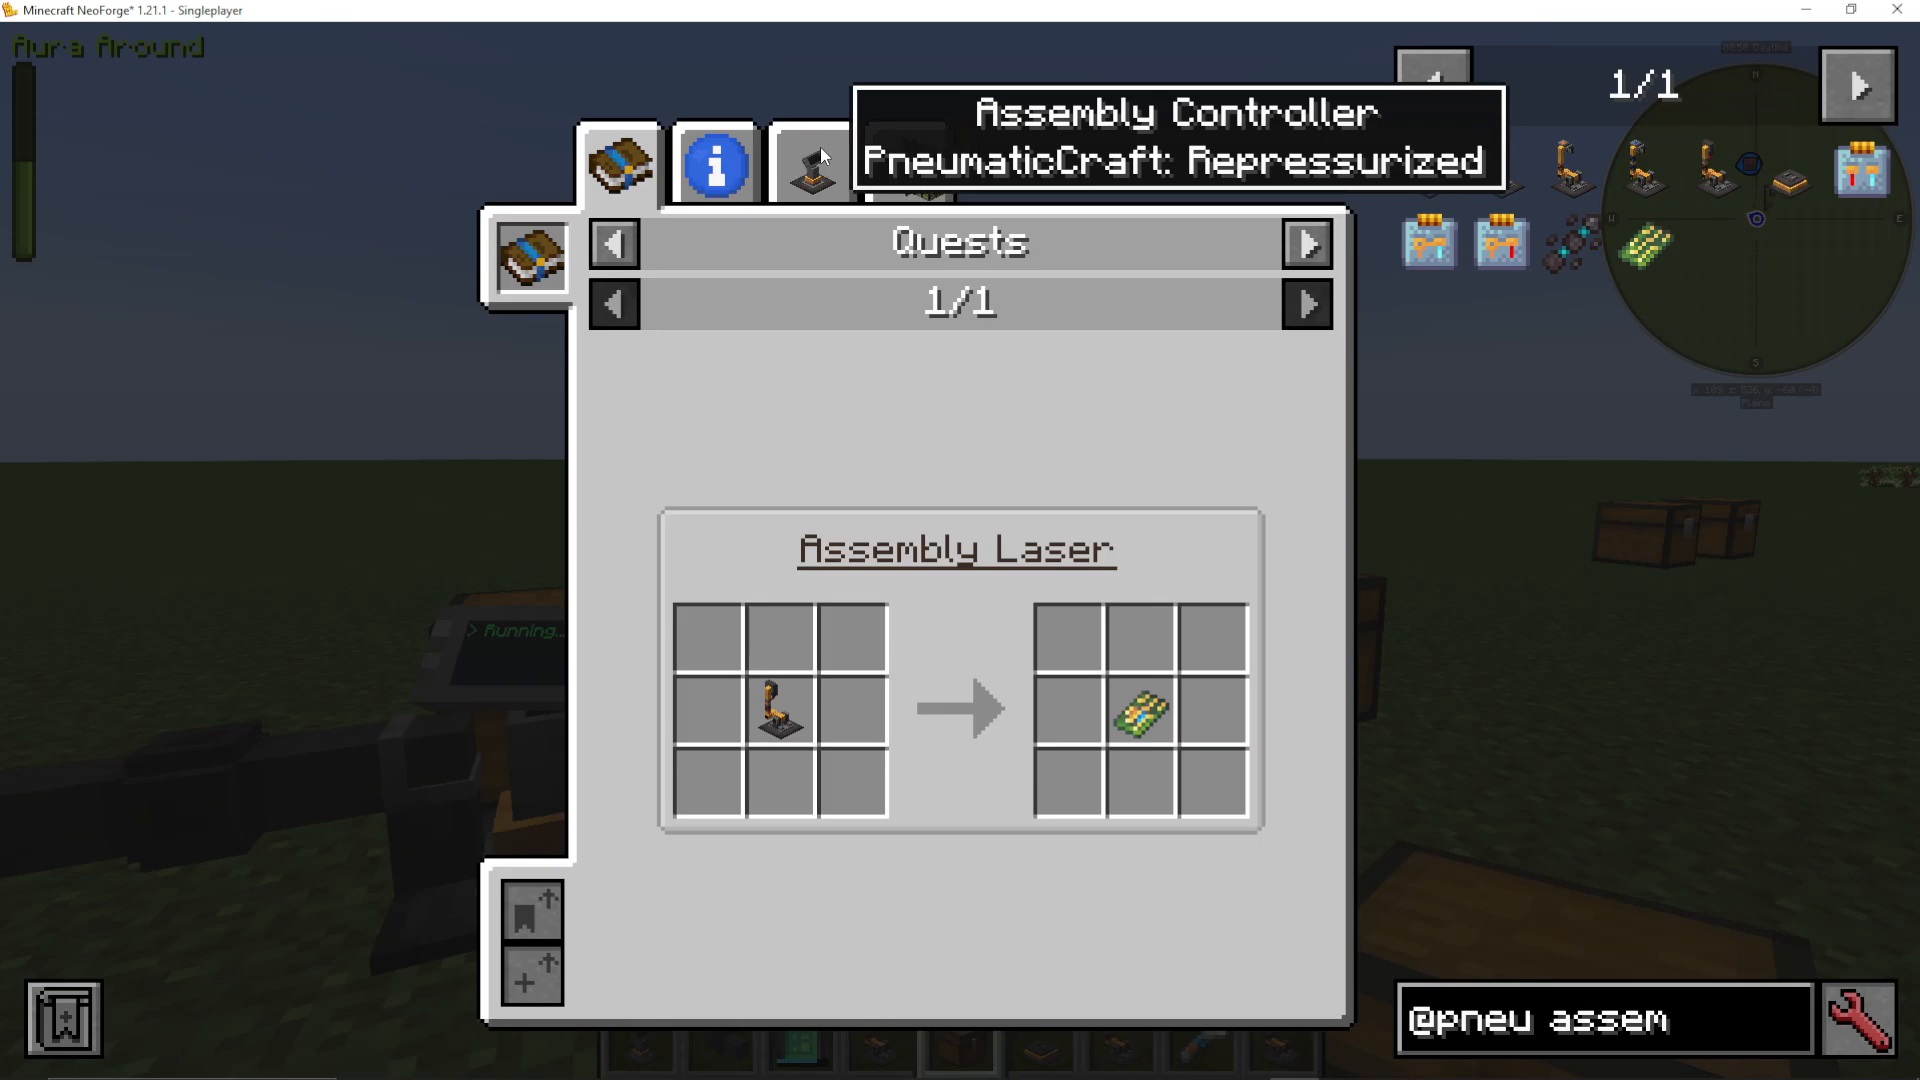
Many recipes require both a drill and laser—the assembly line will automatically use both machines as needed. Always consult JEI to verify which machines and programs your desired recipe requires.
Summary
Assembly lines in PneumaticCraft transform your automation capabilities. By following this step-by-step setup—controller with pressure and upgrades, import arm, assembly platform, processing machines, and export arm—you’ll create efficient production lines for advanced items. The beauty of assembly lines is their simplicity: once configured, they require no further input and automatically produce your desired items. Experiment with different recipes from the JEI interface to unlock the full potential of your PneumaticCraft factory.
— Want to Support? —
If you would like to help us continue making these guides – please consider joining our patreon here – https://www.patreon.com/c/JaviHeals
Alternatively – we host a group of MC Servers you can join here – https://discord.gg/zD7Gjt6MHF



