







How to use Belts, Funnels, Chutes & Tunnels MC Create Mod
How to Use Belts, Funnels, Chutes & Tunnels in Minecraft Create Mod
Once you’ve got some power flowing in the Create Mod, you’ll want to start building farms and processes to automate your gameplay. The mod’s potential is only limited by your imagination. To help you get started, this guide covers the essential items for moving materials around: belts, funnels, depots, chutes, and tunnels. Understanding how these components work together is crucial for creating efficient automated systems.
Getting Started with Belts and Direction Control
The foundation of any Create system is the mechanical belt. To set up your first belt, you’ll need two rotating shafts. In this example, we’re using gear boxes powered by a creative motor for simplicity.
Start by placing your first gear box, which will spin in a particular direction. Next, add another shaft nearby, then craft your mechanical belt from dried kelp. Click the belt between the two shafts to connect them—you’ll see green particles indicating a successful connection. The belt will now move in the direction of the rotating shaft.
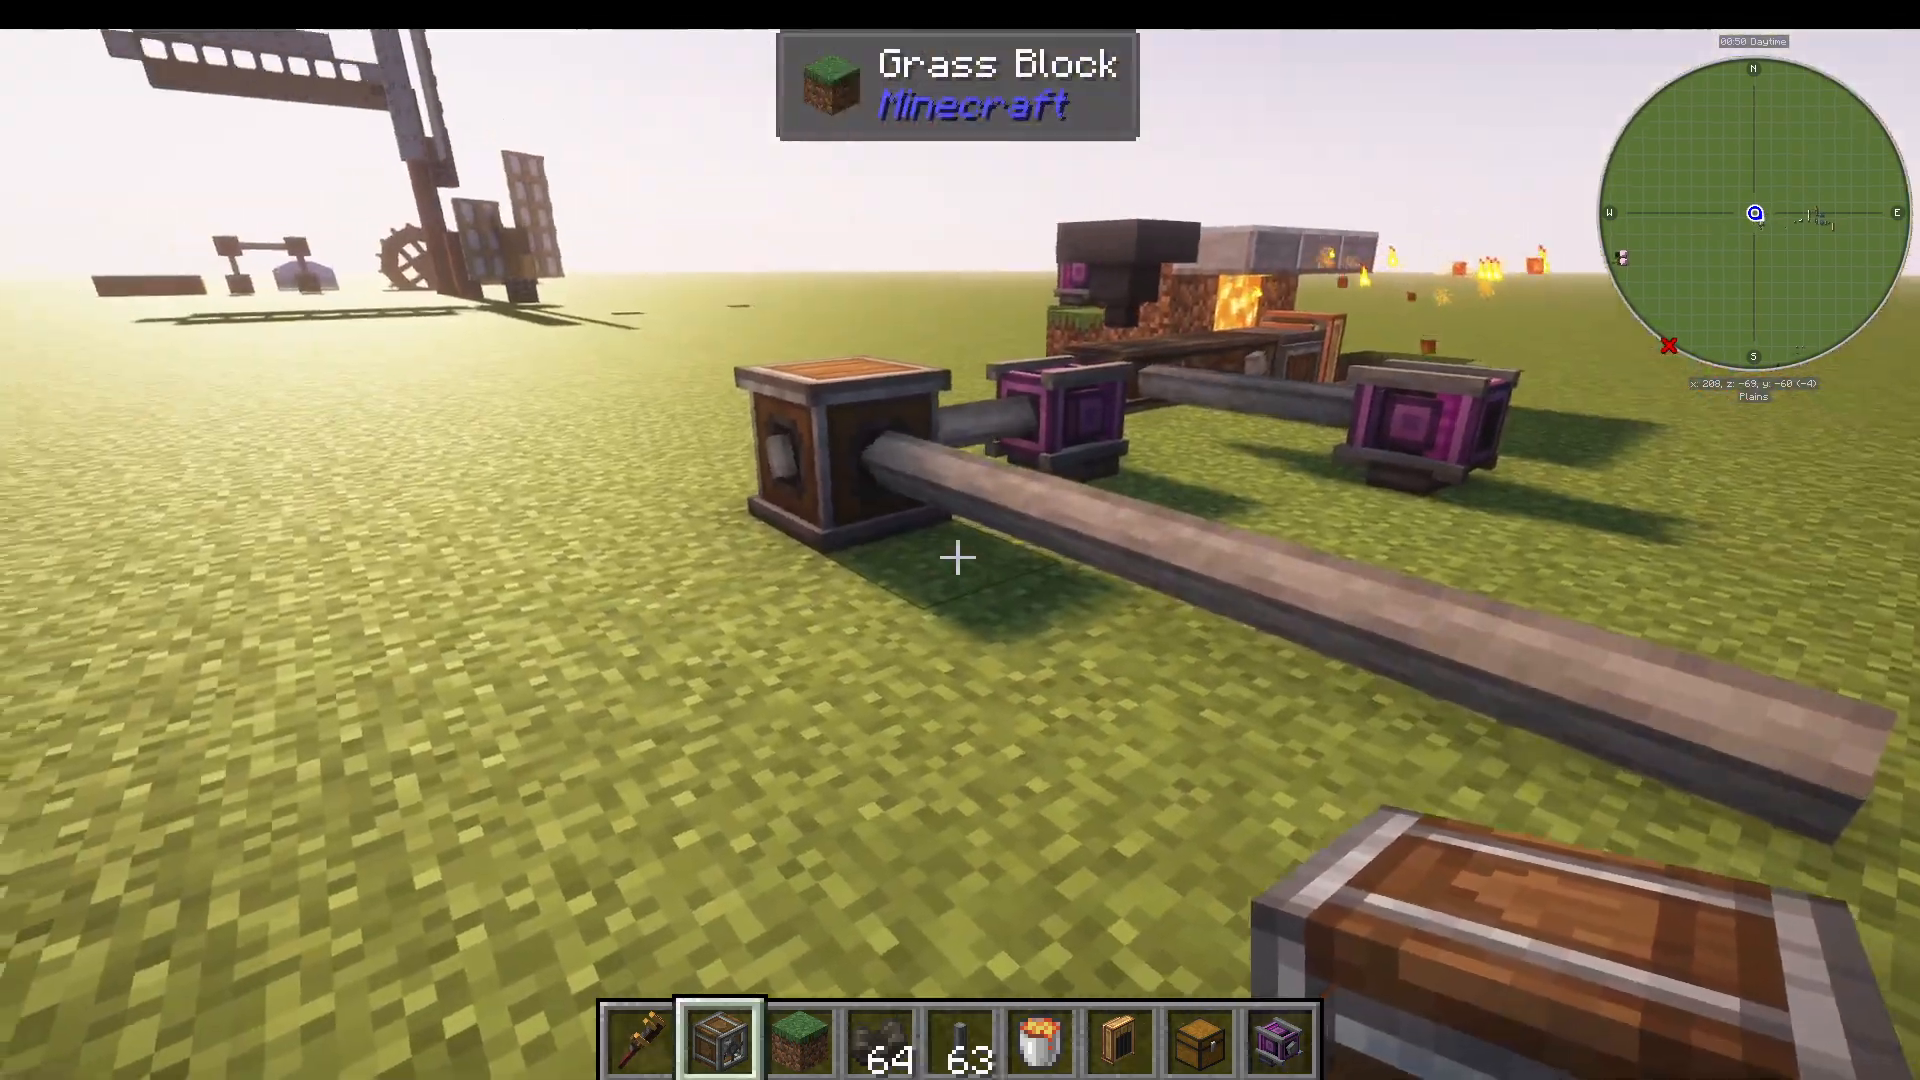
You can test the belt by throwing a shaft onto it; the conveyor will push it off the end automatically. To add or remove shafts from a belt, use your wrench to right-click the connection points.
Changing Belt Direction with Gear Boxes
If you need your belt to move in the opposite direction while still drawing power from the same system, use a second gear box. The orientation of how you place the gear box determines which way the shaft rotates. For example, placing a gear box on the left side of a shaft will spin it the opposite way compared to placing it on the right side.
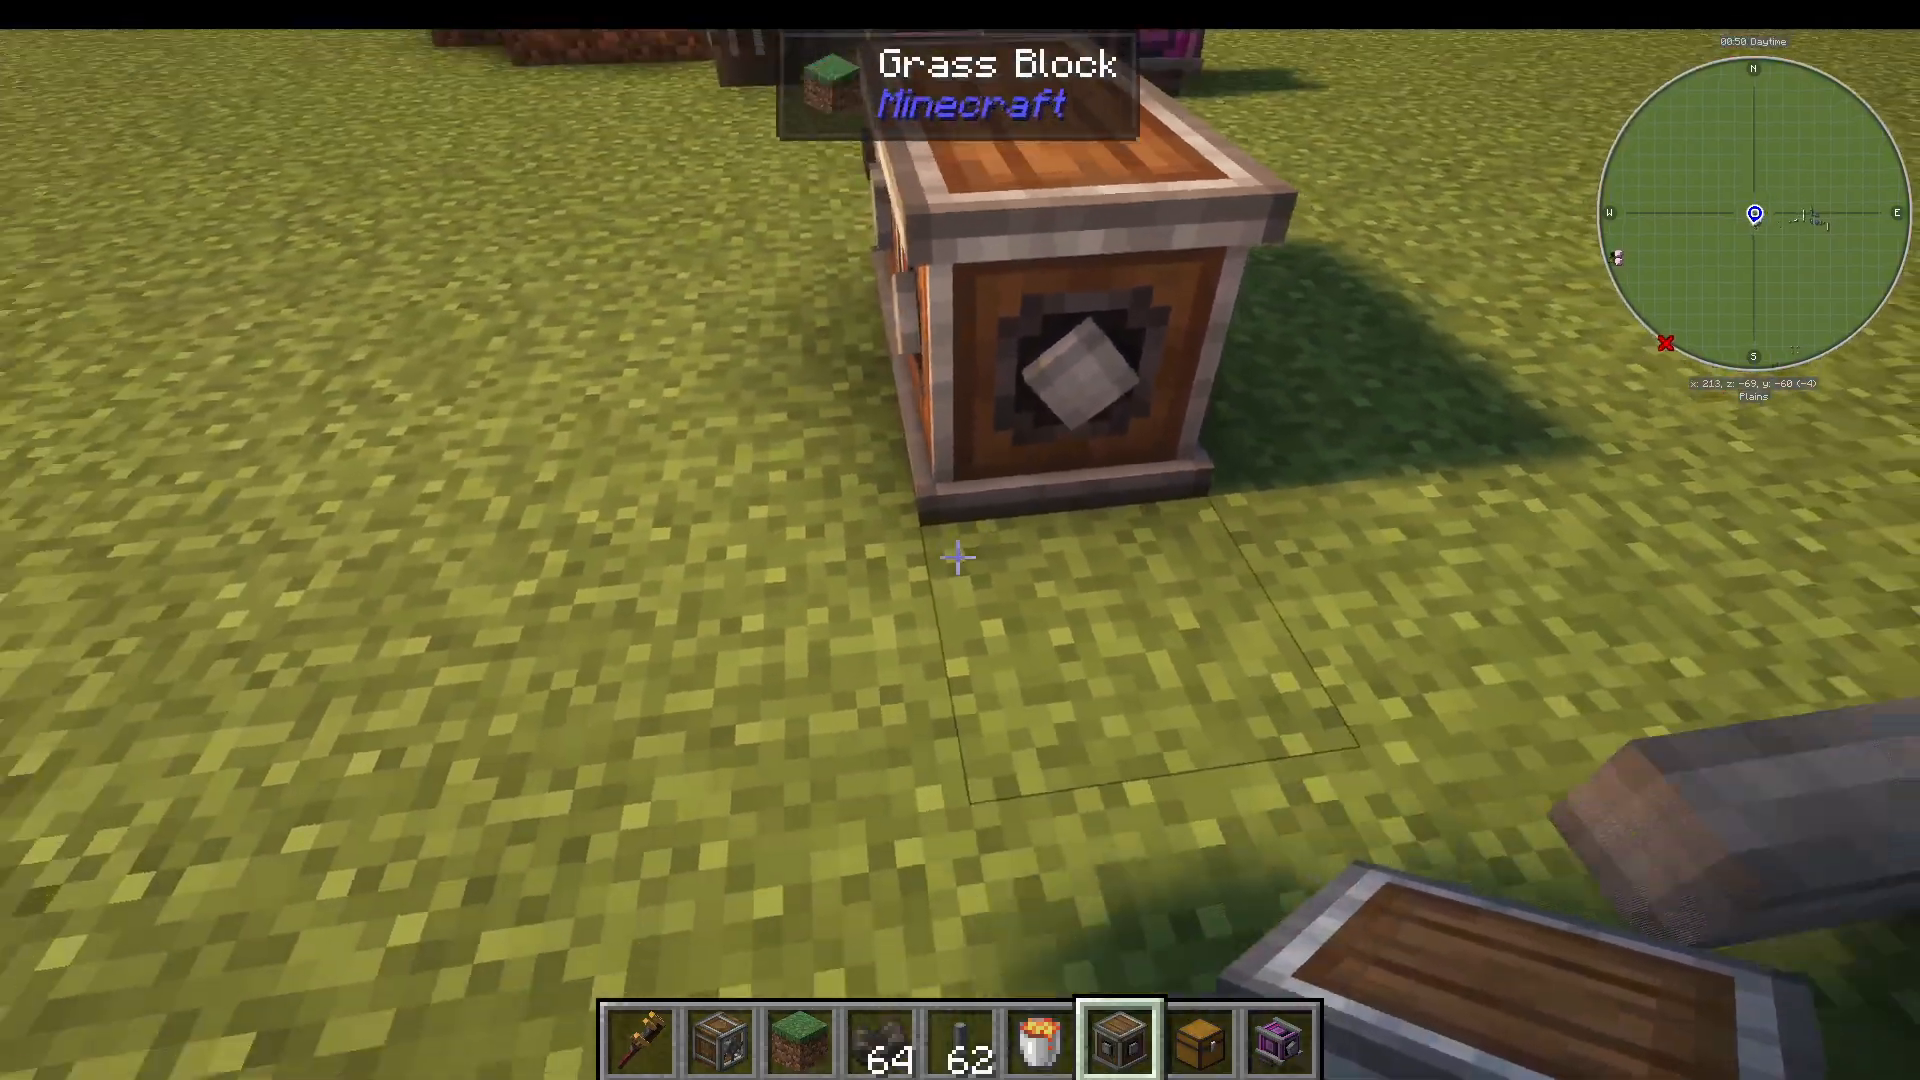
By strategically placing multiple gear boxes, you can create shafts spinning in opposite directions, allowing you to run belts in different directions from a single power source. This technique is fundamental for complex automation setups.
Using Depots to Stop Items
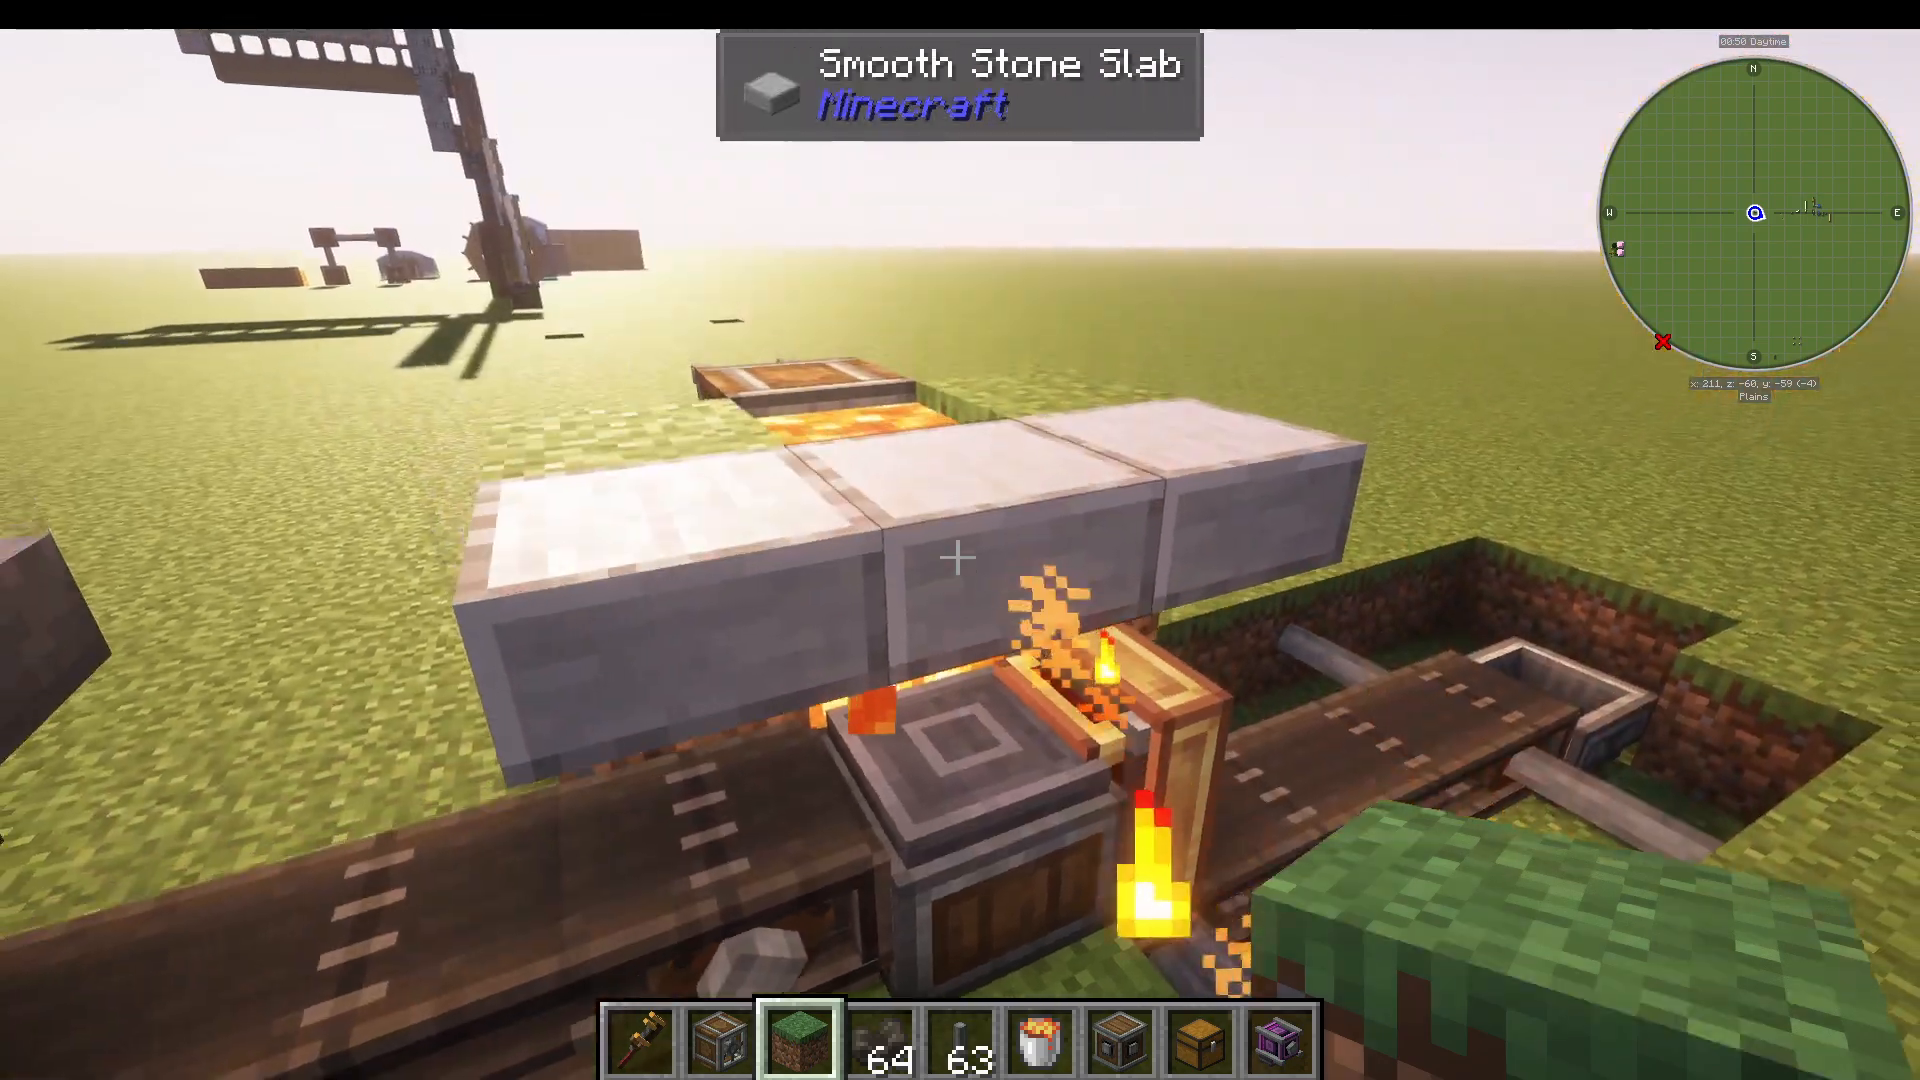
A depot is a simple but essential block that halts items moving across a belt. This allows you to perform operations on items at specific locations before they continue down the conveyor. In the example provided, items are stopped at a depot where an encased fan blows hot air to smelt them.
Funnels: Transferring Items Between Blocks
Andesite Funnels (Basic Version)
Andesite funnels are the basic funnel type and are useful for transferring items between belts and storage blocks like chests. They can be used as inputs or outputs and work on top of chests as well.
When placing an andesite funnel on a conveyor belt, right-click it onto the belt to attach it. To insert the funnel into a chest below, right-click the funnel onto the chest opening. If items are popping out instead of going in, use your wrench to change the arrow direction—pointing down will insert items into storage.
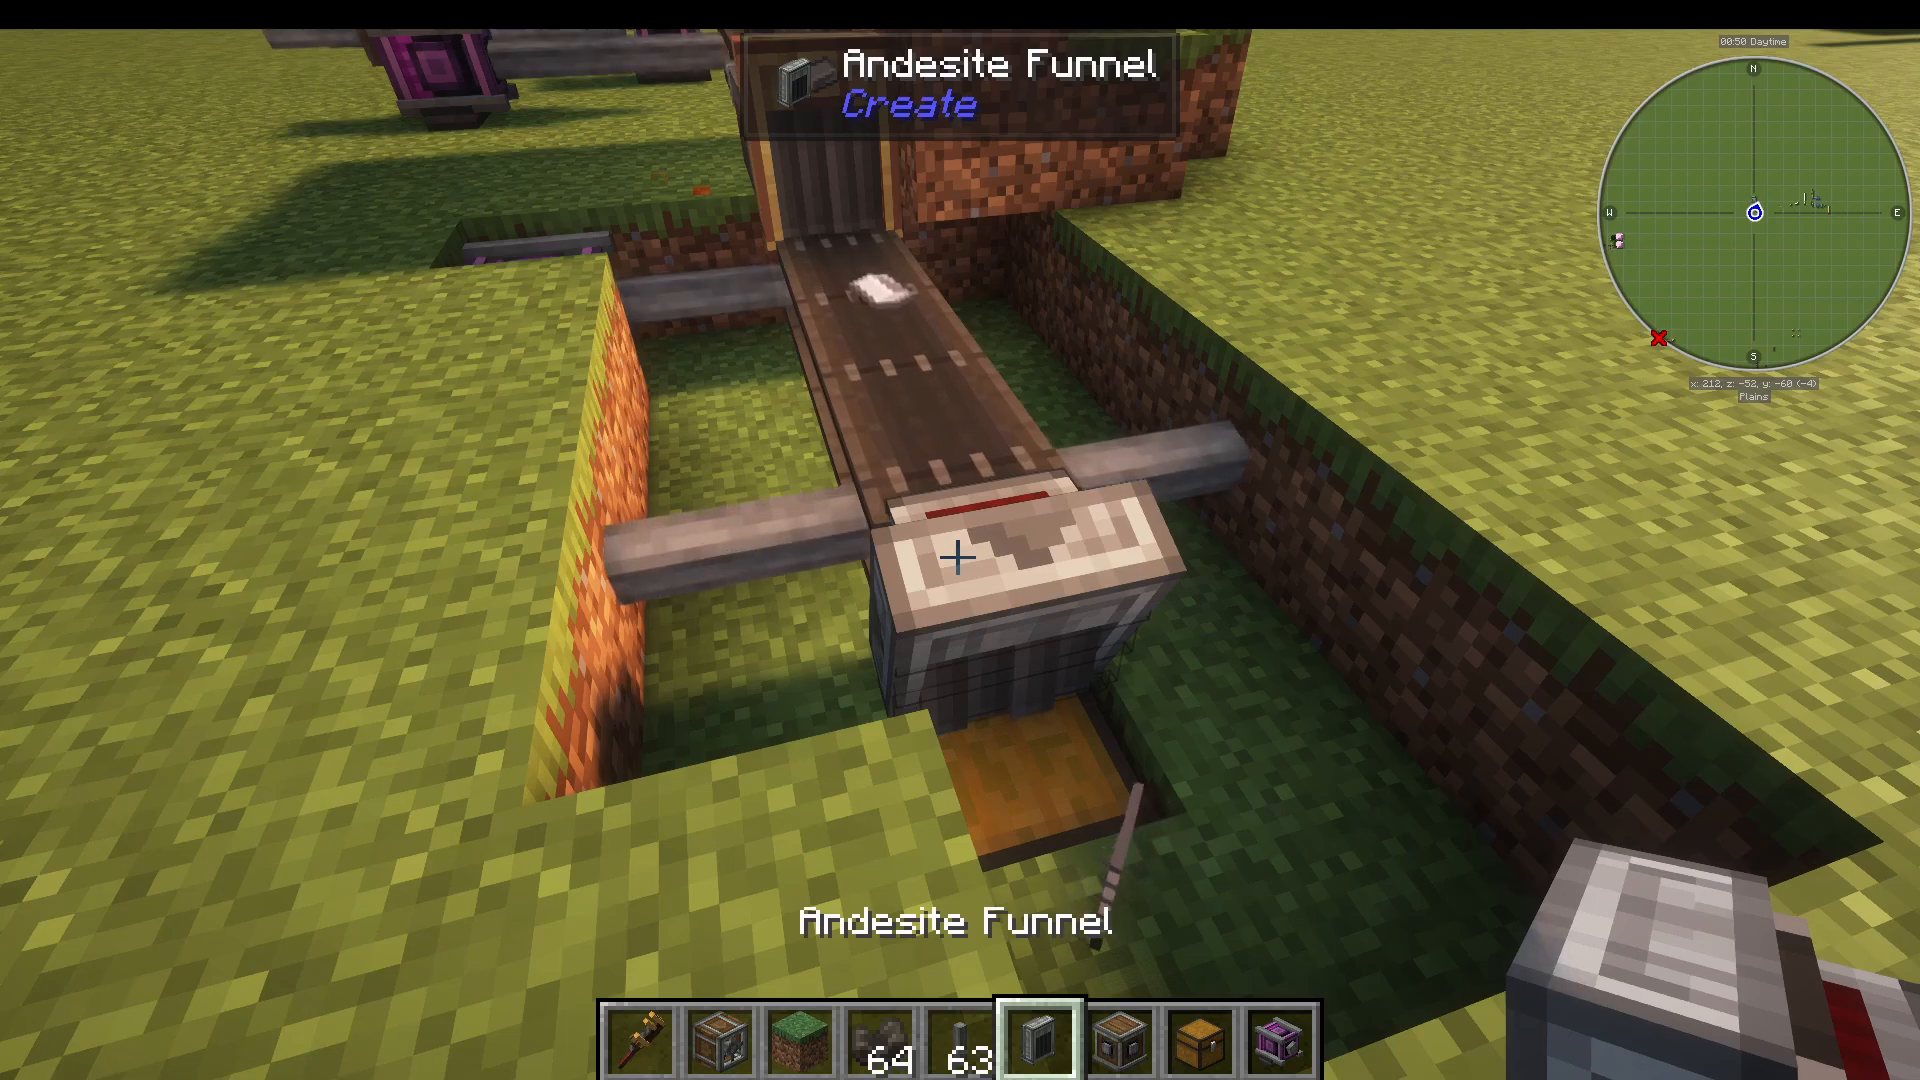
One limitation of andesite funnels is that they cannot extract or insert entire stacks at once. Despite this limitation, they’re perfect for simple item transfer tasks.
Brass Funnels (Advanced Version)
Brass funnels offer significantly more functionality than their andesite counterparts. To craft them, you’ll need electron tubes, polished diorite, quartz, mica, and iron sheets (made with a press). Brass ingots can be crafted using mixers and other Create machines.
The key advantage of brass funnels is filtering capability. Right-click an item onto a brass funnel to filter it—only items matching that type will be extracted by the funnel. For example, if you right-click an iron ingot onto a brass funnel above a smelter output, only iron ingots will be pulled into the funnel, leaving raw ore behind to continue smelting.
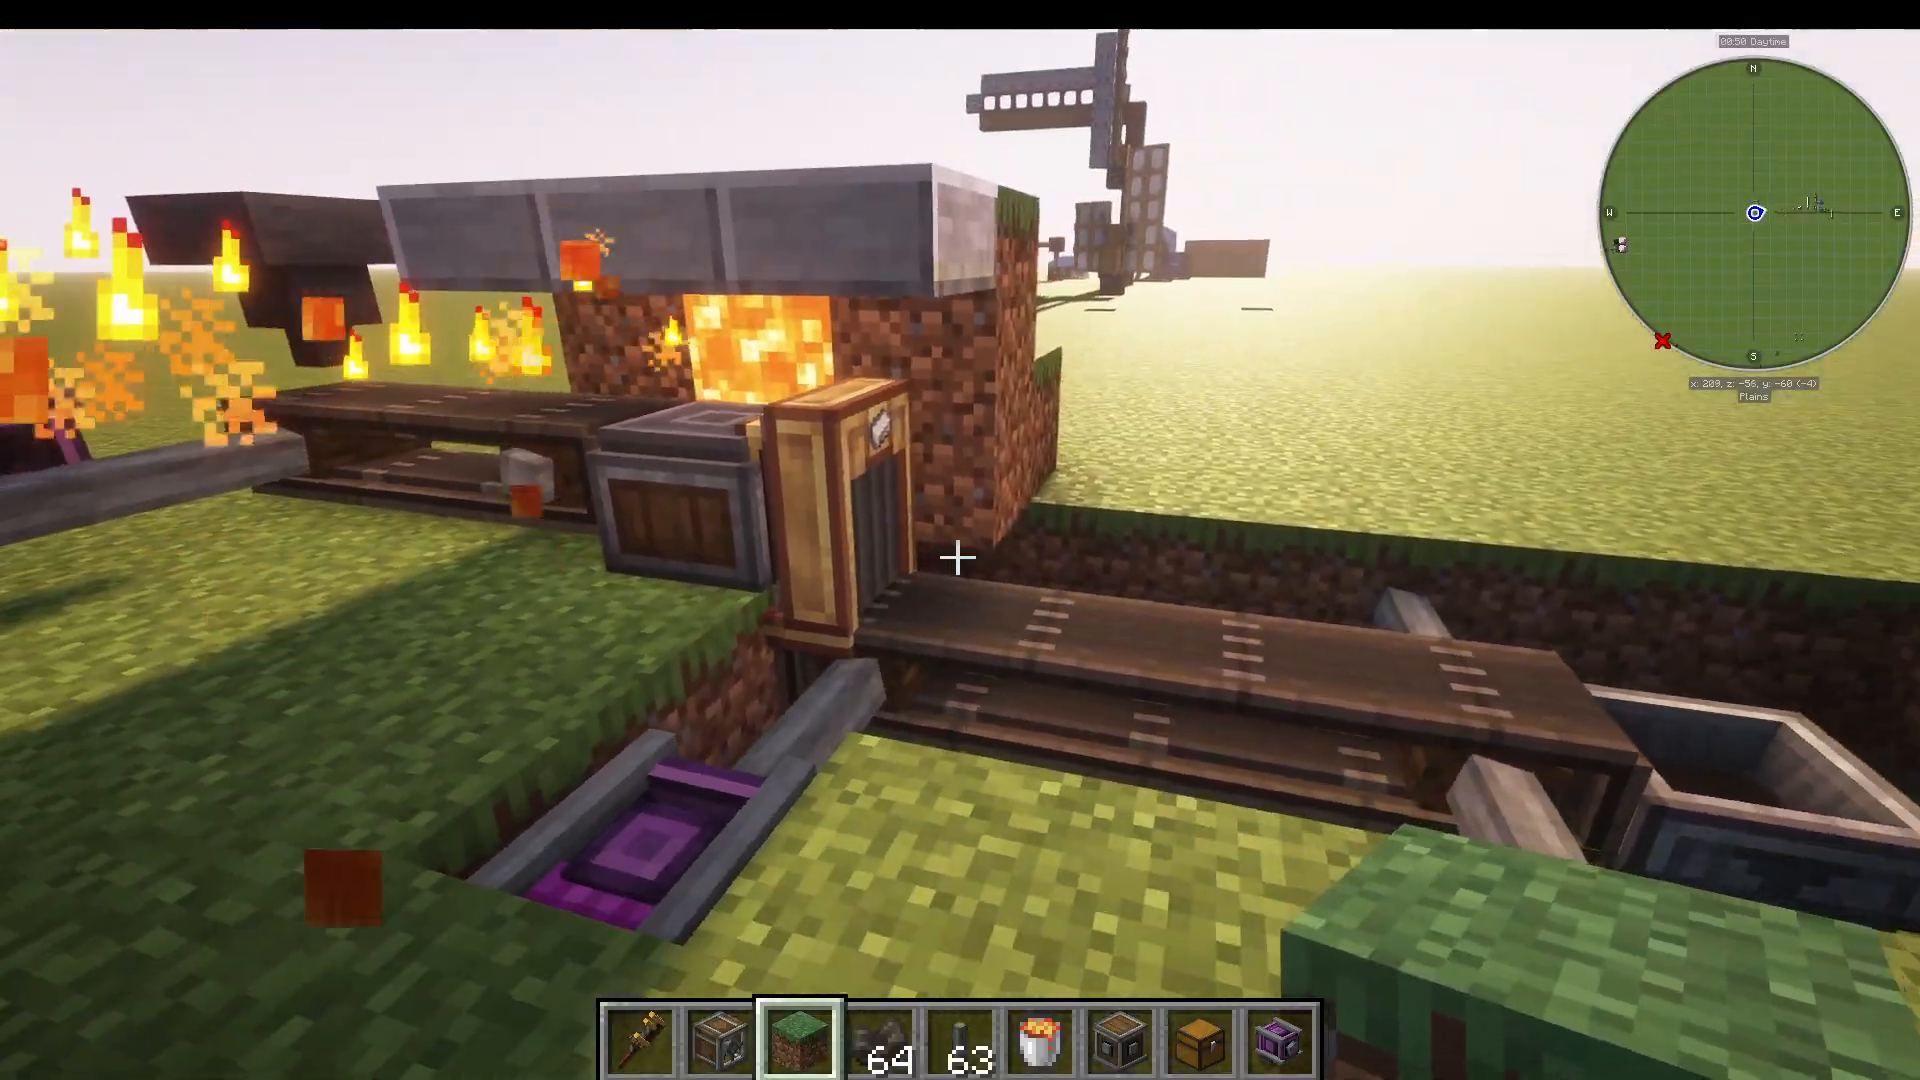
Additionally, brass funnels can extract or insert entire stacks at once, making them far more efficient for high-throughput systems.
Practical Example: Iron Ore Processing Line
Here’s a complete automation setup demonstrating belts and funnels working together:
Iron ore drops from a hopper onto a conveyor belt
Items are stopped at a depot where an encased fan with lava smelts the ore into ingots
A brass funnel filtered for iron ingots pulls only completed ingots off the belt
Ingots travel down a second conveyor belt
An andesite funnel deposits the ingots into a storage chest below
Chutes: Vertical Item Transport
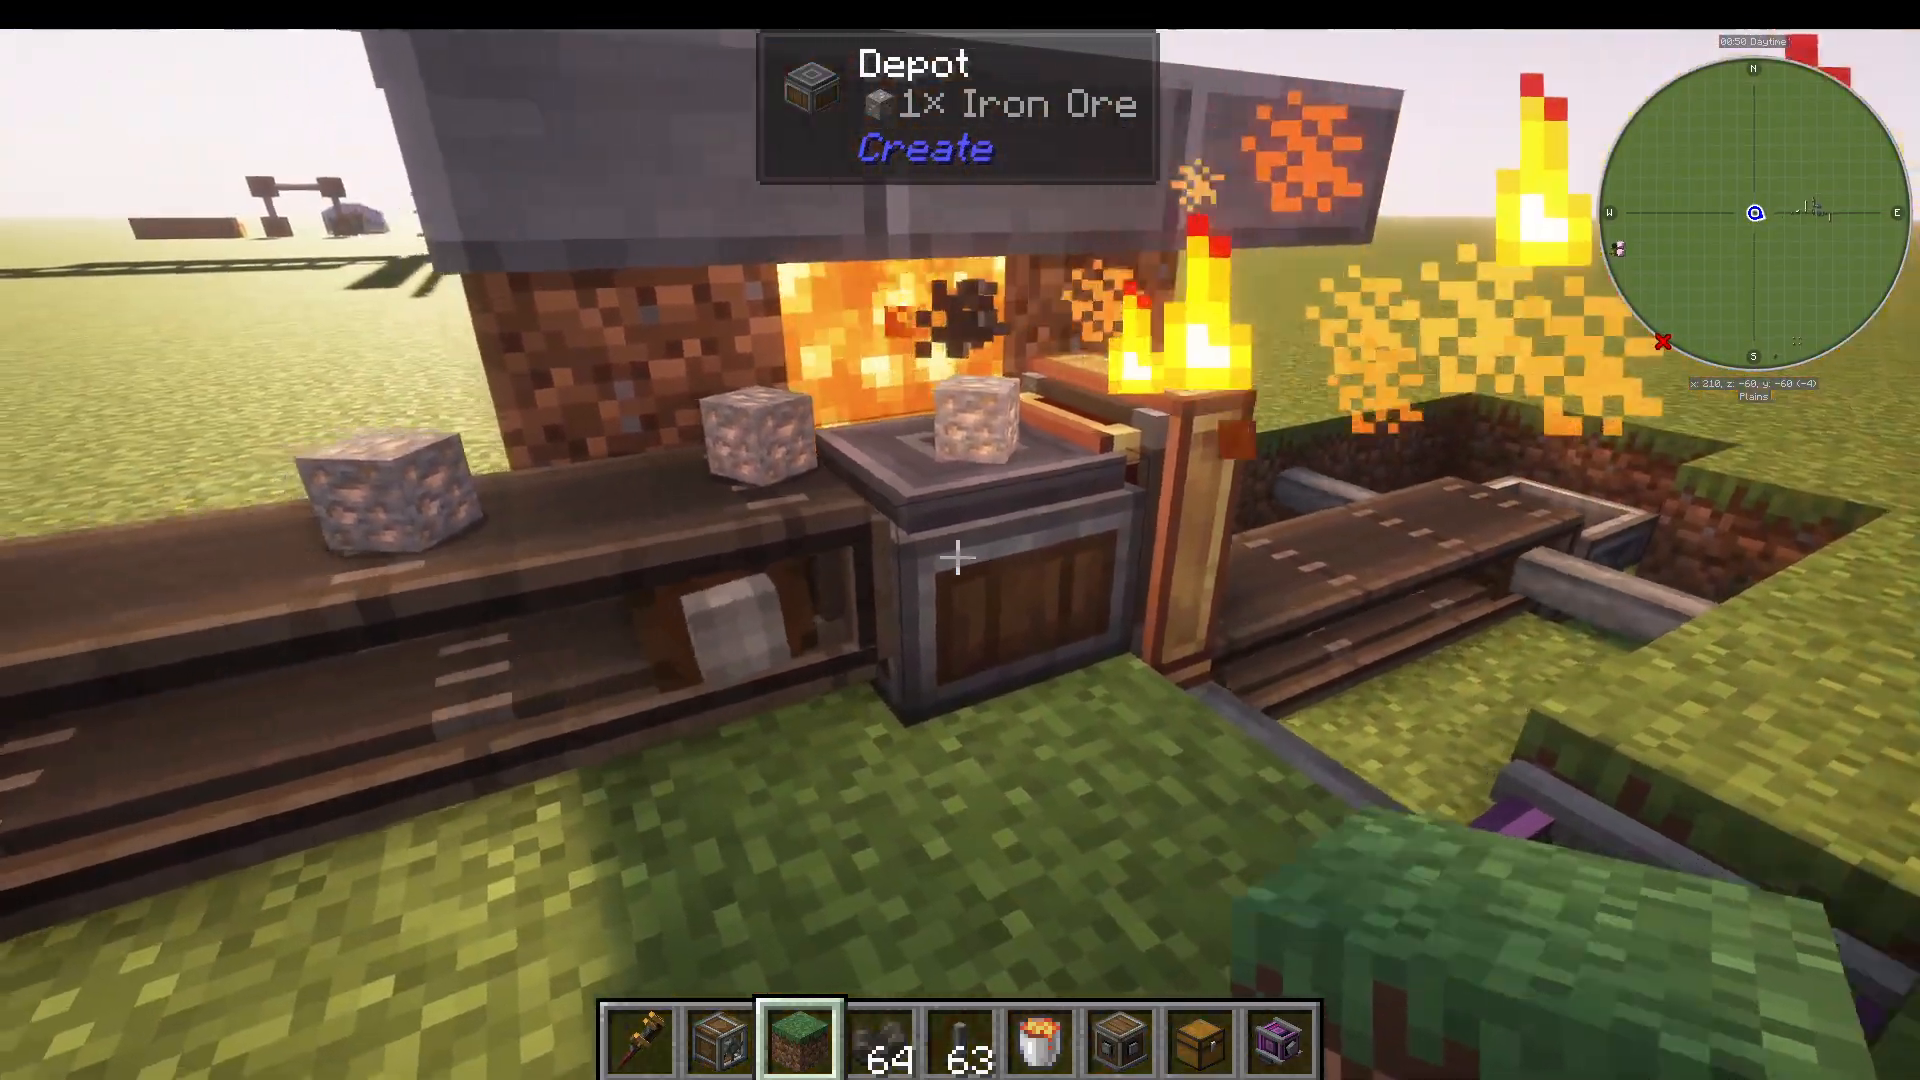
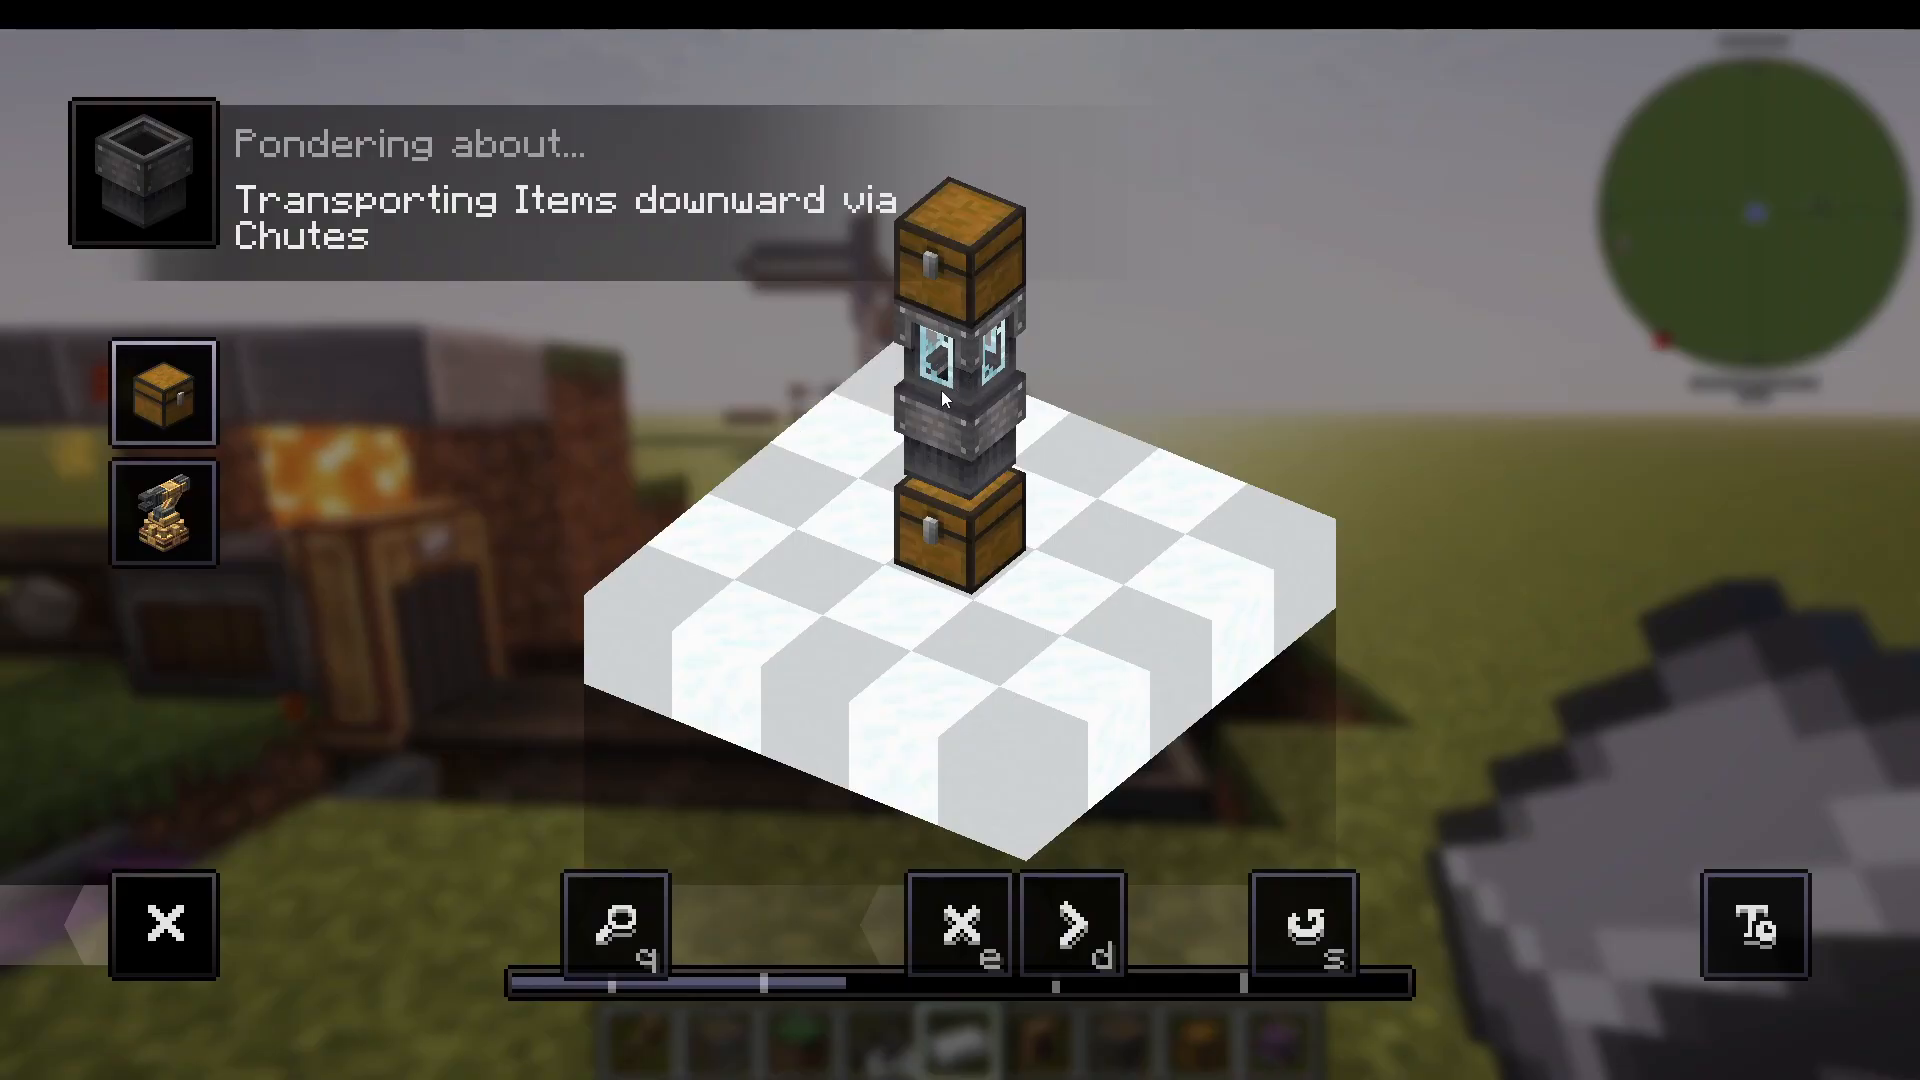
Chutes function as Create’s equivalent to hoppers and are useful for moving items vertically. They can be crafted as open chutes or enclosed using industrial iron for a cleaner appearance.
Using your wrench, you can add windows to chutes for viewing items inside. You can stack multiple chutes together and even orient them diagonally to create complex vertical pathways.
Using Encased Fans with Chutes
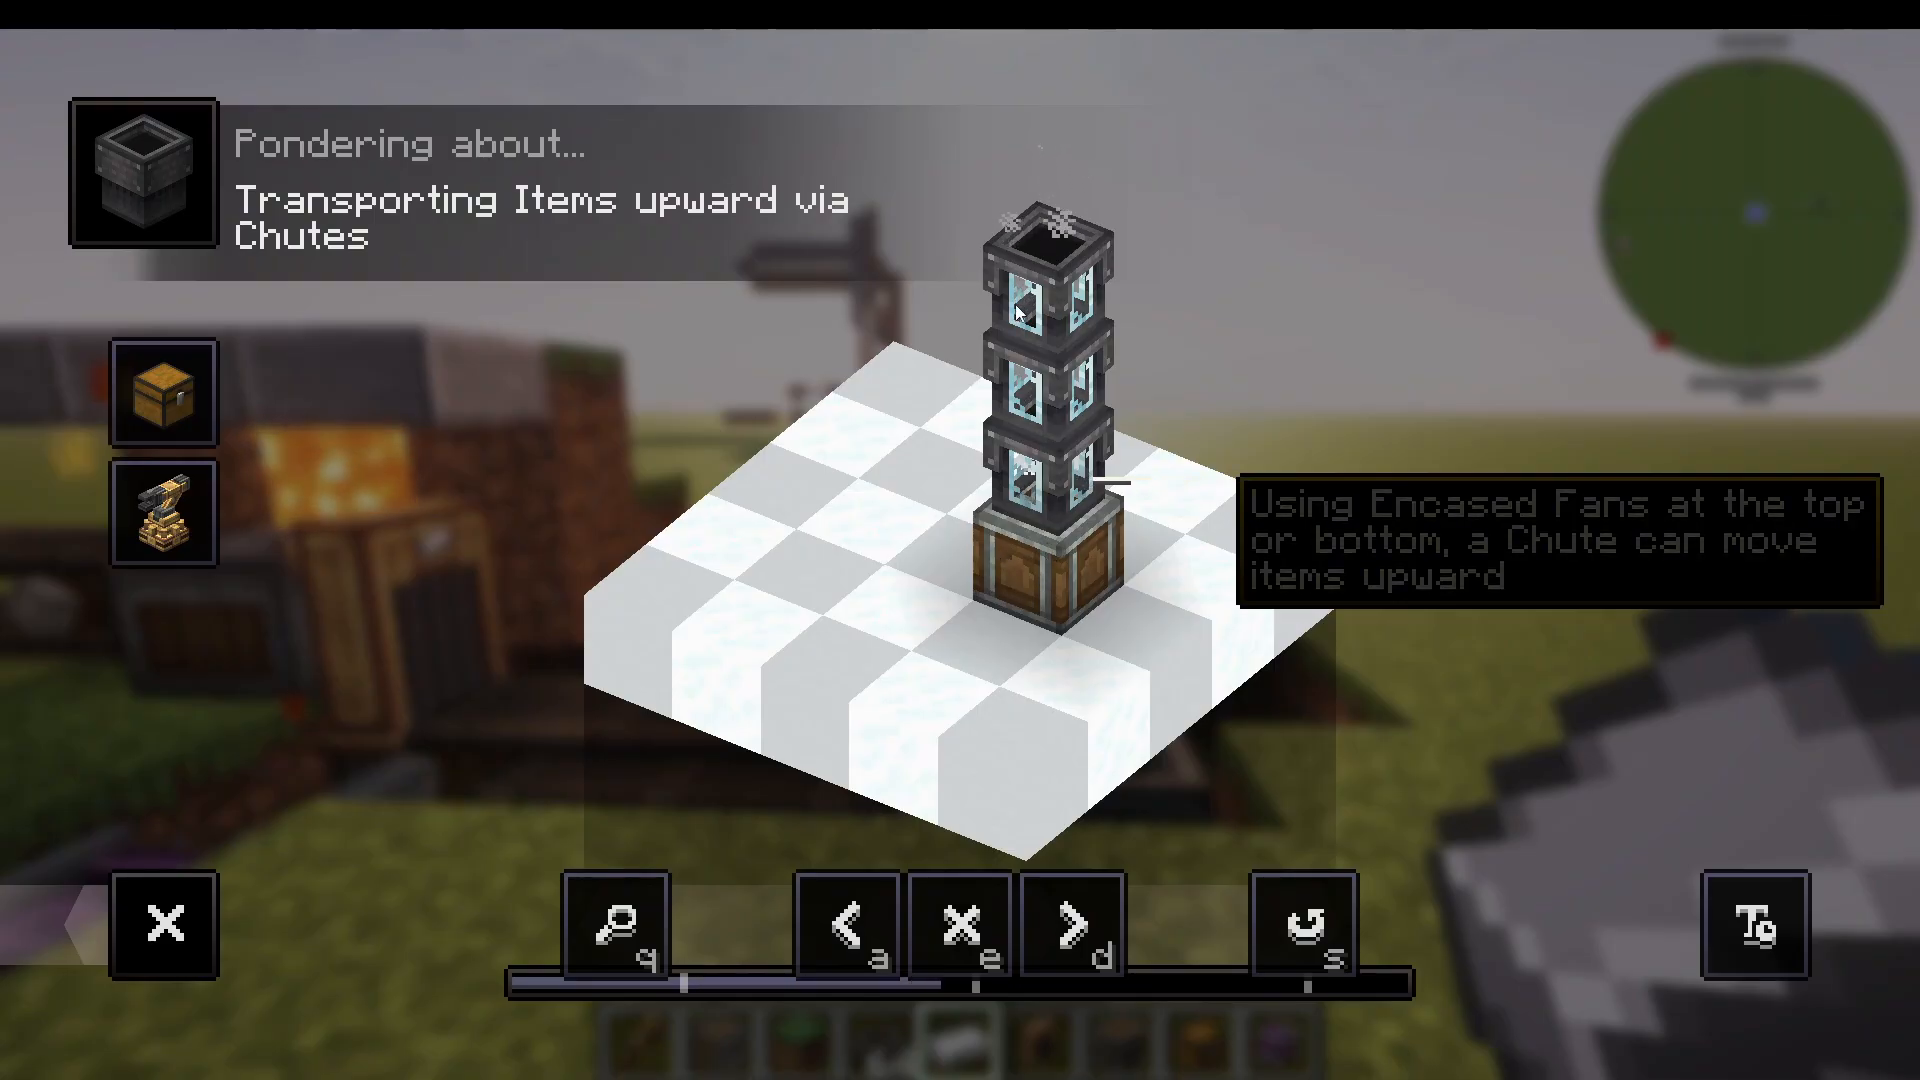
Encased fans can blow items up through chutes, allowing upward transport of materials. In this setup, items enter from the side, travel up the chute pushed by the fan, and exit into a funnel at the top before continuing to their destination. This is an efficient alternative to using multiple belt levels.
Smart Chutes
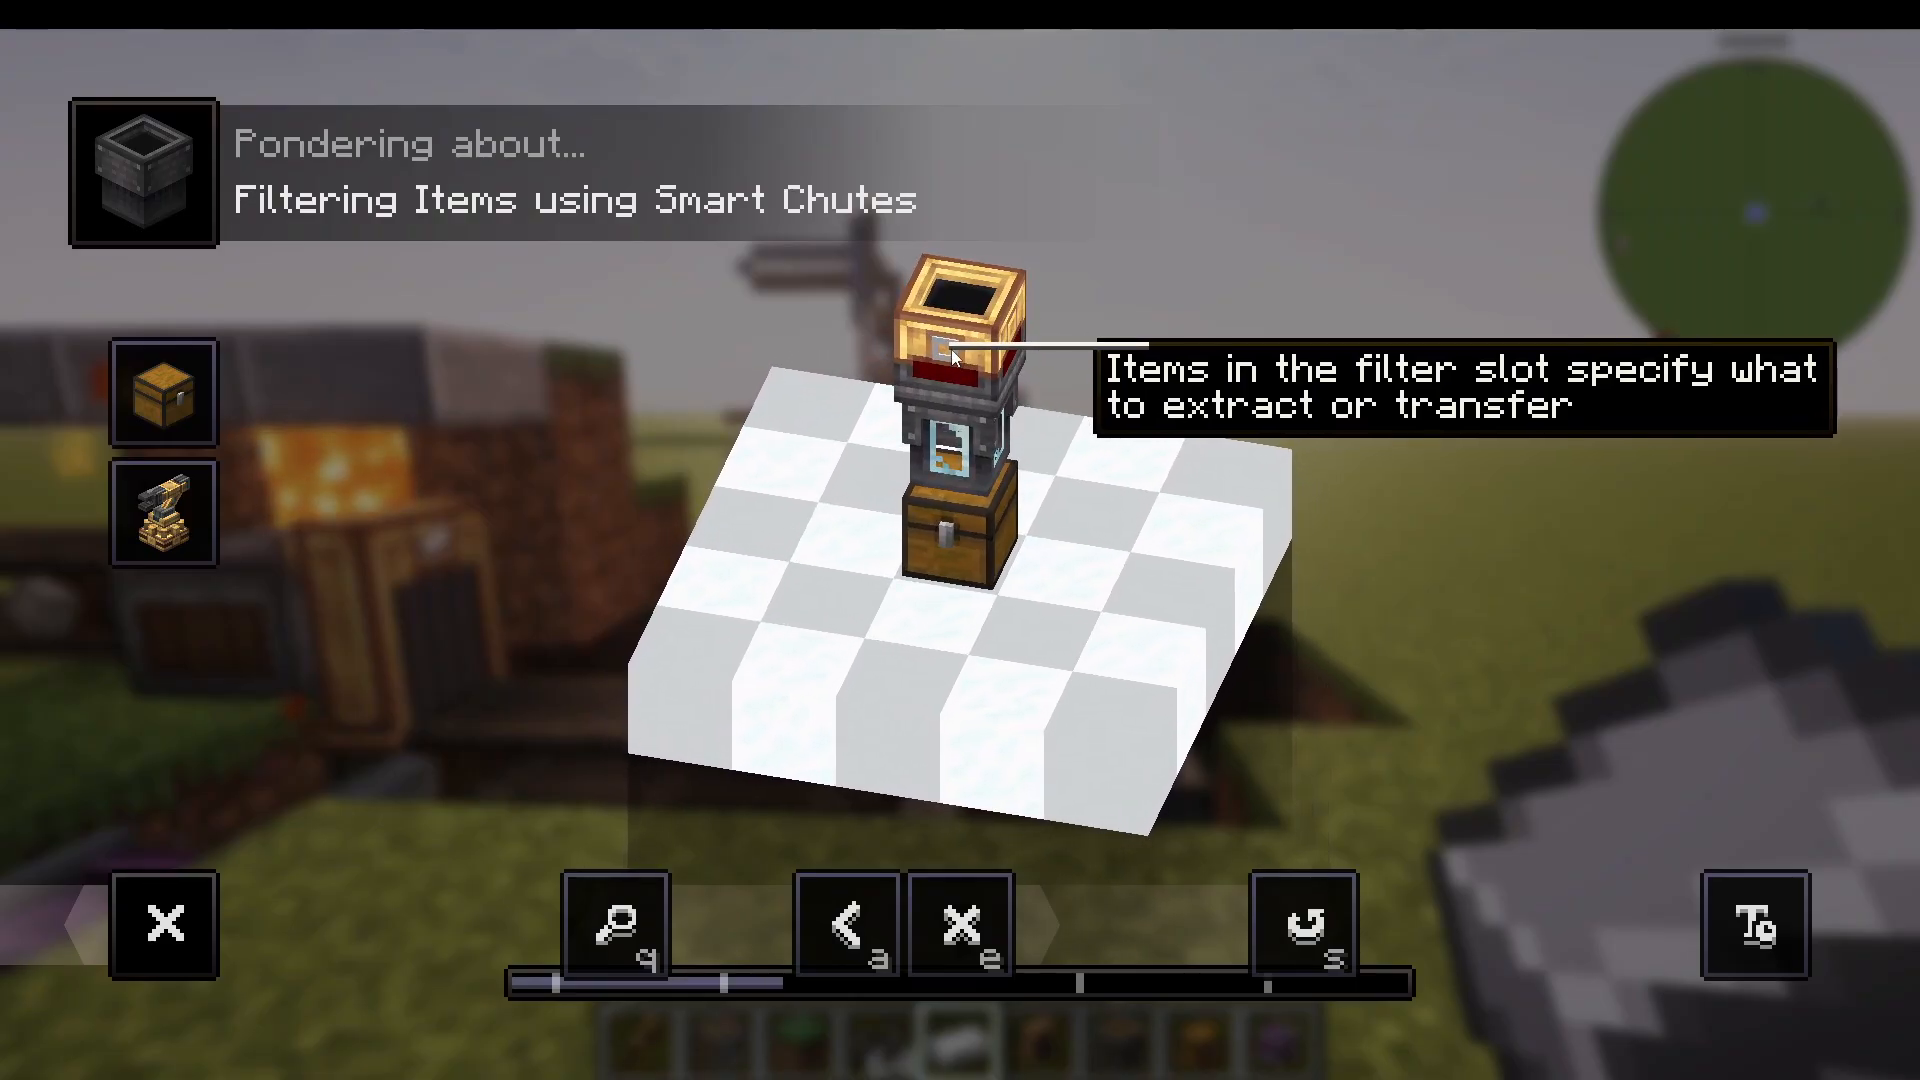
Smart chutes are virtual chutes with advanced filtering options. Like brass funnels, you can right-click an item onto a smart chute to filter it so only that item type passes through. You can also specify stack sizes, controlling exactly how many items flow through at once.
Tunnels: Covering and Routing Belts
Andesite Tunnels (Basic Routing)
Tunnels serve a dual purpose: they cover up your belts aesthetically and provide basic item routing. Andesite tunnels have simple behavior—individual items pass straight through, but when a full stack arrives, one item is diverted downward through the tunnel exit while the rest continue forward.
To use an andesite tunnel, place it on your conveyor belt. Individual items will always go straight through. However, if you drop a full stack of items (for example, 64 items plus a partial stack of 3), the tunnel will split off one item downward and let the rest continue.
This makes andesite tunnels useful purely for aesthetic purposes or very specific single-item extraction scenarios. The real advantage of tunnels is that they allow you to walk on your belts without getting knocked around by moving items.
Brass Tunnels (Advanced Routing)
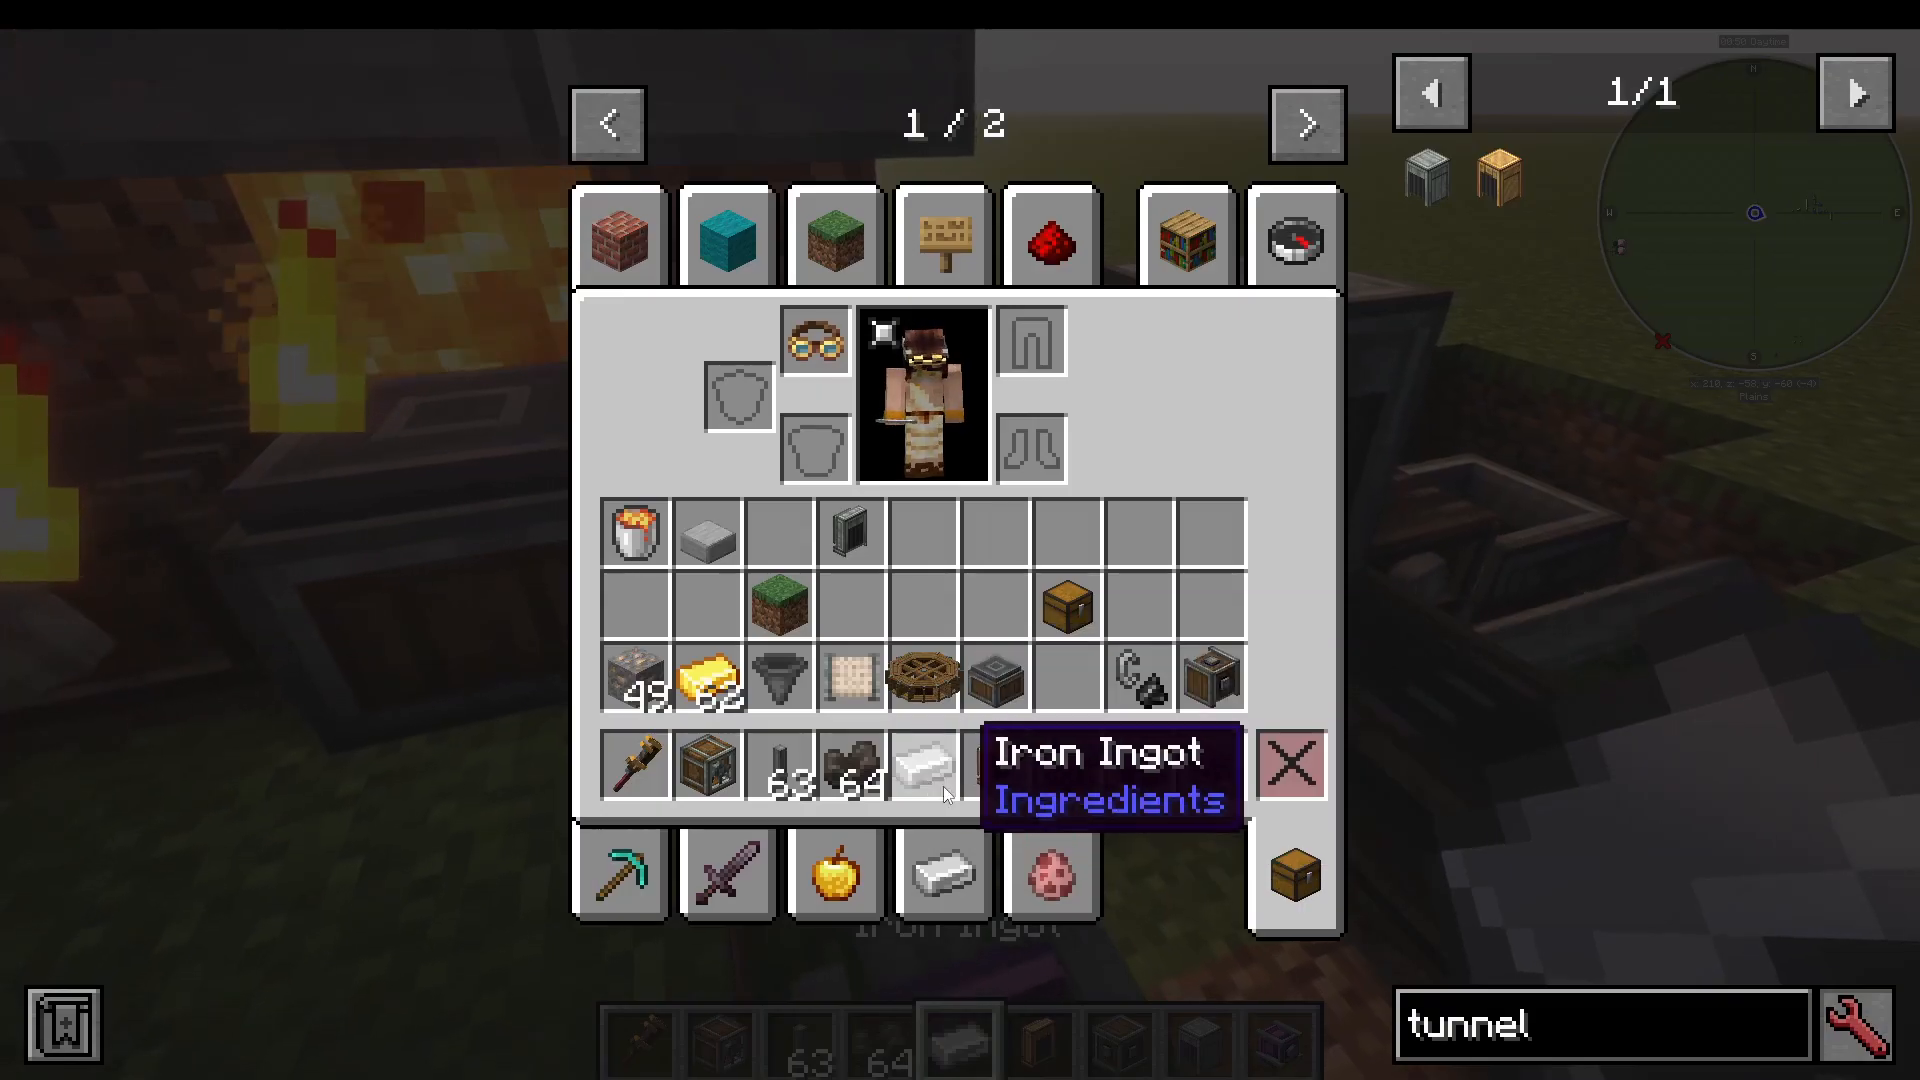
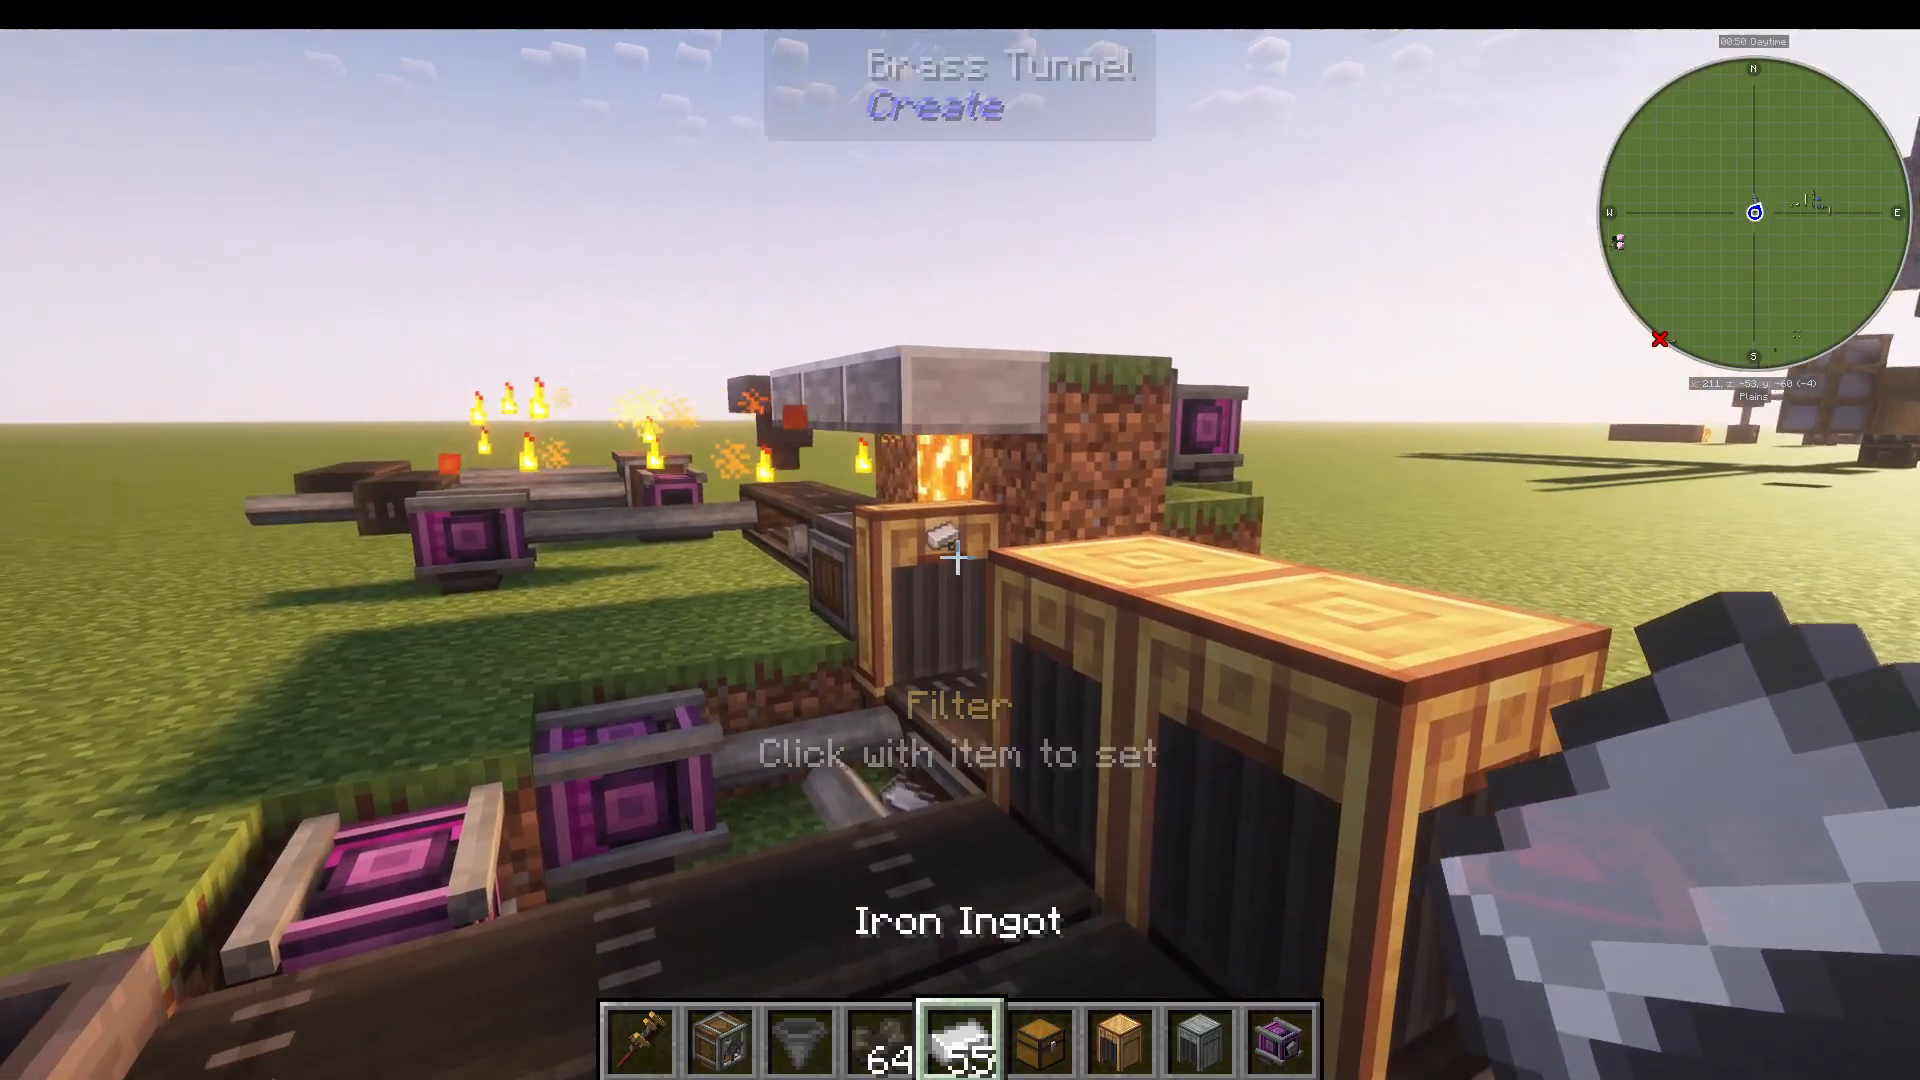
Brass tunnels are far more intelligent and customizable. They allow you to filter items just like funnels—right-click an item onto a brass tunnel exit to filter that item type to that output.
For example, you can configure a brass tunnel so that chests always exit from the left side while iron ingots exit from the right side. This enables complex sorting and routing in a single block.
Brass Tunnel Routing Modes
Right-click and hold on a brass tunnel to access advanced routing modes:
Split: Distributes items evenly between all available exits
Forced Split: Ensures items are split between all exits even if some are blocked
Round Robin: Cycles items through exits in order (first item goes left, second goes right, third goes left, etc.)
Forced Round Robin: Ensures round-robin distribution even if an exit is blocked
Prefer Nearest: Sends all items to the nearest available exit until it’s full, then switches to the next
Random: Randomly distributes items to available exits
Synchronize Inputs: Causes items to exit all sides simultaneously, perfect for large factory setups where synchronized processing is required
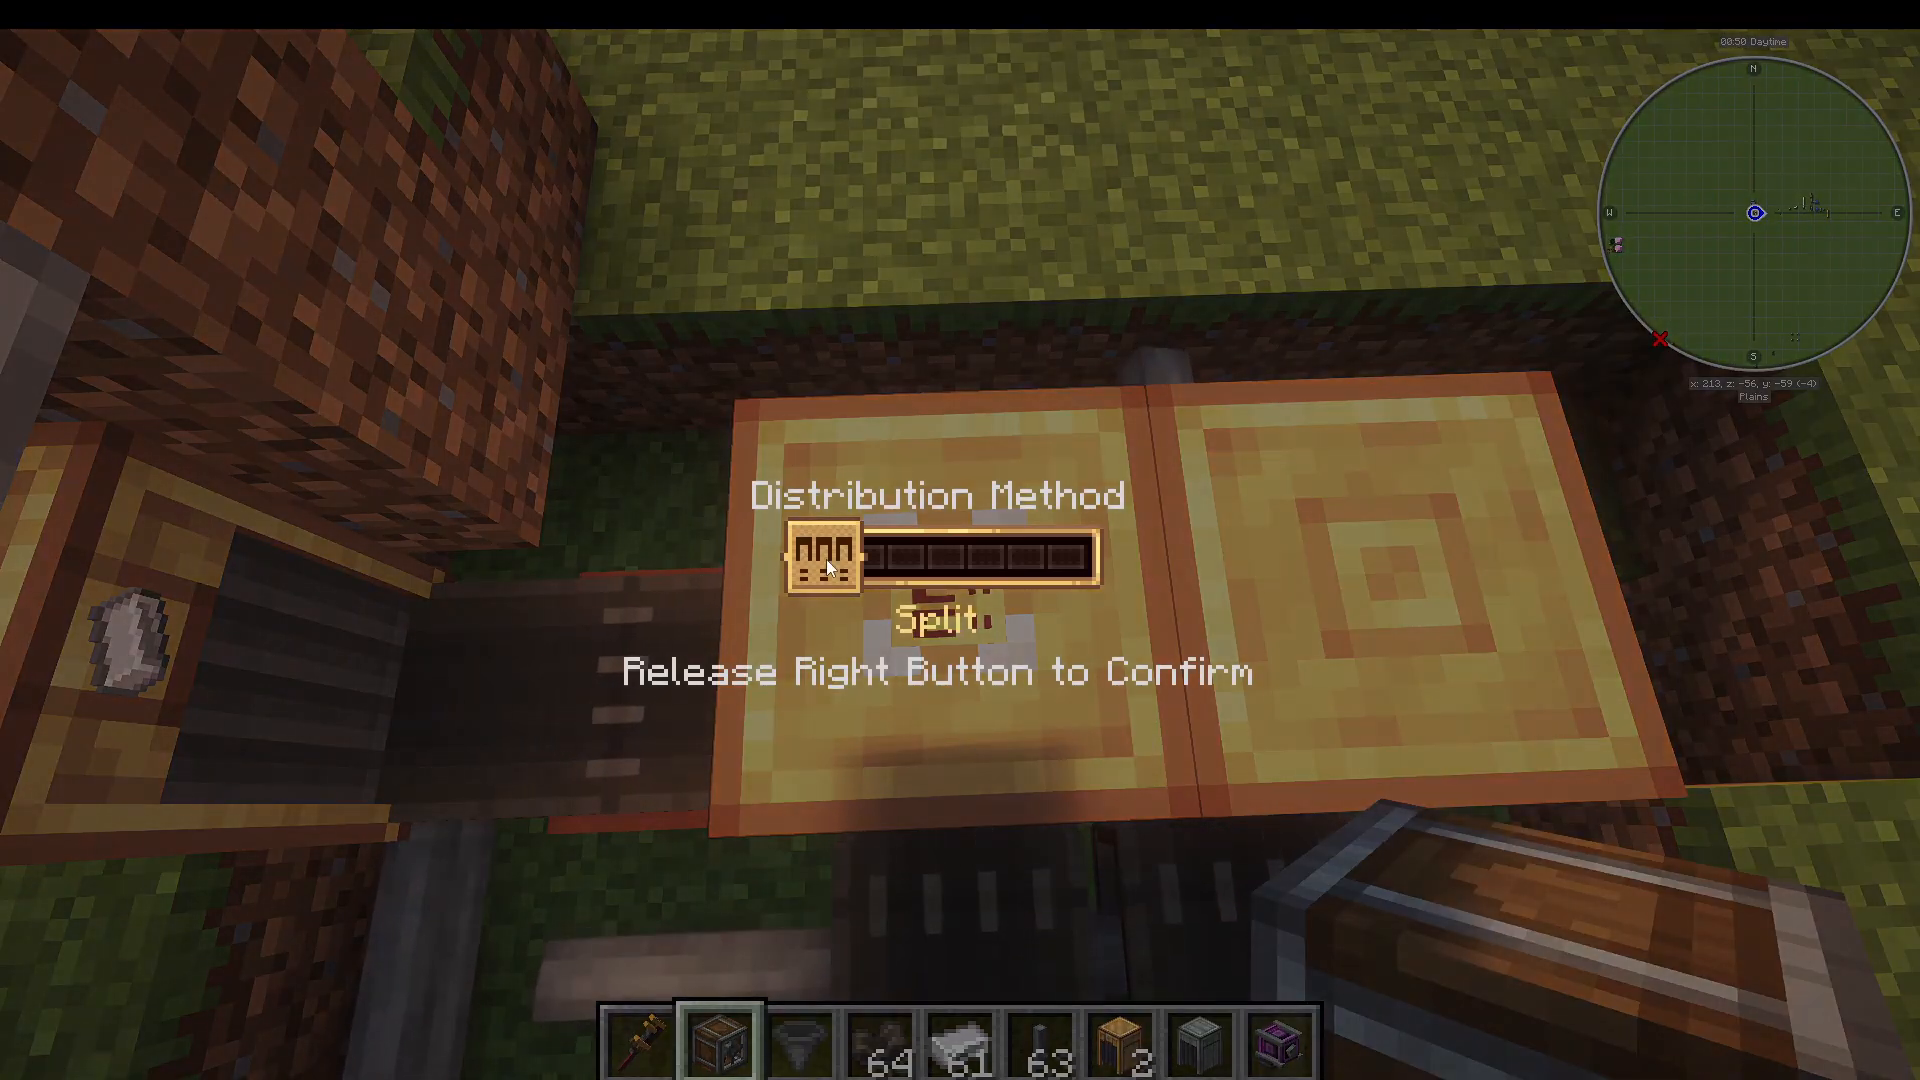
These routing modes give you precise control over item distribution, making brass tunnels invaluable for large-scale automation factories.
Summary
Belts, funnels, chutes, and tunnels are the backbone of Create Mod automation. Belts move items horizontally and can be rotated using gear boxes to change direction. Depots stop items for processing. Funnels transfer items between blocks with andesite versions handling basic transfers and brass versions offering filtering and stack extraction. Chutes handle vertical transport efficiently, especially with encased fan assistance. Finally, tunnels provide aesthetic covering and item routing, with brass versions offering sophisticated filtering and distribution options.
By mastering these components and combining them creatively, you can build impressive automated factories limited only by your imagination.
— Want to Support? —
If you would like to help us continue making these guides – please consider joining our patreon here – https://www.patreon.com/c/JaviHeals
Alternatively – we host a group of MC Servers you can join here – https://discord.gg/zD7Gjt6MHF



