








Gregtech CEu Complete Steam Age Tutorial
Gregtech CEu Complete Steam Age Tutorial
This comprehensive guide walks you through everything you need to progress from the start of the Steam Age (0.0) all the way up to Low Voltage in Gregtech. Specifically filmed for Gregtech Community Edition Modern on versions 1.20 and 1.21, this tutorial should also work with earlier versions of Gregtech Community Edition and potentially Gregtech New Horizons (though a separate tutorial may follow for that mod).
Finding Ore Veins in Gregtech
One of your first tasks is locating ore veins. Before diving in, be aware that some modpacks like ATM9 may relocate ores to alternate dimensions such as a mining dimension. This tutorial covers the default spawn mechanics that work across Gregtech New Horizons and Gregtech Community Edition Modern.
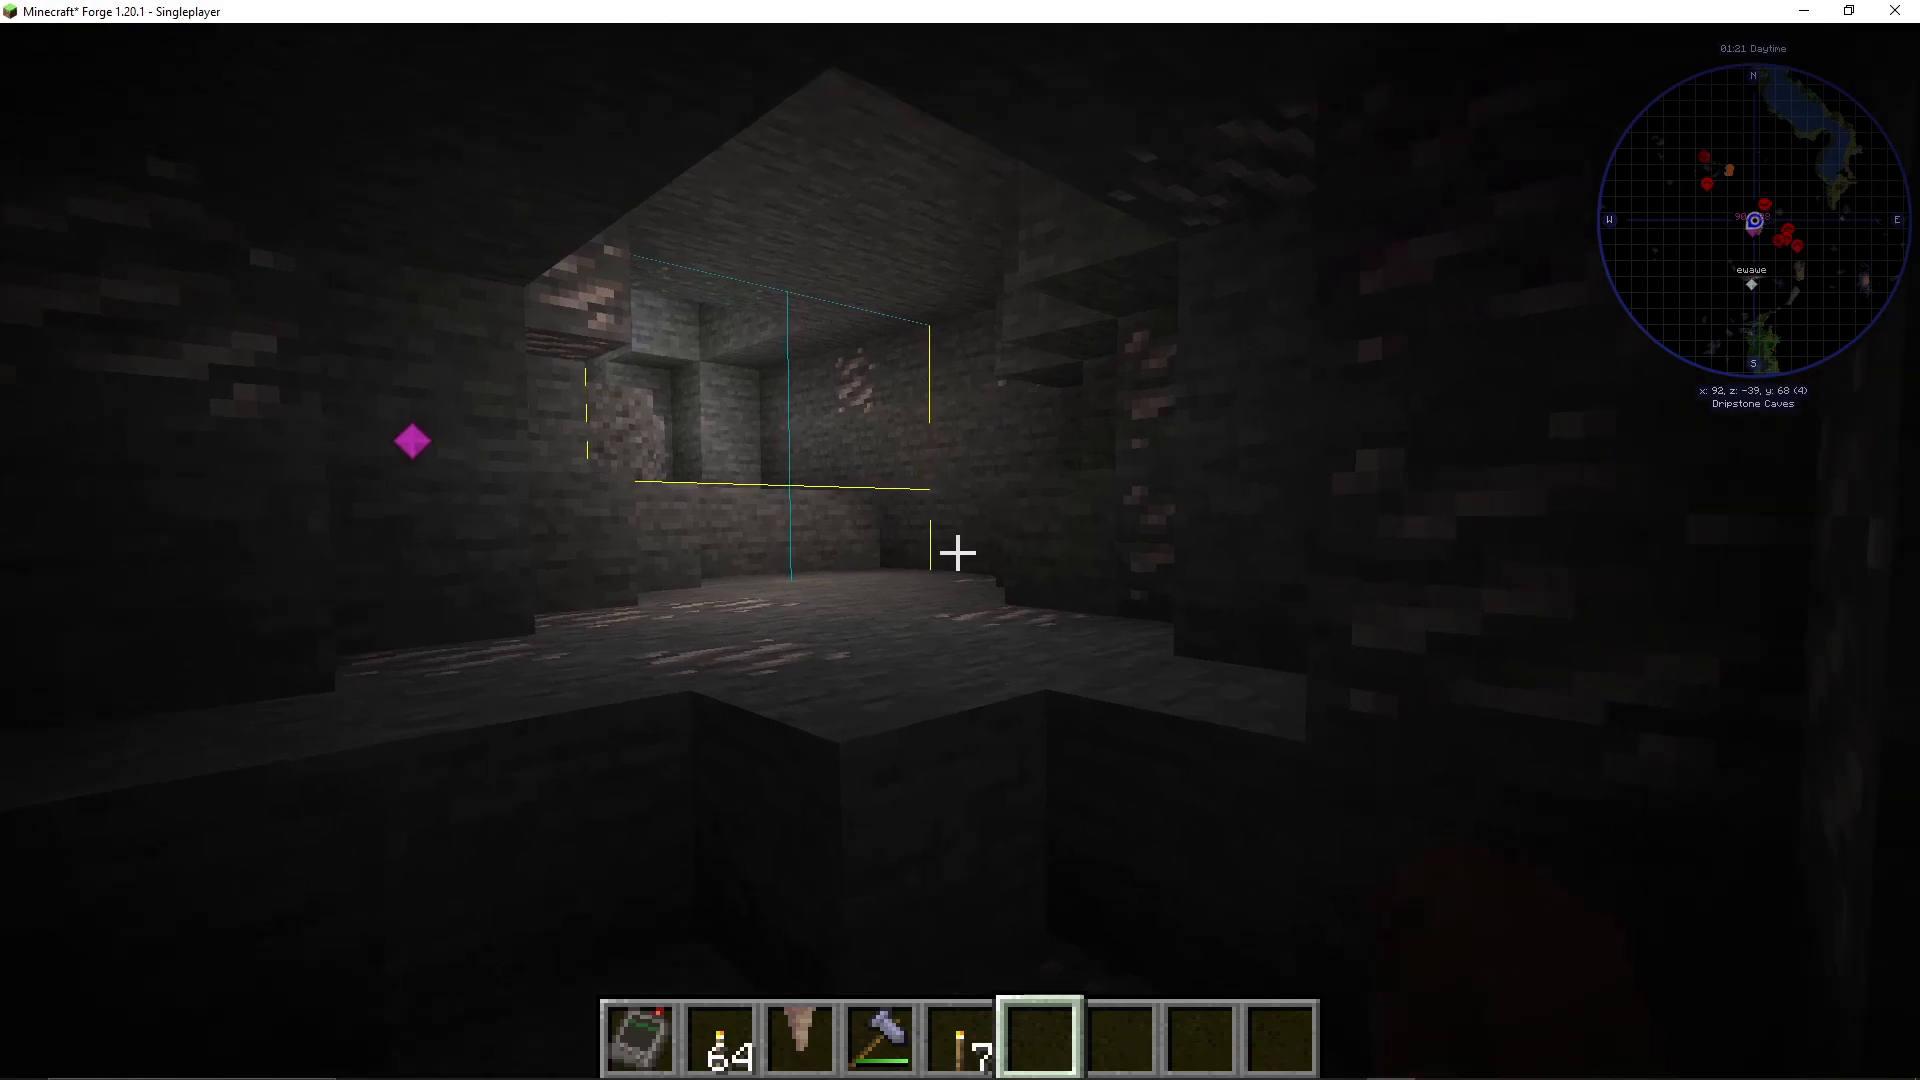
To find ore veins effectively, enable chunk borders by pressing F3 and then G. This displays your chunk grid, which is essential because ore veins spawn at regular intervals—specifically, every three chunks.
To locate your first vein, move to the center of a chunk and dig straight down. If you have a hammer that mines in a 3×3 pattern, this will significantly speed up the process. You’ll need to dig through multiple chunks until you find one containing an ore vein. Once you locate your first vein, you’ll know that the next one spawns three chunks away in the same pattern.
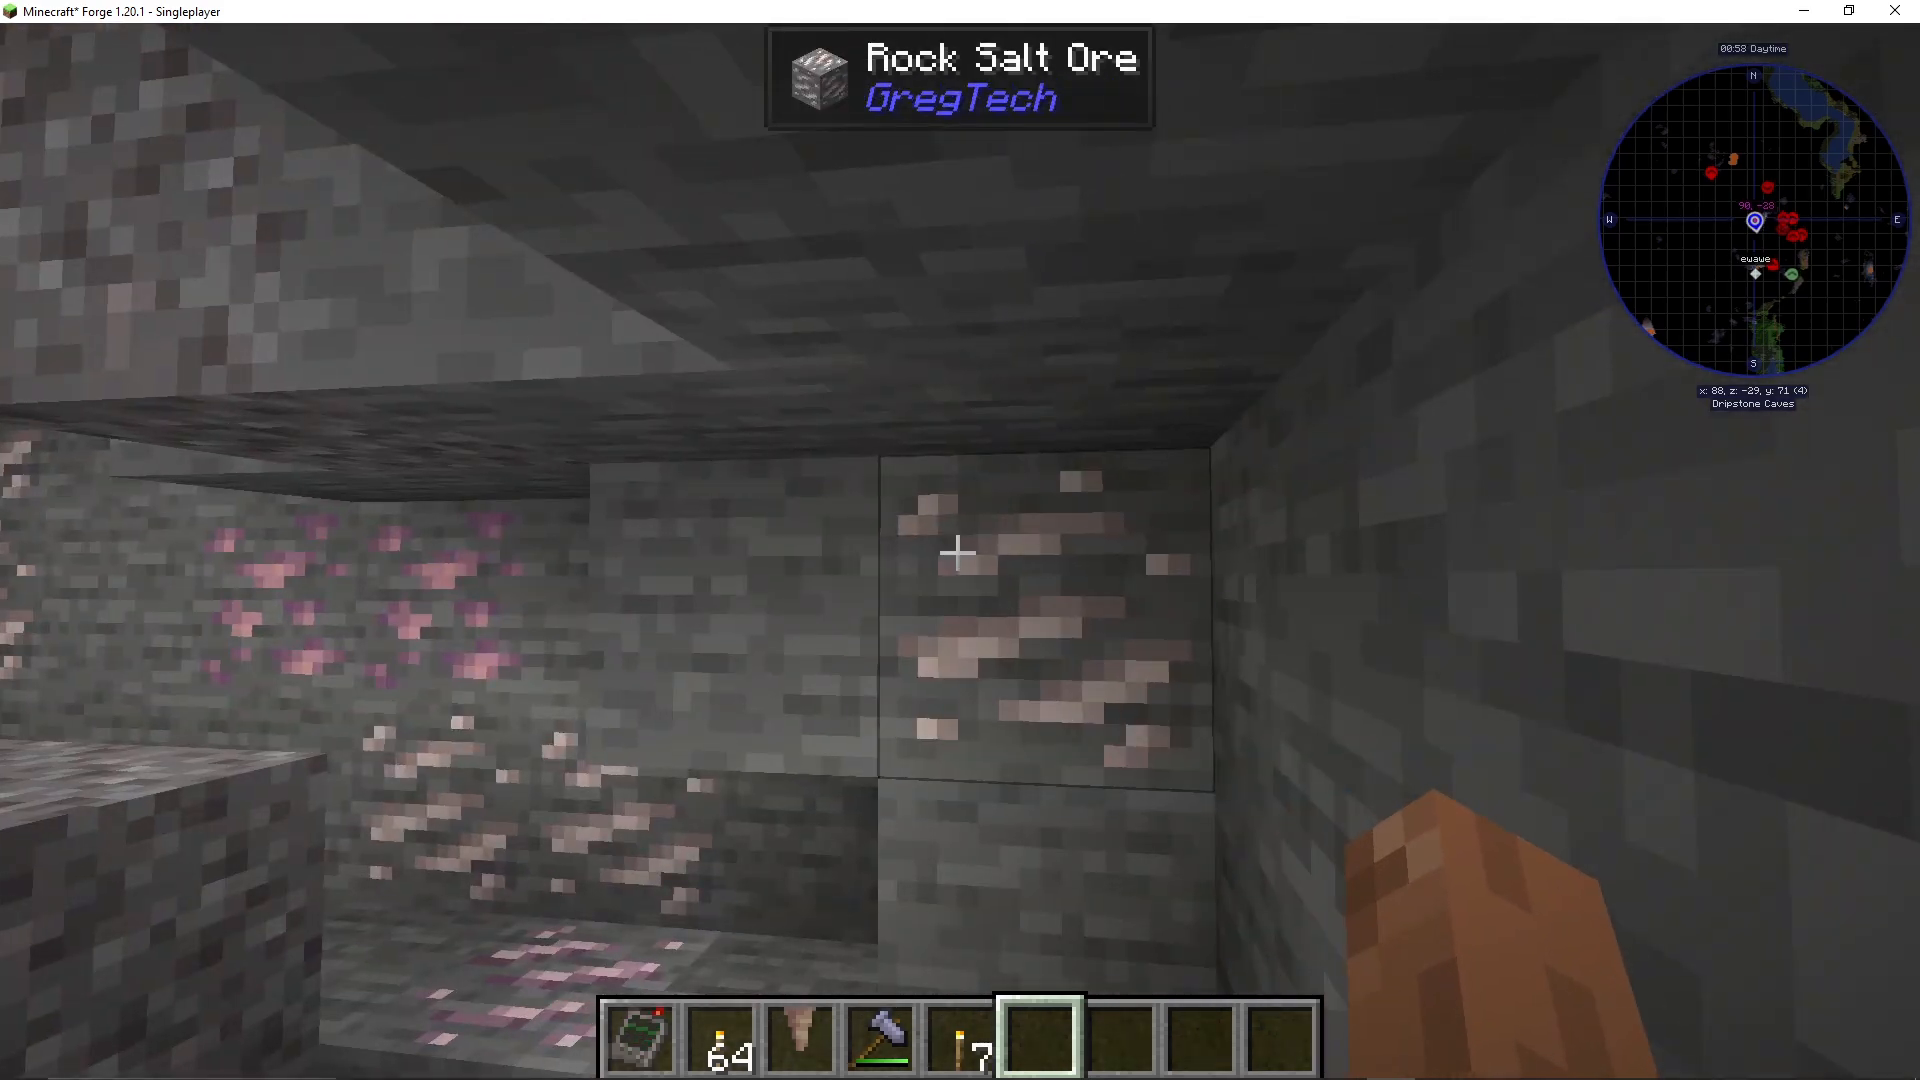
Gregtech ore veins are enormous compared to vanilla Minecraft. Instead of scattered individual ores, you’ll find massive clusters. For example, you might discover a vein containing rock salt ore, spodumine ore, and leopard doffelite ore all in one location, with hundreds of blocks available.
Using the Gregtech Documentation
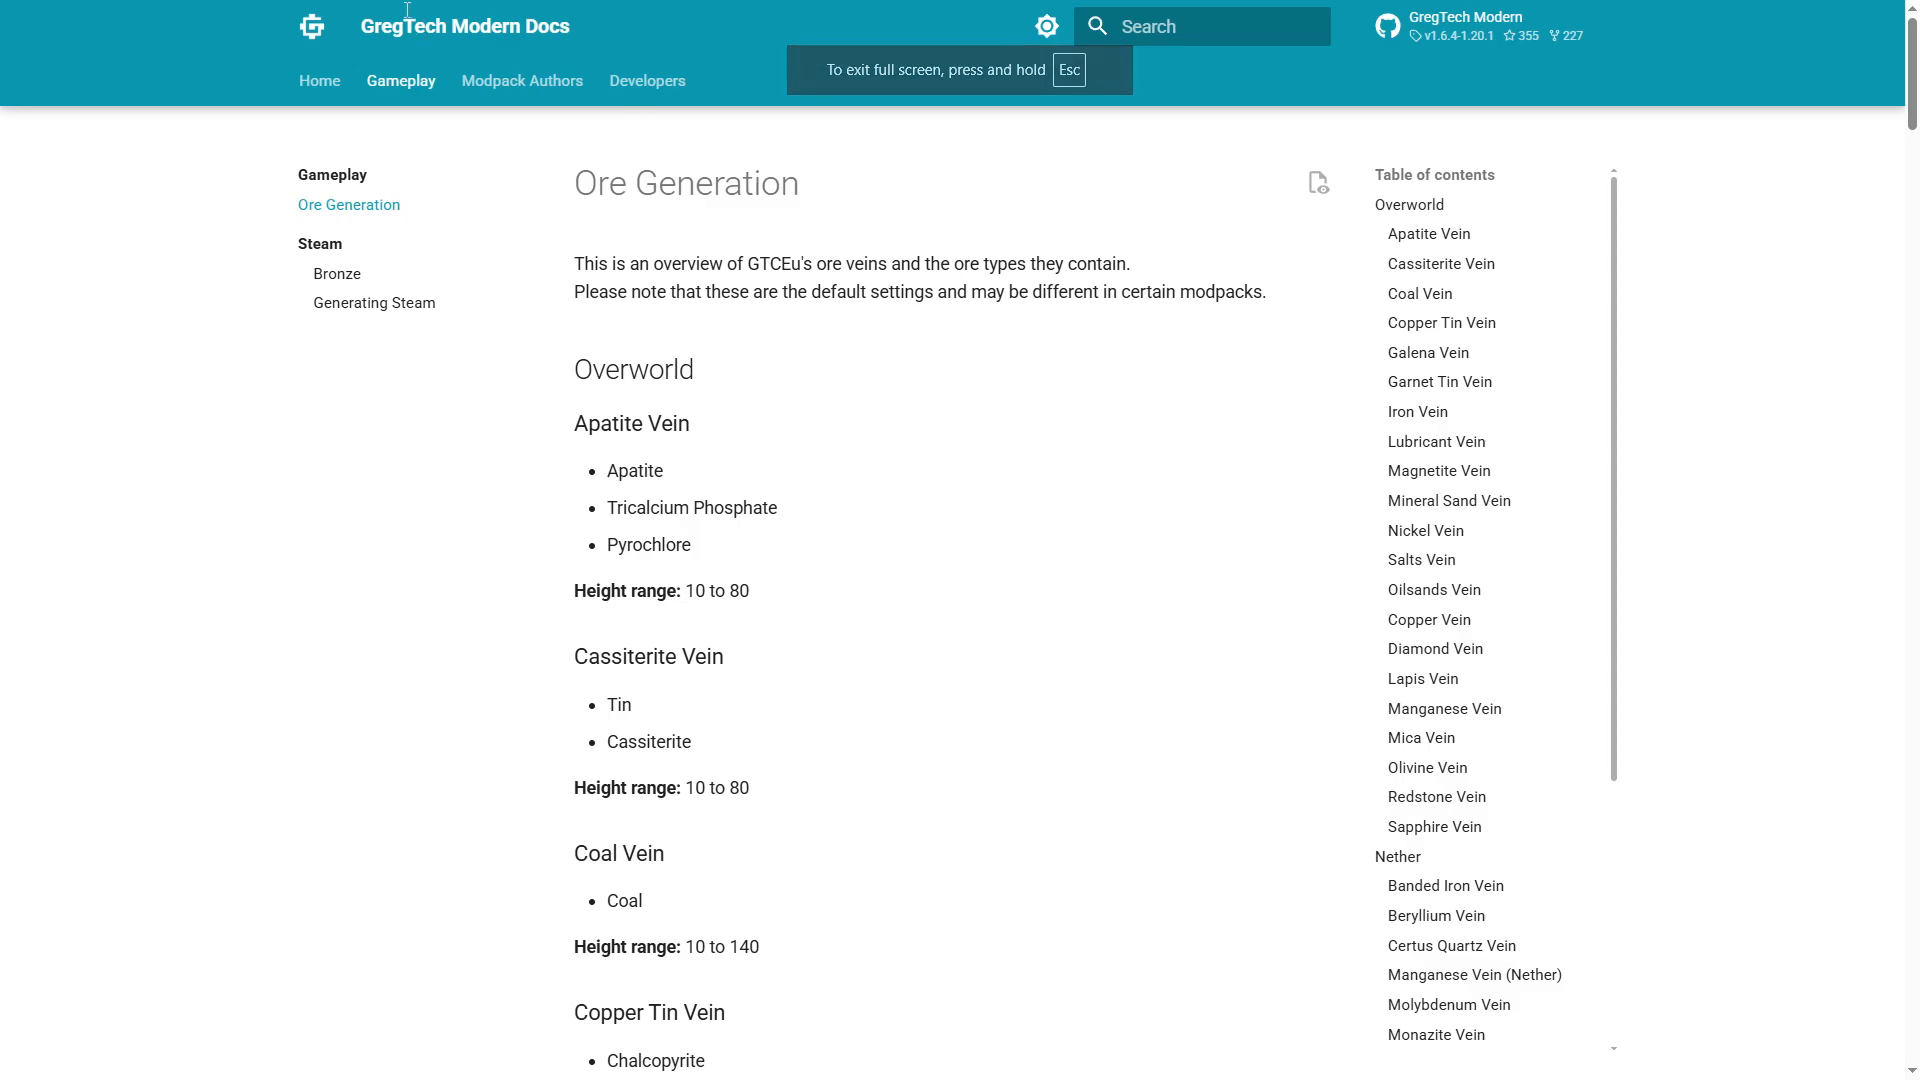
To identify which veins contain the ores you’re looking for, visit the Gregtech modern documentation website. This resource lists all ore veins and their contents, along with the height ranges where they spawn. For example, a cassiterite vein contains tin and cassiterite and spawns between Y-levels 10 and 80. A copper-tin vein has different contents, and a galena vein contains galena, silver, and lead.
Rather than searching for specific ores methodically, plan to spend a day or two in-game mining various veins and exploring what materials you can find. This exploration phase is normal and expected in early-game Gregtech.
Creating Steam Power
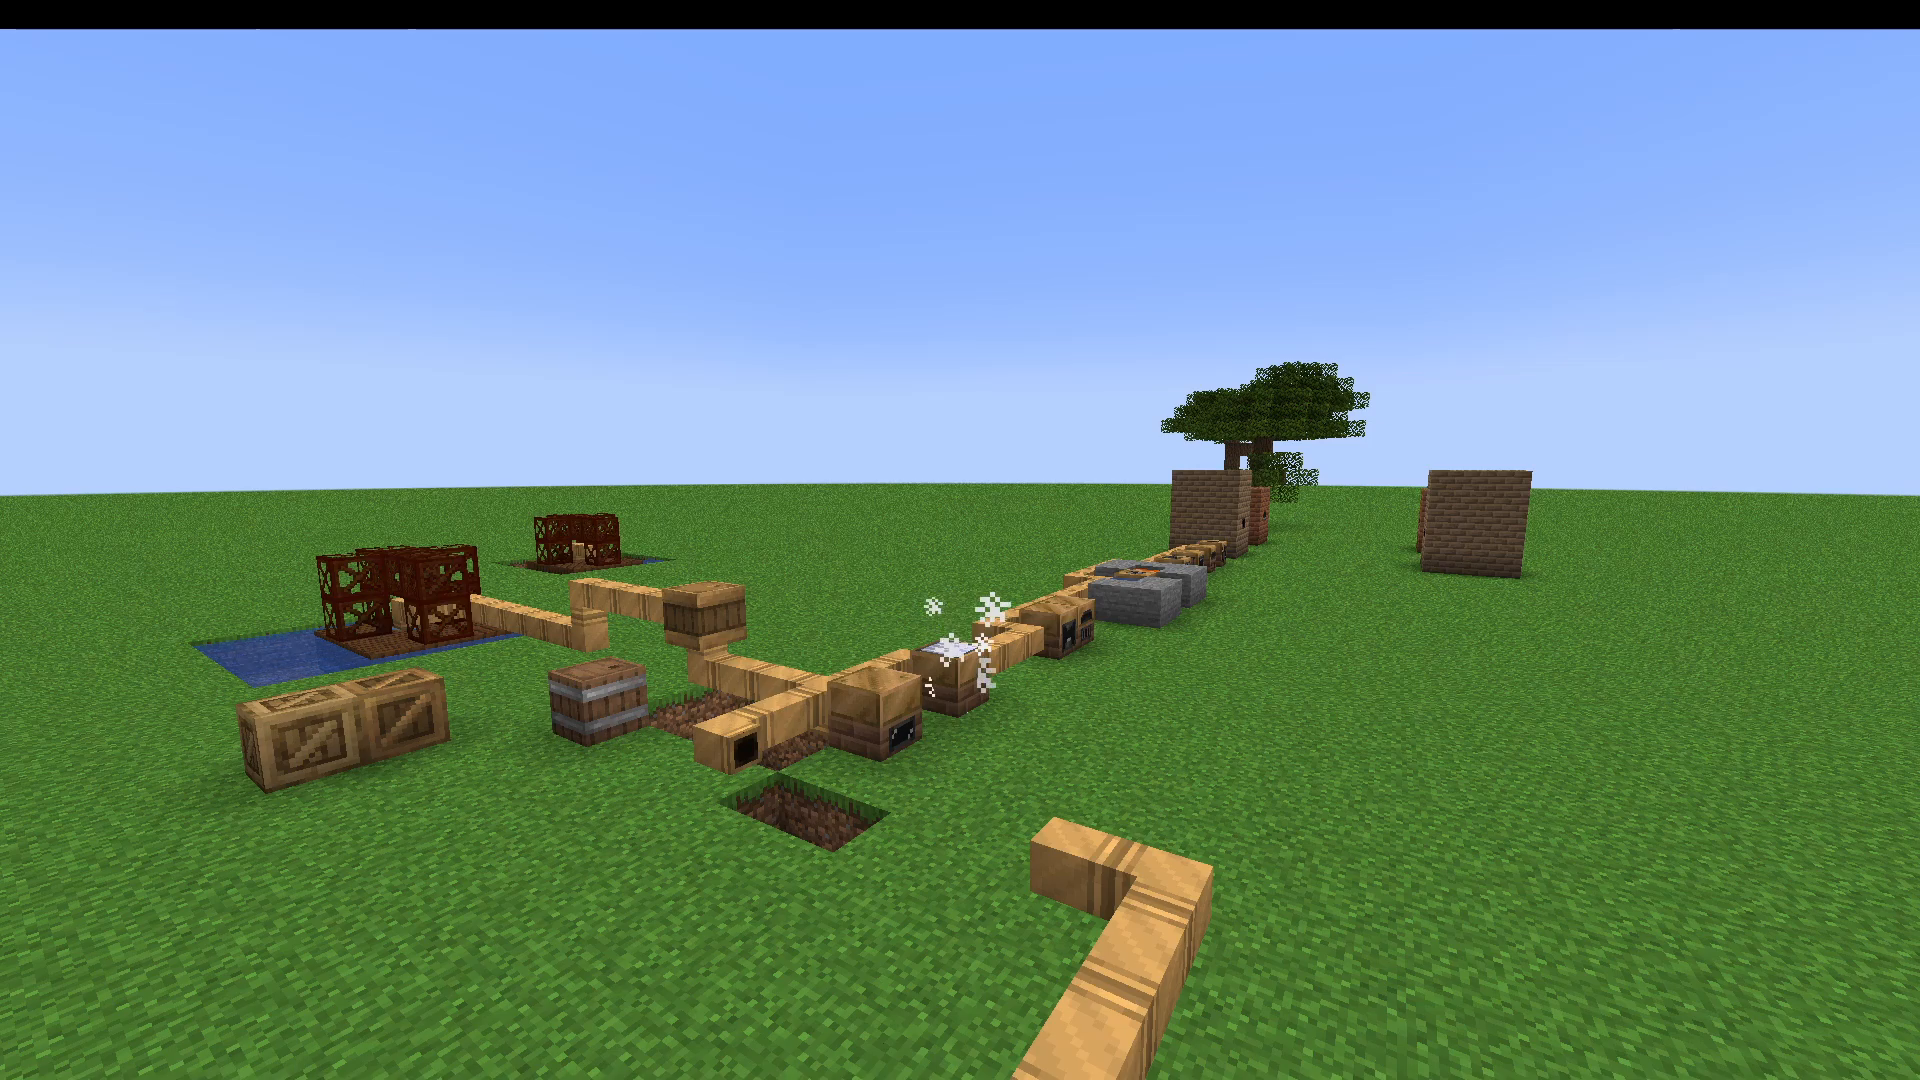
Before progressing further, you’ll need to generate steam—the primary power source of the Steam Age. There are three main methods:
Low Pressure Steam Solid Boiler
Low Pressure Steam Liquid Boiler
Low Pressure Steam Solar Boiler
High pressure versions also exist (high pressure steam solid boiler, liquid boiler, and solar boiler), but these require steel plates, which you cannot yet craft.
Materials for Steam Setup
You’ll need bronze plates, which are created by using a hammer on bronze ingots. Bronze ingots are crafted from copper and tin ingots. Additionally, gather these essential tools:
Iron screwdriver
Iron file
Iron saw
Iron hammer
Iron wrench
All these tools are made from plates using the same hammering process.
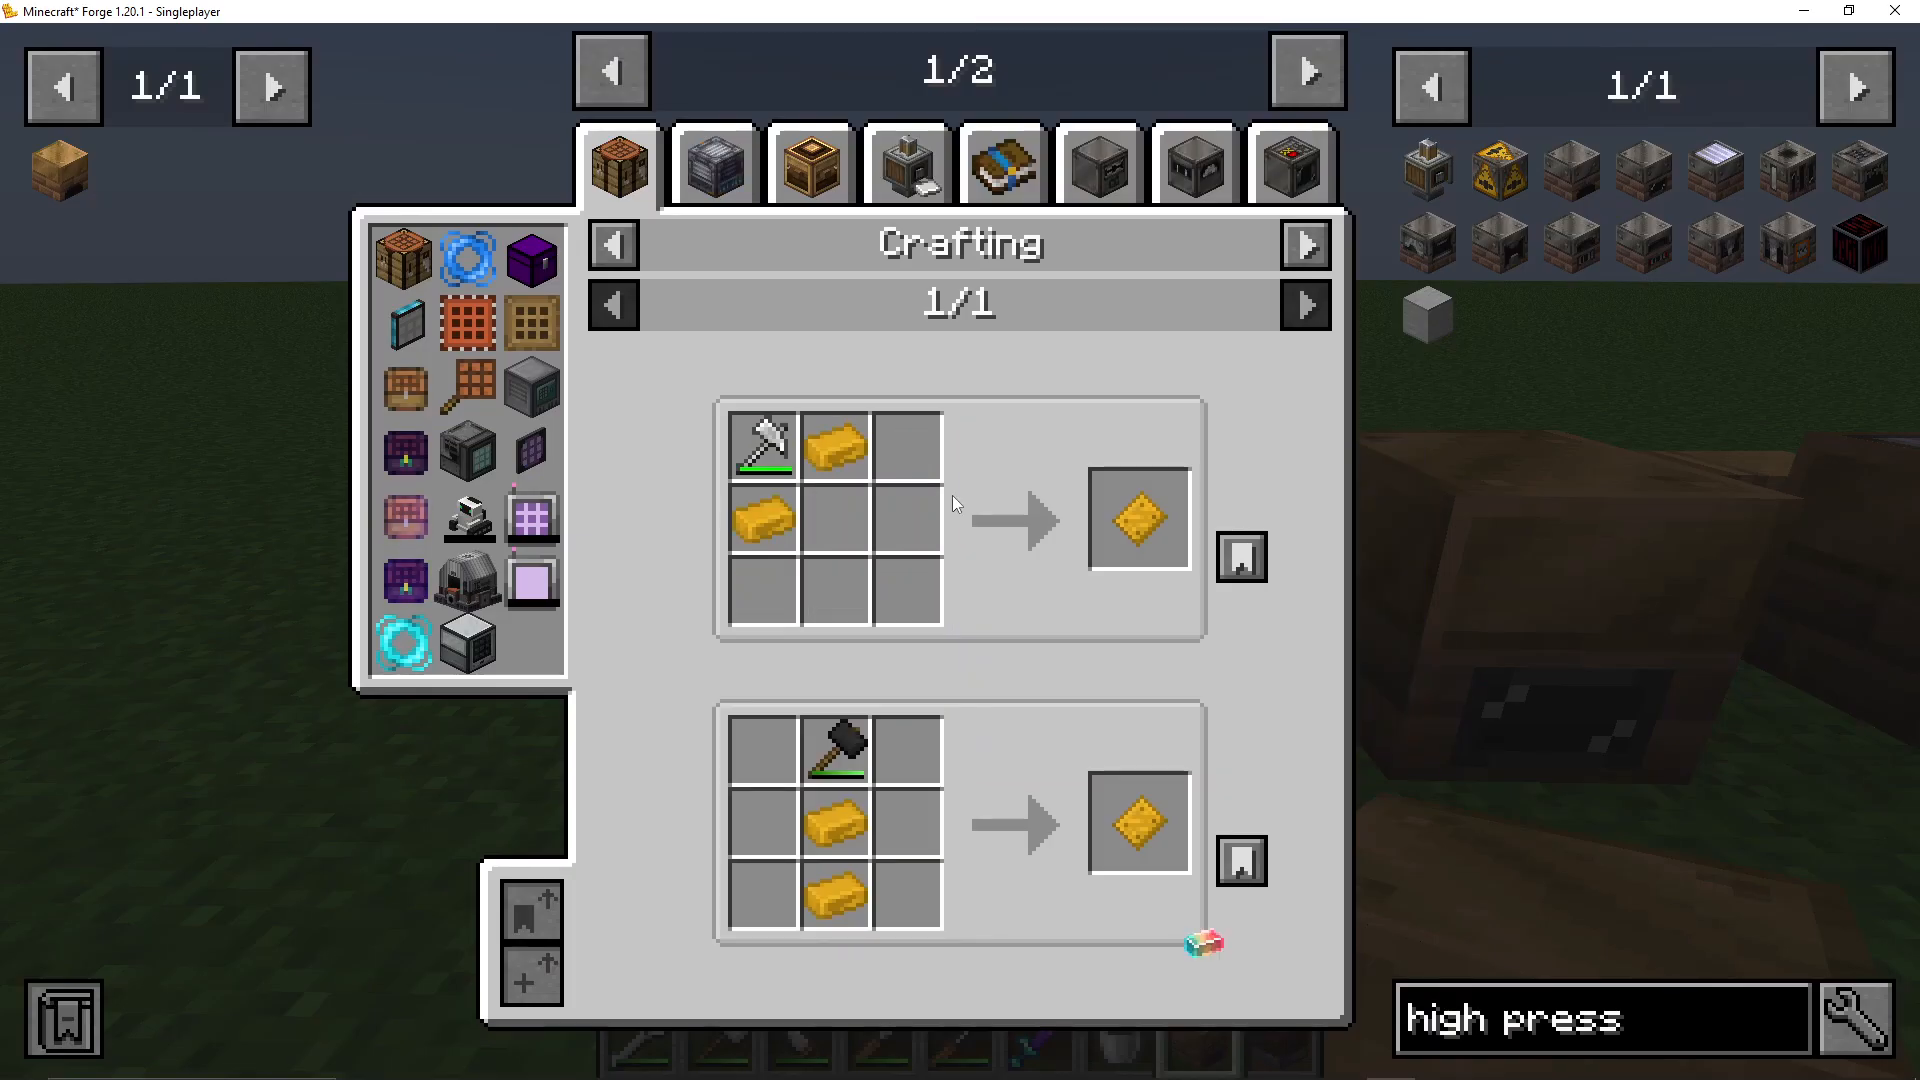
Operating a Steam Boiler
Place your chosen low pressure steam boiler and load it with coal or similar fuel. This heats the boiler’s interior. Next, pump in water—but be warned: if you pump water into an already-hot boiler, it will explode. Always ensure the boiler is cool before introducing water, then heat it afterward.
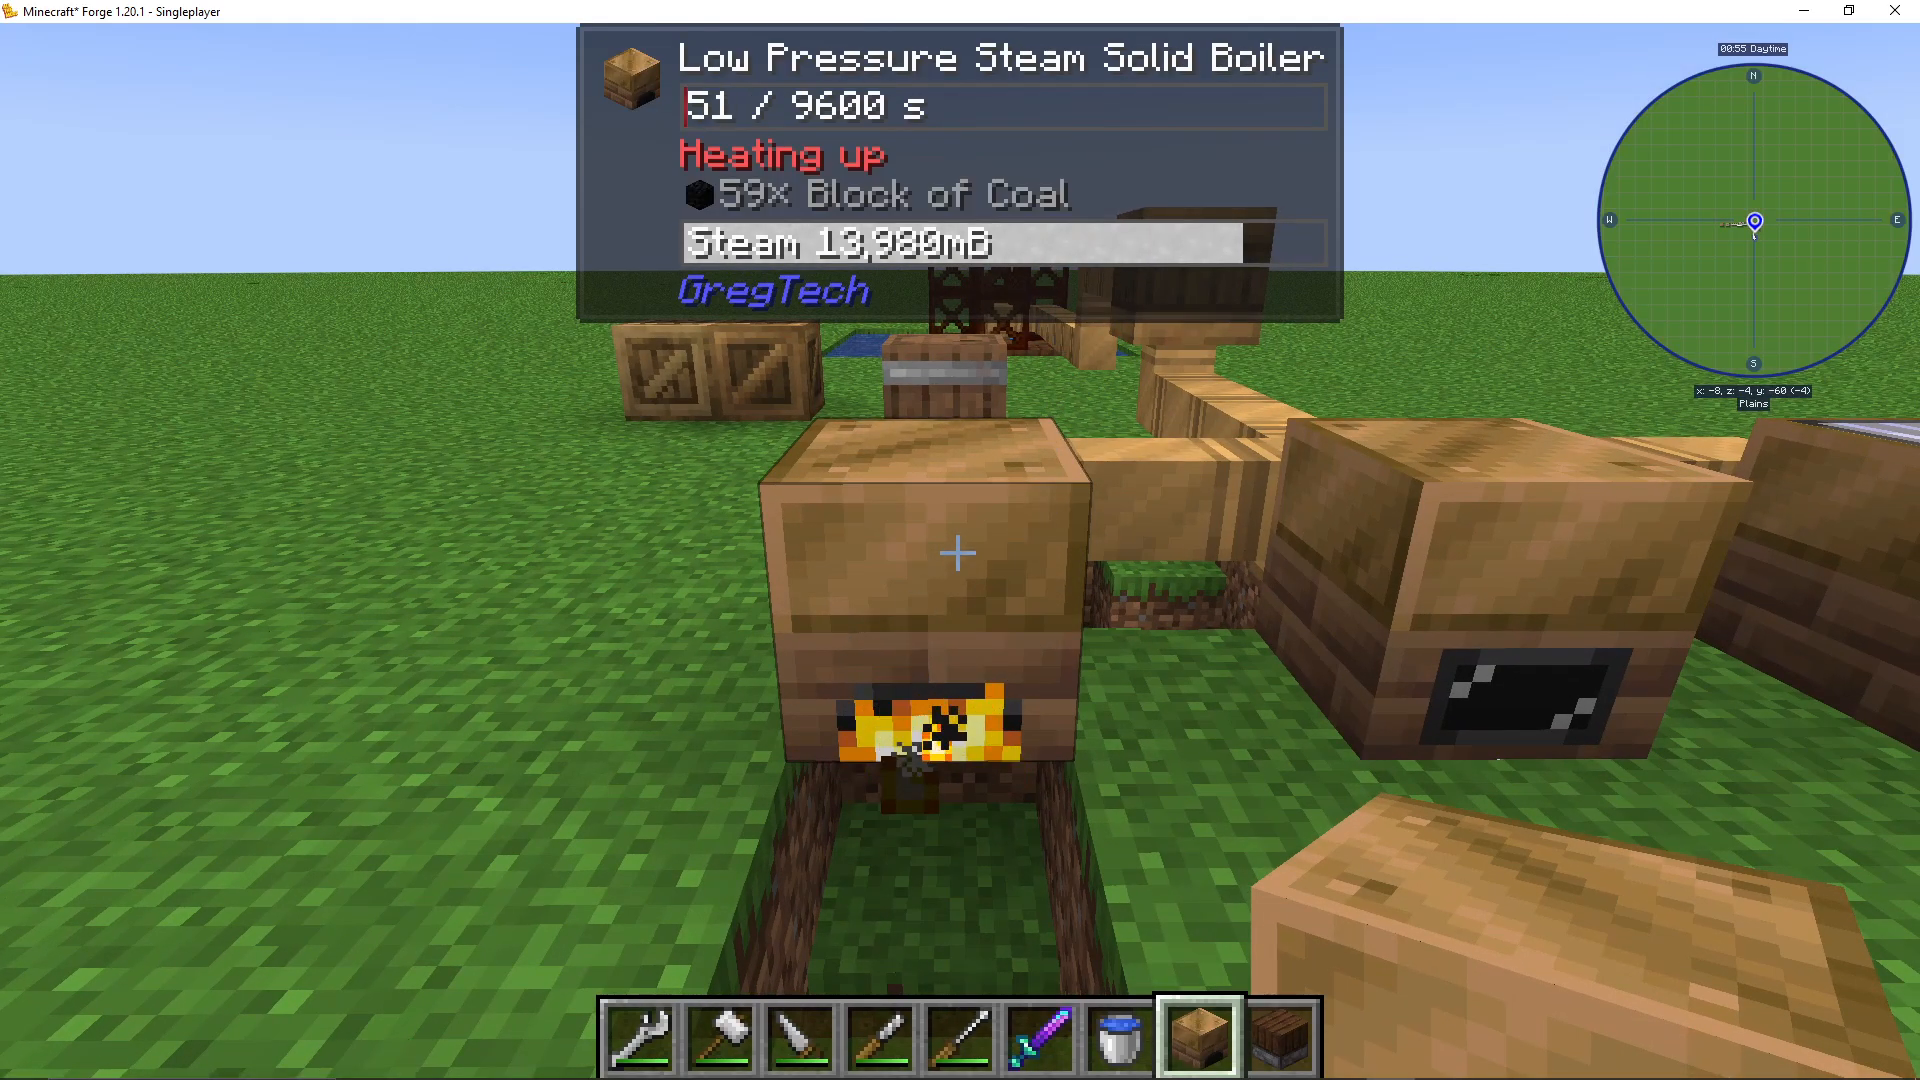
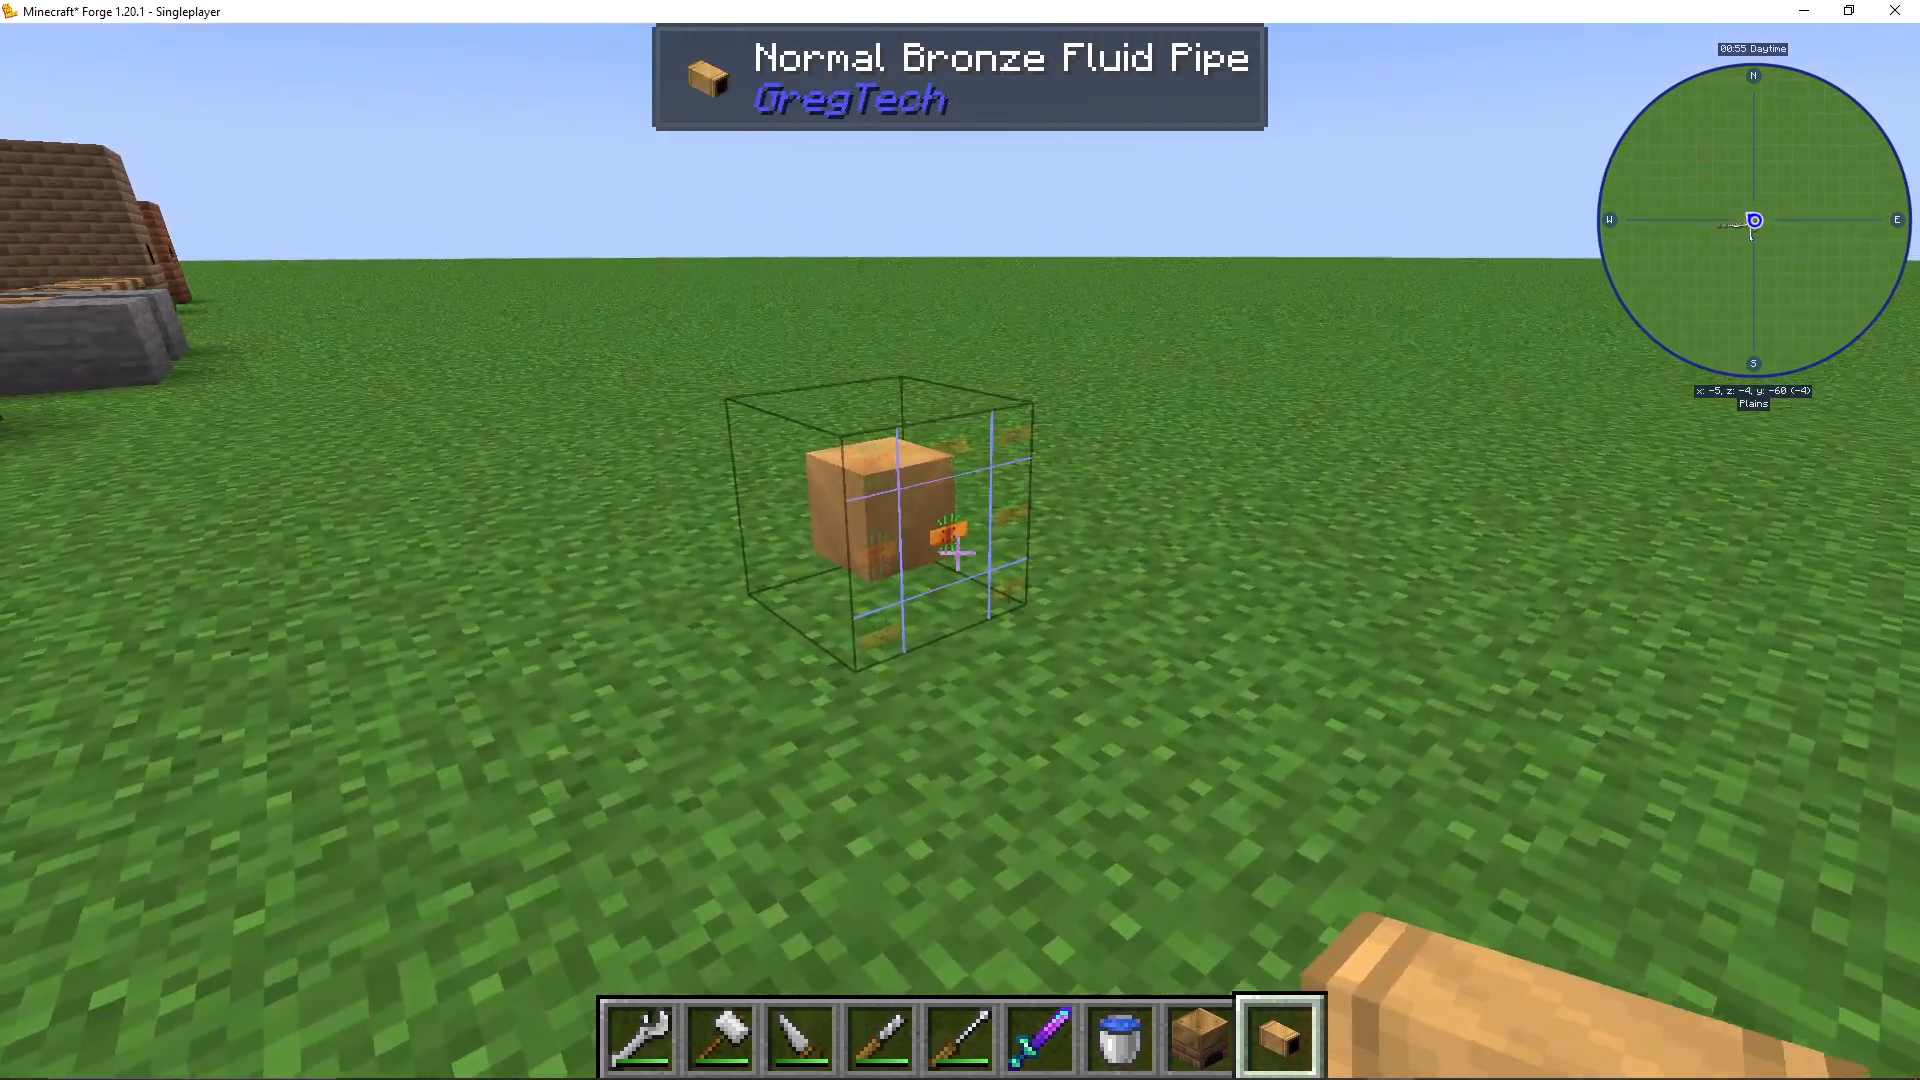
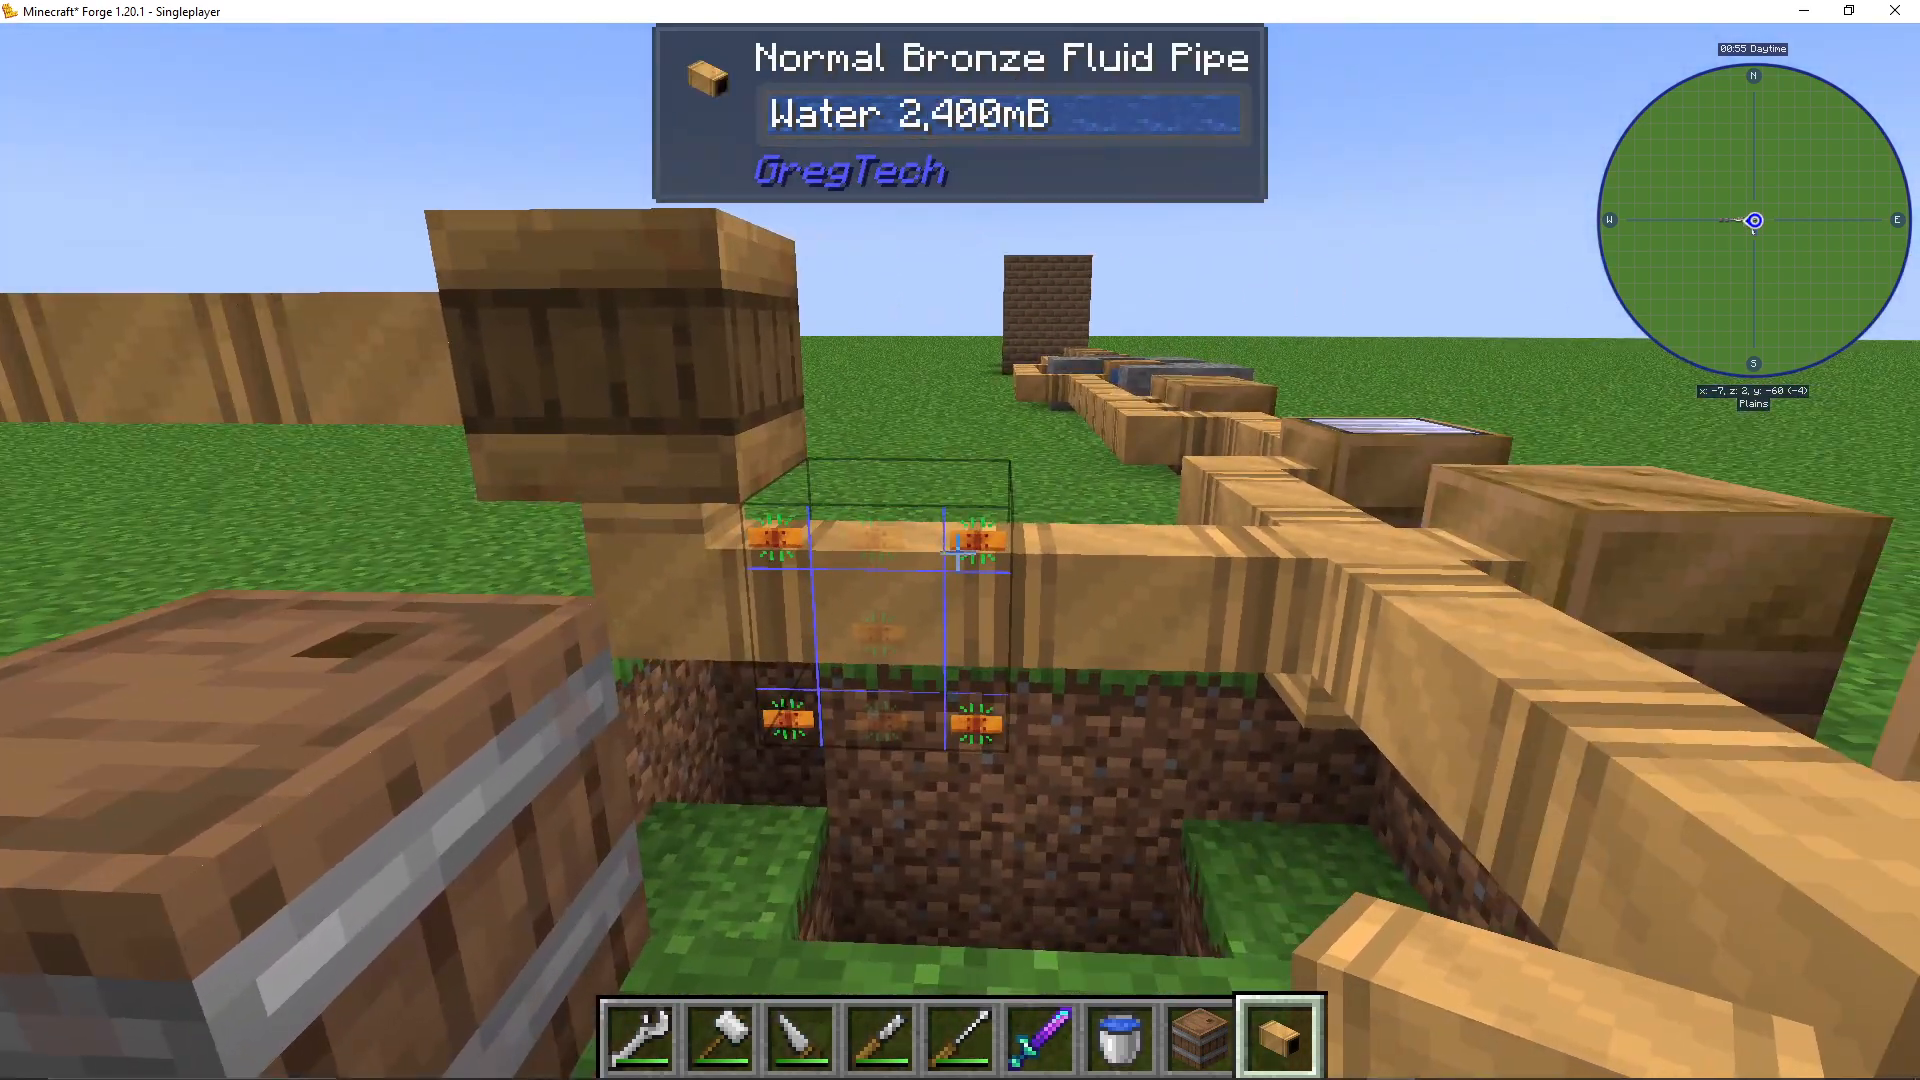
To circulate fluids, craft bronze fluid pipes from bronze plates. When placing pipes, you can right-click with a pipe in hand to attach it to specific sides of another pipe. If a pipe doesn’t auto-connect, use your wrench to manually connect the sides by right-clicking.
Water Distribution
Use a bronze drum or wooden barrel (a cheaper alternative) to hold water. Right-click the bottom with a screwdriver to enable automatic drainage. Then shift-click a bronze fluid pipe to it, and water will flow out automatically into your boiler.
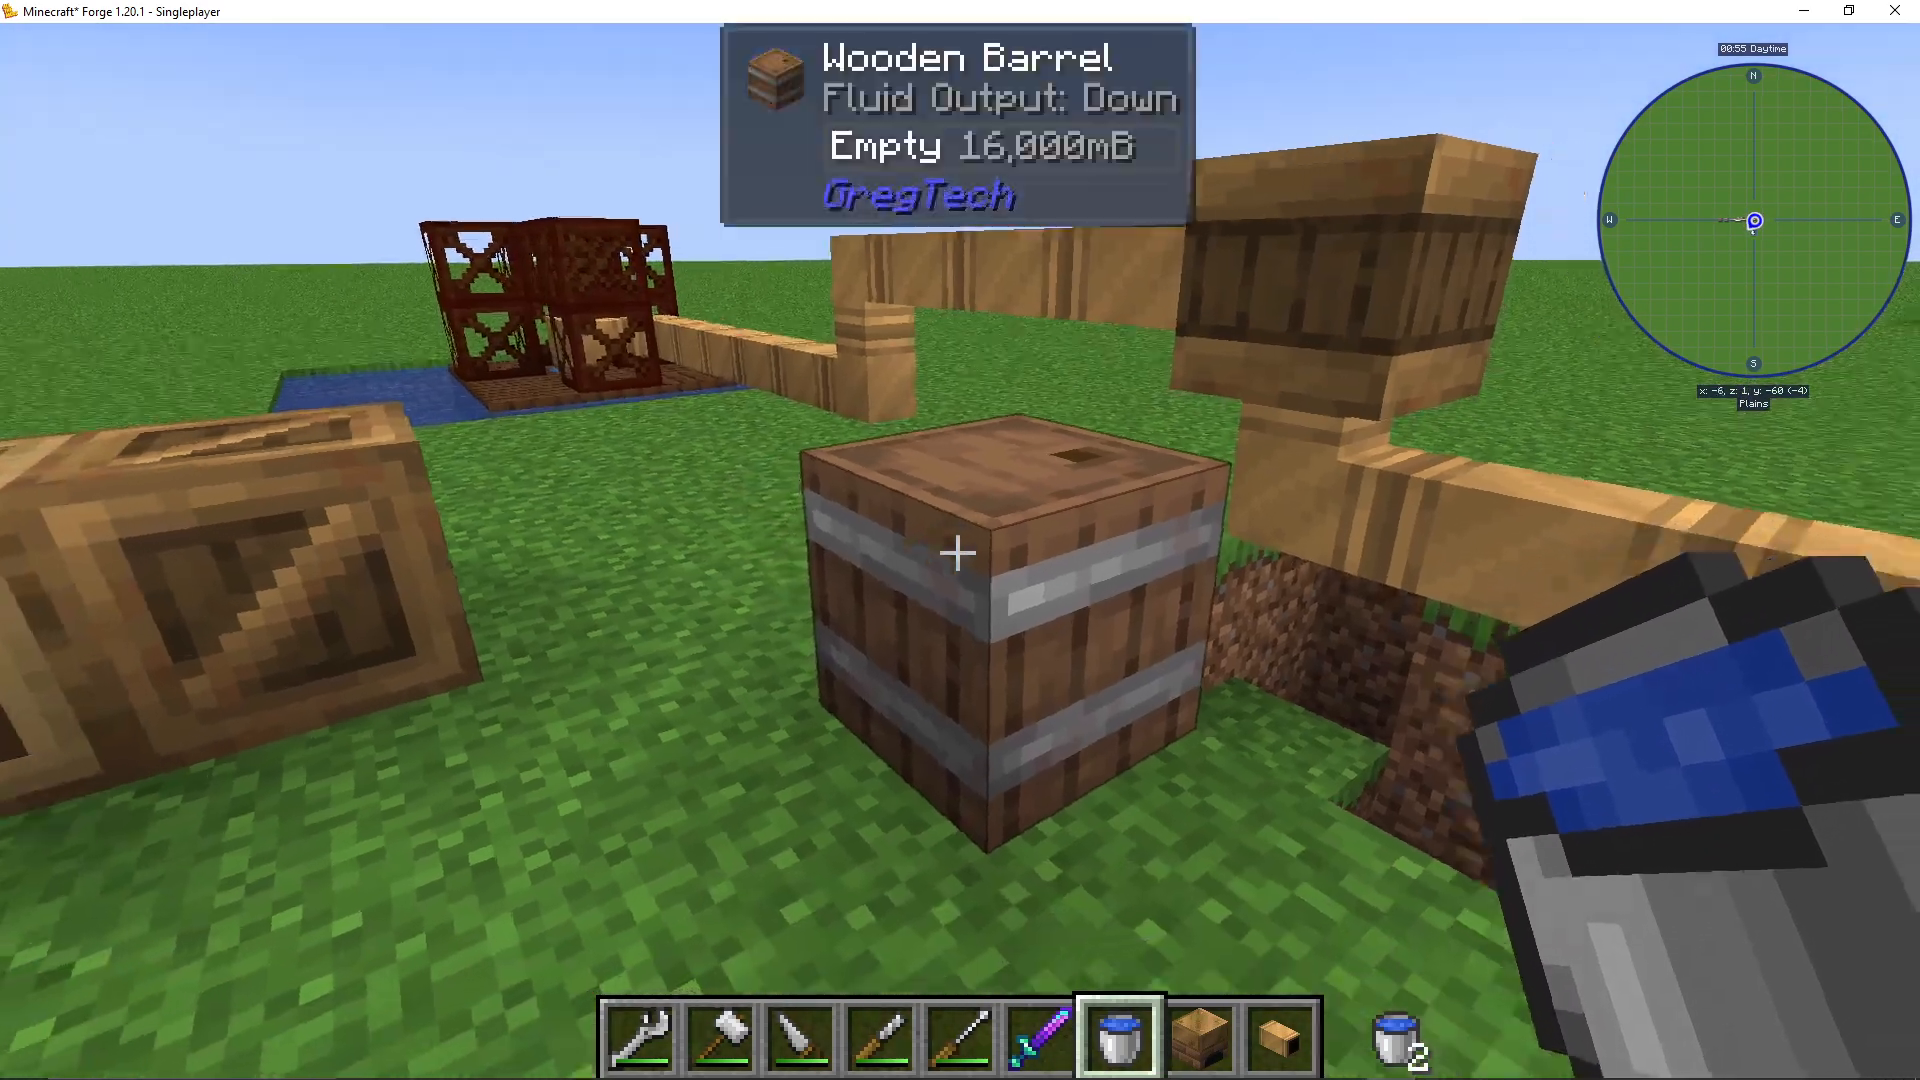
Keep water pipes and steam pipes separate—mixing them or pumping water into a hot boiler causes explosions.
Steam-Powered Machines
Once you have steam production, you can power several early-game machines. The essential machines are:
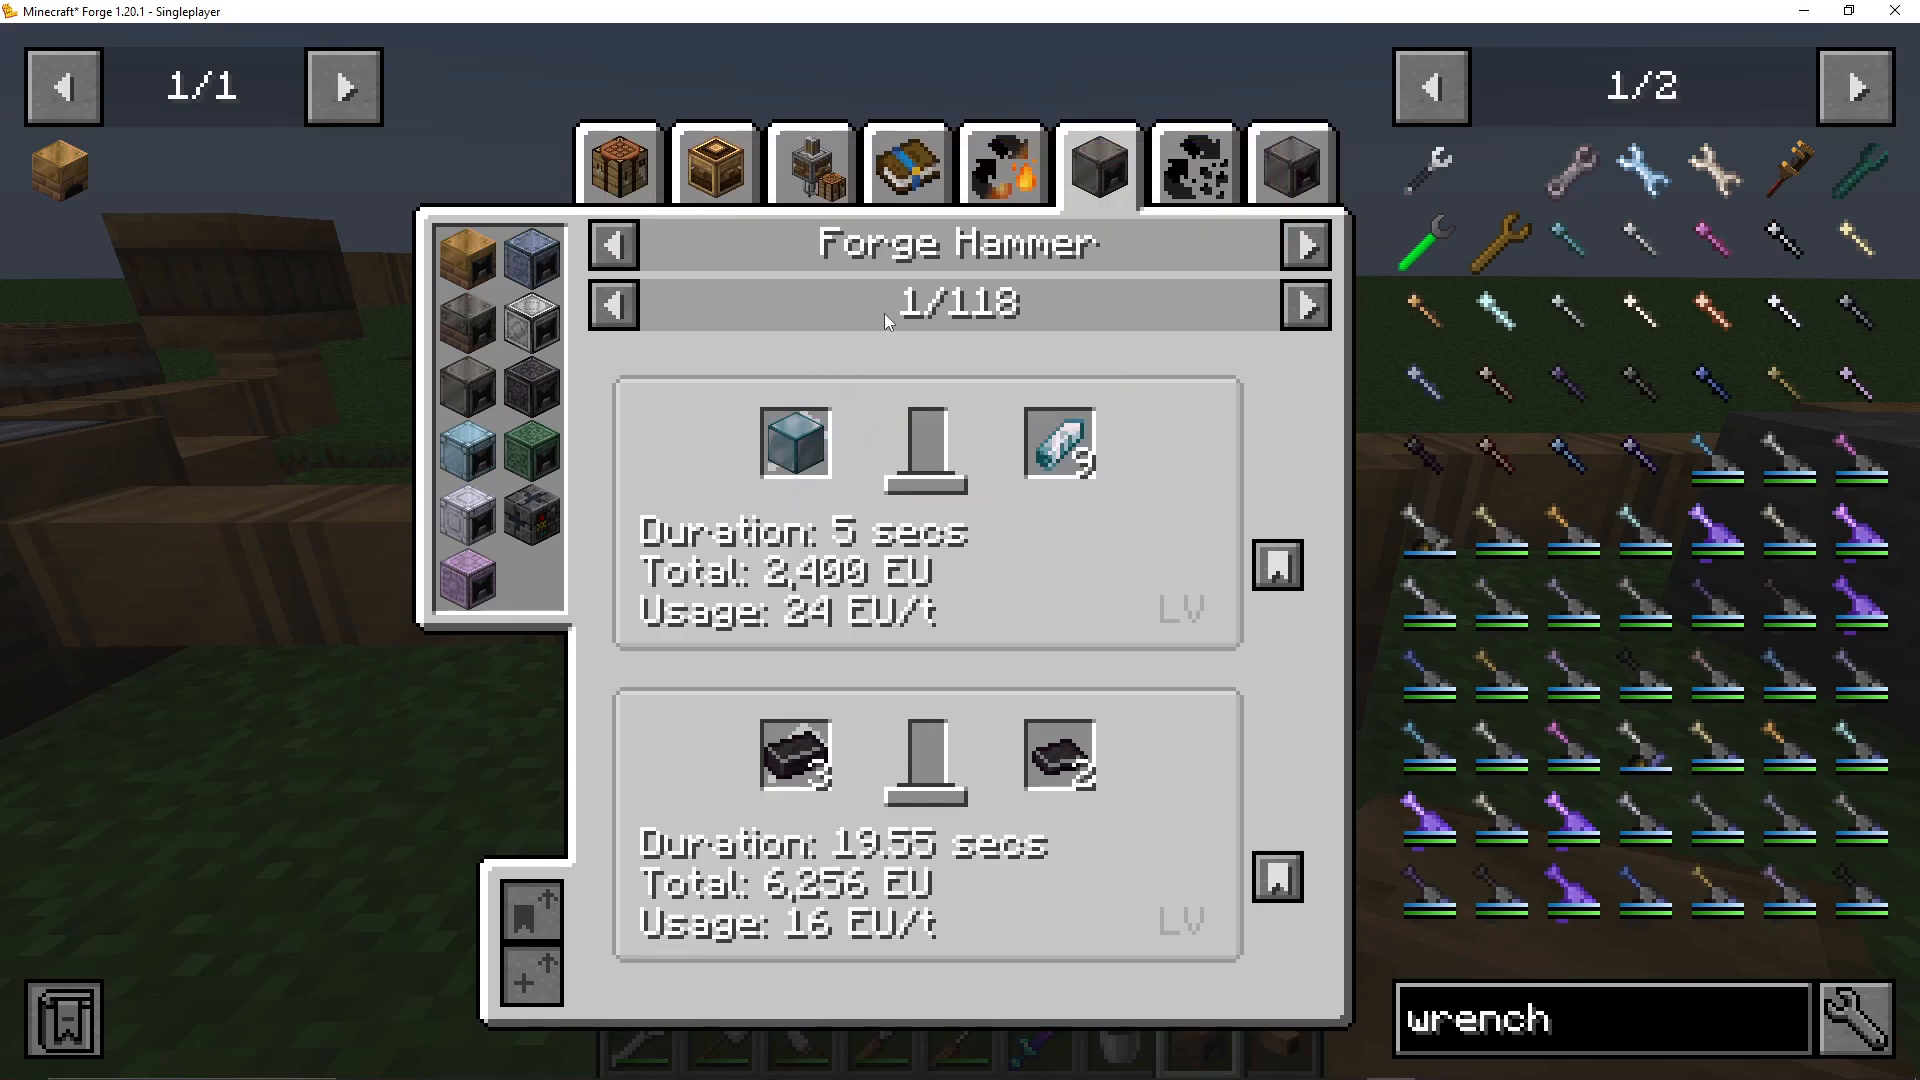
Steam Forge Hammer: Converts ingots into plates more efficiently than manual hammering. For example, three tin alloy ingots become two plates (versus four ingots needed when hammering manually).
Steam Furnace: Superior to vanilla furnaces, consuming steam instead of coal.
Rock Crusher: Processes materials like cobblestone, deep slate, and diorite. Recipes have voltage requirements; some need EV (tier not yet accessible), while others work at ultra-low voltage with steam.
Macerator: Grinds materials and enables ore doubling at 67% efficiency.
Compressor: Compresses items into blocks or ingots.
Alloy Smelter: Combines materials to create alloys like bronze from copper and tin.
Steam Extractor: Extracts liquids and other materials from inputs.
Machine Exhaust Vents
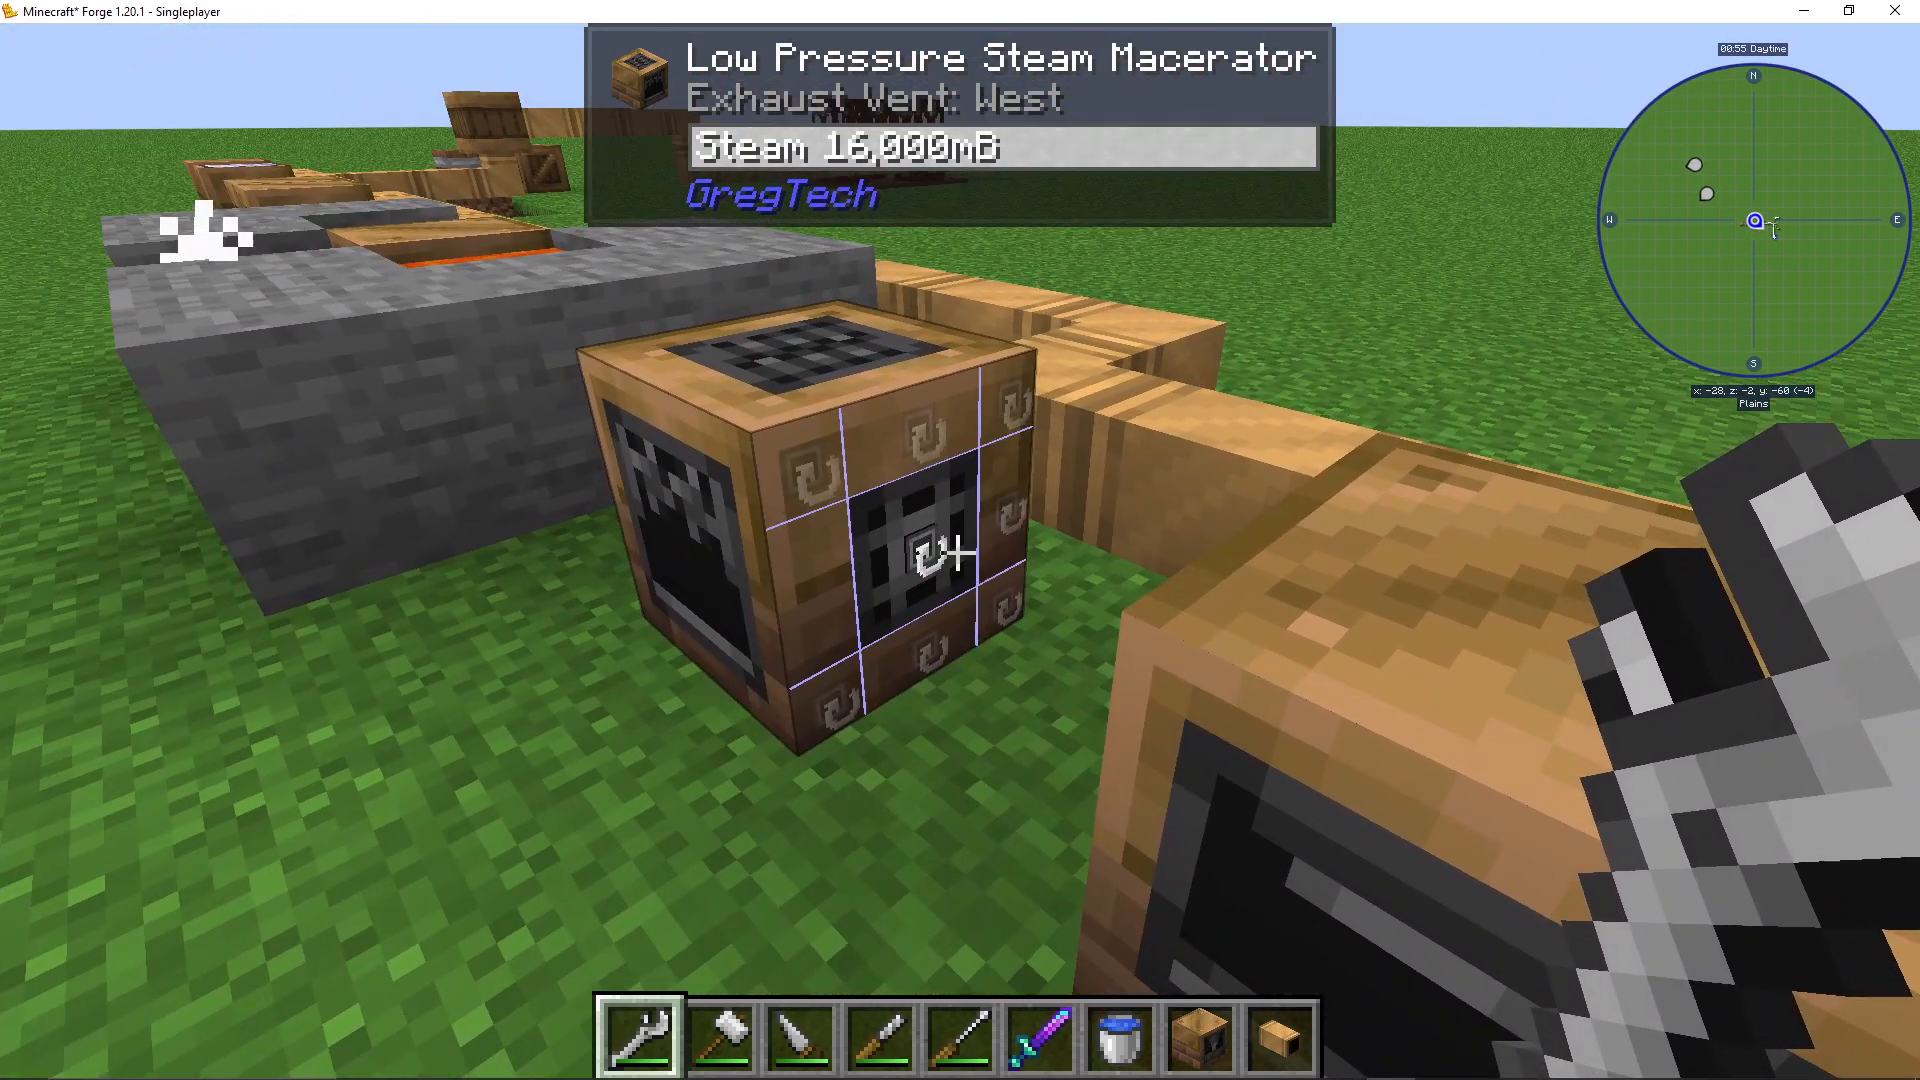
Steam machines must vent exhaust steam. By default, machines exhaust from the back. To change the exhaust direction, hold a wrench and observe a blank side on the machine. Right-click that side to designate it as an exhaust vent. You cannot place exhaust vents on the front, but sides and the bottom are available.
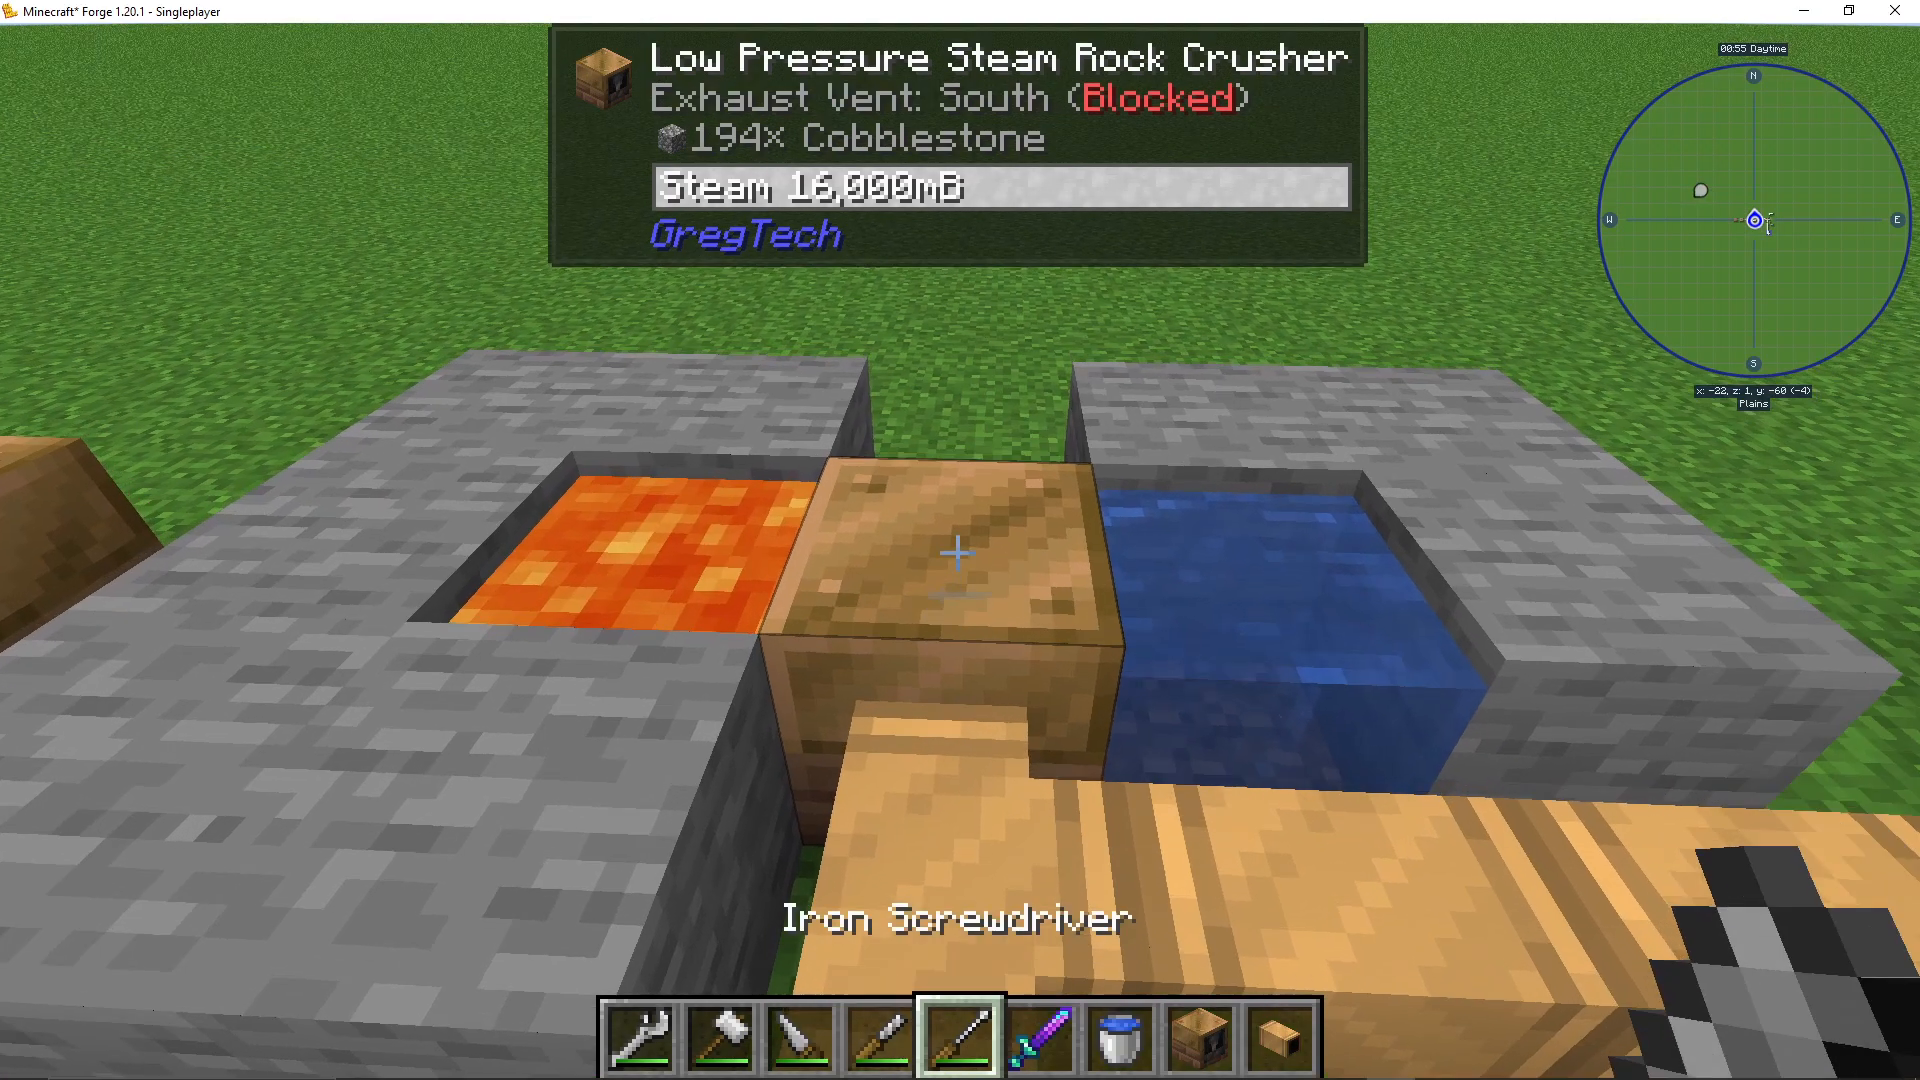
If your machine shows “blocked” at the top of your screen, the exhaust vent is obstructed. Reposition the vent using your wrench to a clear side or the top.
Rock Crusher for Cobblestone
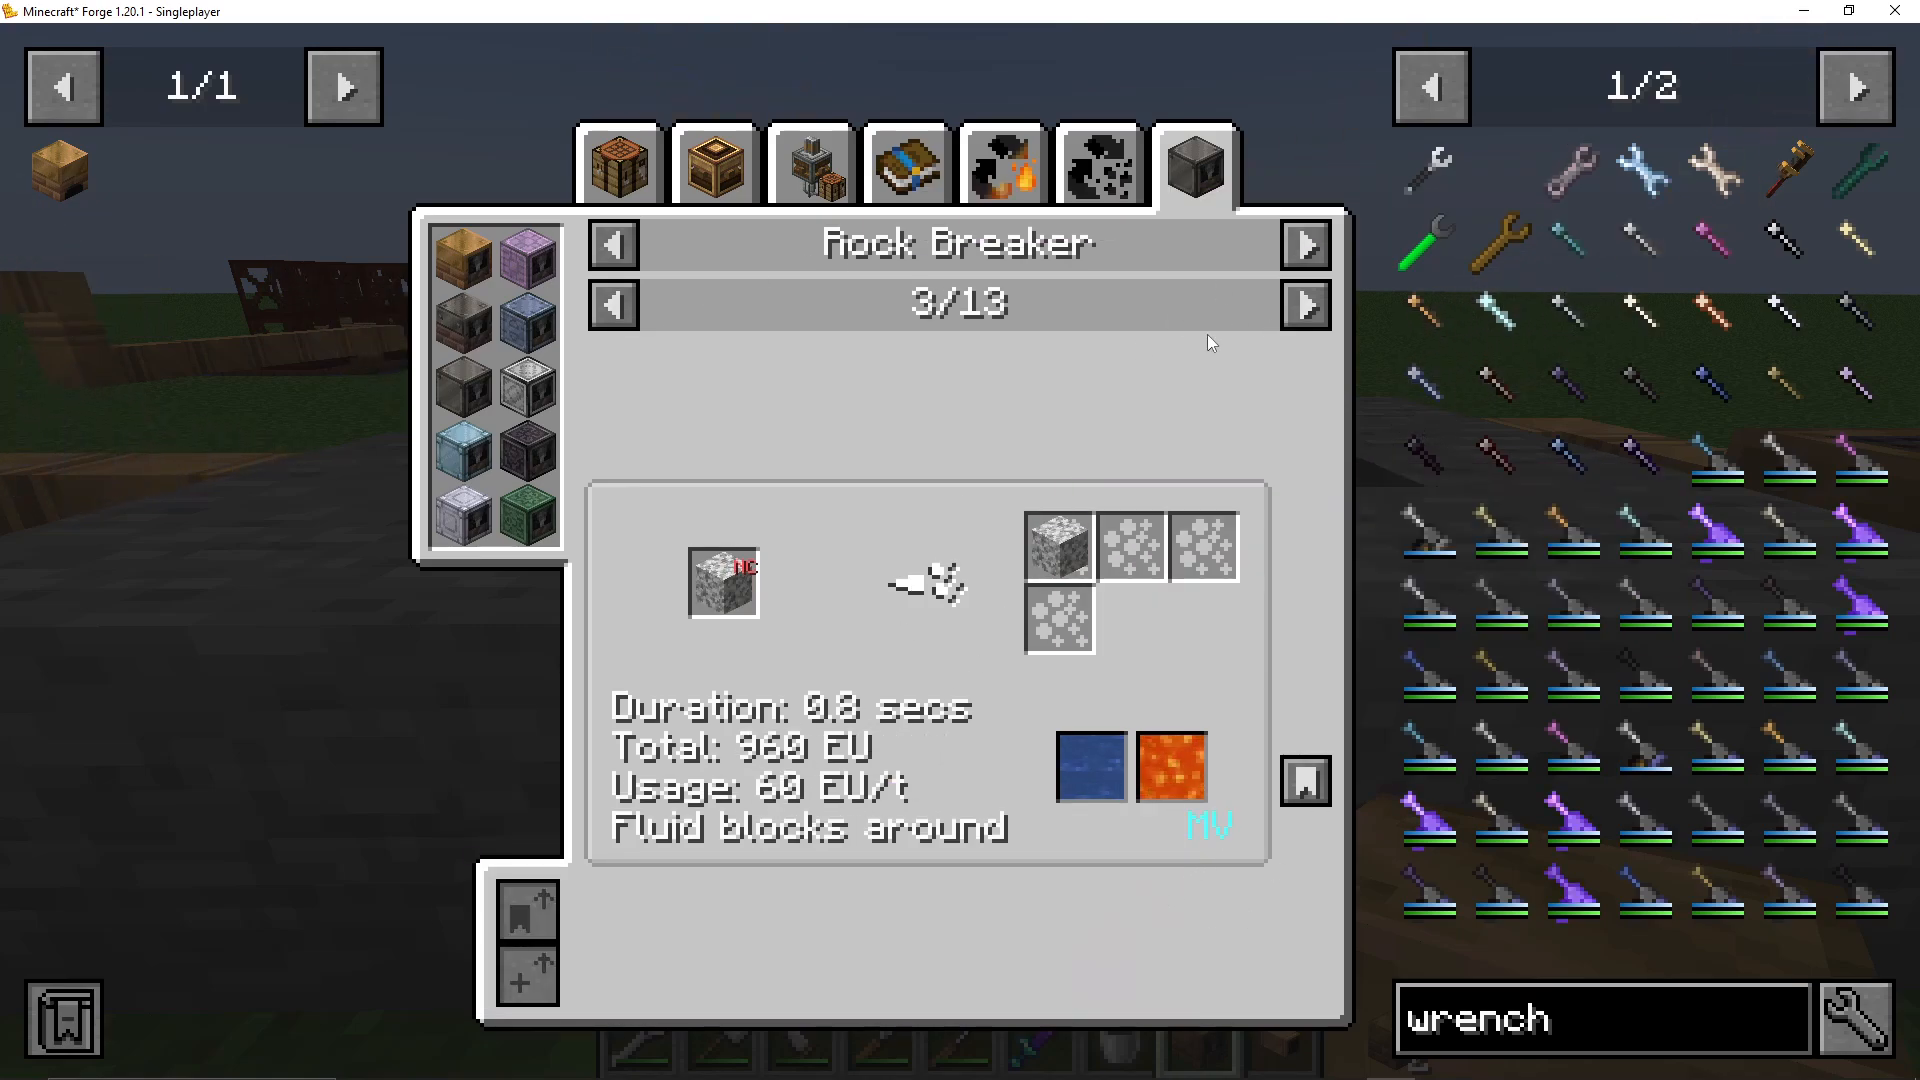
A particularly useful early recipe is the rock crusher’s ability to create infinite cobblestone. Place water on one side and lava on the other, then input cobblestone. The machine outputs new cobblestone continuously. However, some rock crusher recipes require higher voltages—for instance, netherrack processing needs EV, so use an EV-tier rock crusher for that recipe.
Building a Primitive Blast Furnace
To advance further, you’ll need steel, which requires a primitive blast furnace—a multiblock structure. First, craft fire bricks by compressing fire clay (made from clay and brick dust) and heating it. You can crush clay using an iron mortar with bronze and stone components.
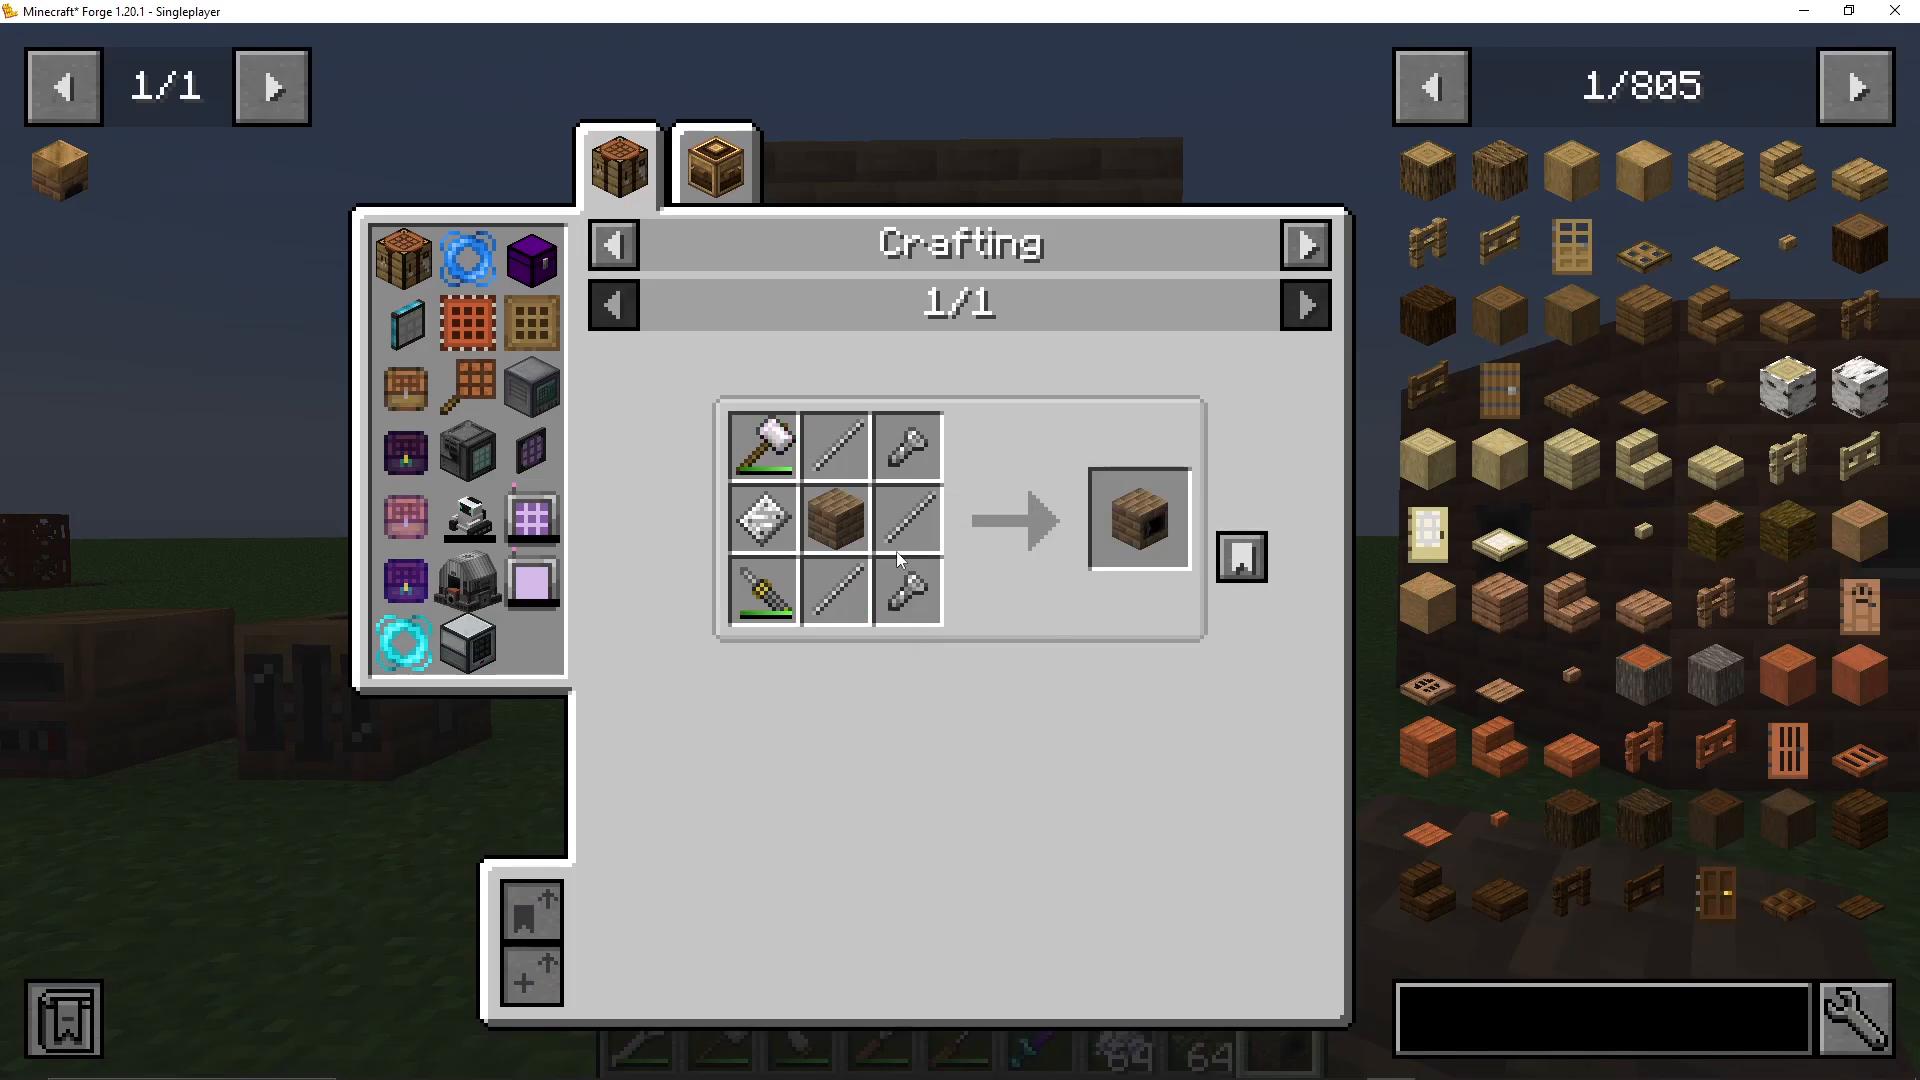
Primitive Blast Furnace Structure
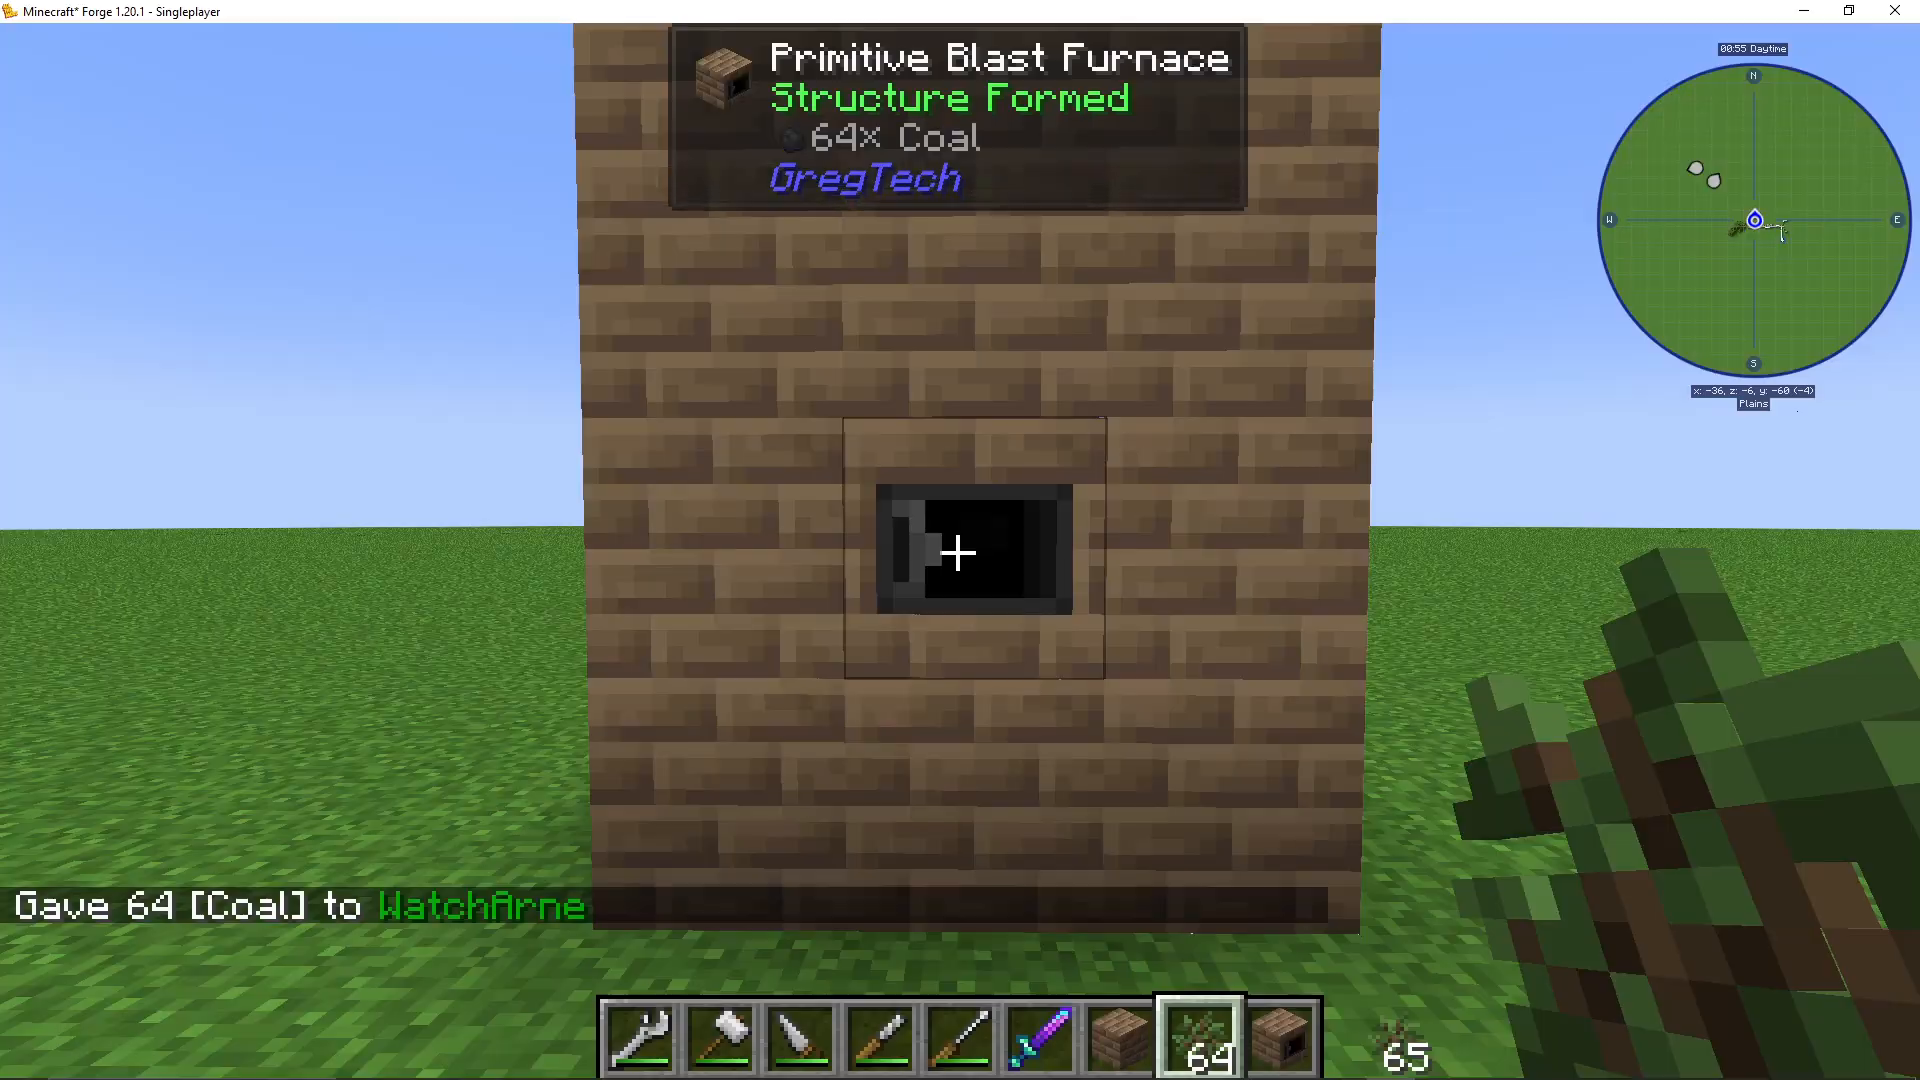
The structure is 3x3x4 blocks tall. Fill all exterior walls with fire bricks, leaving the interior completely empty. Top it with a roof that has a small hole in the center—this is where you insert items. Place the primitive blast furnace block in the center opening.
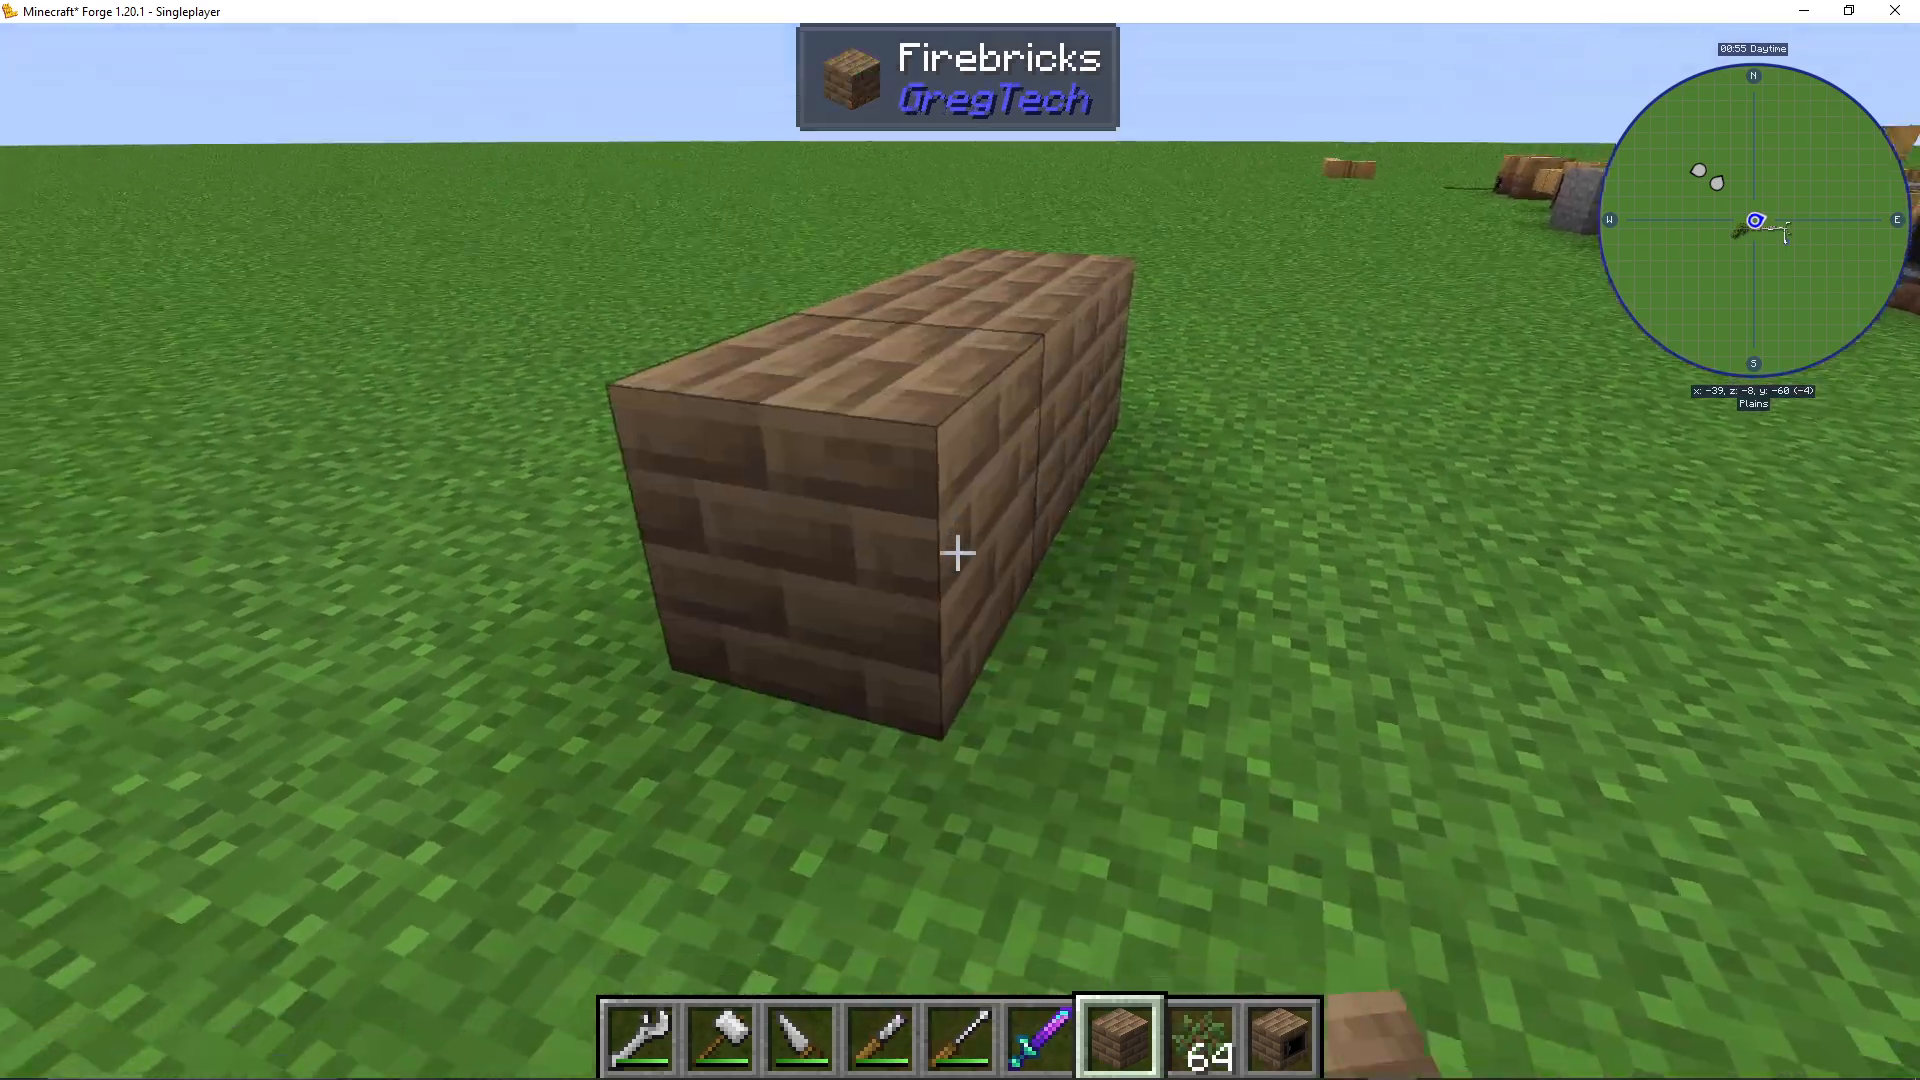
When correctly built, you’ll see “Structure Formed” at the top of your screen. You can test this setup in the tutorial’s example at the provided timestamp.
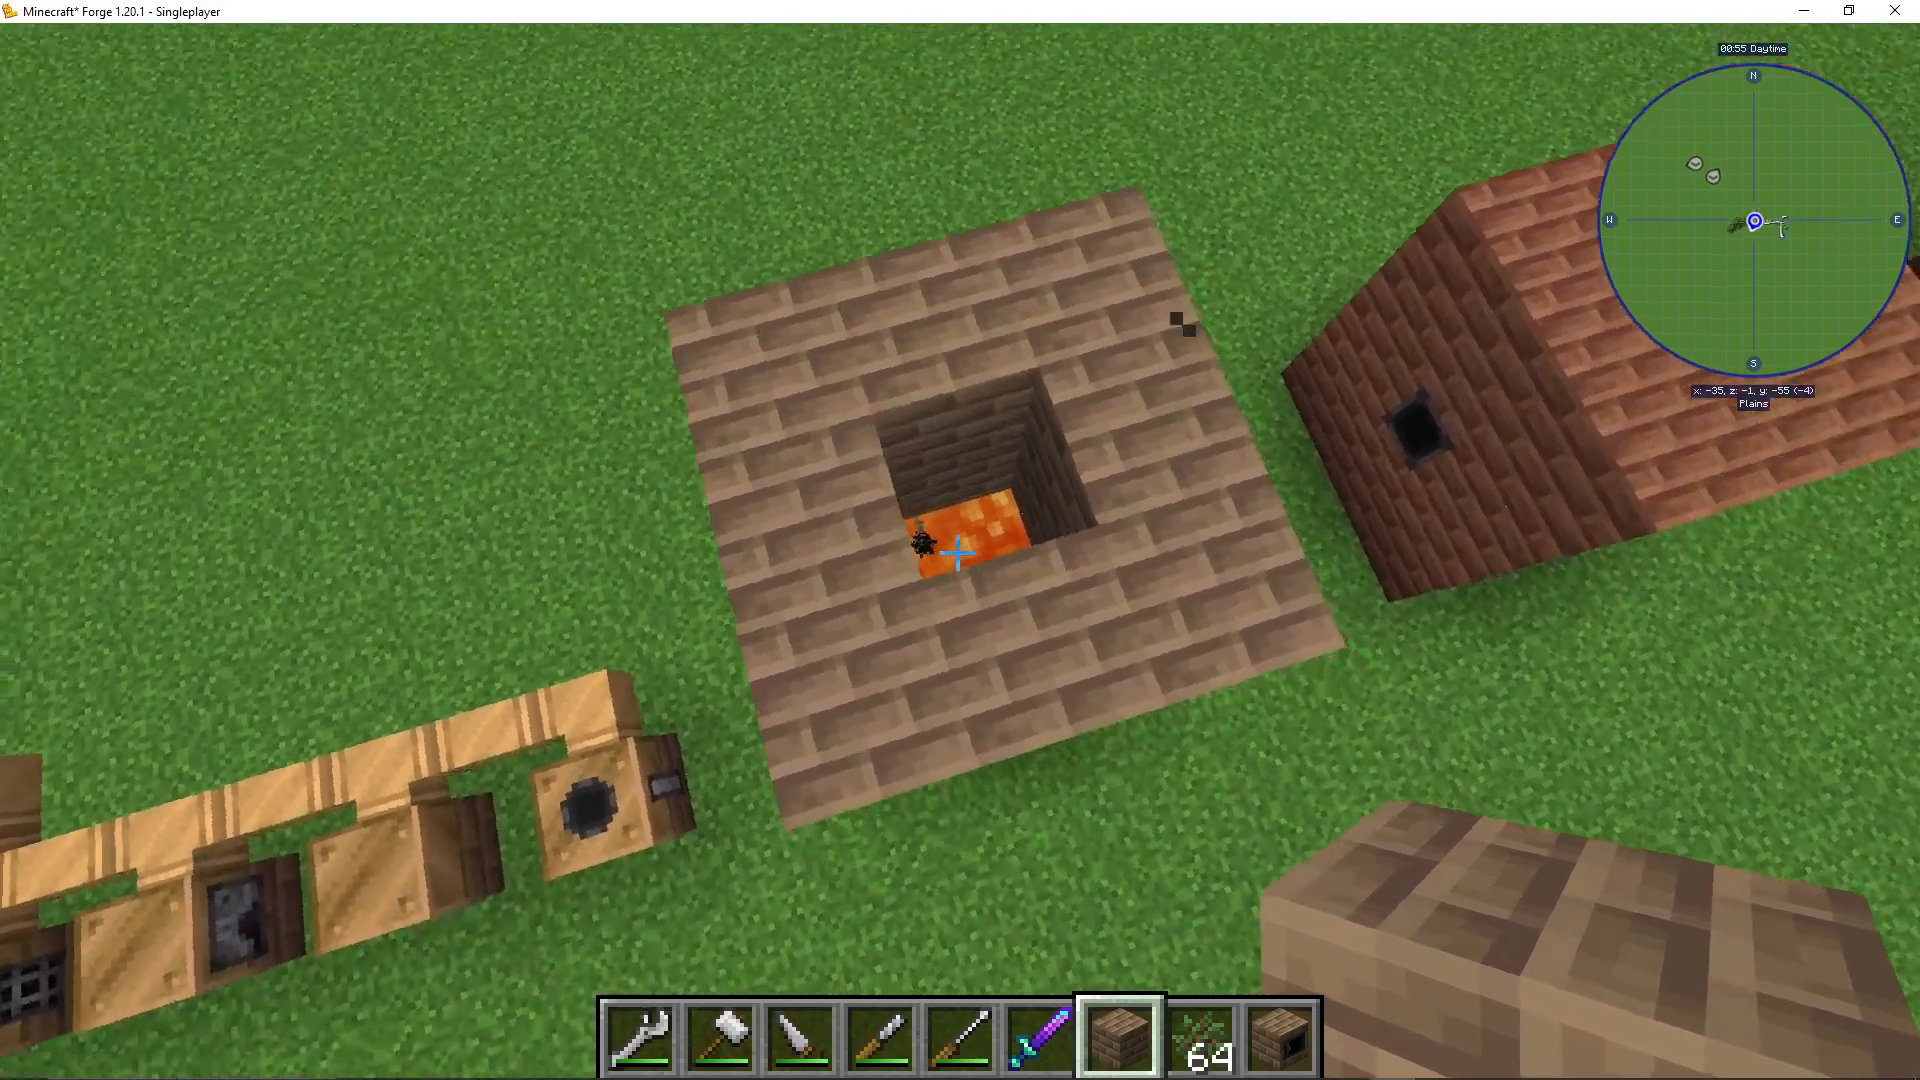
Operating the Primitive Blast Furnace
Insert coal or coal blocks into the top—this is the fuel. Then insert your materials (for example, iron for steel production). Add coal again with the iron; the bottom coal fuels the furnace while the top two items represent the recipe. The machine slowly produces steel ingots and tiny piles of dark ash as byproducts.
High Pressure Steam Boilers and Upgrades
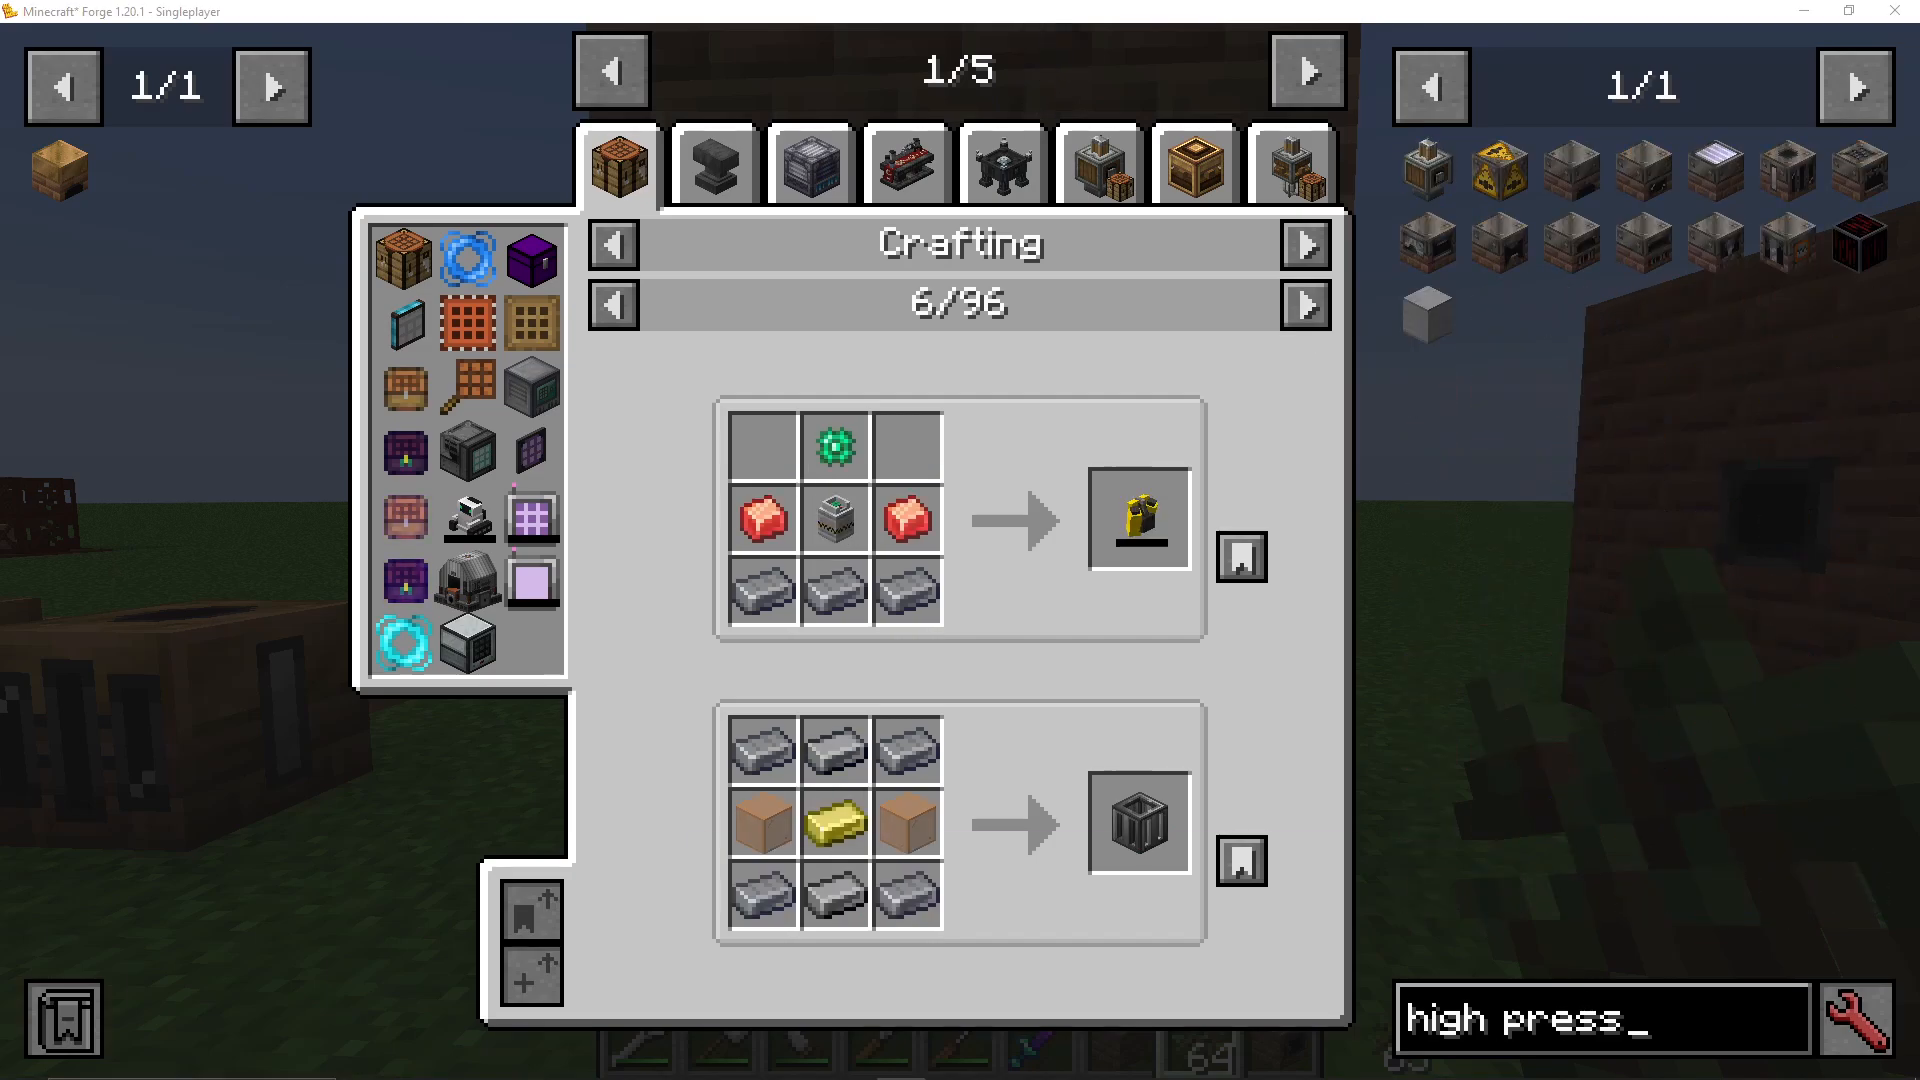
With steel ingots in hand, you can upgrade to high pressure steam boilers. These produce 15 millibuckets per tick compared to the low pressure version’s 6 millibuckets per tick—more than double the output. Whether you upgrade depends on your pace; you’ll eventually move to Low Voltage anyway, so upgrading is optional.
Building a Coke Oven
After the primitive blast furnace, construct a coke oven to produce coke and creosote—valuable fuels and materials. Coke oven bricks are made from compressed coke clay (created easily with basic tools) and are used to build the multiblock structure.
Coke Oven Structure
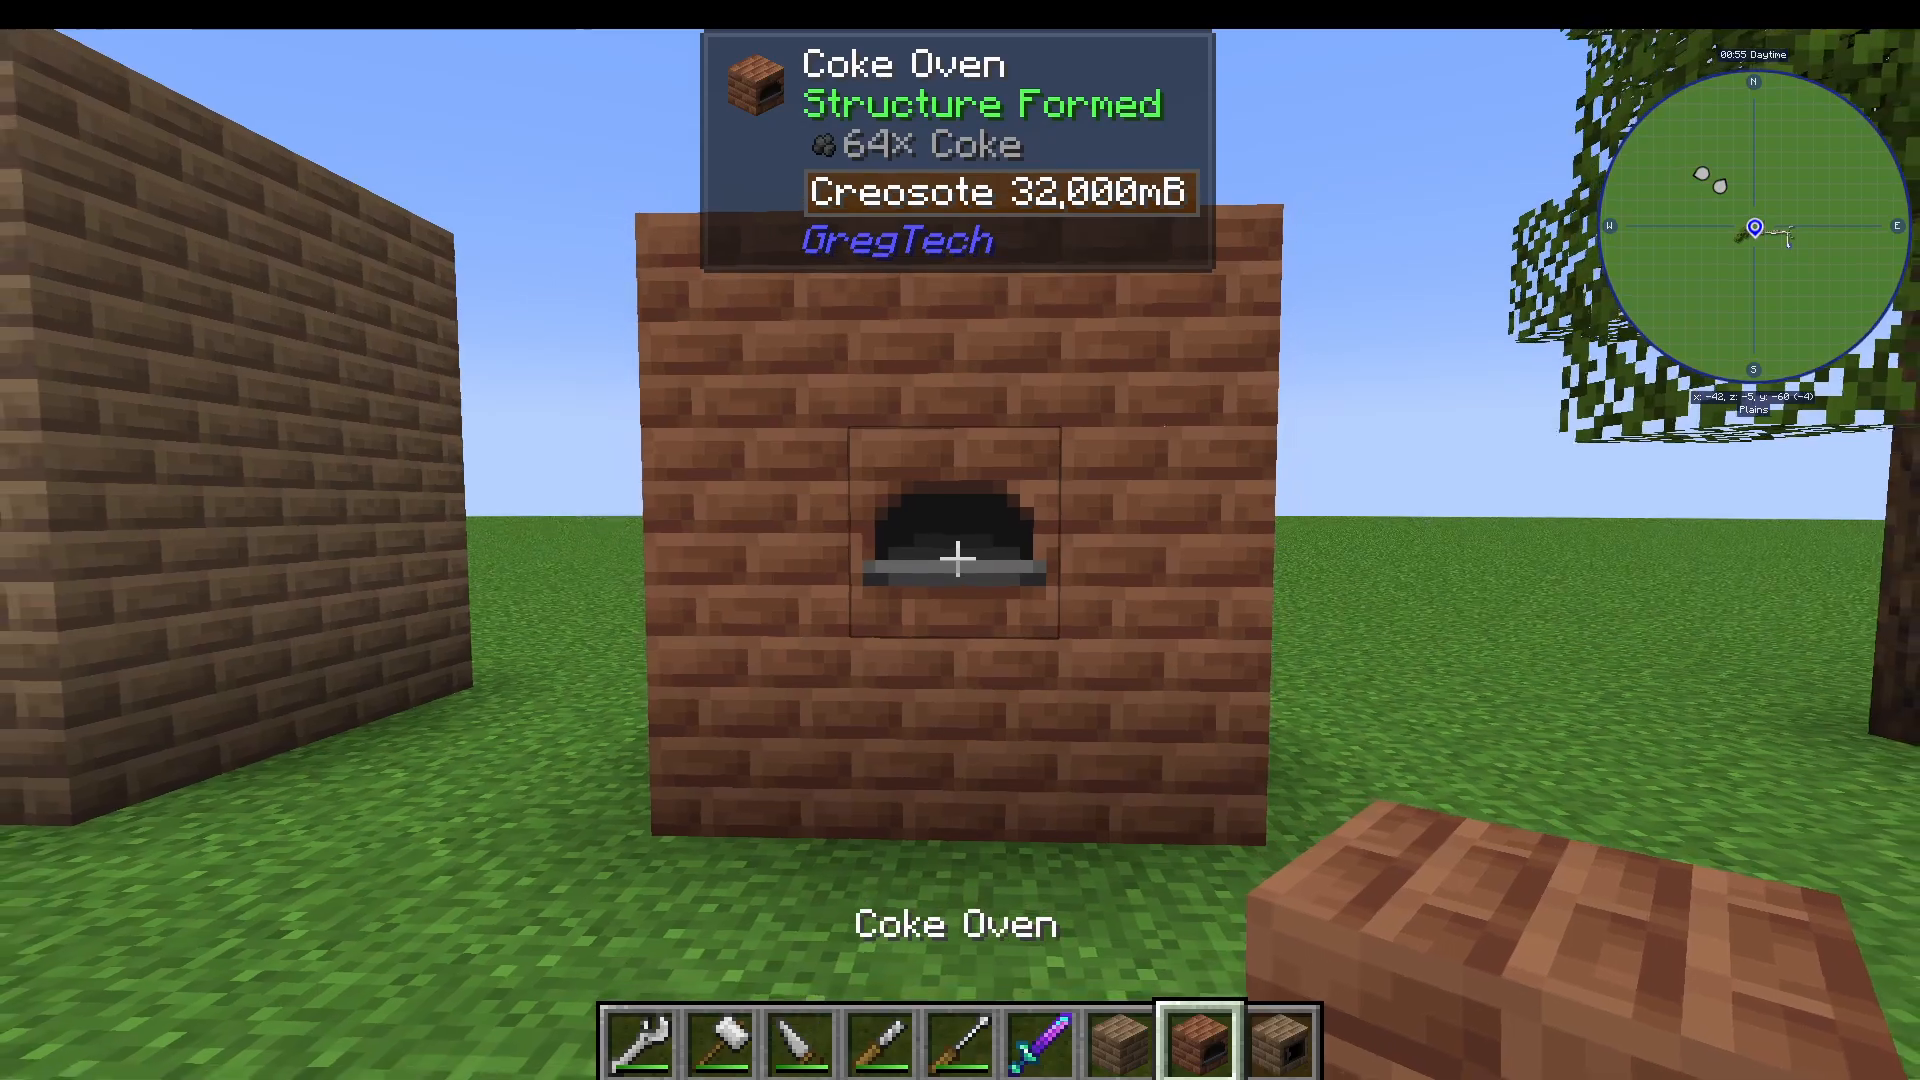
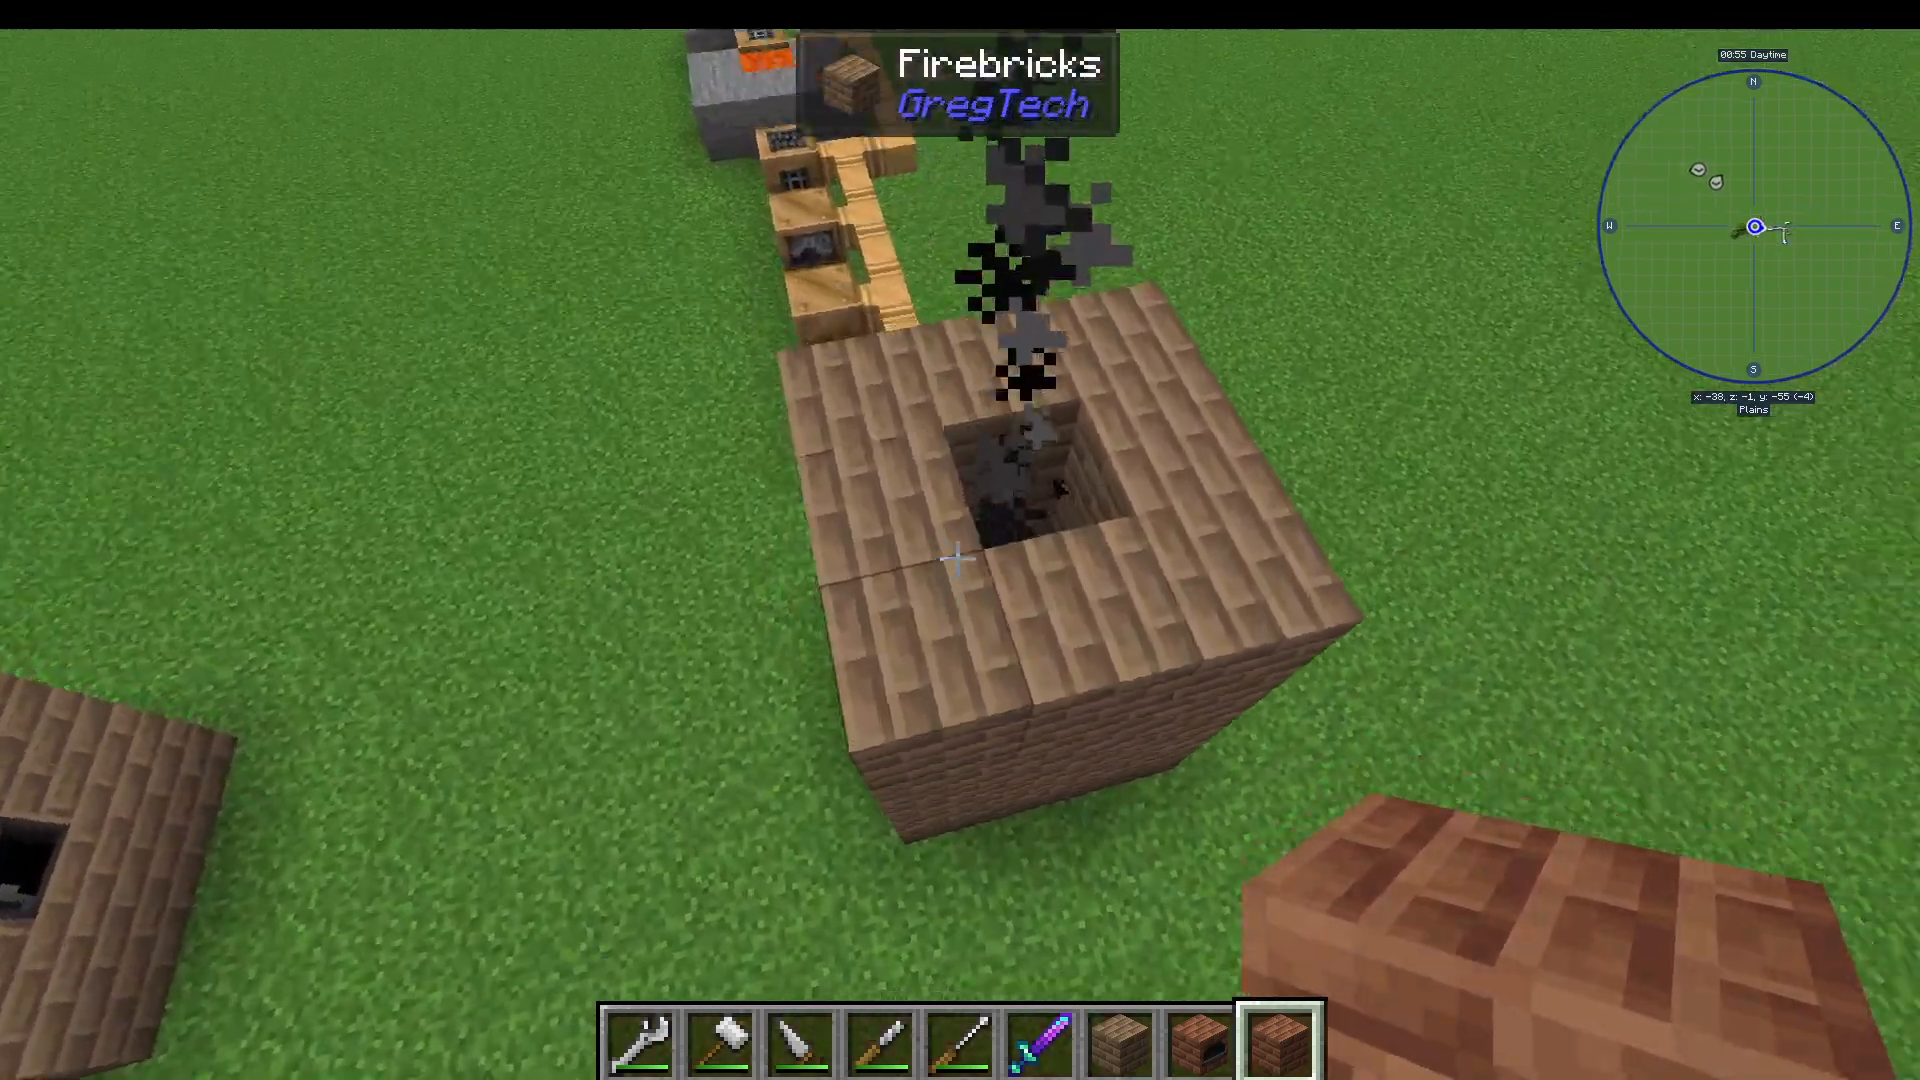
Unlike the primitive blast furnace’s open top, the coke oven has a closed interior shell. Build it as a 3×3 exterior with an empty interior, then place the coke oven block in one of the shells. The structure will confirm “Structure Formed.”
Processing Coal and Extracting Creosote
Insert coal into the coke oven to produce coke. As a bonus, you also generate creosote—a highly useful liquid. Extract creosote by left-clicking with a bucket. You can also install coke oven hatches to automate input and output of fluids and items.
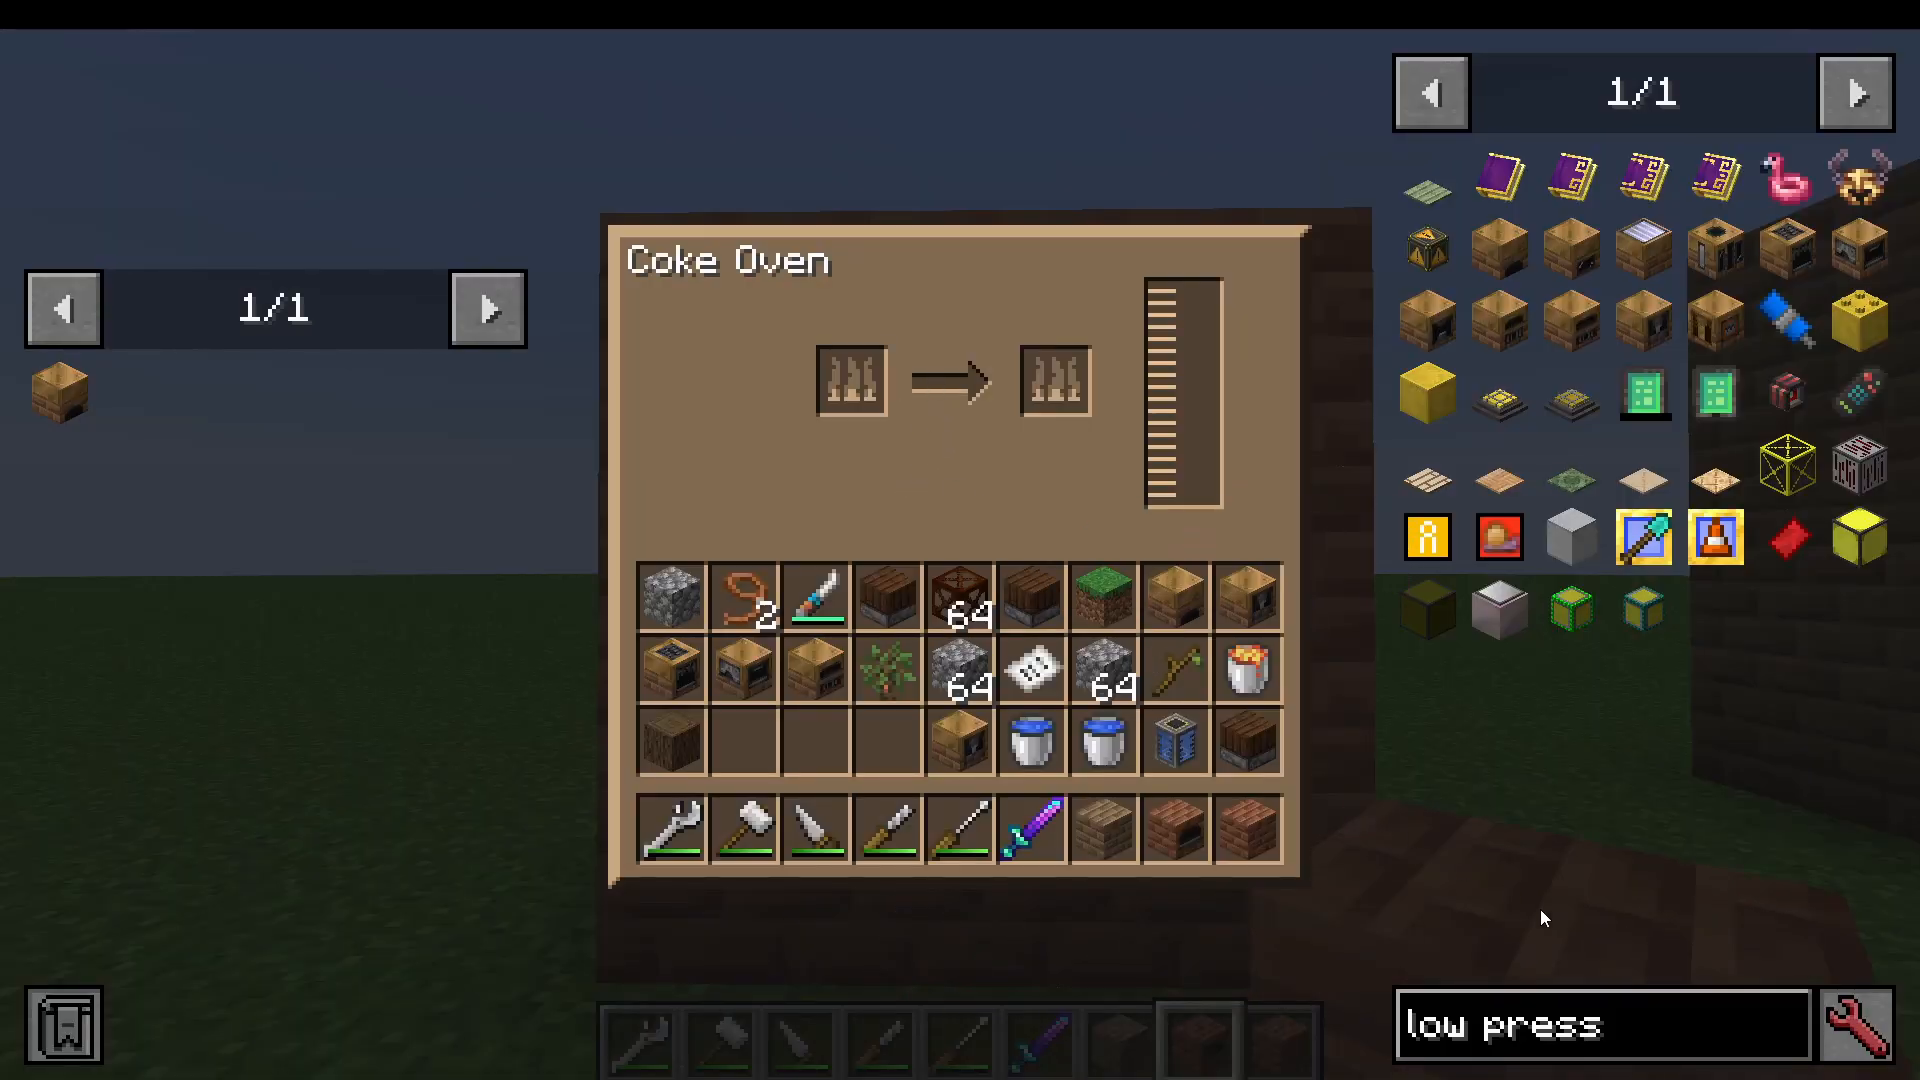
Uses for Creosote and Treated Wood
Creosote serves many purposes. Combine sticks and wool with creosote to craft 12 torches. More importantly, creosote enables the creation of treated wood planks and treated wood sticks, which unlock critical machines like the primitive pump for infinite water sources.
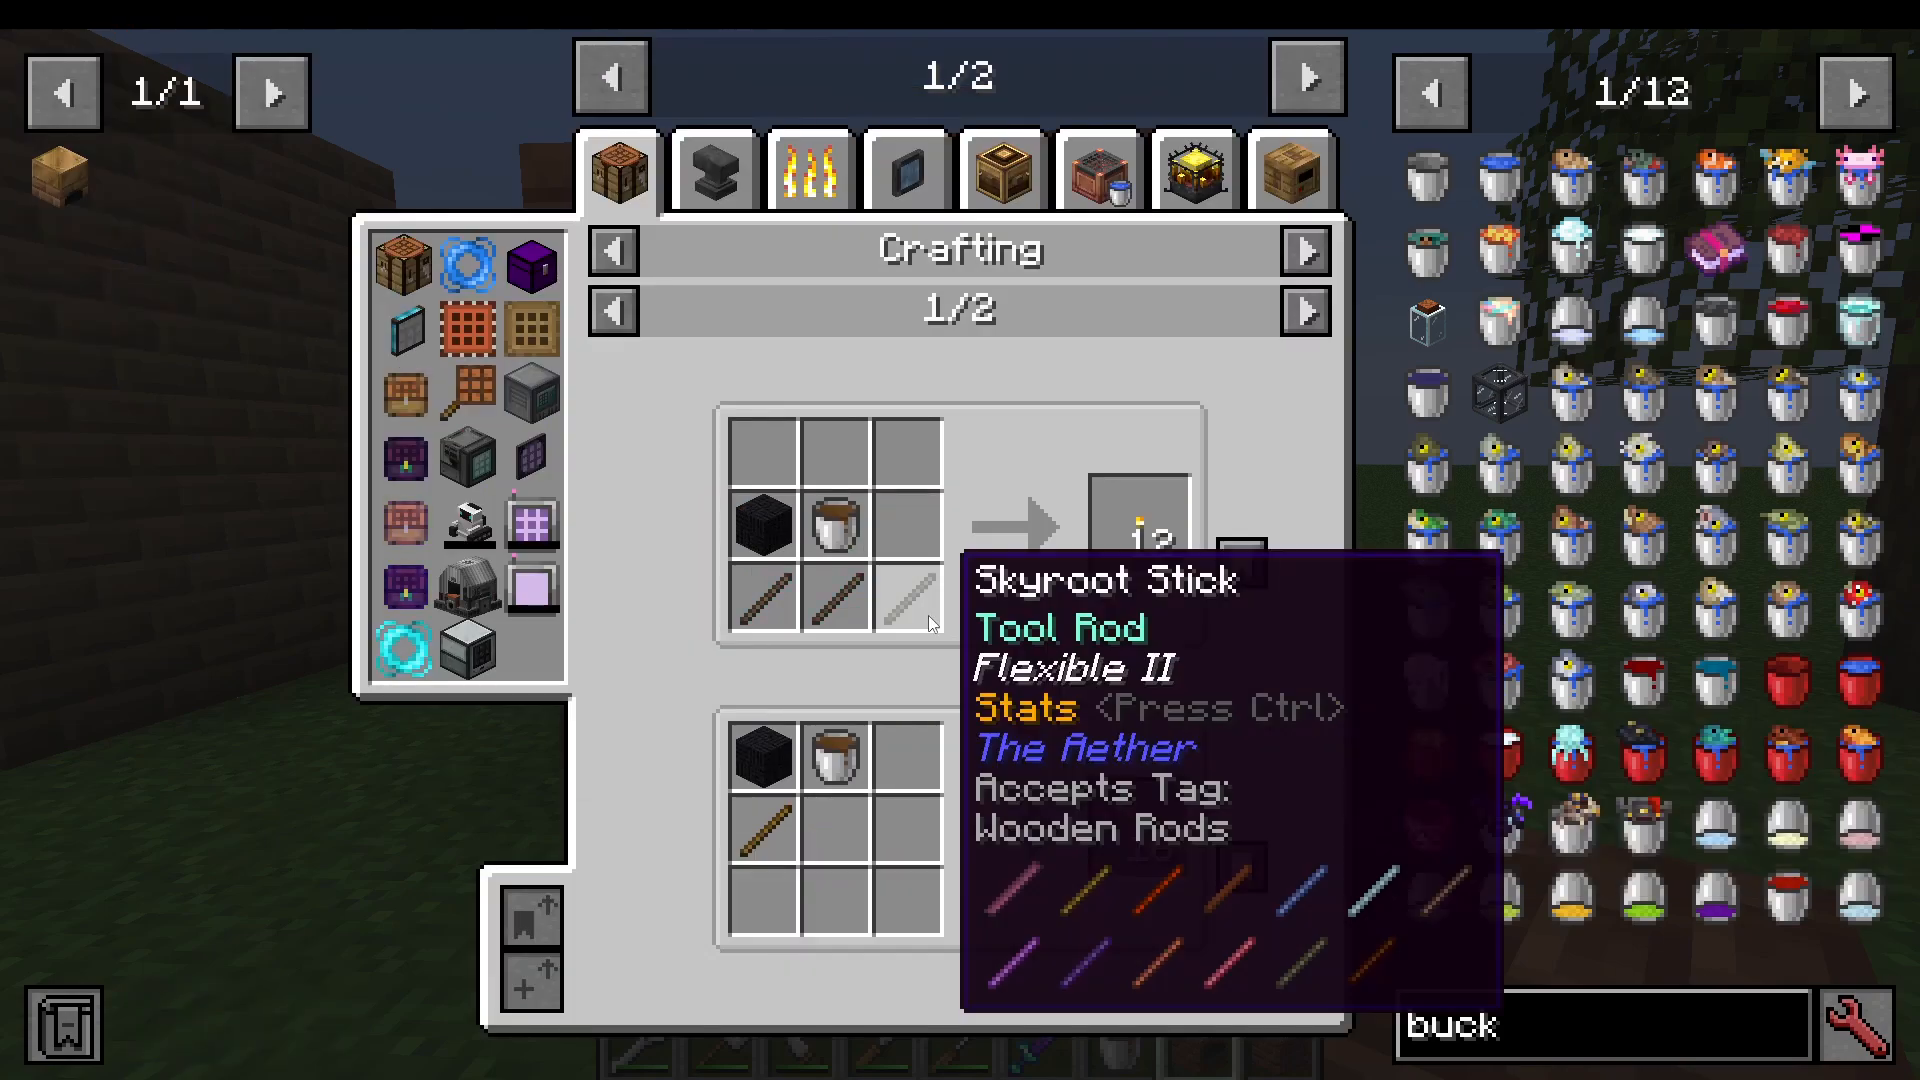
Setting Up a Primitive Pump for Infinite Water
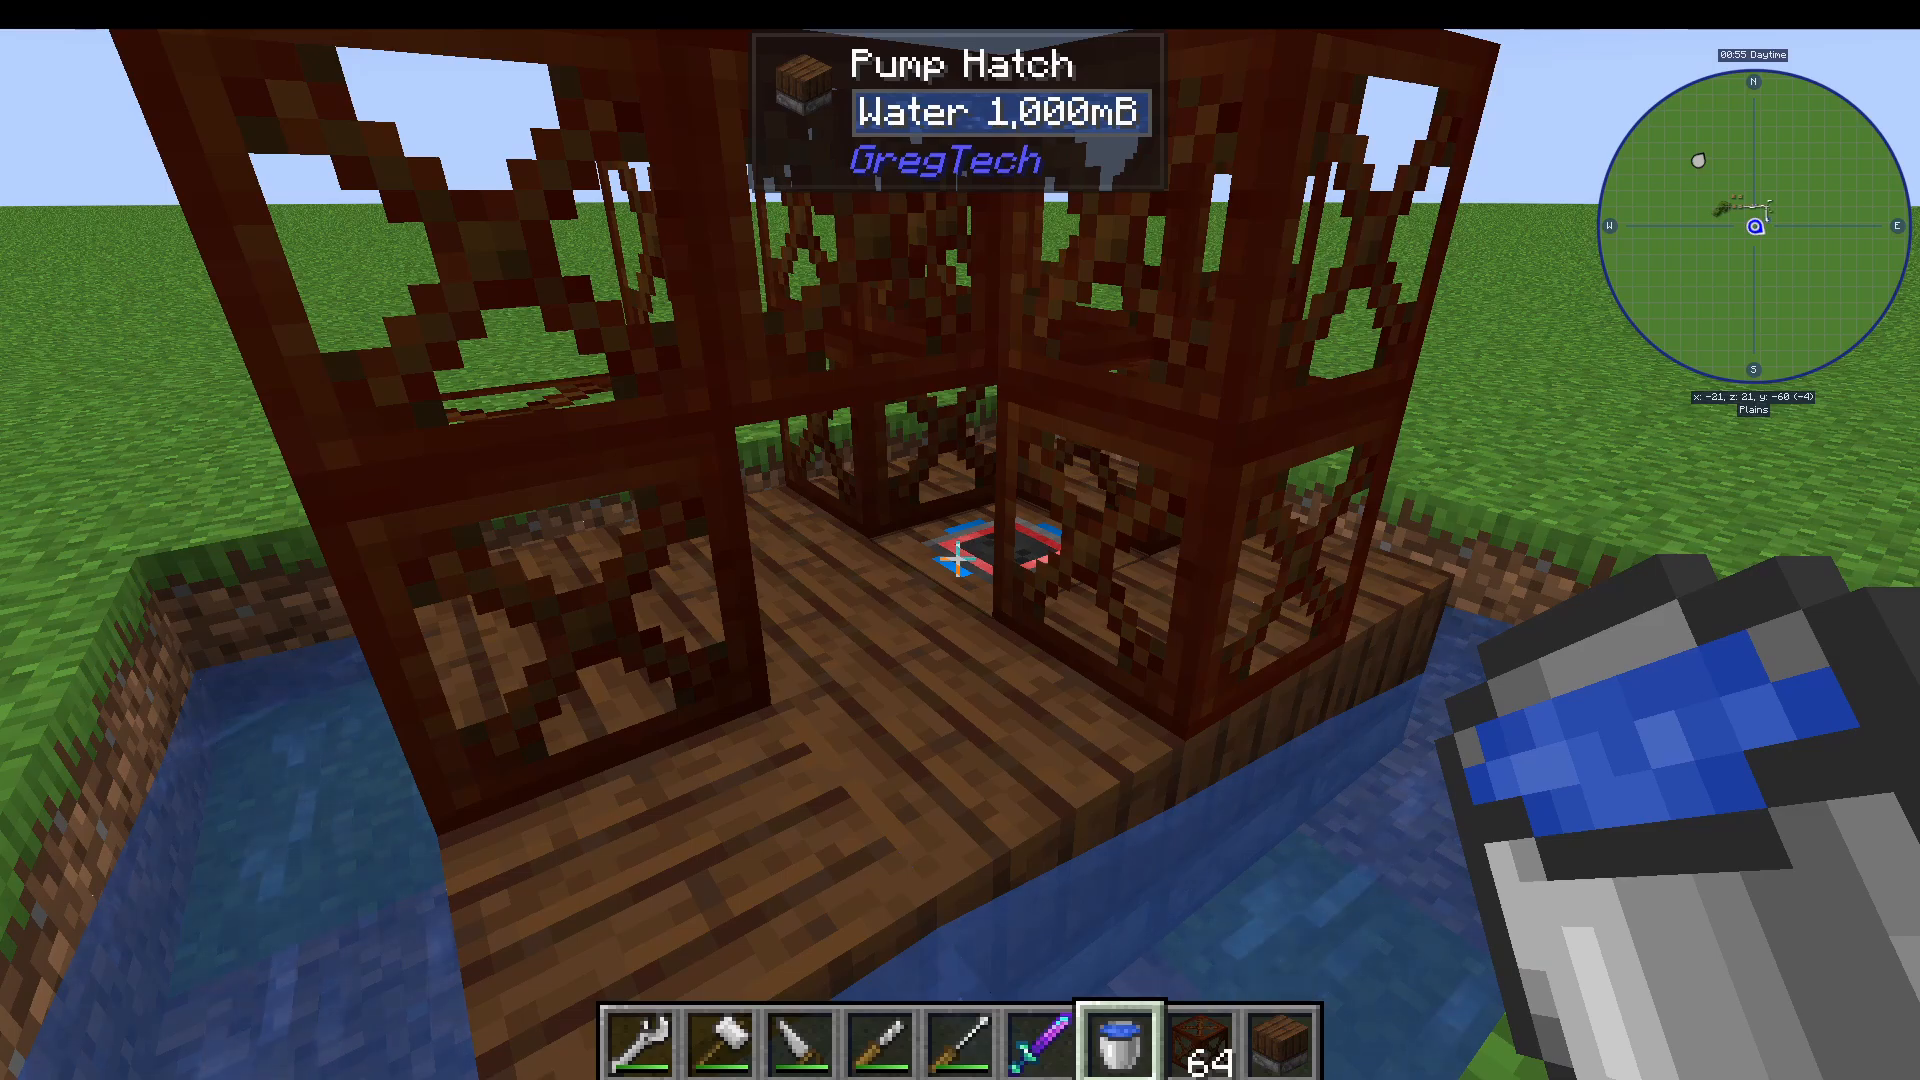
A primitive pump is a multiblock structure measuring 3x3x4 blocks. You’ll need the primitive pump block itself, pump decks (as the base), a pump hatch (where water outputs), treated wood frames to fill the structure, and adjacent water source blocks.
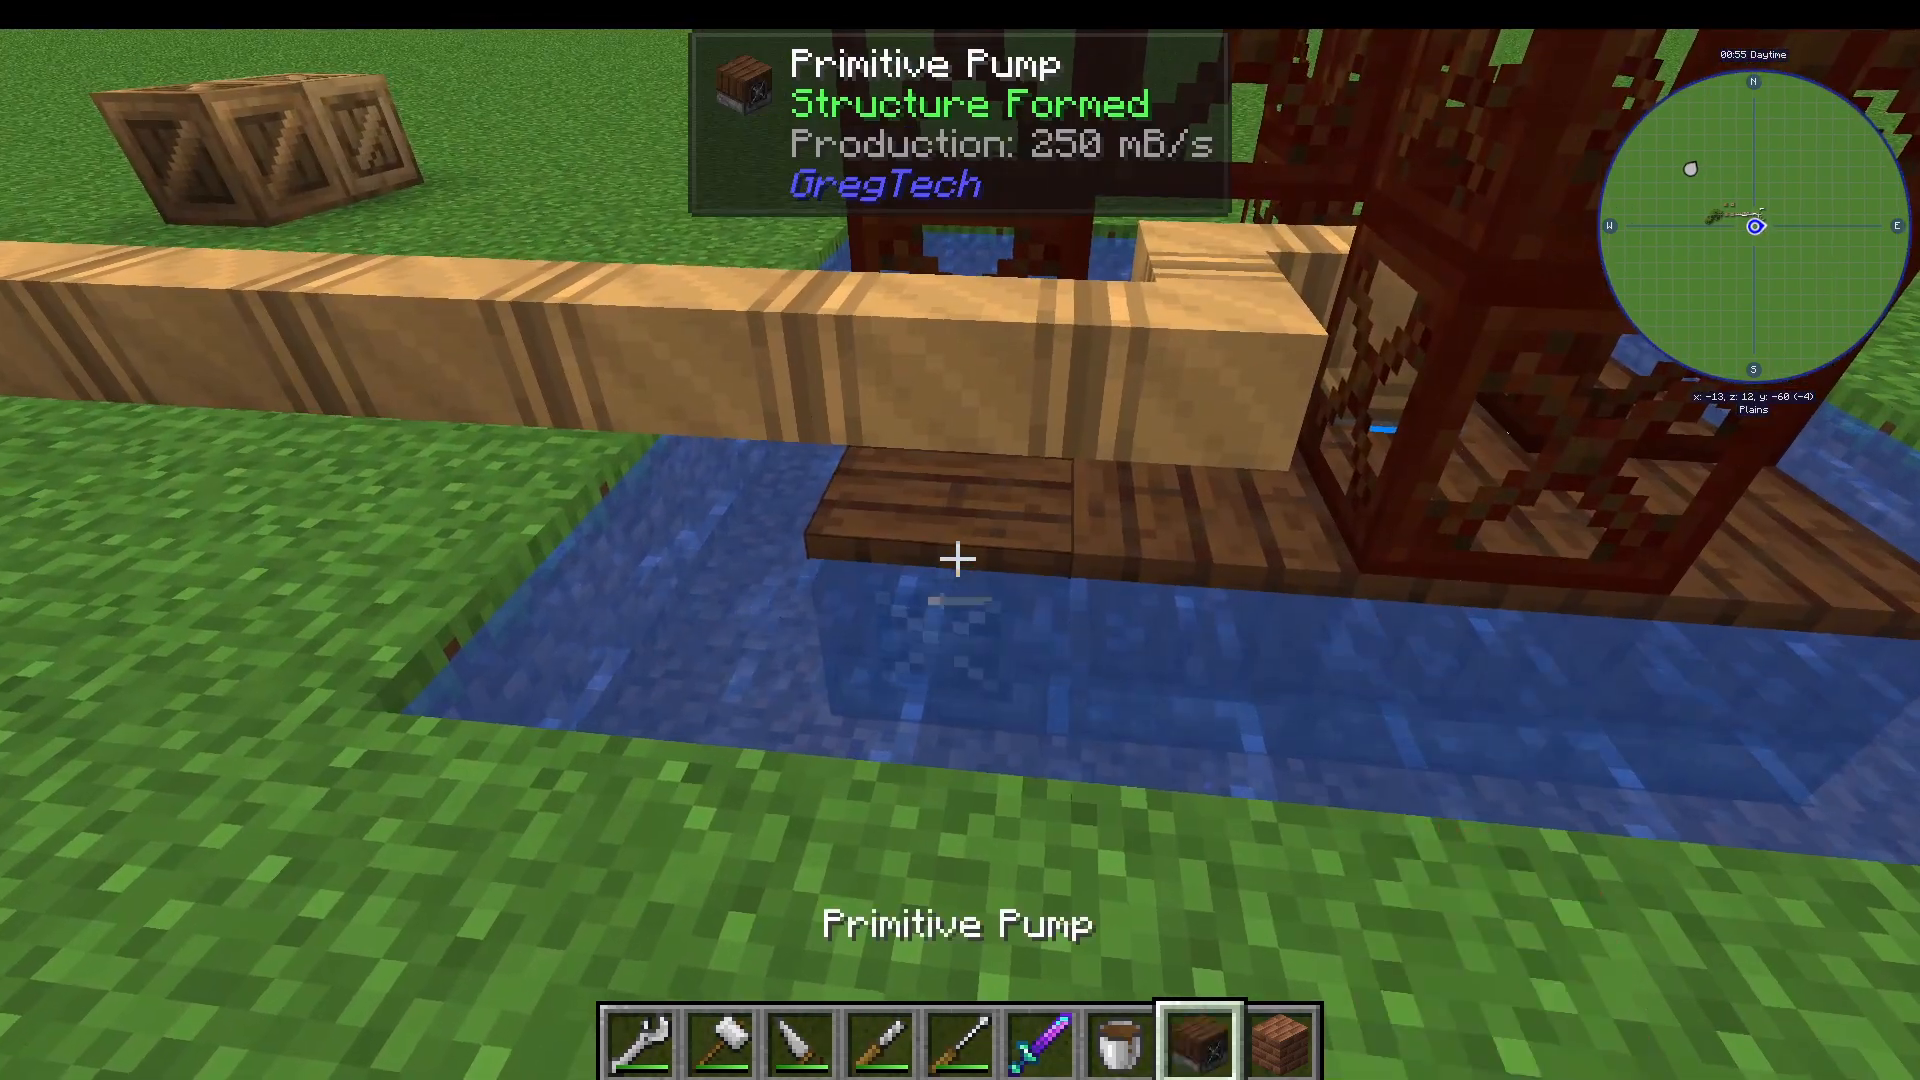
Primitive Pump Assembly
Arrange the pump decks in a 3×3 grid at the base. Place the primitive pump on the front, and position a pump hatch to the side or back. Fill the remaining space with treated wood frames. The frames are climbable, making them useful as ladders. Place water adjacent to the pump hatch, and connect a bronze fluid pipe to the hatch using shift-click.
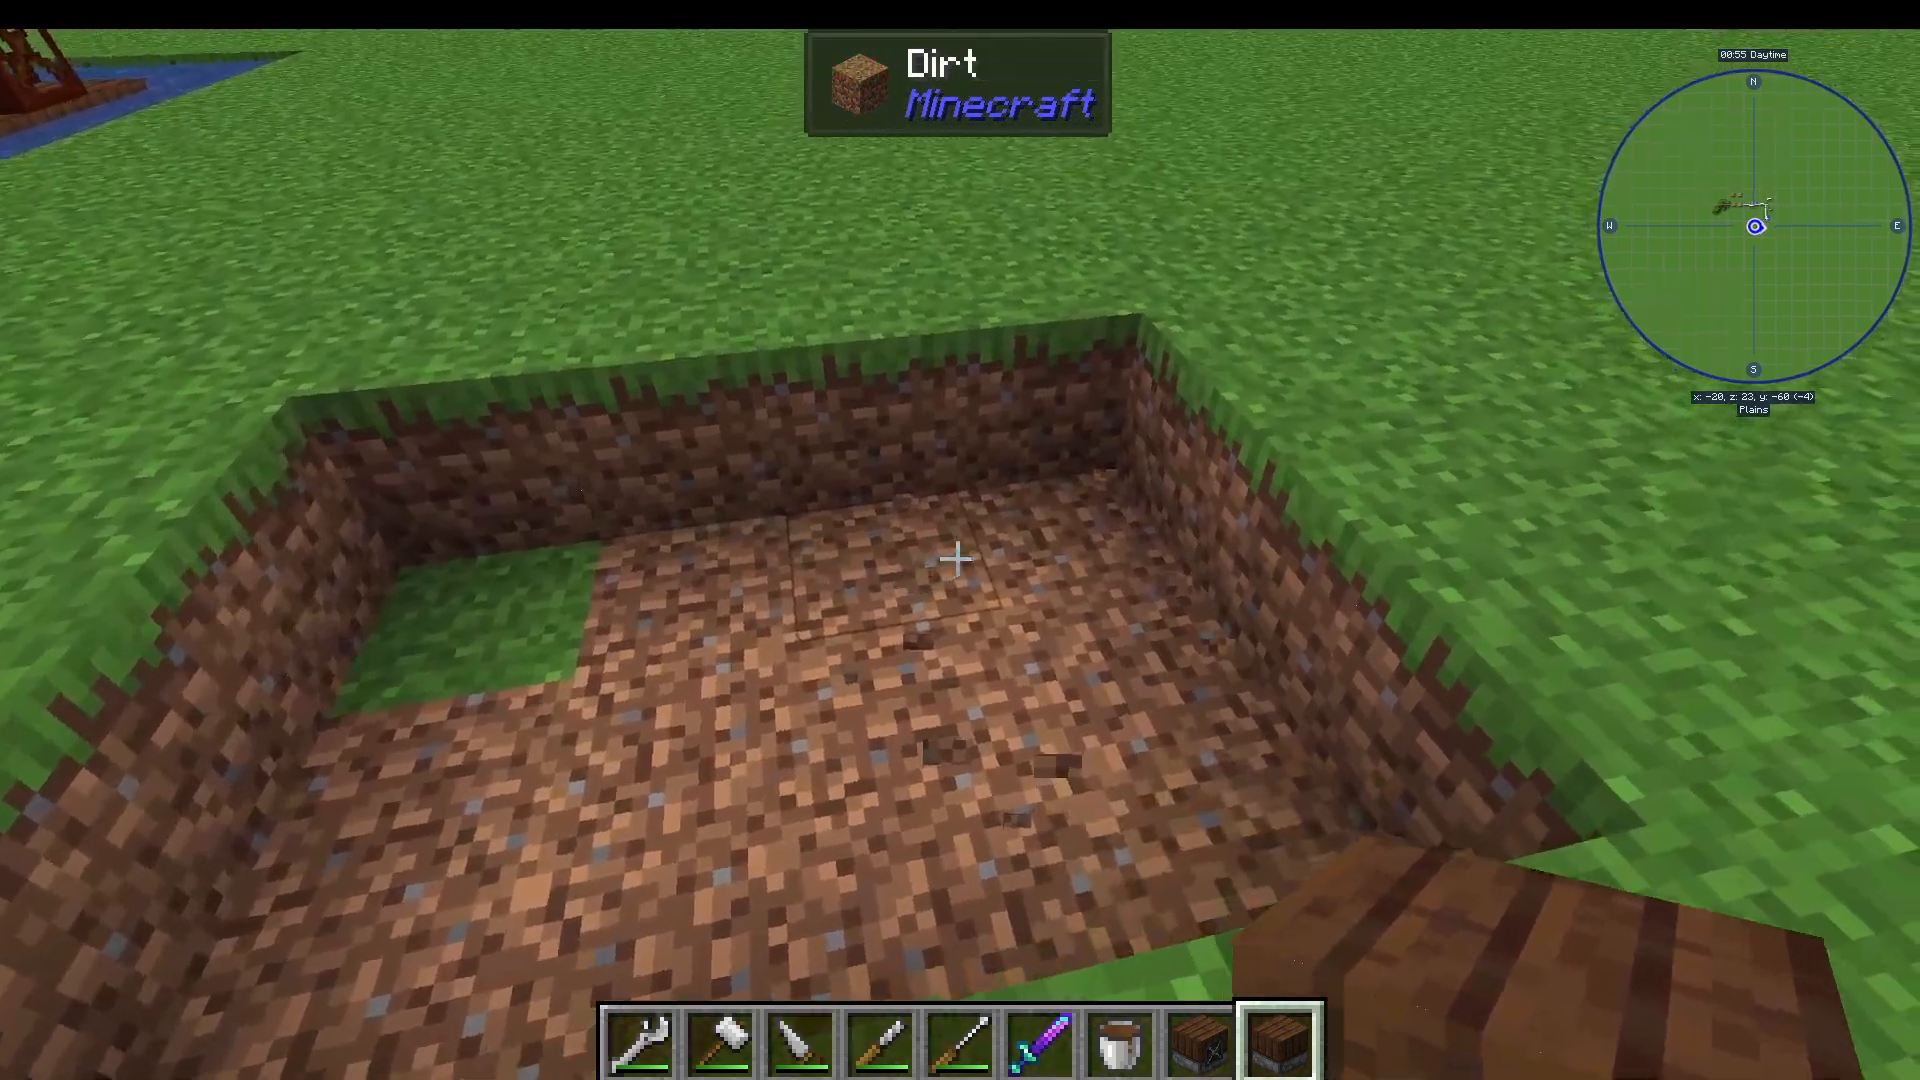
Once connected, the pump automatically extracts unlimited water, which you can pipe into storage drums or directly into your boilers.
Crafting Basic Electronic Circuits
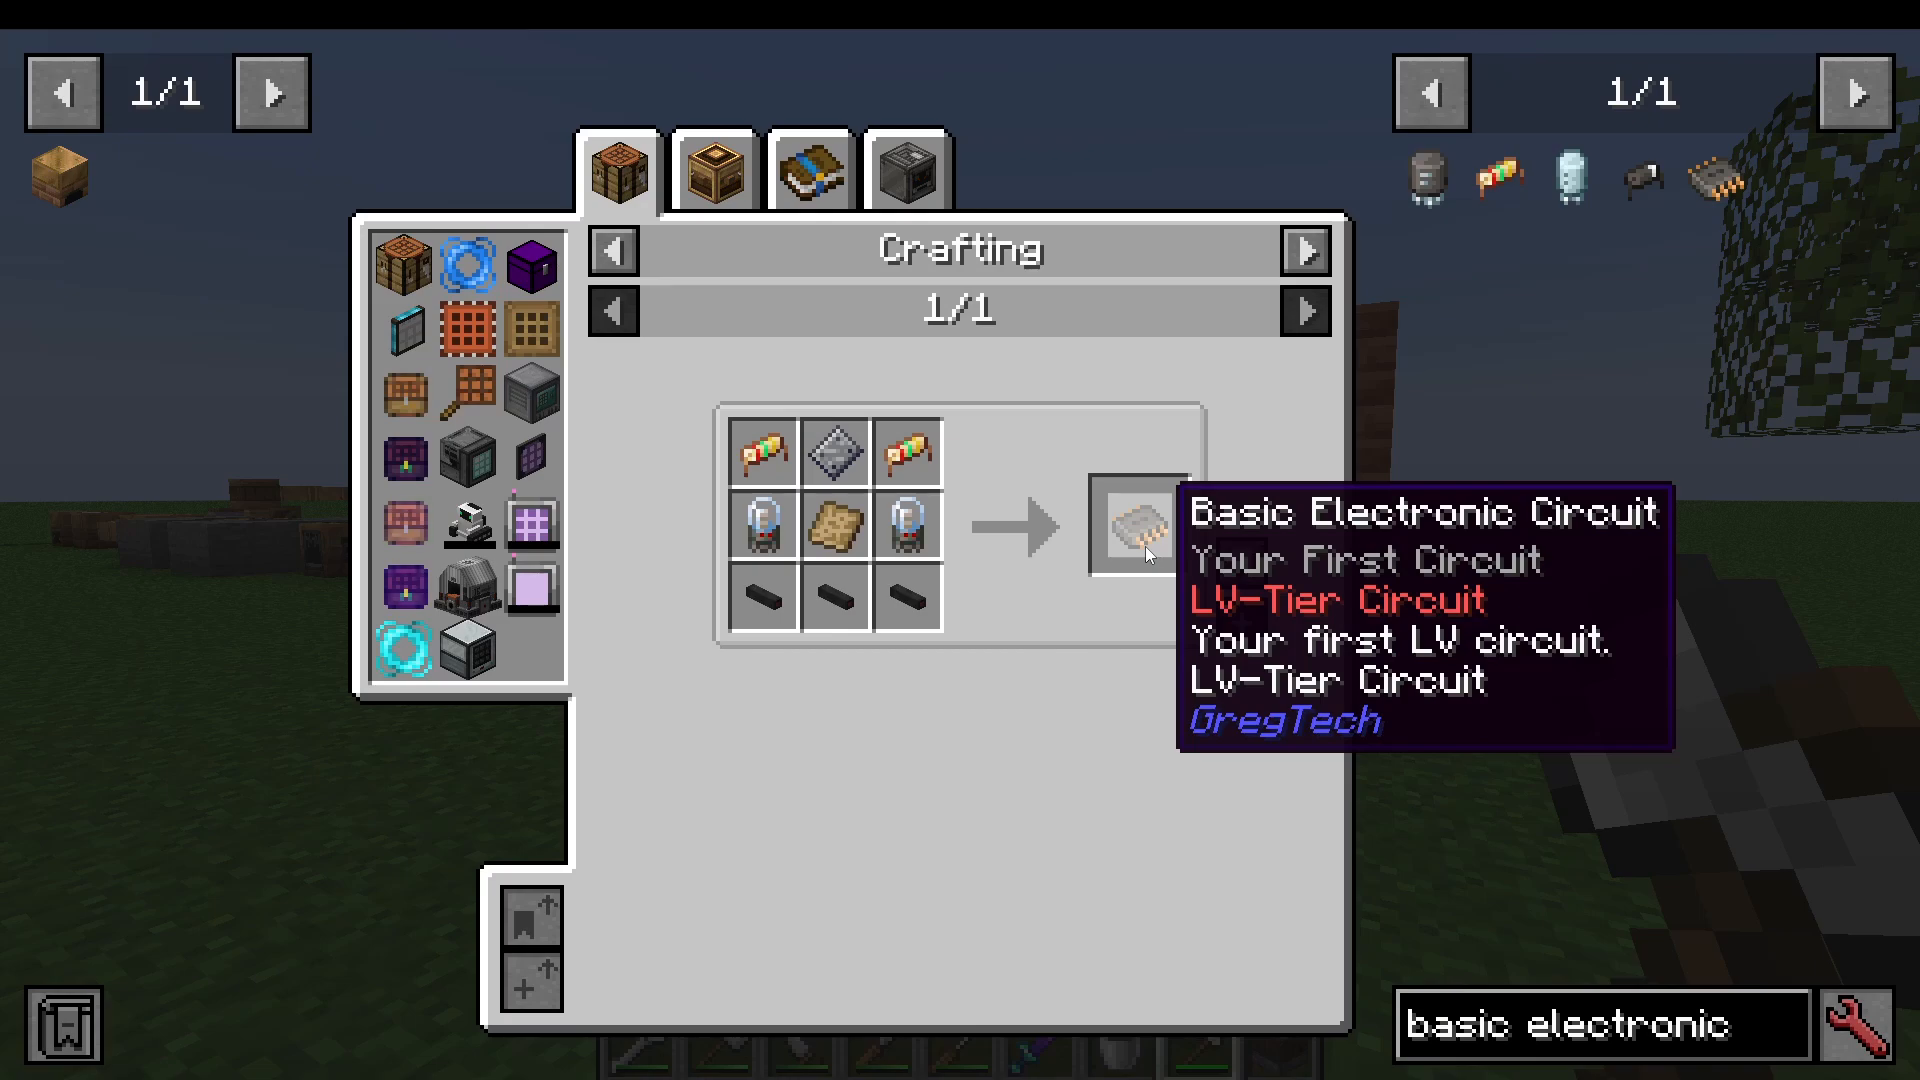
The final barrier to entering Low Voltage is crafting basic electronic circuits. These circuits require multiple components, each with its own crafting chain. This is where Gregtech’s complexity becomes apparent—you must gather many items, and bulk-crafting is essential to avoid tedium.
Circuit Components
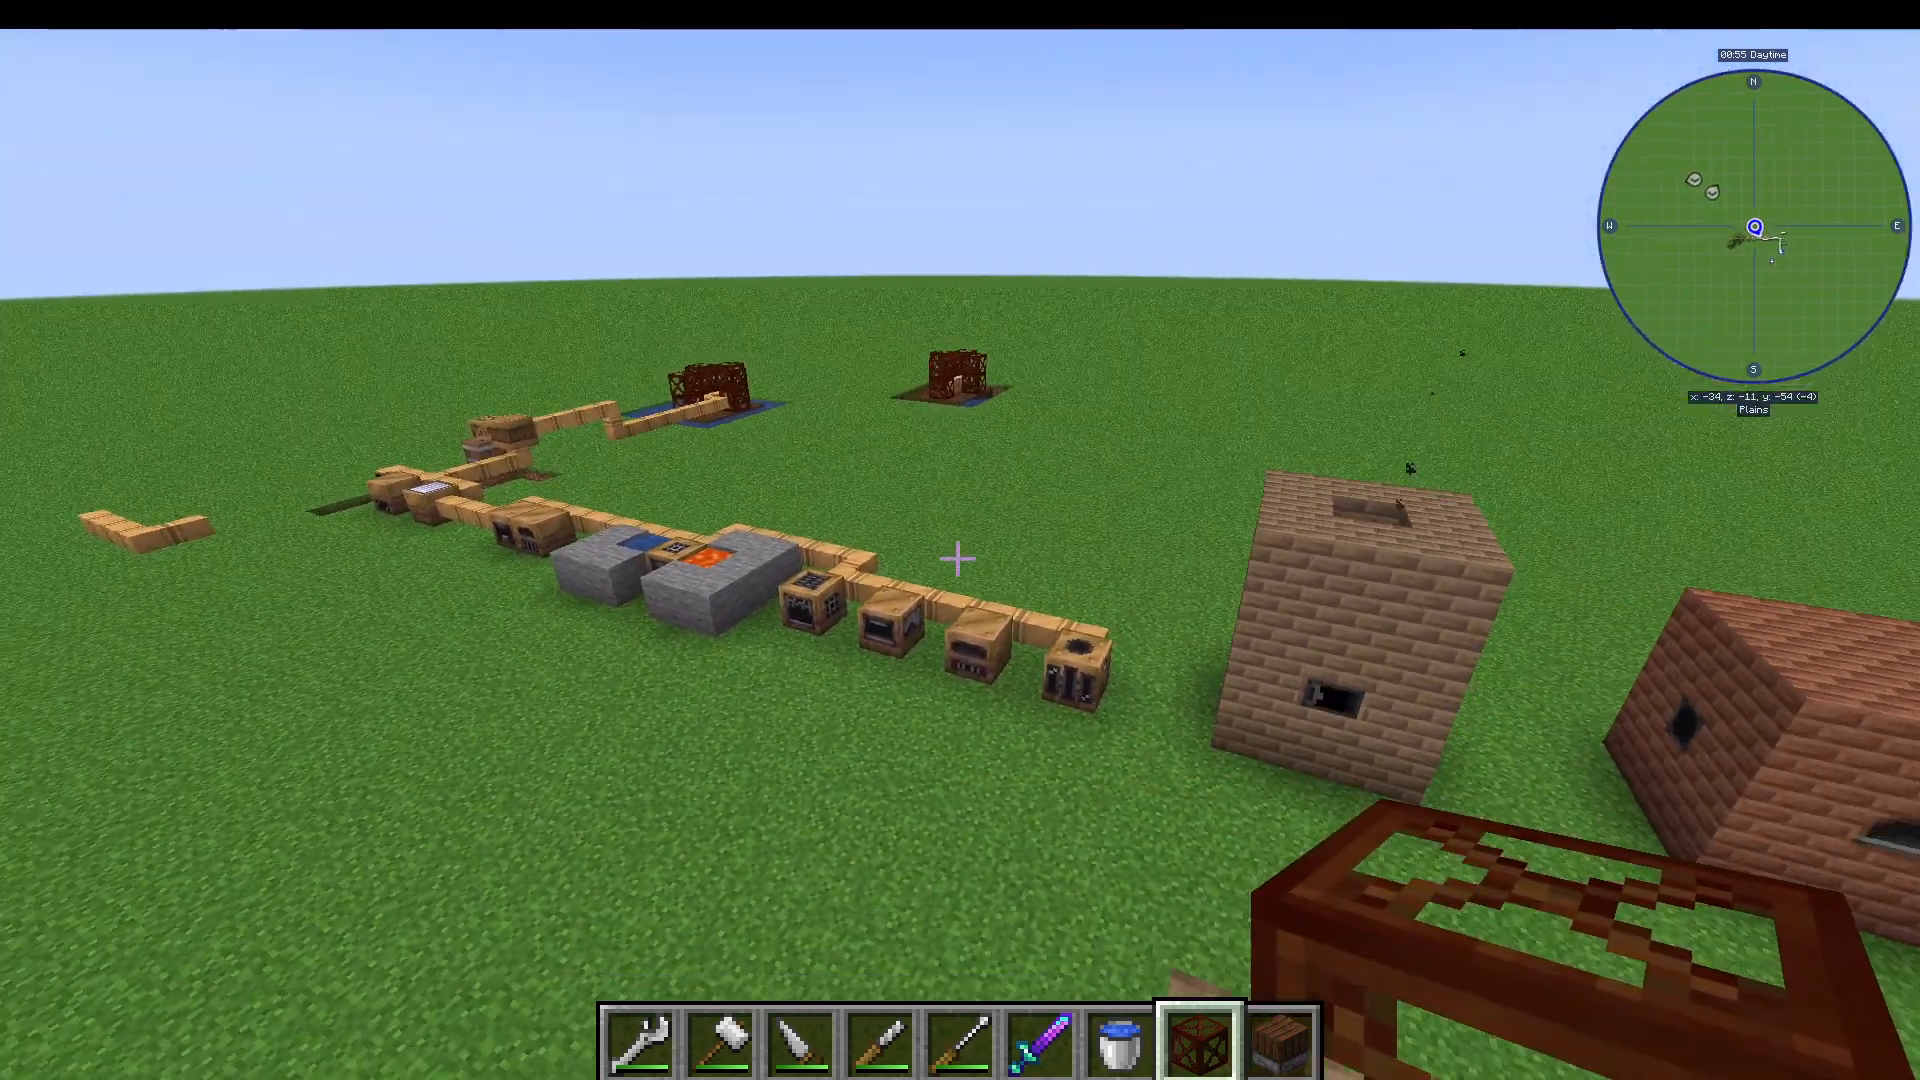
Resin Printed Circuit Boards: Created from resin circuit boards, copper wire, and other wires. Copper wire and similar wires are made by cutting plates with a wire cutter (craft an iron wire cutter from basic tools). Resin circuit boards combine sticky resin with wood planks. Wood planks are made by compressing wood pulp in a low pressure steam compressor. Wood pulp comes from macerating logs.
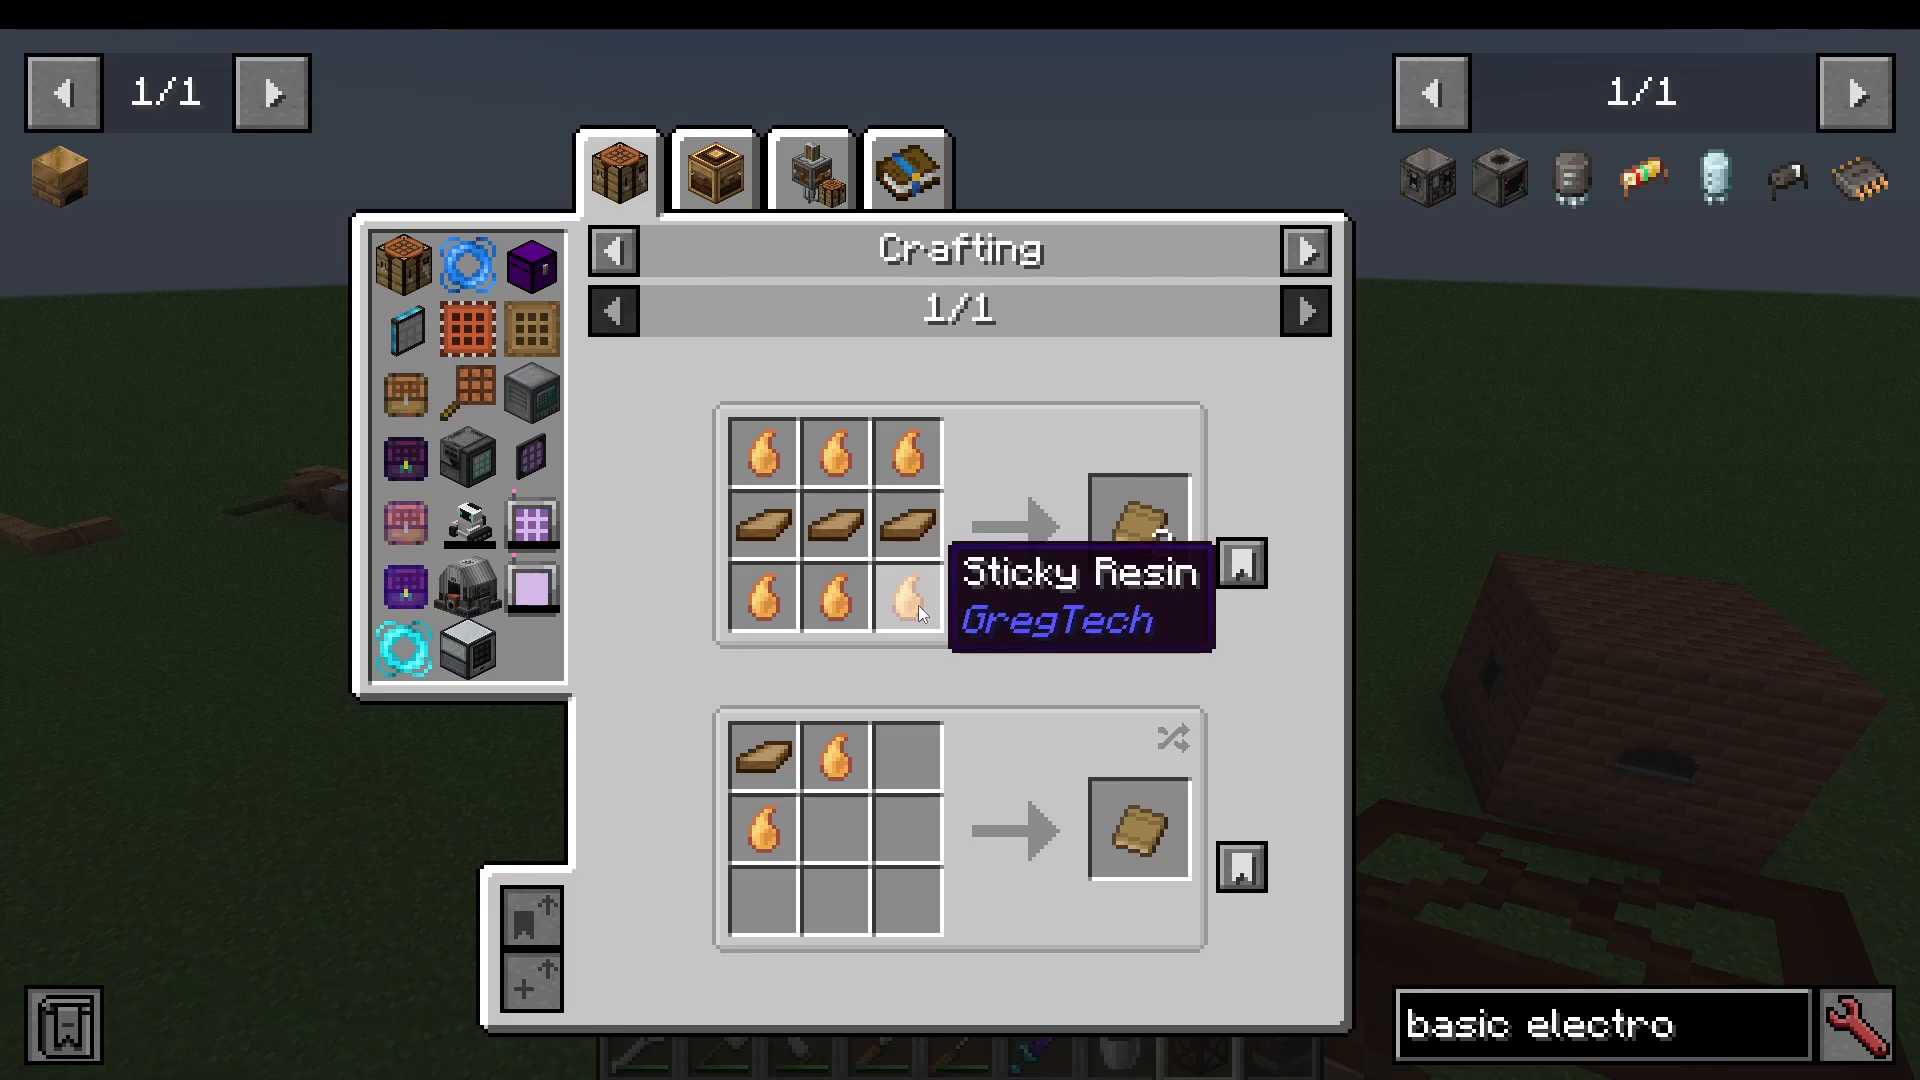
Obtaining Sticky Resin: While you can smelt slime balls, the primary method is harvesting rubber trees. These trees appear naturally in taiga biomes (approximately 20% spawn chance). Chop them with an axe, and you’ll receive rubber logs along with sticky resin (approximately 70% drop rate per log).
📸 [ASSISTANT: TAKE SCREENSHOT AT SCREENSHOT AT TIMESTAMP 25:07]
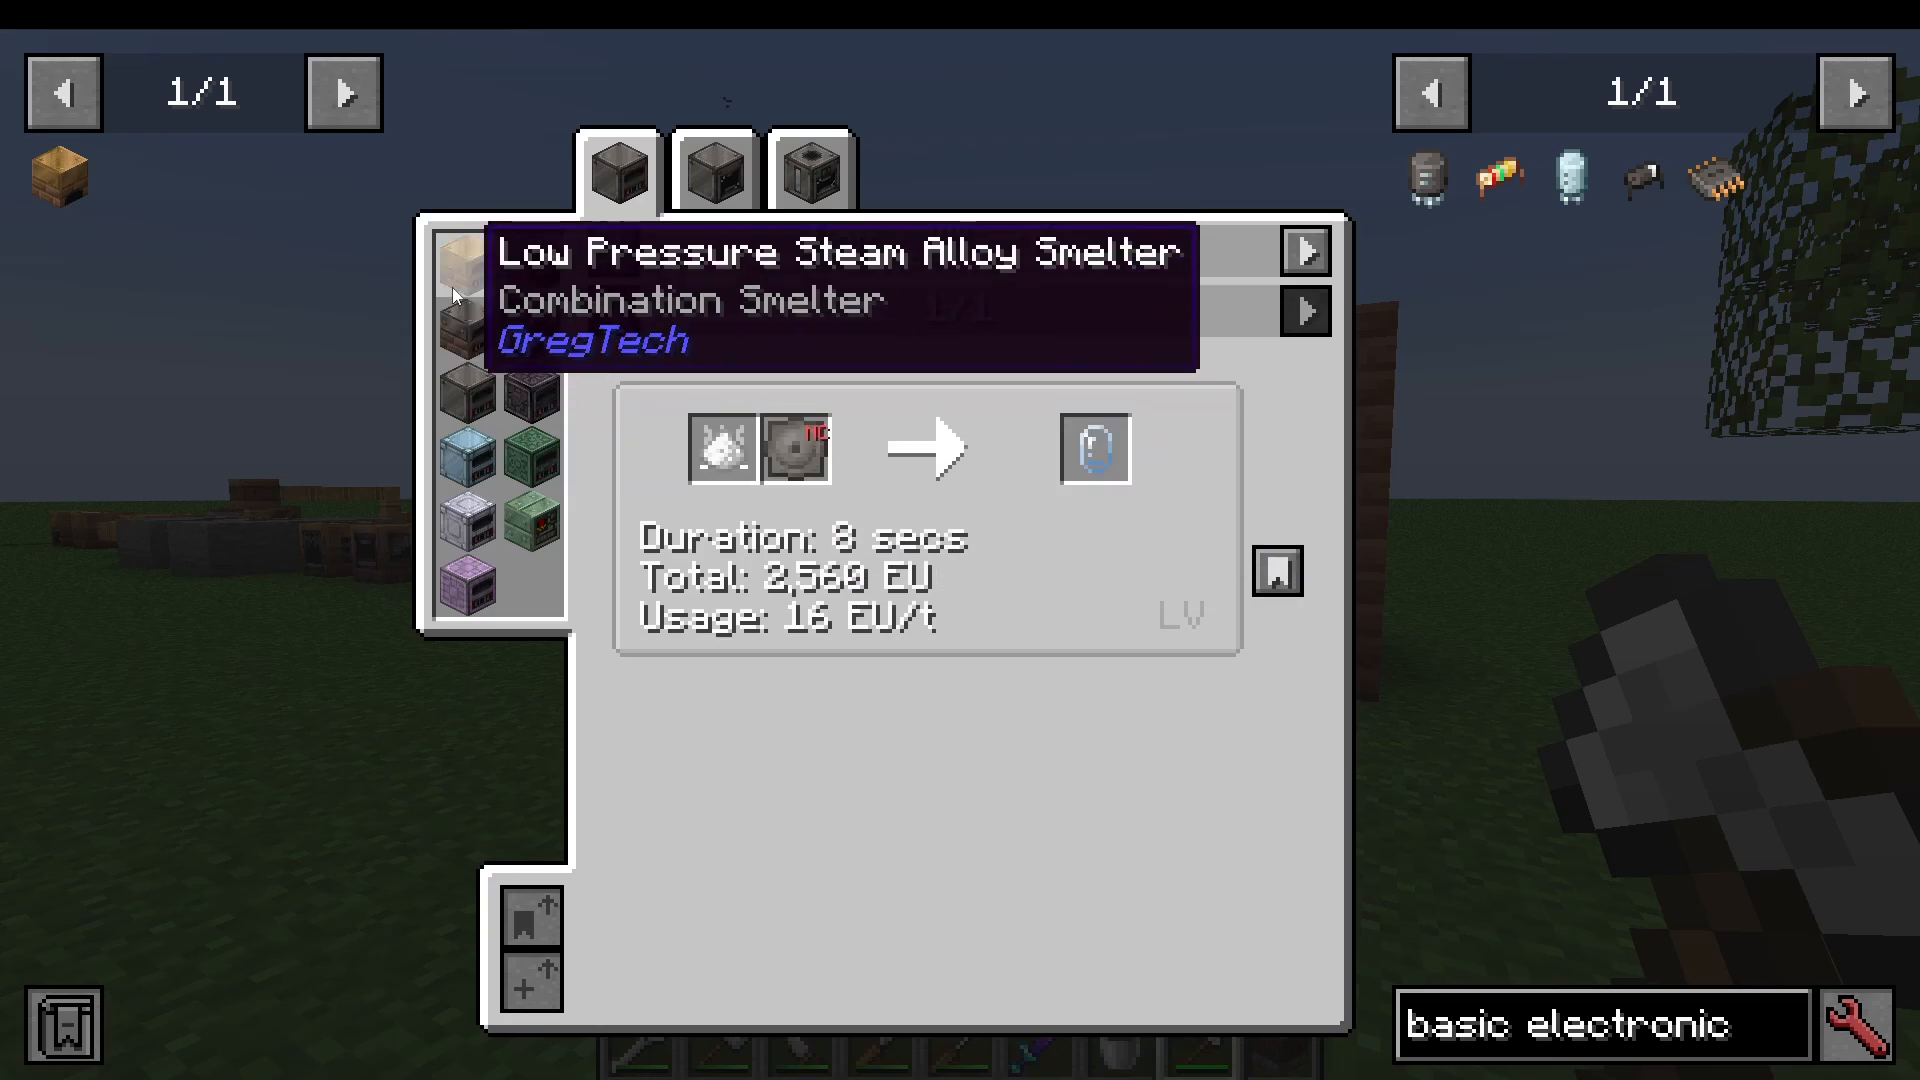
Vacuum Tubes: Produced in a low pressure steam alloy smelter using glass dust (created by hammering glass) and a casting mold. Casting molds are crafted from steel plates and shaped with a hammer—the position where you strike the mold determines the mold type.
Resistors: Made from sticky resin, paper, and carbon dust. Carbon dust is obtained with a 14% chance when macerating graphite ore.
Copper Wire: Easily crafted by cutting copper plates with a wire cutter.
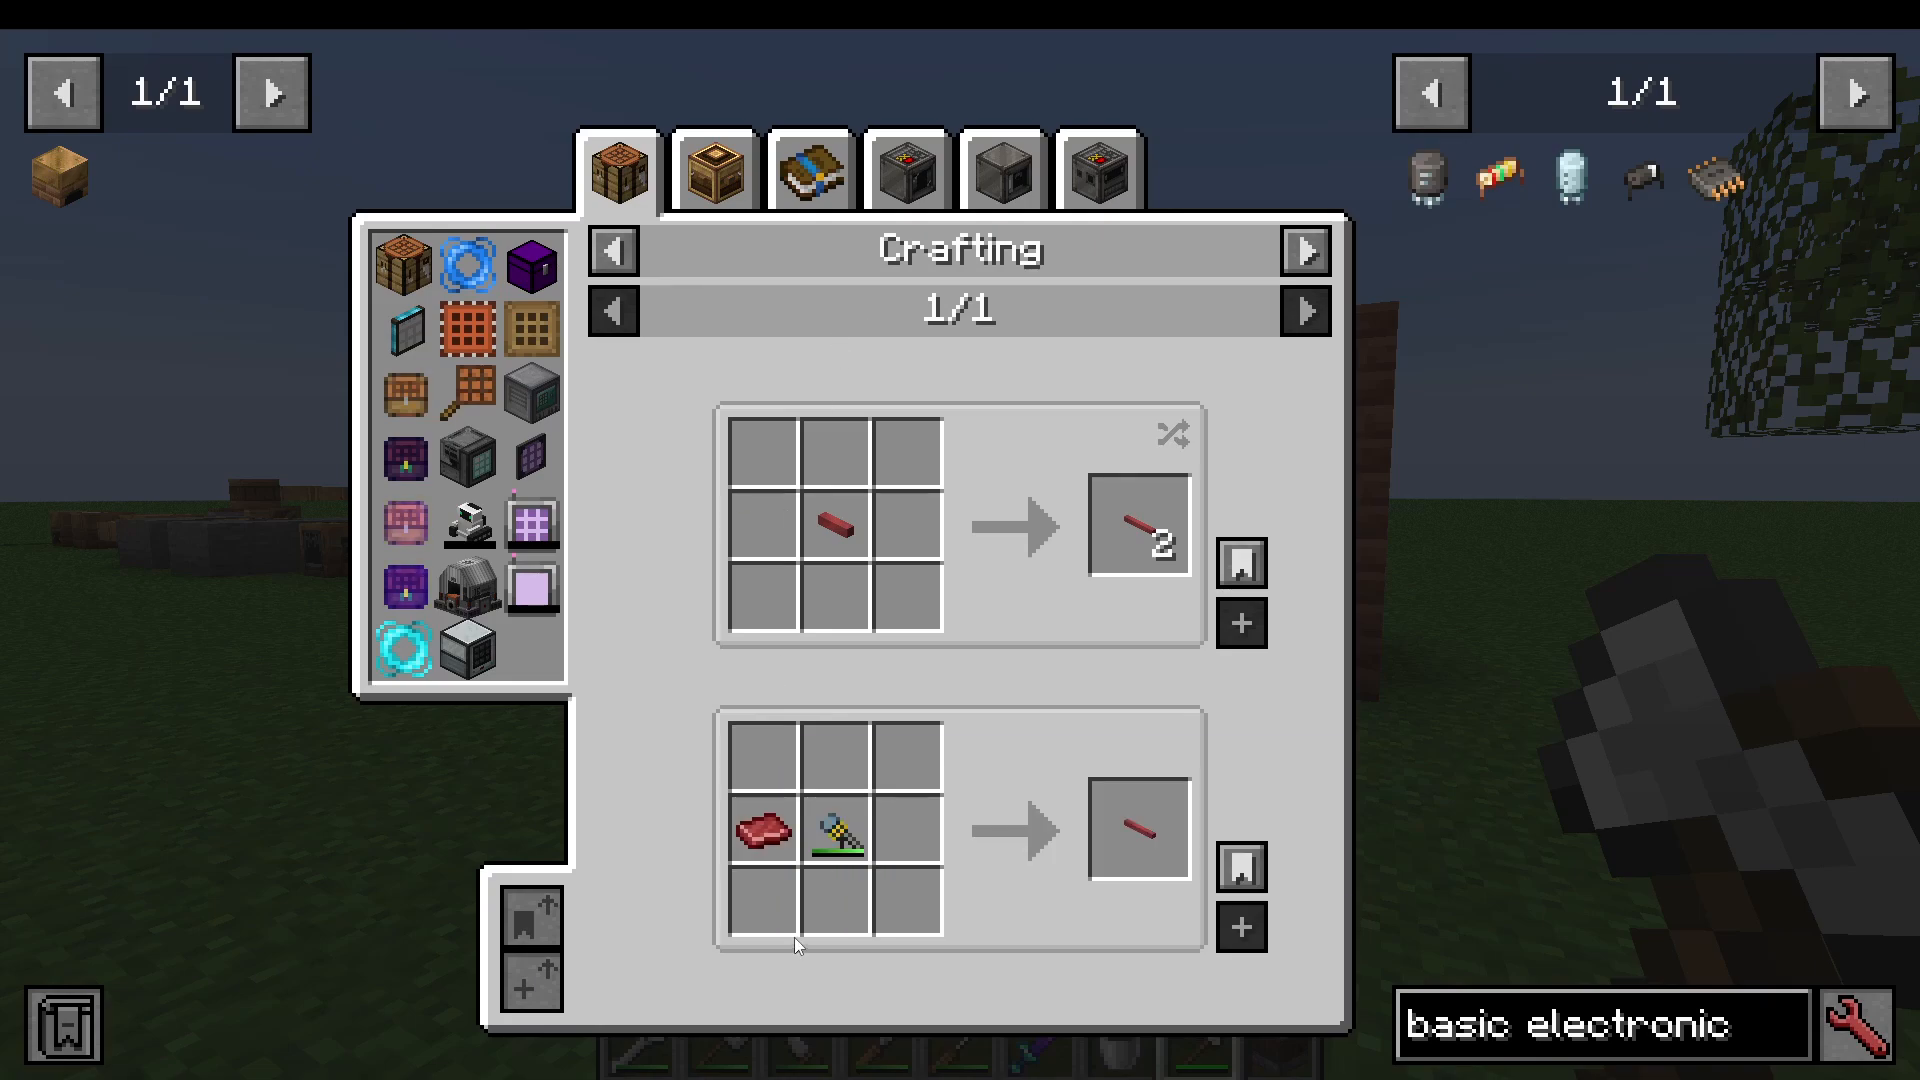
Red Alloy Cables: These require red alloy wire and rubber sheets. Red alloy wire is made from red alloy ingots, which combine four redstone dust and one copper dust in an alloy smelter. Convert the resulting ingot into a plate, then into wire. Wrap rubber sheets around the wire to create red alloy cables. Rubber sheets come from rubber ingots (made in an alloy smelter from raw rubber pulp and sulphur dust), shaped with a casting mold.
Bulk Crafting Strategy
Given Gregtech’s intensive recipe chains, avoid crafting items one or two at a time. Instead, mass-produce components: craft a full stack of resistors, multiple stacks of vacuum tubes, and several stacks of red alloy cables. This approach prevents frustration and saves time.
Summary and Next Steps
You’ve now completed the Steam Age. You have infinite water from your primitive pump, steam power from your boilers, automated ore processing, steel production from your primitive blast furnace, and the creosote-based infrastructure for treated wood. Most importantly, you’ve crafted basic electronic circuits—the gateway to Low Voltage and electrical power.
With basic electronic circuits in your inventory, you’re ready to leave the Steam Age behind and enter the Low Voltage era, where you’ll access electricity-based machines, higher efficiency, and accelerated progression through Gregtech’s tech tree.
Building all these machines and systems requires patience, but the reward is a stable, powerful foundation for the journey ahead. Good luck, and enjoy your adventure through Gregtech!
Want to Support?
If you would like to help us continue making these guides – please consider joining our patreon here – https://www.patreon.com/c/JaviHeals
Alternatively – we host a group of MC Servers you can join here – https://discord.gg/zD7Gjt6MHF



