







Gregtech CEu Complete Medium Voltage Age Tutorial
Gregtech CEu Complete Medium Voltage Age Tutorial
Welcome to the Medium Voltage age in Gregtech CEu! This guide will walk you through the essential systems and machines you need to progress through this tier. From upgrading your steam production to creating advanced integrated circuits, we’ll cover everything you need to know to succeed at Medium Voltage.
Steam Production and Power Generation
Upgrading to Large Bronze Boilers
When you enter Medium Voltage, one of your first priorities should be upgrading your steam production. The small one-block steam boilers won’t be sufficient anymore. You’ll want to construct large bronze boilers, and you may even need multiple units at this stage. These boilers will remain useful throughout later ages when you unlock oil cracking recipes.
Large Bronze Boiler Construction
The large bronze boiler is a multiblock structure that requires careful assembly. Here’s the breakdown:
Bottom Layer: Five bronze firebox casings form the base of your structure.
Hatches and Connections:
Maintenance Hatch: Click this with a wrench to repair maintenance issues
Input Bus: Accepts coal (or other fuel) as items. LV input buses have four slots, while ULV has only one
Input Hatch: Accepts water as a fluid
Output Hatch: Outputs steam (connected via large bronze fluid pipe)
Muffler Hatch: Outputs waste gases
Second Row: This layer is where the core of your boiler sits. Place bronze pipe casings in the center (two blocks high), then surround them with steam machine casings. The entire structure should be covered on top.
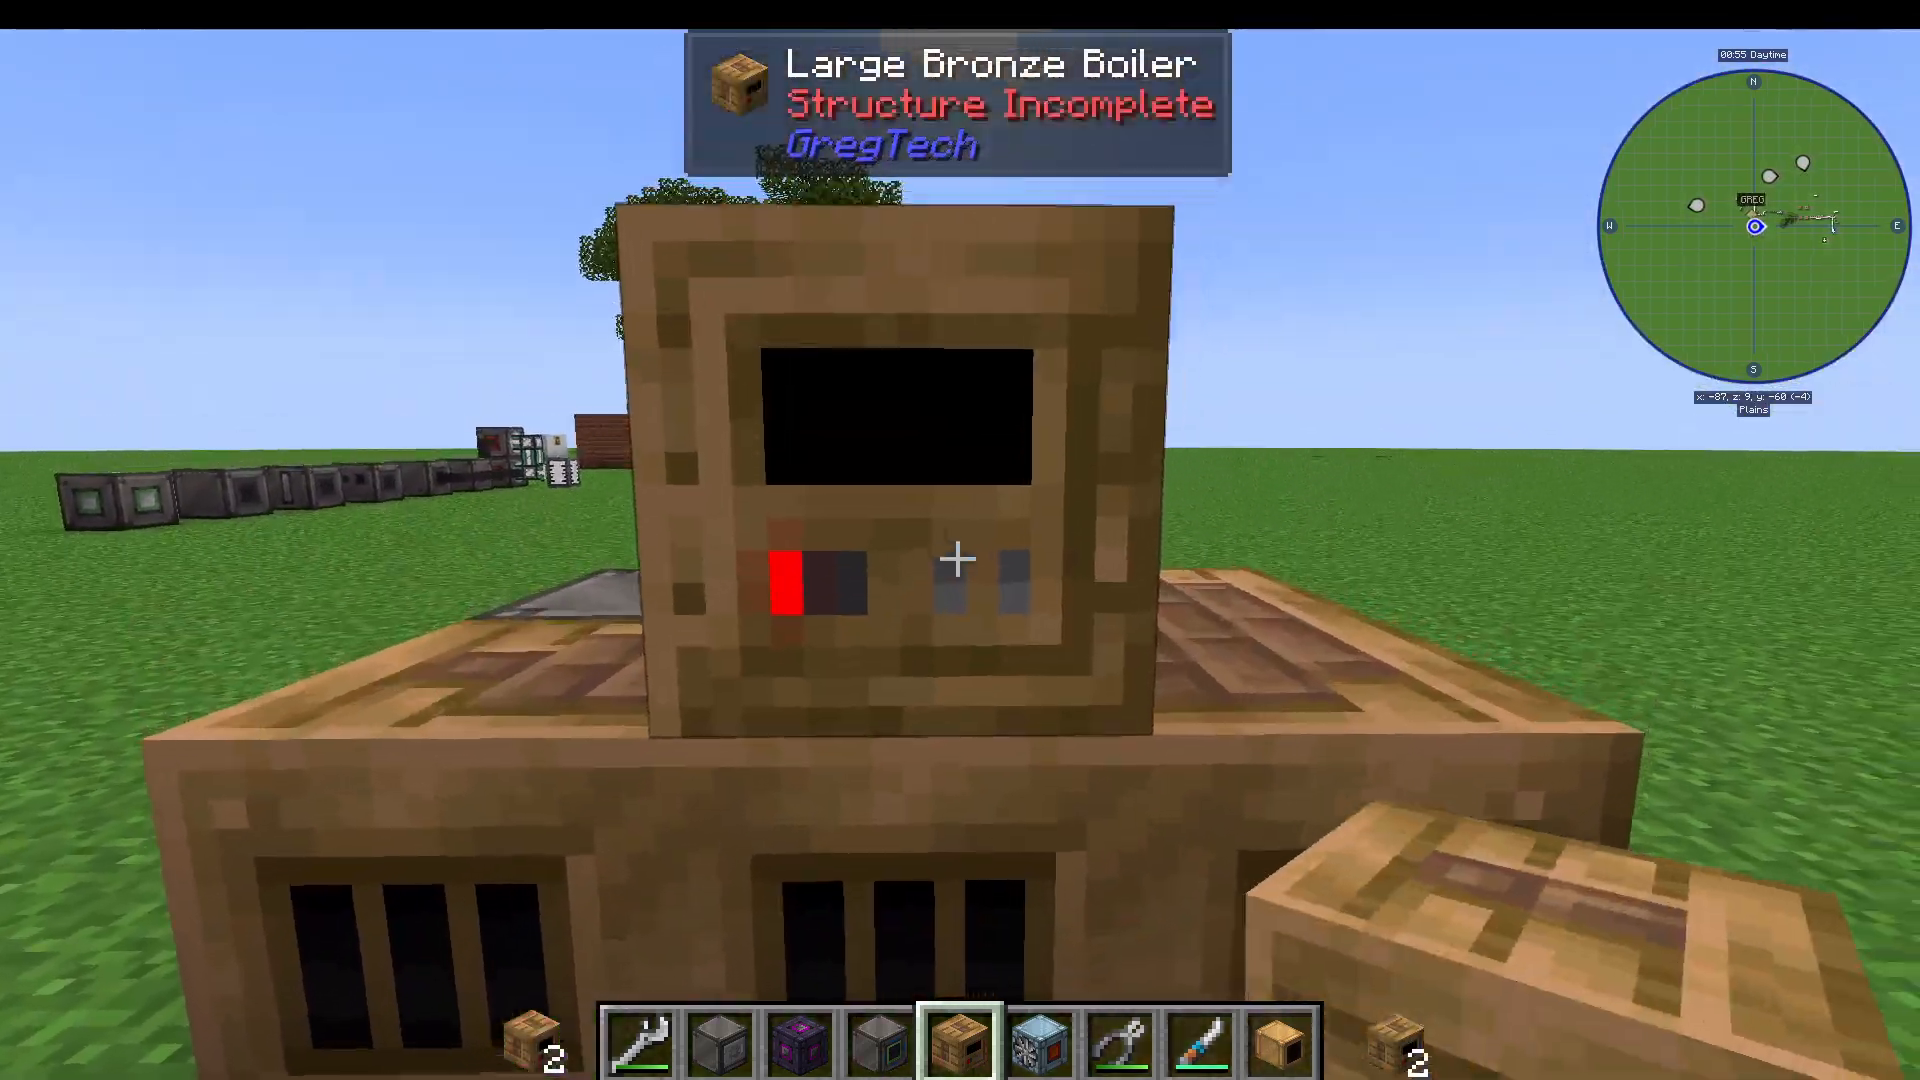
When constructed correctly, the entire multiblock will turn the same color, confirming proper assembly.
Boiler Operation
Inside the boiler’s GUI, you can adjust the throttle setting. Increasing the throttle makes the boiler produce more steam but consumes more fuel in the process.
Steam Turbine Generators
At Medium Voltage, you can upgrade to an Advanced Steam Turbine Generator. Here’s the power output comparison:
Basic Gas/Steam Turbine Generator: 32 EU per tick (LV)
Advanced Steam Turbine Generator: 128 EU per tick (MV) — requires good integrated circuits and aluminum casings
High Voltage Steam Turbine: 512 EU per tick (available later at HV)
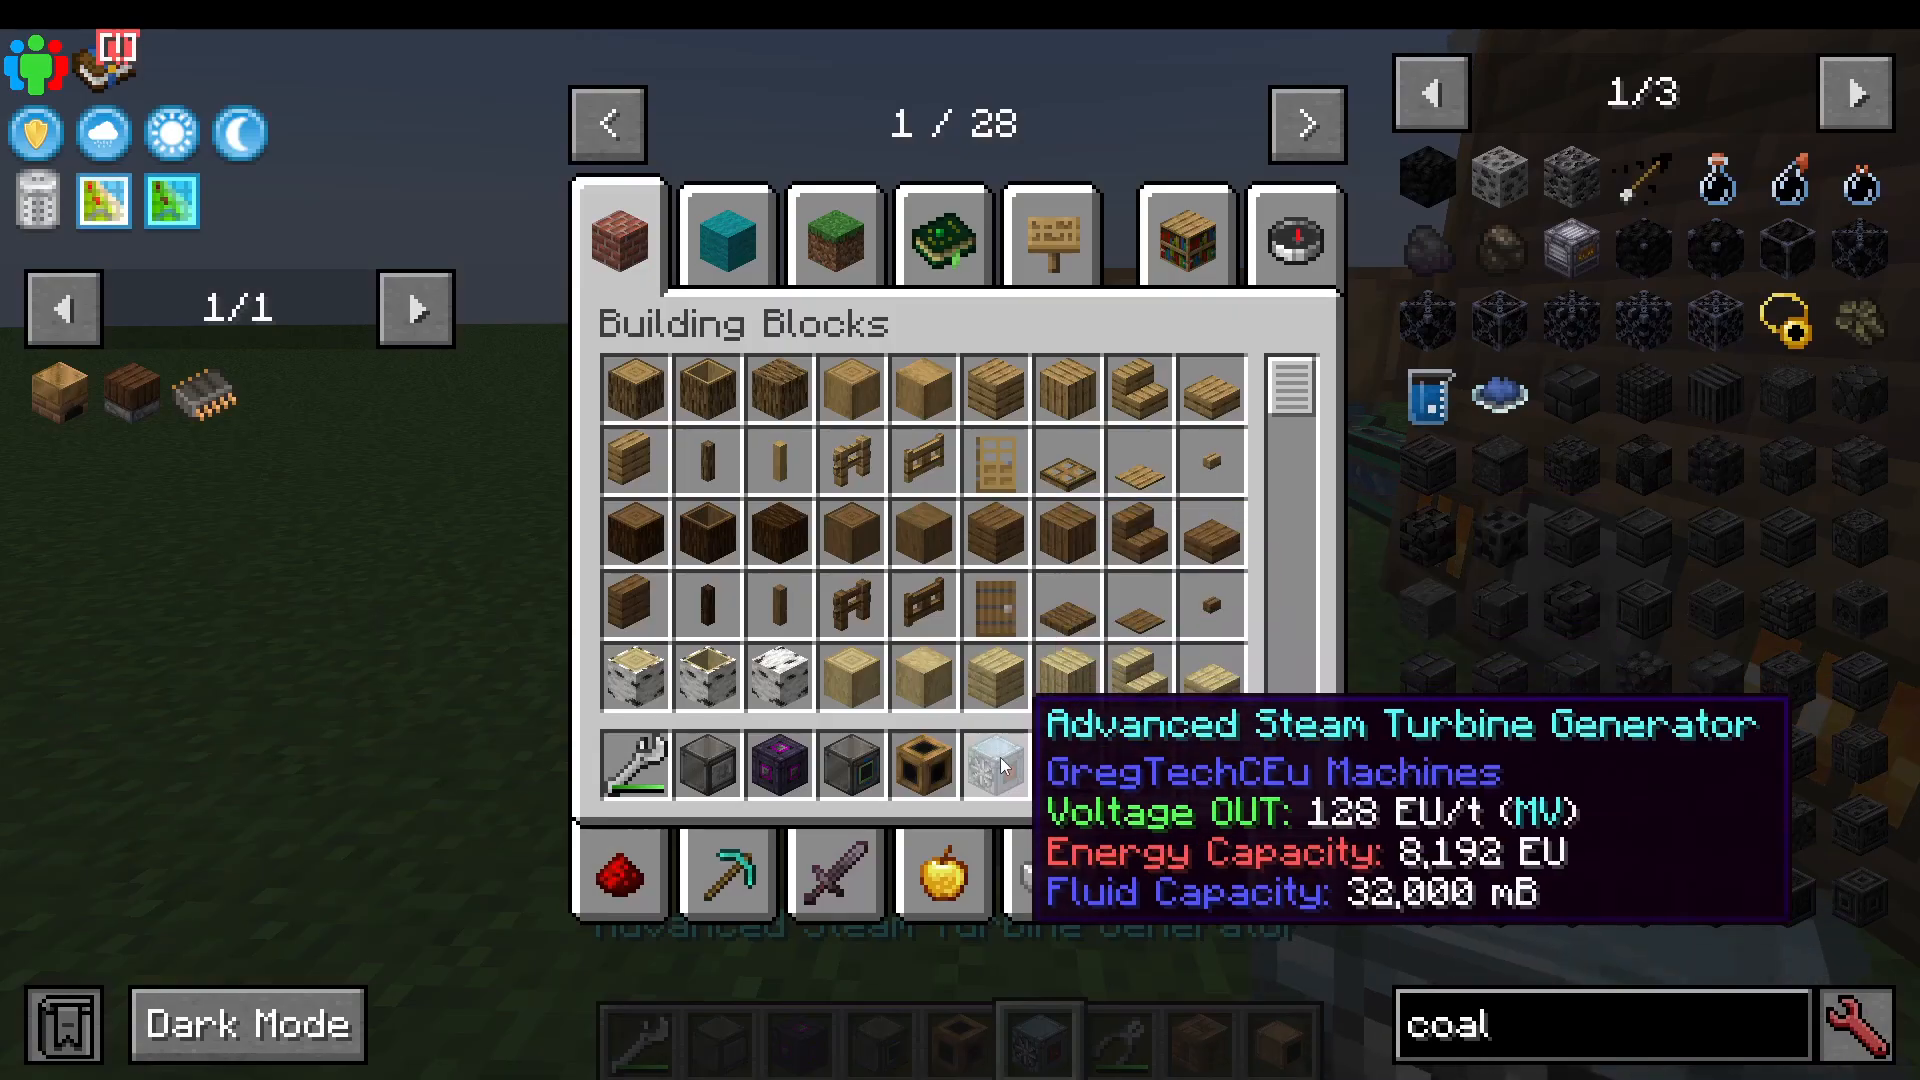
These turbines will be essential for powering your Medium Voltage machines and will continue to be useful for oil cracking in later ages.
Passive Aluminum Production with Filtering
Automated Aluminum Generation
Medium Voltage is a good time to set up a passive aluminum production line. This setup demonstrates important filtering concepts that you’ll use throughout the mod.
The Production Chain
Step 1 – Rock Crushing: Use an Advanced Rock Crusher with diorite. Add lava and water to process it.
Step 2 – Macerating: Feed the crushed diorite into an Advanced Macerator to create diorite dust.
Step 3 – Centrifuging: The Advanced Centrifuge processes diorite dust into multiple outputs: clay dust and mimetasite dust. However, you only want the clay dust for the next step.
The Beauty of This Process
From a single block of diorite combined with electricity and water, you’ll produce clay dust, sodium dust, lithium dust, aluminum, and silicon dust — all renewable materials.
Filtering Outputs with Robot Arms
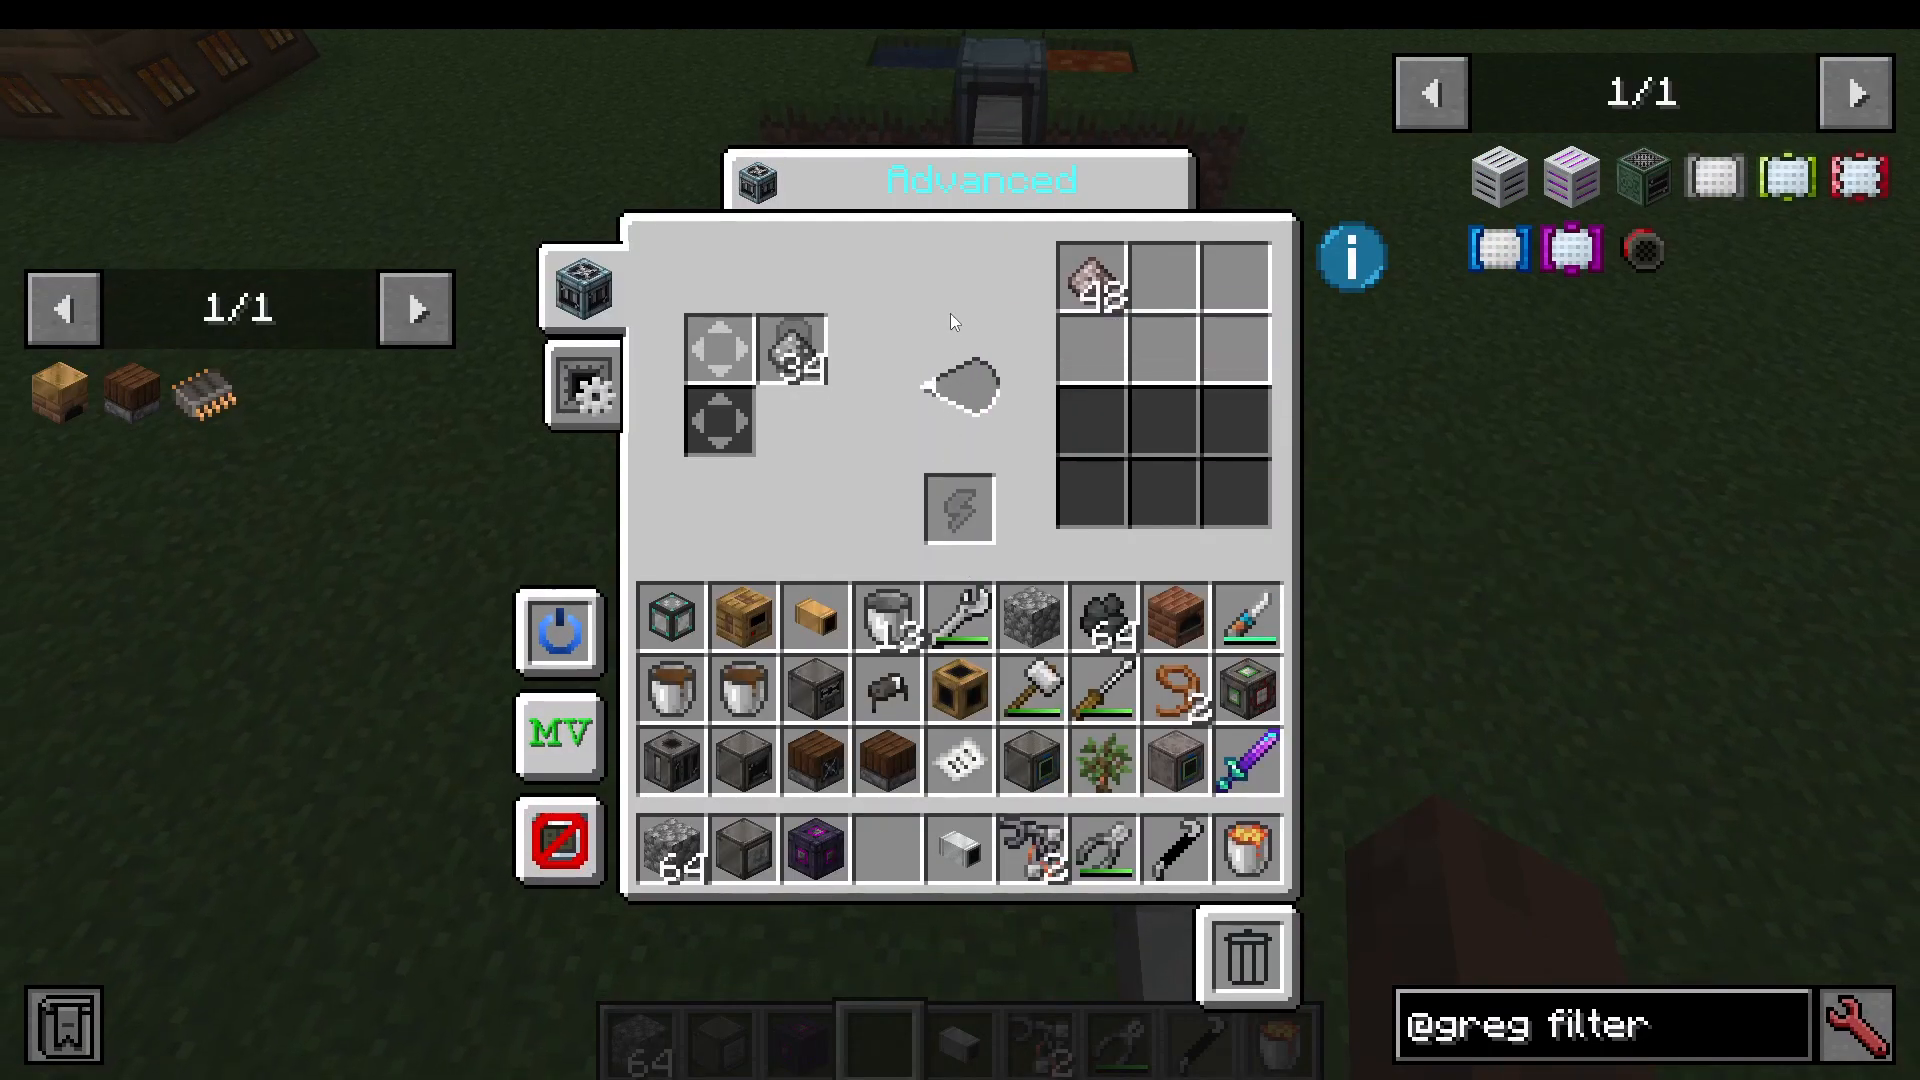
Since the centrifuge produces both clay dust and mimetasite dust, you need to filter outputs so only clay dust goes to the Advanced Electrolyzer.
Robot Arm Setup:
Right-click a Robot Arm onto the side of the machine to attach it
Shift right-click to access robot arm settings
Set the import/export mode and quantity (8 items in this example)
Create an Item Filter and add it to the robot arm
Use white-list mode to allow only clay dust
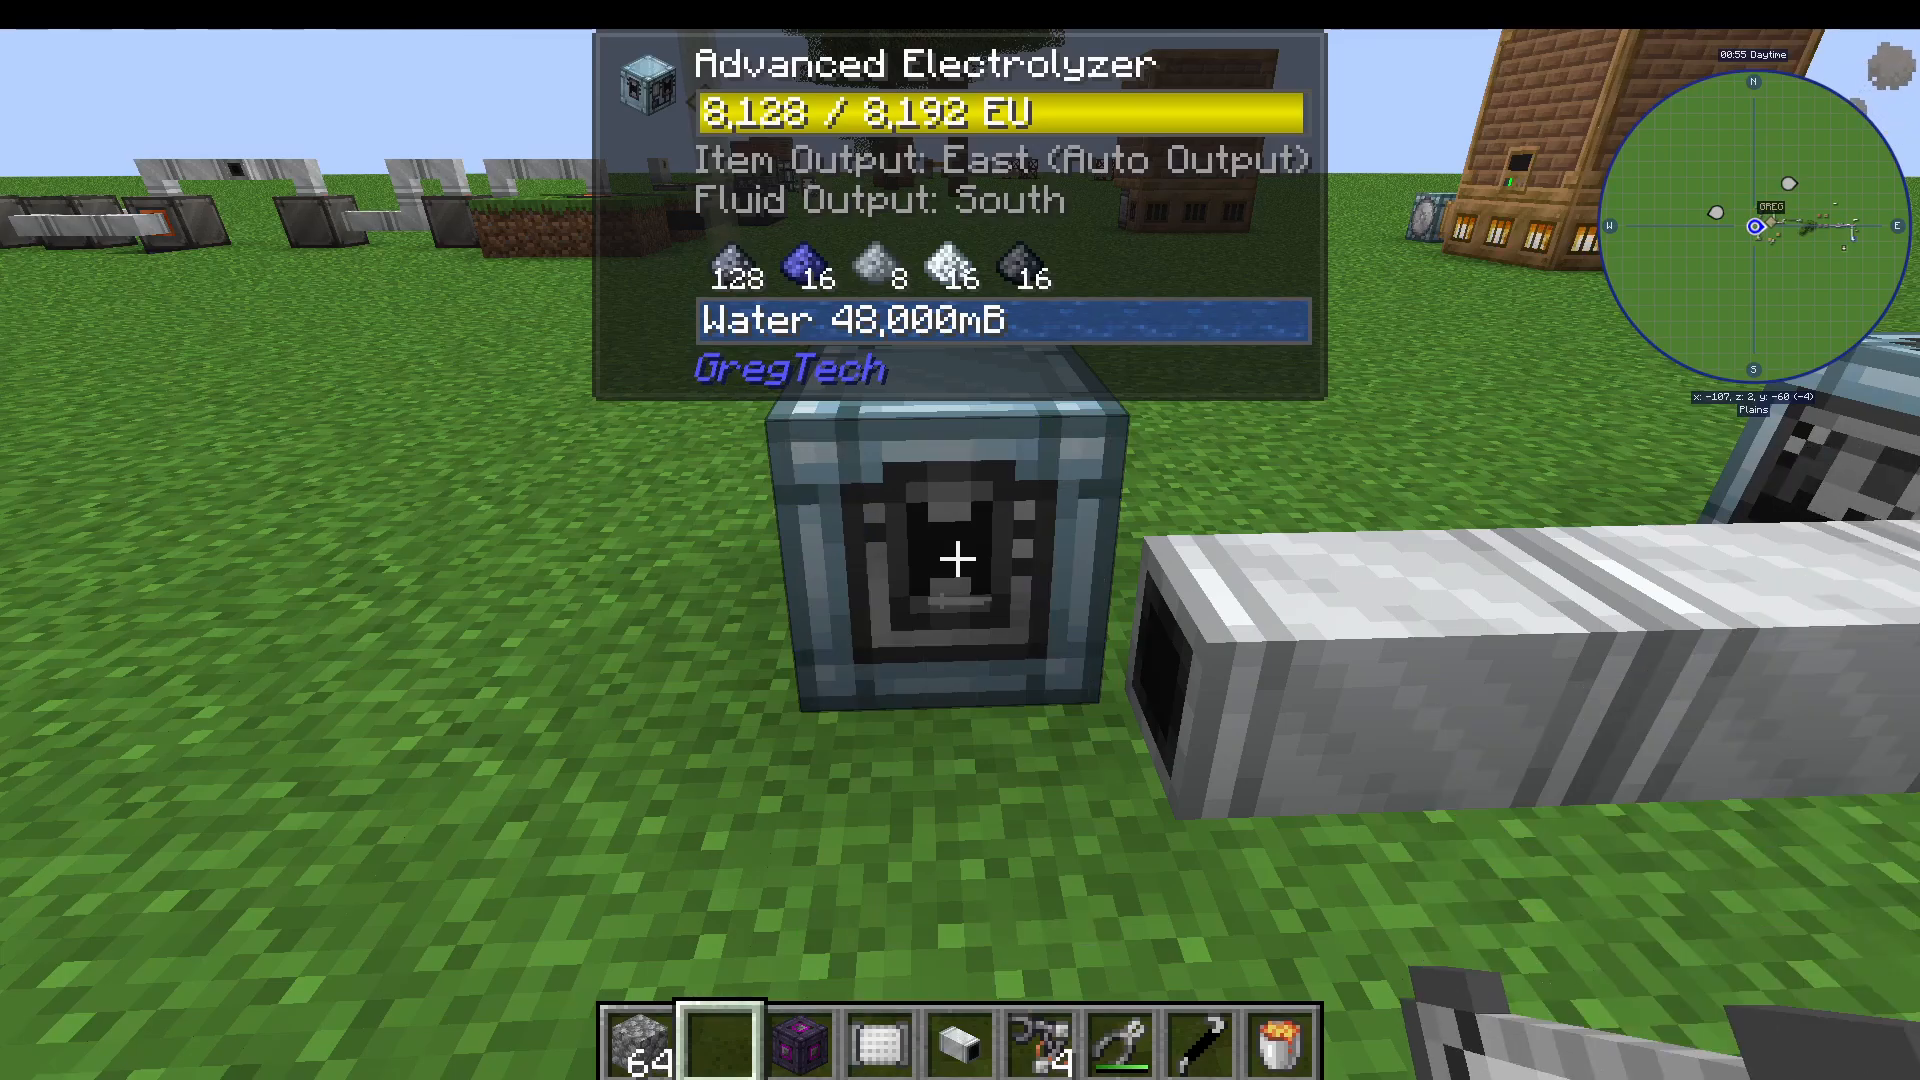
Pipe Filtering: When connecting output pipes, set them to “filtered” mode so they respect the robot arm’s filter settings. This ensures only the filtered item is extracted.
Alternative Use for Mimetasite: If you want to use the mimetasite dust that comes out, you can put it through a separate electrolyzer to produce oxygen, sodium, sulfur, and additional water — though this requires 17 mimetasite dust.
Making Liquid Polyethylene
Creating the Assembler Fuel
Liquid polyethylene is one of the key components for crafting transistors, which are essential for advanced integrated circuits. This production chain involves several new machines and concepts.
Step-by-Step Polyethylene Production
Step 1 – Biomass Creation: Use an Advanced Brewery with a hopper to input potatoes (or other vegetables) and water to create biomass. Auto-export the biomass.
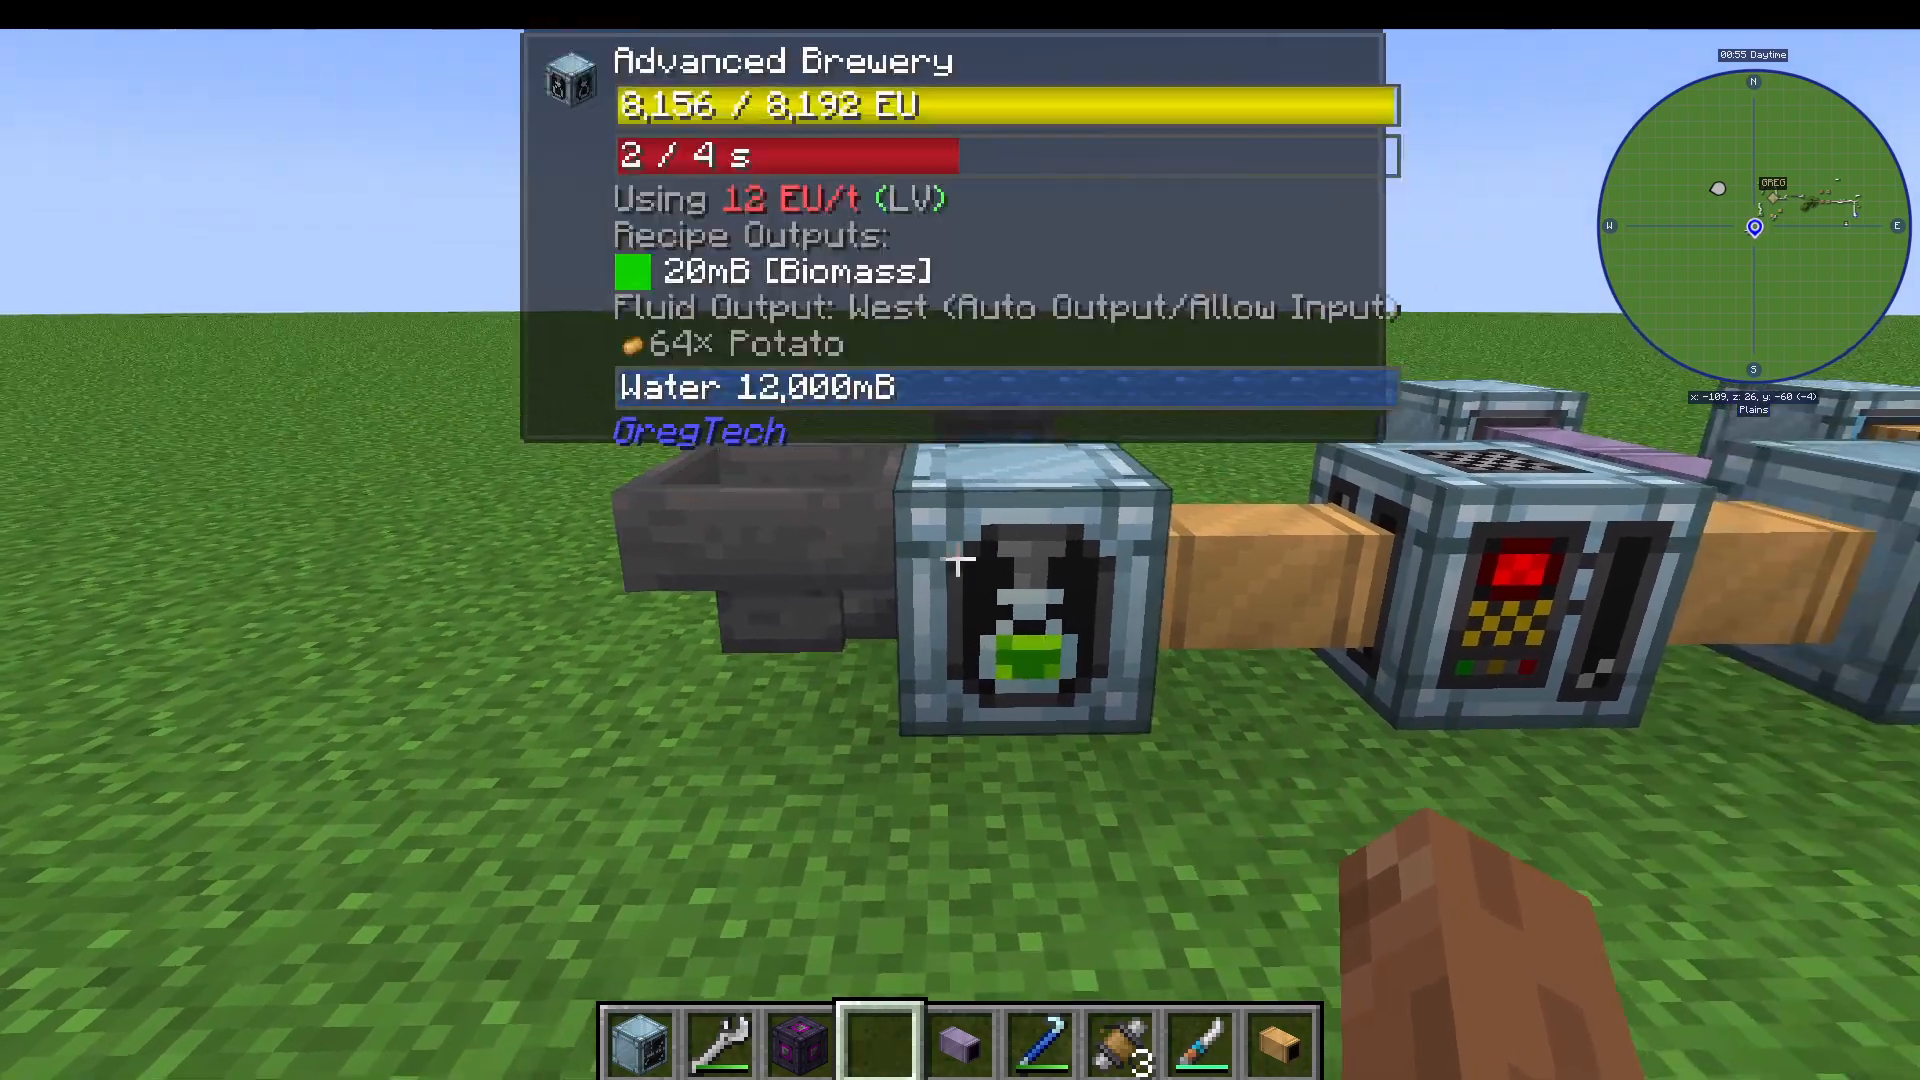
Step 2 – Distillation: Send biomass to an Advanced Distillery with a circuit setting of 1. This produces wood pulp and ethanol. You only need the ethanol for the next stage.
Step 3 – Sulfuric Acid Transport: To proceed, you’ll need sulfuric acid, which is corrosive. Standard bronze pipes cannot transport it — you must use vanadium steel pipes.
Creating Vanadium Steel for Acid Transport
Making Vanadium Steel Dust: In a Mixer, combine chromium dust, vanadium dust, and steel dust. Program with circuit 1.
Processing to Ingots: Put vanadium steel dust into an Electric Blast Furnace (your basic EBF works) with circuit 1 and cuprenical coils to get vanadium steel ingots.
Creating Pipes: Use a Medium Voltage Extruder with an extruder mould to create vanadium steel fluid pipes from the ingots.
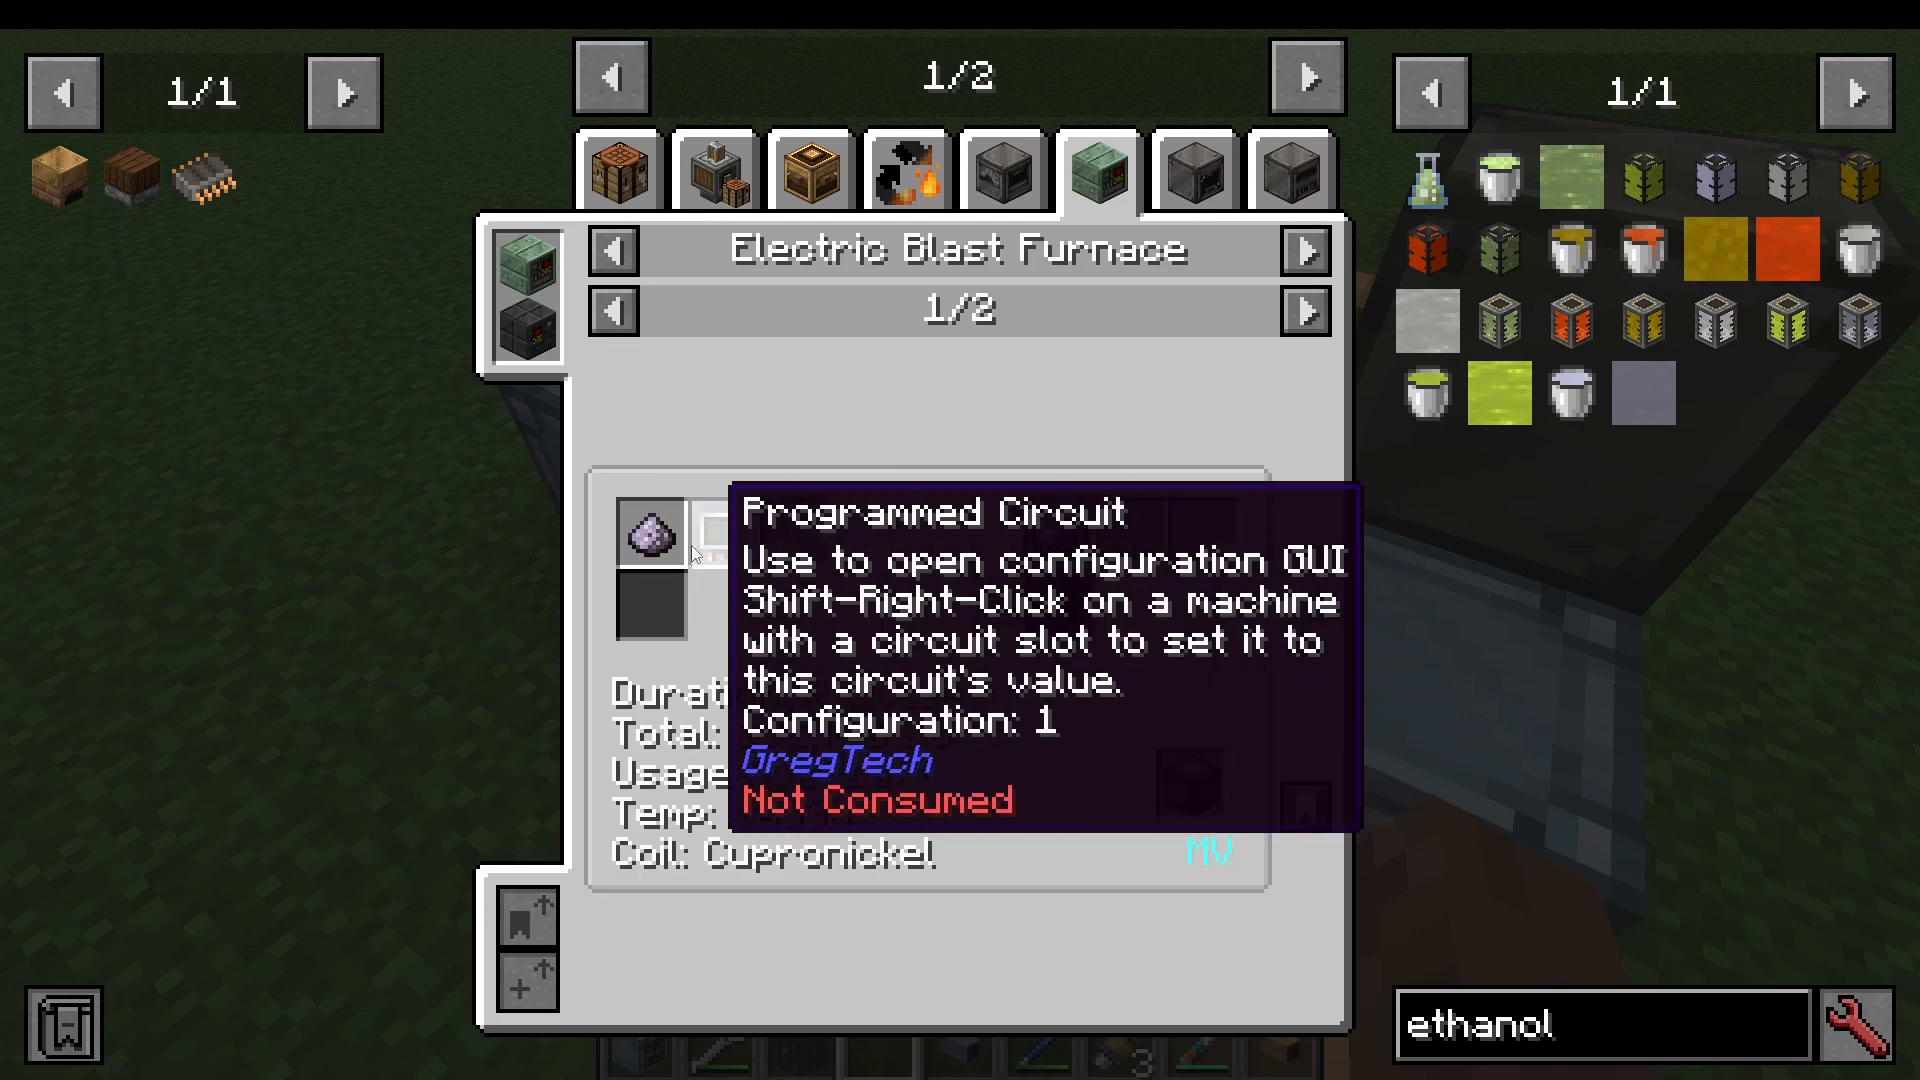
Sulfuric Acid Reminder: Sulfuric acid is made in a Chemical Reactor from water and sulfur trioxide. Sulfur trioxide comes from sulfur dioxide and oxygen in a Chemical Reactor. Multiple paths exist for creating these components depending on your setup.
Chemical Reactor Setup for Ethylene
Combine ethanol and sulfuric acid in an Advanced Chemical Reactor. This produces ethylene and diluted sulfuric acid as a byproduct.
Handling Diluted Sulfuric Acid: The diluted acid is problematic because it will clog your pipes if not managed. Here’s the proper setup:
Place a Super Tank One immediately after the chemical reactor
Attach an Electric Pump with a fluid filter set to import diluted sulfuric acid
Enable fluid voiding on the tank (click the “Fluid voiding disabled” button)
The tank will void the diluted acid once it fills
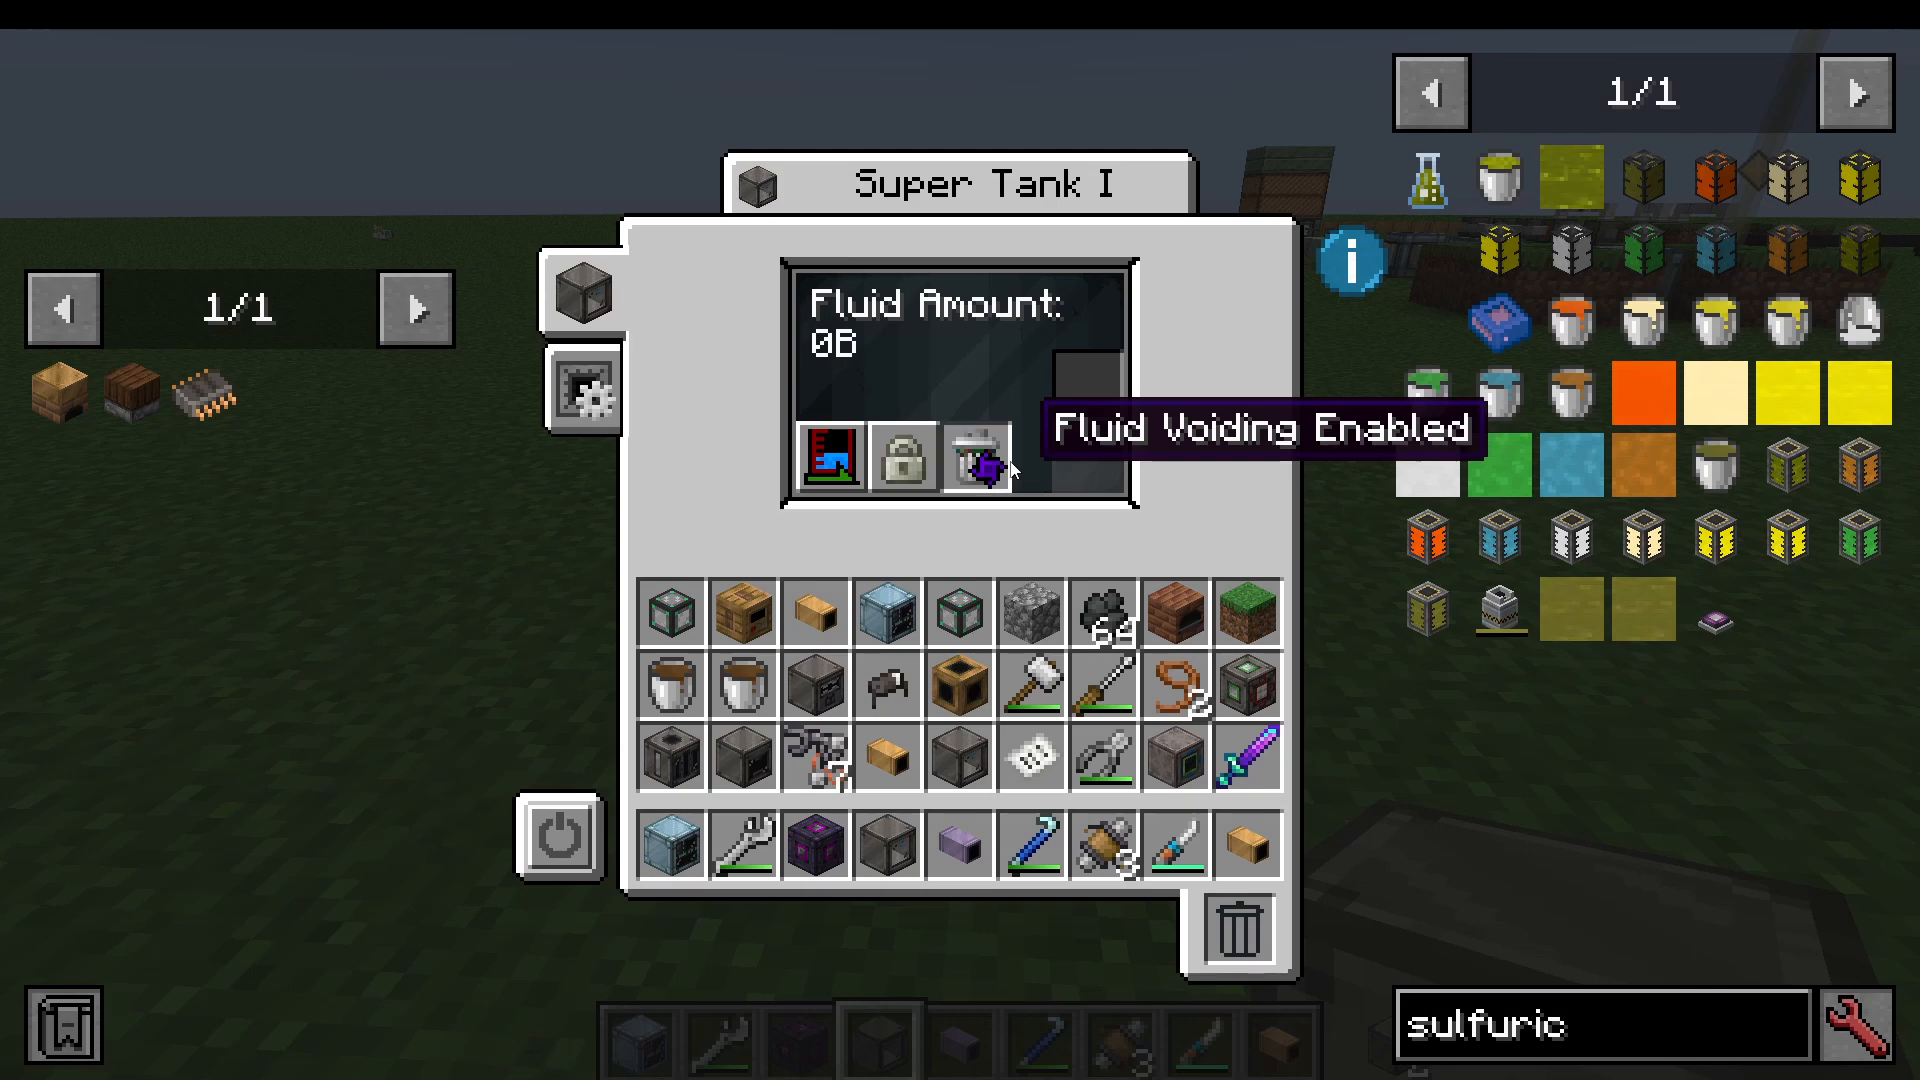
Filtering Fluids: Use electric pumps instead of robot arms for fluid filtering. Attach the pump to your machine, shift right-click it, and create a fluid filter. For this setup, set the Advanced Chemical Reactor to import only ethylene, which prevents diluted acid from entering.
Creating Polyethylene
Feed the filtered ethylene into another Advanced Chemical Reactor with oxygen gas. This produces liquid polyethylene, which you can then use in your assembler for transistor production.
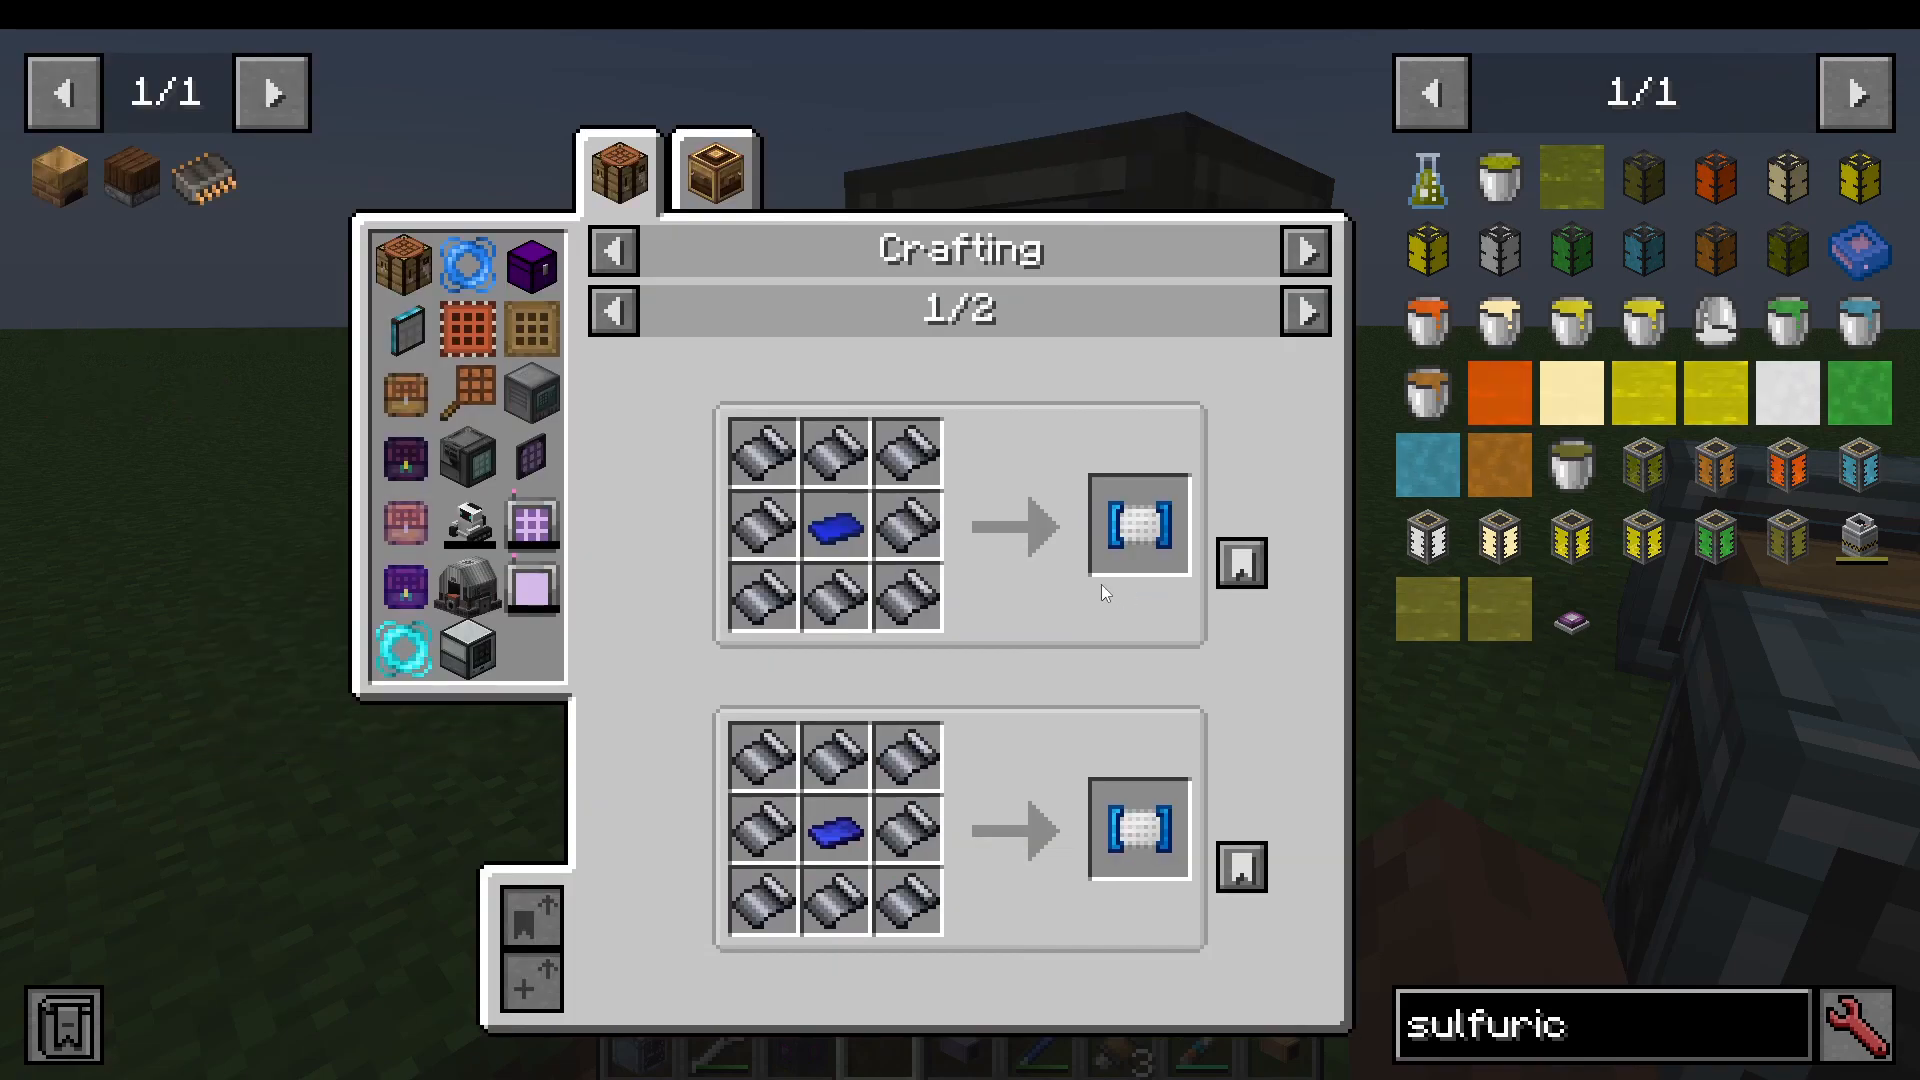
Important Note: You’ll need to manually create your first Super Tank One before setting up this full system. Use a fluid solidifier to convert your initial polyethylene into ingots, then craft a polyethylene fluid pipe and hermetic casing for the tank.
Creating Silicon Plates
Preparing for Transistor Assembly
Silicon plates are the second critical component for transistors. While not as complex as polyethylene, this process requires upgrading your Electric Blast Furnace and introducing new machines.
Upgrading Your EBF to High Voltage
To make hot silicon ingots, you need a High Voltage recipe in your EBF. This requires two important upgrades:
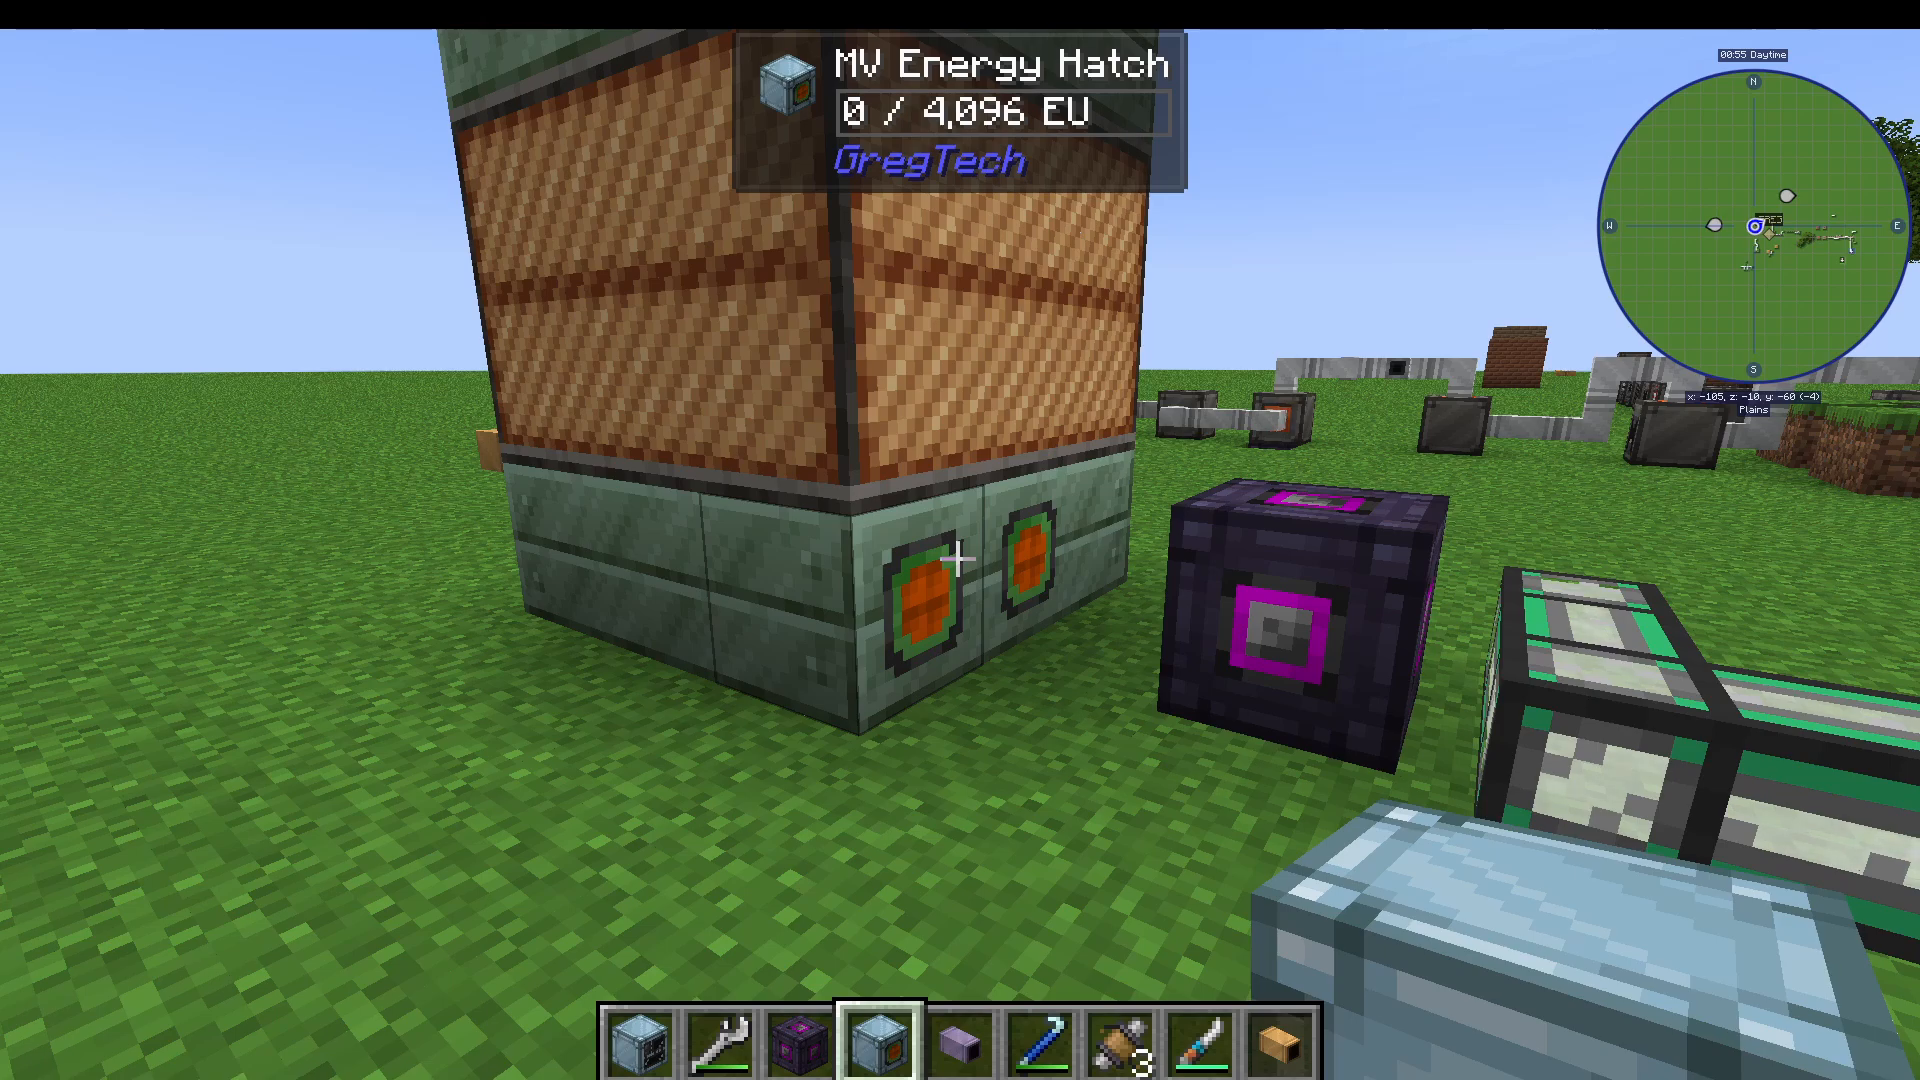
Upgrade 1 – Medium Voltage Energy Hatches: Replace your Low Voltage energy hatches with Medium Voltage versions. These allow your EBF to process High Voltage recipes when you provide MV power.
Requires: Machine Hull (raw iron and aluminum)
Requires: Medium Voltage Coil (made with magnetic steel)
Requires: ULV Chip (ultra-low power IC)
Creating ULV Chips
This is the first introduction to integrated circuits in the progression. To make a ULV Chip:
Step 1: In a Cutter, create a mono-crystalline silicon ball from silicon dioxide and carbon dust using your basic EBF at Medium Voltage with cuprenical coils.
Sourcing Silicon Dust: Centrifuge redstone to get silicon dust (along with pyrite and ruby dust). You’ll get approximately one silicon dust per 10 redstone centrifuged.
Creating the Ball: Combine 32 silicon dust with a small pile of gallium arsenide in your EBF to produce a mono-crystalline silicon ball.
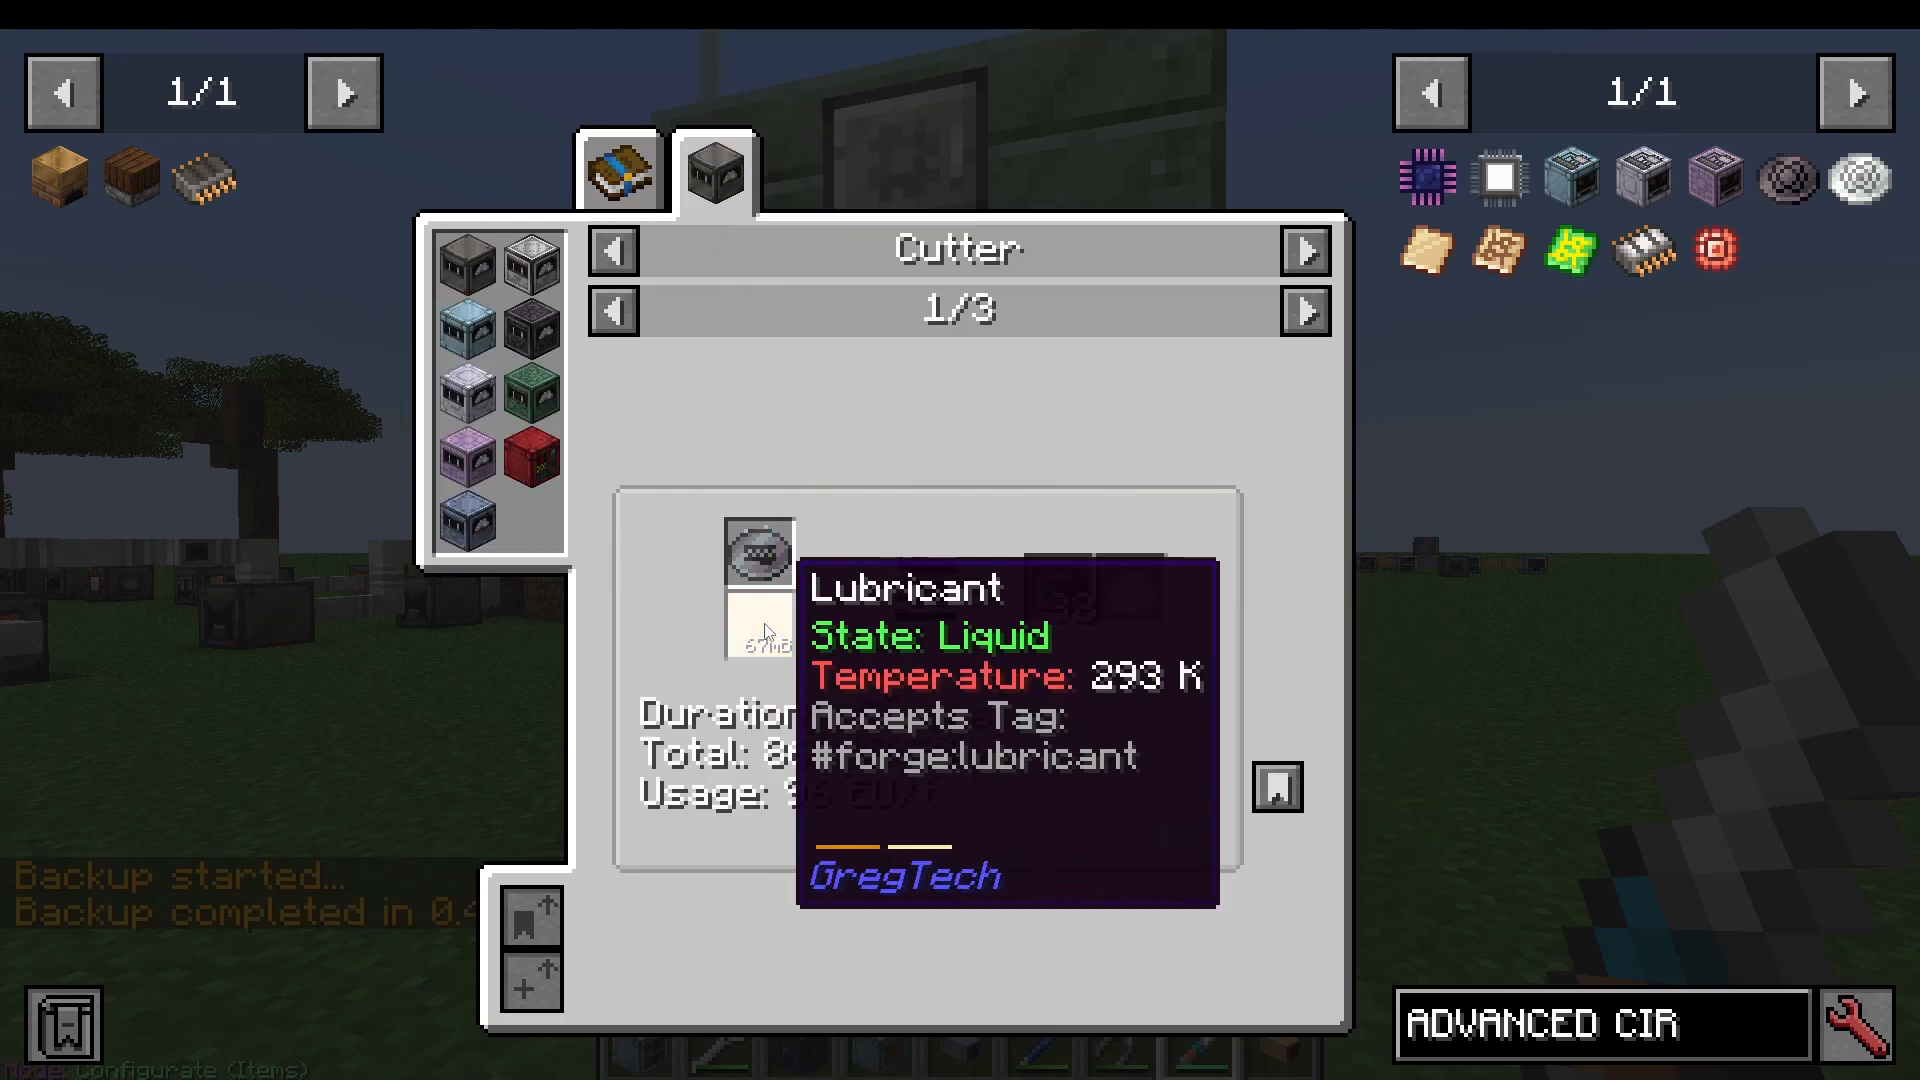
Step 2: Process the ball through a Cutter to get 16 silicon wafers.
Step 3: In a Laser Engraver (a new machine), combine a silicon wafer with a sapphire lens to create a ULP IC wafer.
Step 4: Put the ULP IC wafer through a Cutter with water to get 6 ULP IC chips. You only need one for the energy hatch, so you’ll have extras.
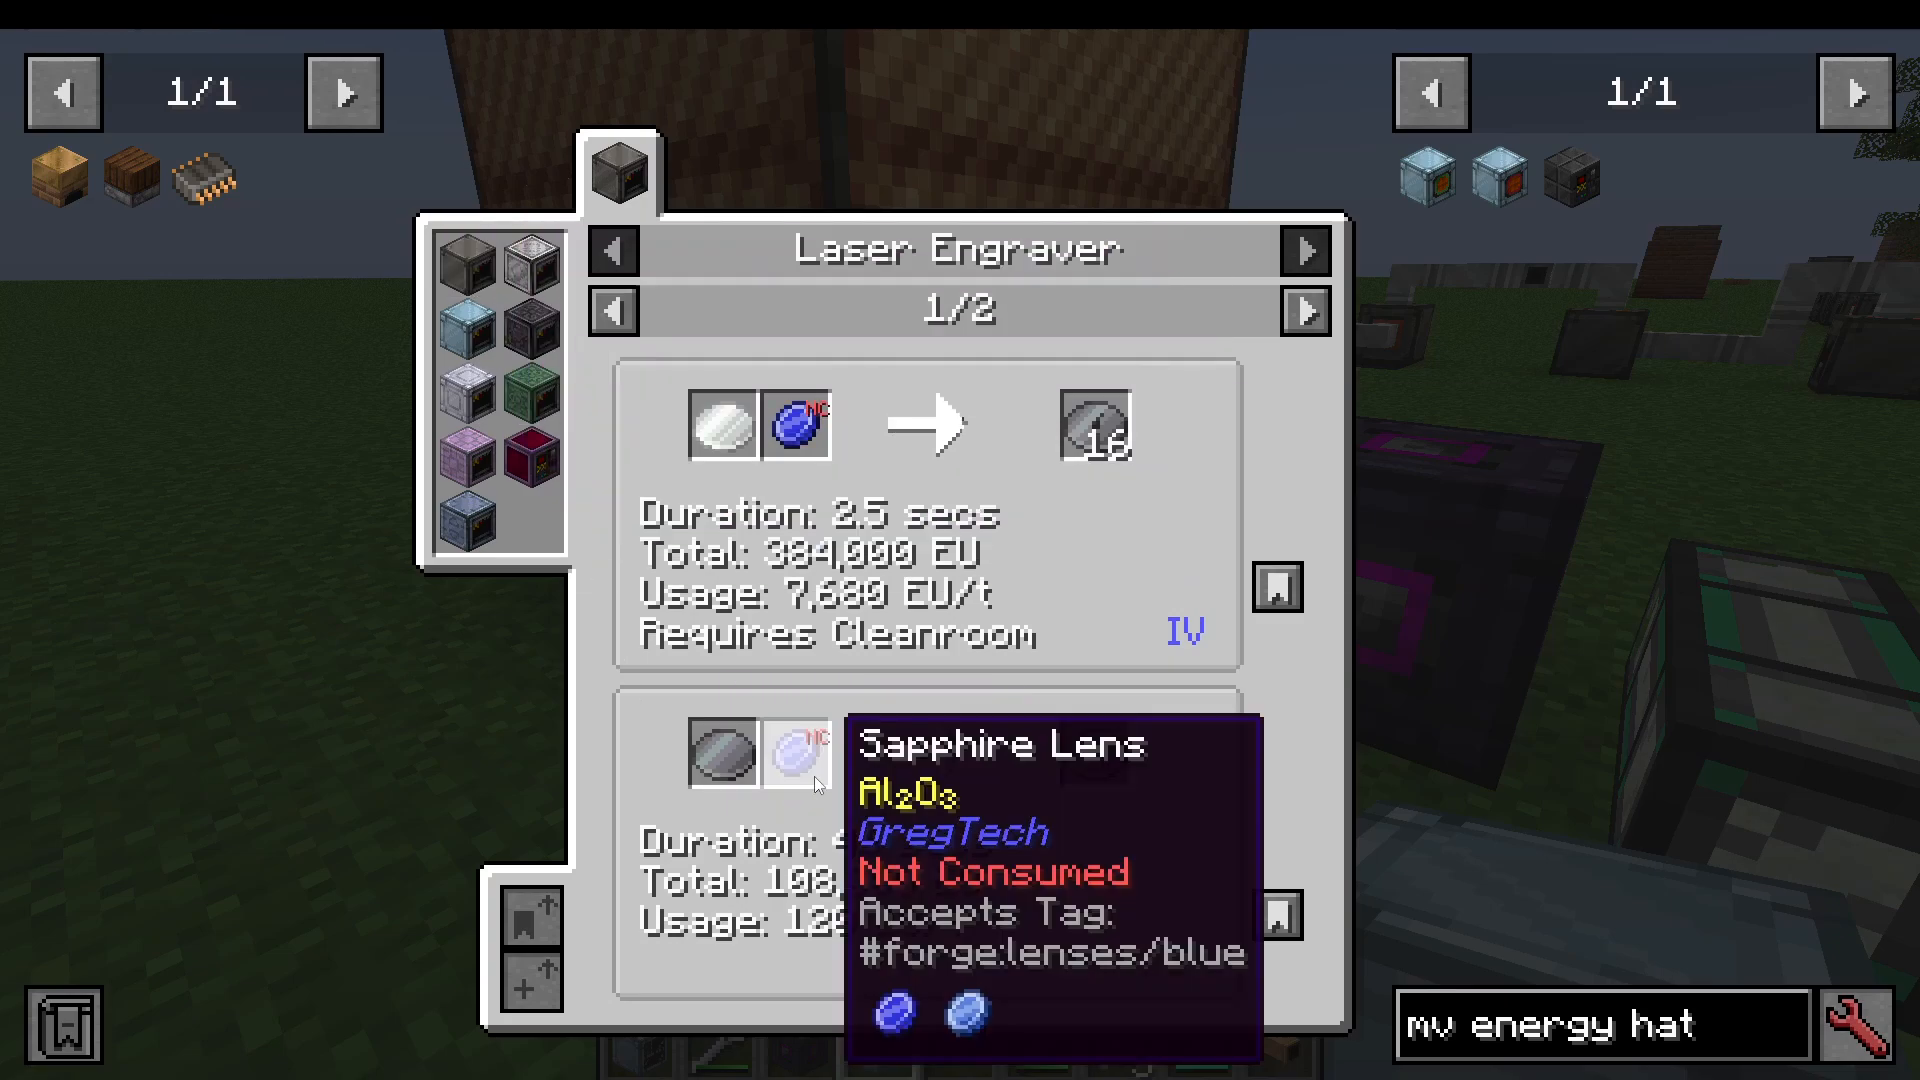
Note on Automation: At this point, I recommend making these items semi-manually rather than fully automating. Create a few batches of silicon balls, get plenty of wafers, and use them as needed for various recipes.
Upgrade 2 – Cuprenical to Kanthal Coils
Your EBF’s cuprenical coils won’t withstand High Voltage recipes. You must replace them with kanthal coils.
Making Kanthal Ingots:
Create kanthal dust in a Mixer from chromium dust, aluminum dust, and iron dust (Medium Voltage)
Put kanthal dust in your upgraded EBF (with the new MV energy hatches) to produce hot kanthal ingots
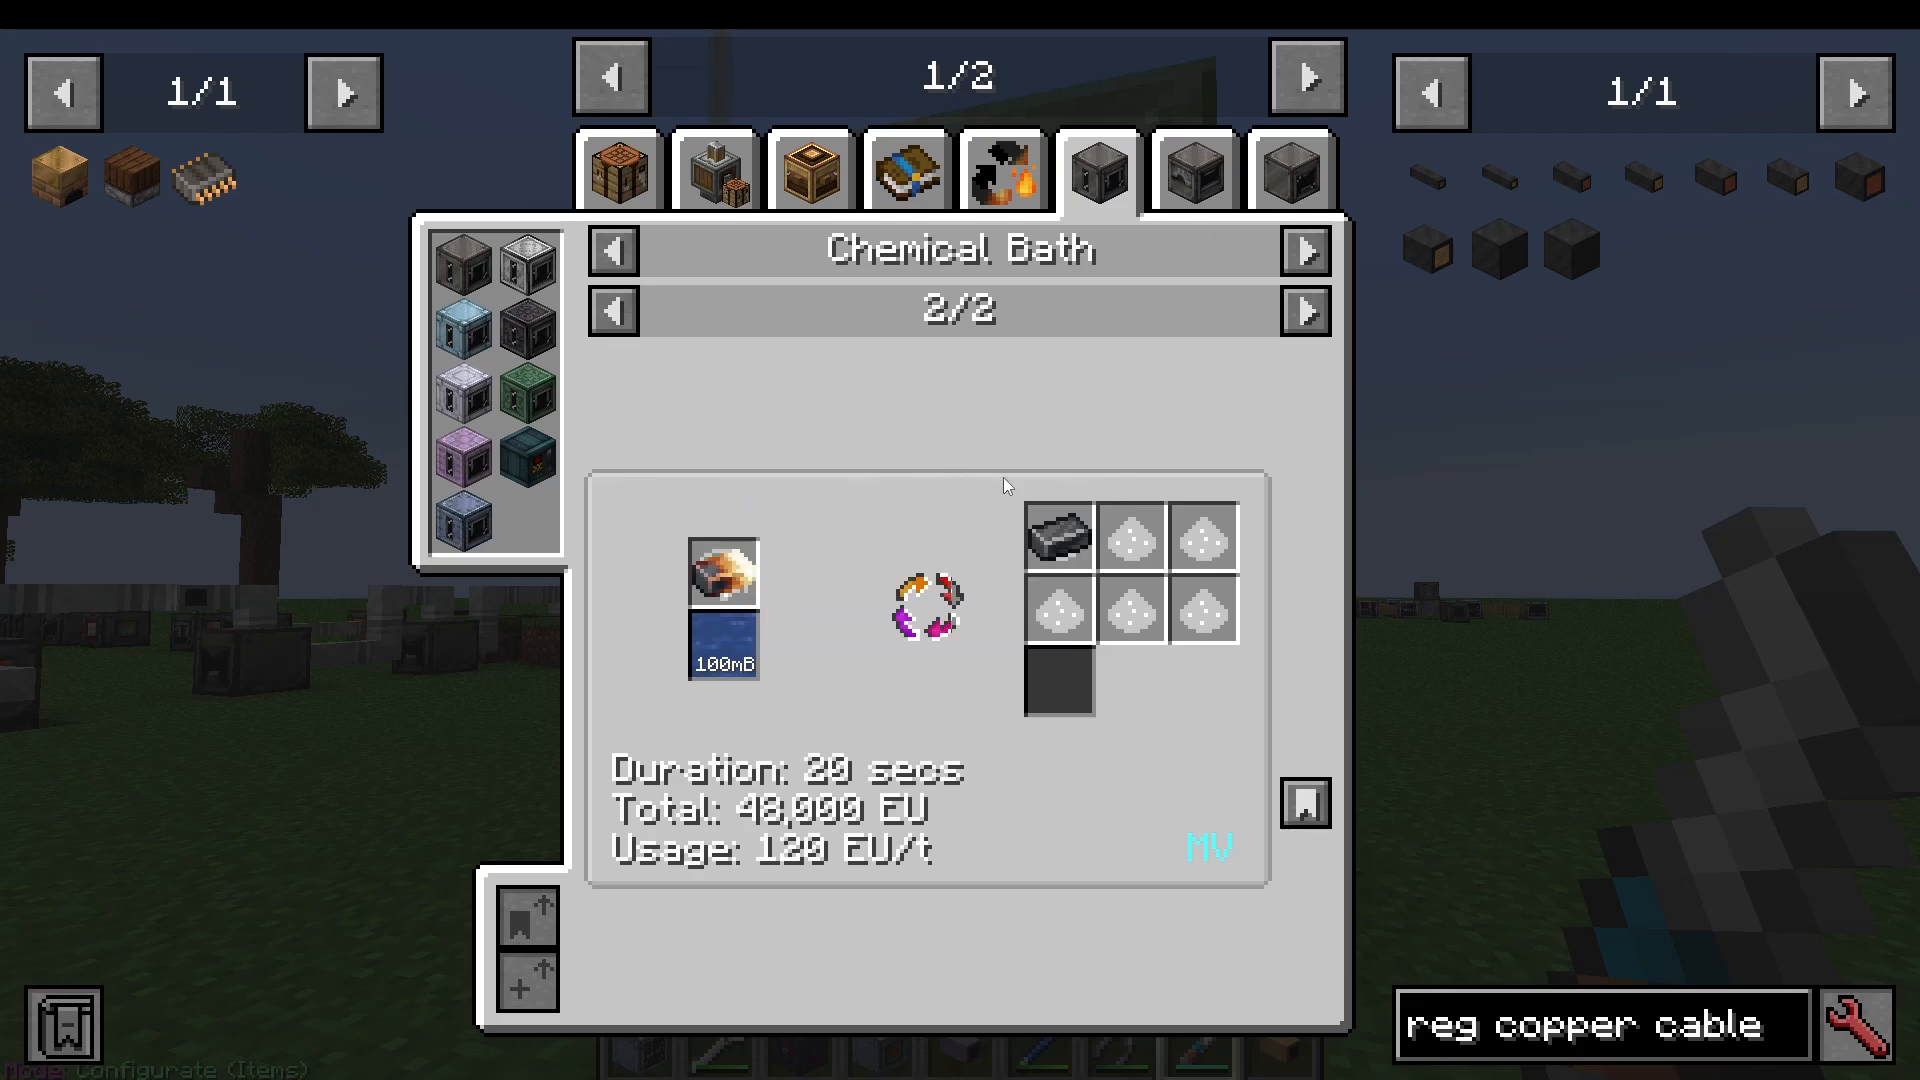
Cool the hot kanthal ingots in a Chemical Bath filled with water to get kanthal ingots
Replace your cuprenical coil blocks with kanthal coil blocks
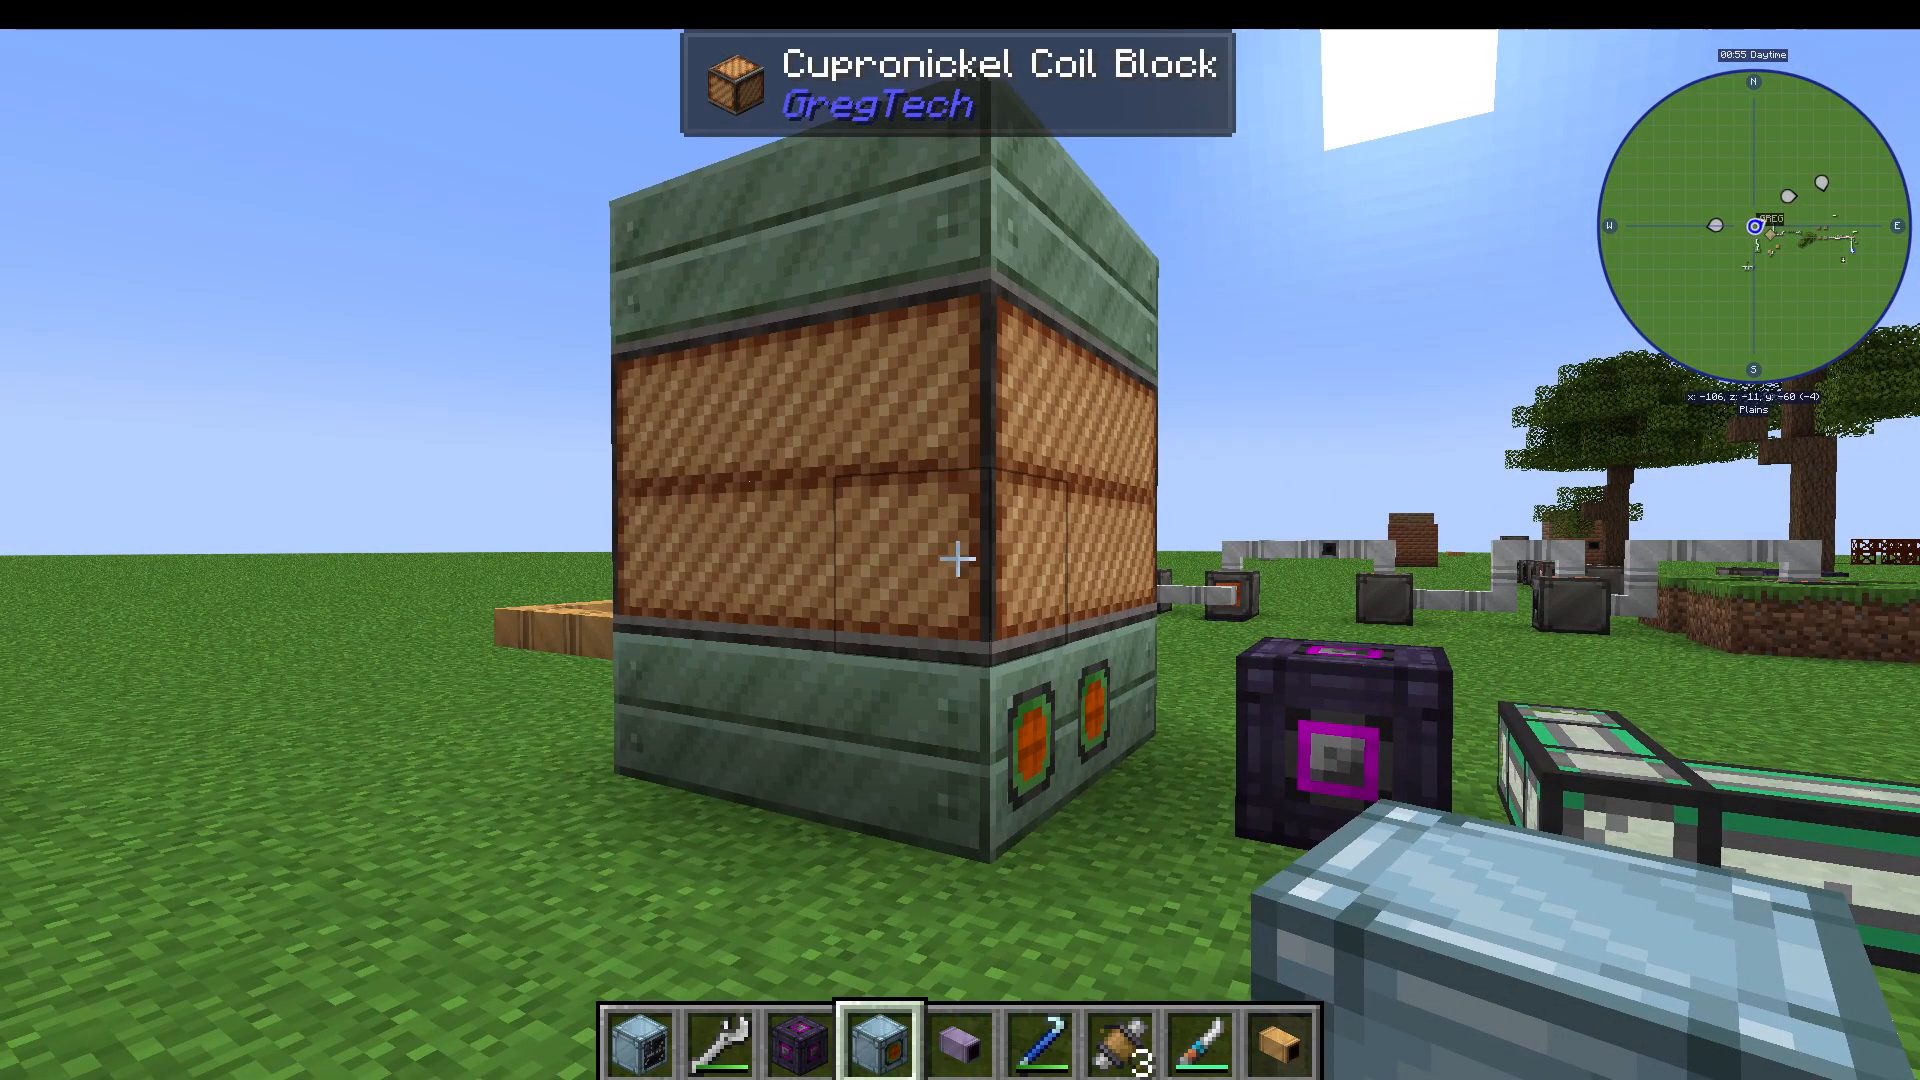
Once you’ve made these two upgrades and connected MV power (via copper cable or better), your EBF is ready for High Voltage recipes.
Creating Hot Silicon Ingots
In your upgraded EBF with kanthal coils and two MV energy hatches:
Combine silicon dioxide dust with carbon dust
Process produces hot silicon ingots (and carbon monoxide as a byproduct)
Sourcing Carbon Dust: The easiest method is centrifuging coal or rubber logs. For larger scales, centrifuge coal dust (from hammering coal).
Sourcing Silicon Dioxide: Run an Oil Washer with various ores and water to extract silicon dioxide. Many ores produce this.
Cooling and Plating Silicon
Cool your hot silicon ingots in a Chemical Bath with water to get standard silicon ingots. Then extrude them into silicon plates using an Extruder with the appropriate mould, or alternatively use a Fluid Solidifier with liquid silicon.
Assembling Transistors
Combining Components
Now that you have liquid polyethylene and silicon plates, you can finally make transistors. In an Assembler, combine:
Fine tin wire
Silicon plate
Liquid polyethylene
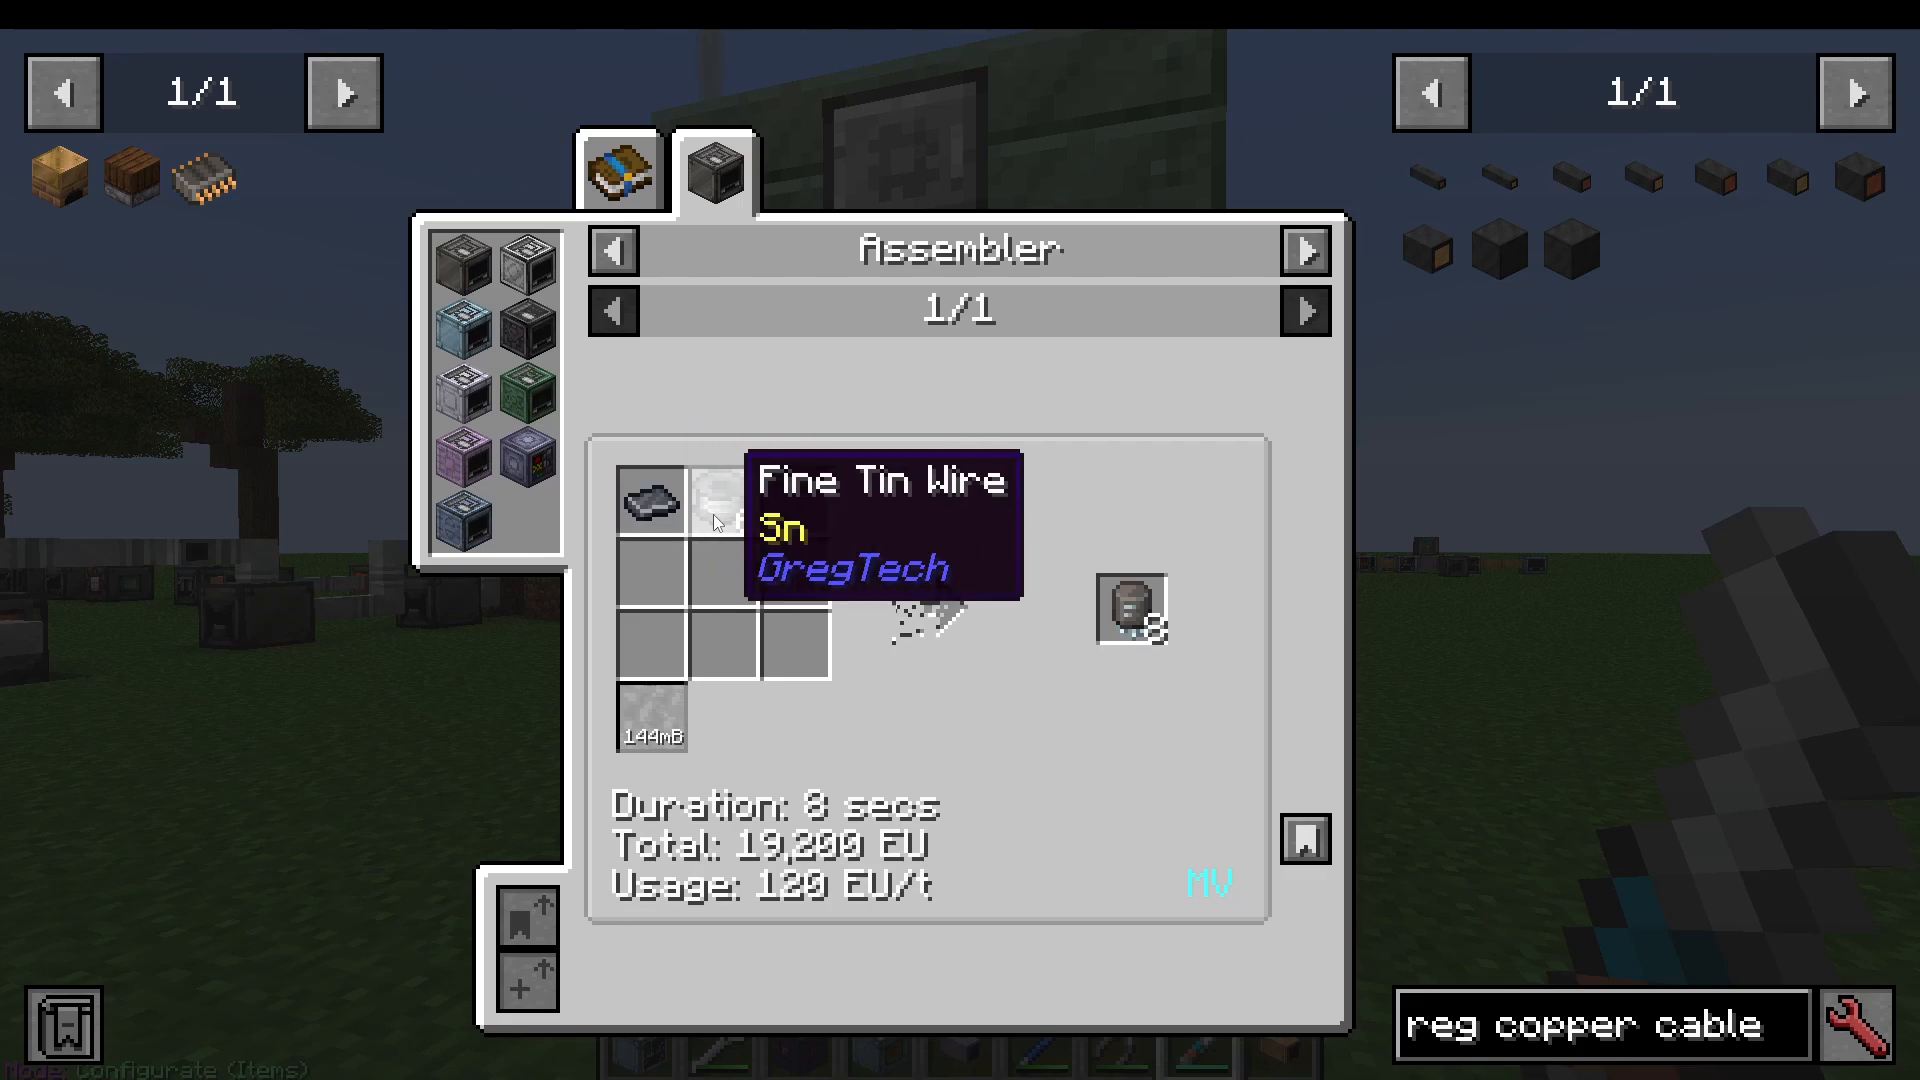
Fine tin wire is straightforward to create and shouldn’t present any challenges at this stage.
Advanced Integrated Circuits
The Goal of Medium Voltage
Your ultimate objective at Medium Voltage is to create Advanced Integrated Circuits, which unlock the path to High Voltage. Here’s what you need:
Transistors: Now fully understood (see above)
Good Integrated Circuits: You can already make these
Liquid Soldering Alloy or Liquid Tin: For connectivity
Copper Bolts: Simple to produce
Fine Electron Wire: Made from electrum (silver and gold combined)
RAM Chips: Created using the wafers you now know how to make
You’re nearly ready to progress to High Voltage once you assemble all these components into an Advanced Integrated Circuit.
Additional Medium Voltage Tips
Exploring the Mod’s Depth
Don’t limit yourself to just the essential progression. Many useful machines become available at Medium Voltage:
The Sifter
The Sifter is particularly valuable for ore processing. It allows you to sift purified ores into flawless and purified variants, opening up new processing possibilities.
Efficiency Considerations
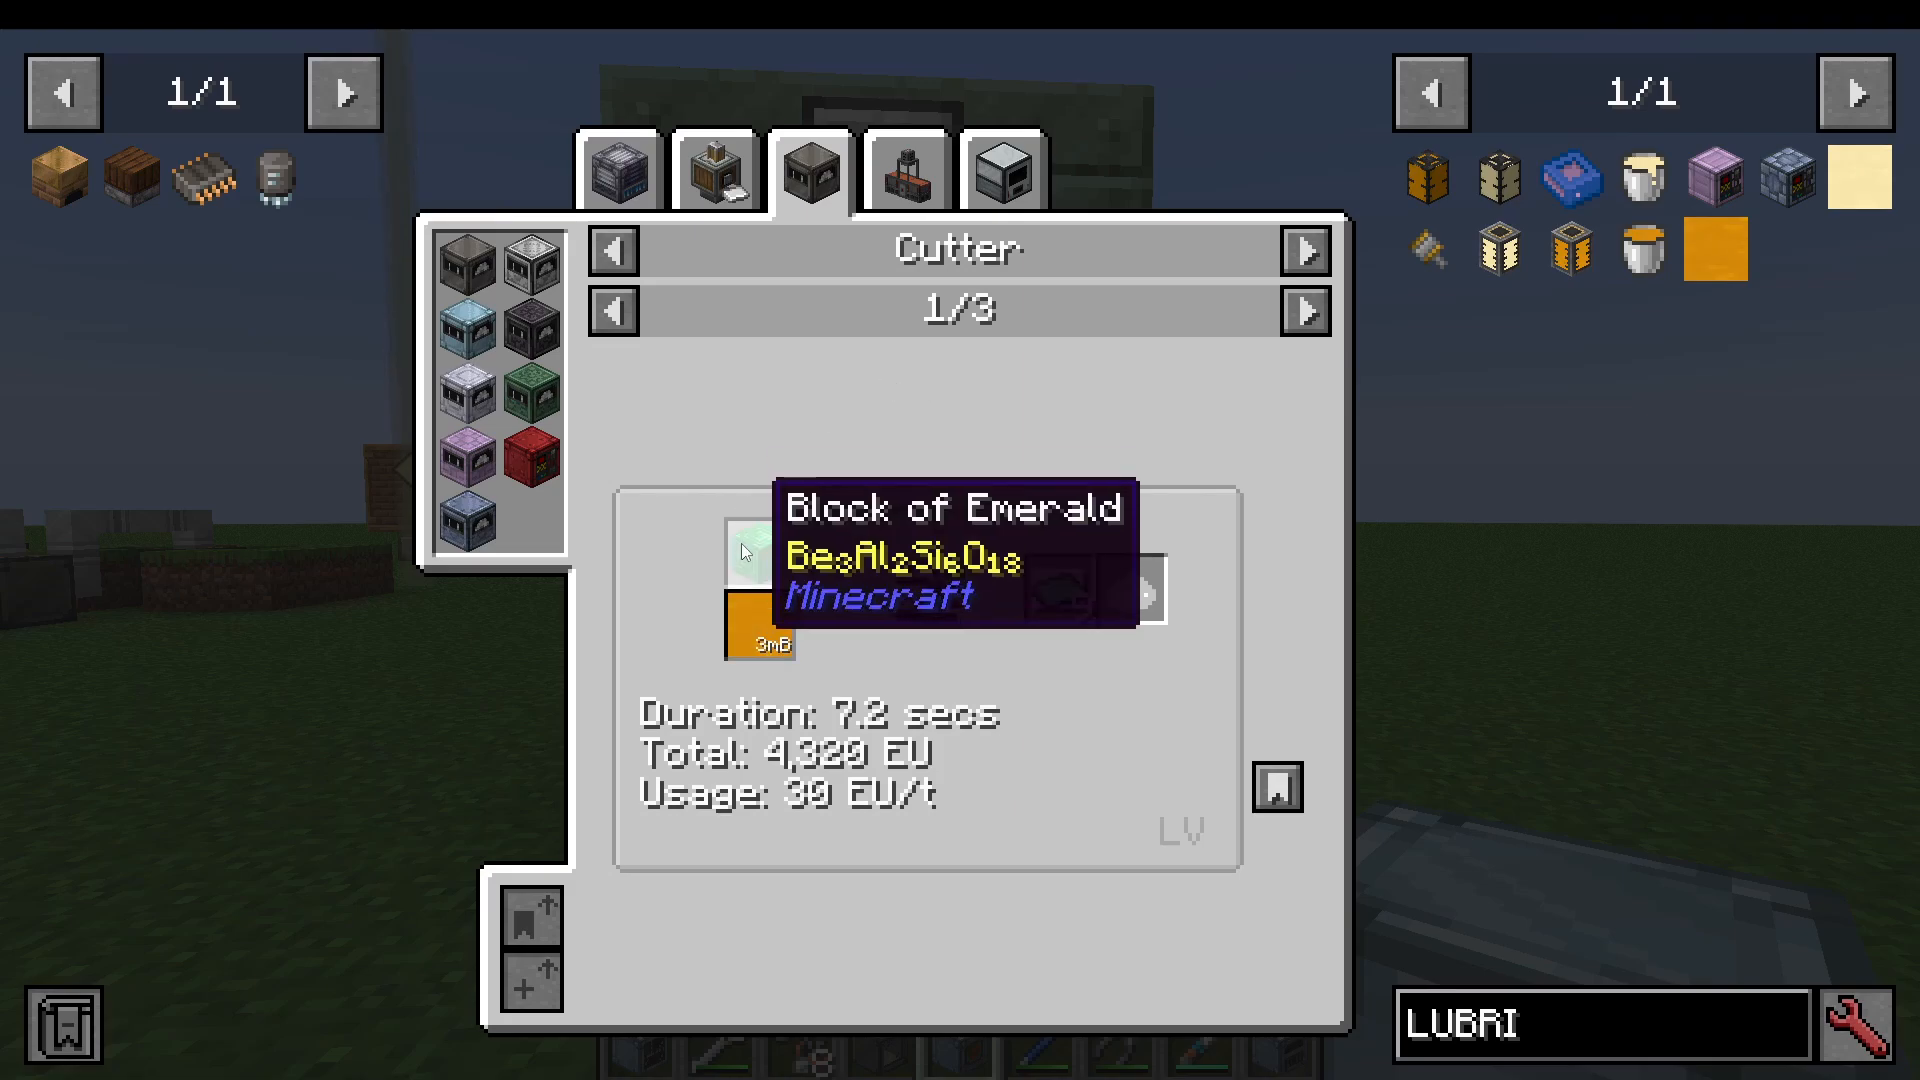
Pay attention to the small details in recipes. For example, compare lubricated recipes to water recipes:
Lubricant Example: 7 seconds duration, 4,000 EU (in a Cutter)
Water Example: 14 seconds duration, 8,000 EU
While lubrication requires production, it can significantly reduce processing time and energy consumption as you progress.
Machine Upgrades
Remember to upgrade your basic machines (electric furnaces, etc.) to Medium Voltage as your power infrastructure allows. Browse JEI for MV machines and experiment with what’s possible — the mod offers incredible depth and multiple solutions for most problems.
Conclusion
Medium Voltage represents a significant leap in Gregtech CEu progression. You’ve moved from simple steam boilers to complex multiblock reactors, implemented filtering systems for both items and fluids, and created advanced components like polyethylene and silicon plates. The systems you’ve learned here — especially filtering and multiblock management — form the foundation for everything that comes next. With Advanced Integrated Circuits in hand, you’re ready to enter the High Voltage age and unlock even more powerful machines and automation possibilities.
Well done on completing the Medium Voltage tutorial! The complexity you’ve mastered here sets you up perfectly for the challenges and rewards that await in the higher voltage tiers.
Want to Support?
If you would like to help us continue making these guides – please consider joining our patreon here – https://www.patreon.com/c/JaviHeals
Alternatively – we host a group of MC Servers you can join here – https://discord.gg/zD7Gjt6MHF



