






EnderIO Complete Beginner Guide
EnderIO Complete Beginner Guide
Whether you’re new to modded Minecraft or exploring EnderIO for the first time, this comprehensive guide will teach you everything you need to succeed as a beginner. From crafting your first grains of infinity to mastering the mod’s advanced cable systems, we’ll walk you through each essential concept step by step.
Getting Started: Collecting Grains of Infinity
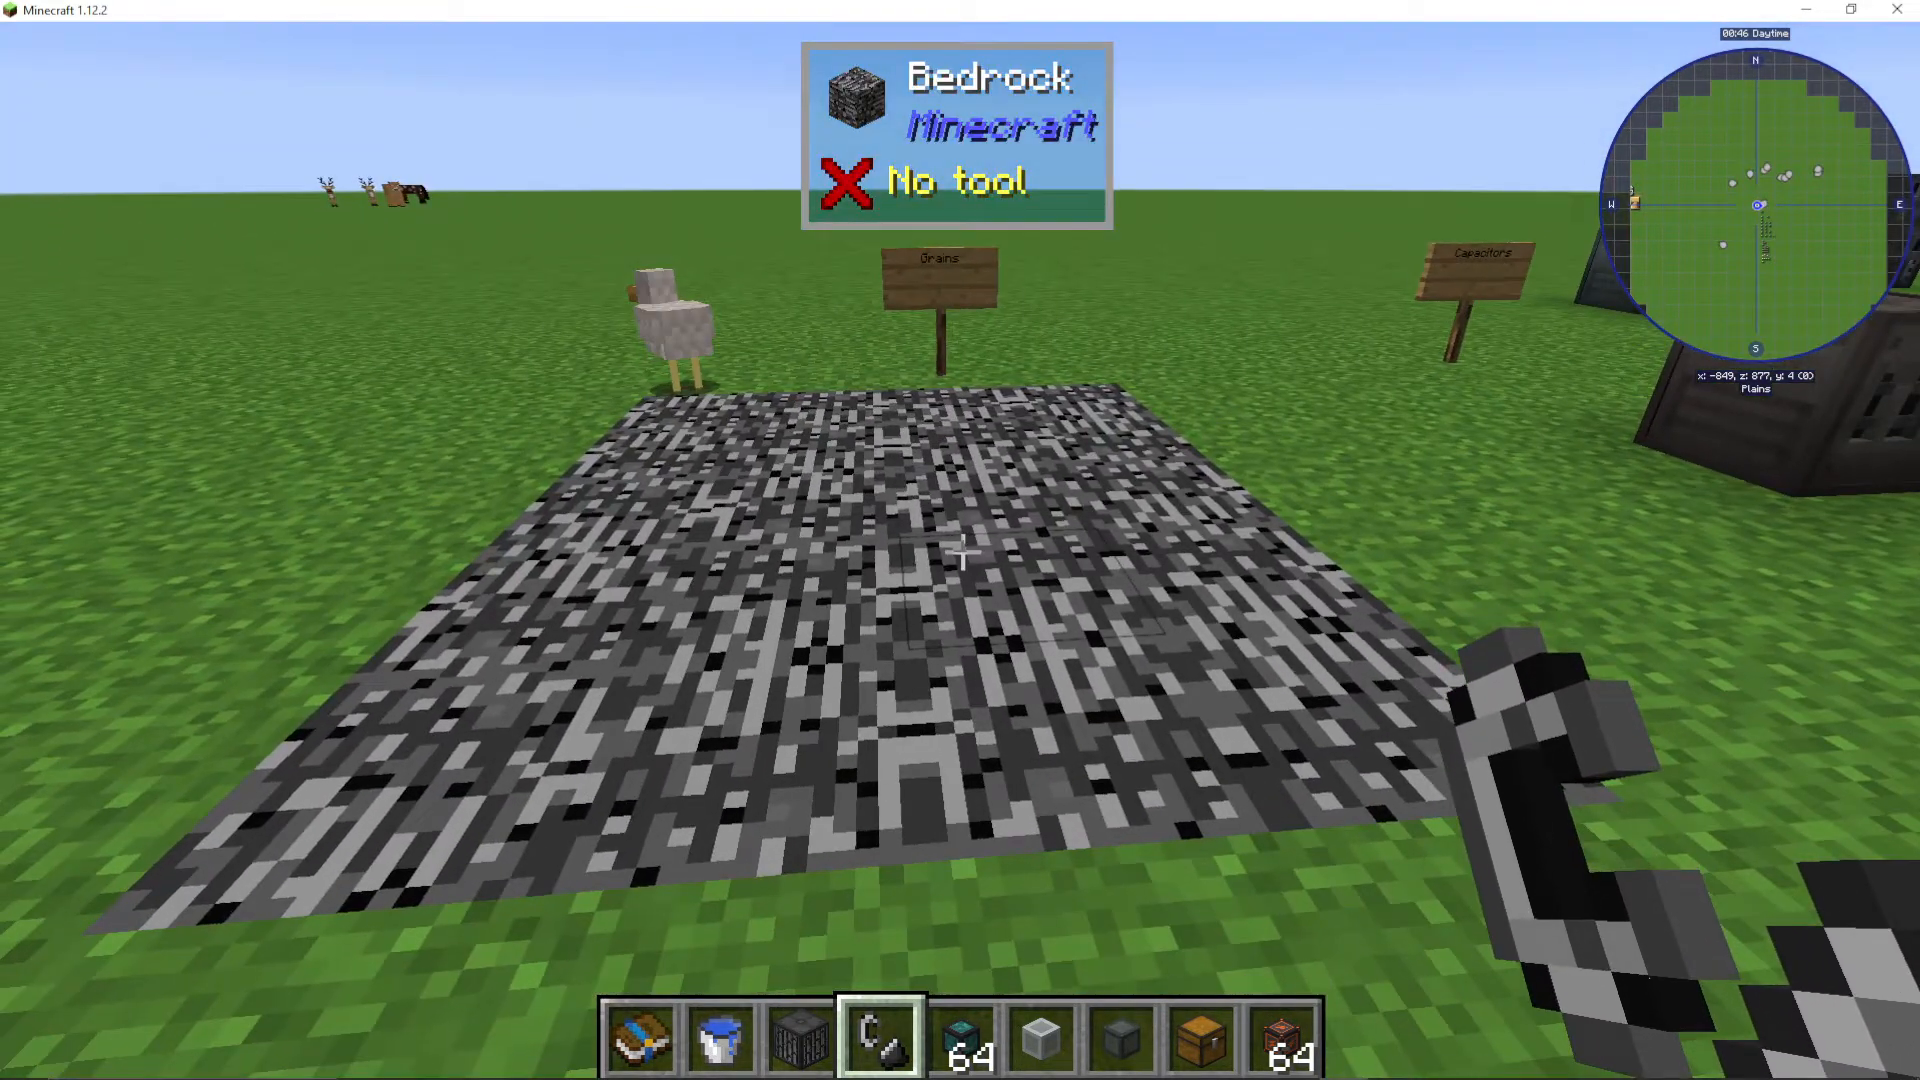
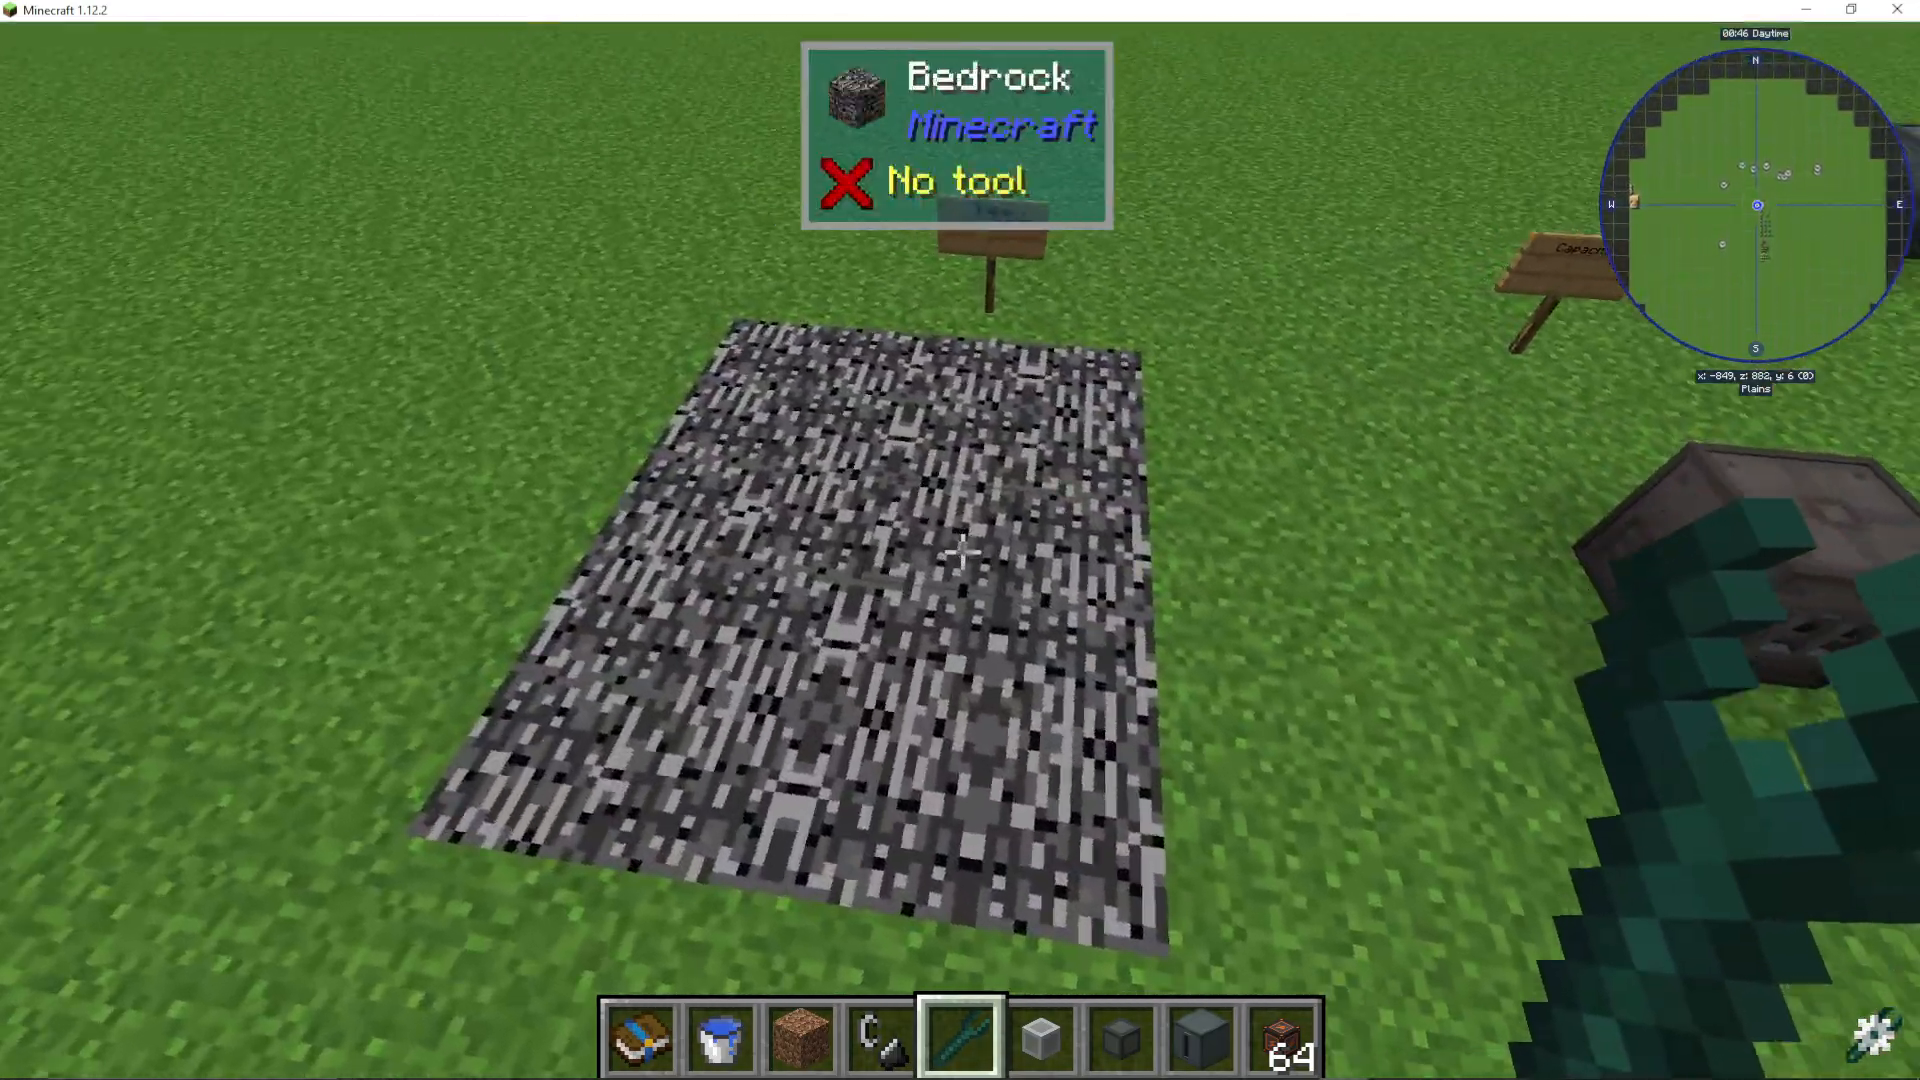
The first step in your EnderIO journey is to obtain grains of infinity—a critical item you’ll need frequently when crafting within the mod. To collect grains of infinity, you need to travel down to bedrock level in your world.
Once at bedrock, use your flint and steel to ignite the netherrack. Set fire to as large an area as you possibly can—the bigger the better. Continue lighting multiple flint and steel until the fire begins to spread back toward you in a circular pattern. You’ll hear a distinctive popping sound (similar to popcorn popping in a microwave) as the grains of infinity begin to drop. Simply collect these items from the ground.
Why EnderIO? Apart from Mekanism, EnderIO is one of the best tech mods available. Even if you’re using other tech mods alongside it, EnderIO’s cabling system alone makes it worth incorporating into your modpack.
Creating Capacitors
Understanding Capacitor Tiers
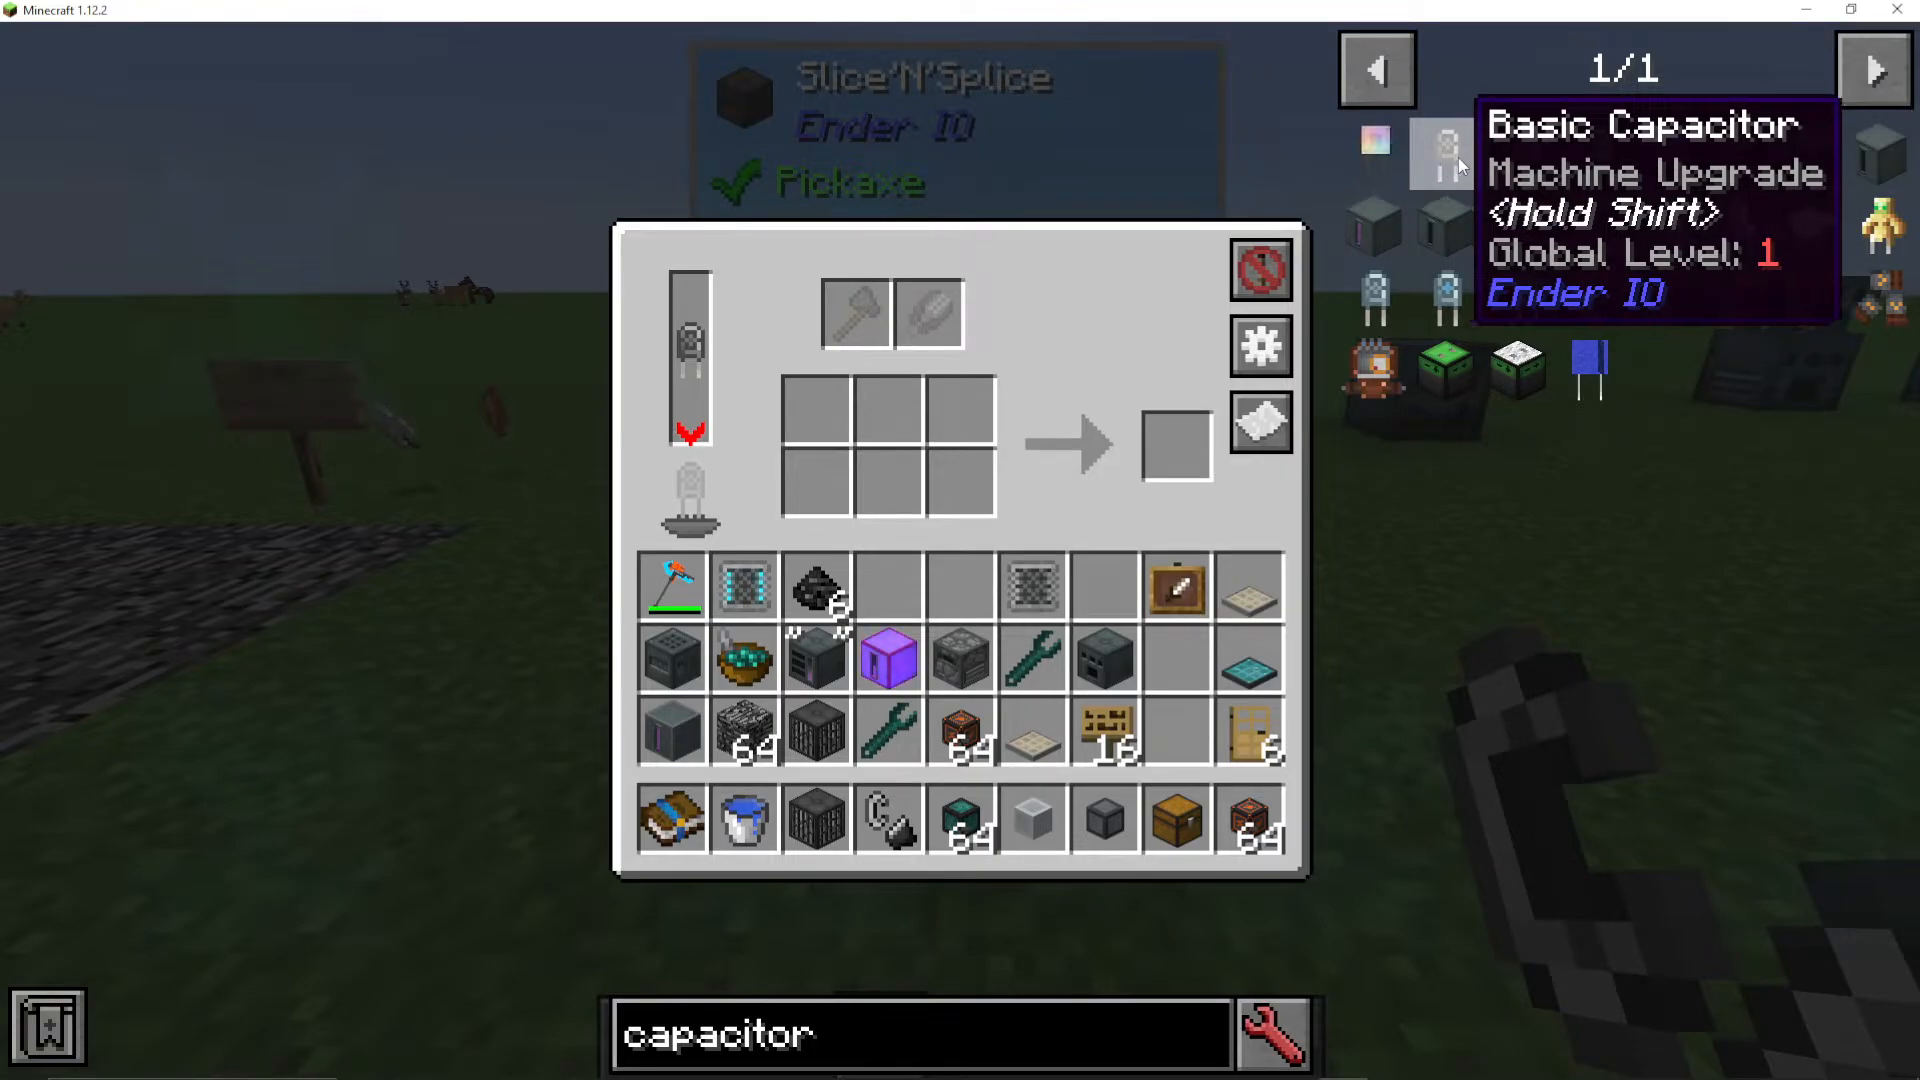
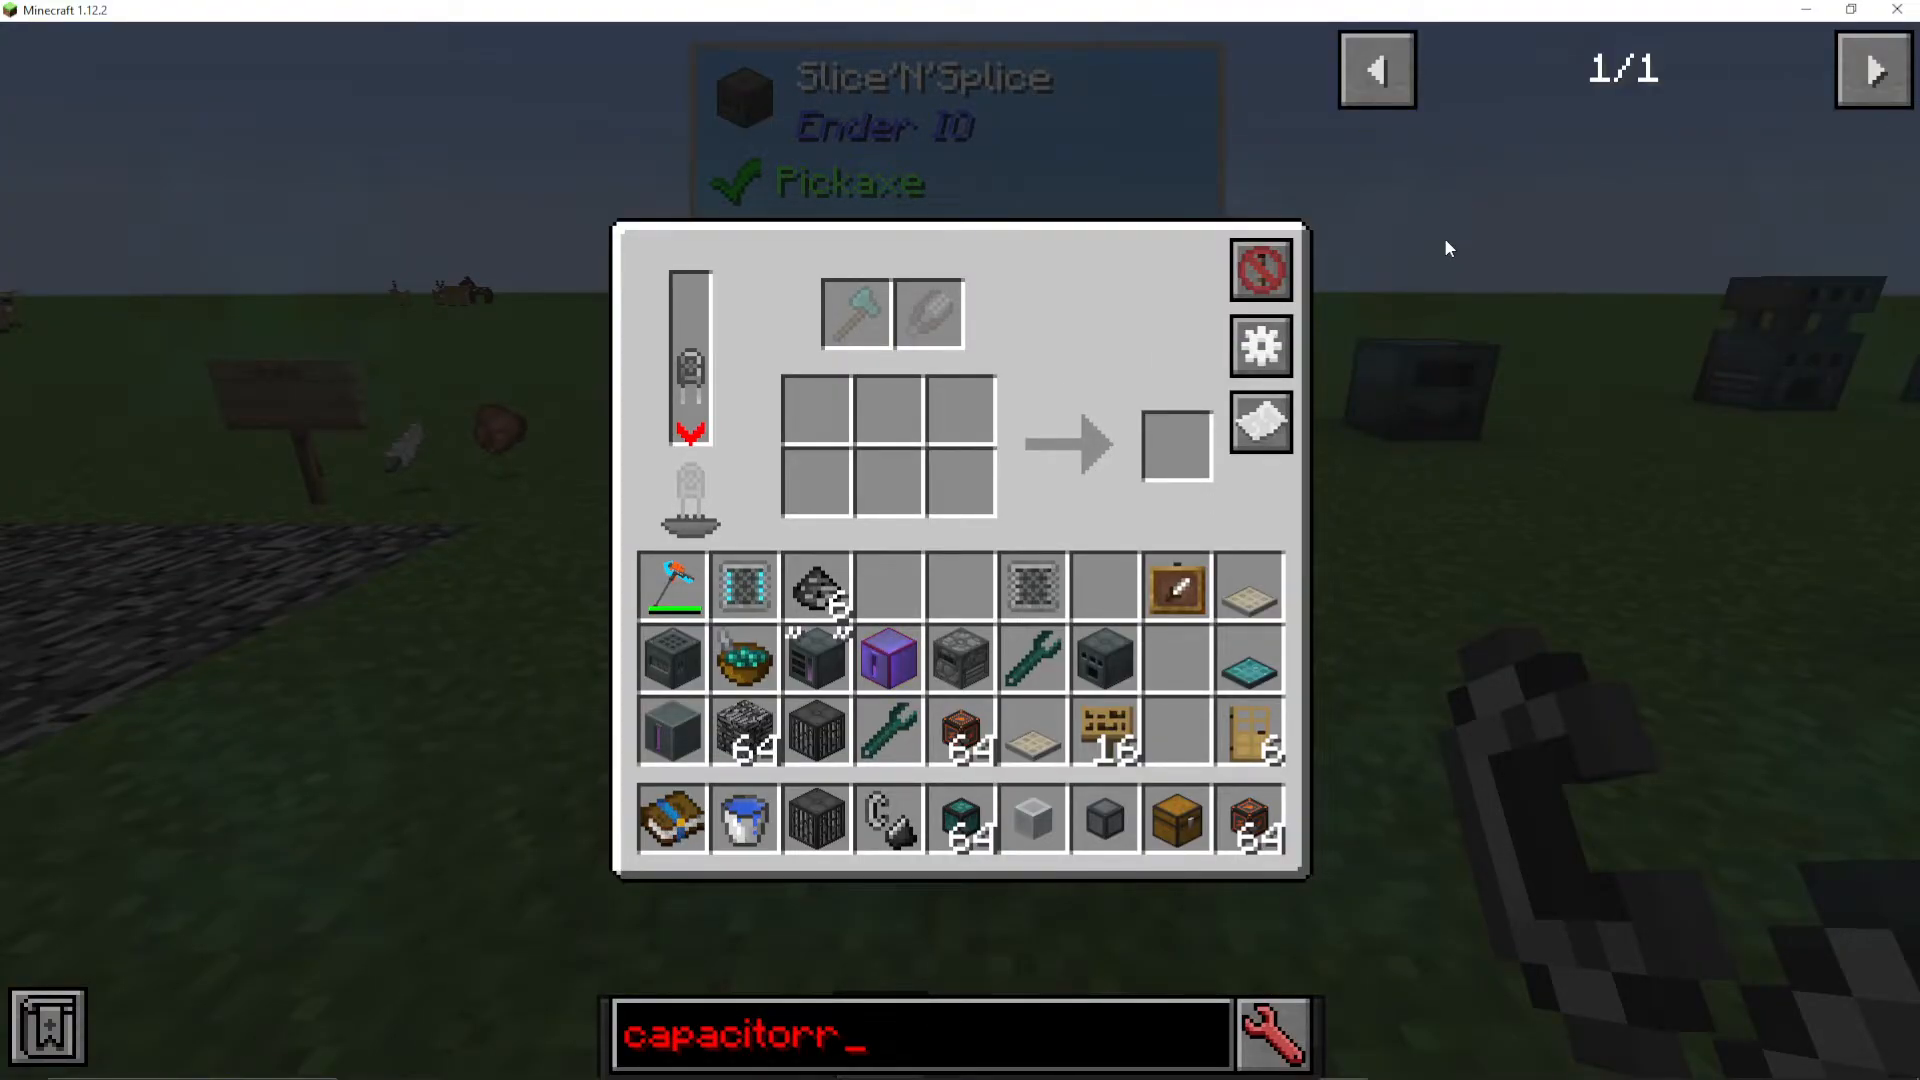
Capacitors are essential power storage components in EnderIO. The mod provides three base capacitor types, each with increasing power storage capacity:
Basic Capacitor — Tier 1 (Global Level: 1)
Double Layer Capacitor — Tier 2 (Global Level: 2)
Octadic Capacitor — Tier 3 (Global Level: 3)
Higher global level capacitors allow machines to store more energy, enabling them to work faster and more efficiently. Additional capacitor types like Crystalline, Melodic, and Stellar are available through the EnderIO add-on mod EnderIO Endergetic.
Crafting Capacitors
Basic Capacitor Recipe:
Grains of Infinity
Copper Ingot
Gold Nuggets
Double Layer Capacitor Recipe:
2x Basic Capacitors
Energetic Alloy
Cold Dust
Octadic Capacitor Recipe:
2x Double Layer Capacitors
Vibrant Alloy
Core Machines Overview
Machine Tiers: Simple, Standard, and Enhanced
EnderIO machines come in multiple tiers, though not every machine has all three variants:
Simple Machines — Lowest tier, no capacitor required, runs at lower efficiency, power leakage occurs
Standard Machines — Mid tier, requires capacitor, faster operation, includes advanced features
Enhanced Machines — Highest tier, requires capacitor, fastest operation, maximum efficiency
Simple machines use basic materials and grains of infinity, making them accessible early-game. Standard machines require dark steel and industrial machine chassis. Enhanced versions provide maximum performance but require more complex crafting materials.
Sterling Generator
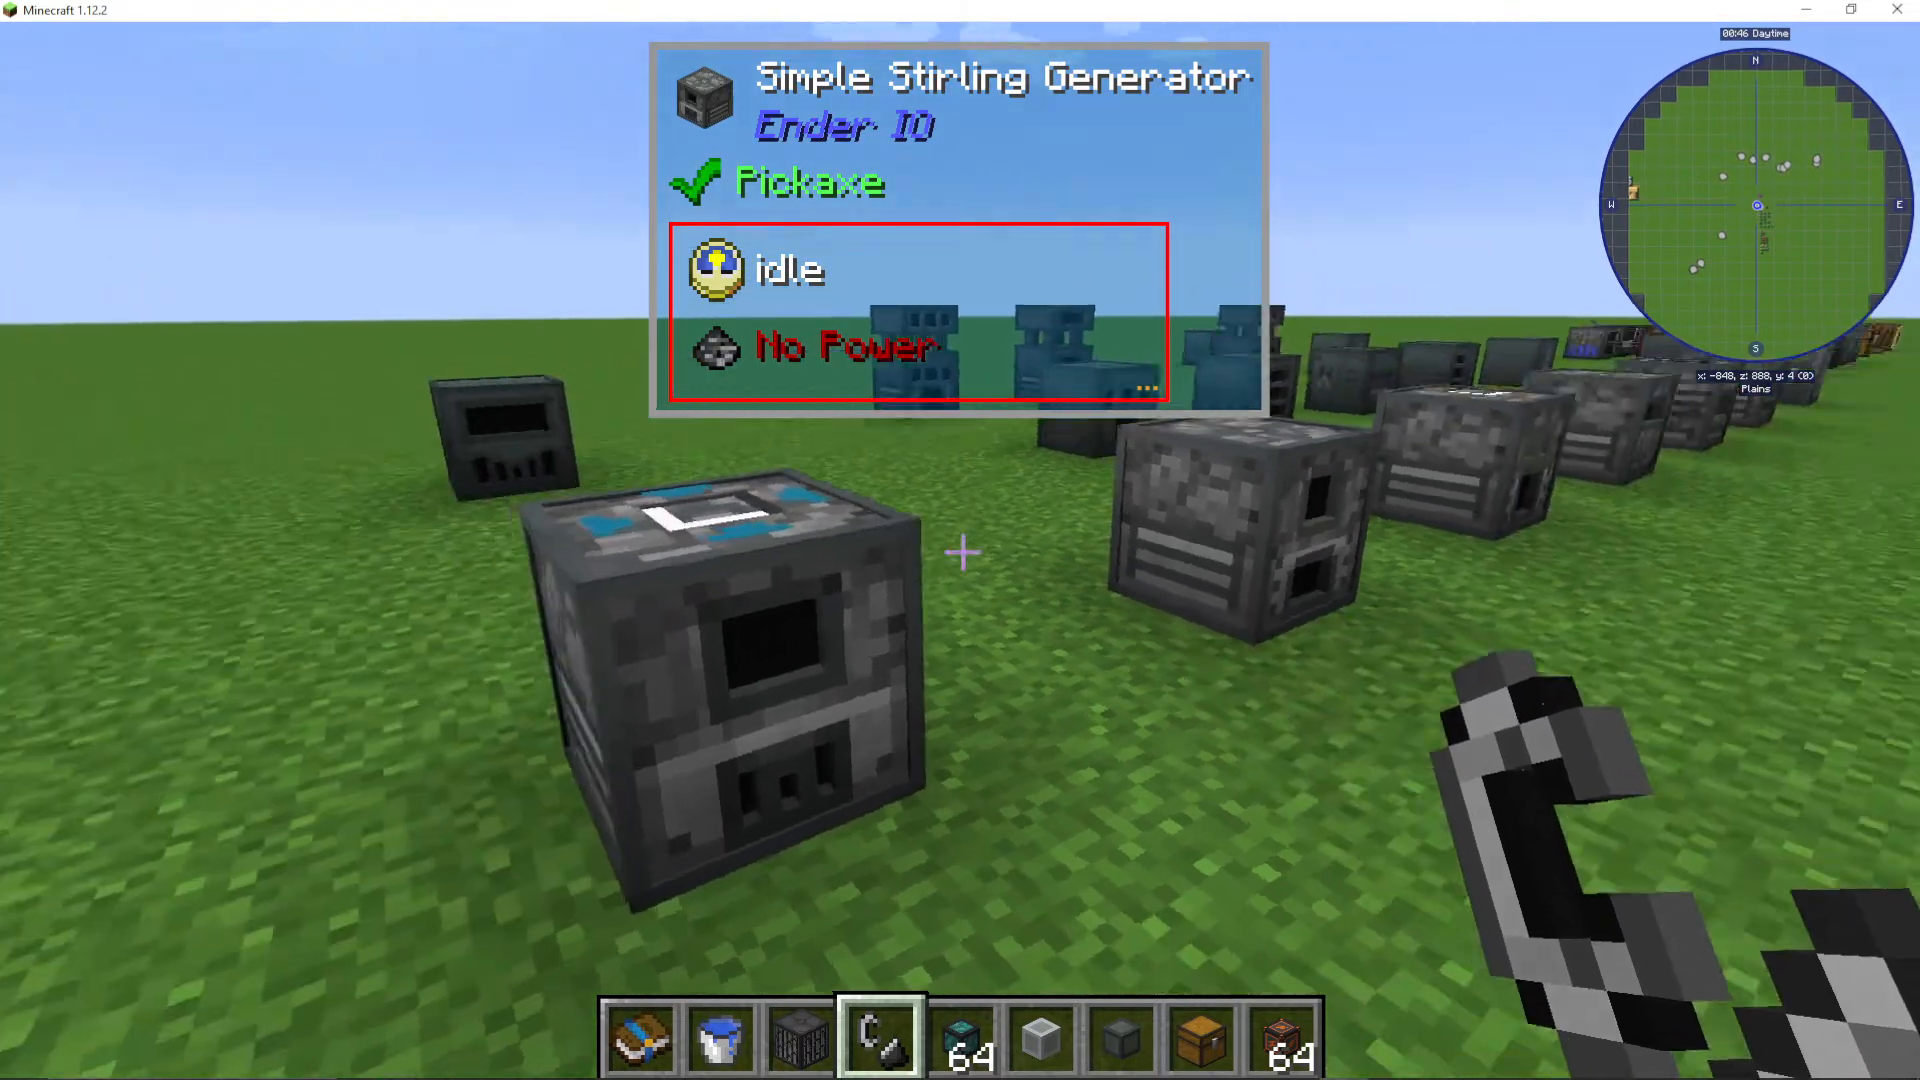
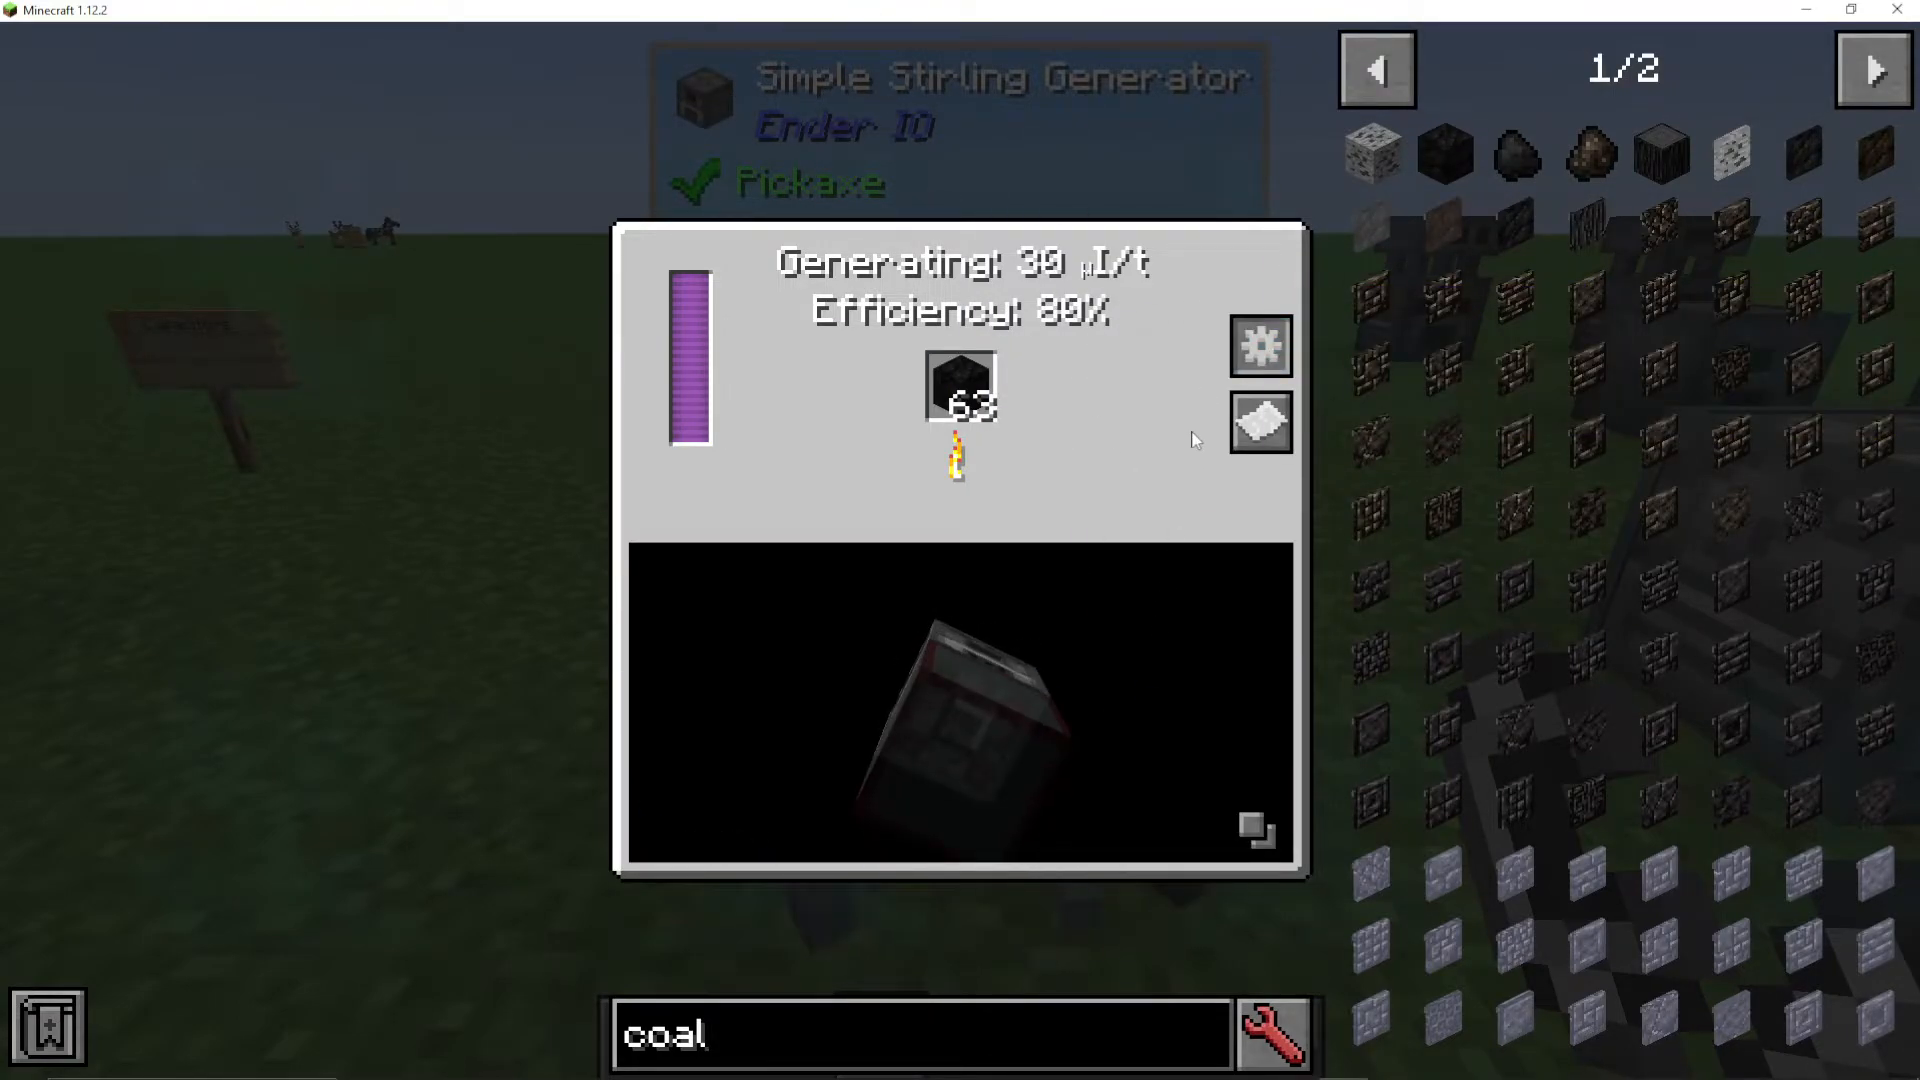
The Sterling Generator is your primary early-game power generation tool. It converts combustible items (like coal) into electrical energy.
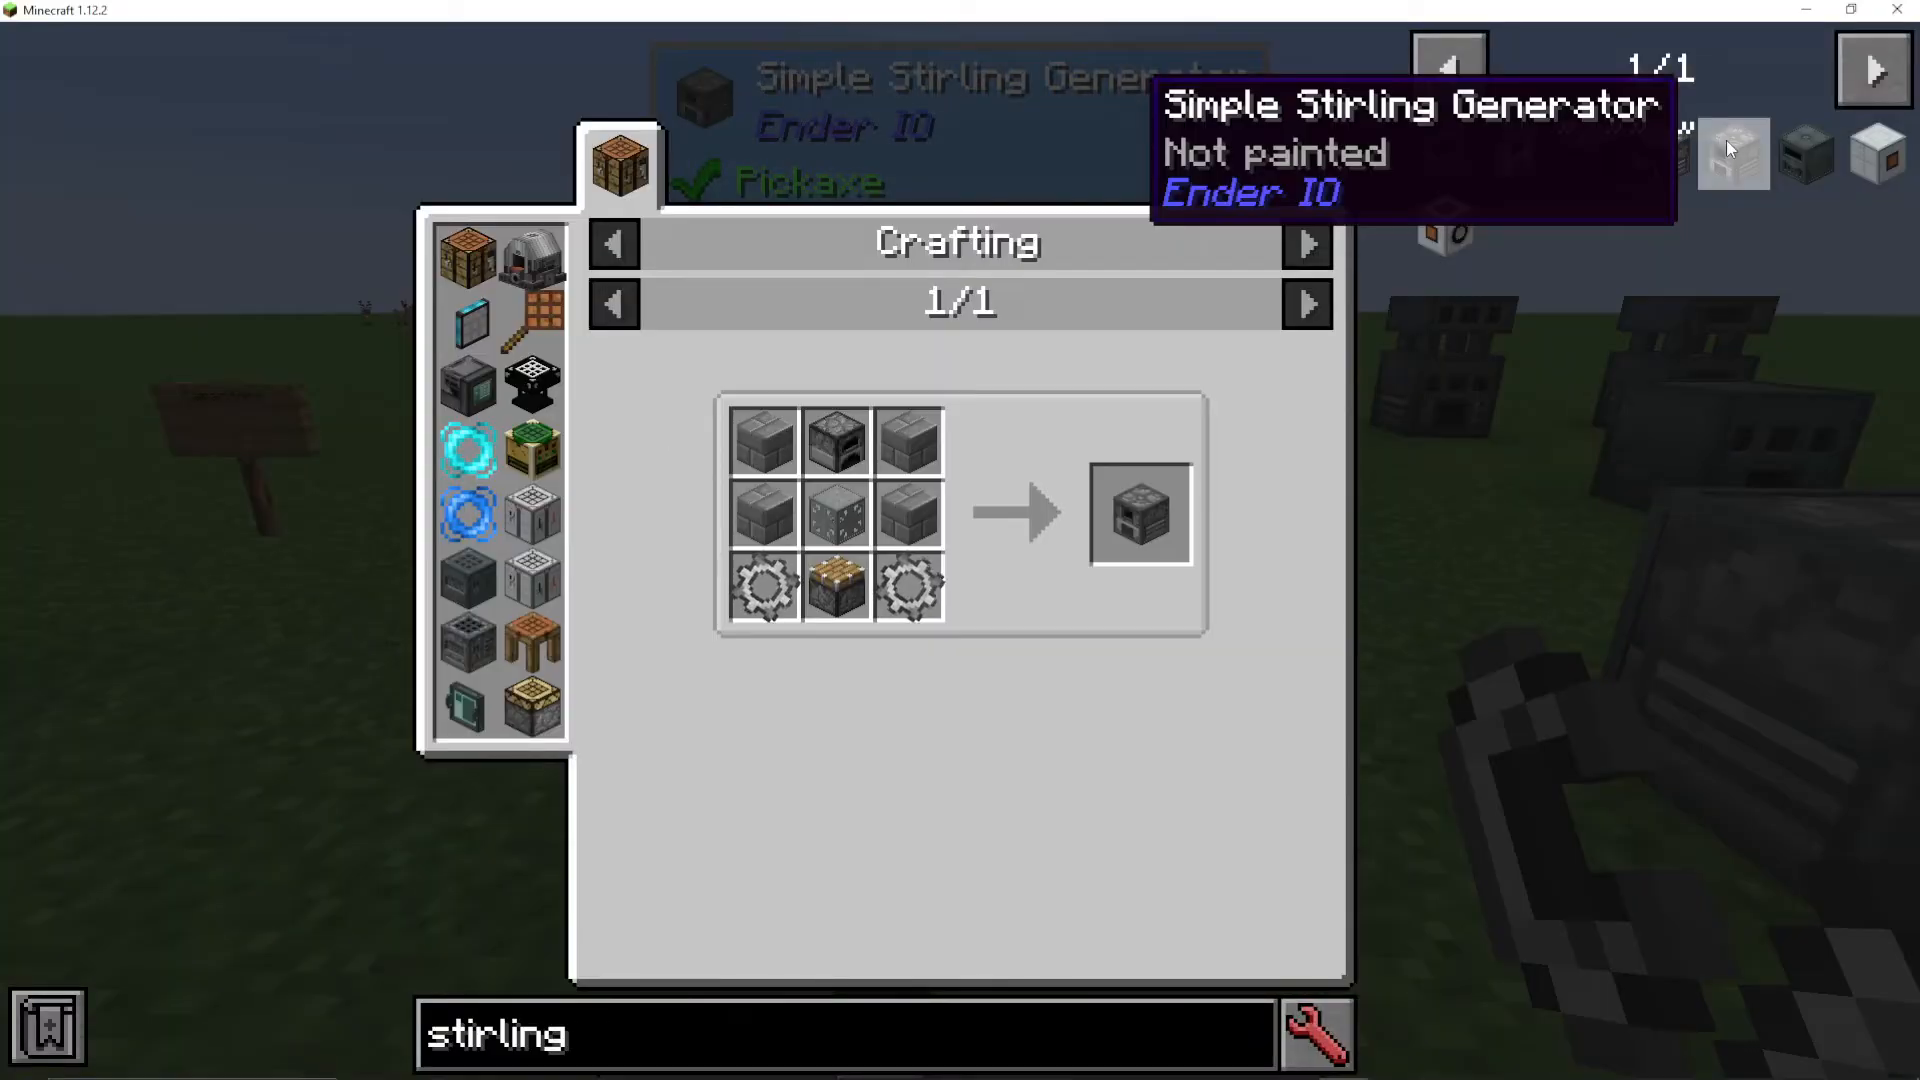
Simple Sterling Generator Recipe:
Infinity by Metal Gear (iron + grains of infinity)
Simple Machine Chassis
When you right-click a Sterling Generator, you’ll see its efficiency rating (simple versions run at 80% efficiency) and power leakage information. The generator extracts power from fuel items and outputs energy to connected cables or capacitor banks.
Configuring Input and Output
All EnderIO machines allow you to configure which sides receive input and output resources. Click the gear icon in the machine’s interface to access these settings:
Blue pull — Machine pulls items from an adjacent inventory
Orange push — Machine outputs items to an adjacent inventory
Both — Right-click to enable bidirectional flow
Disabled — Right-click to disable that side completely
Use the corner button to toggle visibility of connected machines, and click the white paper icon to view machine recipes.
Powered Furnace
The Powered Furnace functions like a standard furnace but uses electrical energy instead of fuel. Simply insert ore or other smeltable materials into the slots, and the machine will automatically process them when powered. Split materials across multiple slots for increased efficiency.
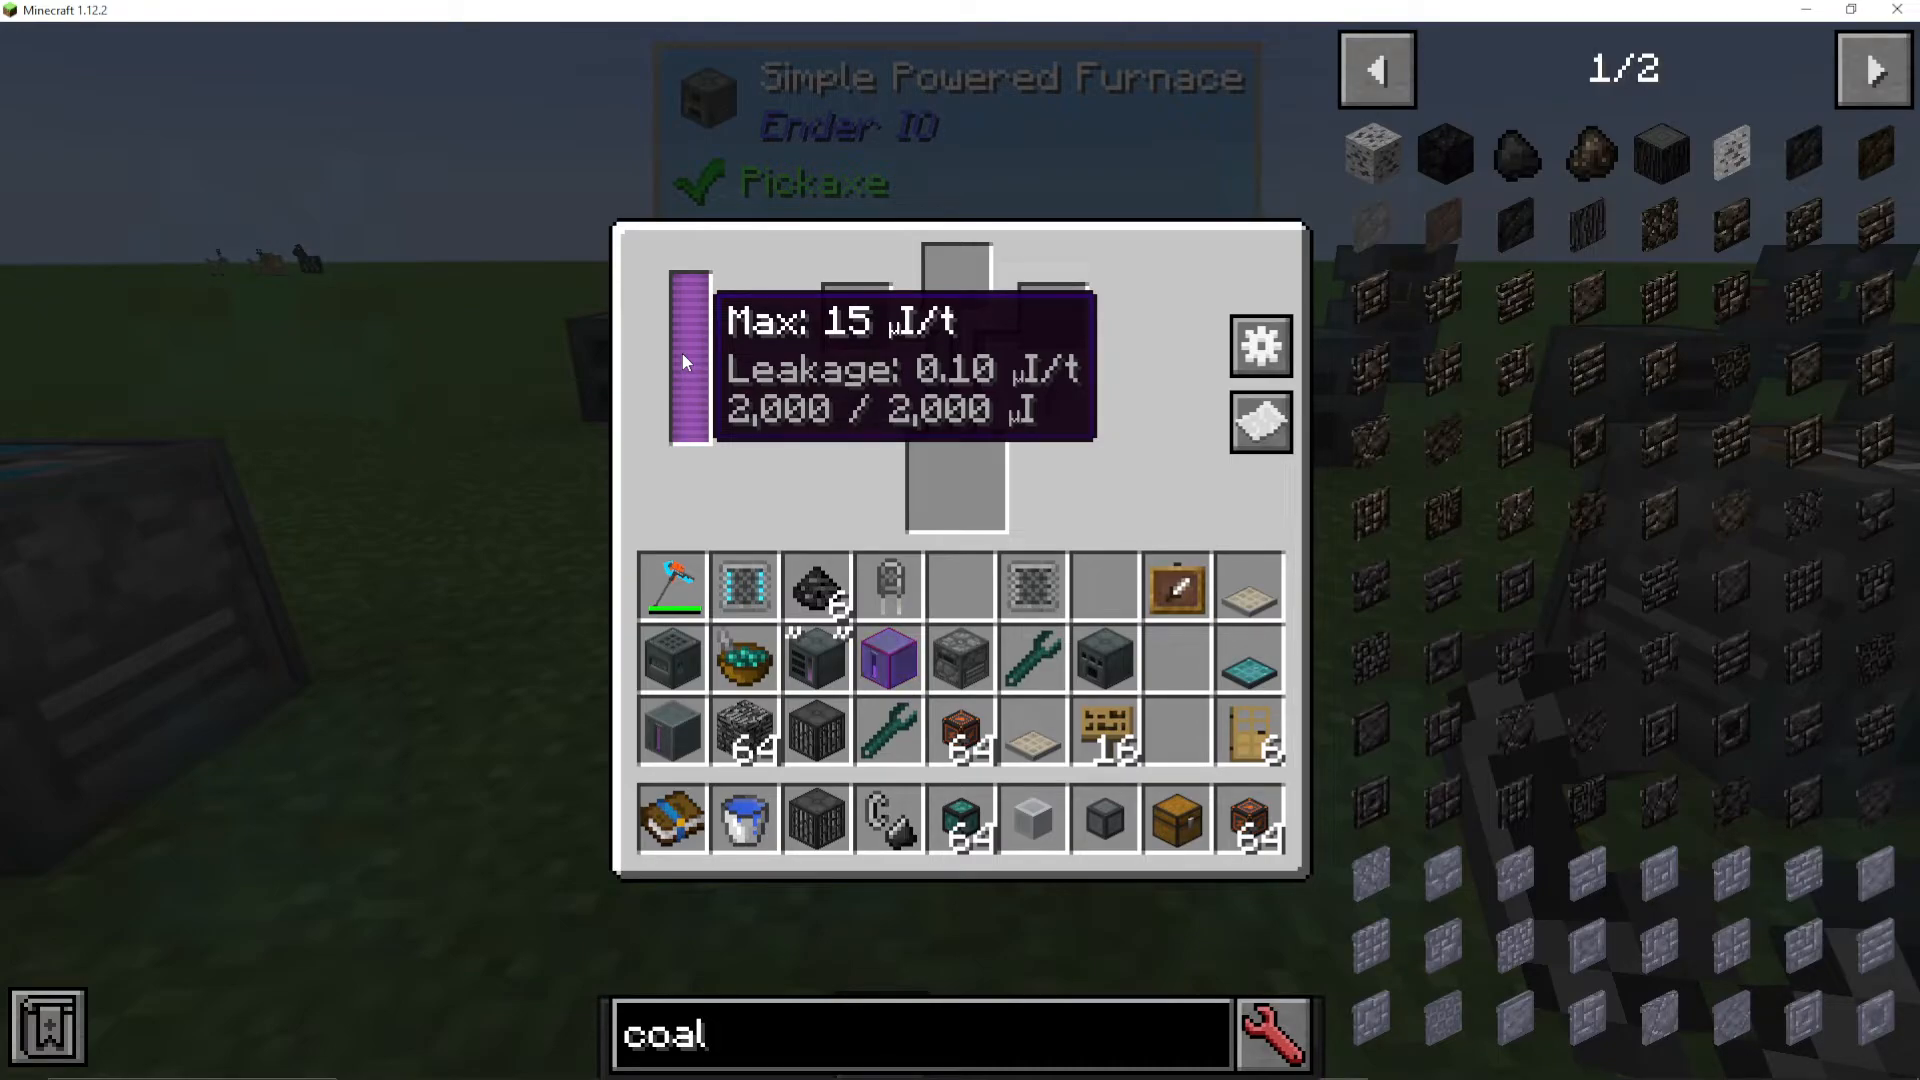
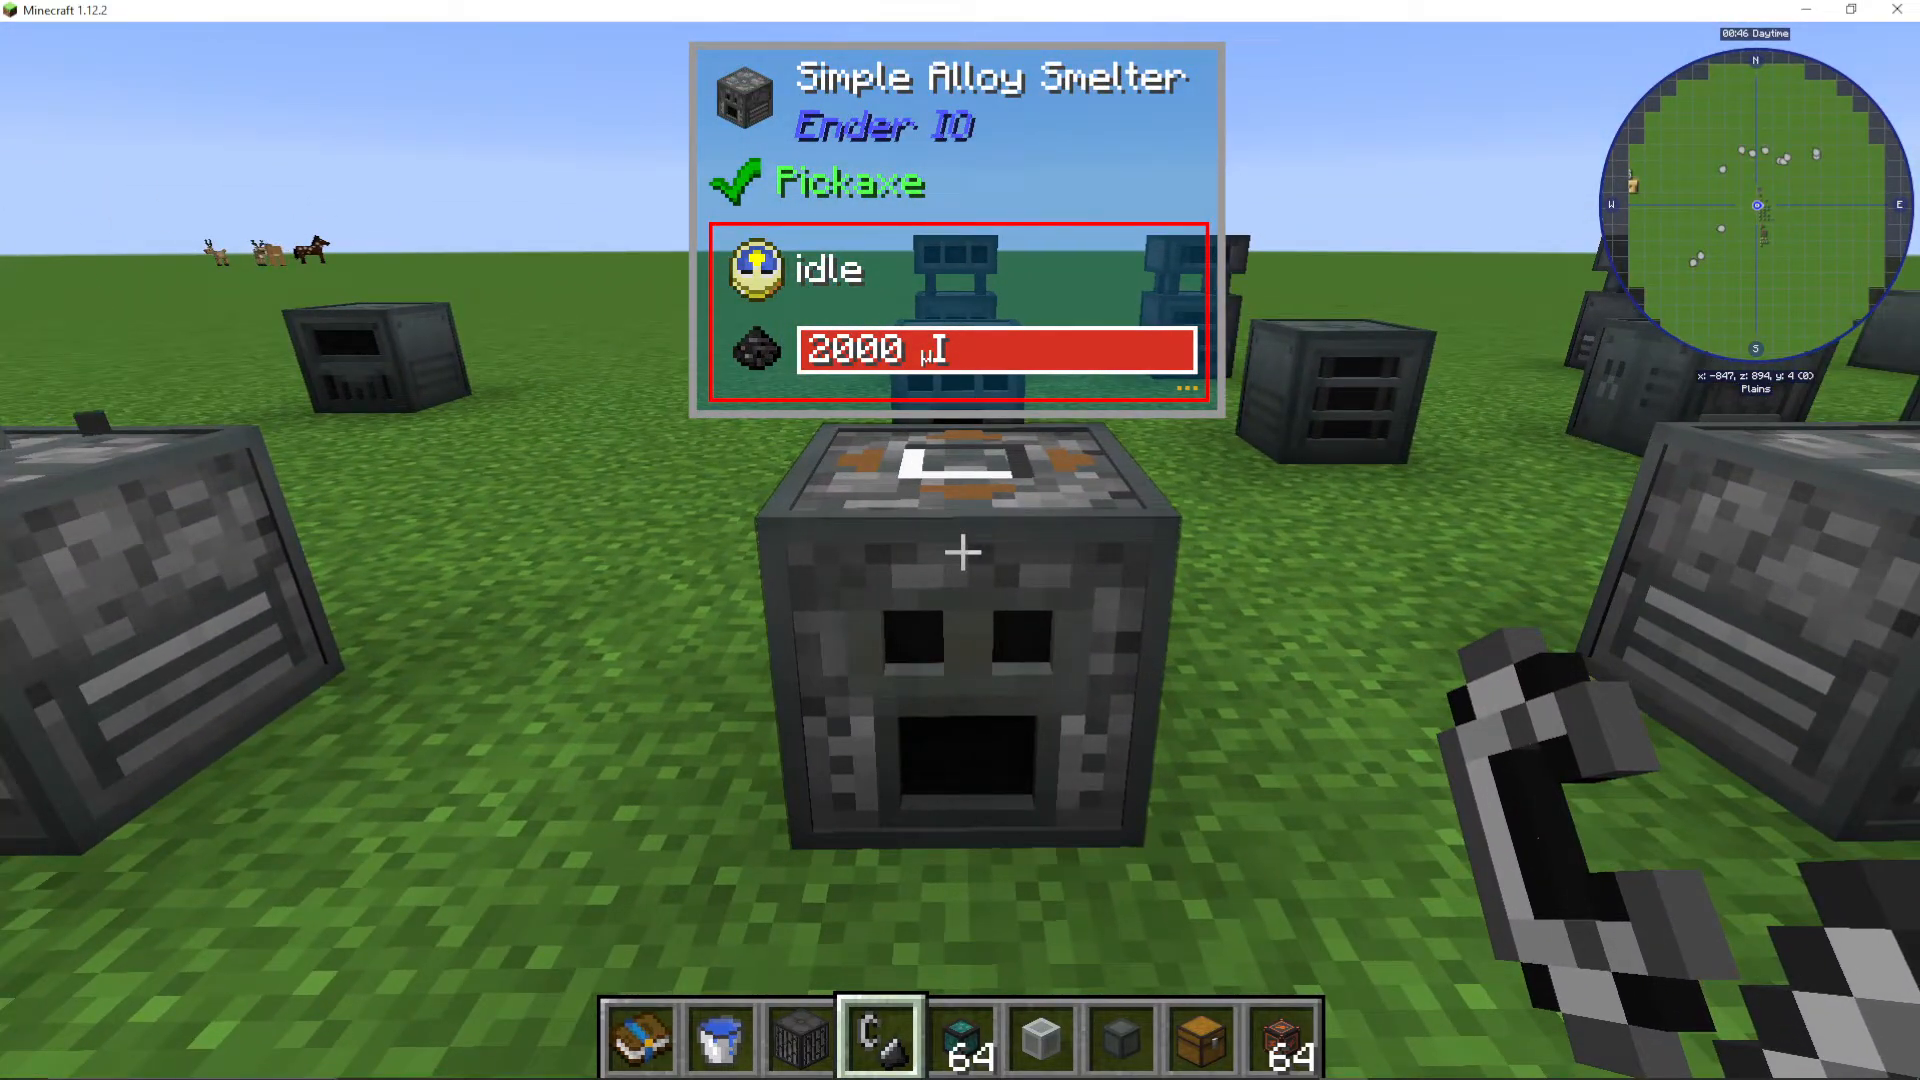
Alloy Smelter
The Alloy Smelter is one of the most important machines in EnderIO, combining multiple ingredients into alloys and other composite materials. This machine contains over 600 recipes in typical modpacks.
Example Recipe: Signal from Thermal Foundation requires redstone, silver, and copper. Simply place ingredients in the three input slots at the top.
The Alloy Smelter is essential for crafting:
Energetic Alloy — Gold + Glowstone + Redstone
Dark Steel — Iron + Coal + Silicon + Energetic Alloy
Industrial Die Blend — Lapis Powder + Quartz + Organic Green Dye
Organic Green Dye — Slime + Clippings & Trimmings
Organic Black Dye — Slime + Coal
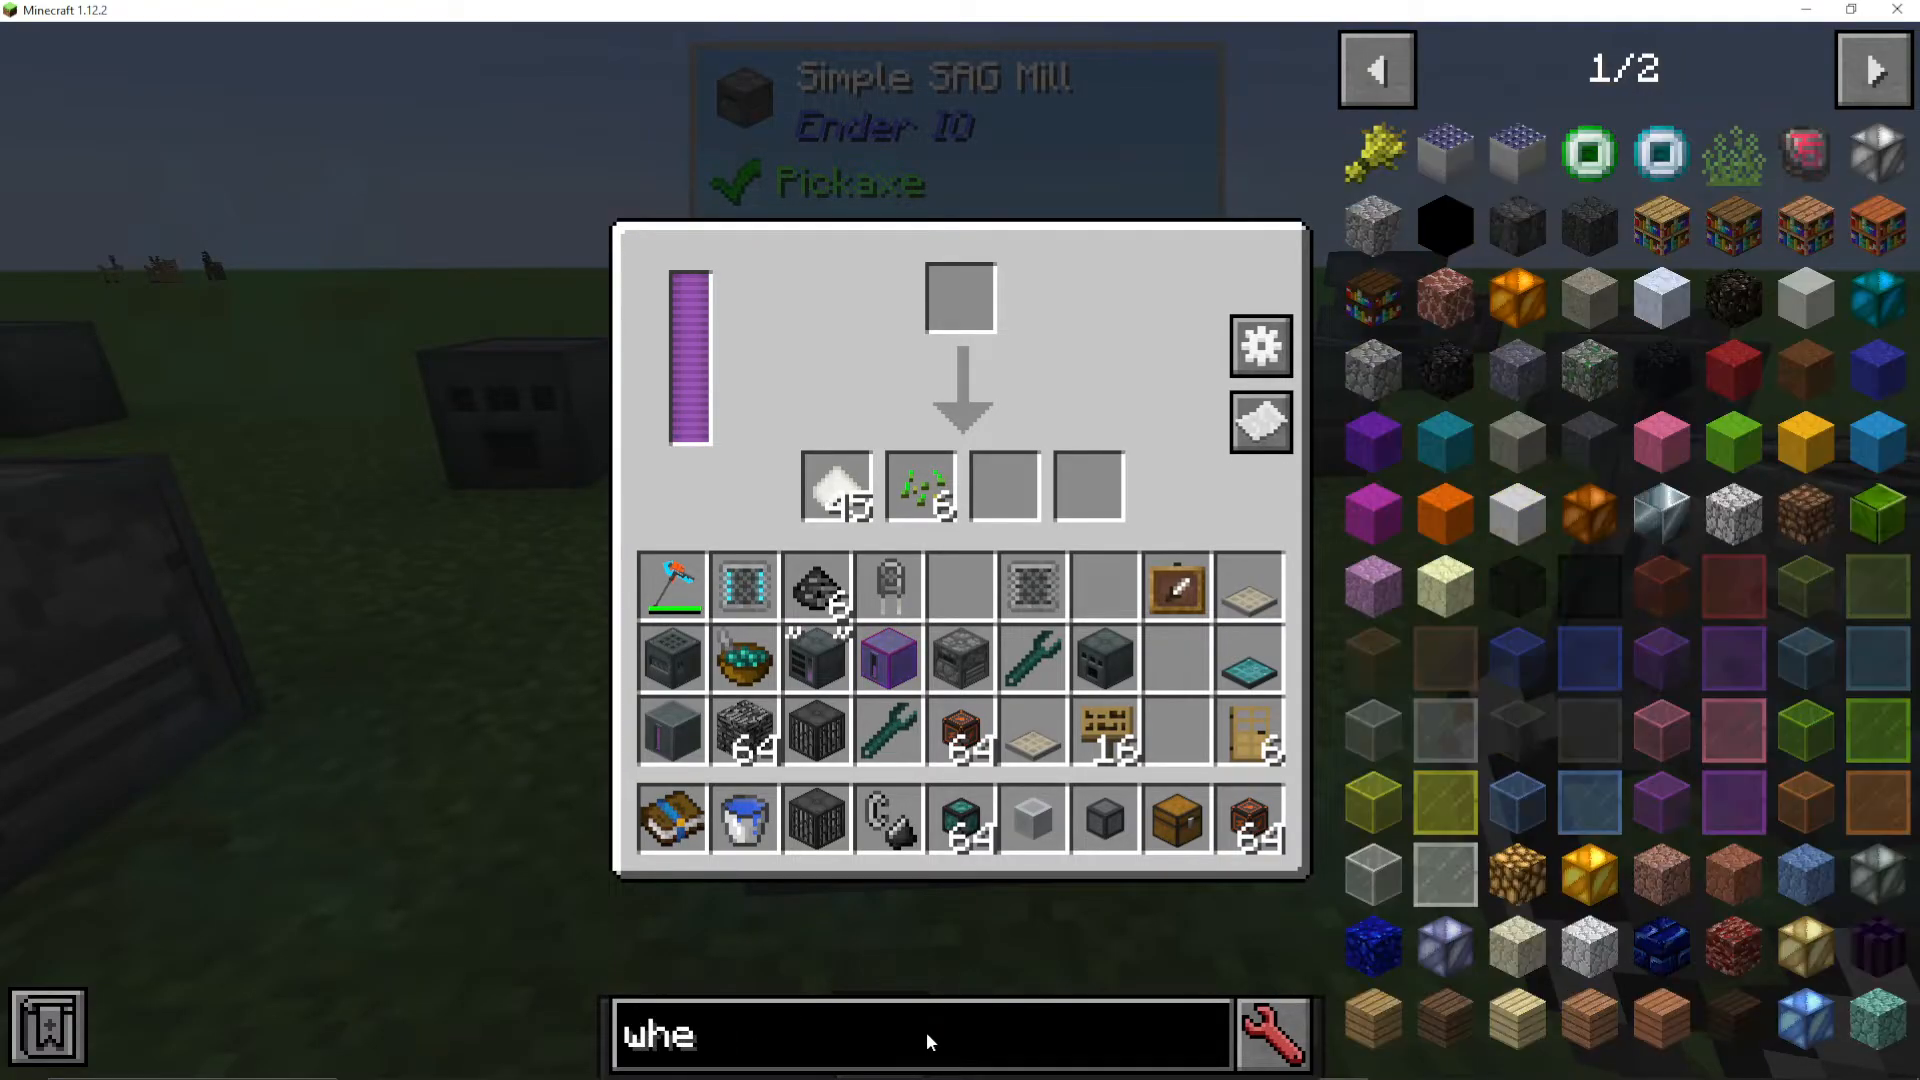
Sag Mill
The Sag Mill grinds materials into powder and dust forms. It features multiple output slots with varying probability chances.
Wheat Example:
20% chance for Seeds
100% chance for Flour
Grinding Bowls and Balls
Standard and Enhanced Sag Mills support grinding bowls—optional upgrades that increase main output, bonus output, and reduce power consumption. Available grinding balls include:
Dark Steel Grinding Bowl (increased efficiency)
Various other material options with different efficiency percentages
To find grinding options, type “grinding” in the recipe search interface.
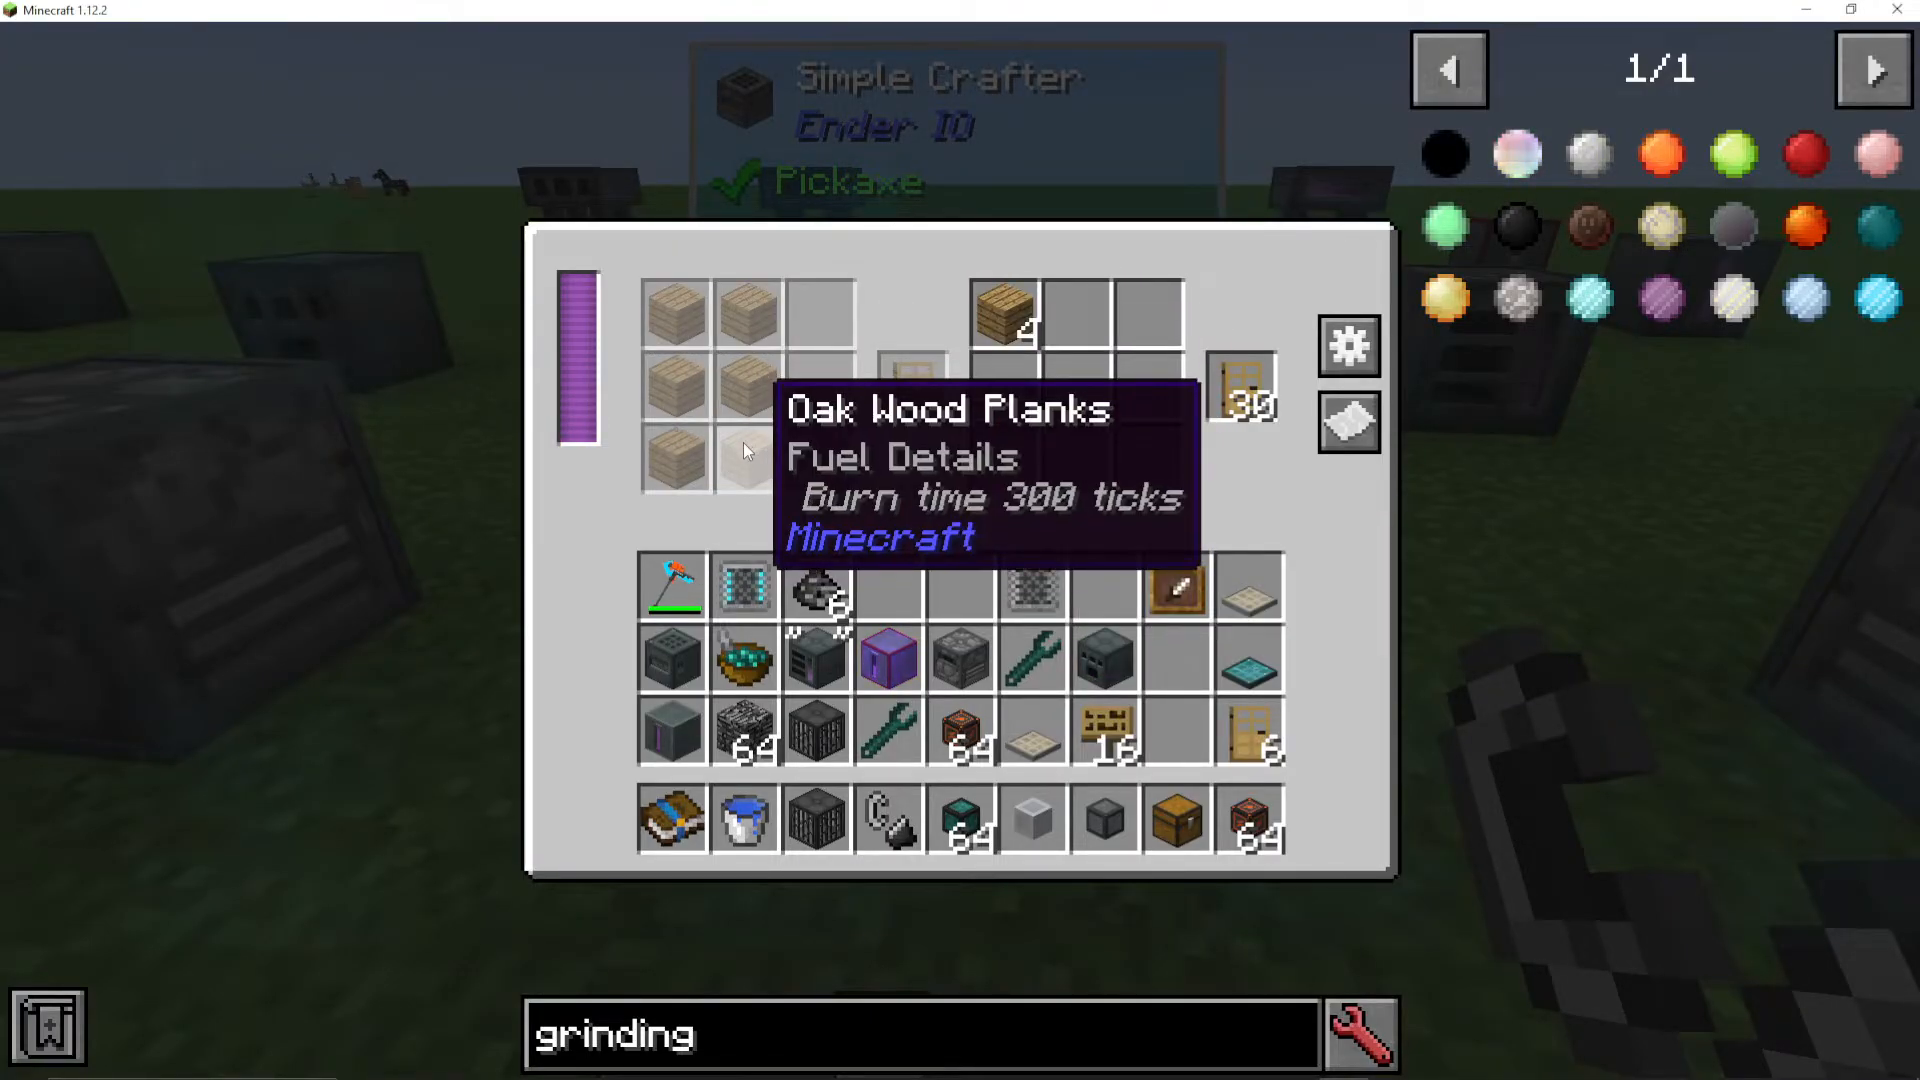
Simple Crafter
The Simple Crafter automates crafting recipes. To use it:
Click items on the left side to define your recipe (e.g., oak planks for oak doors)
Place ingredients in the right-side slots
The machine automatically crafts the output
Configure input/output by right-clicking the machine interface and setting adjacent chests to “push” mode. The Standard Crafter is faster and supports redstone control and batch crafting.
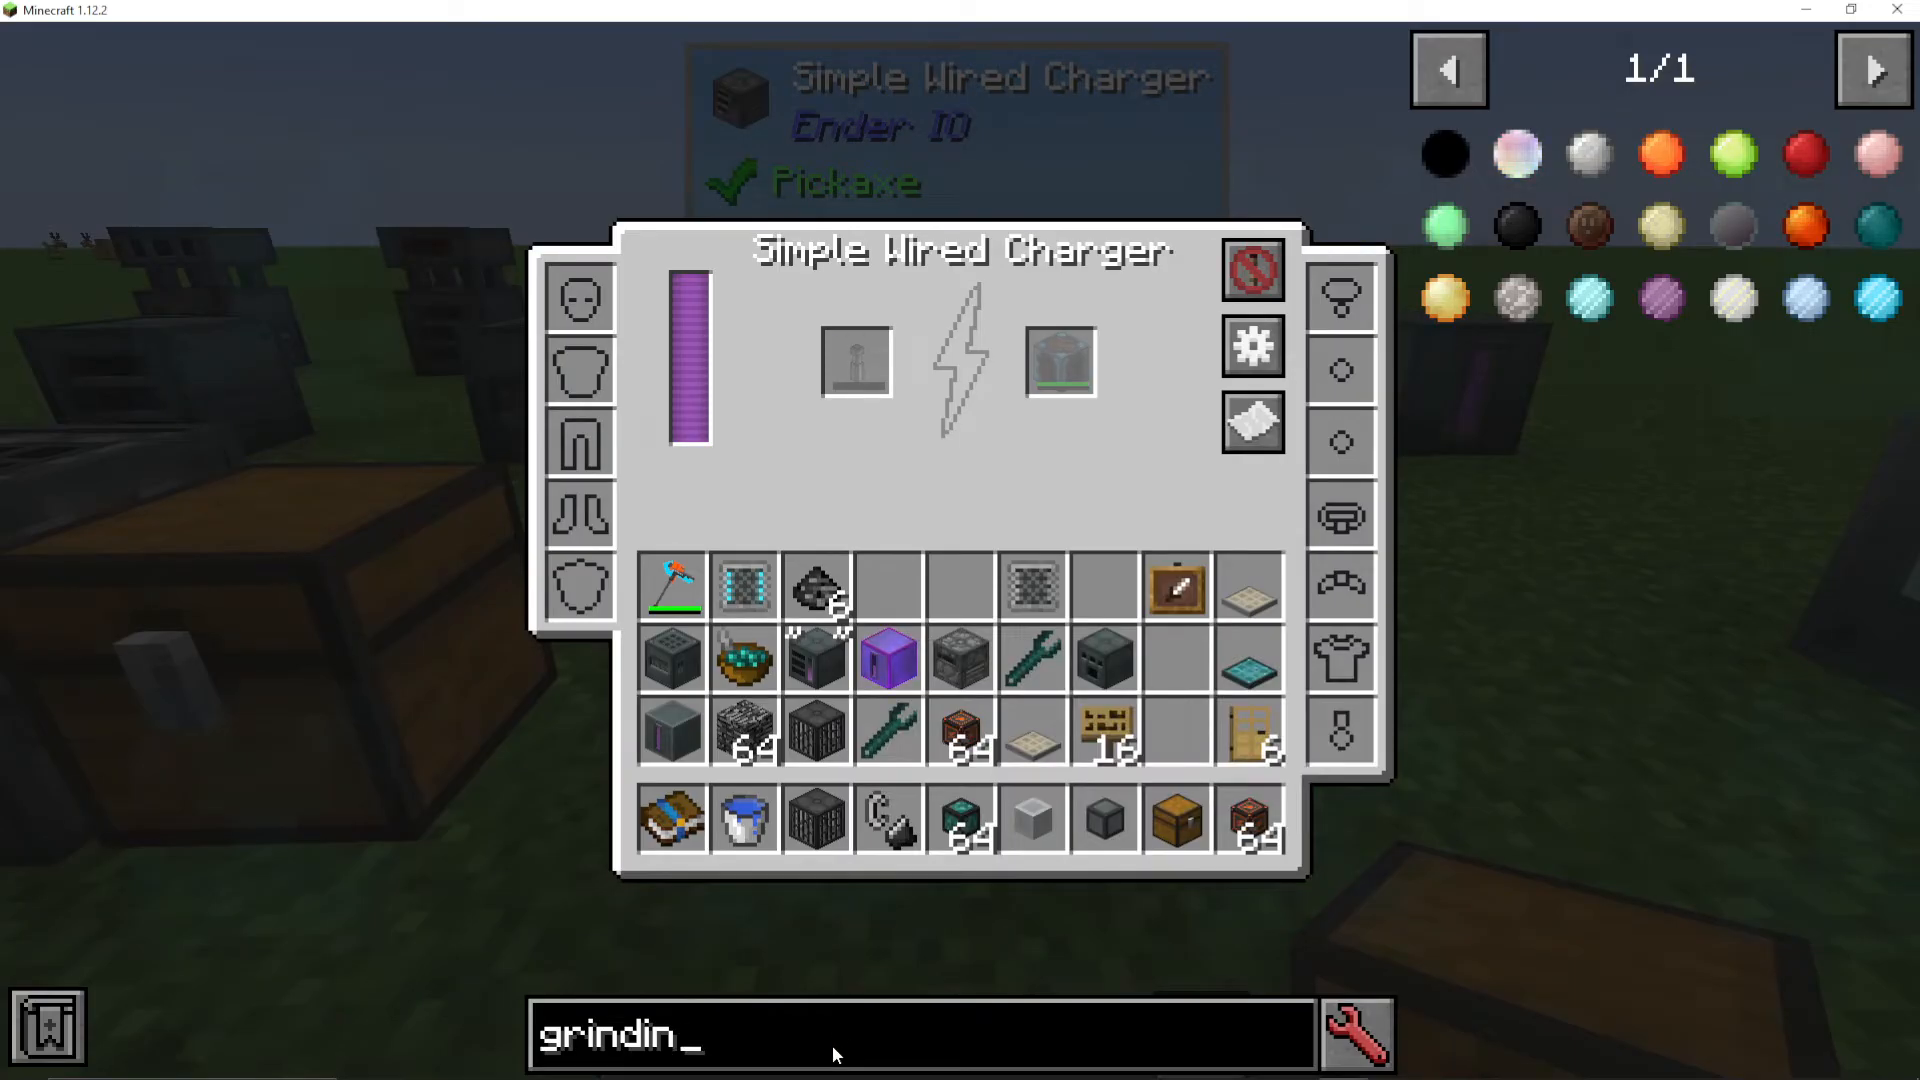
Wireless Charger
The Wireless Charger charges compatible items from mods like Mekanism (Atomic Disassembler). Place chargeable items in the left slot—they slowly charge when powered.
Installing even a basic capacitor dramatically increases charging speed. You can also charge jewelry, baubles, and gear items by dragging them into the left-hand slot.
Capacitor Banks
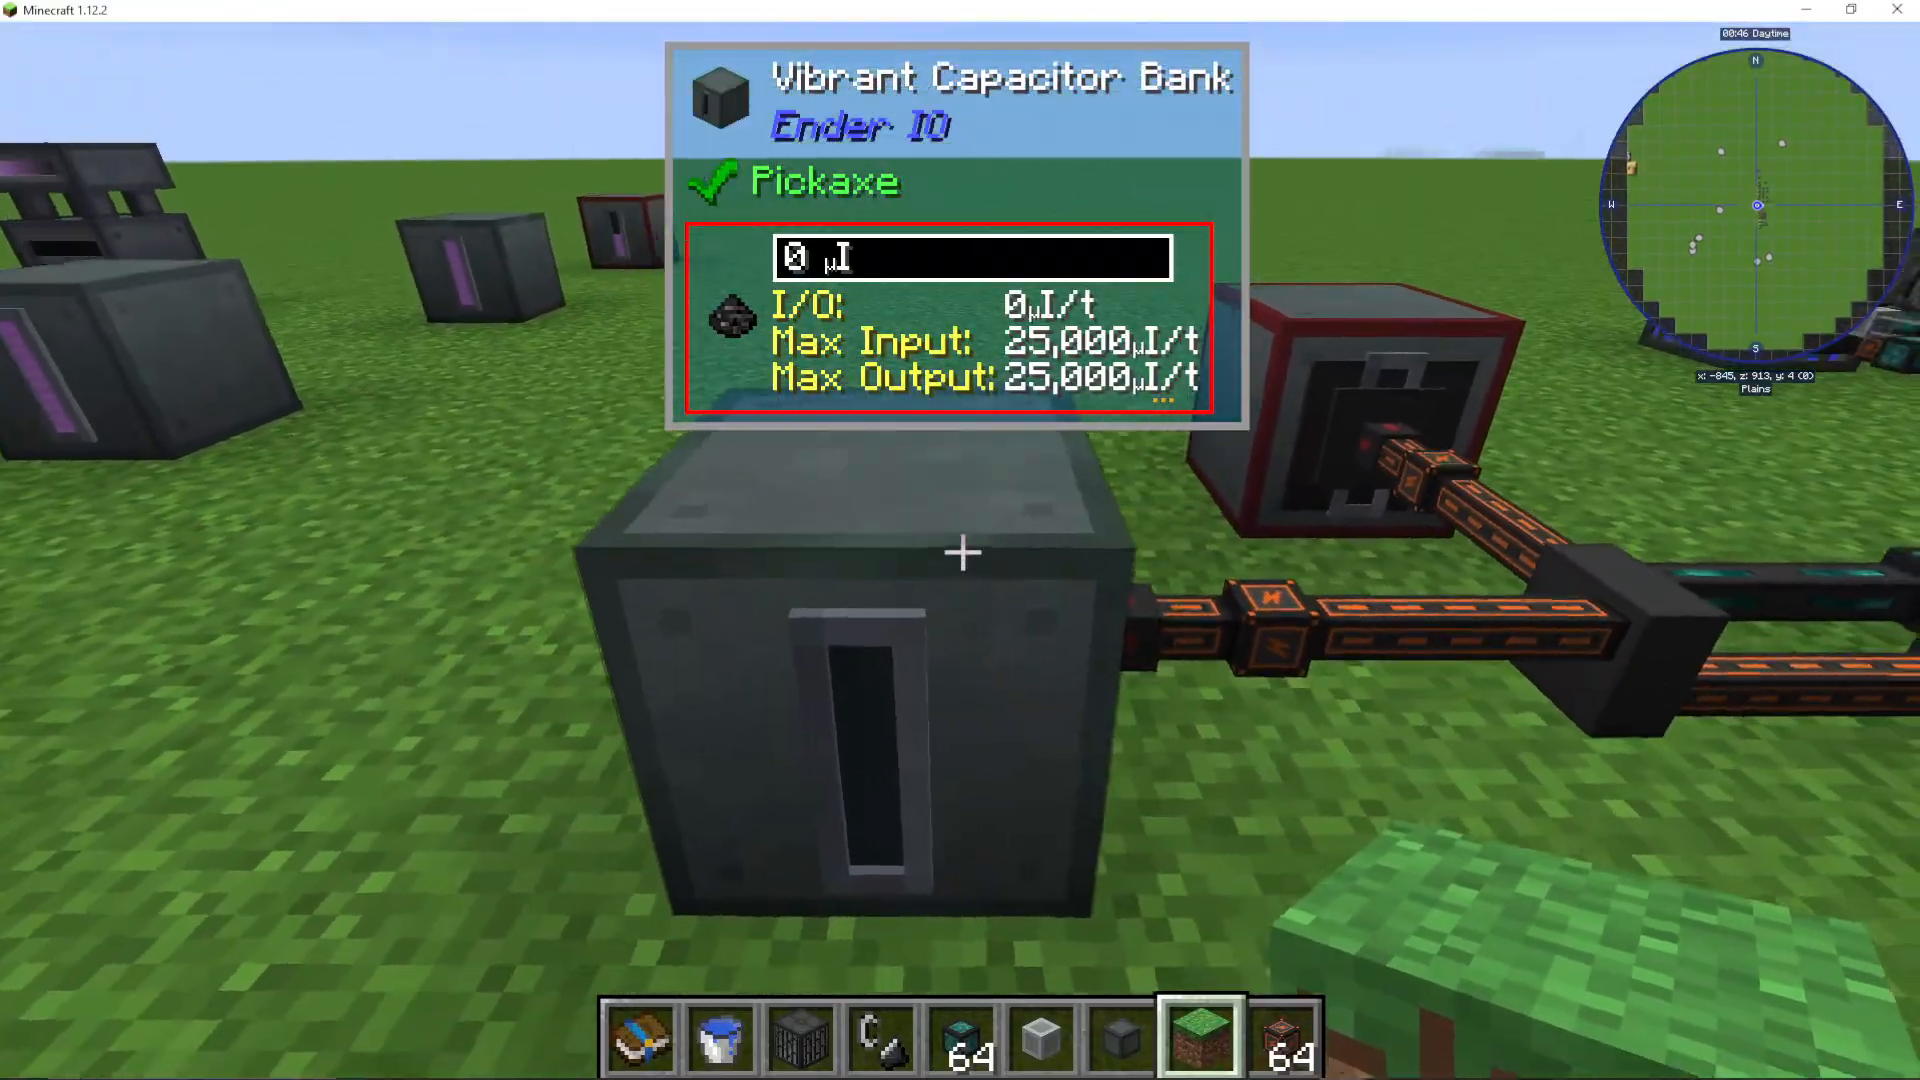
Capacitor banks function as your mod’s battery system, storing energy for later use. Each tier supports different maximum input/output rates:
Basic Capacitor Bank — Max 1,000 input/output
Standard Capacitor Bank — Max 5,000 input/output
Vibrant Capacitor Bank — Max 25,000 input/output
Configure each side individually by right-clicking the cable connection points. Options include:
Set maximum input/output limits
Enable “never active” to prevent energy output only
Use redstone control for conditional charging
EnderIO Cable Systems
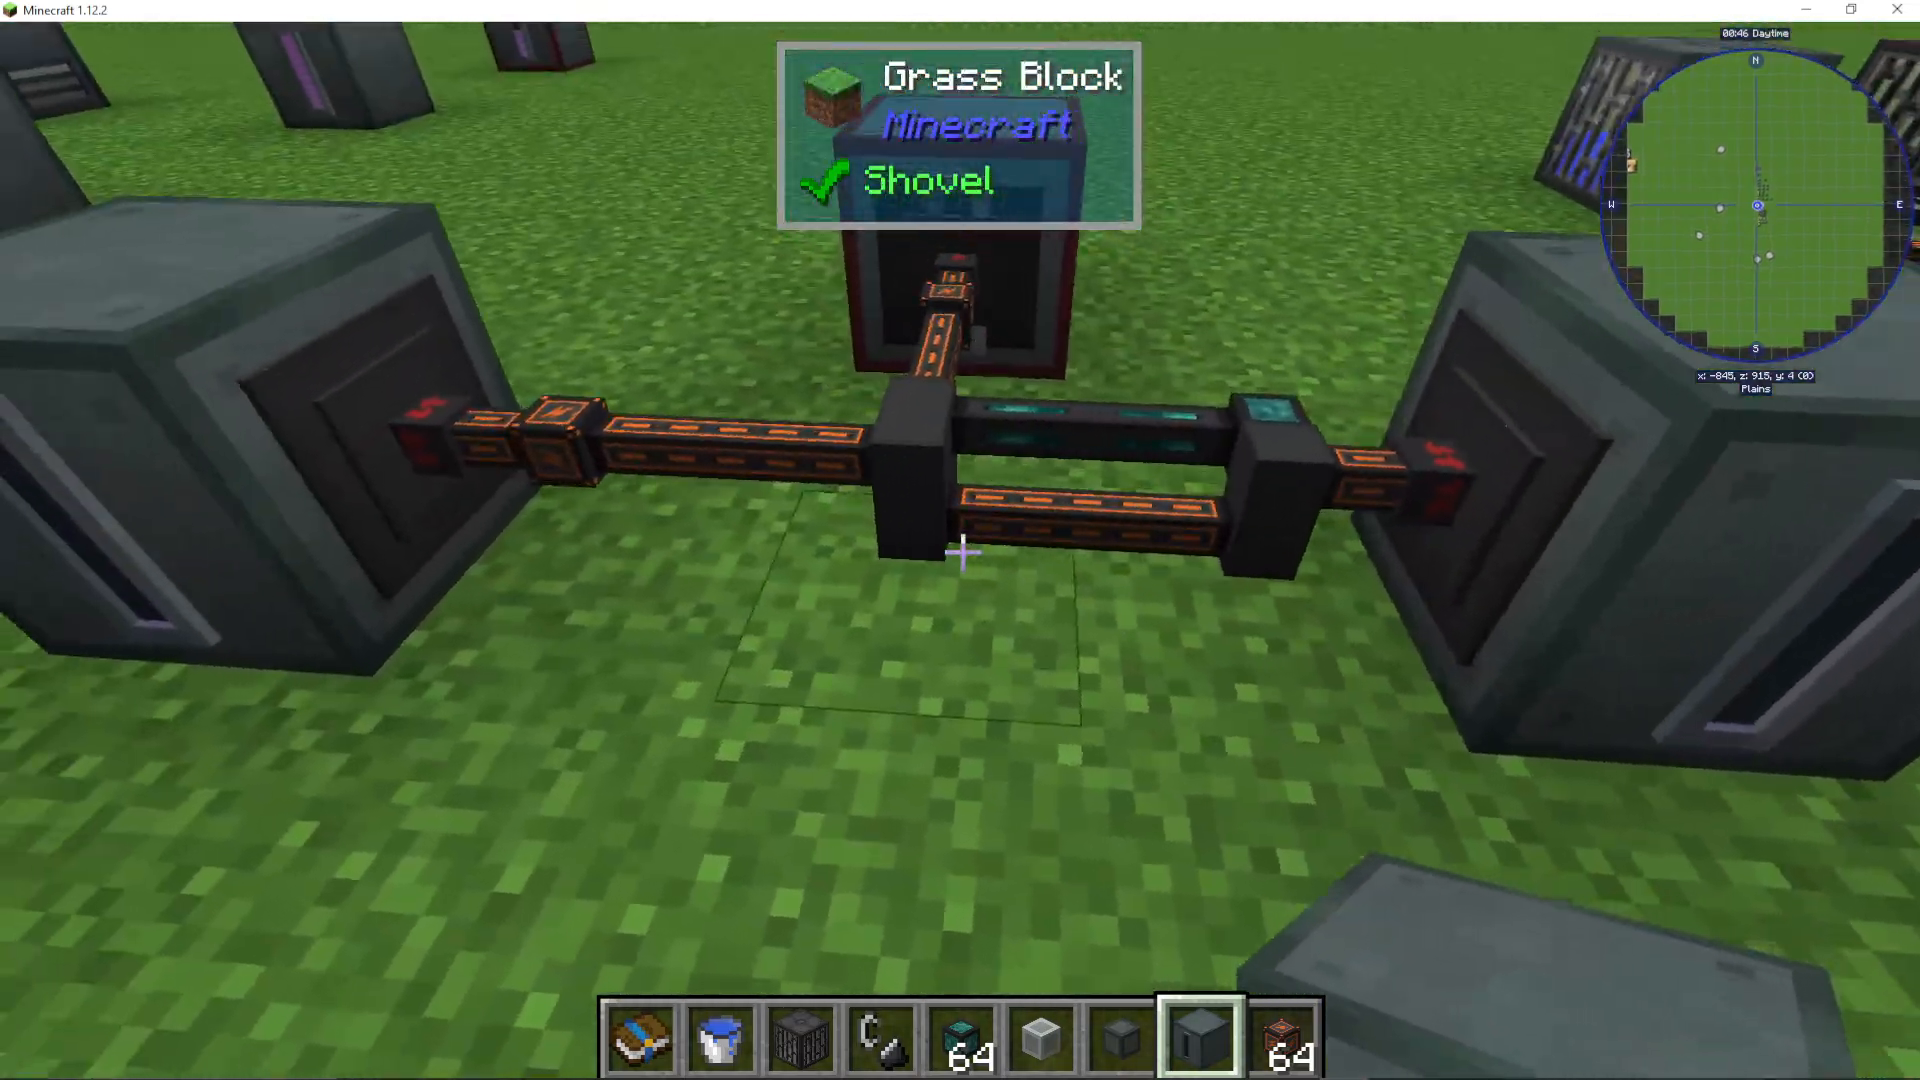
EnderIO’s most distinctive feature is its ability to run multiple conduit types through the same block. You can combine power cables, item conduits, fluid conduits, and gas conduits simultaneously without consuming extra space—something unique to EnderIO among tech mods.
Energy Conduits
Energy conduits transport electrical power between machines. Available tiers include:
Copper Conduit — 640 max output
Energetic Conduit — 5,000 max output
Vibrant Conduit — 20,000 max output
Alloy Recipes:
Energetic Alloy — Gold + Glowstone + Redstone
Vibrant Alloy — Energetic Alloy + Ender Pearl
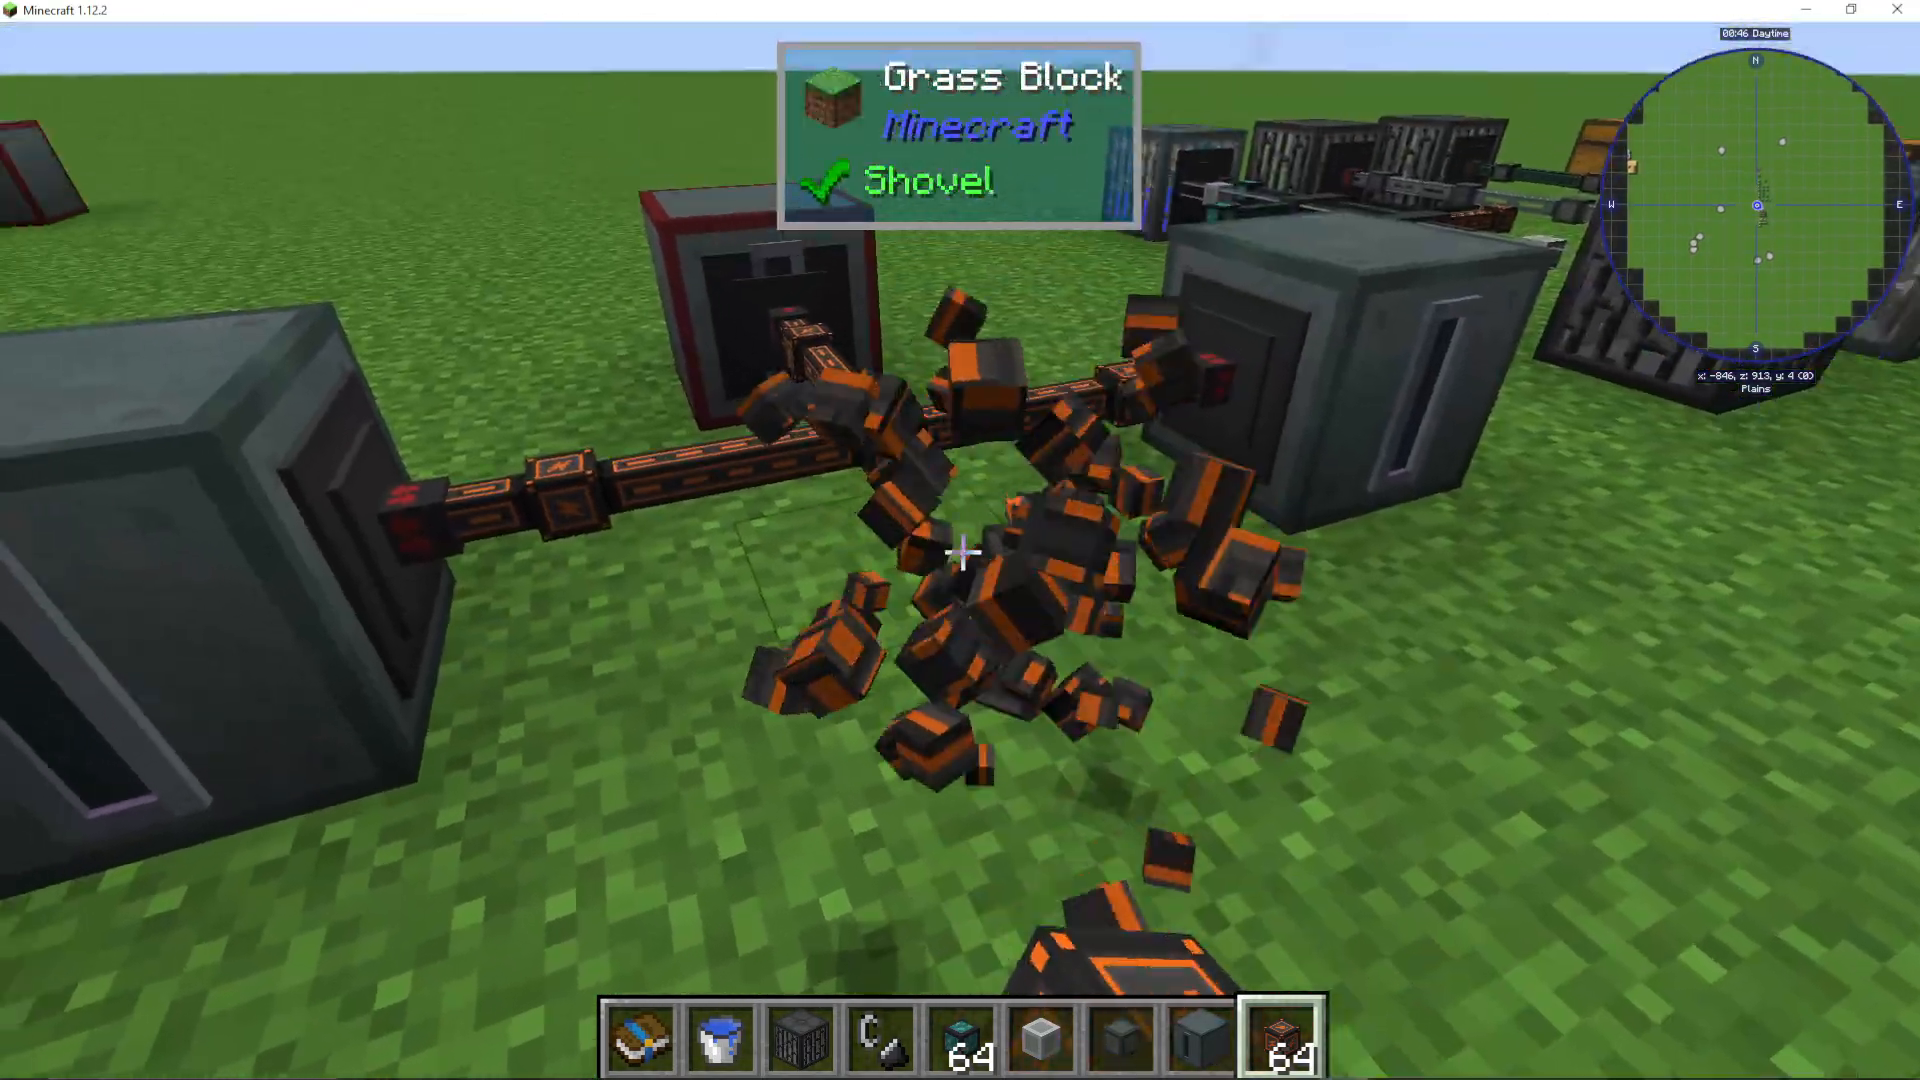
Configure cable sides by right-clicking the connection point on a machine. Options include extract-only, insert-only, bidirectional, or redstone control.
Fluid Conduits
Fluid conduits transport liquids between tanks and machines. Setting configuration:
Extract — Pull fluid from this side
Insert — Push fluid into this side
Disabled — Ignore this side
Important: Never set both “extract” and “insert” on the same conduit connection, as they’ll cancel each other out. Configure extraction on the source tank and insertion on the destination tank instead.
Upgrade Tiers:
Standard Fluid Conduits
Pressurized Fluid Conduits (faster)
End Fluid Conduits (fastest)
📸 [ASSISTANT: TAKE SCREENSHOT AT SCREENSHOT AT TIMESTAMP 15:01]
Item Conduits
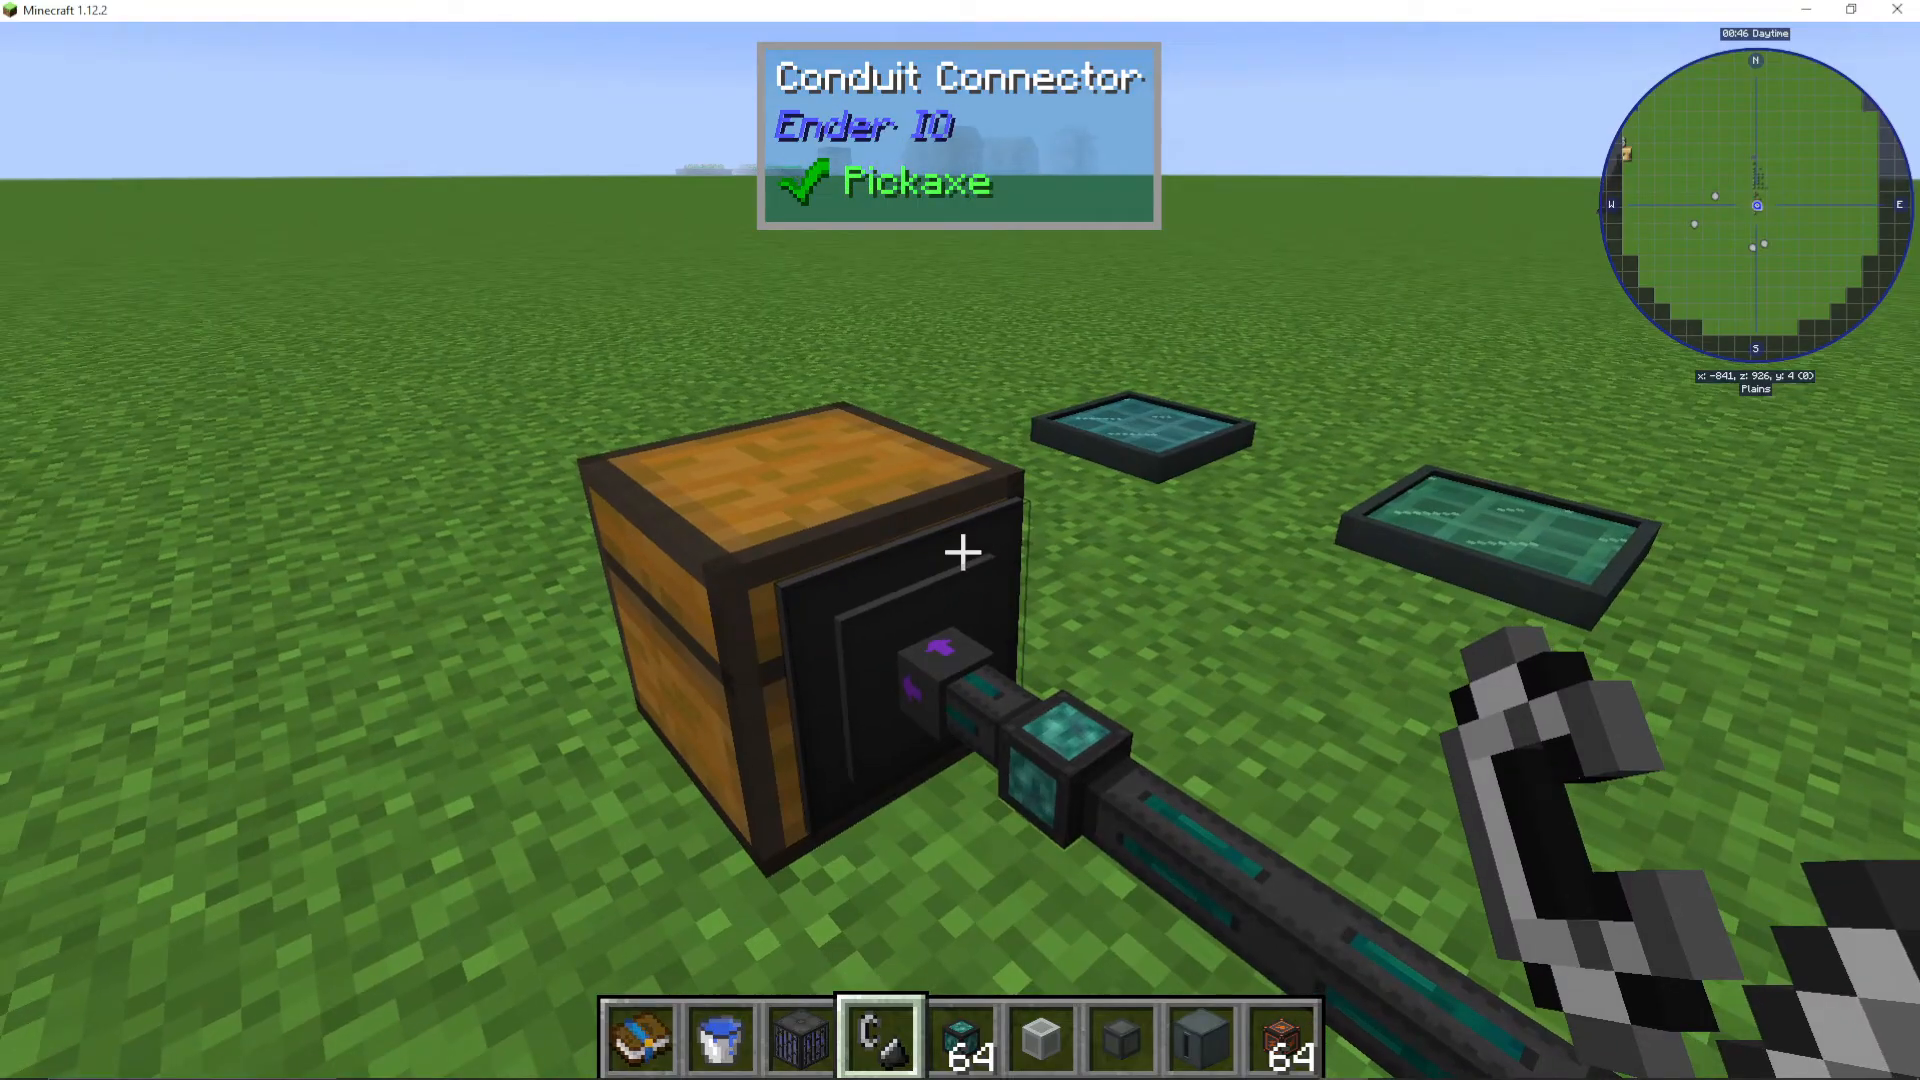
Item conduits are highly configurable systems for transporting items between inventories. Advanced features include:
Channel System
Assign different colored channels to conduits. Items route along their designated channel, allowing complex logistics networks without interference.
Priorities
Higher priority conduits receive items first. Use this to direct specific items to preferred destinations.
Round Robin
When enabled, items distribute sequentially across all connected outputs in a circular pattern. If items go to inventory A, then B, then C, enabling round robin ensures balanced distribution.
Self Feed
Allows items to loop back into the source inventory. Useful for crafting loops.
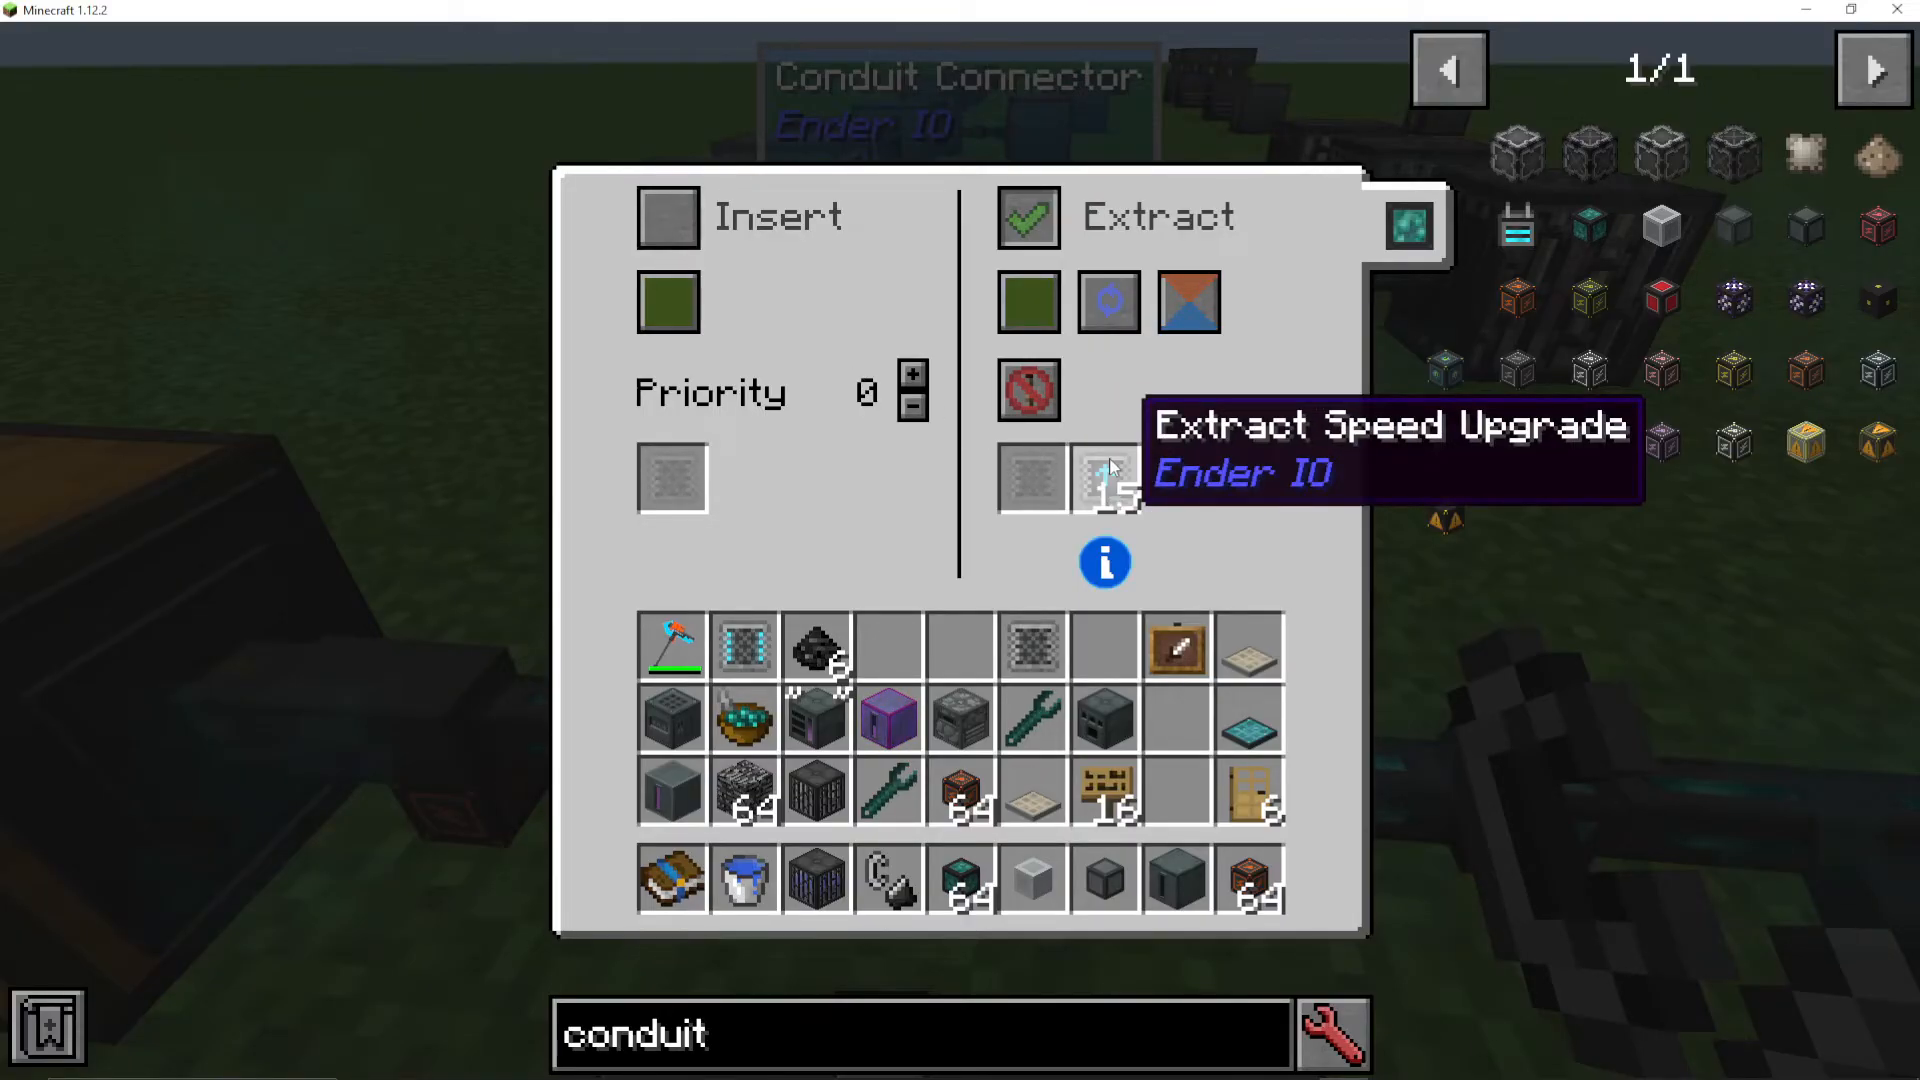
Extract Speed Upgrades
Install in the right-hand slot to increase extraction speed.
Filter System
Add filter upgrades to control which items pass through. Available filter types:
Basic Item Filter — Whitelist/blacklist specific items
Advanced Item Filter — Includes sticky mode, NBT data, and damage percentage options
Limited Item Filter — Filters by stack size
Big Item Filter — Handles extensive item lists
Advanced Big Item Filter — Combines big filter with advanced options
Existing Item Filter — Only accepts items already present in the destination inventory
Mod Item Filter — Filters items by their source mod
Power Item Filter — Filters based on current energy level
Multi-Conduit Configuration
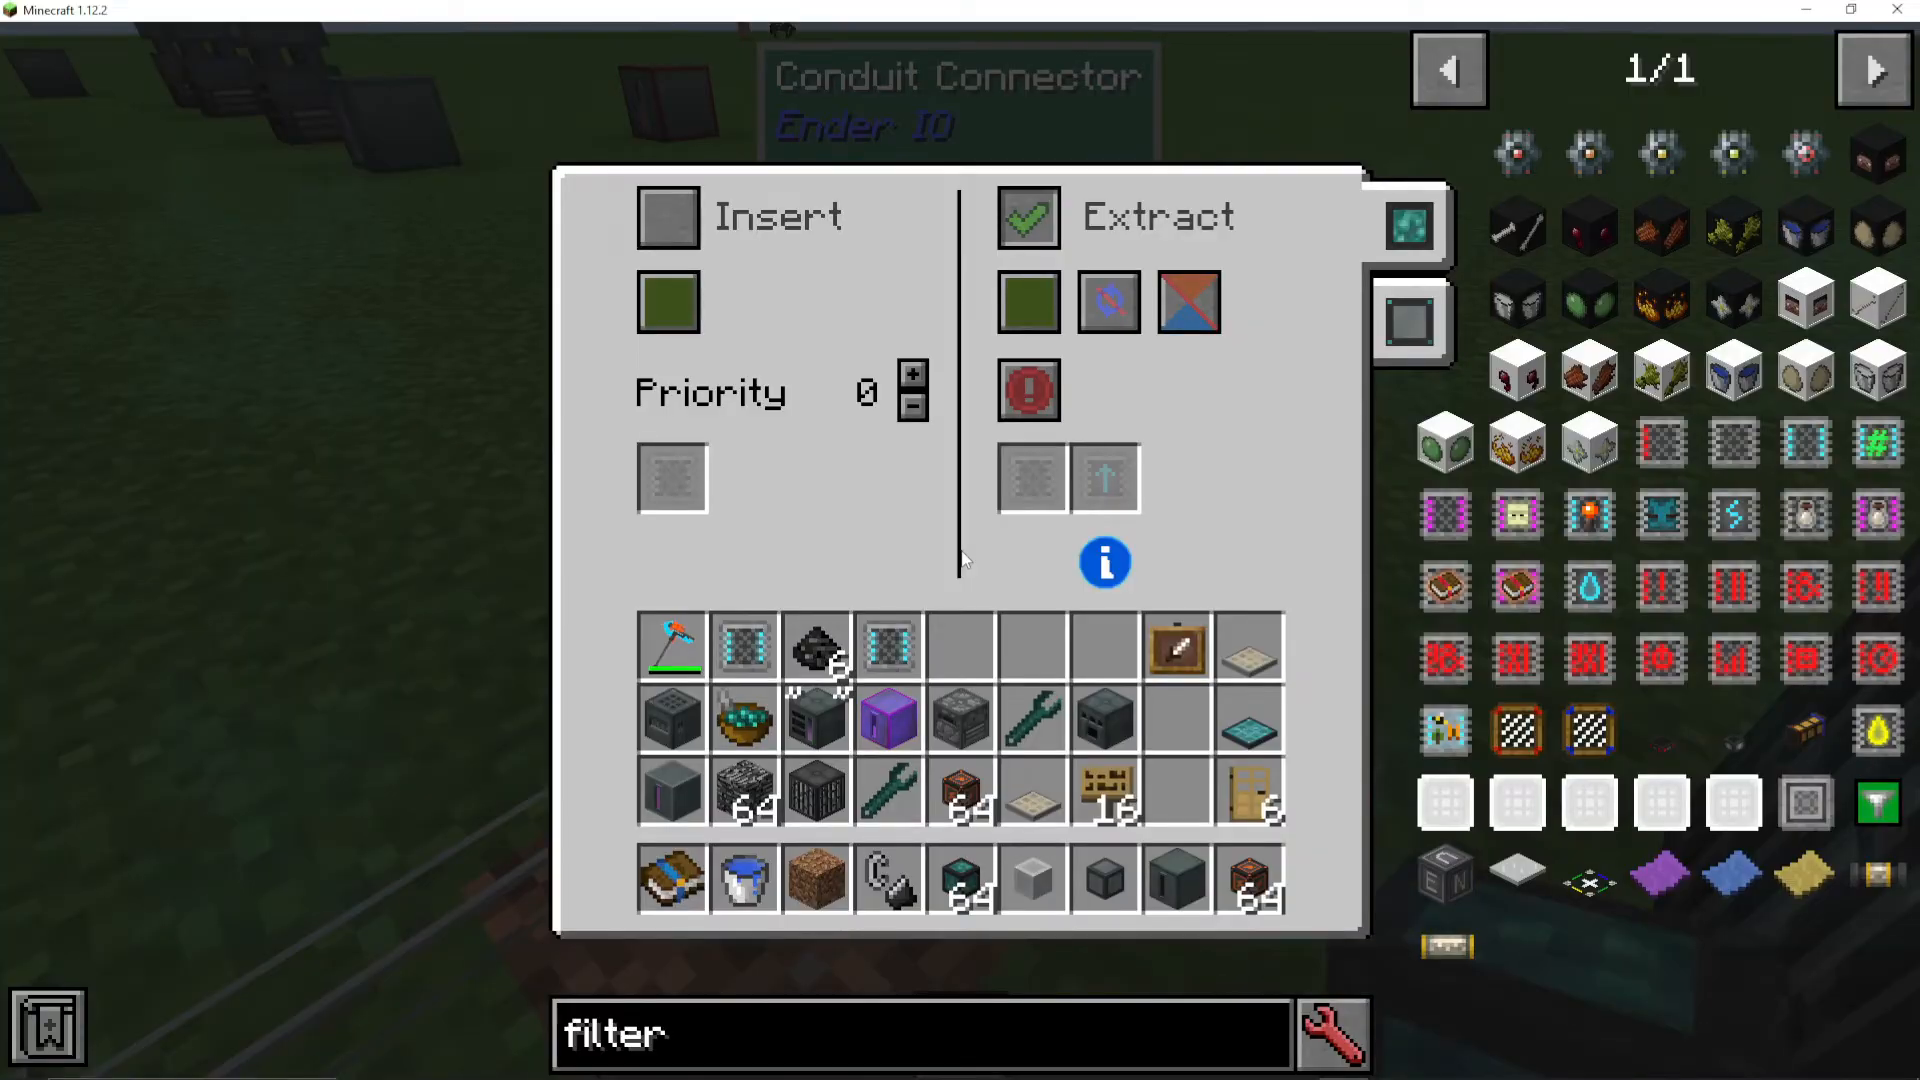
When multiple conduit types connect to the same block, right-clicking reveals tabs for each conduit type. Switch between tabs to configure item conduits and fluid conduits independently on the same input/output point.
Gas Conduits
If you’re using Mekanism or similar mods with gas systems, EnderIO provides gas conduits for seamless integration. You don’t need to use separate Mekanism pipes—EnderIO covers gas transport too.
Alternative Power Generation: Photovoltaic Cells
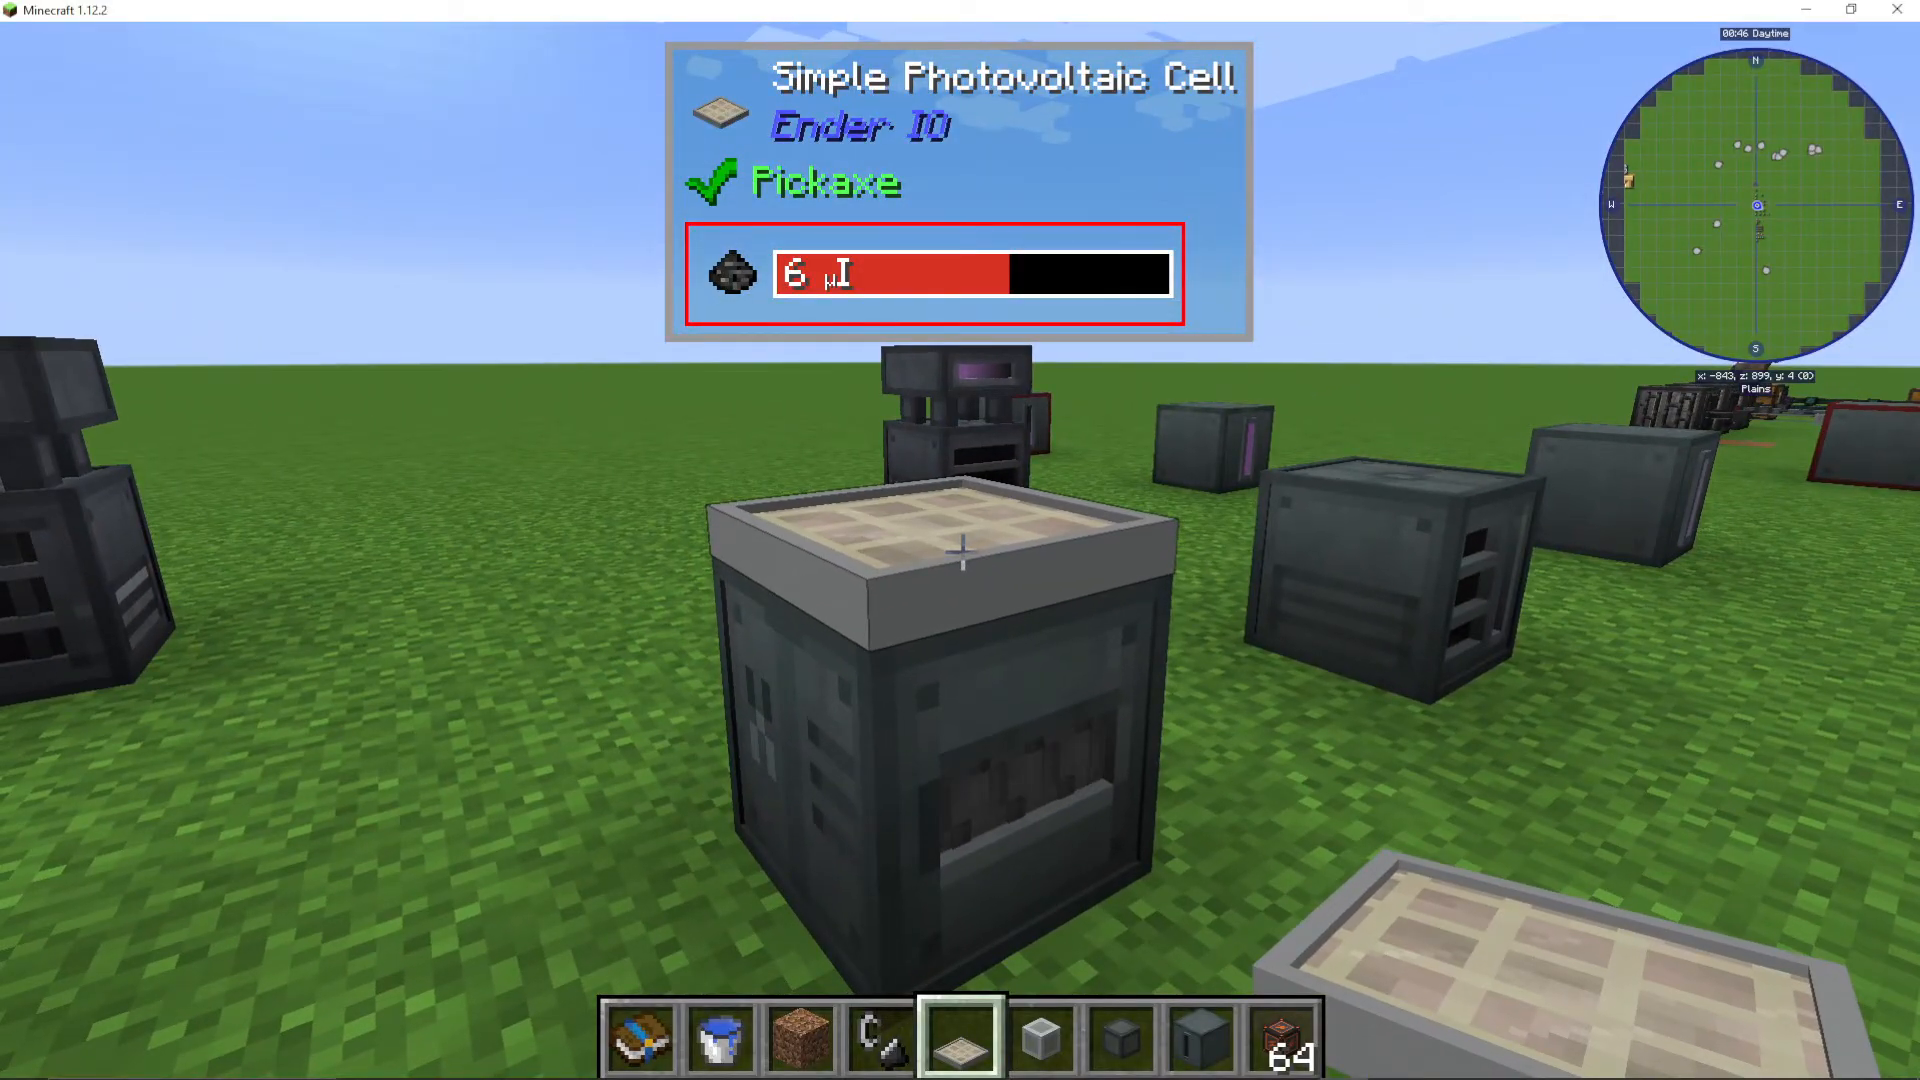
Beyond the Sterling Generator, you can generate renewable power using photovoltaic cells. These solar panels generate energy during daylight hours and must be placed on top of machines with access to direct sunlight.
Photovoltaic Plate Recipe (Alloy Smelter):
Coal
Lapis Lazuli
Upgraded photovoltaic cells provide increased output. Simple photovoltaic cells provide a good early-game renewable power source.
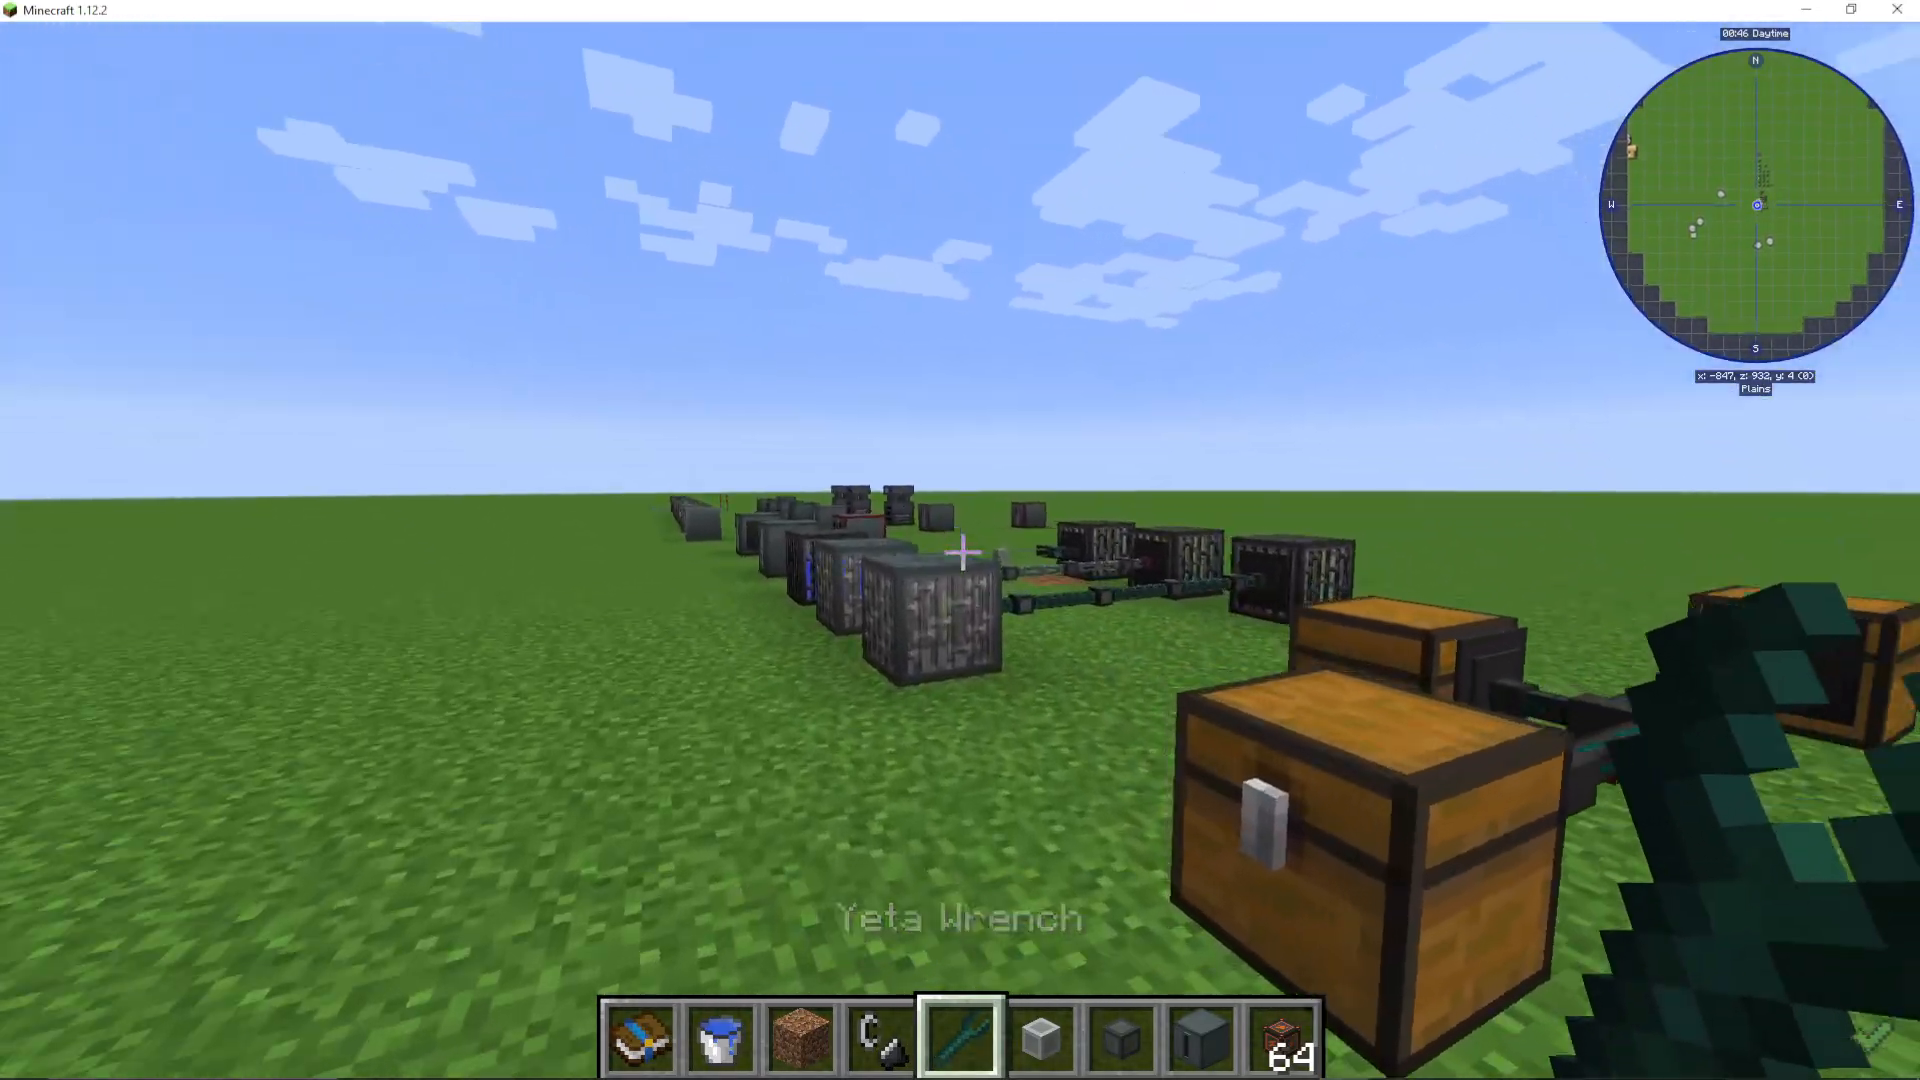
Essential Tool: The Yeta Wrench
The Yeta Wrench is an indispensable tool for building and maintaining EnderIO systems.
Features
Right-click on cable — Change input/output direction
Shift + Right-click on cable — Completely remove the conduit
Shift + Right-click on machine — Pick up the machine intact
Right-click on machine — Quick-access input/output configuration without opening the full interface
Shift + Hold — Hide all conduits for a cleaner view
Shift + Scroll (Mouse Wheel) or Y key — Toggle visibility of single conduit types (view only item conduits, only power conduits, etc.)
Shift + Left-click on conduit — Open detailed conduit settings GUI
Summary: What You’ve Learned
You’ve now covered the essential foundations of EnderIO:
✓ Collecting grains of infinity at bedrock
✓ Crafting all three capacitor tiers
✓ Operating Sterling Generators for power generation
✓ Using Powered Furnaces for smelting
✓ Creating alloys with the Alloy Smelter
✓ Grinding materials with the Sag Mill
✓ Automating crafting with the Simple Crafter
✓ Charging items with the Wireless Charger
✓ Storing energy in Capacitor Banks
✓ Managing energy, item, and fluid transport with conduits
✓ Generating renewable power with photovoltaic cells
✓ Mastering the Yeta Wrench
This guide covers the beginner essentials of EnderIO. For advanced techniques including the Slice and Splice machine, redstone control, batch crafting, and more complex automation, check out the Advanced EnderIO Guide available on our channel.
Next Steps
EnderIO integrates seamlessly with other Minecraft tech mods. Whether you’re combining it with Mekanism, Thermal Expansion, or other modpacks, the principles you’ve learned here will serve as your foundation. Visit our channel’s playlist for additional EnderIO guides and other mod tutorials.
Want to Support?
If you would like to help us continue making these guides – please consider joining our patreon here – https://www.patreon.com/c/JaviHeals
Alternatively – we host a group of MC Servers you can join here – https://discord.gg/zD7Gjt6MHF