
Pretty Pipes Mod Tutorial: Complete Beginner’s Guide
The Pretty Pipes mod for Minecraft is one of the most accessible item-routing mods available — simple enough for beginners, yet deep enough to handle complex automated storage systems. Whether you just want to connect a few chests or build a full auto-crafting pipeline, this guide covers everything you need to know, including the Pretty Pipes: Fluids add-on mod.
Getting Started: Pipes and Connections
Pretty Pipes keeps crafting straightforward — there is only one tier of pipe to worry about. To begin, place your pipes between two or more chests to connect them into a network.
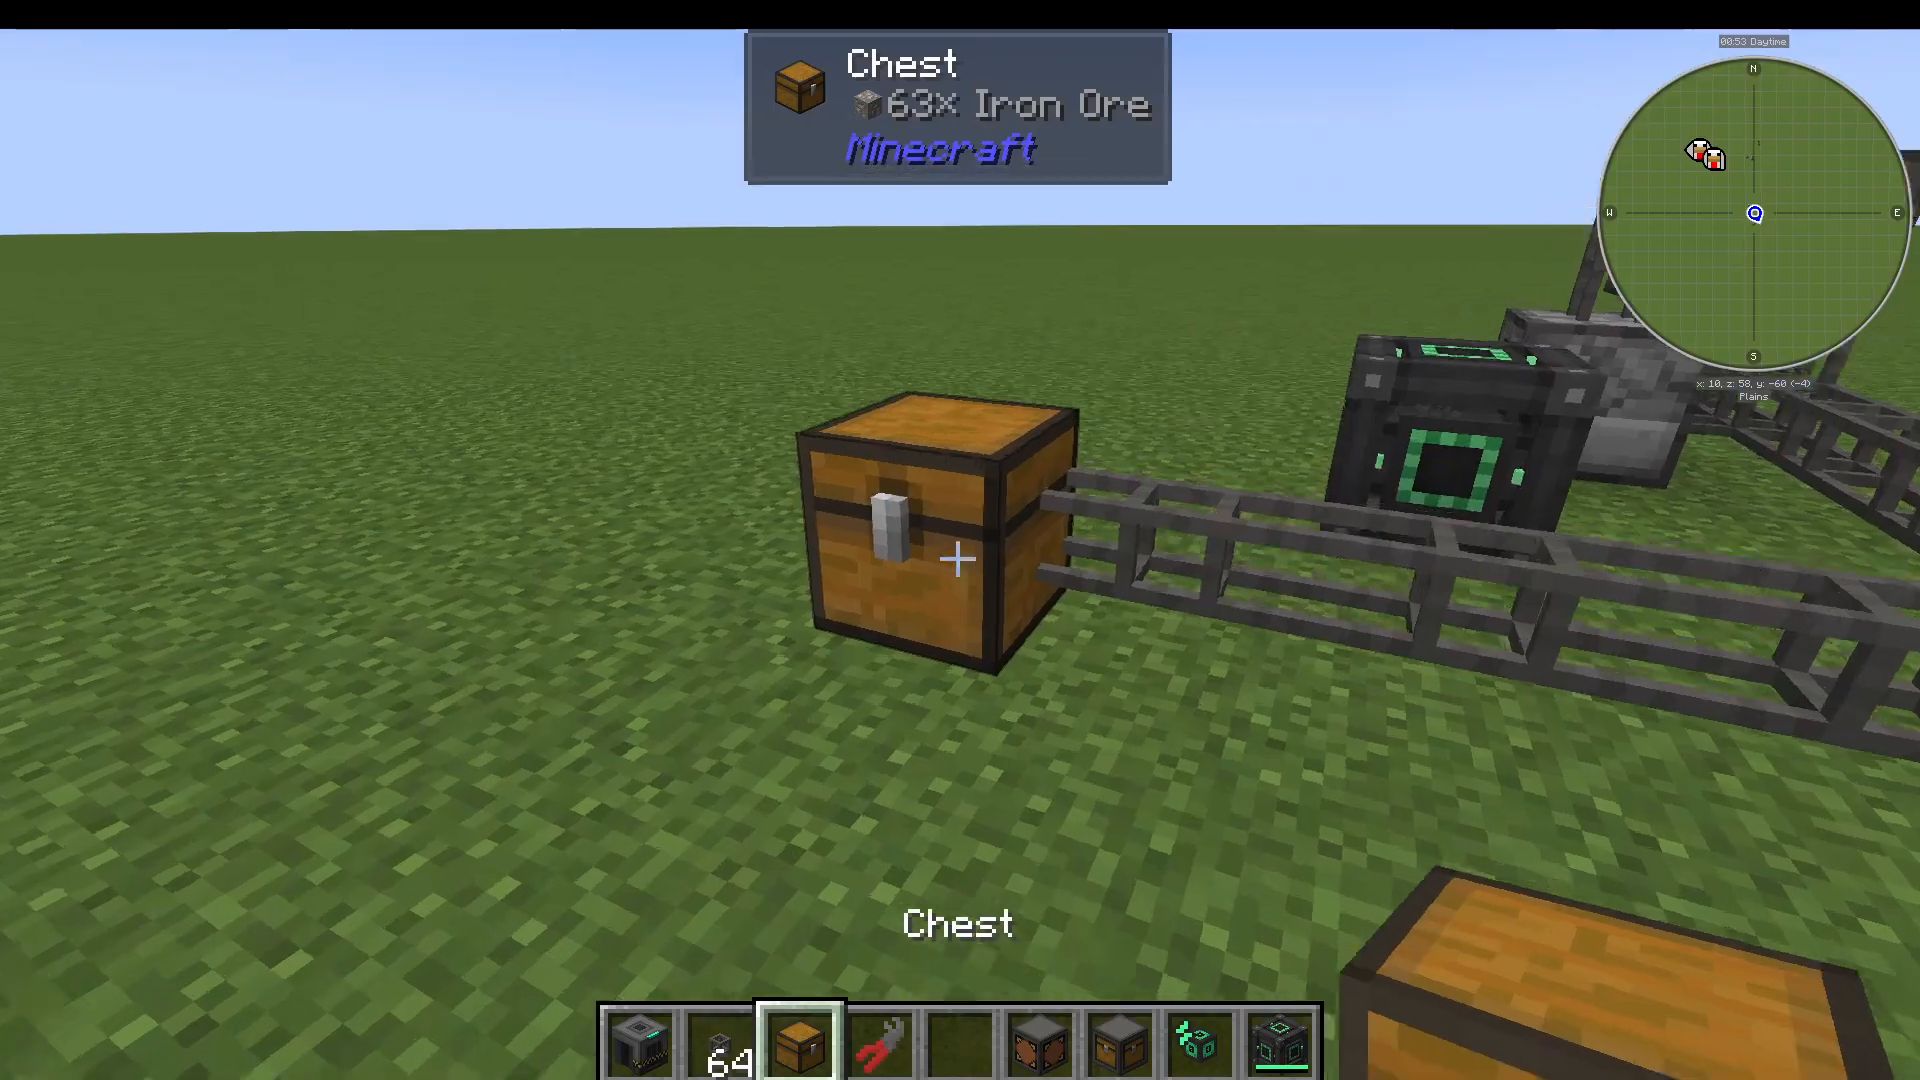
Once pipes are placed, they automatically connect to adjacent inventories. If you need to manage those connections manually, craft a Pipe Wrench.
Using the Pipe Wrench
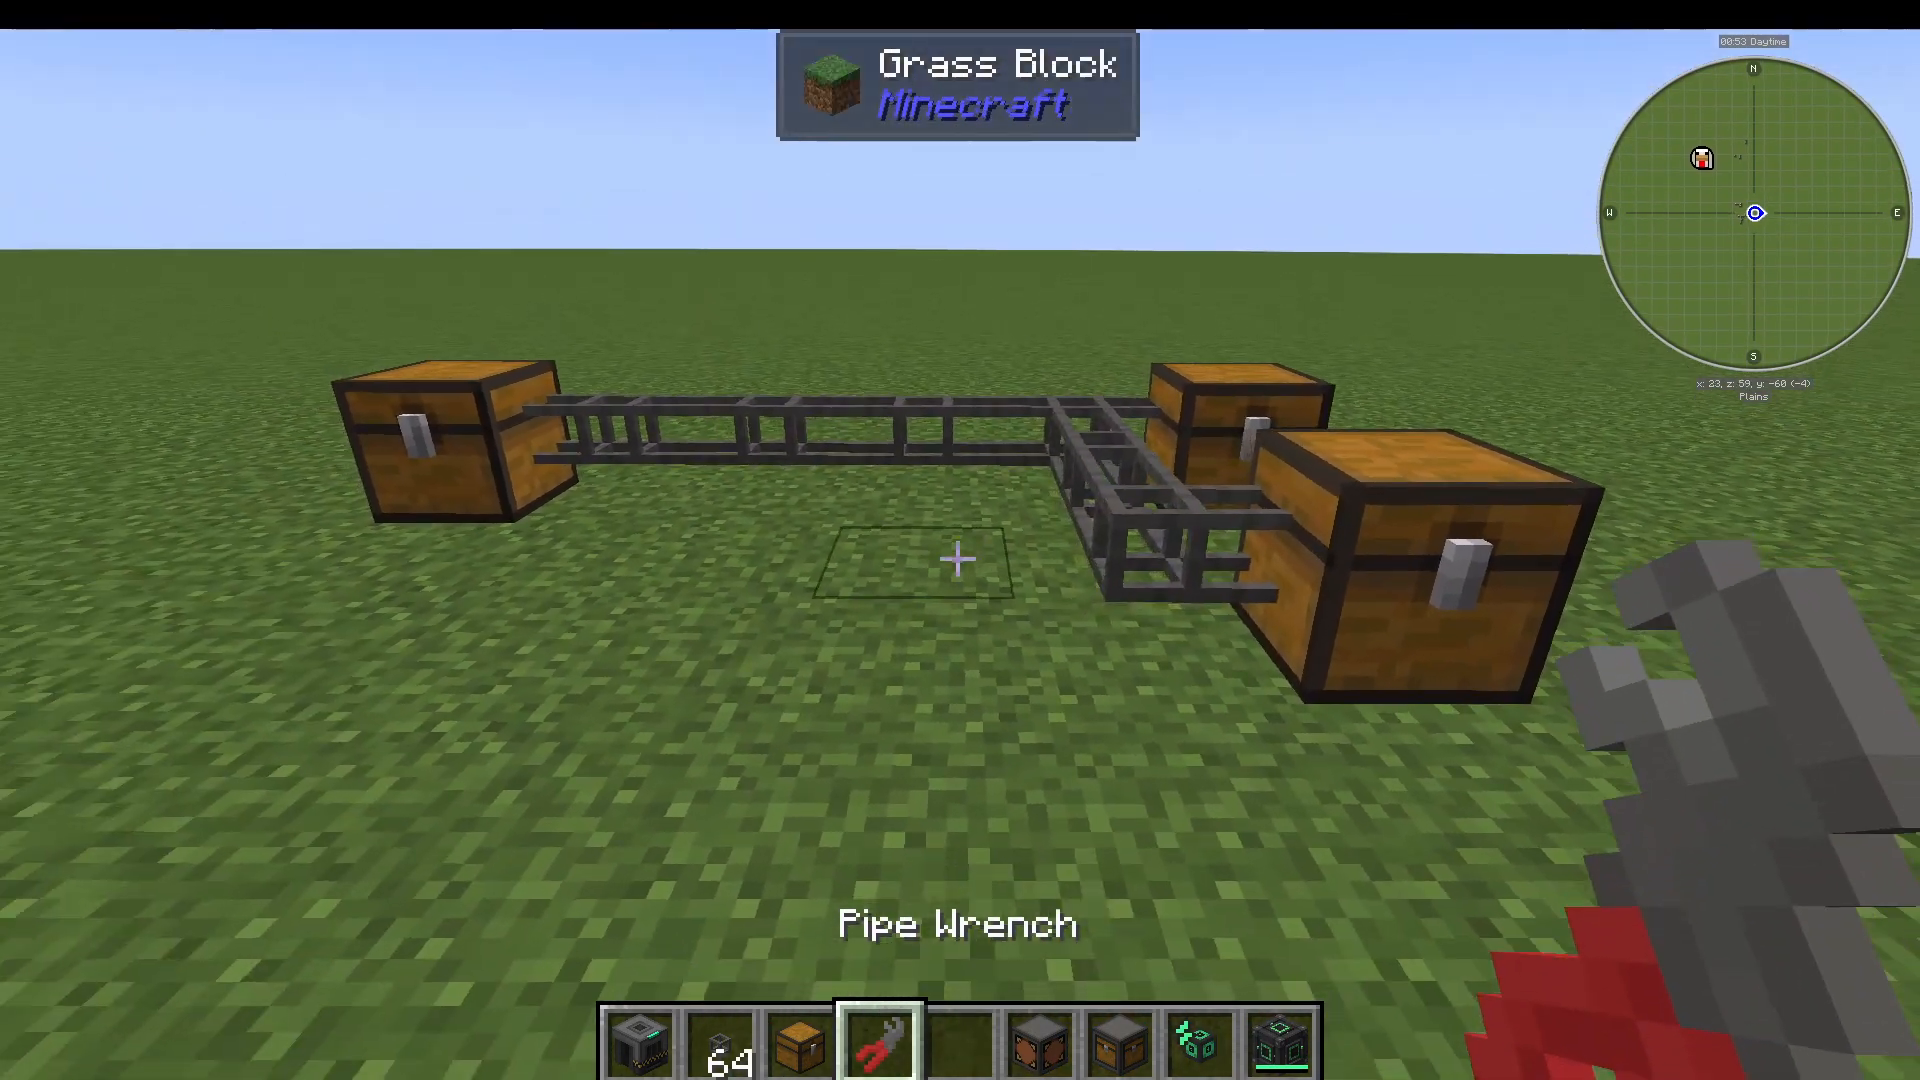
The Pipe Wrench gives you full control over pipe attachments:
Right-click a pipe attachment to disconnect it from the adjacent chest.
Right-click again to reconnect it.
Shift + right-click to break the pipe attachment completely.
Adding Pipe Covers
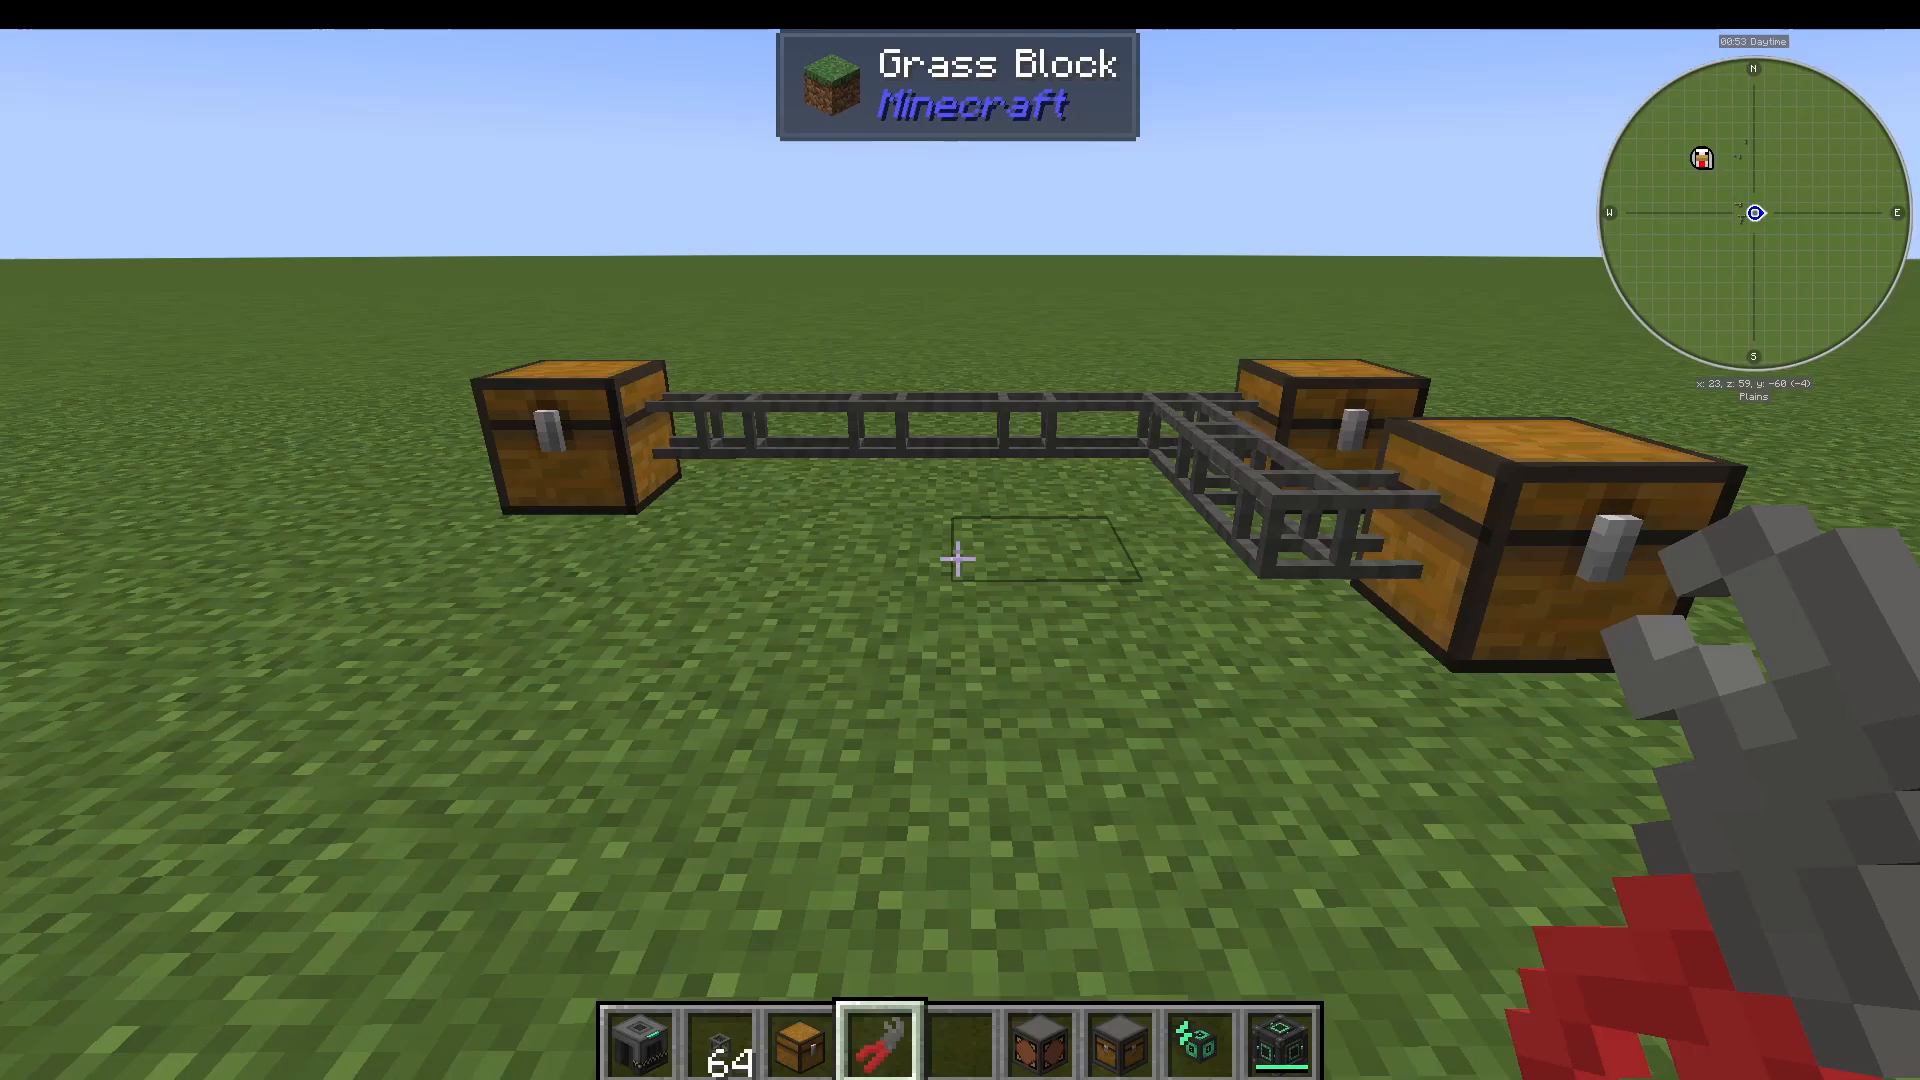
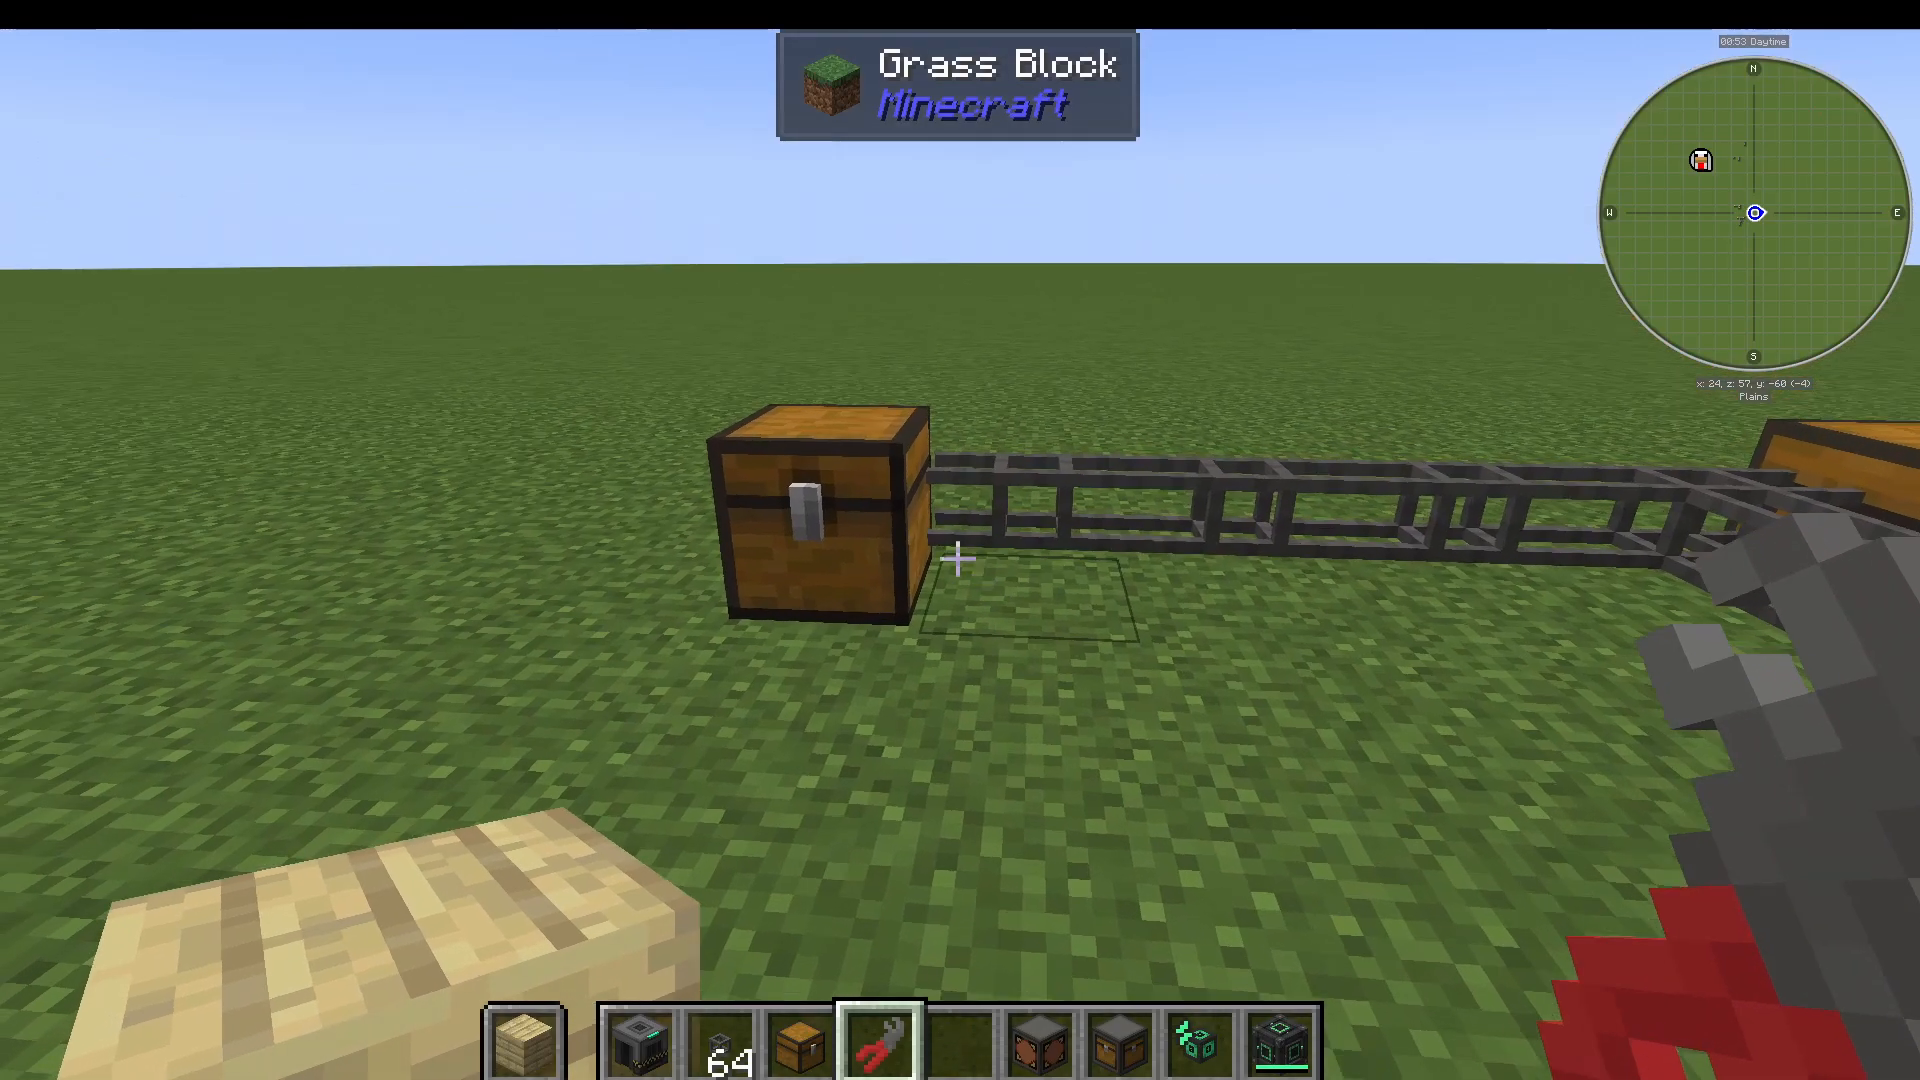
You can hide pipes behind decorative covers. Hold any block (for example, Birch Planks) in your offhand, then right-click with the Pipe Wrench. The block is consumed and placed as a cover over the pipe — the pipe still functions underneath, it just becomes invisible.
To remove a cover, Shift + right-click once to take off the cover block. Shift + right-click a second time to remove the pipe itself. Always keep your cover block in your offhand before right-clicking.
Extraction Modules: Pulling Items Out of Inventories
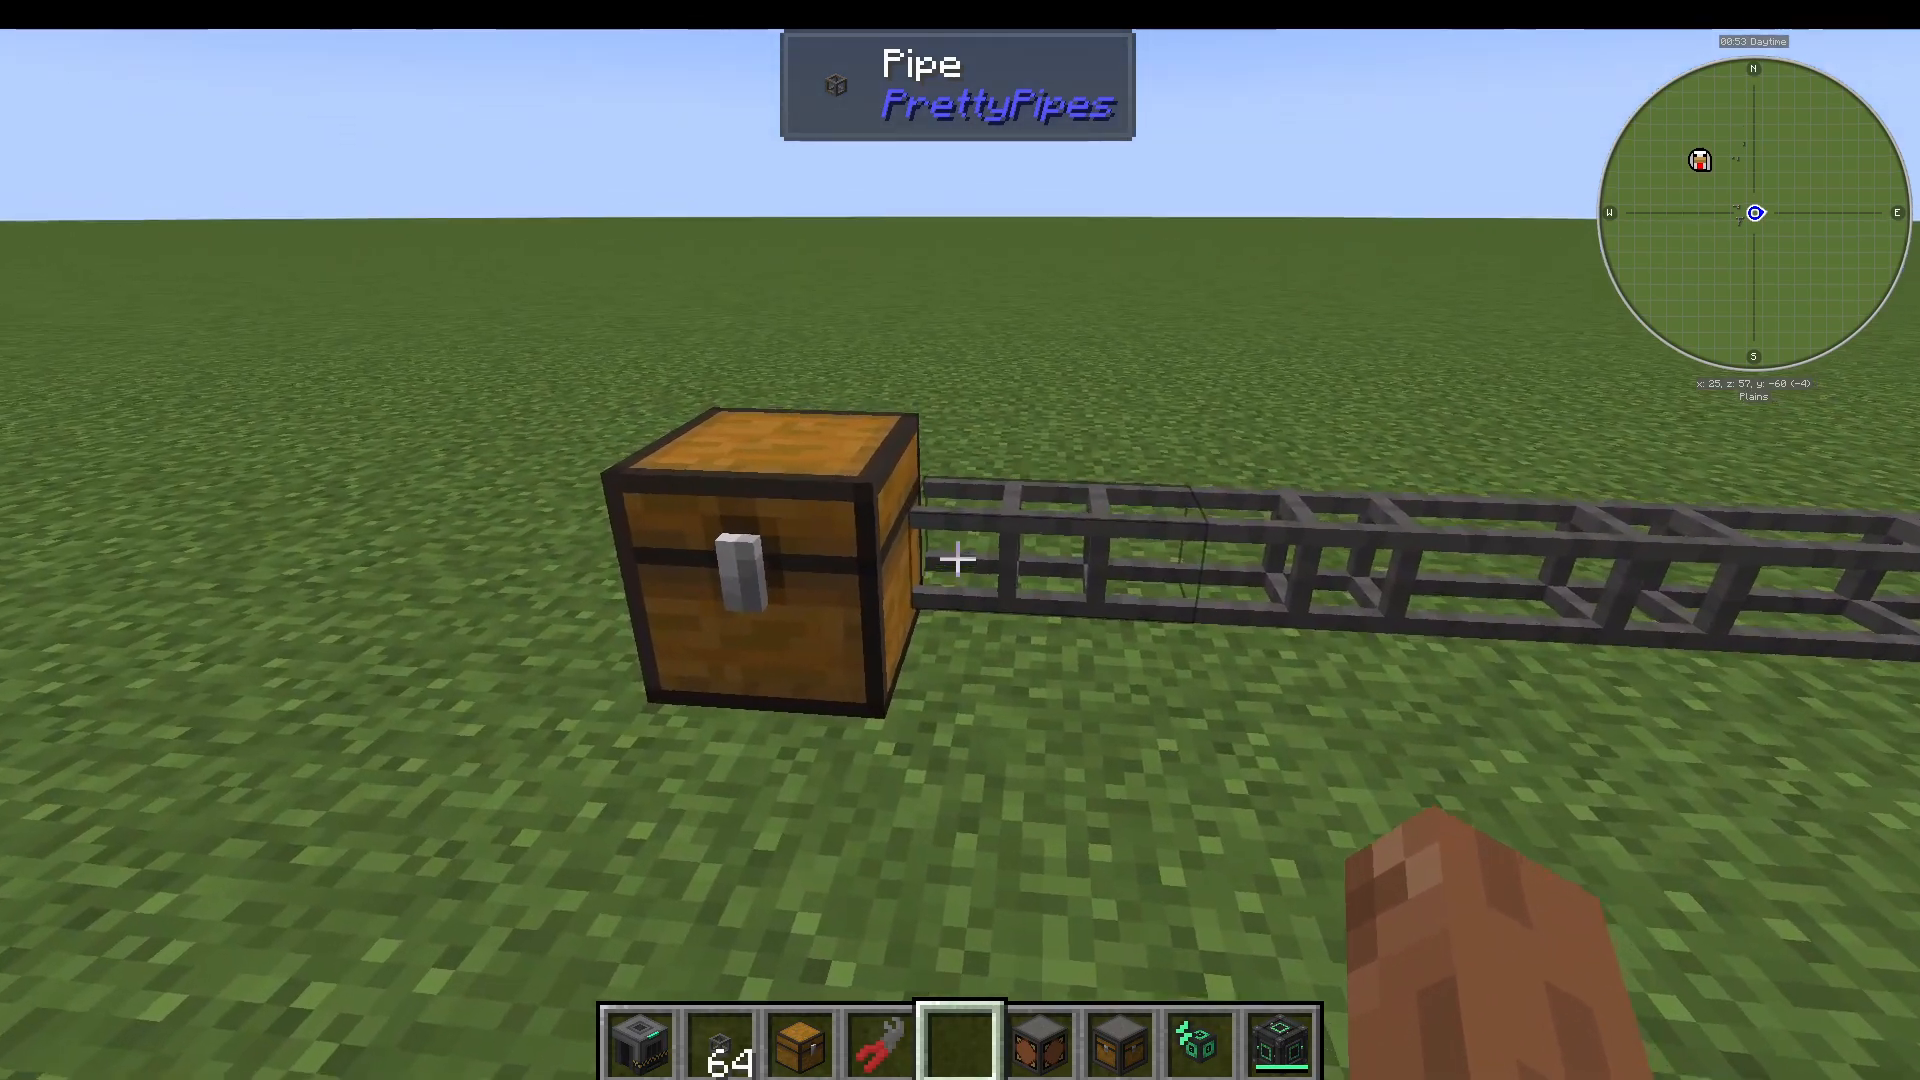
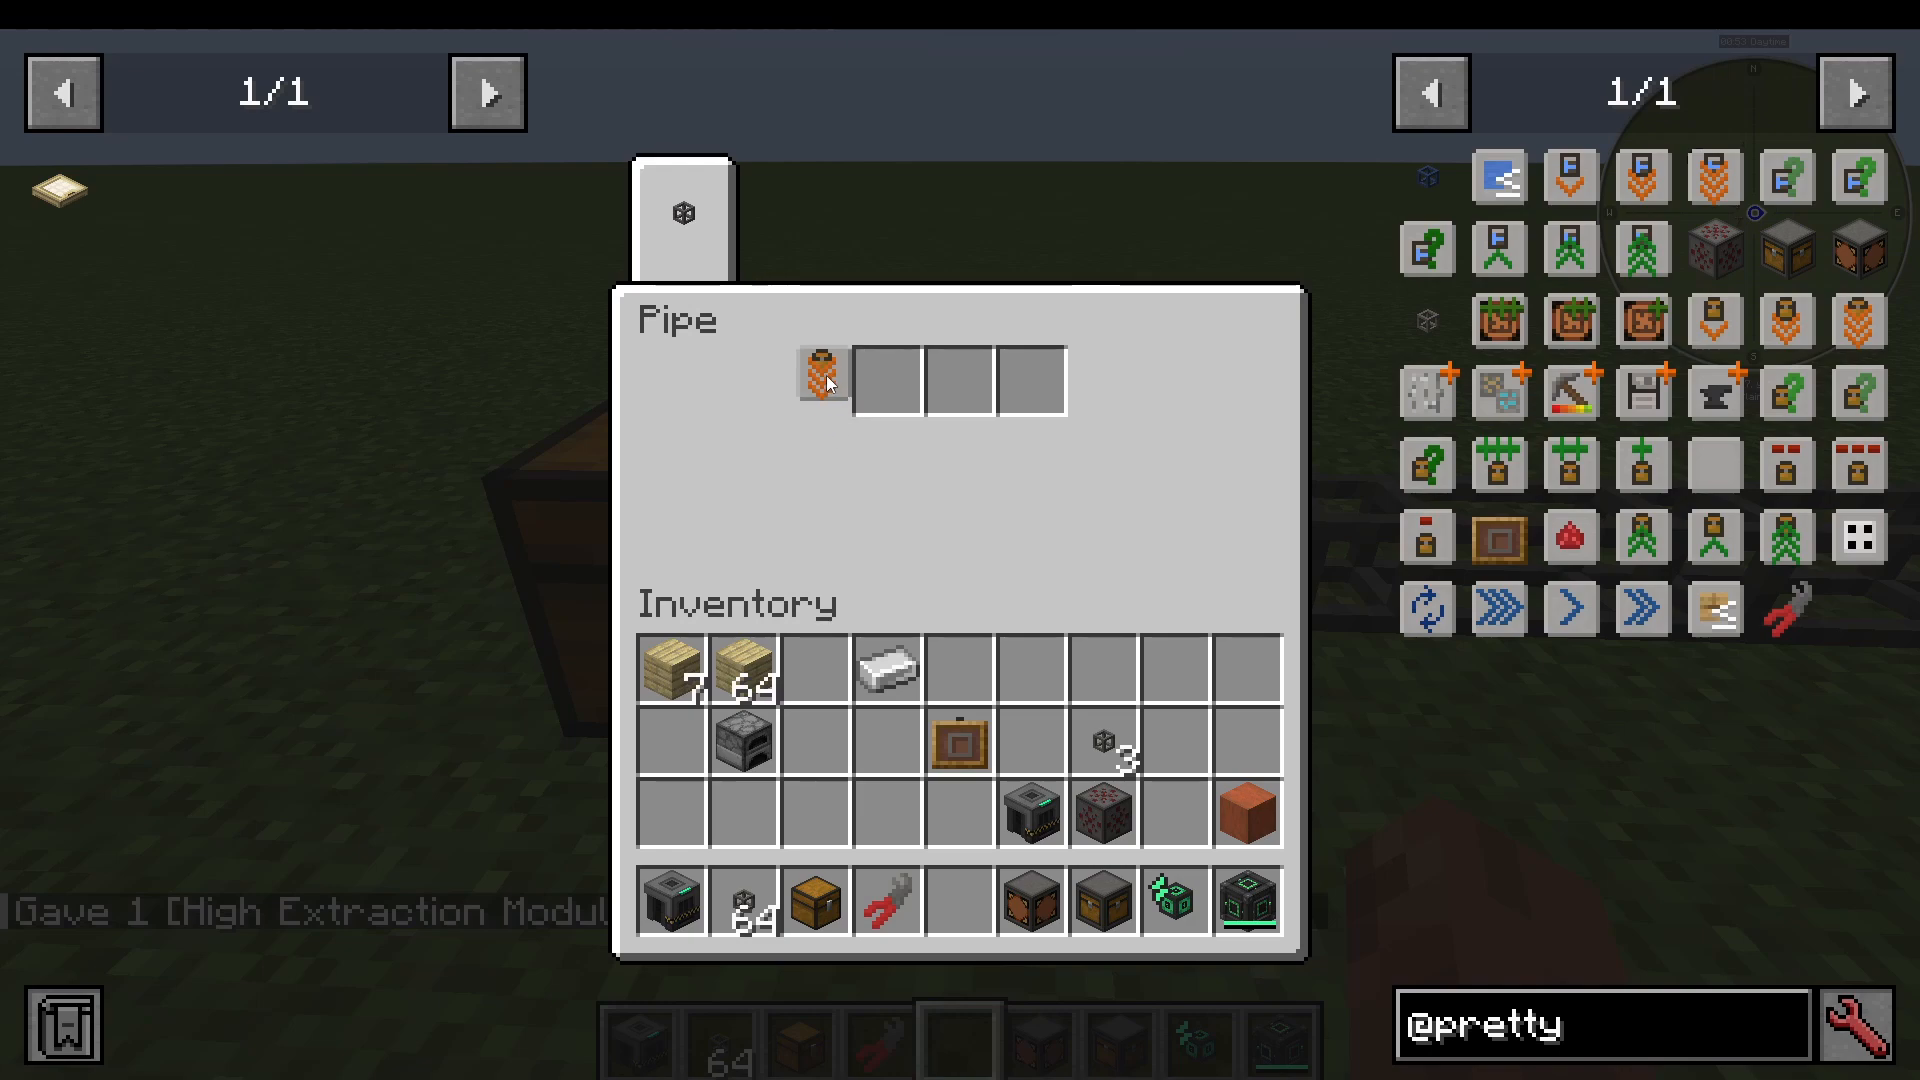
To actually move items through your pipe network, you need to add modules. Right-clicking a pipe that is directly attached to an inventory opens a module interface. A pipe that is not attached to an inventory will not open any interface.
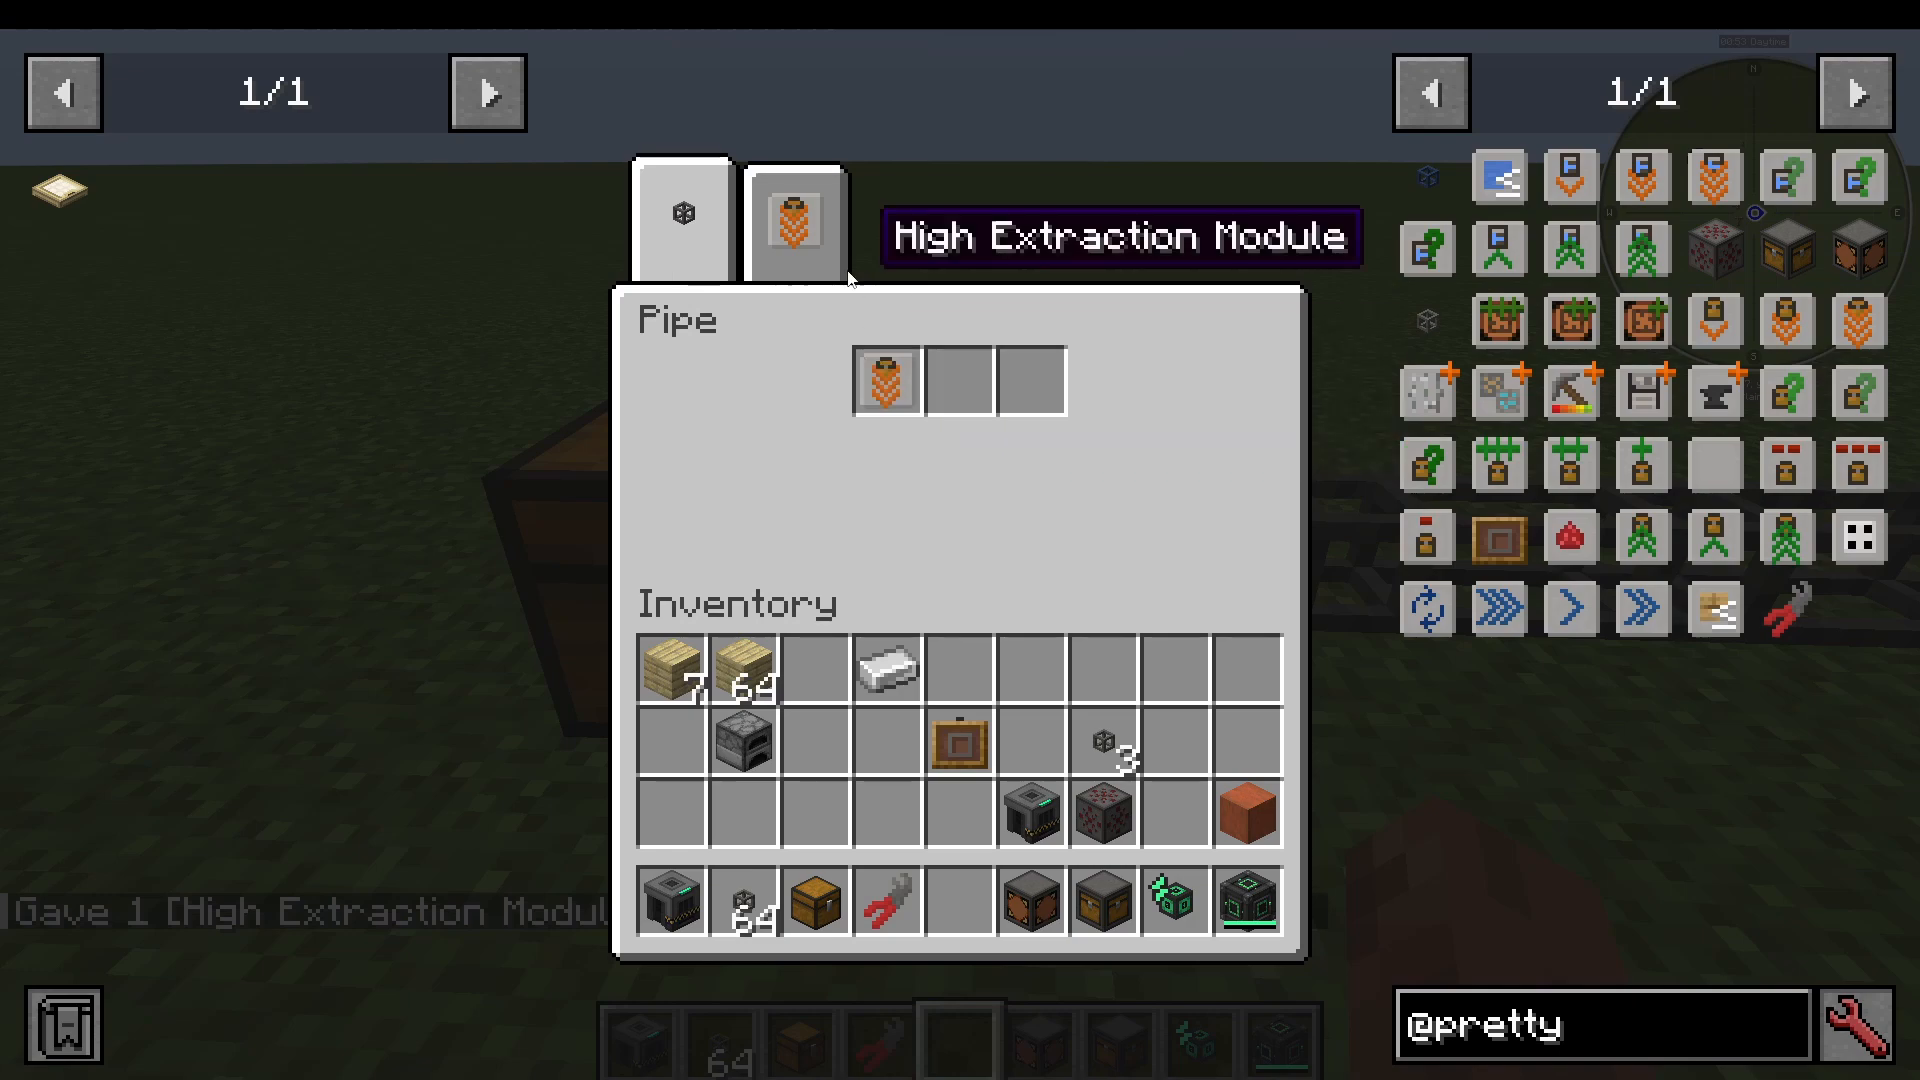
There are three tiers of extraction module: Low, Medium, and High. Higher tiers extract items faster. Each pipe attachment has three module slots. Place your chosen extraction module into one of those slots.
Configuring the Extraction Module
After inserting an extraction module, a new tab appears in the interface named after that module. Inside, you can:
Specify an item — for example, Birch Planks — so only that item is extracted from the attached chest.
Choose a side — if the pipe is touching multiple inventories, you can target a specific one (e.g., “North Chest” or “West Chest”).
Allow or Disallow — switch between a whitelist (only extract the listed items) and a blacklist (extract everything except the listed items).
By default, extracted items travel to the nearest available inventory in the network. Setting the module to Allow with Birch Planks listed means only Birch Planks are extracted and sent onward. Setting it to Disallow means everything except Birch Planks is extracted.
Module Settings Are Saved
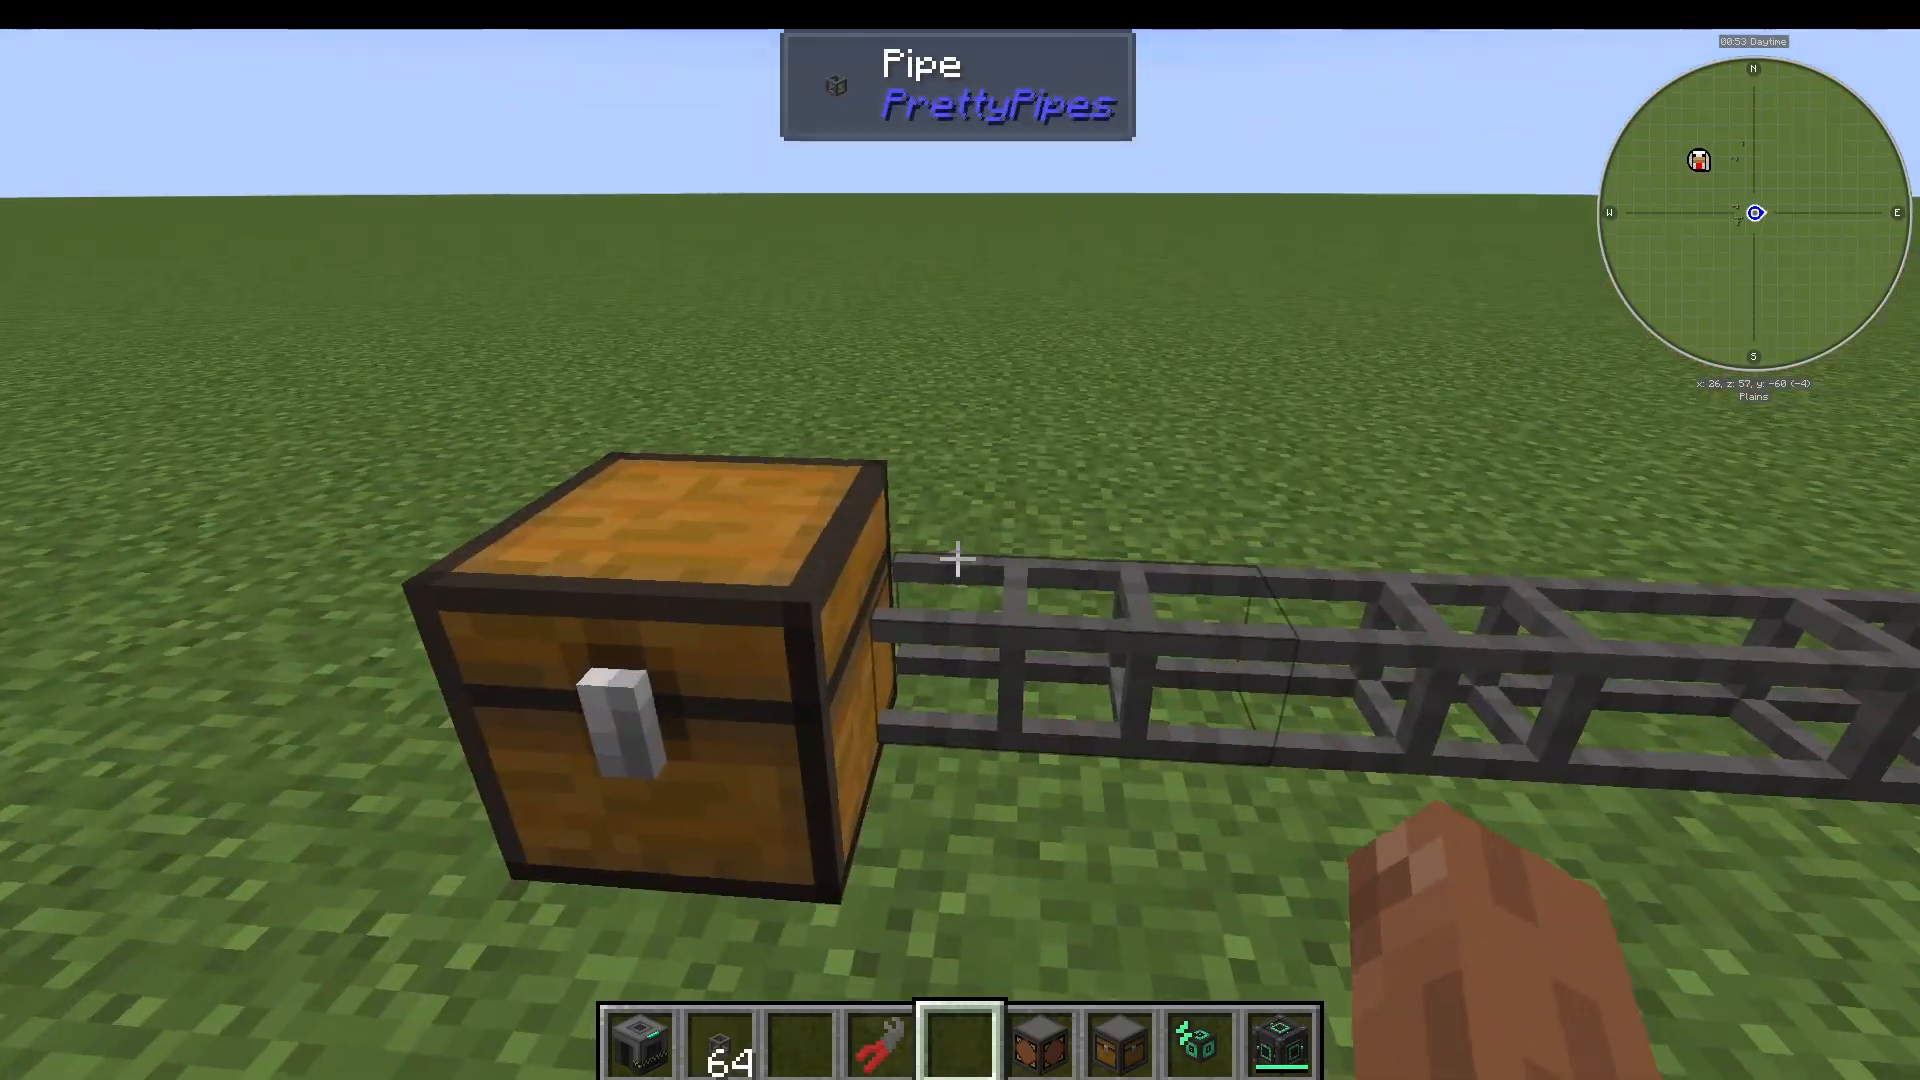
If you accidentally Shift + click a module out of a pipe, don’t panic. All of your configured settings are preserved inside the module itself. Simply right-click it back into the pipe slot and your configuration will still be intact.
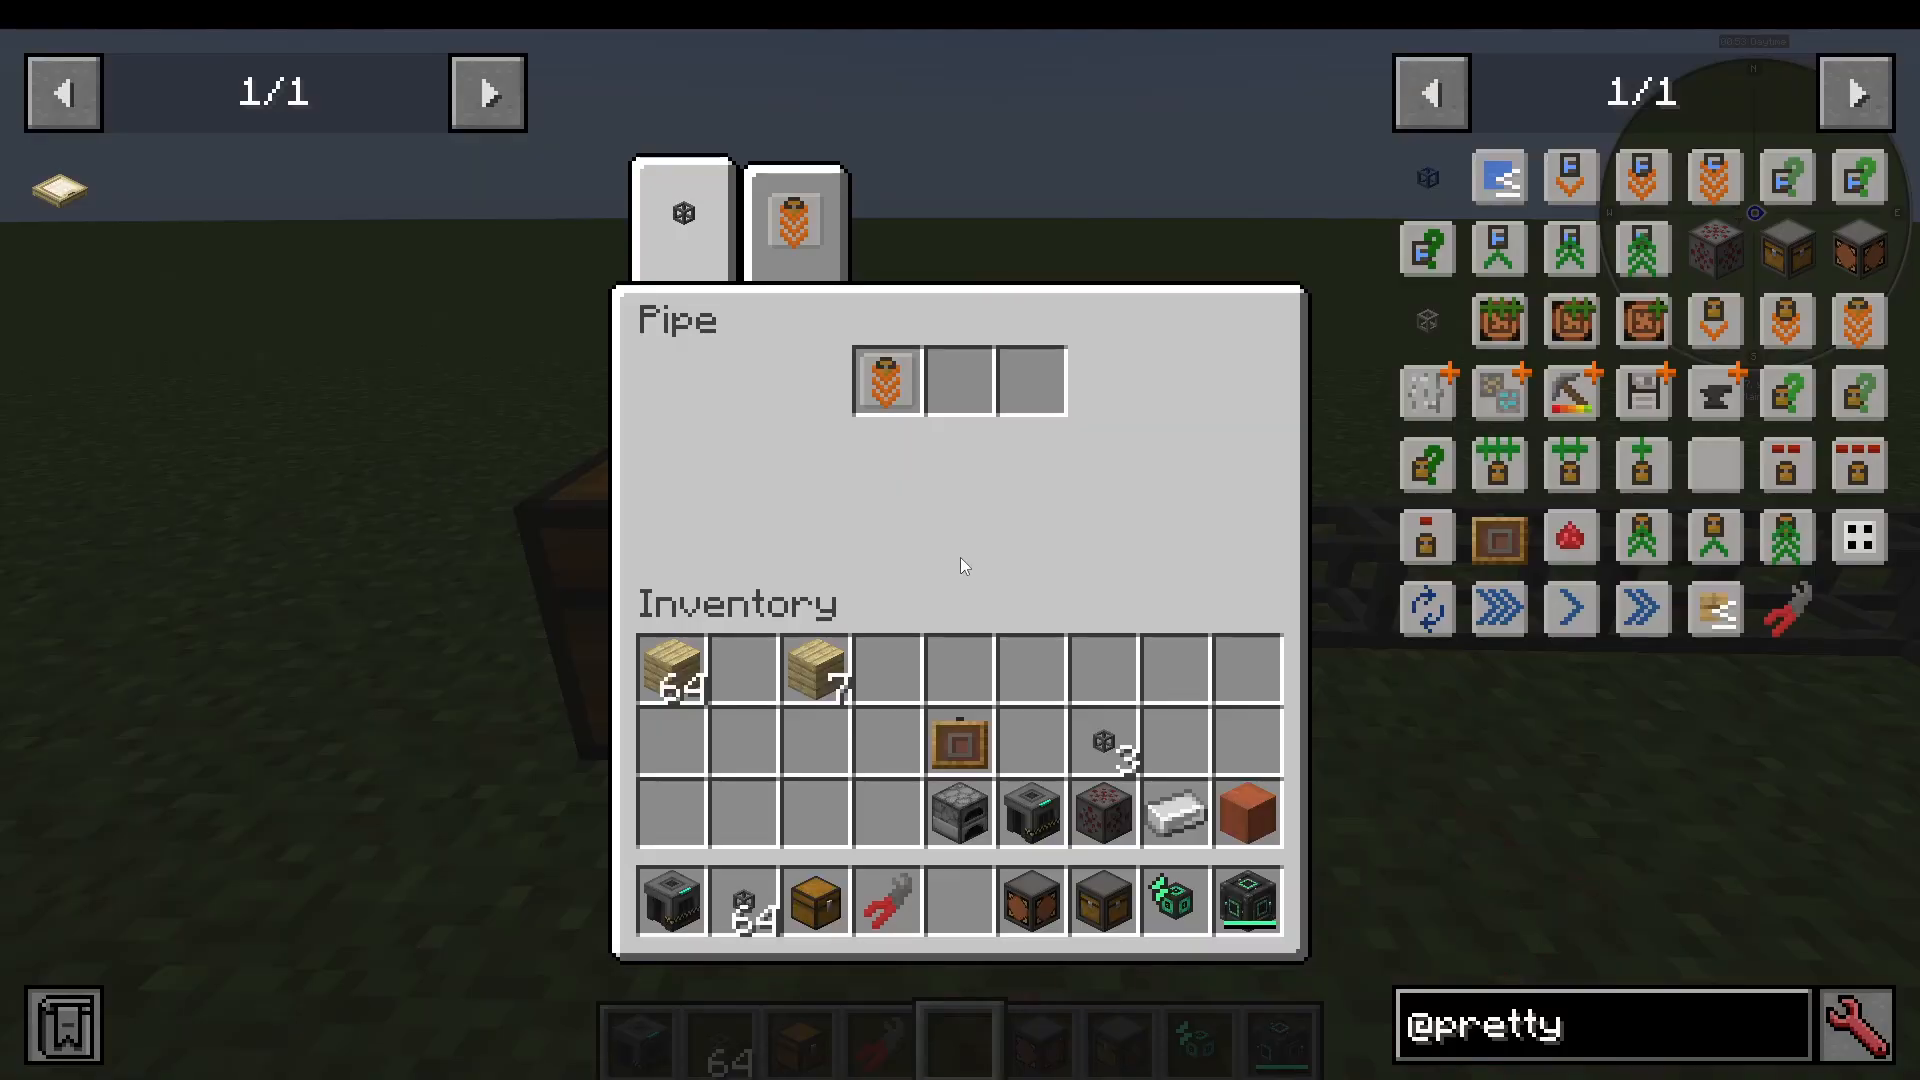
Retrieval Modules: Pulling Items Into a Specific Chest
The Retrieval Module is the opposite of an extraction module. Instead of pushing items out of a chest, it pulls items into the chest it is attached to, gathering them from anywhere else in the network.
For example, place a retrieval module on Chest A and configure it for Furnaces. Any Furnace found anywhere in the connected network will be pulled into Chest A — no extraction module needed on the source chest.
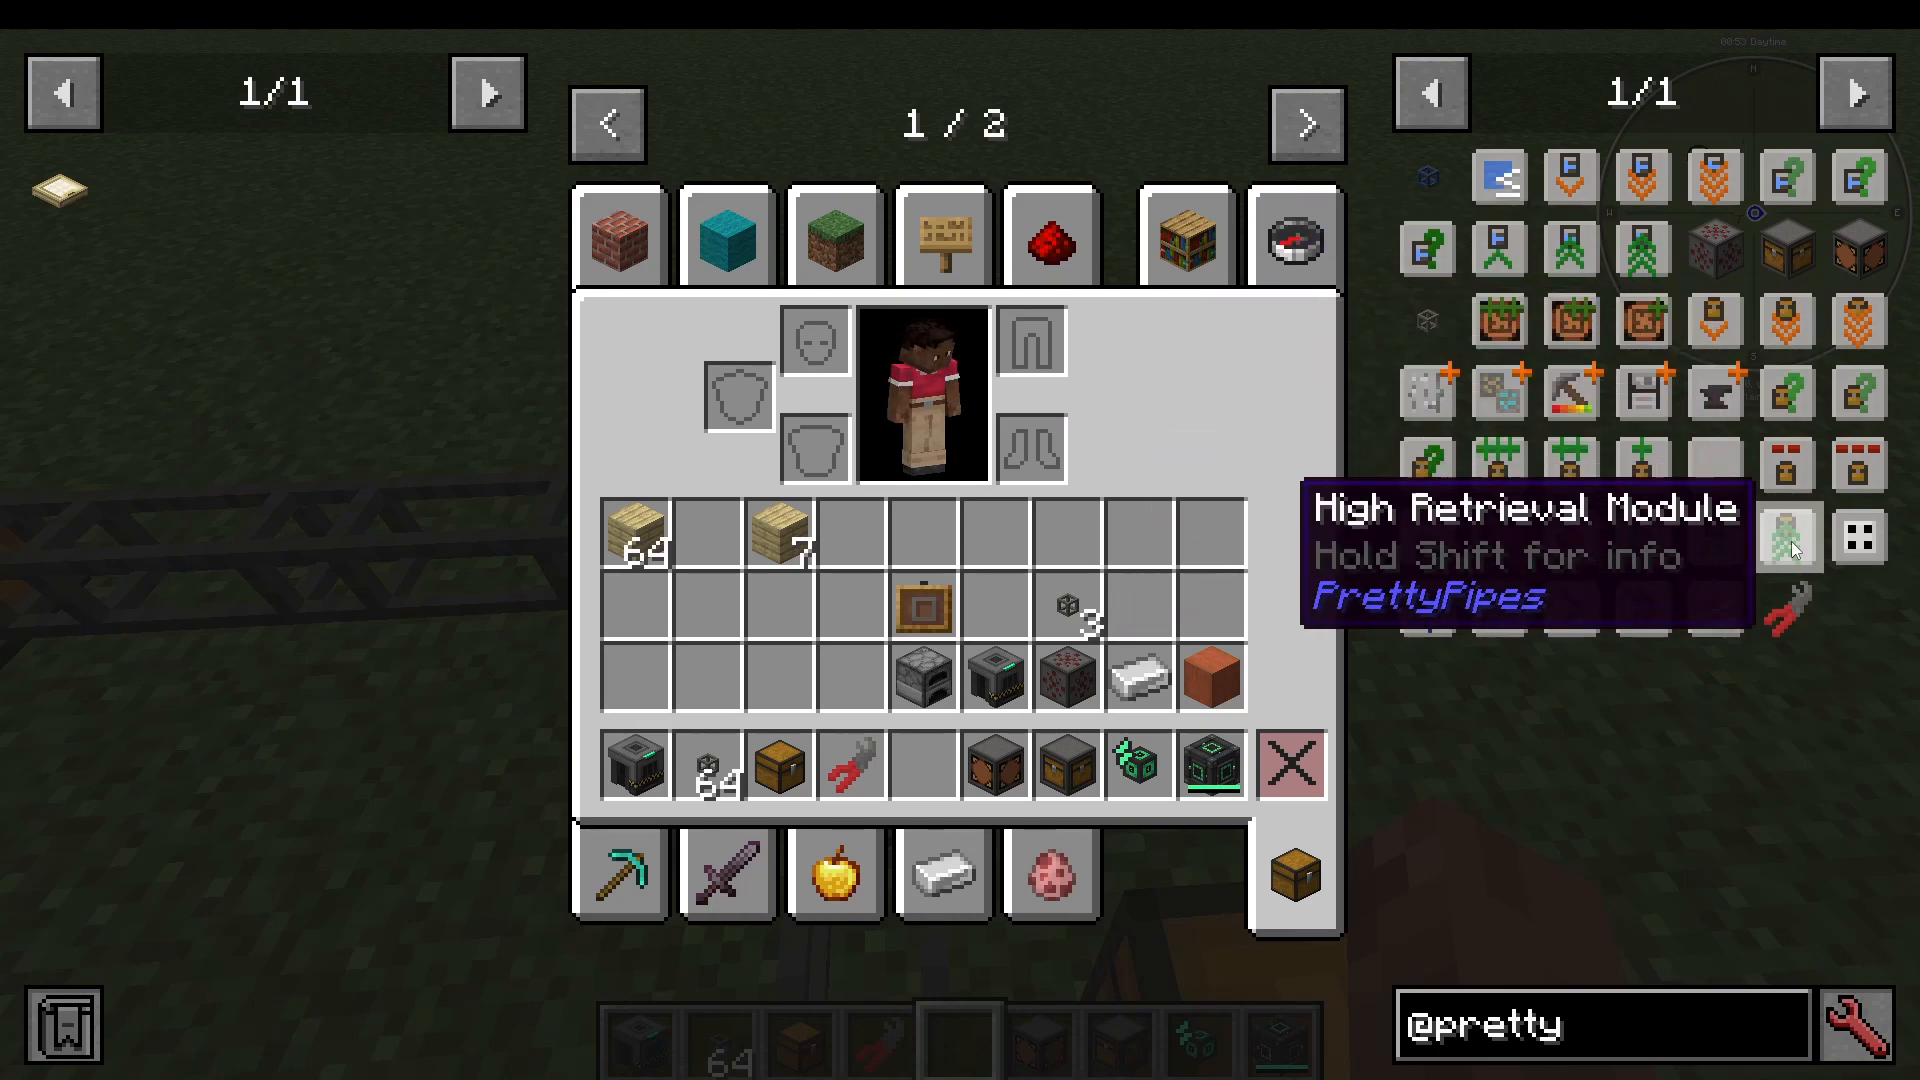
Here is the key distinction to remember:
Extraction Module — extracts a specific item from one specific chest and sends it into the network.
Retrieval Module — retrieves a specific item from anywhere in the network and pulls it into the chest it is attached to.
Filter Modules: Controlling Where Items Can Go
Filter modules are placed on pipe attachments to act as gatekeepers for an inventory — they decide which items are allowed in or out. There are three tiers: Low, Medium, and High Filter Module, with higher tiers offering more filter slots.
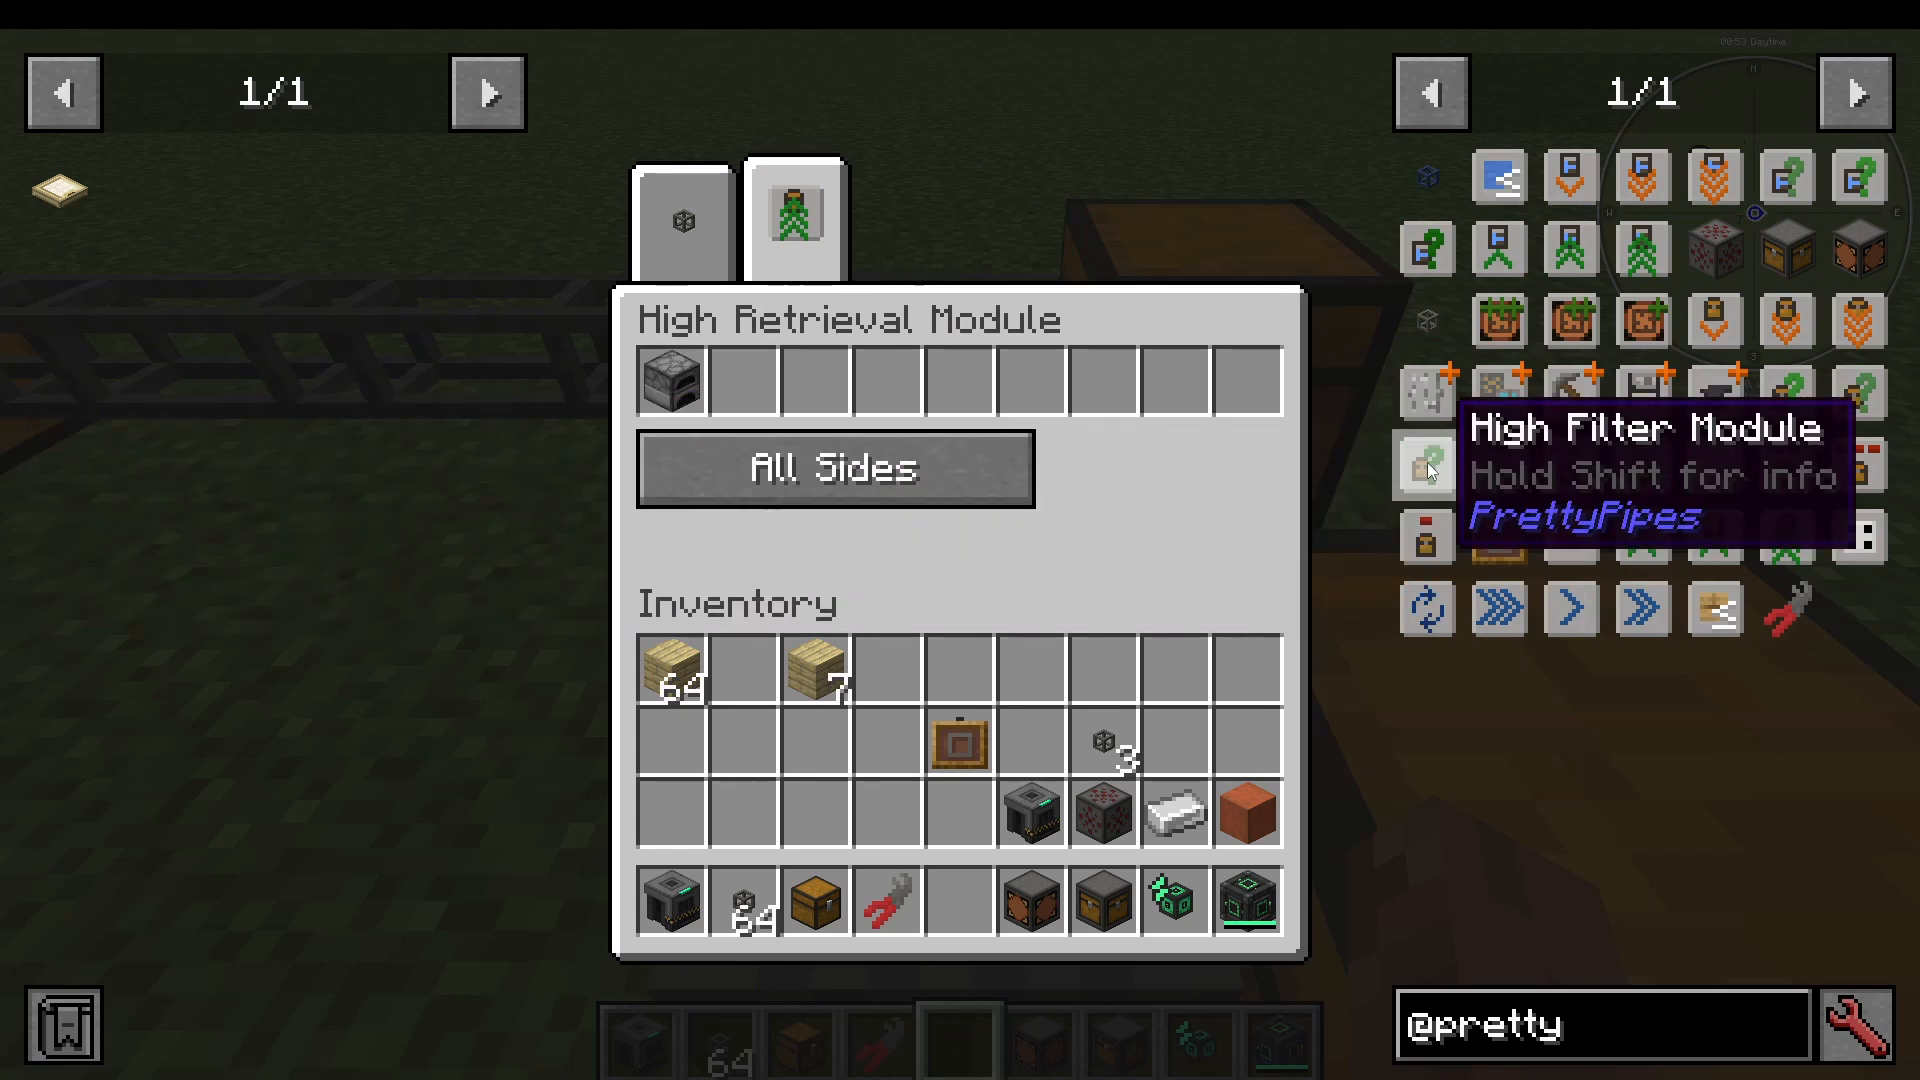
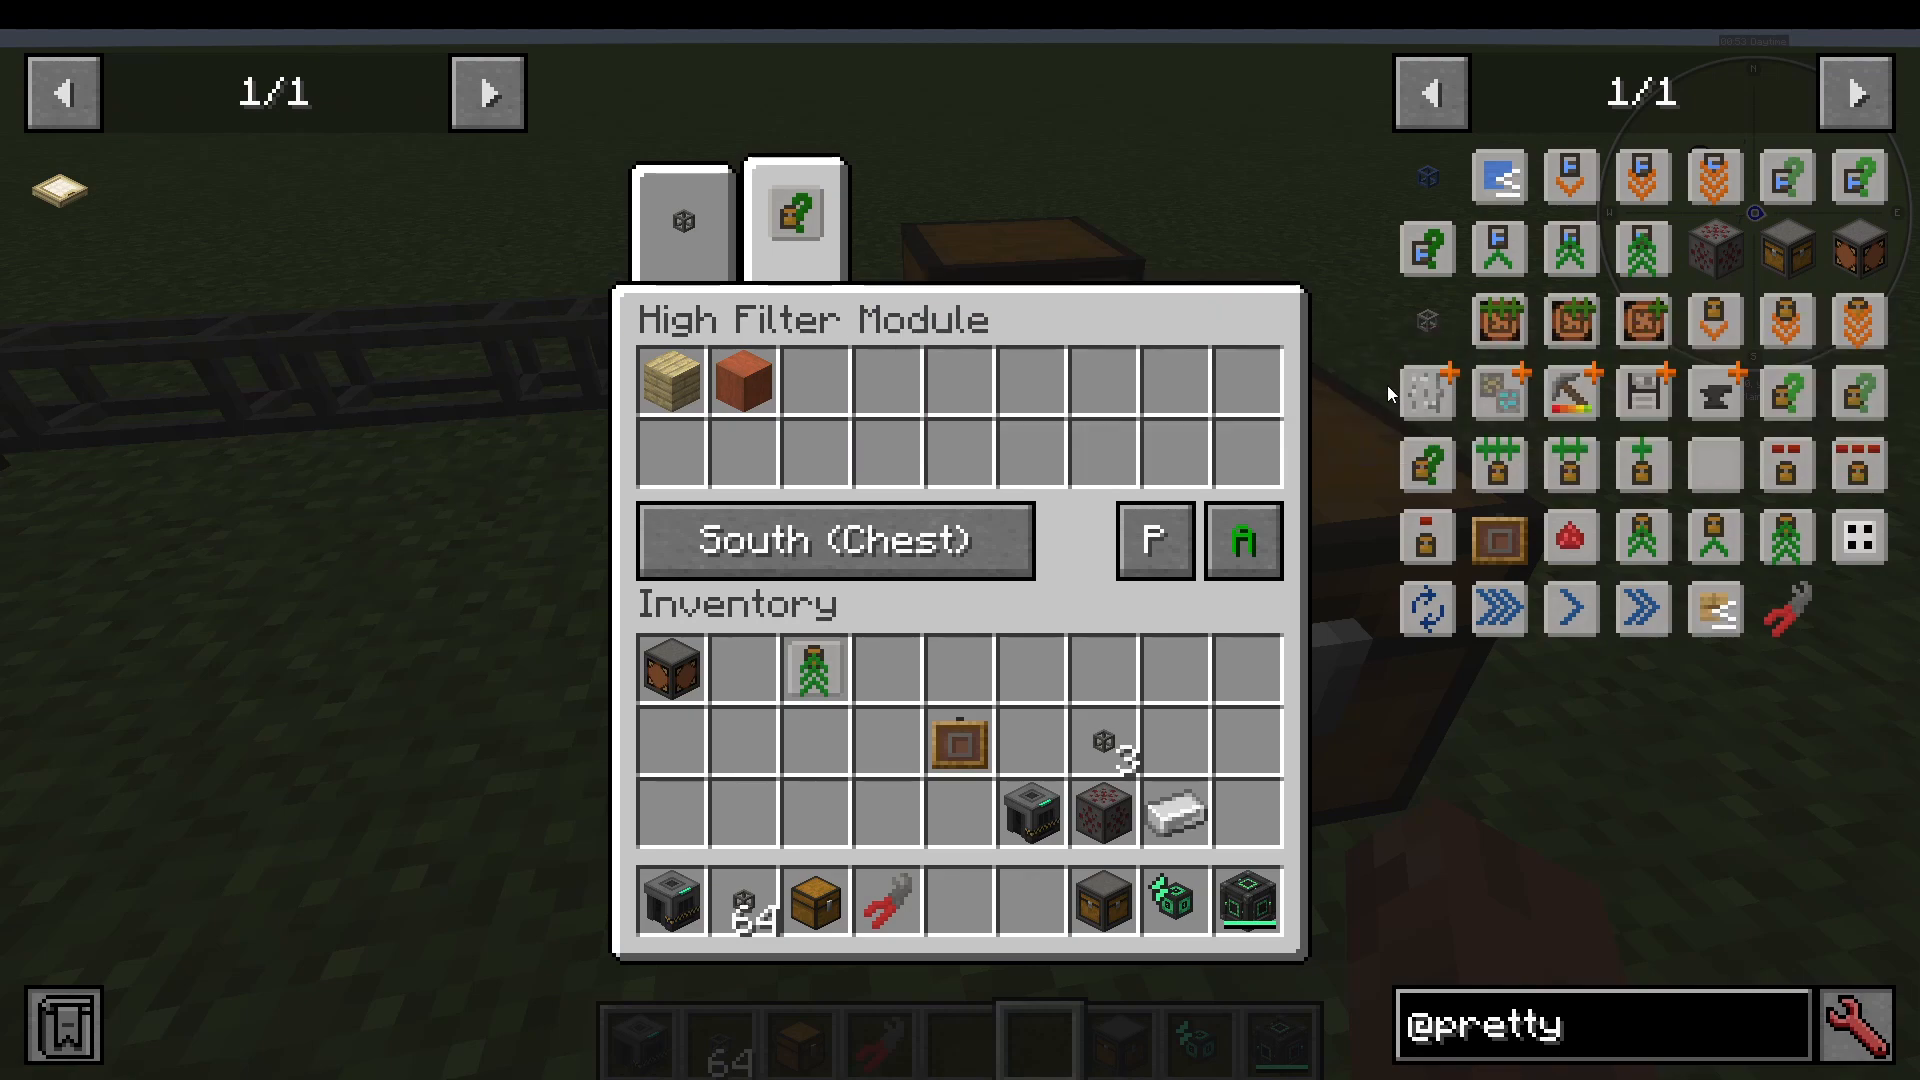
Like extraction modules, filter modules support Allow (whitelist) and Disallow (blacklist) modes. A useful shortcut is the Populate button: press it and the filter slots are automatically filled with whatever items are currently inside the adjacent inventory, saving you from adding items manually.
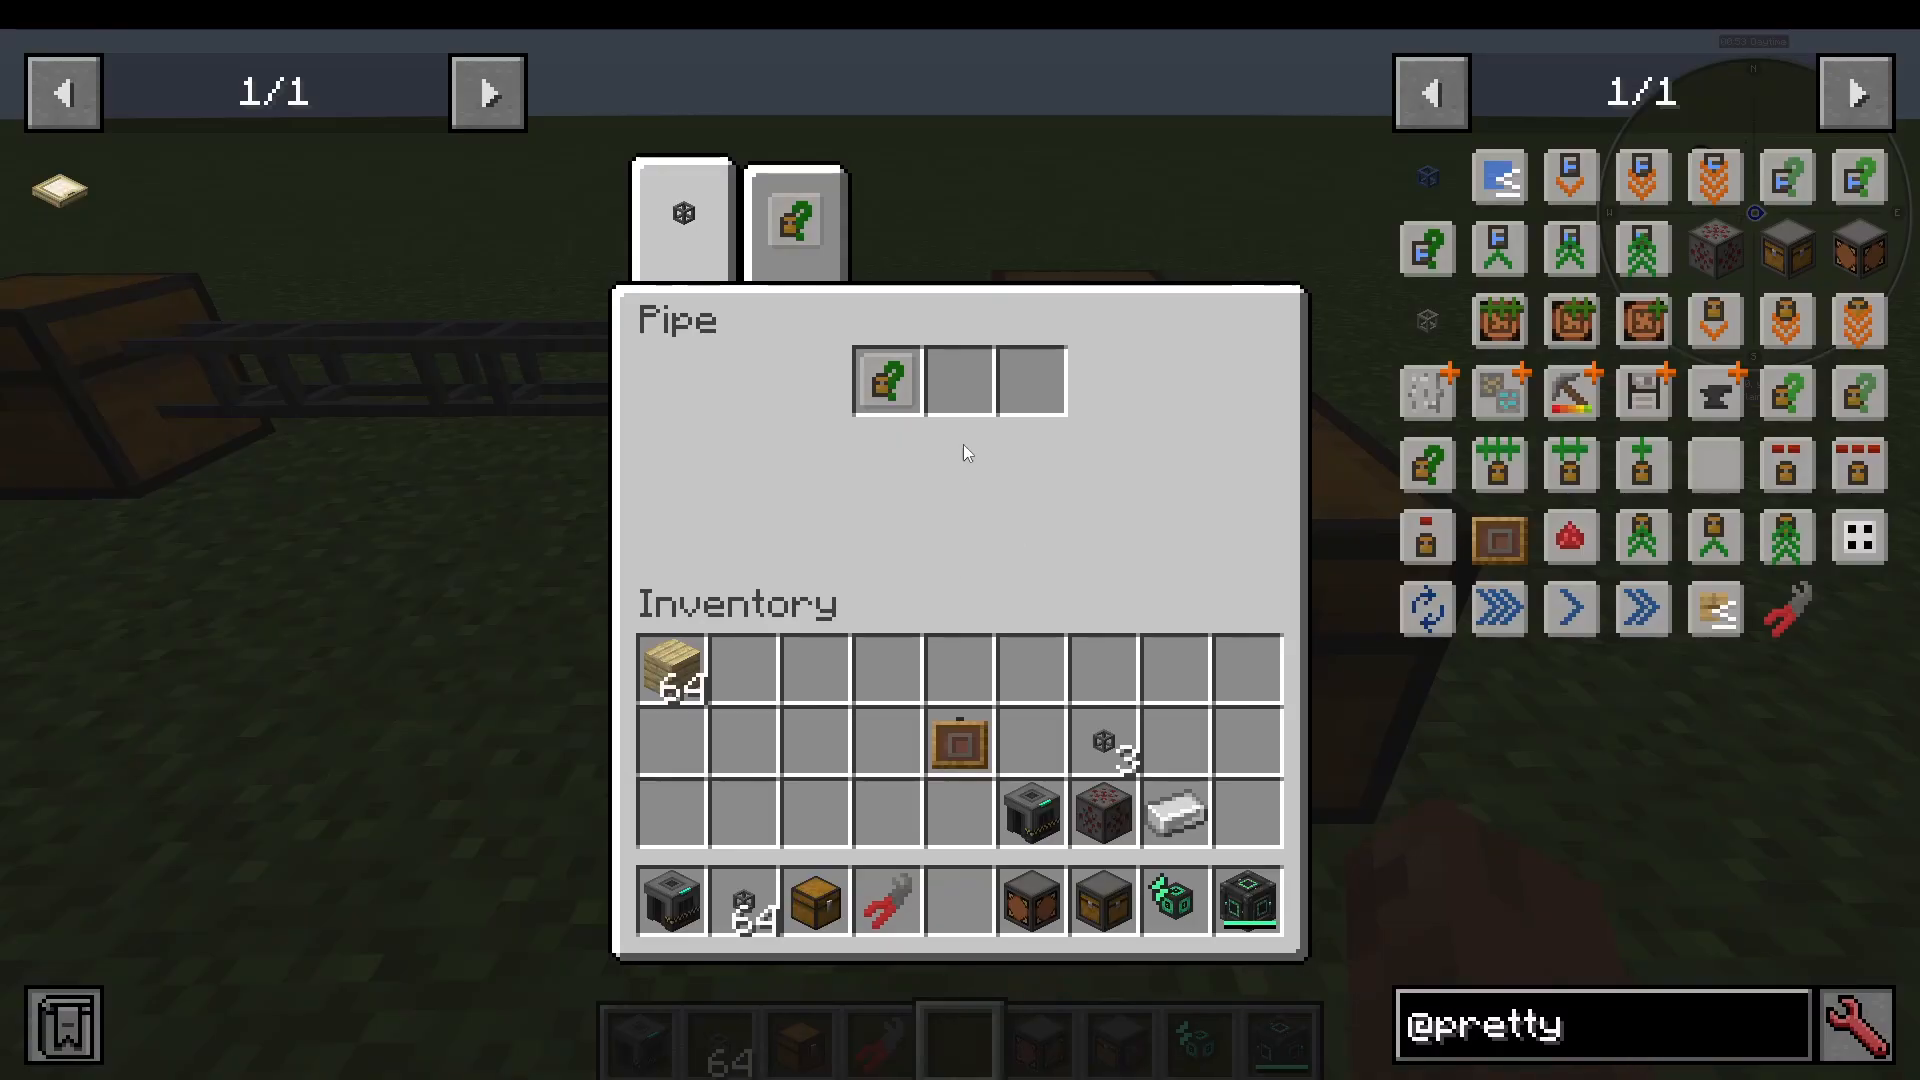
By combining filter modules on different chests, you can route items to precise destinations. For example, allow Birch Planks into Chest A and disallow them on Chest B — Birch Planks will always end up in Chest A.
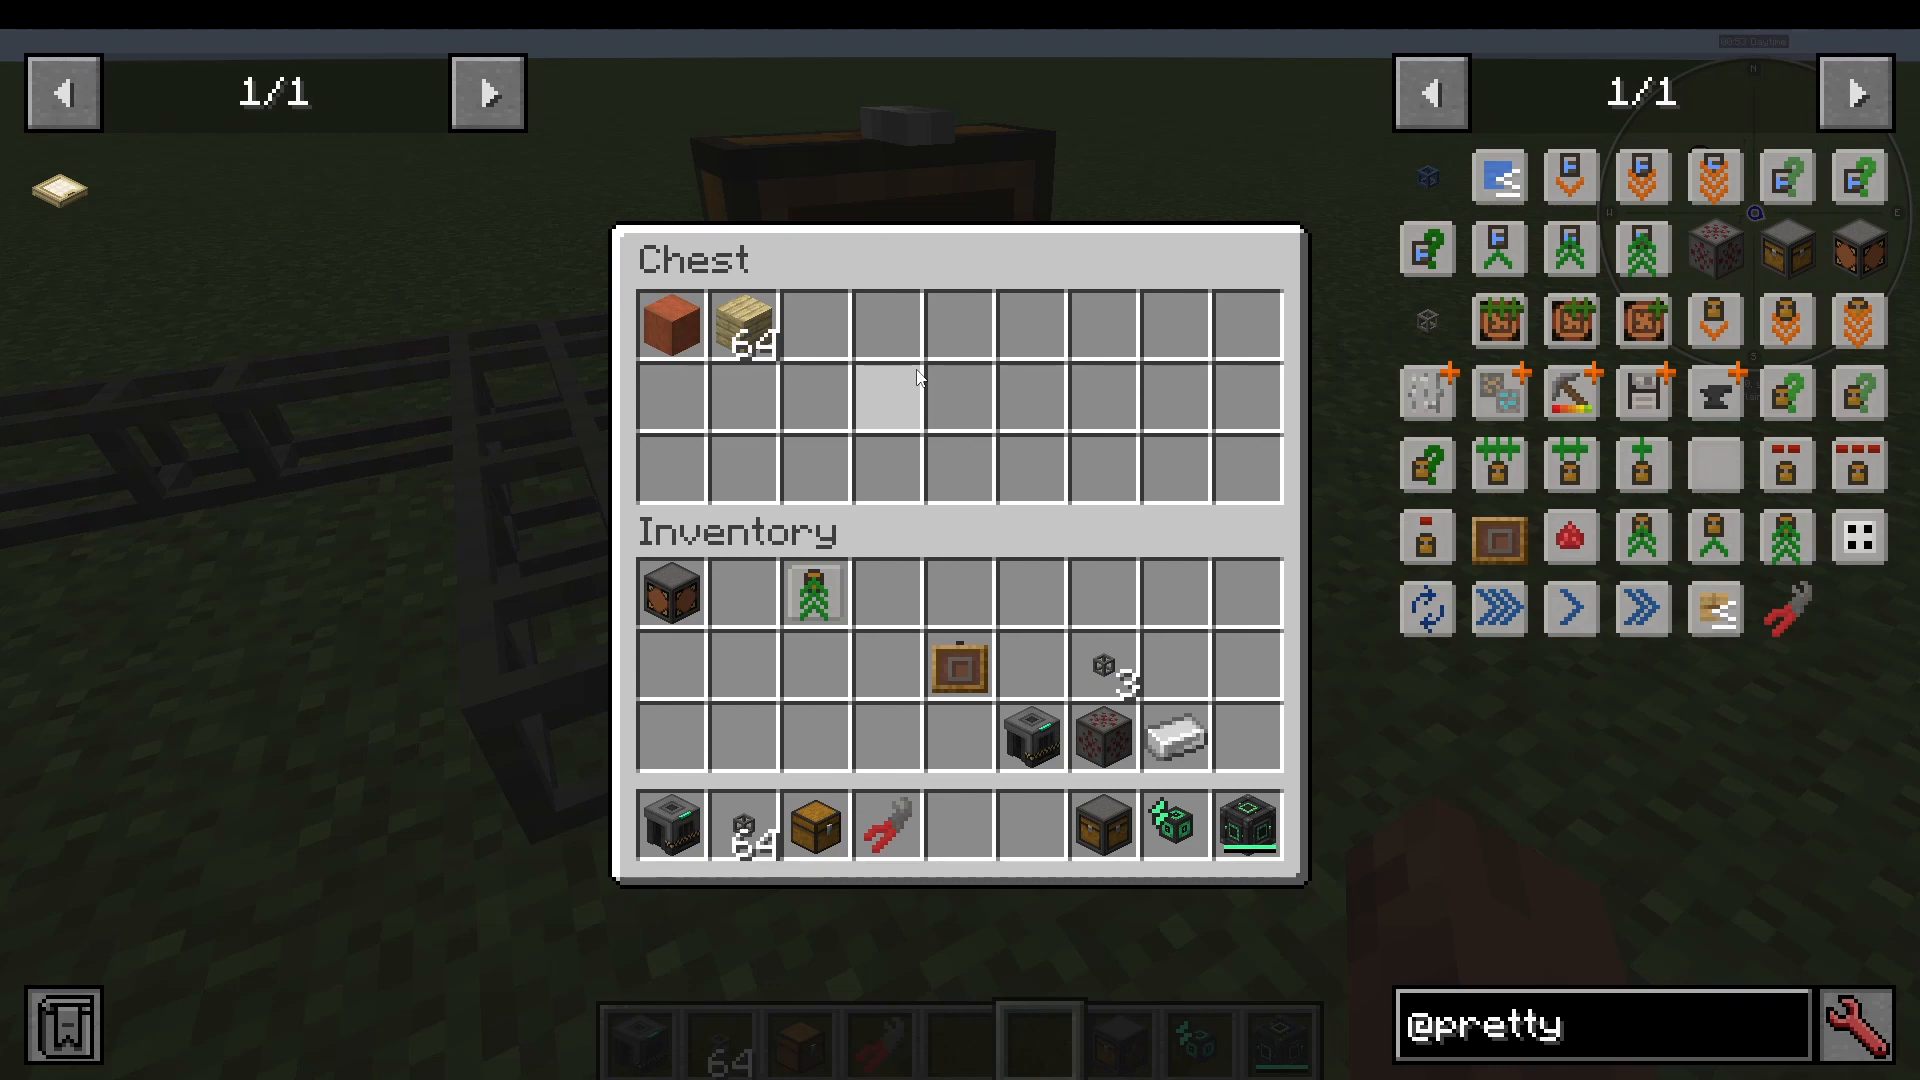
Filter Modifier Add-Ons
Filter modules can be enhanced with the following modifier items, which are inserted alongside the filter module in the pipe interface:
Filter Increase Modifier — adds more item slots to your filter, giving you a larger whitelist or blacklist.
Tag Filter Modifier — lets you filter by item tag rather than a specific item. For example, selecting the “logs” tag allows all log types, not just one specific wood.
Damage Filter Modifier — filters items based on their damage value, useful for tools or items with durability.
Data Filter Modifier — filters by NBT data (item metadata), useful for items with custom enchantments or other stored data.
Mod Filter Modifier — filters by the mod that an item belongs to. For example, placing any Mekanism item in the filter slot will allow all Mekanism items through, not just that one.
Priority Modules: Choosing Preferred Destinations
By default, items travel to the nearest available inventory. The Priority Module overrides this behaviour by increasing the reception priority of the chest it is attached to. A chest with a higher priority will receive items before closer chests that have no priority module.
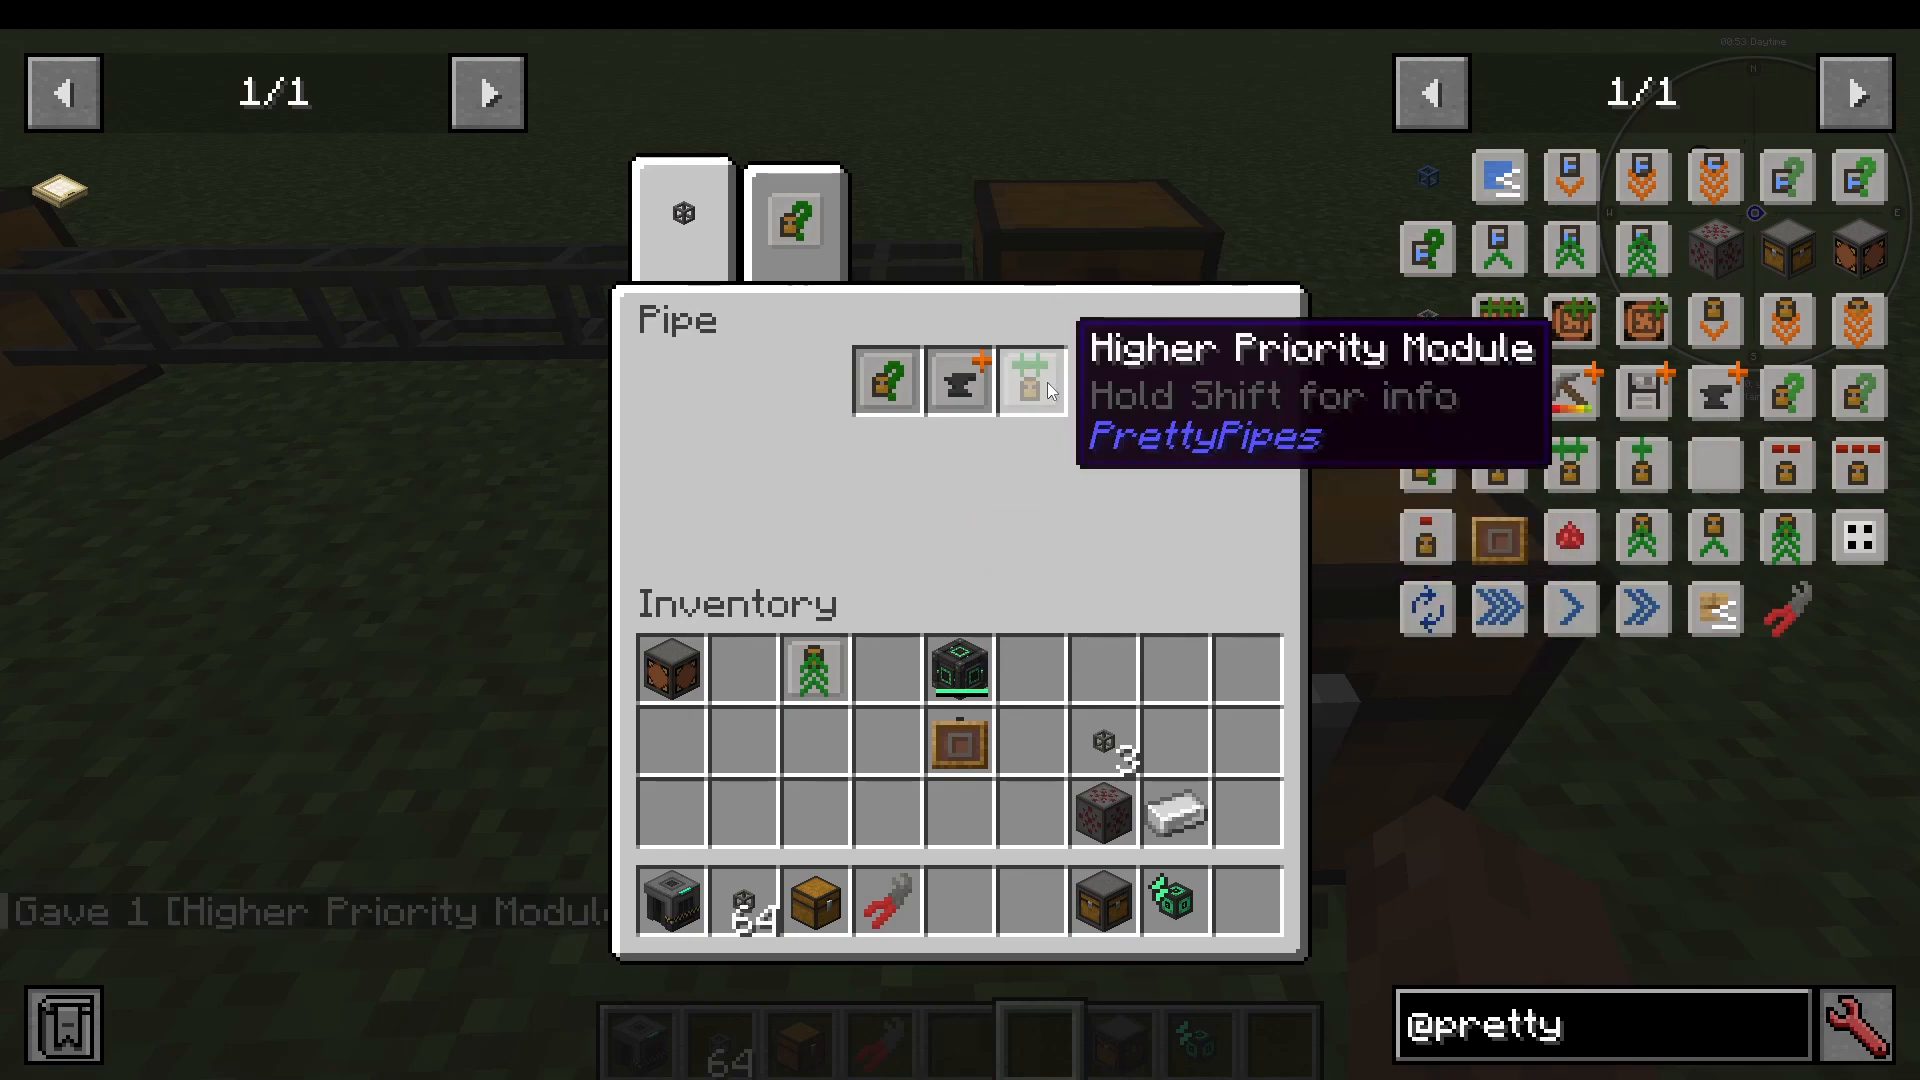
For example, if you want Mekanism items to go into a specific chest even though a closer chest is available, place a priority module on your preferred chest. Items will travel there first. Remove the priority module, and items revert to going to the nearest inventory.
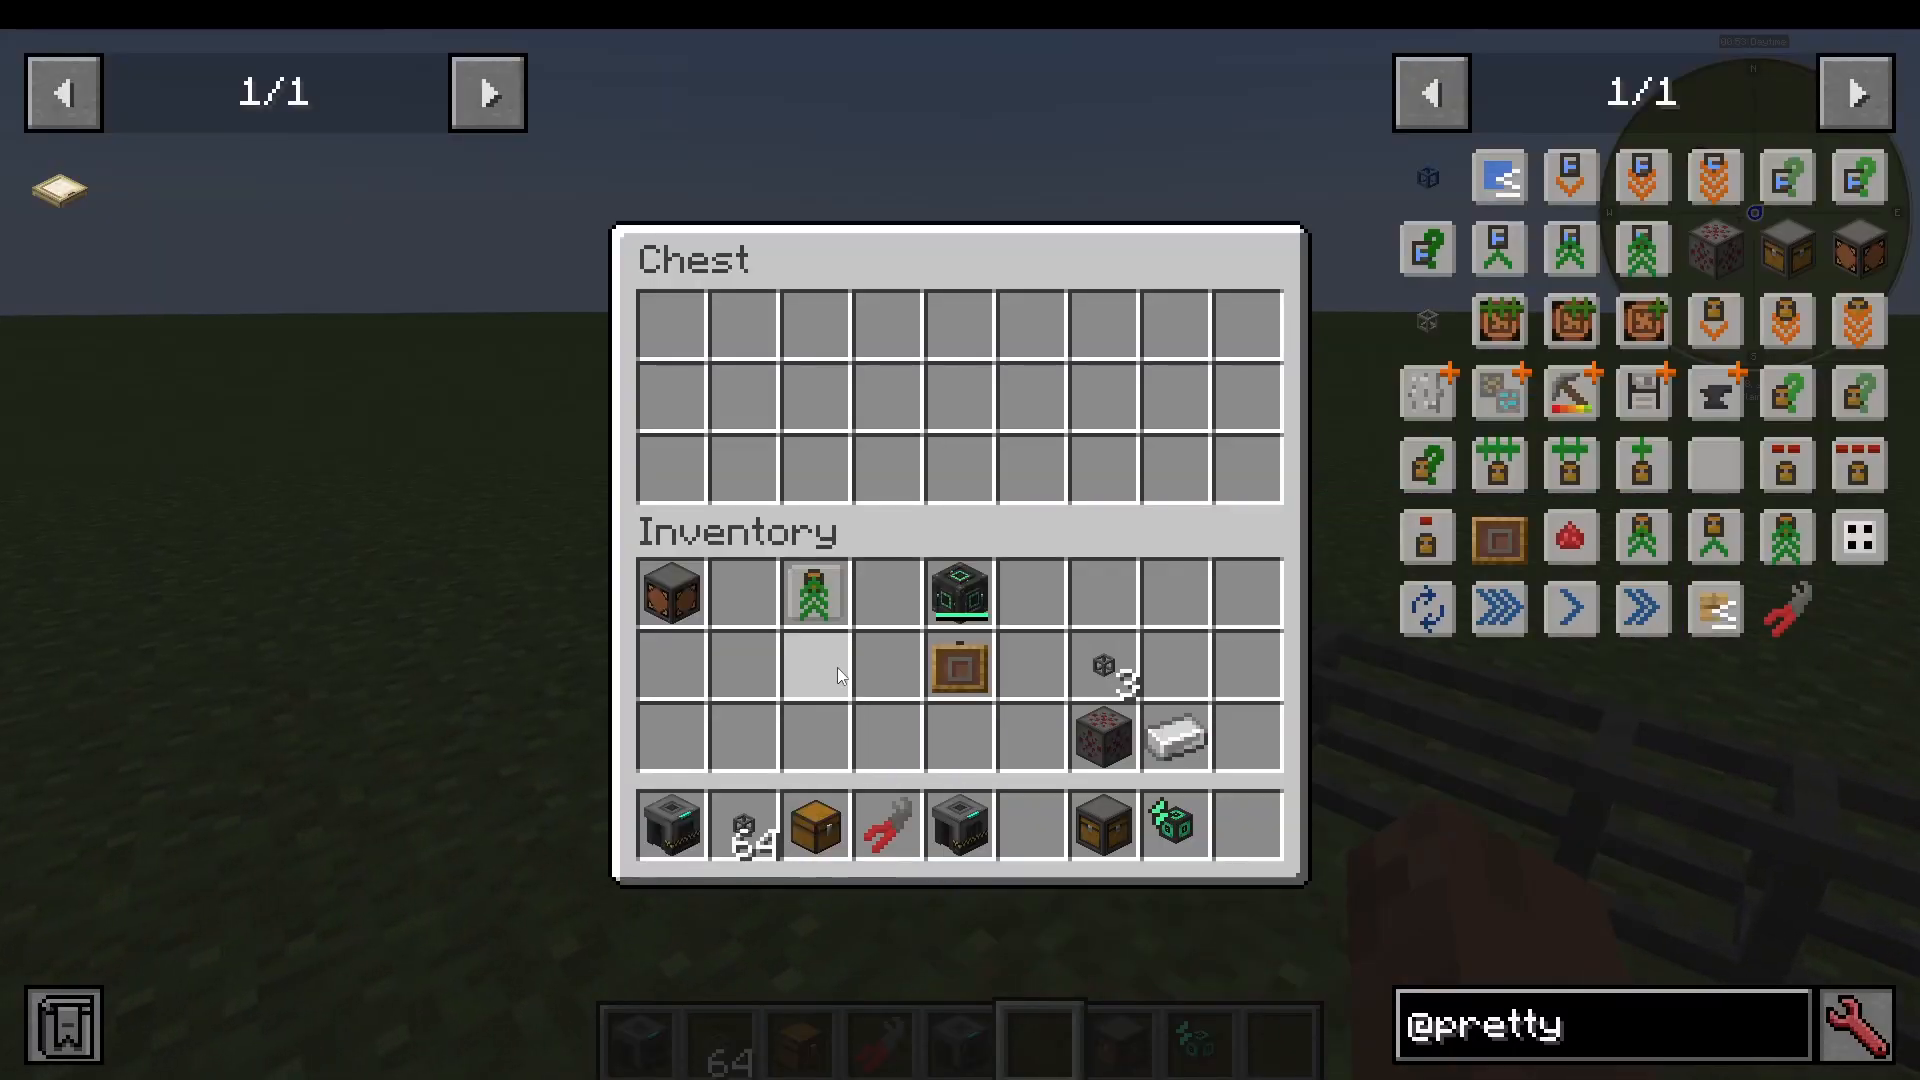
There is also a Lowest Priority Module that does the opposite — it marks an inventory as the last resort destination.
Other Useful Modules and Items
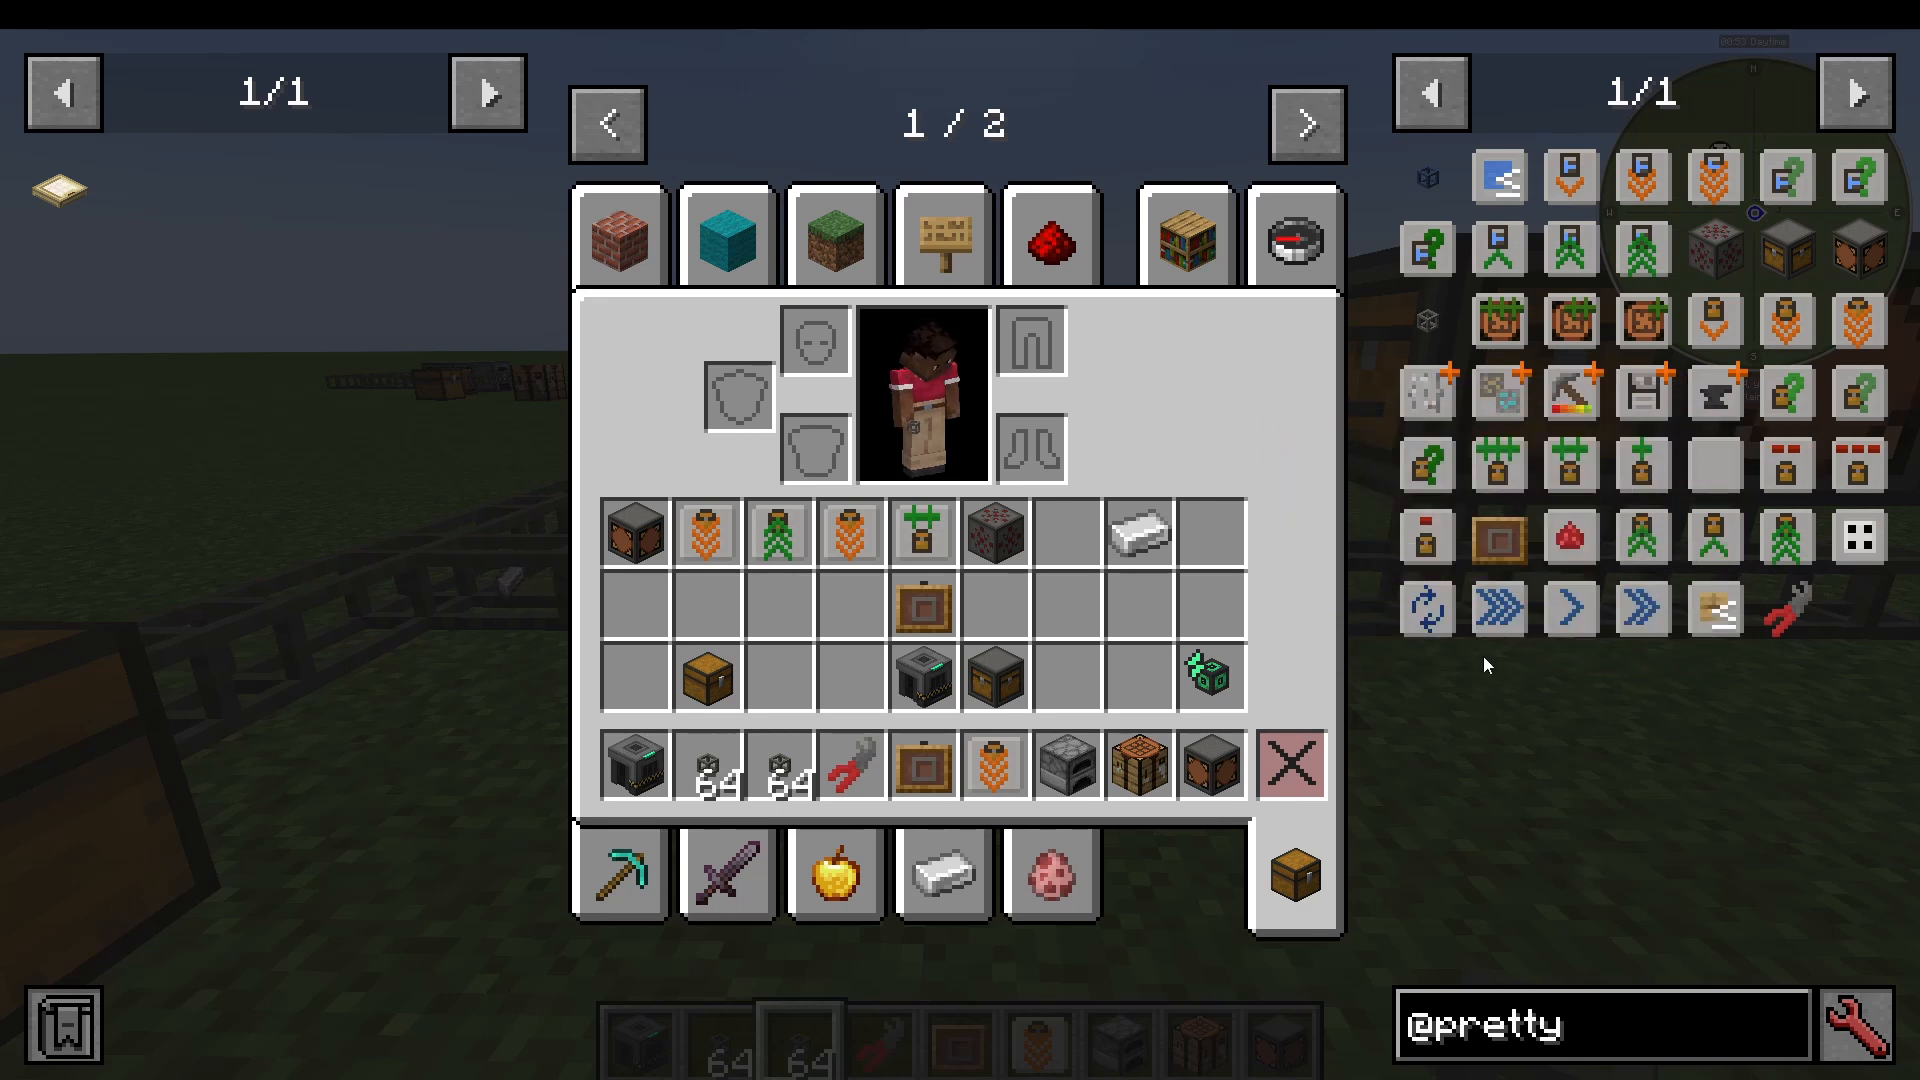
Pipe Frame
Place a Pipe Frame on any pipe in your network. Right-clicking it with an item (for example, Iron Ore) will display how many of that item are currently stored across the entire system — a handy stock checker without needing a full terminal.
Redstone Module
The Redstone Module lets you control a pipe with a redstone signal. Attach it to a pipe, then use a lever or other redstone source to enable or disable item extraction through that pipe on demand.
Random Sorting Module
The Random Sorting Module causes extracted items to choose their destination randomly. Note that it ignores priority modules entirely.
Round Robin Module
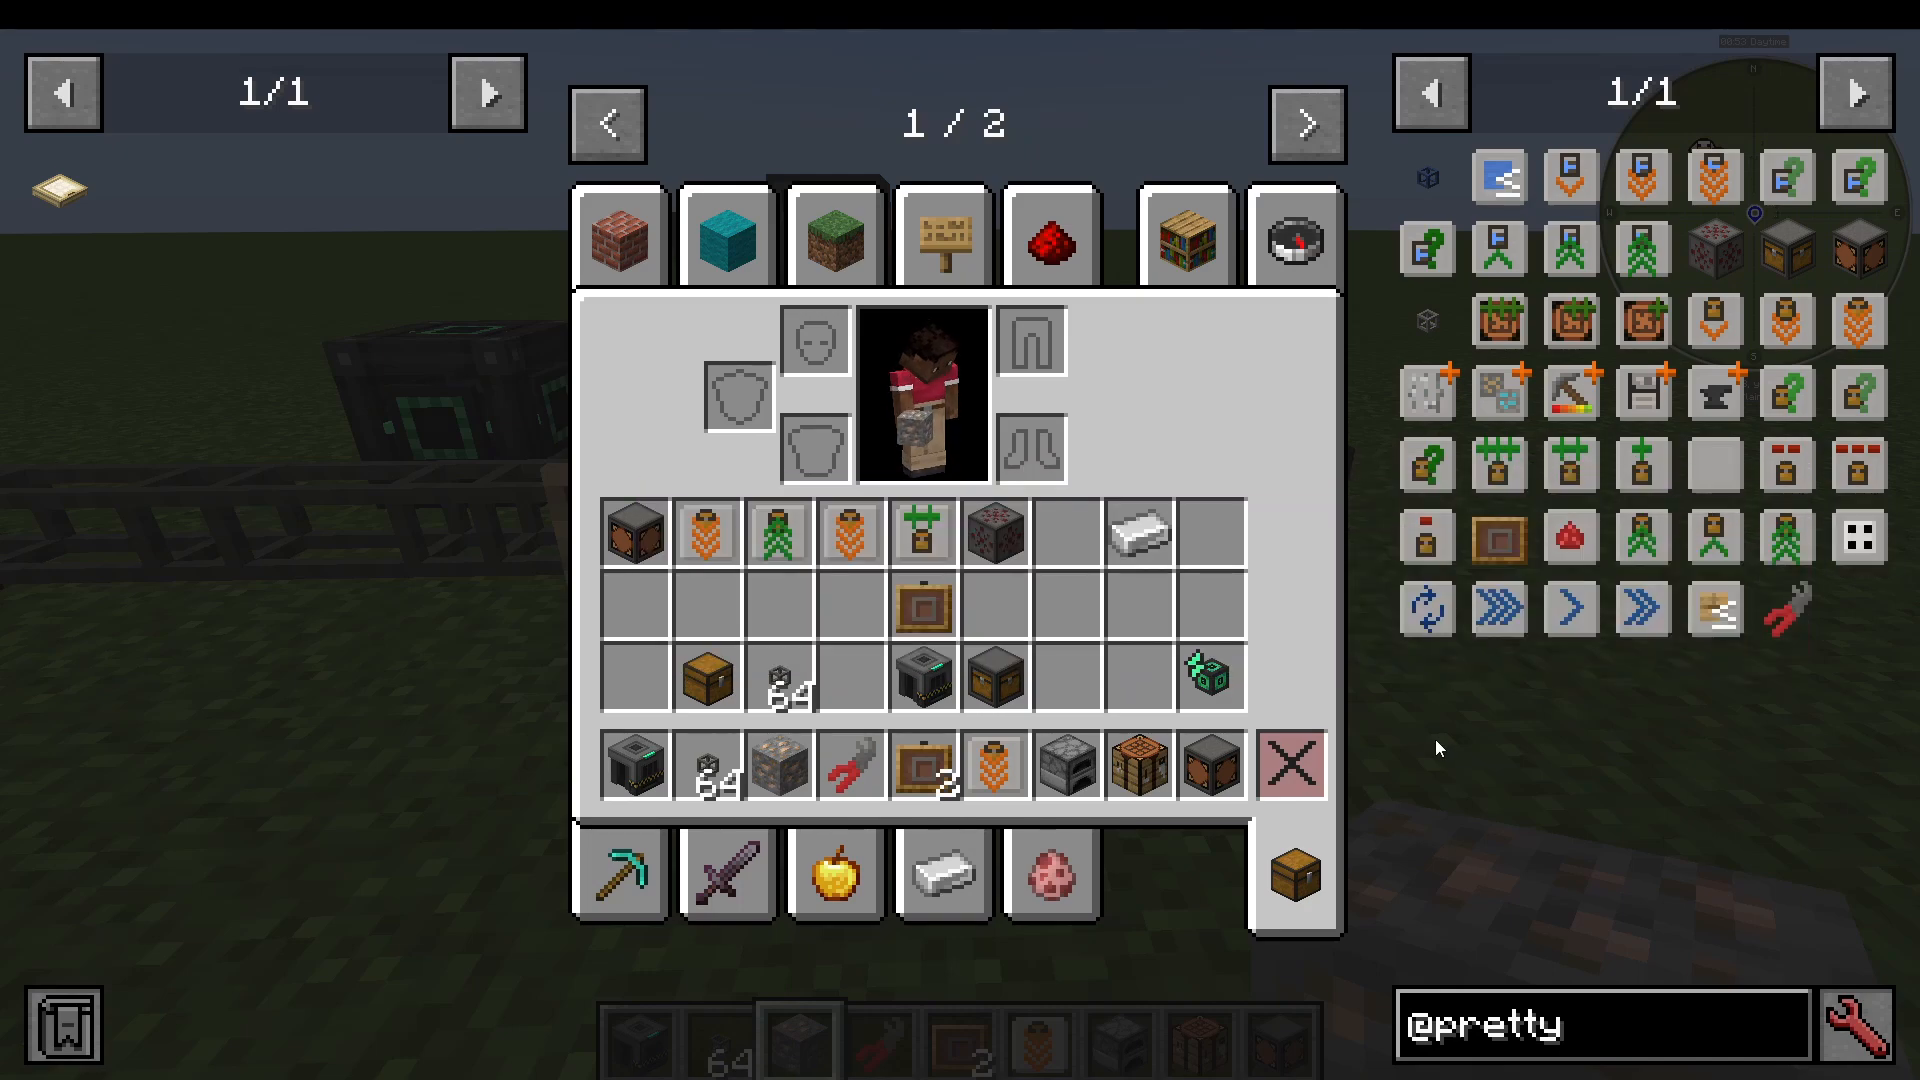
The Round Robin Module distributes items evenly across available inventories in sequence — first chest, second chest, third chest, then back to the first. Keep in mind that this governs destination selection only; it does not force items to be extracted.
Speed Increase Module
The Speed Increase Module makes items zoom out of an inventory faster, reducing the time between extractions.
Stack Limiter Module
The Stack Limiter Module lets you cap how many items can be sent into a specific inventory. For example, set it to 10 and that chest will never request more than 10 of a given item at a time.
Pipe Pressurizer
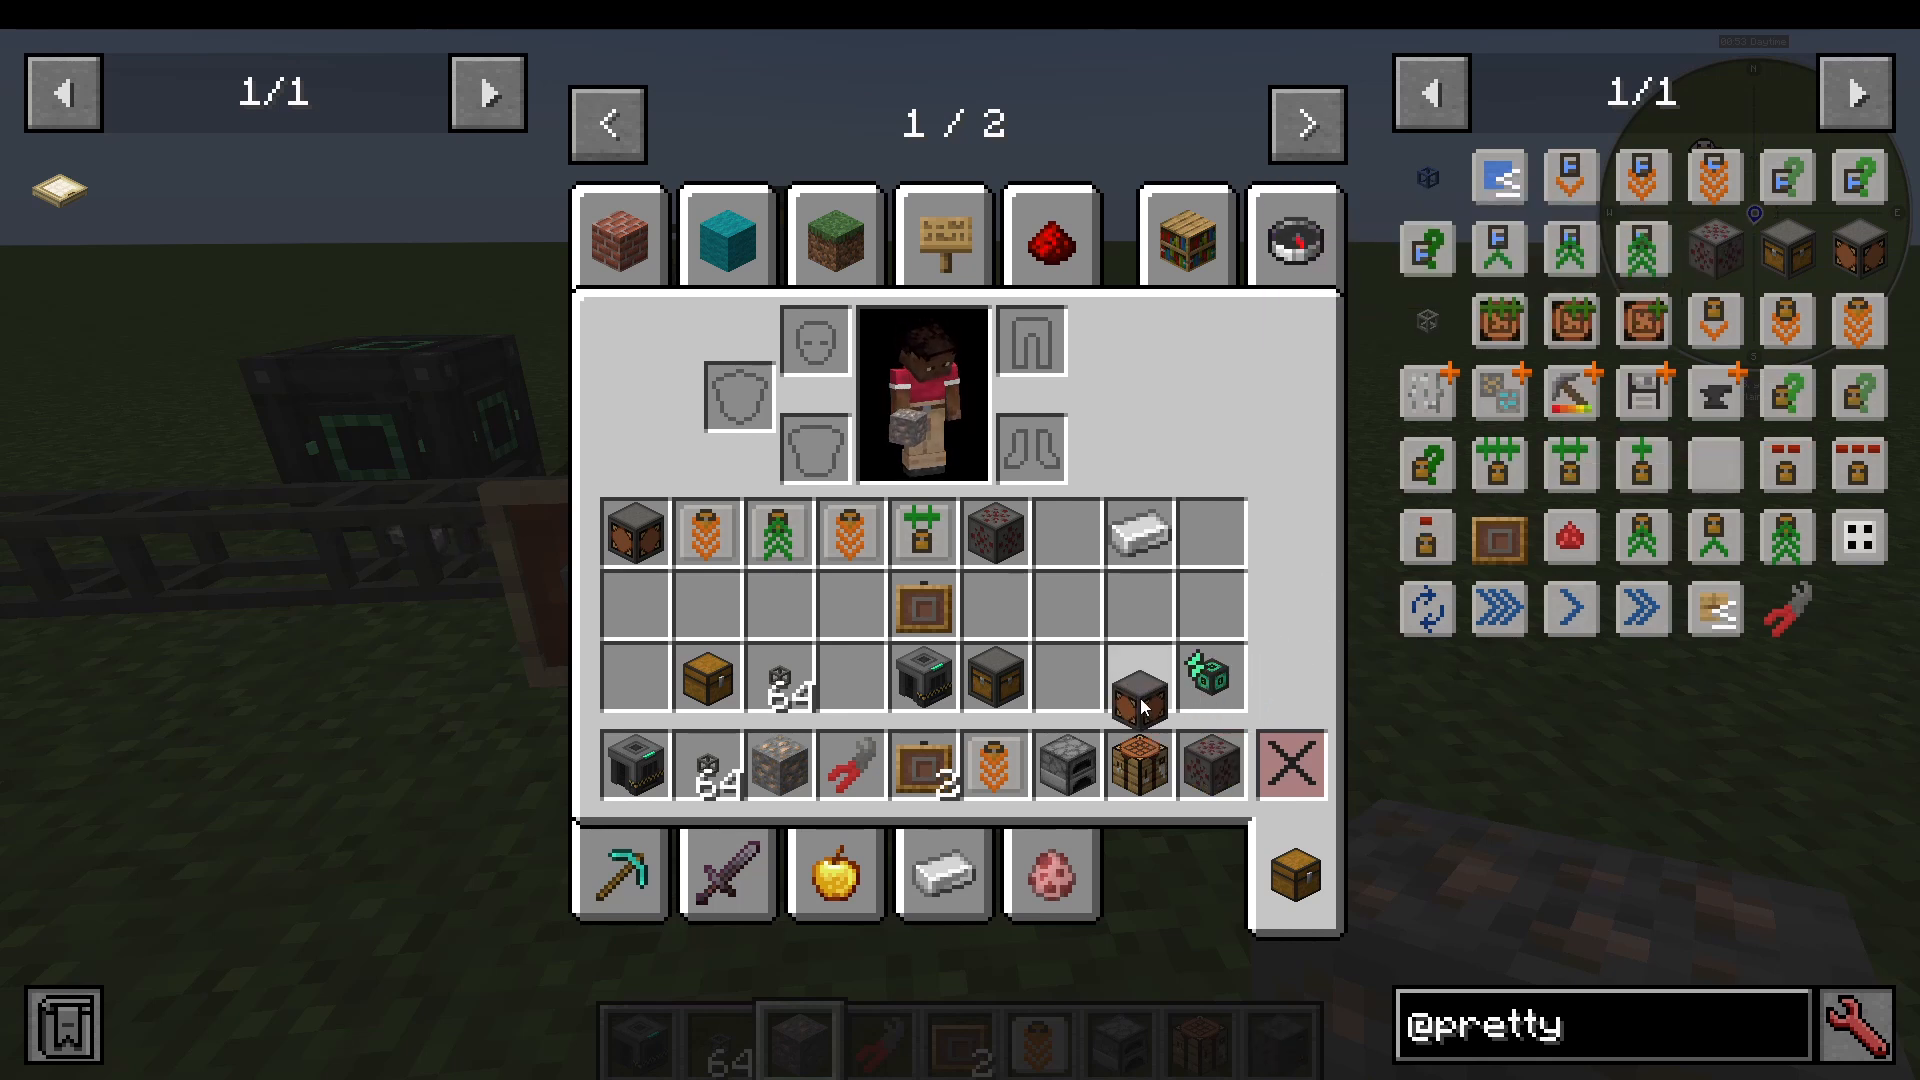
The Pipe Pressurizer is a block (not a module) that connects to your pipe network and accepts power from a compatible power source. It does not generate power itself, but when powered, it dramatically increases the speed at which items travel through all pipes in the network.
Terminals: Viewing and Requesting Items
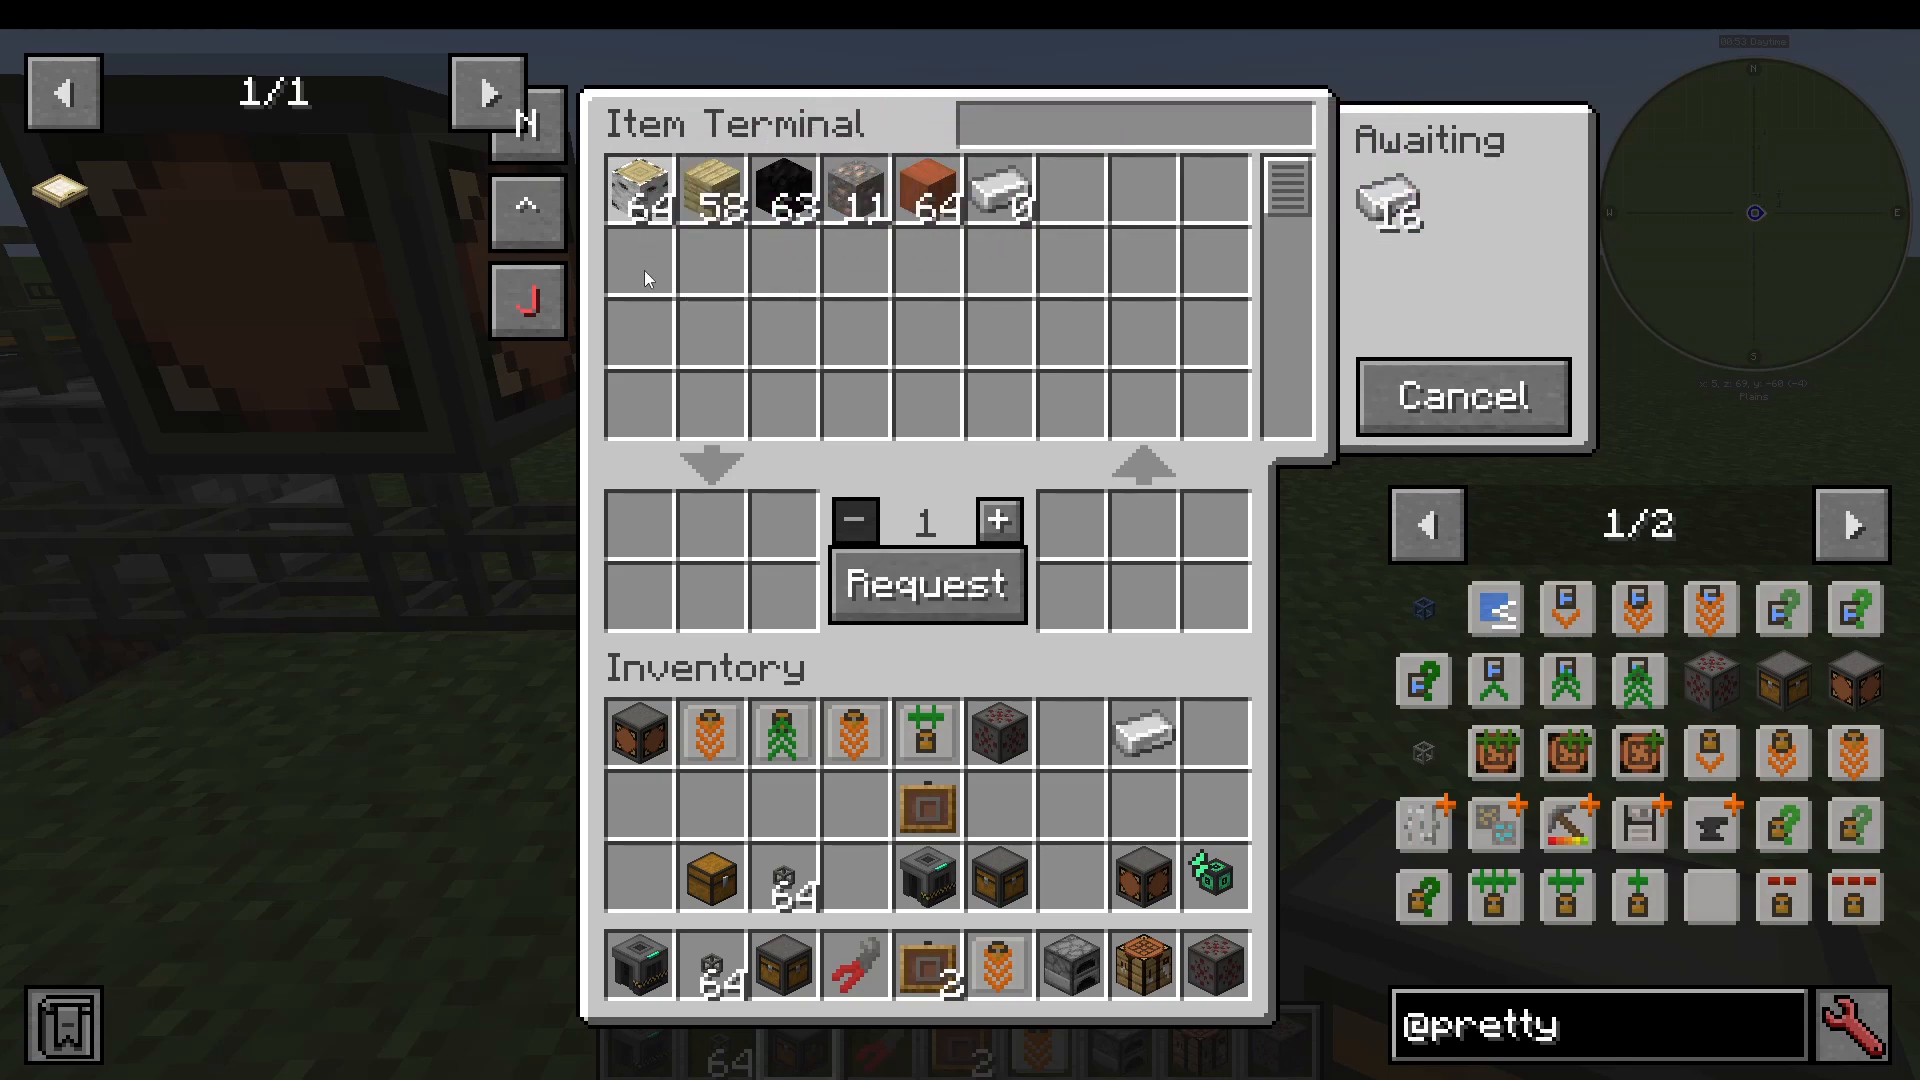
Item Terminal
The Item Terminal gives you a centralised view of everything stored across all inventories in your pipe network. Connect it to a single pipe only — it will not work correctly if it has more than one pipe connection.
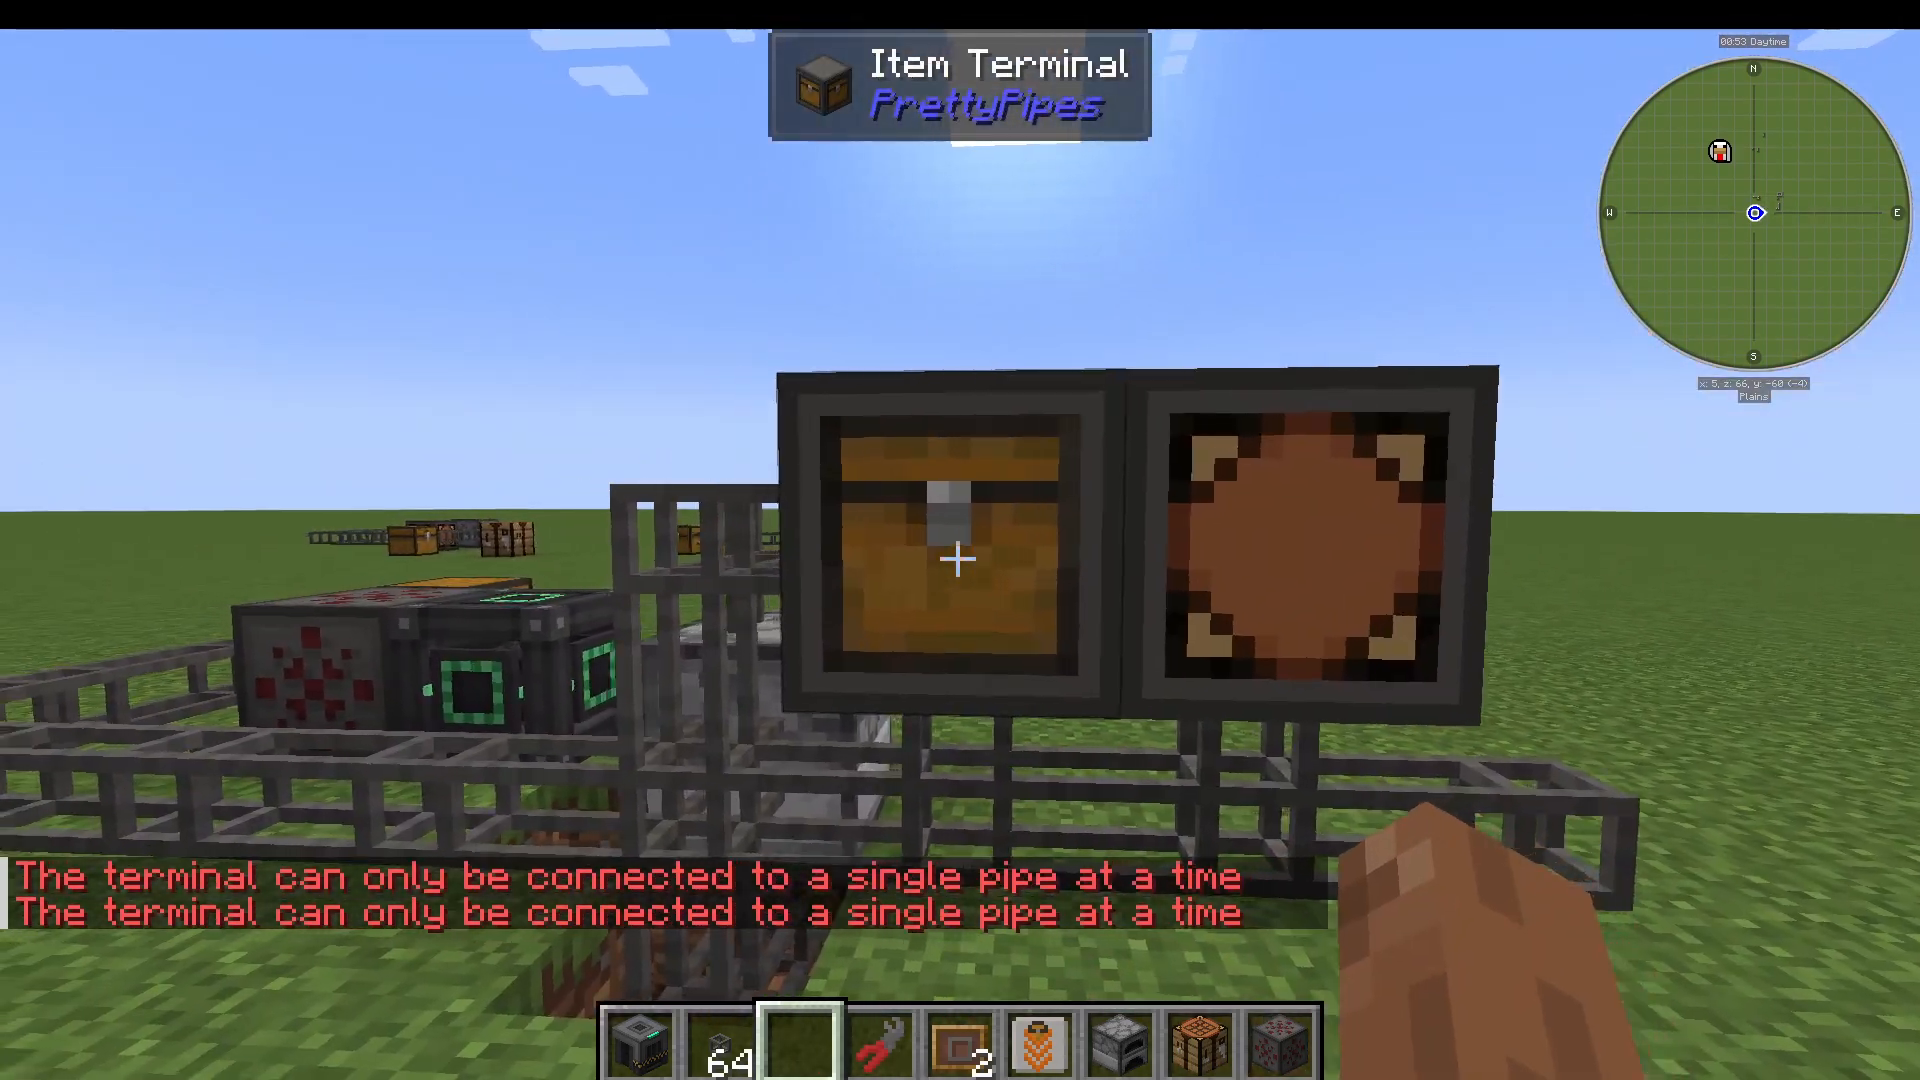
From the Item Terminal you can request items from storage and they will be delivered to the terminal’s input slot. You can also insert items back into the network through that same slot. With a Pipe Pressurizer active, item delivery is near-instantaneous.
Crafting Terminal
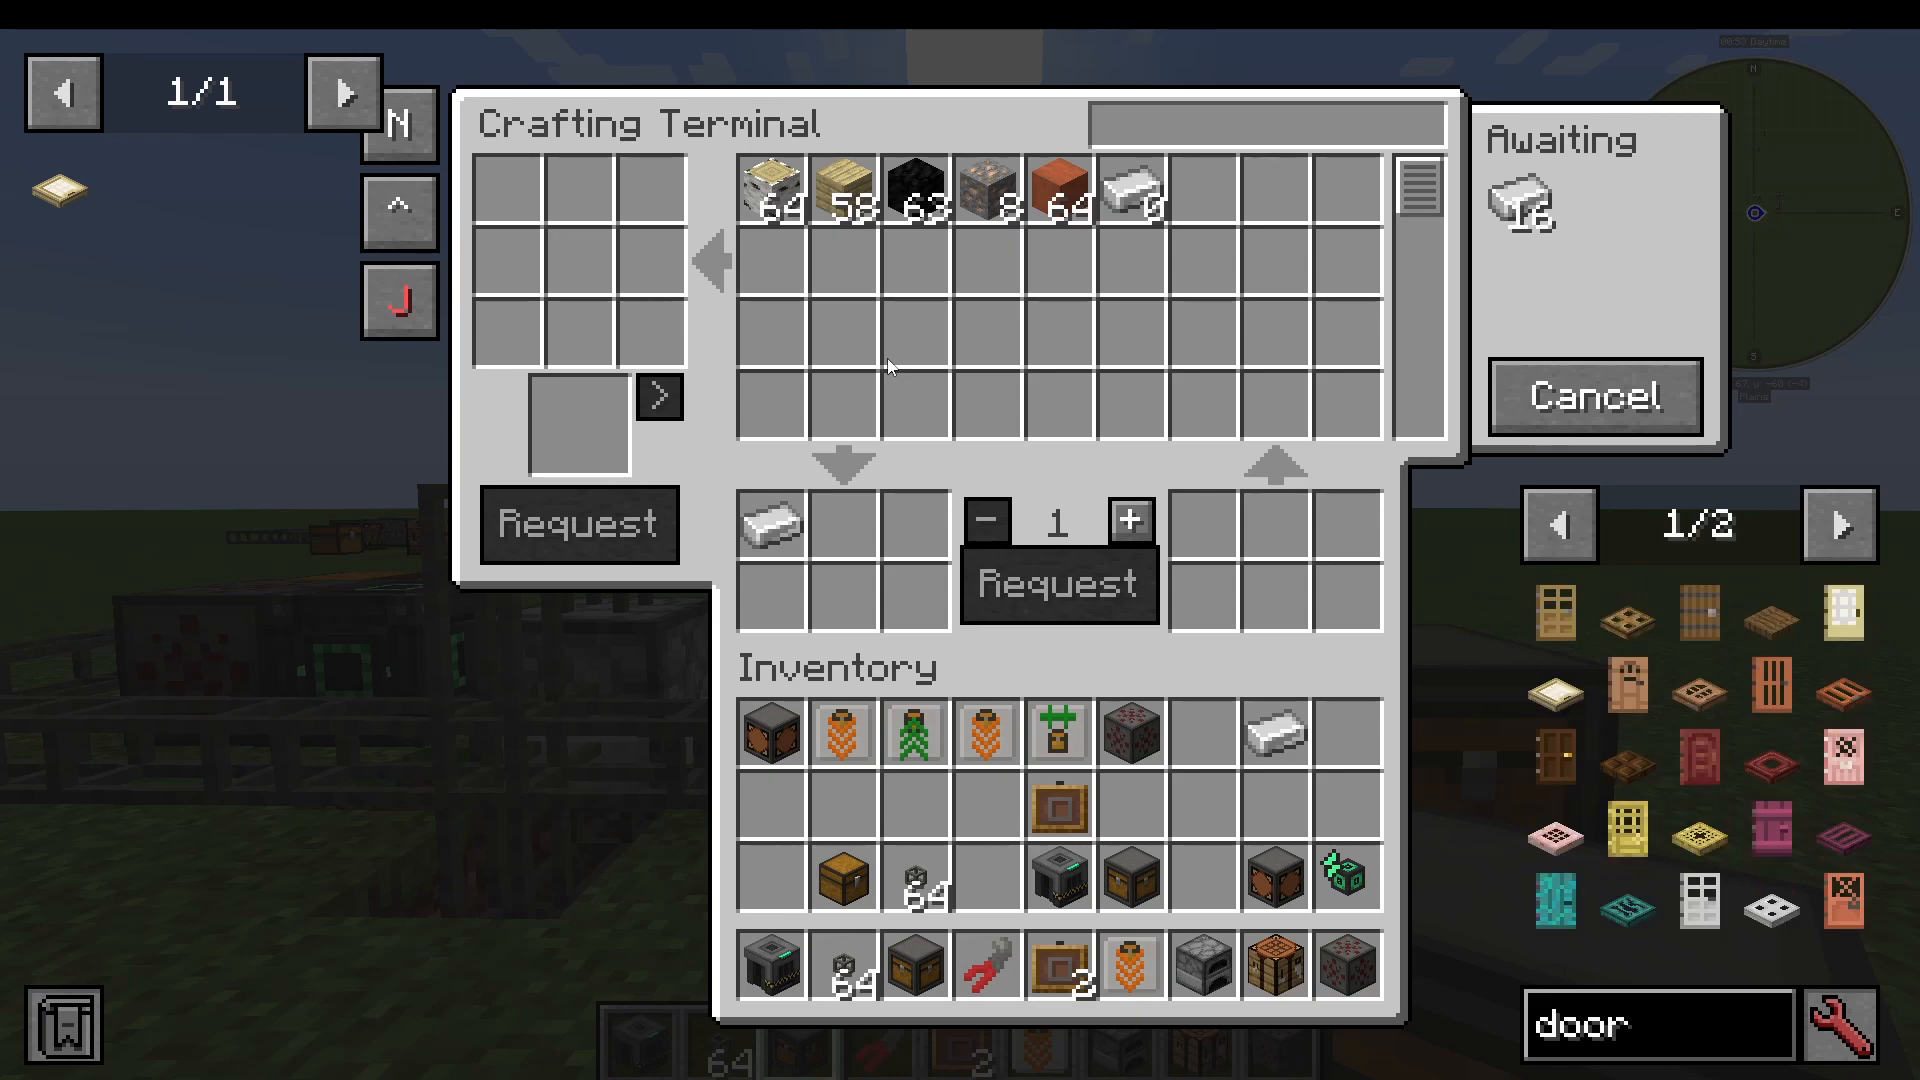
Upgrade the Item Terminal to a Crafting Terminal to unlock on-demand crafting from your network’s stored items. Here’s how it works:
Open a recipe in JEI (Just Enough Items).
Click the + item button to populate the crafting grid.
Press Request — the required items are pulled from your network storage into the crafting terminal.
Take the crafted result from the output slot.
If you change your mind, you can take the raw ingredients out of the crafting grid and return them to the network via the input slot.
Auto Crafting with the Crafting Module
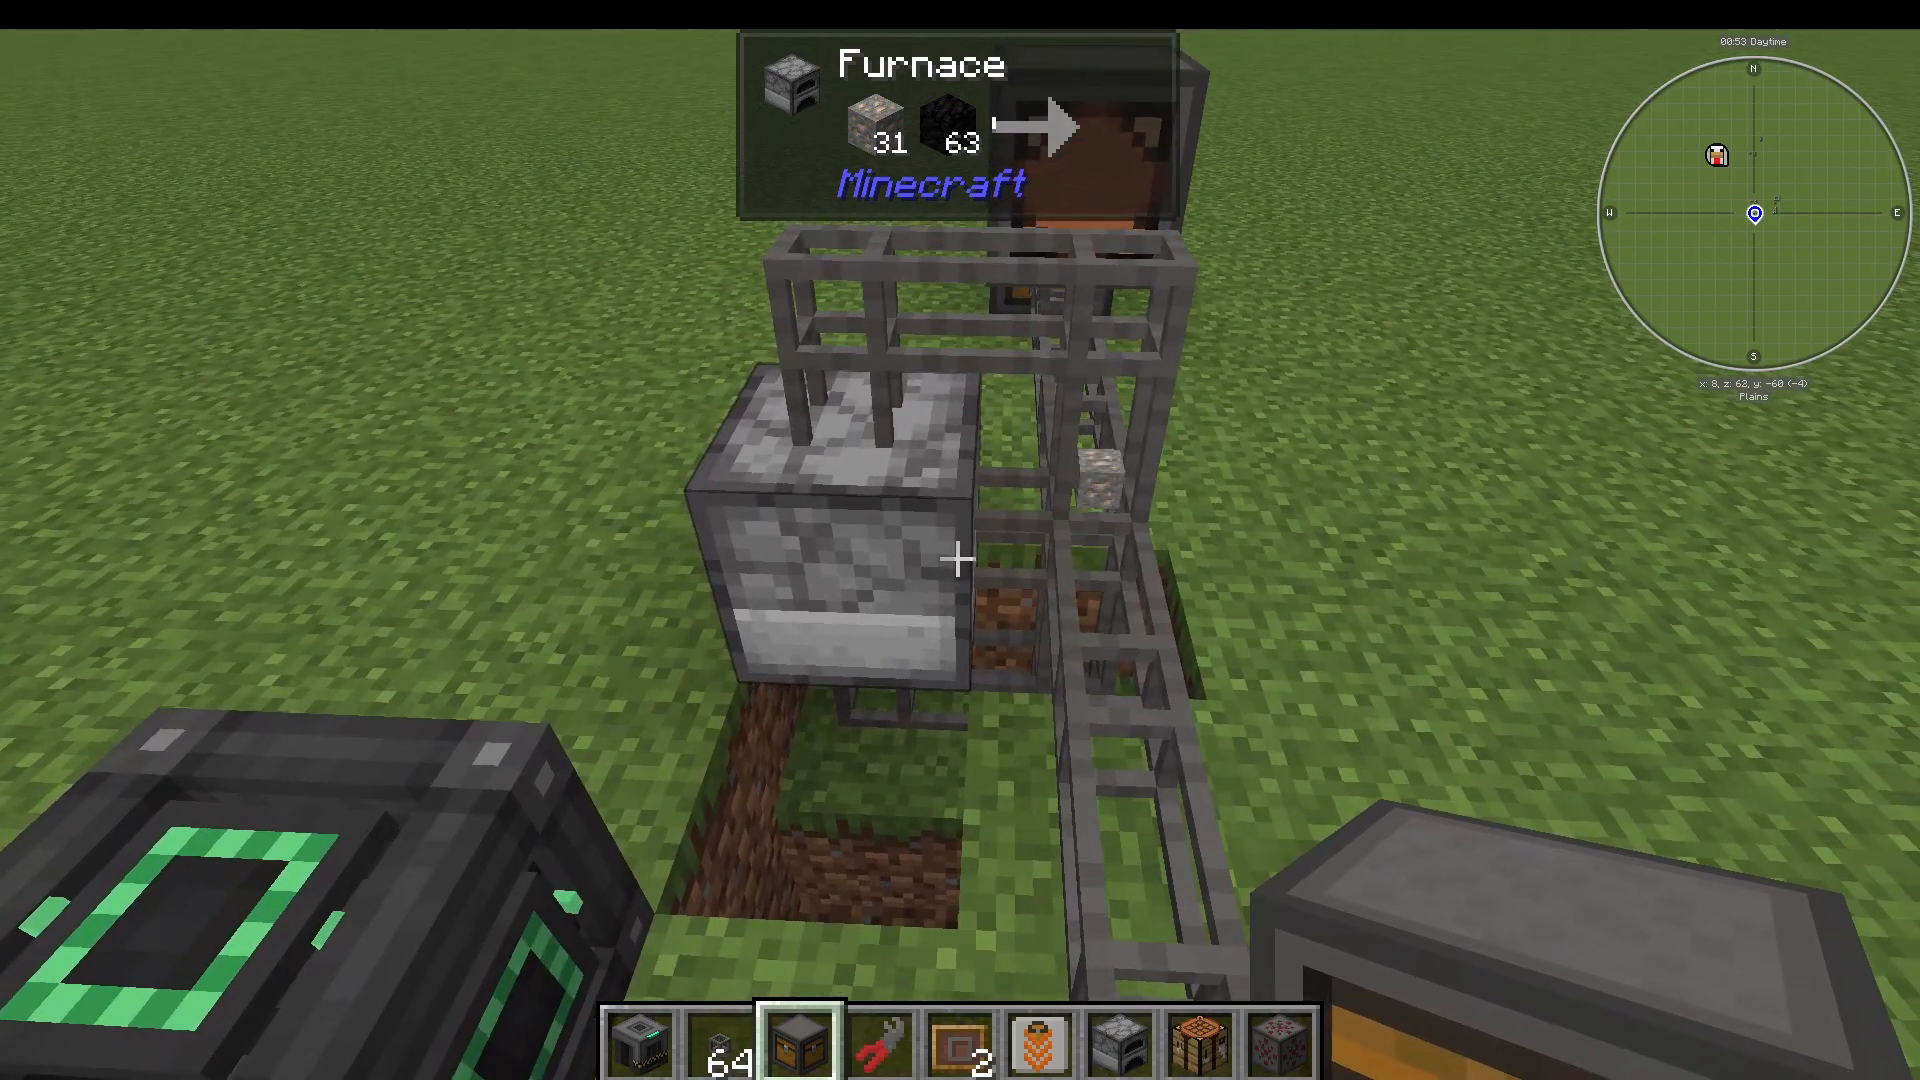
Pretty Pipes supports basic auto-crafting using the Crafting Module in combination with a processing machine such as a Furnace. Here is a step-by-step example using a Furnace to smelt Iron Ore into Iron Ingots:
Setting Up the Furnace Pipeline
Top pipe (input side of the Furnace) — Add a filter module set to allow Iron Ore only, plus a Crafting Module configured with the recipe: Iron Ore → Iron Ingot.
Side pipe (fuel side of the Furnace) — Add a request module configured to supply Coal (or your chosen fuel).
Bottom pipe (output side of the Furnace) — Add a High Retrieval Module set to retrieve Iron Ingots, pulling finished ingots into your storage chest.
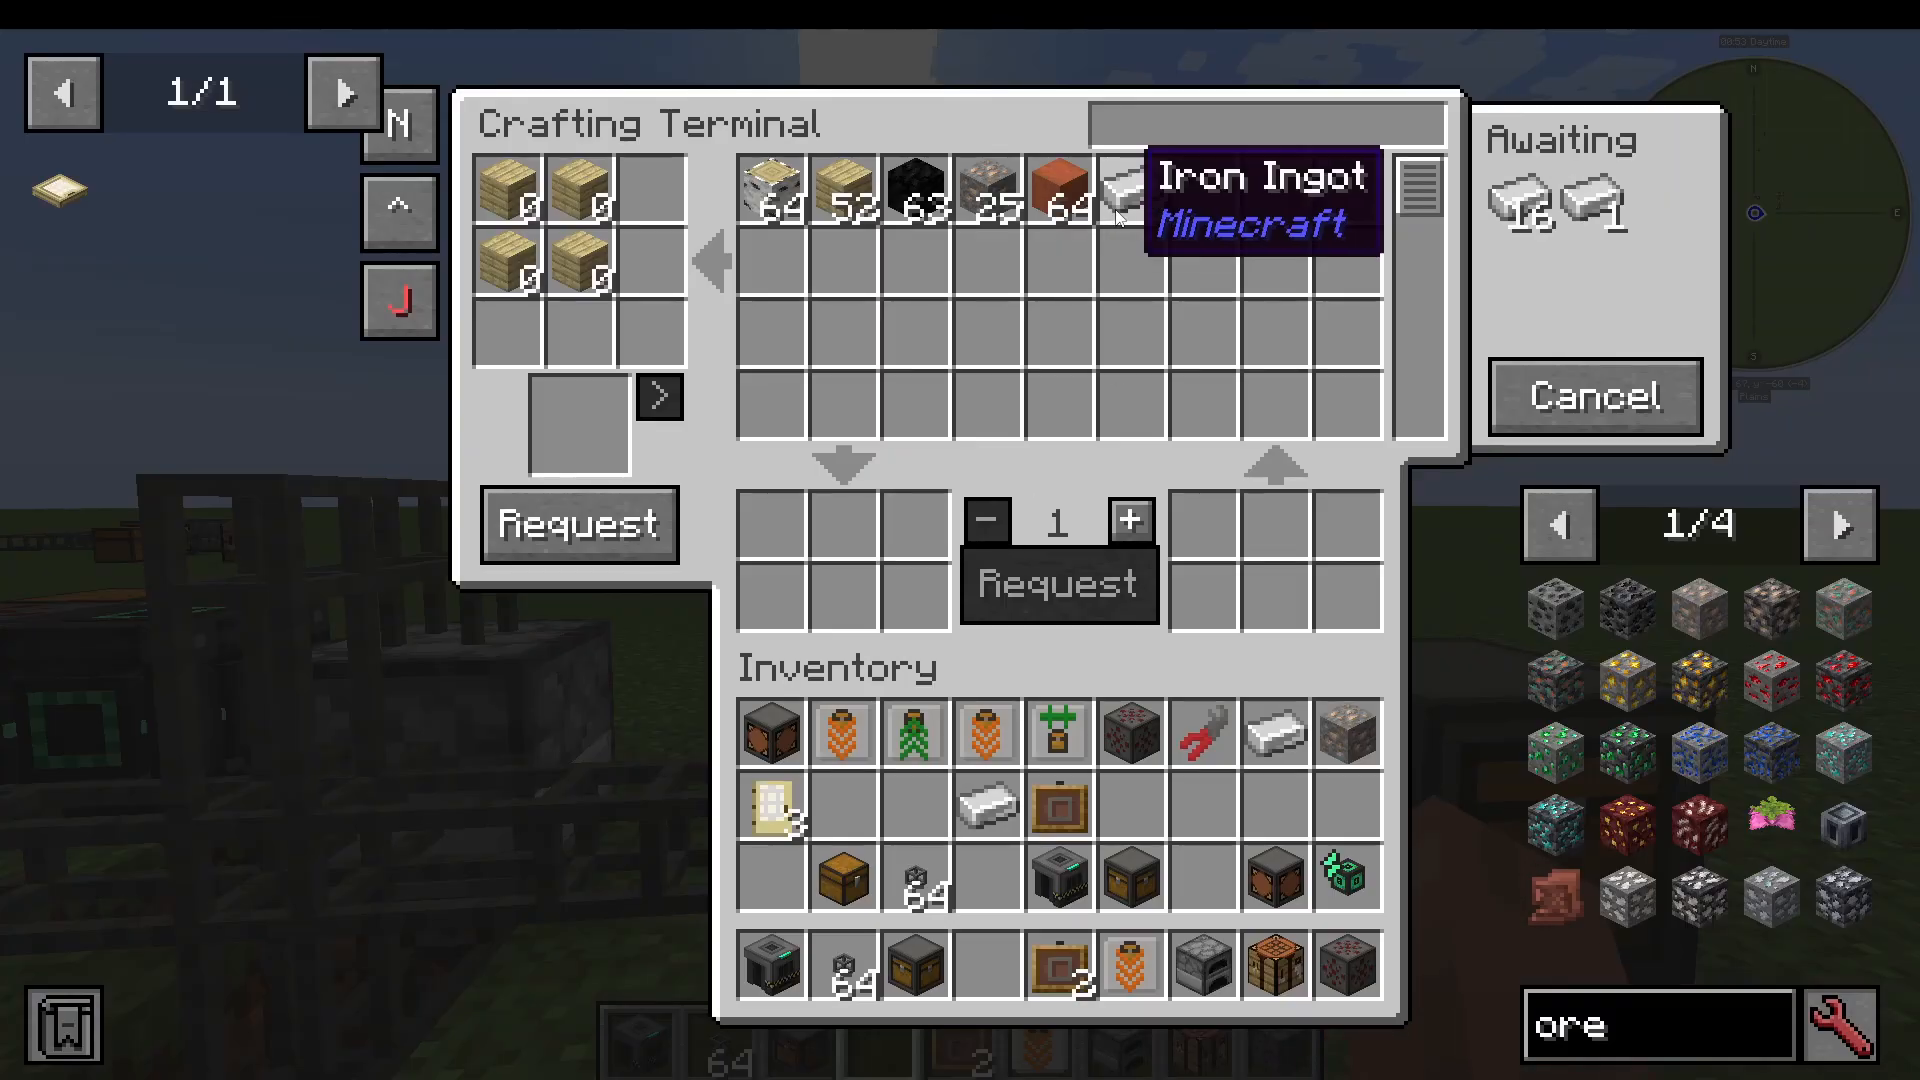
With this setup in place, go to your Crafting Terminal, search for Iron Ingot, and press Request. The system will automatically send Iron Ore into the Furnace, smelt it, and retrieve the resulting Iron Ingots back into your network.
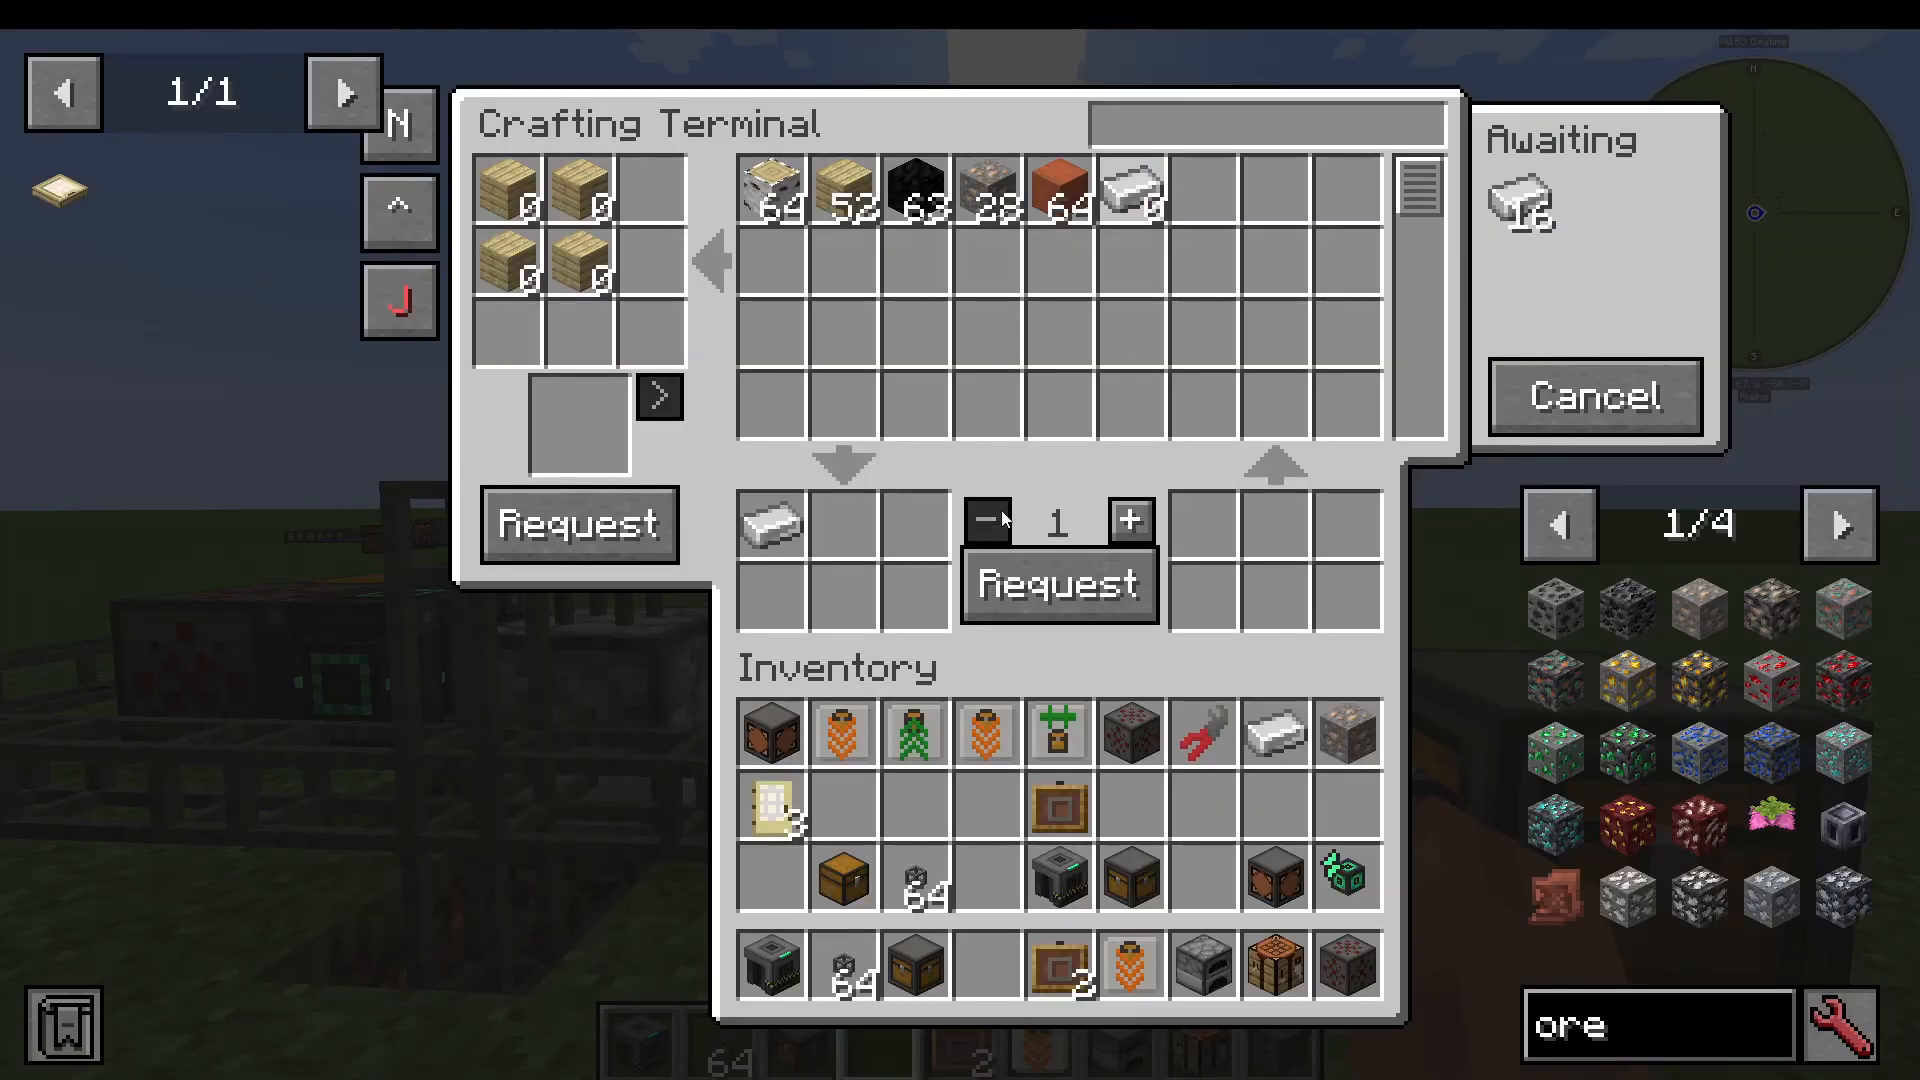
You can also batch-request multiple items at once — for example, requesting 10 Iron Ingots will send 10 Iron Ore into the Furnace automatically.
Tip: If multiple inventories are competing to receive the same item type, use a priority module on your intended destination to avoid items going to the wrong chest.
Pretty Pipes: Fluids Add-On
The Pretty Pipes: Fluids add-on mod extends the entire system to work with liquids and tanks. It includes fluid equivalents of every module covered in this guide:
Fluid Extraction Module
Fluid Retrieval Module
Fluid Filter Module
Fluid Limiter Module
The logic is identical to the item-based modules — the only difference is that these operate on fluid tanks rather than item inventories. If you understand the item system, you already understand the fluid system.
Summary
The Pretty Pipes mod is an excellent choice for anyone who wants a clean, manageable item routing system without the steep learning curve of mods like Applied Energistics. To recap the key components:
Pipes — one tier, connect automatically to adjacent inventories.
Pipe Wrench — manage connections and add decorative covers.
Extraction Module — push items out of a specific chest.
Retrieval Module — pull items into a specific chest from anywhere.
Filter Module — whitelist or blacklist items at an inventory entrance.
Filter Modifiers — extend filtering by tag, damage, NBT data, or mod.
Priority Module — direct items to a preferred destination.
Crafting Module — enable auto-crafting through processing machines.
Item & Crafting Terminal — view stock and request crafts network-wide.
Pipe Pressurizer — power-up your network for high-speed item transport.
Pretty Pipes: Fluids — extends all of the above to fluid handling.
Start simple with a few extraction modules and work your way up to auto-crafting as you grow more comfortable. The system rewards experimentation, and troubleshooting your pipeline is half the fun.
“`