





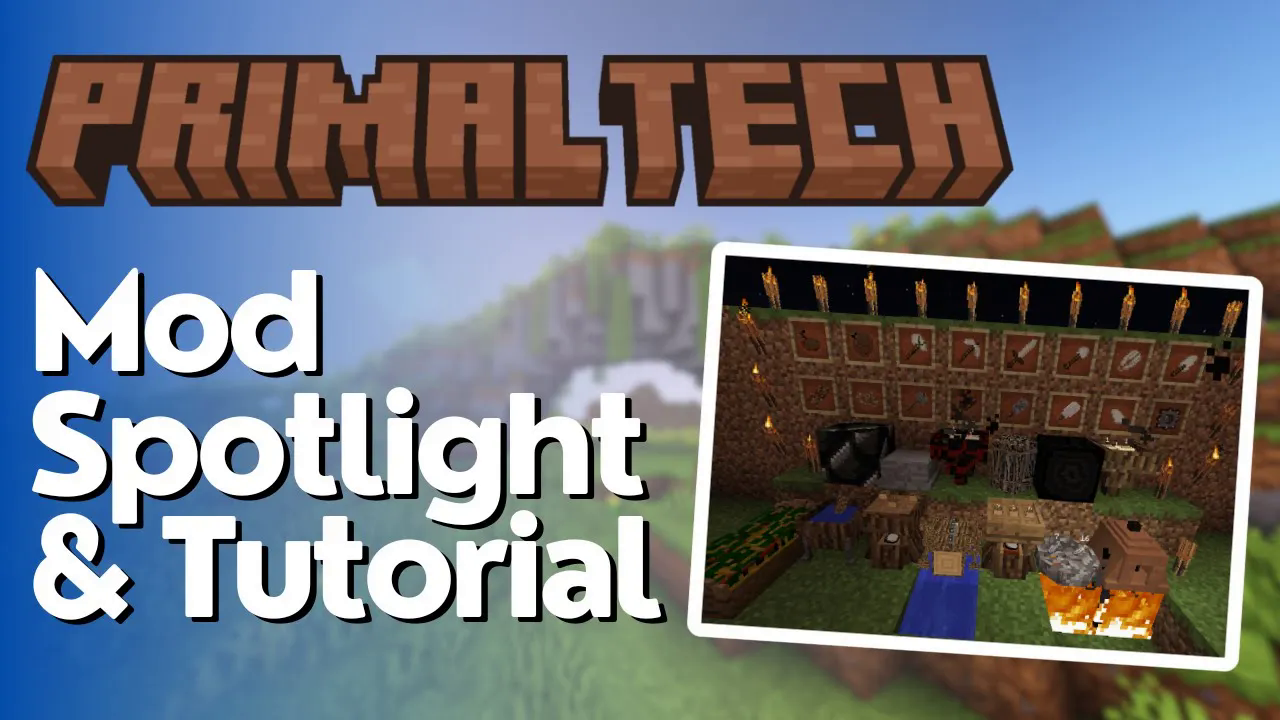
Primal Tech Mod Tutorial & Spotlight
Primal Tech Mod Tutorial: A Complete Beginner’s Guide
Primal Tech is a pre-vanilla-style mod primarily developed for the SevTech Ages mod pack. It adds a collection of primitive, early-game tools, crafting stations, and fire-starting mechanics that push you back to the very basics of survival. Whether you’re playing it as part of SevTech Ages or as a standalone mod, this tutorial covers every feature Primal Tech has to offer — step by step, from the clay kiln all the way to the fluid bladder.
The Clay Kiln: Your First Heat Source
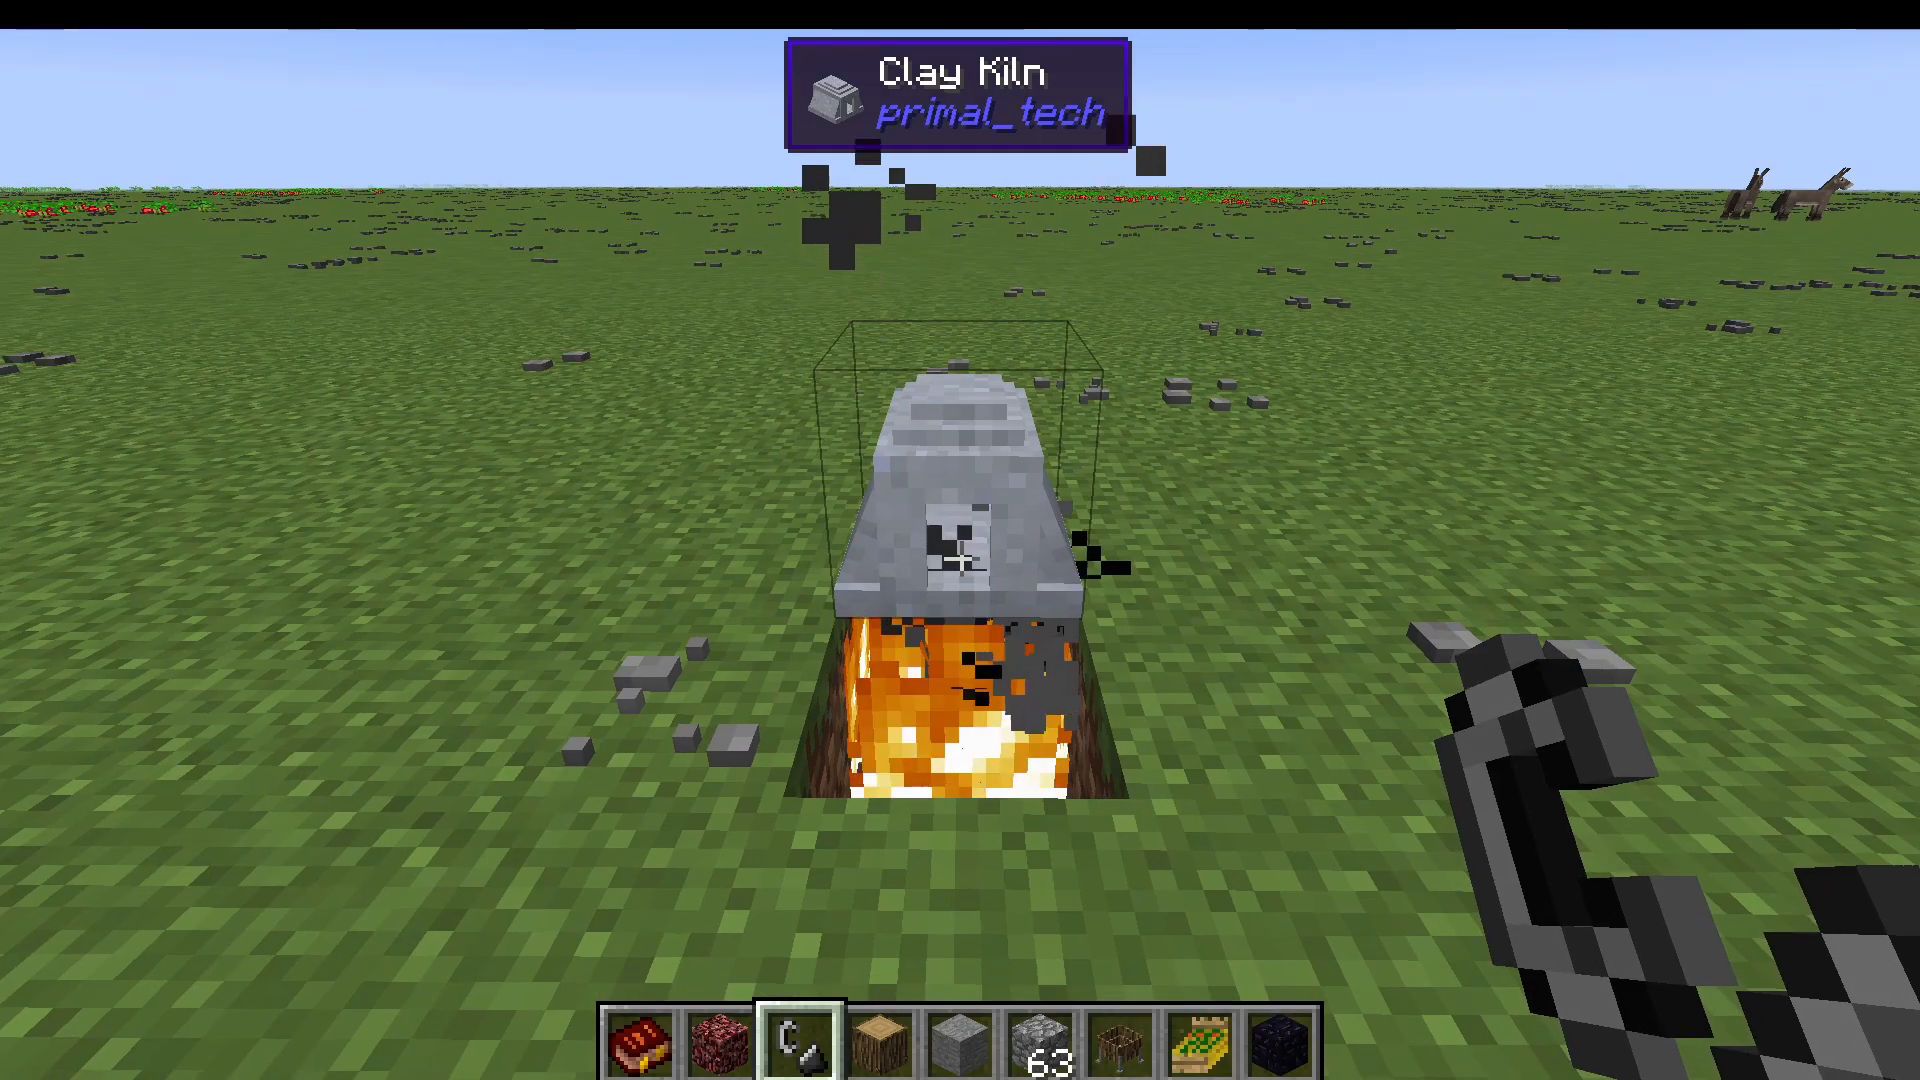
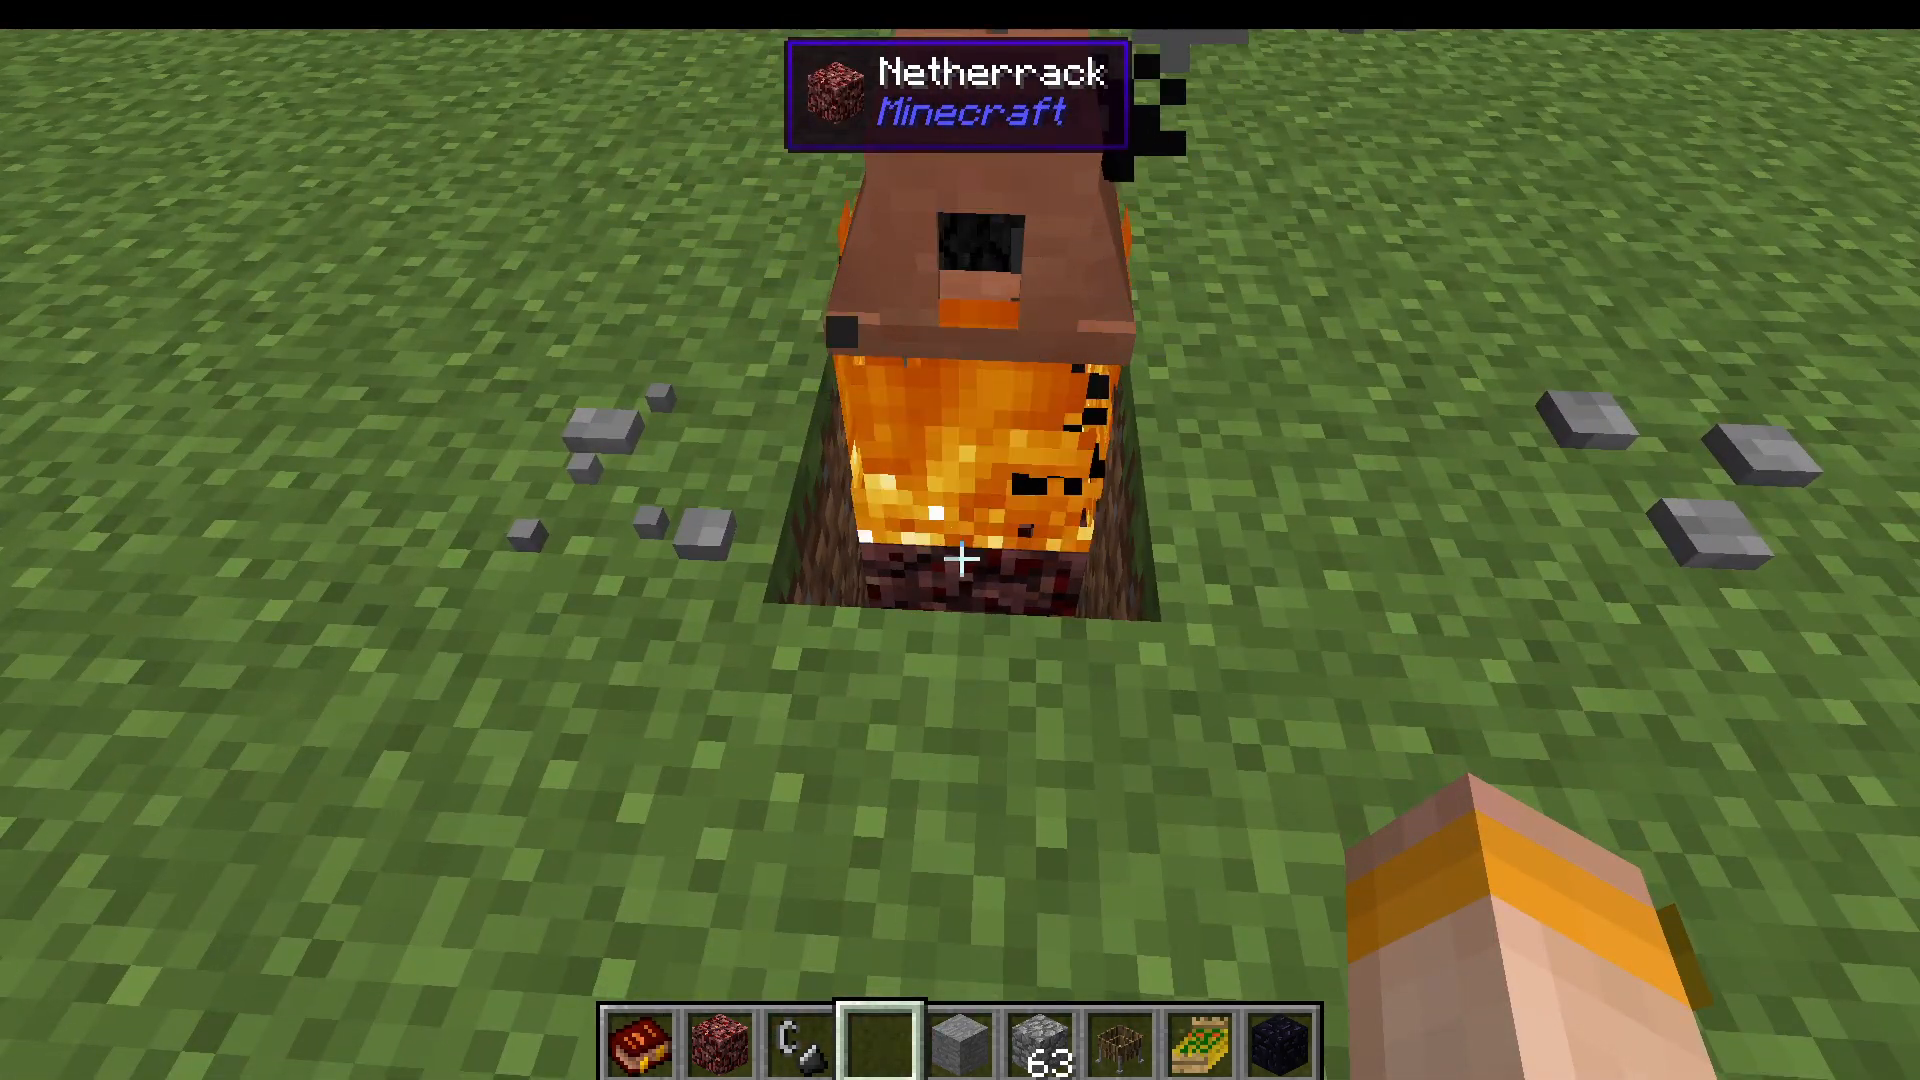
The Clay Kiln is one of the first and most important blocks Primal Tech adds. It allows you to heat items very early in the game before you have access to furnaces or other advanced crafting blocks. To use it, you need a constant fire source placed directly beneath the kiln. In this tutorial, Netherrack is used as the fire source, but the method will vary depending on your mod pack.
Once the fire is burning underneath, simply right-click the item you want to fire into the kiln. For example, right-clicking an oak log will begin the firing process. You’ll notice the clay kiln itself automatically turns a darker terracotta colour while it works. After a short time, the oak log will produce a Low Grade Charcoal Block.
Low Grade Charcoal
Low Grade Charcoal is a key fuel item in Primal Tech, especially useful in mod packs where you don’t yet have access to Netherrack or any other permanent fire source — which is common in a 1.12 mod pack environment like SevTech Ages. Once the charcoal is finished firing, right-click the kiln to retrieve it. You can then place the Low Grade Charcoal block and light it to create a lasting fire source.
Starting Fire: Whittled Firesticks
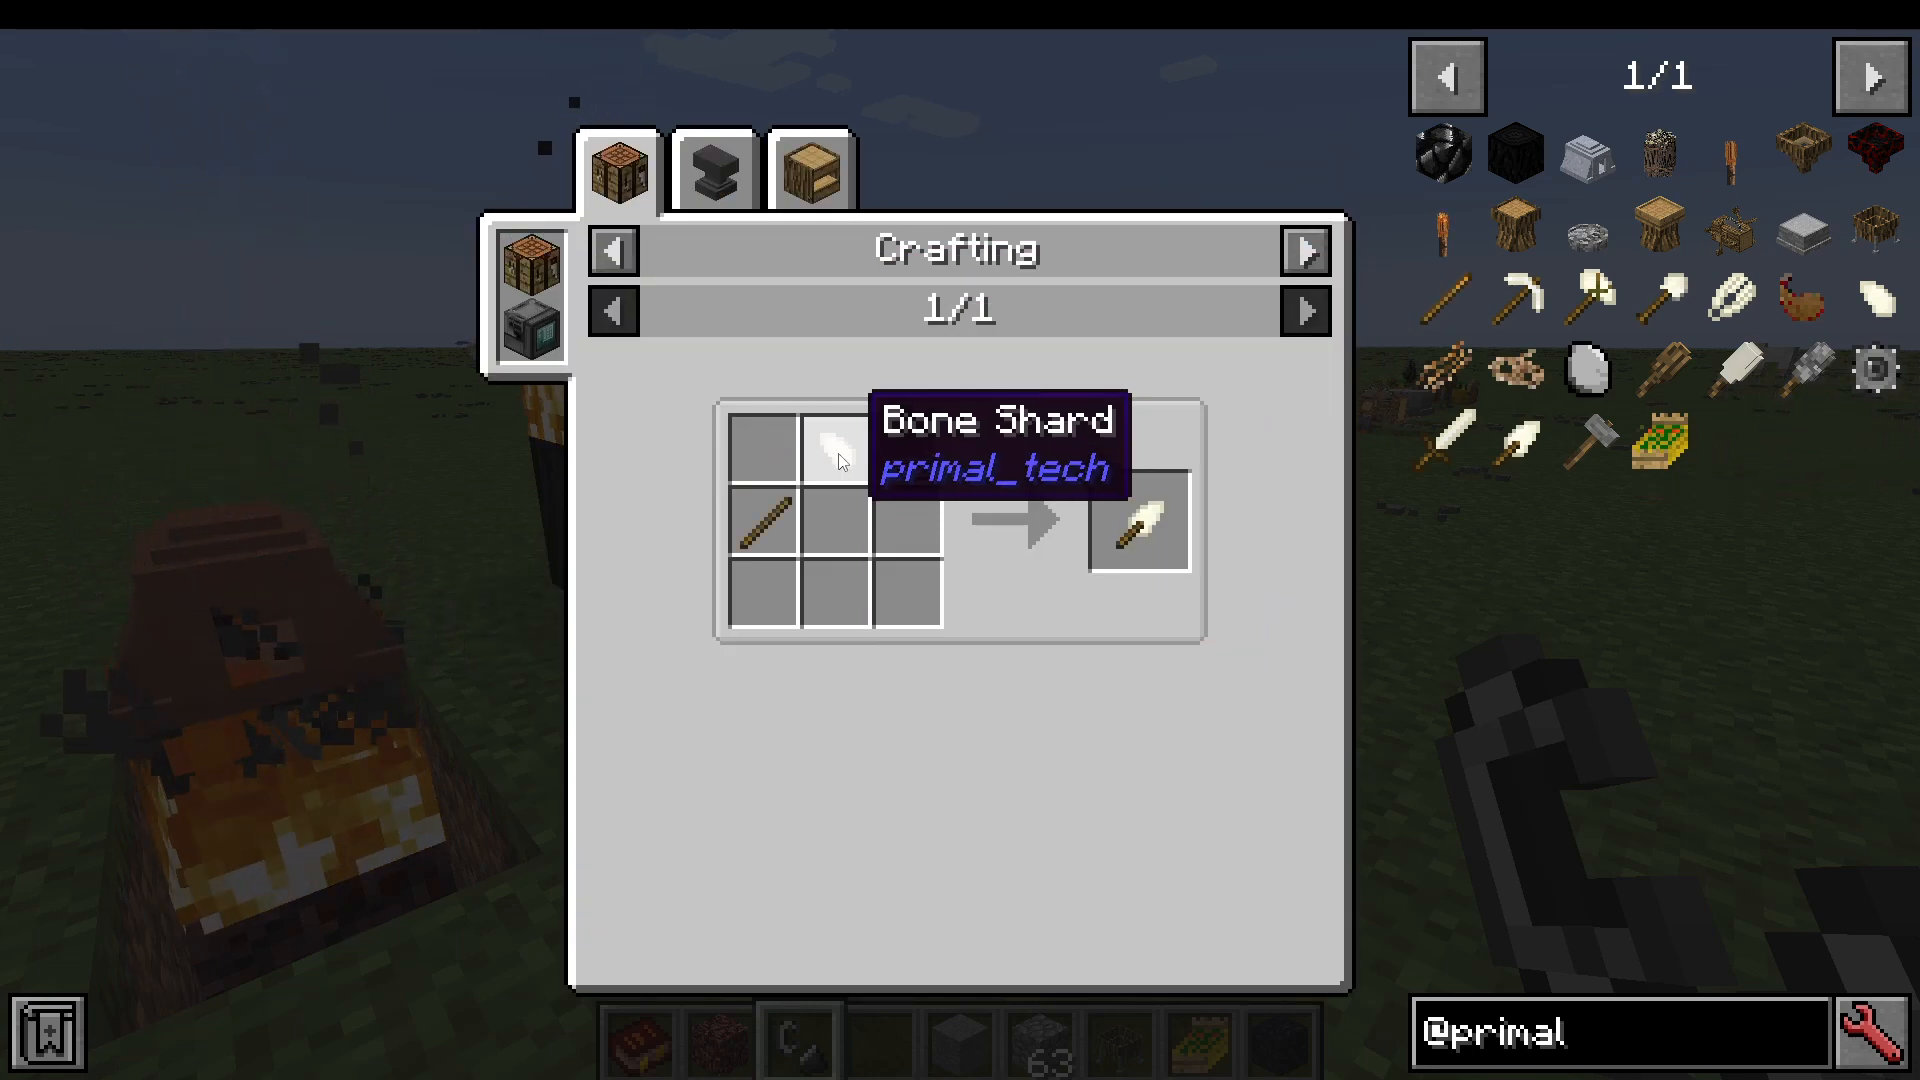
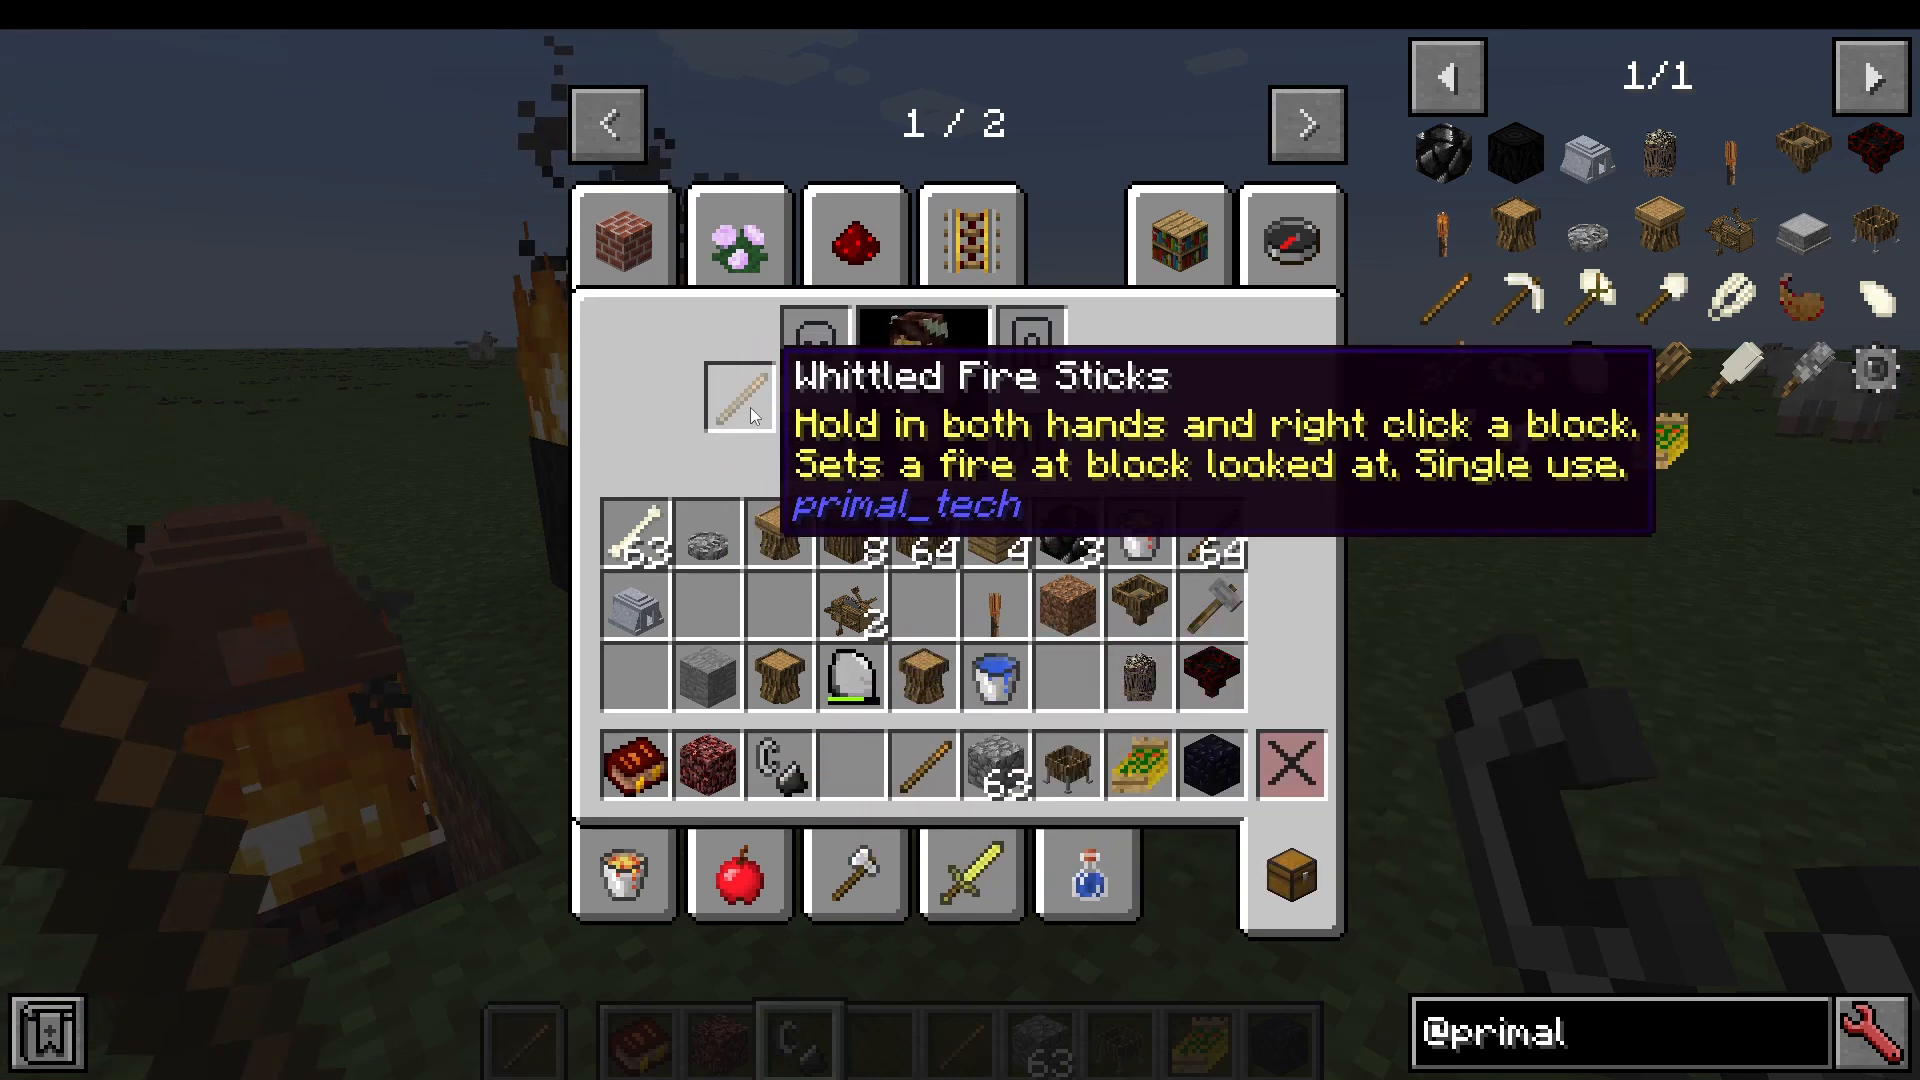
In Primal Tech, the standard way to light your Low Grade Charcoal is by using Whittled Firesticks. To craft them, you’ll first need a Bone Knife, which is made from a Bone Shard and a stick. To obtain a Bone Shard, take a bone dropped from an animal and left-click it onto a piece of rock. This process isn’t always successful on the first try, so keep clicking until you get your shard.
Once you have your Whittled Firesticks, craft two of them. Hold one in your main hand and one in your offhand, then right-click to rub them together. Your character will perform a short animation and produce fire. Note that this is a one-time use for the firesticks. However, if you use them on top of a Low Grade Charcoal block, the fire will burn indefinitely.
Stick Bundle: An Alternative Fire Starter
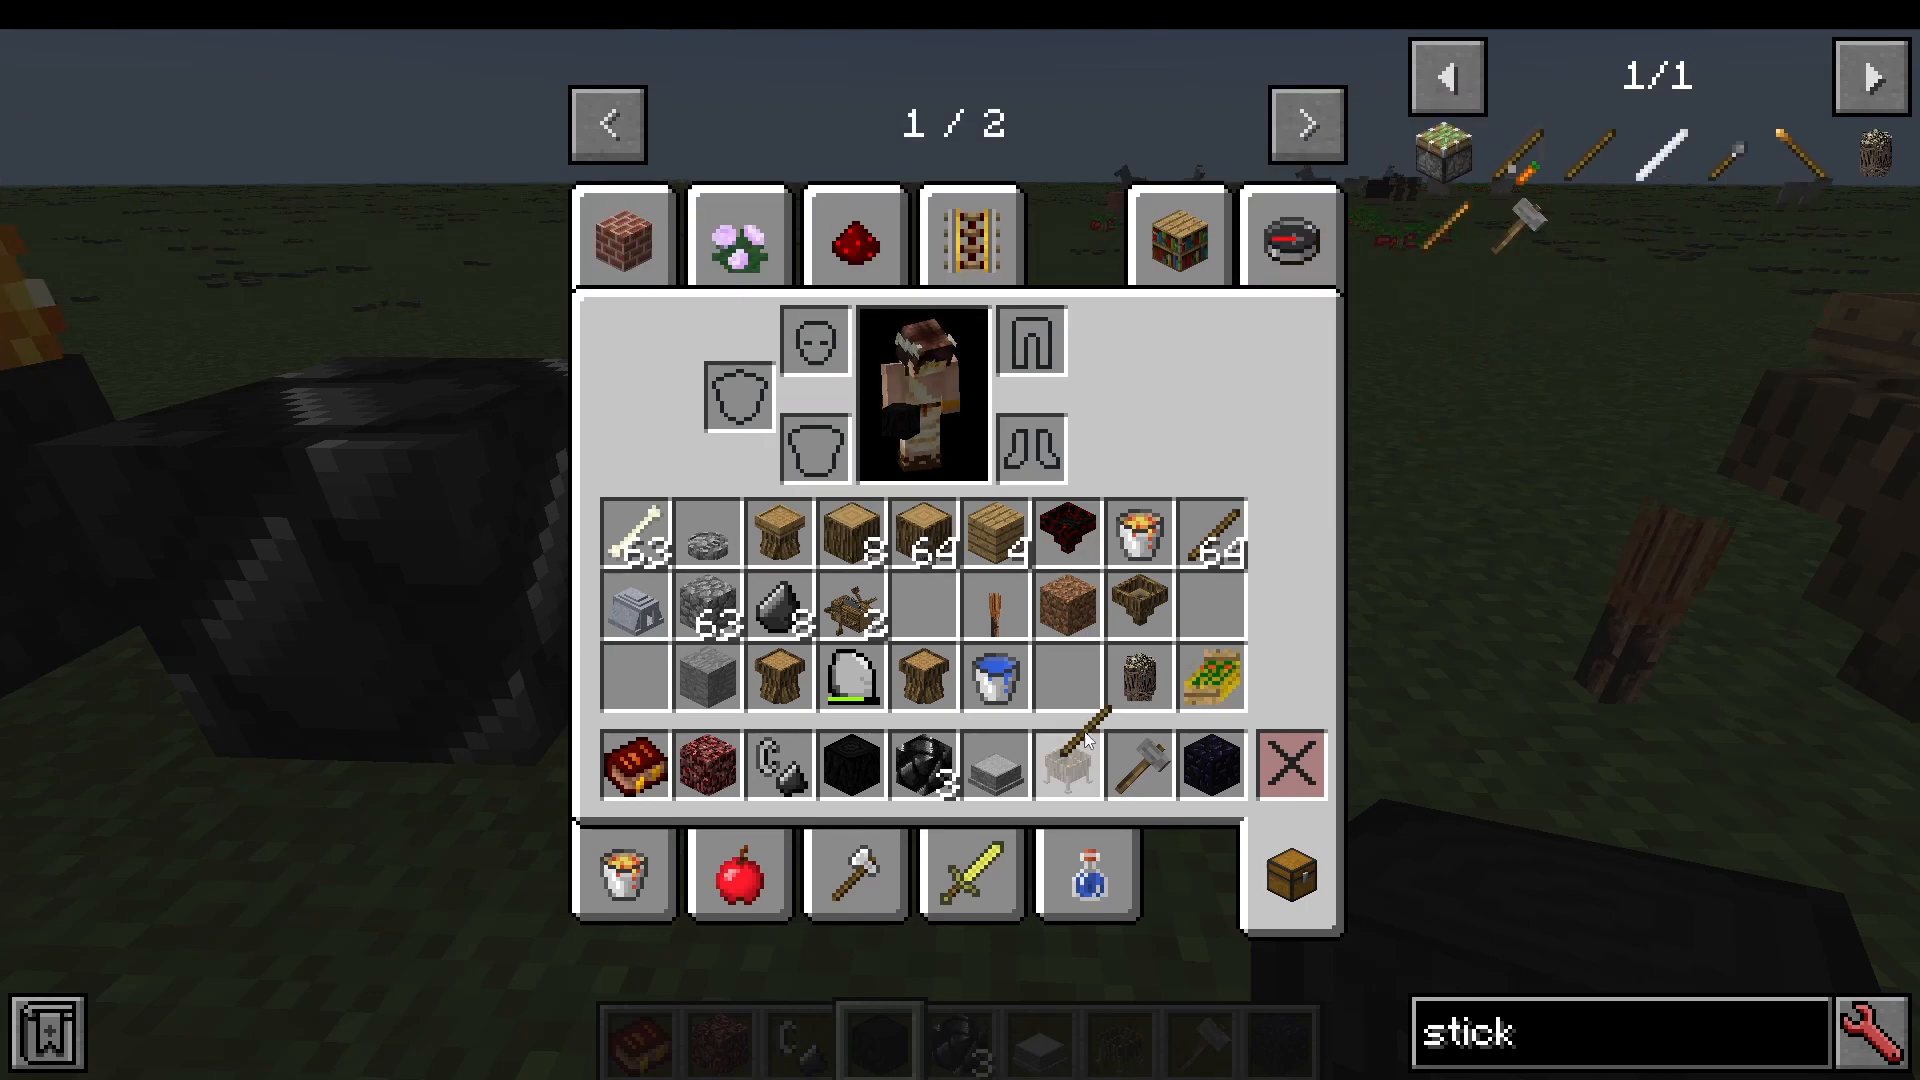
Another way to create fire is with a Stick Bundle. Simply right-click the stick bundle to begin combustion. A small flame will appear, and after a moment it will fully ignite. The stick bundle itself is consumed in the process. You can also use stick bundles to light the small, decorative Fiber Torches that Primal Tech adds.
The Flame Grilled Whopper: An Automated Heat Source
As you progress slightly, you can craft a Flame Grilled Whopper using Low Grade Charcoal and a wooden trapdoor. This block acts as a persistent heat source that you can place directly beneath your Clay Kiln. It’s also useful for mild automation — pair it with a chest acting as a hopper to start building a more streamlined early-game smelting setup.
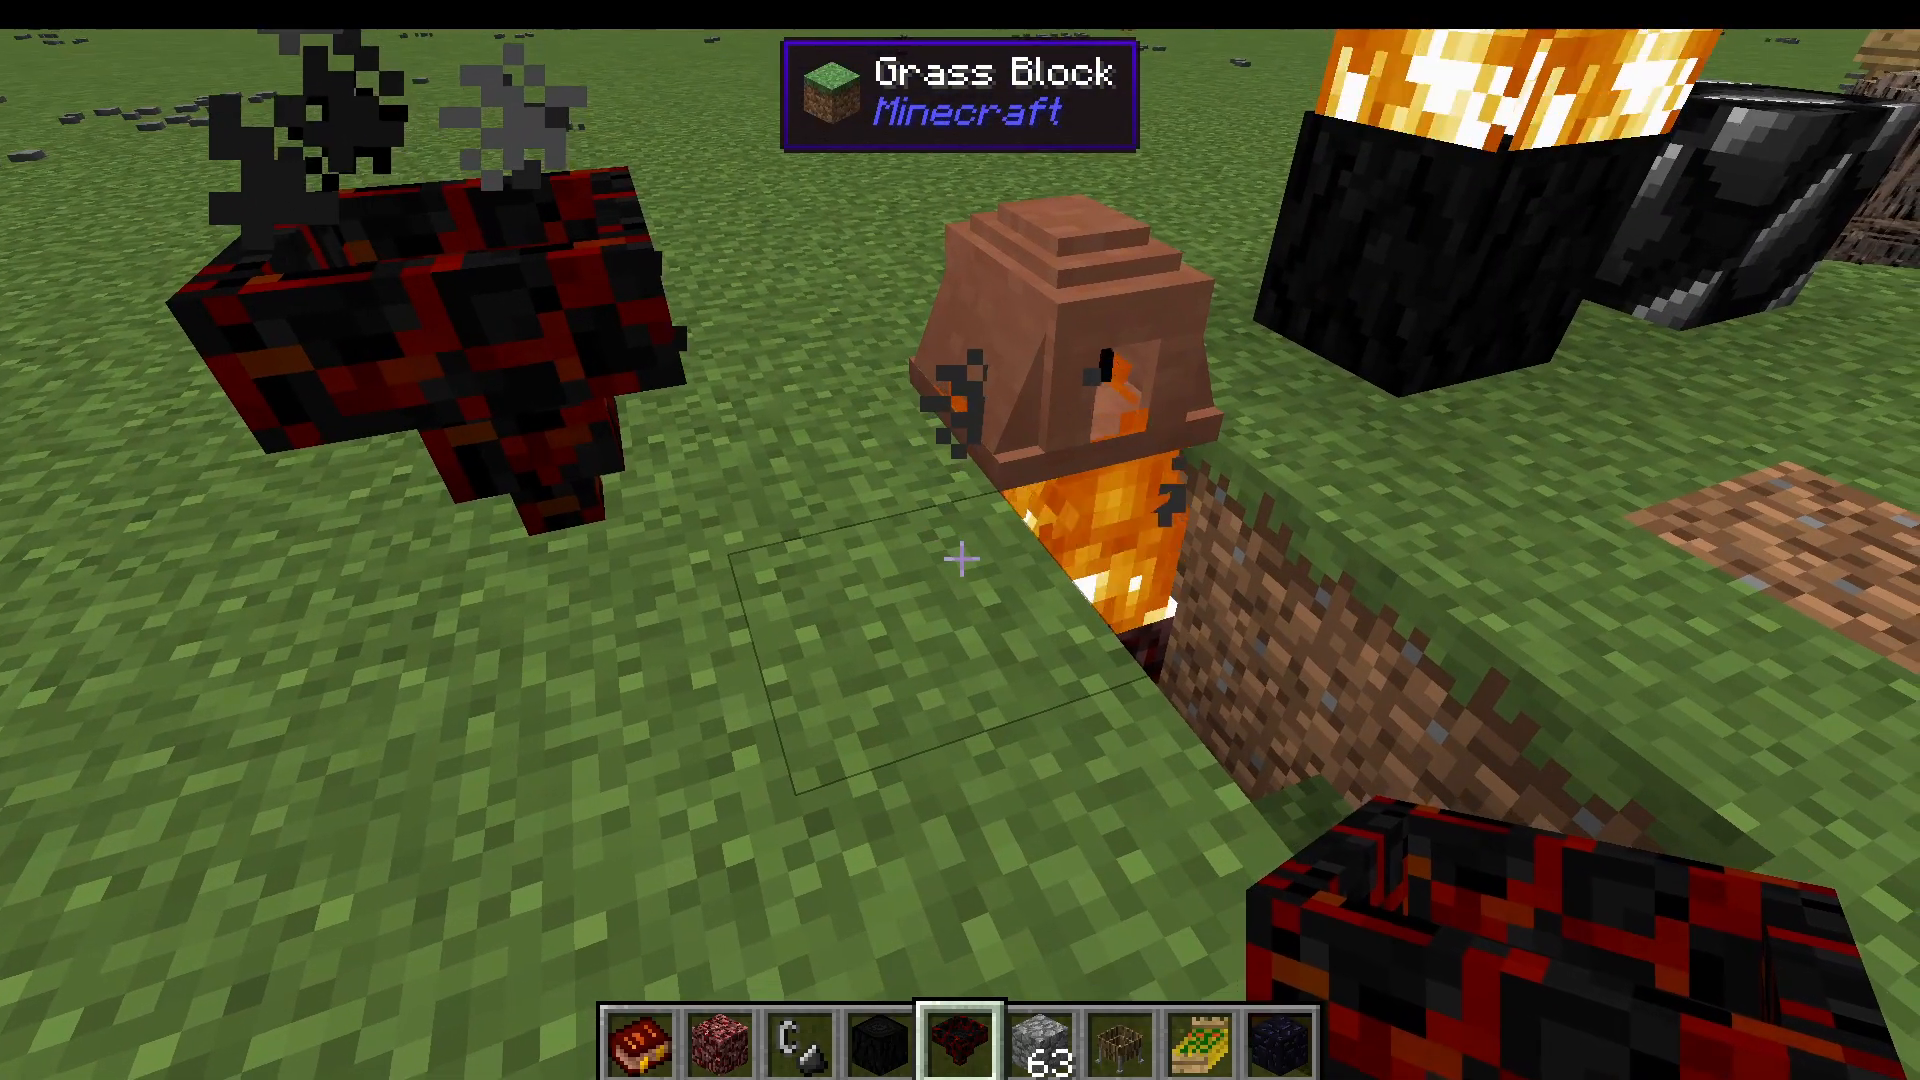
Whopper Mark 2
The Whopper Mark 2 is essentially a wooden hopper. As you’d expect, it’s an invaluable early-game item for automating item transfer before you have access to vanilla hoppers.
Flint Blocks: Early Game Flint Farming
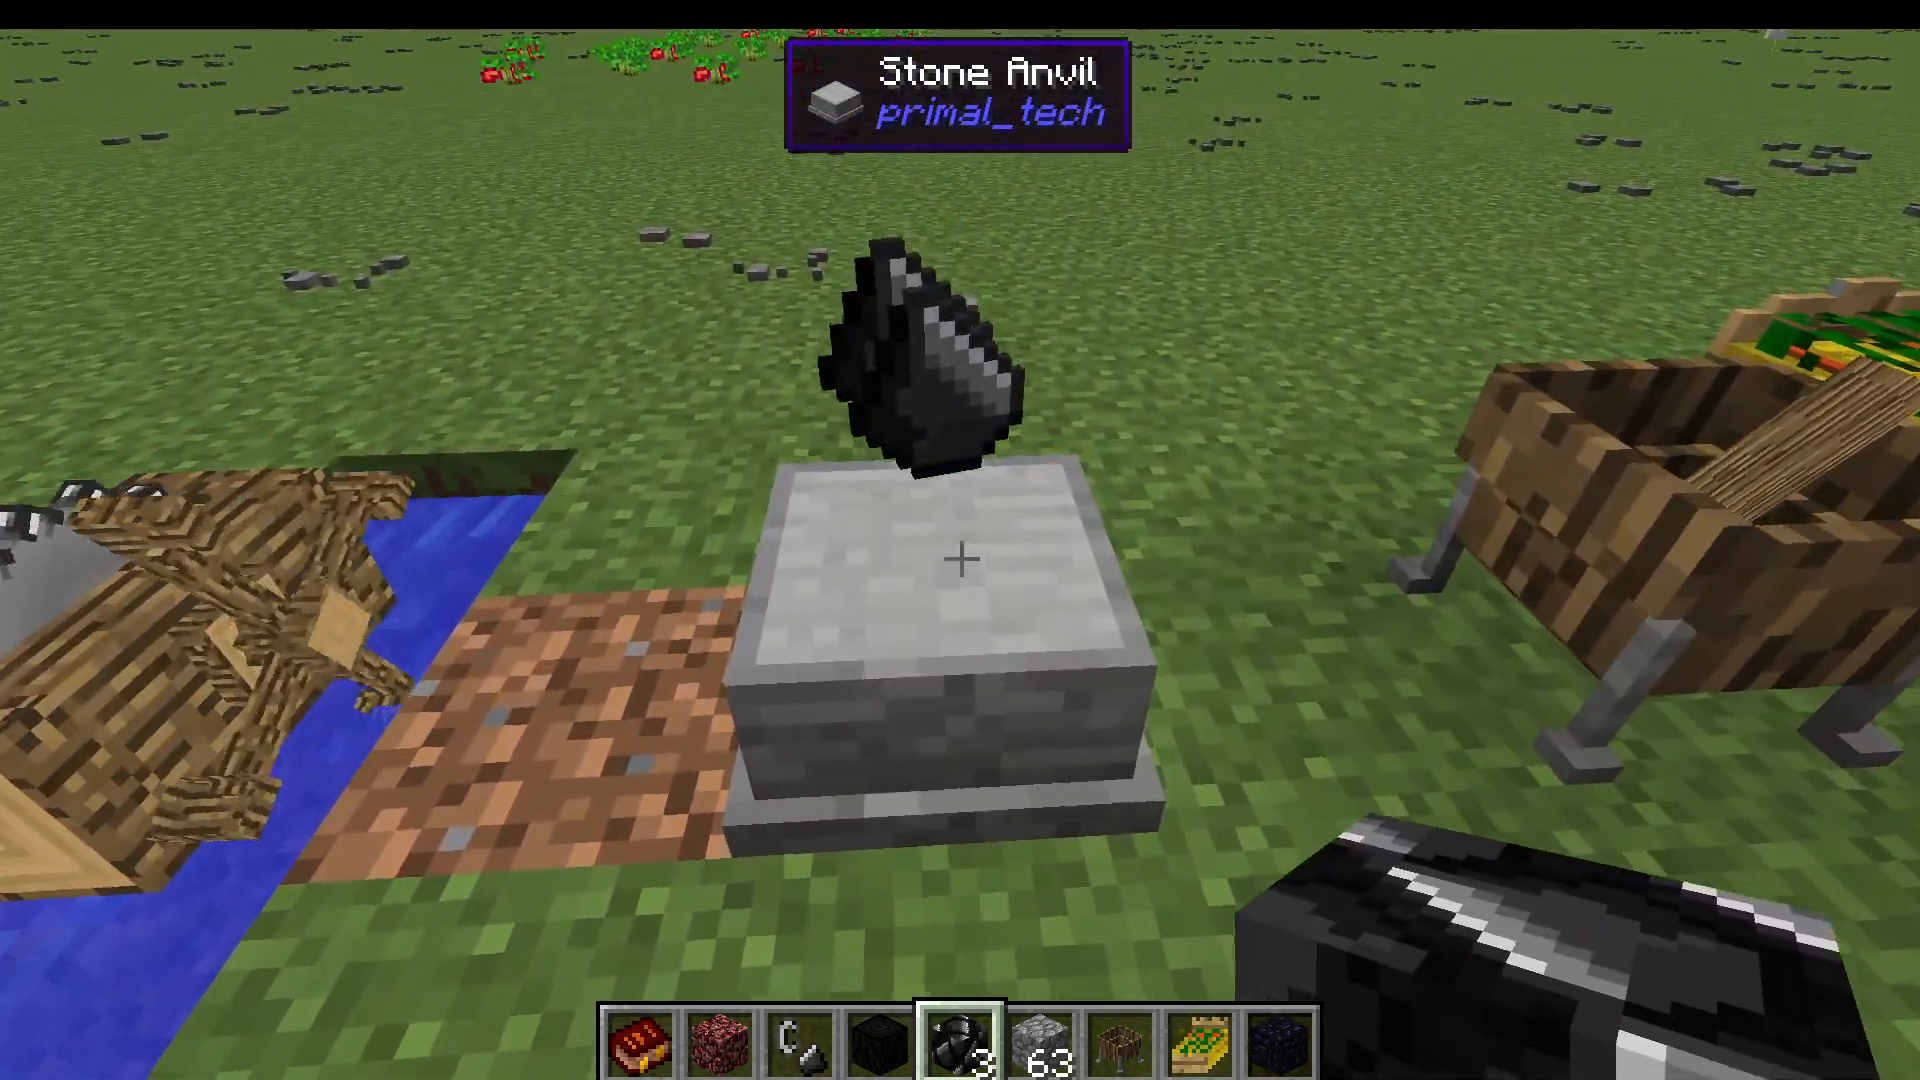
Flint Blocks are created by placing gravel into the Clay Kiln and firing it. Once you have a Flint Block, take it to a Stone Anvil and right-click the Flint Block onto it. Then use a Stone Mallet to strike the Flint Block on the anvil several times. Each session yields four pieces of flint, making this a reliable method for obtaining flint early in survival.
Work Stumps: Primitive Crafting Stations
The Work Stump is Primal Tech’s answer to early-game crafting. To use it, you’ll first need to craft a Crafting Rock from cobblestone — you’ll need four of them. To craft an item on the Work Stump, place your ingredients by right-clicking them onto the stump in the correct order (one, two, three, four for a four-ingredient recipe, for example), then right-click your Crafting Rock onto the stump to begin the crafting process. The item will gradually be produced over a few clicks. Note that custom recipes must be added by the mod pack — the Work Stump won’t function with vanilla recipes on its own.
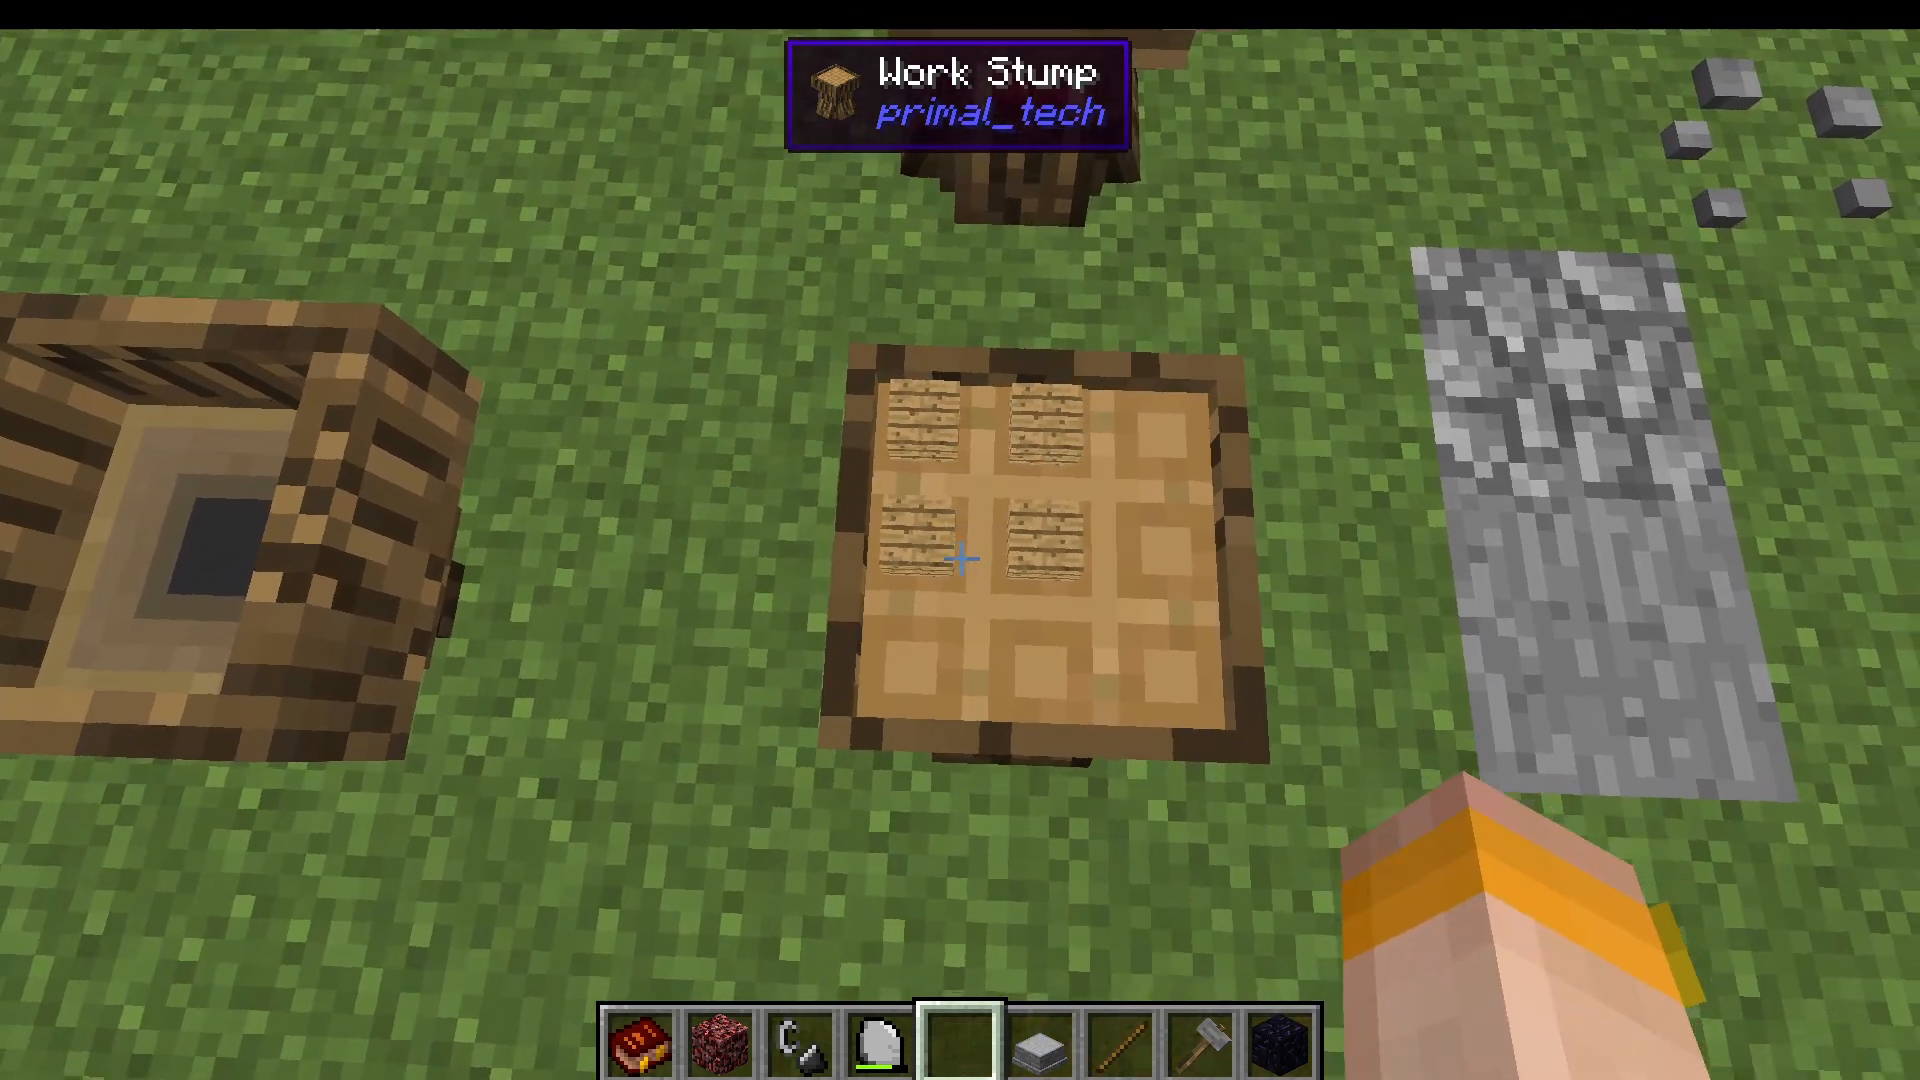
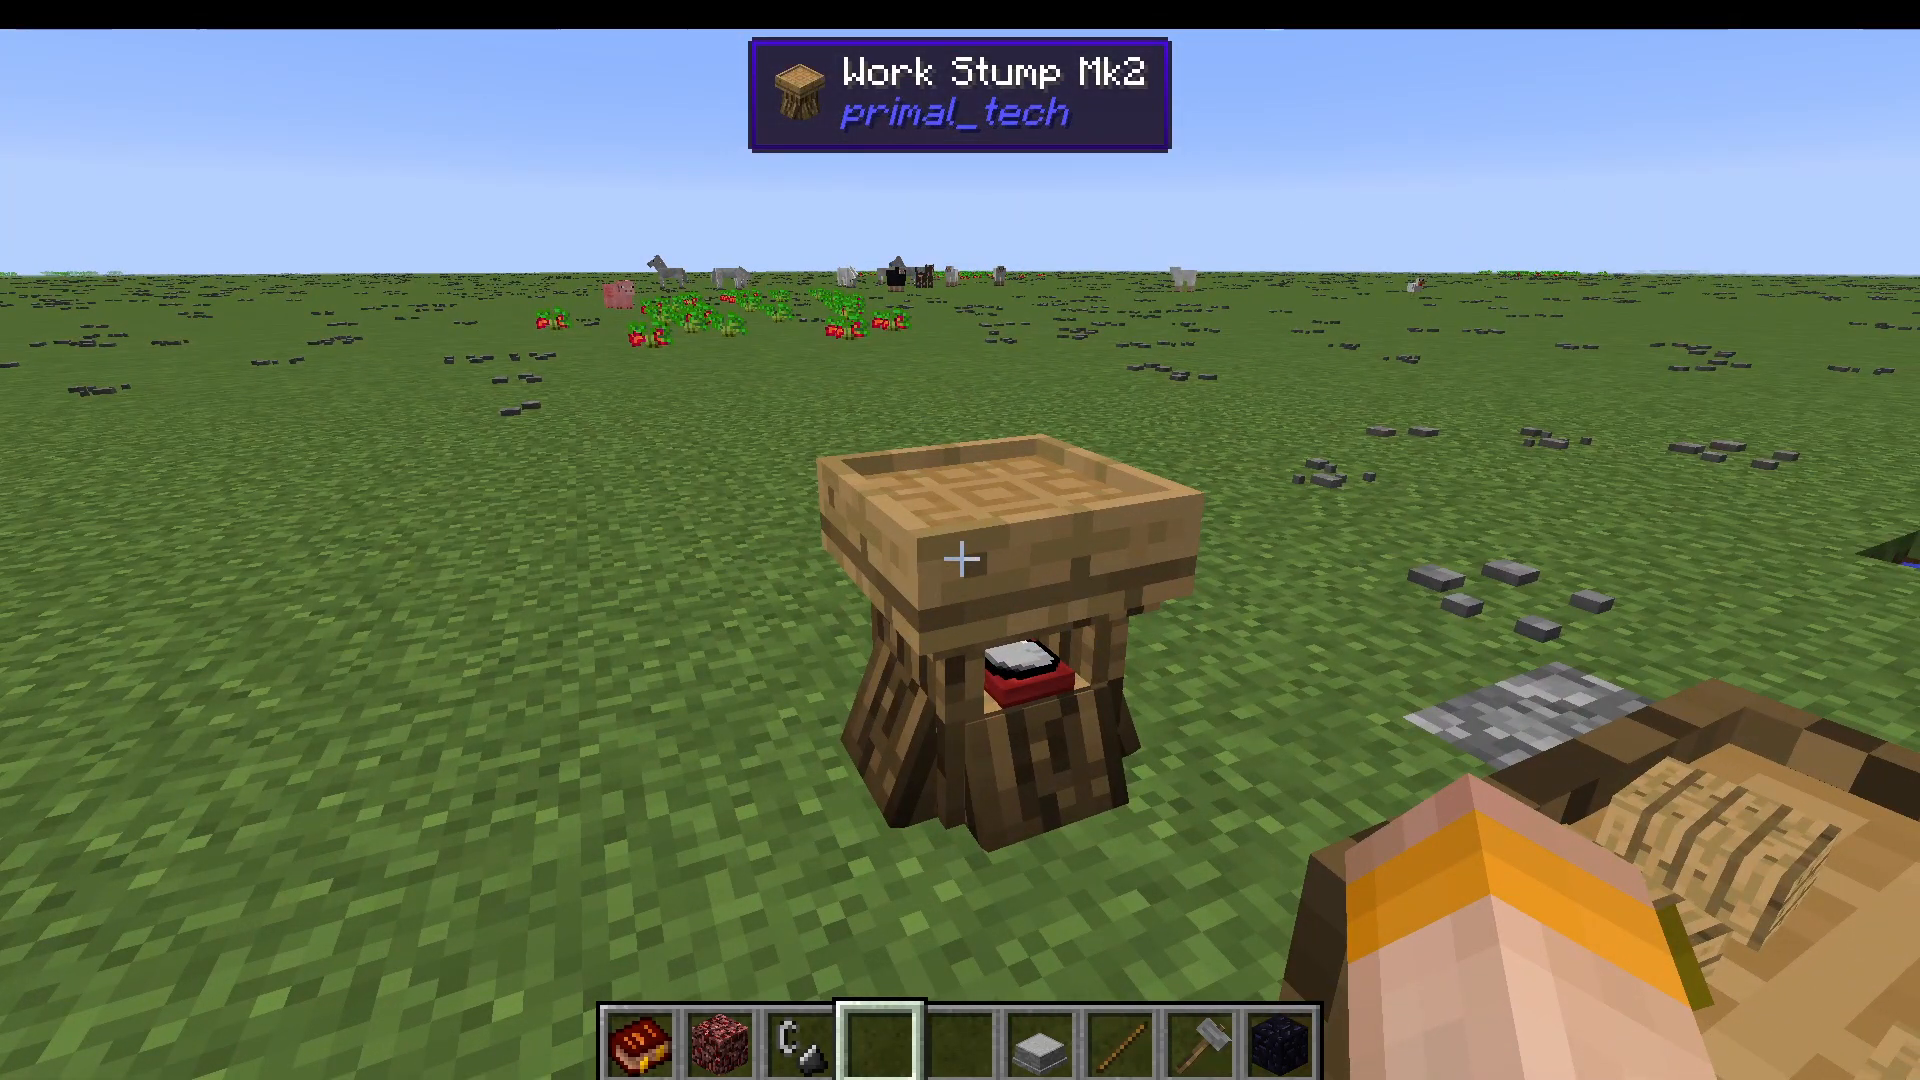
Both the Work Stump and its upgraded version, the Work Stump Mark 2, feature a small slot underneath where you can store your Crafting Rock. The Mark 2 version can also hold full stacks of items, making it more practical for larger crafting jobs.
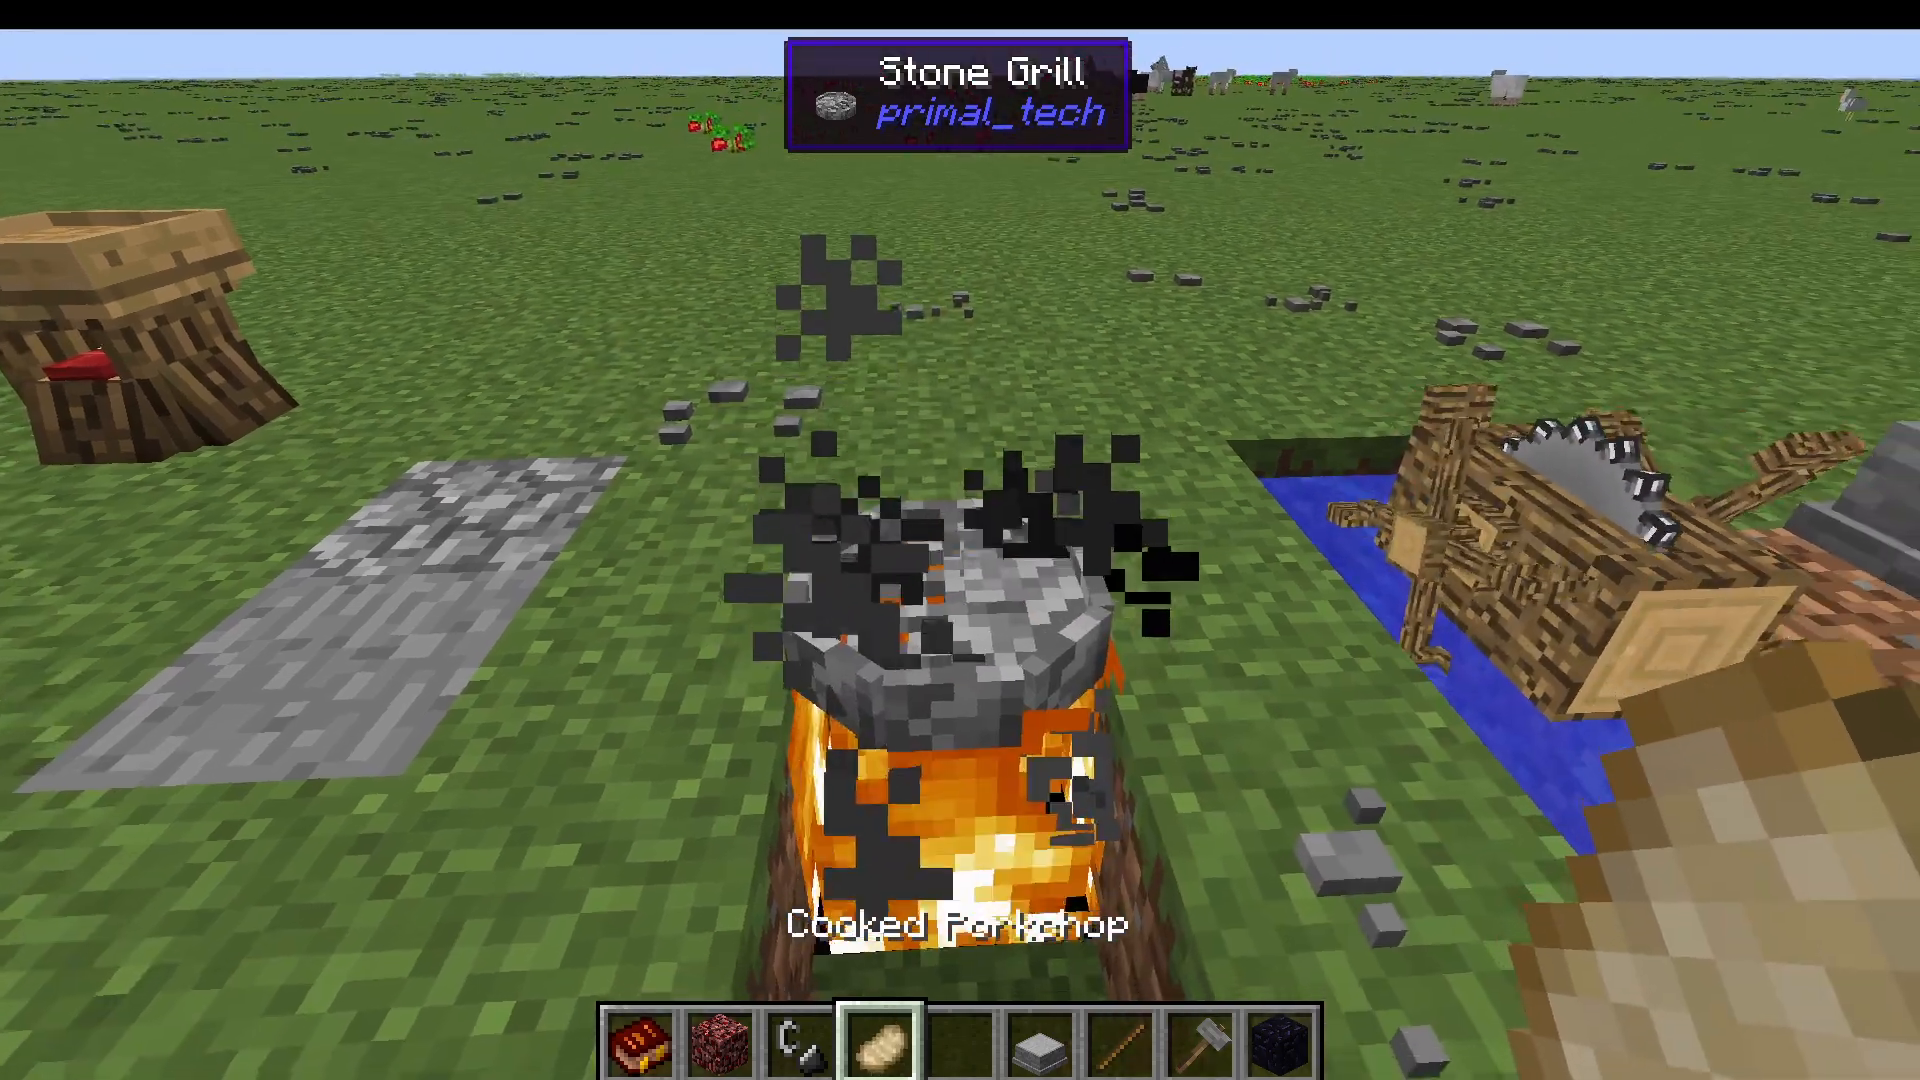
The Stone Grill: Cooking Food
The Stone Grill requires a heat source beneath it, just like the Clay Kiln. To cook food, right-click a raw food item — such as a raw pork chop — onto the left side of the grill. With fire burning underneath (Low Grade Charcoal works perfectly here), the food will cook automatically and move to the right side of the grill once done. Right-click the right side to collect your cooked food.
The Water-Powered Saw: Turning Logs into Planks
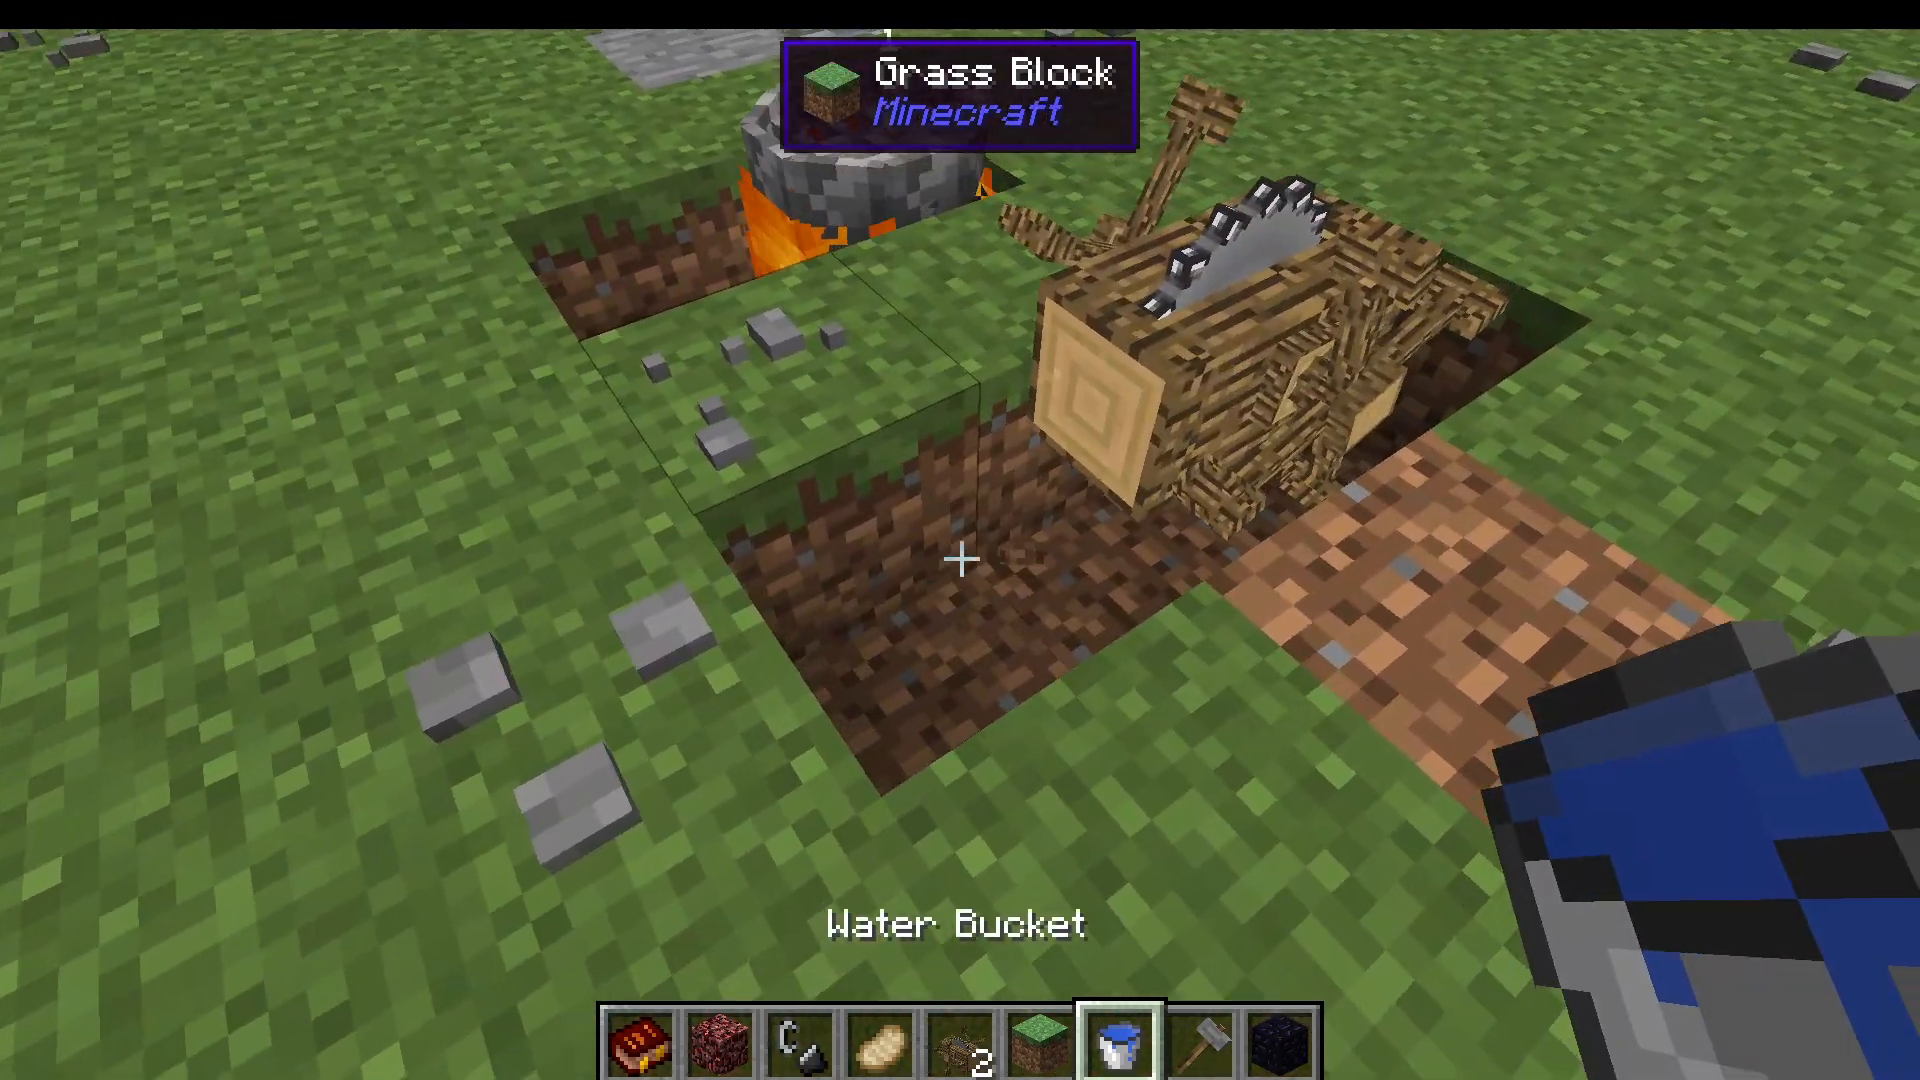
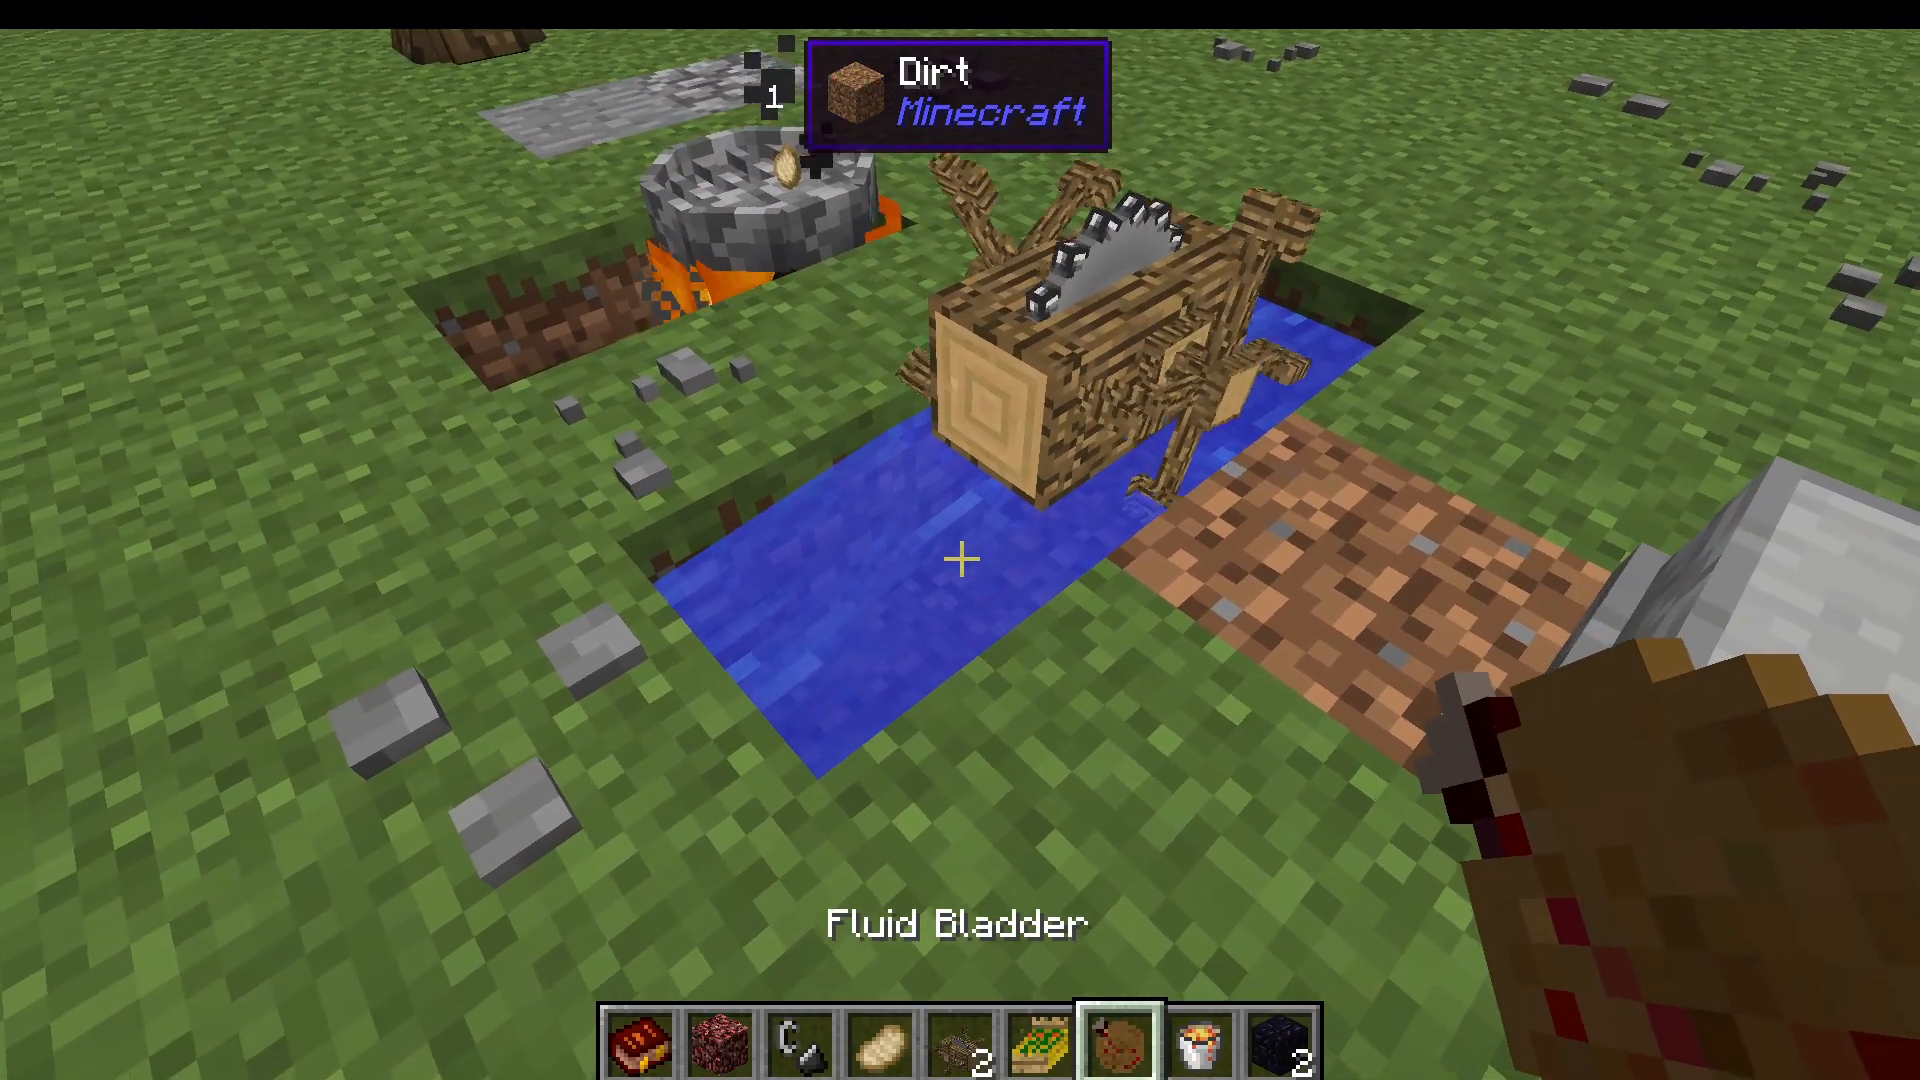
The Water-Powered Saw automates the conversion of logs into planks, but it has a very specific water placement requirement. You must have running water flowing directly underneath the saw block itself. Water placed beside the saw or in an adjacent block will not work — it must run beneath the saw in both directions to function correctly.
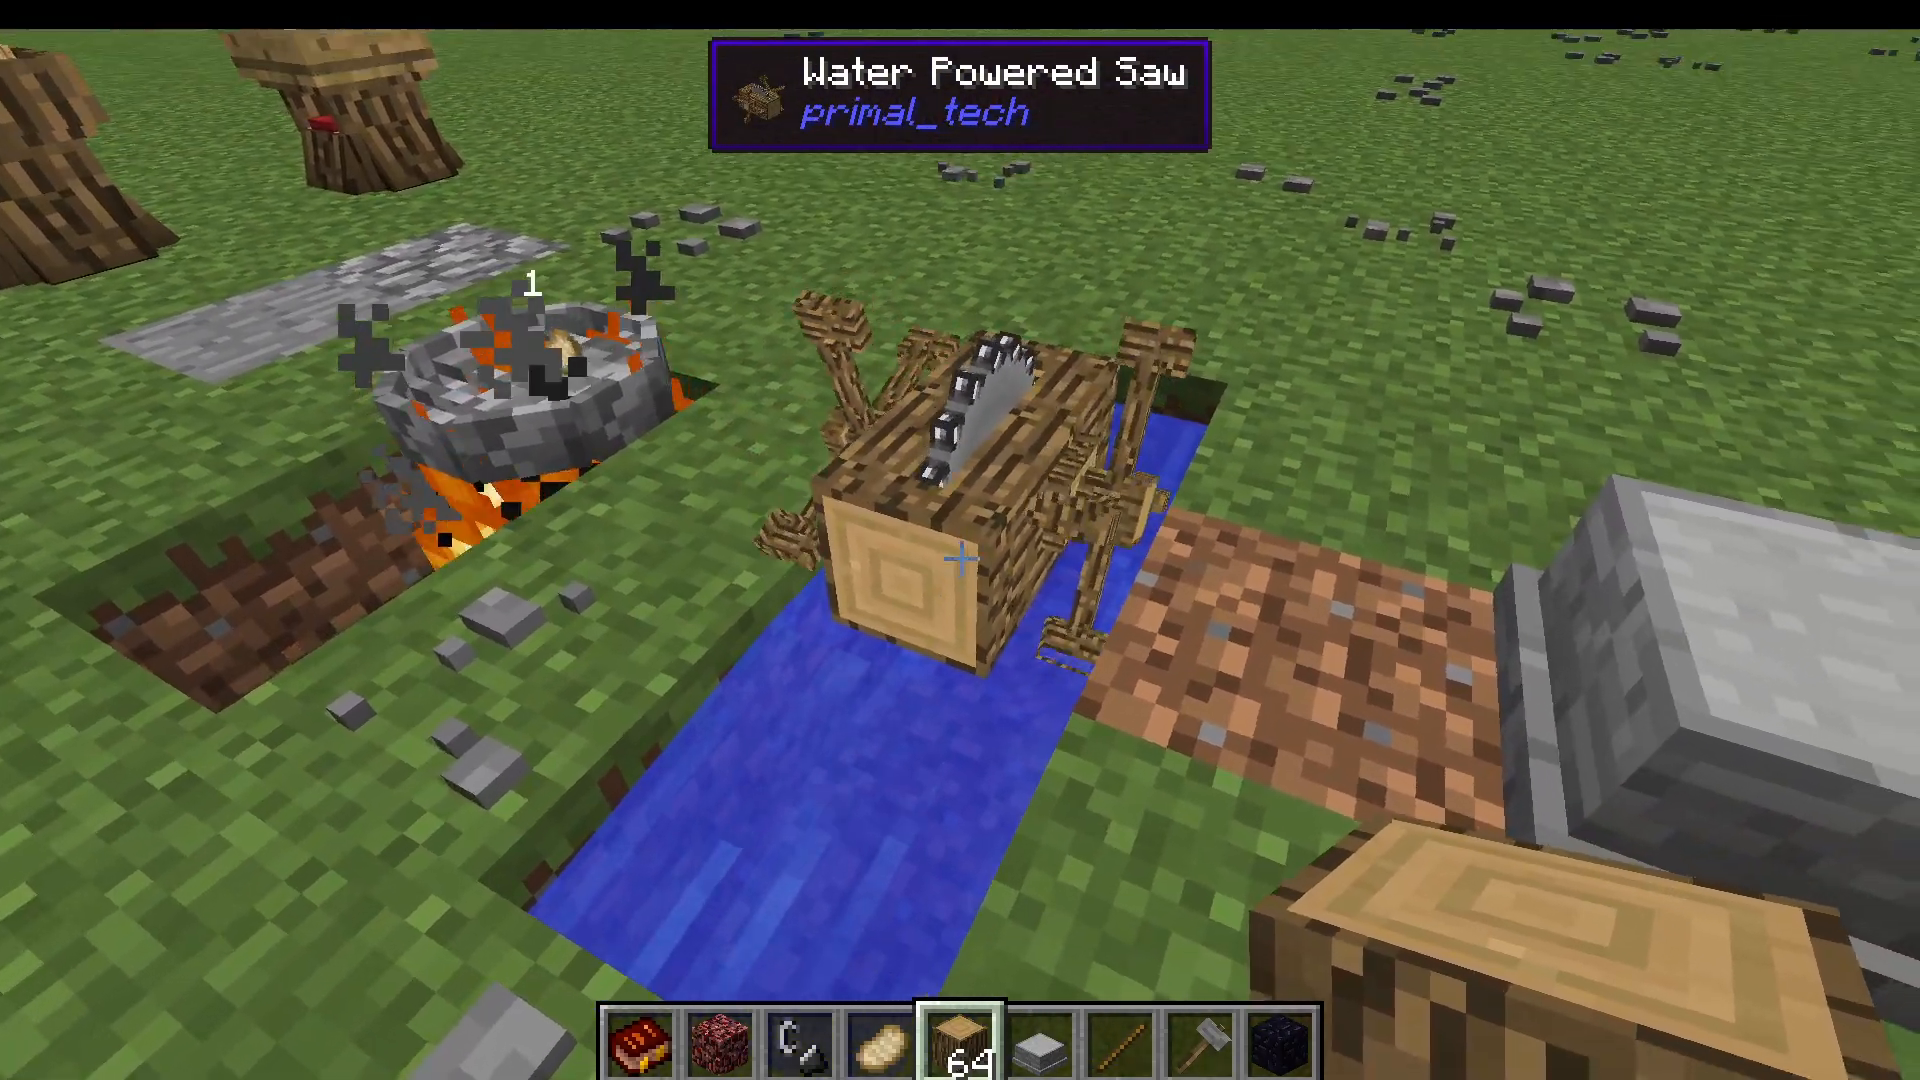
Once the water is correctly placed, simply right-click a log onto the saw. The log will move through the saw automatically and be converted into planks without any further input from you.
The Wooden Basin: Crafting Obsidian
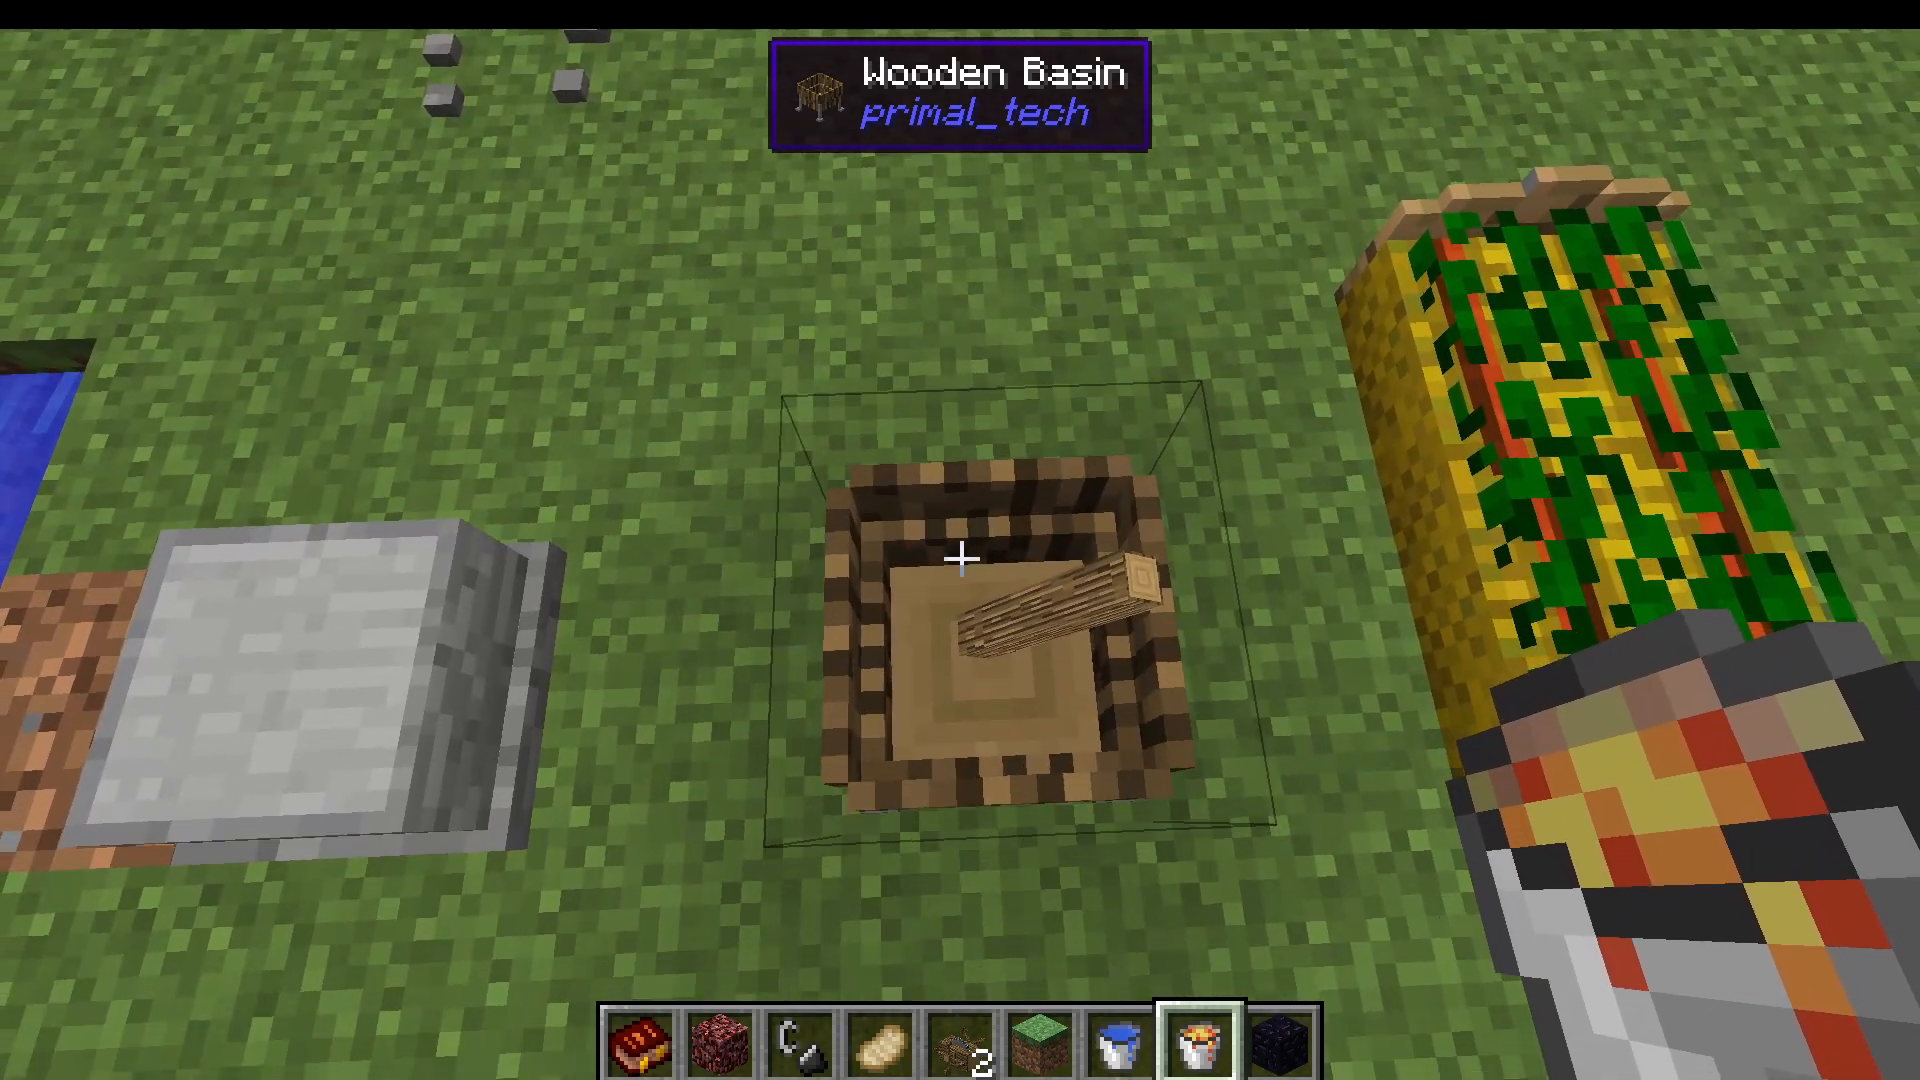
The Wooden Basin can be filled with liquids and items to produce new materials. By default (without mod pack recipes), its primary use is crafting Obsidian. Here’s how to do it:
Right-click lava into the Wooden Basin.
Right-click two pieces of cobblestone into the basin (one at a time).
With an empty hand, shift + right-click to stir the contents of the basin.
Continue stirring over several interactions until the mixture produces Obsidian.
Other Items and Tools in Primal Tech
Bed of Straw
The Bed of Straw is a primitive sleeping option for very early game survival, before you have access to wool or a standard bed.
Fluid Bladder
The Fluid Bladder acts as an early-game bucket. Right-click it on any liquid source to fill it — for example, right-clicking on water fills it with 1,000 millibuckets of water. It’s an essential tool before you can craft a standard iron bucket.
Plant Fibers
Plant Fibers are obtained by using your Bone Knife on grass. They are a versatile early crafting material used to make:
Unlit Fiber Torches
Twine
White Wool (via Twine)
A Fishing Rod (via Twine)
A Bow (via Twine)
Stick Bundles
The Fluid Bladder
Bone Tools and Wooden Clubs
Primal Tech also adds a range of primitive weapons and tools, including wooden clubs and bone tools such as a bone pickaxe. These are crafted from the Bone Shards you collect by striking bones on rock, and give you a functional set of early-game gear before you reach stone or iron.
Summary
Primal Tech is a thoughtfully designed mod that fills the very earliest stages of a modded Minecraft playthrough with meaningful progression and challenge. From firing your first clay kiln with Whittled Firesticks, to crafting Obsidian in a Wooden Basin and sawing logs with running water, every mechanic encourages creative, primitive problem-solving. If you’re playing the SevTech Ages mod pack, many additional recipes will be available that make these blocks even more central to your progression. If you’d like a full SevTech Ages progression tutorial covering how Primal Tech fits into the wider mod pack, drop a comment below!
“`