The Ultimate Guide to Theurgy
The Ultimate Guide to Theurgy (Fiar G) – Logistics, Alchemy & Transmutation
Theurgy (also referred to as Fiar G) is a fascinating Minecraft mod built around alchemy and transmutation — turning ordinary items into extraordinary ones through a chain of machines and processes. But before you can start transmuting, you need to understand two core fundamentals: heat and item logistics. This guide covers everything from setting up your first pyromantic brazier to running a fully automated incubation line. Whether you are brand new to the mod or just need a solid reference, this tutorial has you covered.
Heat and the Pyromantic Brazier
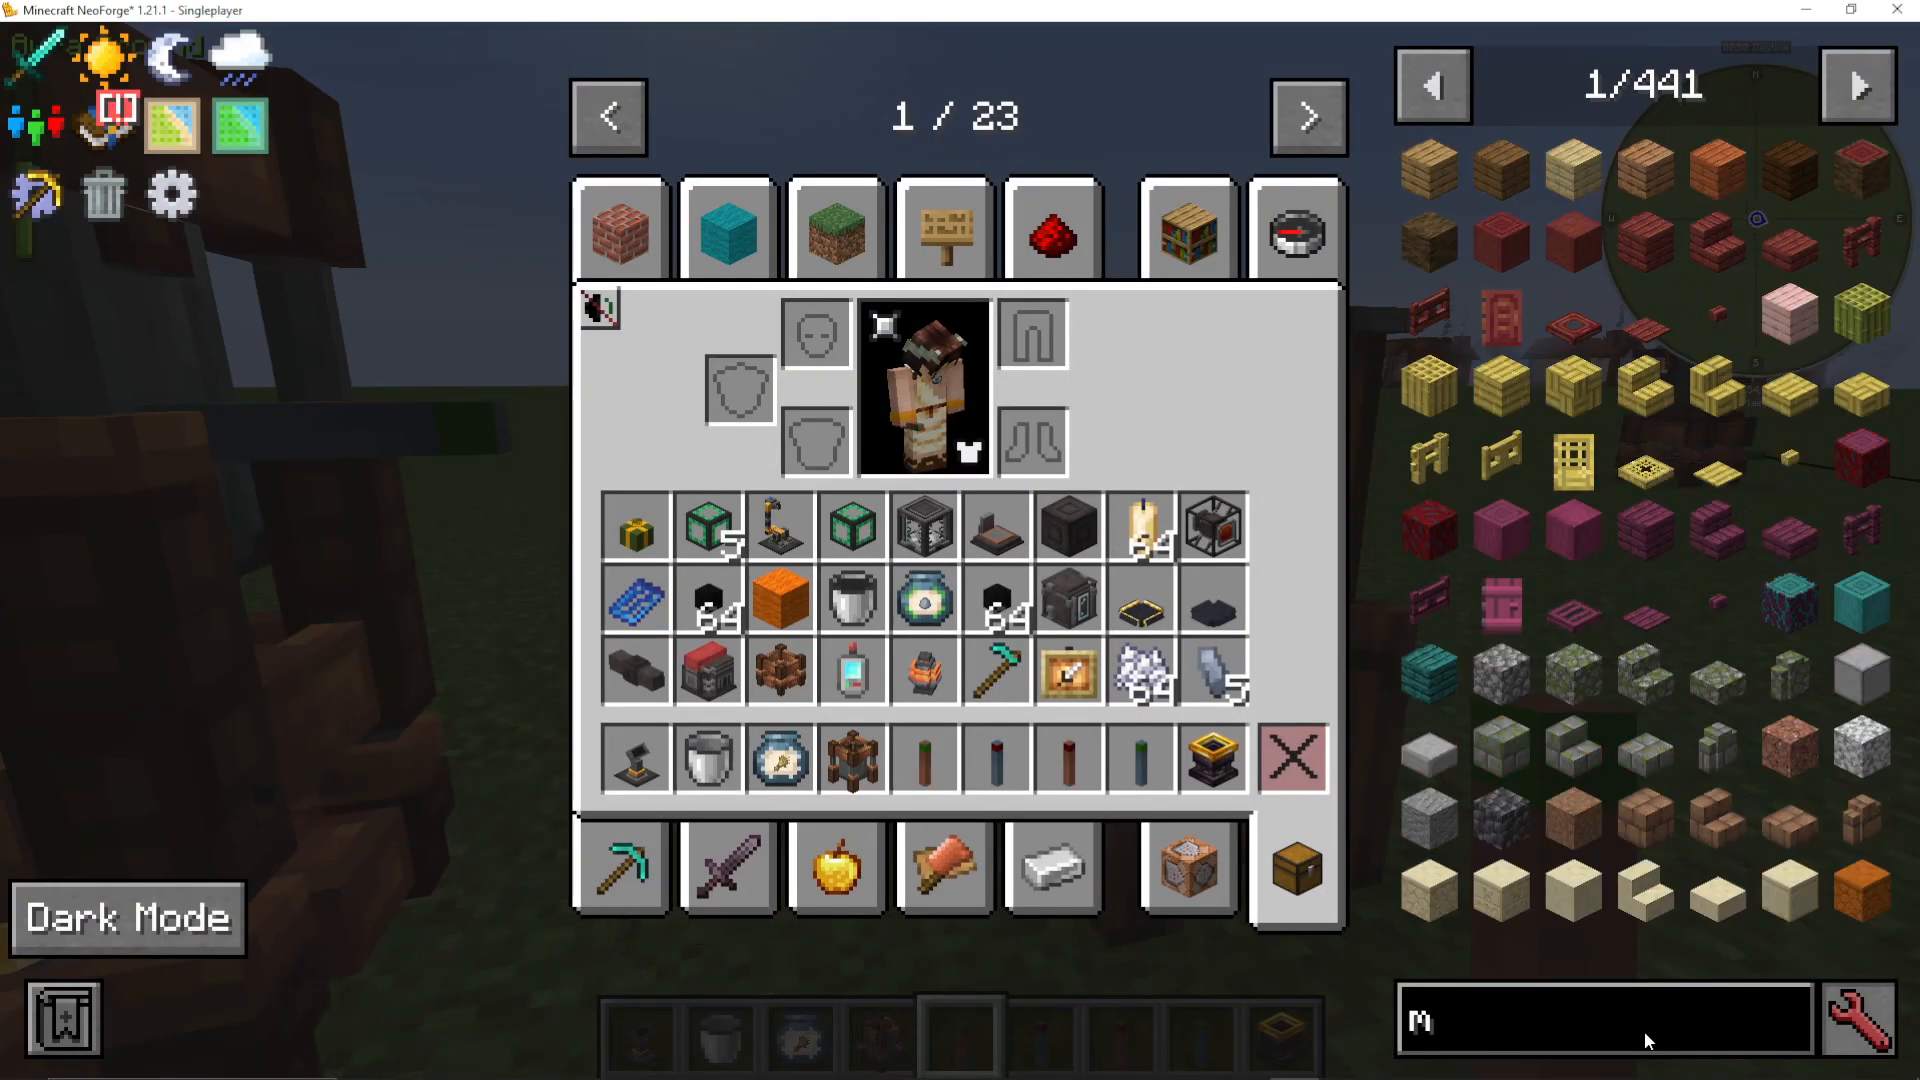
Several machines in Fiar G require a heat source to function. The Pyromantic Brazier is the dedicated heat provider for the mod — campfires and vanilla furnaces will not work as substitutes. To get started, place a Pyromantic Brazier down and right-click coal (or any furnace fuel) directly into it. The brazier will automatically consume fuel as needed to generate heat for any machine placed above it.
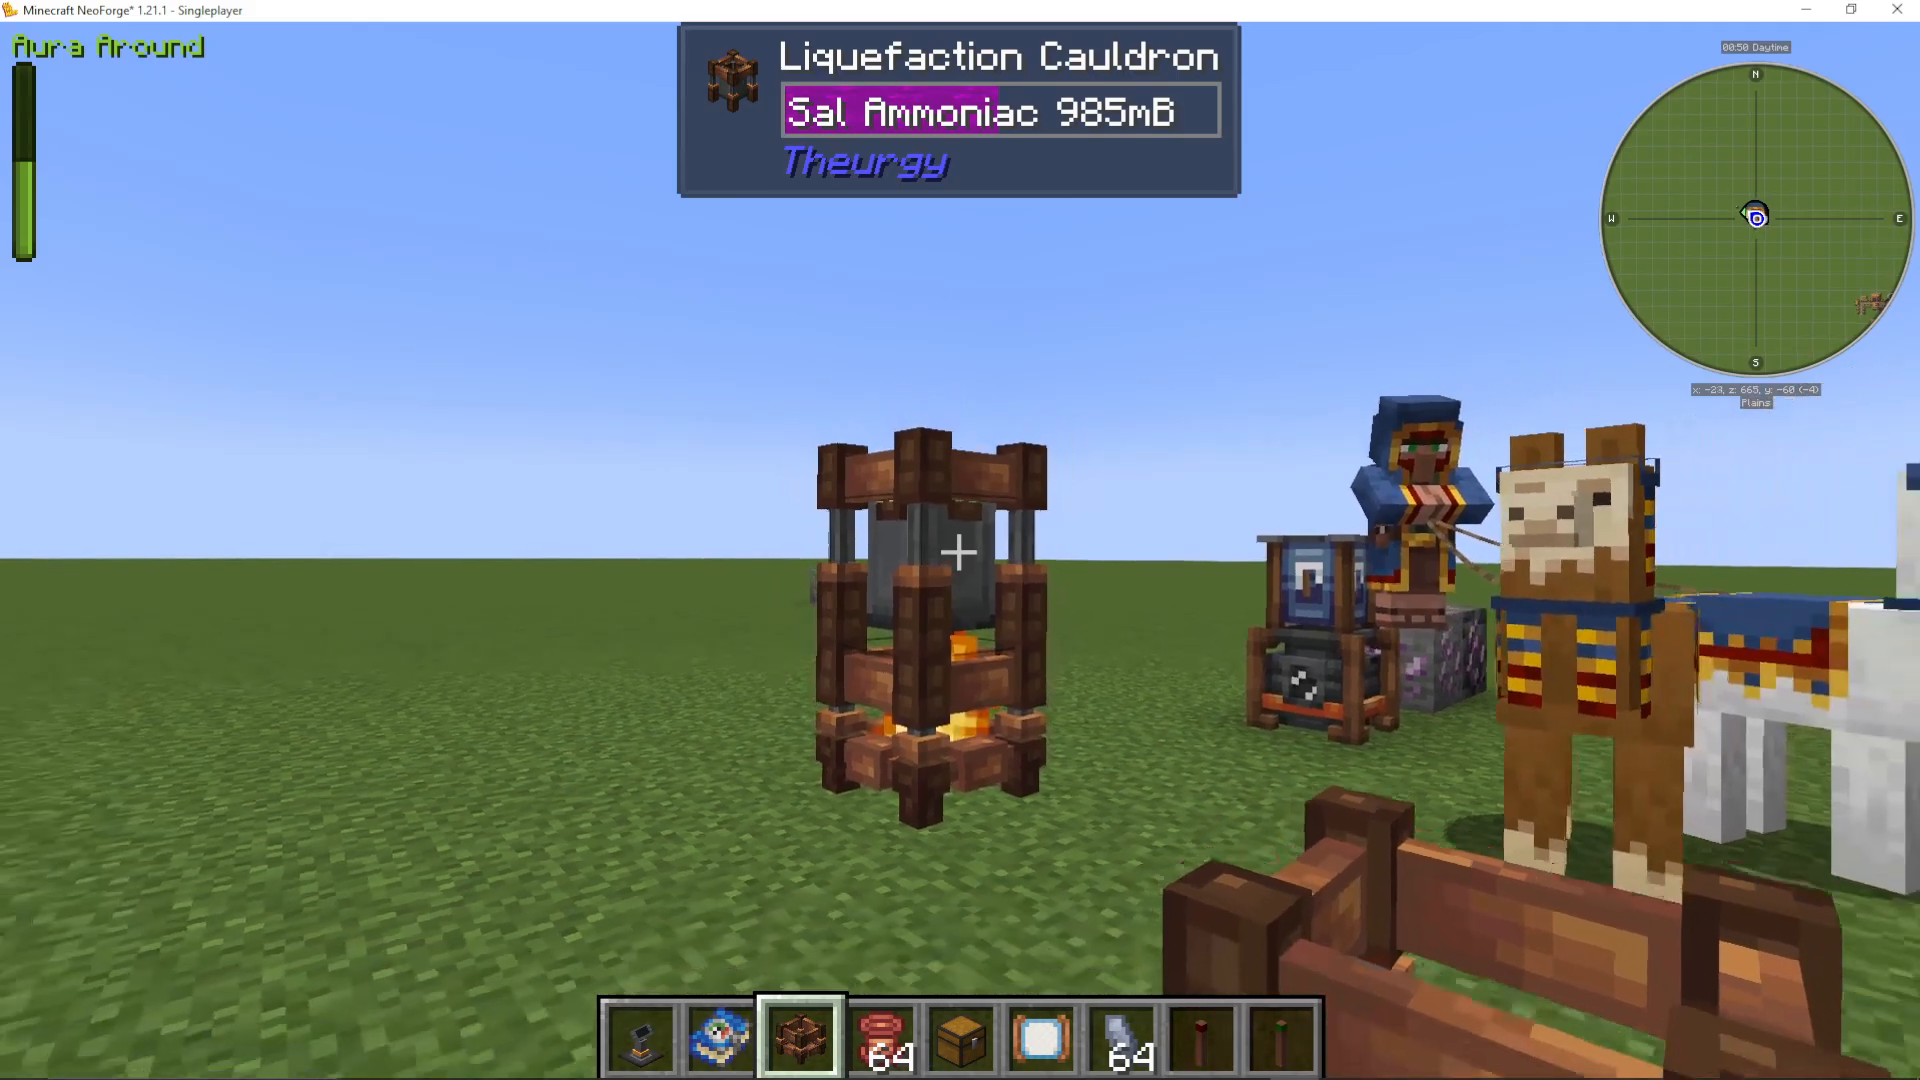
Two machines that specifically need heat are the Mercury Distilla and the Liquefaction Cauldron. Always make sure your brazier is directly beneath these machines and stocked with fuel before starting a process.
Making Mercury Shards with the Mercury Distilla
Mercury Shards are one of the very first resources you will need in Fiar G. They are used to craft Mercury Copper Wire, Mercurial Item Extractors, and Mercurial Item Inserters — the backbone of the mod’s logistics system.
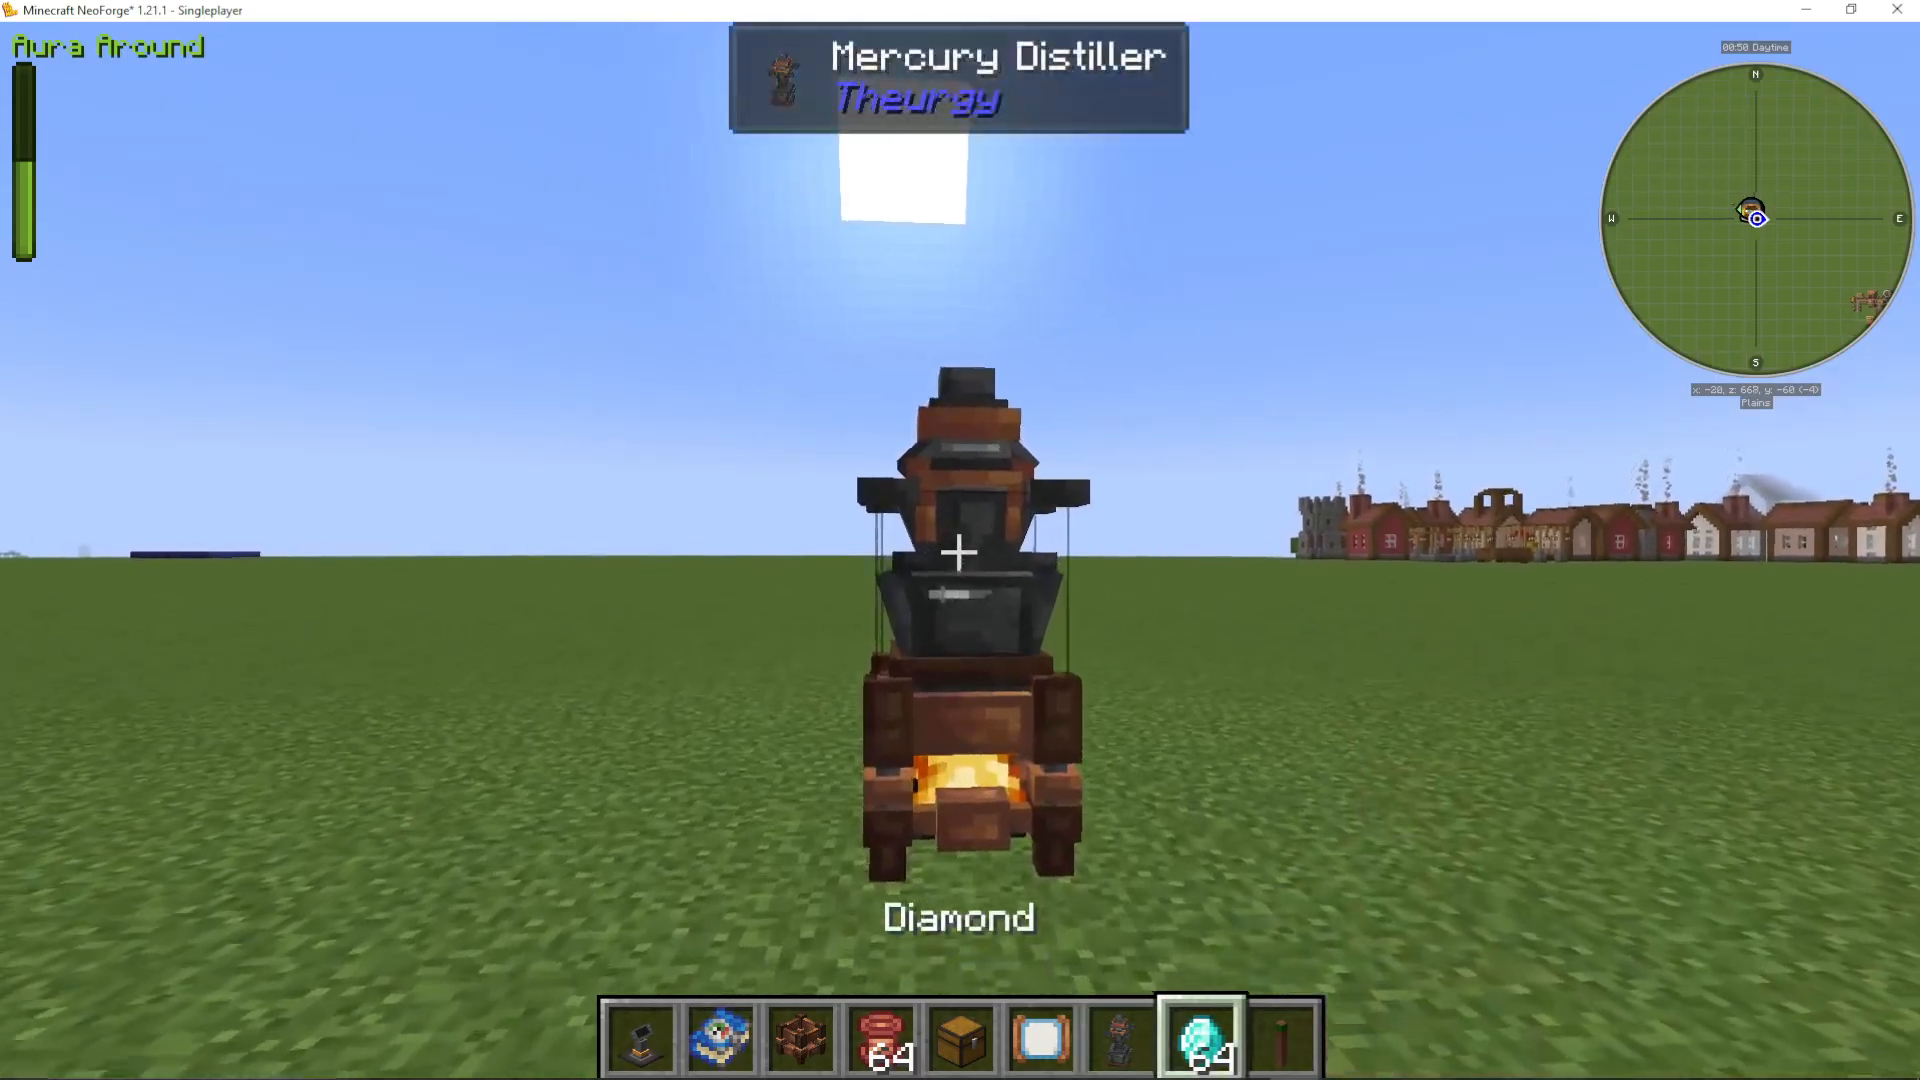
Place a Mercury Distilla on top of a lit Pyromantic Brazier. The distilla accepts almost any item and converts it into Mercury Shards. The rarity of the item directly affects the conversion rate:
Stone: 10 stone = 1 Mercury Shard
Diamond: 1 diamond = approximately 10 Mercury Shards
Nether Stars: approximately 64× efficiency
Use whatever materials you have available. To insert items, simply right-click them into the Mercury Distilla and wait a moment for the shards to appear. Right-click the machine again to retrieve your Mercury Shards.
Logistics – Item Transport with Mercurial Cables and Filters
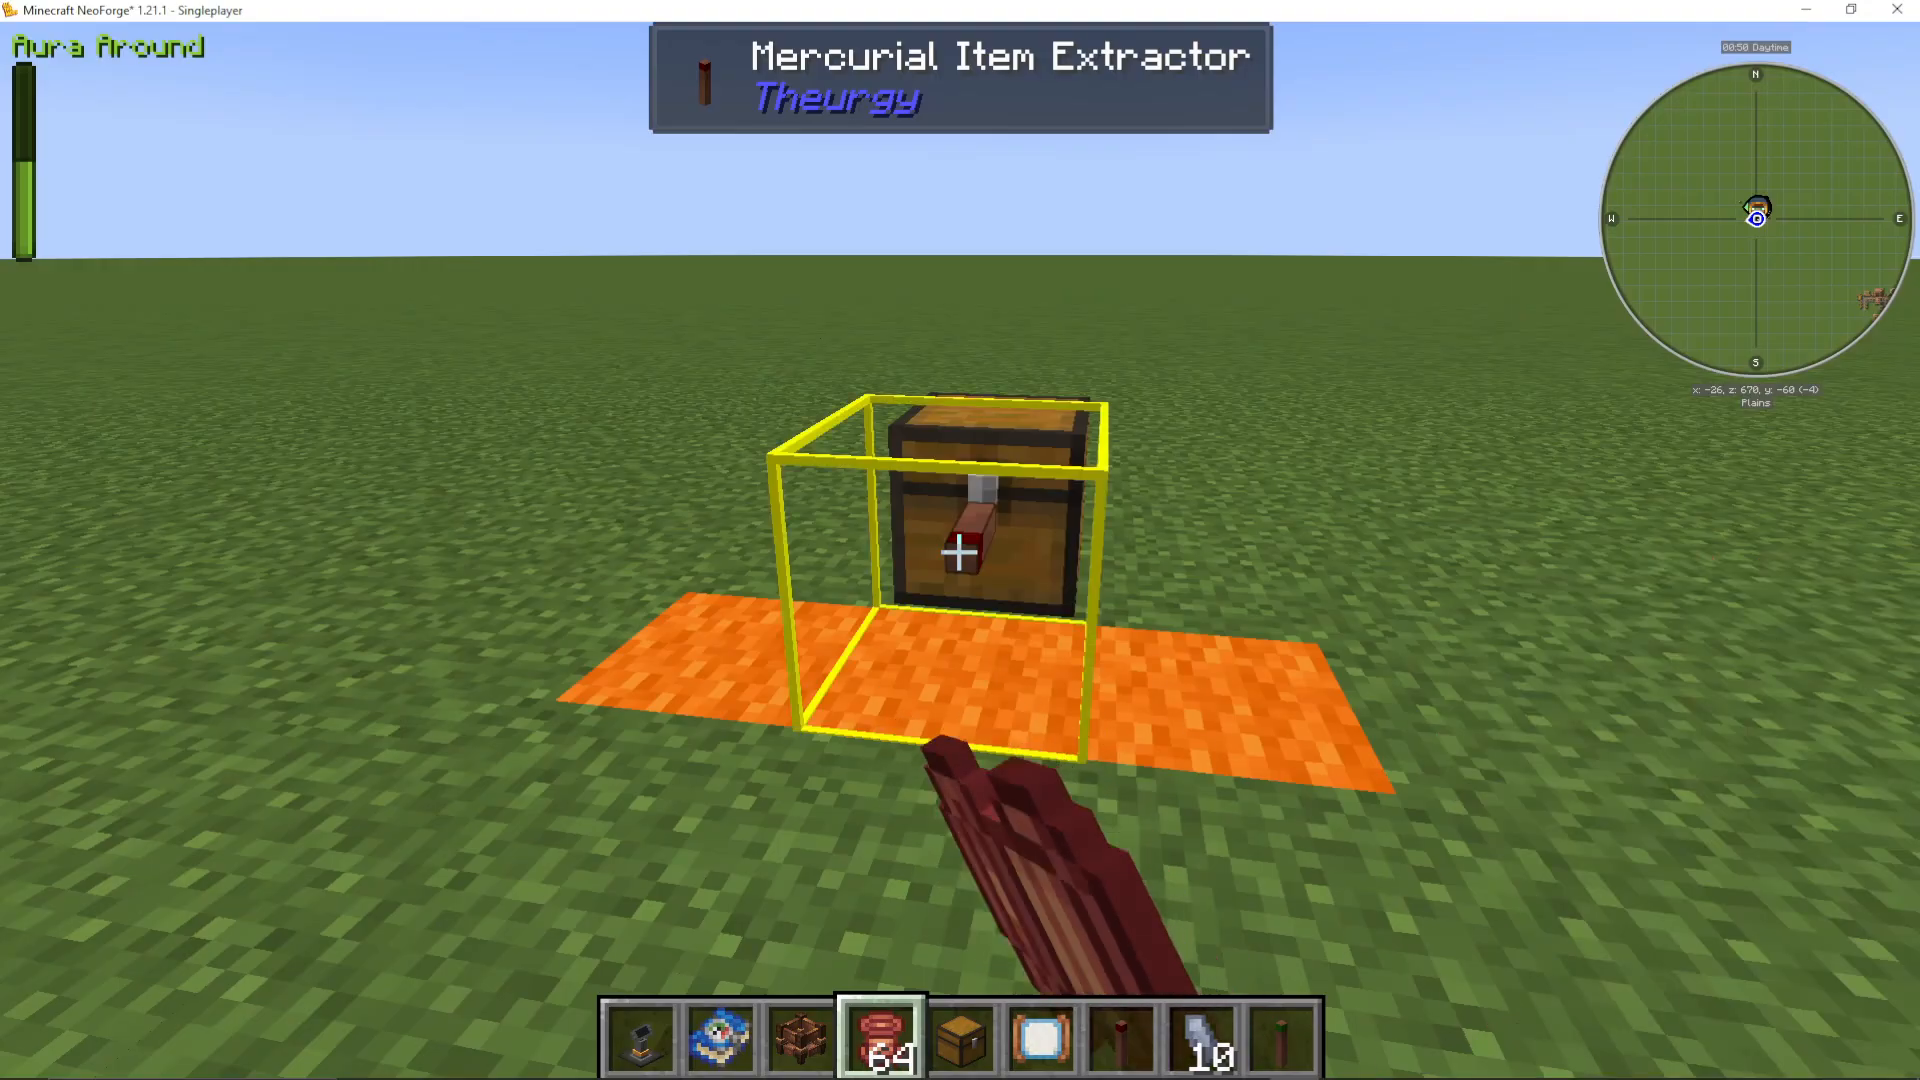
Mercury Copper Wire, Extractors, and Inserters
Fiar G uses its own logistics system rather than relying on external mods. The three core components are:
Mercurial Item Extractor — pulls items out of a block (e.g., a chest)
Mercurial Item Inserter — pushes items into a block (e.g., a machine)
Mercury Copper Wire — connects extractors and inserters to transport items
To connect two devices, right-click a Mercury Copper Wire onto the extractor, then right-click the same wire onto the inserter. The two are now linked and items will begin flowing. You can attach more than one wire to a single block, allowing you to feed multiple machines from one source.
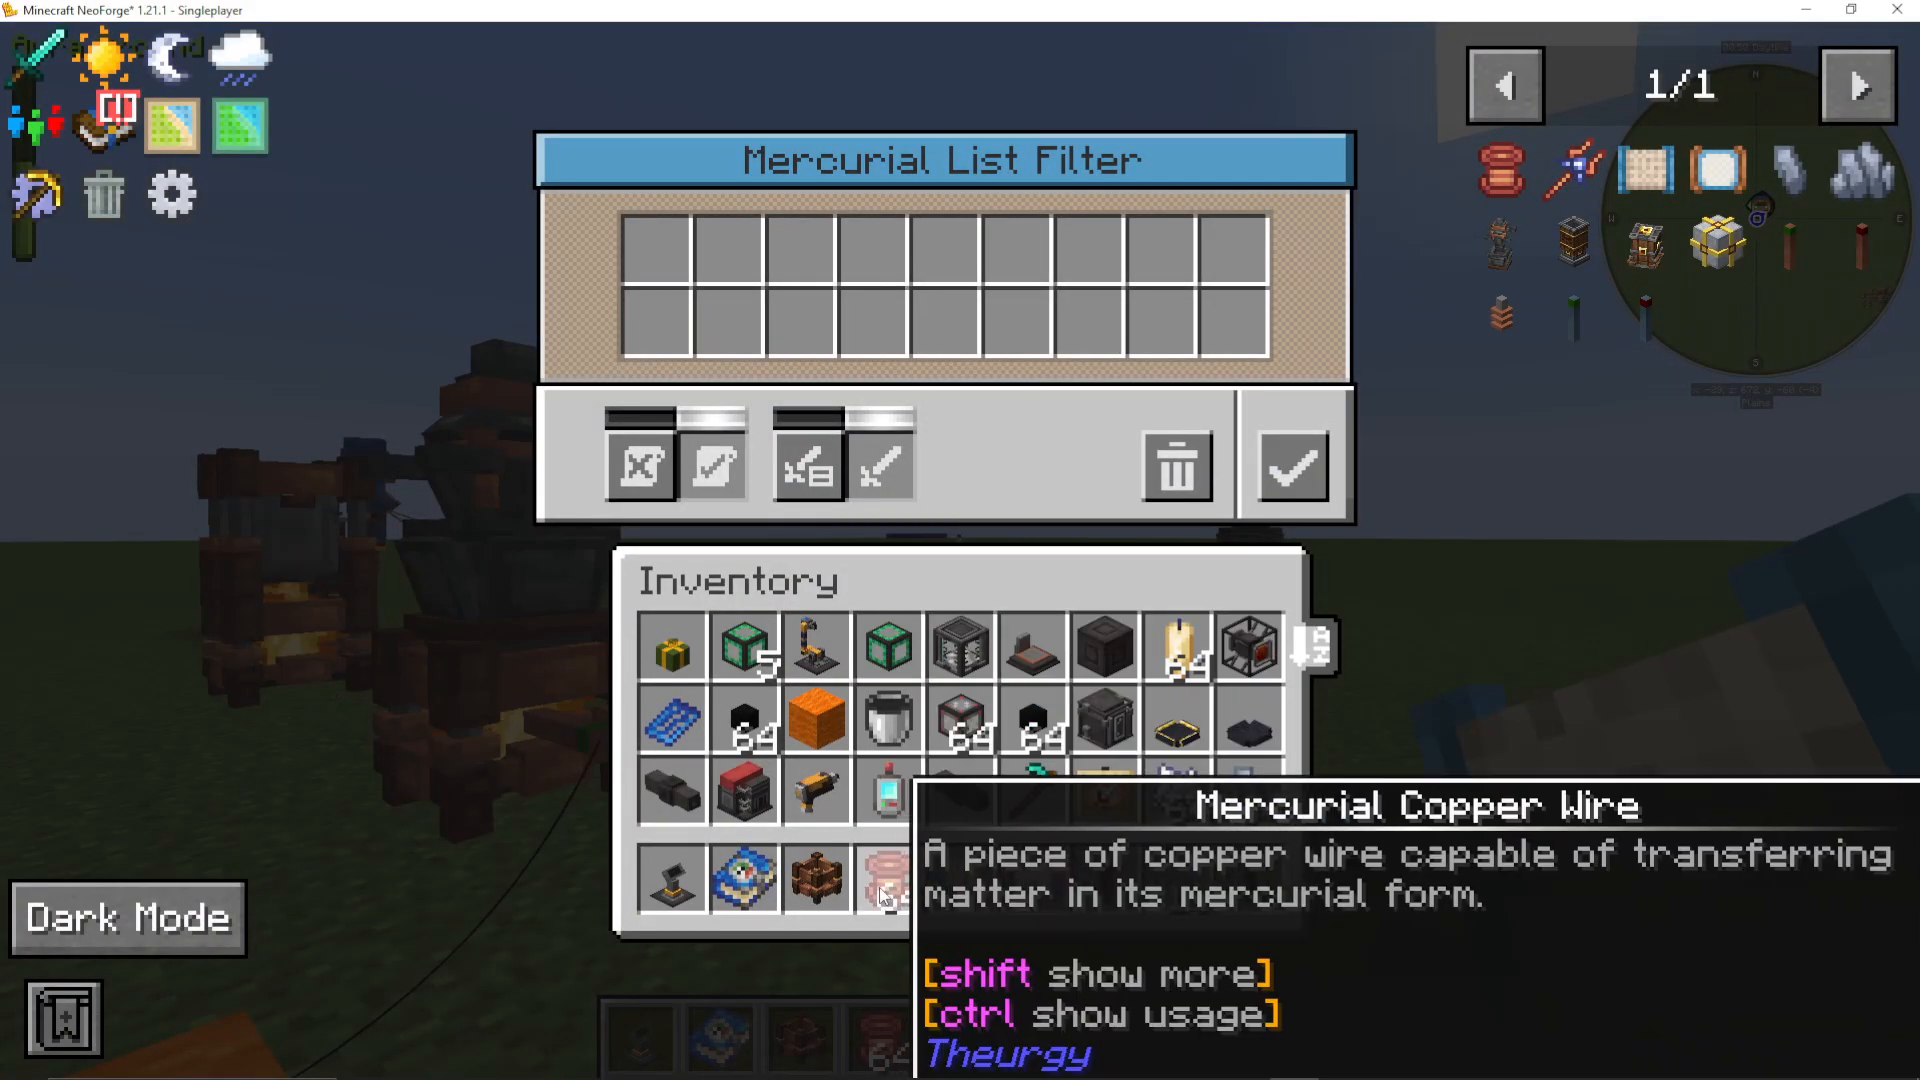
Mercurial List Filter
The Mercurial List Filter is a simple whitelist/blacklist filter. Right-click it in the open air to open its UI. You can:
Add specific items to an Allow List (whitelist) or Deny List (blacklist)
Toggle Respect Data or Ignore Data to decide whether enchantments and durability matter
Reset the filter to clear all entries
Save filter settings by ticking the save button
Mercurial Attribute Filter
The Mercurial Attribute Filter is one of the most powerful filters available in modded Minecraft. Rather than listing specific items, it filters by item attributes. To use it:
Right-click the filter in the open air to open the UI.
Place a reference item into the Add Reference Item slot (e.g., coal).
A list of attributes for that item will appear — for example: Is Furnace Fuel, Can Be Smelted, Is Tagged With [tag], Added by Minecraft.
Select the attribute you want to filter on — for a brazier, choose Is Furnace Fuel so that any valid fuel (coal, wood planks, etc.) is allowed through.
You can add multiple attributes and set the logic to Any, All, or None of the selected attributes.
Save the filter settings, then right-click the filter onto your Mercurial Item Extractor or Inserter.
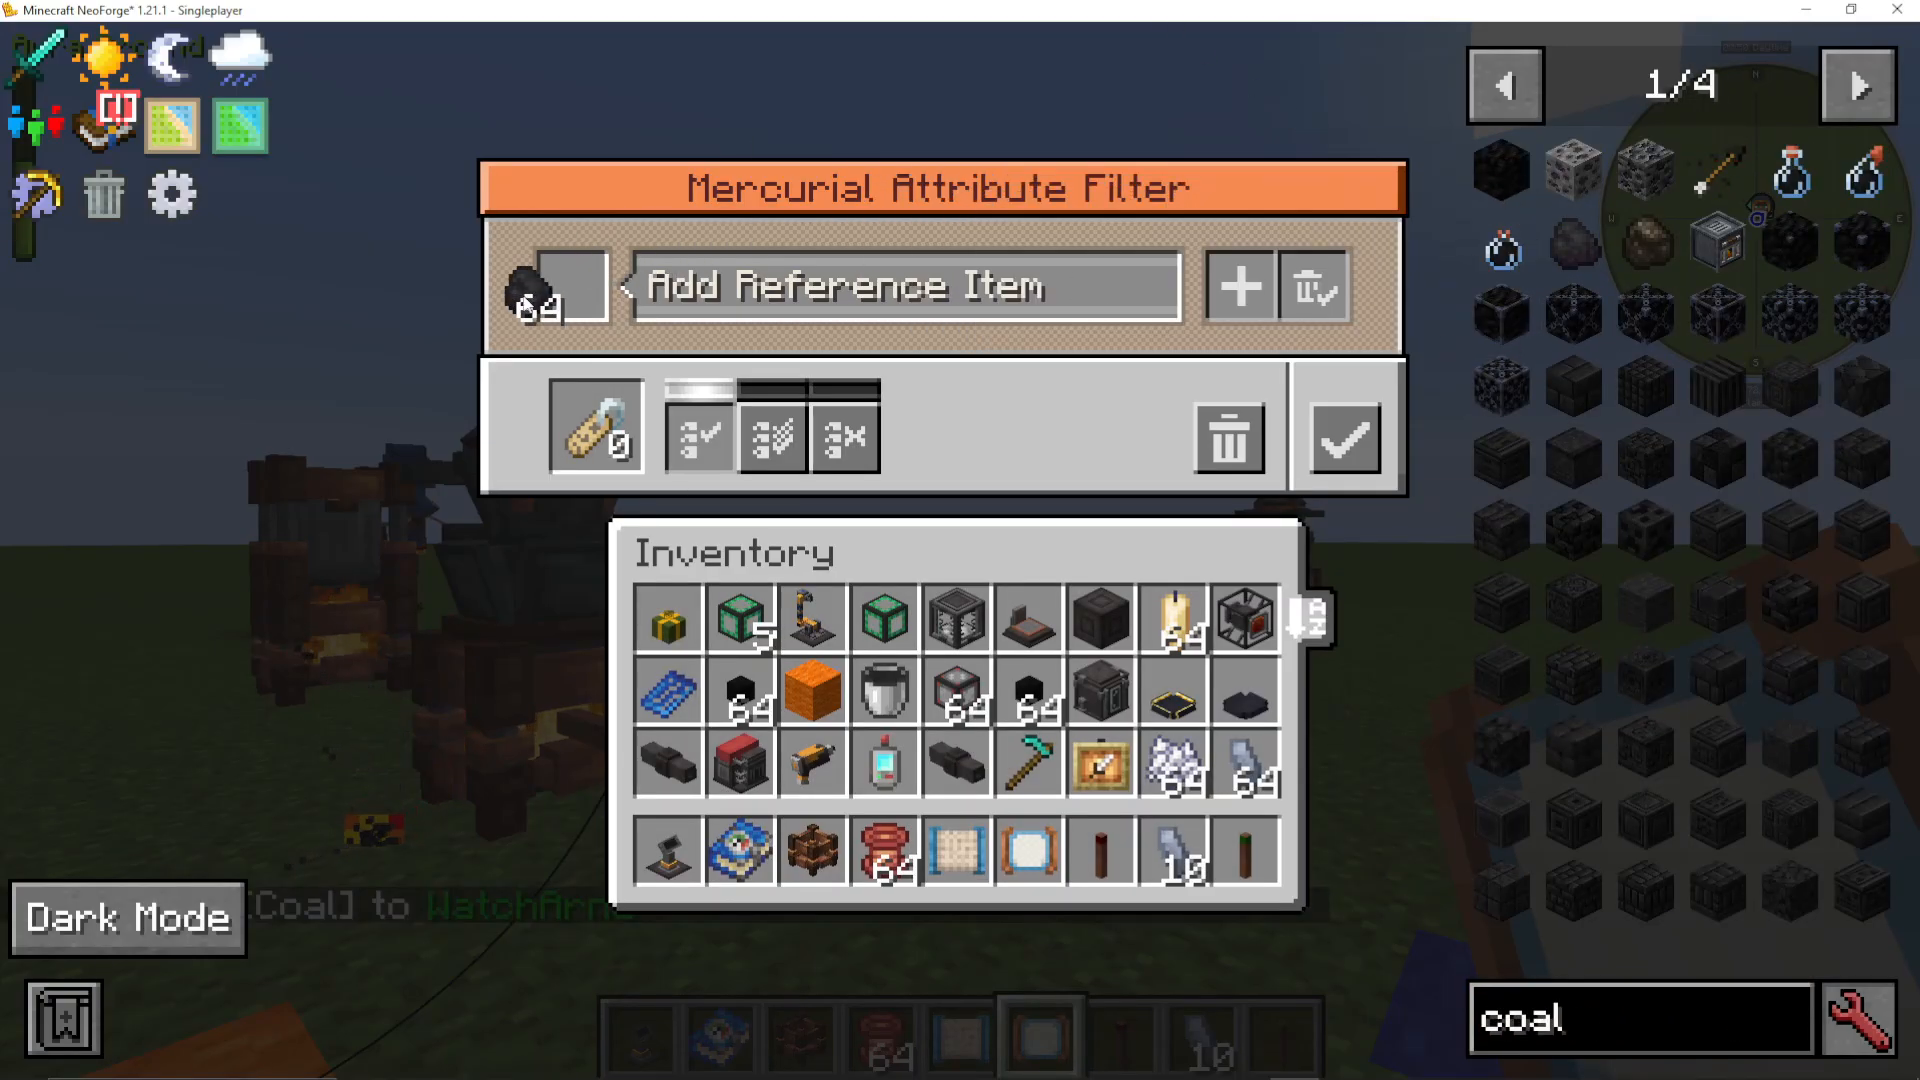
A useful tip: in survival mode you only have one attribute filter per item. However, if you have a stack of them and do not split them, the filter data is retained across the stack.
Automating the Mercury Distilla – A Full Example
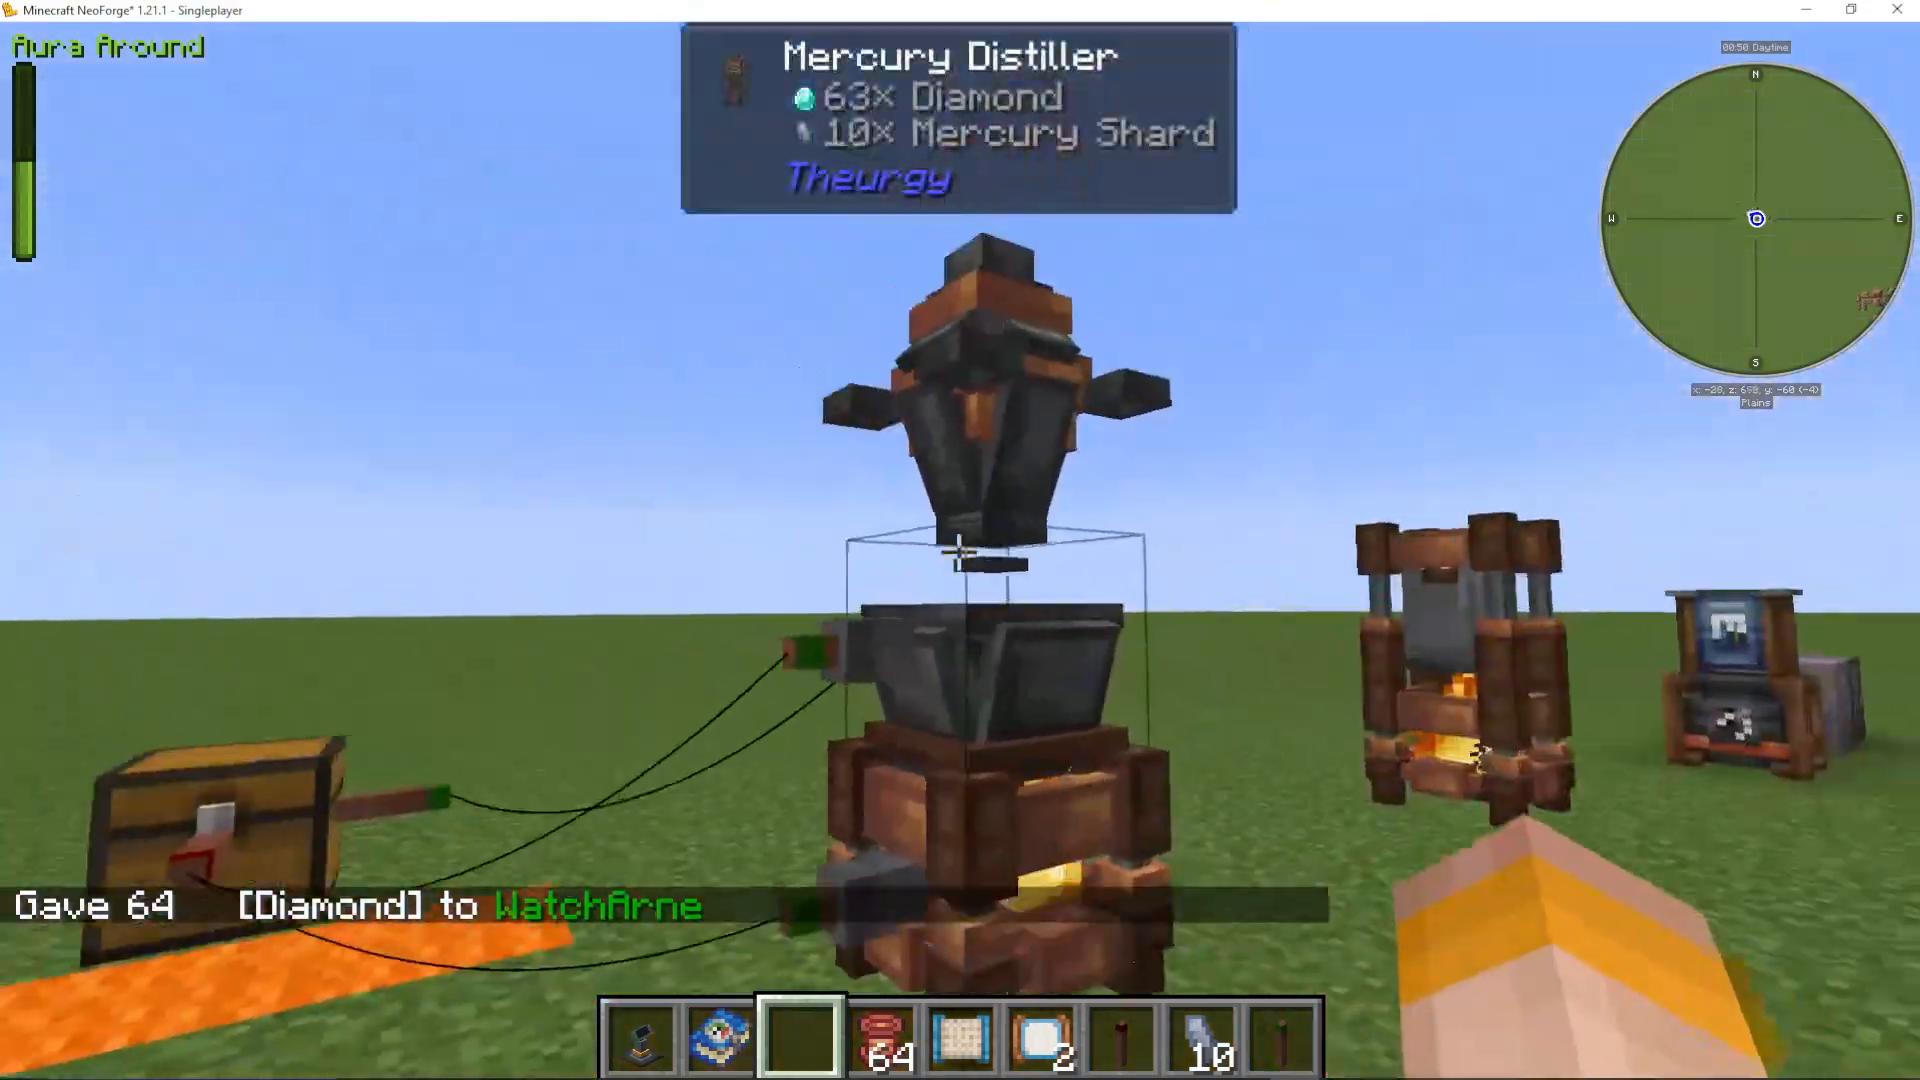
Here is a practical automation setup using a chest, a Pyromantic Brazier, and a Mercury Distilla. The recommended colour convention used here is blue for import and orange for export.
Place a Mercurial Item Extractor on the chest (the source of your materials).
Place a Mercurial Item Inserter on the Pyromantic Brazier — connect them with Mercury Copper Wire. Apply a Mercurial Attribute Filter set to Is Furnace Fuel on the extractor so only valid fuels go to the brazier.
Place another Mercurial Item Extractor on the same chest and connect it to a Mercurial Item Inserter on the Mercury Distilla. Apply a Mercurial List Filter set to allow diamonds only on the inserter.
Place a Mercurial Item Extractor on the Mercury Distilla to pull out finished Mercury Shards. Apply a Mercurial List Filter set to Mercury Shard only and connect it to an output chest.
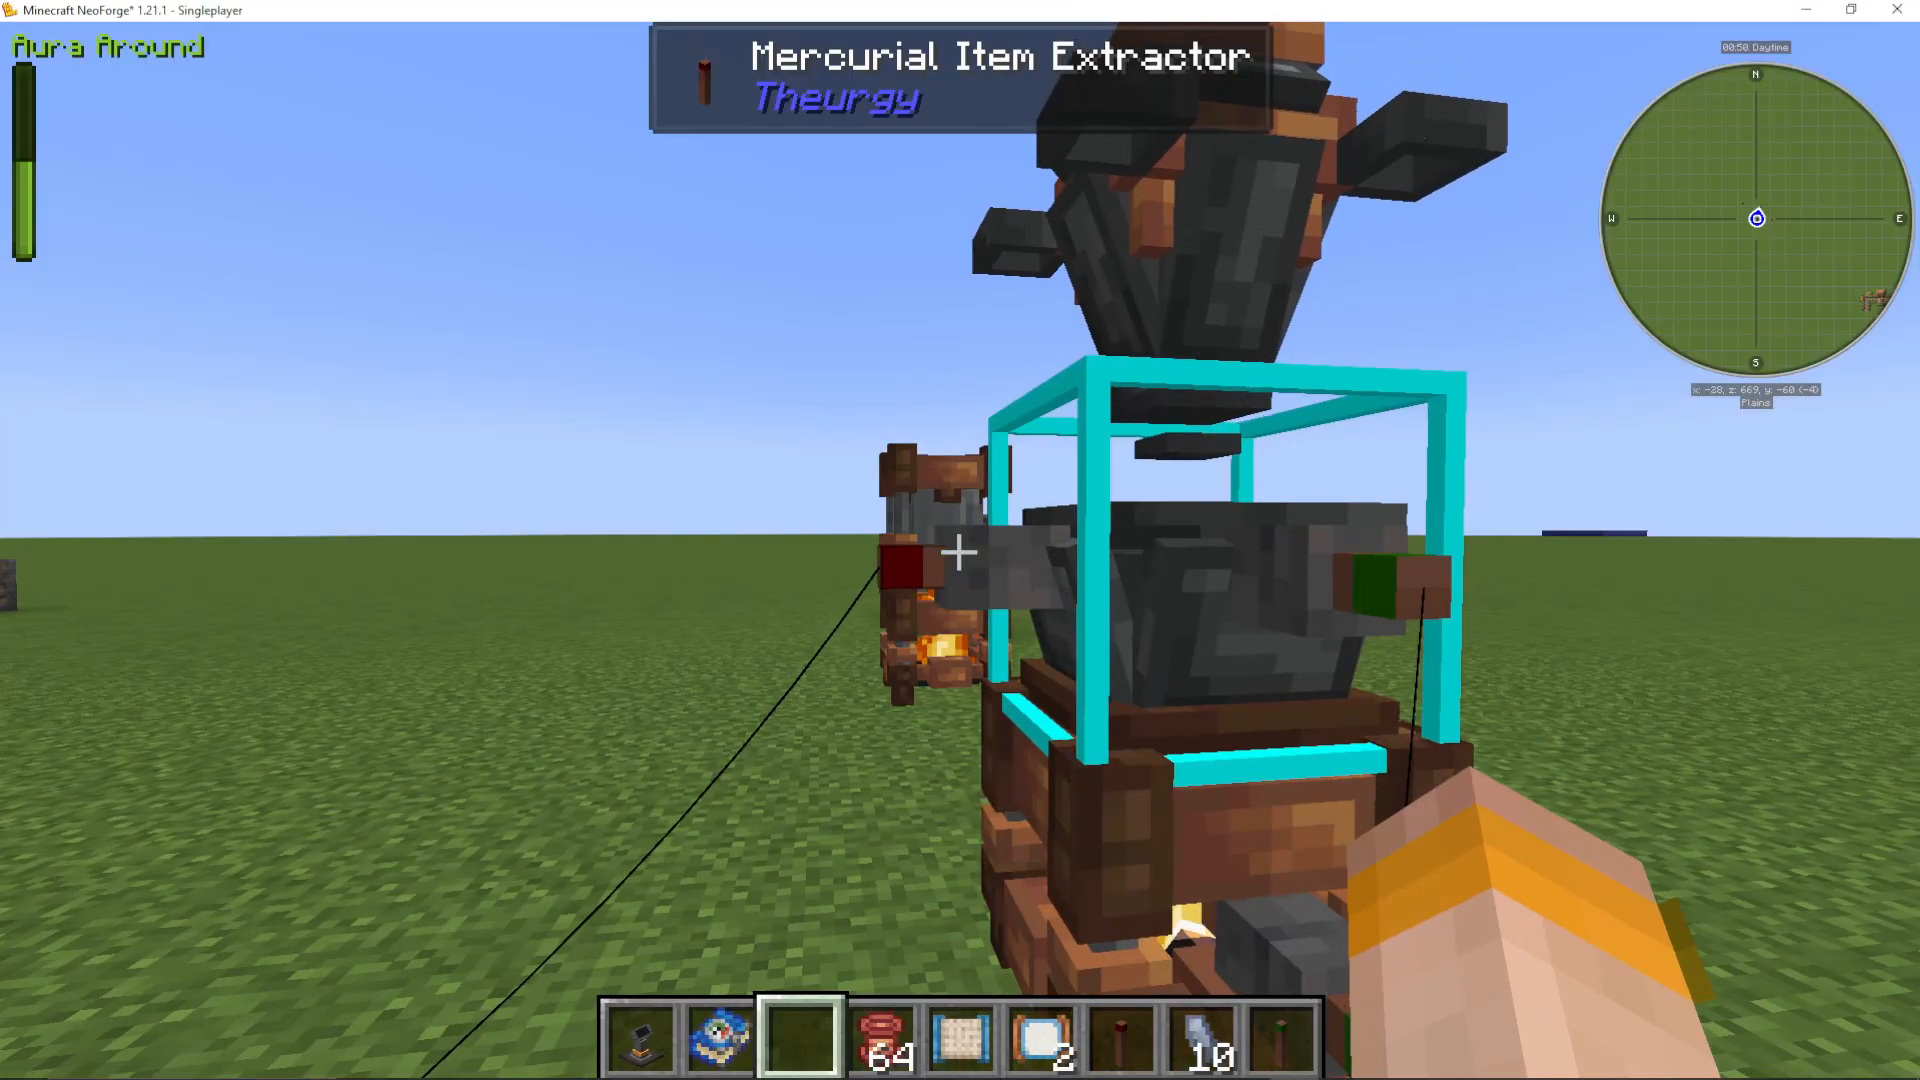
With this setup, coal automatically feeds the brazier, diamonds automatically feed the distilla, and Mercury Shards automatically route to your output chest — a fully automated Mercury Distilla.
Mercury Connection Nodes and the Mercurial Allocation Wand
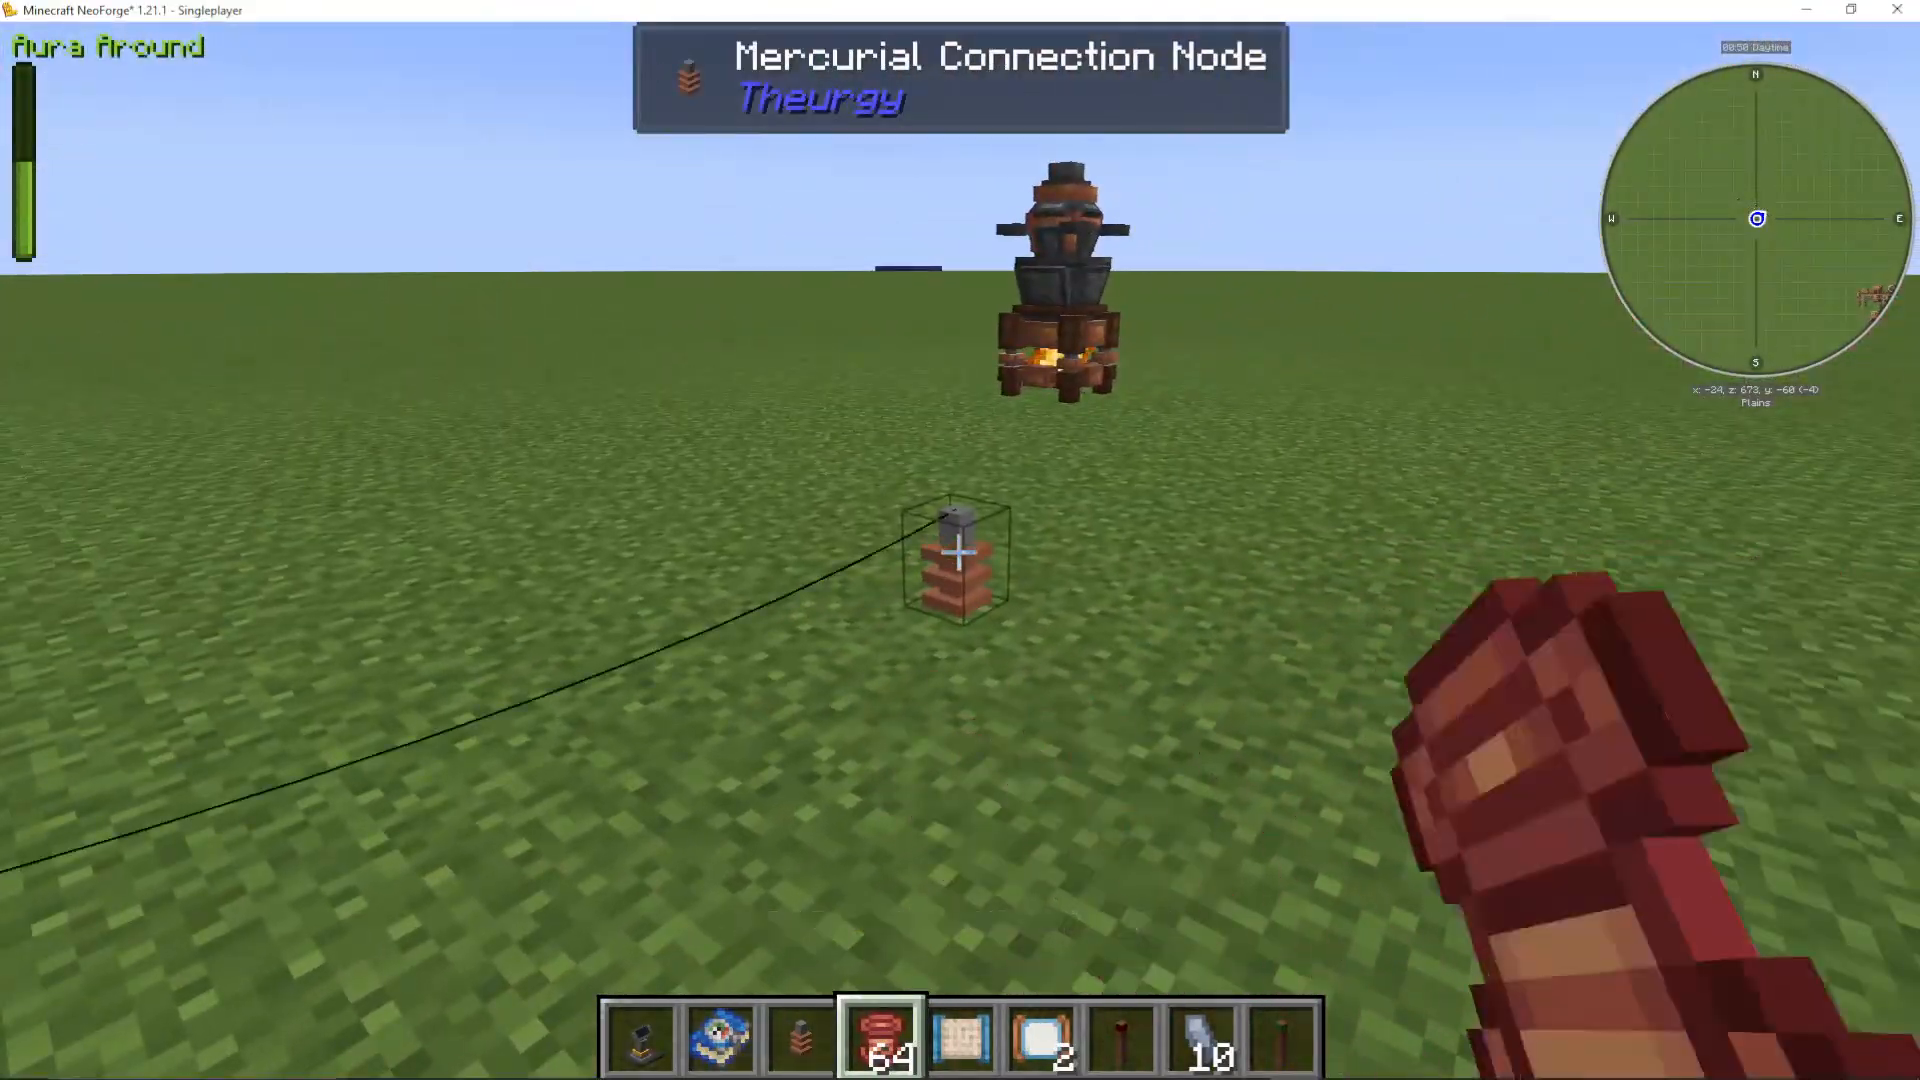
For long-distance item transport, use Mercury Connection Nodes. Place them in a chain and wire each node to the next using Mercury Copper Wire, allowing you to cover large distances.
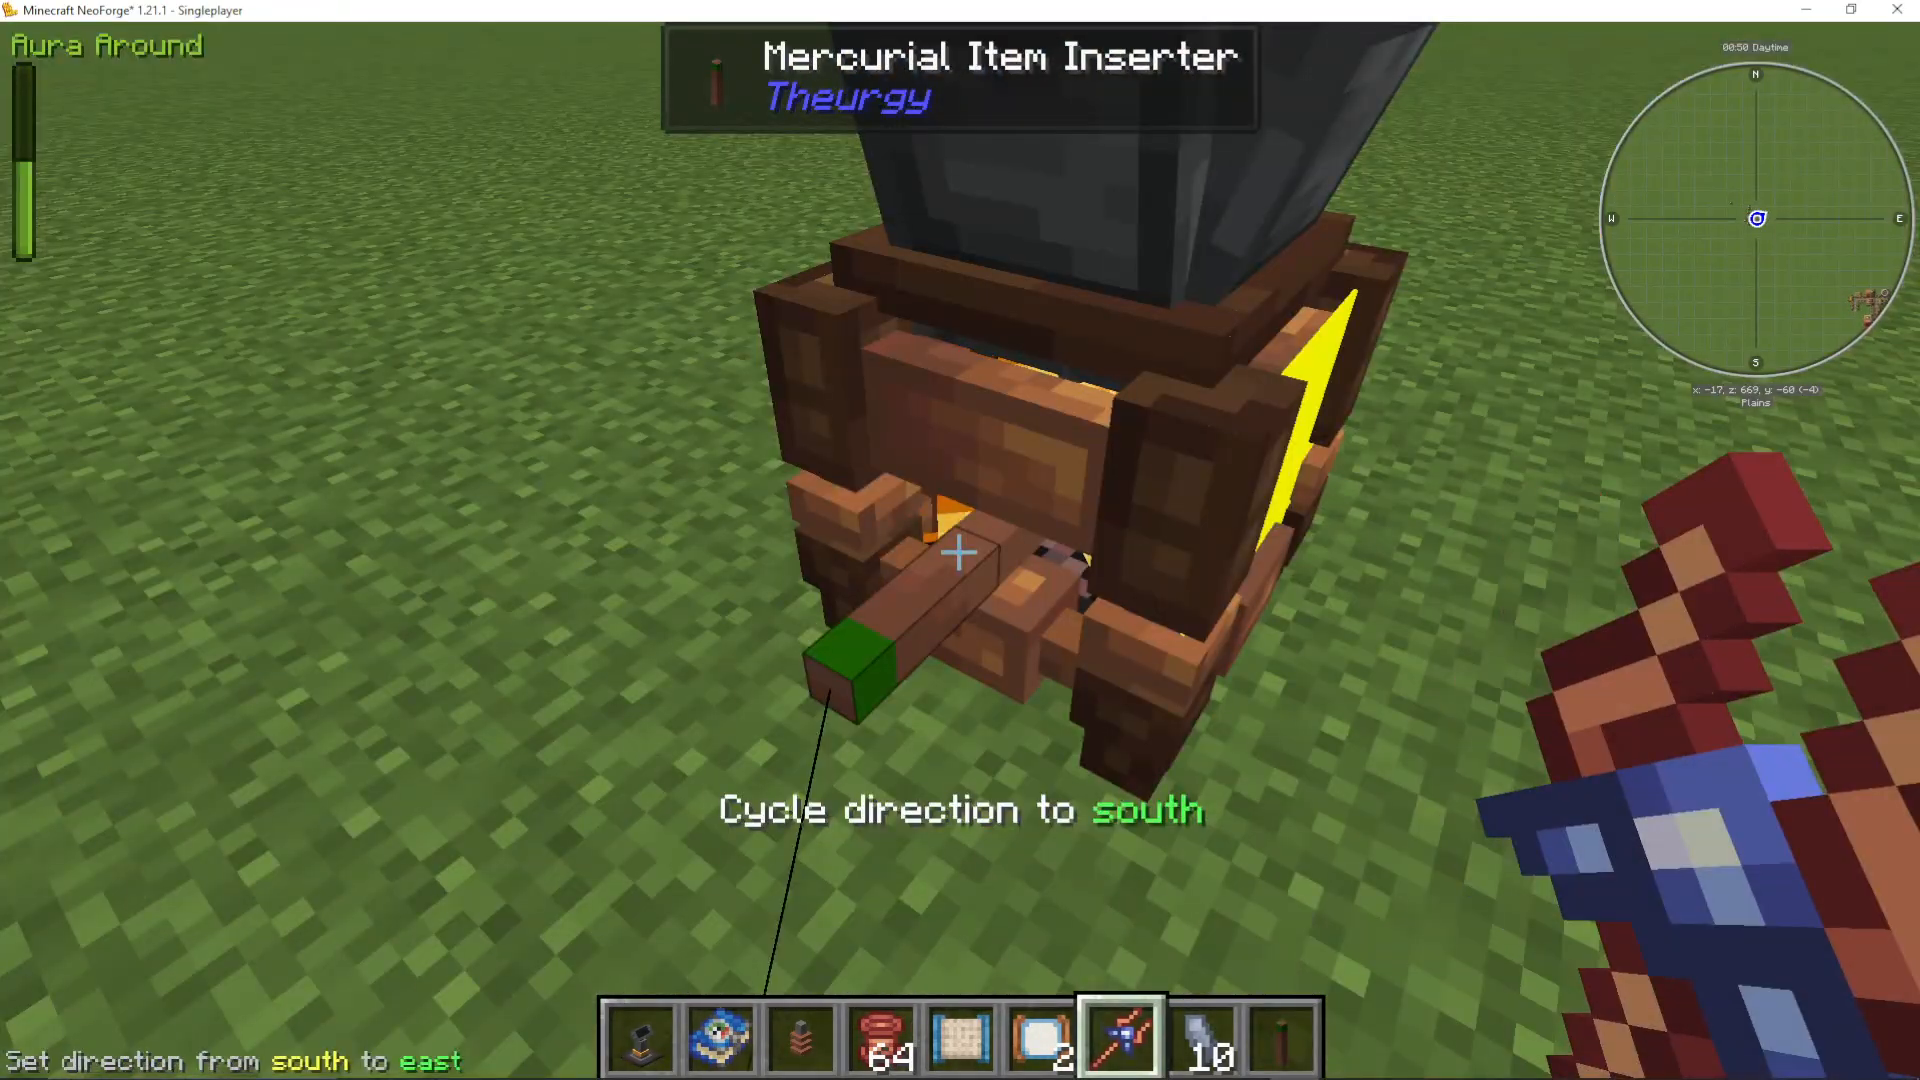
The Mercurial Allocation Wand acts as a wrench for the logistics system. Right-clicking a connector with it shows which sides items can enter or exit, and allows you to adjust directional settings. Shift right-clicking a connector will show you what it is currently linked to — useful for debugging complex networks.
Making Sal Ammoniac
Sal Ammoniac is one of the first critical resources you will need throughout Fiar G. You can find Sal Ammoniac Ore and Deepslate Sal Ammoniac Ore in the world across most dimensions (unless your modpack has changed ore generation).
Setting Up the Sal Ammoniac Tank and Accumulator
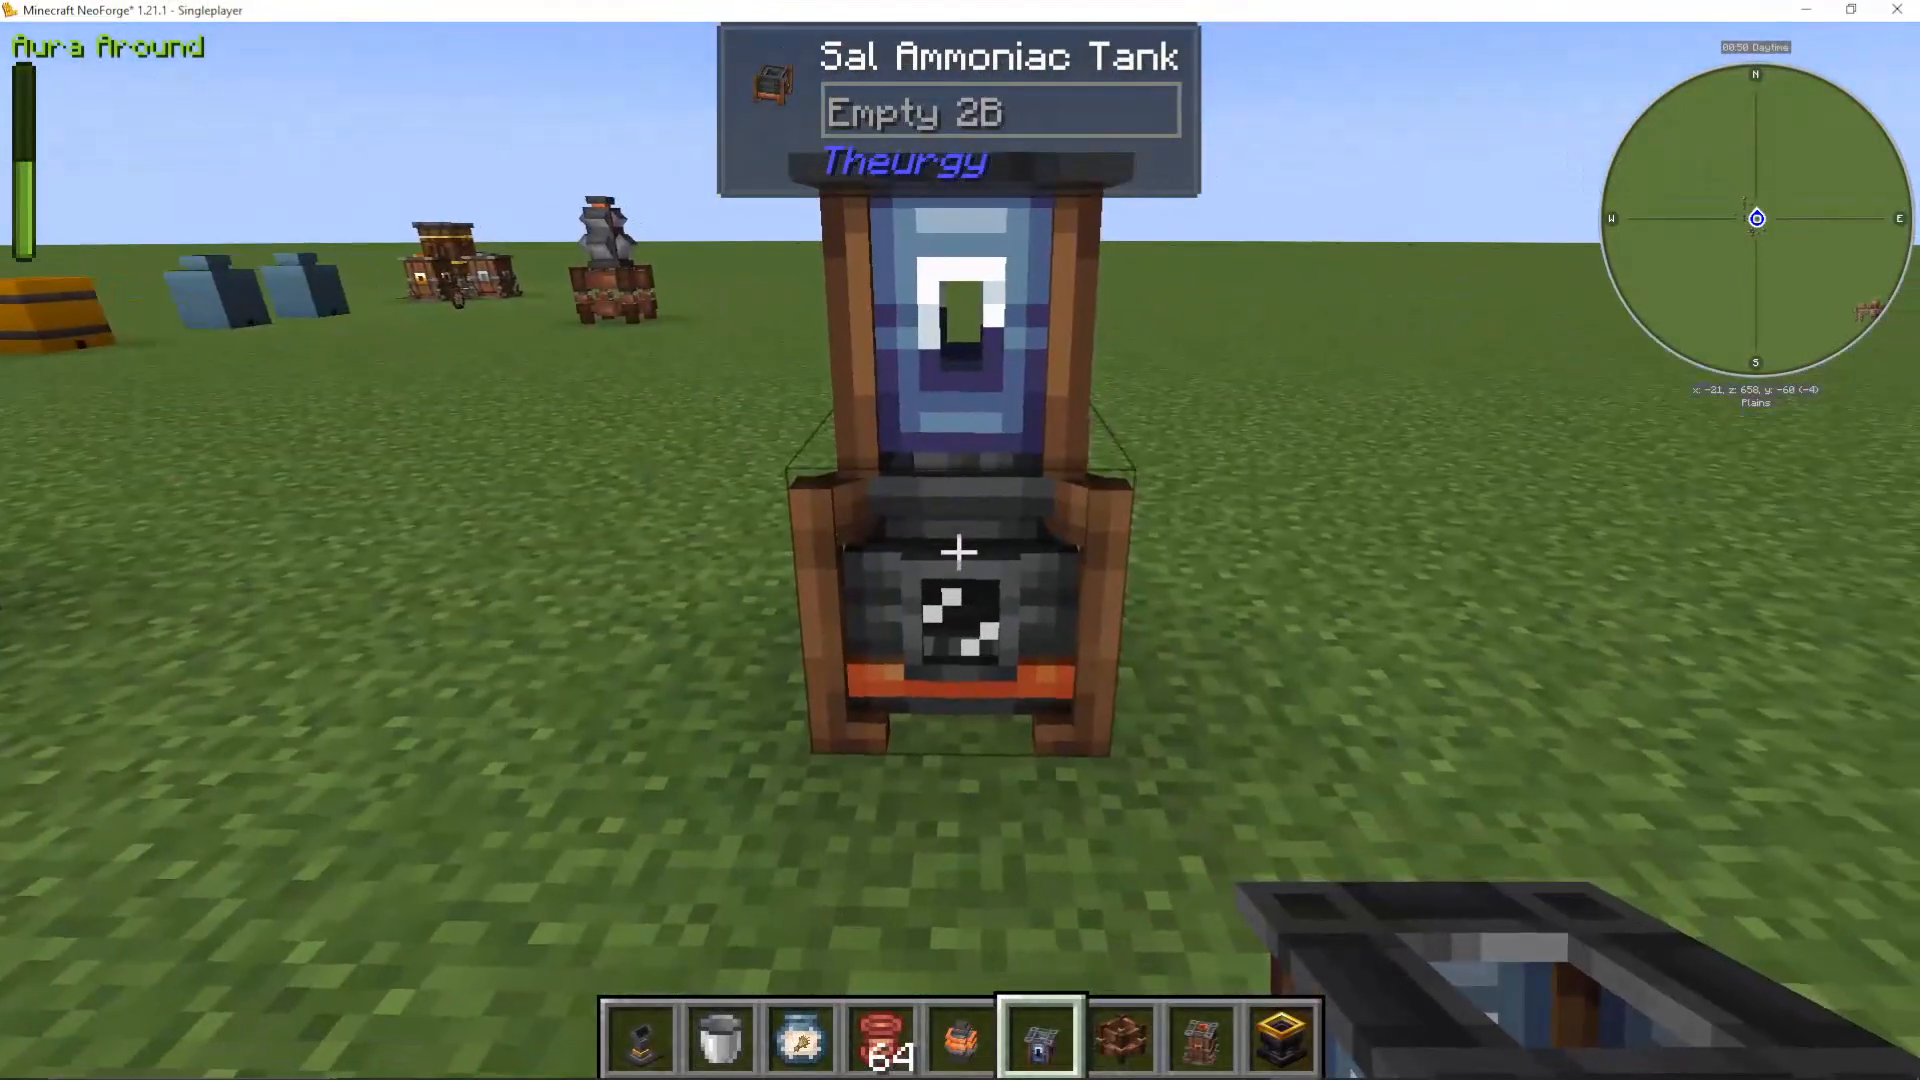
To produce Sal Ammoniac you need two machines stacked on top of each other:
Sal Ammoniac Tank — placed on the bottom
Sal Ammoniac Accumulator — placed on top of the tank
Both water and your mined Sal Ammoniac Crystals go into the top unit (the Accumulator). The tank on the bottom will fill with liquid Sal Ammoniac as a result.
Automating Water Supply
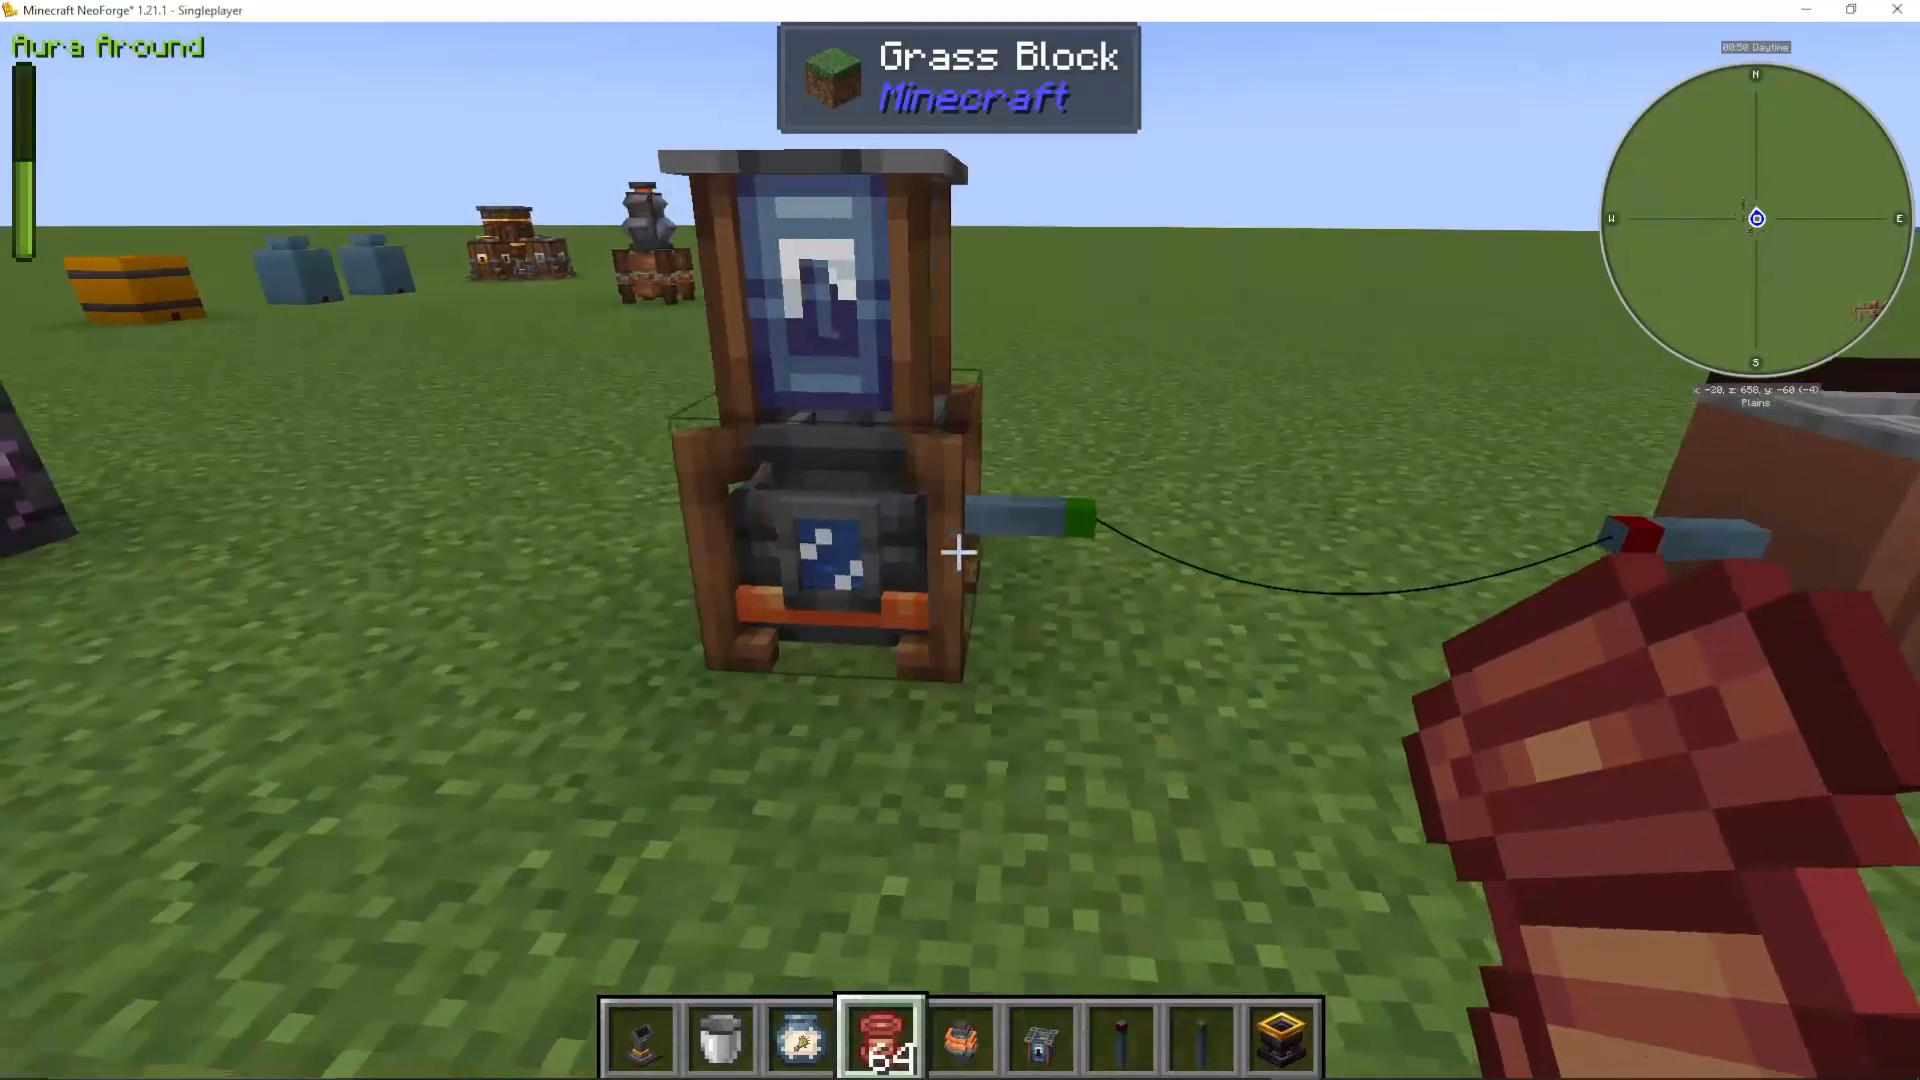
To automate the water supply, use the Mercurial Fluid Extractor and Mercurial Fluid Inserter. For example, place the fluid extractor on a sink (from the Cooking for Blockheads mod), connect it to a fluid inserter on the Sal Ammoniac Accumulator using Mercury Copper Wire. Make sure the fluid inserter is placed on the top unit (the Accumulator), not the tank, since both water and crystals enter from the top.
Alchemical Sulphur and the Liquefaction Cauldron
Once you have Sal Ammoniac, the next step is creating Alchemical Sulphur. The Liquefaction Cauldron is the machine you will use for this. Alchemical Sulphur exists for a huge variety of items — diamonds, beetroot, gold, rice, dragon fruit, redstone, lapis, and many more — each tagged by rarity: Abundant, Common, Rare, or Precious, and by category: Crops, Gems, Metals, Other Minerals, etc.
Setting Up the Liquefaction Cauldron
Place a Pyromantic Brazier and add coal to heat it.
Place the Liquefaction Cauldron directly above the brazier.
Use a Mercurial Fluid Extractor on your Sal Ammoniac Tank and connect it to a Mercurial Fluid Inserter on the Liquefaction Cauldron with Mercury Copper Wire to fill it with Sal Ammoniac.
Add the item you want to convert (e.g., potato) directly into the Liquefaction Cauldron.
After a short time, the cauldron will produce Alchemical Sulphur Potato. Right-click the machine to retrieve the sulphur. You can use JEI to look up the sulphur recipe for any item you want to process.
Fermentation – Turning Alchemical Sulphur into Alchemical Niter
Alchemical Niter is the next tier of alchemical material after Sulphur. While Sulphur exists for almost every individual item, Niter is categorised into broader groups:
Abundant / Common / Rare / Precious Gems
Abundant / Common / Rare / Precious Metals
Abundant / Common / Rare / Precious Other Minerals
Abundant / Common / Rare / Precious Mob Drops
Abundant / Common / Rare Animal Parts
Abundant Crops, Abundant Logs
Niter is what allows you to duplicate items in later steps, making it extremely valuable.
Using the Fermentation Vat
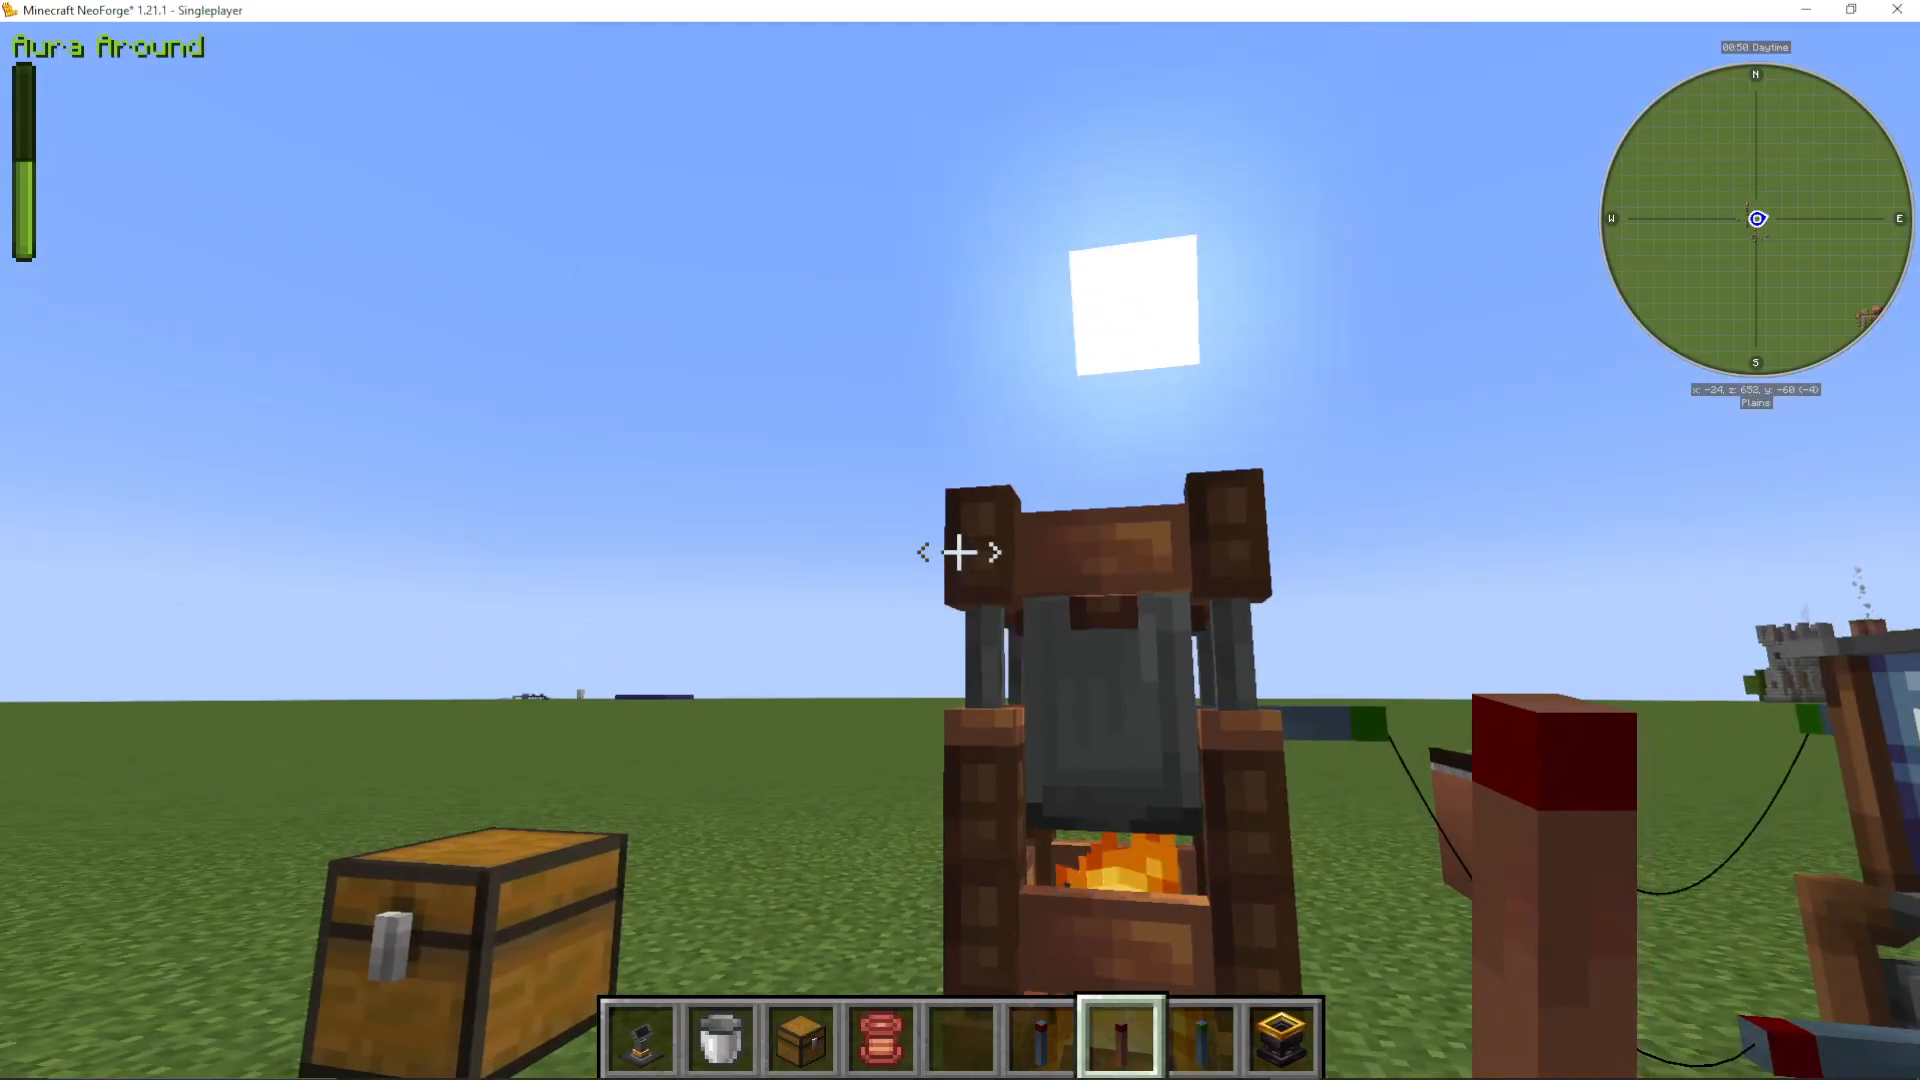
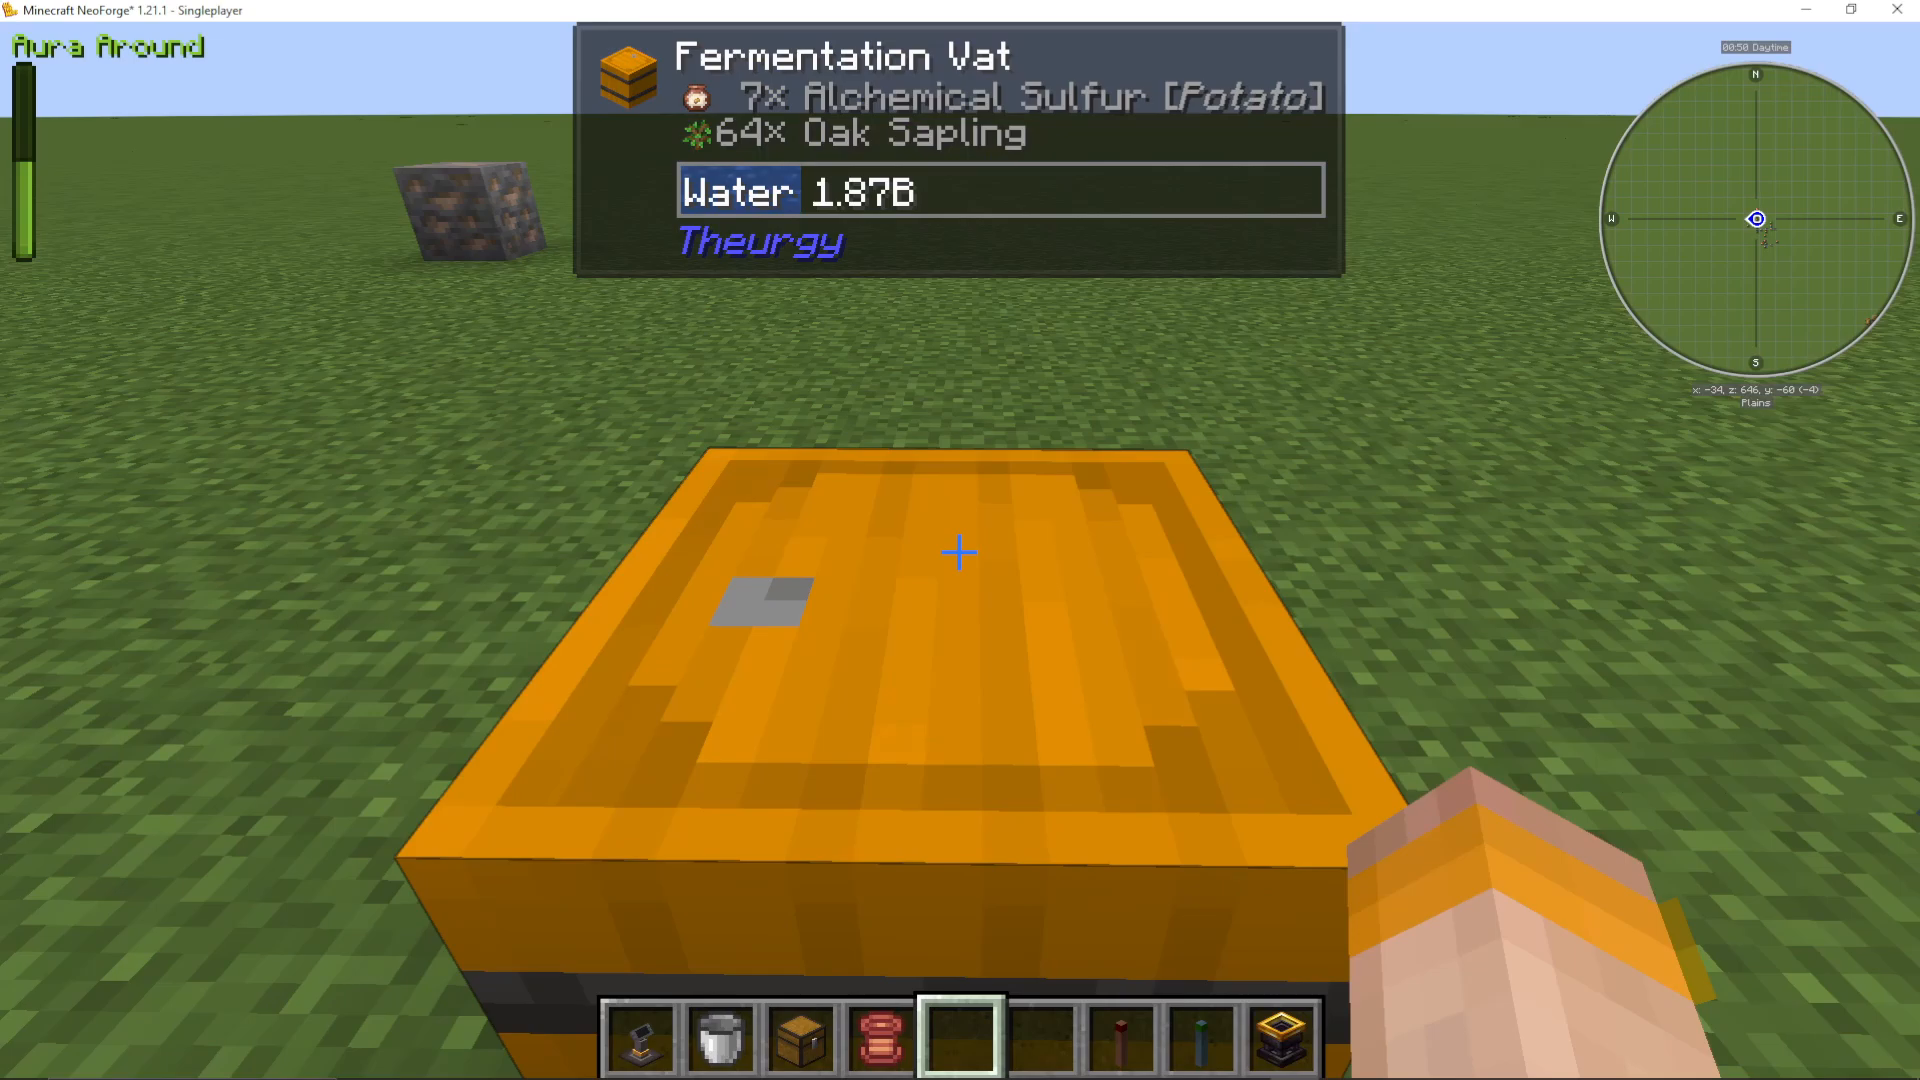
To make Alchemical Niter, build a Fermentation Vat and fill it with:
Water
Your Alchemical Sulphur (e.g., Sulphur Potato)
A fermenting agent — any sapling, leaf, or similar organic material works. Alternatively, use Fermentation Starter (see below).
Once all ingredients are in, shift right-click the vat to close and seal it, starting the fermentation process. The vat will not close if the recipe is incorrect. After a few seconds, Alchemical Niter will be produced inside. Shift right-click again to open the vat, then right-click to retrieve your Niter.
Crafting Fermentation Starter
You can craft Fermentation Starter inside the Fermentation Vat itself. Combine:
Sugar
Any raw plant material (saplings, flowers, wood, etc.)
Sal Ammoniac
This gives you 20 Fermentation Starters, which can be used as the fermenting agent in any future fermentation recipe — a convenient substitute for whatever organic material a specific recipe calls for.
Digestion – Upgrading and Downgrading Alchemical Niter
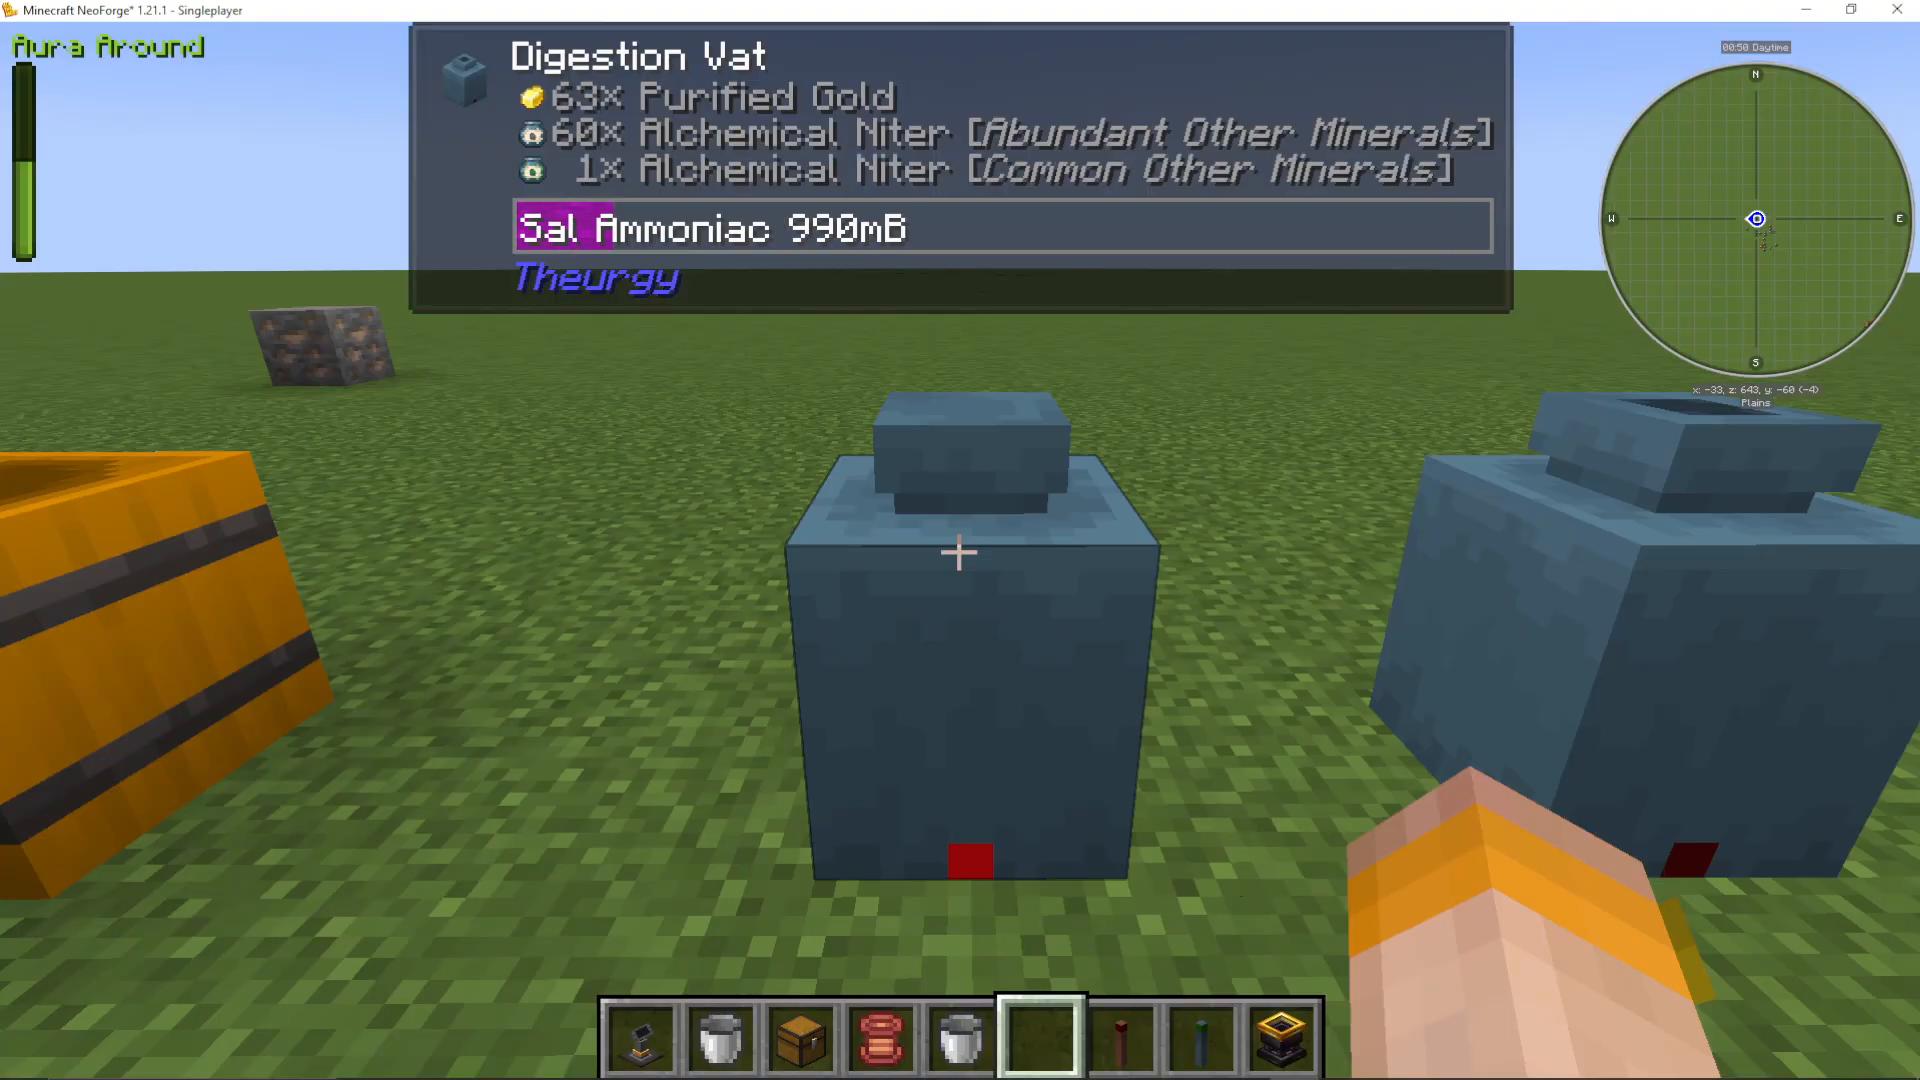
The Digestion Vat serves two purposes: making Purified Gold and converting Niter between tiers (e.g., Abundant Other Minerals → Common Other Minerals → Rare → Precious).
Making Purified Gold
In the Digestion Vat, combine:
Water
Salt (see the Salt section below)
Gold
Shift right-click to close and seal the vat. The result is Purified Gold, which is required for upgrading Niter tiers.
Upgrading Niter Tiers
To upgrade Niter (e.g., from Abundant Other Minerals to Common Other Minerals), place the following into the Digestion Vat:
A stack of Purified Gold
Your lower-tier Niter (e.g., 4× Abundant Other Minerals)
Sal Ammoniac
Shift right-click to seal the vat. Four of the lower-tier Niter will convert into one of the next tier up. The process also works in reverse — place a higher-tier Niter in to receive four of the lower tier. Use JEI to check exact quantities for each recipe.
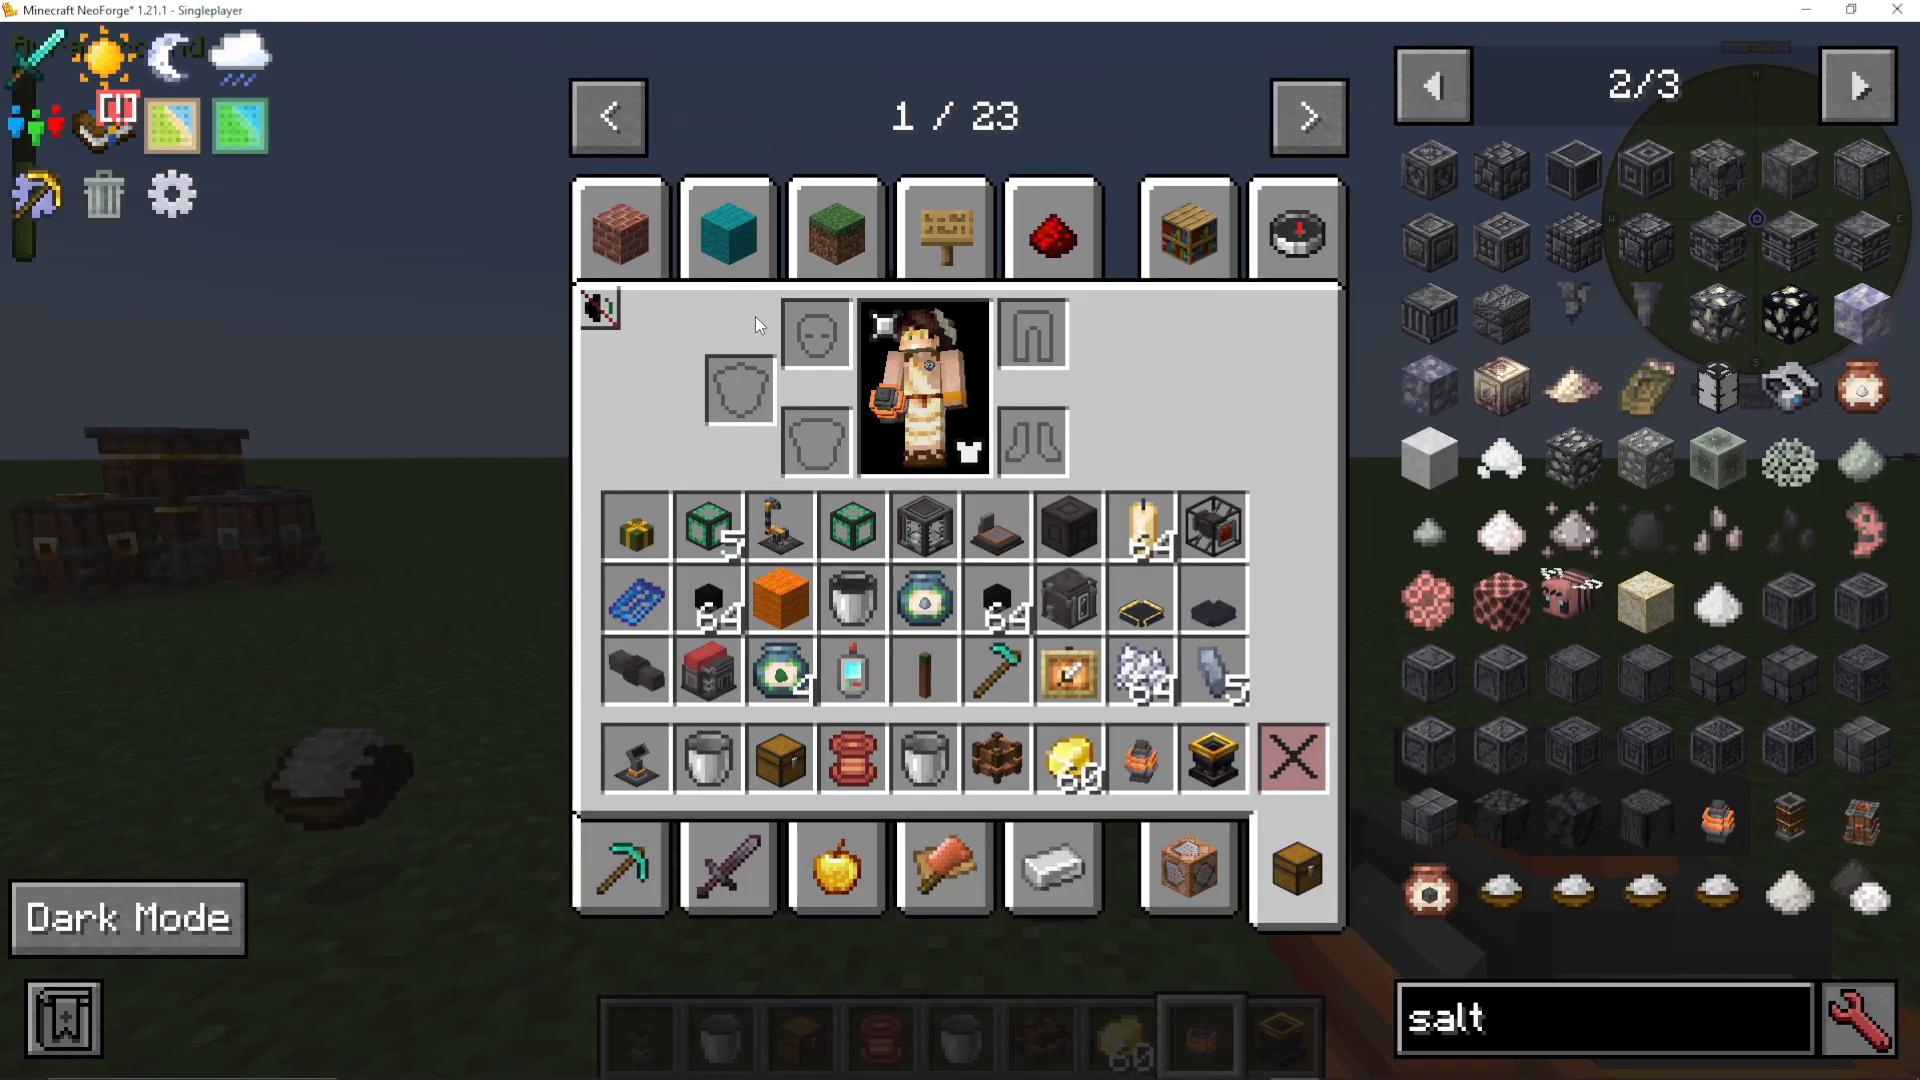
Making Salt with the Calcination Oven
Salt is required for the Digestion Vat and the Incubator. There are four types of Alchemical Salt:
Strata Salt — from rocks, terracotta, magma, stone, dirt, sand, obsidian, gravel, etc. Blue Ice yields 64 at once for an efficient early batch.
Minerals Salt — from ores. Raw ore makes 3; quartz and coal make 2. Alternatively, process 5 Strata Salt through calcination to get 1 Minerals Salt.
Plants Salt — from saplings, leaves, and similar plant materials.
Creatures Salt — made by processing Plants Salt through the Calcination Oven (as of Minecraft 1.21).
Setting Up the Calcination Oven
Place a Pyromantic Brazier and fill it with coal.
Place the Calcination Oven directly on top of the brazier.
Right-click your chosen material (e.g., saplings for Plants Salt) into the oven and wait for it to process.
Reformation – Transmuting Alchemical Sulphur Between Items
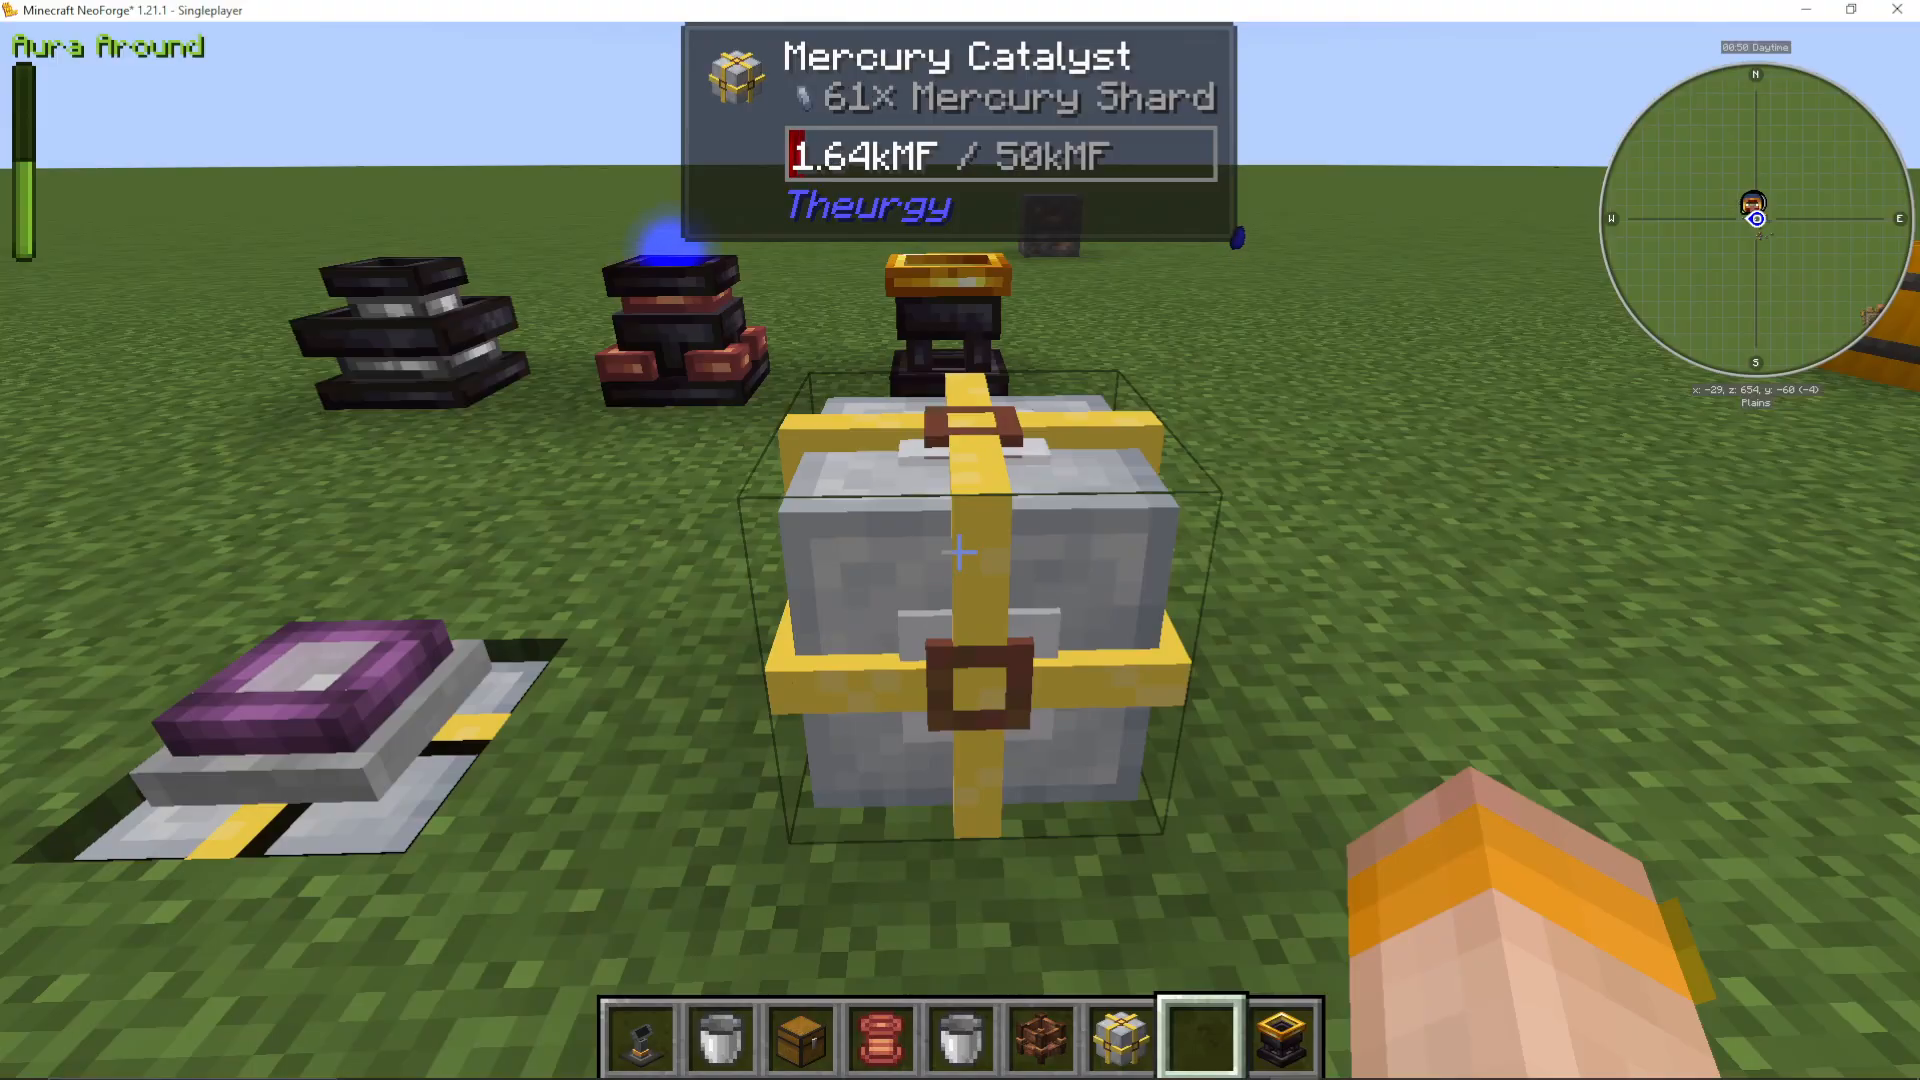
Power: The Mercury Catalyst and Sulfuric Flux Emitter
At this stage of the mod you will need power. The Mercury Catalyst is how Fiar G generates power. Craft it using a Mercury Crystal (four Mercury Shards combined) and then insert Mercury Crystals into the catalyst to generate flux power. Place a Sulfuric Flux Emitter on top of the catalyst — this is the device that consumes the power during reformation.
The Reformation Pedestals
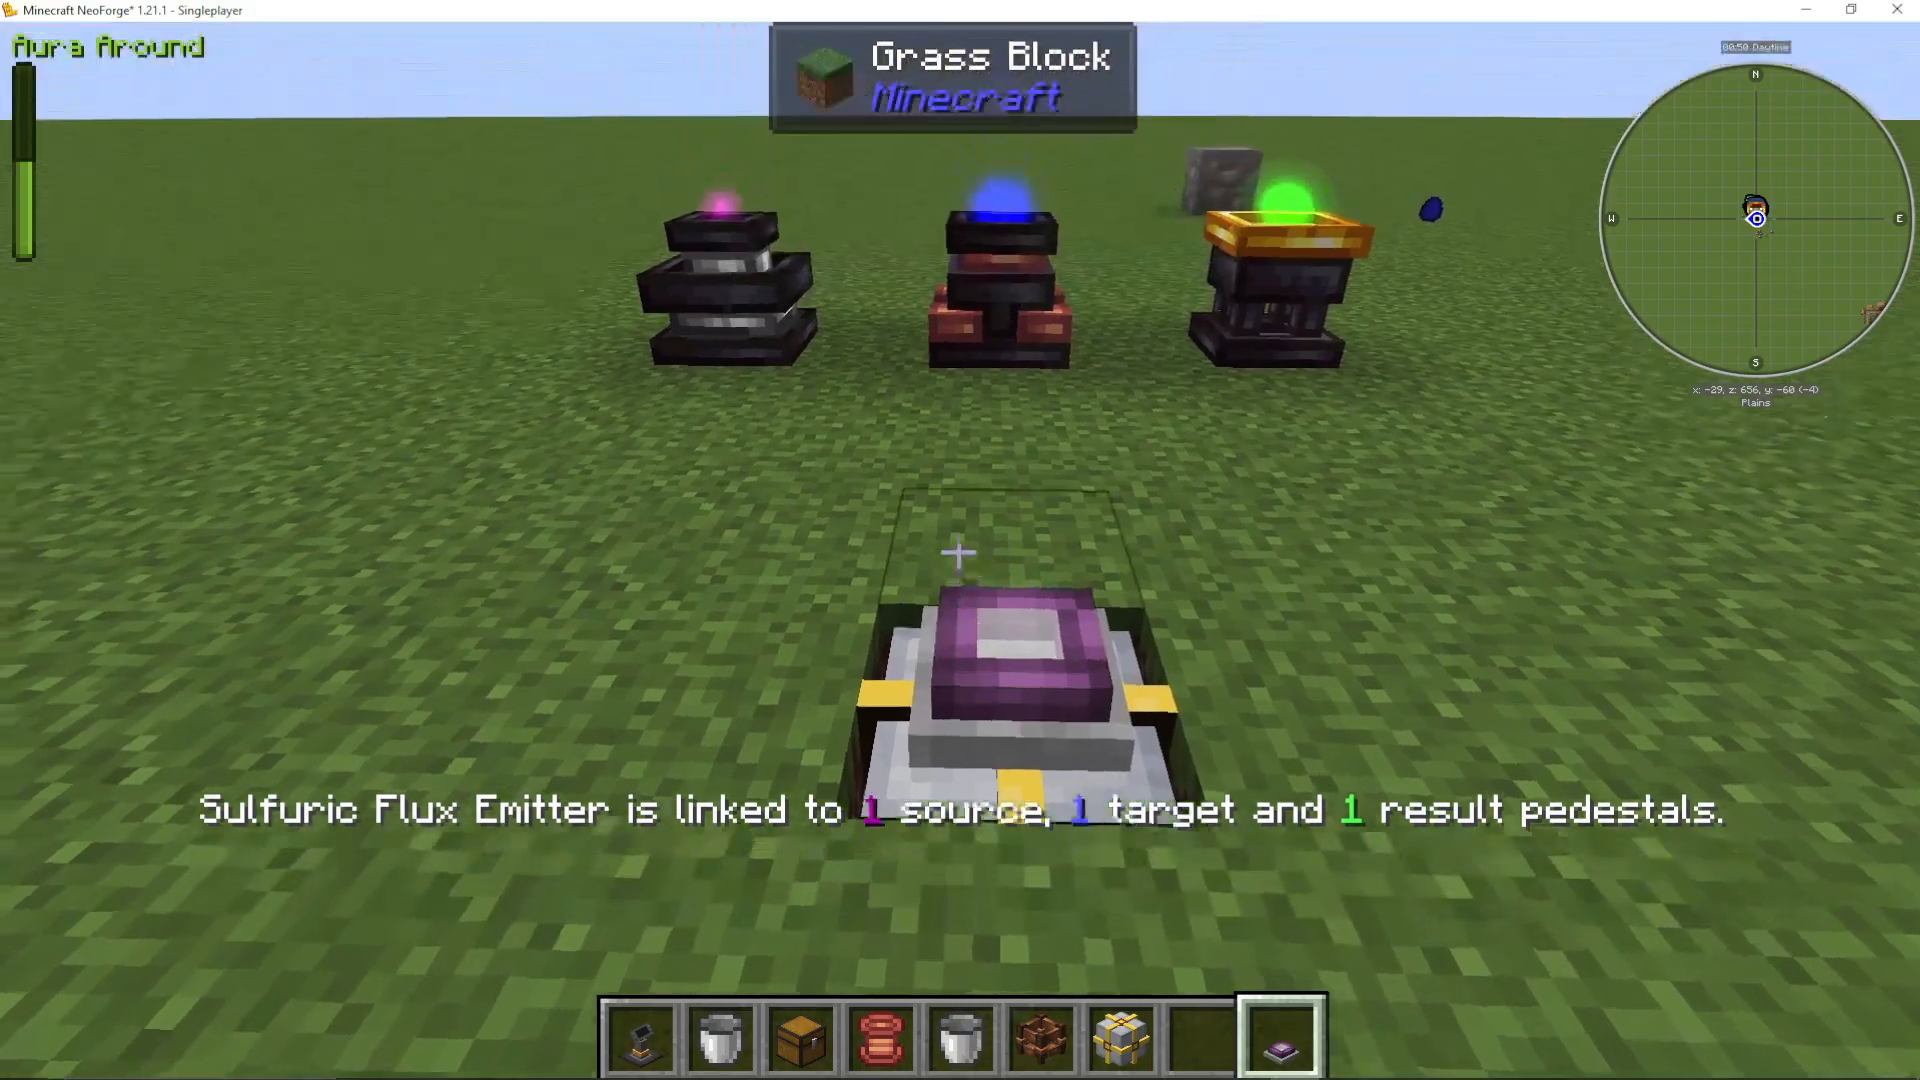
Reformation uses three pedestals:
Reformation Source Pedestal — holds the Alchemical Sulphur you are converting from
Reformation Target Pedestal — holds a single example of the Alchemical Sulphur you want to convert to (this item is NOT consumed — you can retrieve it after crafting)
Reformation Result Pedestal — where your newly converted Sulphur appears
To link all three pedestals together: hold the Sulfuric Flux Emitter and shift right-click the Source Pedestal, then right-click the Target Pedestal, then right-click the Result Pedestal. Then place the Sulfuric Flux Emitter on top of your Mercury Catalyst to provide power. Reformation will begin automatically.
Using Niter for Duplication in Reformation
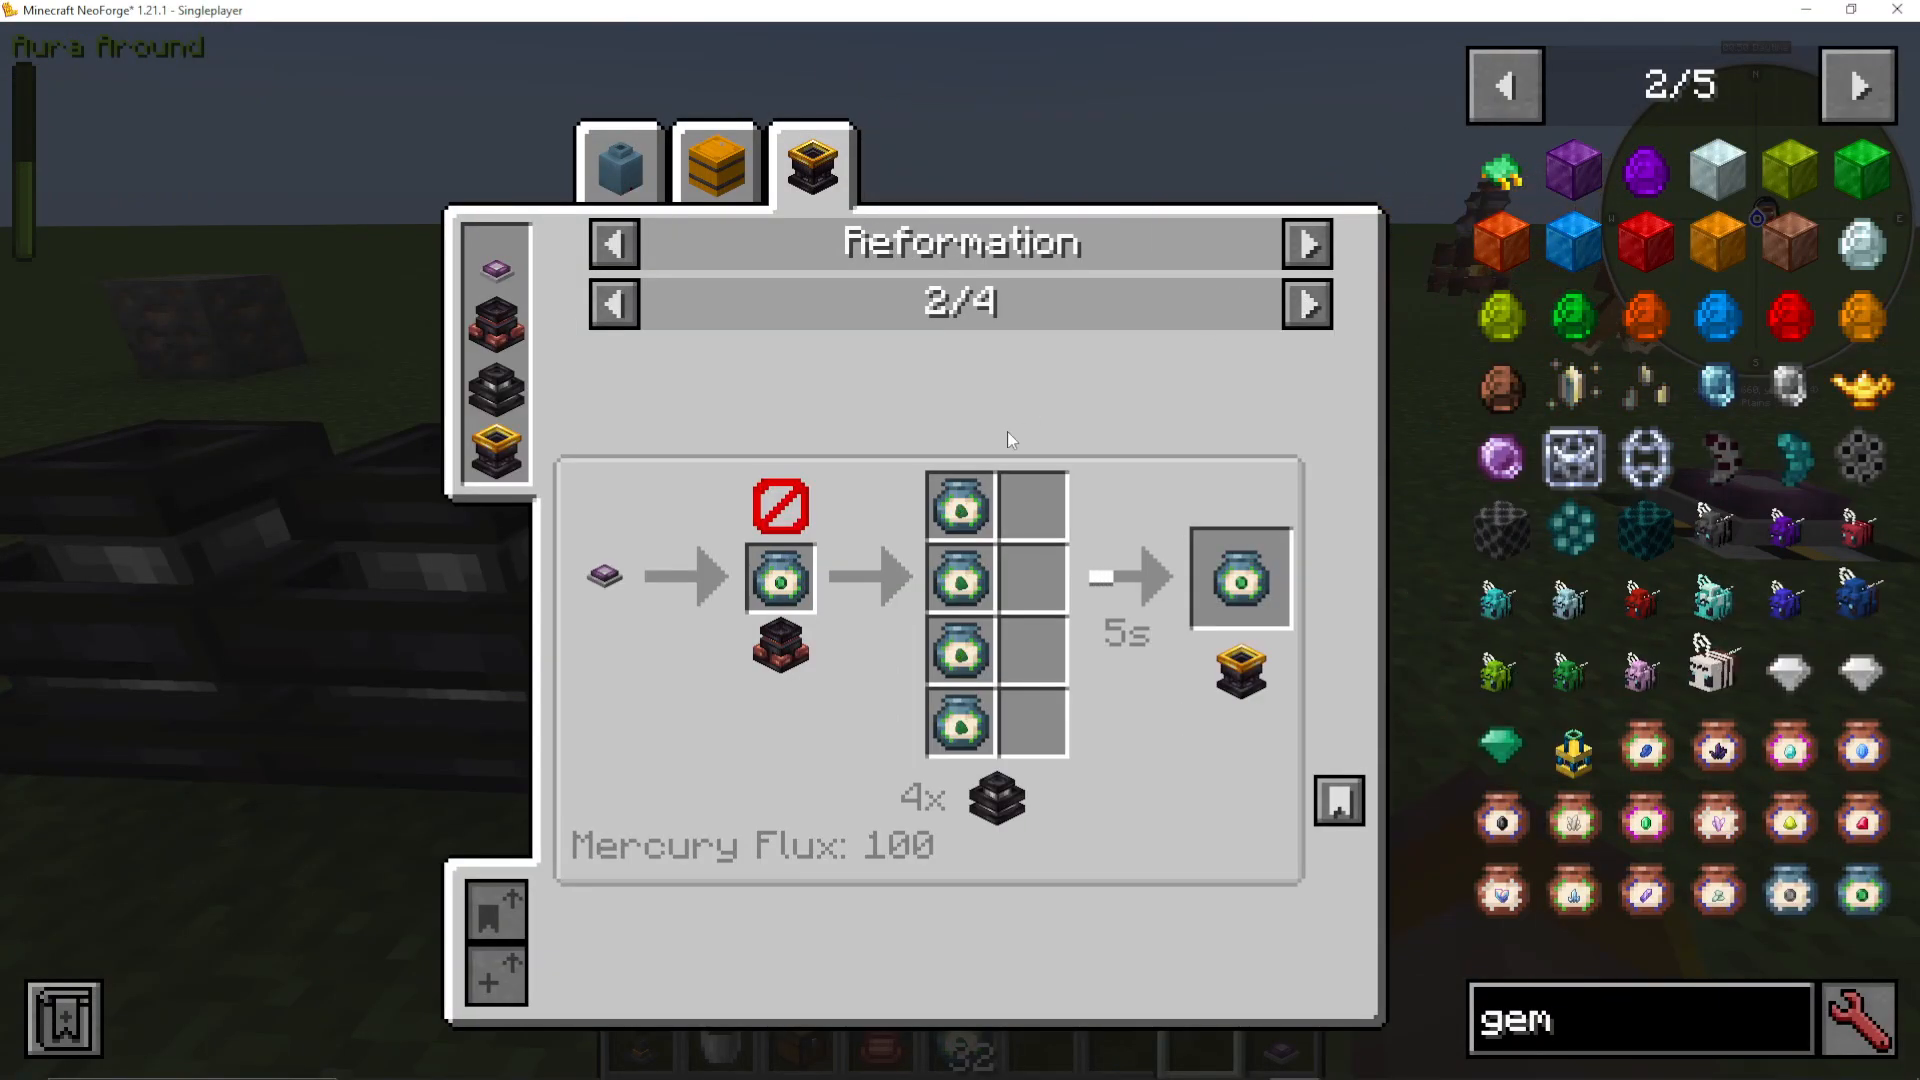
The key advantage of using Alchemical Niter instead of Sulphur in reformation is duplication. For example:
4× Common Other Materials Niter → 1× Common Gems Niter
1× Common Other Materials Niter → 4× Common Other Materials Niter (self-duplication)
When a recipe requires multiple source pedestals (e.g., 4× Common Other Materials), you must place four separate Reformation Source Pedestals and link each one individually using the shift right-click linking process described above. Placing all four in a single pedestal will not work.
Incubation – Converting Alchemical Materials into Real Items
The Incubator is the final step in the Fiar G transmutation process. This is where your Alchemical Sulphur is turned into actual, usable in-game items. You will need three vessel blocks placed around the incubator:
Sulfur Vessel — place your target Alchemical Sulphur here (e.g., Alchemical Sulphur Glowstone)
Mercury Vessel — place your Mercury Shards here
Salt Vessel — place the appropriate type of salt here (e.g., Minerals Salt for minerals, Plants Salt for plants, etc.)
A Pyromantic Brazier must be placed directly beneath the Incubator, stocked with fuel, as the incubator requires heat to operate.
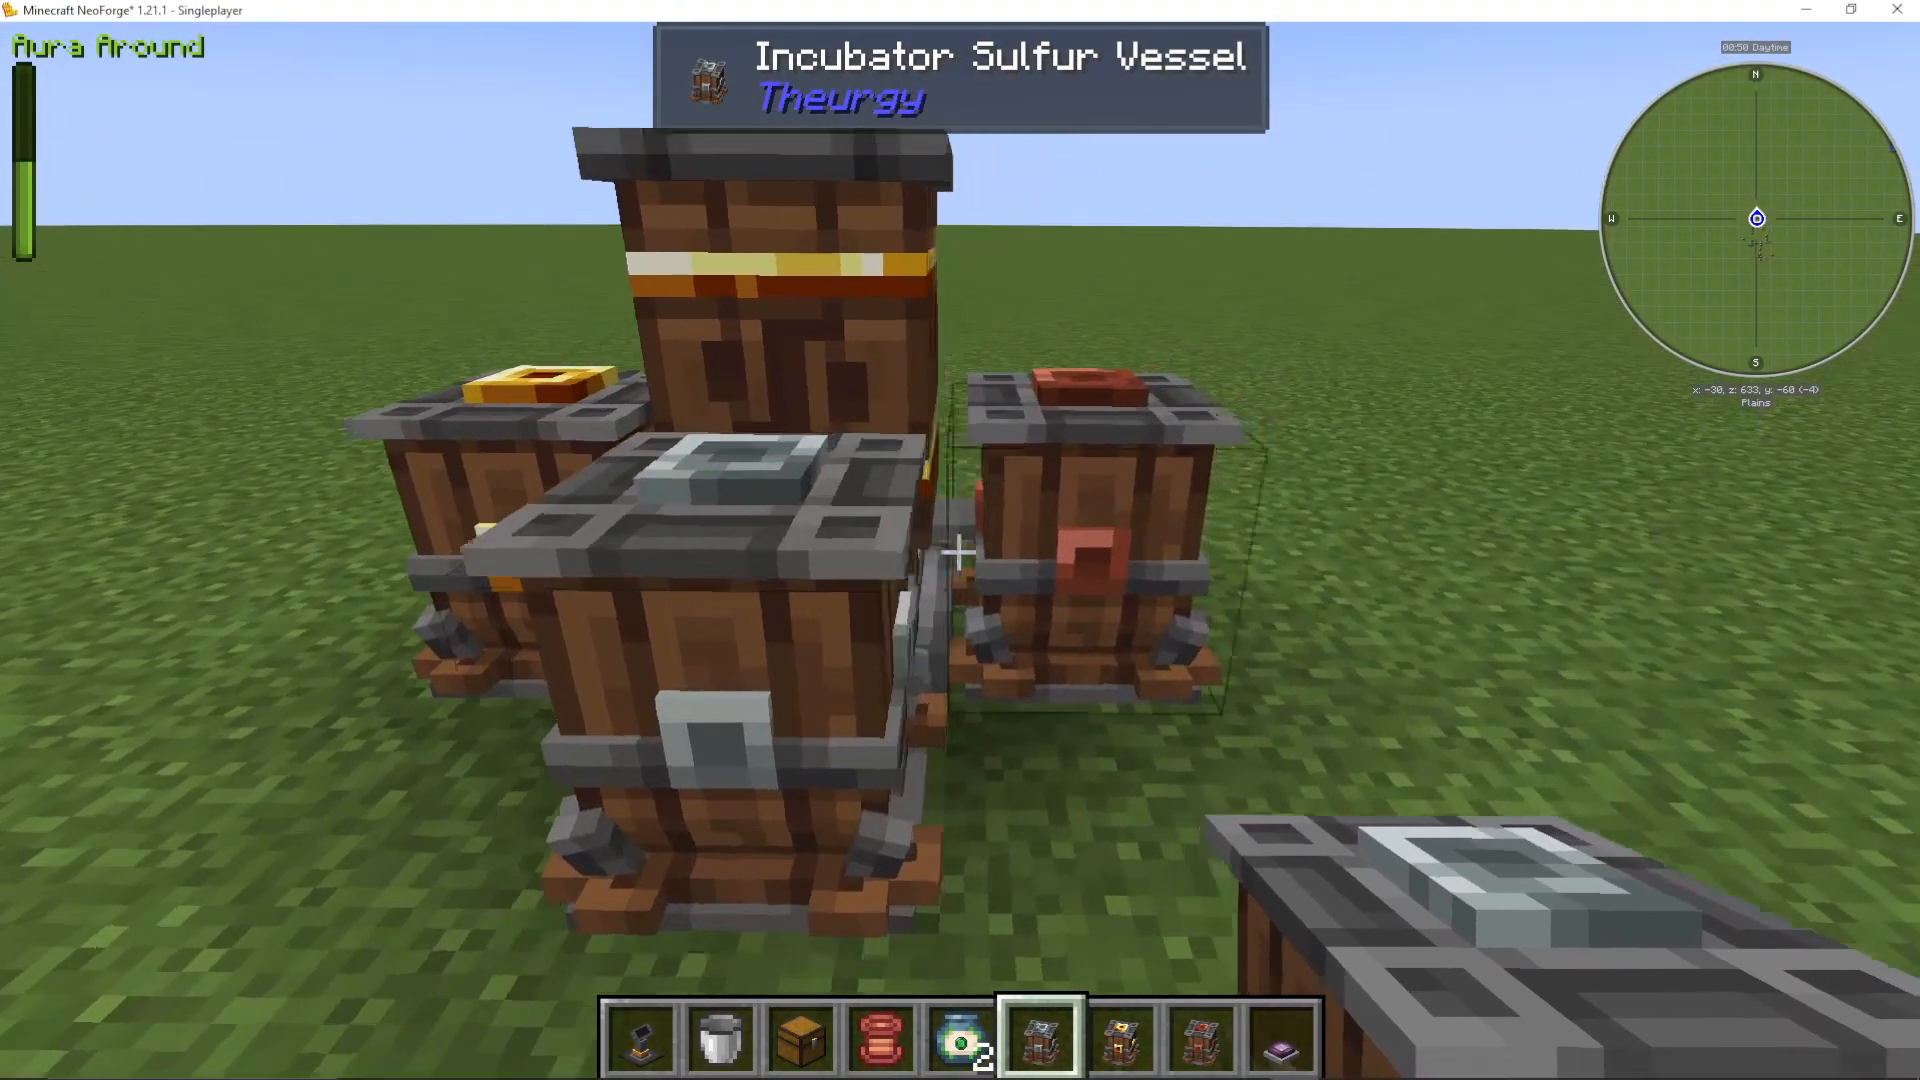
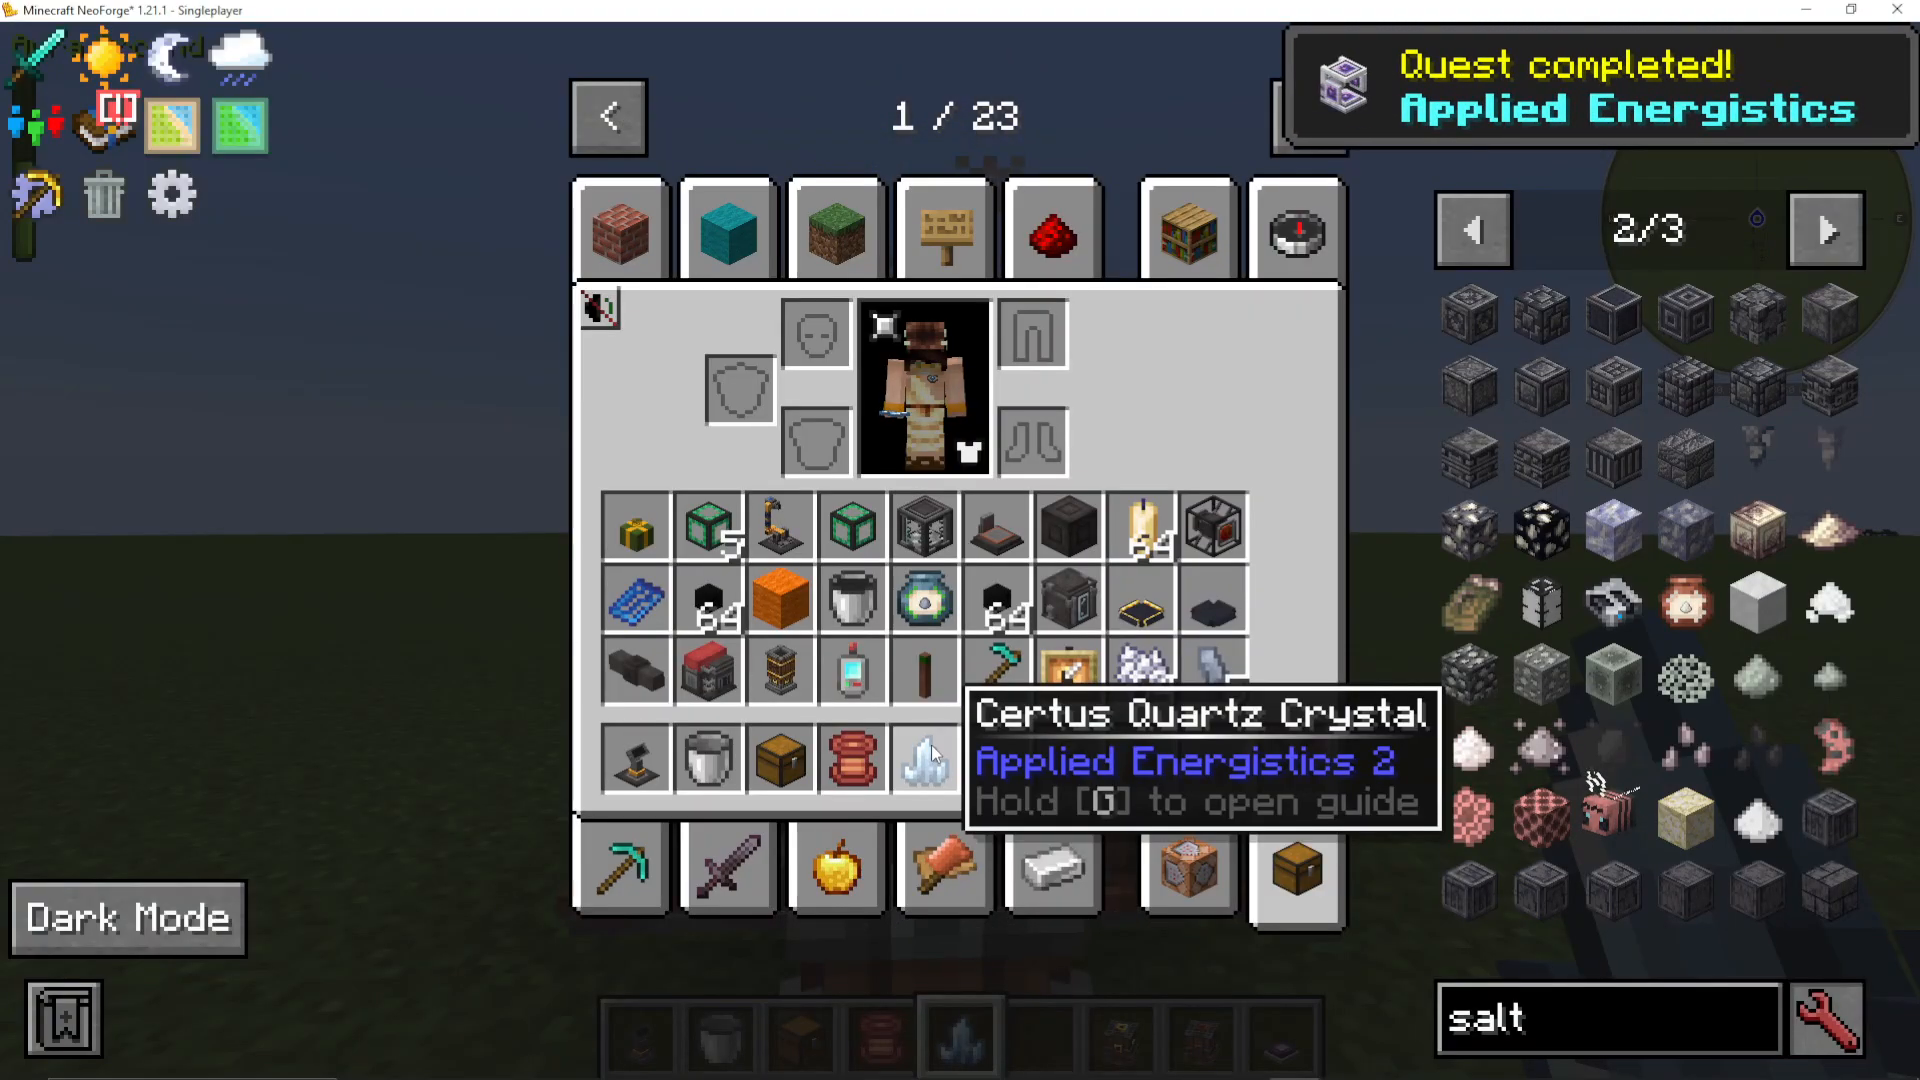
Once all vessels are filled and the brazier is lit, smoke will begin rising from the incubator and real items will be produced — for example, placing Alchemical Sulphur Certus Quartz in the Sulfur Vessel with Mercury Shards and Minerals Salt will yield actual Certus Quartz crystals.
You can automate the entire pipeline — from Sal Ammoniac production and fermentation through to incubation — using Mercurial Extractors, Inserters, Filters, and Copper Wire to create a fully hands-off transmutation factory.
Extra Features – Divination Rod and Crystallized Fluids
Divination Rod
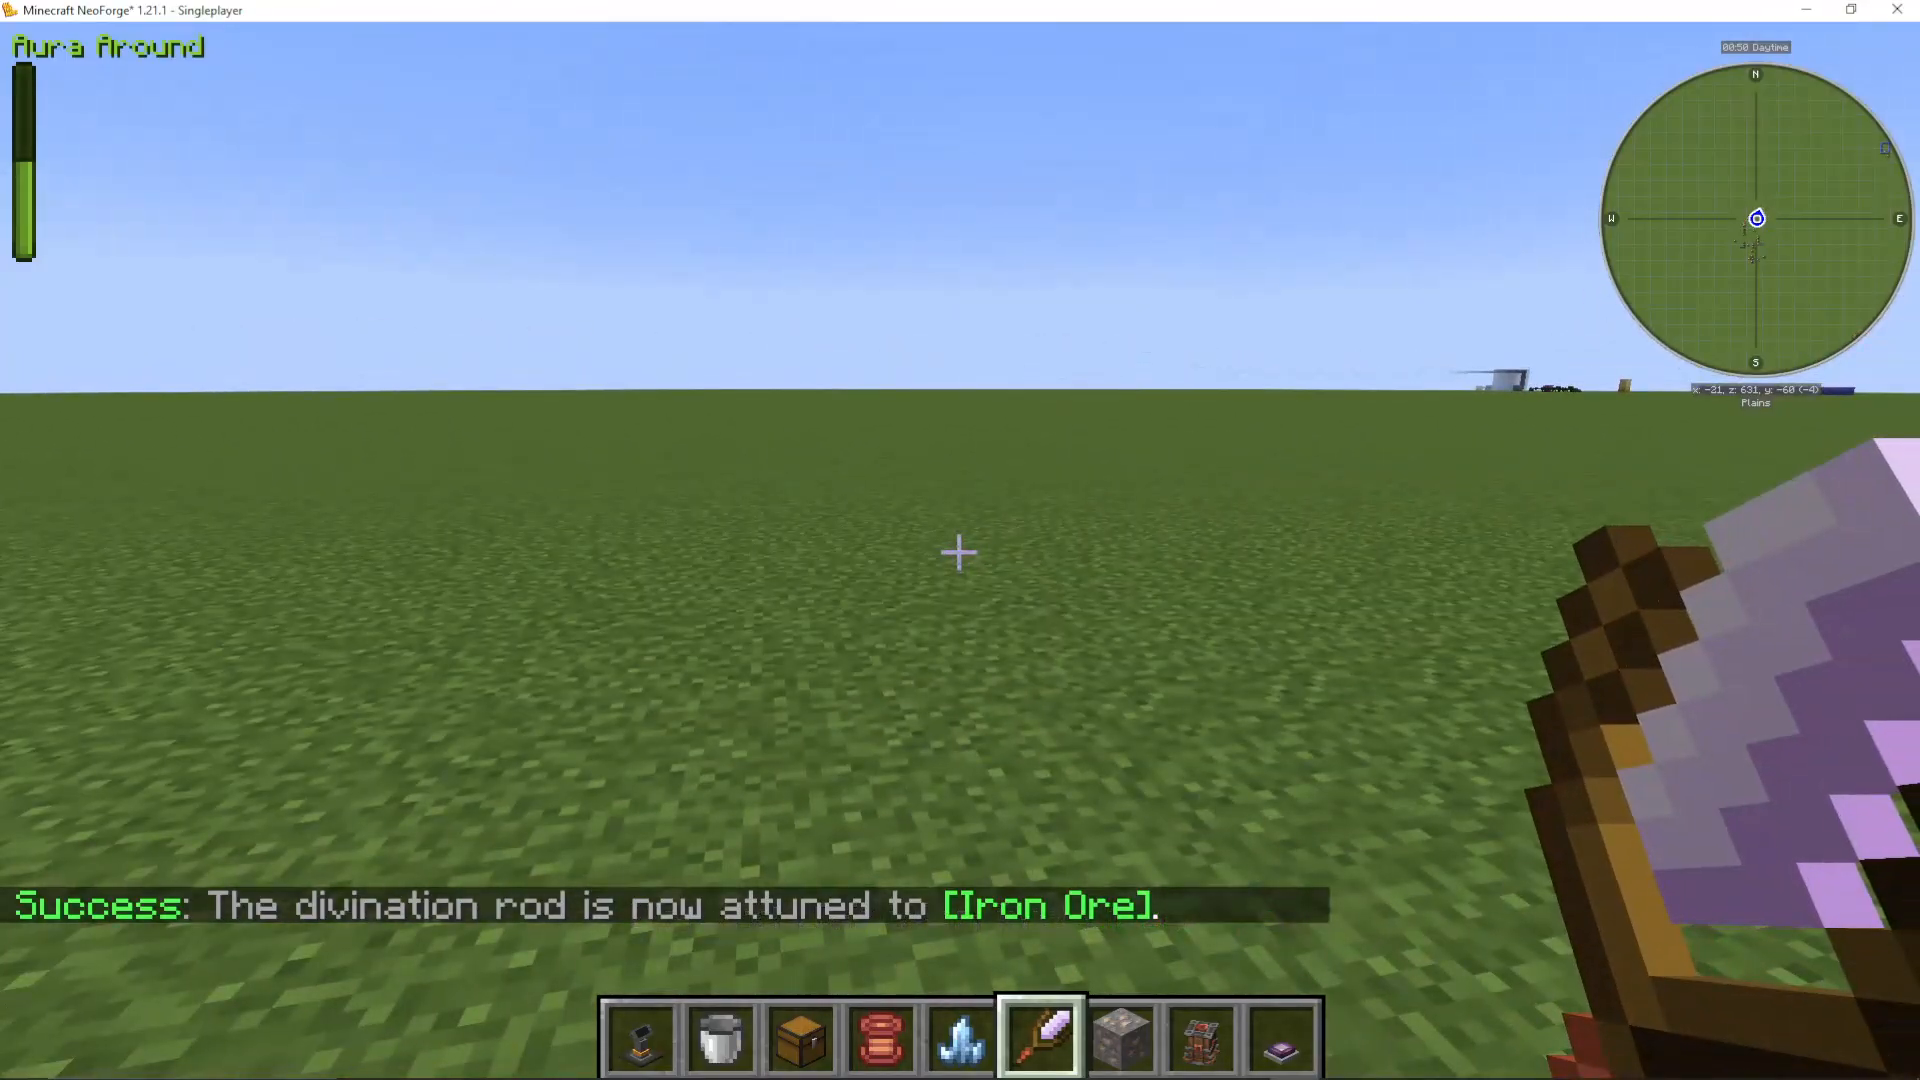
The Divination Rod (available in glass, iron, diamond, and other tiers) is used to locate specific blocks or ores nearby. Shift right-click it to attune it to a target item (e.g., Iron Ore), then right-click while holding it to be guided toward the nearest matching block. Most useful if you are hunting for a very specific resource.
Crystallized Water and Crystallized Lava
Crystallized Water is water in solid form, making it easy to transport and use in alchemical processing. Craft it by combining water with salt. Crystallized Lava can be made using the same principle. Both are handy alternatives when setting up fluid logistics.
Summary
Fiar G (Theurgy) follows a clear progression: start with a Pyromantic Brazier for heat, craft Mercury Shards in the Mercury Distilla, use Mercurial logistics to automate your machines, produce Sal Ammoniac and Alchemical Sulphur, ferment Sulphur into Niter, digest Niter into higher tiers, reform Sulphur between item types, and finally incubate everything into real usable items. While the chain may seem long at first glance, each step is straightforward once the previous one is in place. Set it all up as an automated pipeline and you will have a powerful transmutation factory running with minimal effort.
Want to Support?
If you would like to help us continue making these guides – please consider joining our patreon here – https://www.patreon.com/c/JaviHeals
Alternatively – we host a group of MC Servers you can join here – https://discord.gg/zD7Gjt6MHF