







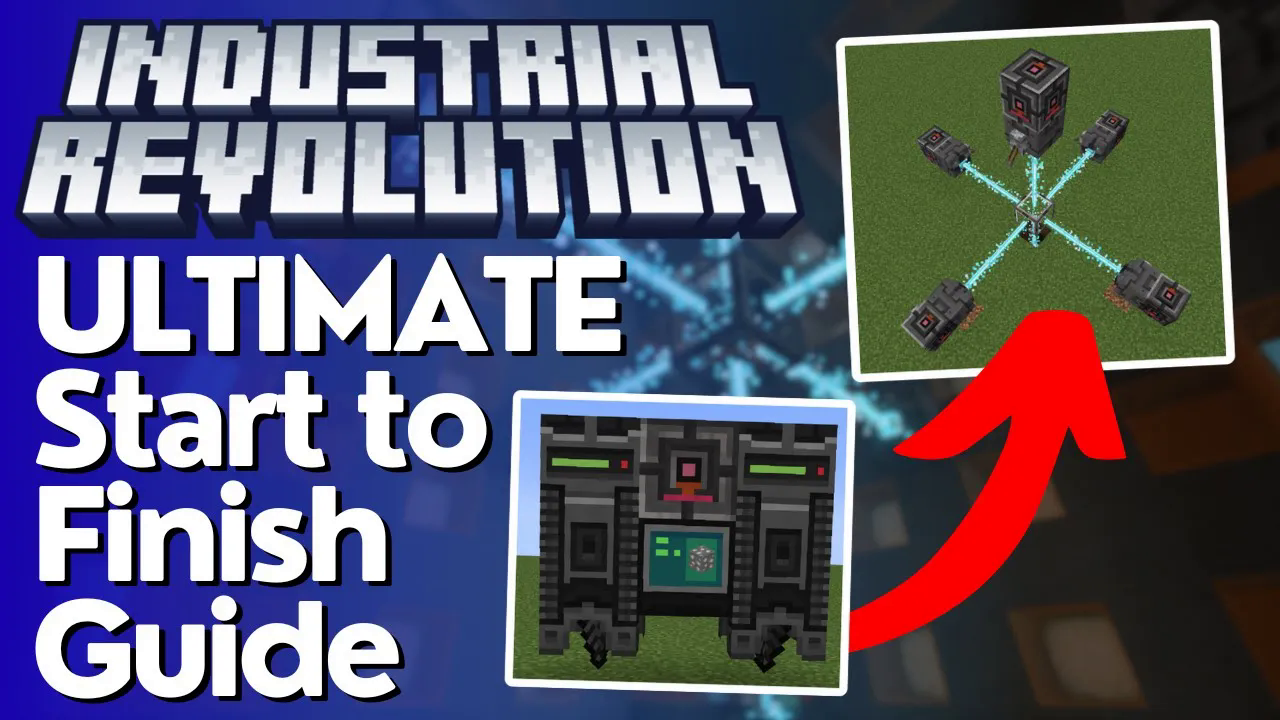
The Ultimate Guide to Industrial Revolution
The Ultimate Guide to Industrial Revolution
Welcome to the ultimate guide for Industrial Revolution! This comprehensive tutorial will walk you through everything you need to know about this fantastic Fabric mod, perfect for technology-focused players. From mining natural resources to crafting advanced modular gear, we’ll cover all the essential mechanics to get you started in this industrial world.
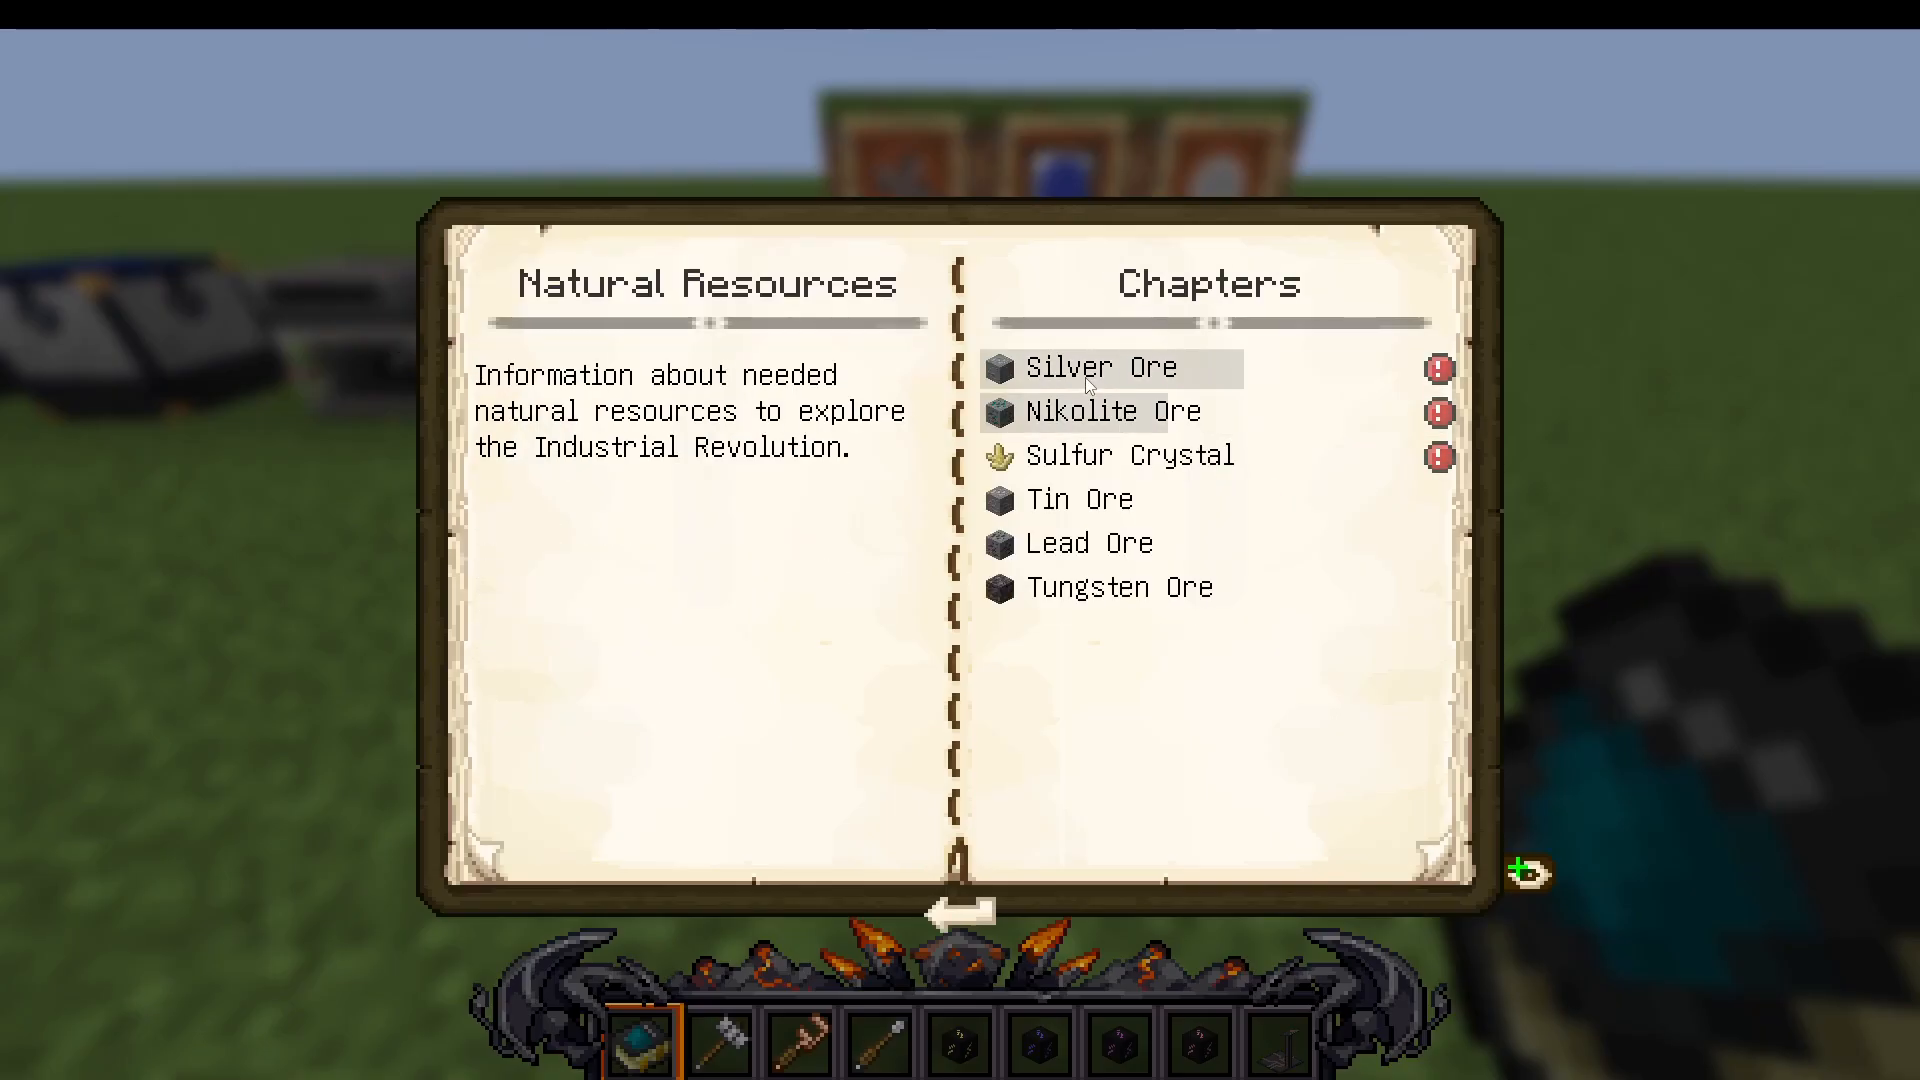
Getting Started: Natural Resources
Industrial Revolution introduces several valuable ores that you’ll need to collect. Here’s what you need to know about ore distribution:
Ore Types and Locations
Silver Ore: Found from Y-level 0 to 32 in Stone and Deep Slate
Nikolite Ore: Found from Y-level 0 to 16; this is the main component for basic to advanced machines, so you’ll need lots of it
Sulphur Ore: Found from Y-level 0 to 16, or up to 100 in the Nether
Tin Ore: Found from Y-level 0 to 48 in Stone and Deep Slate; heavily used in crafting machines
Tungsten Ore: Found from Y-level 0 to 16 in Deep Slate only; used for armor and advanced components
Lead Ore: Found from Y-level 0 to 32 in Stone and Deep Slate
Start by crafting the Revolutionary Guide with a book and some Nikolite Dust. Use the guide’s Natural Resources section to help you locate these ores efficiently.
Essential Basic Tools
The Hammer
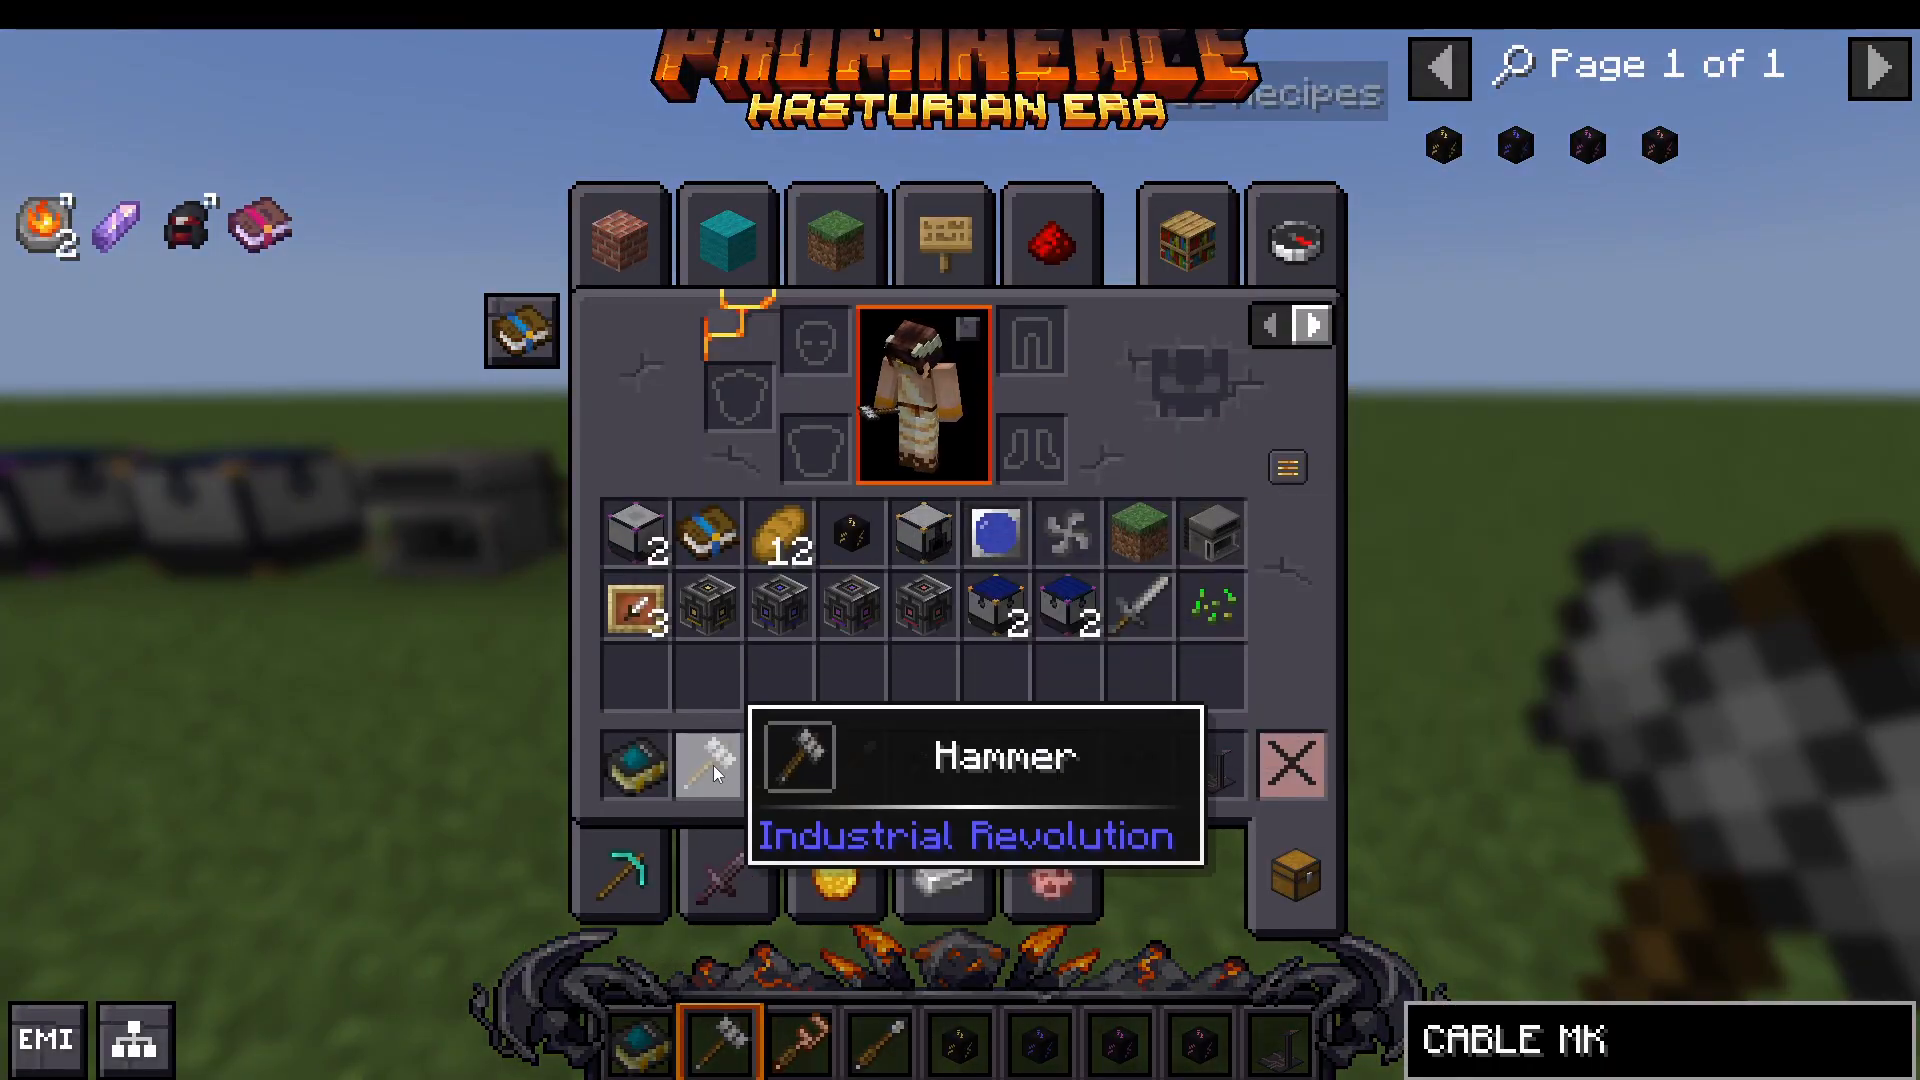
The hammer is your first essential tool. You’ll use it extensively to create plates from ingots. Plates are fundamental components throughout Industrial Revolution. Simply place a hammer with your ingots in your inventory to craft plates from copper, iron, gold, tin, and other materials.
The Wrench
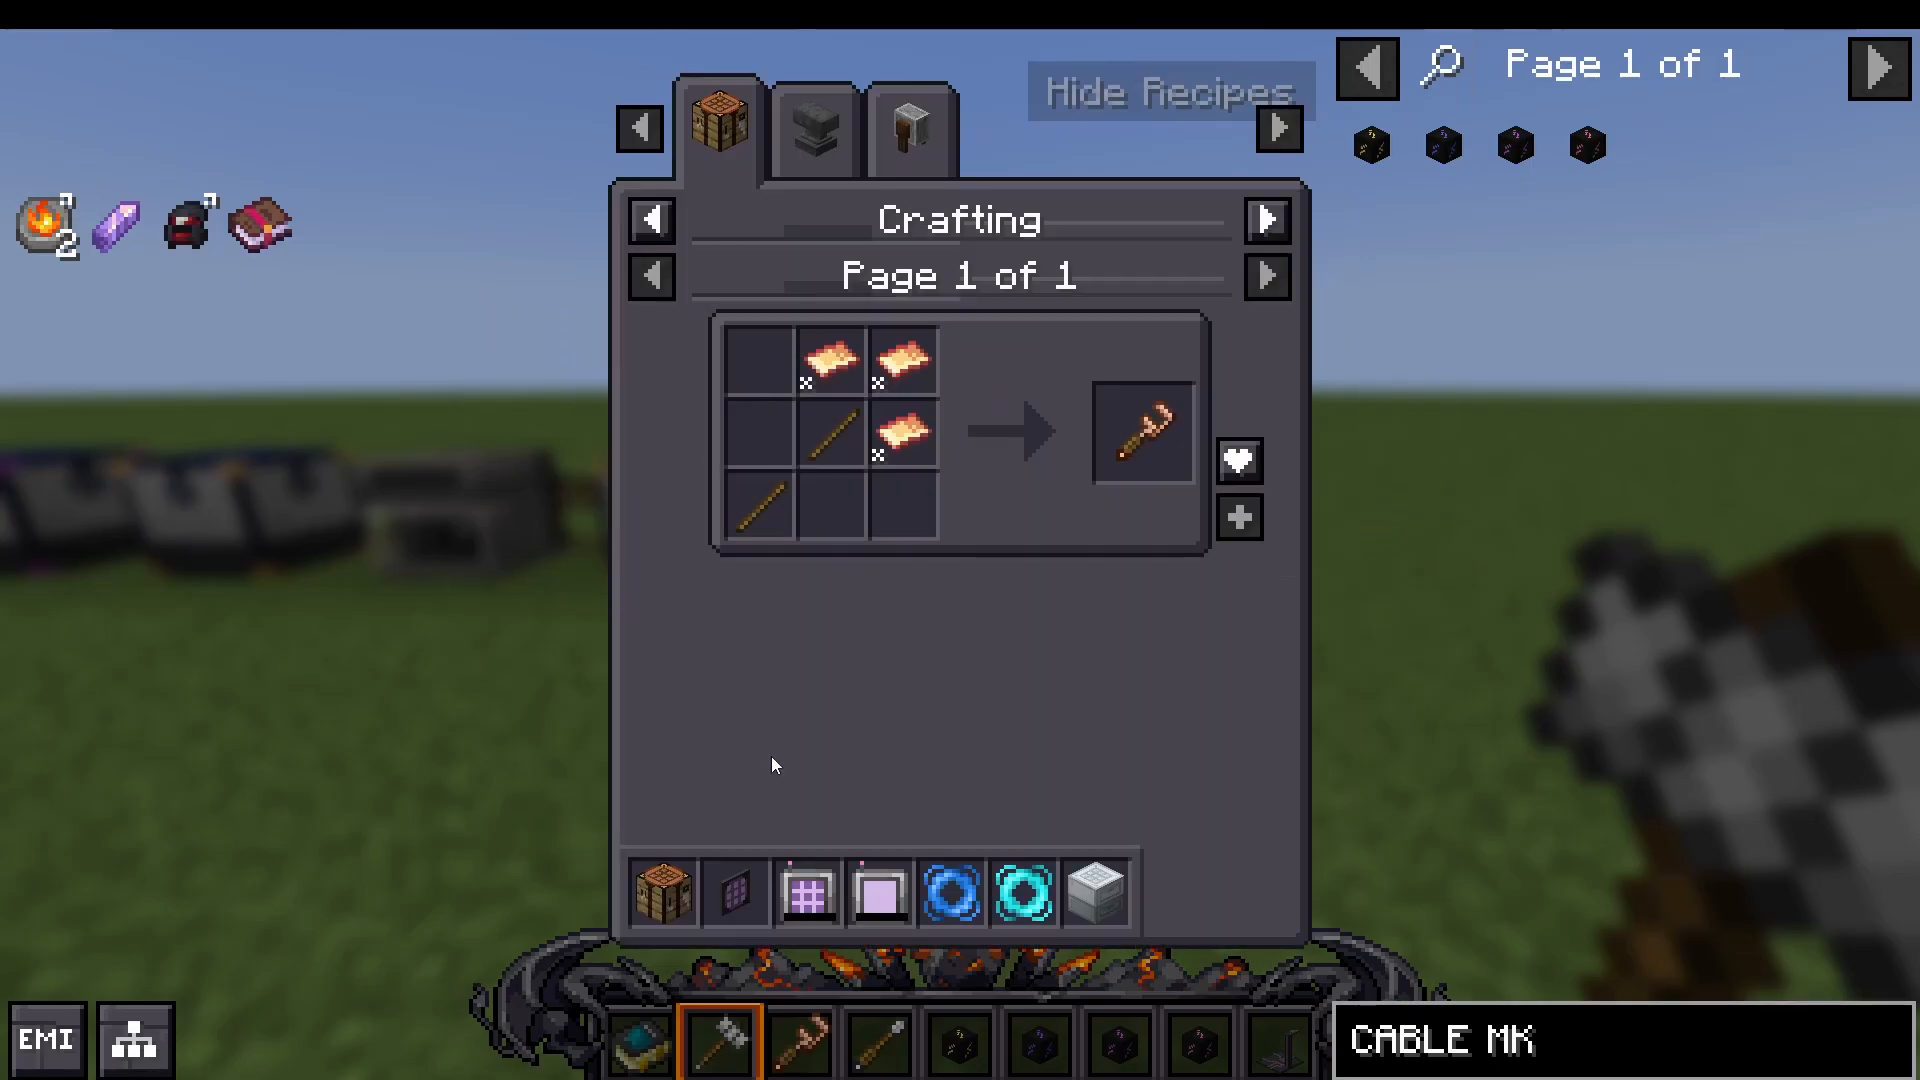
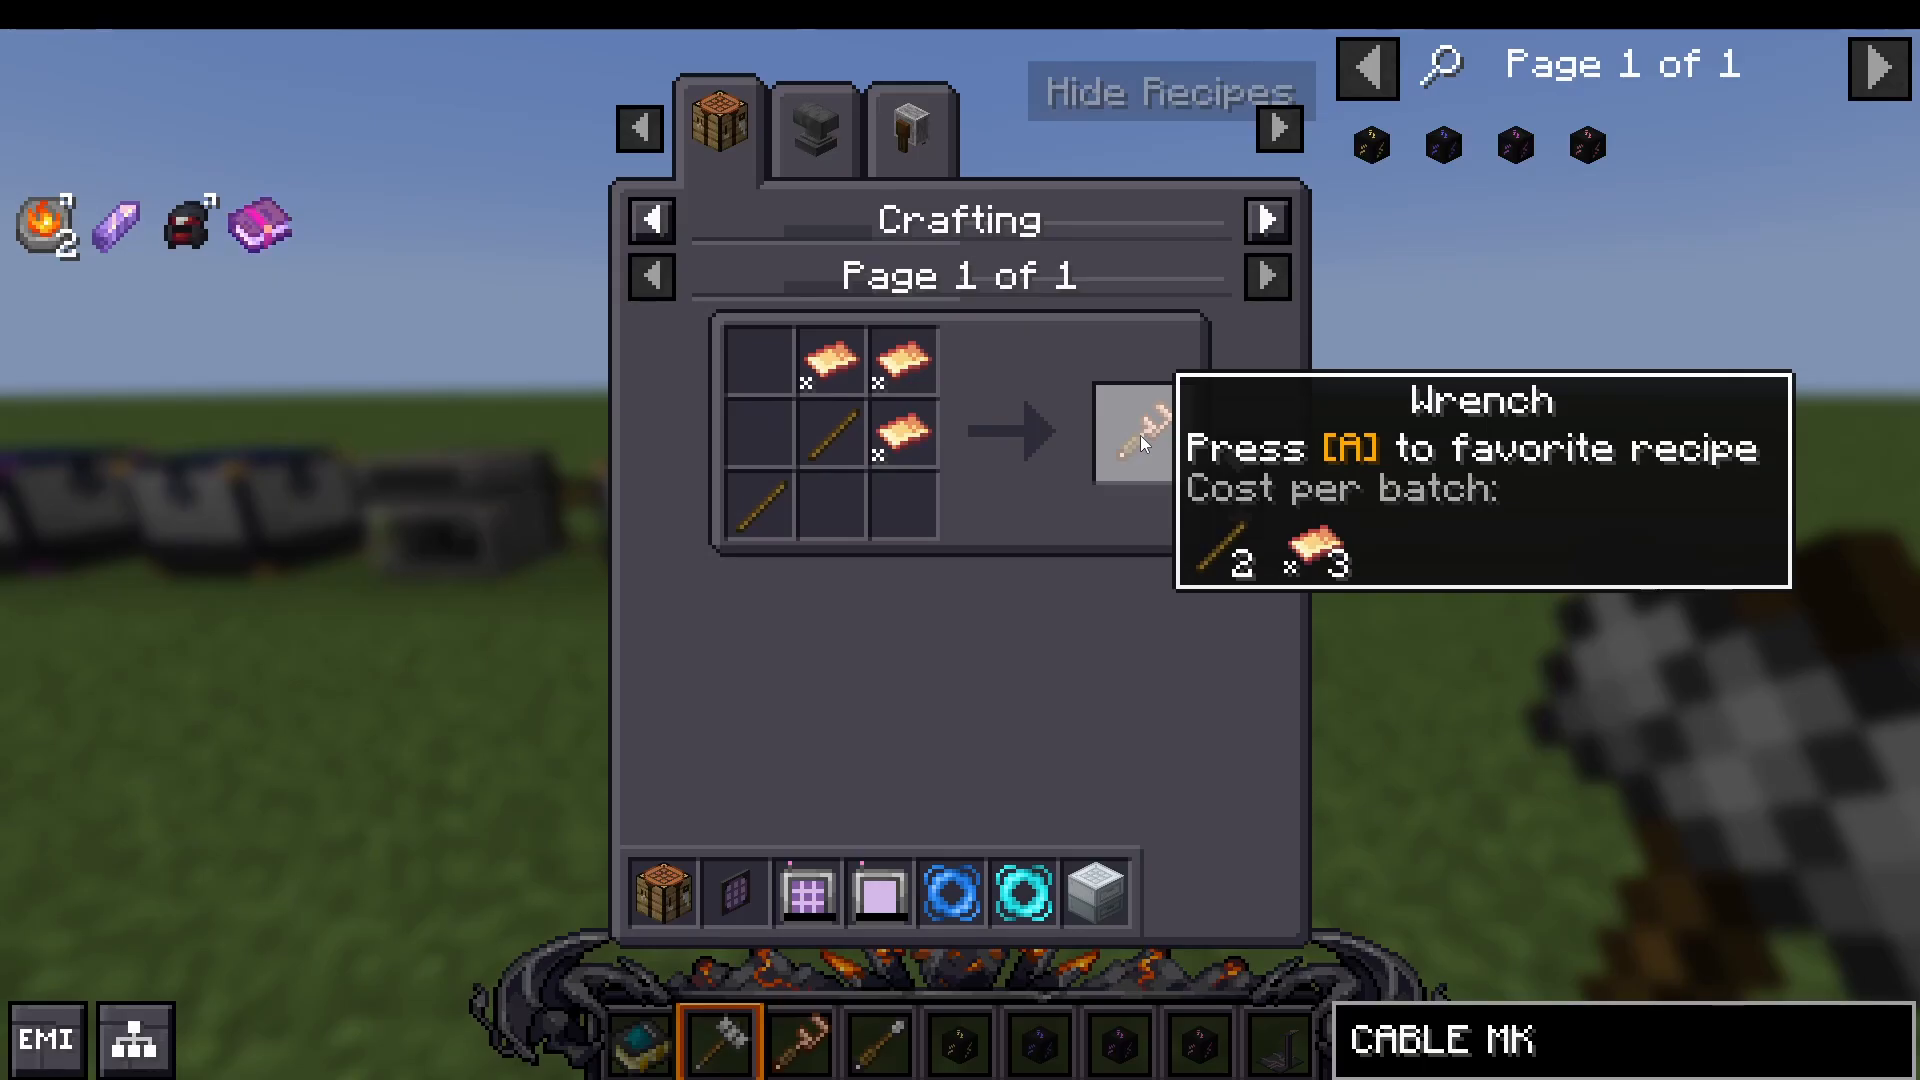
The wrench is used alongside plates to rotate blocks in your setup, making it essential for machine orientation and cable management.
The Screwdriver
The screwdriver is straightforward to craft and serves a critical purpose: it changes the input and output sides of your machines. This tool is essential for configuring your machine networks.
Power Generation, Storage, and Transport
Coal Generator
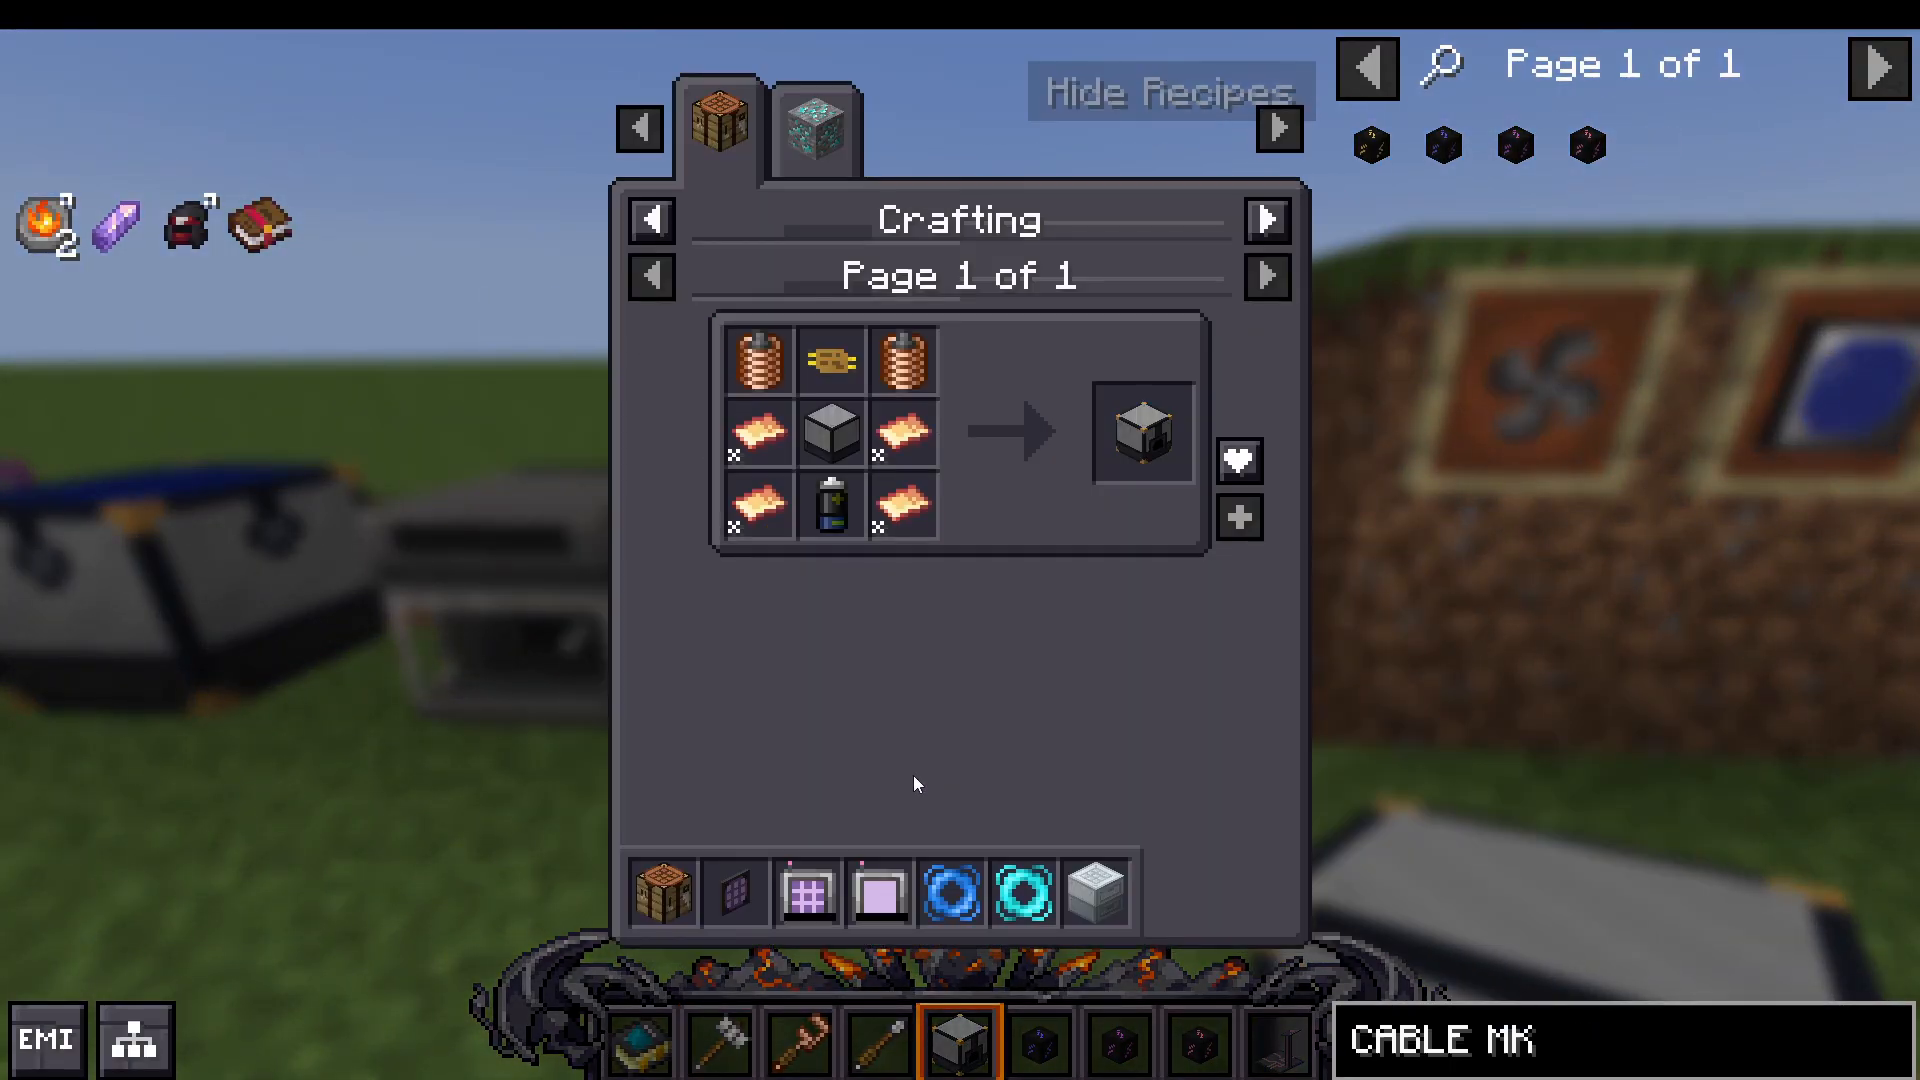
Your first power source should be the coal generator. To craft it, you’ll need:
Heat coils (made from copper plates)
Machine block (made from Nikolite dust)
Iron plates
Batteries
Place coal in the center of the generator to produce energy. As the machine operates, it will heat up—but don’t worry, machines in Industrial Revolution do not explode. However, you can add coolants to keep it running efficiently.
Coolant Systems
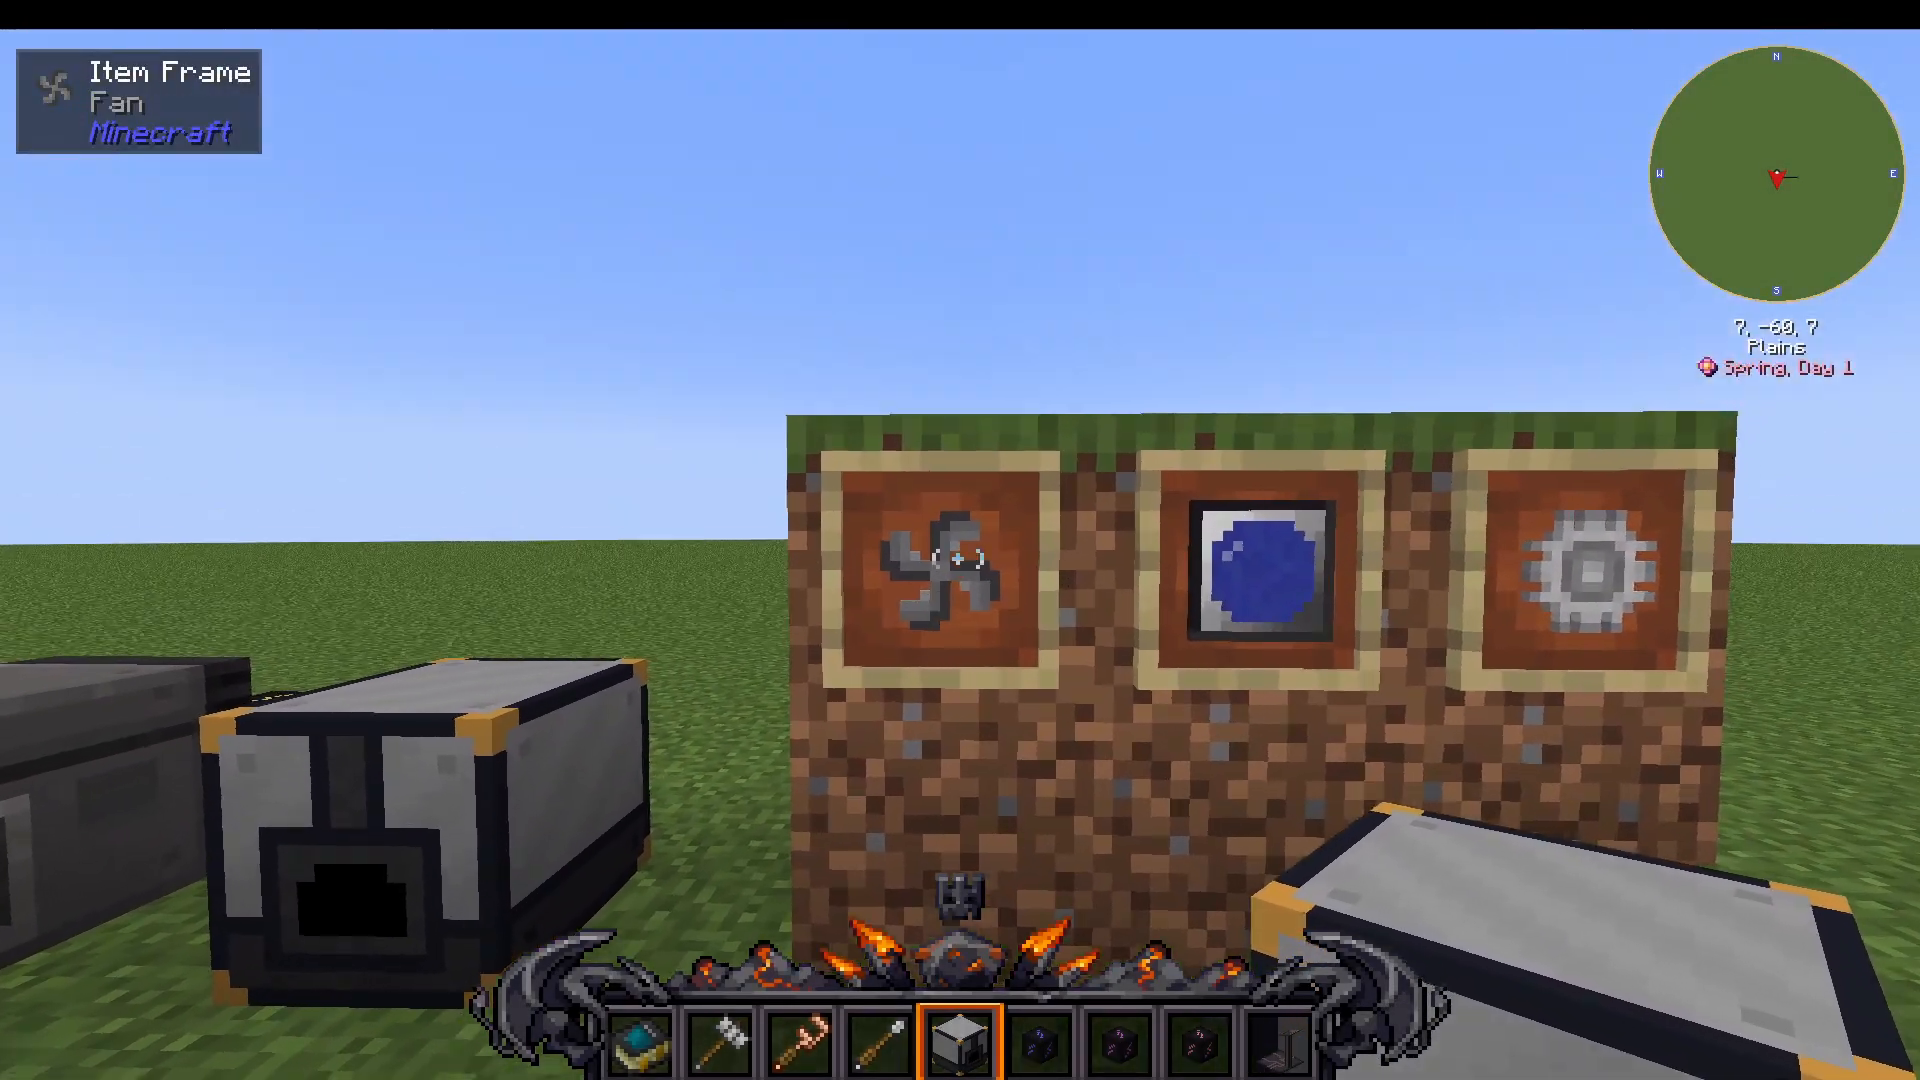
Three types of coolants are available:
Fan: Made from tin plates; available early game
Cooler Cell: Requires coolant (made from water and lapis lazuli infusion)
Heat Sink: The most efficient option; combines tin plates, coolant, and fans
Advanced Power Sources
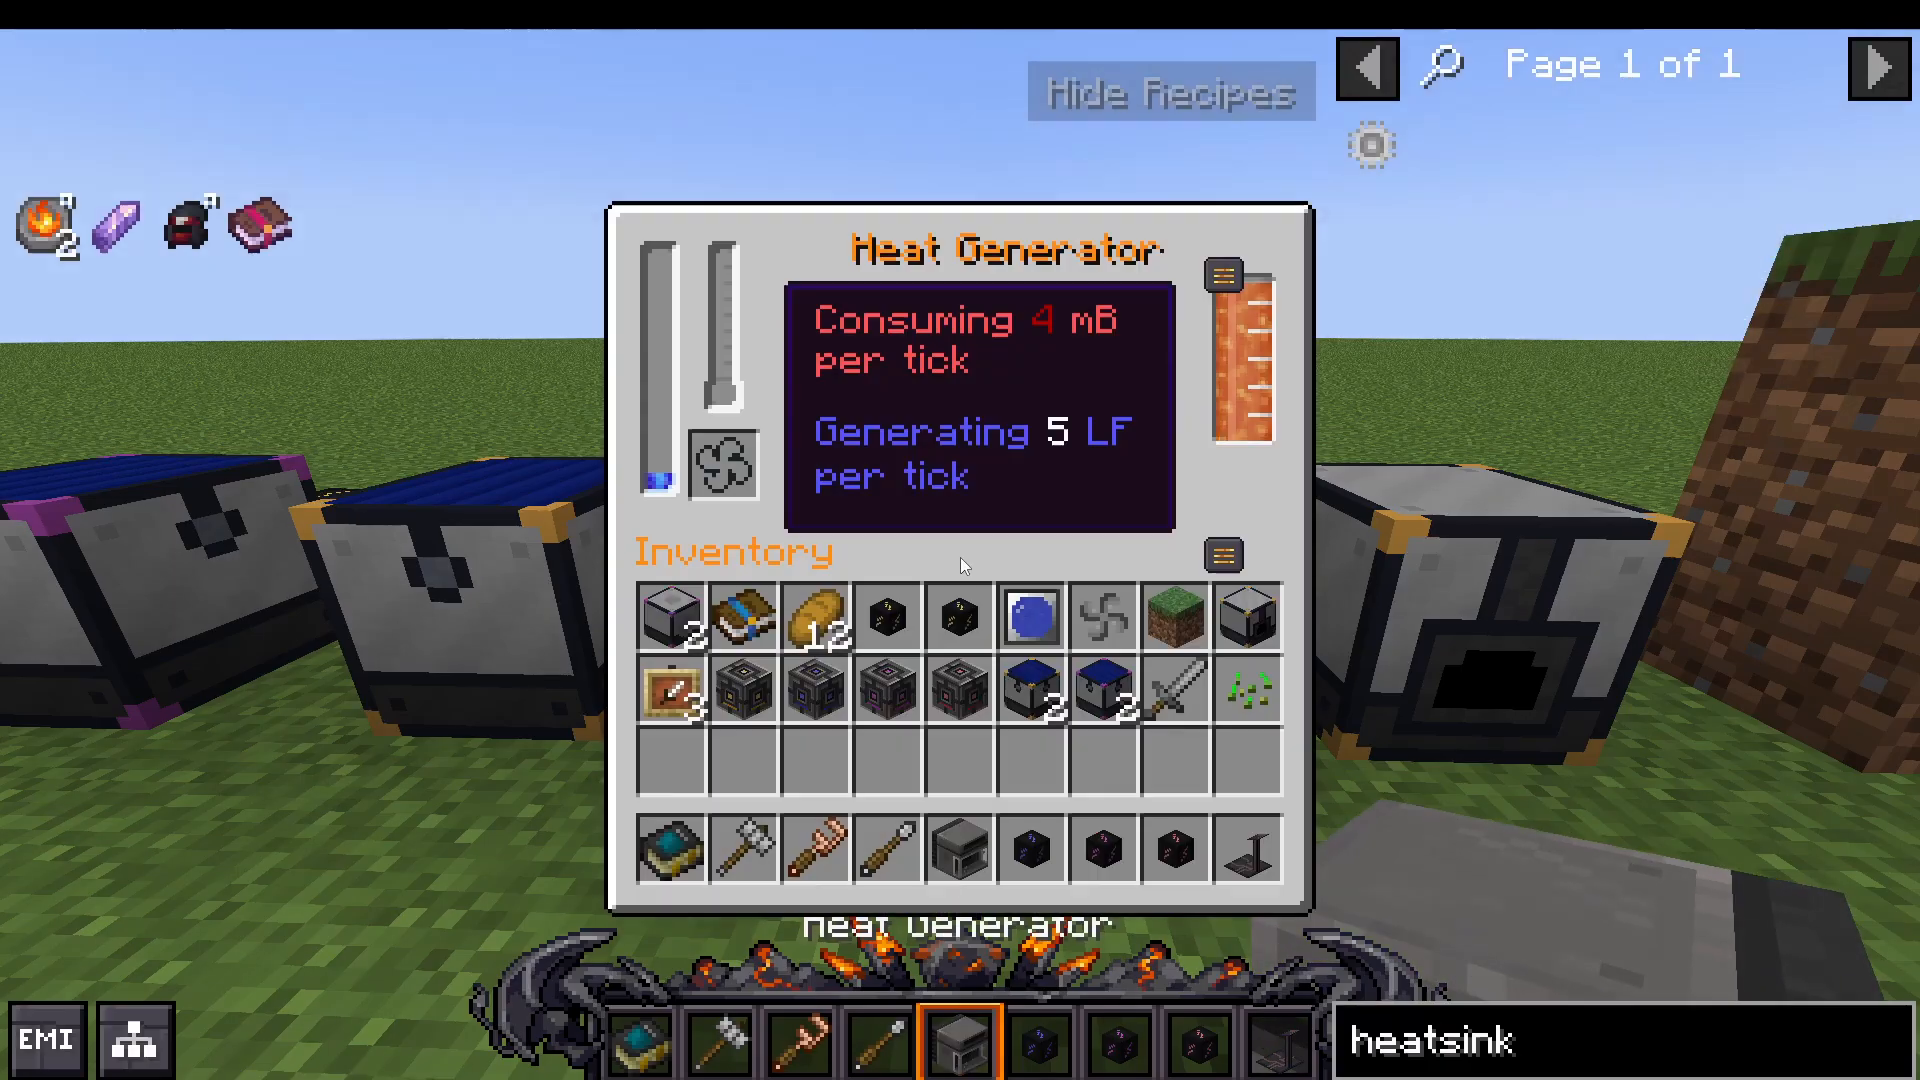
Heat Generator: Pump lava into this generator using buckets or pipes to generate energy.
Solar Generator: Place under sunlight for passive power generation; the upgraded version produces more energy.
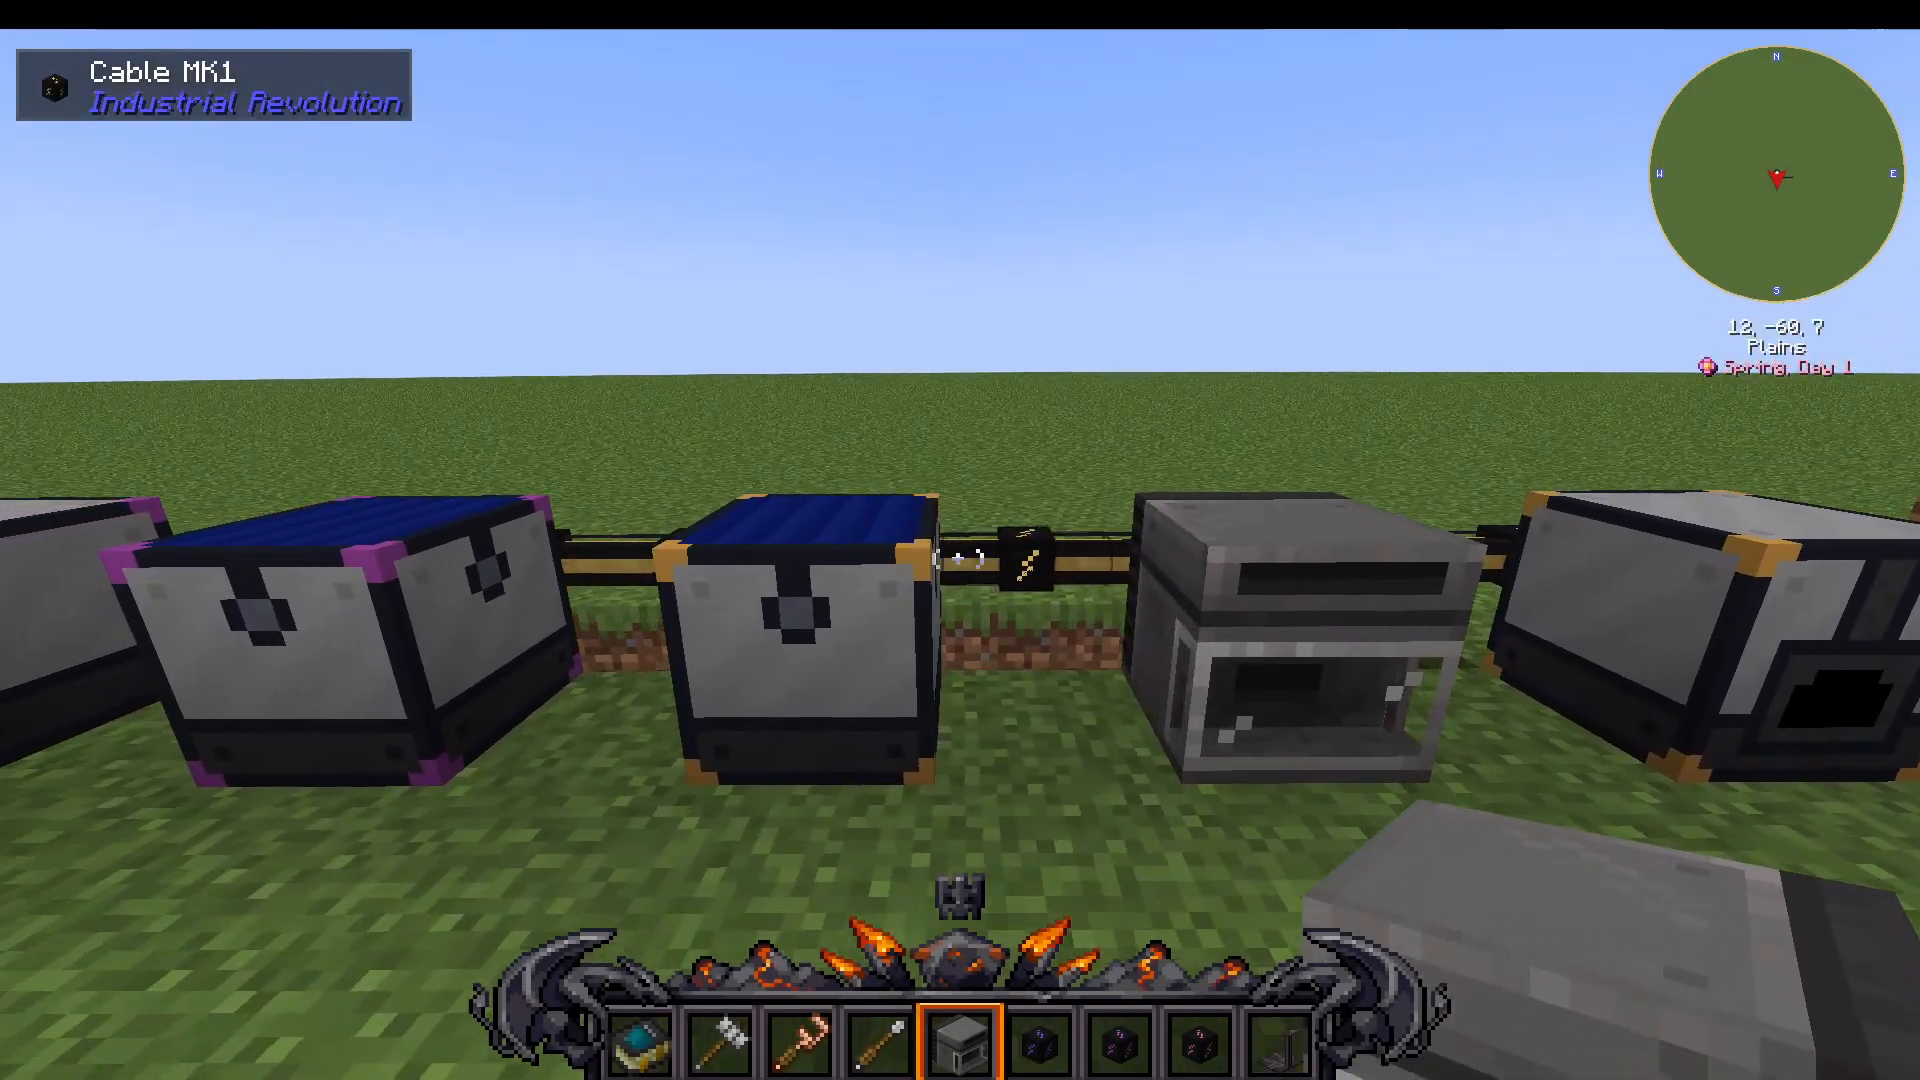
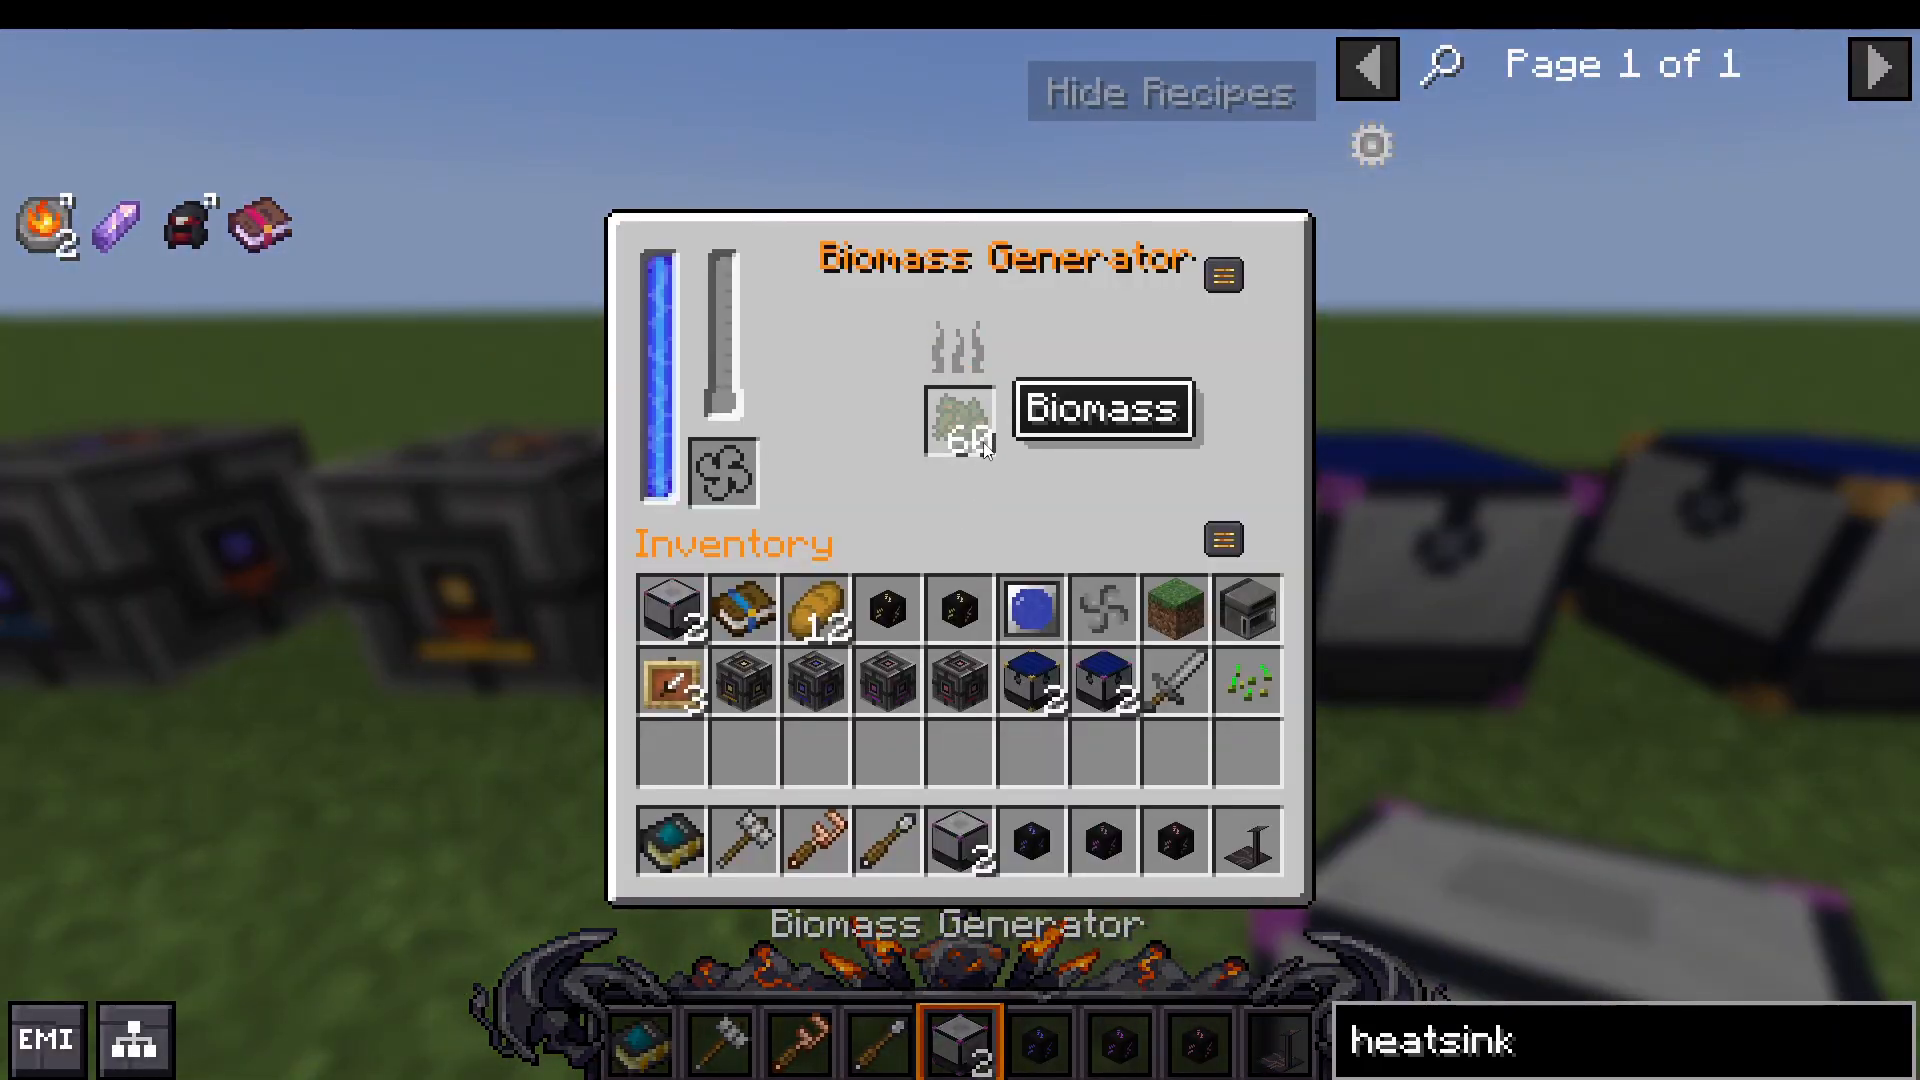
Biomass Generator: Recycle wood, dirt, and plant matter into biomass using a recycler, then burn it in the biomass generator for energy.
Energy Storage: Laser Light Flux
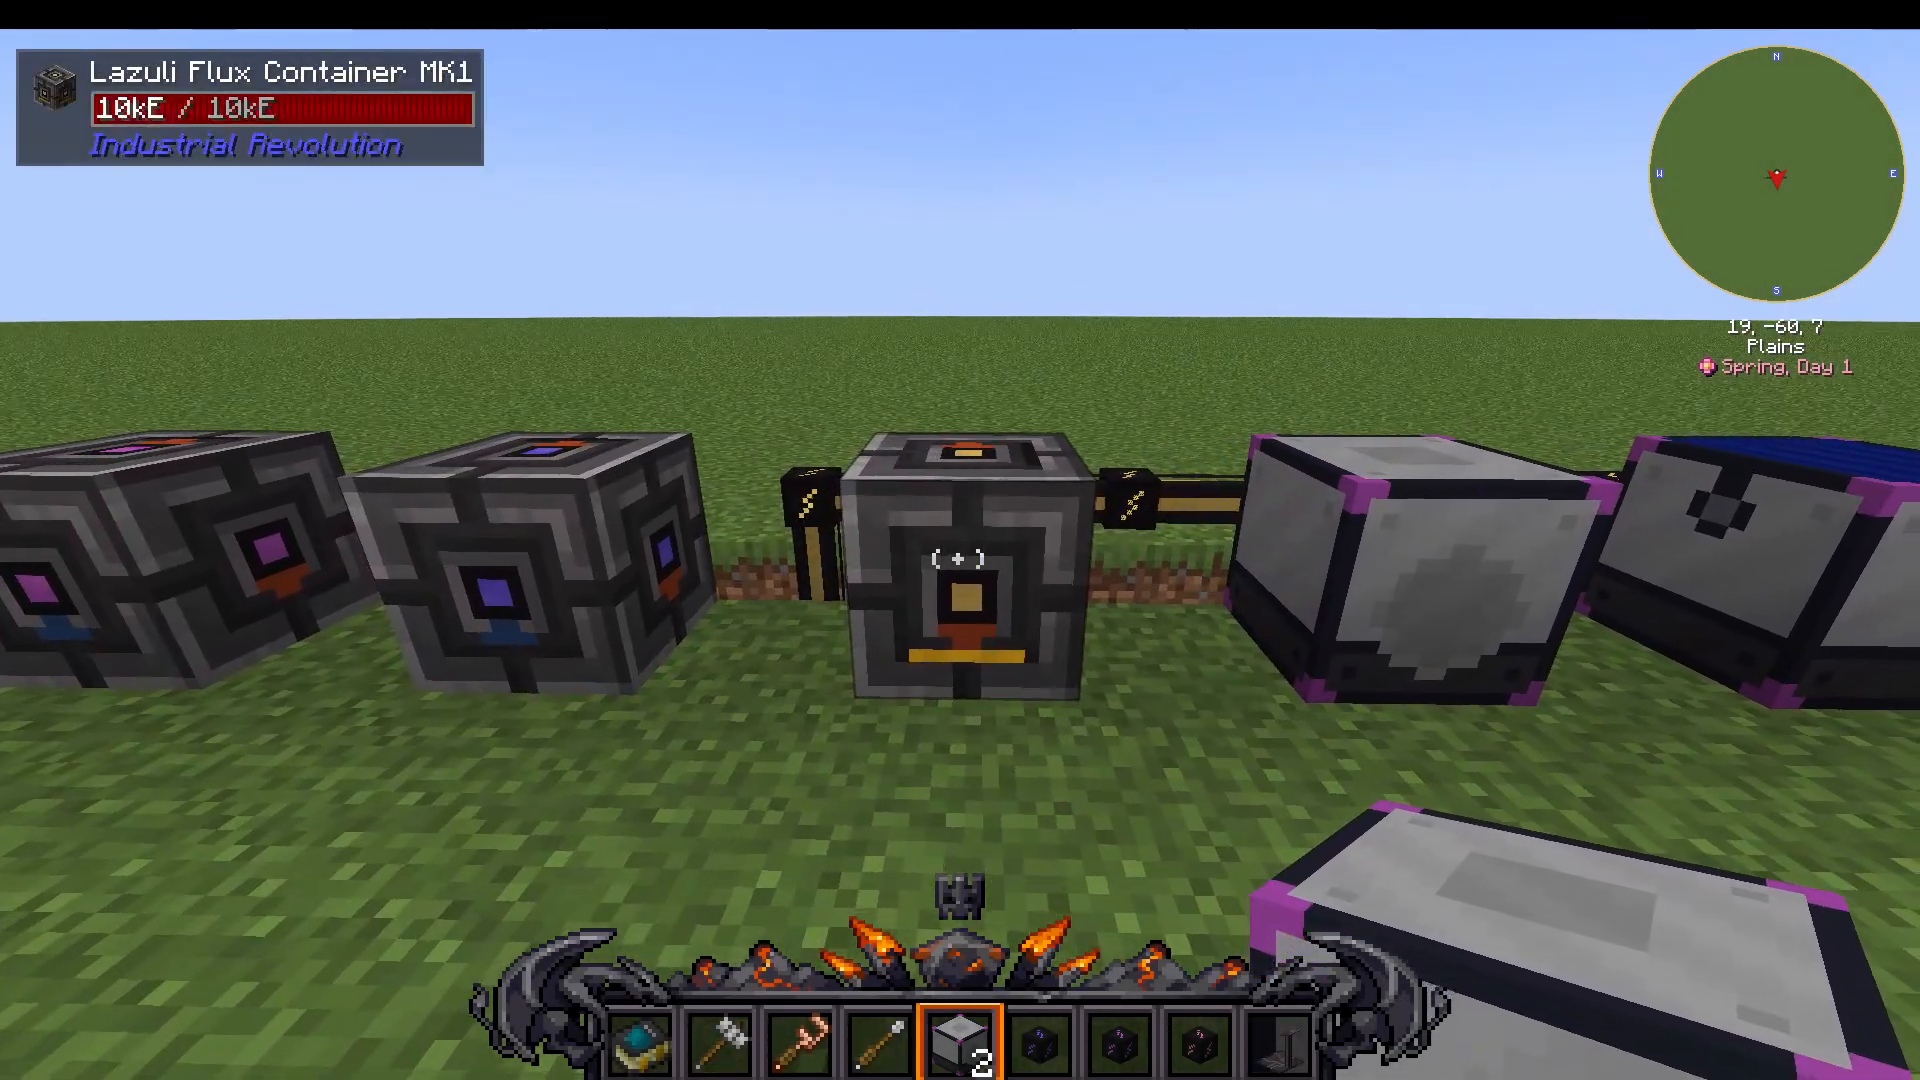
Store your generated power with the Laser Light Flux, available in four tiers:
Mark 1: Stores 10,000 energy
Mark 2: Stores 100,000 energy
Mark 3: Stores 1,000,000 energy
Mark 4: Stores 10,000,000 energy
Energy Transport: Cables
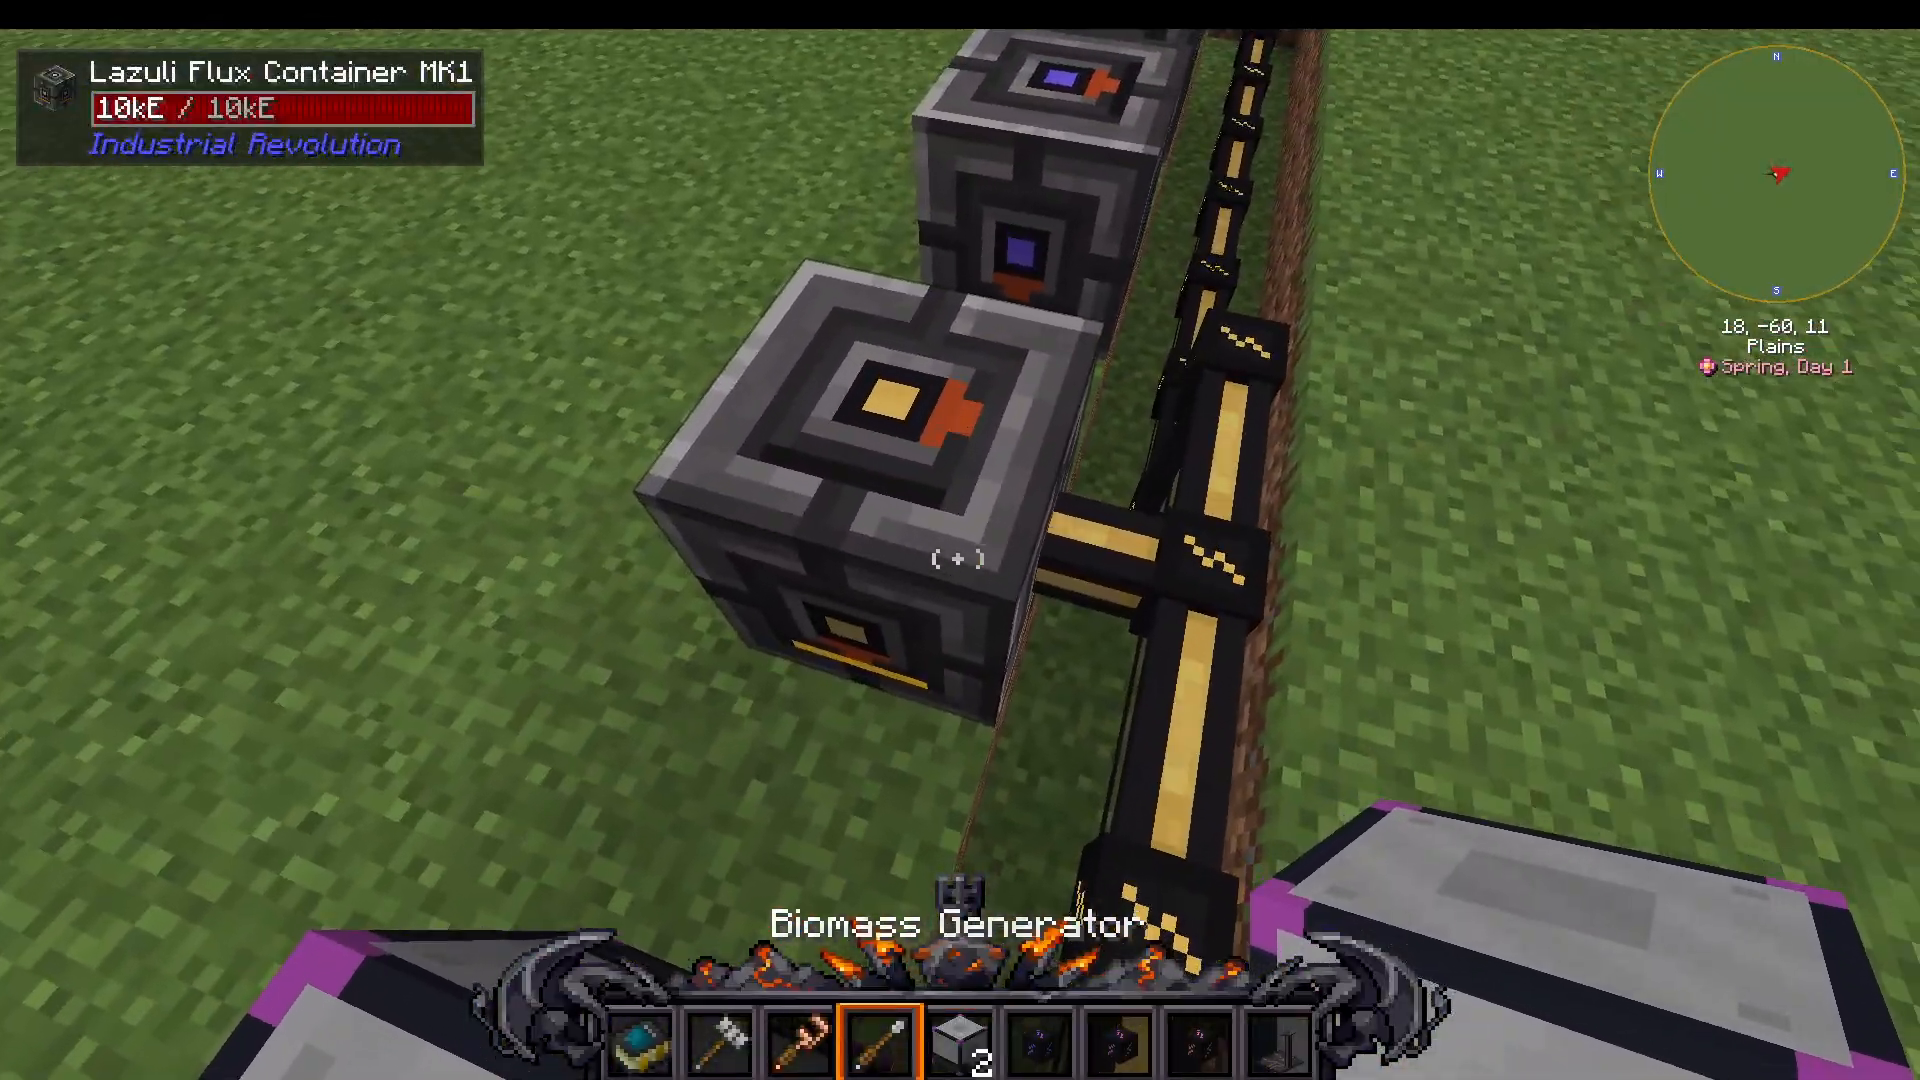
Transport energy using Mark 1, 2, 3, and 4 cables. Connect cables to your generators and machines to distribute power.
To configure which side of a machine receives or outputs power, take your screwdriver and right-click the machine. You’ll see options for:
Orange: Output sides
Blue: Input sides
If you’re unsure which side has power connected, right-click with your screwdriver to see “connected to cable Mark X.” Then left-click to change the setting between none, output, and input.
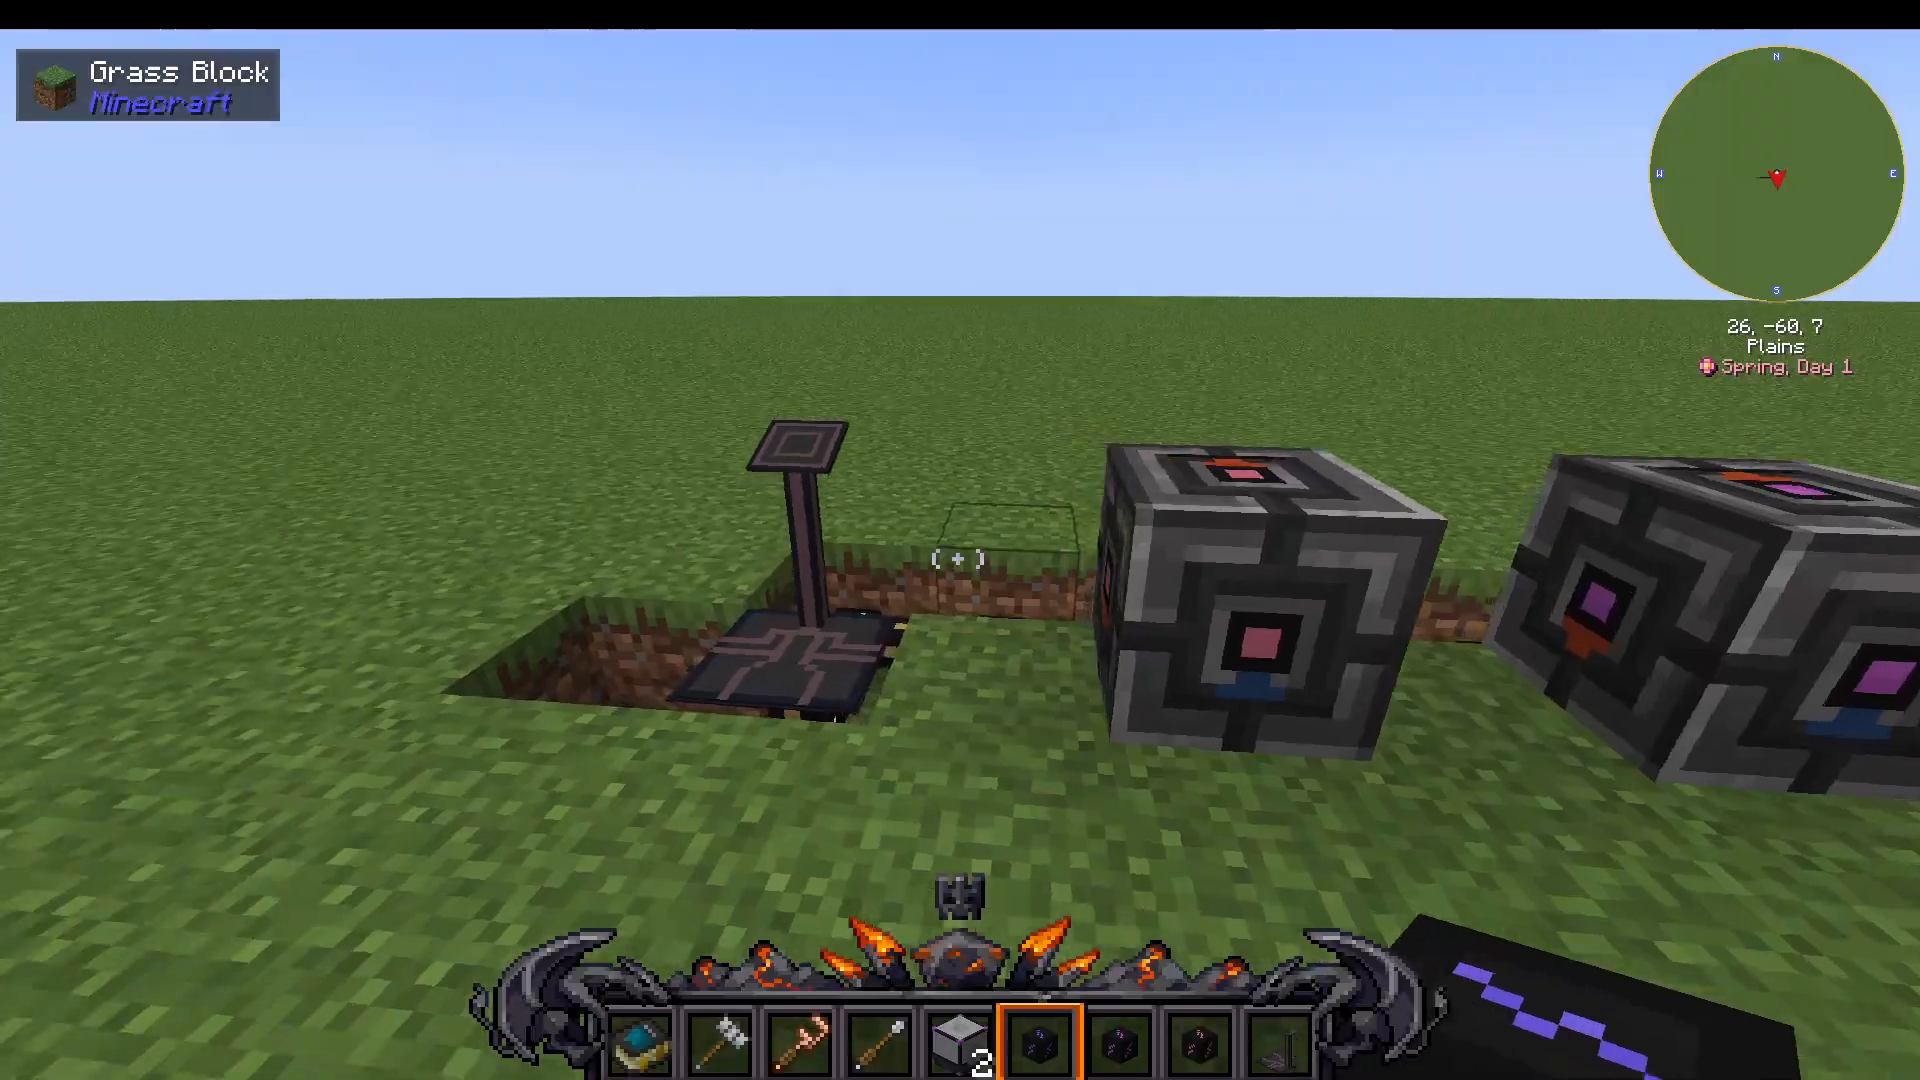
Charge Pad
Place items on a charge pad to charge them. Power the pad from the bottom with cables to enable item charging.
Basic Machines
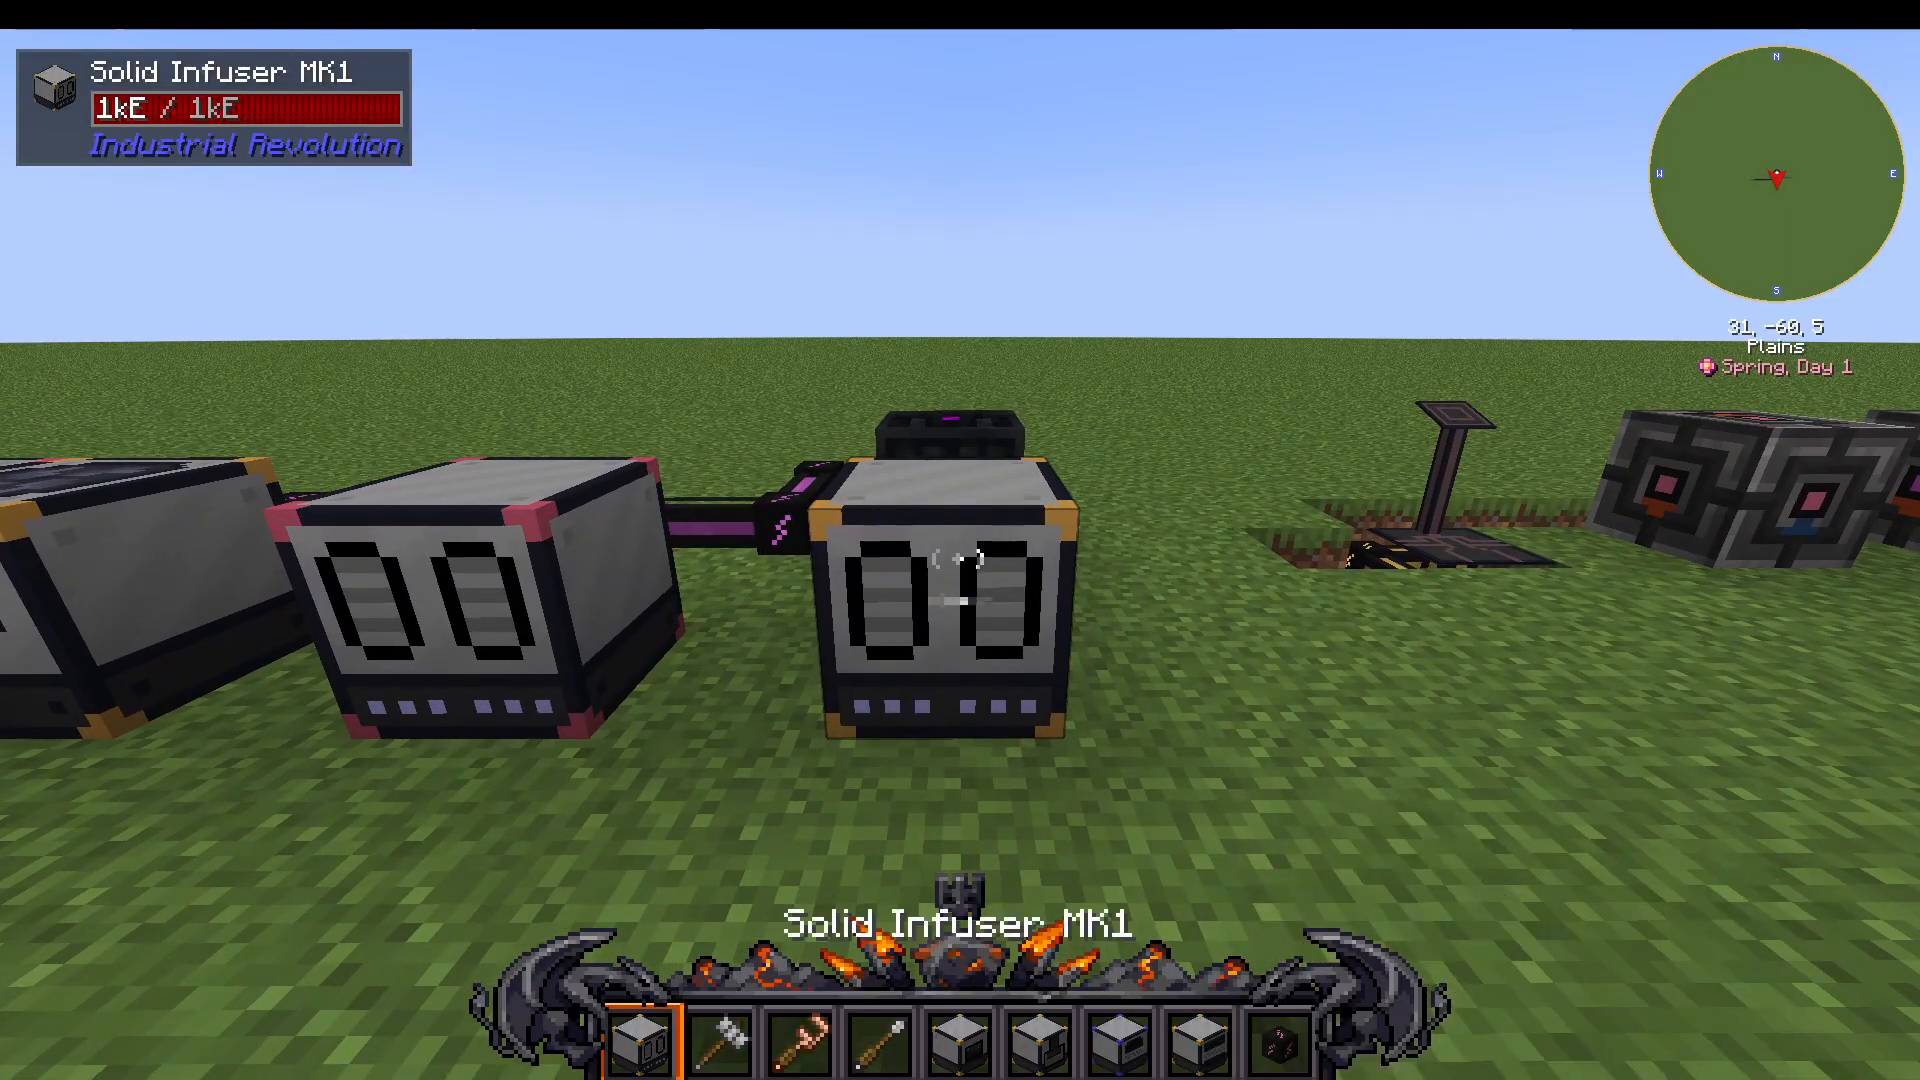
The Infuser
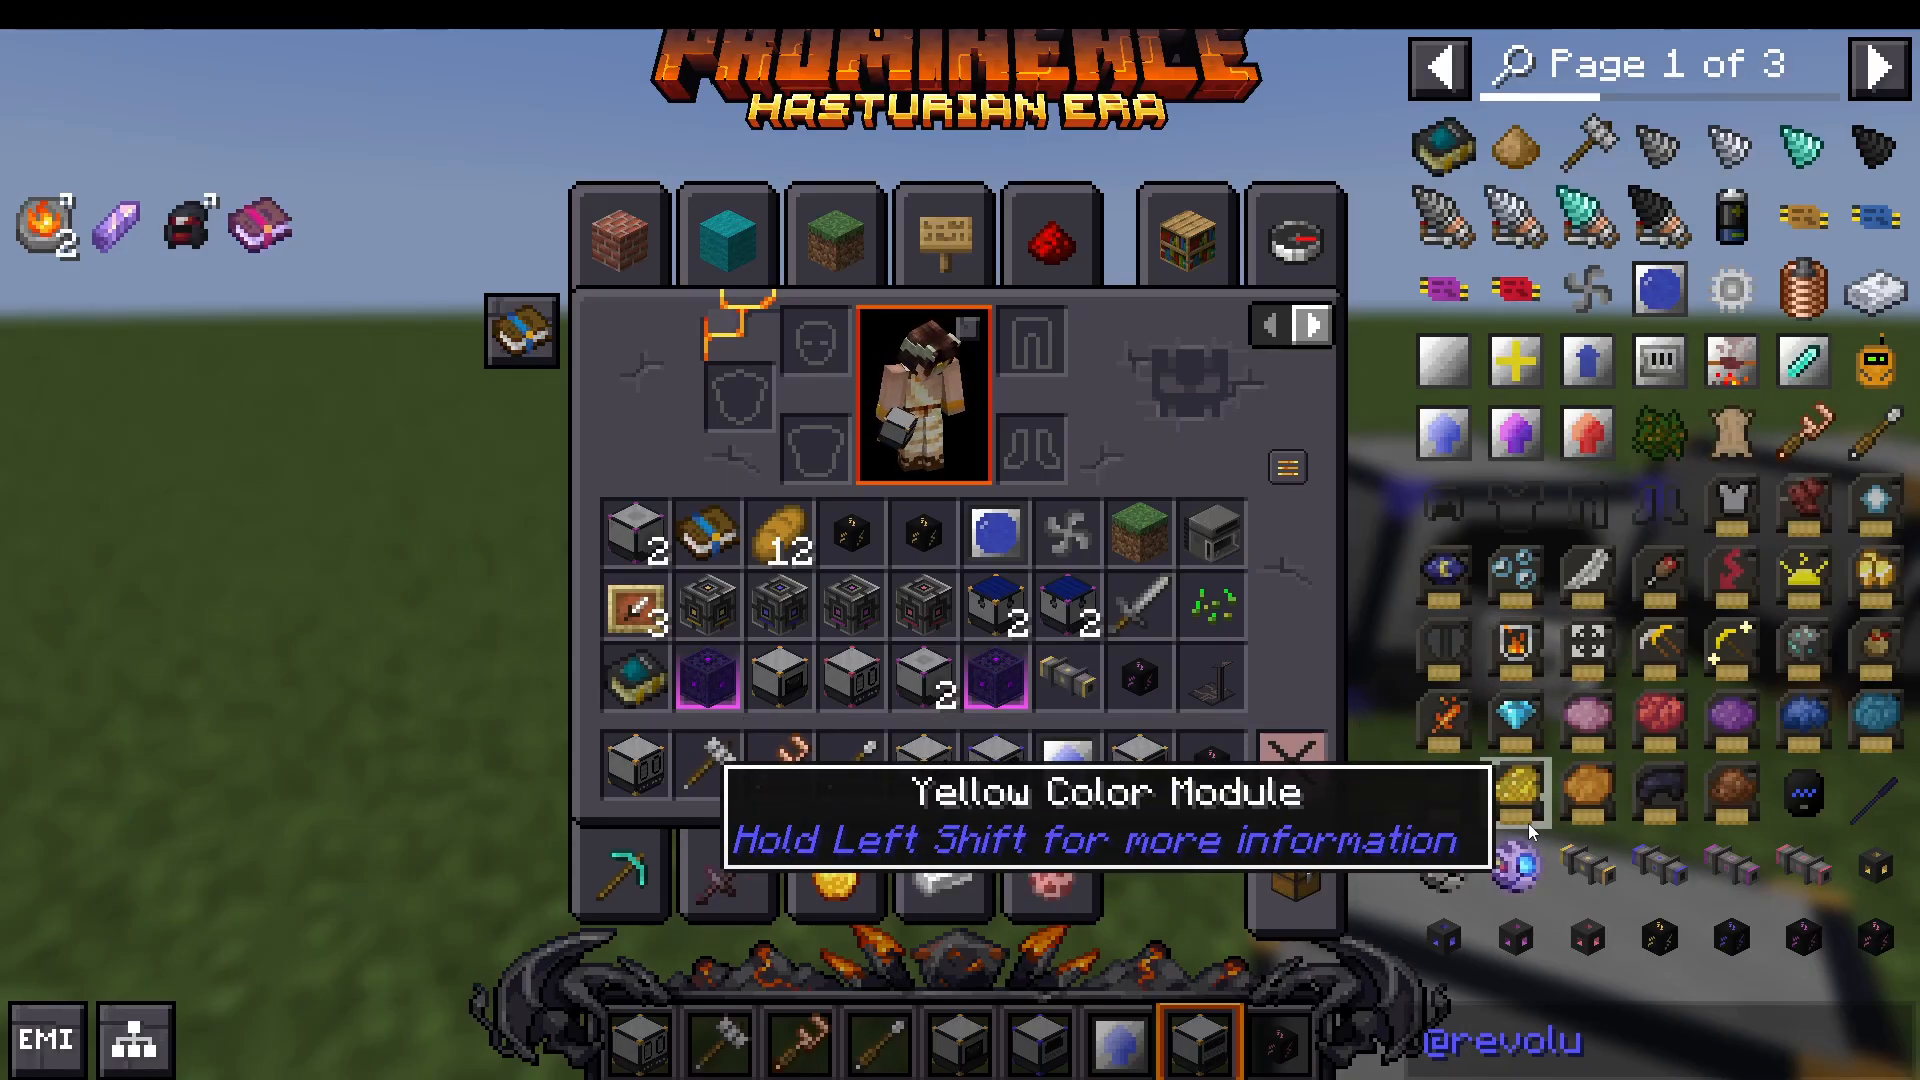
The infuser is one of your most important machines. You’ll use it constantly to combine materials. Check its recipes using EMI (by pressing U for uses). Available in Mark 1, 2, 3, and Mark 4 tiers, plus a creative variant.
Key infuser recipes include:
Bone meal + plants = doubled plants
Copper dust + tin dust = bronze dust (smelt into bronze ingots)
Diamond + Nikolite dust = enriched Nikolite dust (for high-tier machines)
Nikolite dust + iron ingots = Nikolite ingots
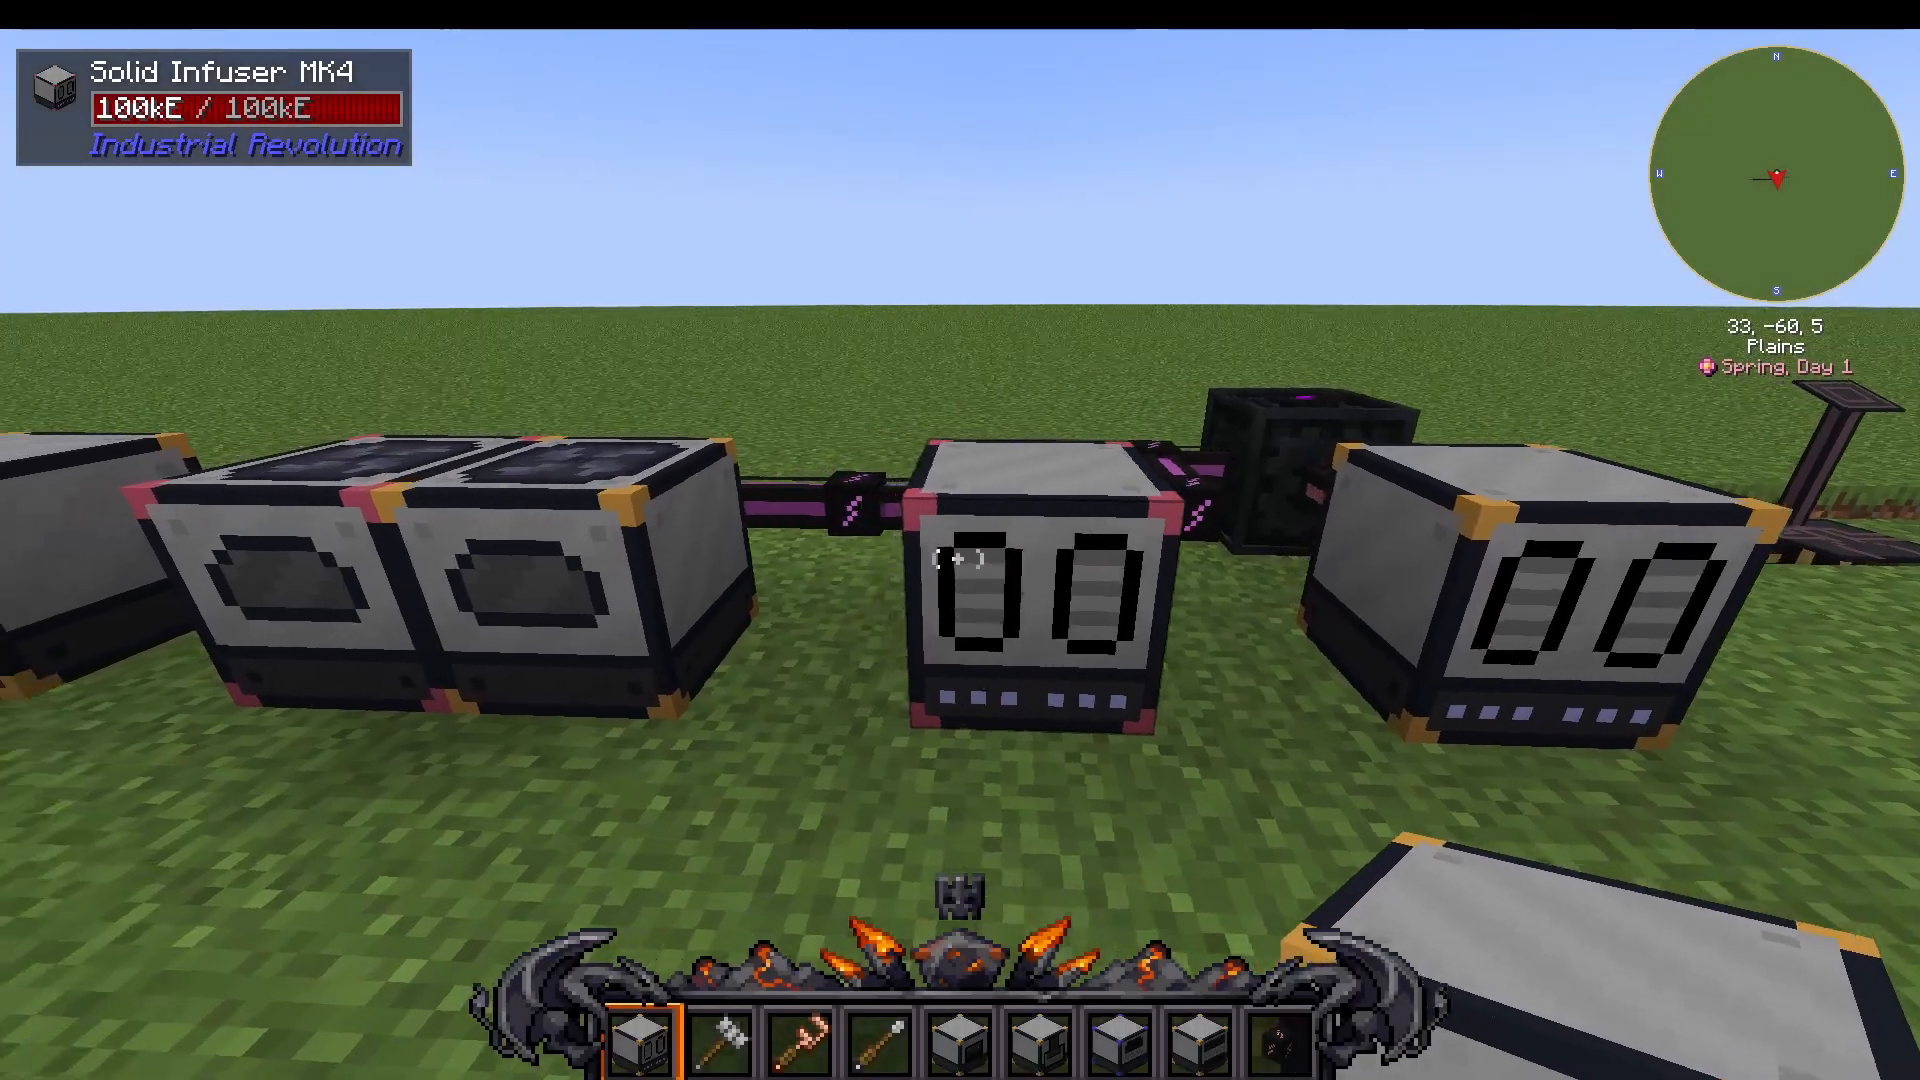
Mark System: Mark 1 has one upgrade slot, while Mark 4 has four. Higher-tier machines also run faster by default but consume more power.
The Pulverizer
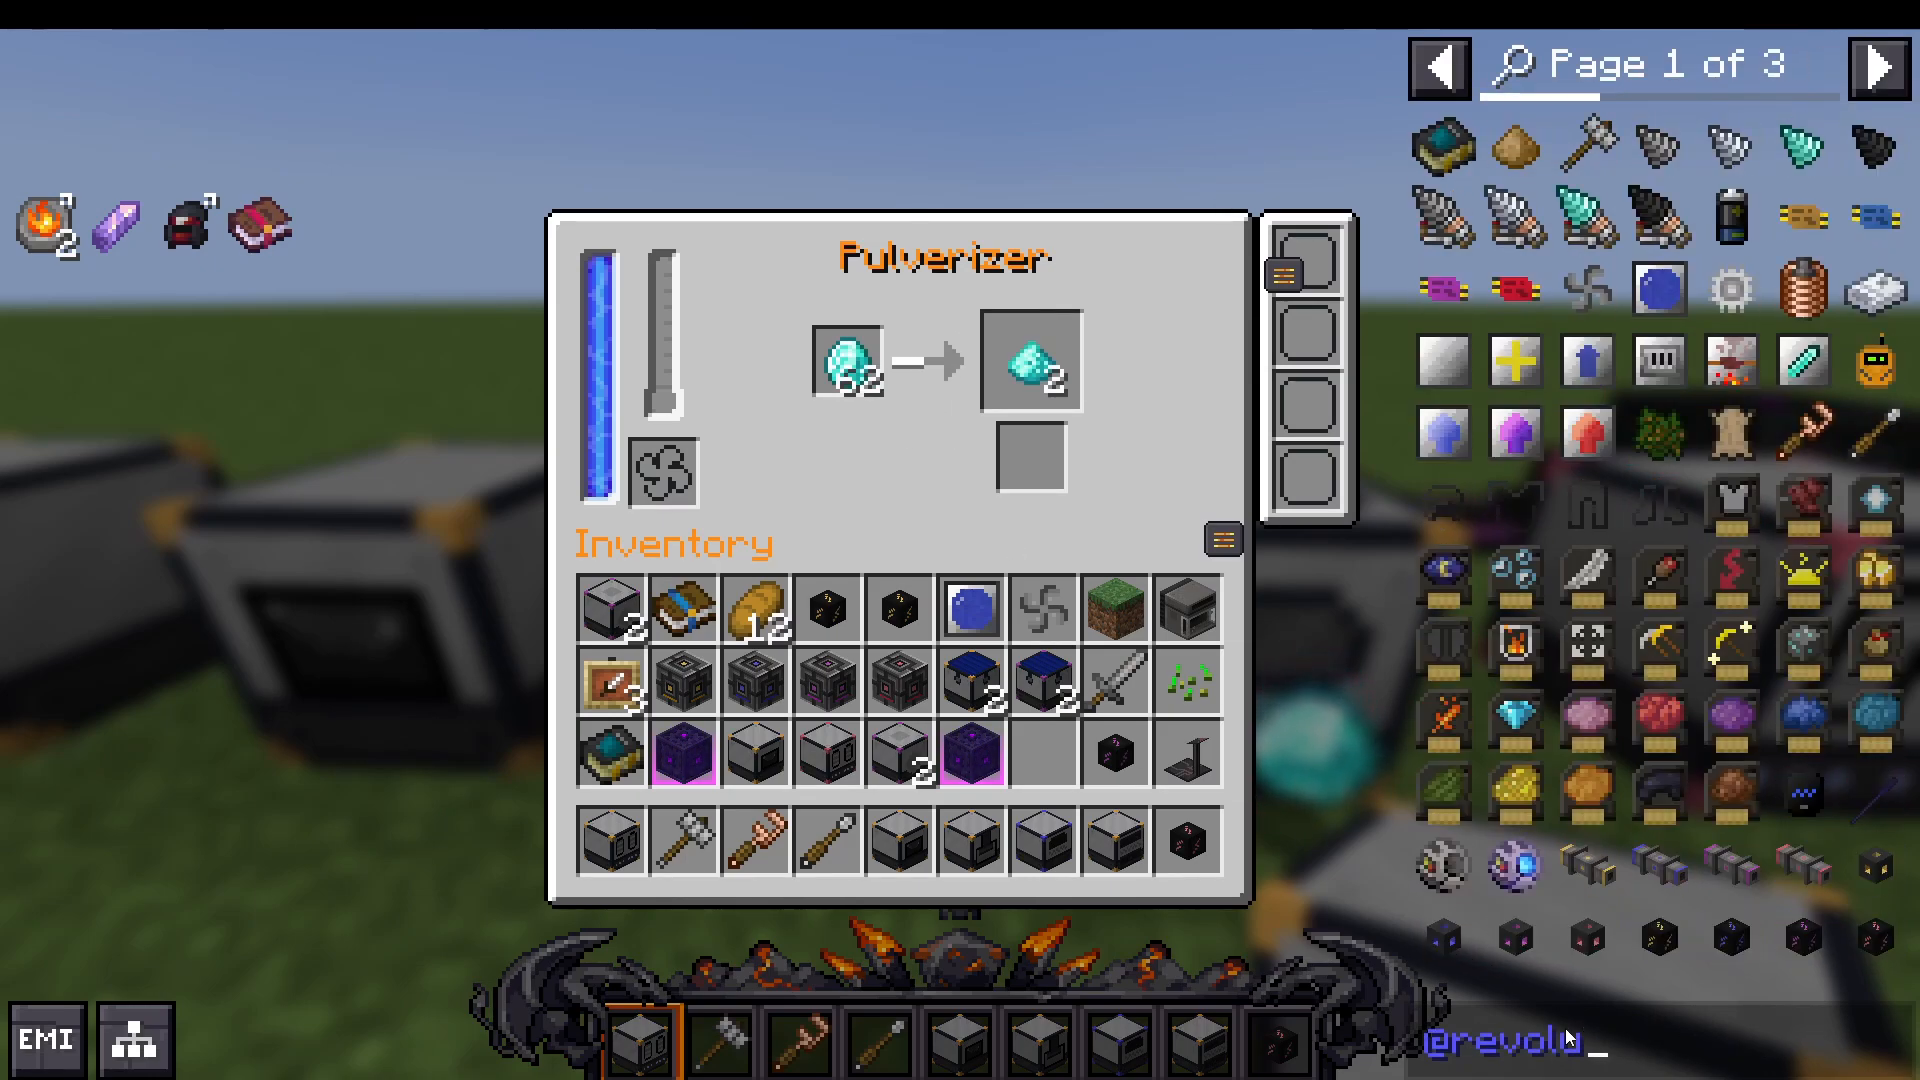
This machine converts items into dust. For example, diamonds become diamond dust. The pulverizer’s speed varies by mark; Mark 4 processes much faster than Mark 1.
Machine Upgrades
You can craft empty enhancers with a compressor using plates. Then create specific upgrades:
Buffer Enhancer: Increases energy capacity
Speed Enhancer: Increases processing speed (but raises power consumption)
Blast Furnace Upgrade (Electric Furnace): Allows smoking recipes
Damage Upgrade (Slaughter Machine): Increases damage output
Machine Tier Upgrades
Instead of crafting new machines, you can upgrade existing ones. Create Mark 2, 3, and 4 upgrade items, then click them onto your Mark 1 machine to upgrade it instantly.
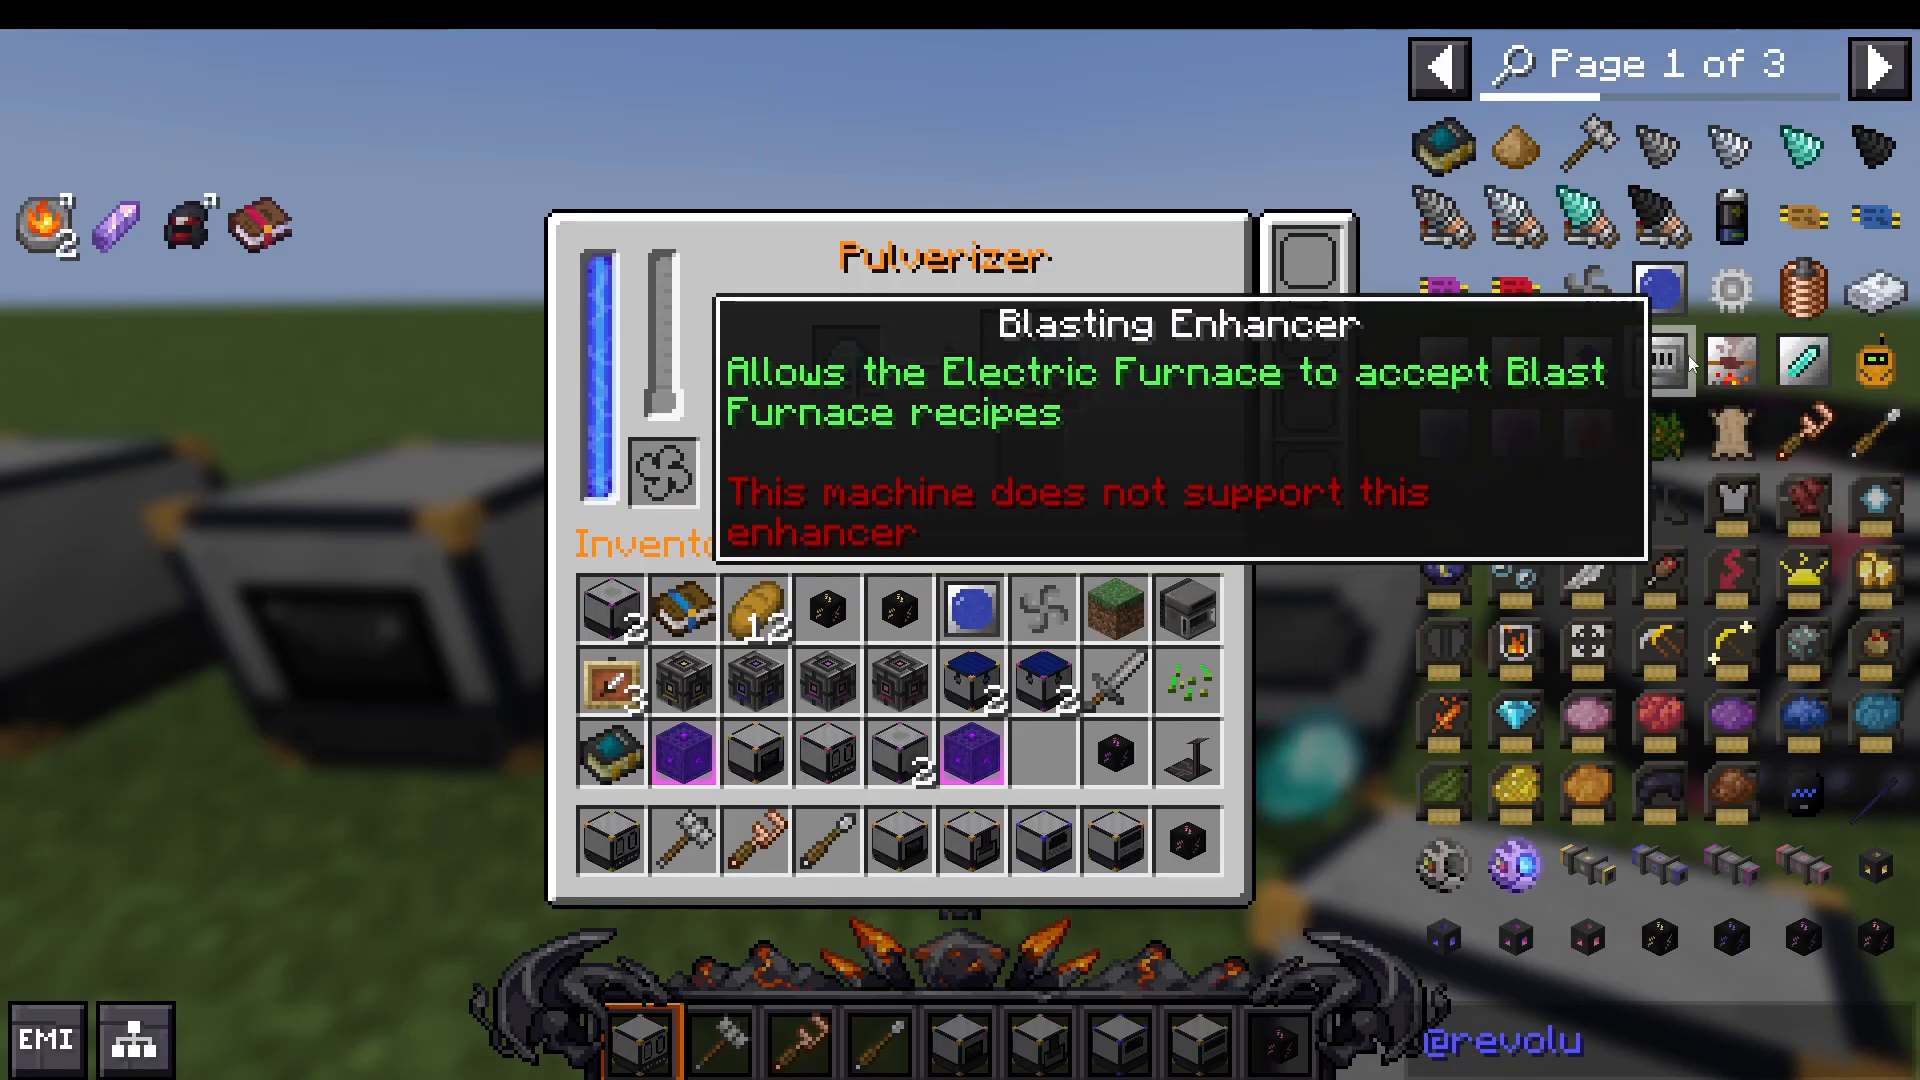
The Sawmill
The sawmill converts one batch of logs into six planks, plus sawdust and sticks.
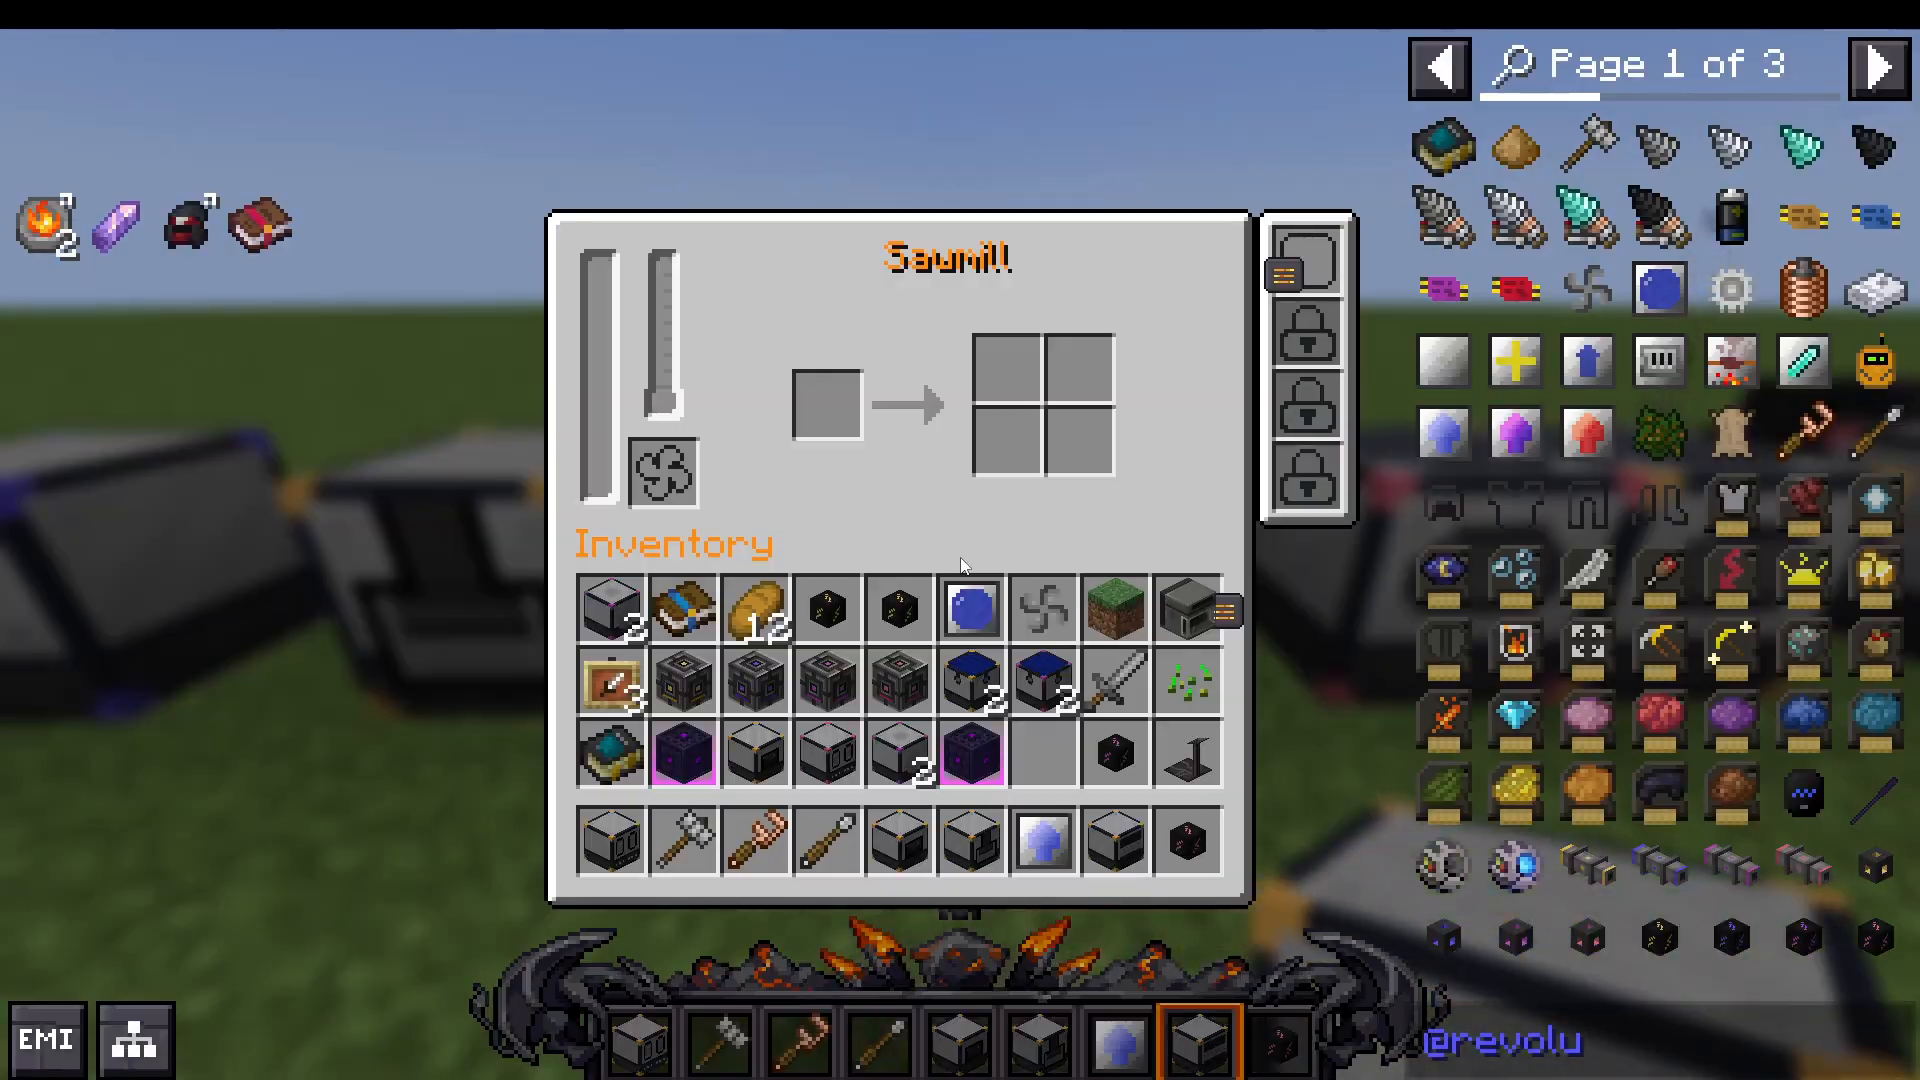
The Compressor
The compressor converts planks into plank blocks and converts one ingot into one plate, among other recipes.
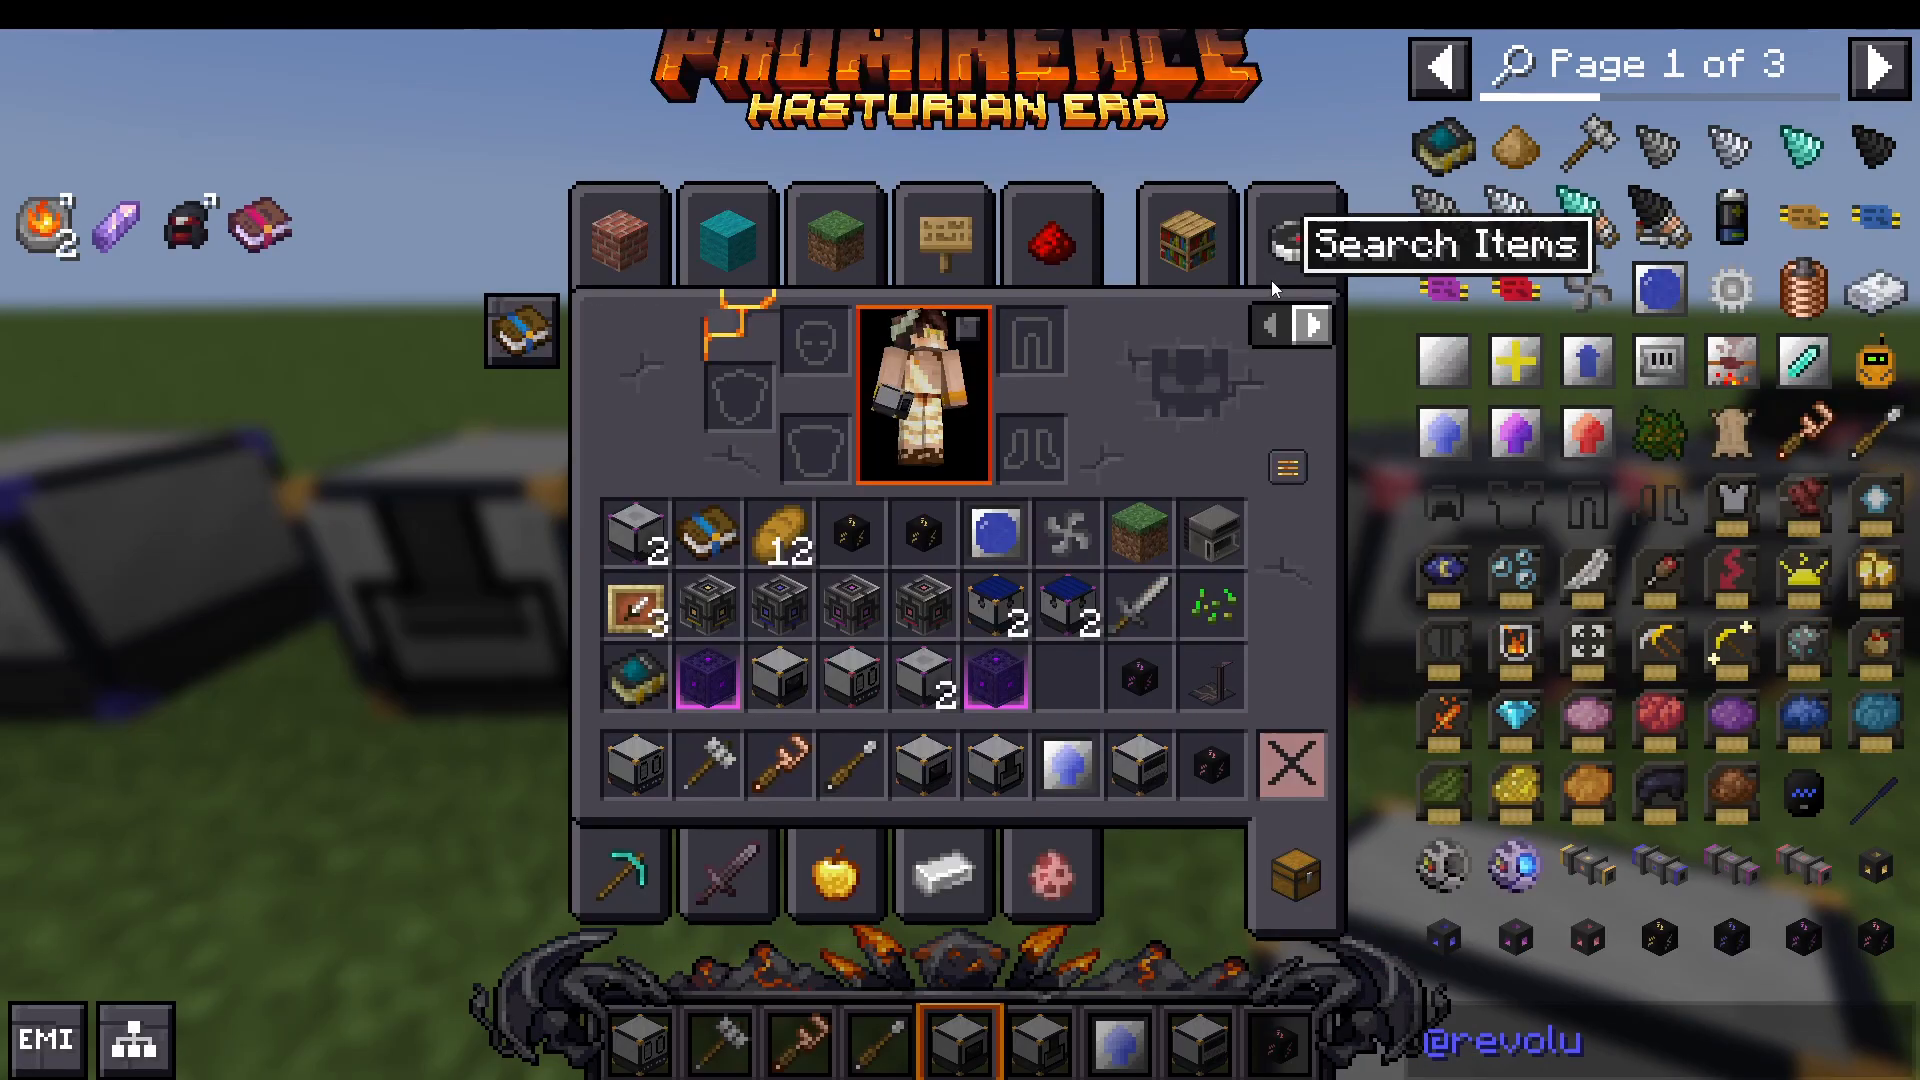
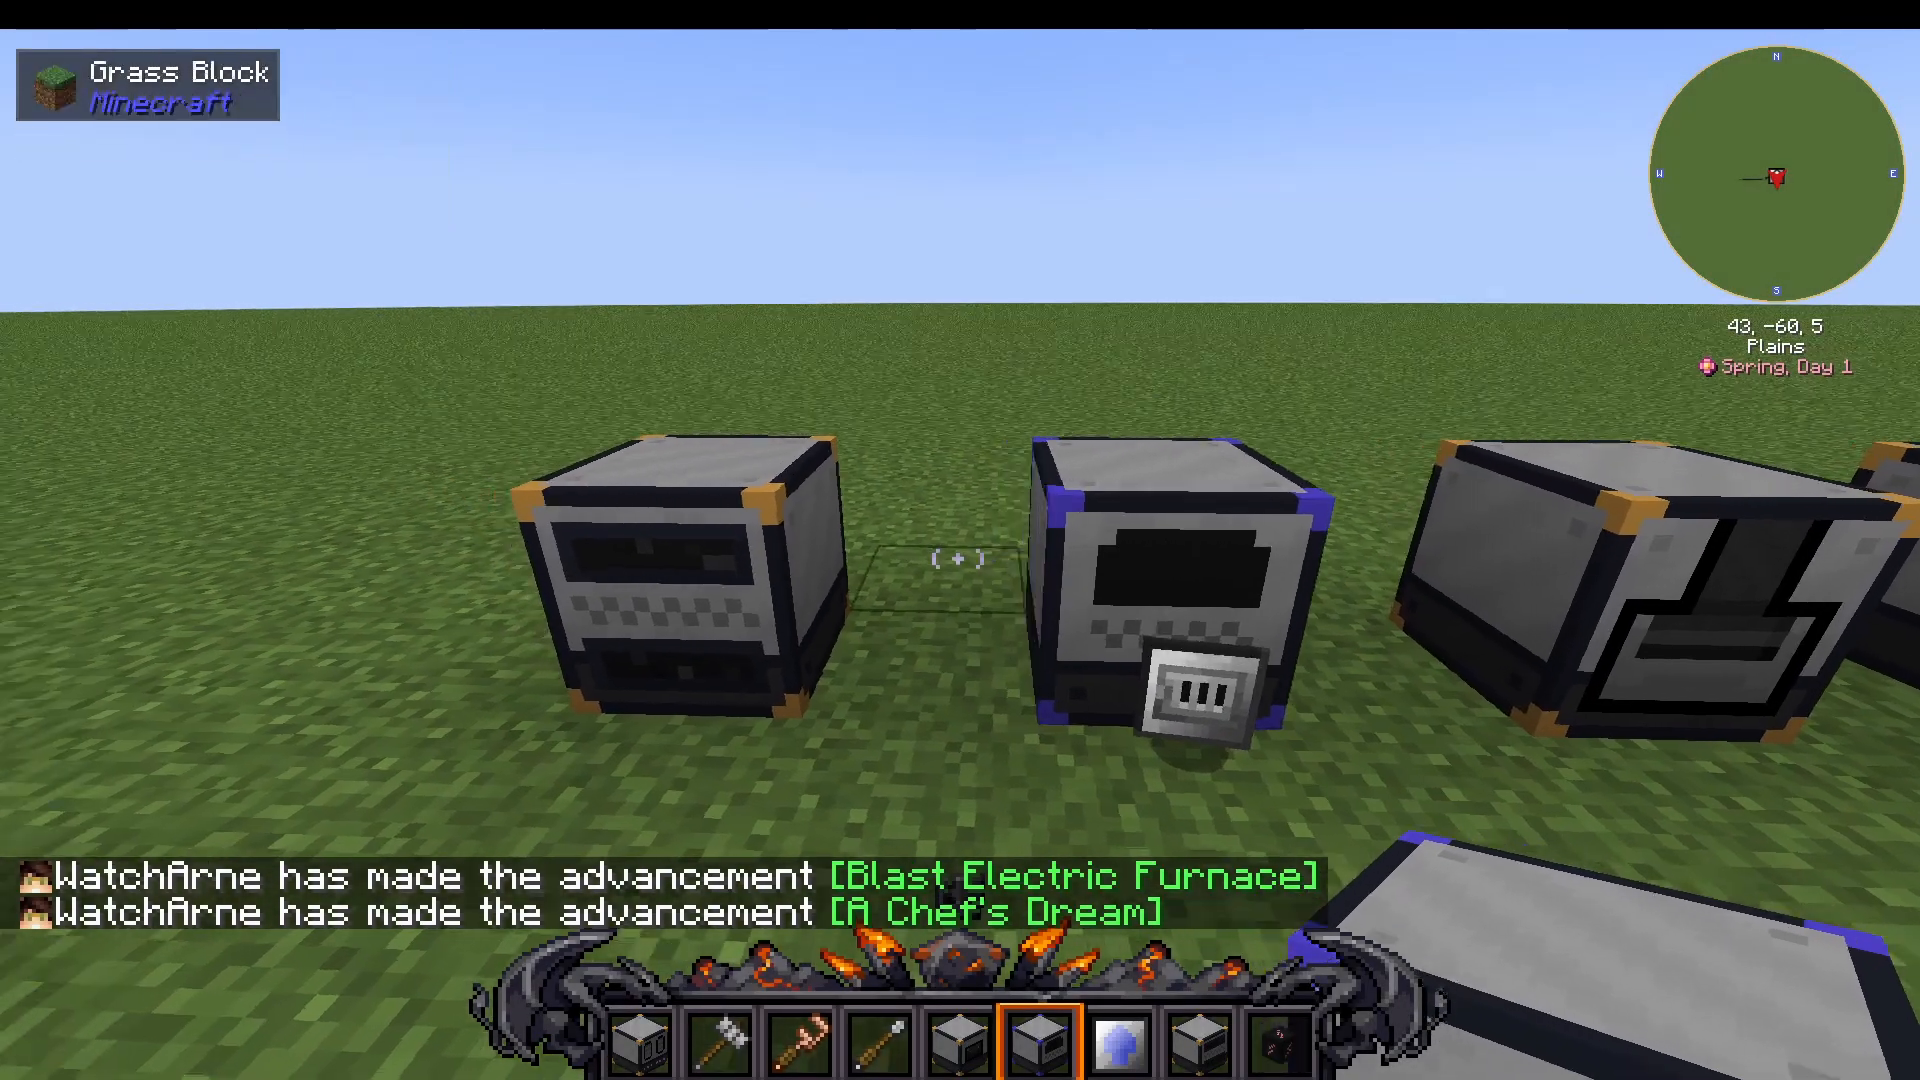
The Electric Furnace
Standard smelting machine. You can add blasting and smoking upgrades to use blast furnace and smoker recipes.
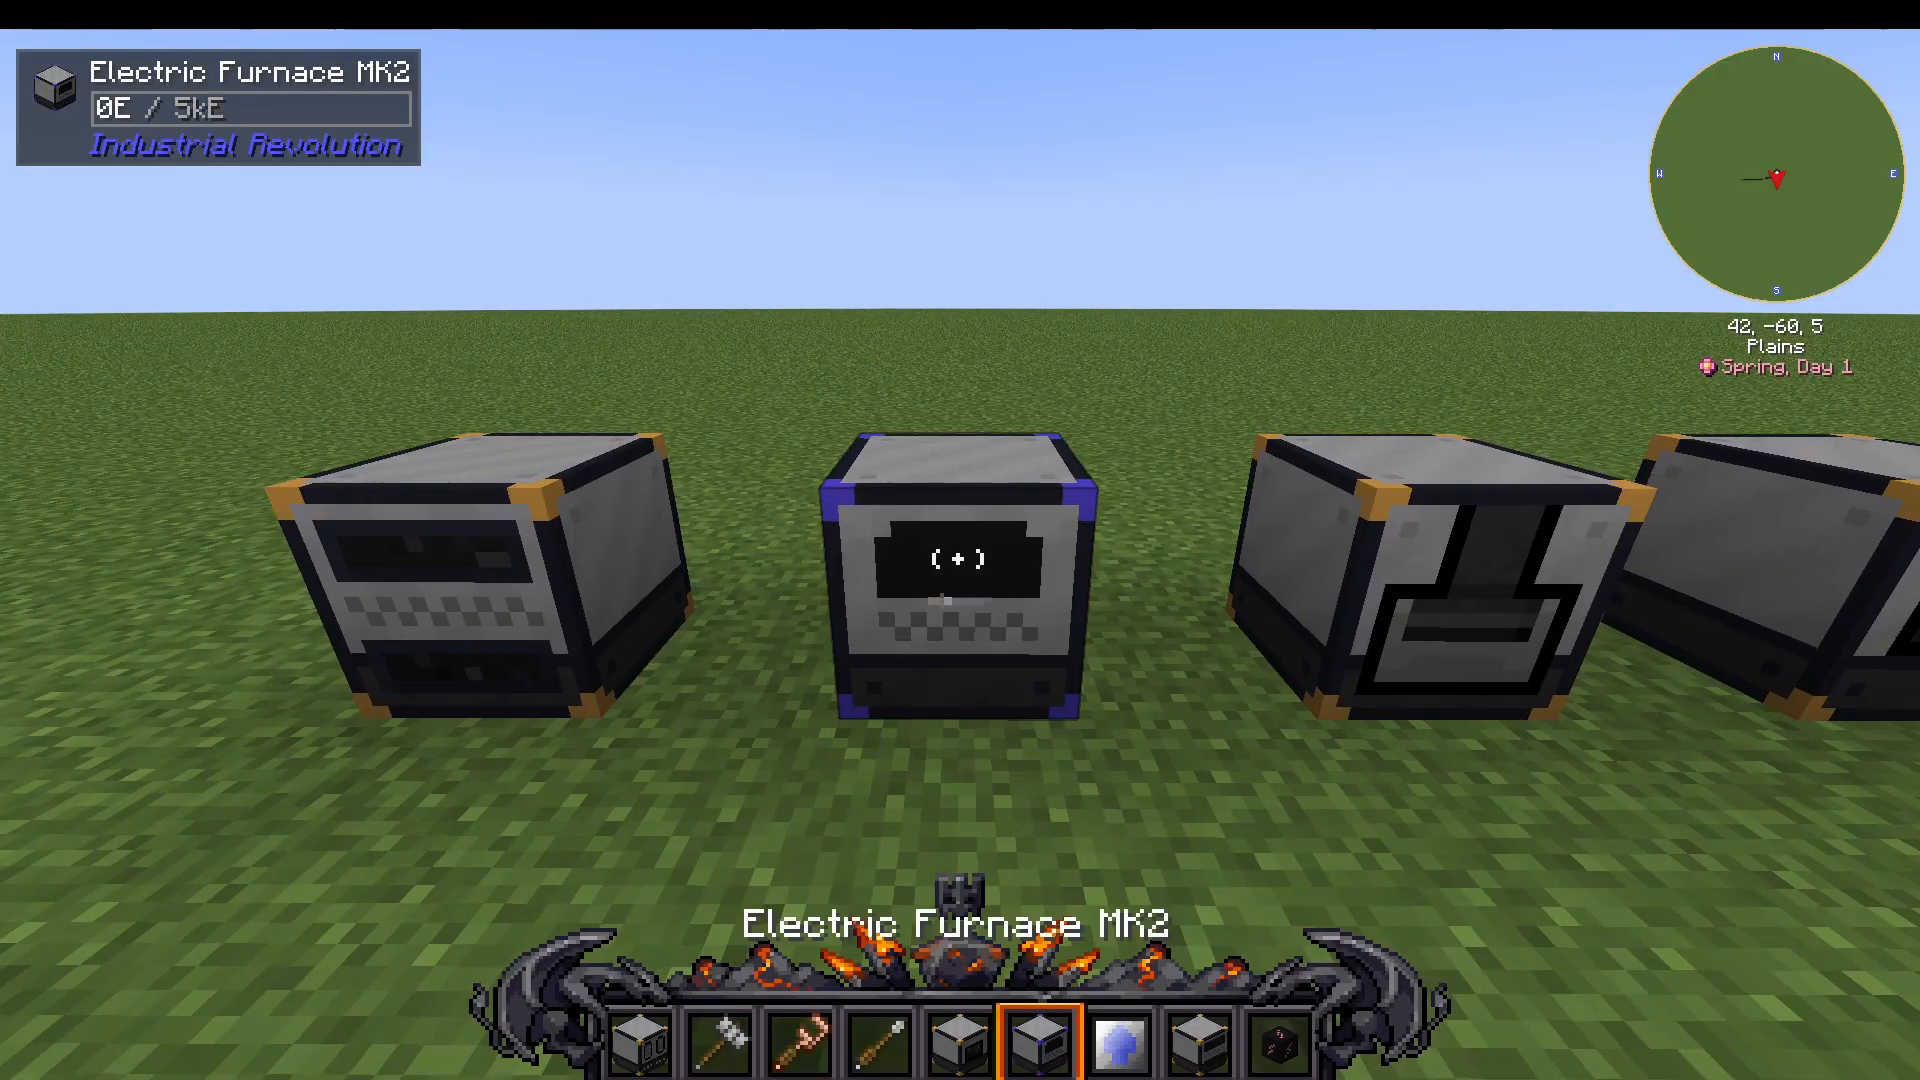
The Fluid Infuser
Combines fluids with solids to create new materials. Examples include:
Water + concrete powder = solid concrete
Water + lapis lazuli = coolant
Fluid Transport System
Industrial Revolution includes fluid pipes (Mark 1, 2, 3, etc.) and tanks for moving liquids. Here’s how to set up a basic fluid system:
Place a tank where you want to store fluid
Connect fluid pipes from your tank to your destination machine
Create a pump to extract water (or other fluids)
Power the pump from the top; the output faces away from the pump
Use servos on your pipes to control flow direction
Important: Servo Types
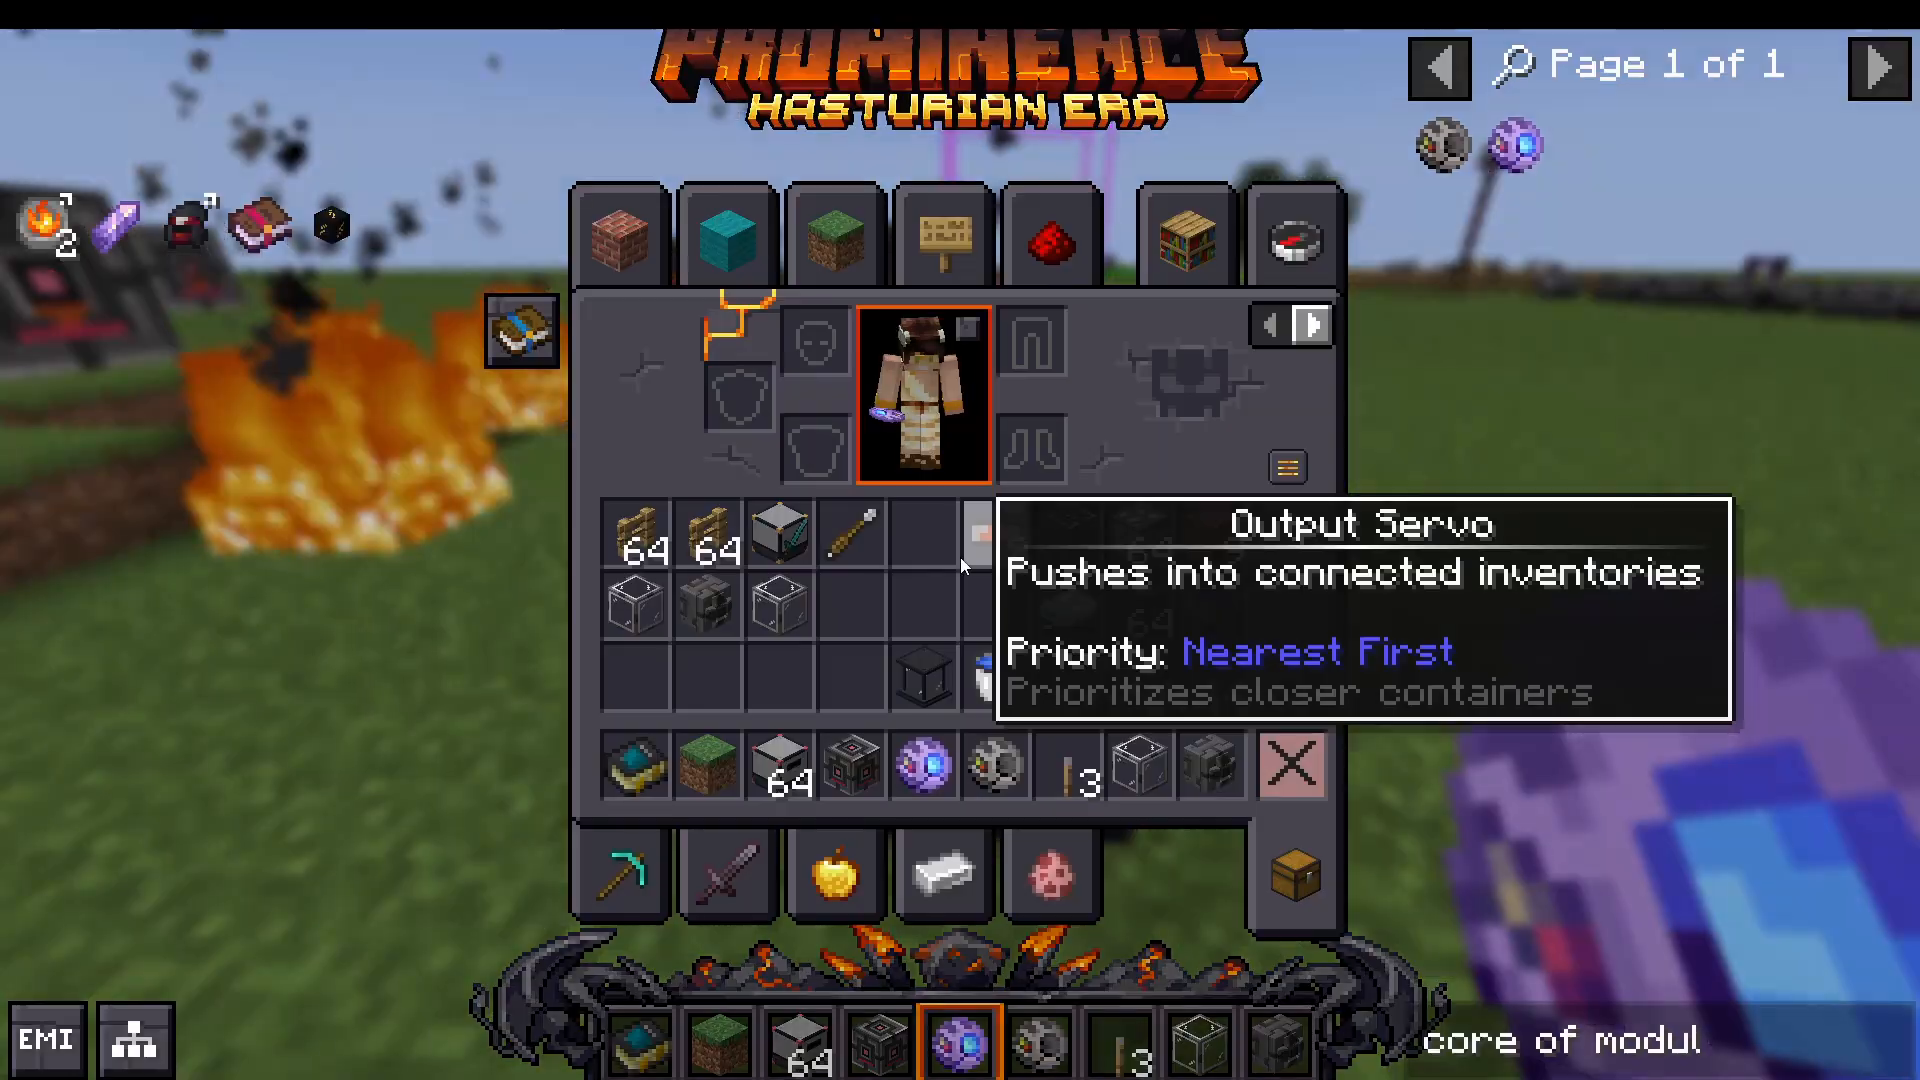
Output Servo: Pushes from the source into connected inventories
Retriever Servo: Pulls from connected inventories
When connecting fluid pipes to machines, use your screwdriver to set the connection type to “fluid” (not items).
Advanced Machines
The Industrial Revolution Rancher
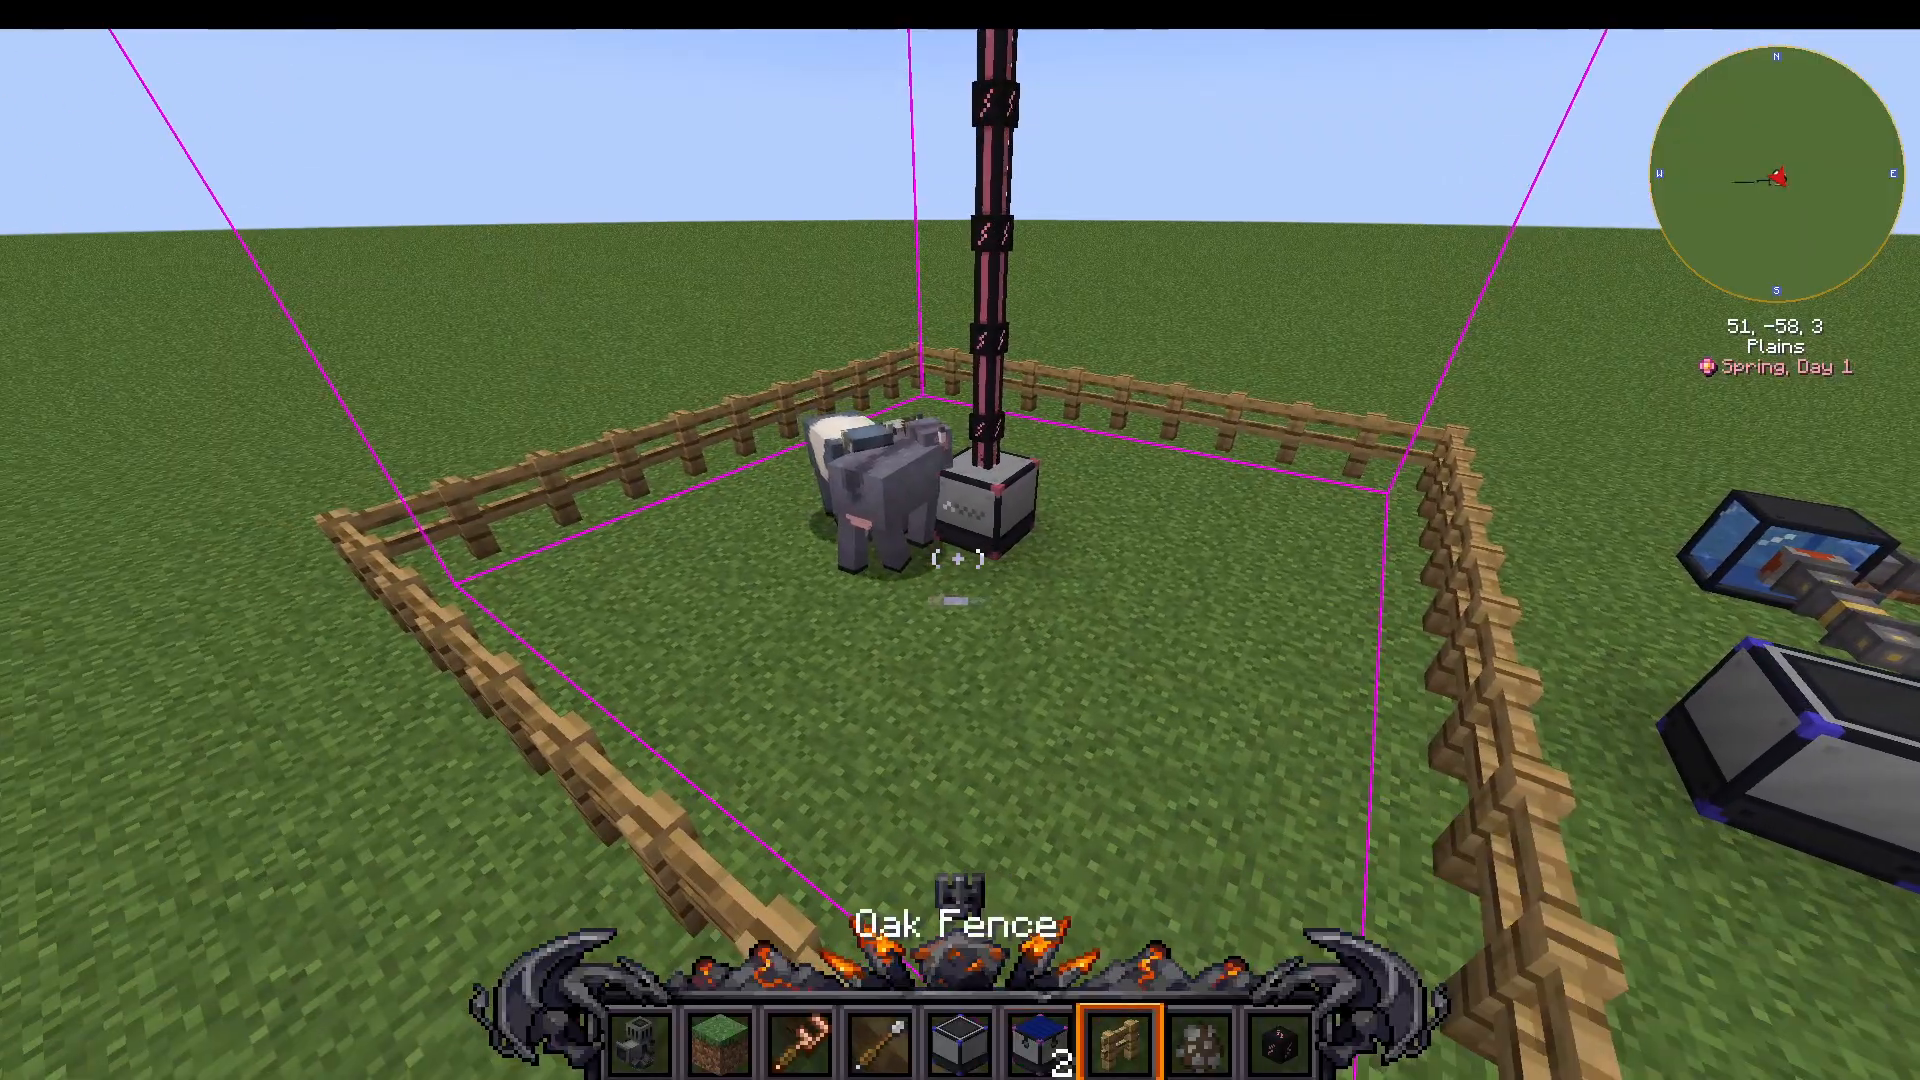
This all-in-one animal management machine handles feeding, breeding, and butchering in a single block. Set it up with:
Range Control: Adjust range from 0 to 9; hide or show the range boundary
Input: Food for breeding (e.g., wheat for cows)
Output: Items dropped by killed animals
Configuration Options:
Enable/disable feeding and breeding
Set mating limit (determines maximum population before killing excess)
Set kill threshold (excess animals beyond this number are removed)
You can manage multiple animal types with different foods in each input slot, all within the same range.
The Recycler
Converts plant matter into biomass for your biomass furnace or generator.
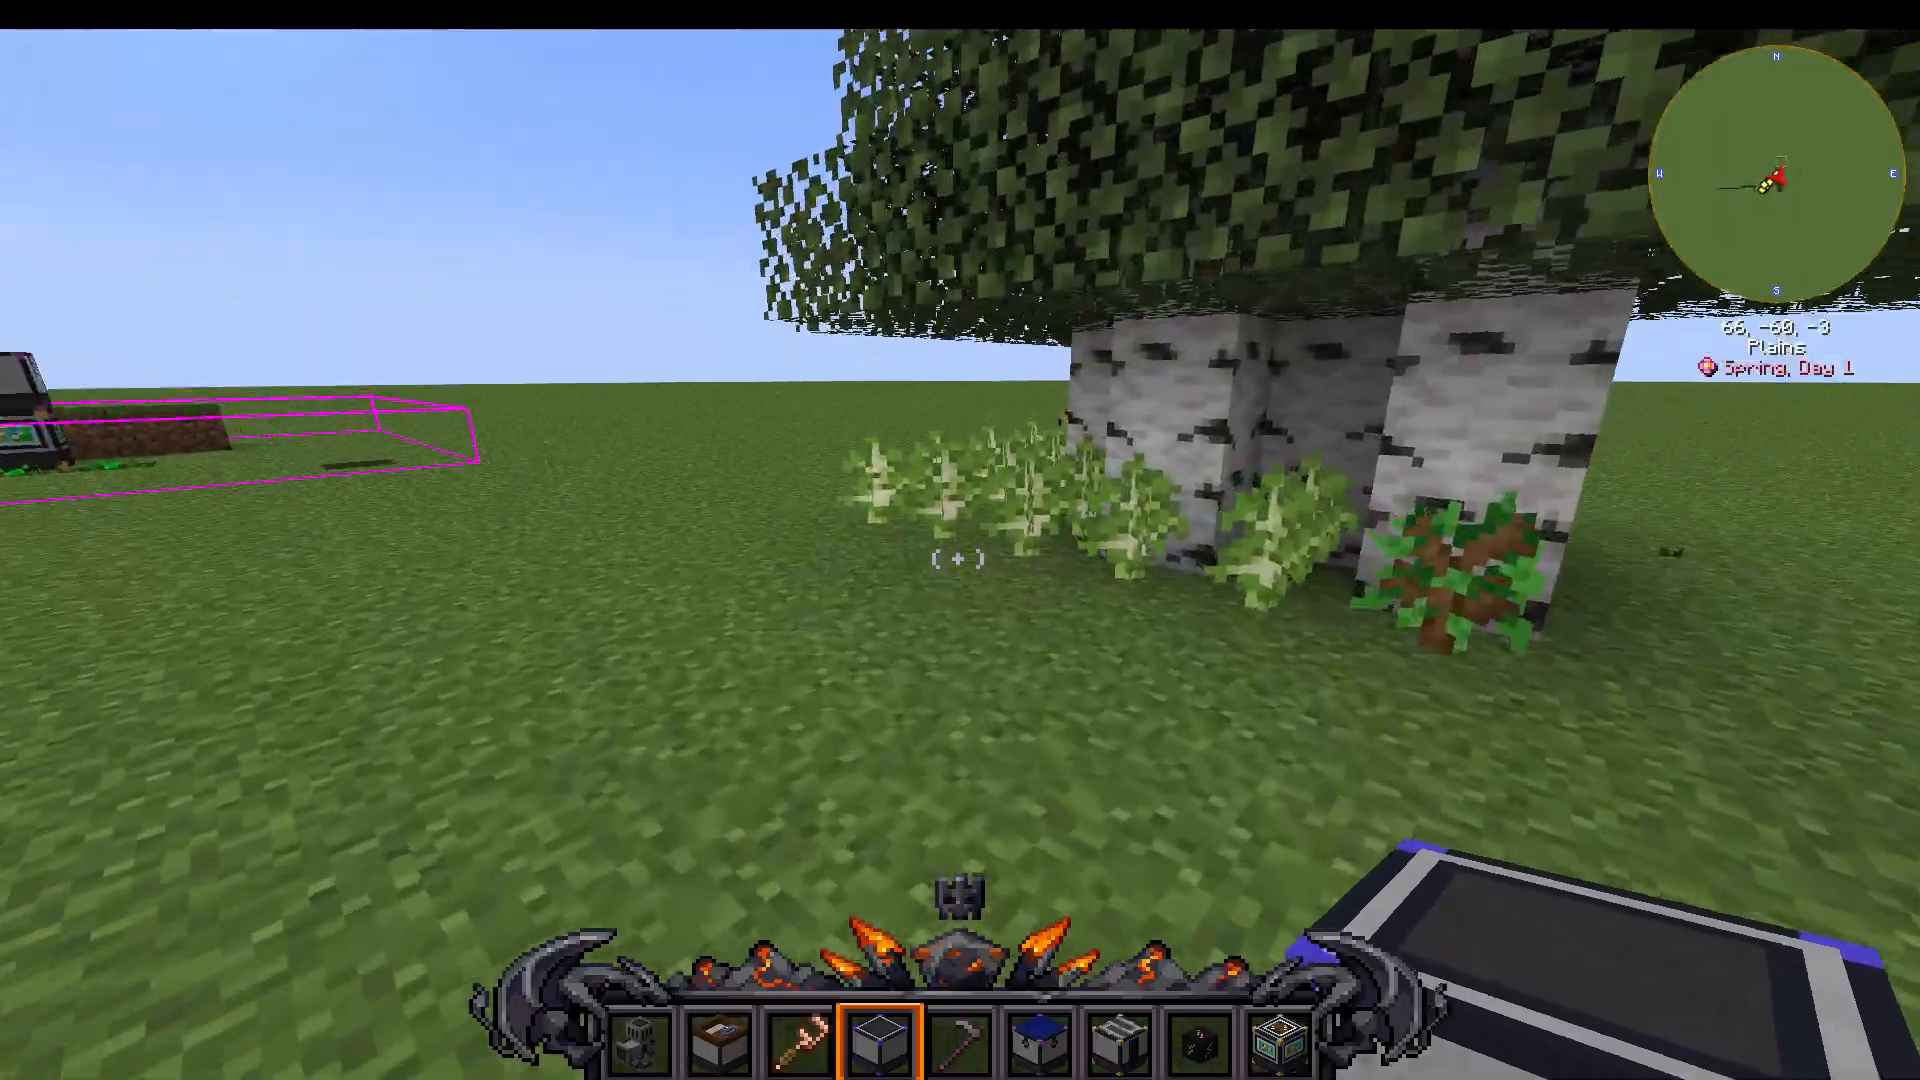
The Chopper
Automated tree farming machine that requires:
An axe
Bone meal
Saplings
The chopper plants saplings, grows them with bone meal, and harvests them automatically. You can use multiple sappling types, though the machine may become unbalanced if one type dominates.
The Farmer
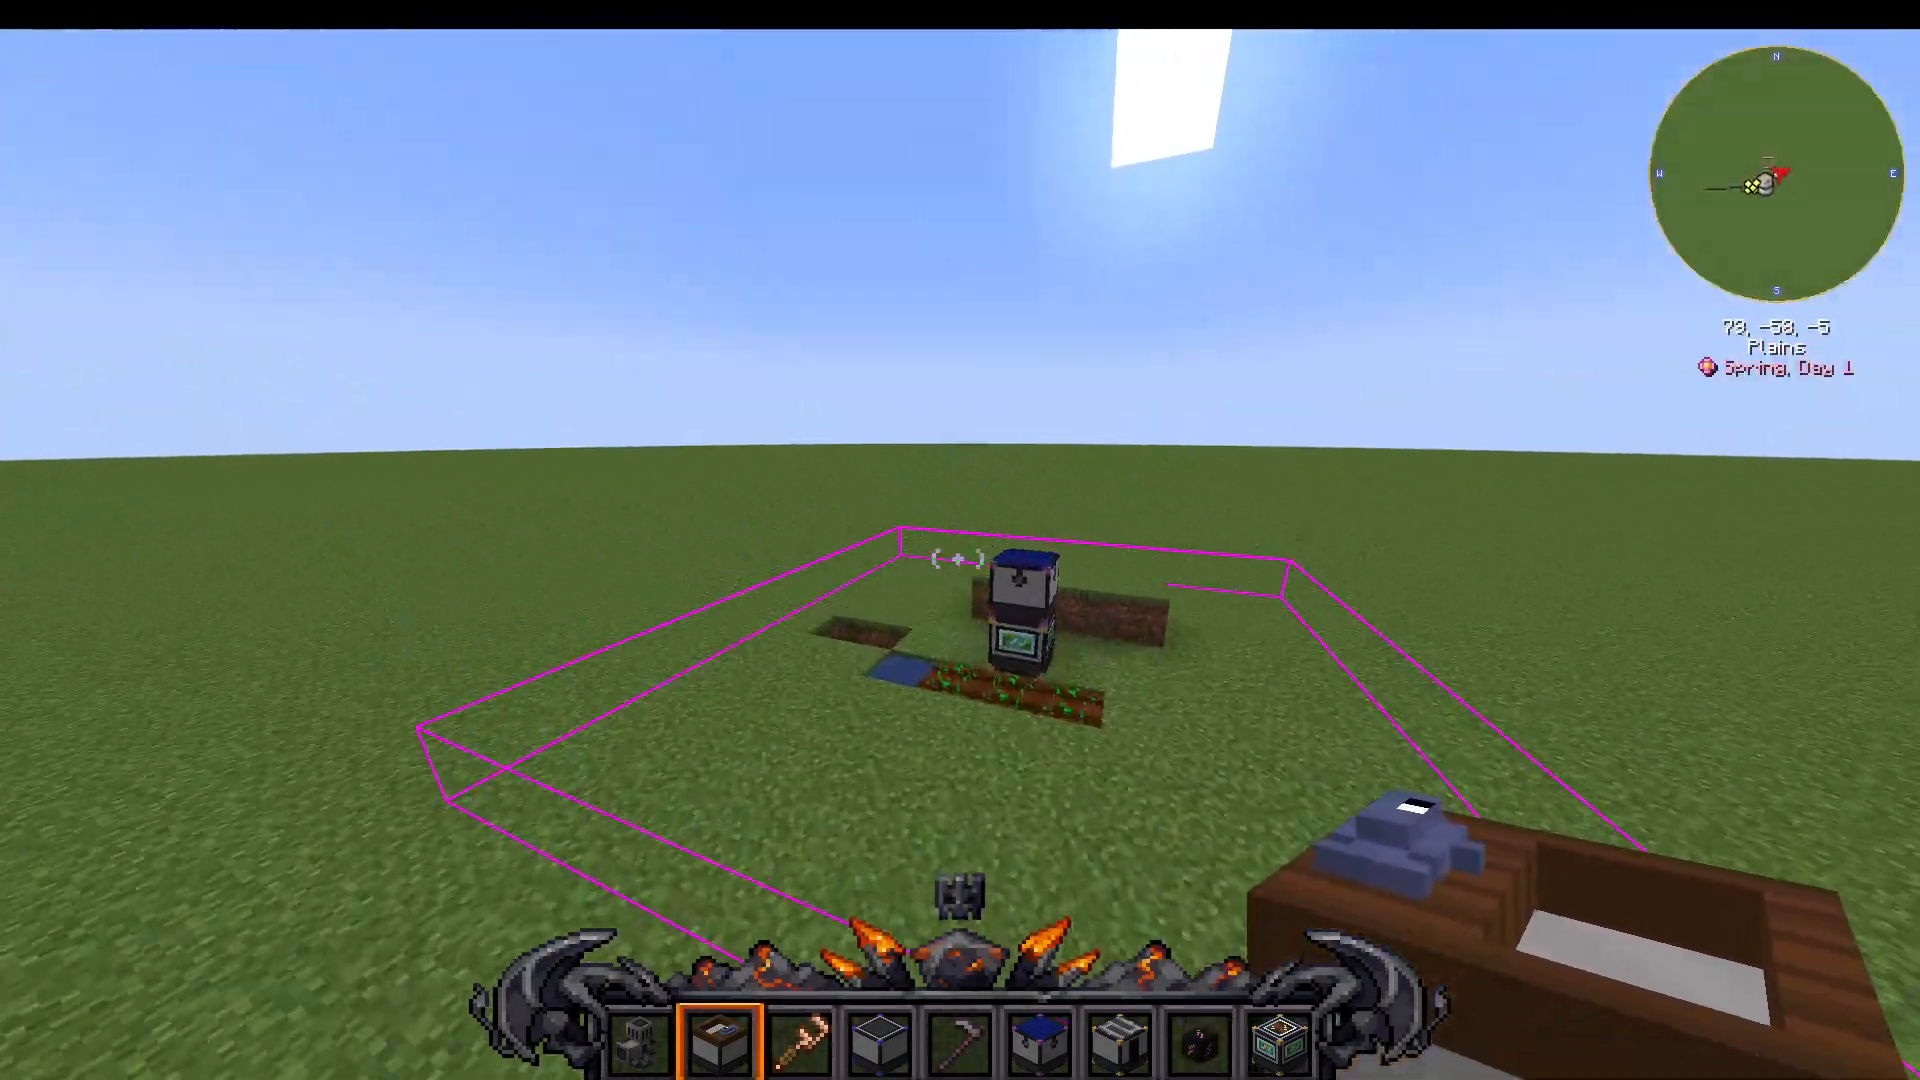
Automated crop harvesting and replanting. Setup requirements:
You must hoe the farmland yourself
You must place water adjacent to the farmland
Add your seeds to the input
Once configured, the farmer automatically plants seeds and harvests crops, with harvested seeds going to the output.
The Fisher
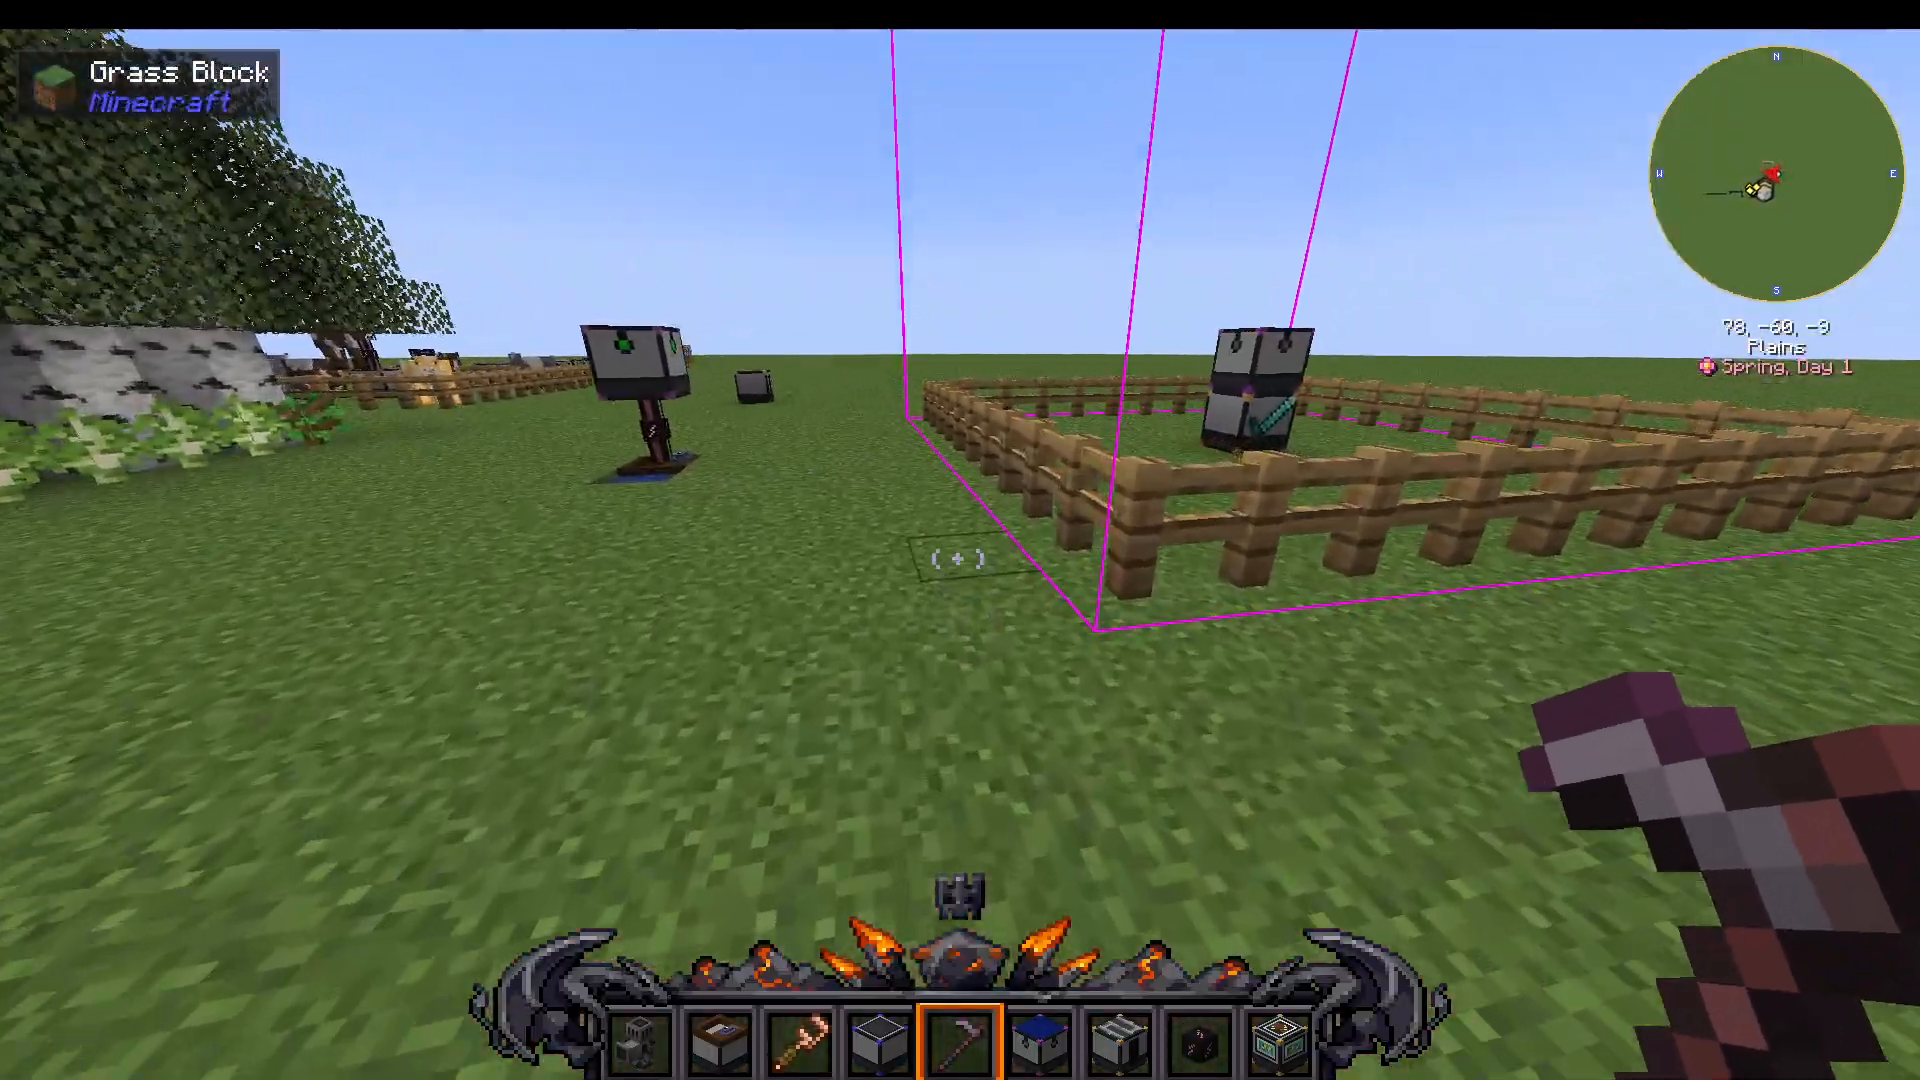
Automated fishing machine that requires:
A fishing rod in the input slot
Power from your energy system
Water adjacent to the machine
The Slaughter Machine
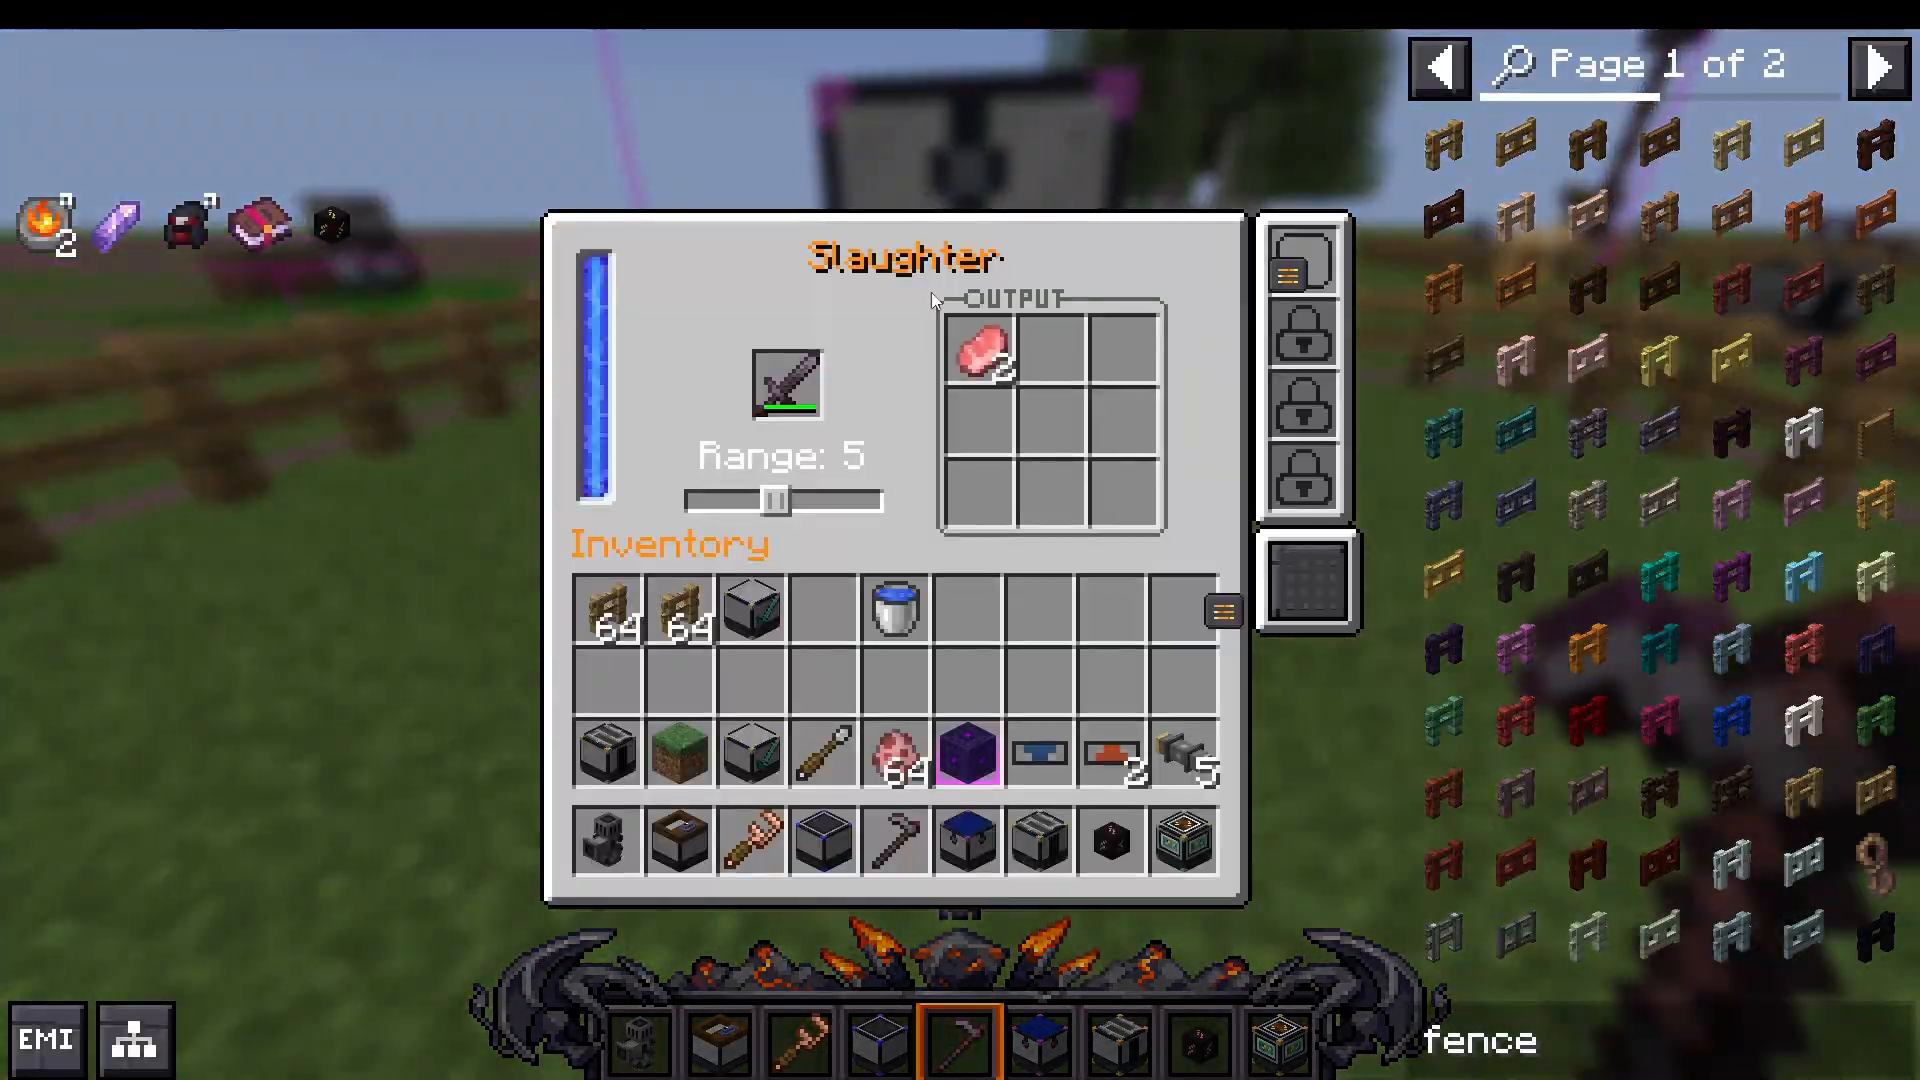
Automated mob killing with adjustable range. Place a weapon in the input, and the slaughter machine will attack all mobs within range. You can upgrade it with a damage enhancer to increase efficiency.
The Mining Rig
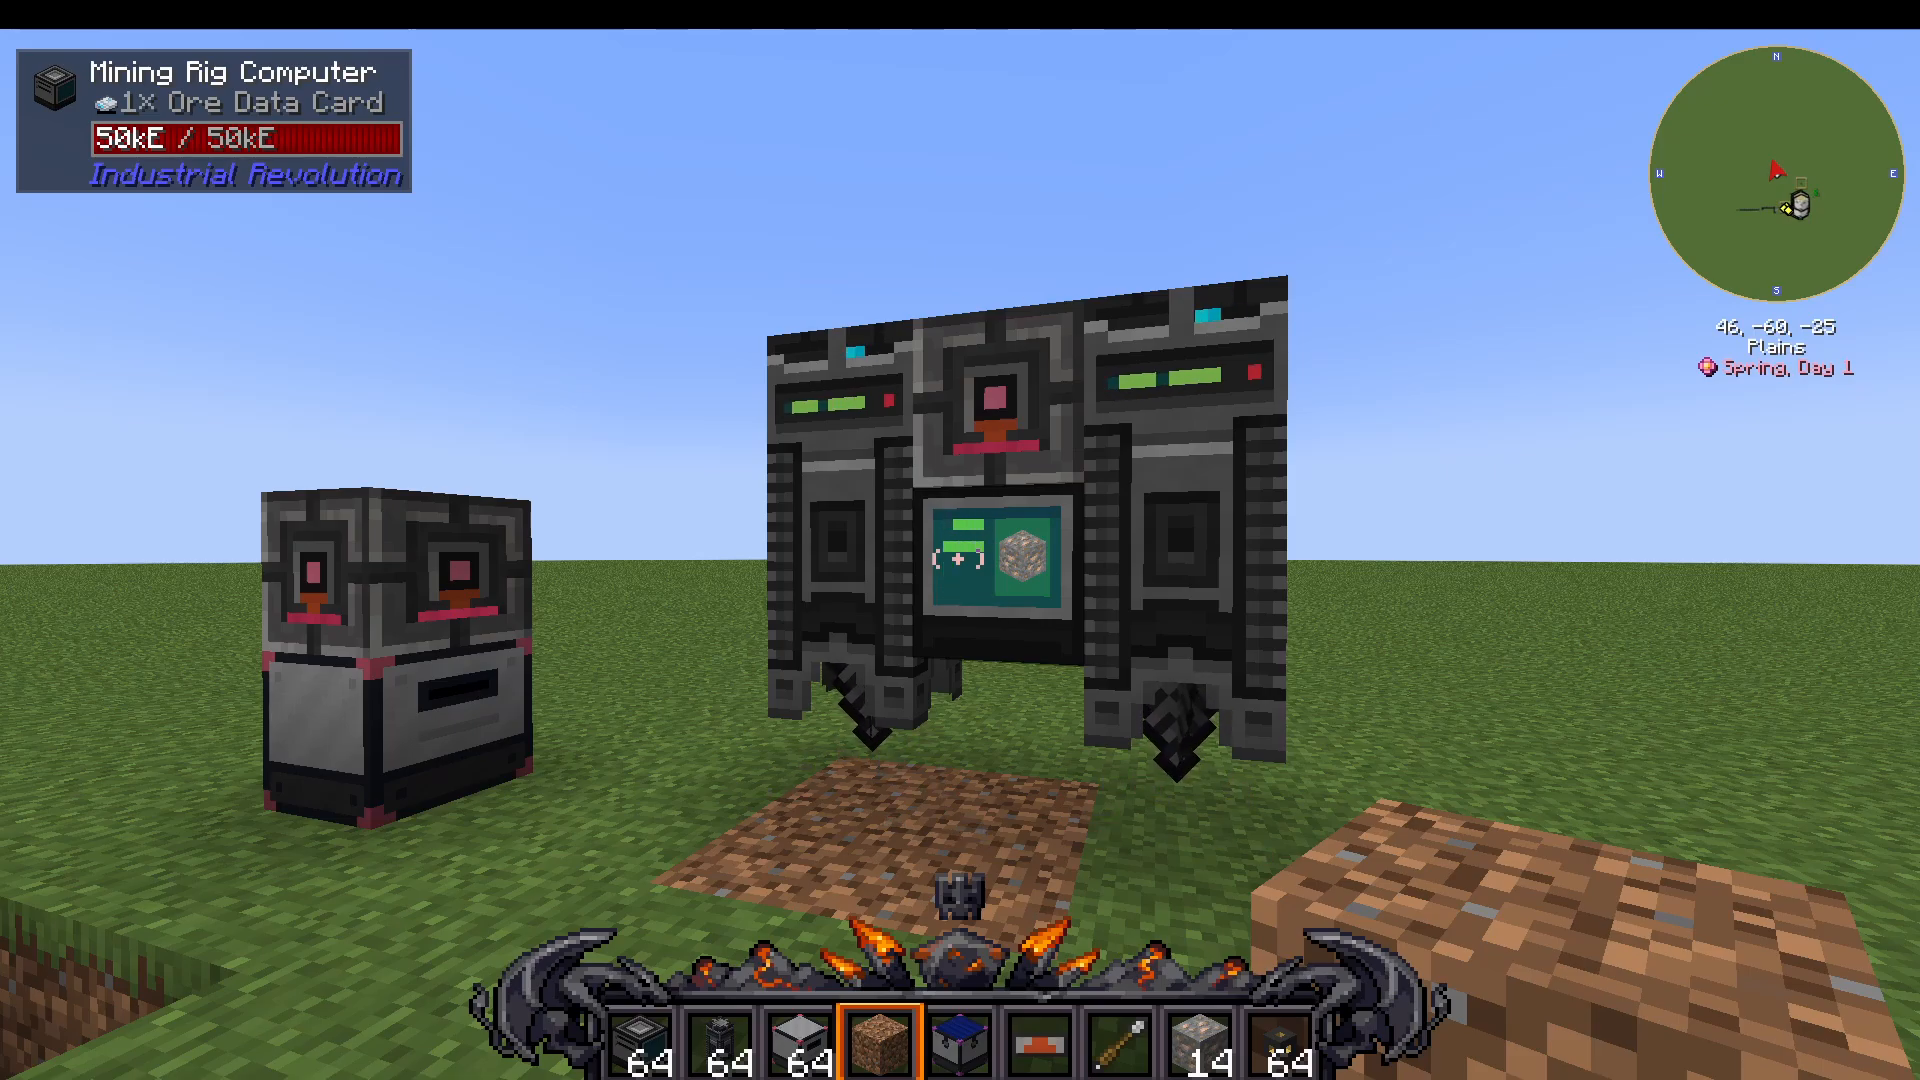
The mining rig is an advanced system that mines phantom ores from the void. Here’s how to build and operate it:
Basic Setup
Place the mining rig computer
Add mining rig drills below it (they can be placed diagonally or on multiple sides)
Connect power to the computer from the top
Place an output inventory on any side to collect mined ores
Drill Heads
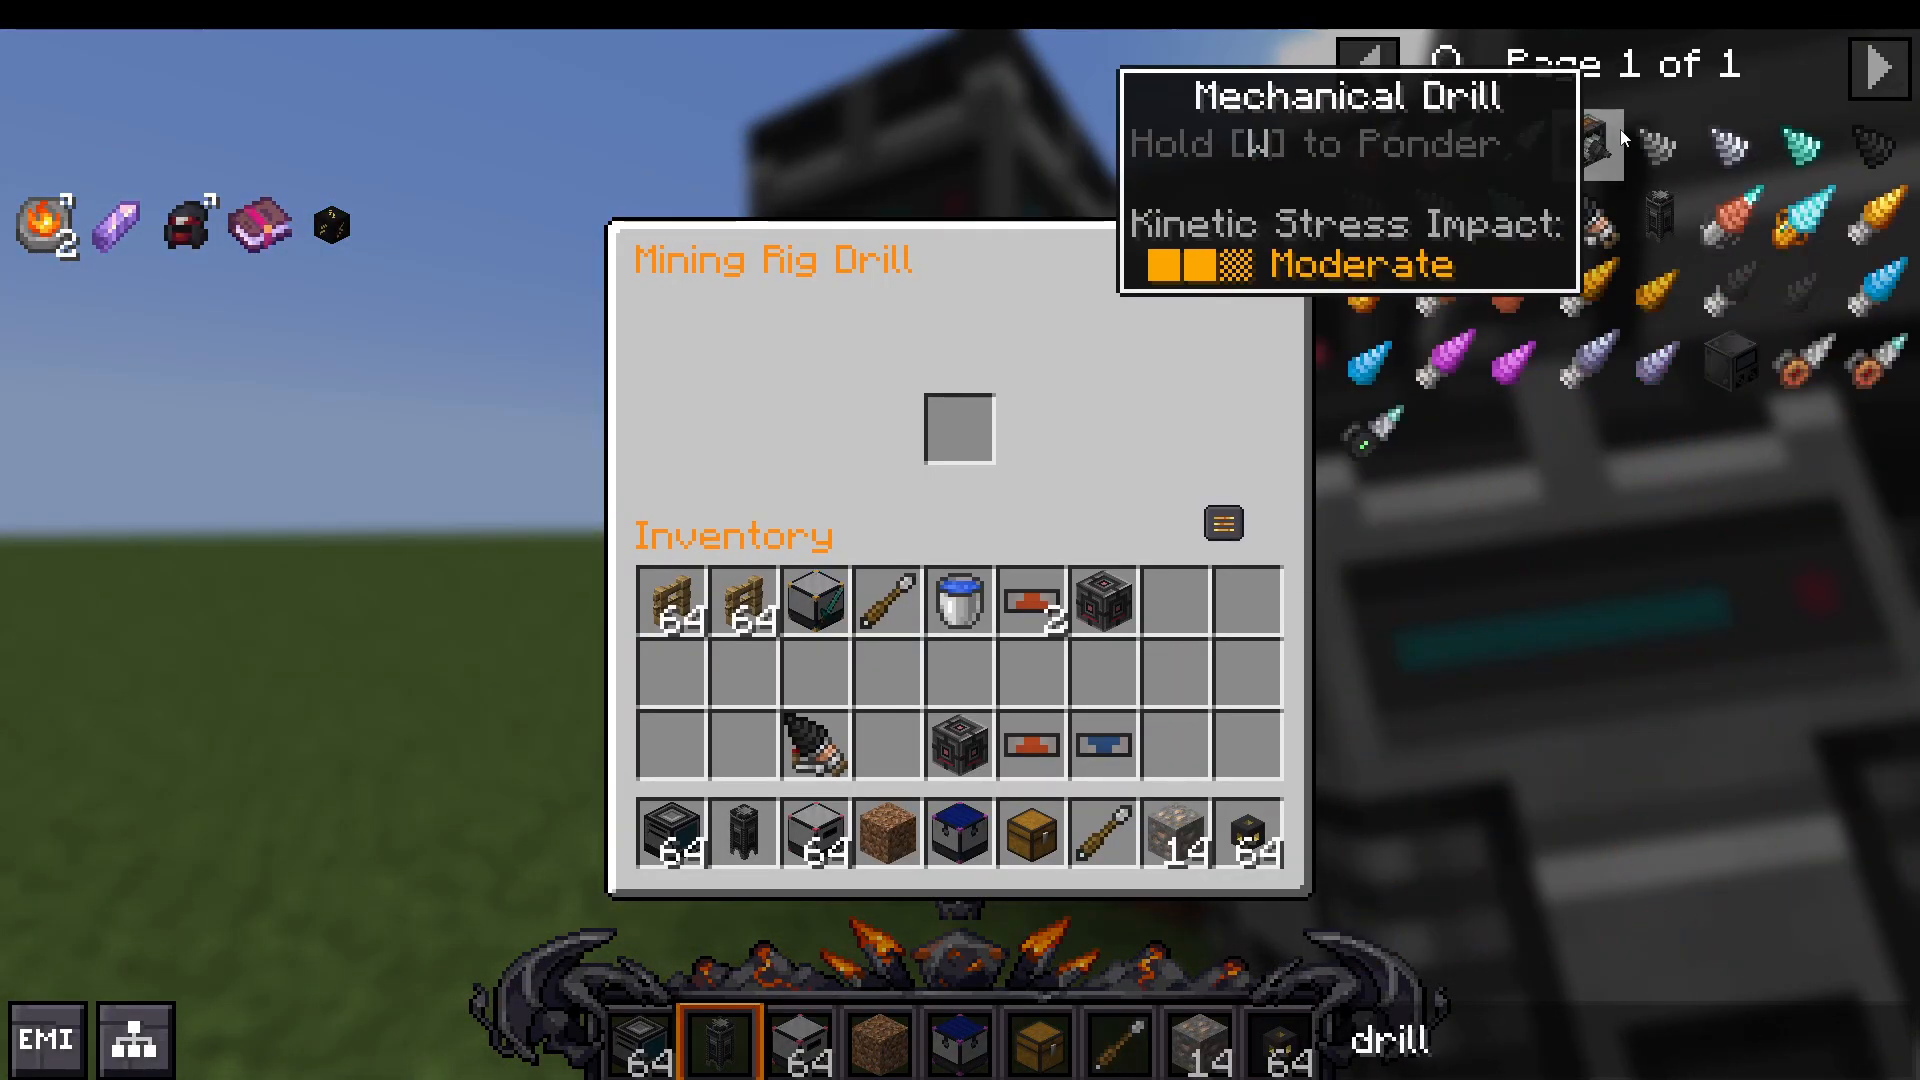
Insert drill heads into each mining rig drill. Available types:
Stone Drill Head: Basic option
Iron Drill Head: Improved output
Diamond Drill Head: Better efficiency
Netherite Drill Head: Best performance, fastest mining
Higher-tier drill heads mine faster and produce more ores.
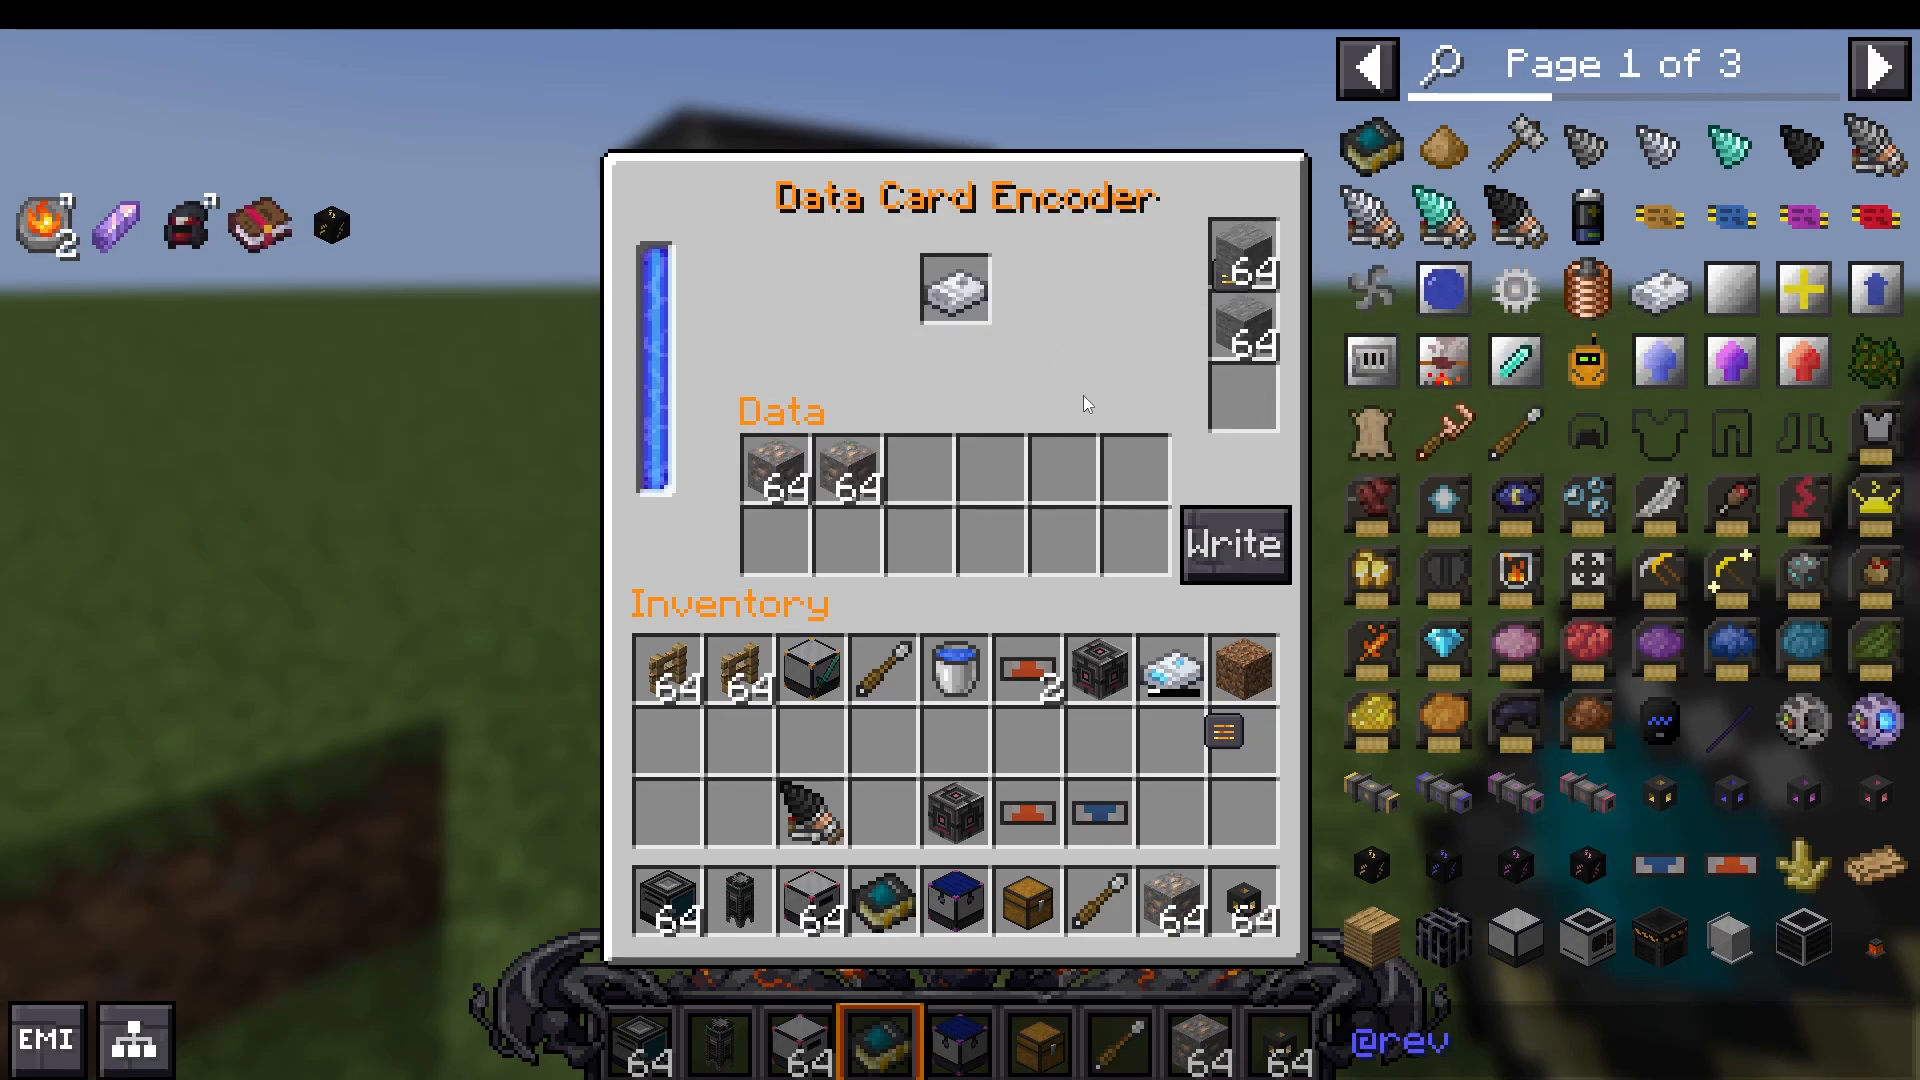
Data Card Encoding
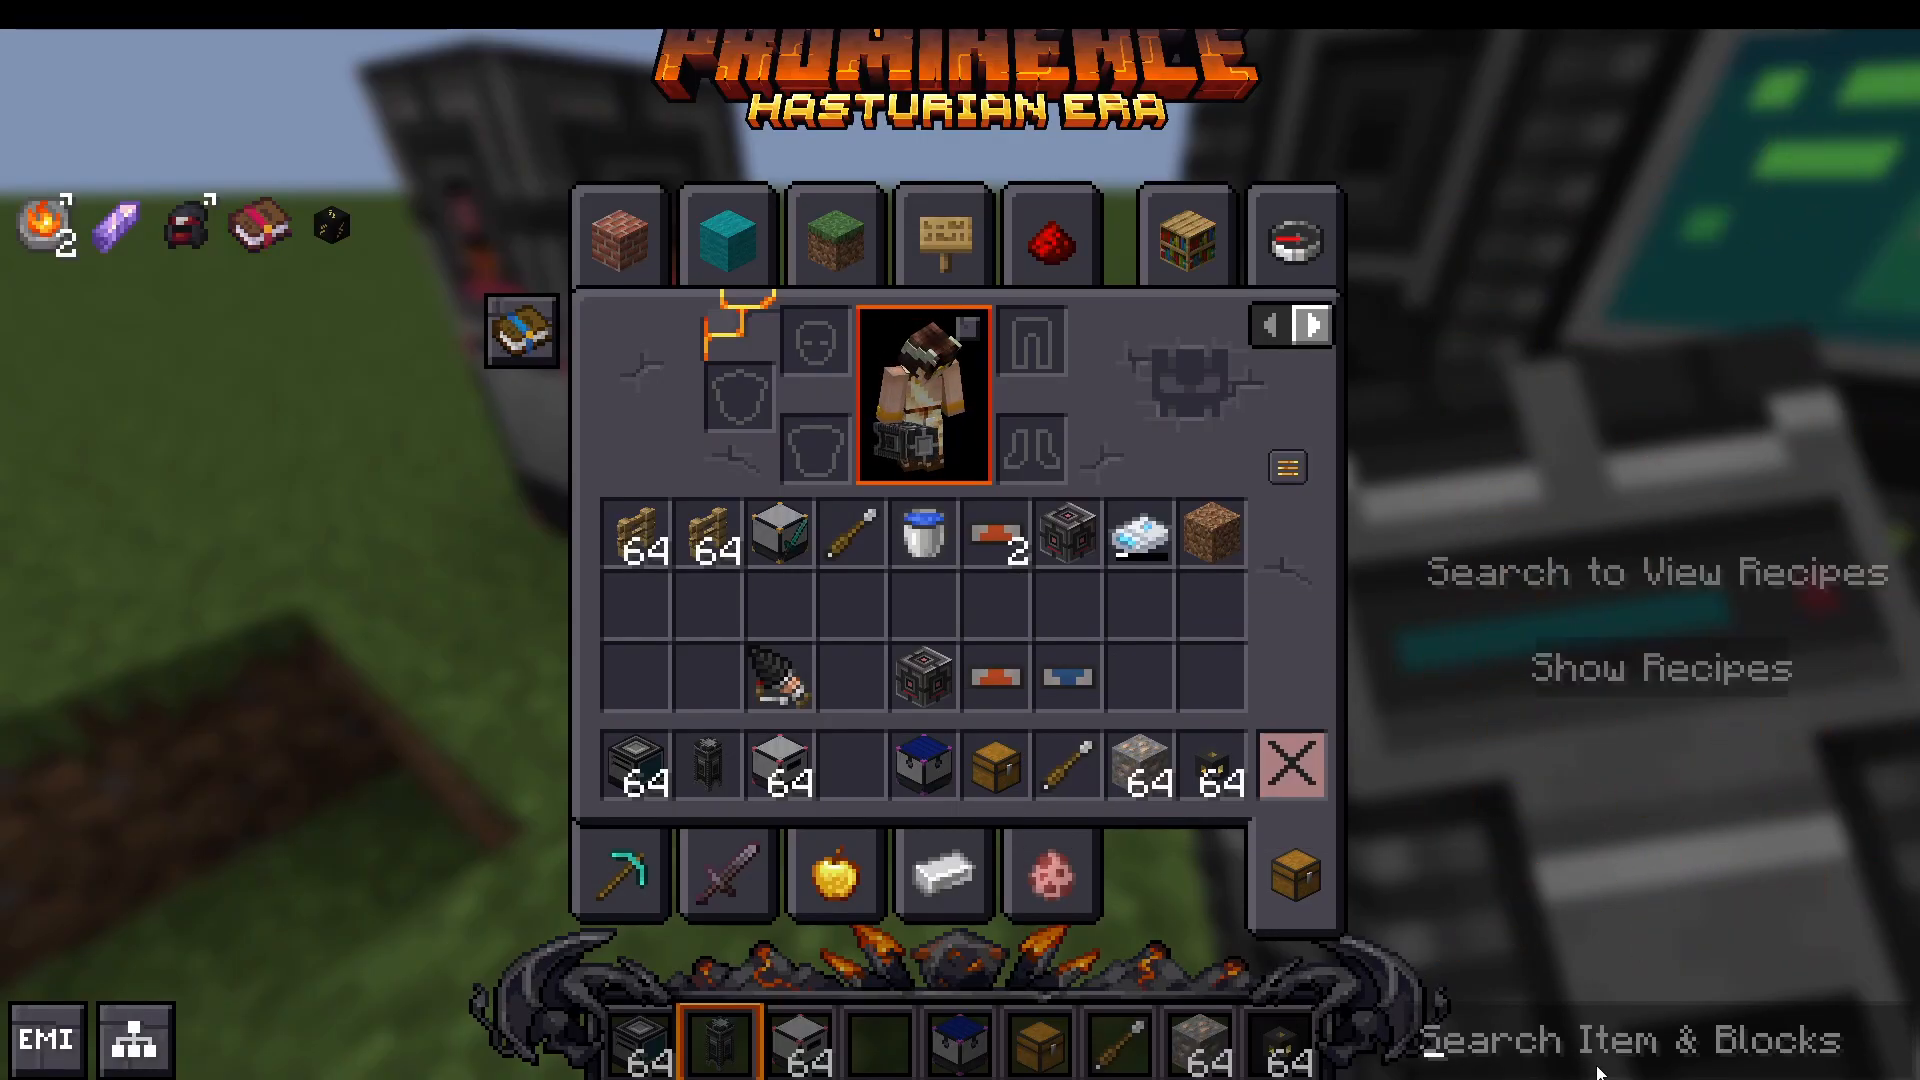
You must create a data card to specify which ores to mine:
Craft a data card encoder
Power it
Place an ore card in the encoder
Add ore types you want to mine (requiring 64 of that ore to start)
Add modifiers in the modifier slots to customize the output
Modifiers and Attributes
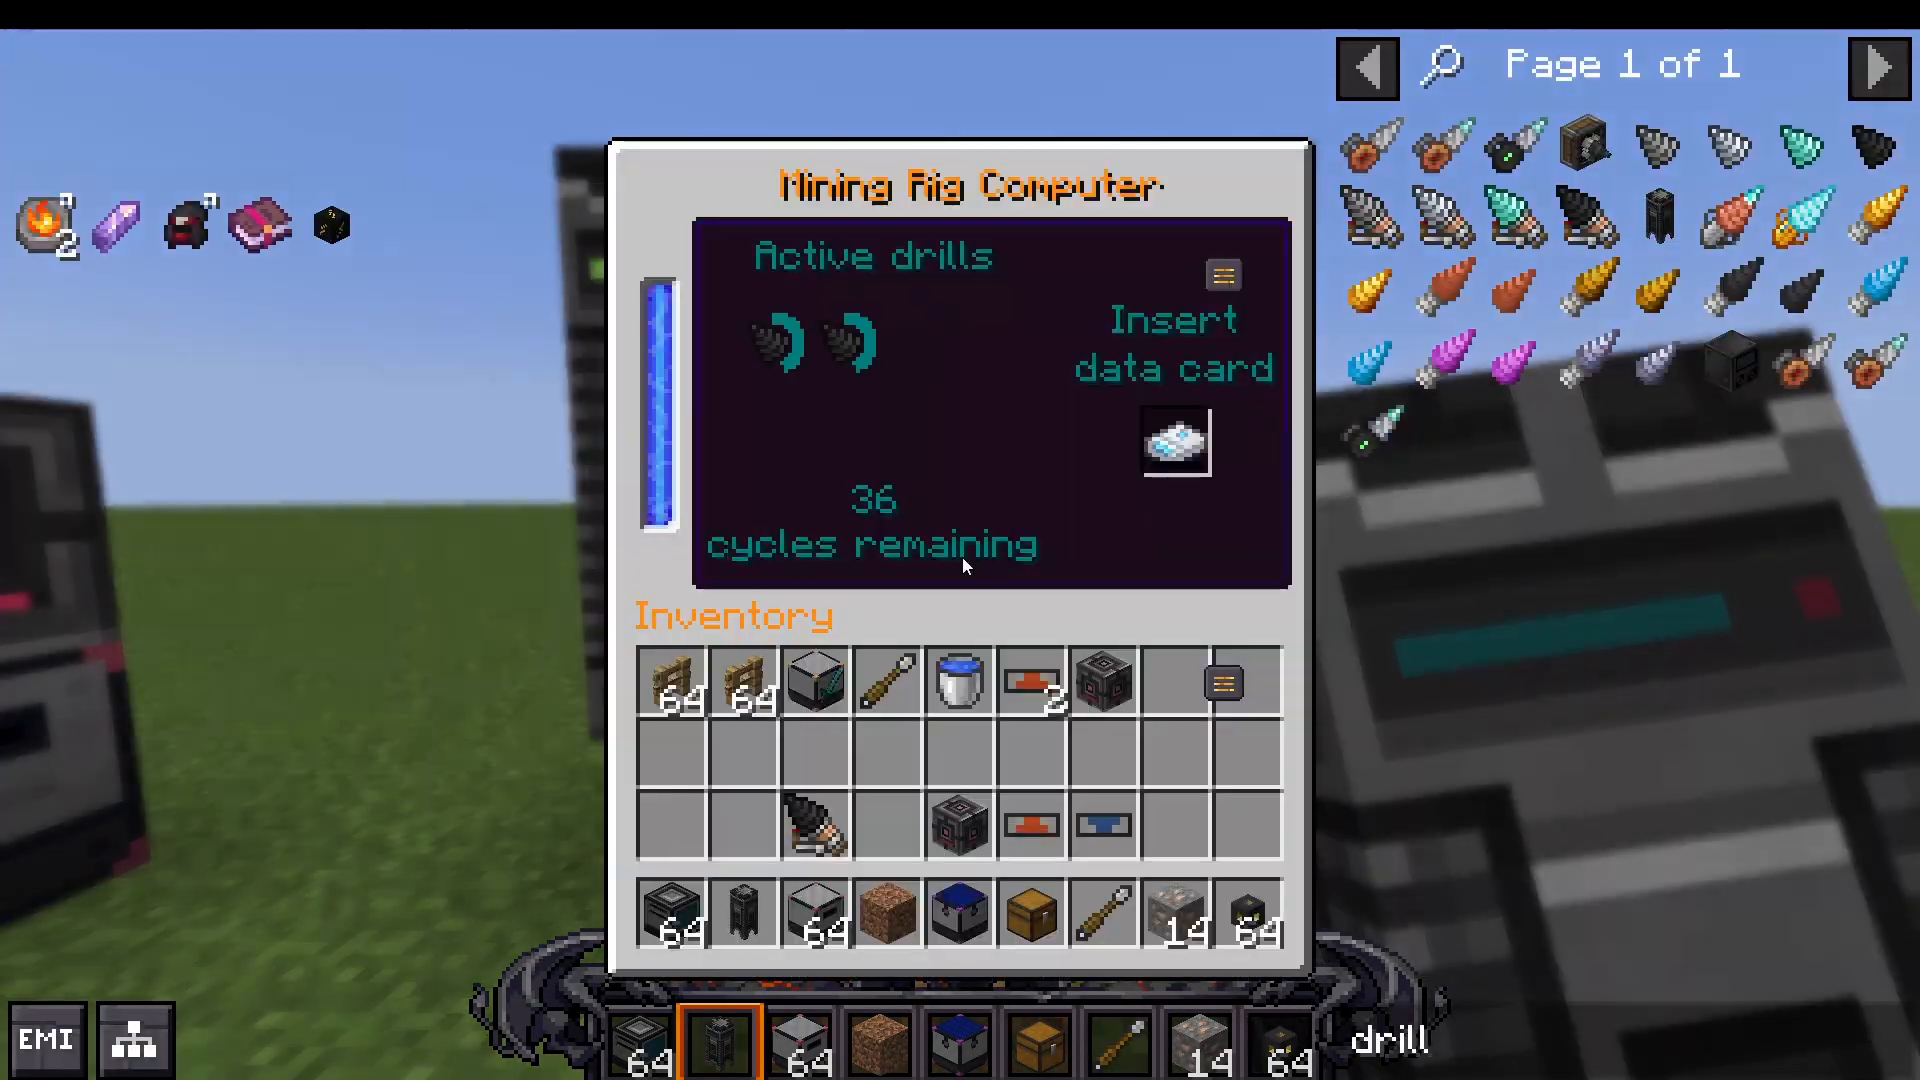
The data card has a storage circle UI that shows your mining progress. You can customize ore output using modifiers:
Stone Modifier: Adds more cycles (more total ore extracted)
Nikolite Dust Modifier: Increases richness (more ore per cycle)
Enriched Nikolite Dust Modifier: Even greater richness boost
Warning: Don’t add too many modifiers or the ore card will overload and become unusable.
Writing and Using the Card
Once you’ve configured your ore card, press the right-click button in the encoder to write the card. This takes approximately 10 seconds. Insert the completed data card into your mining rig computer, and the active drills will begin mining automatically.
Netherite drills mine fastest, followed by diamond, iron, and stone.
Modular Gear System
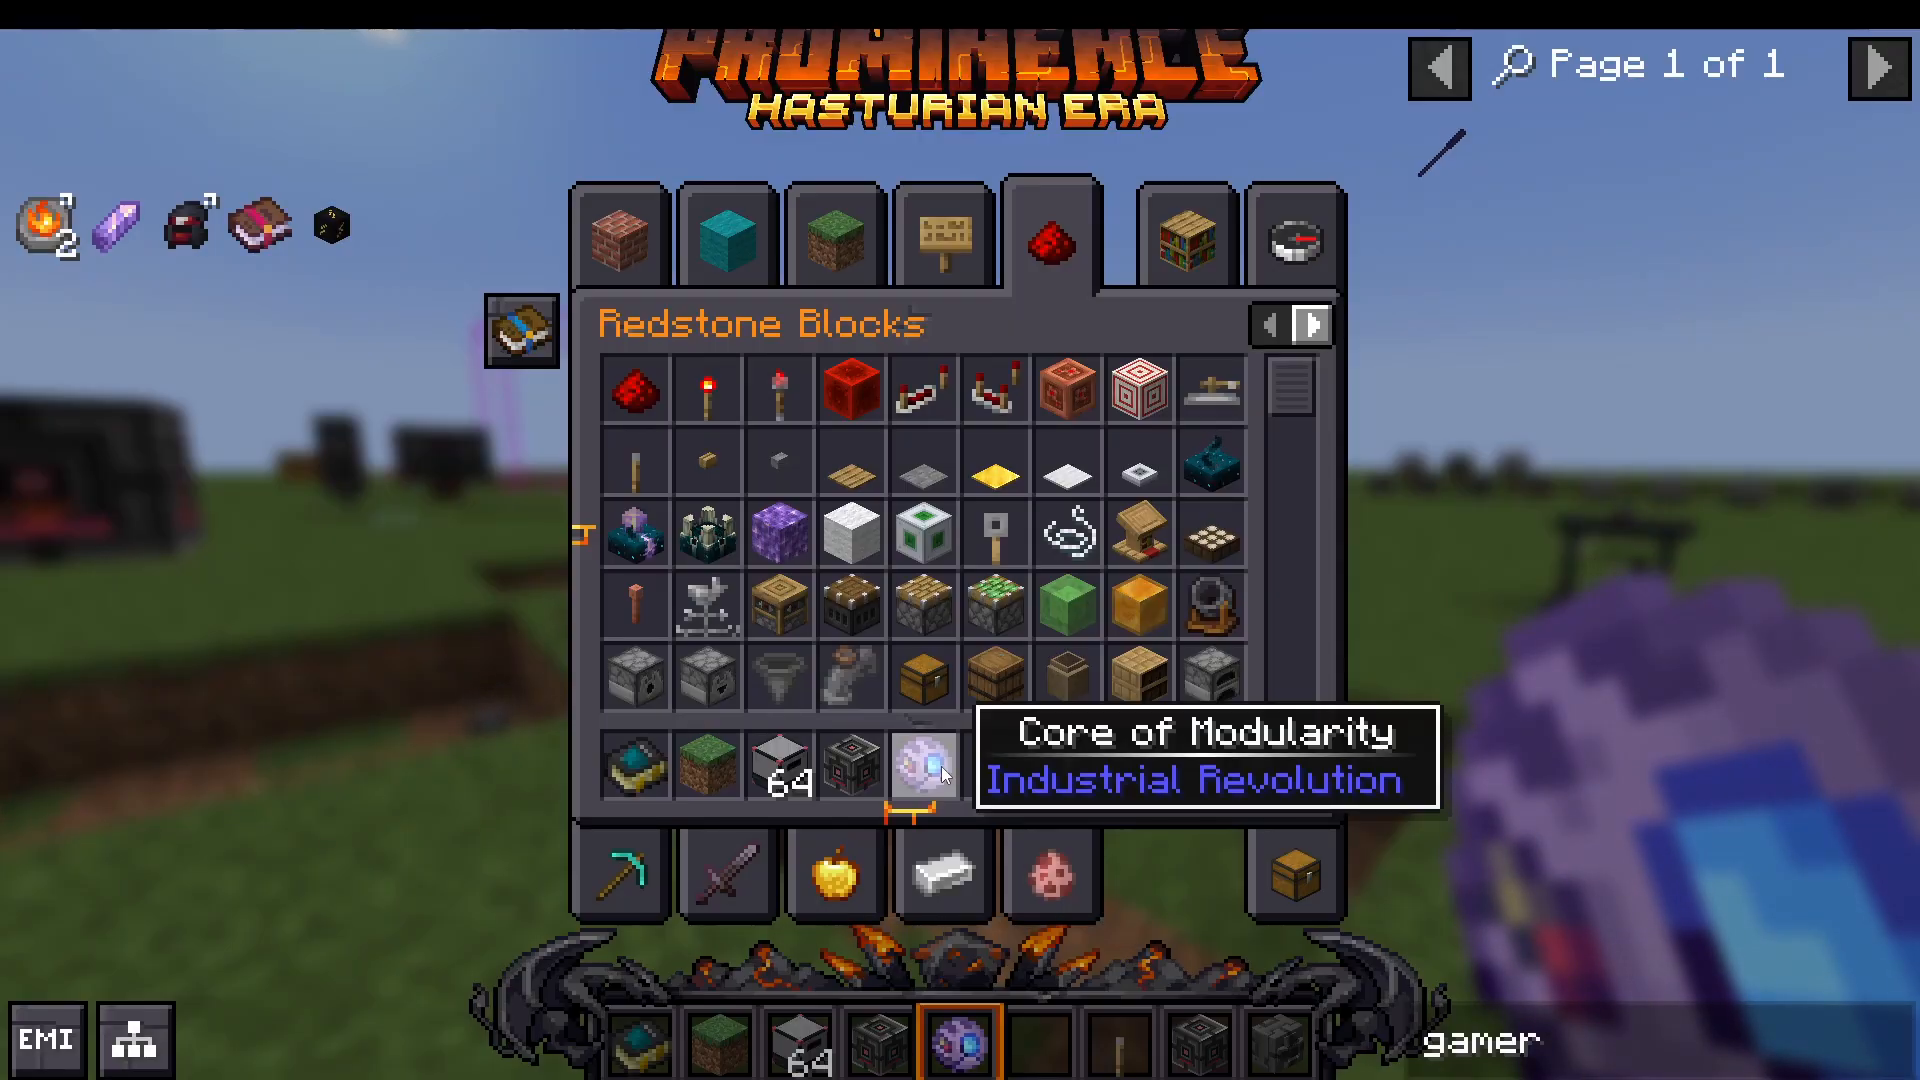
Creating the Core of Modularity
The core of modularity is required for each piece of modular armor. The creation process is complex and requires precise setup:
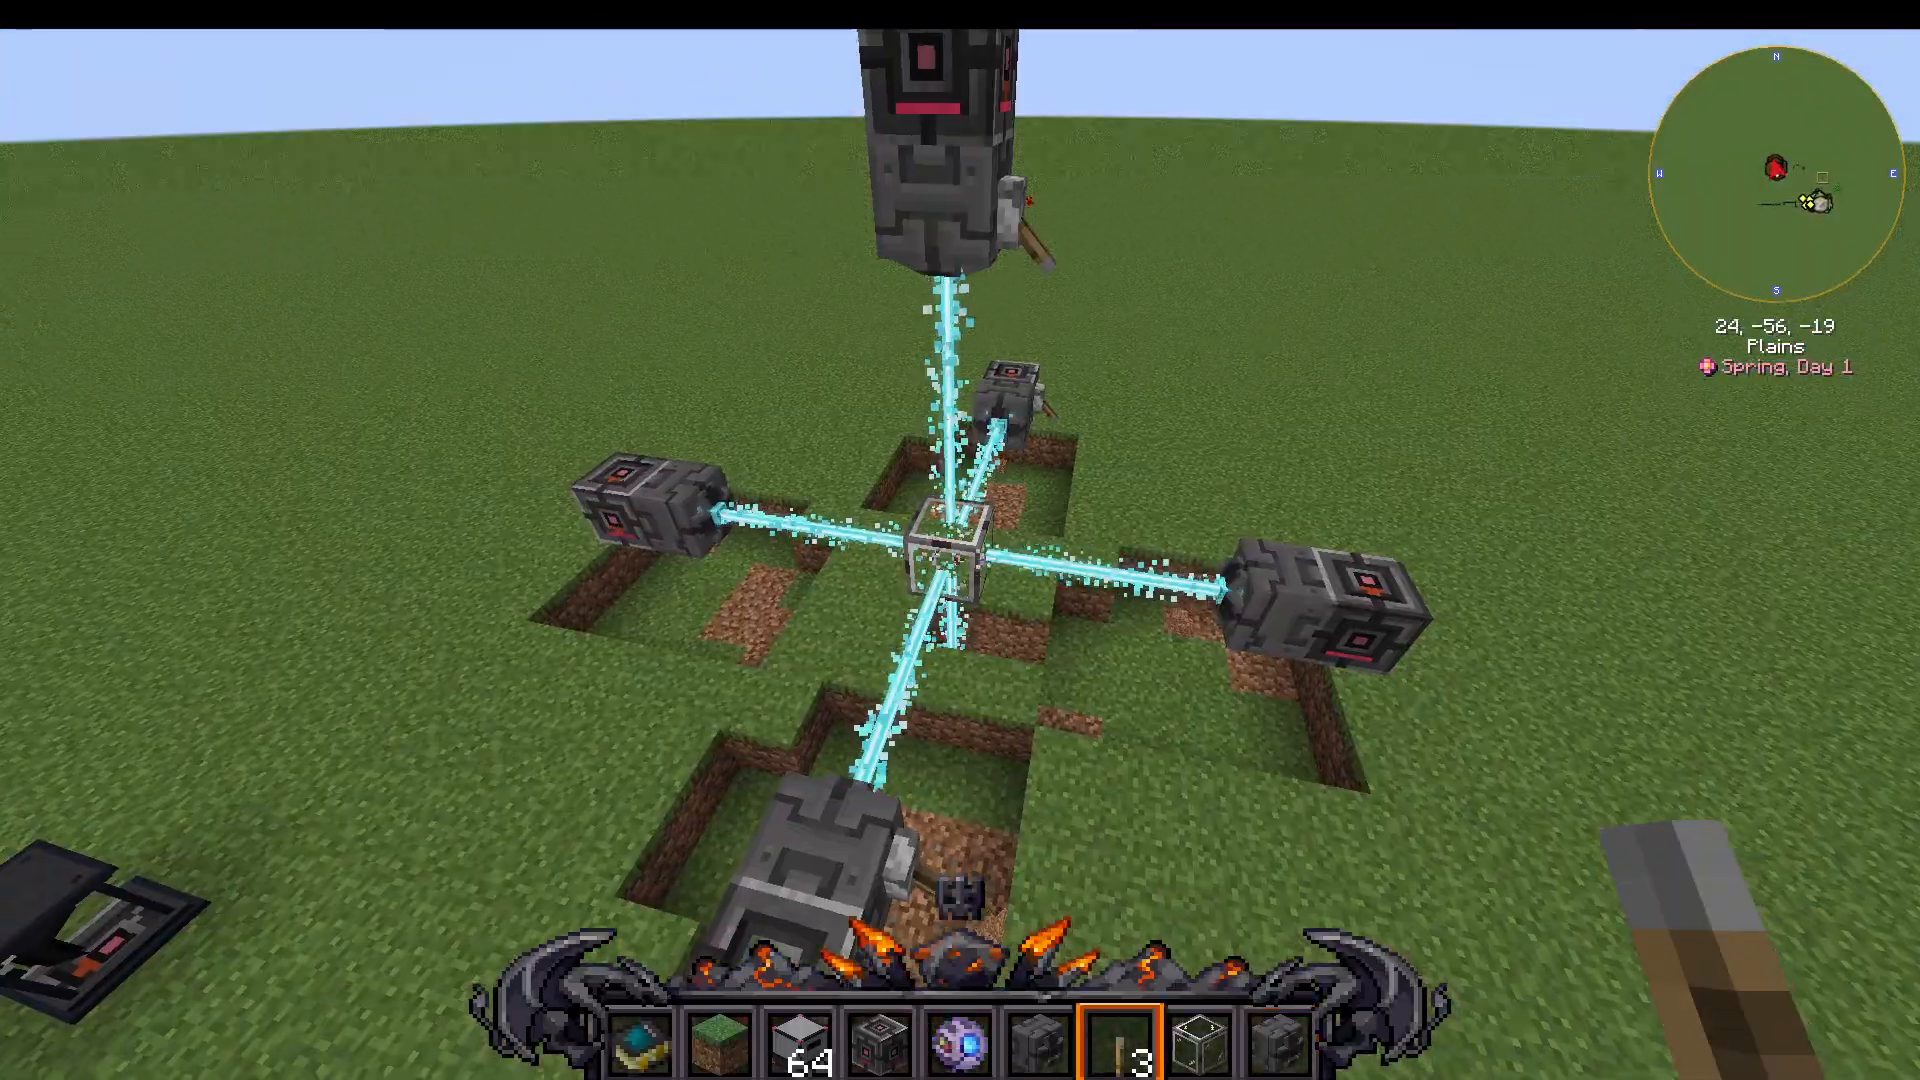
Laser Emitter Setup
Craft 4-6 laser emitters
Connect them to power cables
Turn them off initially
Place a capsule in the center (on its own, not surrounded by blocks)
Right-click an uncharged core of modularity into the capsule
Critical Spacing: There must be exactly a gap of one, two, or three blocks between the laser emitters and the capsule. Placing them too close will cause explosions.
Charging Process
Activate your lasers using redstone signal or levers
The lasers will fire beams of energy into your capsule
Wait 5-10 minutes of real-time for the core to charge completely
Important: Turn off all lasers before removing the capsule or core
If you right-click the capsule before charging is complete, you’ll extract an uncharged core and restart the process from scratch. Breaking the capsule while lasers are active causes explosions.
Creating Modular Armor
Once you have a charged core of modularity, you can craft:
Modular Helmet
Modular Chestplate
Modular Leggings
Modular Boots
Each armor piece requires one core of modularity.
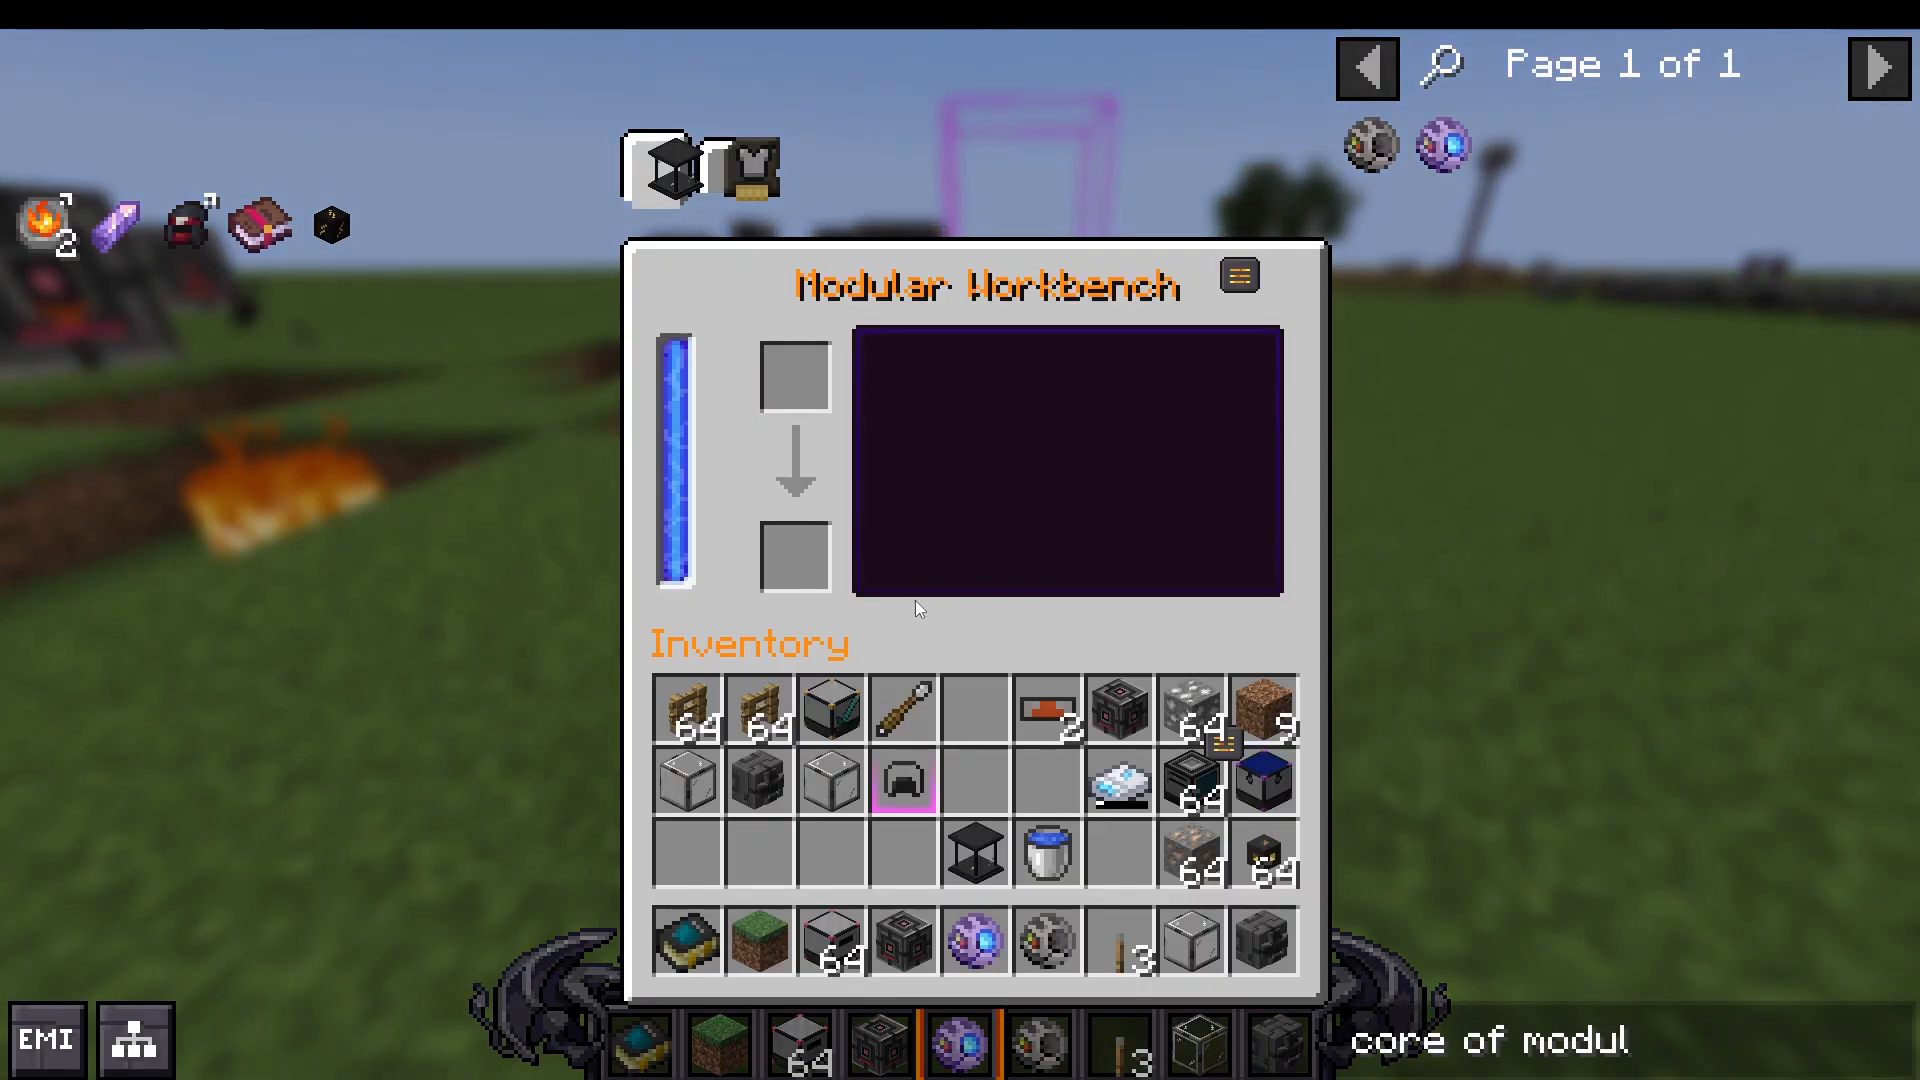
Modular Workbench
Use the modular workbench to add modules to your armor:
Place your modular armor in the bottom slot
Supply power to the workbench
Select a module from the modules tab
Gather the required materials (typically Mark IV circuits and tungsten plates)
Place materials in the workbench and wait for the module to craft
Retrieve the completed module and install it in the armor
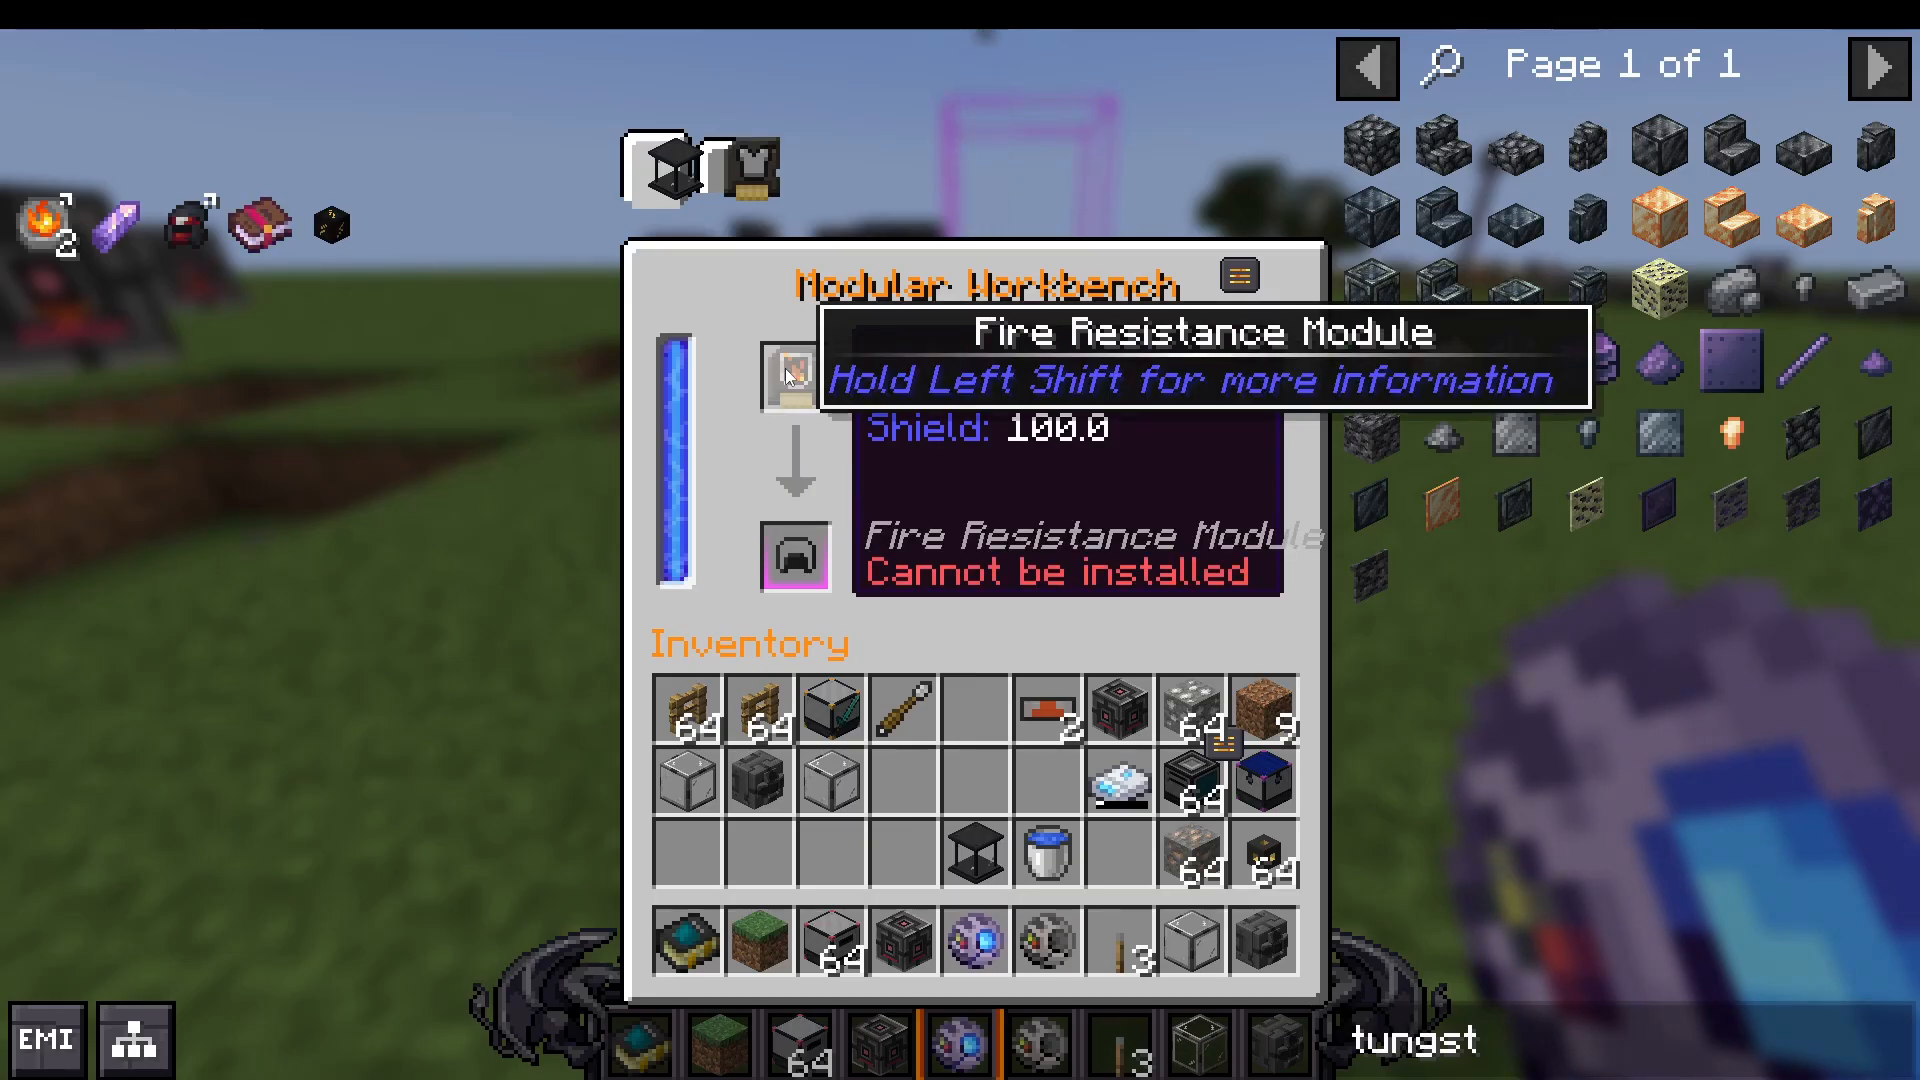
Module Compatibility: Not all modules work with all armor pieces. For example, fire resistance modules can only be installed on chestplates.
Available Modules
Modules include:
Auto Feeder
Efficiency
Fire Resistance
Fire Aspect
Water Breathing
Looting
Night Vision
Jump Boost
Range Enhancement
Silk Touch
Built-in Light Trap
Fortune
Sharpness
Charging Modular Gear
Modular armor and tools consume power during use. Charge them using a charge pad or charger. Right-click your gear onto a charger to charge it, or place it on a charge pad with power running to the pad.
Modular Axe
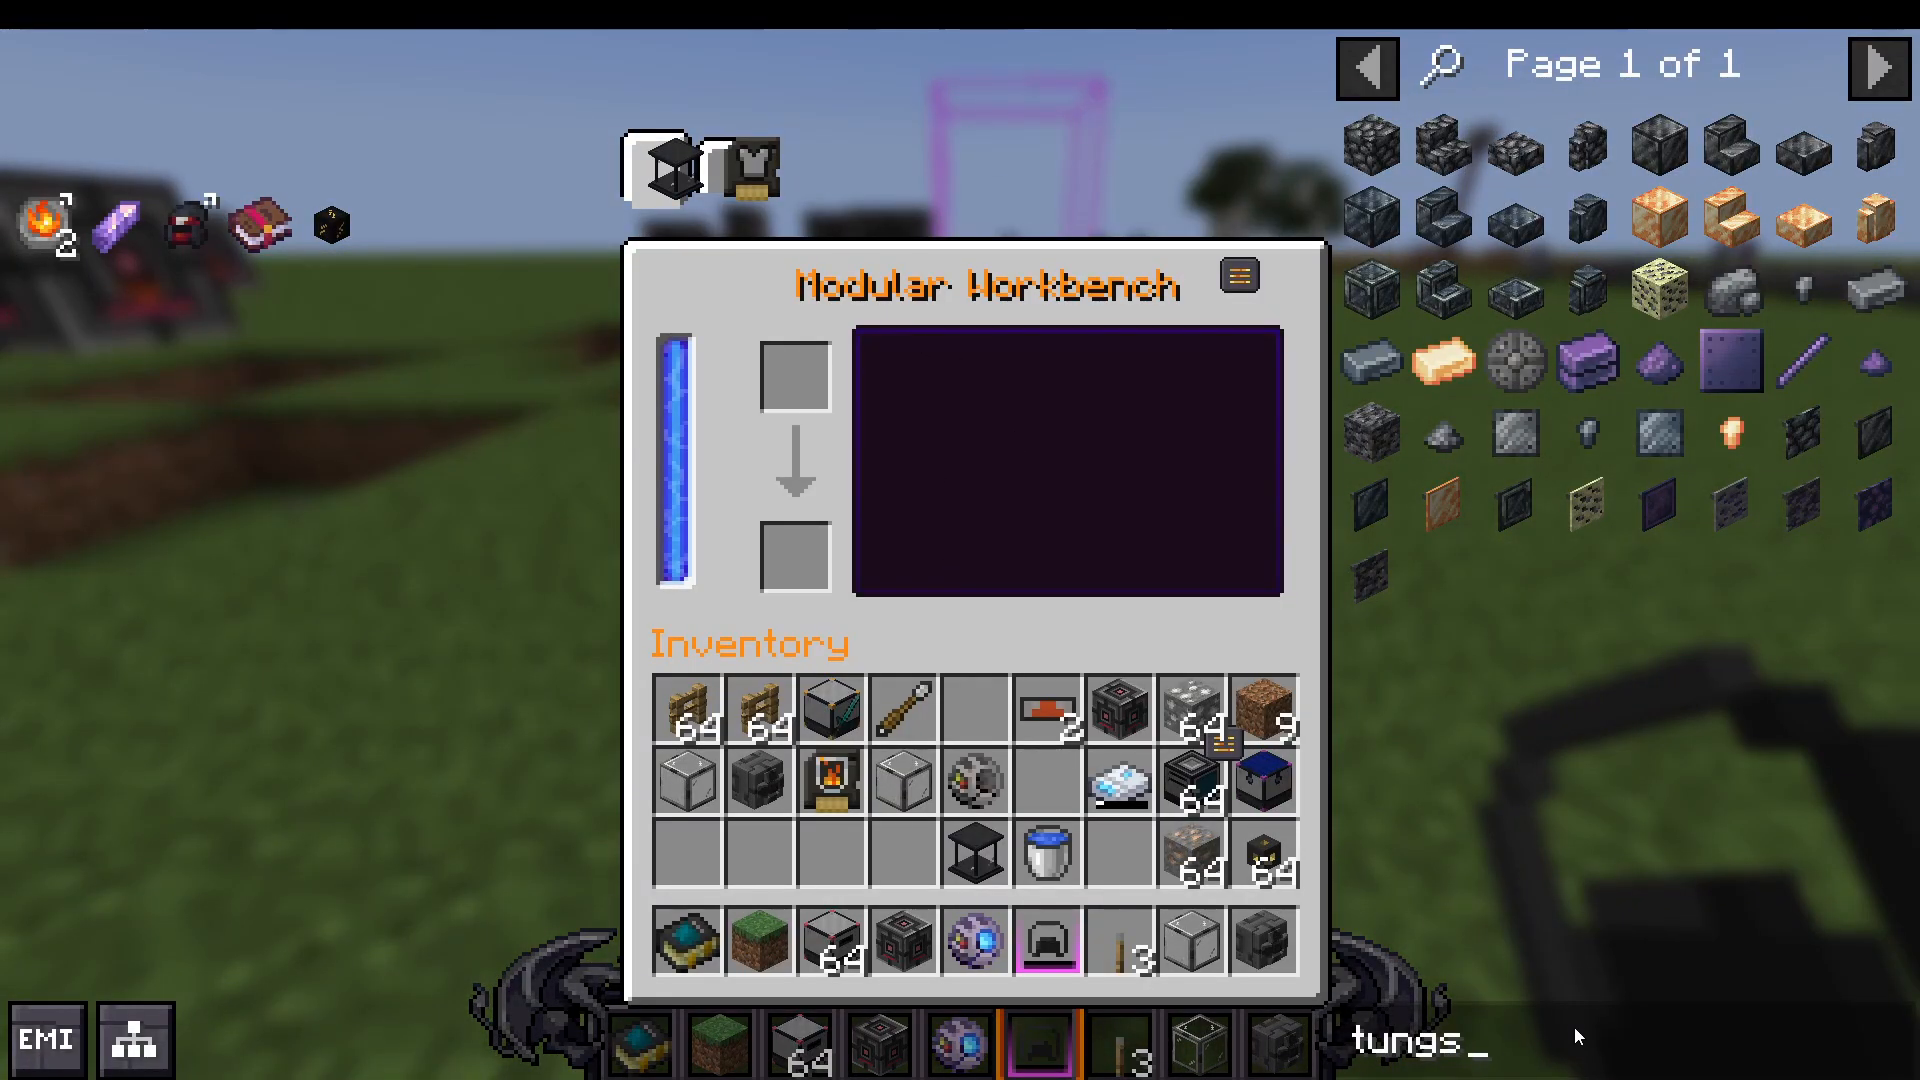
In addition to armor, you can craft a modular axe using a singularity core. This tool also accepts modules like fire aspect and other enchantment-style upgrades.
Mining Drills
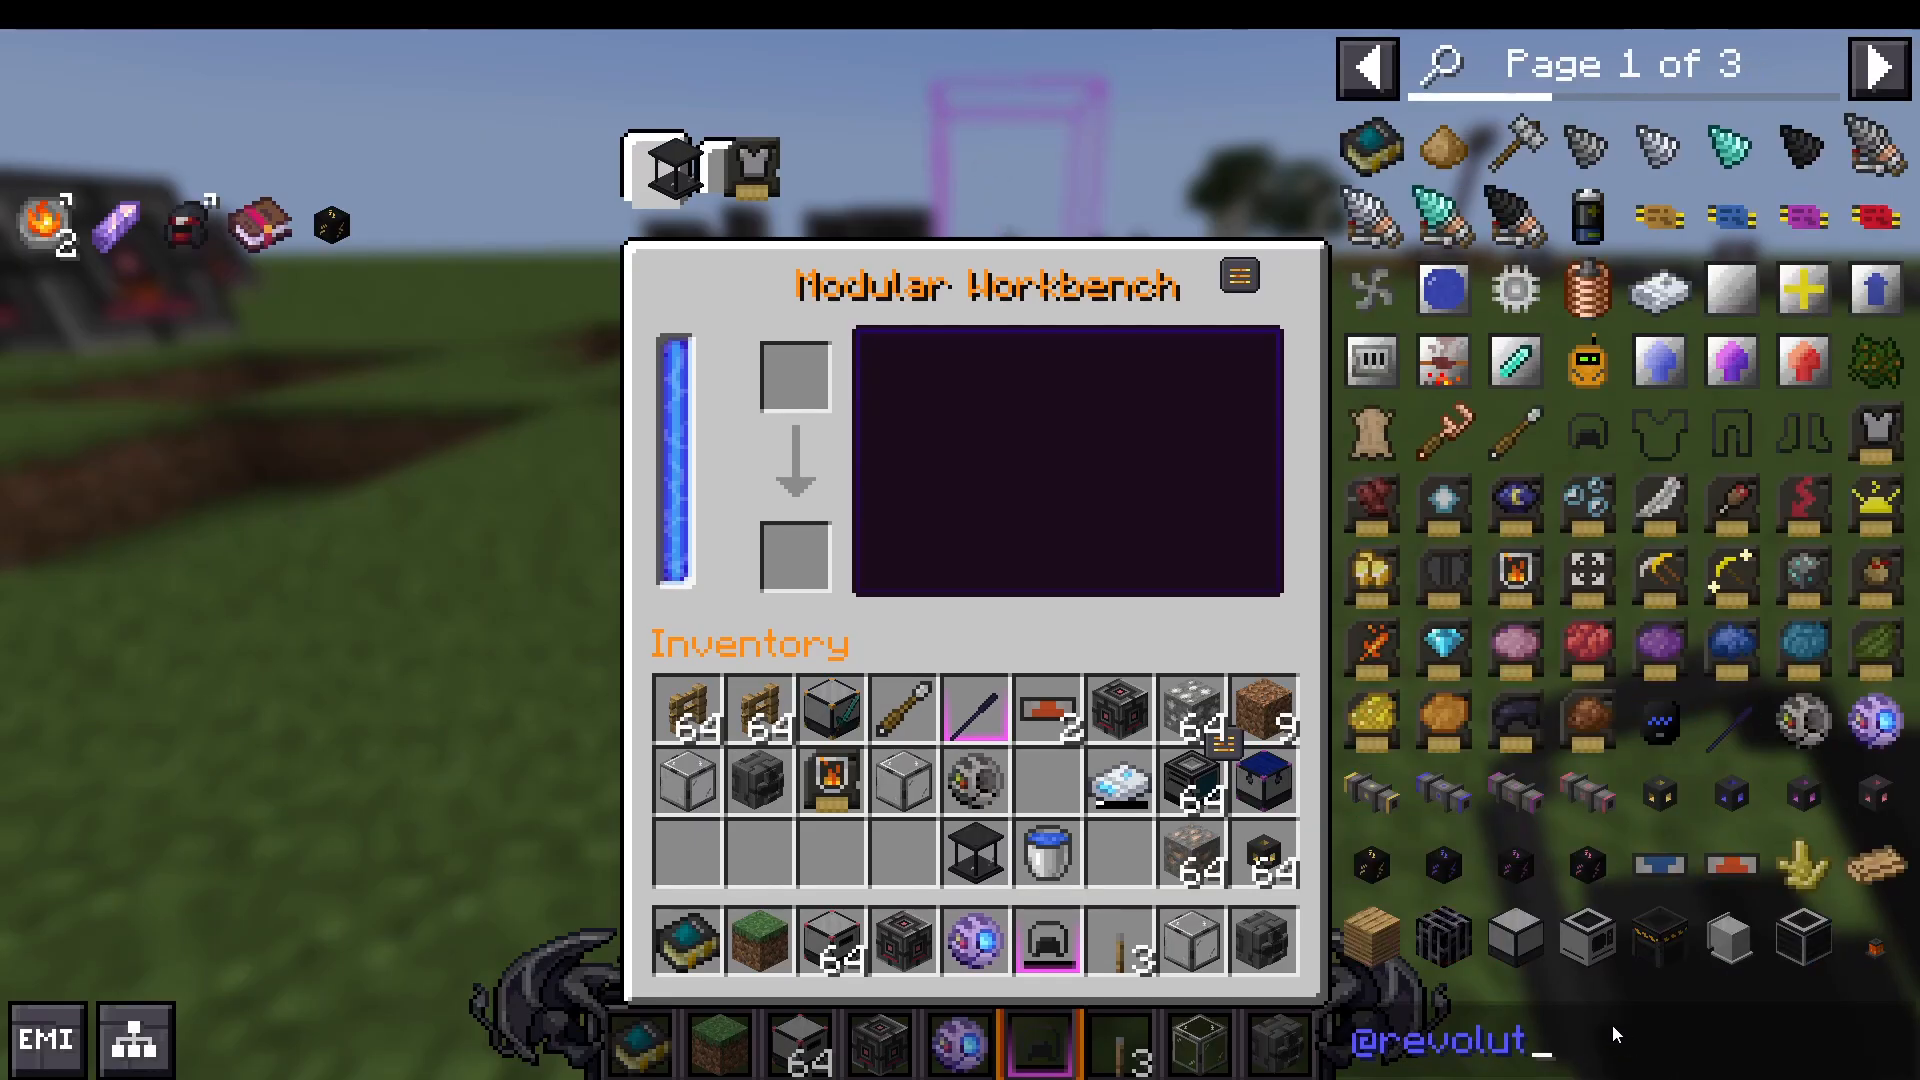
Craft mining drills (Mark 1, 2, 3, and Mark 4) to assist with mining operations. While not fully modular like armor, you can add modules such as Fortune and Silk Touch to enhance their capabilities.
Congratulations! You now have a comprehensive understanding of the Industrial Revolution mod. From gathering natural resources and building your first coal generator to creating complex mining rigs and modular armor, you have all the tools needed to dominate the industrial landscape. Remember to start with the basics—master power generation and simple machines before moving on to advanced systems like the mining rig. Happy crafting!
— Want to Support? —
If you would like to help us continue making these guides – please consider joining our patreon here – https://www.patreon.com/c/JaviHeals
Alternatively – we host a group of MC Servers you can join here – https://discord.gg/zD7Gjt6MHF



