







The Ultimate Guide to Applied Energistics 2 – Minecraft 1.20 – 1.21
The Ultimate Guide to Applied Energistics 2 – Minecraft 1.20 – 1.21
Applied Energistics 2 (AE2) is one of Minecraft’s most powerful storage and automation mods, but it can seem overwhelming at first. This comprehensive guide breaks down everything from world generation and basic storage systems to advanced wireless networks and spatial storage. Whether you’re a complete beginner or looking to master specific features, you’ll find the knowledge to build the AE2 system of your dreams.
Getting Started with Certus Quartz
The foundation of any AE2 system is Certus Quartz, which you’ll need to find in meteorite structures that generate during world creation. To locate these meteorites efficiently, craft a Meteorite Compass.
Crafting Your First Charger and Crank
To charge a compass and create a Meteorite Compass, you’ll need a charger and a wooden crank. The charger requires iron and copper, while the crank is made from sticks and copper. Place the charger down and attach the crank on top. With a normal compass in the charger, turn the crank 10 times to power it and receive your Meteorite Compass.
Once charged, the compass will point toward the nearest meteorite. Follow its direction, and you’ll eventually discover a meteorite structure composed of Skystone blocks.
Mining Certus Quartz from Meteorites
Inside each meteorite, you’ll find flawless budding Certus Quartz blocks and Certus Quartz clusters. Mine through the meteorite carefully to reach the center, where you’ll discover a Mysterious Cube (in Minecraft 1.20 and 1.21 only).
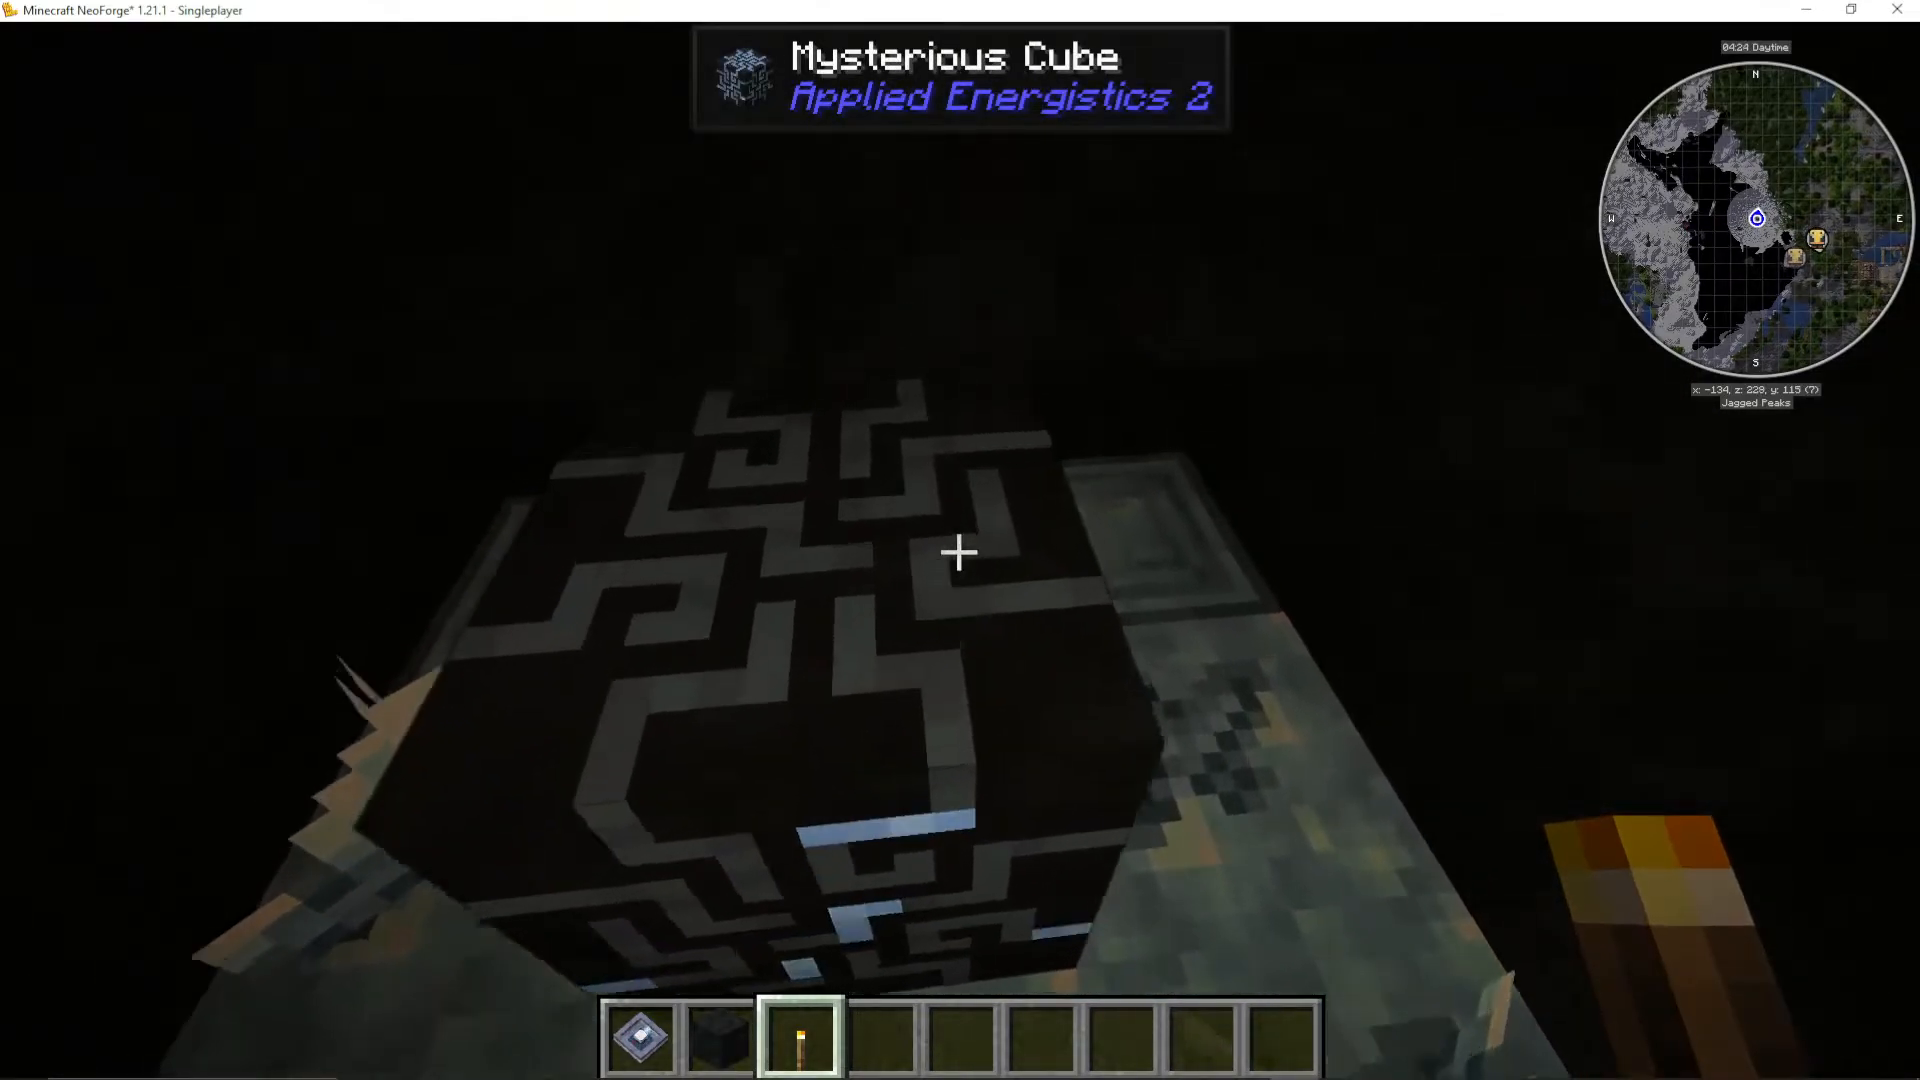
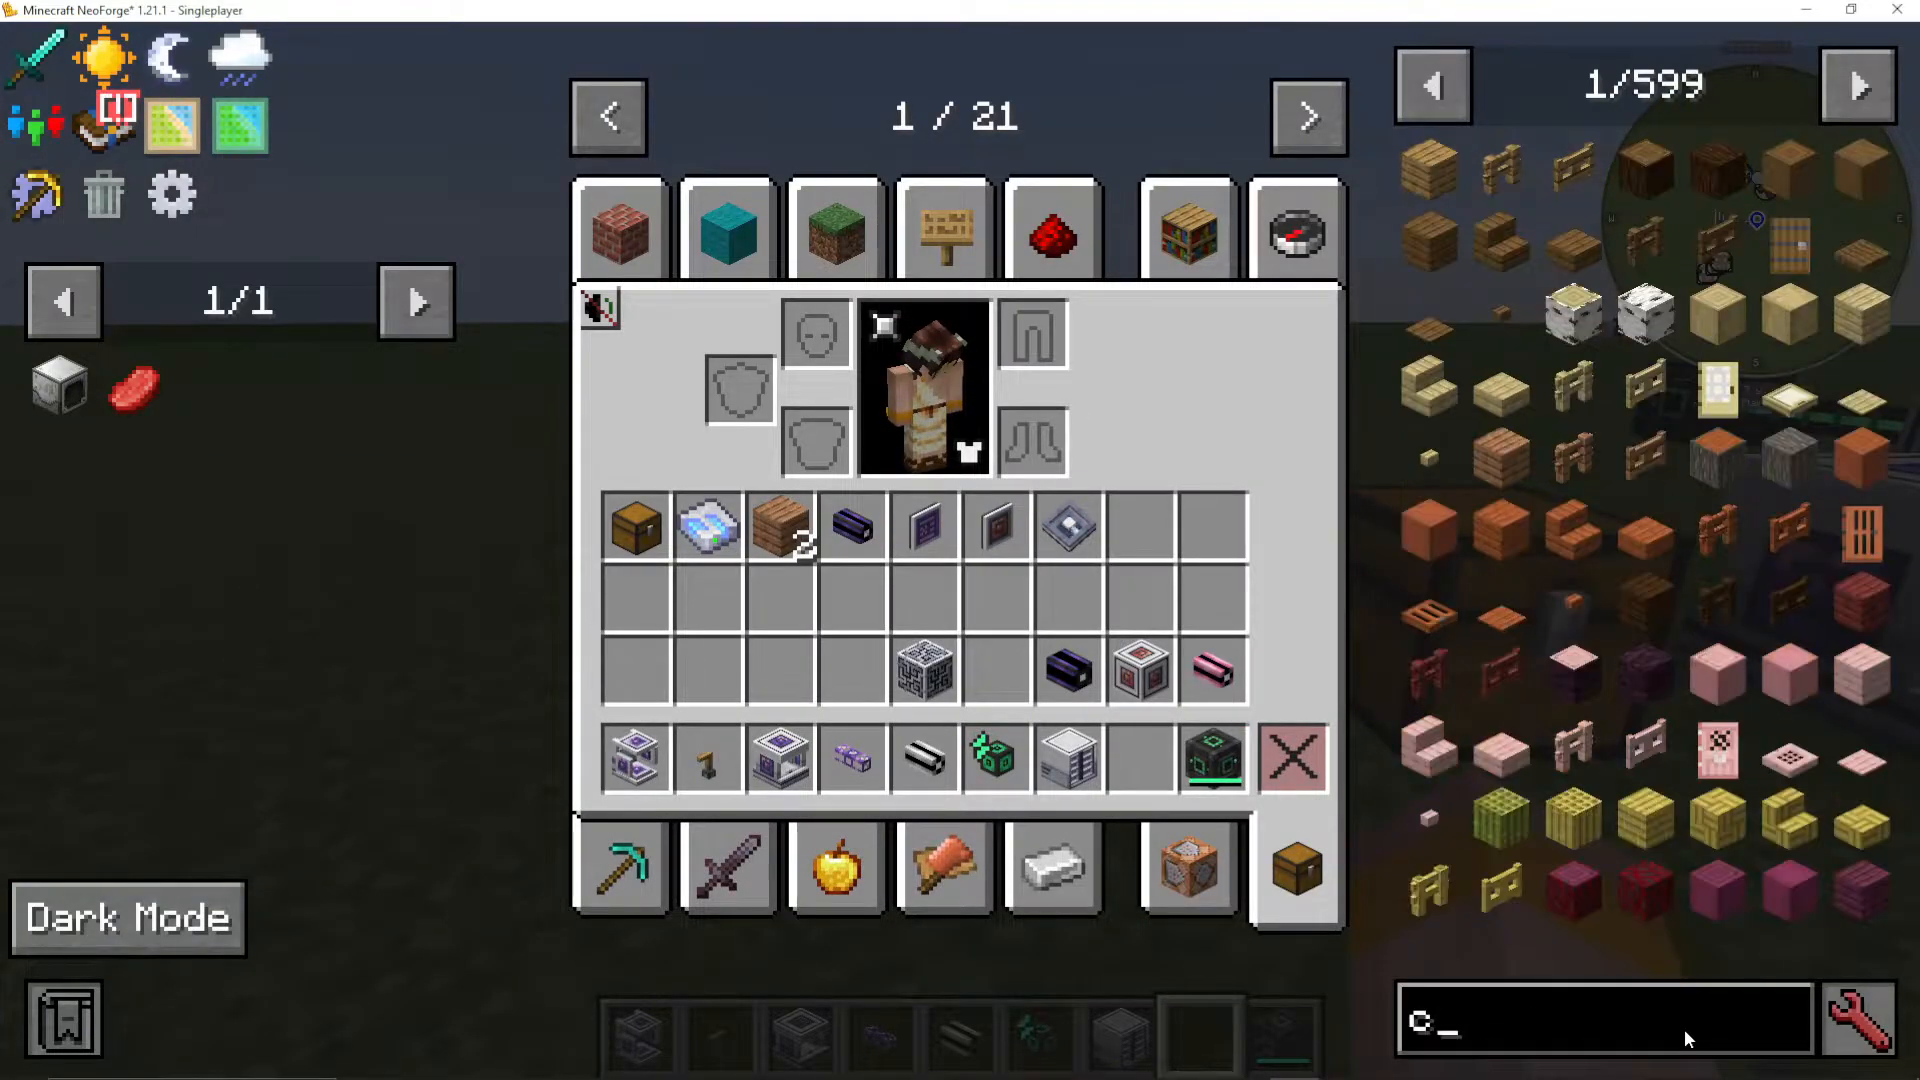
This cube contains all four essential inscriber presses you’ll need throughout your AE2 journey:
Inscriber Engineering Press
Inscriber Logic Press
Inscriber Calculation Press
Inscriber Silicon Press
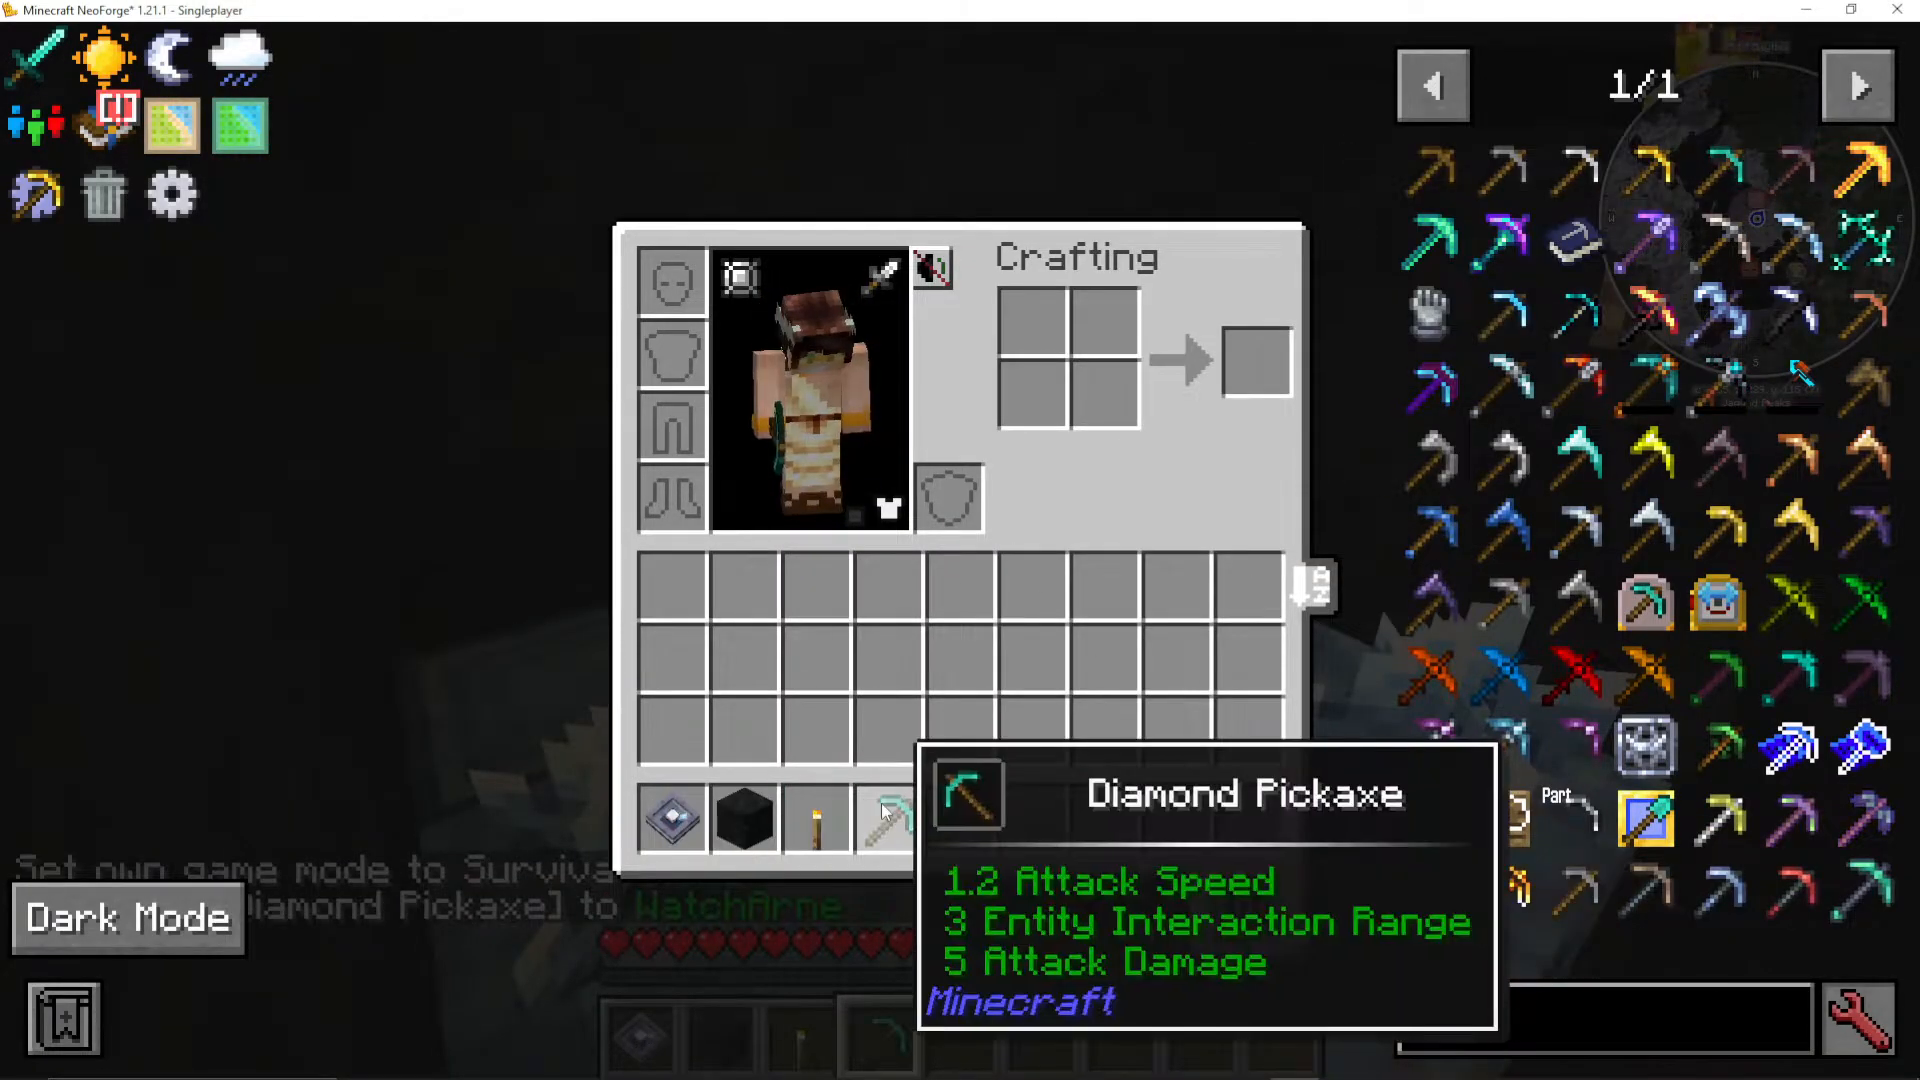
Mine the cube with a diamond pickaxe to collect these presses and a guide book. In versions before 1.20, you’d need to find multiple meteorites, as each contained only one press. However, you can duplicate presses by using them with iron blocks in an inscriber, allowing friends on multiplayer servers to obtain their own.
Understanding Certus Quartz Growth
Certus Quartz buds grow on budding Certus Quartz blocks in stages similar to Amethyst. When you break a fully grown bud, you receive four Certus Quartz crystals (affected by Fortune). Breaking an incomplete bud yields only Certus Quartz dust.
Each time a bud grows, the budding block has a chance to degrade through these tiers:
Flawless Budding Certus Quartz
Flawed Budding Certus Quartz
Chipped Budding Certus Quartz
Damaged Budding Certus Quartz
Plain Certus Quartz Block
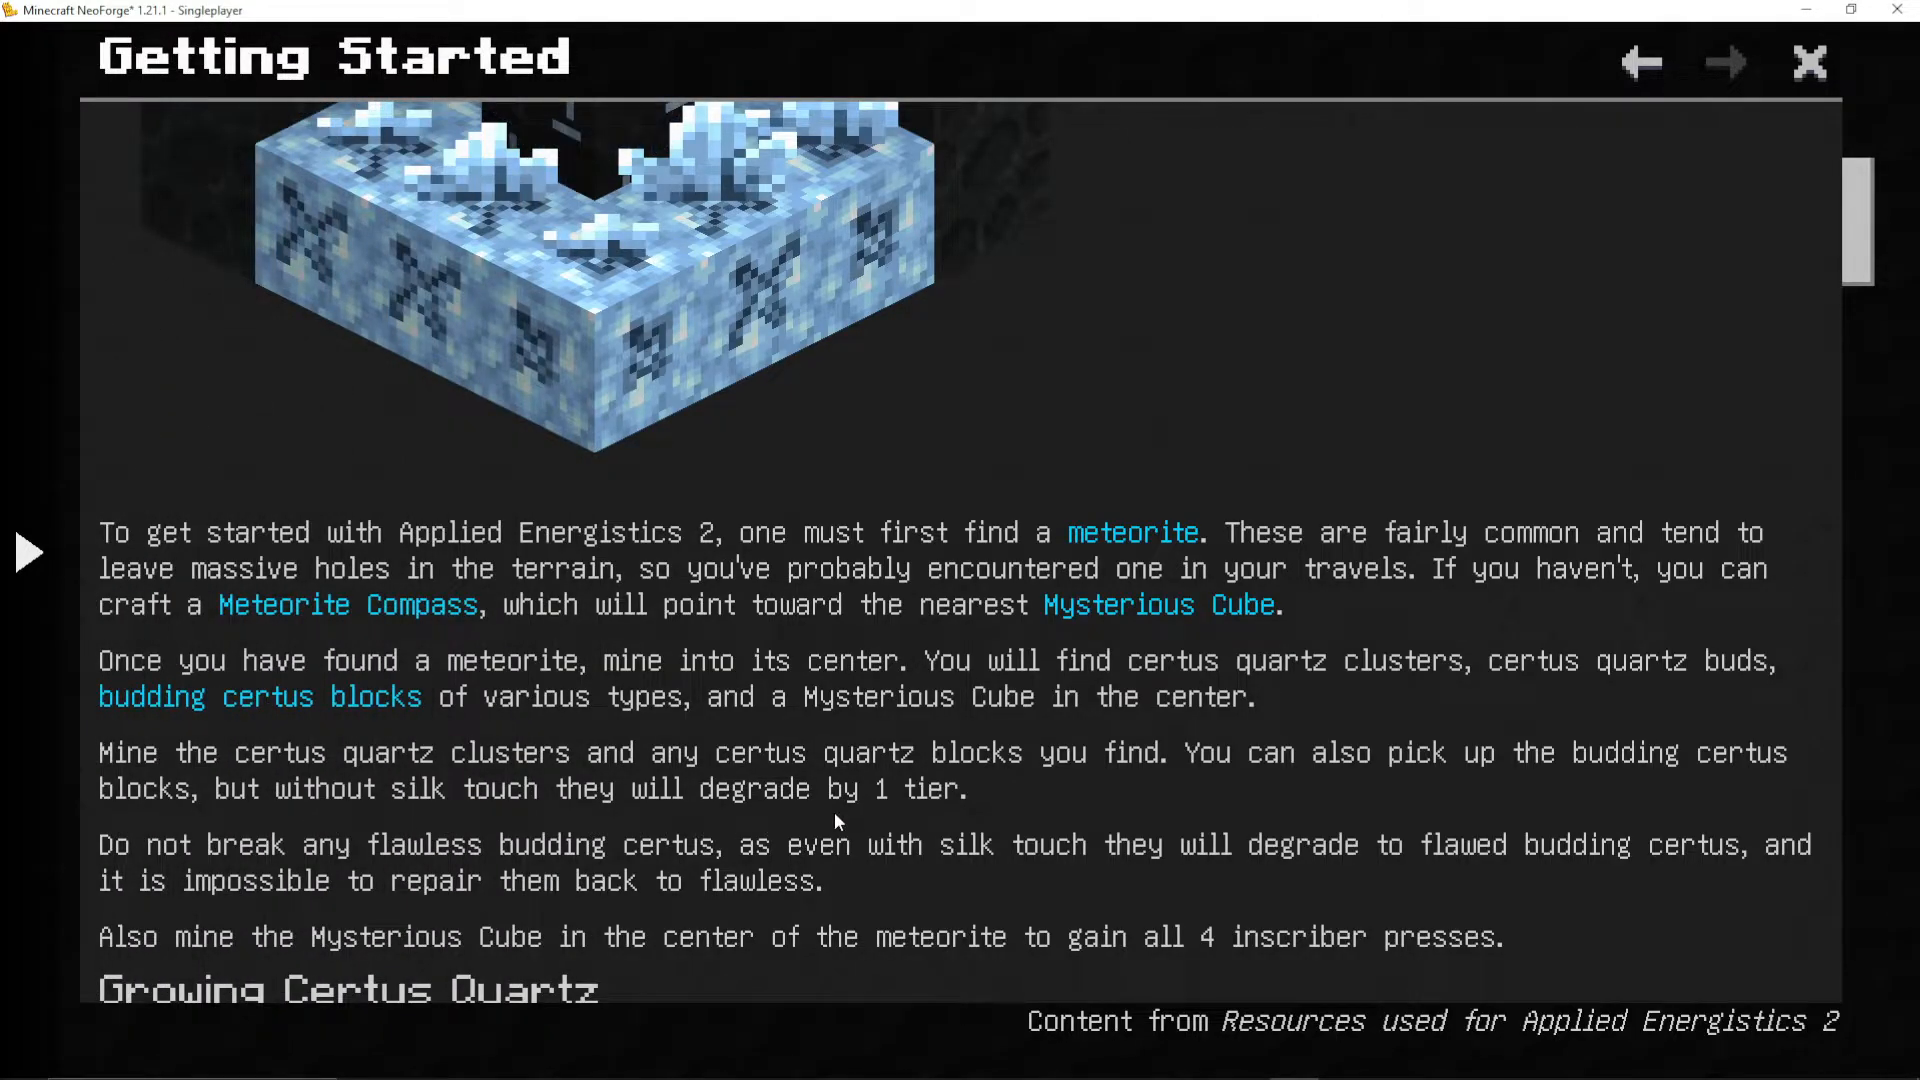
To repair degraded budding blocks and create new ones, submerge a Certus Quartz block and a charged Certus Quartz crystal in water. You can create charged crystals by placing regular Certus Quartz crystals in a charger and turning the crank 10 times until they’re fully charged.
Accelerating Crystal Growth
To speed up crystal growth significantly, craft a Growth Accelerator. This requires:
Quartz Glass (made from Certus Quartz dust)
Fluix ME Glass Cable
Fluix Block
To make Fluix cables and blocks, you’ll need Fluix crystals. Create these by throwing a charged Certus Quartz crystal, Redstone, and Nether Quartz into water. The resulting Fluix crystals can be crafted into Fluix blocks (four crystals) and Quartz Fiber.
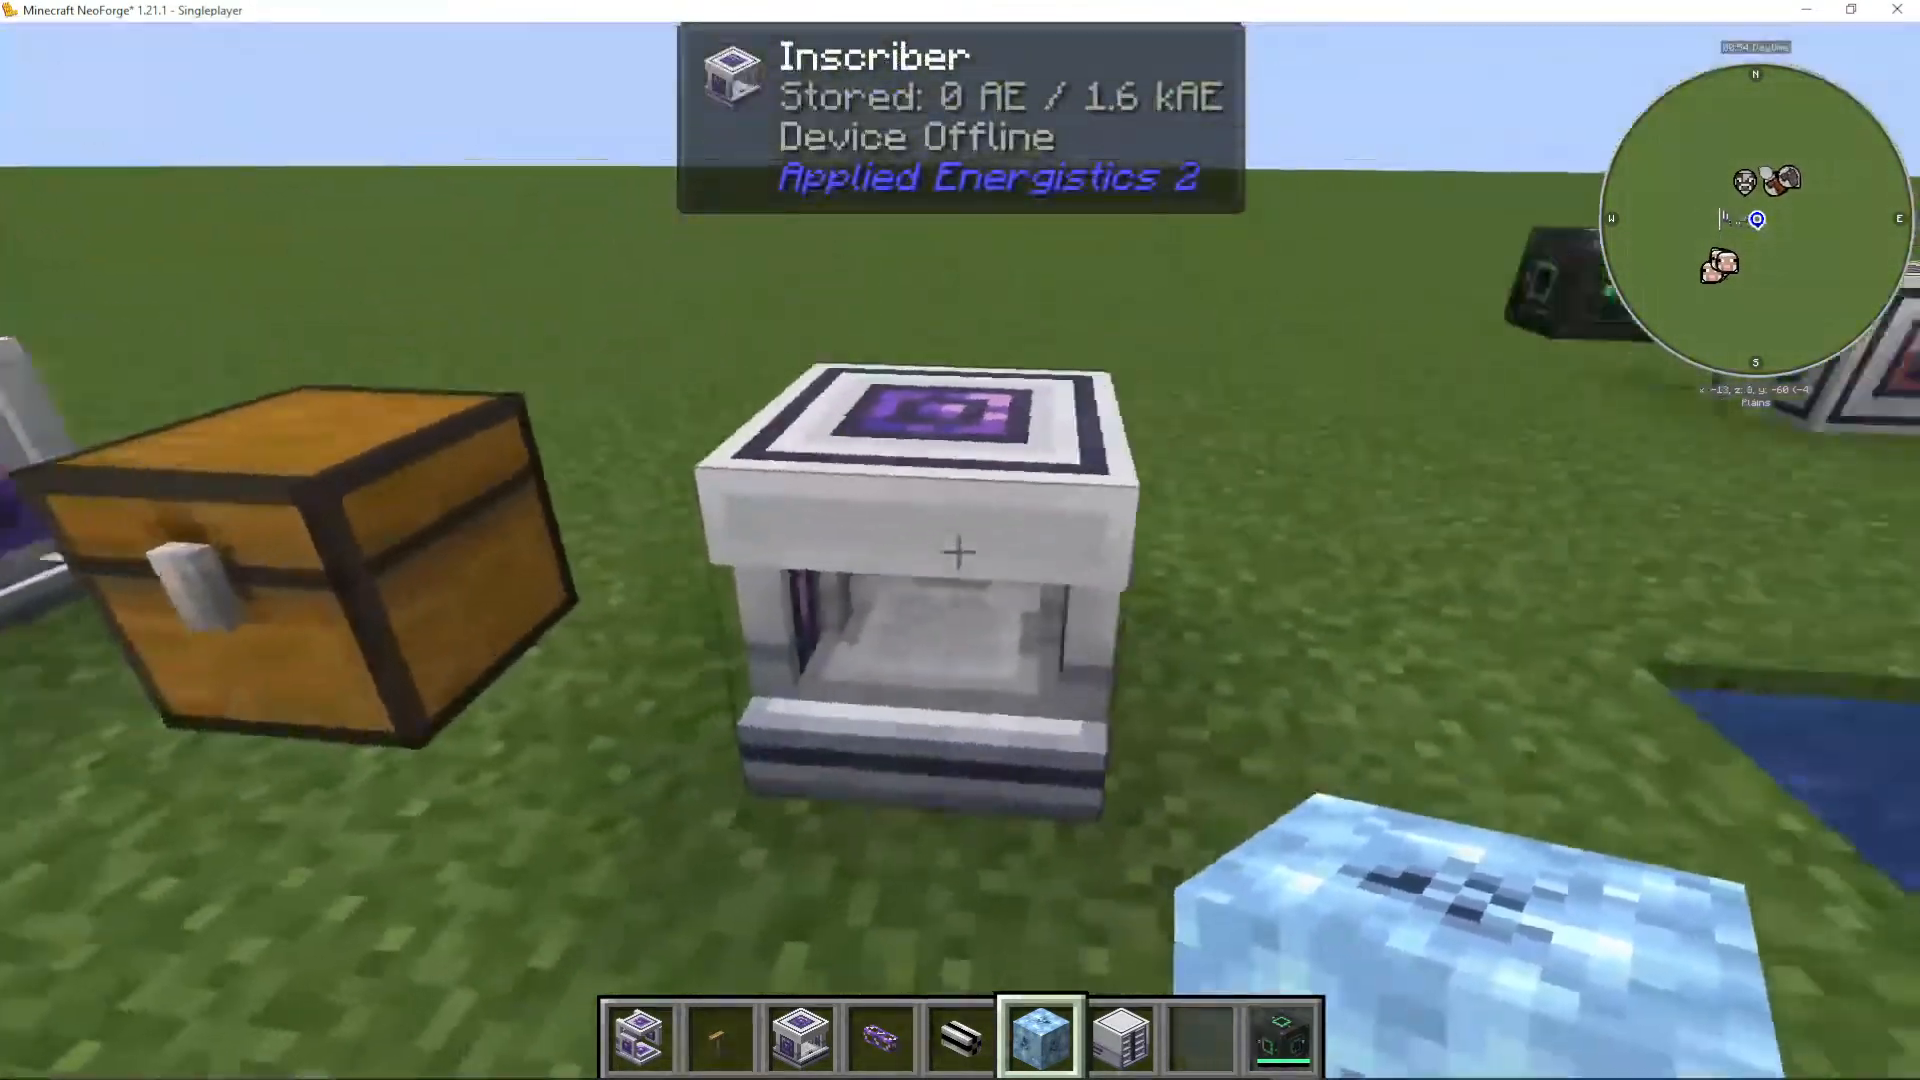
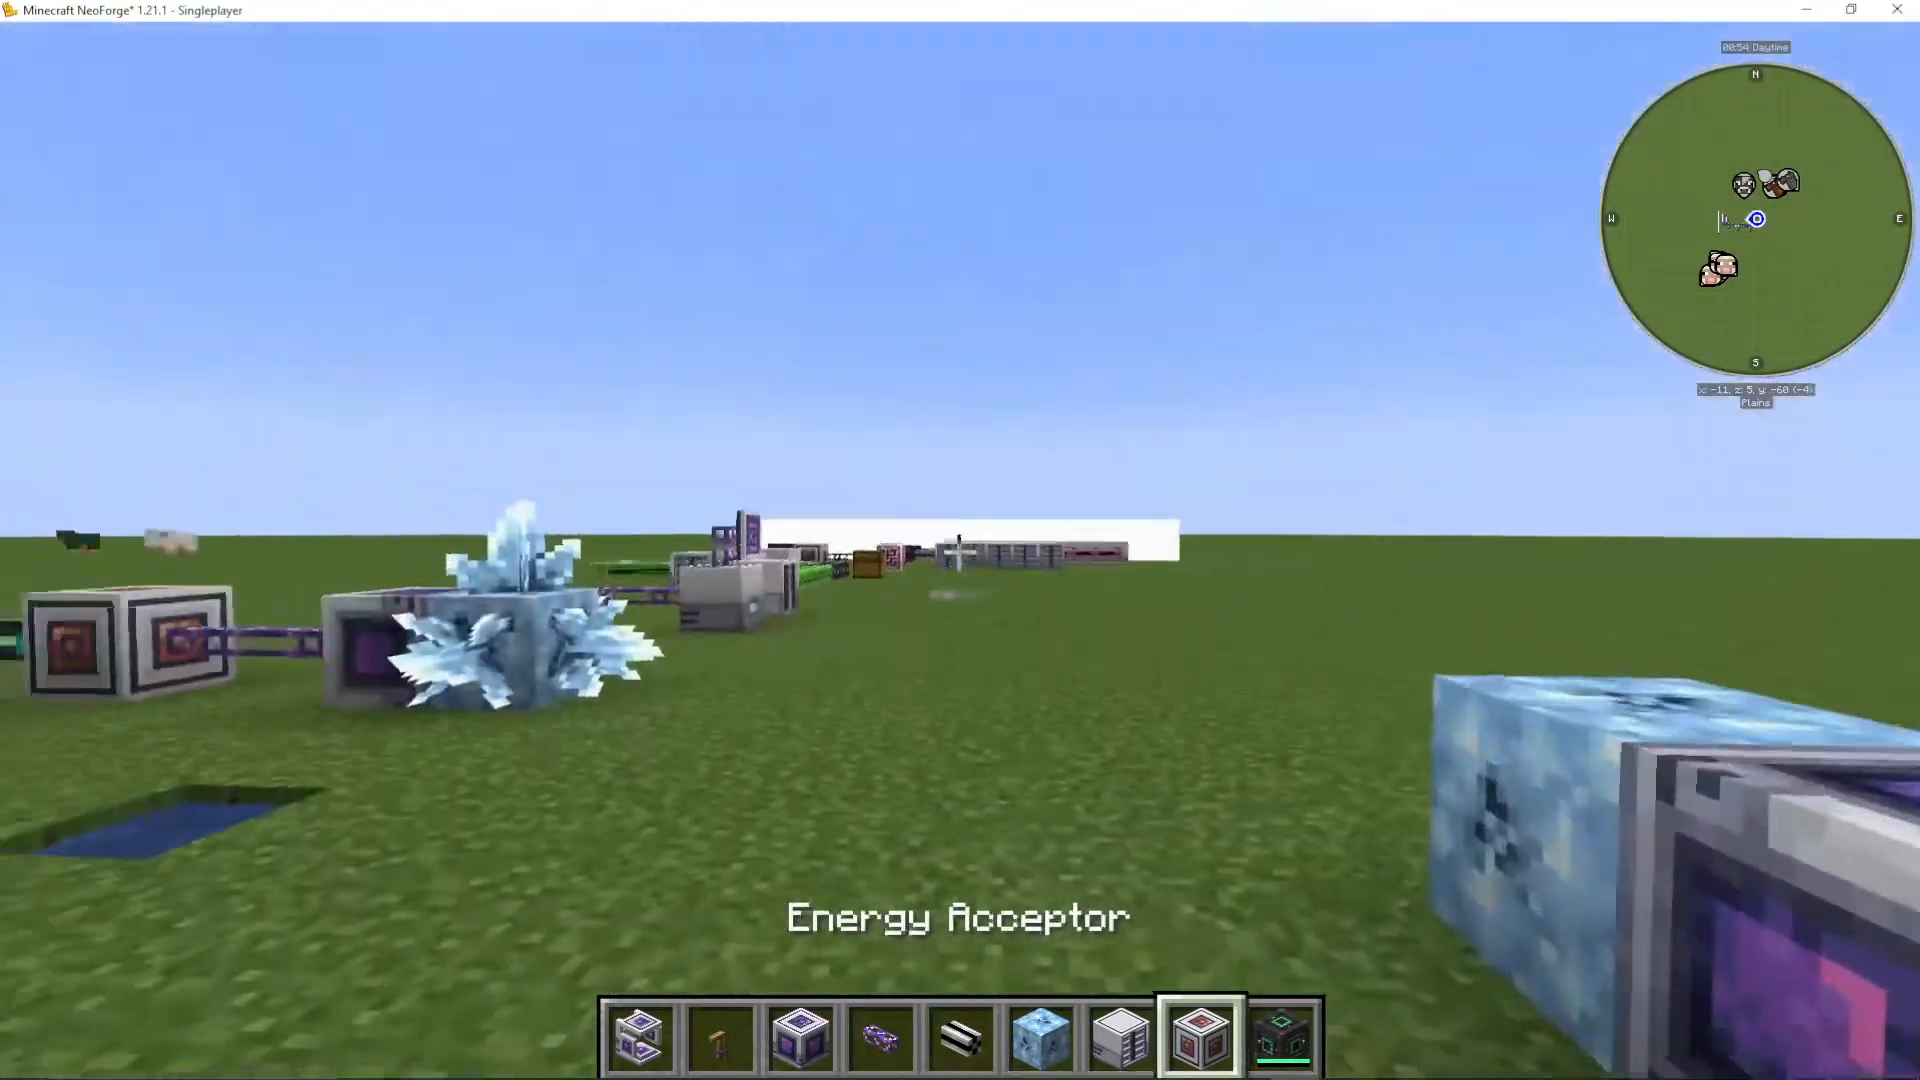
Place the Growth Accelerator against a budding Certus Quartz block with its darker side facing the quartz. Connect it to an Energy Accepter to provide power from other mods. You’ll see sparks appear as crystals grow dramatically faster—a single bud can fully mature in just 30 seconds.
Using the Inscriber and Processing Presses
The inscriber is a crucial machine that uses your four presses to create processed circuits essential for advanced AE2 components. Each press serves a specific purpose:
The Four Inscriber Presses
Calculation Press: With Certus Quartz and an iron block, produces Printed Calculation Circuits
Engineering Press: With diamonds, produces Printed Engineering Circuits
Logic Press: With gold, produces Printed Logic Circuits
Silicon Press: With silicon, produces Printed Silicon
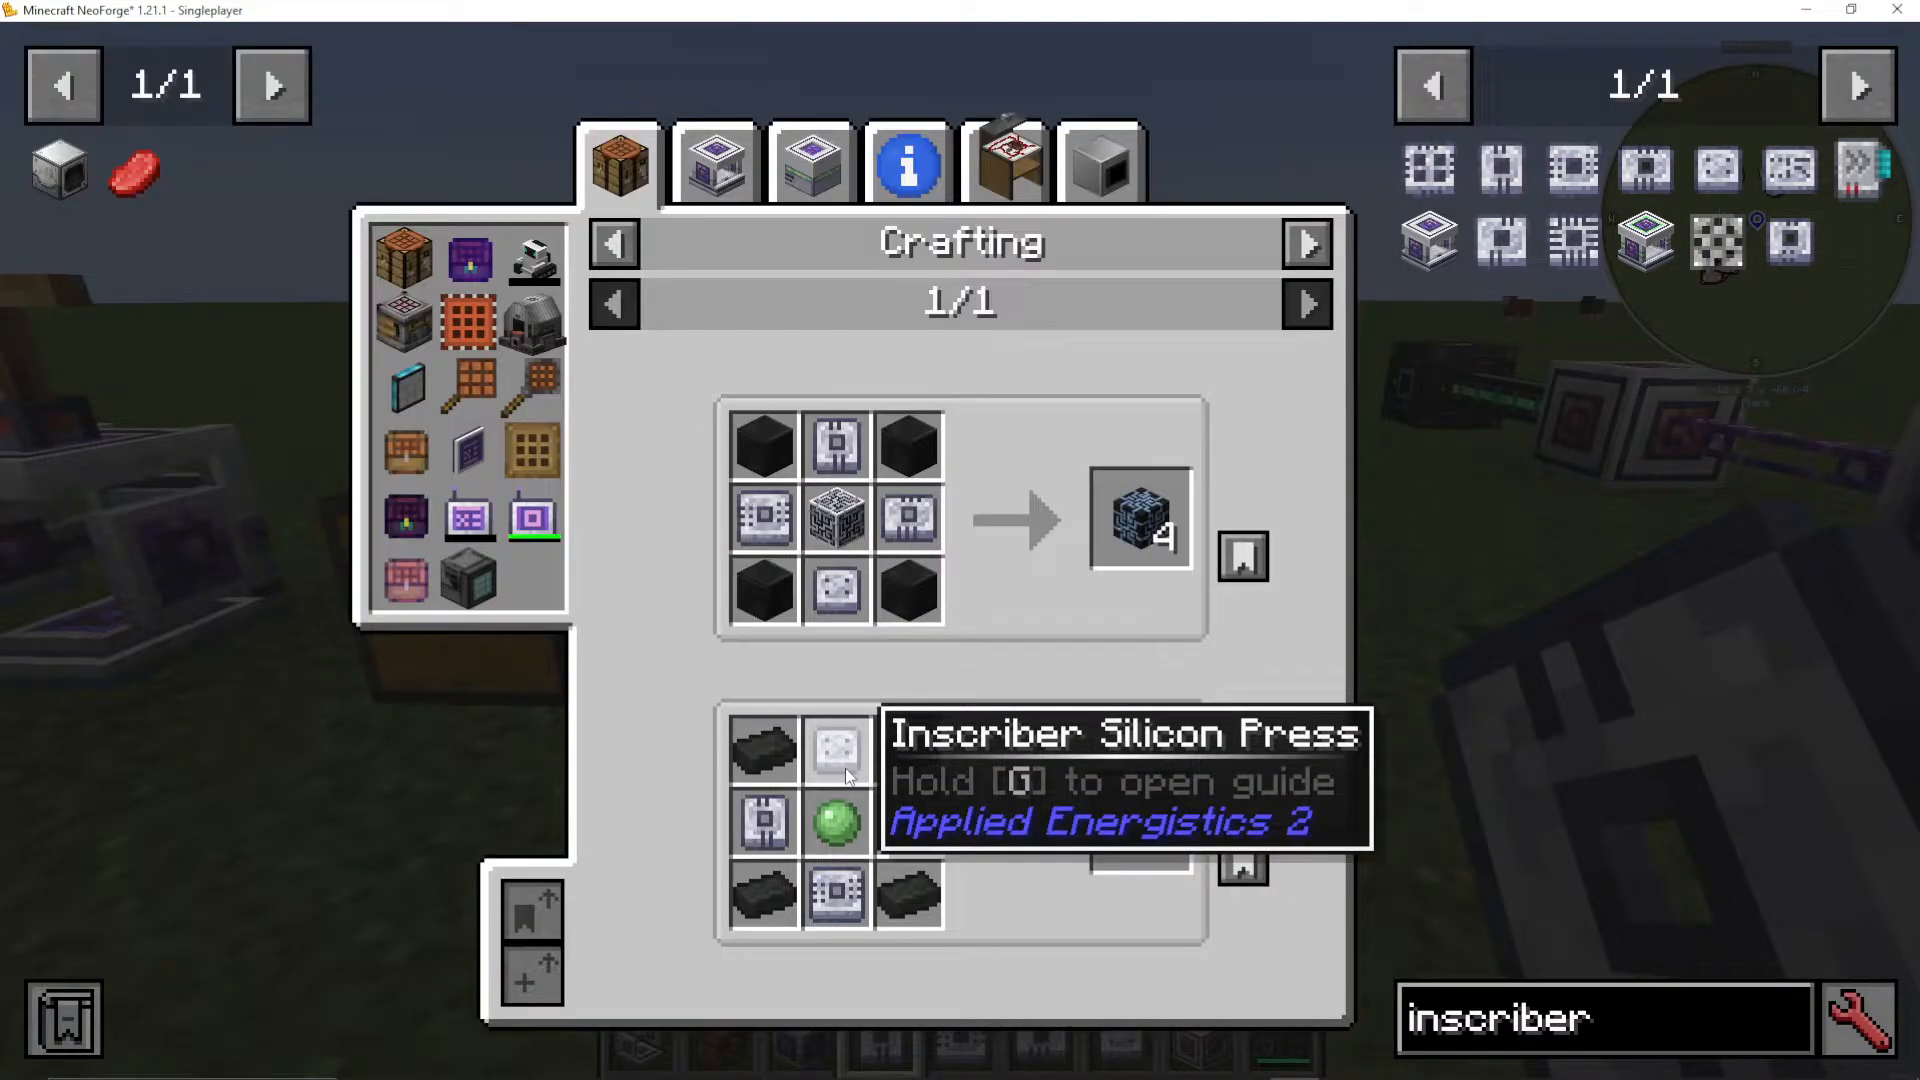
These circuit boards function like computer motherboards—they’re essential for crafting processors and storage components. Set up individual inscribers for each press type and automate their inputs and outputs using import/export buses for efficient production.
Building Your First ME System
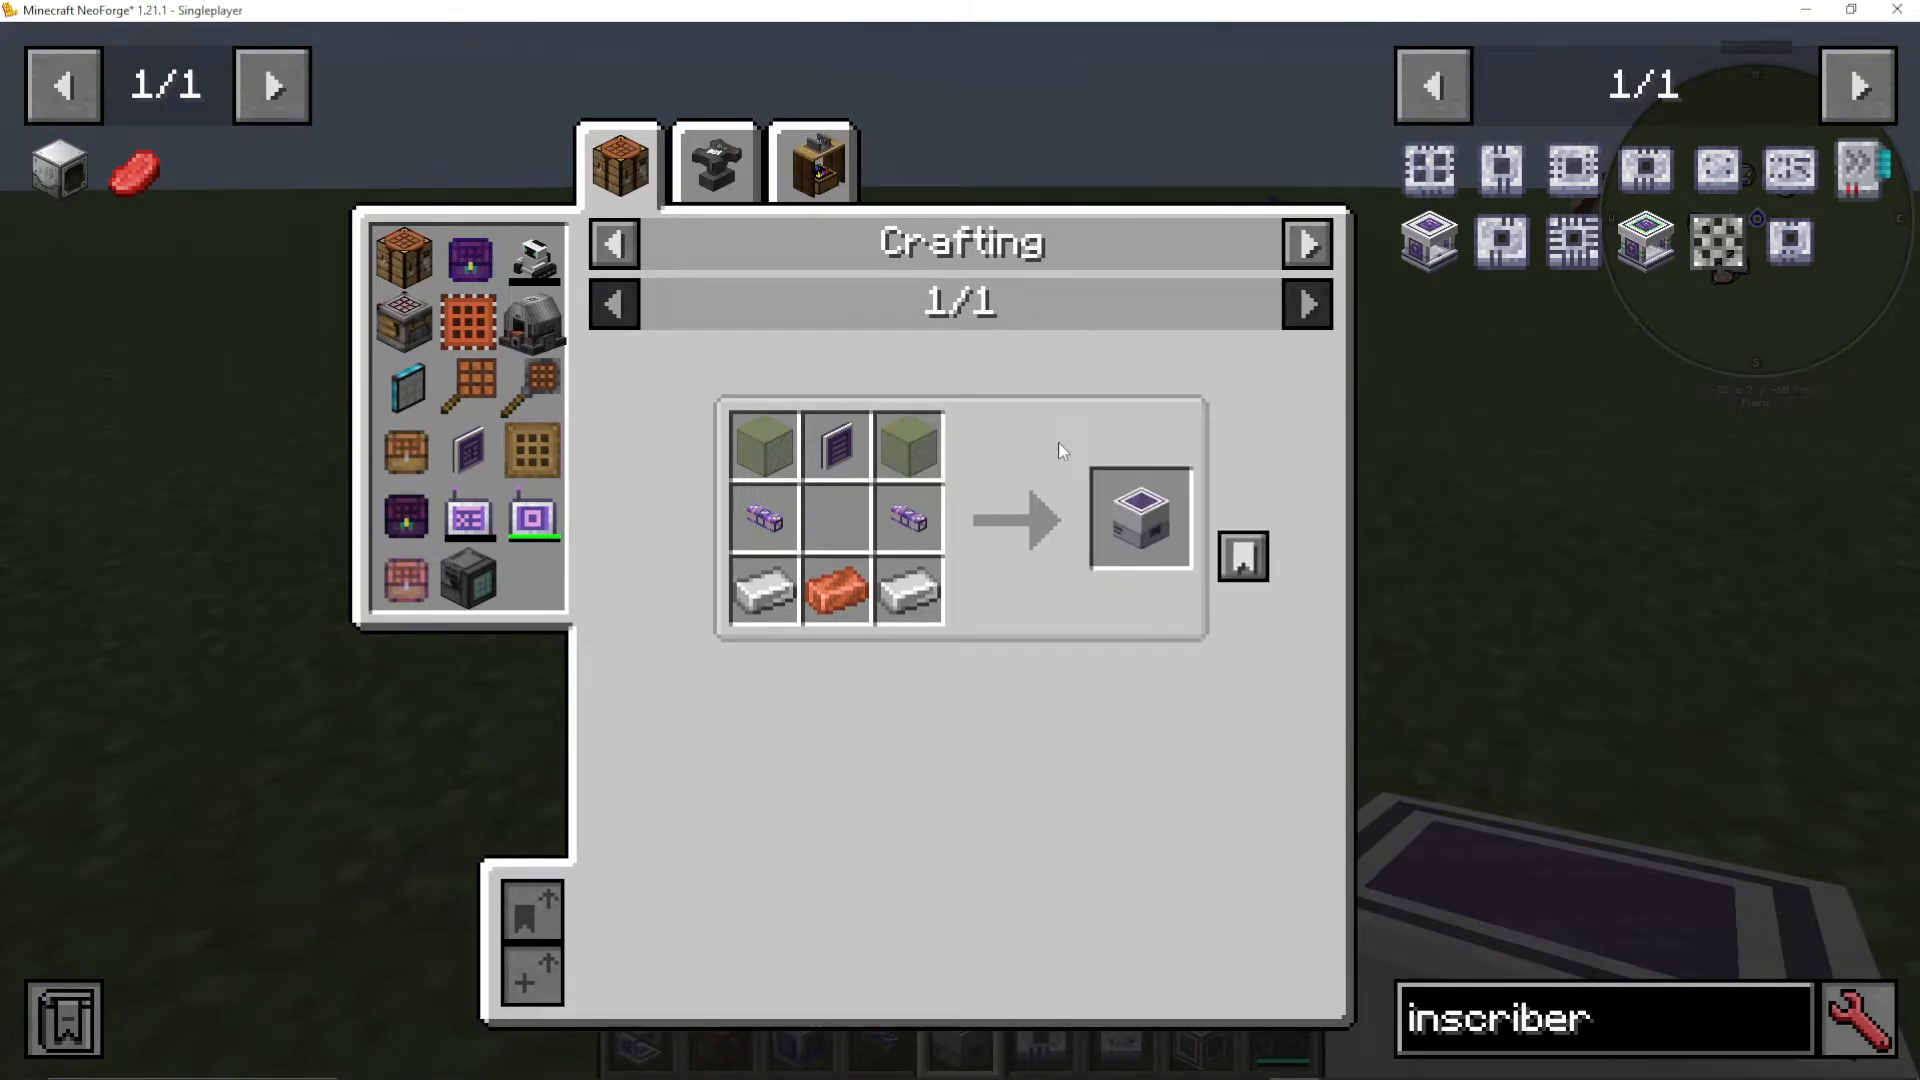
Your first storage system will be simple but expandable. Start with an ME Chest, which serves as a compact storage interface for a single drive.
Creating an ME Chest
An ME Chest requires:
Fluix ME Glass Cables
ME Terminal (made from an illuminated panel and logic processor)
Formation and Annihilation Cores
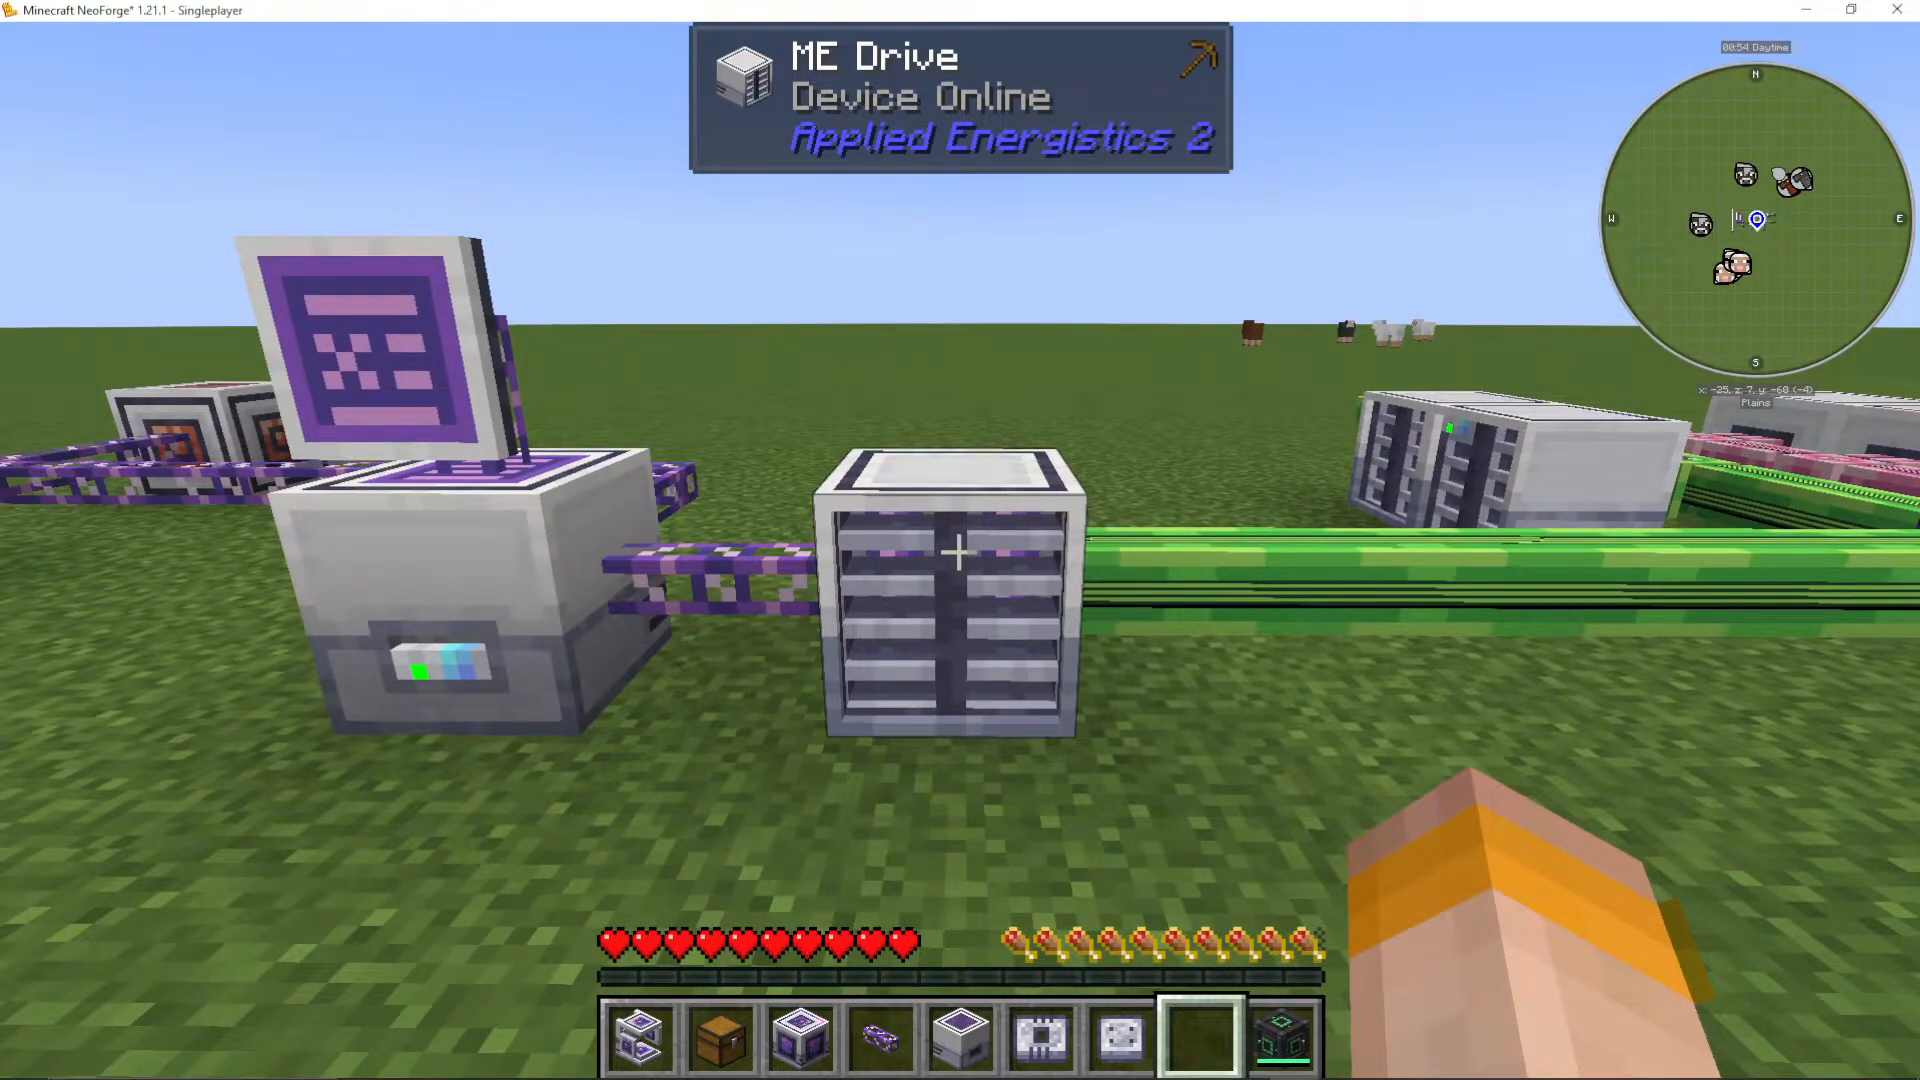
Connect your energy accepter to the chest’s back and place an ME storage cell inside. The “device online” message confirms successful setup. Your system now stores items in the drive instead of using traditional chests.
Understanding Storage Cells: Bytes and Types
ME storage cells have two limitations:
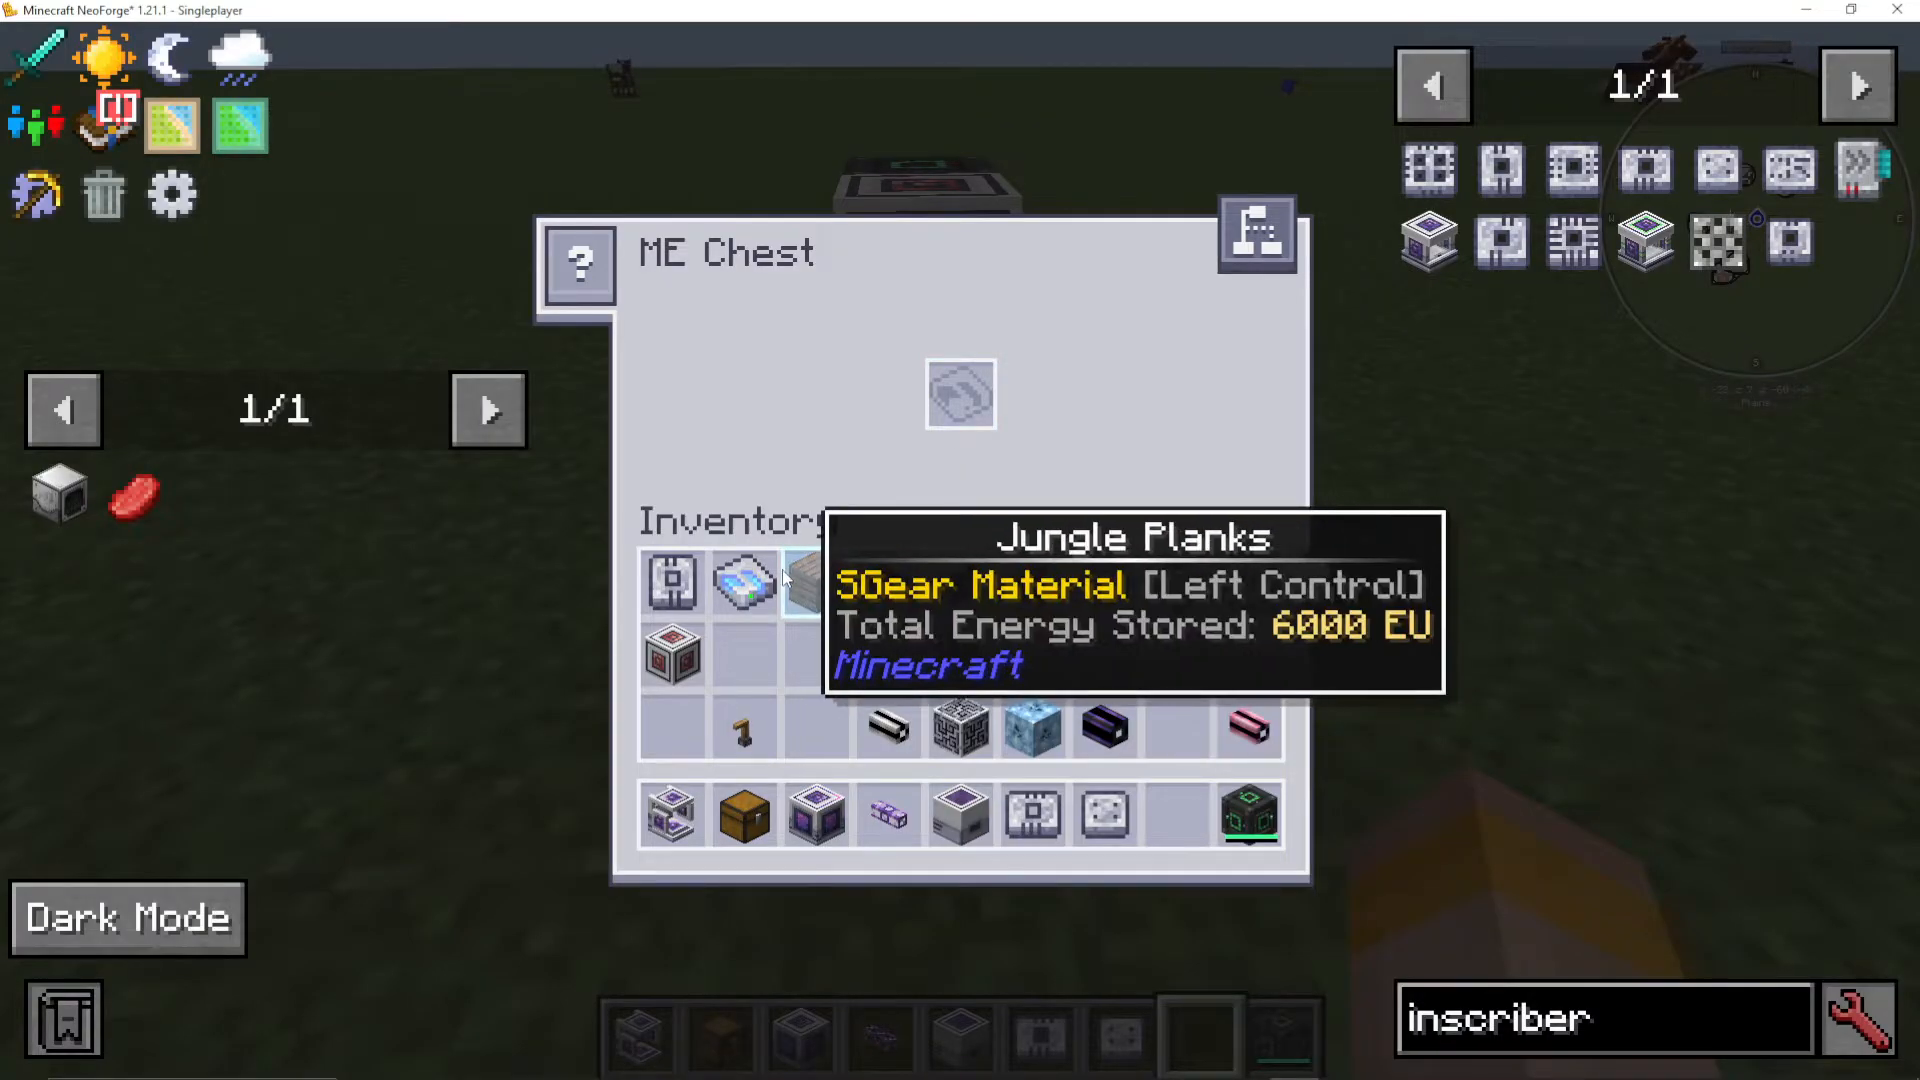
Bytes: Total storage capacity (a 1K cell has 1,024 bytes)
Types: Maximum different item types (all cells support 63 types)
For example, a 1K cell can store 64 jungle planks and 64 oak planks (2 types, 128 items, using 32 bytes). You can store more of the same item type but cannot exceed 63 different item types. Upgrade to 4K, 16K, 64K, and larger cells as your storage needs grow.
Expanding with ME Drives
An ME Drive holds up to 10 storage cells, allowing massive storage expansion. Connect drives to your network via Fluix ME Glass Cables, and all items become accessible through any connected terminal. The network visually indicates drive status with color-coding: green for empty, blue for partially full, and red for full.
Channels and ME Controllers
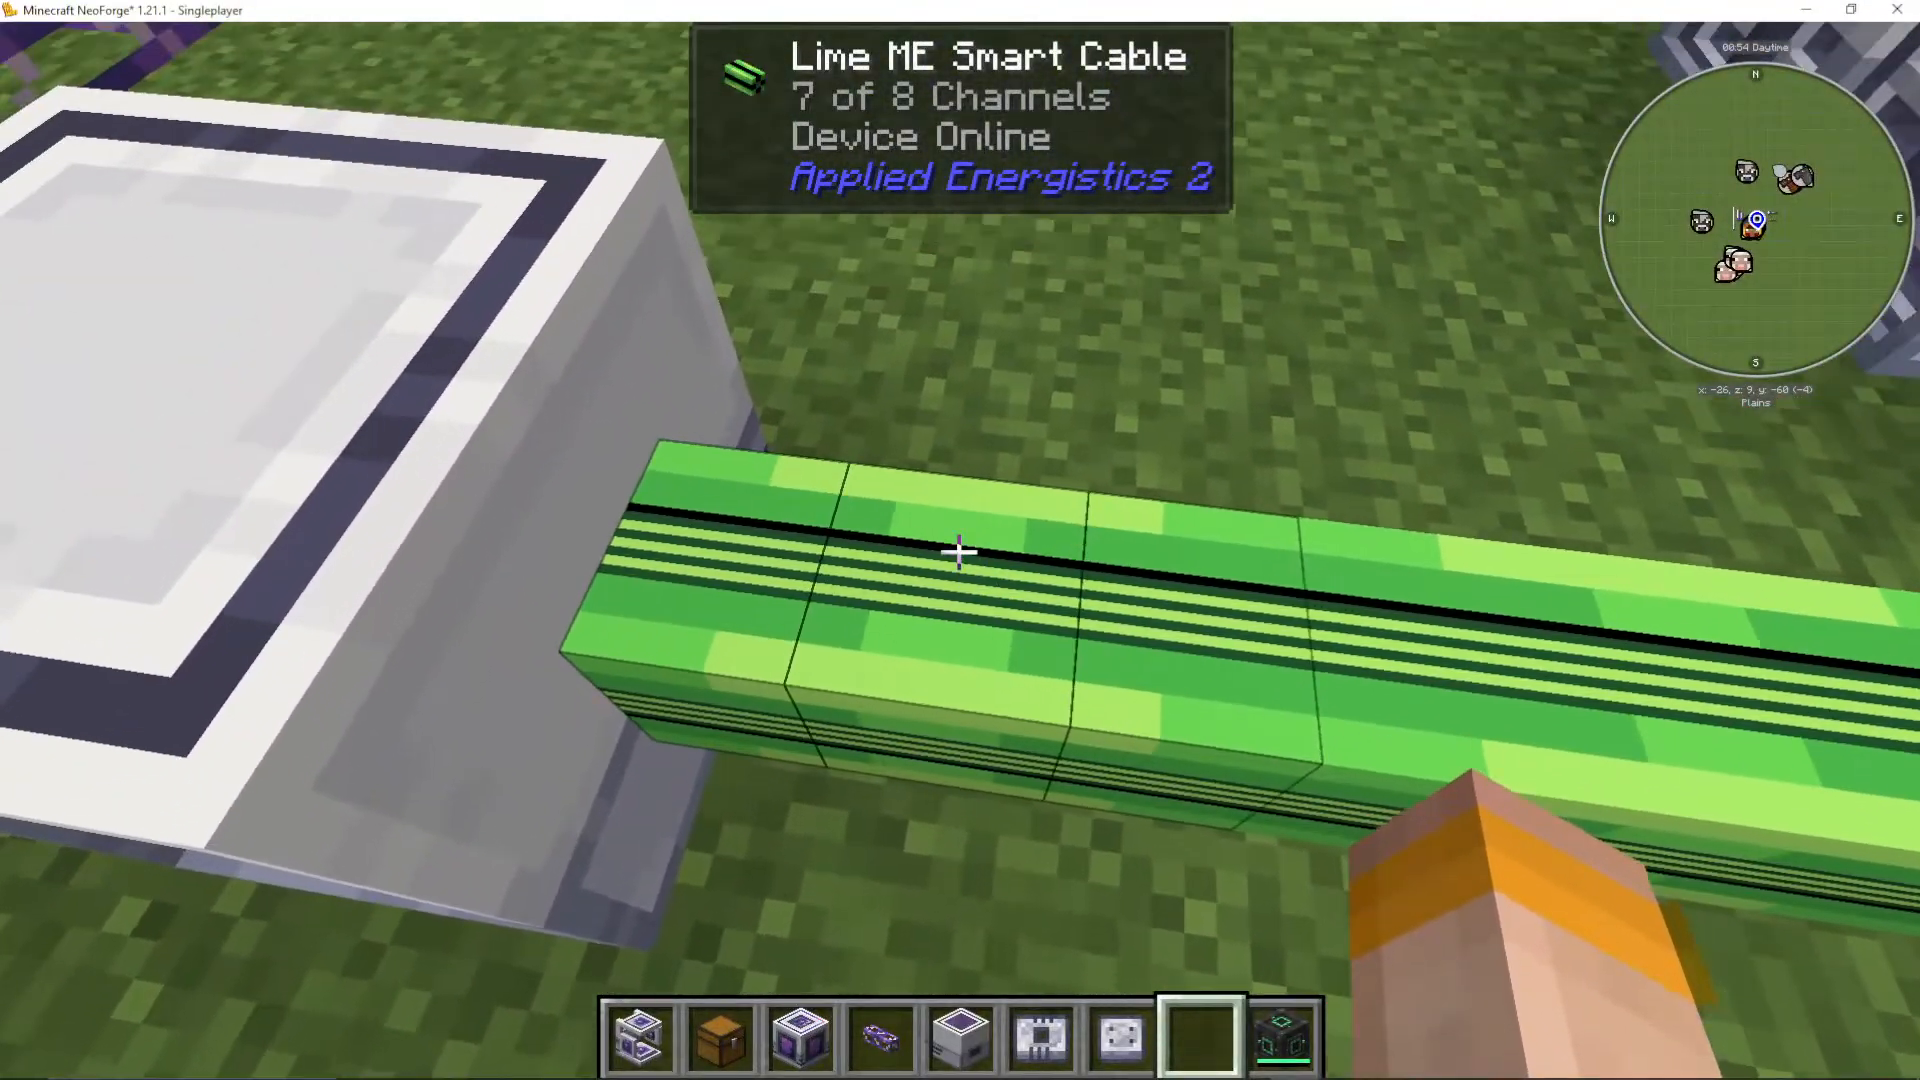
Basic ME networks without a controller support only 8 channels maximum. Each connected device uses one channel. Once you exceed this limit, the network goes offline and displays a “missing channel” error.
Smart Cables and Channel Visualization
Upgrade to Smart Cables to see channel usage visually. Create them by dyeing Fluix-covered cables with wool, then adding Redstone and Glowstone. Smart cables display green stripes showing current channel count.
Installing an ME Controller
Once you need more than 8 channels, place an ME Controller on your network. This multi-block device supports up to 32 channels per face and can be built in sizes from 1×1 to 7x7x7 (as a hollow cube). Connect Dense Cables to controller faces—dense cables carry 32 channels each but only connect to other dense cables, not regular devices.
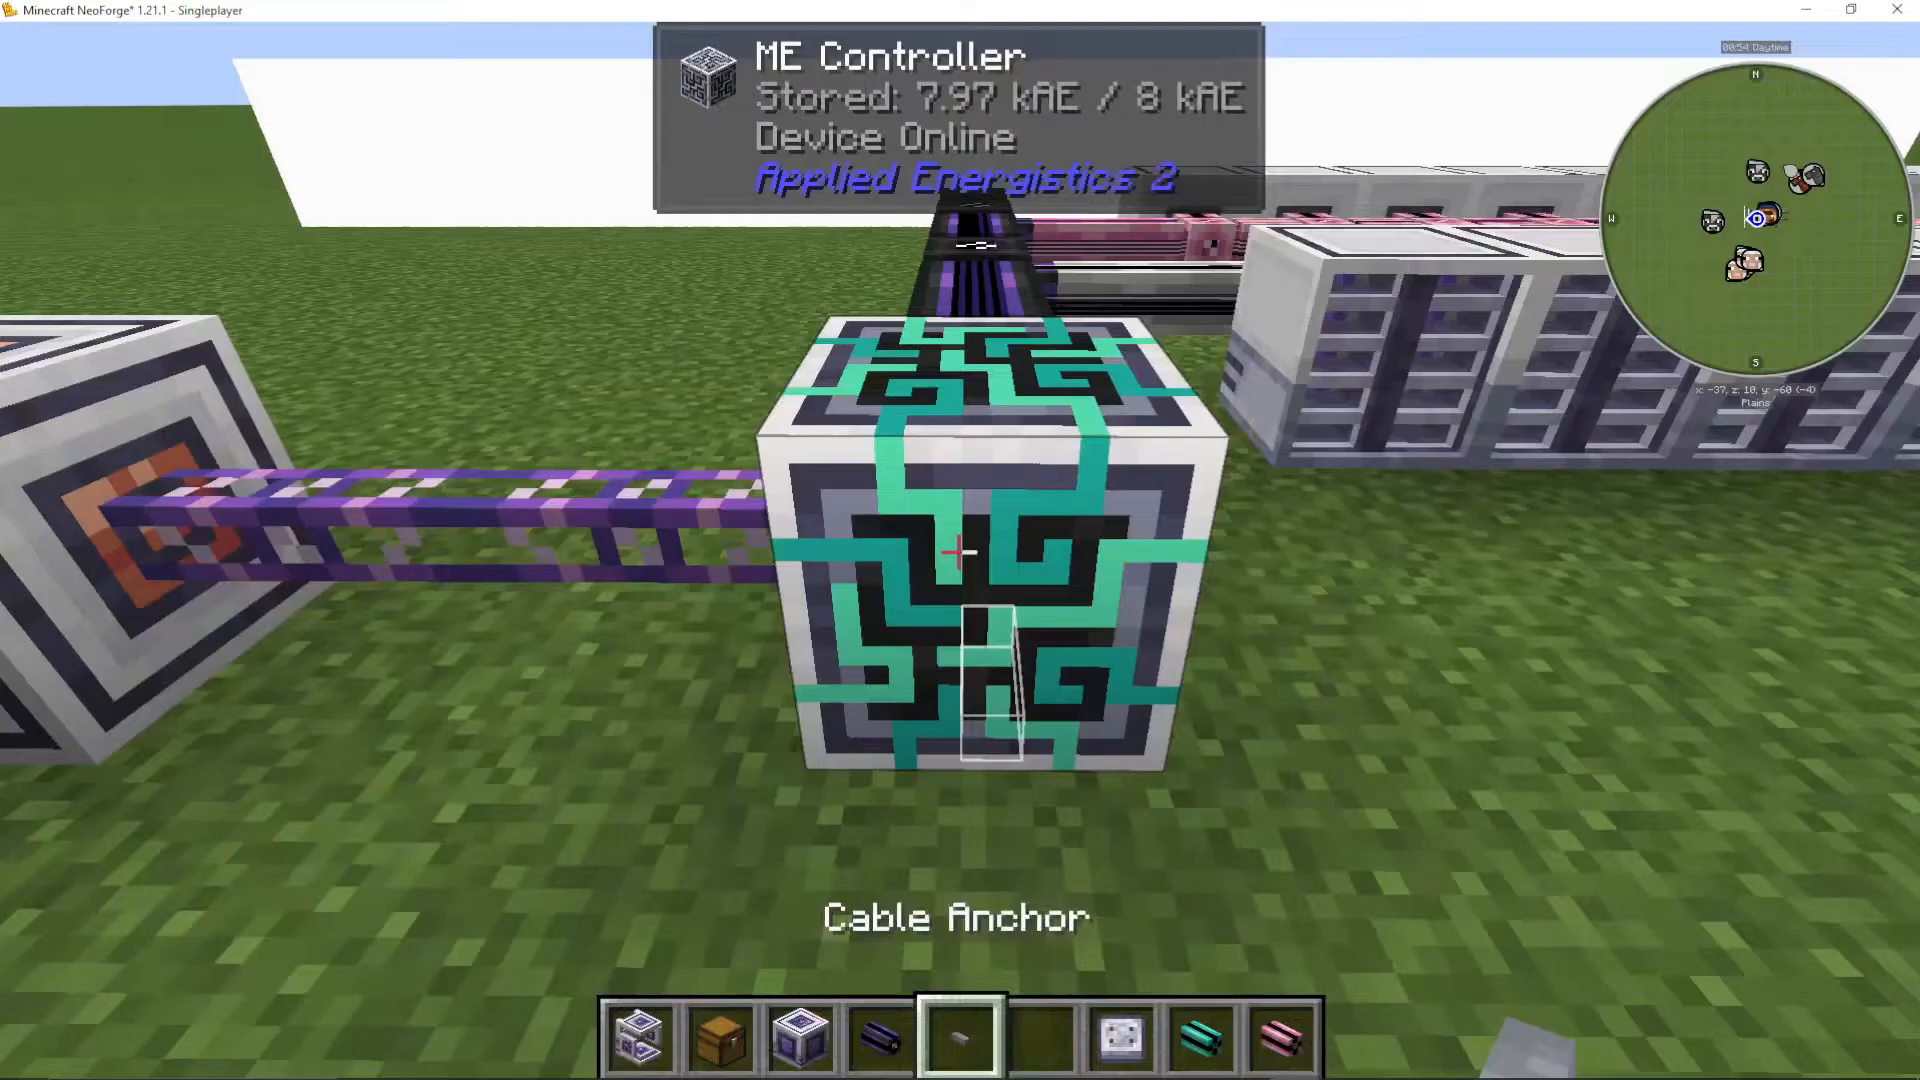
You can only have one controller per network. Design your controller as a central hub with dense cables branching to different areas, each dense cable supporting 8 regular smart cables with up to 8 devices each.
Filtering and Managing Storage
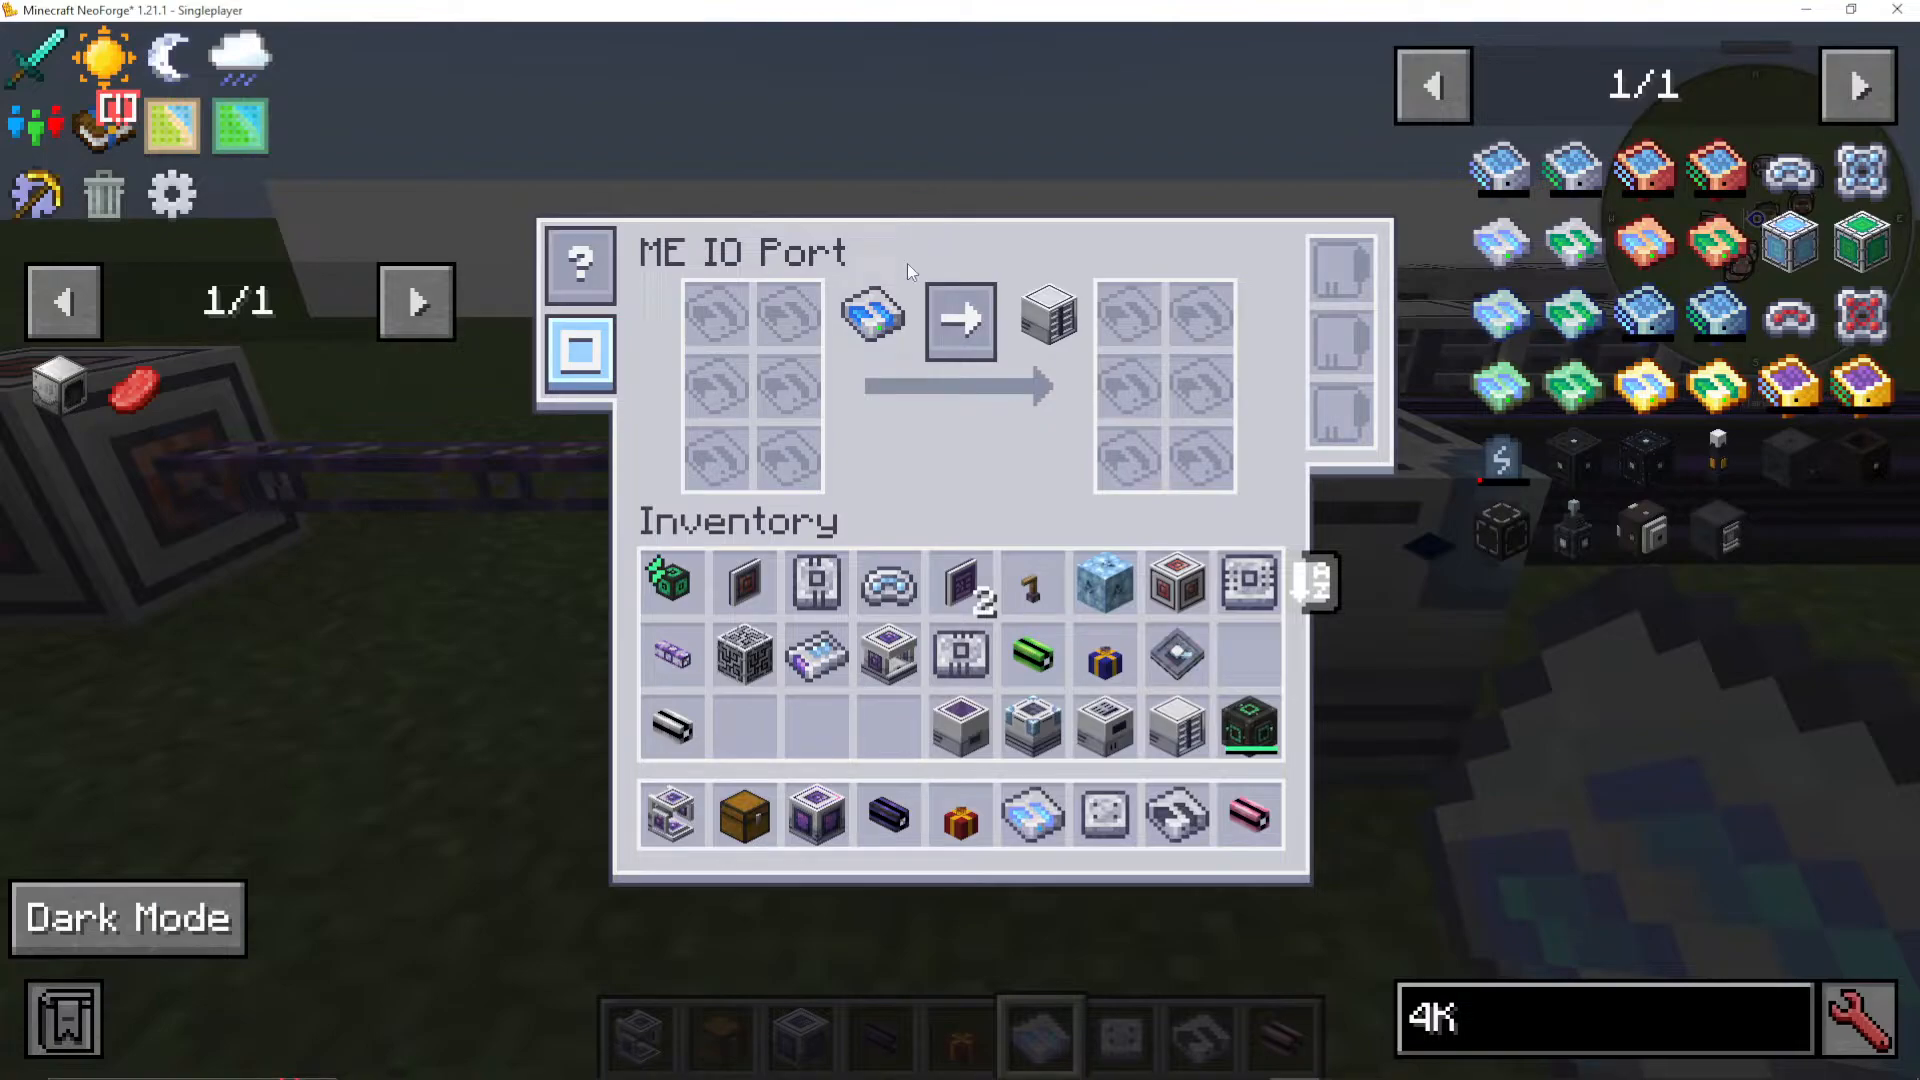
The ME IO Port
The ME IO Port transfers items between storage cells and the network. Use it when upgrading cells or organizing items. Two operations are available:
Move to Output: Transfer cell contents into the network
Move to Input: Transfer network items into the cell
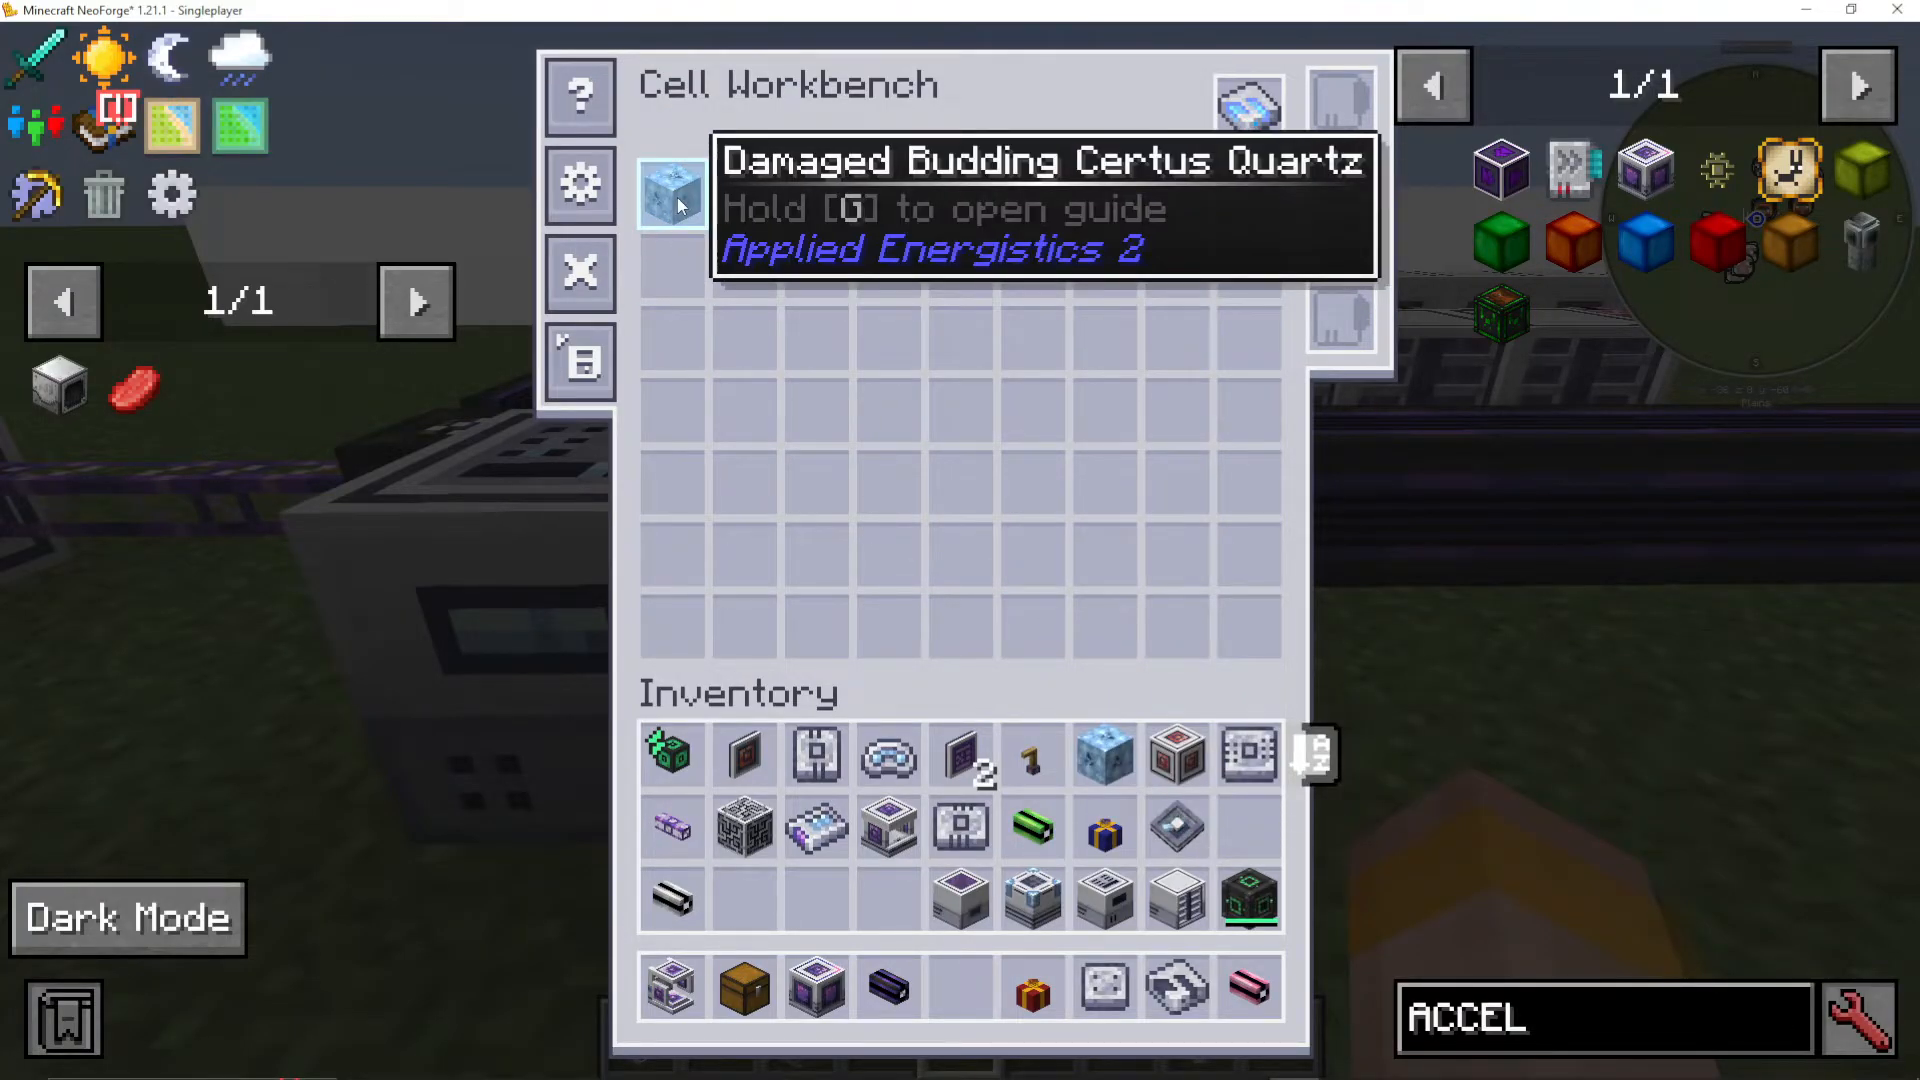
The Cell Workbench
Configure storage cells with the Cell Workbench to partition storage for specific items. Install partition cards to reserve capacity for chosen items. You can also add upgrade cards like the Overflow Destruction Card, which prevents excess items from filling other cells once a partitioned cell is full.
Importing, Exporting, and Interfacing
Three essential devices connect your AE2 network to external inventories and machines:
Import Bus
An Import Bus pulls items from adjacent inventories into your network. Place it against a farm chest, and items automatically transfer into your ME system. Add an Acceleration Card to increase transfer speed. Use filters to select specific items.
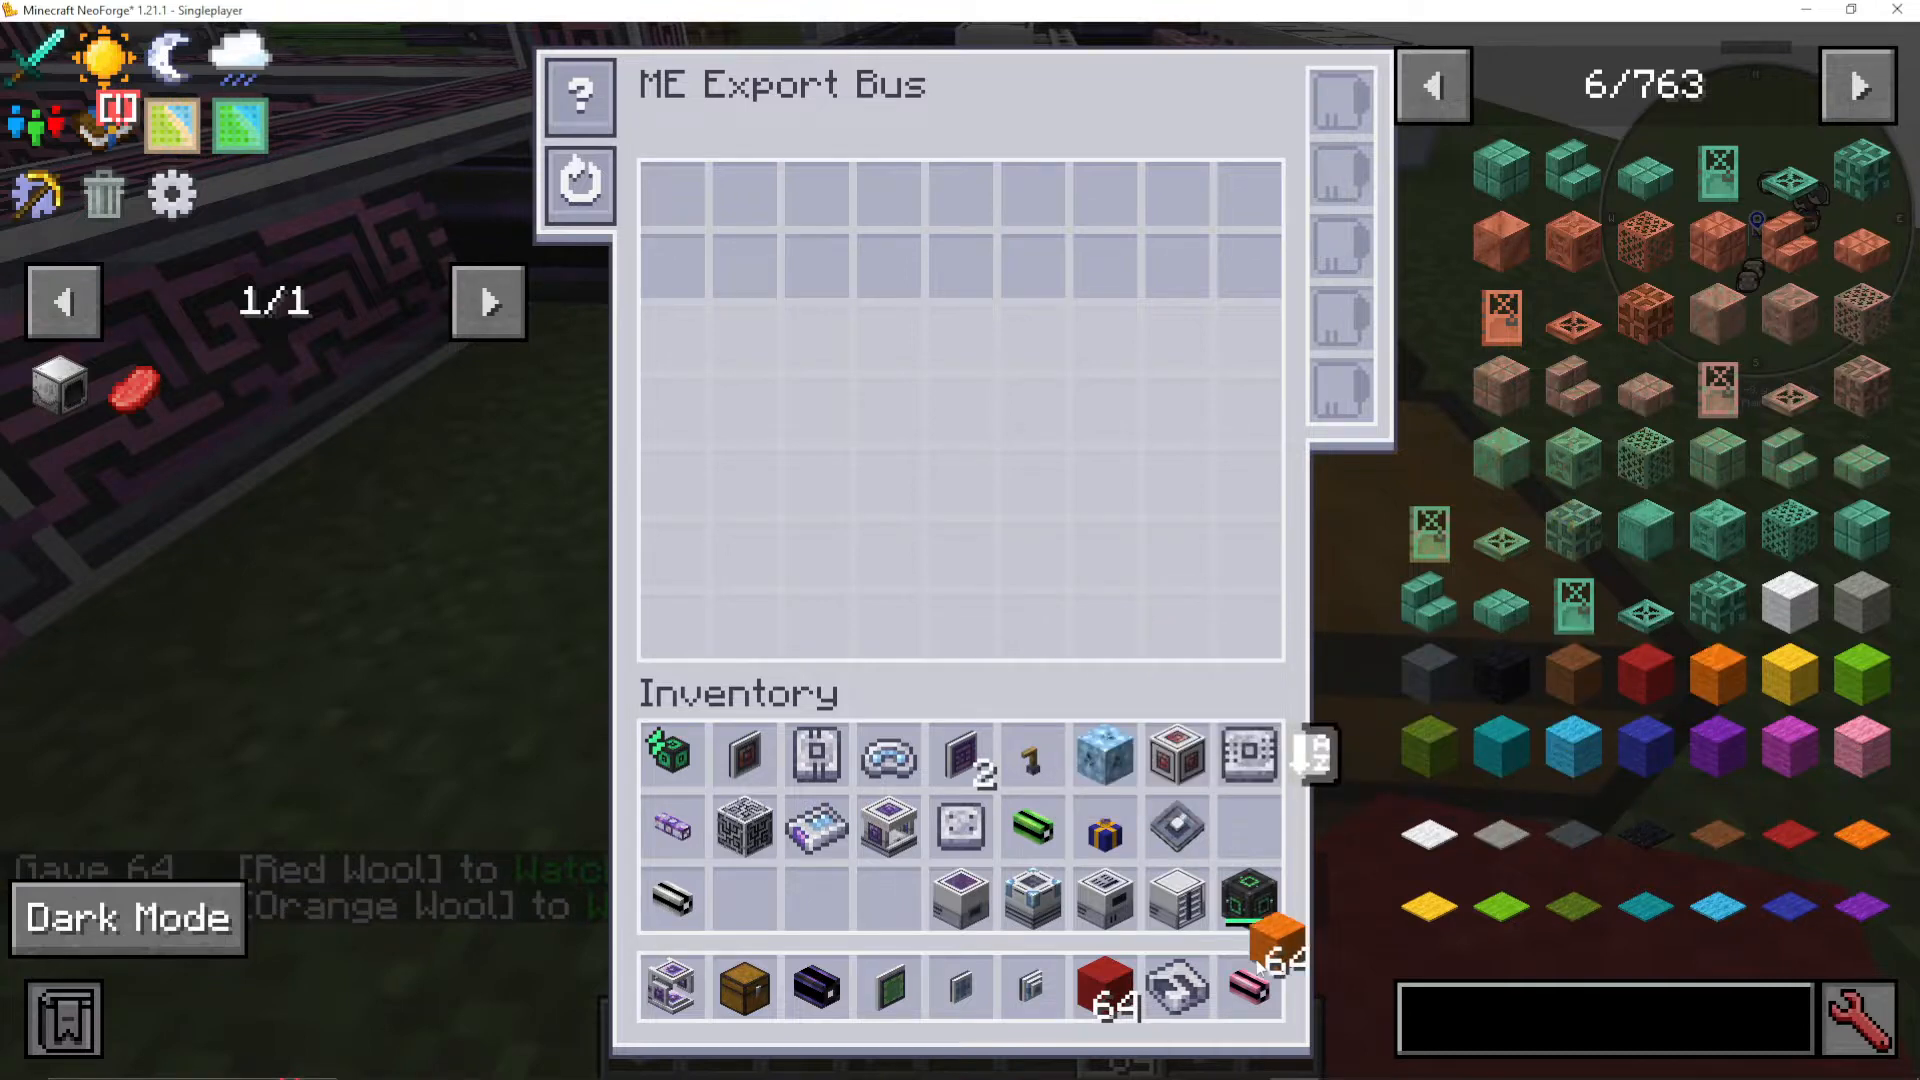
Export Bus
An Export Bus pushes items from your network into adjacent inventories. Configure it with item filters to control what gets exported and in what quantity.
Storage Bus
A Storage Bus treats external inventories (chests, machines, tanks) as part of your ME network. You can view and access items stored in adjacent containers directly from your ME terminals. Unlike import/export buses, storage buses don’t filter by default but can be configured to restrict certain items.
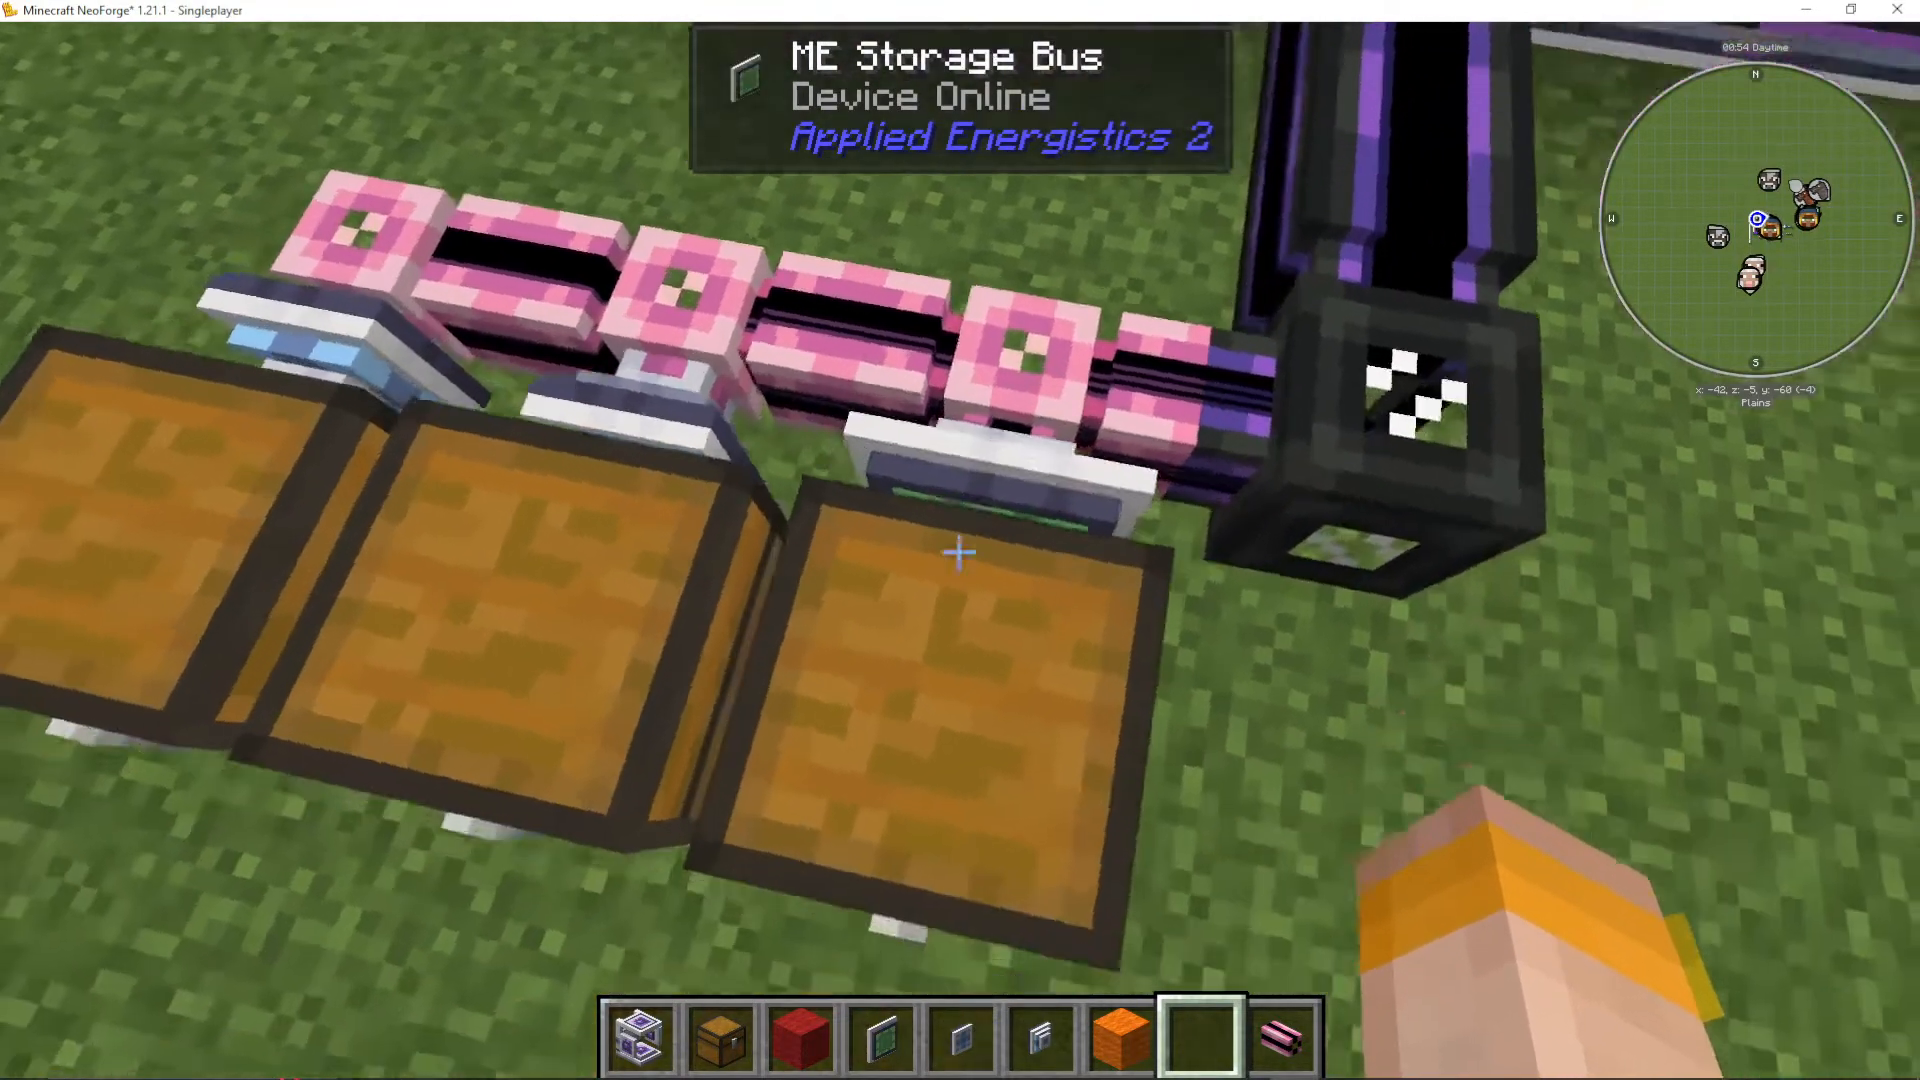
Annihilation and Formation Planes
Annihilation Planes break blocks in front of them and suck items into your network, essentially acting as automatic mining tools. Formation Planes place blocks or items from your network into the world. These planes can be enchanted with Fortune or other enchantments to enhance their behavior.
Auto Crafting with Patterns
Auto crafting lets your AE2 system craft items automatically. The system includes several components working together:
Key Auto Crafting Components
Pattern Provider: Holds patterns and provides crafting tasks to the network
ME Pattern Encoding Terminal: Creates patterns for crafting recipes
Molecular Assembler: Performs the actual crafting (attach one per pattern)
Crafting Storage (CPU): The multi-block brain of the operation
ME Crafting Terminal: Requests crafted items
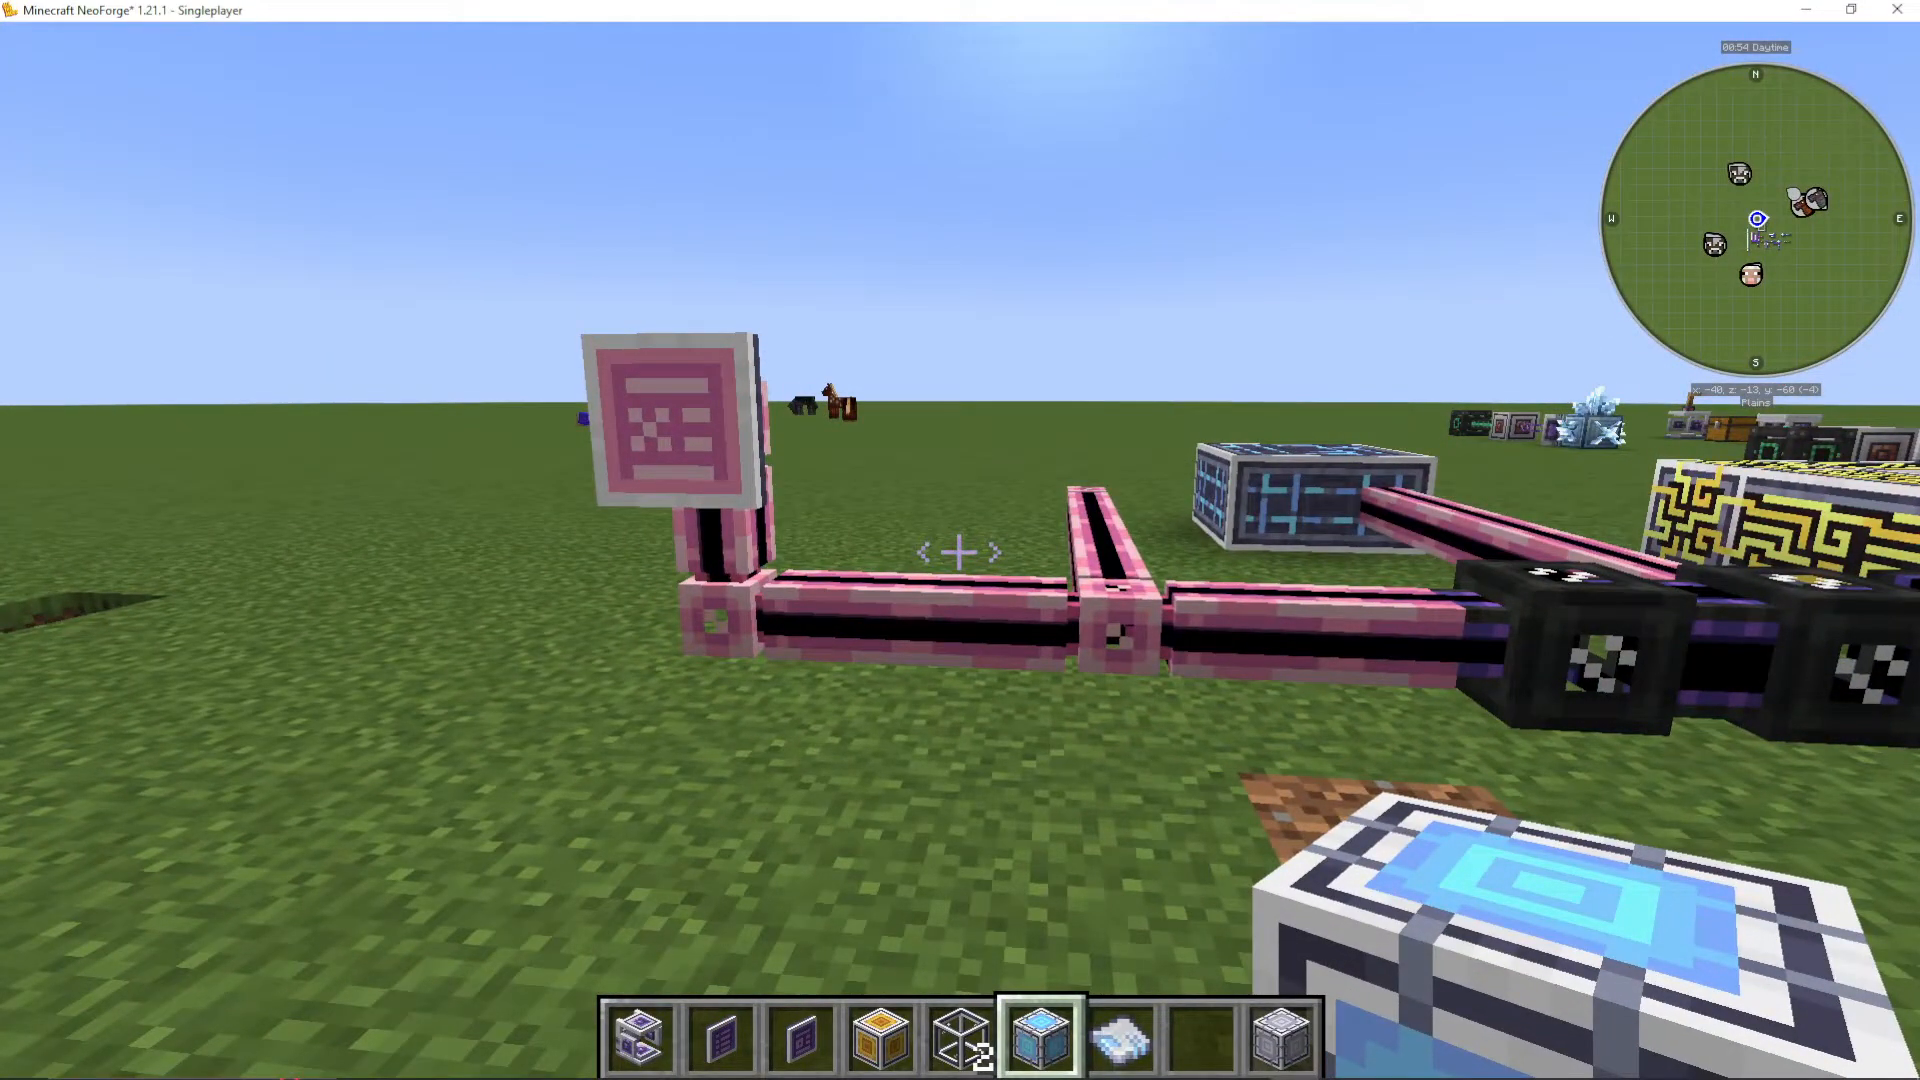
Creating and Encoding Patterns
Use the ME Pattern Encoding Terminal to create patterns. Place input and output items in the grid, then click the arrow to encode the pattern onto a blank pattern item. You can allow item substitutions (using alternative wood types) and fluid substitutions.
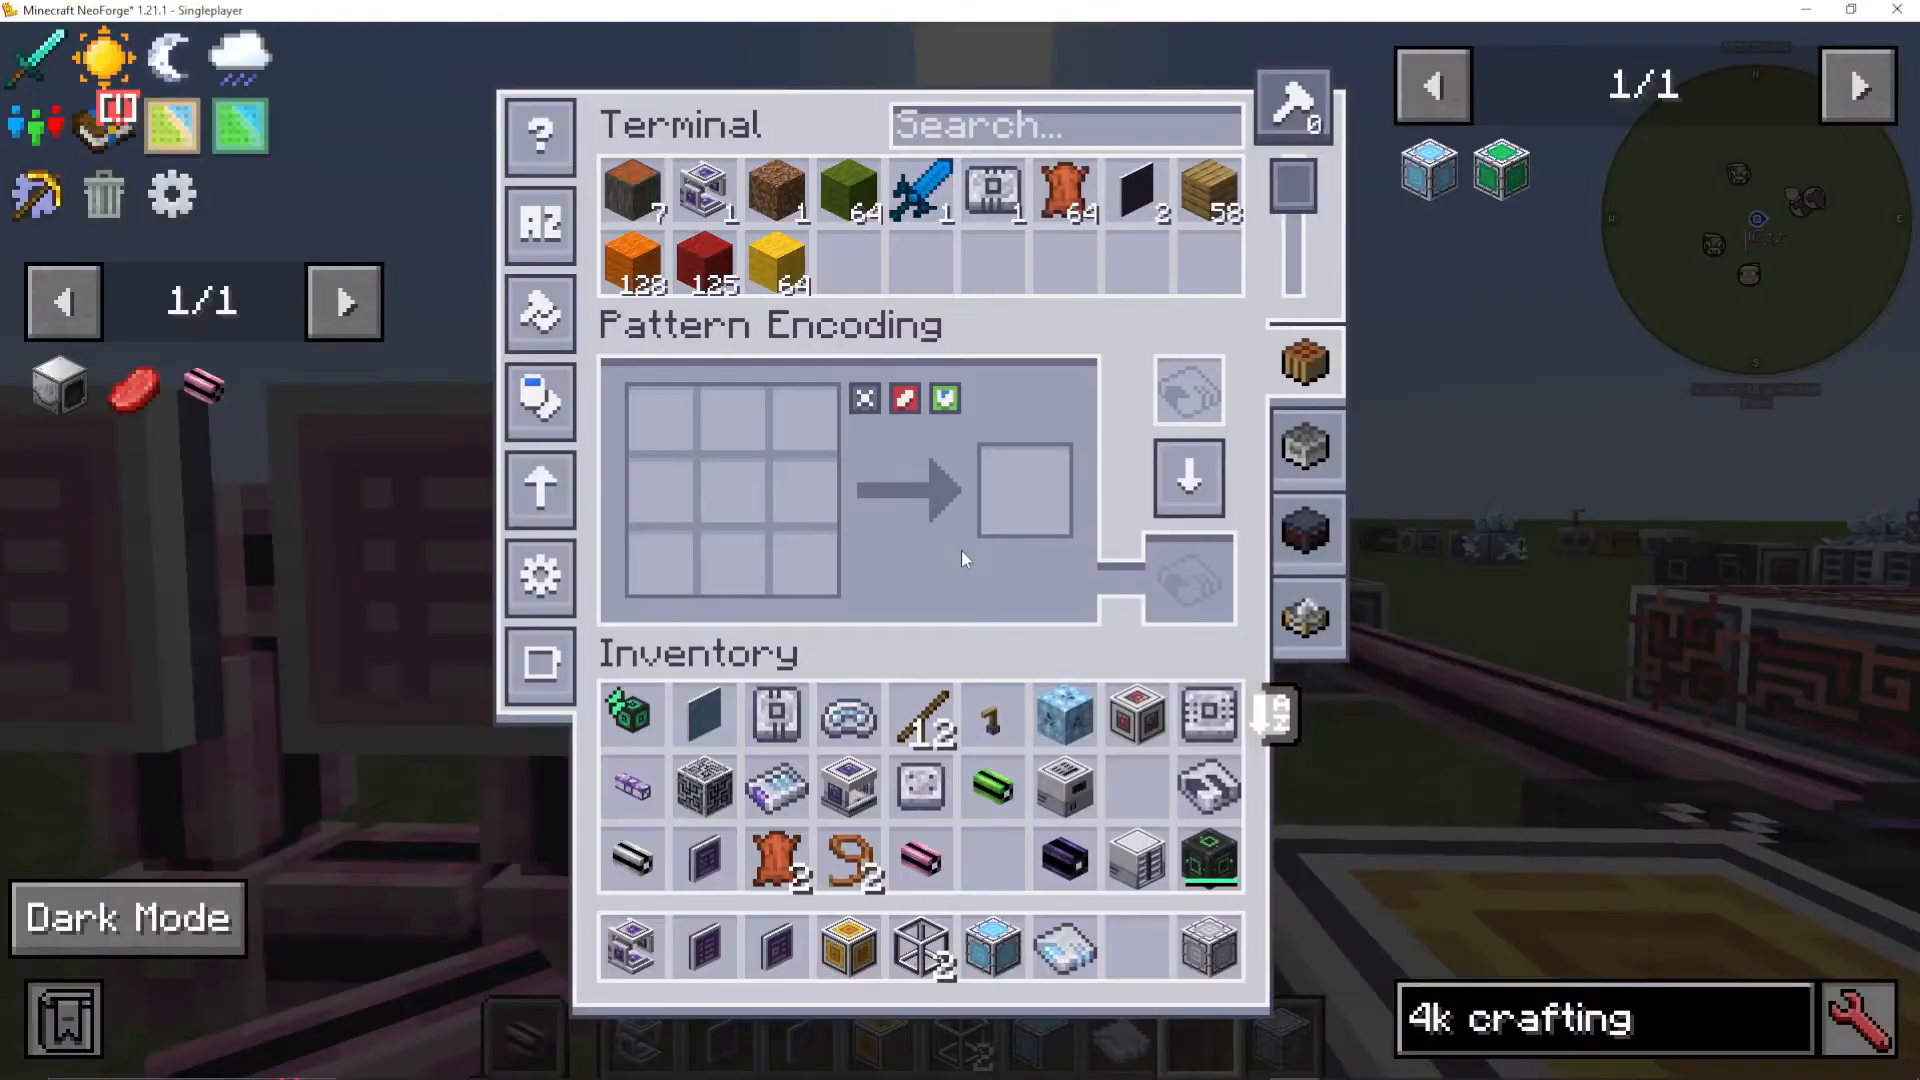
Place encoded patterns into your Pattern Provider, and they become available for crafting in any ME terminal showing a “+” indicator for craftable items.
Building Your Crafting CPU
The Crafting CPU is a multi-block made of:
Crafting Unit cores
Storage components (4K, 16K, 64K, or 256K)
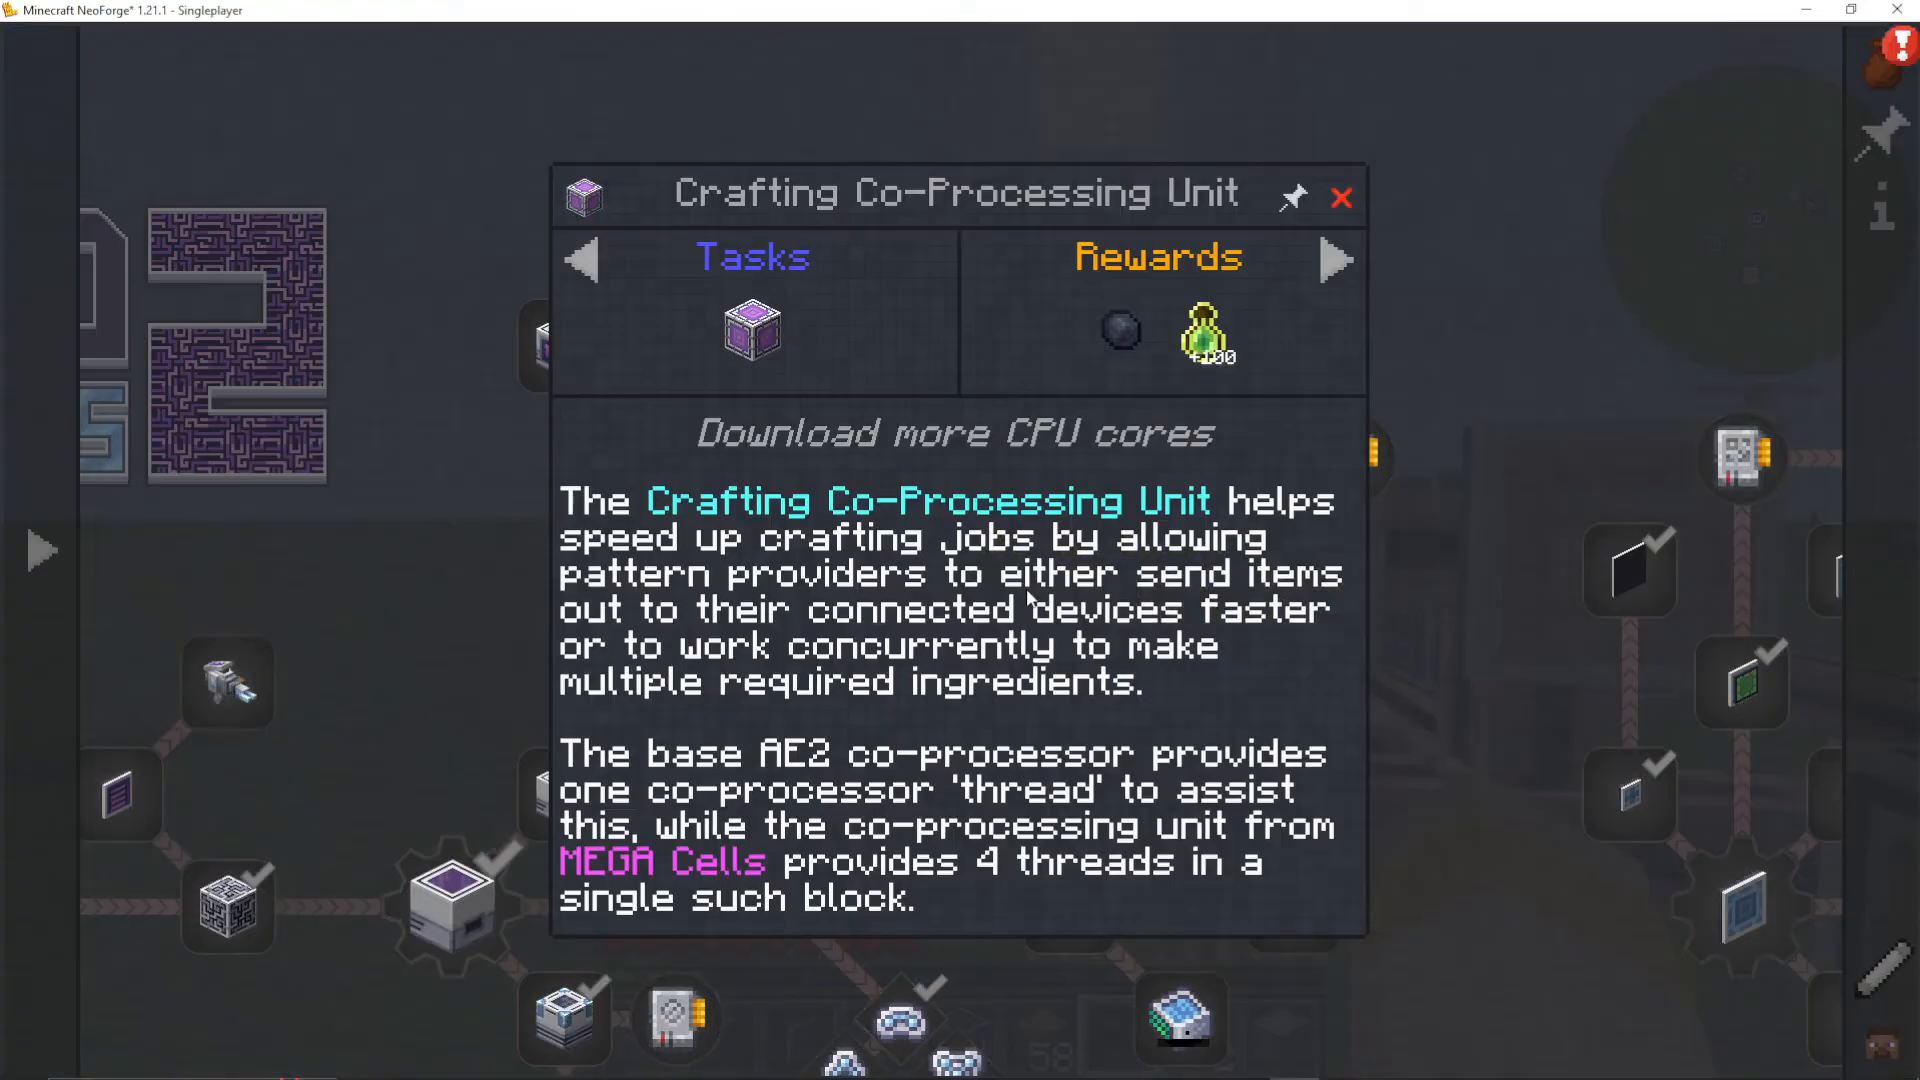
Co-Processors (optional, increases parallel crafting threads)
Arrange these in a cube or rectangular shape, and it becomes a functional crafting system. Larger, better-equipped CPUs can handle more complex multi-step recipes simultaneously.
Multi-Step Crafting
AE2’s true power emerges with multi-step crafting. If you create patterns for oak logs → planks, planks → sticks, and sticks + redstone → redstone torches, requesting 10 redstone torches will automatically:
Convert oak logs to planks
Convert planks to sticks
Combine sticks with redstone to create torches
The system handles all intermediate steps without manual intervention.
Advanced Networking: P2P Tunnels
P2P Tunnels are advanced networking tools that maximize channel efficiency by tunneling multiple channels through a single connection. While complex, they’re powerful for large systems.
Setting Up a Basic P2P Tunnel
P2P tunnels have input and output sides. To create one:
Build a small sub-network with its own power supply (using quartz fiber, which transfers power but not channels)
Place a P2P tunnel input against a controller’s dense cable
Place a P2P tunnel output on the sub-network’s connection point
Right-click the input tunnel with a memory card to assign a frequency
Right-click the output tunnel with the memory card to link them
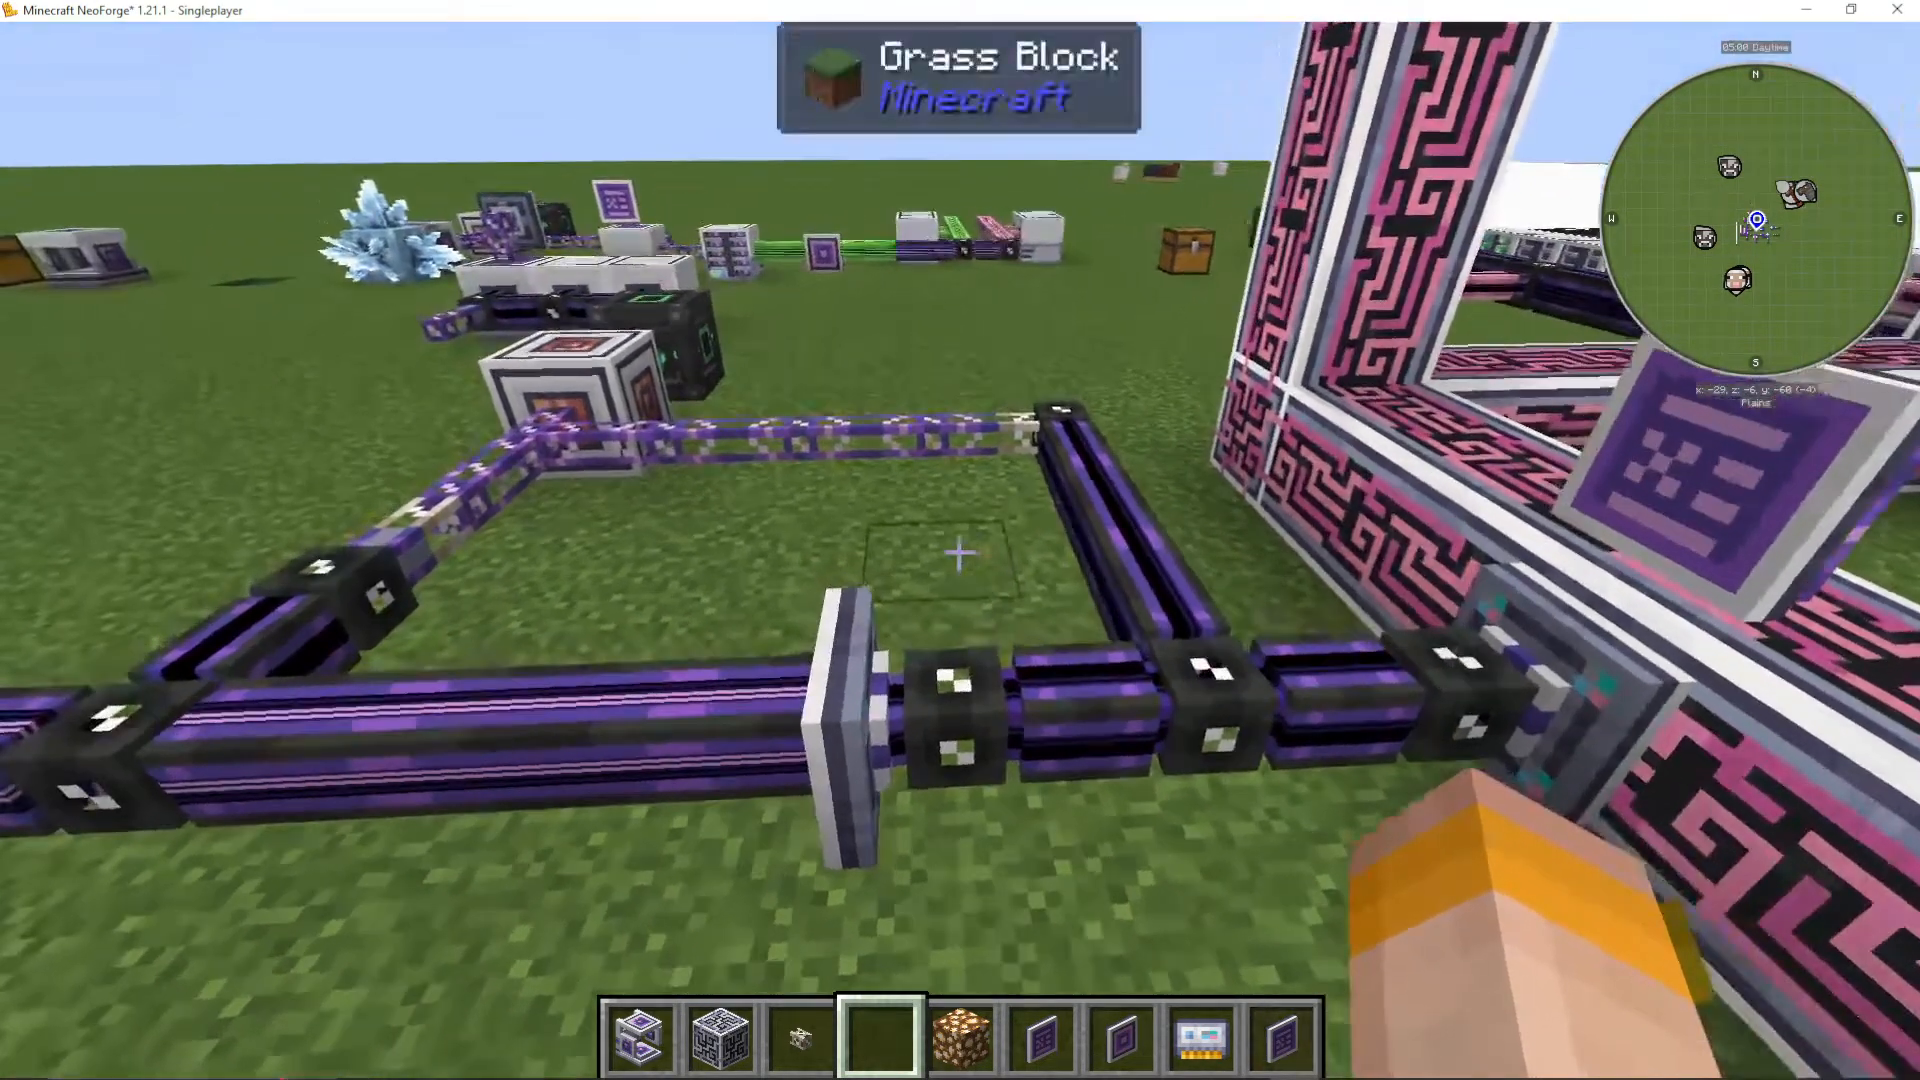
Once linked, the input tunnel carries channels through the tunnel to the output, using only 2 channels on the controller while transmitting up to 32 channels through the tunnel to the sub-network.
Advanced P2P Applications
P2P tunnels support not just items but also fluids, energy, and light signals. Create complex networks with multiple sub-systems feeding into a main controller hub.
Spatial Storage: Moving Builds
Spatial Storage lets you copy or move structures using your ME network. This requires spatial pylons and a spatial IO port.
Setting Up Spatial Storage
Place Spatial Pylons in a rectangular pattern to define an area. The pylons must not be touching blocks—they define the boundaries of your copyable region. Insert a Spatial Storage Cell into the Spatial IO Port and press the button to copy the area into the cell.
You can then carry the cell to a new location, place new pylons, reinsert the cell, and press the button again to place the copied structure. This is invaluable for relocating bases or managing multiple building projects.
Improving Efficiency with Pylons
Adding more pylons around the perimeter increases efficiency, reducing the energy cost of copying large areas. Efficiency percentages directly reduce the AE power required for the operation.
Spatial Anchors
A Spatial Anchor chunk-loads the area around your network, ensuring chunks remain loaded even when you’re far away. Configure it with your network, and it will keep surrounding chunks active.
Wireless Networking: Quantum Bridges
For true wireless access across dimensions, Quantum Bridges use quantum entanglement to link networks without cables.
Creating Quantum Entangled Singularities
The process requires extreme endgame resources:
Use a Matter Condenser to convert 256,000 items (256 stacks × 64) into a singularity
Throw the singularity and Ender Dust on the ground
Detonate them with Tiny TNT (made from Certus Quartz and gunpowder)
Collect the resulting pair of quantum entangled singularities
Building Quantum Link Chambers
Construct a 3x3x3 hollow cube using Quantum Rings, placing a Quantum Link Chamber in the center. This becomes a multi-block device. Insert one quantum singularity into each chamber to link two networks across any distance or dimension.
Connect terminals to the linked networks, and they can freely access items from both systems as if they were connected by cables.
Portable Quantum Networking
For portable access, create a Quantum Bridge Card and insert it into a Wireless Crafting Terminal along with a quantum singularity. This portable terminal can access linked networks from anywhere within range.
Wireless Access Points
A simpler wireless alternative uses Wireless Access Points combined with standard wireless terminals. Place a wireless access point on your network, insert a wireless crafting terminal, and the terminal becomes linked to that network.
Extending Wireless Range
Insert Wireless Boosters into the access point to increase range:
Base range: 16 meters
With 64 boosters: 500+ meters
With infinity booster (from the AE Infinity Booster add-on mod): unlimited range
Fine-Tuning with the ME Level Emitter
The ME Level Emitter provides redstone control based on stored item quantities. Configure it to emit a signal when your network has above or below a certain amount of an item. Use this to automatically stop farms or factories when inventory targets are reached.
For example, set a level emitter to emit redstone when your network contains 1,000 oak logs. Connect this signal to your farm’s power, and the farm stops working until logs drop below the threshold.
Summary
You’ve now learned the complete AE2 workflow: from mining Certus Quartz in meteorites, through basic storage and auto crafting, to advanced wireless networks and spatial storage. Applied Energistics 2 transforms Minecraft into a fully-automated factory paradise where your systems can craft, store, and distribute items across your entire world—even across dimensions.
The key to mastering AE2 is understanding that everything is a network. Start simple with a single drive and expand gradually. As you grow comfortable with channels, controllers, and auto crafting, layer in P2P tunnels and wireless systems. Soon you’ll have a truly impressive automated base that handles almost everything.
Experiment with different designs, automate your farms, and don’t hesitate to redesign as you learn what works best for your playstyle. Applied Energistics 2 rewards both careful planning and creative problem-solving.
— Want to Support? —
If you would like to help us continue making these guides – please consider joining our patreon here – https://www.patreon.com/c/JaviHeals
Alternatively – we host a group of MC Servers you can join here – https://discord.gg/zD7Gjt6MHF



