








The Ultimate Beginners guide to All The Mons
The Ultimate Beginners Guide to All The Mods – Cobblemon Edition
Welcome to your complete beginner’s guide to Cobblemon in the All The Mods modpack. Whether you’re just starting your Pokémon adventure or looking to understand the core mechanics of this popular mod, this guide covers everything you need to know to get started. Based on ATM 10, this tutorial will walk you through selecting your starter Pokémon, managing your team, obtaining Pokéballs, battling trainers, and much more.
Getting Started with Cobblemon
Selecting Your Starter Pokémon
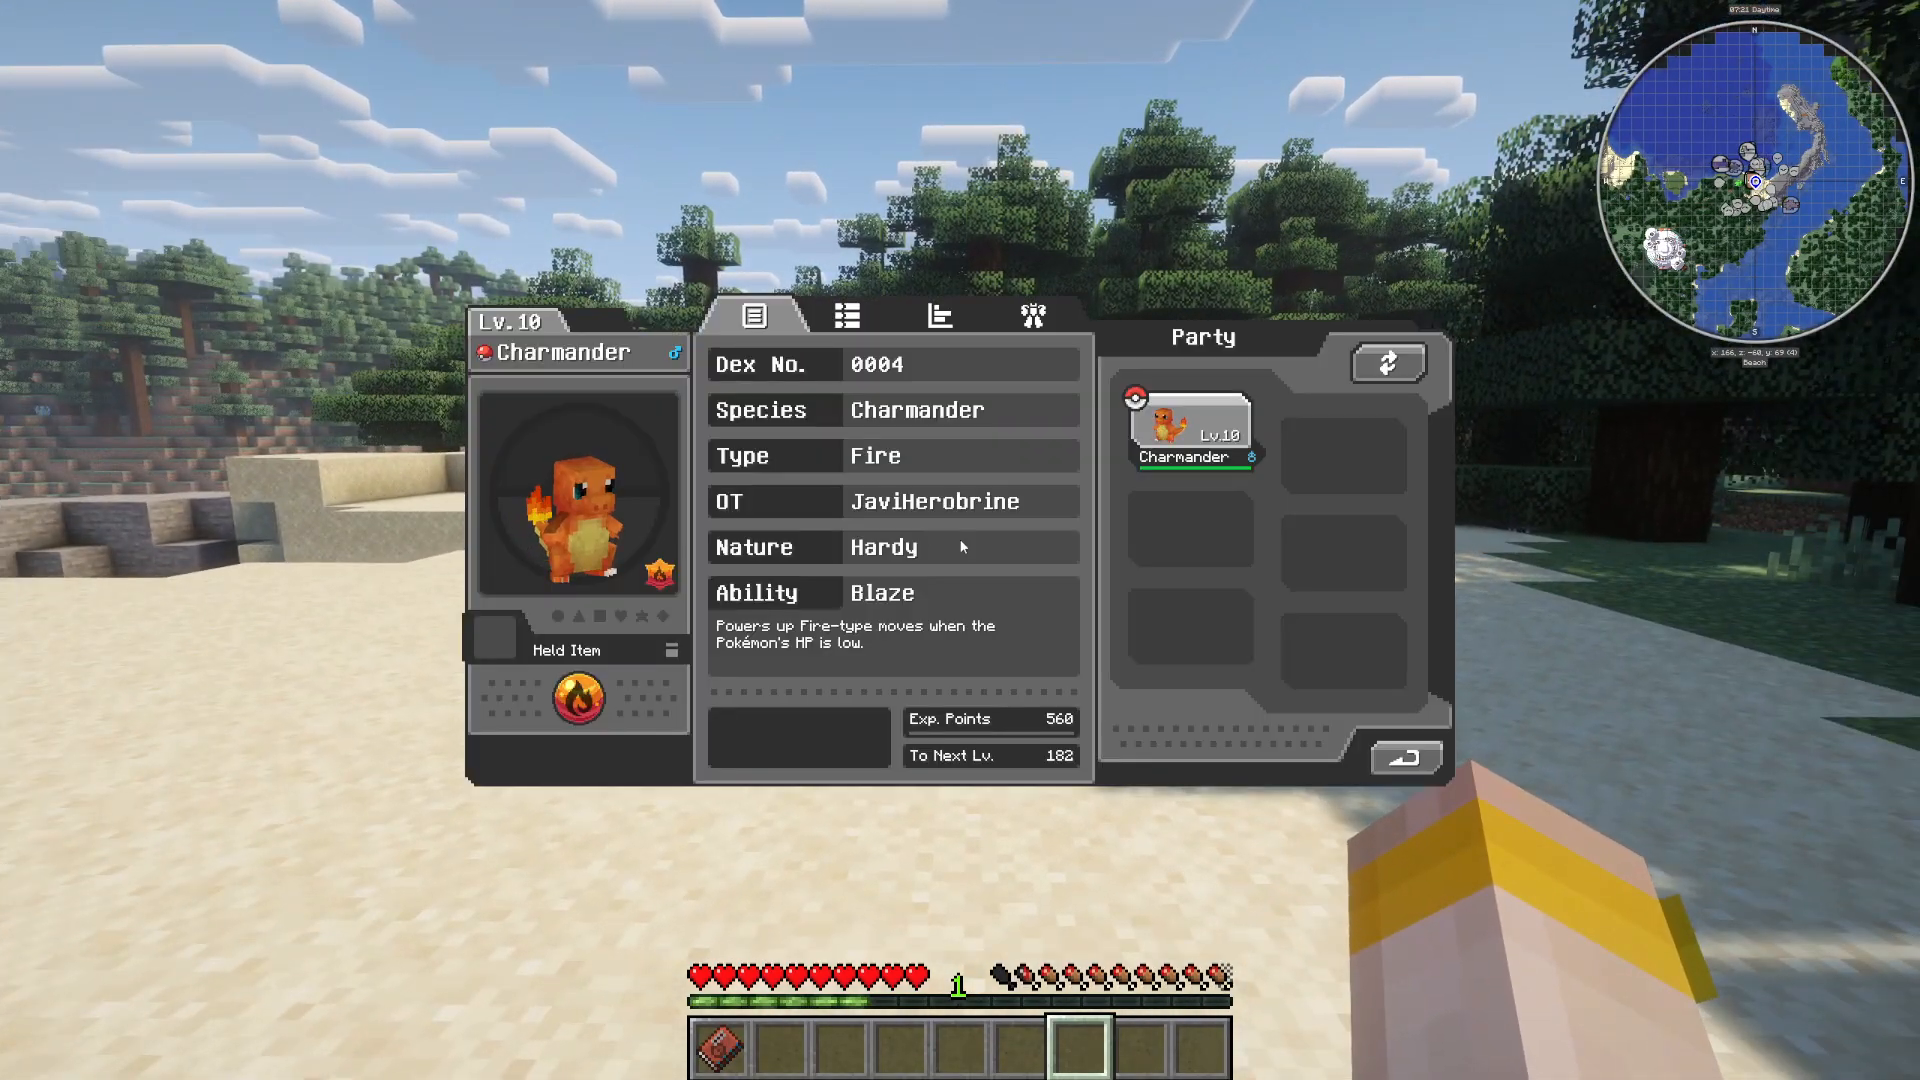
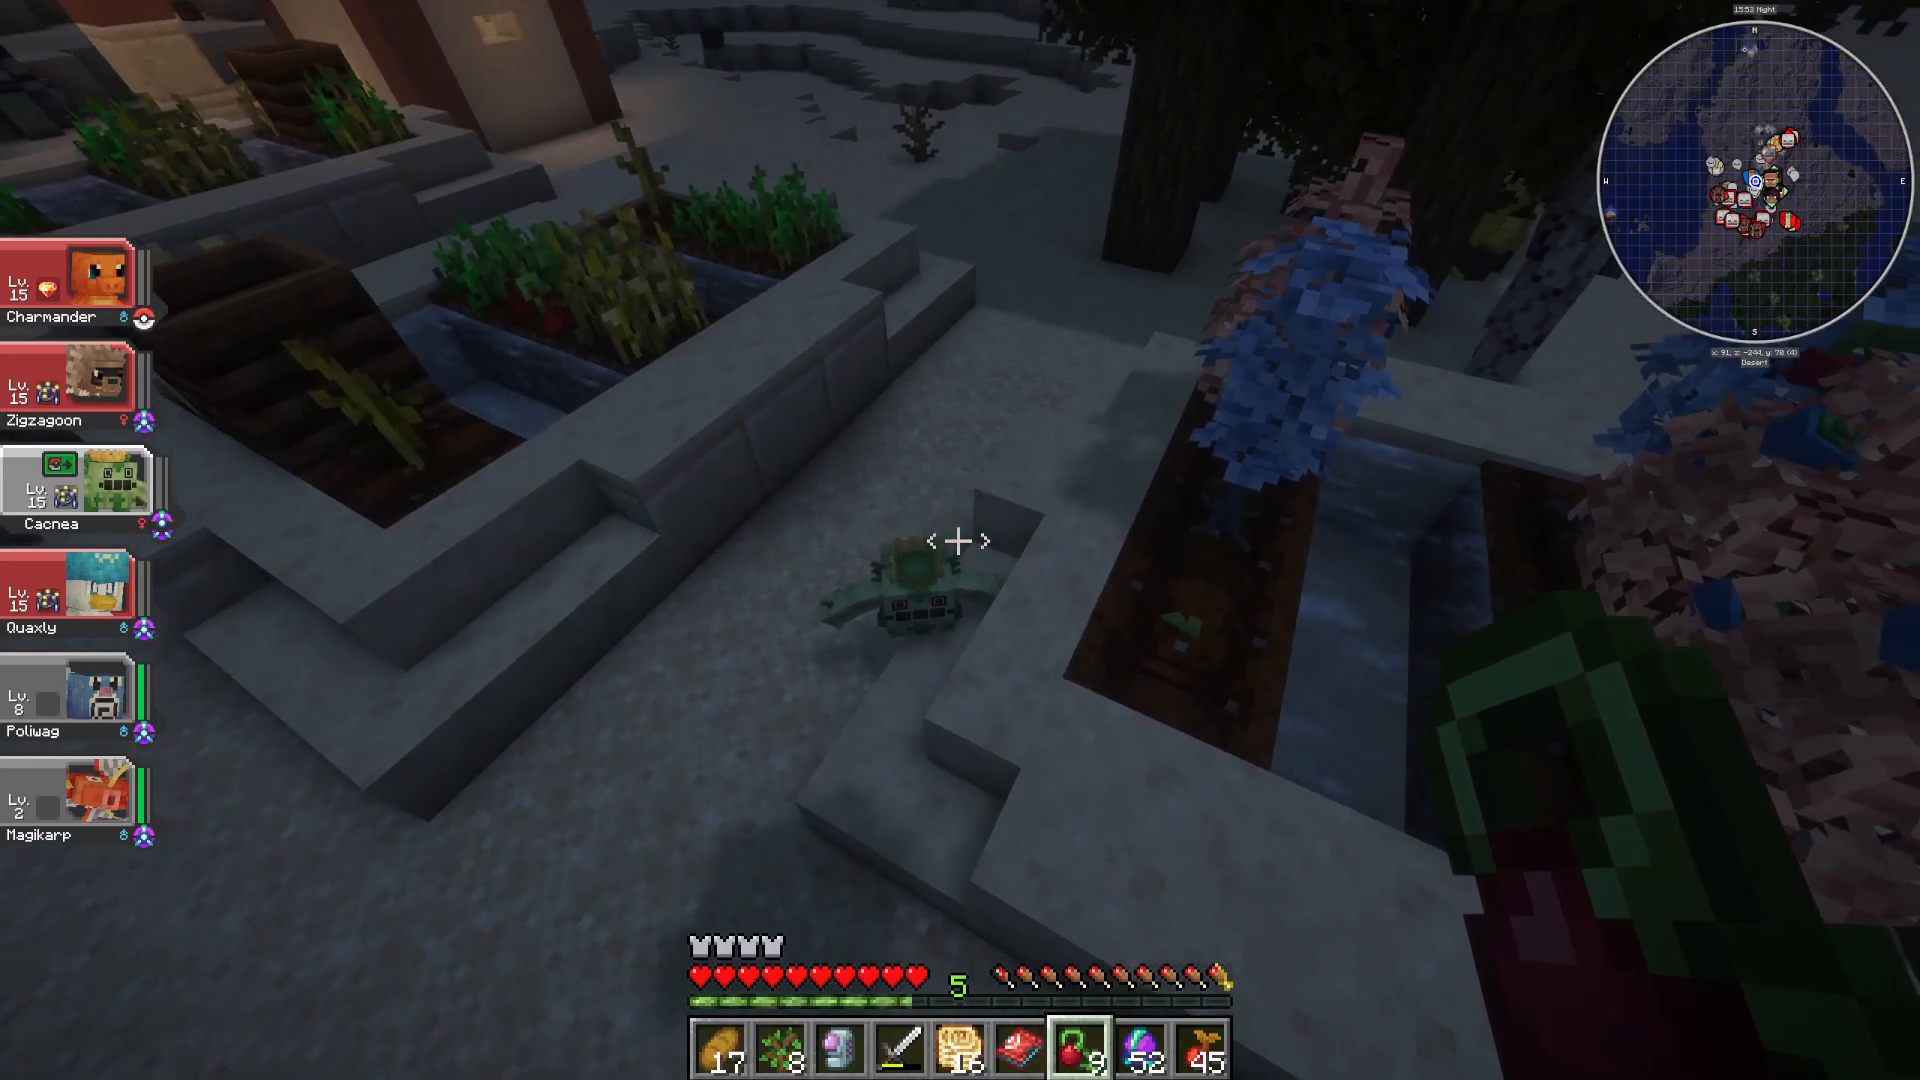
To begin your Cobblemon adventure, press M on your keyboard. This will open a selection menu where you can choose your starter Pokémon from various regions including Hoenn, Johto, and others. Simply select your starter—for example, Charmander—and it will appear on the left side of your screen.
Customizing Controls and Key Binds
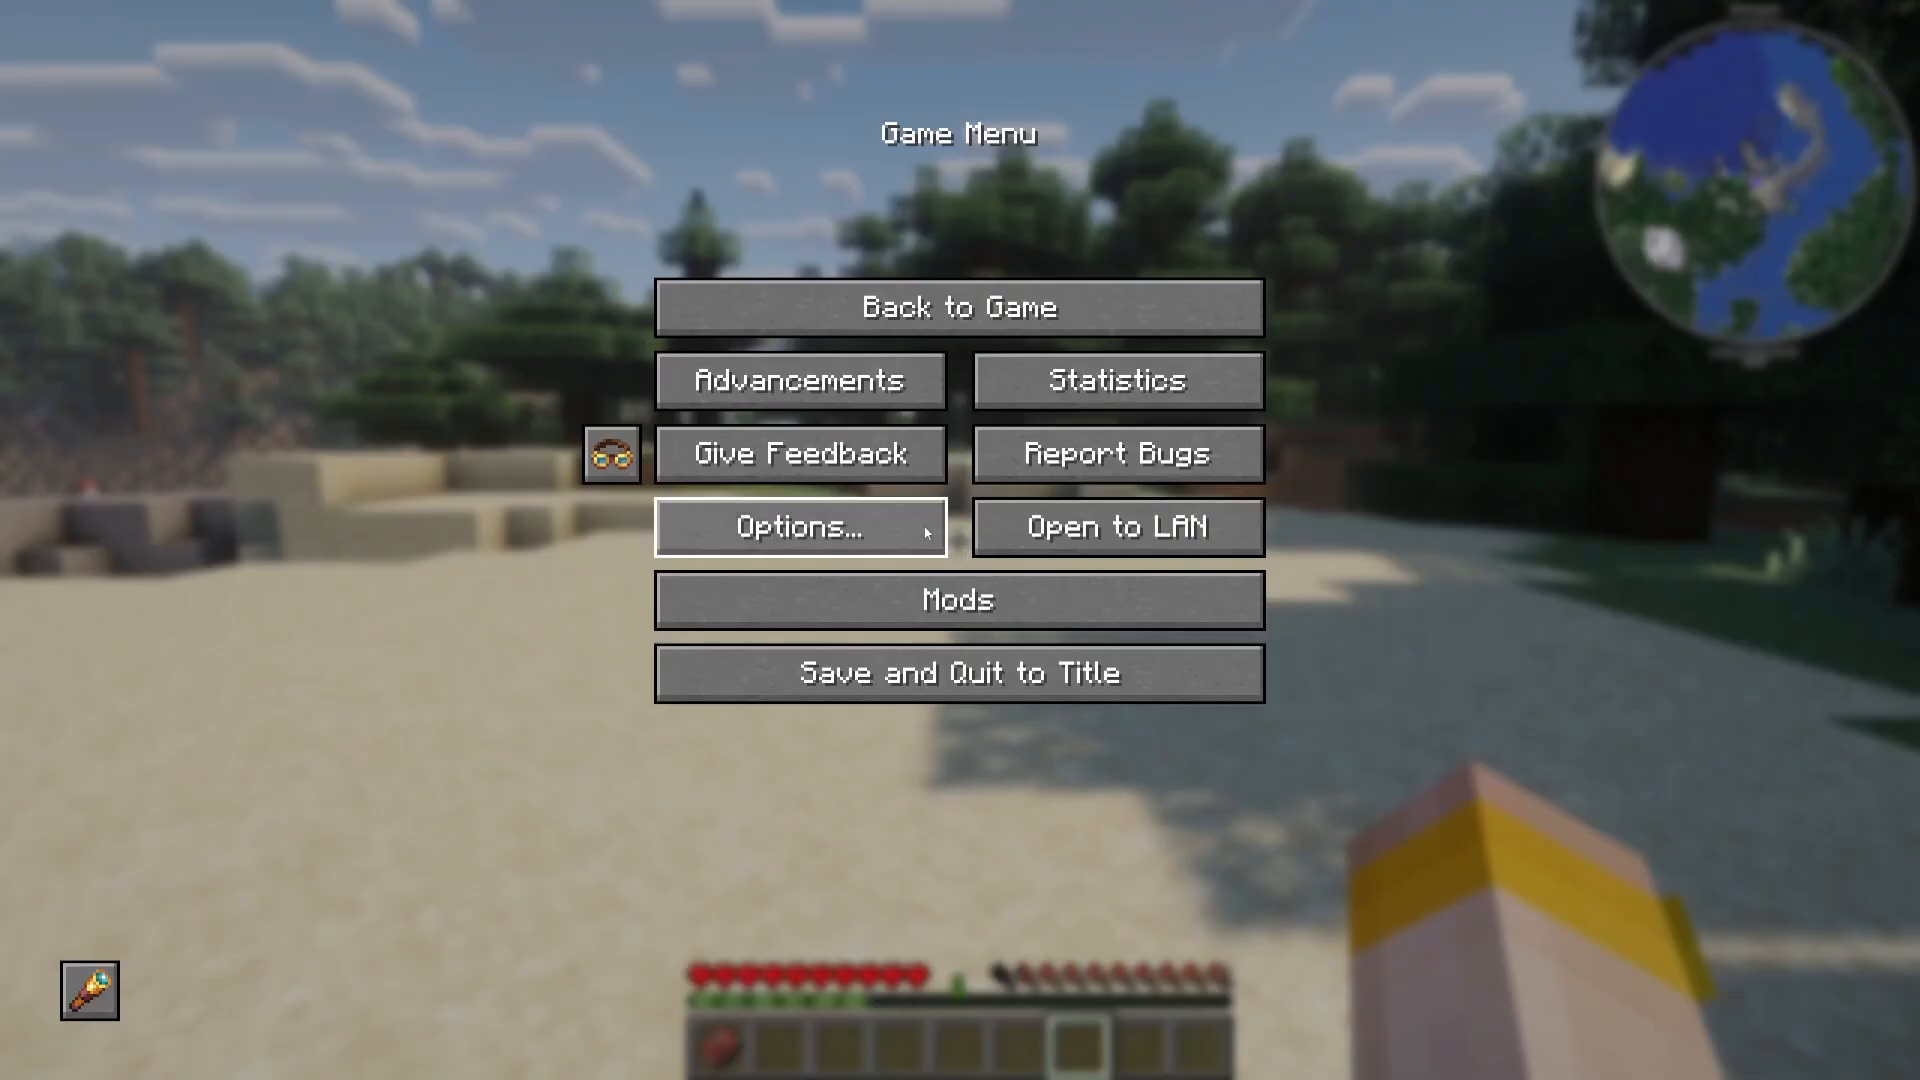
To customize your Cobblemon controls, navigate to Options > Controls > Key Binds. Here you can:
Search for specific keybinds by typing in the search box
Filter by the “Cobblemon” category to see all Cobblemon-related bindings
Toggle the “Hide Party Overlay” option to remove the Pokémon display from the left side of your screen
Review and adjust any conflicting key bindings
Obtaining Pokéballs Early Game
The Villager Trading Method
While Pokéballs can be obtained through complex automation setups using OriTech or other machinery, there’s an easier early-game method using Villagers. Here’s how:
Use the Easy Villagers mod to crouch and right-click on Villagers to pick them up
Transport them to your base and place them down
Create a PC (which is very simple to craft)
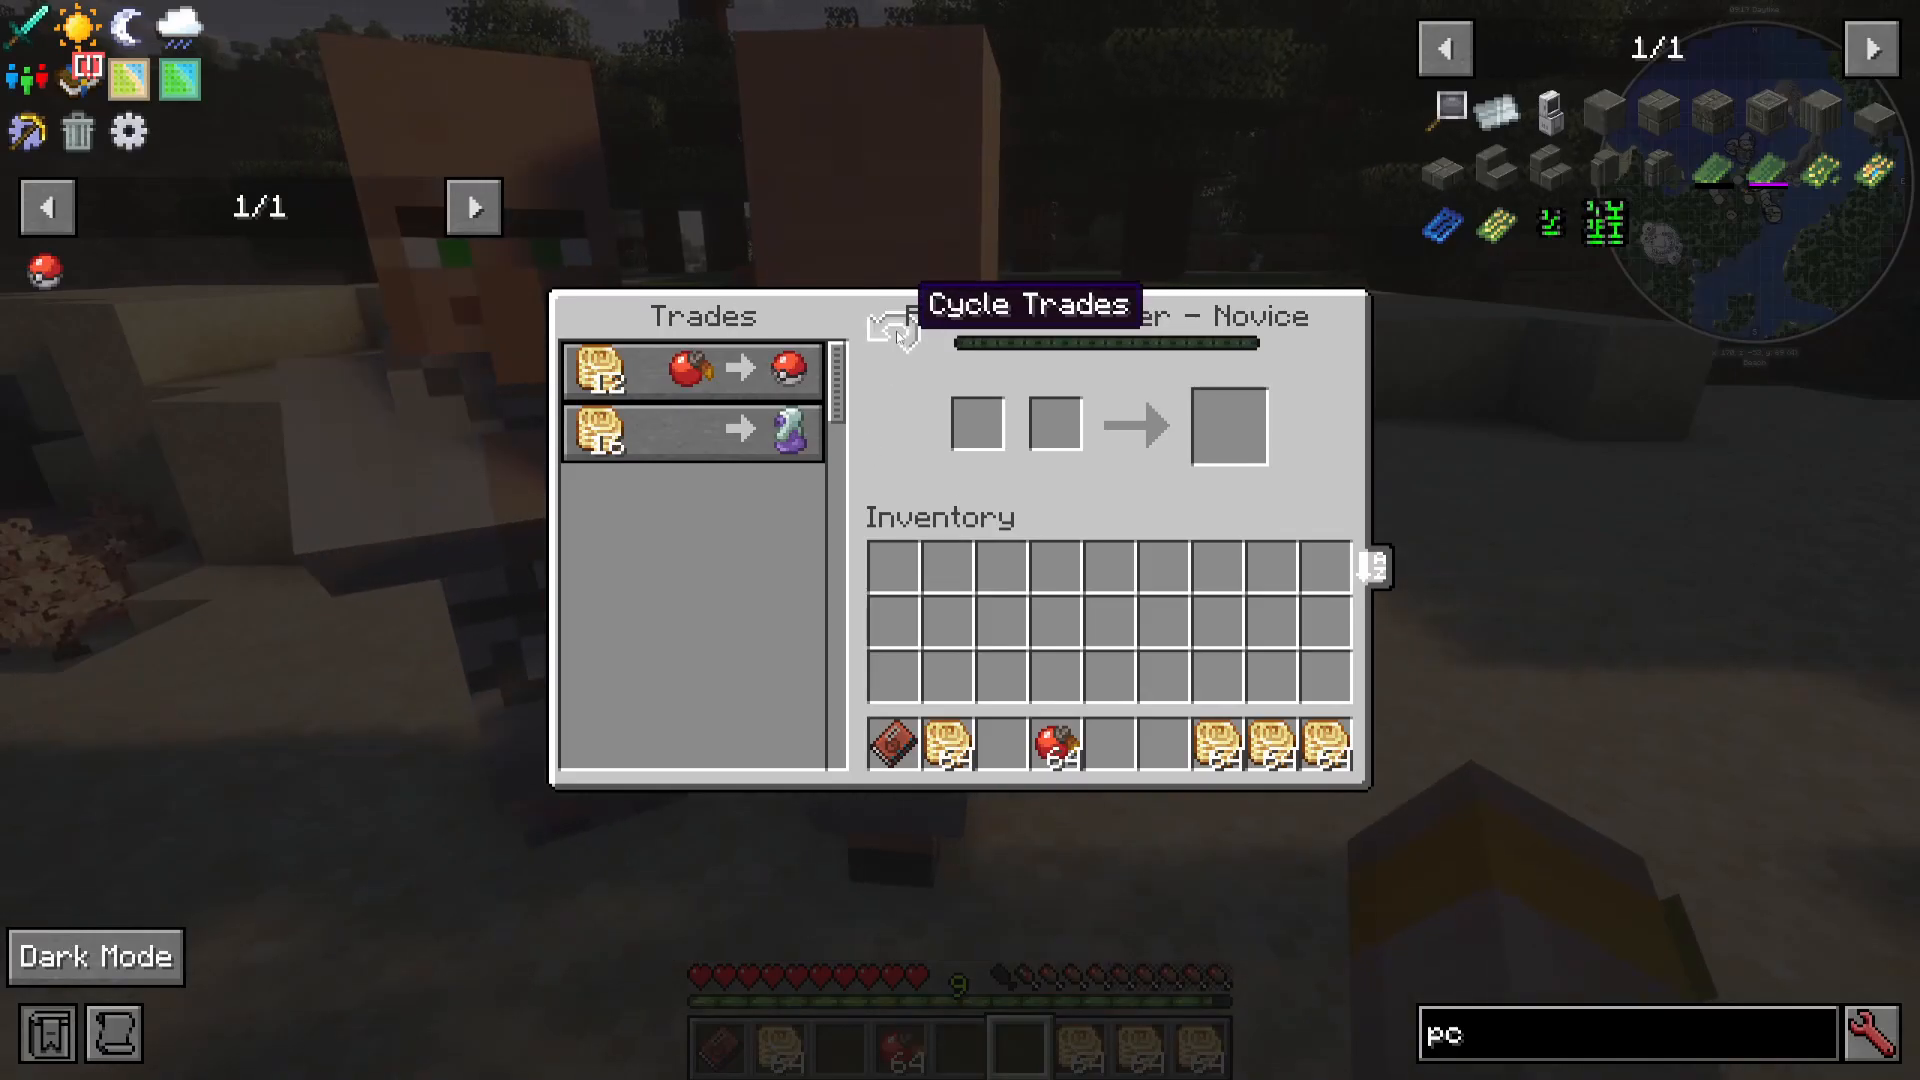
The PC creates a workstation that converts into a Pokémon Trader
Trade Poke Tokens and Red Apricorns for Pokéballs
Obtaining Apricorns
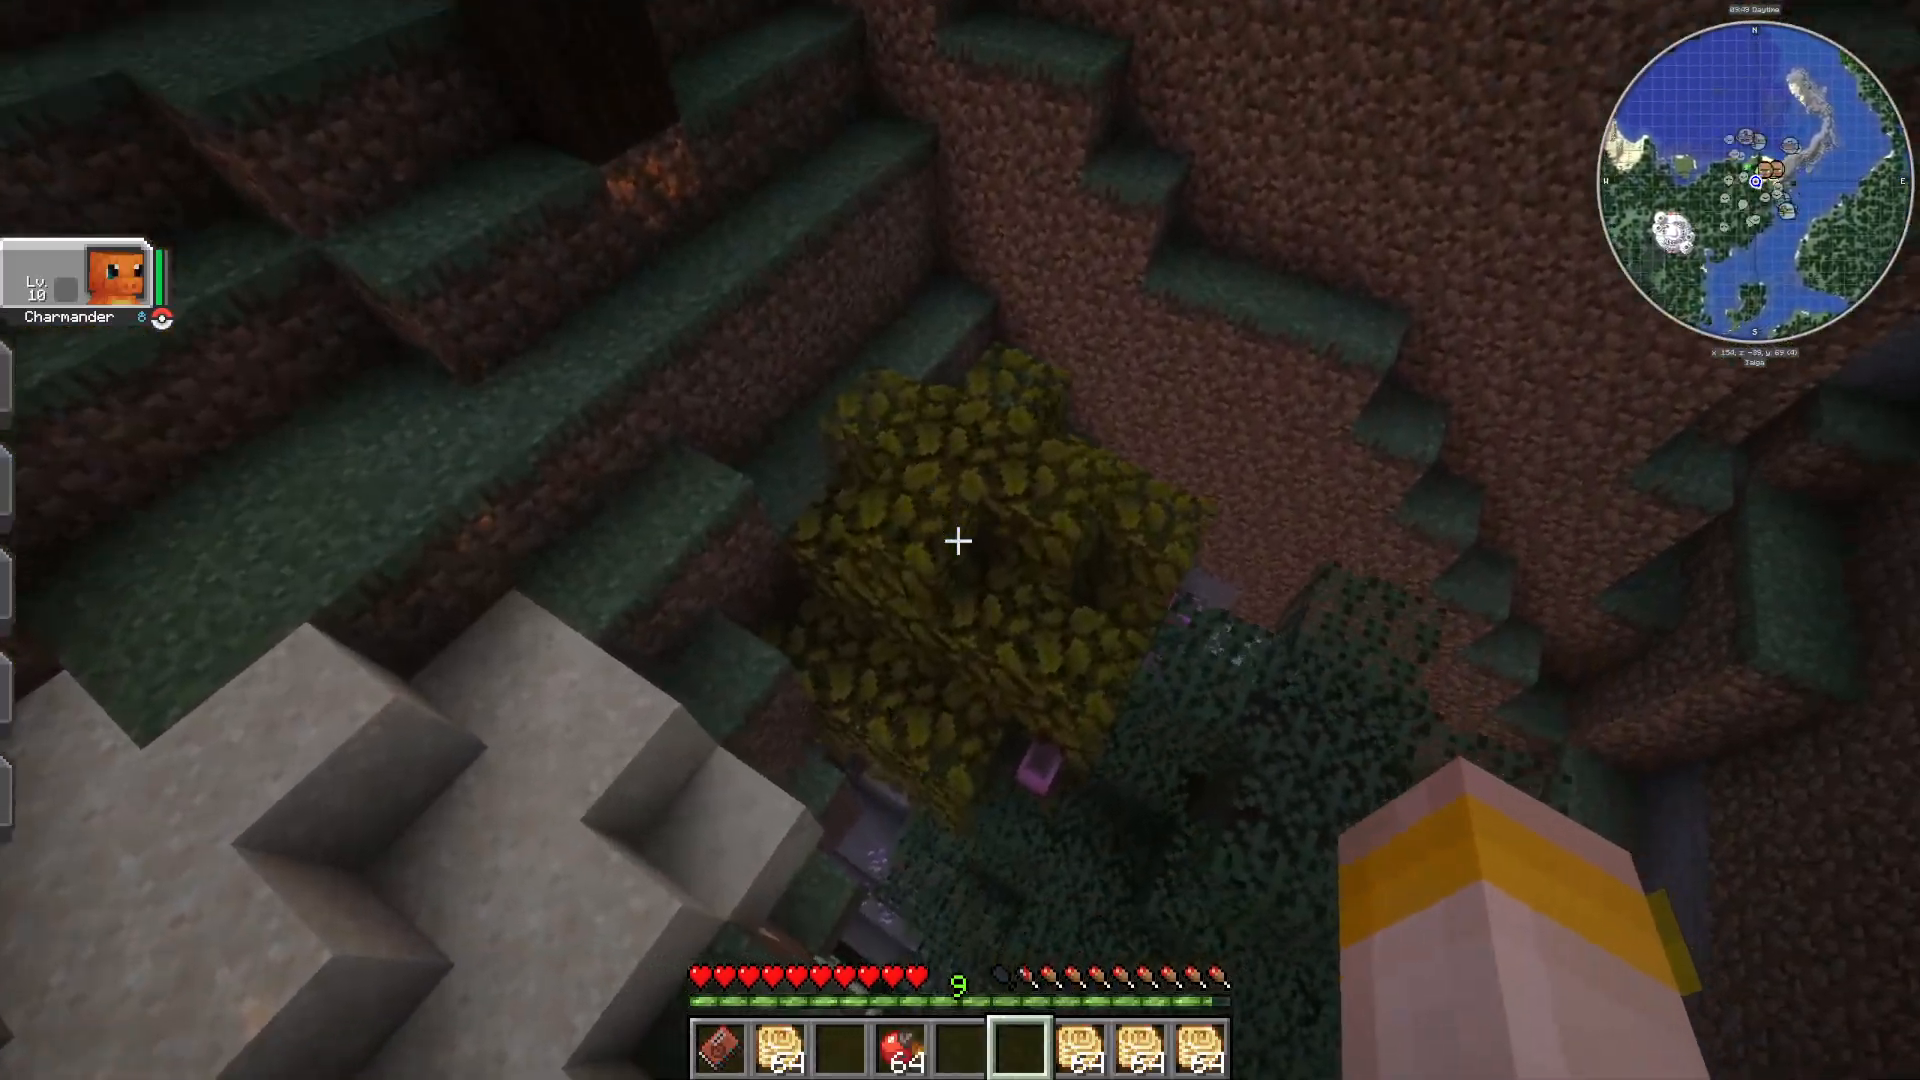
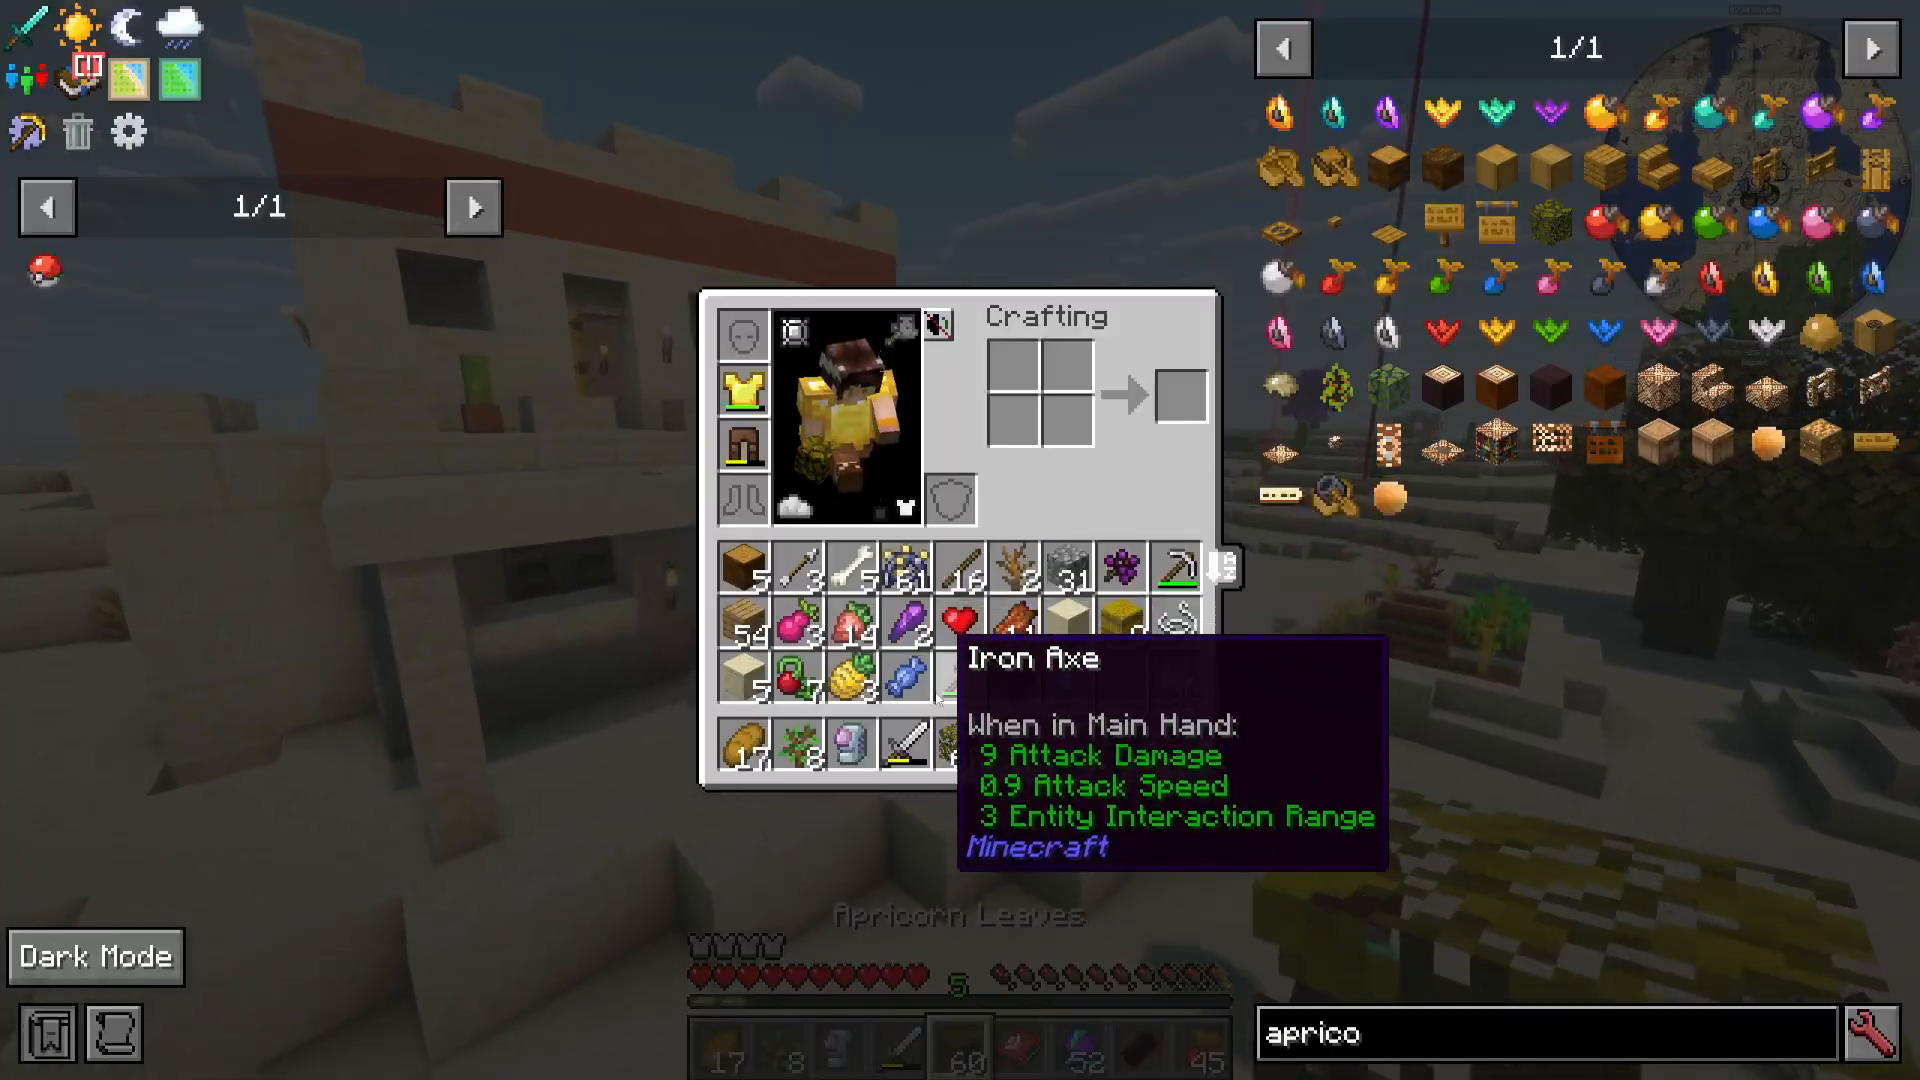
Apricorns are essential for trading with villagers. You can find them on apricorn trees throughout the world:
Harvest apricorns directly from trees (they appear in various colors: red, yellow, pink, etc.)
Use bone meal on apricorn trees to increase your chances of obtaining rare apricorn sprouts
Plant apricorn sprouts on apricorn leaves (shear leaves from existing apricorn trees using shears)
You can plant sprouts on every side of an apricorn leaf block
Once established, bone meal the trees repeatedly to grow your apricorn farm
Upgrading Villager Trades
Villagers have multiple trade tiers. Before making your first trade, you can cycle through different trade options by right-clicking. Once you’ve upgraded a villager (for example, to Apprentice level), you’ll unlock better trades such as:
Trading blue and yellow apricorns for moon balls and lure balls
Obtaining potions to heal your Pokémon
Managing Your Pokémon Team
Viewing and Switching Pokémon
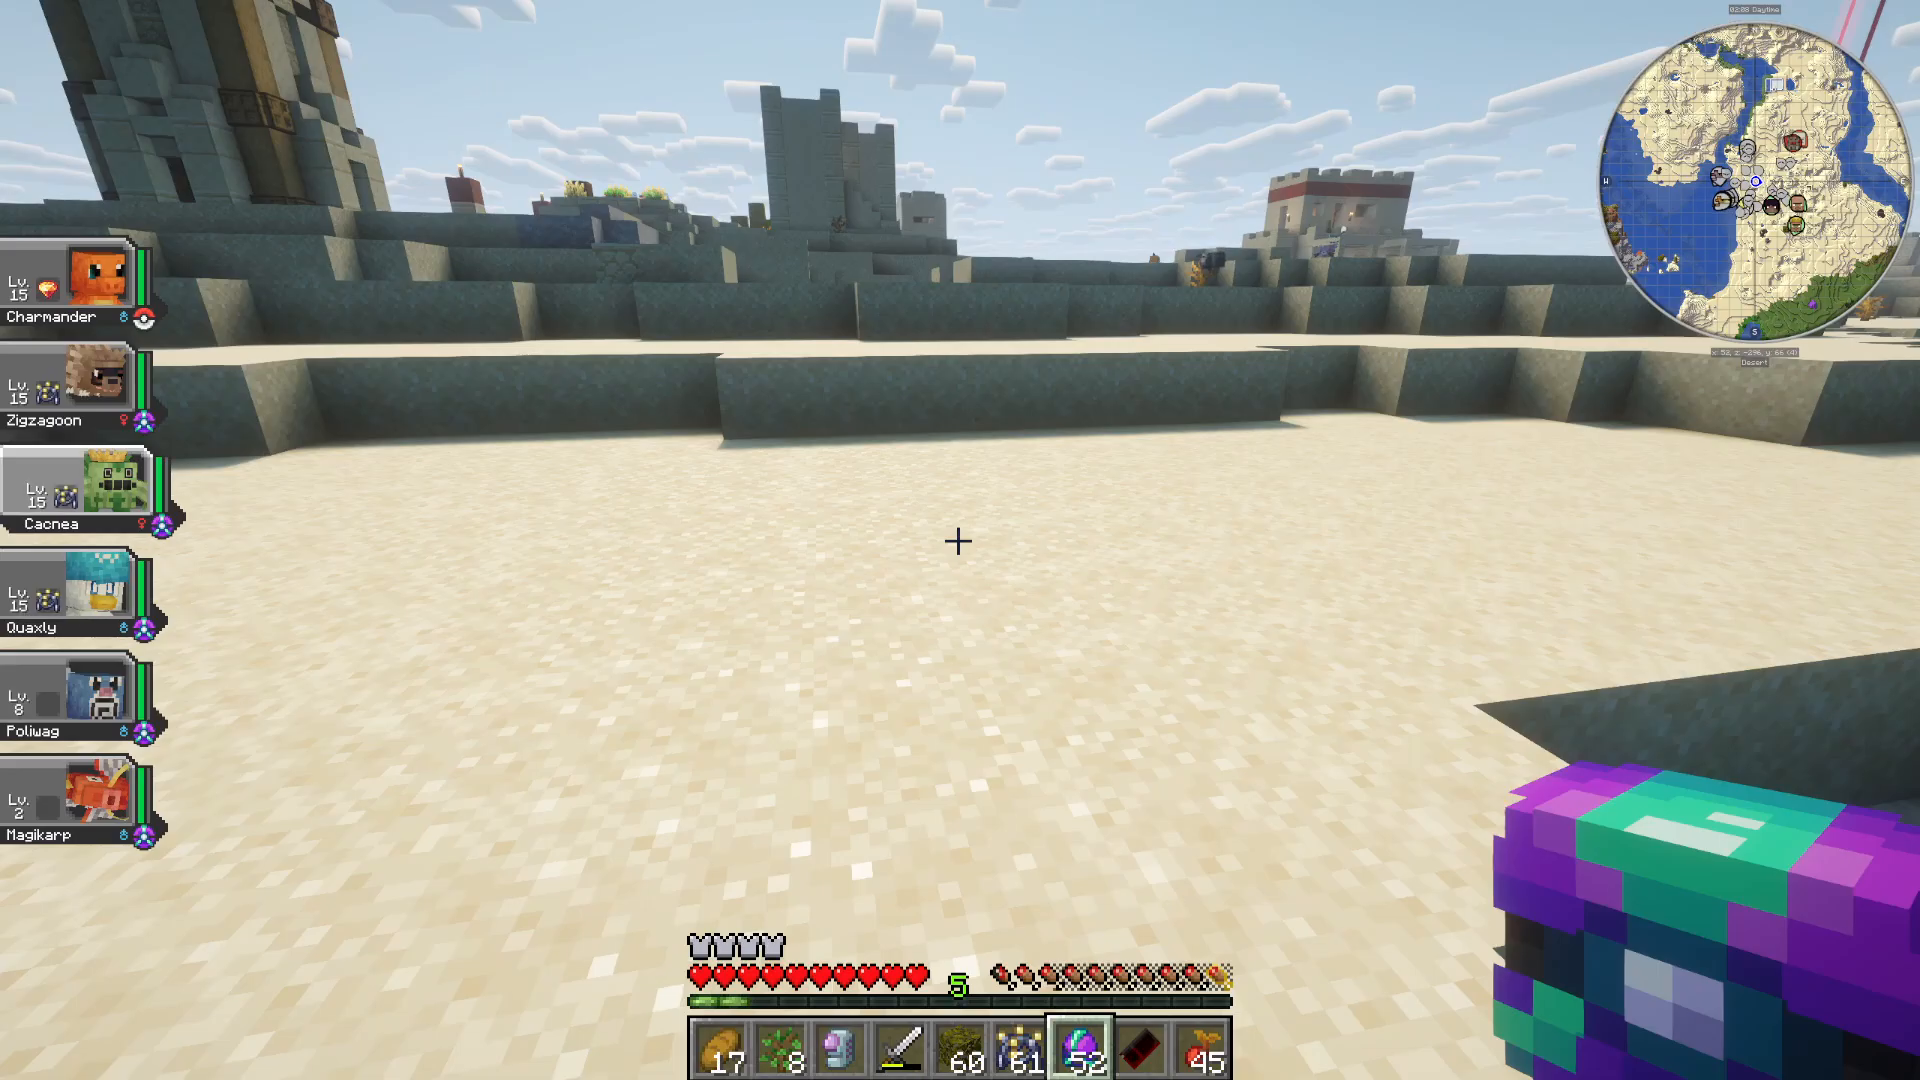
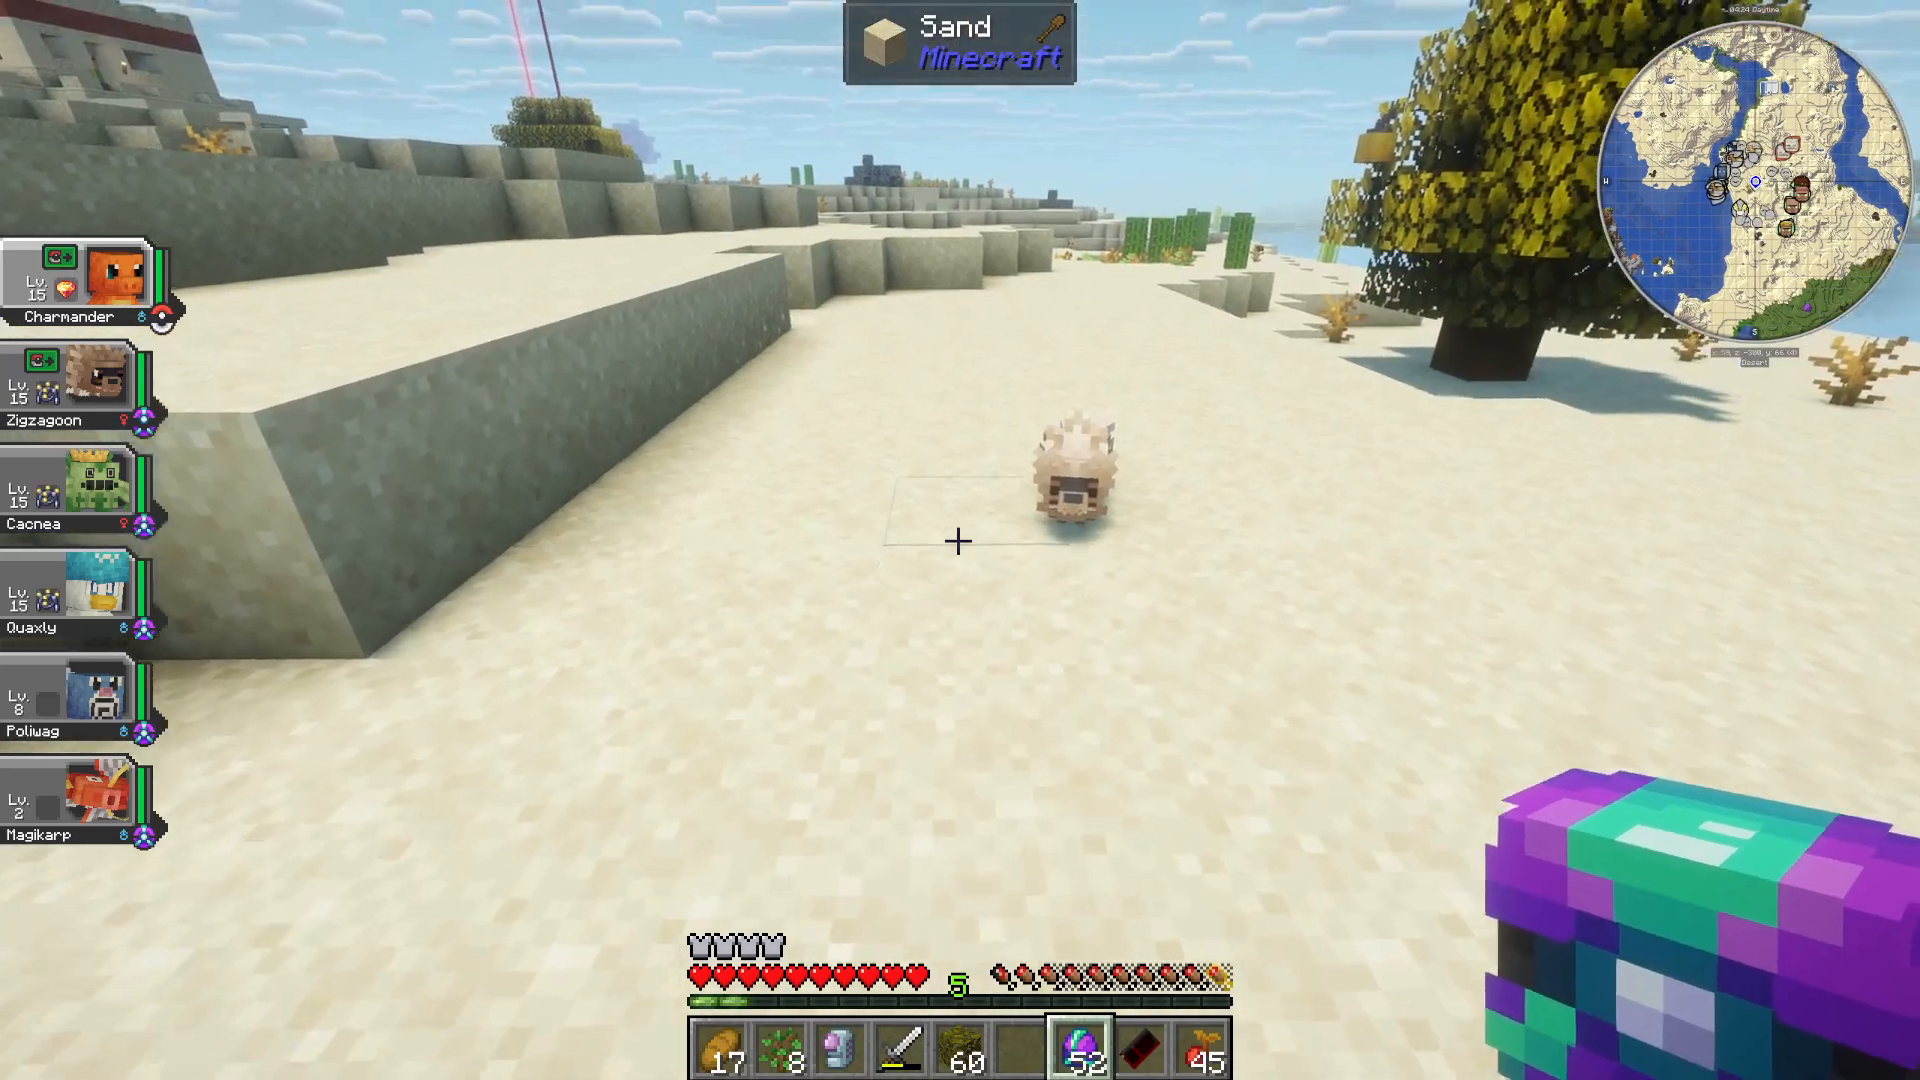
Press R to send out your active Pokémon. Use the Up and Down arrow keys to cycle through your team members. Press R again to return a Pokémon to its Pokéball.
Accessing Your Team Menu
Press M (for Mike) to open your team selection screen. Here you can view:
Pokédex numbers and species
Ownership information
Nature and abilities
Held items
All team members at a glance
Friendship levels (under the “Other” tab)
Giving Items to Your Pokémon
To equip your Pokémon with items:
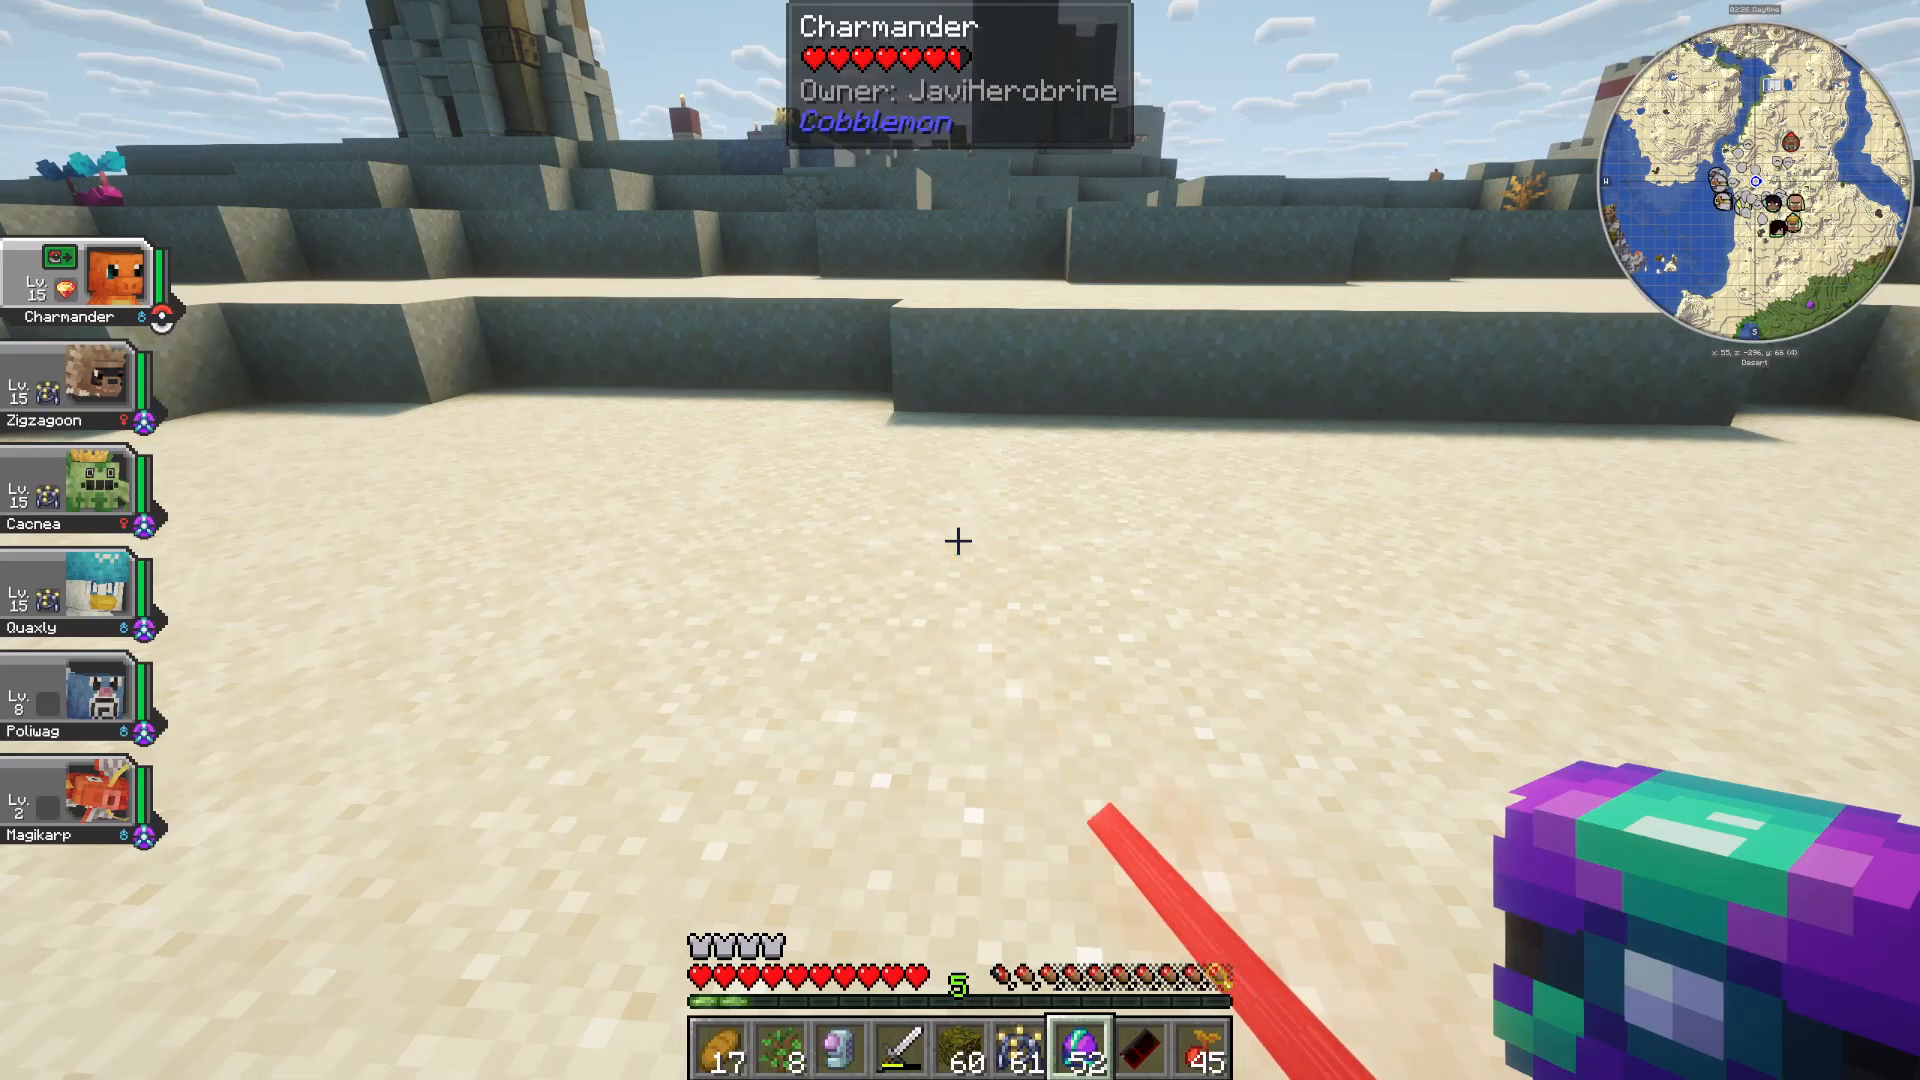
Send out a Pokémon by pressing R
Hold the item you want to give them in your hand
Crouch and right-click to open the interaction wheel
Select “Change Held Item”
The item will now appear in the top left corner of the screen, showing your Pokémon is holding it
Using Multiple Pokémon at Once
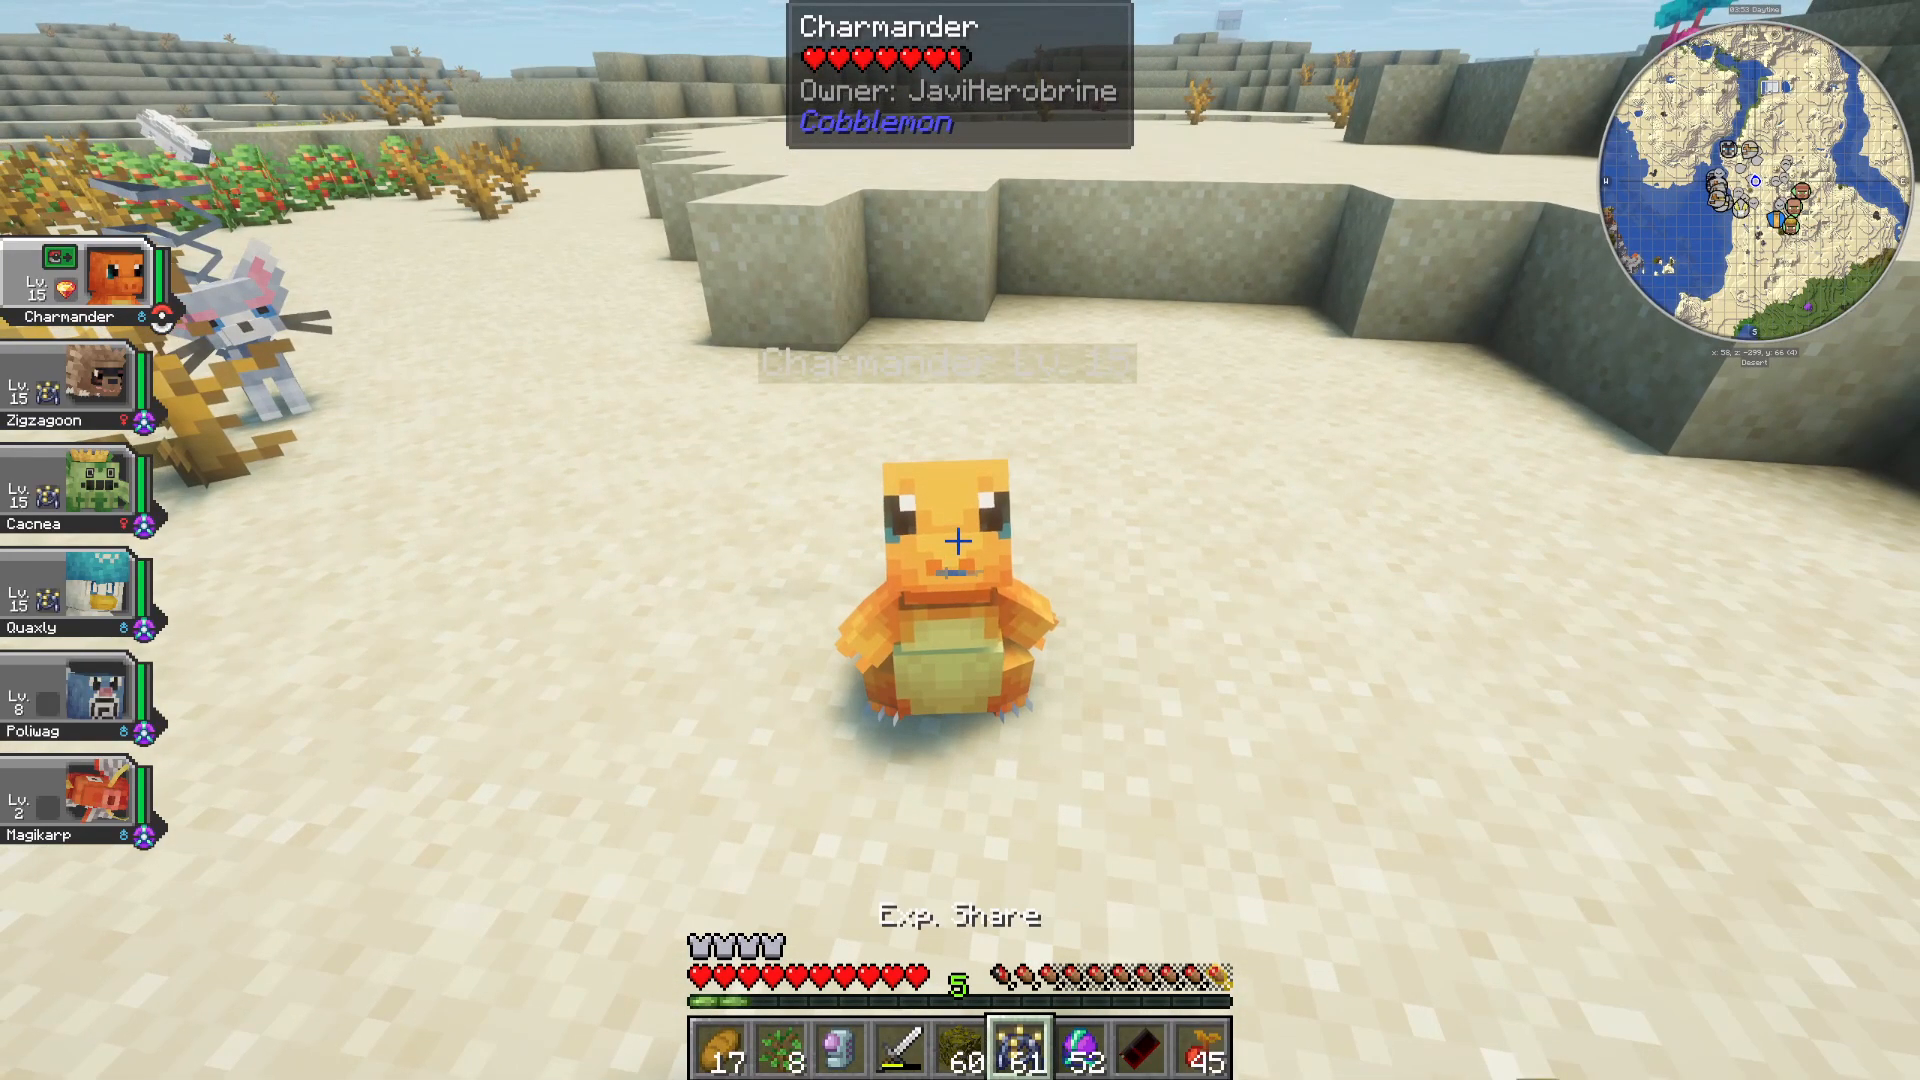
You can have multiple Pokémon out simultaneously. When a Pokémon is active:
Right-click on a Pokémon to see additional options
Choose “Shoulder” to have a Pokémon ride on your shoulder
Use “Change Cosmetic” to modify its appearance or clothing
Toggle between “Held Item” and “Cosmetic” displays as needed
Changing Pokémon Moves
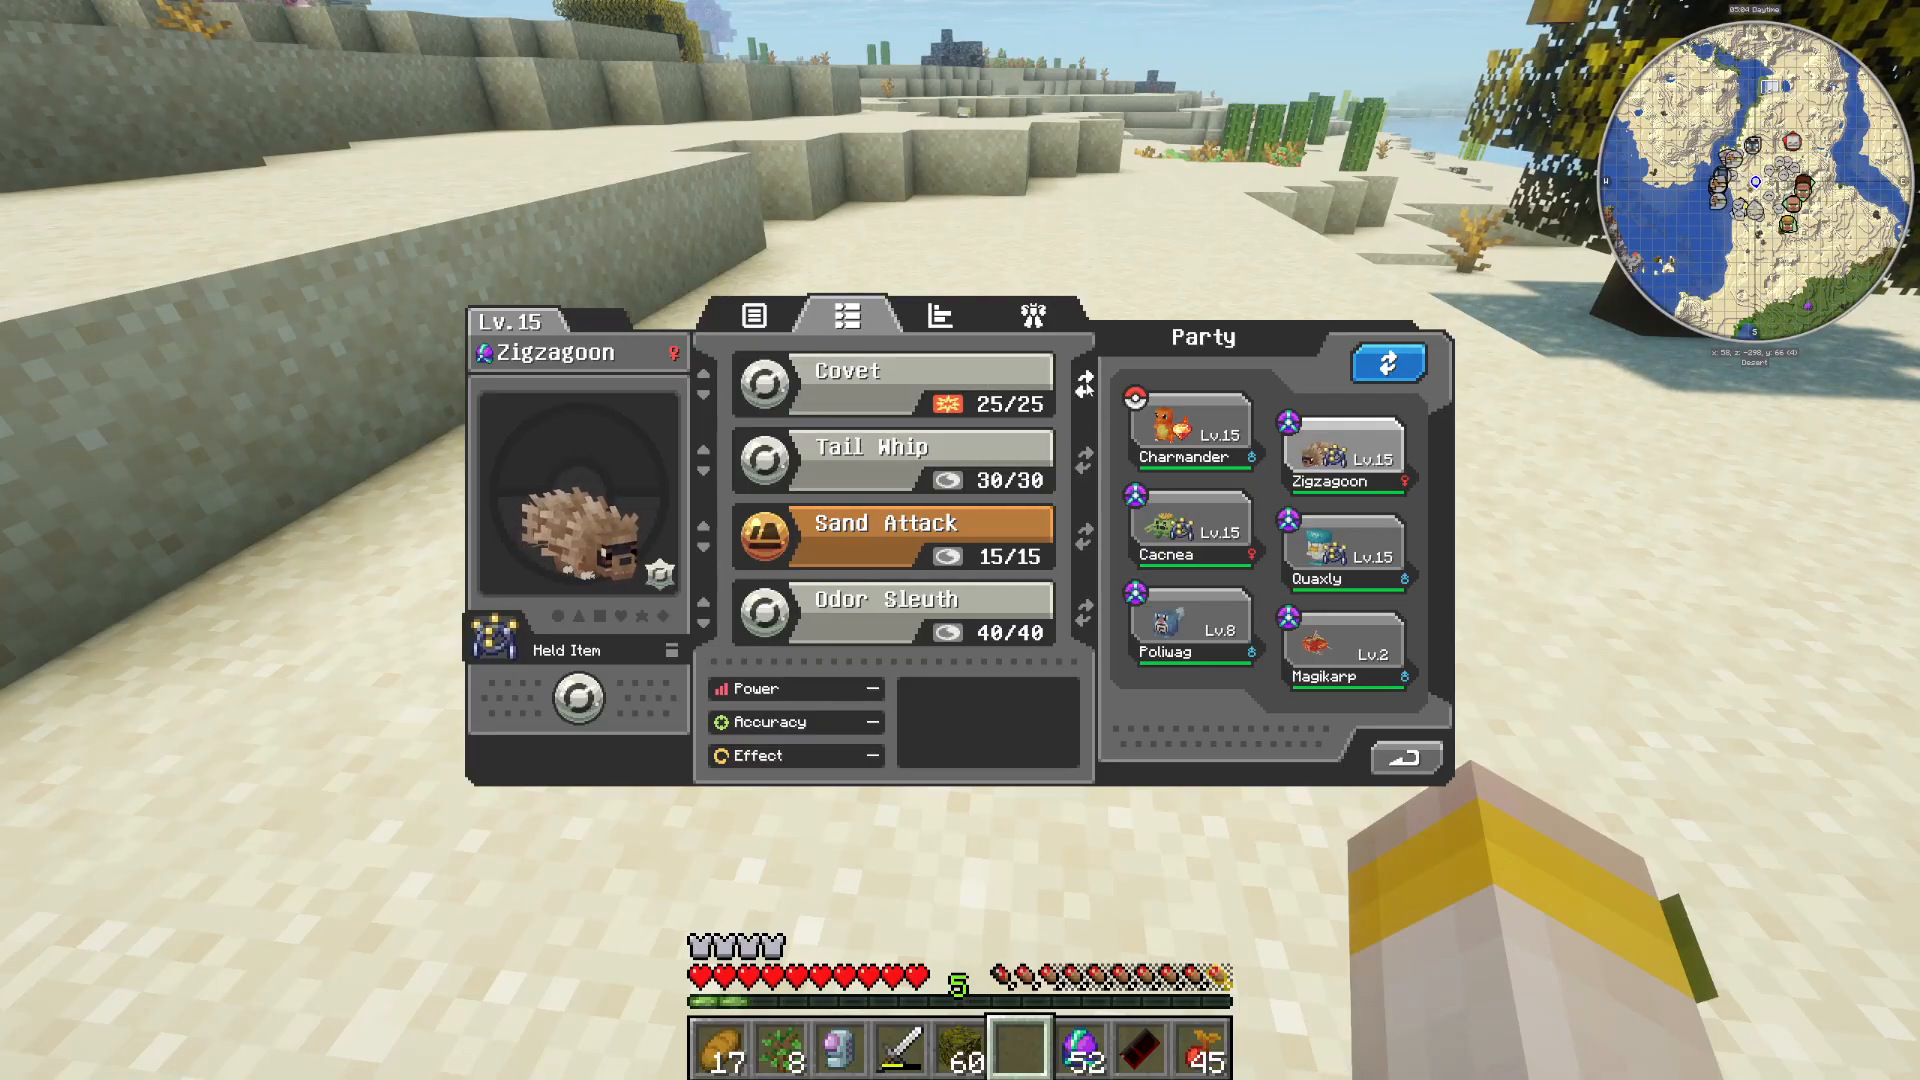
To modify your Pokémon’s moveset from the party screen:
Select a move you want to change
Replace it with a new move from the available options
Each move displays its type, power, and effect information
Using the Pokédex and Quest Book
Understanding Type Advantages
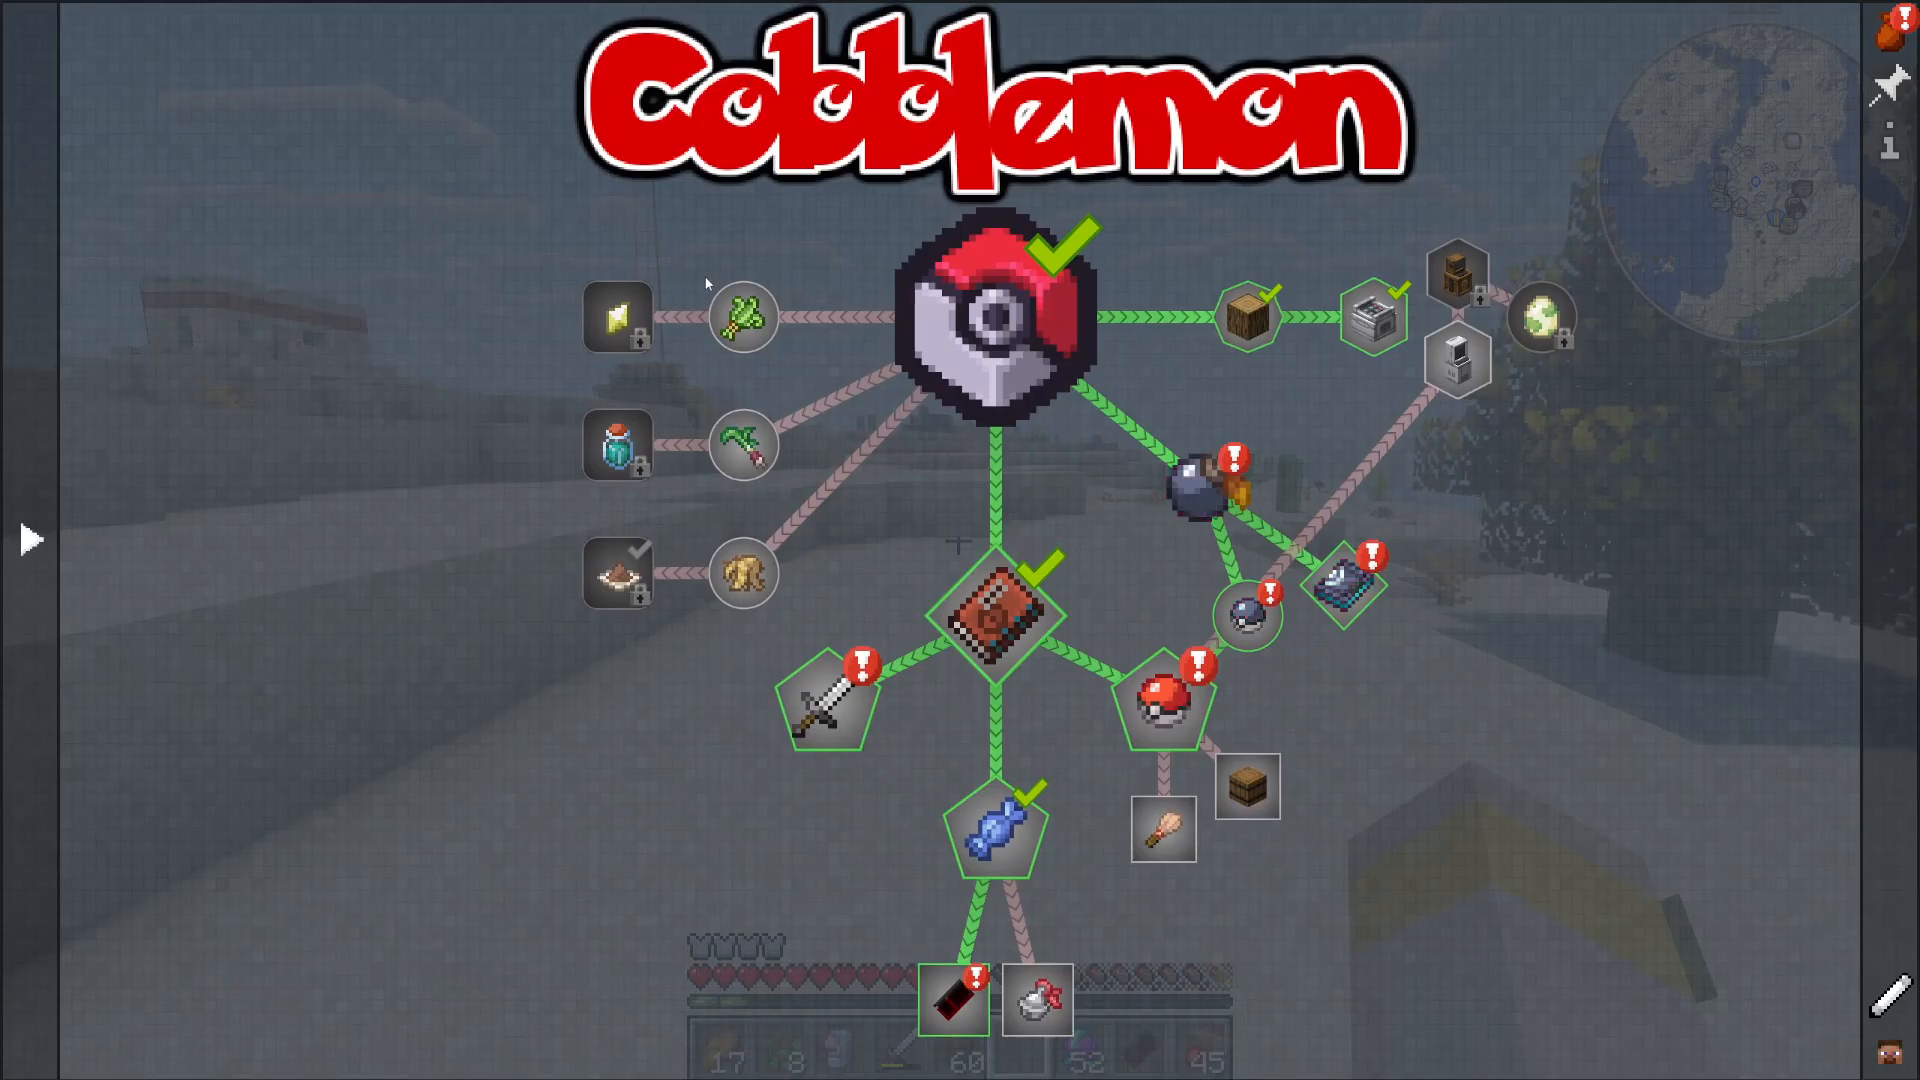
The quest book contains a comprehensive types section. When you open it:
You’ll see all Pokémon types available in Cobblemon
Each type (Steel, Bug, etc.) shows what it’s strong against and vulnerable to
Catching a Pokémon of a certain type rewards you with a corresponding gem (e.g., Steel Gem for Steel-type Pokémon)
These gems boost attack power when held by Pokémon of that type
Viewing Pokédex Entries
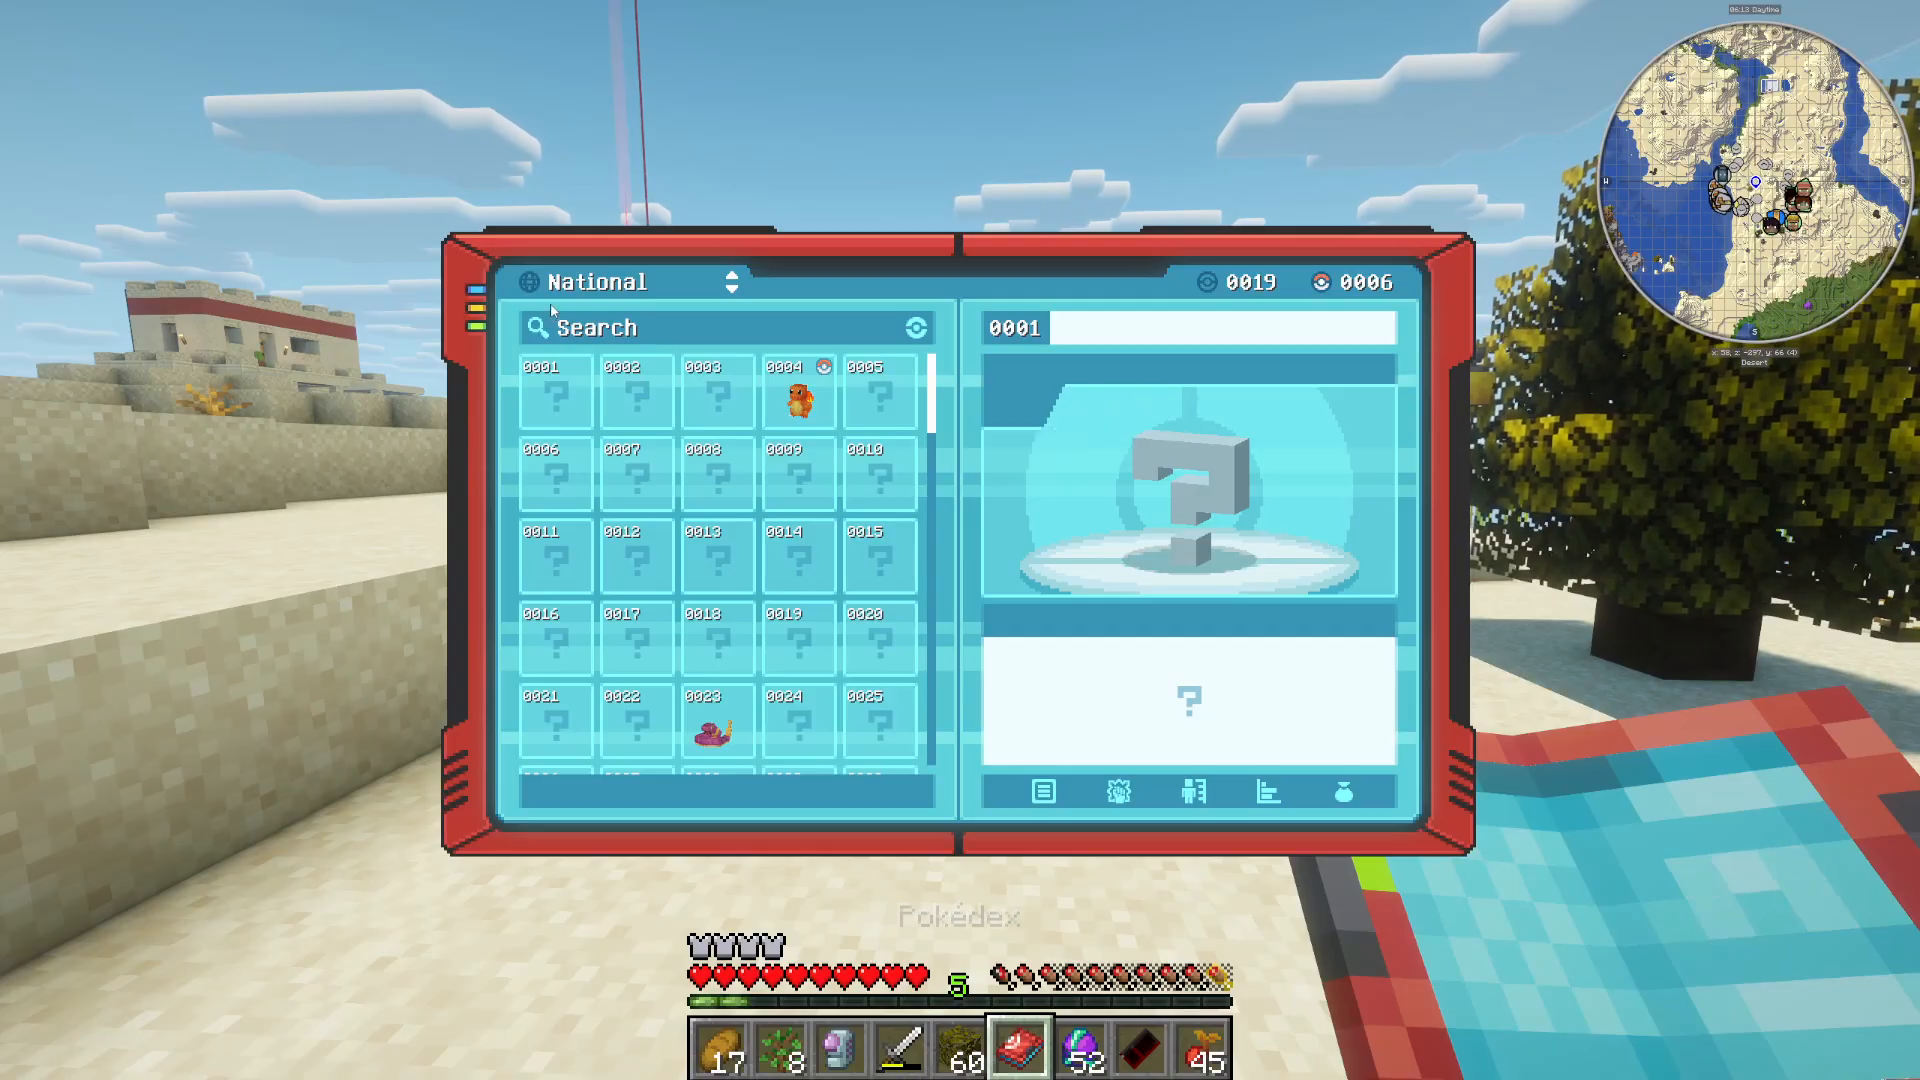
Open your Pokédex to see:
Pokémon you’ve caught (complete entries)
Pokémon you’ve encountered or battled (partial entries)
Detailed information including sounds, sitting poses, and drops
Approximately 946 Pokémon species available in All The Mods (out of 1025 total)
Some species may be marked with “X” indicating they’re not yet implemented
Finding Held Items and Berries
The quest book lists many valuable items you can obtain:
Revival Herbs – Revive fainted Pokémon
Medicinal Leaks – Heal status conditions
Big Roots – Spawn from cave ceilings
Berries – Found in villages and can be planted in soil to grow
Healing Your Pokémon
Using Healing Machines
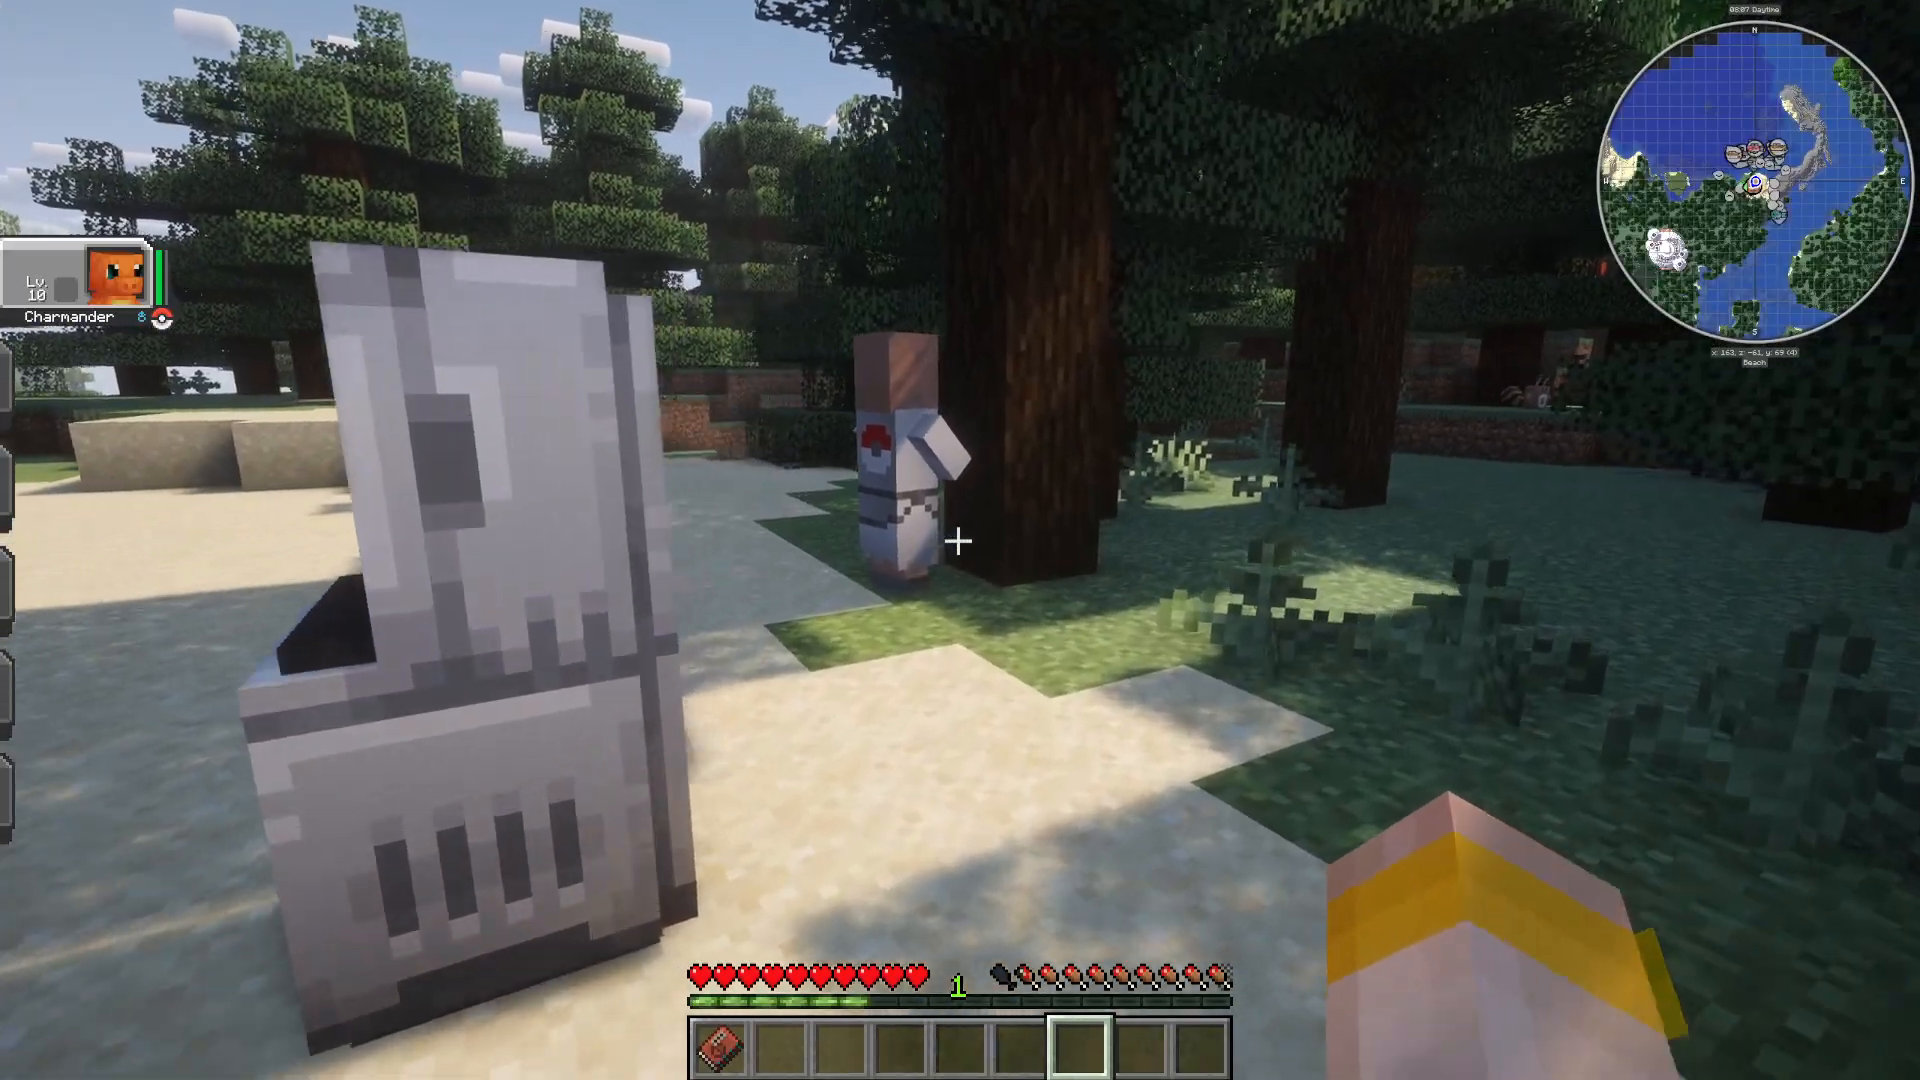
Healing machines can be found in villages throughout the world. Simply:
Approach a healing machine
Right-click on it
Your Pokémon will be healed, just like visiting a Pokémon Center
Other Villager Trades
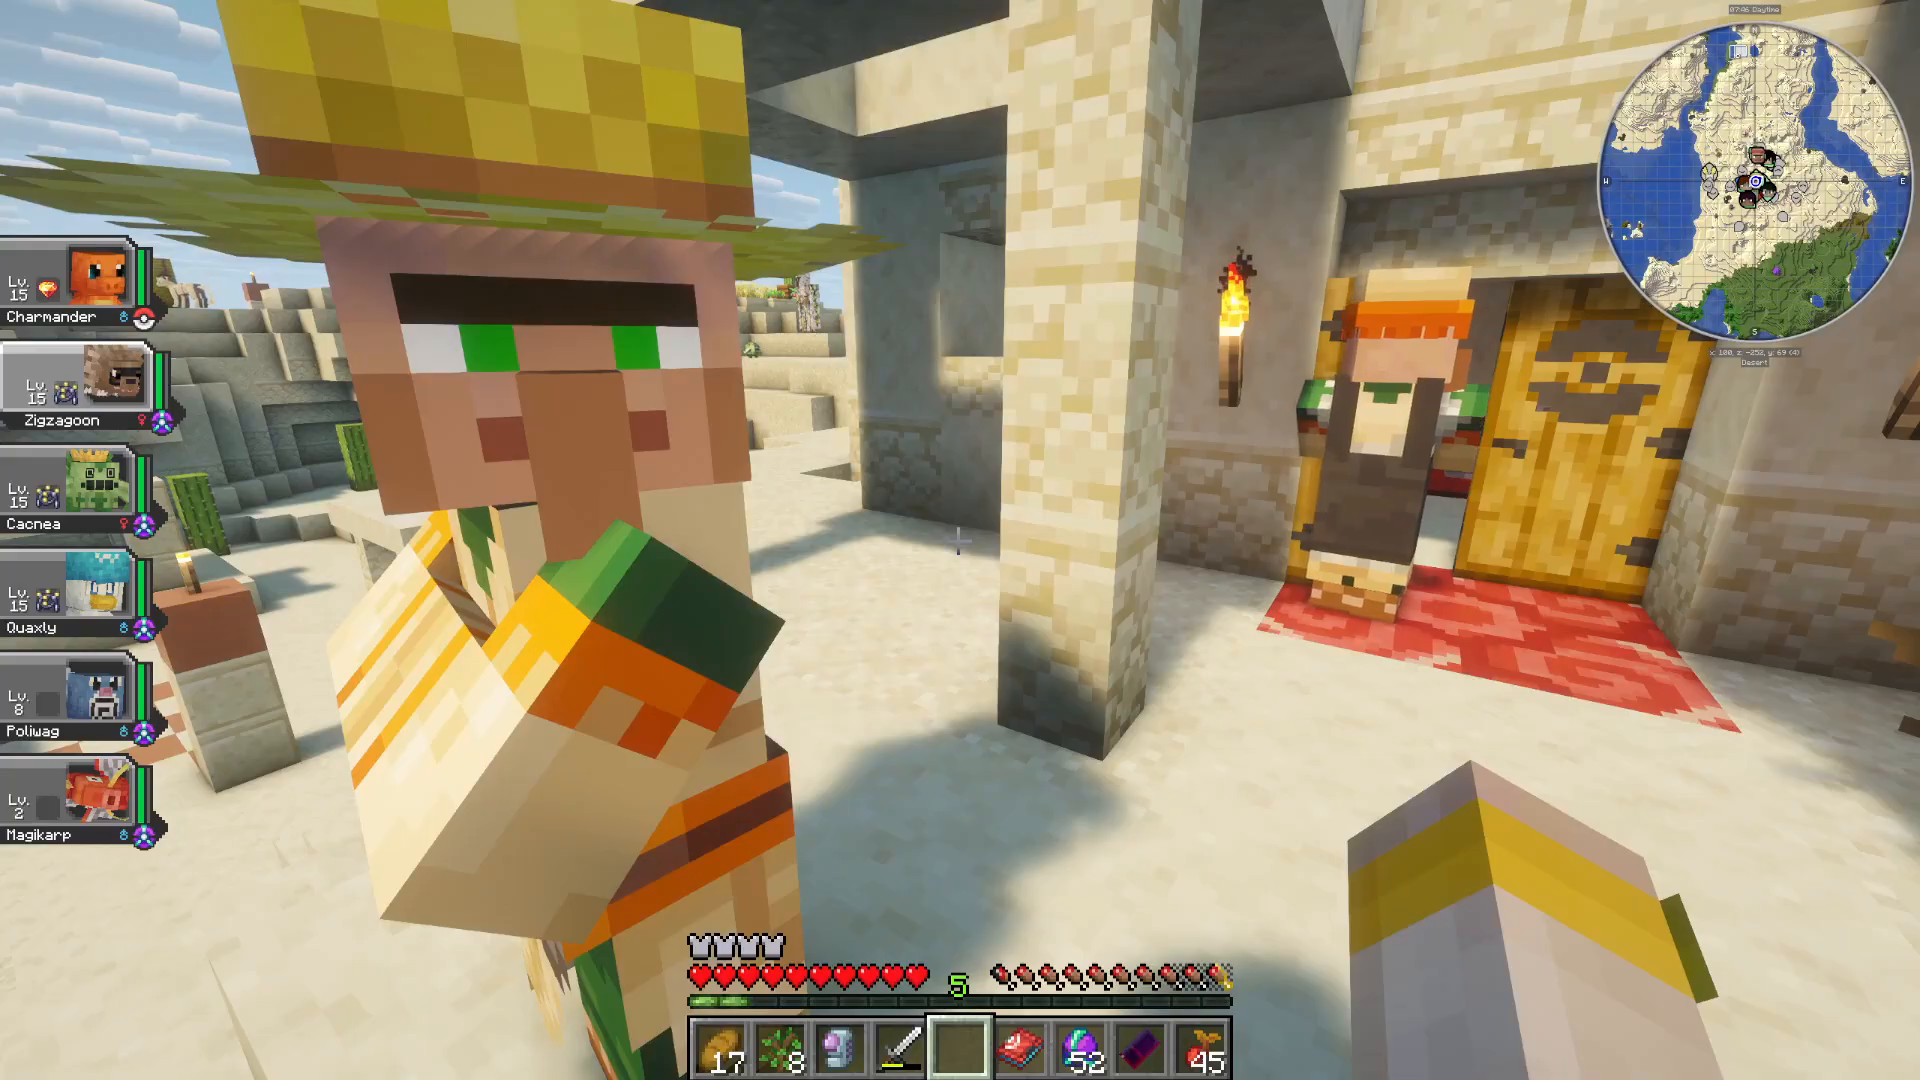
Don’t ignore other villagers in towns. Many offer useful trades, such as:
Farmers trading tomatoes for Poke Tokens
Various other NPCs offering unique items and services
Leveling Up and Evolving Pokémon
Experience Sharing
Unlike newer Pokémon games, Cobblemon works differently:
Only Pokémon that participate in battle gain experience points
Pokémon not fighting will not gain XP
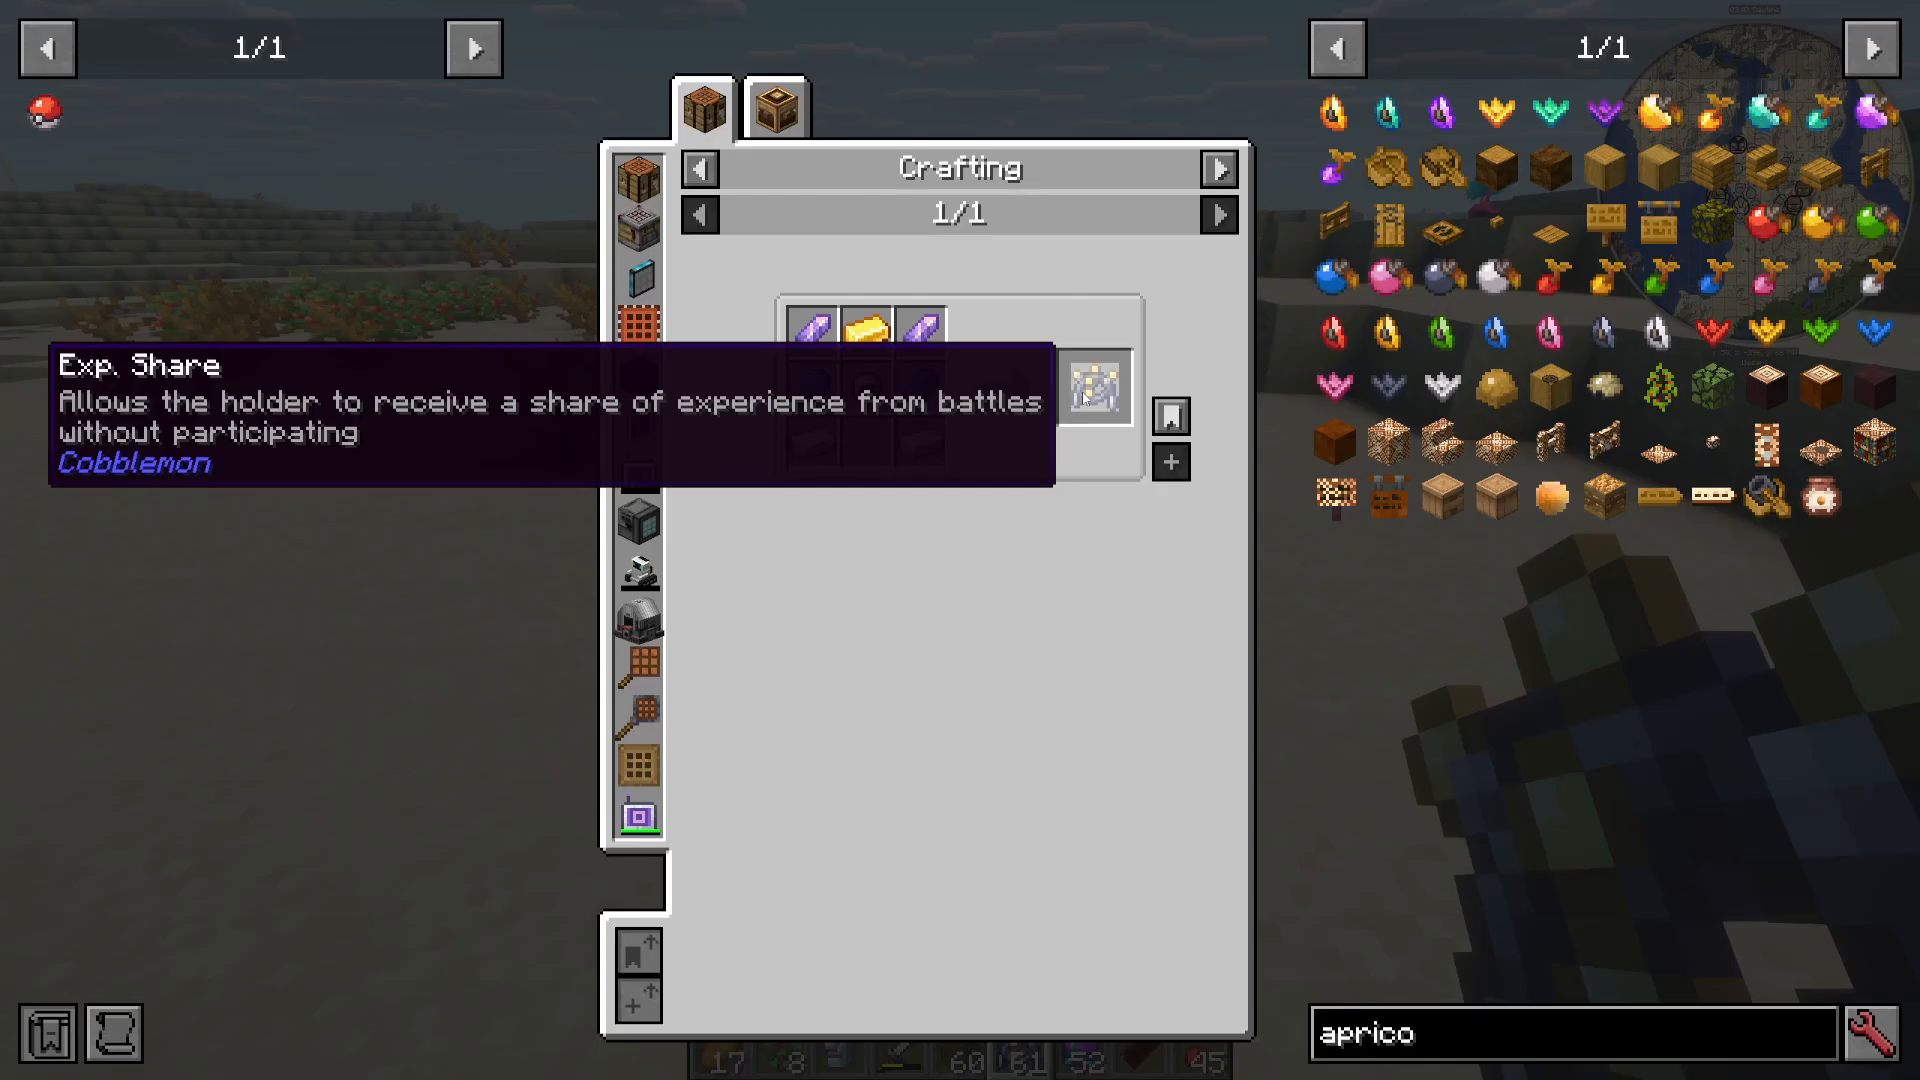
To circumvent this, use the XP Share item
The holder of an XP Share receives experience from battles without participating
Using Candy and Rare Candy
Alternative leveling methods:
Find XP Candy in loot chests throughout the world
Right-click on a Pokémon while holding XP Candy to grant experience
Rare Candy instantly increases a Pokémon’s level by one
Evolution Methods
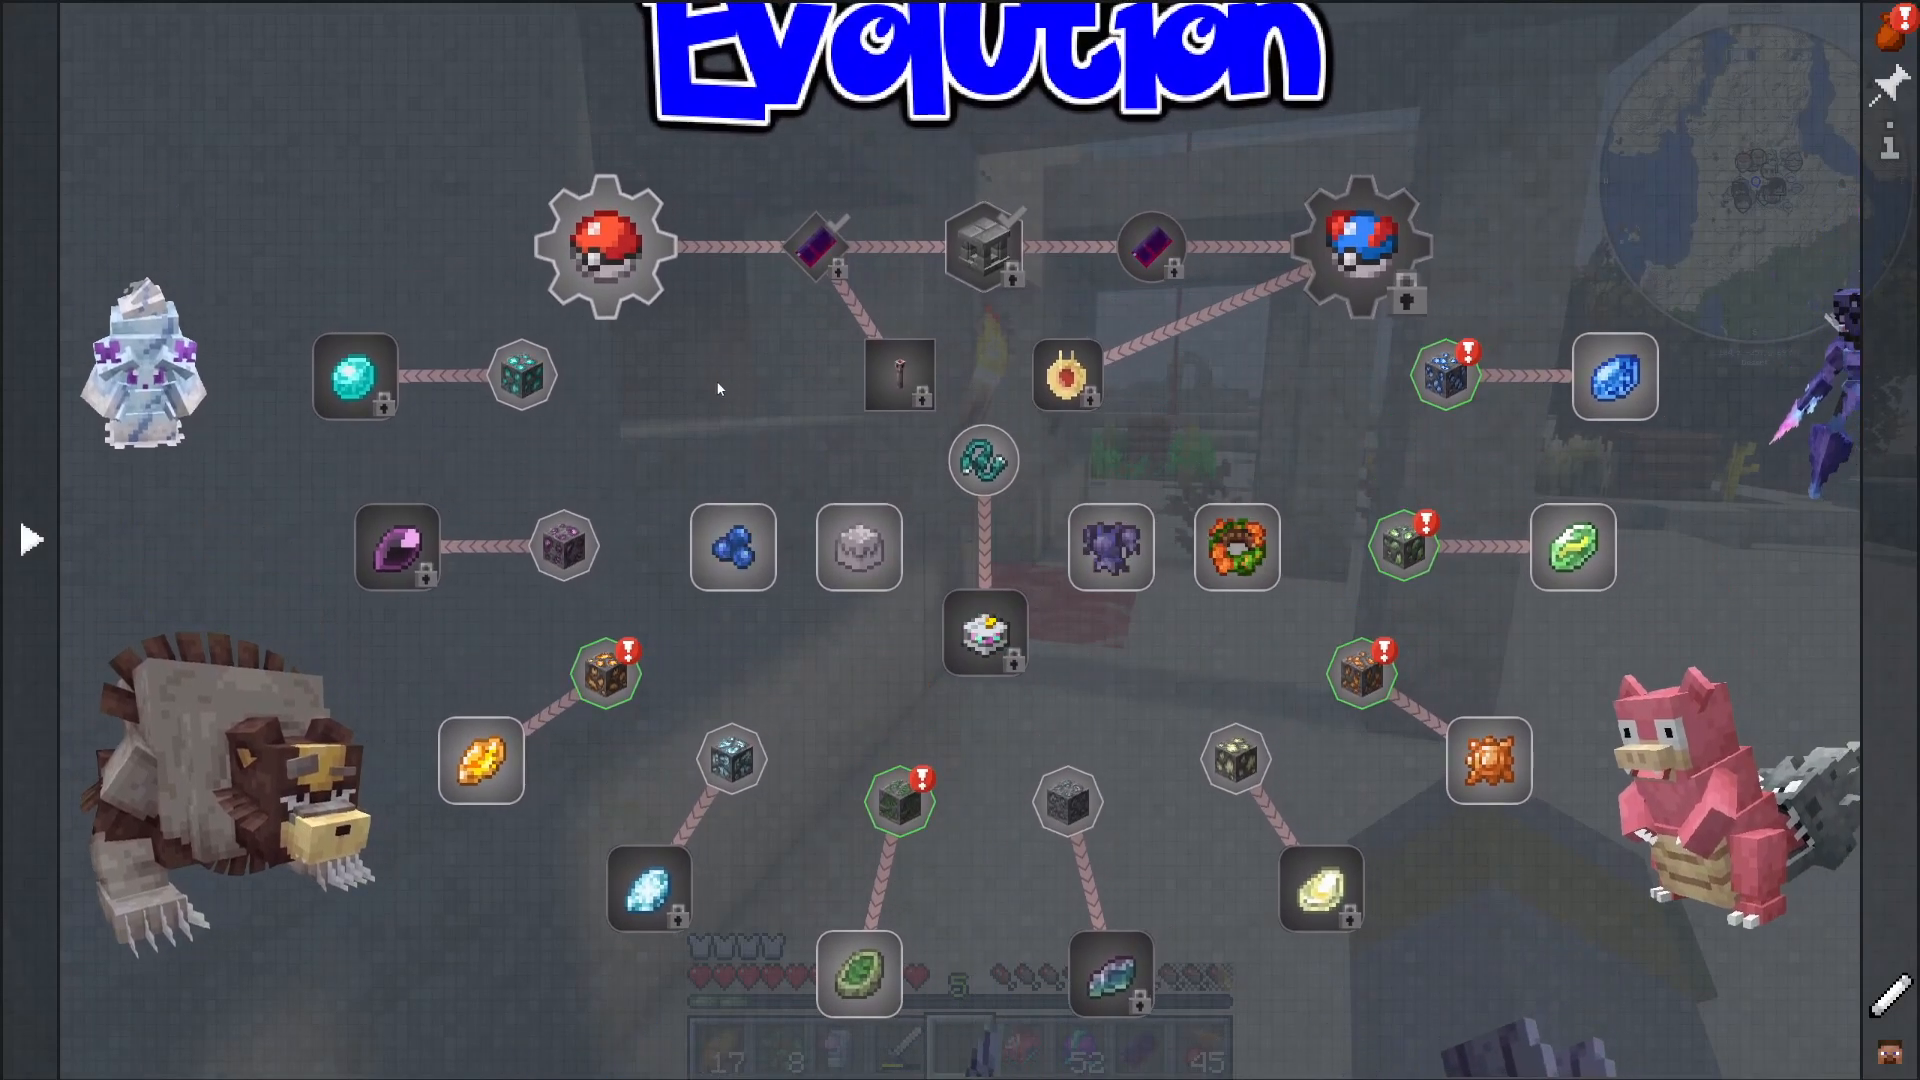
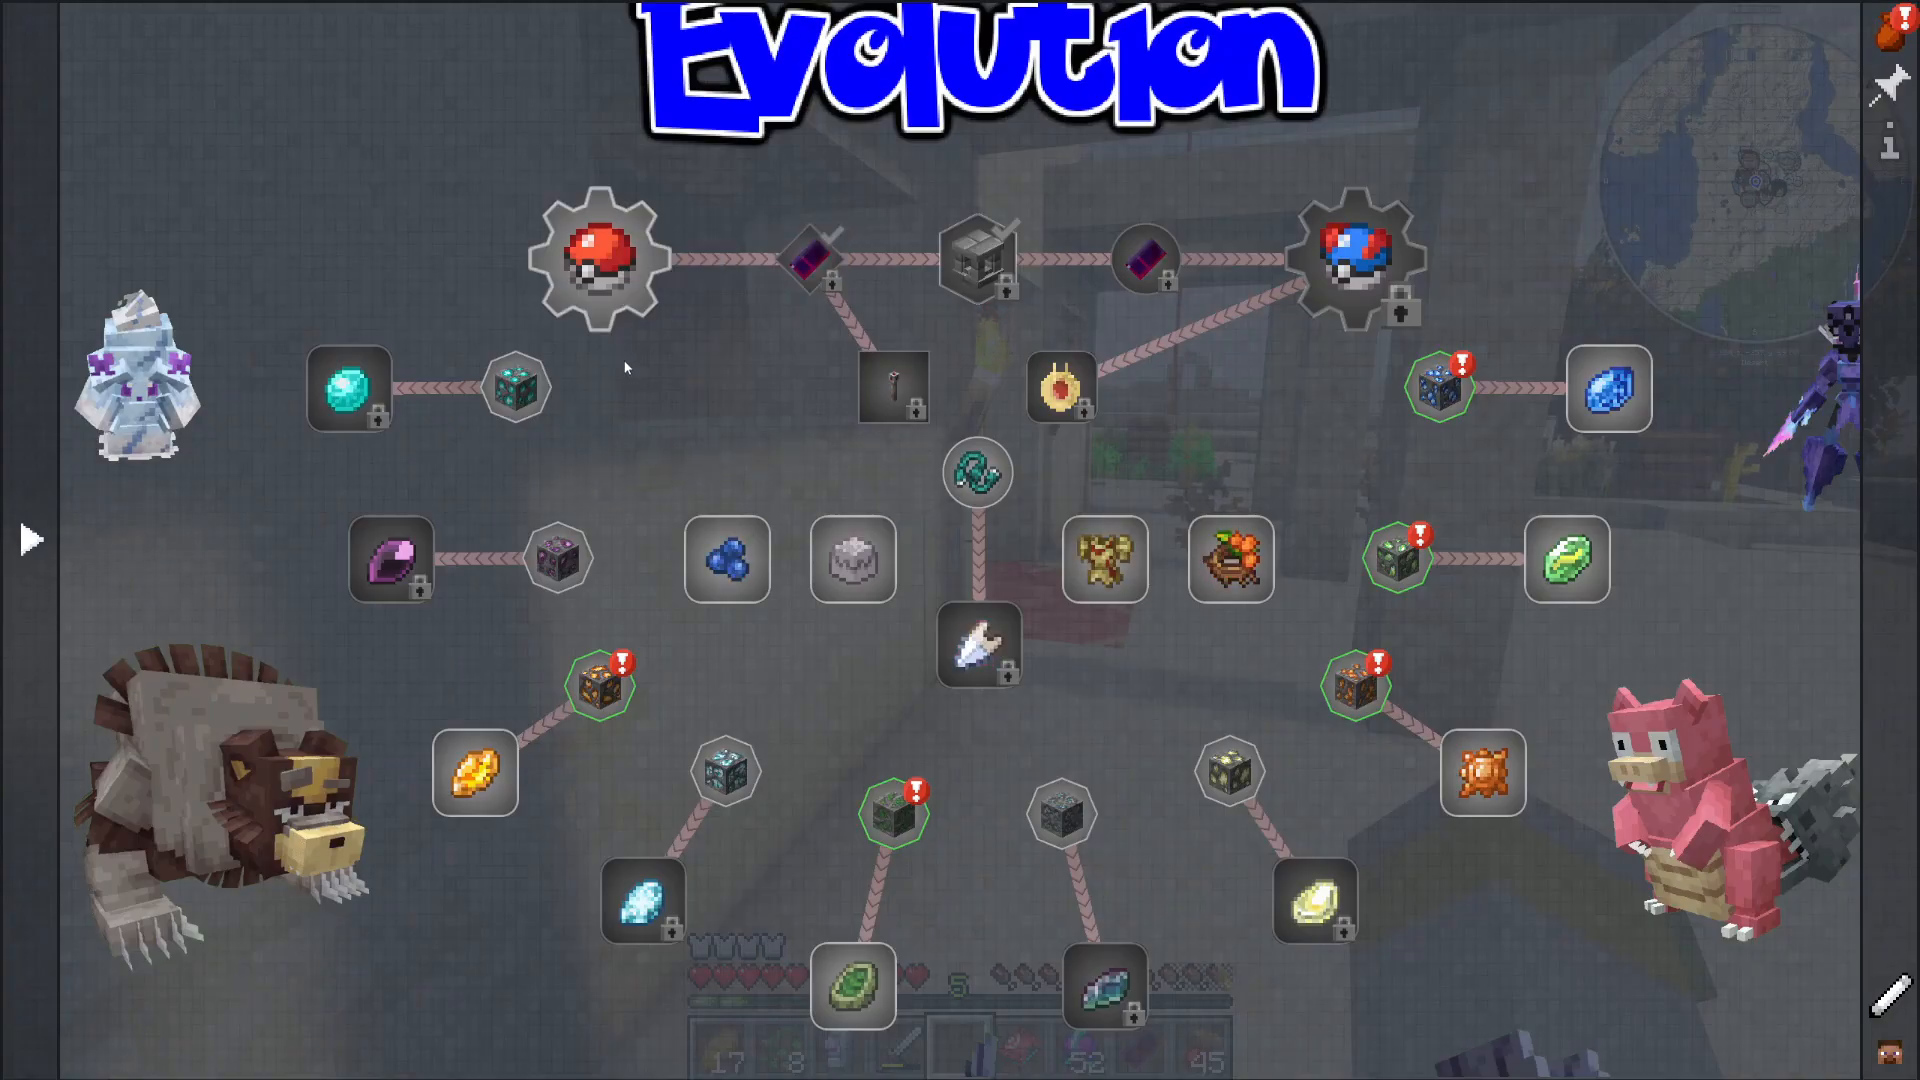
Pokémon evolve through various methods detailed in the Evolution chapter of the quest book:
Fire Stones – Found in deserts and rarely in beaches; evolves Vulpix into Ninetales, Growlithe into Arcanine, and Eevee into Flareon
Dusk Stones – Specific evolution requirements
Dawn Stones – Found in specific biomes
Each stone type has specific Pokémon it can evolve, clearly documented in the quest guide
Leveling Caps and Trainer Battles
Understanding Level Caps
Your Pokémon start at a level 15 cap. To increase this cap, you must defeat specific trainers. Each trainer victory raises your level cap by one level (15→16, 16→17, etc.).
Obtaining a Trainer Card
To battle trainers and raise your level cap:
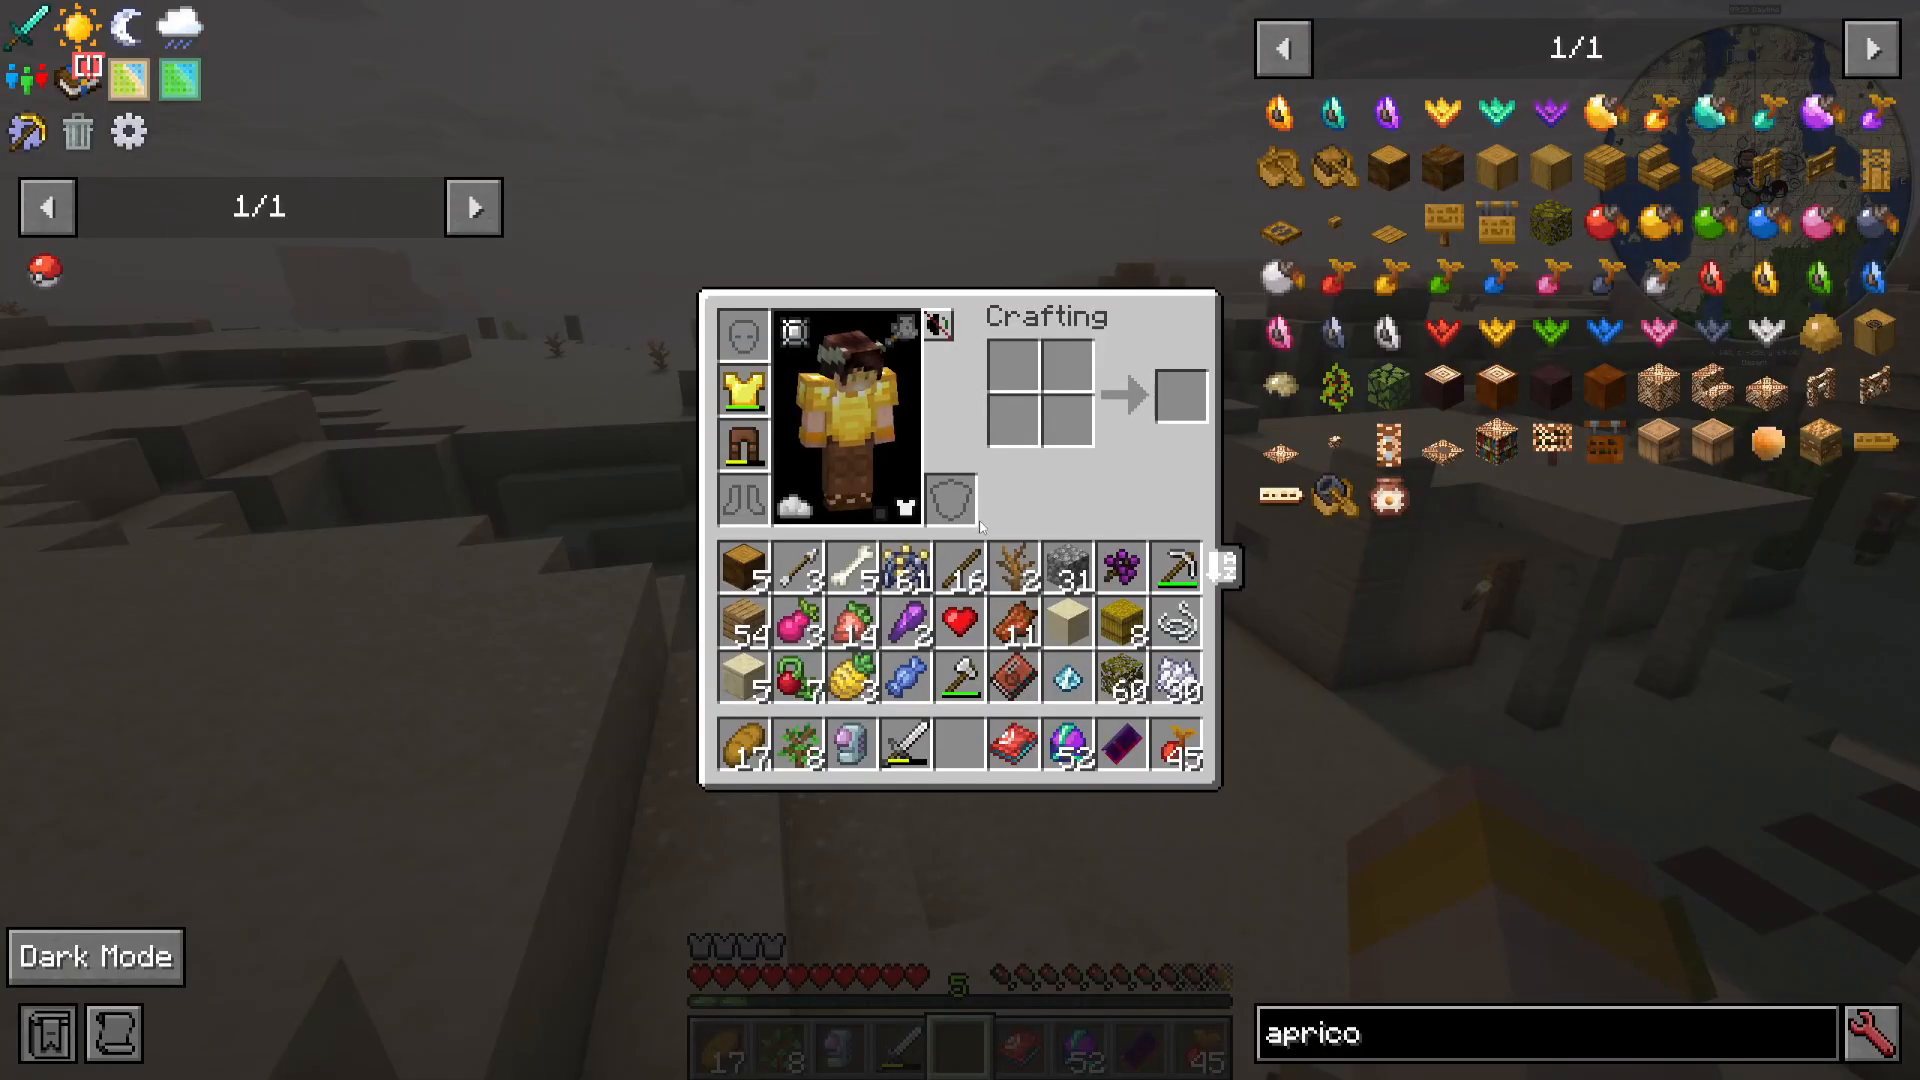
Craft a Trainer Card (recipe shown in quest book)
Hold it in your inventory to reveal an arrow pointing toward the nearest Trainer Association
Find the Trainer Association NPC (usually in villages)
Trade your Trainer Card for a Radical Card or specialized trainer card
Using Trainer Spawners
For easier trainer battles, create a Trainer Spawner:
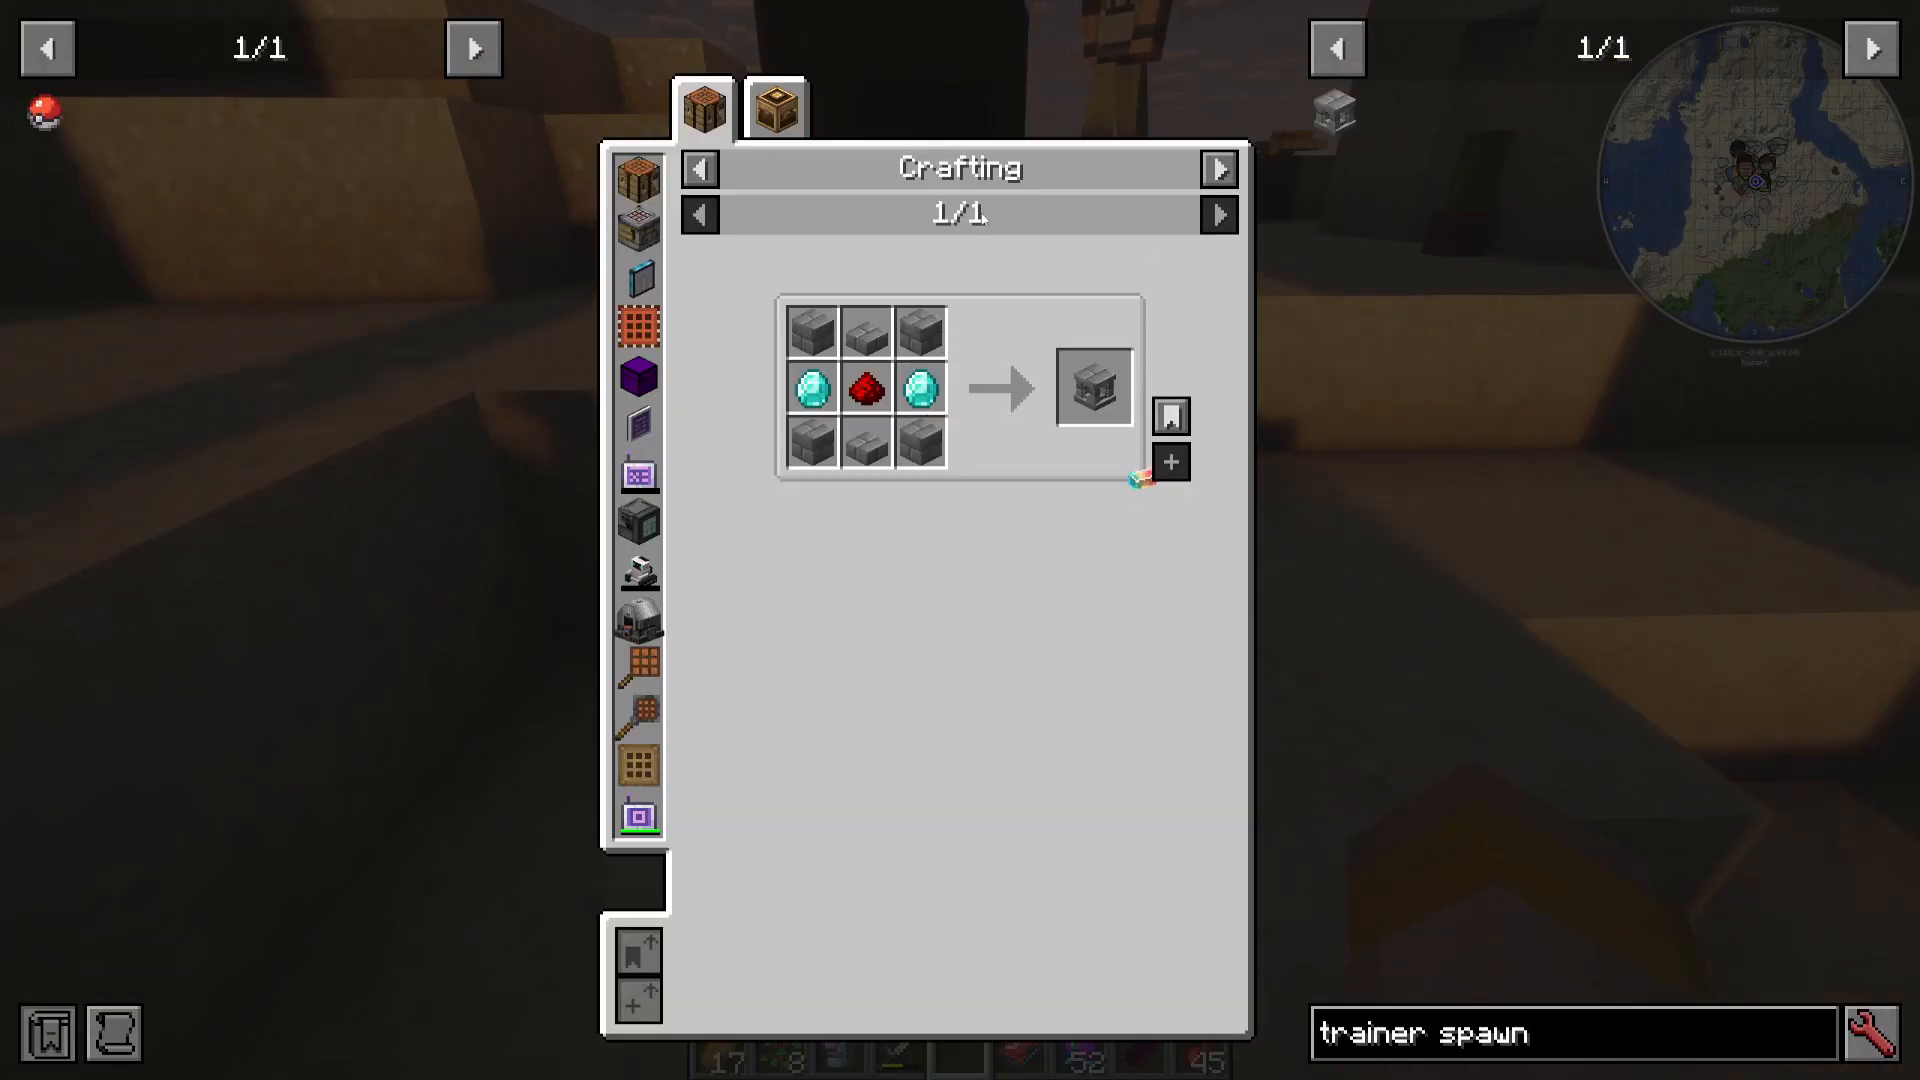
Craft a Trainer Spawner block
Place it down and provide it a redstone signal
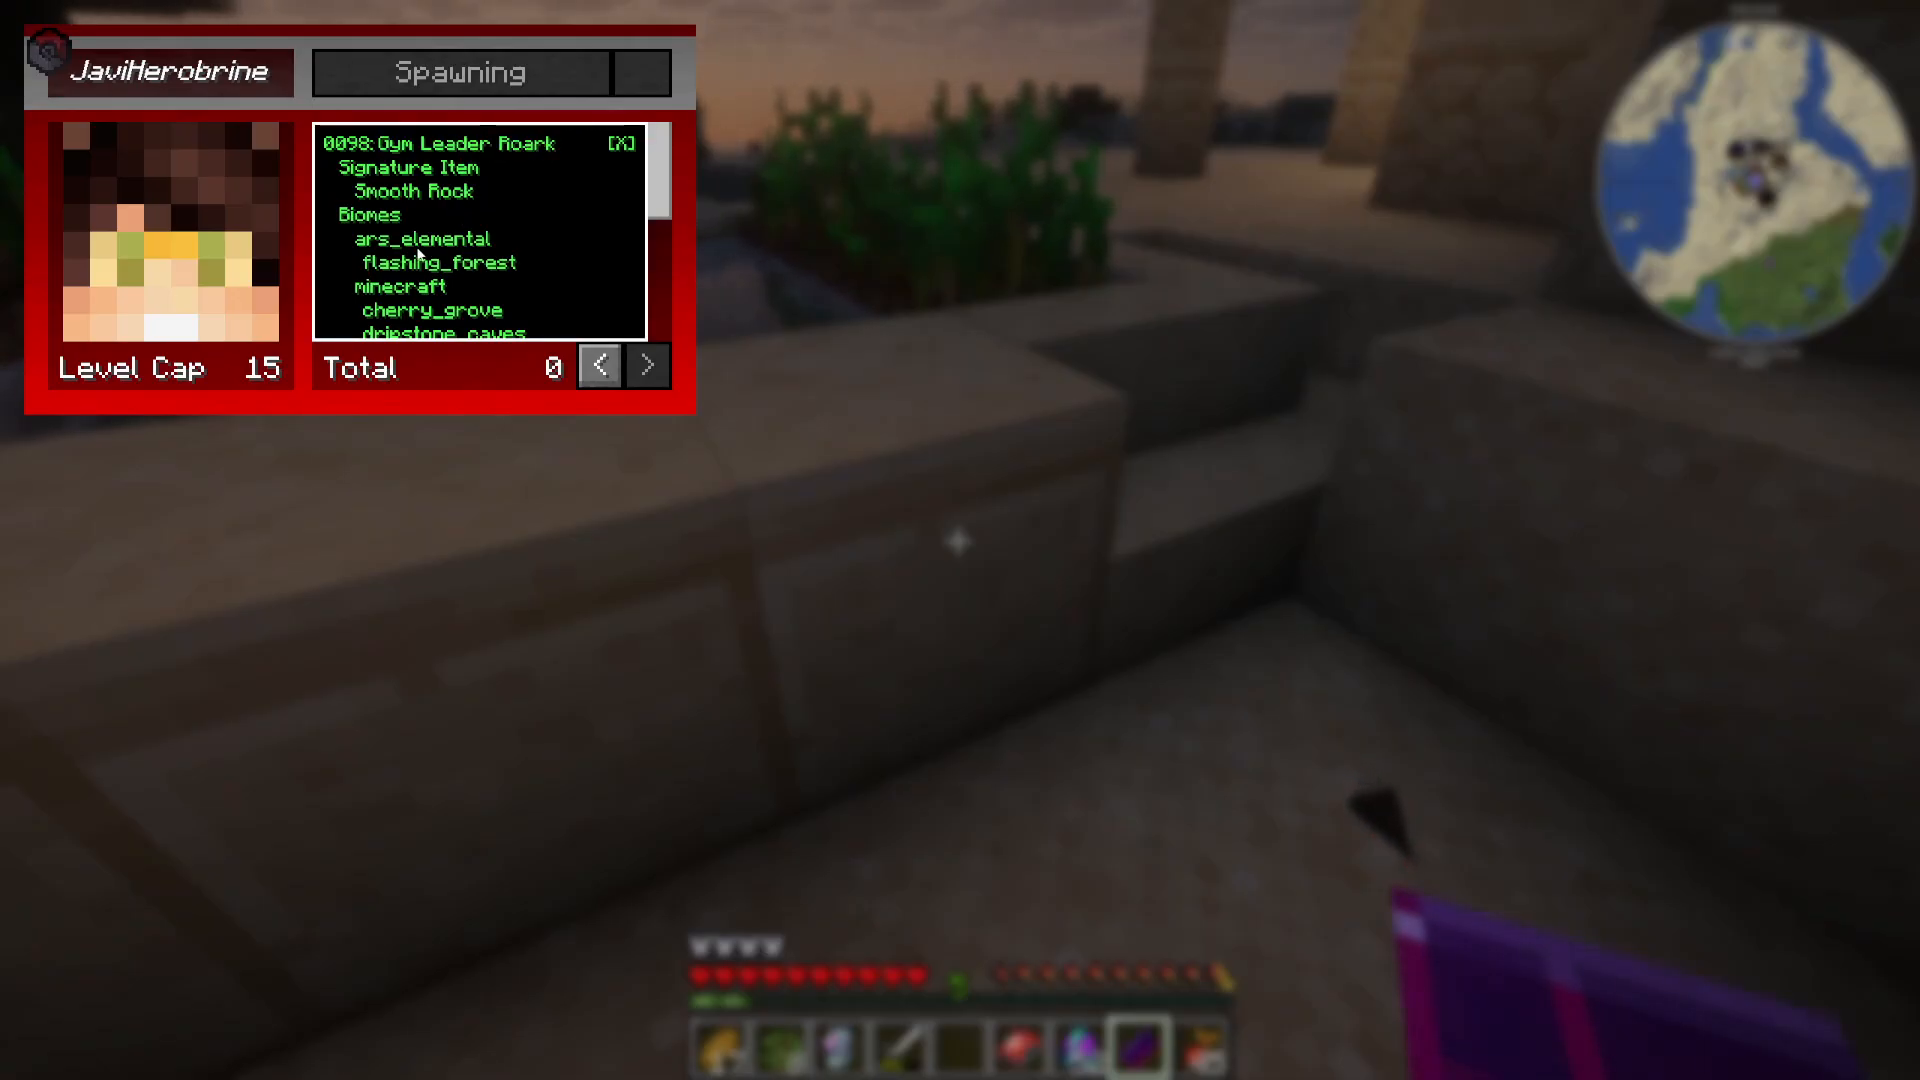
Insert a signature item into the spawner (varies by trainer)
The trainer will spawn and initiate a battle
Finding Signature Items
Each trainer has a unique signature item required to spawn them:
Example: Gym Leader Rock – Requires a Smooth Rock
Smooth Rock is crafted using a Ground Gem, Hard Stone, and Rock Gem
Obtain gems by catching Pokémon of corresponding types (Ground-type Pokémon give Ground Gem, Rock-type give Rock Gem)
Hard Stone is obtained from stone blocks found throughout the world
Battling Mechanics
Basic Battle Controls
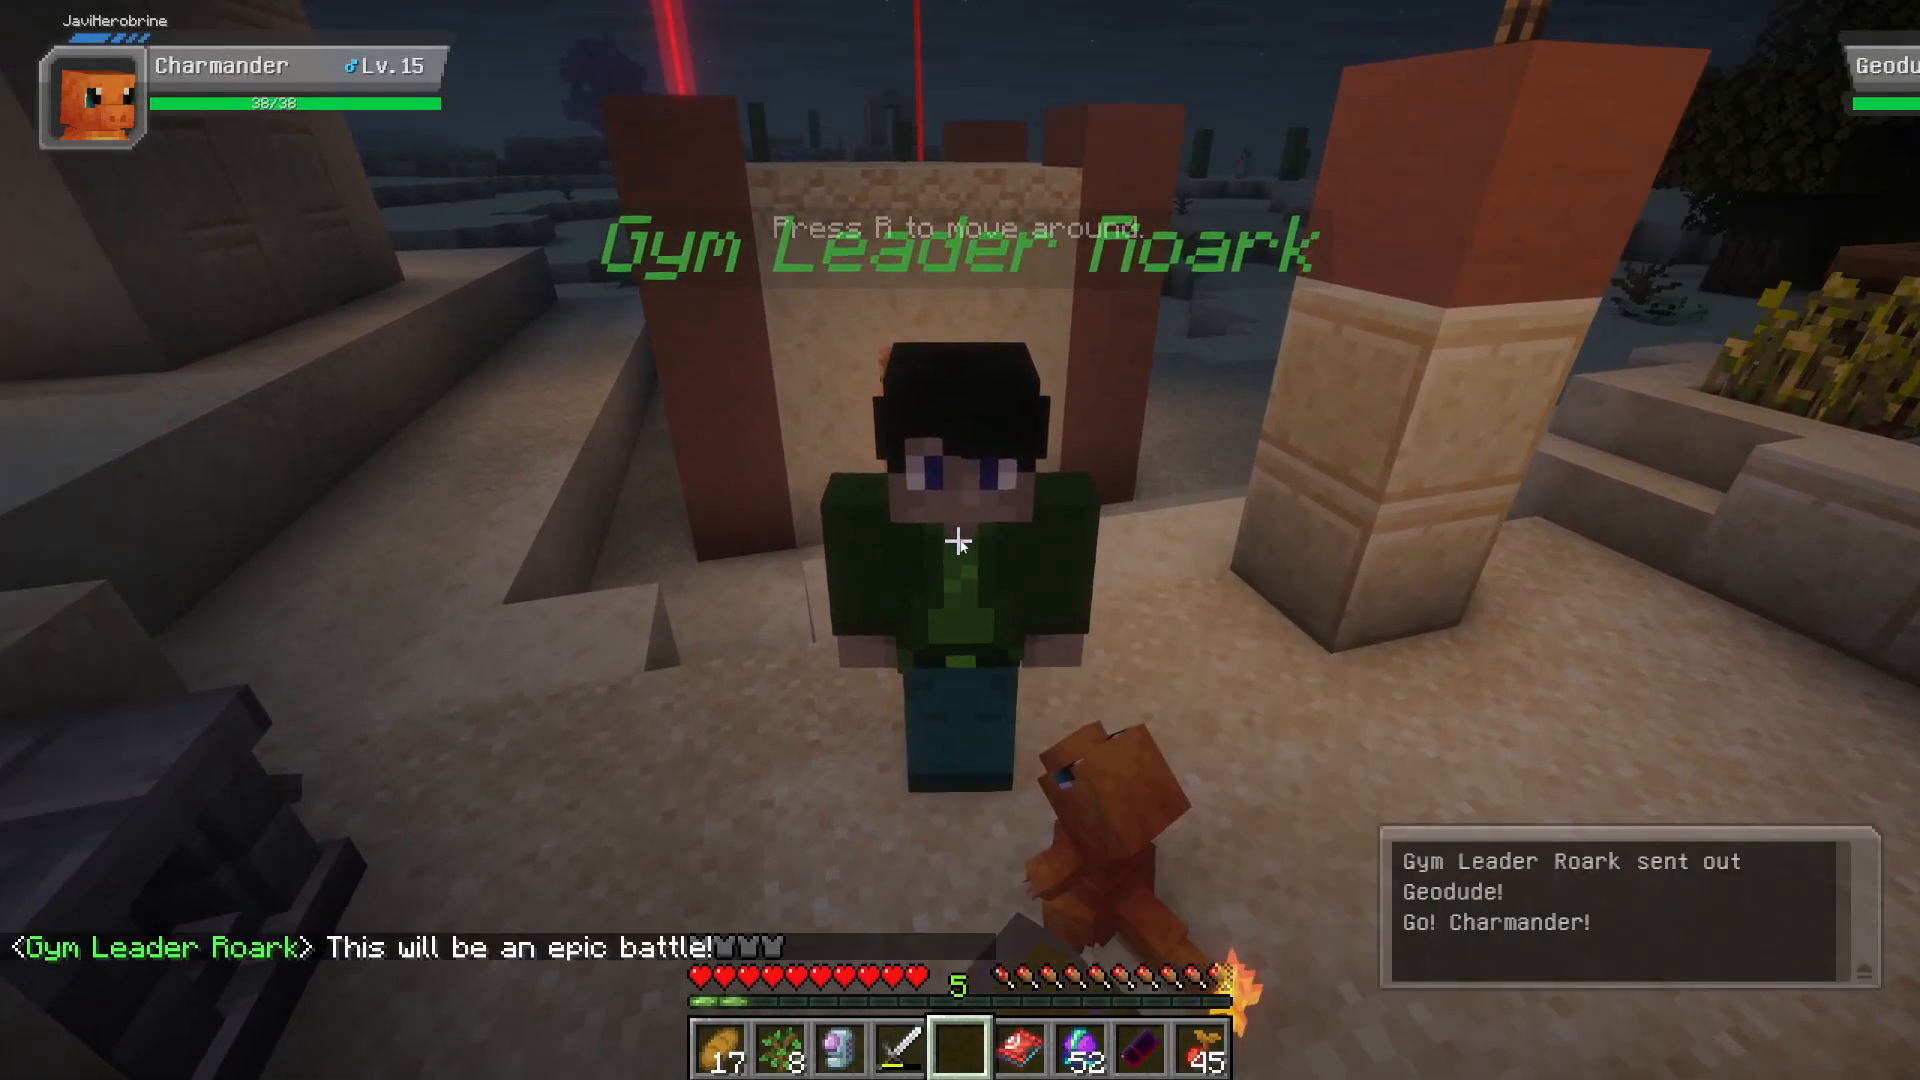
When you encounter a trainer:
Right-click to initiate battle
Trainer sends out their first Pokémon
Options appear: Switch, Fight, or Forfeit
Select an attack and confirm to execute
Movement During Battle
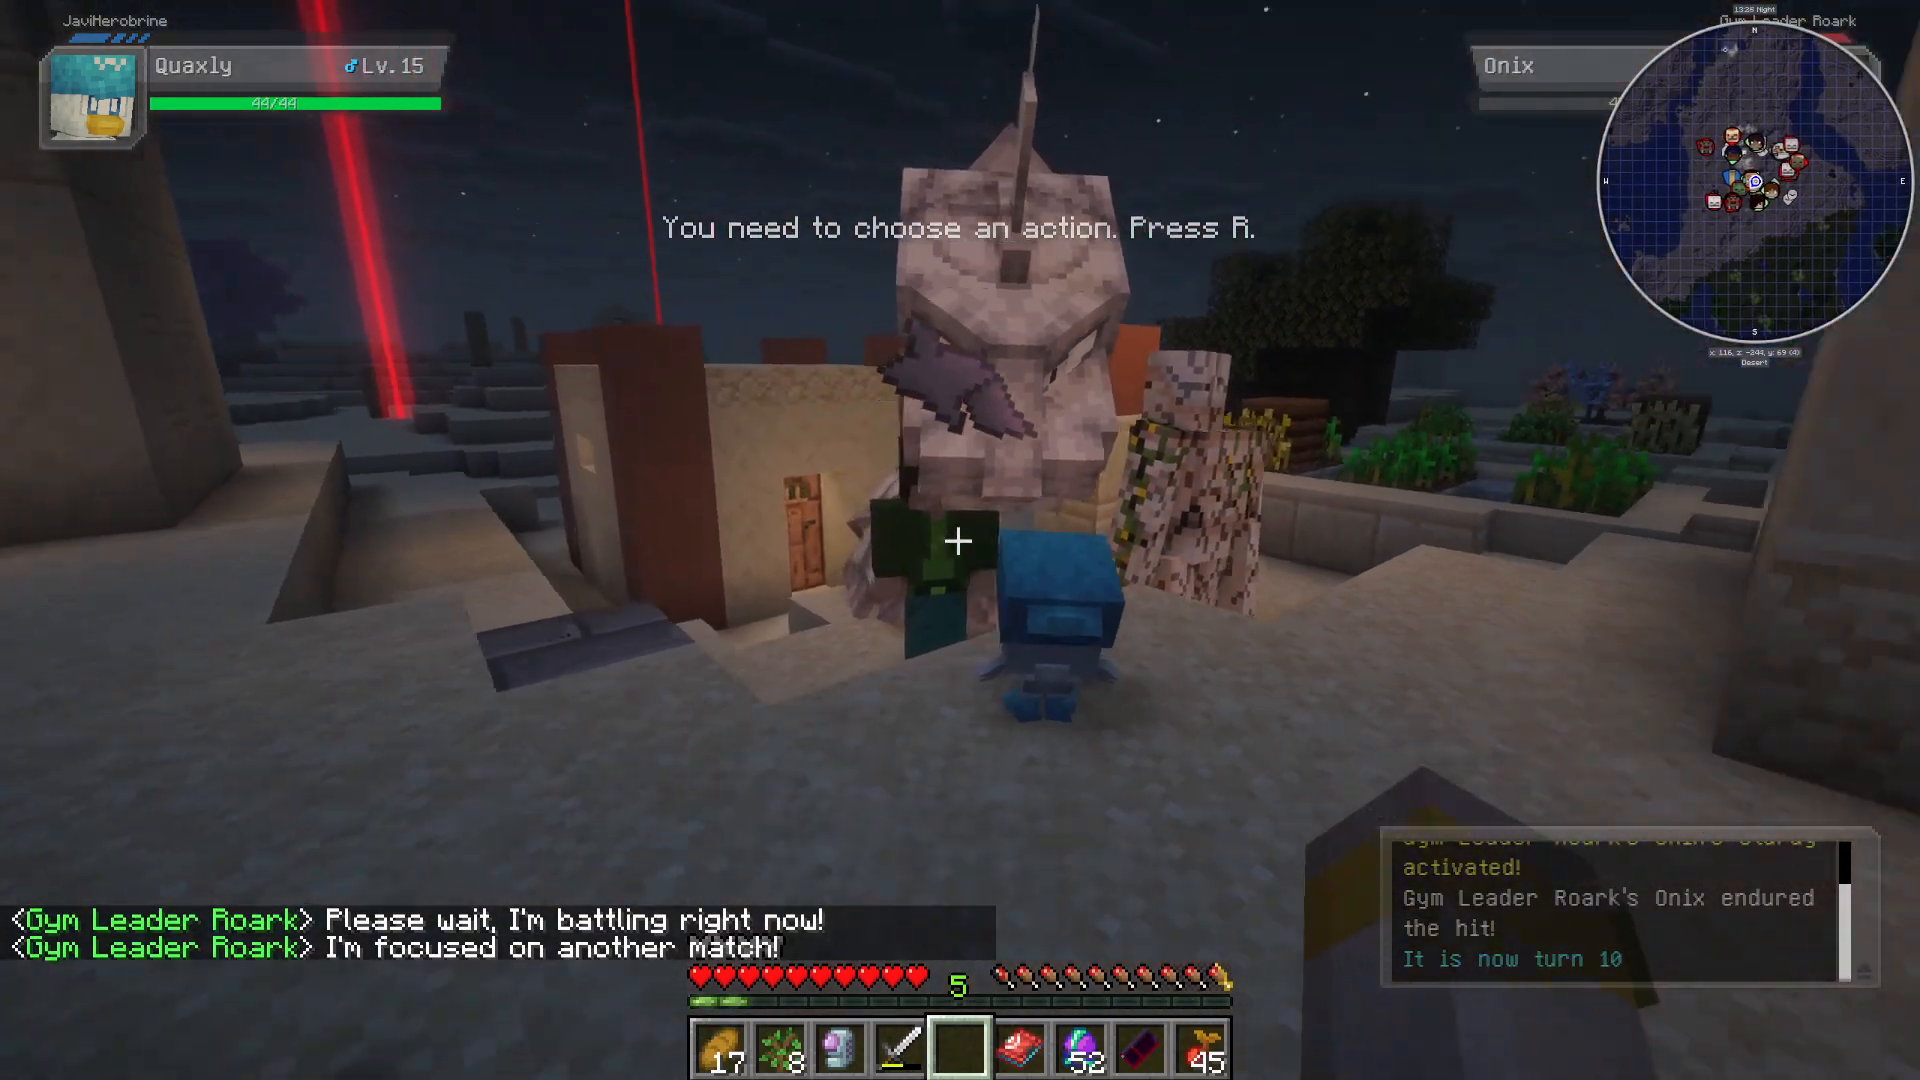
You can move around during battles:
Press R to move around the battle arena
Release R to return to normal battle view
Switching Pokémon
During a battle, you can switch to a different Pokémon from your team at any time using the Switch option.
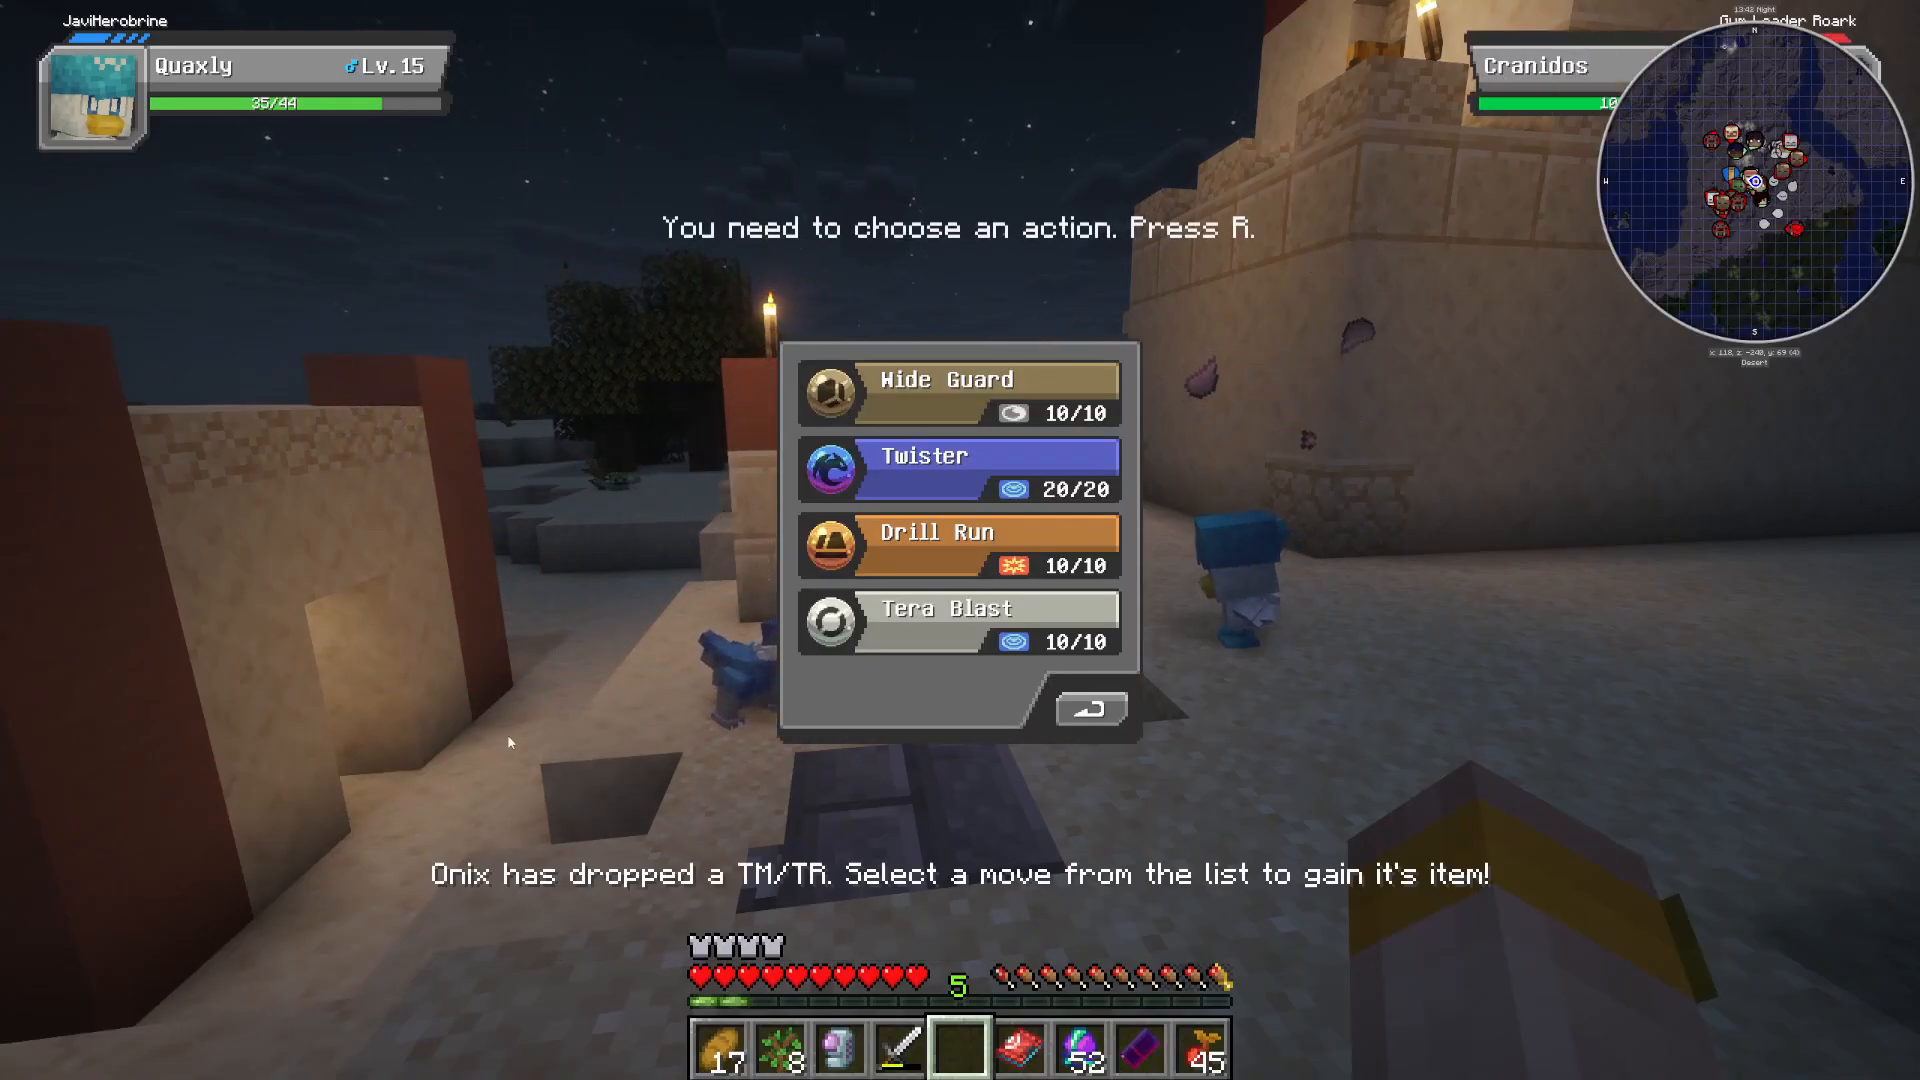
Collecting TRs and TMs
When you defeat a Pokémon in battle:
It may drop a TR (Technical Record) or TM (Technical Machine)
Select a move from the list to obtain the TR/TM
Use these items to teach your Pokémon new moves
Each TR/TM can only be taught to compatible Pokémon species
Battle Rewards
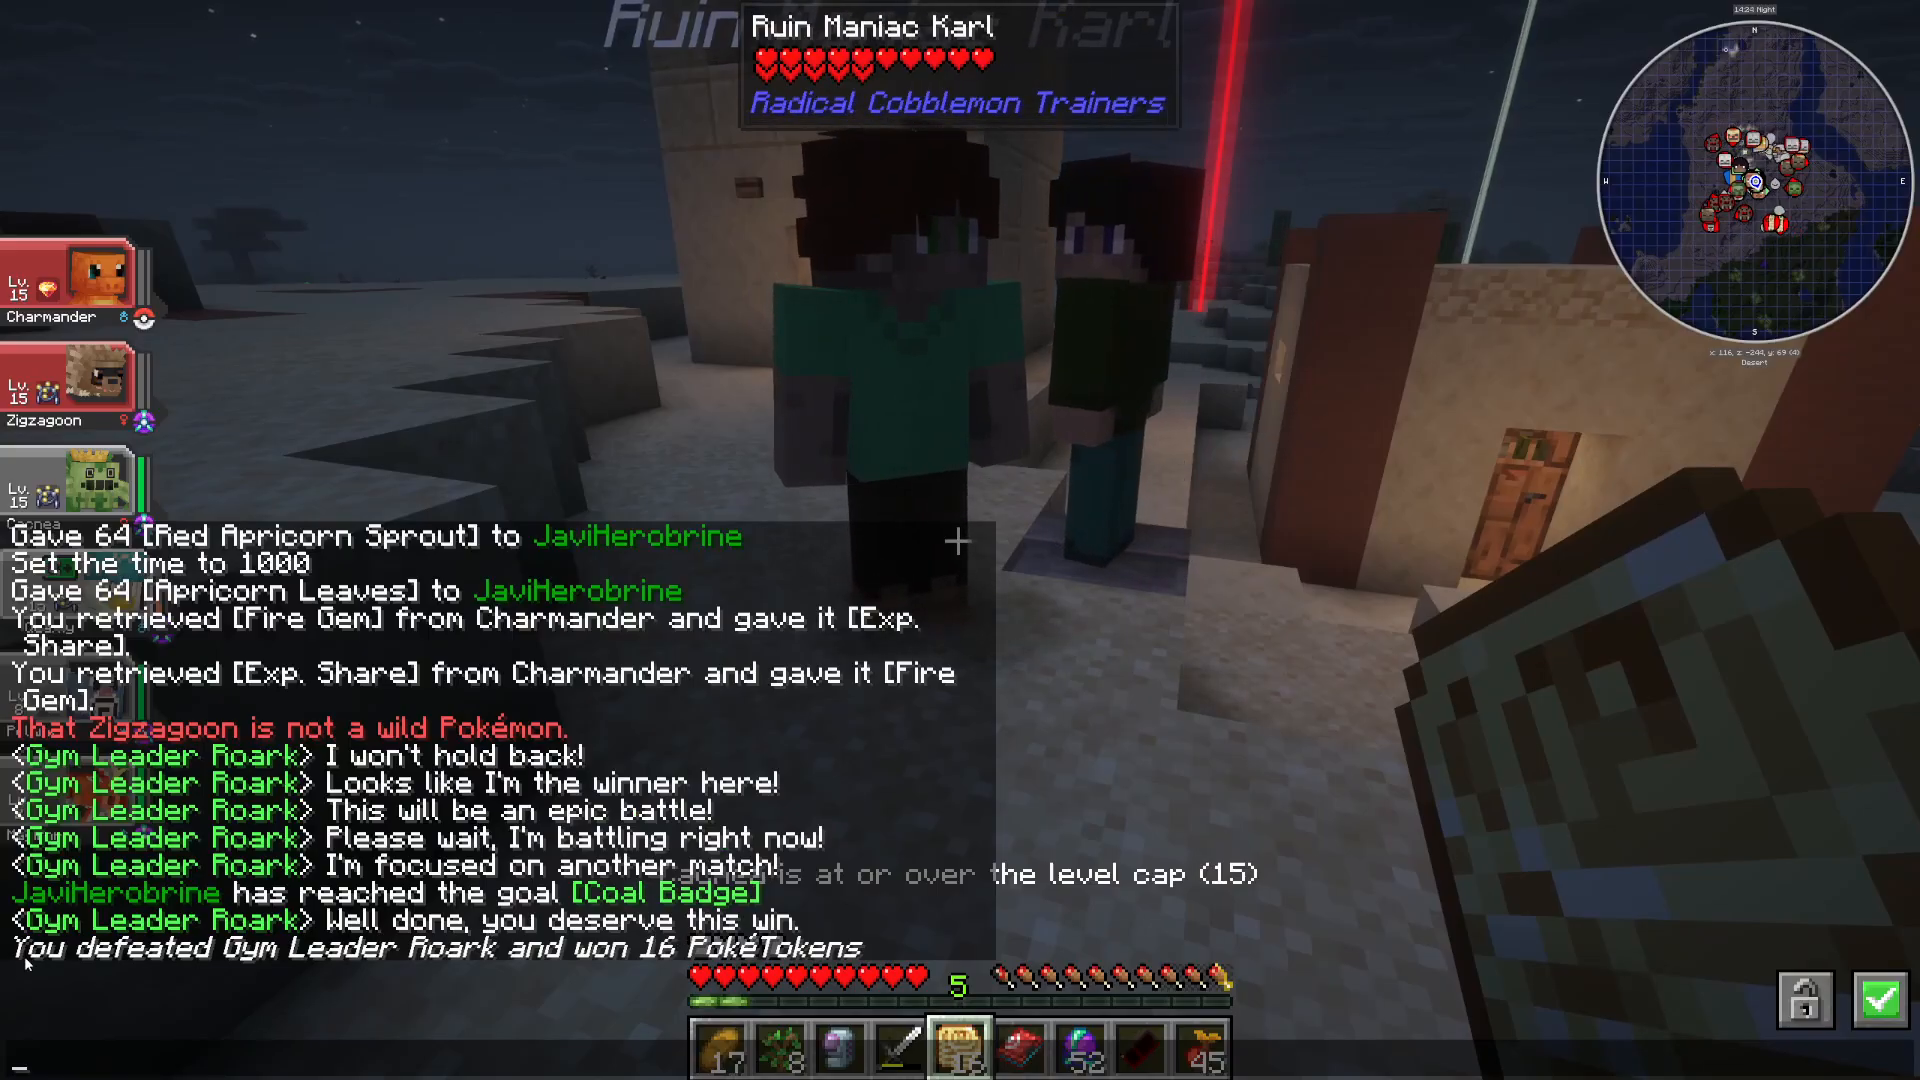
After defeating a trainer, you receive:
Poke Tokens – Currency for trading with villagers
Level Cap Increase – Your Pokémon’s maximum level increases by one
Your Trainer Card updates to show your new level cap
Pokémon Helpers and Combat Support
Pokémon Assistance in Survival
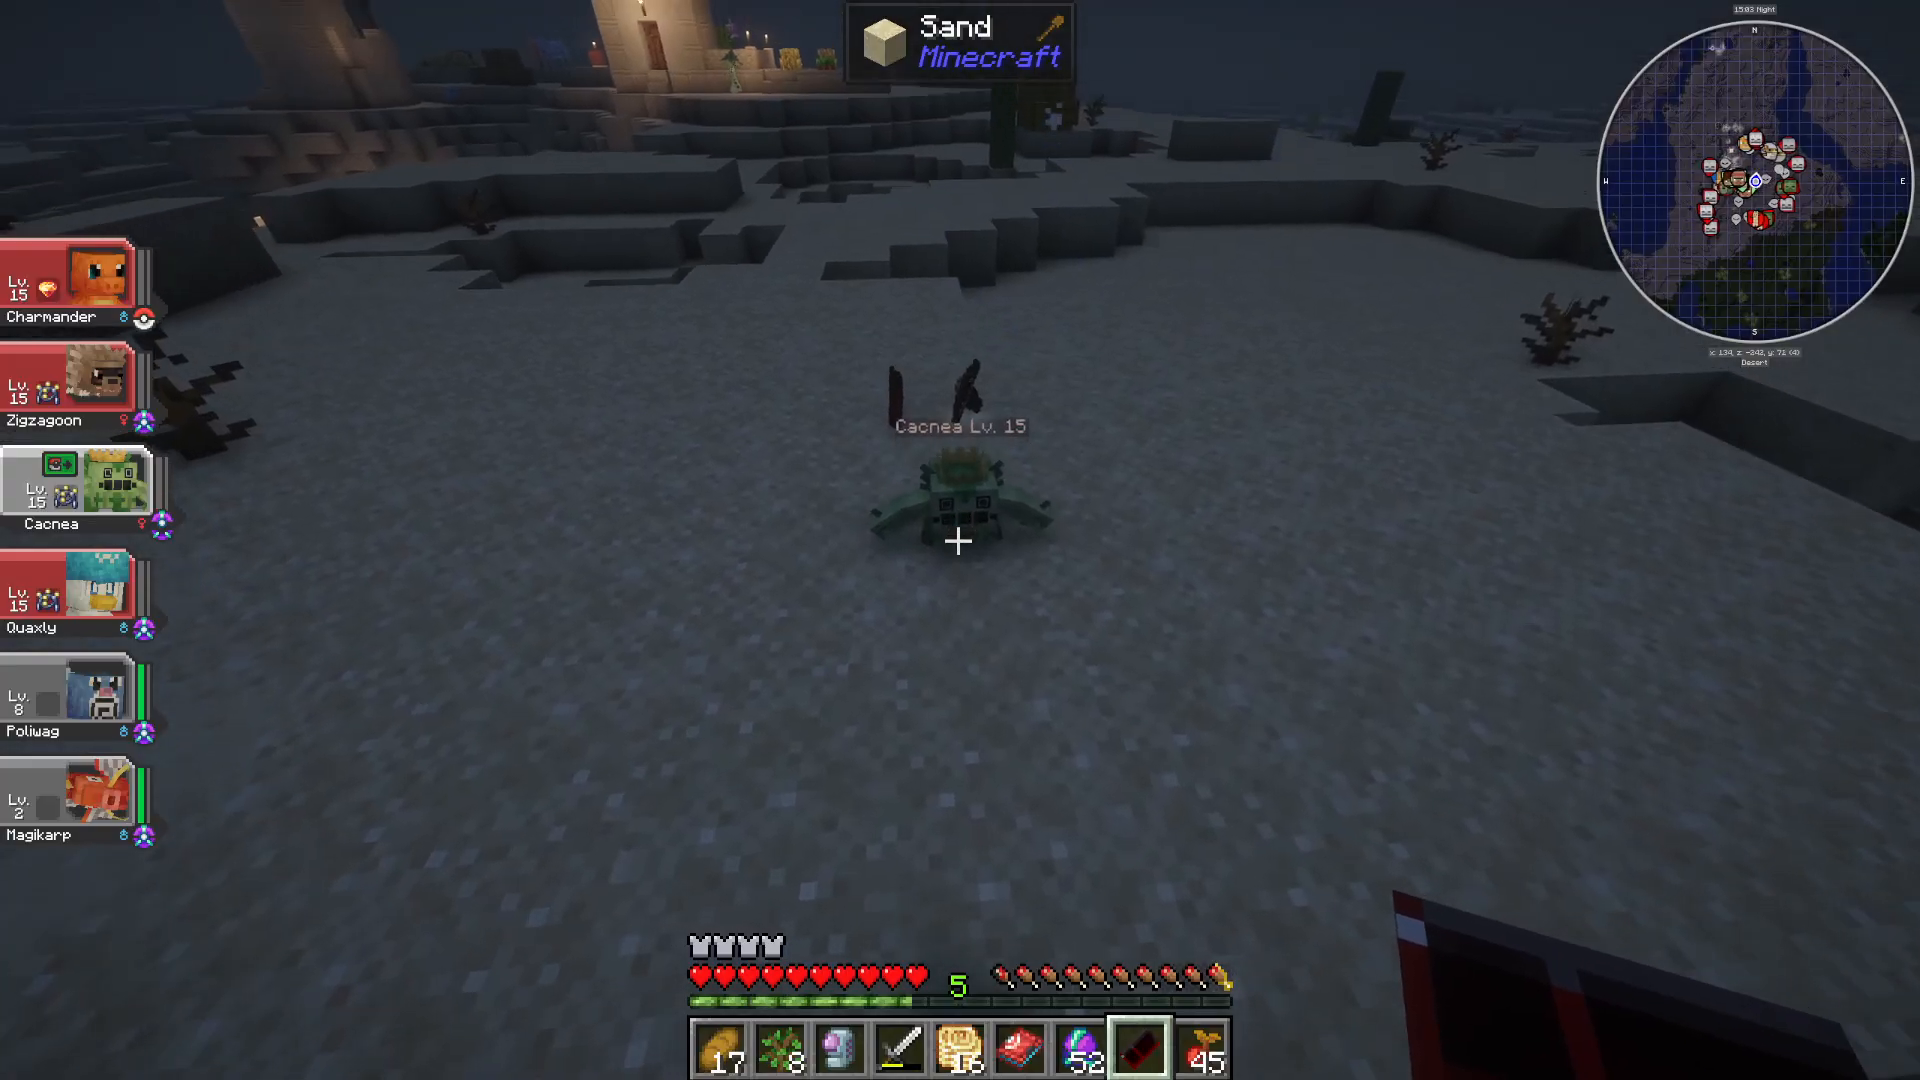
Your out-of-battle Pokémon will help you during gameplay:
They automatically attack hostile mobs (like zombies)
This provides valuable combat support as you explore
Be aware that your Pokémon can be damaged by hostile mobs
Advanced Features
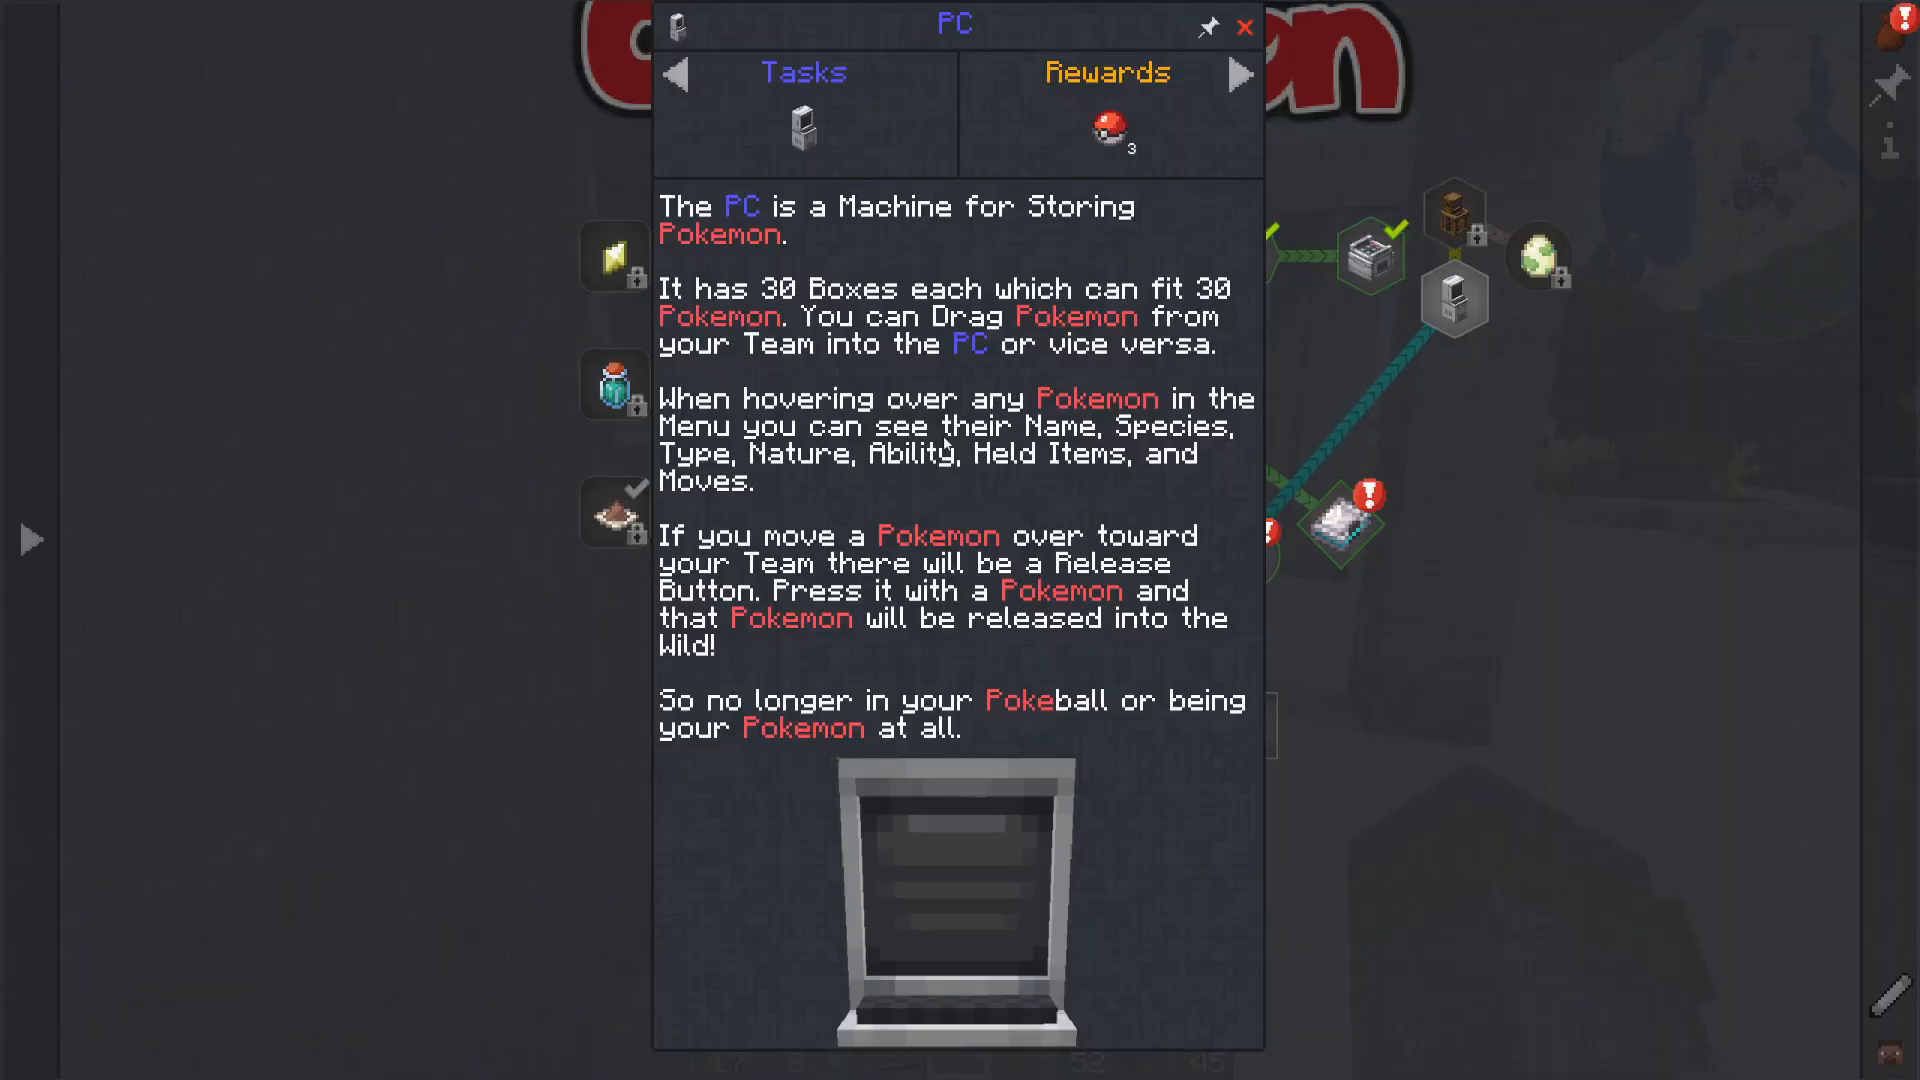
Pokémon Storage with PC
Create a PC block to store Pokémon:
Right-click on a PC to access your storage
Store and retrieve Pokémon just like in Pokémon games
This allows you to manage teams and keep extra Pokémon safe
Raid Dens
Challenging raid dens offer unique rewards:
Raid Dens are special locations containing Mega Pokémon
Right-click to enter and battle mega-evolved Pokémon
Defeating raid Pokémon provides rare drops and items
Example: Amafist can be obtained from specific raid dens
You can leave without engaging if you choose not to battle

Planting and Growing Berries
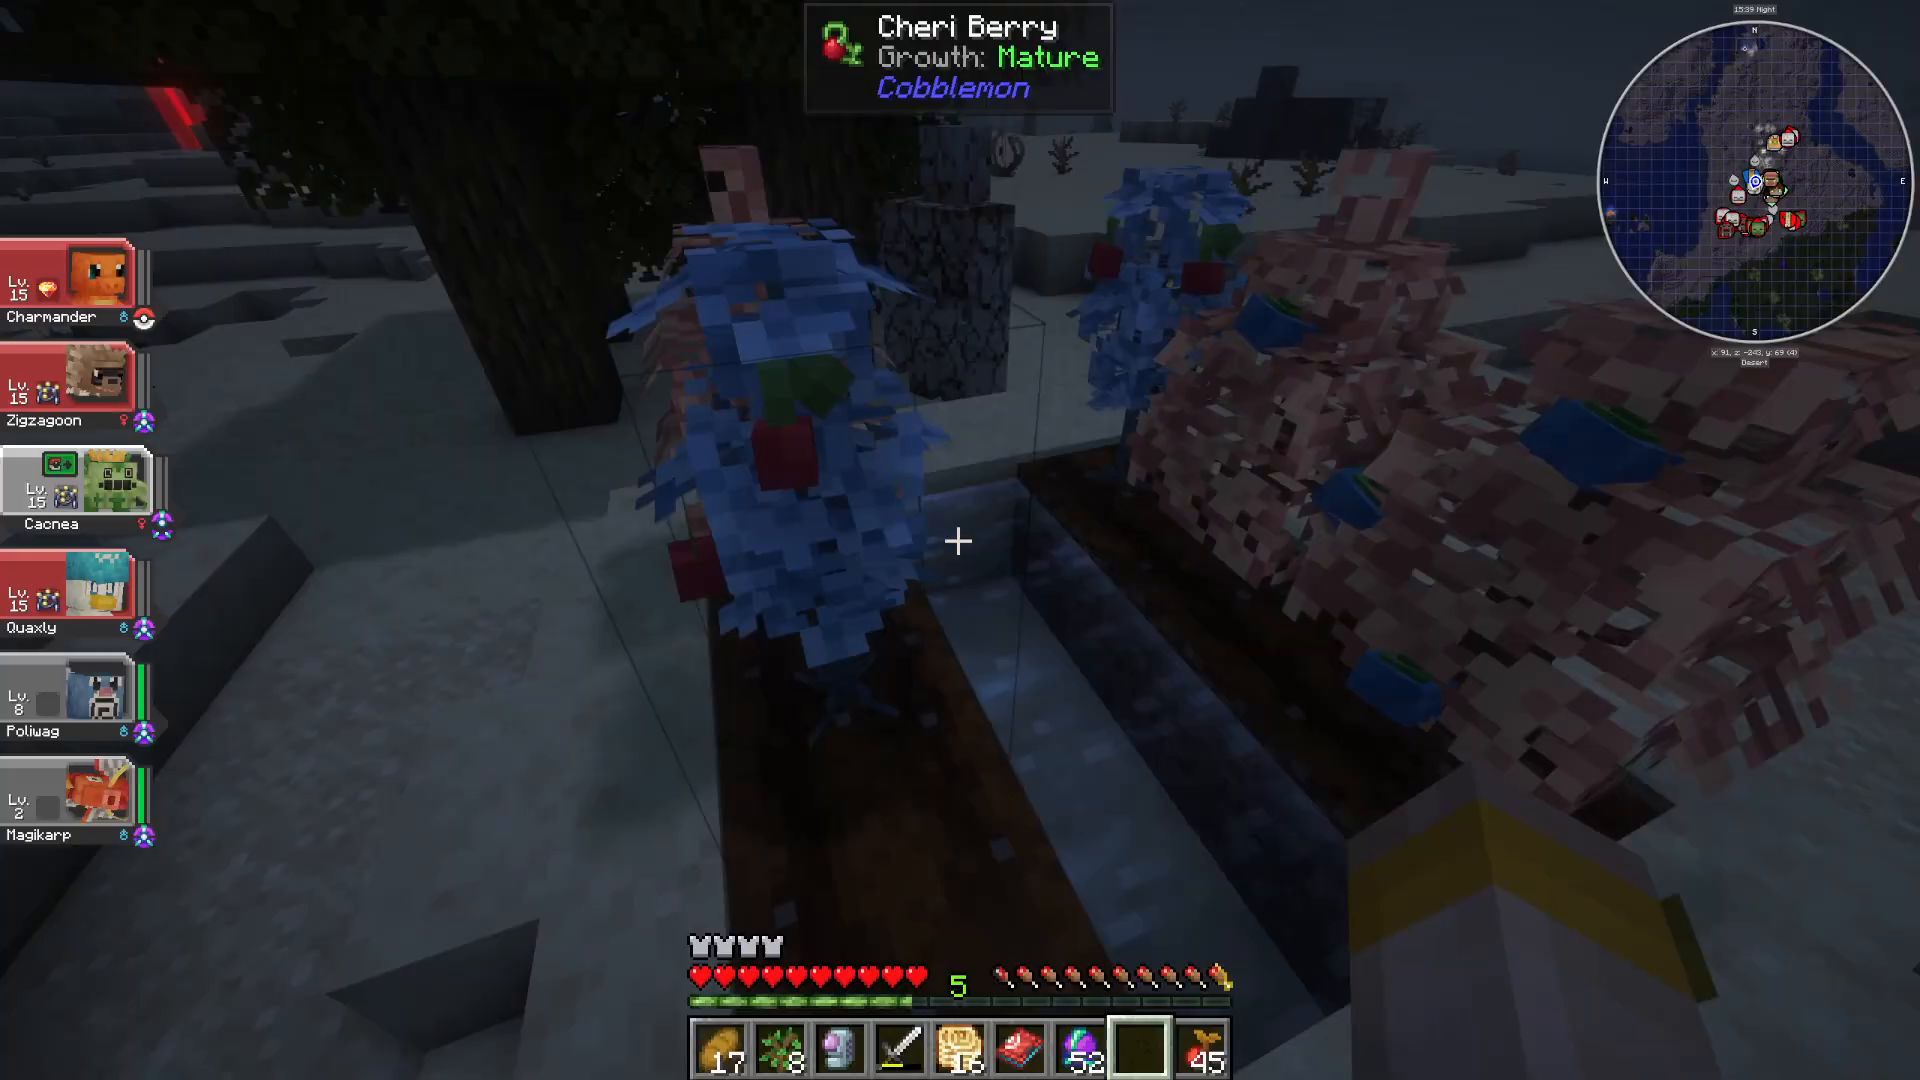
Many berries found in villages can be cultivated:
Plant berries directly in soil blocks
They grow like standard crops
Harvest and replant to create sustainable berry farms
Finding Pokémon in the World
Pokémon spawn in appropriate biomes:
Ground-type Pokémon – Found in deserts and rocky areas
Fire-type Pokémon – Spawn in the Nether
Water-type Pokémon – Found underwater in oceans and rivers
Other types spawn in biome-appropriate locations
Explore various biomes to find and catch diverse Pokémon
Exploring Other Mods in All The Mods 10
While this guide focuses on Cobblemon, All The Mods 10 includes many other mods with dedicated guides available on this channel:
Applied Energistics 2 (AE2) – Storage and automation
Modular Routers – Item transportation
Pylons – Energy distribution
PuffExporters – Item export solutions
Hostile Neural Networks – Mob farming automation
Productive Bees – Bee automation and breeding
Each of these mods has a dedicated playlist on the channel. Check them out if you need help with other aspects of the modpack.
Conclusion
You now have all the fundamental knowledge needed to start your Cobblemon adventure in All The Mods 10. From catching your first Pokémon and obtaining Pokéballs through villager trading, to managing your team, leveling up, and battling trainers—you’re ready to begin. Remember to explore villages, hunt for apricorns, and utilize the quest book for detailed information on specific mechanics. As you progress, you can build upon these basics to create automated Pokéball farms and tackle increasingly difficult trainer challenges to raise your level caps. Happy Pokémon hunting!
— Want to Support? —
If you would like to help us continue making these guides – please consider joining our patreon here – https://www.patreon.com/c/JaviHeals
Alternatively – we host a group of MC Servers you can join here – https://discord.gg/zD7Gjt6MHF