Thaumcraft 6 Full Tutorial – 1.12.2
Thaumcraft 6 Full Tutorial – The Only Guide You’ll Need (1.12.2)
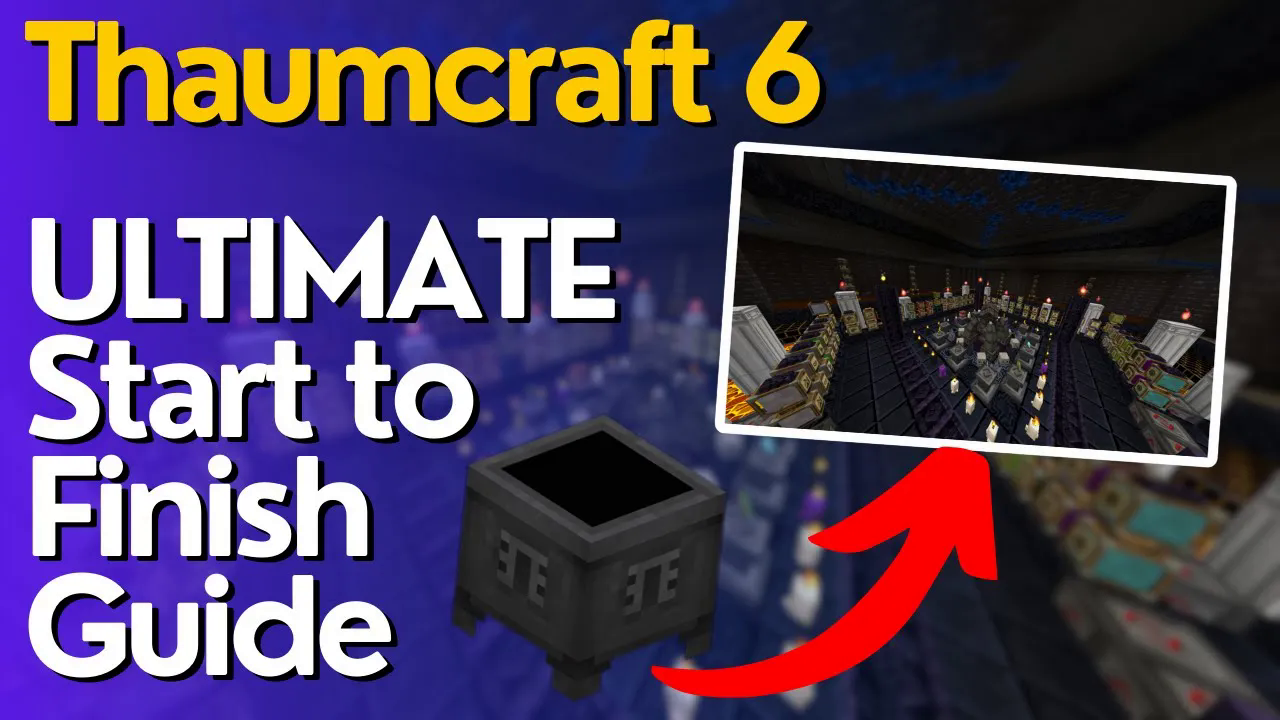
Welcome to the ultimate Thaumcraft 6 guide for Minecraft 1.12.2. Whether you’ve never touched the mod before or you’re struggling to push past the basics, this tutorial covers everything — from crafting your very first Thaumonomicon all the way through to automating Essentia, infusion crafting, and building your own Golems. Follow along step by step and you’ll have a complete understanding of everything Thaumcraft 6 has to offer.
Getting Started: Finding Vis Crystals and Crafting Salis Mundus
The very first thing you need to do in Thaumcraft 6 is explore the world. As you explore, keep an eye out for coloured crystals growing on cave walls and rocky surfaces underground. You will find Order crystals, Air crystals, Earth crystals, Water crystals, and Fire crystals. There is also a sixth type — Perditio — though it can be harder to locate. These are your Vis Crystals, and they are fundamental to everything in the mod.
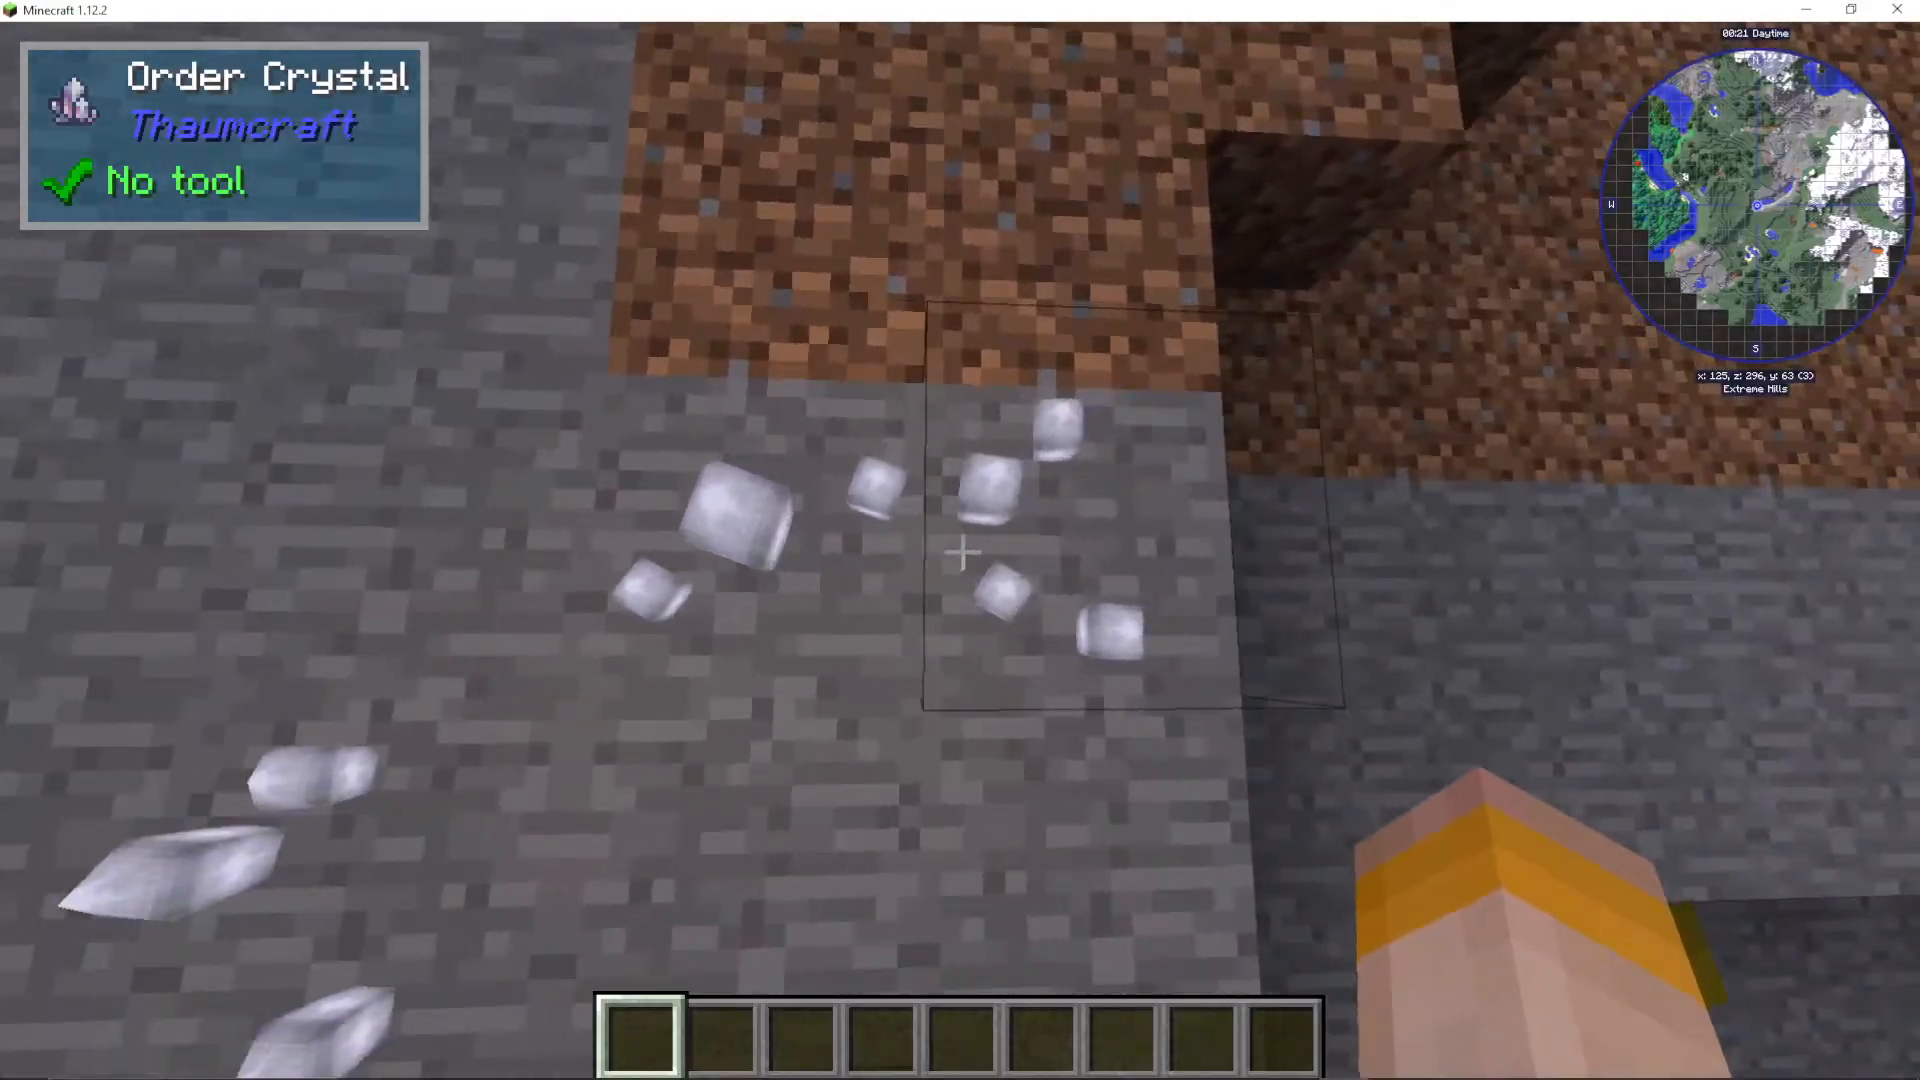
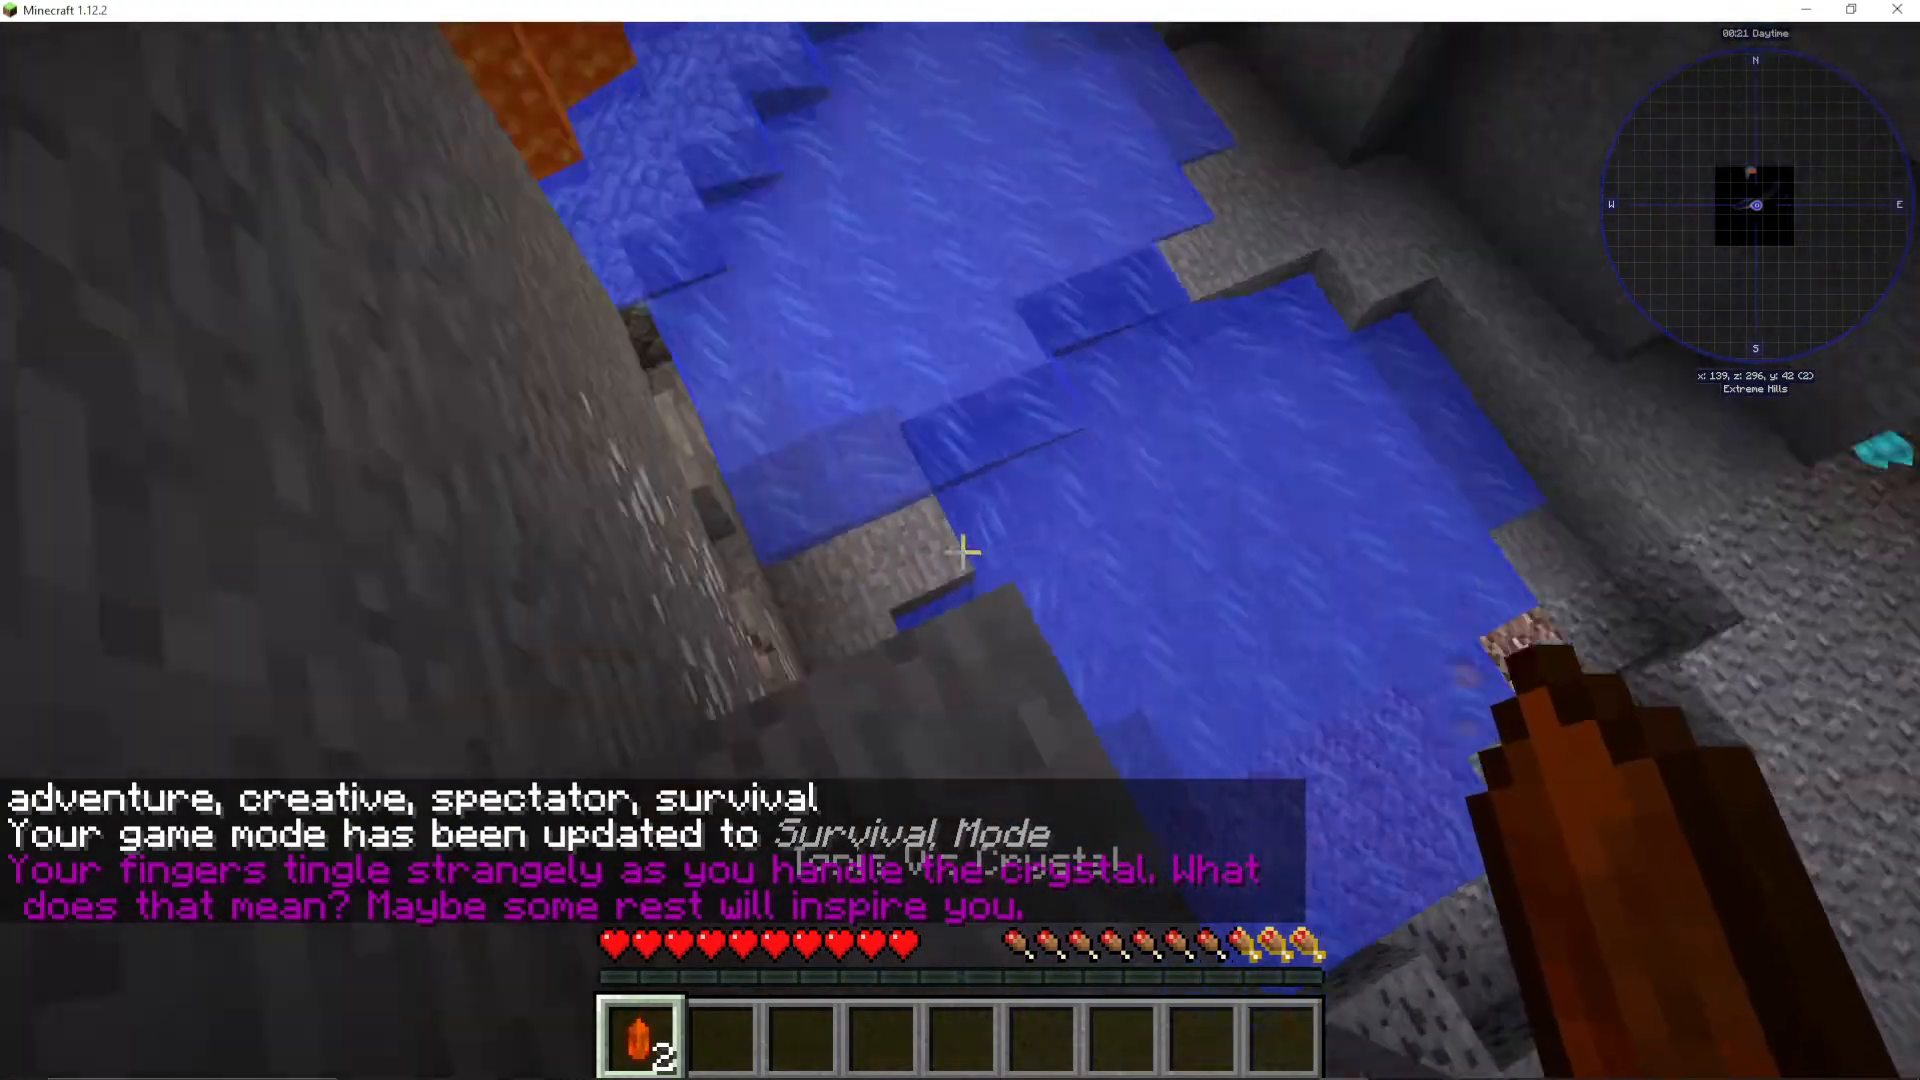
Mine at least three different colours of Vis Crystal. When you do, you will see a message in chat: “Your fingers tingle strangely as you handle the crystal.” That is your cue. Once you have collected three different colours, find a bed and go to sleep.
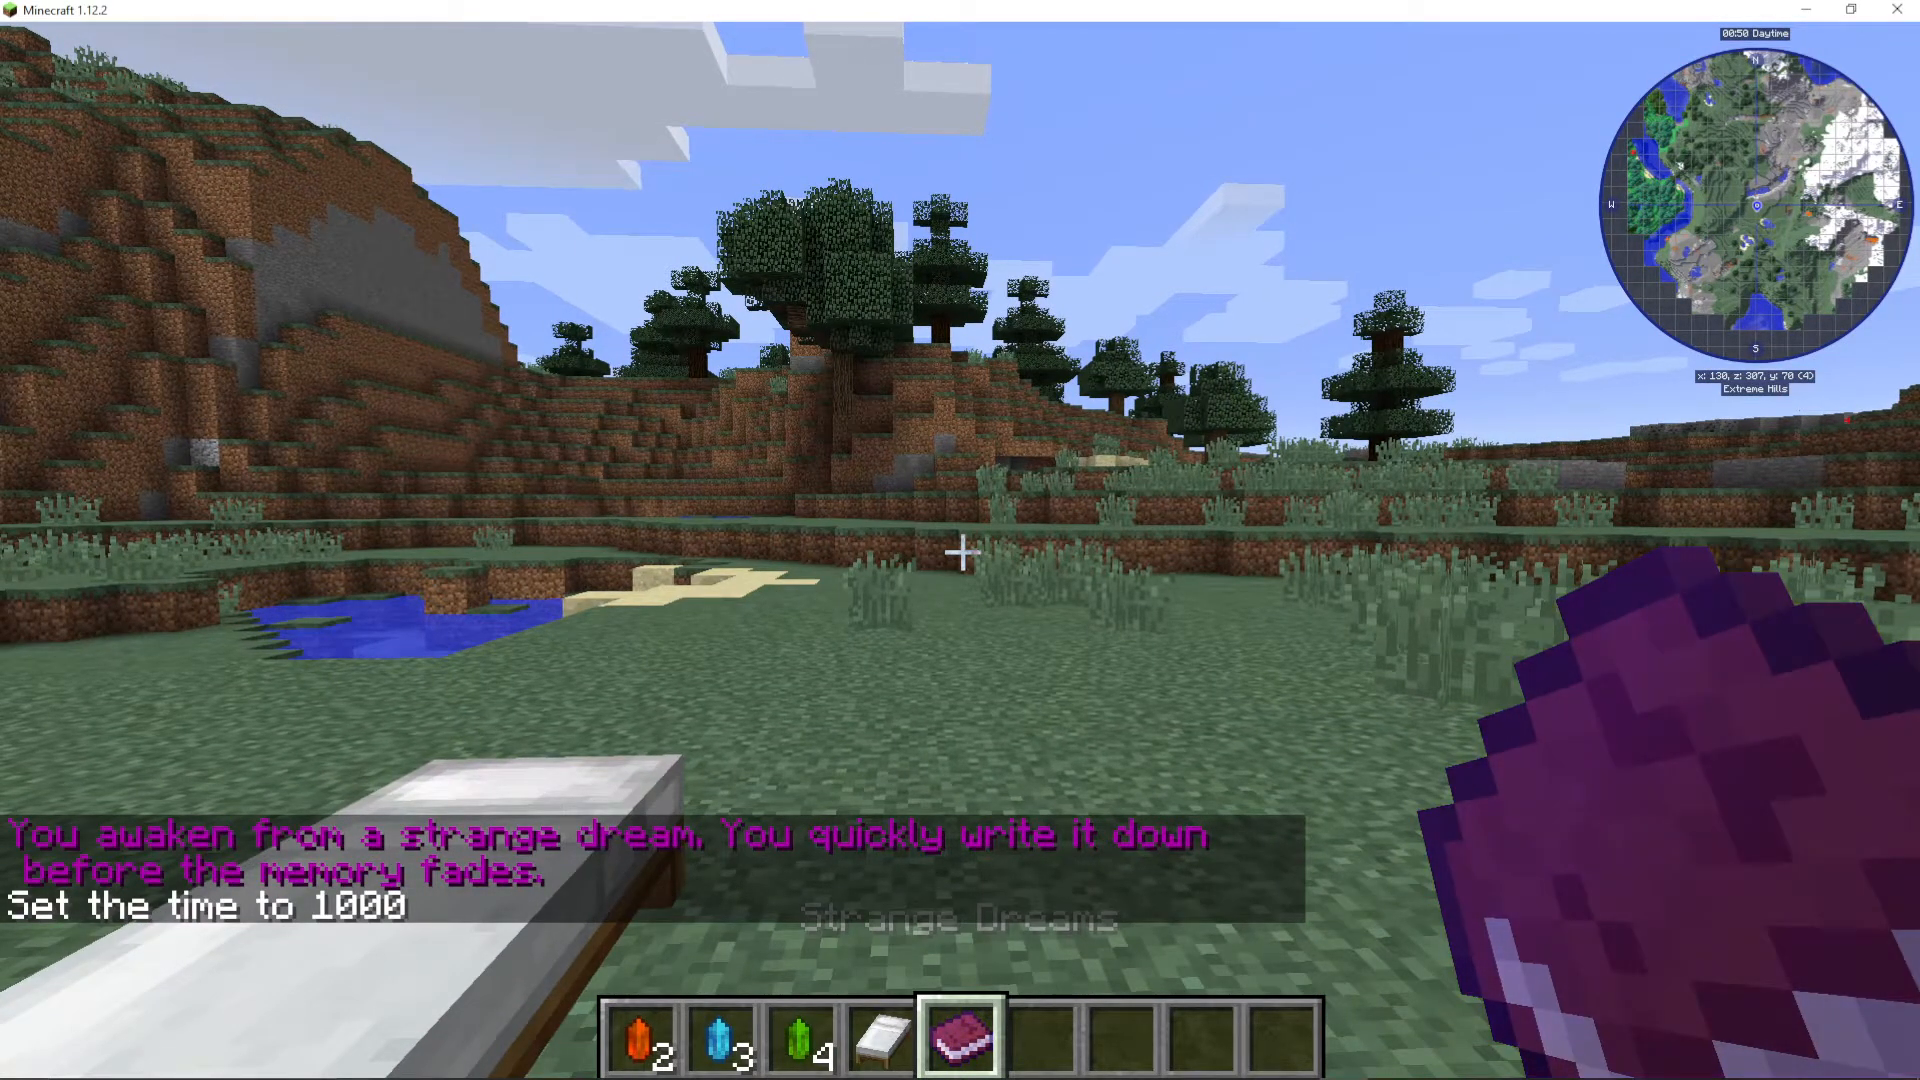
When you wake up, a message will appear in chat: “Waking from a strange dream, you quickly write it down before the memory fades.” A book called Strange Dreams will appear in your inventory. Read through it — it tells you exactly what to do next.
Crafting Salis Mundus
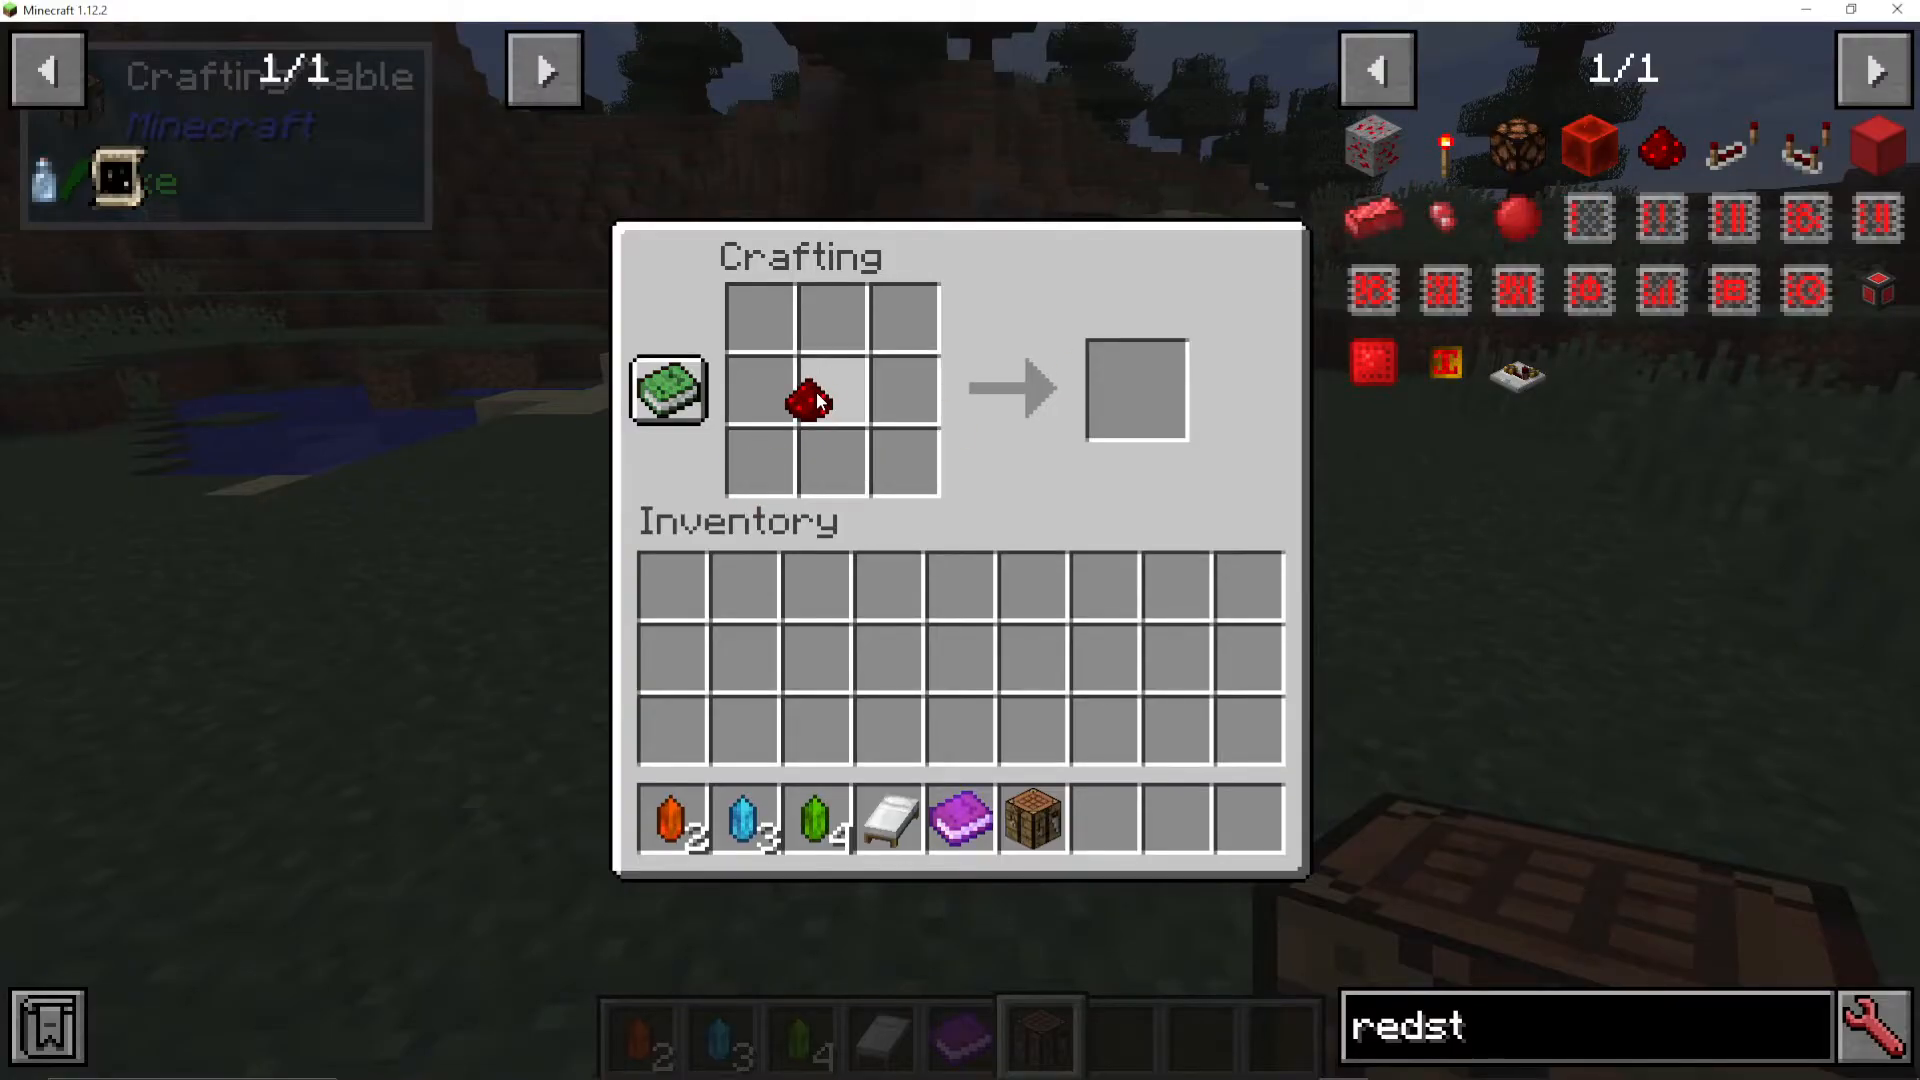
Head to your crafting table. You will need the following ingredients:
1 Redstone
3 different coloured Vis Crystals
Flint
A Bowl
Combine these in your crafting table to create Salis Mundus. This is the first item you will craft in Thaumcraft 6.
Creating the Thaumonomicon
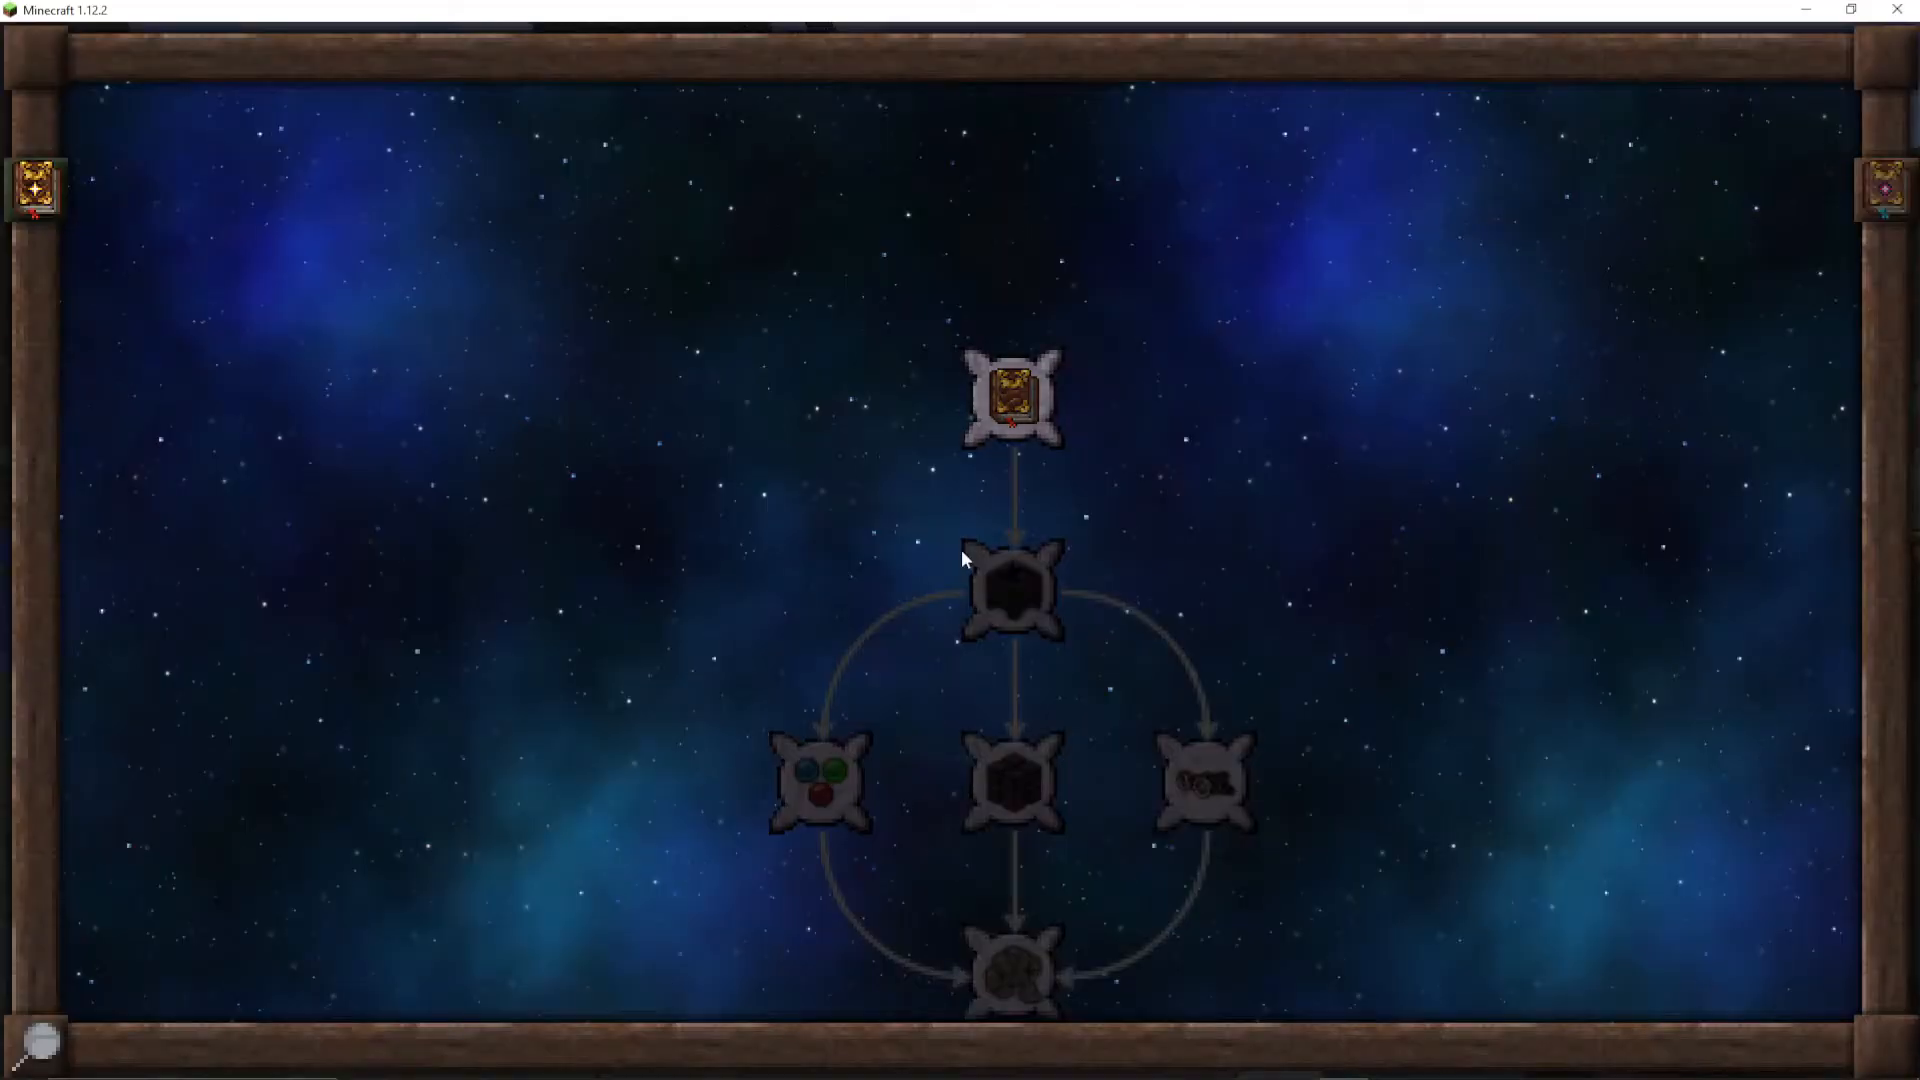
Next, find or craft a Bookshelf. You can find one in a village or craft it yourself. Once you have it, right-click the bookshelf while holding Salis Mundus. It will sparkle and then transform into a Thaumonomicon — your guidebook for the entire mod.
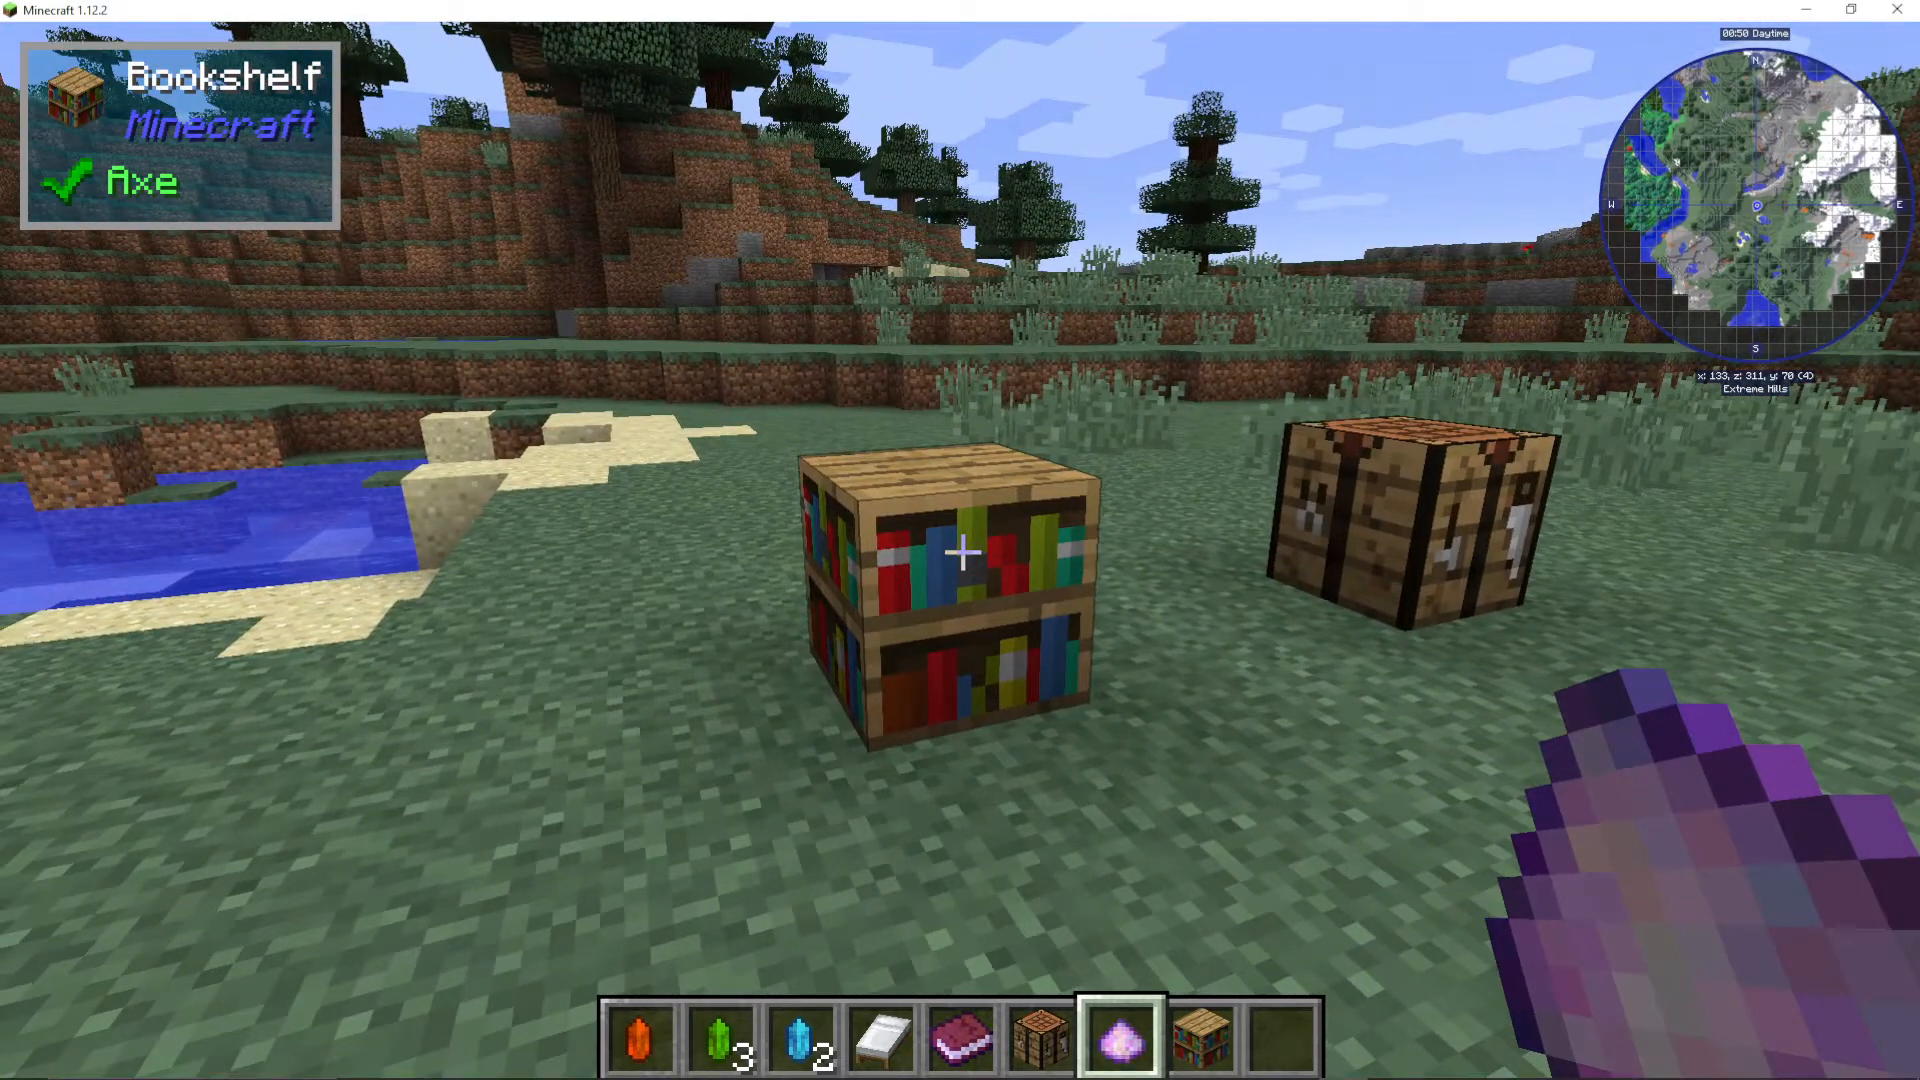
Right-click the Thaumonomicon to open it. You have now officially started Thaumcraft 6. Progress through its chapters to unlock more and more content.
The Arcane Workbench and Vis
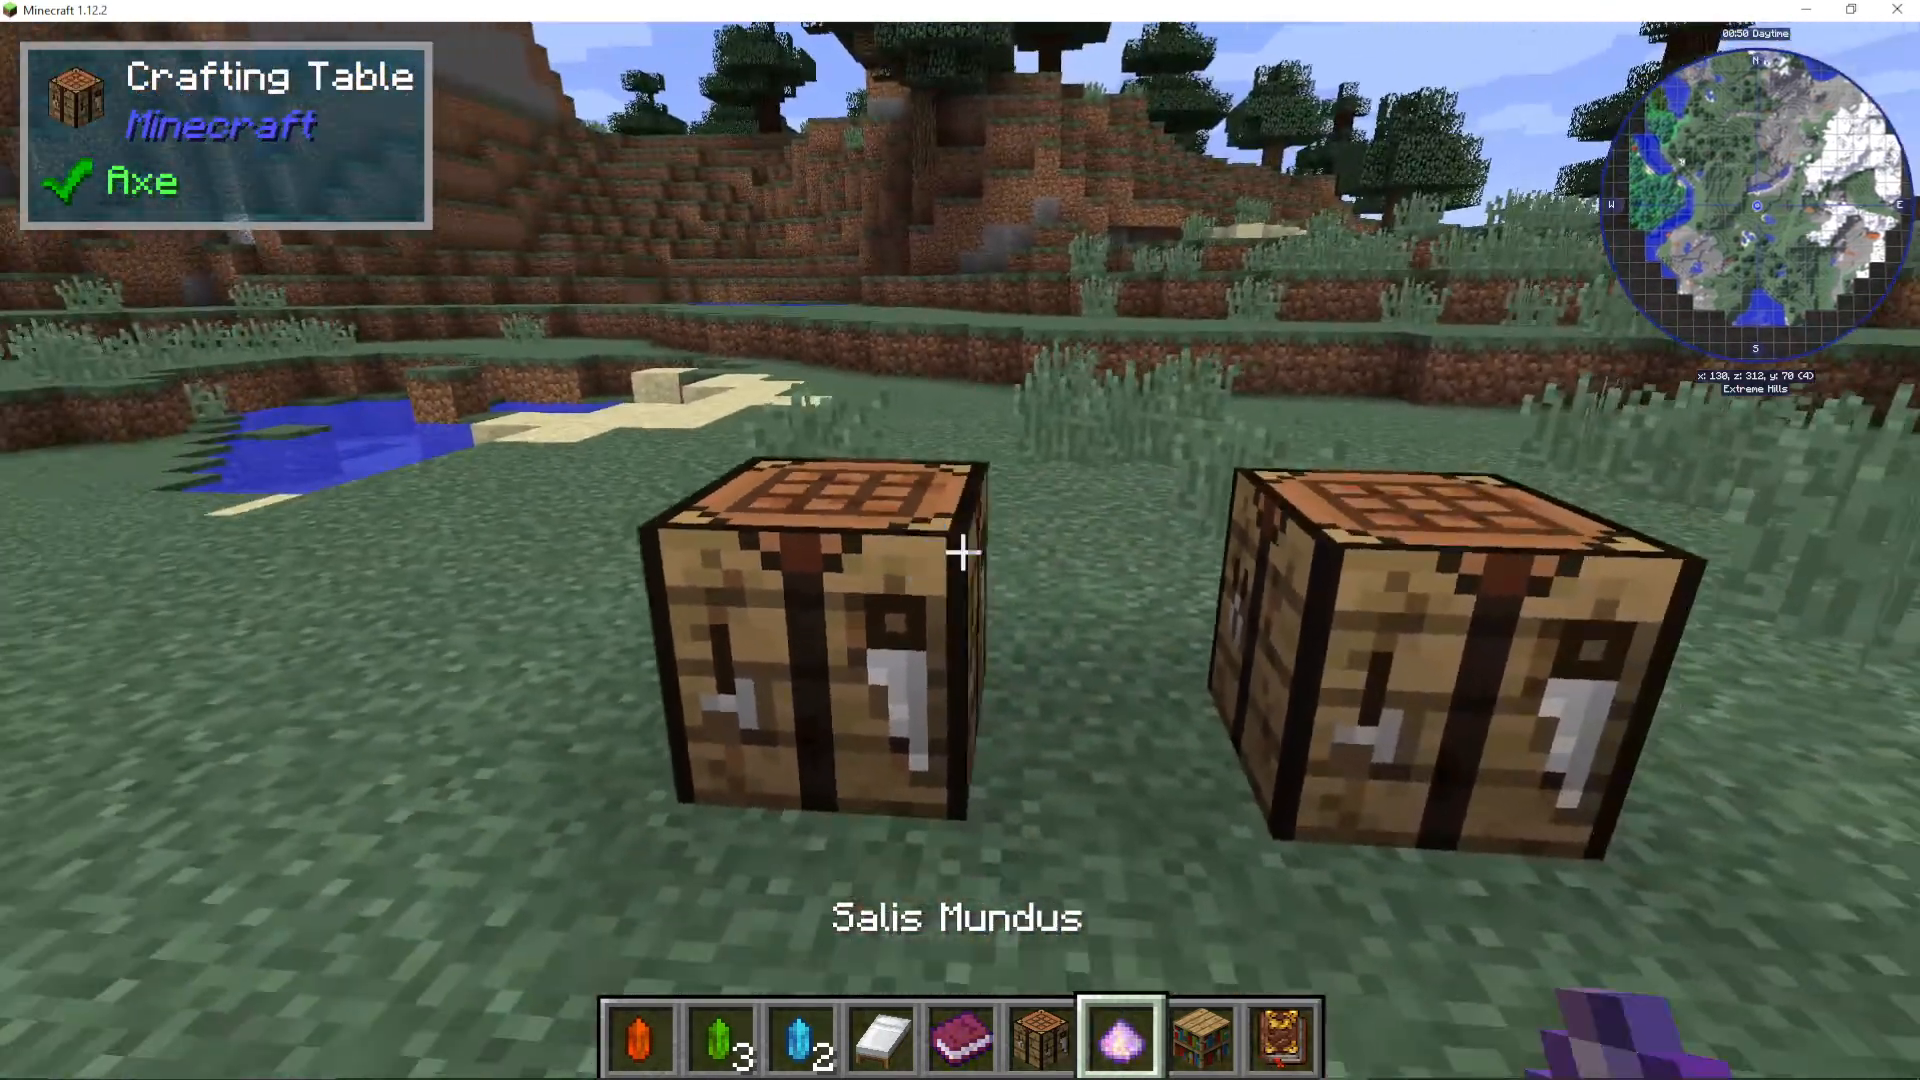
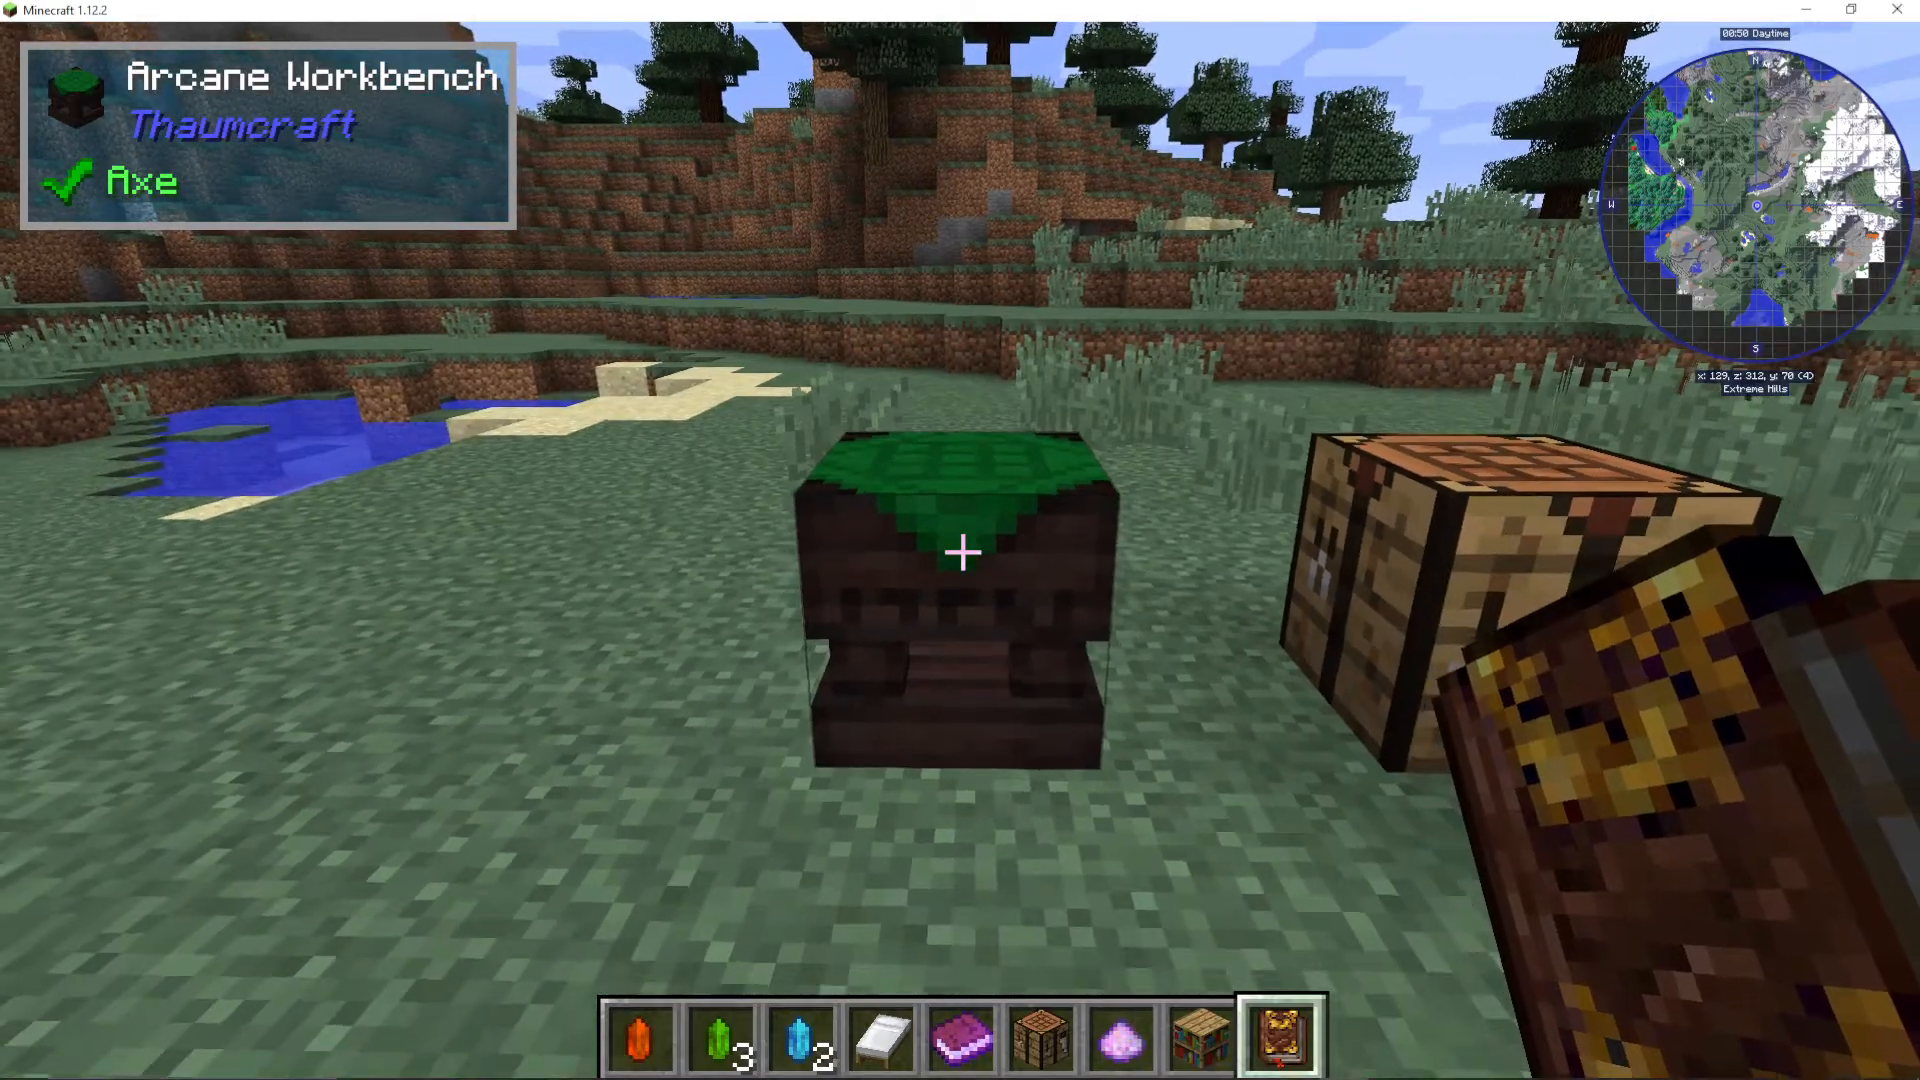
Inside the Thaumonomicon, you will notice a new type of crafting station is required: the Arcane Workbench. To make it, craft another Salis Mundus and use it on a regular crafting table. Note that Salis Mundus is consumed in this process.
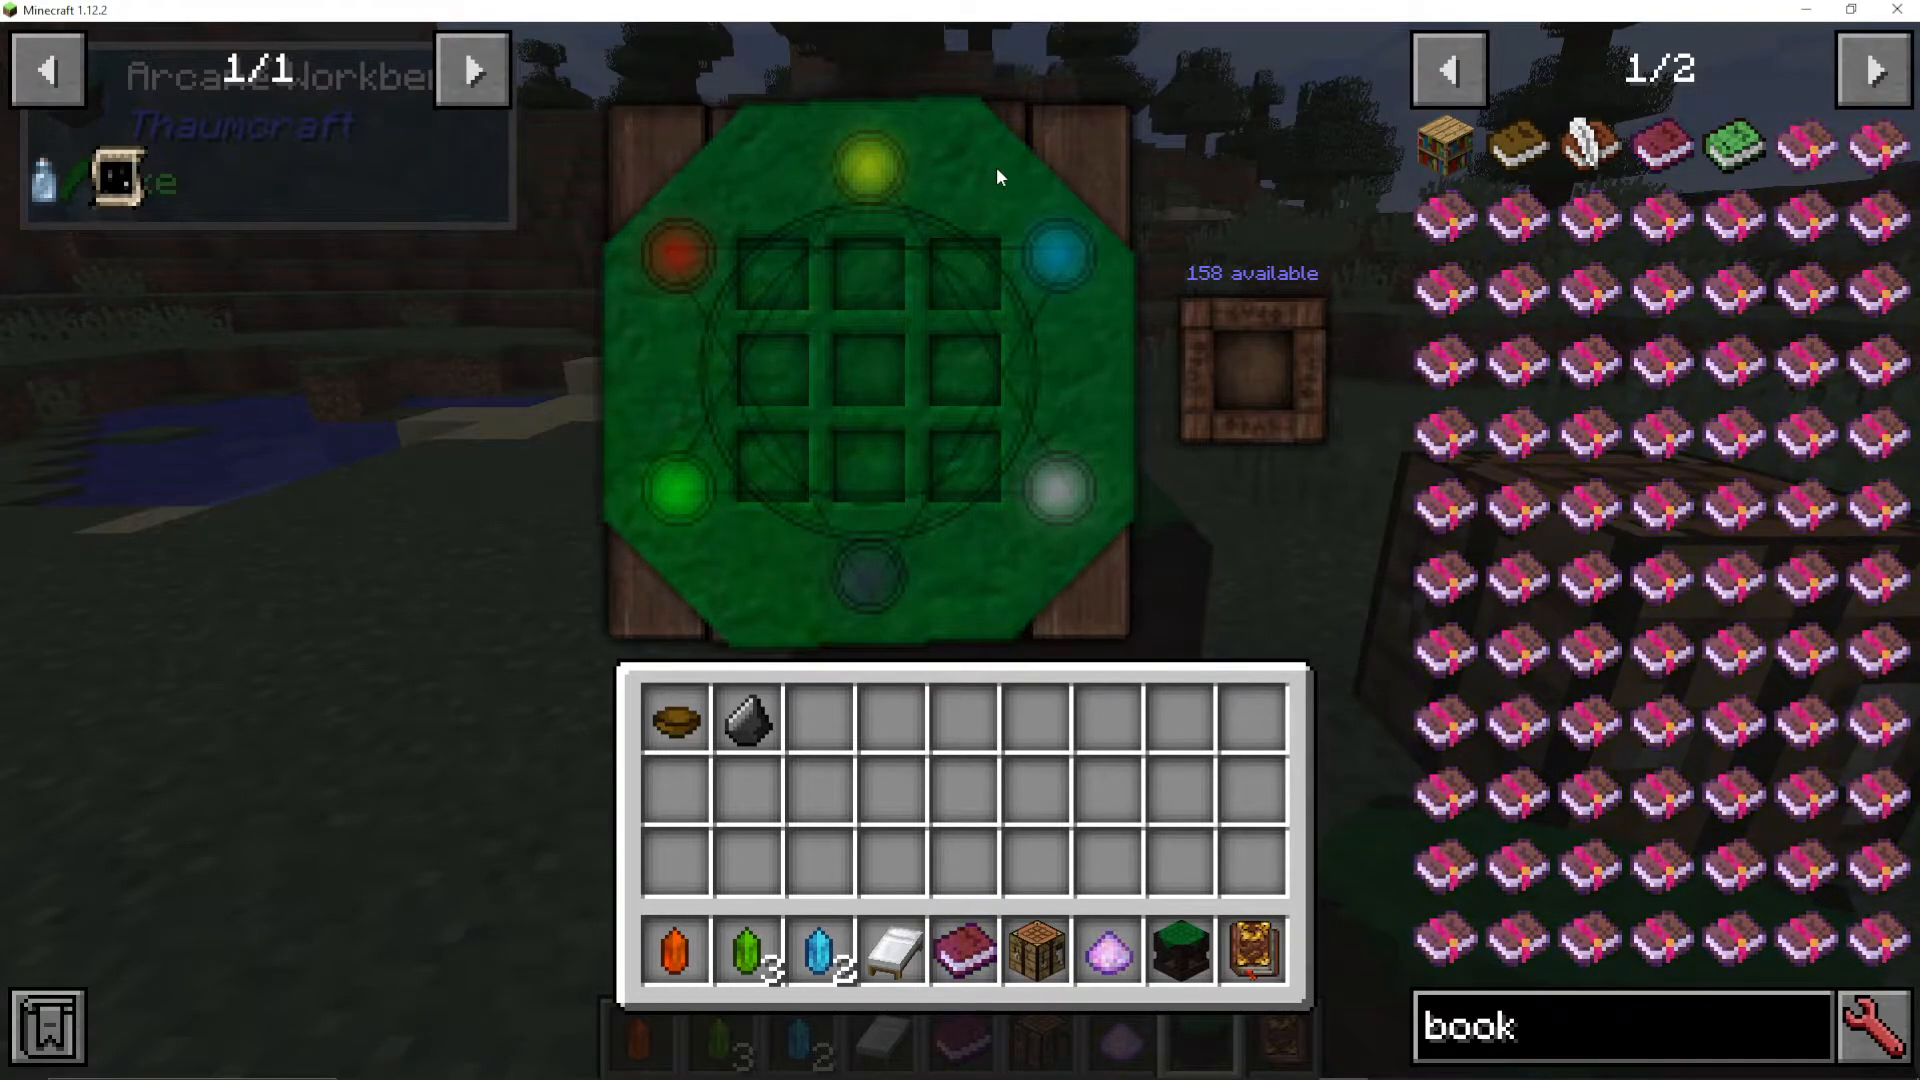
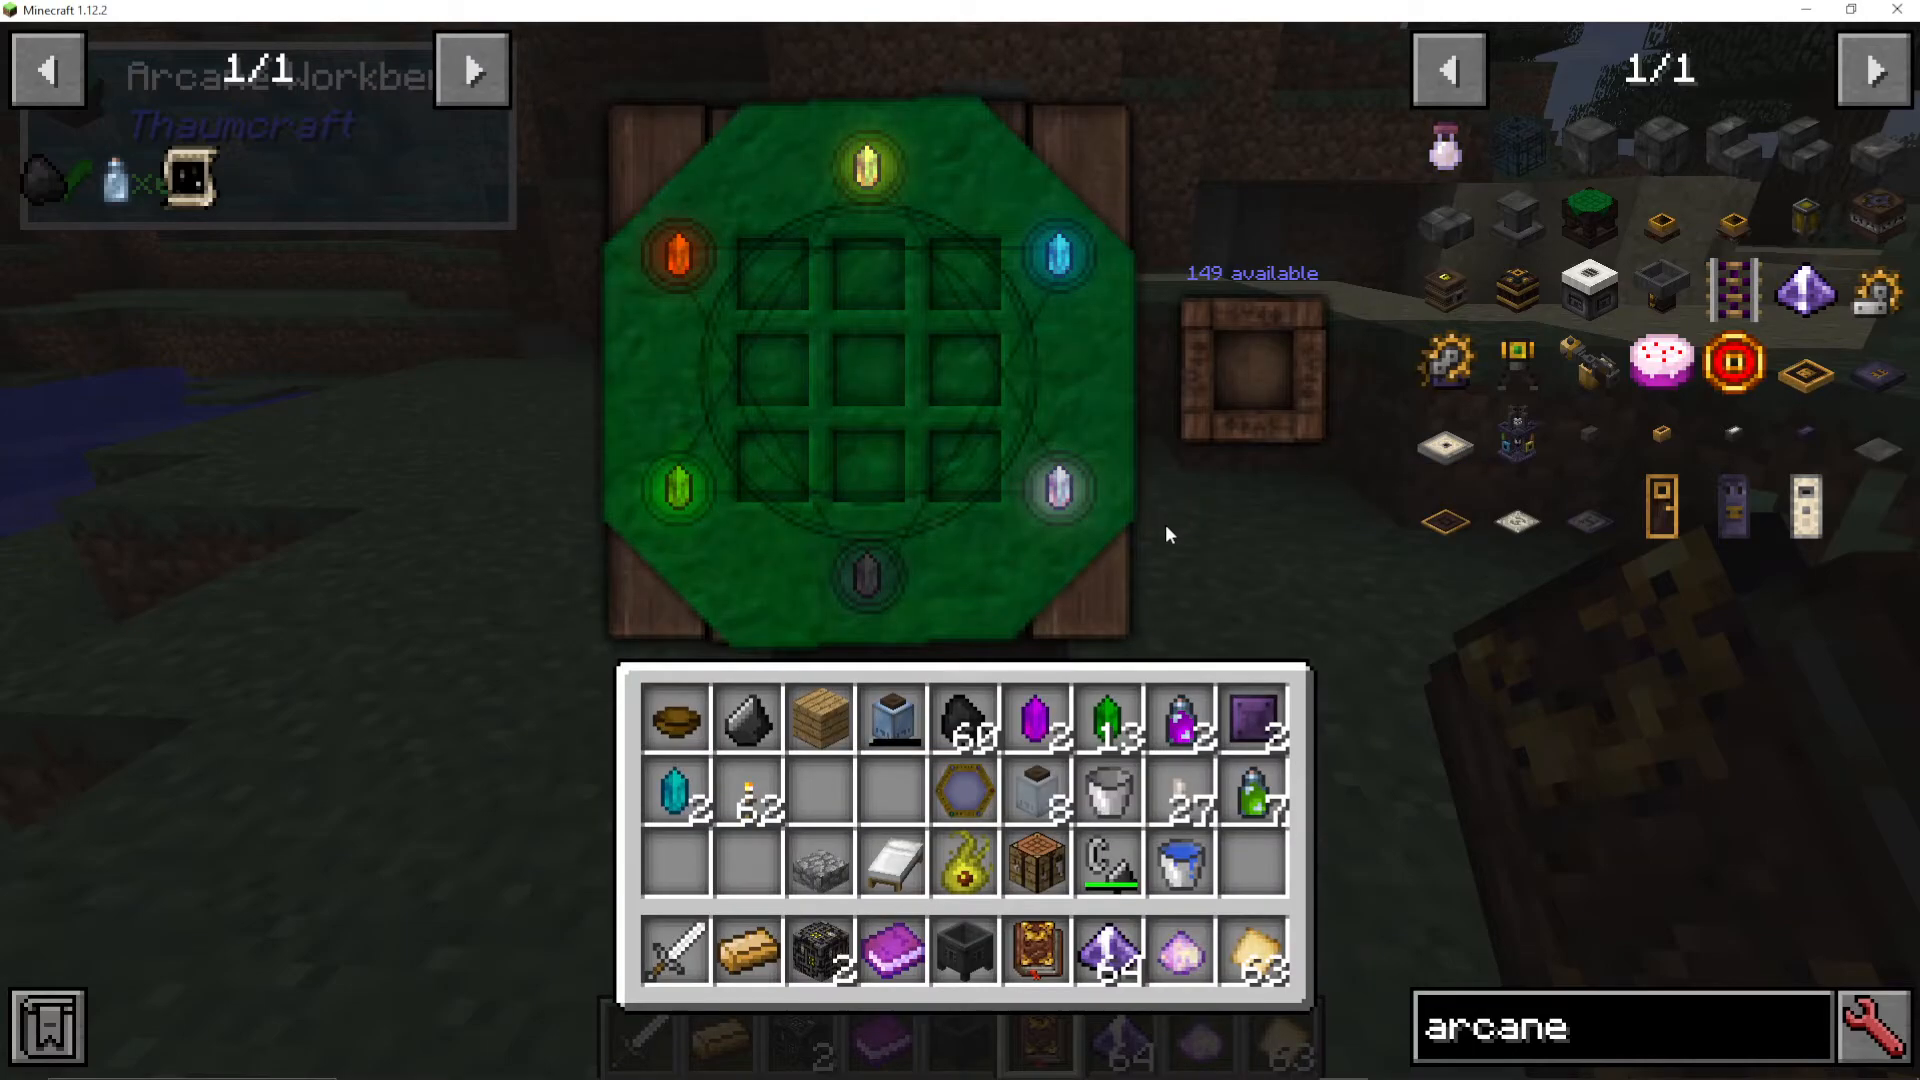
Once you place down the Arcane Workbench and open it, you will see a number in the top area — this is your available Vis. Vis is a supernatural energy present in the air, and each chunk of the world contains a different amount. For example, one chunk might have 149 Vis available, while another has only 125. You can experiment with placing your Arcane Workbench in different chunks to find the most Vis-rich location.
Around the outside of the Arcane Workbench interface are node slots where you place your Vis Crystals. These provide the elemental energy — Terra, Ignis, Aqua, Aer, Ordo, and Perditio — required for different recipes. You can mine all six of these crystal types in the wild.
Two Types of Knowledge: Observations and Theories
Progression in Thaumcraft 6 is driven by two types of knowledge: Observations and Theories.
Observations: Scanning with the Thaumometer
The first item to craft in your Arcane Workbench is the Thaumometer. It is highly recommended that you craft three of them — you will need two more later for the Goggles of Revealing. The recipe uses four gold ingots, a glass pane in the centre, and costs 20 Vis, with specific Vis Crystals placed in the workbench nodes.
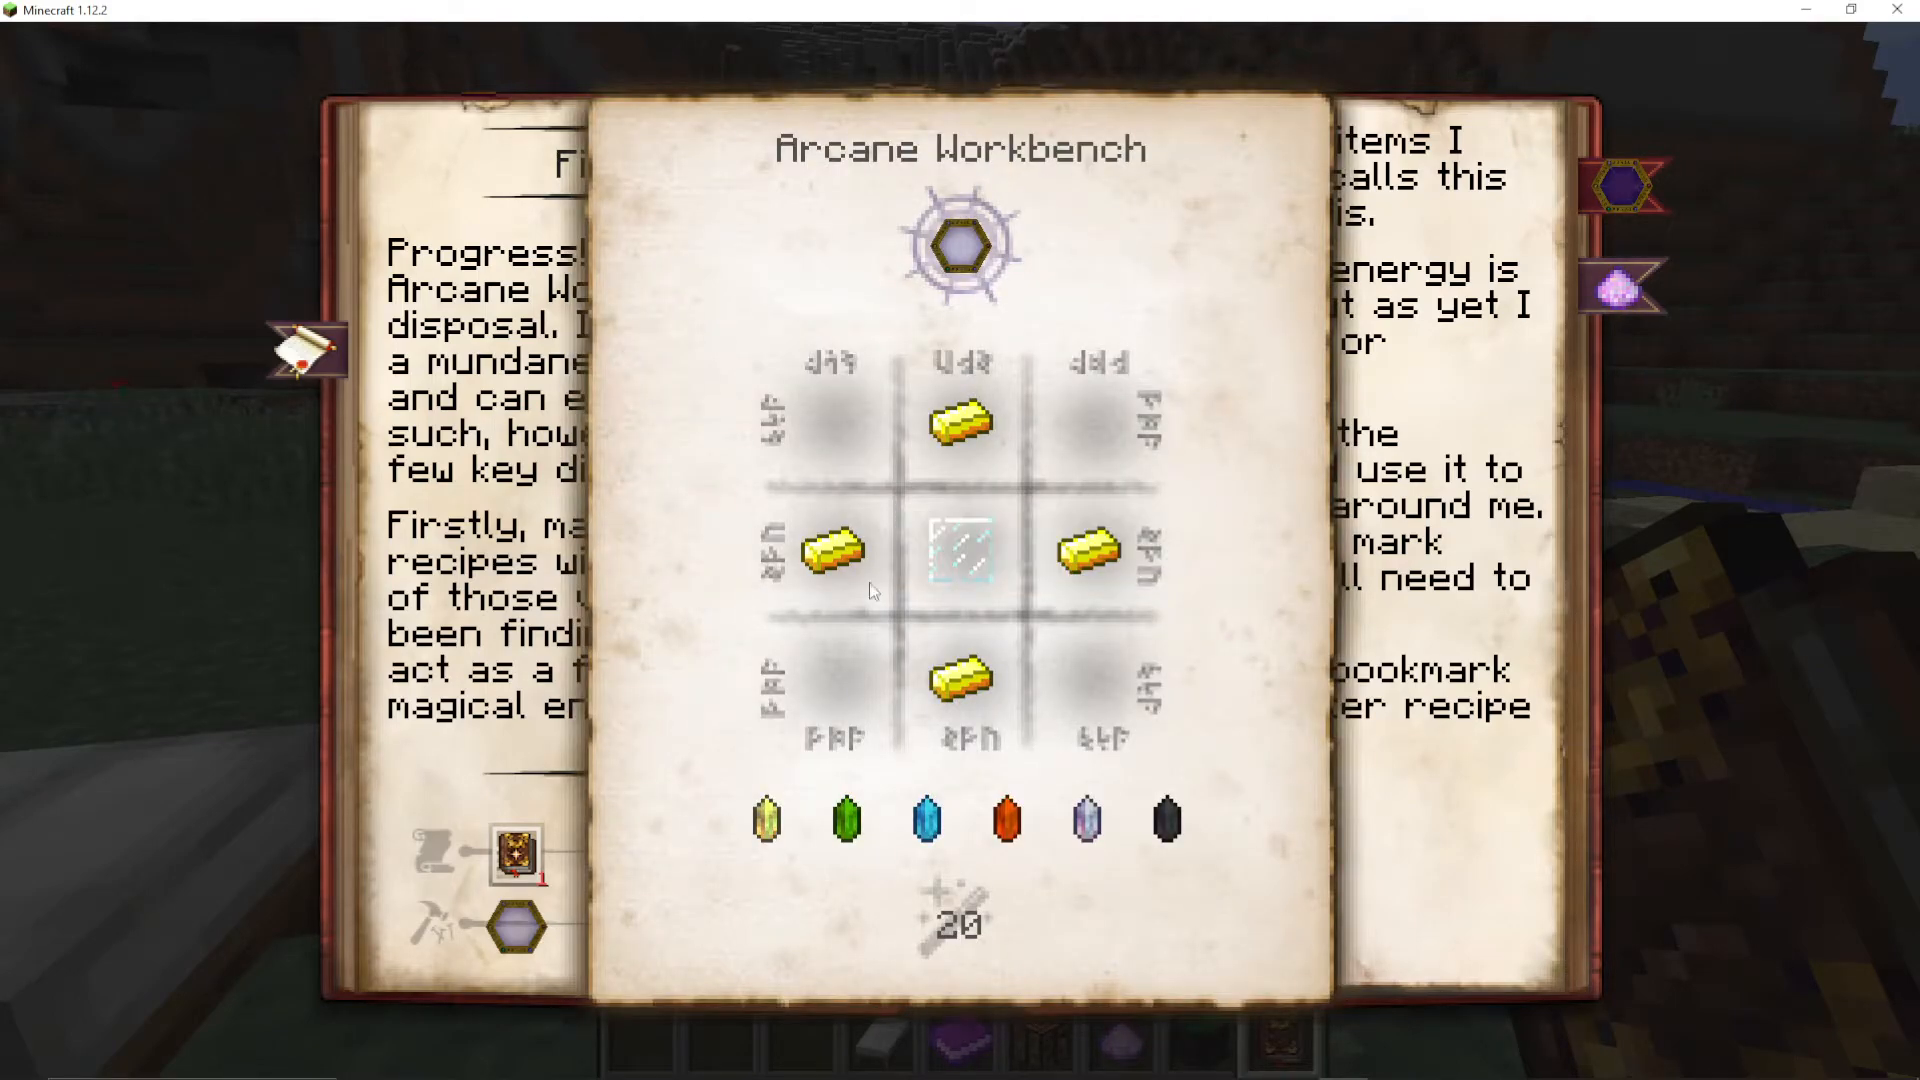
Once you have your Thaumometer, hold it and right-click on objects in the world to scan them. You will see sparkling effects and gain knowledge pages that unlock new chapters in the Thaumonomicon. To scan blocks that open a UI (like the Arcane Workbench itself), crouch and right-click.
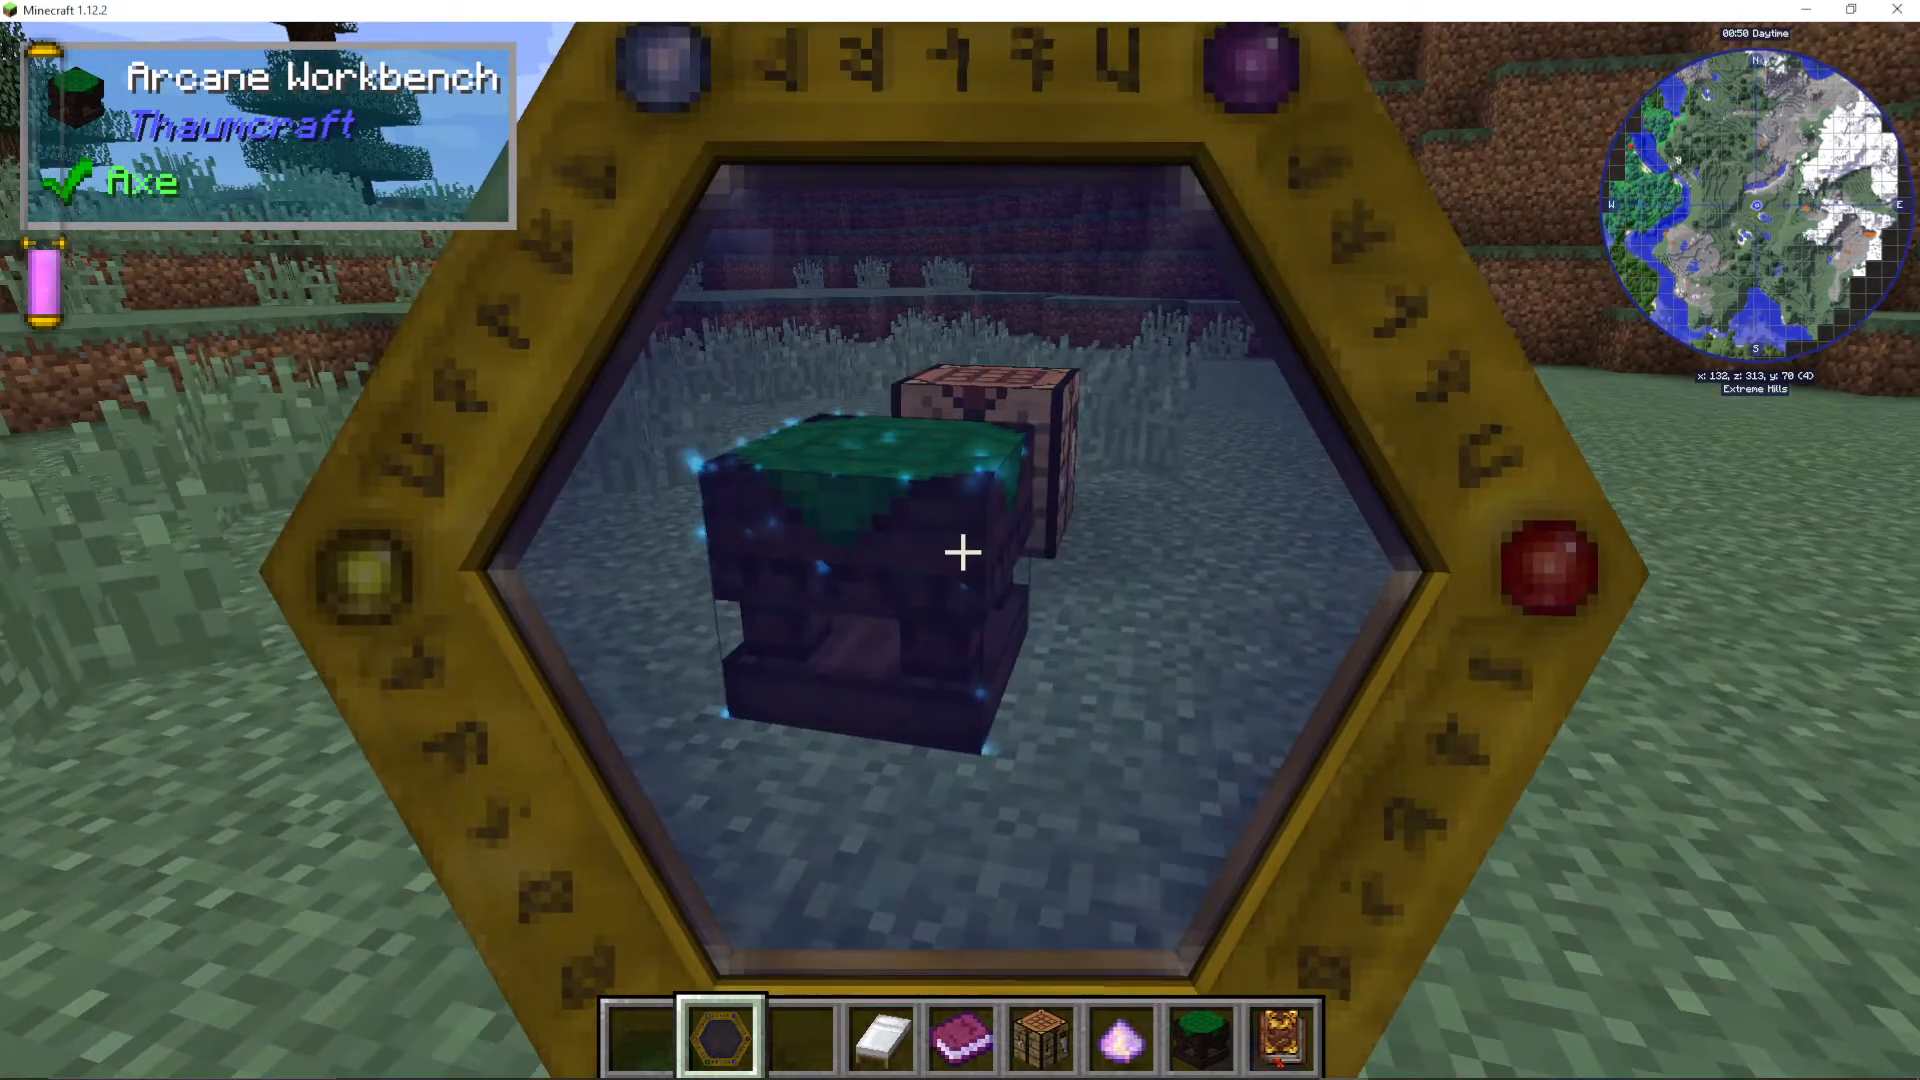
Scanning reveals Aspects — elemental properties of items. There are 46 aspects in total, including Aer (air), Terra (earth), Ignis (fire), Aqua (water), Victus (life), Mortuus (death), Potentia (energy), Lux (light), Permutatio (exchange), Praecantatio (structured magic), and many more. Items in the world each carry one or more aspects.
To discover aspects efficiently, use the mod Just Enough Items (JEI) alongside the Thaumic JEI addon mod. Hold Shift over an item in JEI and you will see its aspects displayed. Press R on an aspect icon to see all items that contain it and how many aspect points each provides. This is invaluable for planning your Essentia collection.
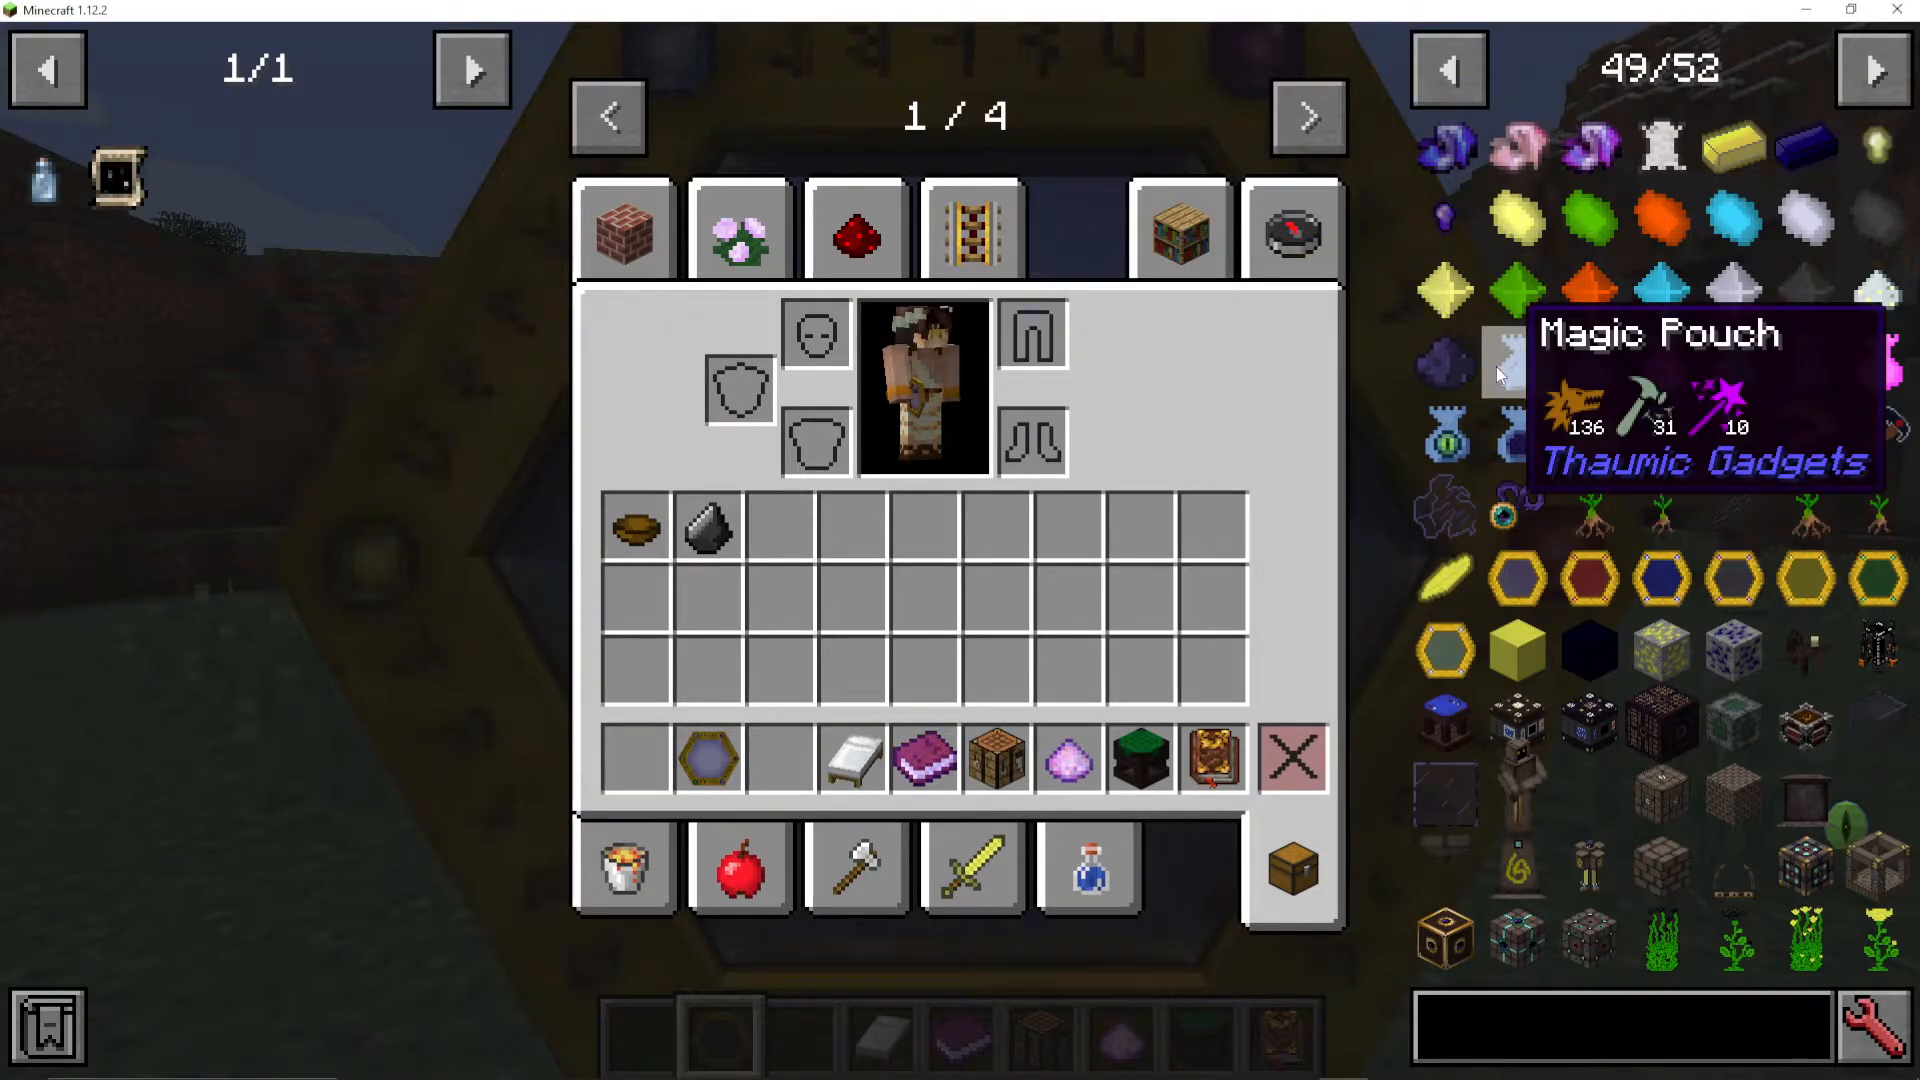
Scan absolutely everything — blocks, items, mobs, machinery from other mods, and Thaumcraft items themselves. Thaumcraft items in particular provide a large amount of knowledge. For example, scanning the Arcane Workbench will unlock the Observation: Fundamentals chapter.
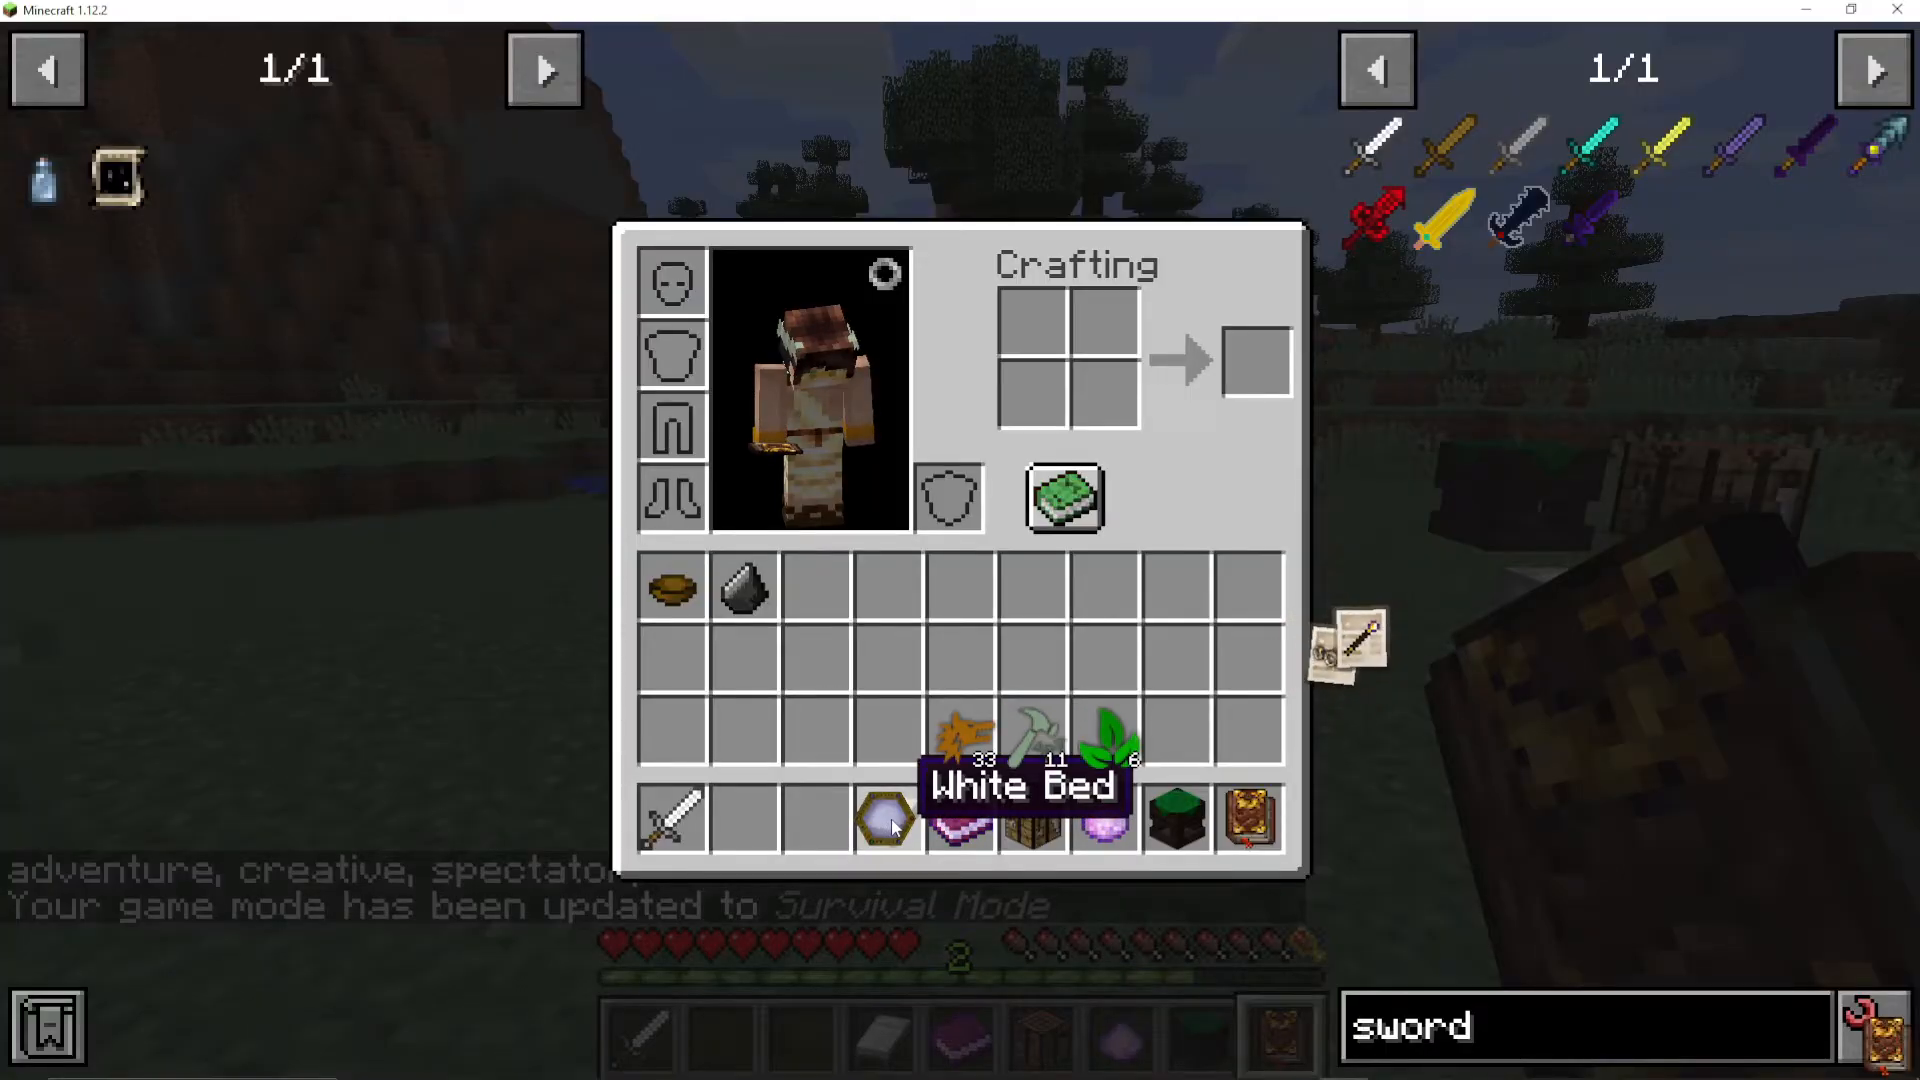
It is also strongly recommended that you install the Thaumic Inventory Scanning mod (client-side only, safe for servers). With this installed, you can left-click your Thaumometer in your inventory and then hover it over items in your inventory to scan them without placing them in the world. Even better — open a chest, then Shift+scan the chest to scan every item inside it at once, gaining a massive amount of knowledge instantly.
Theories: The Research Table
The second type of knowledge is Theories, which are generated at the Research Table. To craft one, you need:
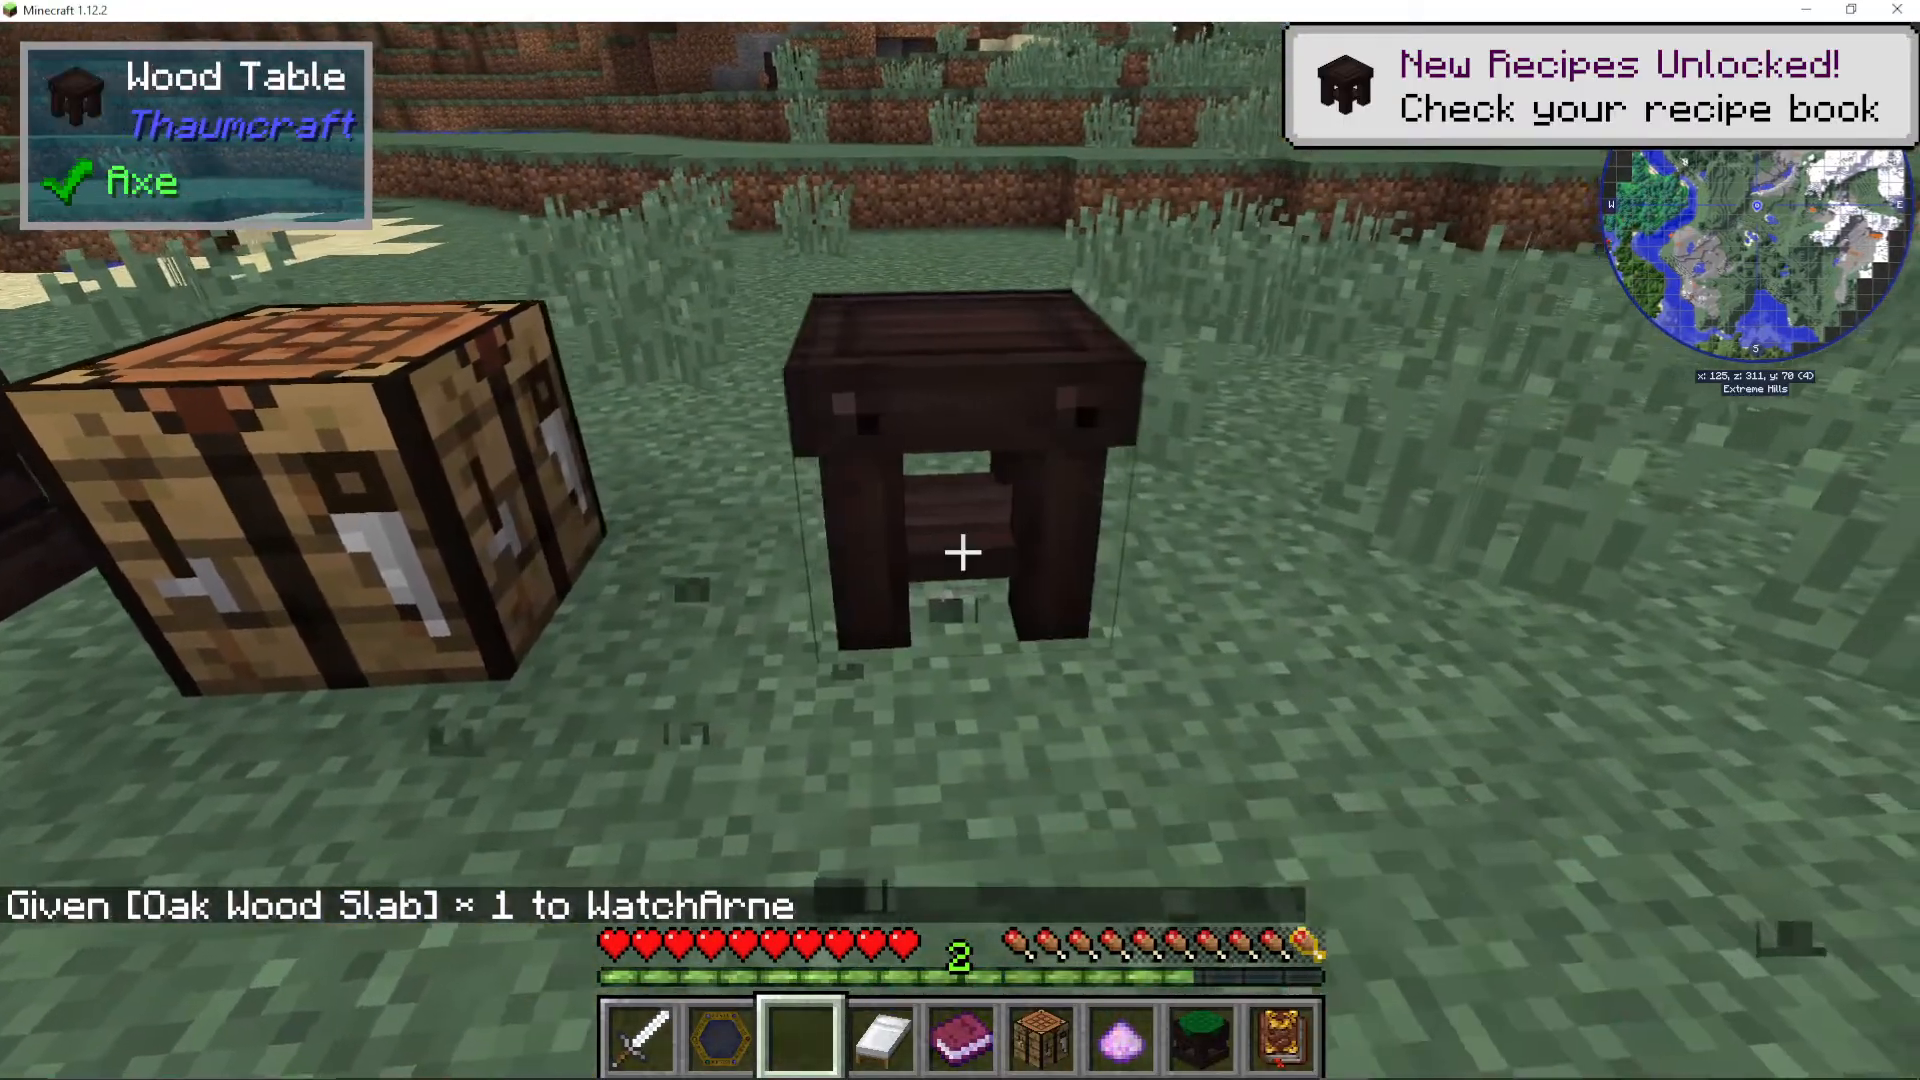
Two wooden slabs placed on top of two wood planks (crafted at a regular crafting table)
Scribing Tools: an ink sack, a feather, and a glass phial — shapeless recipe at a crafting table
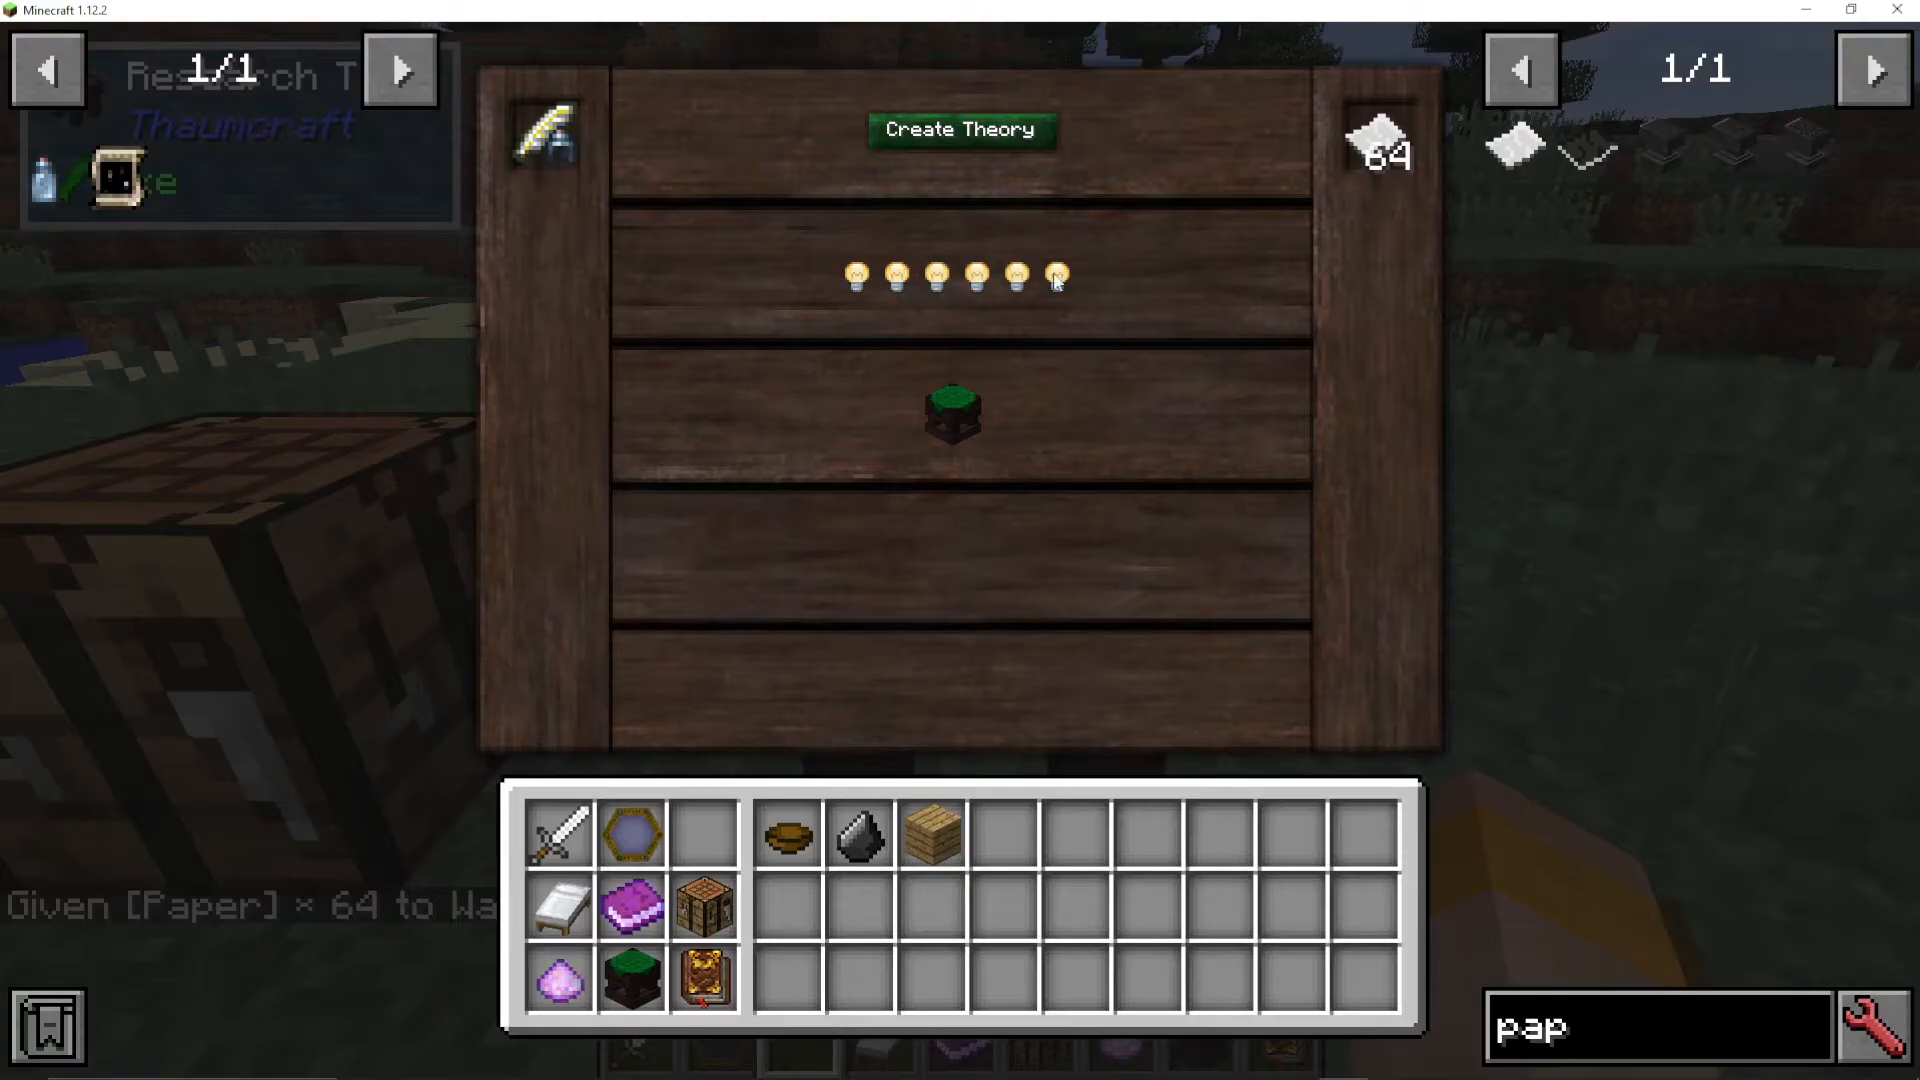
Place the wooden table down, then right-click it with Scribing Tools to turn it into a Research Table. Put paper in the table, then press Create Theory.
You will see light bulb icons and a question mark button. Clicking the question mark uses up paper and light bulbs to perform research actions like Experimentation (gaining random progress in a knowledge category) or Rethink (losing some progress but gaining an inspiration/light bulb back). When you run out of light bulbs, complete the theory. Any progress under 100% is saved and carries over to your next theory session.
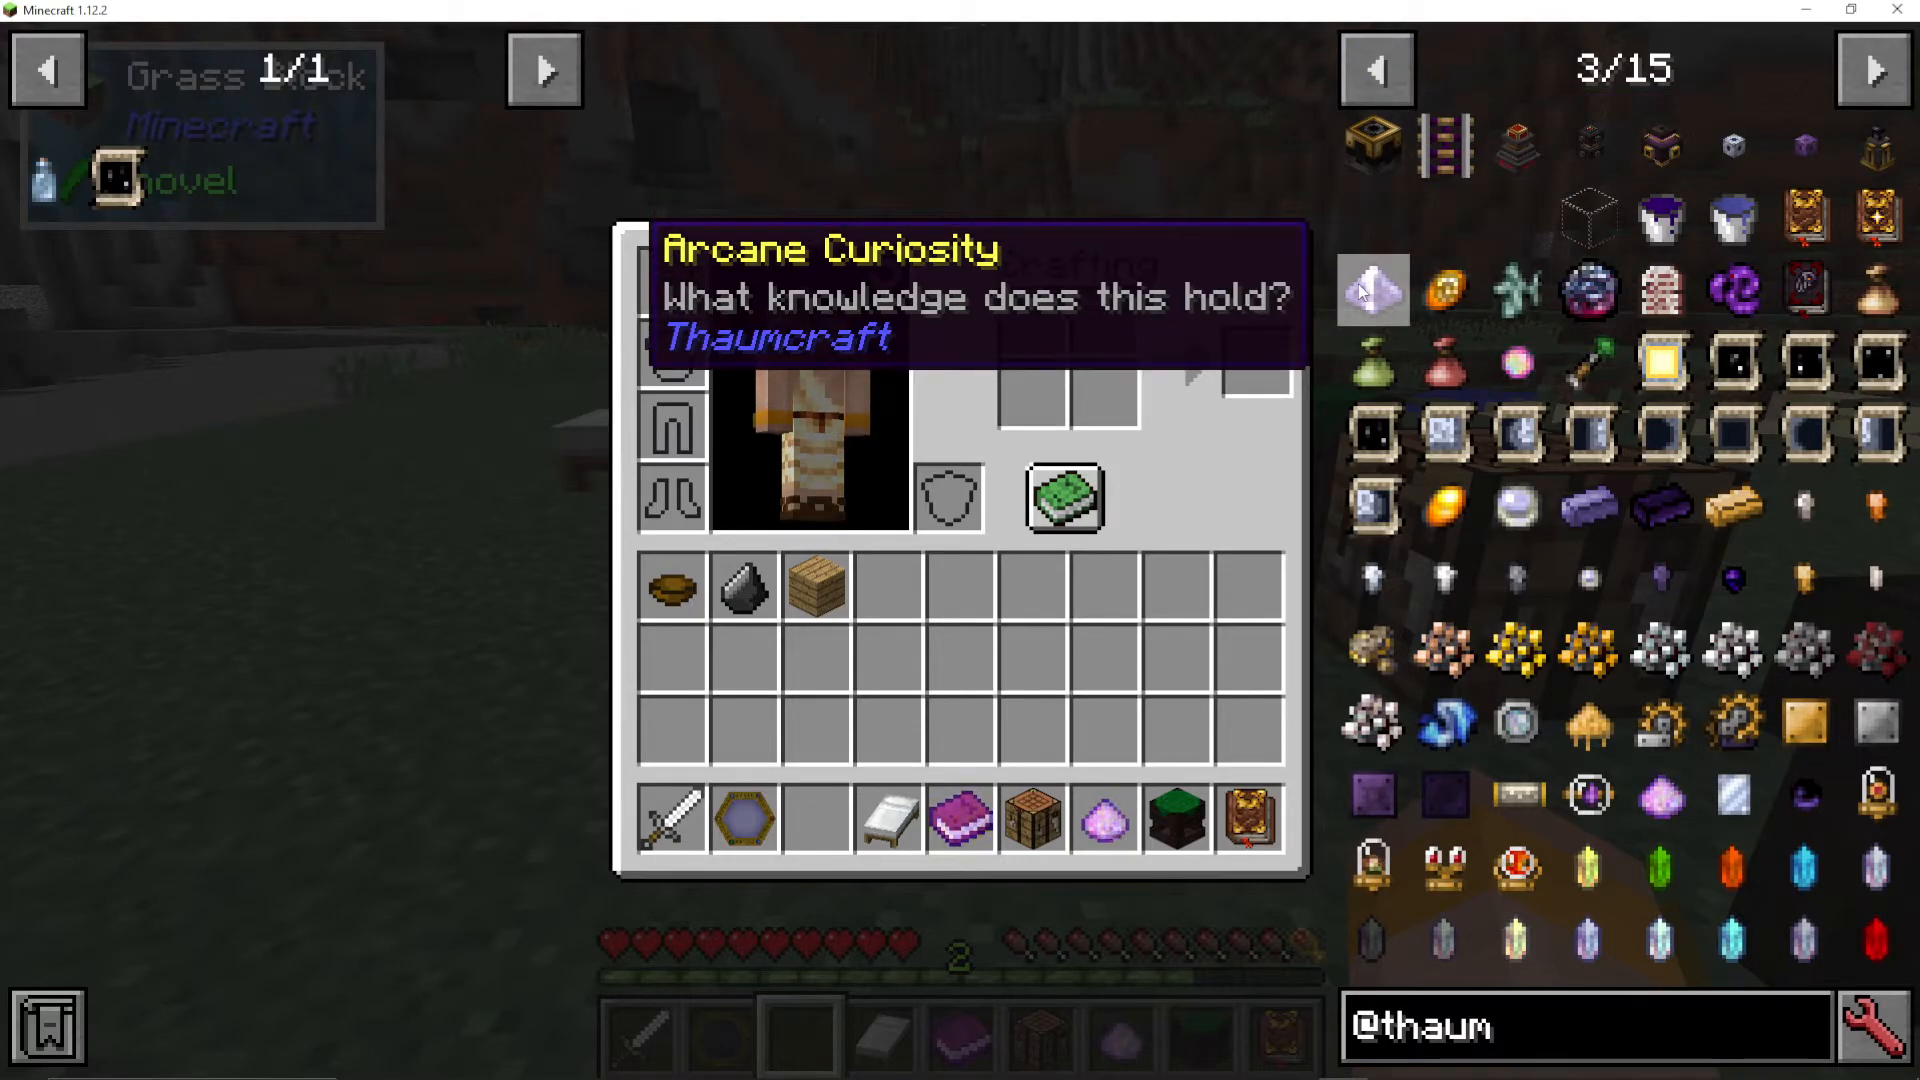
Research is tedious by design. If you have creative mode access or admin permissions on a server, you can use the Arcane Curiosity item — right-clicking it fills your Thaumonomicon with knowledge pages rapidly, skipping the research grind entirely.
The Crucible and Basic Alchemy
To unlock alchemy, complete the Discovering Alchemy chapter in the Thaumonomicon. You will then need to craft a Crucible.
Setting Up the Crucible
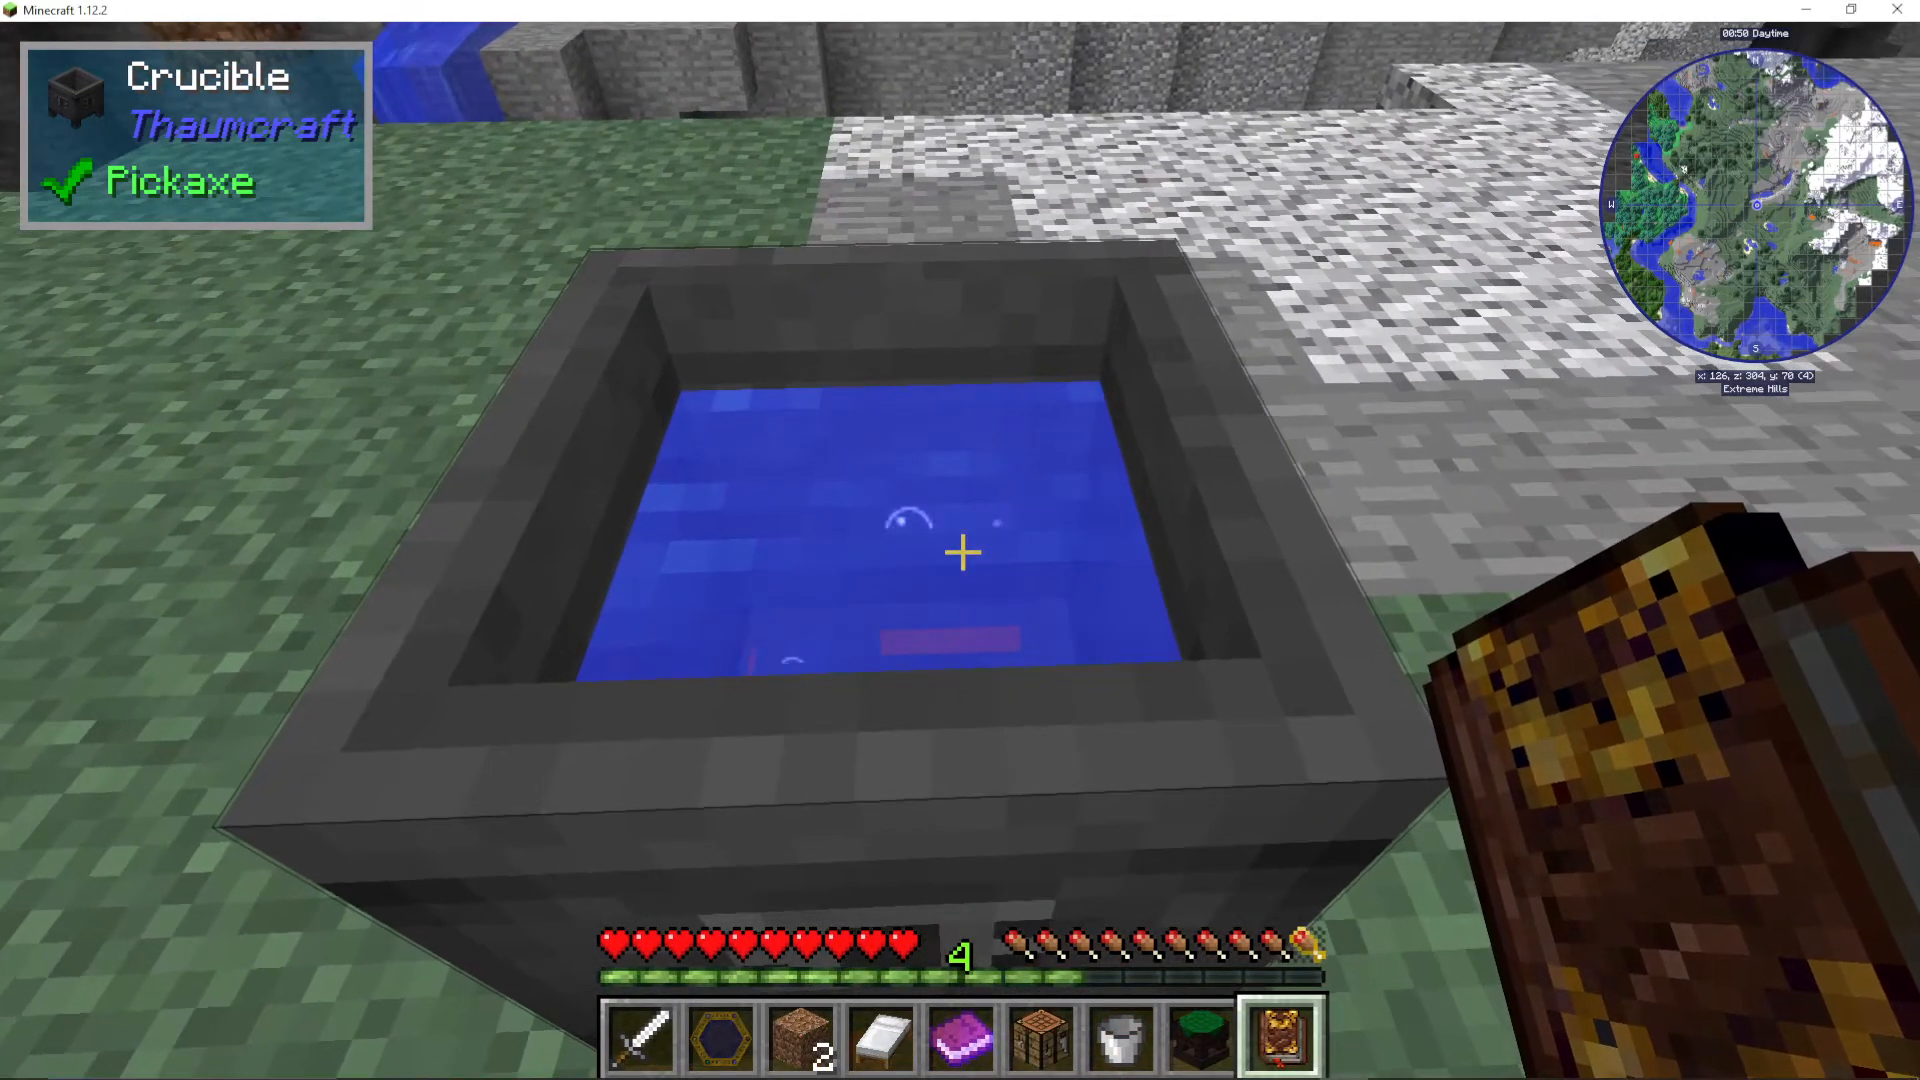
Take a regular cauldron and right-click it with Salis Mundus — it will transform into a Crucible. Place it down and dig out two blocks directly beneath it. Place Netherrack underneath and light it with a Flint and Steel to create a permanent heat source. Then right-click the Crucible with a water bucket to fill it.
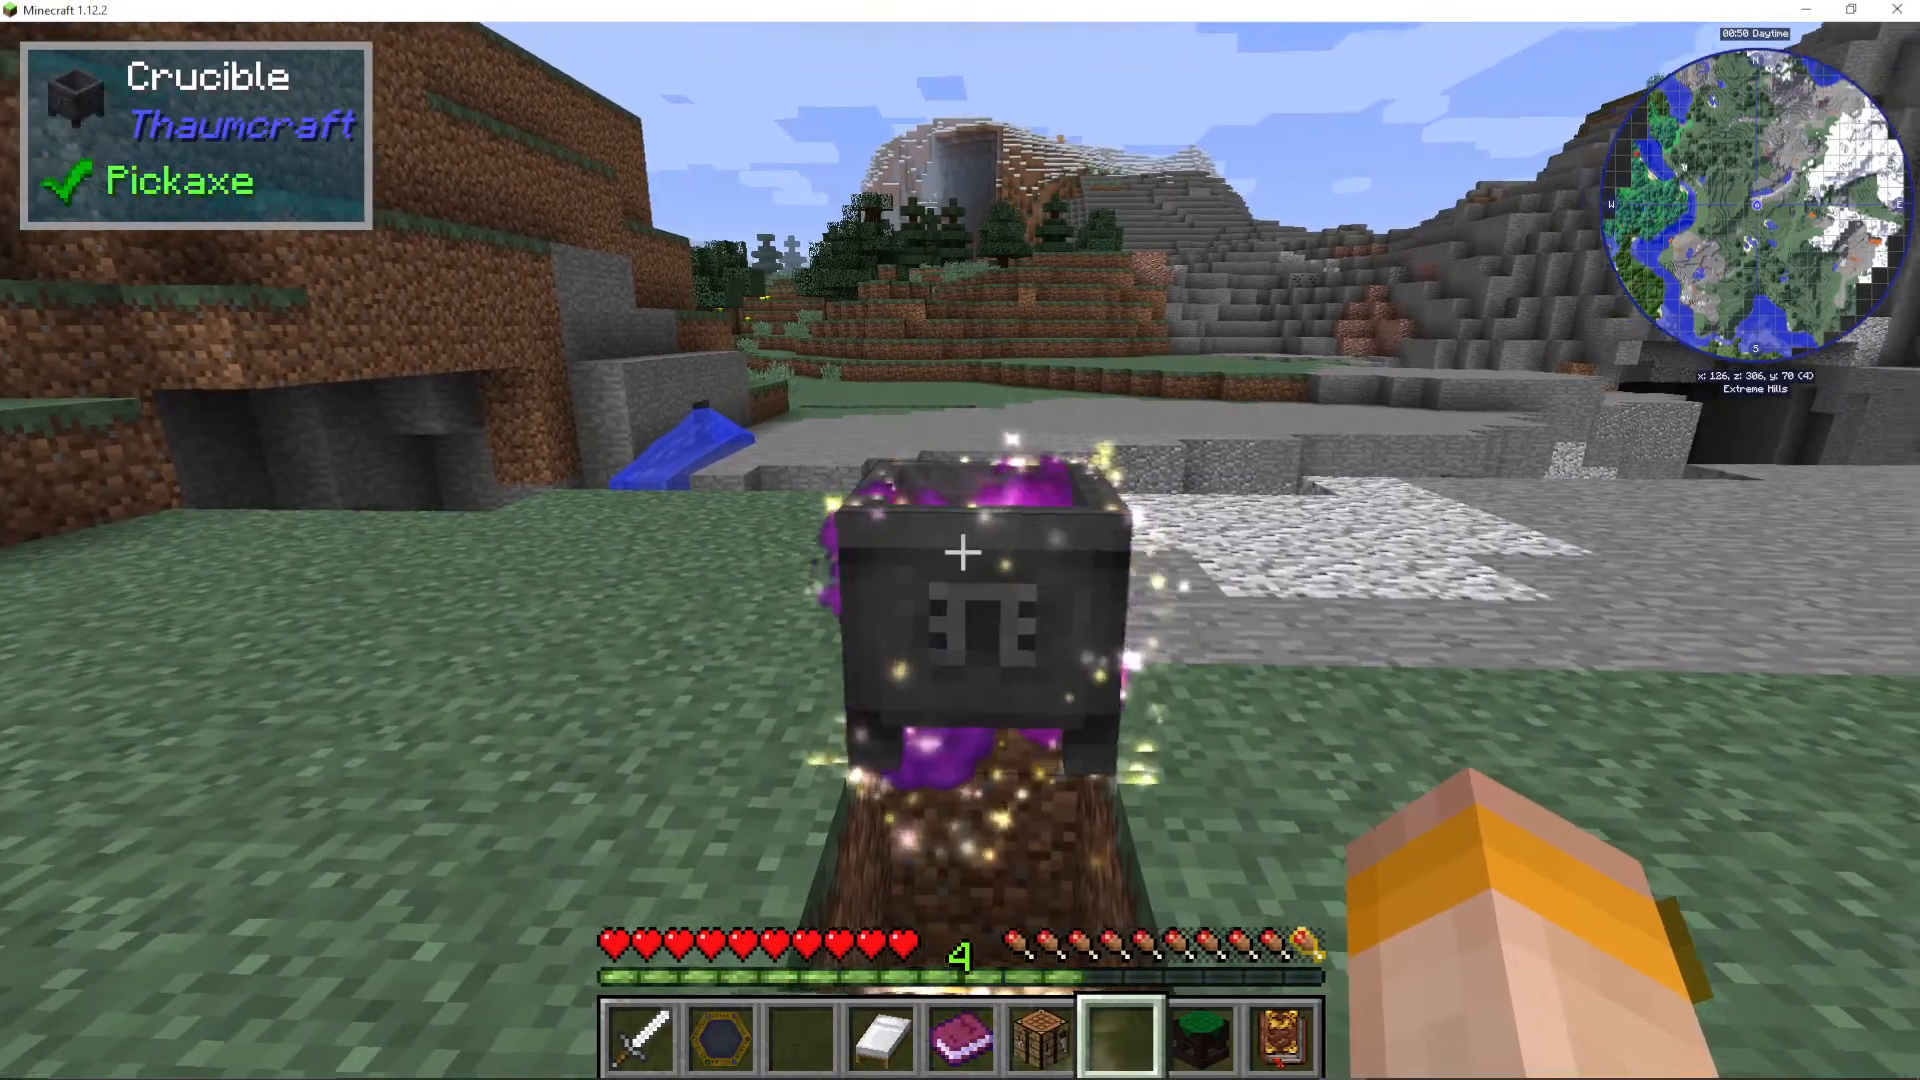
The Crucible will begin to bubble, indicating it is ready to use. You will throw items into it to release their Aspects (Essentia) into the liquid, then throw in a catalyst item to trigger a specific alchemical recipe.
Crafting Nitor (Magical Flame)
The first alchemy recipe to try is Nitor (yellow magical flame), which acts as a decorative and functional light source. The recipe requires:
Catalyst: Glowstone Dust
Required Aspects: 10 Potentia, 10 Lux, 10 Ignis
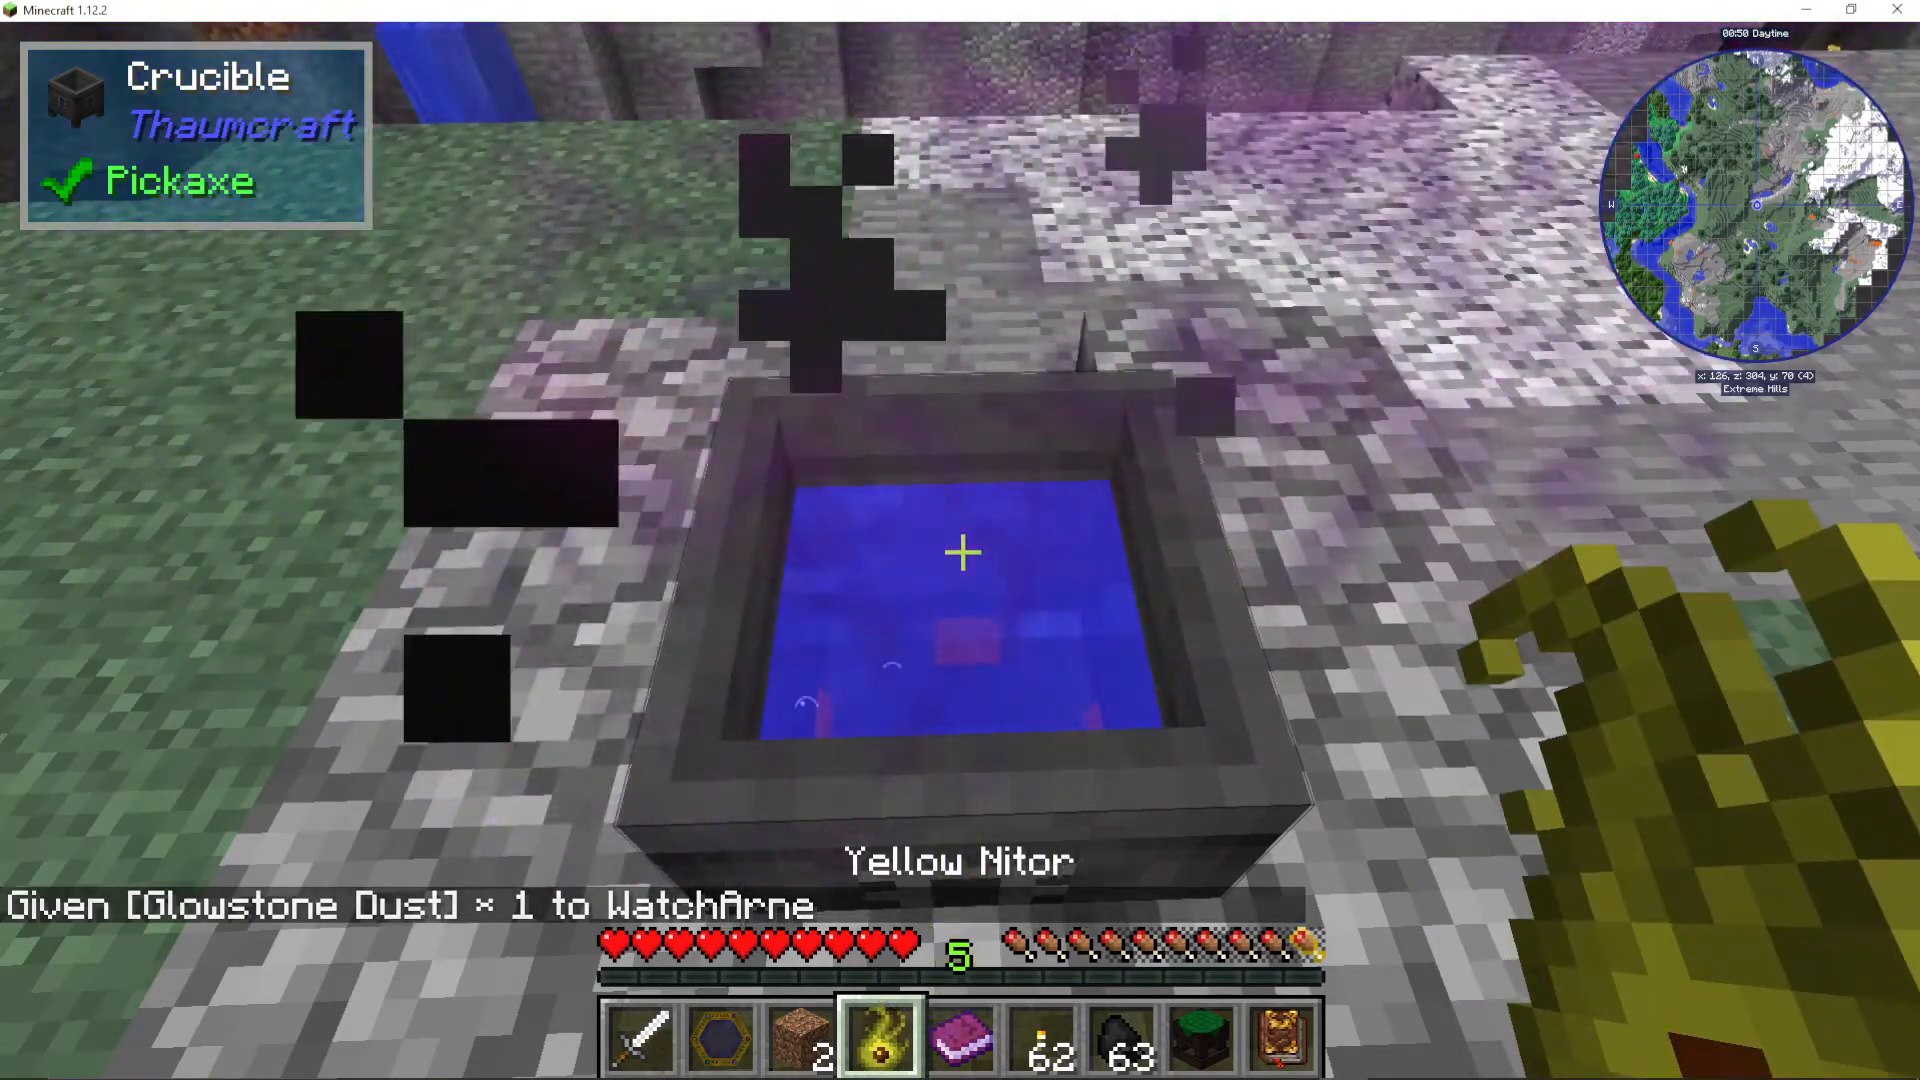
Use Thaumic JEI to look up which items contain these aspects. For example: Coal provides 10 Ignis and 10 Potentia. A Torch provides 5 Lux (so throw in two torches for 10 Lux). Throw the coal in, then the two torches, then the glowstone dust — and Nitor will pop out.
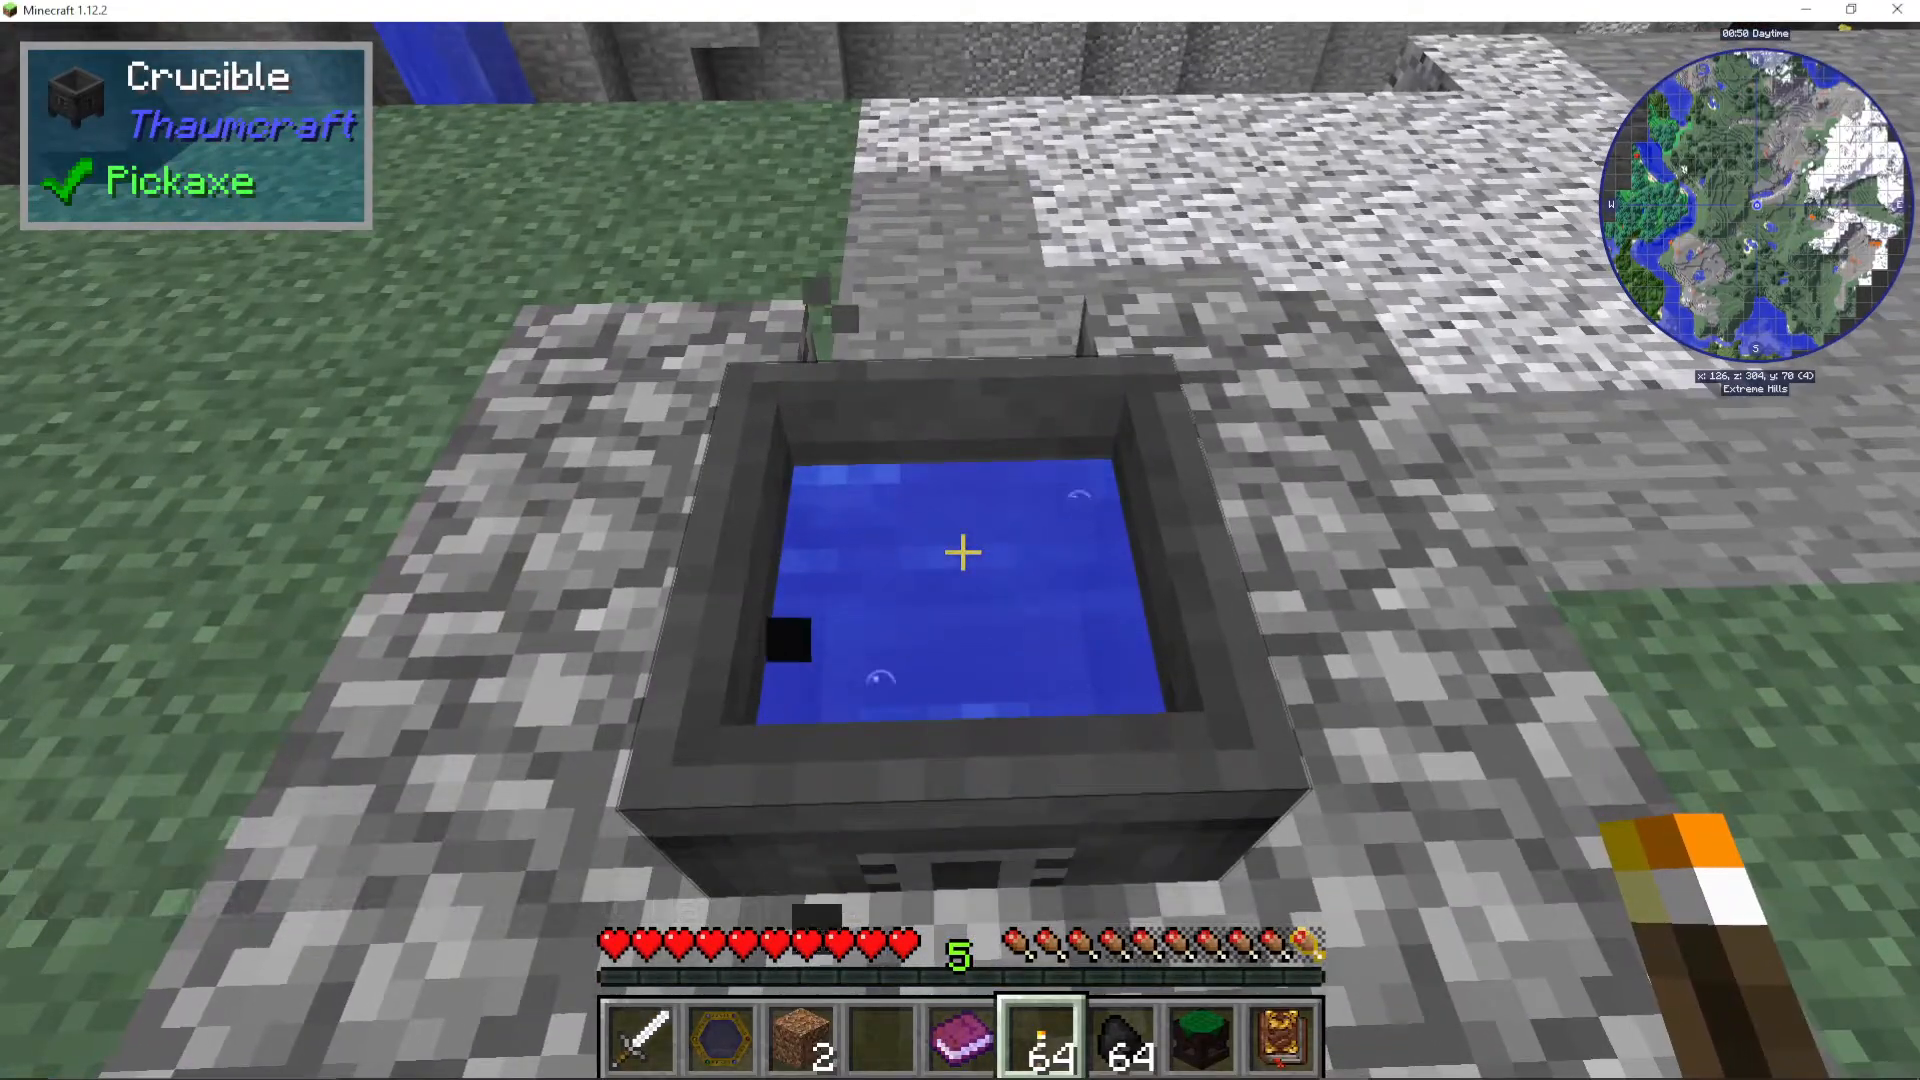
You can dye Nitor different colours by placing it in a crafting table with any dye. It also makes an excellent replacement for Netherrack under your Crucible — it looks much better!
Thaumcraft Armour and the Goggles of Revealing
After completing the Discovering Infusion chapter, you will unlock Thaumaturge robes, leggings, and boots, as well as Enchanted Fabric. This armour is highly recommended because each piece grants a Vis discount on Arcane Workbench recipes (3%, 3%, and 2% respectively).
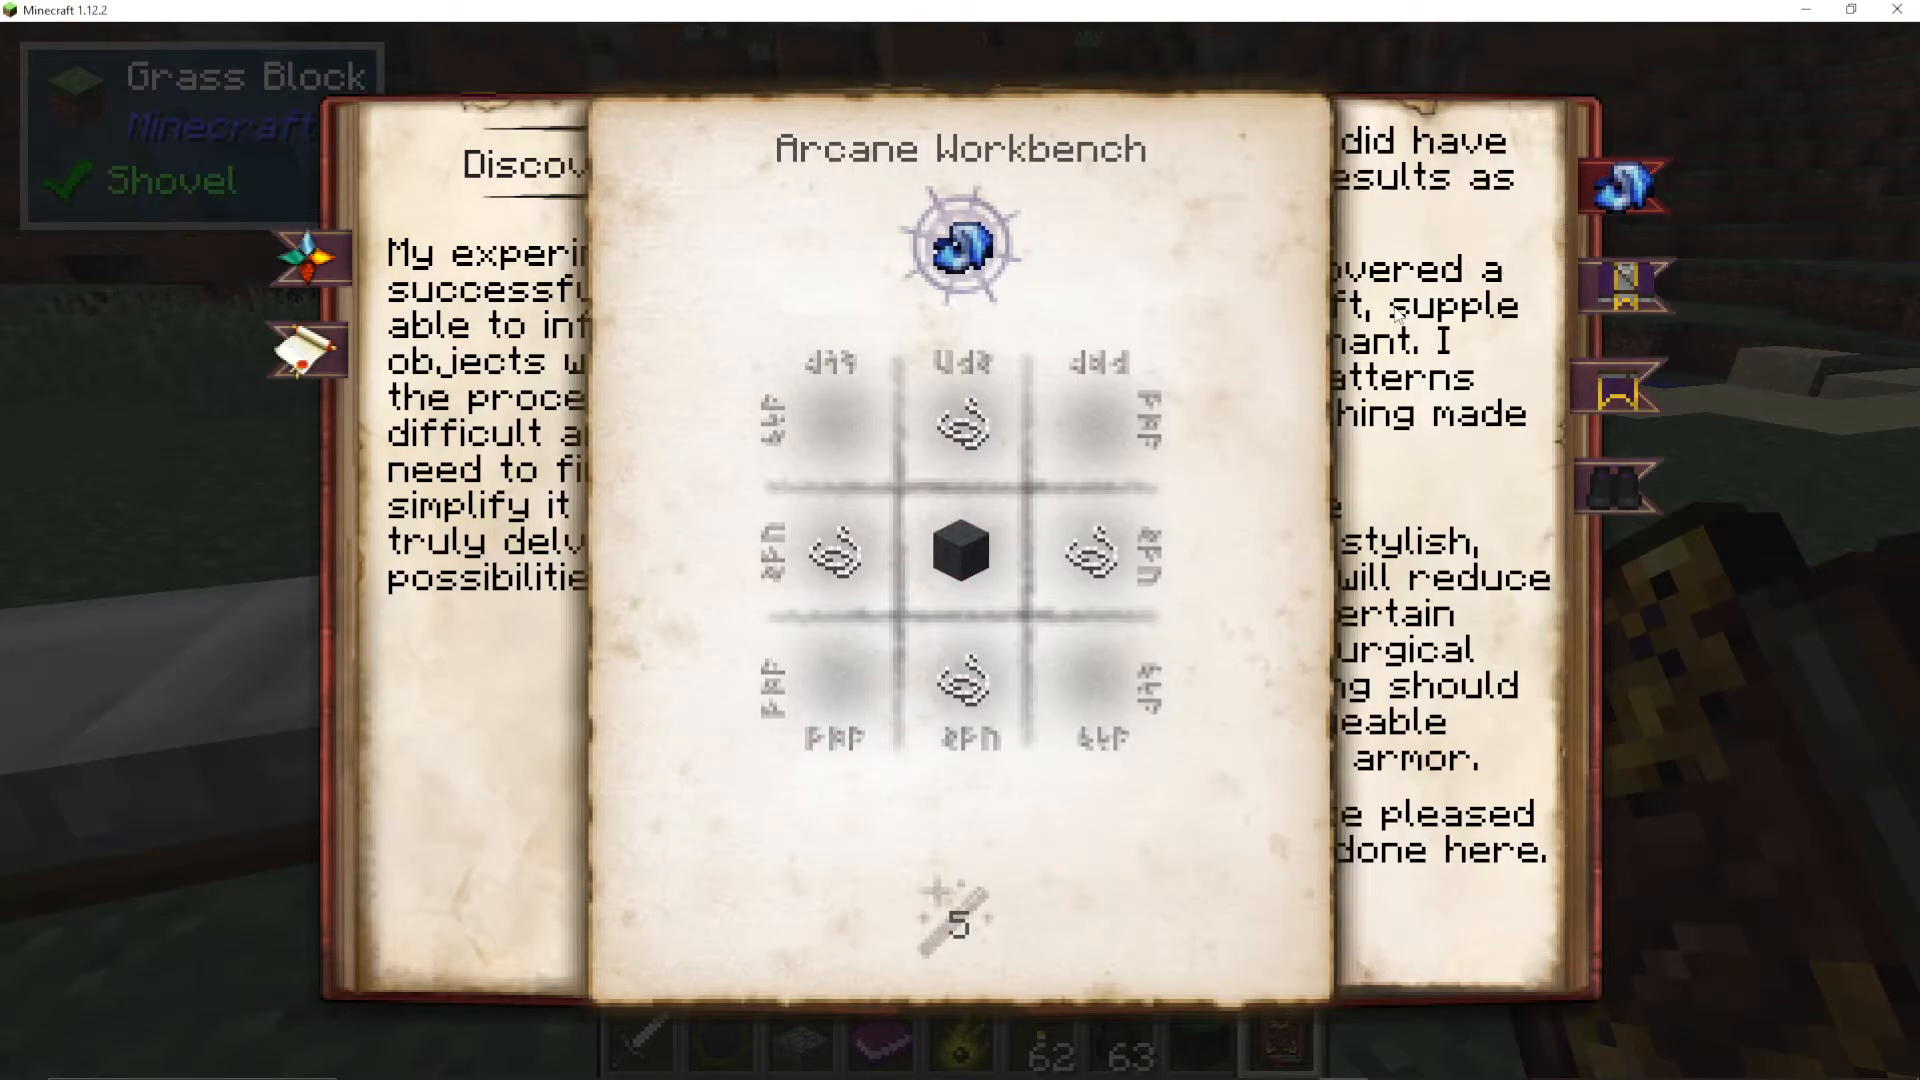
To craft Enchanted Fabric: place four string and one wool in the centre in your Arcane Workbench with 5 Vis. Then use the Enchanted Fabric to craft the robe, leggings, and boots as you normally would armour, each costing 100 Vis in the Arcane Workbench.
After equipping the armour, scan every piece with your Thaumometer — Thaumcraft items give enormous amounts of scanning knowledge.
Next, unlock the Discovering Artifice chapter. To do this, you must discover the Machina aspect. Scan machines from other mods (such as an Enhanced Combustion Generator from EnderIO) until the aspect is discovered. You may need to scan several items containing Machina before it registers.
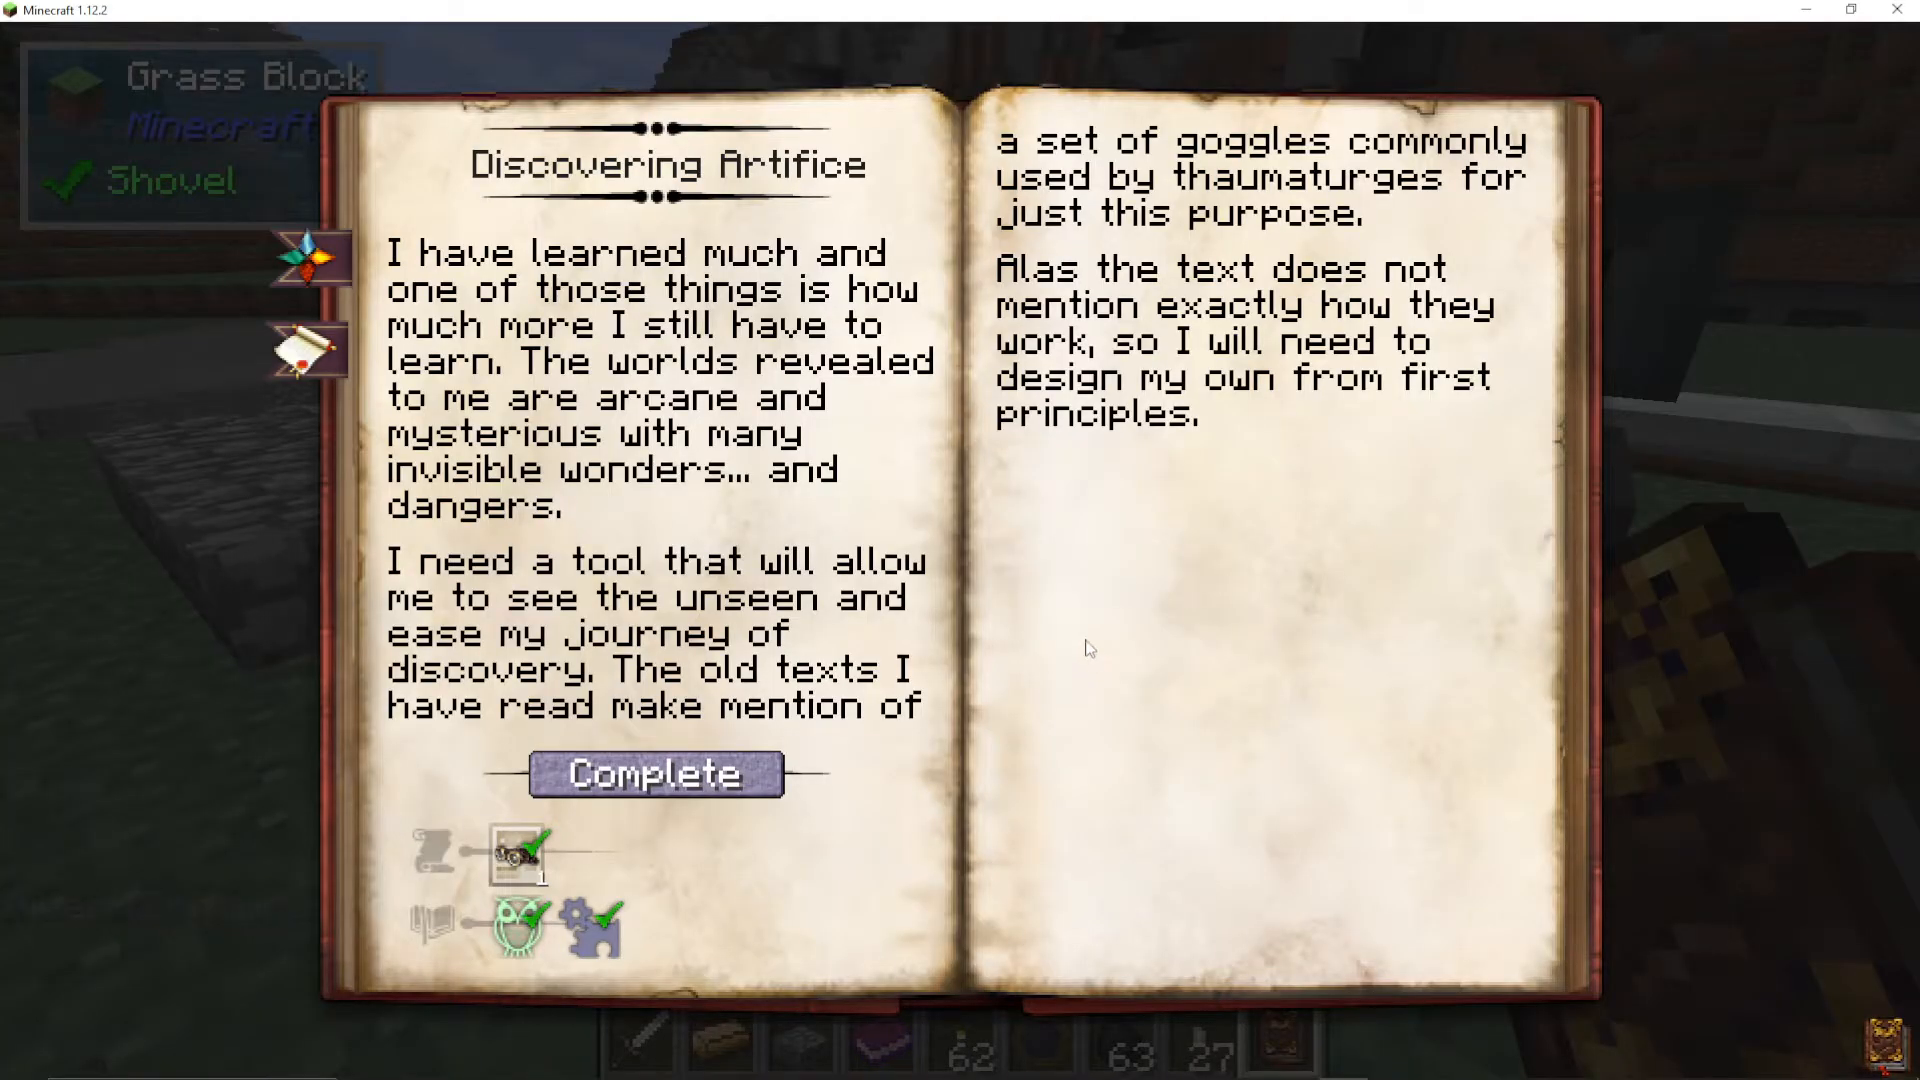
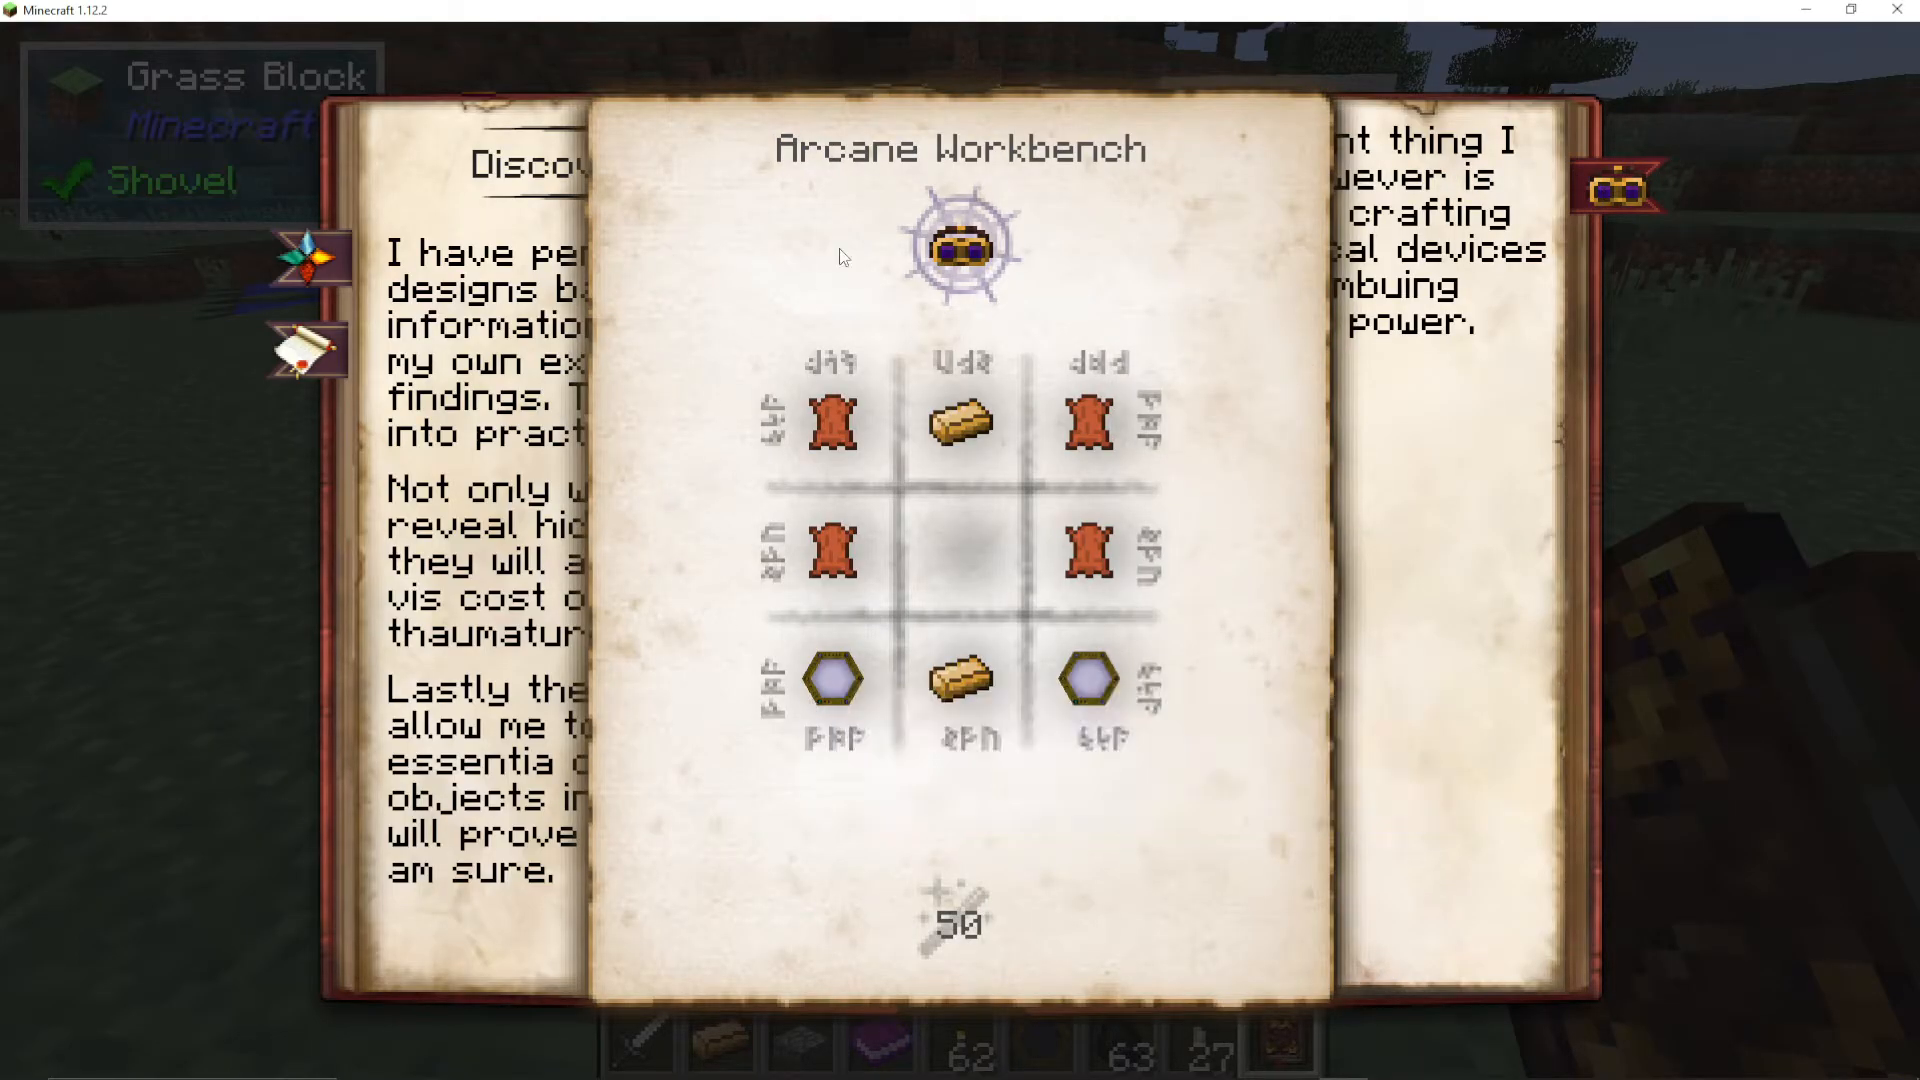
Once Artifice is unlocked, craft the Goggles of Revealing. These are the head-slot armour piece and grant an additional 5% Vis discount. They also let you see Aspects floating in the world around you — especially useful for seeing what is inside your Crucible and Alembics. The recipe requires: 2 Alchemical Brass Ingots, 1 Lever, and 2 Thaumometers in the Arcane Workbench with 50 Vis. This is why you were told to make three Thaumometers earlier.
The Essentia Smeltery and Arcane Alembics
Progress through the alchemy chapters — specifically Alimentum, Alchemical Metallurgy, and Ascension Smelting. For Ascension Smelting, you need to consume one of each of the six primary Vis Crystals (Aer, Terra, Ignis, Aqua, Ordo, Perditio). Then you must acquire one of each secondary crystal (Vacuos, Lux, Gelum, Vitreus, Metallum, etc.).
Getting Secondary Vis Crystals
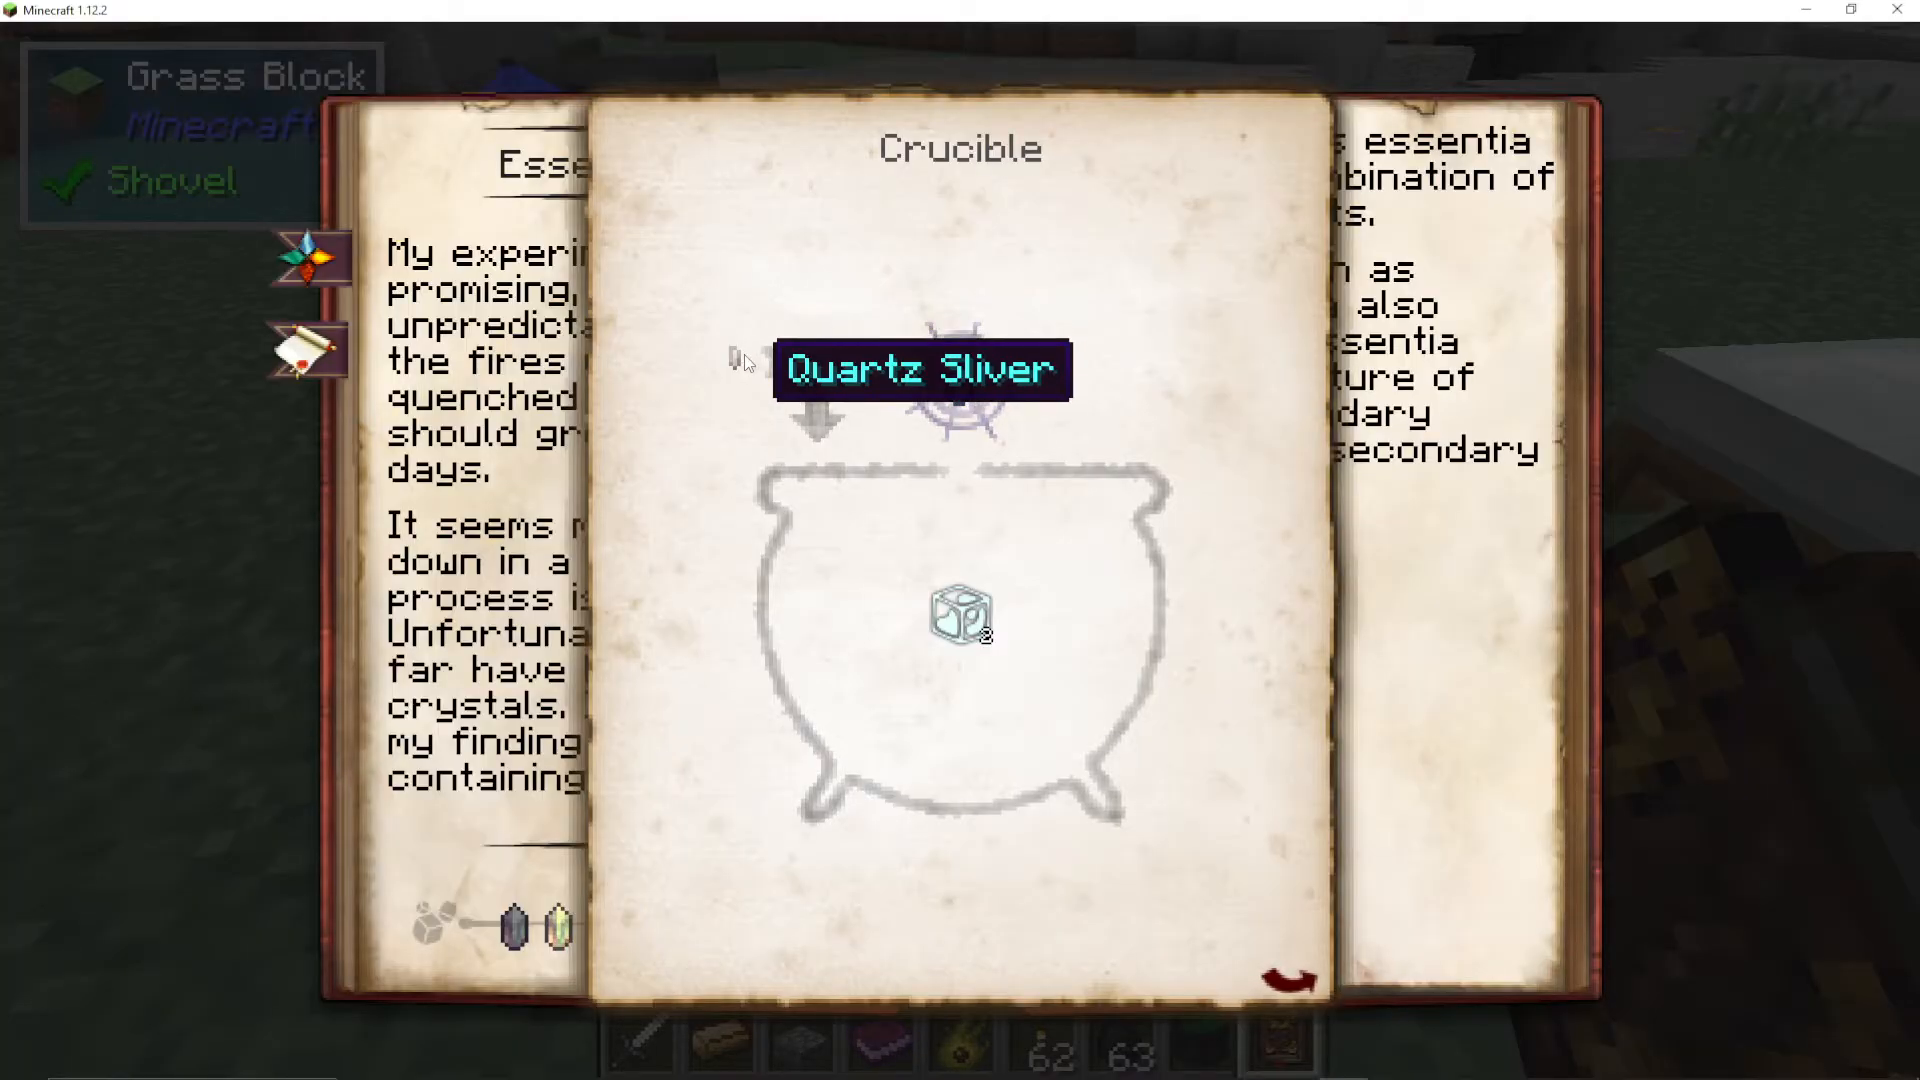
To obtain secondary crystals, place a Quartz Sliver (made by converting a Nether Quartz into 9 slivers in your inventory) into the Crucible along with an item that contains the aspect you need. The Crucible will extract the aspect and, combined with the sliver, produce the corresponding crystal. Use Thaumic JEI to find items for each aspect. For example, a chest has 6 Vacuos — throw a chest into the Crucible, then throw in a Quartz Sliver, and you will receive a Vacuos Vis Crystal.
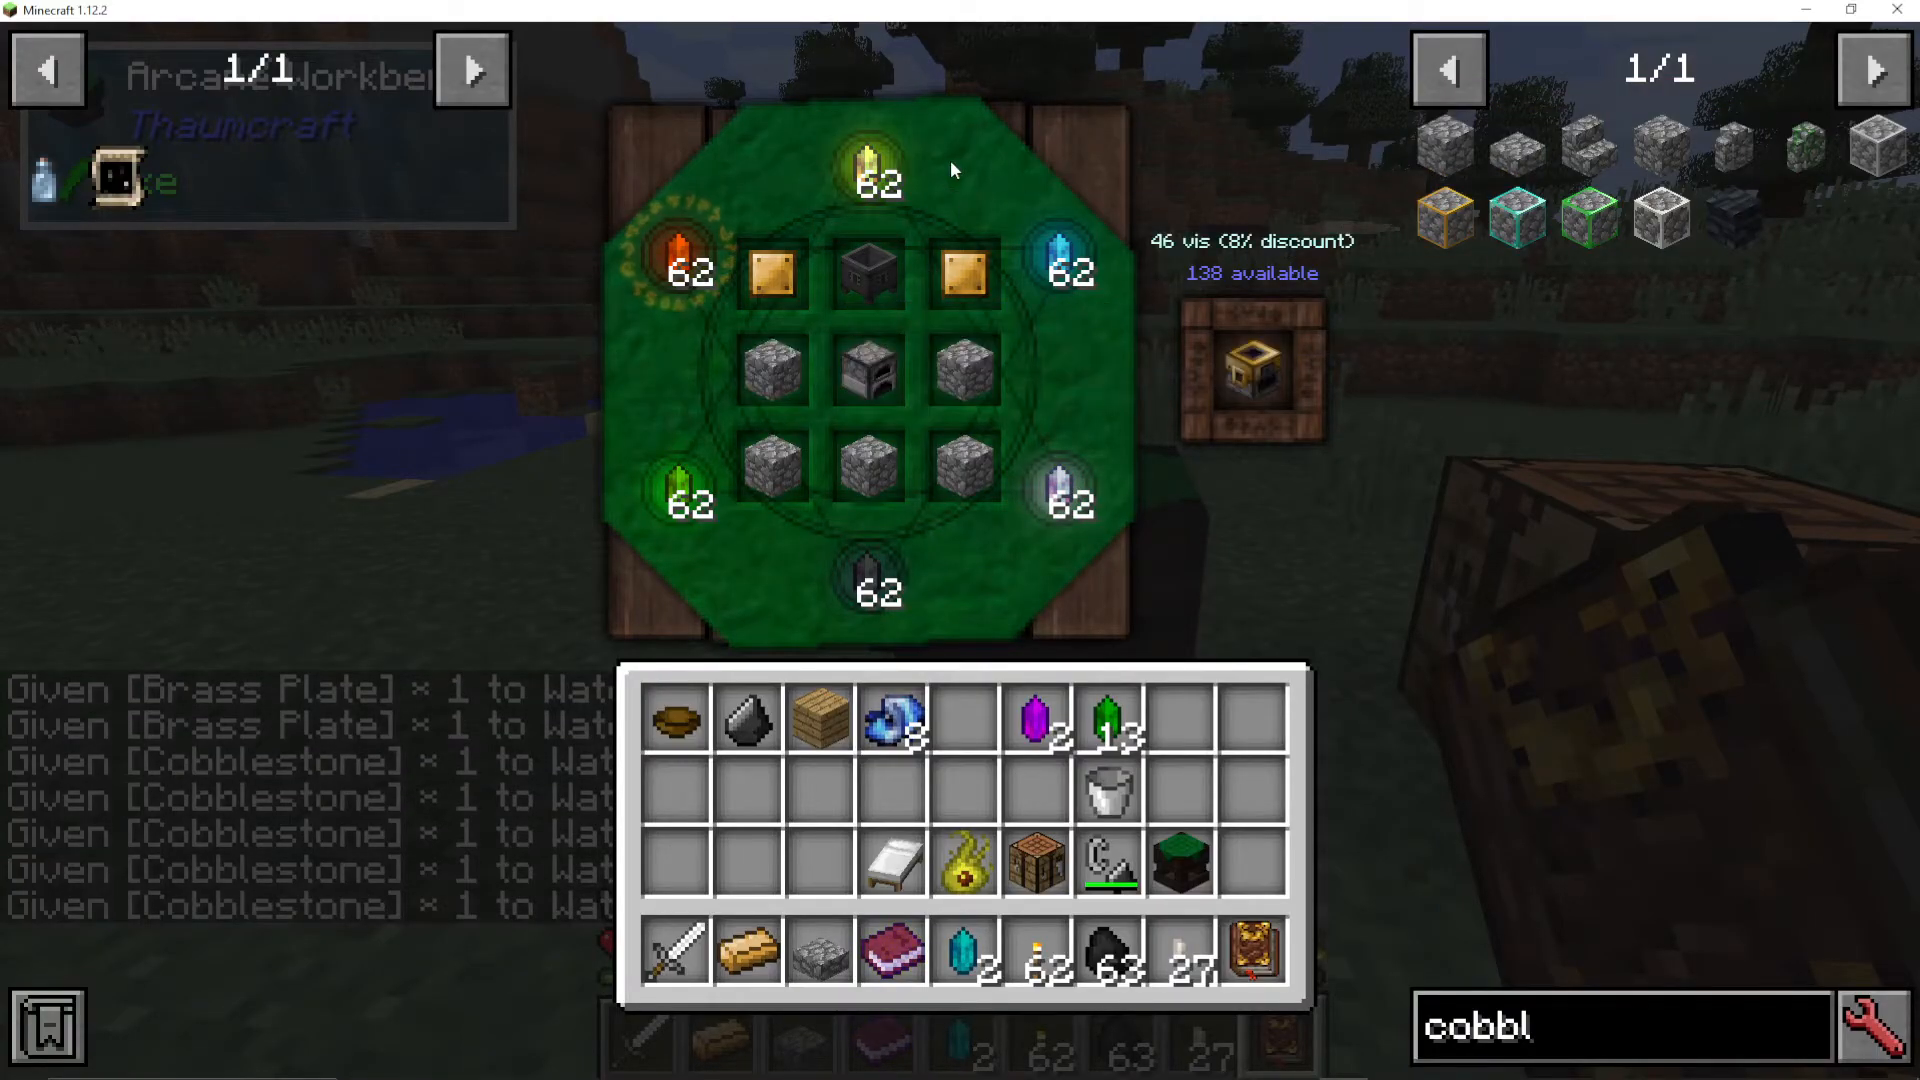
Once you have one of every secondary crystal, complete the Ascension Smelting chapter. You can then craft the Essentia Smeltery: cobblestone, two Brass Plates (three Alchemical Brass Ingots each), a Crucible, and a furnace in the Arcane Workbench. It costs Ignis Vis and a small amount of Vis from your chunk.
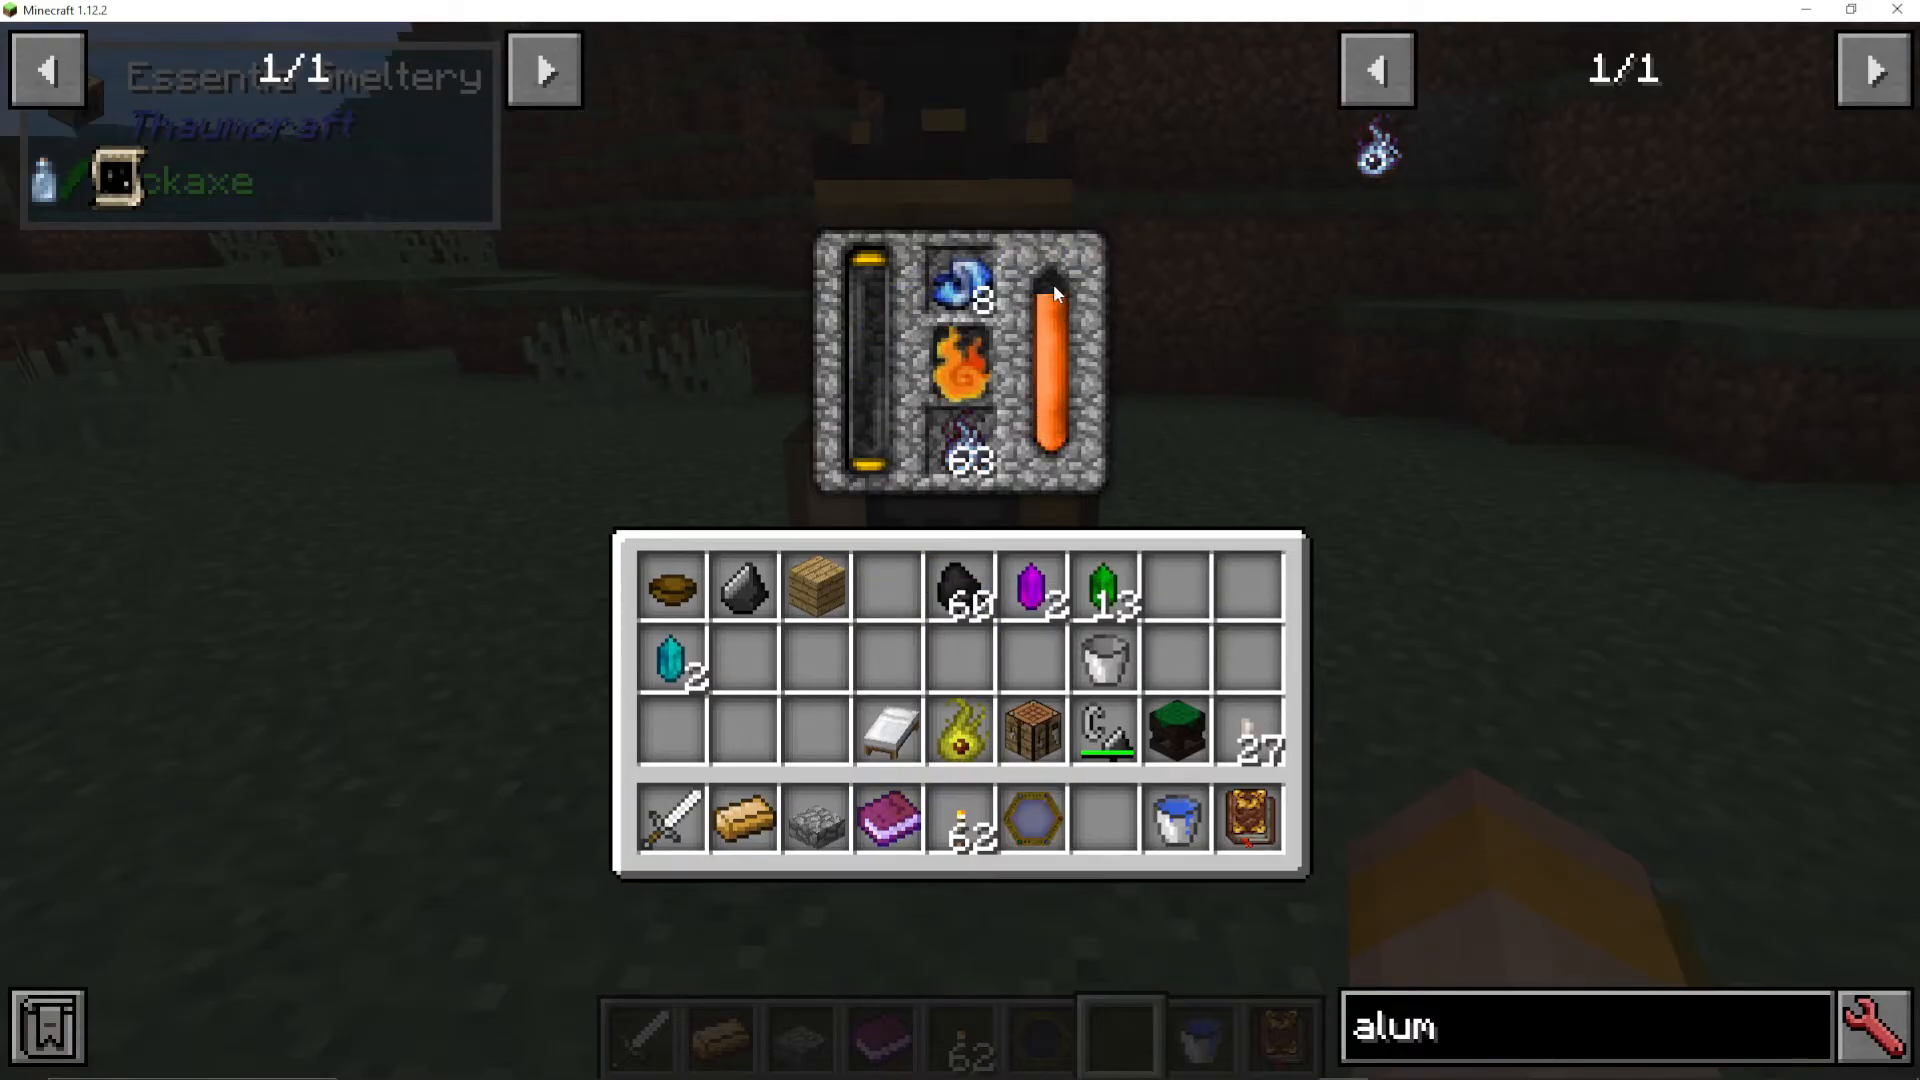
Place the Essentia Smeltery down. Then craft Arcane Alembics (using Greatwood Planks, Brass Plates, a bucket, and an Arcane Filter in the Arcane Workbench) and stack three of them on top of the Essentia Smeltery. When items are placed in the Smeltery, it will smelt out their Essentia into the Alembics above. Alimentum (see below) works much faster than coal as fuel in the Smeltery.
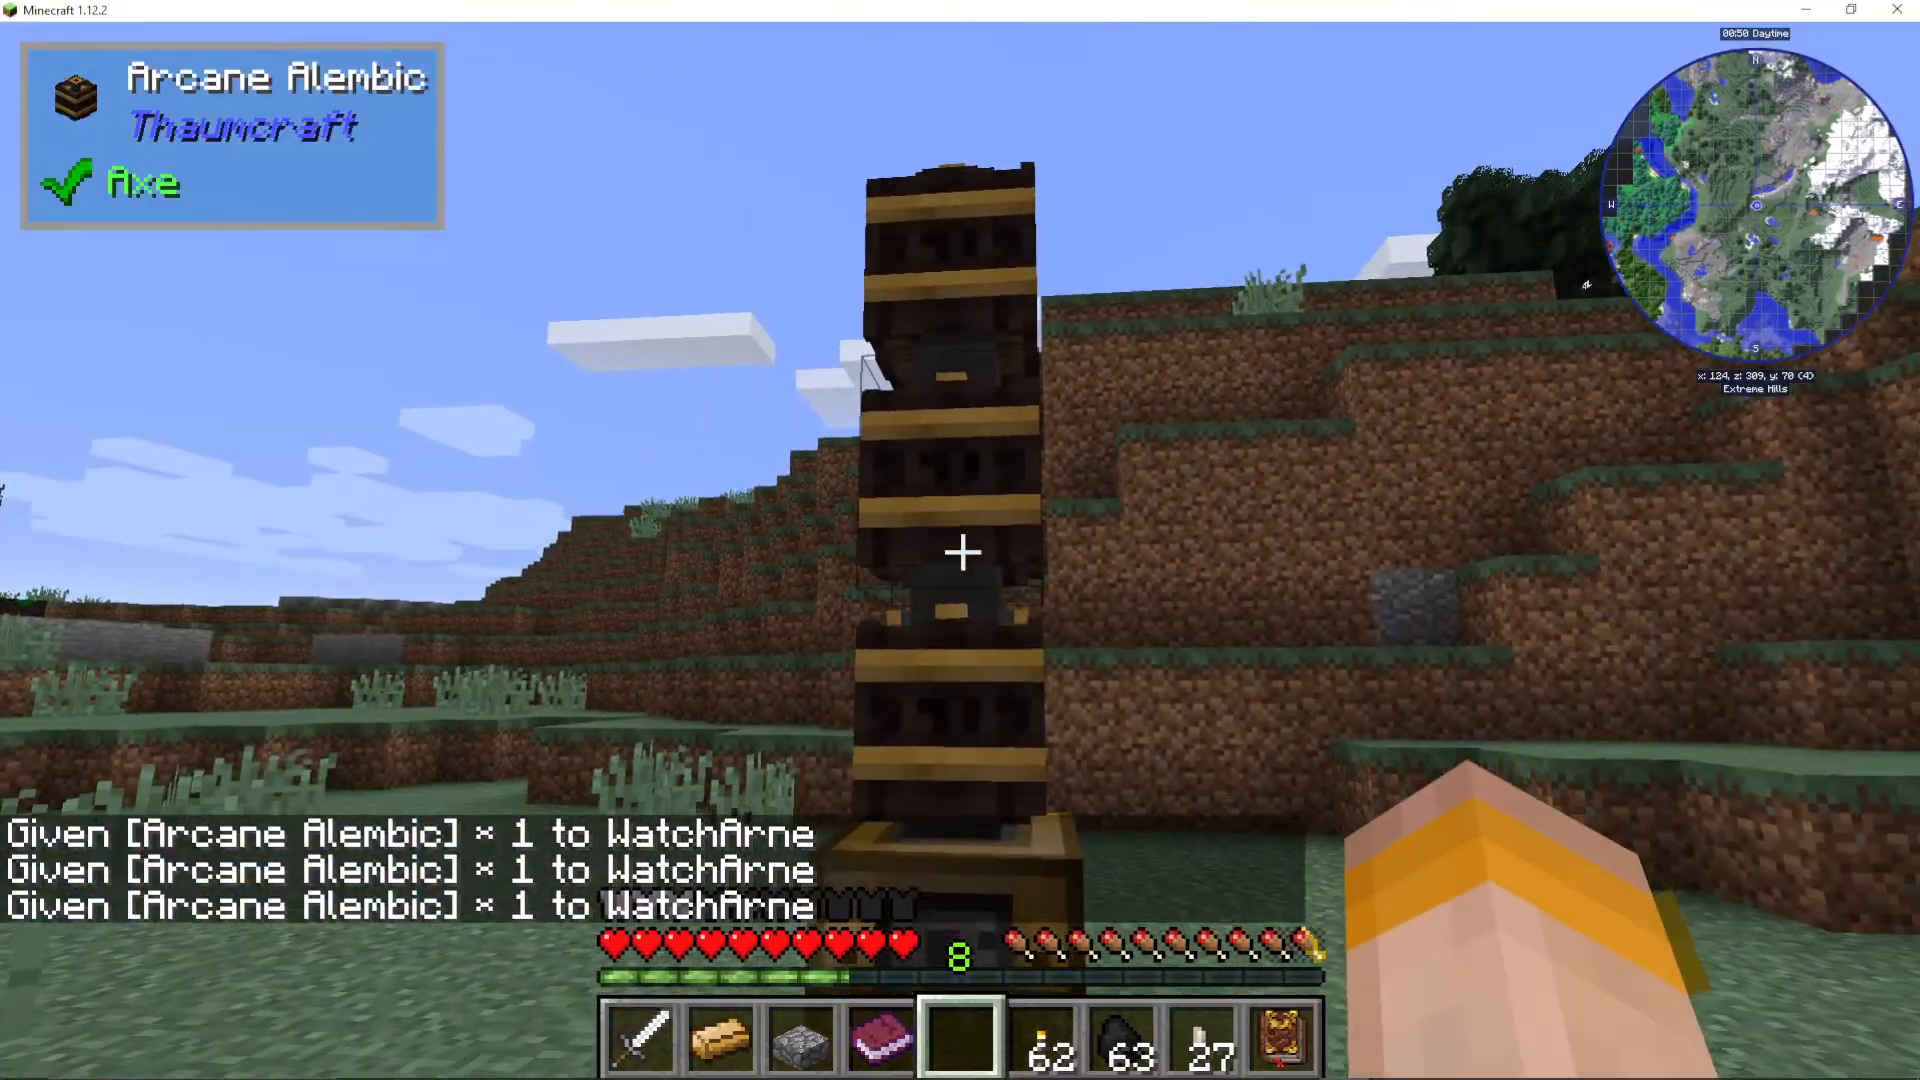
With your Goggles of Revealing equipped, you can see the Essentia sitting in each Alembic, making it much easier to manage.
Warded Jars and Labels
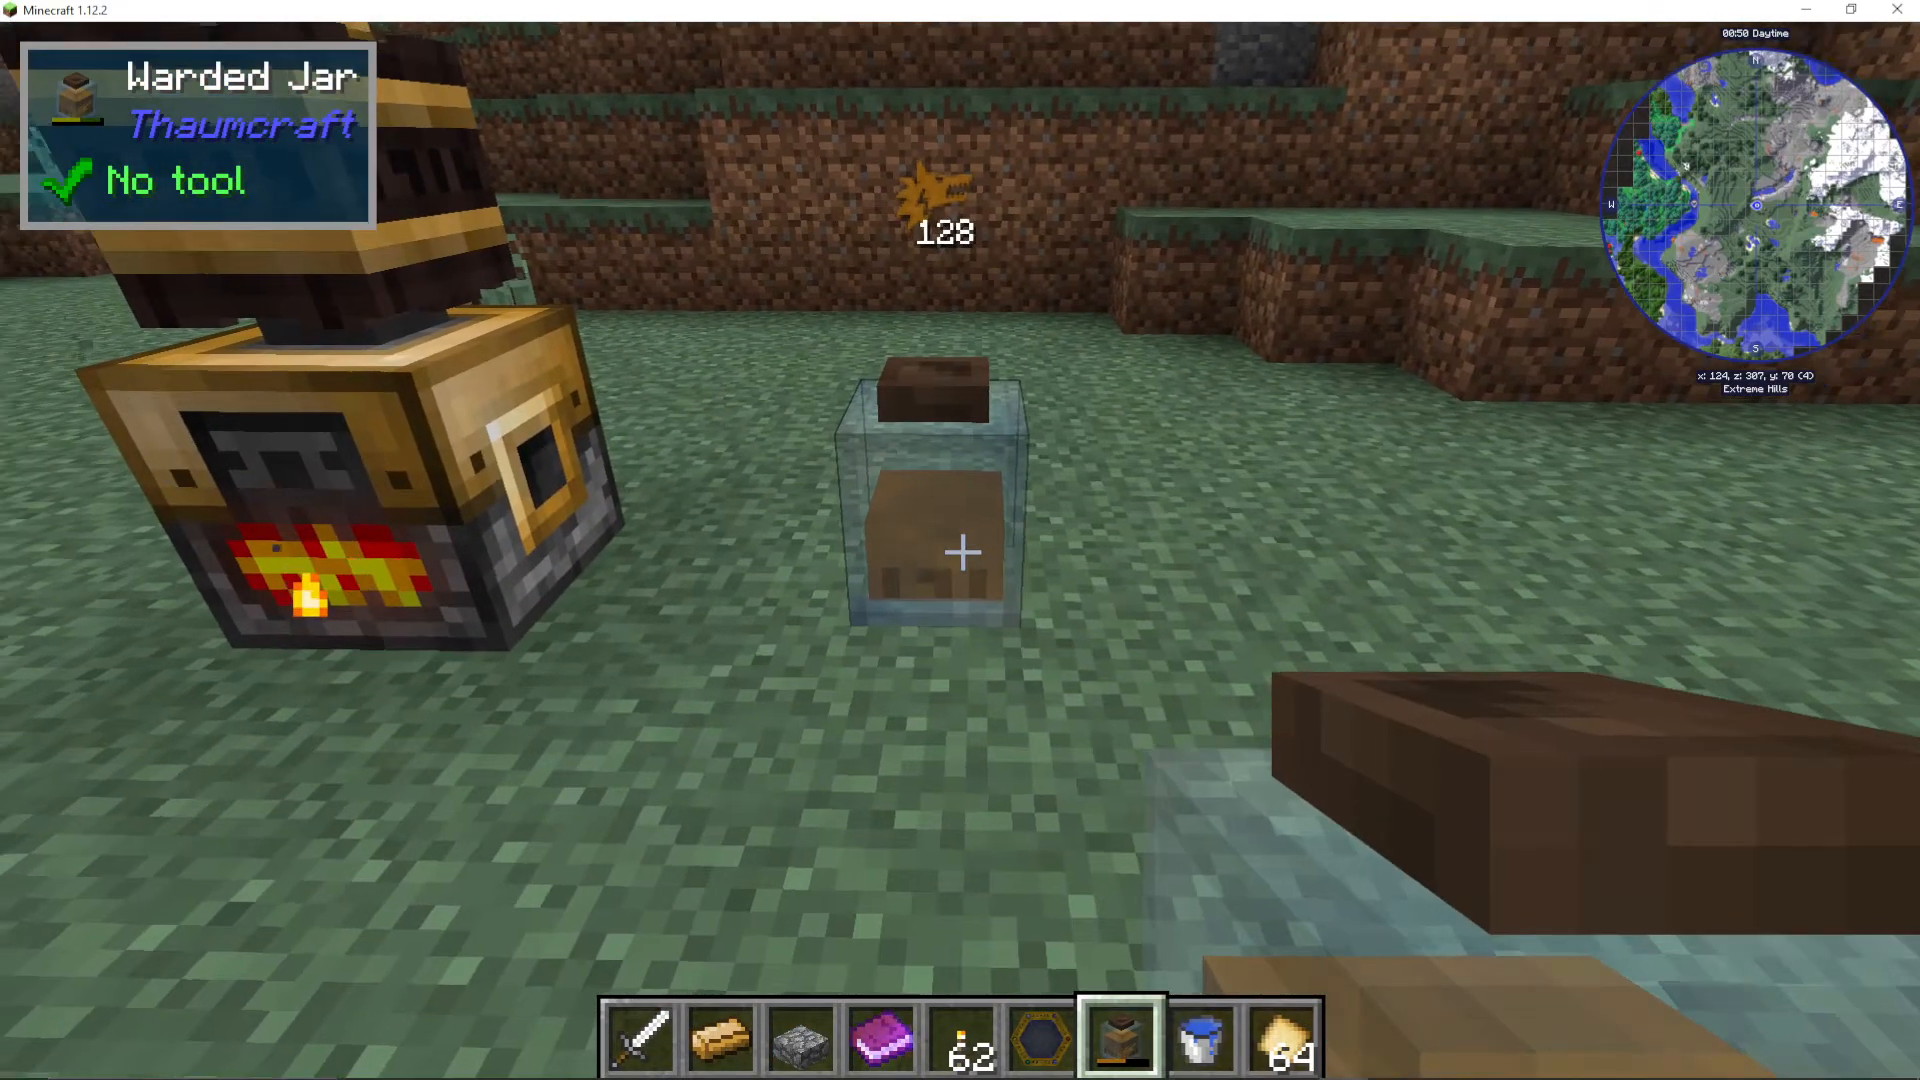
Essentia drawn from the Alembics must be stored in Warded Jars. To fill a jar, right-click it directly on an Alembic and it will draw the Essentia out. Each jar holds up to 250 points of a single Aspect. To label a jar so it only accepts one specific Aspect, craft Blank Labels (in a regular crafting table) and right-click the label onto the jar. Even if the jar is emptied, it will retain its label and only accept that Aspect going forward.
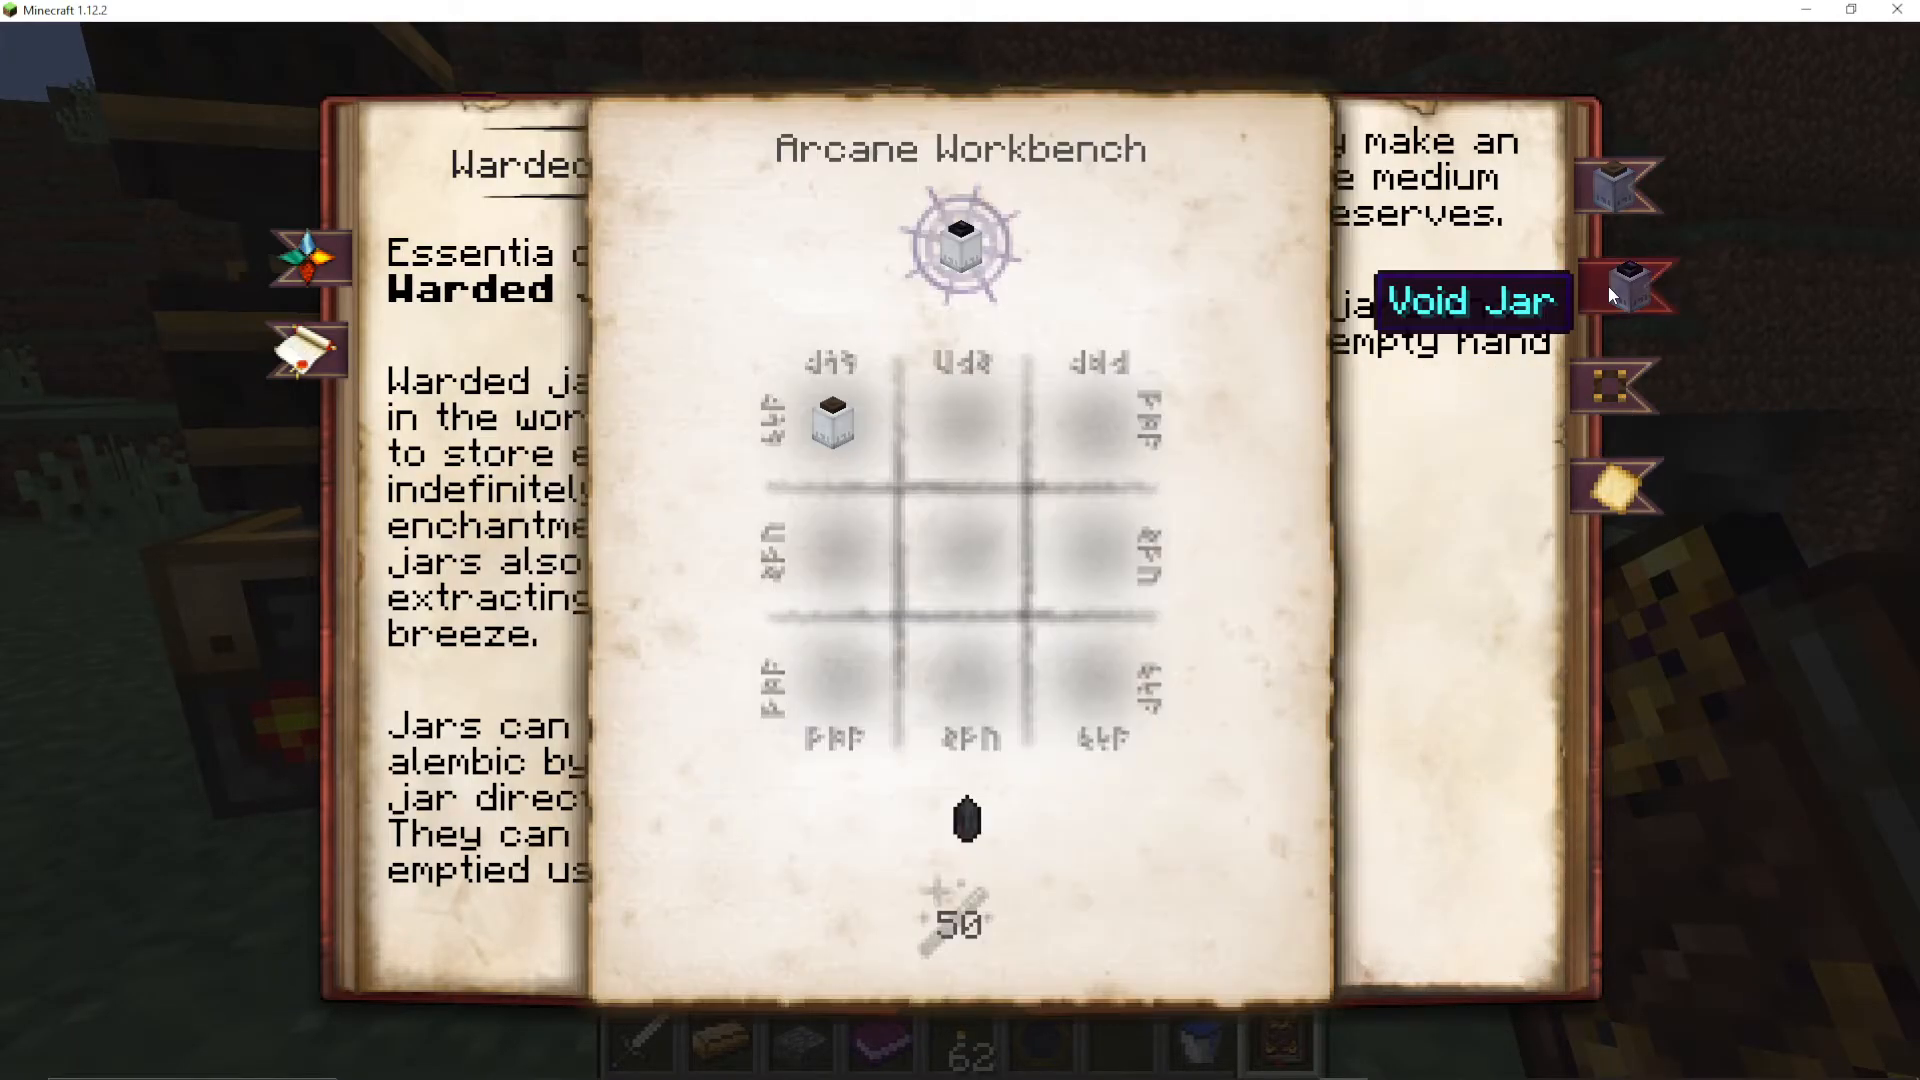
Important tip: To remove a label, Shift+right-click the label on top of the jar. To empty a jar’s contents, Shift+right-click the side of the jar. Be careful not to confuse the two.
It is strongly recommended that you create one labelled Warded Jar for each of all 46 Aspects as soon as possible. Doing it now is far less painful than doing it later. Smelt up a variety of different items to extract as many Aspects as you can.
Alchemy Recipes: Alimentum, Alchemical Brass, and More
Alimentum
Alimentum is a superior fuel source. To make it, add Perditio, Potentia, and Ignis Essentia to your Crucible with a Coal catalyst. The result burns for 4800 ticks compared to Coal’s 1600 — three times longer. Use it to fuel your Essentia Smeltery for much faster throughput.
Alchemical Brass
To make Alchemical Brass, you need 5 Instrumentum Essentia in the Crucible with a copper (or bronze) ingot as the catalyst. A bronze ingot contains exactly 5 Instrumentum, making it ideal. Use Thaumic JEI to look up other sources if you do not have bronze in your modpack.
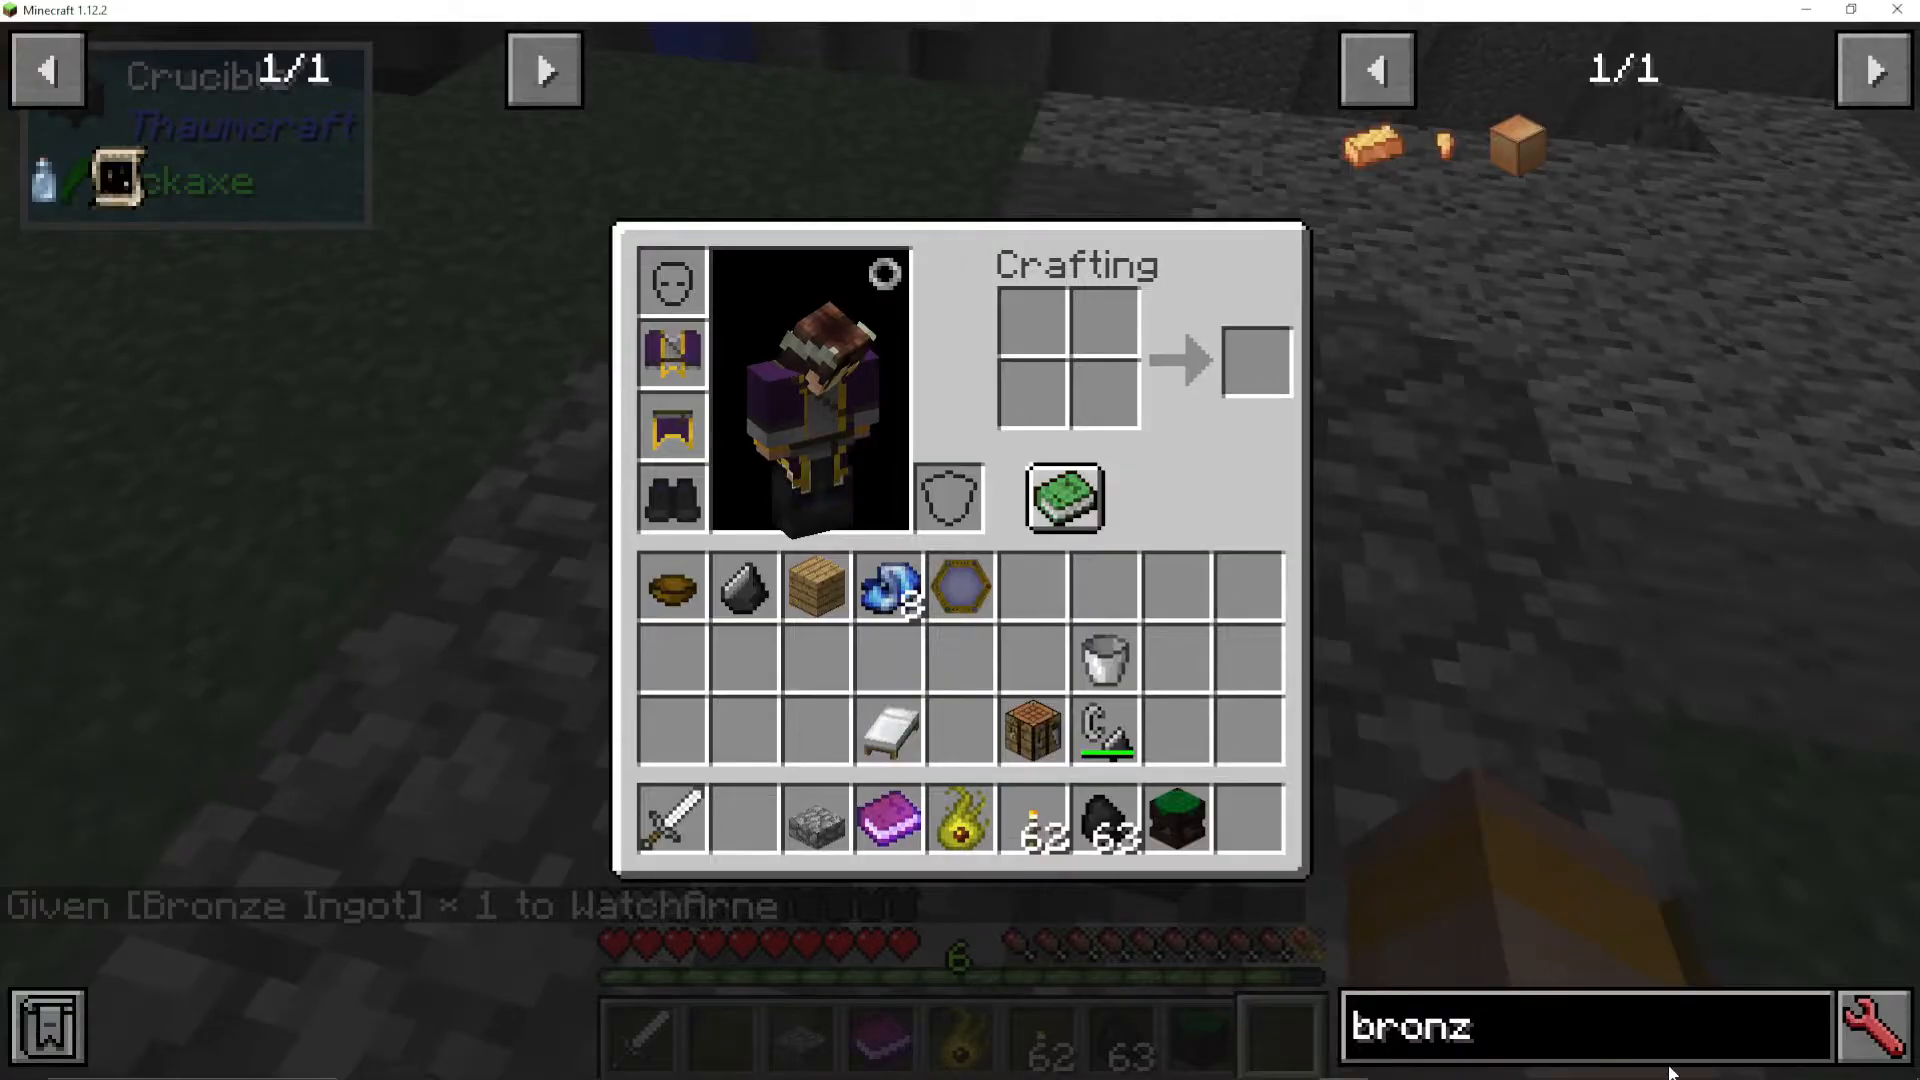
The Formatorium: Automating the Crucible
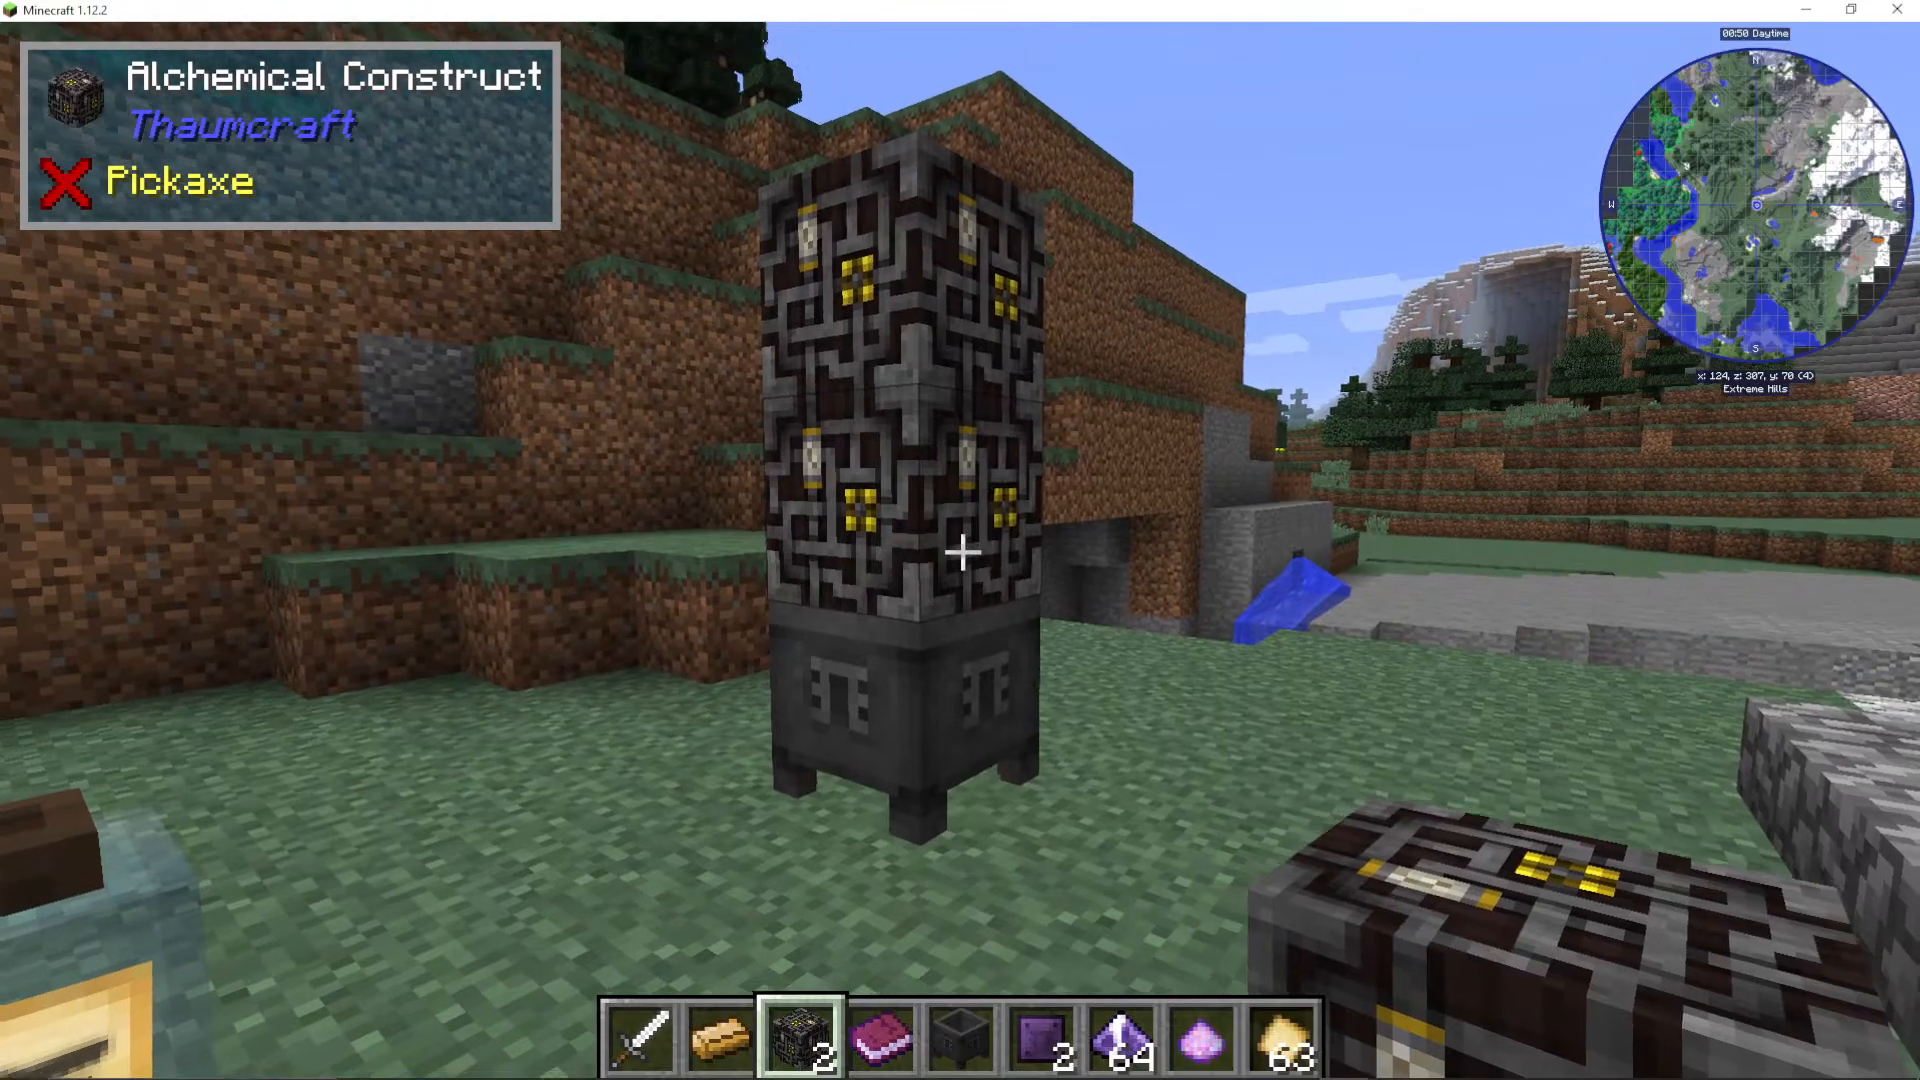
The Formatorium is an upgraded, automated version of the Crucible. To unlock it, you need to complete the Alchemical Metallurgy chapter and do further alchemy research. The Formatorium is built as a multiblock: place a Crucible, then right-click two Alchemical Constructs onto it with Salis Mundus.
Alchemical Constructs are crafted in the Arcane Workbench for 75 Vis using pipes, valves, inflates, and three specific Vis Crystals.
When you right-click the Formatorium, you can place a catalyst item directly into it. The Formatorium will automatically pull the required Essentia from nearby labelled Warded Jars and complete the recipe — no manual throwing required. For example: place Coal in the Formatorium (Coal is the catalyst for Alimentum), and it will automatically draw Potentia, Ignis, and Perditio from your jars and produce Alimentum. Place multiple catalysts for repeated crafting.
Advanced Essentia Transport: Filling and Emptying Transfusers
This is where Thaumcraft 6’s automation truly shines — and why you can safely skip the intermediate pipe system entirely.
After unlocking the Advanced Essentia Transport chapter (which requires completing the Infusion chapter first — see below), you unlock two key items:
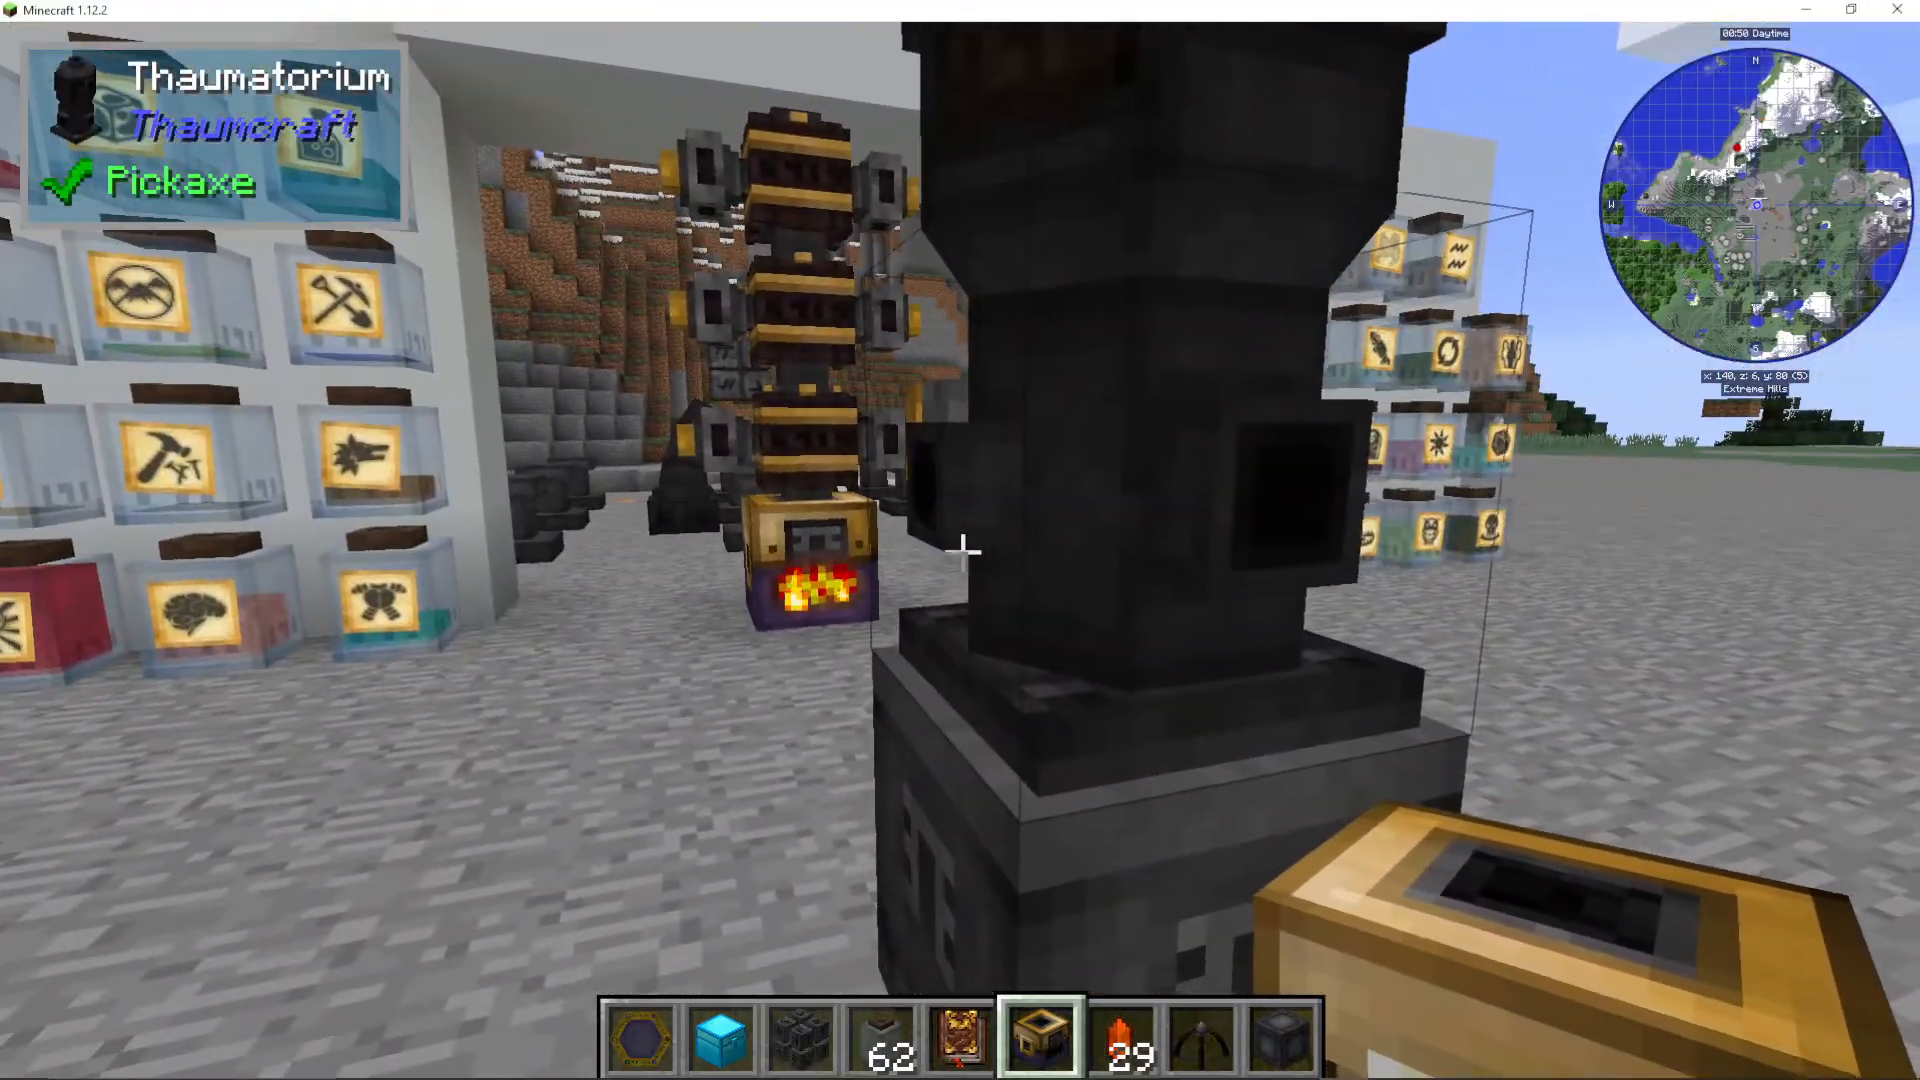
Filling Essentia Transfuser — placed on the Essentia Smeltery/Alembic setup; automatically fills nearby Warded Jars with Essentia output.
Emptying Essentia Transfuser — placed on the Formatorium; automatically pulls Essentia from nearby Warded Jars into the Formatorium as needed.
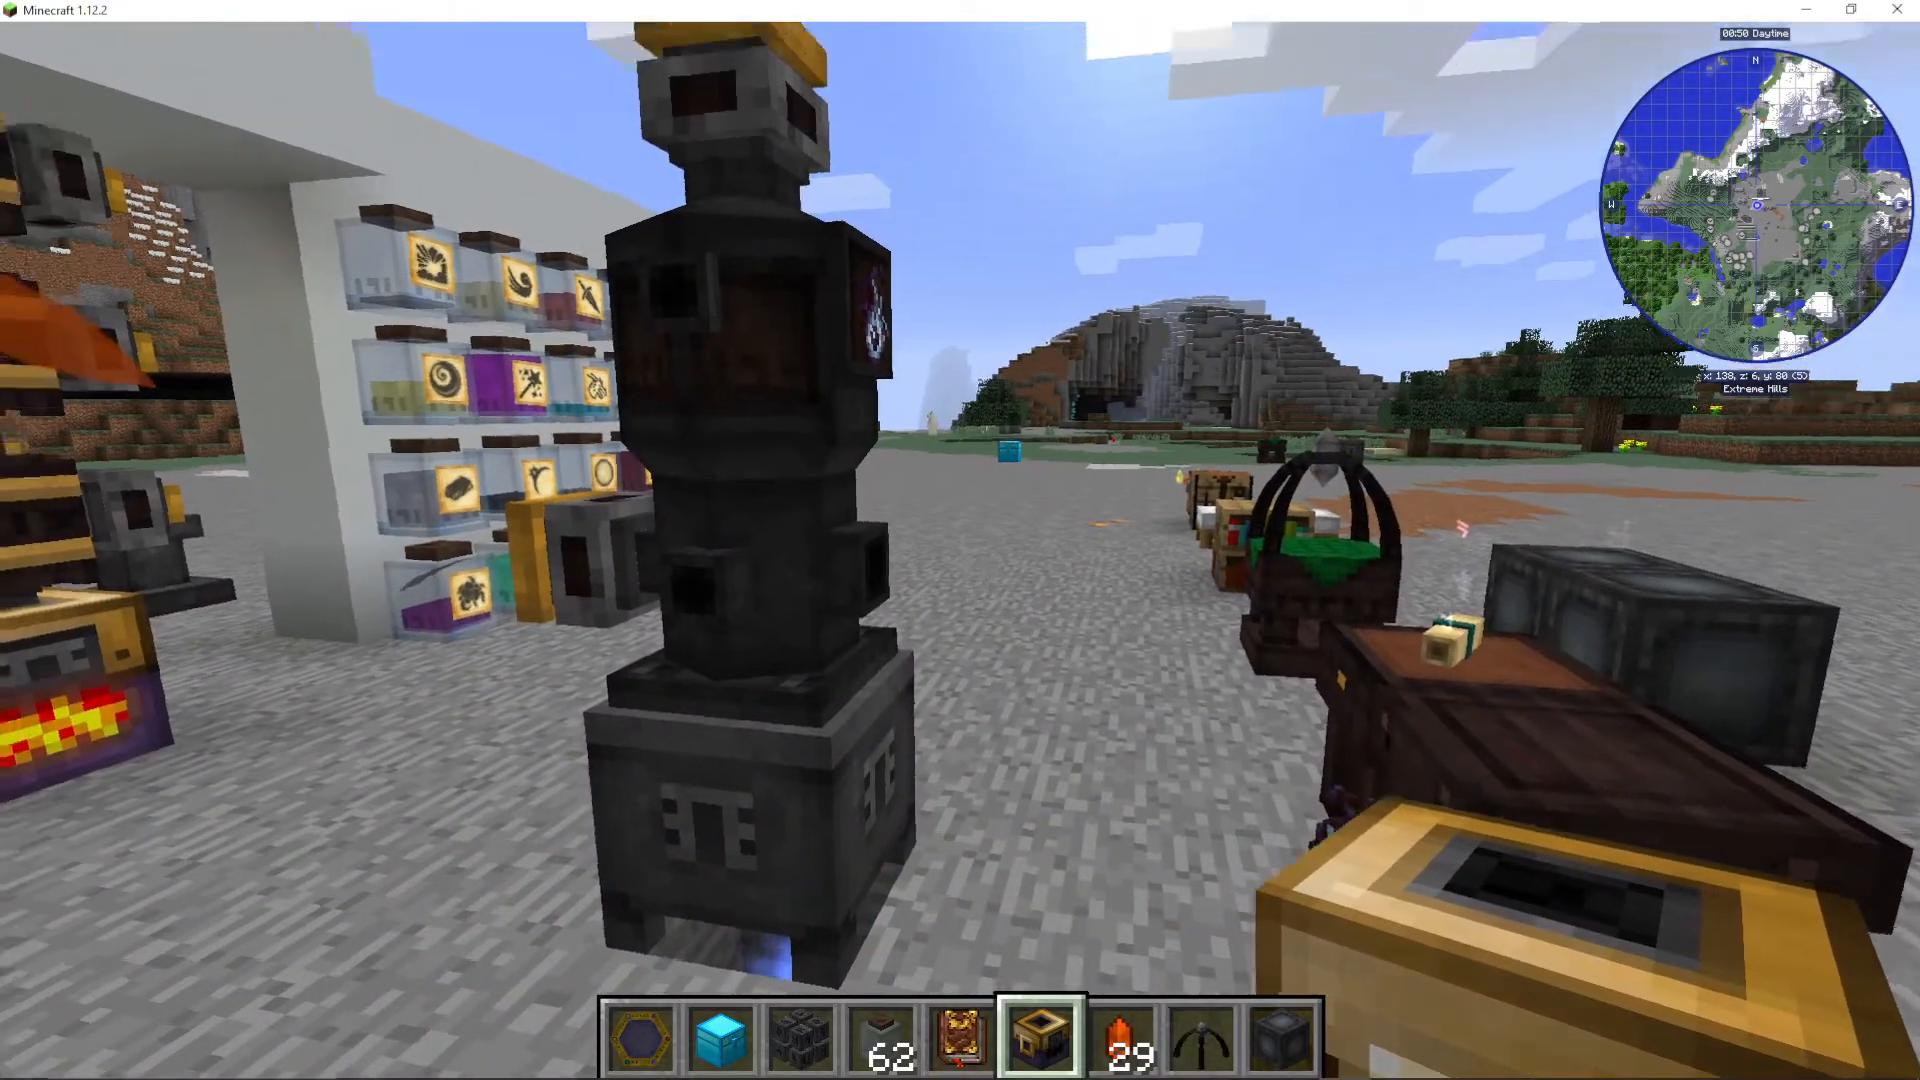
Set up all 46 labelled Warded Jars in a grid around your Essentia Smeltery. Place Filling Essentia Transfusers on the Alembics, pointing toward the jars. When you smelt items, the extracted Essentia will automatically flow into the correct labelled jar. Then, with Emptying Essentia Transfusers on your Formatorium, it will pull exactly what it needs from those jars when you drop in a catalyst.
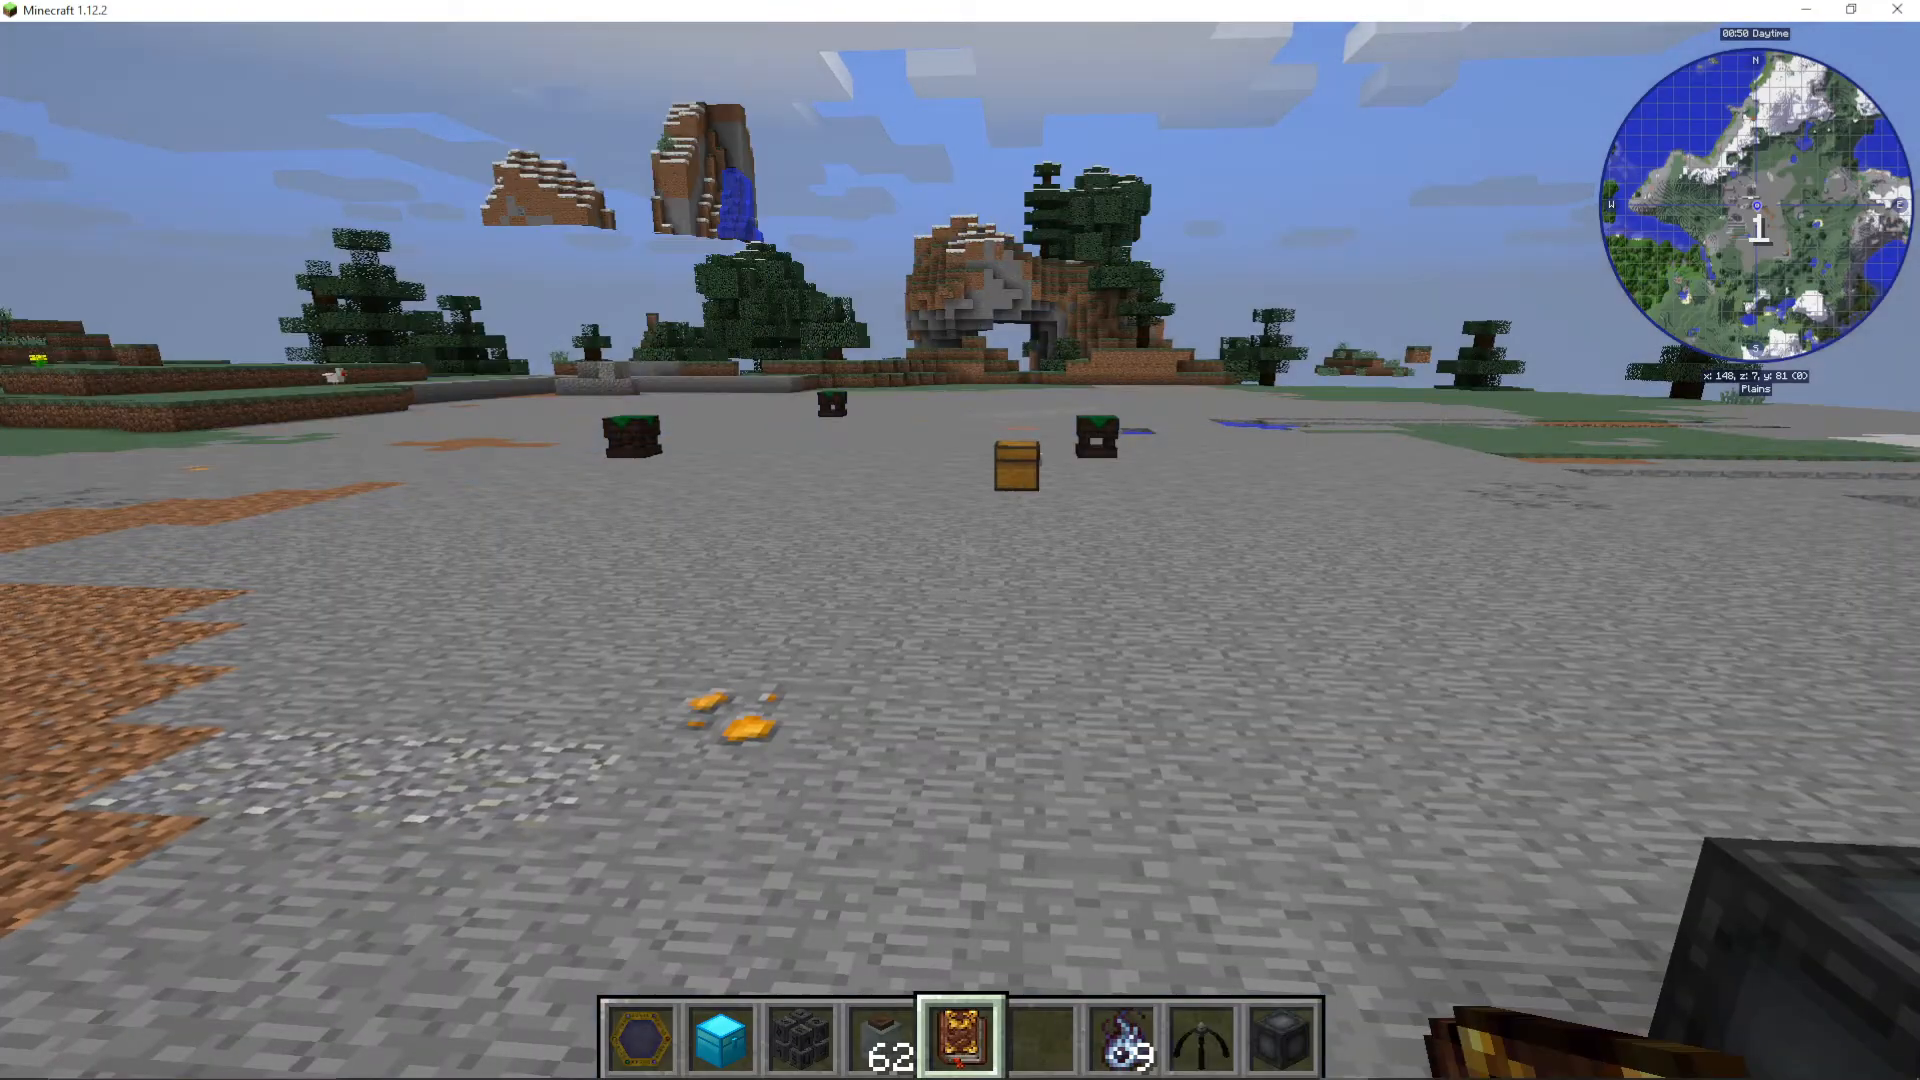
This setup is fully automated. You drop in catalysts, and the Formatorium handles everything else. This is the end-game of Thaumcraft alchemy and is far simpler to achieve than it might first appear.
Essentia Mirrors
If you want your Warded Jar storage to be physically separated from your Infusion Altar or Formatorium (even across long distances), you can use Essentia Mirrors. Place one mirror near your jar storage and another near your crafting setup. Essentia will automatically flow through the mirrors on demand — no pipes required.
Arcane Infusion: The Runic Matrix
To unlock Arcane Infusion, go to the Arcane Infusion chapter and complete Basic Infusion. You will need to do some Thaumometer observations on arcane infusion and some theory research, then gather a feather, some stone, and a phial of Air Essentia.
Crafting the Runic Matrix
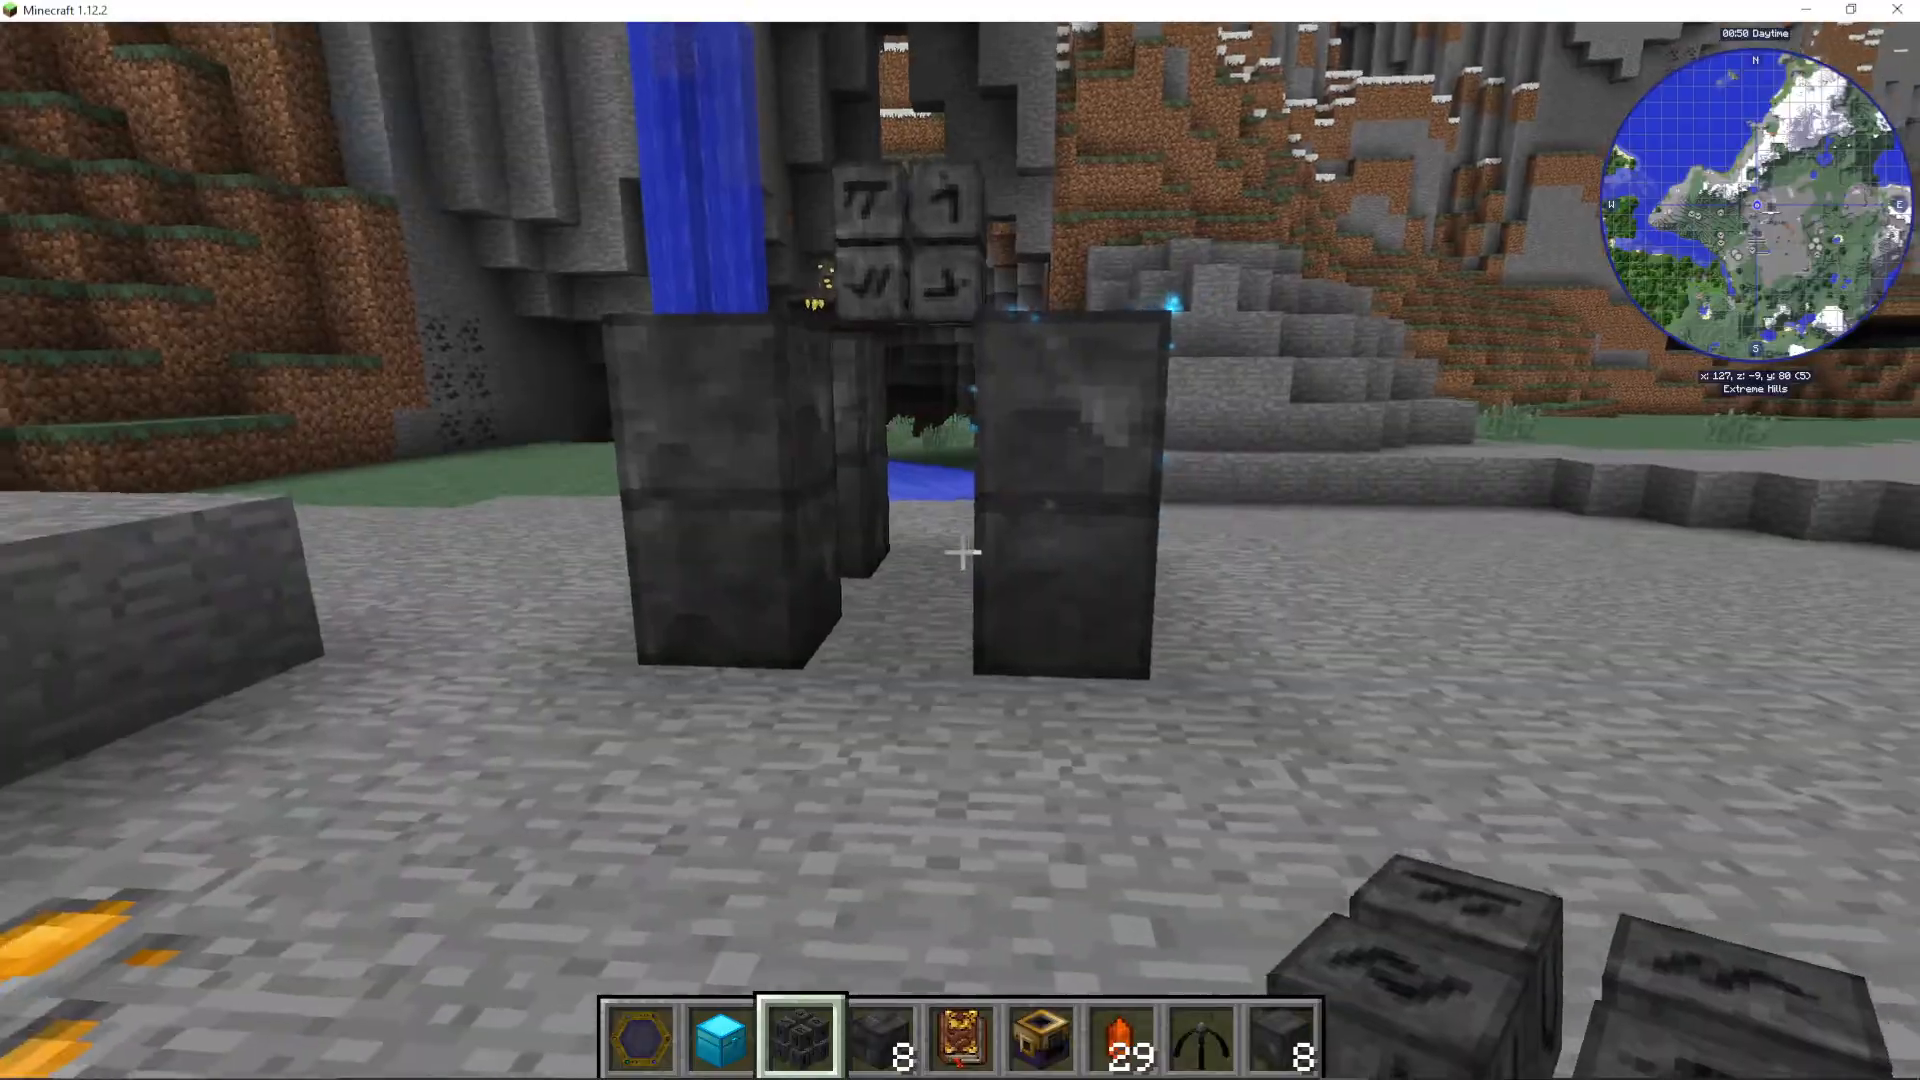
The Runic Matrix is the centrepiece of infusion crafting. To make Arcane Stone Bricks (required for the matrix), surround eight stone blocks around a single Vis Crystal in the Arcane Workbench. Then craft the matrix itself using Arcane Stone Bricks and a Nitor in the centre. The cost is 130 Vis (with your gear discount).
Building the Infusion Altar
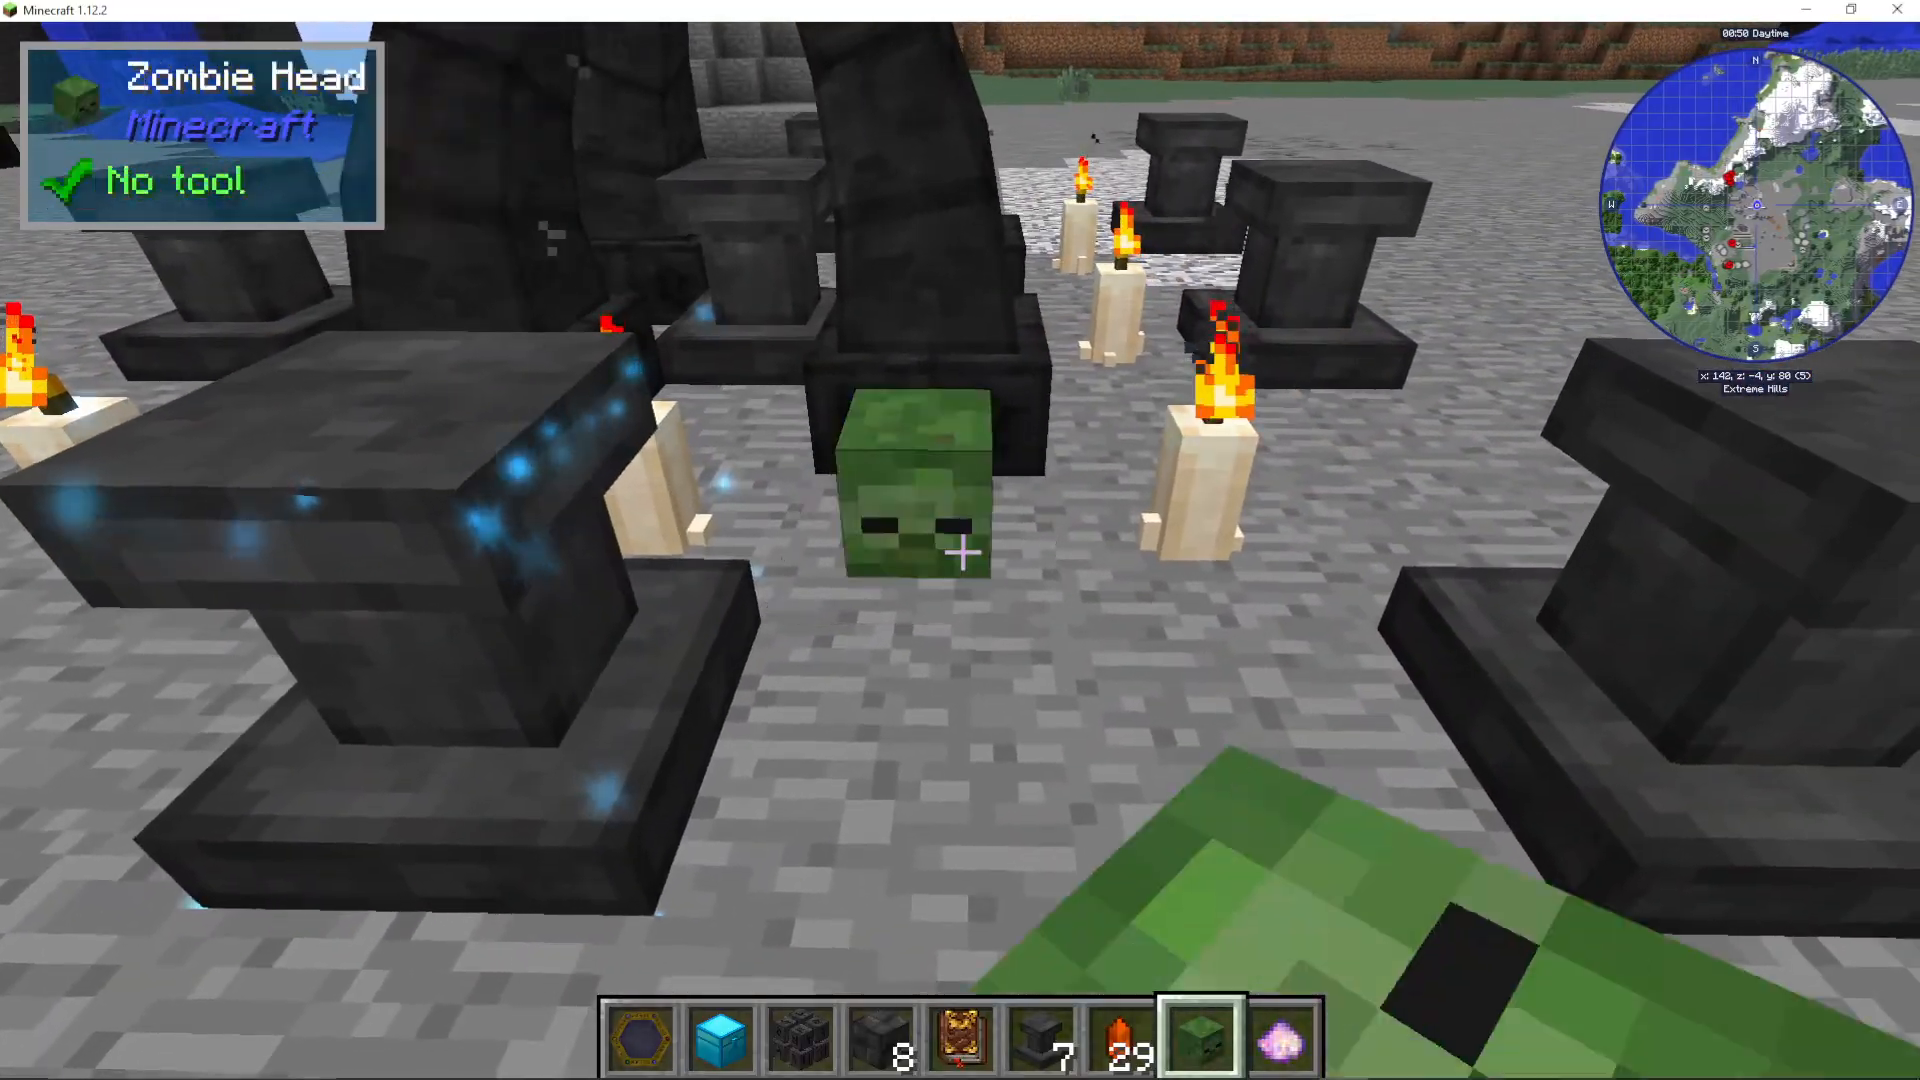
Set up the altar as follows: place your Runic Matrix in the centre elevated position, then surround it with Arcane Pedestals (crafted from Arcane Stone in the Arcane Workbench). Right-click the central pedestal with Salis Mundus to activate the altar. For added stability, place candles and mob heads (zombie or skeleton) around the altar — these reduce instability and prevent wild magical effects during infusion.
Using the Infusion Altar
To infuse an item, place the primary item on the central pedestal and the ingredient items on the surrounding pedestals. Then right-click the Runic Matrix using a Caster’s Gauntlet (see below). The altar will draw Essentia from your nearby Warded Jars and combine everything together. For example, to craft the Cloud Stepper Ring (reduces fall damage): place a Mundane Ring on the central pedestal, an Air Vis Crystal and a Feather on surrounding pedestals, and ensure 50 Aer Essentia is available in a nearby jar.
Oramancy: The Caster’s Gauntlet and Focus System
Unlocking Oramancy
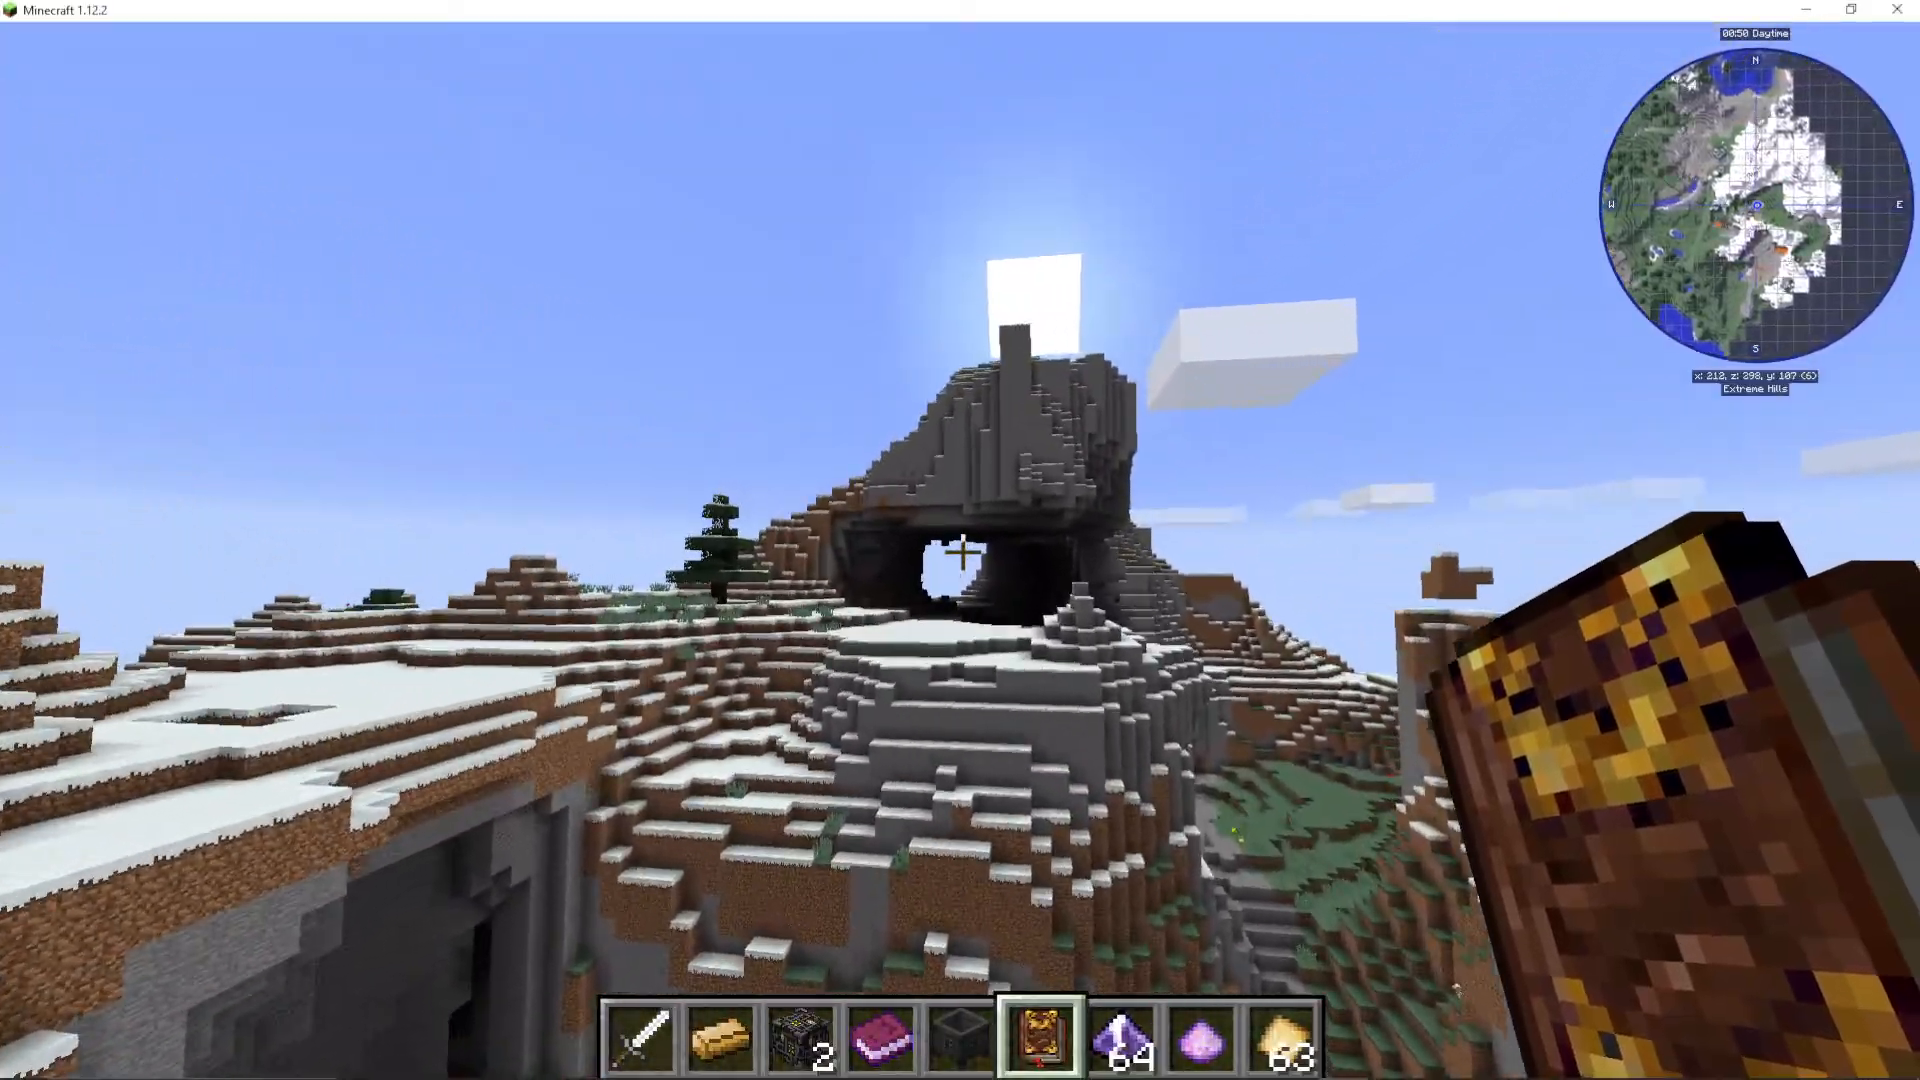
To unlock the Oramancy chapter, complete the Discovering Oramancy quest. This requires visiting both a high mountain peak and bedrock level. Climb a high mountain and you will receive a message that your perspective has been broadened. Then dig all the way down to bedrock and stand on it — you will receive a second message confirming you have visited the deep depths.
Crafting the Caster’s Gauntlet
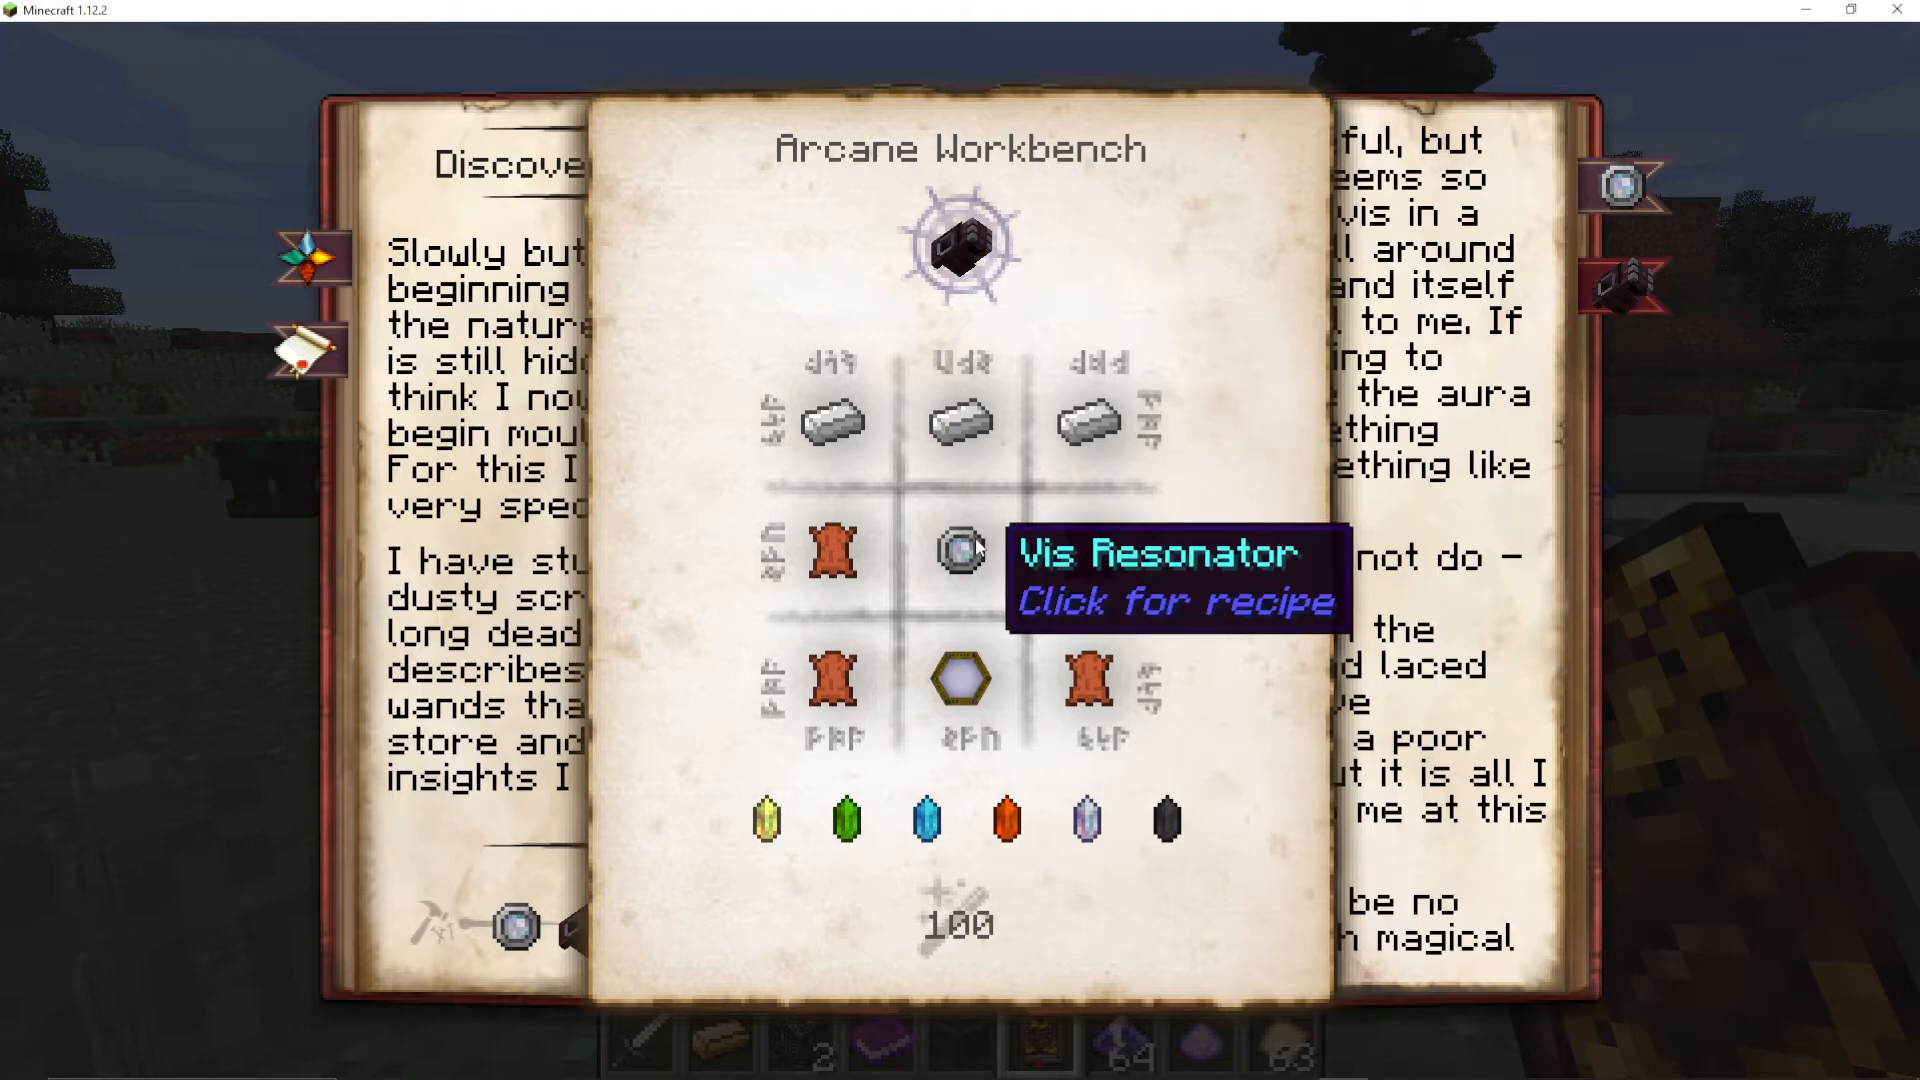
The Caster’s Gauntlet is crafted in the Arcane Workbench for 100 Vis using:
Iron ingots
A Vis Resonator (crafted separately in the Arcane Workbench using Vis Crystals)
A Thaumometer
A Vis Resonator is made from one Nether Quartz and a lion plate (iron plate). Once you have both, combine them in the Arcane Workbench to produce the gauntlet.
The Focal Manipulator and Focus Crafting
The Focal Manipulator is where you create magical Foci for your Caster’s Gauntlet. Before crafting it, you must complete the Basic Oramancy chapter (craft a Blank Lesser Focus — made with an Ordo Vis Crystal and specific Aspects in the Crucible) and Examine Fire Closely (stand in fire in survival mode briefly).
The Focal Manipulator is crafted in the Arcane Workbench. Place it down and open it to begin designing your Foci. A Blank Lesser Focus goes in the bottom-left slot. You then choose components — for example, select Projectile first, then Fire — to create a fireball projectile. Each component has a Vis cost and complexity rating. The items needed (specific Vis Crystals from your inventory) are shown in the interface.
Once crafted, equip the Focus into your Caster’s Gauntlet by pressing F (default key) while the gauntlet is in your hotbar. This opens a radial wheel where you can select your Focus. Press Shift+F to remove a Focus.
The Workbench Charger
A critical quality-of-life upgrade is the Workbench Charger. It is crafted in the Arcane Workbench using Greatwood Planks and costs 200 Vis — so you will need to find a very high-Vis chunk to craft it. Place the Workbench Charger on top of your Arcane Workbench or Focal Manipulator. It siphons Vis from all nine surrounding chunks into the one below it, massively increasing available Vis. For example, a workbench showing 61 Vis available will jump to over 1300 Vis with the Charger placed on top.
Golemancy: Building and Commanding Golems
Unlocking Golemancy
To unlock the Golemancy chapter, complete Discovering Golemancy. You need to scan an animated construct — which means building and scanning an Iron Golem. Build a standard Iron Golem (four iron blocks in a T-shape with a pumpkin on top) and scan it with your Thaumometer.
Brain in a Jar
Kill Zombies to obtain a Zombie Brain, then scan it with your Thaumometer. This completes the Brain in a Jar quest and unlocks the Brain in a Jar item, which absorbs experience from nearby sources.
Hedge Alchemy (Required for Golemancy)
Before building Golems, you need to complete the Hedge Alchemy chapter. This requires crafting a number of alchemical materials in the Crucible — Magic Tallow, Gunpowder, Slimeballs, Ink Sacks, Glowstone, Clay, String, Cobwebs, and a Lava Bucket equivalent. Each is made using specific Essentia combinations. This process is significantly easier if you have already set up your Formatorium — simply place the catalyst for each item in the Formatorium and let it do the work automatically.
The Golem Press
Once Hedge Alchemy is unlocked, you can craft the Golem Press — a multiblock structure made from a Stone Table (crafted from four stone slabs surrounding an iron bar in a cross pattern), an Anvil, a Piston, a Cauldron, and an Iron Bar. Right-click the assembled structure with Salis Mundus to activate it. Place an Emptying Essentia Transfuser nearby pointed at a Machina Essentia jar, as the Golem Press draws on Machina to build Golems.
Building Golems
Open the Golem Press to configure your Golem. You choose:
Frame: e.g., Carry Frame (allows the Golem to carry two stacks of items)
Head: e.g., Clockwork Head (standard), Scout Head (better visibility range), Bioformic Head (more intelligent)
Arms: e.g., Basic Arms
Legs: e.g., Basic Legs or Uni-Wheel Legs (faster on flat terrain, cannot jump)
Different configurations require different Machina amounts and crafting materials like Greatwood Planks and Simple Arcane Mechanisms. Choose your Golem’s attributes based on the task you want it to perform. Press Make It to press the Golem.
Place the Golem in the world. To make it follow you, craft a Golem Minder’s Bell and right-click the Golem with it — it will say “I’m coming, master.” Right-click again while standing still to set its home position (its point of operations).
Golem Seals: Telling Your Golem What to Do
Golems are directed using Seals placed on the ground. Craft Blank Seals, then convert them into specific seal types:
Collect Seal — picks up items in a defined area
Store Seal — deposits items into a nearby inventory
Empty Seal — empties containers
Block Breaker — breaks blocks
Lumberjack — chops trees
Butcher — kills animals
Guard — defends an area
Harvest — harvests crops
Right-click a placed seal with the Golem Minder’s Bell to configure it. You can define the area it operates in, set item filters (whitelist or blacklist), assign priority levels, and restrict it to specific Golems by colour or ownership.
For example: place a Collect Seal in an area, whitelist Paper. Place a Store Seal on a chest, also whitelisted for Paper. Set your Golem’s home nearby. Drop paper on the floor — your Golem will pick it up and deposit it in the chest automatically.
As you unlock more Golemancy chapters, you gain access to more Golem materials — wood, iron, clay, and brass frames — each with different strength, speed, and armour ratings. An Iron Golem, for instance, is sturdy and fireproof but slow, making it excellent as a stationary guard rather than a fast courier.
Additional Thaumcraft Items Worth Knowing
Arcane Lamps
The Arcane Lamp (crafted in the Arcane Workbench) is an outstanding lighting solution. Place one lamp in an area and over the course of about a minute it will automatically place light sources up to 16 blocks away in any dark areas, preventing mob spawning without you having to manually light every corner. Remove the lamp and the auto-placed lights disappear instantly.
There are also two more useful lamps:
Lamp of Fertility — fed Bestia Essentia (via an Emptying Transfuser), it causes nearby animals to breed automatically.
Lamp of Growth — fed Herba Essentia, it acts as a fertiliser for crops nearby.
Arcane Paving Stones
Crafted from Arcane Stone Bricks in the Arcane Workbench, Barrier Stones prevent mobs from crossing over them when placed in the floor — an excellent passive defence for your base. Travel Paving Stones (using different crystals) speed up players who walk over them.
Managing Warp and Flux
As you use the Crucible heavily, unused Essentia (Flux) will drift into the atmosphere. If it builds up enough, it can cause large, dangerous Rifts to open in your world. To close a Rift, craft a Flux Rifter. Warp can also accumulate on your character, causing strange side effects. The Alchemy chapter contains recipes for Purifying Bath Salts and Sanitizing Soap to remove Warp.
Thaumcraft Add-on Mods
If you see extra chapters in the right-hand column of your Thaumonomicon — such as Thaumic Gadgets, Thaumic Additions, Thaumic Augmentation, Thaumic Brewing, Thaumic Tinkerer, Thaumic Wonders, or Thaumic Restoration — these are separate add-on mods installed alongside Thaumcraft 6. They add a wealth of new items and content to explore beyond the base mod.
Summary and Next Steps
You have now covered the full breadth of Thaumcraft 6 for Minecraft 1.12.2:
Crafting Salis Mundus and the Thaumonomicon to begin your journey
Using the Arcane Workbench and Vis to craft magical items
Making Observations with the Thaumometer and generating Theories at the Research Table
Setting up the Crucible, Essentia Smeltery, and Arcane Alembics for alchemy
Fully automating Essentia collection and Crucible crafting using the Formatorium and Essentia Transfusers
Building an Infusion Altar with the Runic Matrix for advanced item crafting
Creating and customising Foci for the Caster’s Gauntlet in Oramancy
Building, configuring, and commanding Golems with Seals to automate your base
Boosting your available Vis using the Workbench Charger
The rest of Thaumcraft 6 is best discovered on your own — that sense of exploration is a core part of what makes the mod special. Check the Thaumonomicon chapters you have not yet explored, scan everything you can find, and experiment freely. If you want more detailed bite-sized guides on specific parts of Thaumcraft 6 or other Minecraft mods, check the full playlist on the channel.
Want to Support?
If you would like to help us continue making these guides – please consider joining our patreon here – https://www.patreon.com/c/JaviHeals
Alternatively – we host a group of MC Servers you can join here – https://discord.gg/zD7Gjt6MHF