






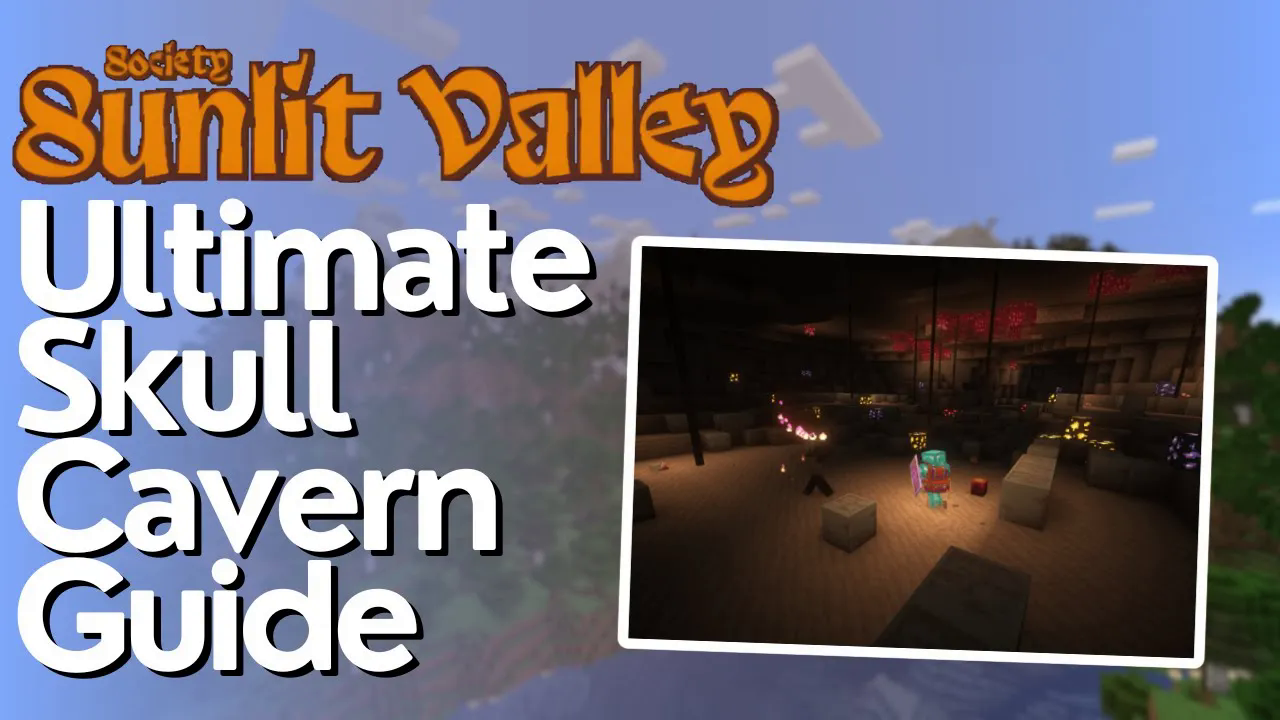
Skull Cavern Complete Guide – Society Sunlit Valley
Skull Cavern Complete Guide – Society Sunlit Valley
The Skull Cavern is one of the most rewarding locations in the Society Sunlit Valley modpack, offering valuable resources and exciting challenges as you descend deeper into its depths. This comprehensive guide will walk you through everything you need to know: how to access the cavern, what gear to bring, what to expect on each level, and strategies to maximize your profits while staying safe.
Getting to the Skull Cavern
Obtaining Your First Teleporter
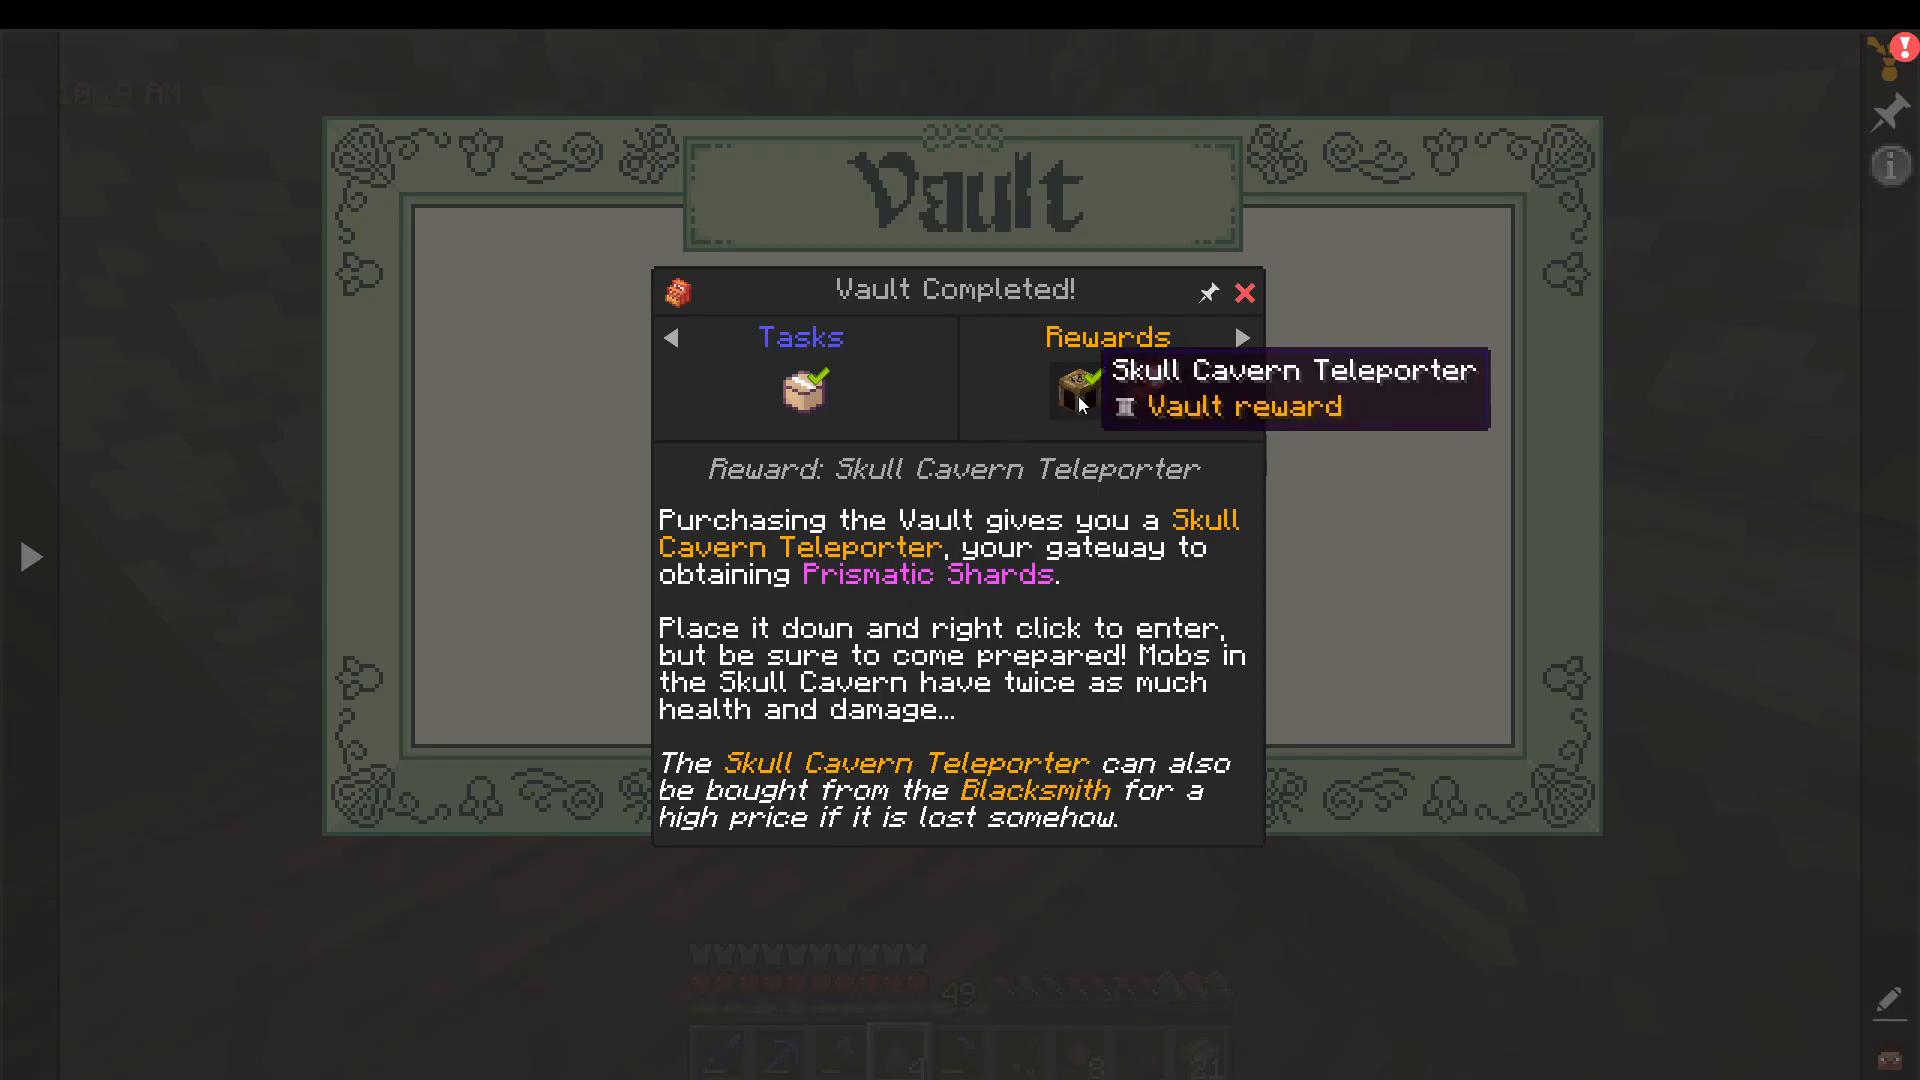
To access the Skull Cavern, you need a Skull Cavern teleporter. Here’s how to get one:
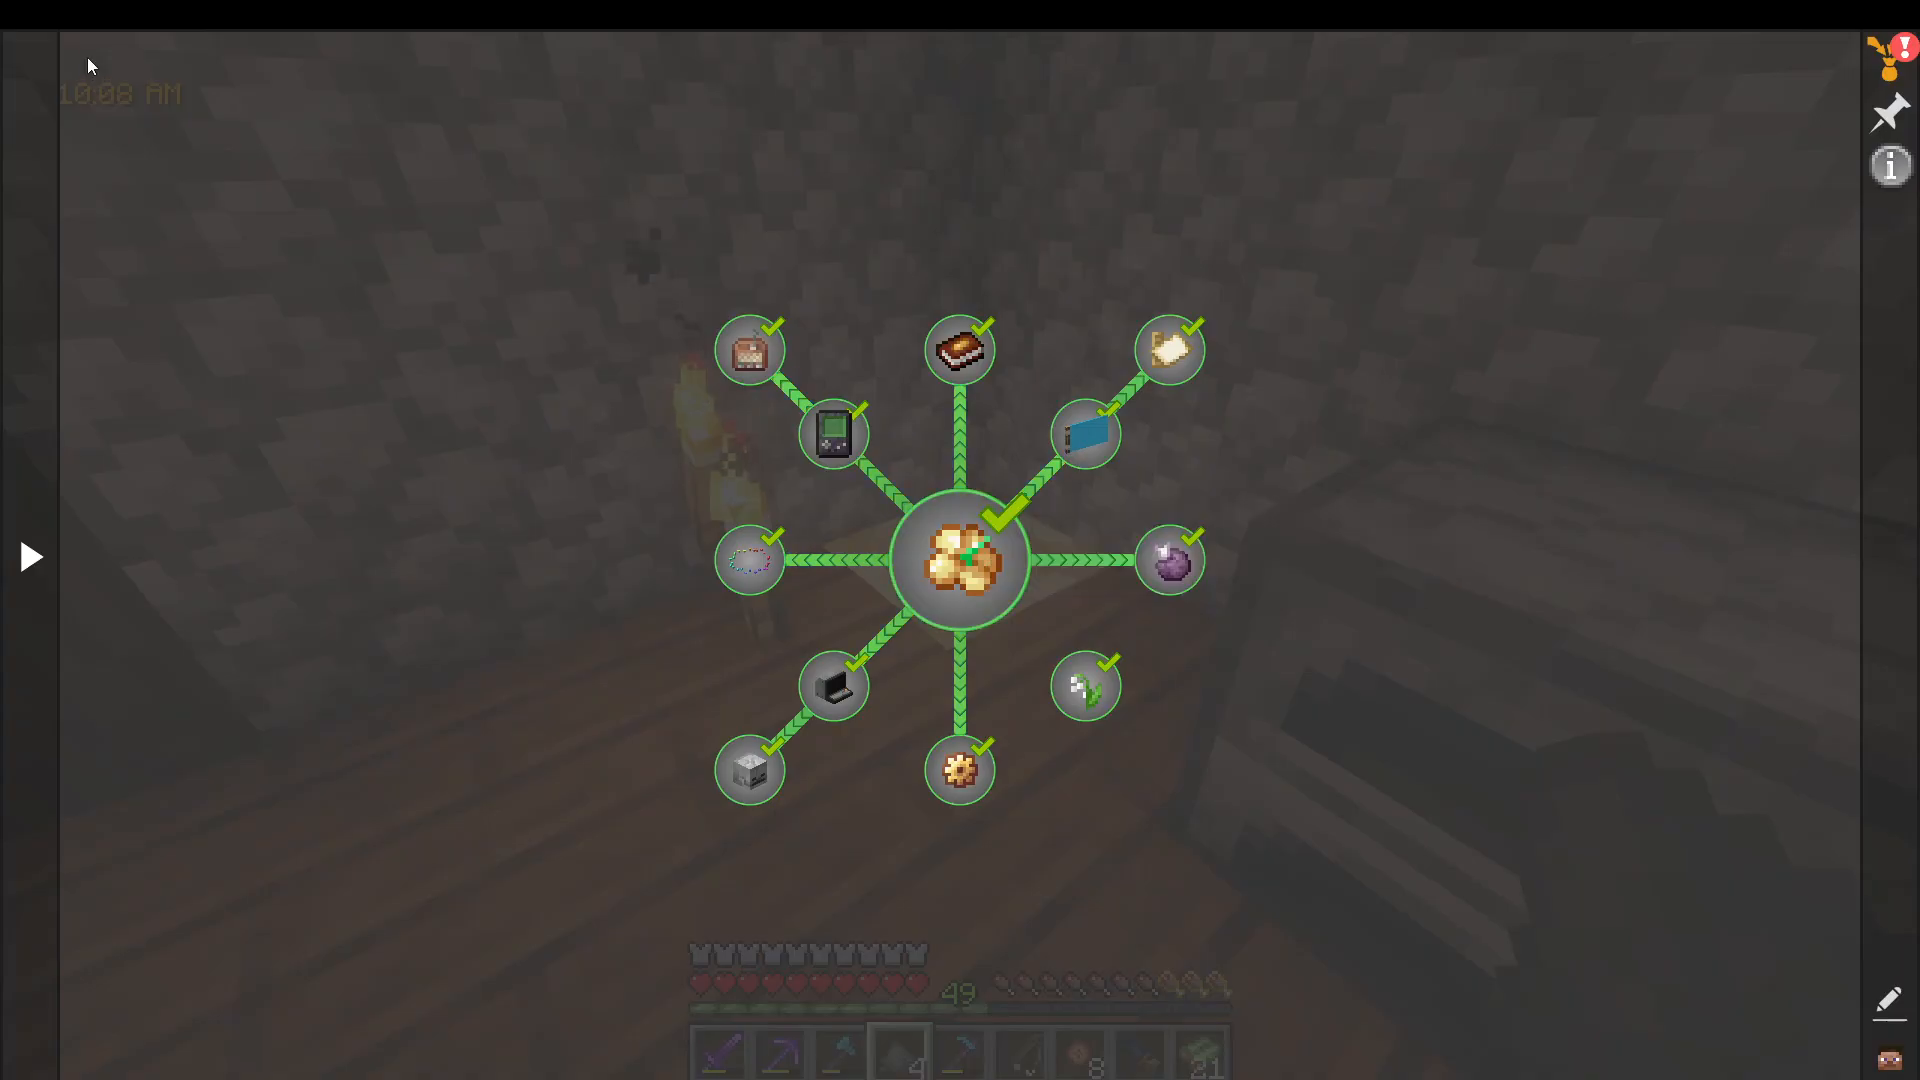
Navigate to your Quests menu and locate the Community Center Vault. Complete the vault requirements, which primarily involve collecting coins. Once completed, you’ll receive the Vault teleporter that grants you access to the Skull Cavern.
Purchasing Additional Teleporters
After obtaining your first teleporter, you can purchase a second one from the Blacksmith for 4,000 coins. The first teleporter will cost significantly more, so the Blacksmith option becomes your budget-friendly solution for convenience.
Essential Gear and Preparation
Must-Have Items
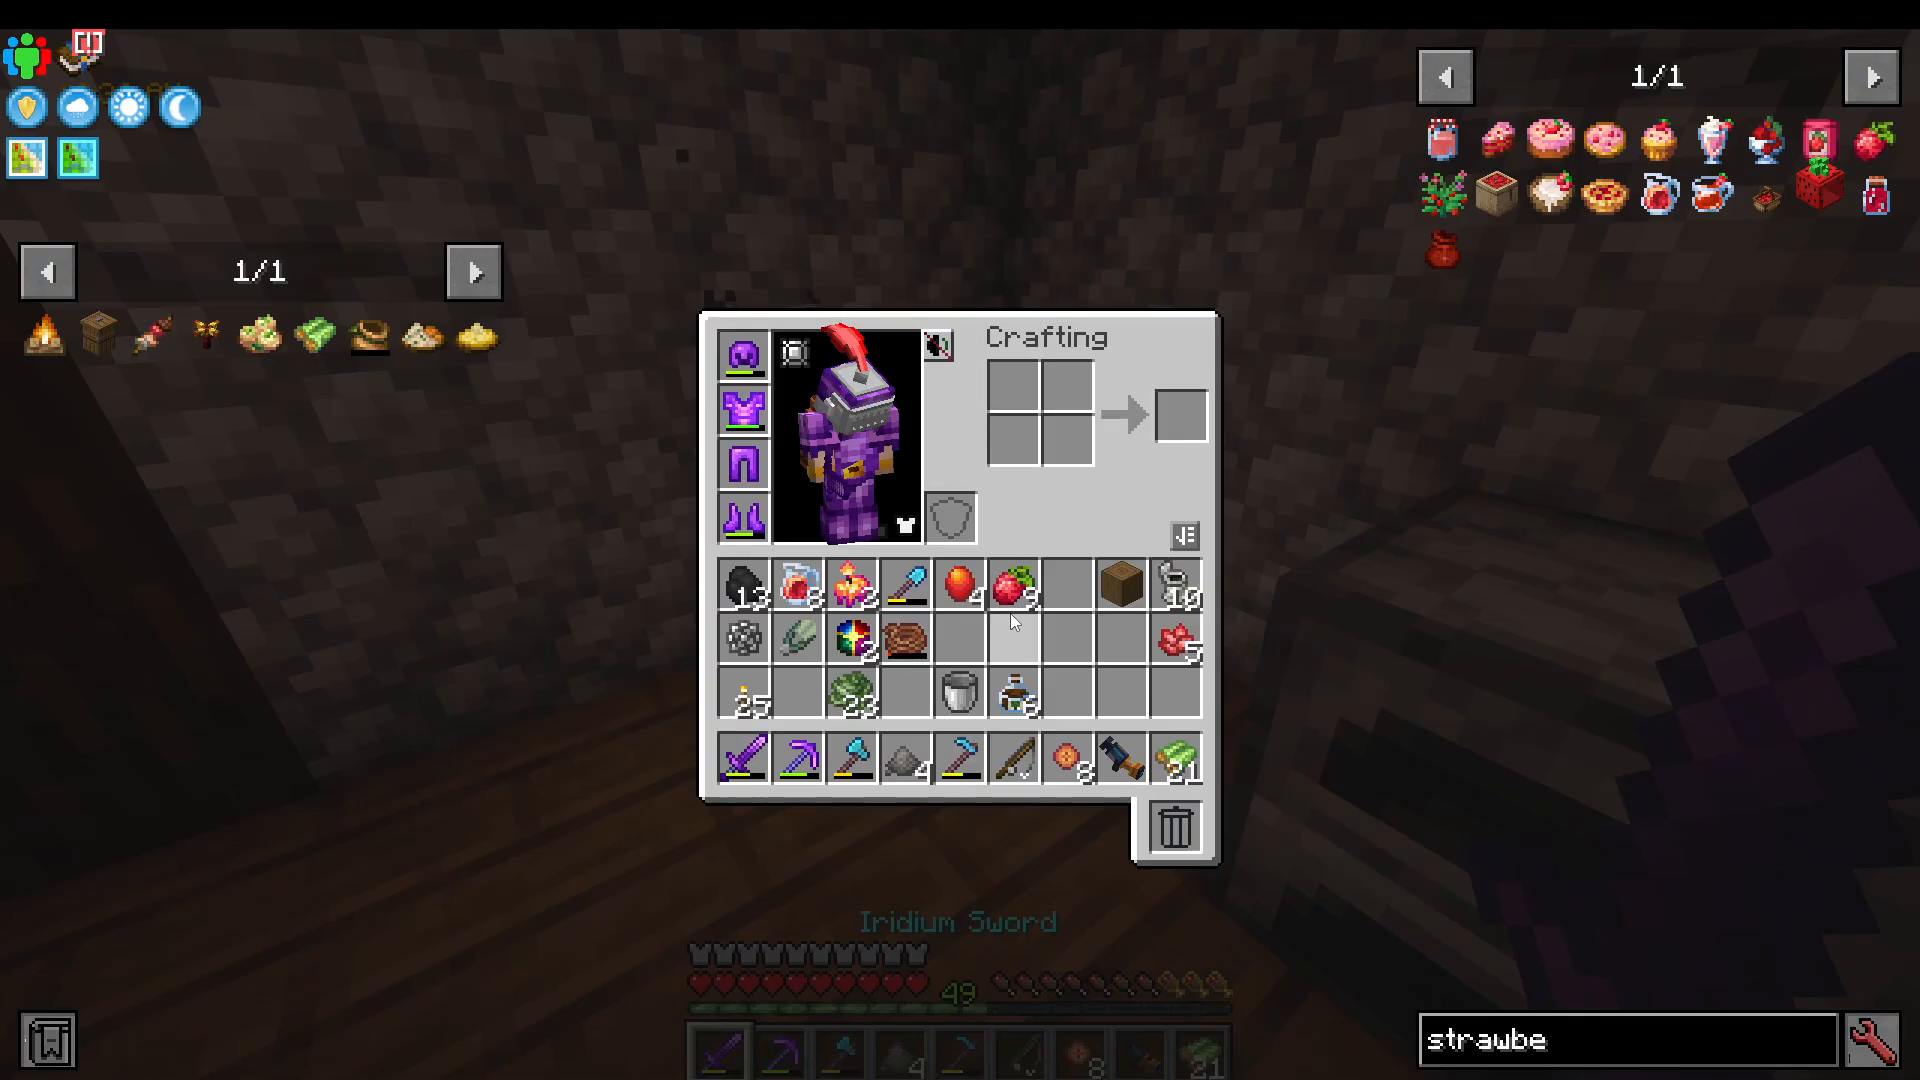
Before descending into the Skull Cavern, pack the following items:
Backpack: Essential for storing everything you collect
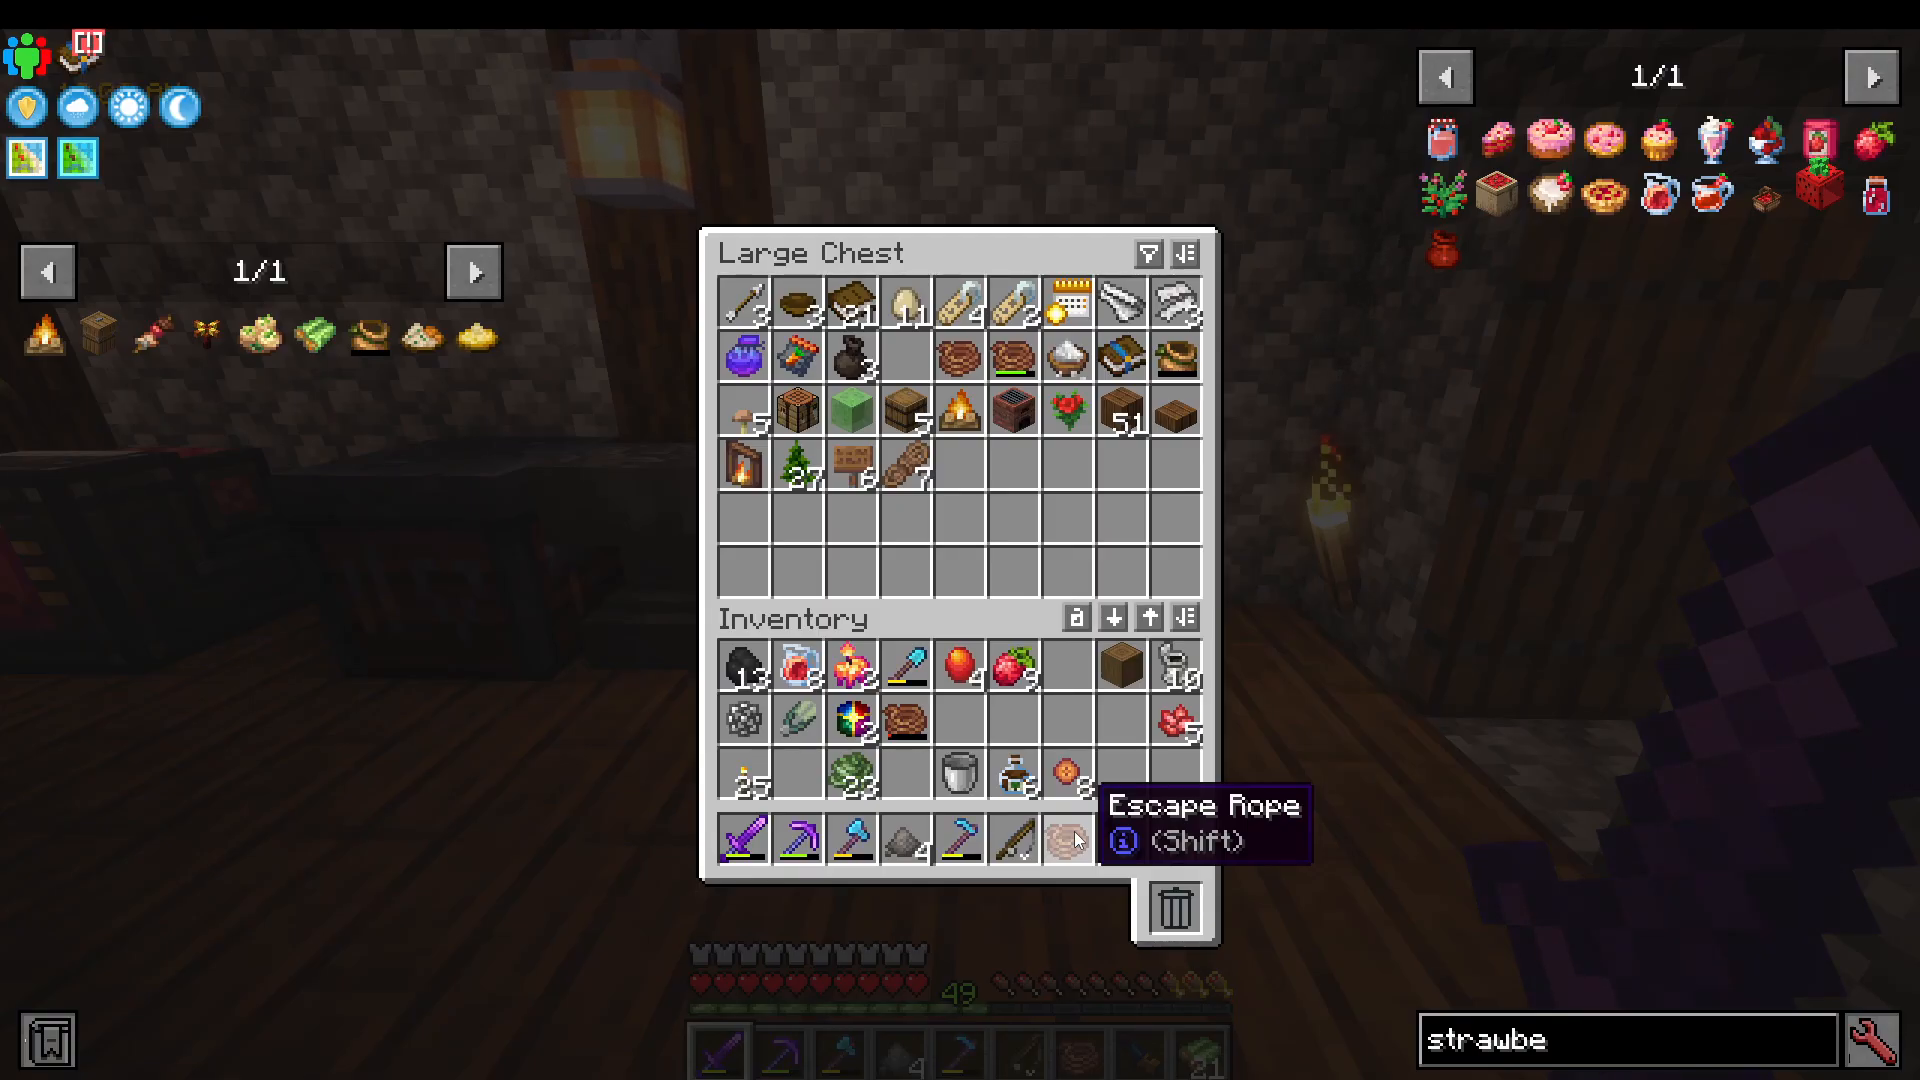
Escape Ropes: The most important item you can bring. These will teleport you directly to the surface from any level deep within the cave, allowing you to use your teleporter to return home safely
Food and Potions: Bring good quality food and healing potions for survival
Torches: Carry torches to brighten dark areas and improve visibility
Iron to Gold Armor and Tools: This gear level is sufficient for the upper levels of the cavern
Time Management Warning
The Skull Cavern operates on a strict time limit. If you remain in the cavern past 5:55 AM, you will be knocked out and charged a hospital bill. Begin making your way out by 4:00 AM, or at latest 5:00 AM if you have an escape rope and know you’re near the portal.
Exploring Level by Level
Entry and Navigation Strategy
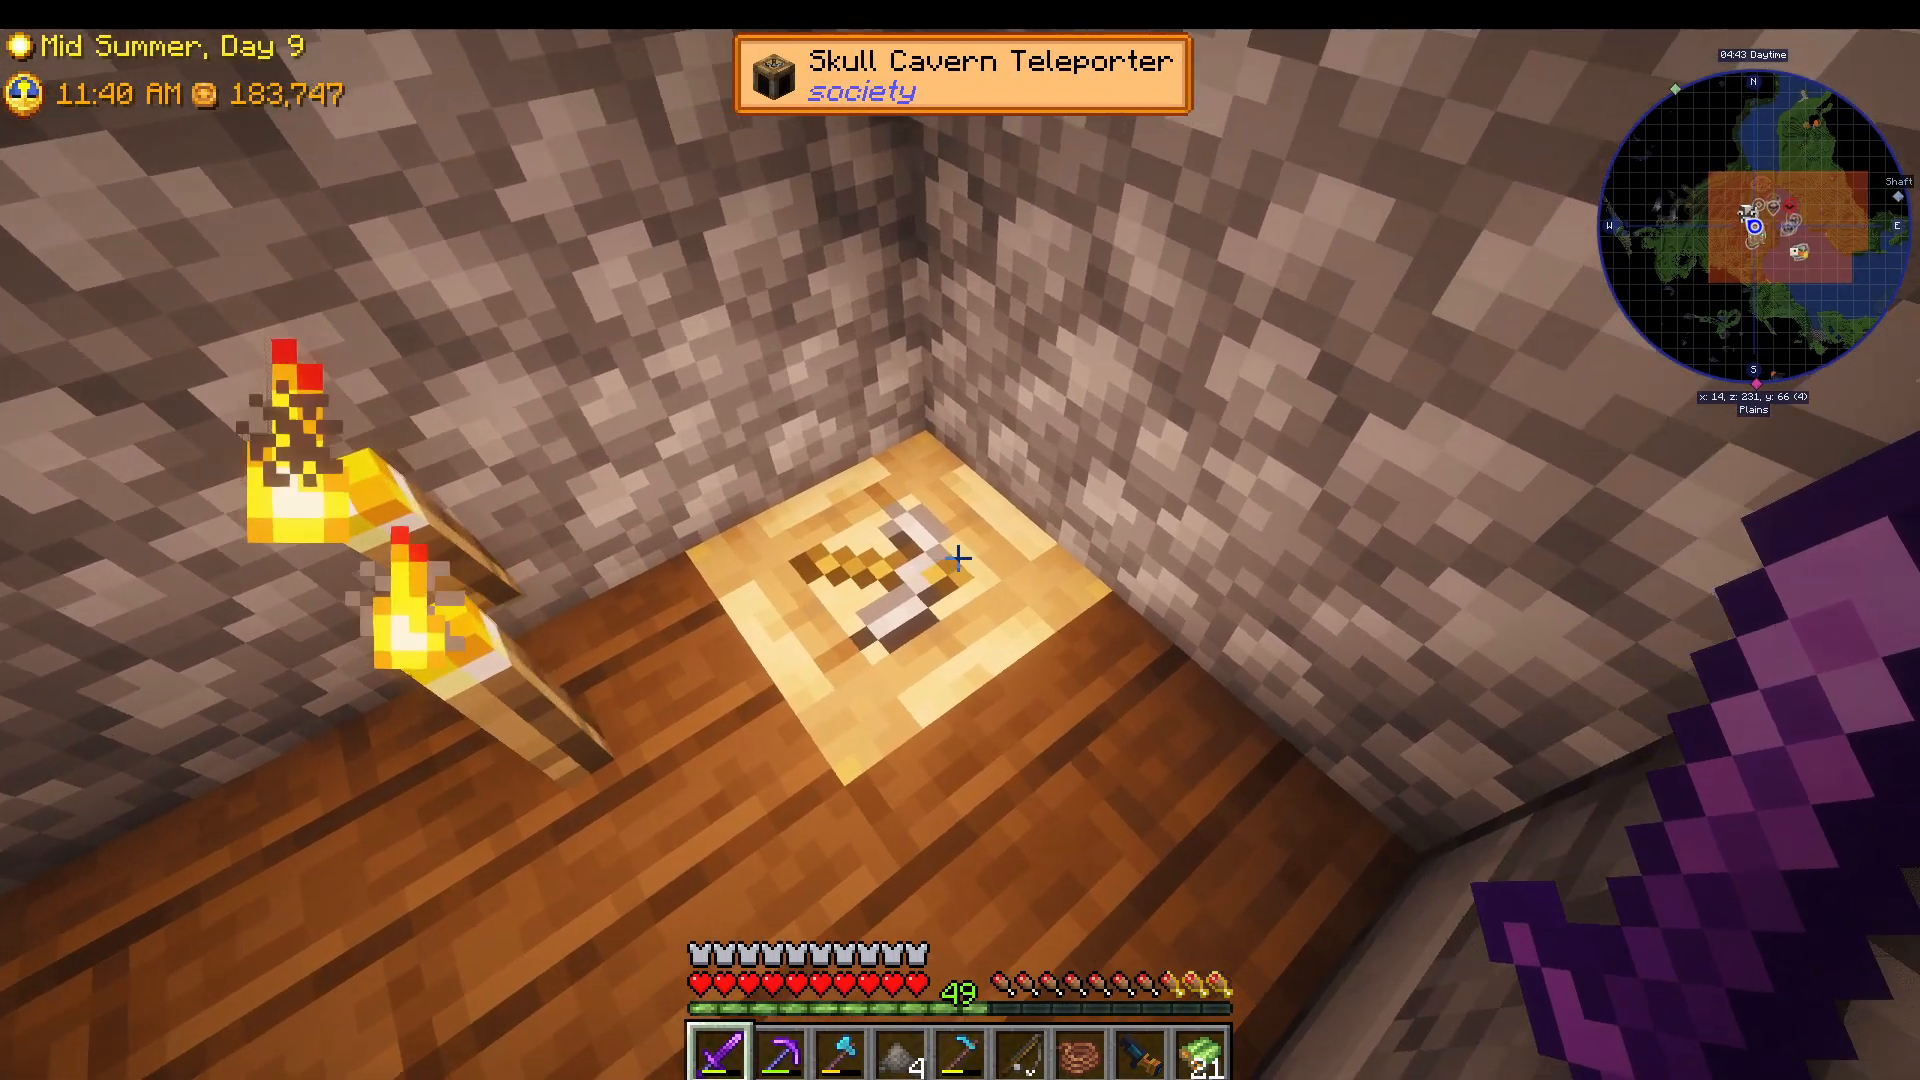
Right-click the Skull Cavern teleporter at 11:00 AM or later to enter. Once inside, you’ll encounter boulders with ropes leading downward. A crucial tip: place cobblestone blocks to mark the location of ropes leading to the next level. These placed blocks do not disappear when the cavern regenerates each day, allowing you to create a permanent route through the cave.
Daily Regeneration
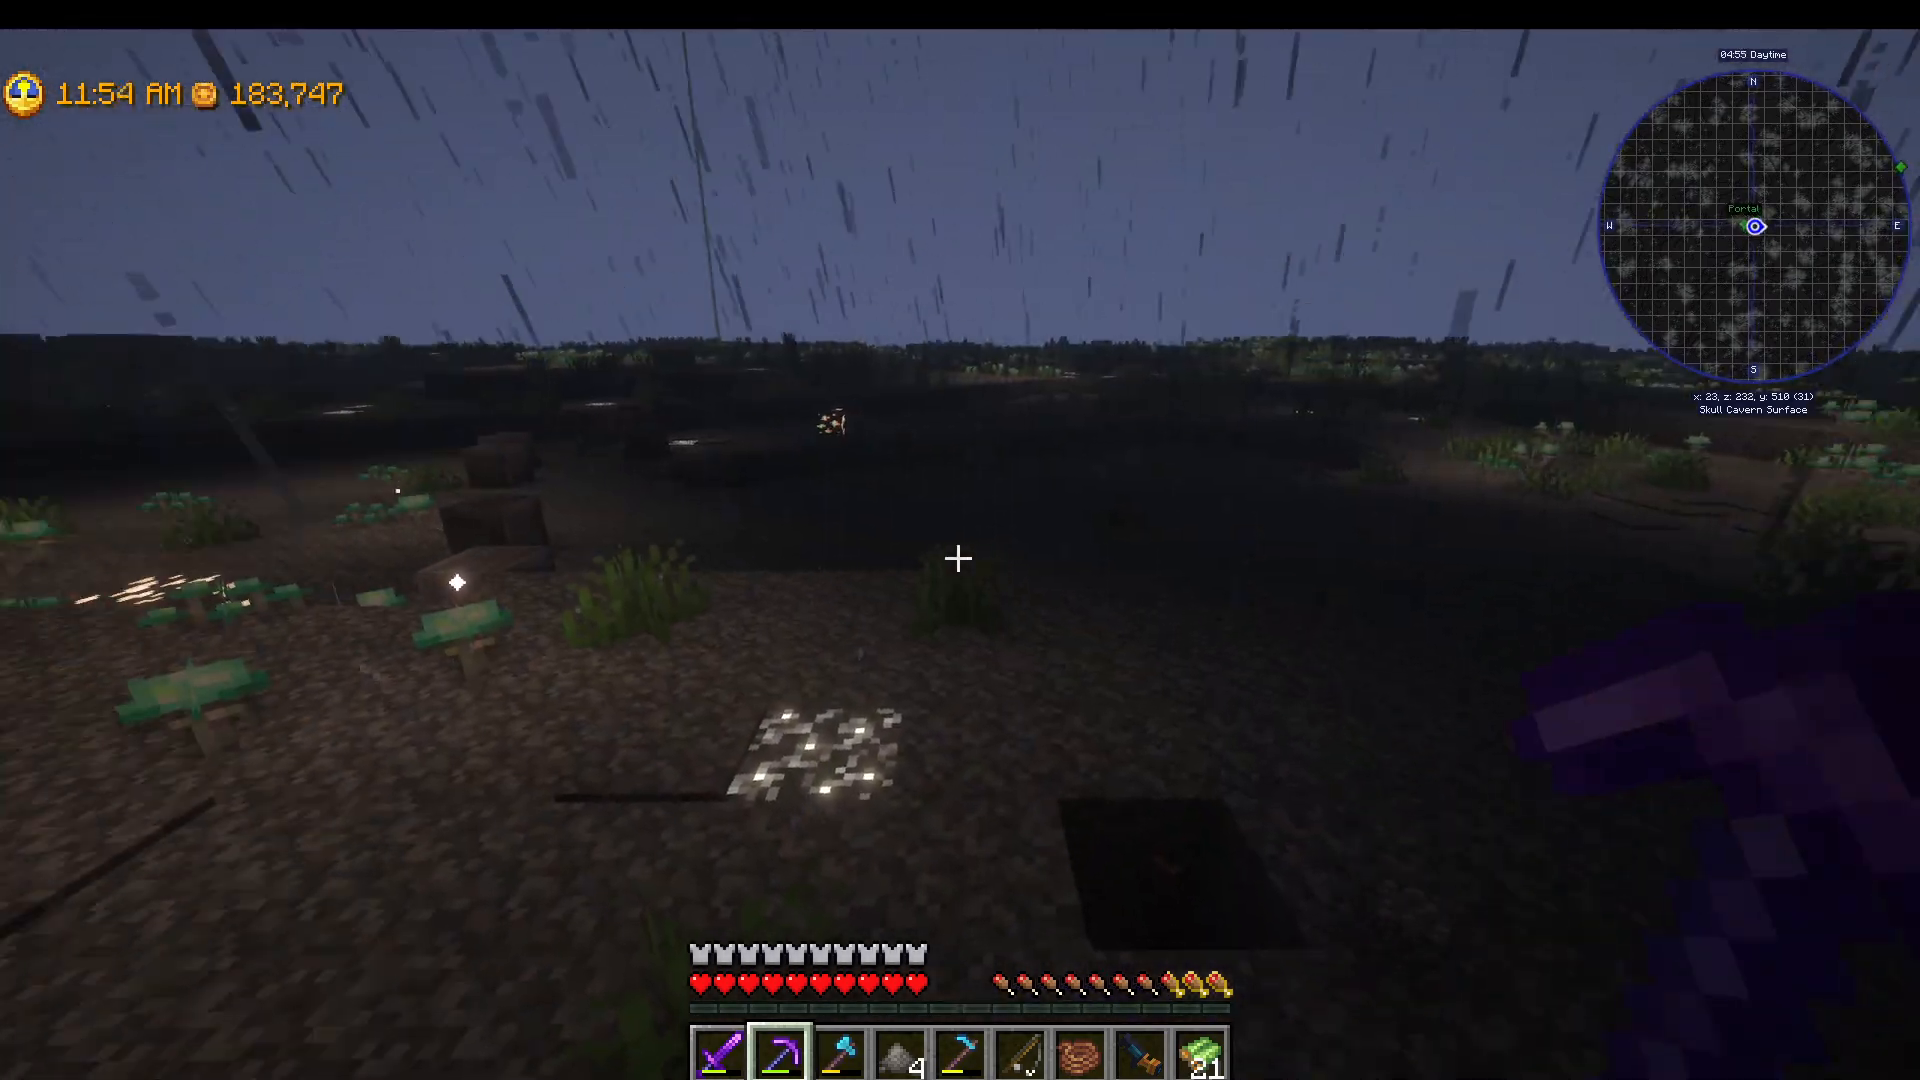
The Skull Cavern completely regenerates each day, meaning all ore, resources, and mobs respawn. However, blocks you place (like your cobblestone markers and torches) remain permanently. This system allows you to establish a consistent route that gets easier with each visit.
Level One – Upper Cavern
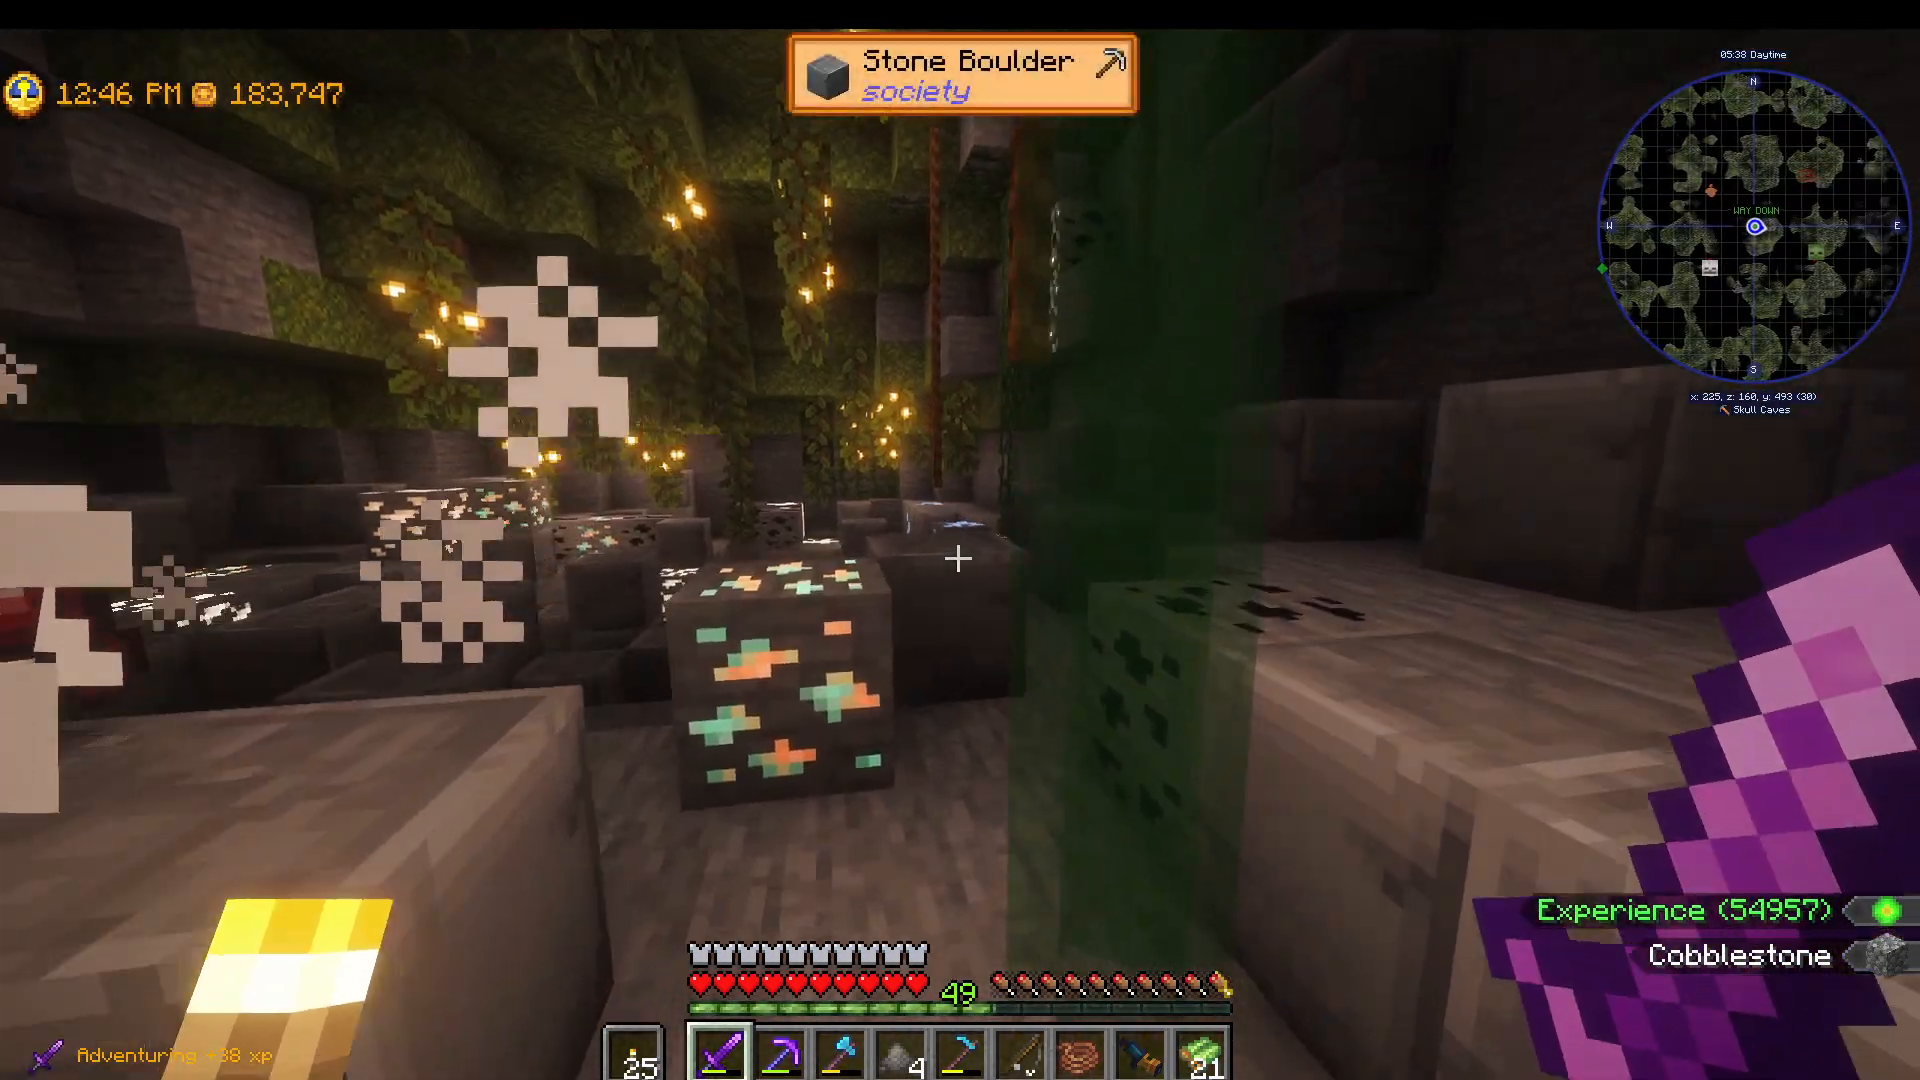
On the first level, expect to encounter:
Spiders and Zombies
Copper ore, Coal ore, and Iron ore
Lapis Lazuli
Glow berries
Crates containing coffee beans, coal, or wood logs
Level Two – Increasing Difficulty
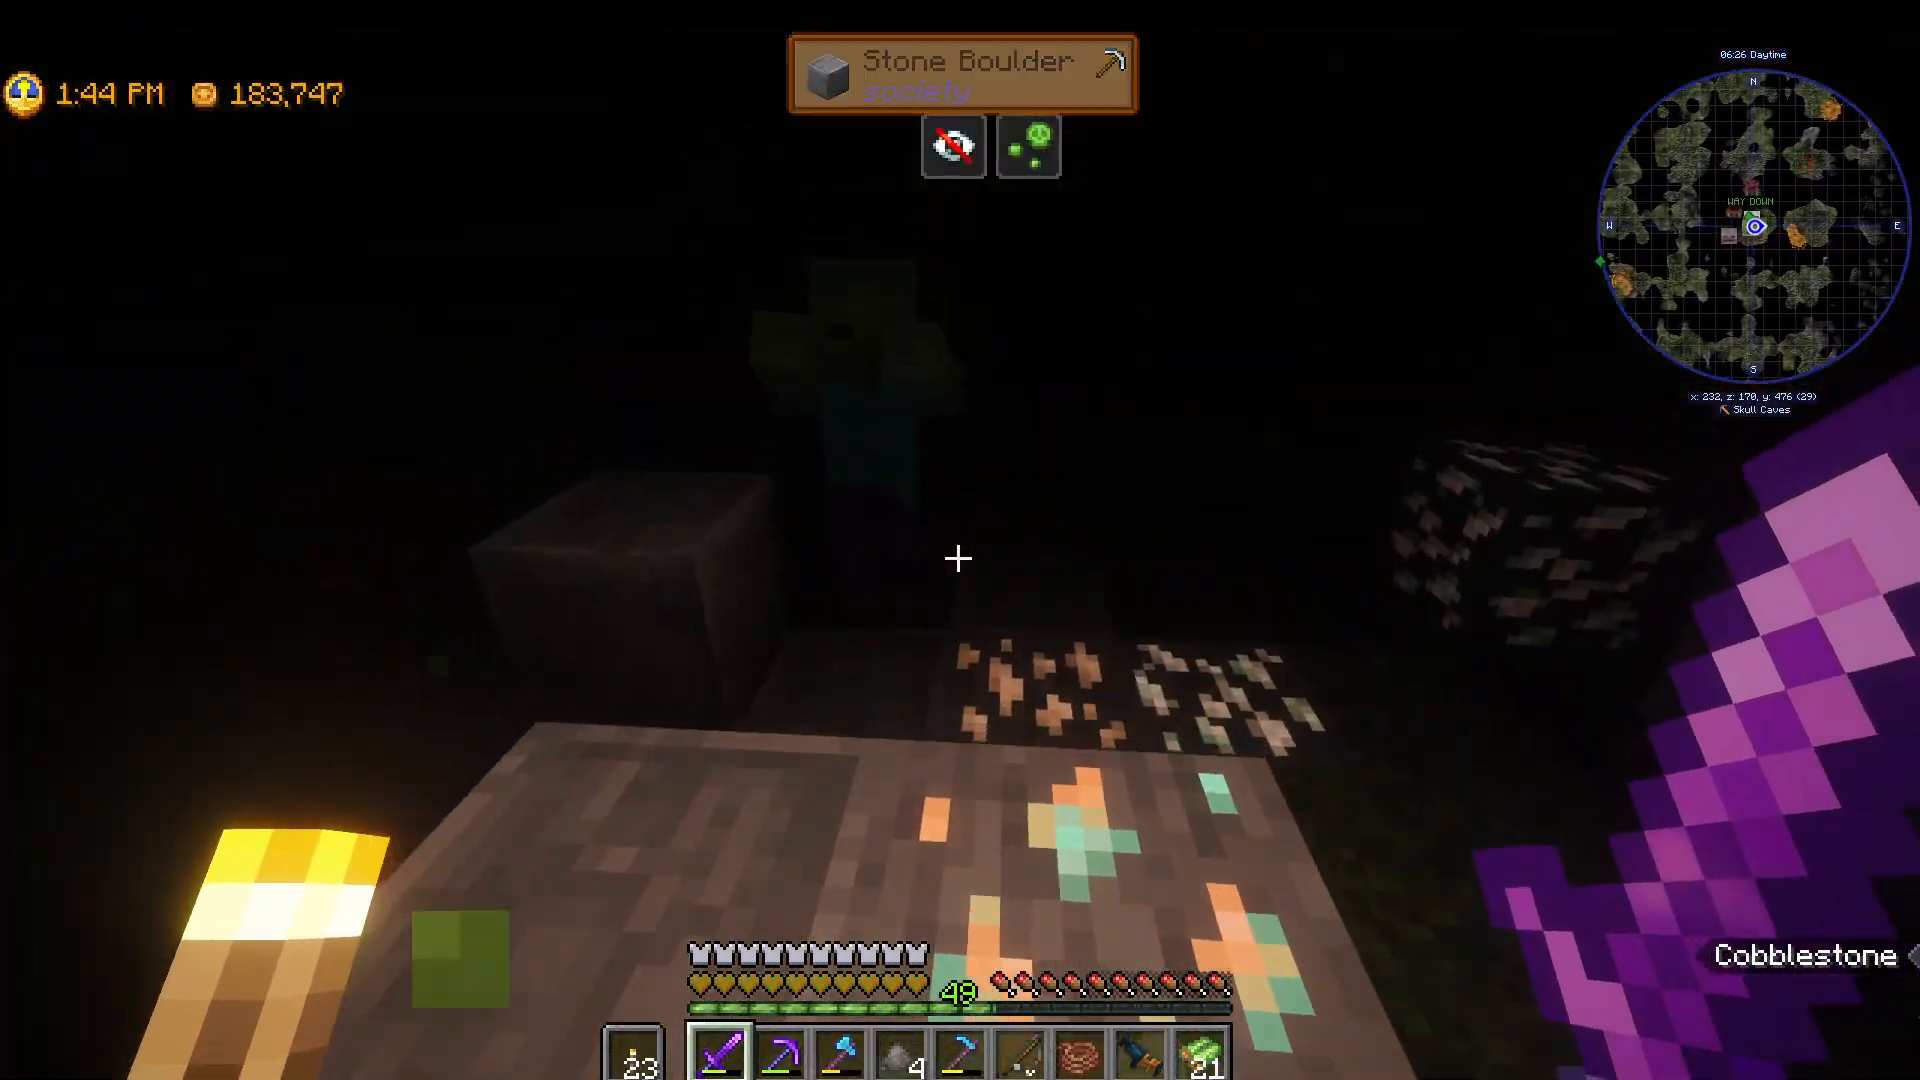
As you descend to deeper levels, encounters become more challenging. You’ll meet:
Ghastly creatures that poison you on hit, leaving poison patches on the floor
Babies (hostile variants)
Skeletons
Lower-tier gear makes poison damage particularly dangerous, so exercise caution.
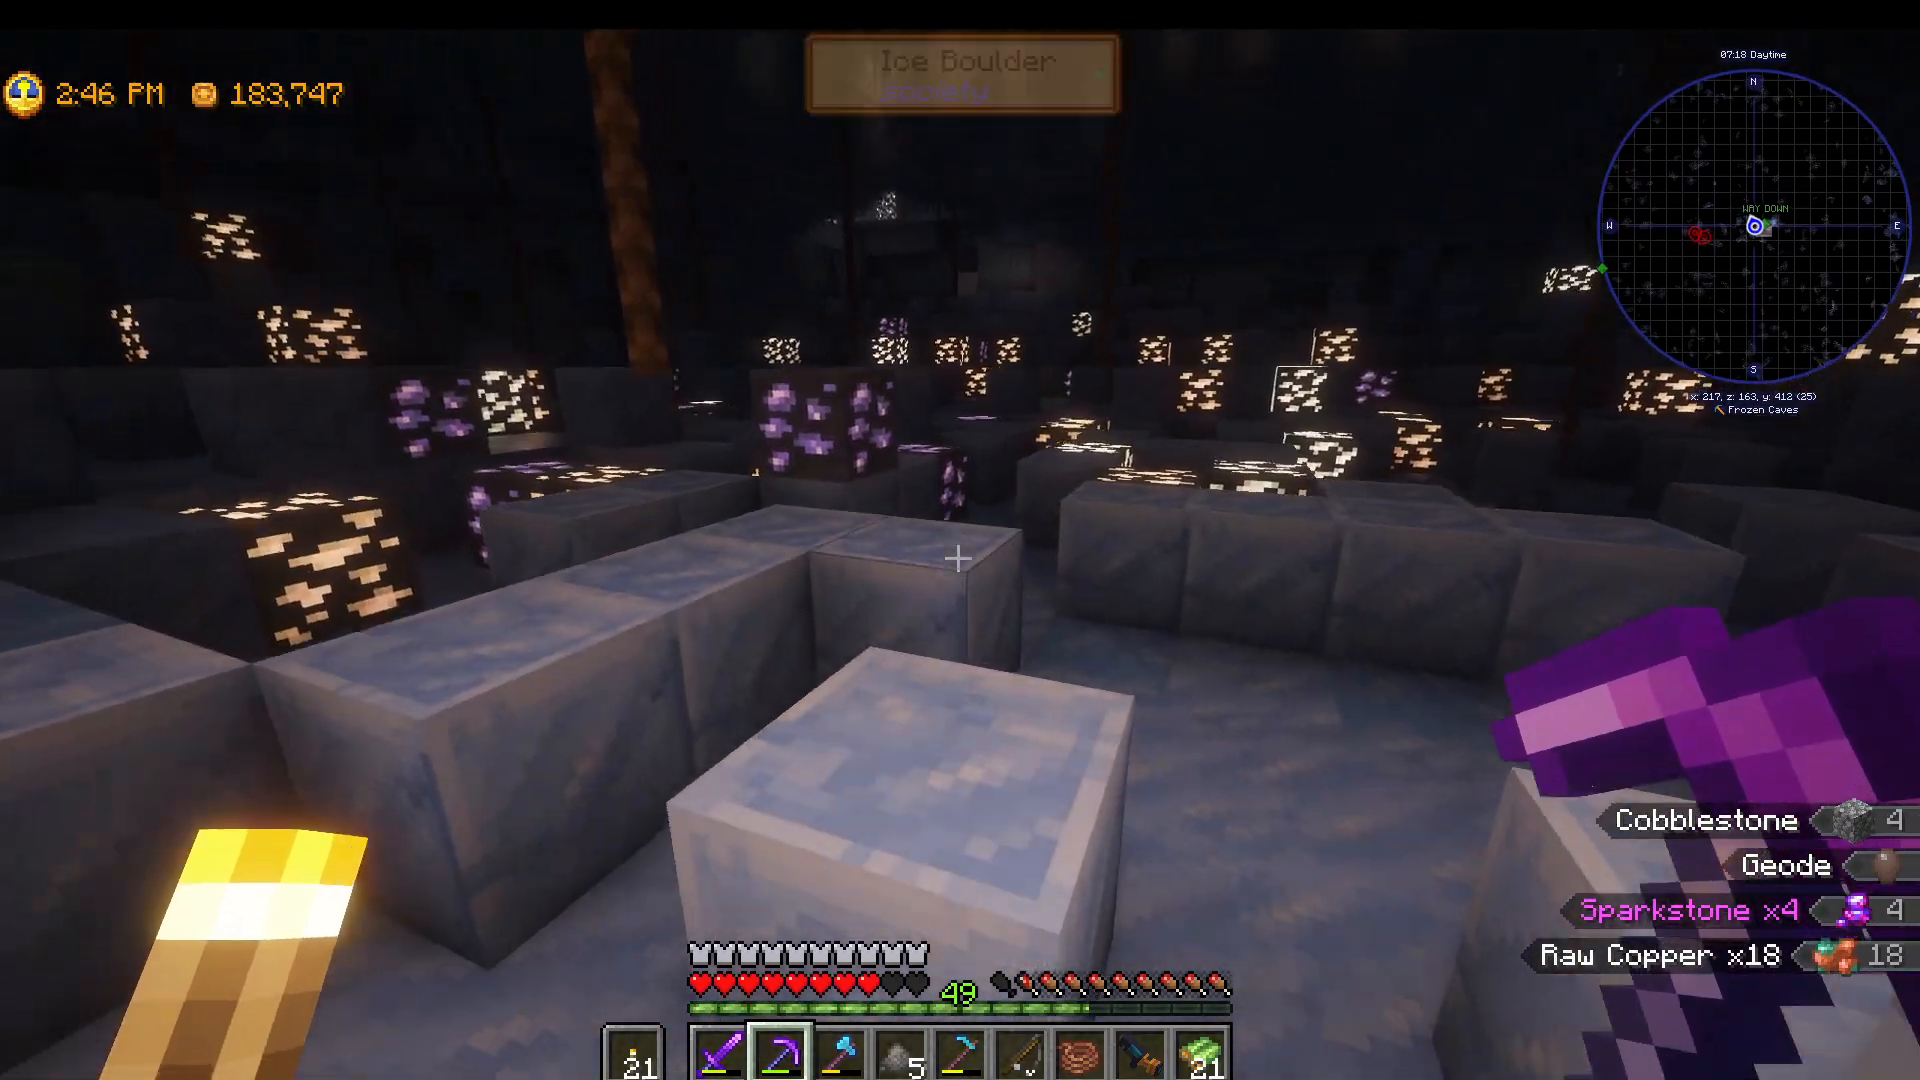
The Icy Level – Lead and Books
Further down, you’ll reach an icy biome featuring:
Lead ore (mining it causes a cloud of damage)
Zinc ore
Iron ore
Strays (stronger than skeletons; they can slow you down)
Earth crystals
Golems (perform powerful earthquake attacks)
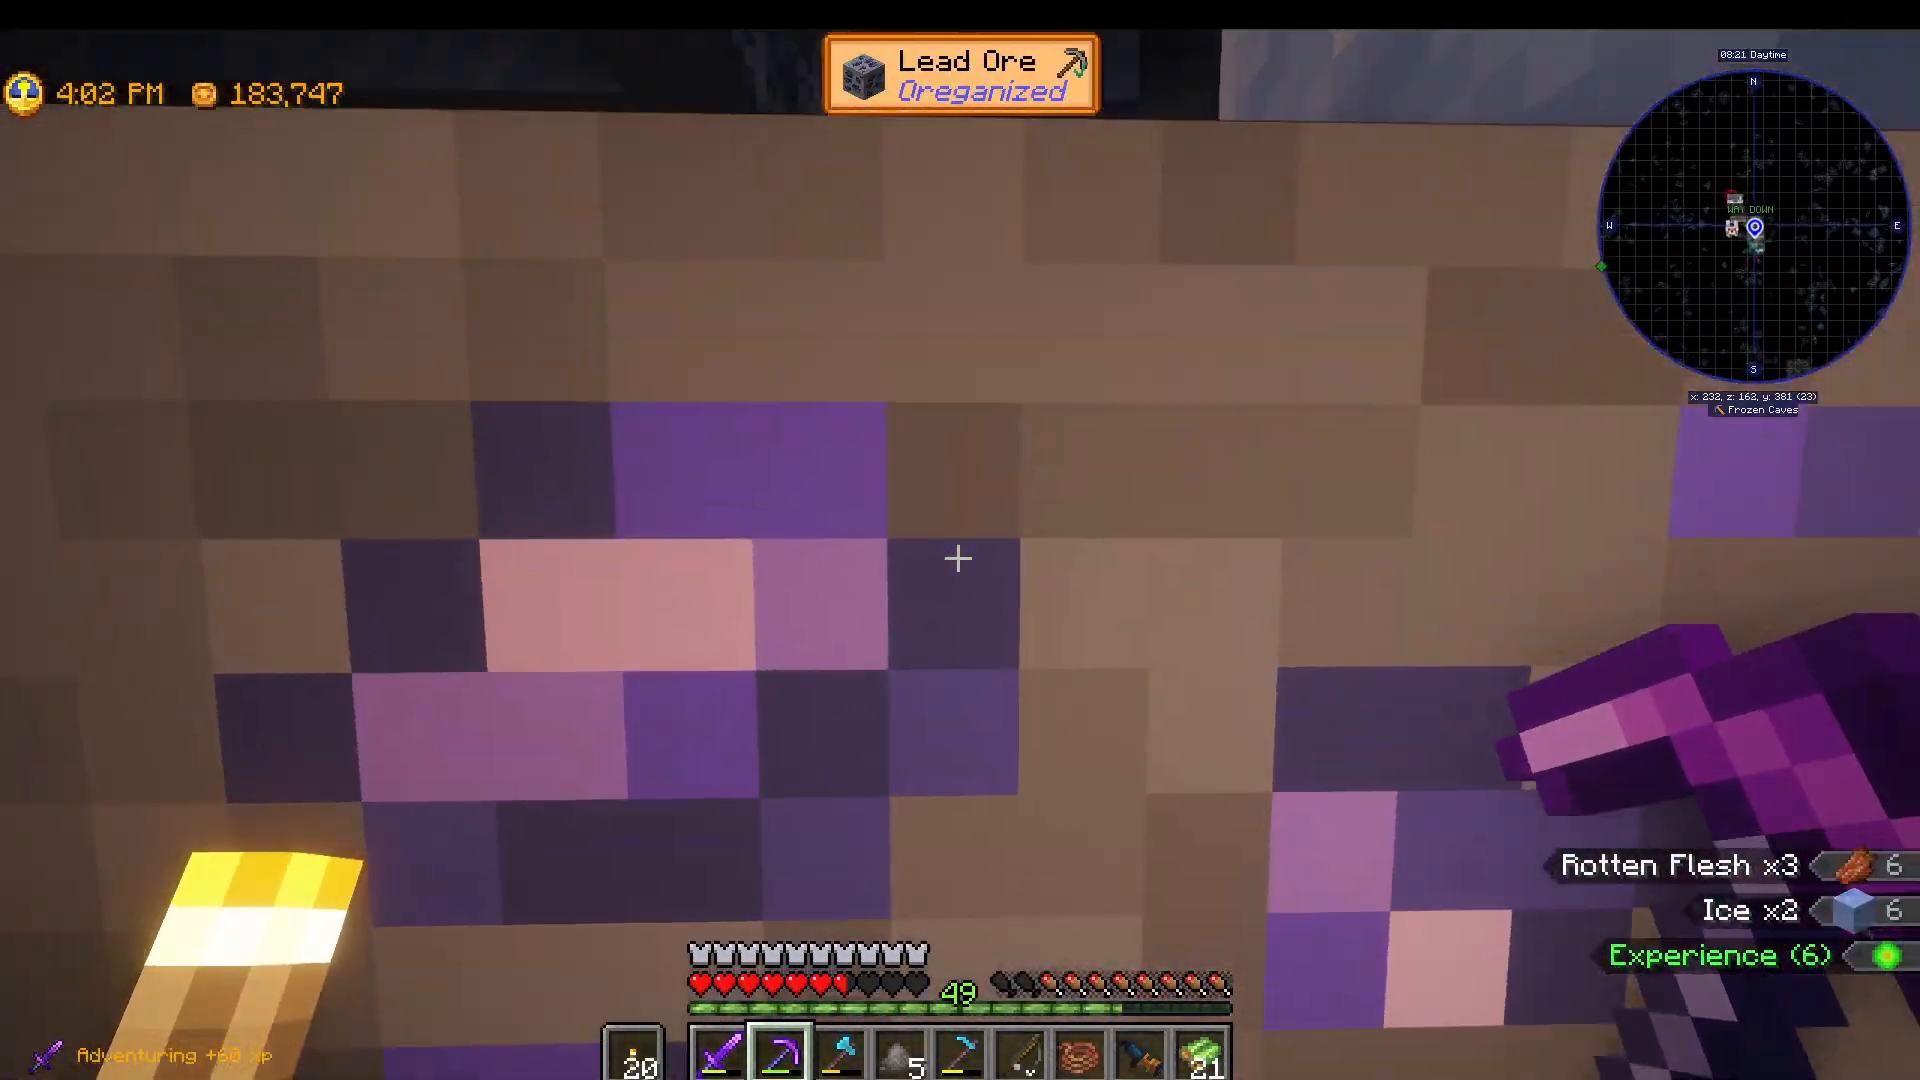
When mining lead ore, there’s a chance to receive books that grant powerful effects. For example, the “Introduction to Algorithms” book eliminates the brain damage clouds from lead mining. Learn these books immediately when obtained.
Lower Icy Levels – Diamond Territory
As you continue deeper into the icy biome, you’ll begin finding Diamond ore. Additional mobs include:
Drowned creatures
Immortals (super-strong drowned variants, but manageable)
Chilled mobs
Glacial Hunters (wolf companions)
Foxes
The Gold Level – Prime Farming Zone
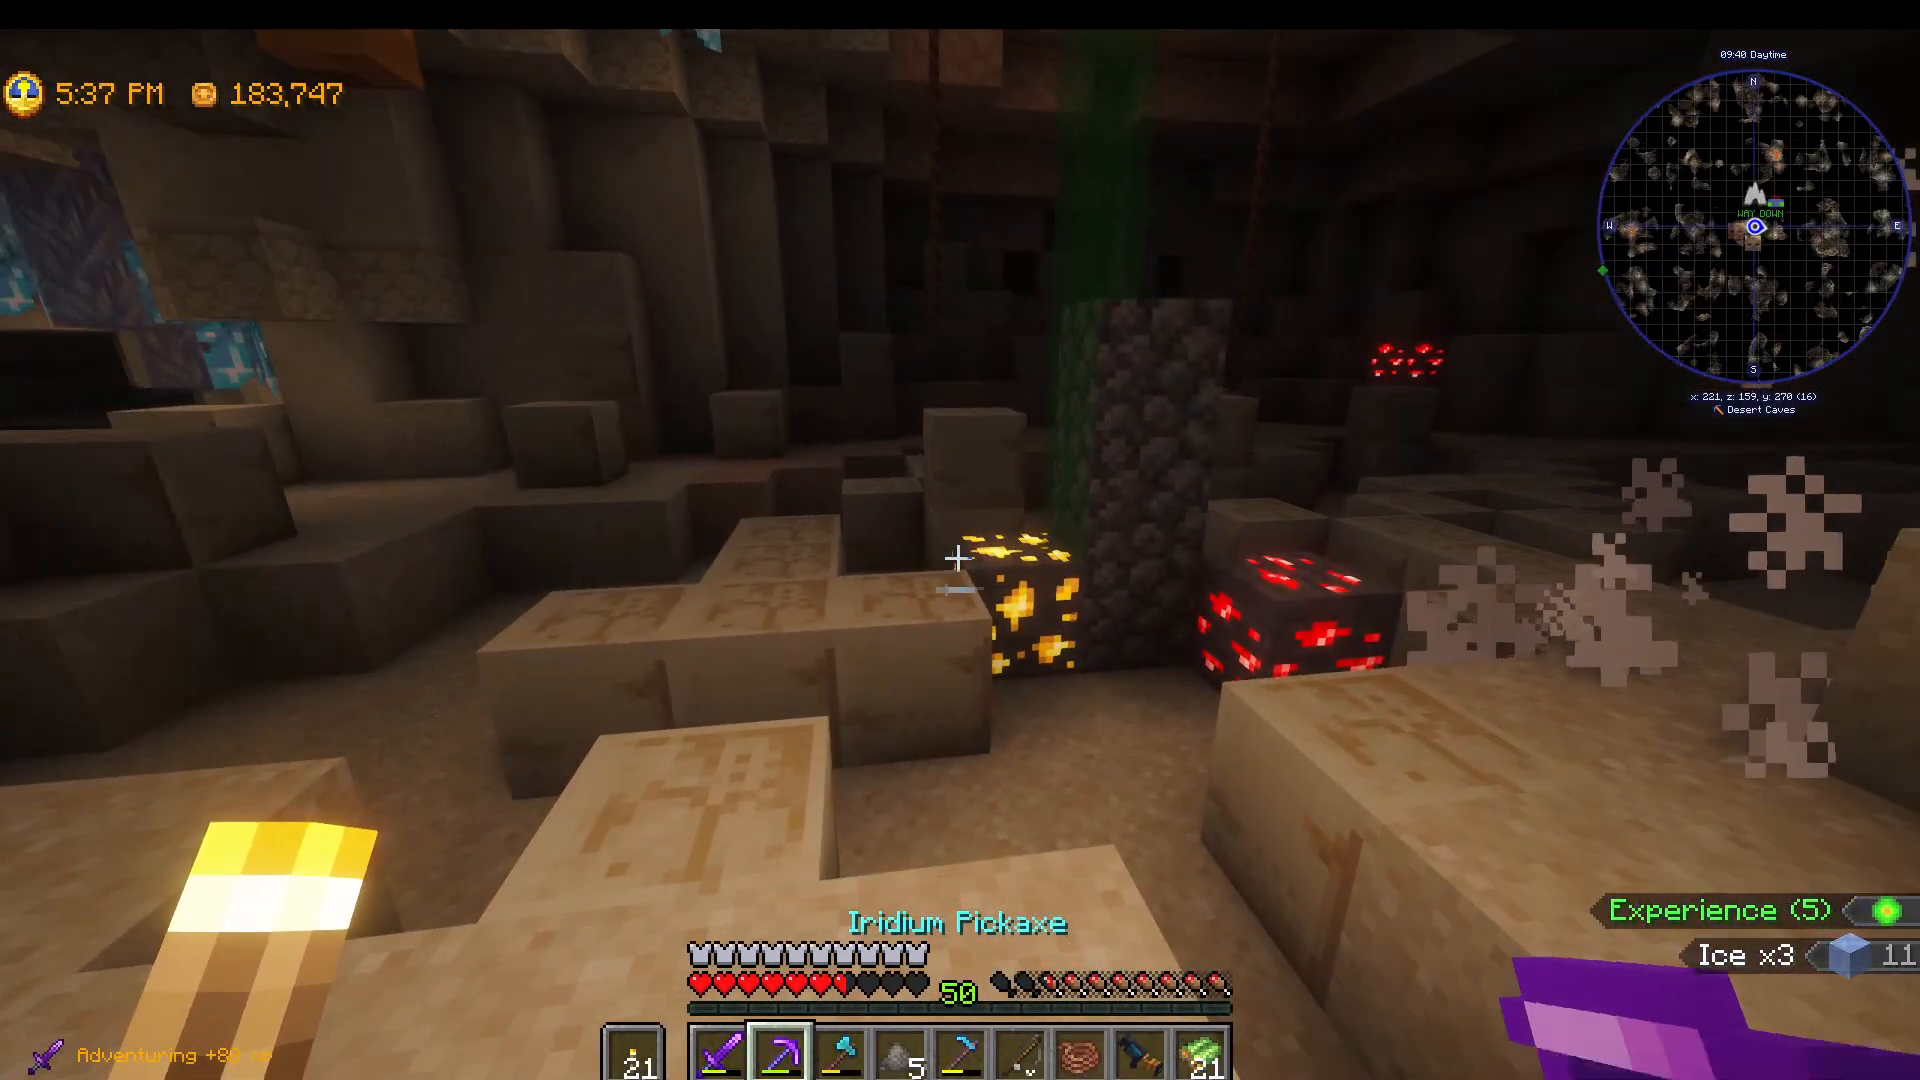
The Gold level is considered the best level for resource gathering. Key features:
Mining Skill Bonus: If you unlock the appropriate skill in the Mining skill tree, you’ll receive four blocks of gold for every gold ore mined, making this level incredibly profitable
Redstone ore
Lead ore
Magma Geodes
Mummies (spawn Scarabs)
Scorpions
Husks
Silver ore
Iridium ore (one of the best resources in the game)
This level represents a significant jump in difficulty compared to earlier levels, even with Diamond armor.
Dead Room Strategy
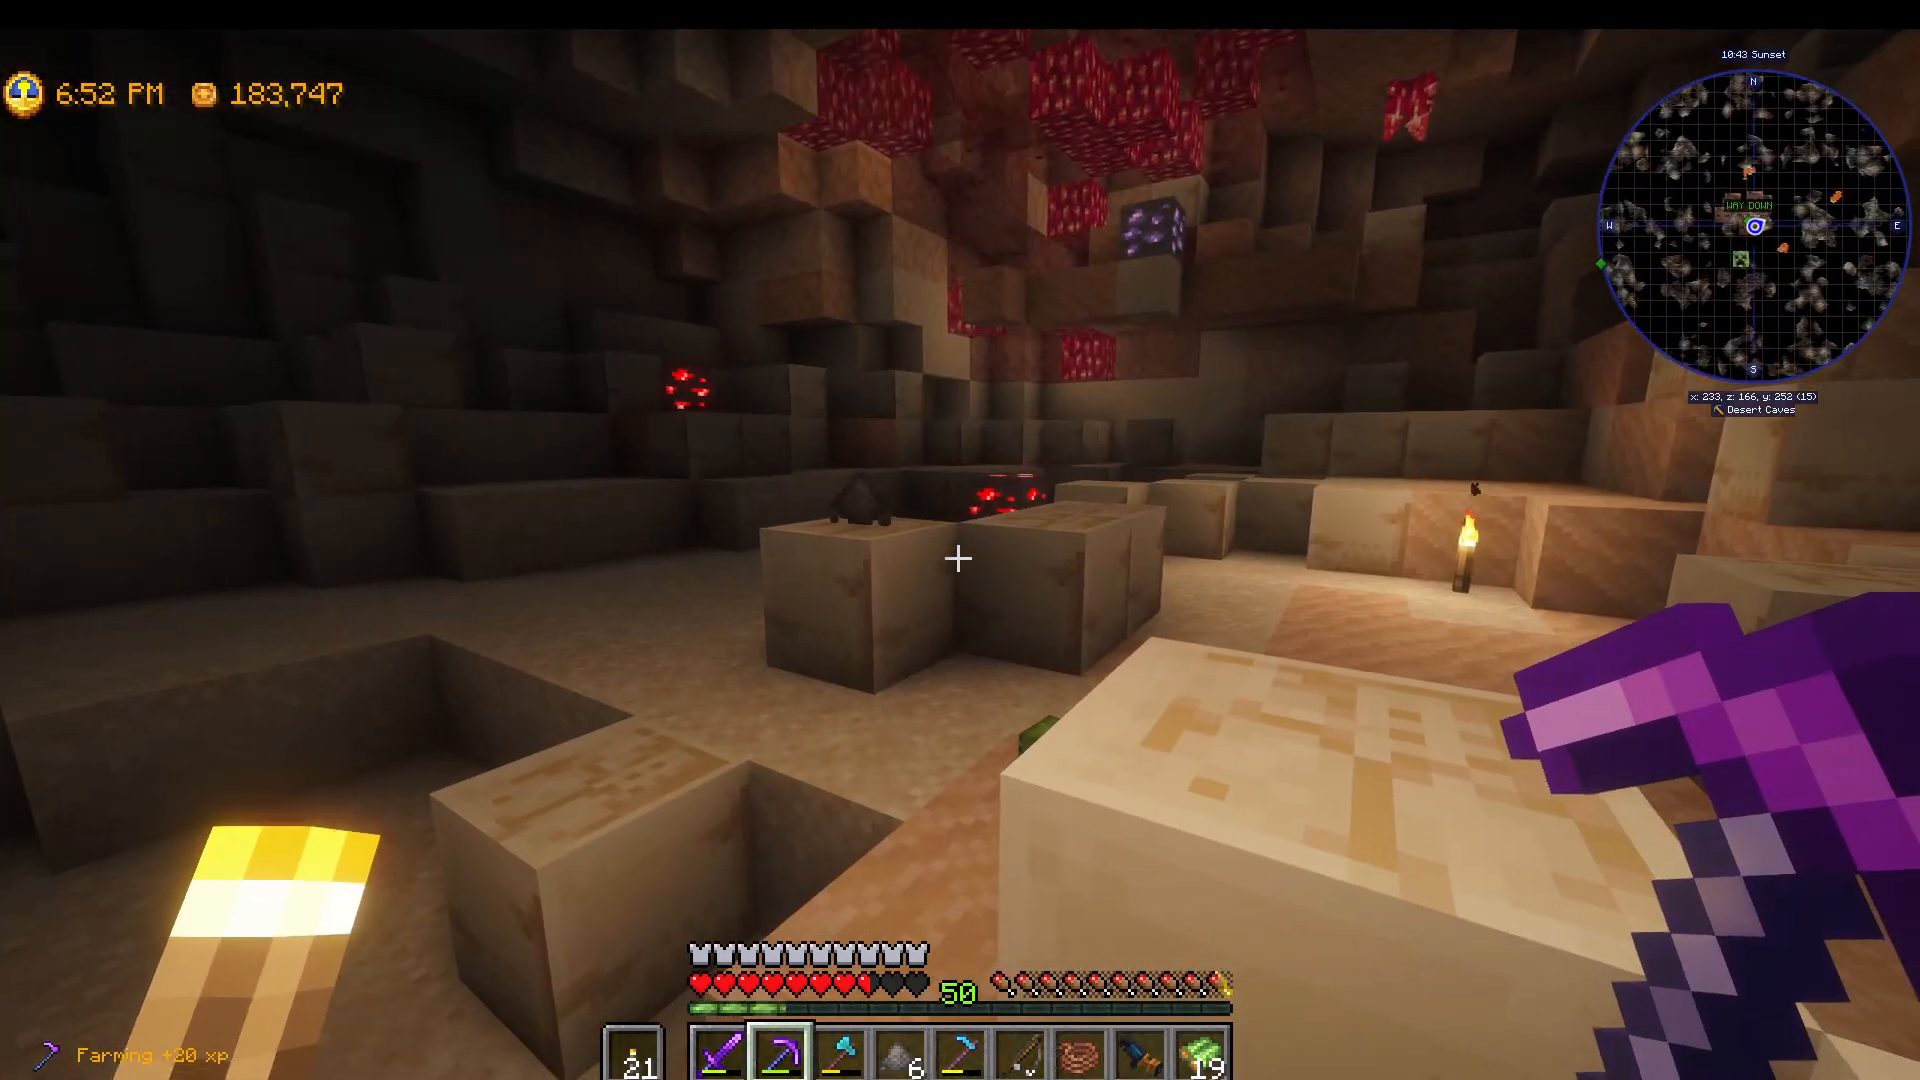
Occasionally, you’ll clear all boulders on a level and find no downward rope. When this happens, simply use a different rope to descend into another room, as not every room is equally useful.
The Final Levels – Blackstone and Endstone Biomes
The lowest levels feature two distinct biomes:
Blackstone Biome
Features Blackstone blocks and associated resources.
Endstone Biome
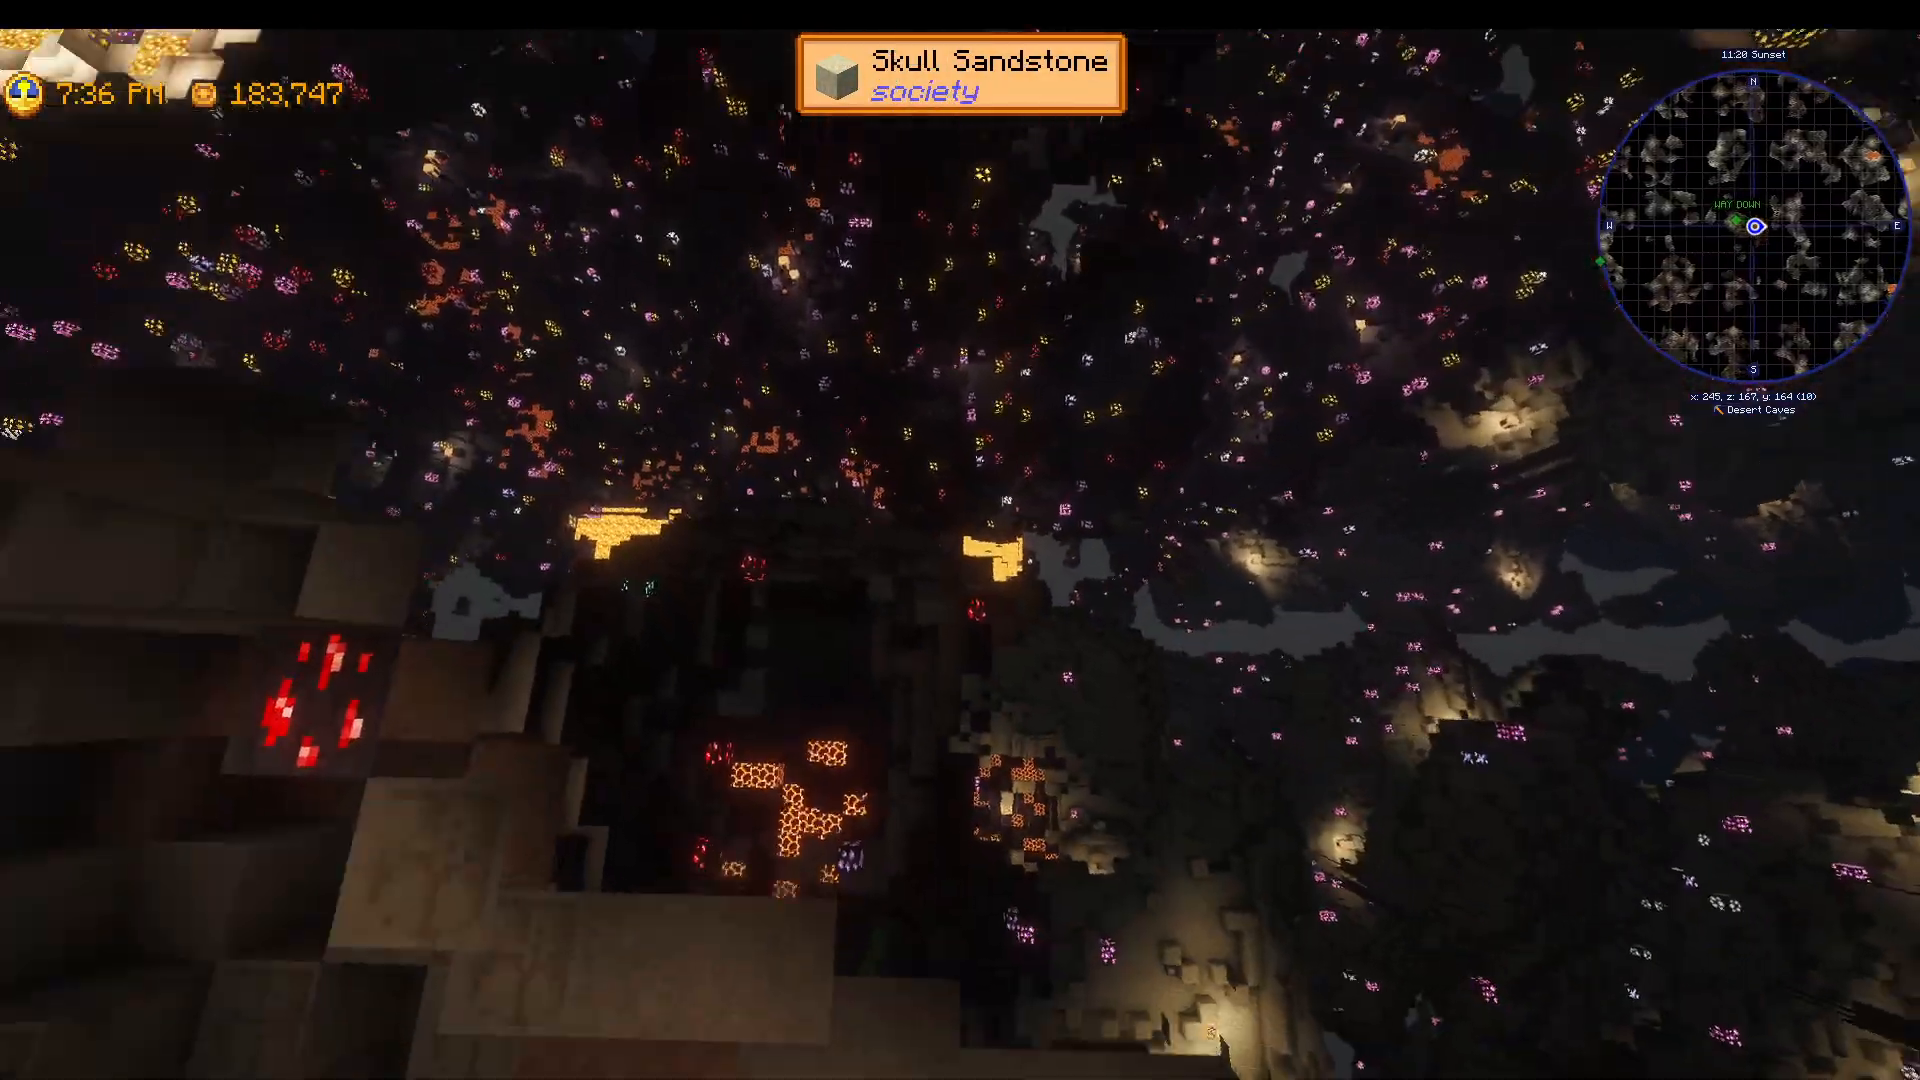
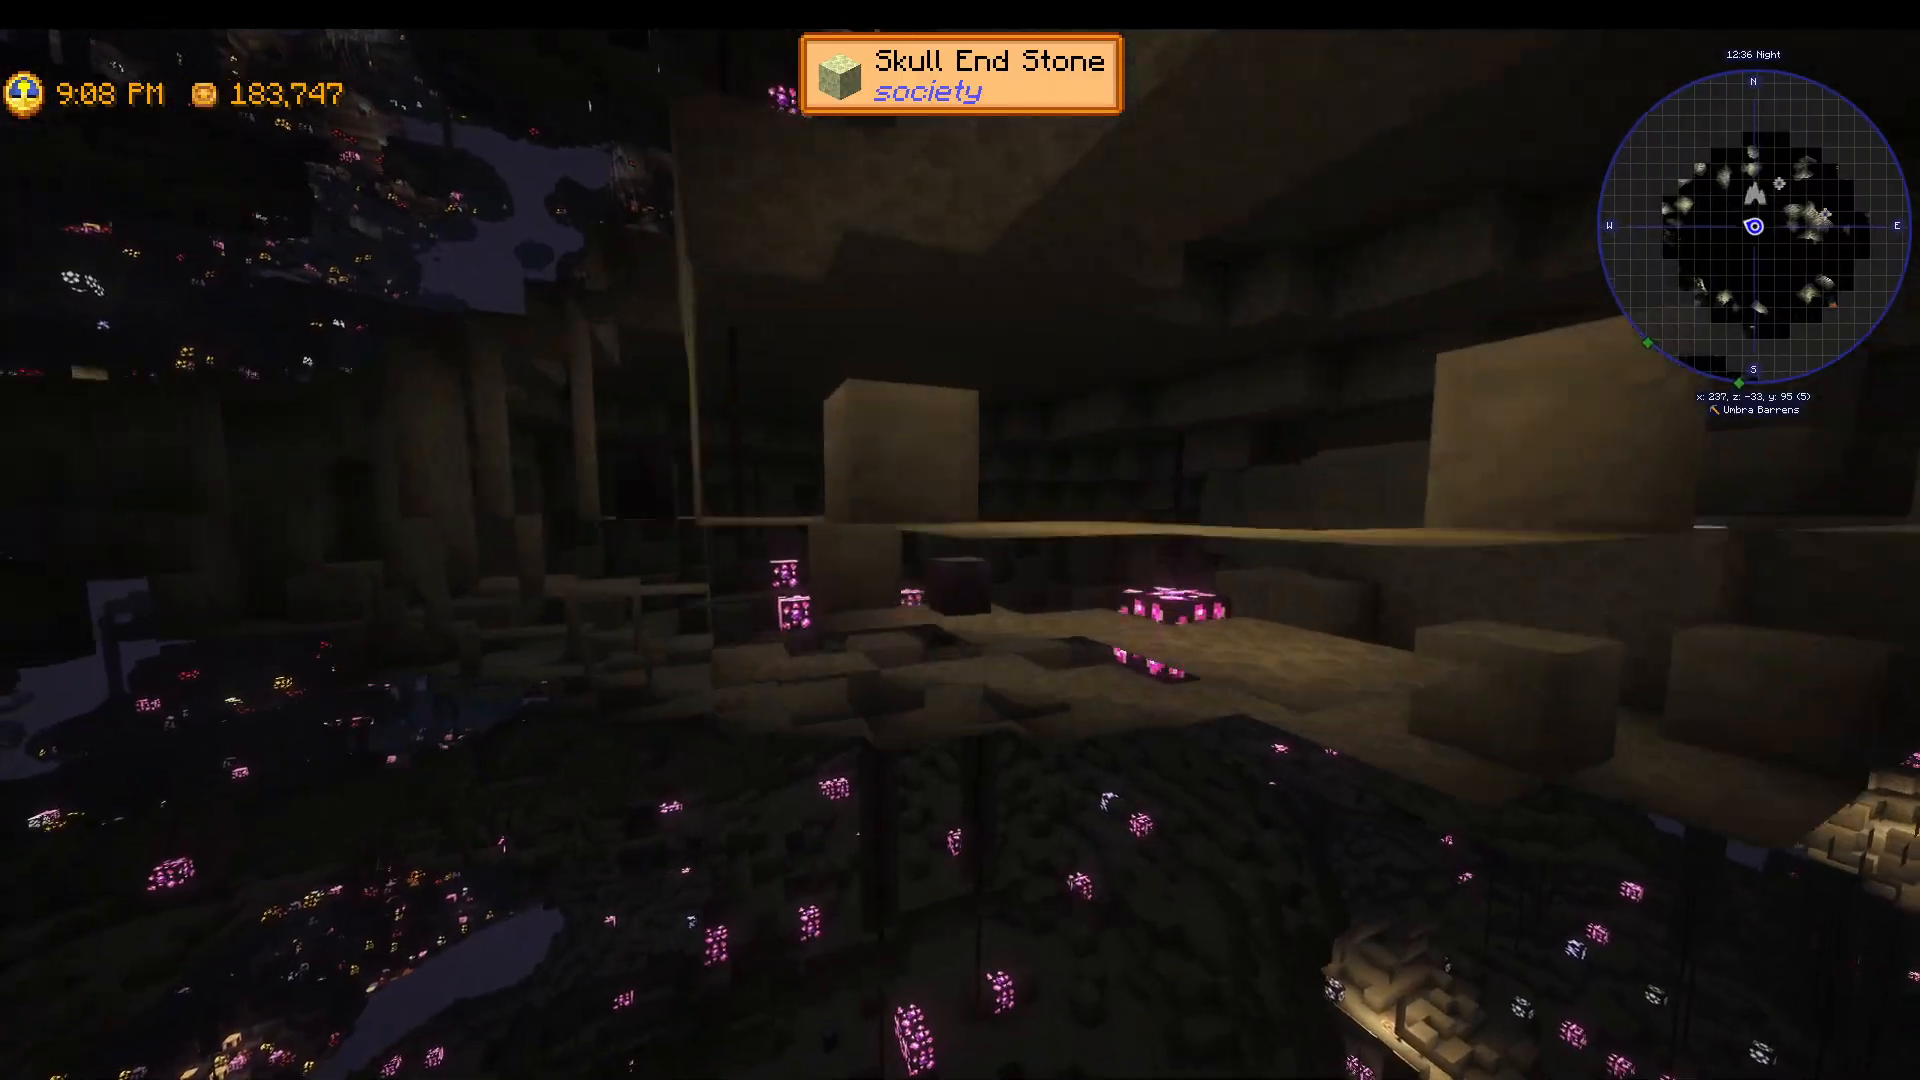
The Endstone biome contains:
Chorus Fruit
Diamond ore (abundant)
Redstone ore
Lead ore
Gold ore
Magma Geodes (plentiful)
Endermen
Iridium ore
Shulker variants containing Dragon Eggs
Teleporters that return you to your spawn point in the Overworld
Slime spawners
Special rooms with Tokens of Unity from Botanium and other valuable loot
Escape and Return Strategy
Using Escape Ropes
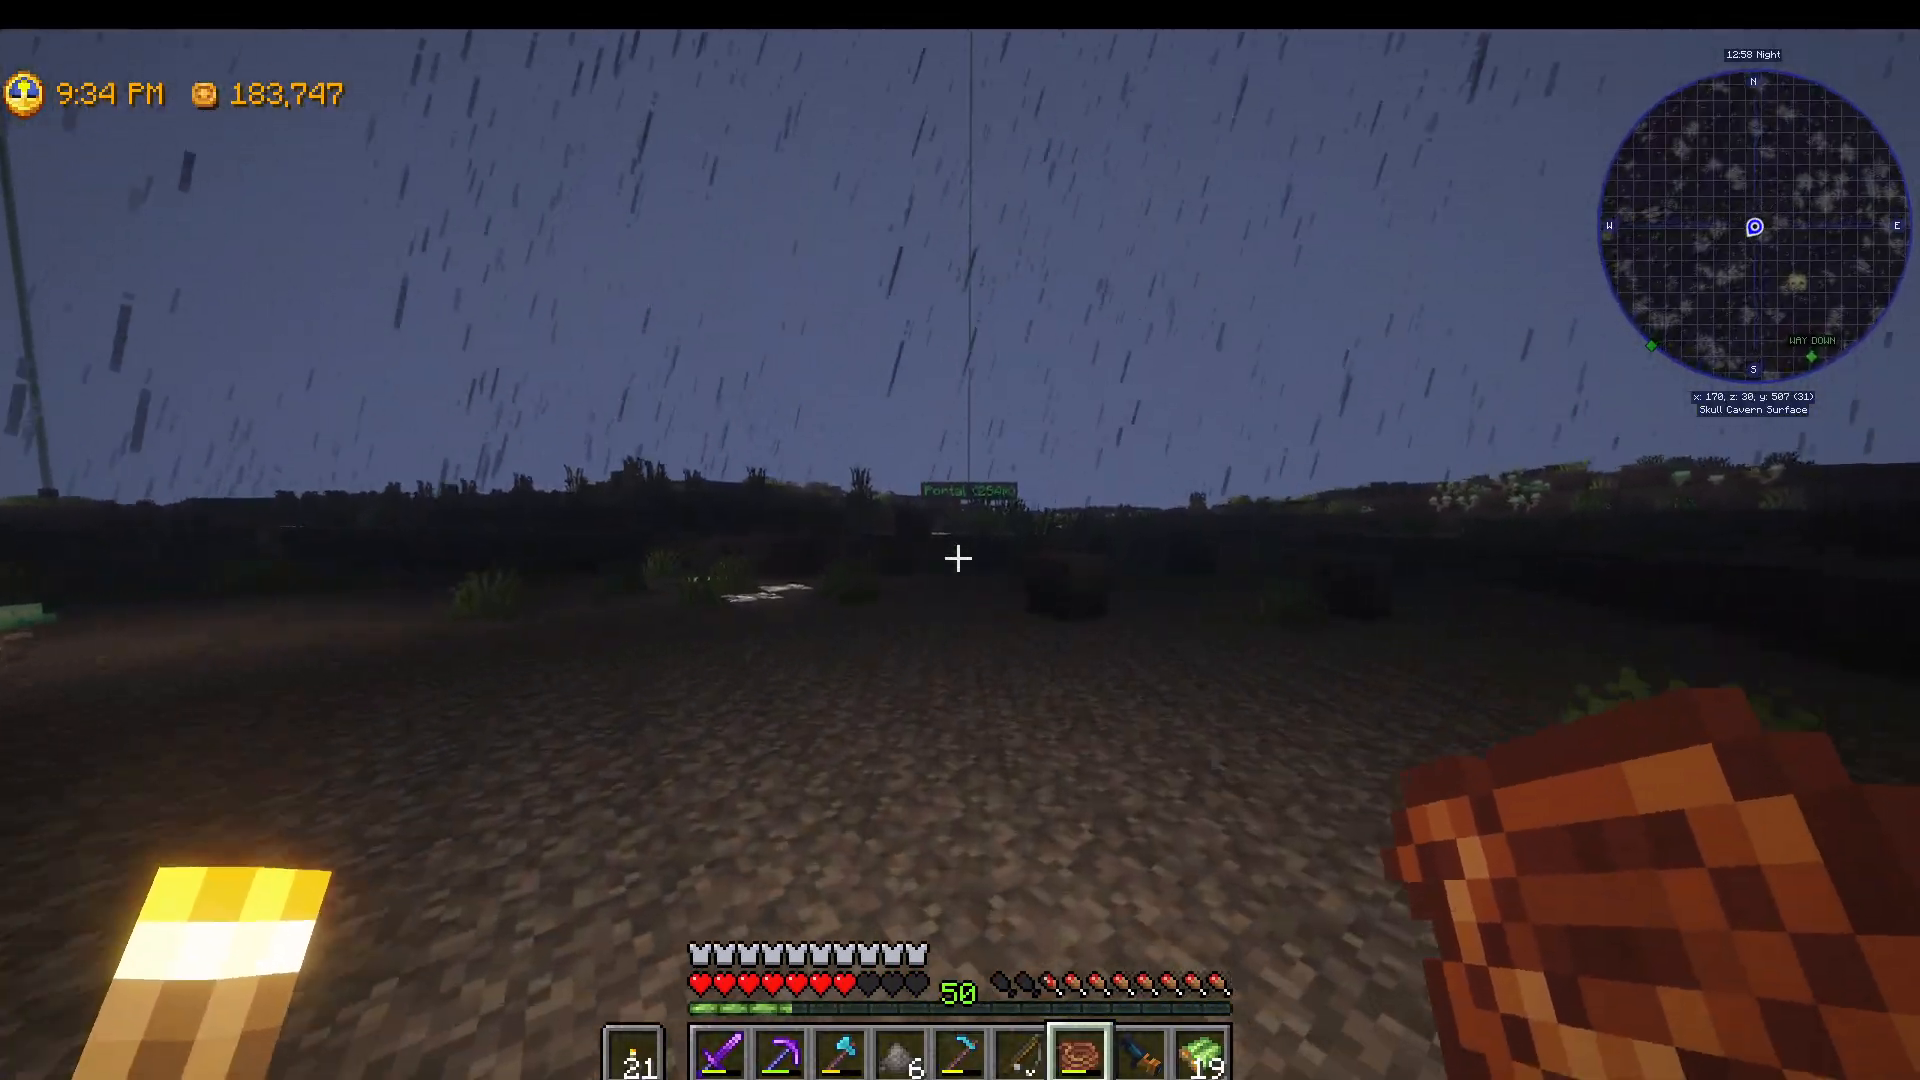
To exit the cavern from any depth, right-click an Escape Rope. After a few seconds, it will teleport you directly to the surface, where you can then use your Skull Cavern teleporter to return home. This is your primary safety mechanism for deep exploration.
Special Teleport Ropes
In addition to standard downward ropes, you’ll sometimes encounter special teleport ropes that skip a level and take you directly to the level below. These are useful when you’re struggling to find a standard downward rope.
Time Limit Consequences
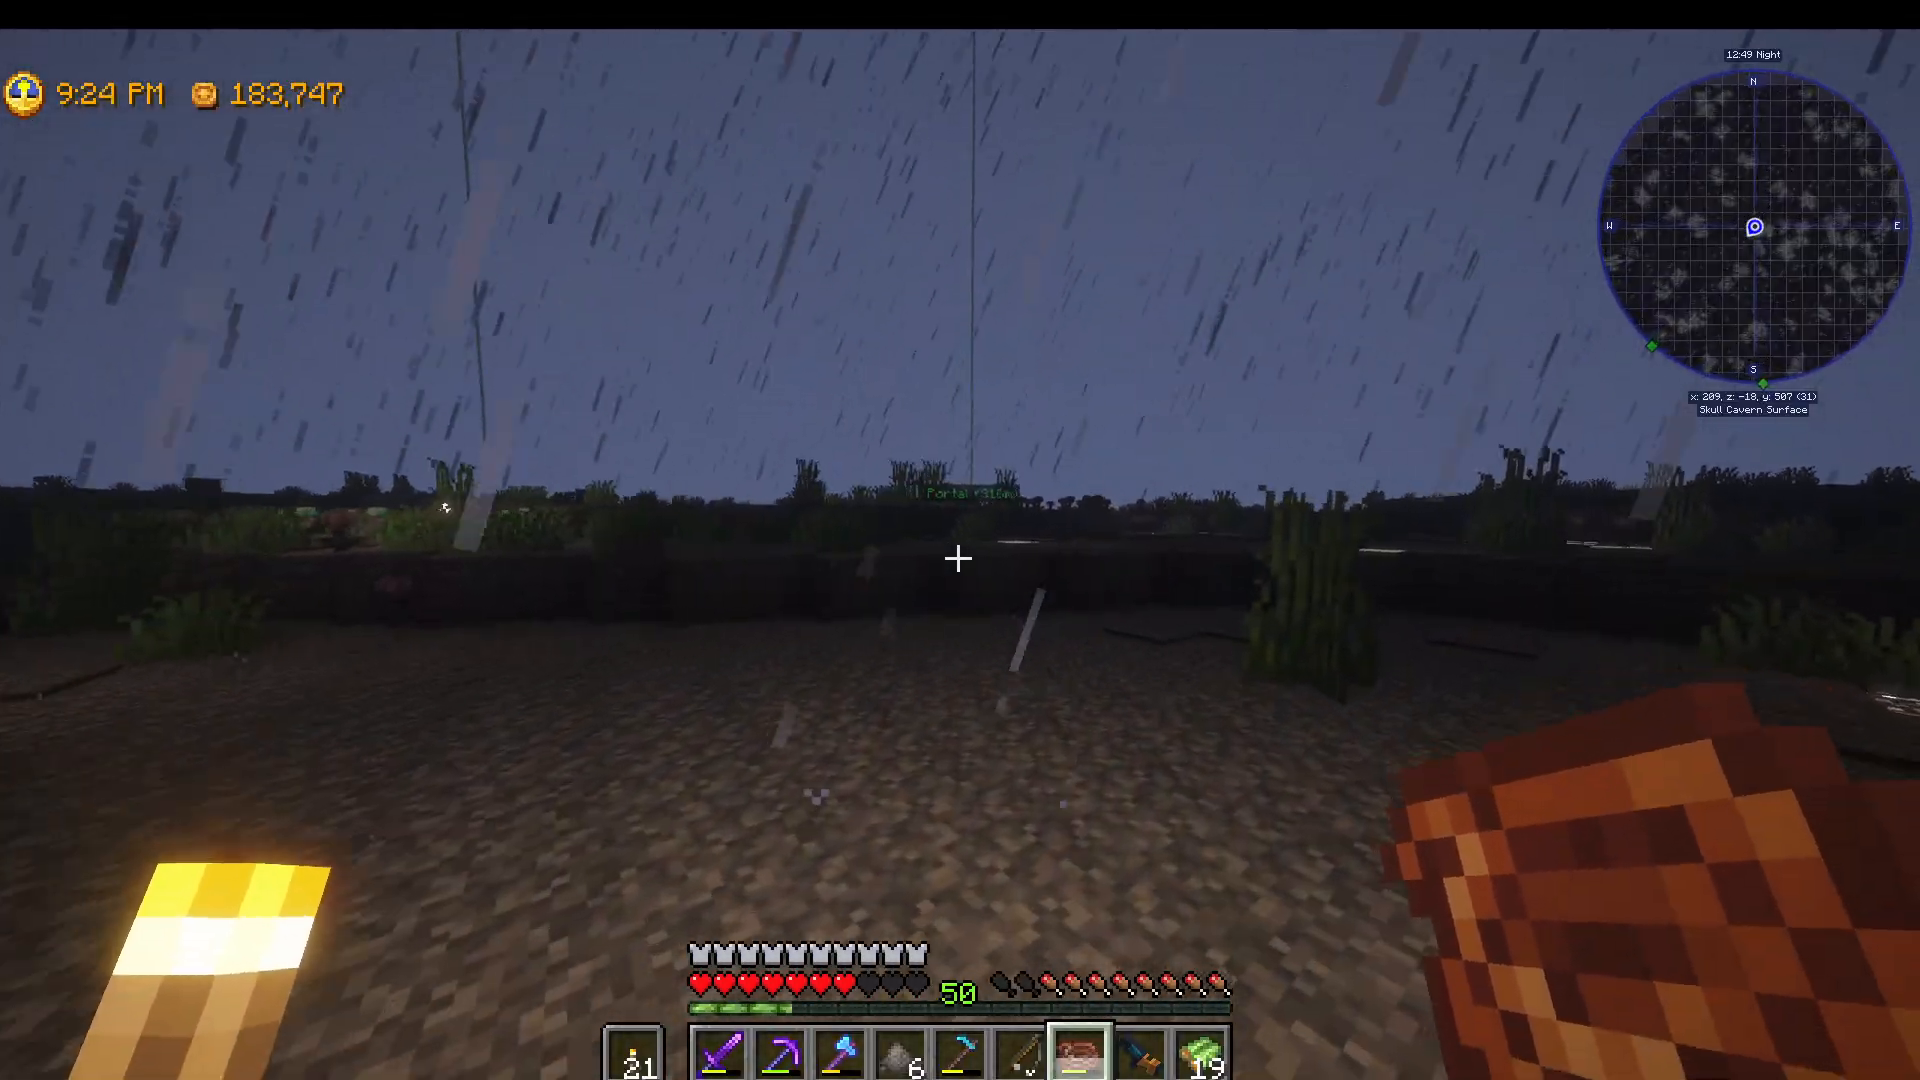
If you fail to exit before 5:55 AM, you will faint. While you’ll keep all your gear, you’ll incur a hospital bill. Always plan your exit route accordingly.
Pro Tips for Success
Mark Your Route: Use cobblestone blocks to mark rope locations. These permanent markers won’t disappear and allow you to establish a consistent route through the cavern
Carry Torches: Torches improve visibility and help you navigate more efficiently
Upgrade Gear Progressively: As you descend, acquire better armor, tools, and weapons
Stock Better Potions: Higher-quality potions make deeper exploration safer
Go Deep for Rewards: The deeper you venture, the better the loot. Use escape ropes to safely return from great depths
Learn the Mob Patterns: Each level has characteristic enemies. Learn their attack patterns and adjust your strategy
Maximize Profit: Focus on gathering high-value ores like Iridium and utilize the Mining skill tree bonuses for maximum returns
Conclusion
The Skull Cavern is a rewarding and challenging endgame activity in Society Sunlit Valley. By following this guide—obtaining your teleporter, bringing essential items, marking your route with cobblestone, understanding each level’s characteristics, and managing your time carefully—you’ll be able to farm valuable resources consistently. Start with upper levels to build your gear and confidence, then progressively explore deeper as you improve. With practice and proper preparation, the Skull Cavern will become a reliable source of wealth and rare materials.
Support Our Guides
— Want to Support? —
If you would like to help us continue making these guides – please consider joining our patreon here – https://www.patreon.com/c/JaviHeals
Alternatively – we host a group of MC Servers you can join here – https://discord.gg/zD7Gjt6MHF