







How To Use The Slice’N’Splice In EnderIO
How To Use The Slice’N’Splice In EnderIO
The Slice’N’Splice is a powerful crafting machine in EnderIO that allows you to automate the creation of advanced items by cutting and splicing ingredients together. This guide will walk you through everything you need to know to set up and operate this machine effectively.
Machine Overview
The Slice’N’Splice is the only version of this machine available in EnderIO, unlike some of the more advanced machines that have multiple tiers. Understanding its interface and capabilities is essential for efficient automation.
Understanding the Machine Interface
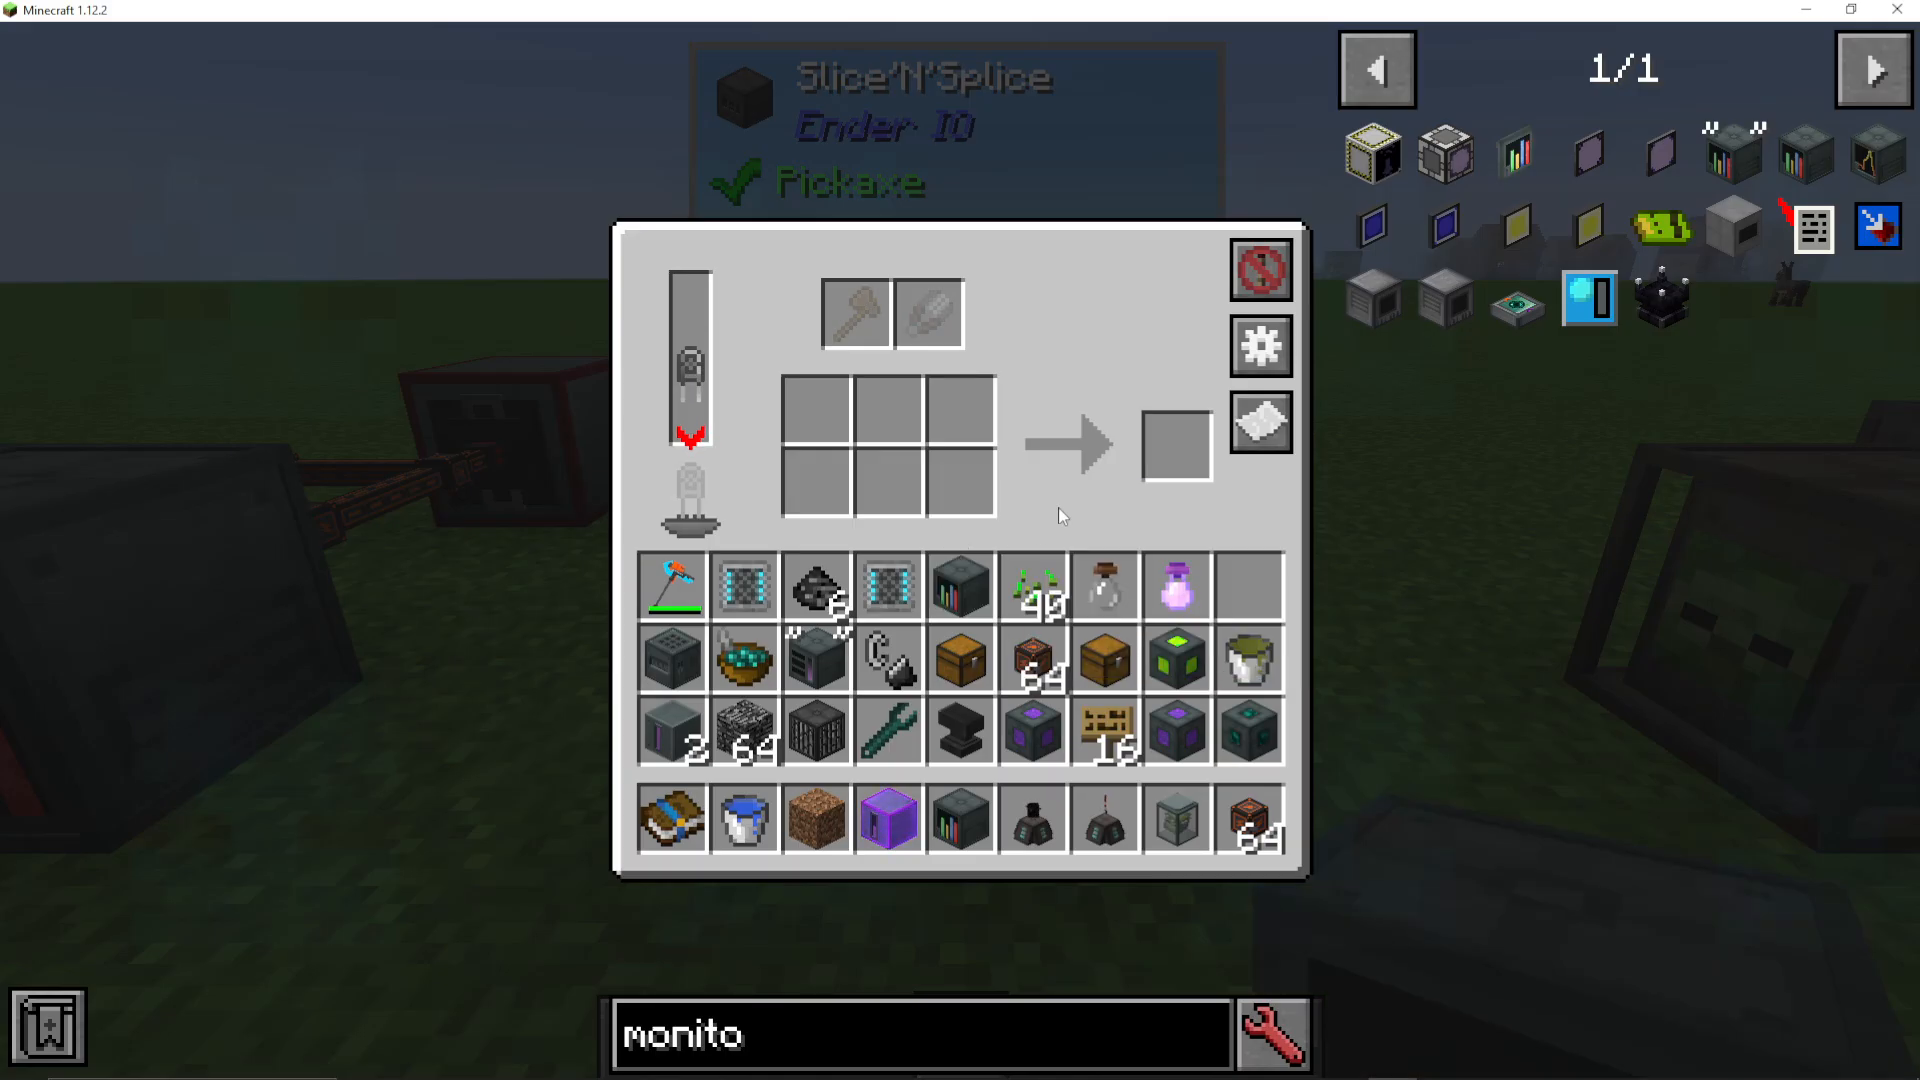
When you first open the Slice’N’Splice, you’ll see numerous slots available for items. The machine has a straightforward layout with dedicated areas for tools, ingredients, and a capacitor slot.
Setting Up Your Slice’N’Splice
Installing a Capacitor
Before your machine can function, you must install a capacitor. This is a core requirement for all EnderIO machines. Even a basic capacitor will allow the machine to operate, though you may want to upgrade to a higher-tier capacitor for faster processing.
Adding Tools
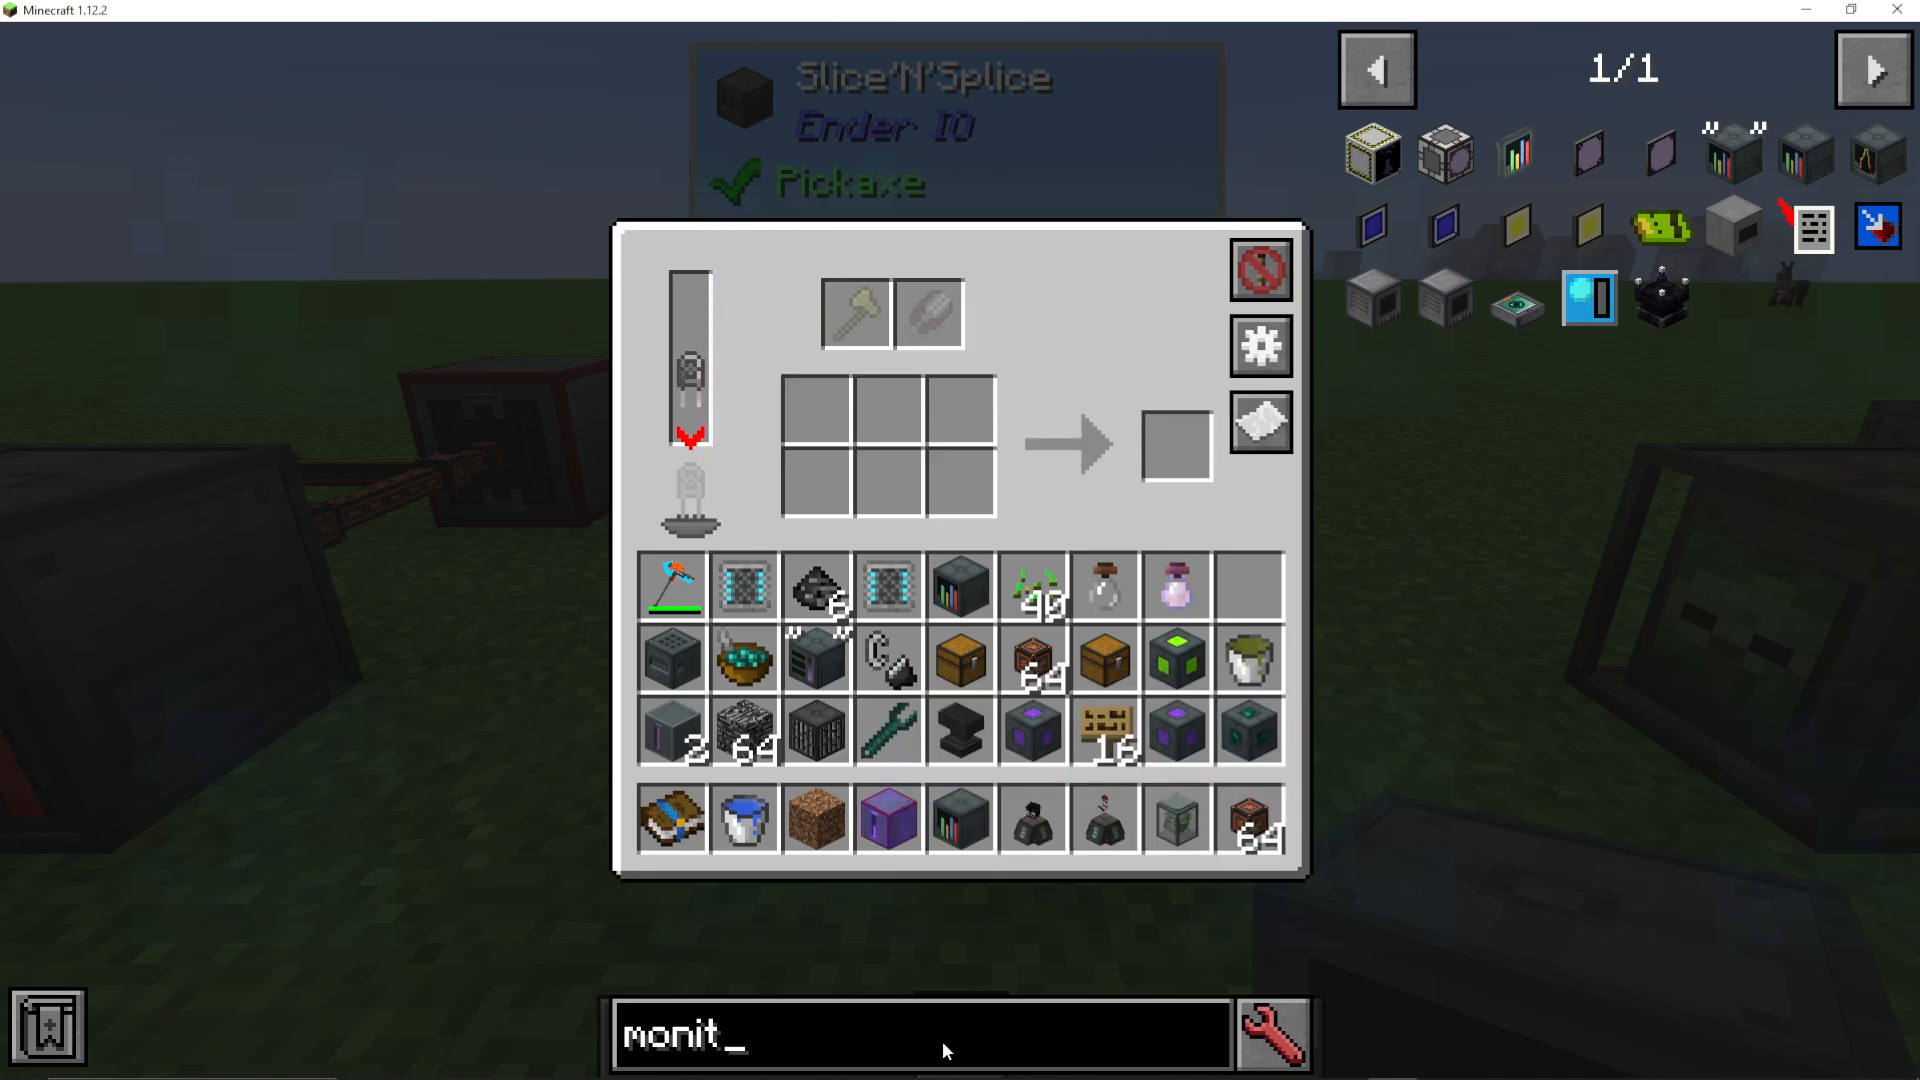
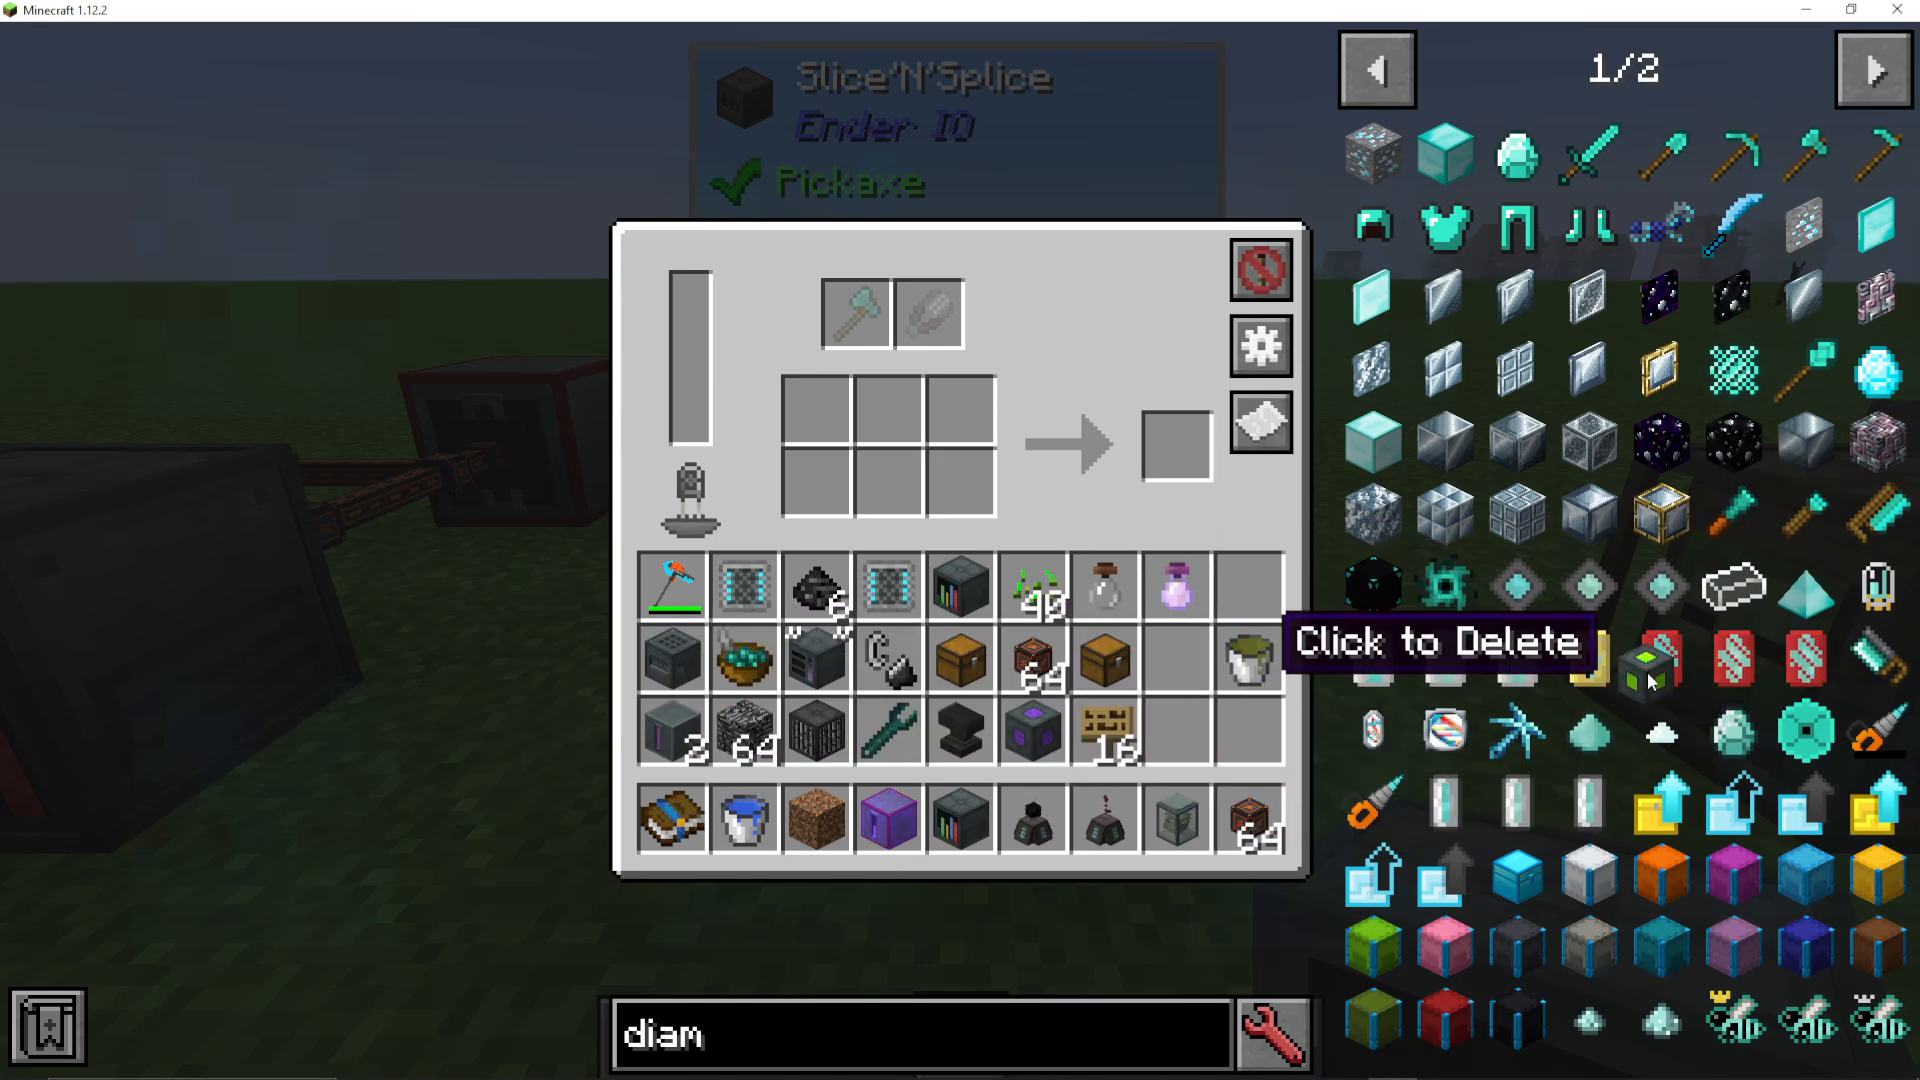
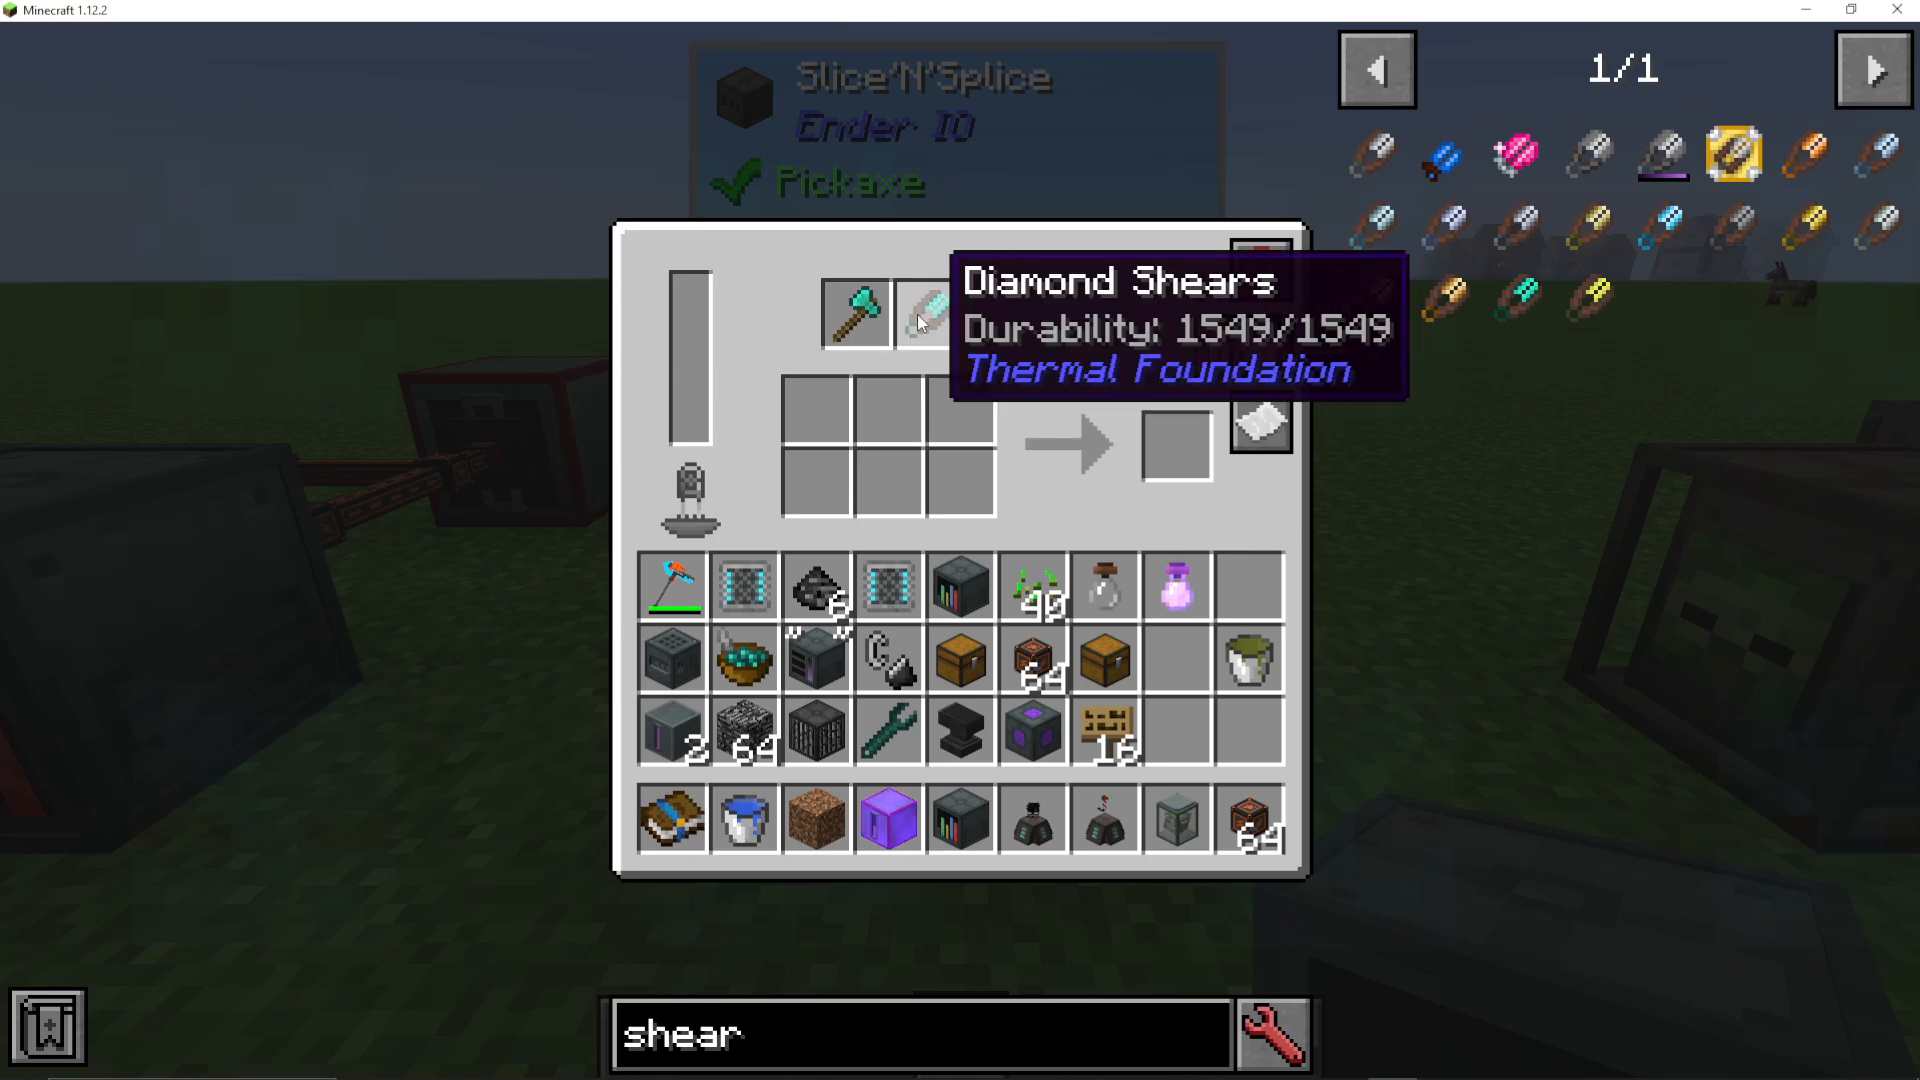
The Slice’N’Splice requires two specific tools to operate: an axe and shears. These tools are essential for the cutting and splicing process. You can use any type of axe and shears, including diamond, iron, or wooden variants depending on your current progression.
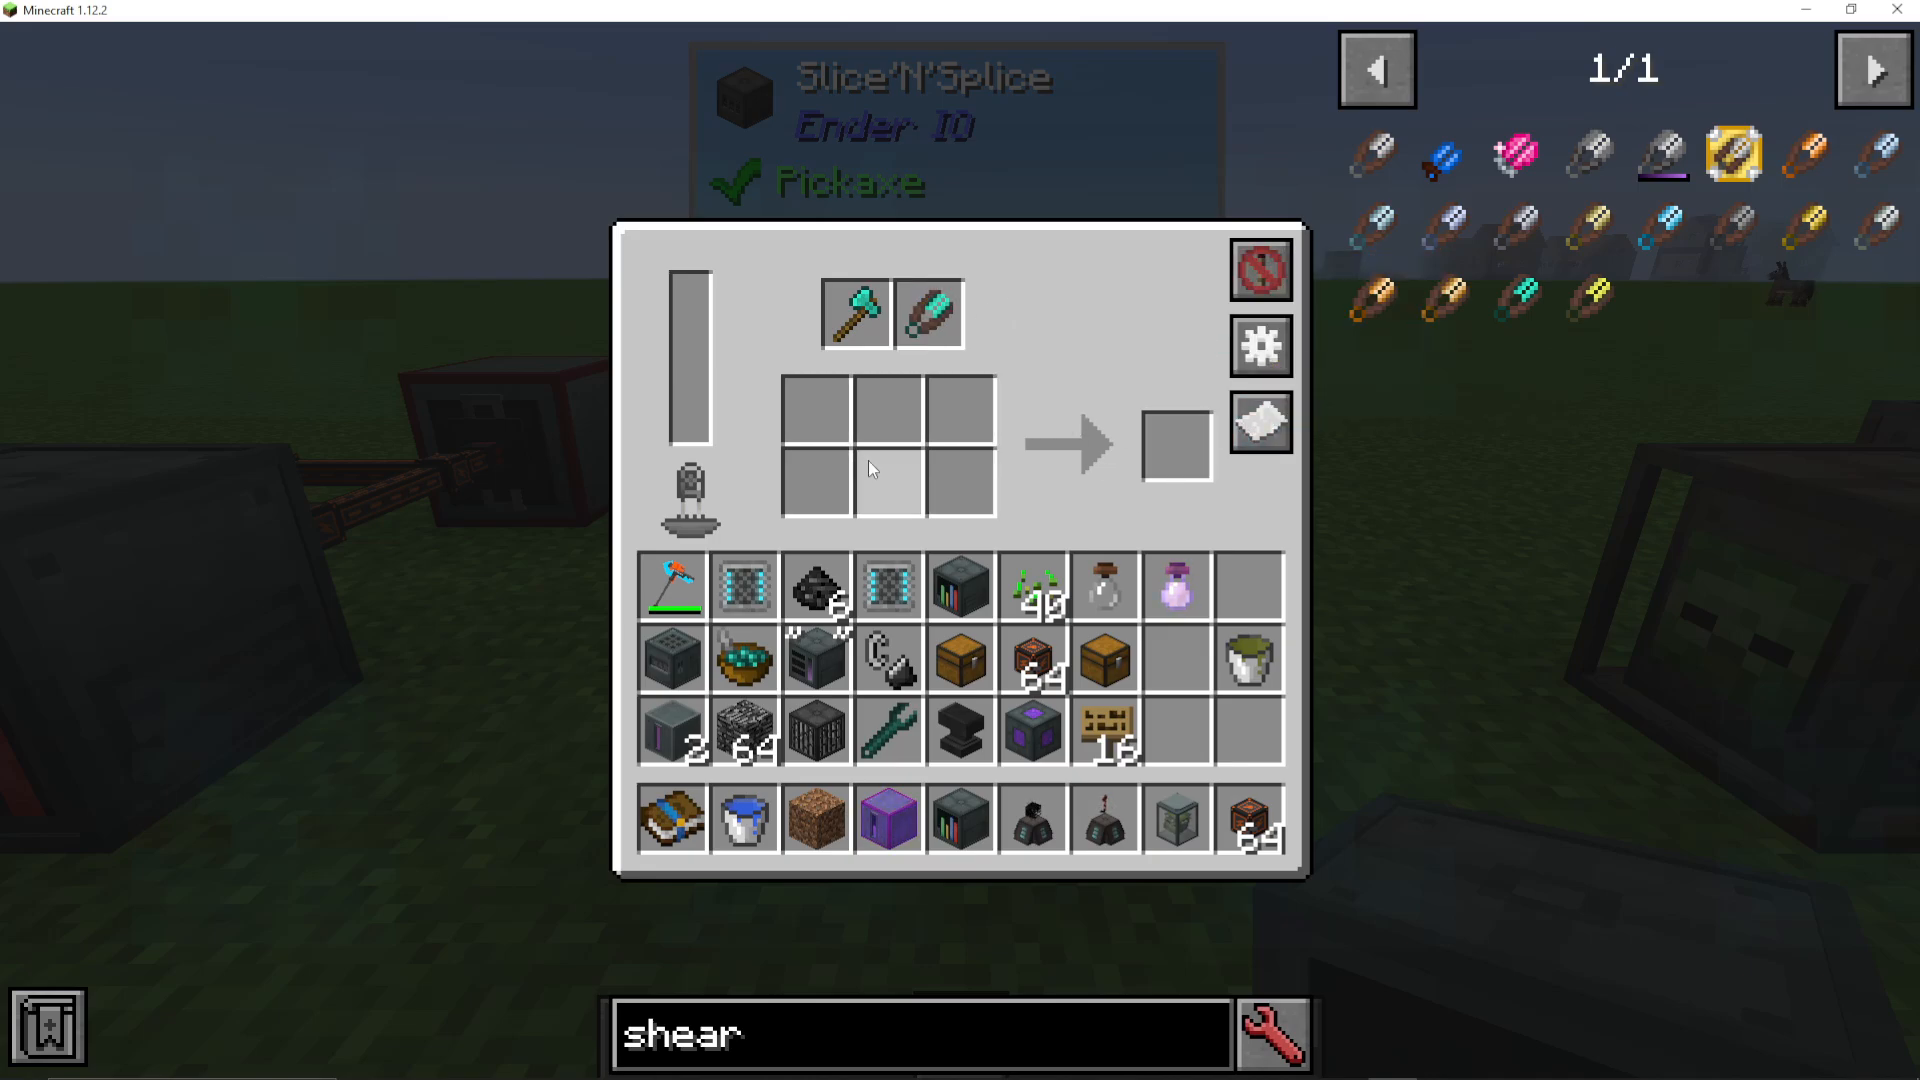
To install tools, place your axe in the first tool slot and your shears in the second tool slot. Both must be present for the machine to function.
Tool Durability and Replacement
The tools you place in the Slice’N’Splice will gradually lose durability as the machine operates. Once they break completely, you’ll need to replace them with new tools. For fully automated setups, consider using item conduits or hoppers to automatically supply fresh tools to the machine.
Operating the Machine
Adding Ingredients
Once your capacitor and tools are in place, simply fill the remaining ingredient slots with the materials needed for your recipe. The machine will automatically process and output the finished item as long as it has sufficient power.
Power Requirements
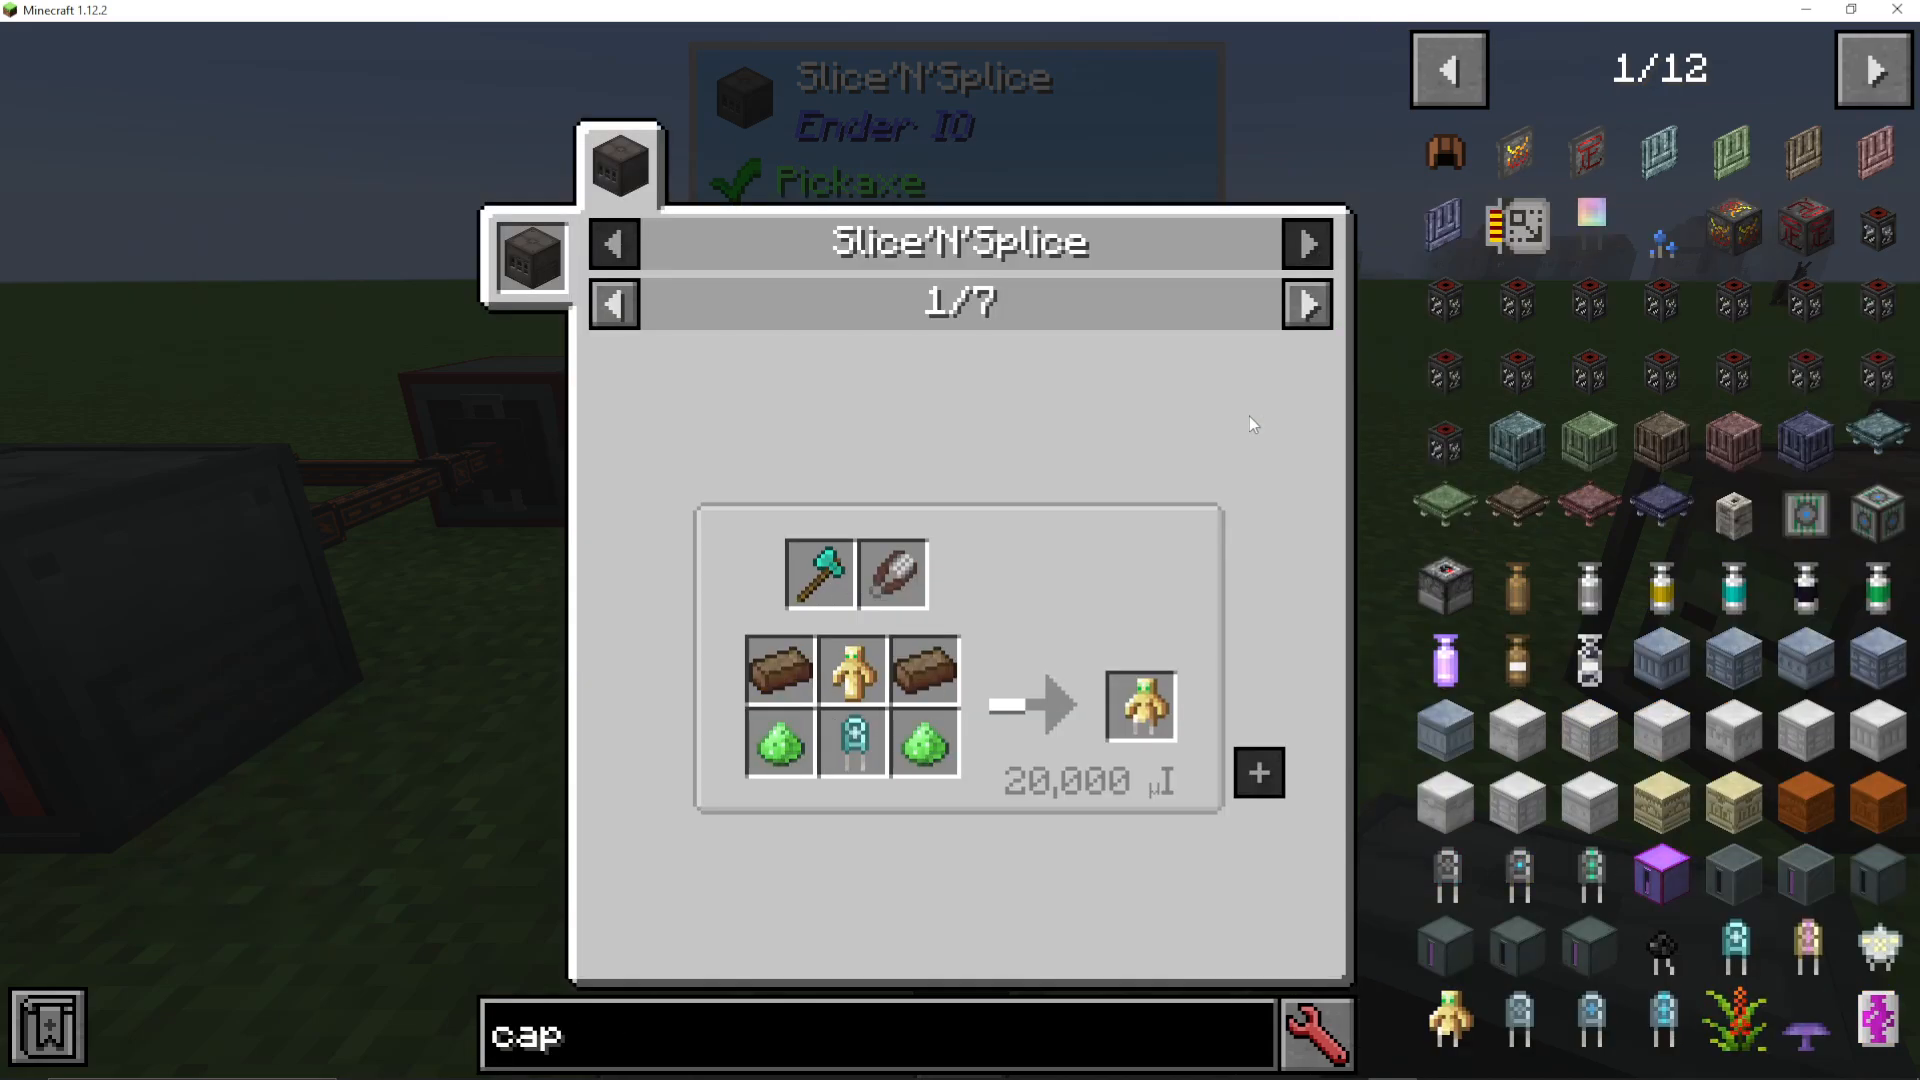
The Slice’N’Splice requires 20,000 power to complete most crafting operations. Ensure your machine is connected to a reliable power source, such as a capacitor bank or power conduit network, for consistent operation.
Slice’N’Splice Recipes
Common Crafting Examples
The Slice’N’Splice can craft various advanced EnderIO items. Here are some examples:
Tormented Enderman Head: Requires an axe, shears, and specific ingredients
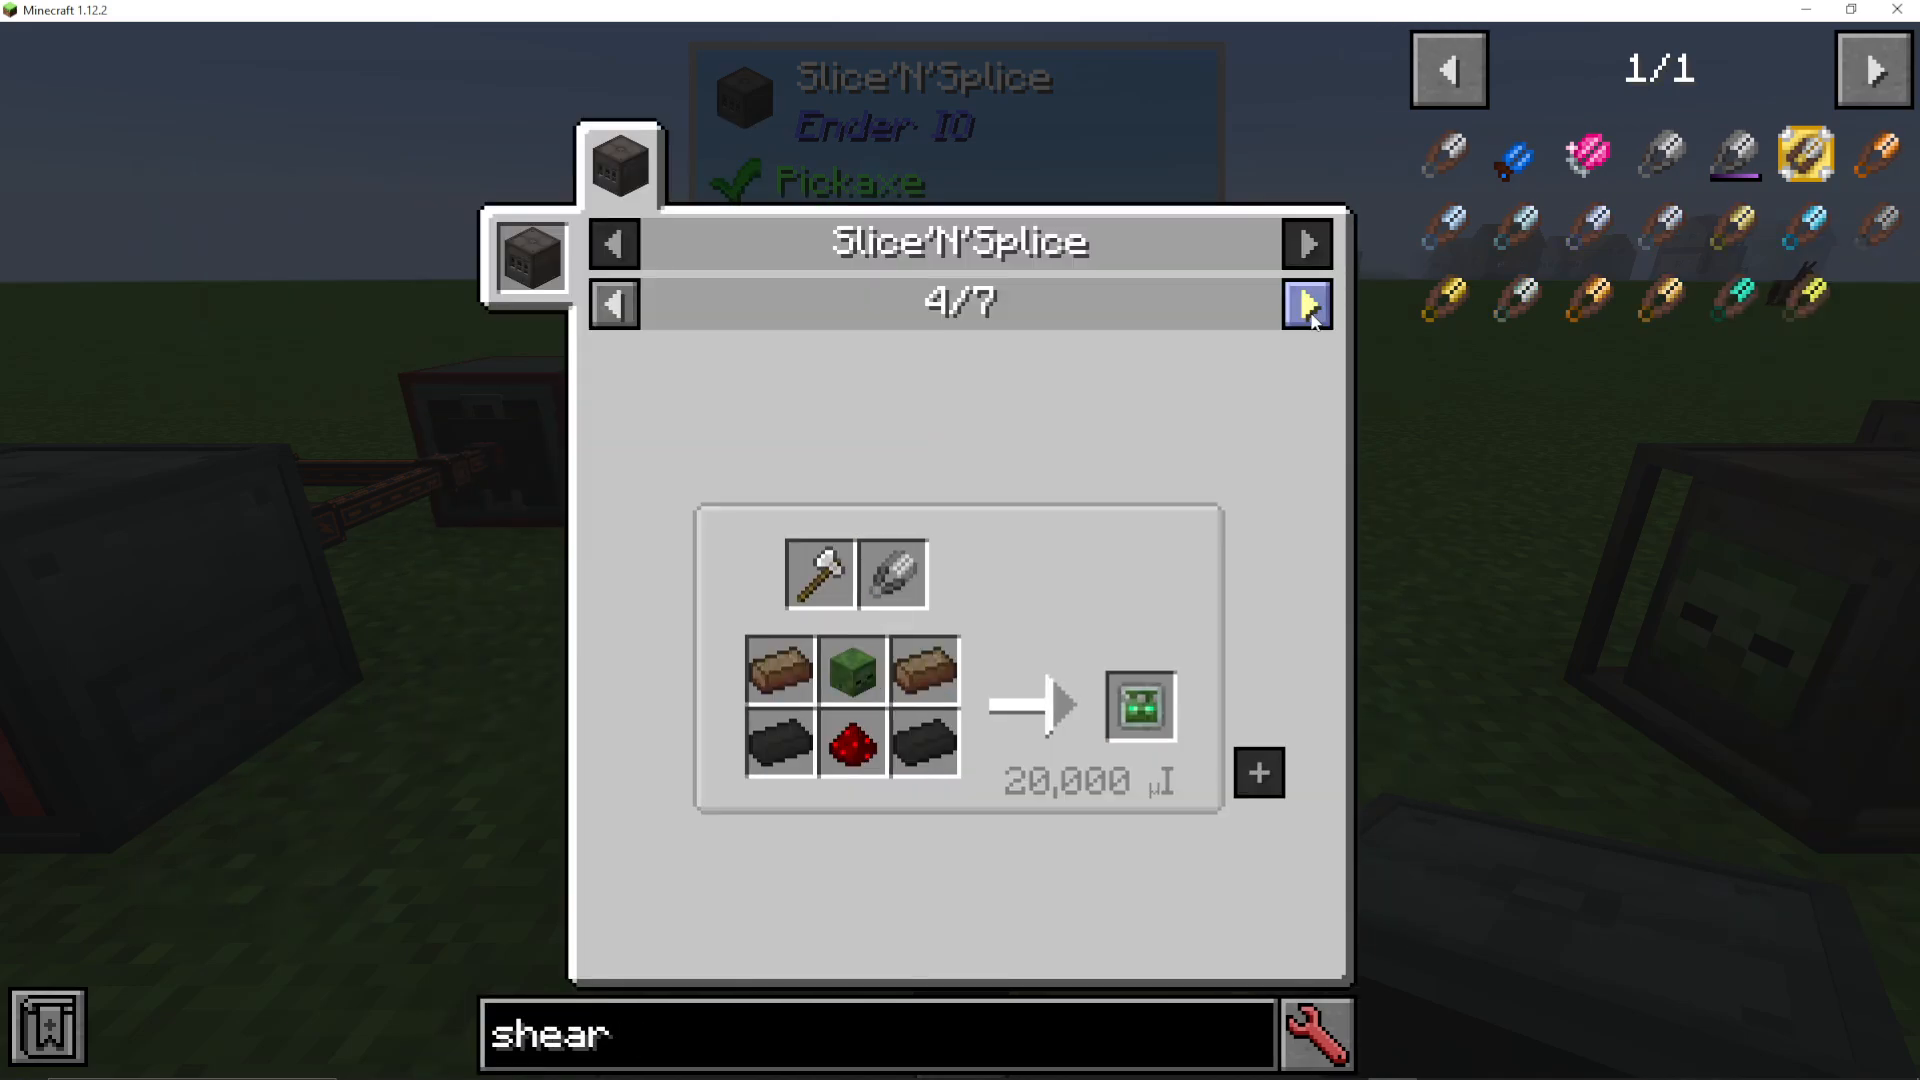
Z-Logic Controller: Crafted using Salarium, Zombie Heads, Silicon, and Redstone
End Resonators: Advanced items requiring specialized materials
Skeletal Contractor: Requires a capacitor, Salarium, Rotten Flesh, and a Skeleton Skull
End-Game Item Crafting
Many of the items crafted by the Slice’N’Splice are late-game materials. For example, the Skeletal Contractor is a crucial component in creating the Big Item Filter, one of the most useful items in EnderIO. The Big Item Filter allows for advanced item sorting and routing in your automation systems.
Advanced Configuration
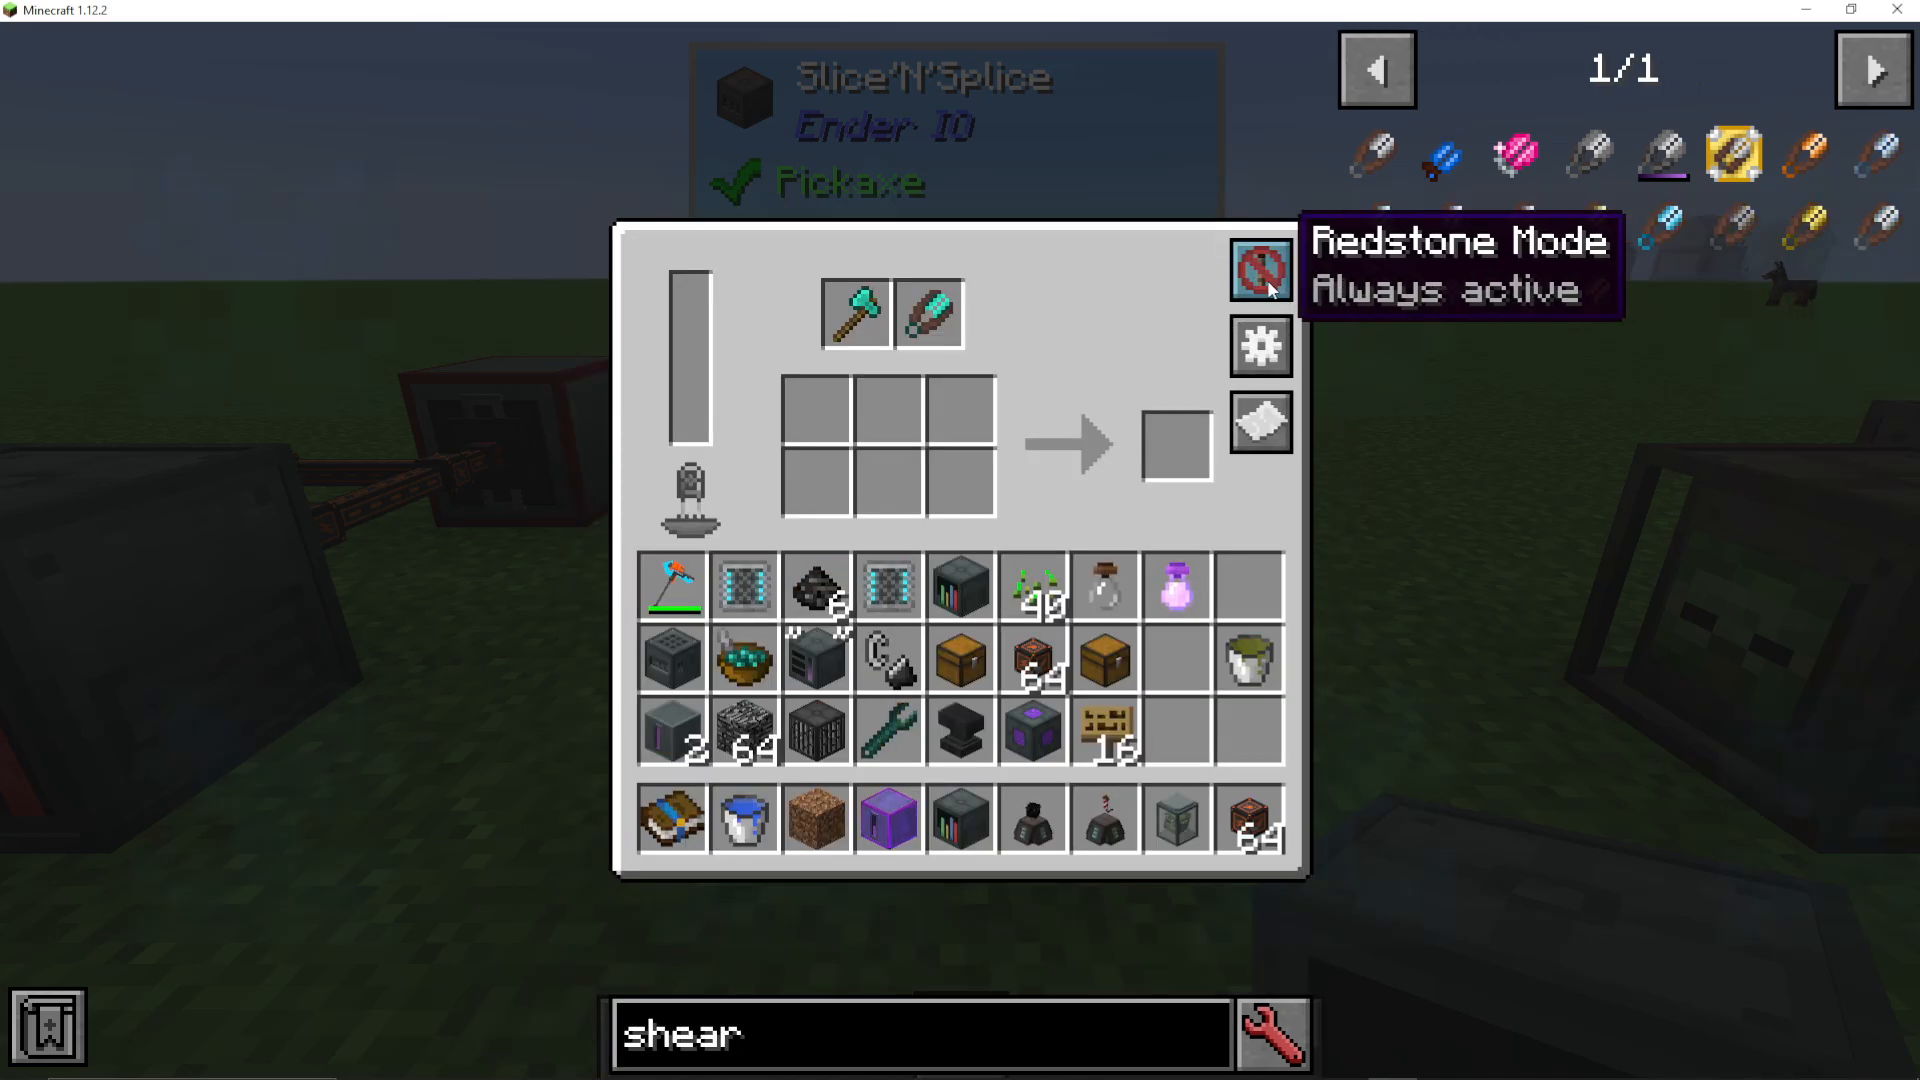
Redstone Control
You can control the Slice’N’Splice using redstone signals. This allows you to turn the machine on or off based on external conditions, such as the fullness of an output chest or the availability of ingredients.
Configuring I/O Sides
The Slice’N’Splice allows you to configure which sides accept inputs and outputs. Access the configuration interface by pressing the configure button on the machine GUI.
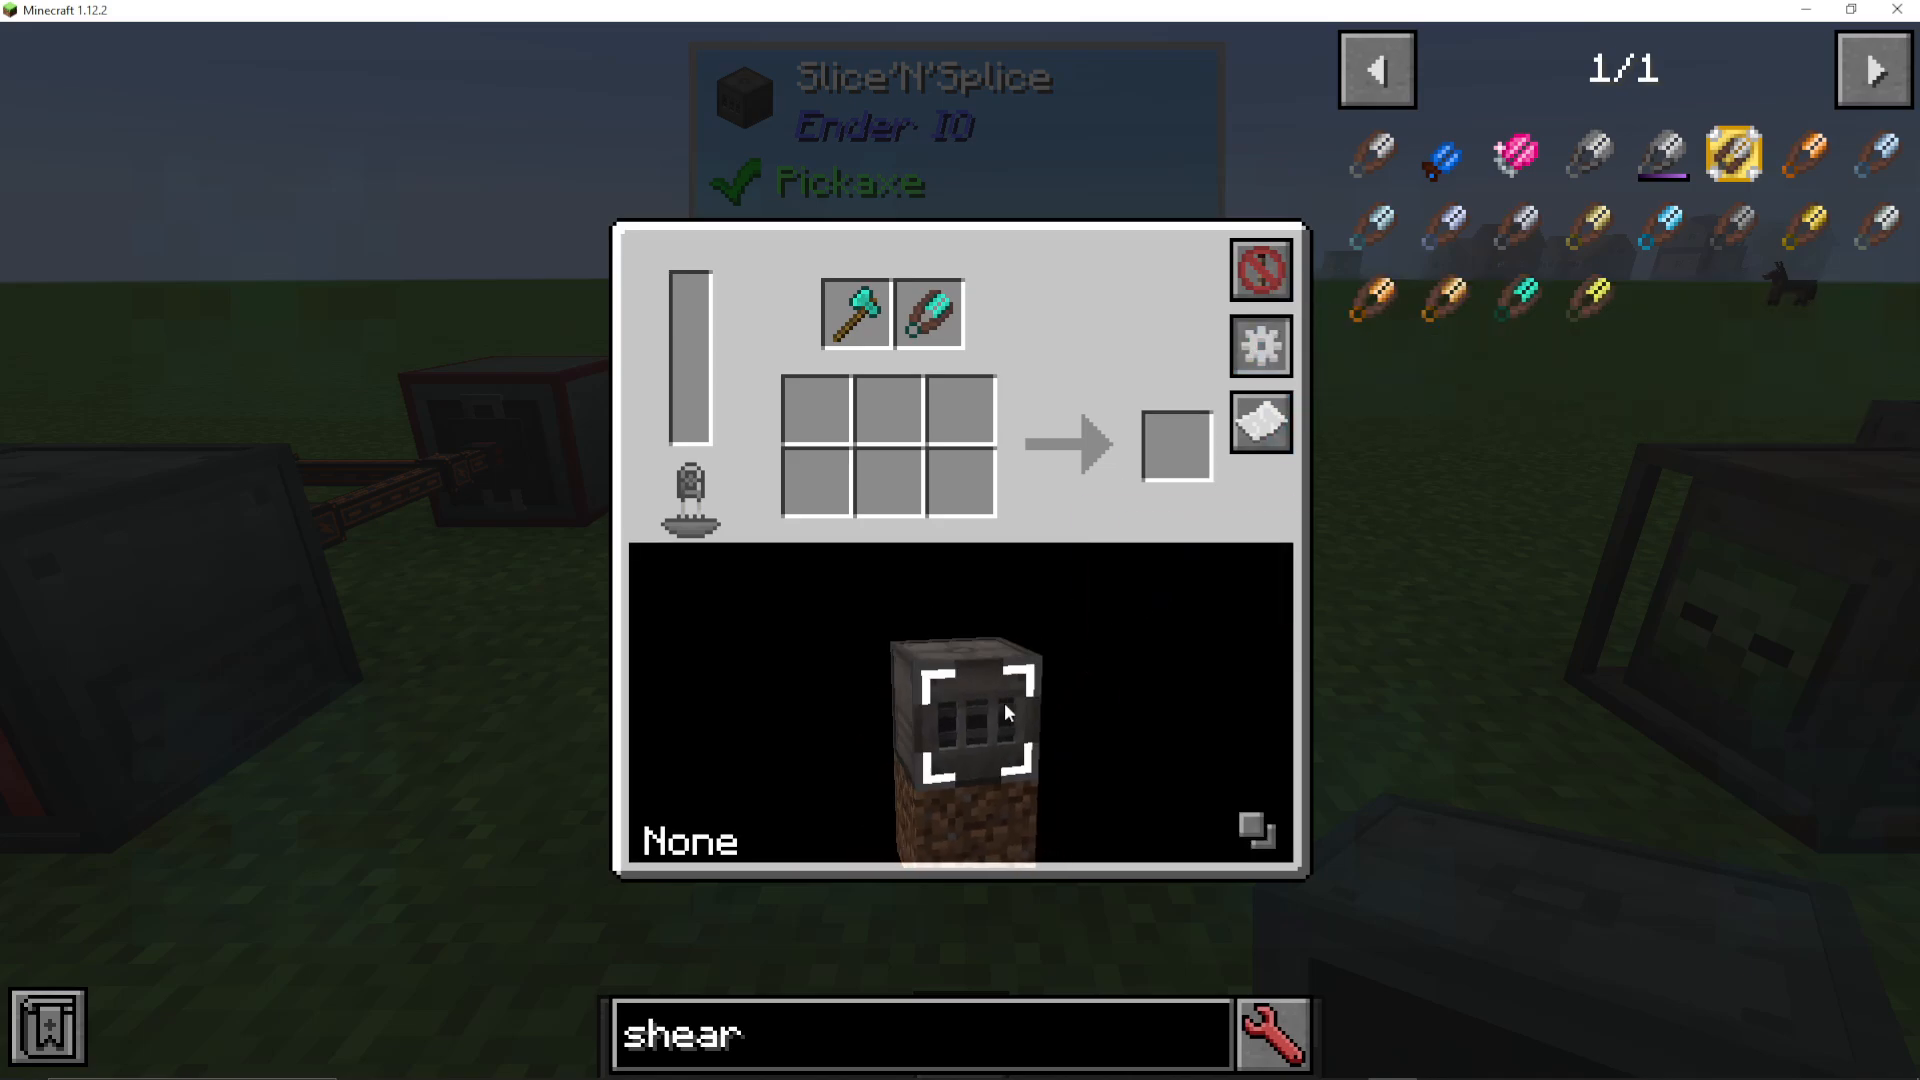
Understanding I/O Colors
When configuring I/O, you’ll see color-coded indicators on each face of the machine:
Blue: Input side only
Orange: Output side only
Orange and Blue: Both input and output capable
Red Dots: Disabled sides
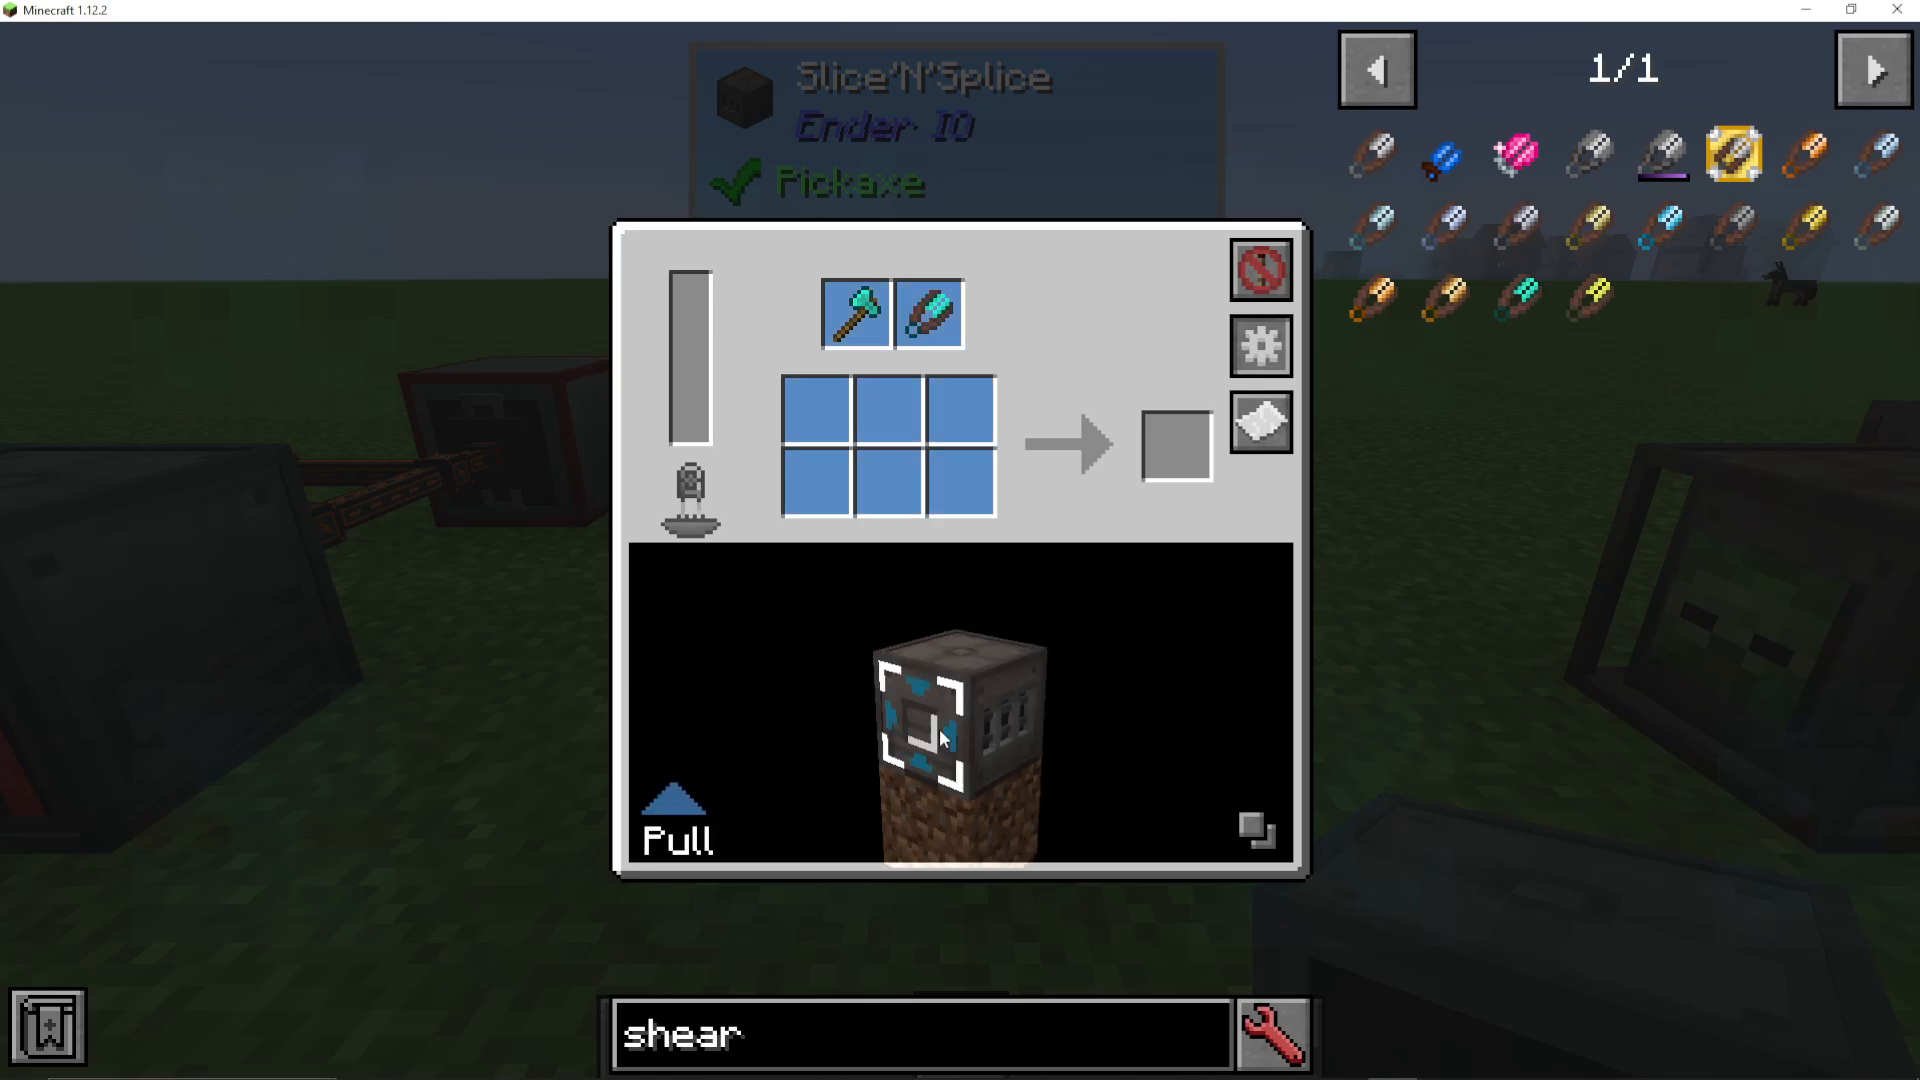
These visual indicators also appear on the physical machine block when you walk around it, making it easy to see the configuration at a glance.
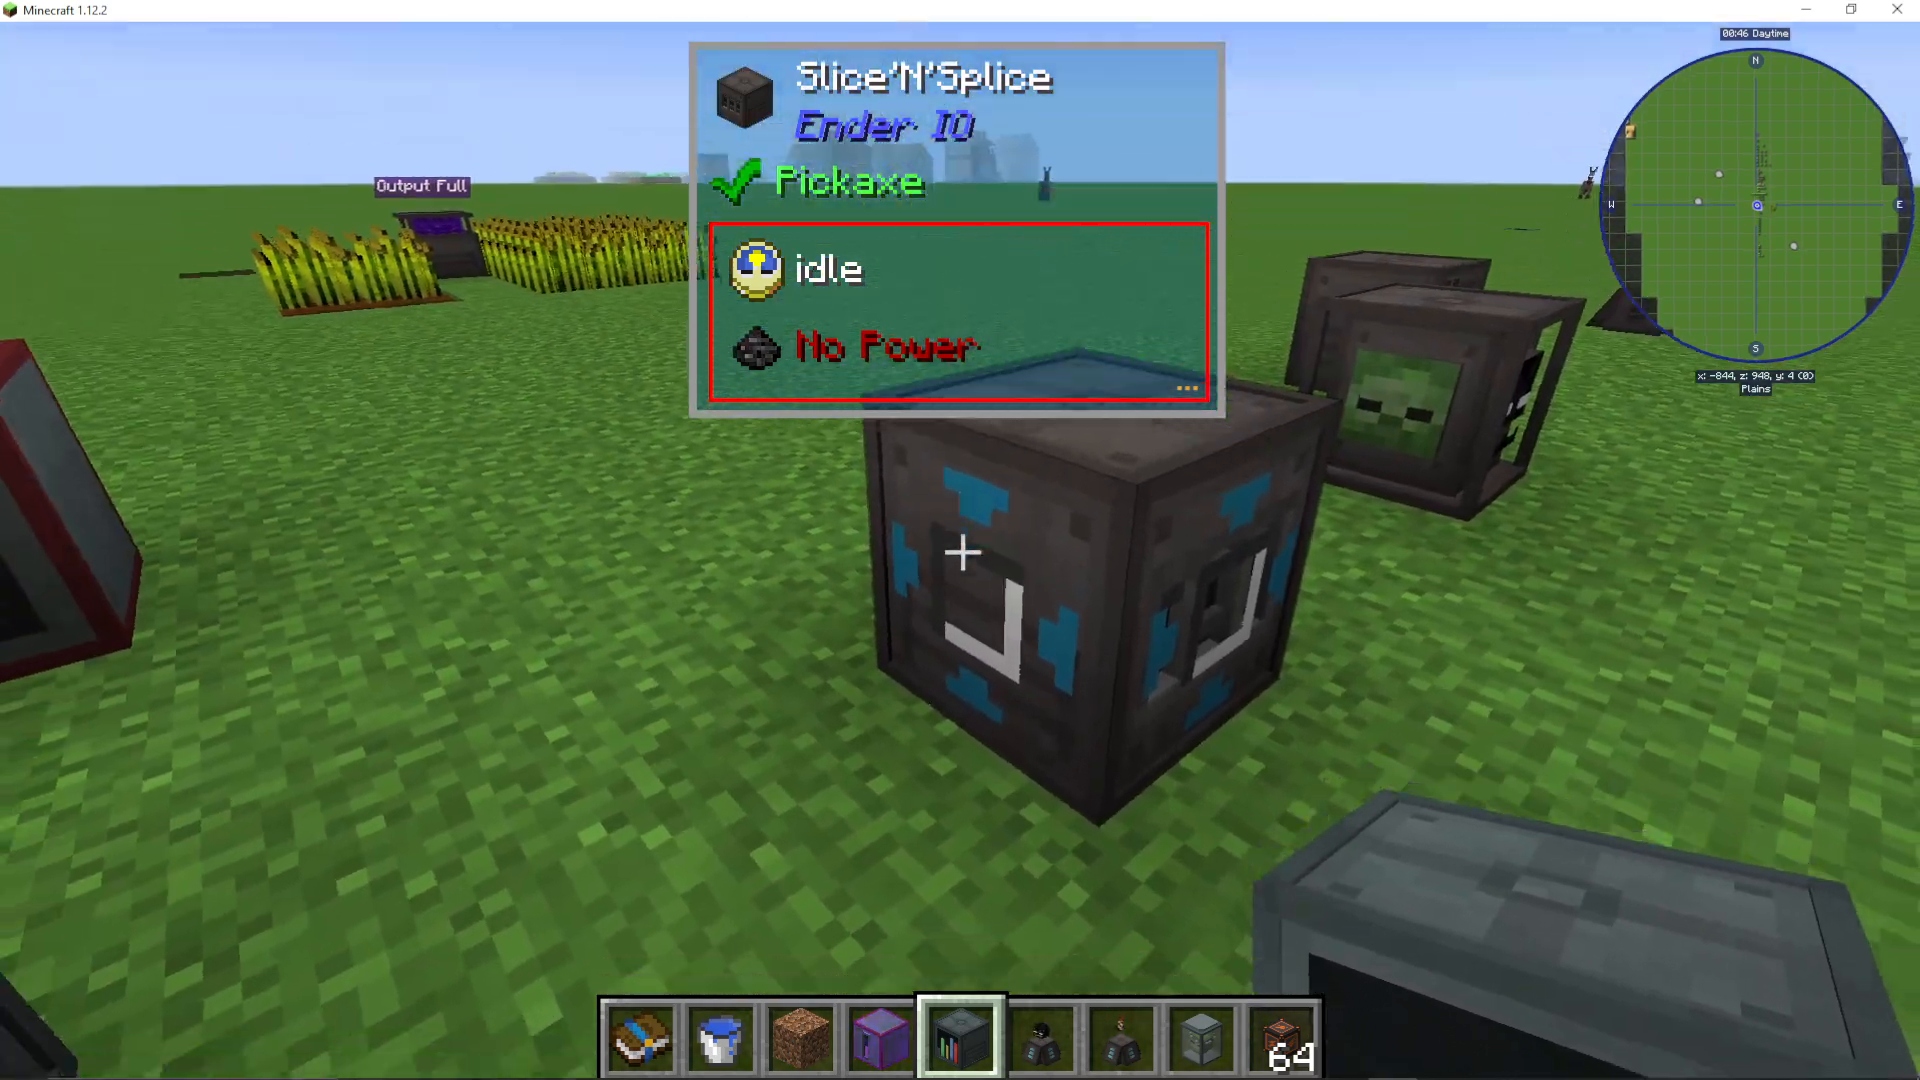
Connecting Input Sources
Once you’ve configured a side as an input, you can attach chests, hoppers, or item conduits to supply ingredients automatically. The machine will display the connected container in the configuration view, confirming the connection is working properly.
Summary
The Slice’N’Splice is an invaluable tool for crafting advanced EnderIO items at scale. By following these steps—installing a capacitor, adding tools, configuring inputs and outputs, and supplying power and ingredients—you’ll have a fully functional automated crafting station. Whether you’re crafting Z-Logic Controllers or Skeletal Contractors, the Slice’N’Splice makes end-game item production efficient and straightforward.
— Want to Support? —
If you would like to help us continue making these guides – please consider joining our patreon here – https://www.patreon.com/c/JaviHeals
Alternatively – we host a group of MC Servers you can join here – https://discord.gg/zD7Gjt6MHF



