







How To Use Fluid Conduits In EnderIO
How To Use Fluid Conduits In EnderIO
Fluid conduits are essential tools in EnderIO for transferring liquids between machines and storage tanks. In this guide, we’ll walk you through the basics of setting up fluid conduits, configuring their input and output modes, and combining them with other conduit types like energy and item conduits.
Understanding Fluid Conduits and Tanks
Fluid conduits are the foundation of any liquid transfer system in EnderIO. To get started, you’ll need fluid tanks—storage blocks specifically designed to hold liquids. Fluid tanks are straightforward blocks that can store any fluid you need to transfer throughout your system.
Begin by placing a fluid tank and filling it with a liquid. You can use a bucket of water or any other fluid source available in your modpack. Place your first fluid tank and add fluid to it by inserting a bucket or bottle.
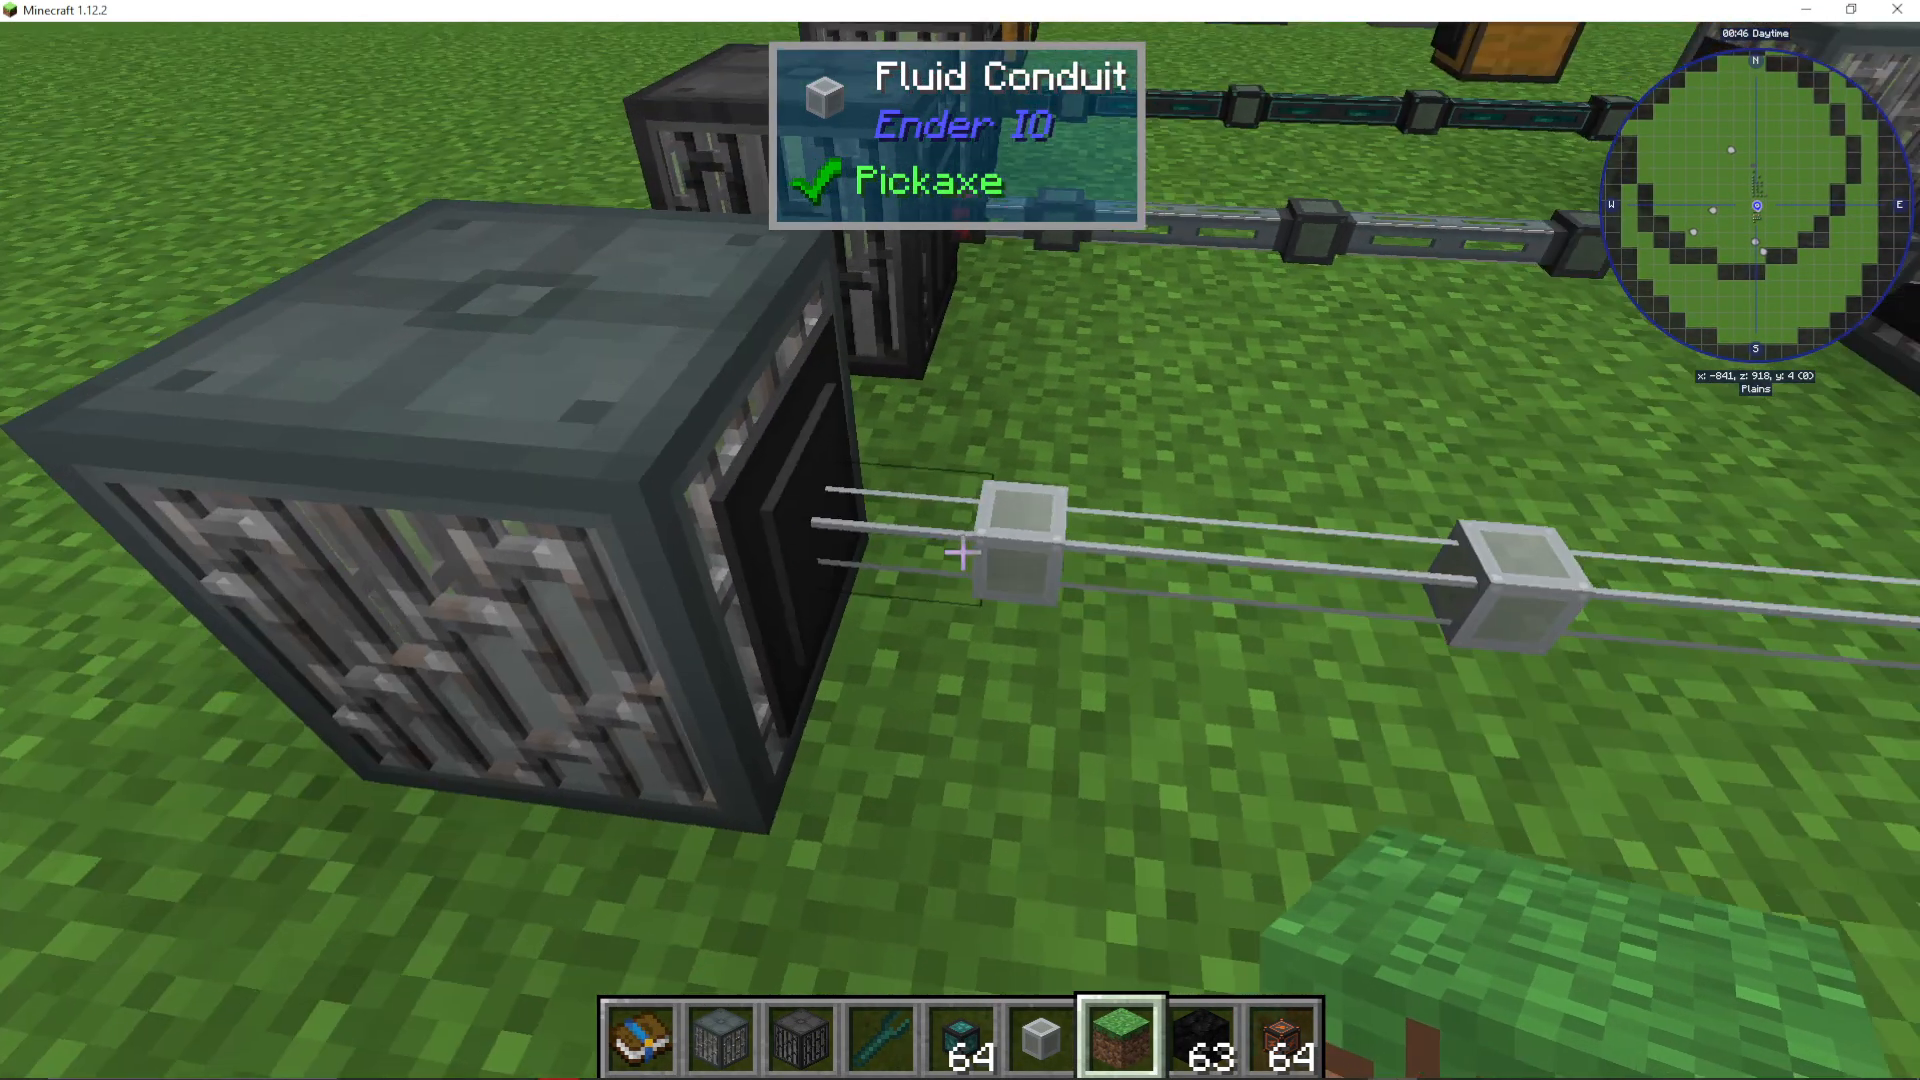
Configuring Fluid Conduit Connectors
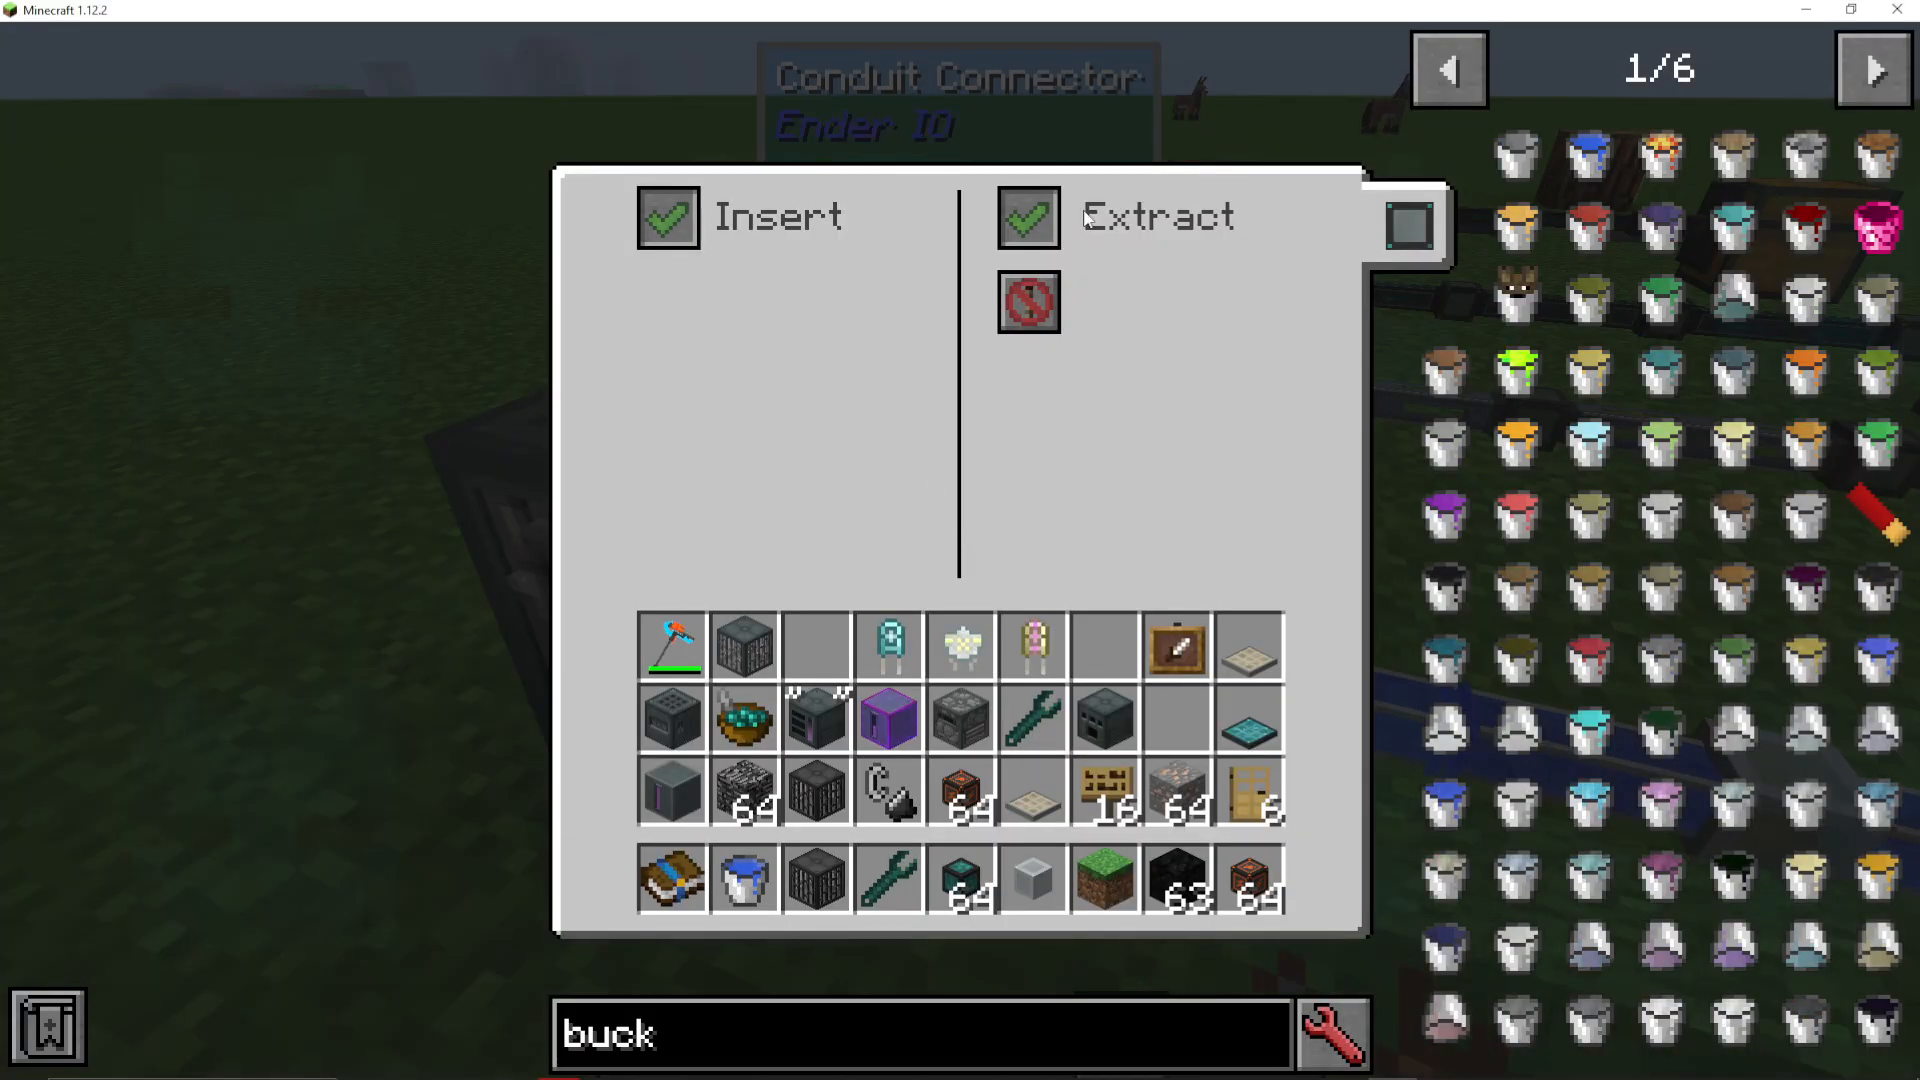
When you attach a fluid conduit to a tank, you’ll see a conduit connector interface. This connector has two critical toggles: Insert and Extract. These options control the direction of fluid flow.
By default, both insert and extract are enabled. If you want to disconnect a conduit entirely, simply untick both options. To reattach a disconnected conduit, use a YETA wrench (another EnderIO tool) and right-click on the connector.
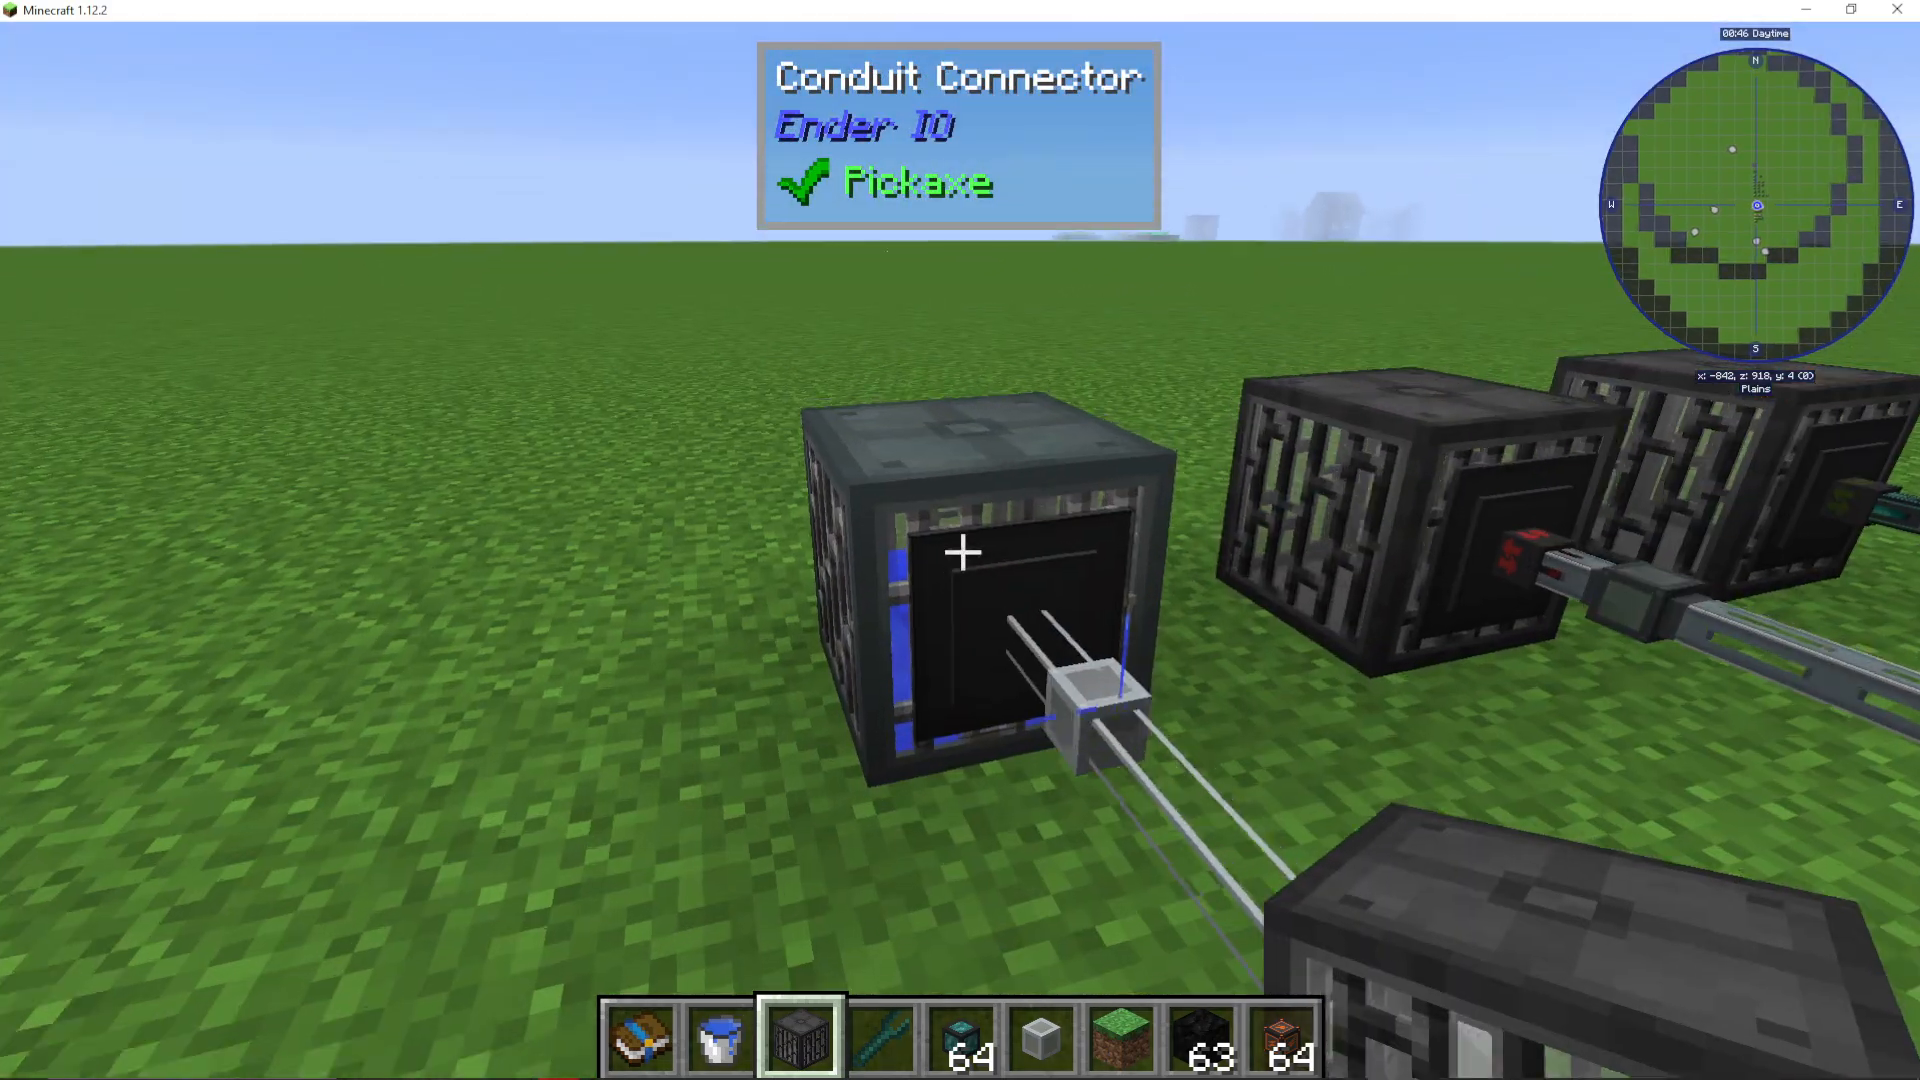
Extract Mode
Right-click on the conduit connector facing the tank you want to extract from. Set the redstone mode to “always active.” You’ll see a small arrow appear on the connector, indicating the direction the fluid is flowing out. Enable “Extract” and disable “Insert” on this tank.
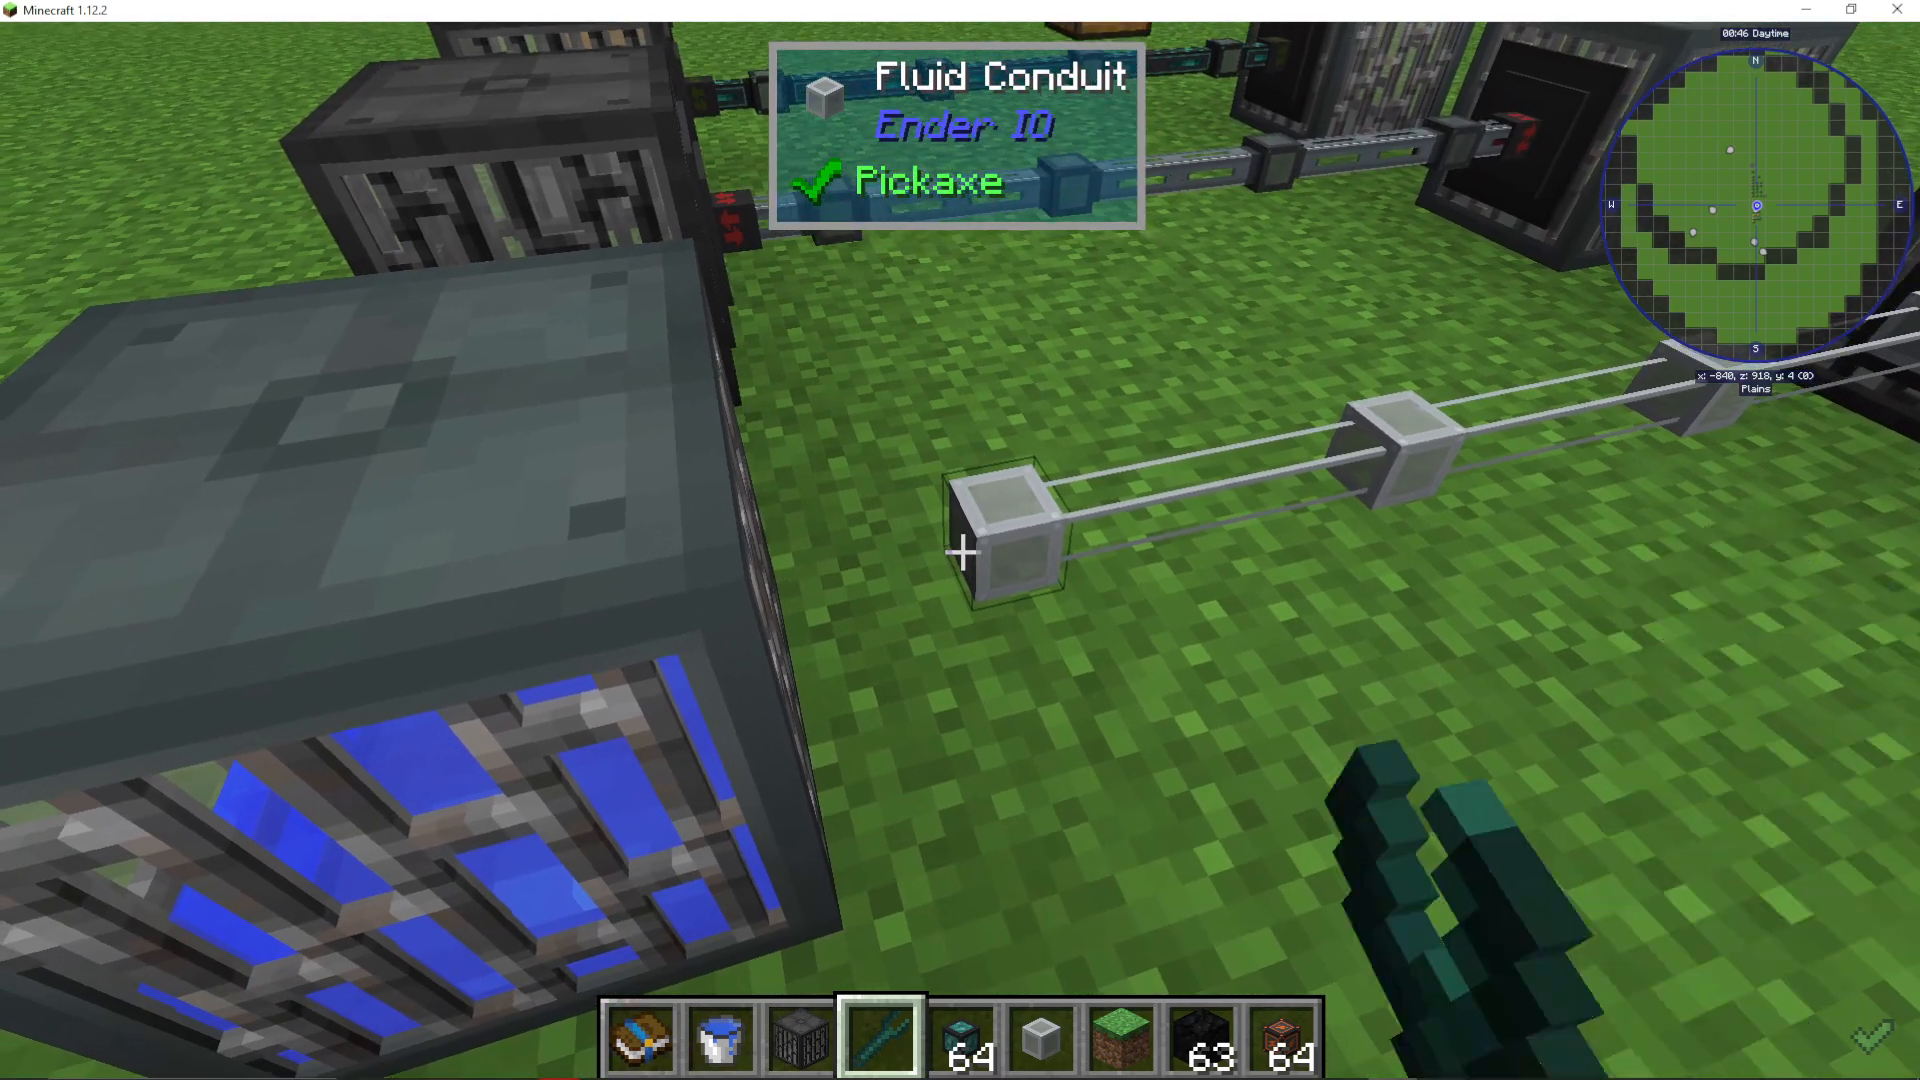
The fluid will now pull from this tank and flow through your conduits to other connected machines or tanks.
Insert Mode
On the destination tank or machine, configure the connector to accept incoming fluid. Right-click on its connector face and enable “Insert” while disabling “Extract.” Set redstone mode to “always active.”
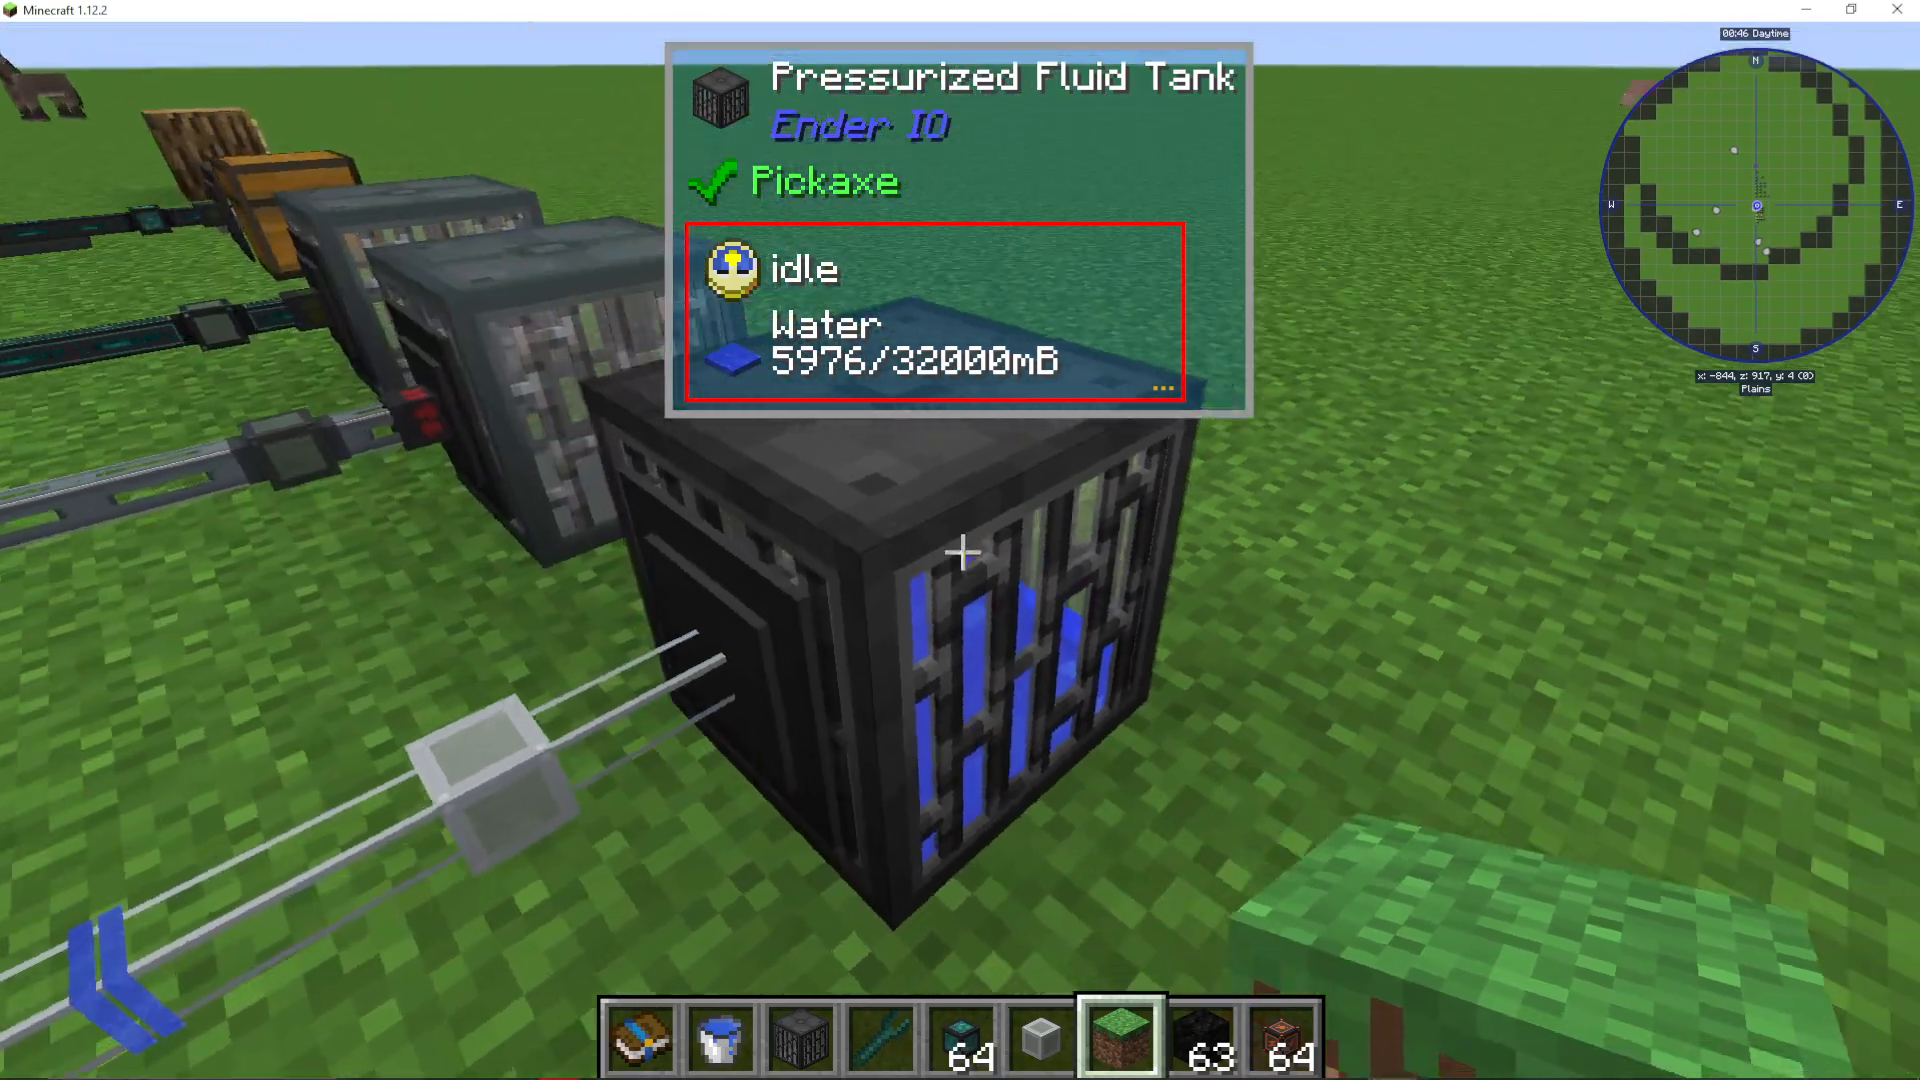
Now fluid flowing through your conduits will be deposited into this tank.
Avoiding Fluid Conflicts
A common mistake when setting up fluid systems is enabling both insert and extract on multiple tanks. When both options are active on multiple blocks, the fluid doesn’t know which direction to flow and will bounce back and forth without moving efficiently.
To prevent this issue, follow this rule: designate one tank or machine as the source (extract only) and others as destinations (insert only). This ensures fluid flows in one logical direction through your system.
Upgrading to Pressurized Fluid Conduits
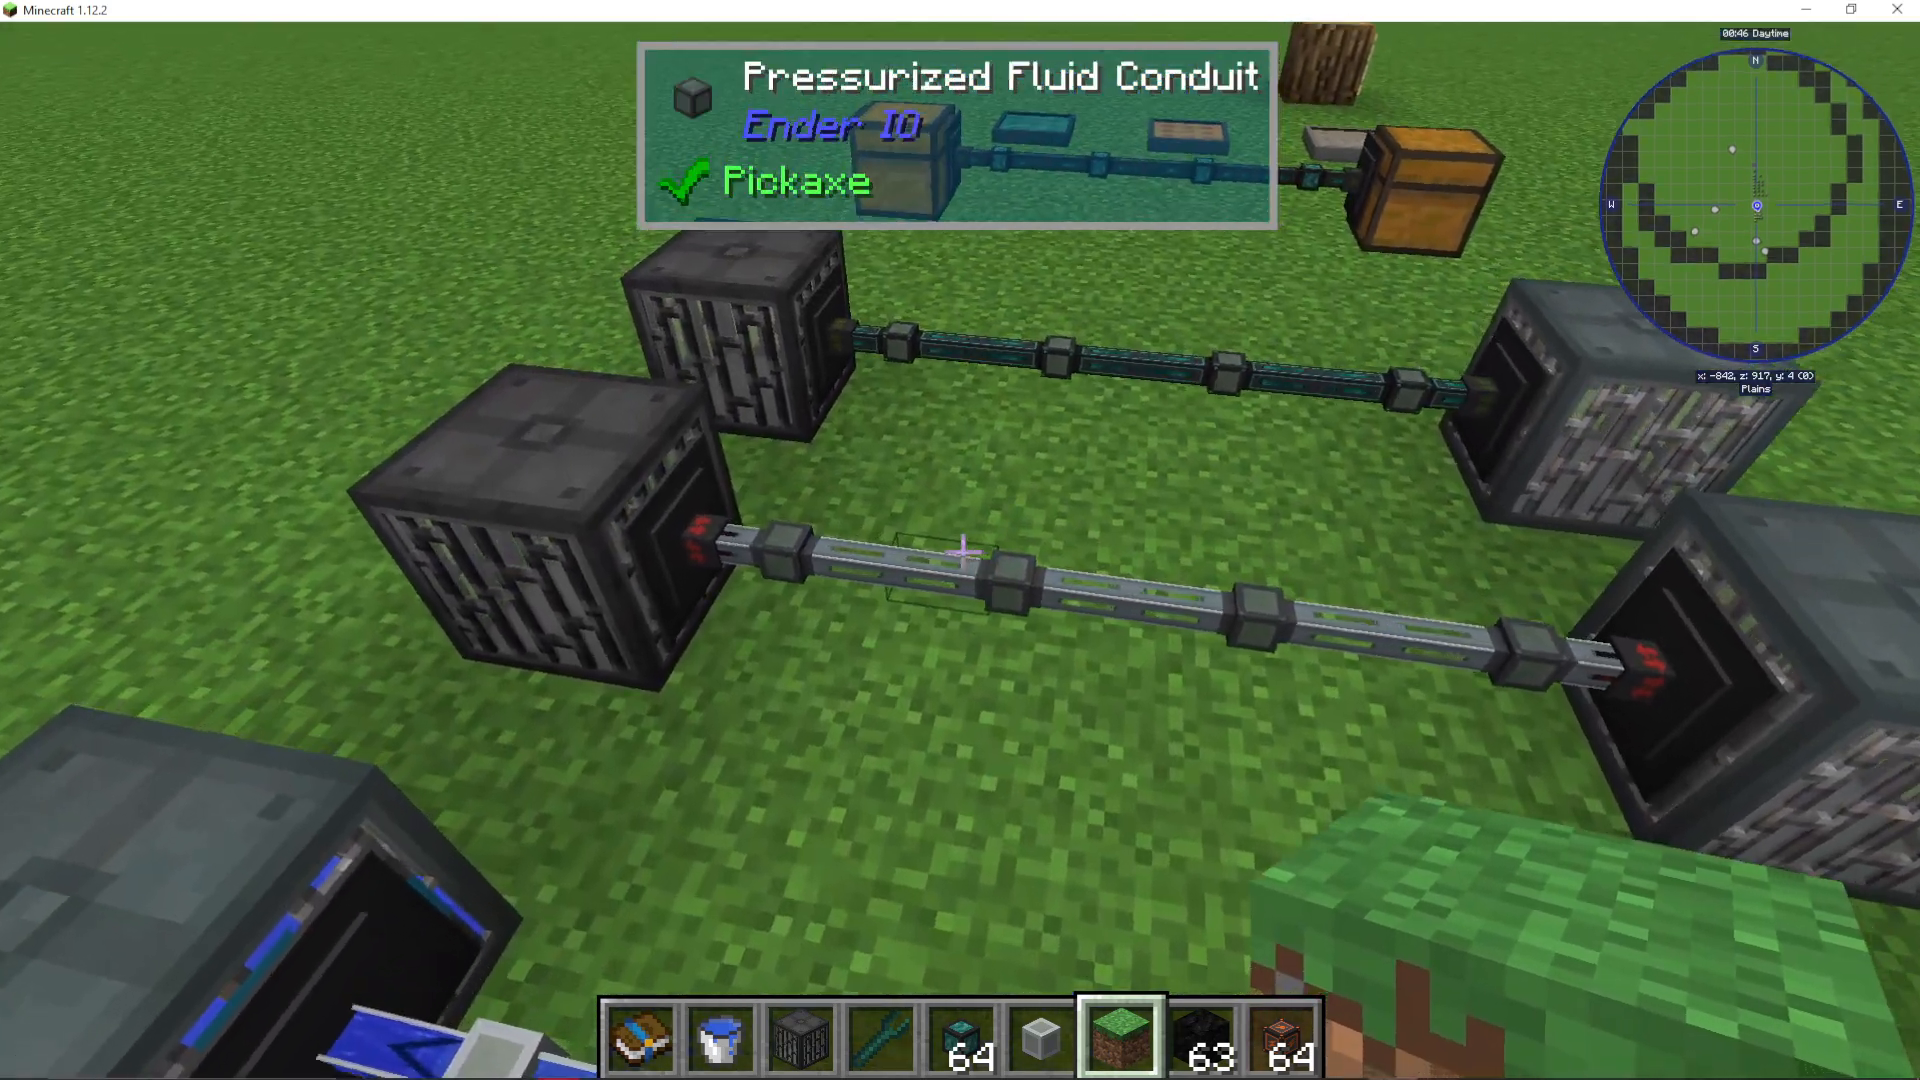
Once you’ve mastered basic fluid conduits, you can upgrade to Pressurized Fluid Conduits. These are improved versions that transfer liquids much faster than standard conduits, making them ideal for high-throughput systems.
Combining Multiple Conduit Types
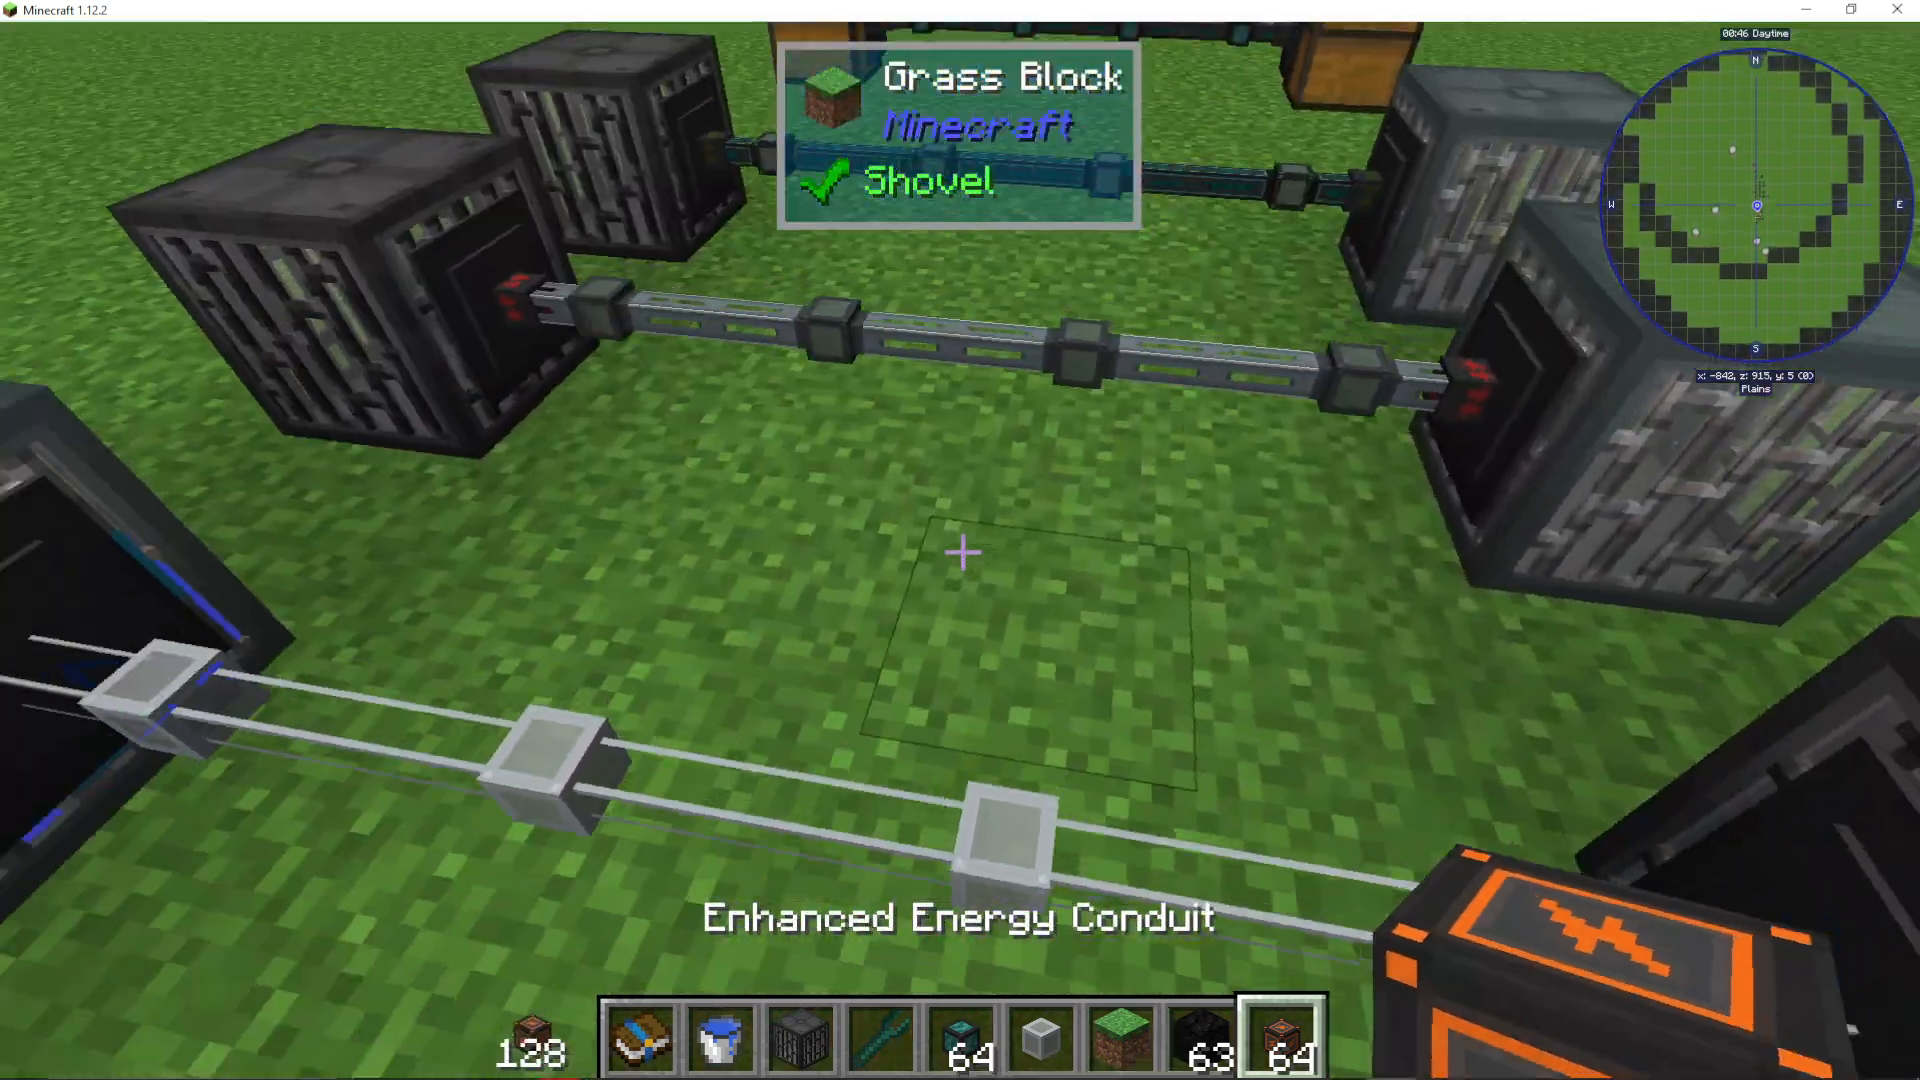
One of EnderIO’s best features is the ability to combine multiple conduit types in the same block space. You can attach fluid conduits, energy conduits, and item conduits to the same tank or machine without interference.
For example, you might have:
A fluid conduit transferring water
An energy conduit powering the machine
An item conduit moving processed items
All three can operate simultaneously in the same cell.
Switching Between Conduit Types
When multiple conduits are attached to the same block, tabs will appear on the connector interface. These tabs let you switch between viewing and configuring each conduit type individually. Click the tabs to cycle between fluid, item, and energy conduits.
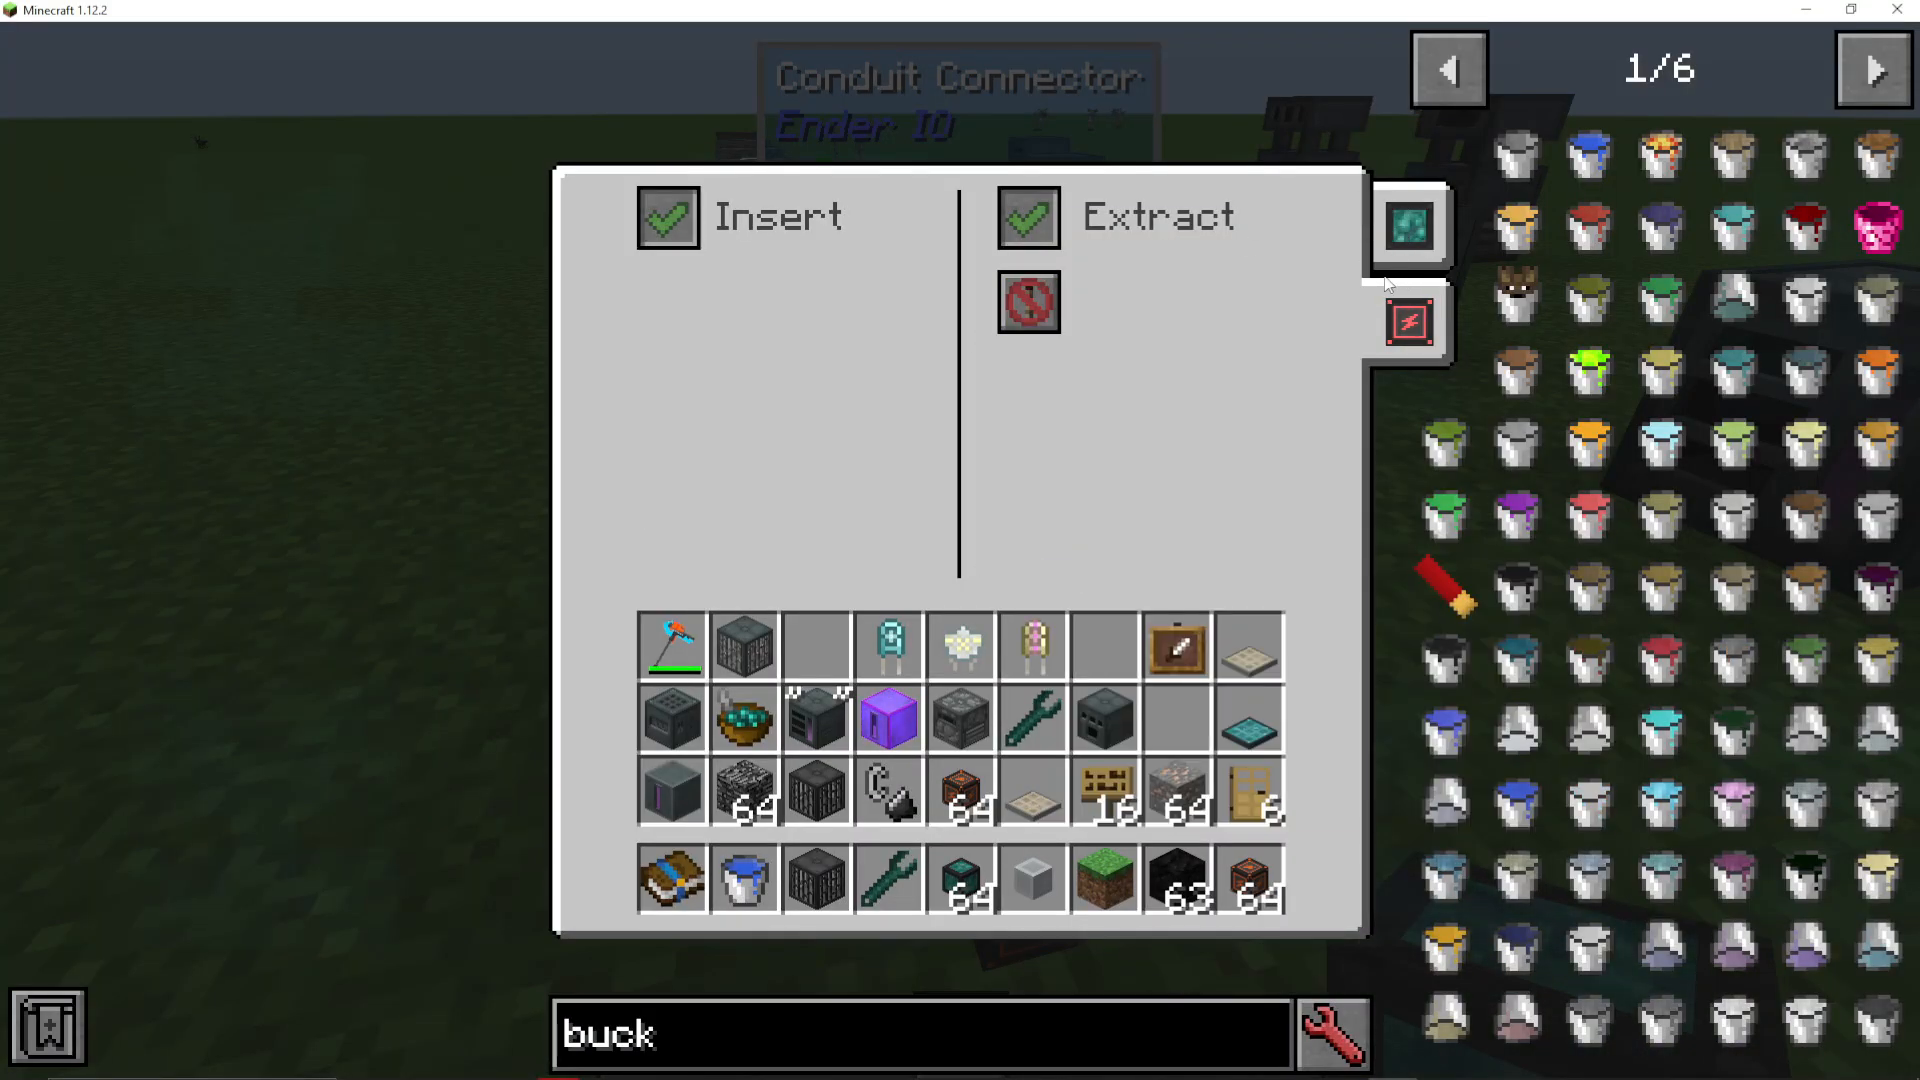
If a machine can’t accept a certain conduit type (like items into a fluid tank), that tab simply won’t be available, keeping your interface clean and organized.
Summary
Fluid conduits in EnderIO are powerful tools for managing liquids in your modded world. Remember these key points:
Use Extract mode on source tanks and Insert mode on destination tanks
Never enable both insert and extract on the same block unless you want bidirectional flow
Upgrade to Pressurized Fluid Conduits for faster transfer speeds
Combine fluid, energy, and item conduits in the same space for efficient machine setups
Use tabs to switch between conduit types when multiple are attached
With these fundamentals mastered, you’re ready to build sophisticated fluid distribution networks in your EnderIO systems. For more EnderIO tutorials and other Minecraft modding guides, check out the complete tutorials available on this channel.
Want to Support?
If you would like to help us continue making these guides – please consider joining our patreon here – https://www.patreon.com/c/JaviHeals
Alternatively – we host a group of MC Servers you can join here – https://discord.gg/zD7Gjt6MHF



