







How To Oritech Assembler – Minecraft 1.21.1
How To Use the Oritech Assembler – Minecraft 1.21.1
The Oritech Assembler is one of the first machines you’ll craft when diving into the Oritech mod for Minecraft 1.21.1. This guide will walk you through crafting the assembler, installing machine cores, adding machine add-ons, and using it to create complex items efficiently. Whether you’re playing on Forge, NeoForge, or Fabric, this tutorial has you covered.
About the Oritech Mod
The Oritech mod is available across multiple mod loaders including Forge, NeoForge, and Fabric. It adds a comprehensive tech progression system with machines, materials, and power generation. This guide covers the assembler specifically, but if you find it helpful, consider subscribing for guides on all Minecraft mods across both Fabric and Forge platforms.
Powering Your Assembler
Before setting up your assembler, you’ll need a power source. The Oritech mod includes a Basic Generator that burns coal or charcoal to produce energy. If you’re already using other power sources in your world, you can skip this step.
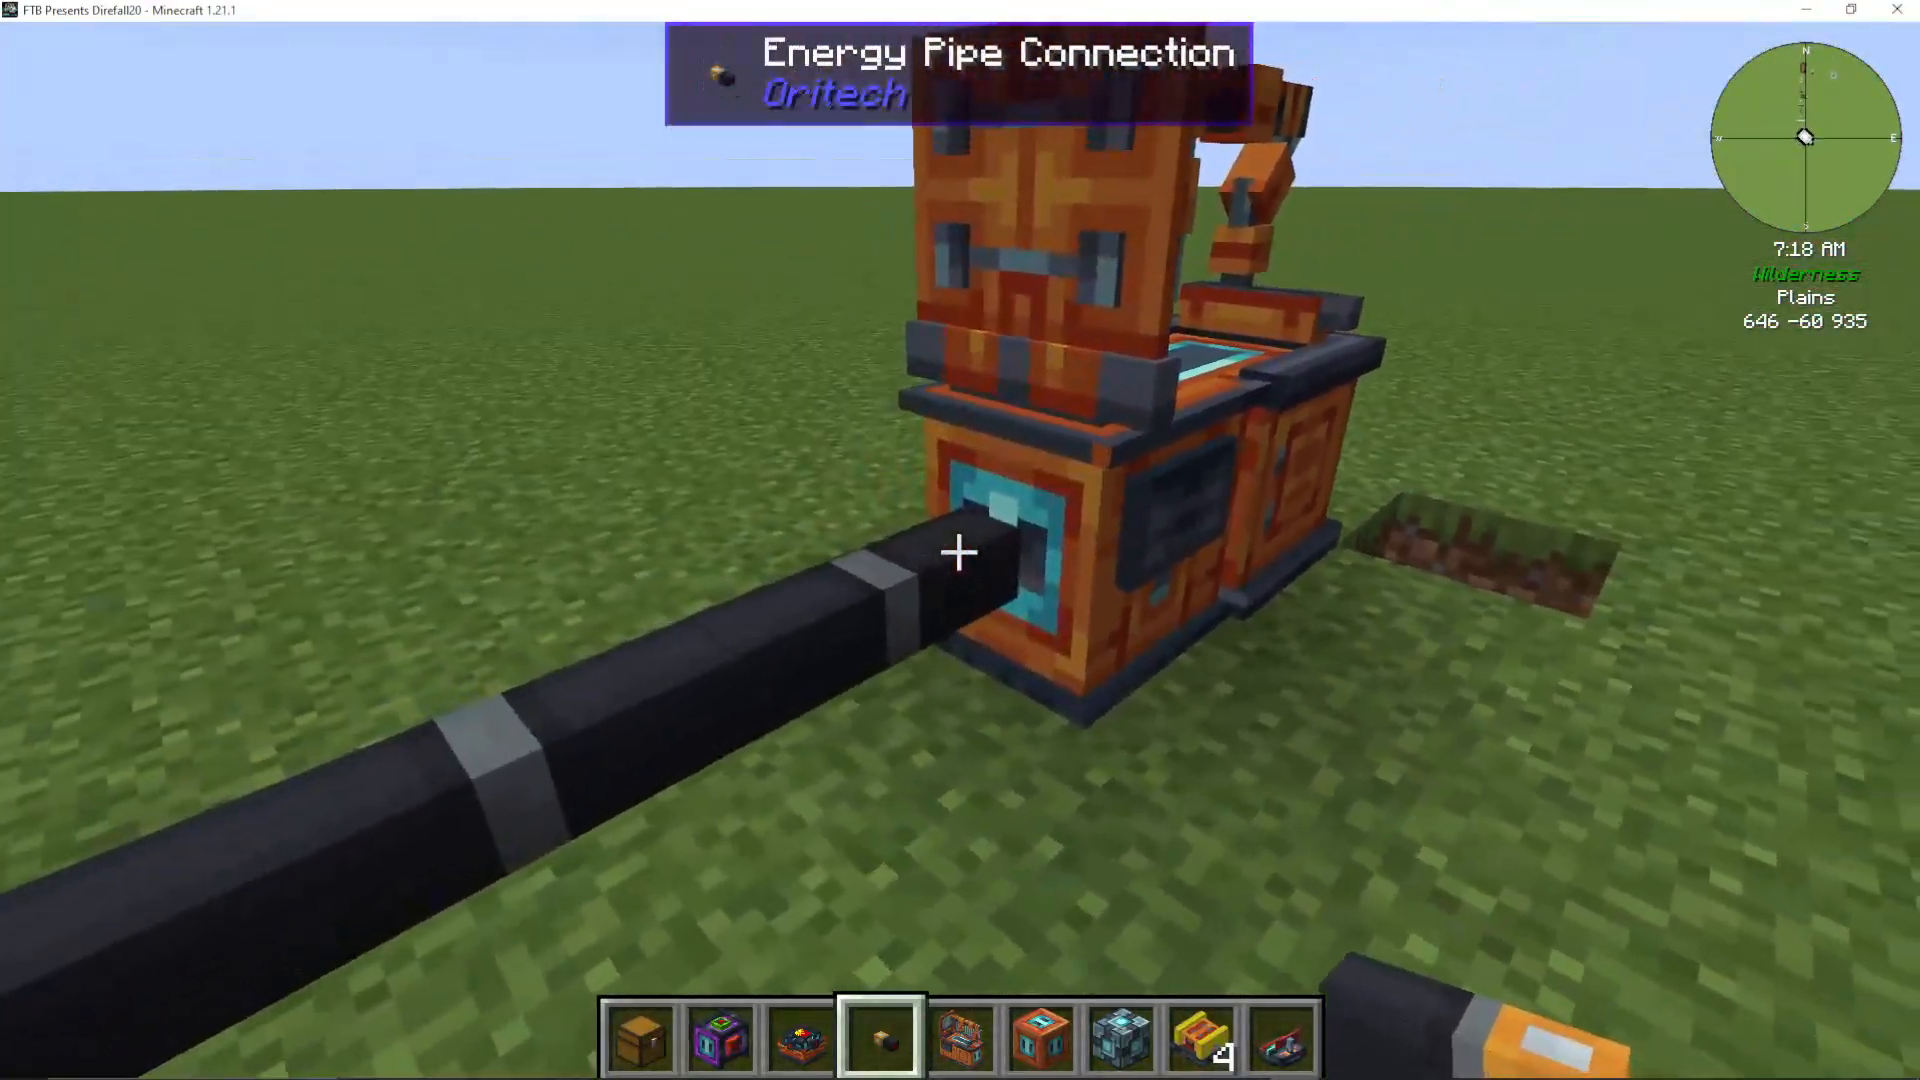
To power your assembler, you’ll connect it using an energy pipe connection. Simply place the assembler where you want it, then route energy pipes from your power source into the machine.
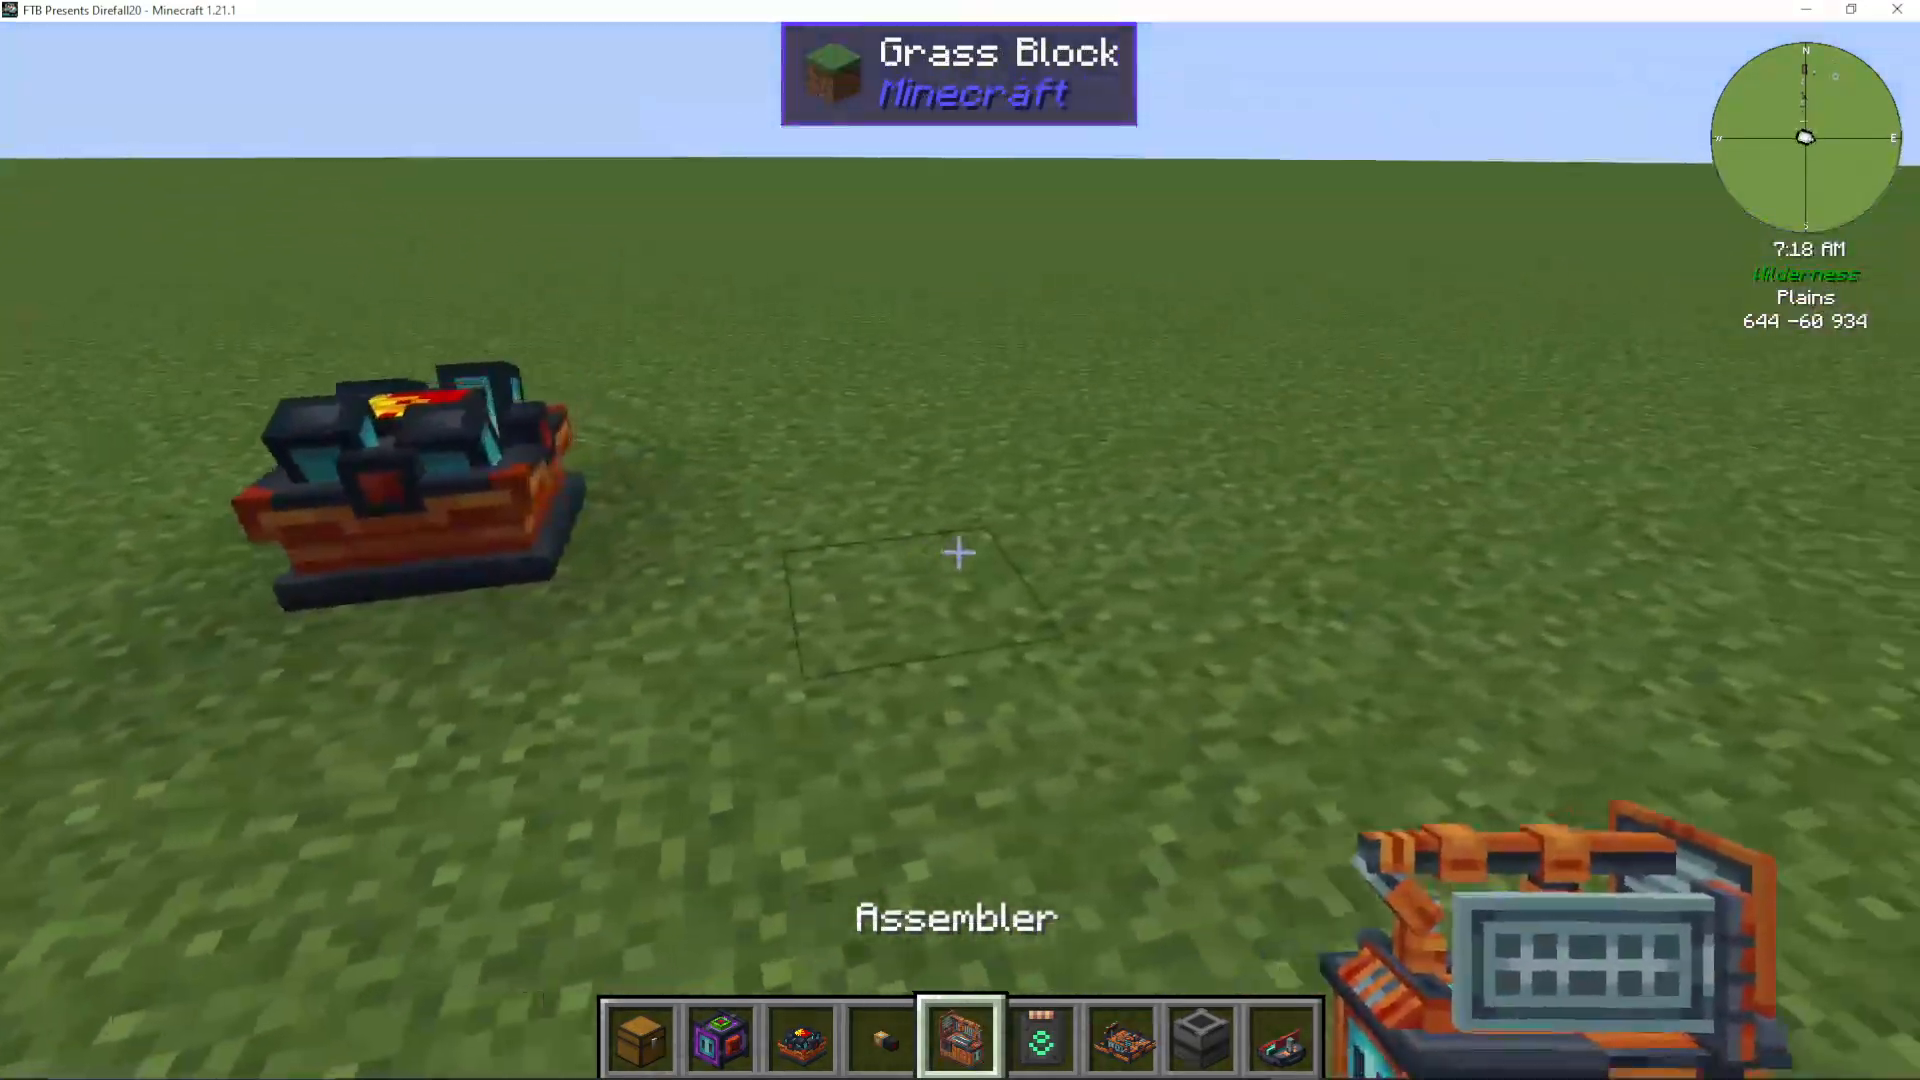
Crafting the Oritech Assembler
The assembler requires several materials to craft:
Steel – Made from 2 iron and 2 coal
Motor – A complex component requiring multiple materials
Magnetic Coil – Requires steel and fine wire
Fine Wire – Made from nickel (an Oritech material found underground)
Adamant Ingots – Crafted from 2 nickel and 2 diamonds
Reinforced Plating – Copper, iron, or similar materials
Oritech adds platinum and nickel as new underground ores, which are essential for crafting most machines in this mod.
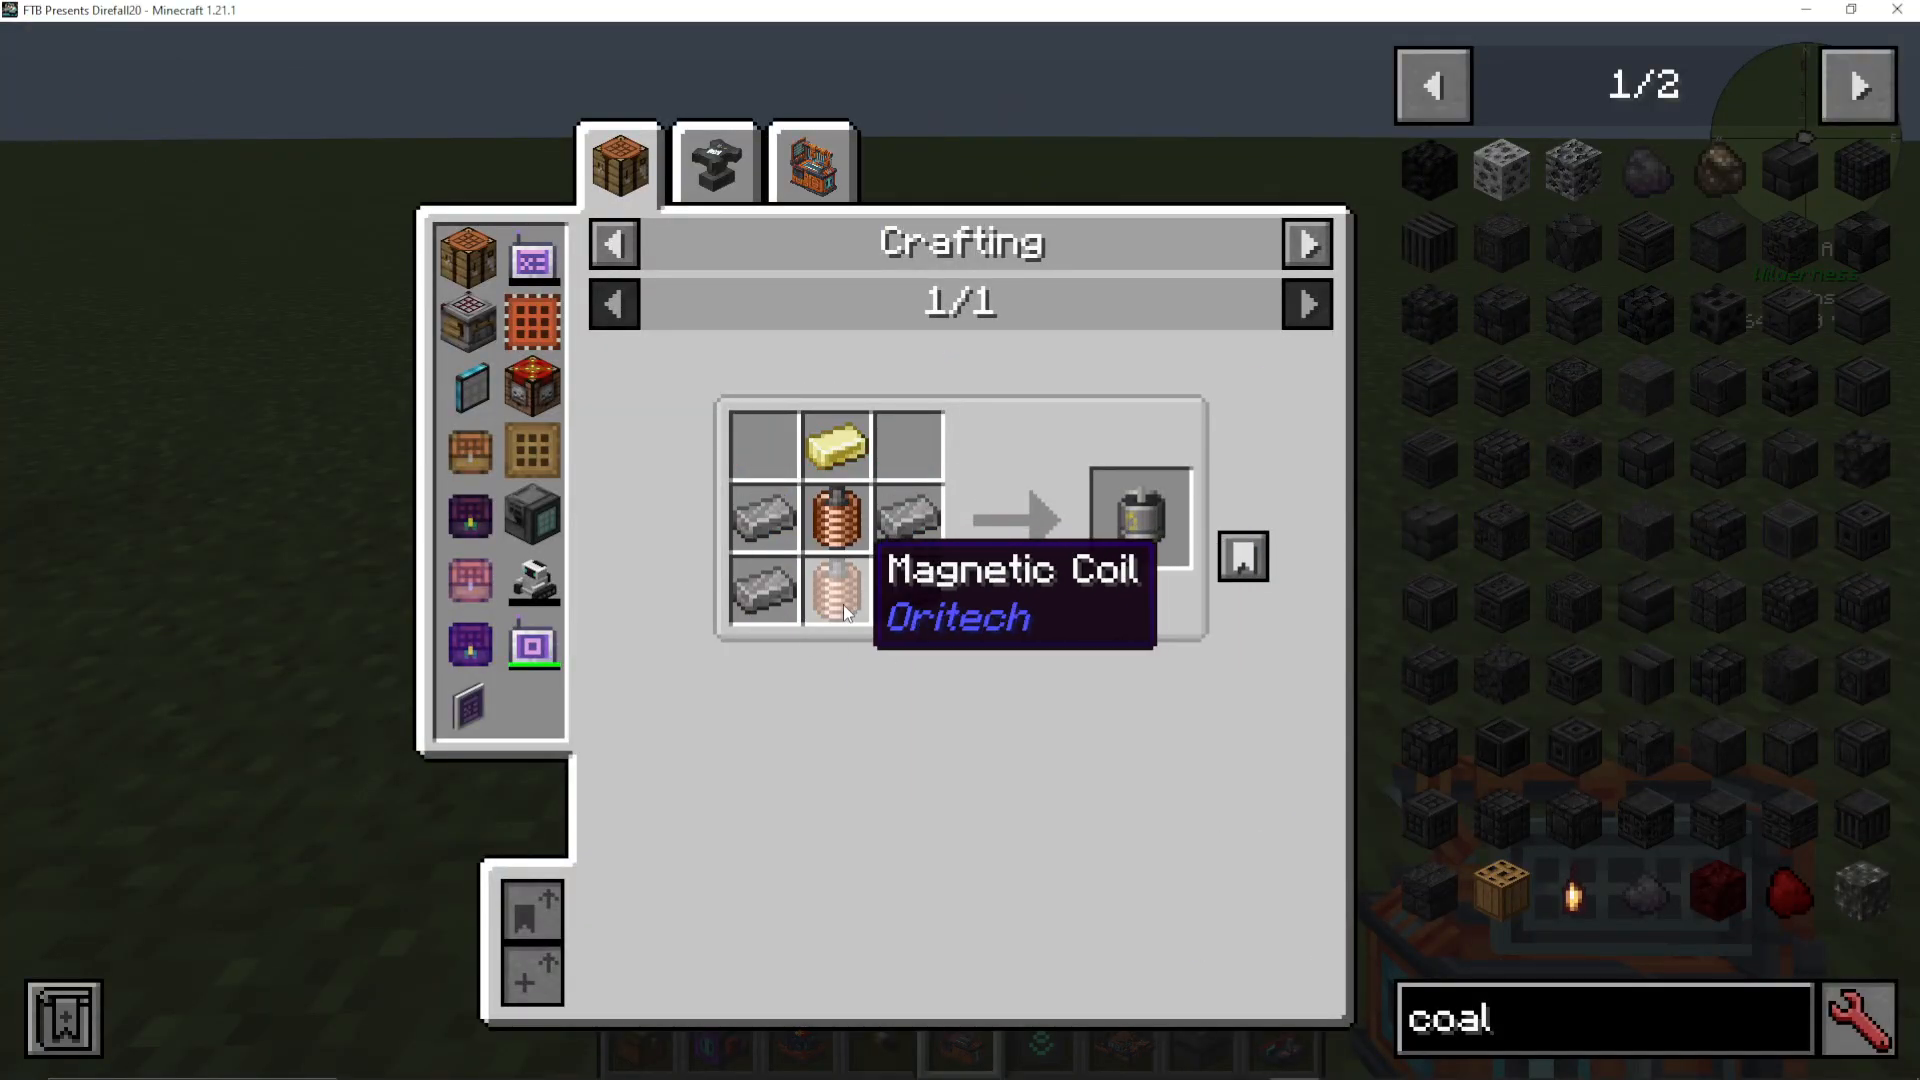
Installing Machine Cores
Once you’ve crafted the assembler, right-clicking it reveals that it’s incomplete and non-functional. You’ll need to install machine cores to activate it. Machine cores come in several quality tiers:
Primitive
Basic
Improved
Advanced
Elite
Ultra
Ultimate
The Primitive machine core is the simplest to craft, while each subsequent tier becomes more complex. If you’ve already gathered nickel, you can jump straight to the Improved machine core tier.
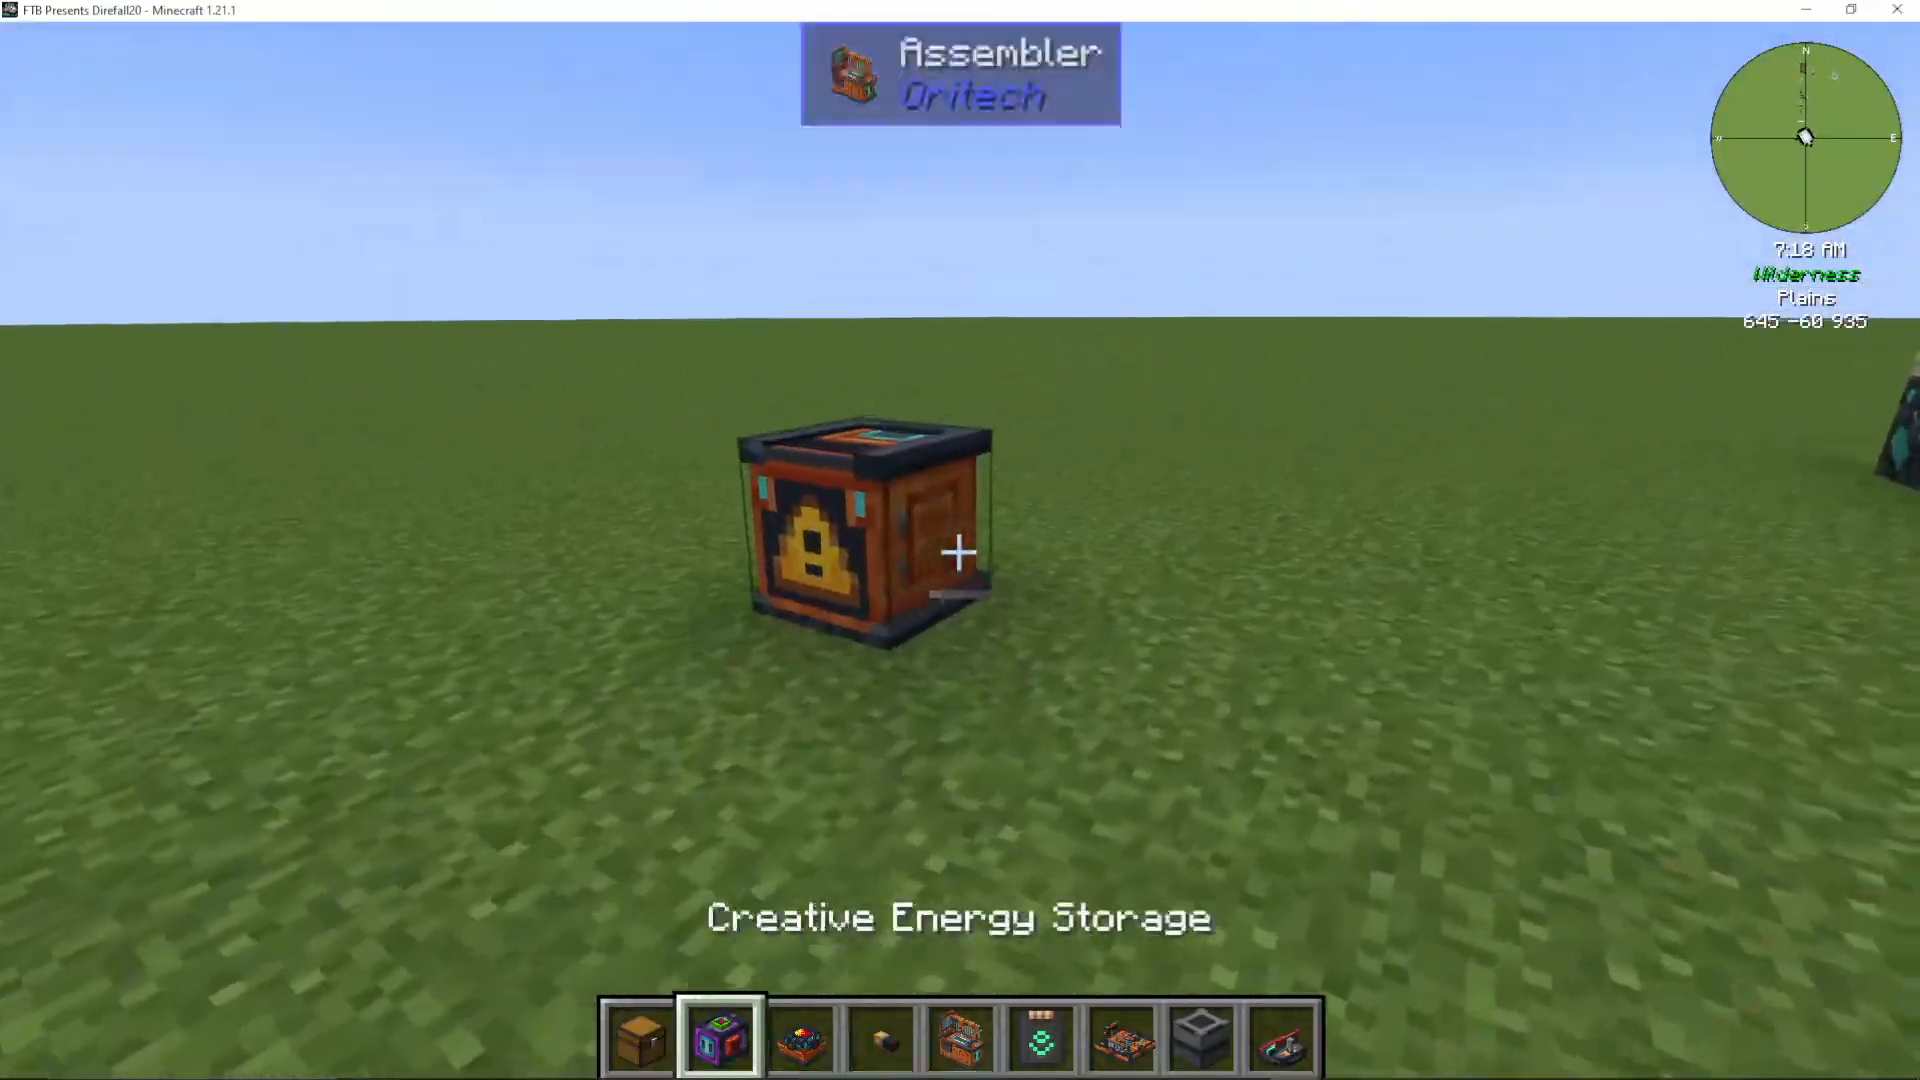
To install machine cores, right-click your assembler multiple times with the cores in hand. Each right-click adds a machine core to the appropriate slot. Once you’ve installed enough cores, the assembler will construct itself and become fully operational.
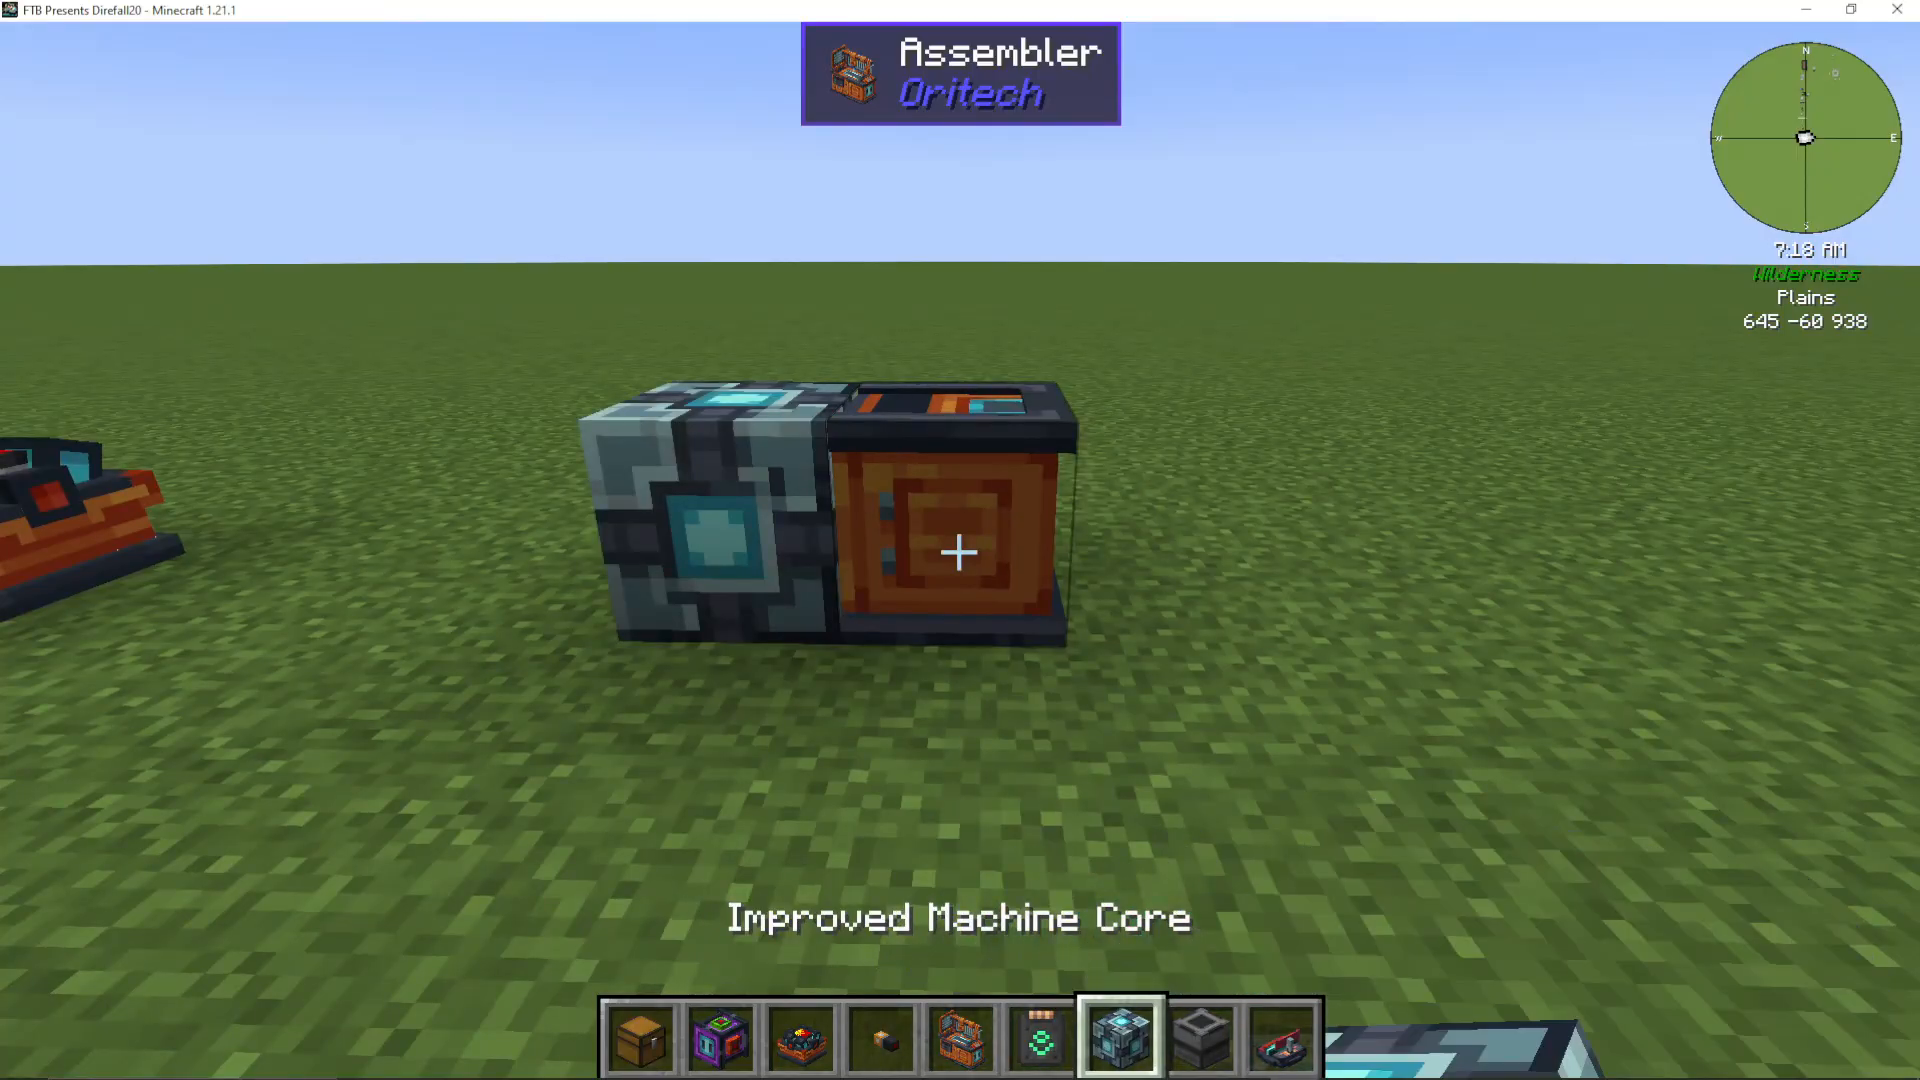
Understanding Machine Quality
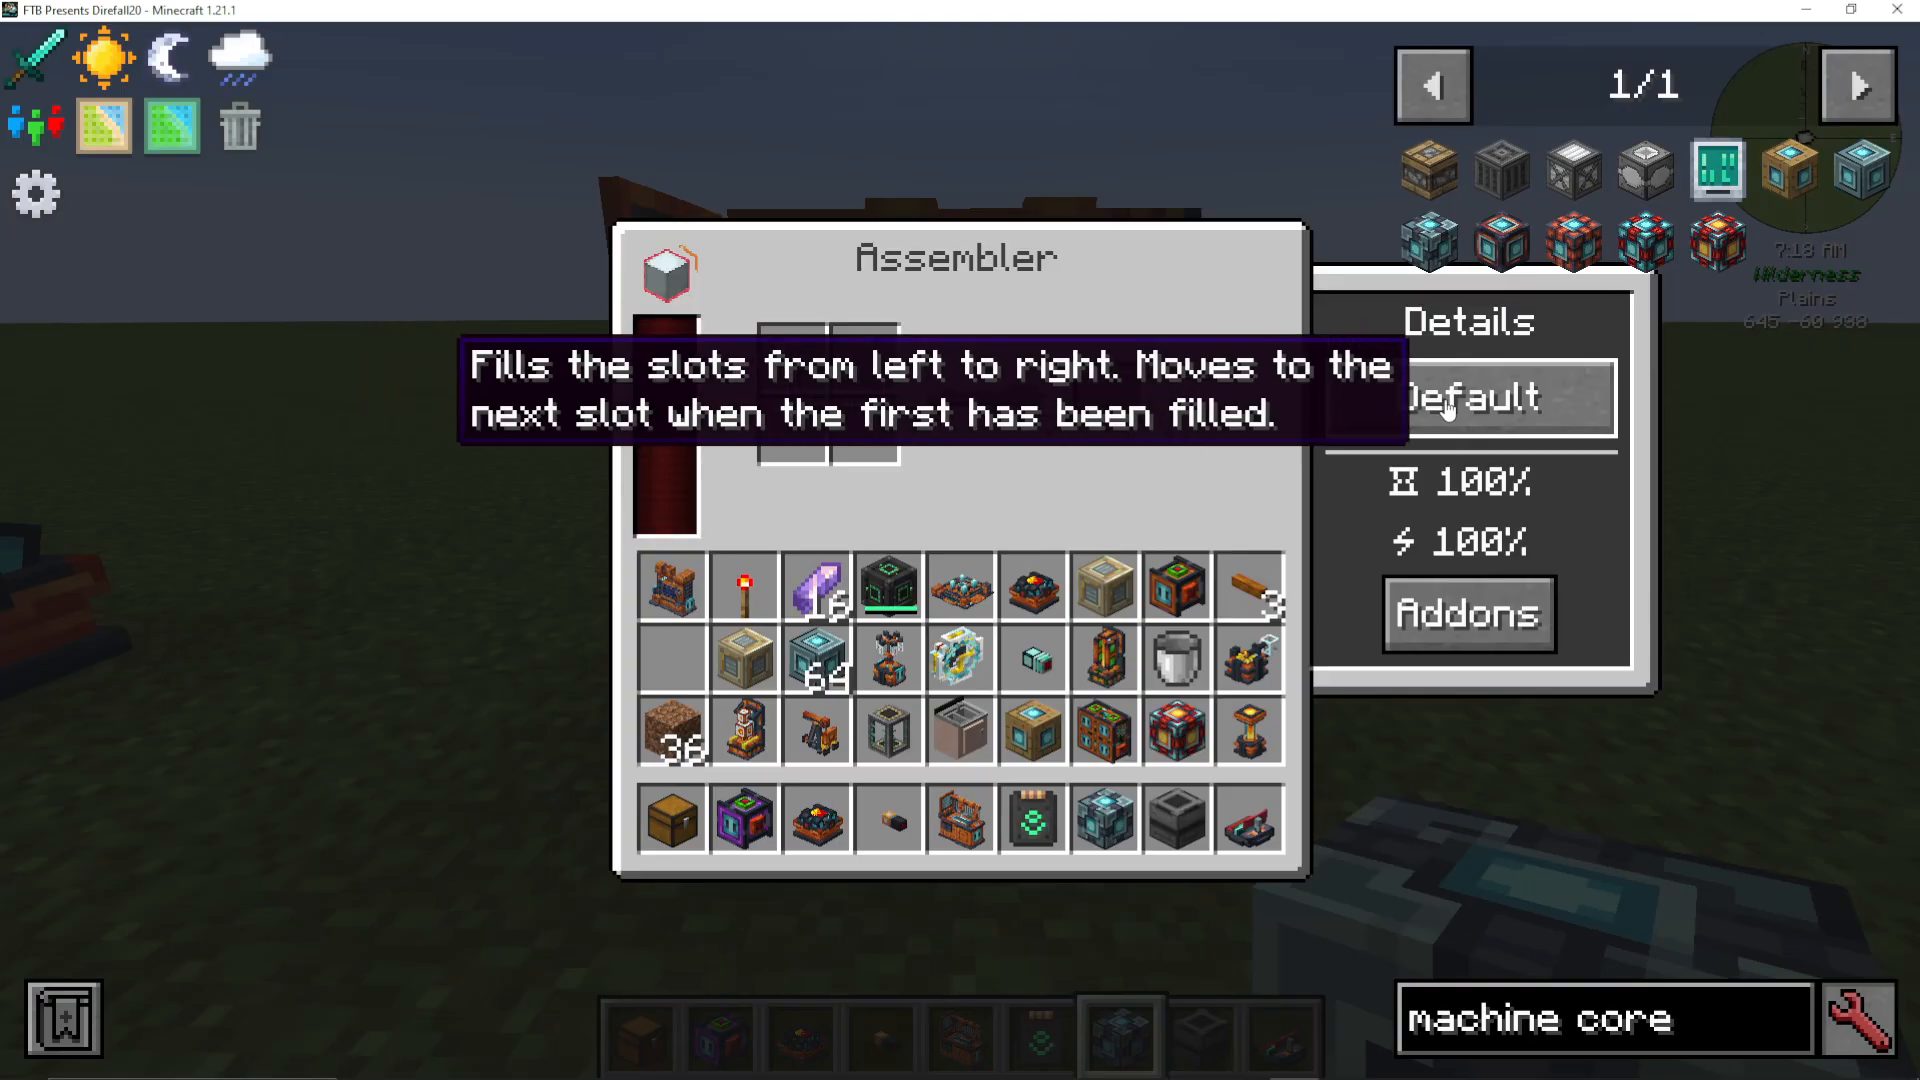
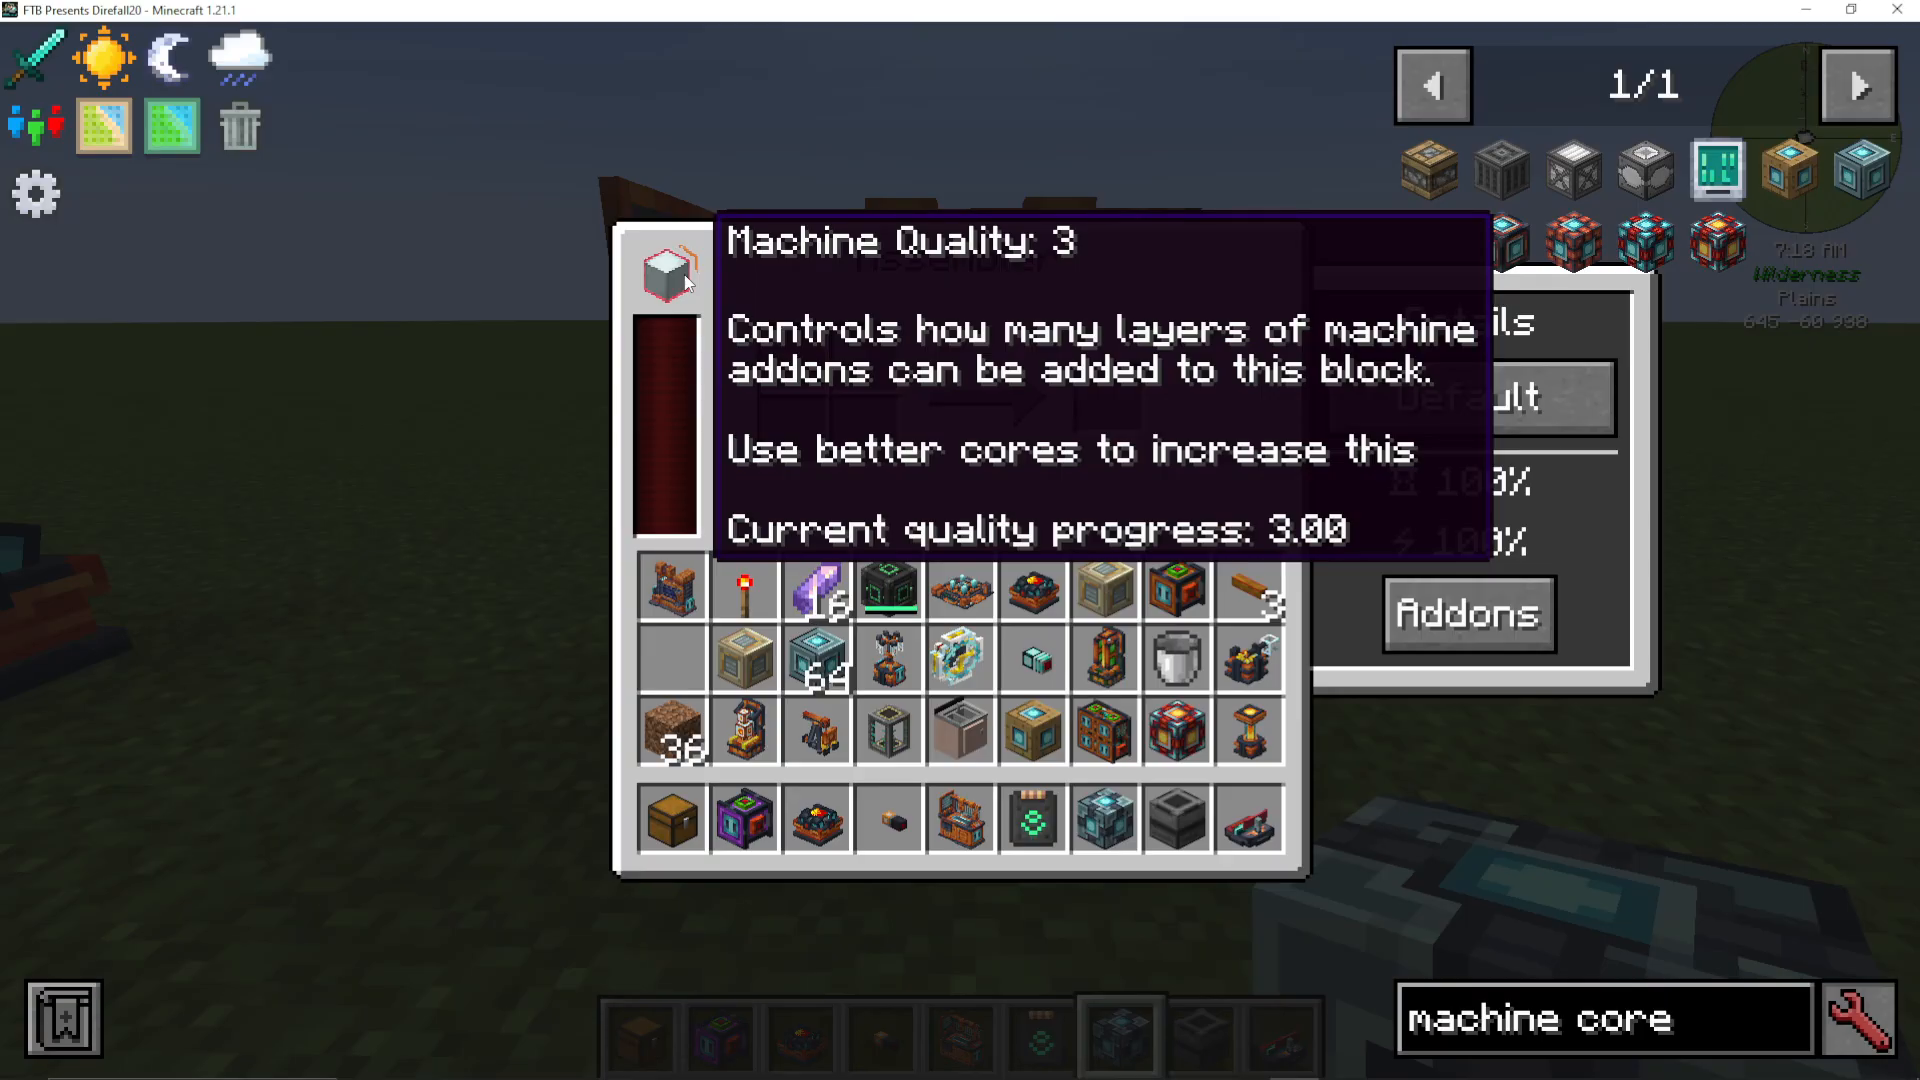
The machine core level you install directly determines the Machine Quality stat of your assembler. This quality level controls how many layers of machine add-ons can be attached to the block. Higher quality cores allow for more customization and efficiency upgrades.
Adding Machine Add-ons
Inside the assembler’s interface, you’ll see an “Add-ons” button that displays available slots for upgrades. Look for small blue plug sockets on your machine—these are where add-ons attach.
Machine Extenders
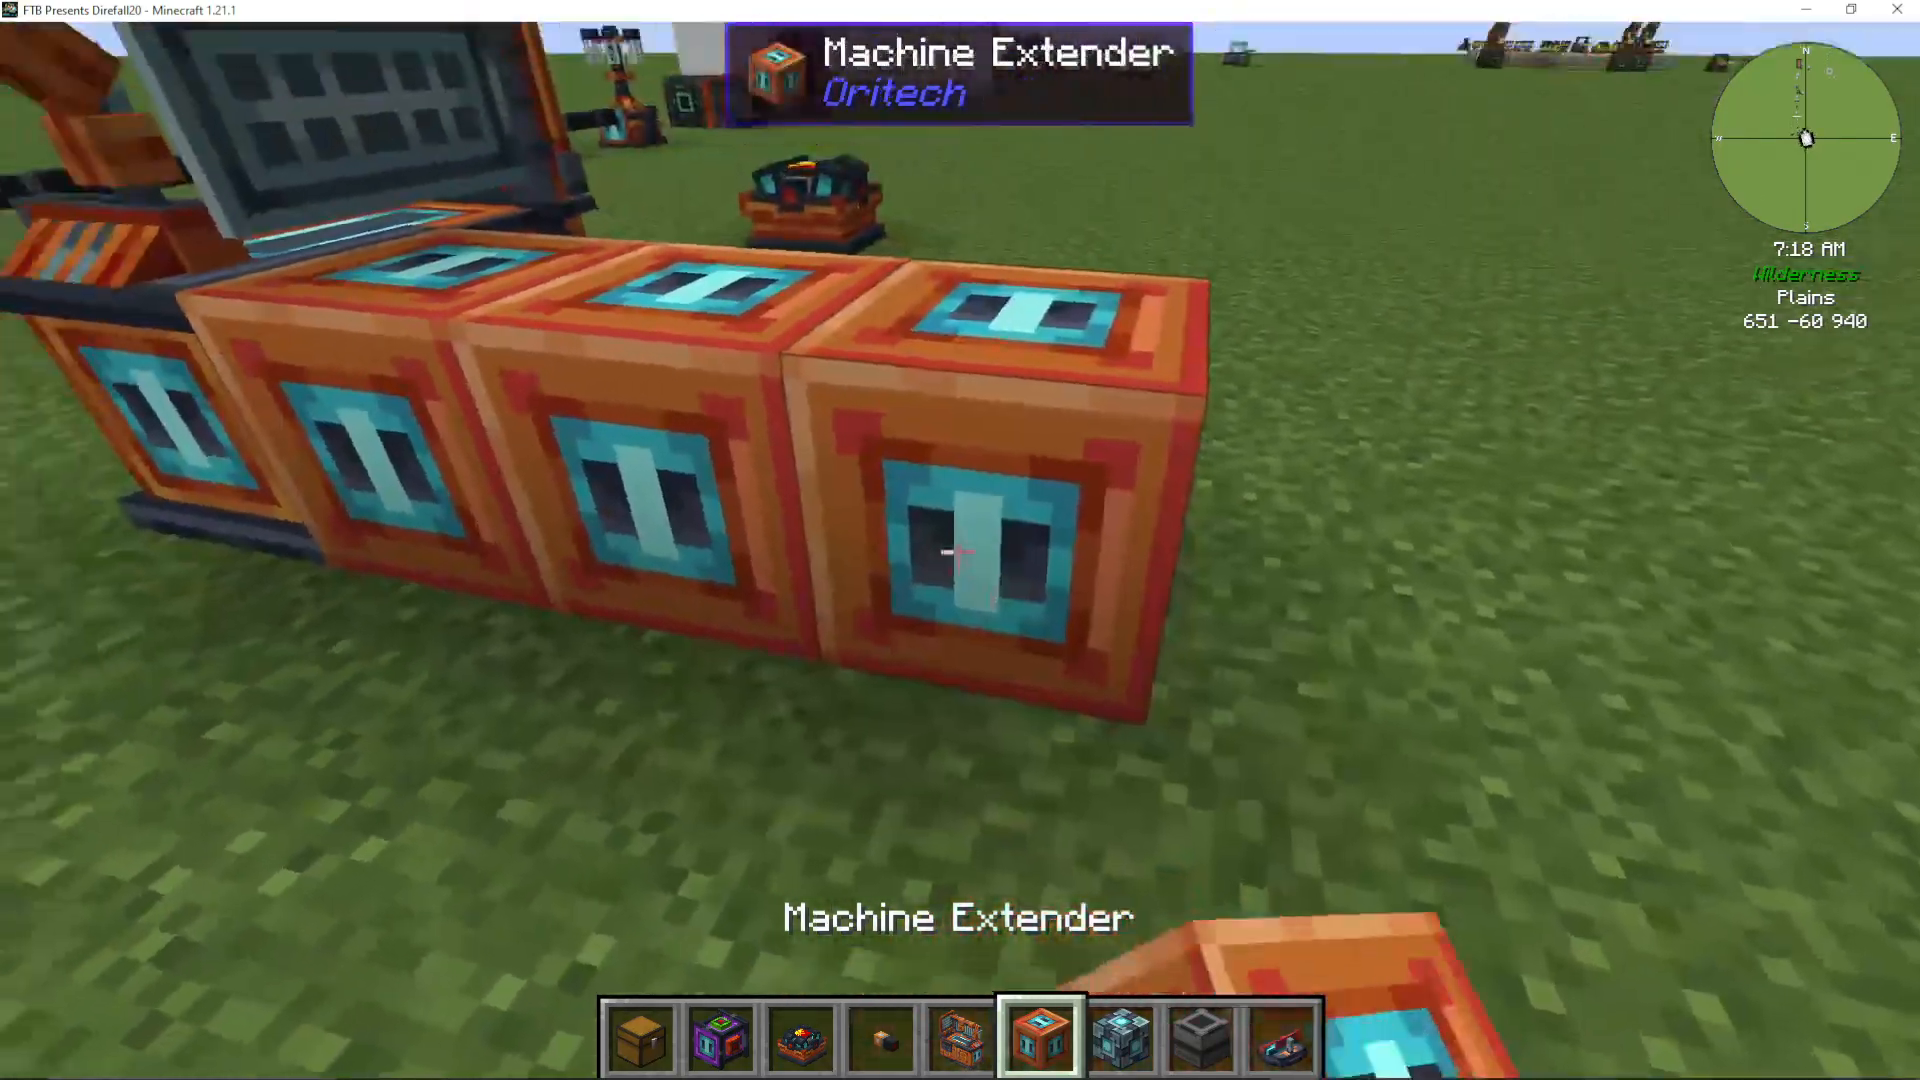
Machine Extenders allow you to expand the number of add-on slots available on your assembler. You can place extenders in the existing slots to create additional space for more upgrades.
Machine Efficiency Add-ons
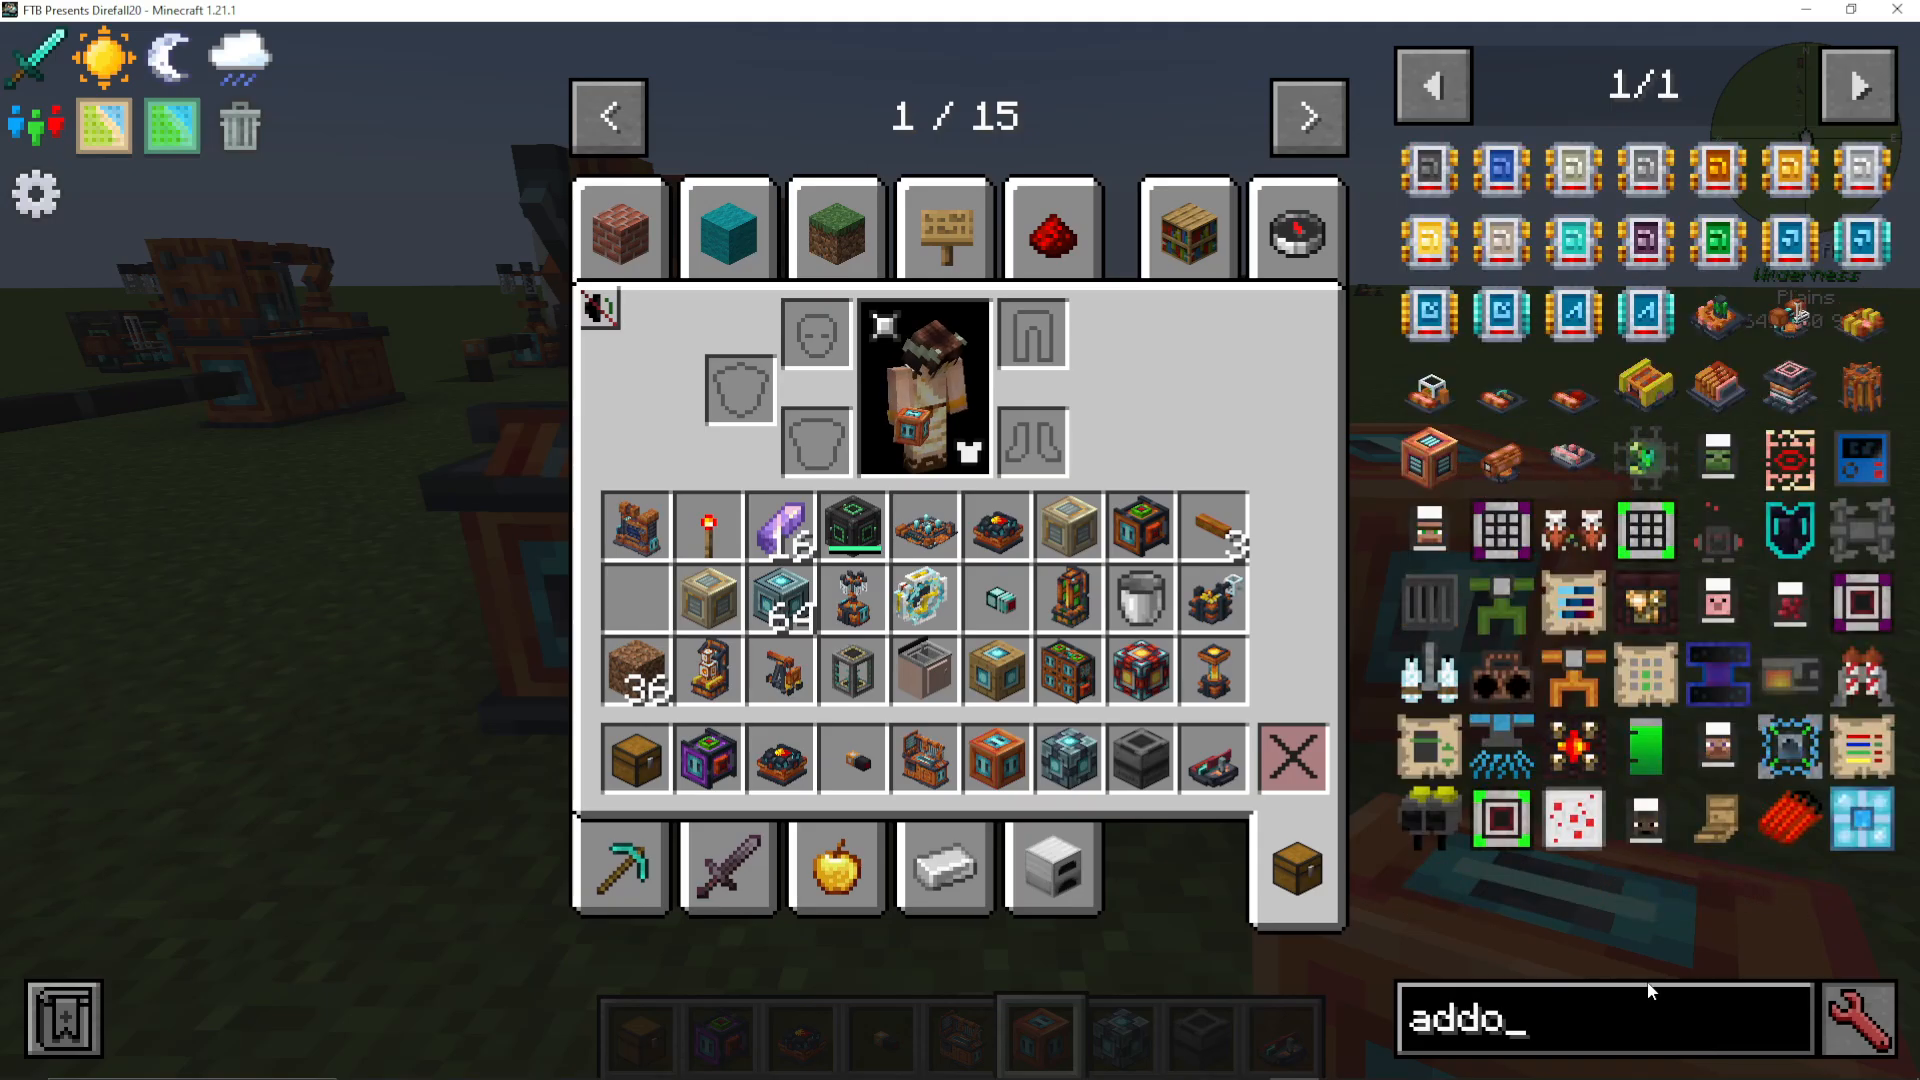
The Machine Efficiency add-on increases your machine’s energy efficiency by 10% per addon. If you install three efficiency add-ons (using extenders), you’ll gain a total of 30% energy efficiency, significantly reducing power consumption.
Powering the Assembler with Pipes
Energy pipes can connect to your assembler in multiple ways. You can pipe energy into add-on slots, or attach pipes directly to the front, back, or sides of the machine—placement flexibility is built in. Items can be piped in through the top and exit from the bottom.
What Can You Make in the Assembler?
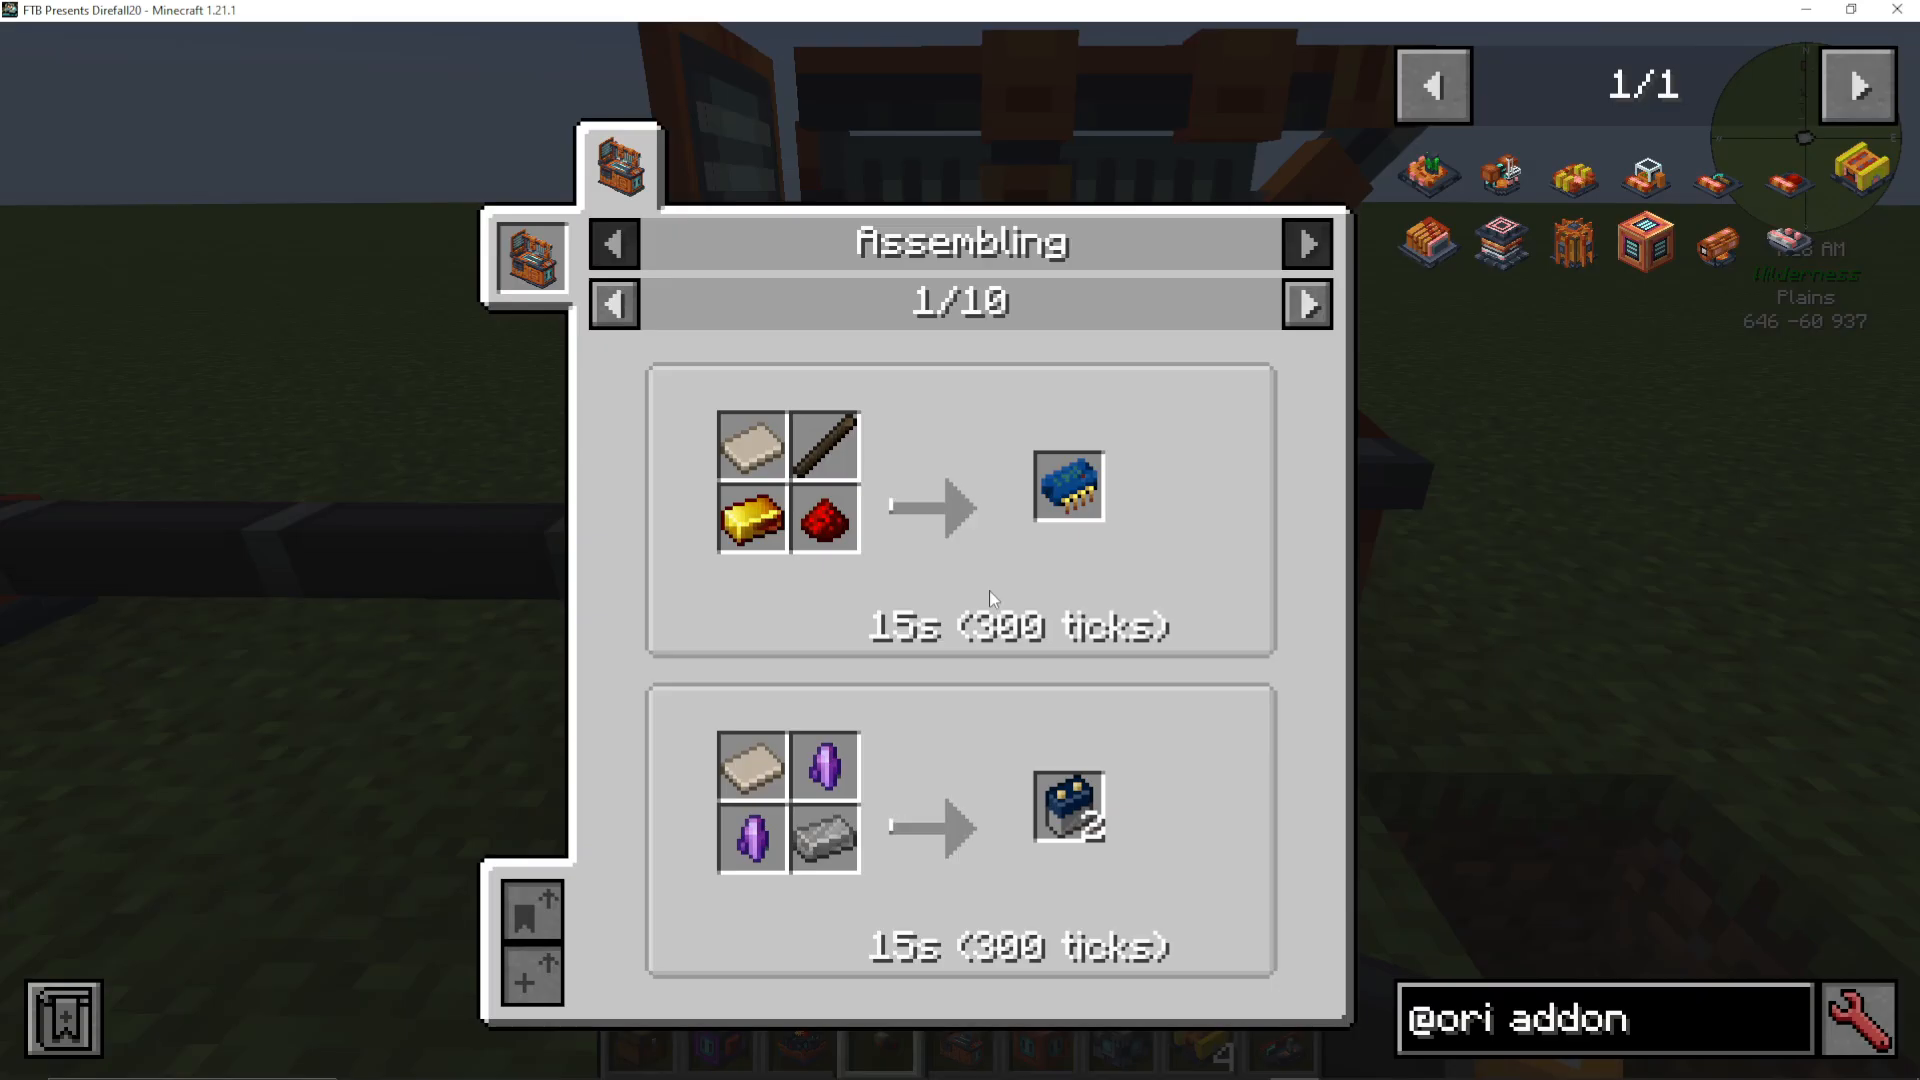
The assembler is designed for crafting complex items and optimizing resource usage. With four input slots, you can combine multiple materials for sophisticated recipes. Here are some examples:
Processing Units – From redstone dust, electro-mengar, plastic sheets, and carbon fiber strands
Basic Batteries – Complex power storage items
Books – Using paper and leather (yields 2 books from 3 paper and 1 leather)
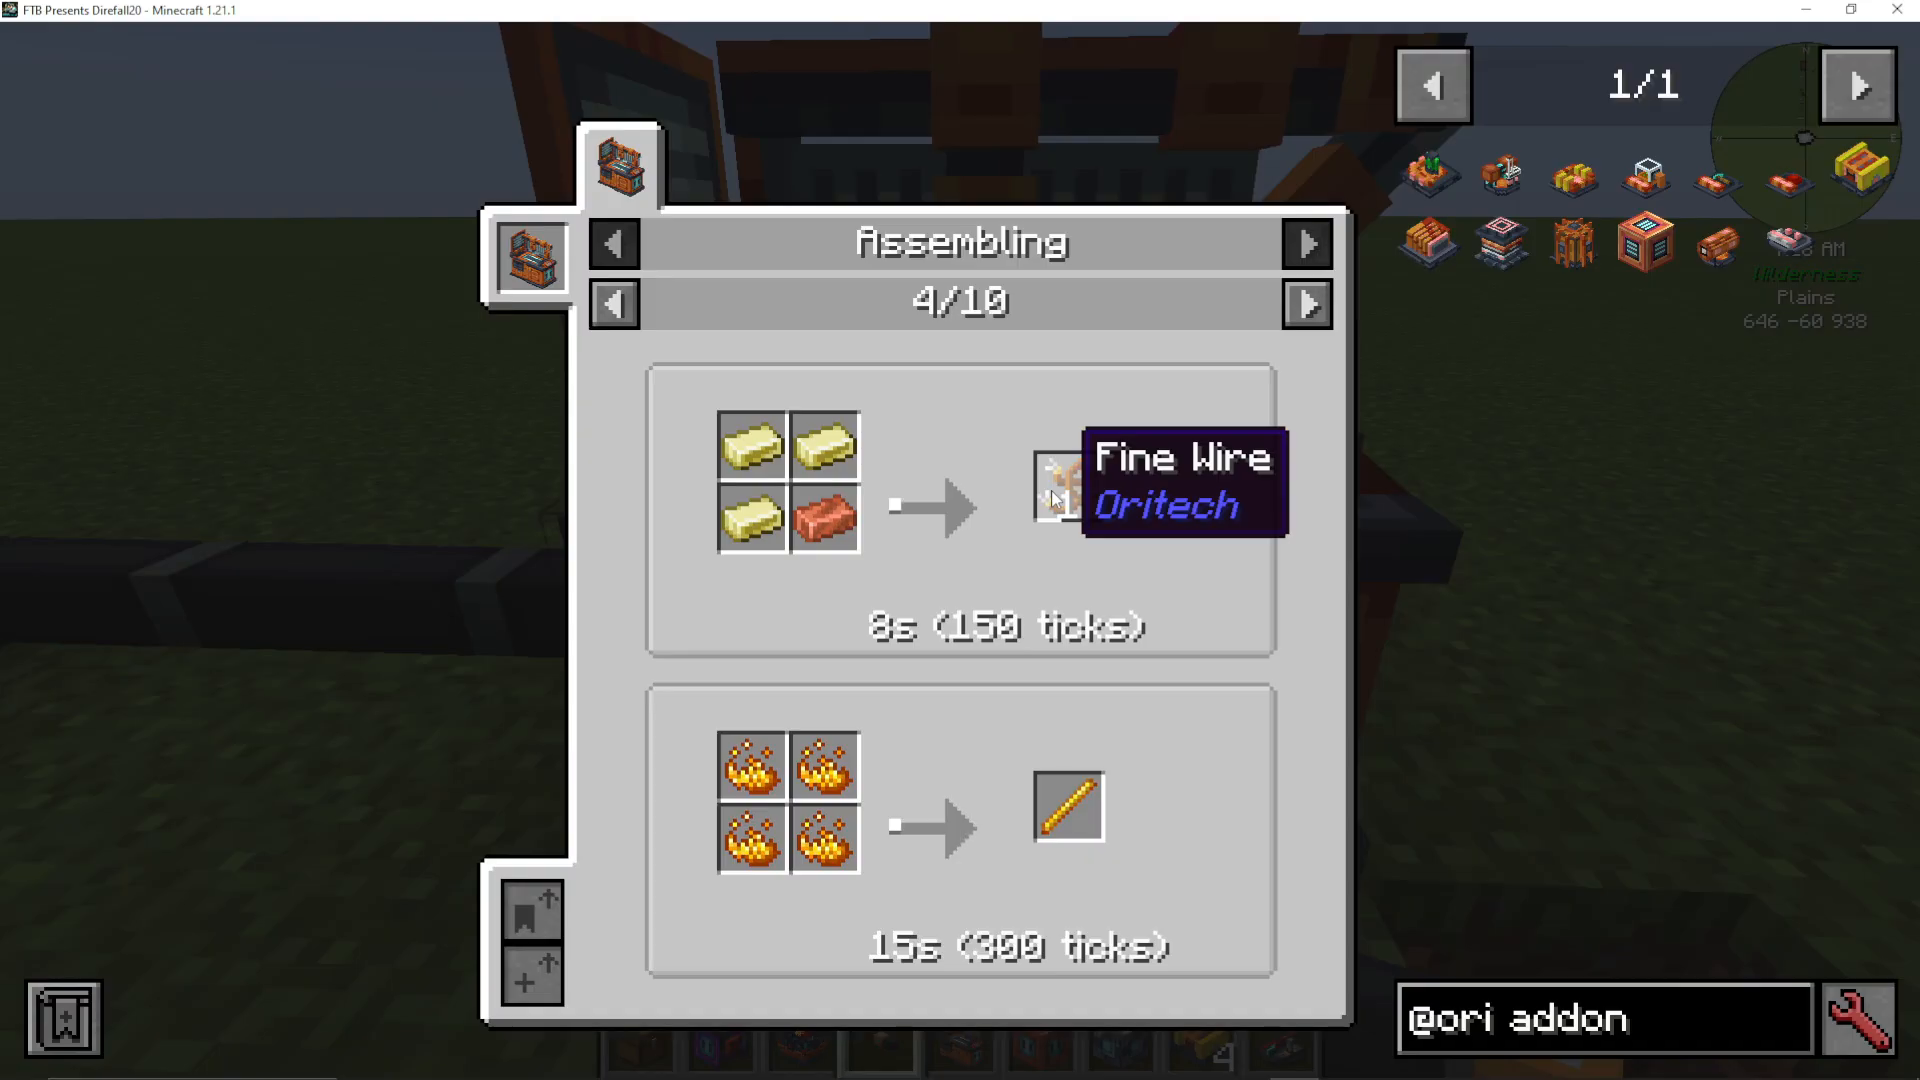
Fine Wire – 3 nickel and 1 copper makes 12 fine wire (much more efficient than regular crafting)
Steel – Alternative crafting method for this essential material
Motors – 1 steel, 1 nickel, and 2 magnetic coils makes 2 motors
Magnetic Coils – 3 fine wire and 1 steel makes 2 magnetic coils
Blaze Powder Conversions – 4 blaze powder makes 1 blaze rod equivalent
Efficiency Benefits
The assembler’s primary advantage is resource efficiency. For example, instead of crafting fine wire through standard recipes that require 9 nickel to yield 3 fine wire (3 per nickel), the assembler lets you use just 3 nickel and 1 copper to make 12 fine wire. This dramatic reduction in material costs makes the assembler invaluable for scaling up production.
Motors also showcase this efficiency: you can craft 2 motors from 1 steel, 1 nickel, and 2 magnetic coils, compared to more expensive regular recipes. The assembler frequently unlocks more efficient crafting methods for Oritech items.
Summary
The Oritech Assembler is a cornerstone machine in the tech progression system. By crafting the base assembler, installing appropriate machine cores, adding efficiency upgrades via machine add-ons, and powering it with energy pipes, you unlock dramatically more efficient crafting for complex Oritech items. Whether you’re optimizing fine wire production or crafting advanced components, the assembler will become an essential part of your Oritech setup.
For more information about Oritech and other Minecraft mods, check out the related playlists on the channel. We’ve covered the full mod progression including beginner guides, getting started guides, and comprehensive ultimate guides covering everything in the entire mod. Subscribe for updates on new mods and guides for both Fabric and Forge mod loaders.
Want to Support?
If you would like to help us continue making these guides – please consider joining our patreon here – https://www.patreon.com/c/JaviHeals
Alternatively – we host a group of MC Servers you can join here – https://discord.gg/zD7Gjt6MHF



